

You have the threads, the fabric, and the desire to create something that feels truly personal. But perhaps you feel a gap between the vision in your mind and the piece in your hands. How do you make your work feel less like a craft project and more like a piece of art?
The answer isn’t about mastering dozens of complicated new stitches. It’s about small, intentional choices—blending thread with paint, contrasting textures, or adding a single, well-placed line of metallic floss. It’s about understanding *why* a technique works, so you can apply that principle to your own unique ideas.
Let these pieces be your guide not to copy, but to reinterpret. See how a simple shift in material or a thoughtful composition can transform a piece from handmade to heartfelt. This is where your true artistry begins.
1. Stitch a Living Heirloom Tree
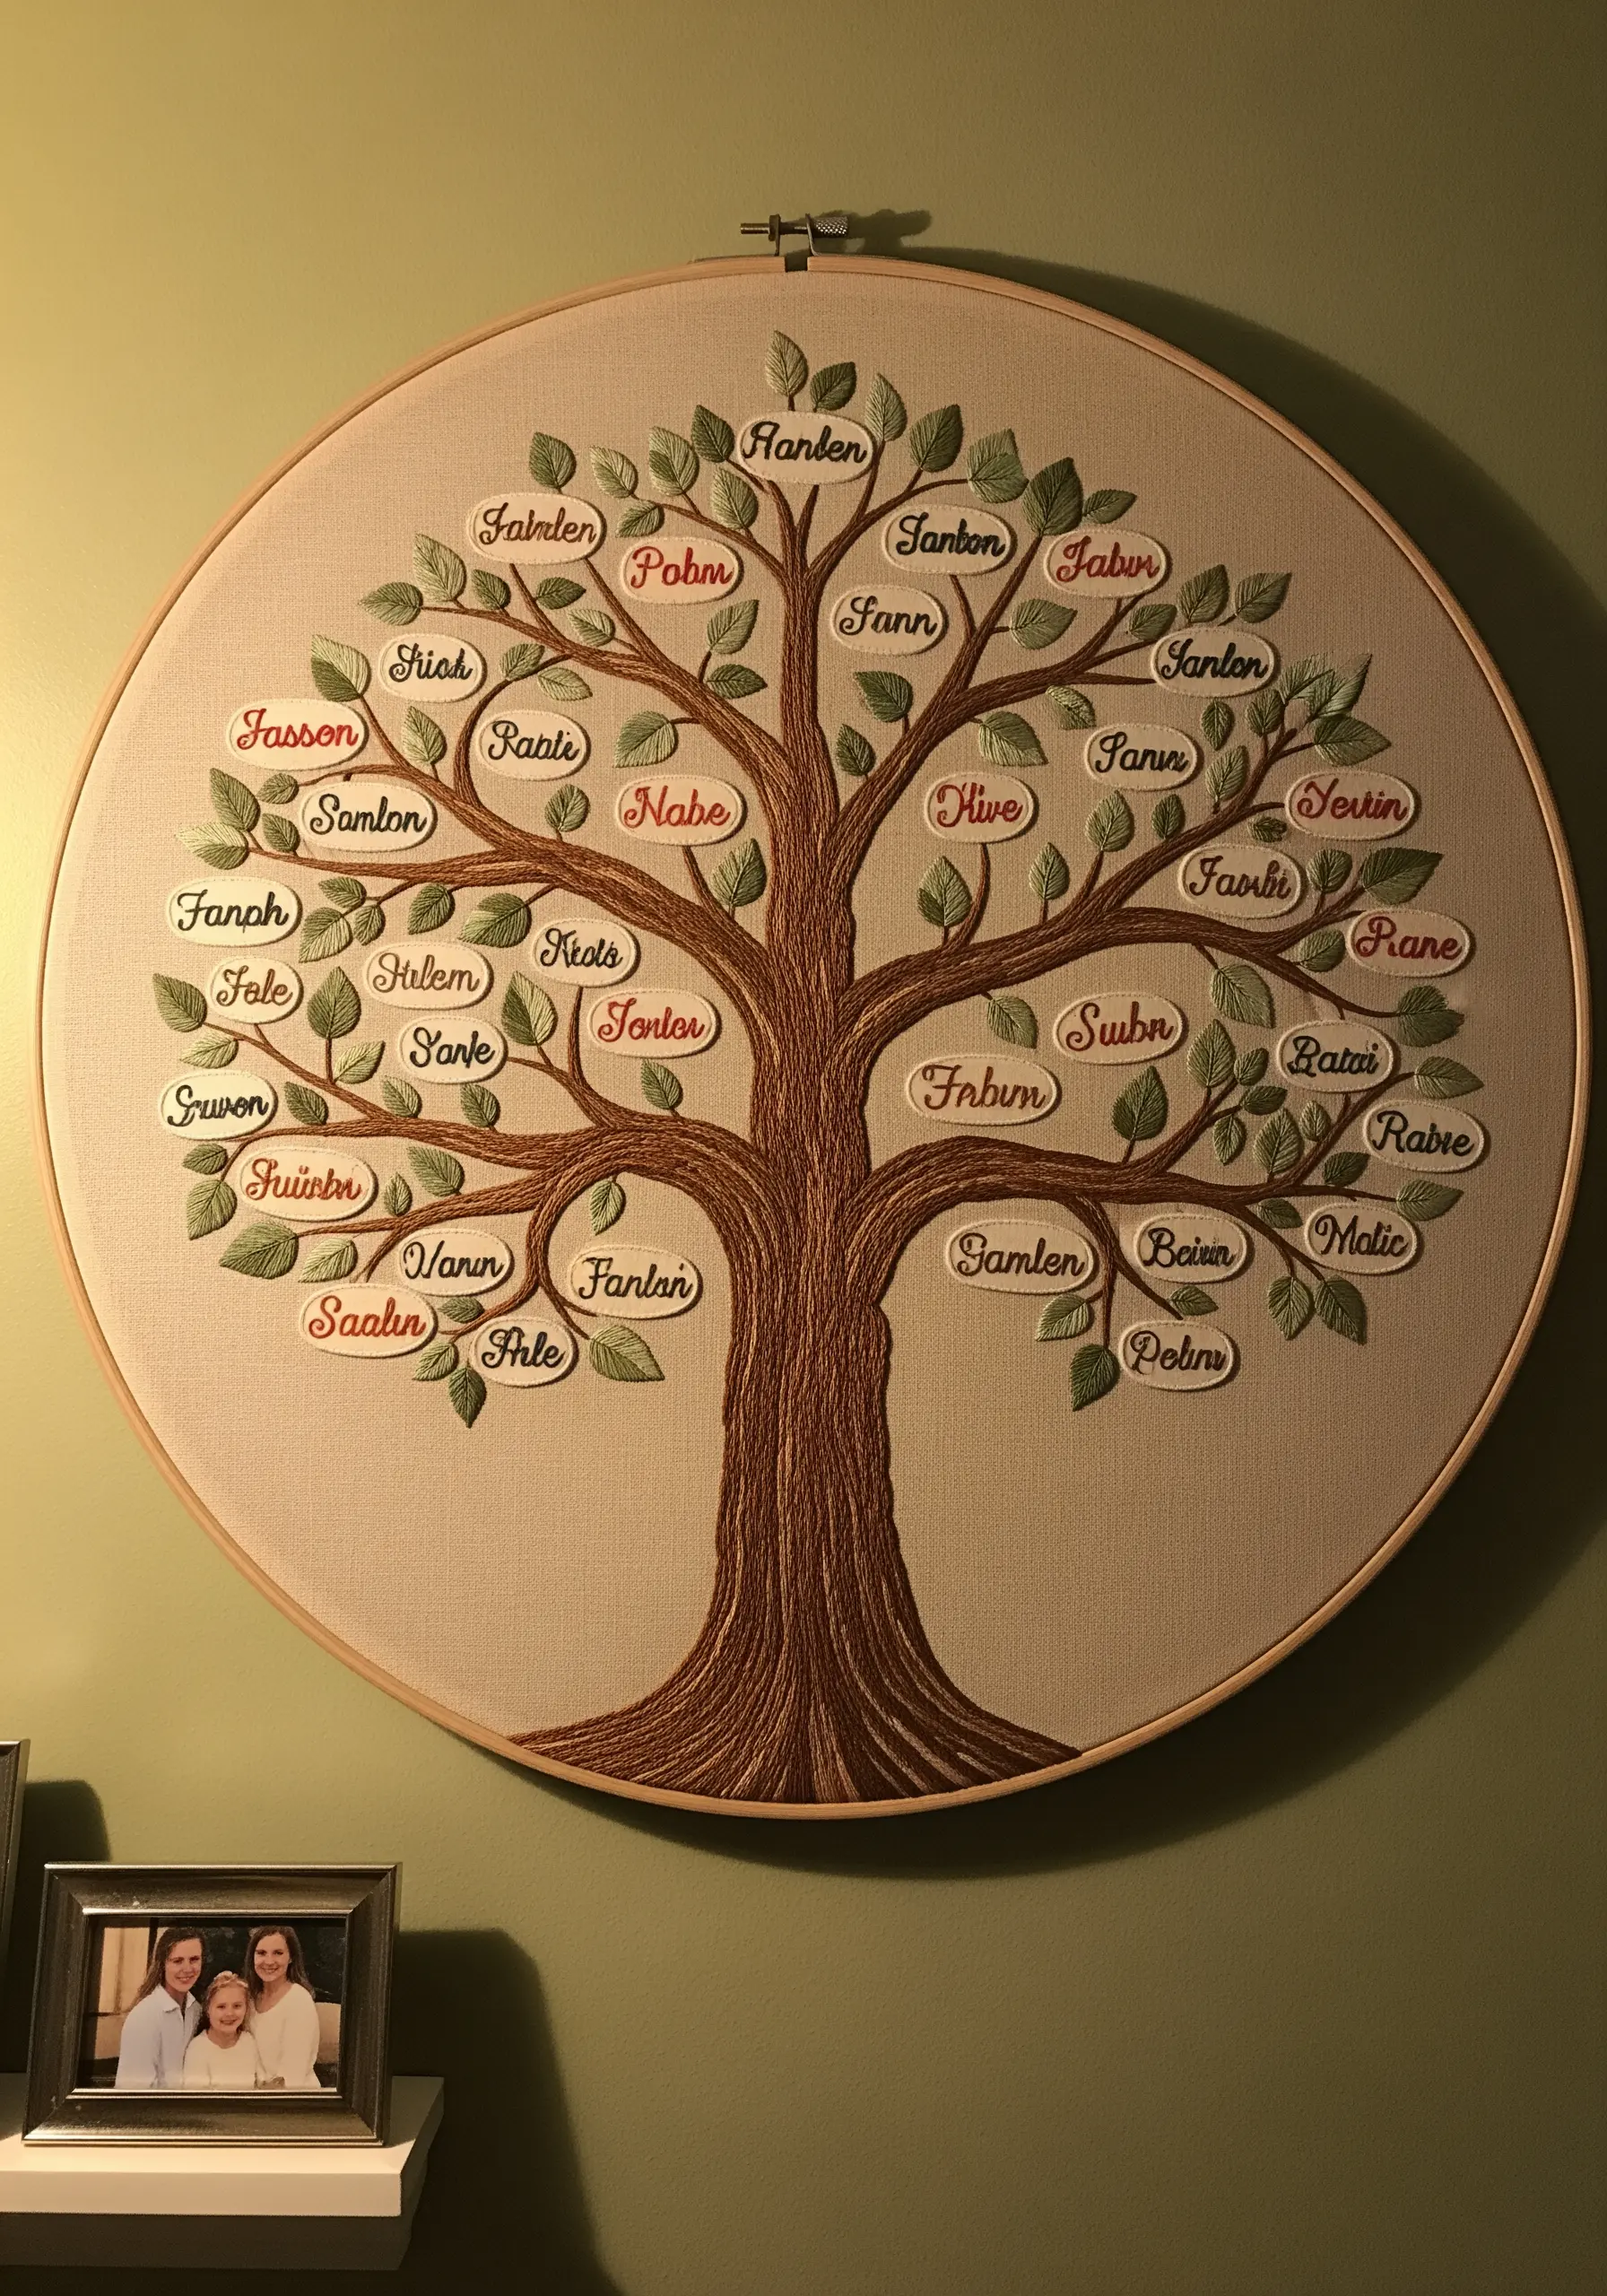
To give your family tree a sense of depth and importance, create detachable name labels instead of stitching them directly onto the fabric.
Embroider each name onto a small piece of sturdy felt or double-layered cotton, then cut it out, leaving a small border.
Attach each label to the branches with a few hidden tacking stitches.
This method allows the names to stand out with a subtle, three-dimensional shadow and makes it easier to add new family members later.
For the tree trunk itself, use vertical long-and-short stitches with several shades of brown to create the texture of bark.
2. Combine Macrame and Weaving for a Sunset Statement
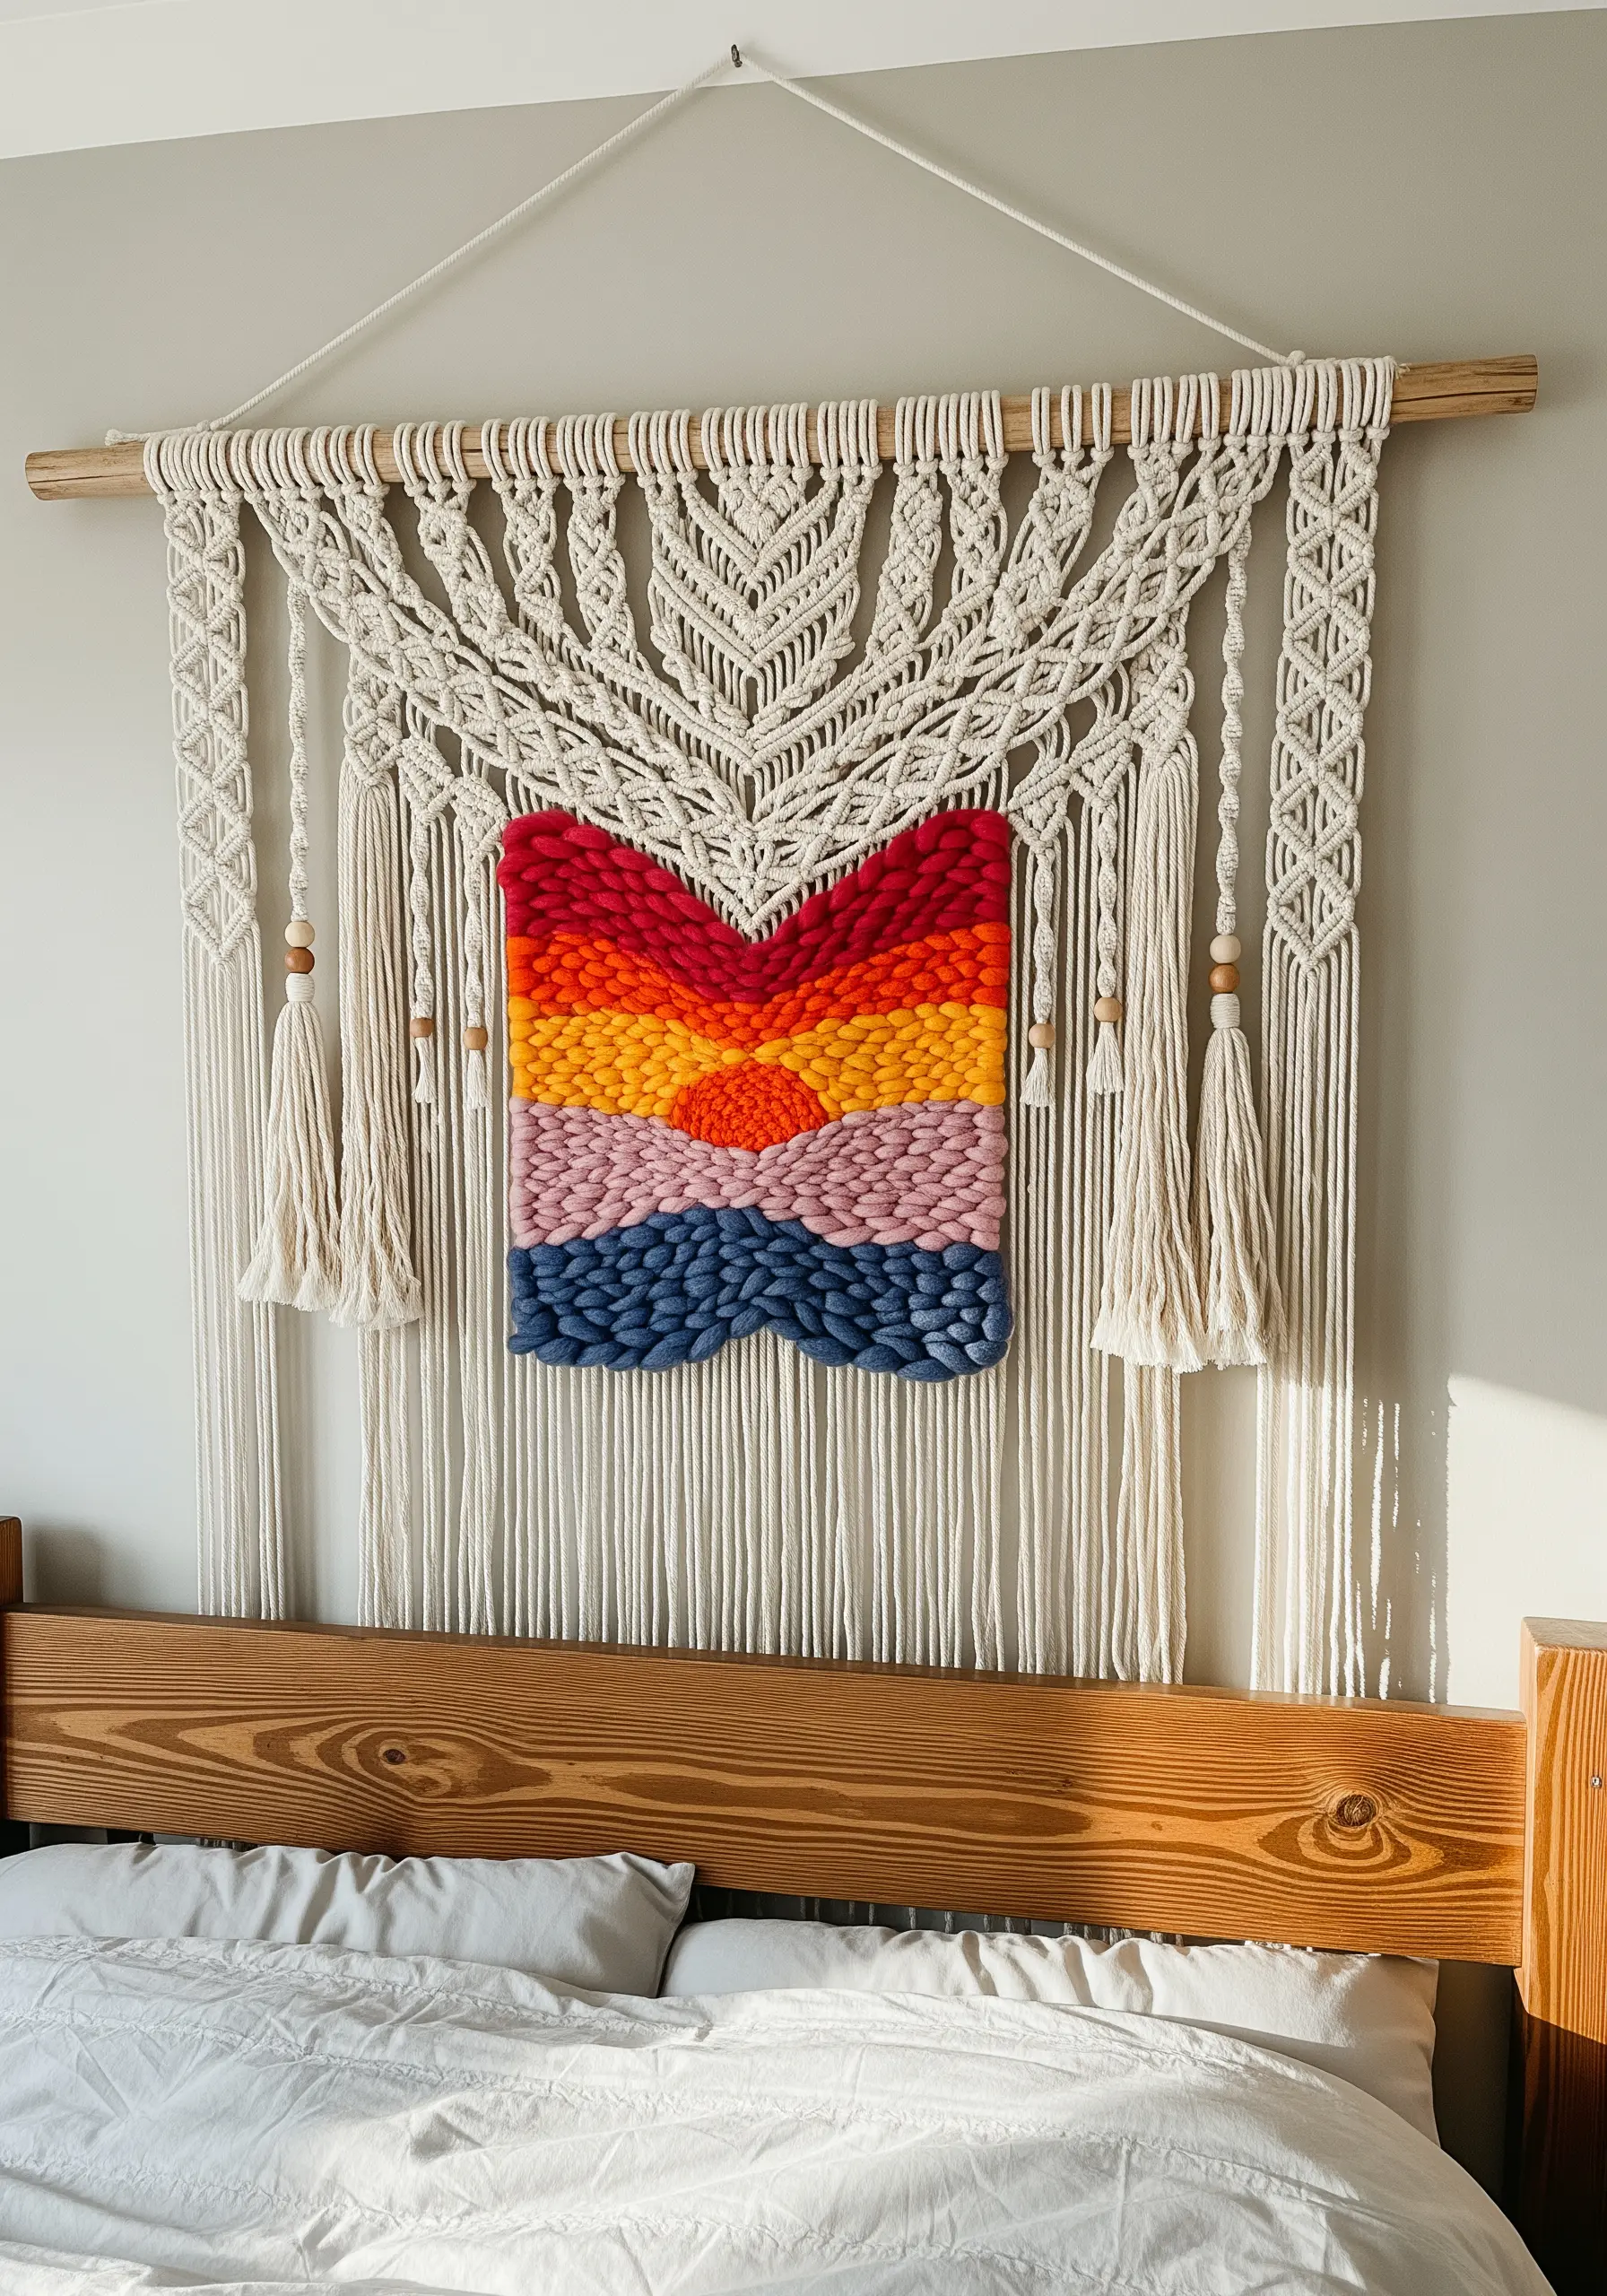
Create a powerful focal point by embedding a woven panel within a larger macrame piece.
The central sunset is achieved with chunky wool roving and a simple tabby or soumak weave, which creates those thick, pillowy rows of color.
The key to its success is the textural contrast: the tight, structured macrame knots frame the soft, vibrant weaving, making the colors feel even more saturated.
This turns a standard wall hanging into a multilayered textile wall art piece with undeniable presence.
3. Map Your Story with Fabric Appliqué and Quilting

Tell a personal story by creating a quilted map of a meaningful place, like your childhood neighborhood.
Use fabric scraps for houses, trees, and paths, attaching them with a neat blanket stitch or an iron-on fusible web for sharp edges.
The quilting stitches themselves—the flowing lines across the piece—do more than just hold the layers together; they add contour and movement, suggesting rolling hills and wind.
This technique turns flat fabric into a landscape rich with memory and texture.
4. Frame Nature with Delicate Metallic Outlines

Combine the ephemeral beauty of pressed botanicals with the permanence of embroidery for a stunning mixed-media piece.
First, arrange your pressed flowers on a layer of tulle stretched in a hoop, securing them with a tiny dot of clear fabric adhesive.
Then, using a single strand of gold metallic thread, couch along the outer edges of the most prominent petals.
This delicate outline not only secures the flora but also catches the light, adding a touch of magic and definition to the organic forms.
5. Capture Character with Directional Thread Painting
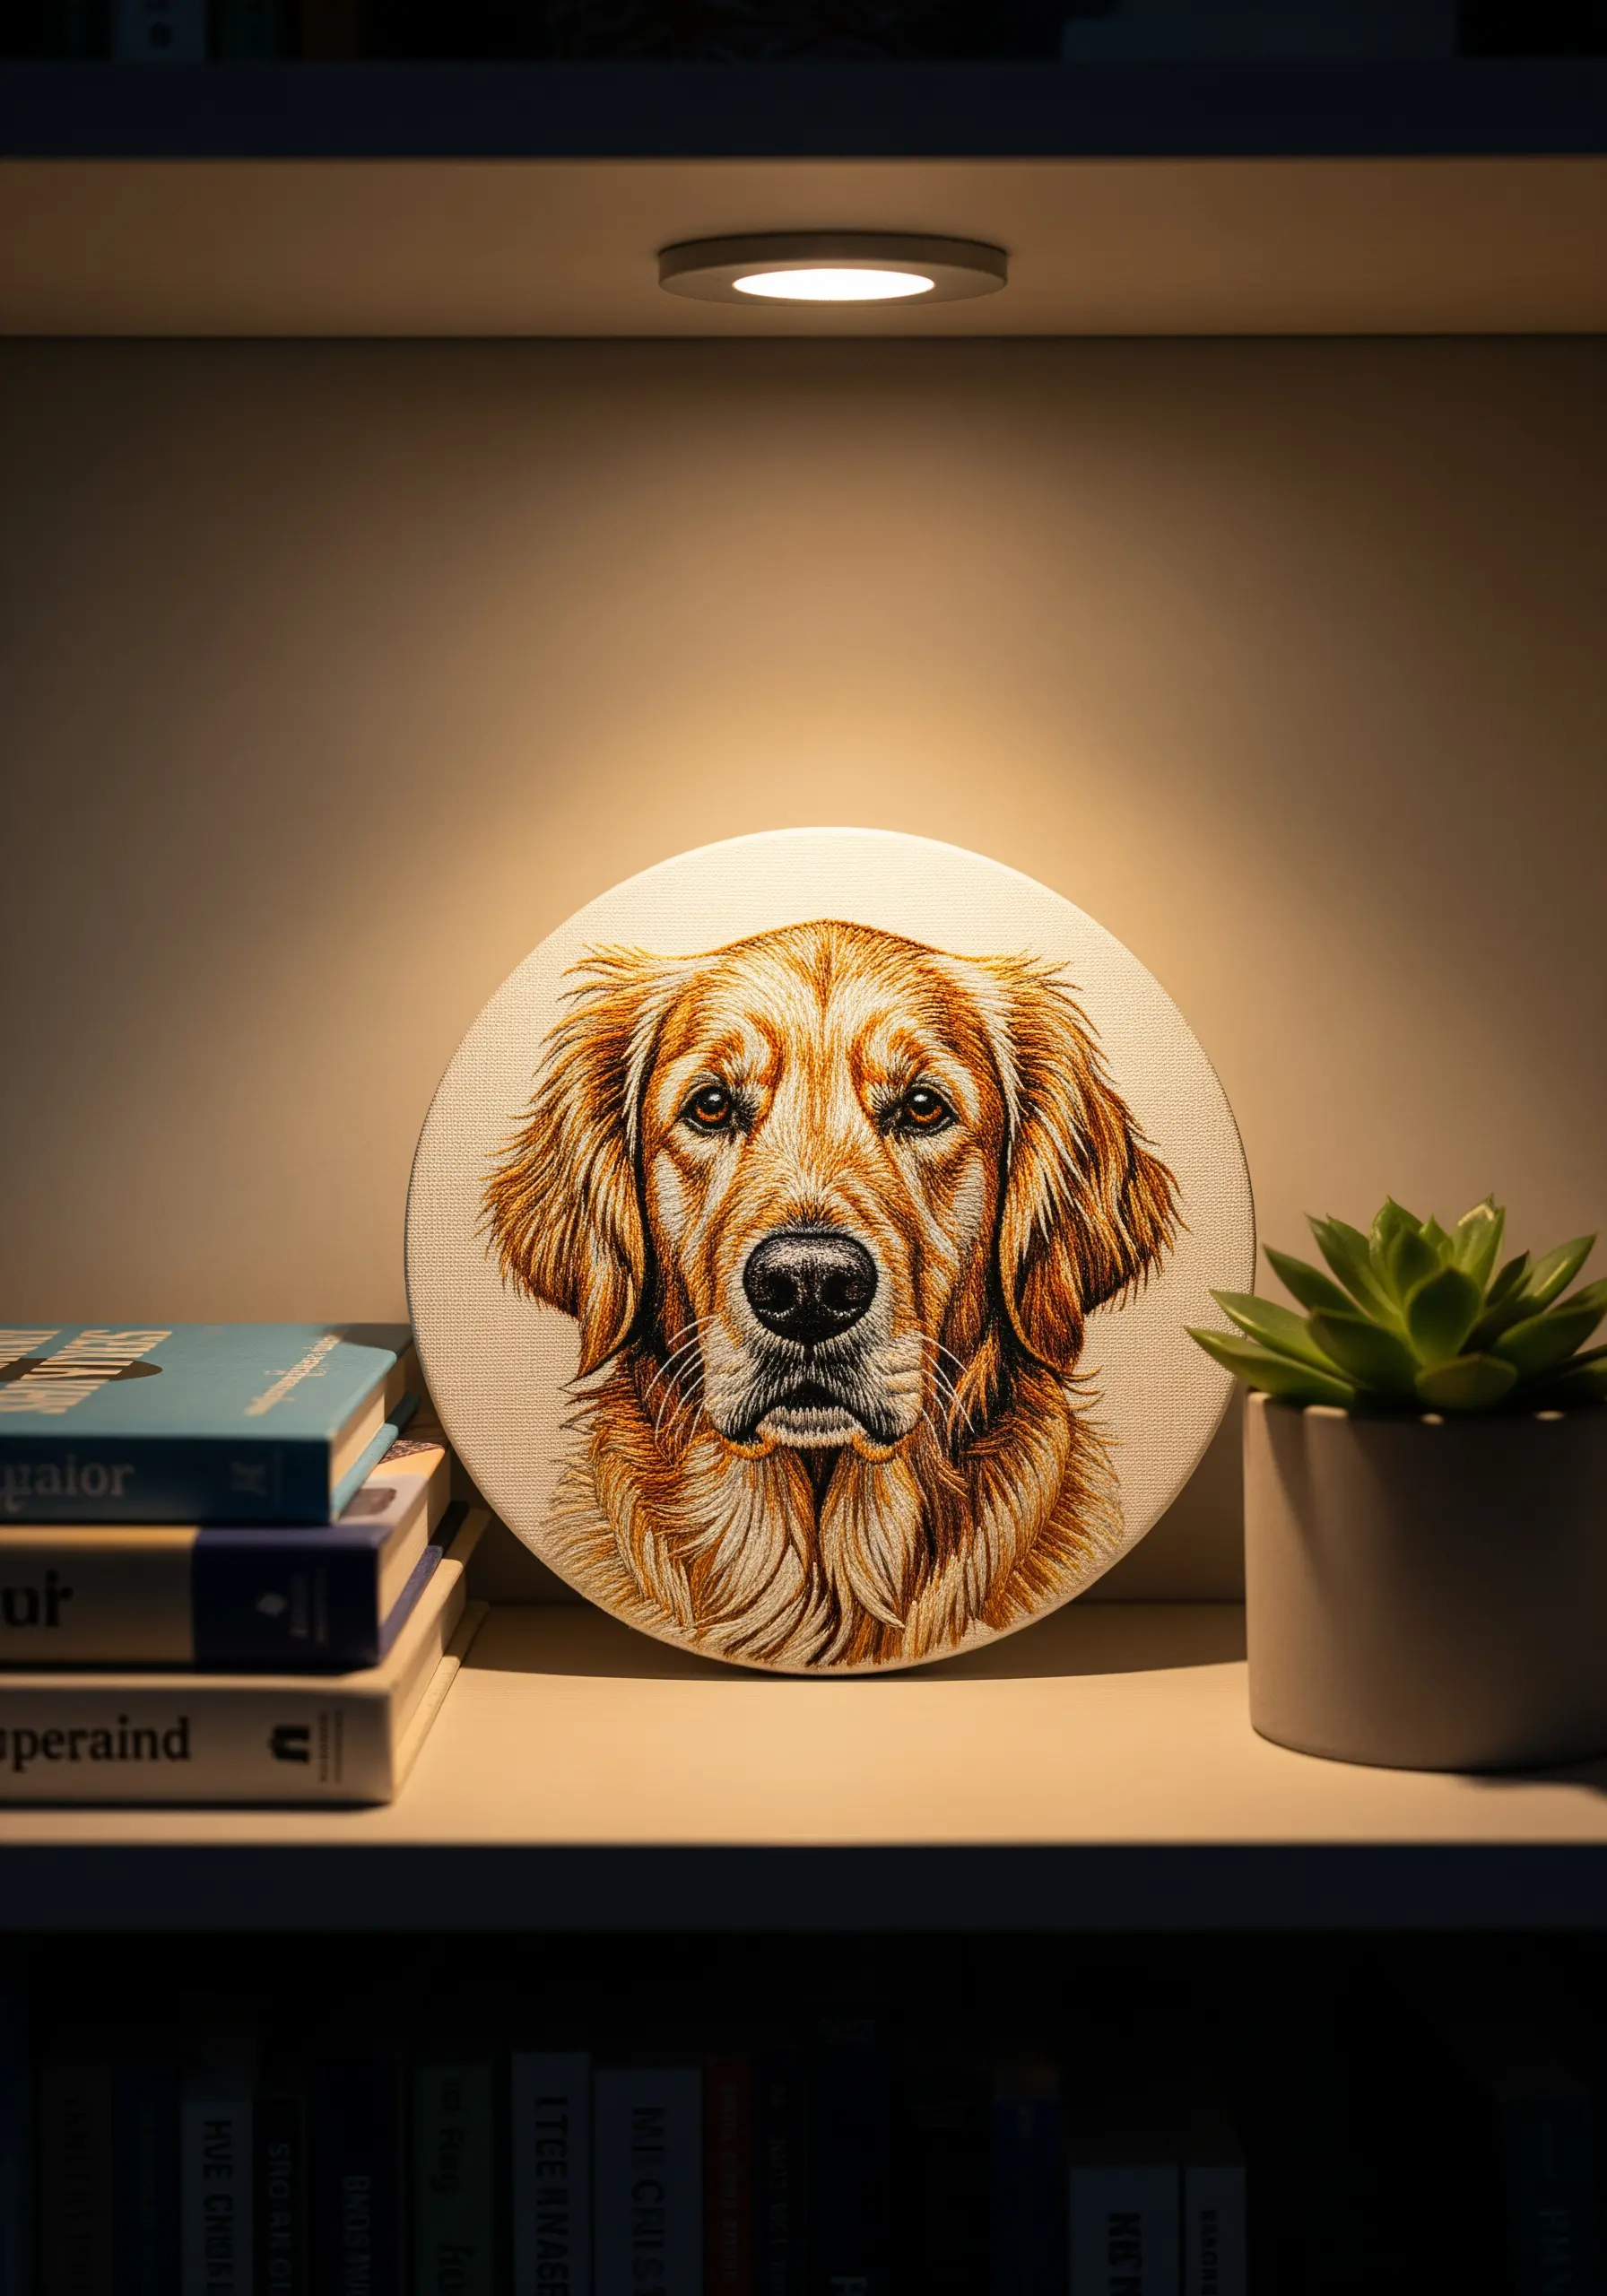
The secret to a lifelike pet portrait lies in stitching the fur in the exact direction it grows.
Using a single strand of floss and the long-and-short stitch, treat your needle like a fine paintbrush, layering colors to build depth.
Don’t just fill the space with color; let your stitches create the flow and texture of the coat.
This directional work is what turns a flat image into a soulful portrait, making it a truly meaningful personalized keepsake that captures the essence of a beloved friend.
6. Sculpt with Fiber Using Varied Textures
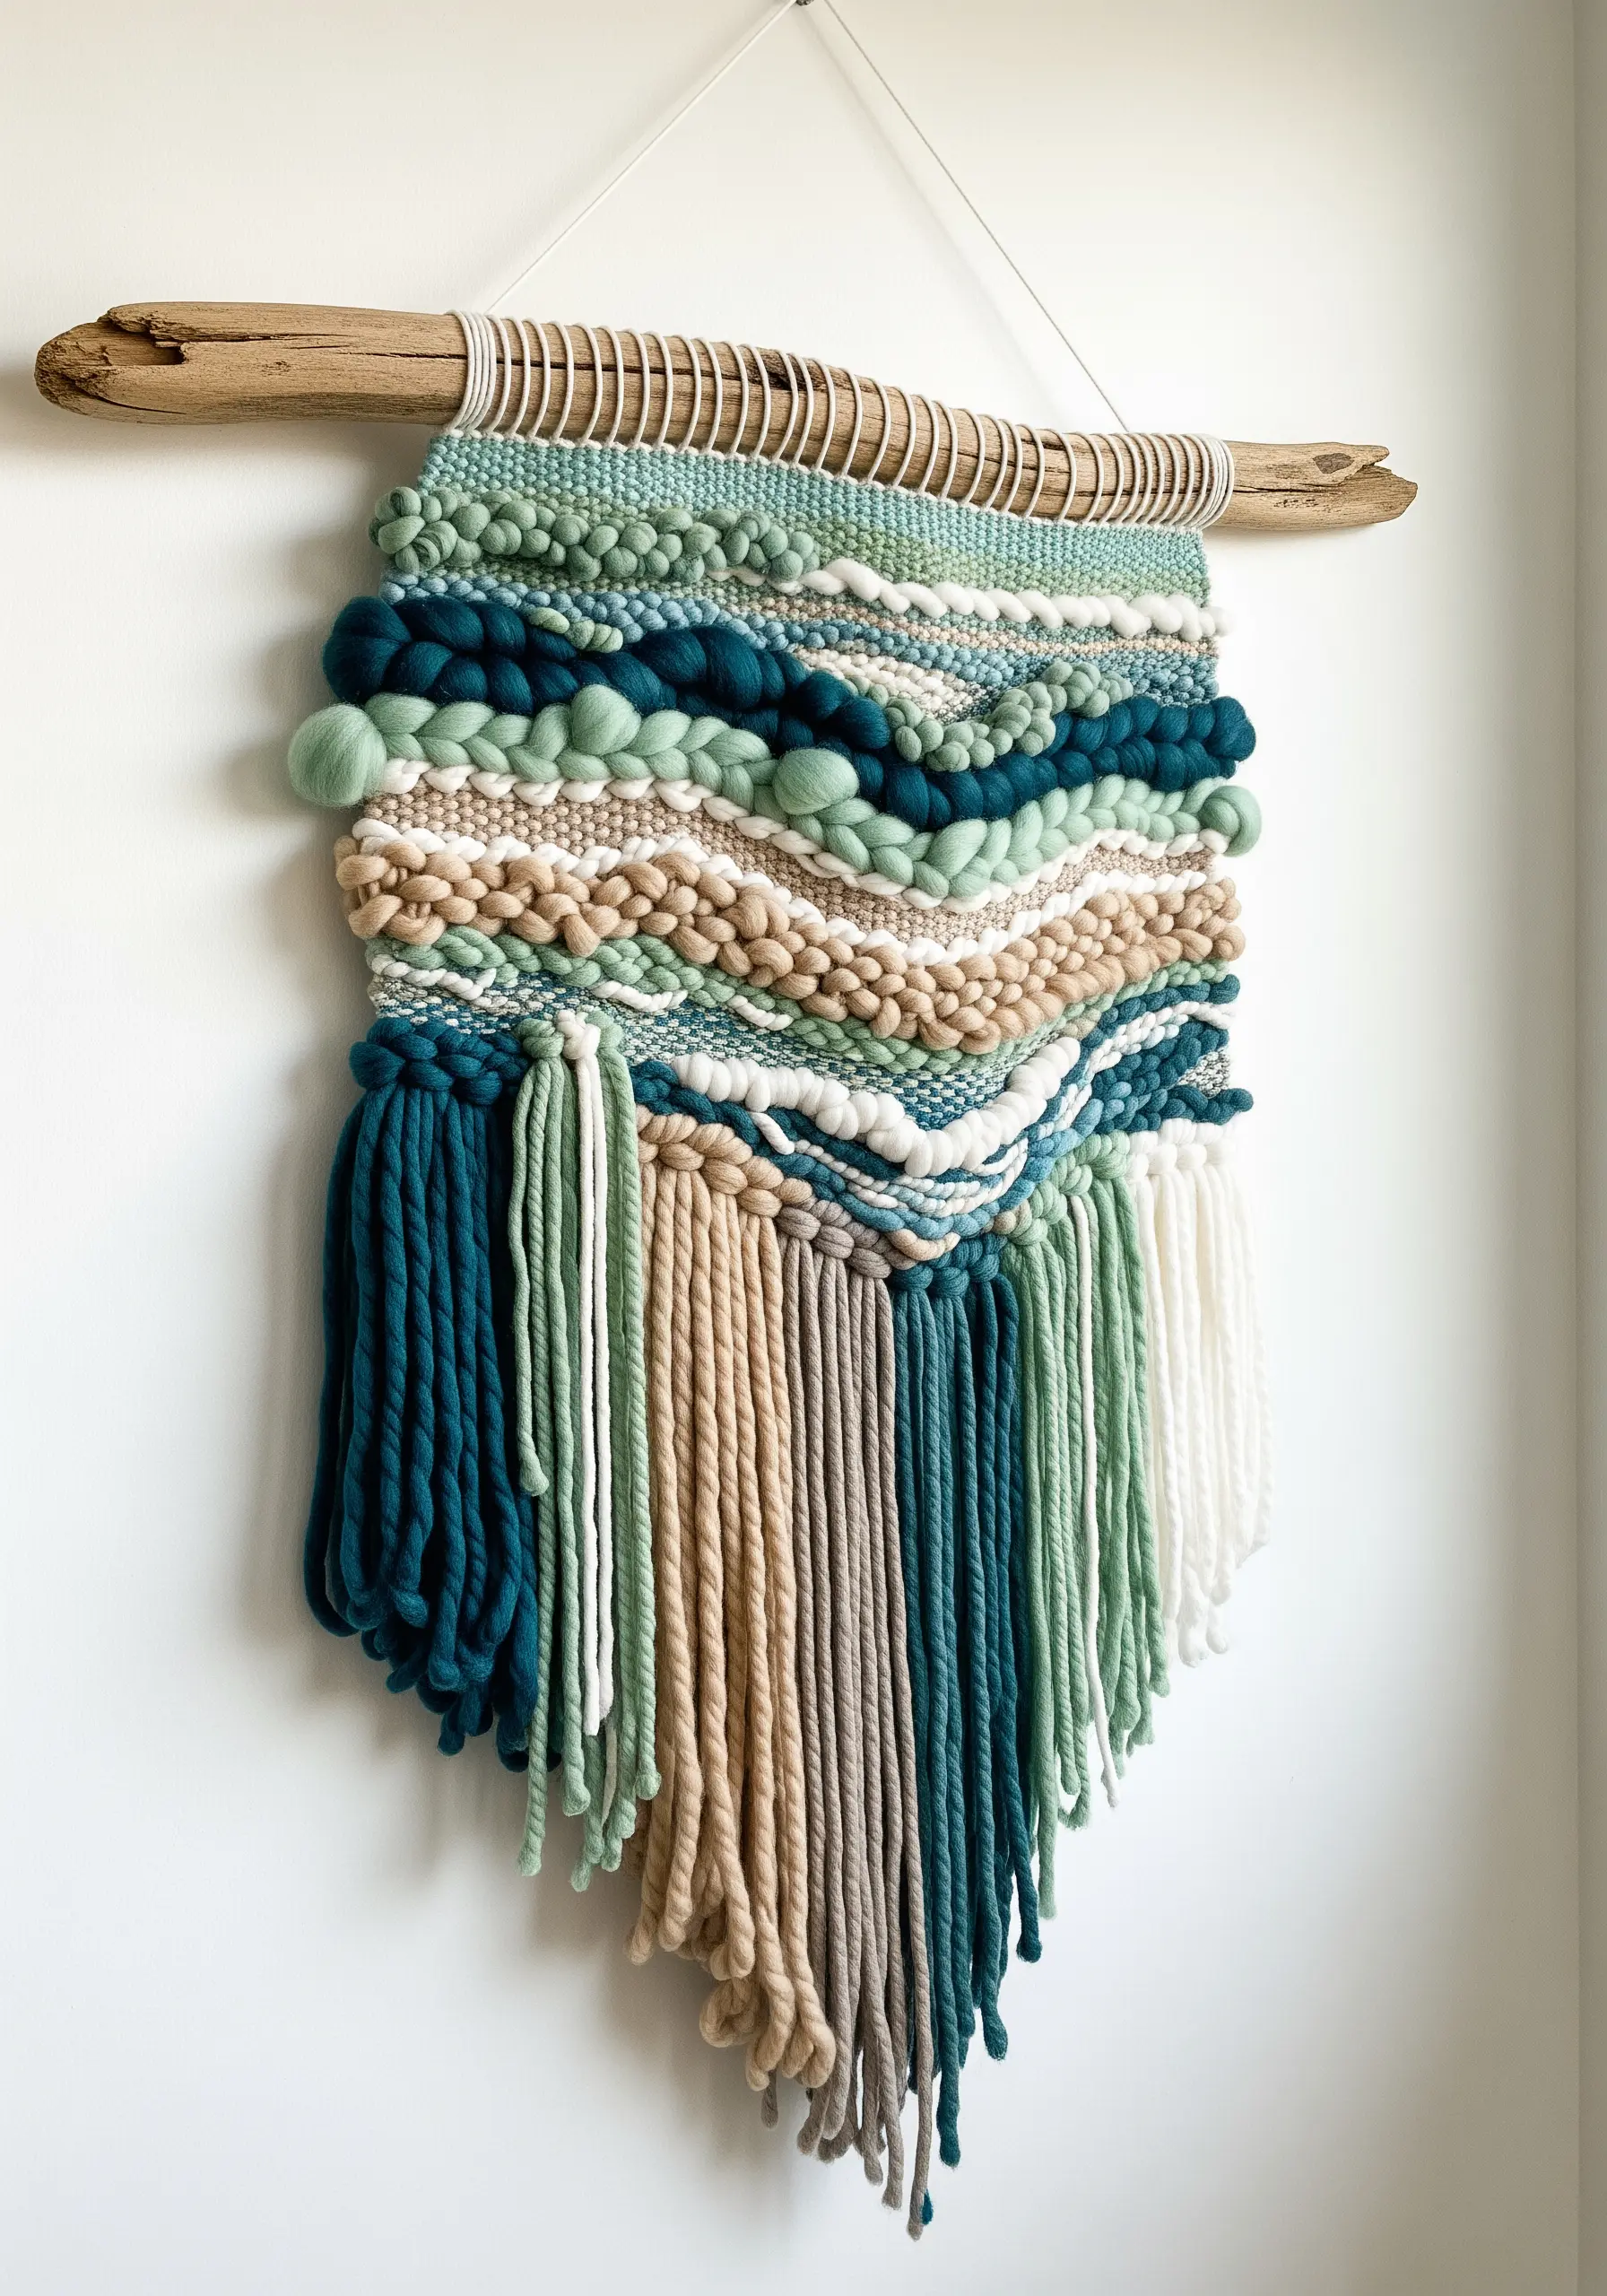
Elevate your weaving from a flat textile to a sculptural piece by intentionally varying your fiber textures and thicknesses.
Incorporate chunky wool roving for soft, cloud-like sections, and contrast it with tightly woven areas using finer yarn.
The soumak stitch—which creates that raised, braided line—acts as a powerful directional tool, guiding the viewer’s eye through the piece.
This intentional play between high and low relief is what gives mixed-fiber wall hangings their dynamic, organic feel.
7. Chart the Cosmos with Luminous Thread
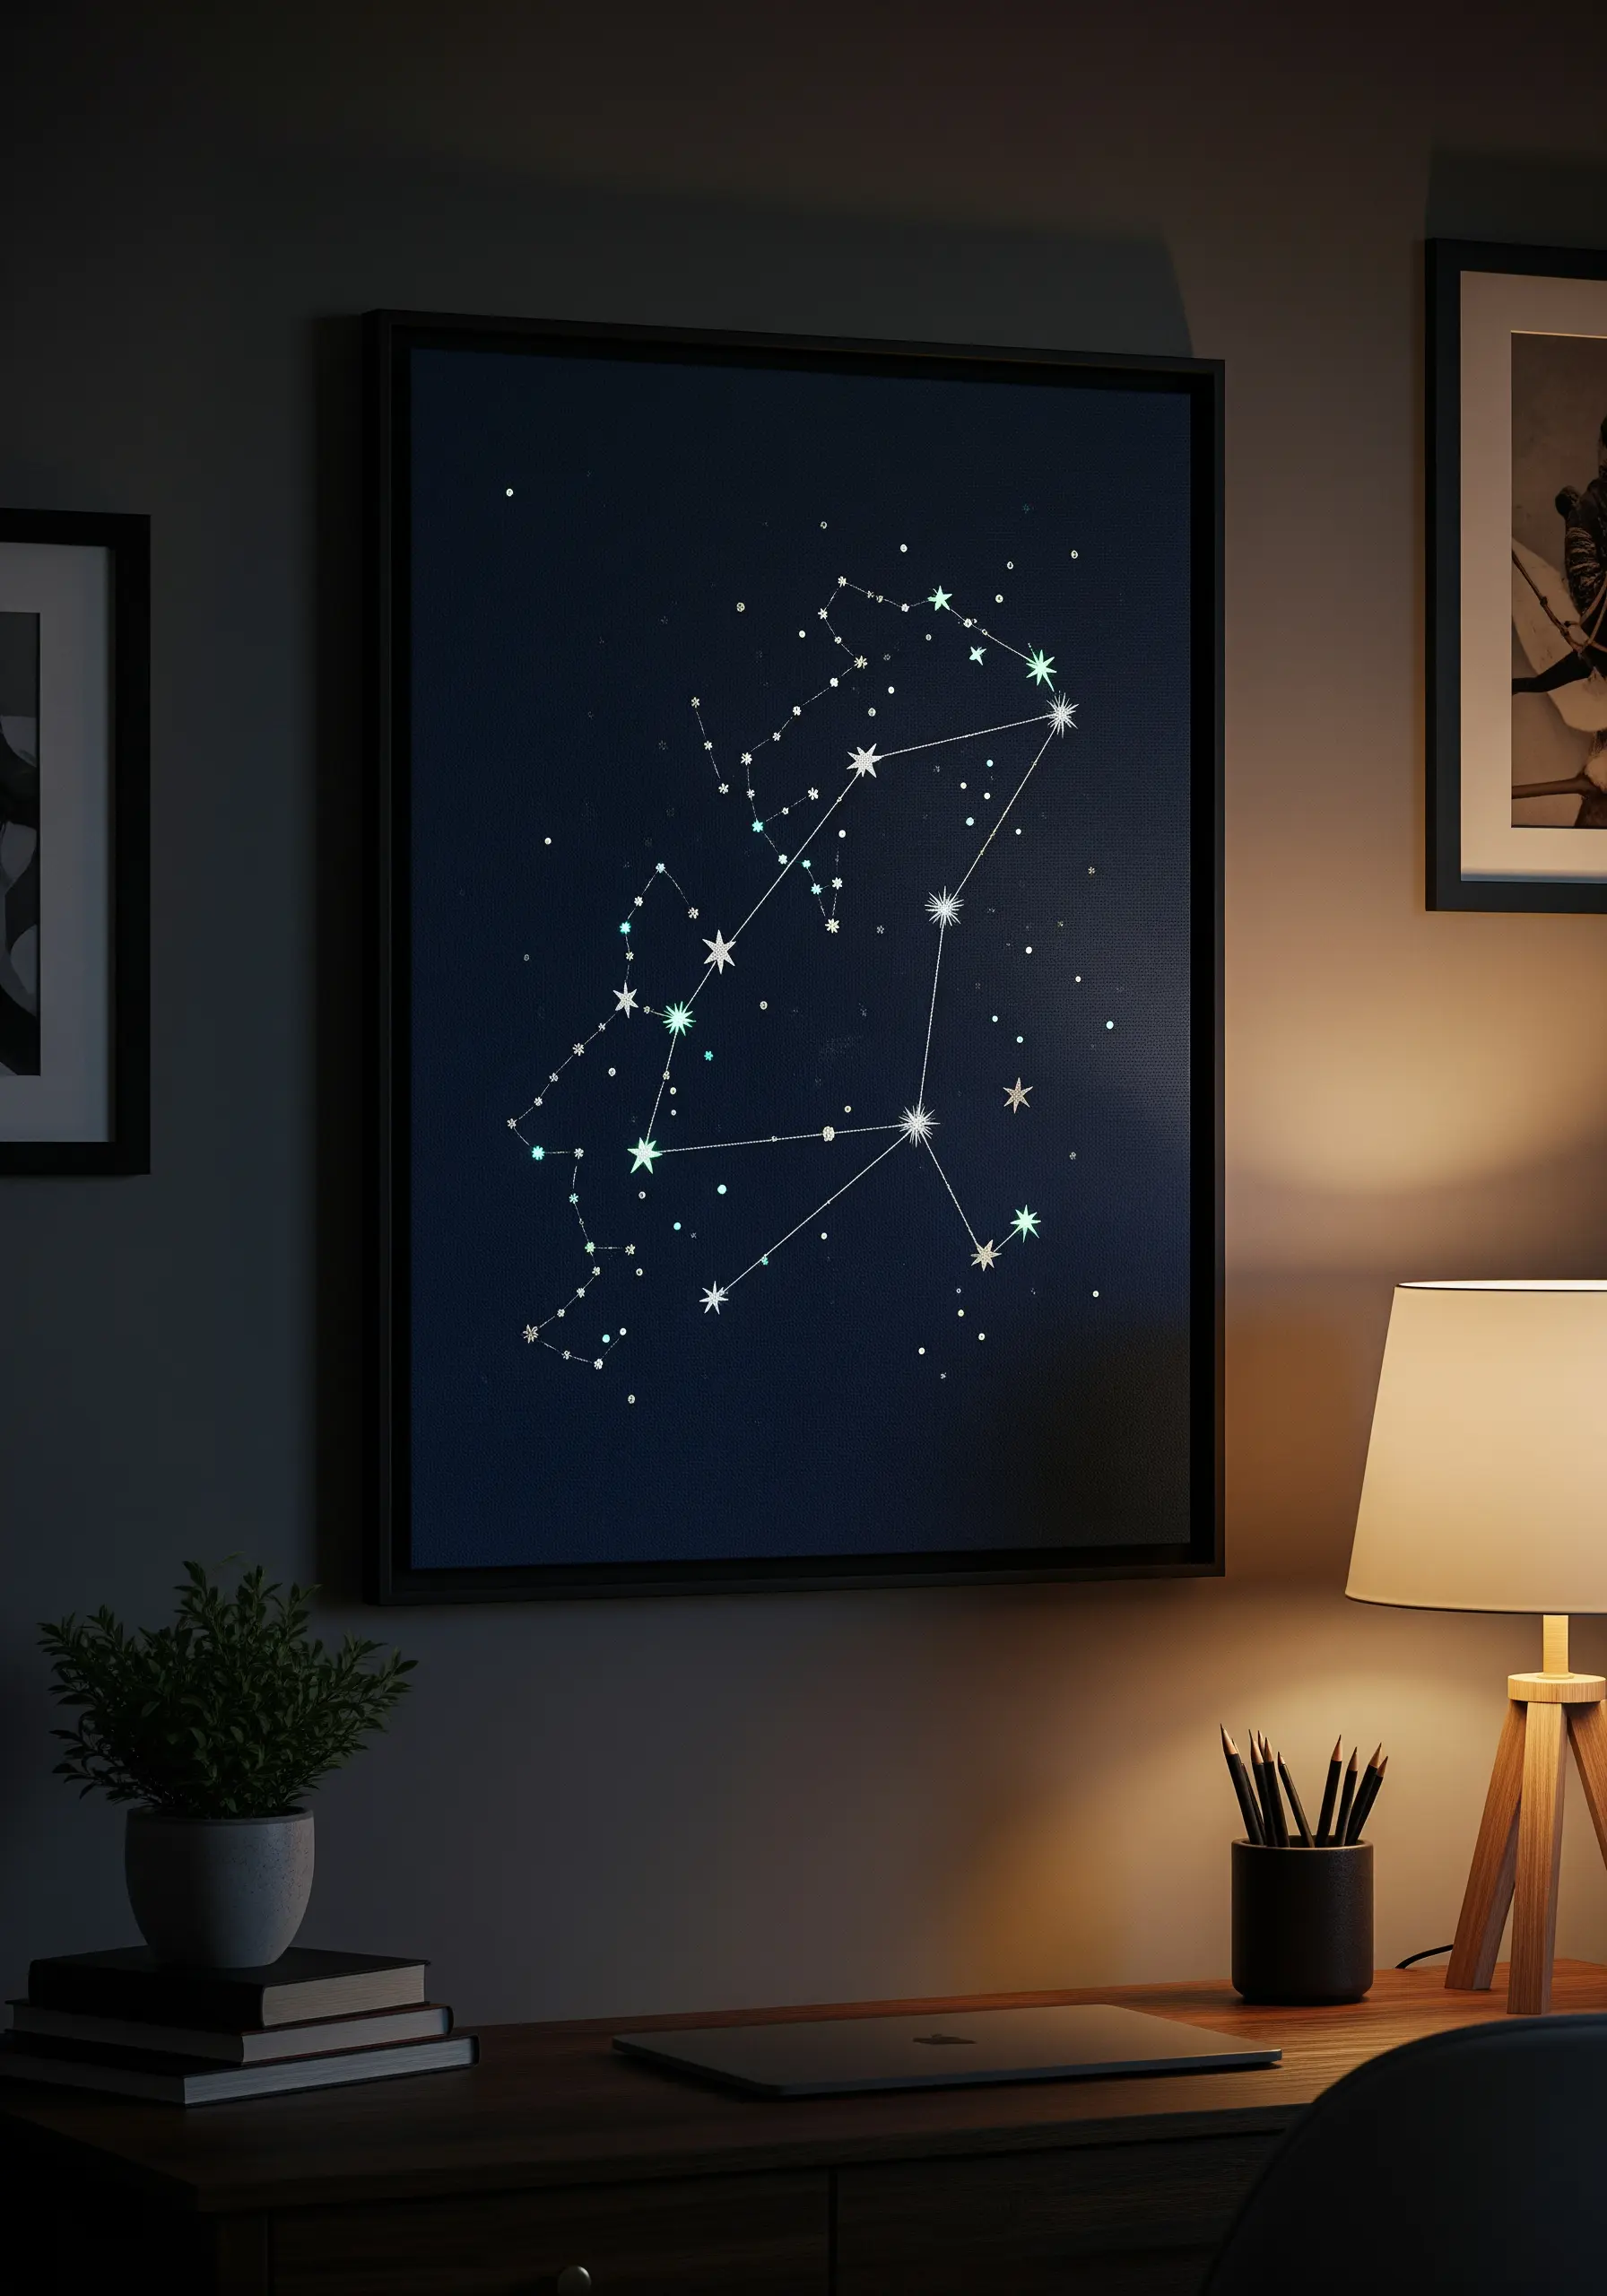
To give an embroidered constellation an ethereal glow, use a strategic combination of specialty threads.
Stitch the primary stars and connecting lines with a bright metallic or high-sheen rayon thread for definition.
Then, for a touch of magic, add smaller stars or accents using a single strand of glow-in-the-dark floss.
This subtle detail is nearly invisible in daylight but reveals a secret luminosity at night, turning your artwork into a celestial experience.
8. Create Rhythmic Patterns with Block-Printed Fabric
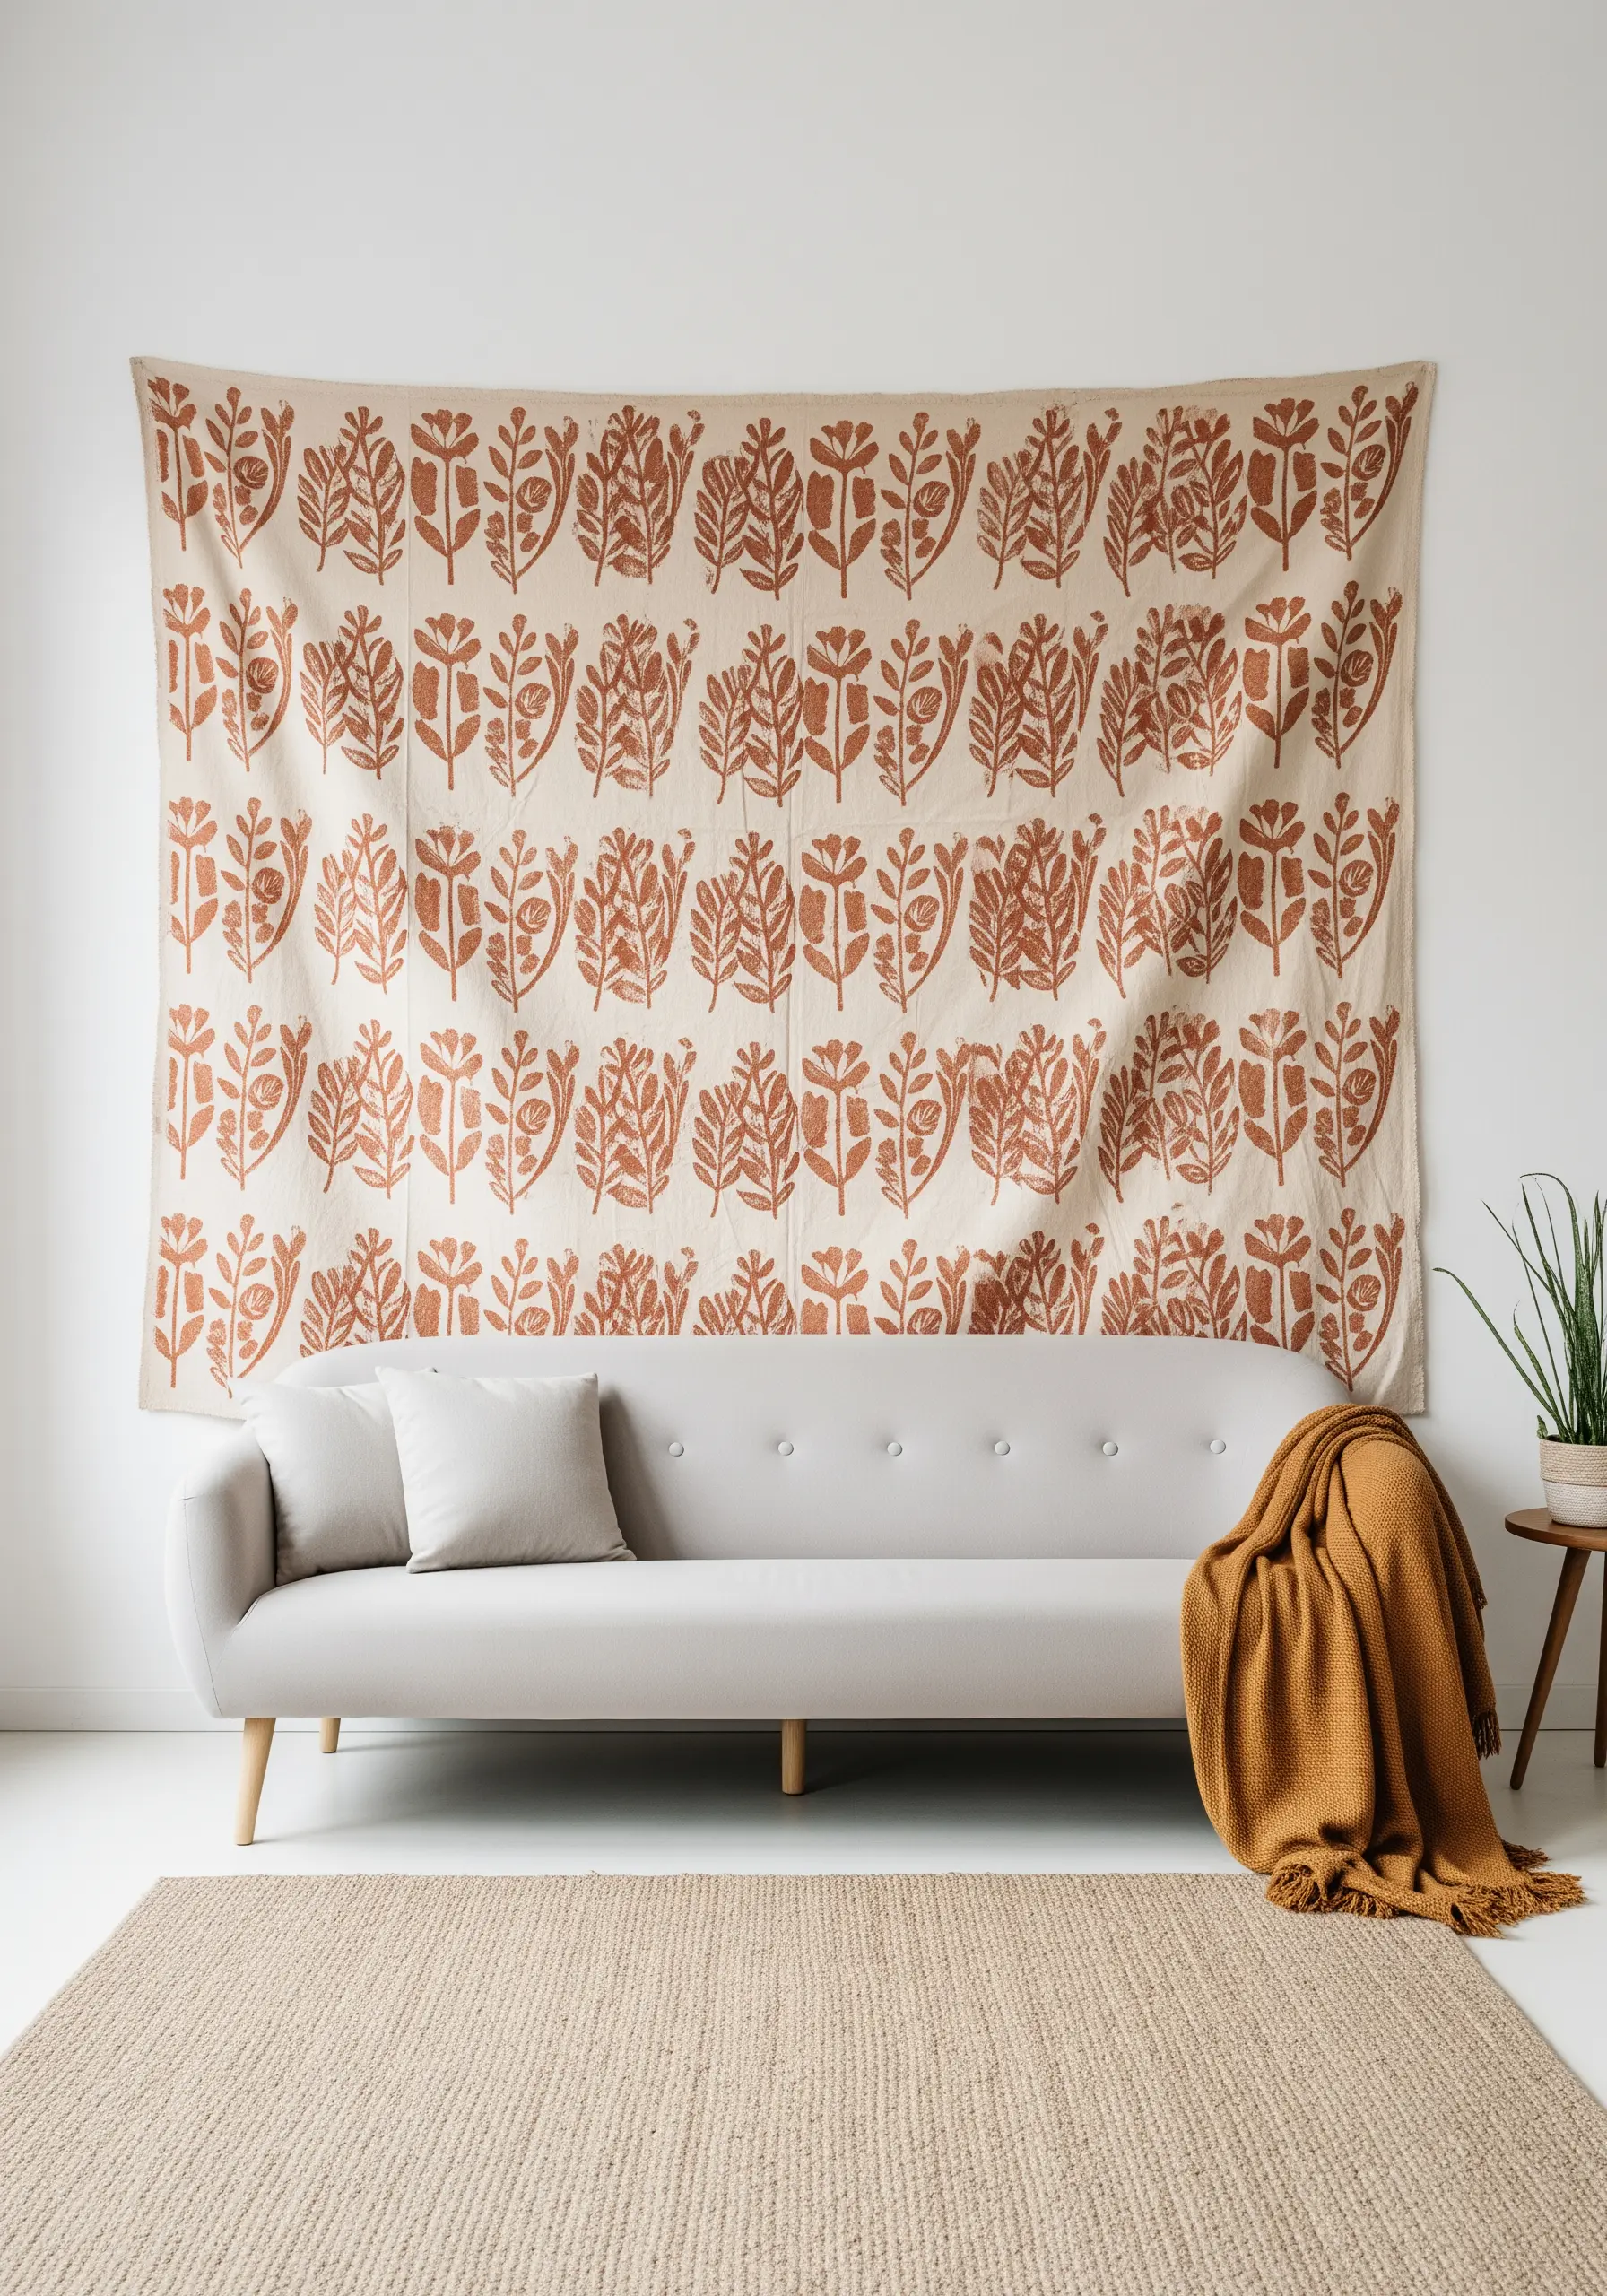
For large-scale impact, turn to block printing on fabric—a technique that shares the handmade spirit of embroidery.
Carve a simple botanical motif into a linoleum block and use fabric ink to press the pattern onto a large swath of linen or cotton canvas.
The slight variations inherent in hand-printing give the piece a warmth and character that a digitally printed fabric could never replicate.
It’s a perfect way to create custom embroidered wall panels or tapestries with a personal touch.
9. Achieve Lifelike Dimension with Padded Satin Stitch

To make your embroidered flowers feel like they’re blooming right off the fabric, use padded satin stitch.
Before you lay down your final stitches, create a foundation of small, straight seed stitches within the petal’s shape.
Then, work your satin stitch over this padded base.
The under-layering lifts the top threads, creating a raised, sculptural effect that catches the light beautifully and gives your florals a realistic, plump form.
10. Curate a Cohesive Fiber Art Gallery
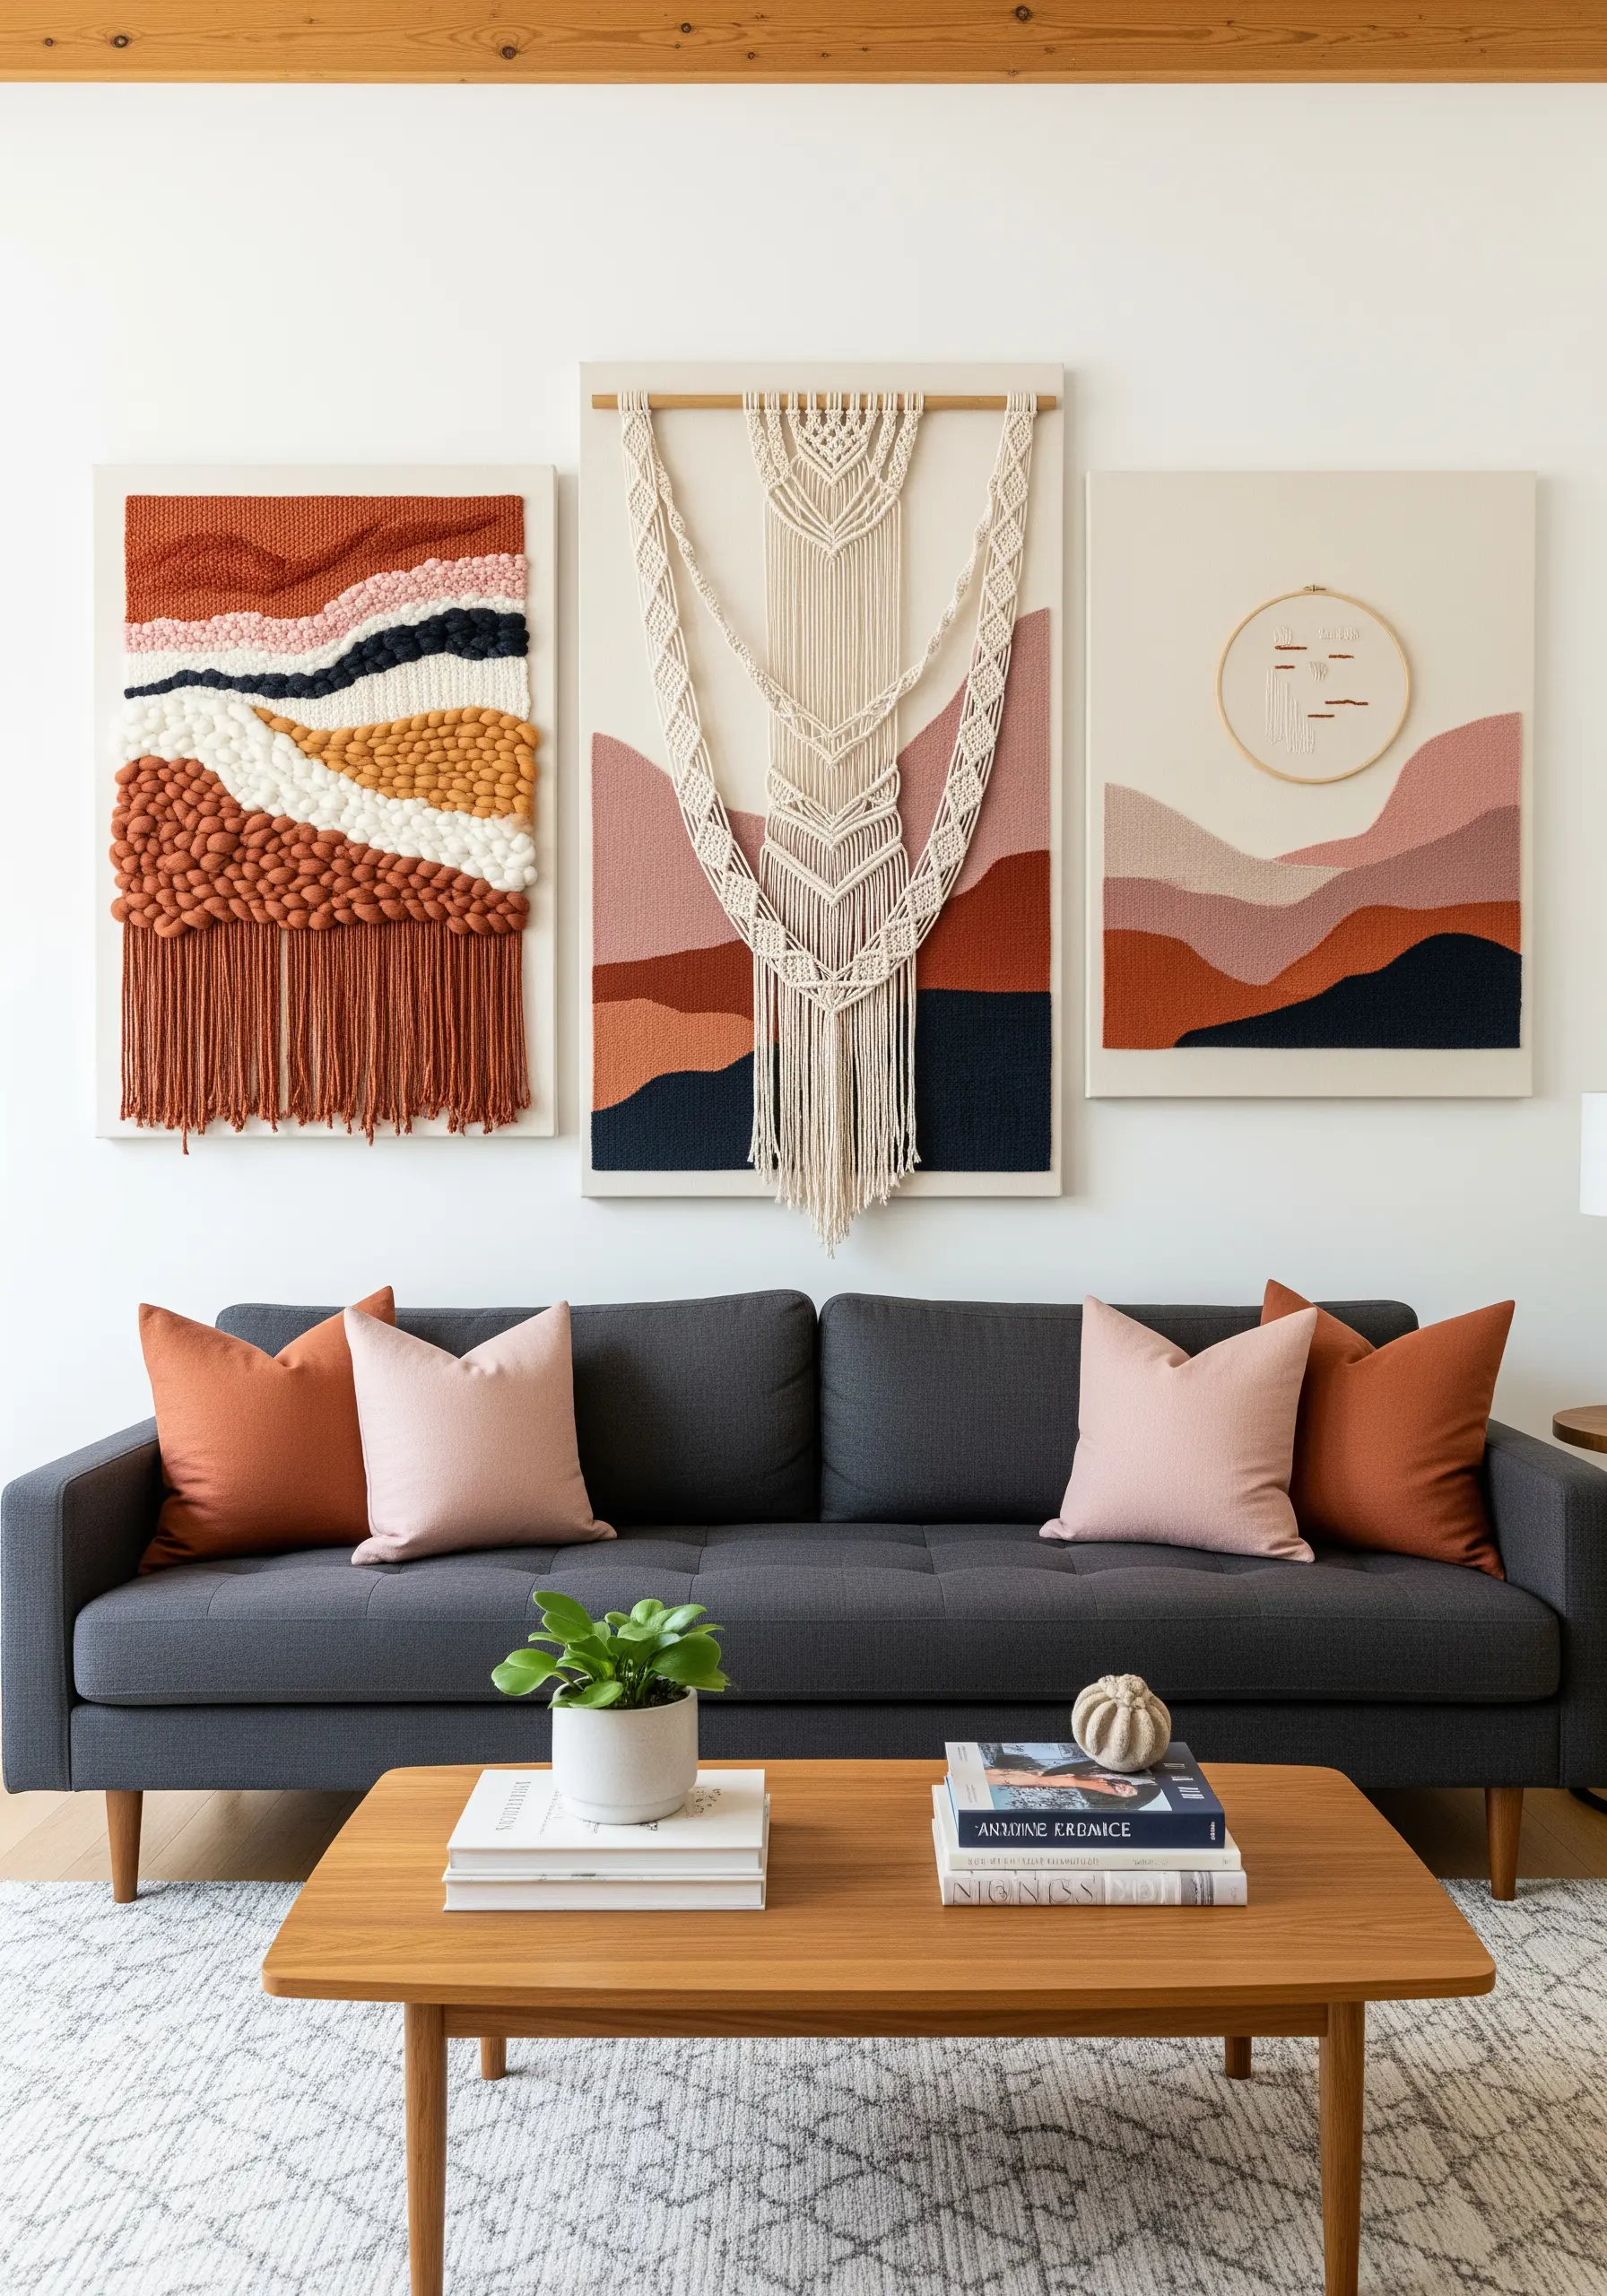
To design a sophisticated gallery wall, unite different textile arts with a consistent color palette.
Combine a woven piece, a macrame hanging, and a punch needle canvas, ensuring each piece shares two or three key colors.
This common thread—like shades of terracotta, blush, and charcoal—creates a harmonious visual story.
It allows the diverse textures to complement each other, transforming a collection of individual items into a single, intentional installation.
11. Add a Personal Note with Refined Script
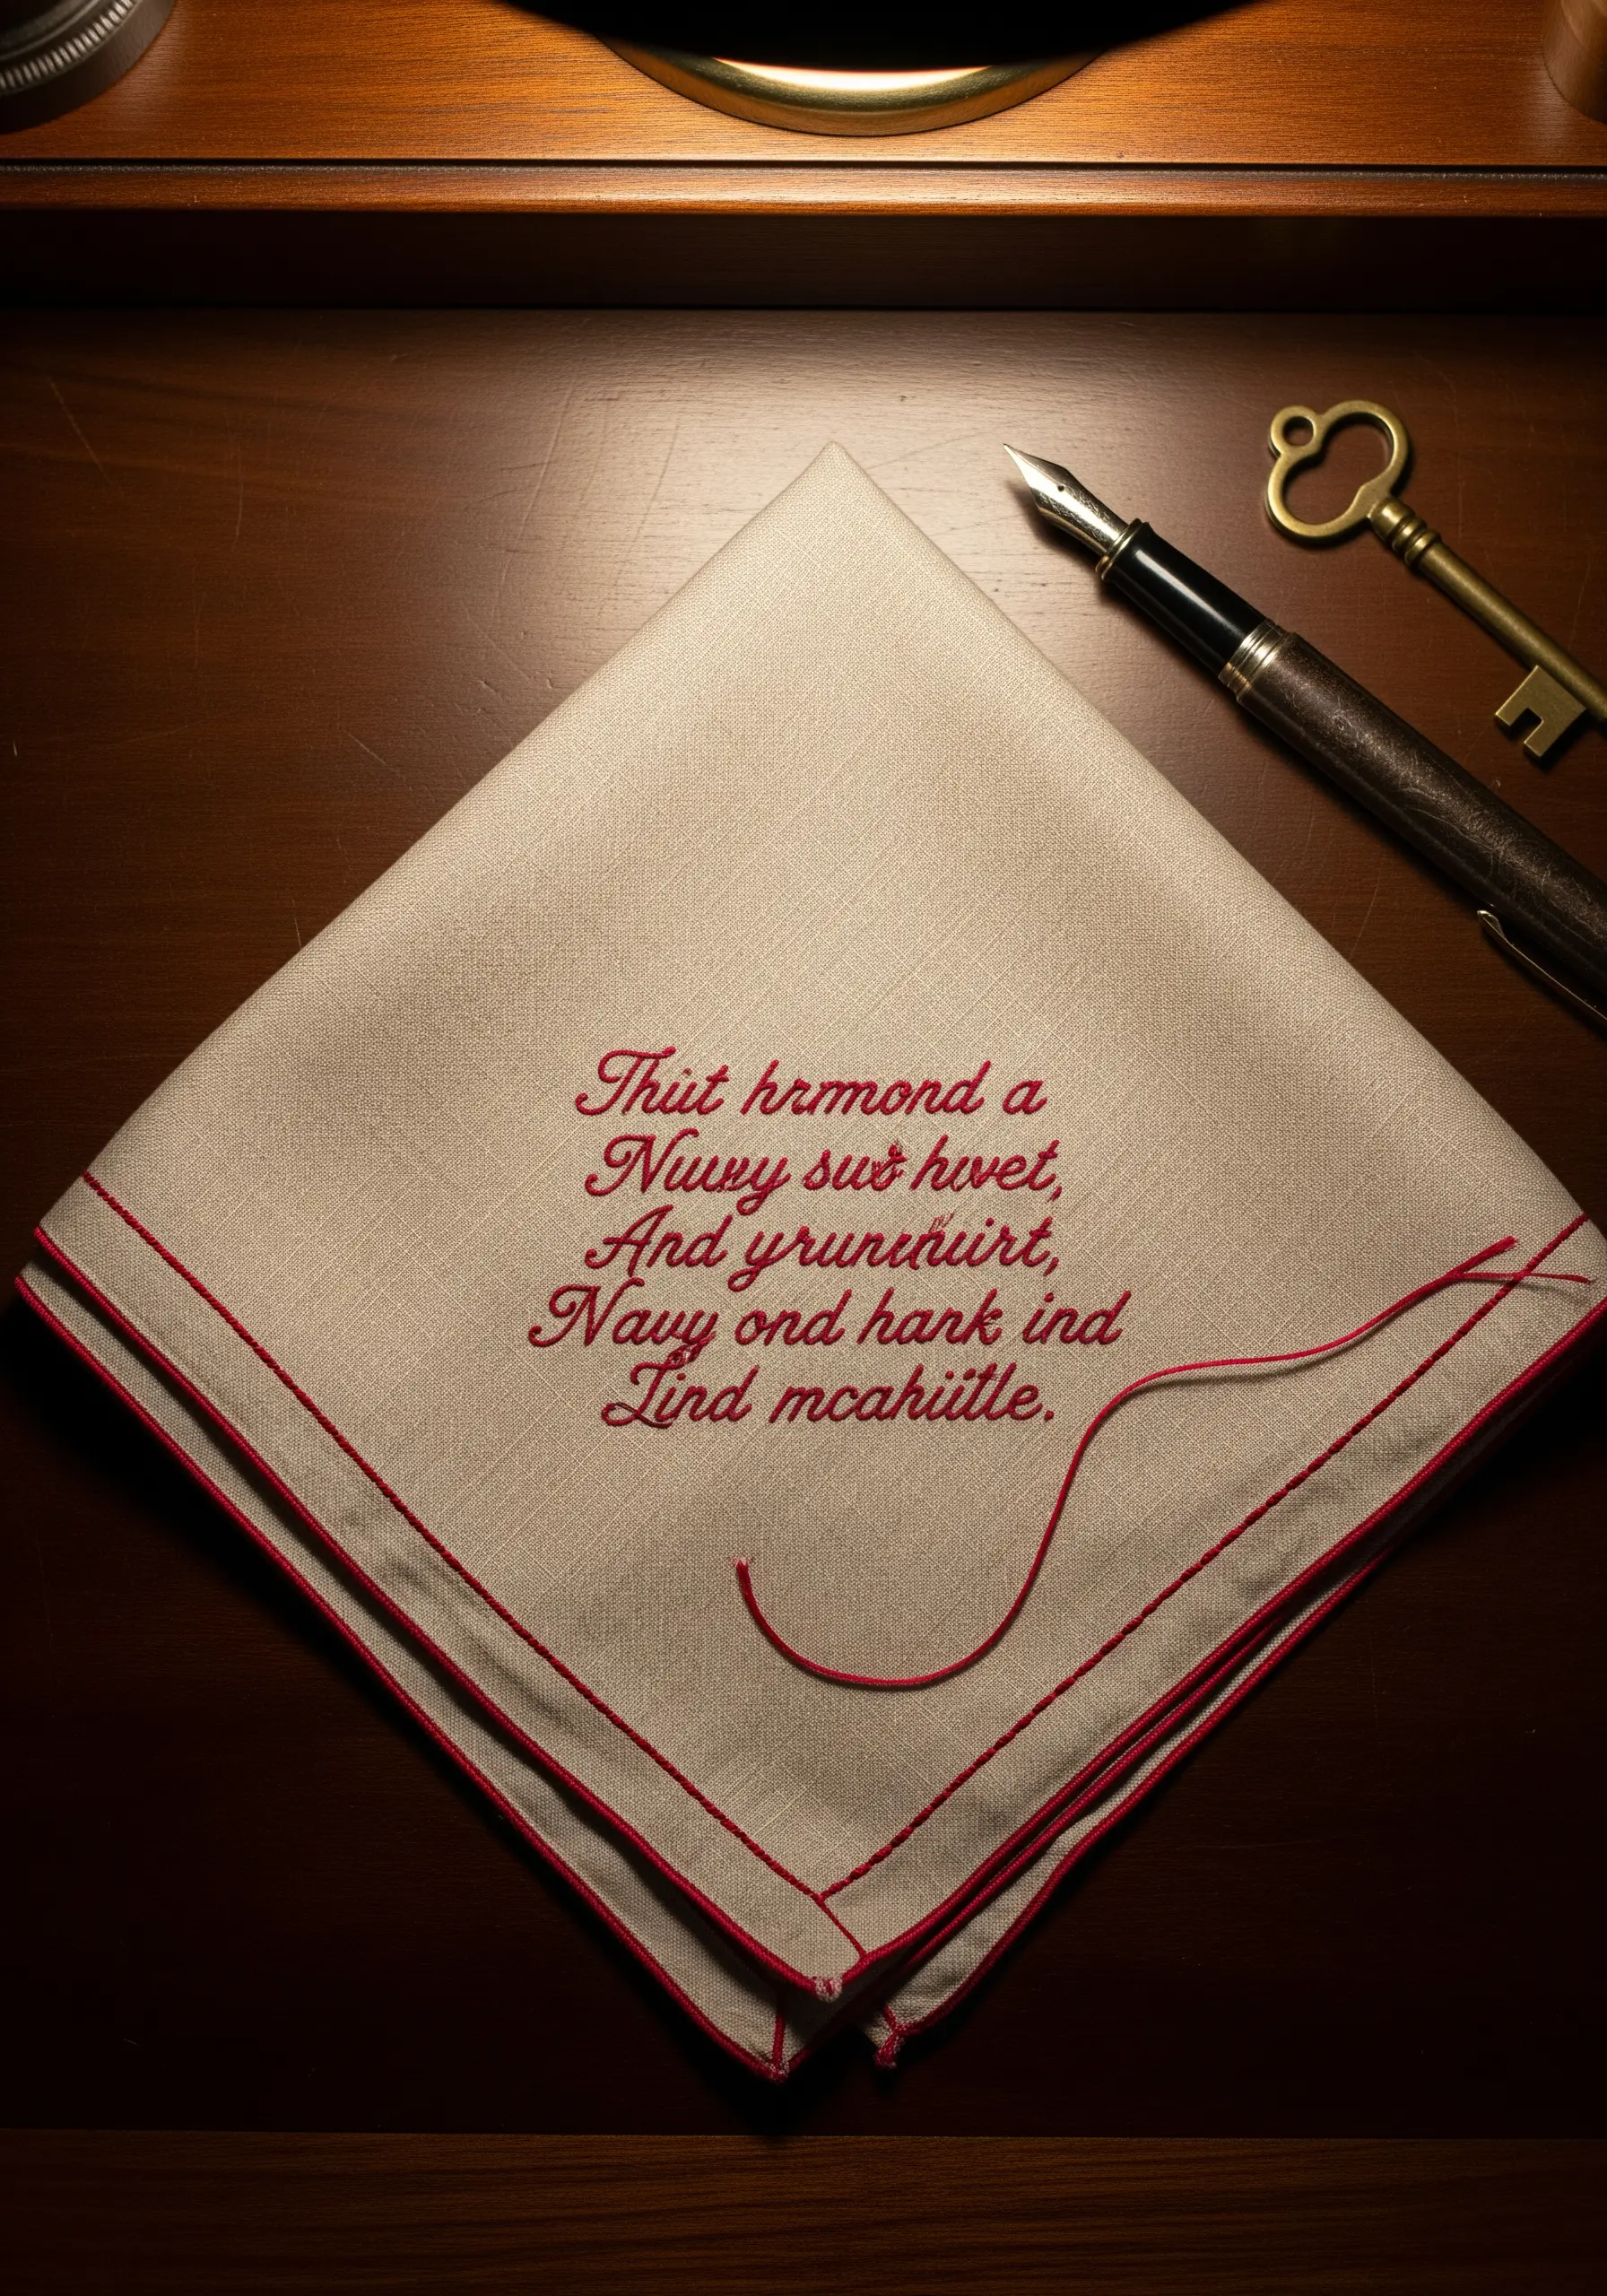
For elegant embroidered text that mimics fine handwriting, use a split backstitch with a single strand of six-strand floss.
This stitch creates a smoother, less segmented line than a traditional backstitch, which is perfect for cursive letters.
To ensure flawless results, trace your quote or message onto the linen with a heat-erasable or water-soluble pen before you begin.
This transforms a simple textile into a delicate, personal heirloom.
12. Paint a Diorama with Needle-Felted Wool

Think of needle felting not as crafting, but as painting in three dimensions.
Build up your landscape by layering thin wisps of colored wool roving, using your felting needle to blend the edges for soft, painterly transitions between hills and sky.
For sharper details like trees or a fence, felt the components separately into dense shapes, then attach them to the scene.
This sculptural technique allows you to create DIY art objects inspired by nature with charming depth and texture.
13. Draw with Light on Handmade Paper

While not embroidery, this technique uses line and texture in a way every stitcher will appreciate.
Create luminous, abstract lines by applying gold leaf to heavily textured handmade paper.
Use a fine brush to paint your design with gilding adhesive, wait for it to become tacky, then press on a sheet of gold leaf.
The way the brilliant, smooth gold contrasts with the raw, fibrous paper creates a piece of minimalist art that feels both organic and incredibly luxurious.
14. Curate a Wall of Modern Ceramic Symbols

Translate the simplicity of embroidered line art onto ceramics for a unique wall installation.
Using a porcelain paint pen, draw a series of simple, coordinated motifs on plain stoneware plates.
By sticking to a single color—like this deep cobalt blue—and minimalist symbols, you create a collection that feels like a cohesive set.
Arrange them in a flowing, organic cluster above a sink or sideboard for a display that elevates everyday kitchen wall decor that looks boutique-made.
15. Weave Your Words with a Tapestry Inlay

To incorporate lettering into a woven piece, use the tapestry inlay technique to ‘draw’ with yarn.
After weaving your neutral background, use a tapestry needle and a contrasting chunky yarn to manually weave your letters over and under the existing warp threads.
This method gives you the freedom to create fluid, curved letterforms that would be impossible with traditional weaving, making your chosen word the soft, textural heart of the artwork.
16. Embroider a Map of Your Personal Journey

Create a deeply meaningful artwork by stitching a map of a place that holds your story.
Use a simple backstitch for roads and paths, then add small, illustrative icons for significant landmarks—a tiny house, a coffee cup, a cluster of trees.
To make it even more personal, incorporate physical mementos like transit tickets or dried leaves, securing them with a few subtle stitches.
This layering of thread and memory transforms a simple map into a rich, narrative artifact.
17. Capture Nature’s Silhouettes with Cyanotype

Use the power of the sun to print delicate botanical silhouettes directly onto fabric.
The cyanotype process involves coating cotton or linen with a light-sensitive solution, arranging flowers and leaves on top, and exposing it to sunlight.
Where the sun hits, the fabric turns a brilliant Prussian blue; the areas covered by the botanicals remain white.
The result is a strikingly detailed negative image—a magical way to preserve the intricate forms of your favorite plants.
18. Achieve Clean Lines with Punch Needle Blocking
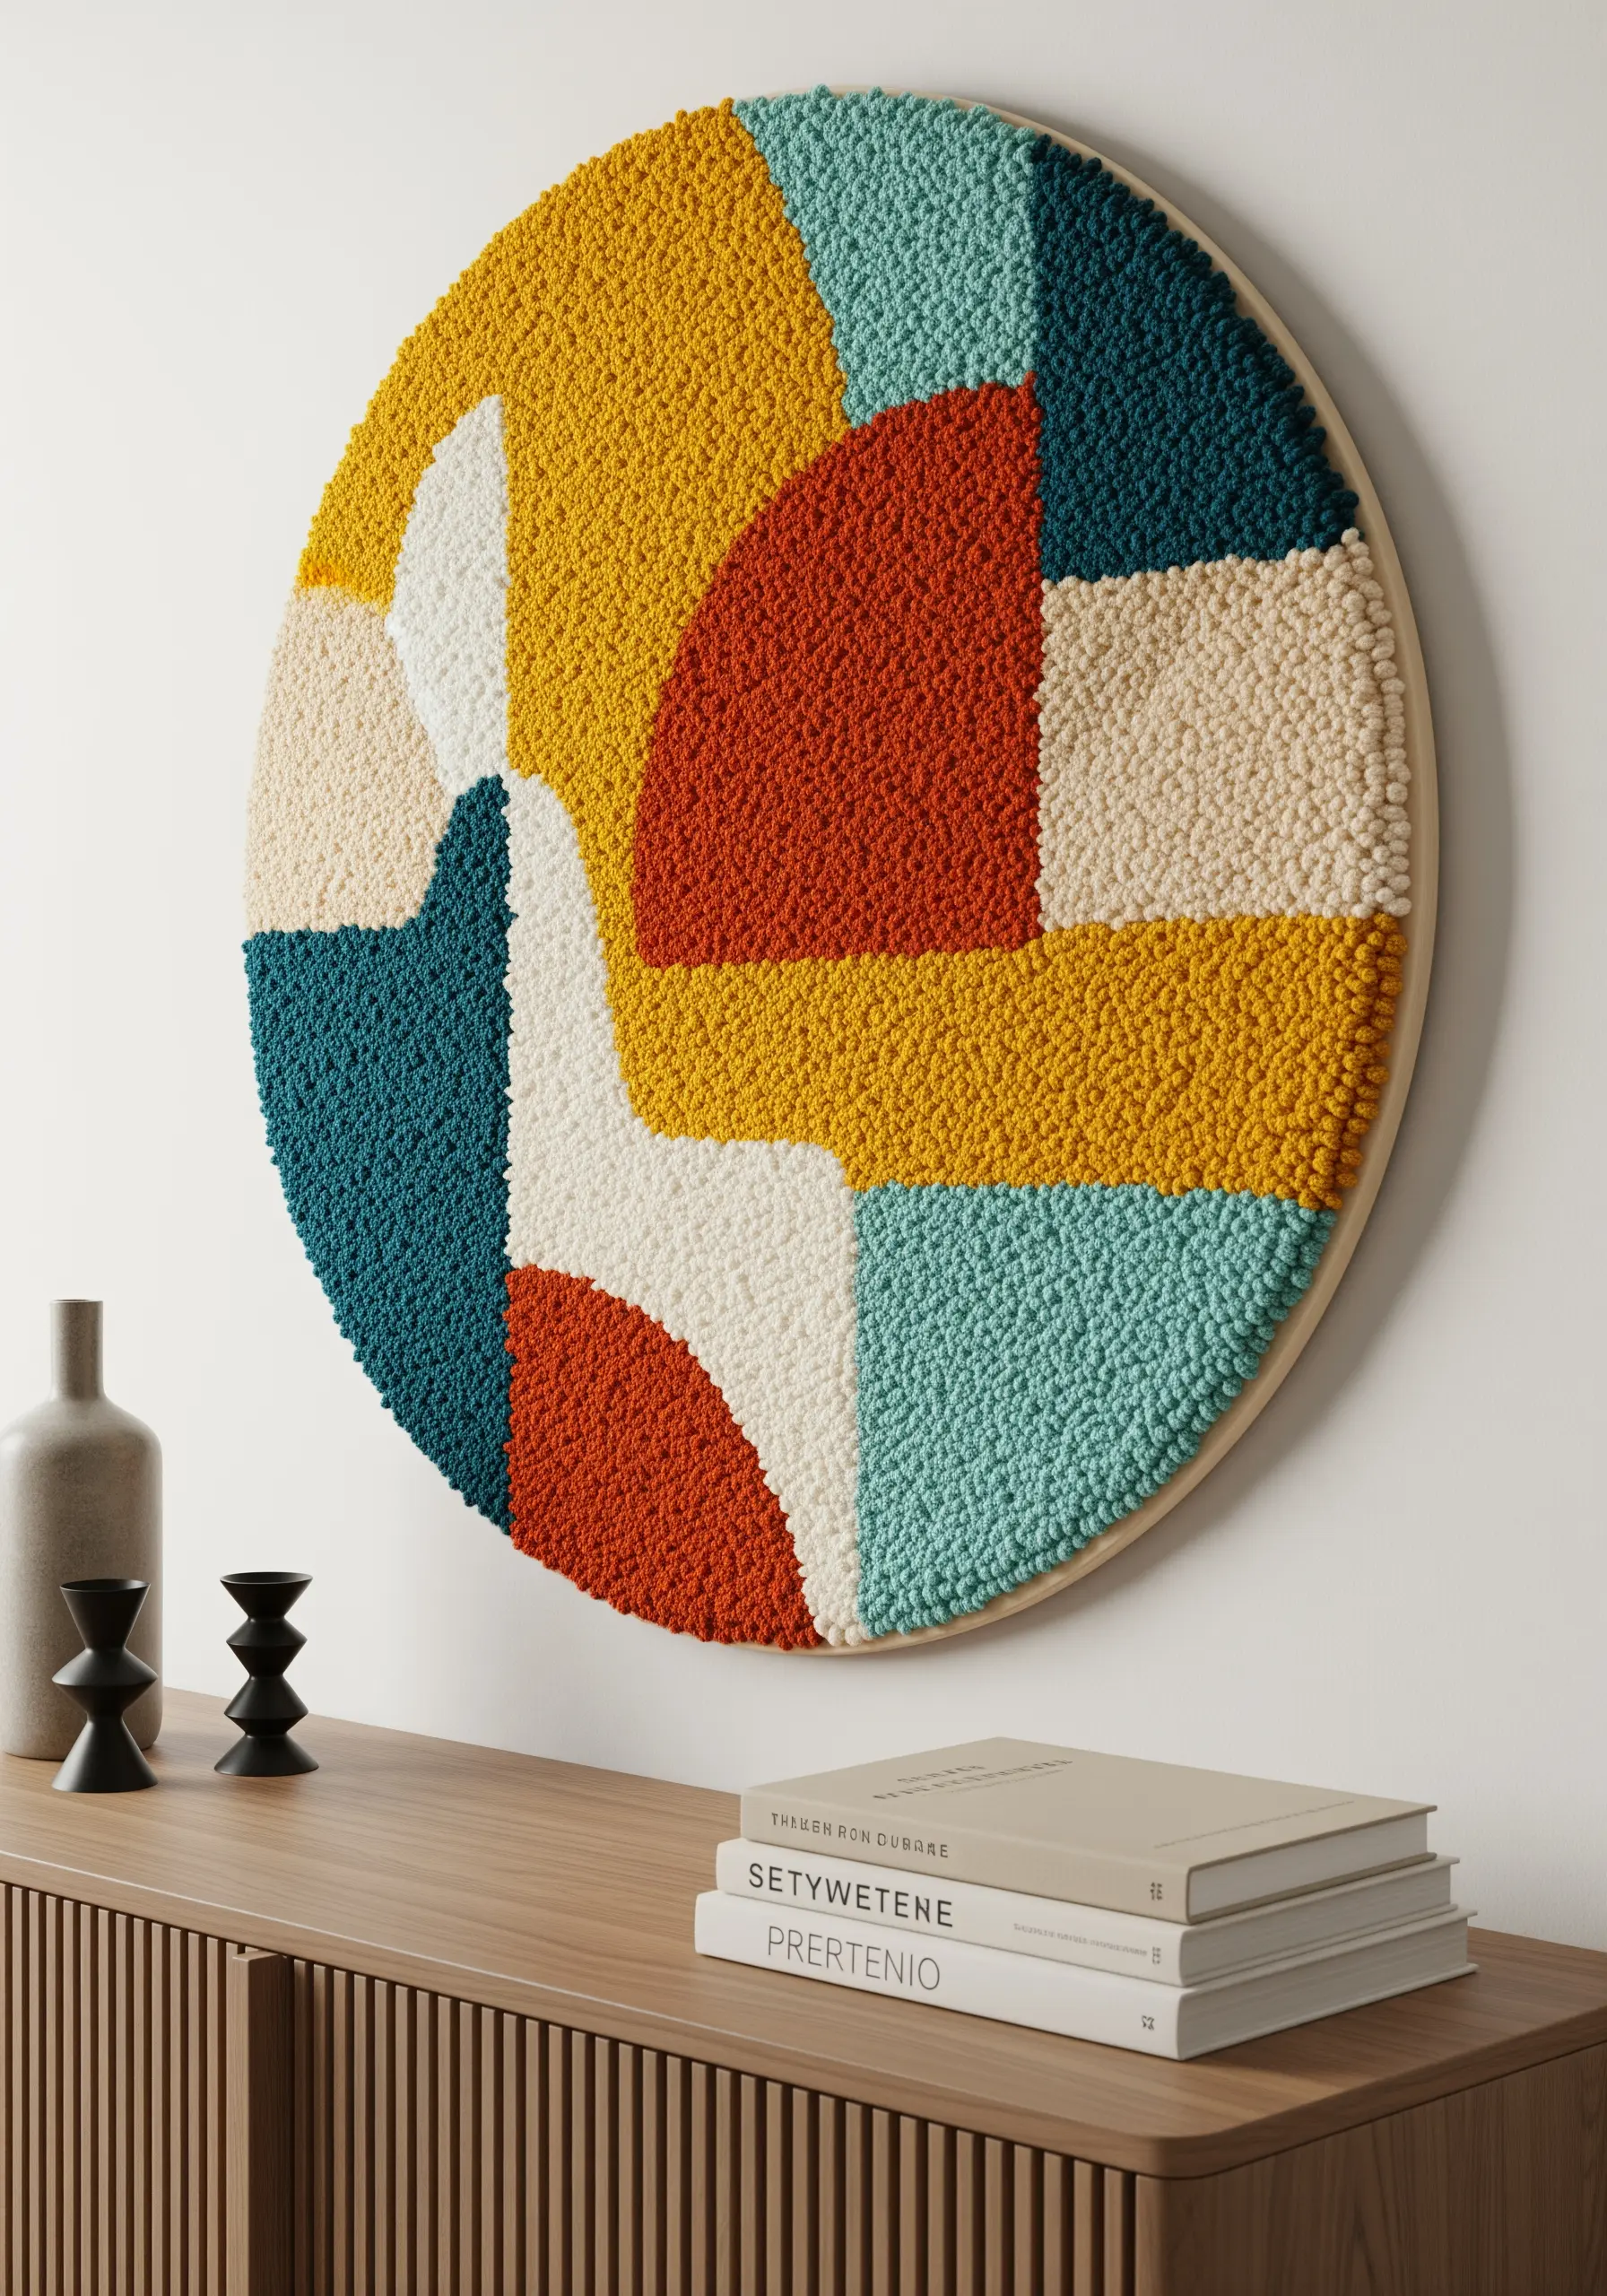
Punch needle is ideal for creating bold, abstract art with a satisfyingly plush texture.
To get those crisp, clean edges between your color-blocked shapes, always outline each section first.
Work the perimeter of a shape before filling in the middle.
This creates a firm border that prevents your loops from straying and your colors from mingling, resulting in a graphic, modern composition that feels both soft and sharp.
19. Build a Luminous Mosaic with Seed Beads
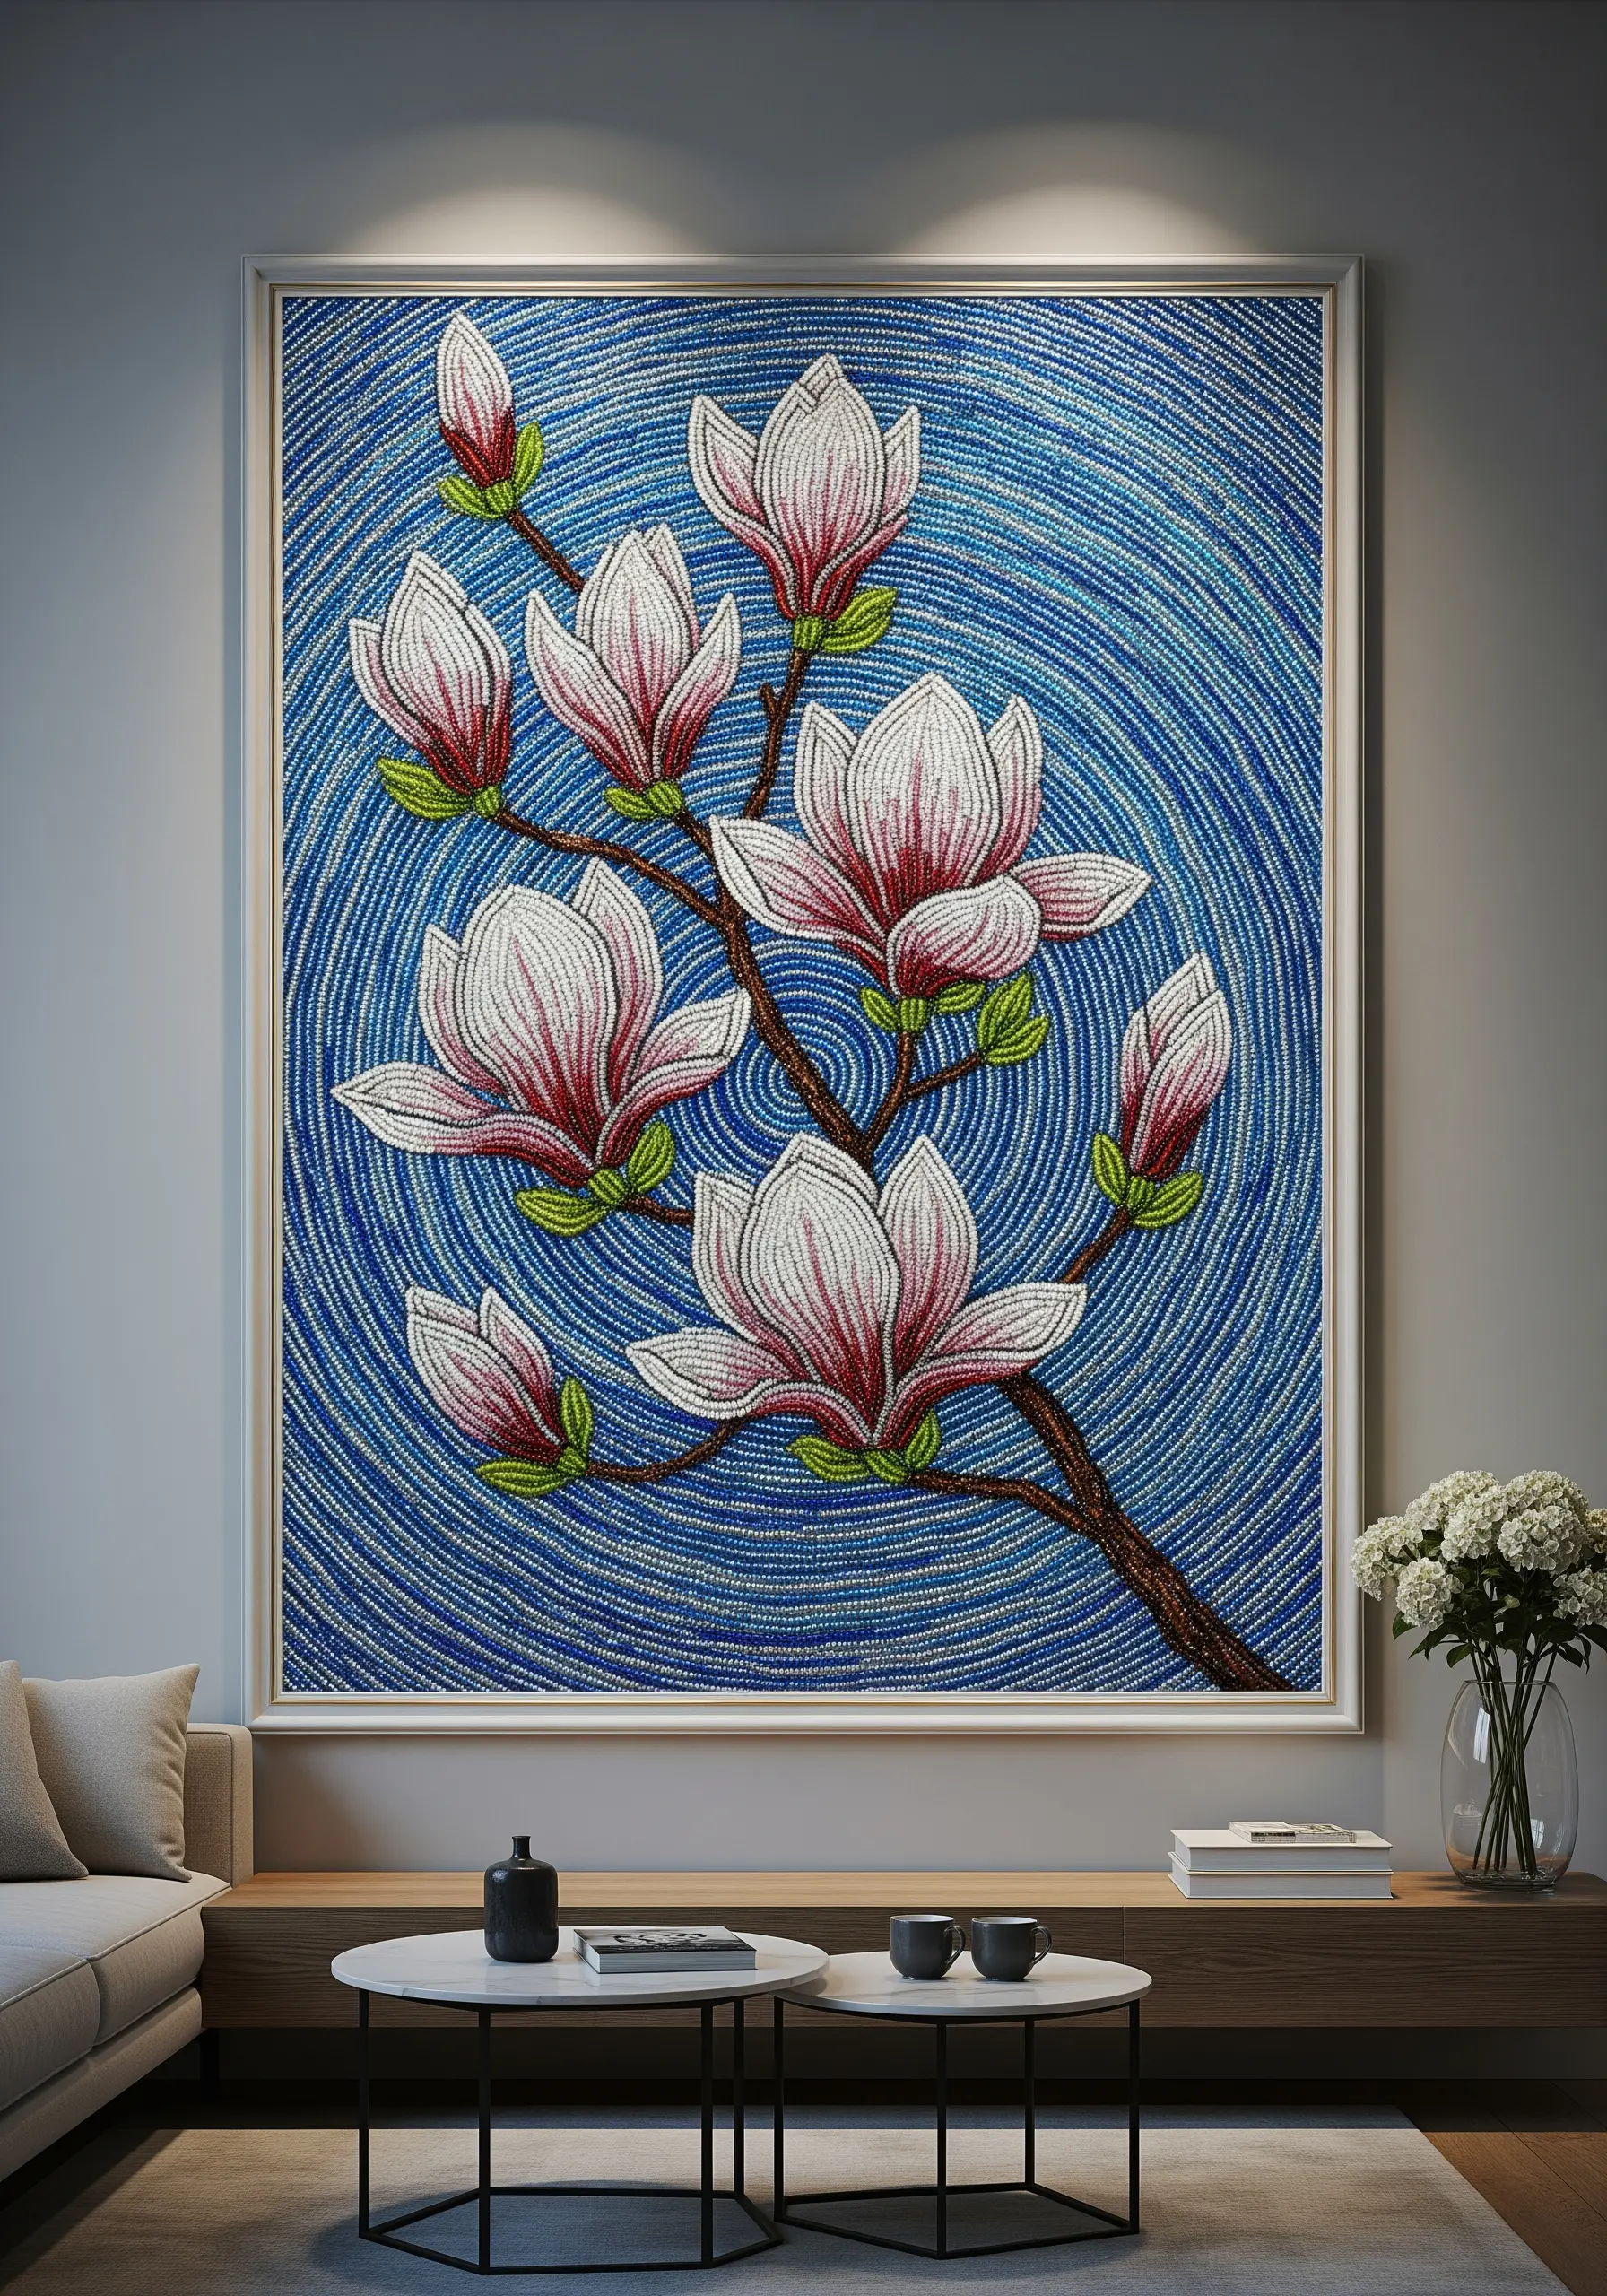
Create a background with breathtaking texture and light by filling it with a ‘wash’ of seed beads.
Instead of thread, stitch down thousands of tiny beads one by one, following a swirling pattern to create a sense of movement.
Use a fine beading needle and a strong thread that matches your background fabric.
The resulting mosaic-like surface reflects light from every angle, giving the piece a dynamic, liquid energy that makes your main subject pop.
20. Master Stitching on Leather for a Refined Finish

When embroidering on a material like leather, every hole is permanent, so precision is key.
Before you stitch, use a sharp leather needle or a fine awl to pre-punch your stitching holes along your design line.
This ensures your stitches are perfectly even and prevents the leather from puckering.
For a clean monogram, use a classic satin stitch with a slightly thicker thread, like pearl cotton, for a bold and elegant result.
21. Stitch a Skyline with Light and Texture

To capture the glow of a city at night, think like a painter and use thread to represent light.
Use dense blocks of satin stitch in yellow and white for brightly lit windows, and sparse, single-strand straight stitches for distant glimmers.
Incorporate a fine metallic thread for reflections and add a few scattered seed beads or French knots to act as pinpoint stars.
This variation in density and texture is what creates a convincing illusion of depth and luminosity.
22. Transform Crochet into Framed Fiber Art
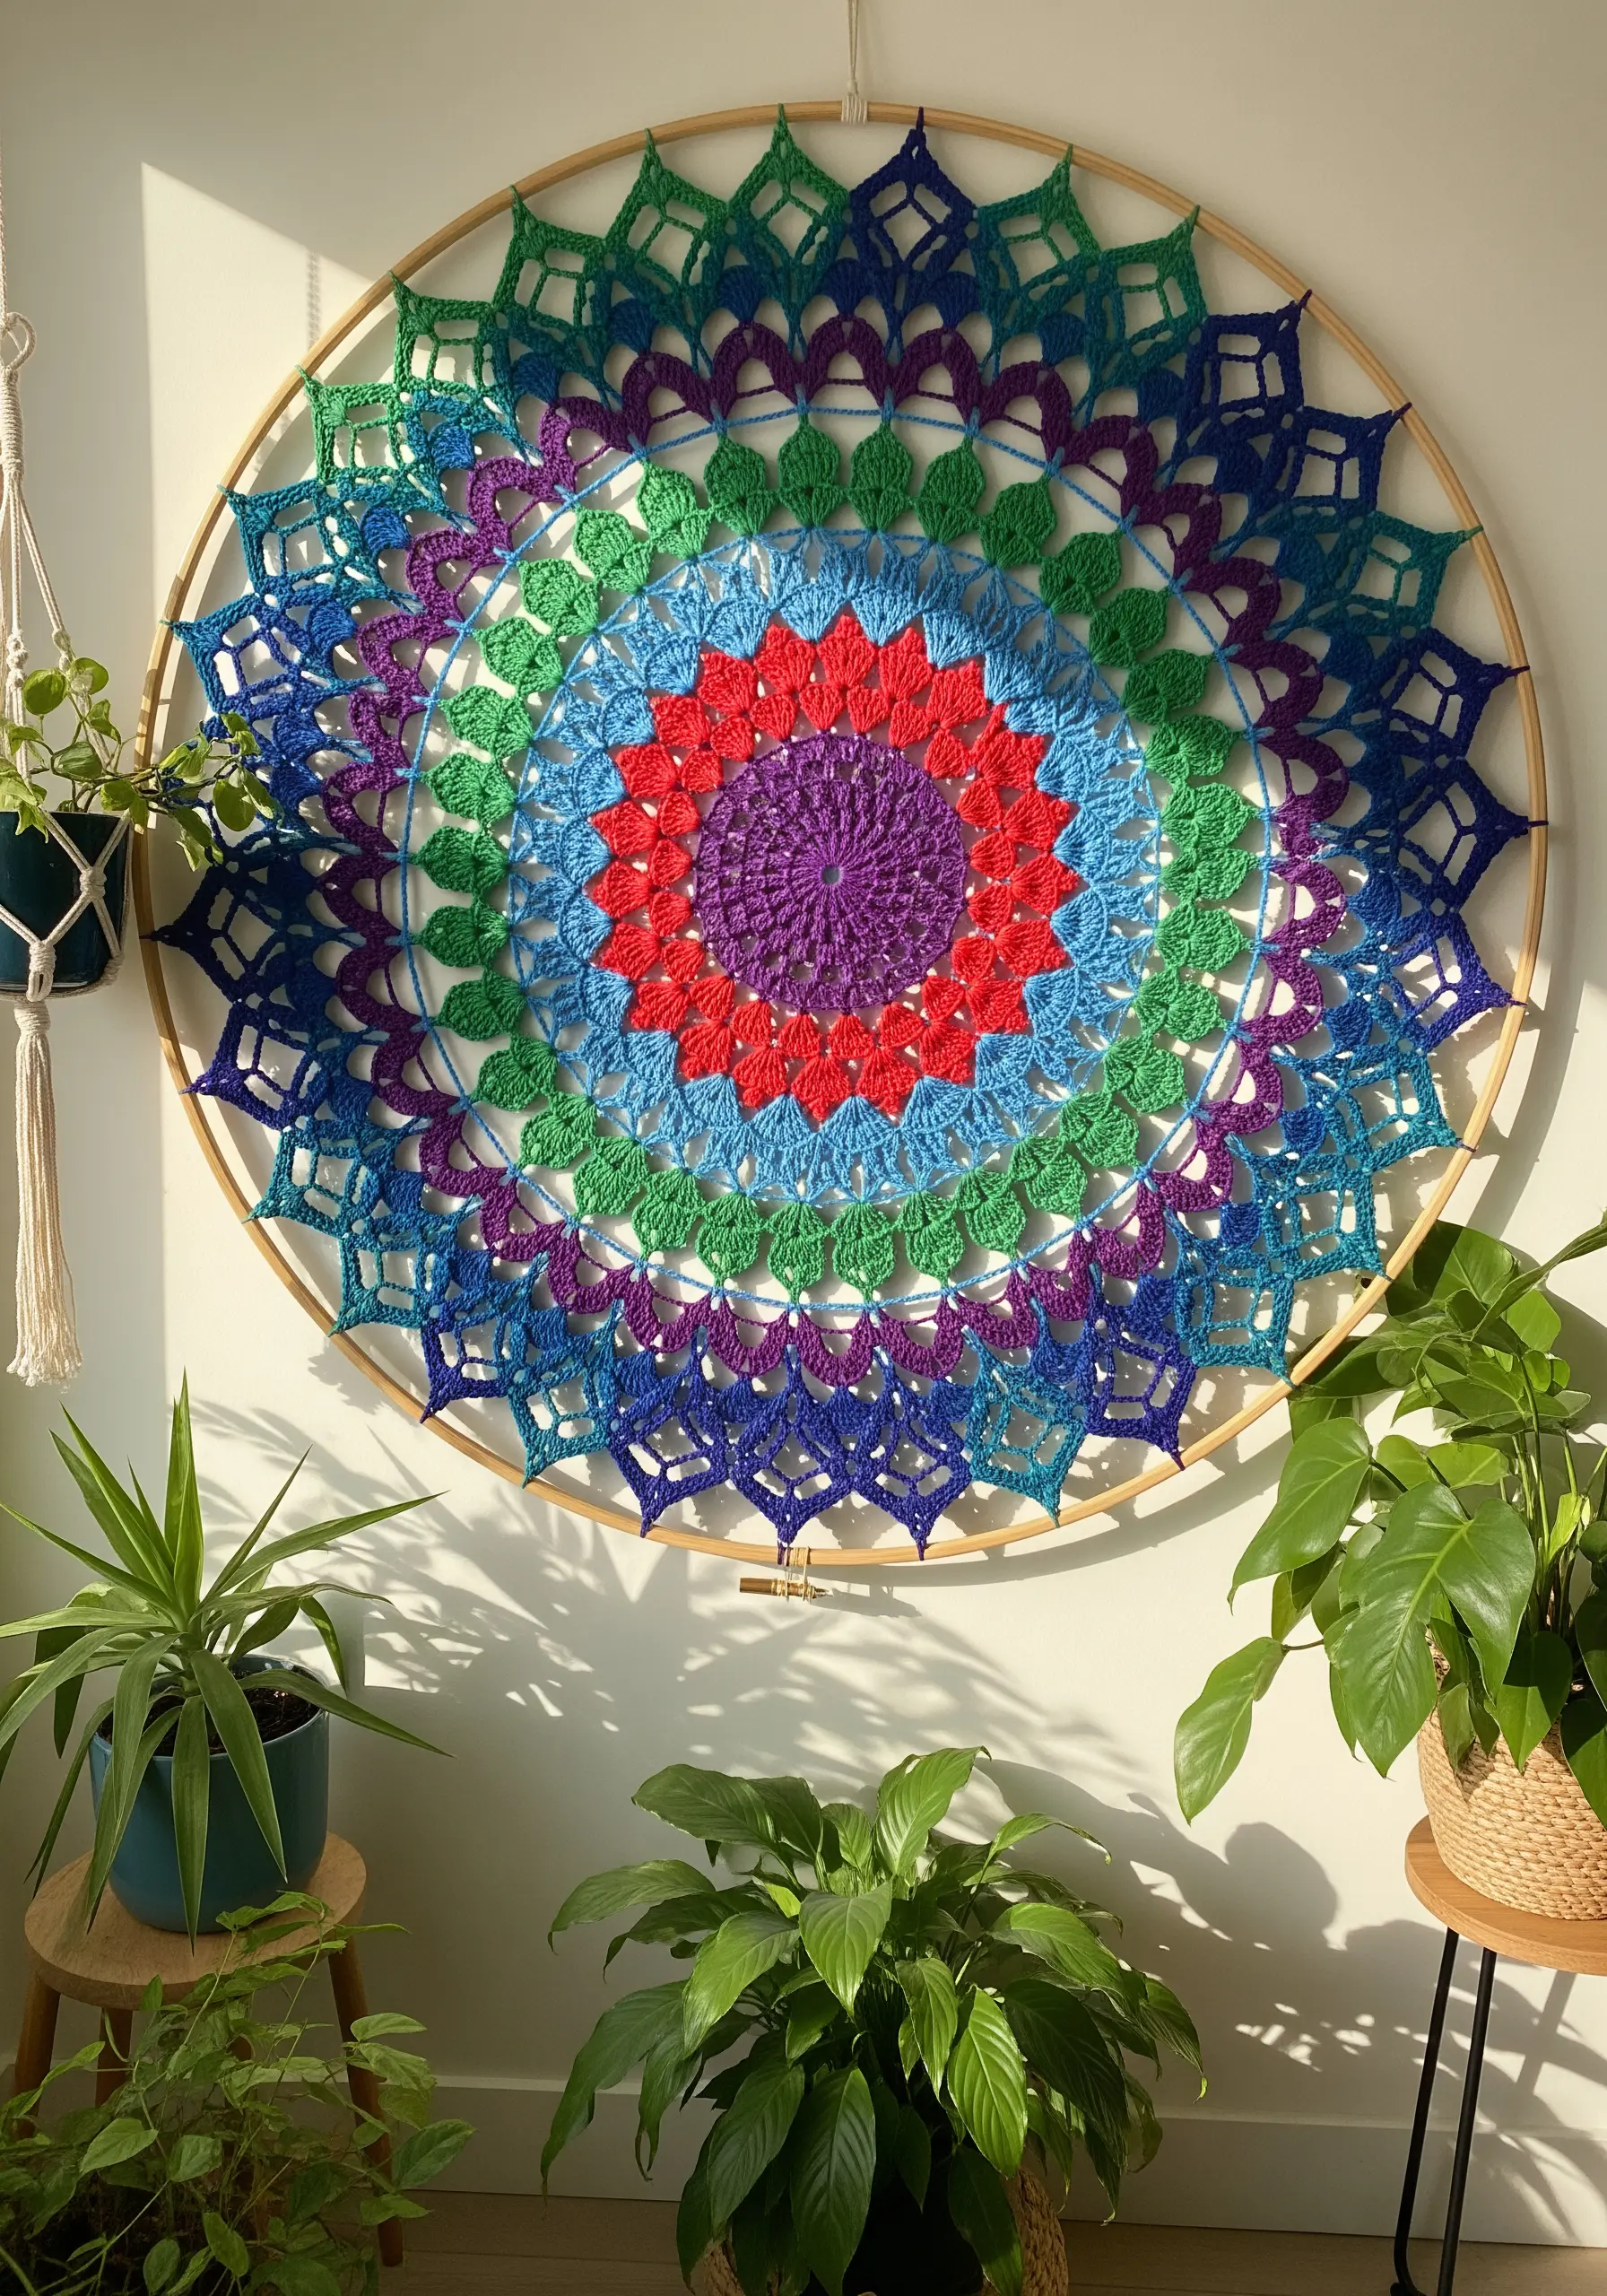
Give your crochet work the presentation it deserves by mounting it in a large embroidery hoop.
After you finish and block your crocheted mandala, carefully stretch it inside the hoop.
From the back, use a strong, clear thread to sew the outermost loops of the crochet to the inner ring of the hoop, pulling it taut.
This technique turns a soft textile into a graphic piece of wall art, showcasing the intricate, openwork details like a stained-glass window.
23. Blend Watercolor and Thread for a Dreamy Finish
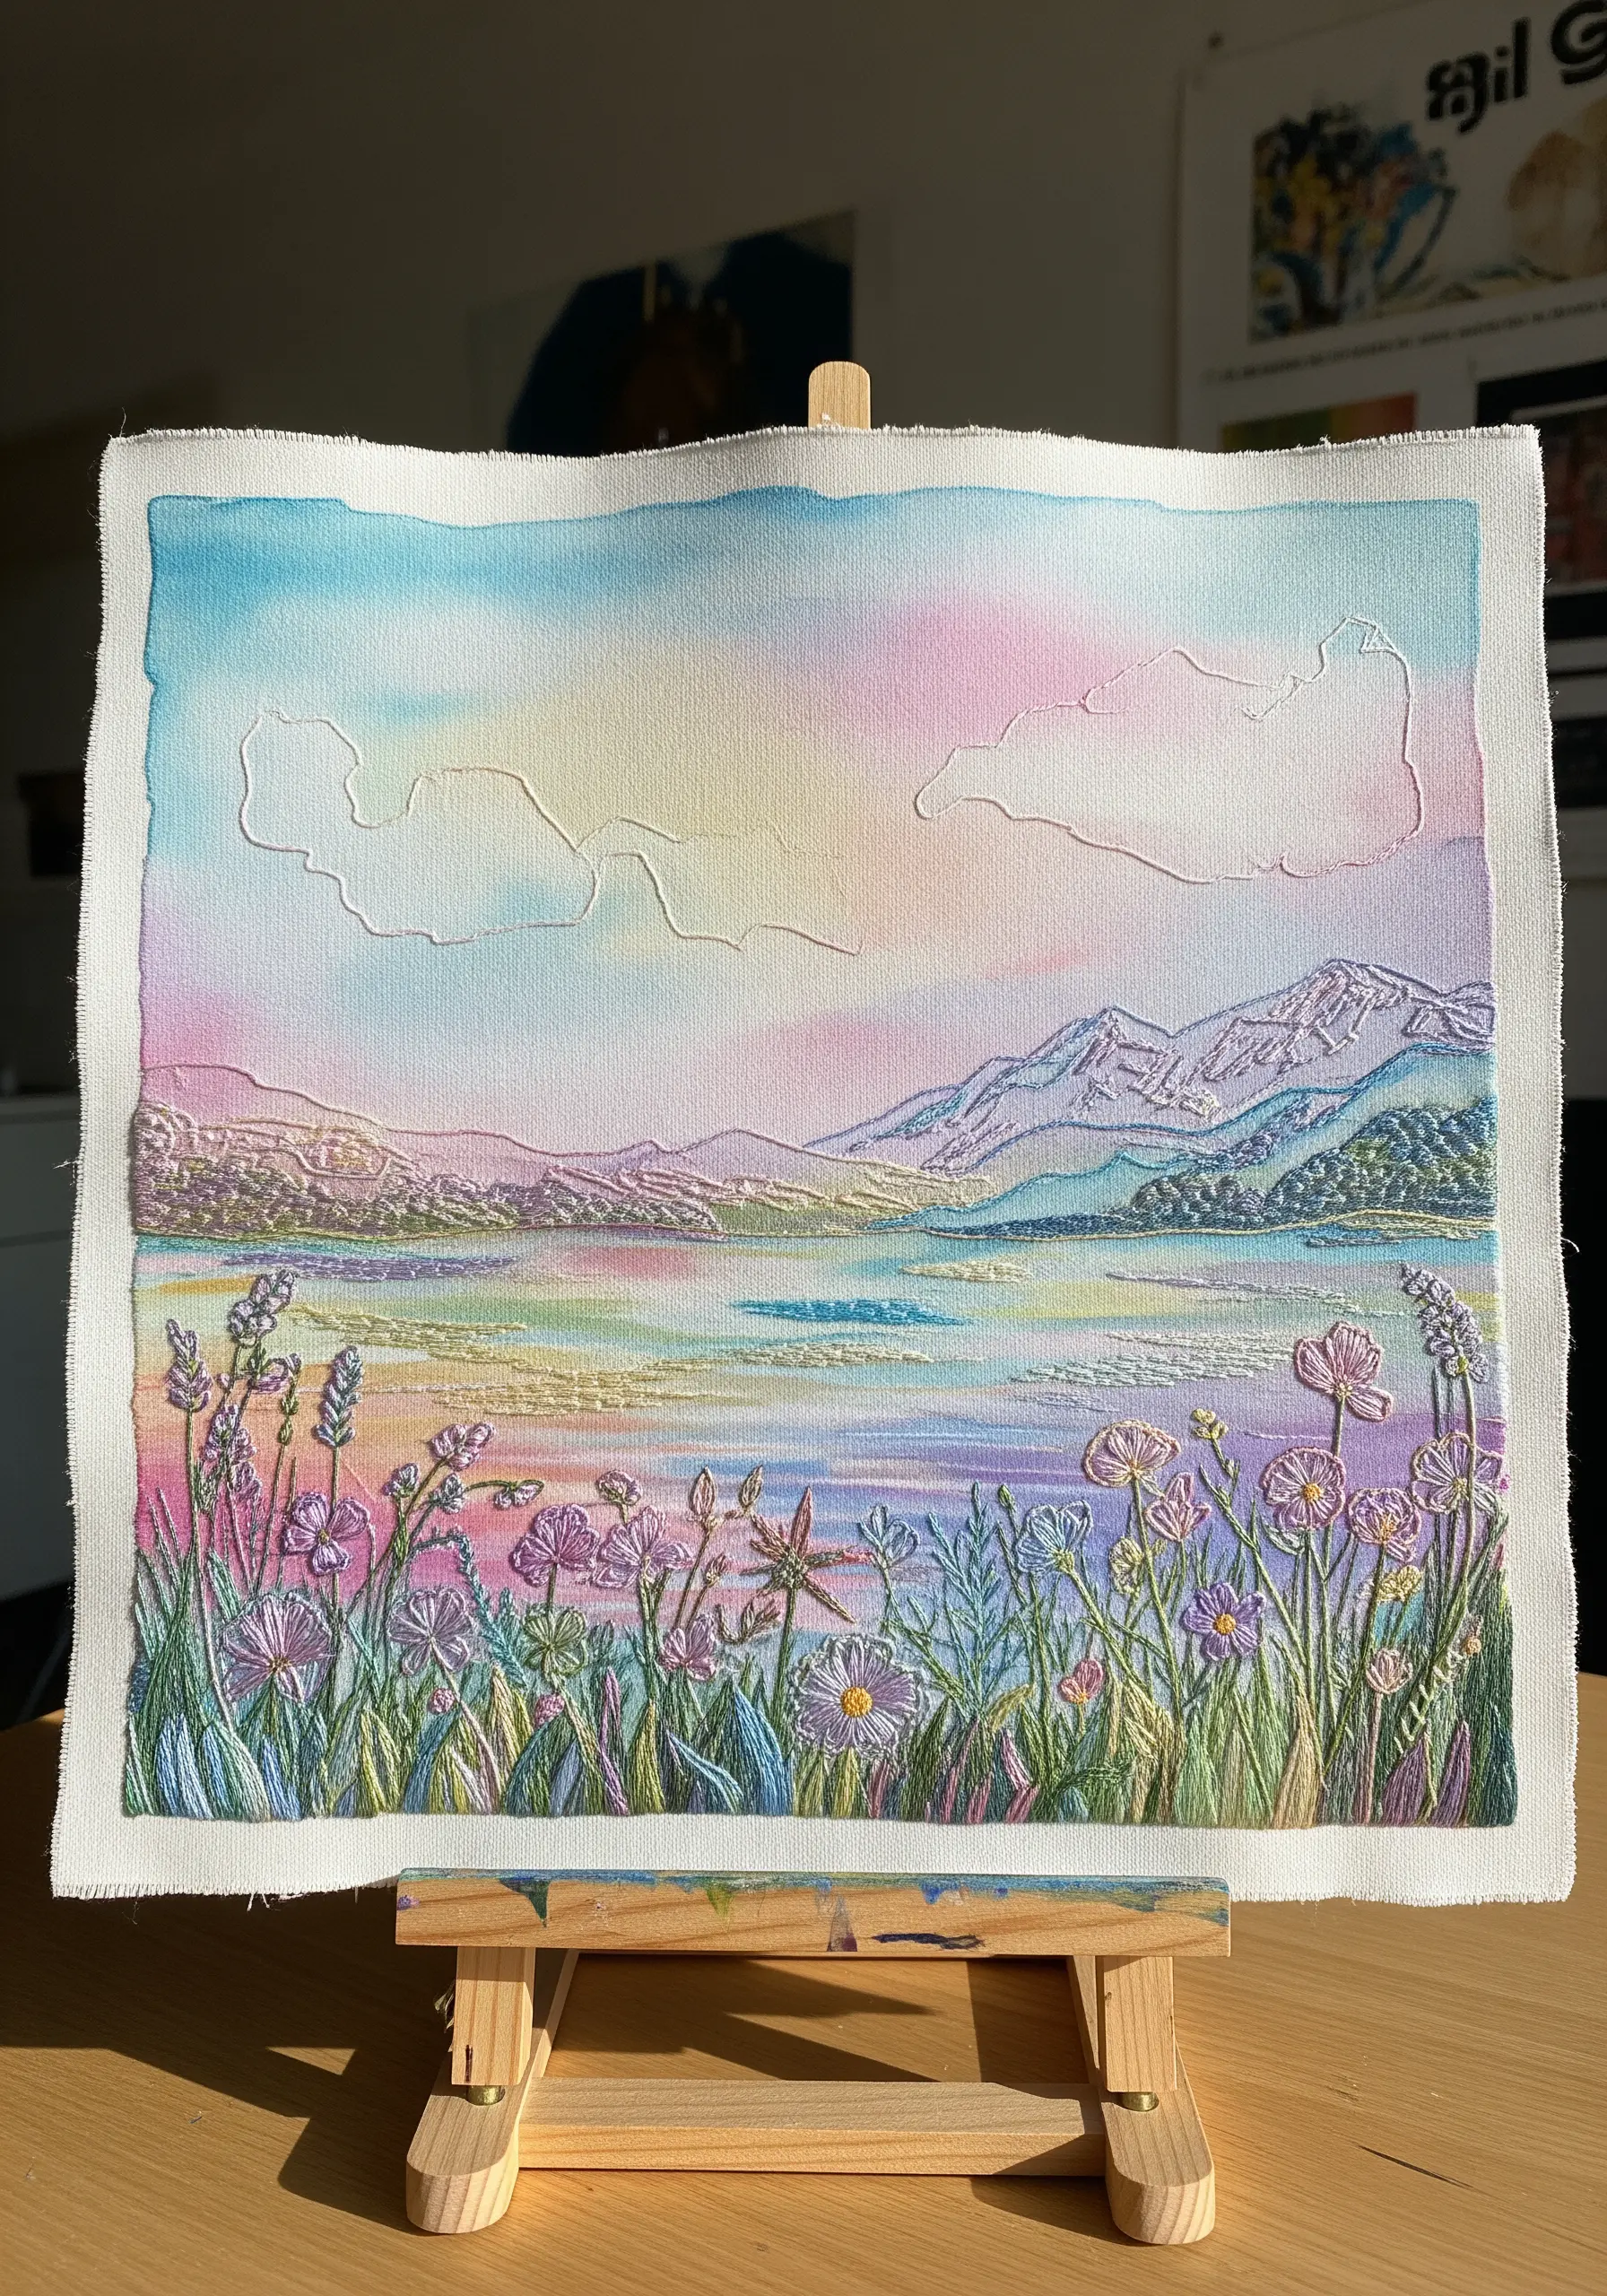
Create an atmospheric base for your embroidery by painting directly onto your fabric before you stitch.
Use watercolor paints to create a soft, blended wash of color for the sky and water, letting it dry completely.
Then, add your embroidered details over the top.
Use simple line stitches like stem or split stitch to define the horizon and add texture with French knots for flowers in the foreground.
The thread adds focus and definition to the ethereal, painterly background.


