
You want to create something beautiful with your children—something that lasts longer than the weekend and feels more meaningful than another disposable craft kit.
These projects are designed to do just that. They are quiet invitations to the world of textile arts, disguised as playful monsters, felt animals, and woven rainbows. Each one introduces a fundamental skill—a simple stitch, a neat wrap, a balanced composition—that builds a foundation for a lifetime of making.
Focus on the rhythm of pulling a needle through felt or wrapping yarn around a loom. The goal isn’t perfection; it’s the shared joy of transforming simple materials into something filled with personality and care, together.
1. Craft Expressive Yarn Pom-Pom Monsters
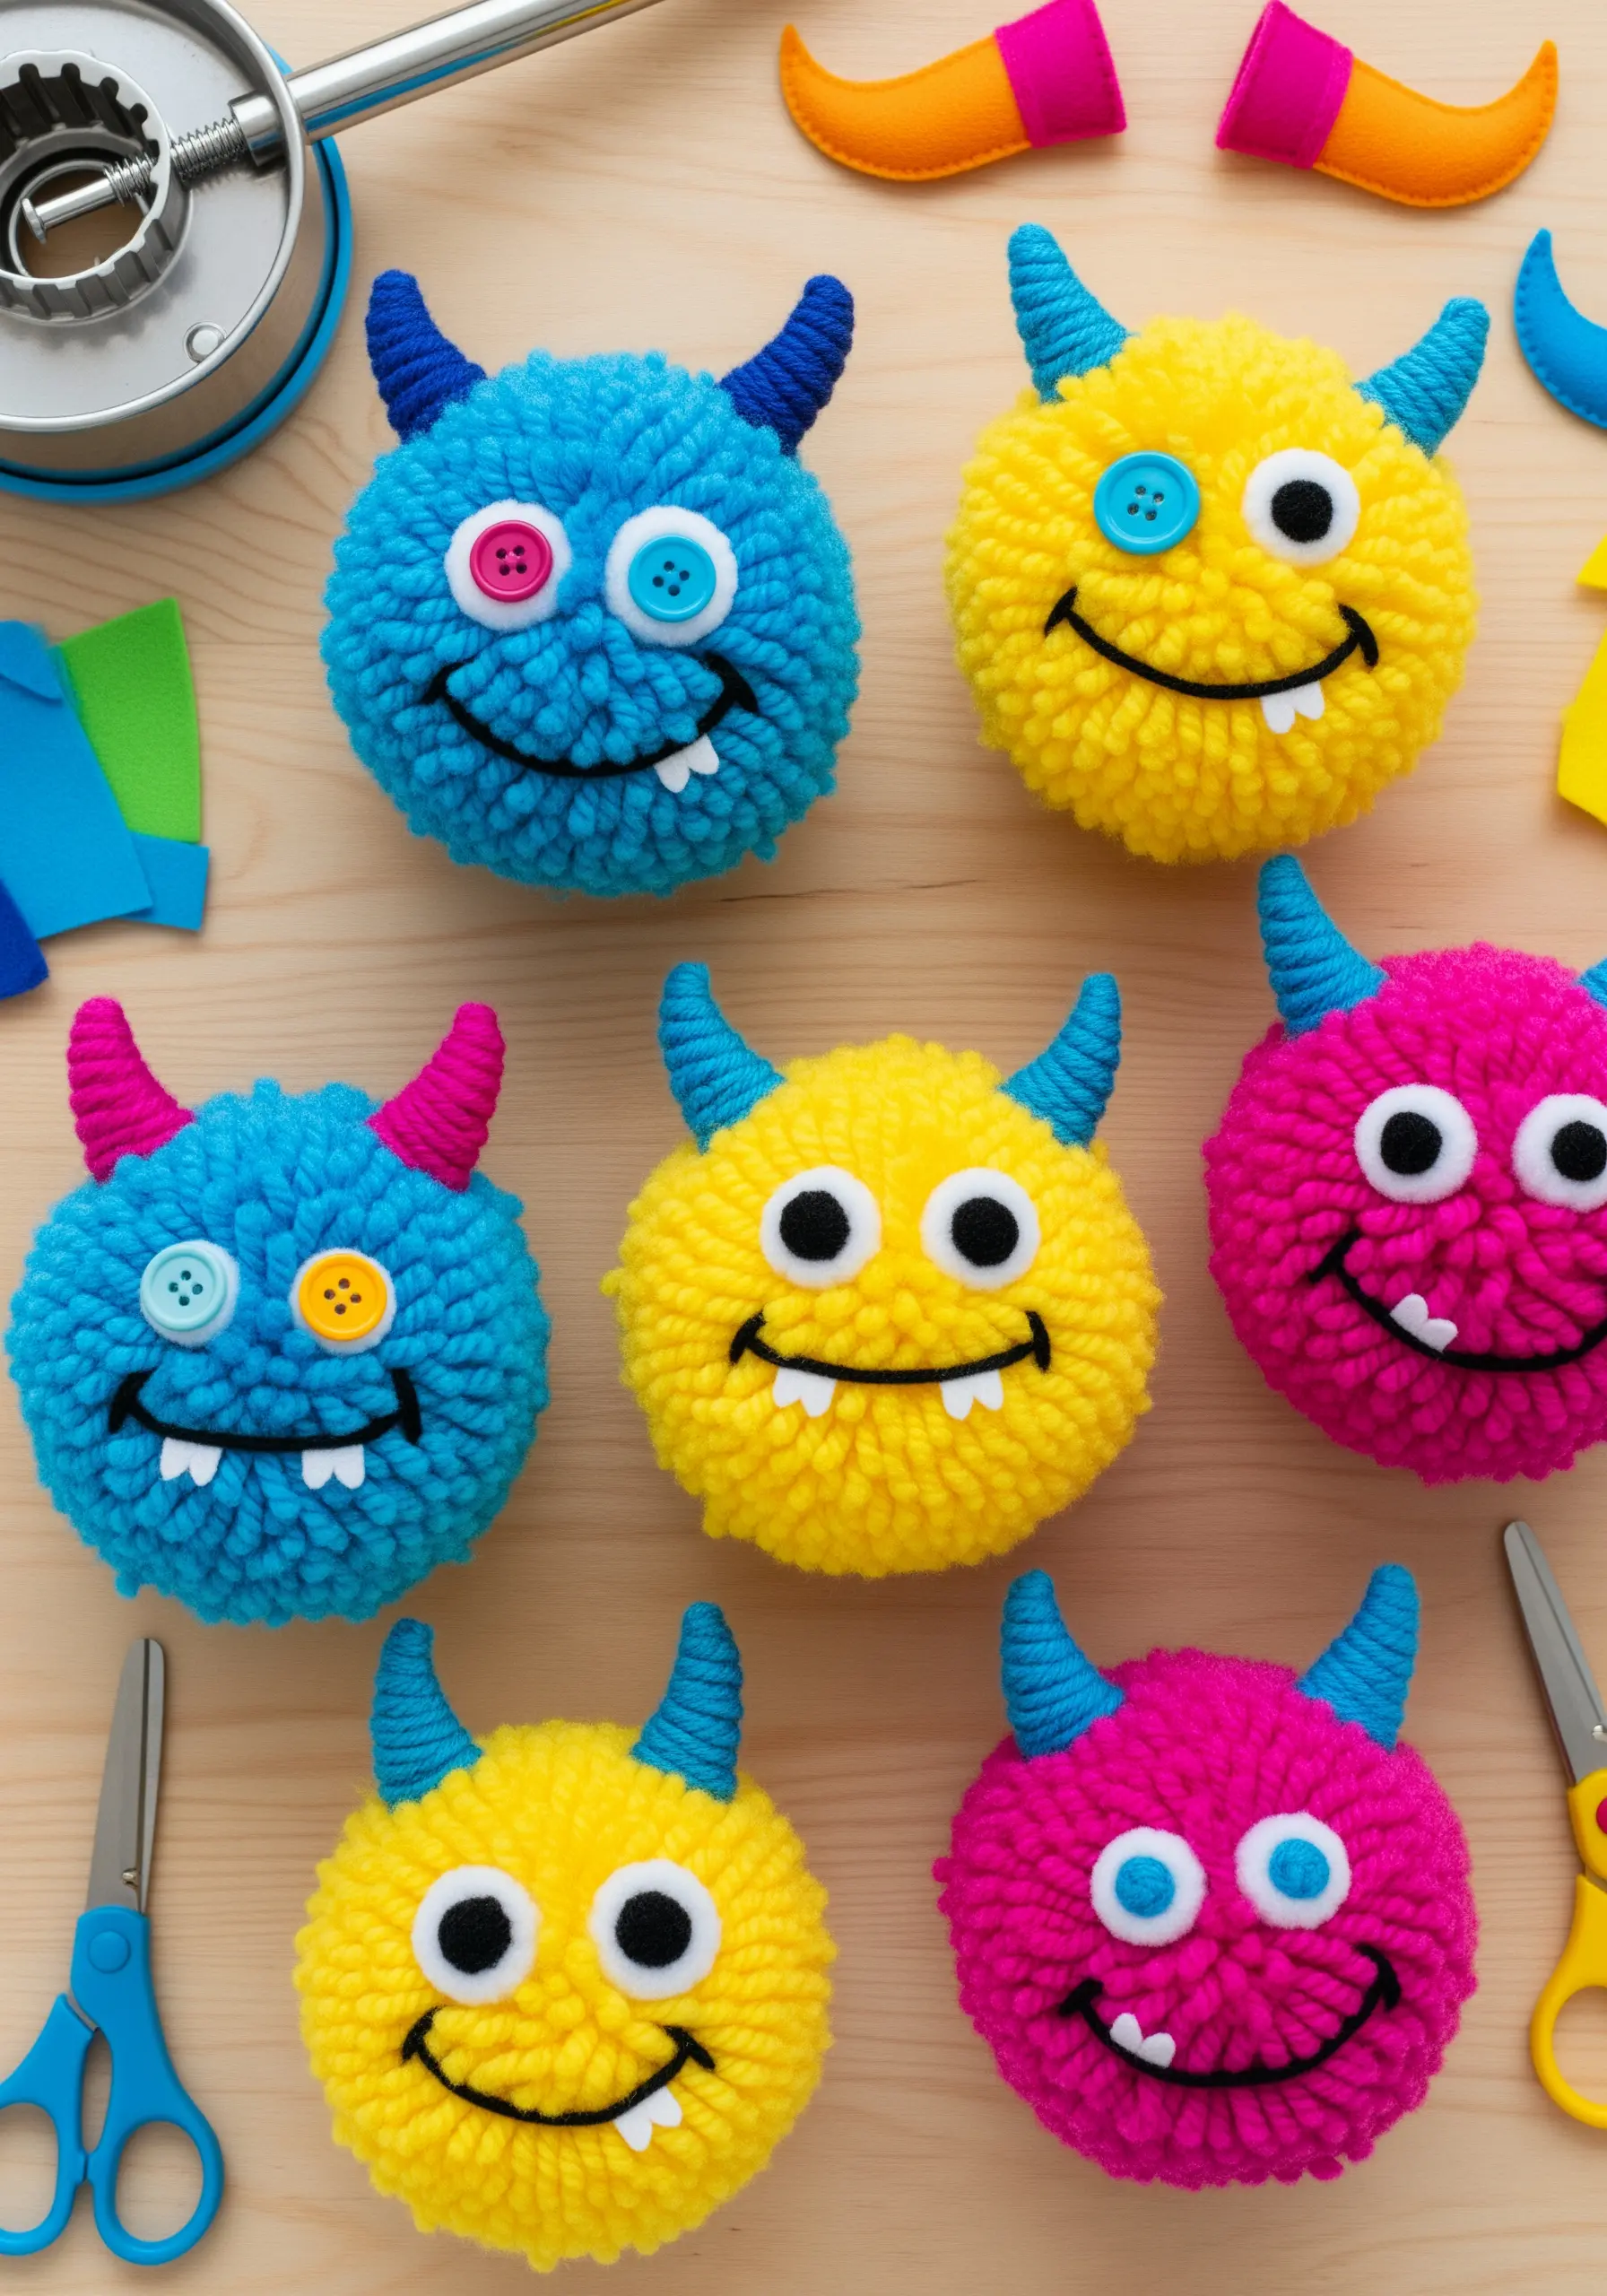
To make your pom-poms dense and plush, choose a chunky-weight yarn and wrap it generously around the pom-pom maker.
For the facial features, use stiff felt, which holds its shape better than soft craft felt, especially for details like horns and teeth.
Instead of glue, secure the mouth with a simple backstitch using black embroidery floss—this adds a durable, hand-stitched charm and introduces a basic embroidery skill.
2. Stitch a Serene Felt Animal Garland
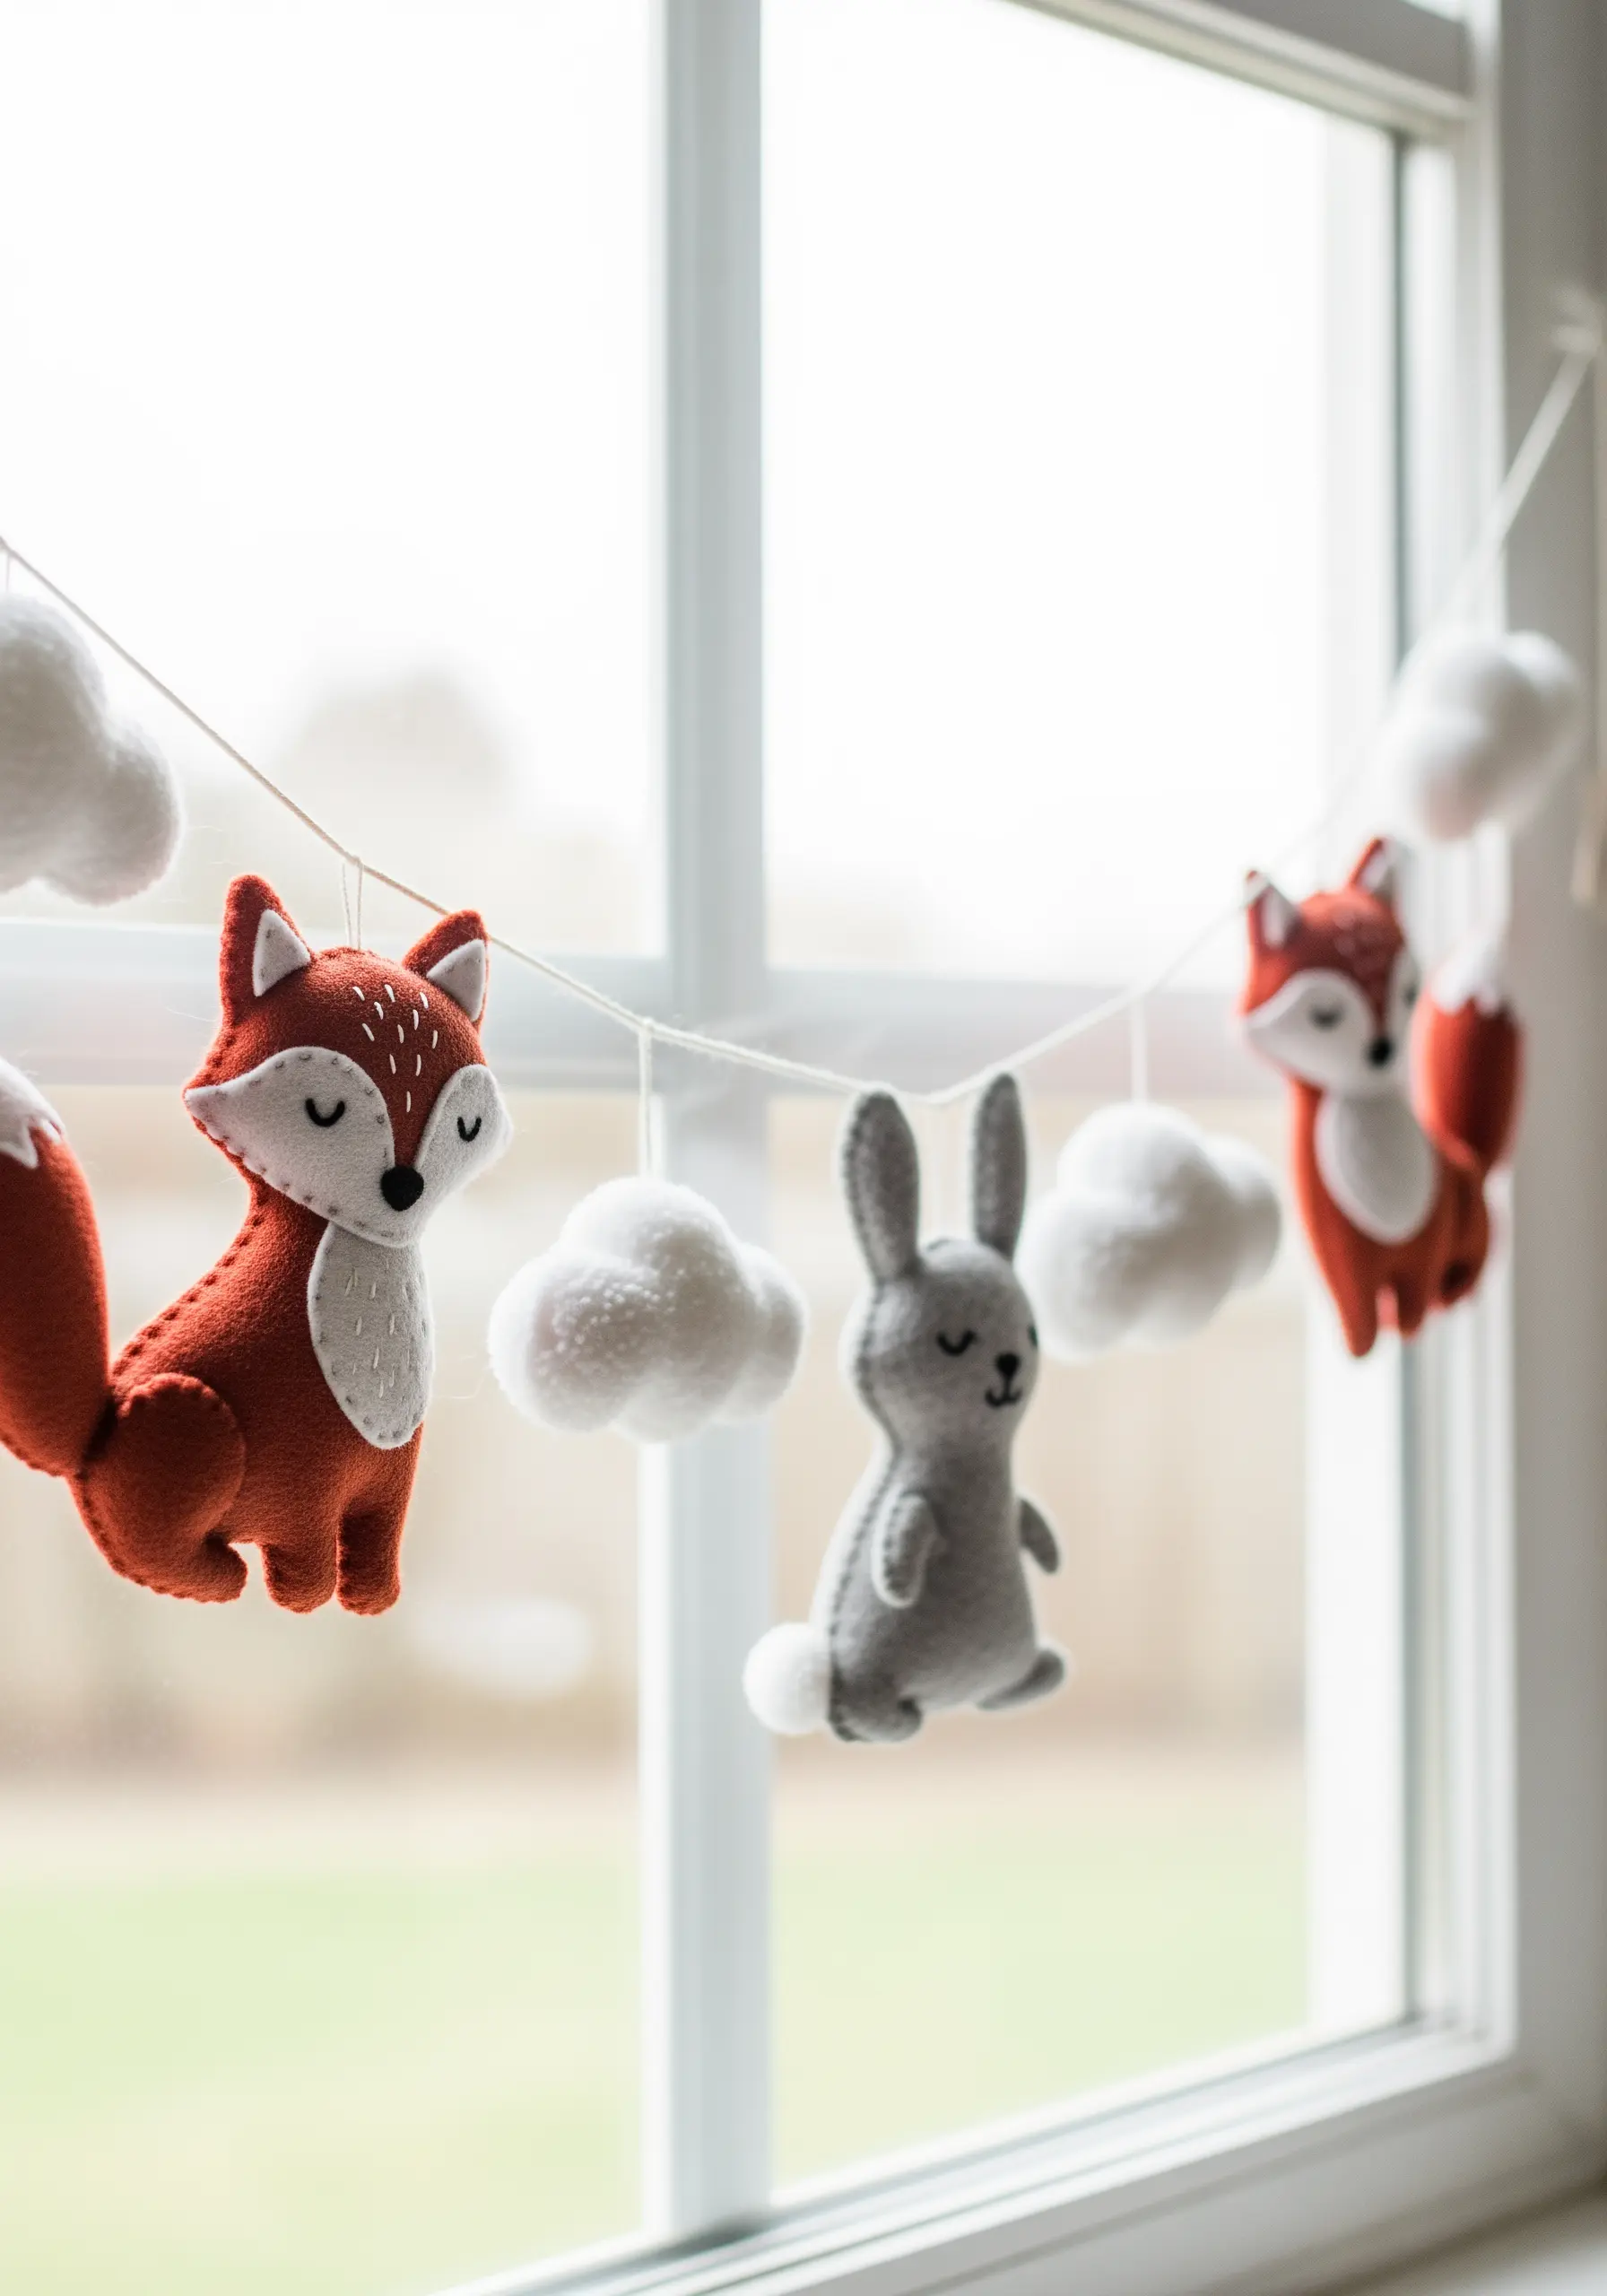
Use a wool-blend felt instead of acrylic for a softer feel and cleaner cuts that won’t fray.
Secure the edges of each animal with a contrasting blanket stitch—it not only holds the pieces together but also creates a beautiful, decorative frame around the silhouette.
For the eyes, teach the simple but elegant French knot. This tiny detail elevates the piece from a simple craft to a cherished keepsake.
3. Weave Vibrant Macrame Rainbow Wall Art
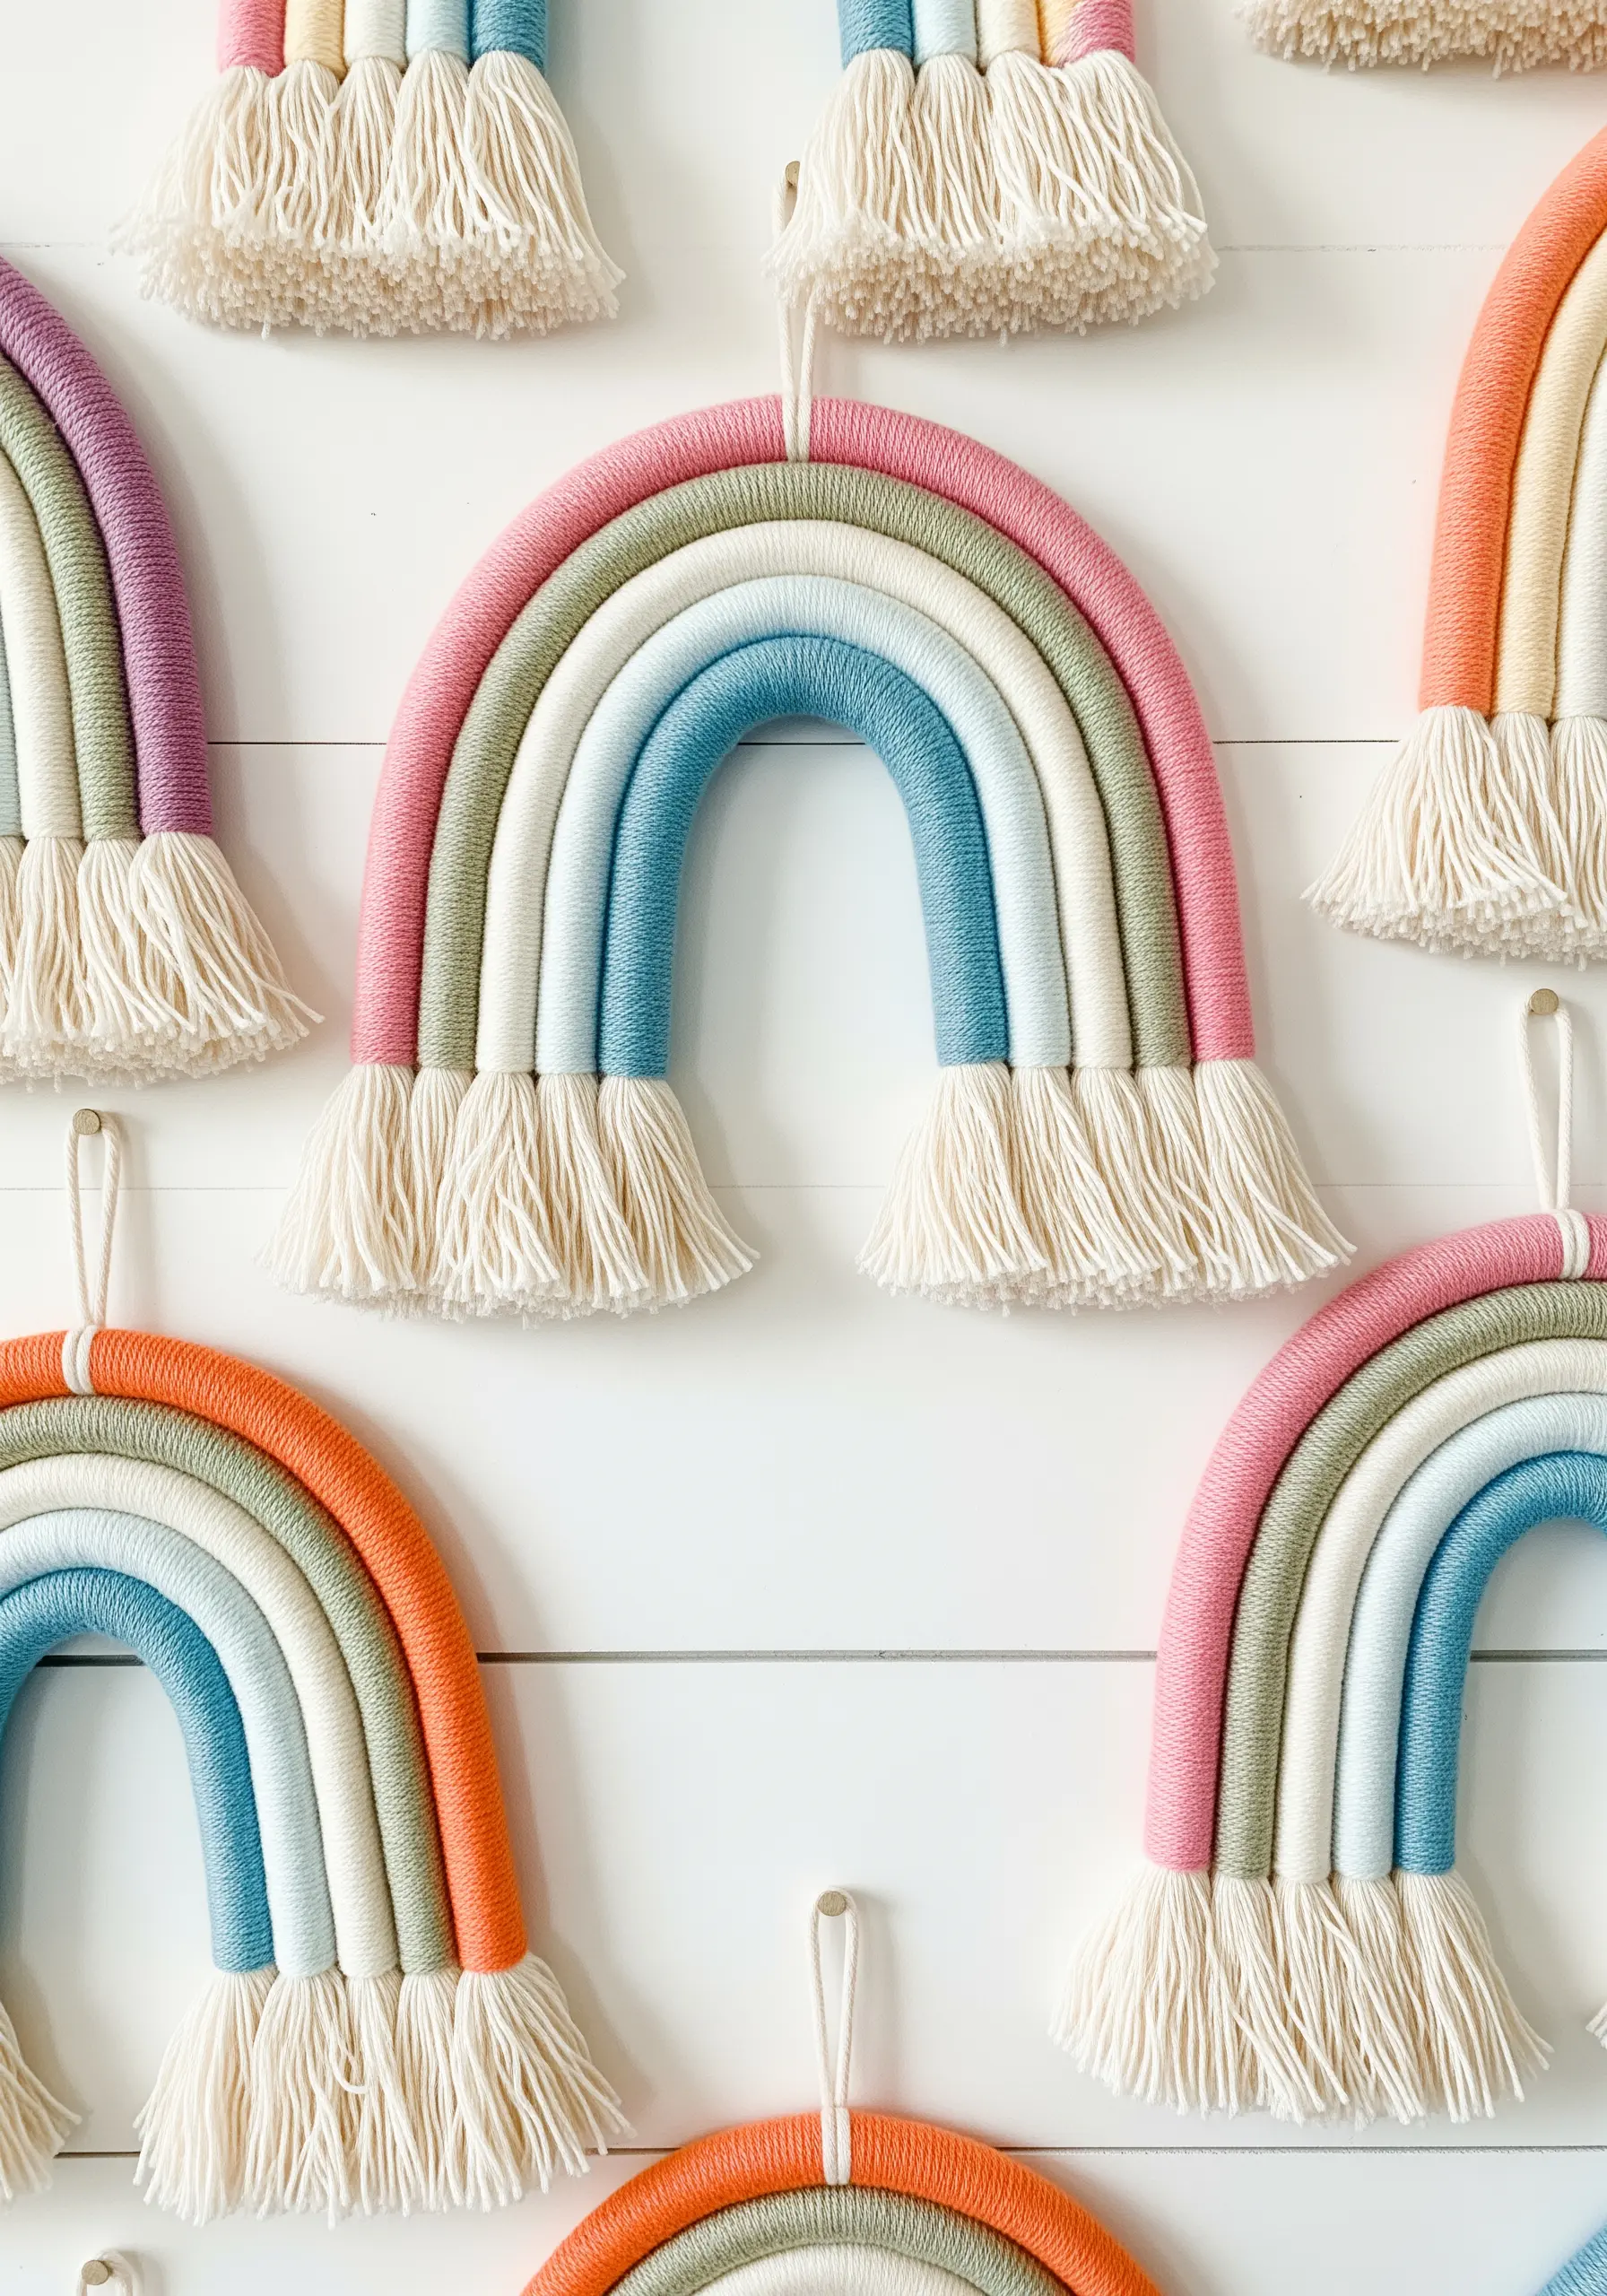
The key to a professional finish is taut, even wrapping.
Show your child how to hold the yarn at a slight angle and push the coils together after every few wraps to eliminate gaps in the rope base.
Use cotton rope for the core, as its texture grips the yarn better than synthetic alternatives, preventing slipping and creating a sturdier arch.
Fray the ends evenly with a comb for a soft, cloud-like texture.
4. Paint ‘Stitched’ Stones for Storytelling
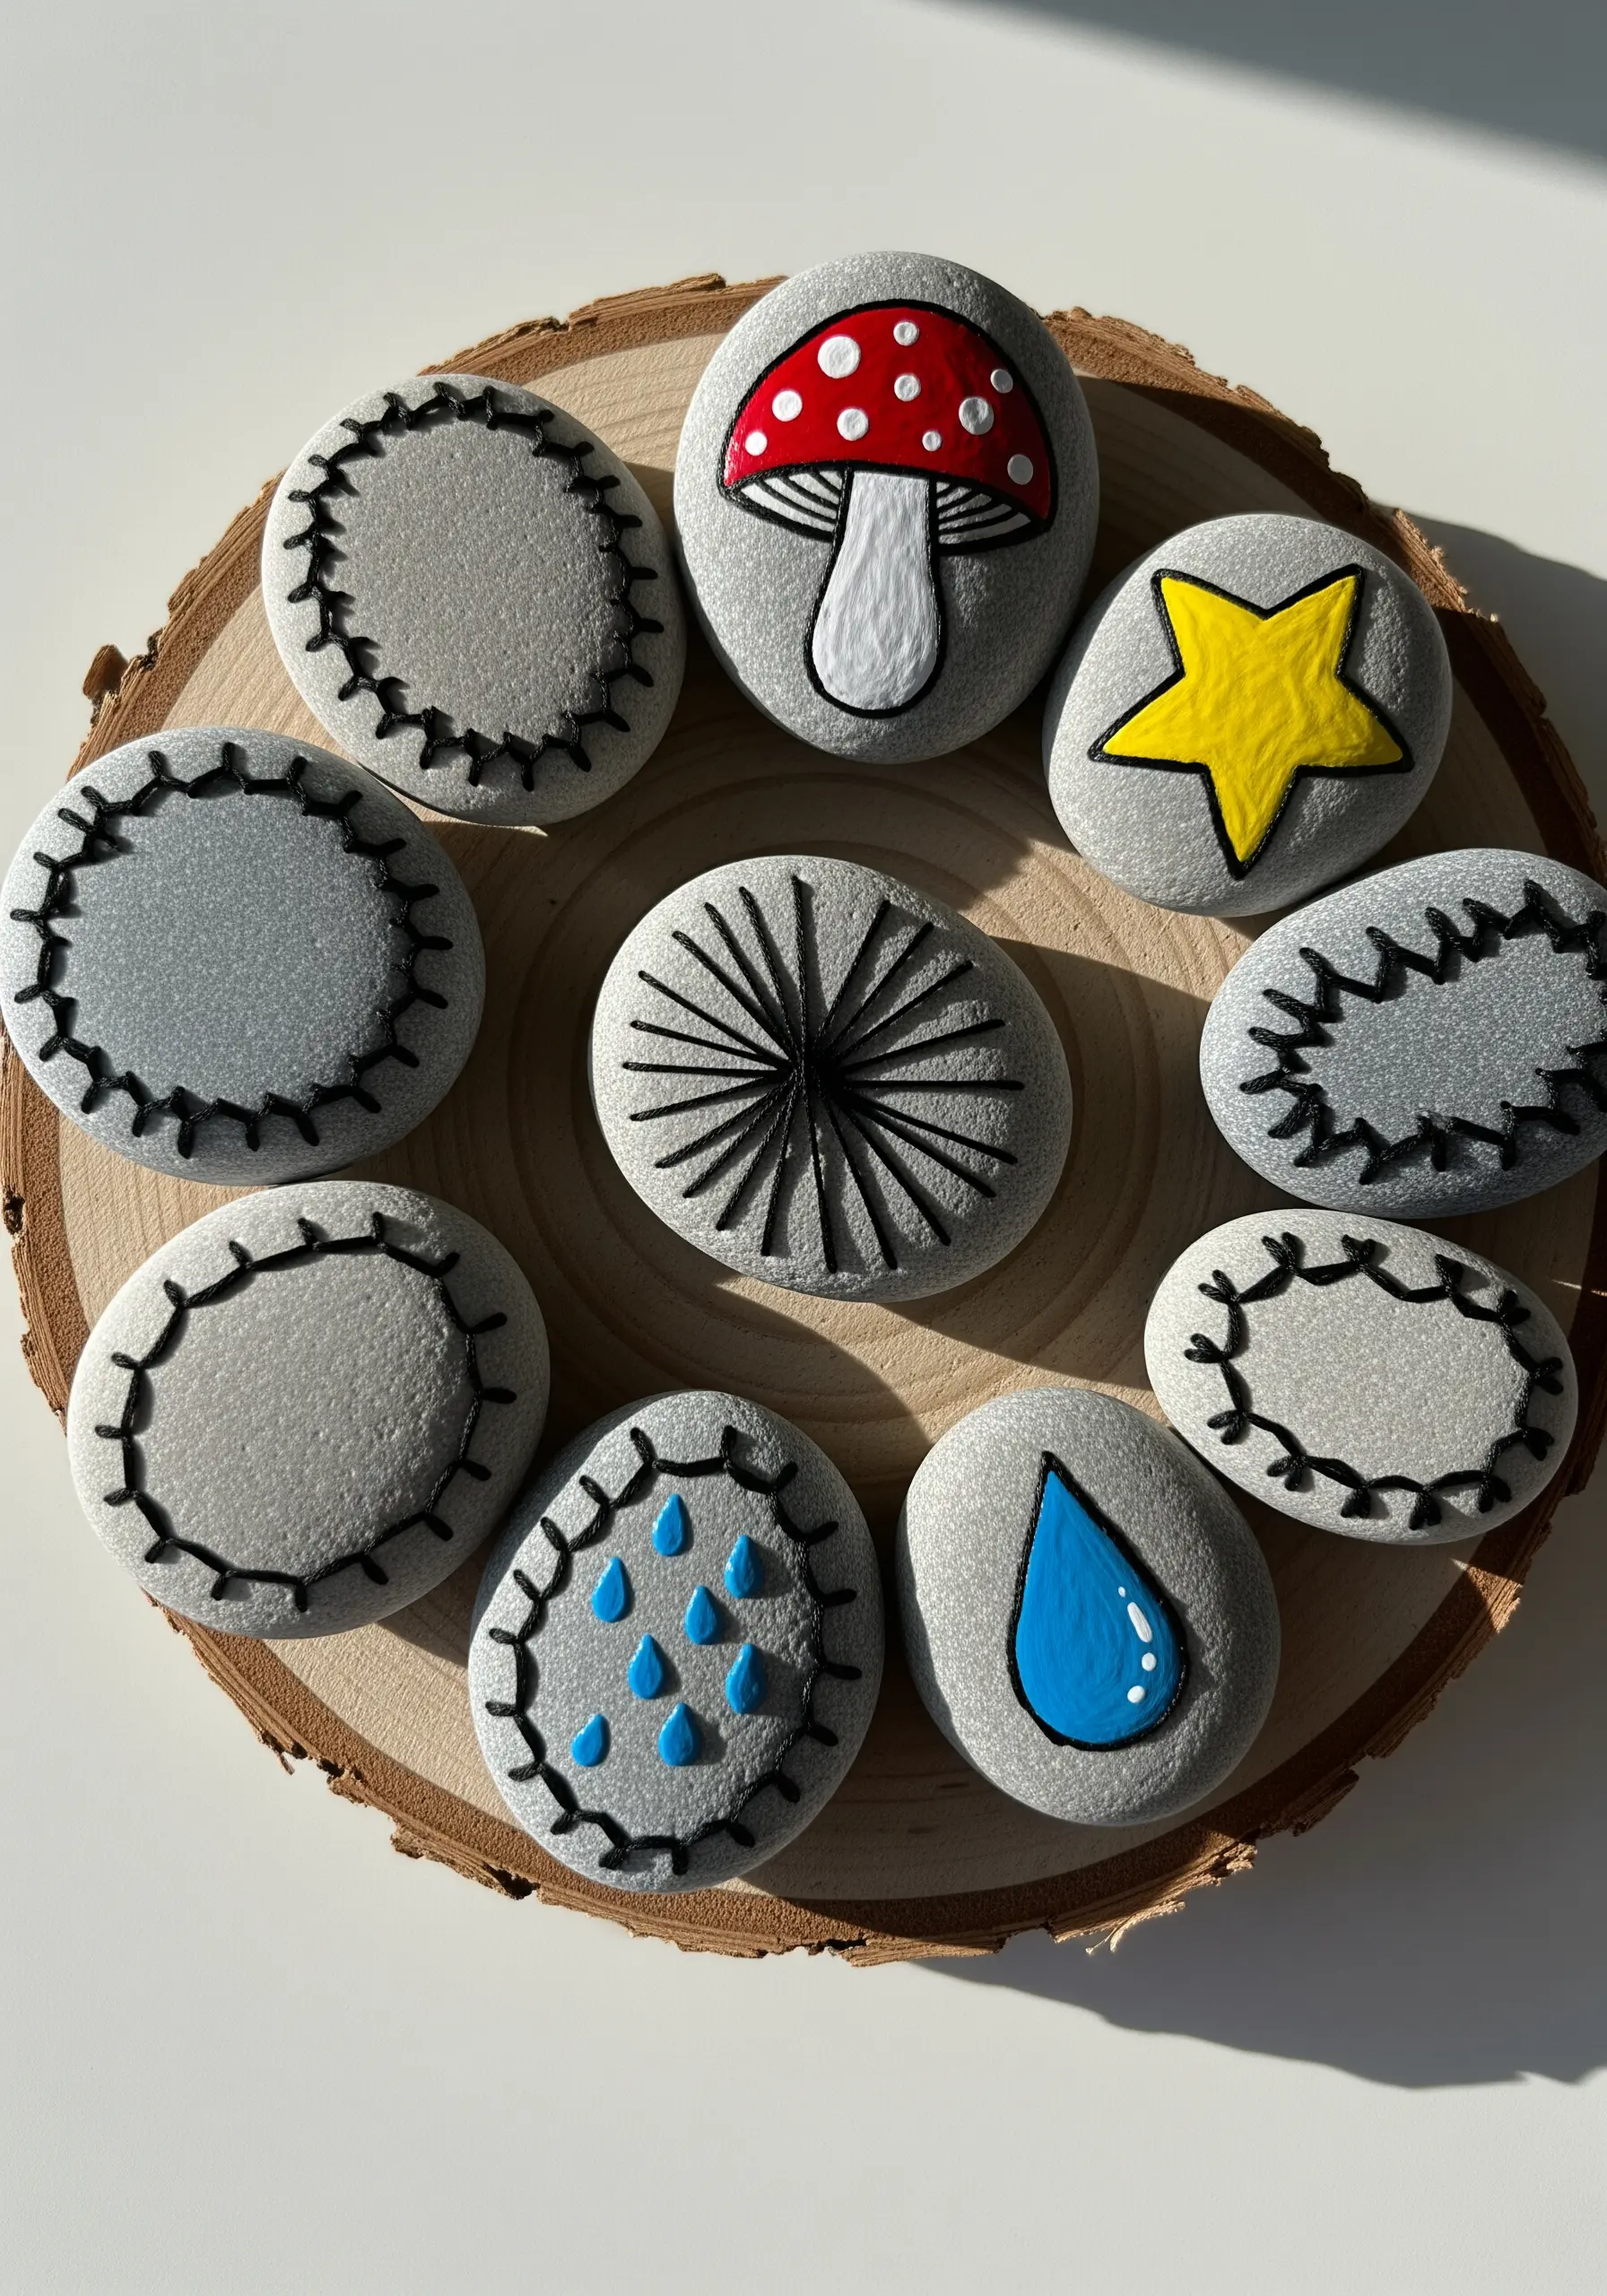
Use this project to introduce the visual language of embroidery without a needle and thread.
With a fine-tipped paint pen, draw patterns that mimic fundamental stitches: dashed lines for running stitch, V-shapes for fly stitch, or crosses for cross-stitch.
This exercise helps children understand pattern and repetition, building a foundation for future textile work.
Seal the finished stones with a clear matte varnish to protect the designs from chipping.
5. Design Personalized Felt Appliqué Pennants
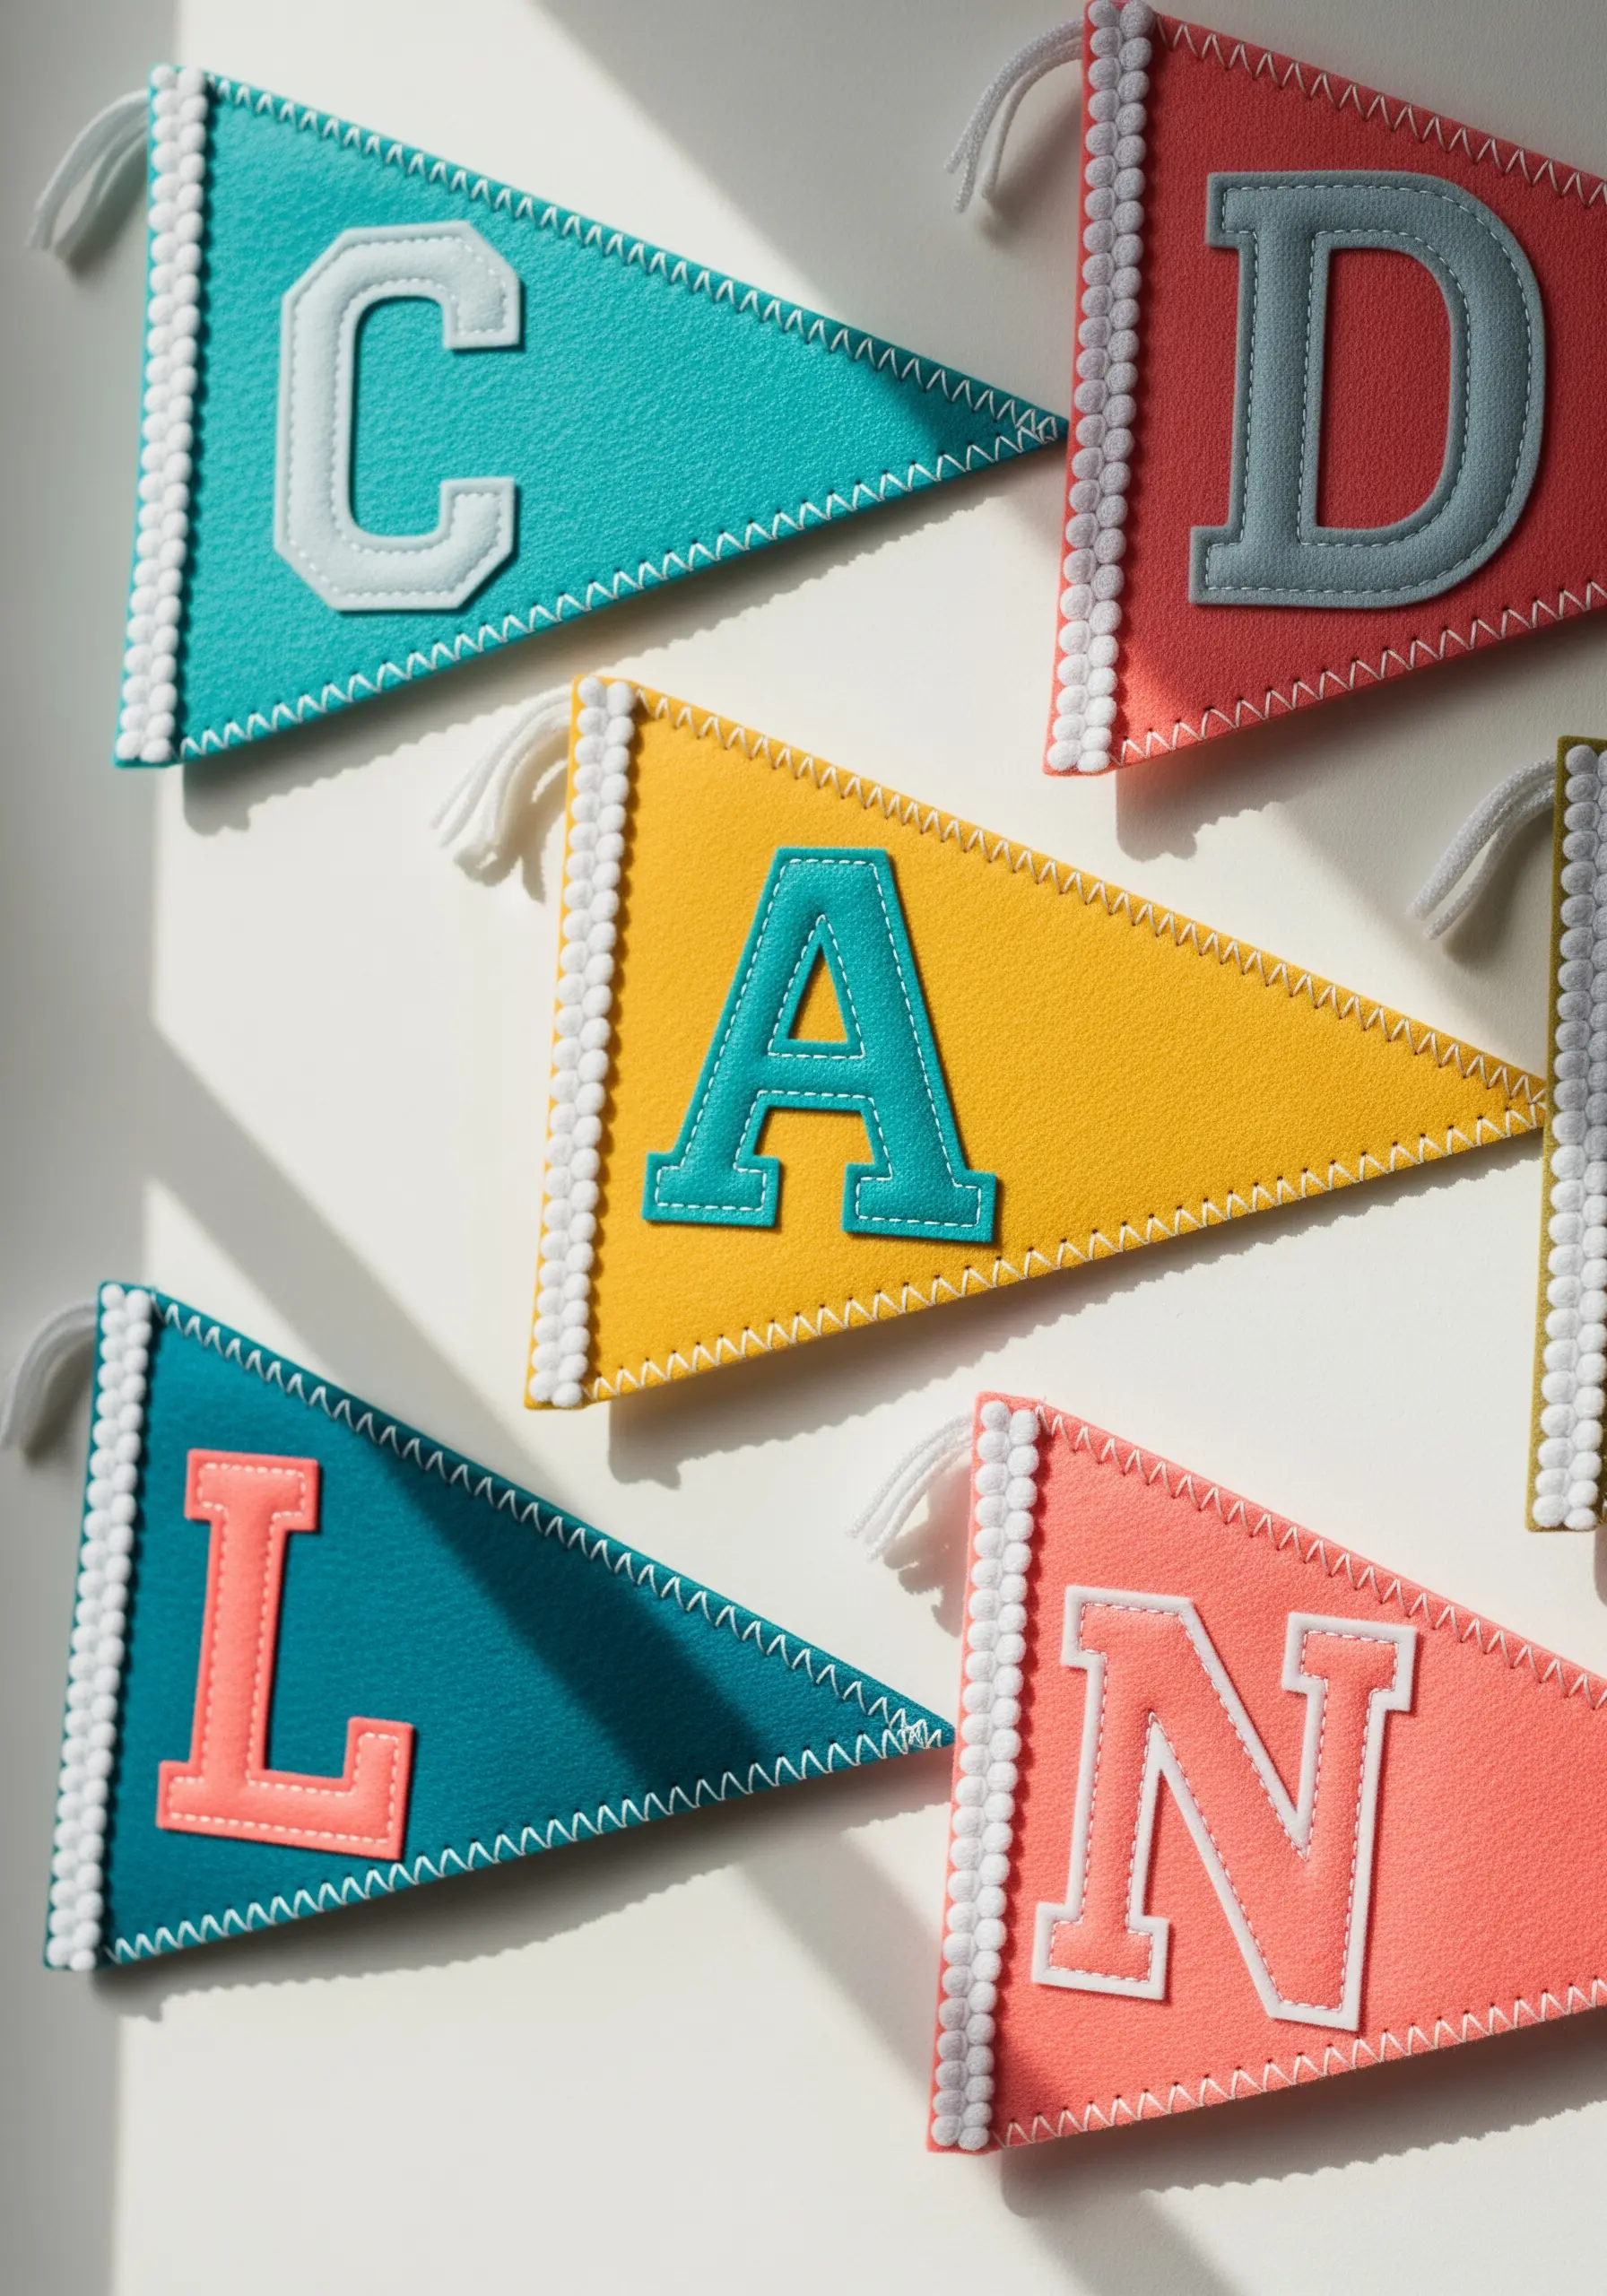
This is a wonderful introduction to appliqué—the art of stitching fabric shapes onto a background.
Cut letters from a contrasting color of stiff felt and secure them with a simple running stitch about 1/8 inch from the edge.
Using a six-strand embroidery floss in a complementary color makes the stitches a deliberate design element, adding texture and a handmade feel.
6. Weave a Natural Loom with Found Botanicals
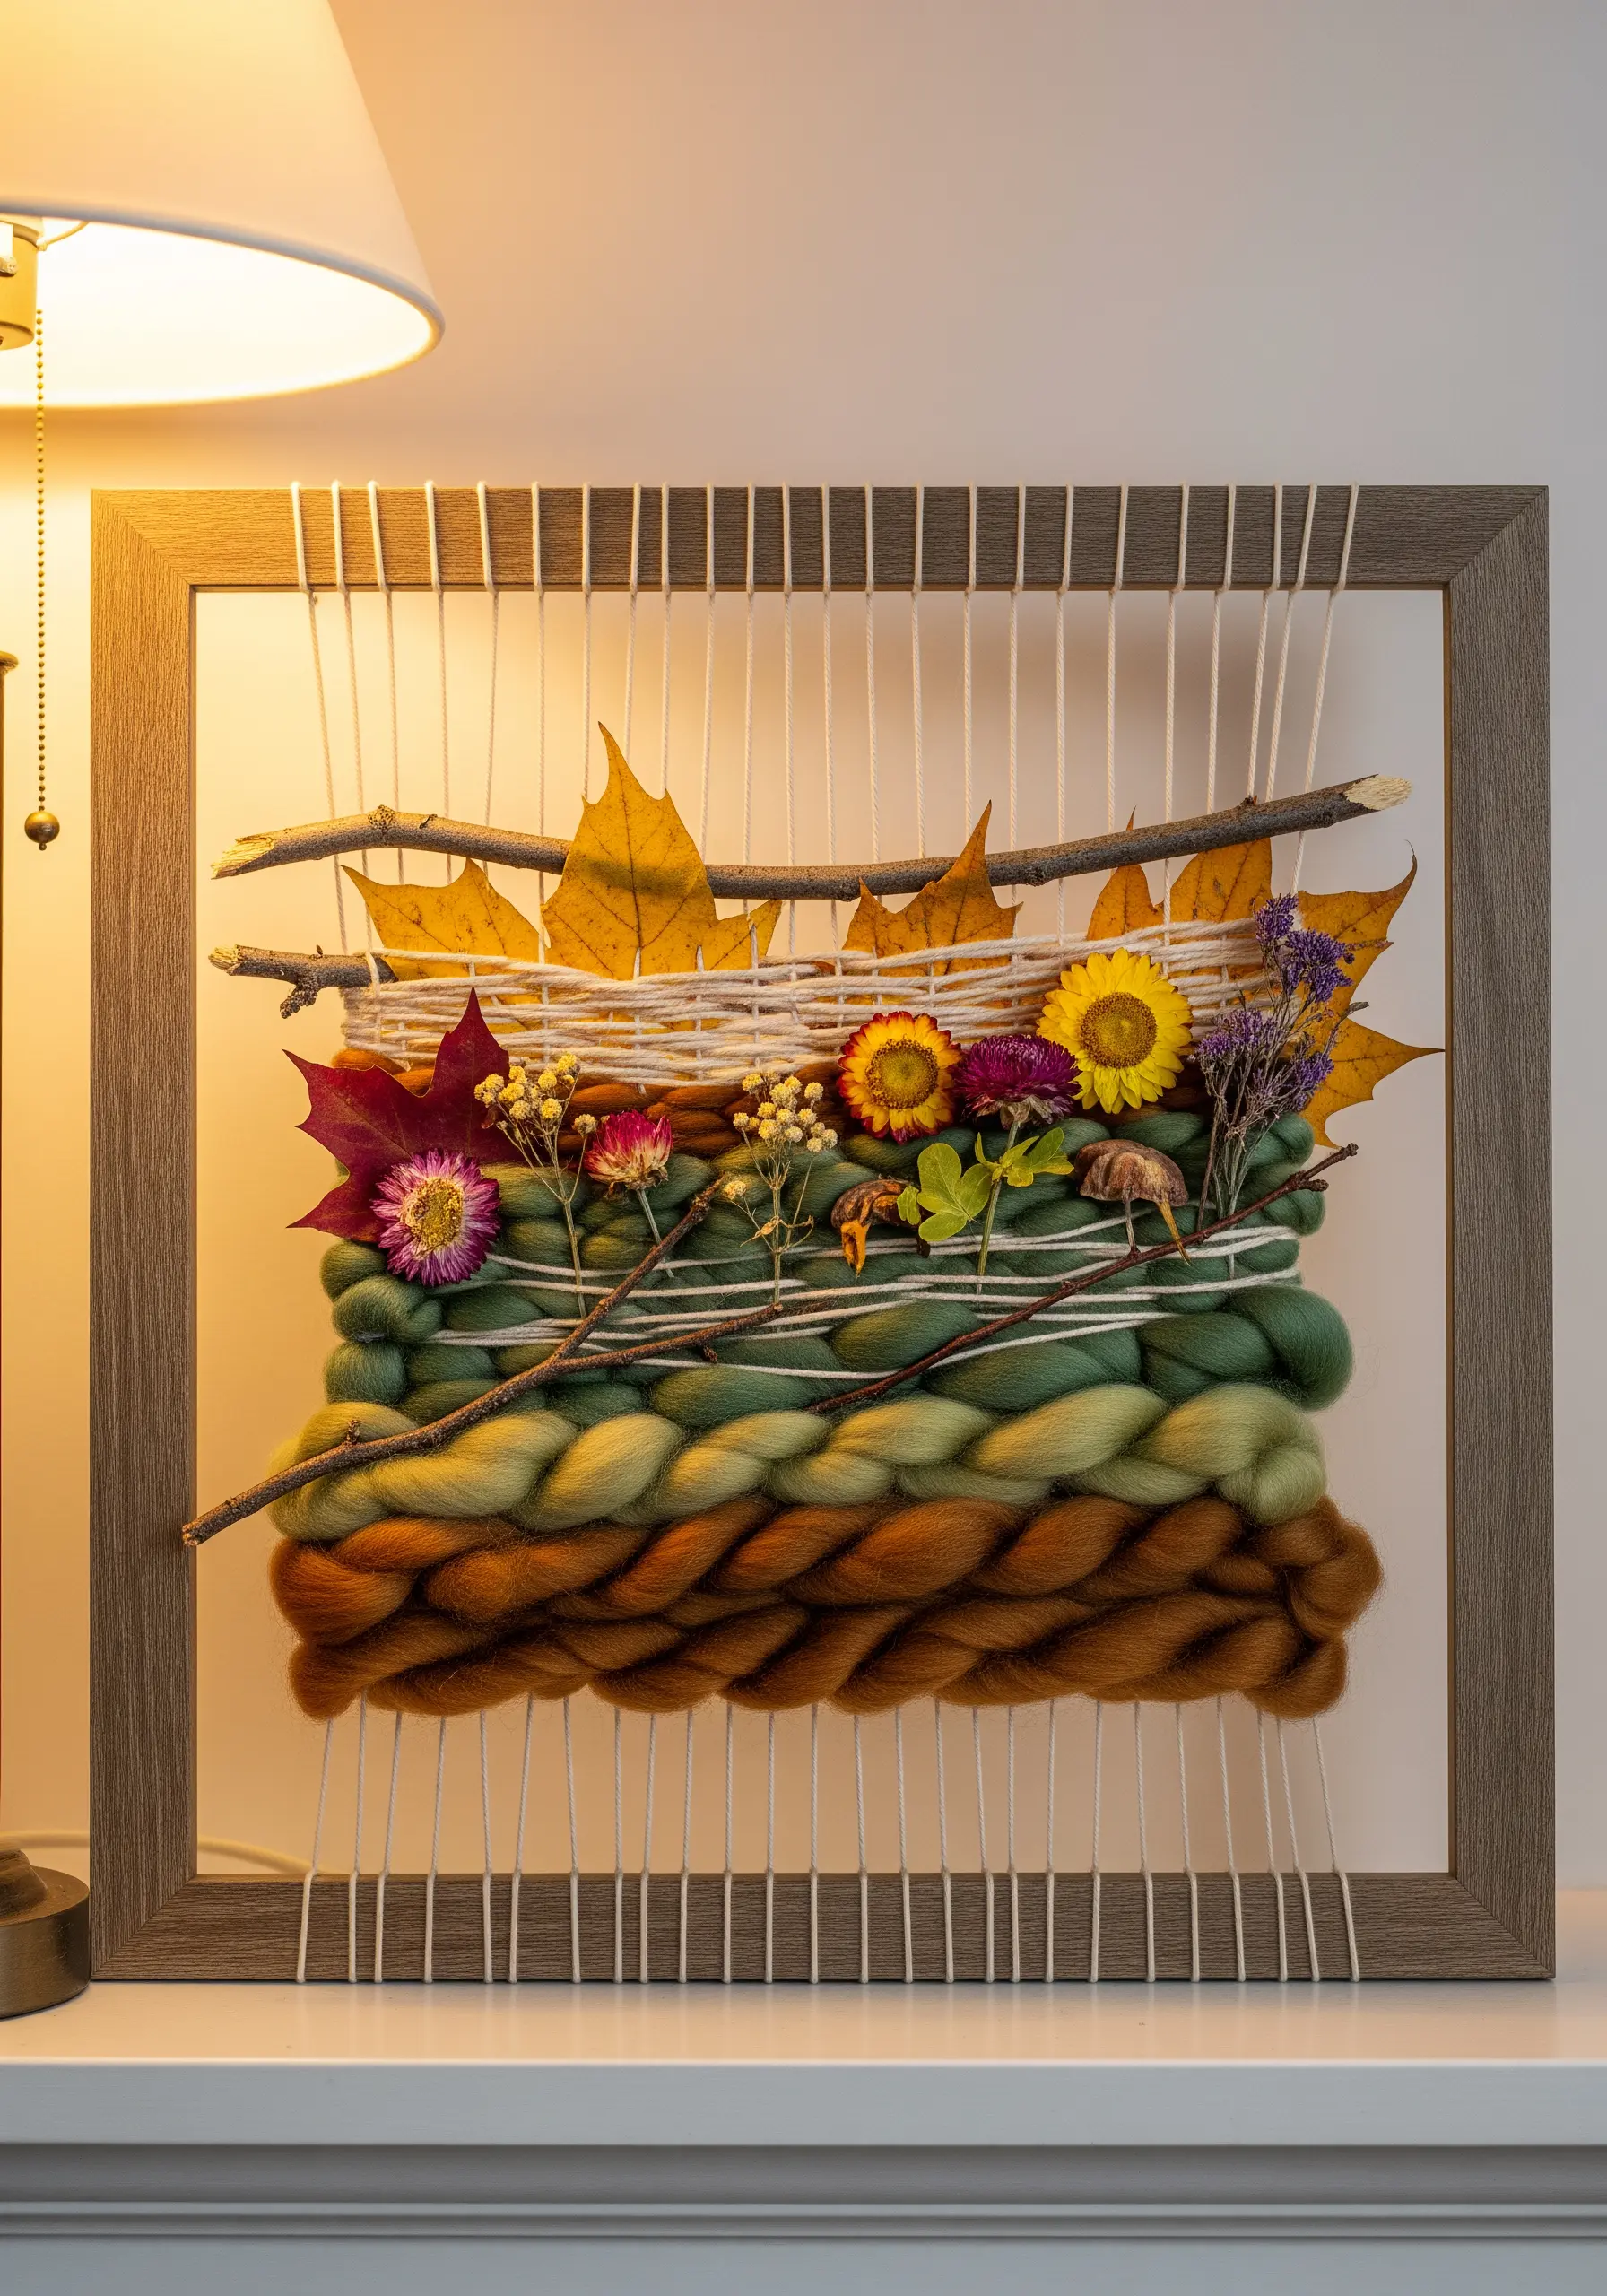
Transform an empty picture frame into a simple loom by wrapping cotton warp thread vertically around it.
Start by weaving a stable base with chunky wool roving, then guide your child in tucking natural elements like leaves, dried flowers, and twigs through the threads.
This project is entirely about texture and composition, teaching how to balance thick yarns with delicate botanicals for a harmonious look.
7. Create Patchwork Bookmarks with Visible Mending
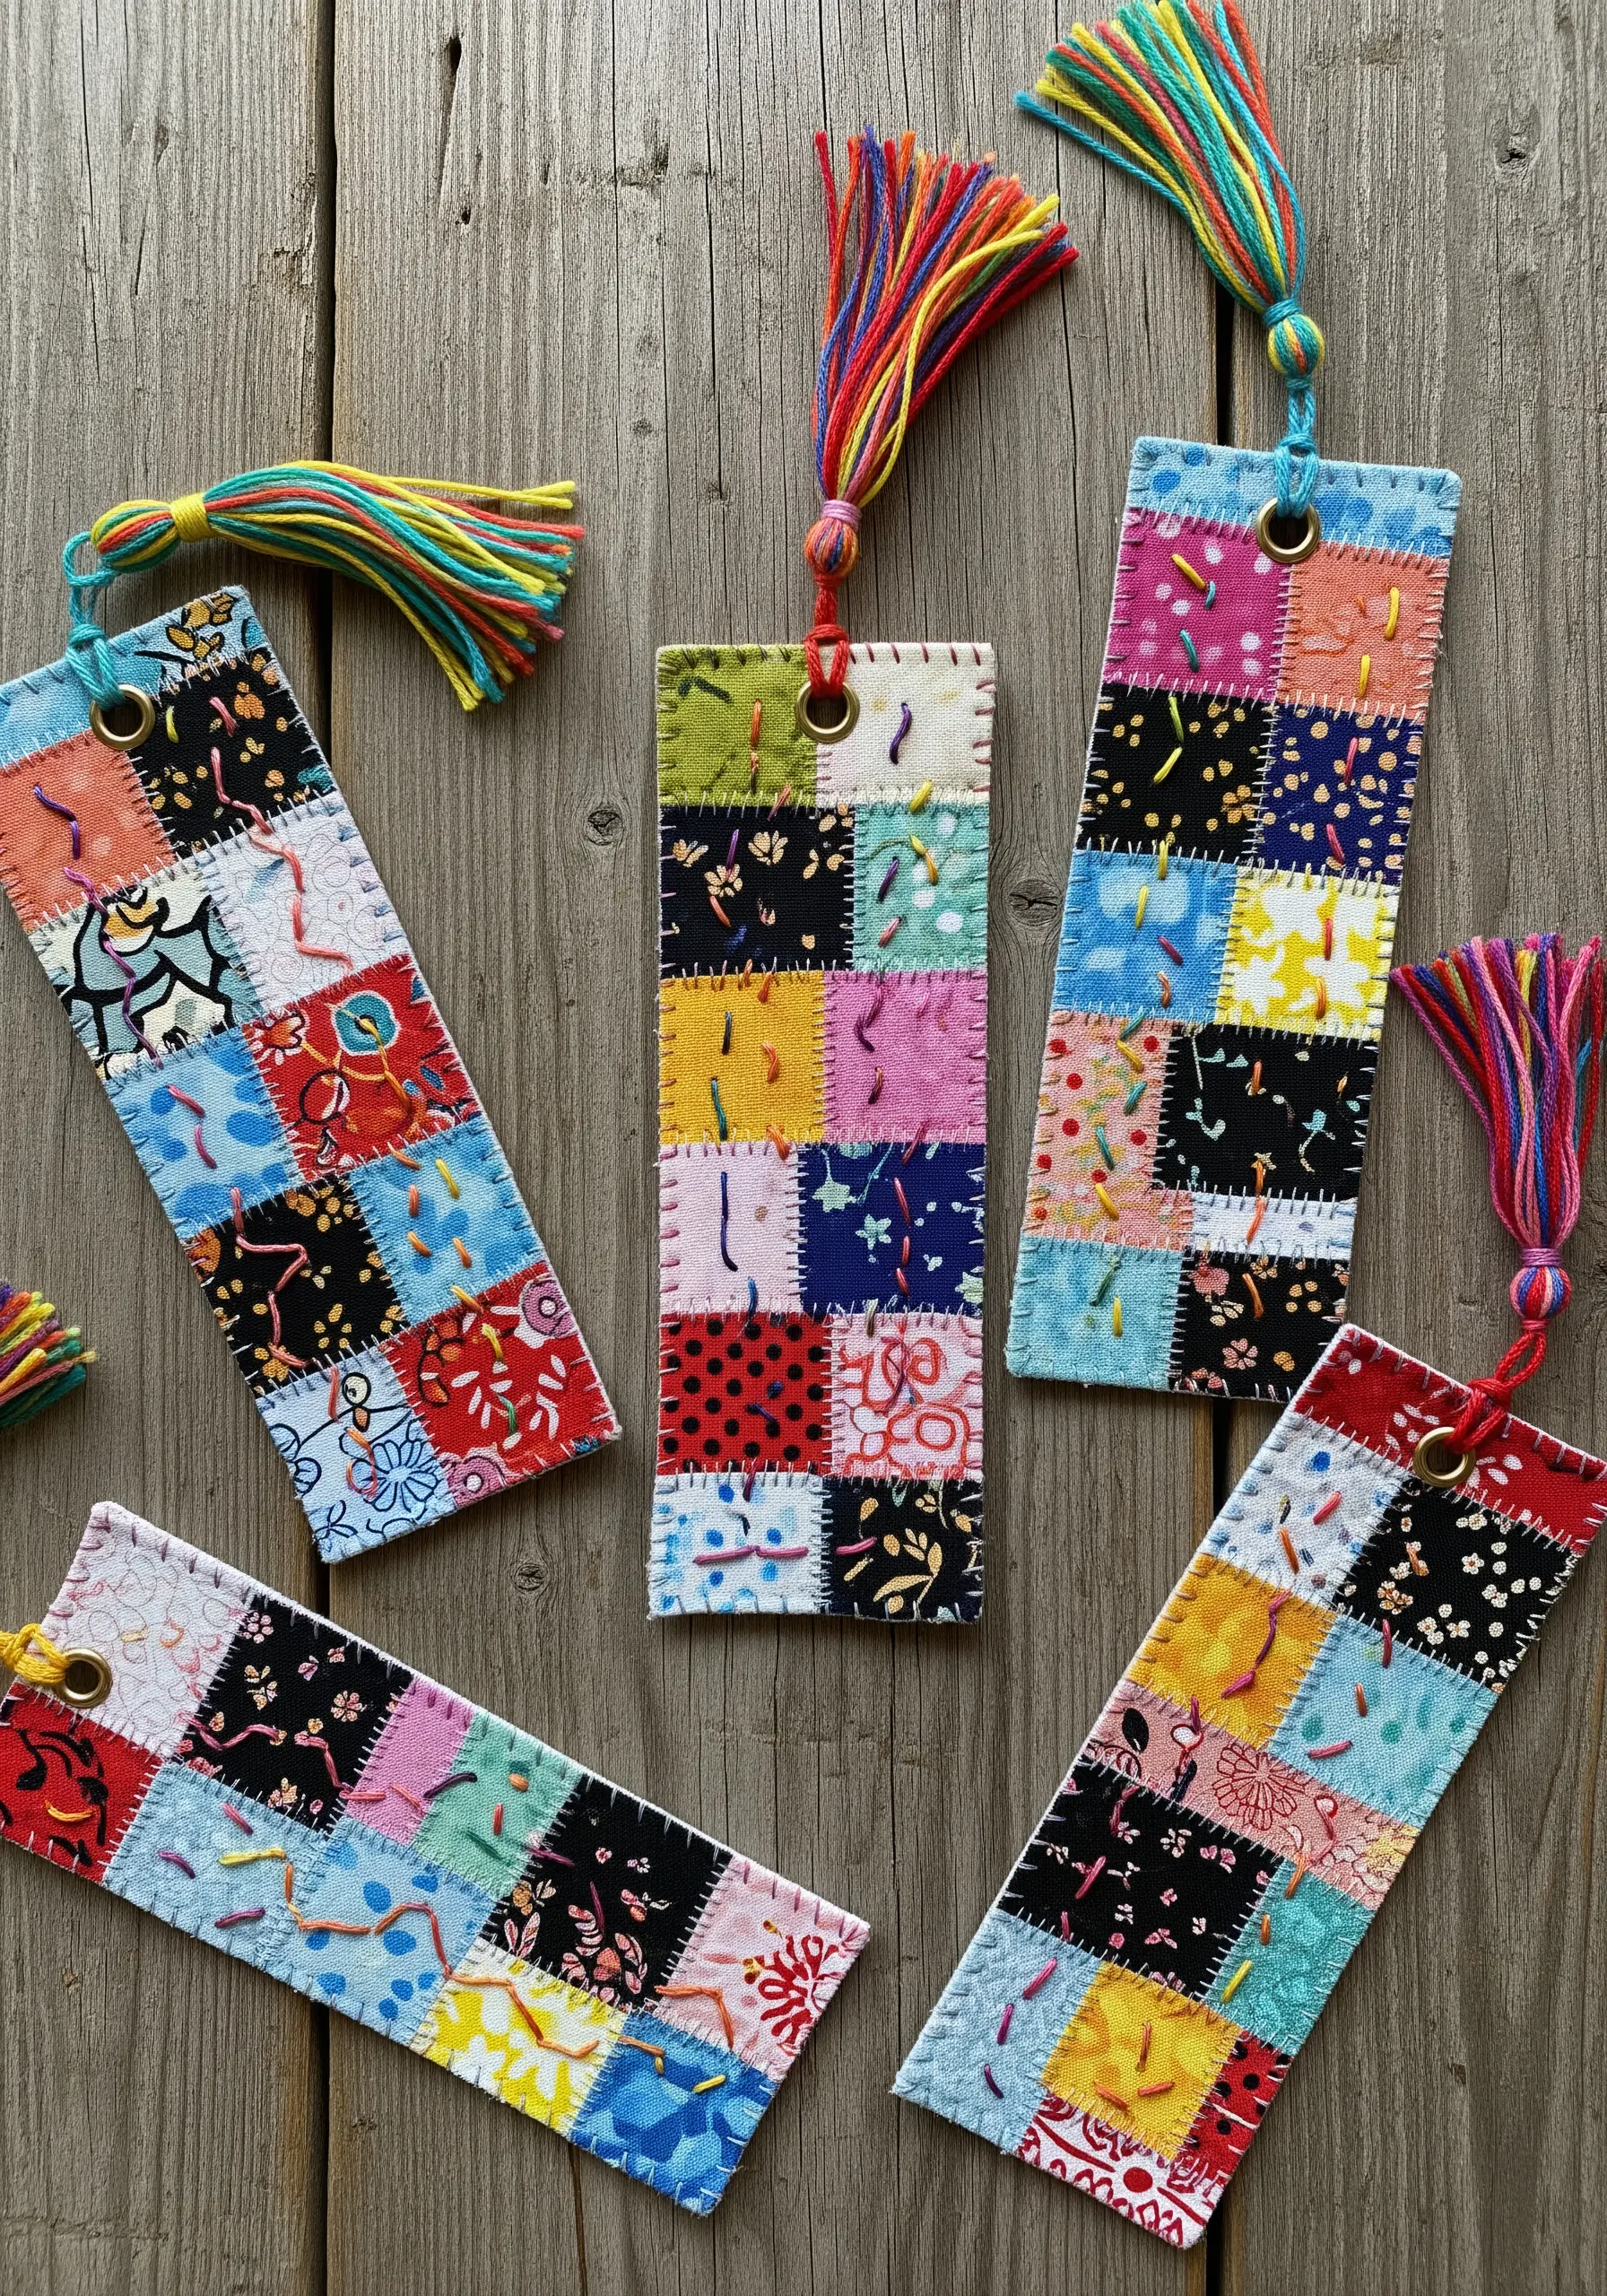
This project beautifully utilizes fabric scraps and introduces the concept of visible mending as a design choice.
Arrange small fabric squares on a felt base and secure them with a simple, straight running stitch using a contrasting embroidery floss.
Encourage irregular stitch lengths and patterns—it adds personality and echoes traditional Sashiko stitching. These handmade collage projects are a perfect way to use up every last scrap.
8. Construct a Play Kitchen with Felt Food
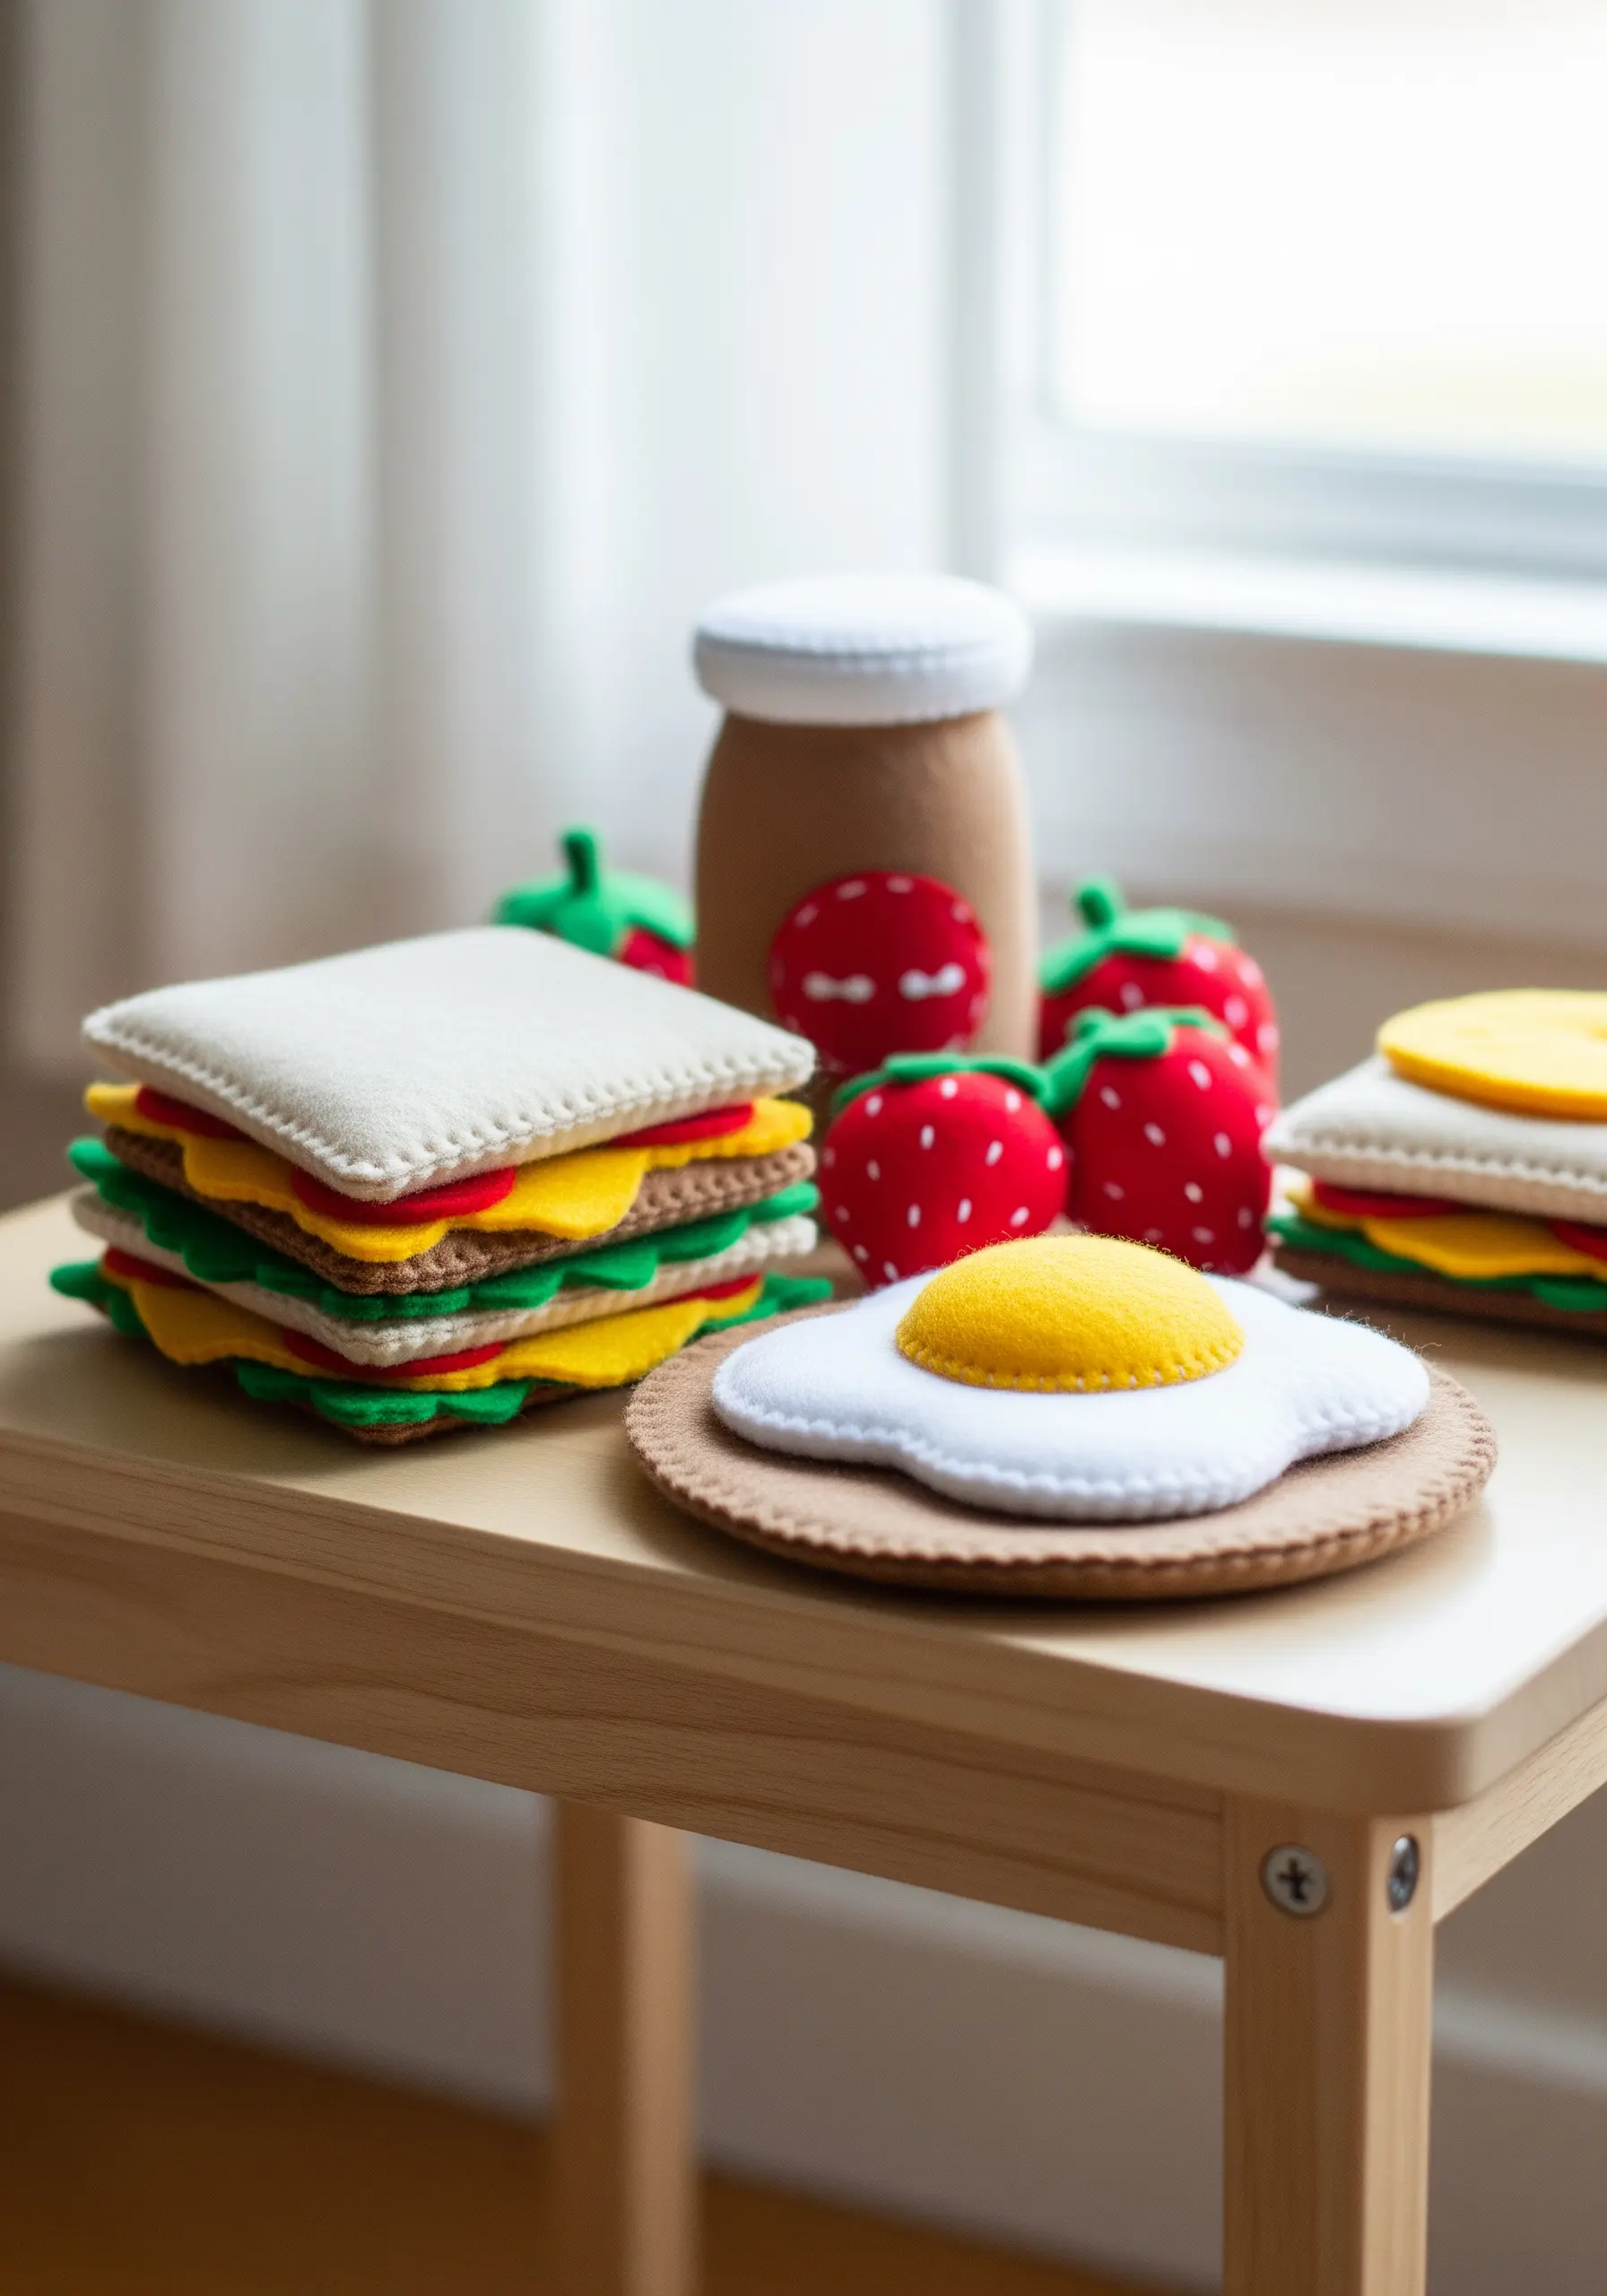
Elevate simple felt food shapes with thoughtful stitching details that suggest texture and dimension.
Use a slightly darker thread to add a topstitch around the edge of the ‘cheese’ or ‘bread’ for definition.
Create strawberry seeds with tiny, scattered seed stitches or French knots in a contrasting color. These small touches make the pieces more realistic and engaging.
9. Embroider a Starry Night Constellation Hoop
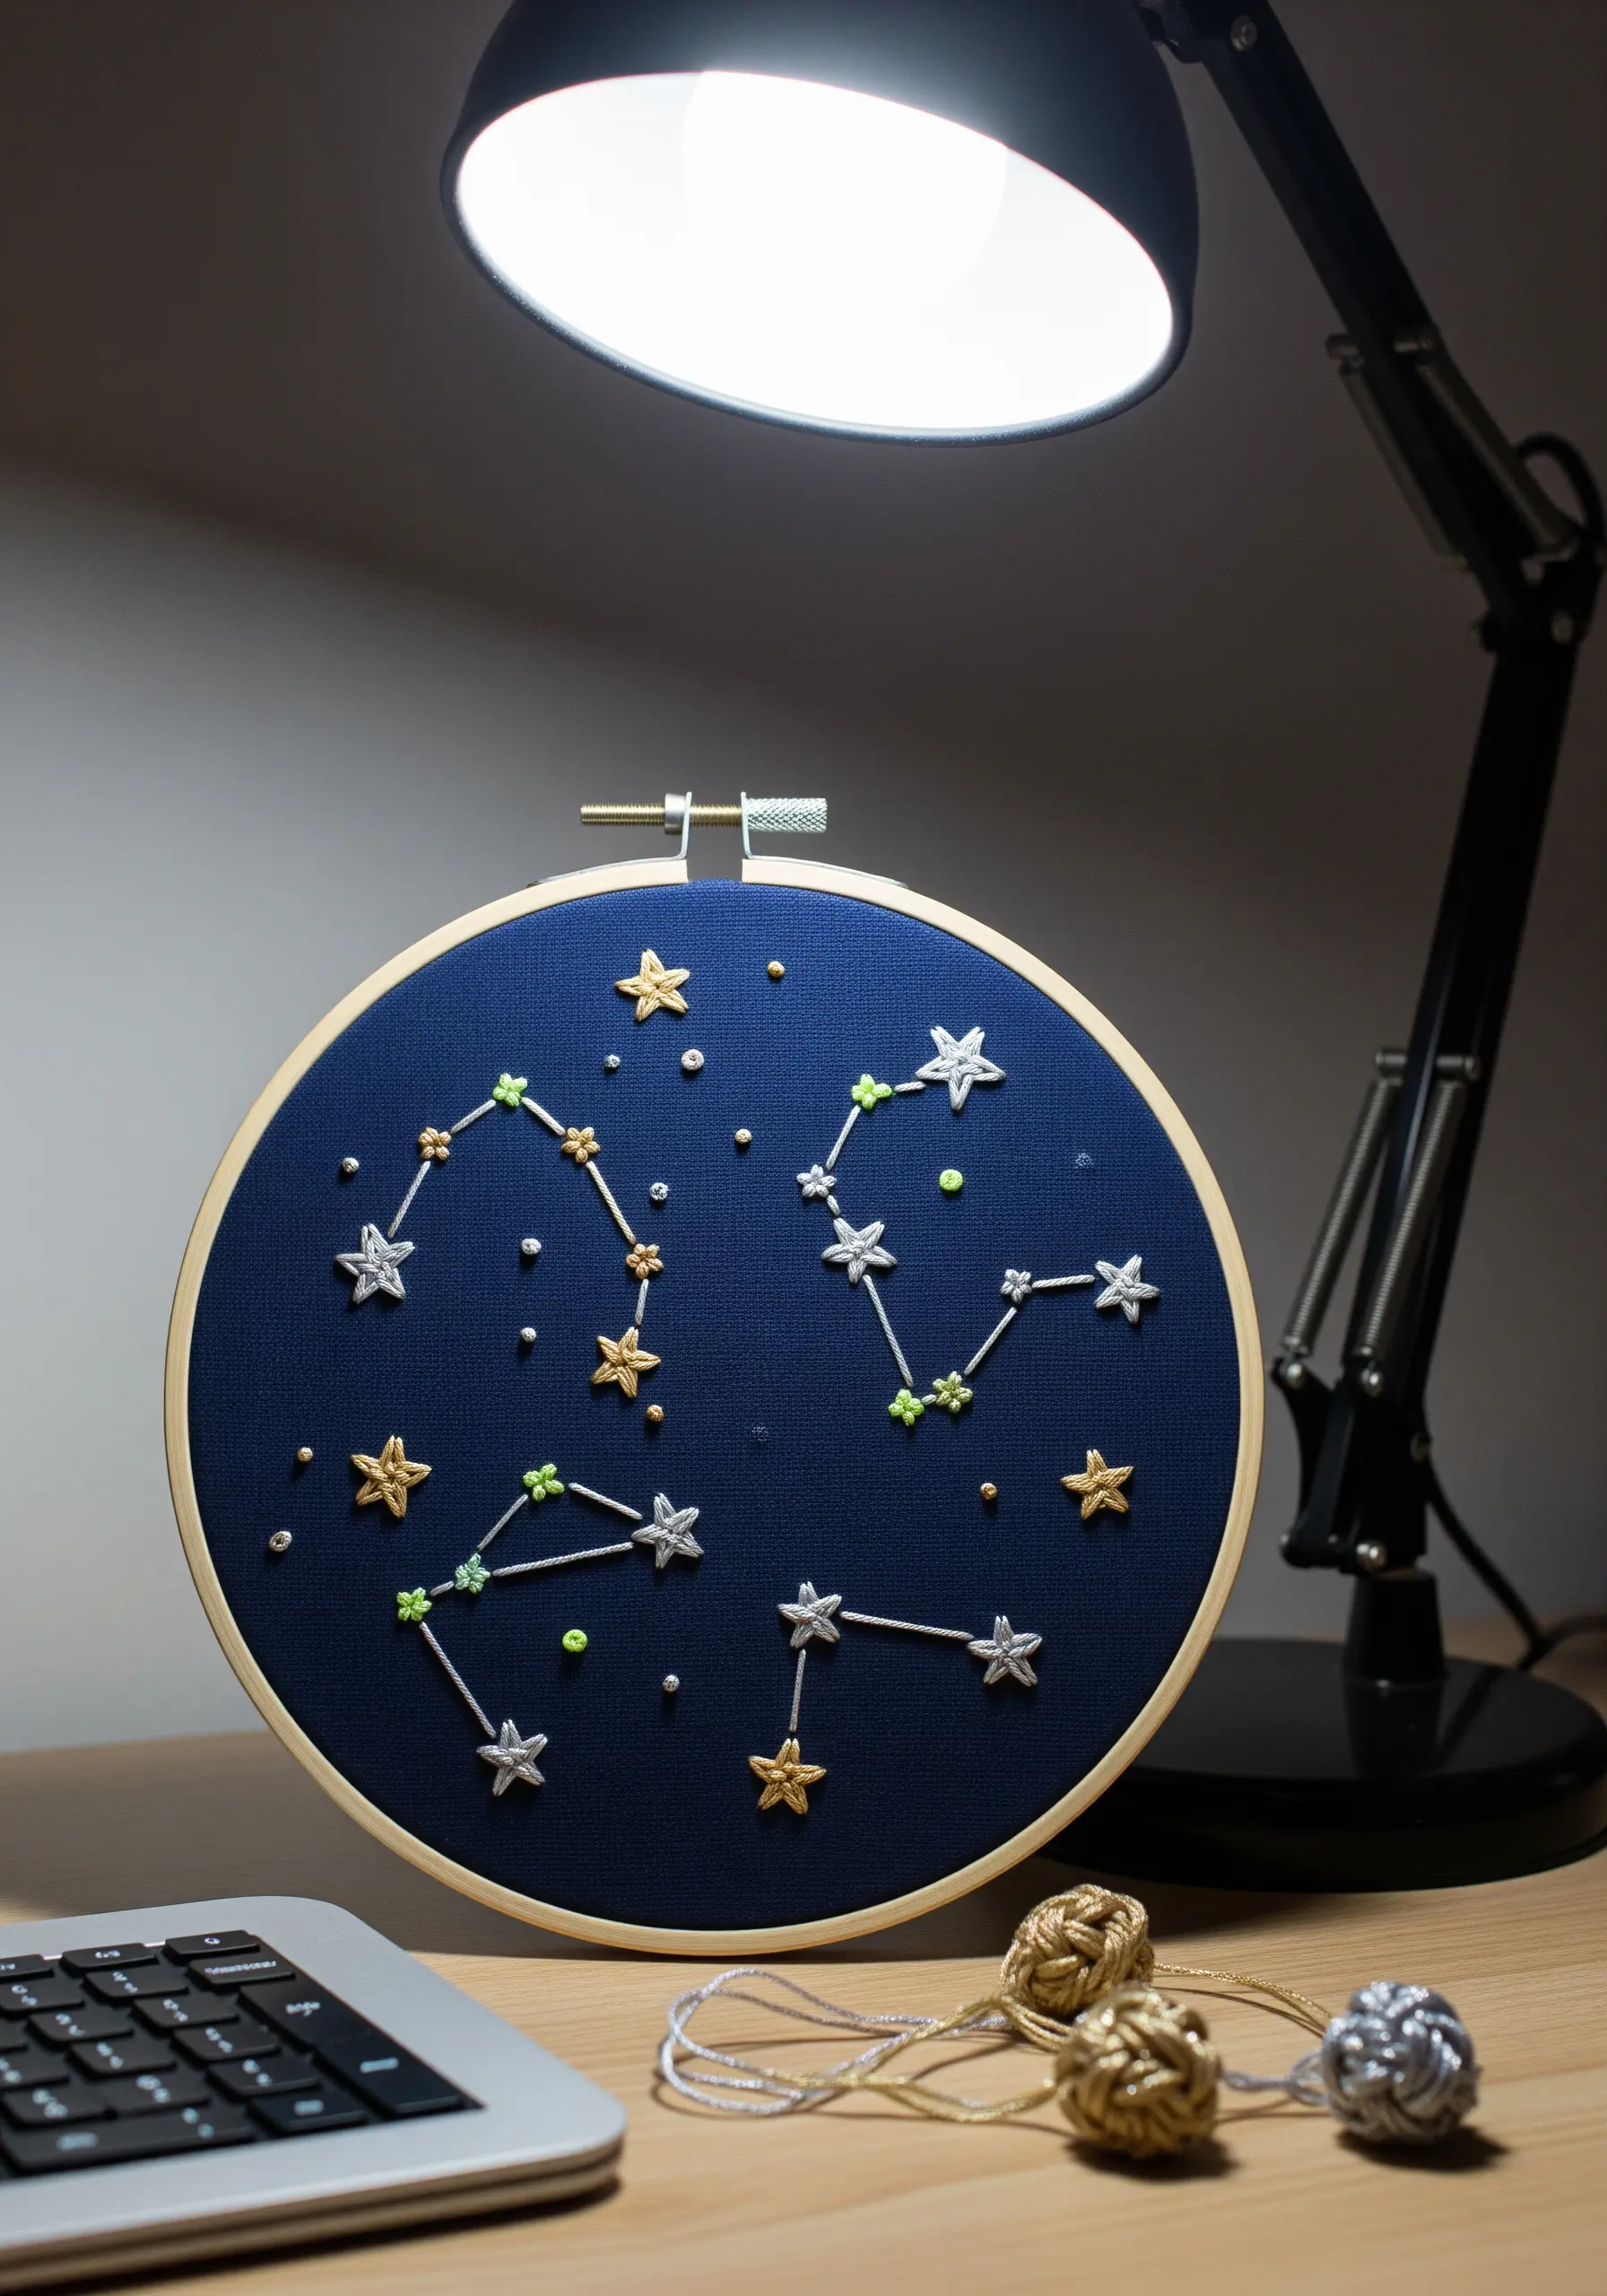
Choose a dark navy or black cotton fabric to create a dramatic background that makes your stitches pop.
Use metallic or glow-in-the-dark embroidery floss for the stars, stitching them with a simple star stitch or filling them in with satin stitch for a bolder effect.
Connect the stars with a clean, thin backstitch. Add scattered French knots to represent distant galaxies, creating depth in your composition. Such celestial micro-embroidery ideas turn a simple hoop into a magical display.
10. Craft Nostalgic and Expressive Sock Dolls
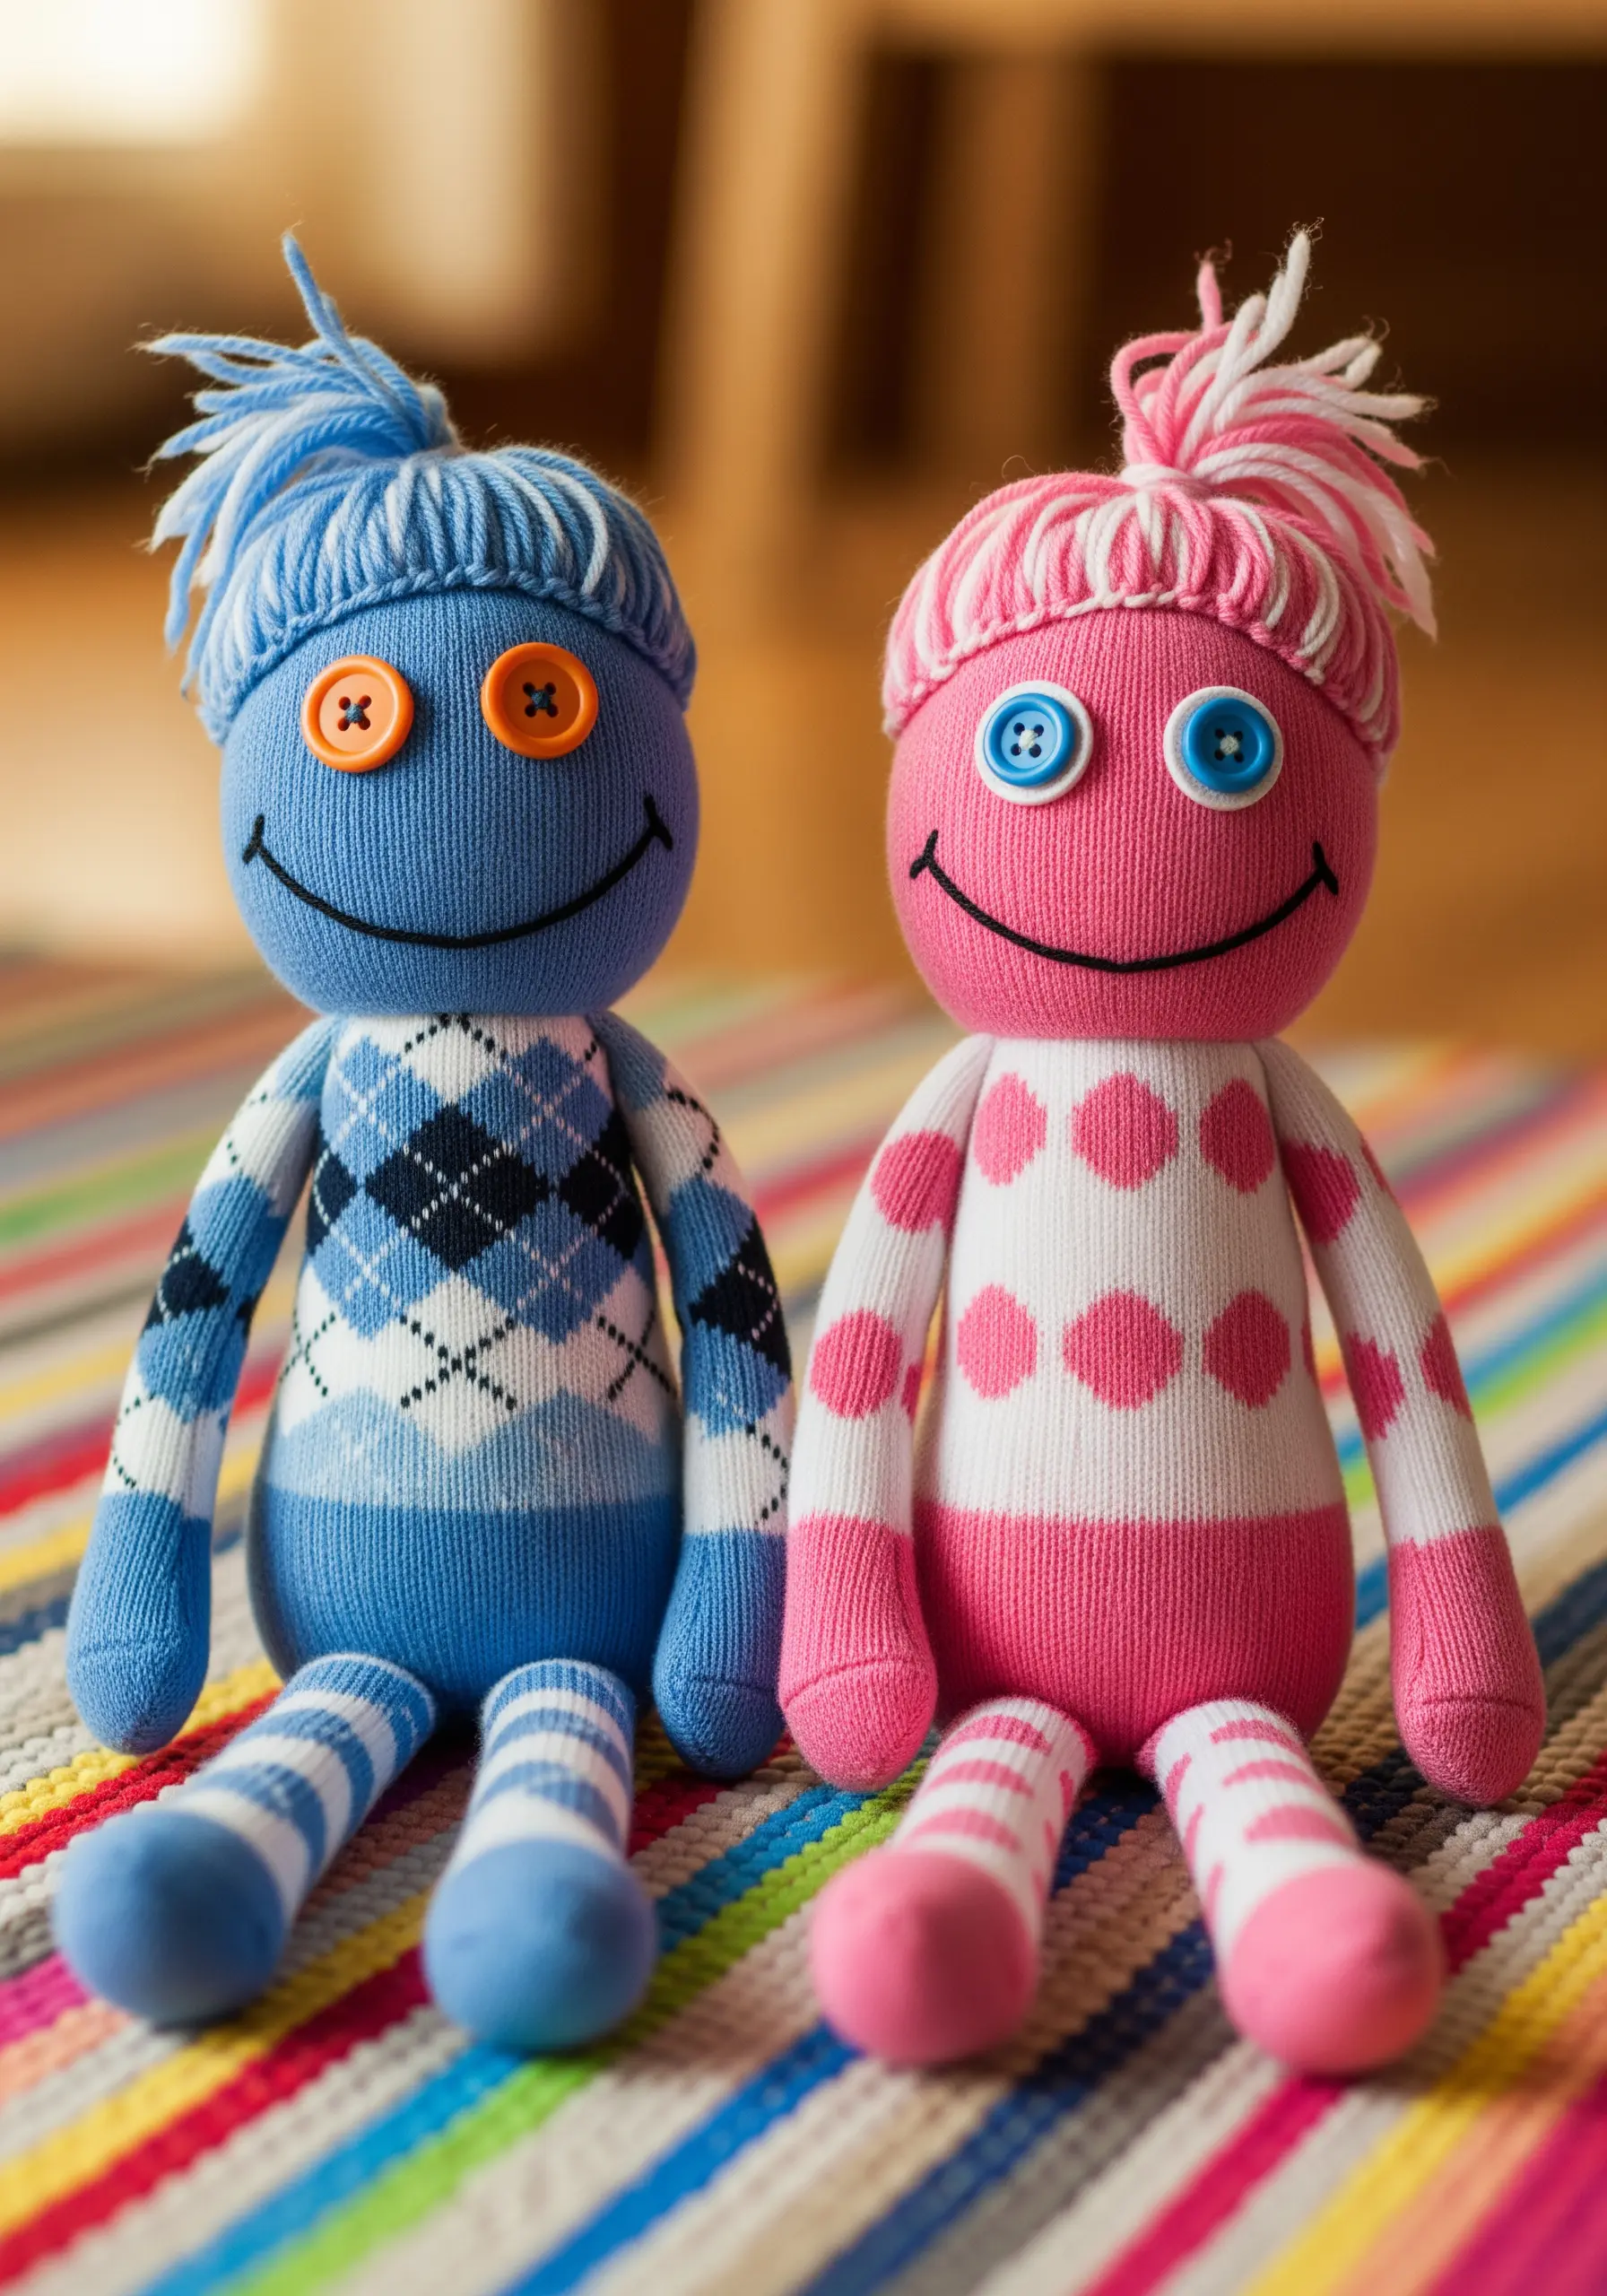
This classic craft is all about giving personality to a simple form through finishing touches.
Securely stitch on button eyes using a crisscross pattern for a classic look. For the mouth, use a stem stitch instead of a backstitch—it creates a smoother, more defined curve for the smile.
A small bundle of yarn tied tightly in the middle and stitched to the head creates wonderfully playful hair.
11. Weave Meditative ‘Ojo de Dios’ Ornaments
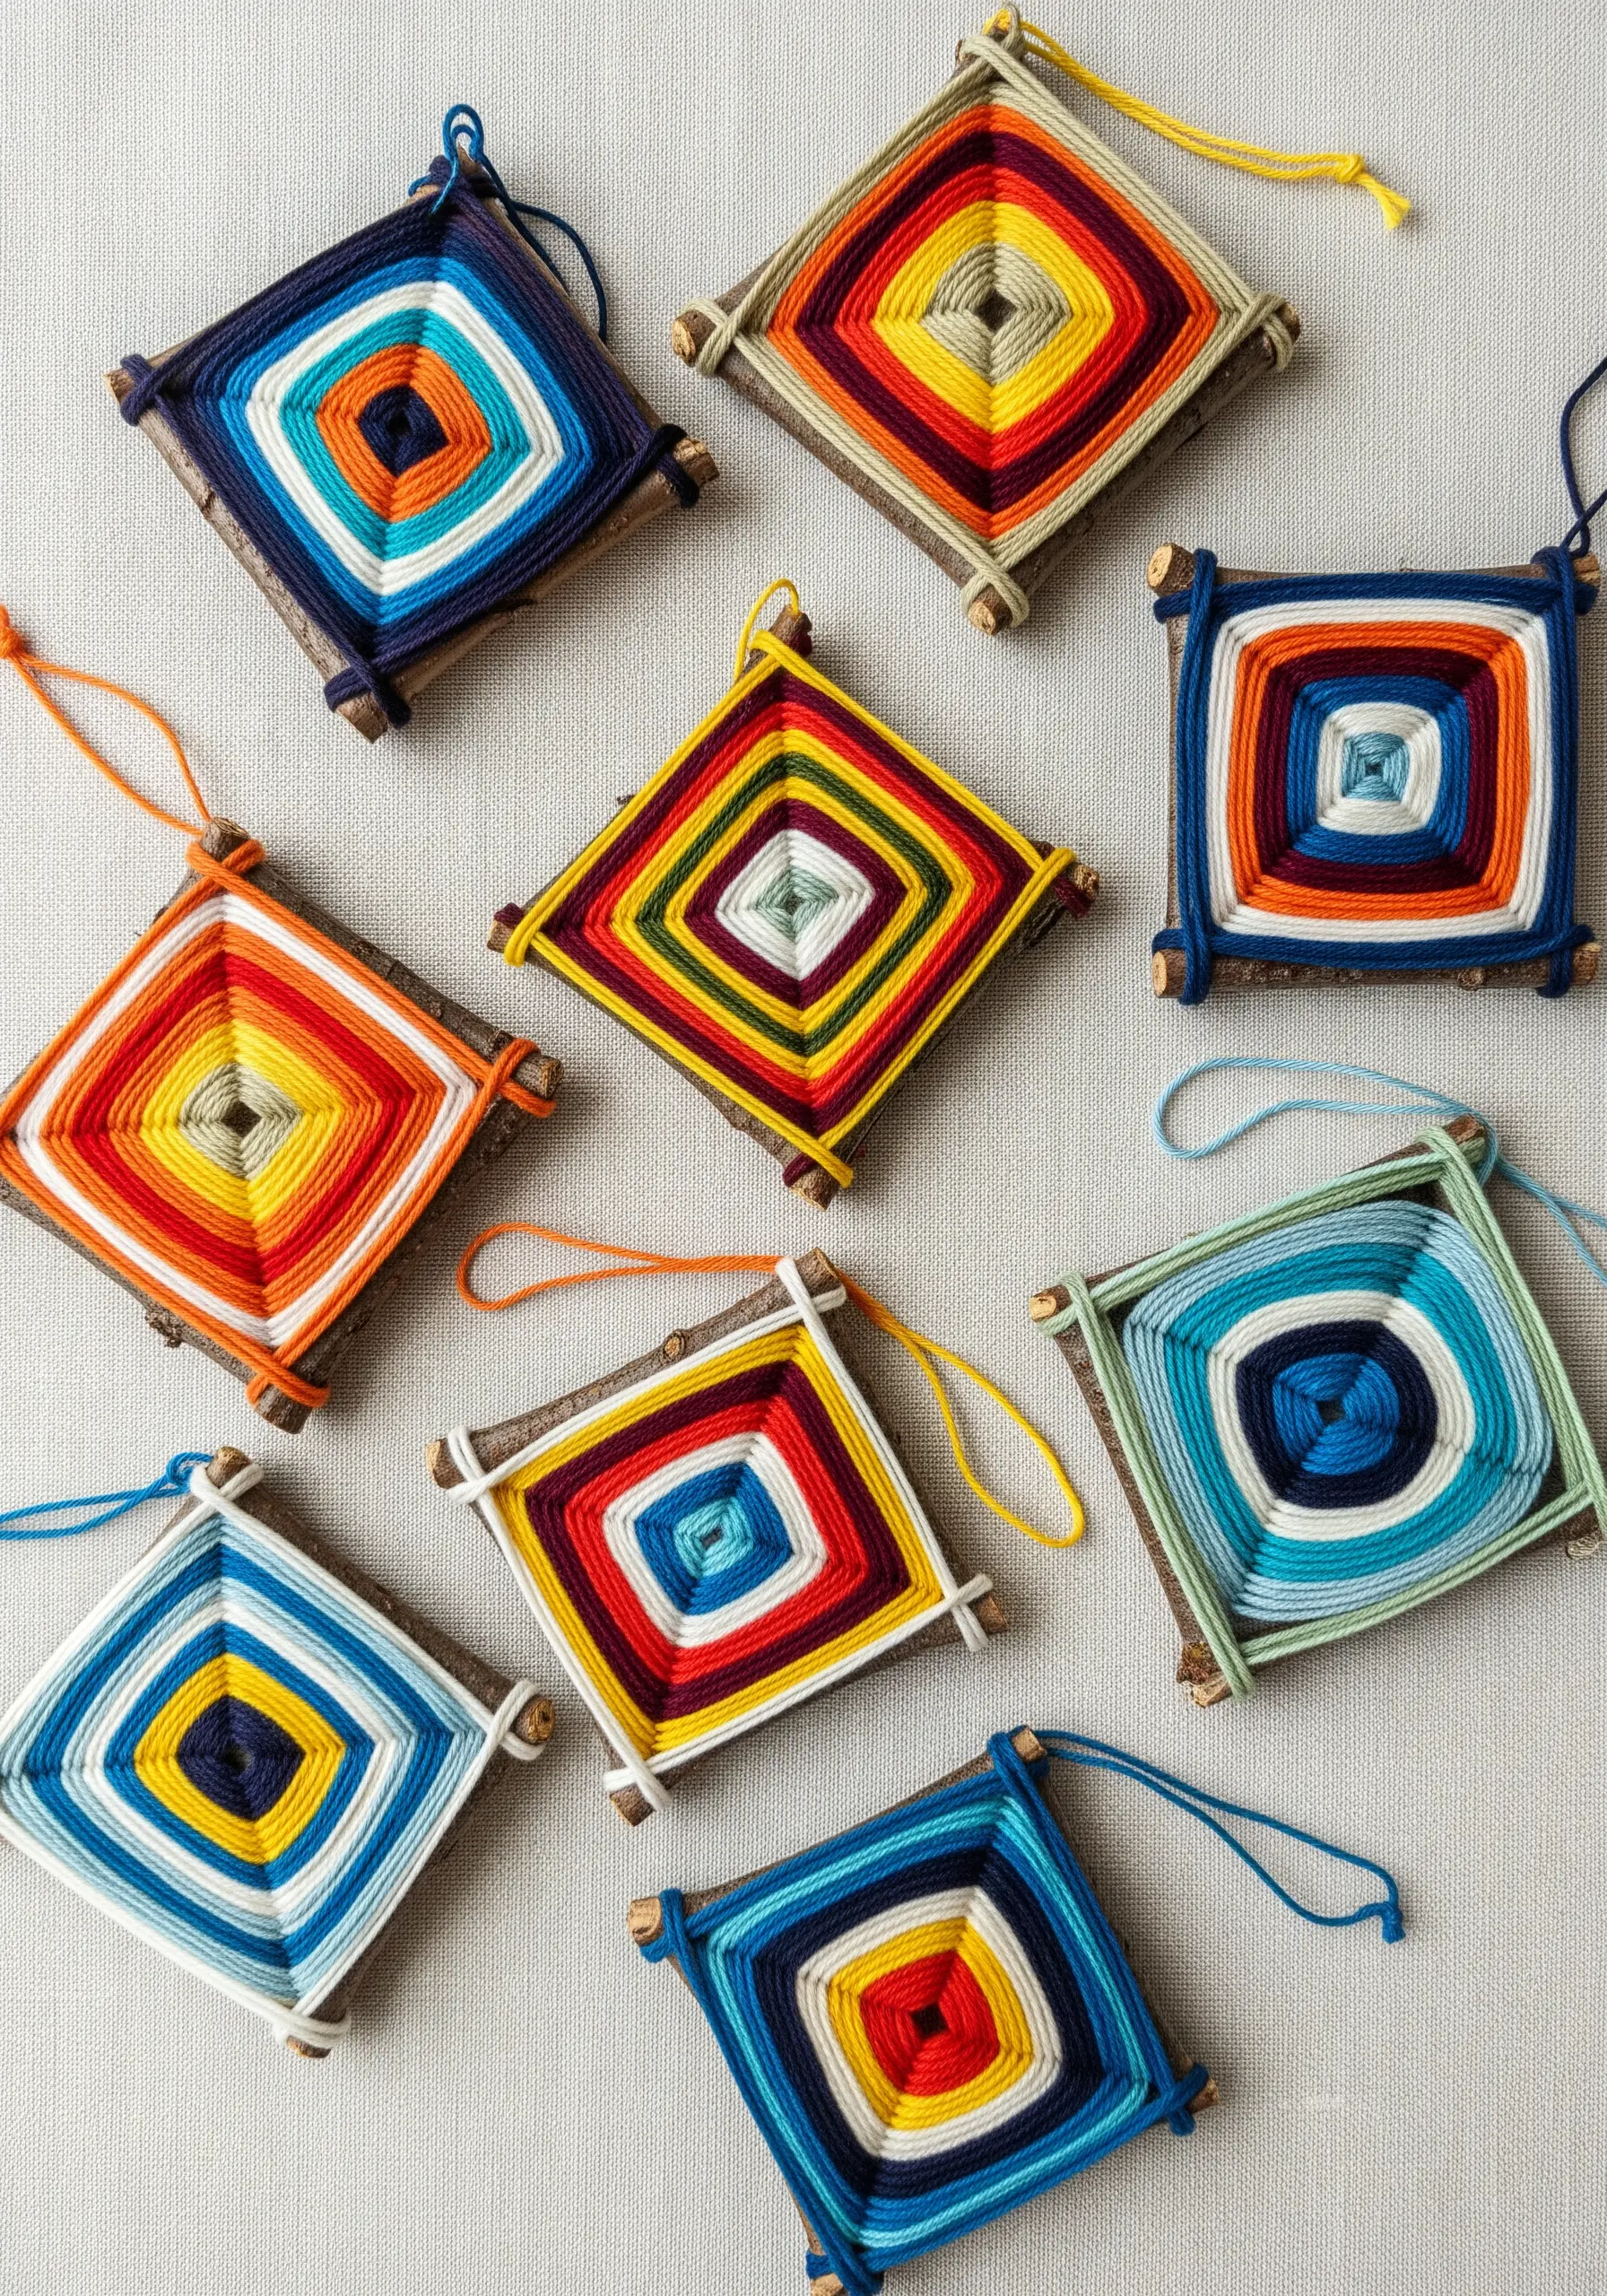
This craft is a wonderful exercise in color theory and tension control.
Start by crossing two sticks to form a stable base. The magic happens in the wrapping: loop the yarn over one stick, then across to the next, repeating in a consistent pattern.
Maintaining even tension is what creates the crisp diamond shape. Encourage kids to switch colors every few rows to create vibrant, concentric patterns.
12. Embellish a Block-Printed Tote Bag
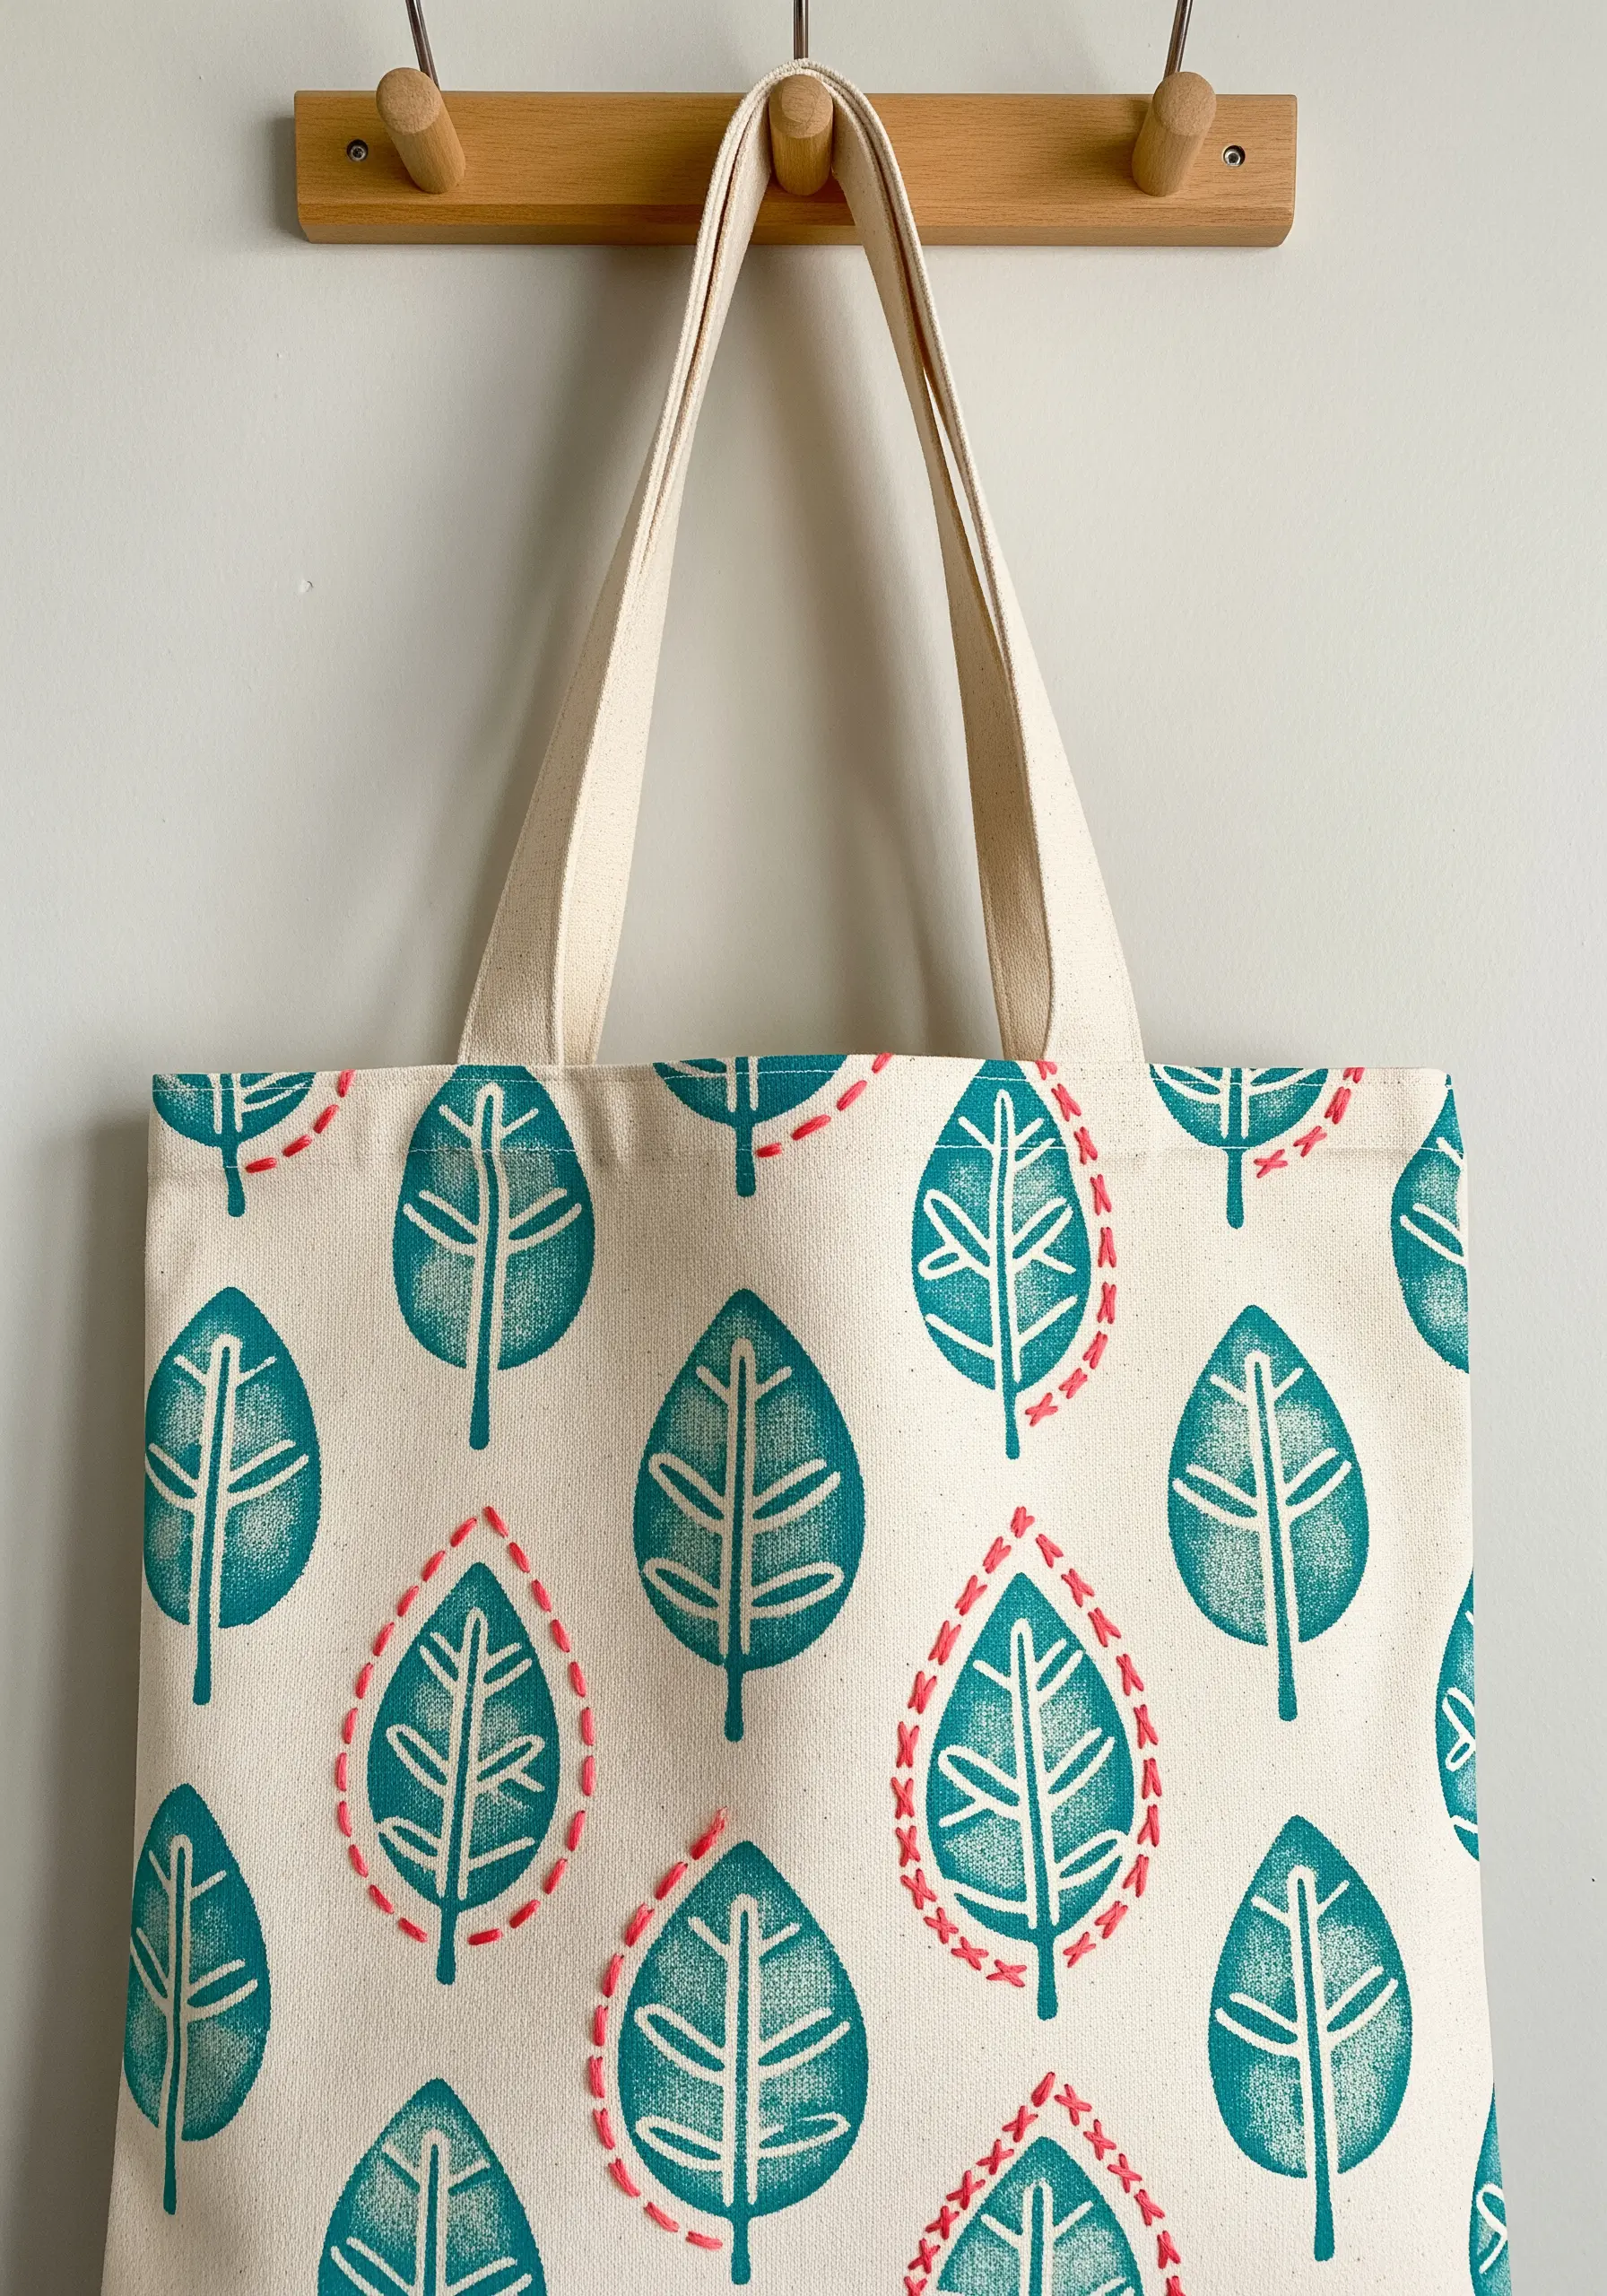
Combine two mediums by adding embroidery to a simple block print design. It adds a layer of texture that elevates the entire piece.
Once the fabric paint is dry, use a contrasting color of embroidery floss to outline one or two of the printed motifs with a simple running stitch.
This technique draws the eye, adds a tactile quality, and makes the design feel intentional and complete. You can find many line art embroidery patterns that turn plain tote bags into custom art.
13. Customize a Denim Bag with Appliqué
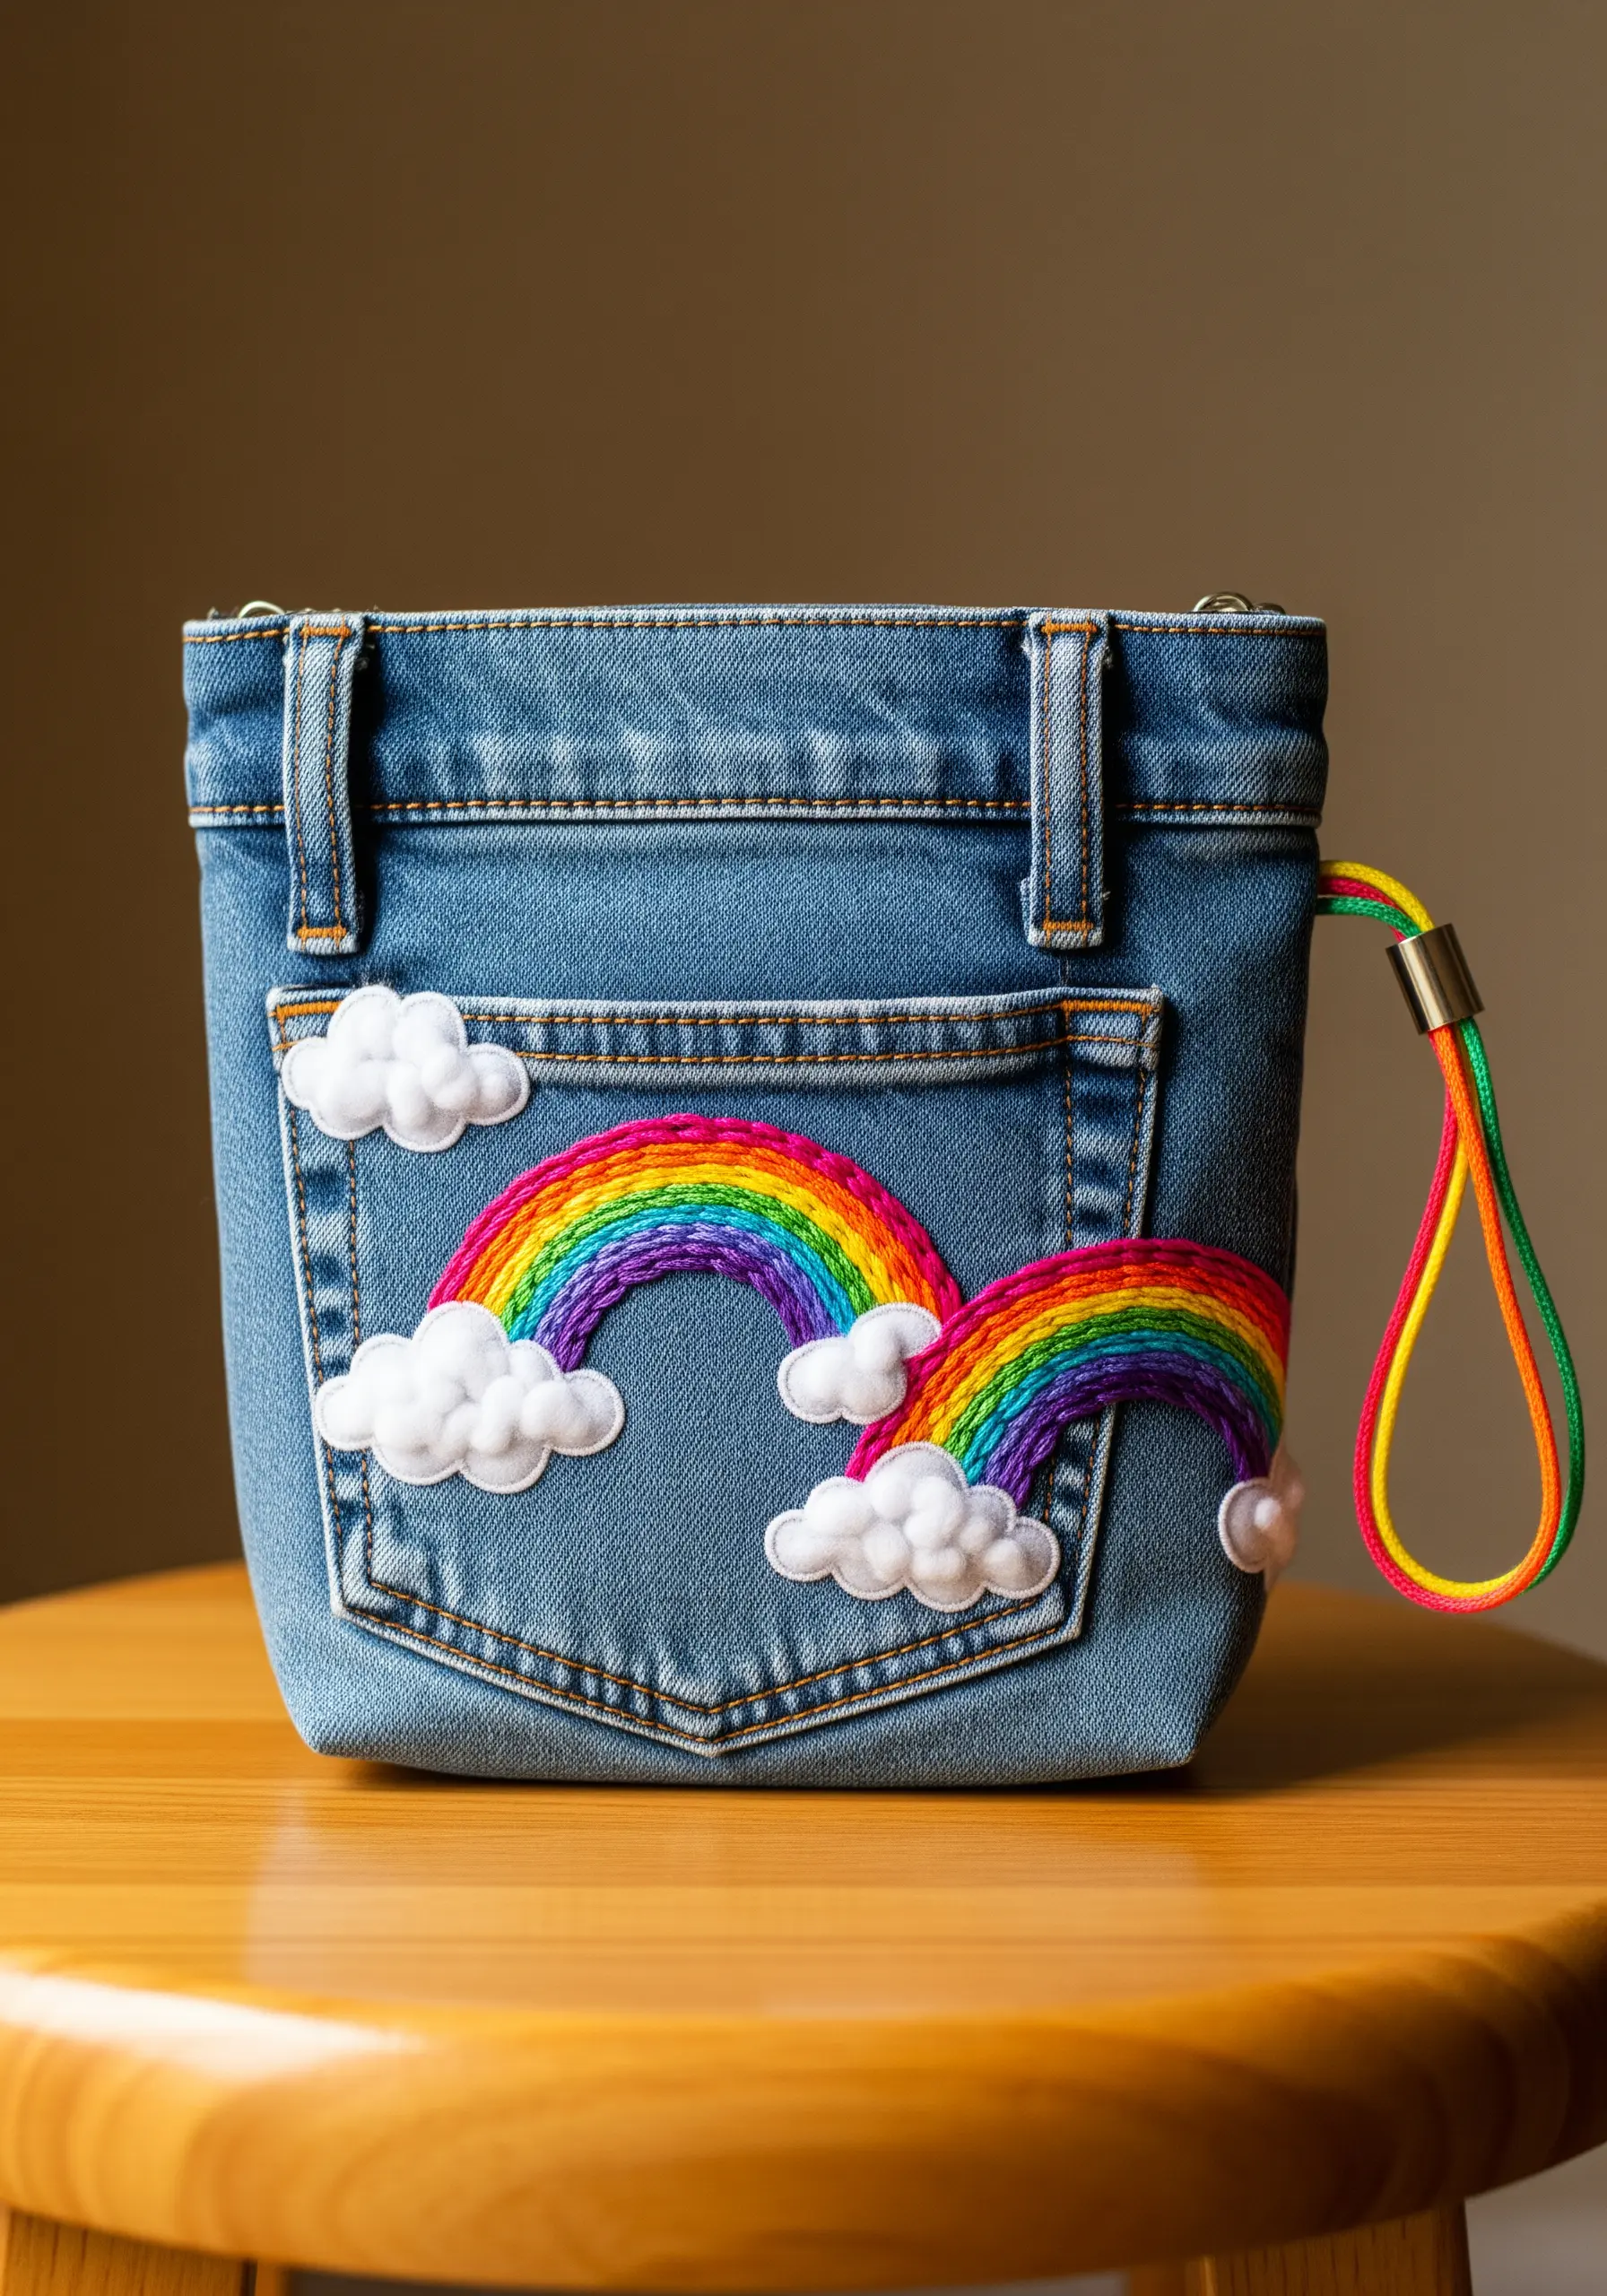
Attaching patches to sturdy denim requires a durable stitch that also looks clean.
Use a whipstitch or a blanket stitch around the entire edge of the patch. This secures it firmly and prevents the edges from curling or snagging over time.
Use a thimble to help push the needle through the thick denim fabric, making the process easier and safer for small hands.
14. Build Yarn-Wrapped Cardboard Castles
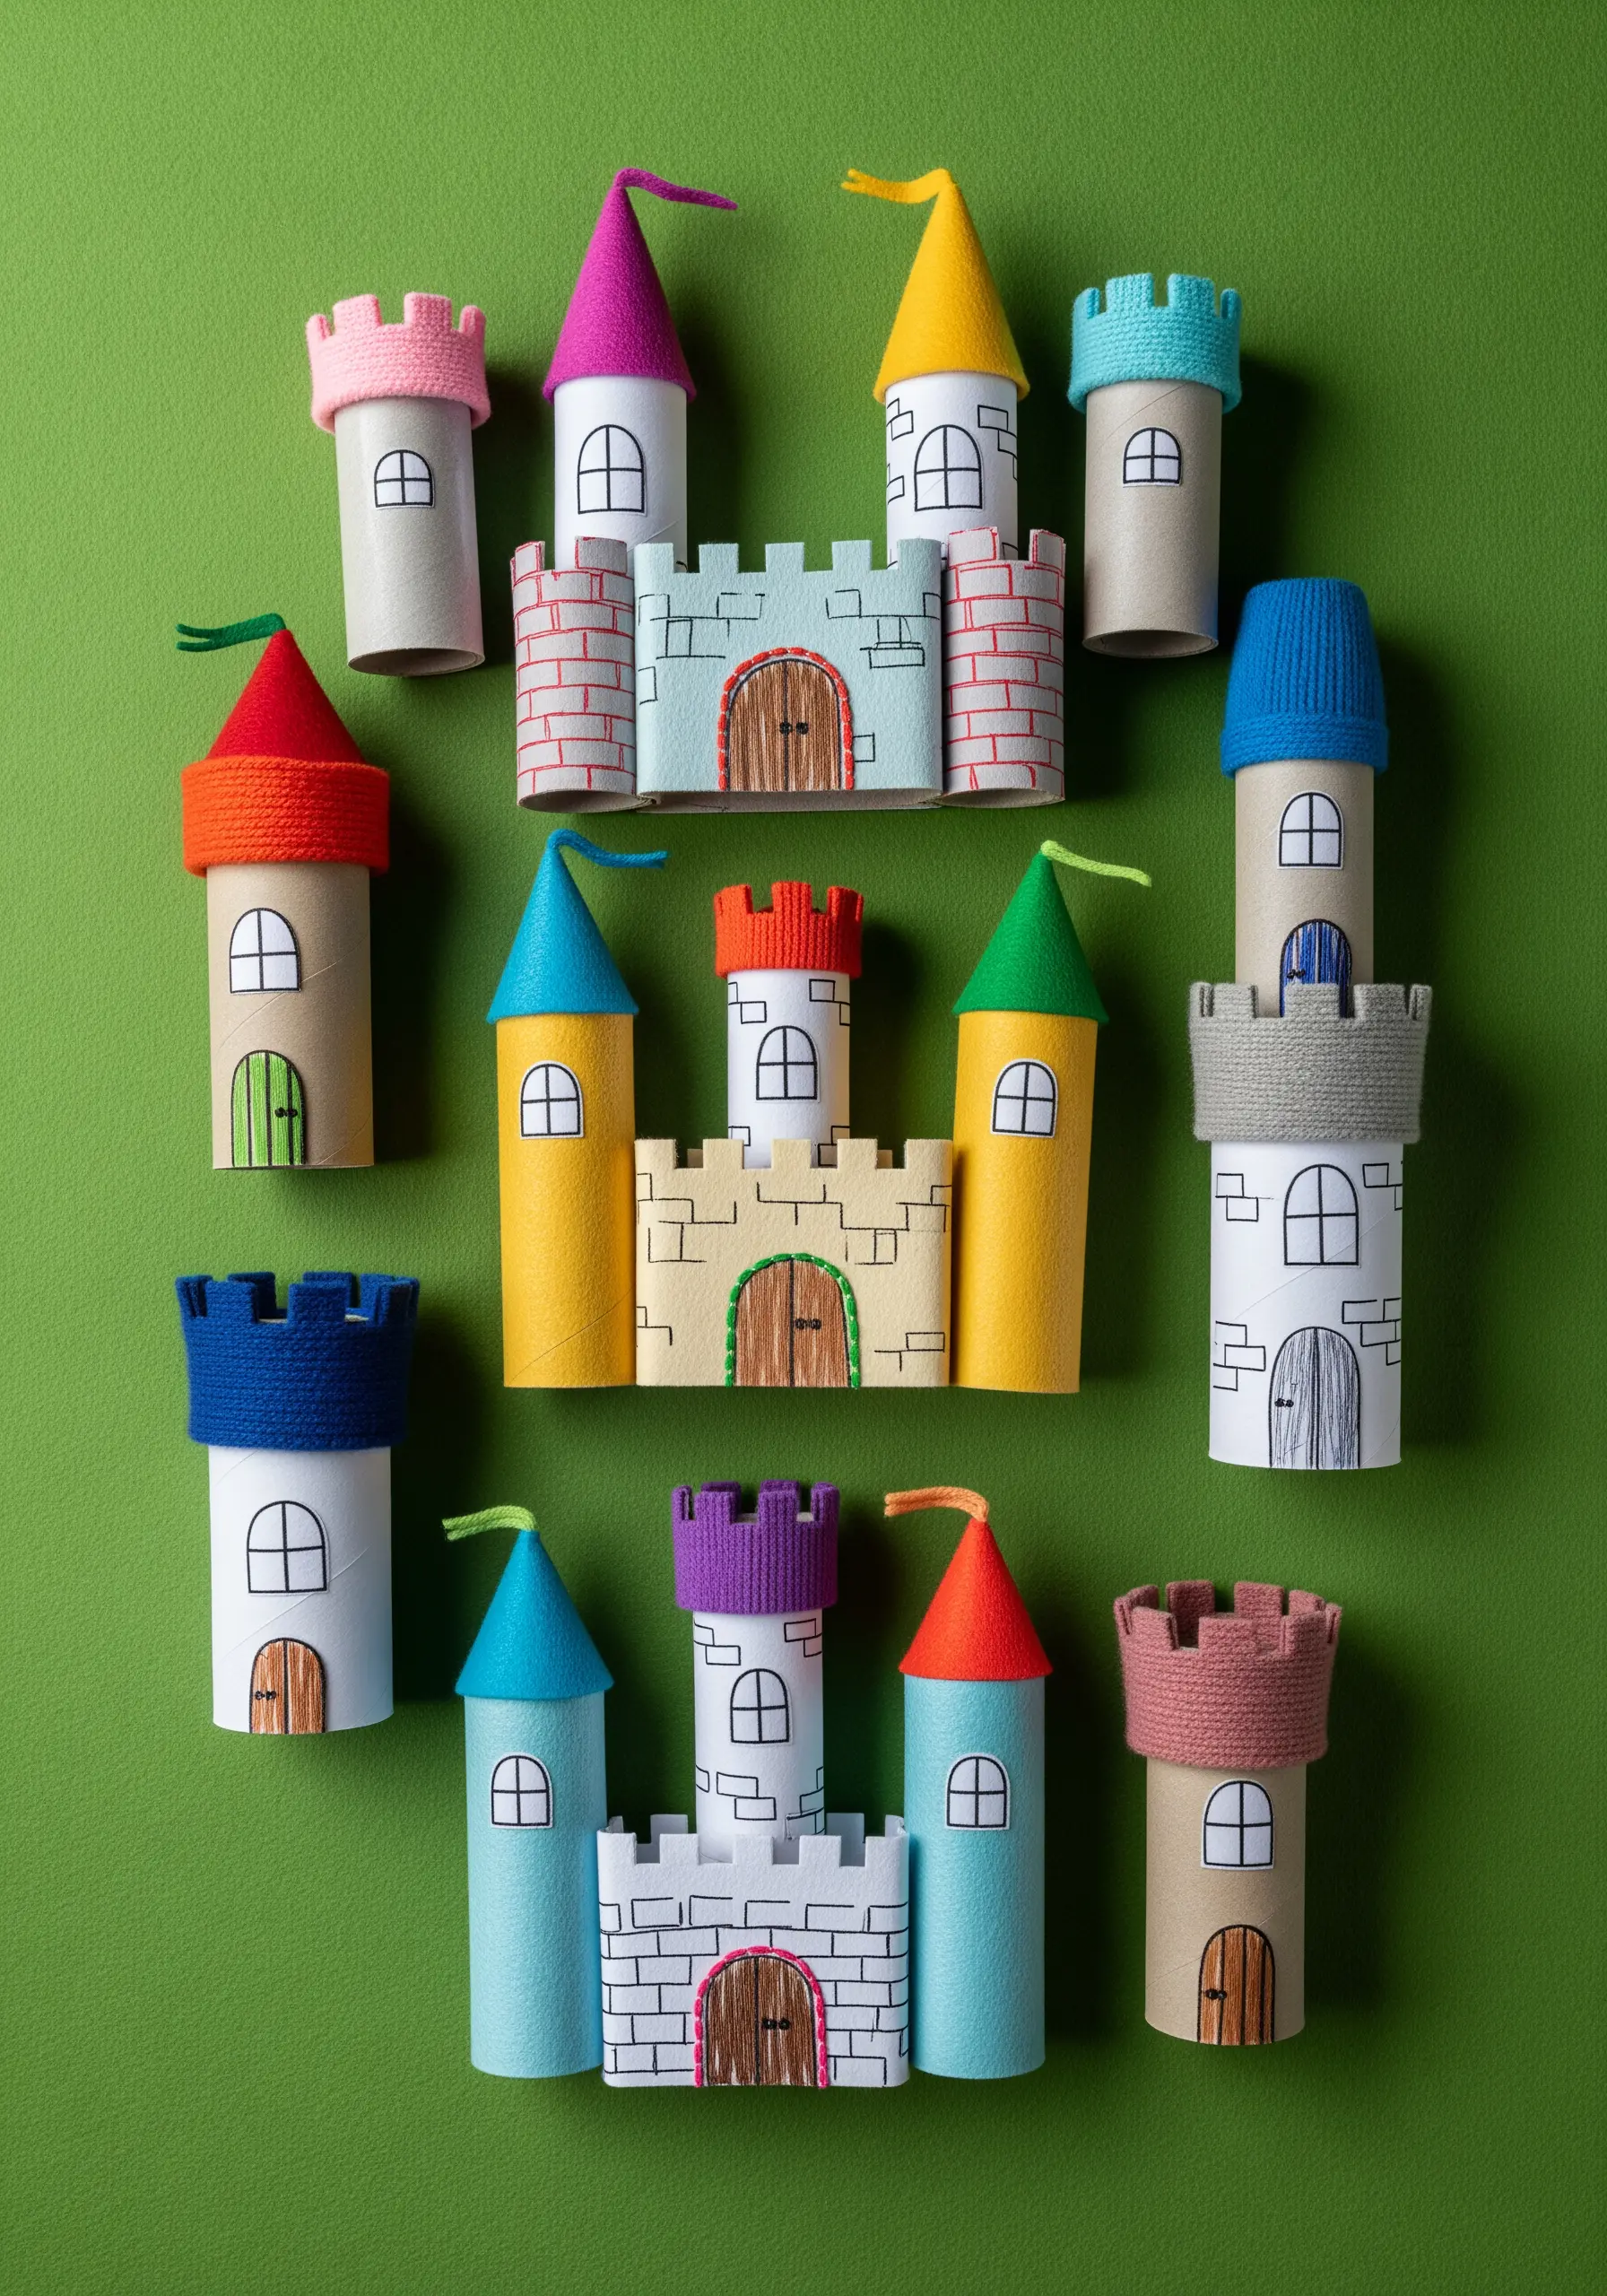
This project turns recycled materials into a fairytale scene through the simple act of wrapping.
To get a neat, opaque finish on the castle turrets, apply a thin layer of craft glue to the cardboard tube before you begin.
This helps the yarn adhere and prevents it from sliding, allowing for a tighter, more uniform wrap. Secure the final end of the yarn with another small dot of glue tucked underneath the coils.
15. Weave a Wall Hanging with Soft Roving
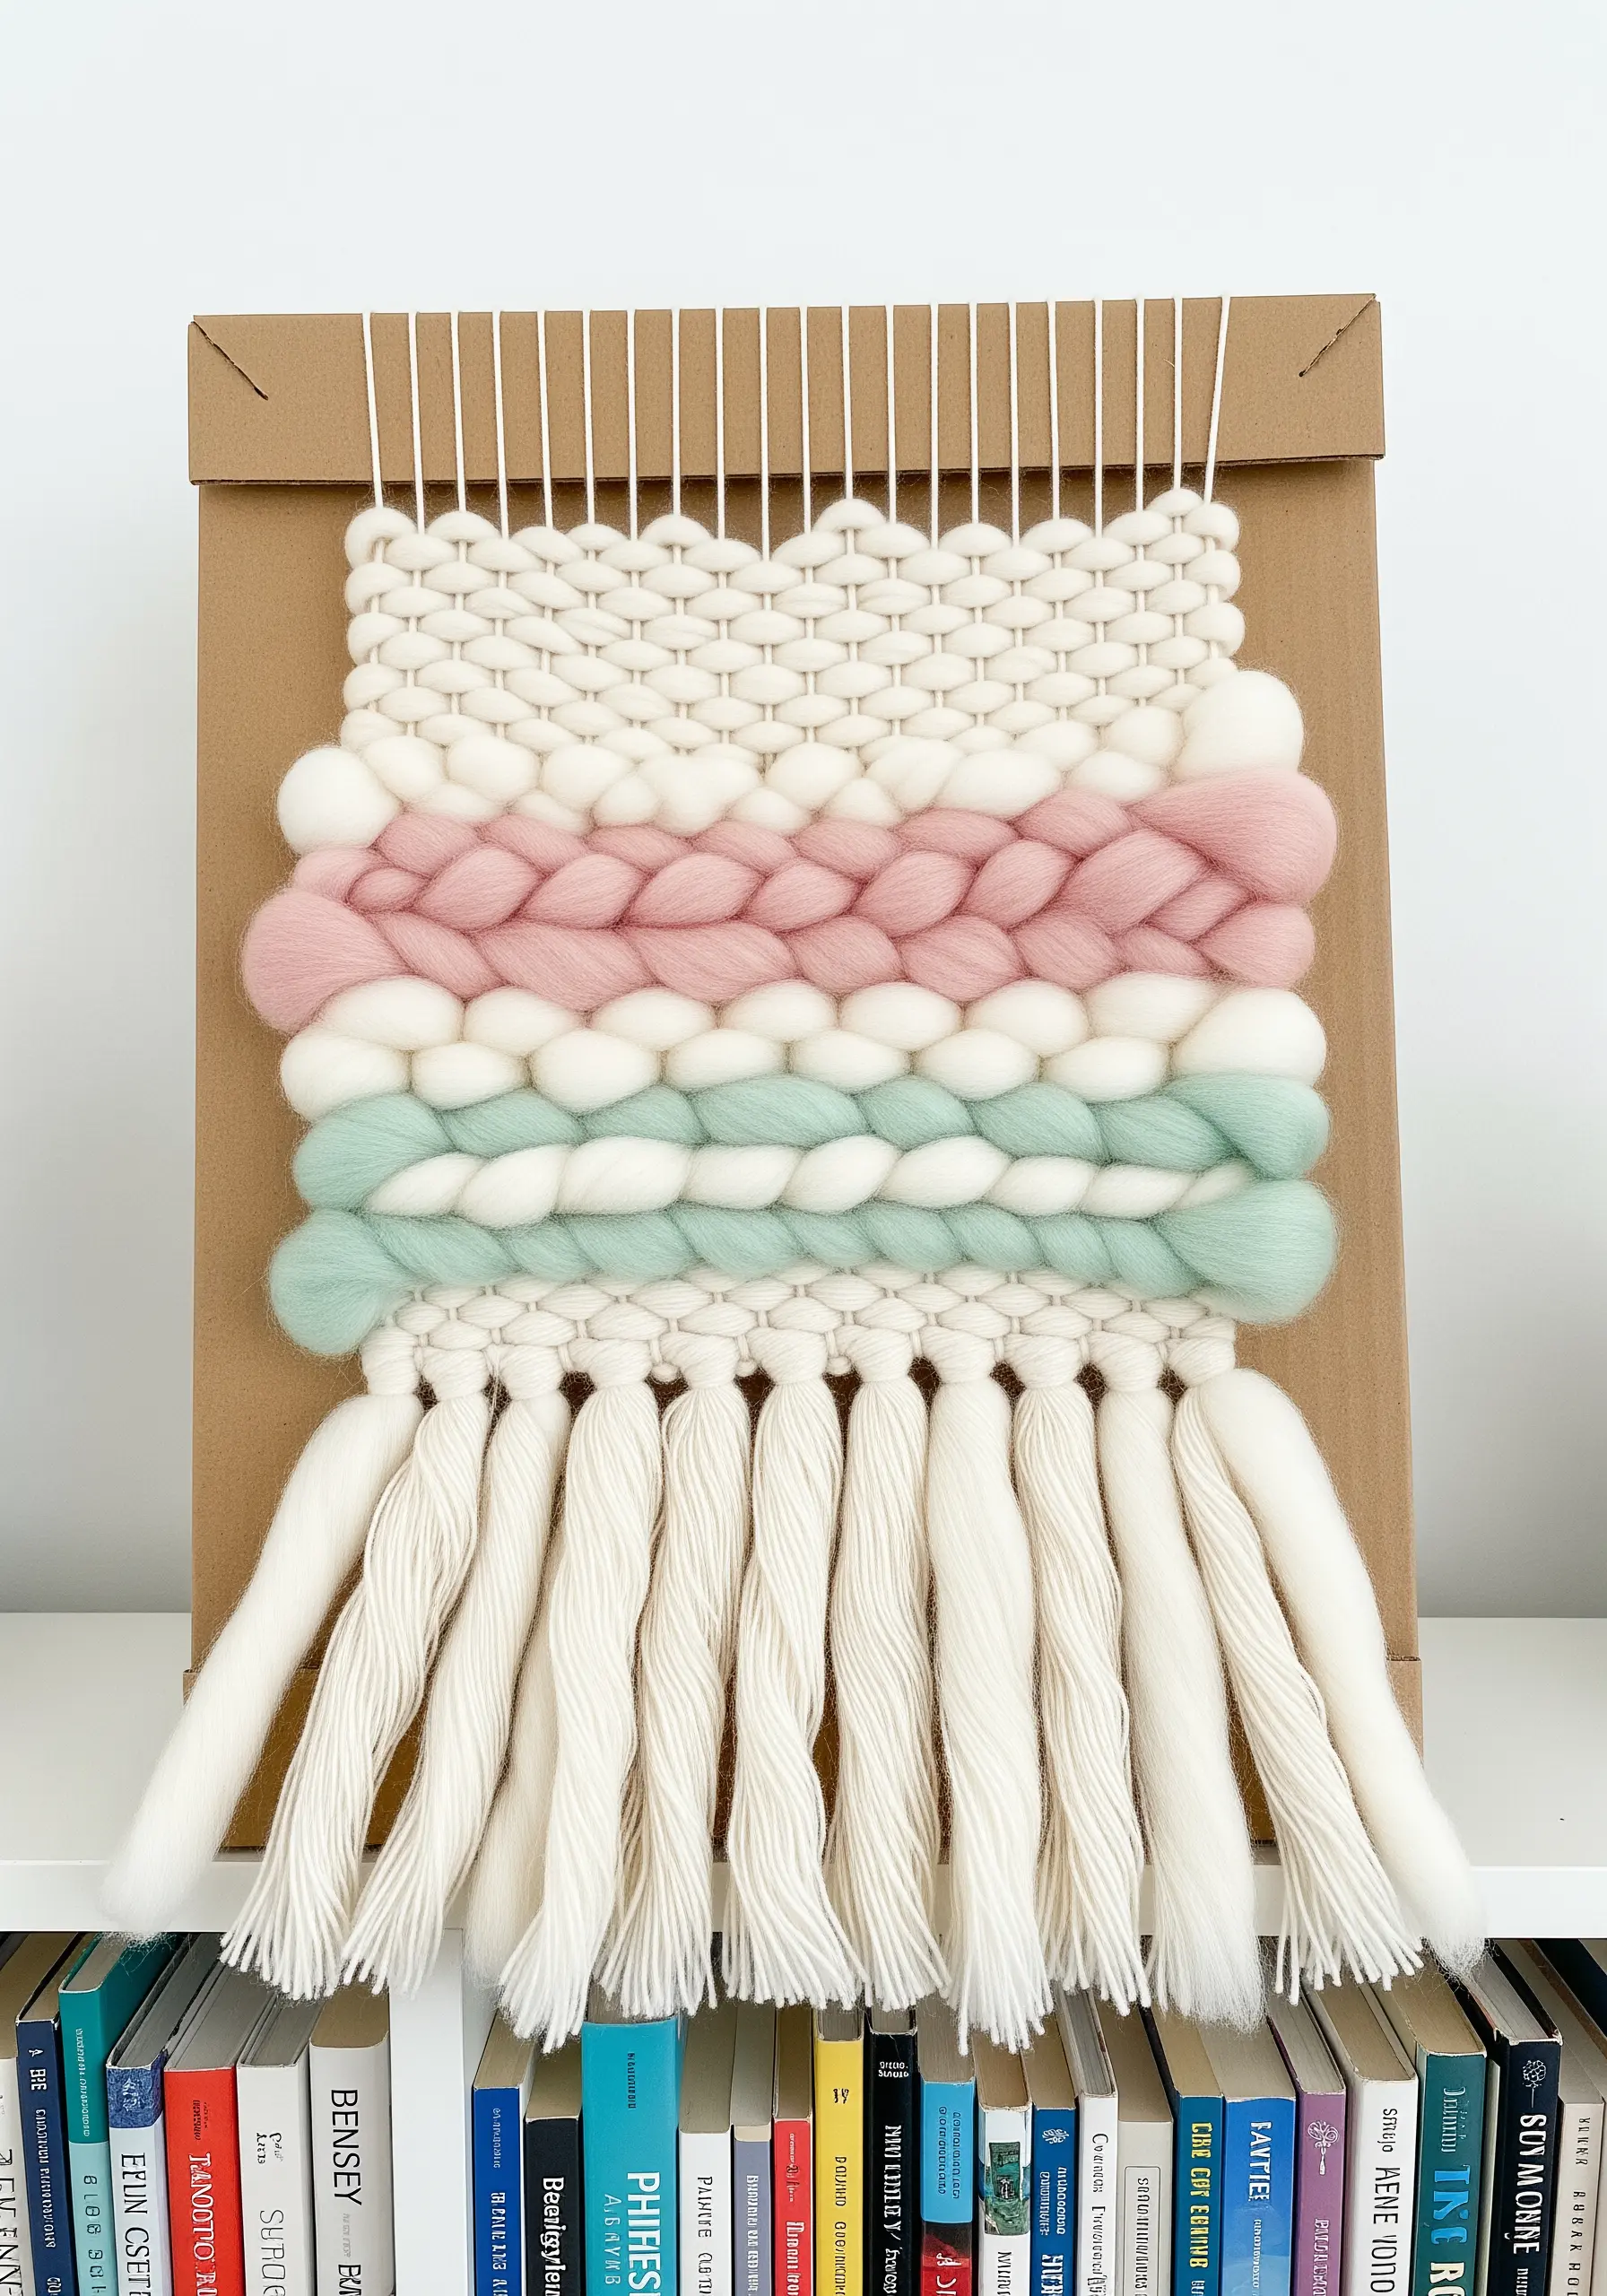
Introduce your child to the joy of high-texture weaving with a simple cardboard loom.
Alternate rows of standard yarn (using a simple over-under tabby weave) with rows of thick, unspun wool roving.
The roving creates soft, cloud-like bands that add immediate visual impact and a wonderful tactile quality. This is a perfect way to explore different yarn wall art creations.
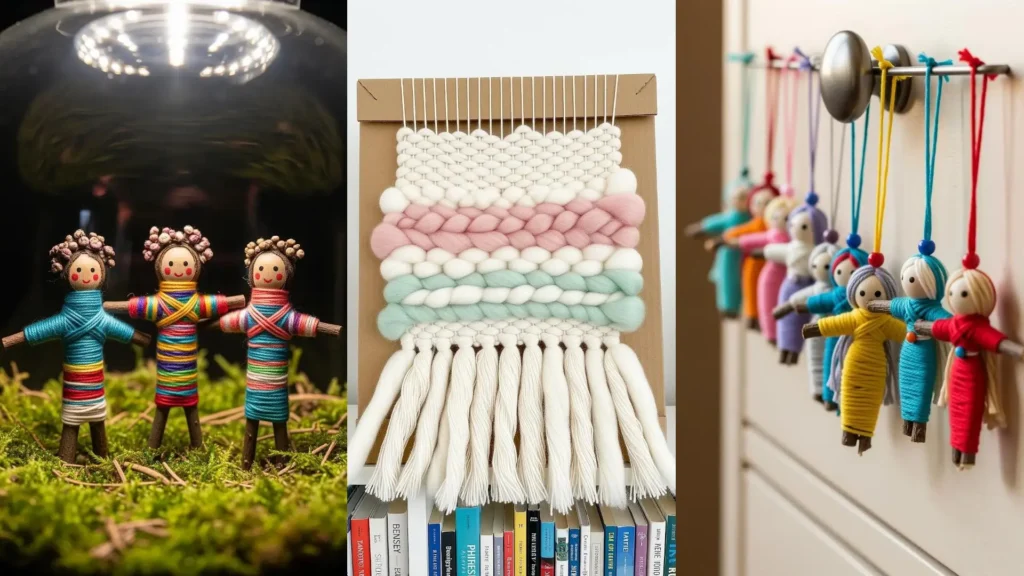
16. Craft Traditional Guatemalan Worry Dolls
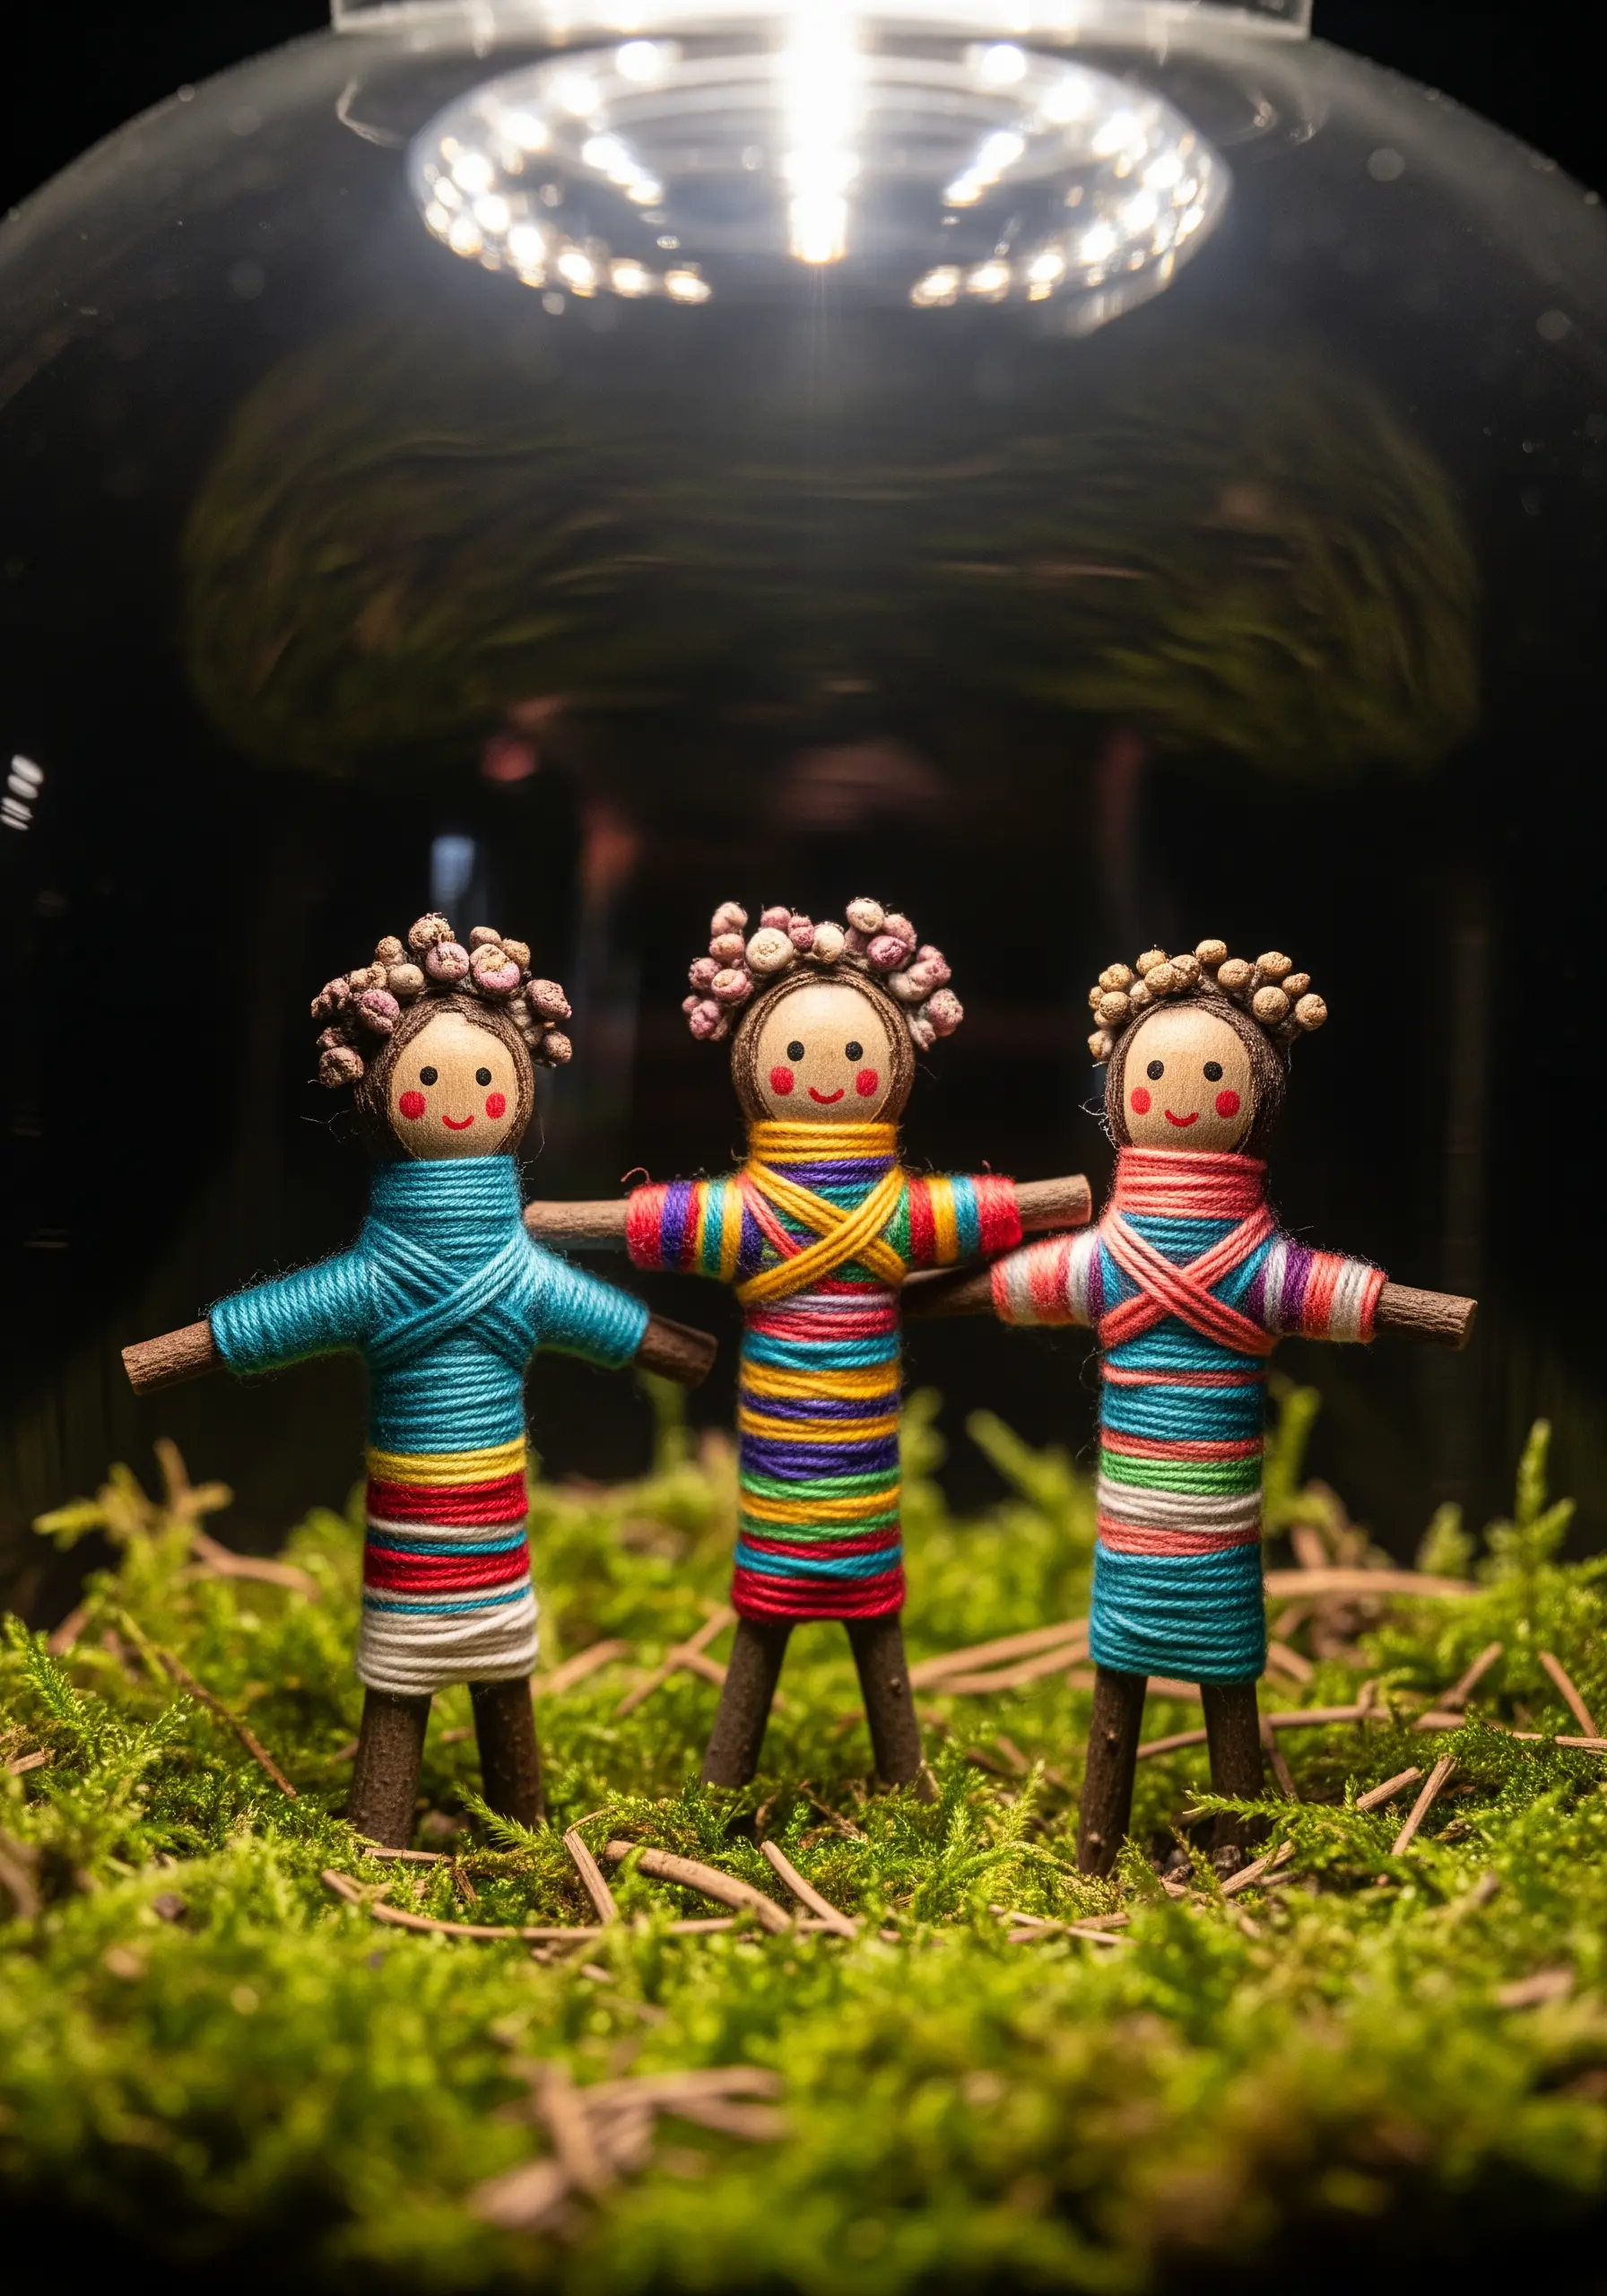
The beauty of these tiny dolls is in the neatness of the wrap.
Use thin embroidery floss instead of bulky yarn, as it allows for more detailed and controlled wrapping on such a small scale.
To create the ‘hair,’ simply wrap a contrasting color around the head and add a few tiny French knots for a decorative touch. This teaches precision and fine motor skills.
17. Layer Felt Coasters with Decorative Edges
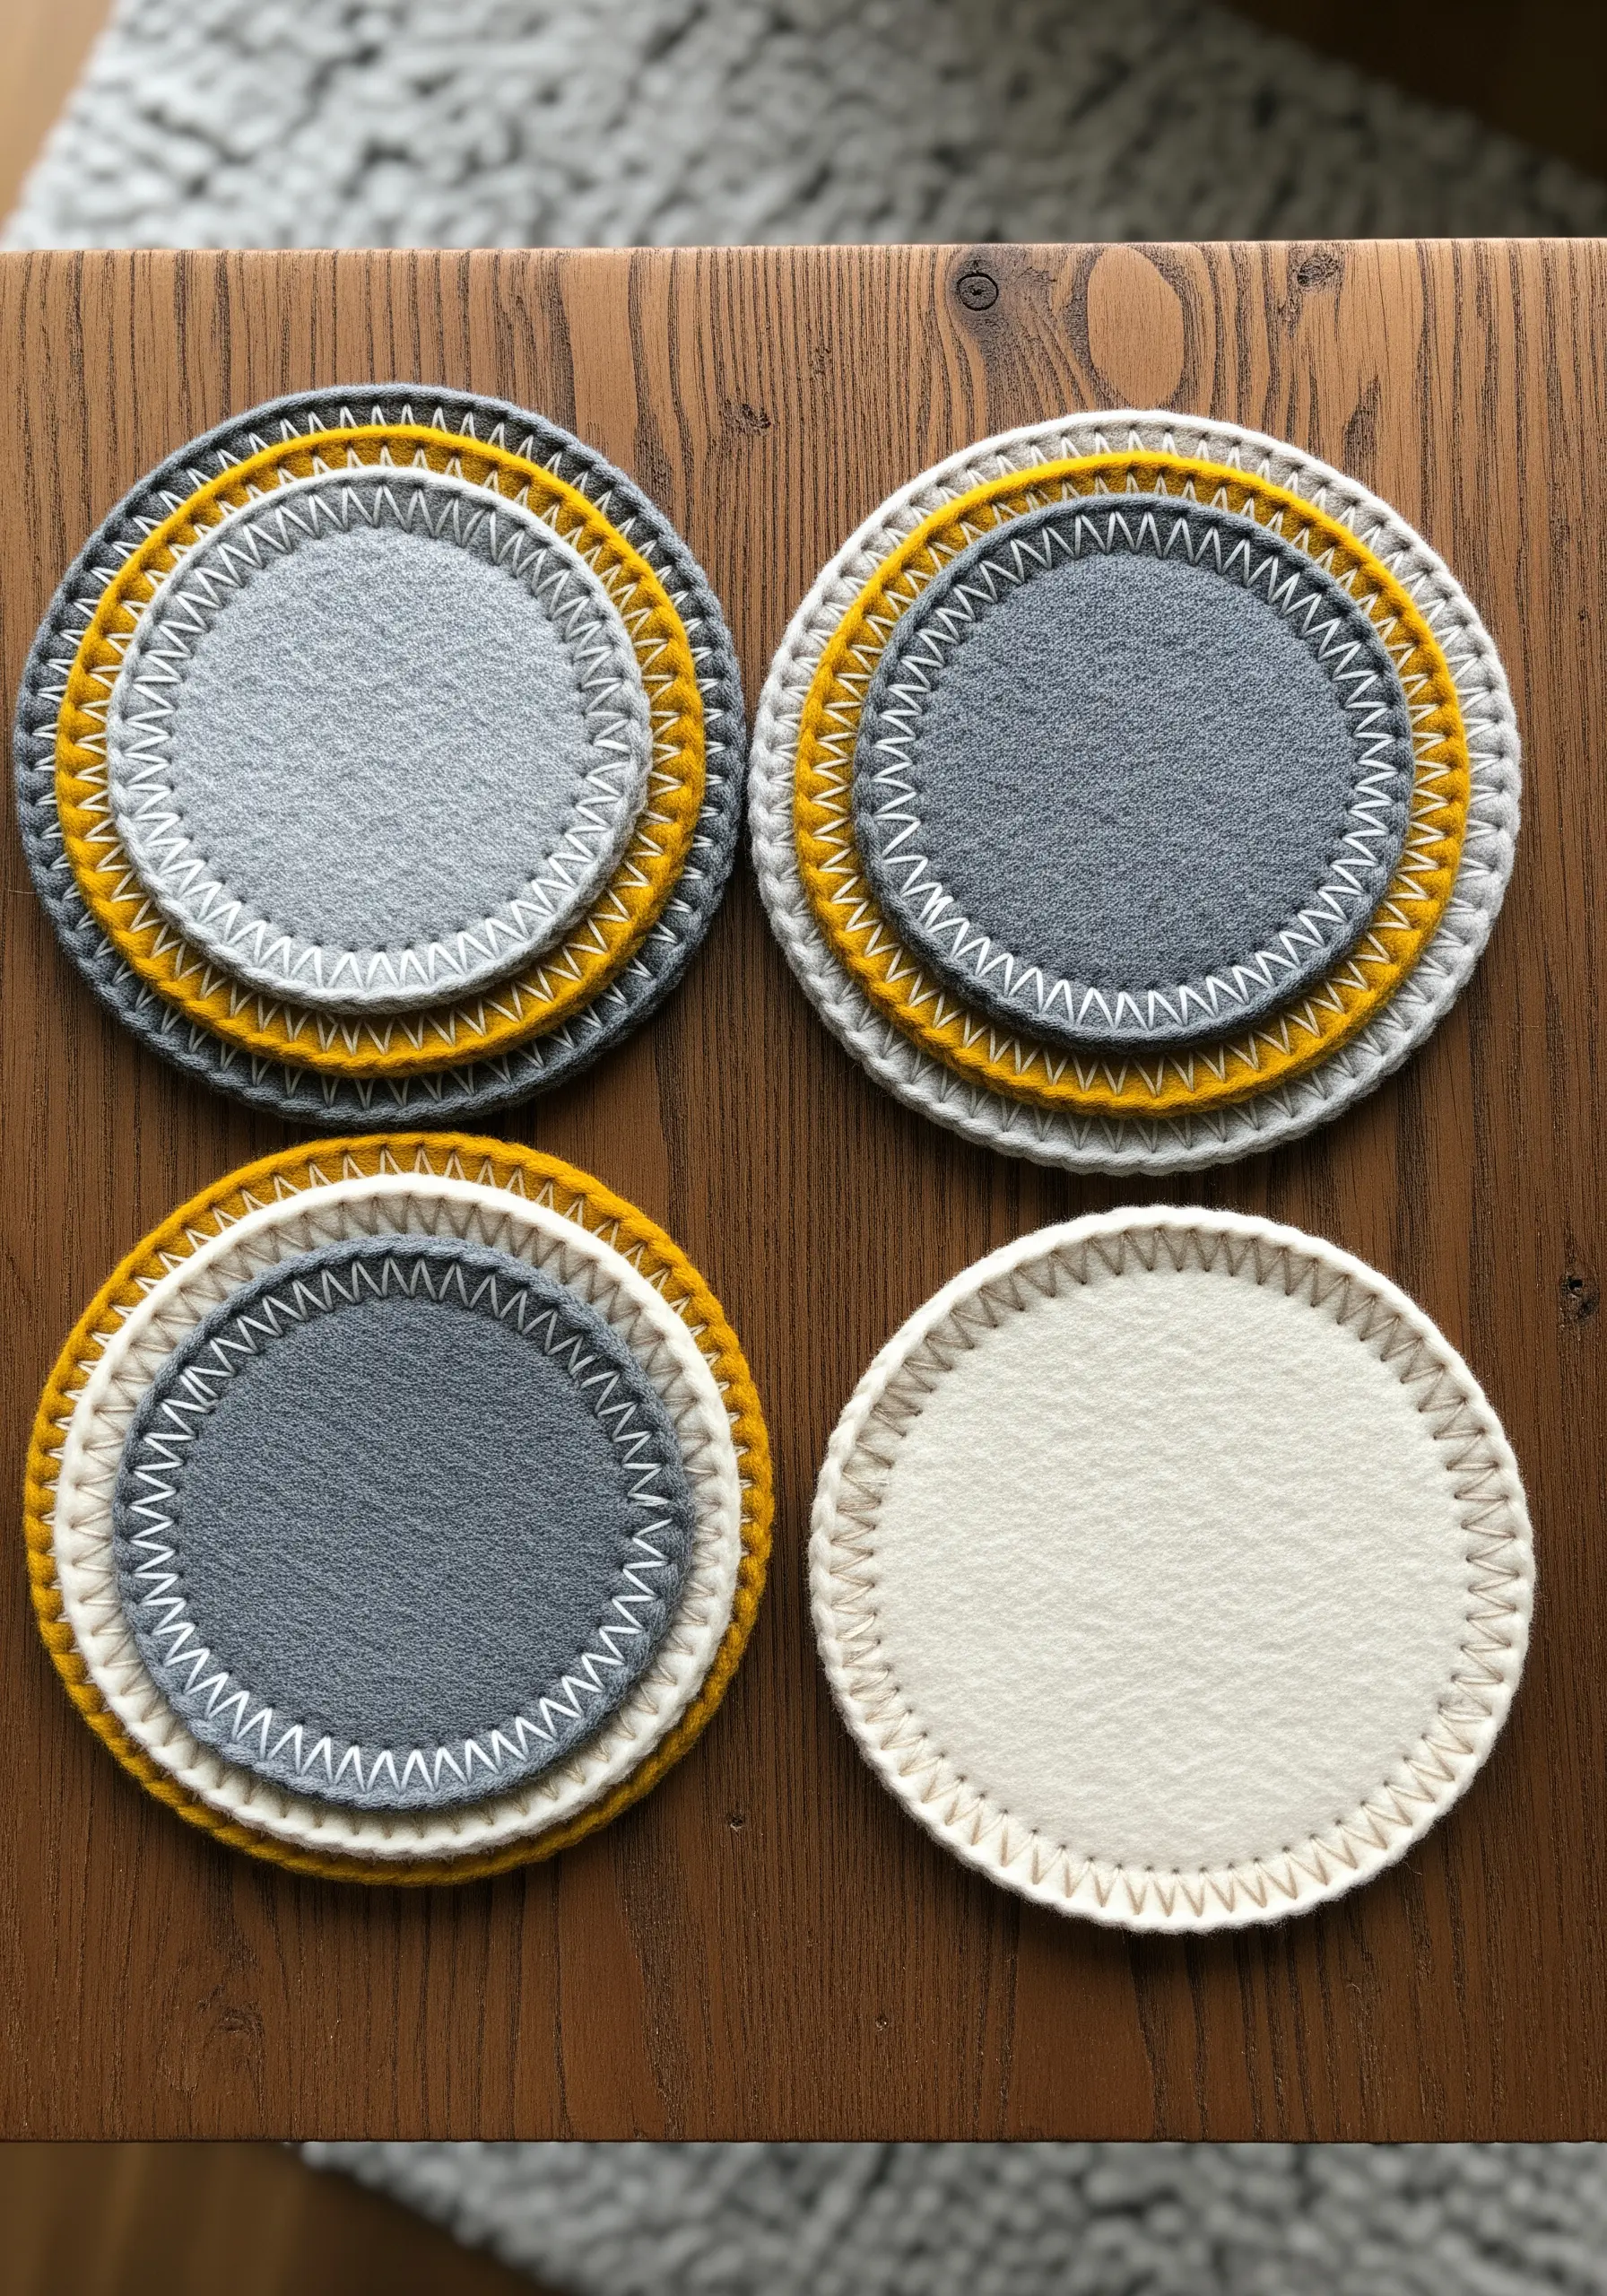
This is a practical project that teaches both layering and finishing techniques.
Cut concentric circles from different colors of felt and stack them. Hold the layers together with a decorative blanket stitch around the edge of each circle.
Using a contrasting thread color turns a functional stitch into the main design element, creating a graphic, polished look.
18. Create a Colorful Troupe of Worry Dolls
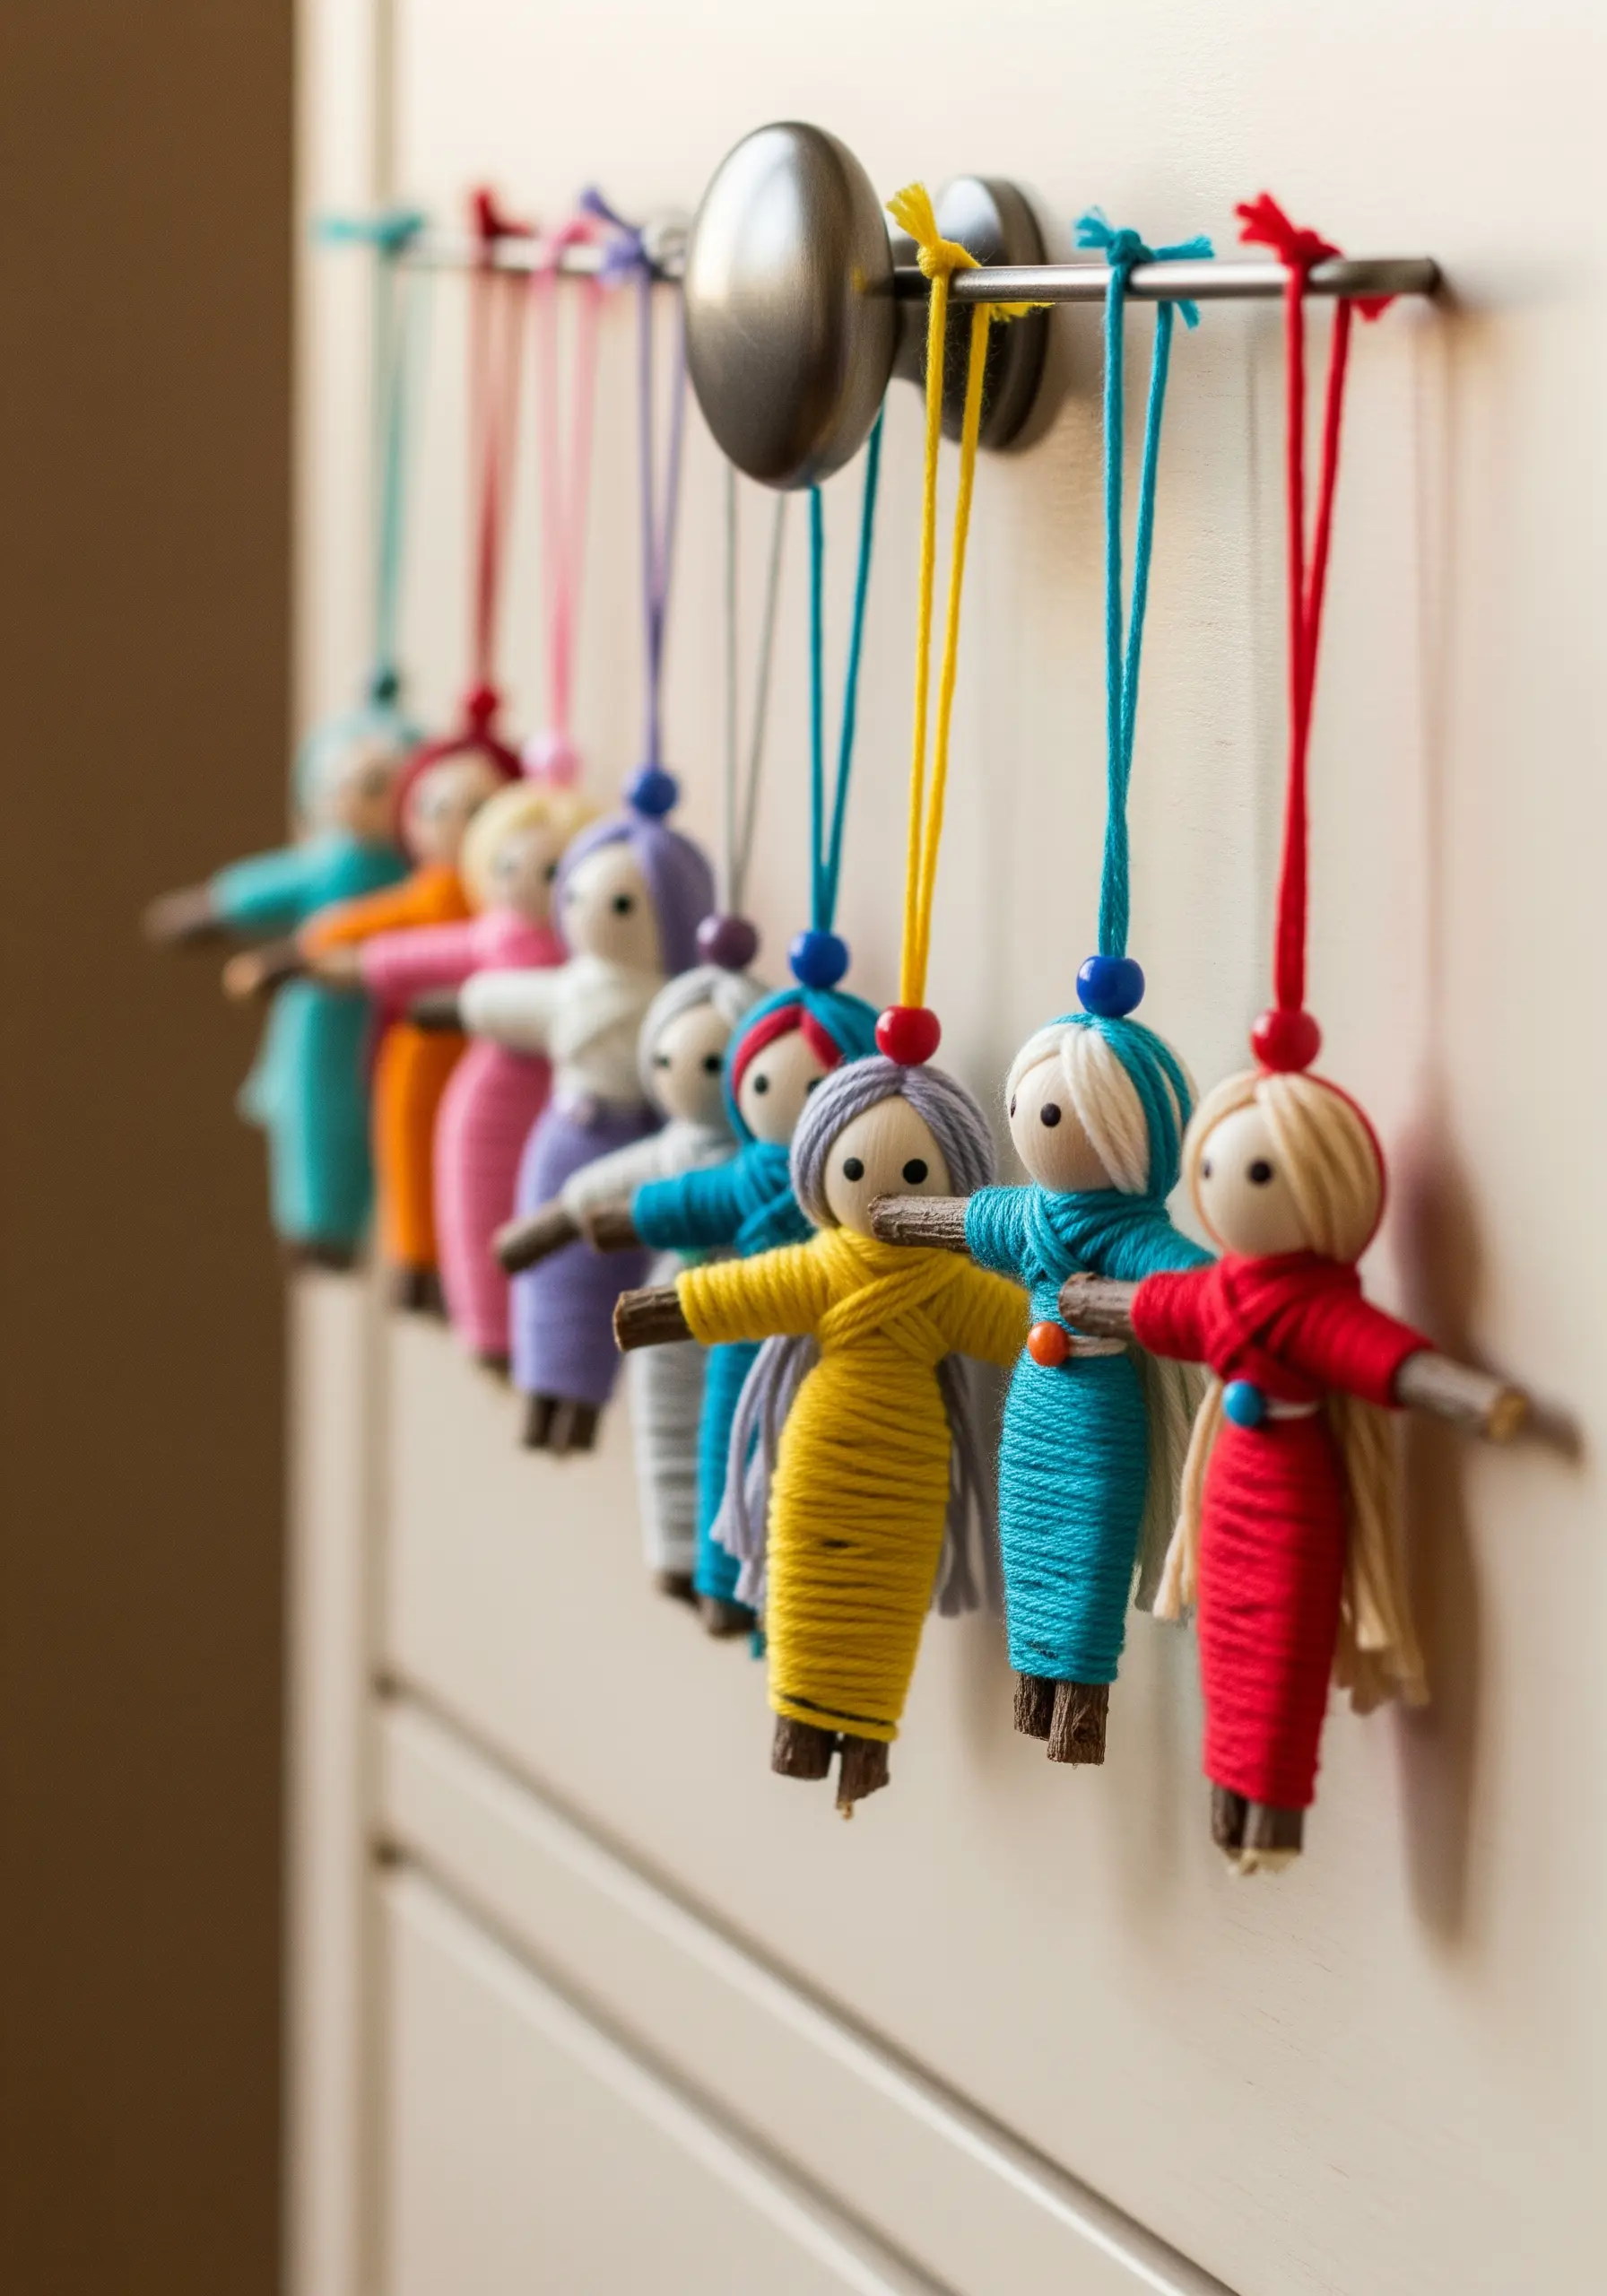
Once the basic wrapping technique is mastered, encourage creative expression by playing with color and material.
Show your child how to create patterns by alternating two or three colors of floss for striped ‘clothing.’
Experiment with different materials for hair, like frayed twine or thin yarn, to give each doll a unique personality and character.
19. Design a Flowing Ribbon Jellyfish Mobile
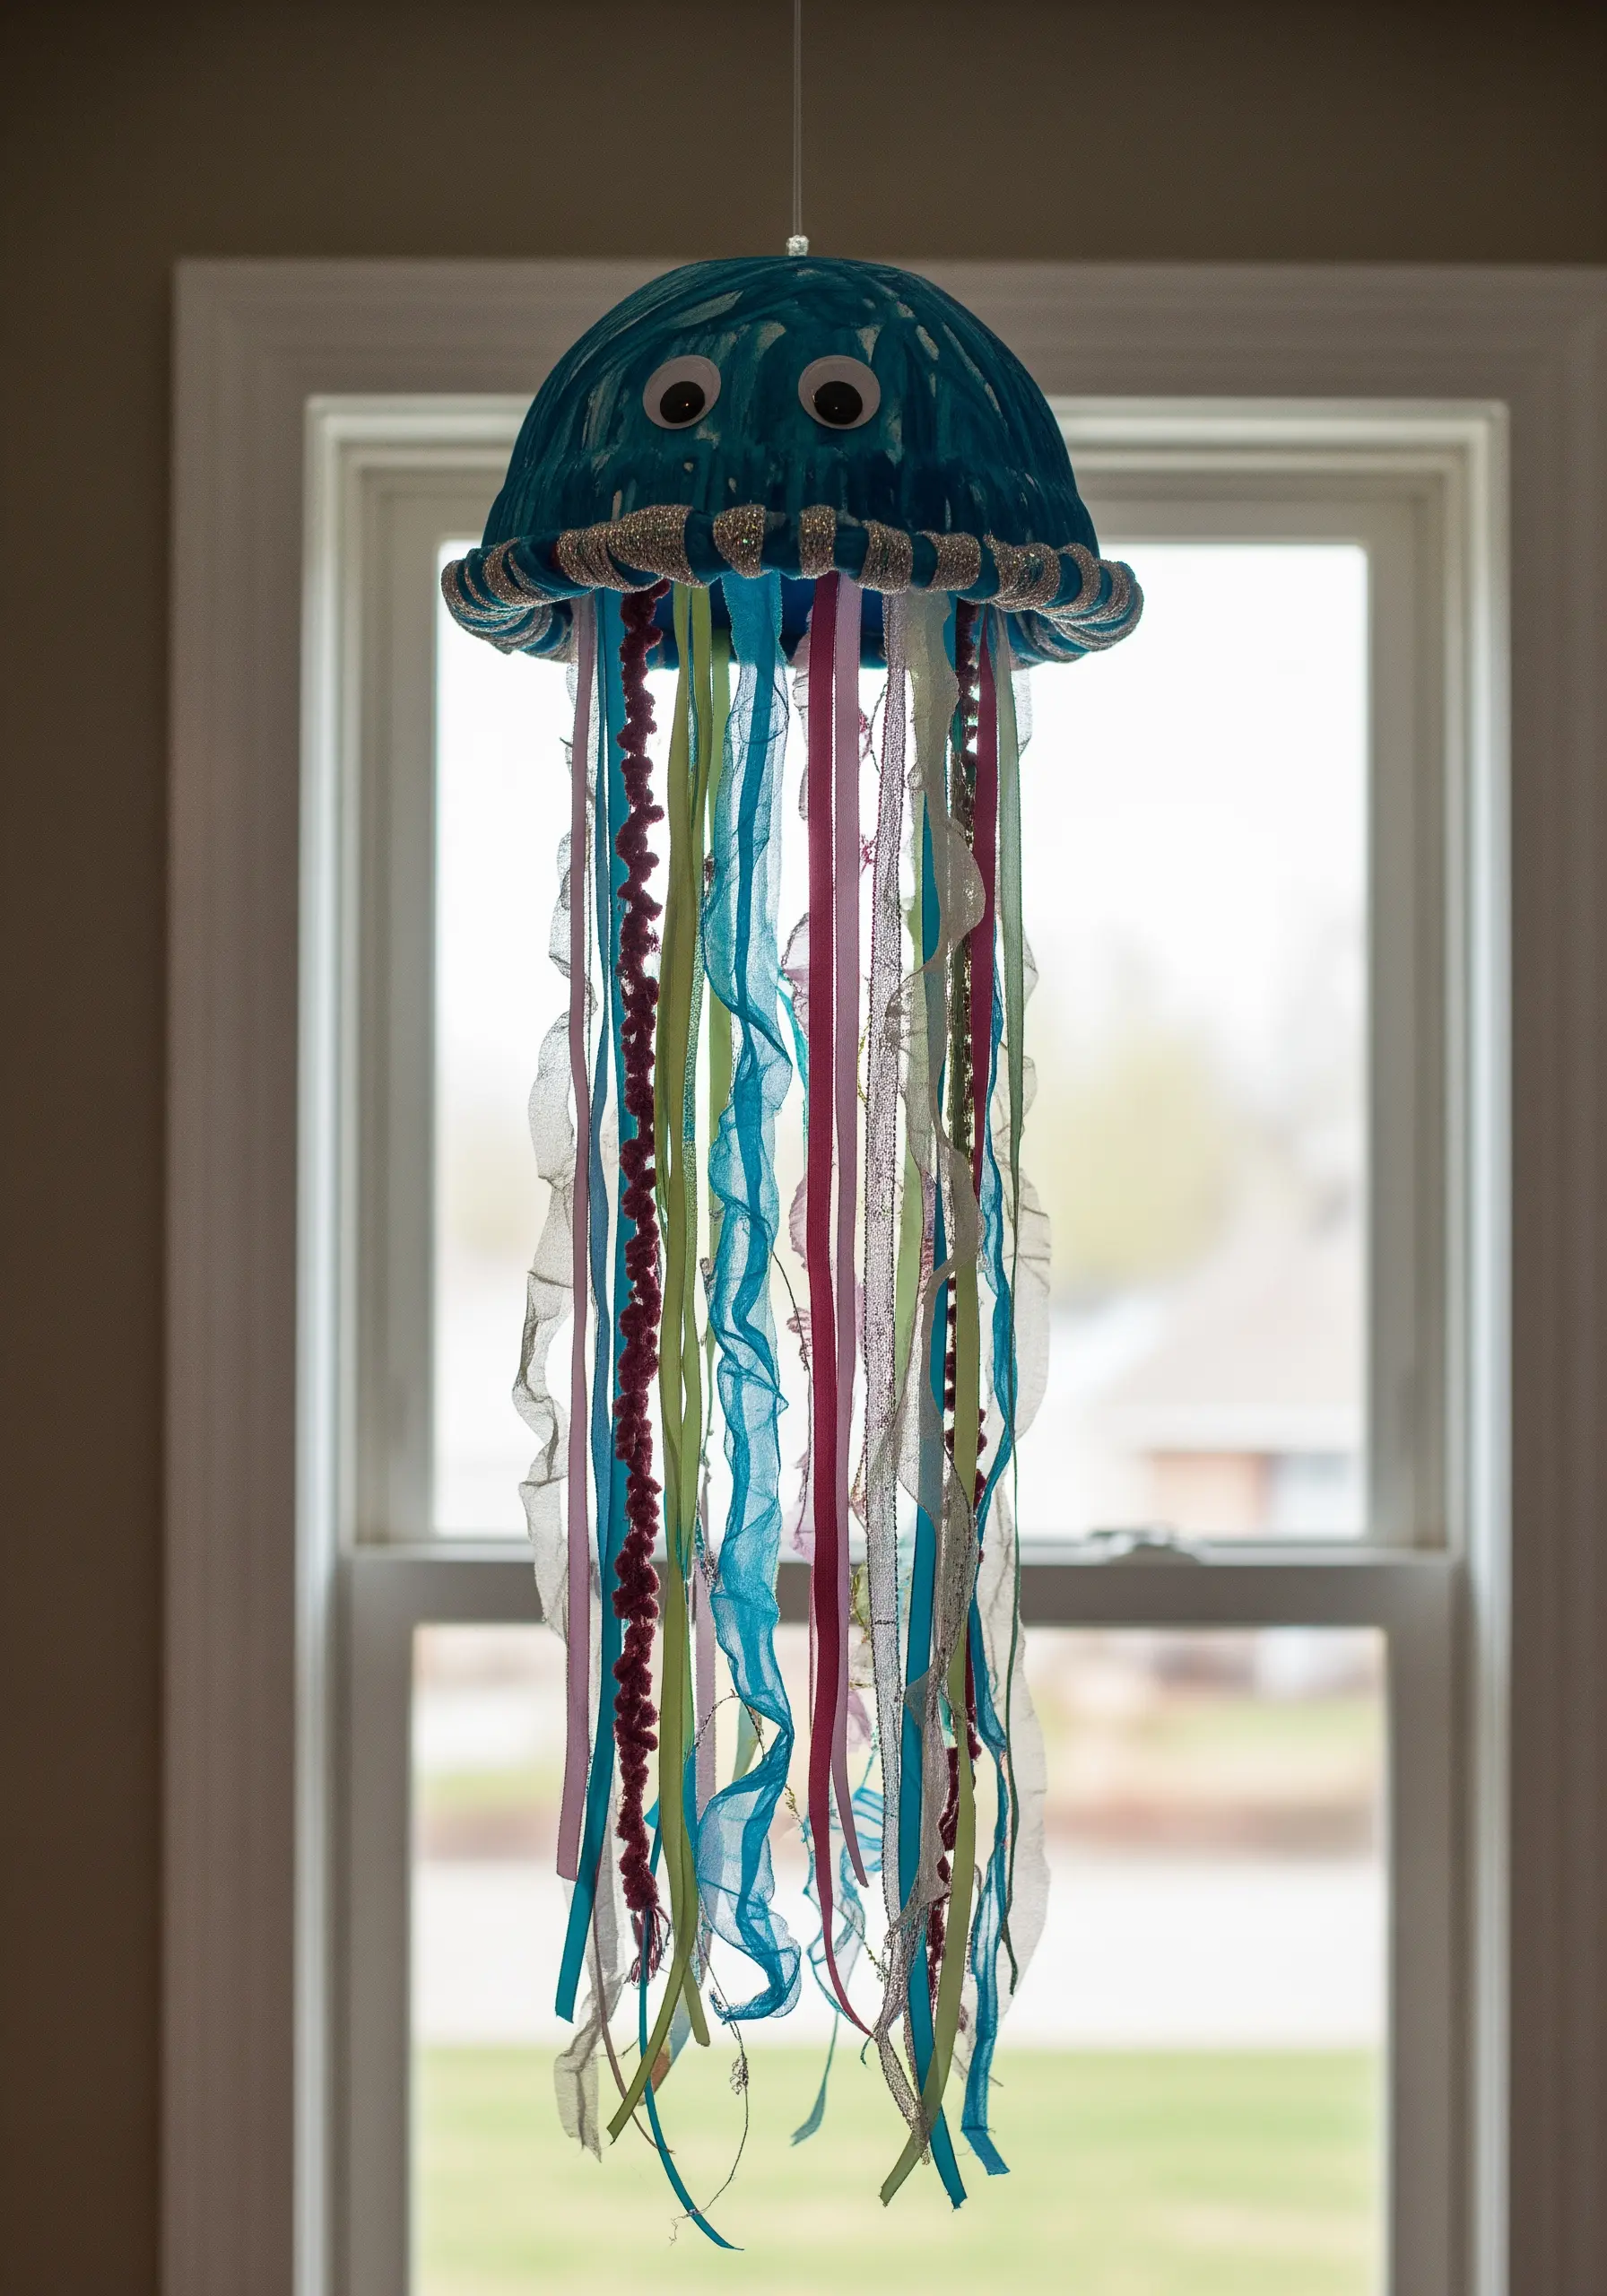
The magic of this project lies in the mix of textures that form the tentacles.
Don’t just use one type of ribbon. Combine silky satin ribbons, textured ric-rac, thin strands of yarn, and maybe even strips of tulle.
This variety in material, sheen, and weight creates a much more dynamic and realistic sense of movement as the mobile gently turns in the air.


