
Your reading corner is a sanctuary, a quiet space defined by soft textures and calm, neutral tones. But calm doesn’t have to mean plain. This is where embroidery can transform your space, not with loud color, but with the quiet language of texture and subtle detail.
Think of your thread as a tool for adding warmth and dimension. A few well-placed French knots can create a surface you want to touch, while the clean lines of a simple backstitch can introduce elegant structure. It’s about making your cozy corner feel intentionally and personally crafted, a space that truly reflects your love for the handmade.
Here, you’ll find ideas that celebrate the beauty of beige, cream, and taupe—not as backgrounds, but as the main story. You’ll learn how to elevate simple cushions, throws, and wall art with stitches that add depth, character, and a touch of sophisticated comfort. Let’s begin.
1. Render Pampas Grass with Tone-on-Tone Texture
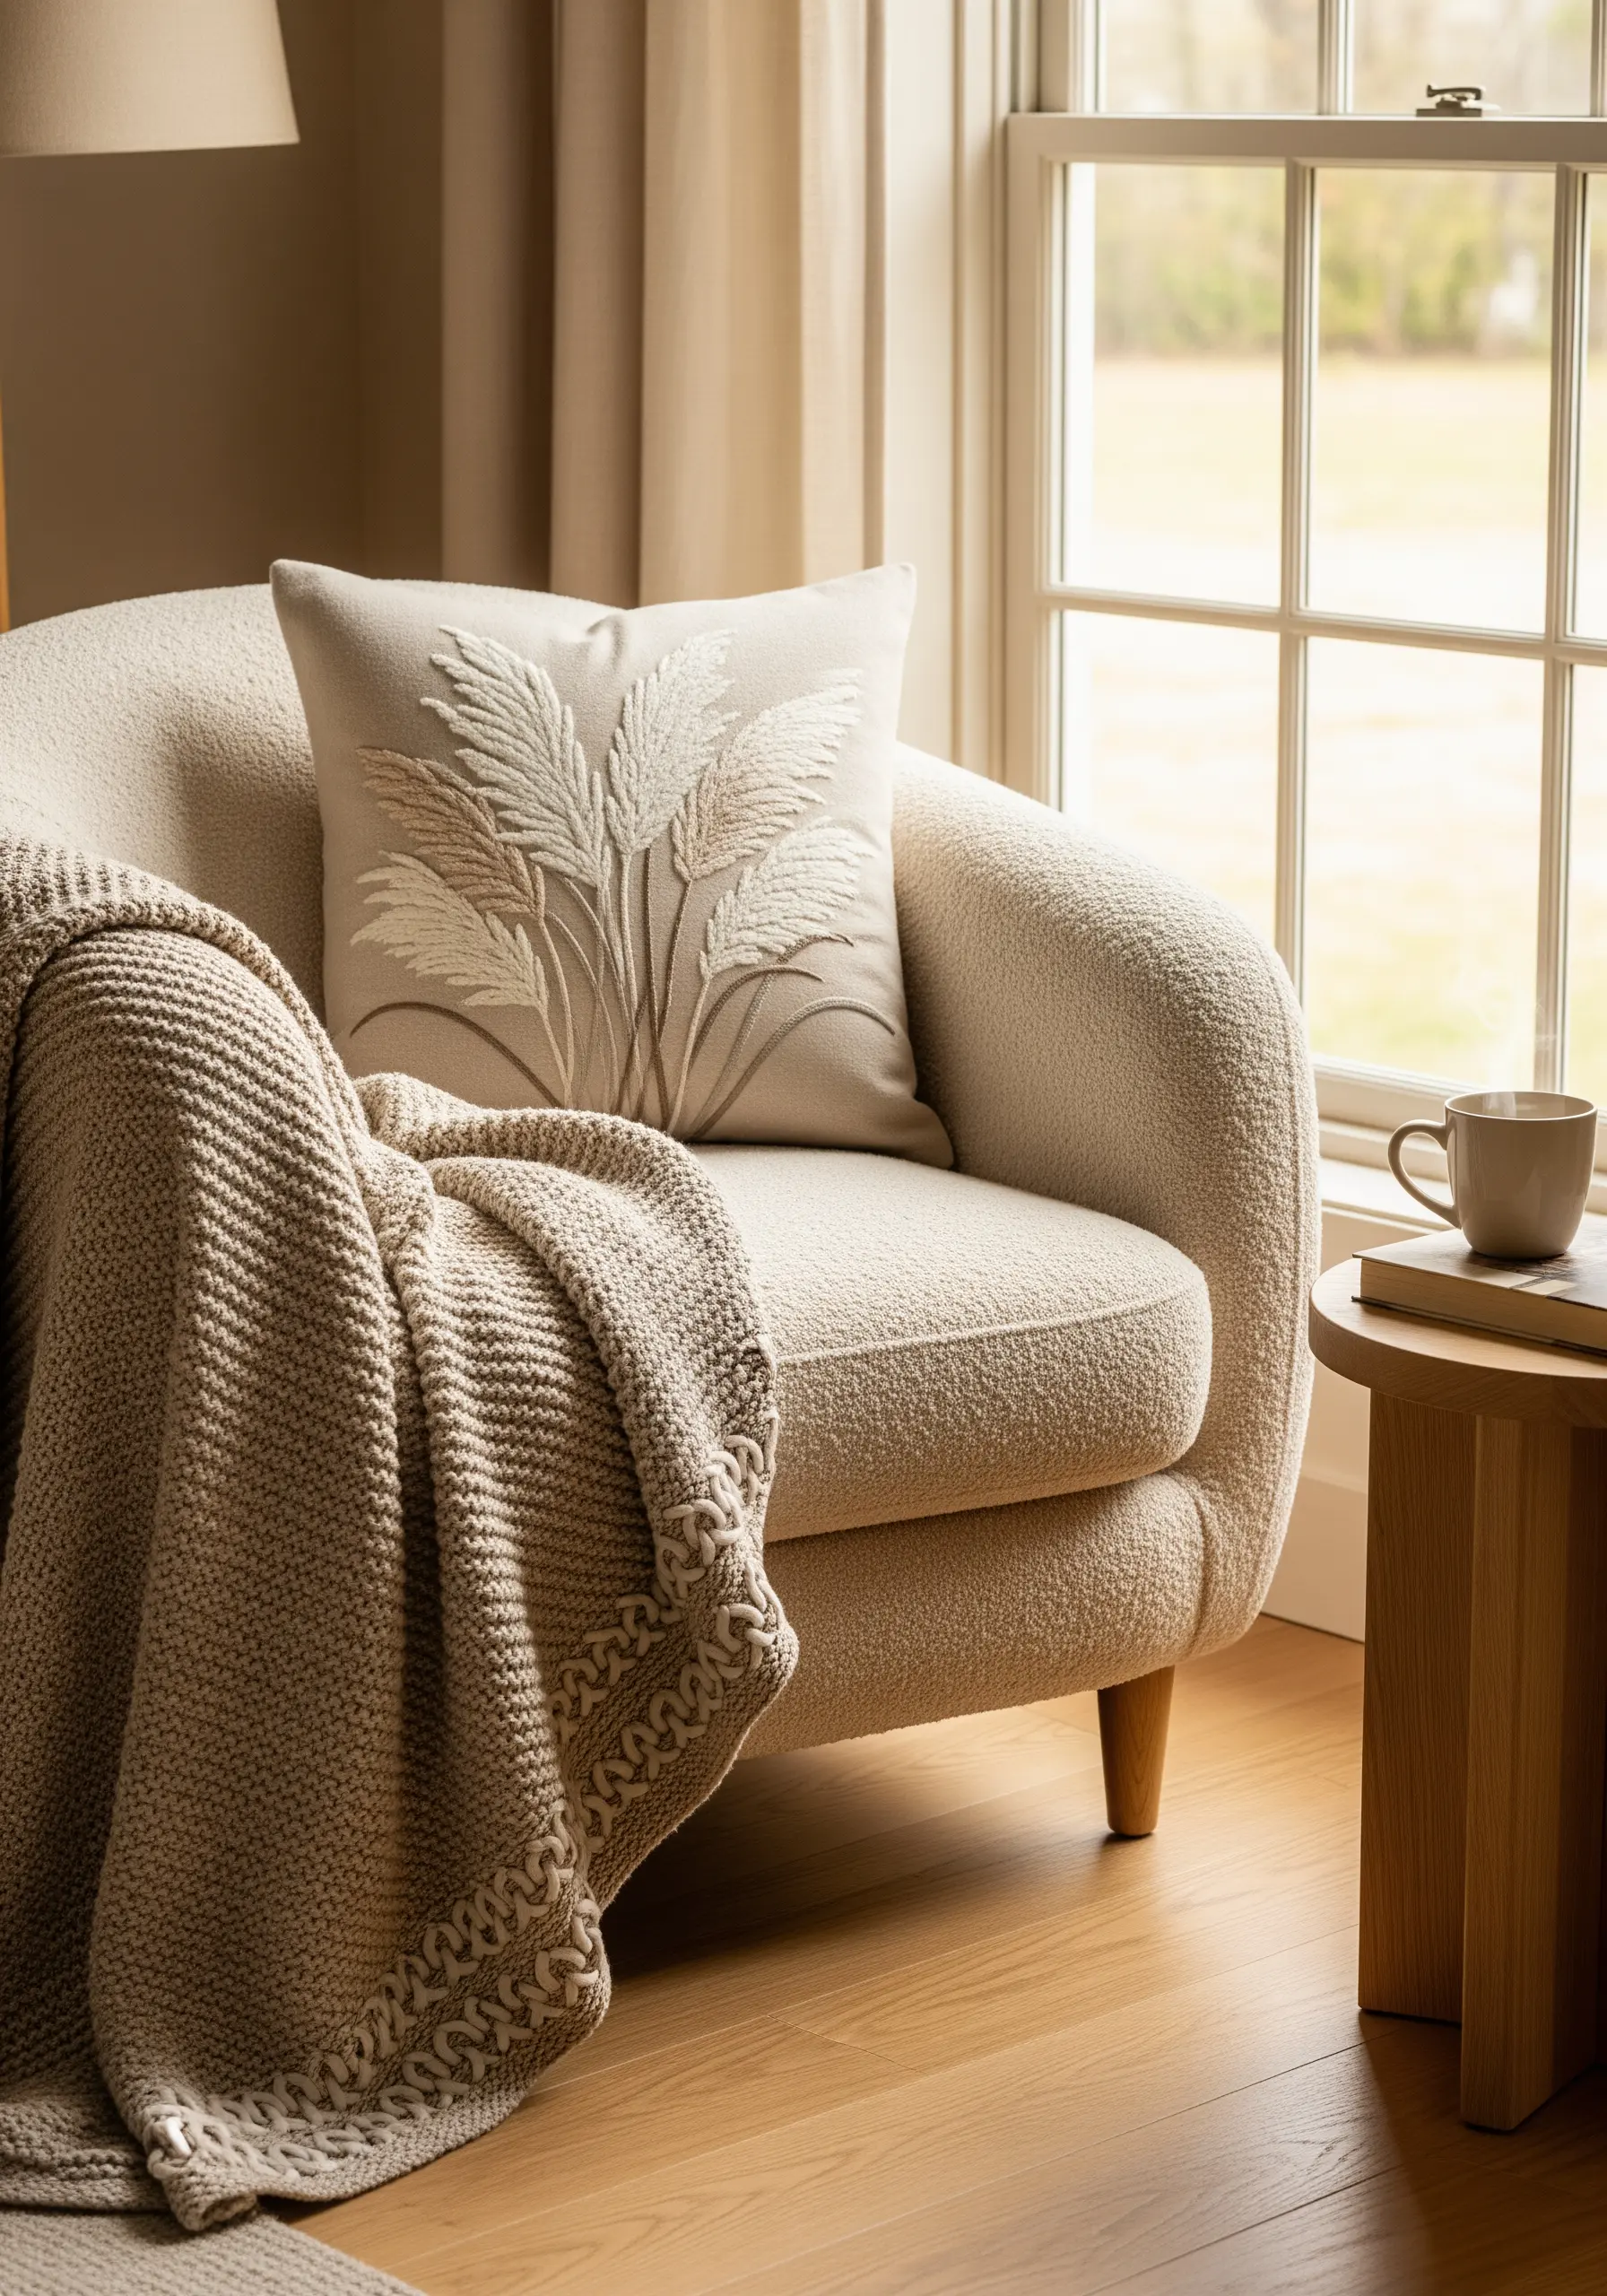
To capture the airy softness of pampas grass, use a turkey stitch or create long, loose loops with your thread and then carefully snip and fluff them.
Work with several shades of ivory, cream, and pale beige floss to build subtle depth—this creates a realistic, multi-tonal effect without overwhelming the design.
This tone-on-tone embroidery approach adds luxurious texture to a simple cushion, making it a focal point that feels both organic and refined.
For the stems, a simple stem stitch in a slightly darker taupe provides the structure needed to anchor the feathery plumes.
2. Define Space with Architectural Line Art

Transform a large canvas into a piece of modern art by using a single, consistent stitch, like a split stitch or whipped backstitch, for all your lines.
This technique ensures your geometric shapes have clean, uniform edges that look deliberate and graphic.
Select a muted color palette—like sage green and dusty rose—to complement a beige background, creating a design that is visually engaging but still calming.
The key to these geometric framed embroidery patterns is precision; use a water-soluble marker for your initial drawing to guarantee perfect curves and angles.
3. Combine Embroidery with Tactile Fiber Art
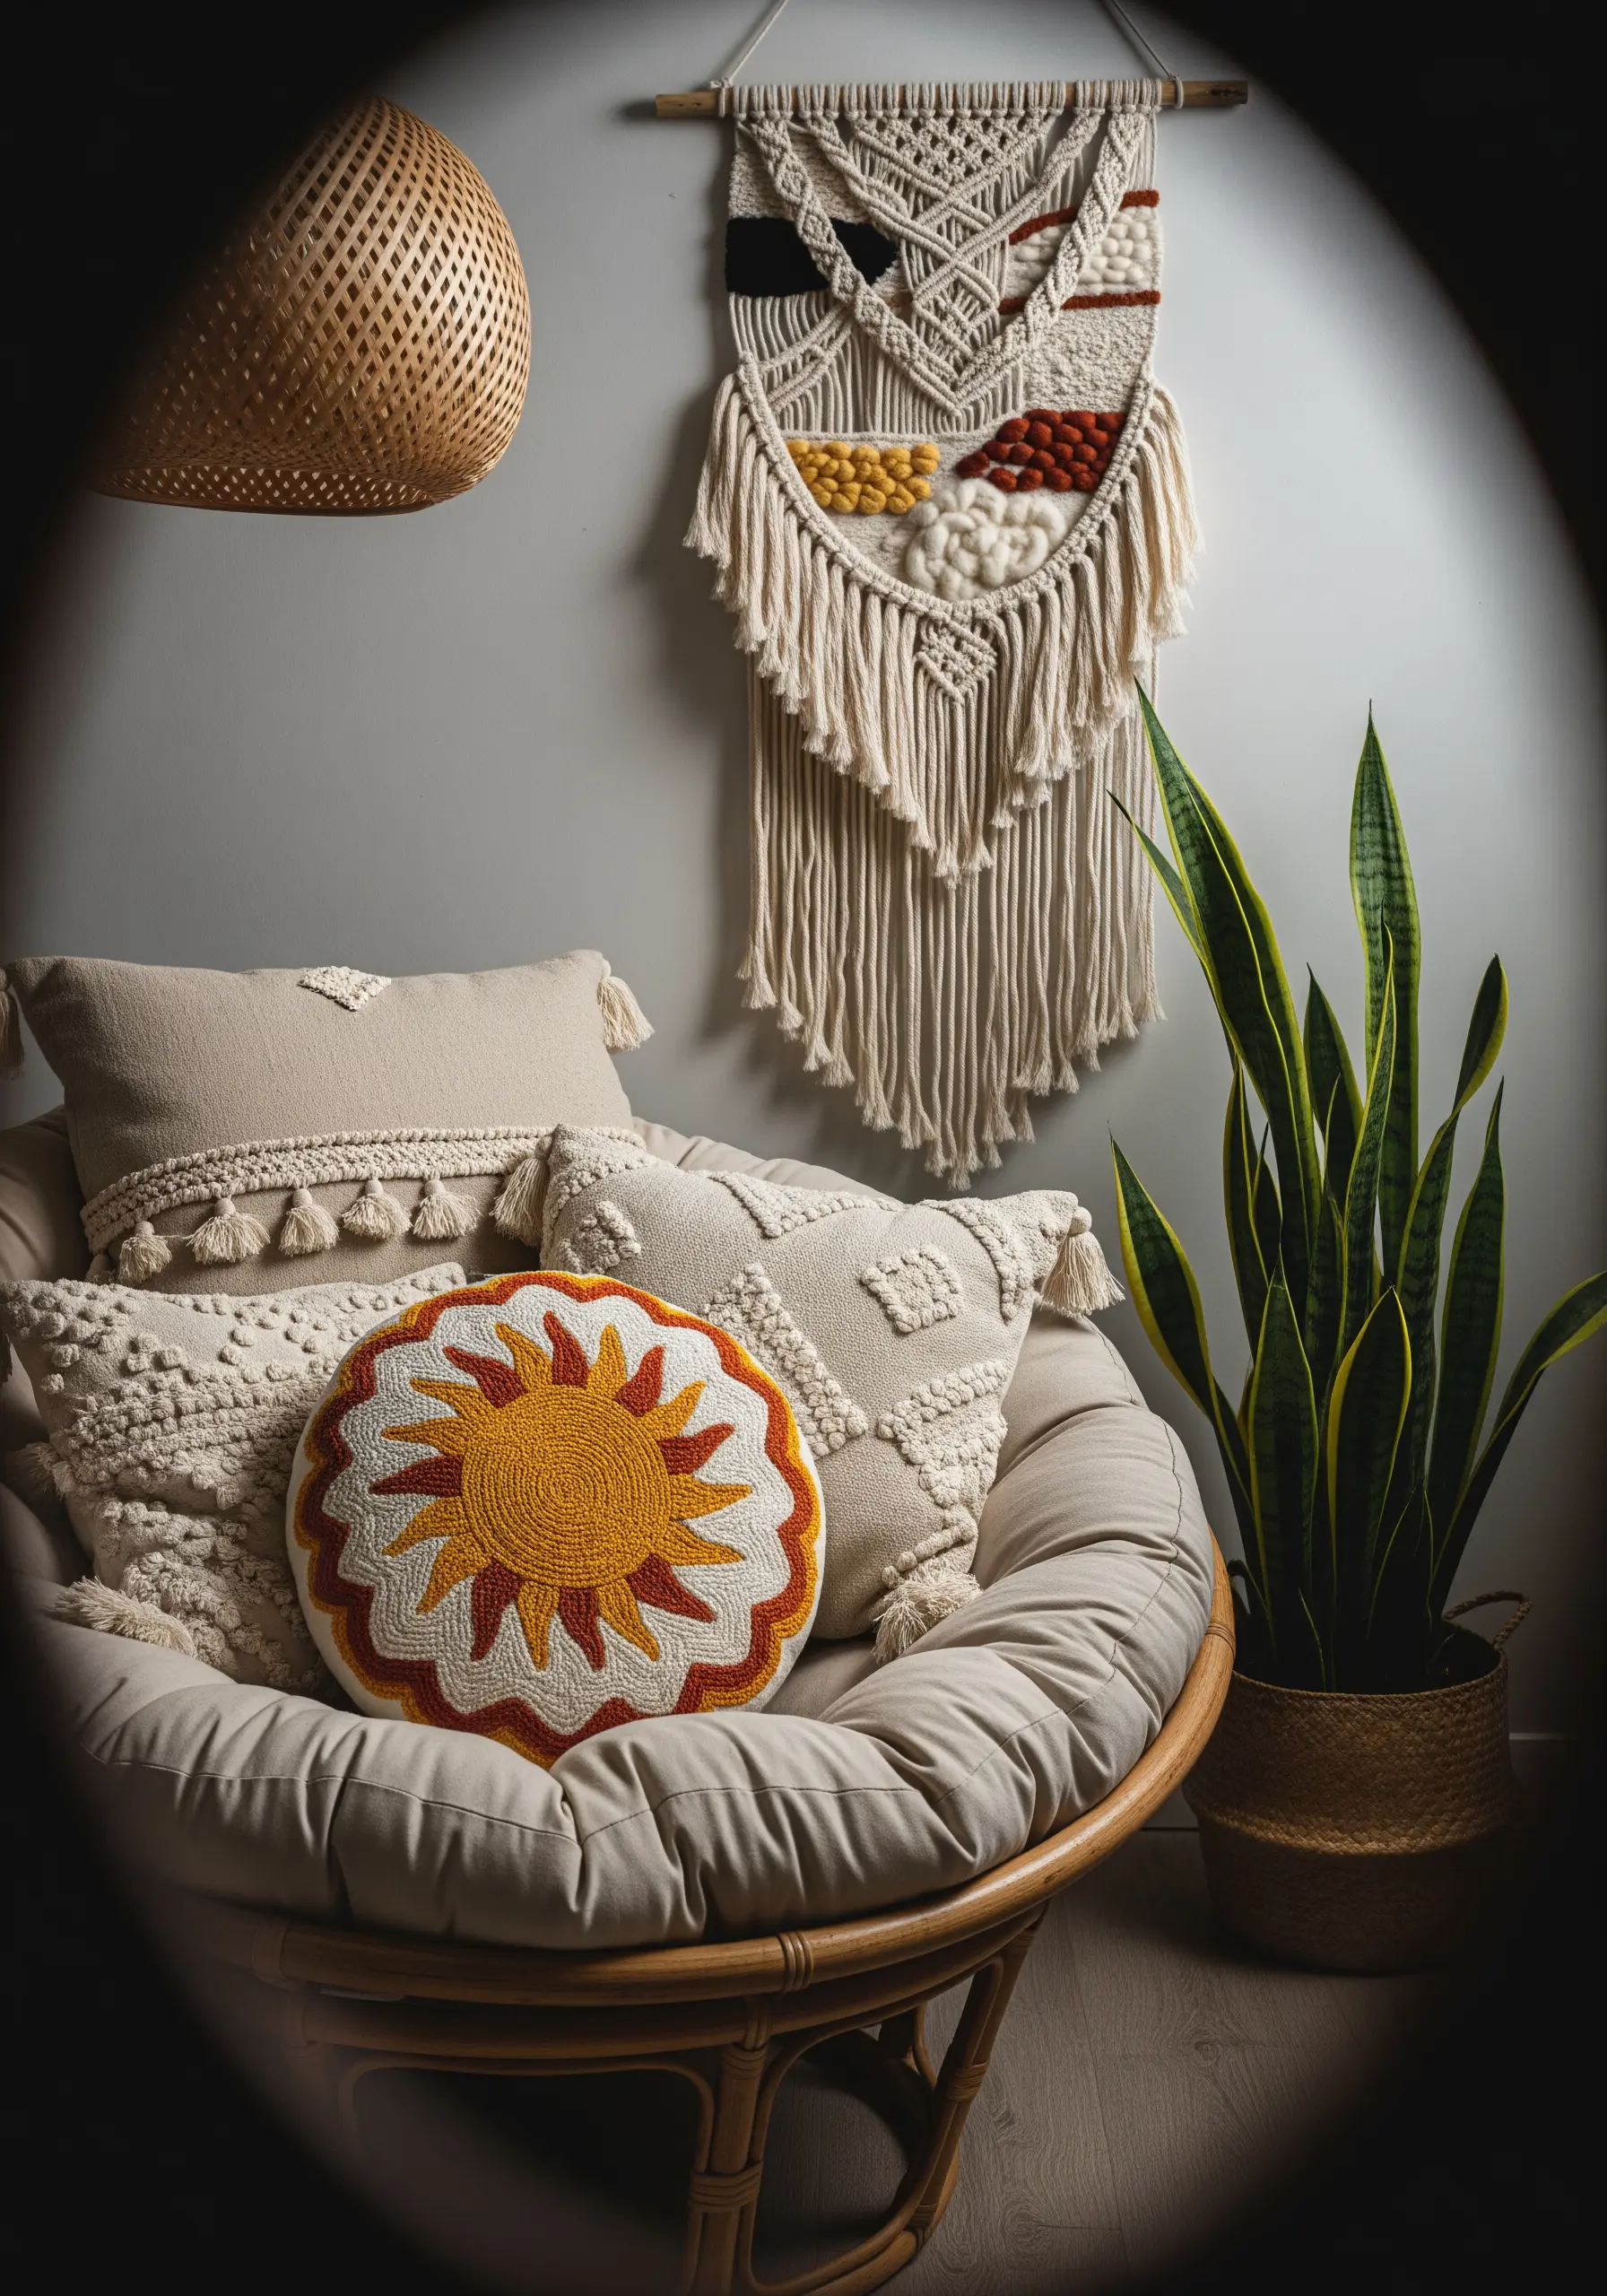
Elevate your wall hangings by integrating traditional embroidery with other fiber techniques like macrame and weaving.
For a dimensional sun motif, fill the center with densely packed French knots or a woven wheel stitch using a warm yellow or mustard yarn.
Contrast the fine detail of embroidery floss with the chunkiness of roving wool or thick cotton cord for a piece rich in texture.
This approach is perfect for mixed-fiber embroidery ideas that make a bold, boho-inspired statement in any reading corner.
4. Stitch a Meadow with Delicate Botanicals
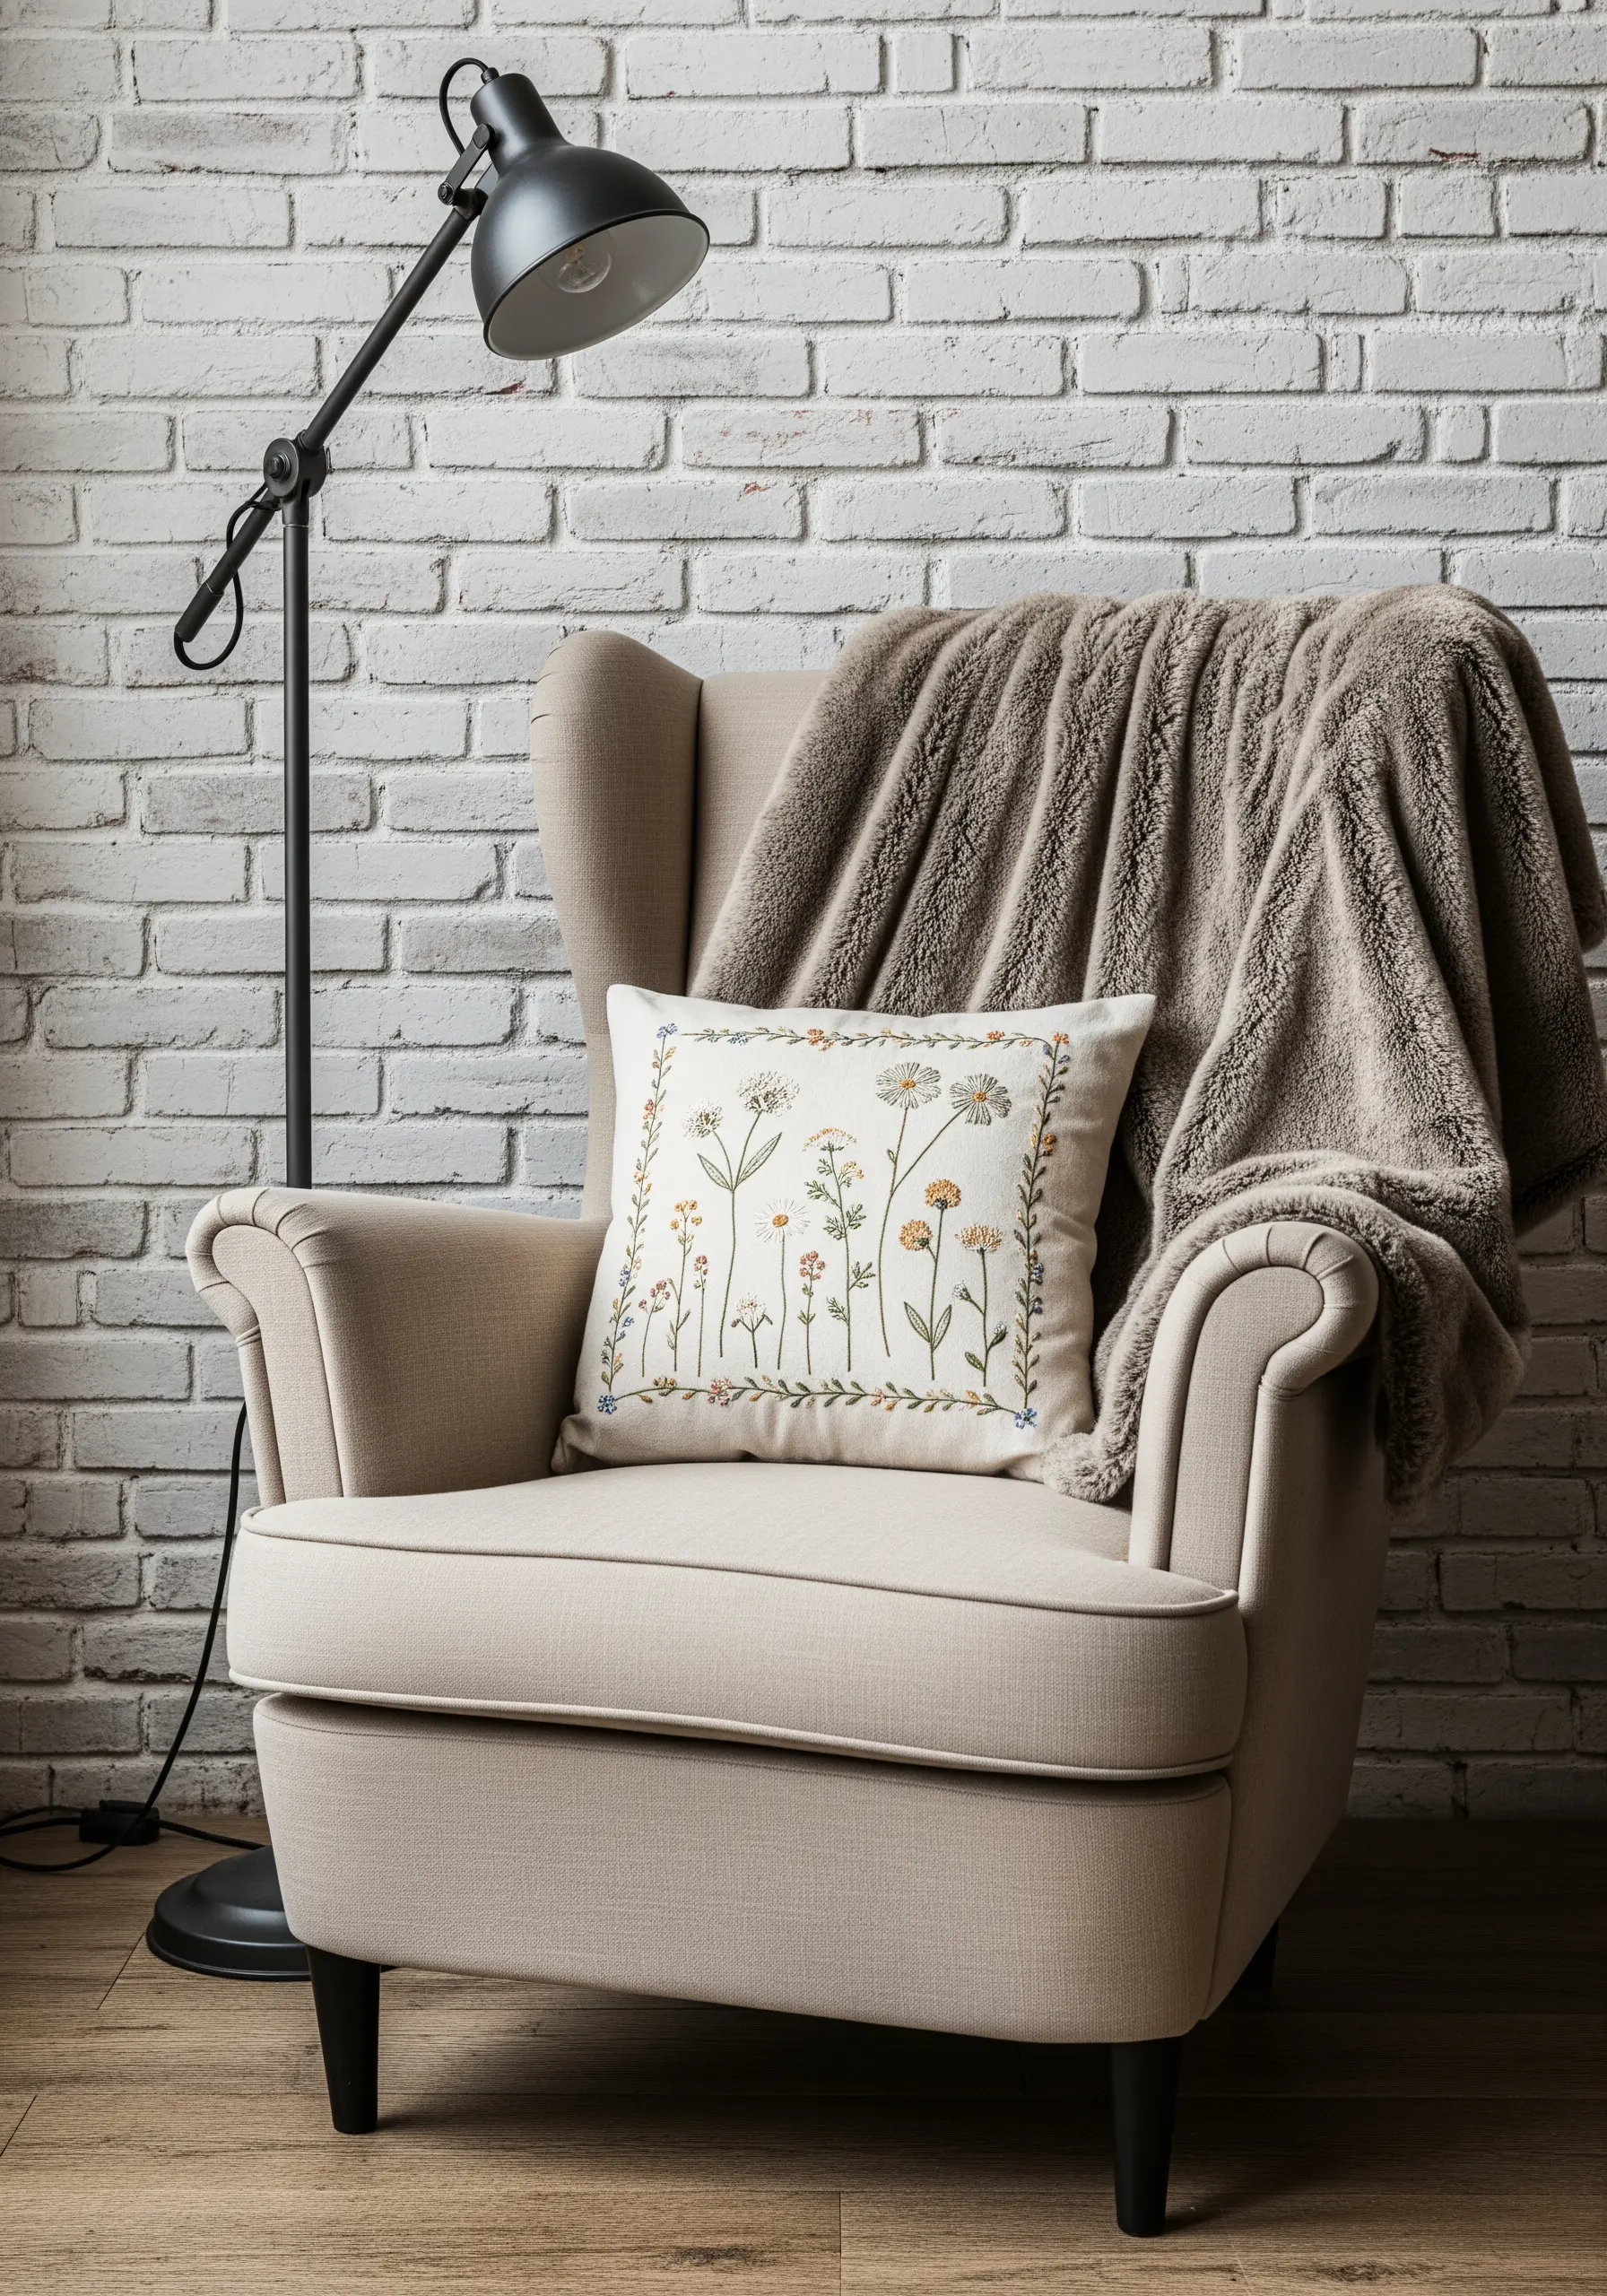
To create the look of a delicate, scattered wildflower meadow, work with just one or two strands of floss for your stitches.
This allows you to capture the fine details of petals and stems without making the design feel heavy or crowded.
Use a variety of simple stitches: detached chain stitches for small petals, single straight stitches for grass, and tiny French knots for flower centers.
This technique is ideal for gentle floral embroidery ideas that add a touch of nature-inspired calm to a neutral cushion.
5. Achieve a Velvet Finish with Damask Patterns
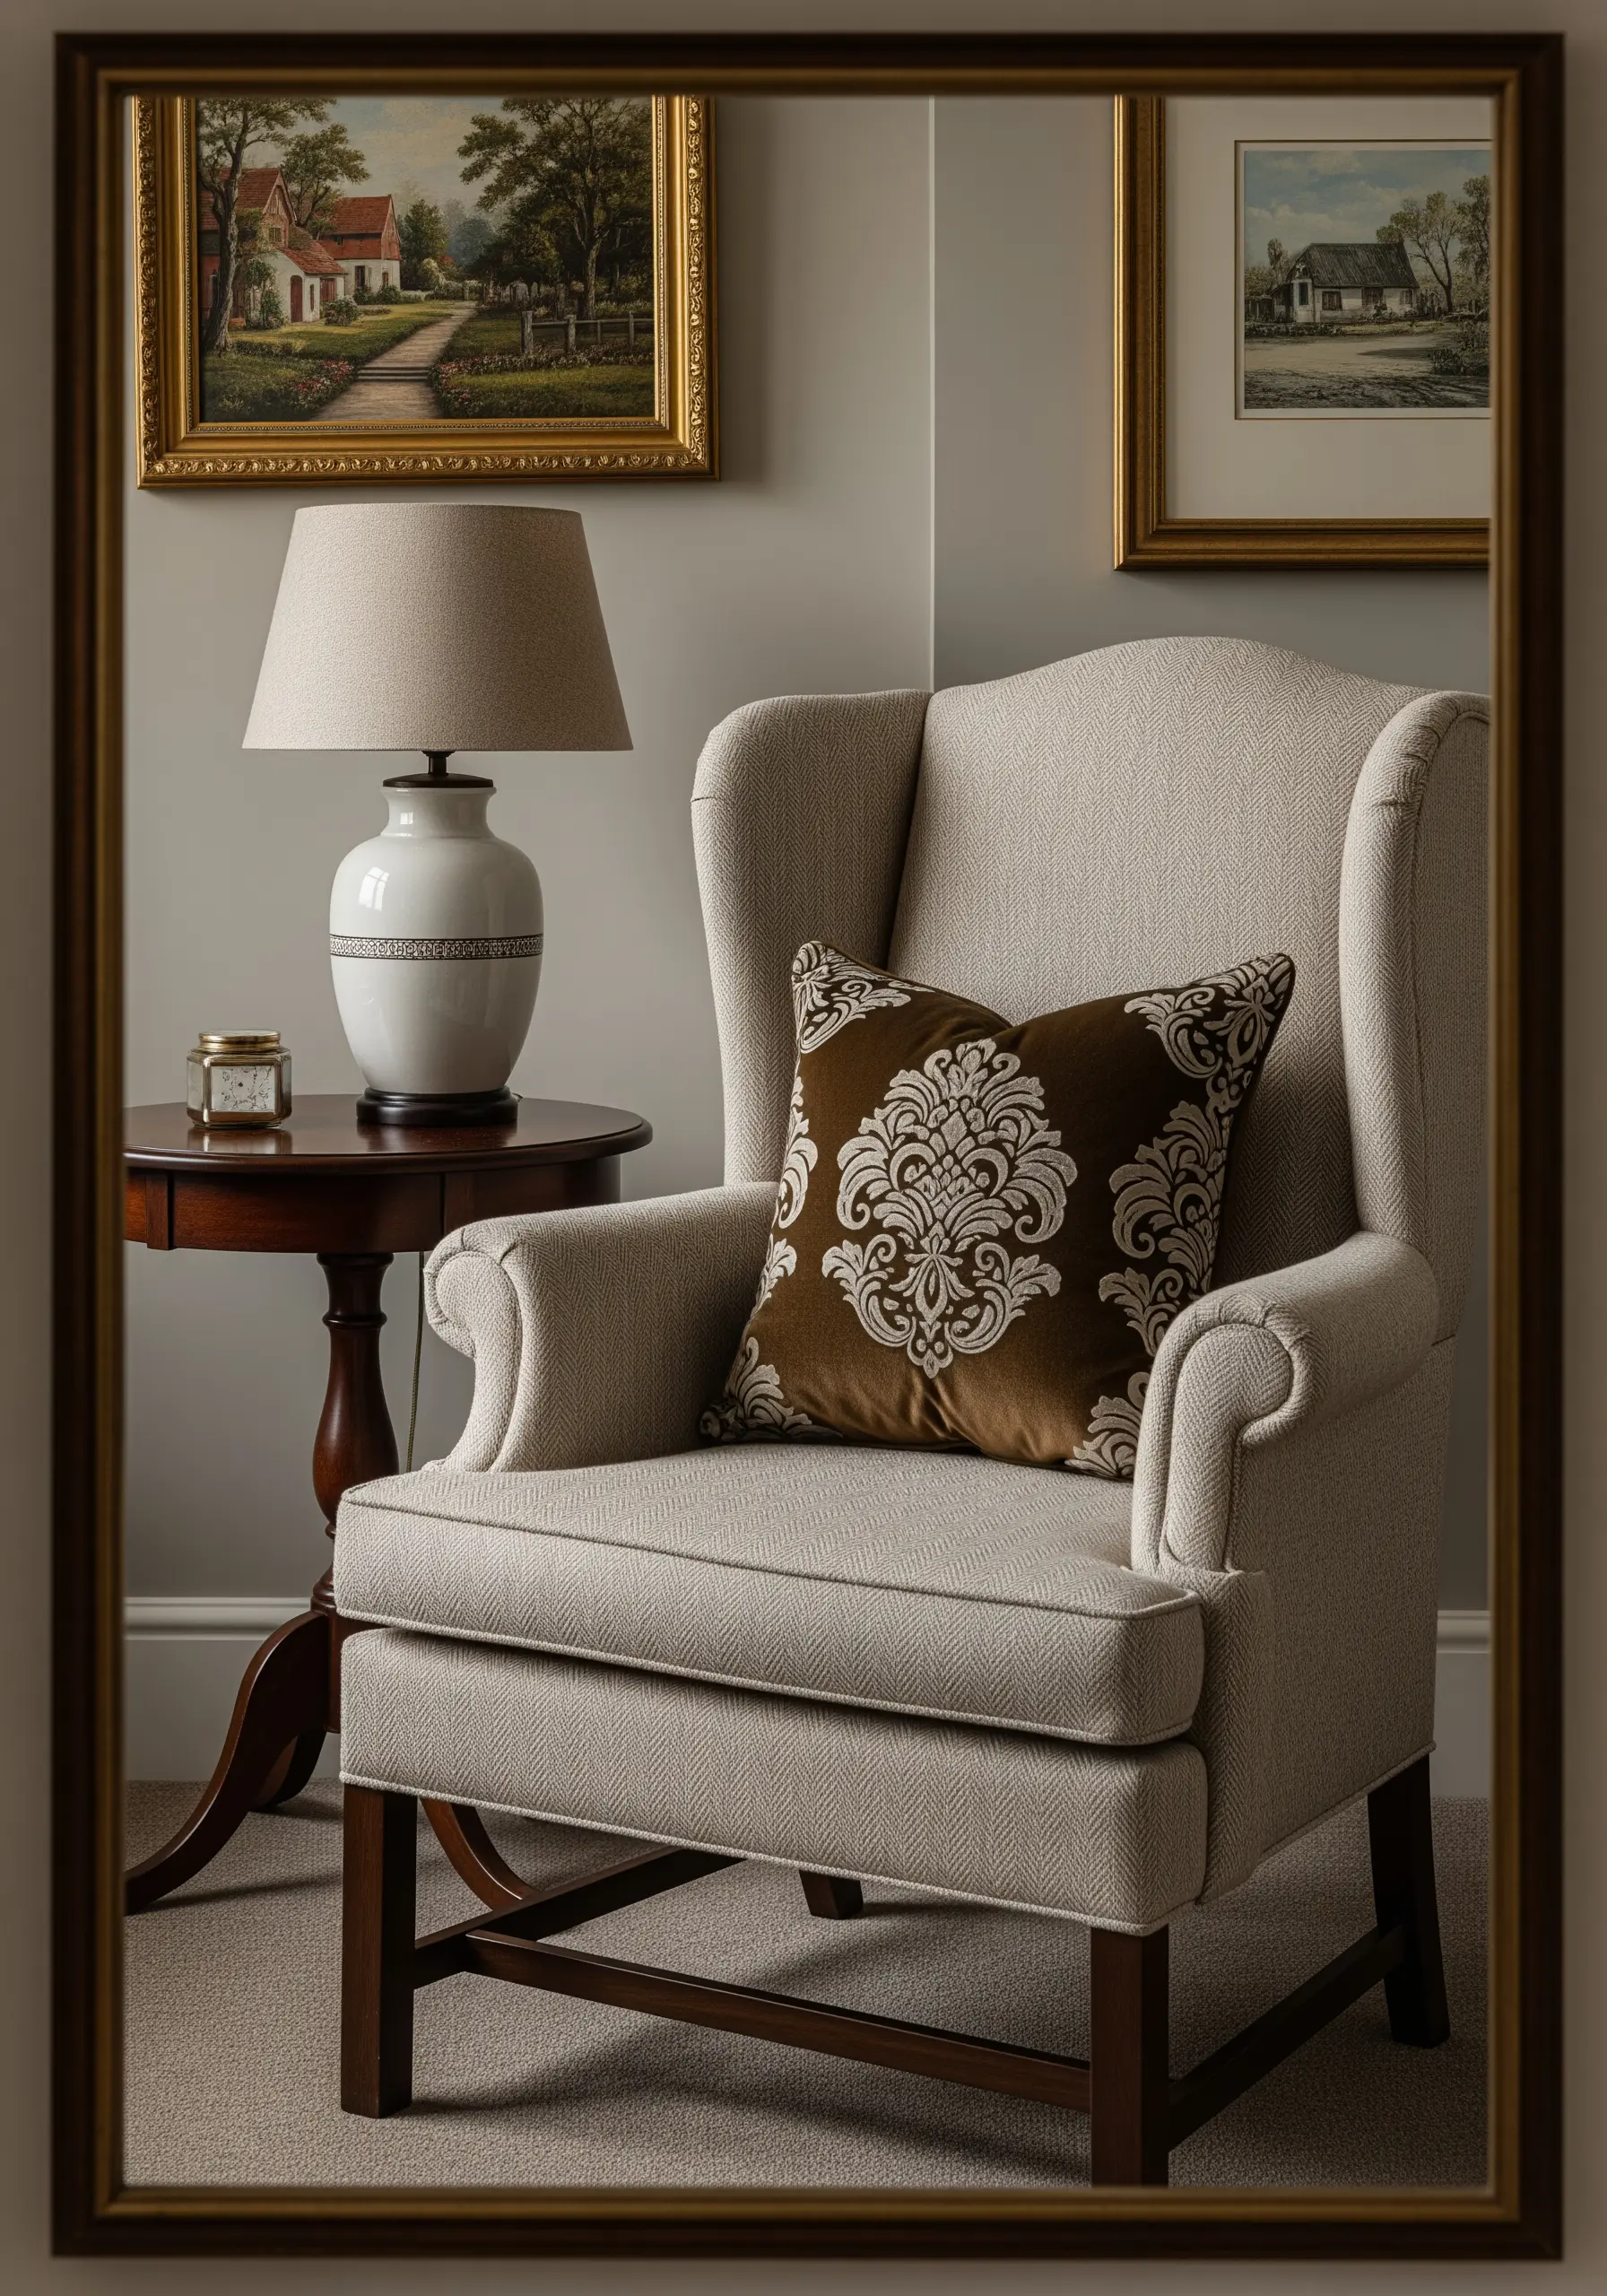
Create a striking contrast in your neutral space by embroidering a classic damask pattern in a rich, dark color like chocolate brown or charcoal.
Use a dense, perfectly aligned satin stitch to fill the shapes; this technique reflects light and gives the thread a luxurious, velvety sheen.
Working on a lighter beige or cream fabric makes the intricate pattern stand out, adding a touch of traditional elegance to a modern armchair.
The key is flawless thread tension to prevent puckering and maintain that smooth, opulent finish.
6. Create Calm with Rhythmic, Raised Textures
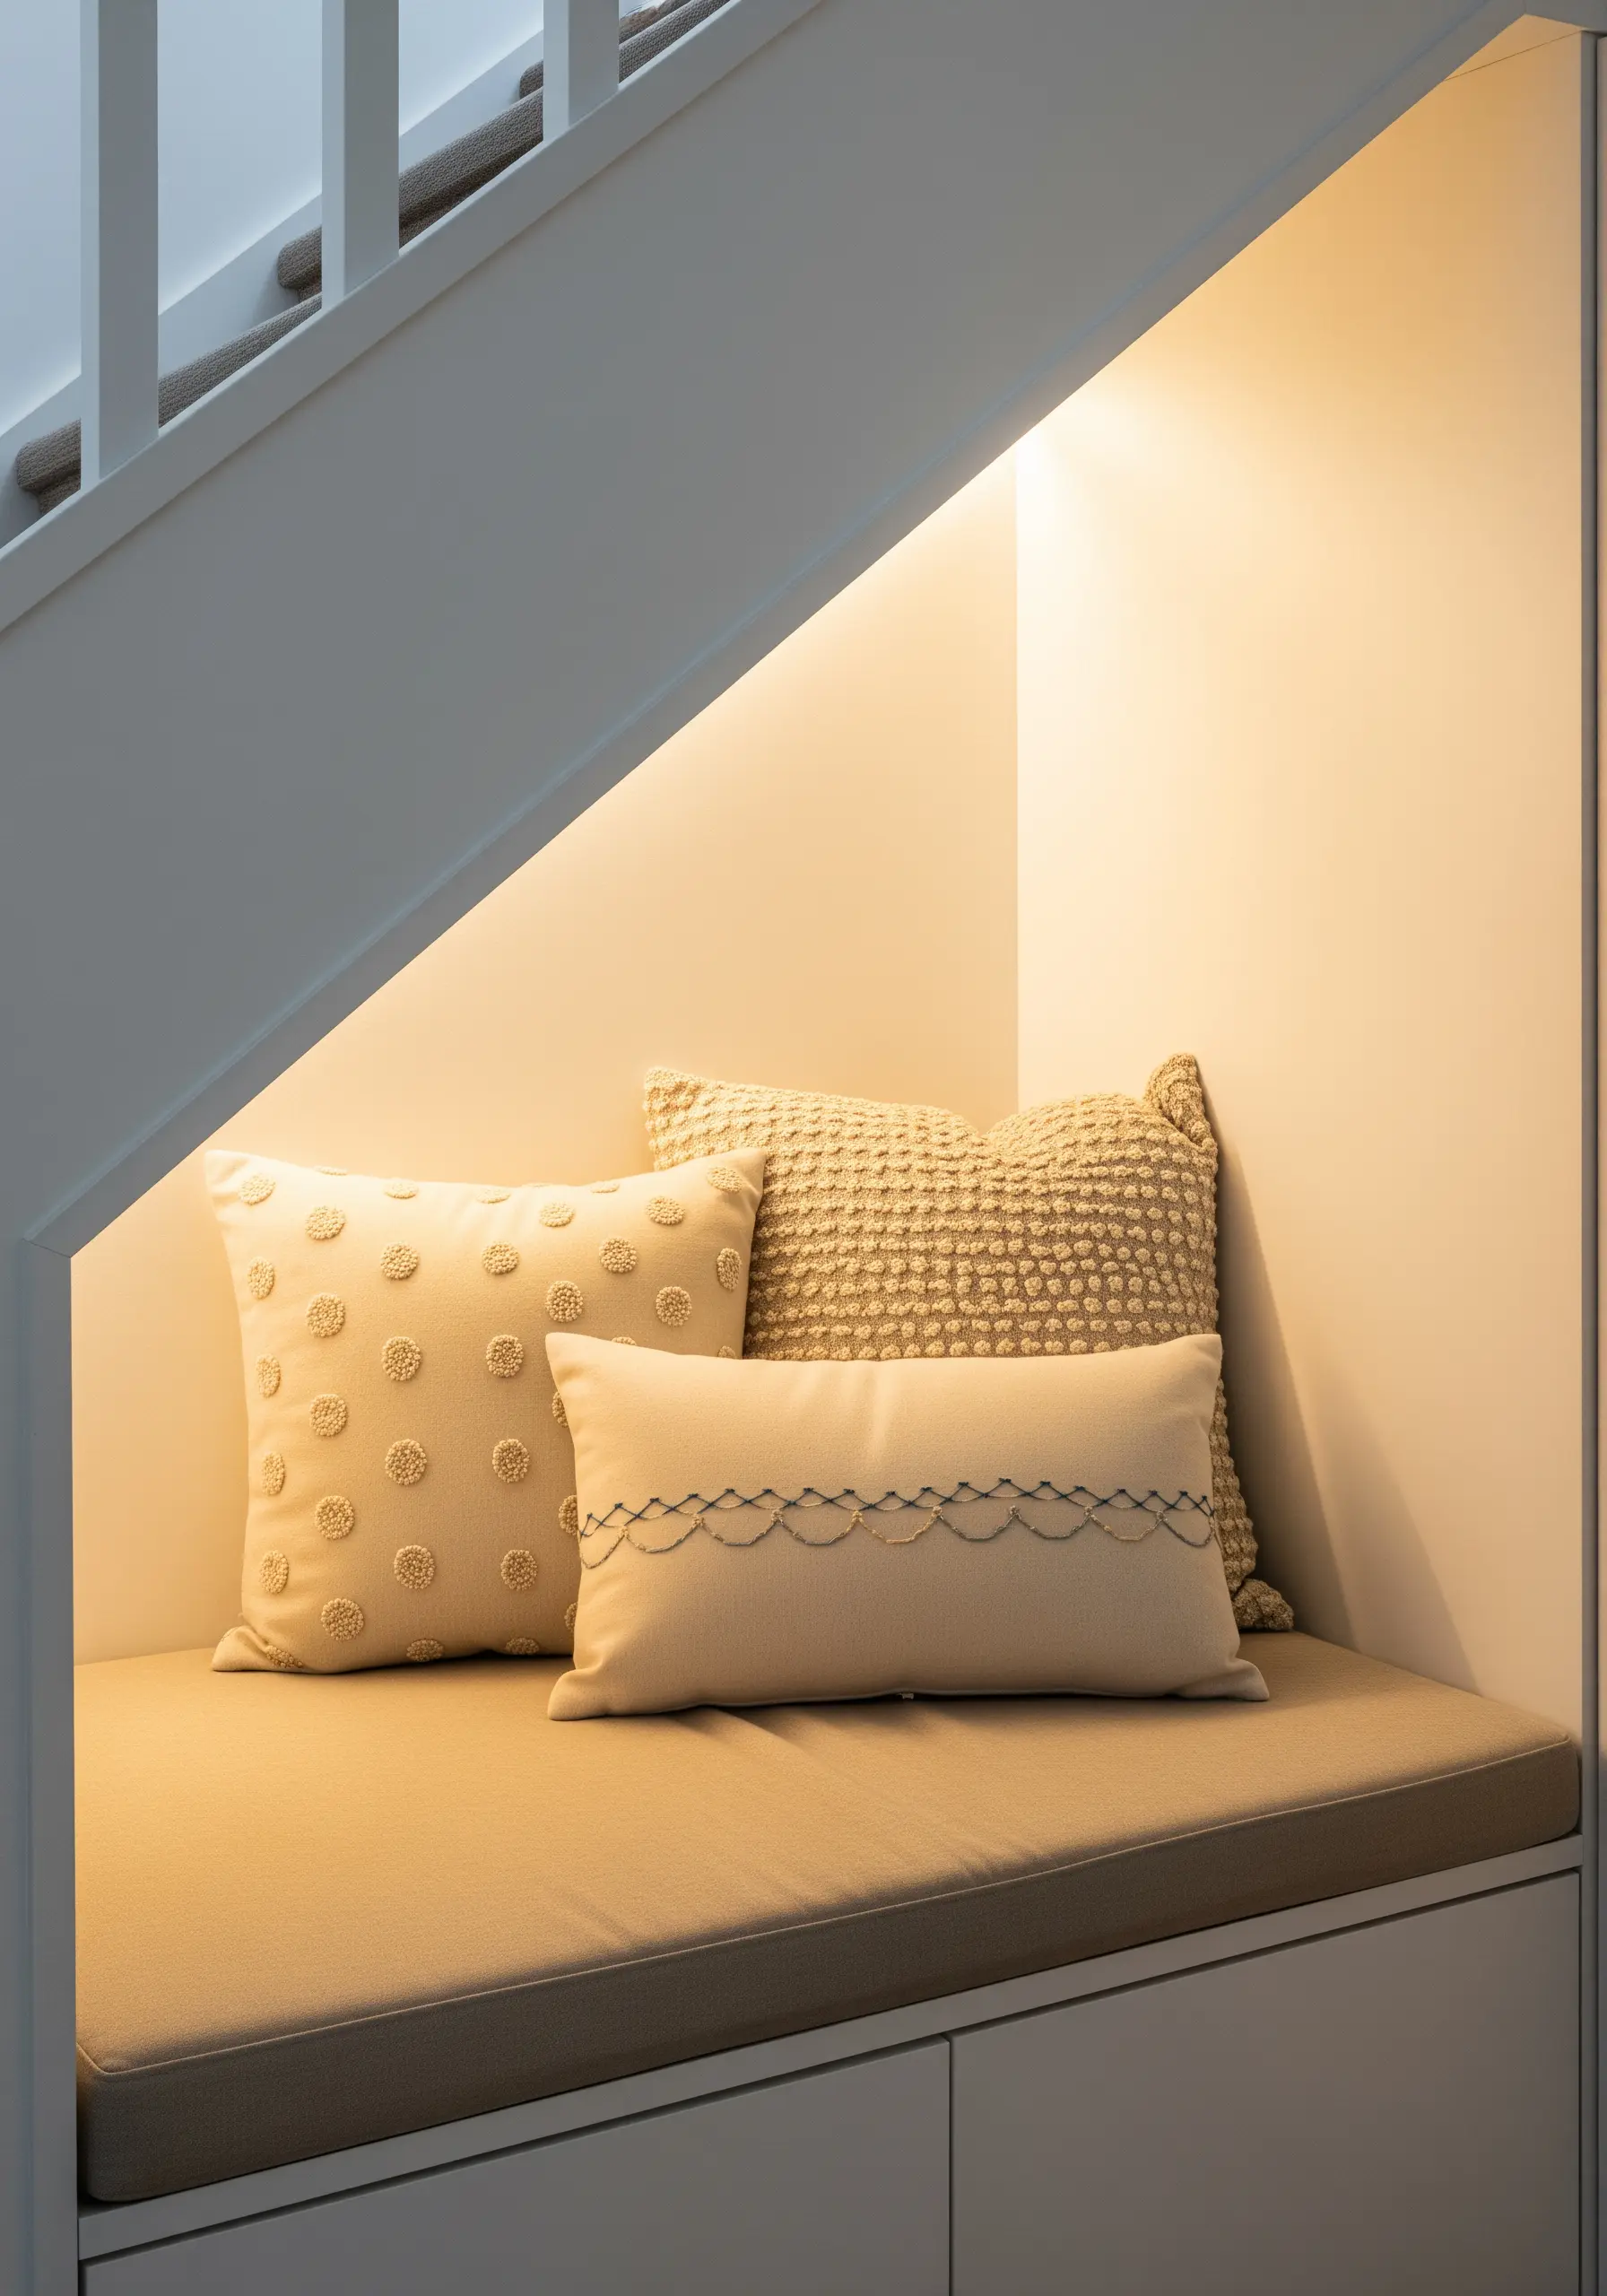
Introduce subtle, tactile interest to your decor with a pattern of simple raised dots.
You can achieve this effect easily using colonial knots or French knots, which offer a satisfyingly uniform, bumpy texture.
For a more modern, minimalist look, arrange the dots in a clean grid pattern. Using a thread color that is only one or two shades lighter than your fabric creates a sophisticated, tone-on-tone effect.
These minimalist embroidery projects are meditative to create and add a layer of sensory comfort to your reading nook.
7. Tell a Story with Minimalist Line Art
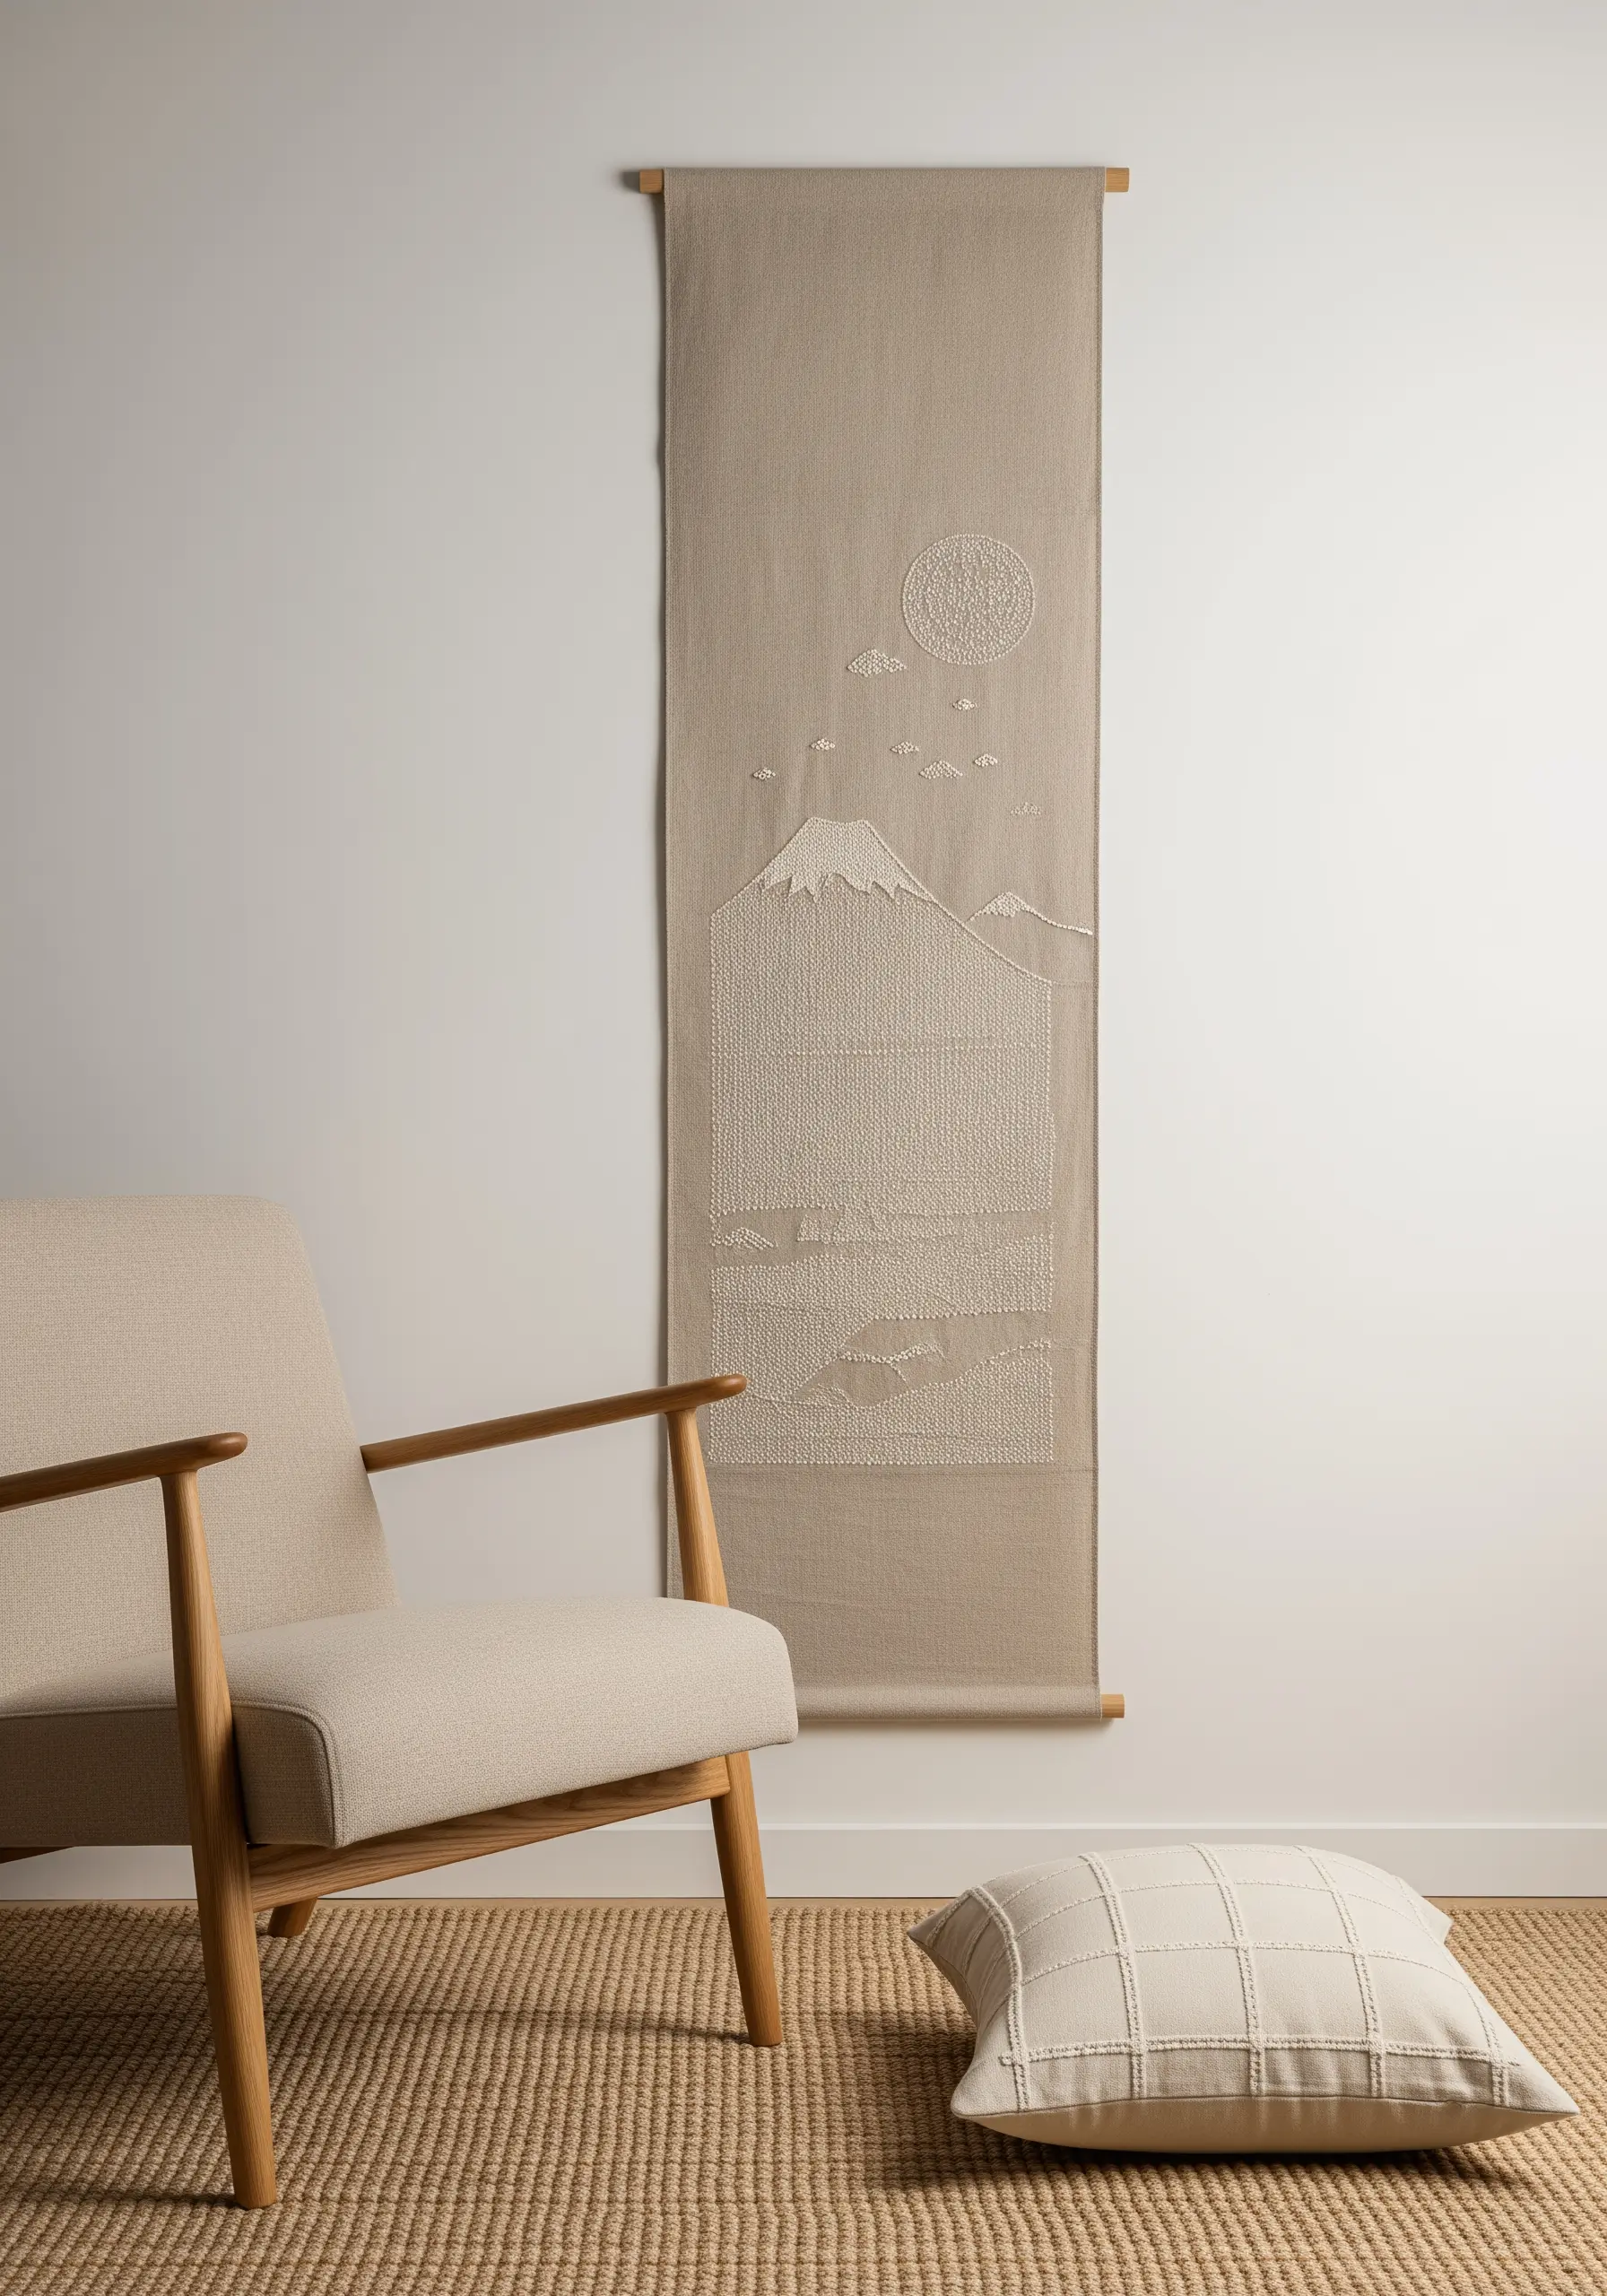
Craft an elegant narrative piece by focusing on the power of line and negative space.
Choose a high-quality linen fabric in a natural beige or oatmeal color as your canvas.
Using a single strand of white or off-white floss, stitch your design with a simple backstitch or stem stitch. This creates a crisp, delicate line that stands out beautifully against the textured fabric.
This style of minimalist thread art is perfect for creating serene, contemplative wall hangings that complement a Japandi or Scandinavian aesthetic.
8. Mimic Natural Forms with Directional Stitches
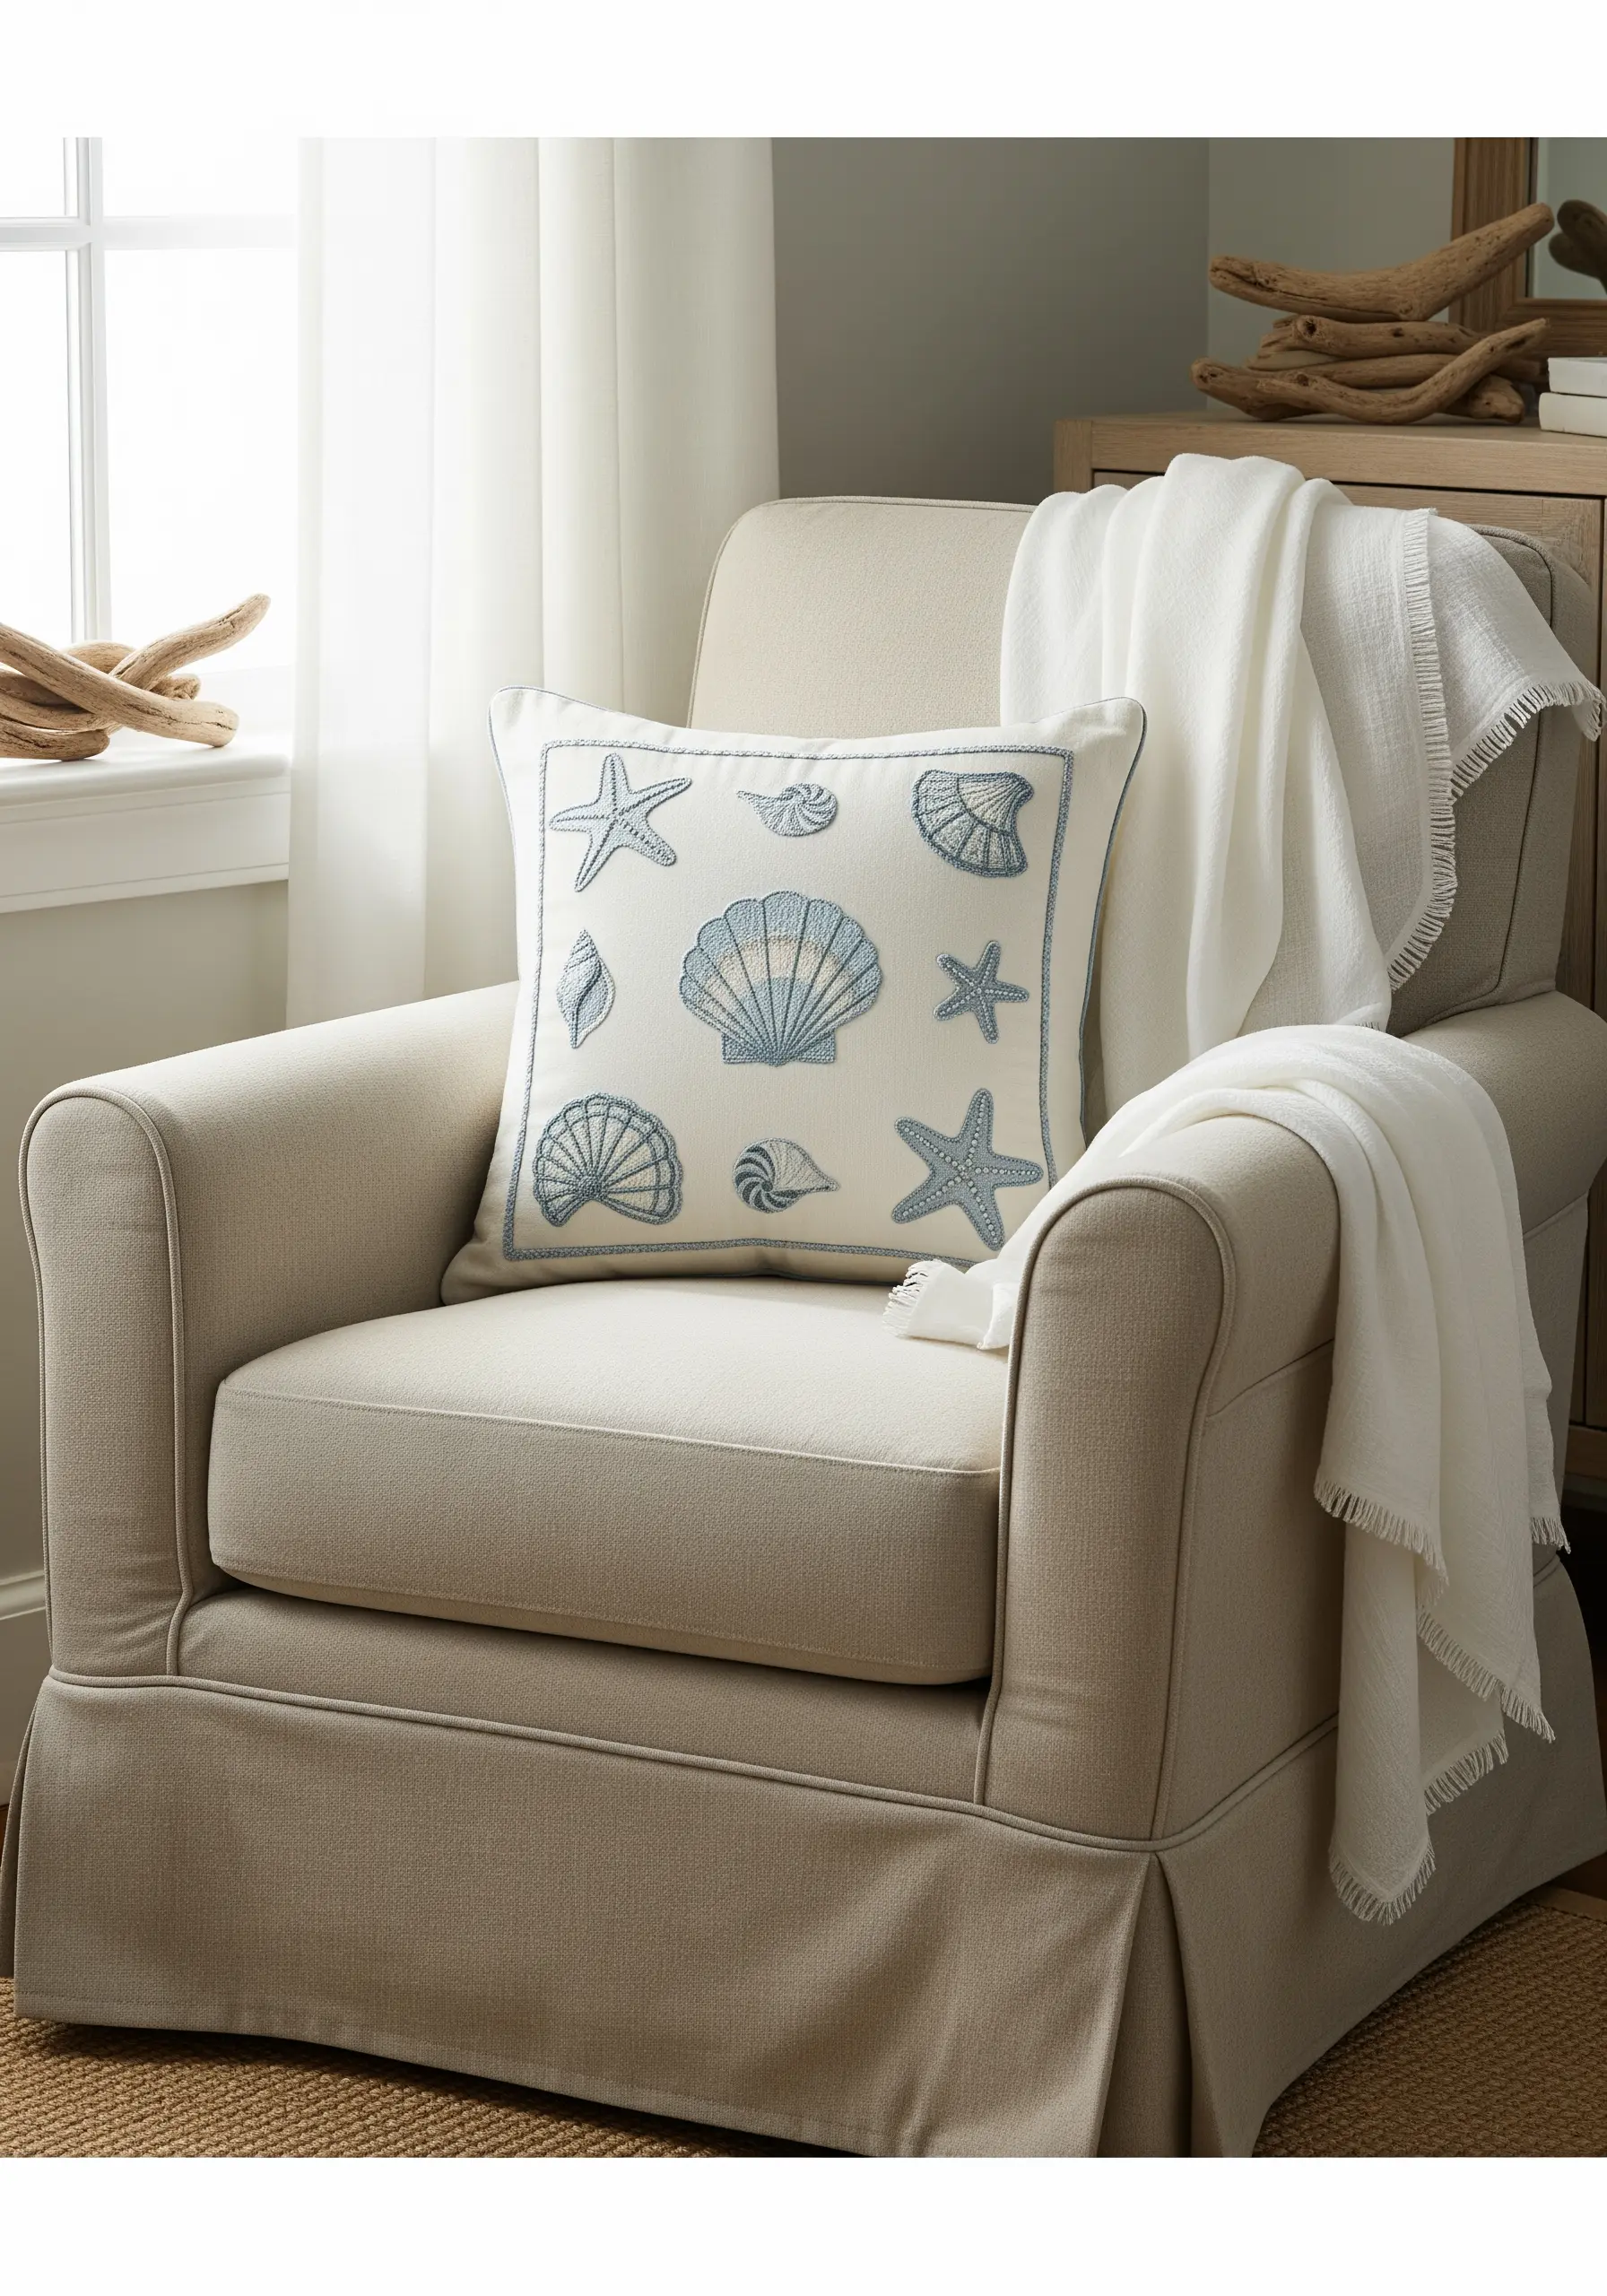
To give your embroidered seashells a realistic, three-dimensional look, pay close attention to the direction of your satin stitches.
Instead of stitching straight across, angle your stitches to follow the natural curves and ridges of the shell. This simple adjustment creates an illusion of depth and form.
Using two closely related shades of blue and alternating them in sections further enhances this effect, suggesting light and shadow.
This approach turns simple coastal-inspired motifs into dynamic, lifelike embellishments.
9. Introduce Radiance with Metallics and Beads
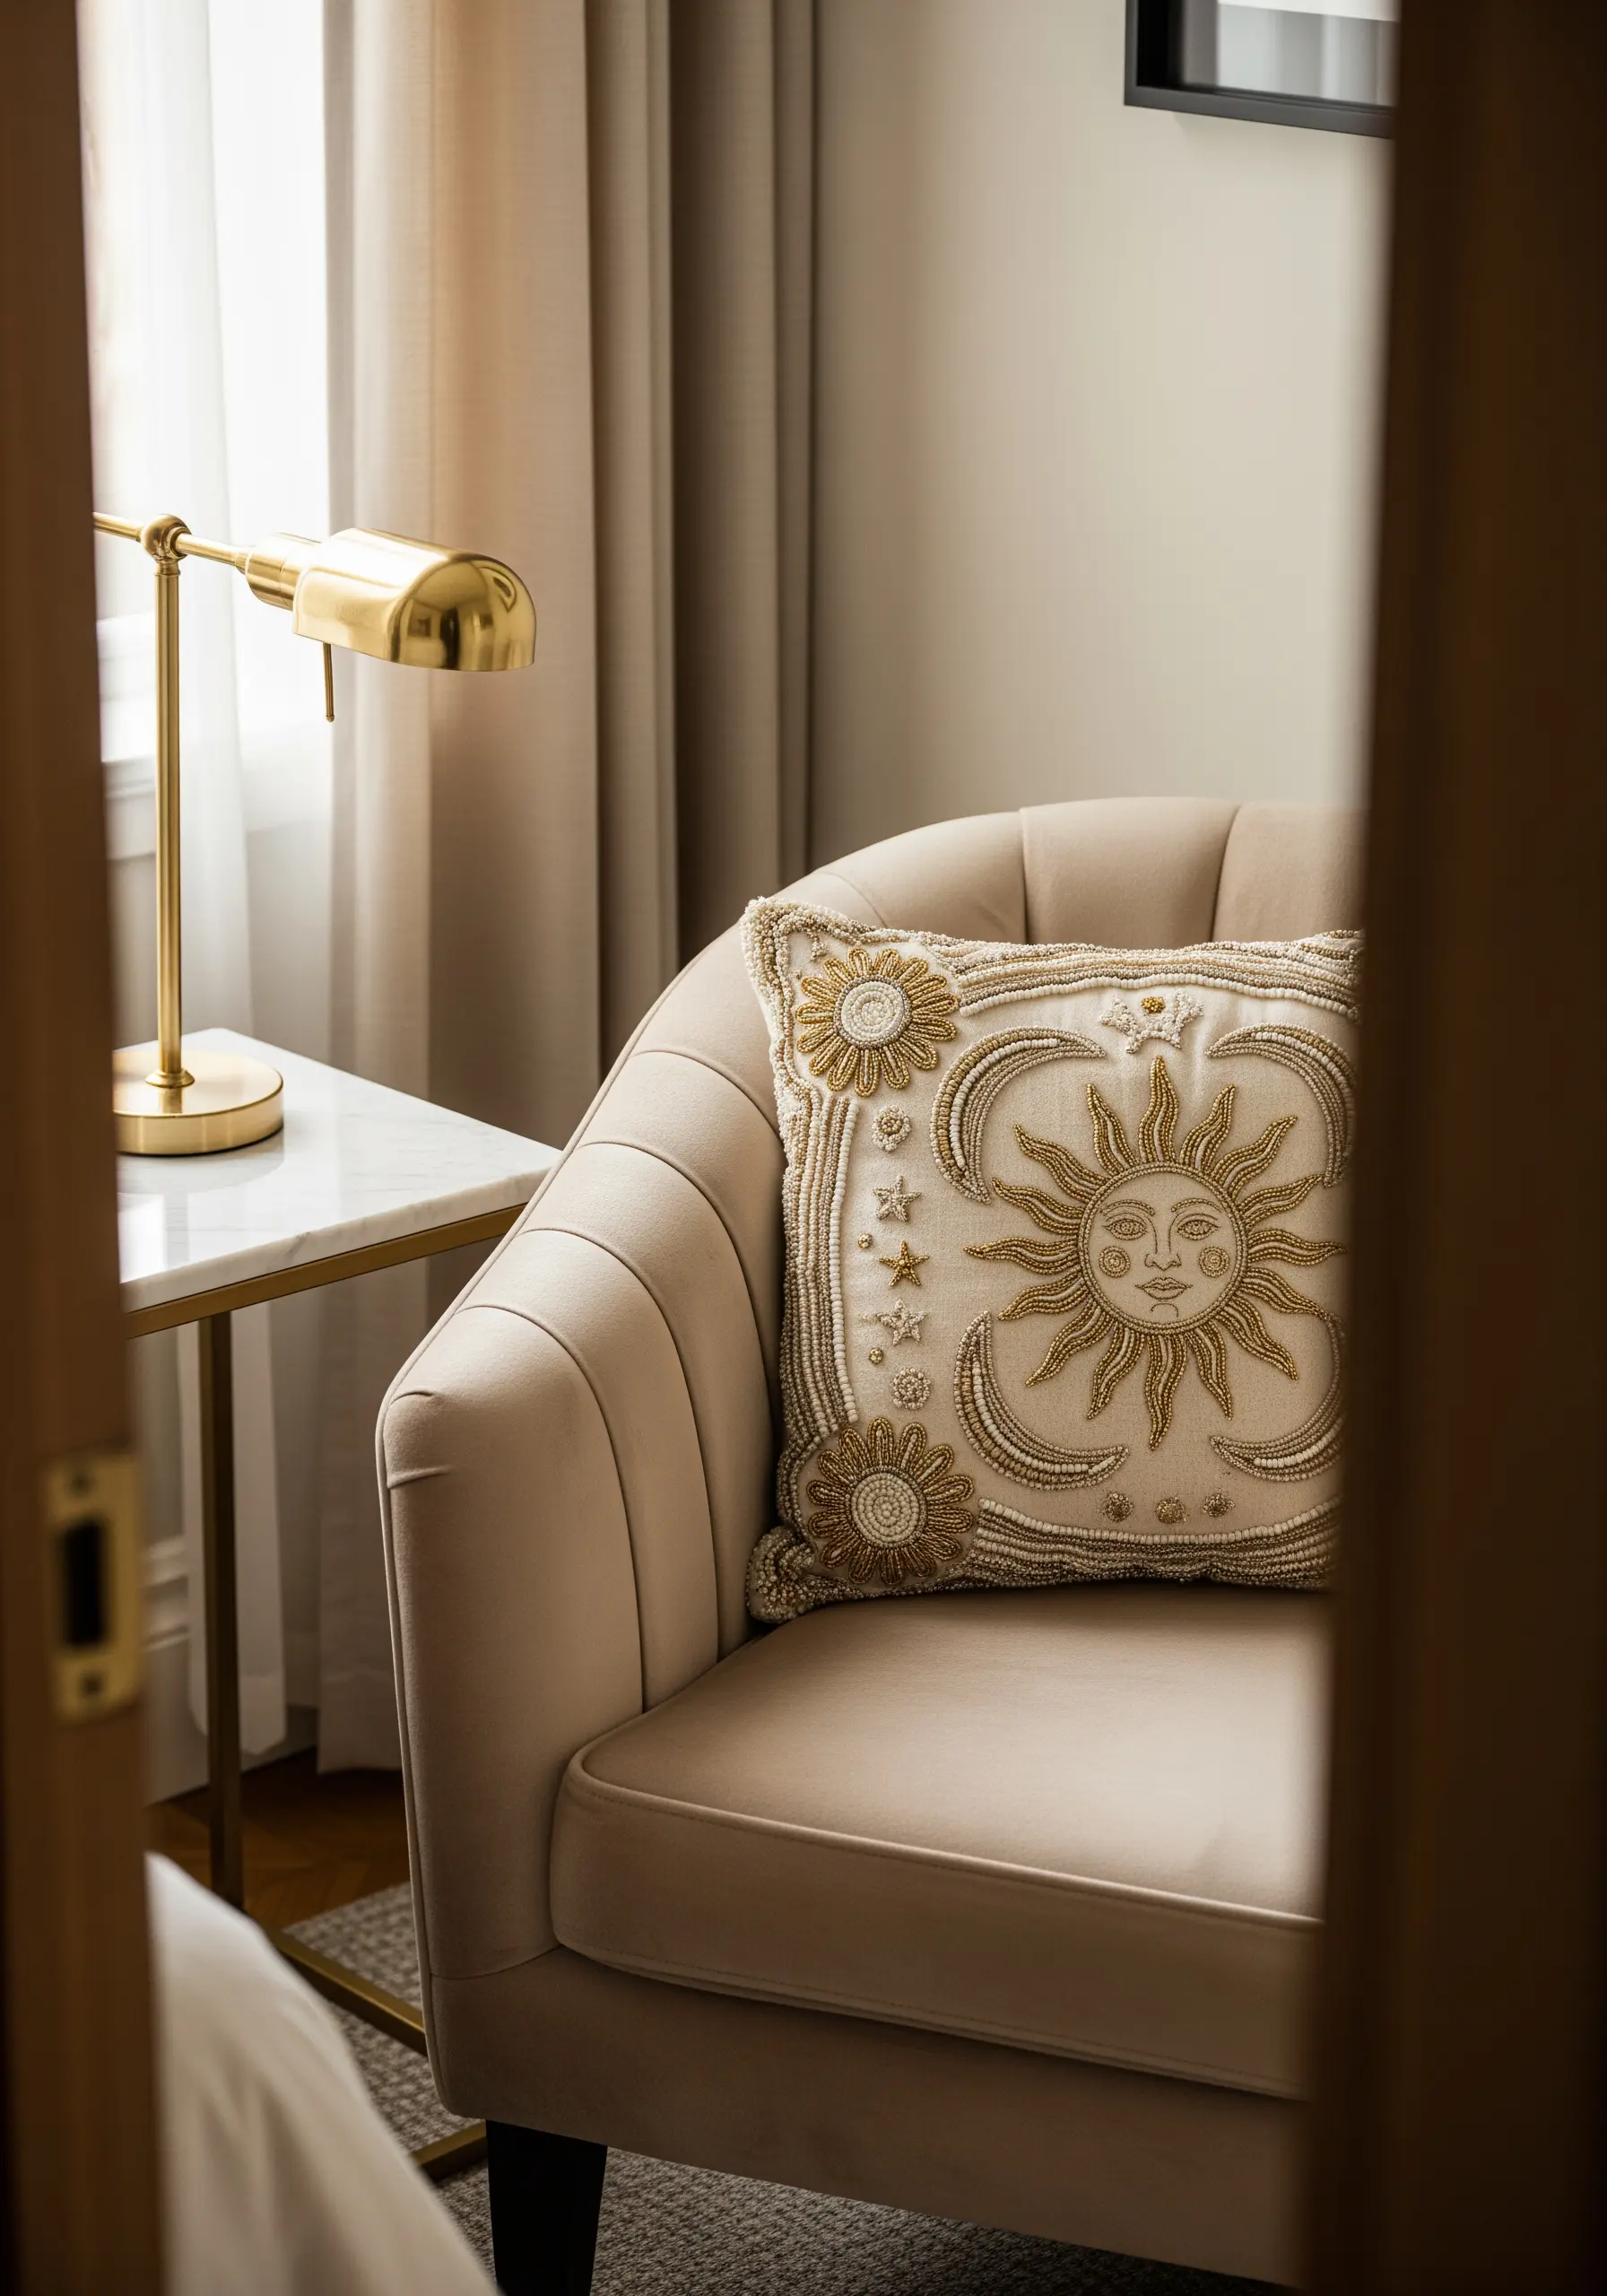
Add a touch of celestial glamour to your embroidery by incorporating gold metallic threads and delicate beads.
When working with metallic floss, use shorter thread lengths (around 12 inches) and a thread conditioner to prevent tangling and fraying.
Outline your sun motif with a fine gold thread using a backstitch, then fill key areas with tiny gold or pearl seed beads for a subtle, light-catching sparkle.
This technique elevates a simple design into a luxurious accent piece that feels both handmade and opulent.
10. Craft a Bold Monogram with Padded Satin Stitch
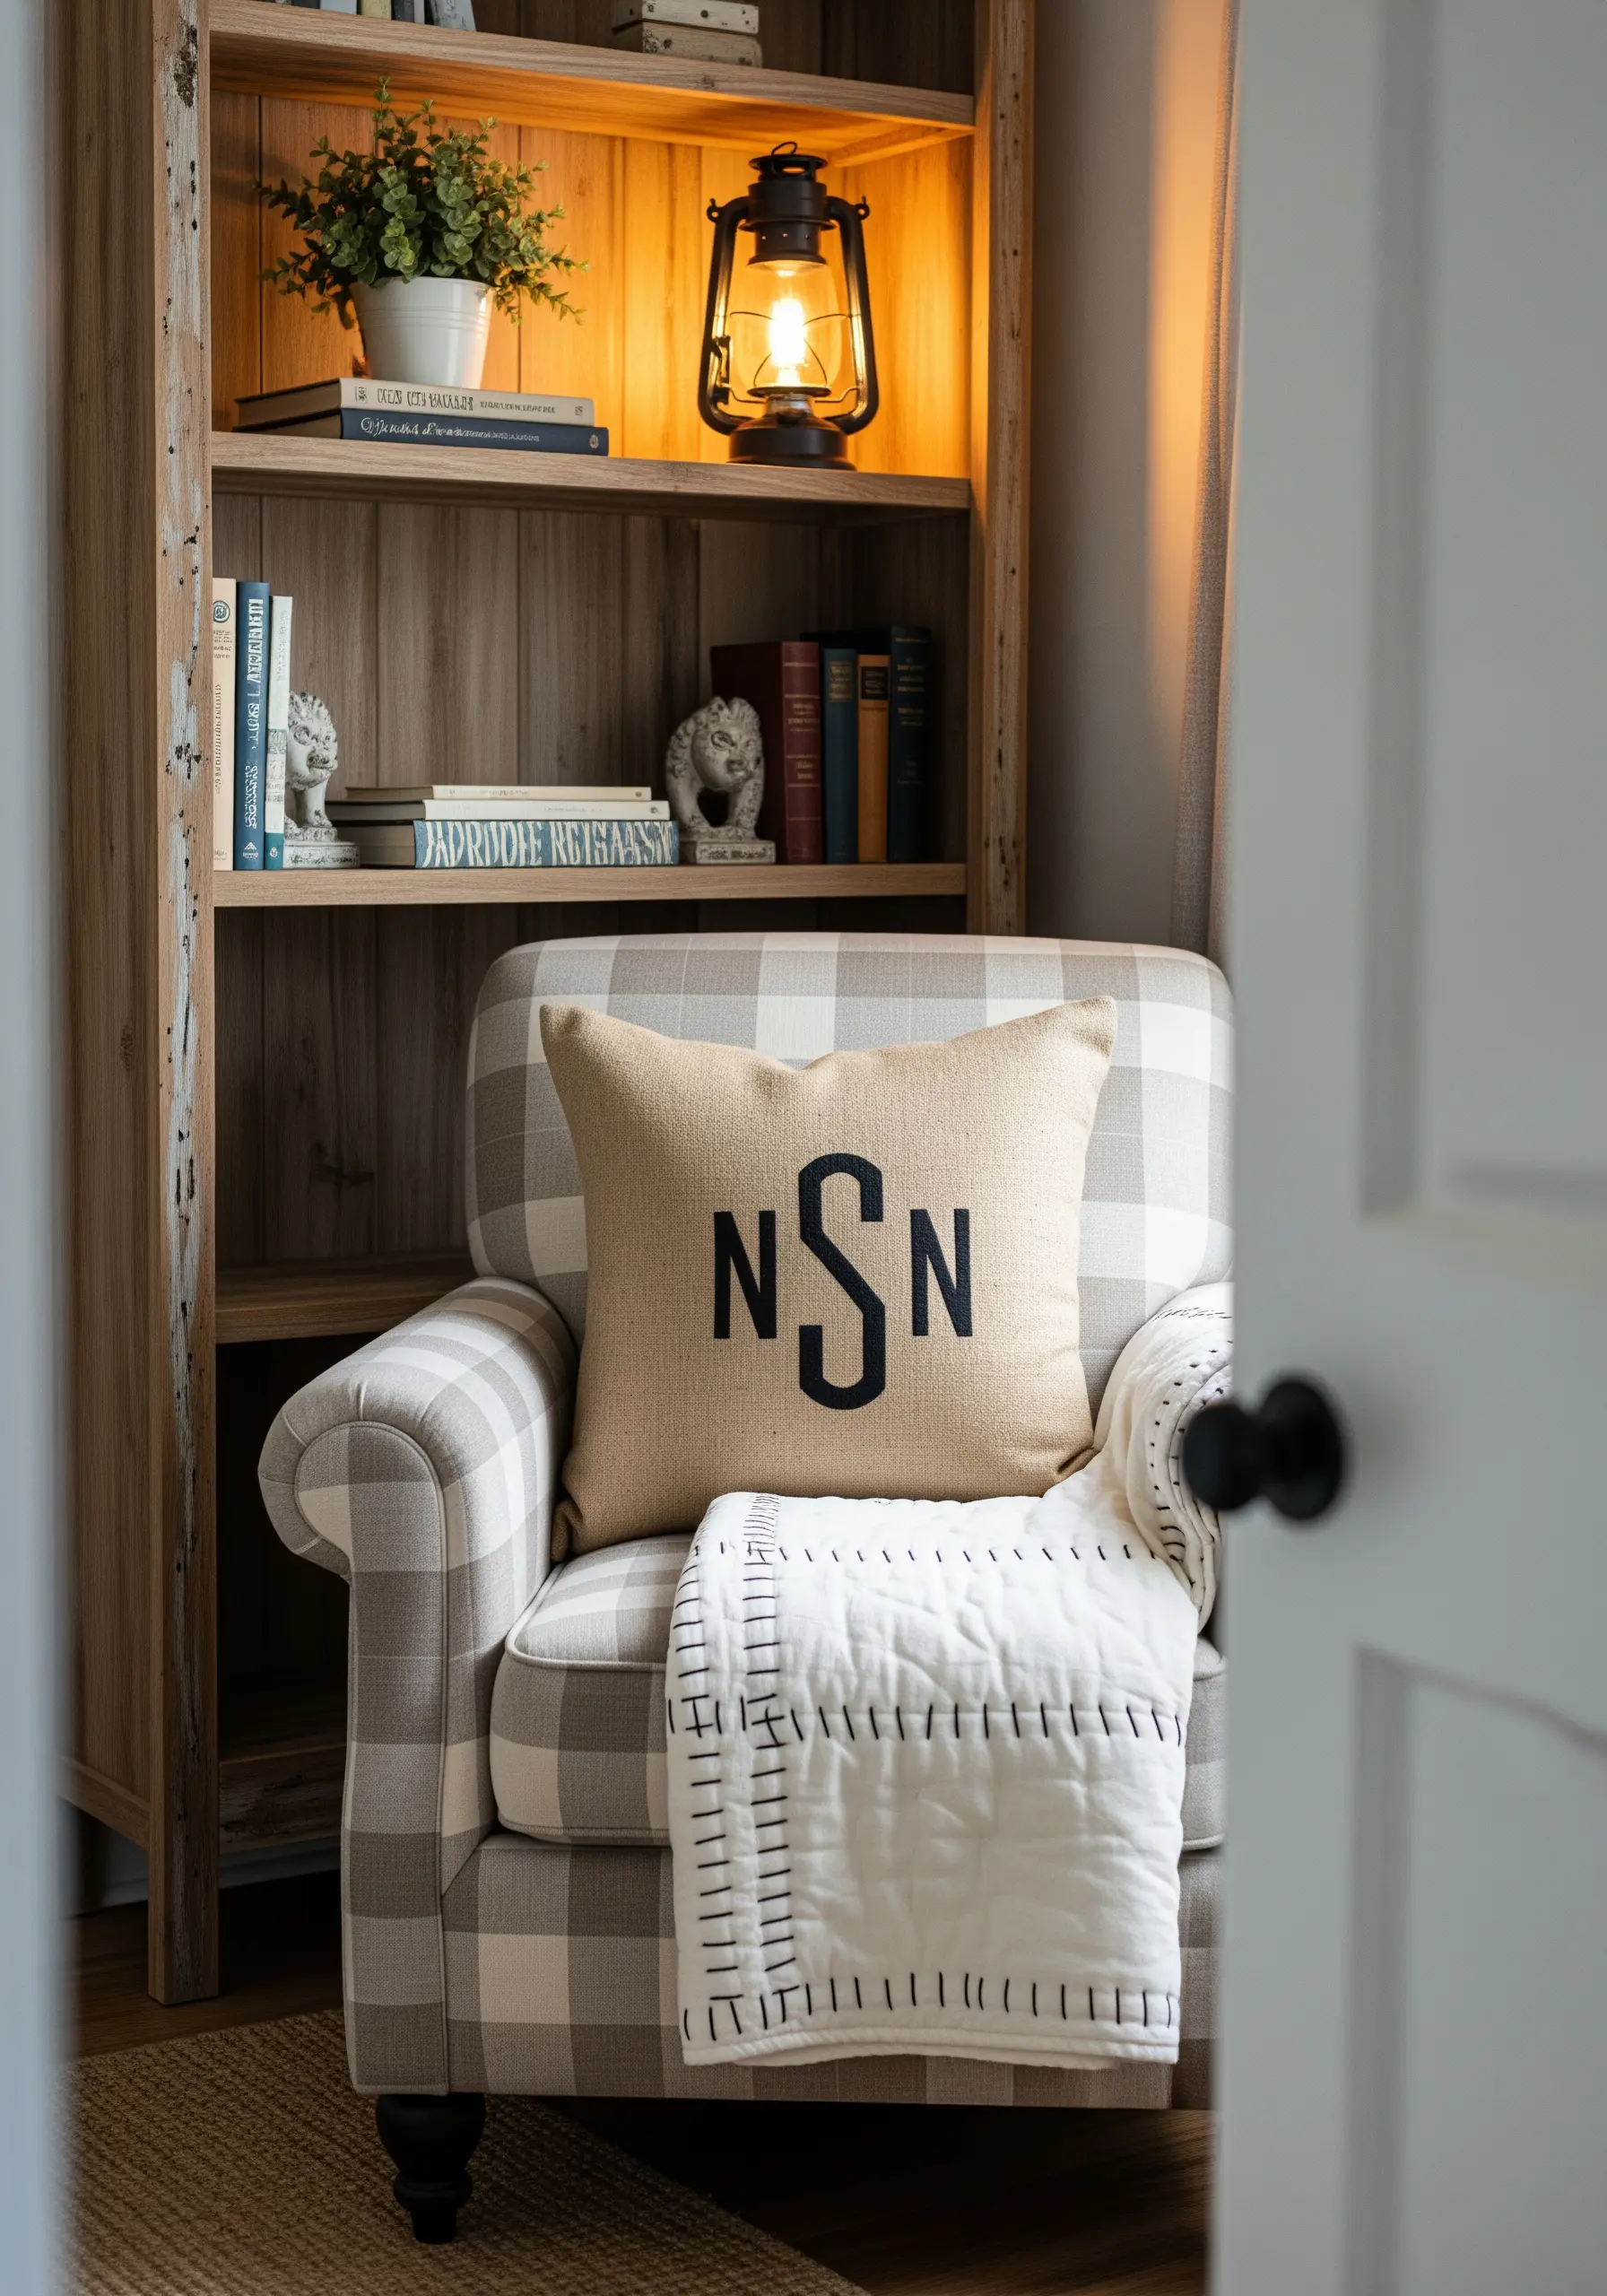
Make a monogram the undeniable focal point of a cushion by giving it a raised, three-dimensional quality.
First, fill the letter shapes with a base of small seed stitches or running stitches. Then, cover this padding with smooth, dense satin stitches worked in the opposite direction.
This technique, known as padded satin stitch, lifts the monogram off the fabric surface for a professional, commanding finish.
Using a dark, contrasting thread like navy or black on a neutral fabric makes these personalized monograms truly stand out.
11. Weave Chunky Textures with Yarn Couching
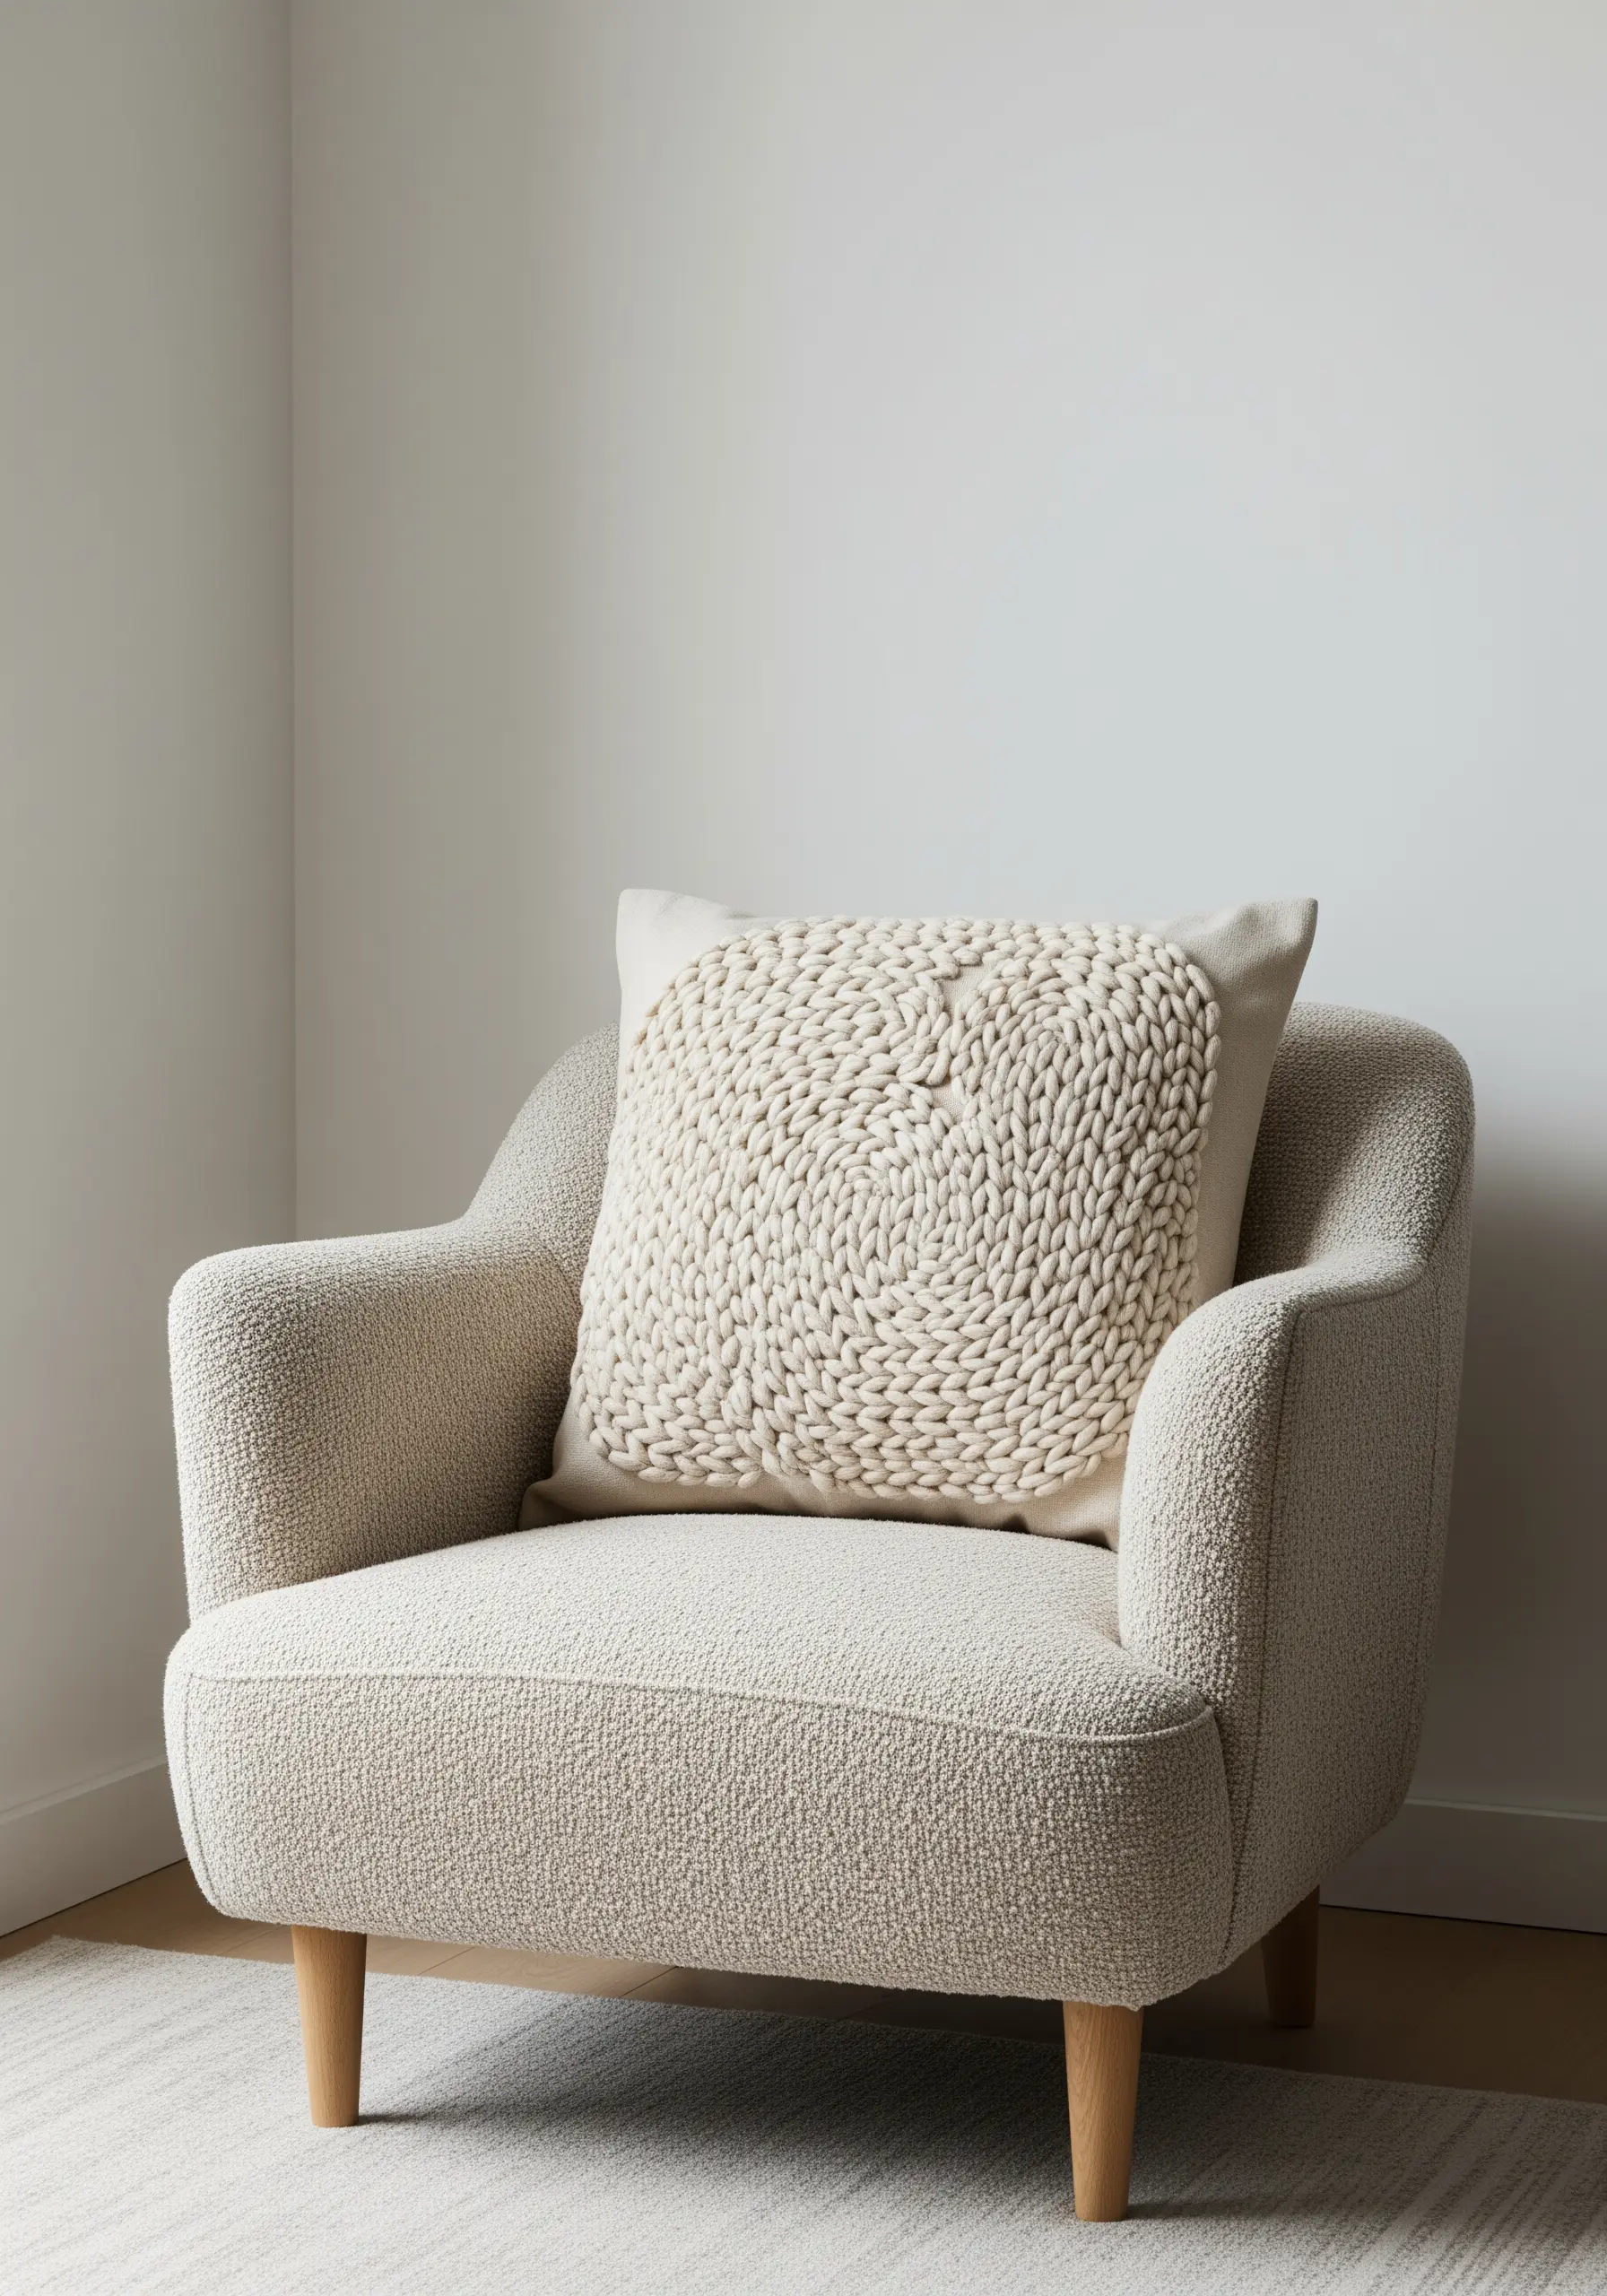
For an ultra-cozy, high-texture finish, move beyond floss and work directly with thick yarn.
Lay down strands of chunky wool yarn onto your pillow cover in a swirling or coiled pattern.
Then, using a regular embroidery needle and matching floss, secure the yarn in place with small, discreet tacking stitches (couching). This allows you to create bold, sculptural patterns without needing a giant needle.
These dramatic, tactile yarn art designs turn a simple pillow into a statement piece of fiber art.
12. Embrace Folk Art with Bold Color and Outlines
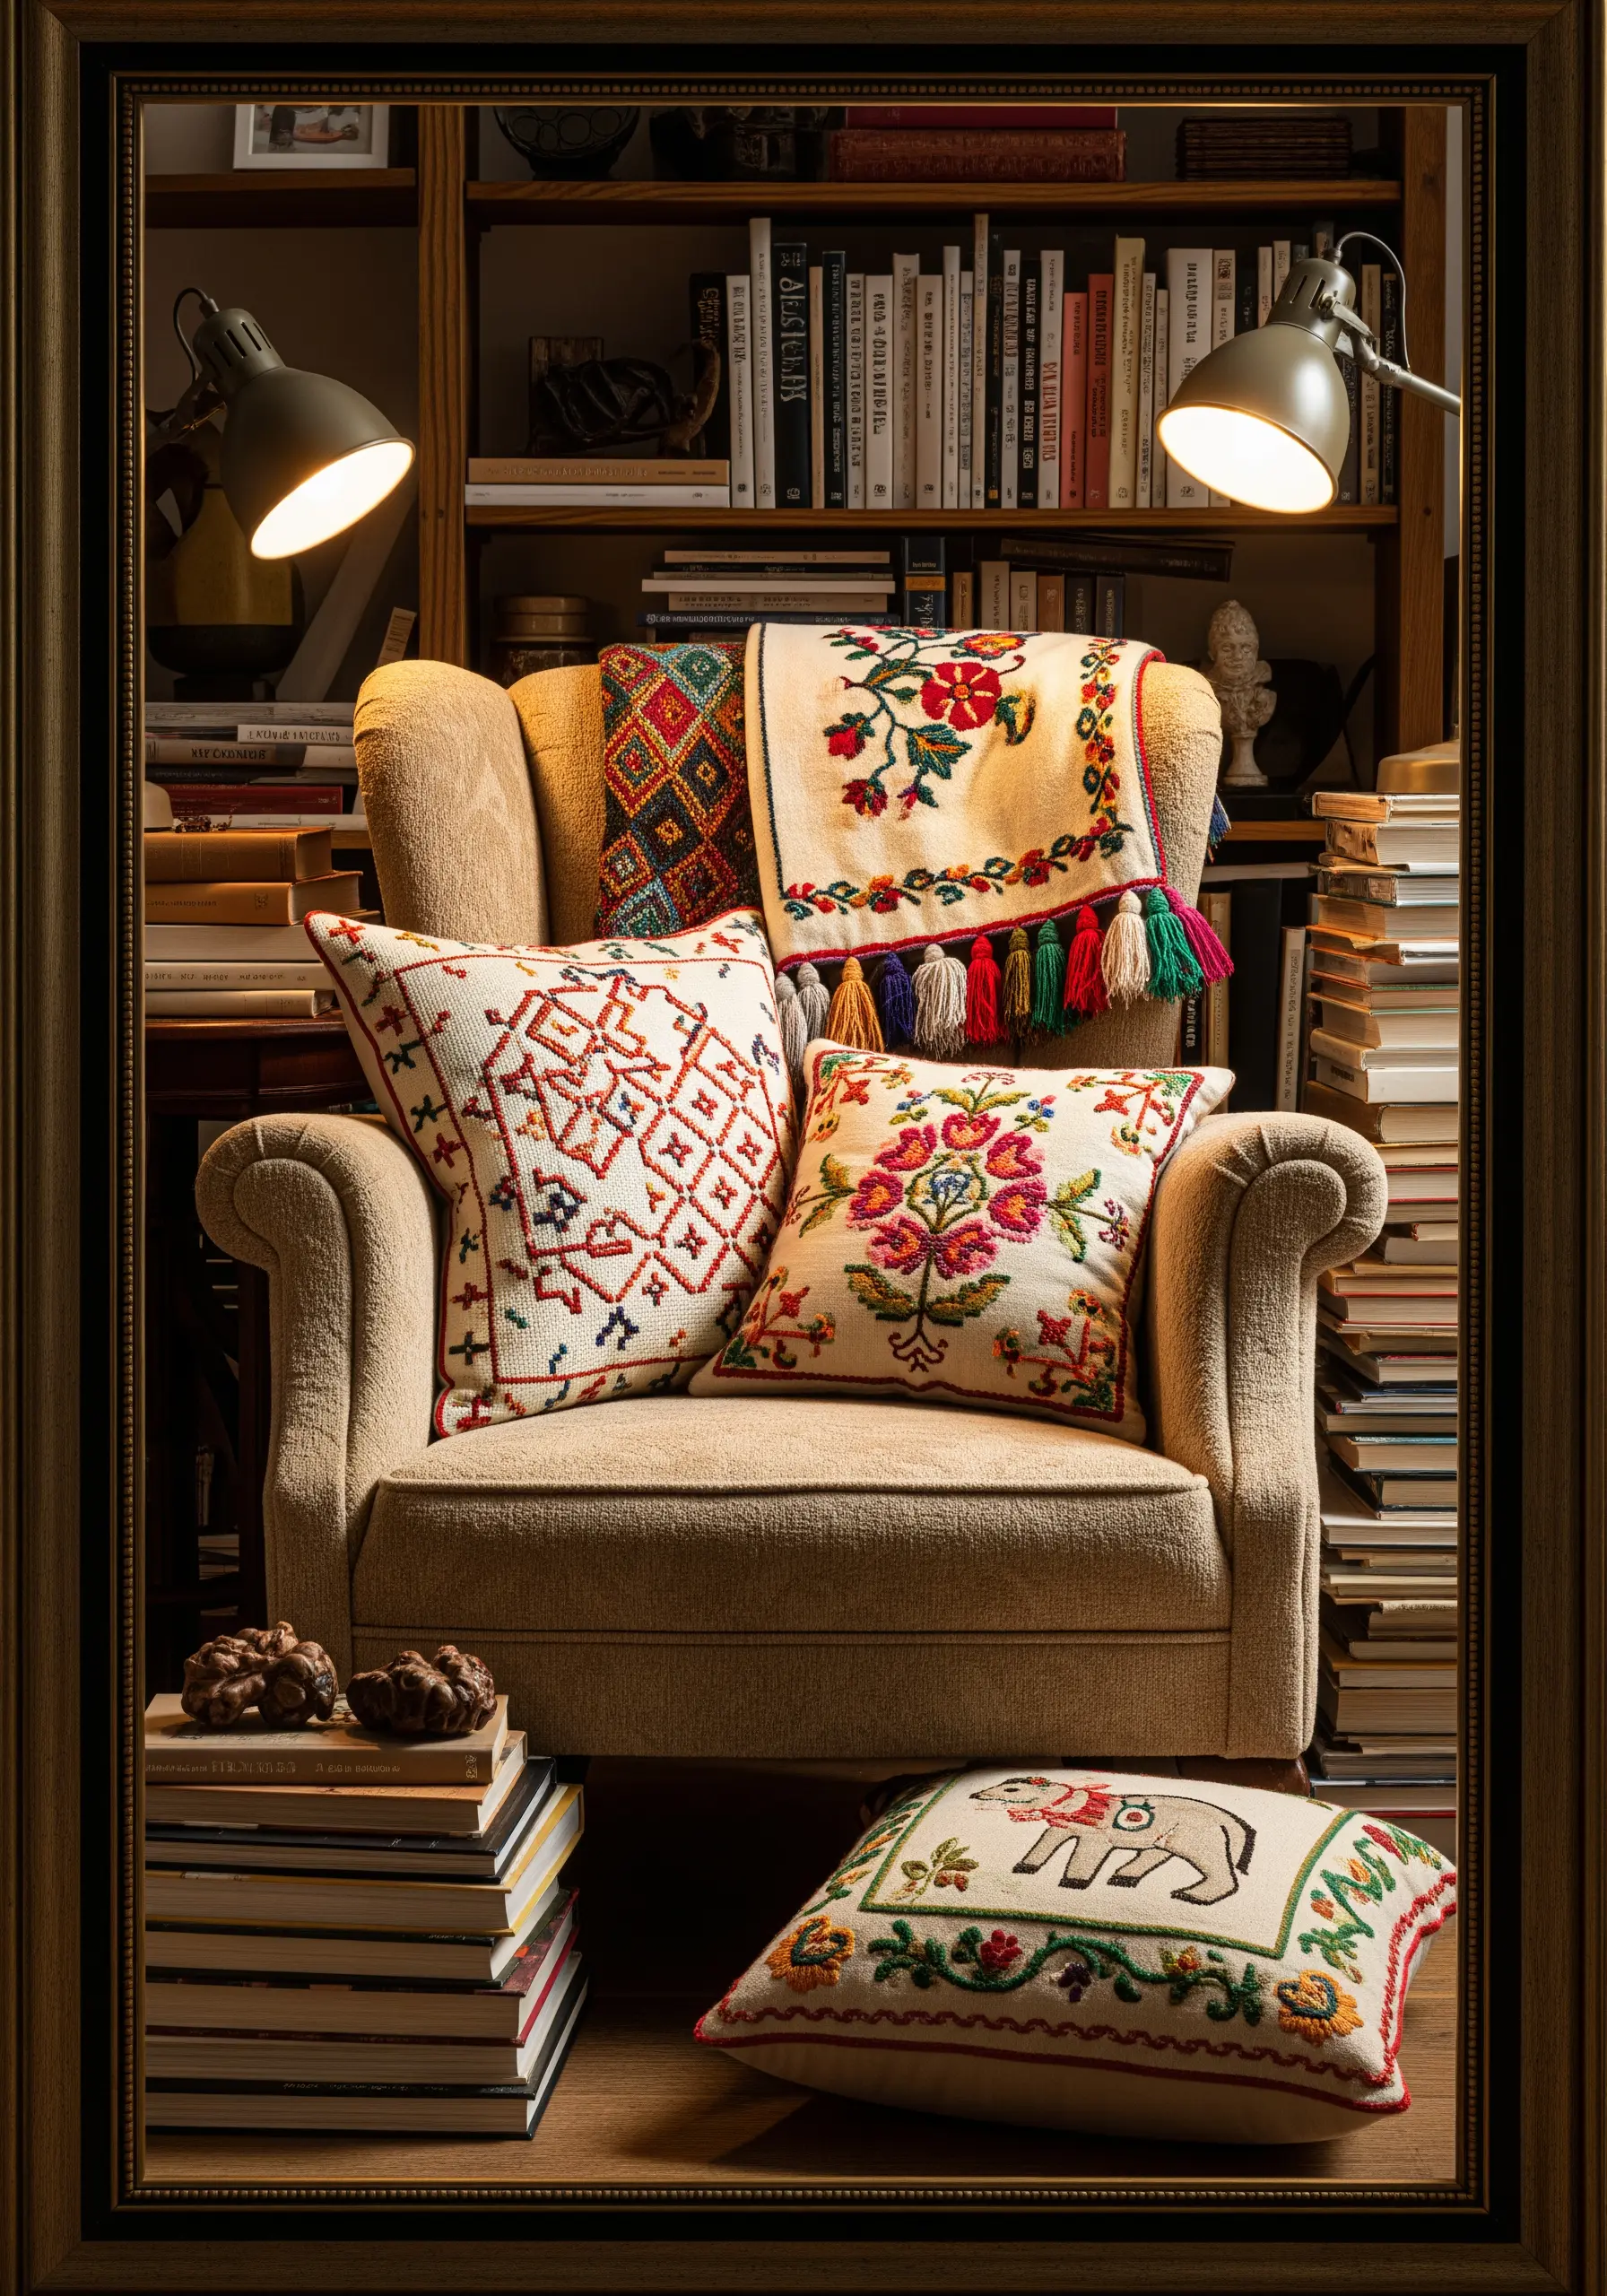
Channel the charm of traditional folk art by using a limited but vibrant color palette on a neutral background.
Define your motifs—whether floral or geometric—with a bold outline in a dark color like red or black, using a stem stitch or chain stitch for weight.
Fill the shapes with solid, flat satin stitches. The beauty of this style lies not in perfect blending but in the joyful interplay of distinct color blocks.
This approach adds a touch of worldly, eclectic warmth to your reading chair.
13. Create Realistic Foliage by Layering Stitches
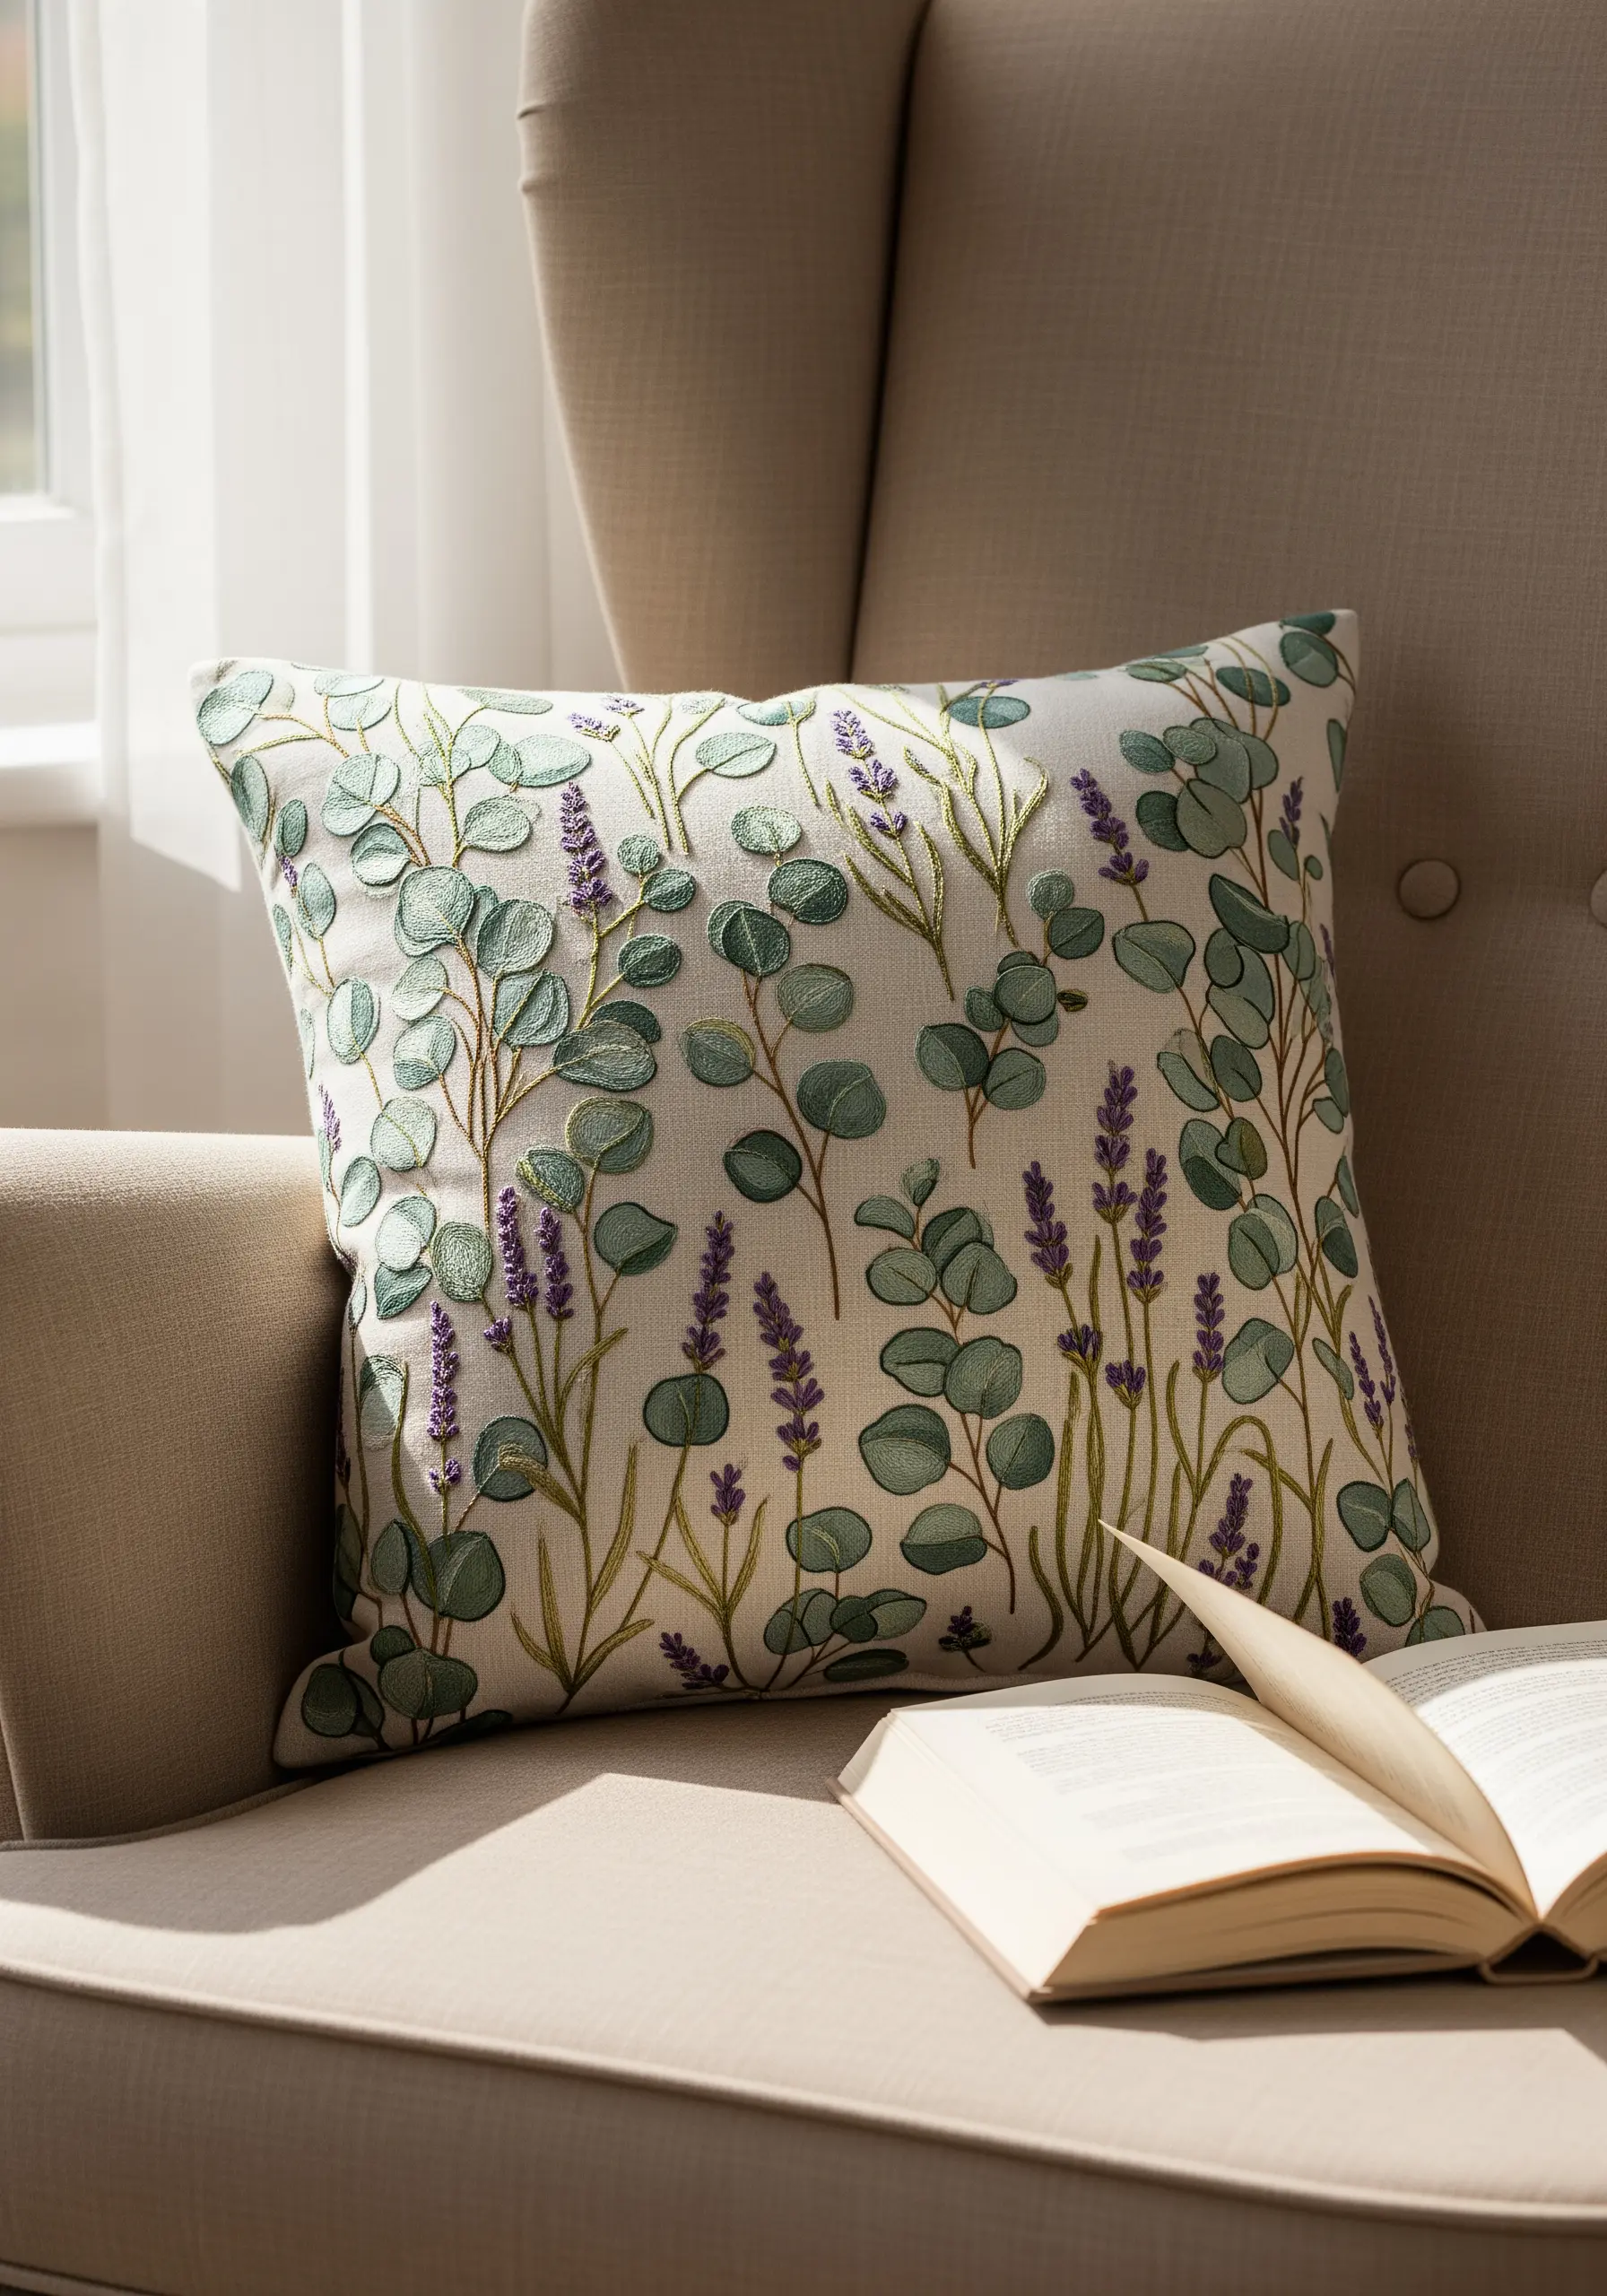
To achieve a lush, three-dimensional botanical look, use fabric appliqué for the base of your leaves.
Cut out simple leaf shapes from a thin cotton fabric in a sage green color and secure them to your background fabric.
Then, stitch the central vein and smaller details directly on top of the appliqué using a darker green thread. This creates instant depth and texture.
This technique for layering leaf stitching makes your eucalyptus or lavender sprays feel like they are growing right off the cushion.
14. Paint with Thread Using Dense French Knots
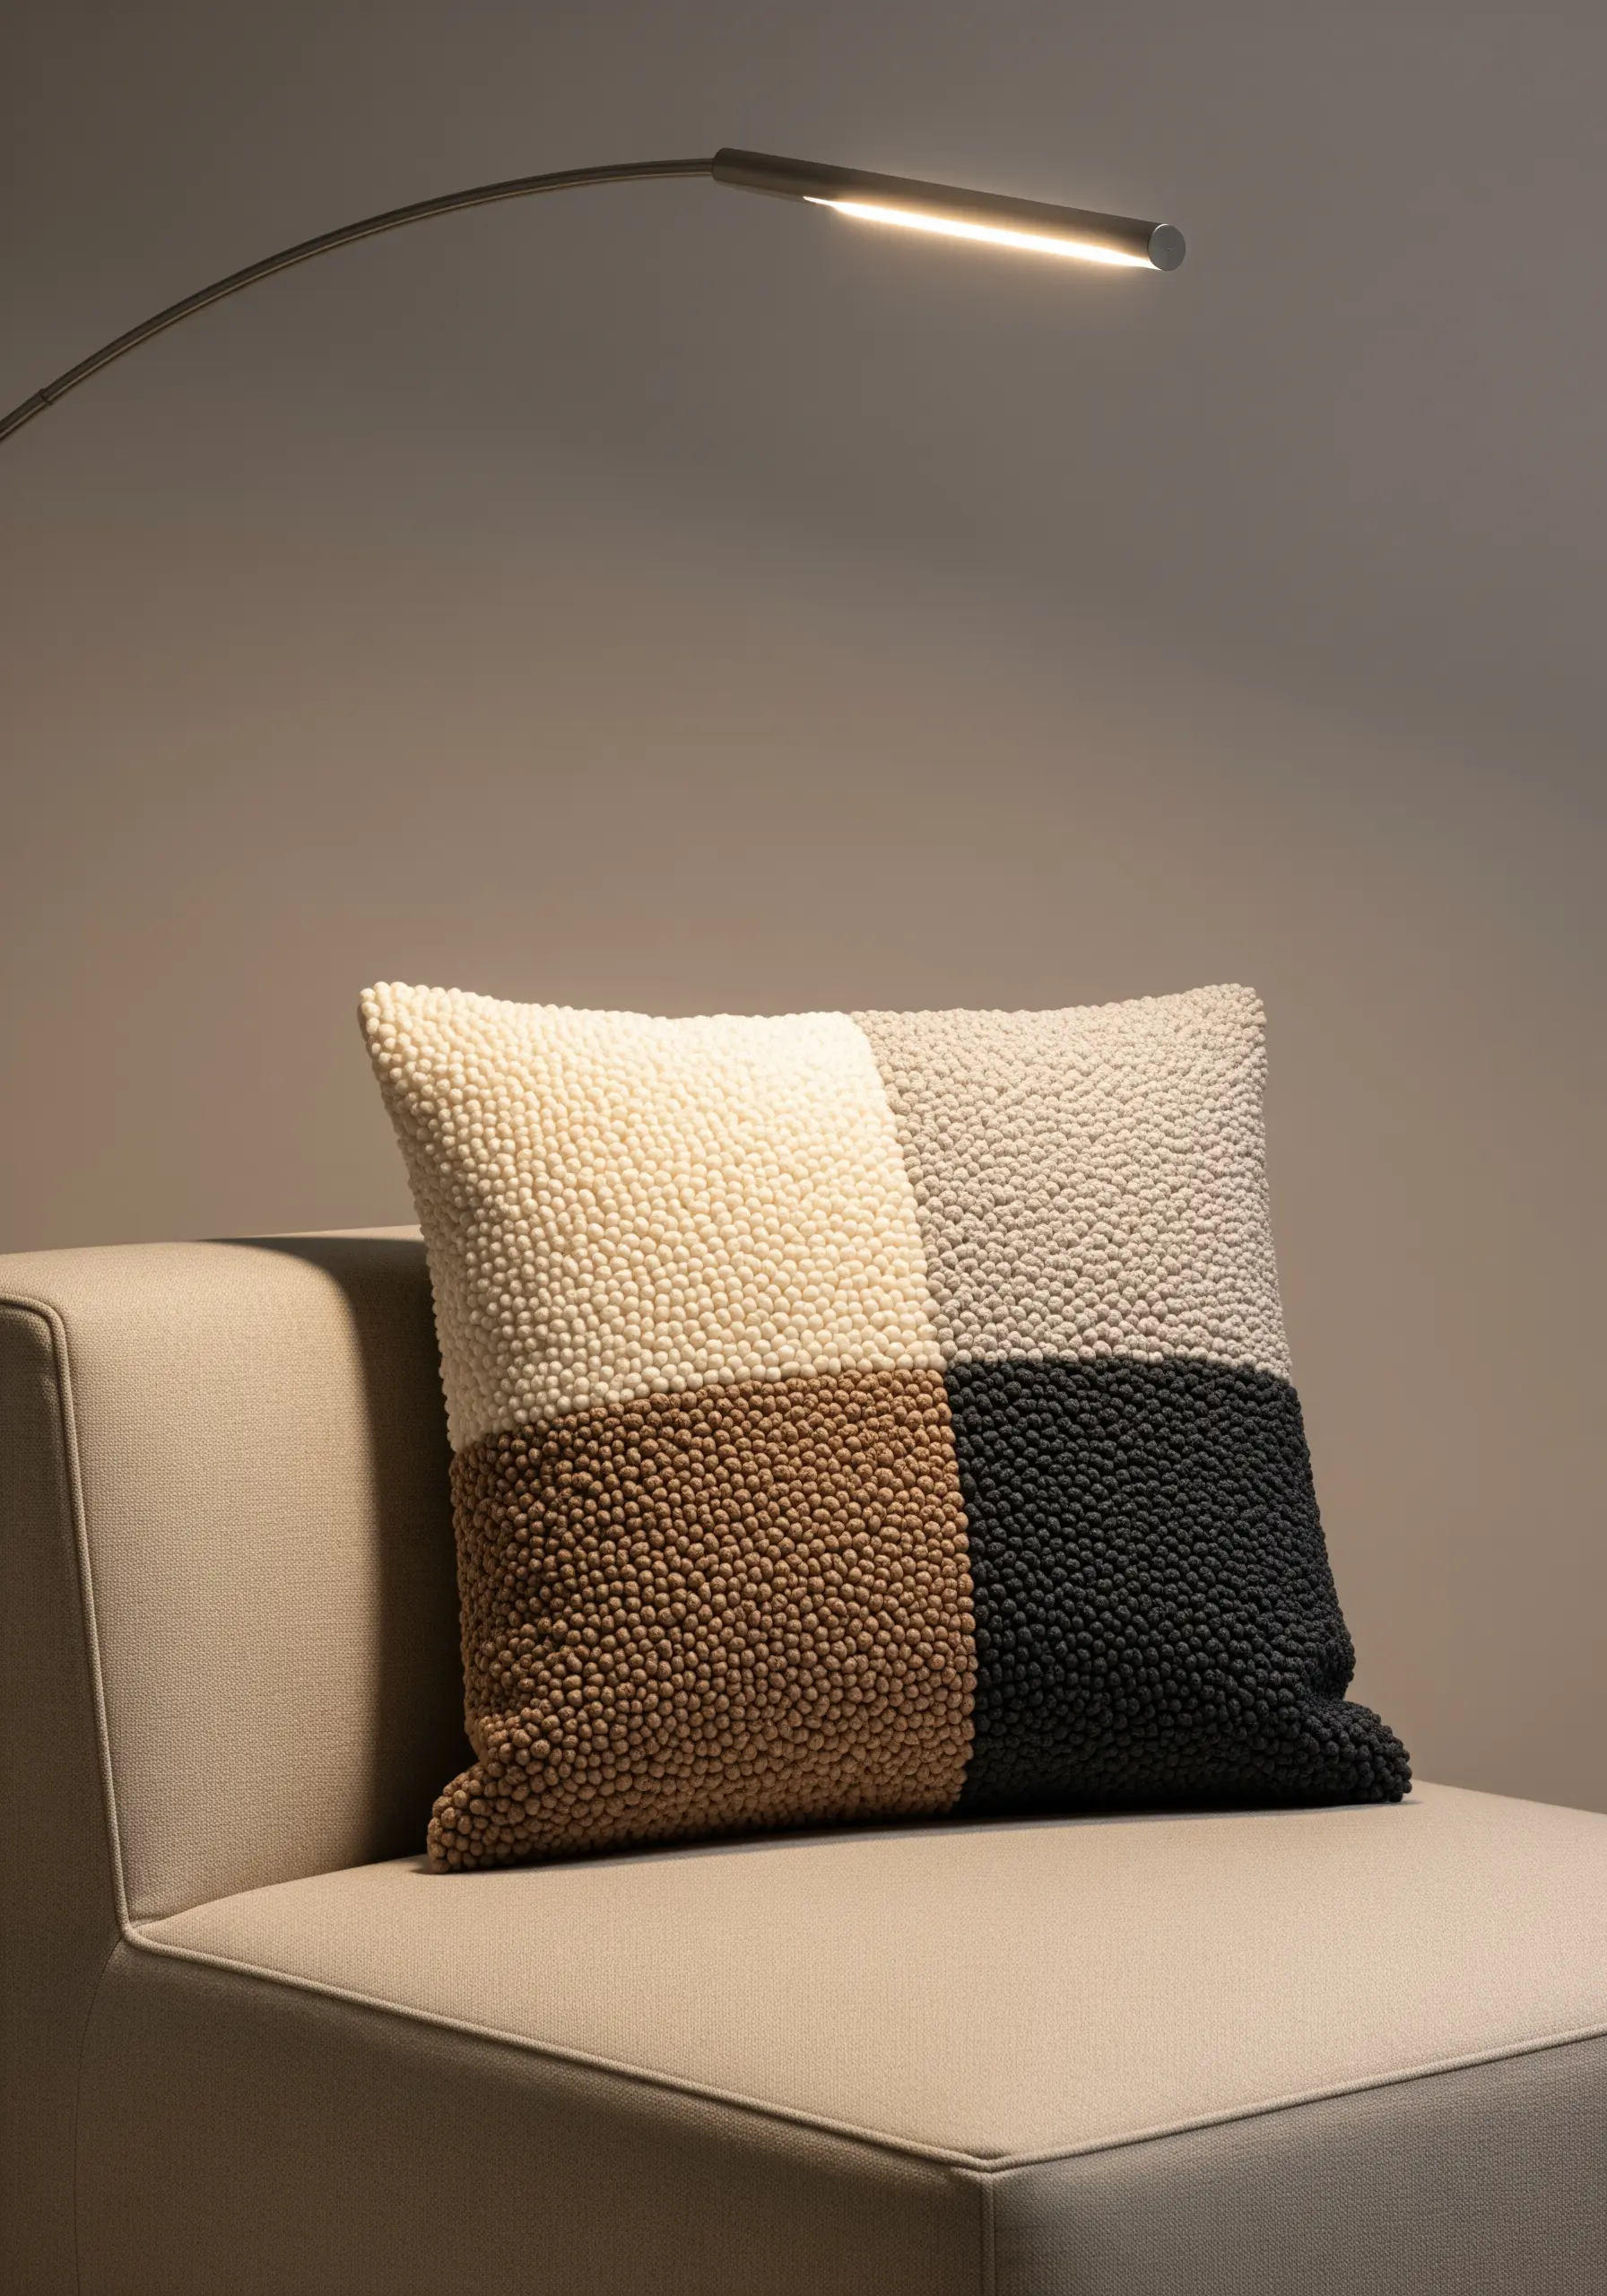
Create a modern, color-blocked design with incredible texture by filling entire sections with tightly packed French knots.
This pointillist technique turns your needle and thread into a paintbrush, allowing you to build fields of color that are both visually soft and physically tactile.
Choose a simple geometric pattern, like squares or circles, and a sophisticated neutral palette of cream, grey, brown, and black.
The result is a highly contemporary piece where the texture itself becomes the main artistic statement, perfect for abstract art lovers.
15. Sculpt Landscapes with Directional Satin Stitch
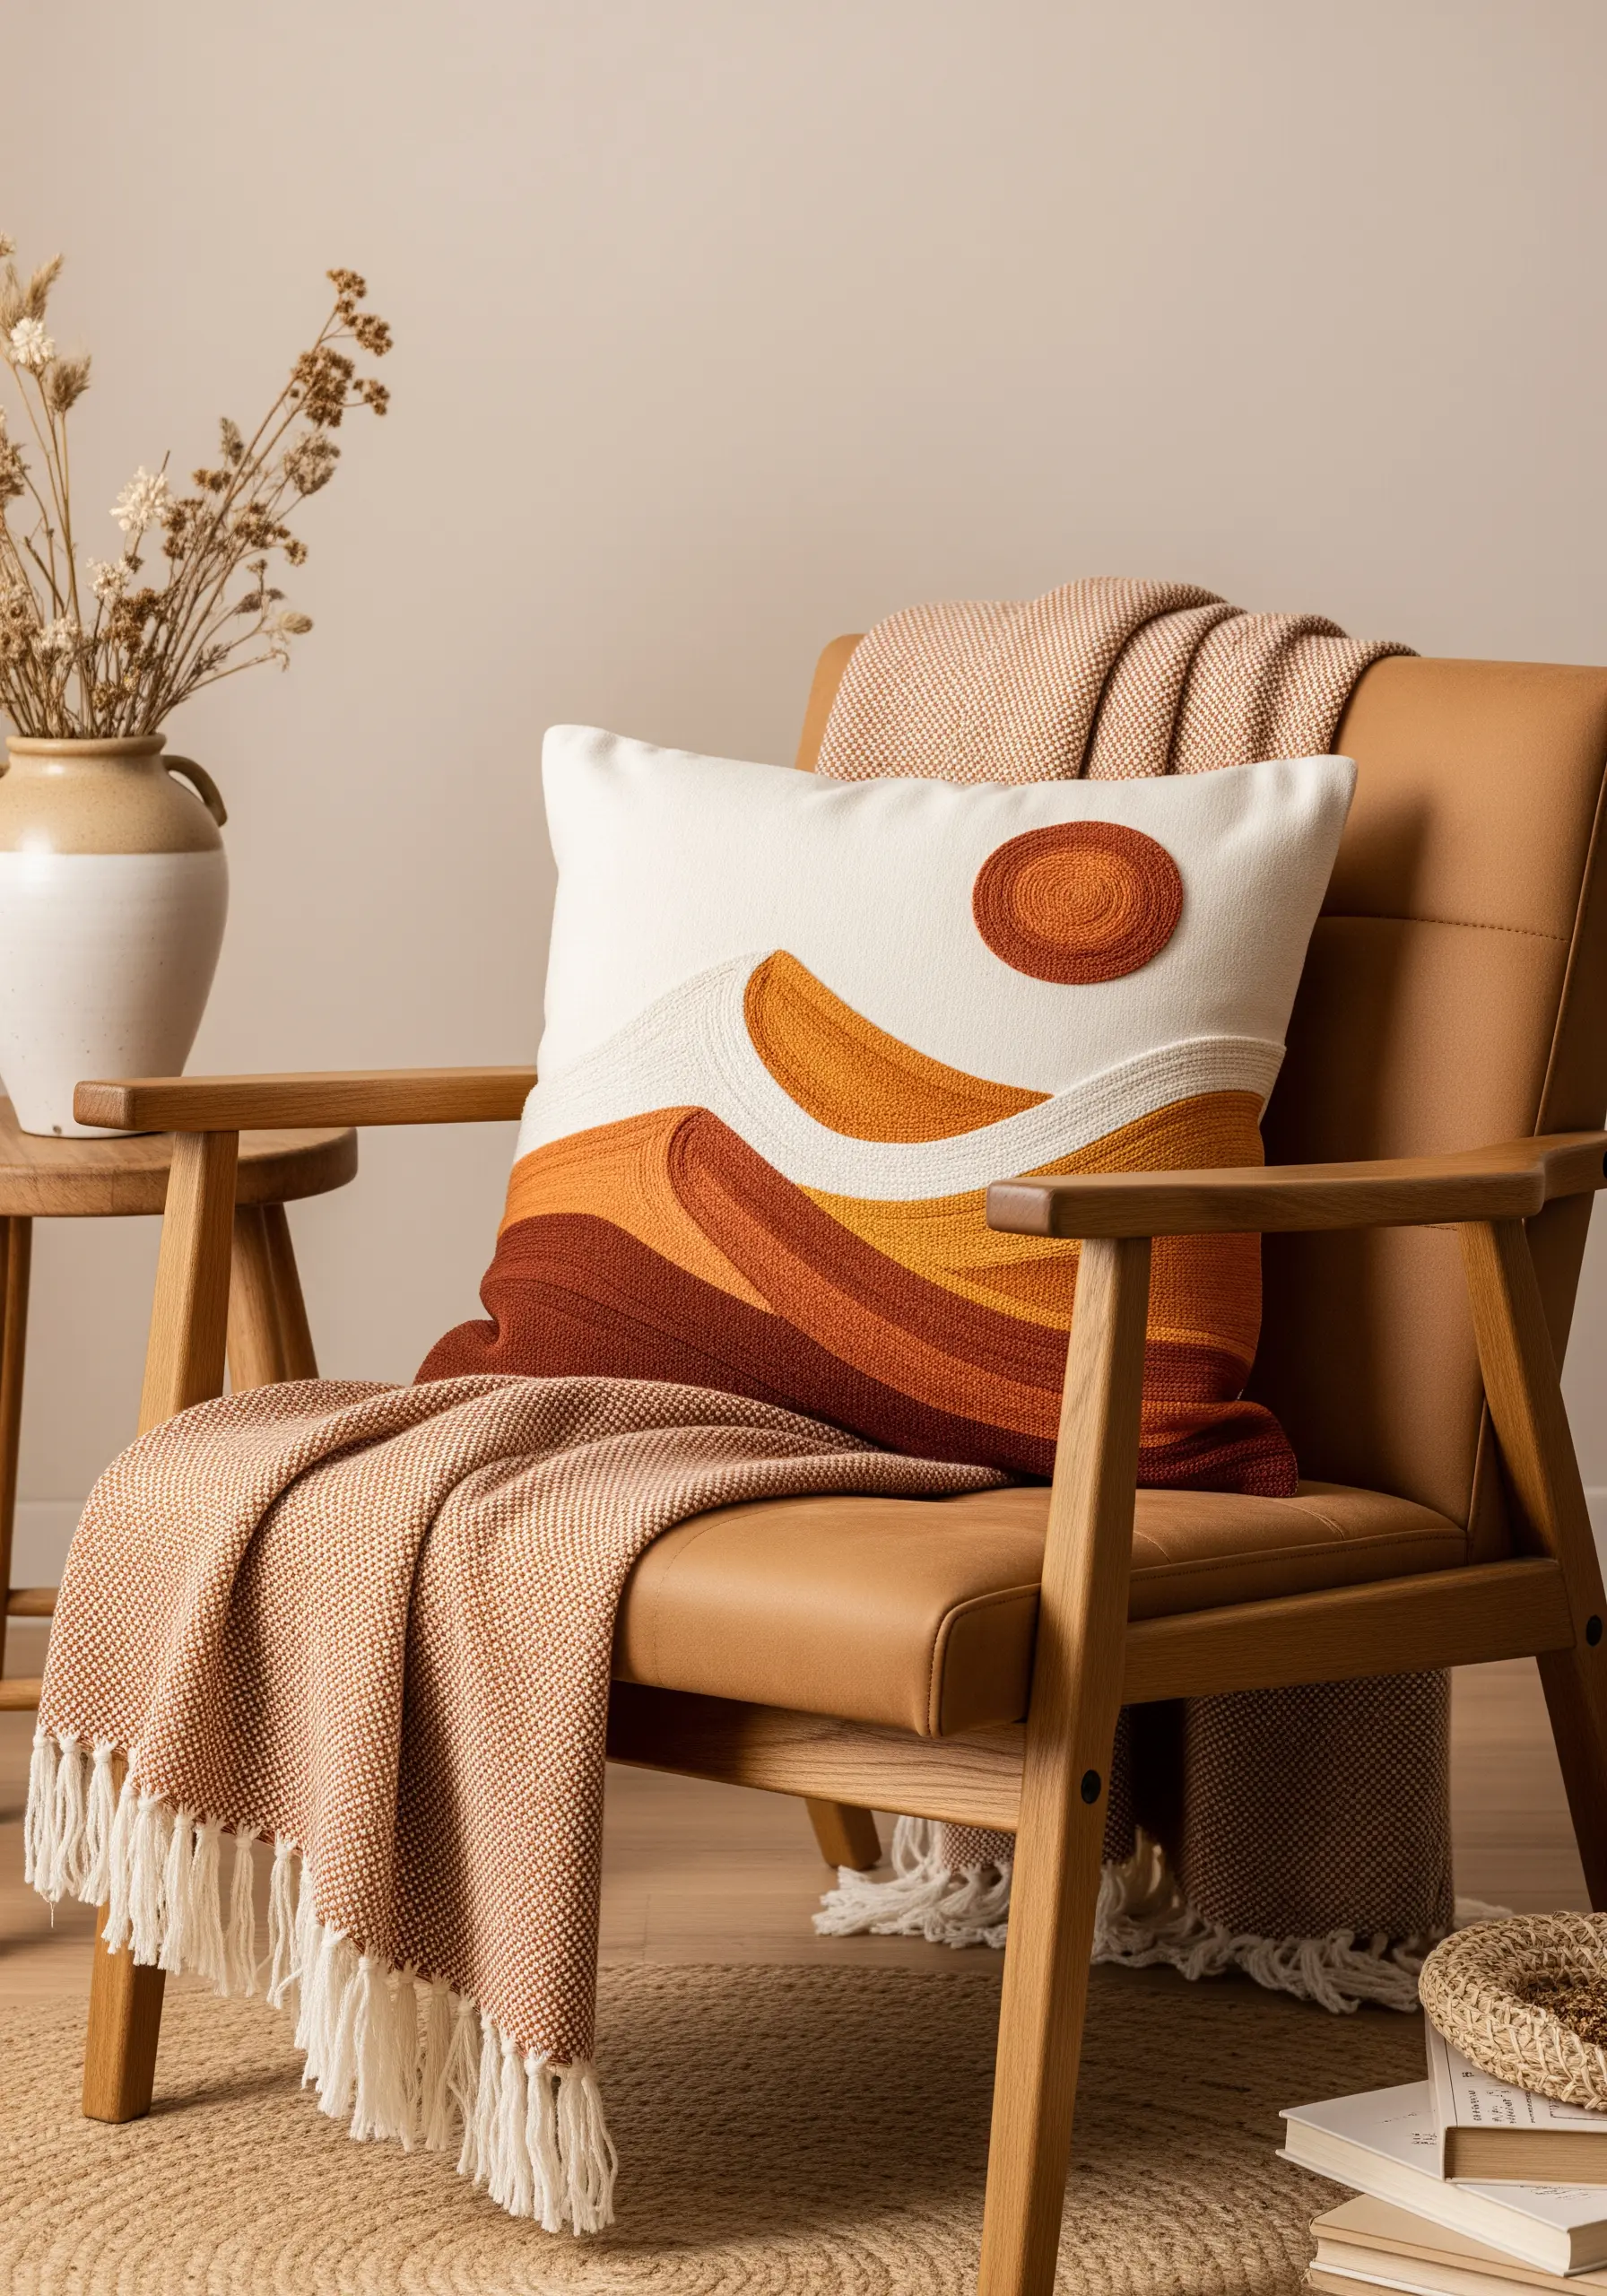
Evoke rolling hills or abstract waves by using the direction of your stitches to create a sense of movement and flow.
Fill wide, curved bands of color with long satin stitches that follow the contour of the shape.
Varying the angle and length of your stitches within a single block of color adds subtle texture and a hand-rendered quality.
This method is ideal for creating abstract thread landscapes that feel both organic and intentionally designed, using a warm, earthy palette for a grounding effect.
16. Map the Night Sky with Metallics and Appliqué
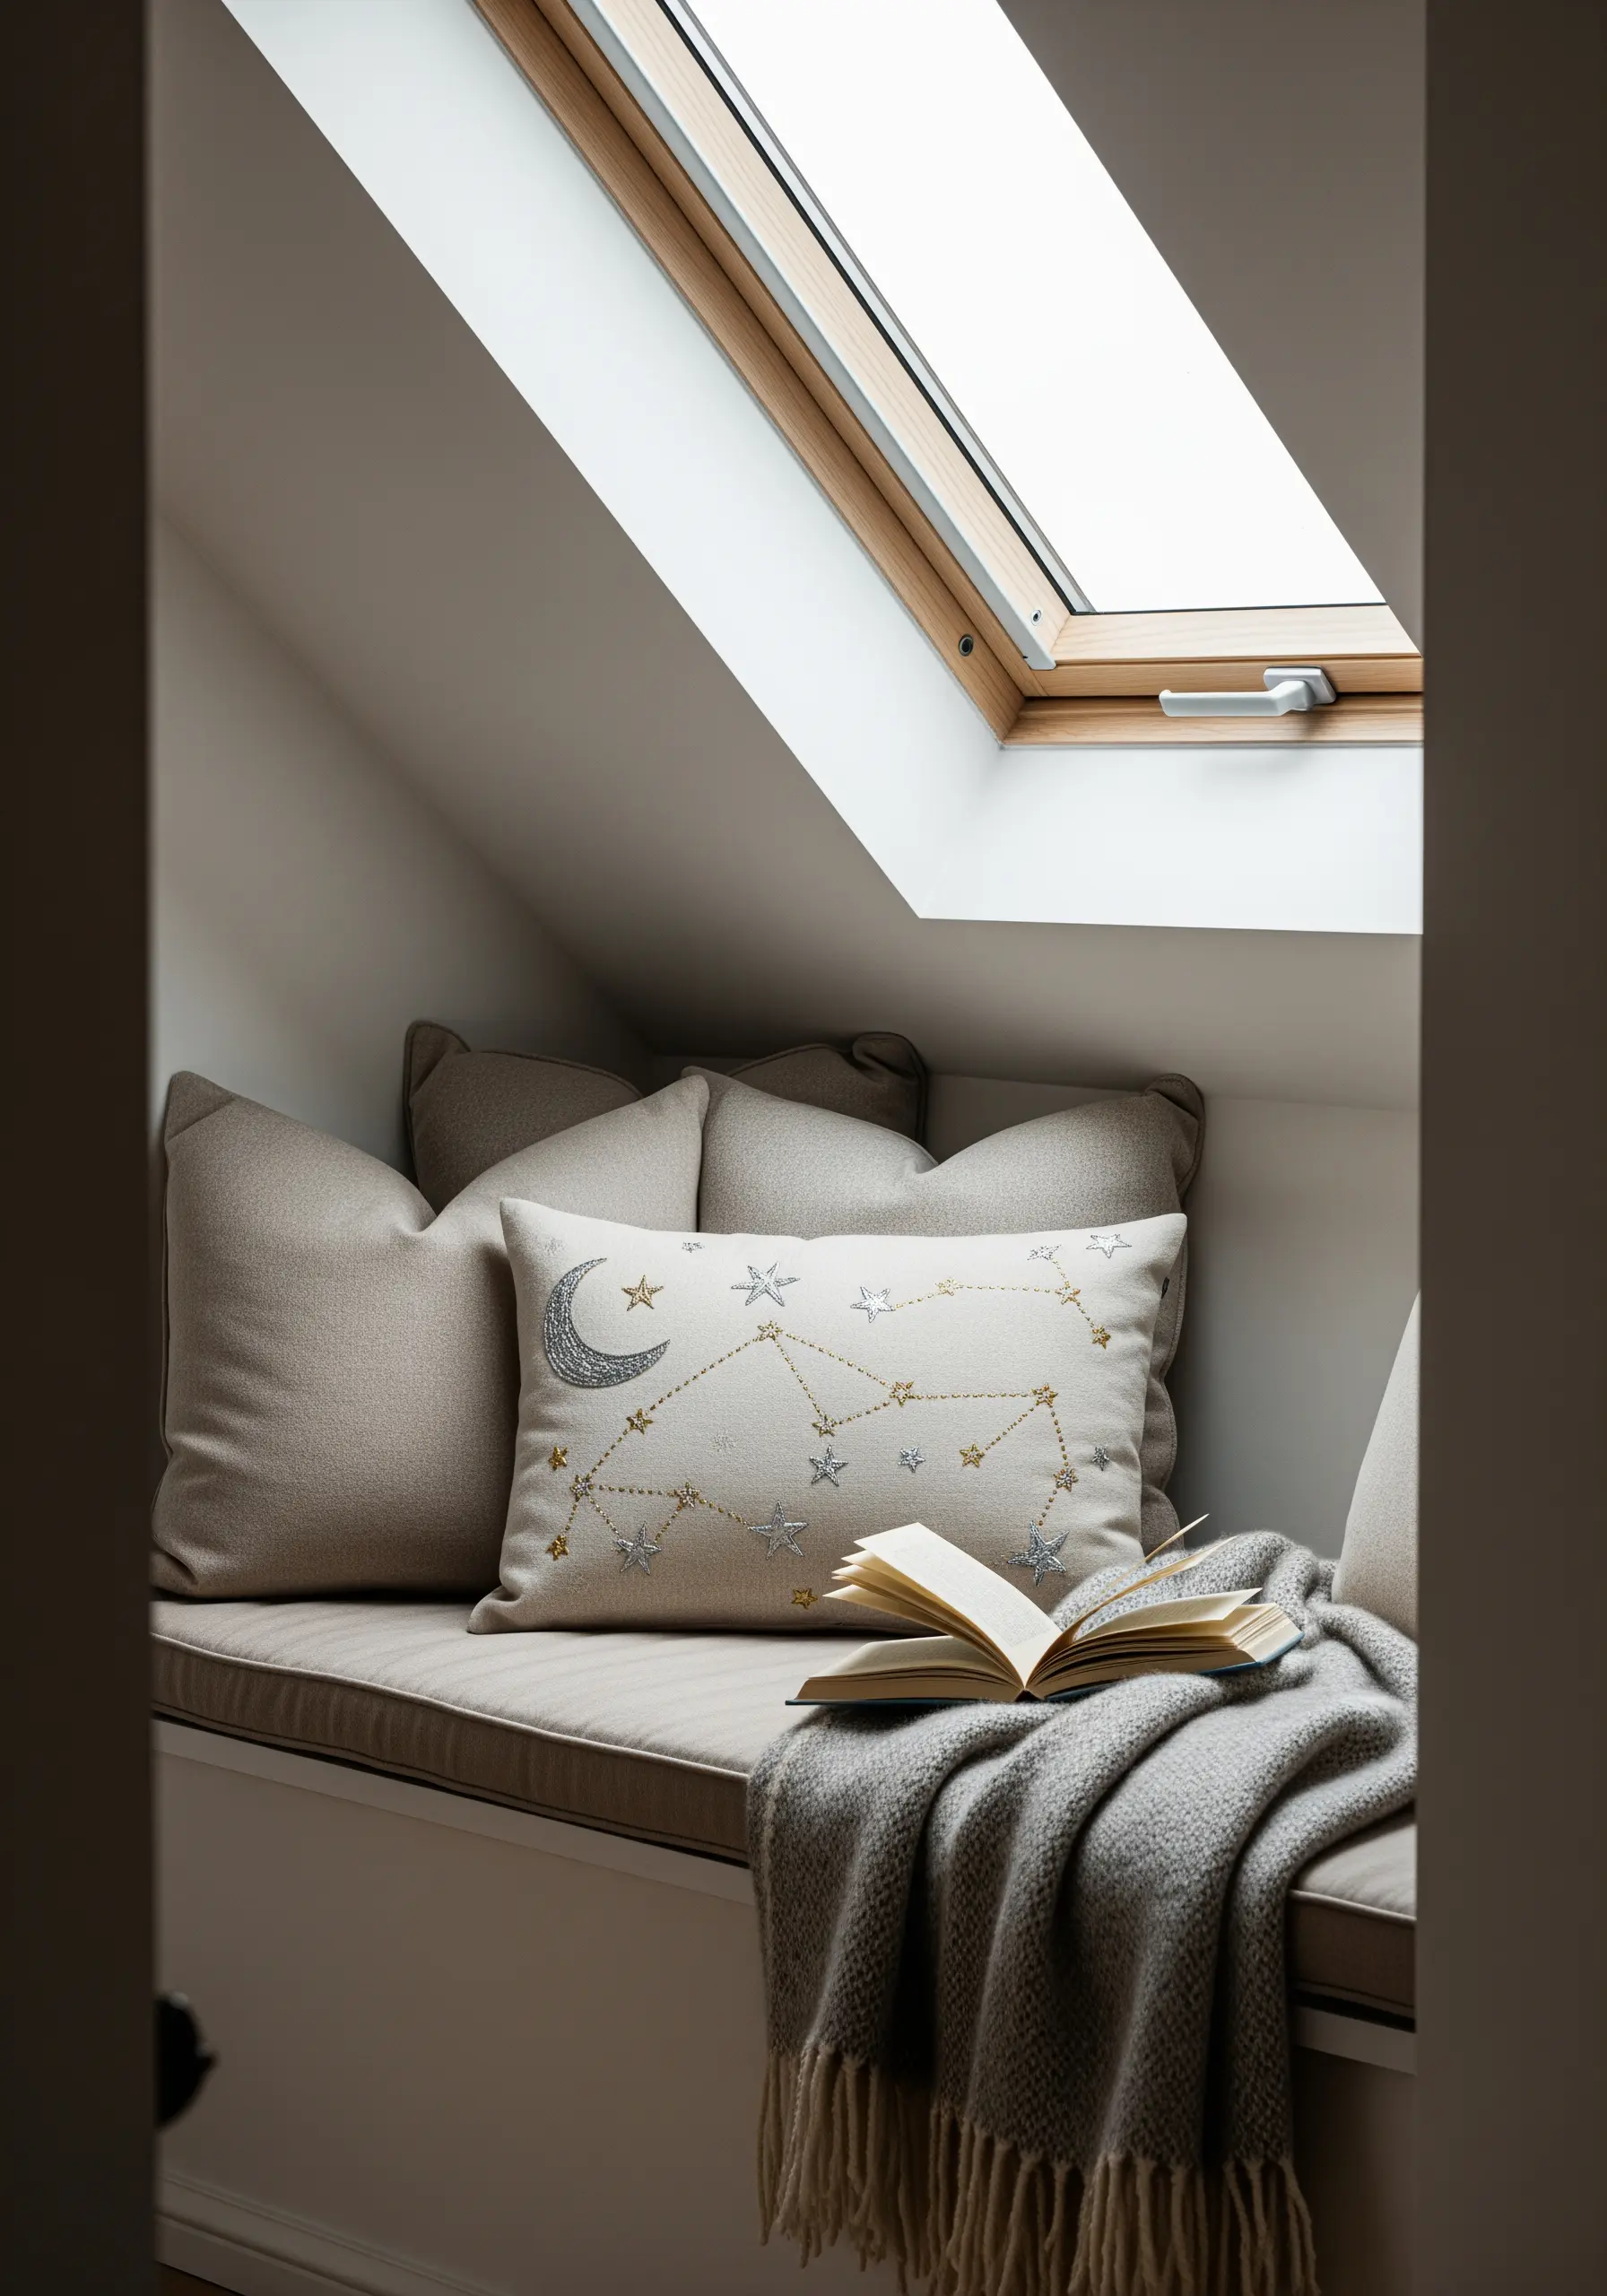
Stitch a delicate constellation map that brings a touch of quiet magic to your cozy corner.
Use a silver or gold metallic thread for the connecting lines, stitched with a simple backstitch for clean precision.
For the stars and moon, use small appliqué shapes cut from a shimmering fabric or glitter vinyl. Secure them with a tiny whip stitch around the edge.
This mix of matte lines and shimmering shapes creates a subtle yet captivating design that feels both personal and celestial.
17. Refine Your Lettering with a Whipped Backstitch
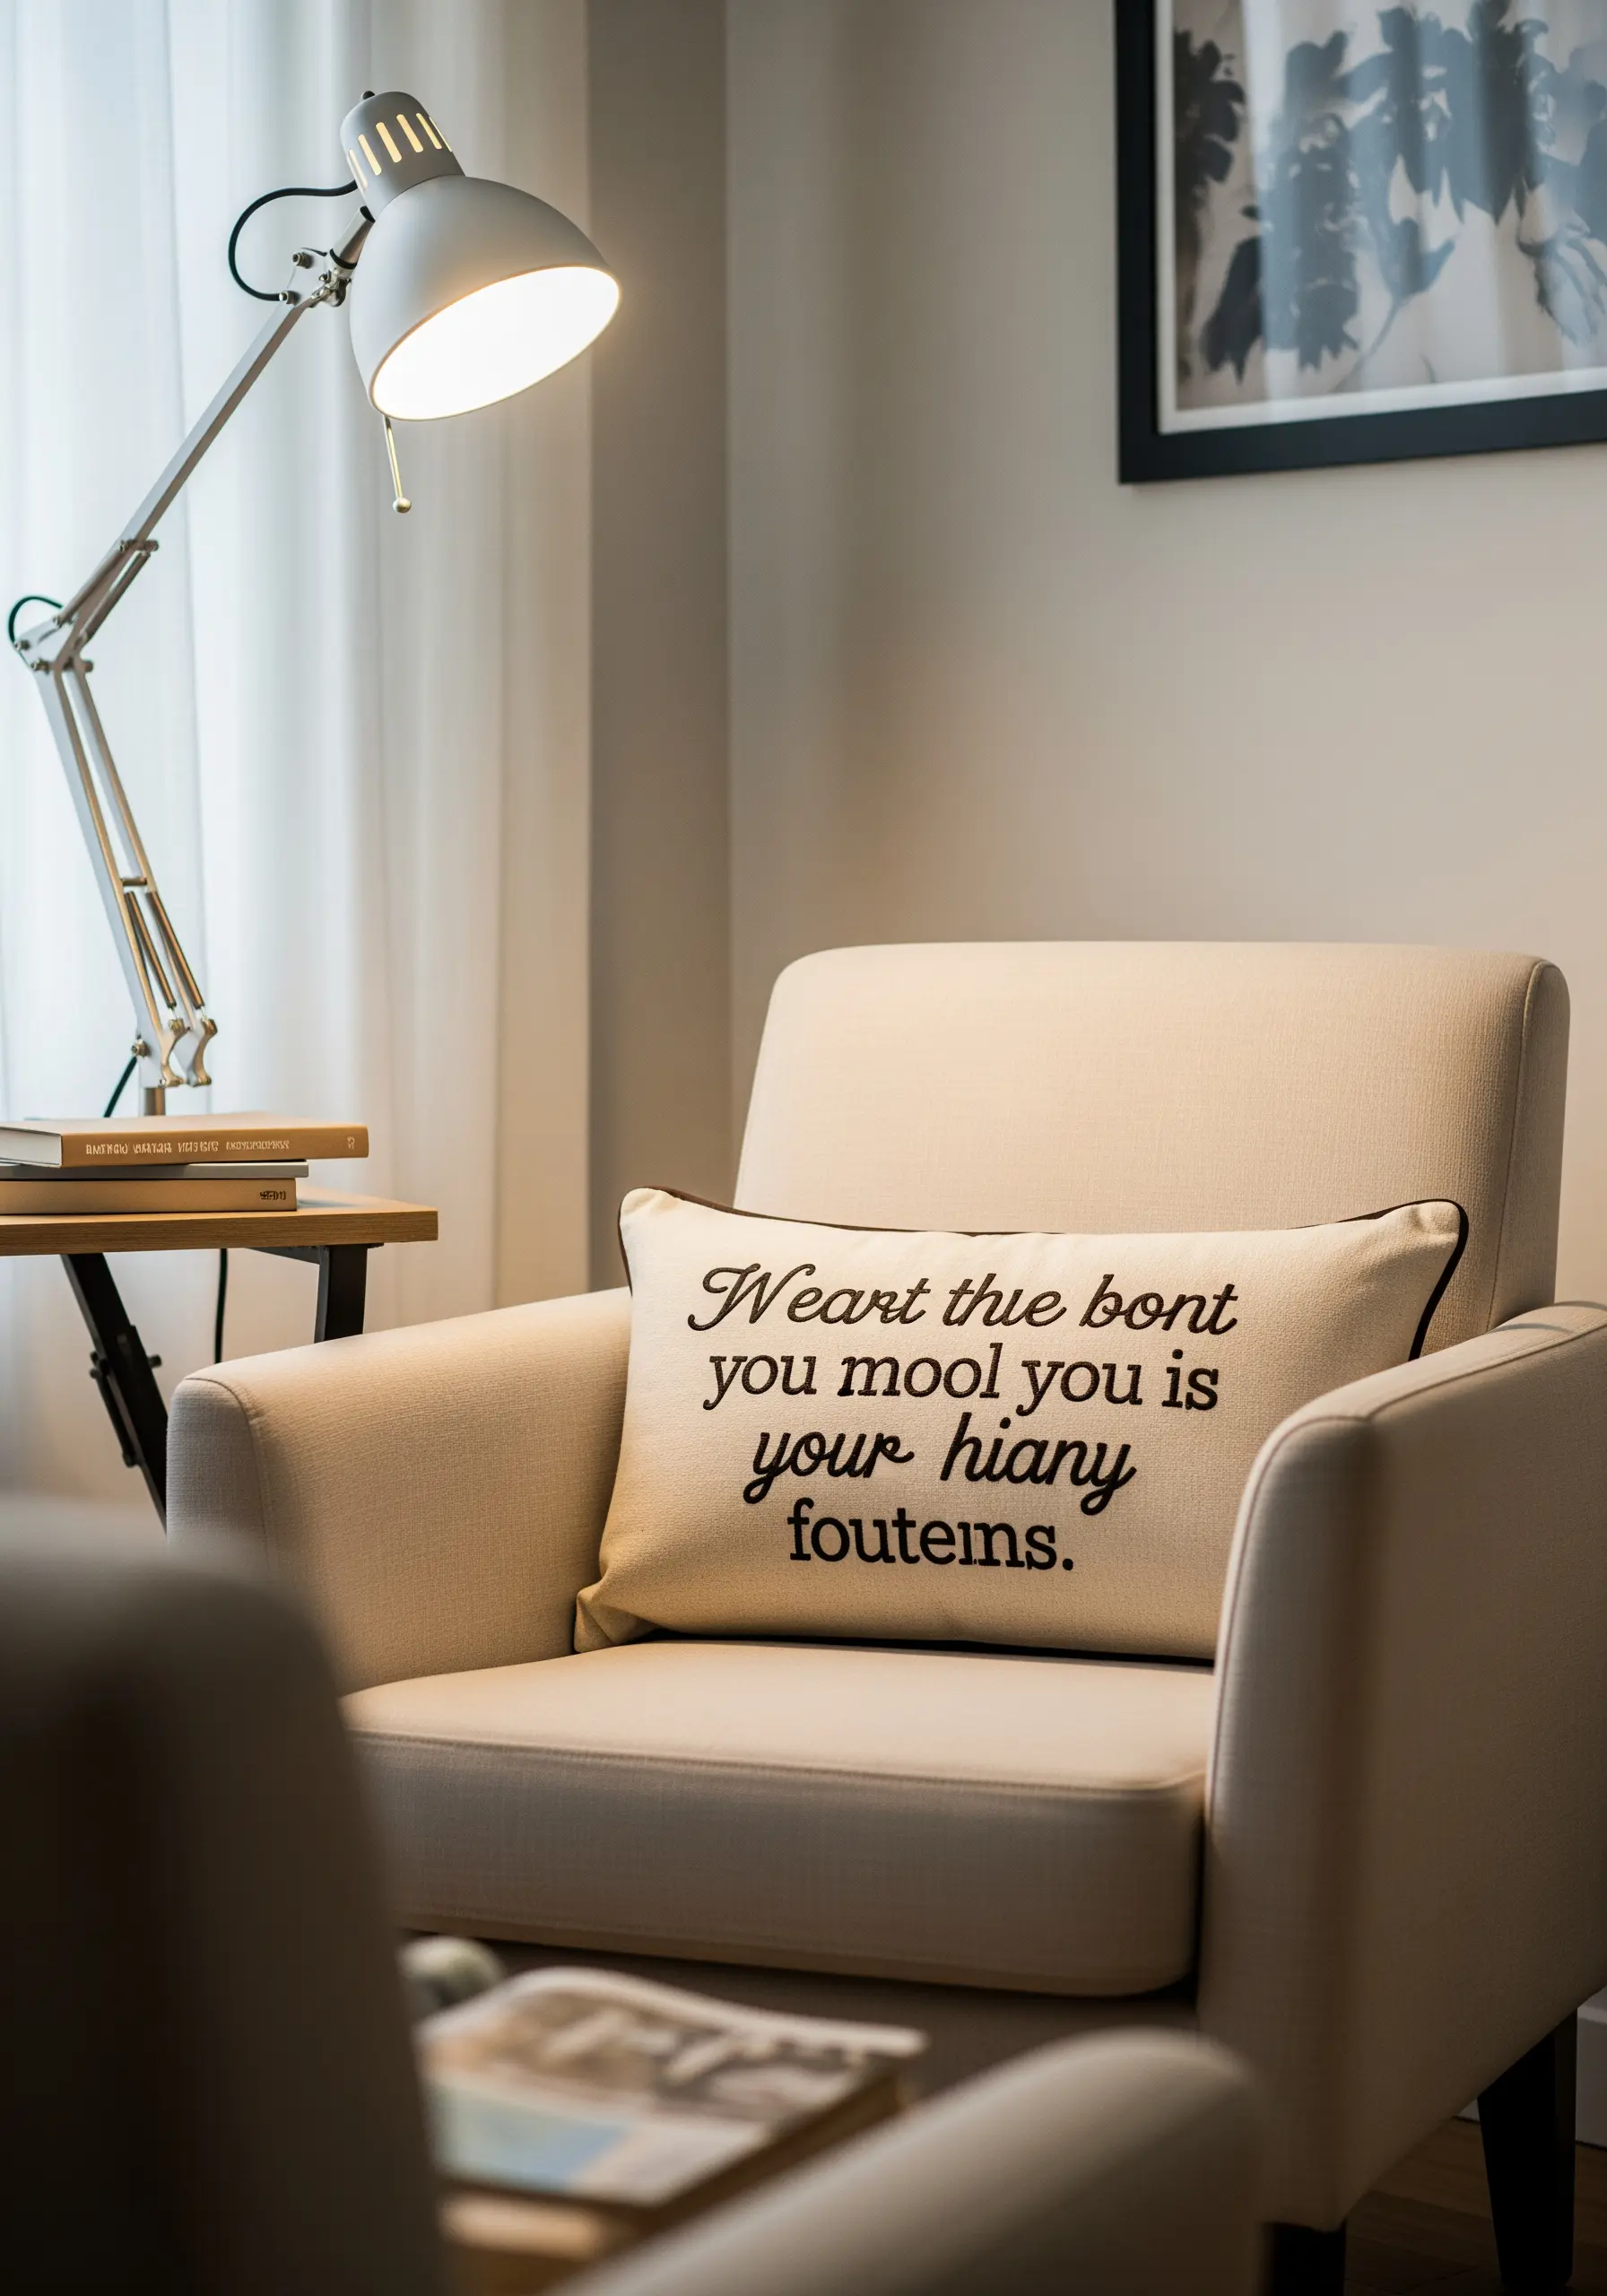
For elegant, flowing script that looks smooth and professional, use a whipped backstitch.
First, create your letters using a standard backstitch. Then, without piercing the fabric, slide your needle under each backstitch, wrapping or ‘whipping’ the baseline with a second thread.
This technique covers the segmented look of a backstitch, resulting in a clean, uninterrupted line perfect for cursive fonts.
These minimal typography quotes on a lumbar pillow add a sophisticated, personalized touch to any armchair.
18. Add an Ethereal Touch to Sheer Fabrics
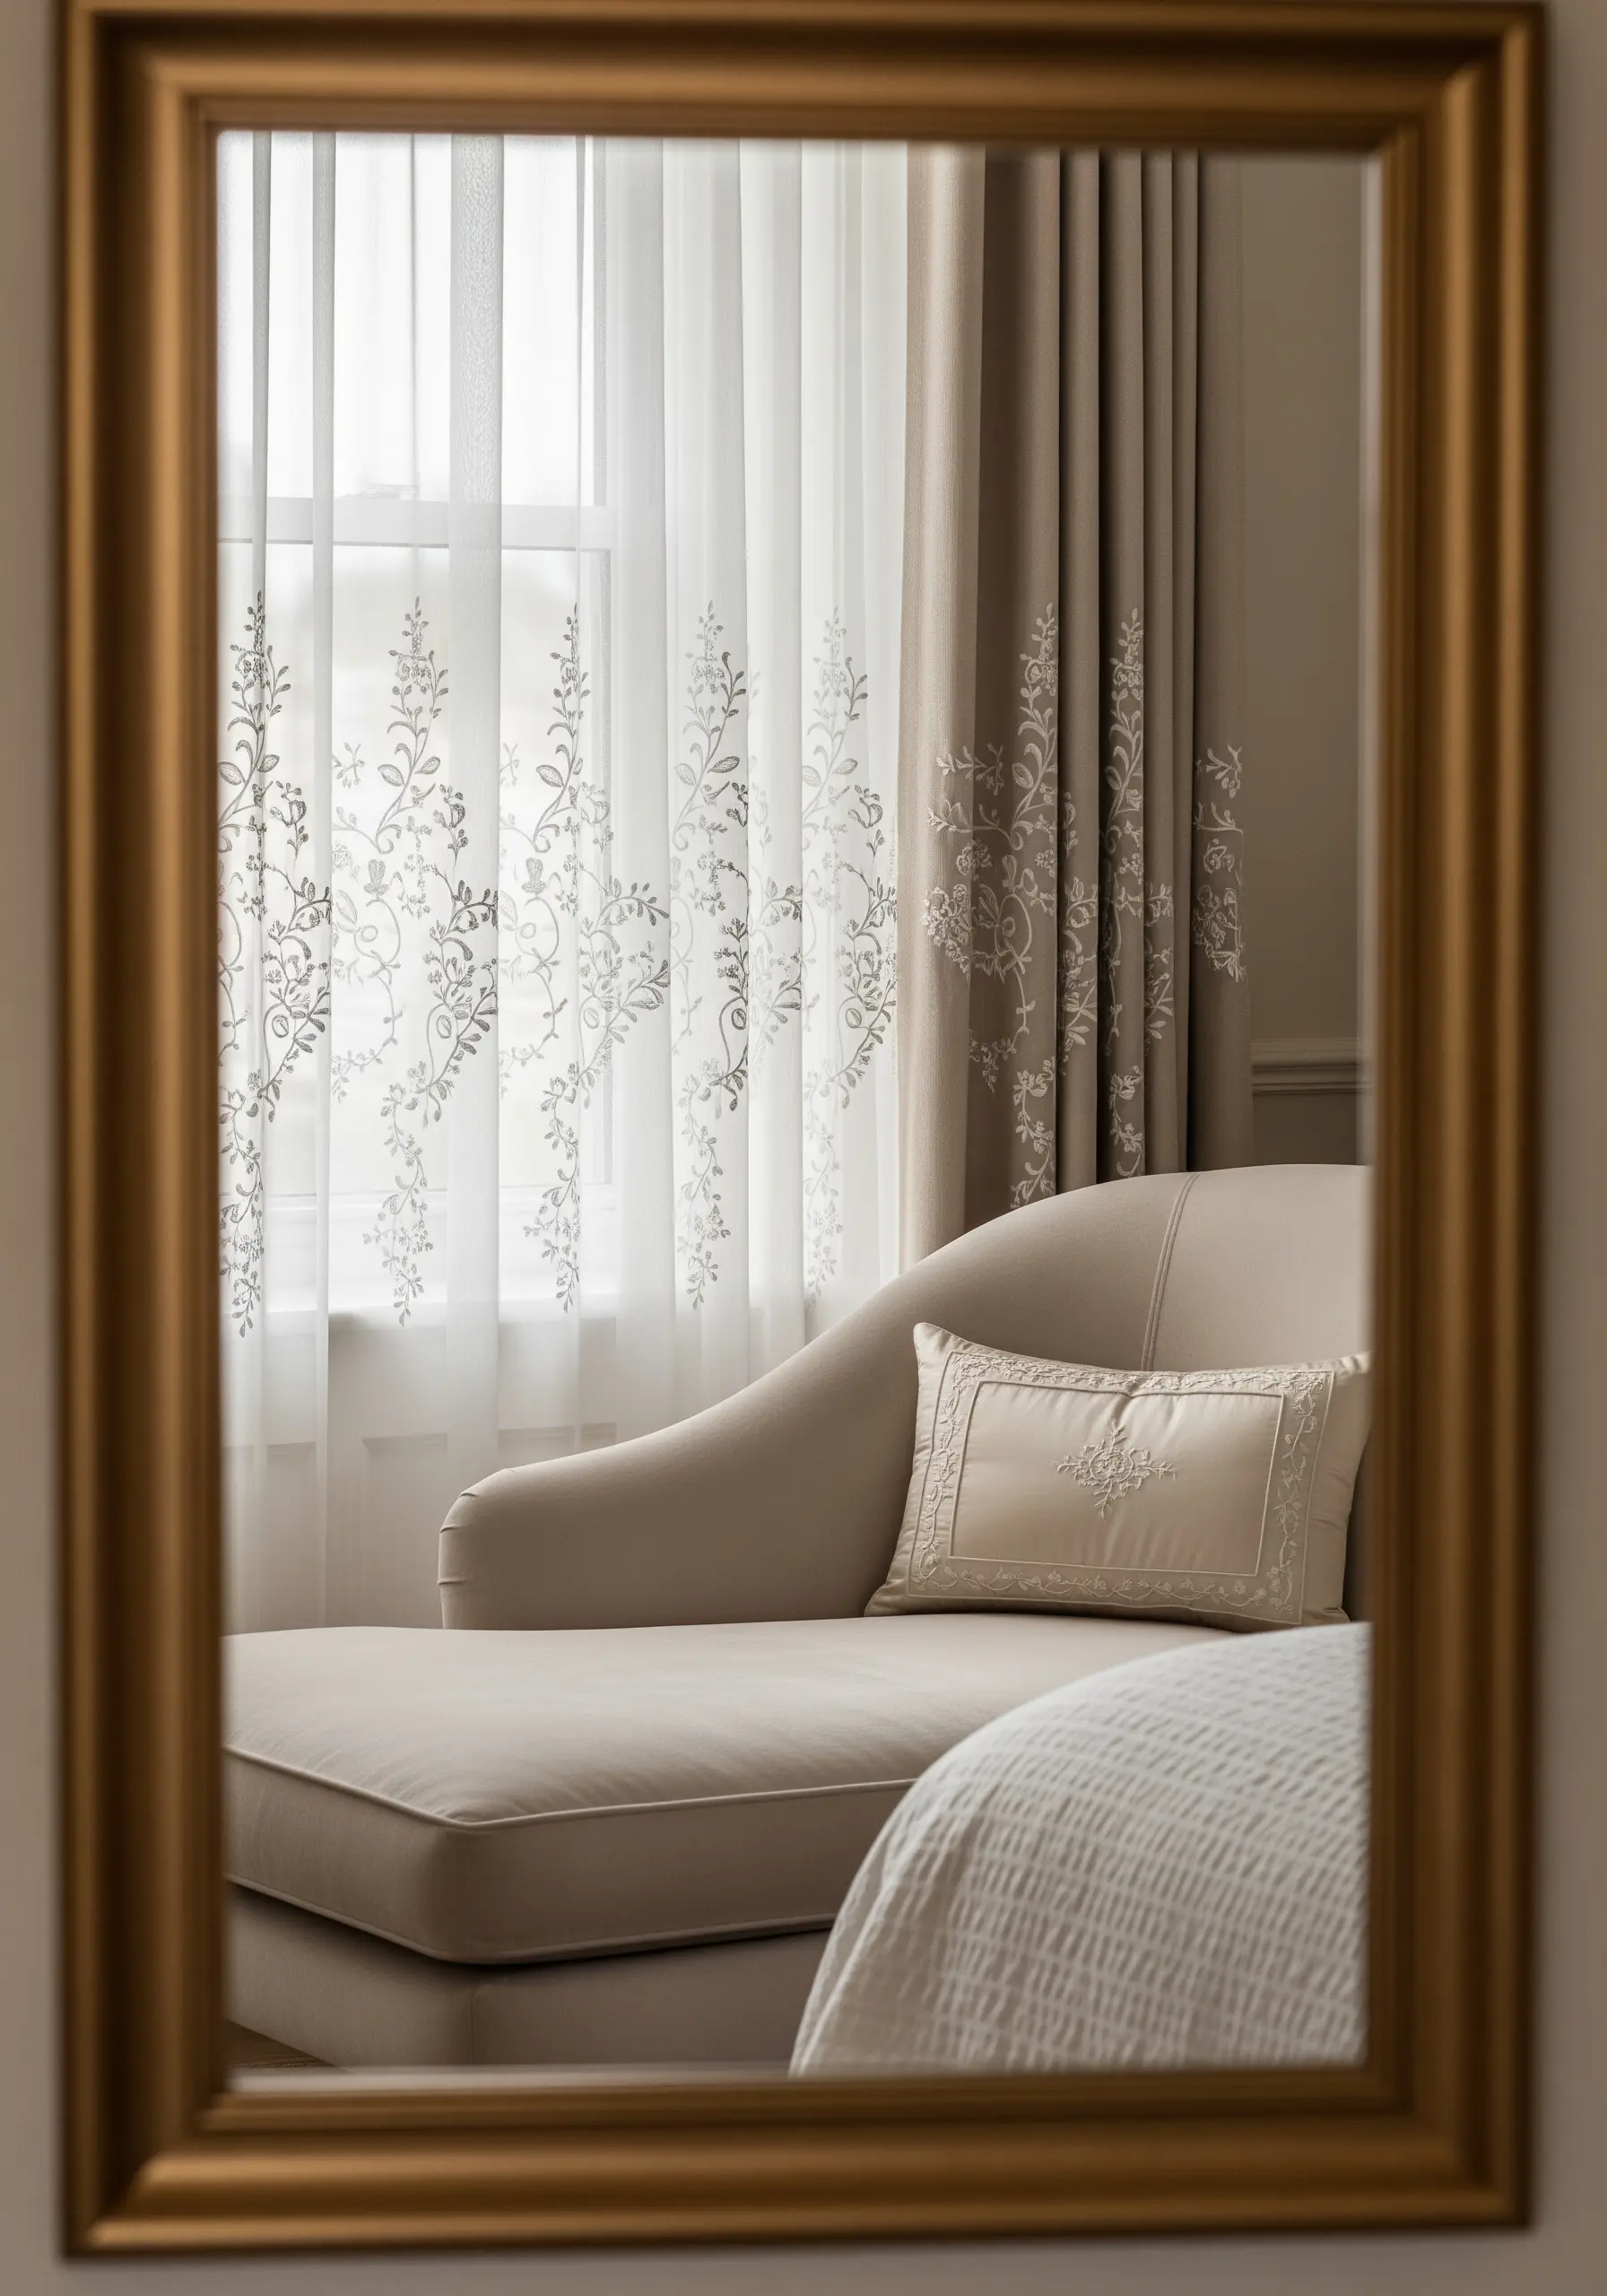
Embroidering on sheer curtains or voile adds a layer of custom, light-filtering beauty to a room.
To prevent the delicate fabric from puckering, always use a stabilizer—a wash-away or heat-away version is ideal as it will disappear completely.
Choose a simple, trailing botanical design and stitch it with a lightweight thread in a color that complements your decor.
The effect is an elegant, almost ethereal pattern that seems to float in the light, adding a subtle decorative layer without blocking the view.
19. Craft a Regal Crest with Goldwork Techniques
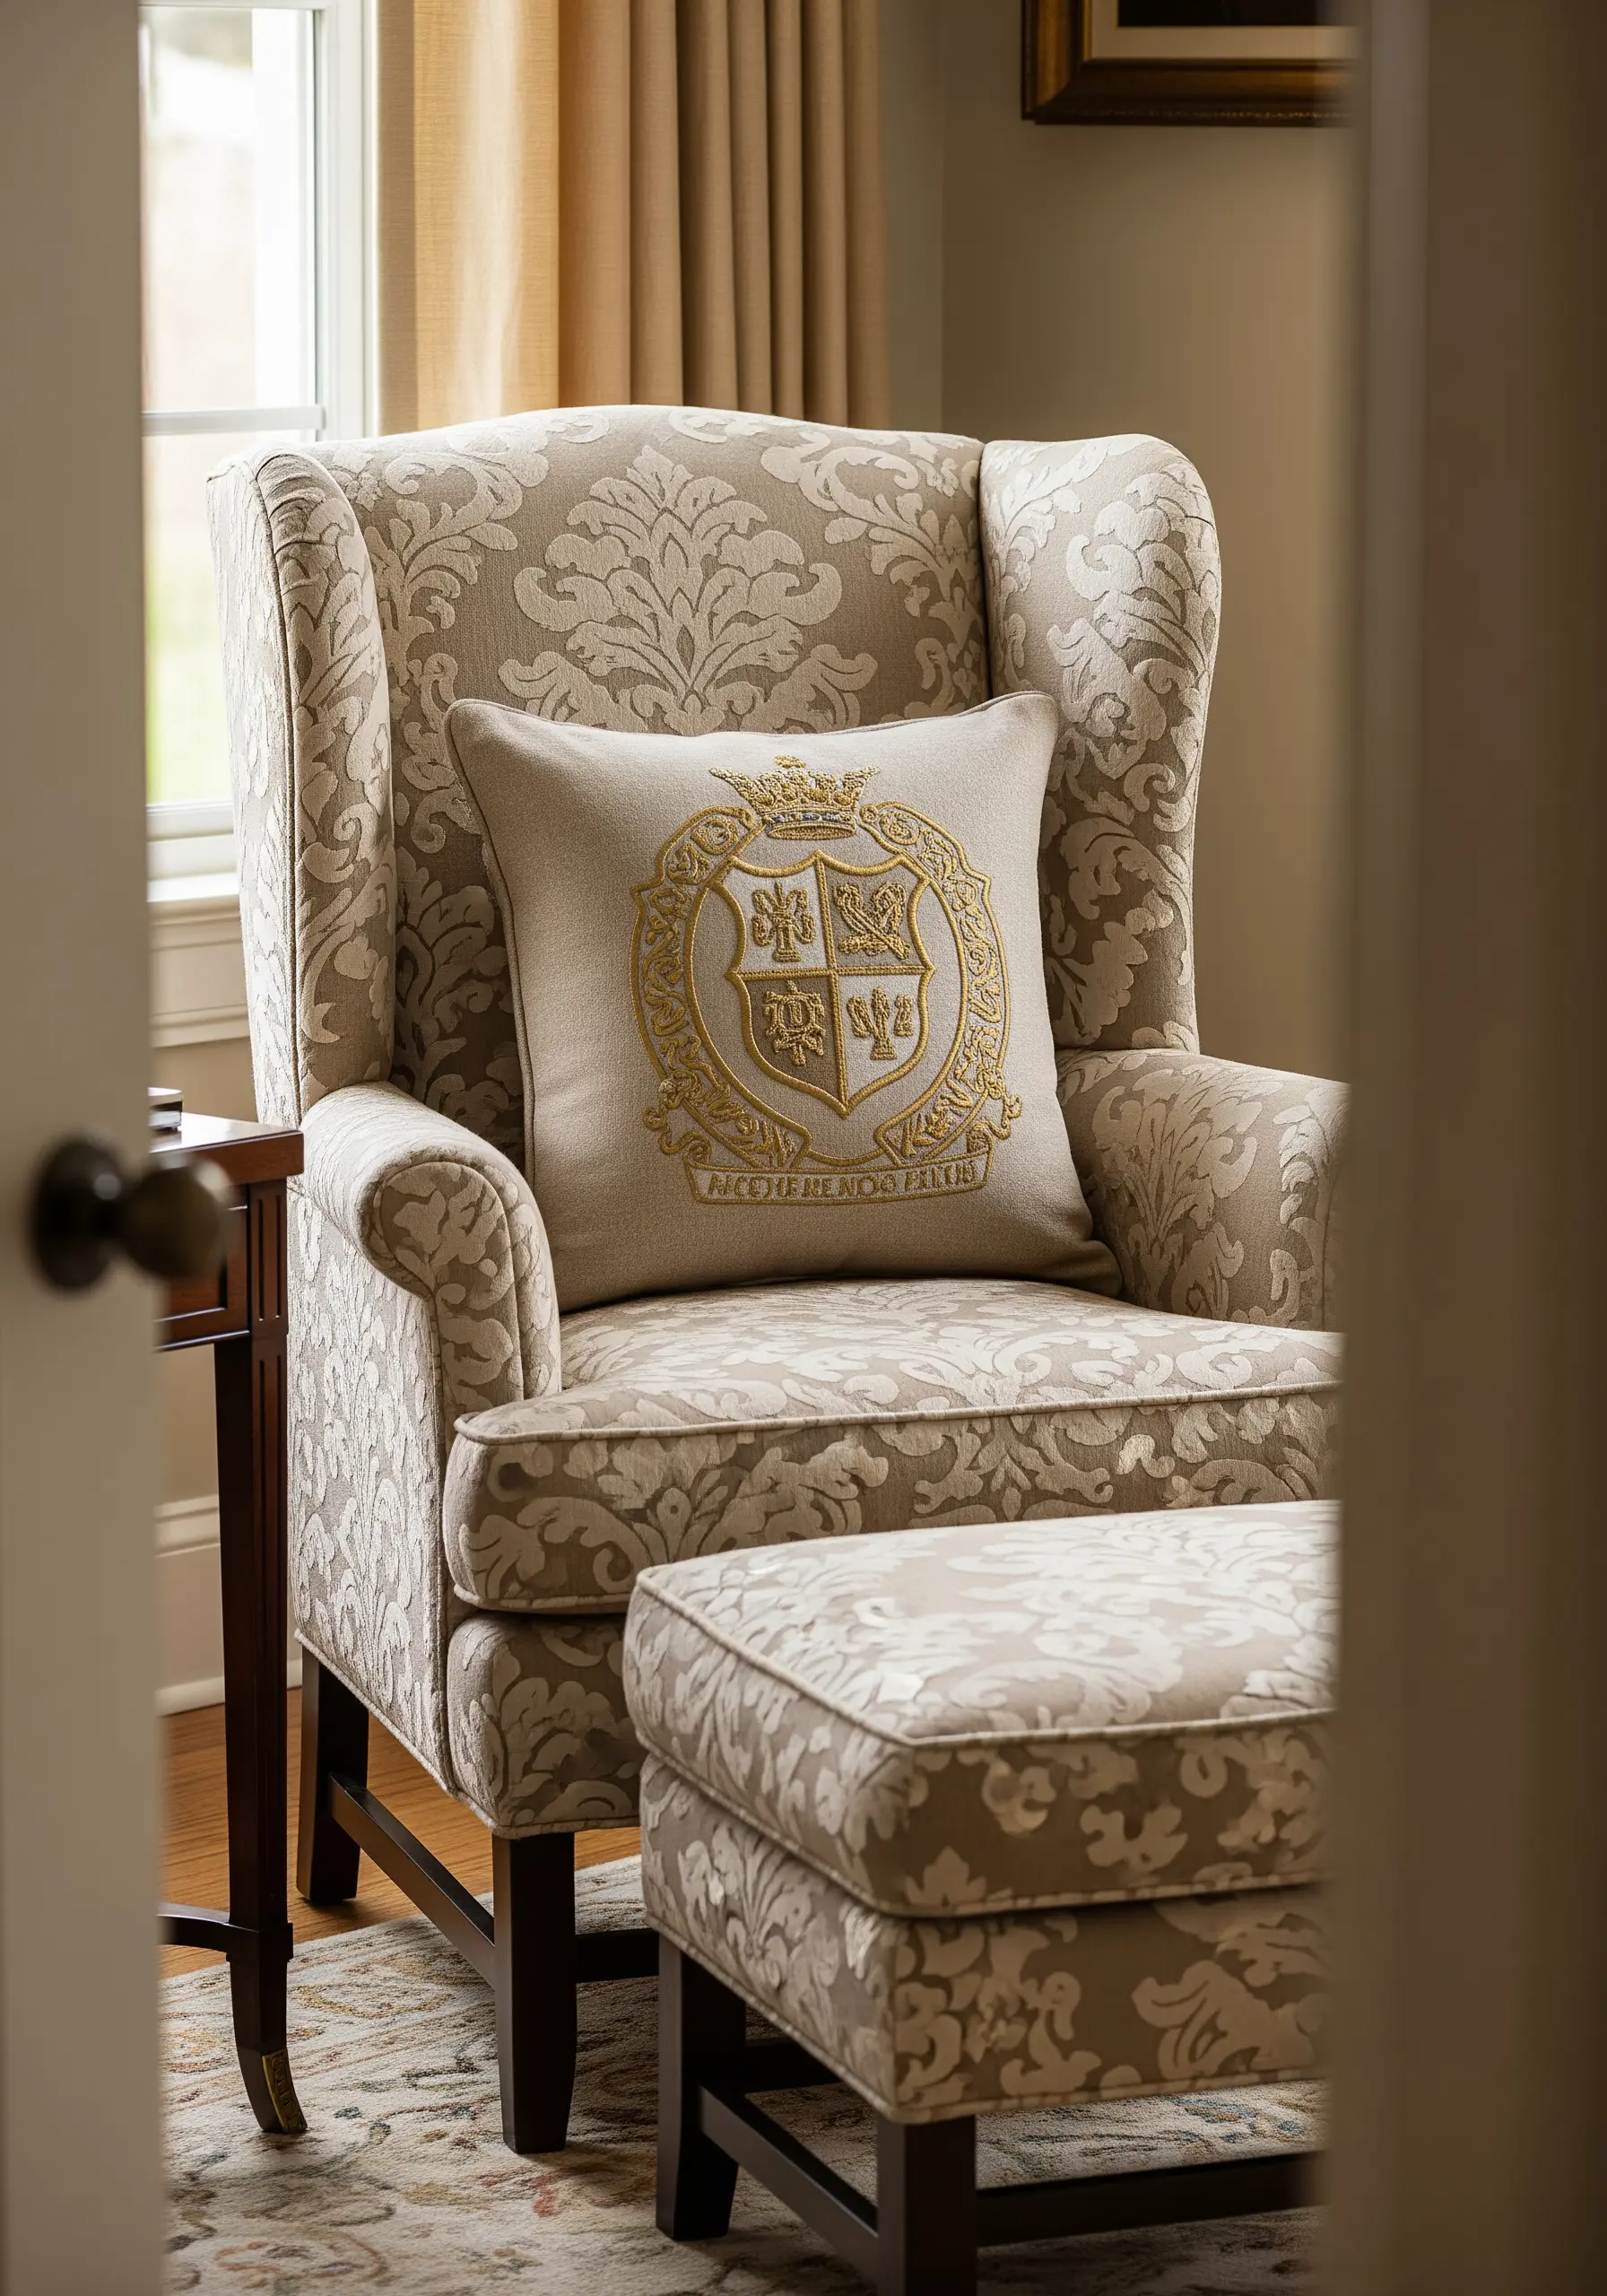
Create a sophisticated, heirloom-quality piece by embroidering a family crest or ornate emblem using goldwork threads.
For the bold outlines, use a technique called couching, where you lay down a thick metallic cord and tack it in place with a thinner, matching thread.
Fill the interior sections with a combination of satin stitch and seed stitches to create varied textures that catch the light differently.
This traditional method adds an undeniable sense of luxury and heritage to a simple linen cushion.
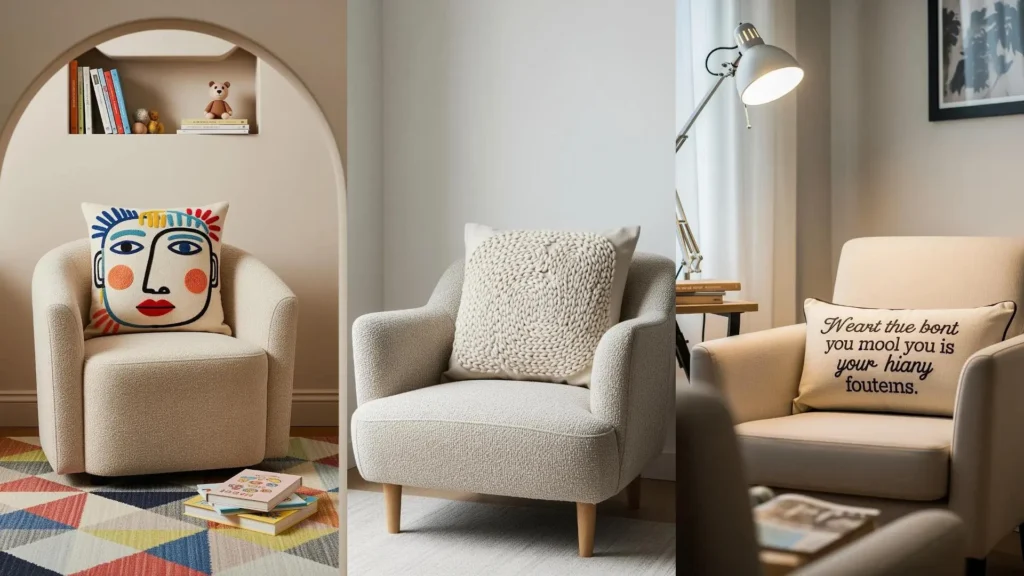
20. Create Graphic Portraits with Bold Outlines
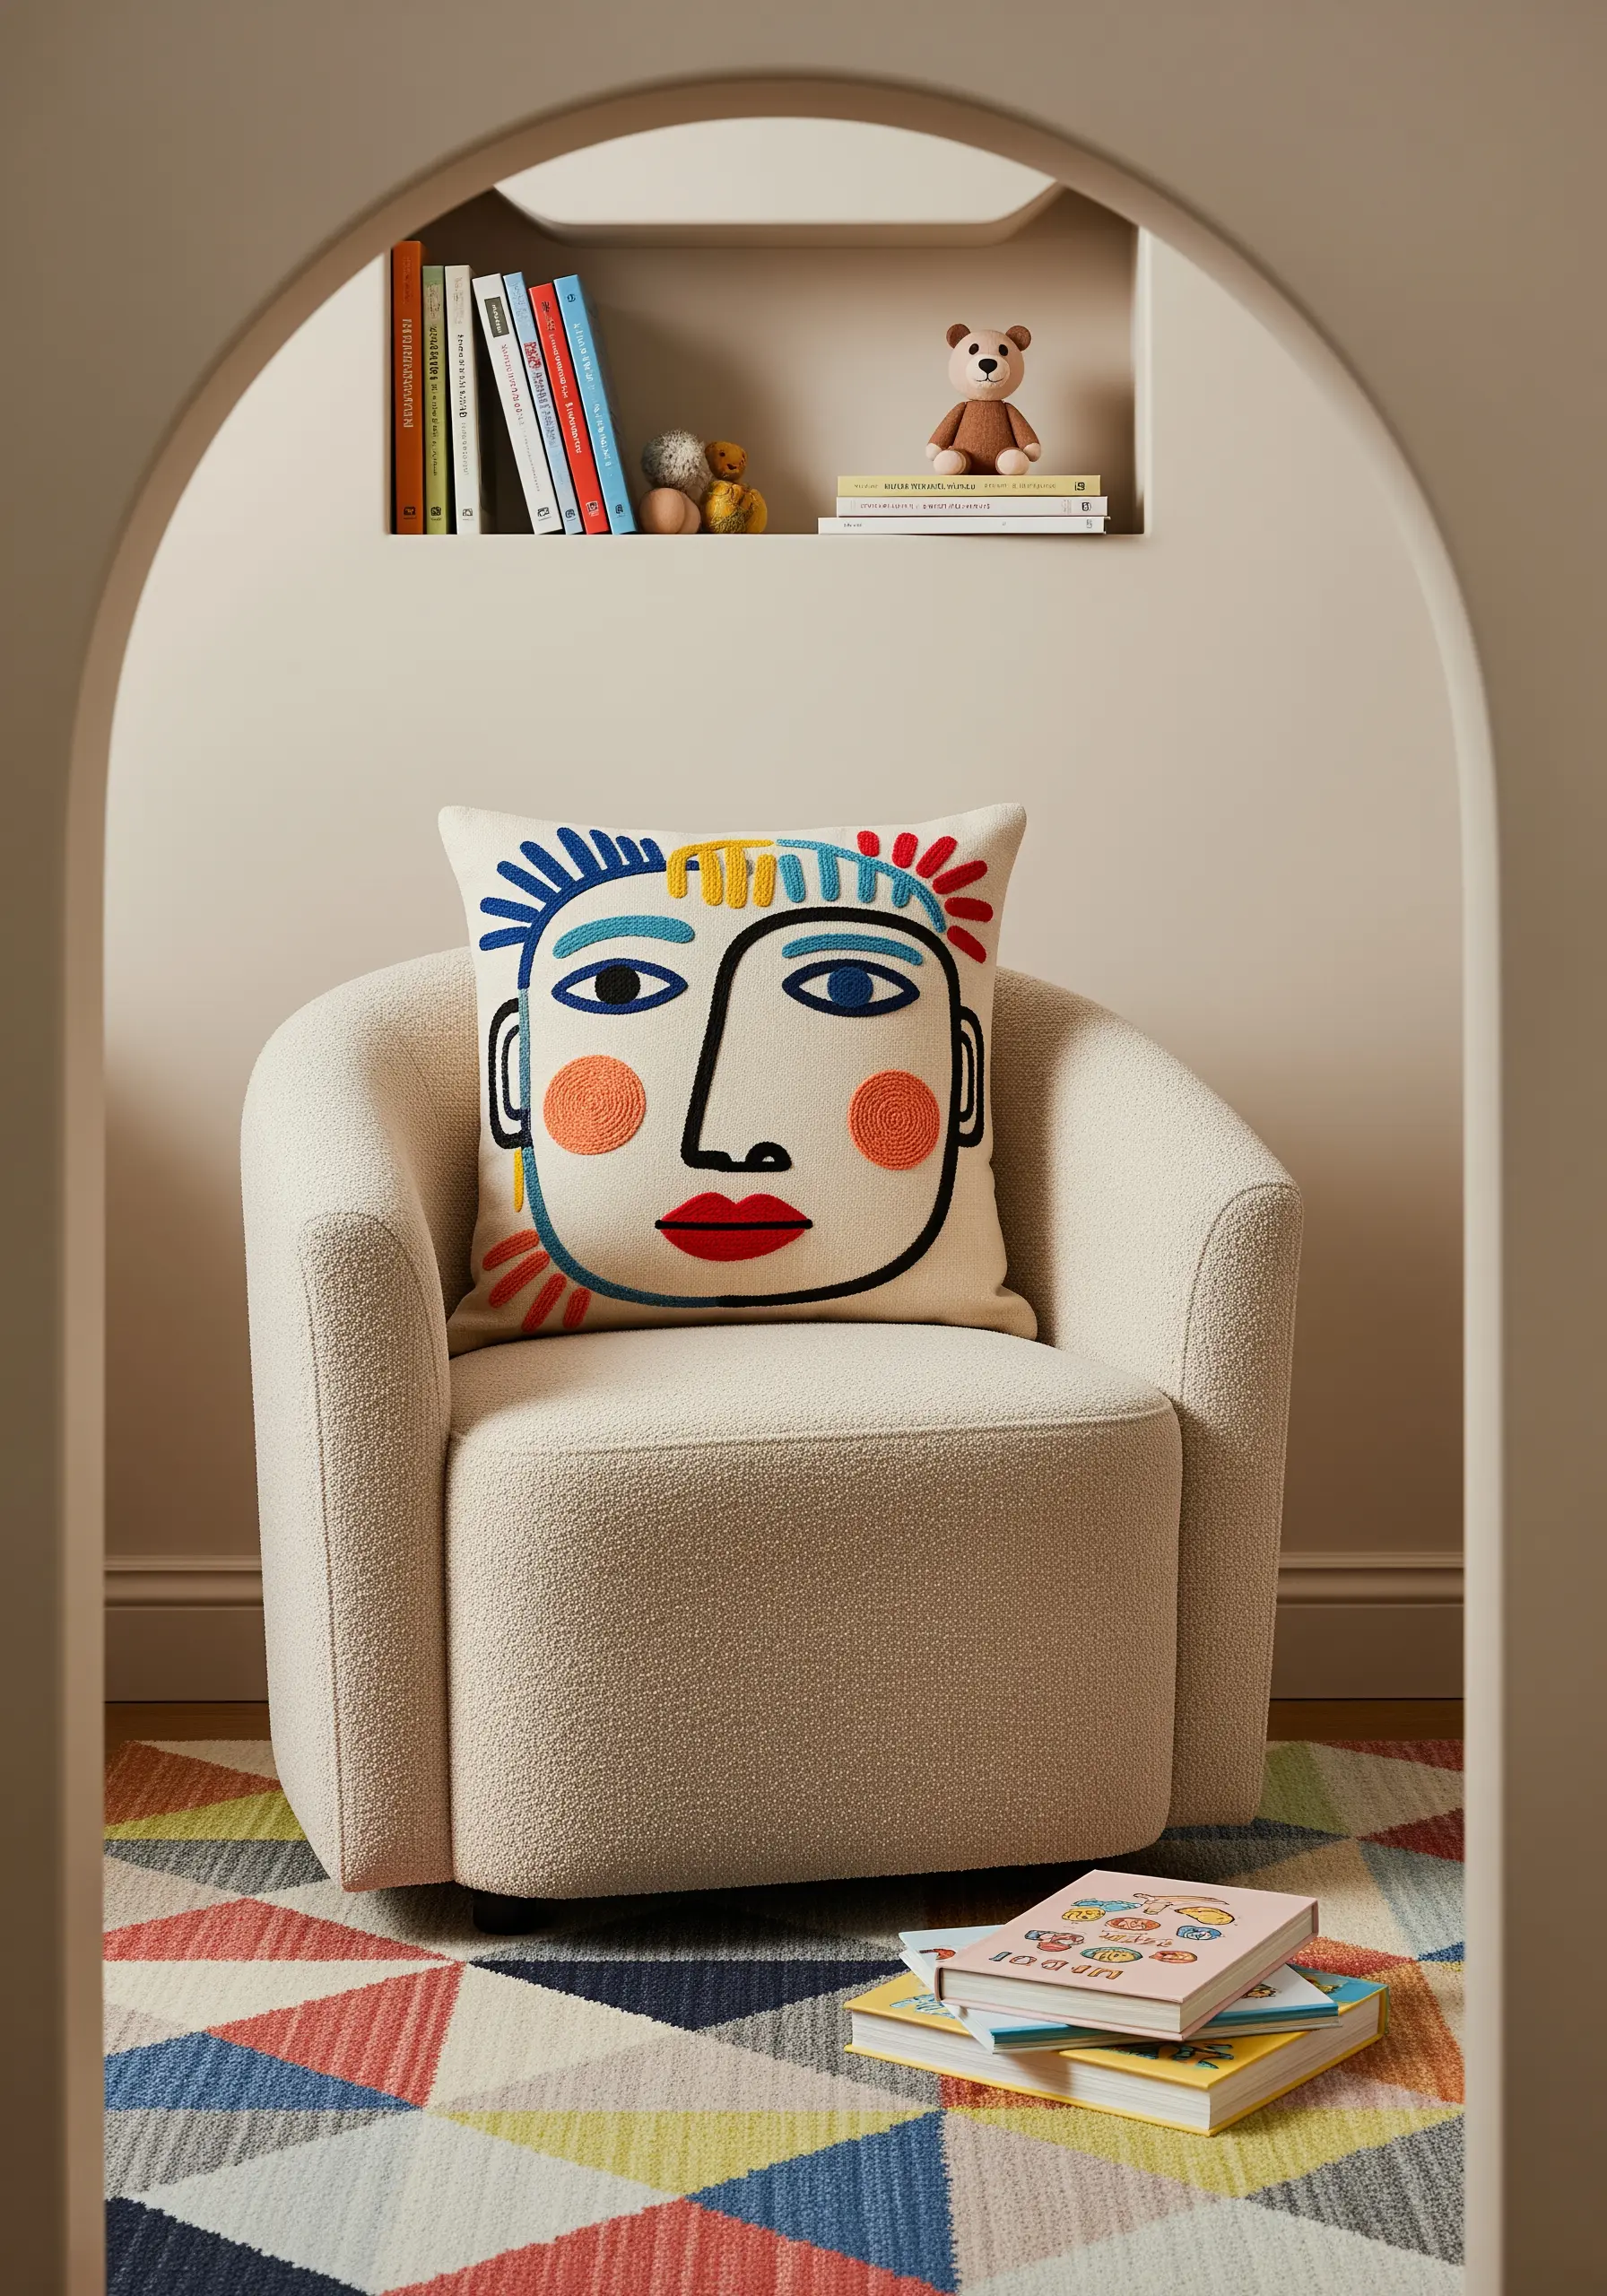
For a playful, modern piece of art, stitch an abstract face using bold lines and solid blocks of color.
Use a thick thread, like a full six strands of floss or pearl cotton, to create the black outlines with a heavy chain stitch or stem stitch. This makes the lines stand out as a key design element.
Fill the colored sections with perfectly smooth satin stitch, ensuring all your stitches lie in the same direction for a clean, graphic finish.
This is a fantastic way to practice your satin stitch while creating fun, expressive abstract line art.
21. Build a Landscape with Sculptural Yarn
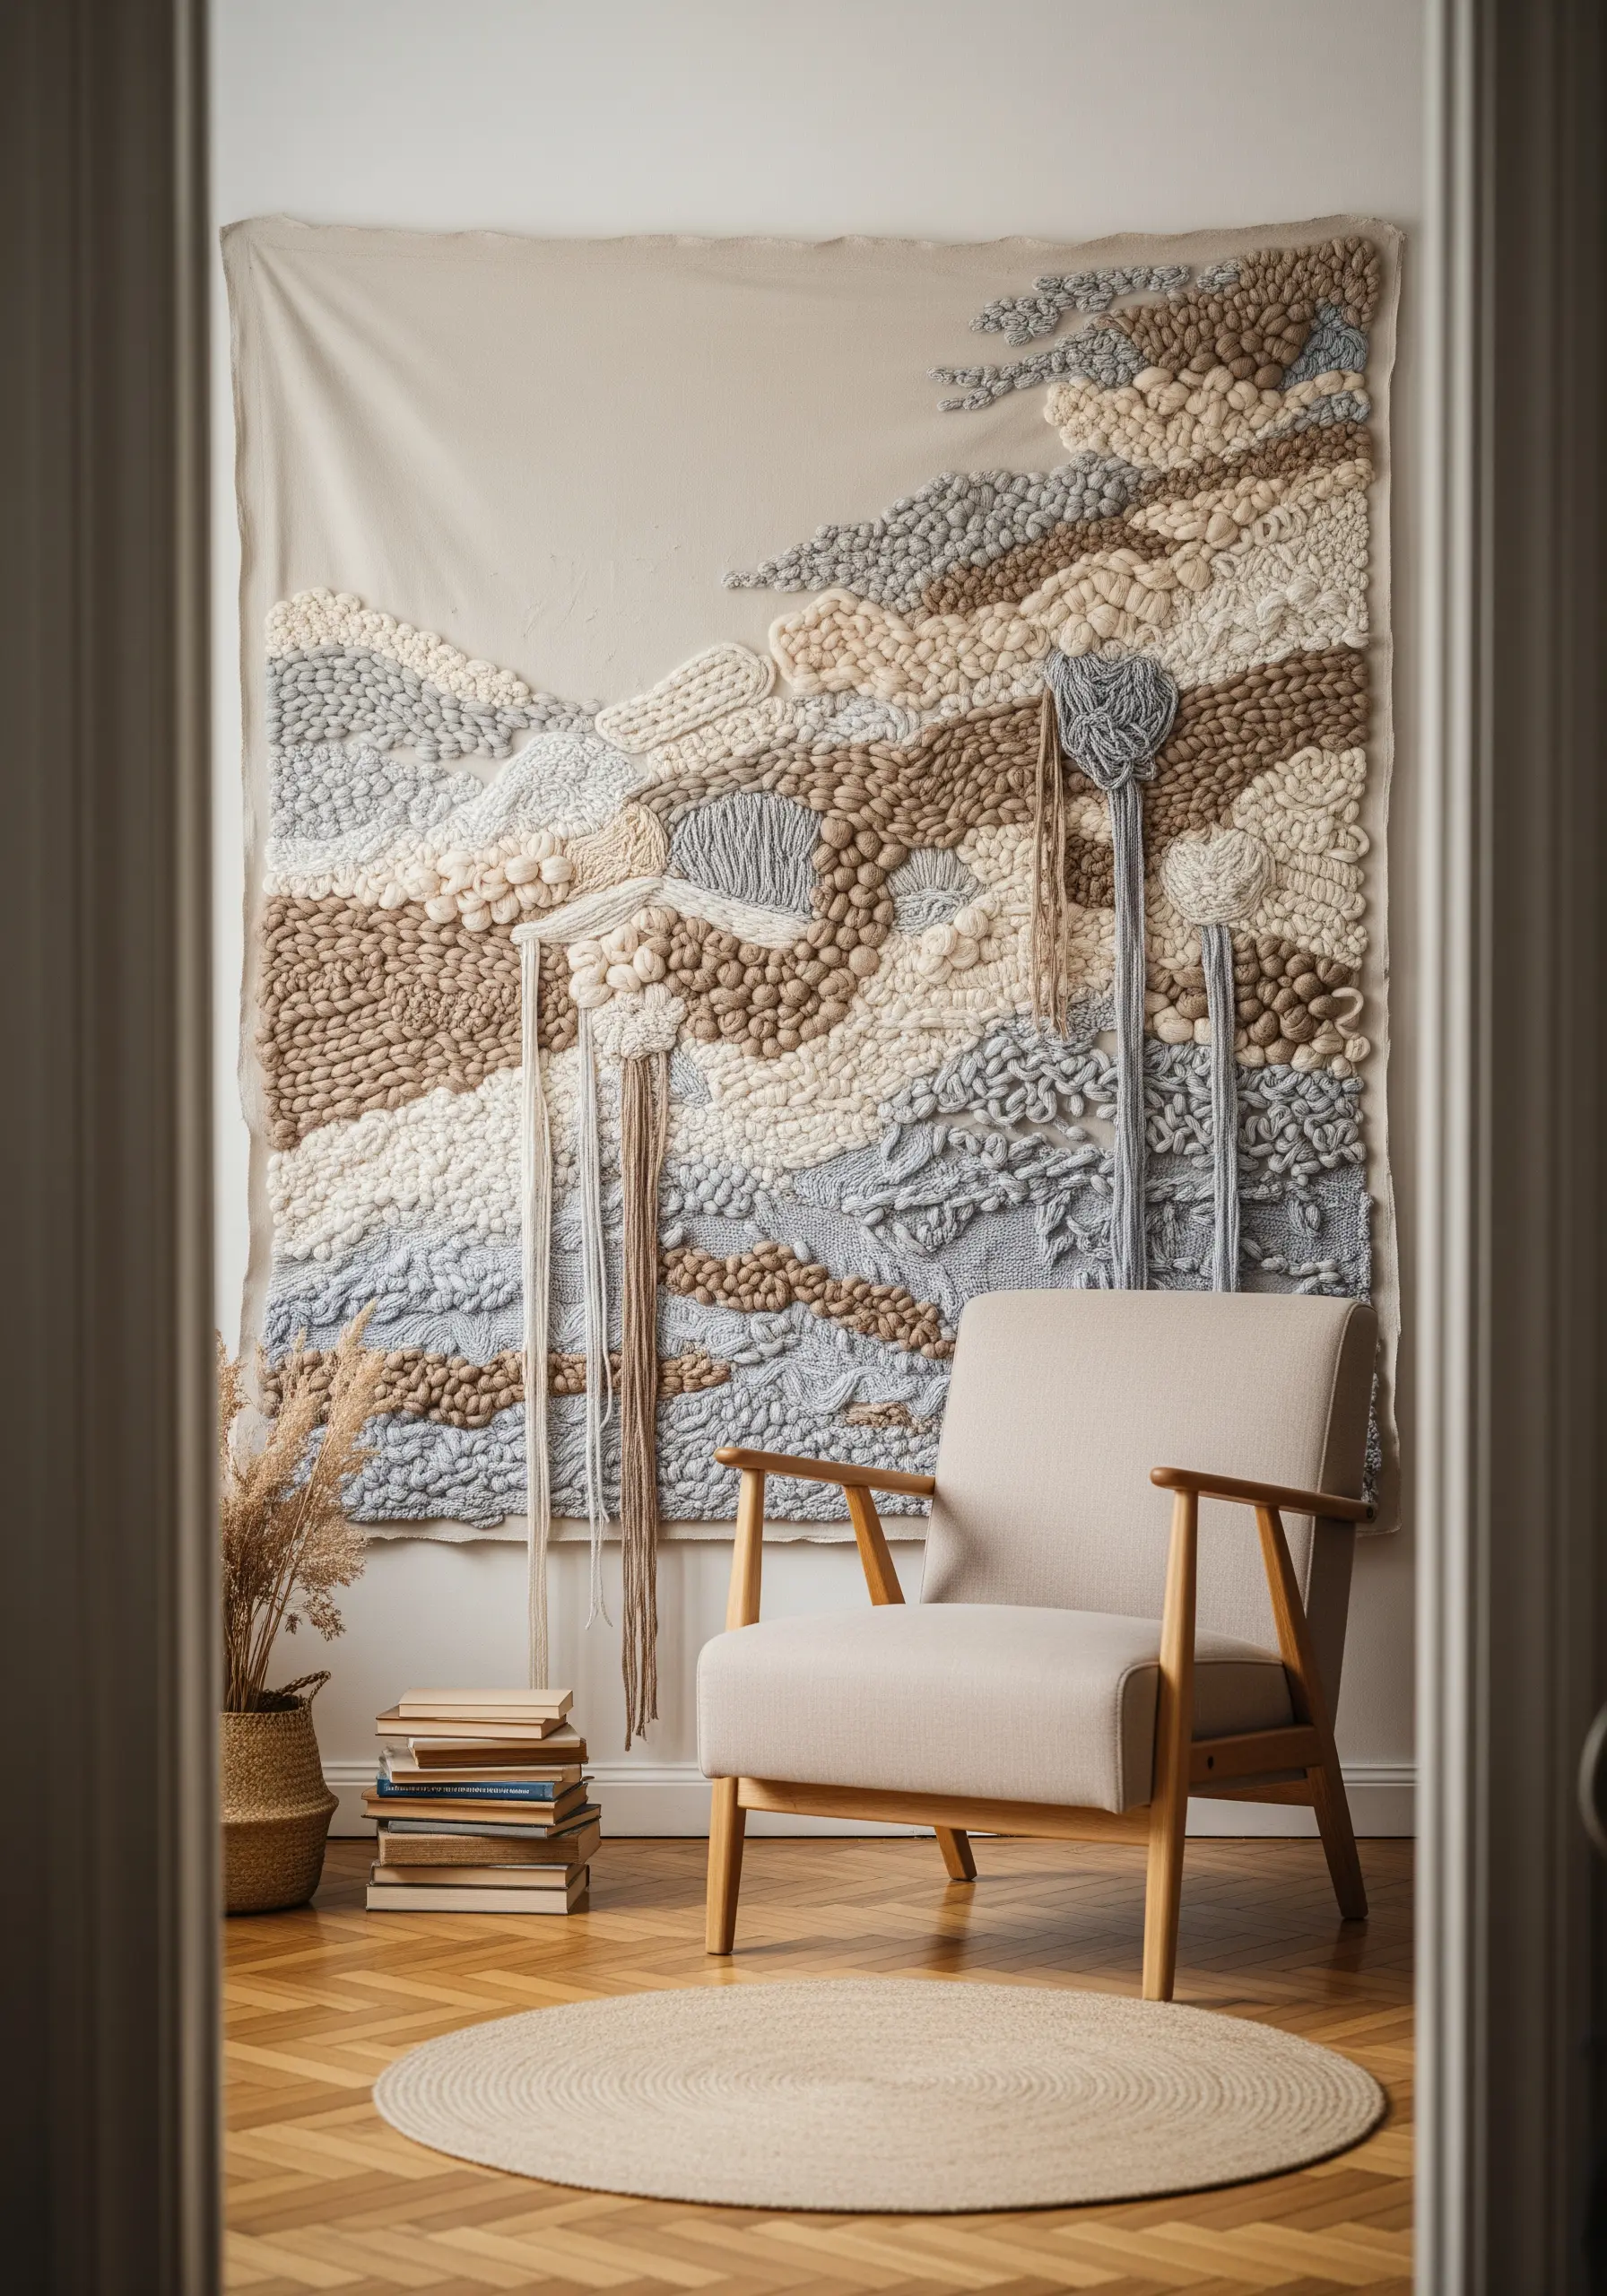
Move beyond the hoop and create a large-scale, textural wall hanging that mimics a natural landscape.
Combine various yarn weights and techniques: use chunky roving for soft, cloud-like textures, create tight loops for a pebbled effect, and add rows of French knots for dense ground cover.
Work on a sturdy canvas backing and don’t be afraid to let threads hang loose for an organic, untamed feel.
These fiber art installations become the focal point of a room, adding incredible warmth and dimension.
22. Capture Winter’s Calm with a Simple Snowflake
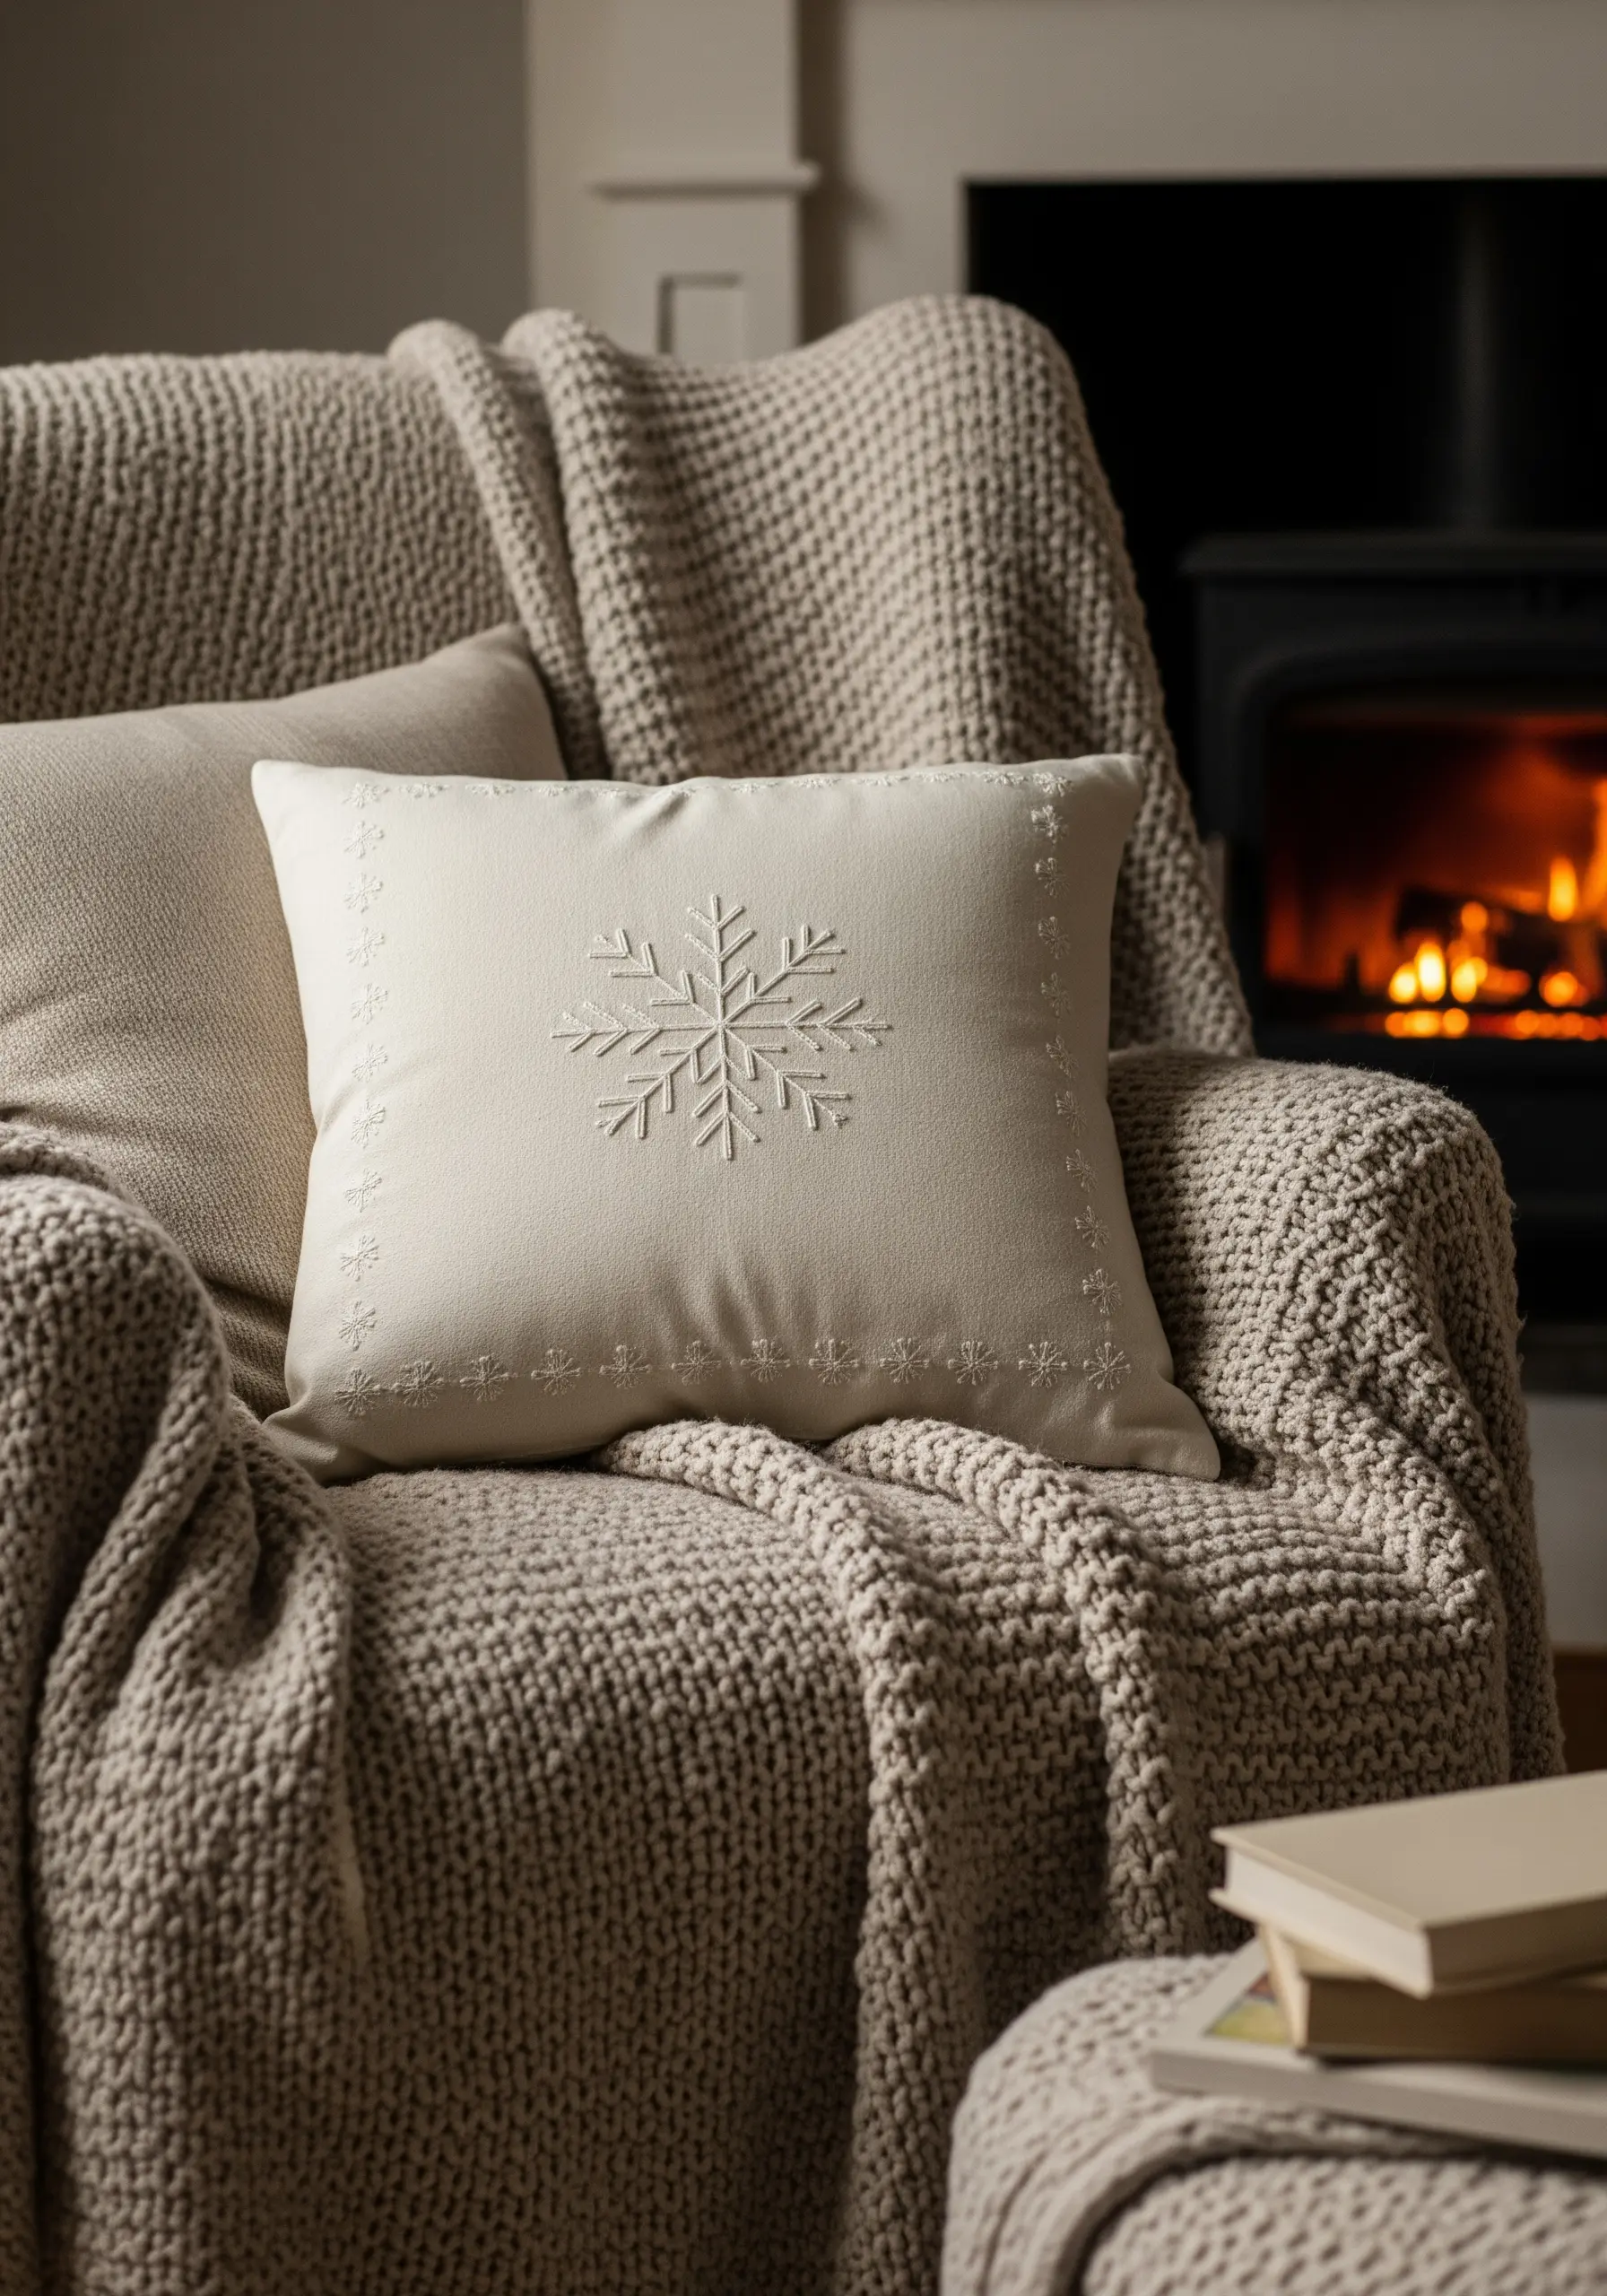
Embrace minimalist winter decor with a single, exquisitely stitched snowflake.
The beauty of this design lies in its symmetry and precision. Use a sharp needle and a crisp white or silver thread on a neutral fabric like linen or wool.
A simple backstitch or stem stitch is all you need to create the clean, geometric lines.
For a final touch of elegance, add a delicate border of single seed stitches around the edge of the cushion, echoing the snowflake’s crystalline form.
23. Embellish Unexpected Surfaces Like a Lampshade
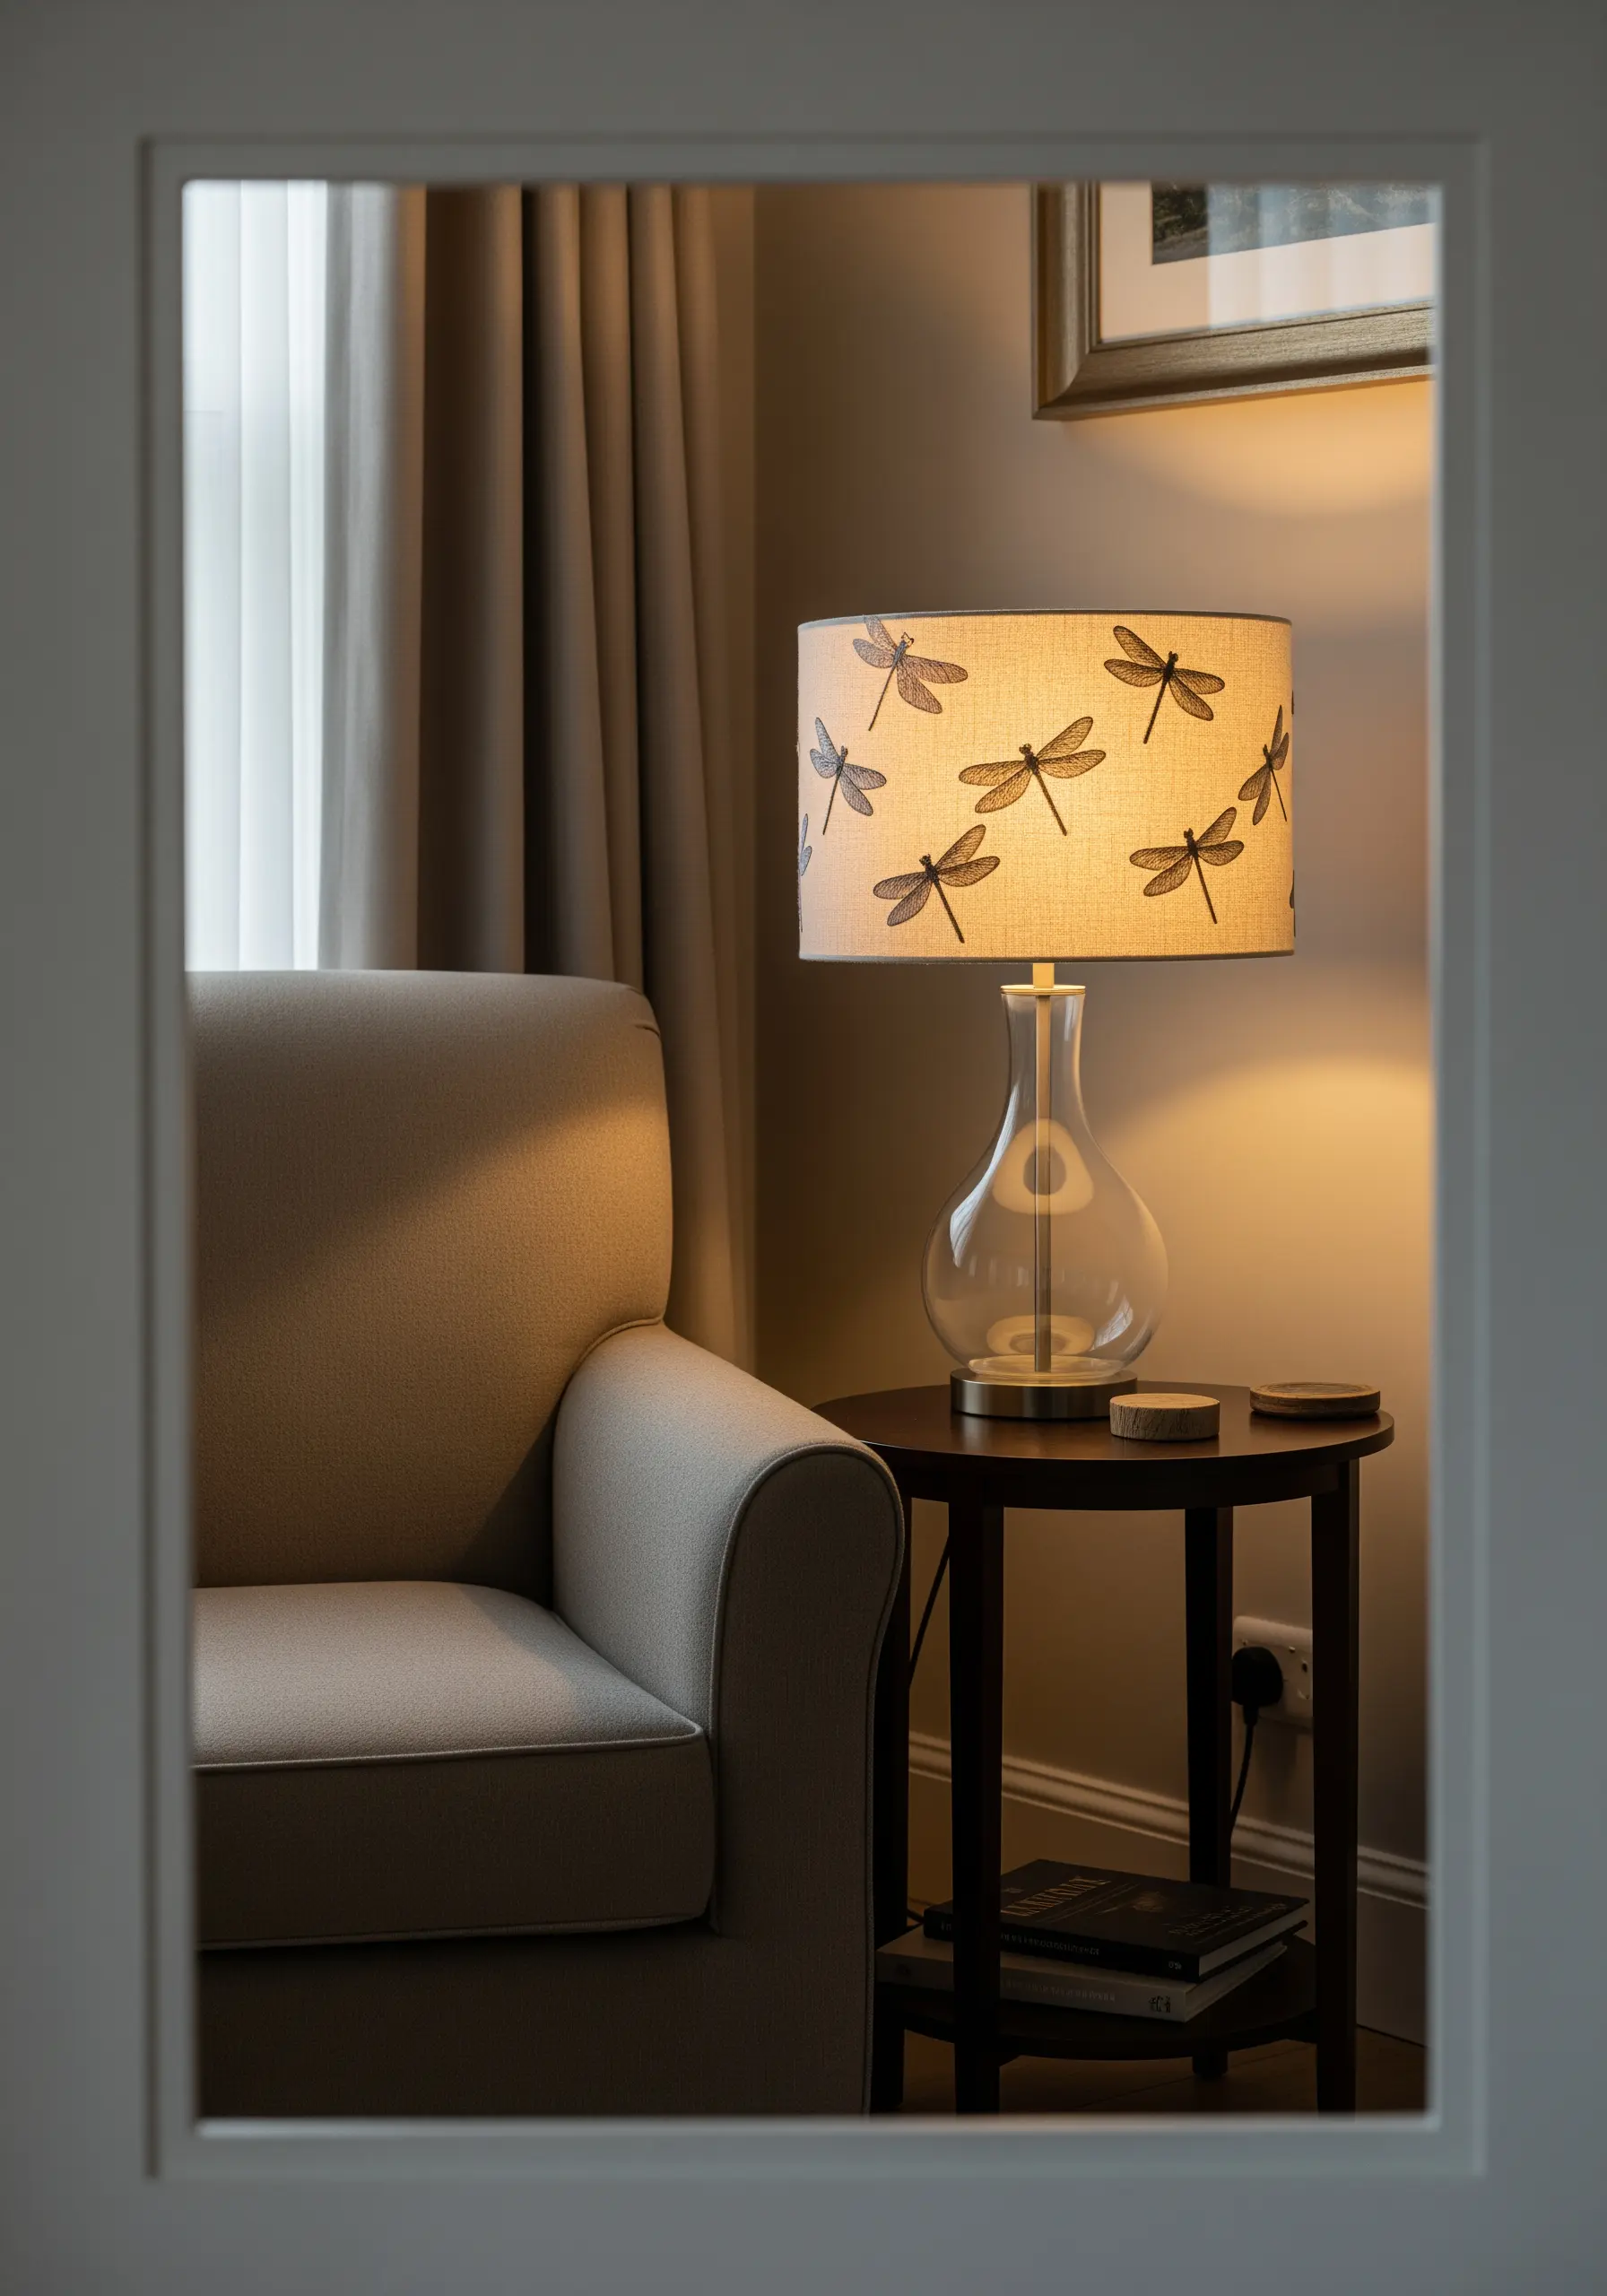
Take your embroidery off the fabric and onto other home decor items, like a plain fabric lampshade.
Choose a simple, repeating motif, such as a dragonfly or a leaf, that can be stitched with a basic backstitch or running stitch.
You will need a sharp needle and a thimble to carefully pierce the stiff lampshade material without damaging it.
When the lamp is turned on, your stitched design will be beautifully illuminated, casting delicate shadows and adding a unique, handmade touch to your lighting.
24. Interpret Nature with Modern, Stylized Florals
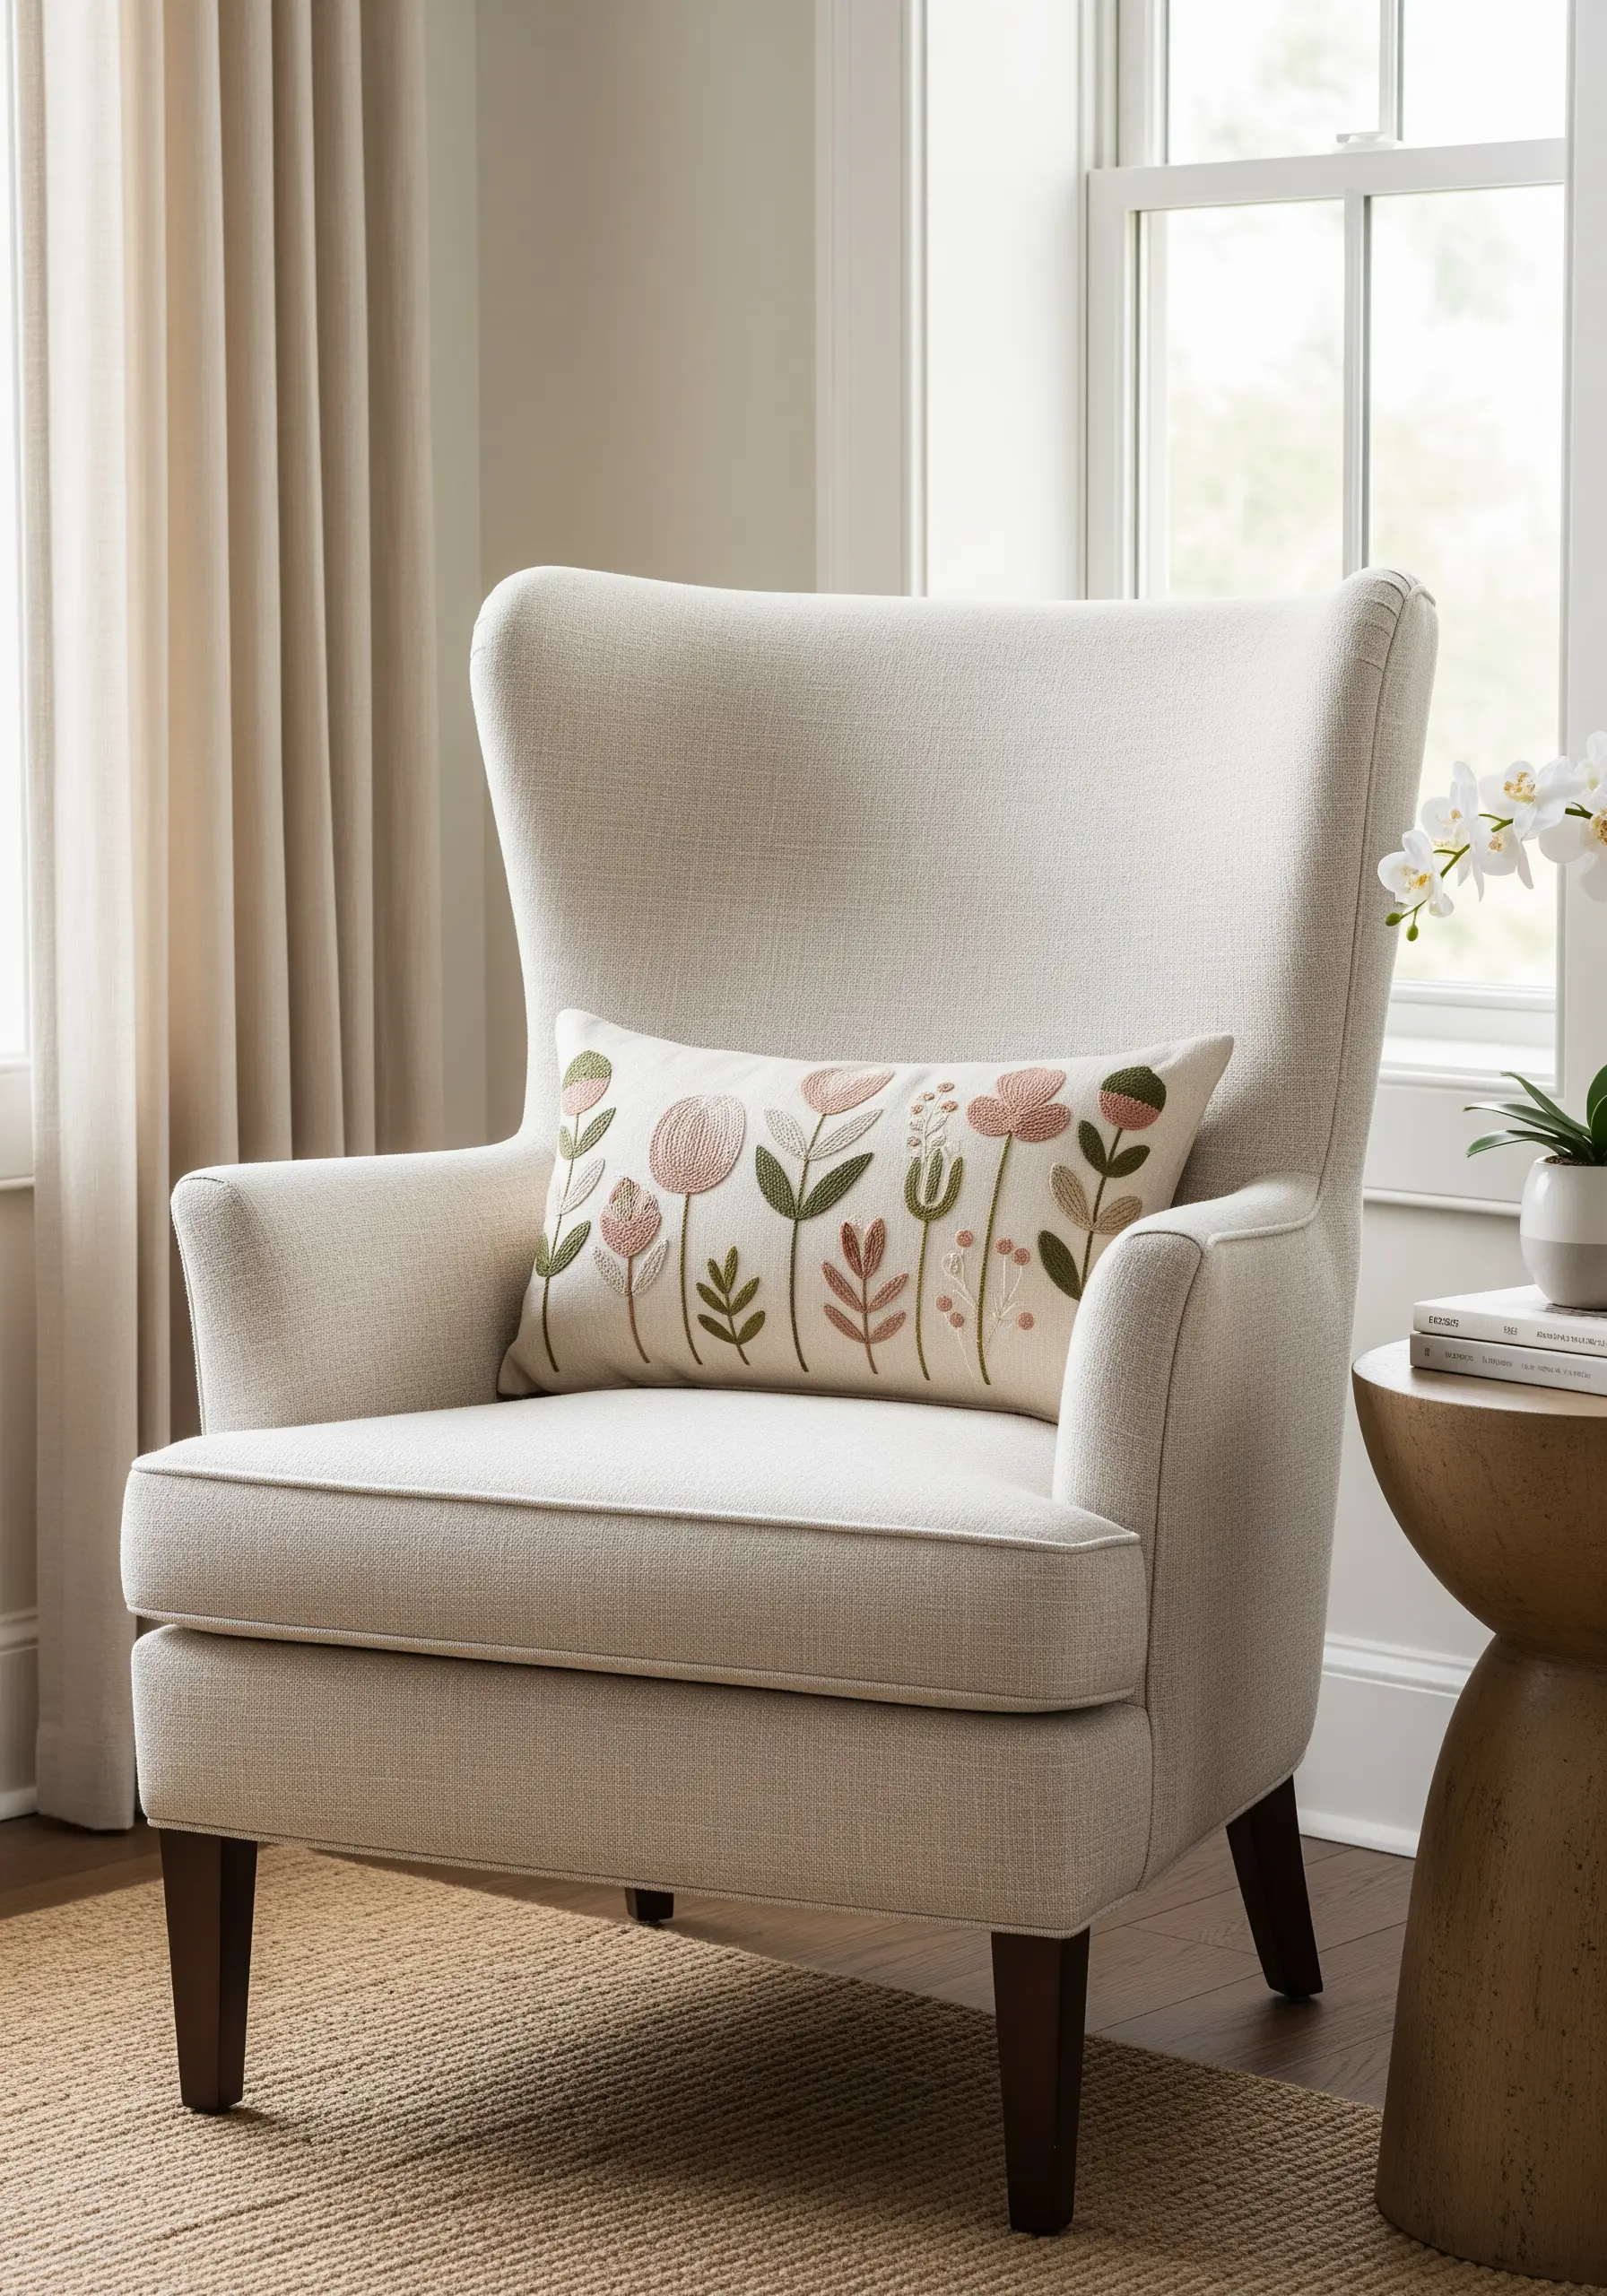
Give botanical embroidery a contemporary twist by simplifying floral shapes and using a sophisticated, muted color palette.
Instead of aiming for realism, focus on the essence of the flower—a simple satin-stitched oval for a petal, a French knot for a bud.
Arrange these stylized shapes in a clean, linear pattern along the bottom of a lumbar pillow.
These modern botanical stitches feel fresh and artistic, perfectly suiting a calm, minimalist aesthetic.
25. Make a Welcoming Statement with Classic Script
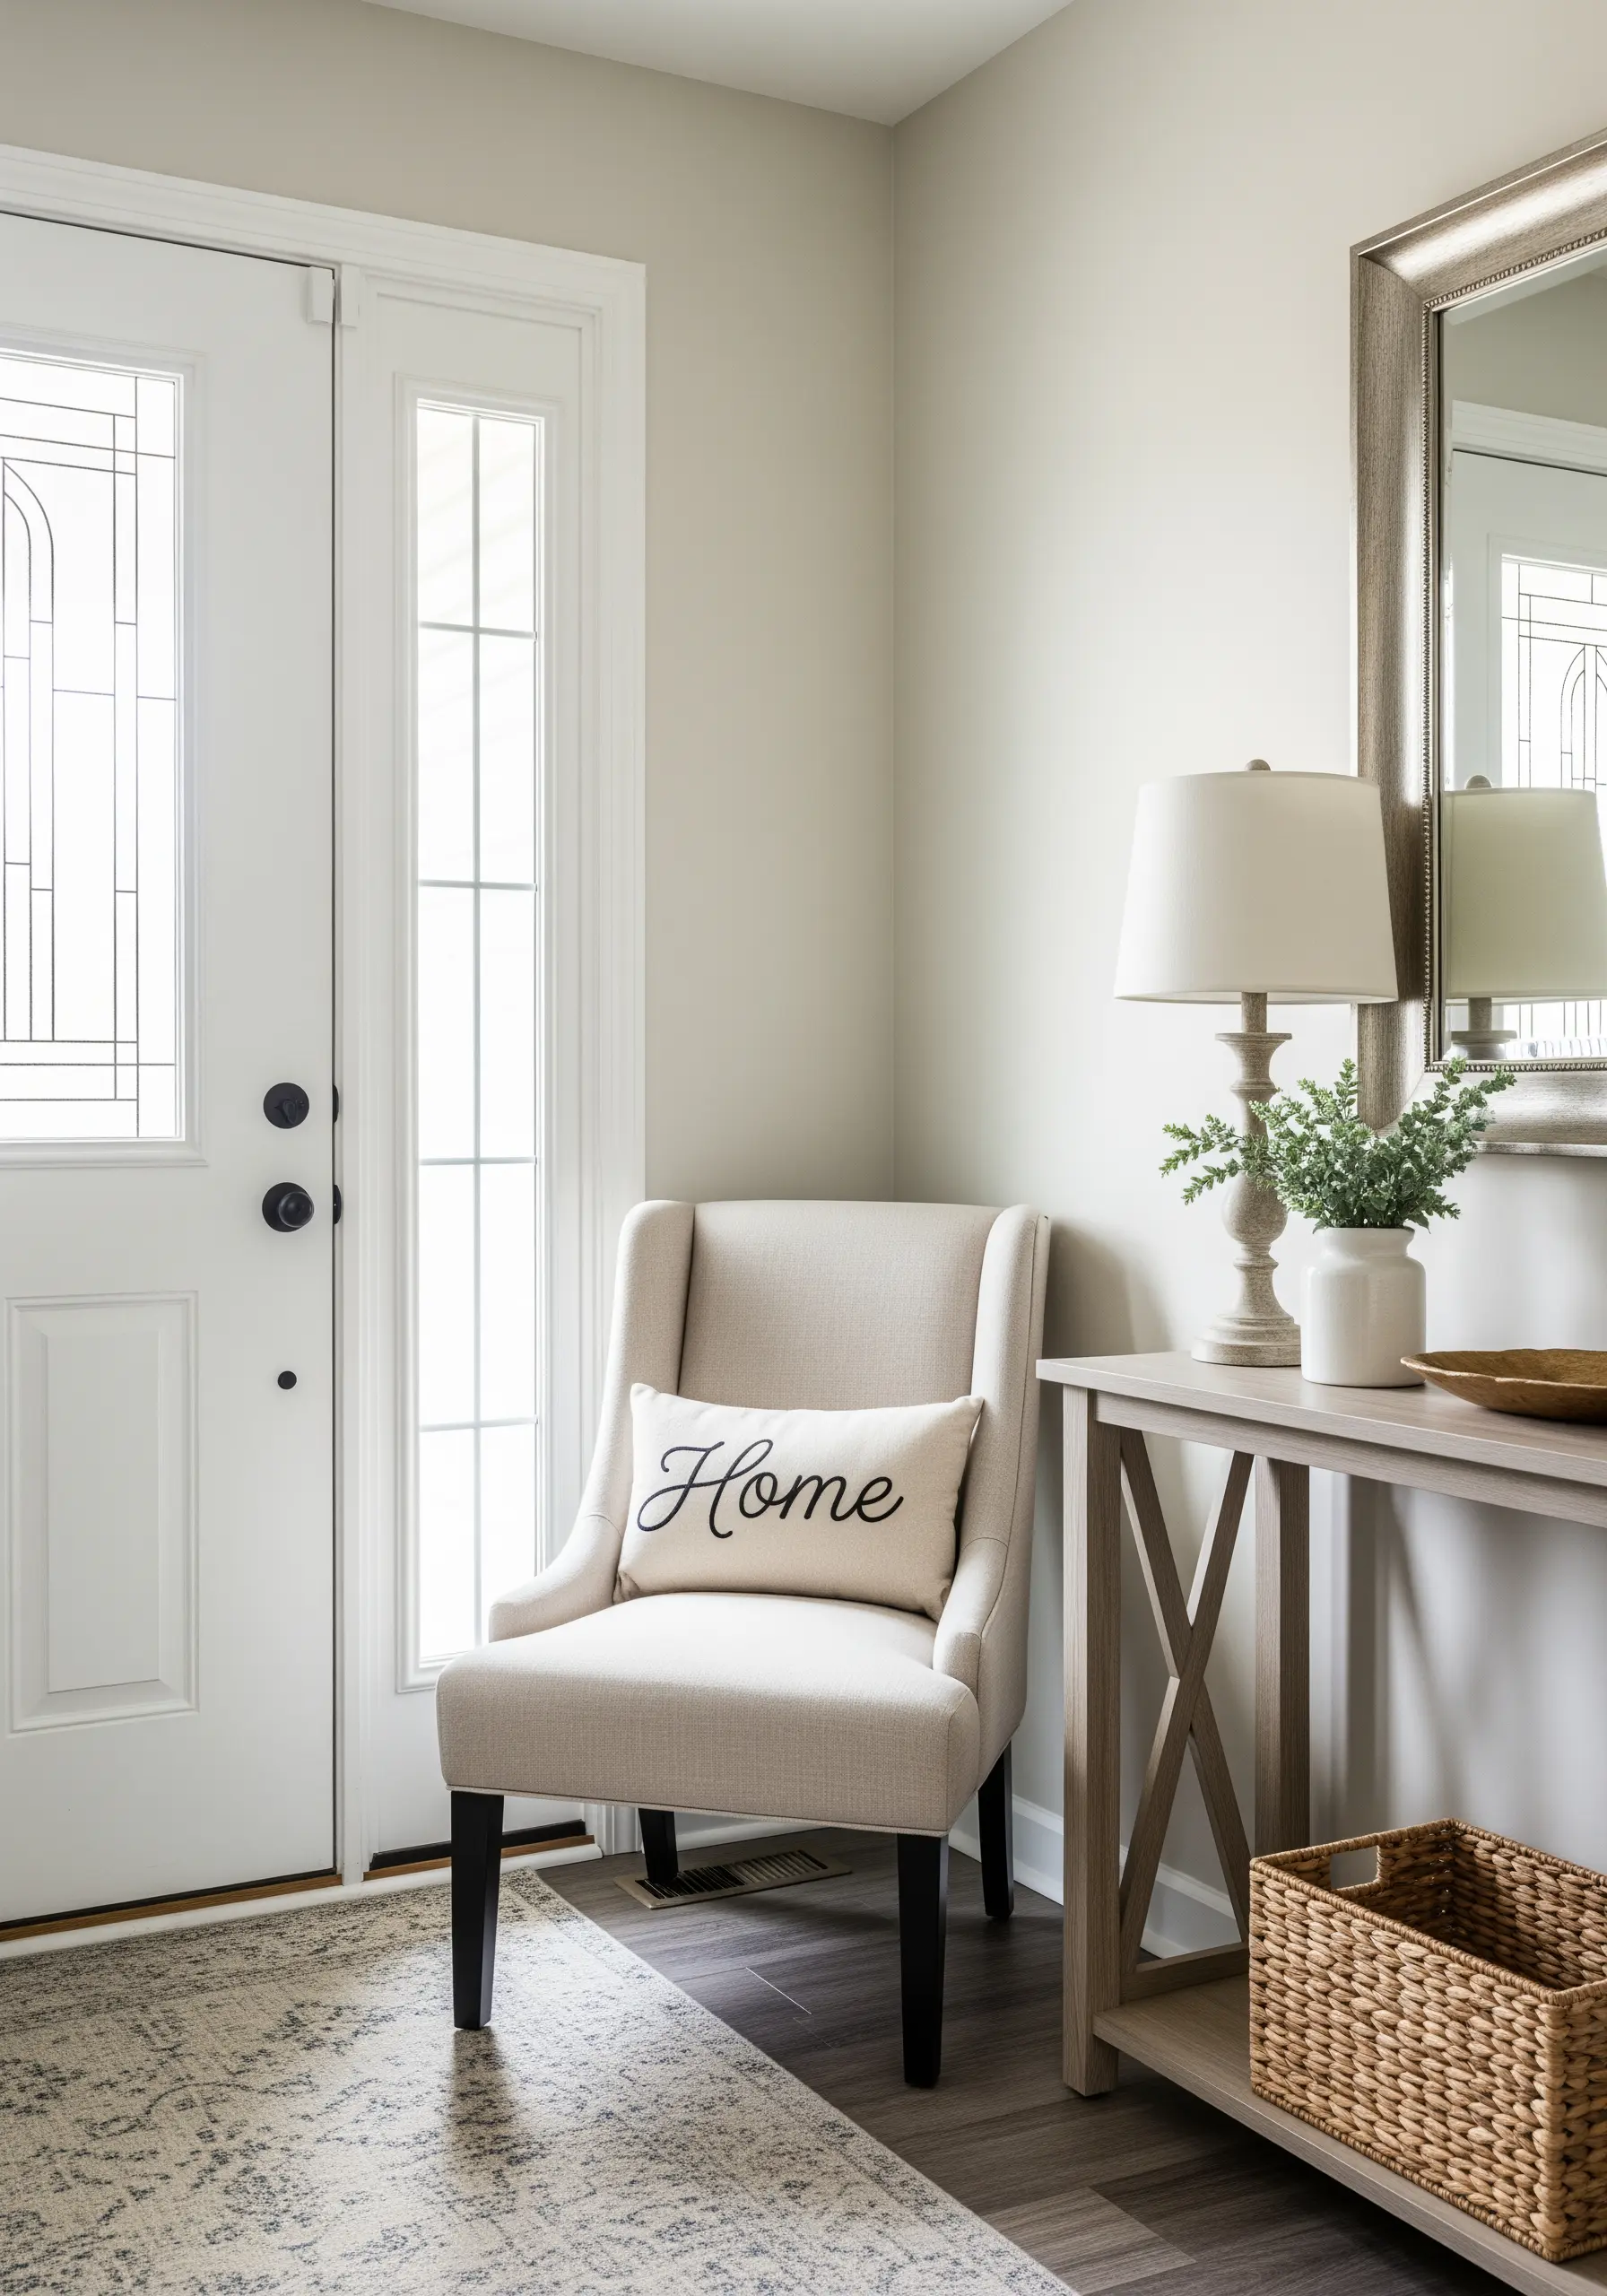
Add a touch of warmth to an entryway or guest chair with a single, beautifully stitched word.
Choose a classic, elegant script font and transfer it carefully to the center of your lumbar pillow fabric.
Use a stem stitch or split stitch in a contrasting color like black or charcoal; these stitches create a solid, readable line that mimics the thick-and-thin strokes of calligraphy.
The result is a timeless, welcoming accent that feels both personal and polished.
26. Blend Colors Seamlessly with Thread Painting
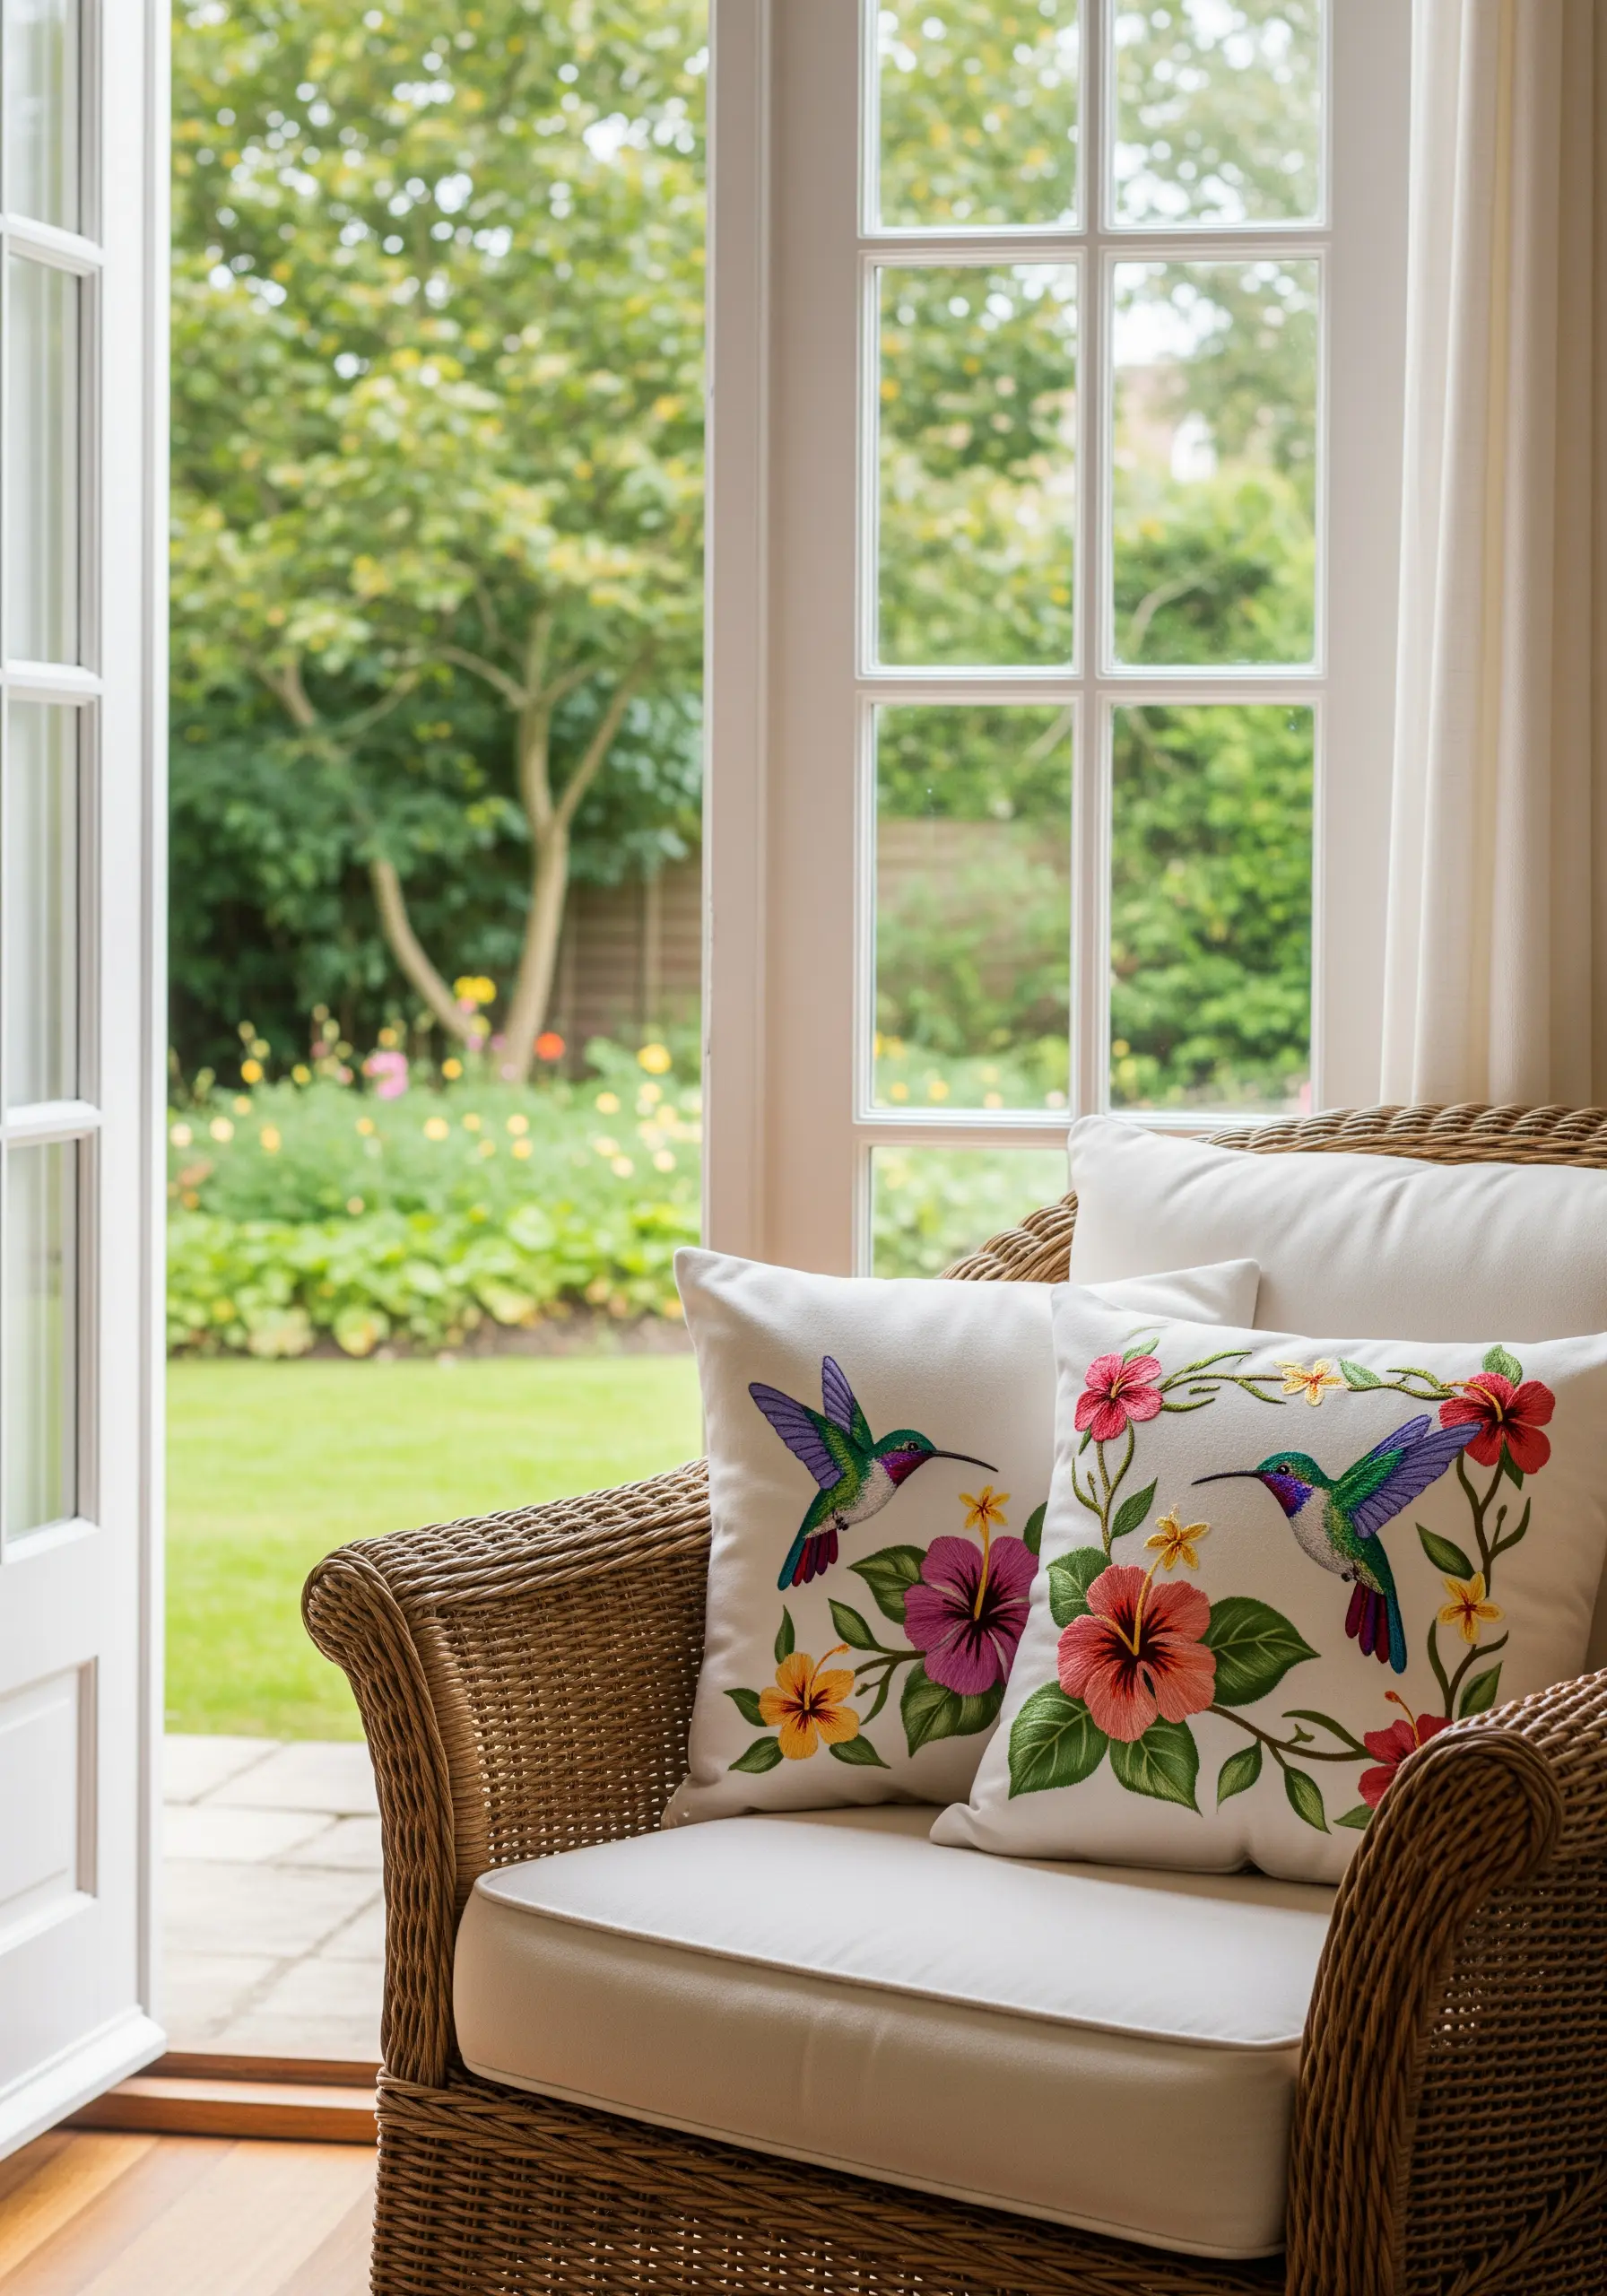
To capture the iridescent colors of a hummingbird or the soft gradients of a hibiscus petal, use the long-and-short stitch technique.
This method, often called thread painting, allows you to blend multiple shades of floss together seamlessly, creating a realistic, painterly effect.
Work with a single strand of thread and use a reference photo to guide your color placement. Start with the lightest color and gradually work in darker shades to create depth and dimension.
It’s the perfect technique for bringing bird and butterfly patterns to vibrant life.
27. Define Edges with a Crisp Geometric Border
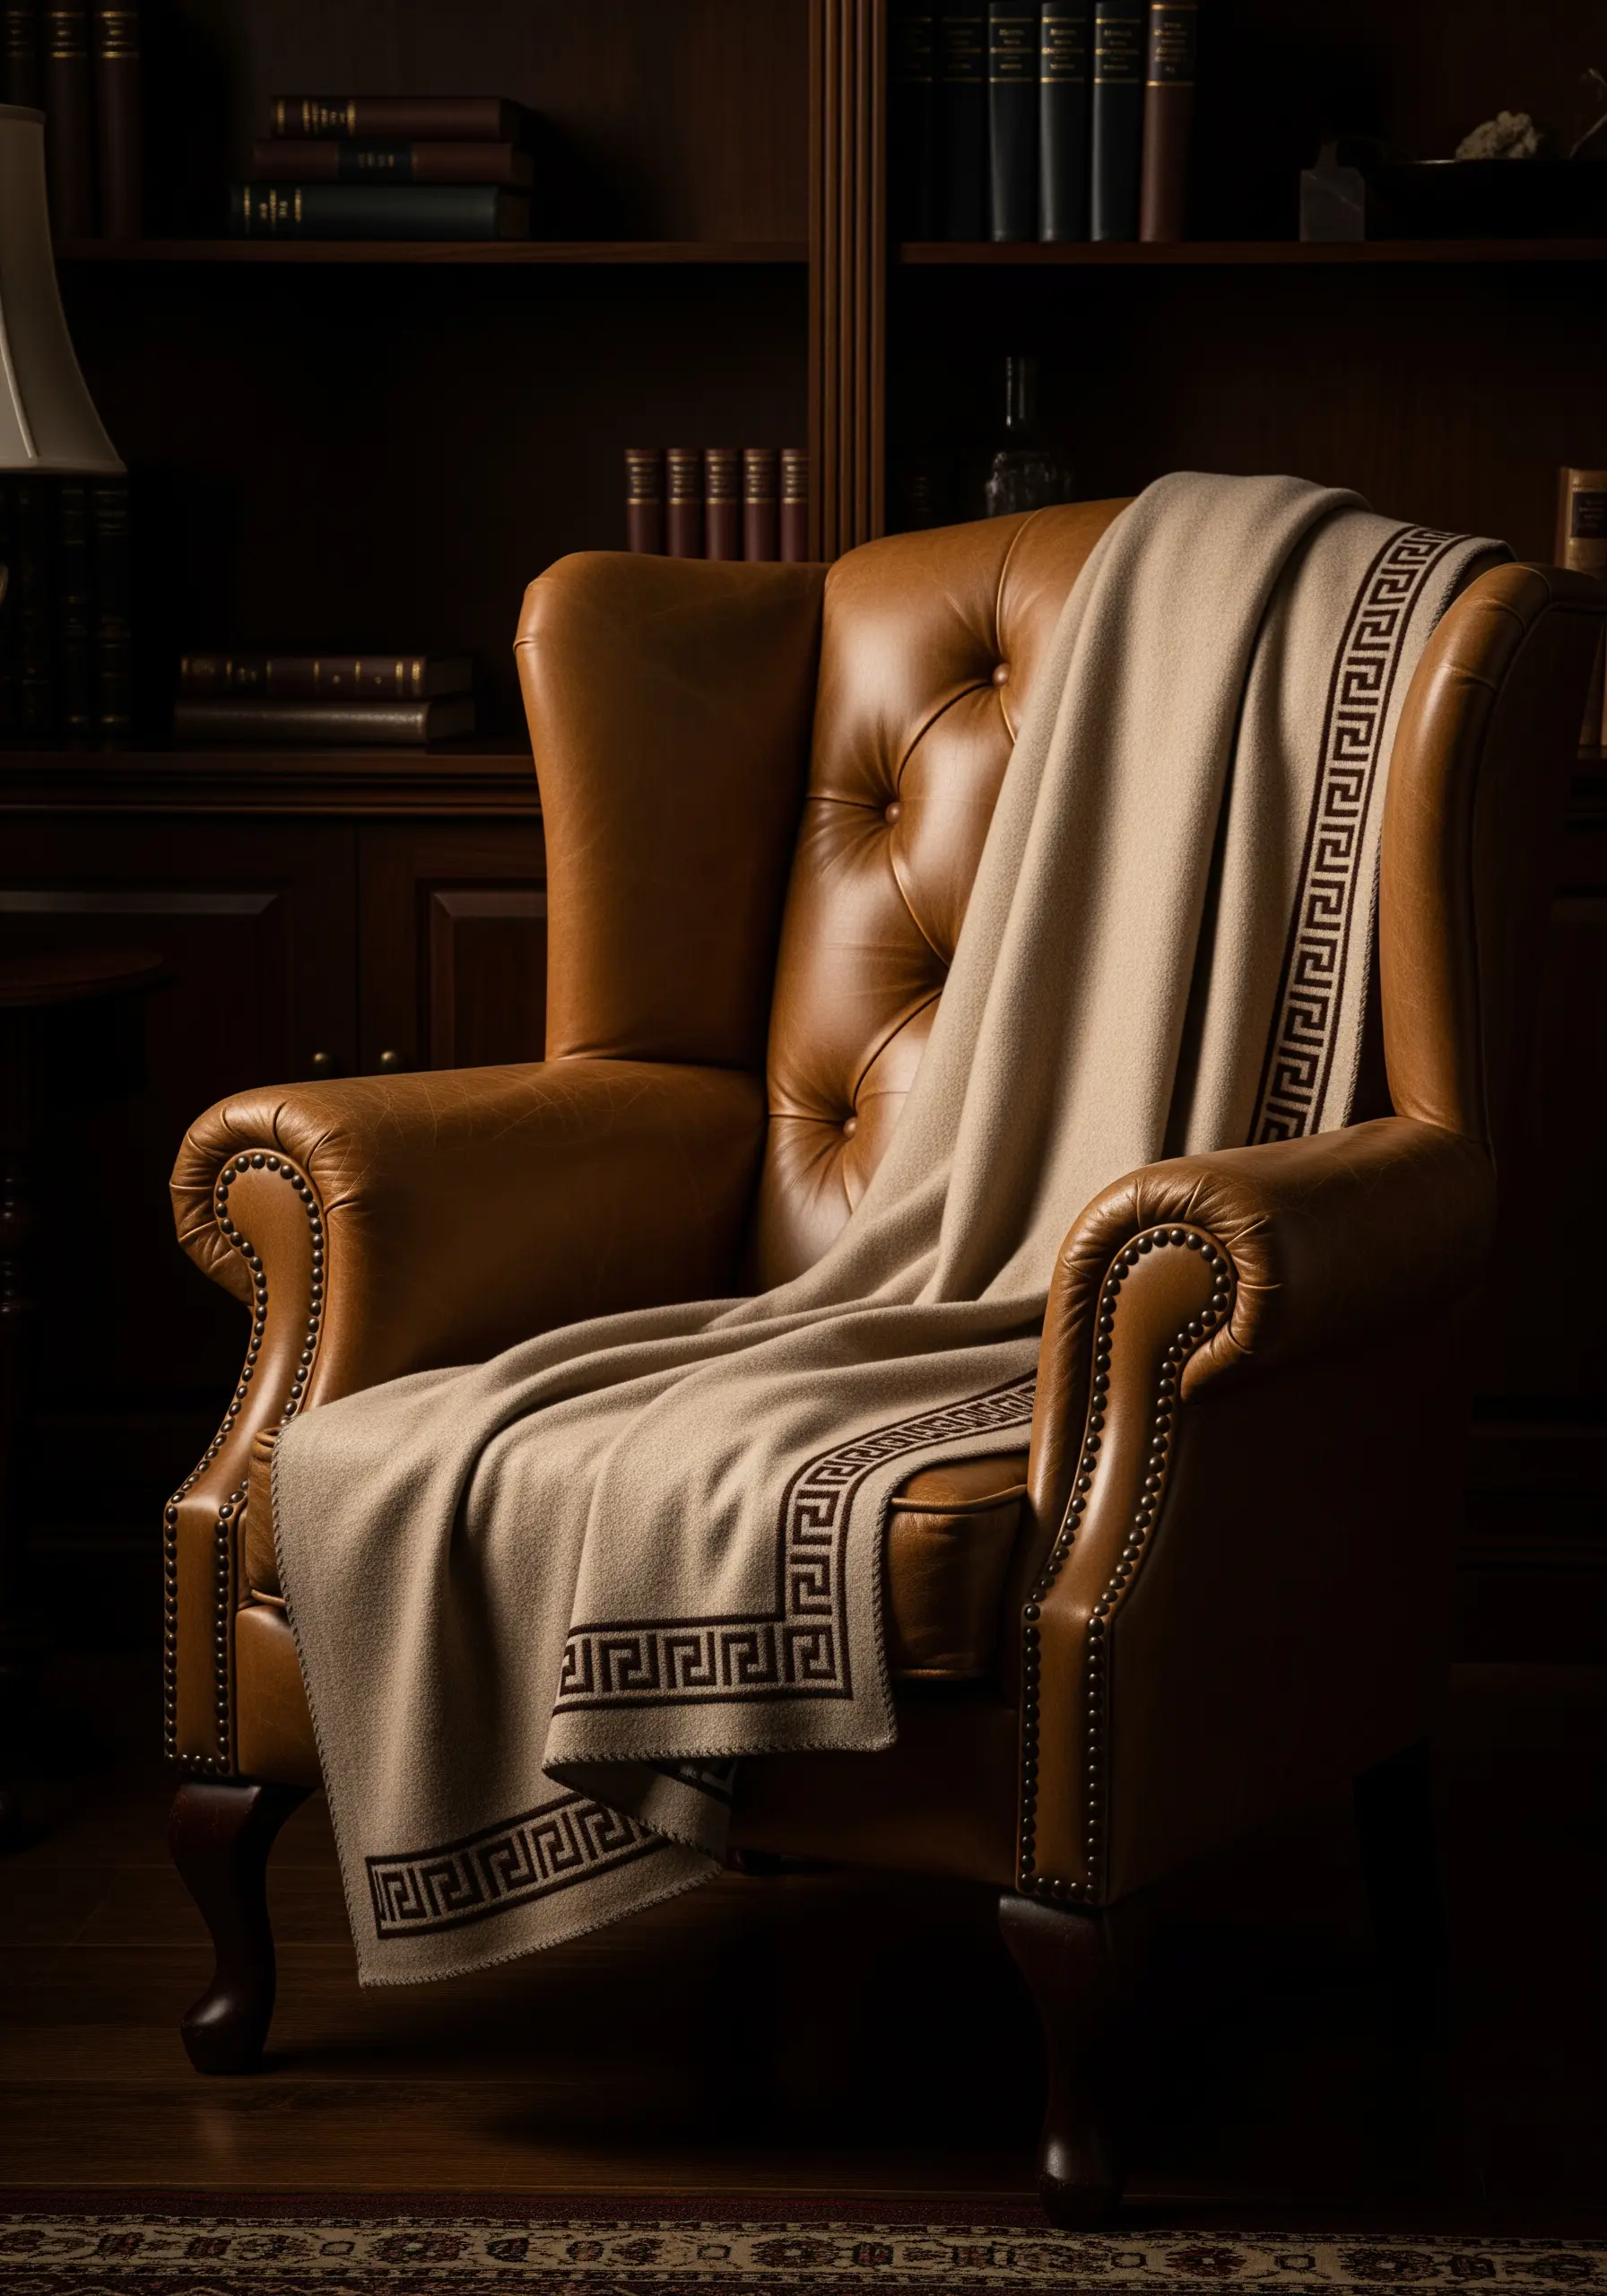
Instantly elevate a plain wool or cashmere throw by adding a sophisticated embroidered border.
A classic Greek key or other geometric pattern works beautifully. Mark your design with a ruler and a fabric pen to ensure perfect right angles and spacing.
Use a simple but strong stitch, like a backstitch or a two-sided insertion stitch, in a high-contrast color. This creates a clean, graphic frame that makes the entire piece look more intentional and luxurious.
28. Integrate Embroidery Directly into Upholstery
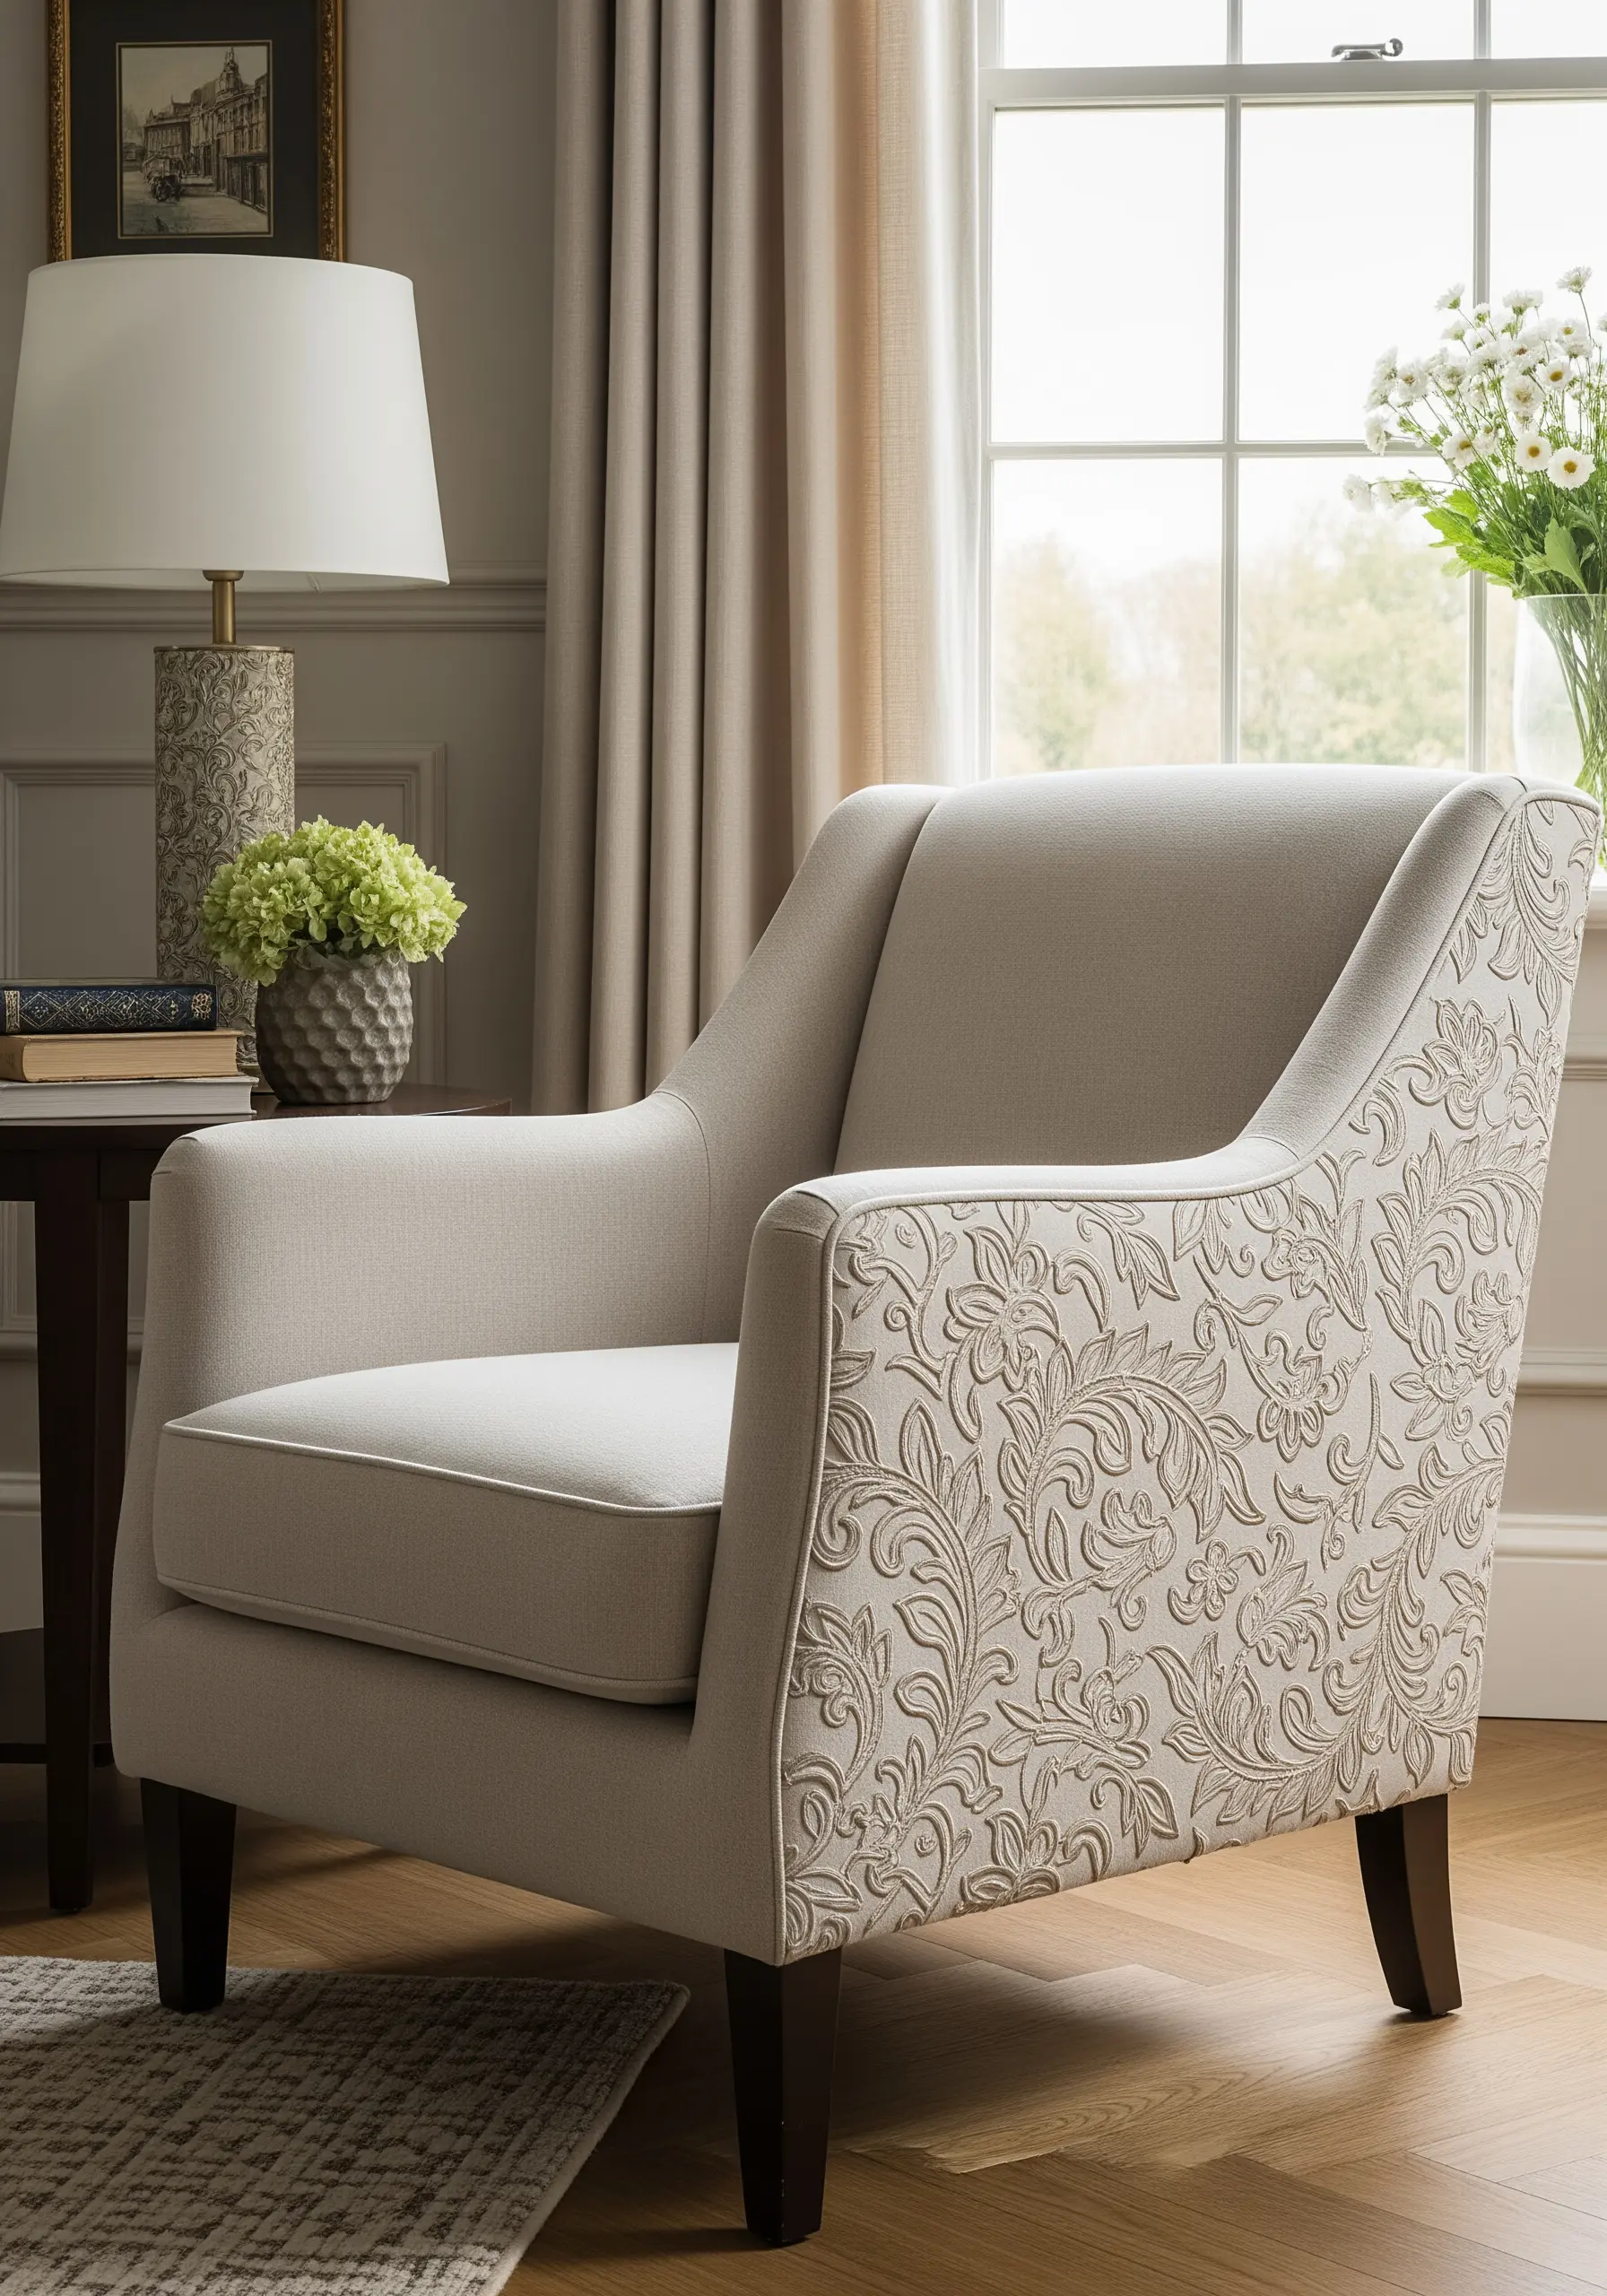
For the ultimate custom furniture piece, consider adding an all-over embroidered pattern to the fabric itself.
This advanced project involves stitching a repeating motif, like a trailing vine or damask element, onto the upholstery fabric before it’s attached to the furniture frame.
A monochrome embroidery approach, using a thread just a few shades darker than the fabric, creates a subtle, textural pattern that reads as incredibly high-end and designer-made.
The key is consistent stitching and careful planning of the pattern layout to accommodate seams and curves.
29. Combine Fabric and Trim for Romantic Layers
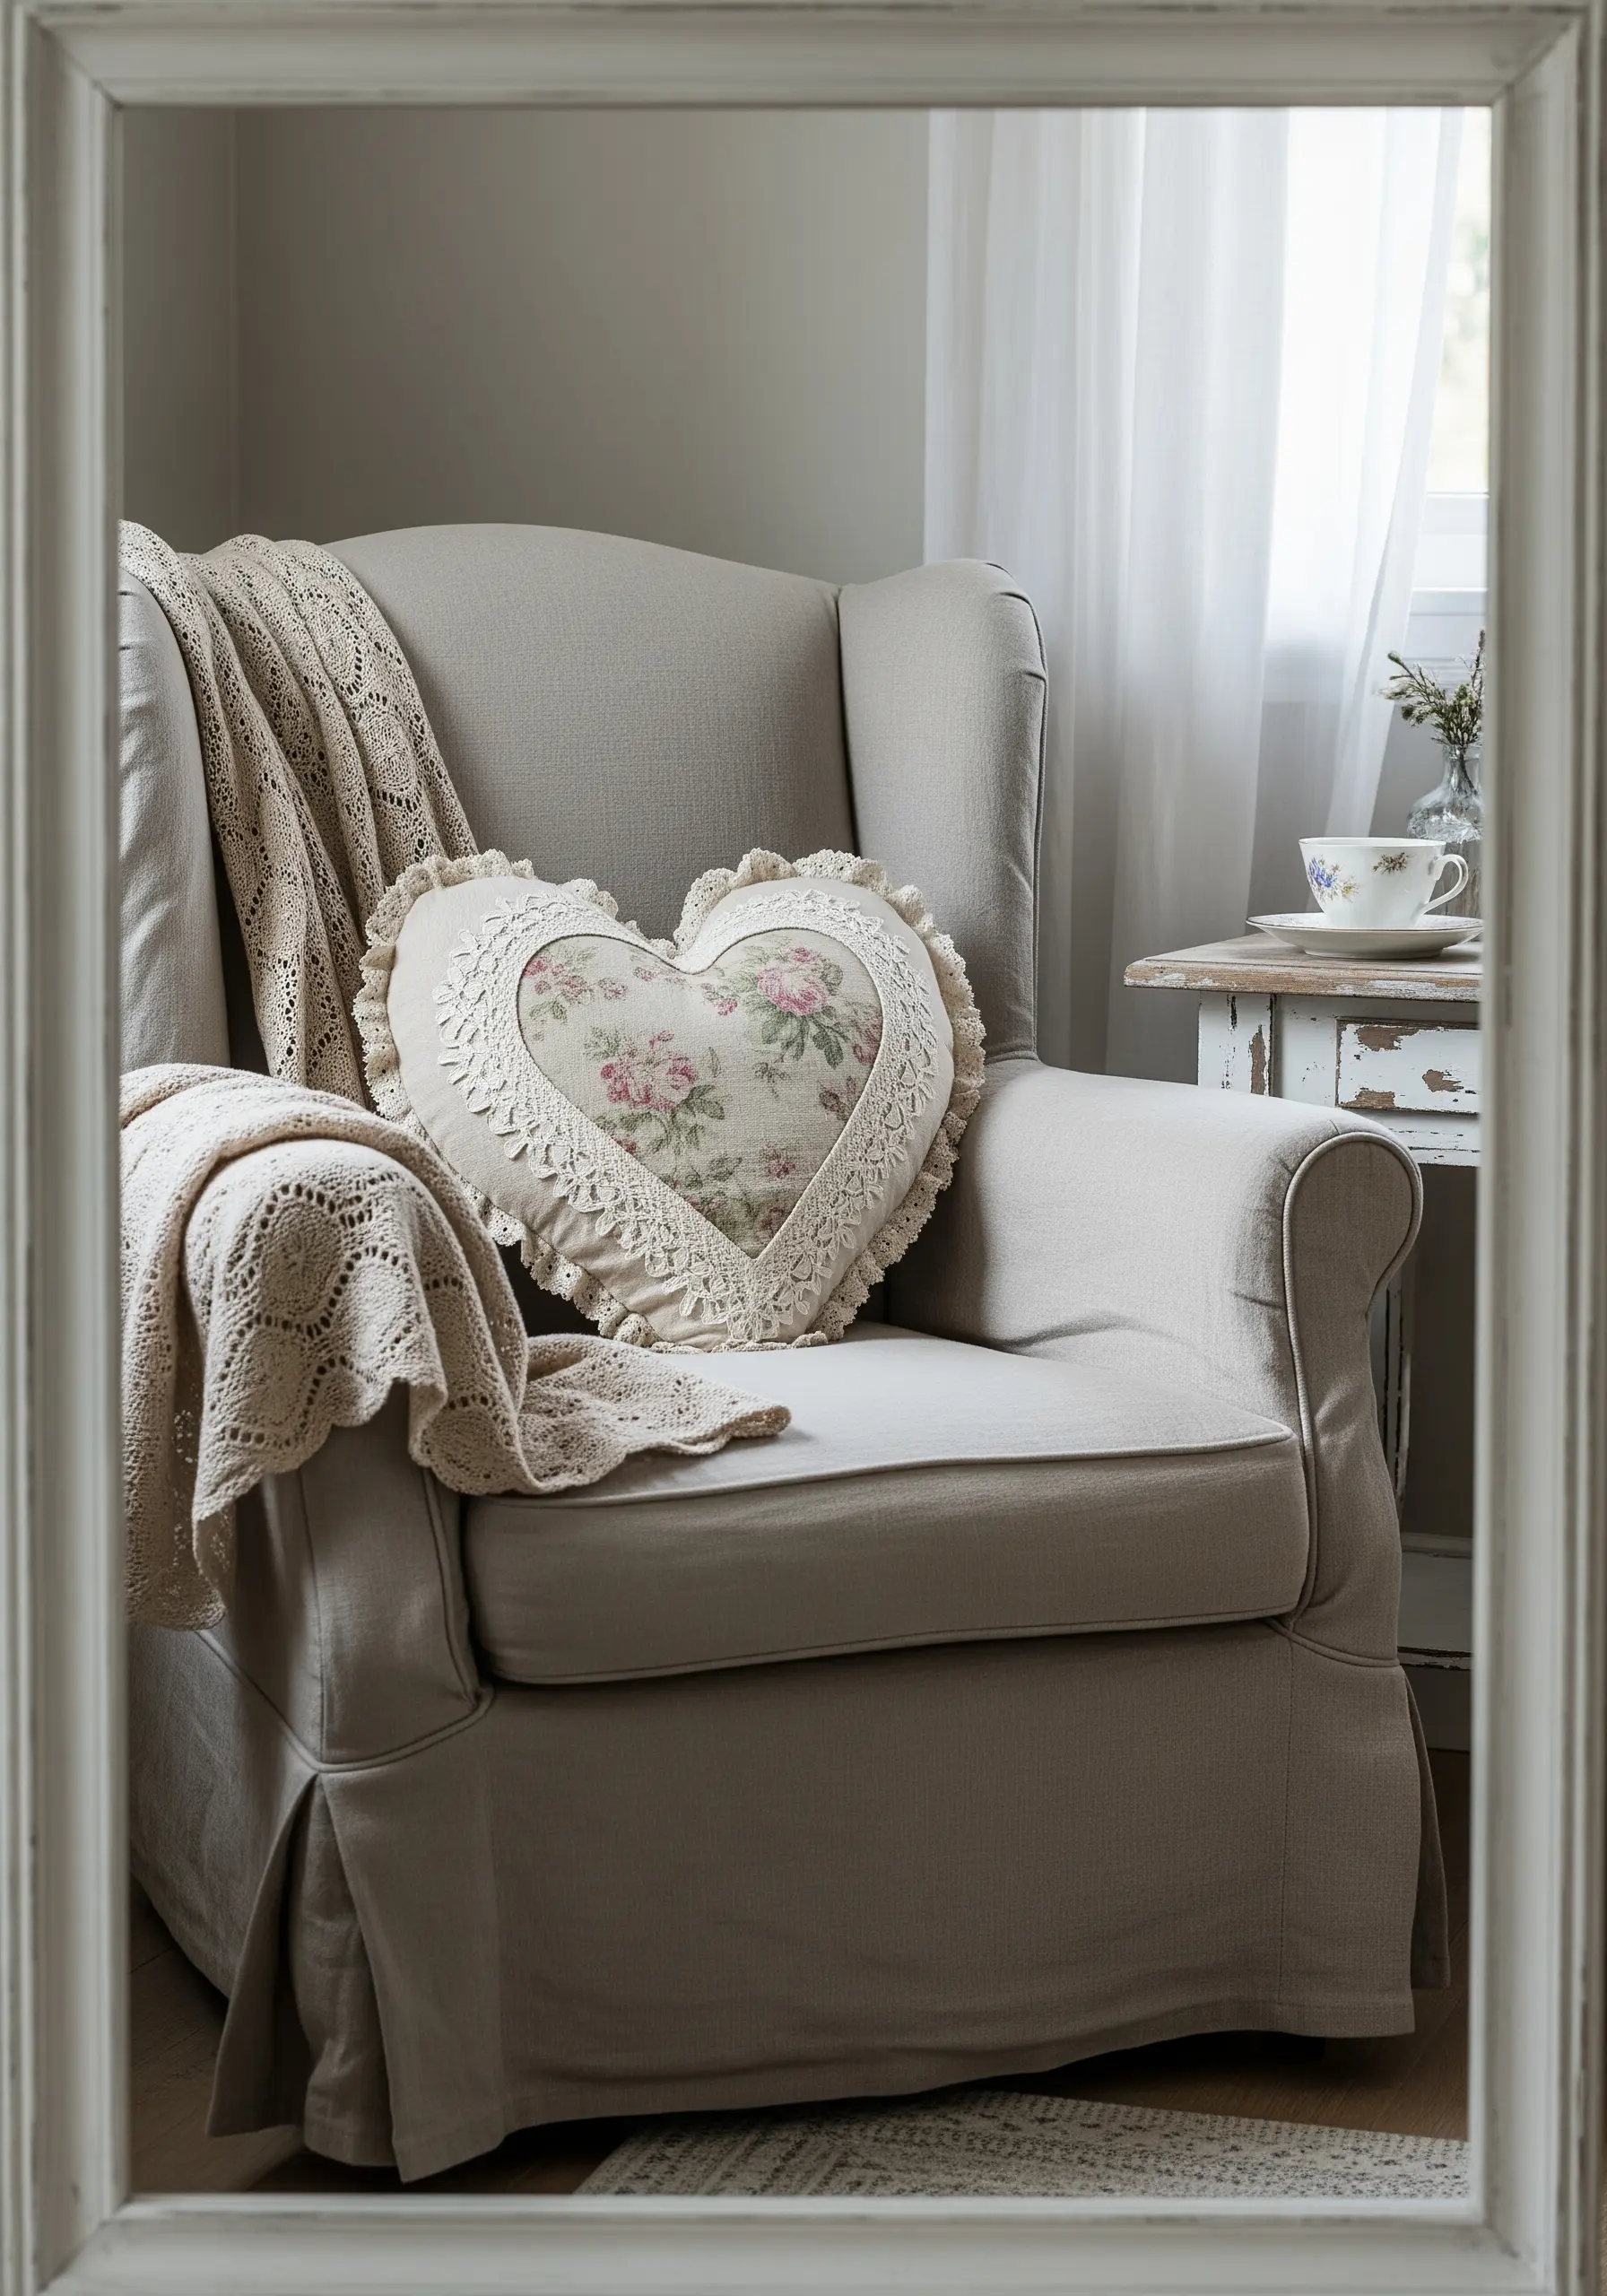
Create a charming, vintage-inspired piece by layering different textiles and trims.
Start with a central appliqué cut from a piece of floral-printed cotton. Secure it to your heart-shaped pillow base.
Next, use simple embroidery stitches—like a feather stitch or blanket stitch—to frame the appliqué, adding a delicate, handmade detail.
Finish the piece by sewing a soft lace or crocheted ruffle around the outer edge. This layering of textures creates a deeply romantic and comforting aesthetic.


