
A pet portrait is more than just an outline—it’s an attempt to capture a personality, a memory, a feeling. With thread and needle, you have the power to translate that unique spirit into a delicate, tangible keepsake. But how do you ensure your stitches convey the softness of a curled-up cat or the loyal gaze of a dog?
The answer lies in moving beyond a simple backstitch. It’s in choosing the right number of strands to create a line that is bold or barely there. It’s in the way you layer a few simple stitches to suggest the texture of fur, or add a single pop of color to bring a neutral design to life. It’s about making intentional choices that transform a simple drawing into a piece of art that resonates.
Think of these ideas not as strict patterns, but as invitations to look closer at your own techniques. Here, you’ll find the small adjustments that make a significant difference—in the smoothness of a curve, the crispness of a detail, and the emotional weight of the final piece. Let’s create something that feels truly special.
1. The Art of the Continuous Curve
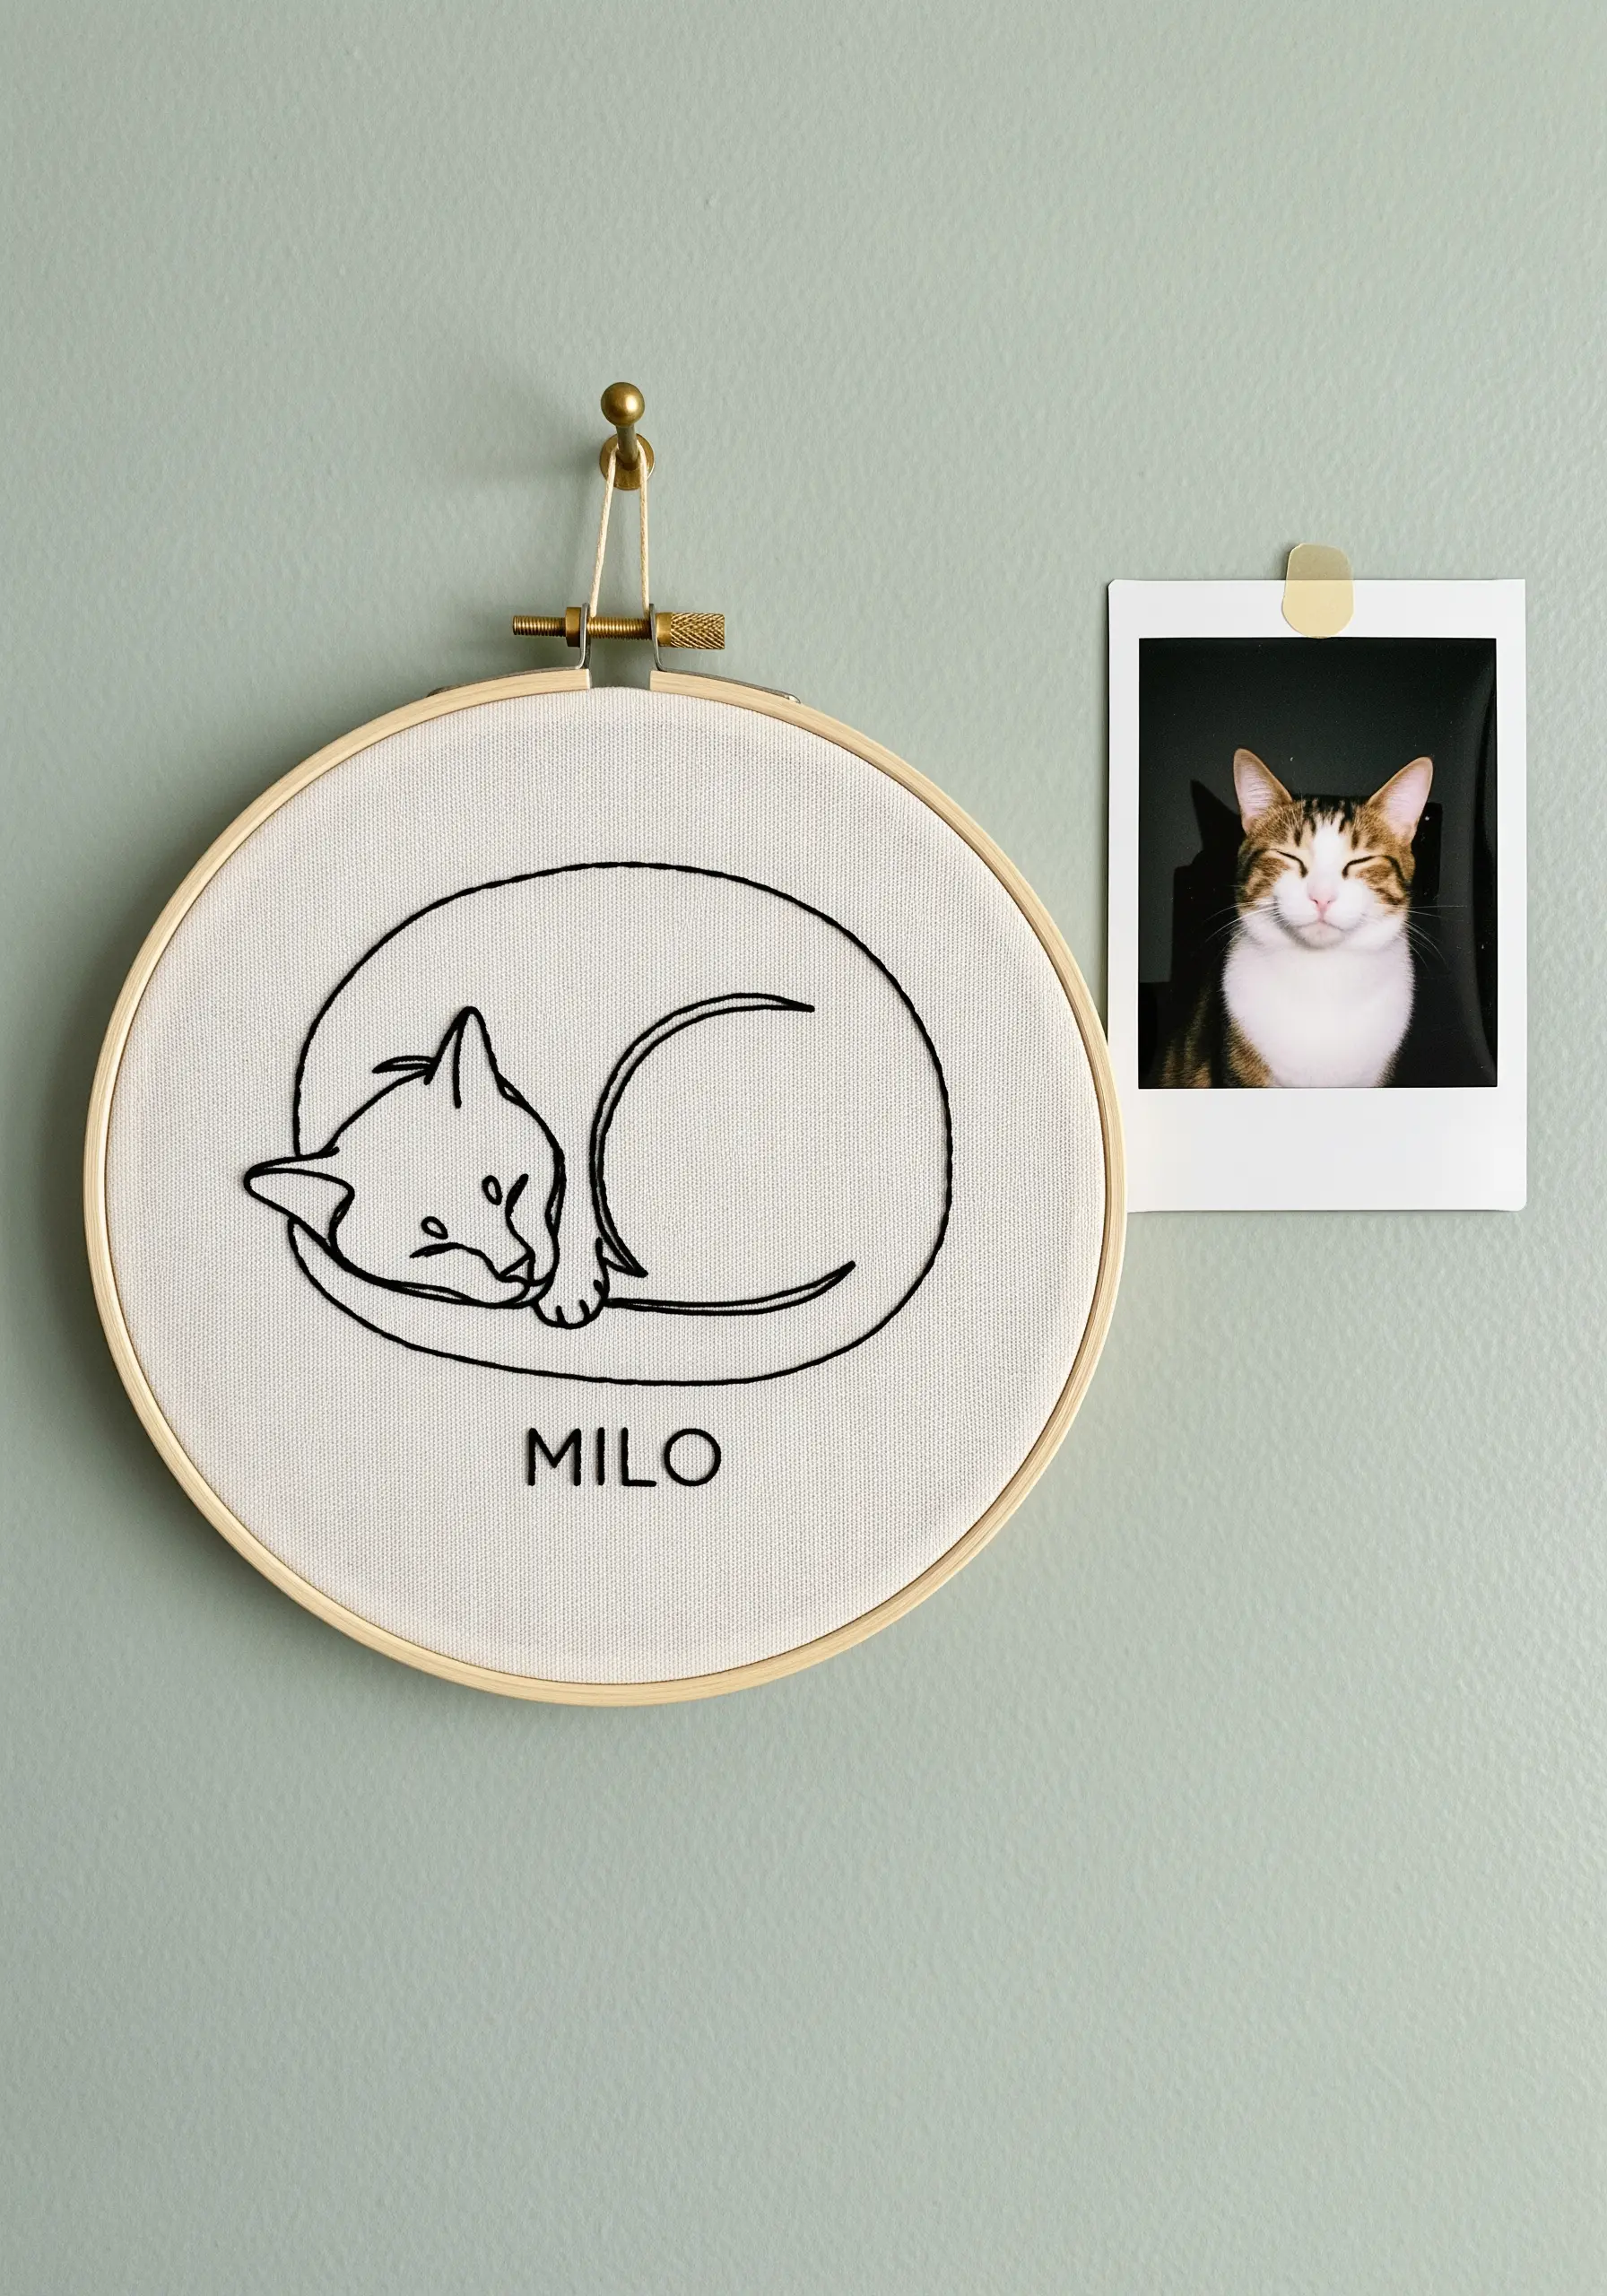
To capture the peaceful curve of a sleeping pet, use a whipped backstitch.
This technique wraps the thread around your initial backstitches, eliminating the dotted look and creating a single, fluid line.
Use a single strand of six-strand floss for the most delicate and refined outline.
For the name, a simple backstitch in the same thread weight maintains the minimalist aesthetic without competing for attention.
2. Evoking Fur with Selective Color
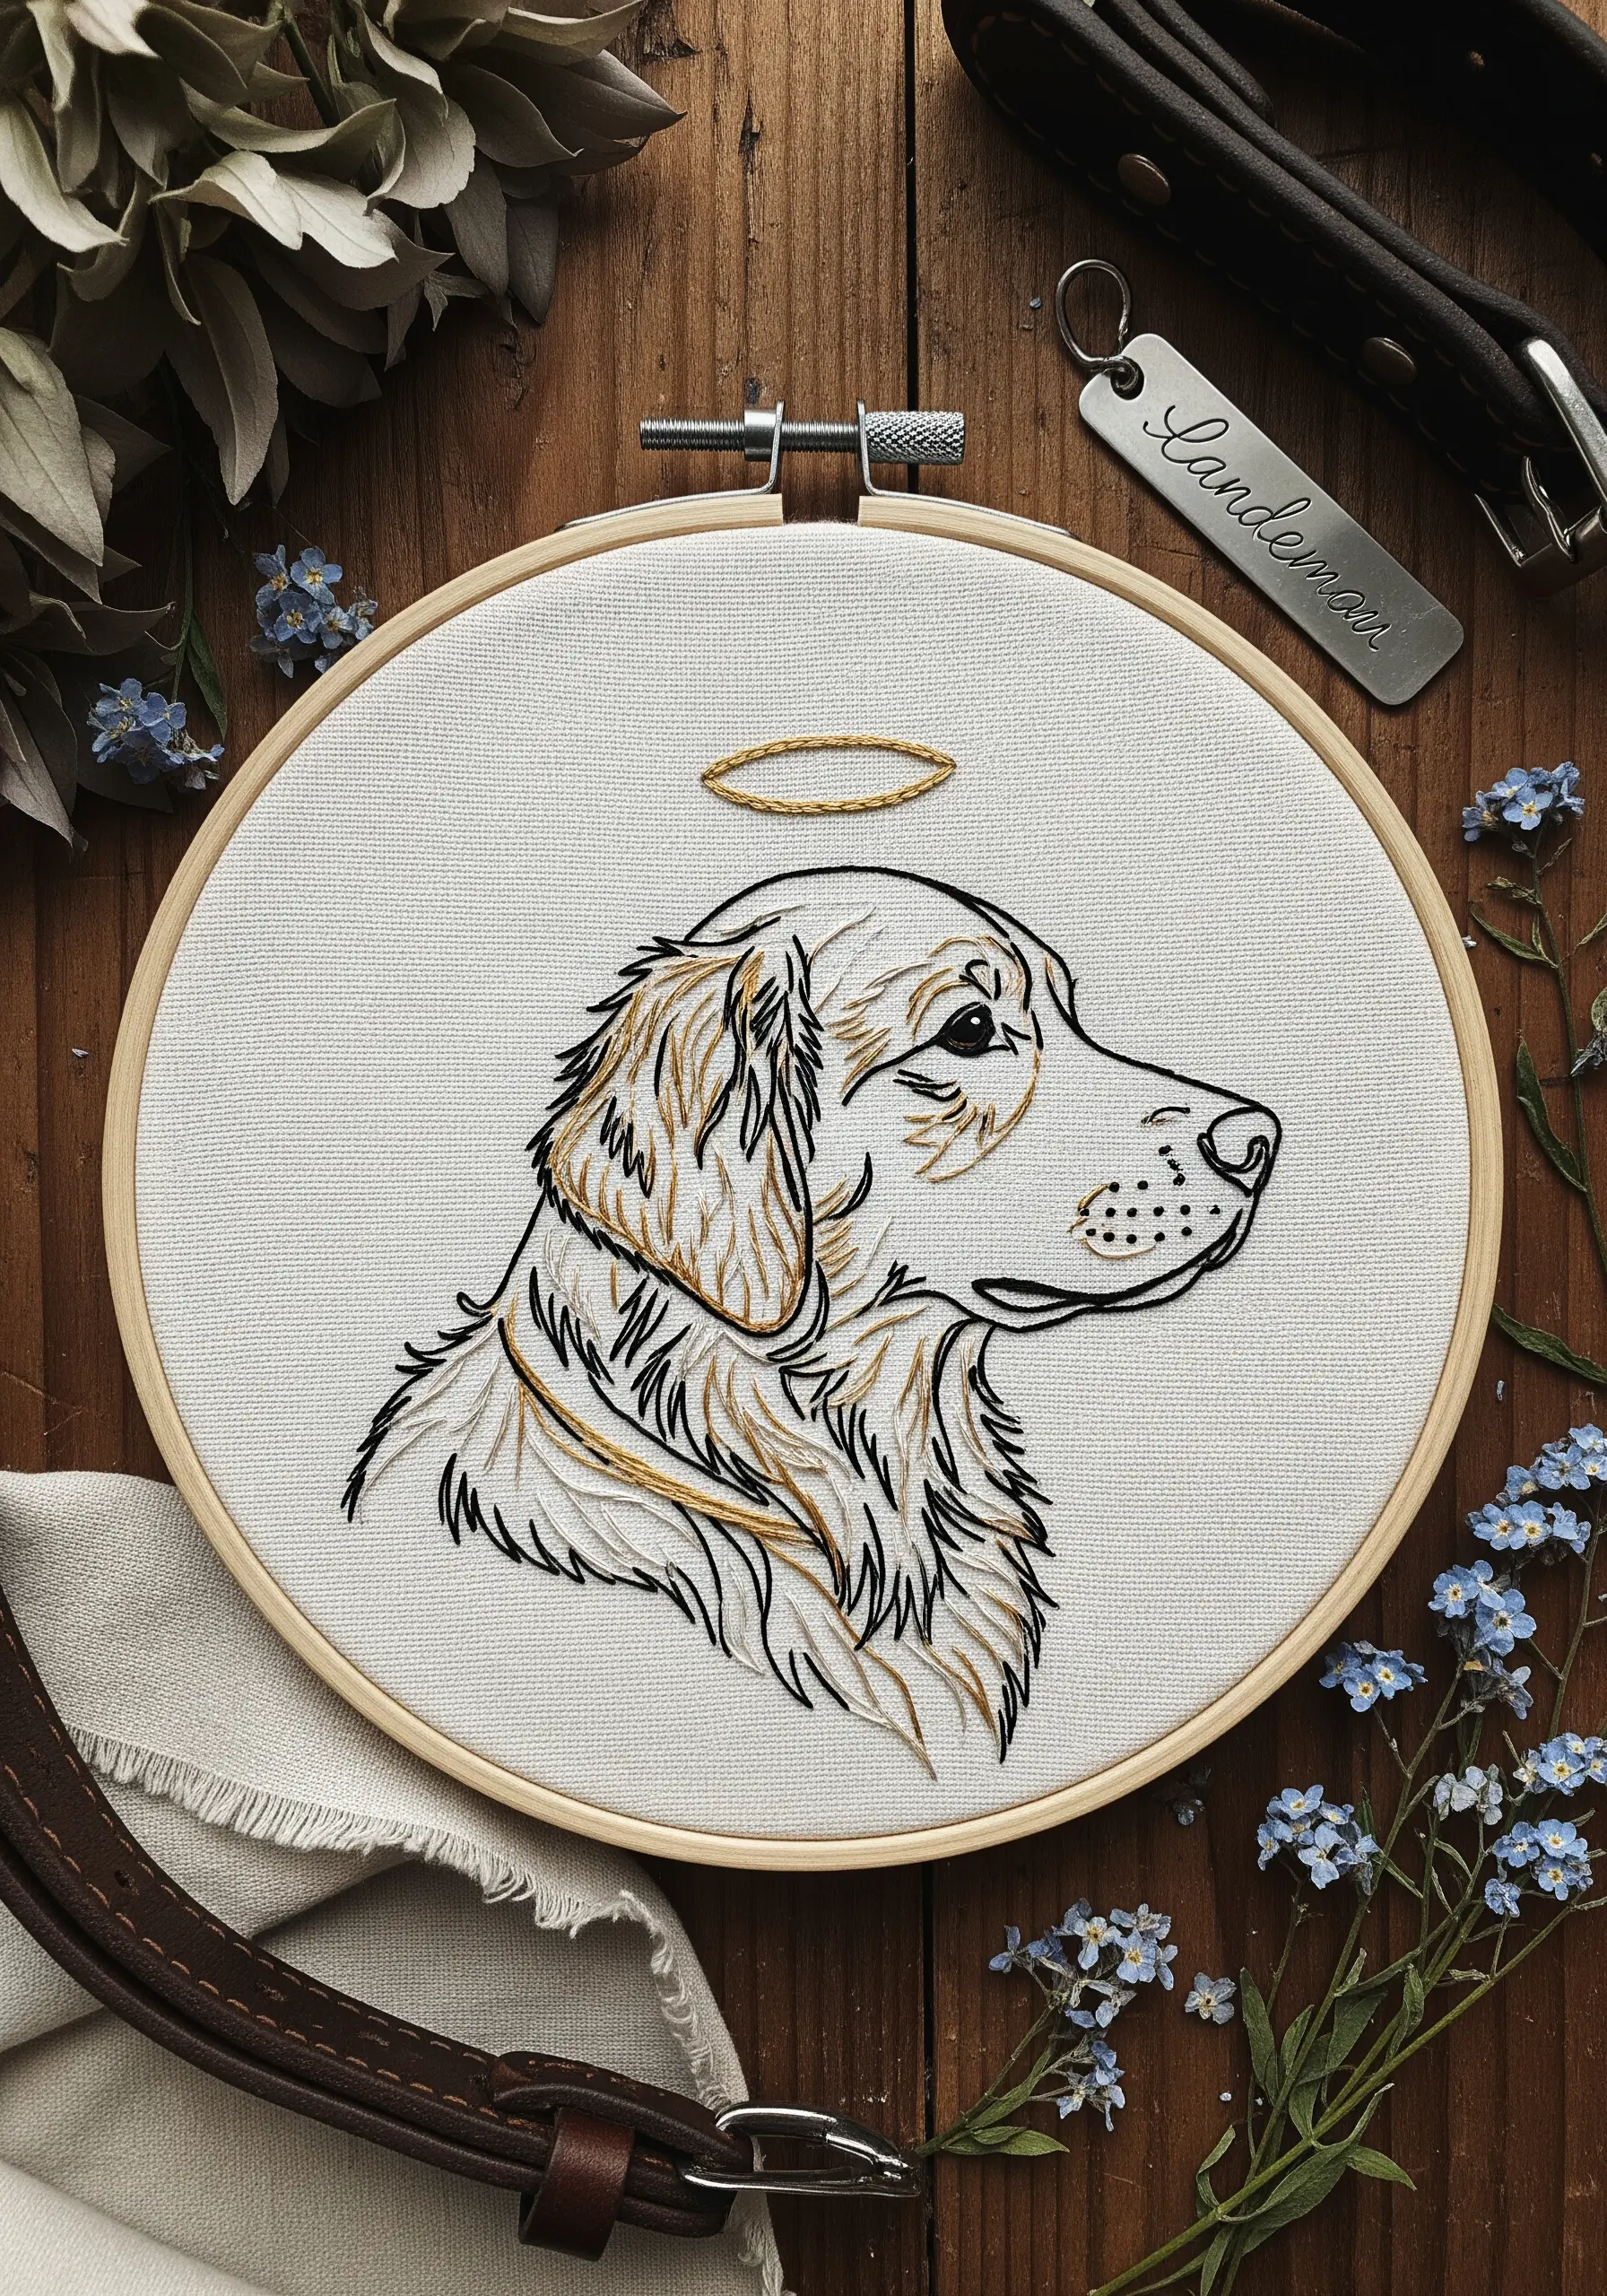
You don’t need to fill an entire portrait to suggest a pet’s markings.
Instead, use a single accent color—like a soft gold or warm brown—and add directional straight stitches to hint at fur texture.
Place these stitches where the light would naturally hit, such as along the ears or back, to add dimension while preserving the line-art style.
For the halo, couch a metallic thread by laying it in a circle and securing it with tiny, evenly spaced stitches for a perfect, shimmering form.
3. Durable Outlines for Denim Apparel
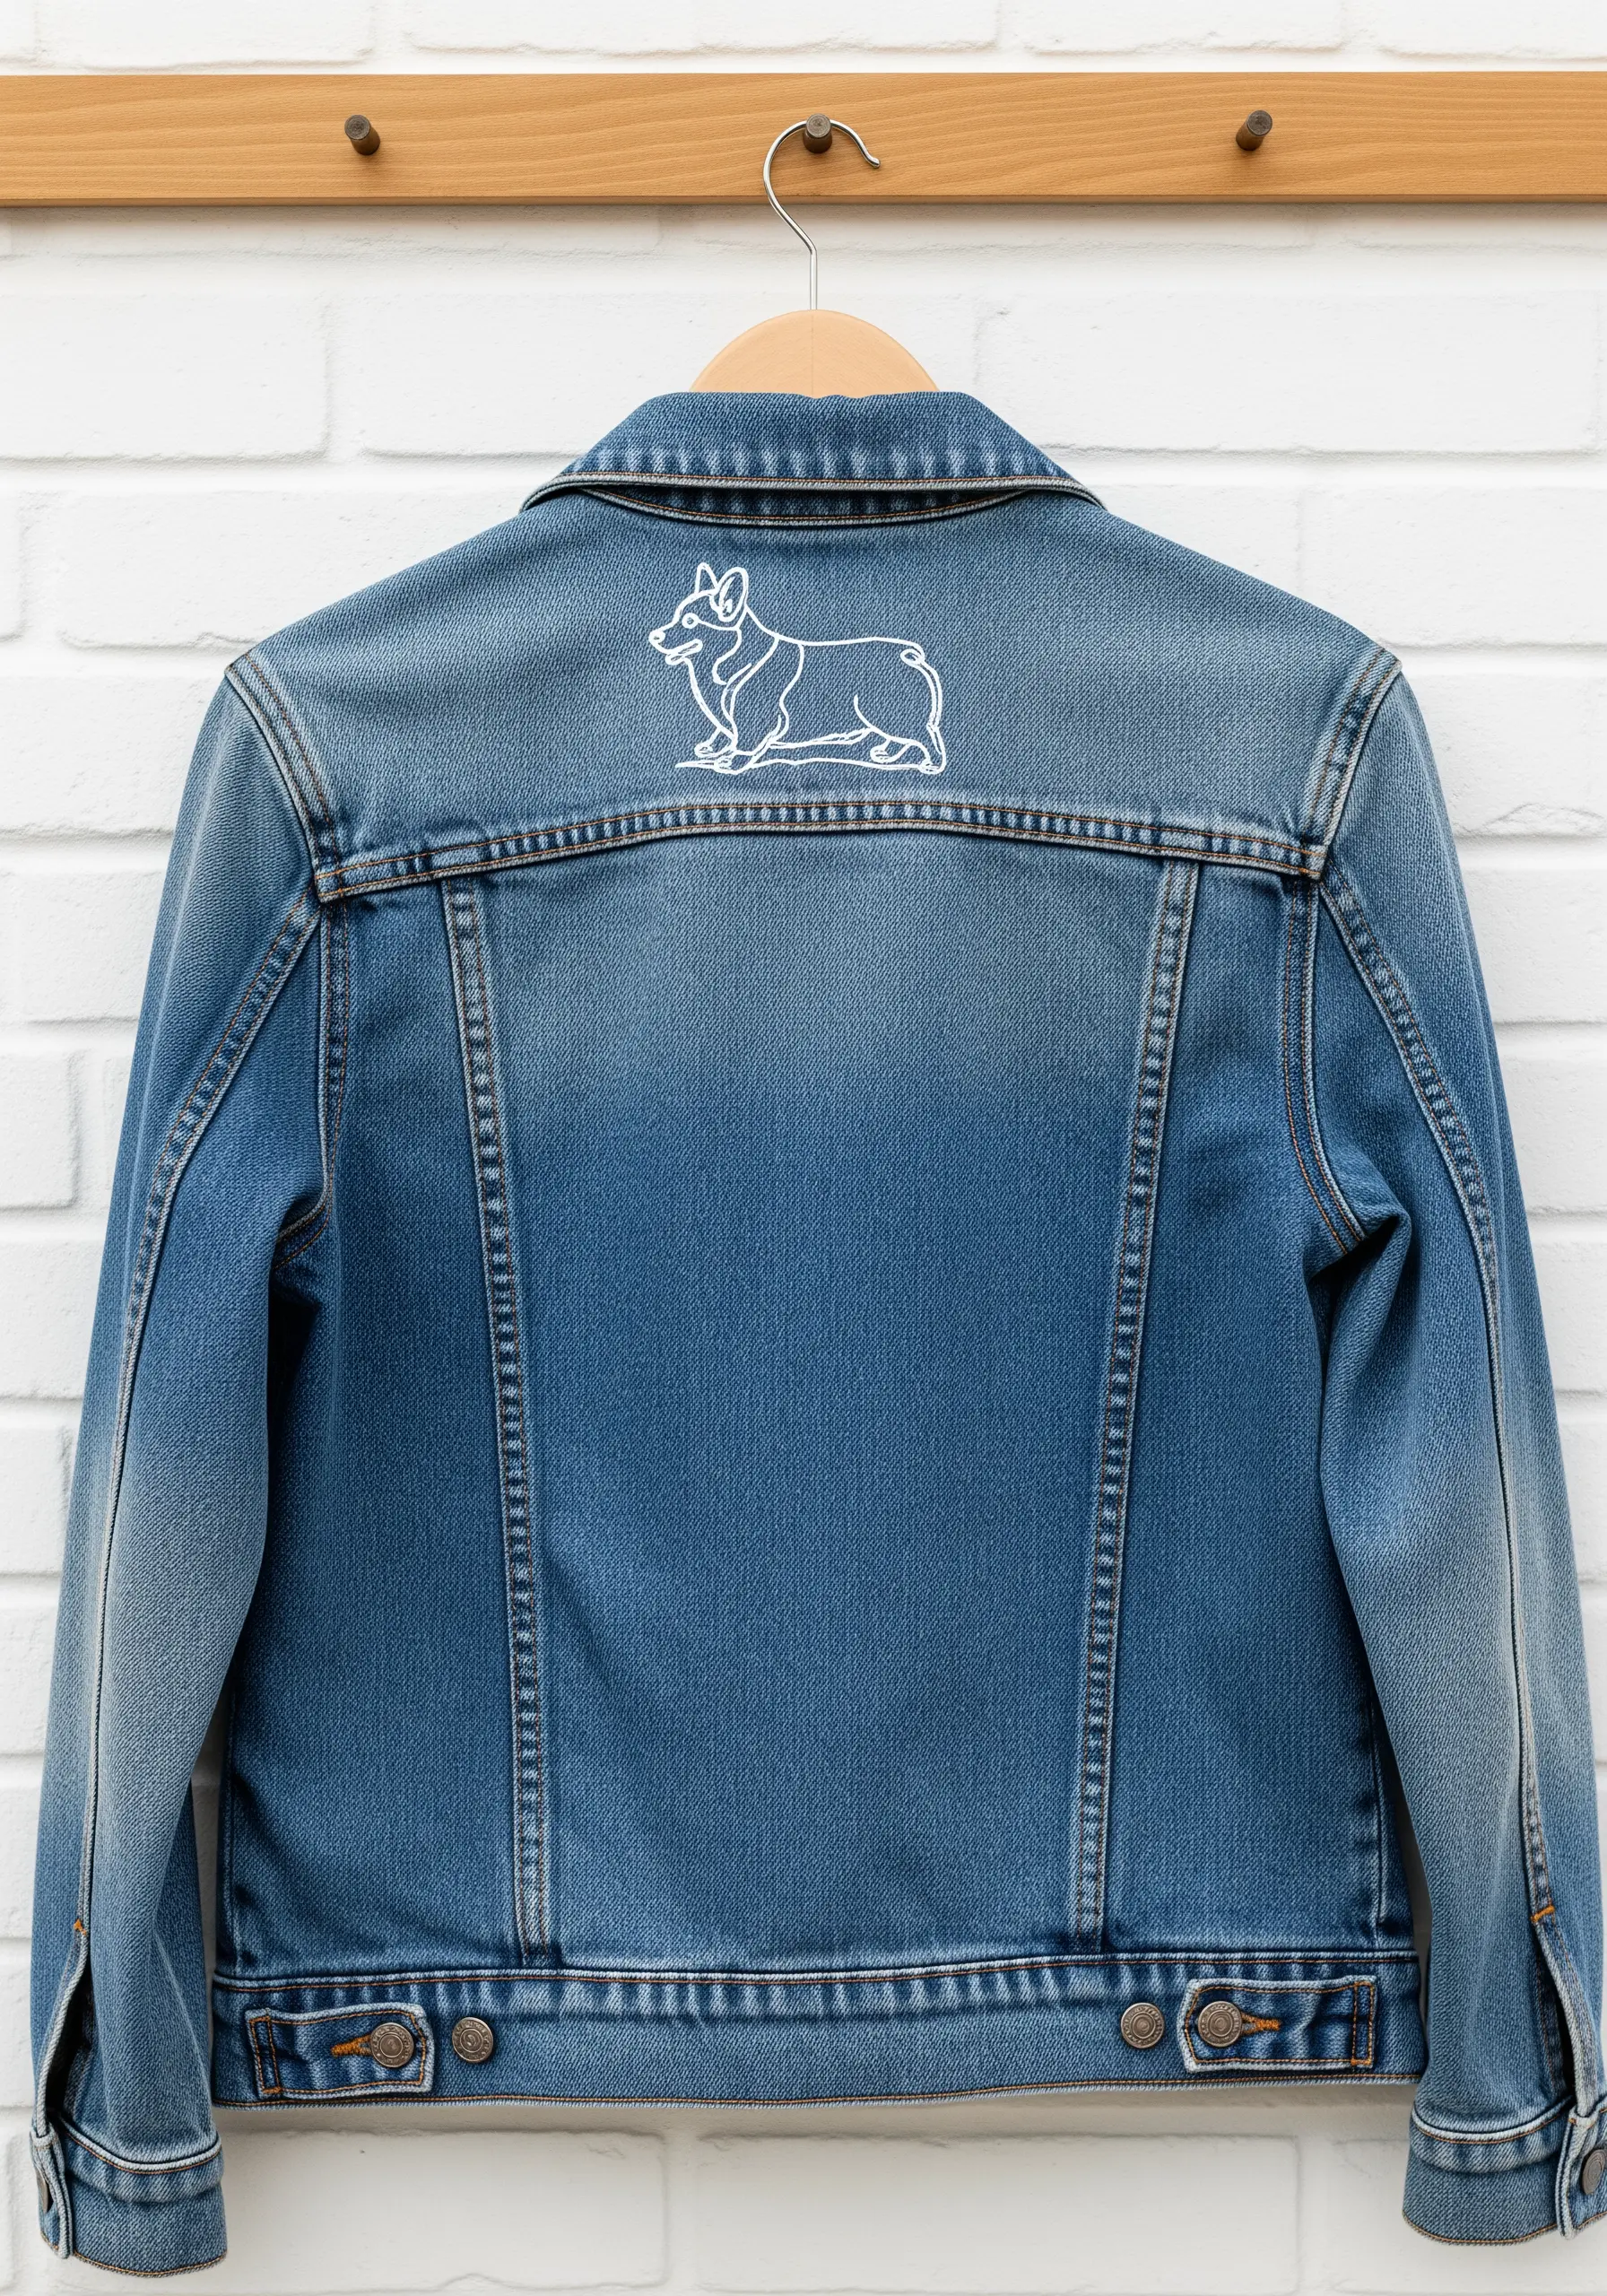
When embroidering on a heavy, wearable fabric like denim, your stitches need to be both visible and durable.
Opt for a stem stitch or chain stitch using three to four strands of floss; these stitches create a slightly raised, rope-like line that won’t get lost in the fabric’s texture.
Always use a medium-weight tear-away stabilizer on the back to prevent the denim from puckering and to ensure your design remains flat and crisp, even after washing.
This method is ideal for creating tiny embroidery ideas to personalize your denim jacket.
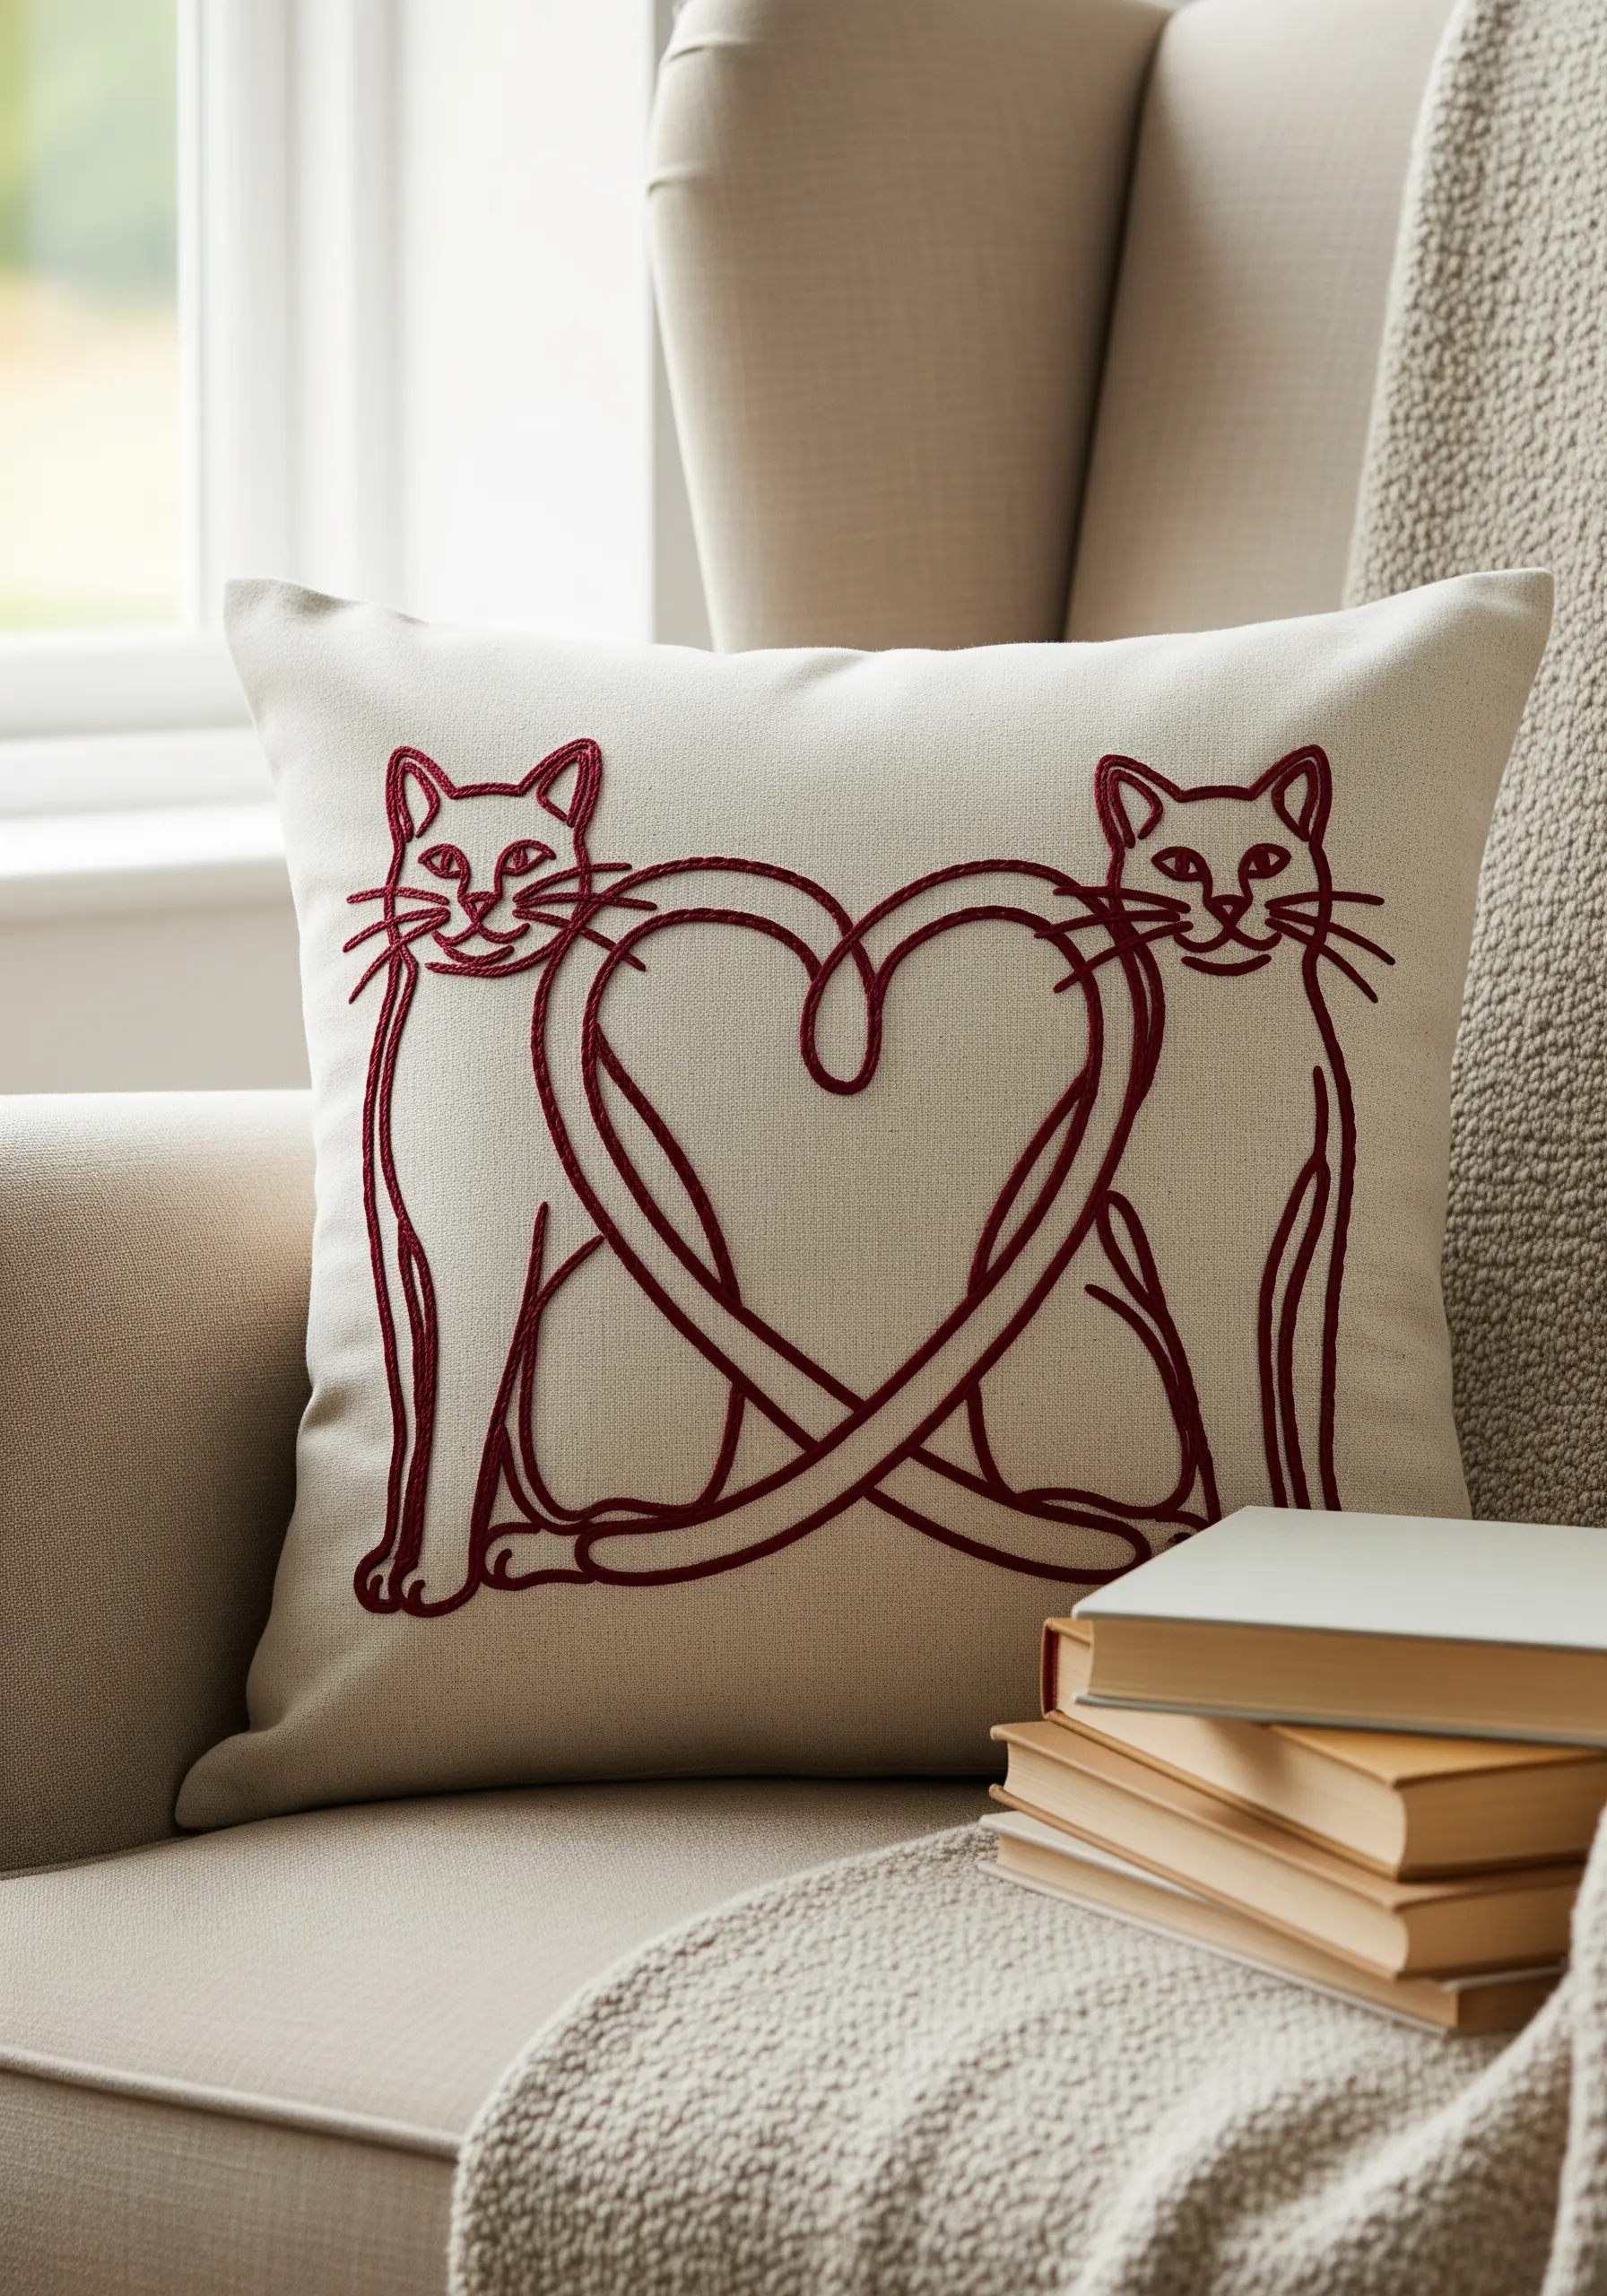
4. Creating a Cohesive Portrait Pair
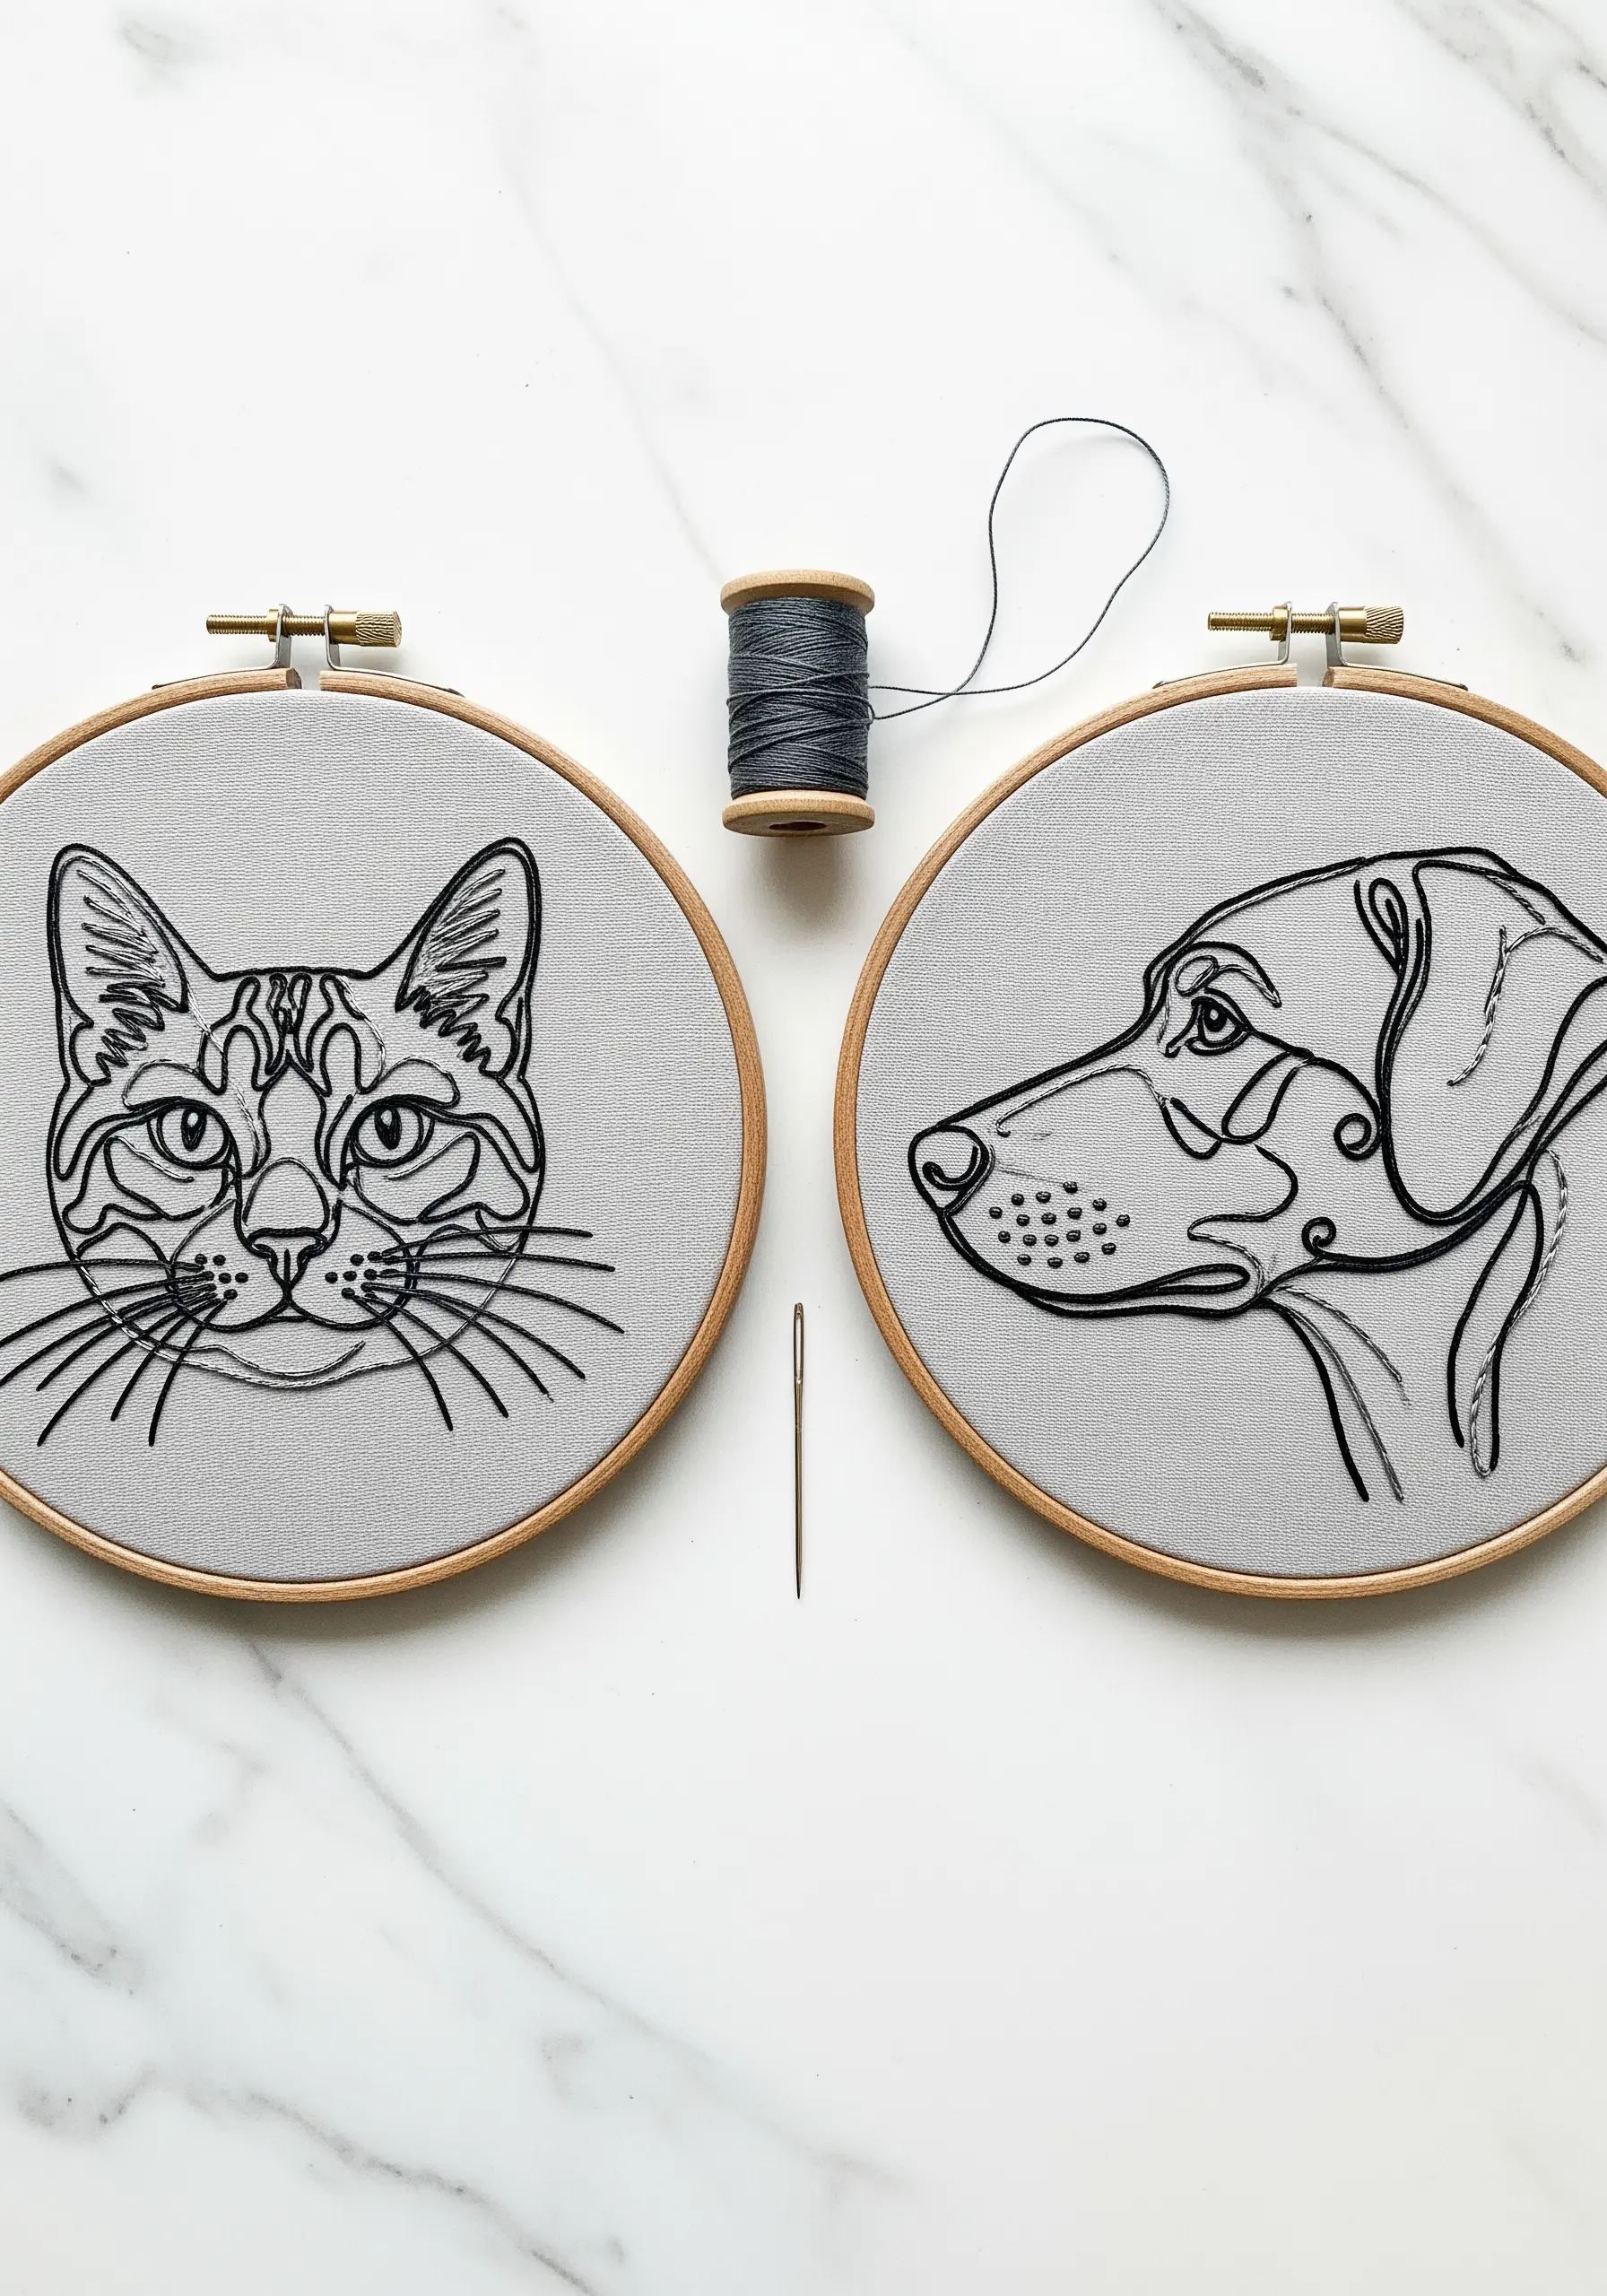
To turn two individual portraits into a harmonious set, focus on consistency.
Use the exact same fabric color, thread type, and number of strands for both pieces.
Pay attention to scale—ensure the heads are of a similar size within their respective hoops, even if the animals are different breeds.
This visual unity makes the pair feel intentional and professionally curated when displayed together.
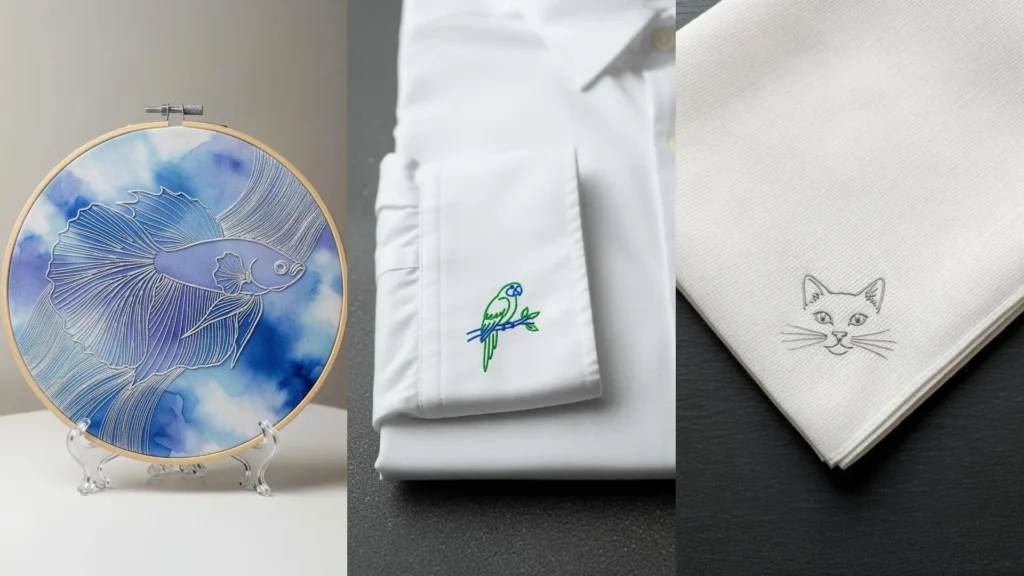
5. Refined Accents for Kitchen Linens

For functional items like tea towels, select a high-quality, tightly woven linen or cotton that can withstand use.
A simple backstitch with two strands of floss is perfect for the main outline.
Add a tiny pop of color with a satin-stitched nose, but keep fills minimal to maintain the fabric’s drape.
Echoing the accent color with a decorative running stitch along the hem ties the entire piece together beautifully, making it feel like one of many minimal fruit botanical embroidery patterns.
6. Translating Wiry Fur with Directional Stitches
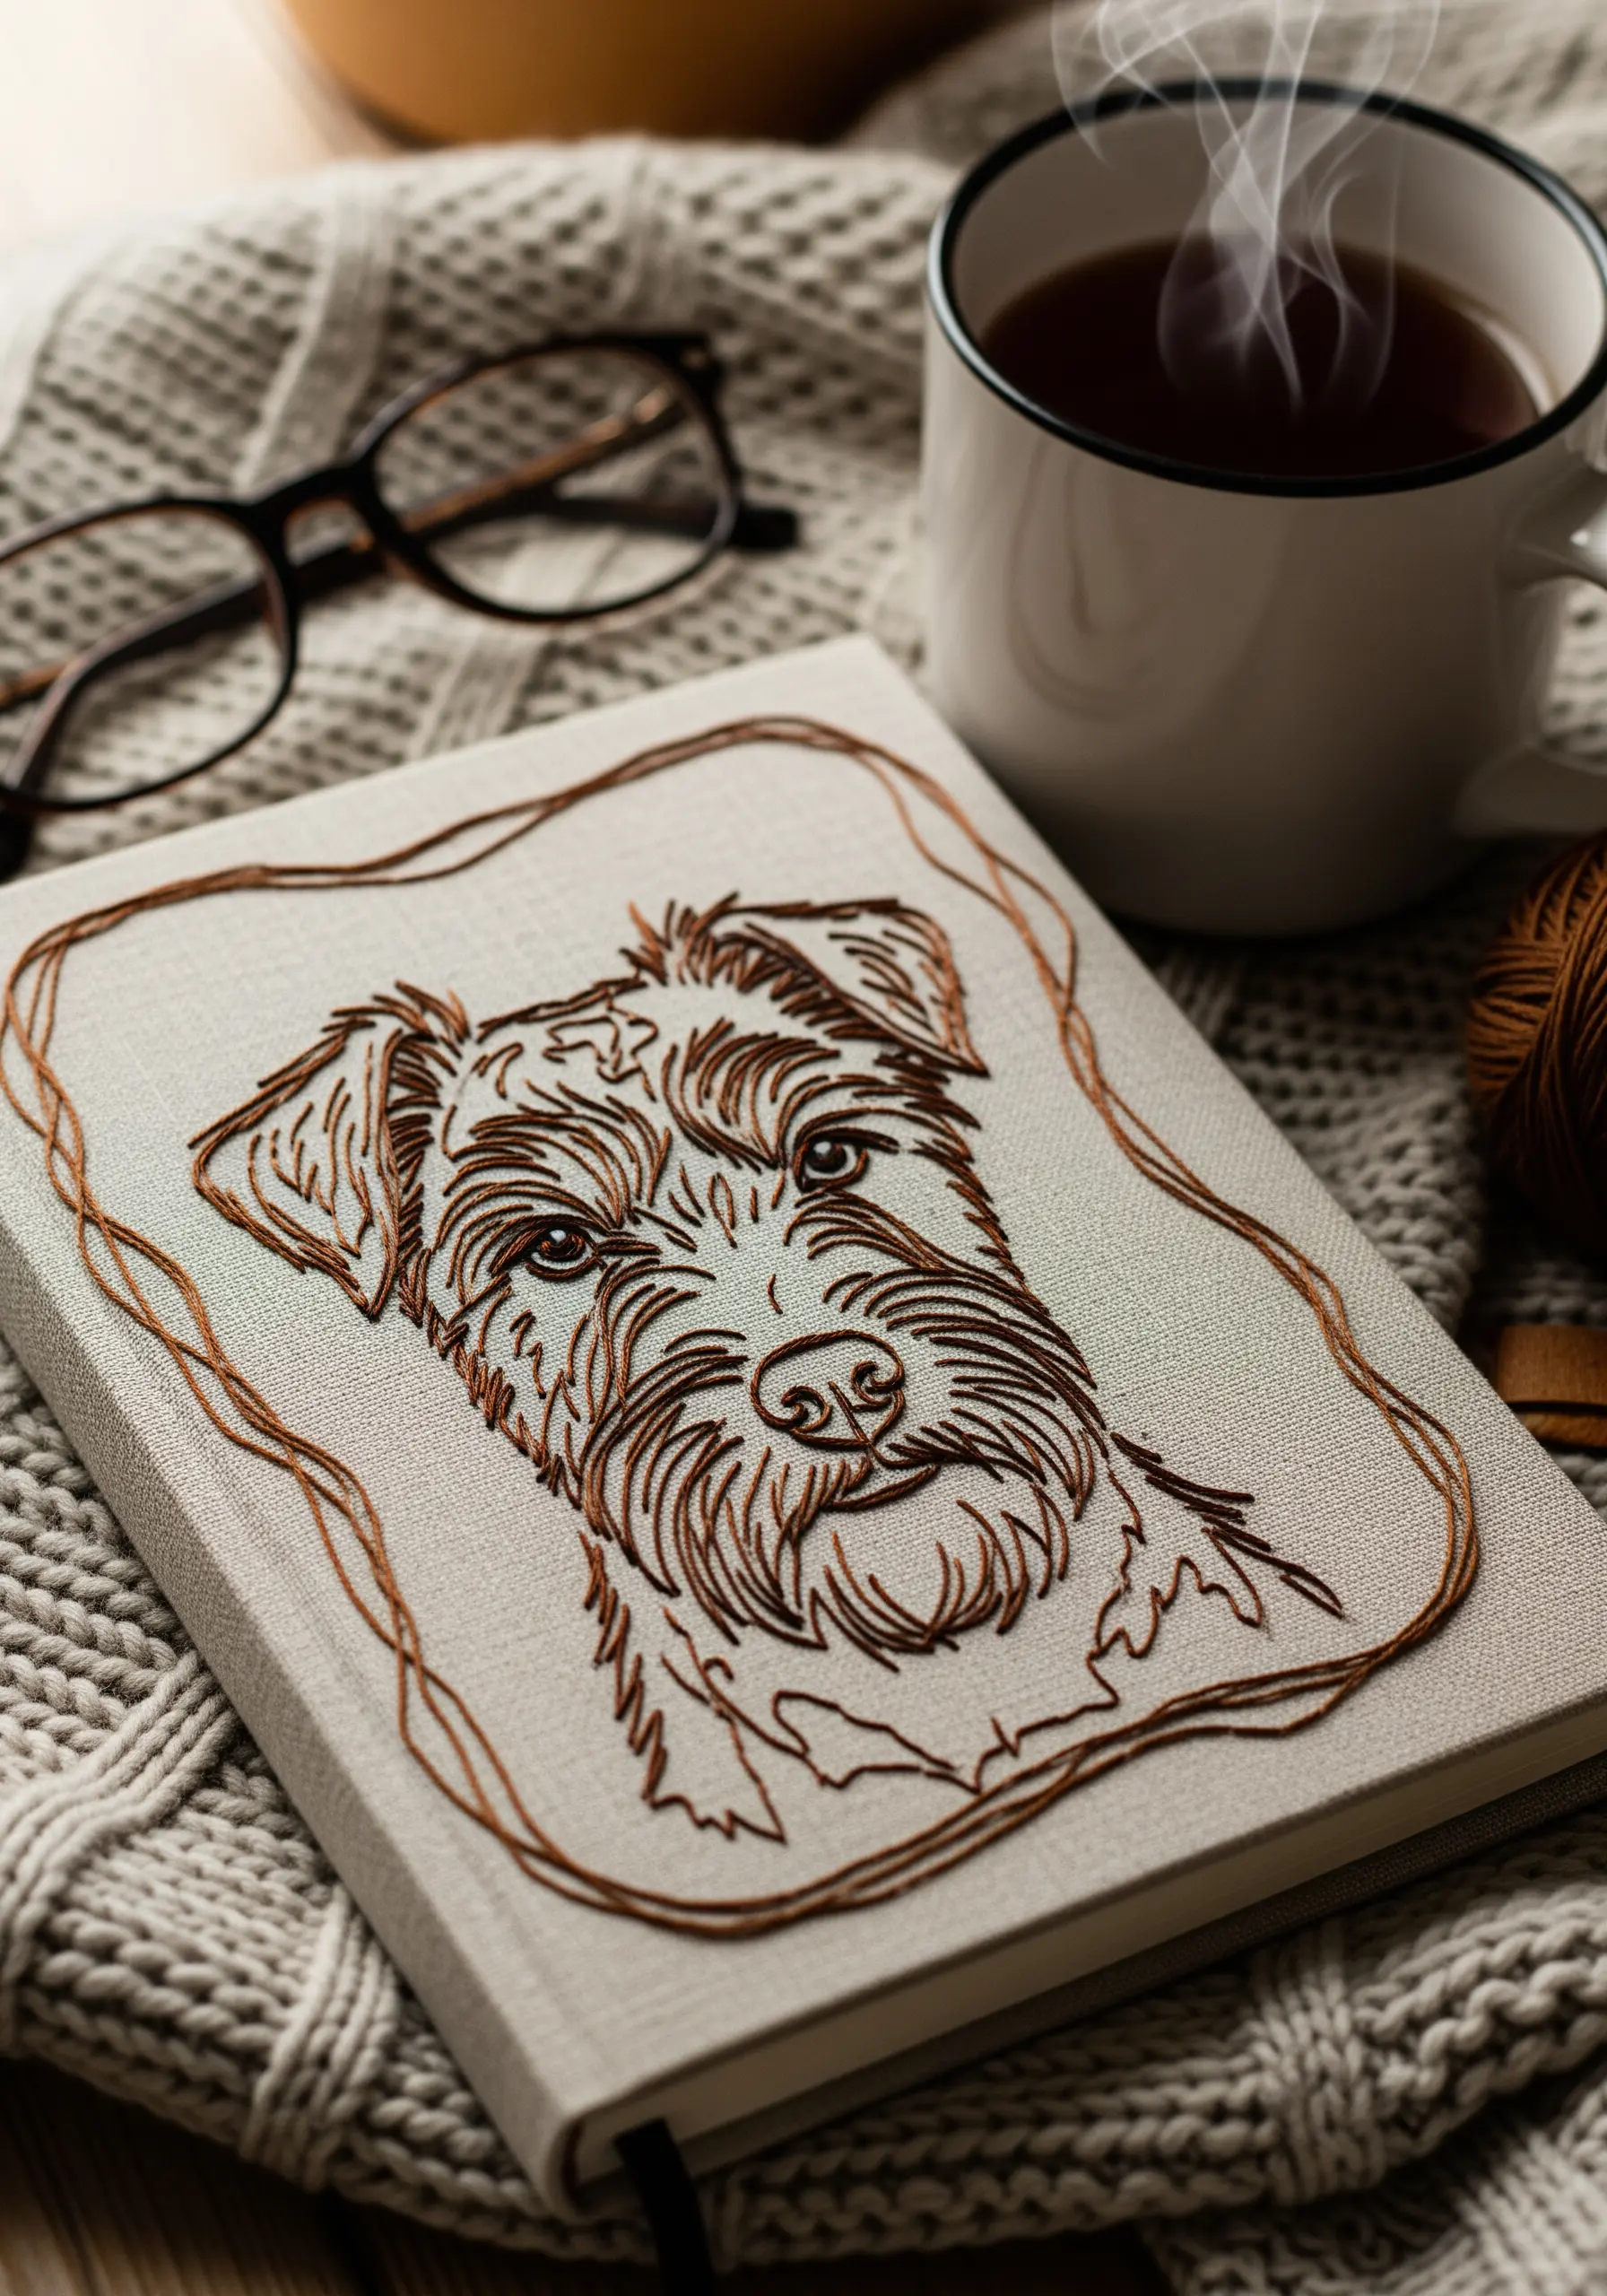
To capture the unique texture of a scruffy or wire-haired pet, move beyond a simple outline.
Use short, layered straight stitches and split stitches, varying their length and direction to mimic the coat’s natural, untamed quality.
Focus on areas like the eyebrows, muzzle, and ears to build up texture that conveys personality.
This technique brings the portrait to life, making it feel more tactile and expressive.
7. High-Contrast Compositions on Dark Fabric
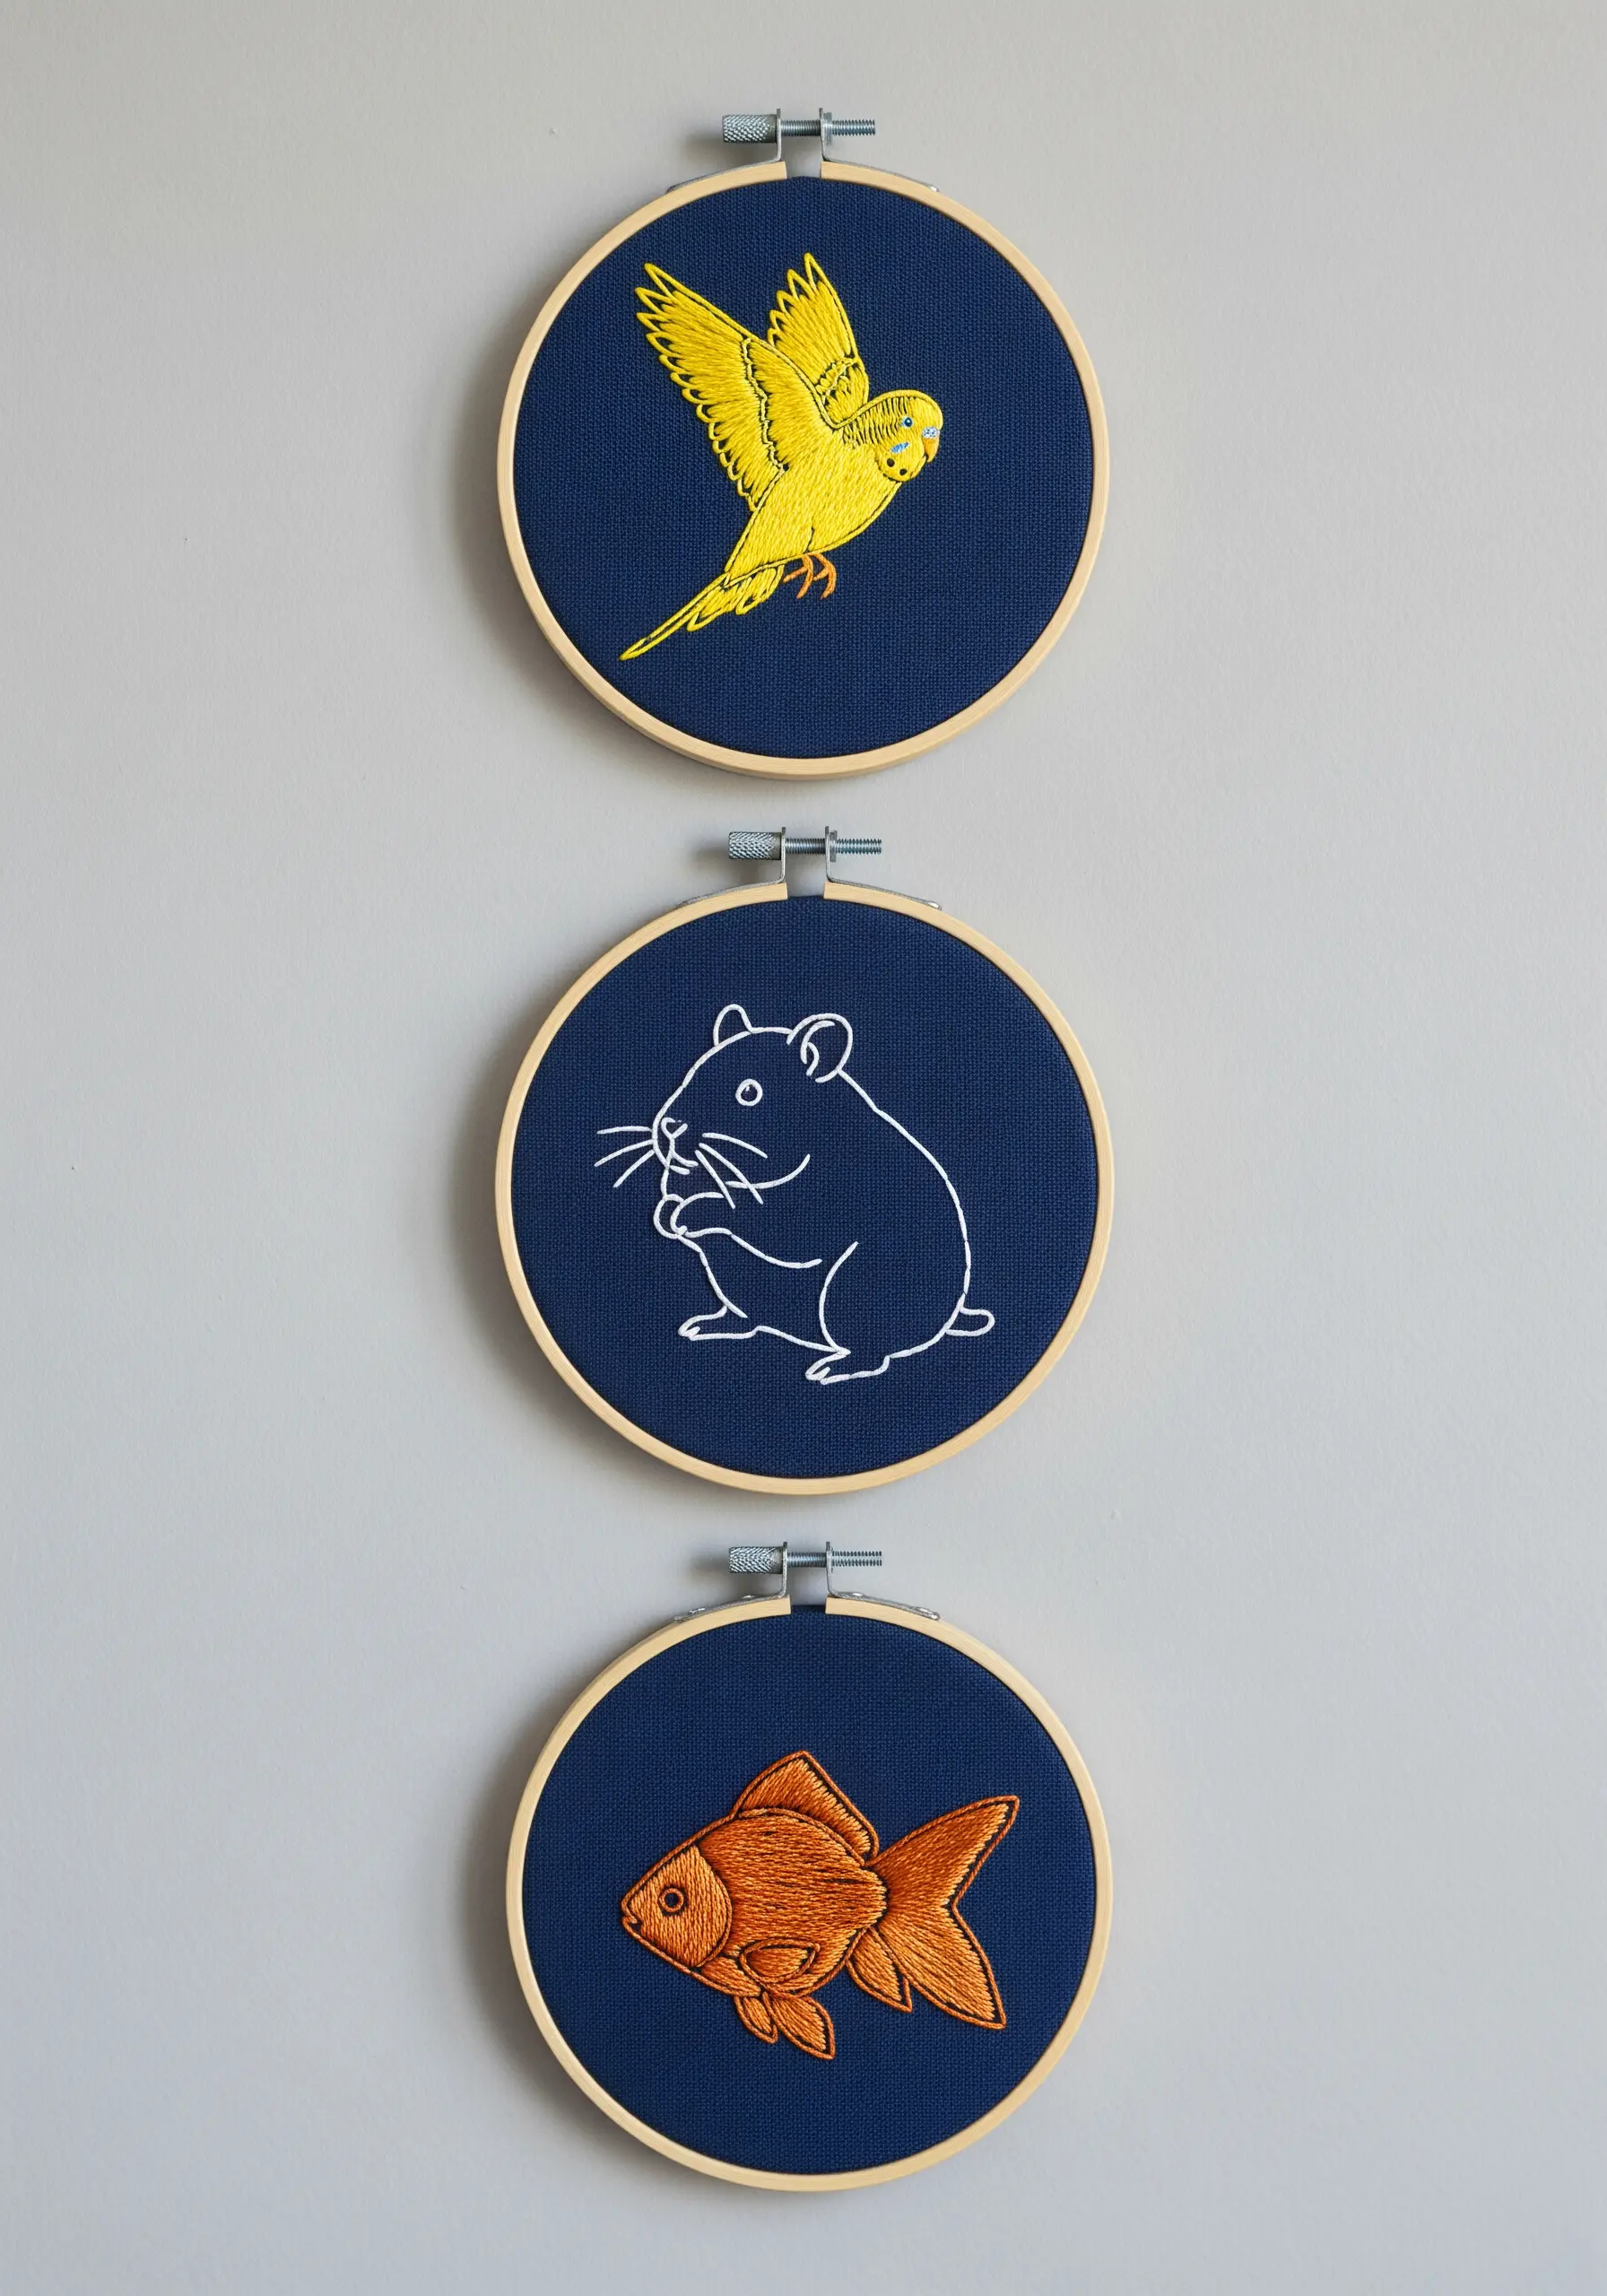
Stitching on dark navy or black fabric creates immediate visual impact, making your thread colors appear more vibrant.
For crisp white outlines, use a split stitch to ensure the thread lies flat and opaque.
For filled areas, a long-and-short stitch creates smooth color blending that looks almost painted on the fabric.
Grouped together, these high-contrast pieces are perfect for building circle frame minimal embroidery compositions to build a gallery wall without visual clutter.
8. Mastering Outlines on Curved Surfaces
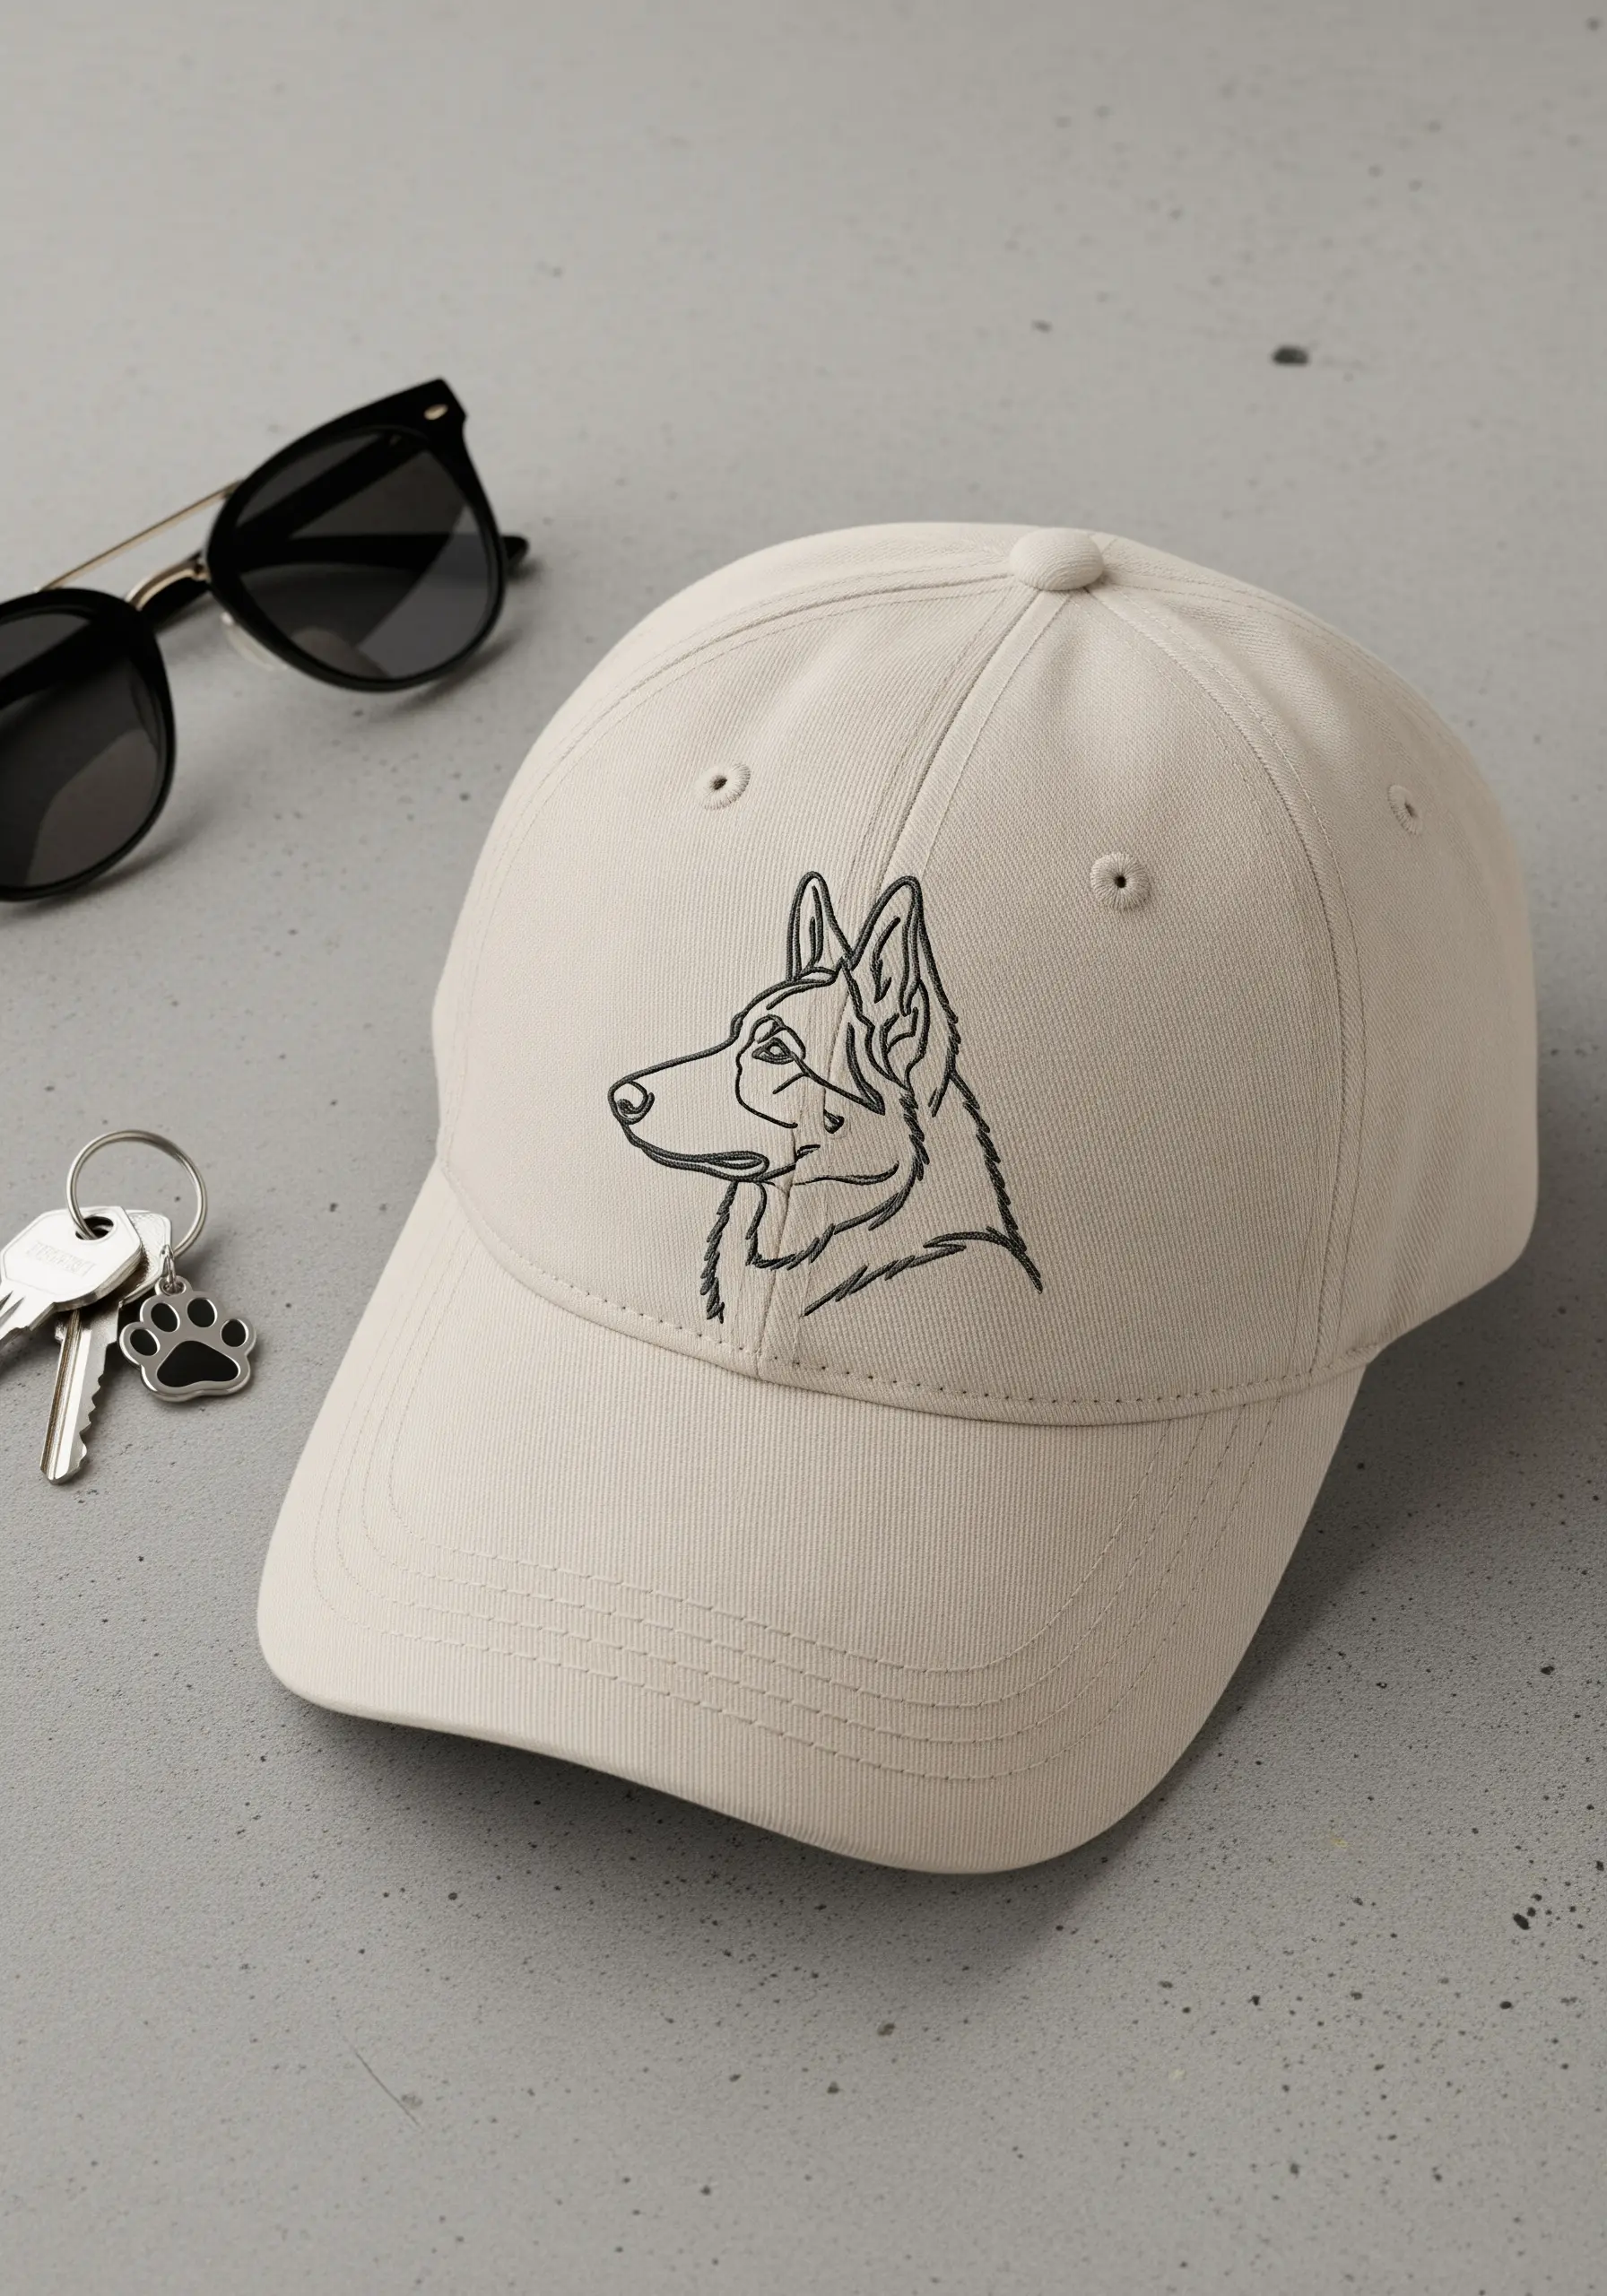
Embroidering on a structured, curved item like a baseball cap requires secure stabilization to achieve clean lines.
Use a small 3- or 4-inch hoop to isolate the stitching area and apply a sticky, self-adhesive stabilizer to the inside of the cap.
This holds the fabric taut and prevents shifting.
A backstitch using three strands of floss provides a bold, clear line that reads well from a distance.
9. Symmetrical Motifs for Home Décor
For a perfectly balanced composition, precise pattern transfer is essential.
Use a water-soluble transfer paper printed with your design to ensure every line and curve is accurately mirrored.
Choose a chain stitch or a two-strand stem stitch to give the lines a subtle, raised texture that feels luxurious on a pillow cover, elevating it beyond a simple flat outline. The added dimension of these stitches also enhances durability for home items like cushion covers.
10. Geometric Line Art on Felt
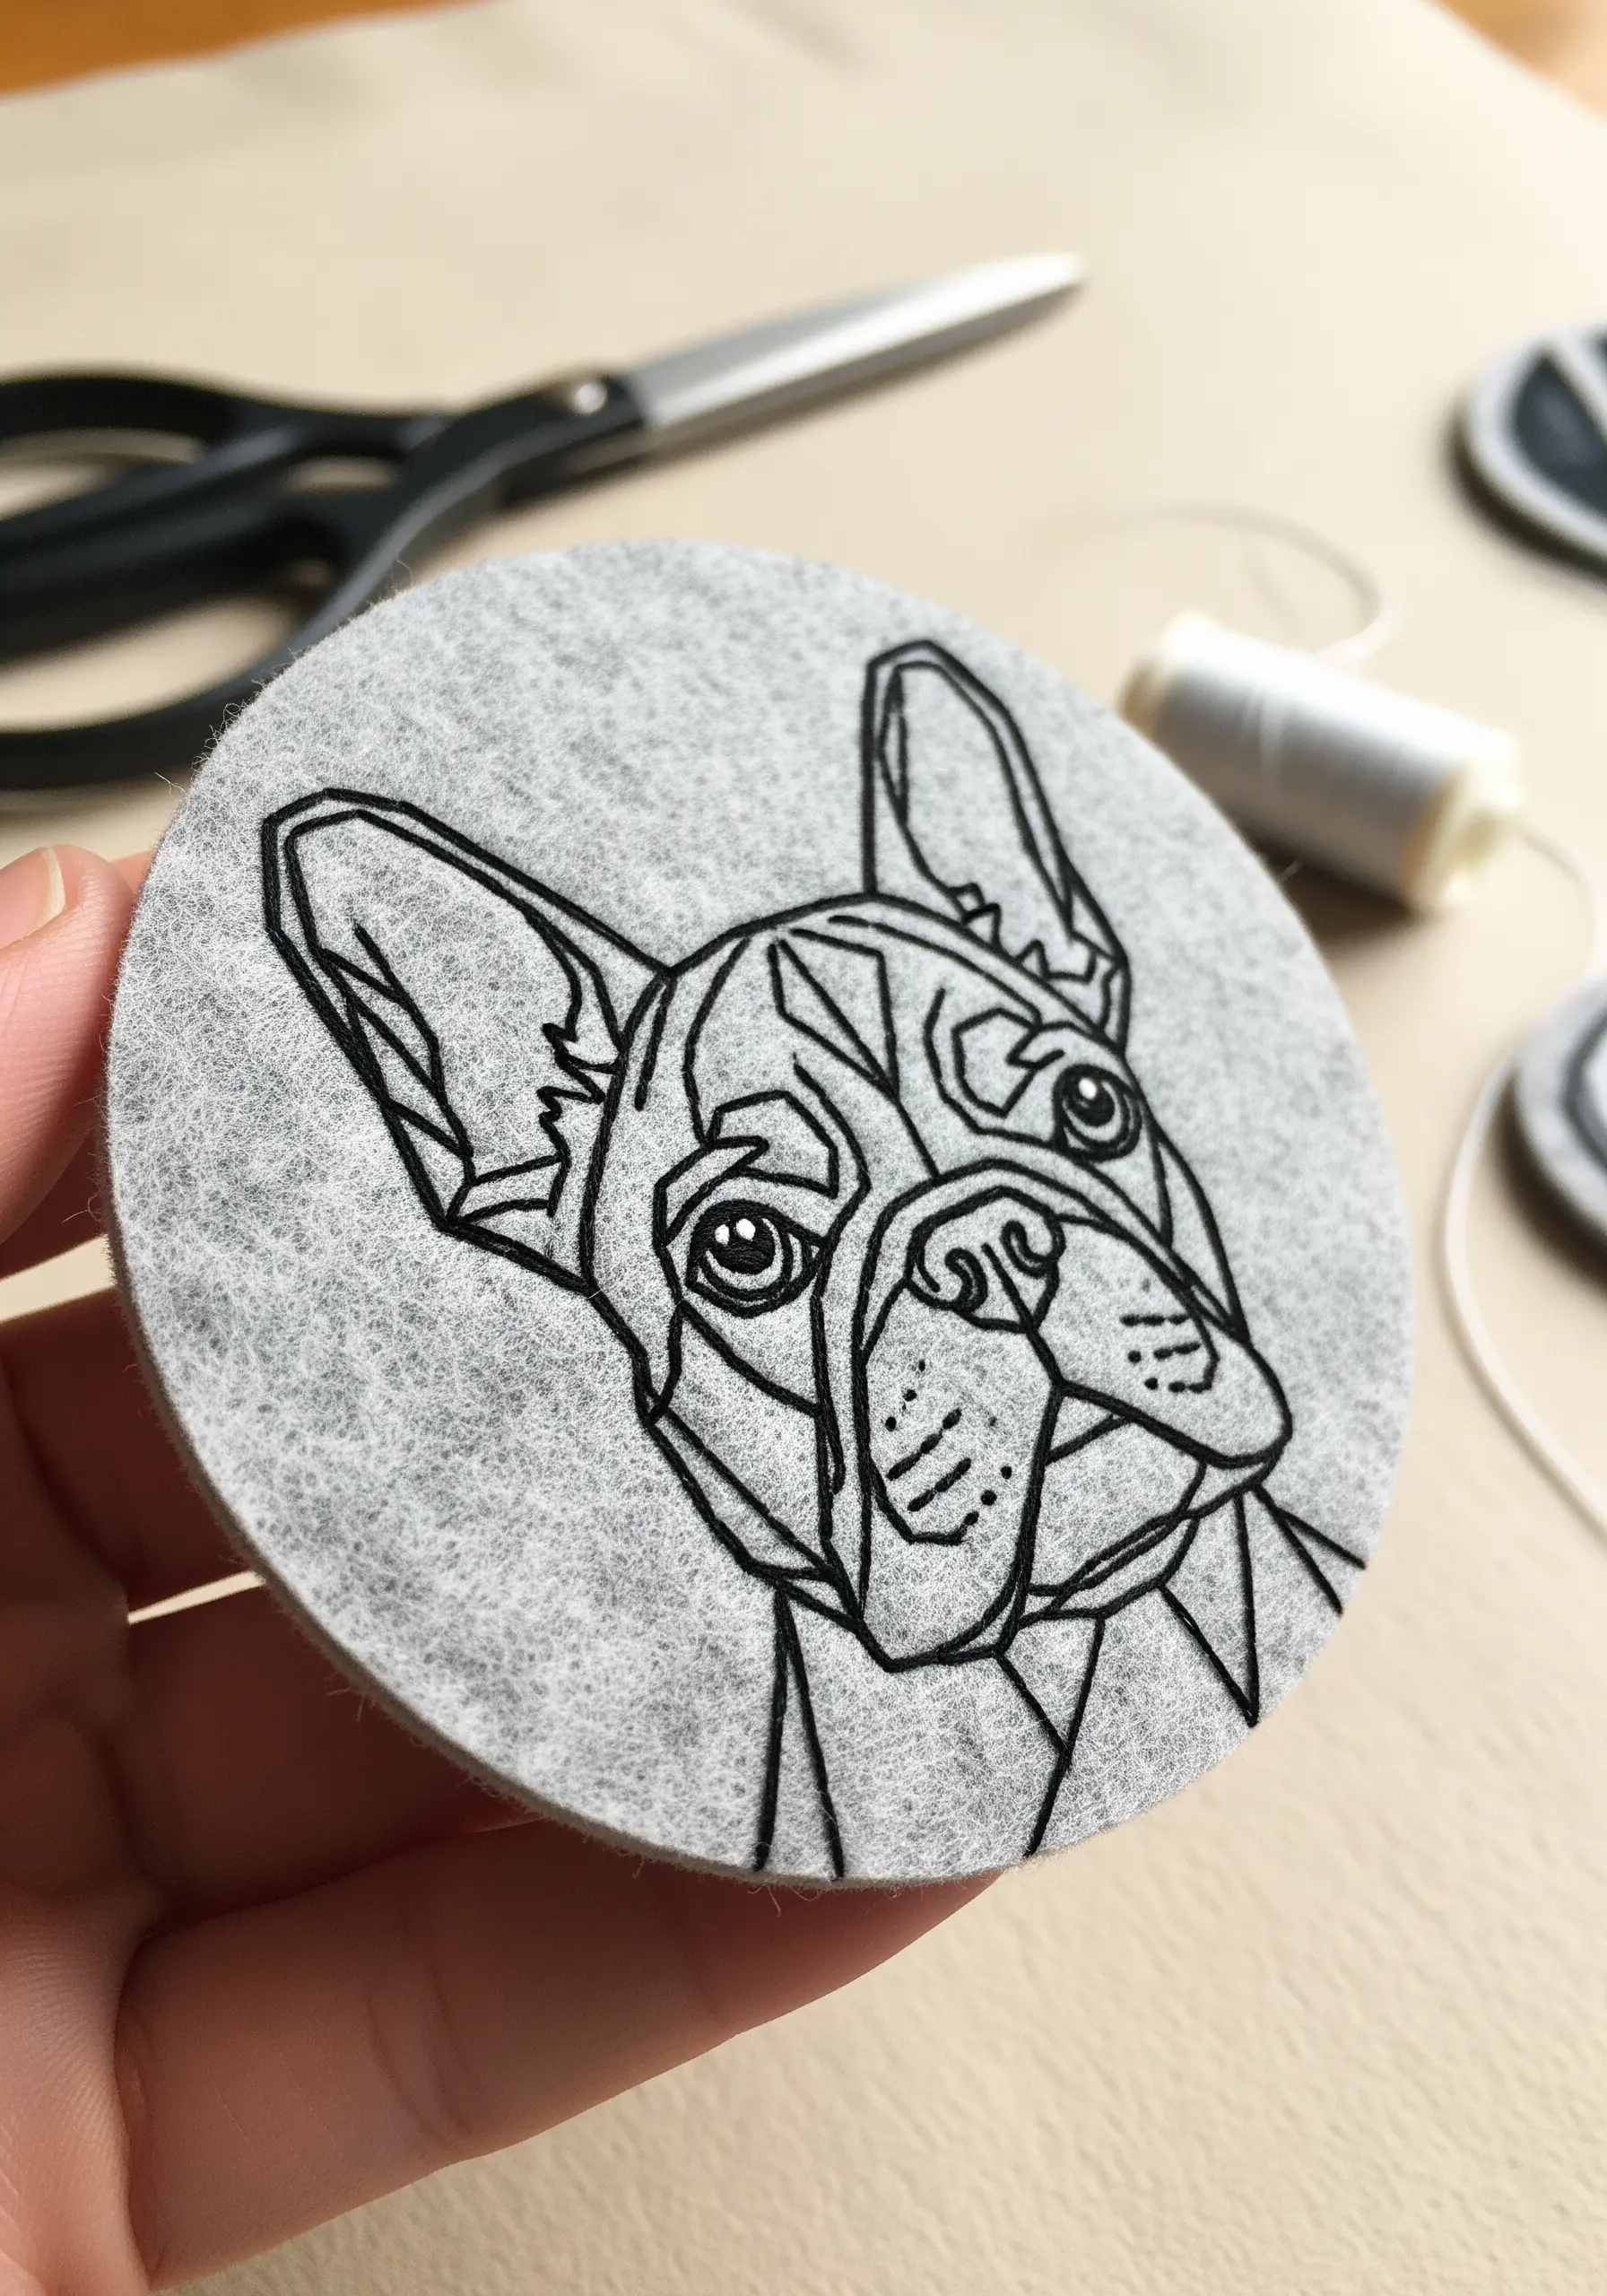
Felt is an ideal base for beginners and quick projects because its pressed fibers won’t fray, eliminating the need for edge finishing.
This stability means you can stitch directly onto it without a stabilizer, making it perfect for creating clean, geometric portraits.
Use a simple backstitch for crisp lines, then cut out the finished design to create patches or ornaments.
11. Integrating 3D Floral Elements
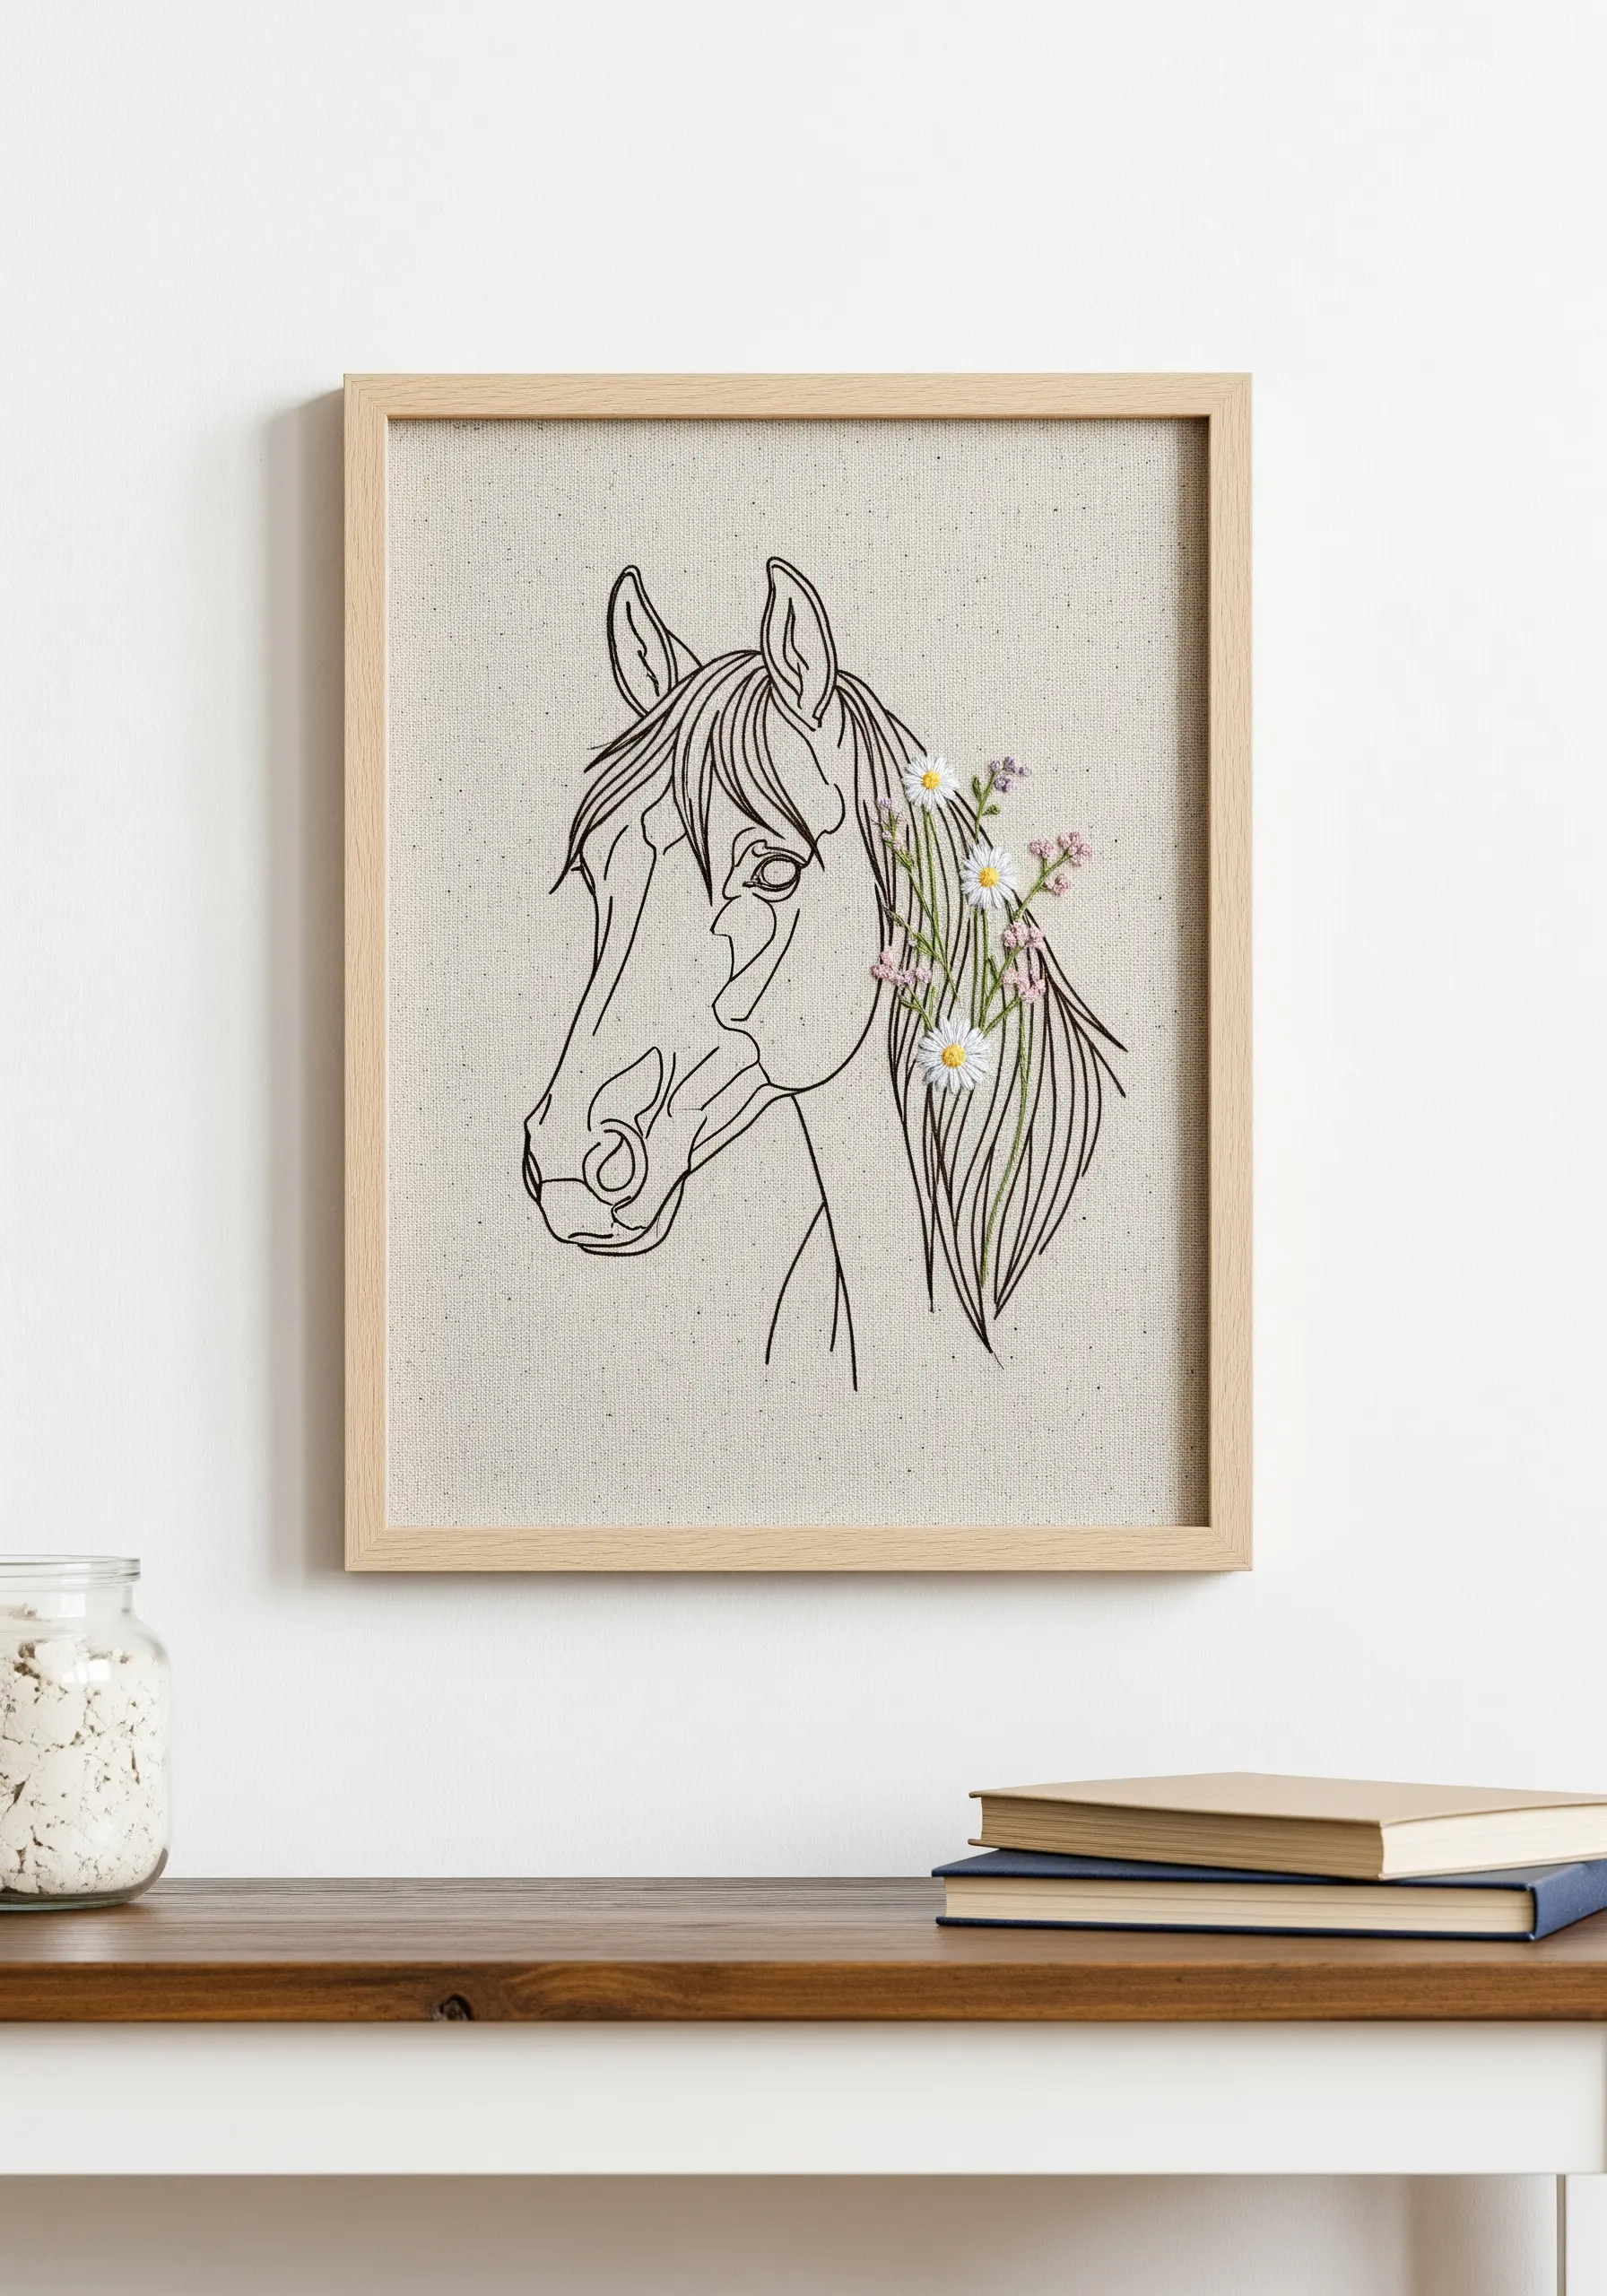
Add a layer of delicate texture to a simple line-art portrait by incorporating dimensional stitches.
Weave small flowers into a pet’s mane or around its ears using lazy daisy stitches for petals, French knots for centers, and detached chain stitches for leaves.
This technique creates a beautiful textural contrast between the flat outline and the raised botanicals, adding a touch of softness and whimsy.
12. Integrating Text into Line Art
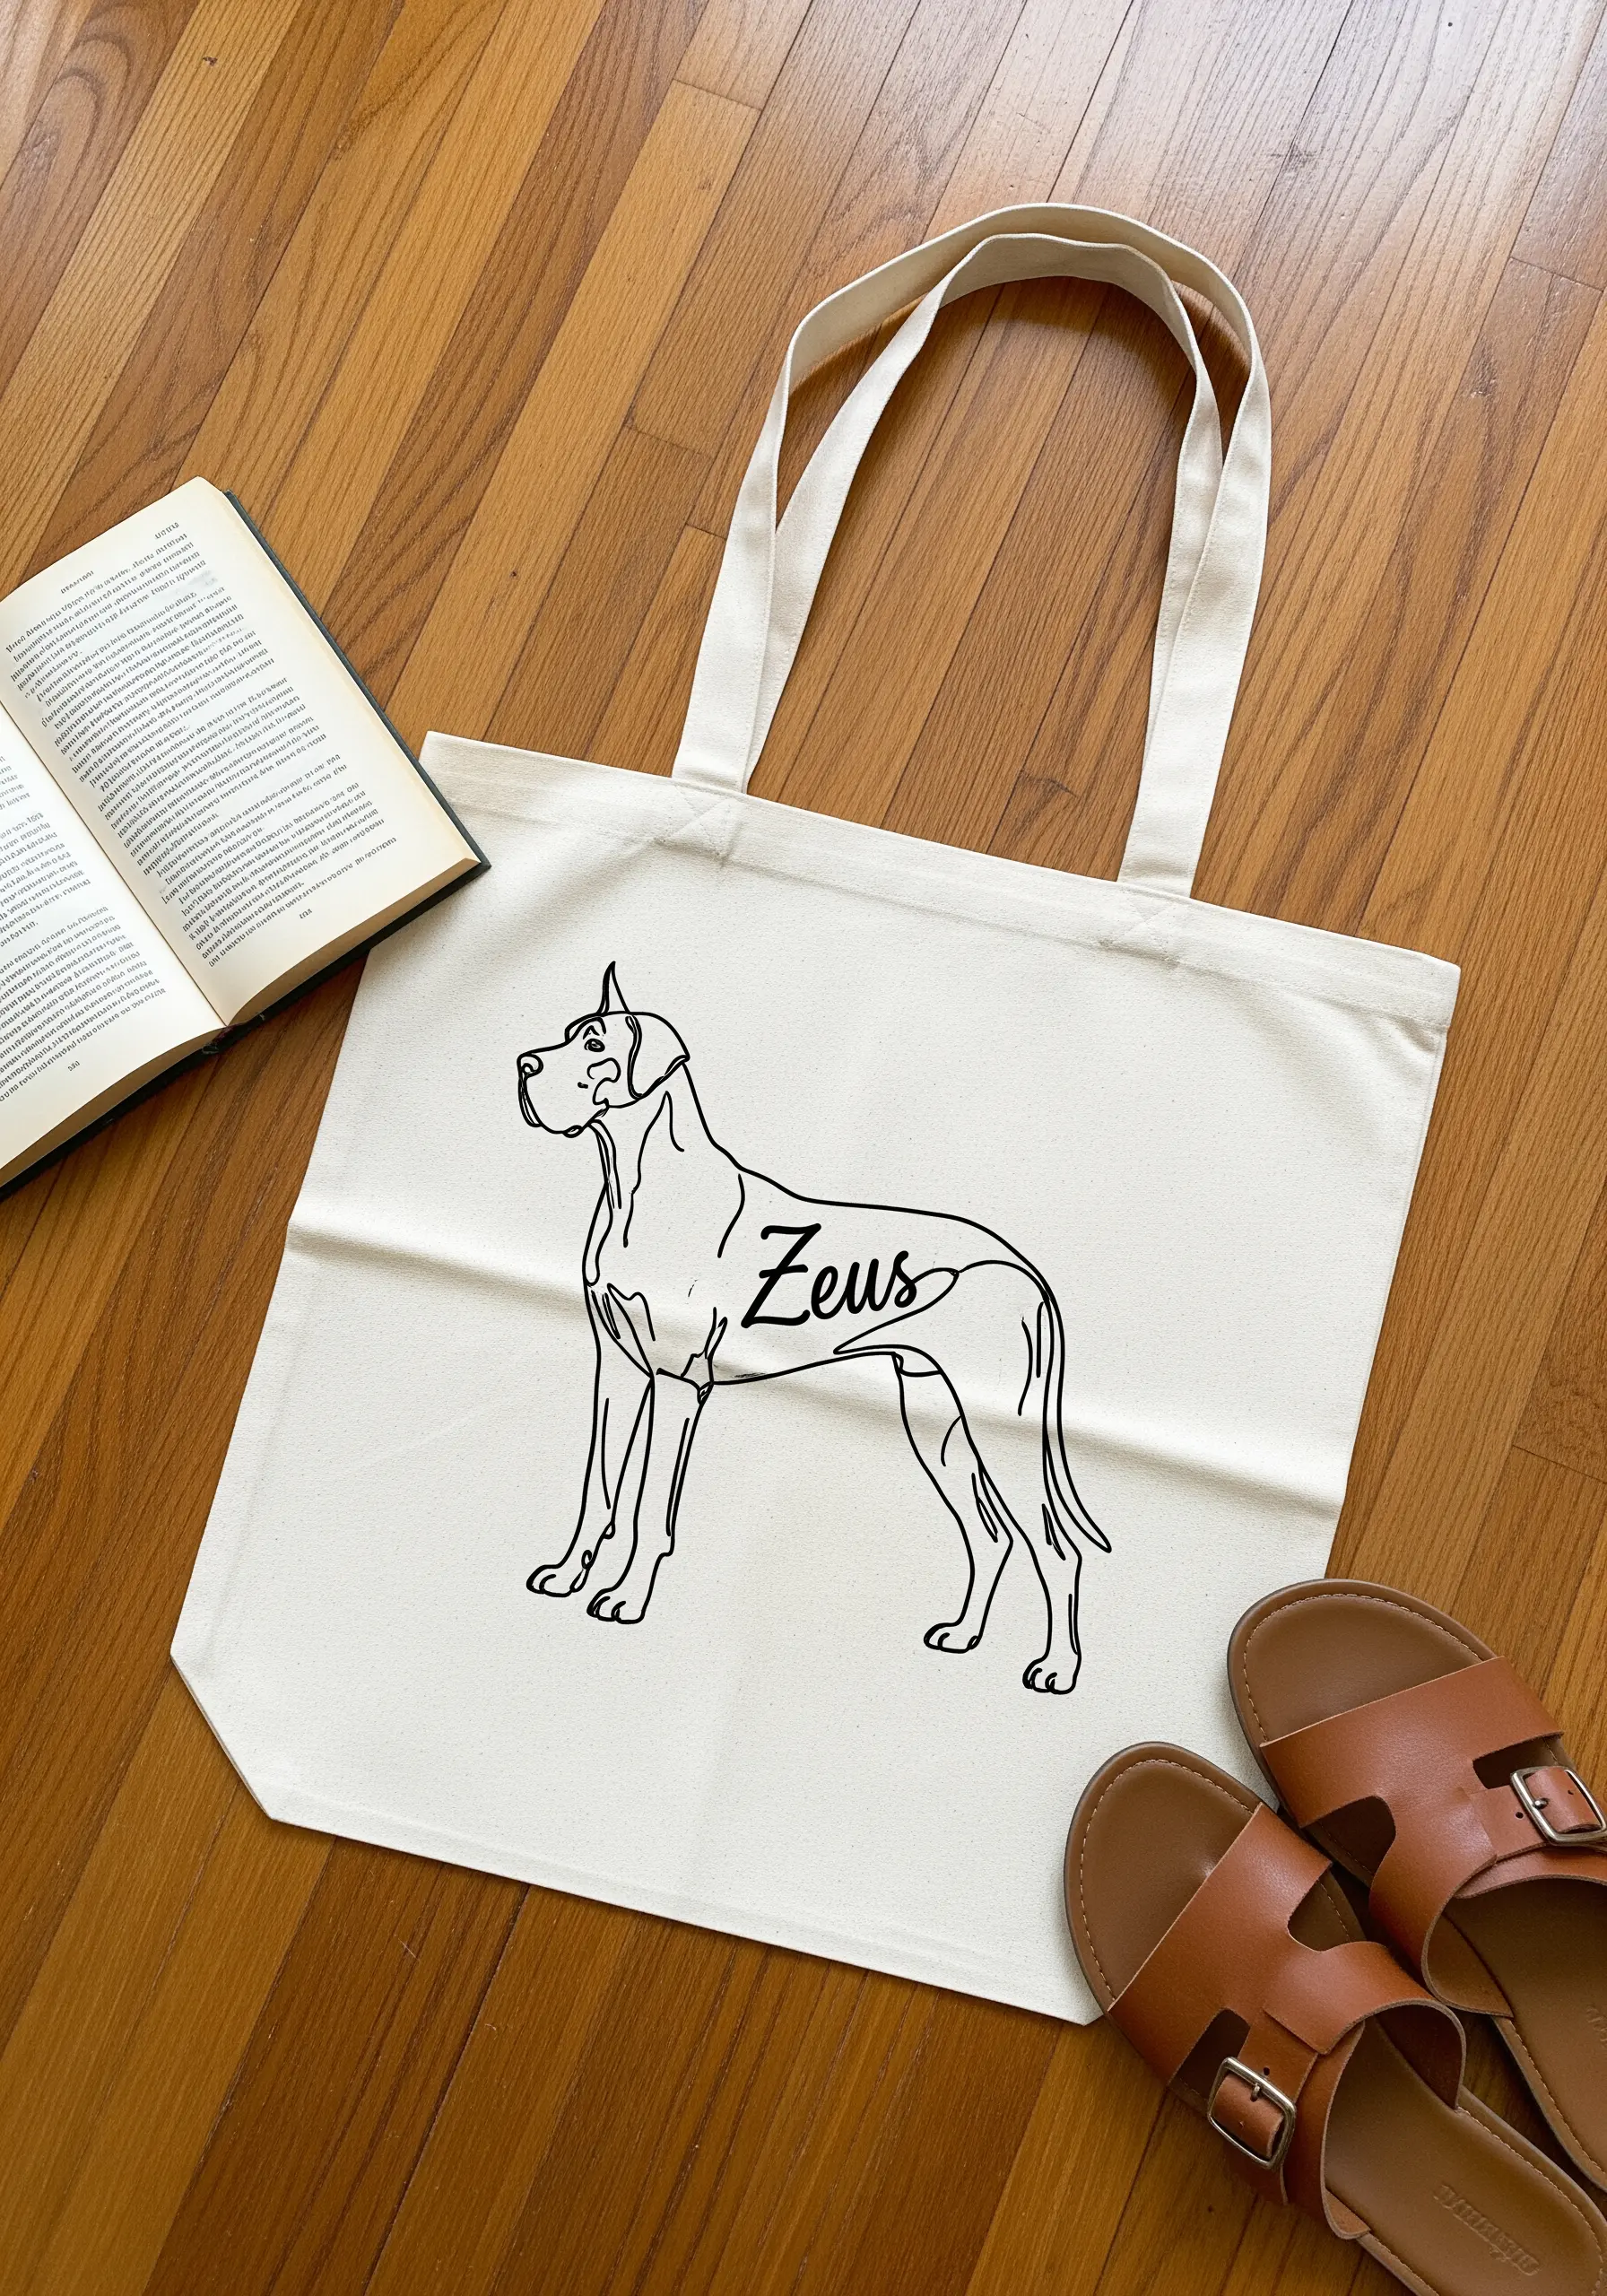
To add a name to your pet portrait, choose a font and placement that complements the flow of the design.
Position the name within a negative space—like across the body—to make it feel like an integral part of the artwork.
Stitch the text using a slightly lighter thread weight (e.g., two strands for the name if the outline is three) to ensure it remains a graceful accent rather than a distraction. This is a key step in creating beautiful personalized tote bag embroidery designs.
13. The Art of the Discreet Detail
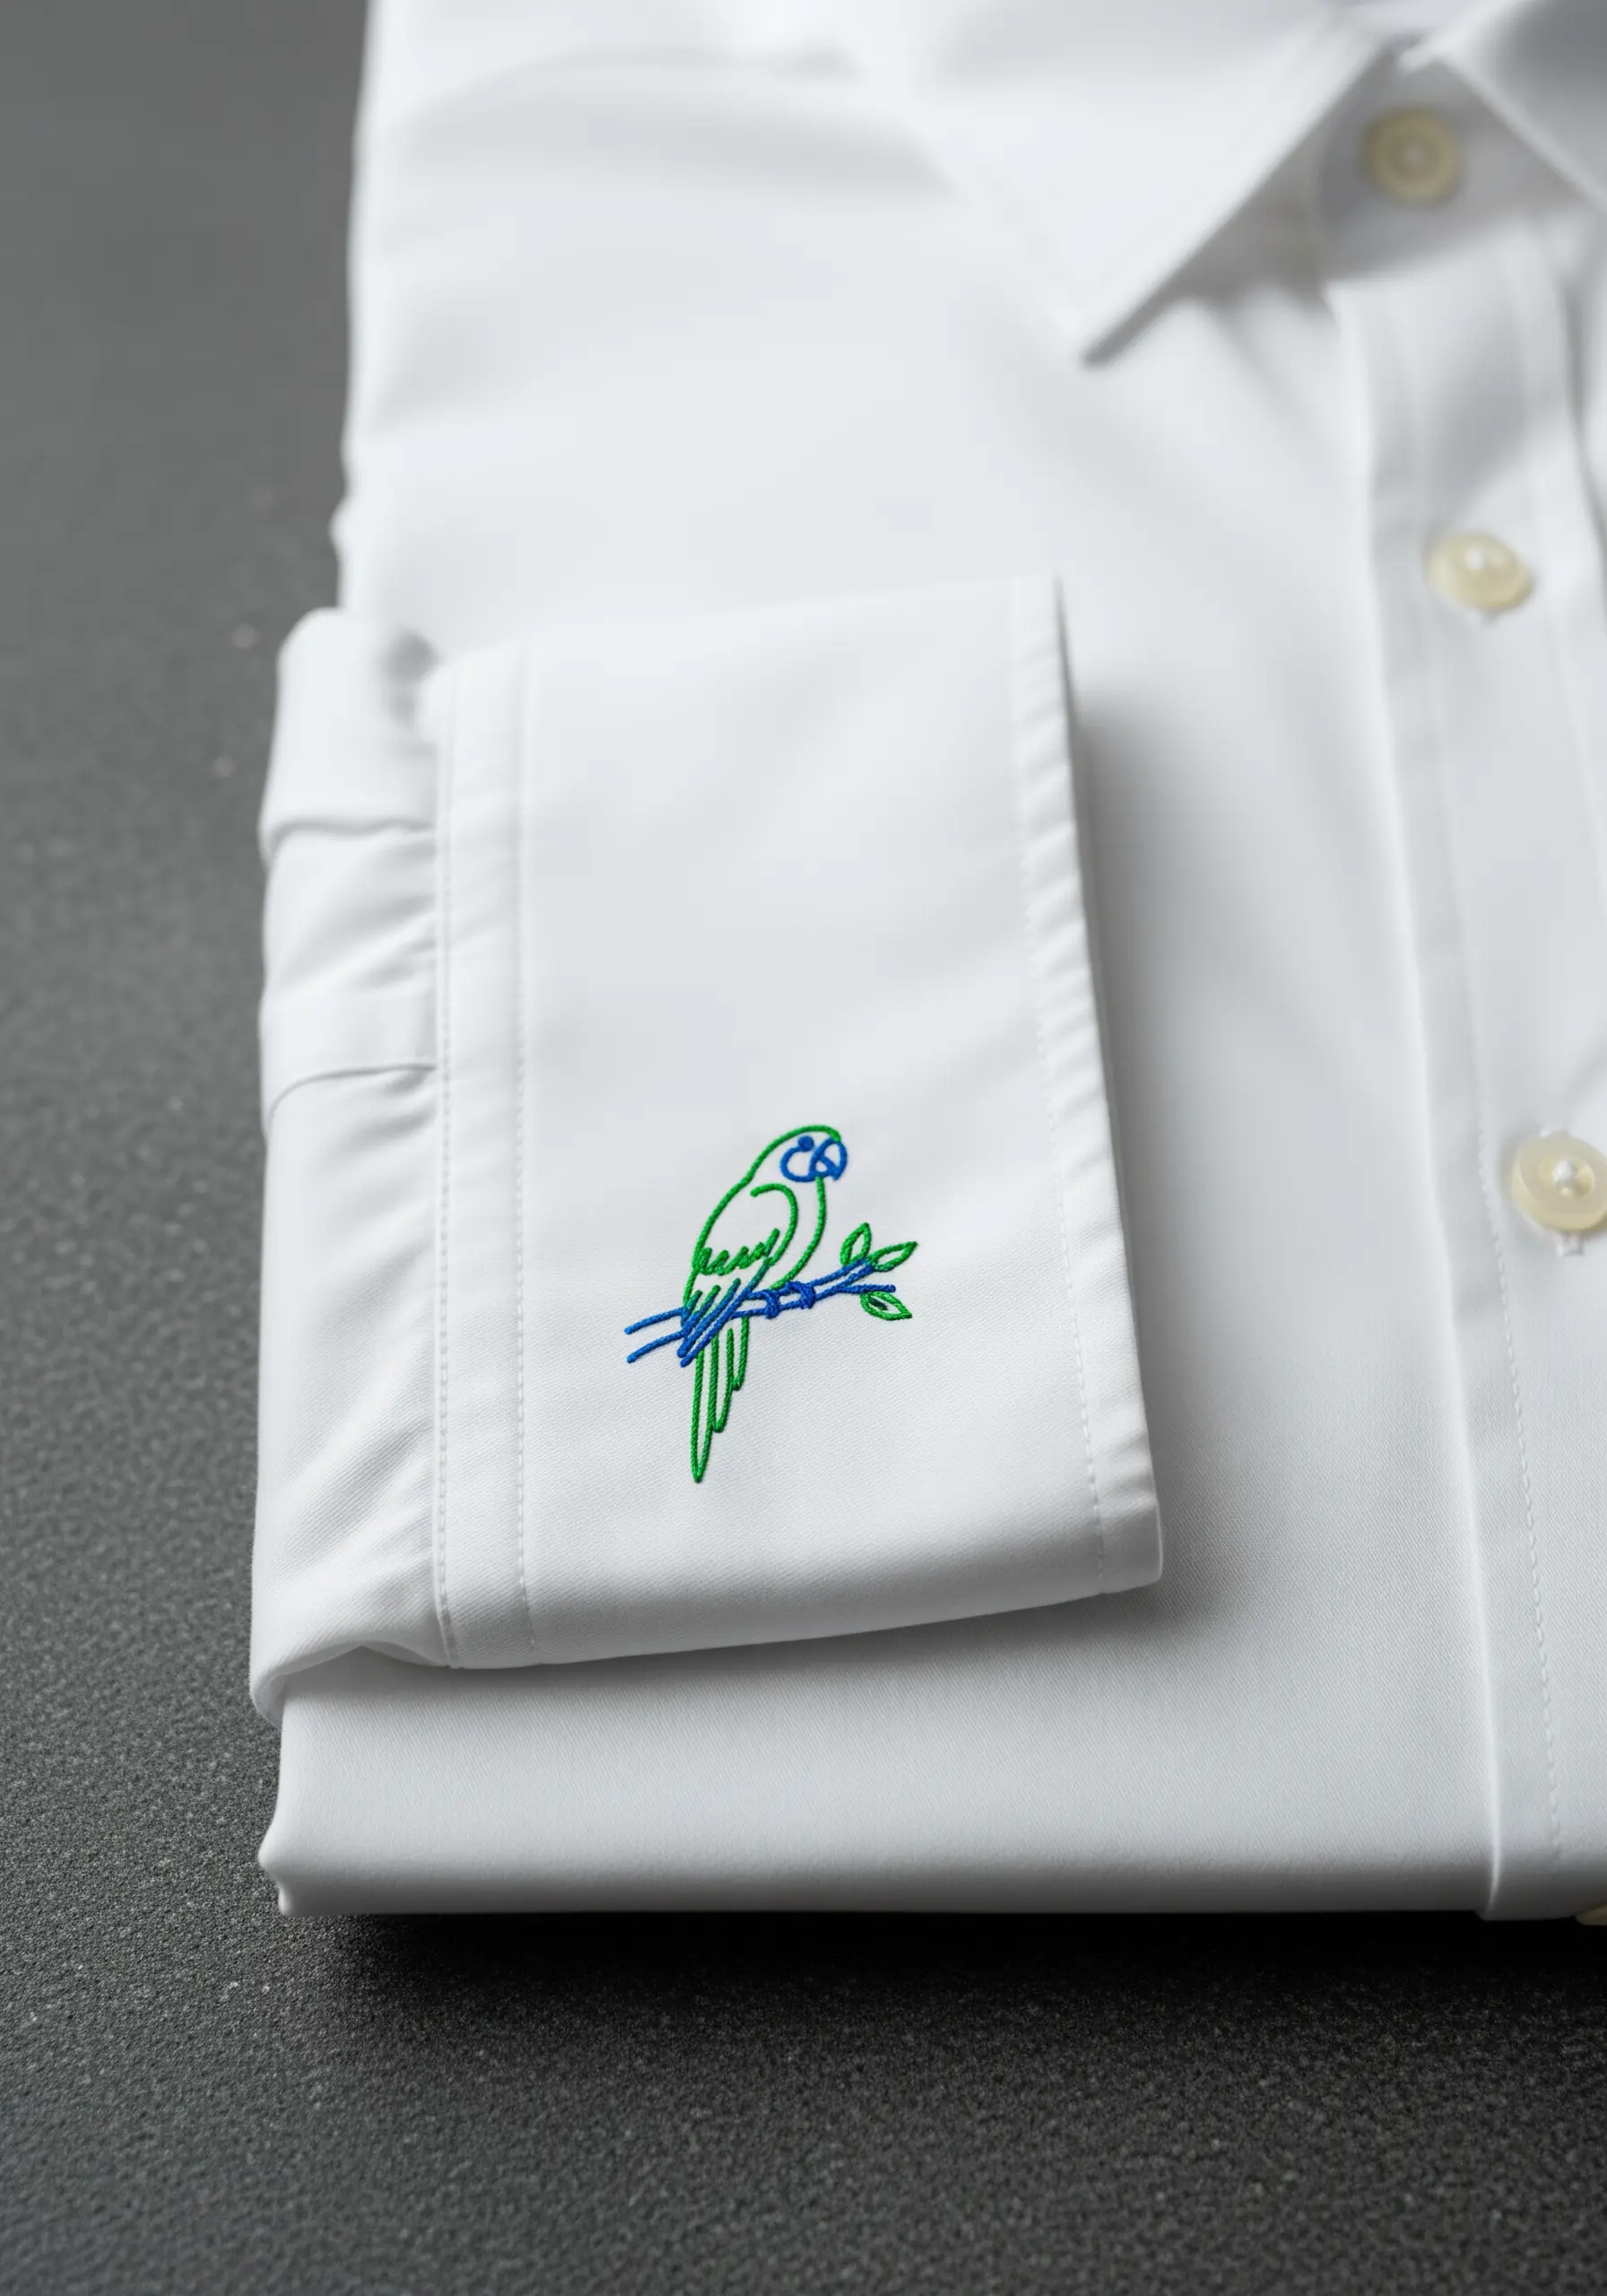
For an understated yet personal touch on apparel, scale your design down and place it in an unexpected spot like a shirt cuff.
Use a single strand of embroidery floss with a split stitch to achieve incredibly fine, clean lines.
This micro-embroidery technique adds a bespoke detail that feels both intimate and luxurious, perfect for creating tiny, secret embroidery ideas that only you know are there.
14. Creating a Stitch-Filled Memorial
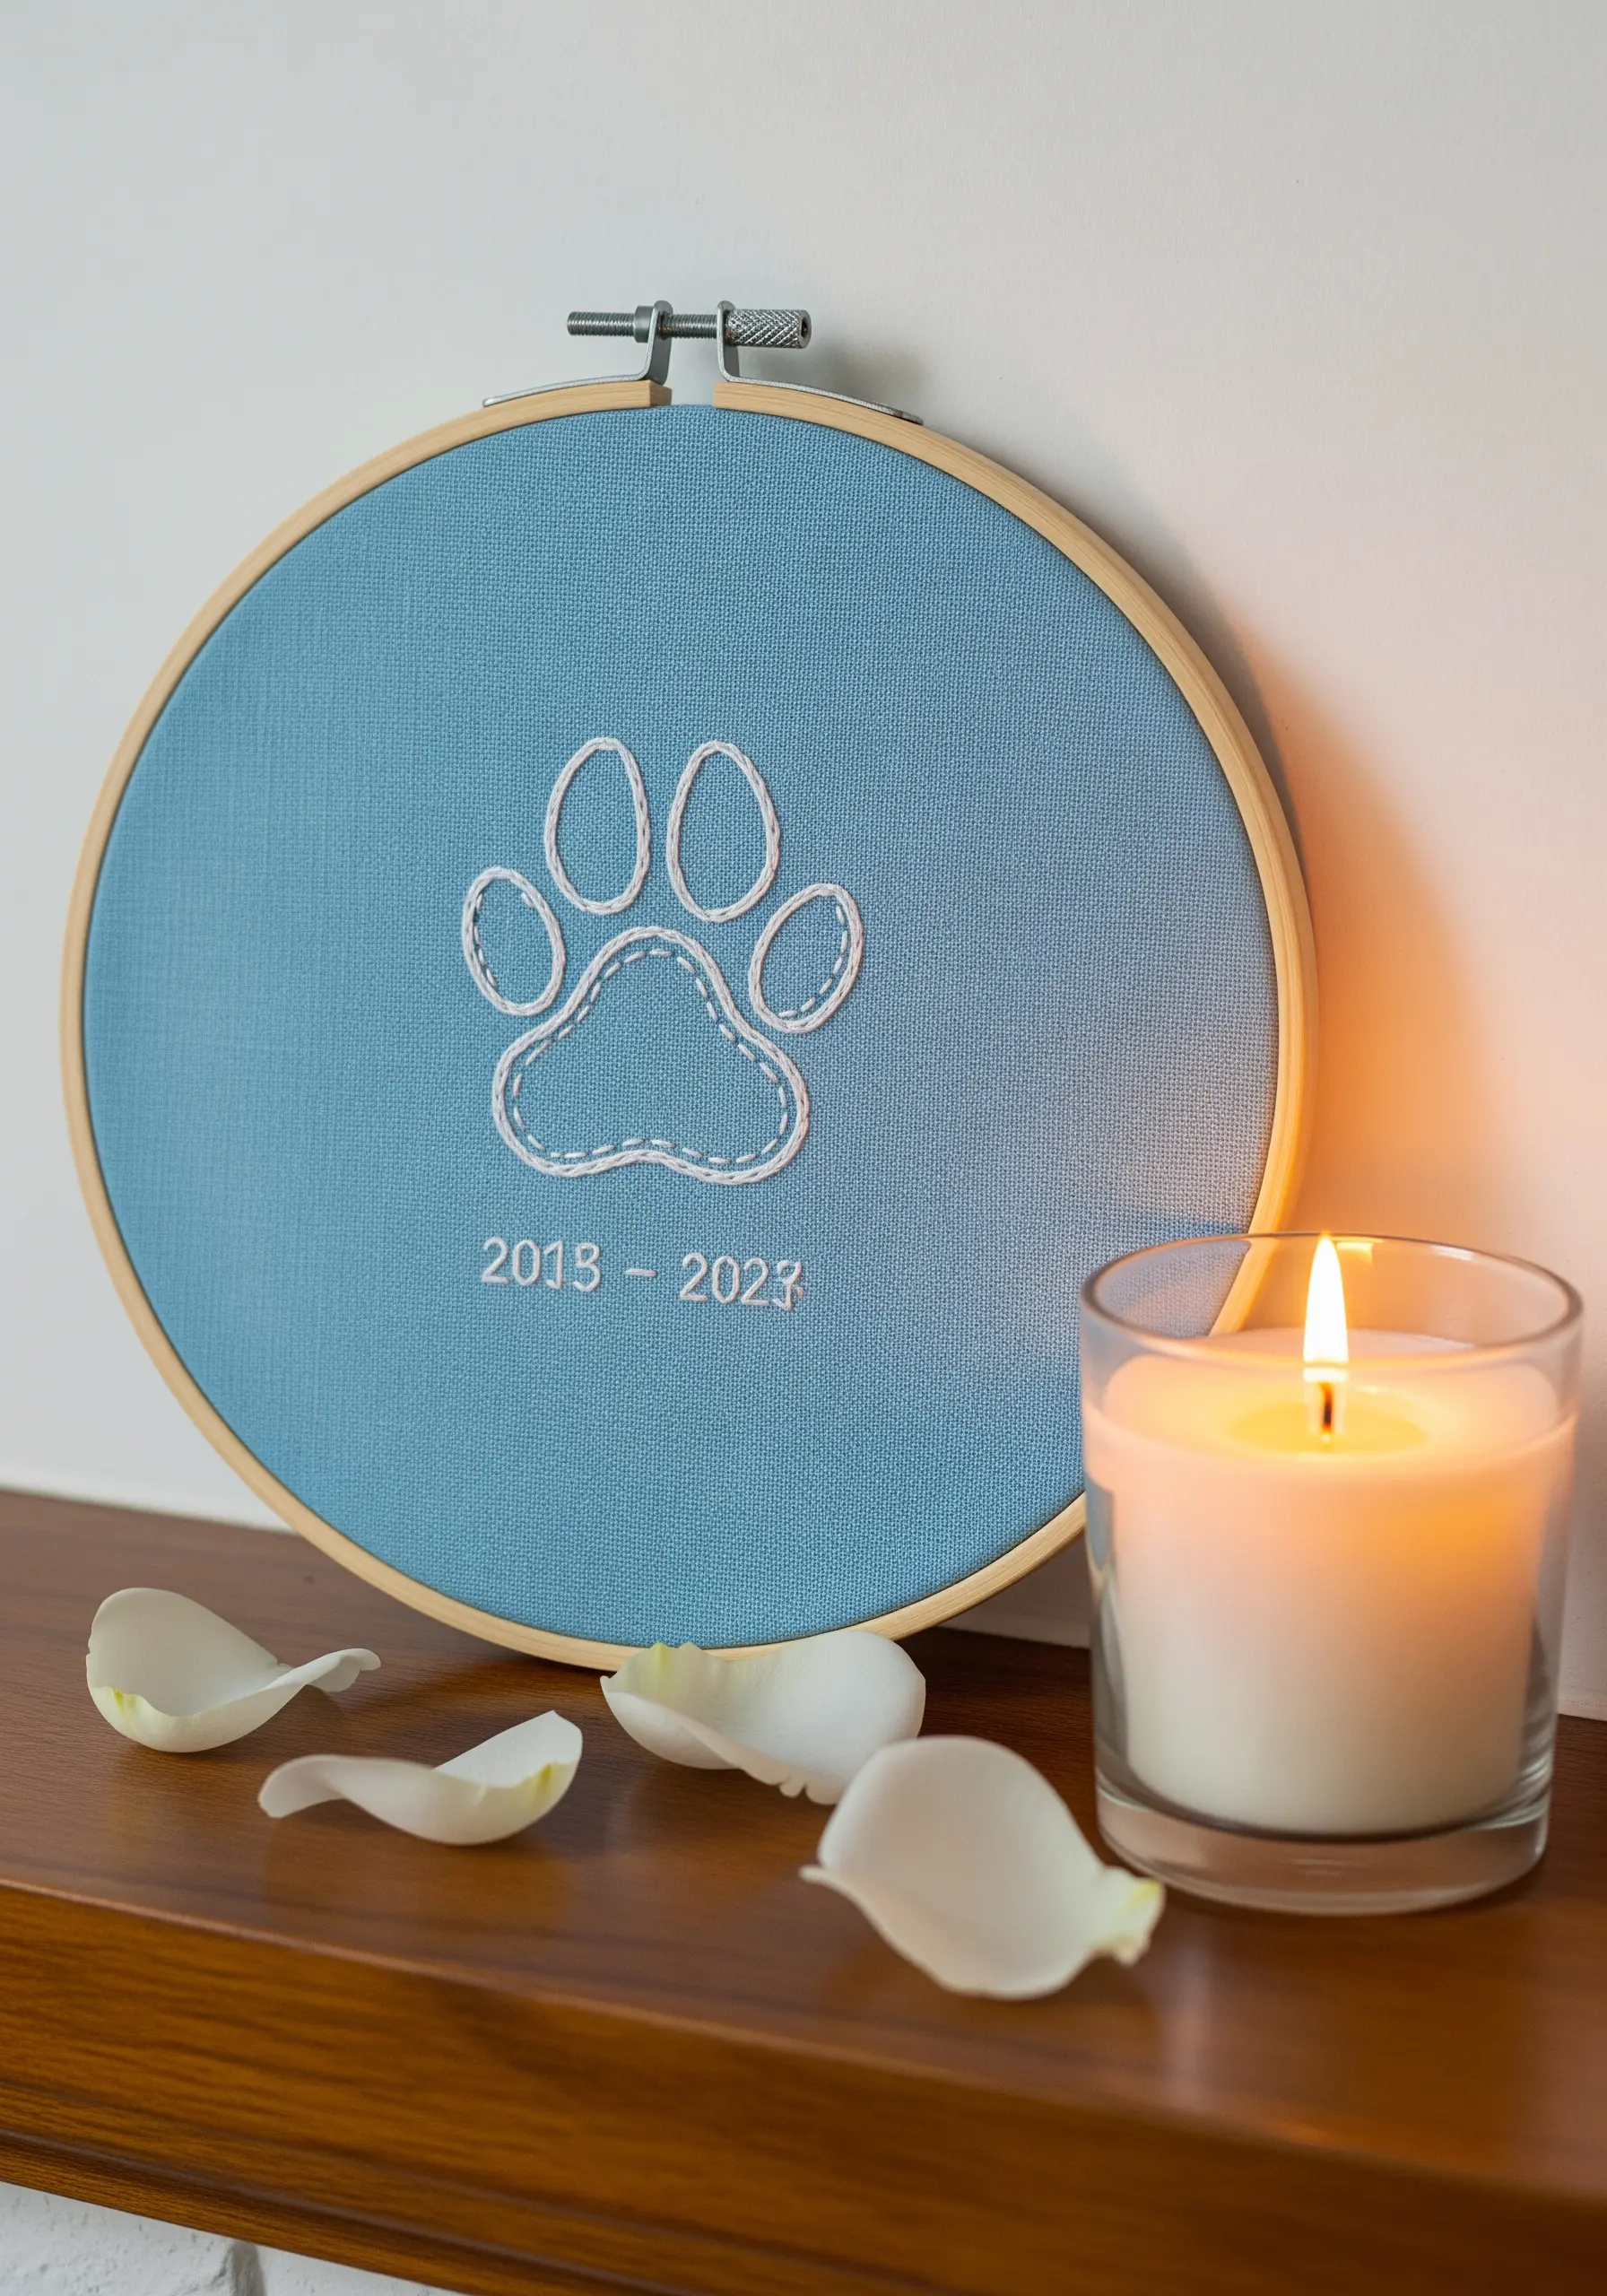
For a piece with emotional resonance, combine the structure of an outline with the softness of a fill stitch.
Define the paw print with a simple backstitch, then fill the pads with scattered seed stitches.
This fill technique creates a gentle, dappled texture that adds visual softness and a comforting feel.
Use a single strand of floss for any dates to keep the text delicate and respectful.
15. Stitching on Soft Knits for Babies
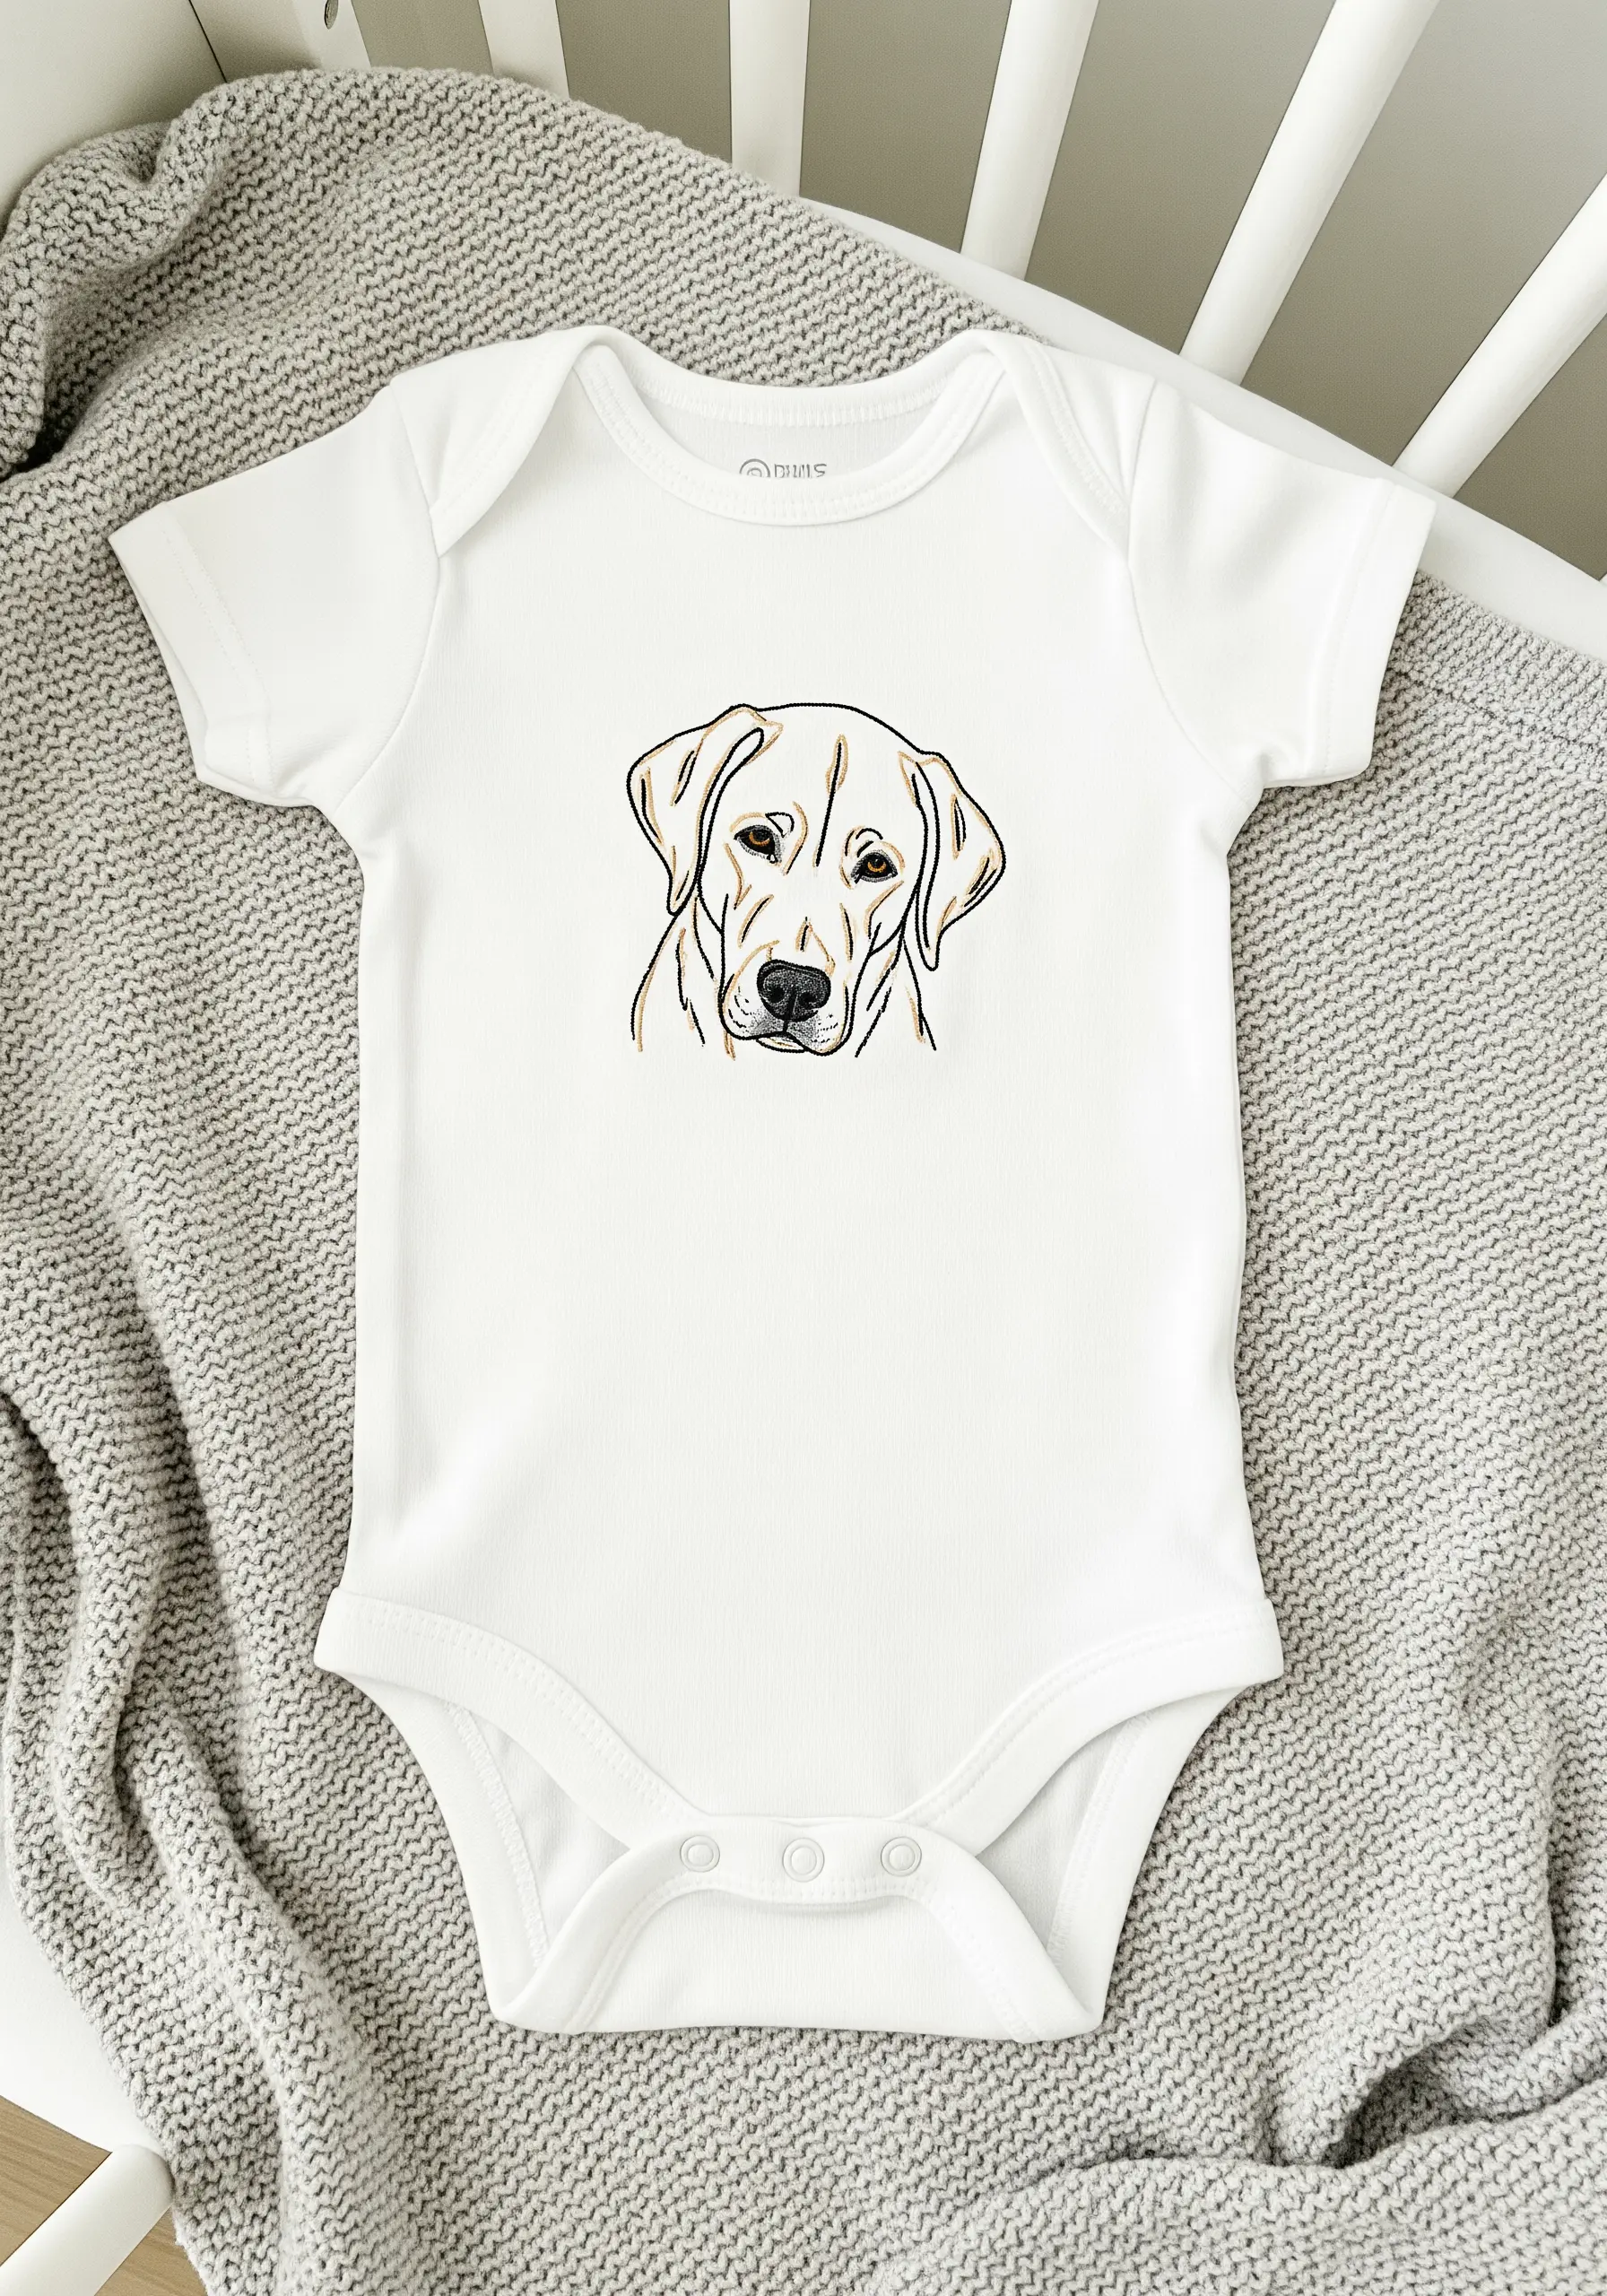
Embroidering on stretchy baby clothes requires two key steps for a professional and safe finish.
First, use a cut-away stabilizer on the back during stitching to prevent the knit fabric from distorting.
After you’ve finished, iron a soft, permanent backing (like Sulky Tender Touch) over the back of your stitches to protect the baby’s sensitive skin from any scratchiness.
These are the secrets behind lovely, lasting dreamy baby clothing embroidery ideas.
16. Crafting a Felt Bookmark
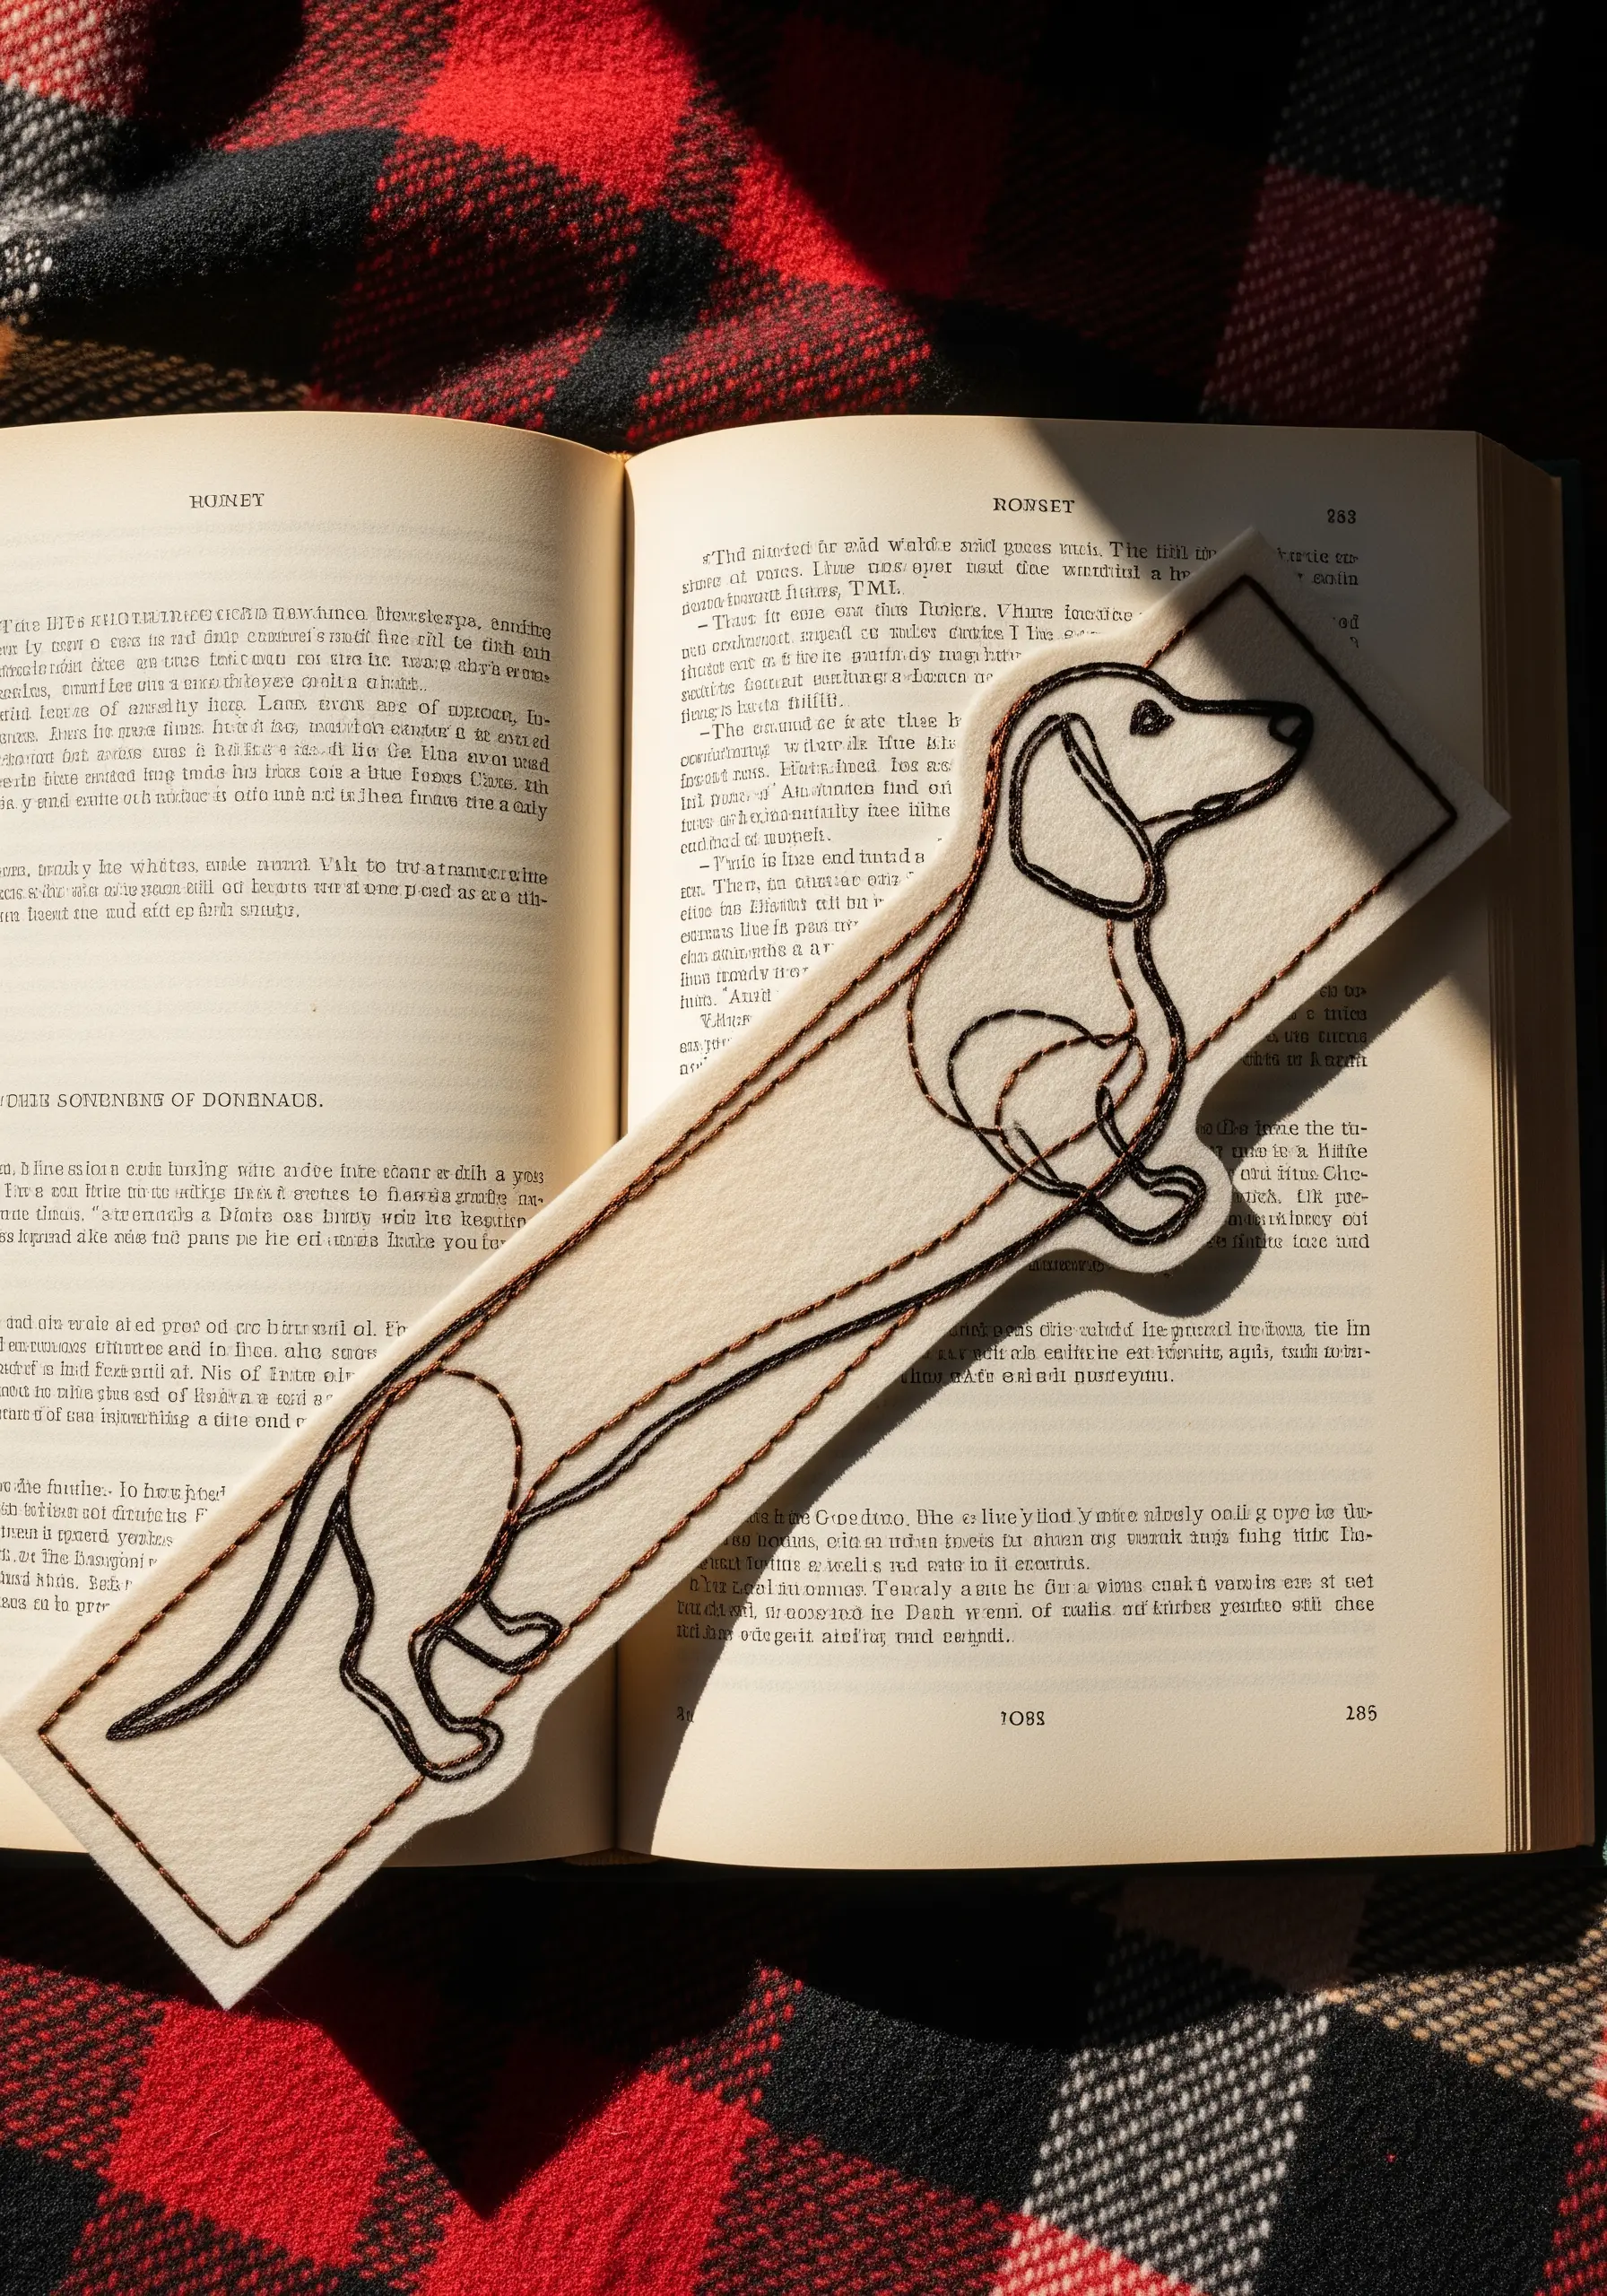
To create a sturdy, double-sided bookmark, stitch your pet’s portrait onto one piece of felt.
Then, place a second, blank piece of felt behind it and neatly join the two layers with a blanket stitch around the entire perimeter.
This finishing technique not only provides structure but also adds a charming, decorative edge that frames your work beautifully.
17. Delicate Illusions on Sheer Fabric
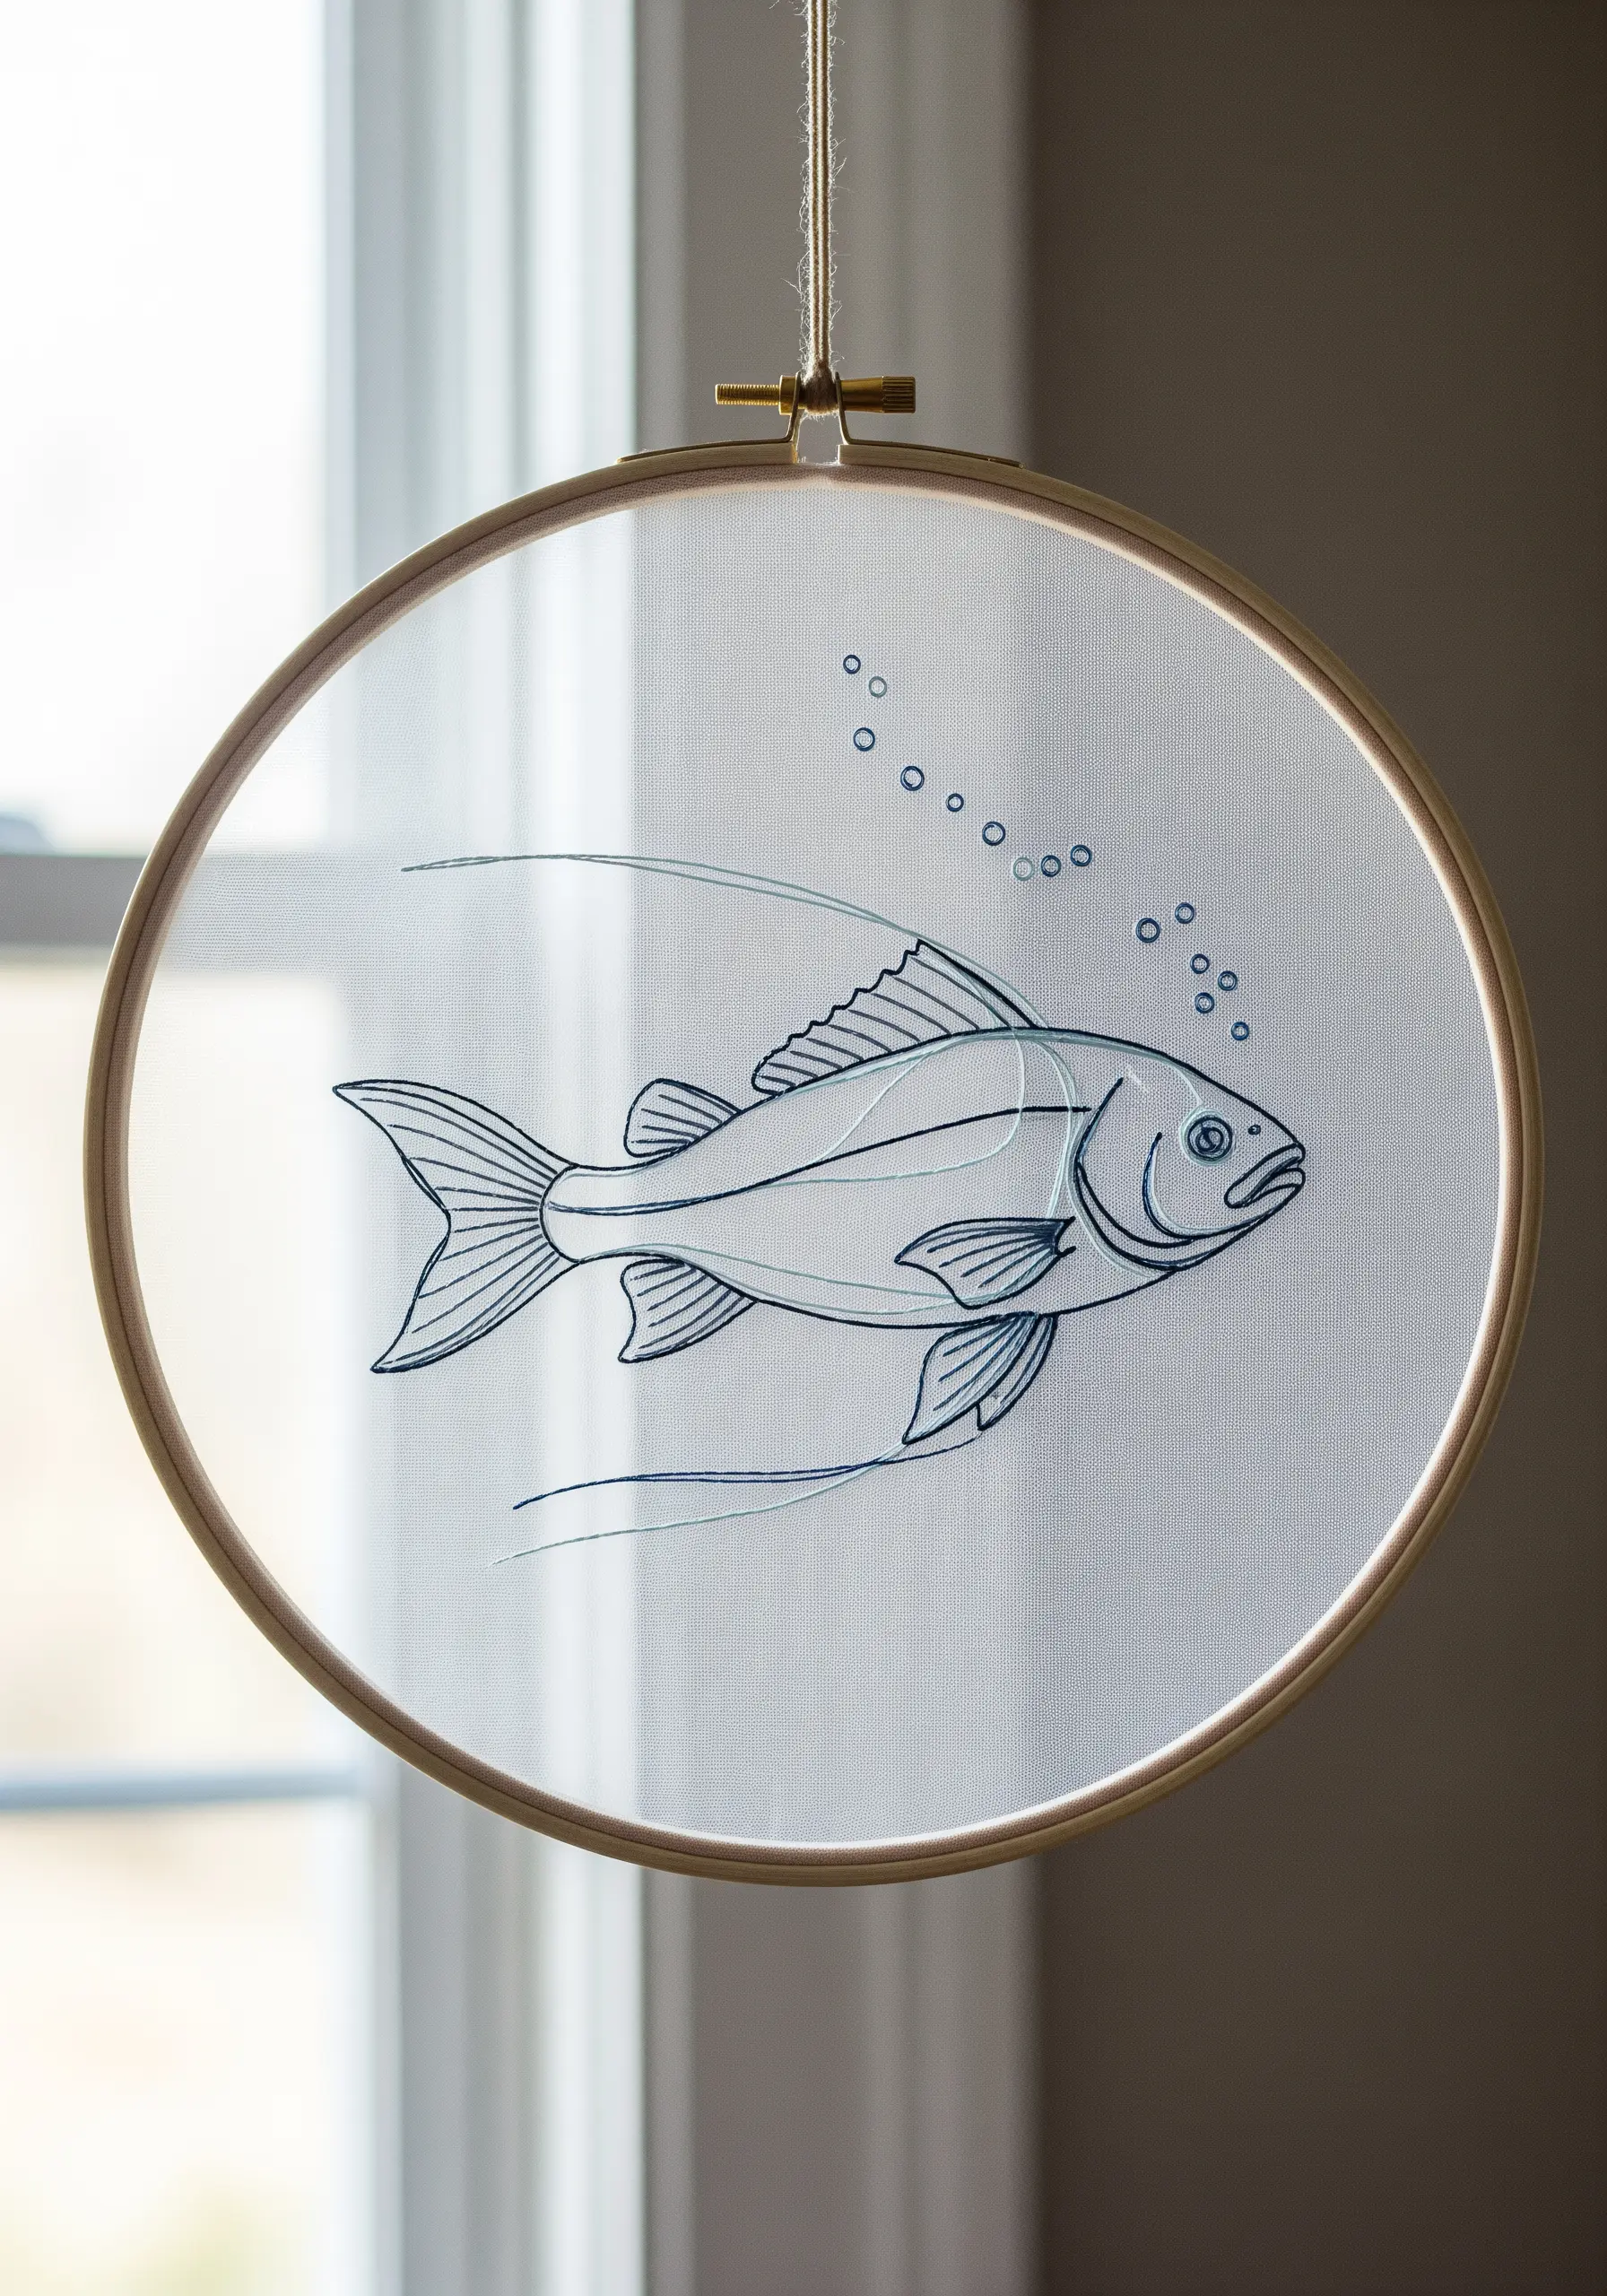
Stitching on translucent materials like tulle or organza creates a magical, floating effect.
To achieve this, use a water-soluble or heat-away stabilizer that disappears completely after you’ve finished stitching.
Because the back of your work will be visible, be meticulous about securing your threads without making knots.
A split stitch provides a solid, clean line that looks elegant on this ethereal background.
18. Micro-Portraits on Fine Linens
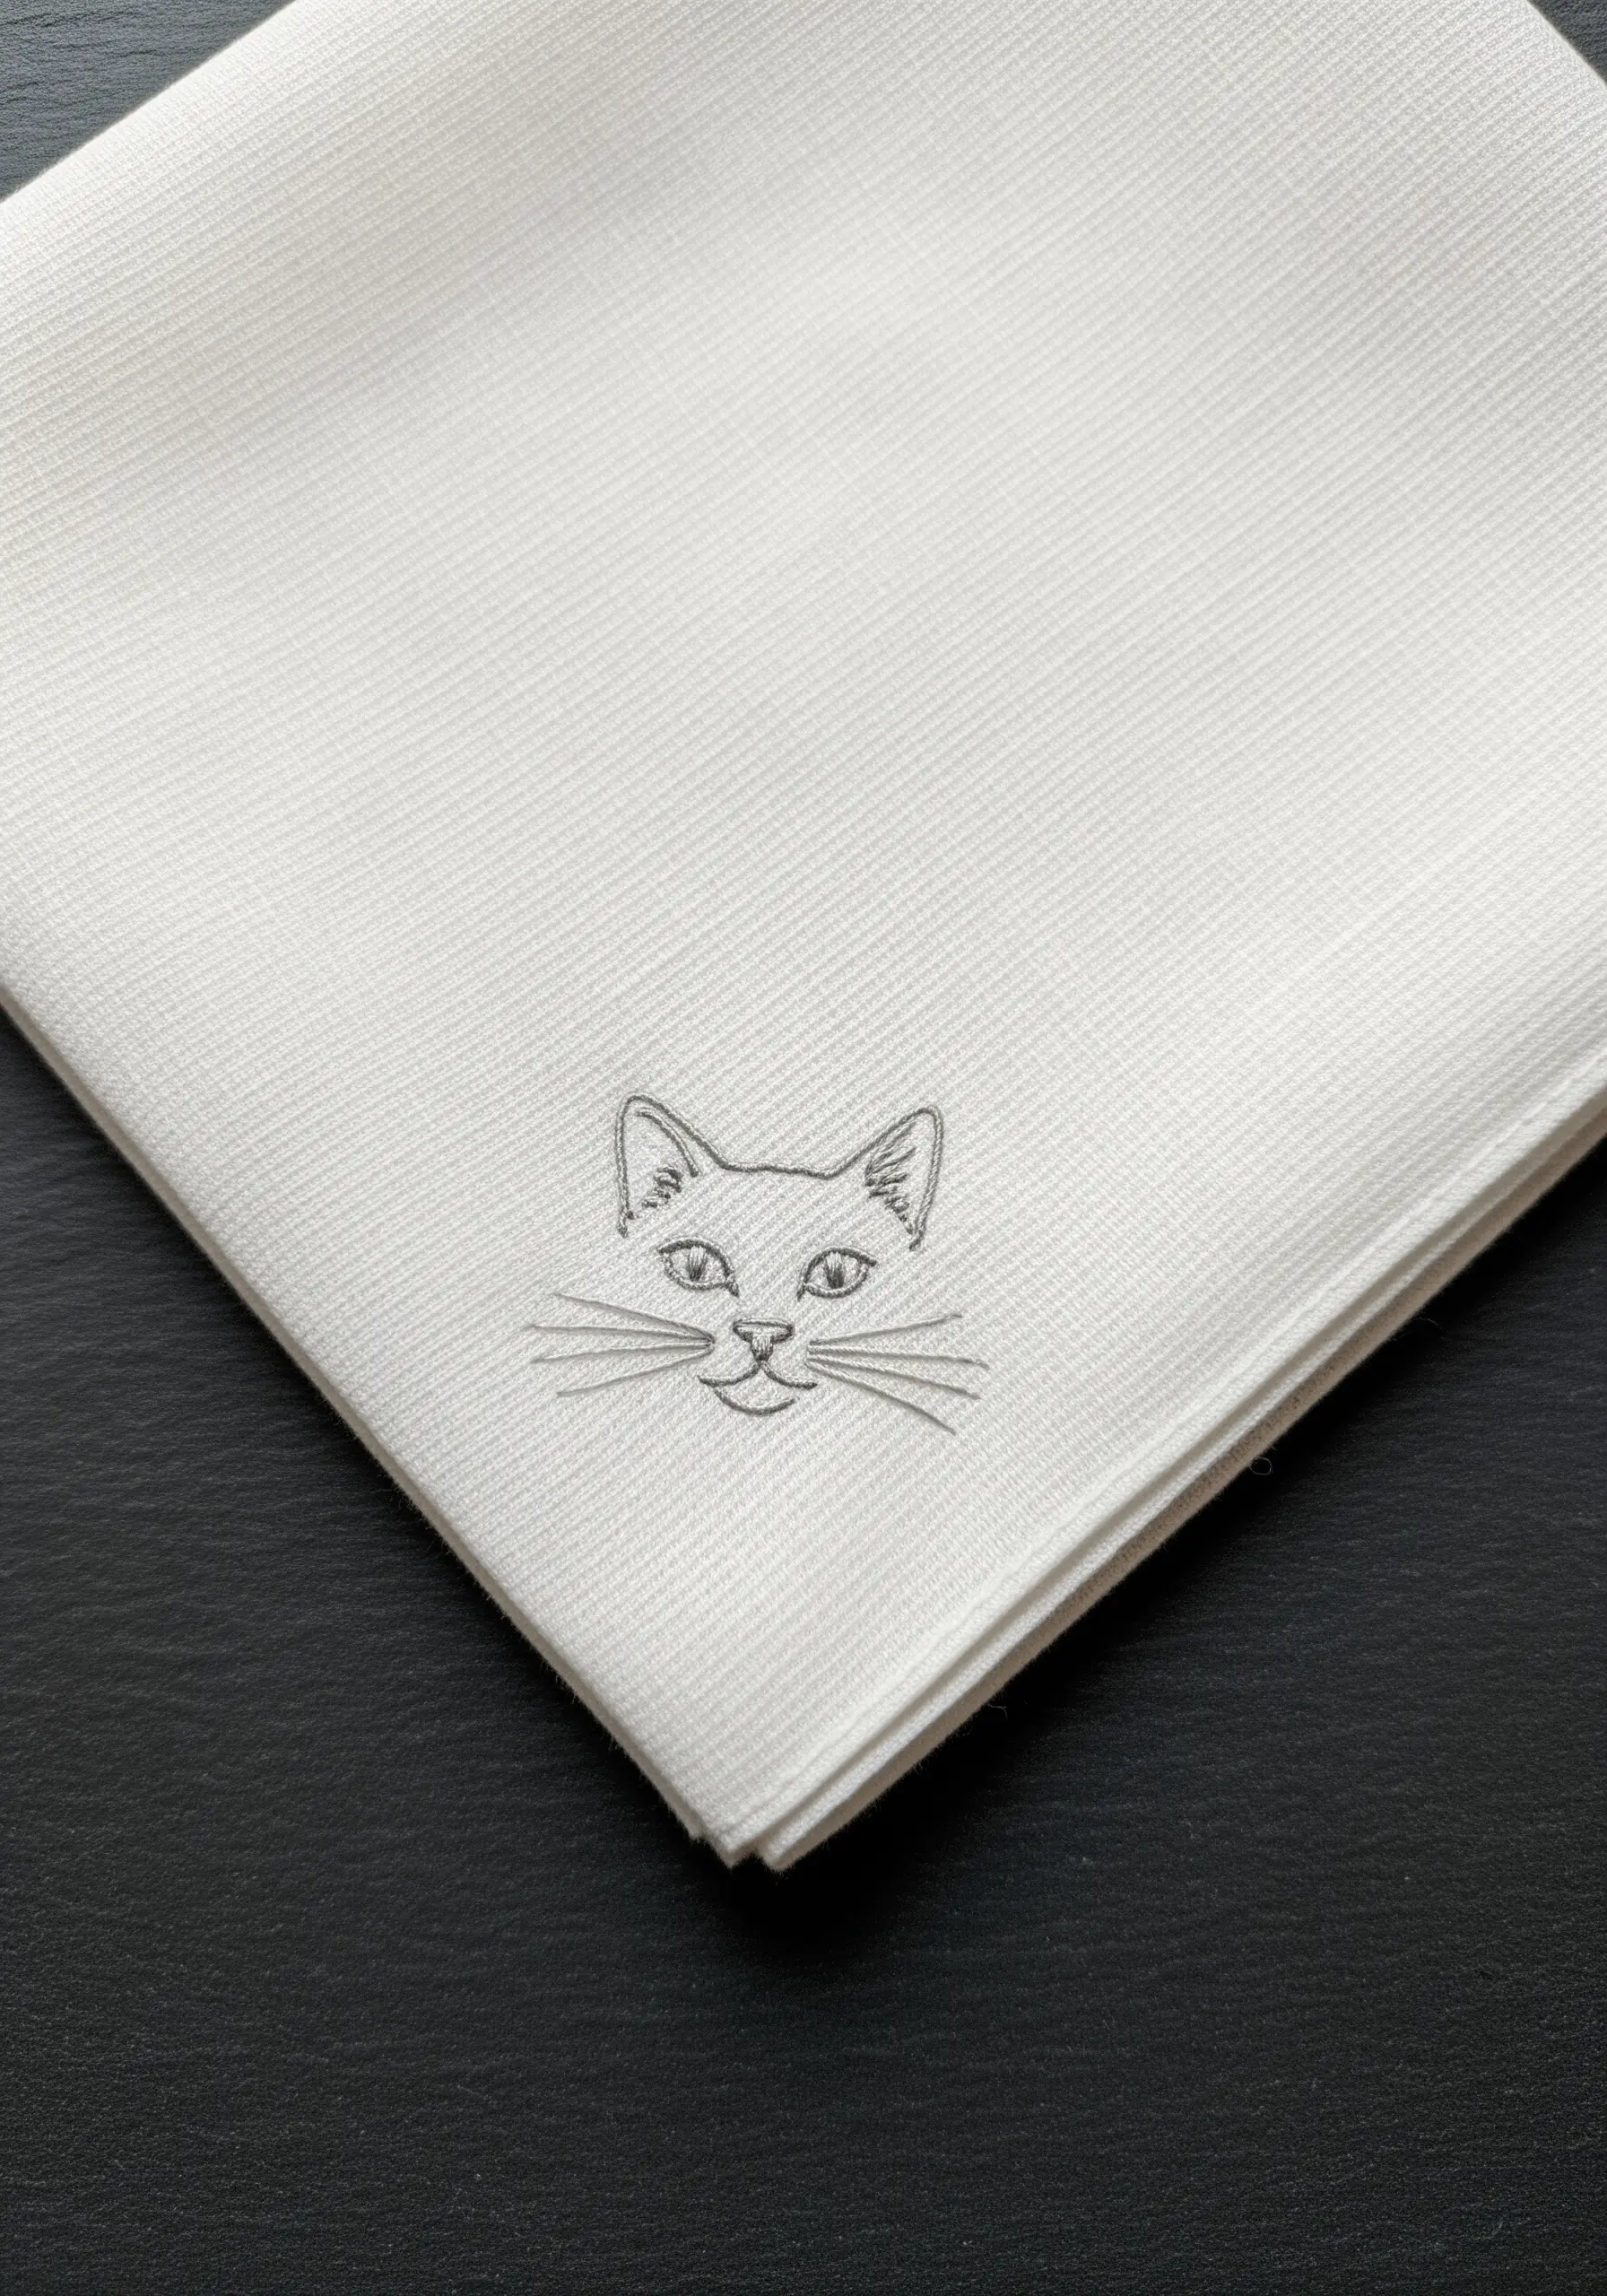
When your canvas is a small corner of a napkin or handkerchief, precision is paramount.
Use a single strand of high-quality cotton floss to achieve the sharpest possible lines.
A tiny backstitch is perfect for the main facial features, while single straight stitches create flawlessly crisp whiskers.
This minimalist approach is the key to executing elegant modern minimalist table linen embroidery ideas.
19. Combining Outline and Fill for Dynamic Poses
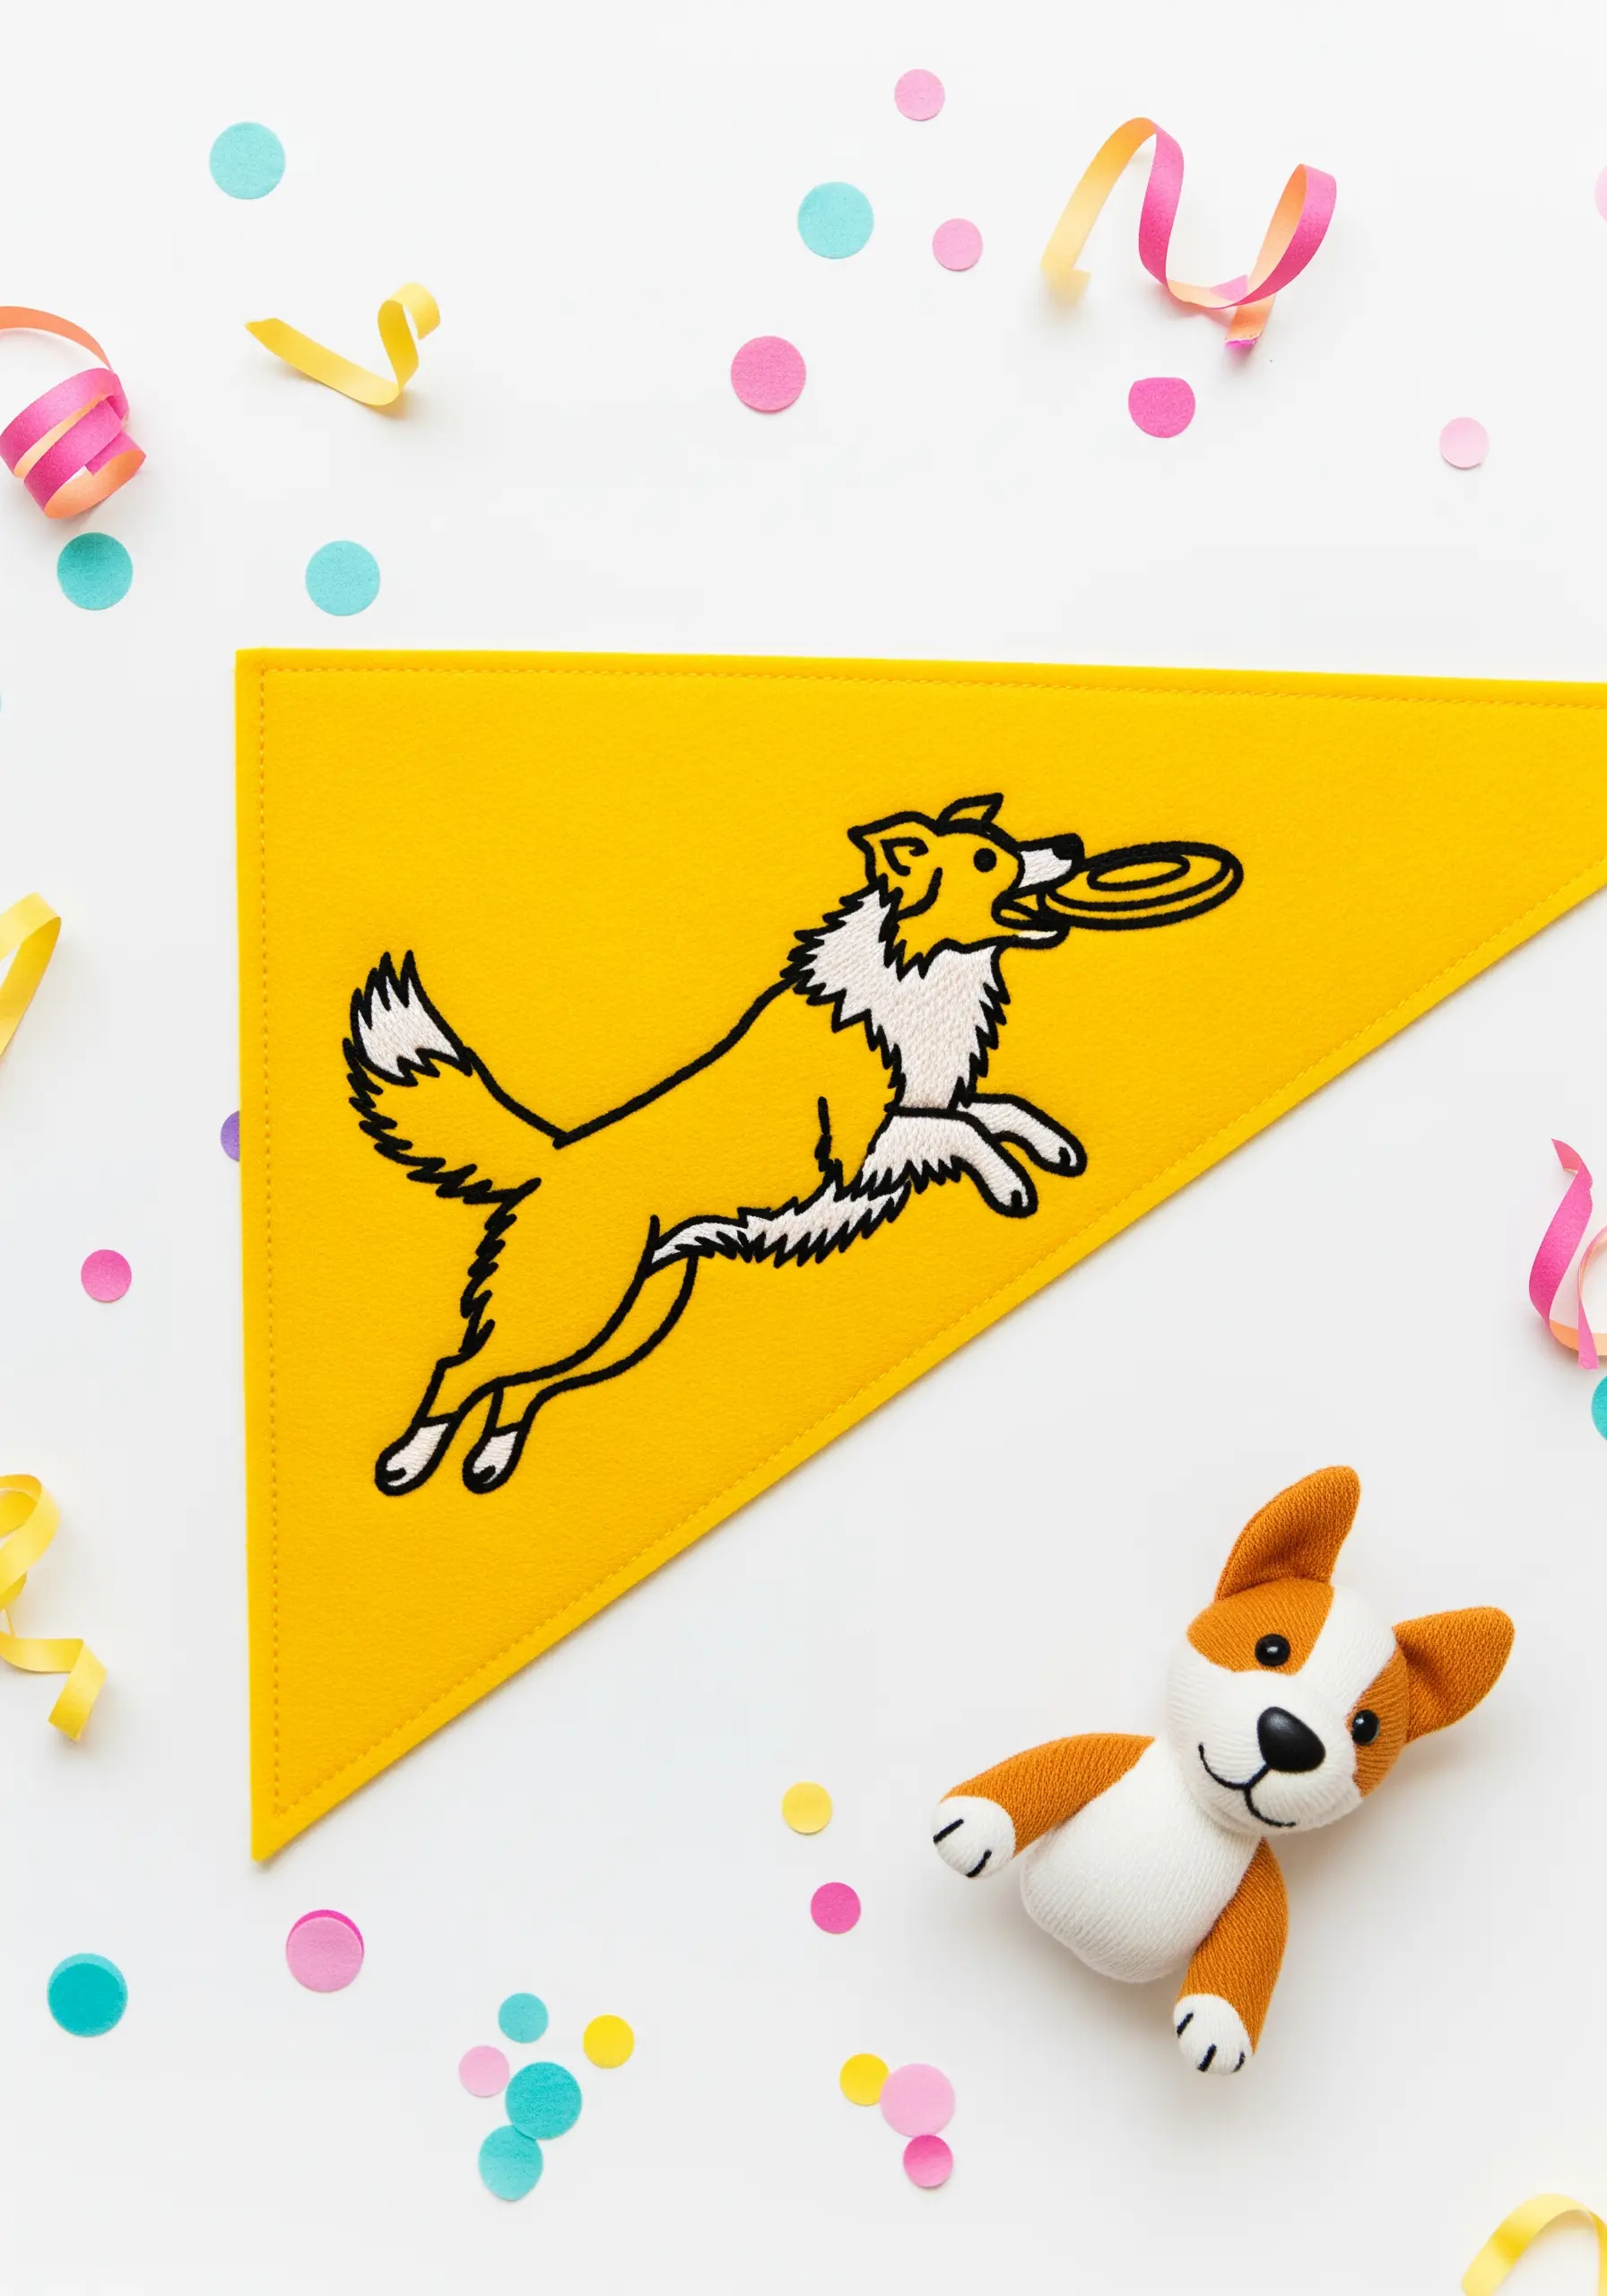
To give an active pose energy and focus, use a combination of outline and fill stitches.
Define the animal’s contour with a bold stem stitch in a dark color like black.
Then, selectively fill key areas—like a fluffy tail or chest—with a smooth satin stitch in a contrasting color.
This interplay of texture and color draws the eye and creates a powerful sense of movement.
20. Stitching Through Cork Fabric
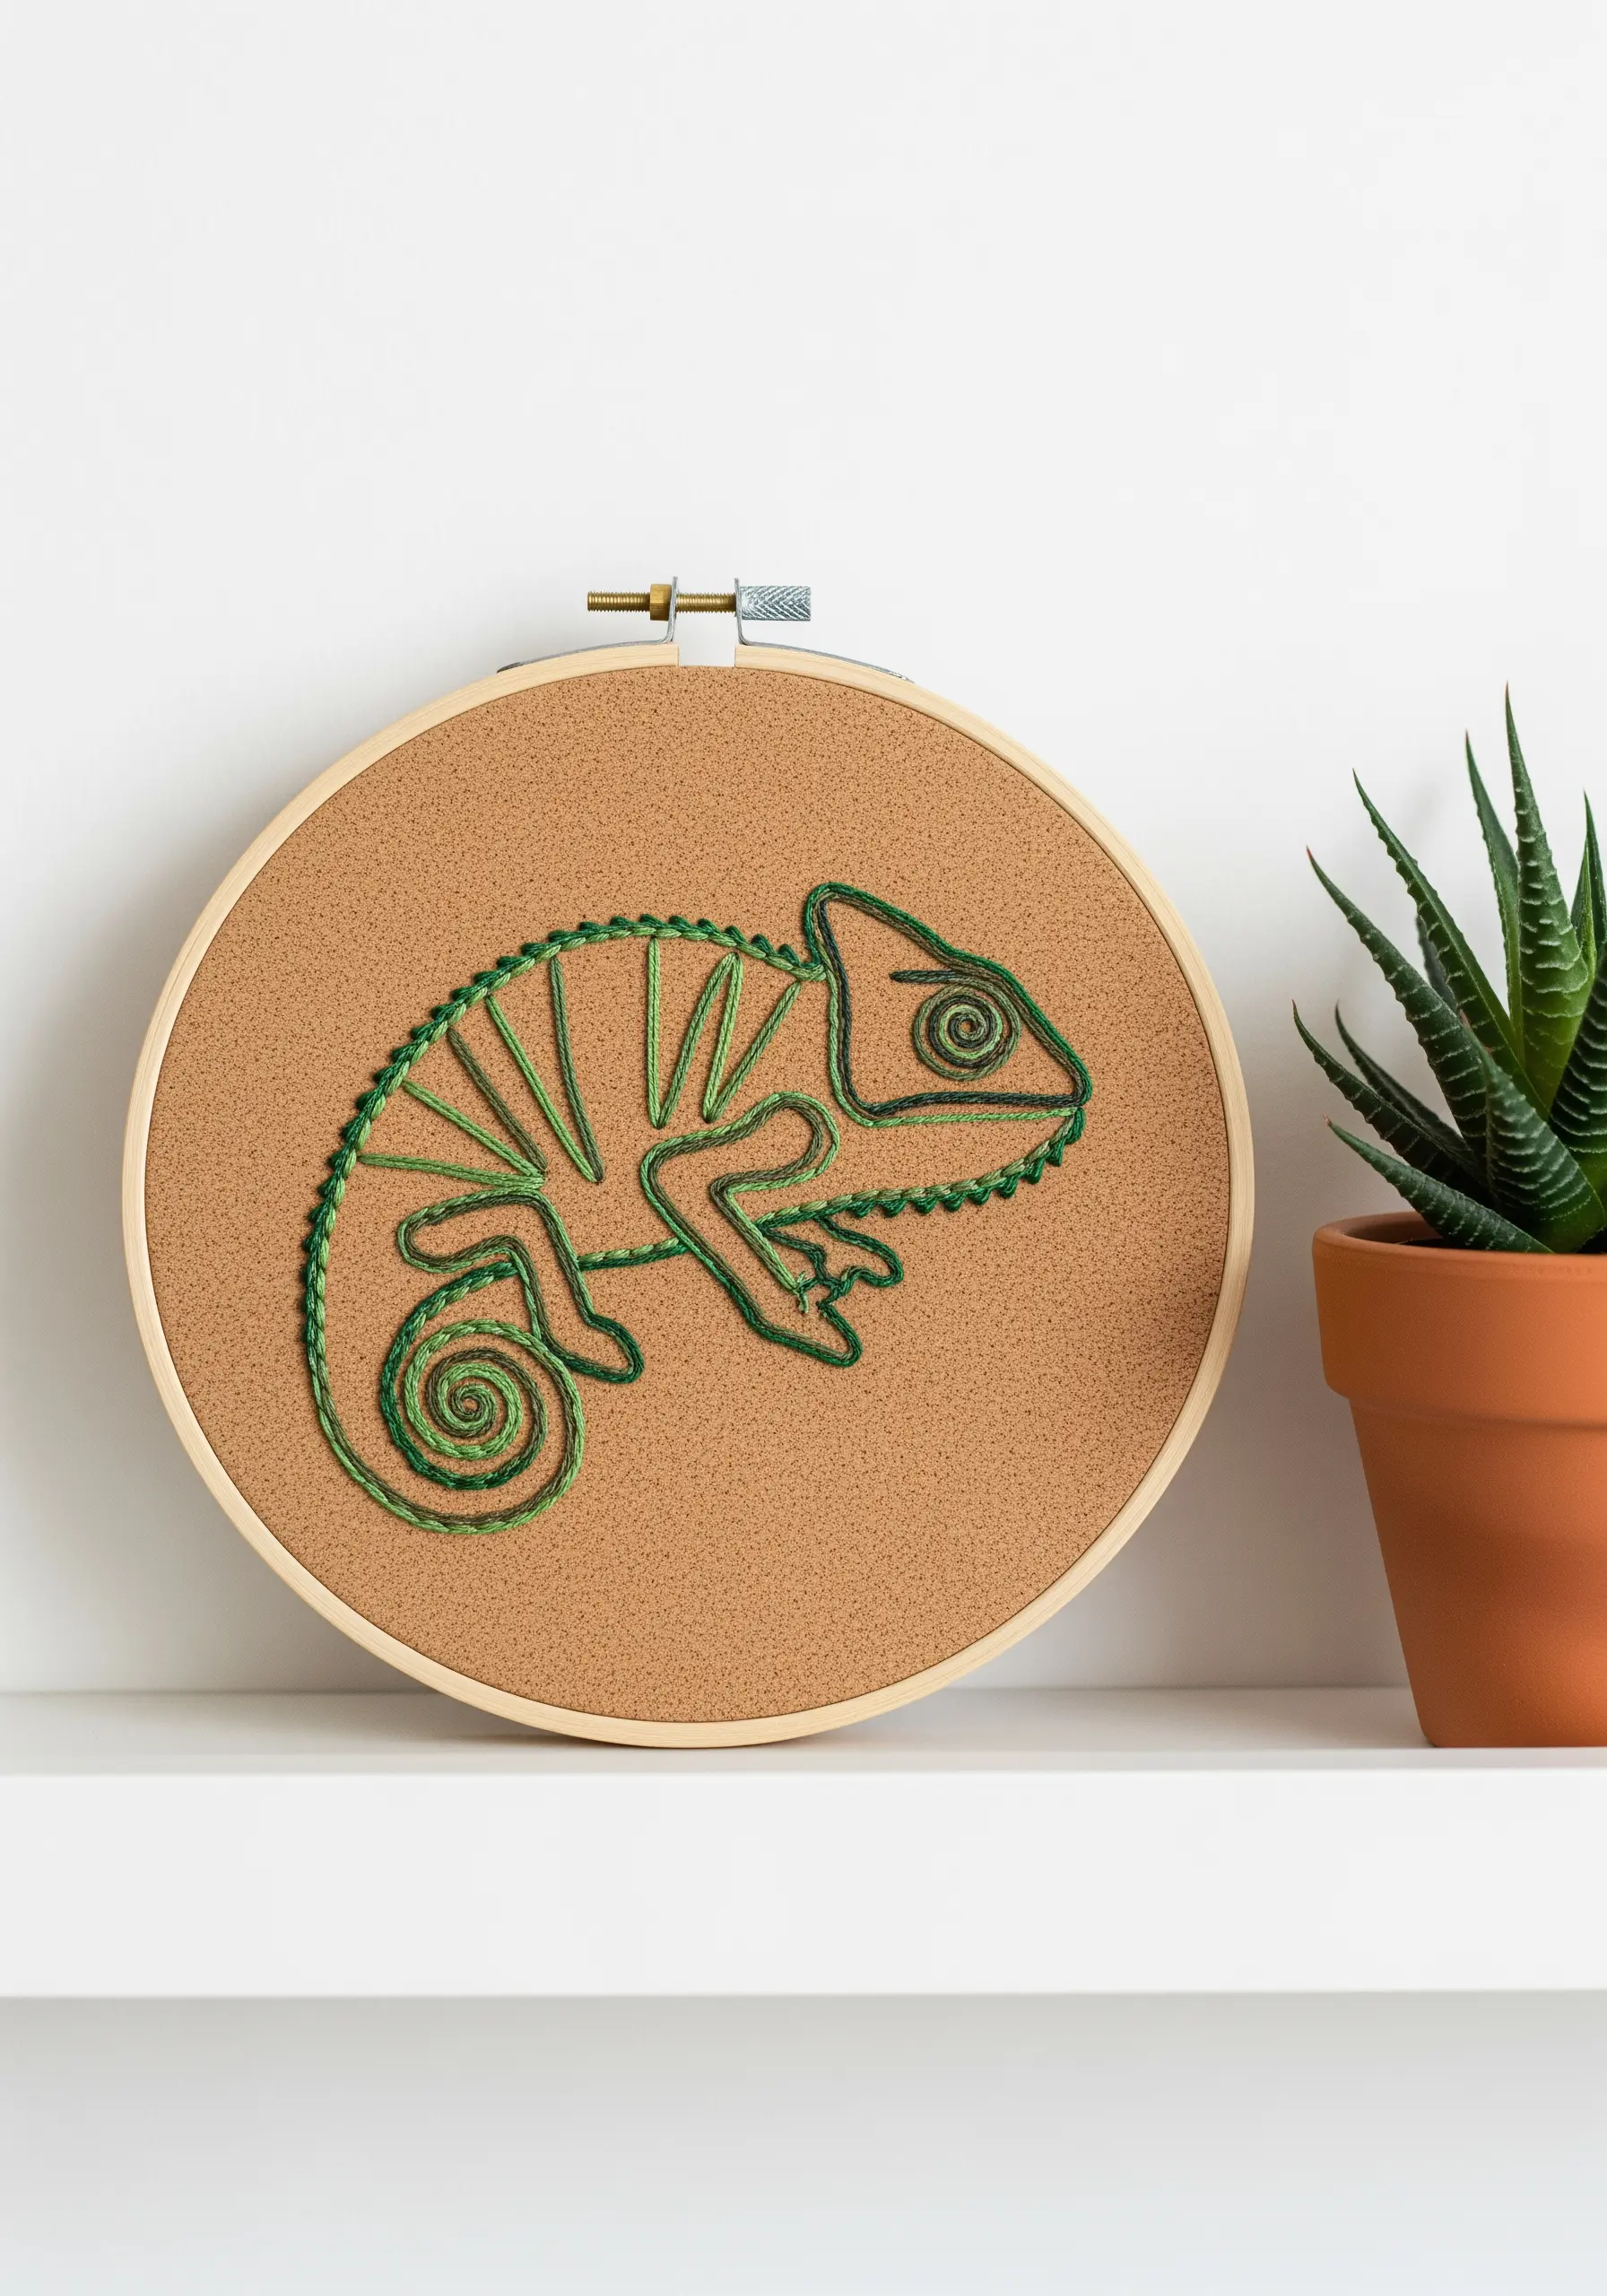
Cork is a surprising and wonderfully stable surface for embroidery.
Use a standard, sharp needle to pierce it cleanly. A chain stitch is an excellent choice for this material, as its looped structure creates a bold, decorative line that stands out against the cork’s natural texture.
It also distributes thread tension evenly, preventing any pulling or tearing of the fabric.
21. Embossing-Effect Stitching on Leather
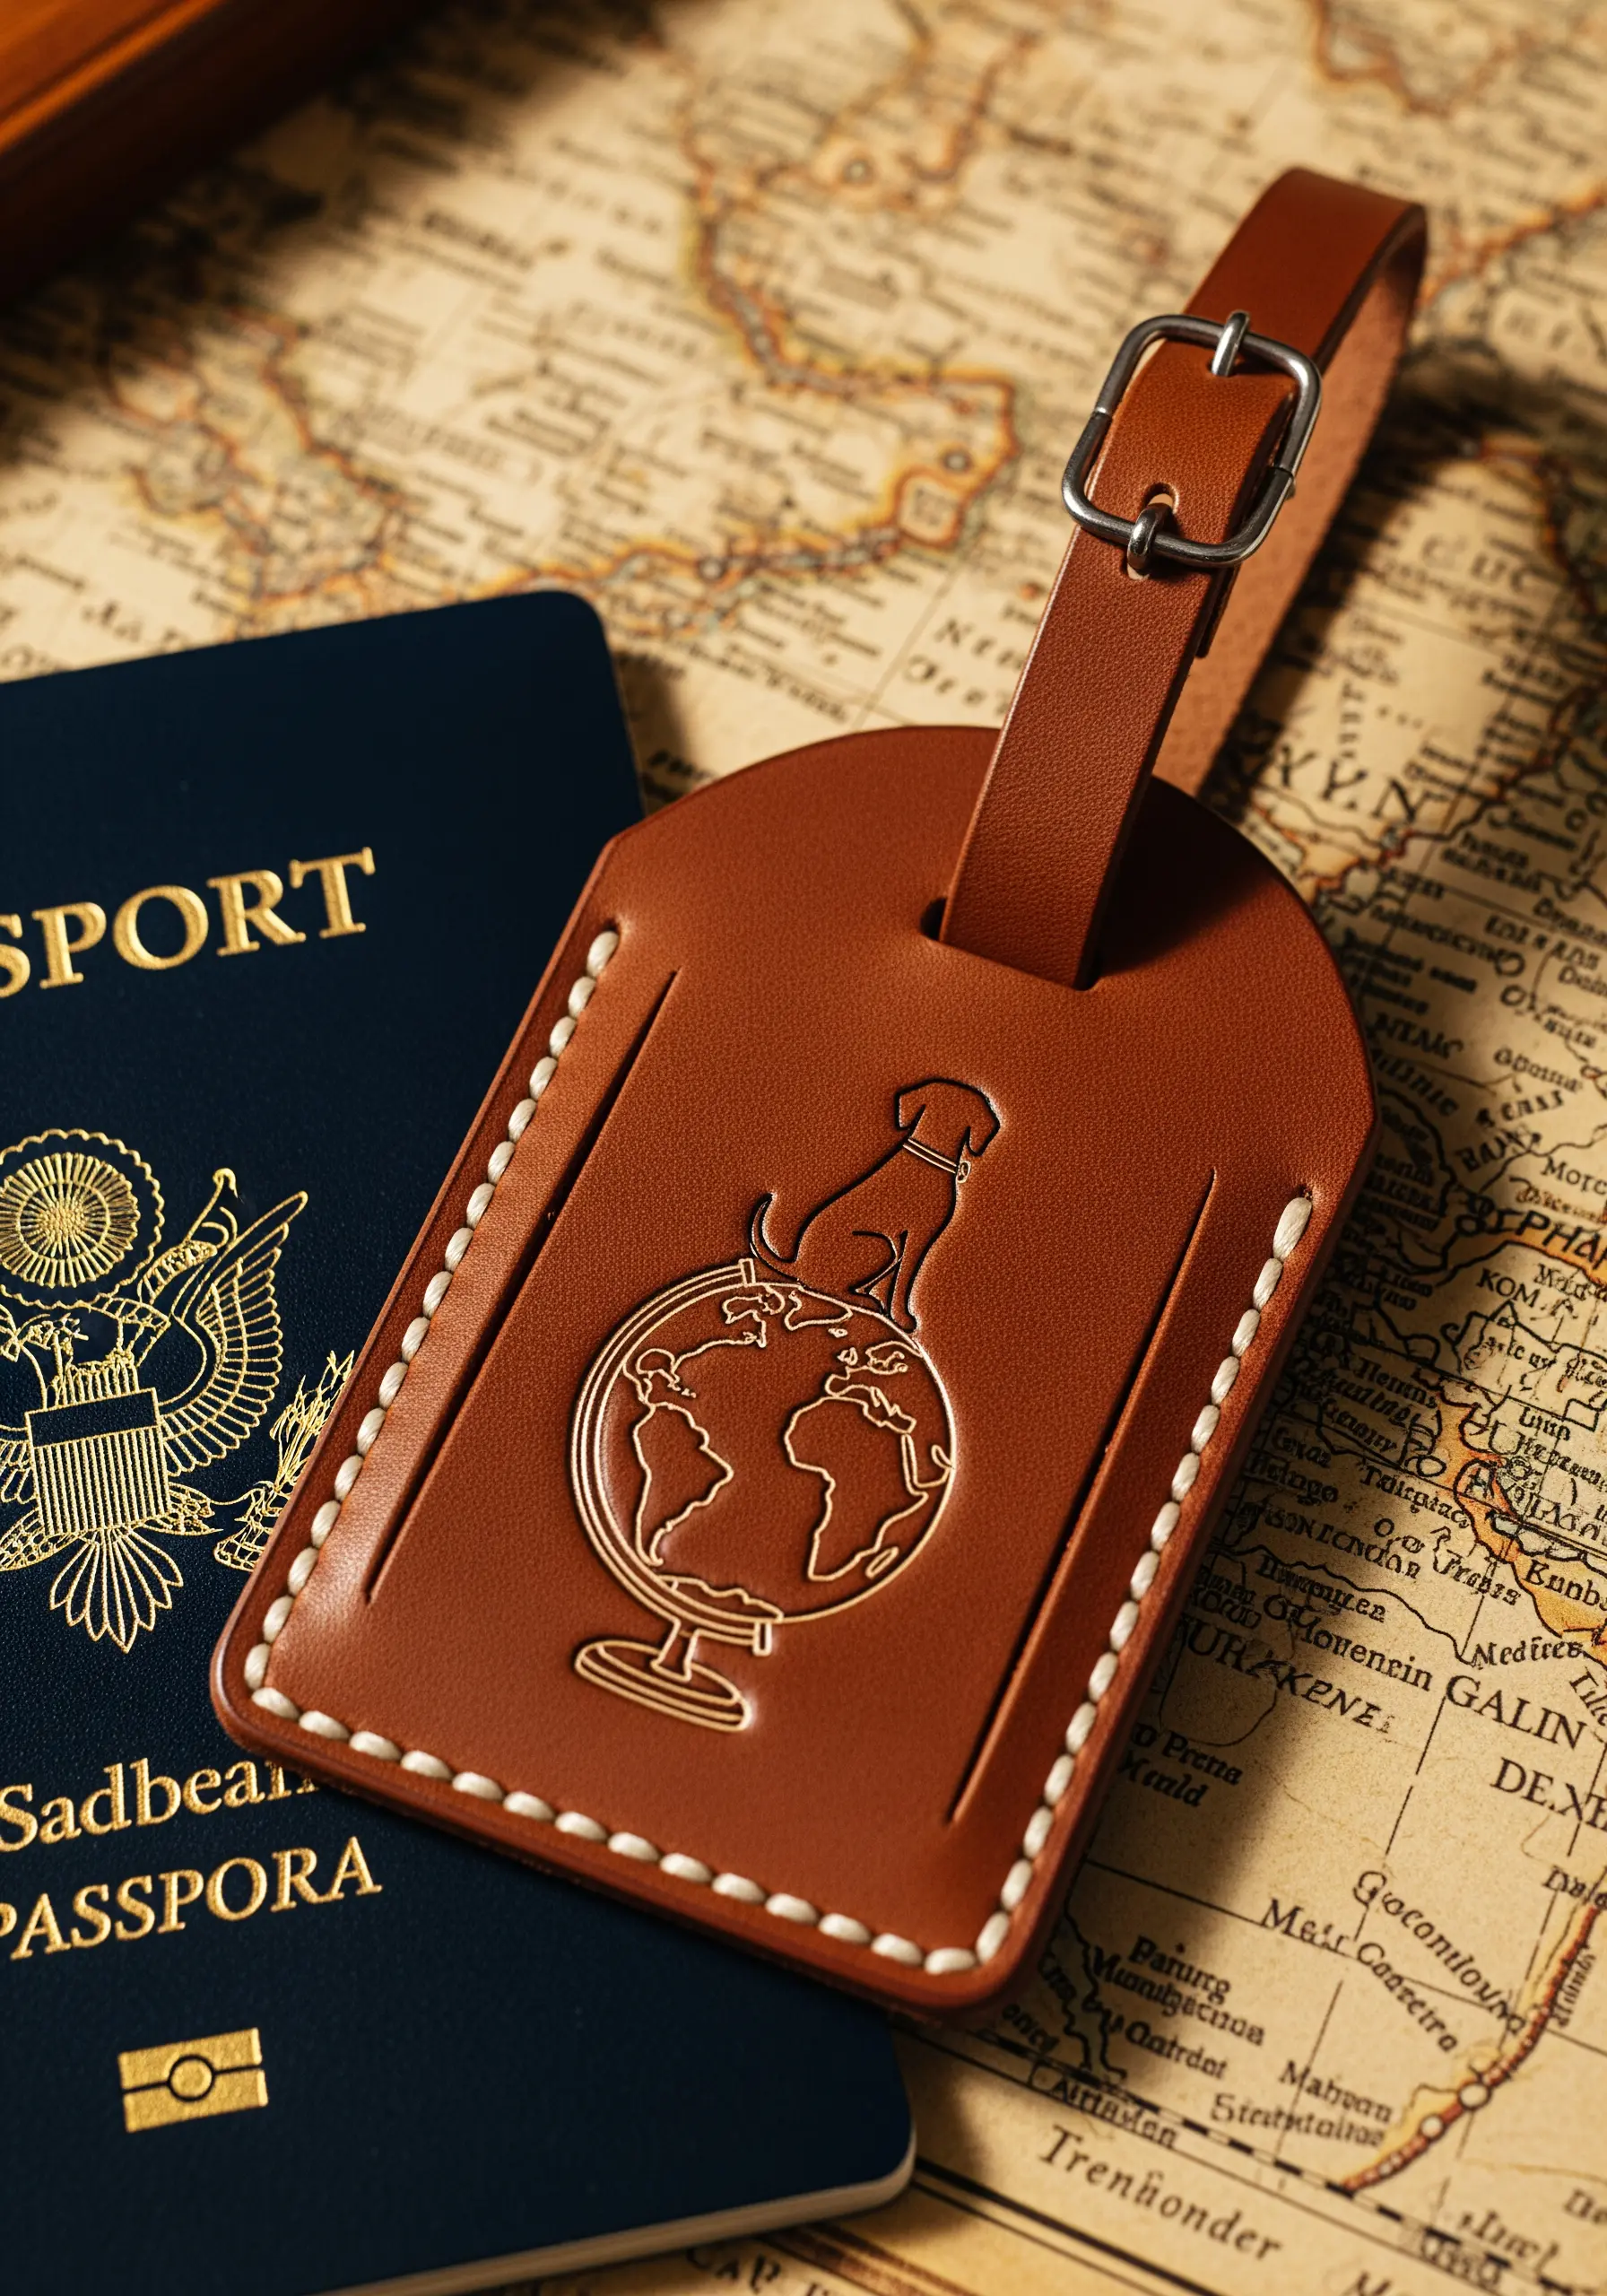
To embroider on non-woven materials like leather or vegan leather, you need a specialized leather needle.
Its unique triangular point pierces the material cleanly without causing tears.
Since every hole is permanent, plan your stitch placement carefully.
A simple backstitch with a slightly thicker thread (three or four strands) creates a crisp, debossed line that looks exceptionally refined and professional.
22. Large-Scale Thread Painting for Statement Art
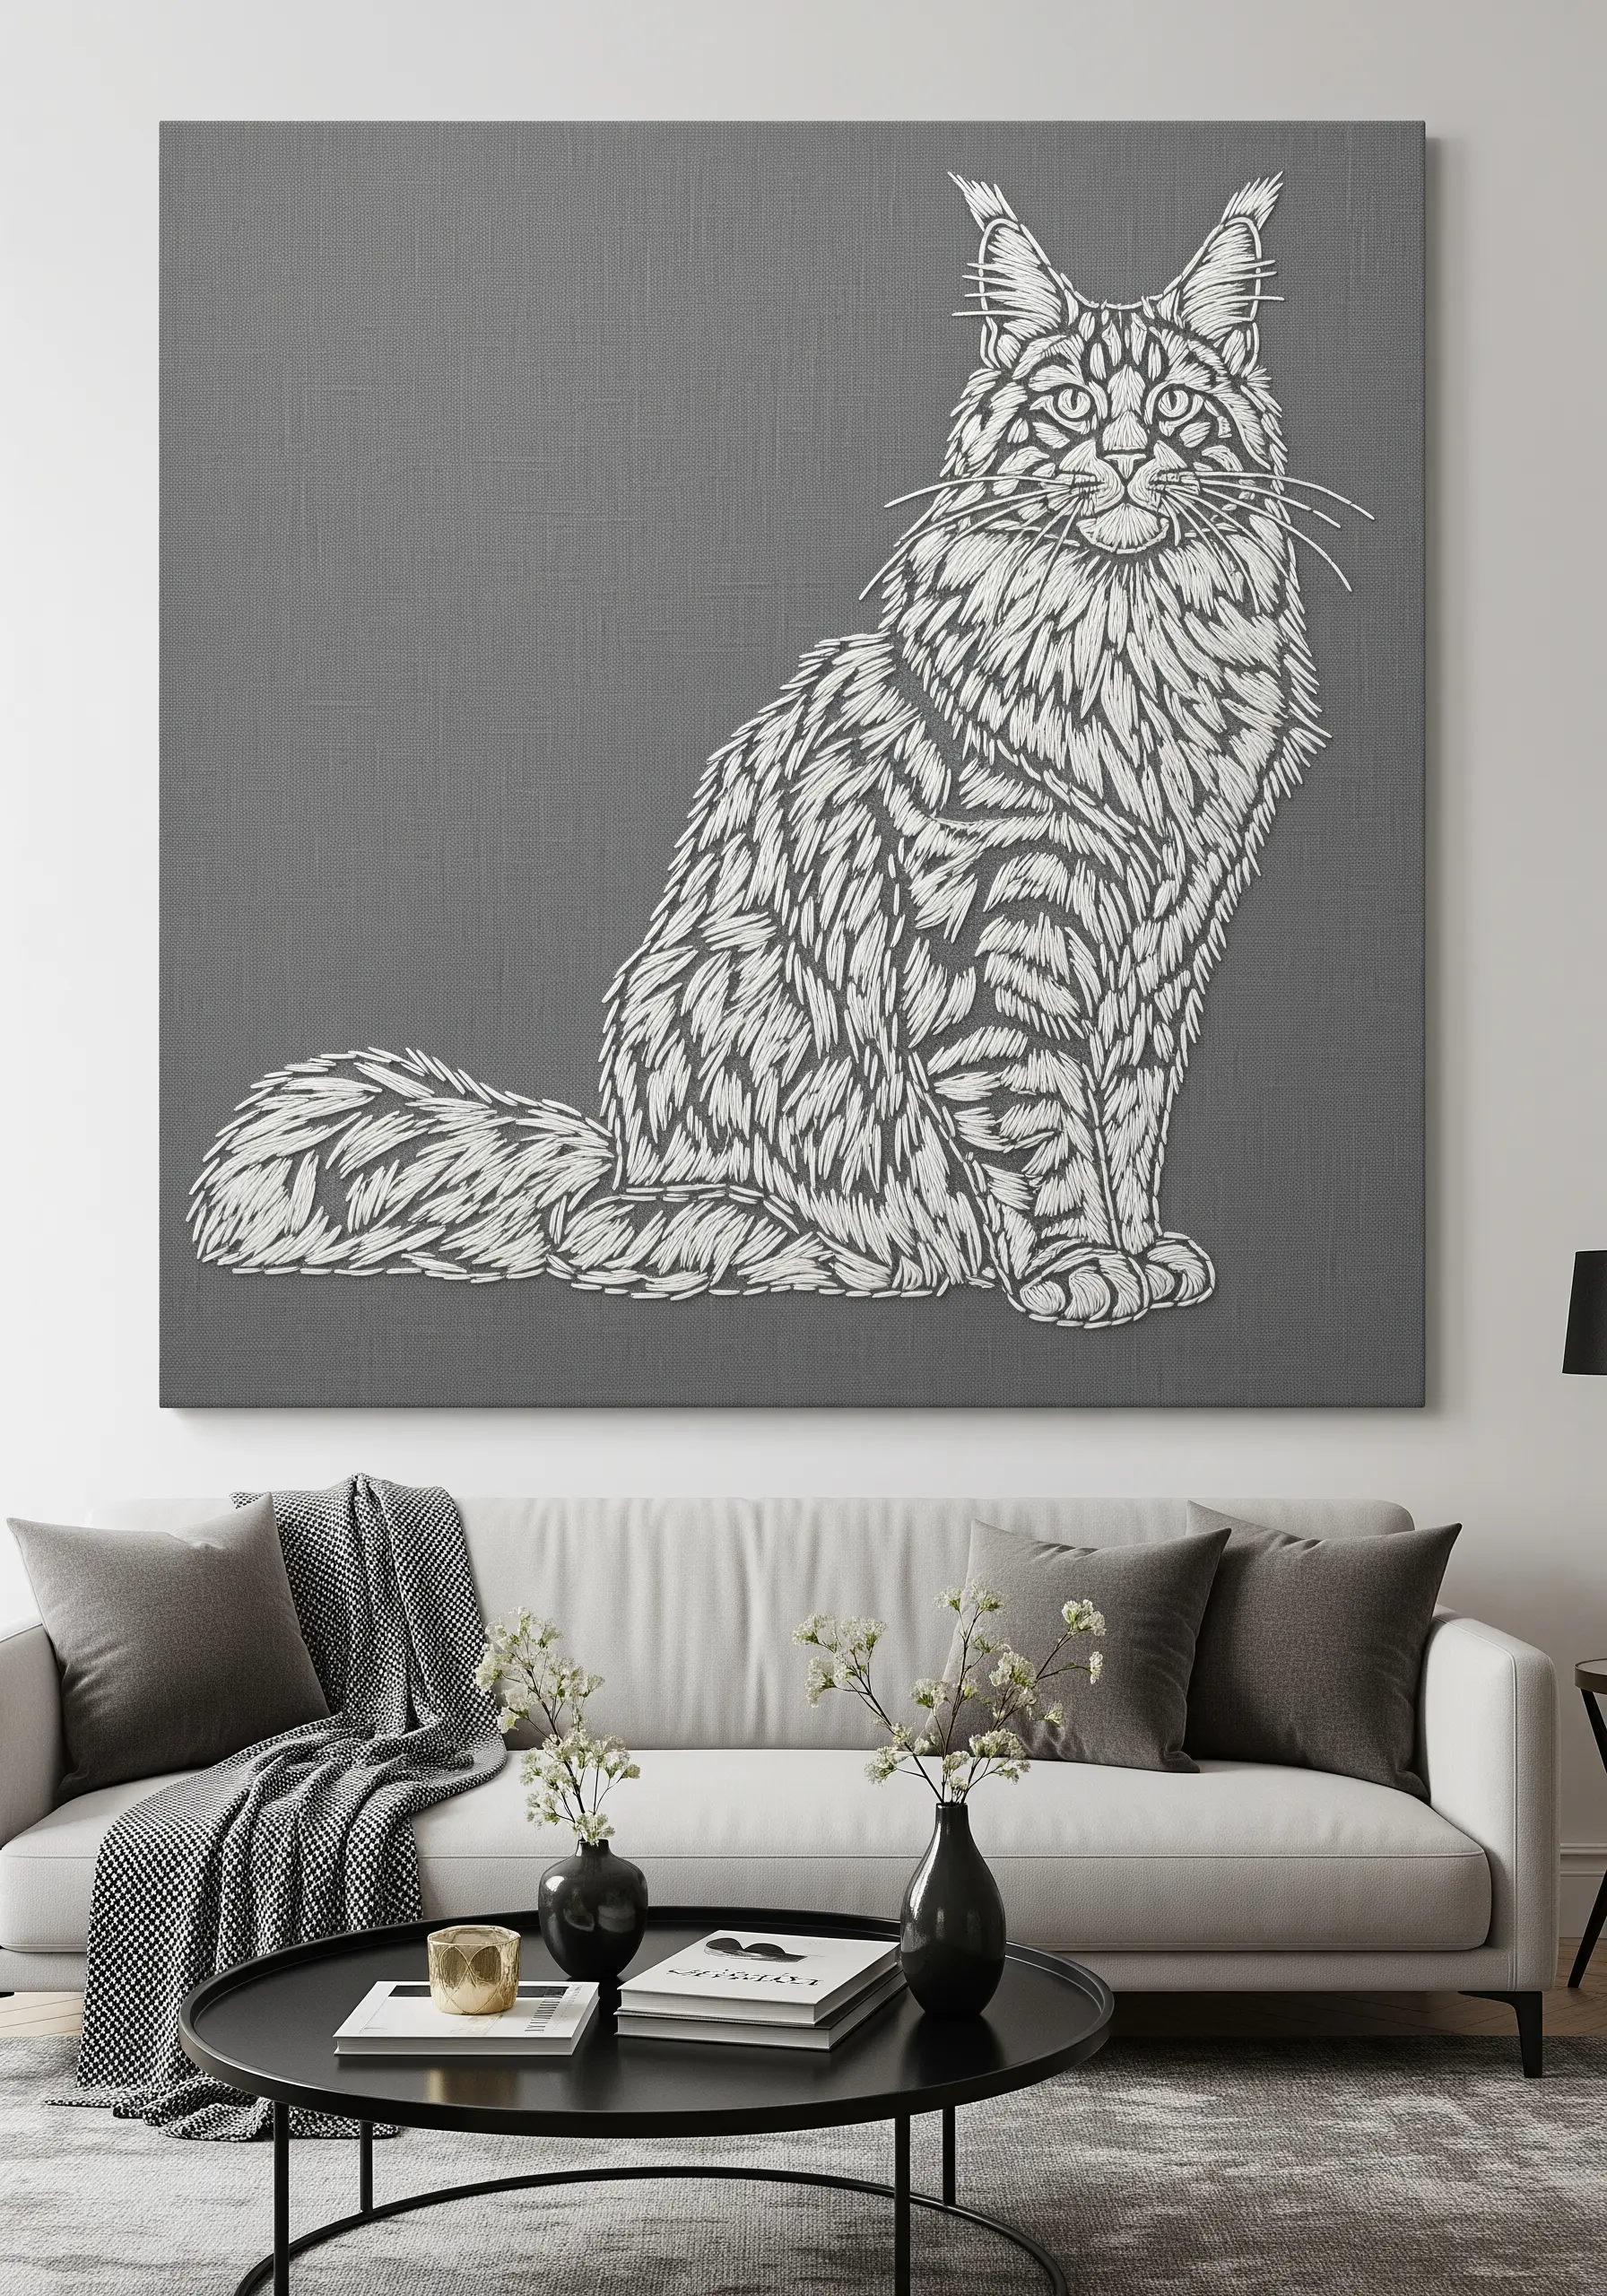
To create a large, textural portrait, treat your needle like a paintbrush and your thread like paint.
Use long-and-short stitches, varying their direction to follow the natural flow and contours of the animal’s fur.
Even with a single color, you can create immense depth by layering your stitches to build shadows and highlights.
This approach elevates a simple sketch into a stunning work of contemporary thread painting.
23. Activating Negative Space with Pattern
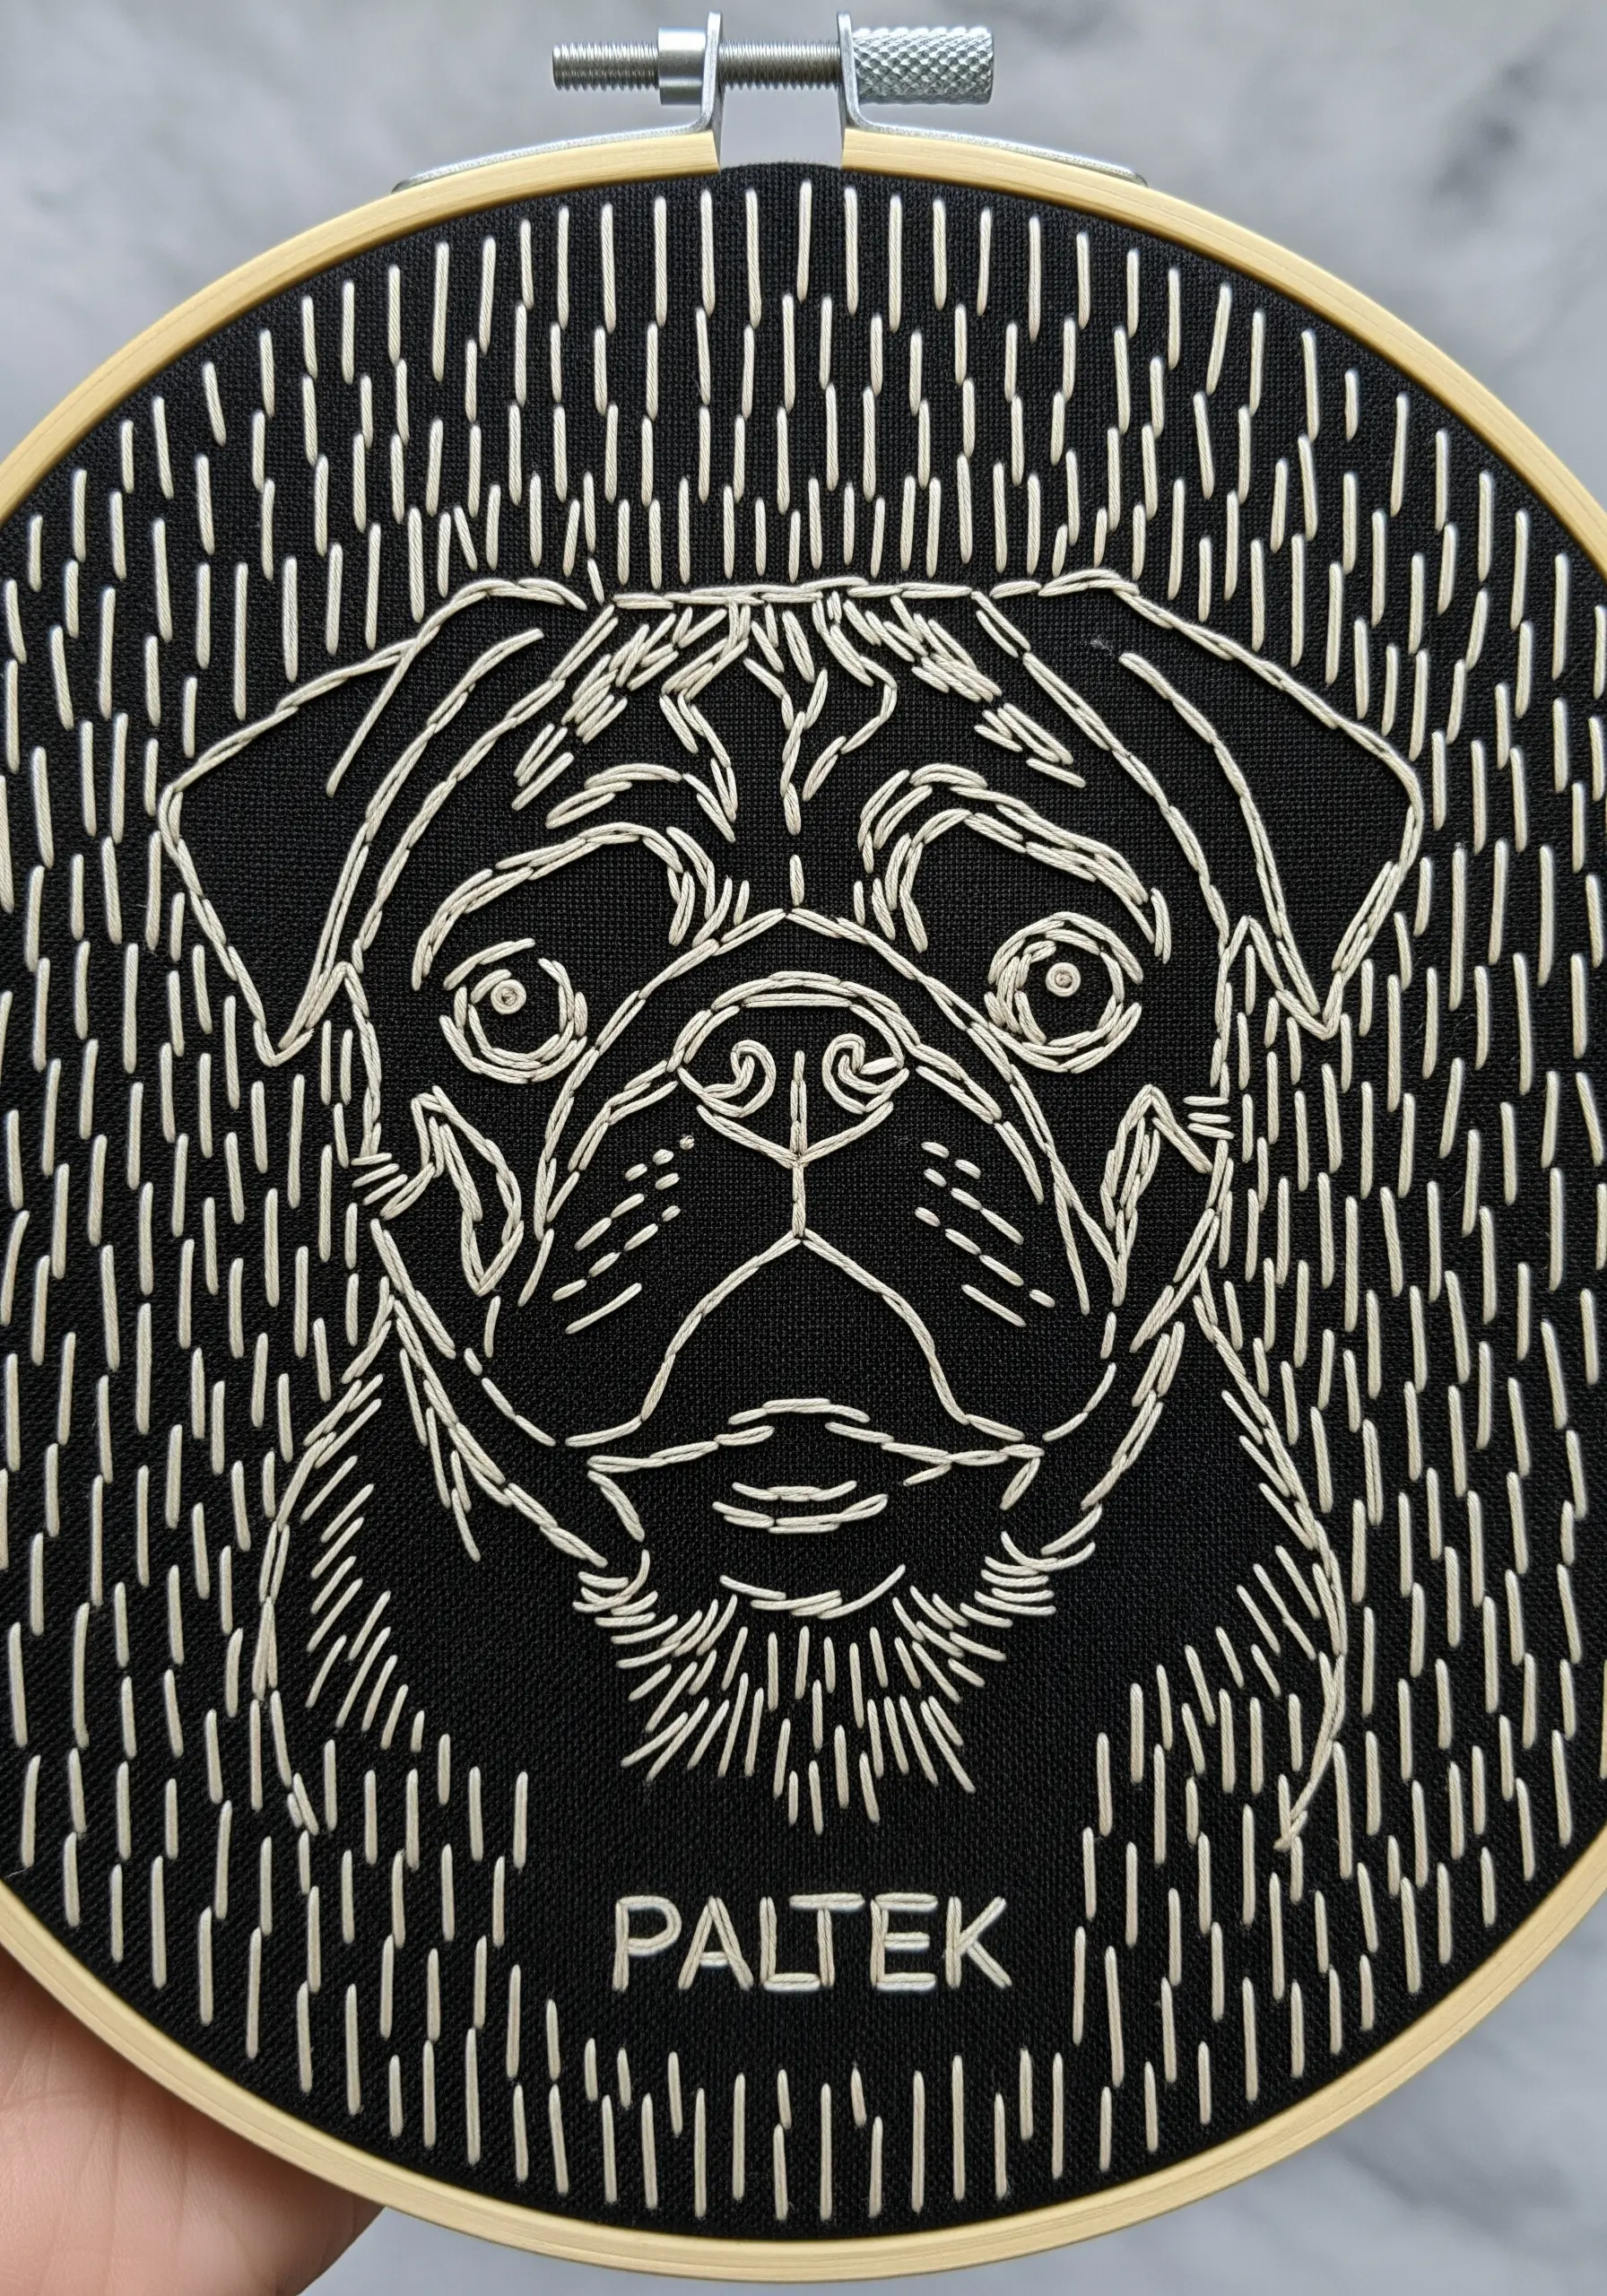
Make your central portrait the undeniable focal point by adding a simple, graphic texture to the background.
A pattern of repeating vertical straight stitches—often called ‘rain’ stitches—fills the negative space with a modern, linear pattern.
This technique provides a dynamic contrast to the organic curves of the pet’s face, making the entire composition feel complete and deliberate.
24. A Minimalist Menagerie for Coasters
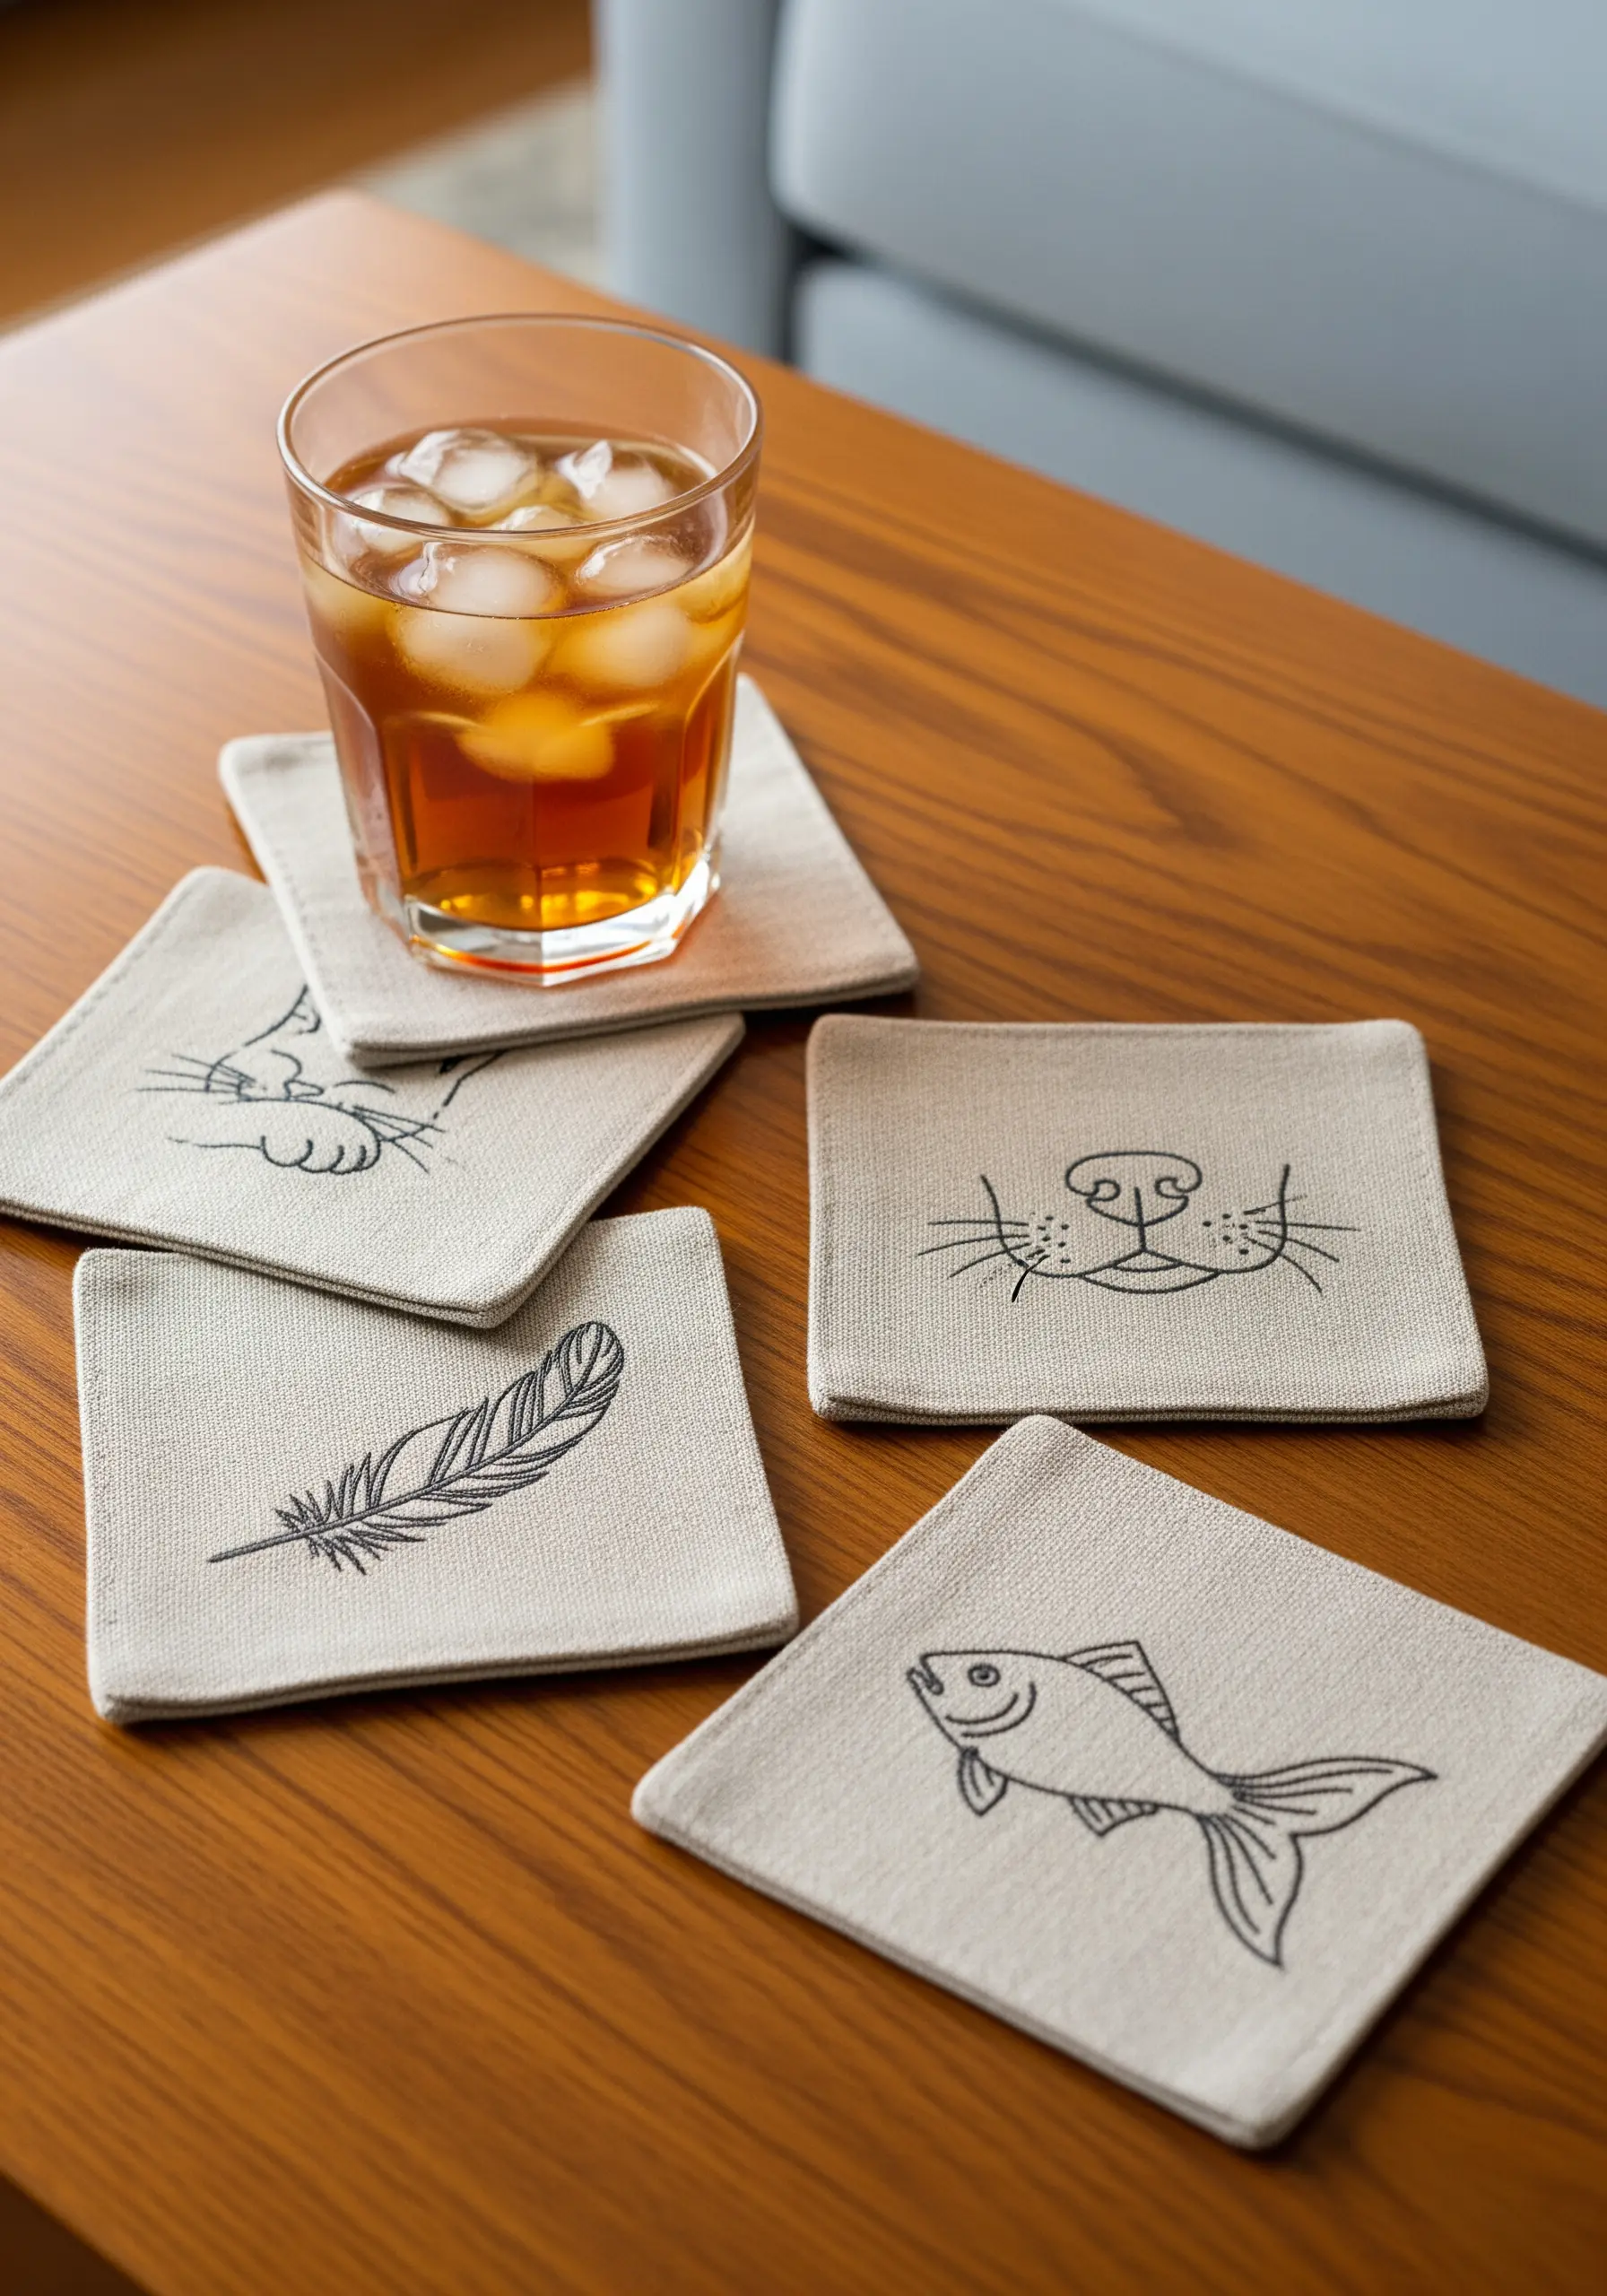
When creating a coordinated set of small, functional items like coasters, less is more.
Reduce each animal’s features to their most essential, recognizable lines.
Use a single strand of floss and a neat backstitch to keep the look clean and uncluttered.
This cohesive simplicity ensures the set feels sophisticated and intentional, perfect for adorable mini-stitch ideas that make perfect gifts.
25. Embroidery on Ribbed Knits
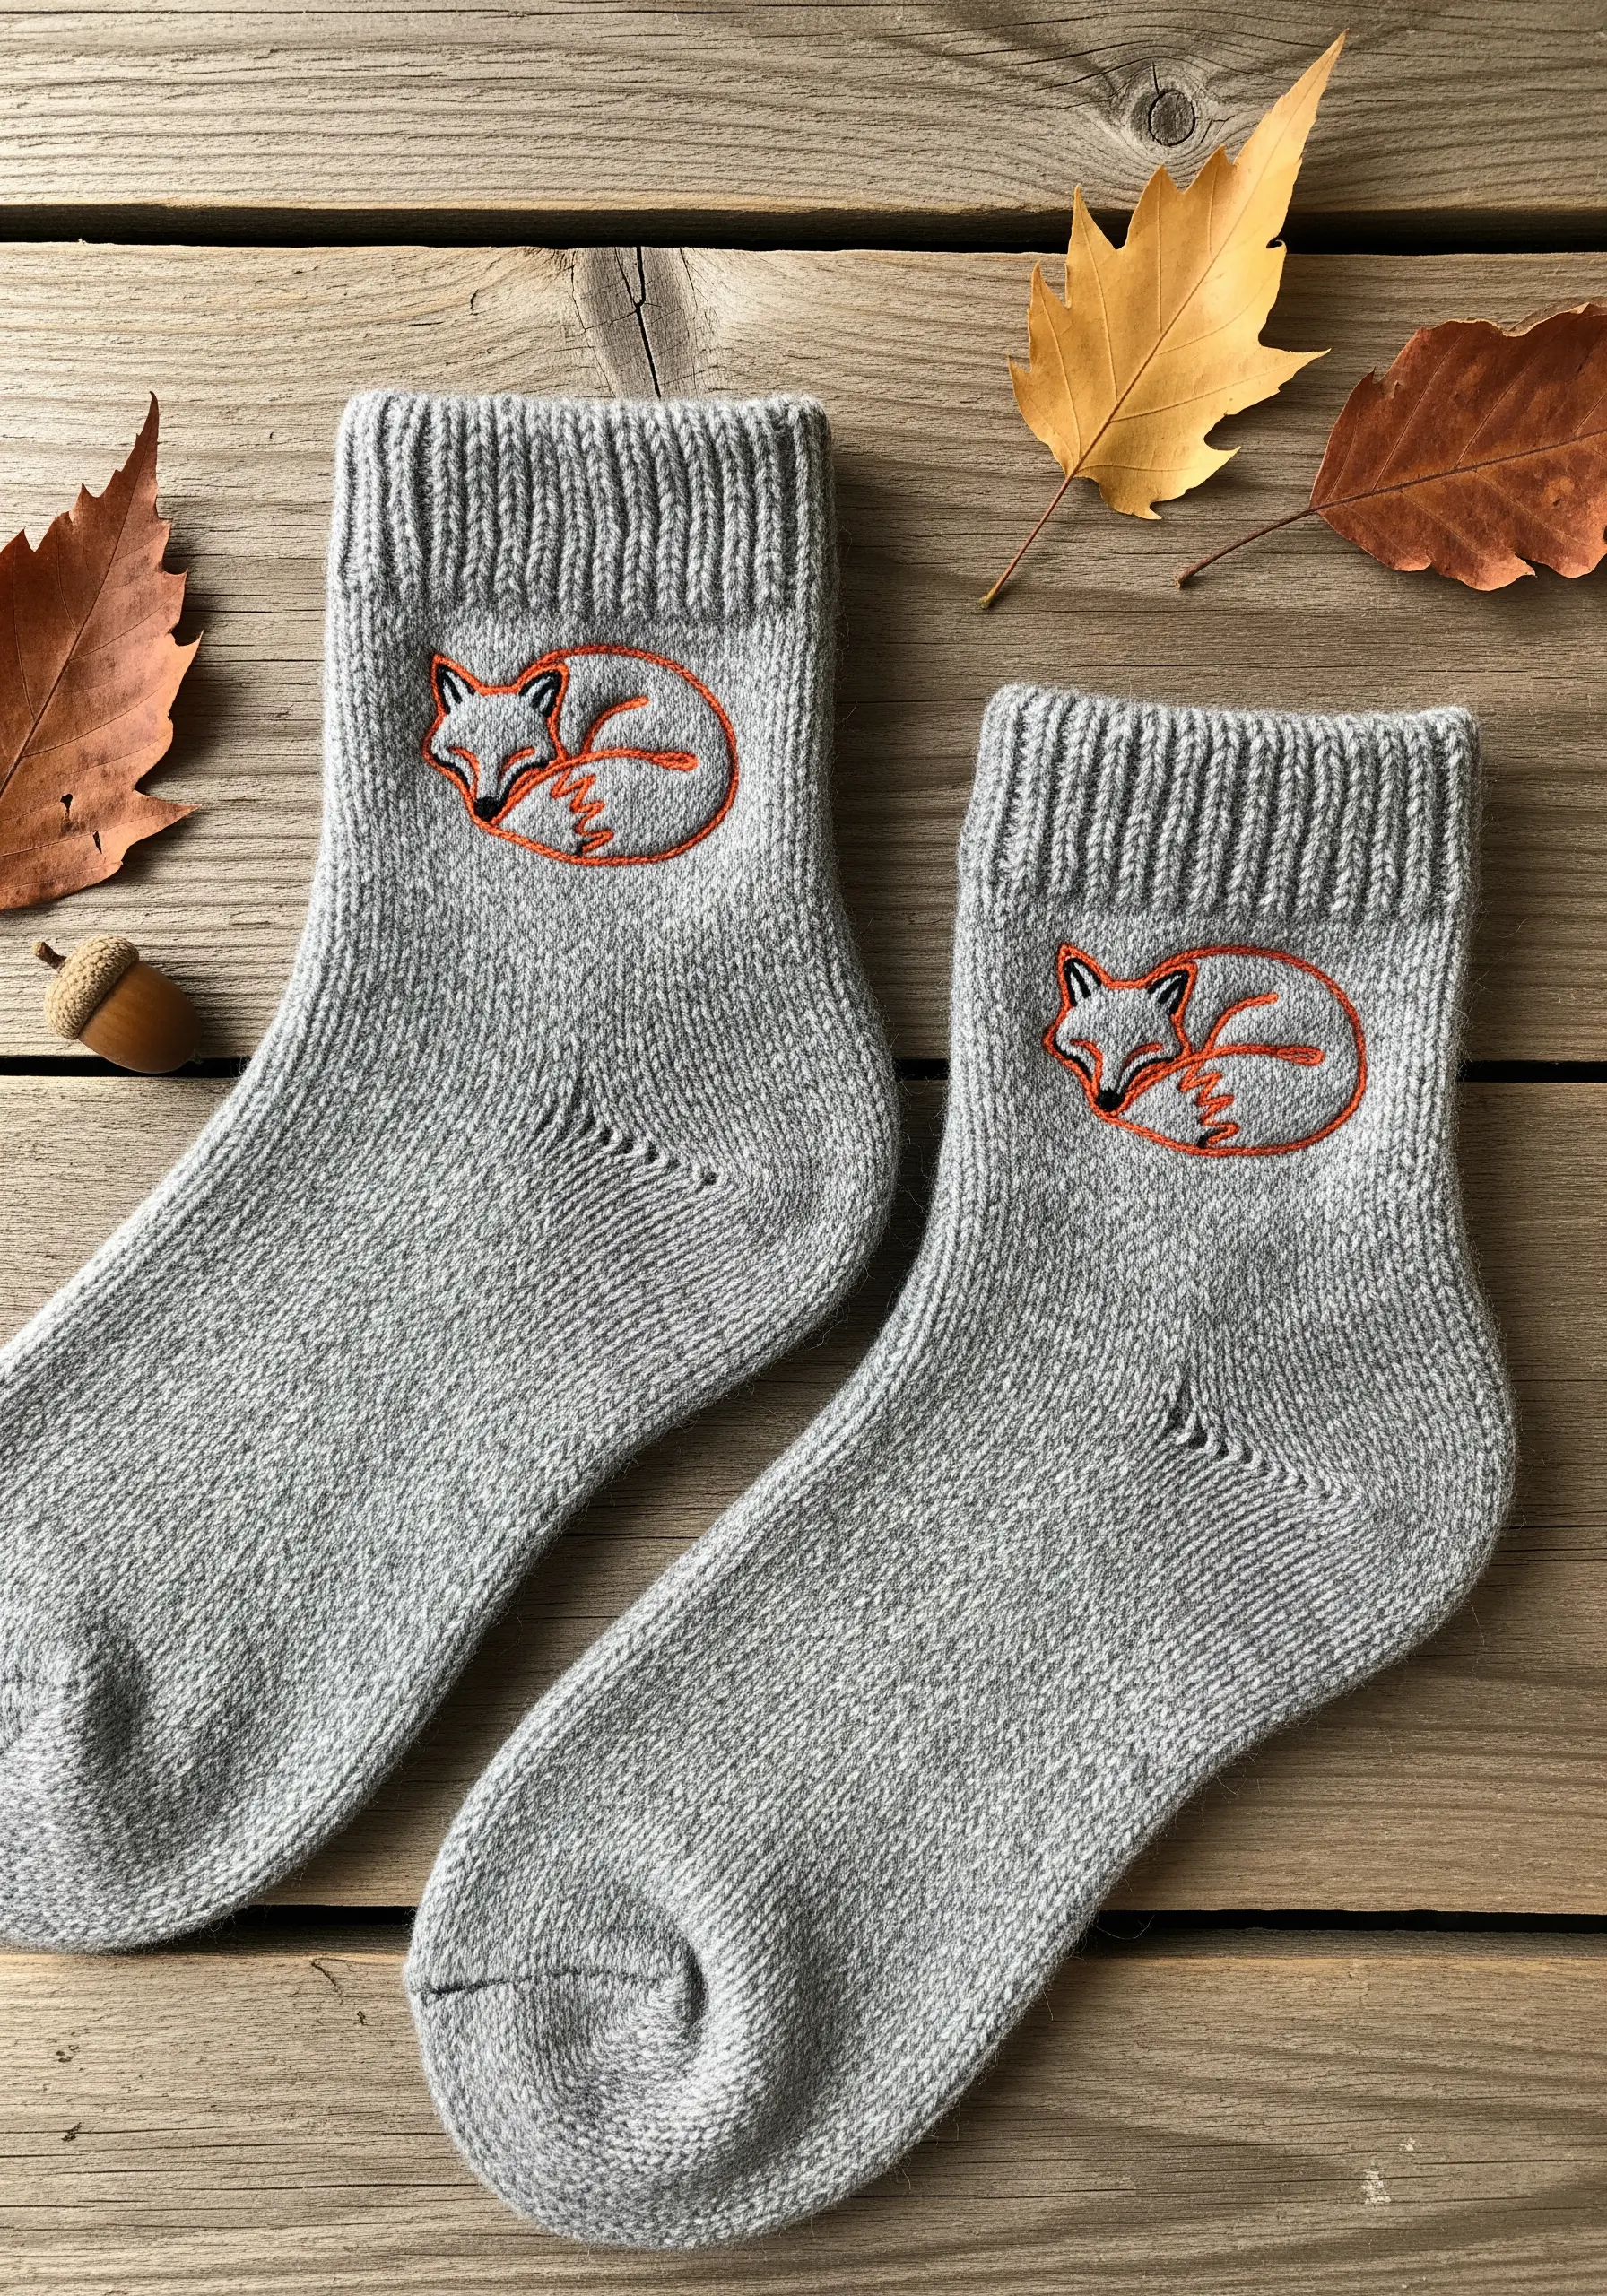
To prevent your stitches from disappearing into the grooves of a ribbed fabric like socks, you need to create a smooth surface.
Place a layer of water-soluble stabilizer over the top of the design area before you begin stitching.
This temporary layer provides a flat plane for your needle, ensuring your backstitch outline remains clean, even, and visible after the stabilizer is washed away.
26. Layering Stitches over a Watercolor Background
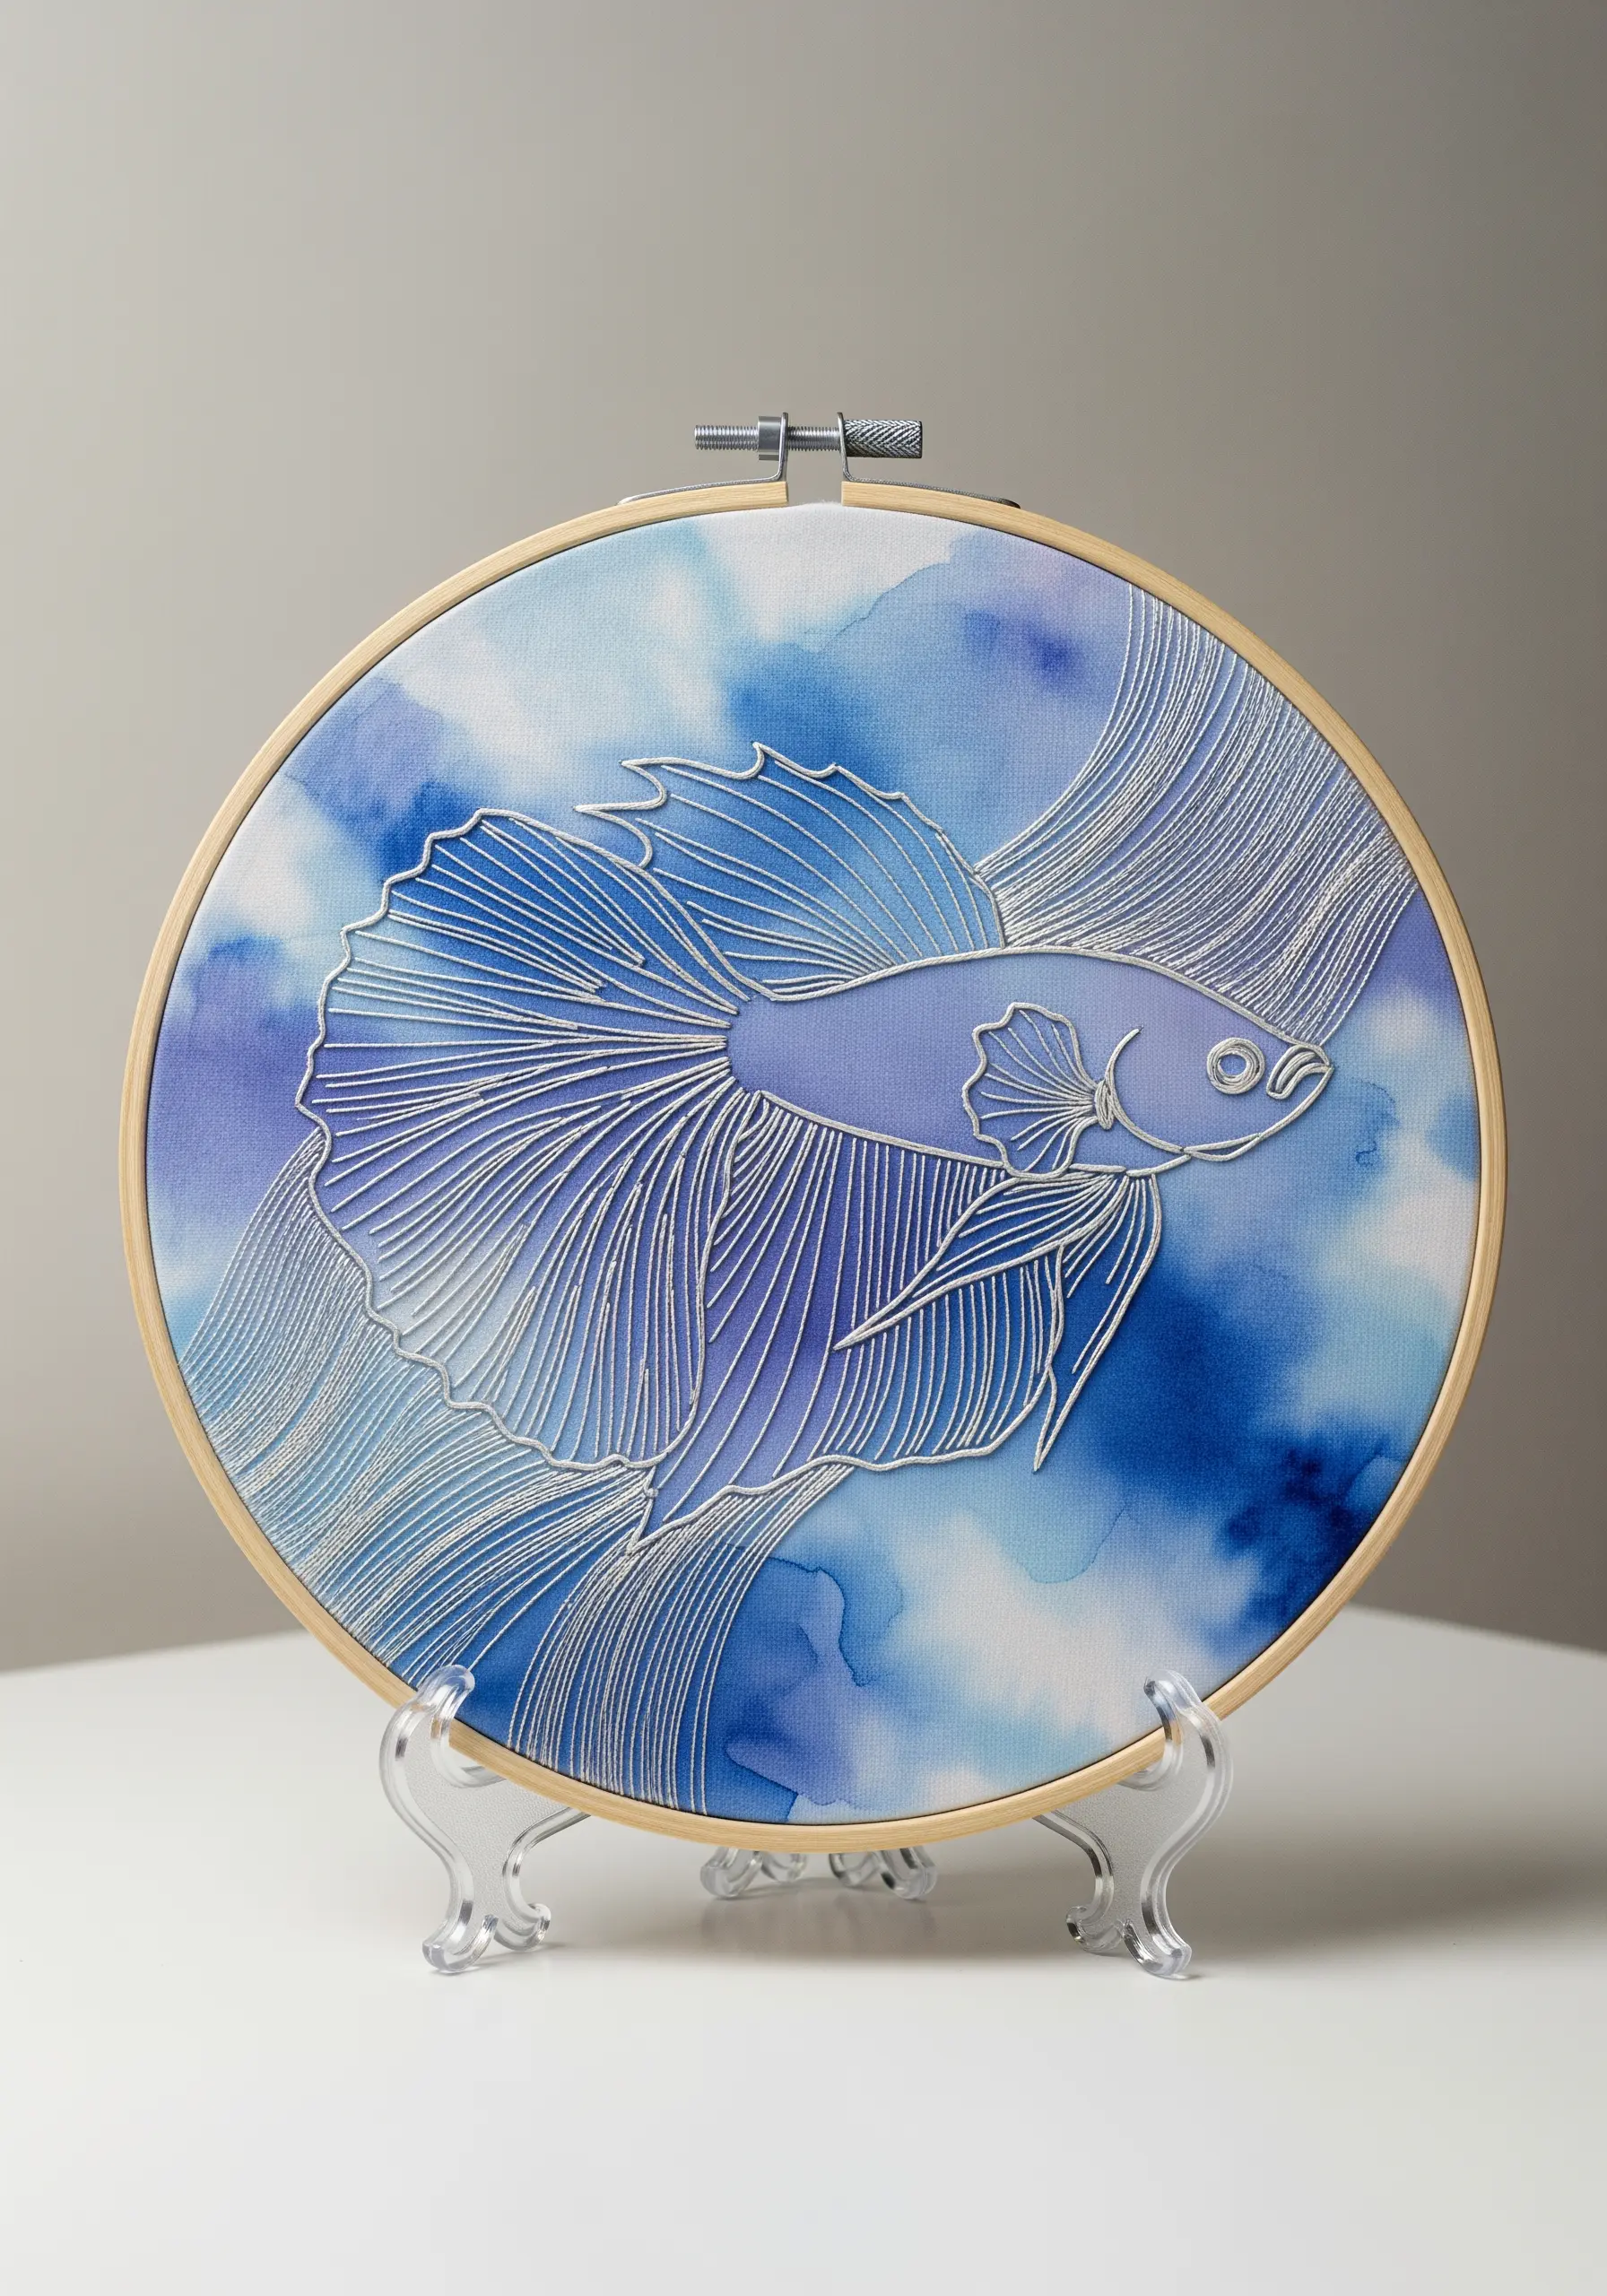
Combine the softness of paint with the precision of thread for a truly artistic piece.
Begin by creating a soft, abstract background with fabric-safe watercolor paints and allow it to dry completely.
Then, stitch your pet’s portrait over the top using a light, reflective thread in white or silver.
The stitches will appear to float above the color, creating a beautiful sense of depth and luminosity, much like in watercolor-style leaf embroidery.


