
You have the threads, the fabric, and the desire to create something beautiful. But sometimes, your finished pieces don’t quite capture the clean, modern aesthetic you envision. It’s not about learning dozens of complex stitches; it’s about learning how to use simple stitches with intention.
Think of your needle less like a tool for decoration and more like a pen for drawing with thread. It’s in the subtle choices—the weight of your floss, the direction of your stitches, the balance of texture against negative space—that true artistry emerges.
This collection is designed to bridge that gap. Here, you’ll find not just projects, but principles. You’ll learn how to create depth with tone, how to finish your work for a professional look, and how to turn the simplest line into a piece of tactile art. It’s time to stitch with confidence and create minimalist décor that feels both personal and polished.
1. Master the Sculptural Line with Whipped Backstitch
To achieve a continuous, raised line that feels more substantial than a simple backstitch, this technique is your answer.
First, create a foundation of standard backstitches along your design line using three strands of floss.
Next, take a single strand of the same color and, without piercing the fabric, wrap it around each backstitch.
This whipping motion covers the gaps between stitches, resulting in a smooth, cord-like line that gives your minimalist line art a tactile, sculptural quality.
Using a tightly woven fabric like cotton canvas ensures your stitches remain clean and defined.
2. Create Depth with Directional Fill Stitches
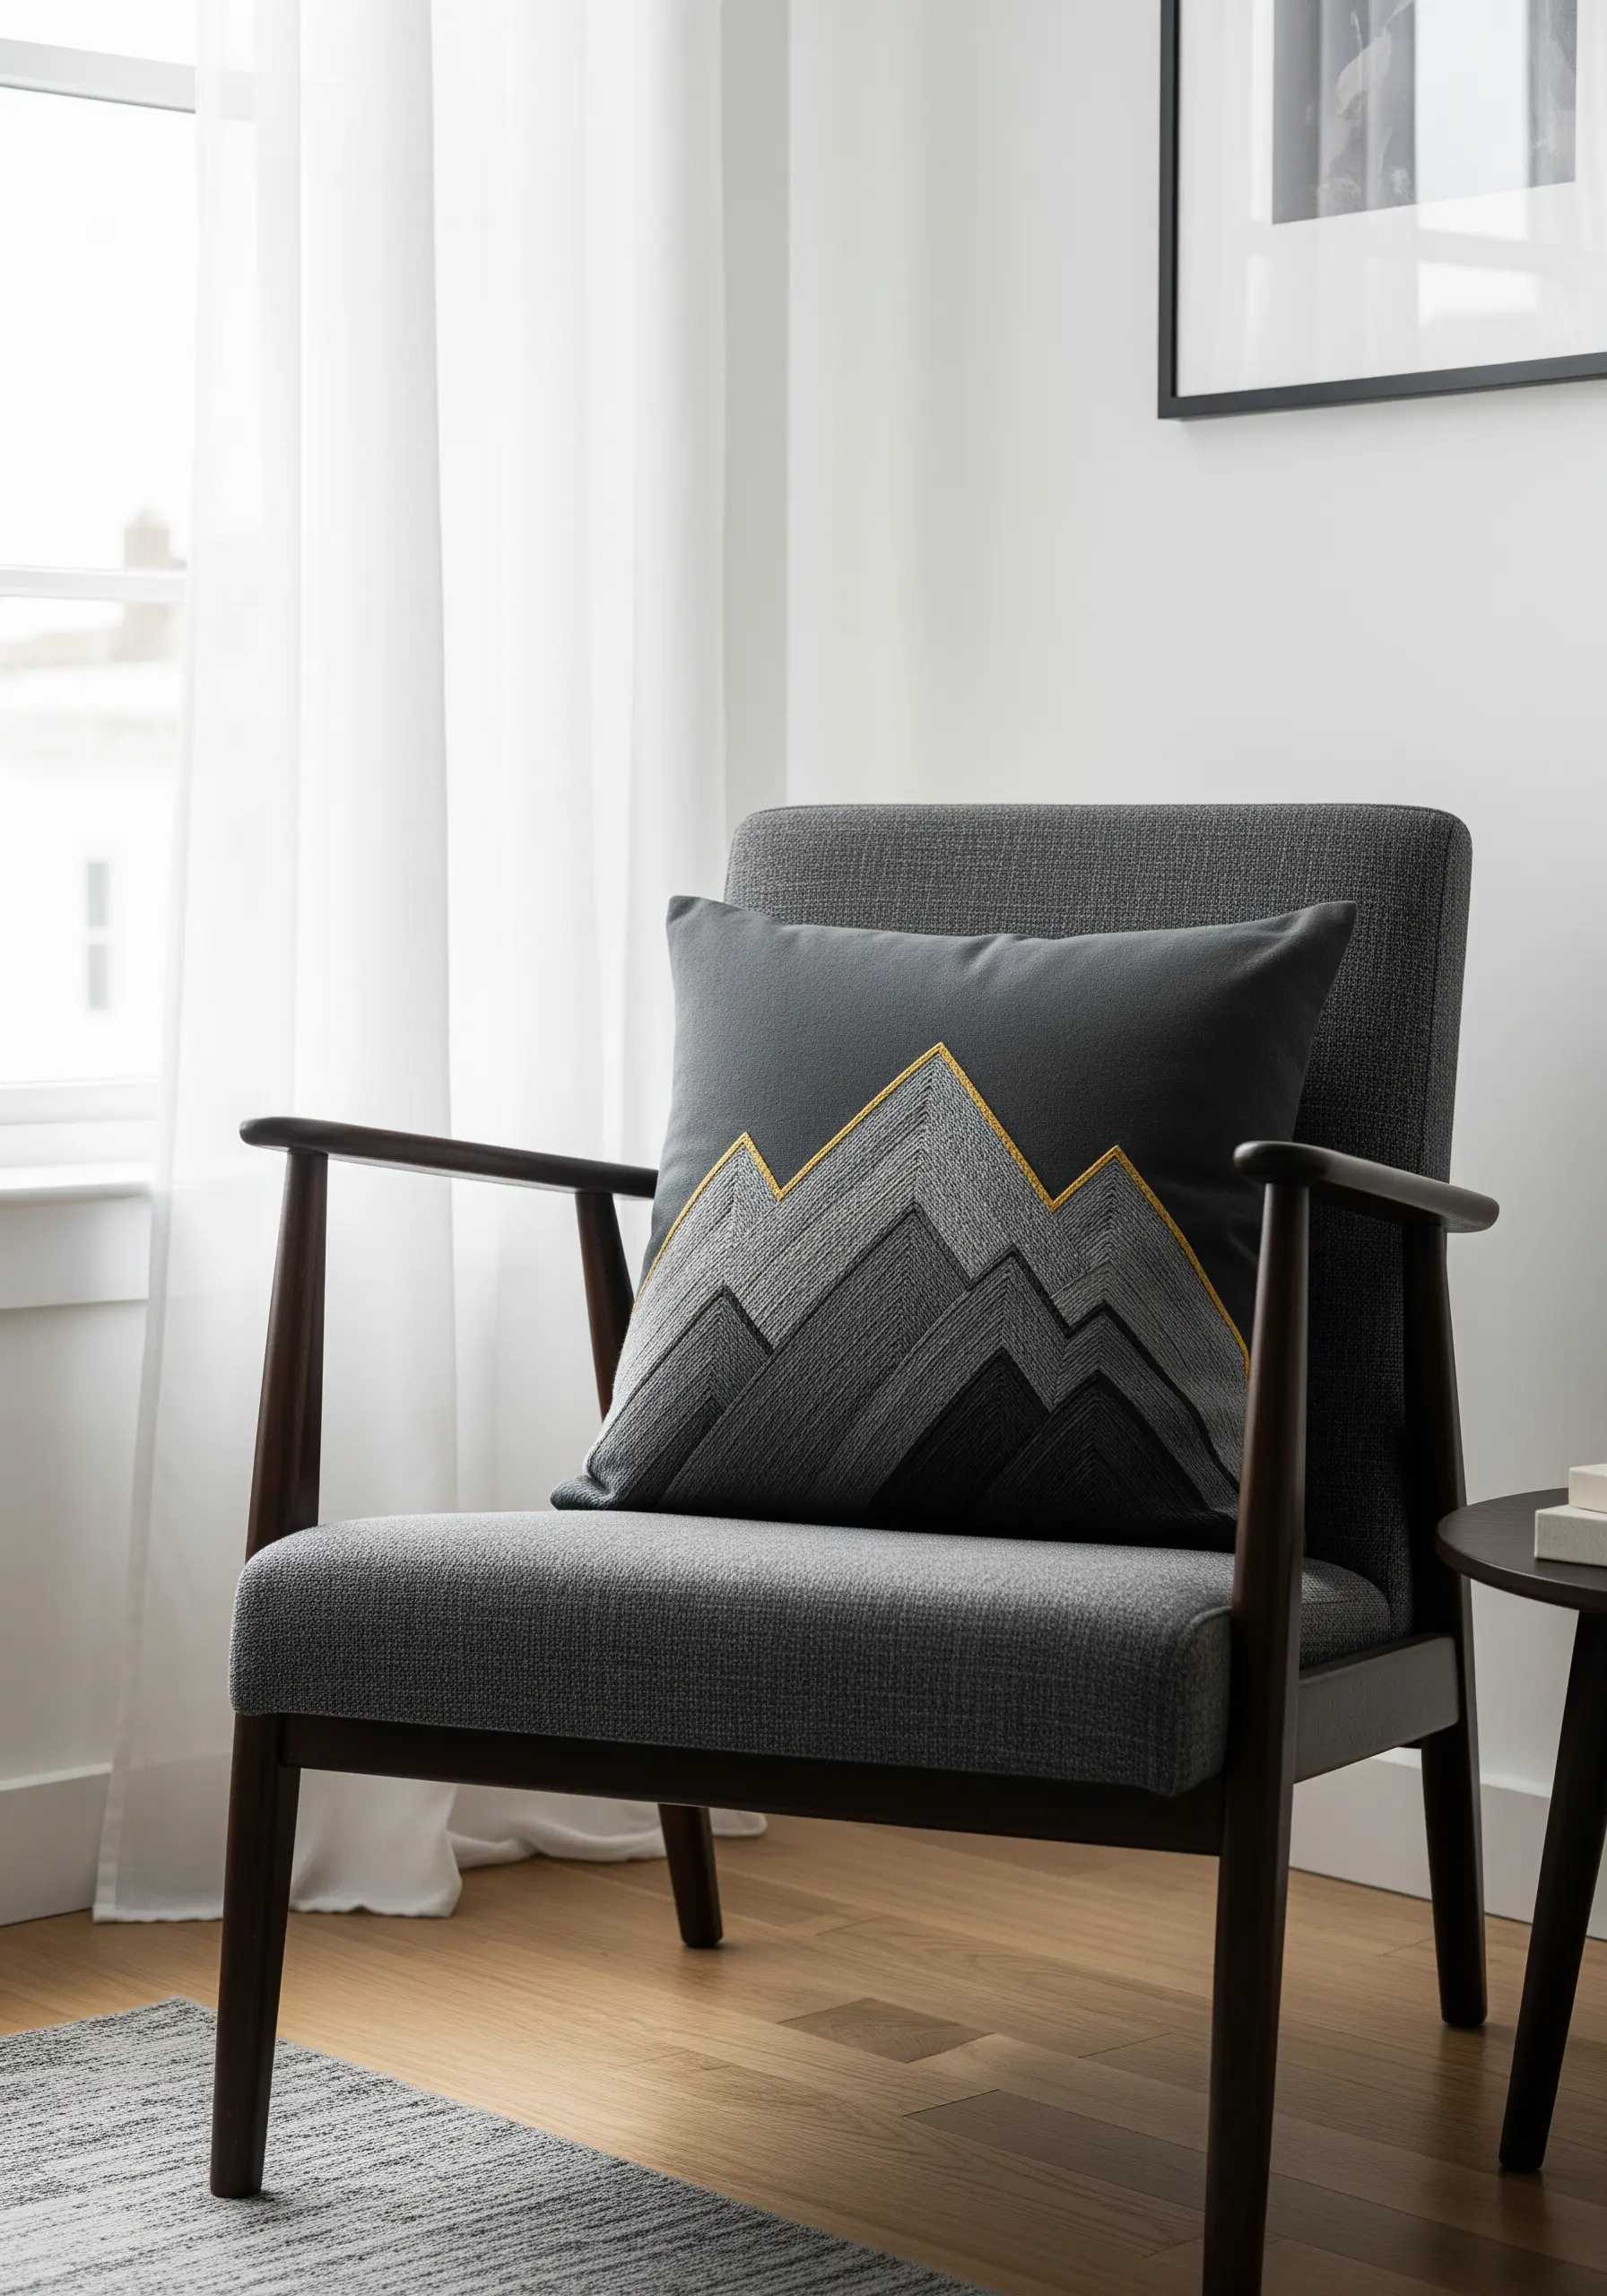
This mountain cushion achieves its depth not just with color, but with texture and light.
Instead of a flat satin stitch, assign a different stitching direction to each geometric panel of the mountain.
Use a chain stitch or split stitch and fill one panel with diagonal lines going left, the next with lines going right, and another vertically.
This subtle shift in direction makes each section catch the light differently, creating a dynamic, layered effect even with similar thread colors.
A single line of gold metallic thread adds a sharp, luxurious highlight that defines the silhouette.
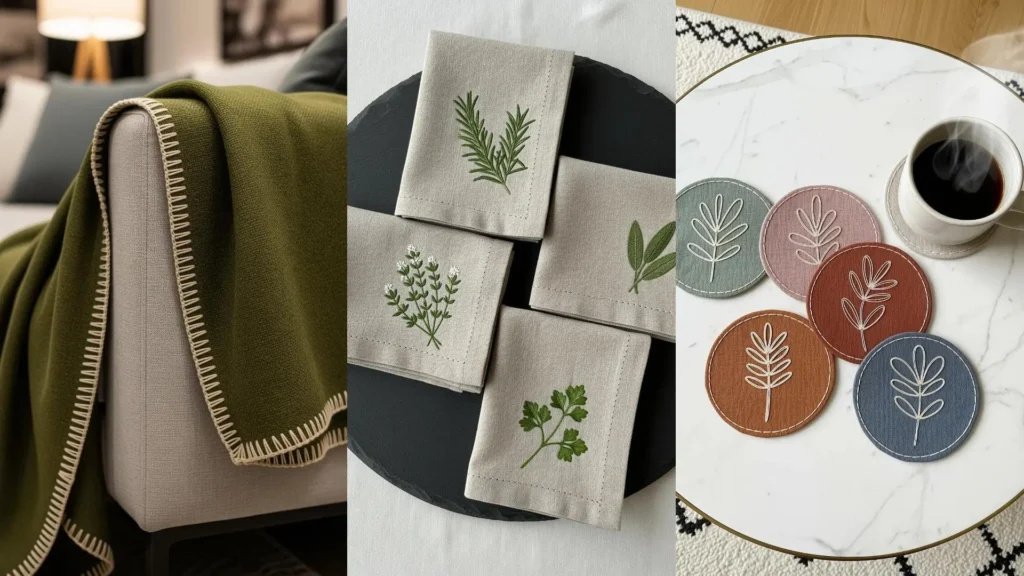
3. Elevate Coasters with a Clean, Durable Finish
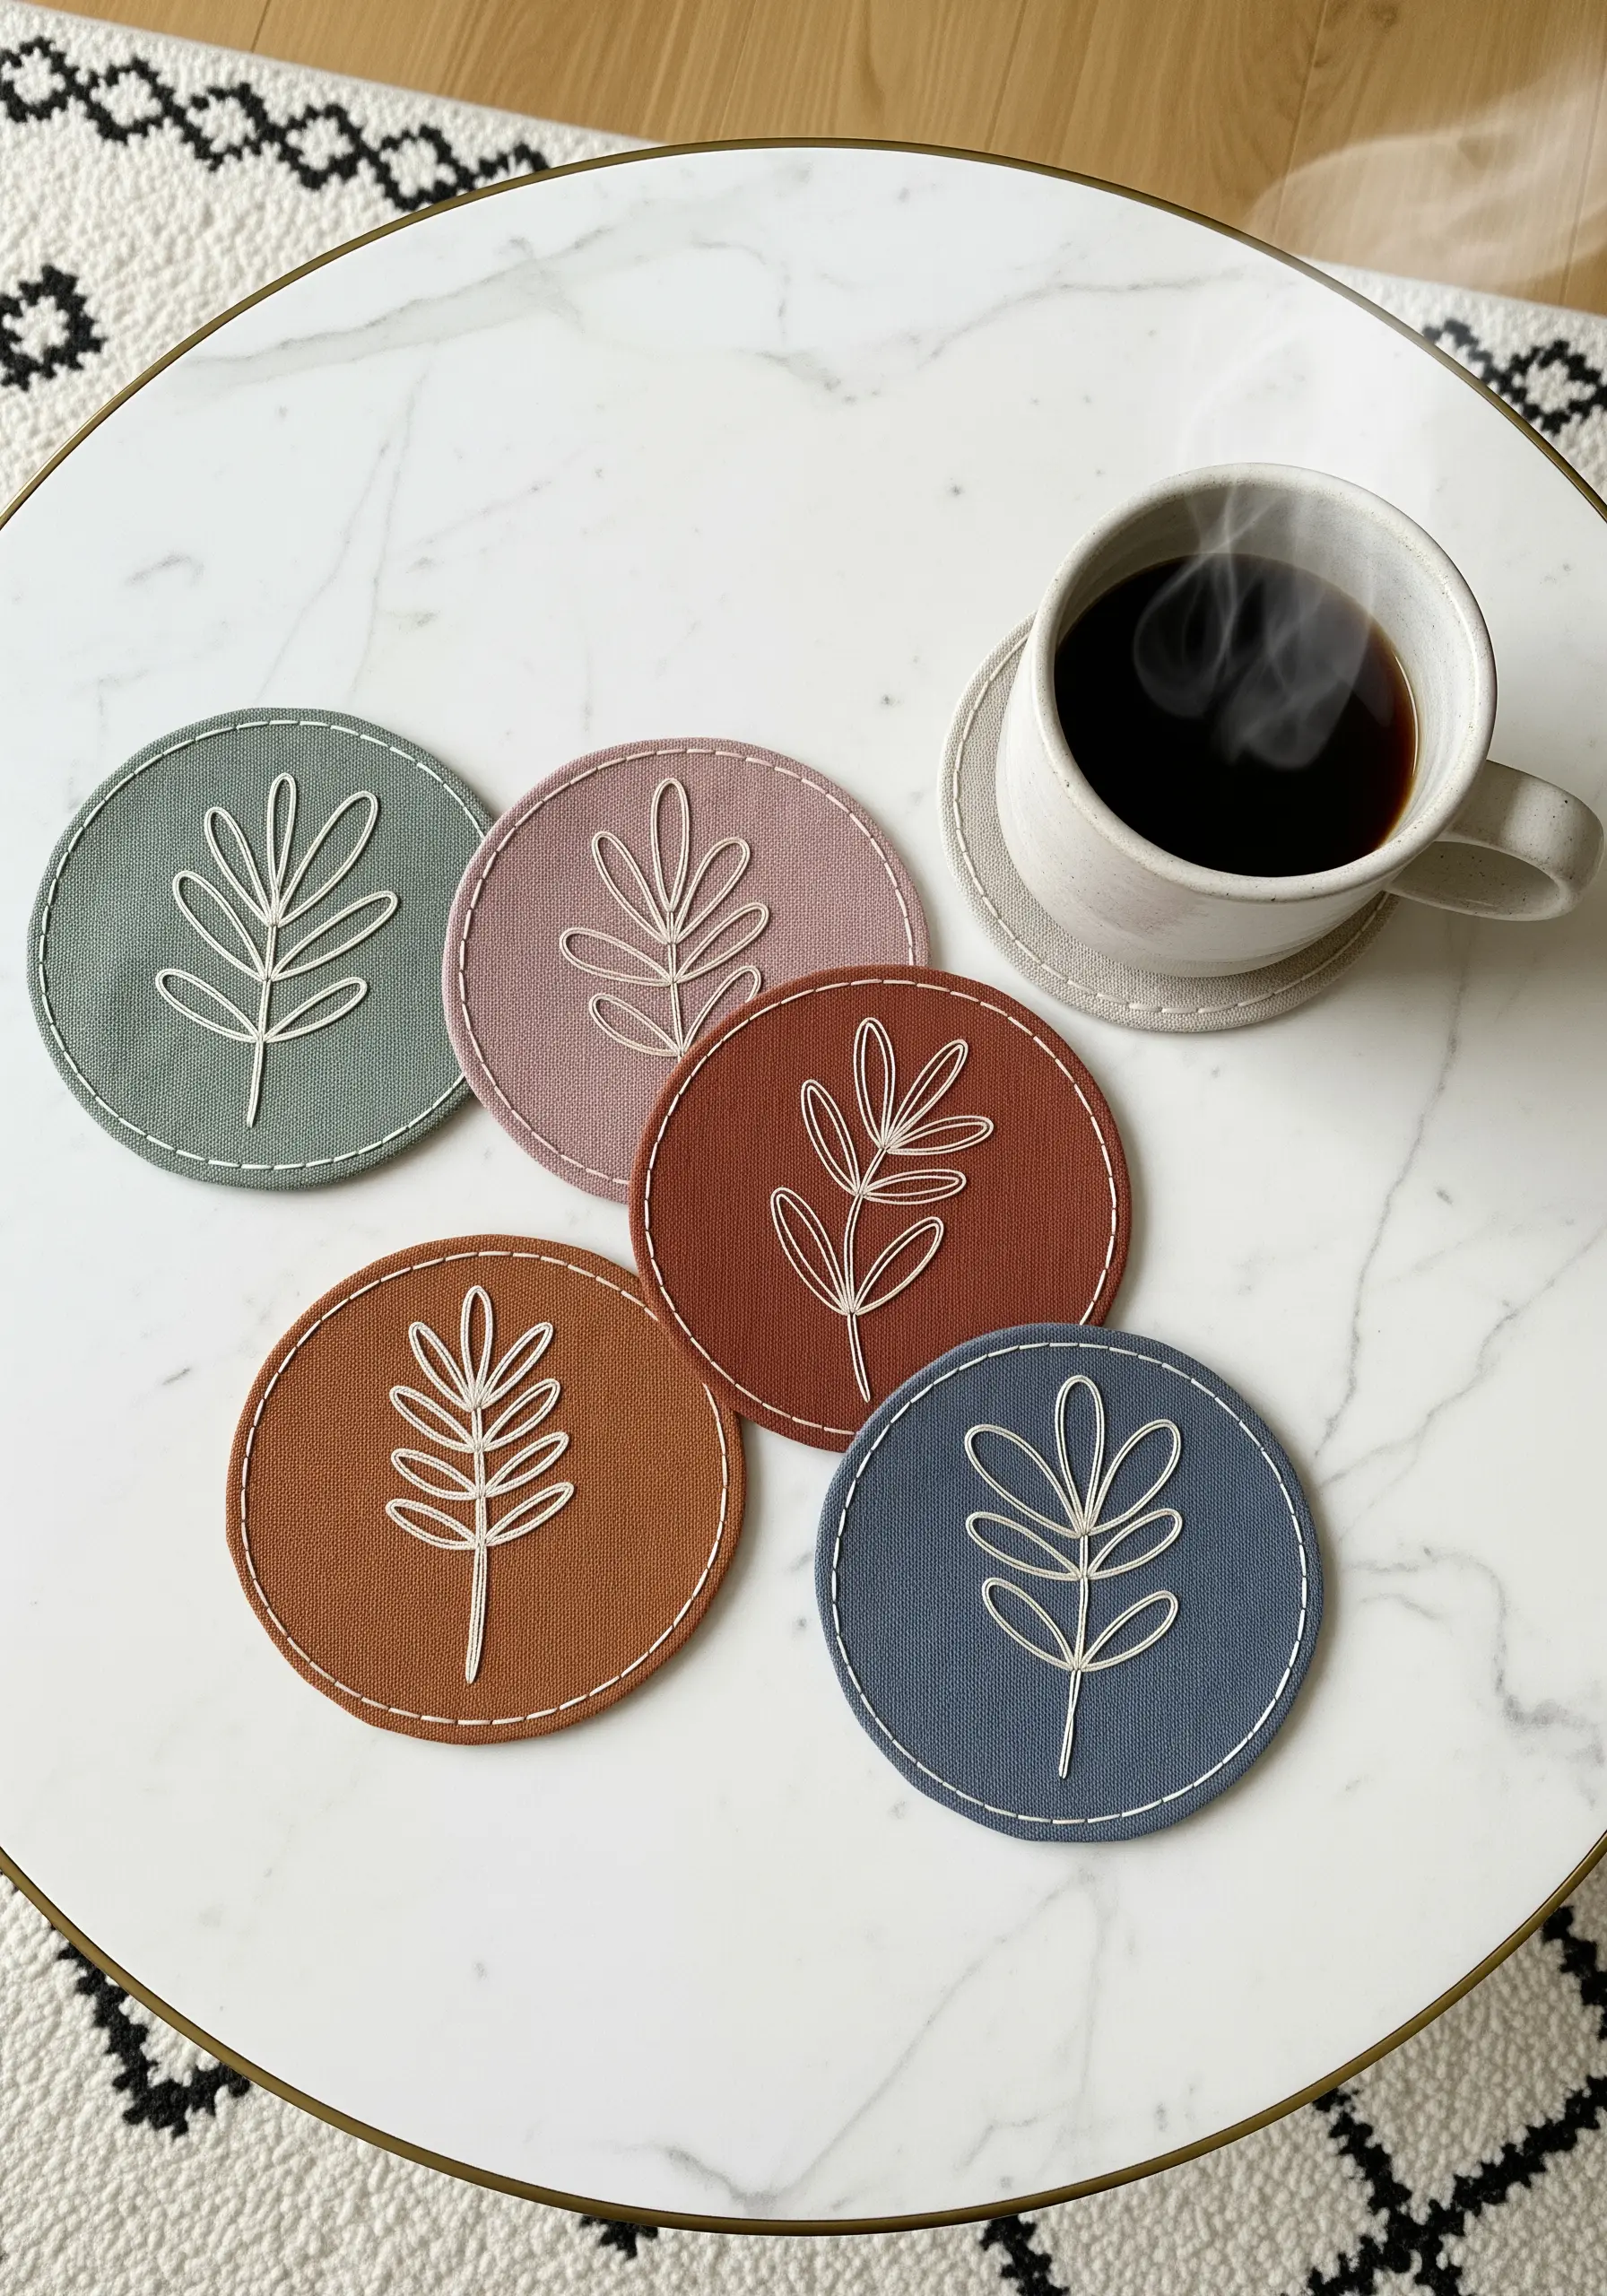
For functional items like coasters, your finishing technique is just as important as your stitching.
Choose a sturdy fabric like cotton duck canvas that can withstand use.
After embroidering your botanical motif with a simple stem stitch, cut a second, identical circle of fabric for the backing.
Place the two circles wrong sides together and finish the edge with a tight, clean machine stitch a few millimeters from the edge.
This method creates a professional, durable result that beautifully frames your minimalist design.
4. Curate a Gallery Wall with Abstract Compositions
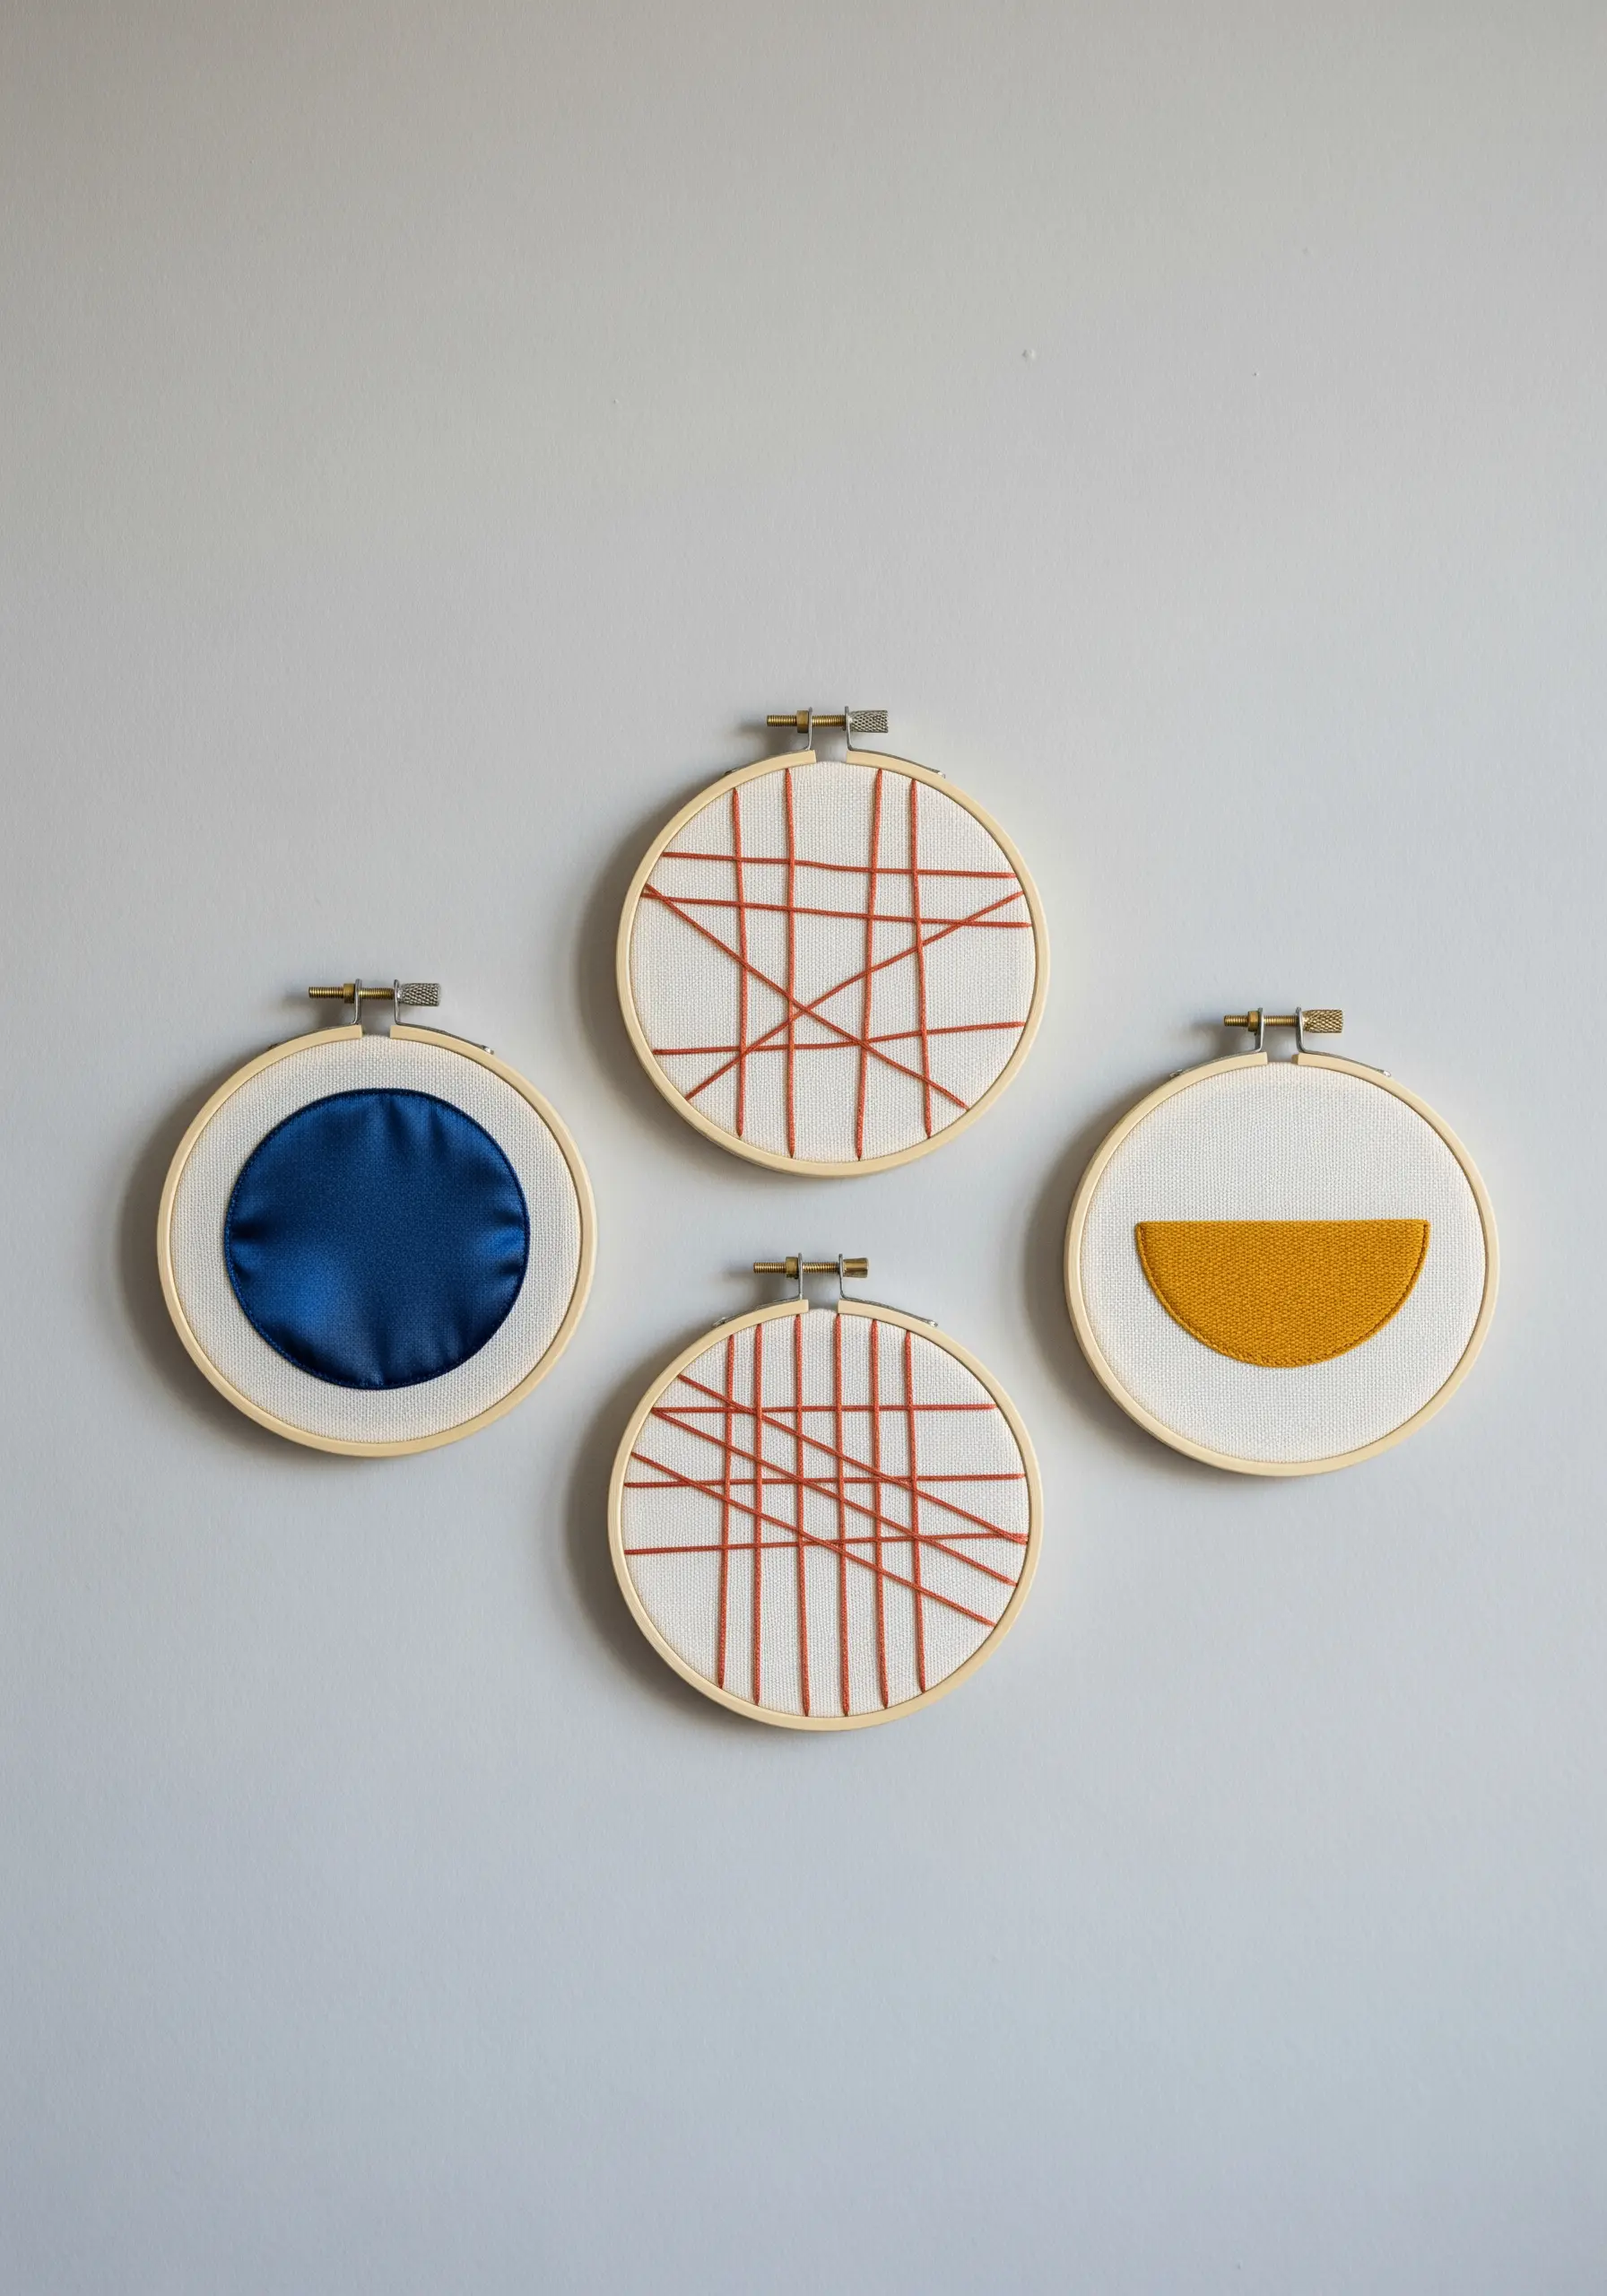
To create a cohesive embroidery gallery wall, work within a strict color palette and explore variations in form and texture.
For the filled shapes, use a dense satin stitch, ensuring all your stitches lie in the same direction for a smooth, matte finish that resembles solid fabric.
For the linear pieces, allow threads to overlap, creating a sense of movement and depth.
The key to a modern aesthetic is balance; combine thread and negative space to allow each element to stand out on its own while contributing to the whole composition.
5. A Study in Texture: Vary Your Leaf Fills
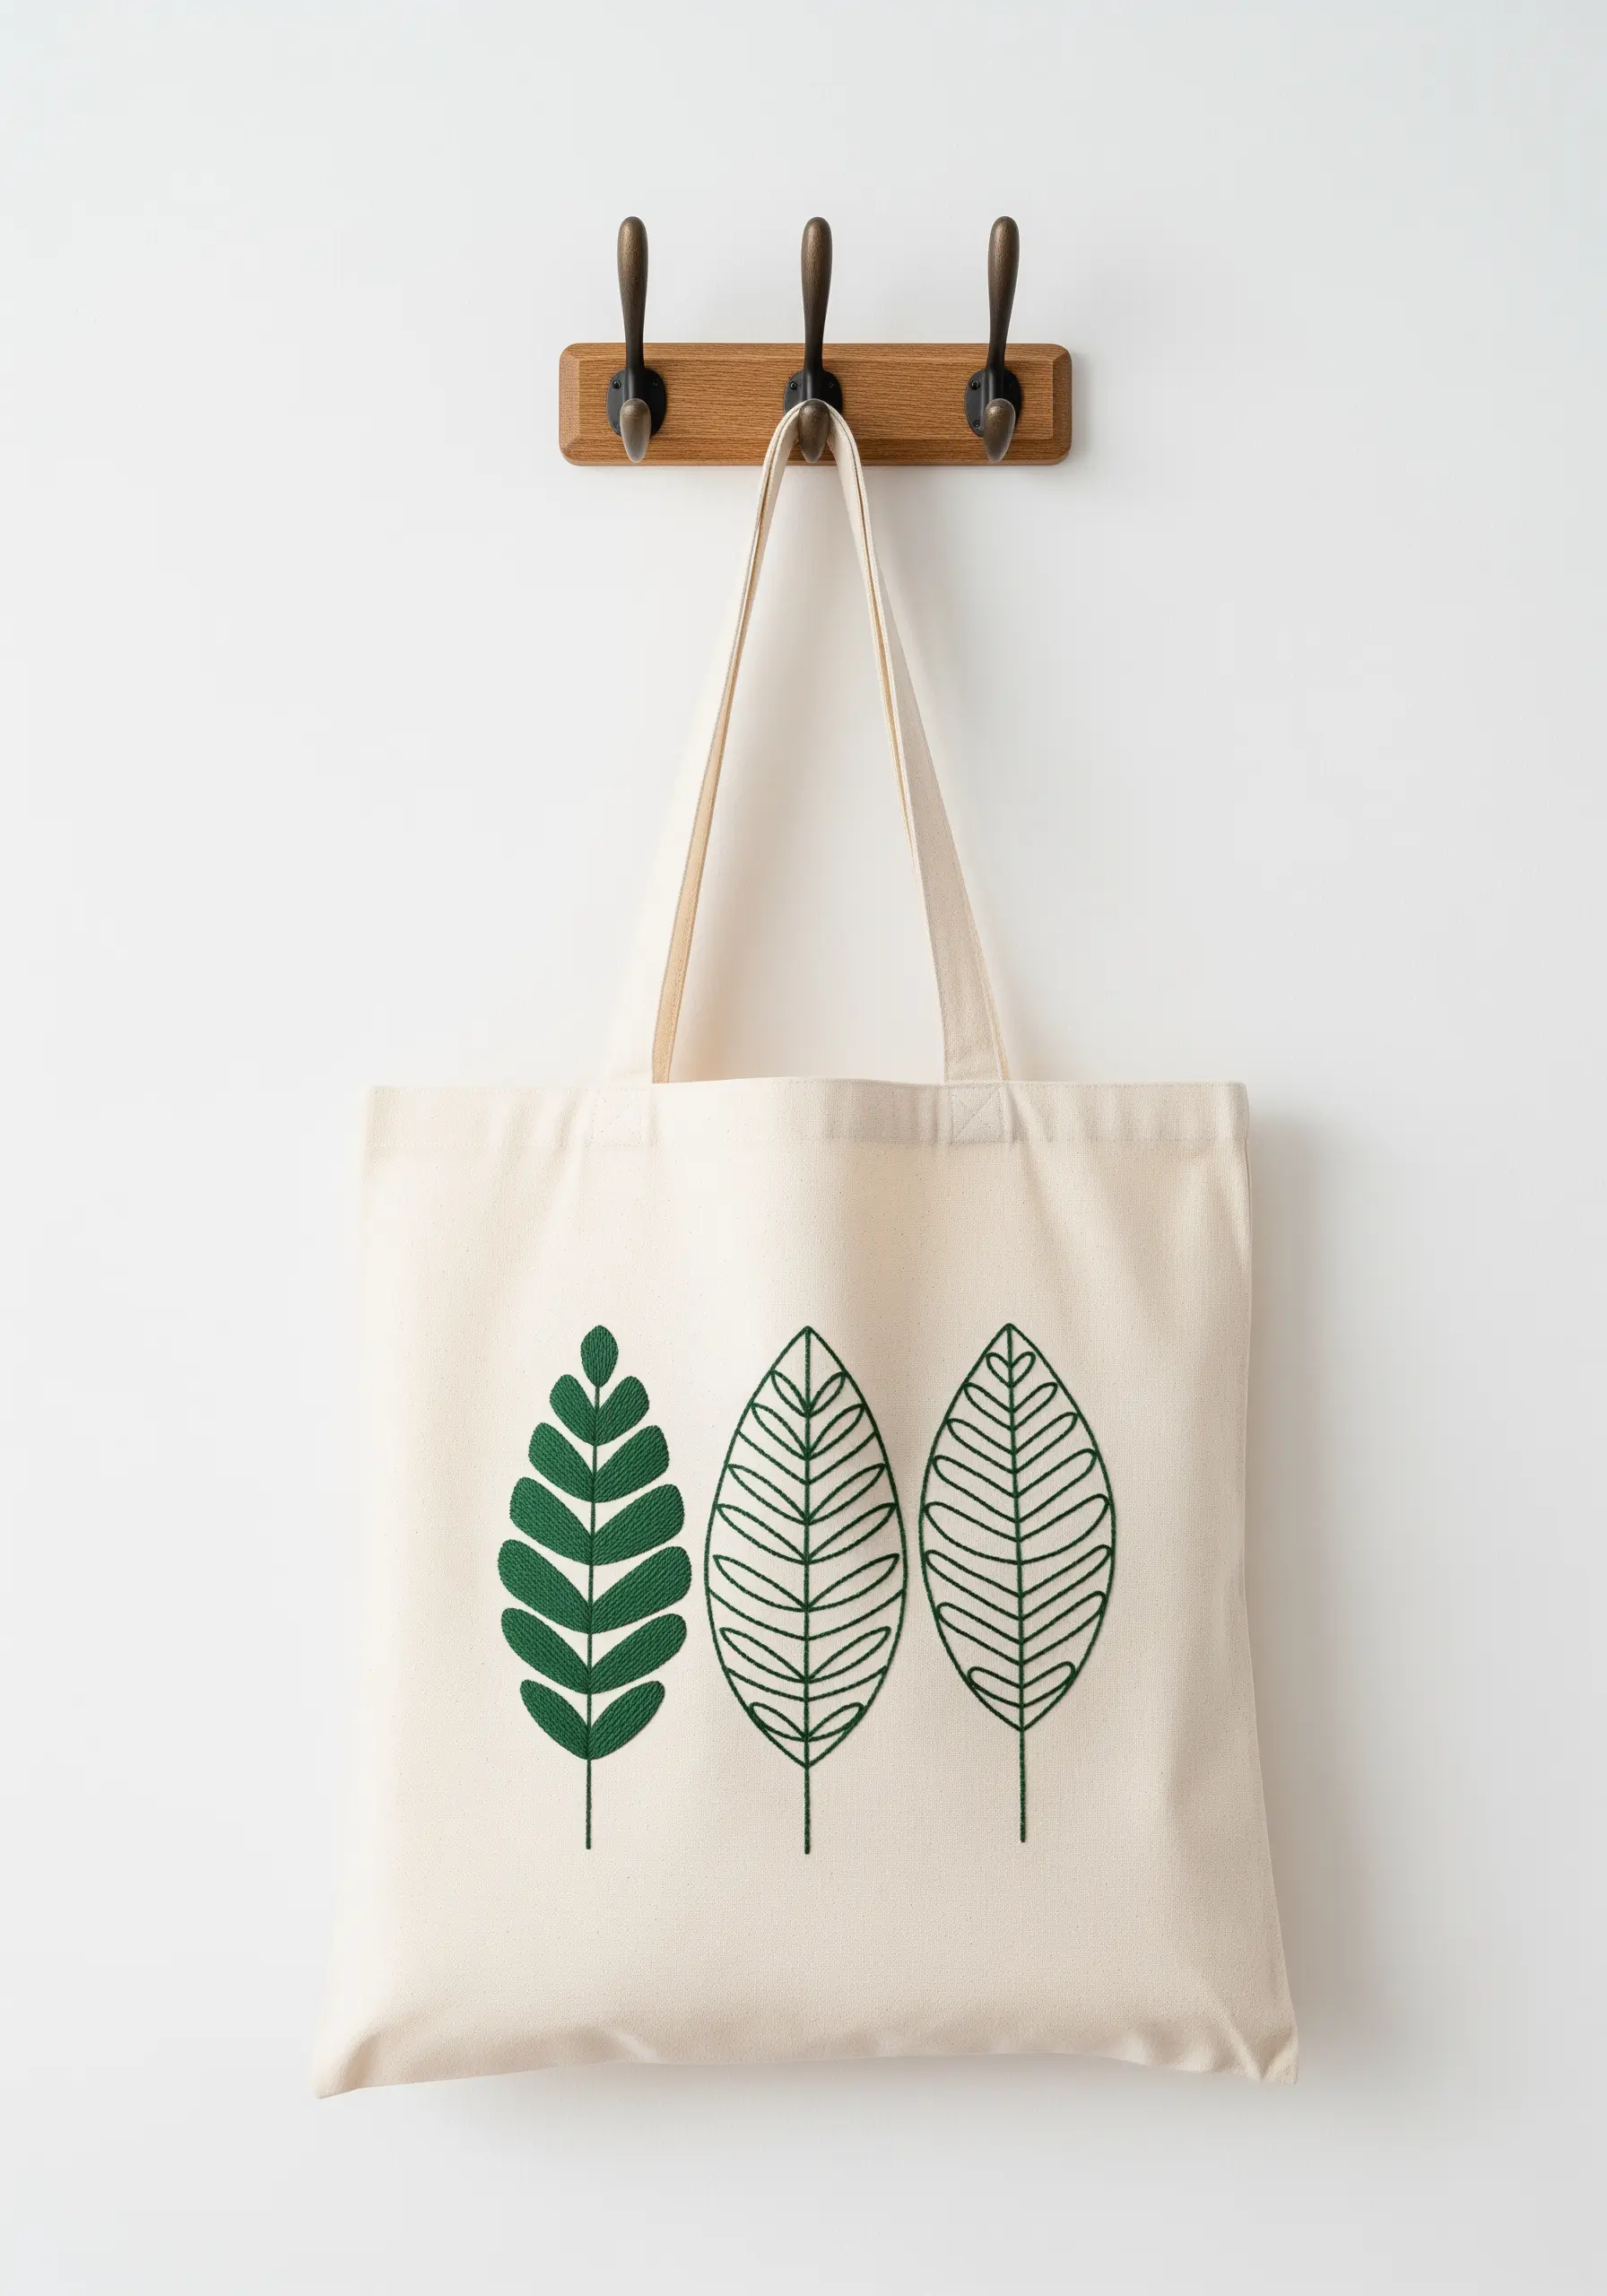
Turn a simple trio of leaves into a sophisticated design by assigning a unique texture to each one.
Embroider the first leaf with a solid satin stitch for a bold, graphic look.
Stitch the second with fishbone stitch to create a central vein and realistic dimension.
For the third, use a simple backstitch outline for a delicate, airy feel.
This approach creates a visually engaging piece that invites closer inspection and showcases your control over different stitch styles.
Always use an iron-on stabilizer inside a tote bag to prevent the fabric from puckering under the tension of the stitches.
6. Design a Rhythmic Border for Modern Table Linens
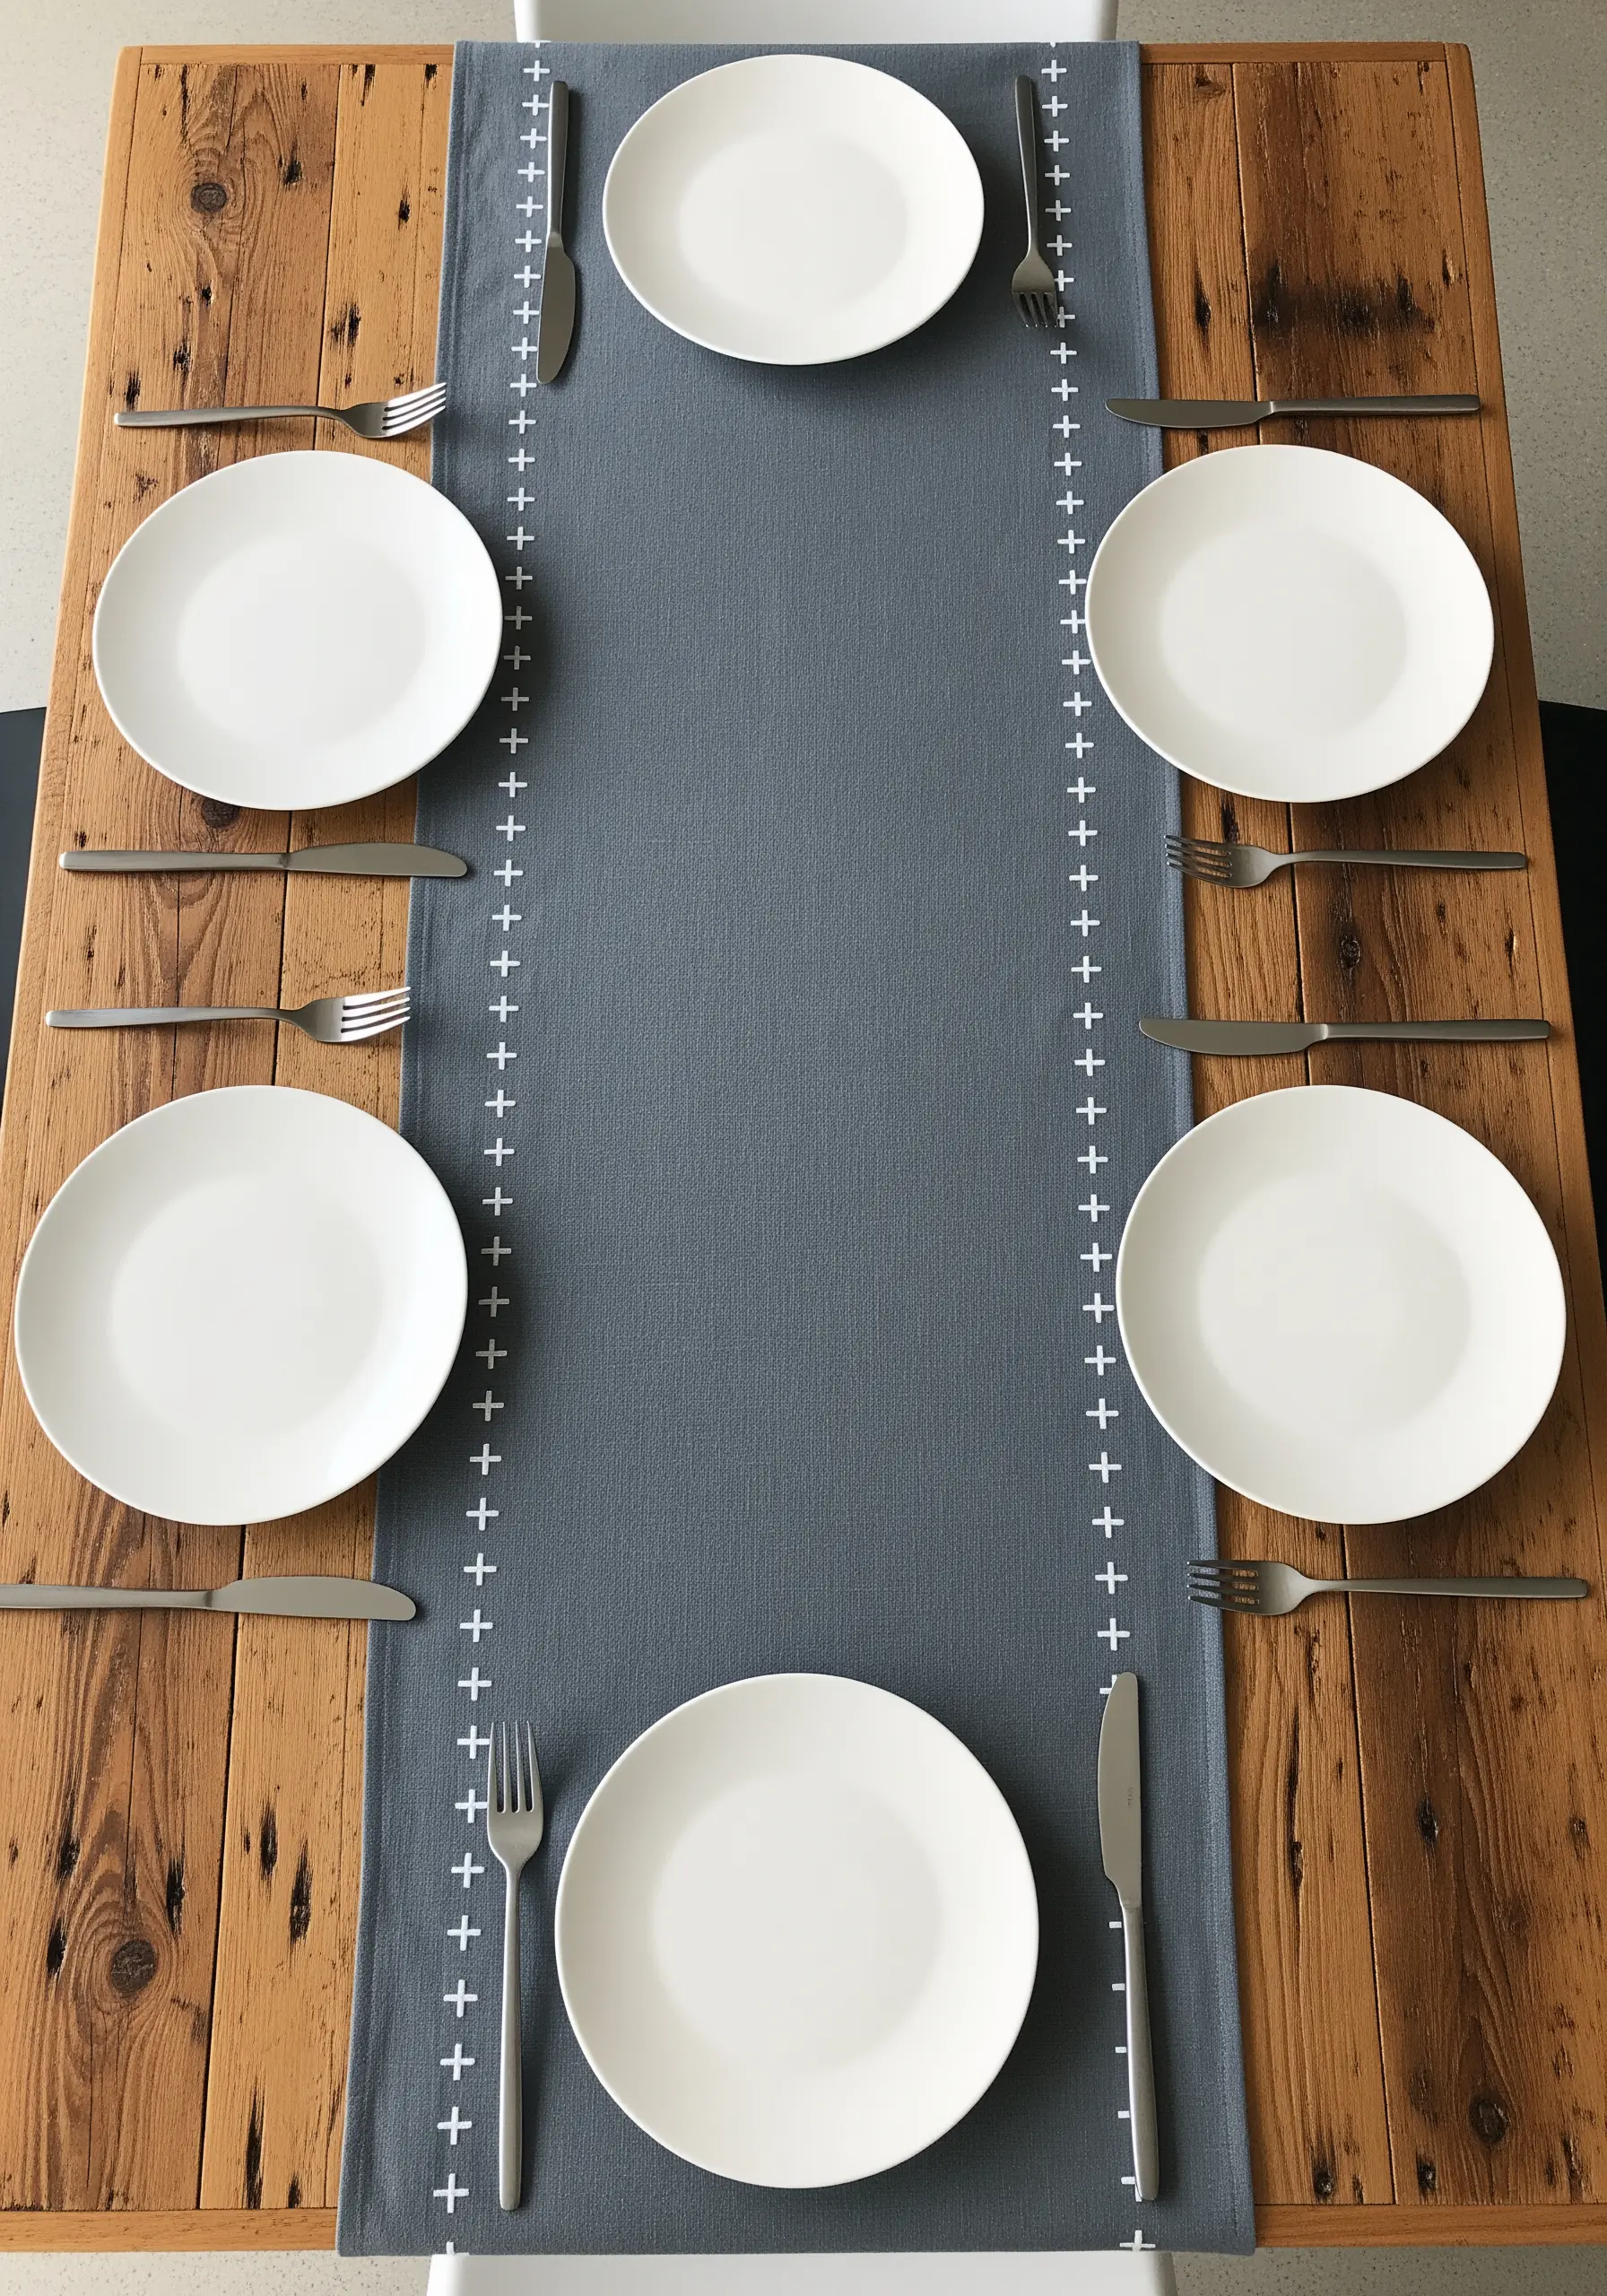
This minimalist table runner uses a simple, repeating pattern to create a strong architectural feel.
For a clean, substantial look, opt for a heavier thread like DMC Perle Cotton No. 8.
The success of this design lies in precision. Use a water-soluble fabric marker and a ruler to meticulously map out your stitch placement before you begin.
Maintain absolute consistency in the length of your straight stitches and the spacing between each motif. This disciplined approach is what makes the final piece feel so polished and intentional.
7. Add Understated Luxury with a Constellation Stitch
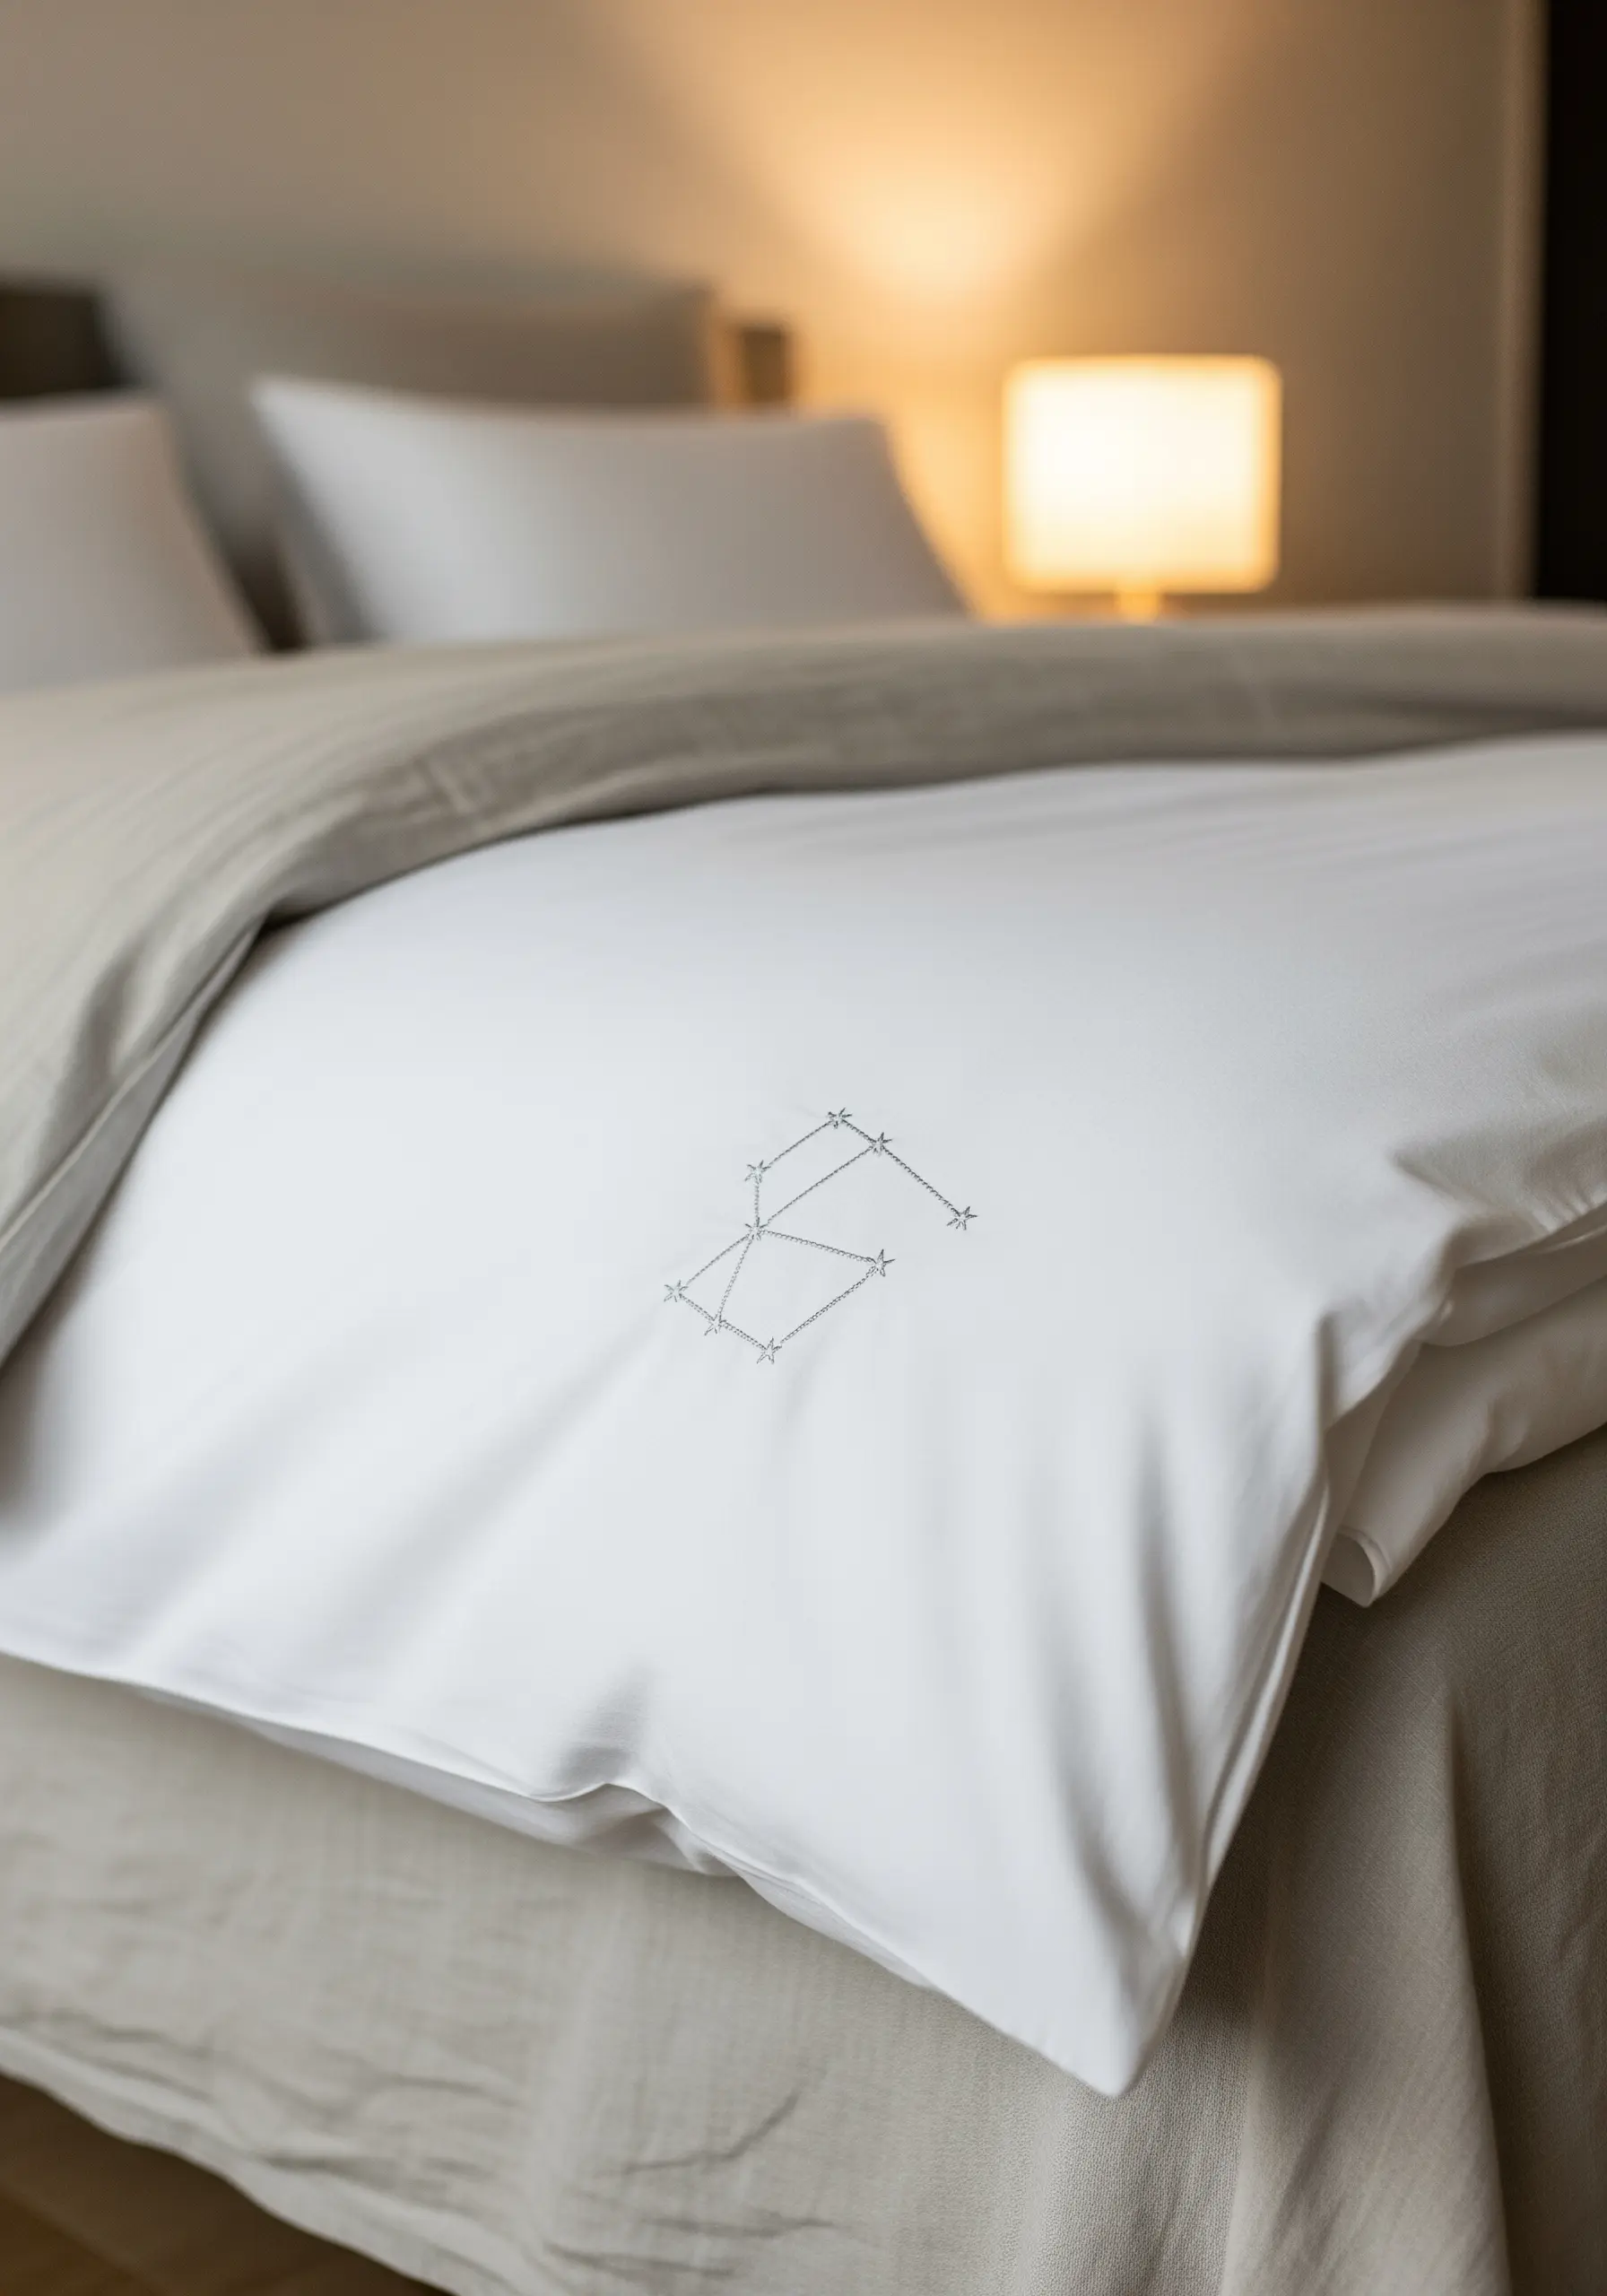
Personalize your bedding with an elegant, almost secretive detail.
Choose a thread color that offers just a whisper of contrast—a light silver or pale grey on crisp white cotton creates a subtle shimmer that feels incredibly luxe.
Use tiny seed stitches or single French knots for the stars and delicate straight stitches for the connecting lines.
By embroidering your own zodiac sign or a meaningful constellation, you infuse the piece with personal significance without disrupting the calm of your bedroom decor.
8. Master Stitching on Paper and Bookcloth
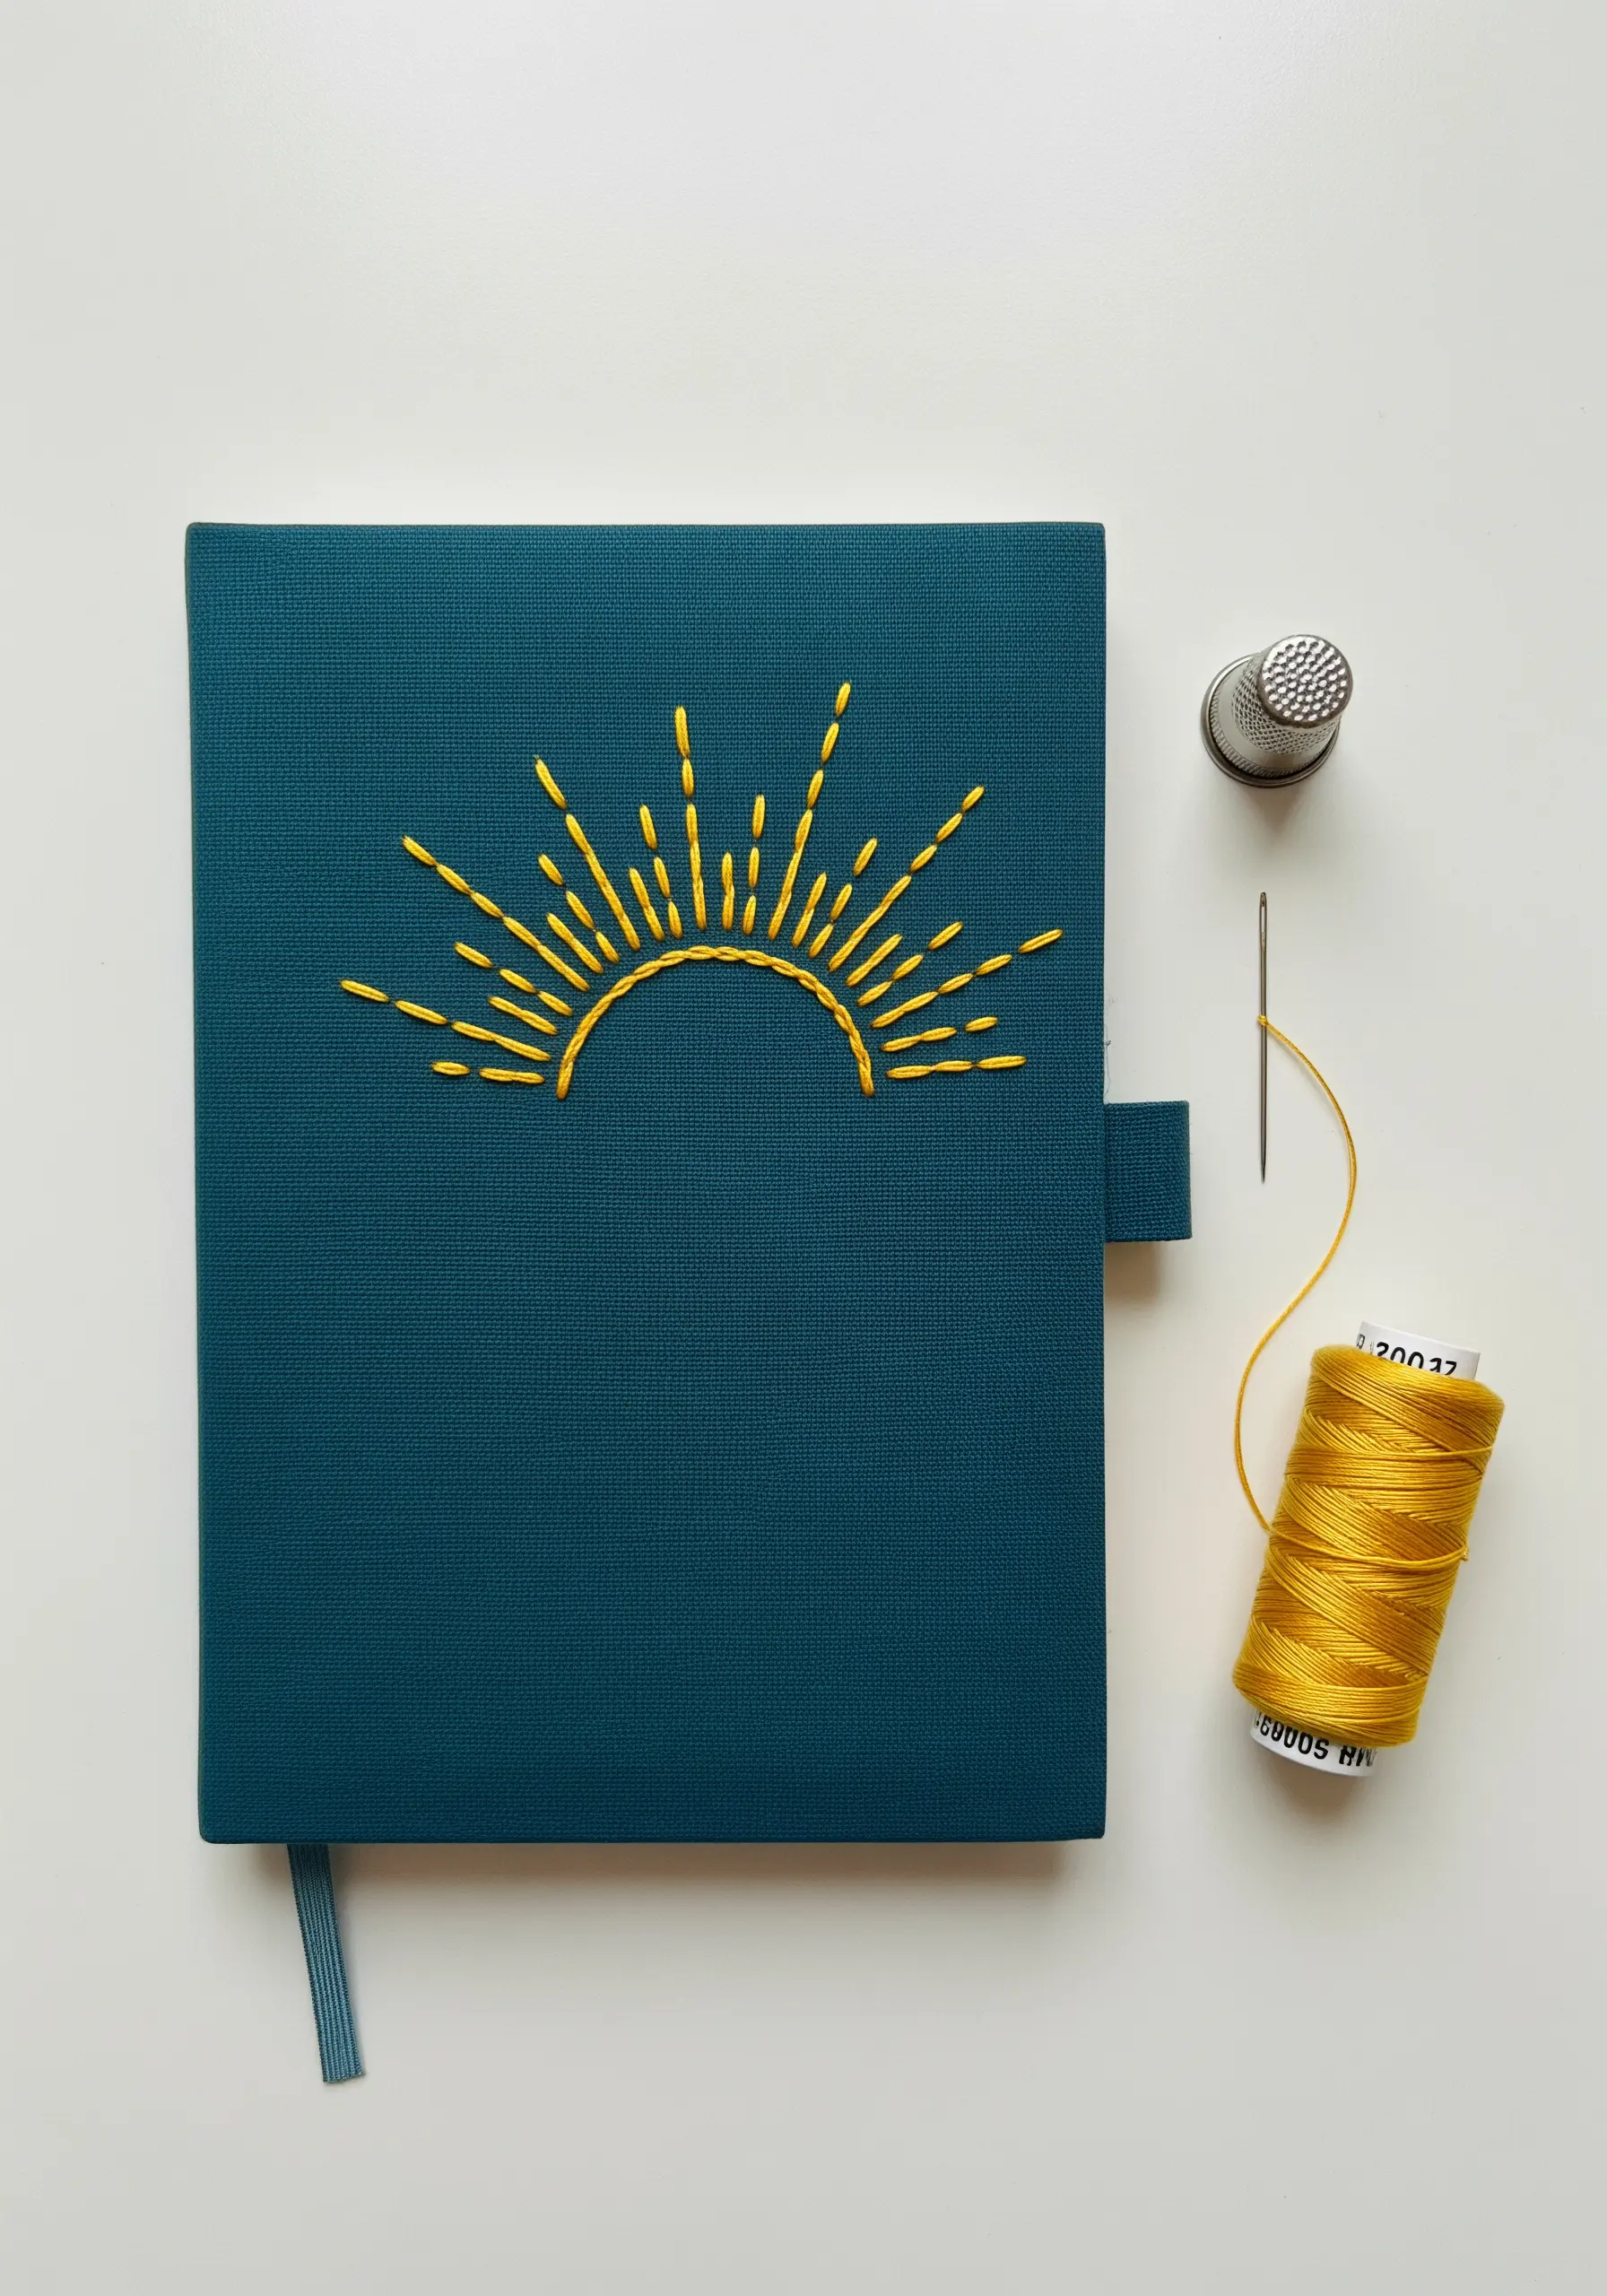
Embroidering on a hard surface like a journal cover requires a few adjustments for a clean result.
Use a sharp, sturdy needle and a thimble to protect your fingers as you pierce the cover.
Create your design with single, deliberate stitches; since you cannot easily remove them, pre-punching your holes with the needle can serve as a helpful guide.
Vary the length of your straight stitches in the sun rays to give the motif a dynamic, hand-drawn energy that contrasts beautifully with the smooth cover.
9. Create a Reversible Embroidered Vase Wrap
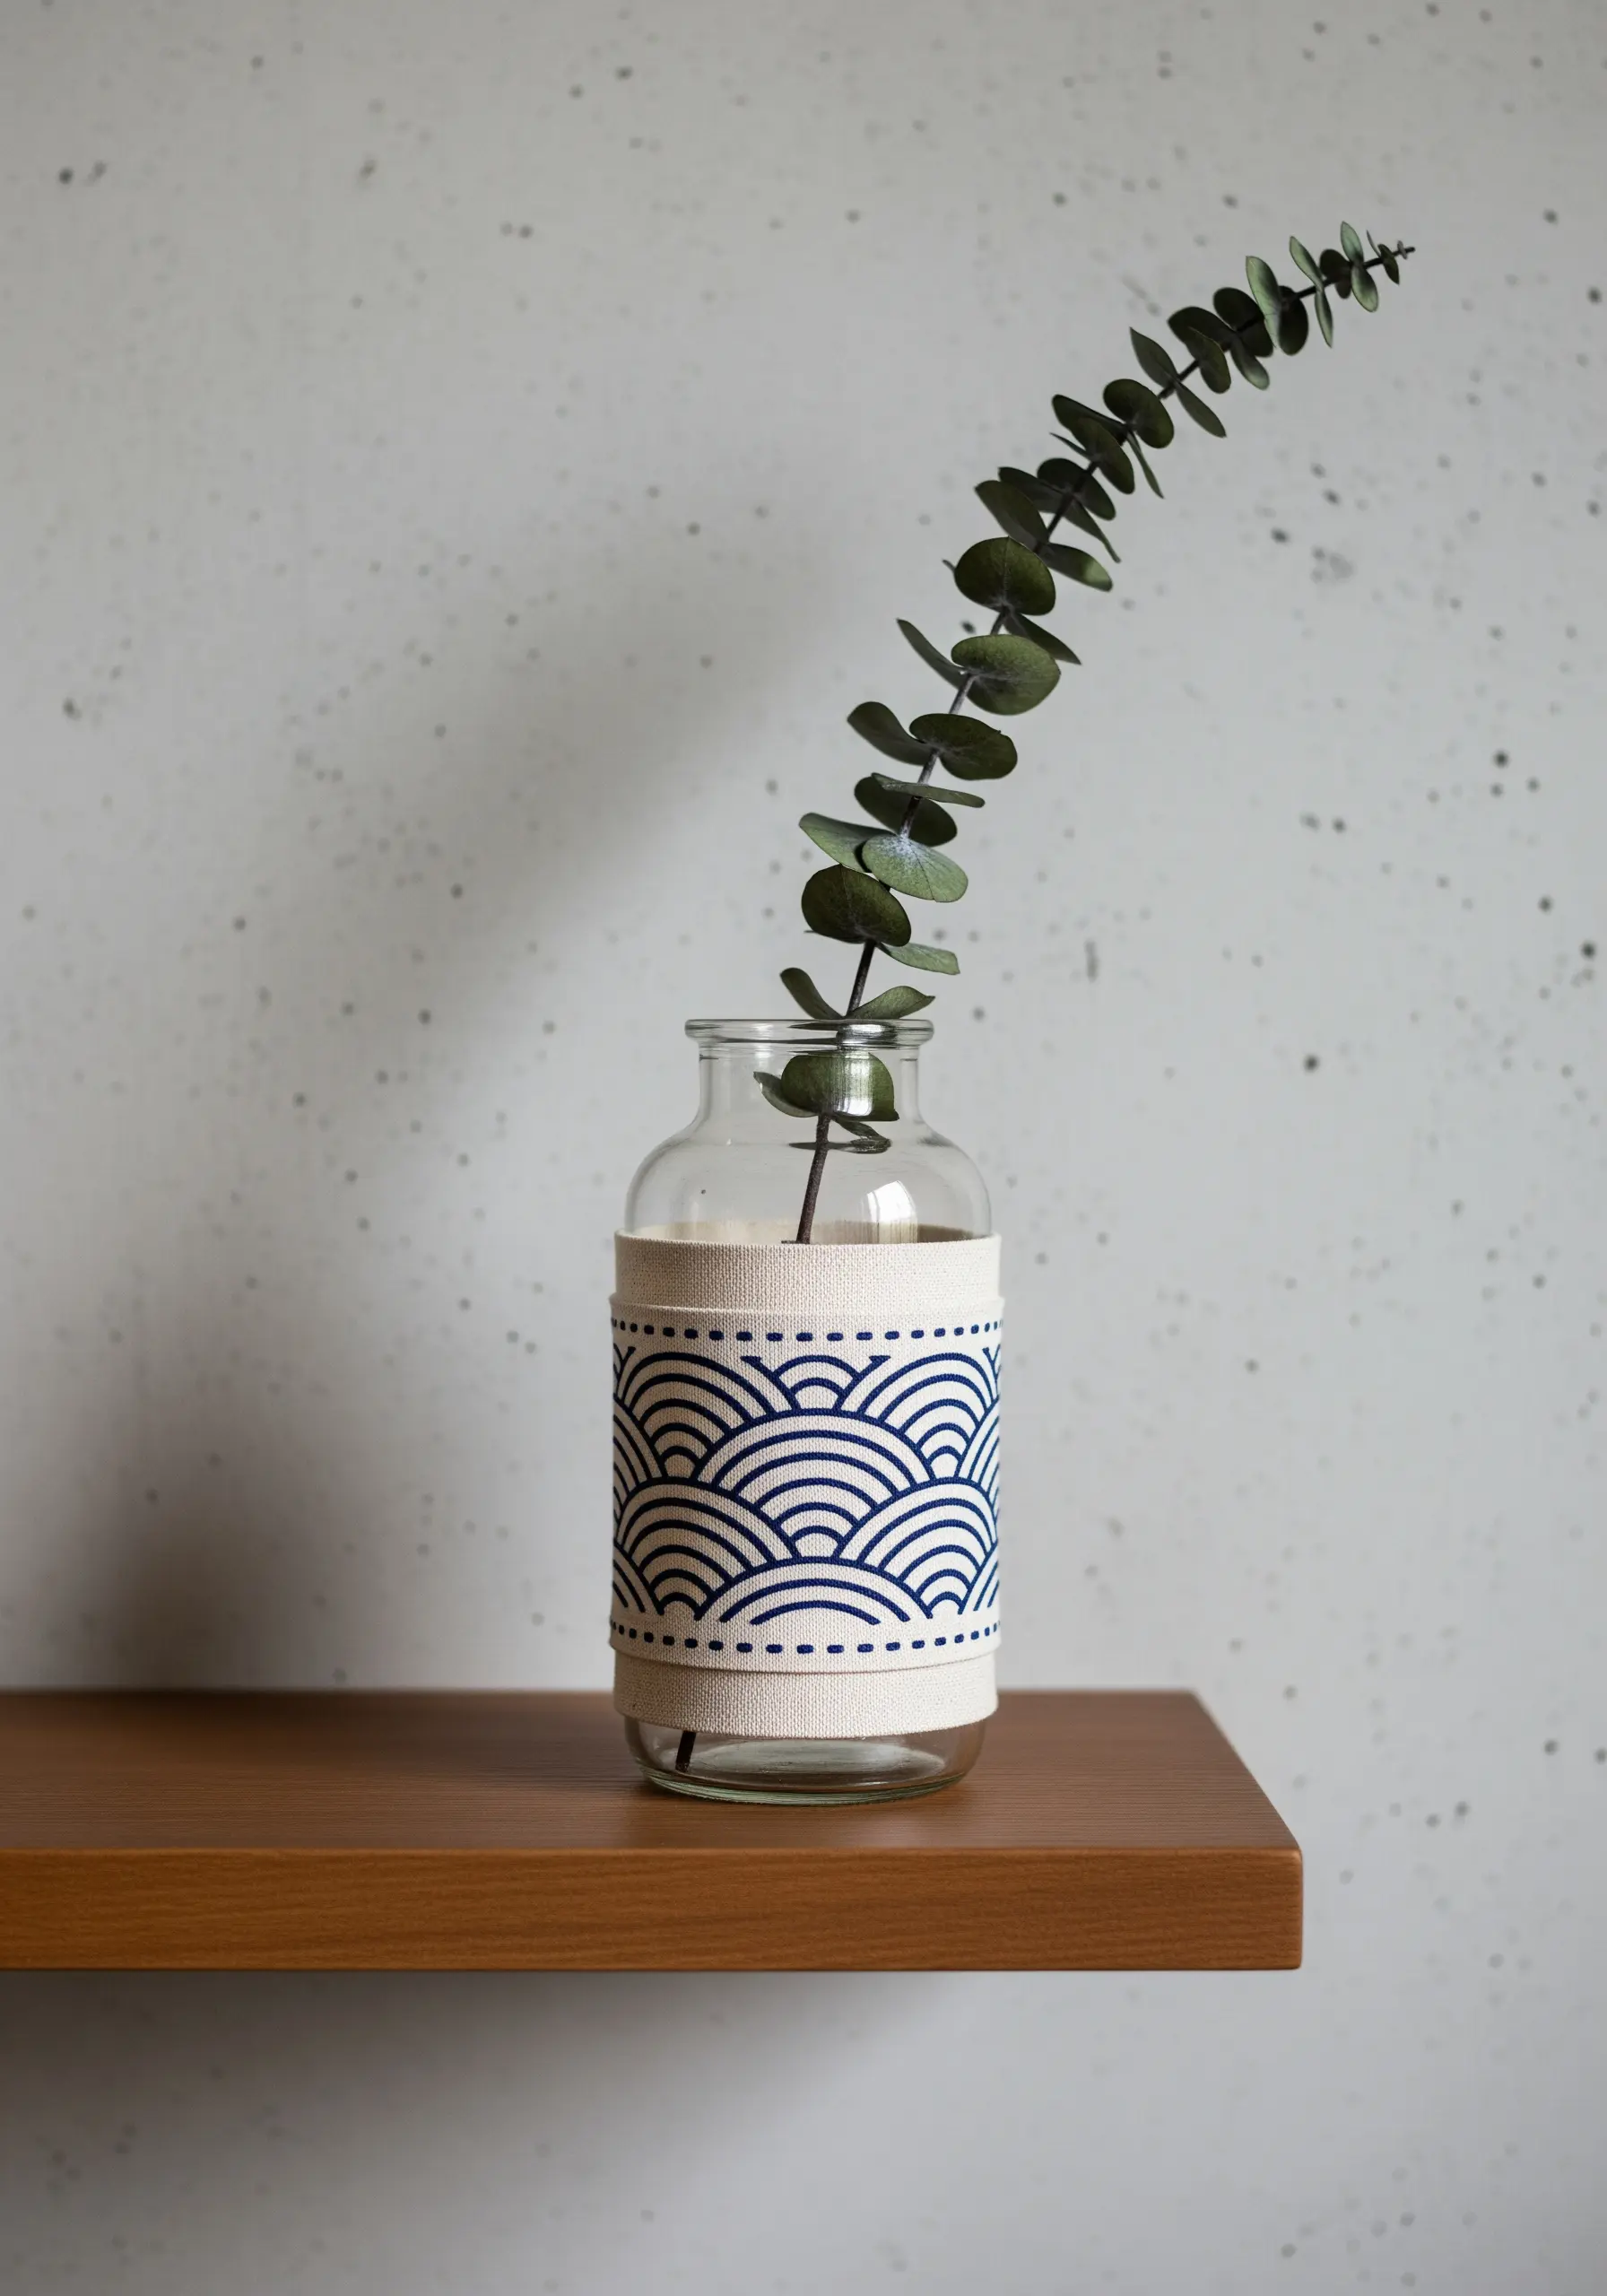
This is a clever, non-permanent way to bring texture and pattern to plain glassware.
Embroider a repeating geometric pattern, like this Japanese Seigaiha wave, onto a durable strip of canvas or linen.
To finish, fold and press the raw edges of the fabric strip for a clean border, then simply wrap it around your vase.
Secure the wrap with a few hidden stitches where the ends overlap, allowing you to easily remove it and swap designs whenever you wish.
10. Capture Botanical Details on Linen Napkins
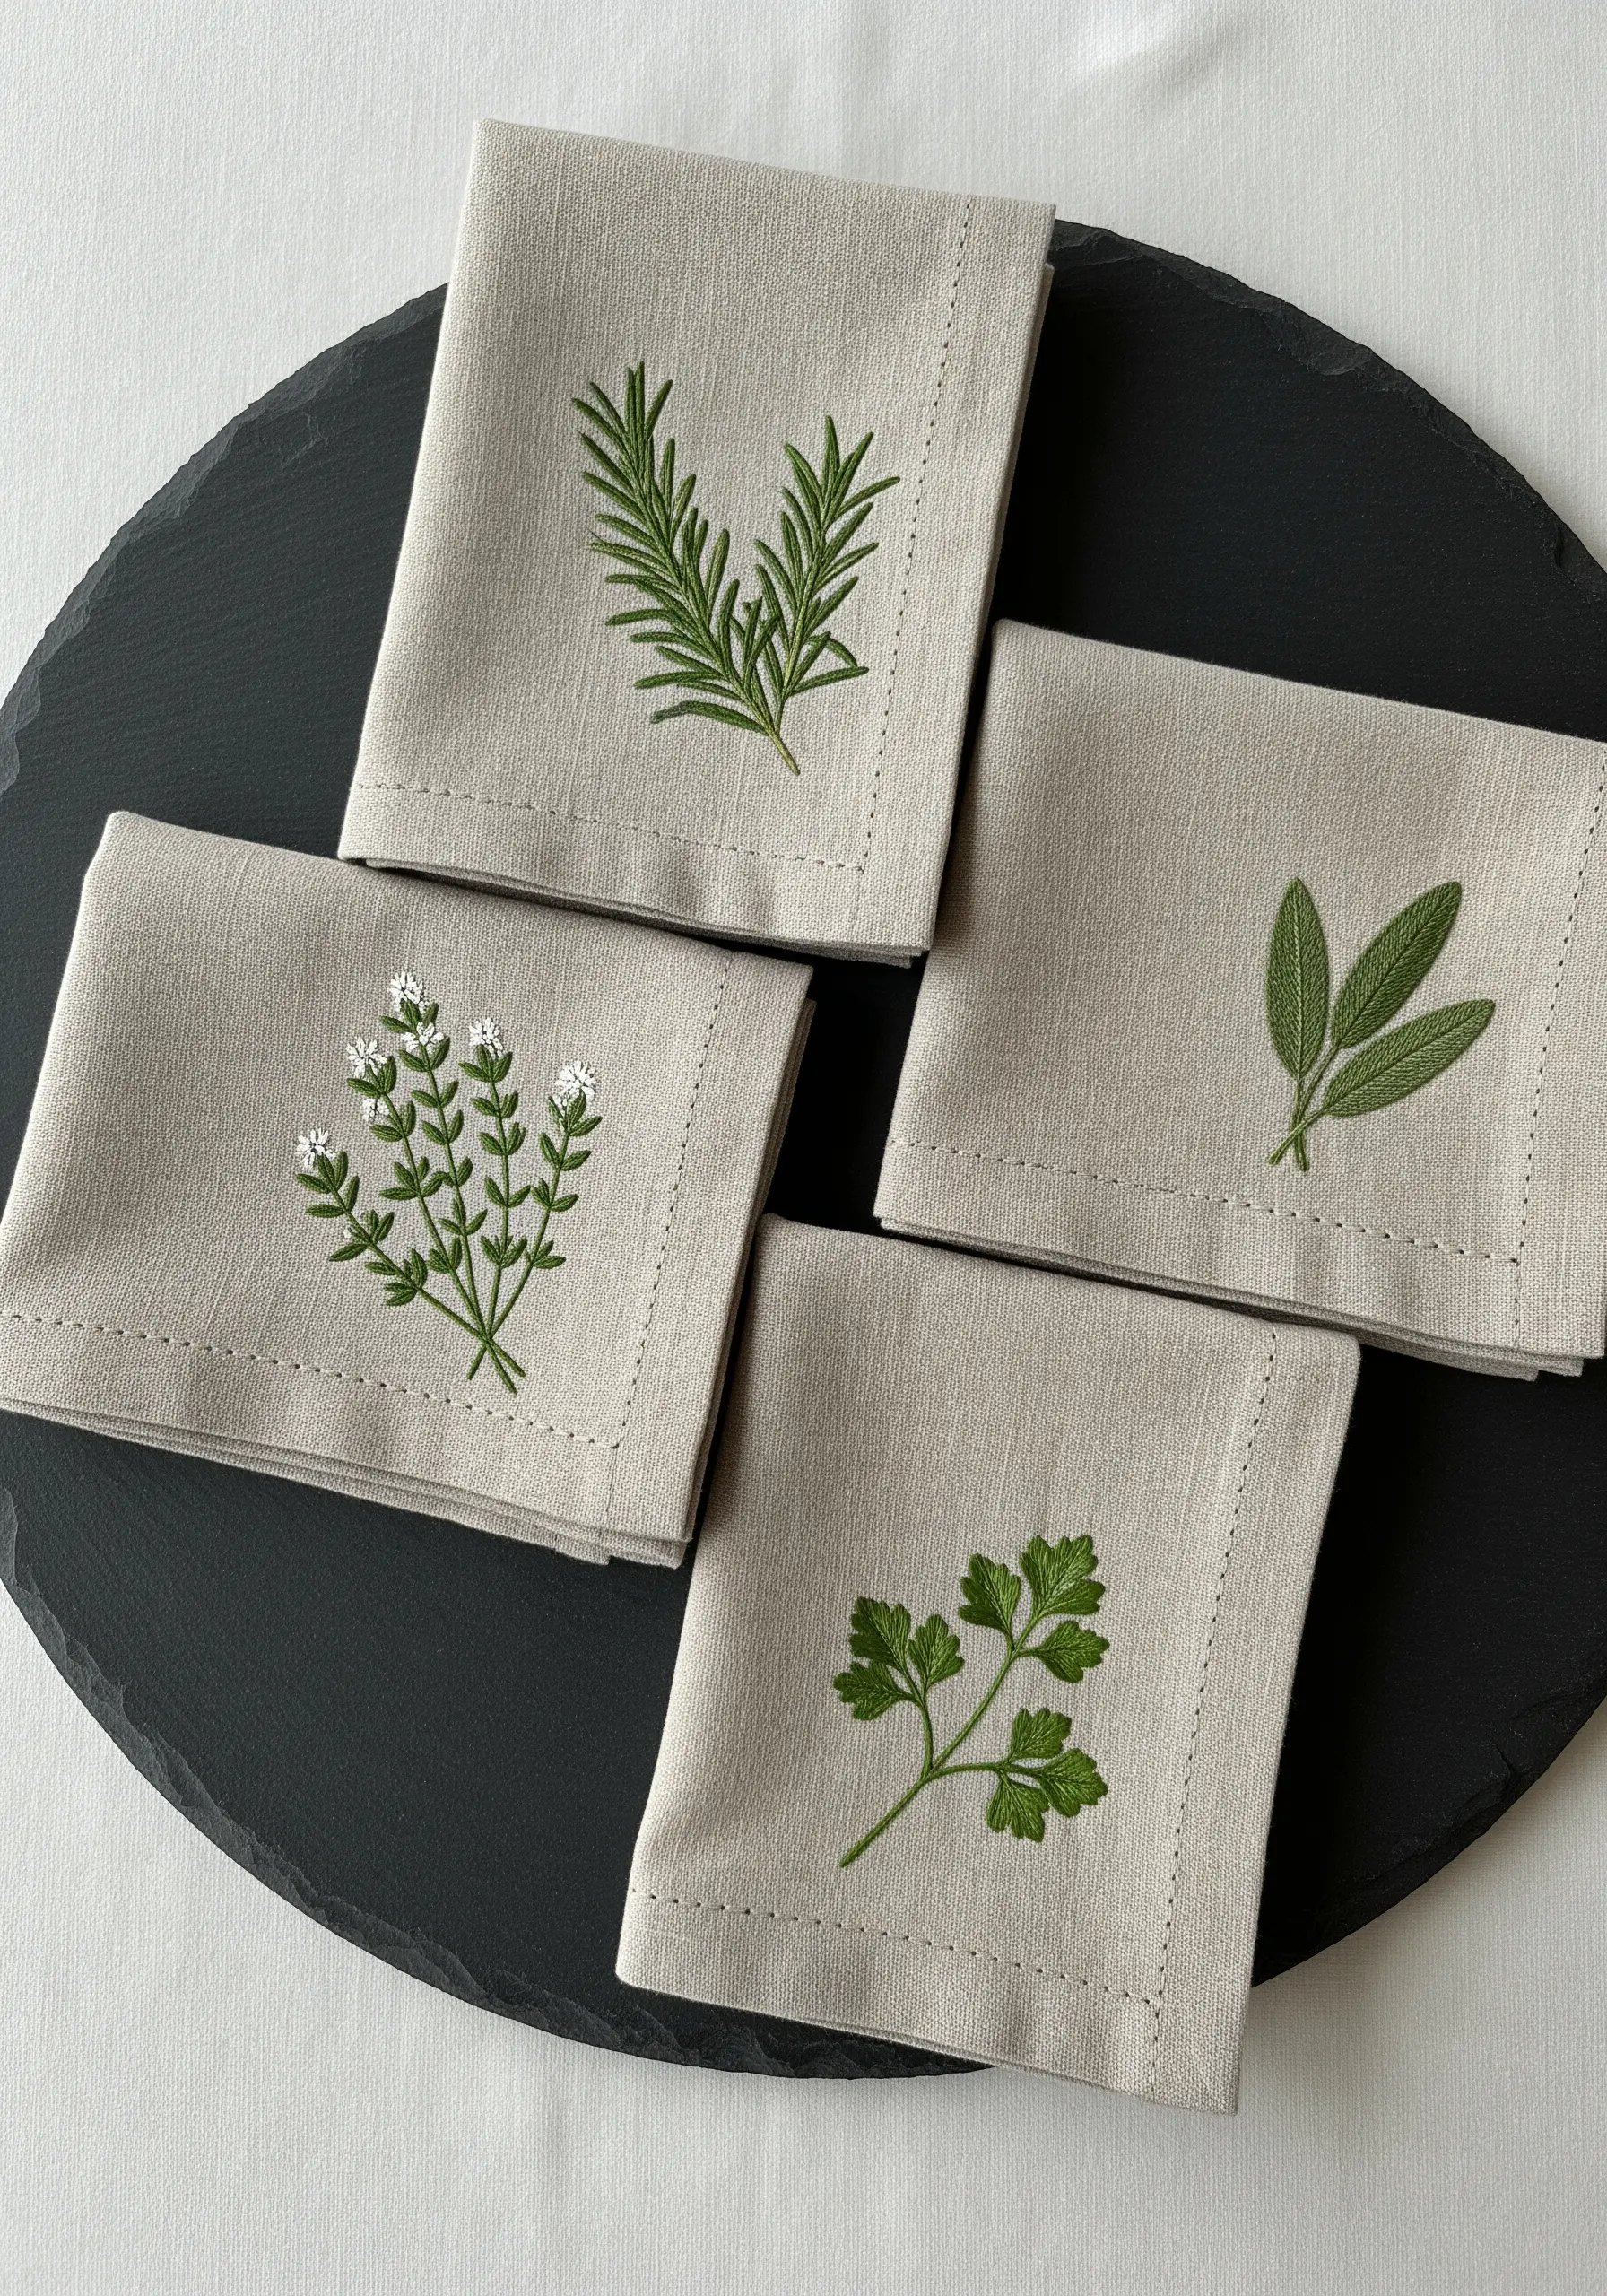
To achieve fine, realistic detail for these herb motifs, your stitch choice is everything.
Use only two strands of floss to keep the work delicate on the fine linen.
For rosemary, use short, angled detached chain stitches to mimic the texture of the needles.
For sage, a padded satin stitch will give the leaves a soft, plump feel.
For parsley, the fishbone stitch is perfect for creating the central vein and leafy shape.
Assigning a specific stitch to each herb makes the set feel like a curated botanical collection.
11. Achieve Sculptural Lines with Yarn Couching
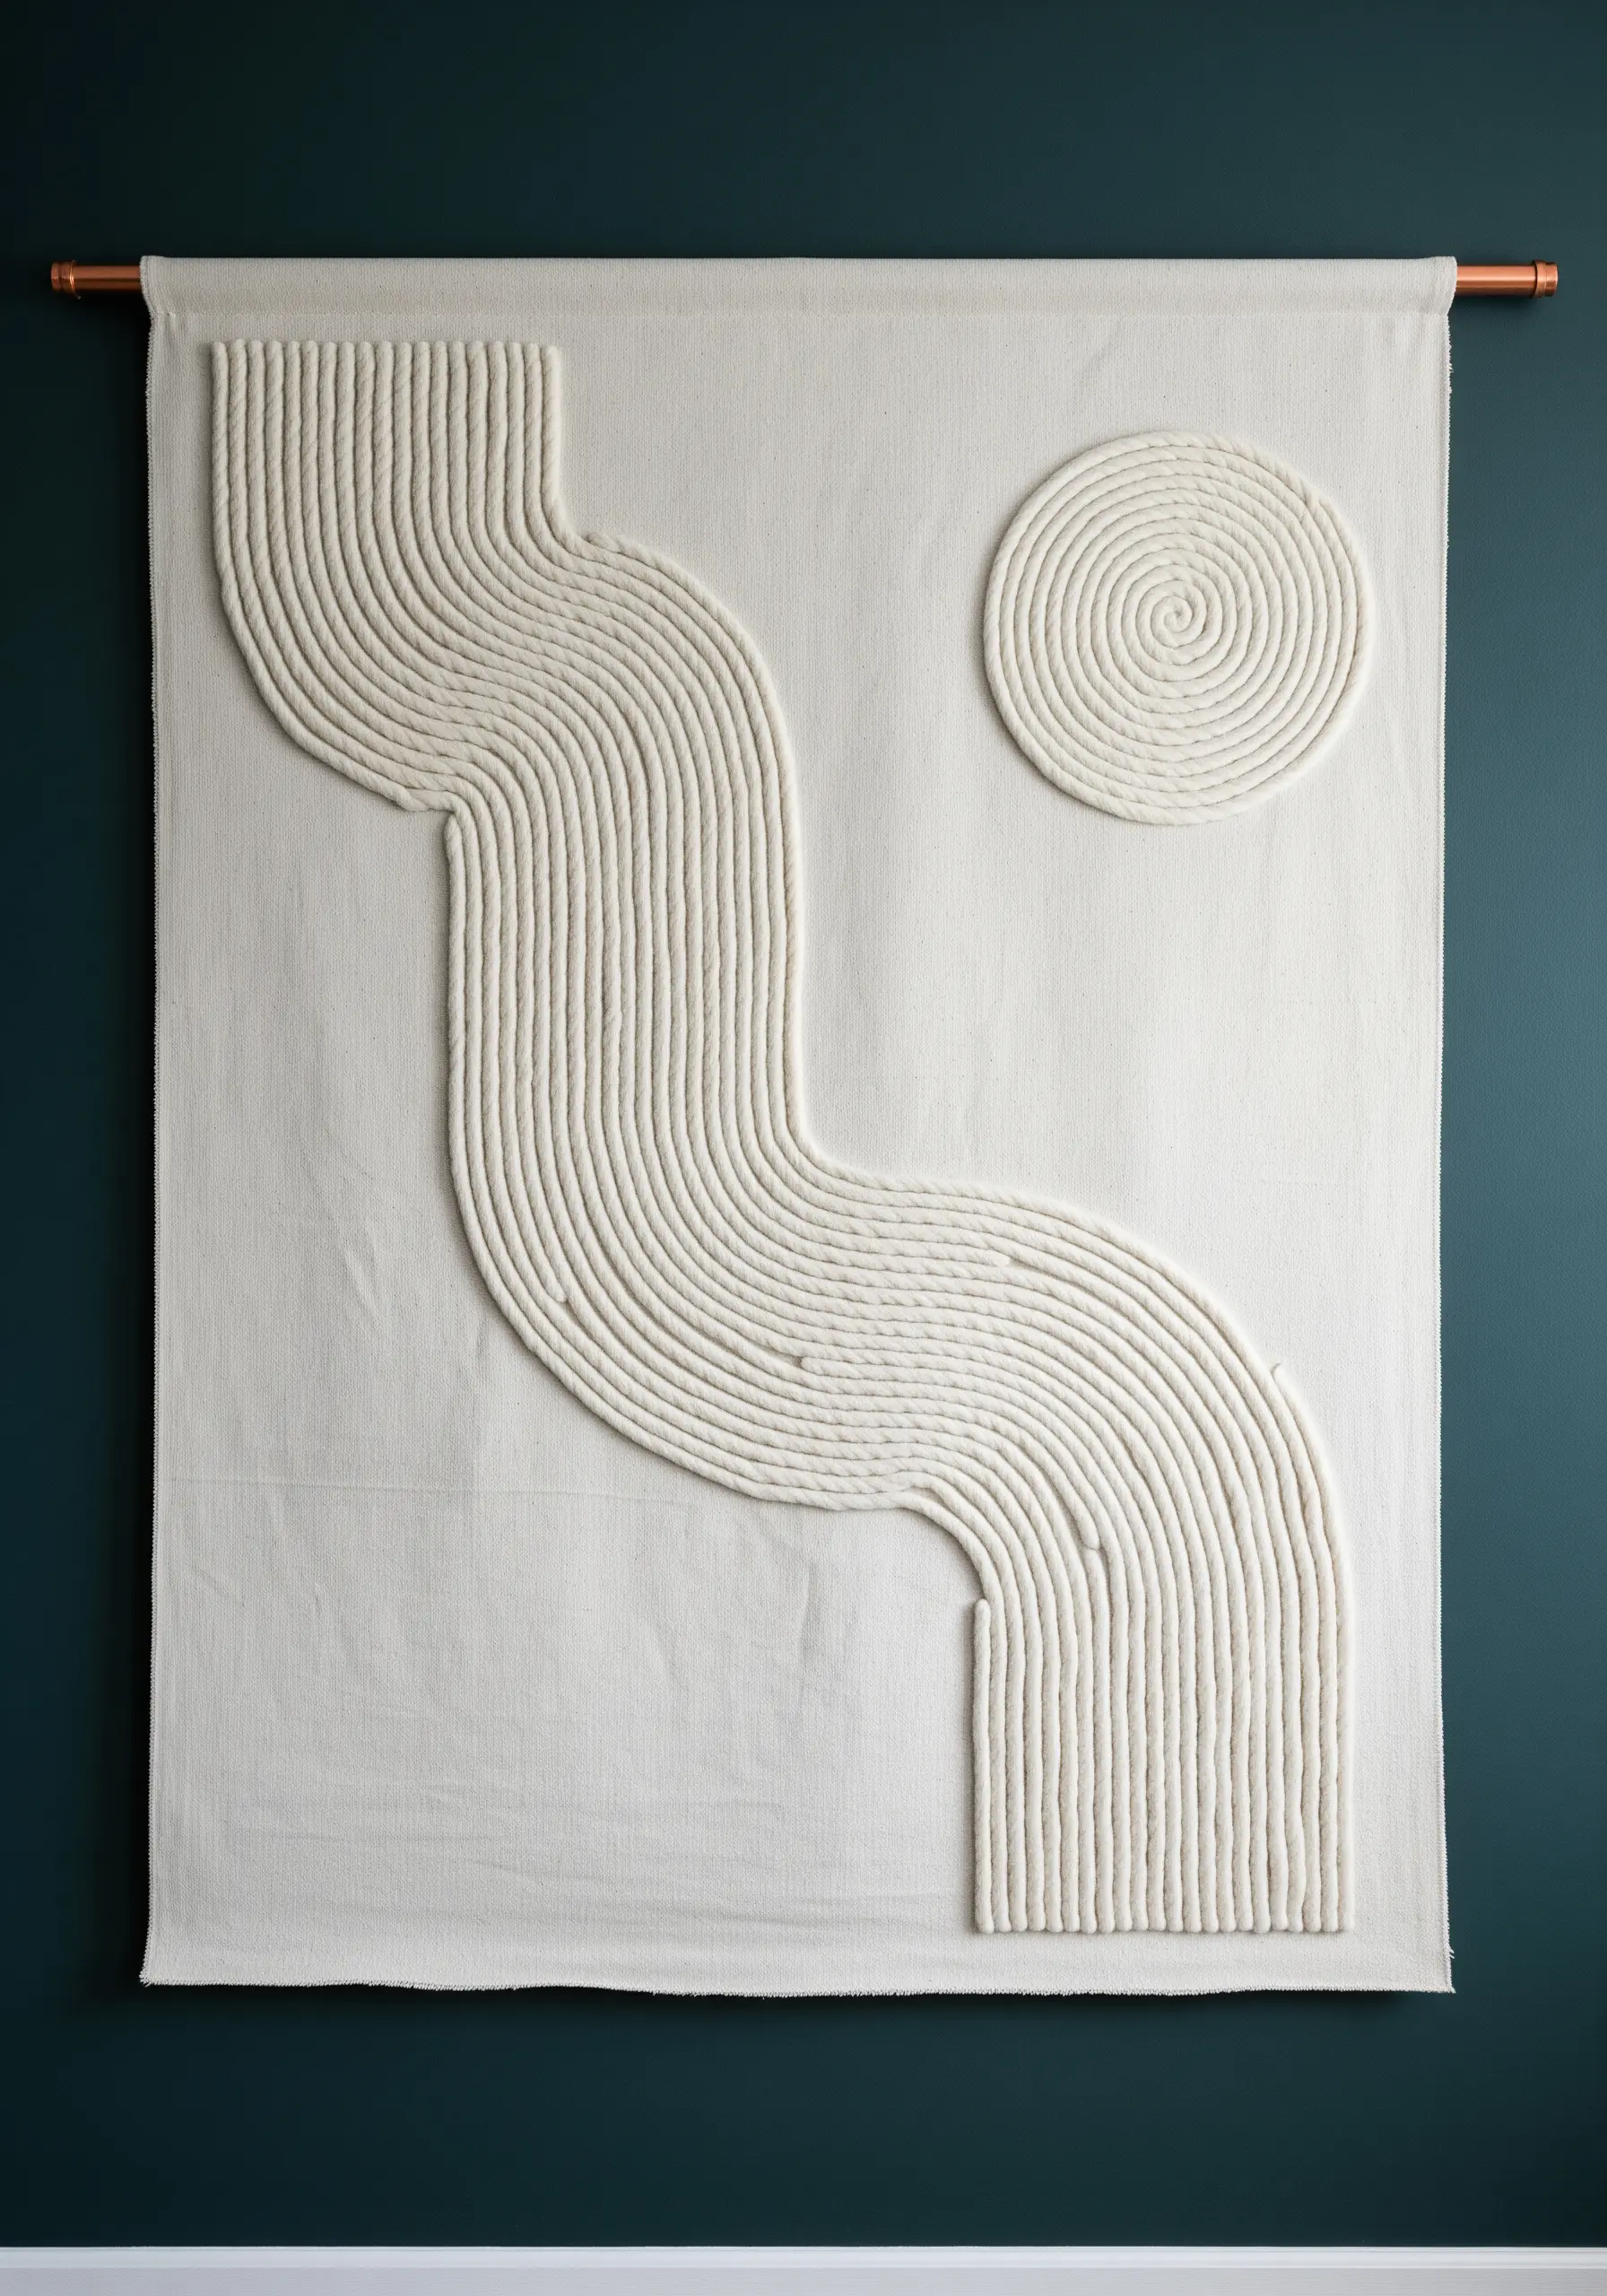
For large-scale, high-impact wall art, move beyond traditional stitching and embrace couching.
This technique involves laying a thick material, like yarn or rope, onto the surface of a heavy canvas base.
Then, using a regular needle and a matching, thinner thread, you tack the yarn down with tiny, invisible stitches made from the back of the fabric.
This method allows you to create bold, three-dimensional lines and sweeping curves that have a powerful, graphic presence on the wall.
12. Stitch Sharp Geometric Accents on Felt
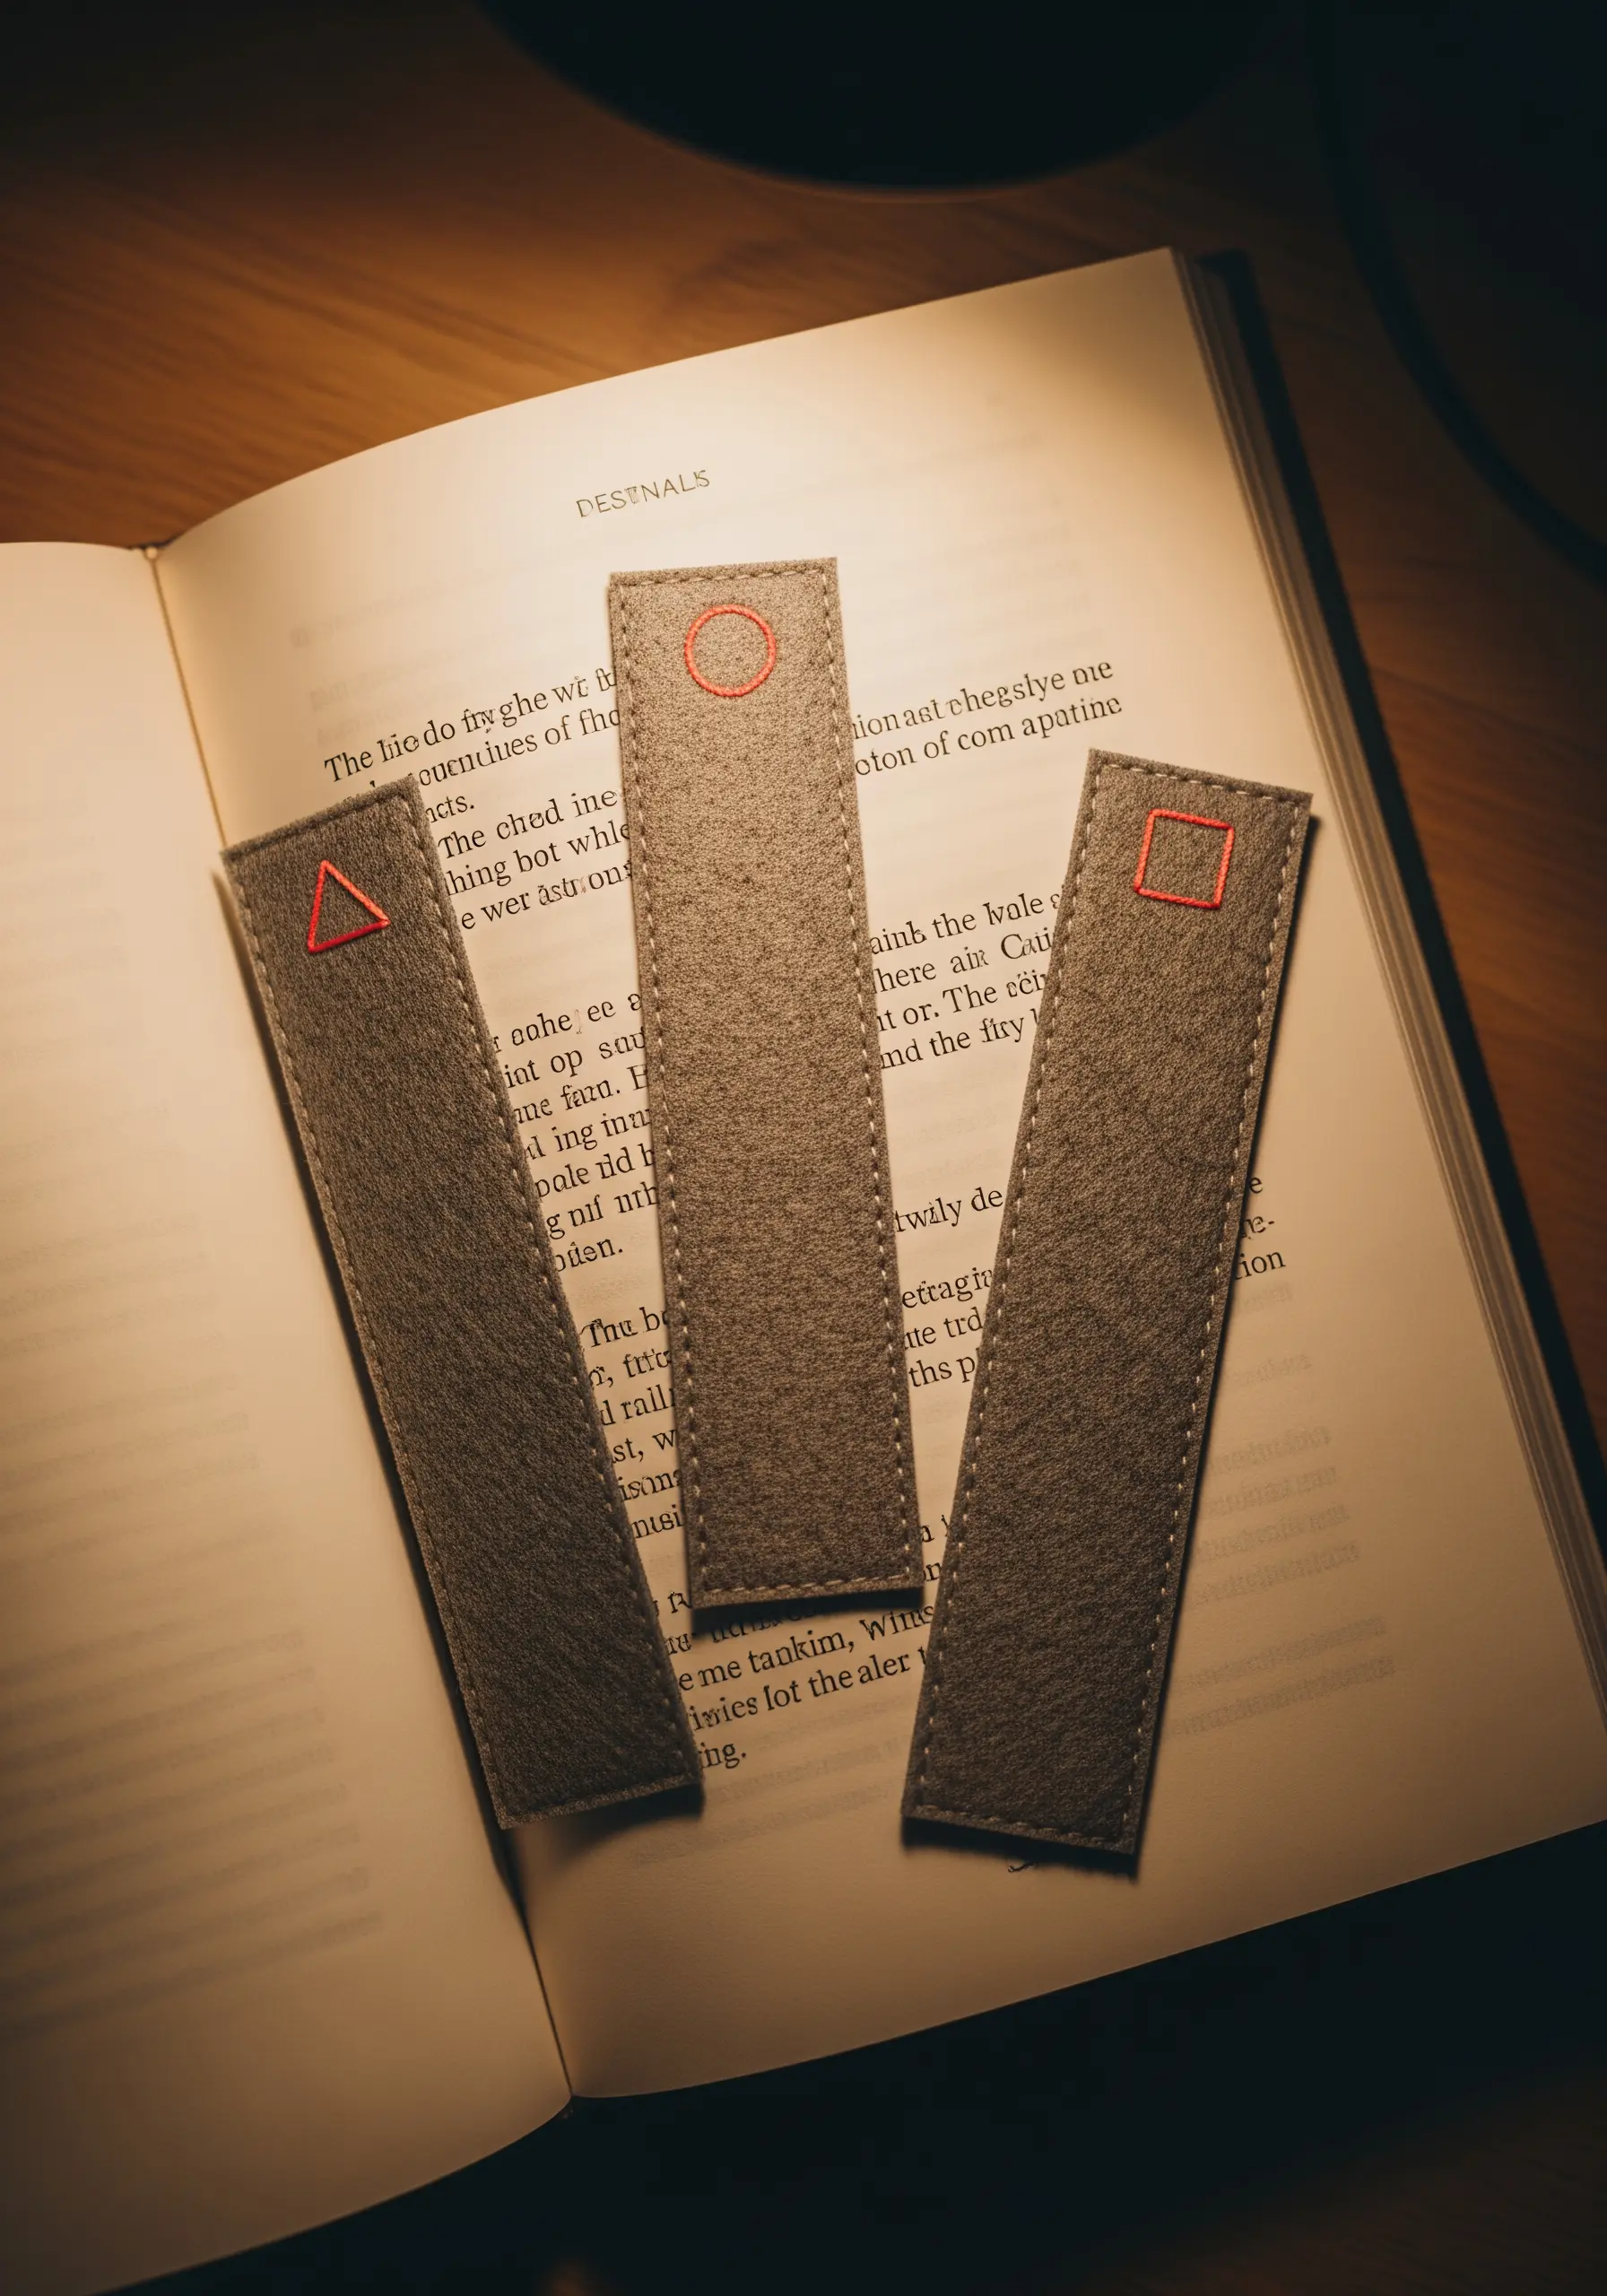
Felt is an ideal medium for minimalist projects because its non-fraying edge provides a clean canvas.
The beauty of this design lies in the contrast between the soft, matte texture of the felt and the crisp, precise line of the embroidered shape.
Use a simple backstitch with two or three strands of floss for a visible, defined line.
For a sturdier bookmark, cut two identical felt rectangles, embroider one, and then sew them together with a neat running stitch around the perimeter.
13. Illuminate Your Embroidery on a Lampshade
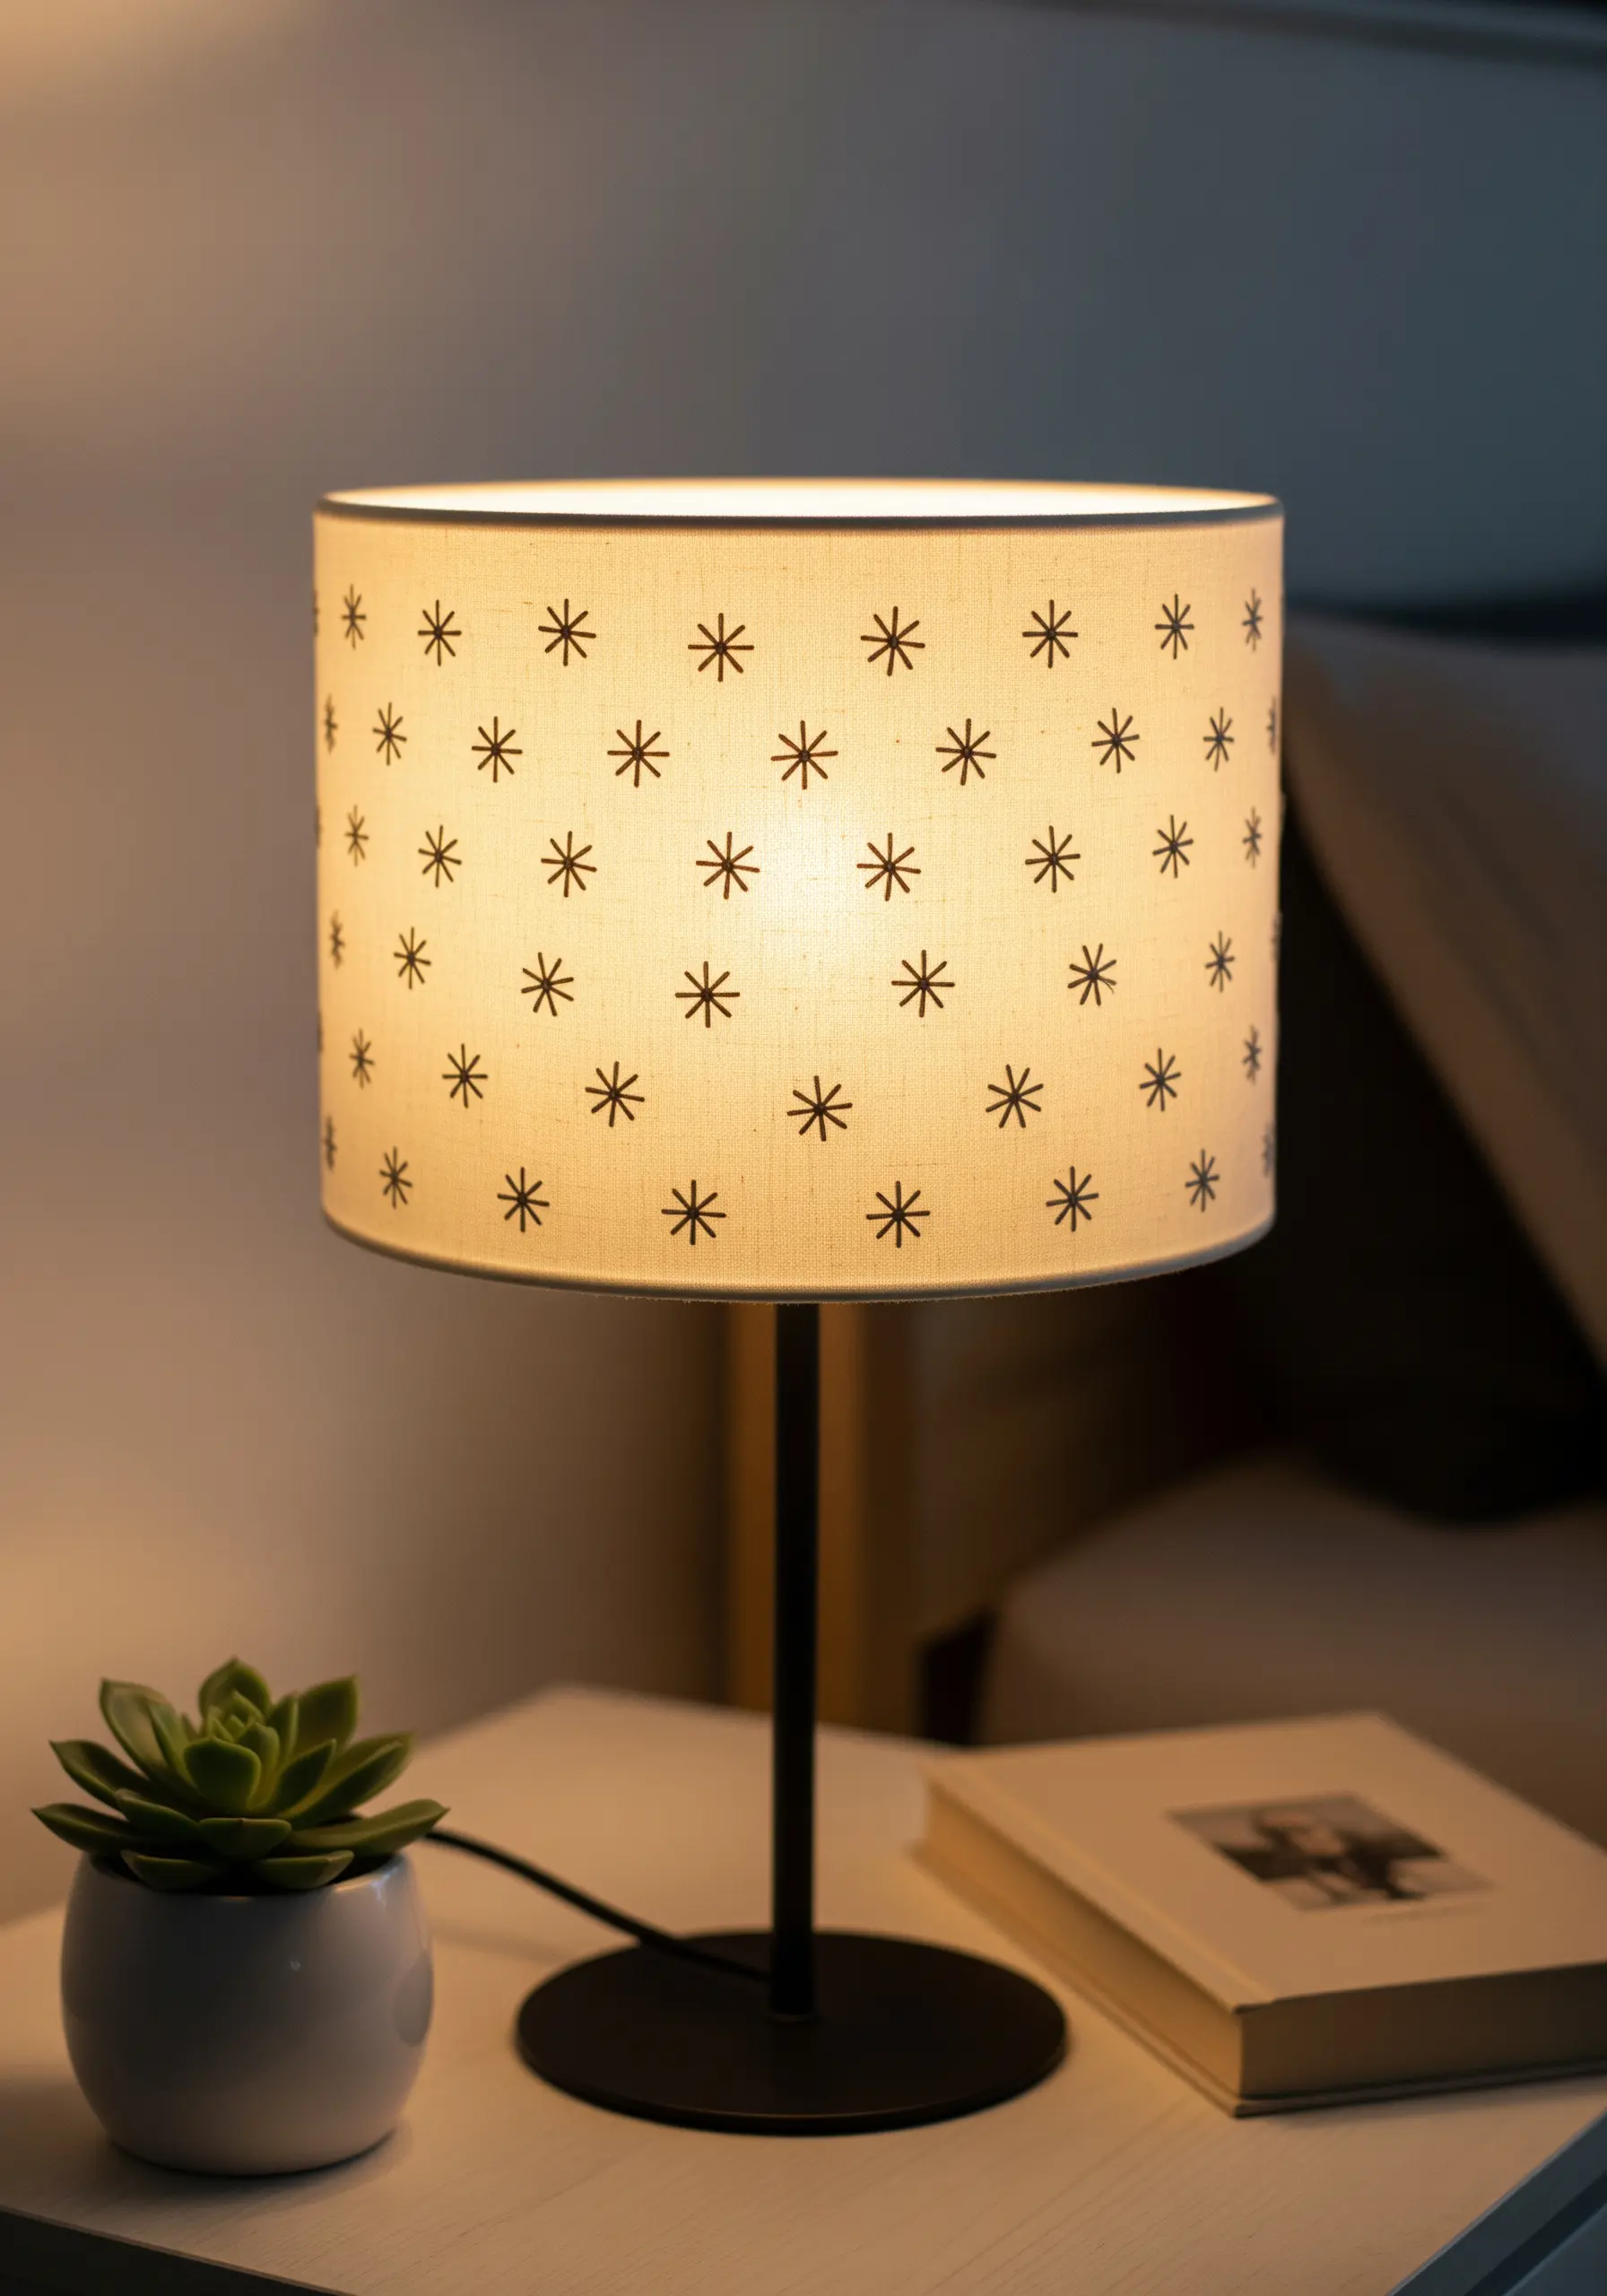
Turn your stitching into a source of ambient light by creating a custom lampshade.
Choose a light-colored, translucent fabric like linen or thin cotton and embroider a simple, repeating motif across the surface.
When the lamp is turned on, the light shines through the fabric, transforming your stitches into glowing silhouettes.
This effect highlights the texture and form of your handiwork in a completely new way. Always use a self-adhesive lampshade panel or kit for a safe, professional structure.
14. Organize with Bold, Graphic Embroidery Icons
Combine style and function by embroidering clear, minimalist icons onto fabric storage bins.
To ensure the icons are easily visible, use a stitch that creates a thick, solid line. A tight chain stitch or a whipped backstitch using all six strands of floss will give you the necessary weight.
Sticking to a high-contrast color scheme, like black on grey, keeps the look modern, clean, and effortlessly chic while making your organization system intuitive.
15. Create Aromatic Sachets with Botanical Line Art
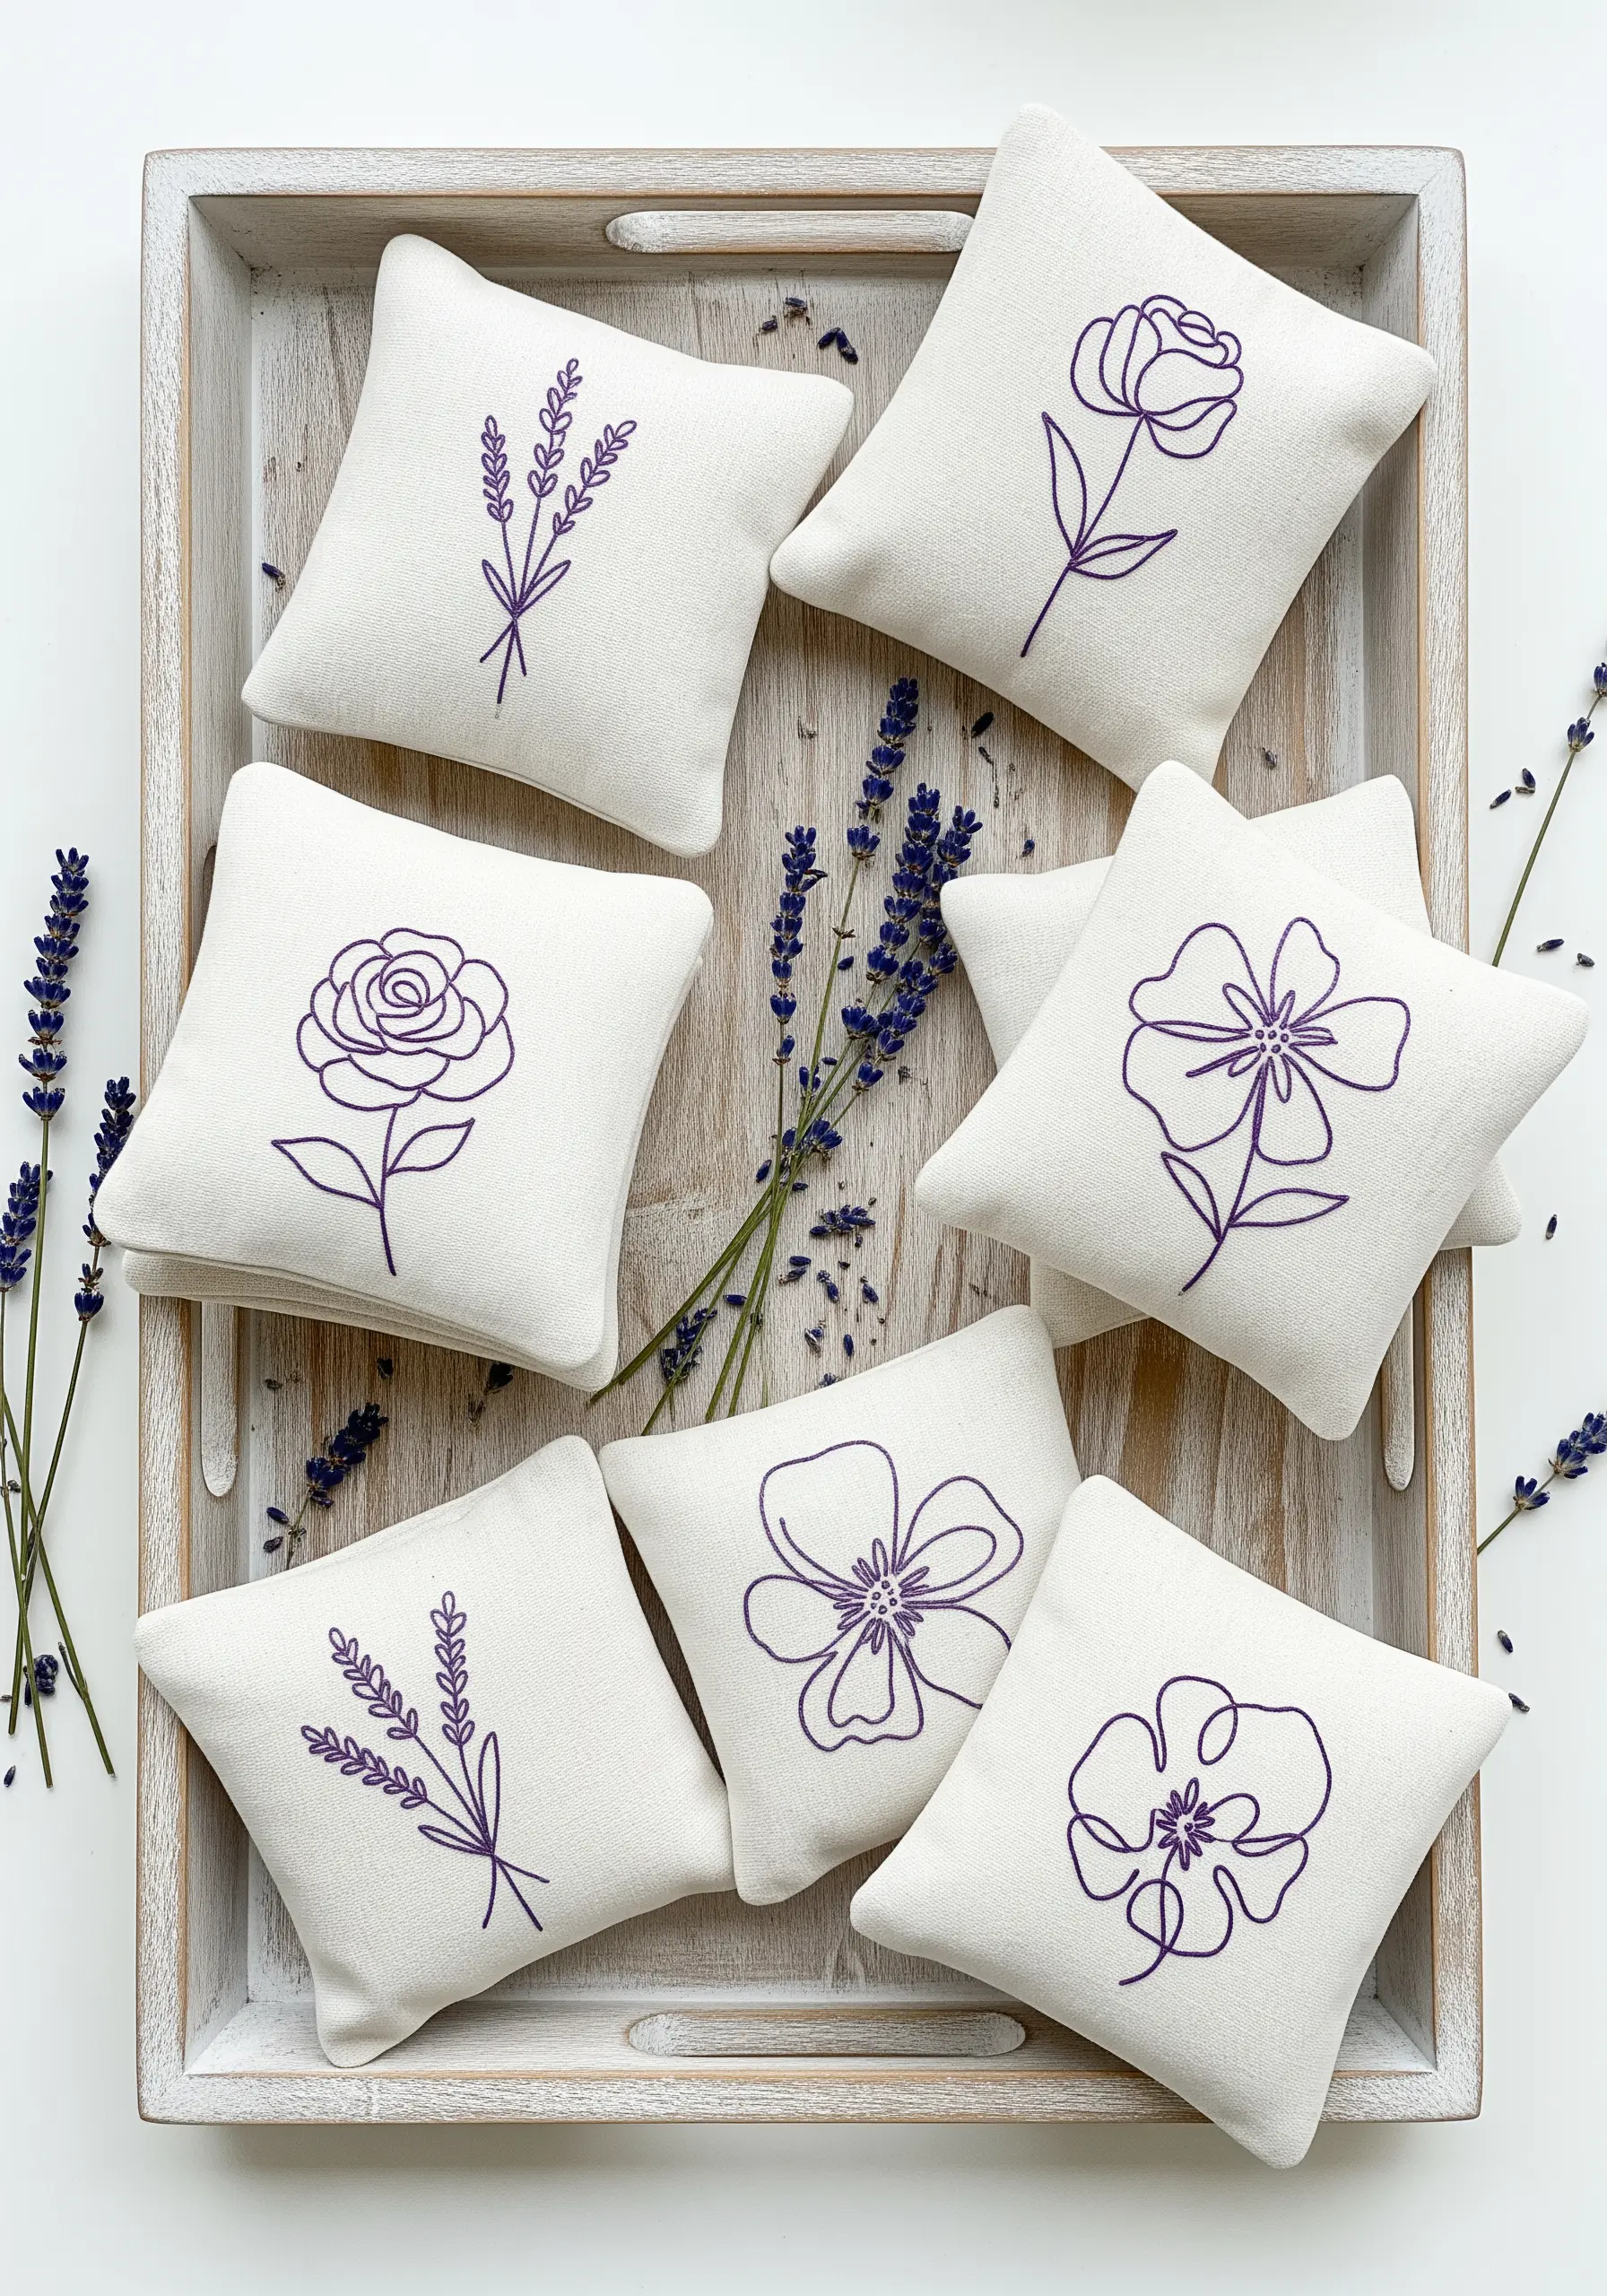
For these calming lavender sachets, the goal is to capture the essence of a floral sketch.
Use a stem stitch with three strands of floss—this stitch excels at creating smooth, flowing curves perfect for botanical outlines.
Choose a breathable, natural fabric like linen or loosely woven cotton to allow the scent of the dried lavender to diffuse.
The combination of a simple visual and a calming aroma makes for a thoughtful and multi-sensory handmade object.
16. Refine a Throw with an Architectural Blanket Stitch
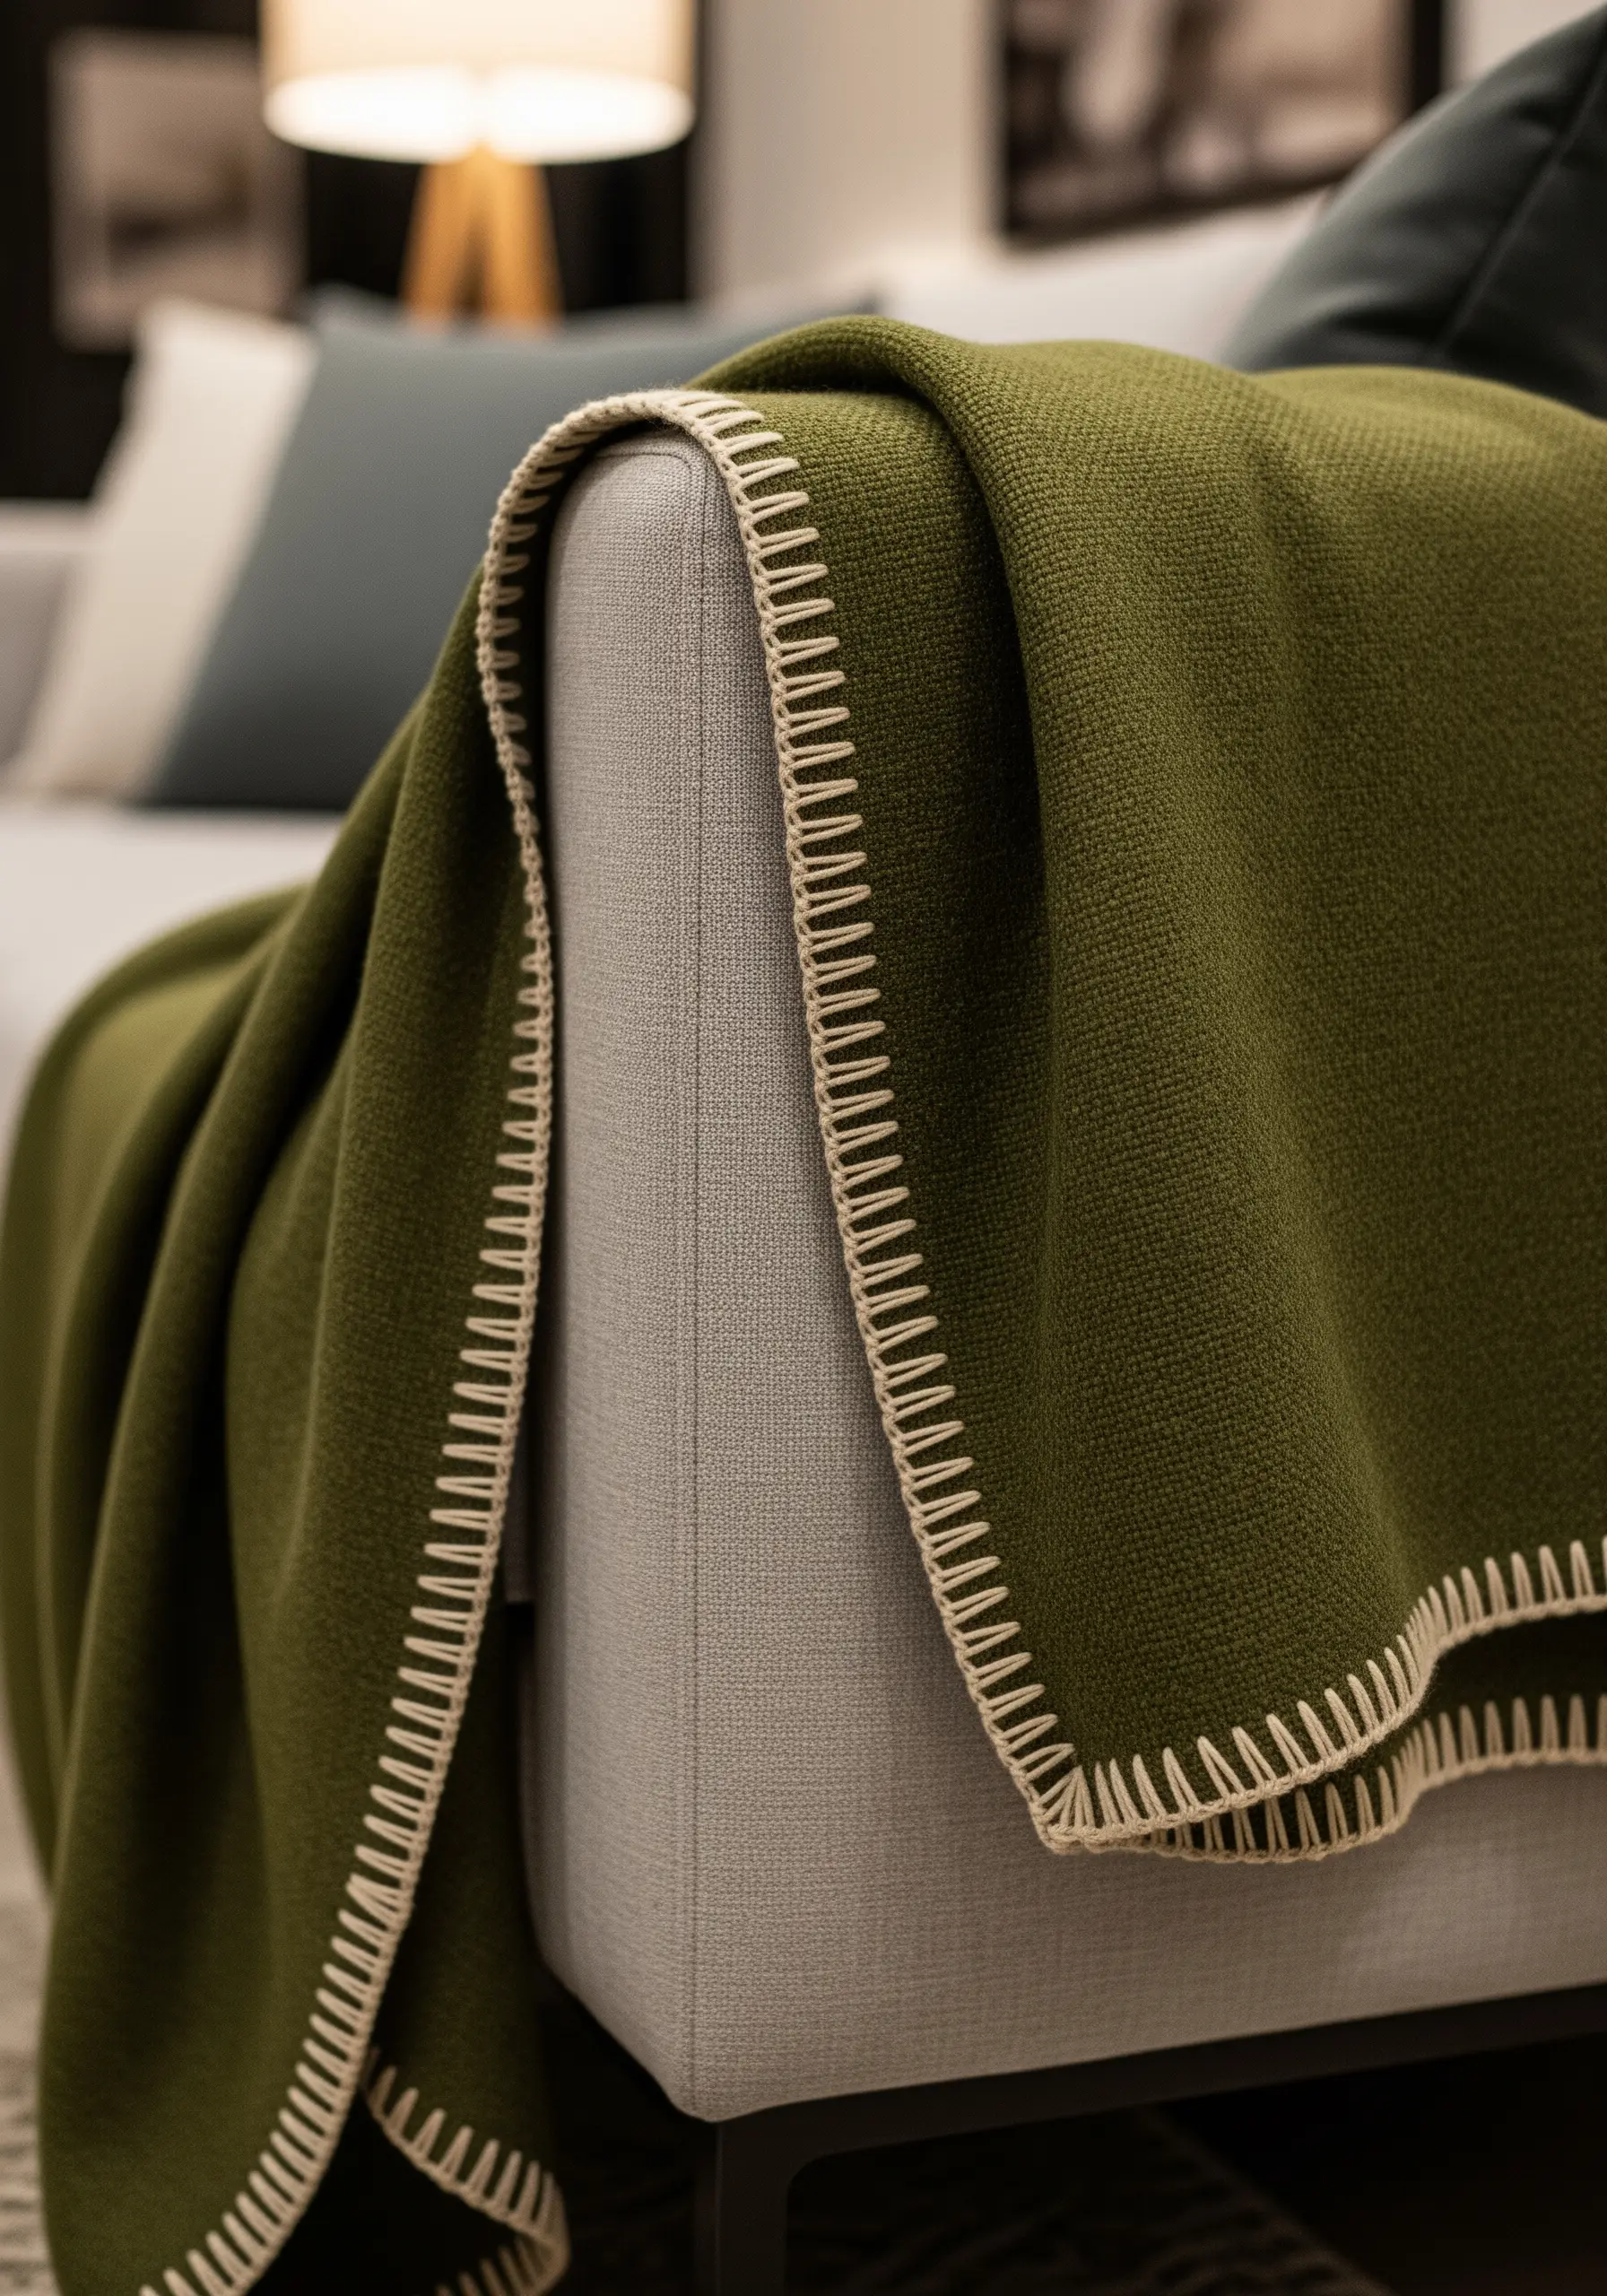
Transform a standard blanket stitch from a humble craft element into a bold design statement through precision and scale.
Use a thick, contrasting yarn to ensure the stitch has visual weight against the texture of the throw.
The modern appeal comes from perfect consistency: keep the height of each stitch and the space between them uniform.
This methodical approach turns the edge of the blanket into a striking, graphic frame.
17. Achieve Subtle Elegance with Tone-on-Tone Stitching
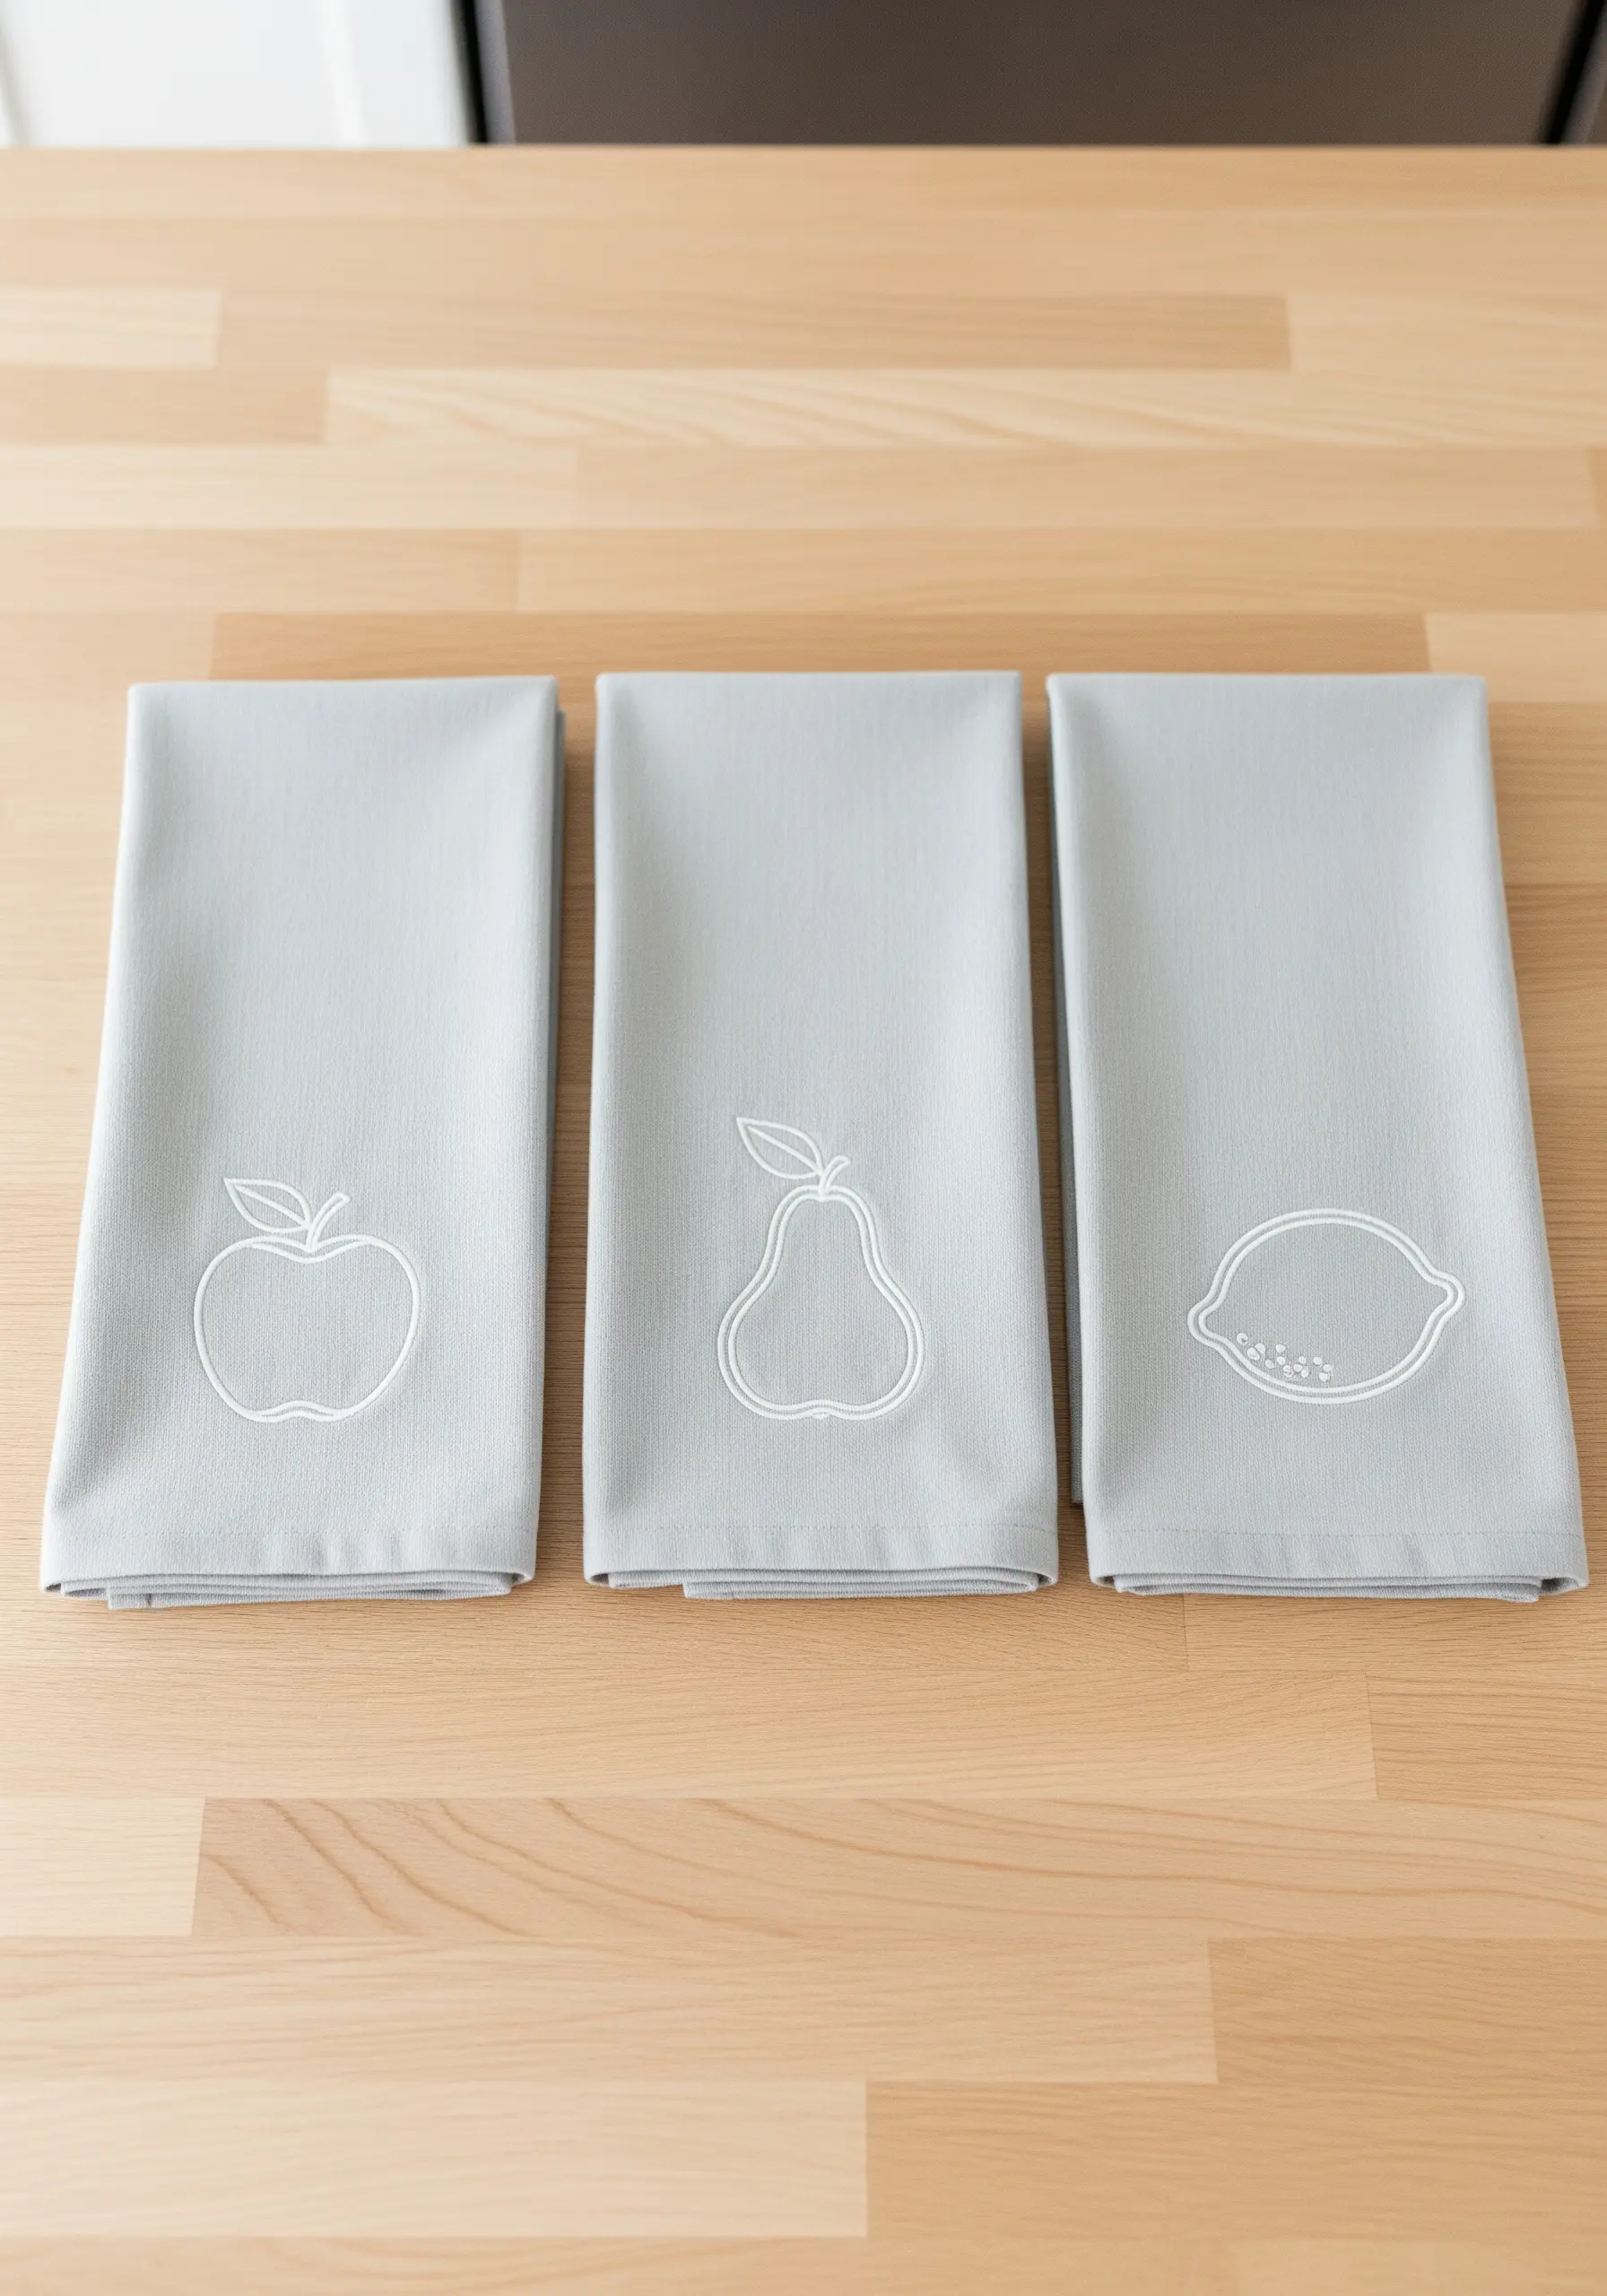
For a sophisticated and understated effect on kitchen towels, embroider using a thread that is only one or two shades different from the fabric.
This tone-on-tone embroidery technique emphasizes texture over color, creating a subtle pattern that you feel as much as you see.
Use a simple stem stitch or a whipped backstitch to create a clean, raised outline of a fruit or botanical shape.
This minimalist detail adds a touch of custom luxury to an everyday object.
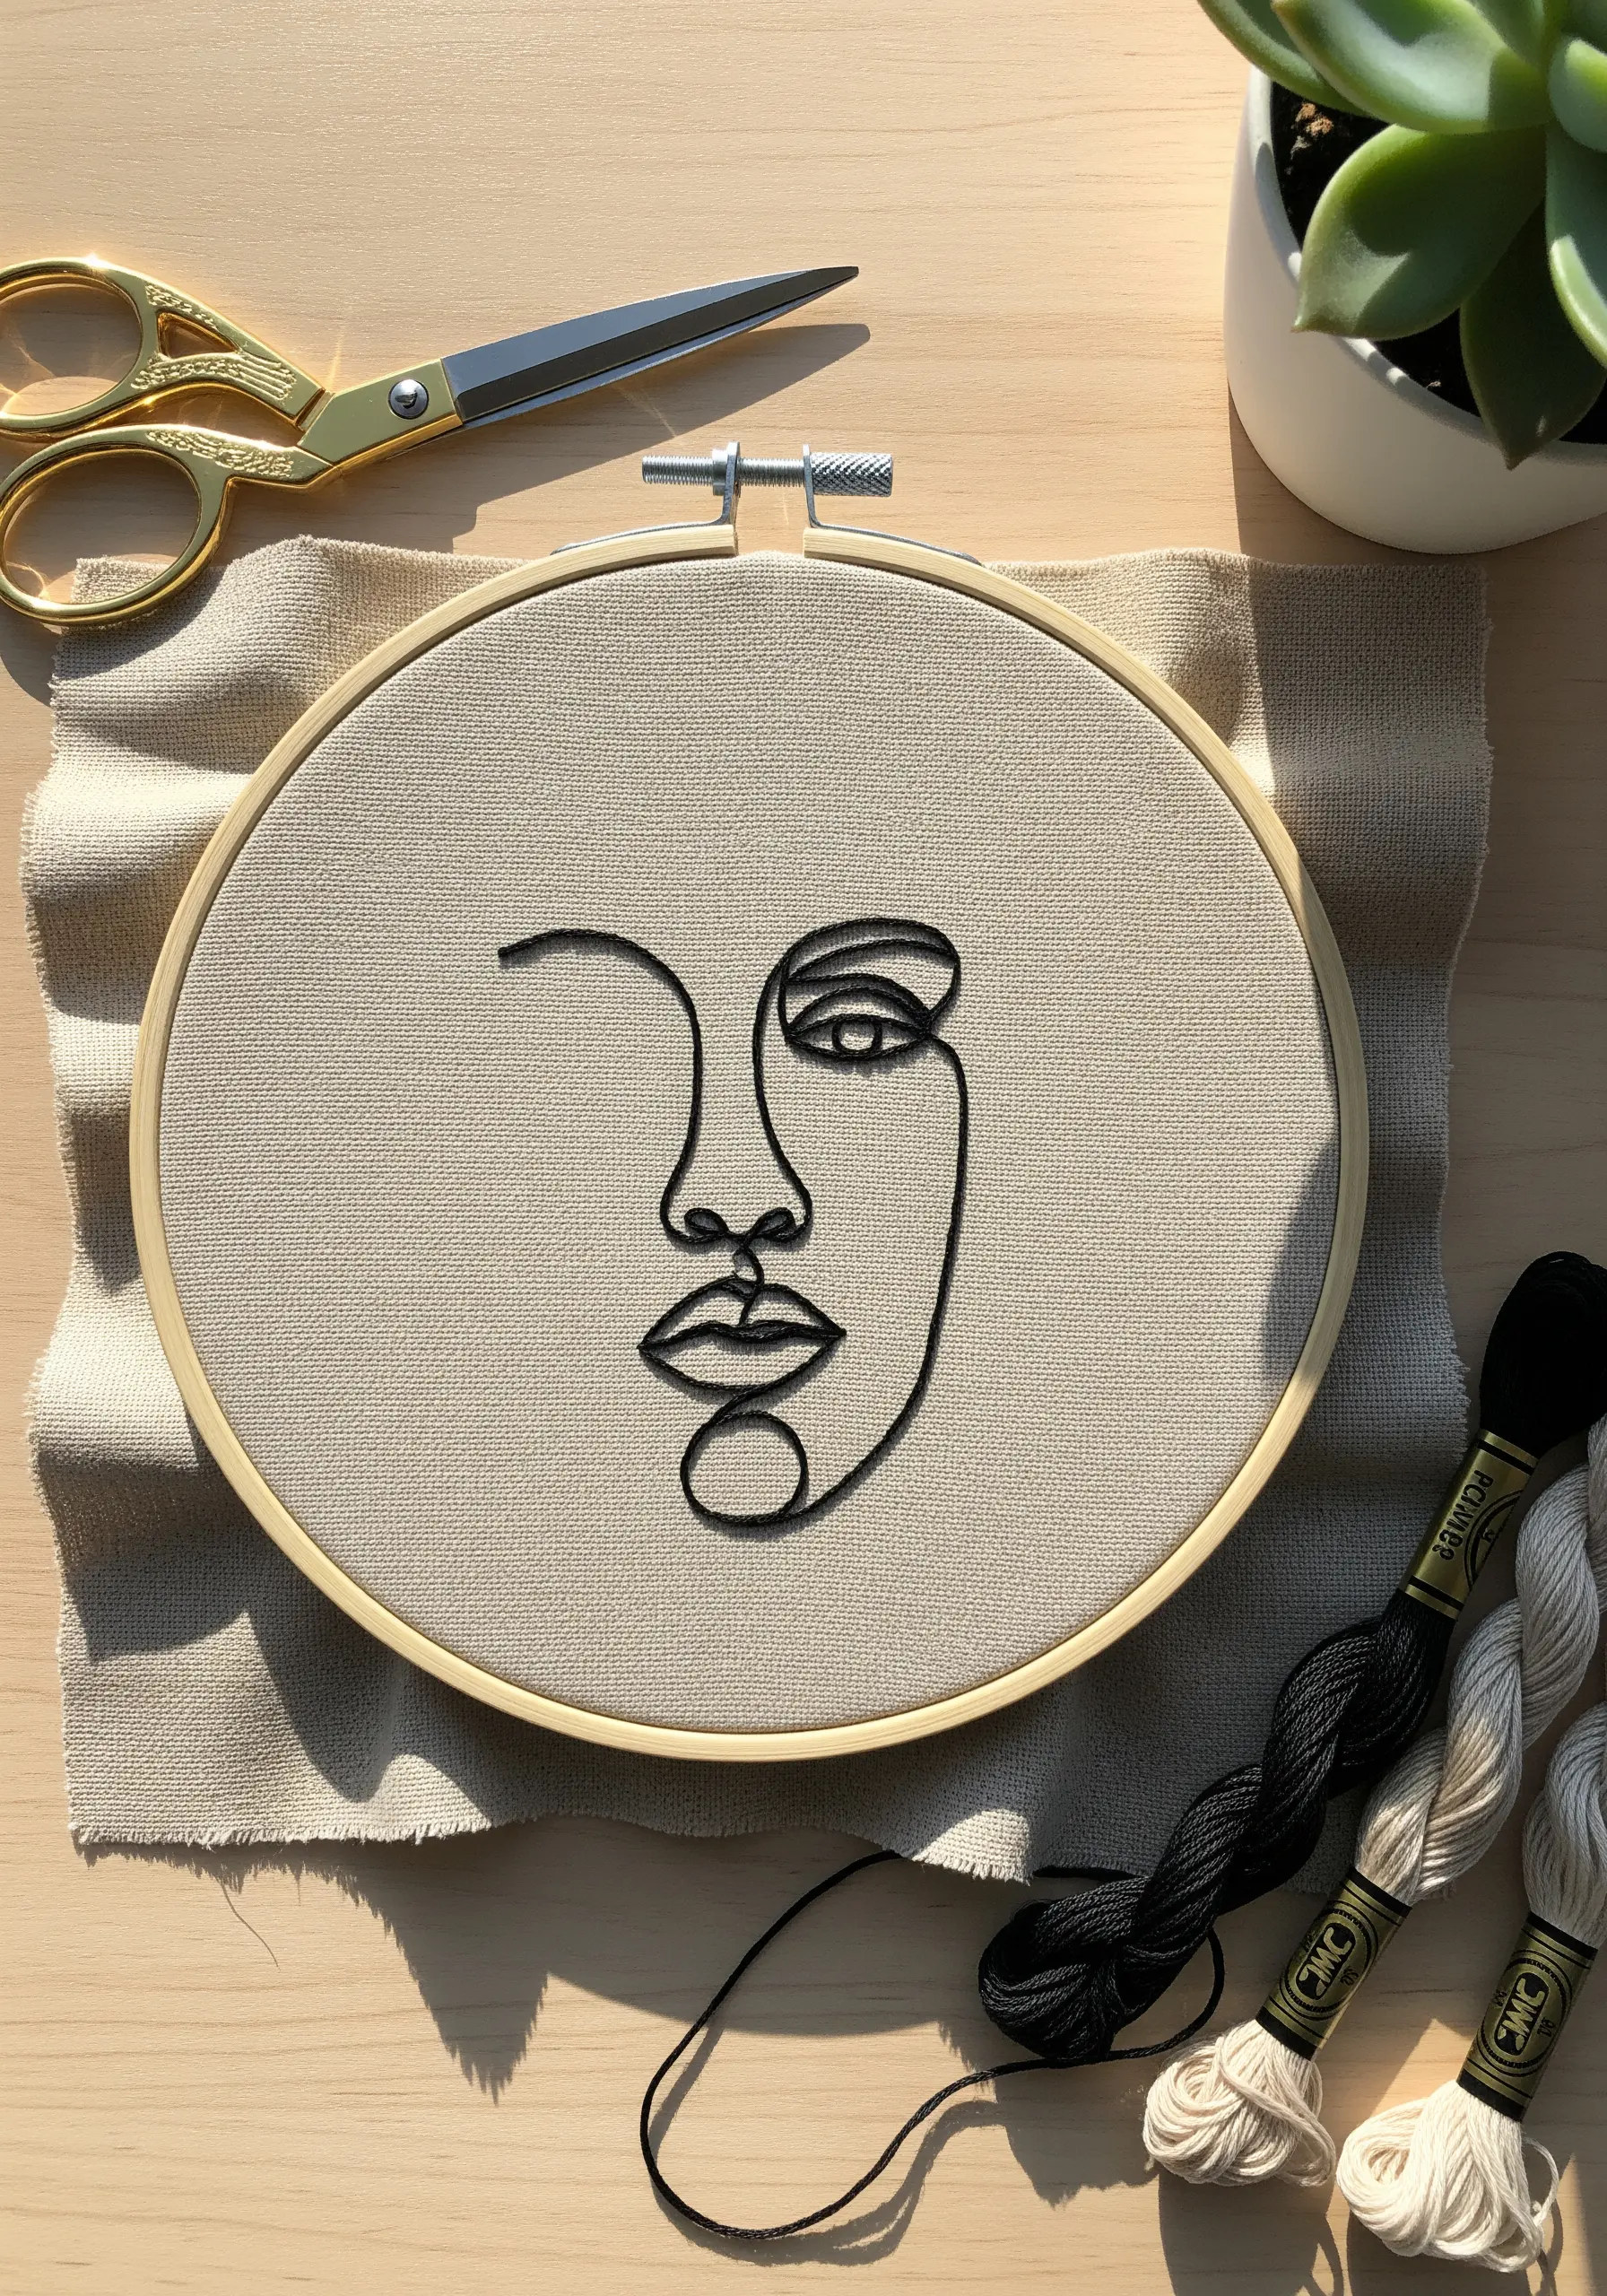
18. Make Words Pop with High-Contrast Cursive
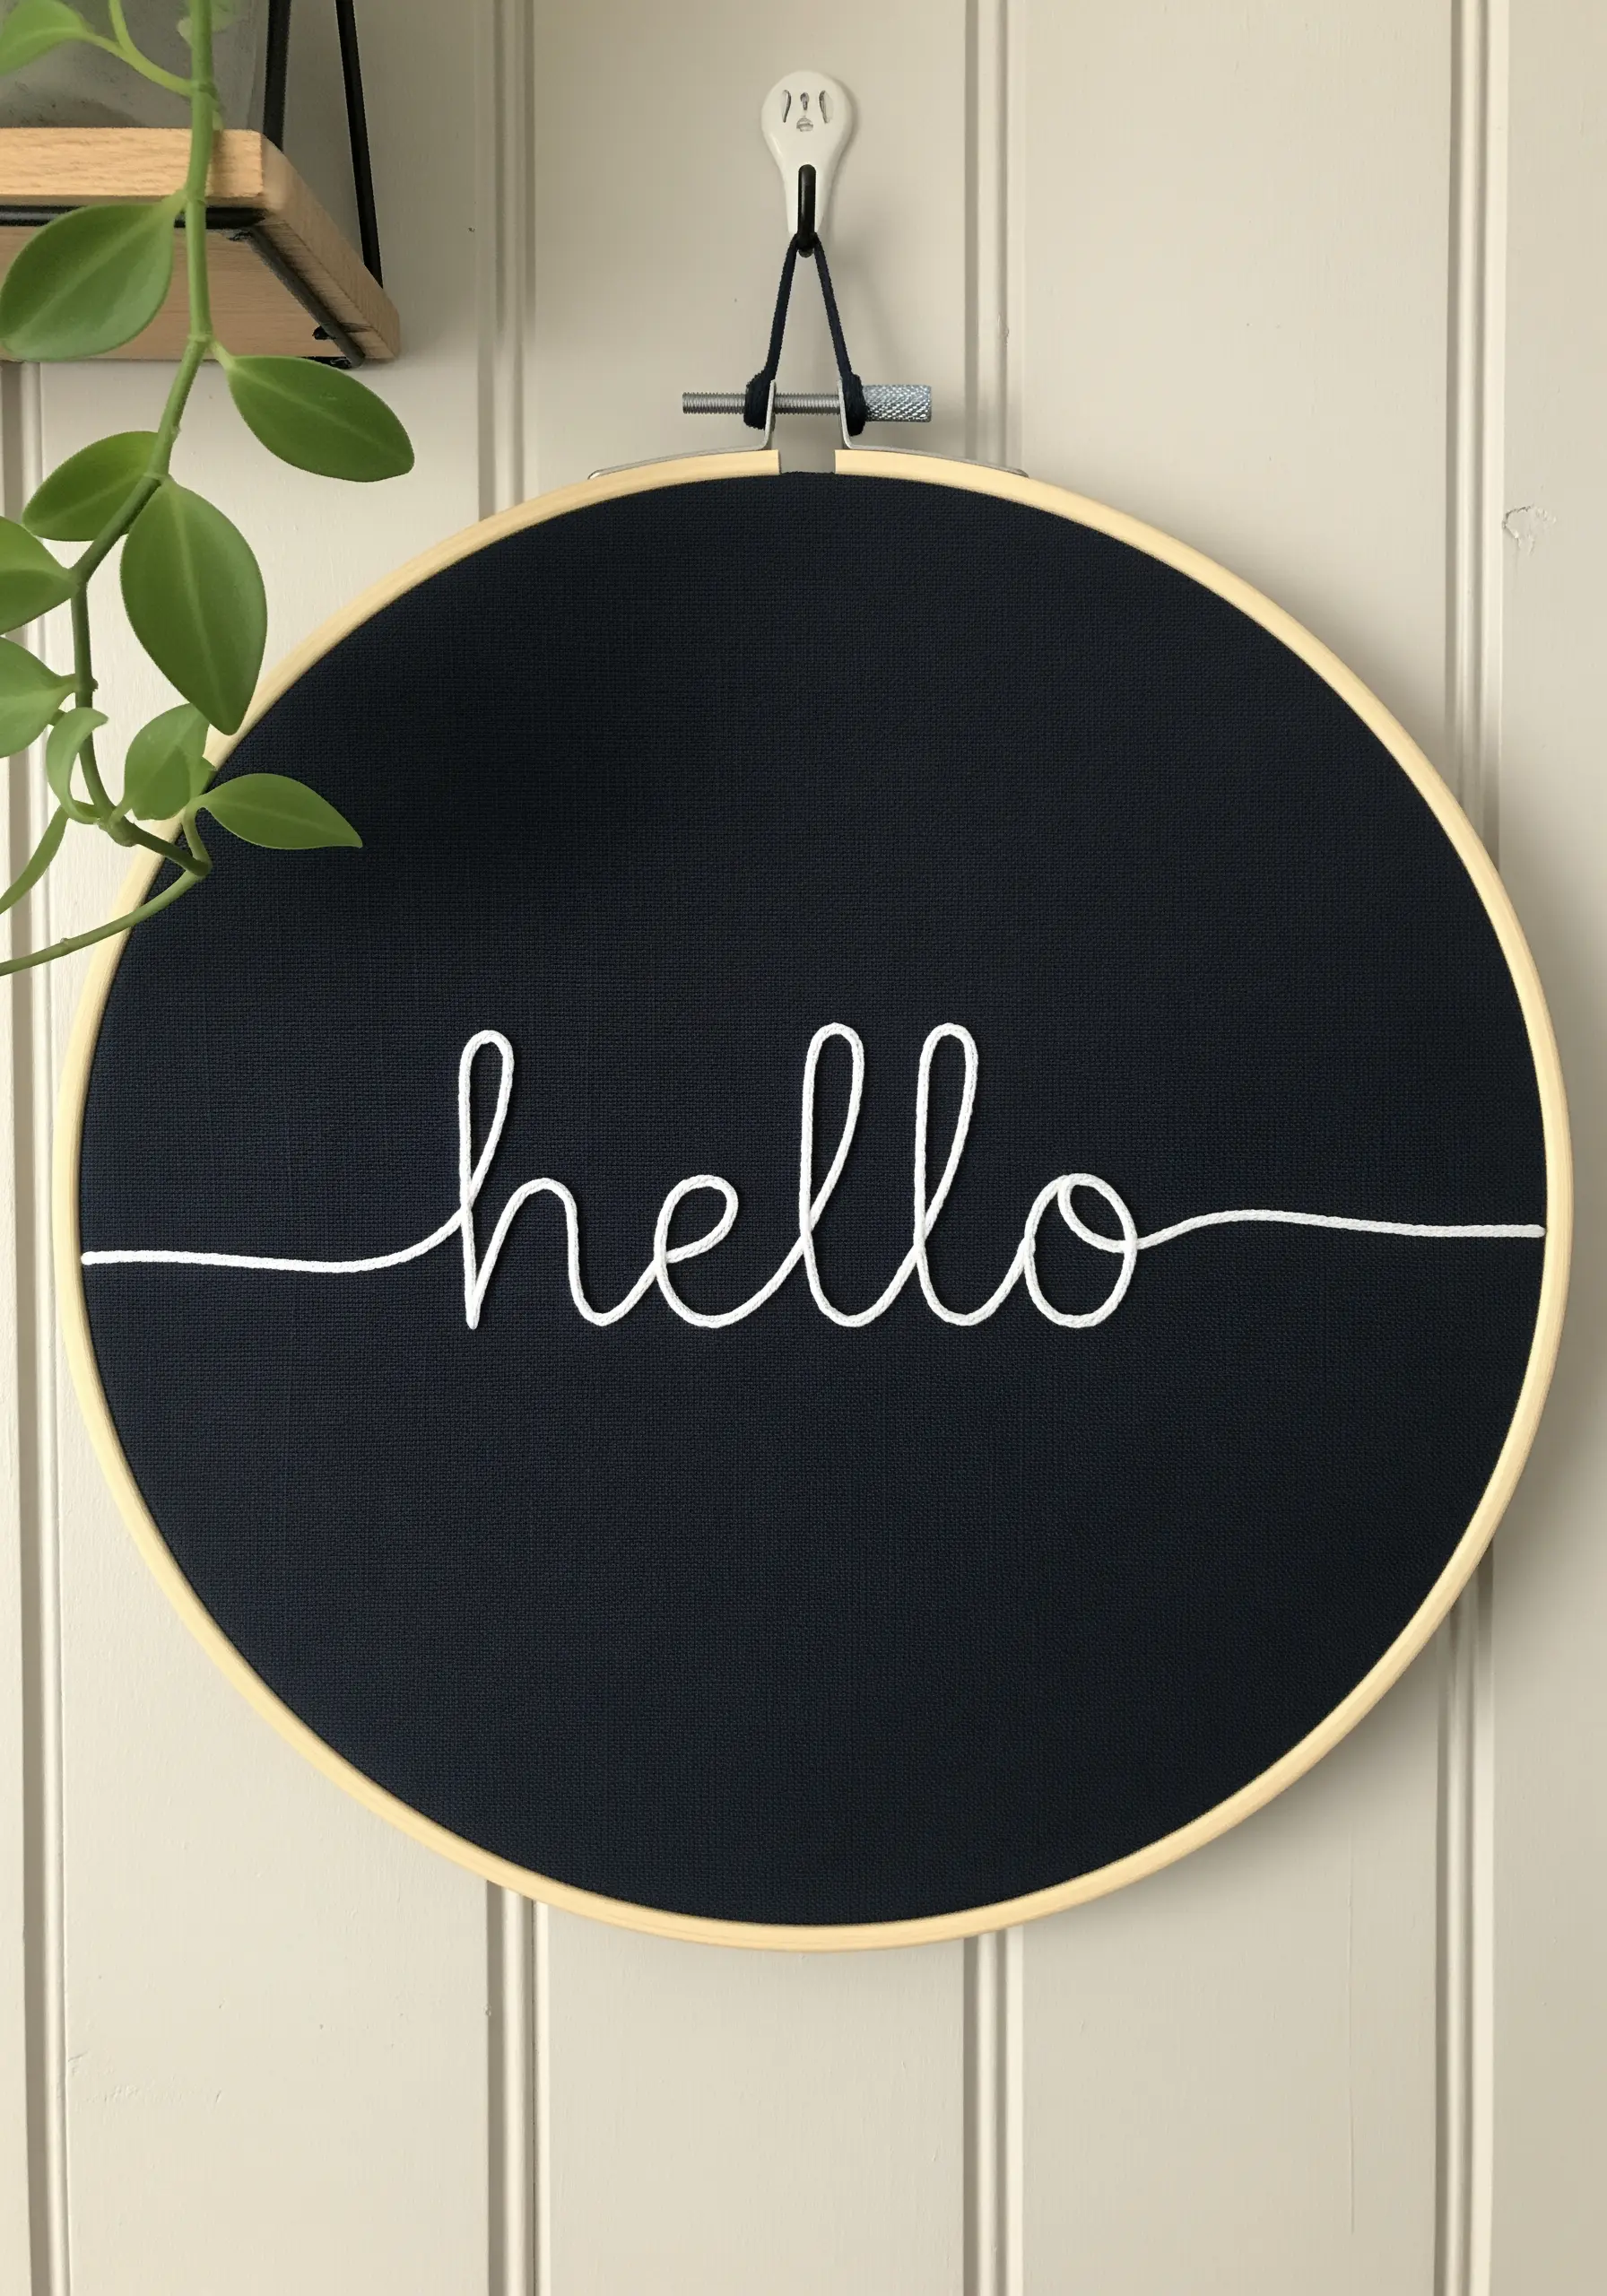
To give your embroidered text maximum graphic impact, leverage the power of high contrast.
Stitch with a bright white thread on a dark, even-weave fabric like black linen, which provides a dramatic, gallery-like background.
To create the thick, uninterrupted flow of a single cursive word, use a padded satin stitch or couch a thicker cord onto the fabric with a matching thin thread.
The stark contrast ensures your message is the undeniable focal point of the piece.


