
You have the threads, the needles, and the desire to create something beautiful. But perhaps you feel that your work could have a little more… intention. A polish that moves it from a simple craft to a small work of art.
The secret isn’t in mastering dozens of complex, time-consuming stitches. Instead, it lies in the thoughtful application of the simple ones you already know. It’s in knowing when to use a split stitch instead of a backstitch for a cleaner curve, or how a few French knots can add more texture than a flat fill.
Think of every tea towel, shirt collar, and canvas pouch as a quiet canvas. These small stitches are your way of leaving a mark—a tiny, handmade treasure that adds a touch of beauty and personality to the everyday. Let’s explore how.
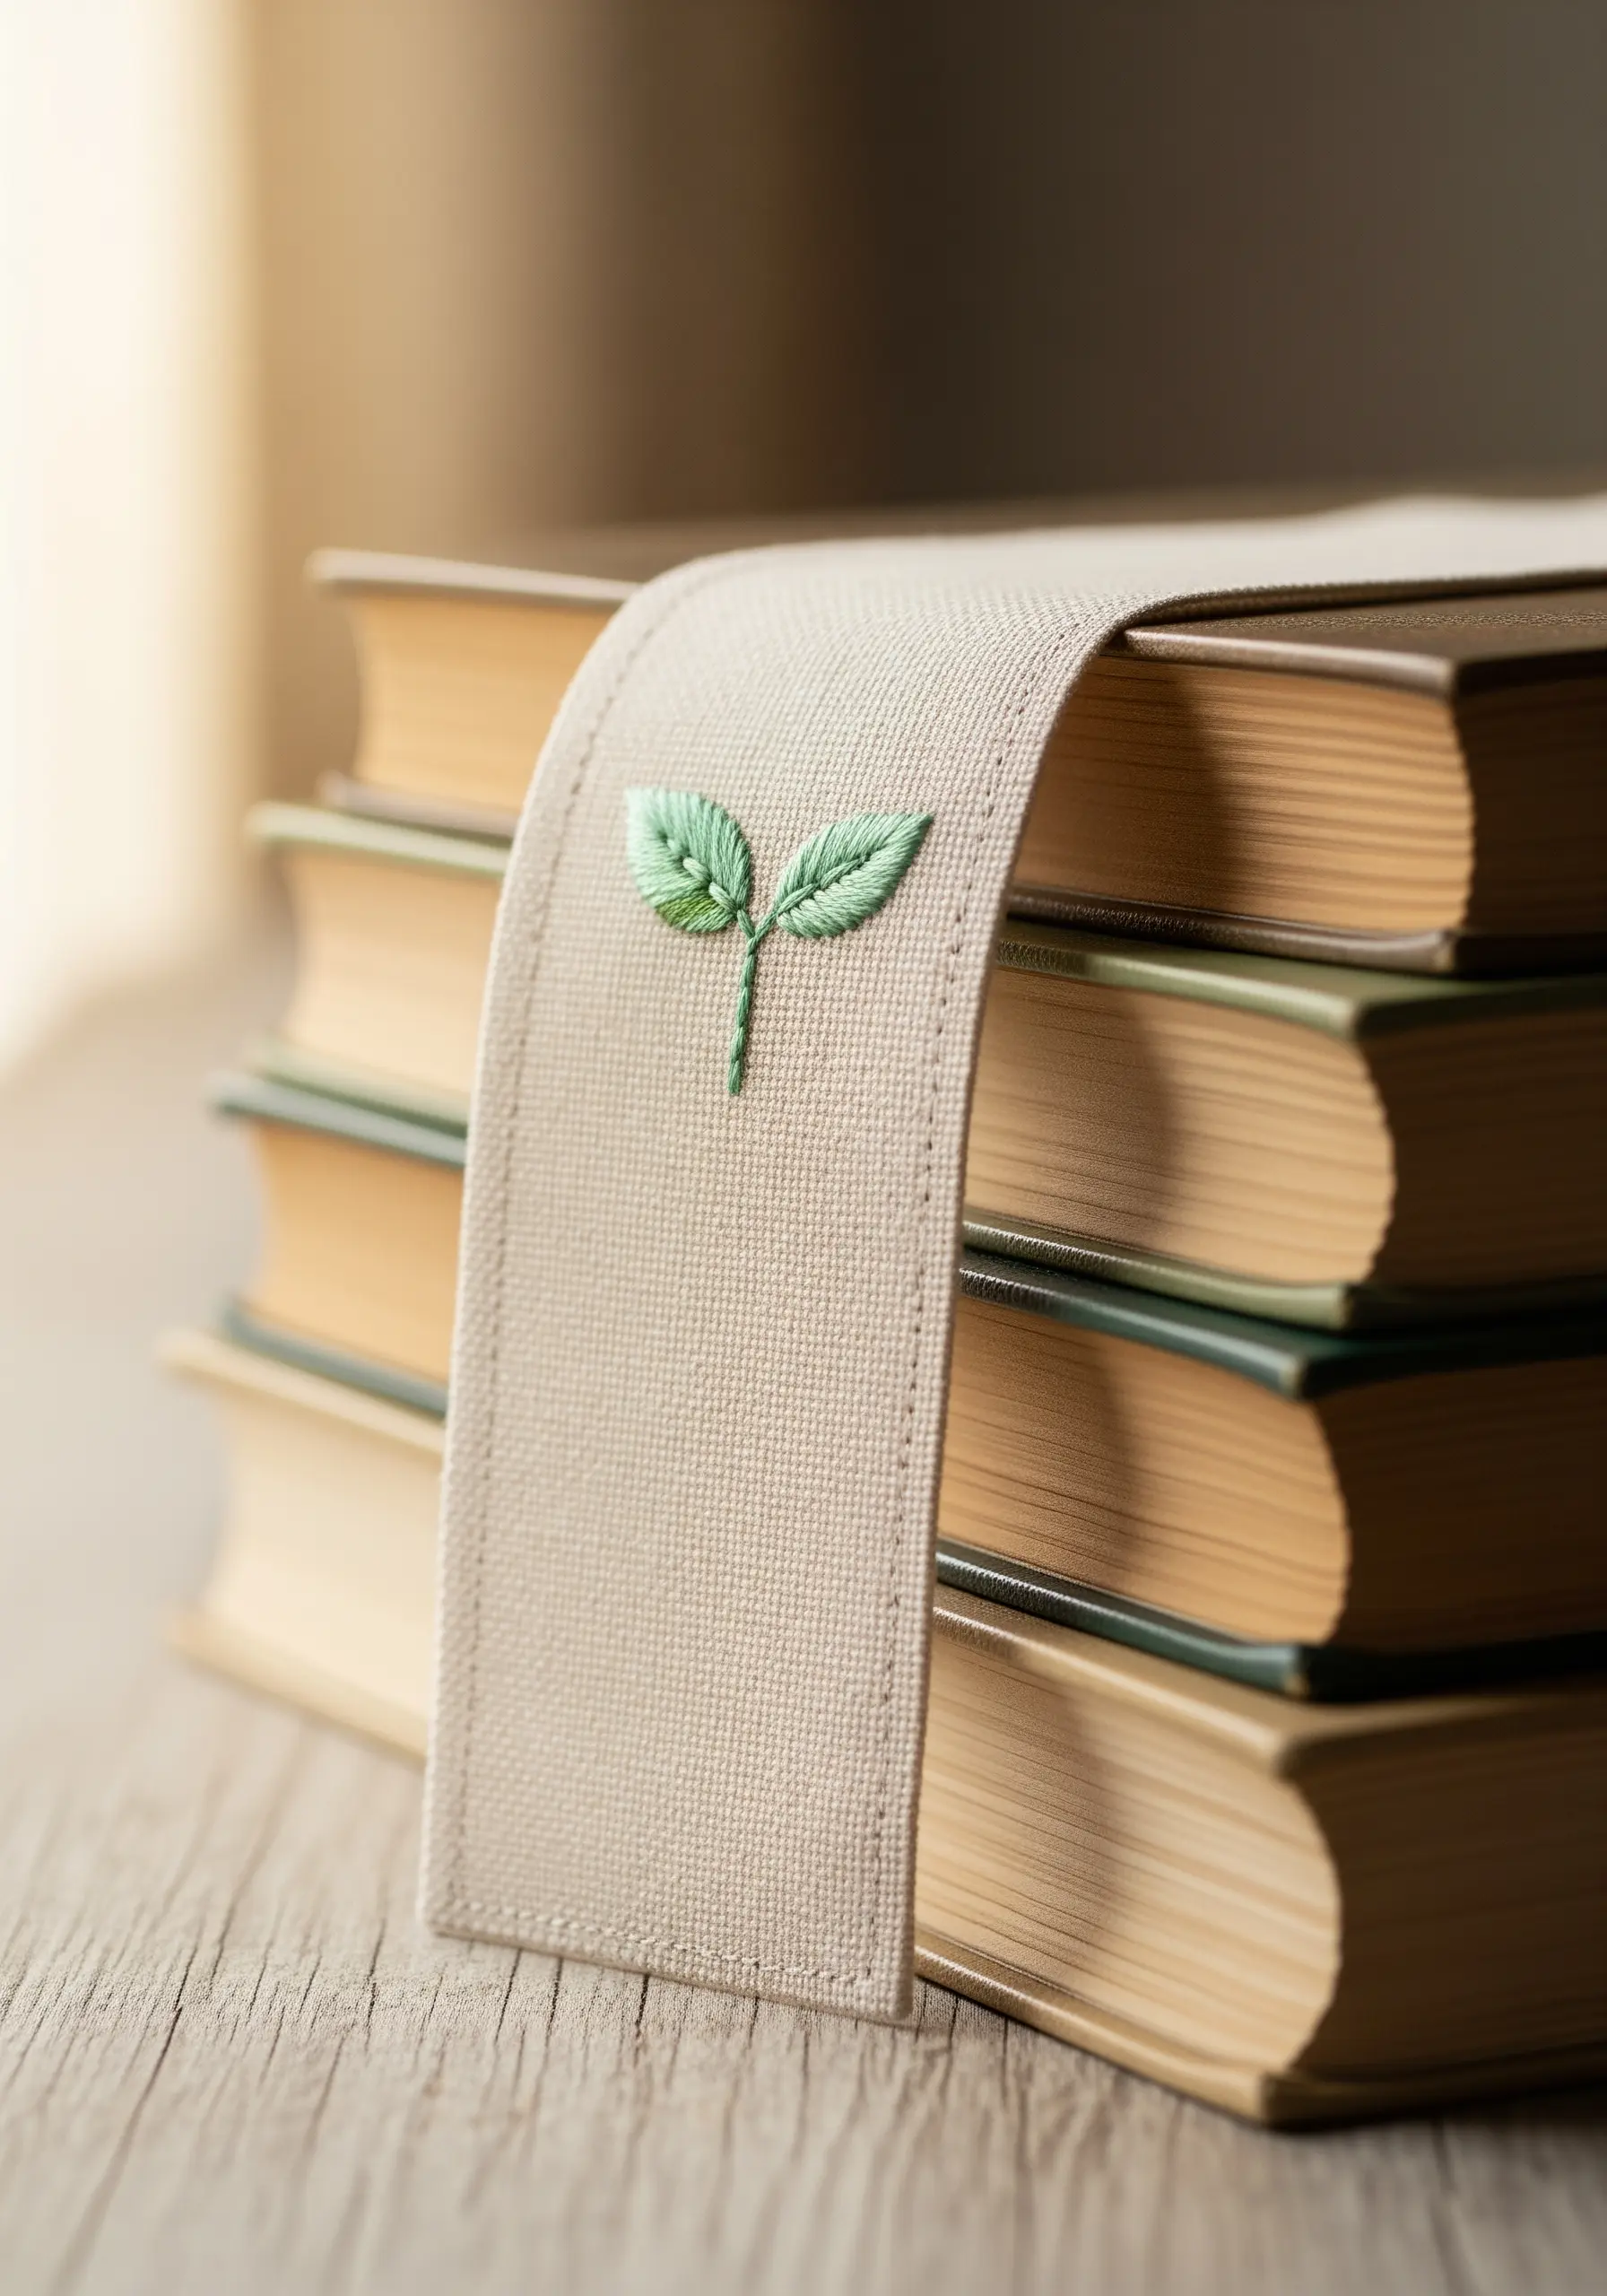
1. Elevate Linens with Textured Lavender Sprigs
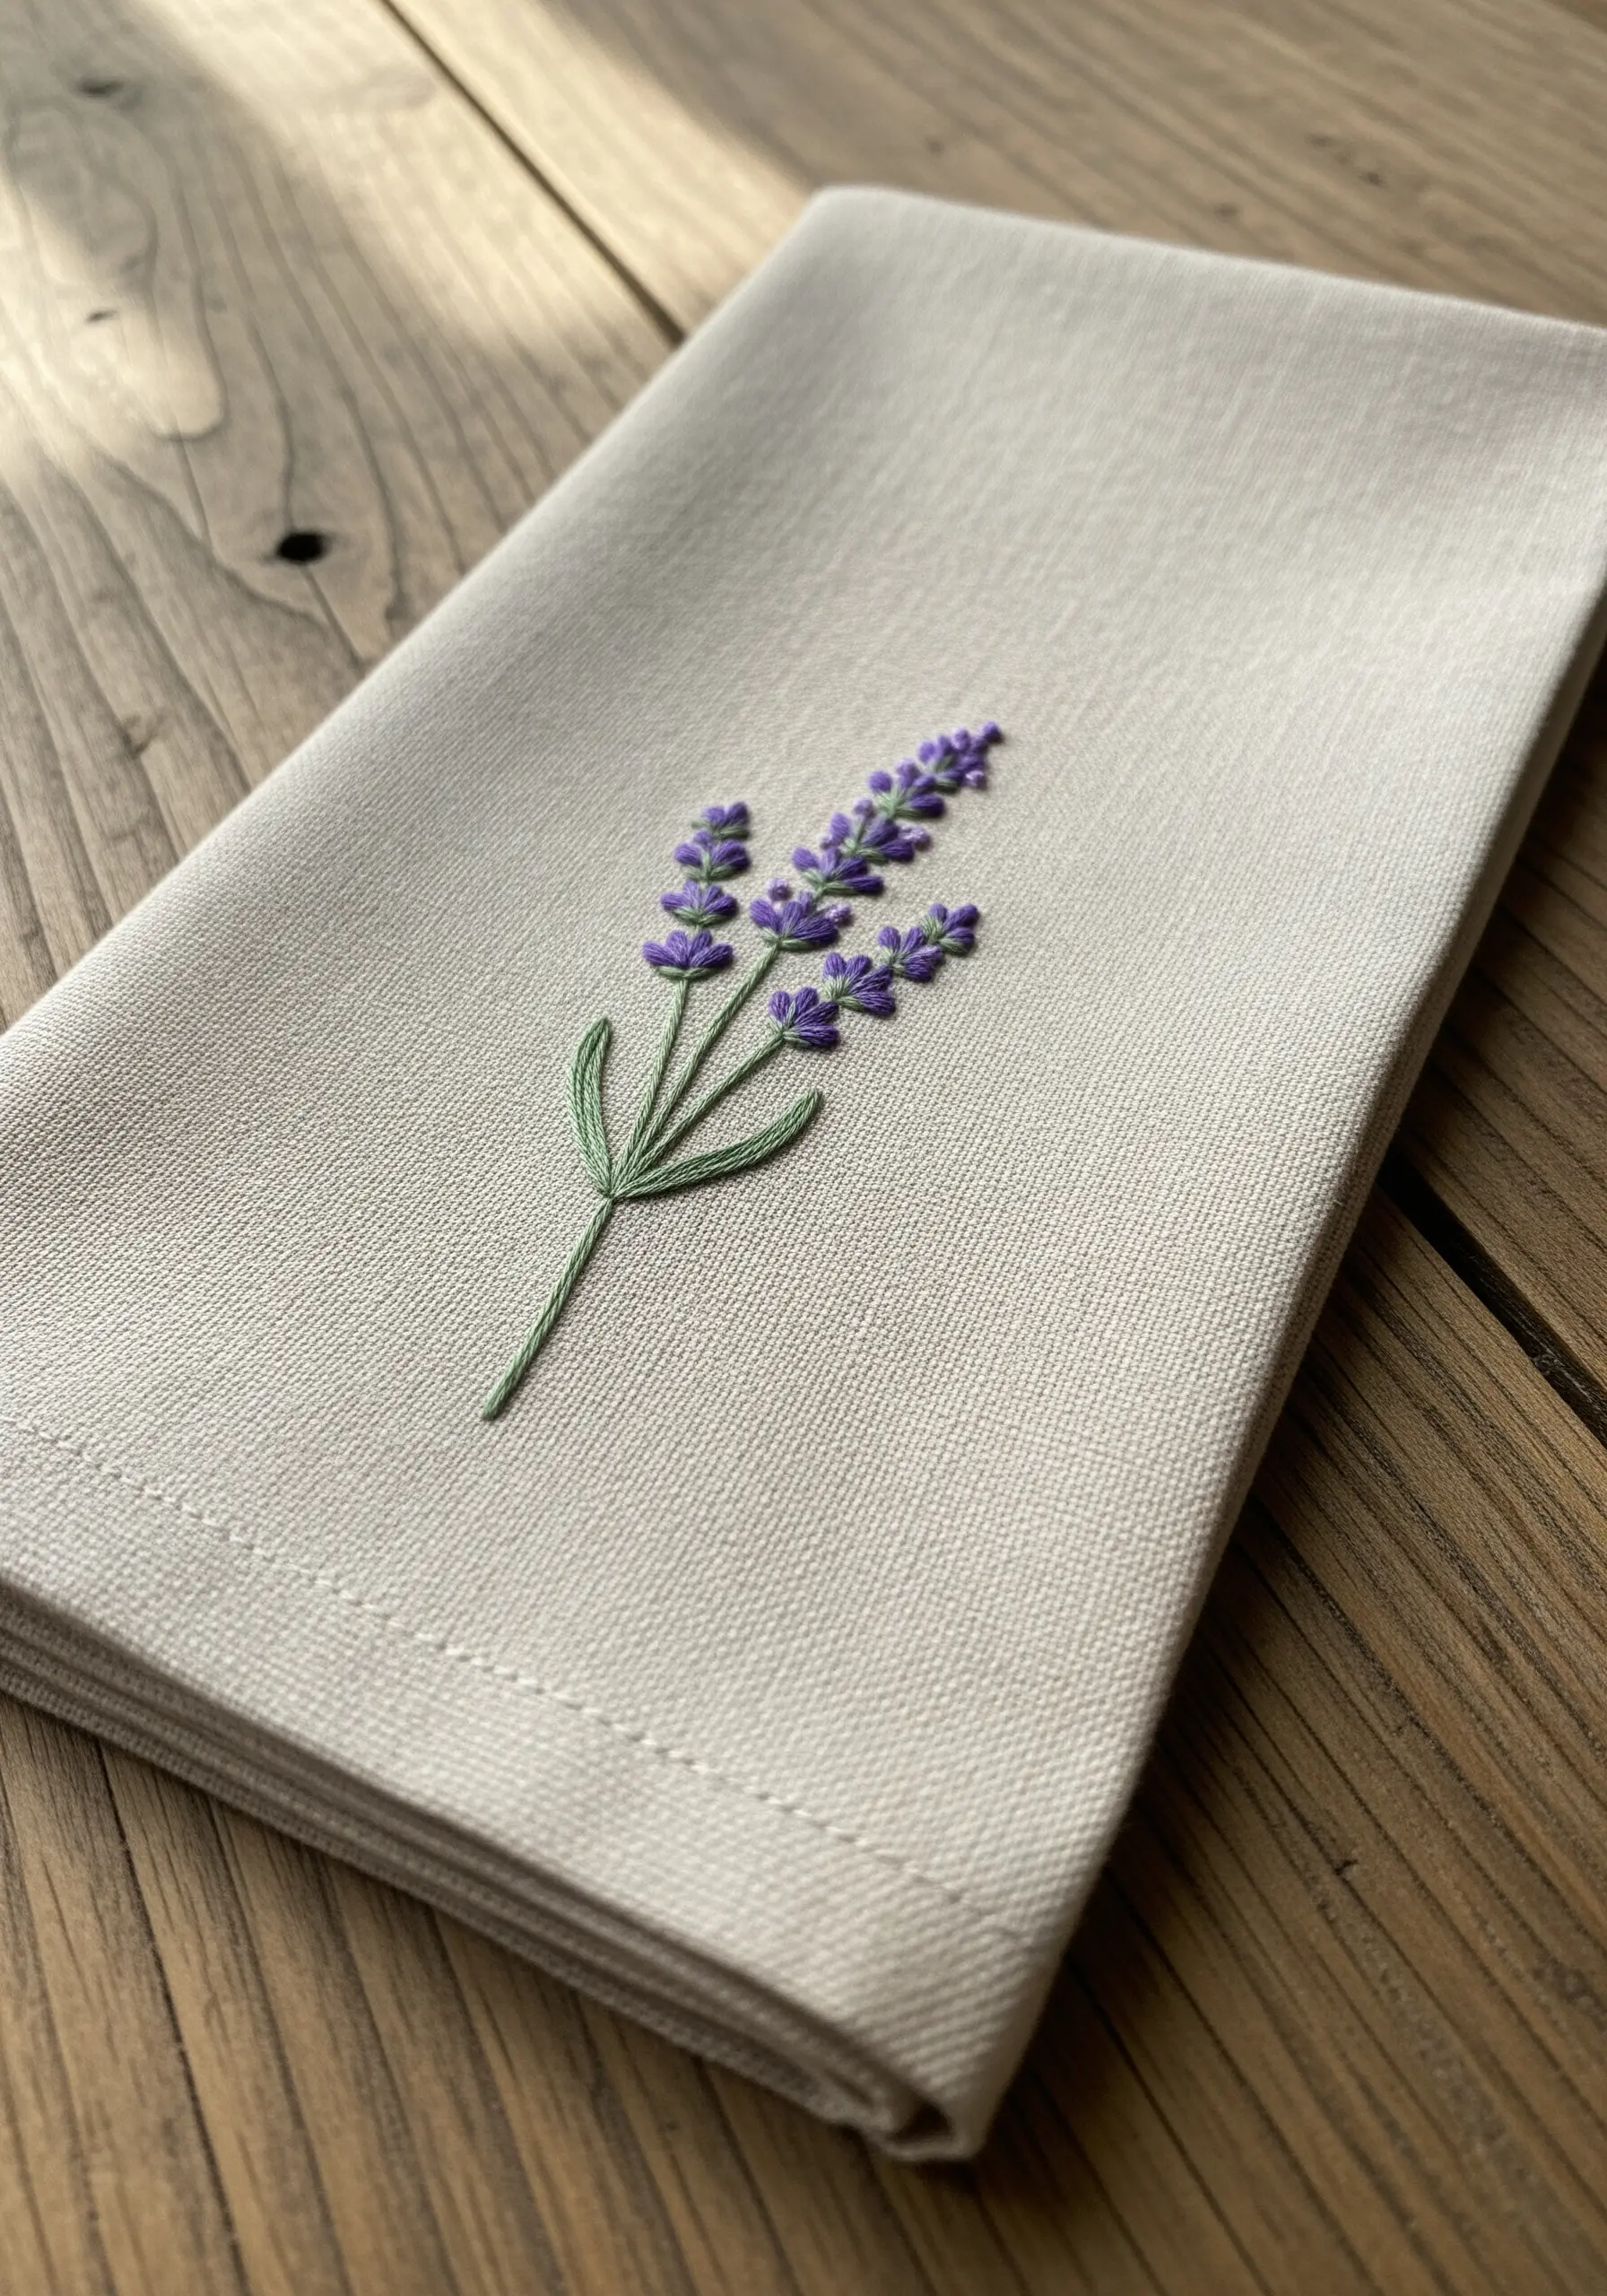
To give your lavender a lifelike texture, use French knots for the individual buds and a whipped backstitch for the stem.
This combination creates a beautiful contrast: the plump, raised knots catch the light, while the smooth, solid line of the stem provides structure.
For a delicate finish, use two strands of floss for the stem and only one for the knots, ensuring the blossoms don’t overwhelm the stalk.
This thoughtful detail turns a simple linen napkin into a piece of functional art, perfect for adding a calming touch to your decor.
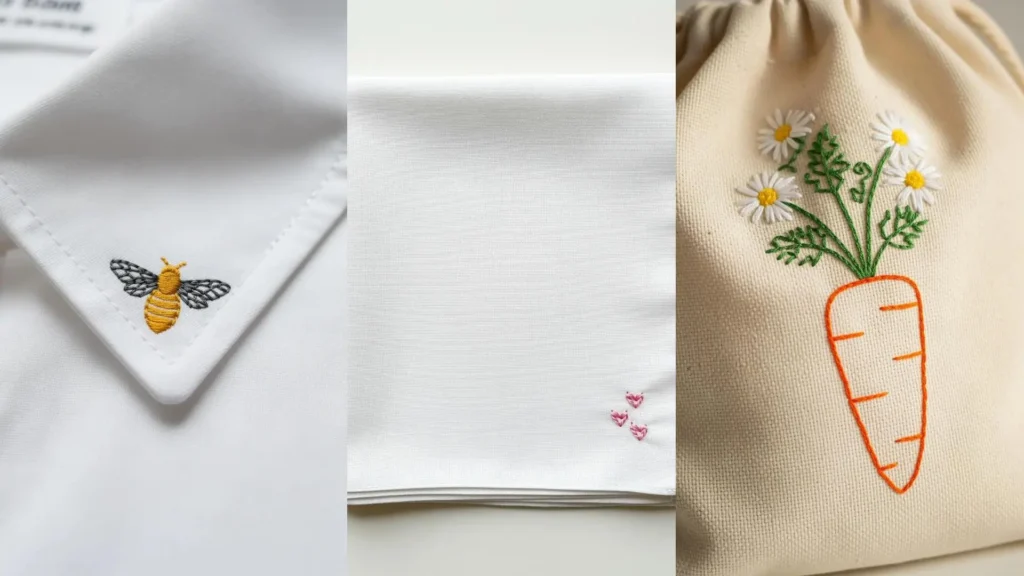
2. Create a Statement Motif with a Secret Stitch
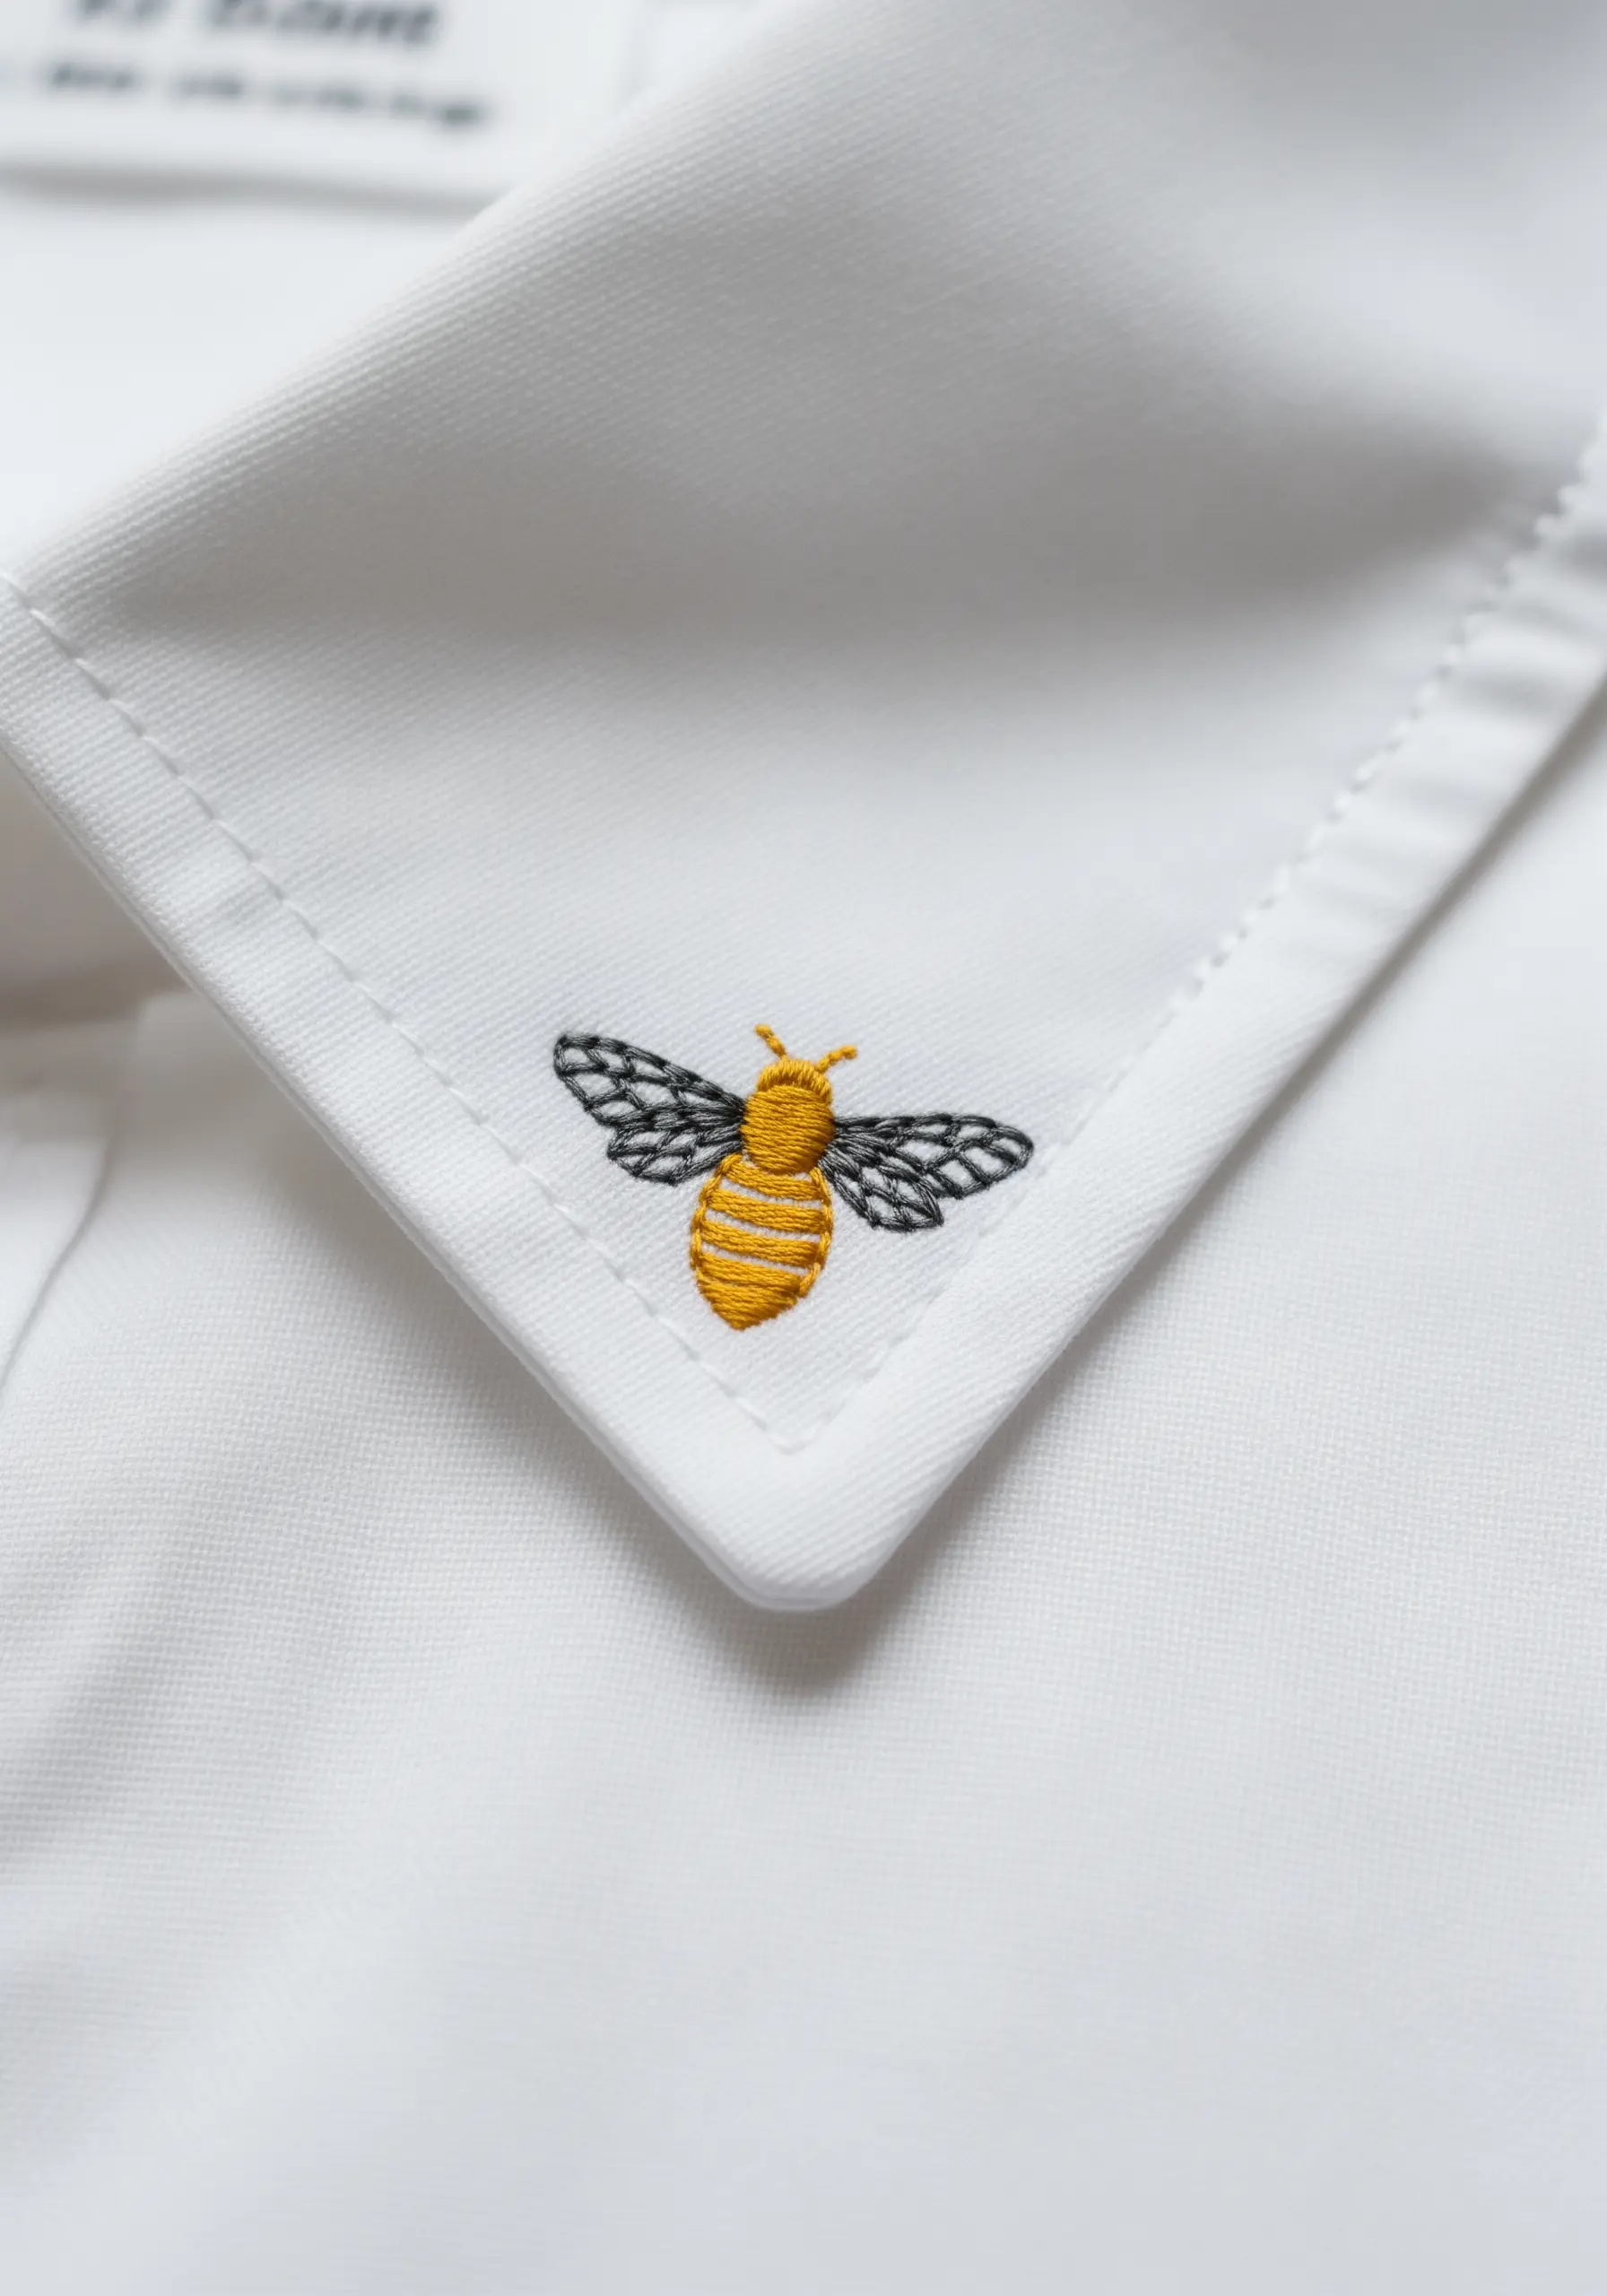
Place a tiny, personal motif in an unexpected spot, like a shirt collar, cuff, or just above a hem.
For a design like this bee, use a satin stitch for the solid body and a single-strand split stitch for the delicate wings.
This contrast between the filled body and the airy, outlined wings gives the small motif incredible visual interest and sophistication.
Always use a tear-away stabilizer on the back of crisp fabrics like cotton poplin to prevent puckering and keep your stitches clean.
3. Capture Fleeting Moments with Tone-on-Tone Texture
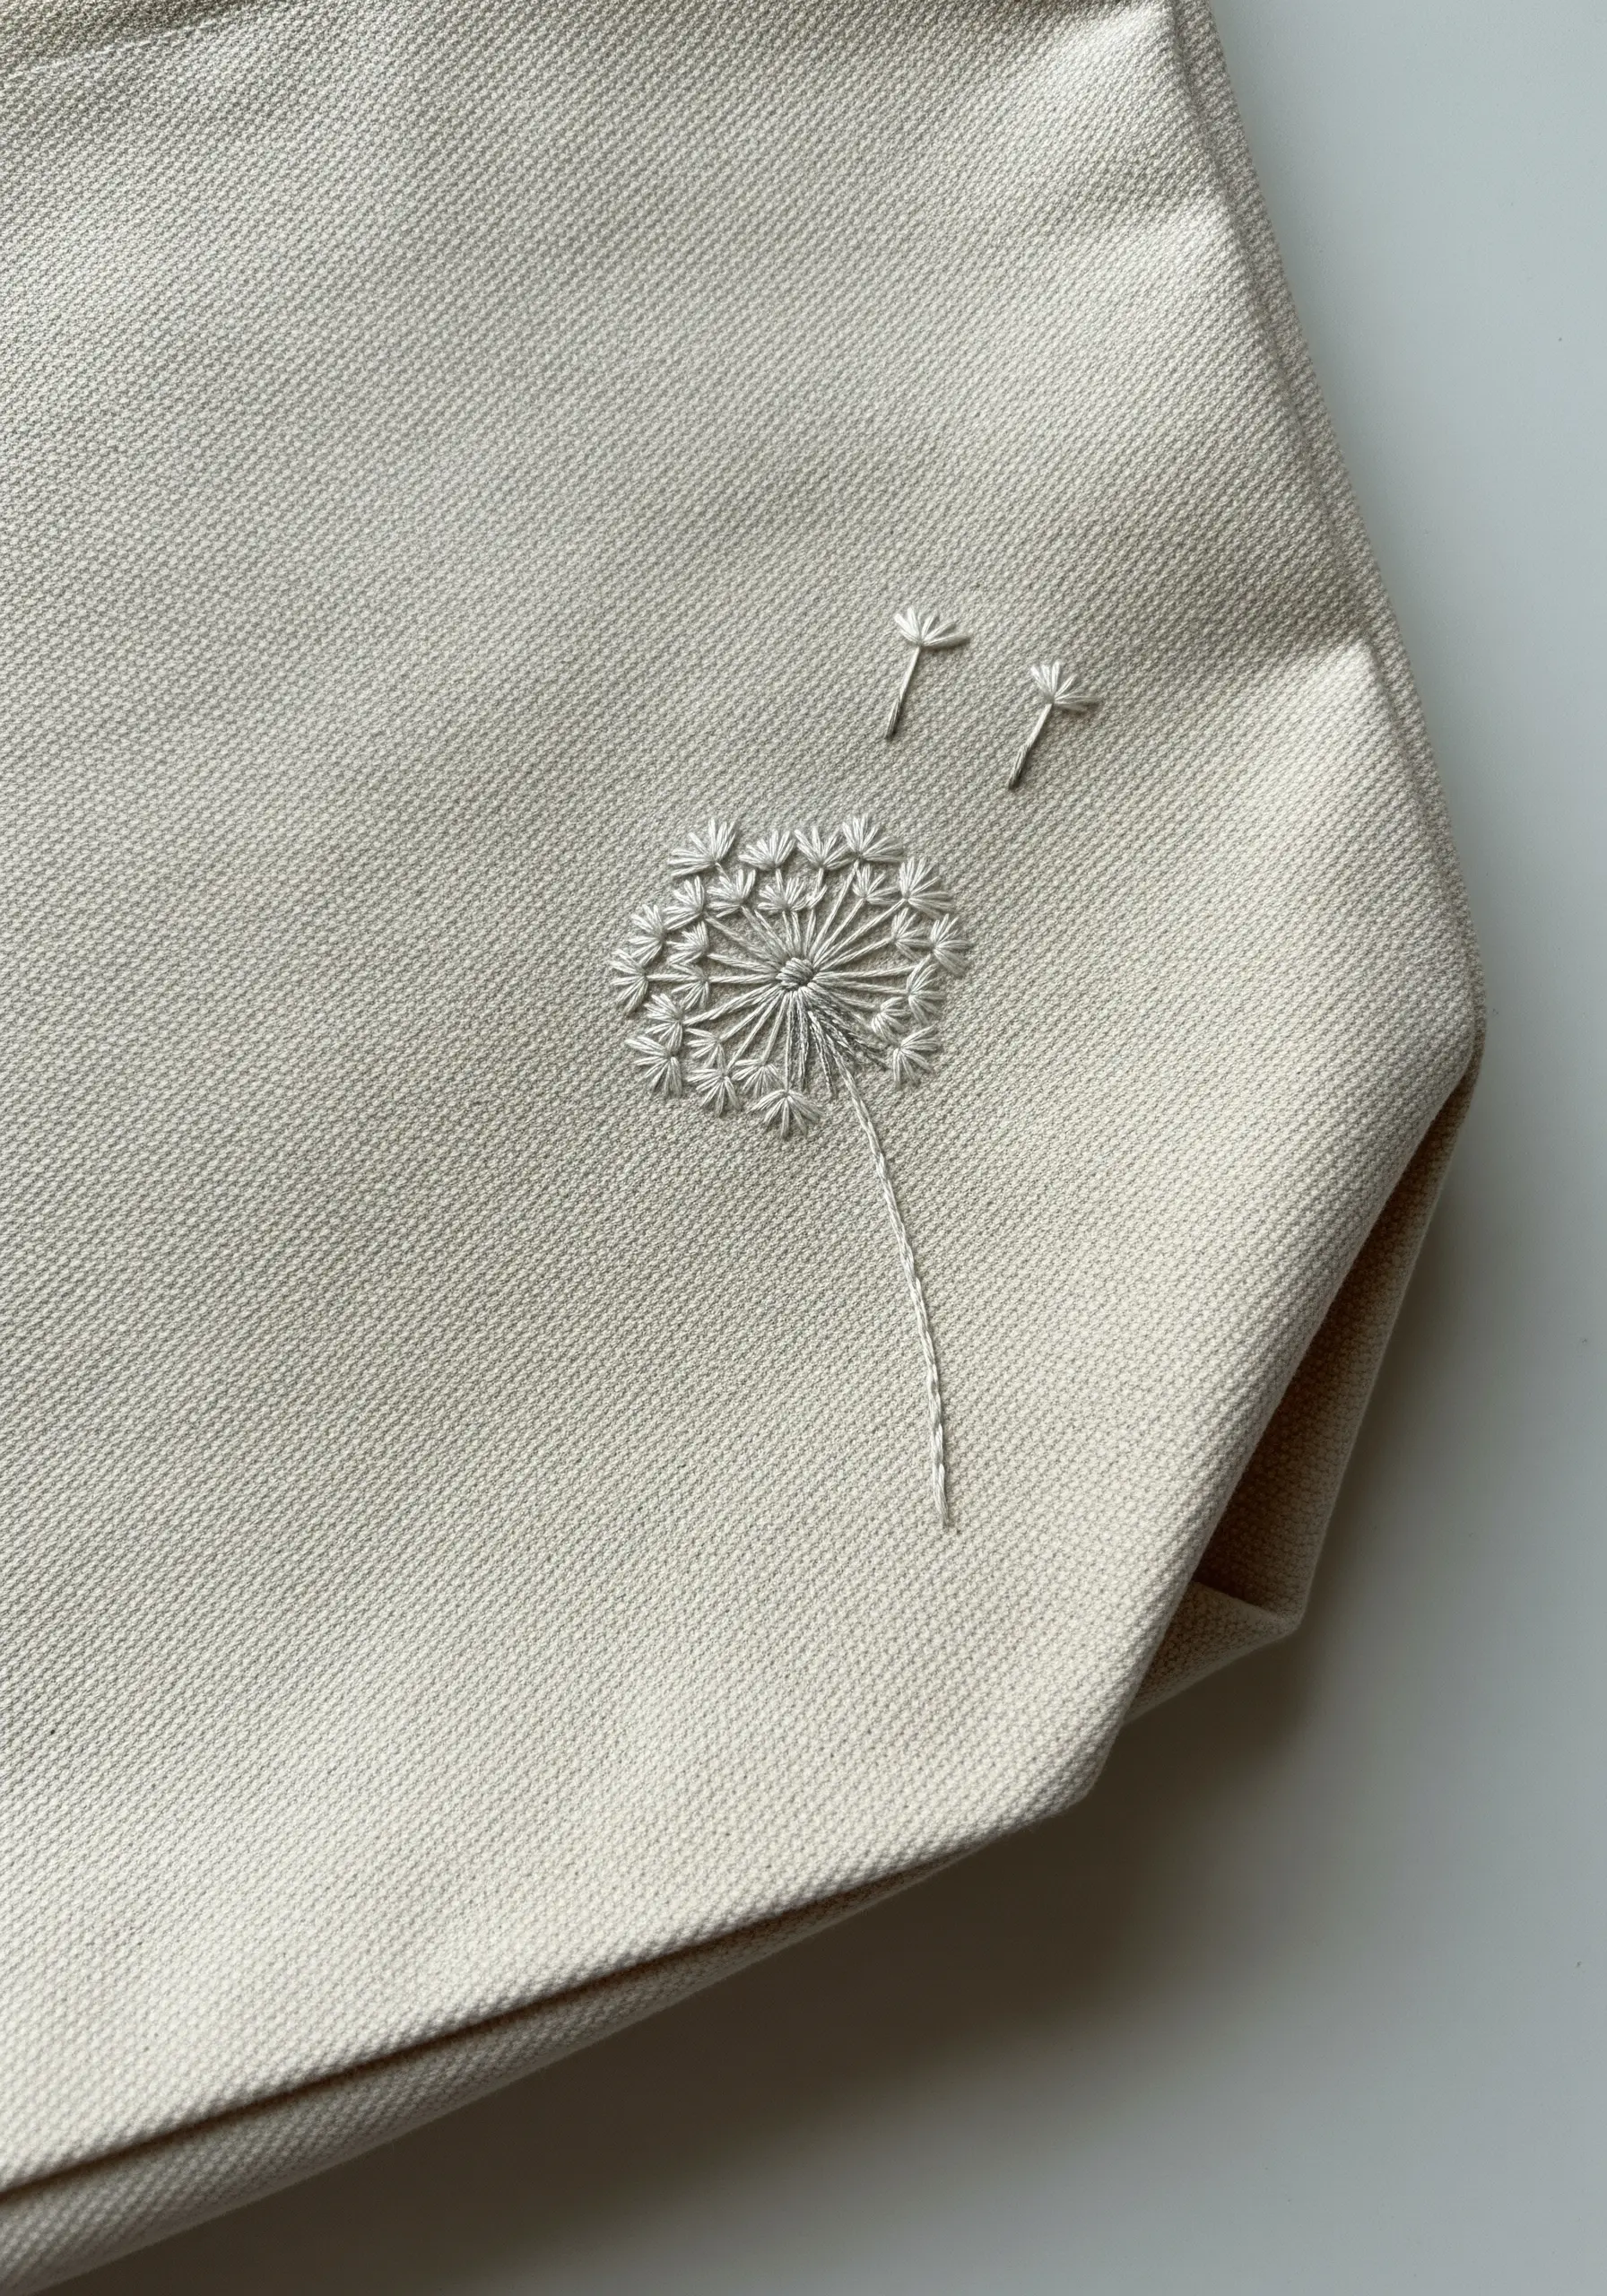
Create an incredibly sophisticated effect by using thread just a few shades lighter or darker than your fabric.
This forces the viewer to appreciate the texture of the stitches rather than the color.
For a dandelion head, use detached chain stitches (lazy daisies) to form the airy seed pod, and add a few tiny straight stitches floating away to create a sense of movement.
This approach is the essence of modern, minimalist embroidery—it’s all about subtlety and form.
4. Master the Satin Stitch for a Flawless Sheen
The secret to a perfectly smooth satin stitch is creating a guide for your thread.
First, outline your shape with a tiny split stitch. This raised edge gives you a firm boundary to tuck your satin stitches against, ensuring crisp, clean lines.
For a leaf, make a single straight stitch down the center vein first. Then, angle all subsequent stitches slightly toward that center line to create a natural-looking, light-reflecting surface.
5. Convey Mood and Motion with Expressive Line Art
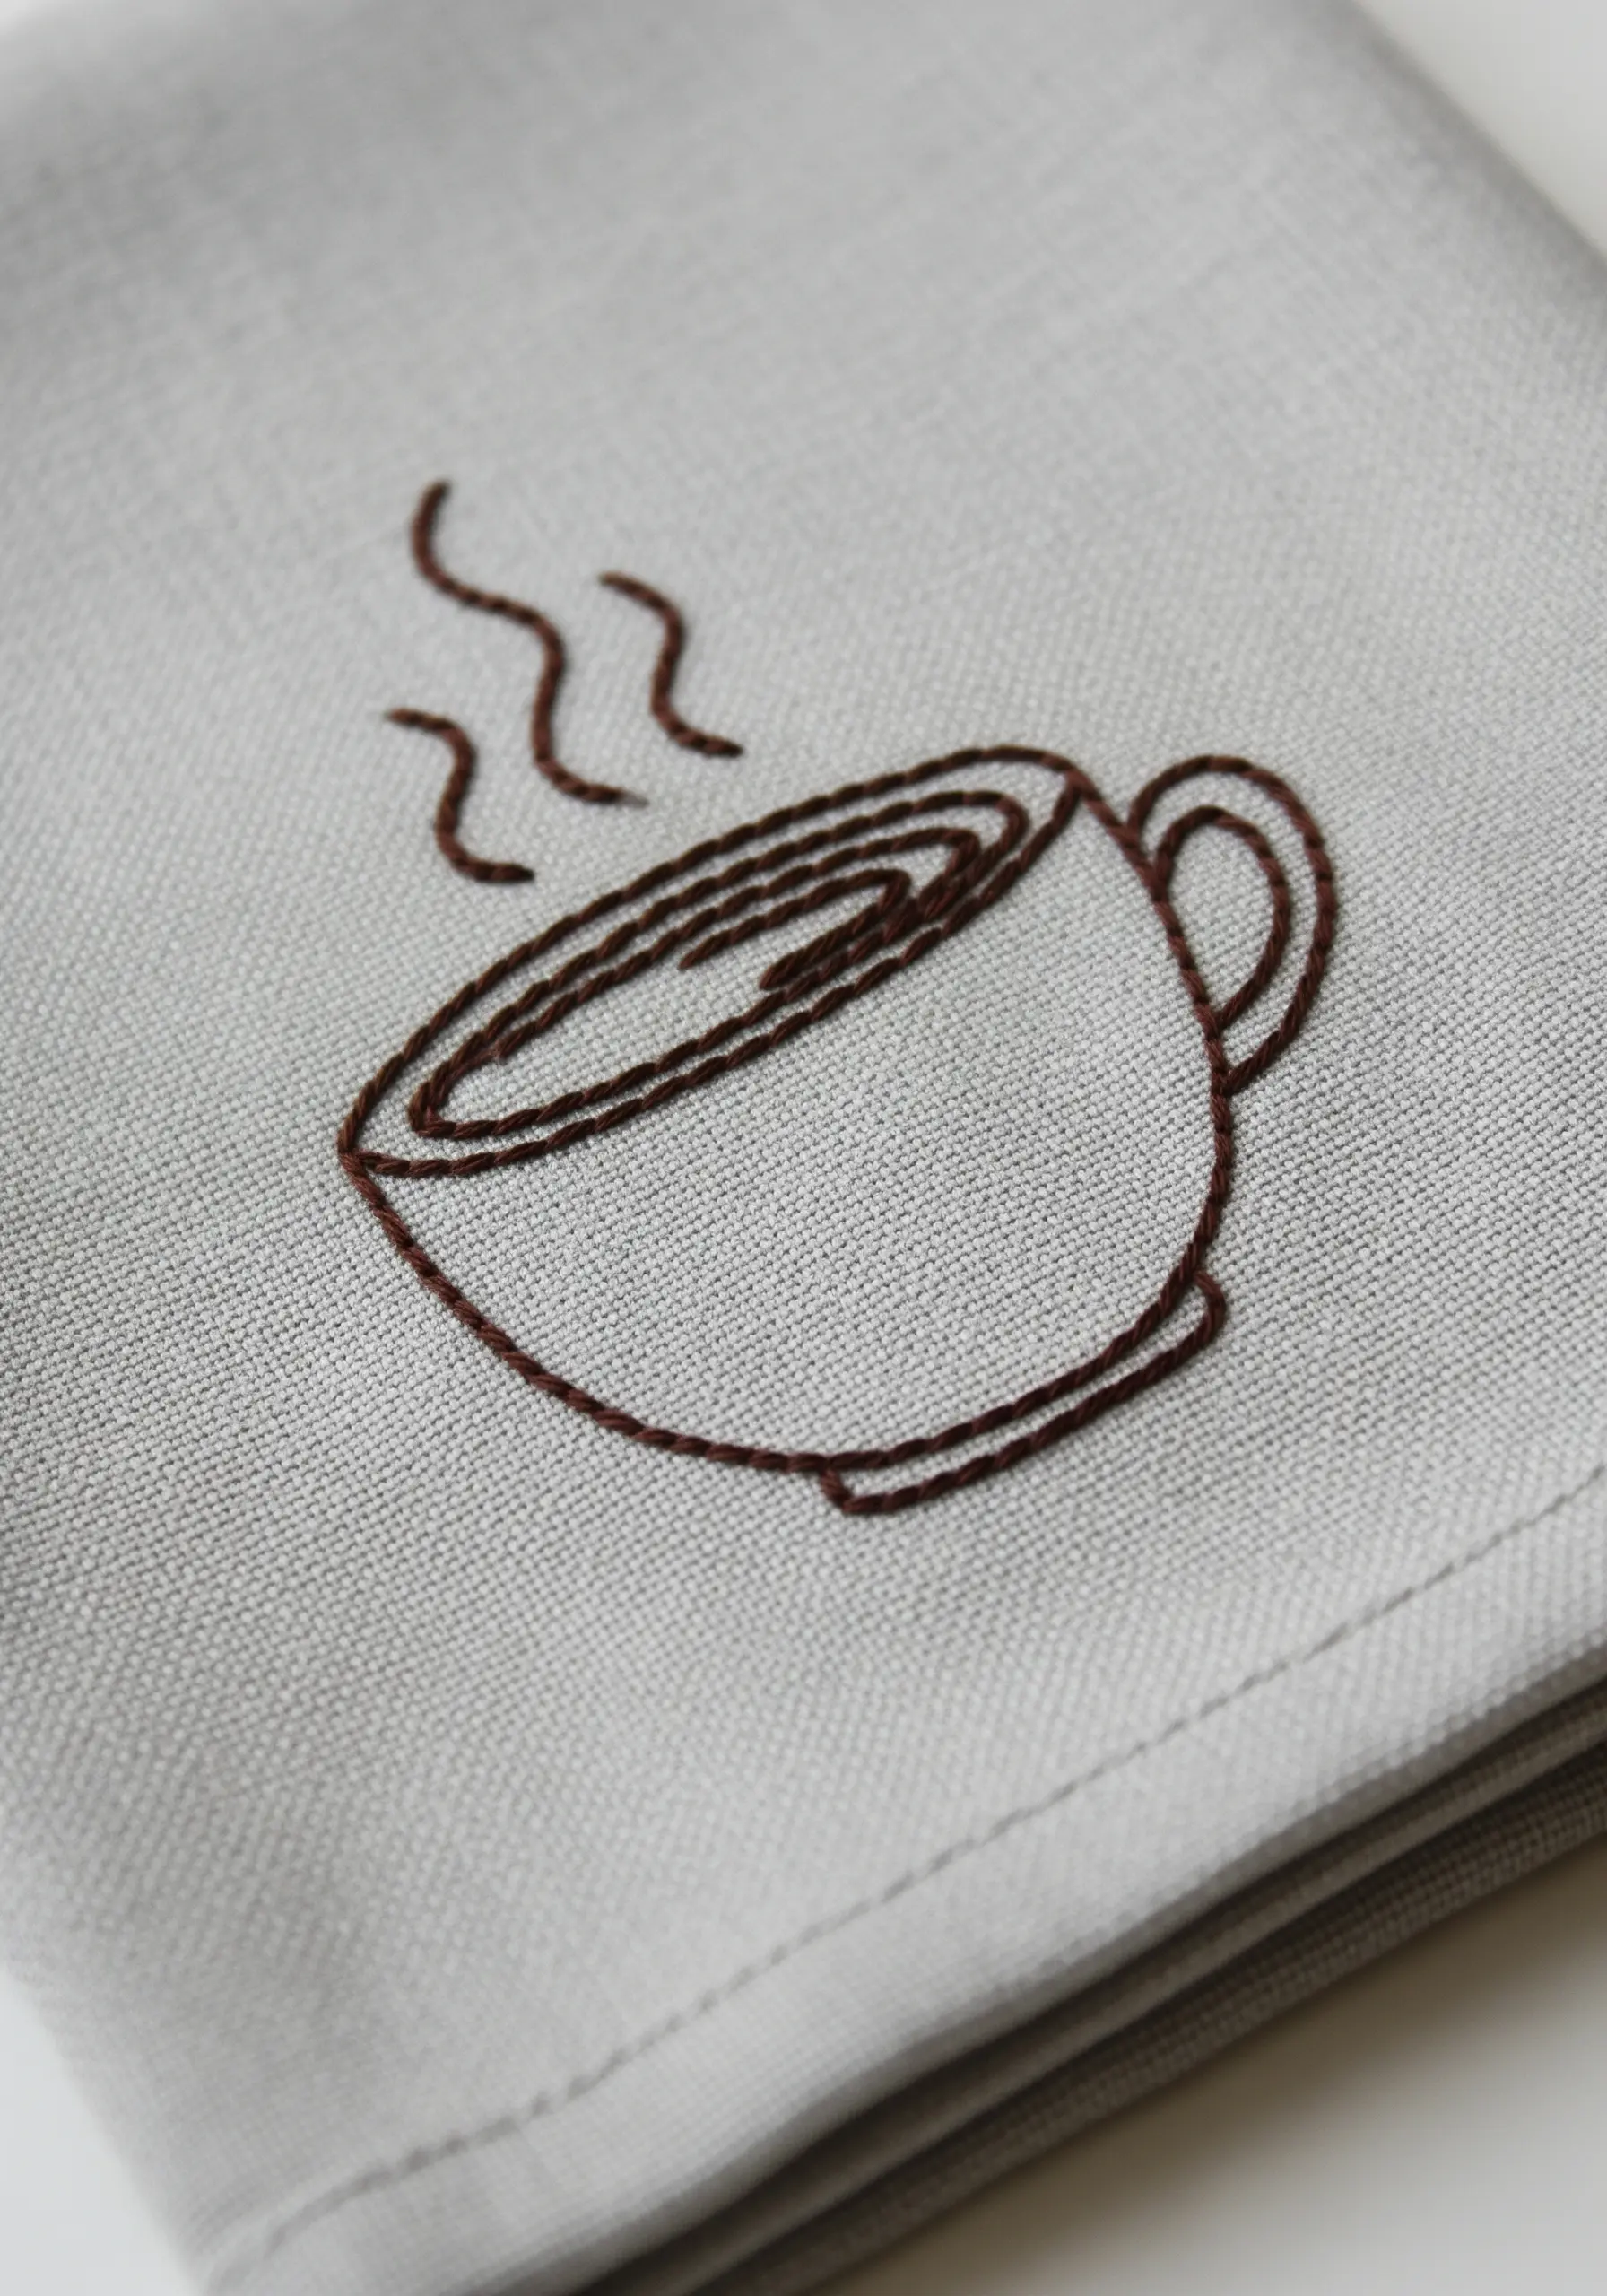
You don’t always need to fill a shape to make an impact. Let a simple, clean outline tell the story.
Use a consistent backstitch or stem stitch for the main object, like this coffee cup, to give it a solid presence.
The character of the piece comes from the smaller details—the playful, curving lines of the steam and the liquid’s surface add a sense of warmth and movement.
This technique relies on negative space, allowing the viewer’s eye to complete the image.
6. Create Dynamic Fill with Variegated Thread
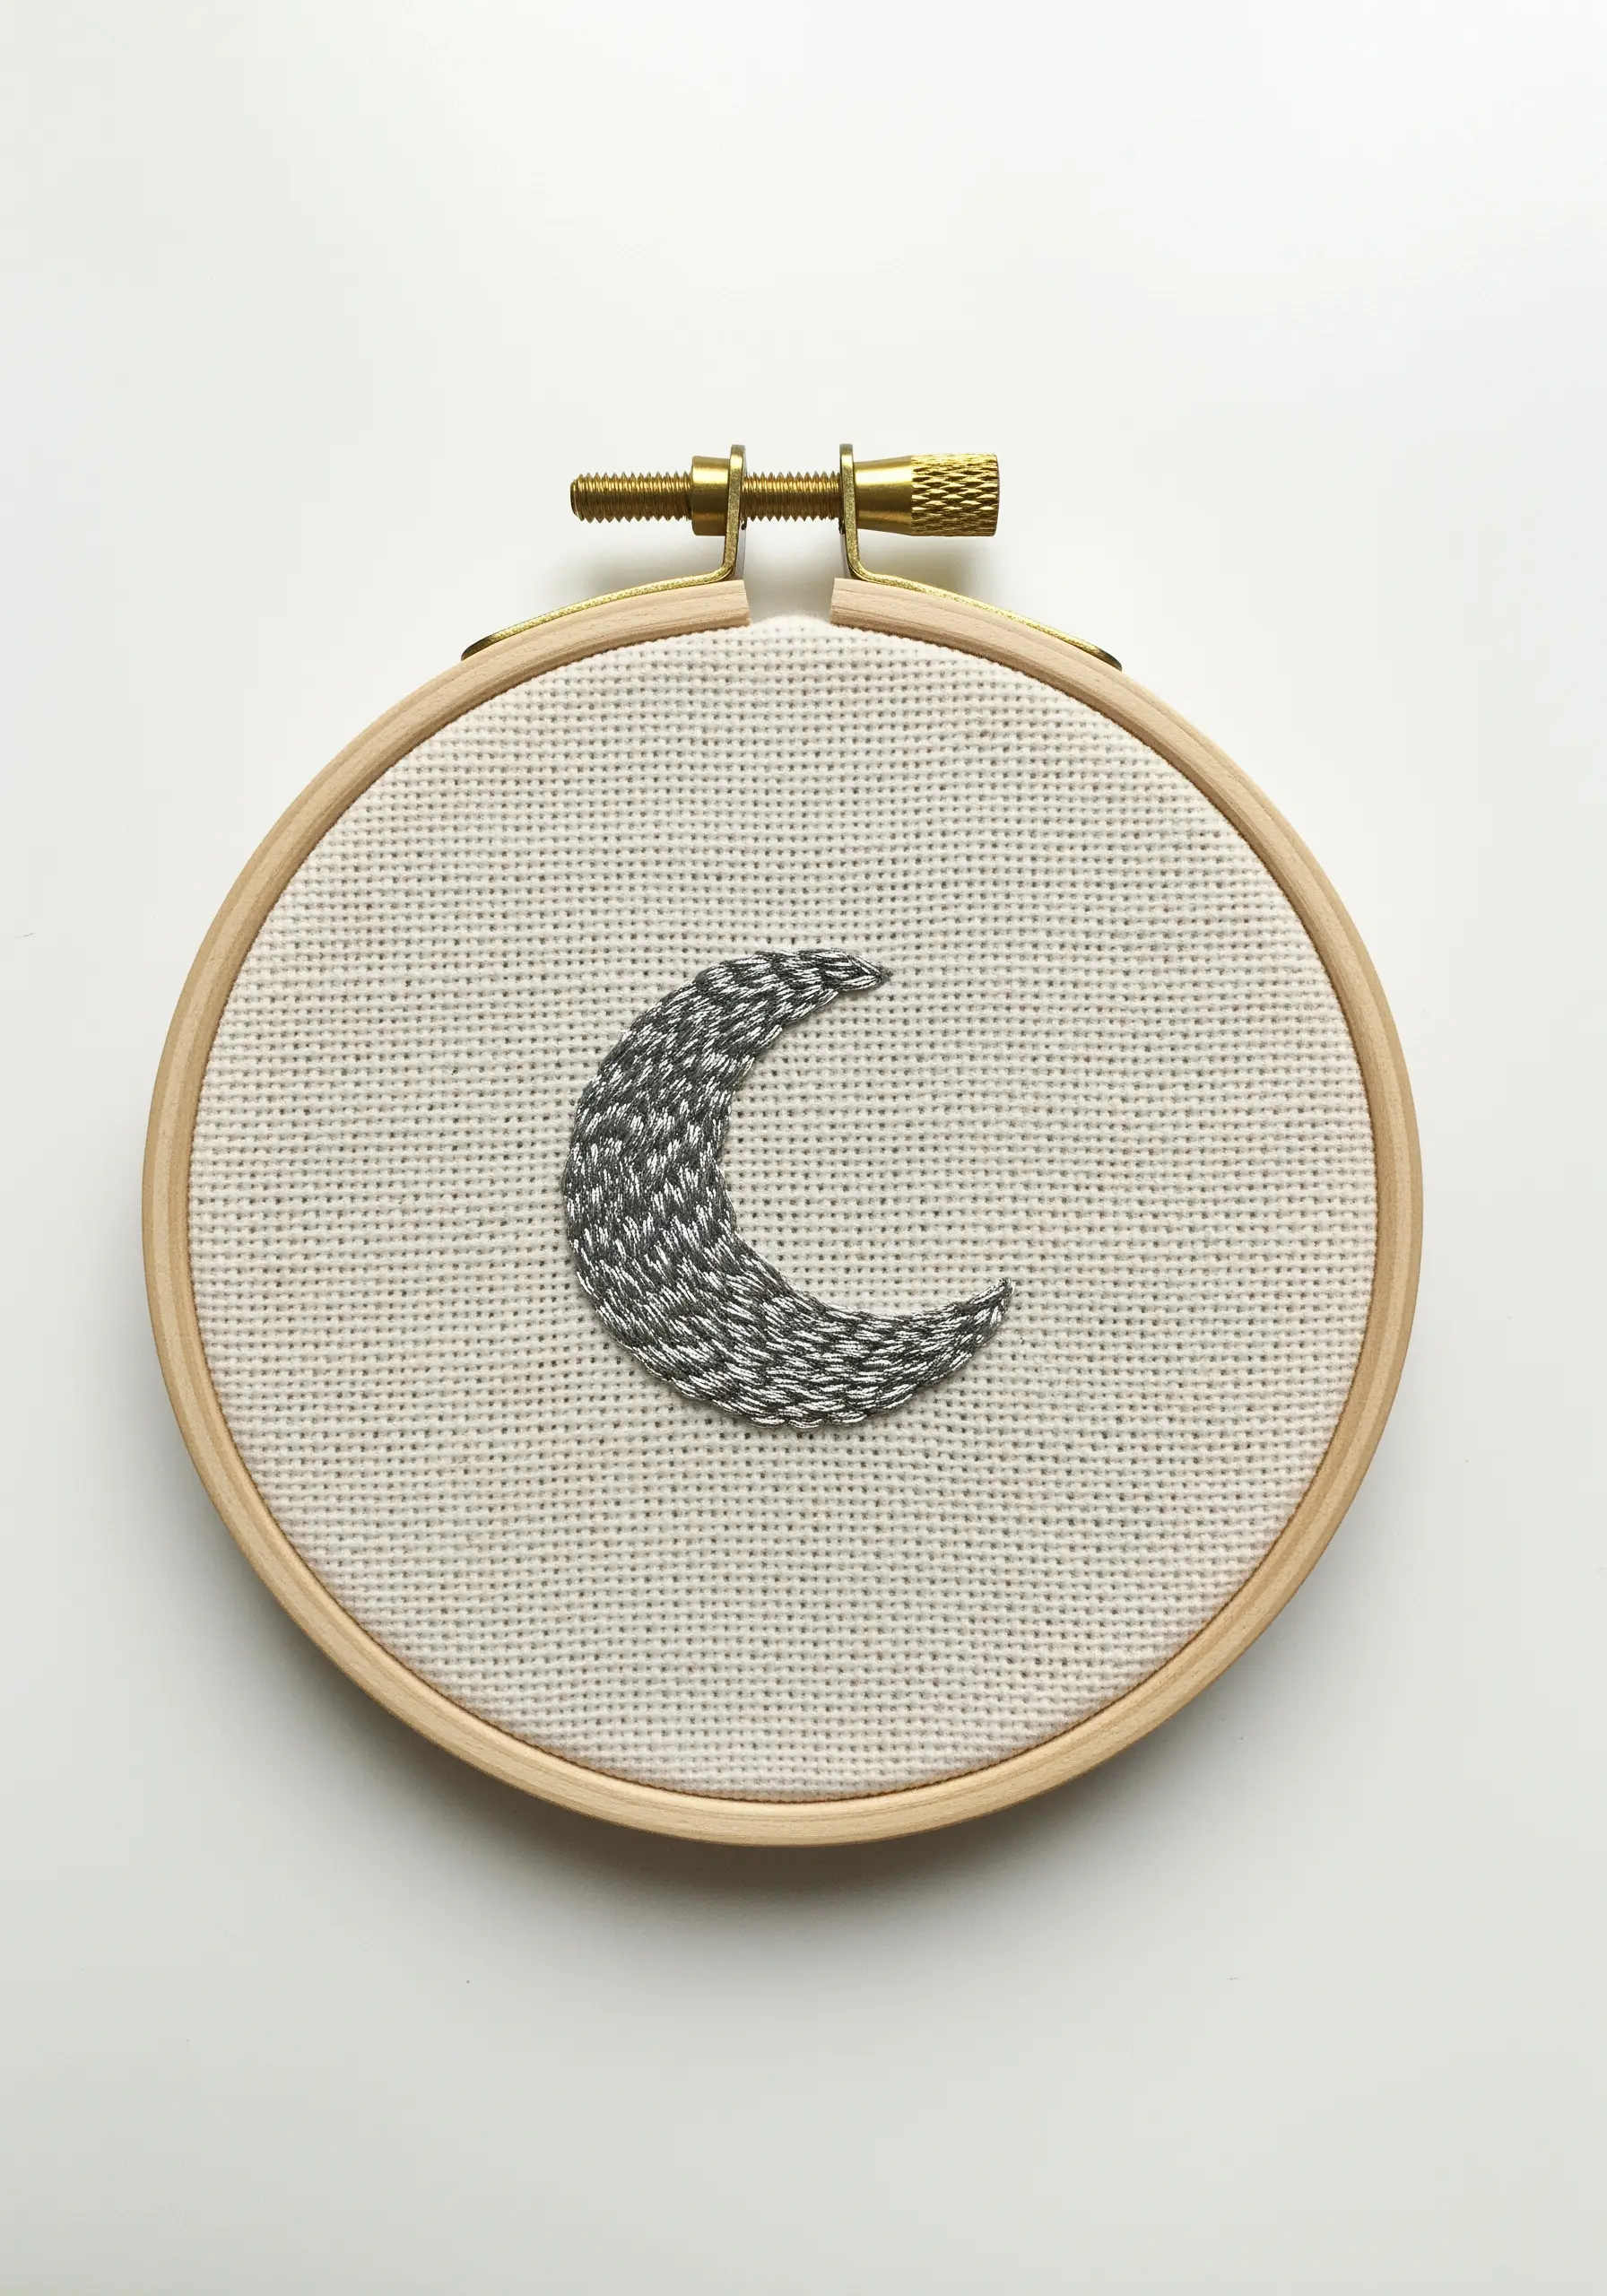
Add stunning depth and movement to your work without ever changing your thread.
Choose a variegated floss and use a simple fill stitch, like the seed stitch or long-and-short stitch used here.
Let the thread’s natural color shifts create the visual texture. To control the effect, stitch in a consistent direction, following the curve of your shape.
This method turns abstract shapes and celestial motifs into captivating pieces with minimal effort.
7. Add Personal Landmarks to Everyday Denim
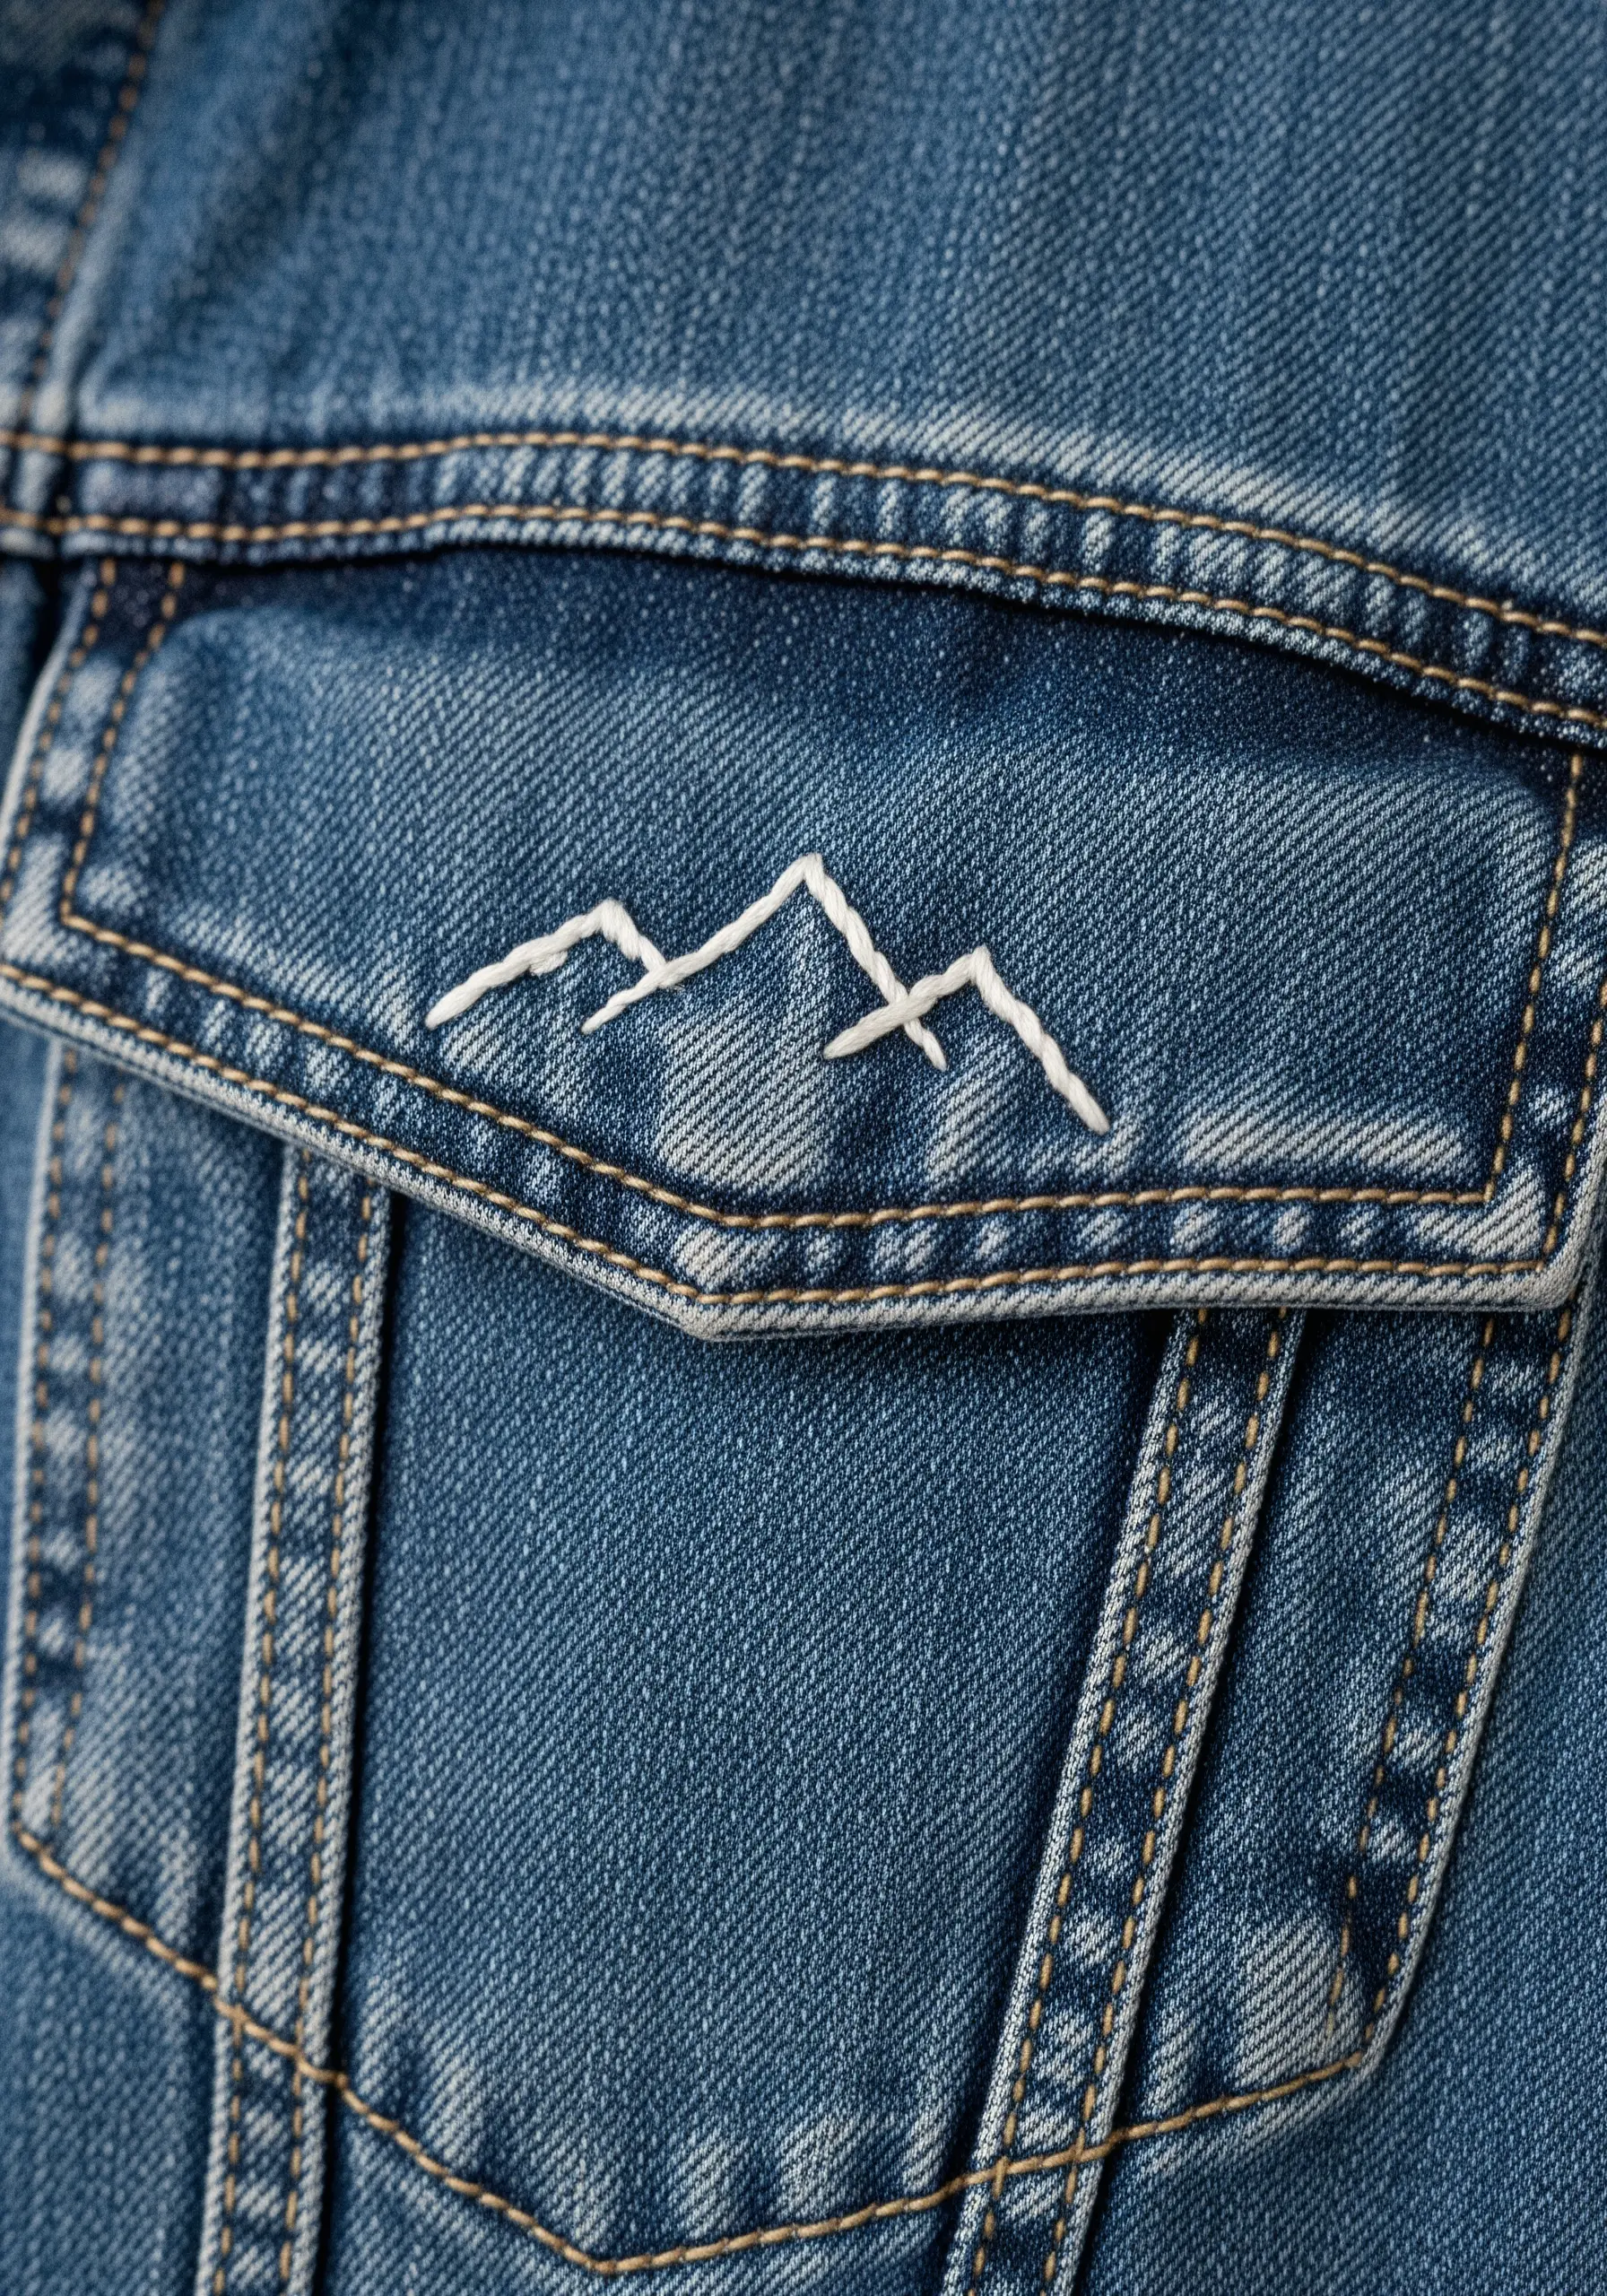
Stitching on heavy fabric like denim requires a bolder approach to ensure your work stands out.
Use a thicker thread—all six strands of standard floss or a Perle cotton—and a sharp, strong needle that can easily pierce the twill weave.
A simple backstitch is all you need for a graphic, linear design. The clean, bright thread against the rugged denim creates a striking contrast that instantly personalizes your clothing.
It’s one of the most satisfyingly easy stitches that bring your plain denim jackets to life.
8. Connect the Dots with Knots and Dashes
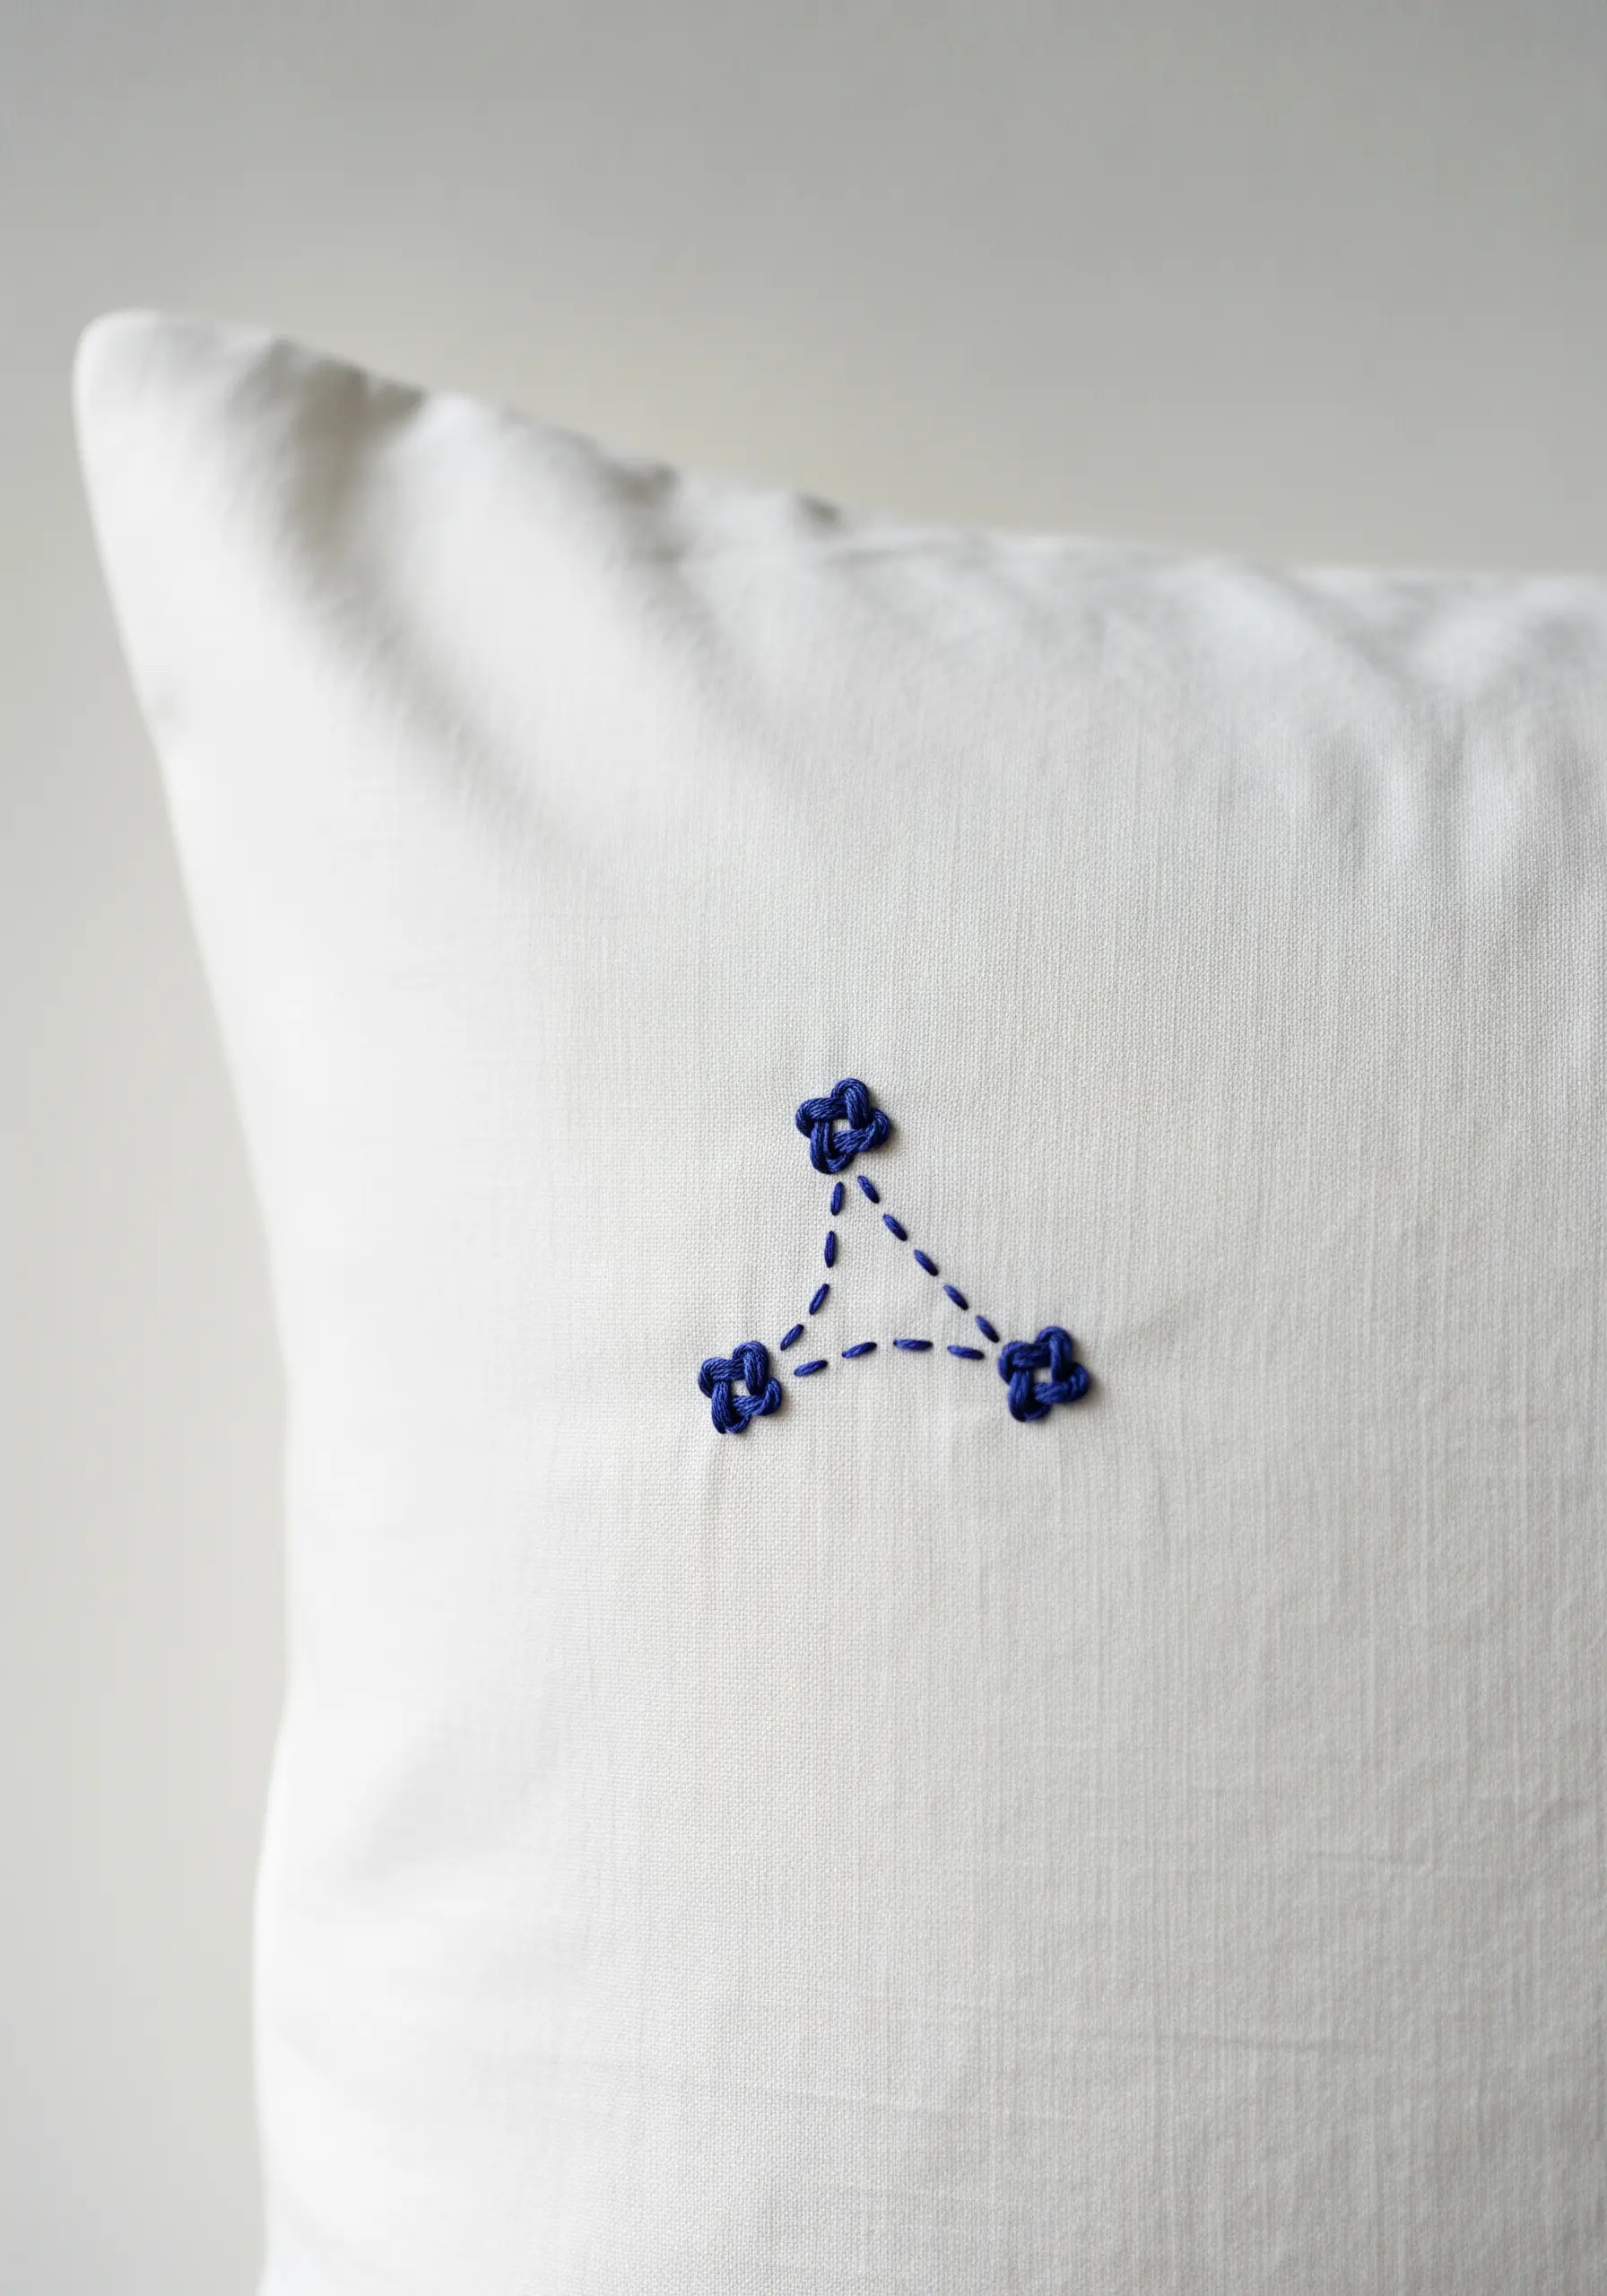
Embellish a simple pillowcase or pouch with a personal constellation motif.
Use French knots or colonial knots for the stars to give them a raised, tactile quality that you can feel.
Connect them with a delicate running stitch using only one or two strands of floss to create the constellation’s shape.
This technique is a beautiful way to embed a secret, meaningful story into your home textiles.
9. Radiate Energy with Bugle Beads and Thread
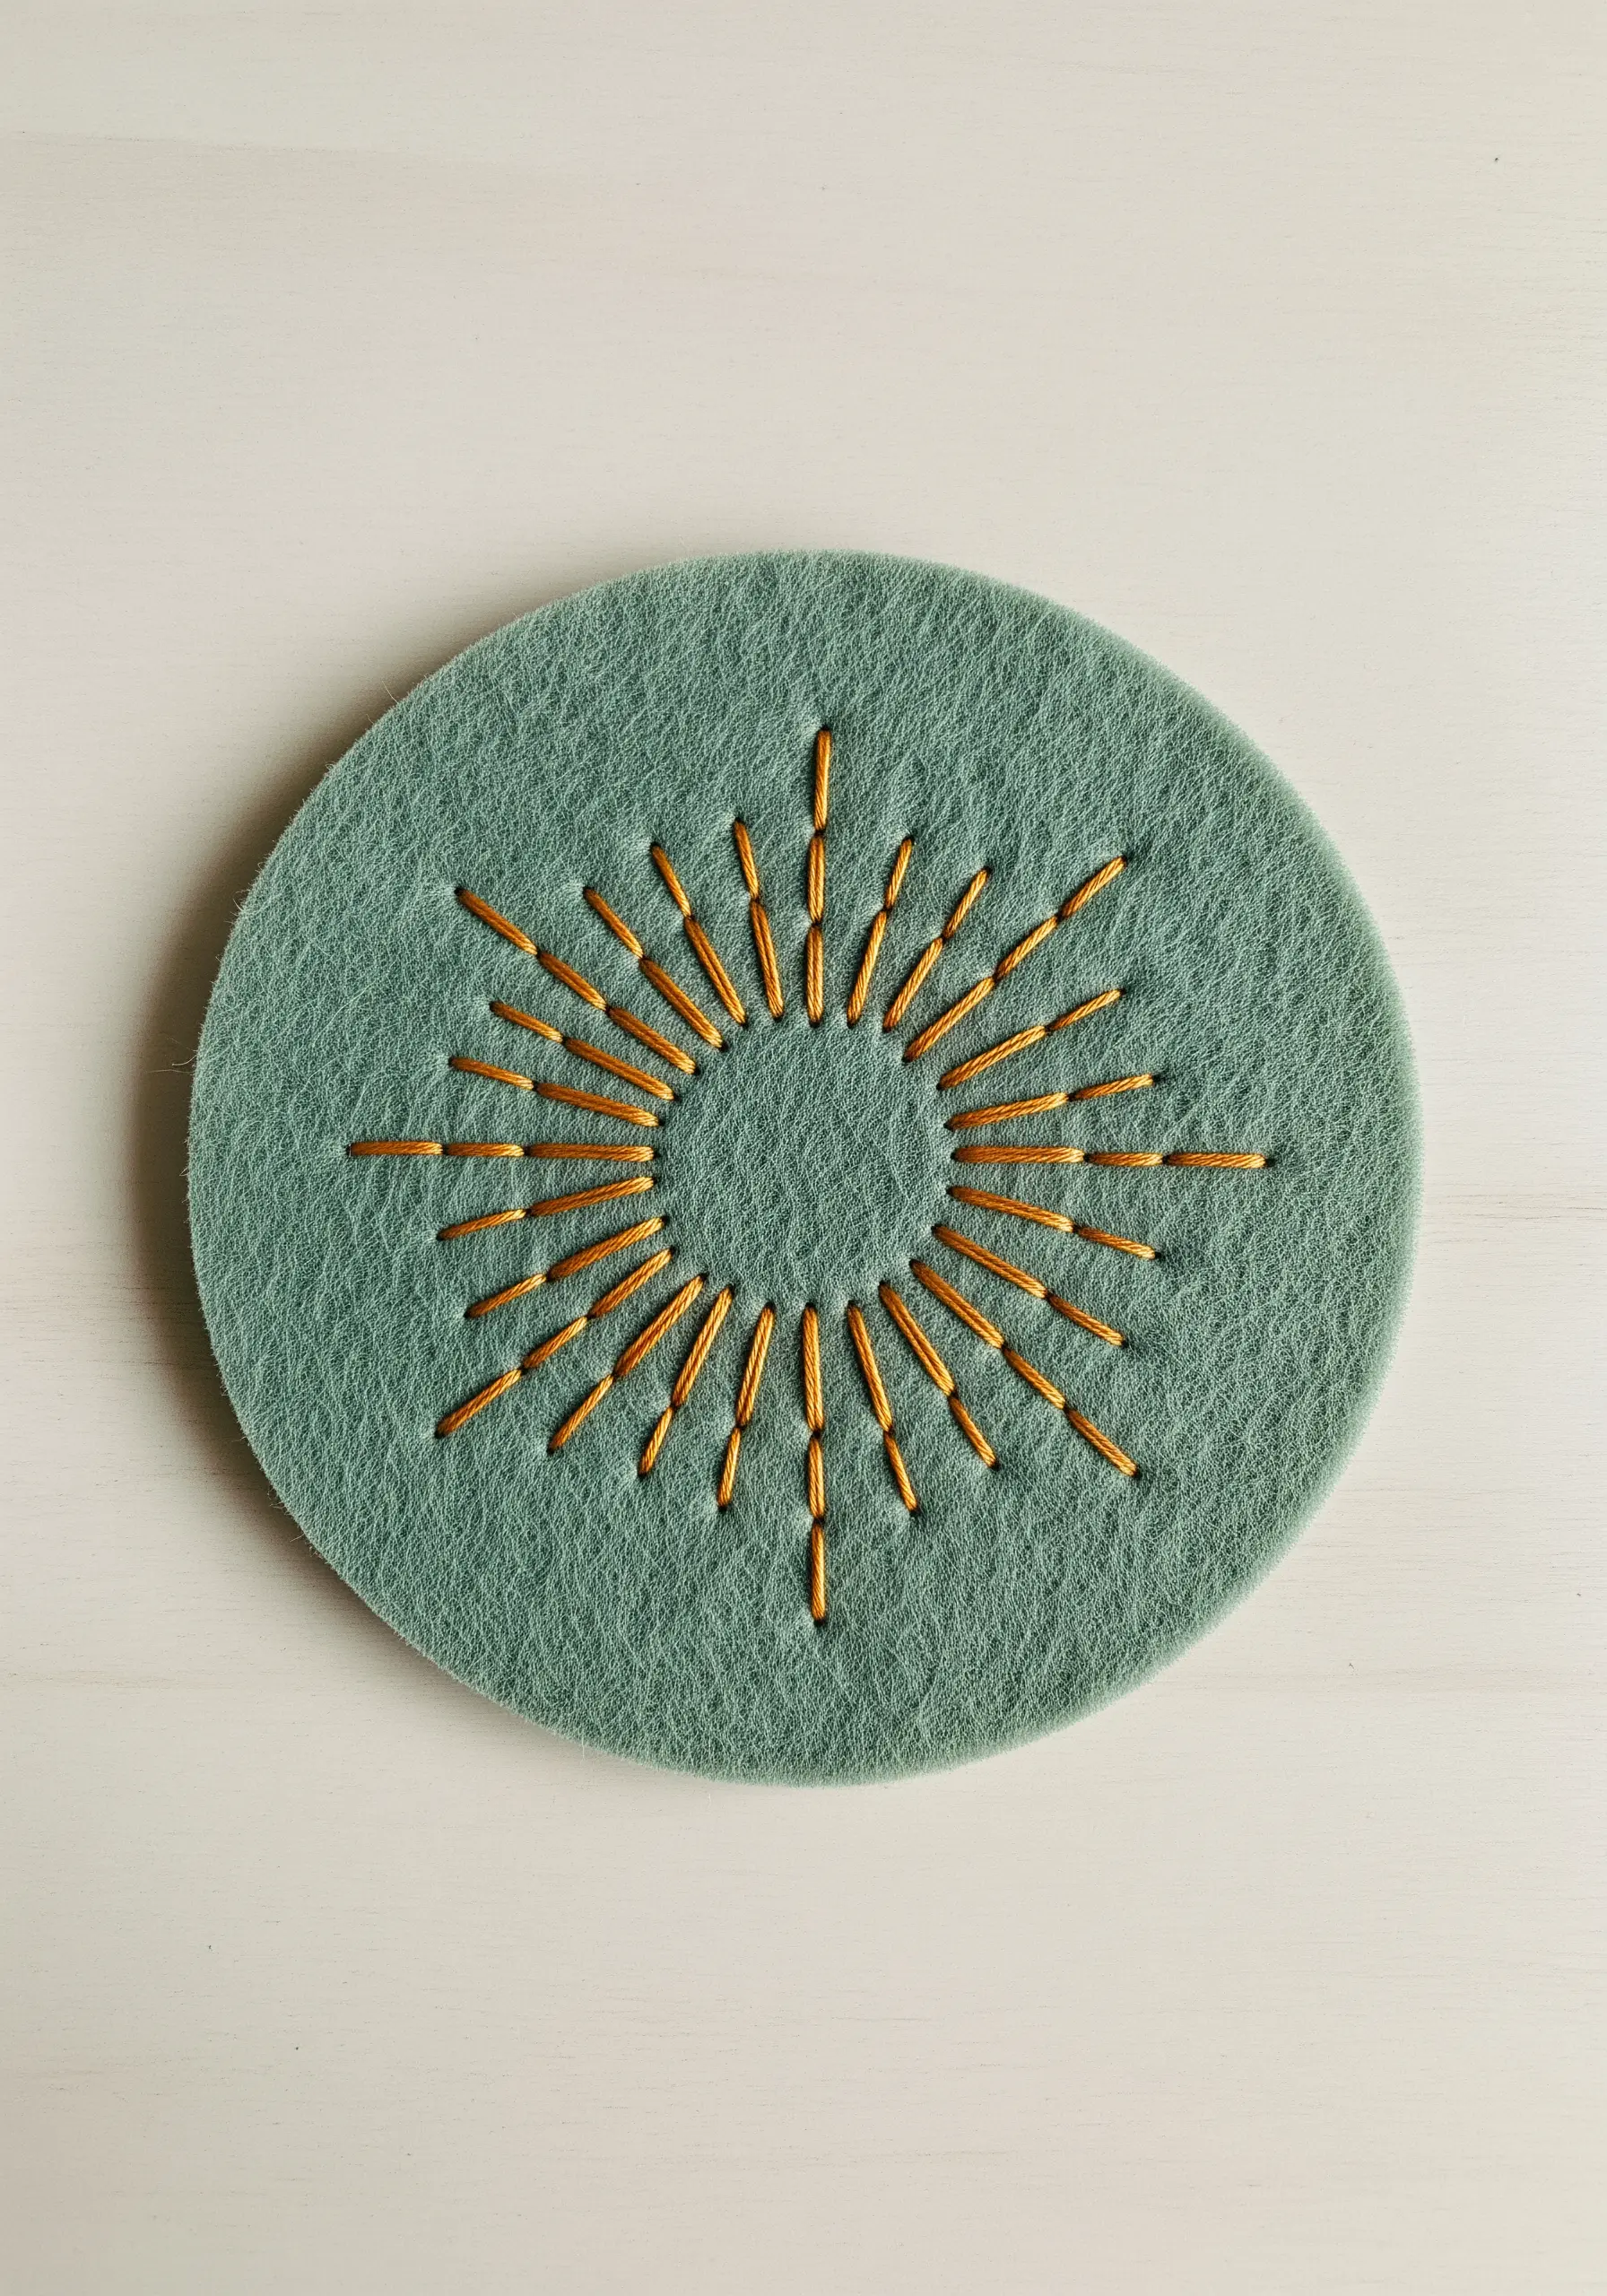
Combine embroidery with beading for a touch of refined sparkle. Felt is an excellent base for this, as it’s sturdy and won’t fray.
To create a clean sunburst, stitch each bugle bead down, then add a tiny seed stitch at the outer tip to anchor it perfectly in place.
This secures the bead and adds a consistent, polished finish to the design. This is one of many mixed-media techniques that elevates your craft.
10. Build Complex Botanicals from Simple Stitches
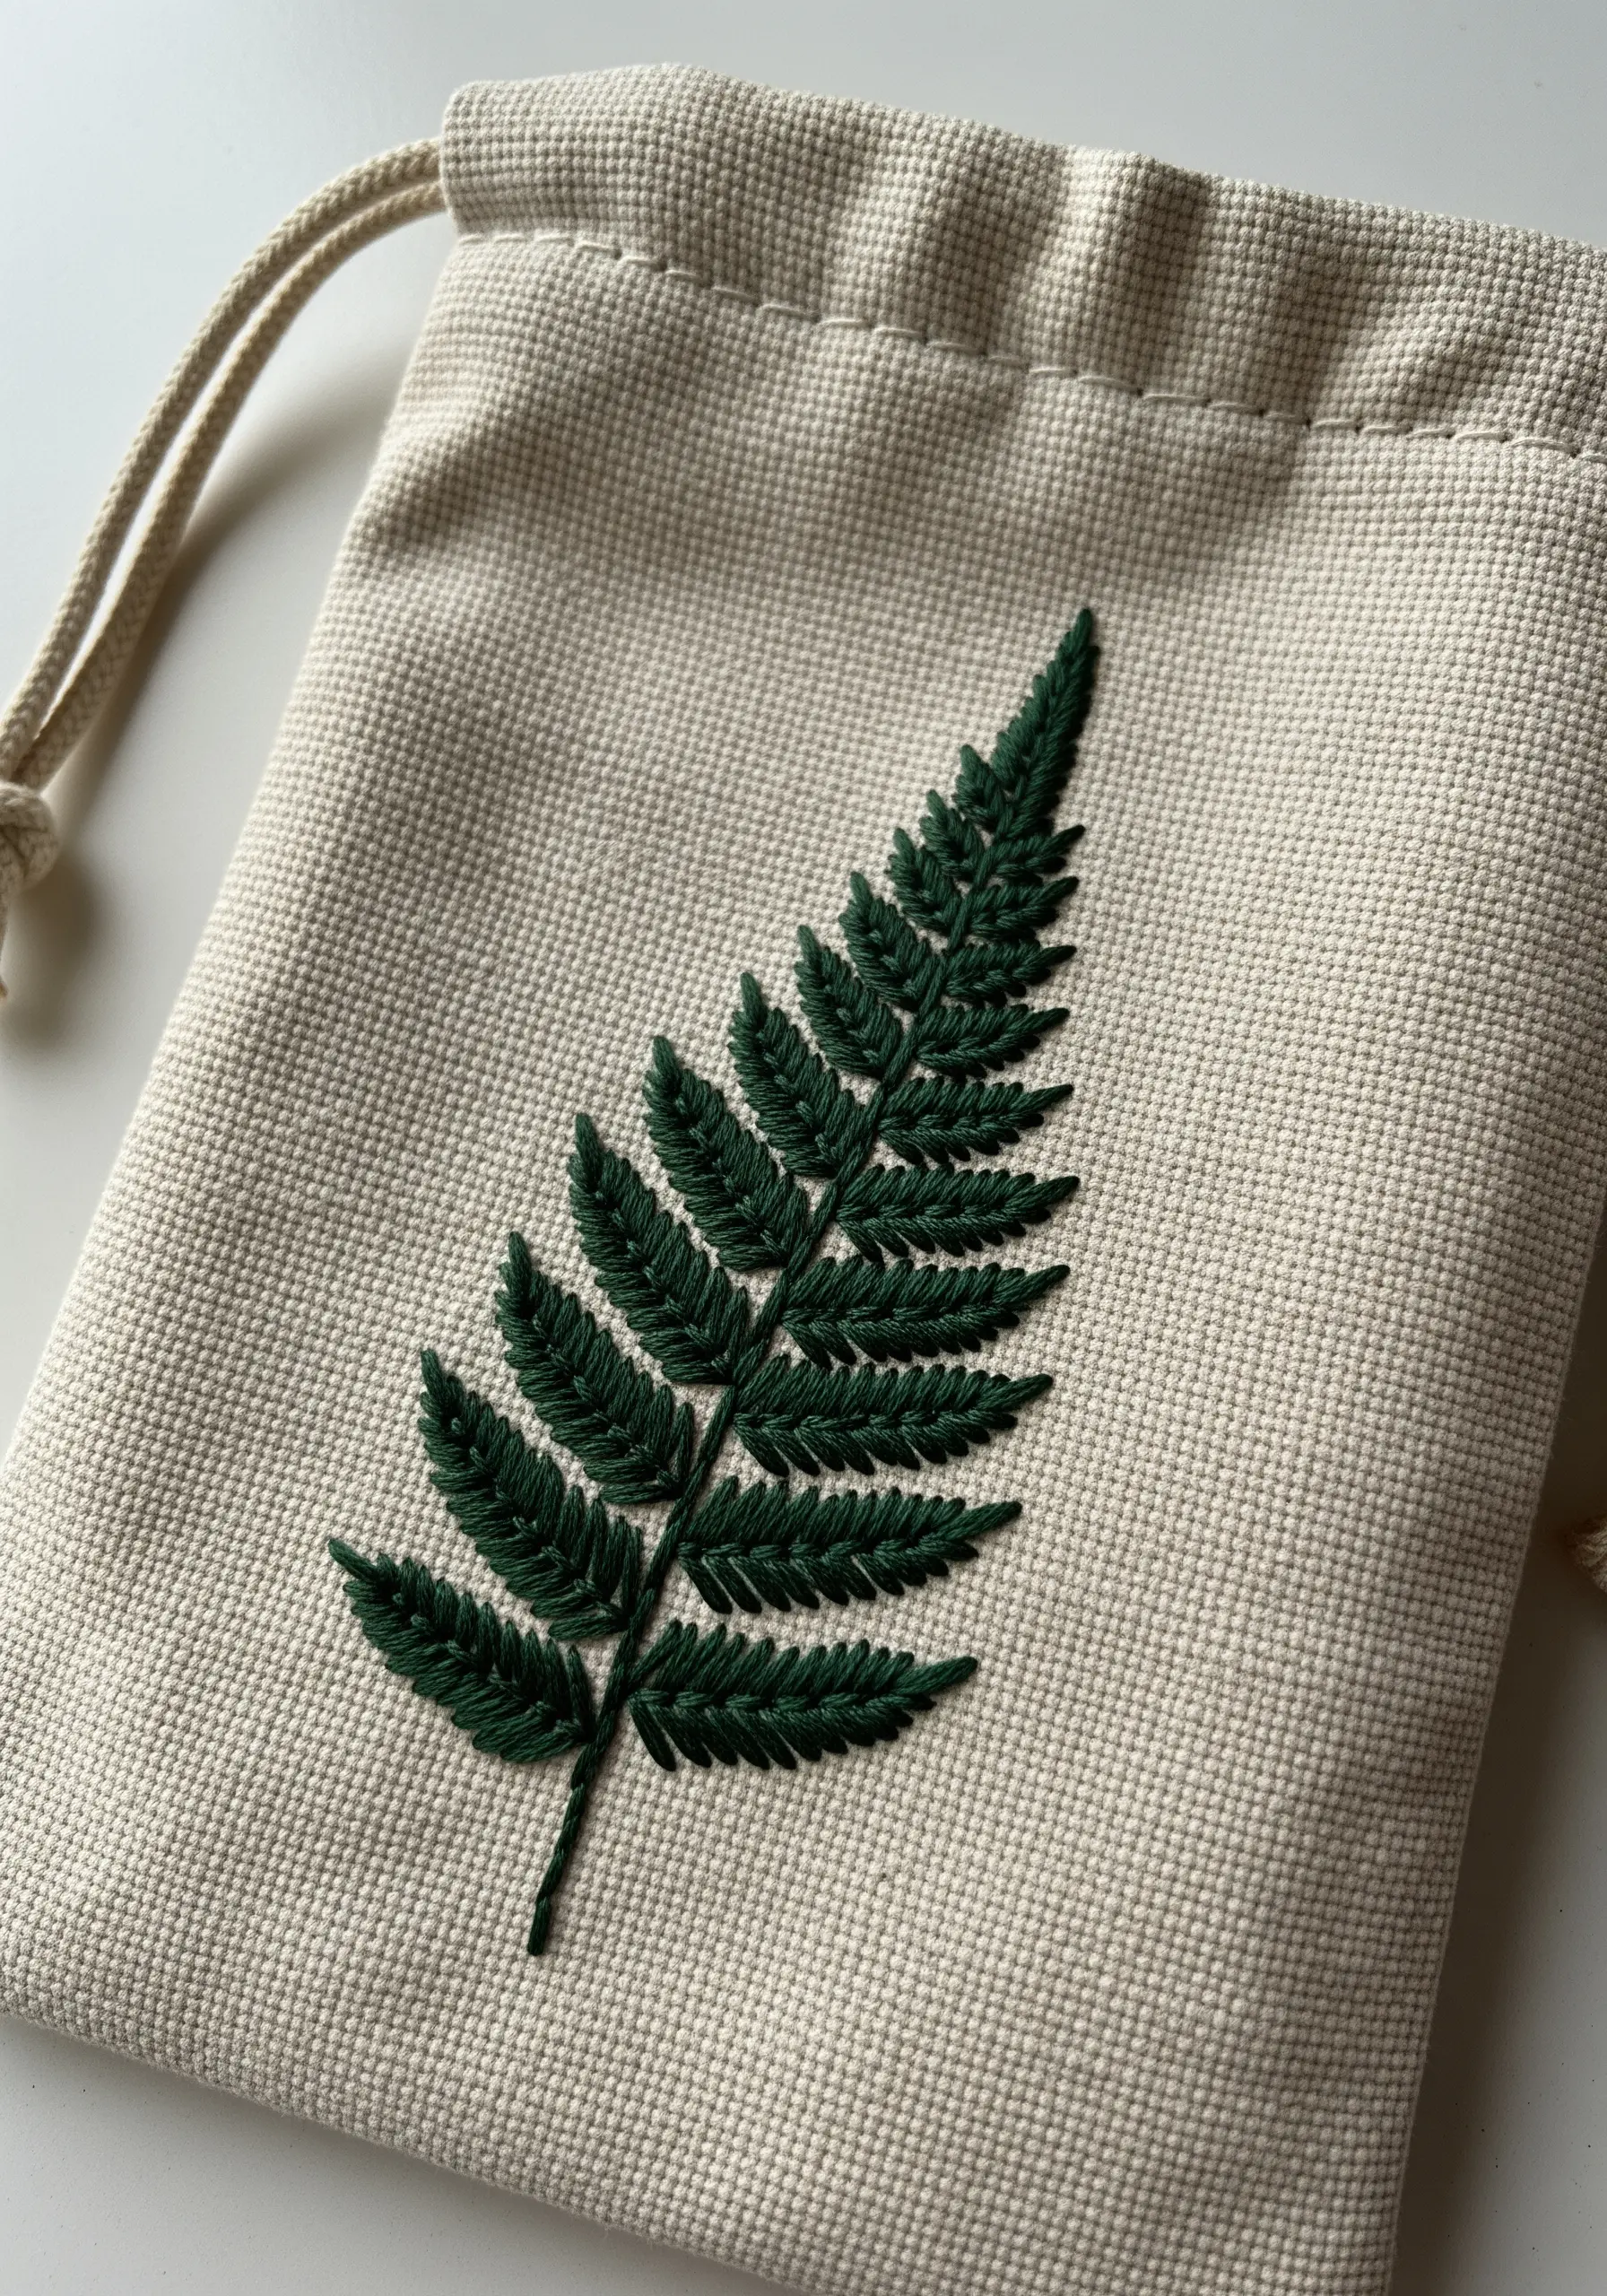
A detailed fern might look advanced, but it’s built from one of the easiest stitches: the straight stitch.
First, create the central stalk with a stem stitch for a sturdy, rounded base.
Then, work tiny, individual straight stitches angled outwards for each leaflet. The key to a realistic result is imperfection—vary the length and angle of each stitch slightly to mimic the organic growth of a real fern.
11. Tell a Whimsical Story with a Dotted Line
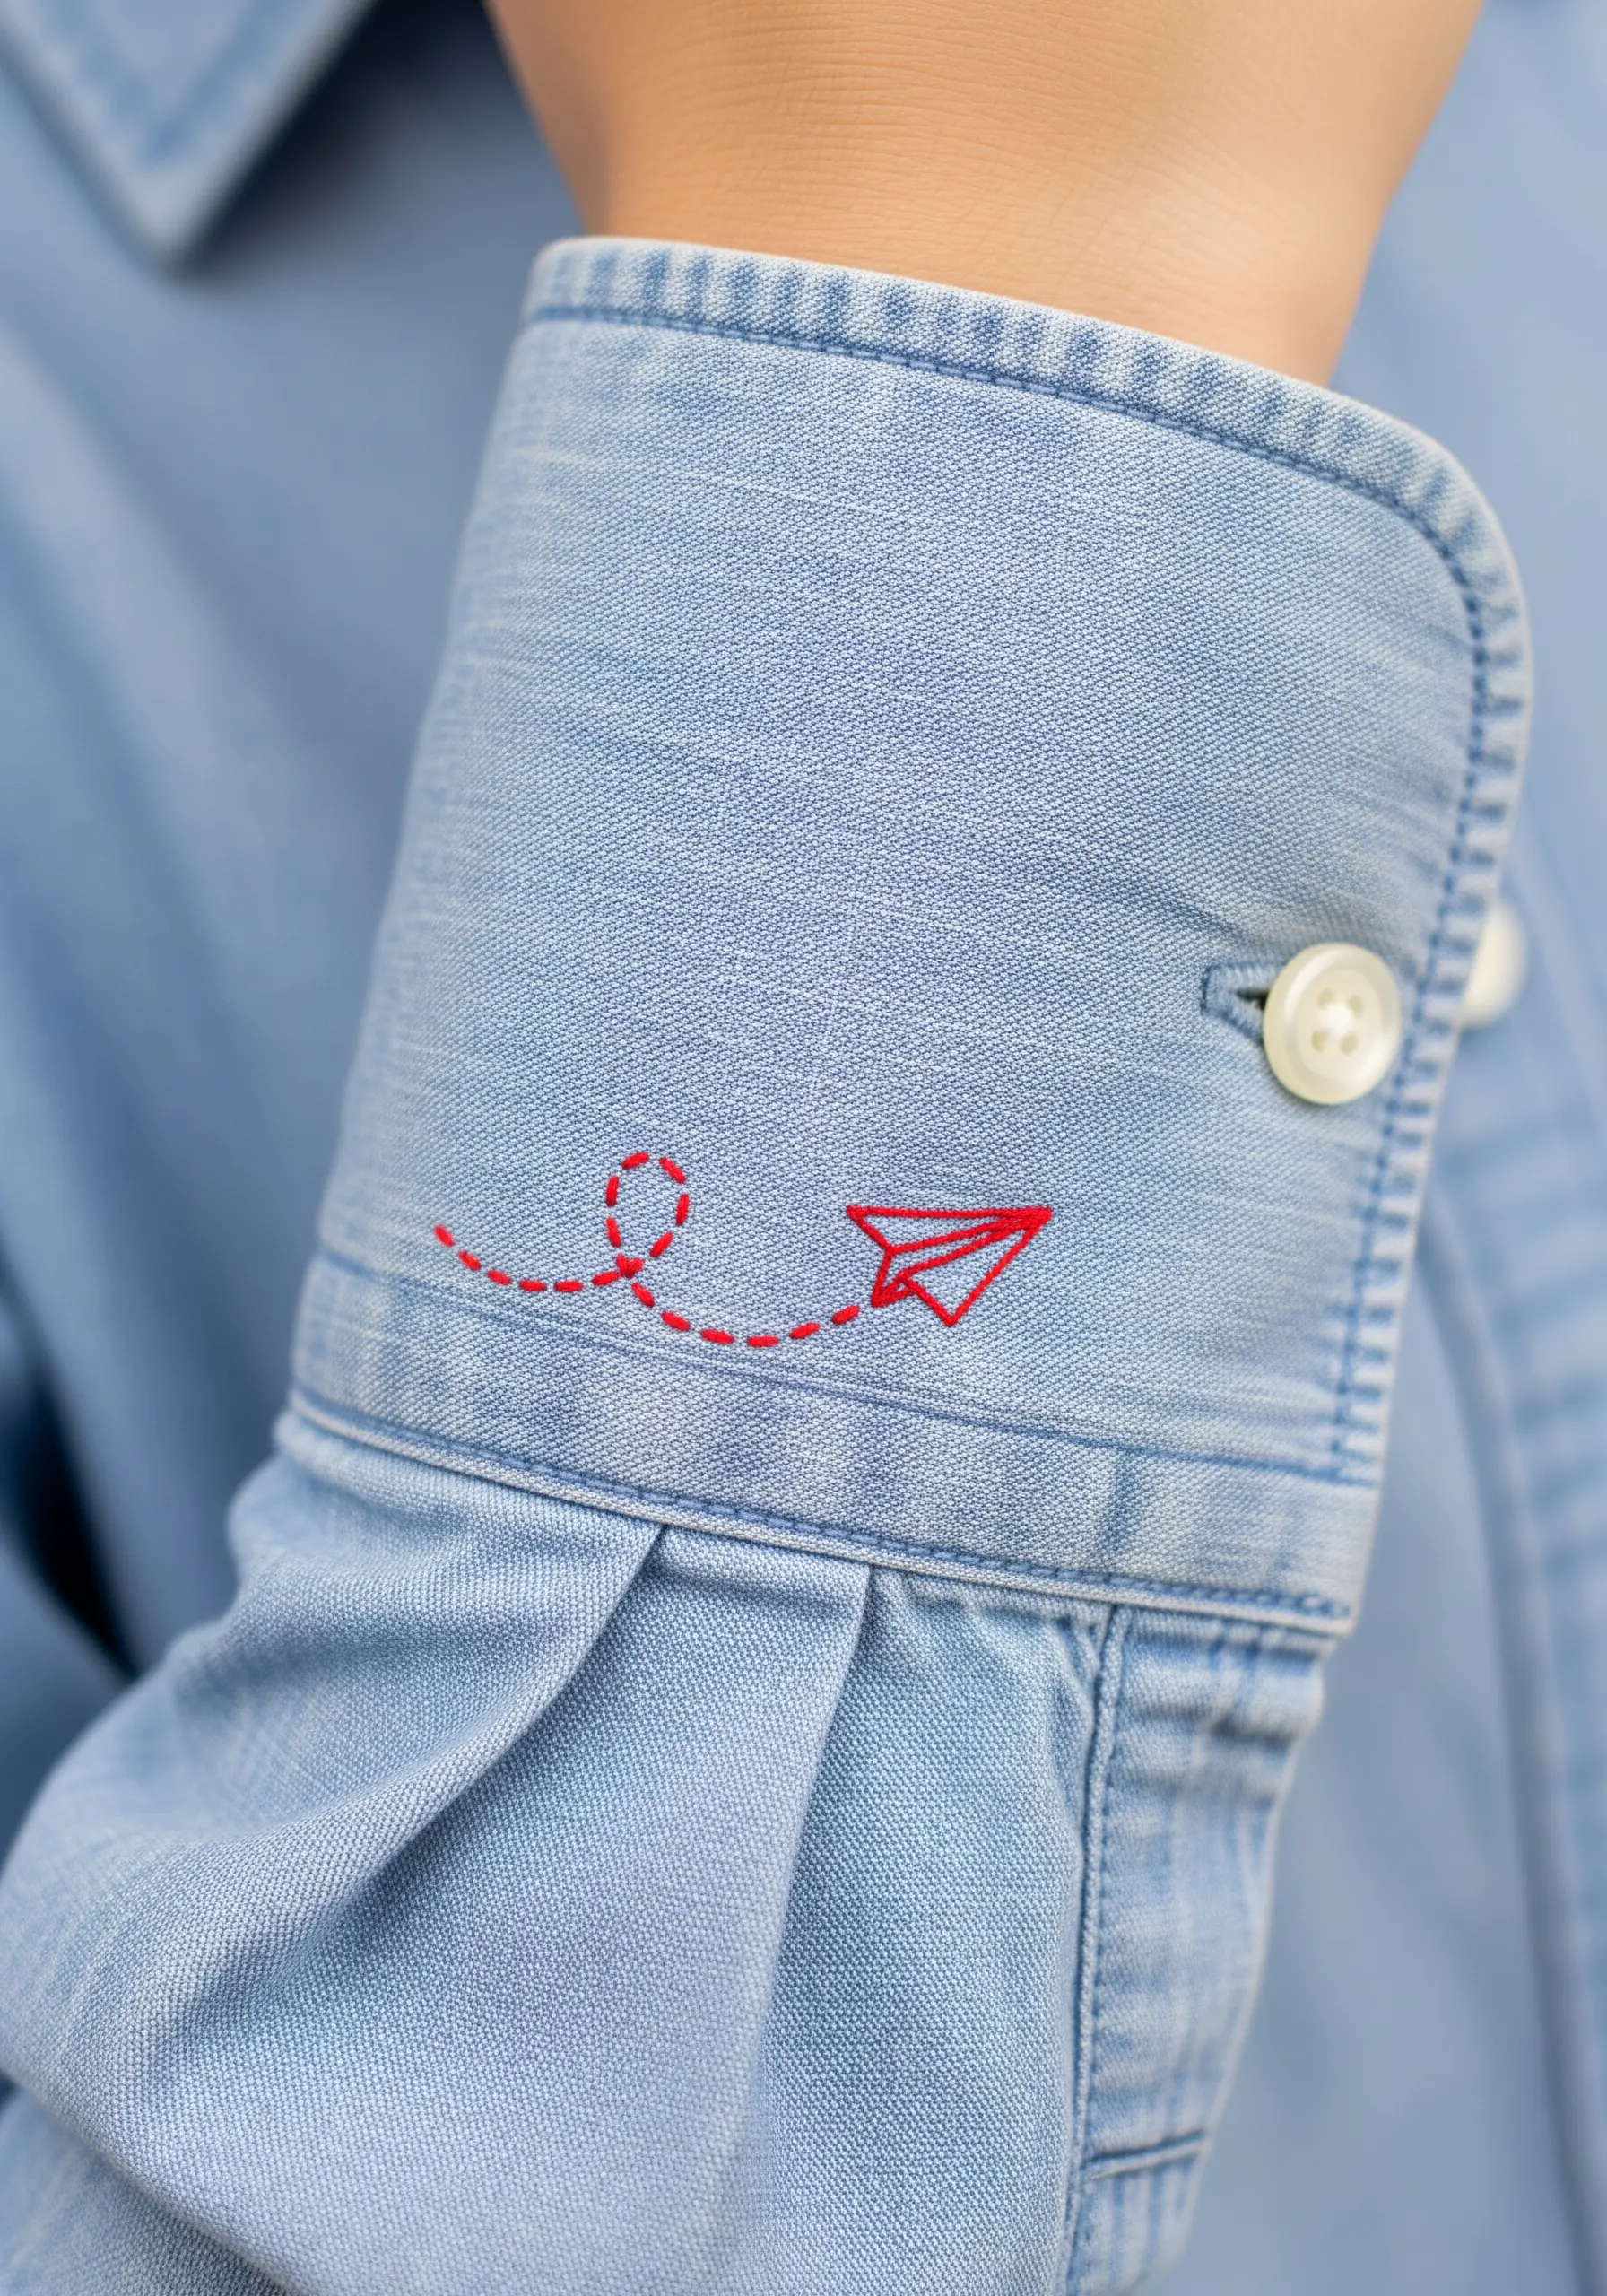
Create a wonderful sense of motion and playfulness with a simple running stitch.
After outlining the main object—here, a paper plane—with a solid backstitch, use a simple running stitch to create a flight path.
To ensure a smooth, elegant curve, lightly draw your intended path with a water-soluble fabric marker before you begin stitching. It’s a tiny detail that brings the entire design to life.
12. Create Plump Shapes with Padded Satin Stitch
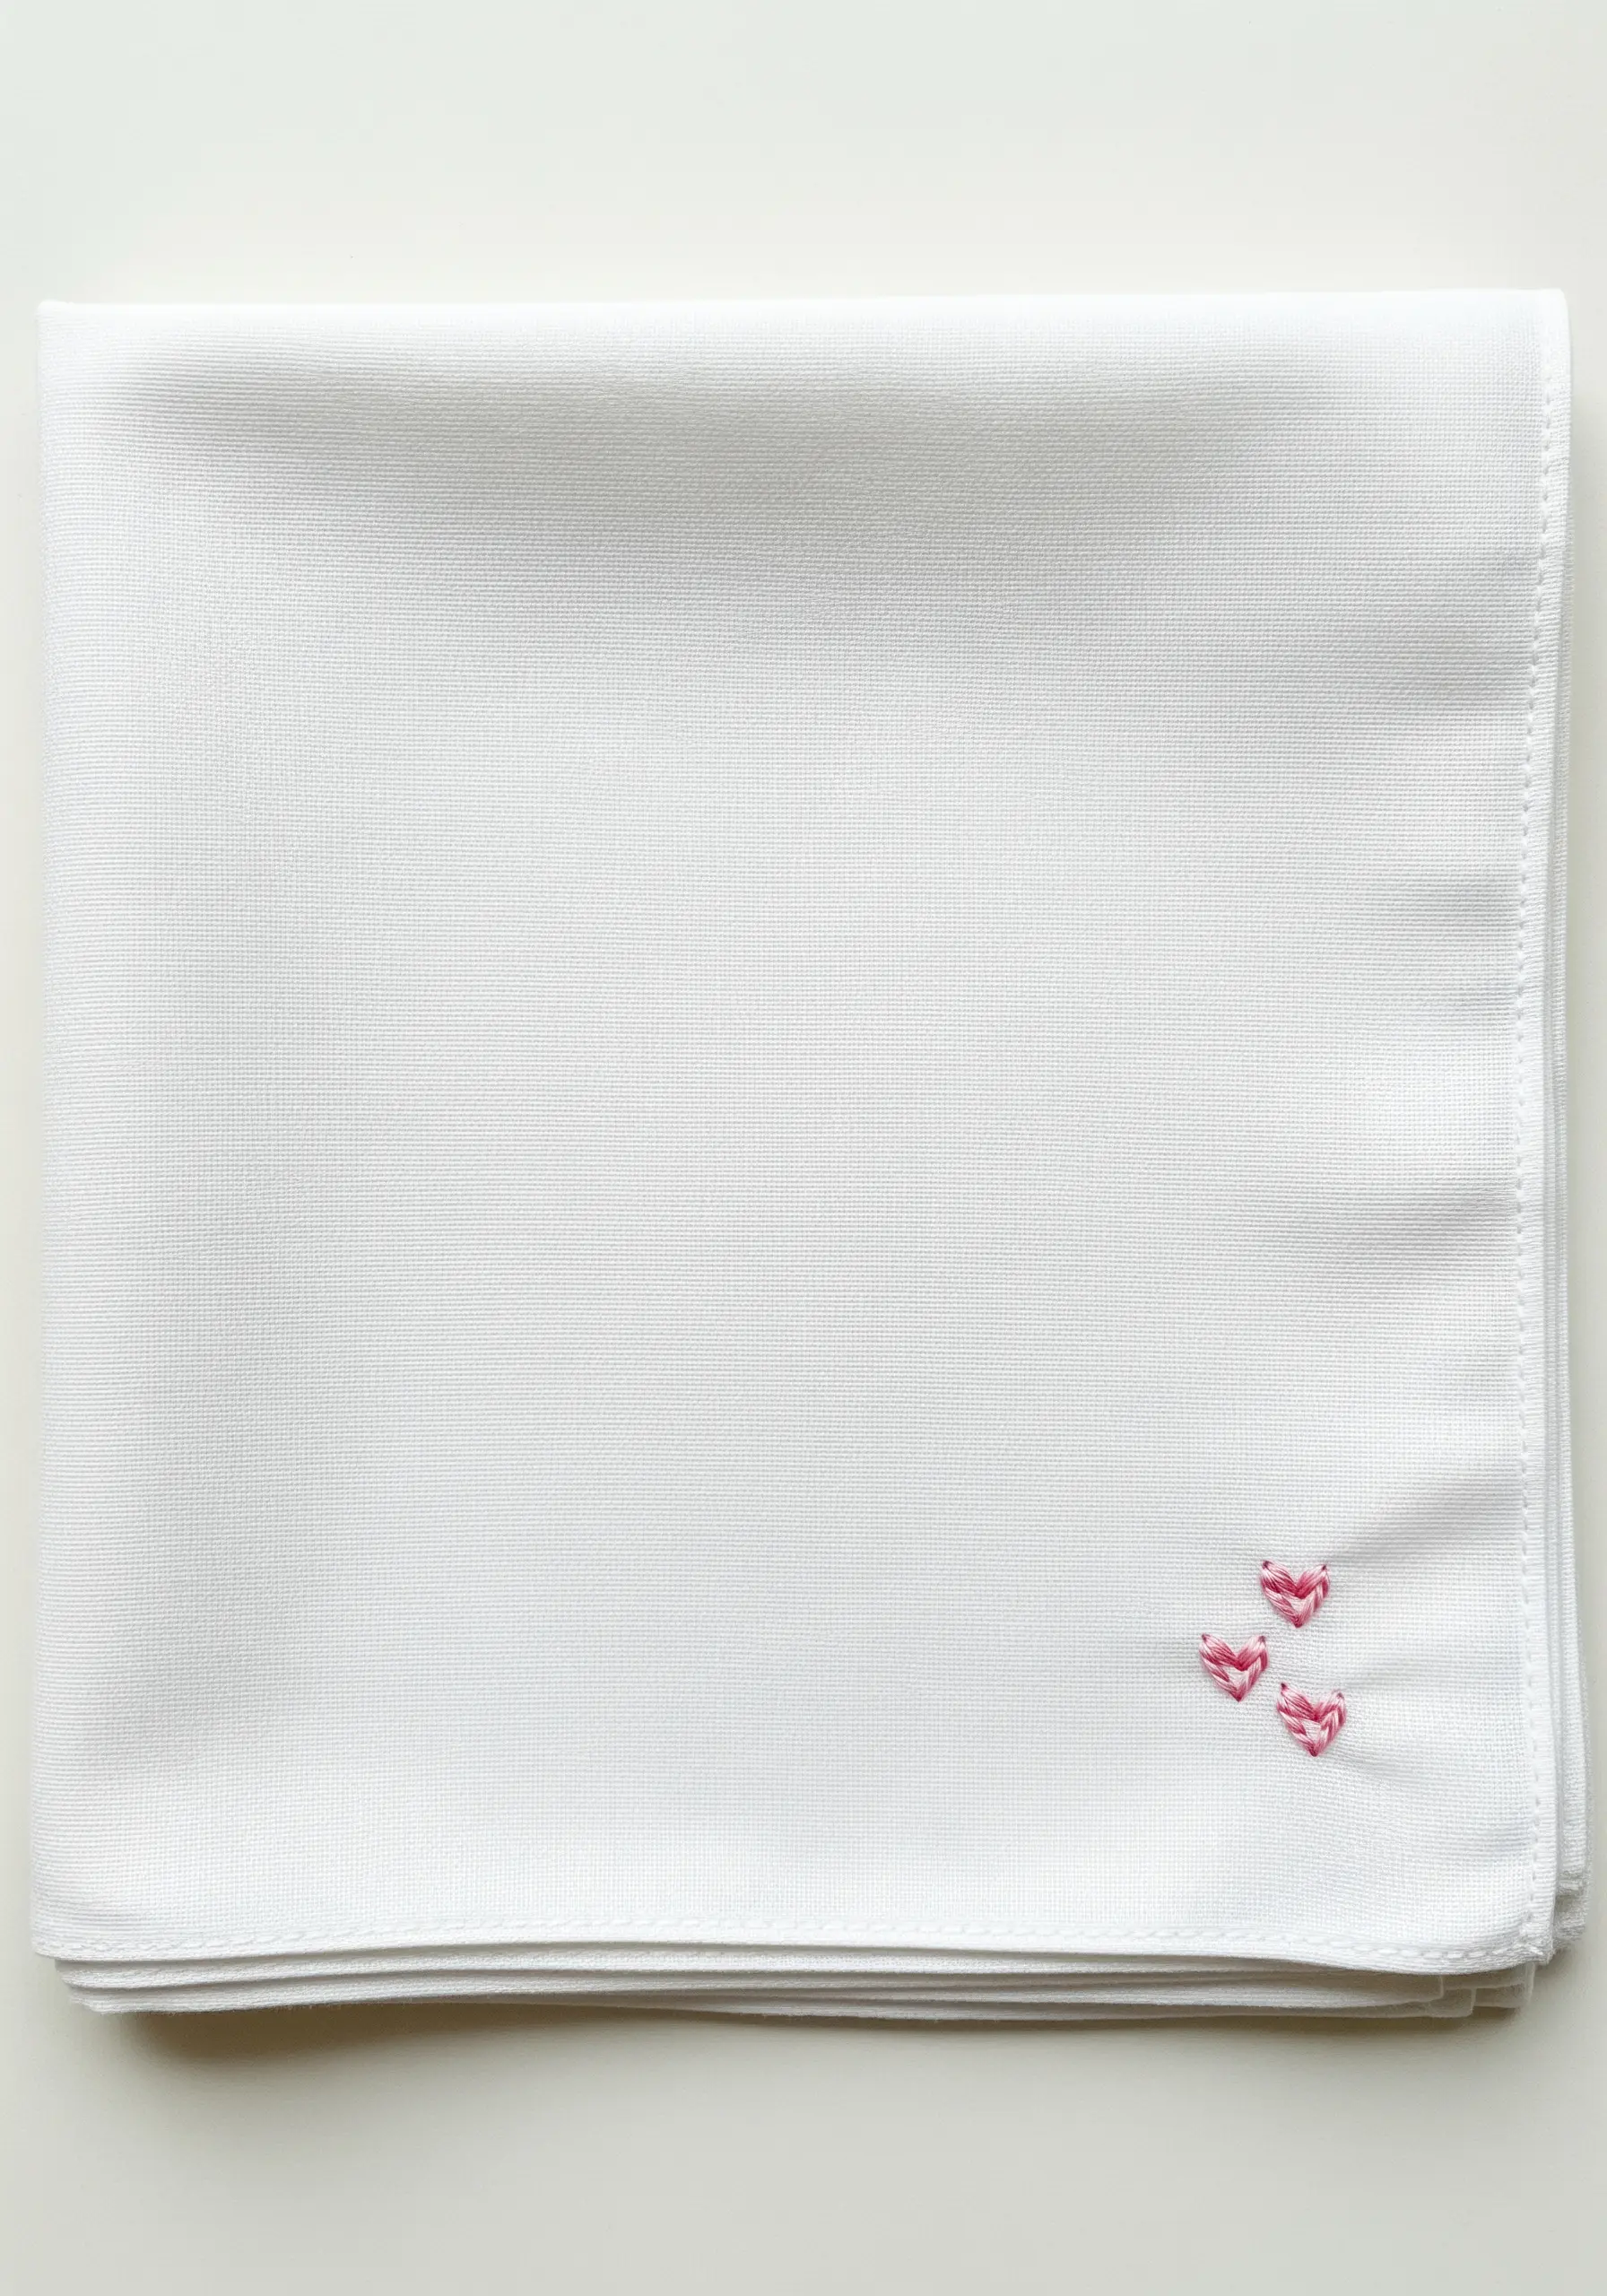
Give small motifs a raised, three-dimensional effect by padding them before you stitch.
First, fill the interior of your shape with a base layer of small seed stitches or straight stitches.
Then, work your final satin stitch layer directly over this padding, ensuring your top stitches run perpendicular to the ones underneath.
This technique gives tiny hearts, dots, or monograms a luxurious, sculptural quality.
13. Achieve Perfectly Smooth Curves with Split Stitch
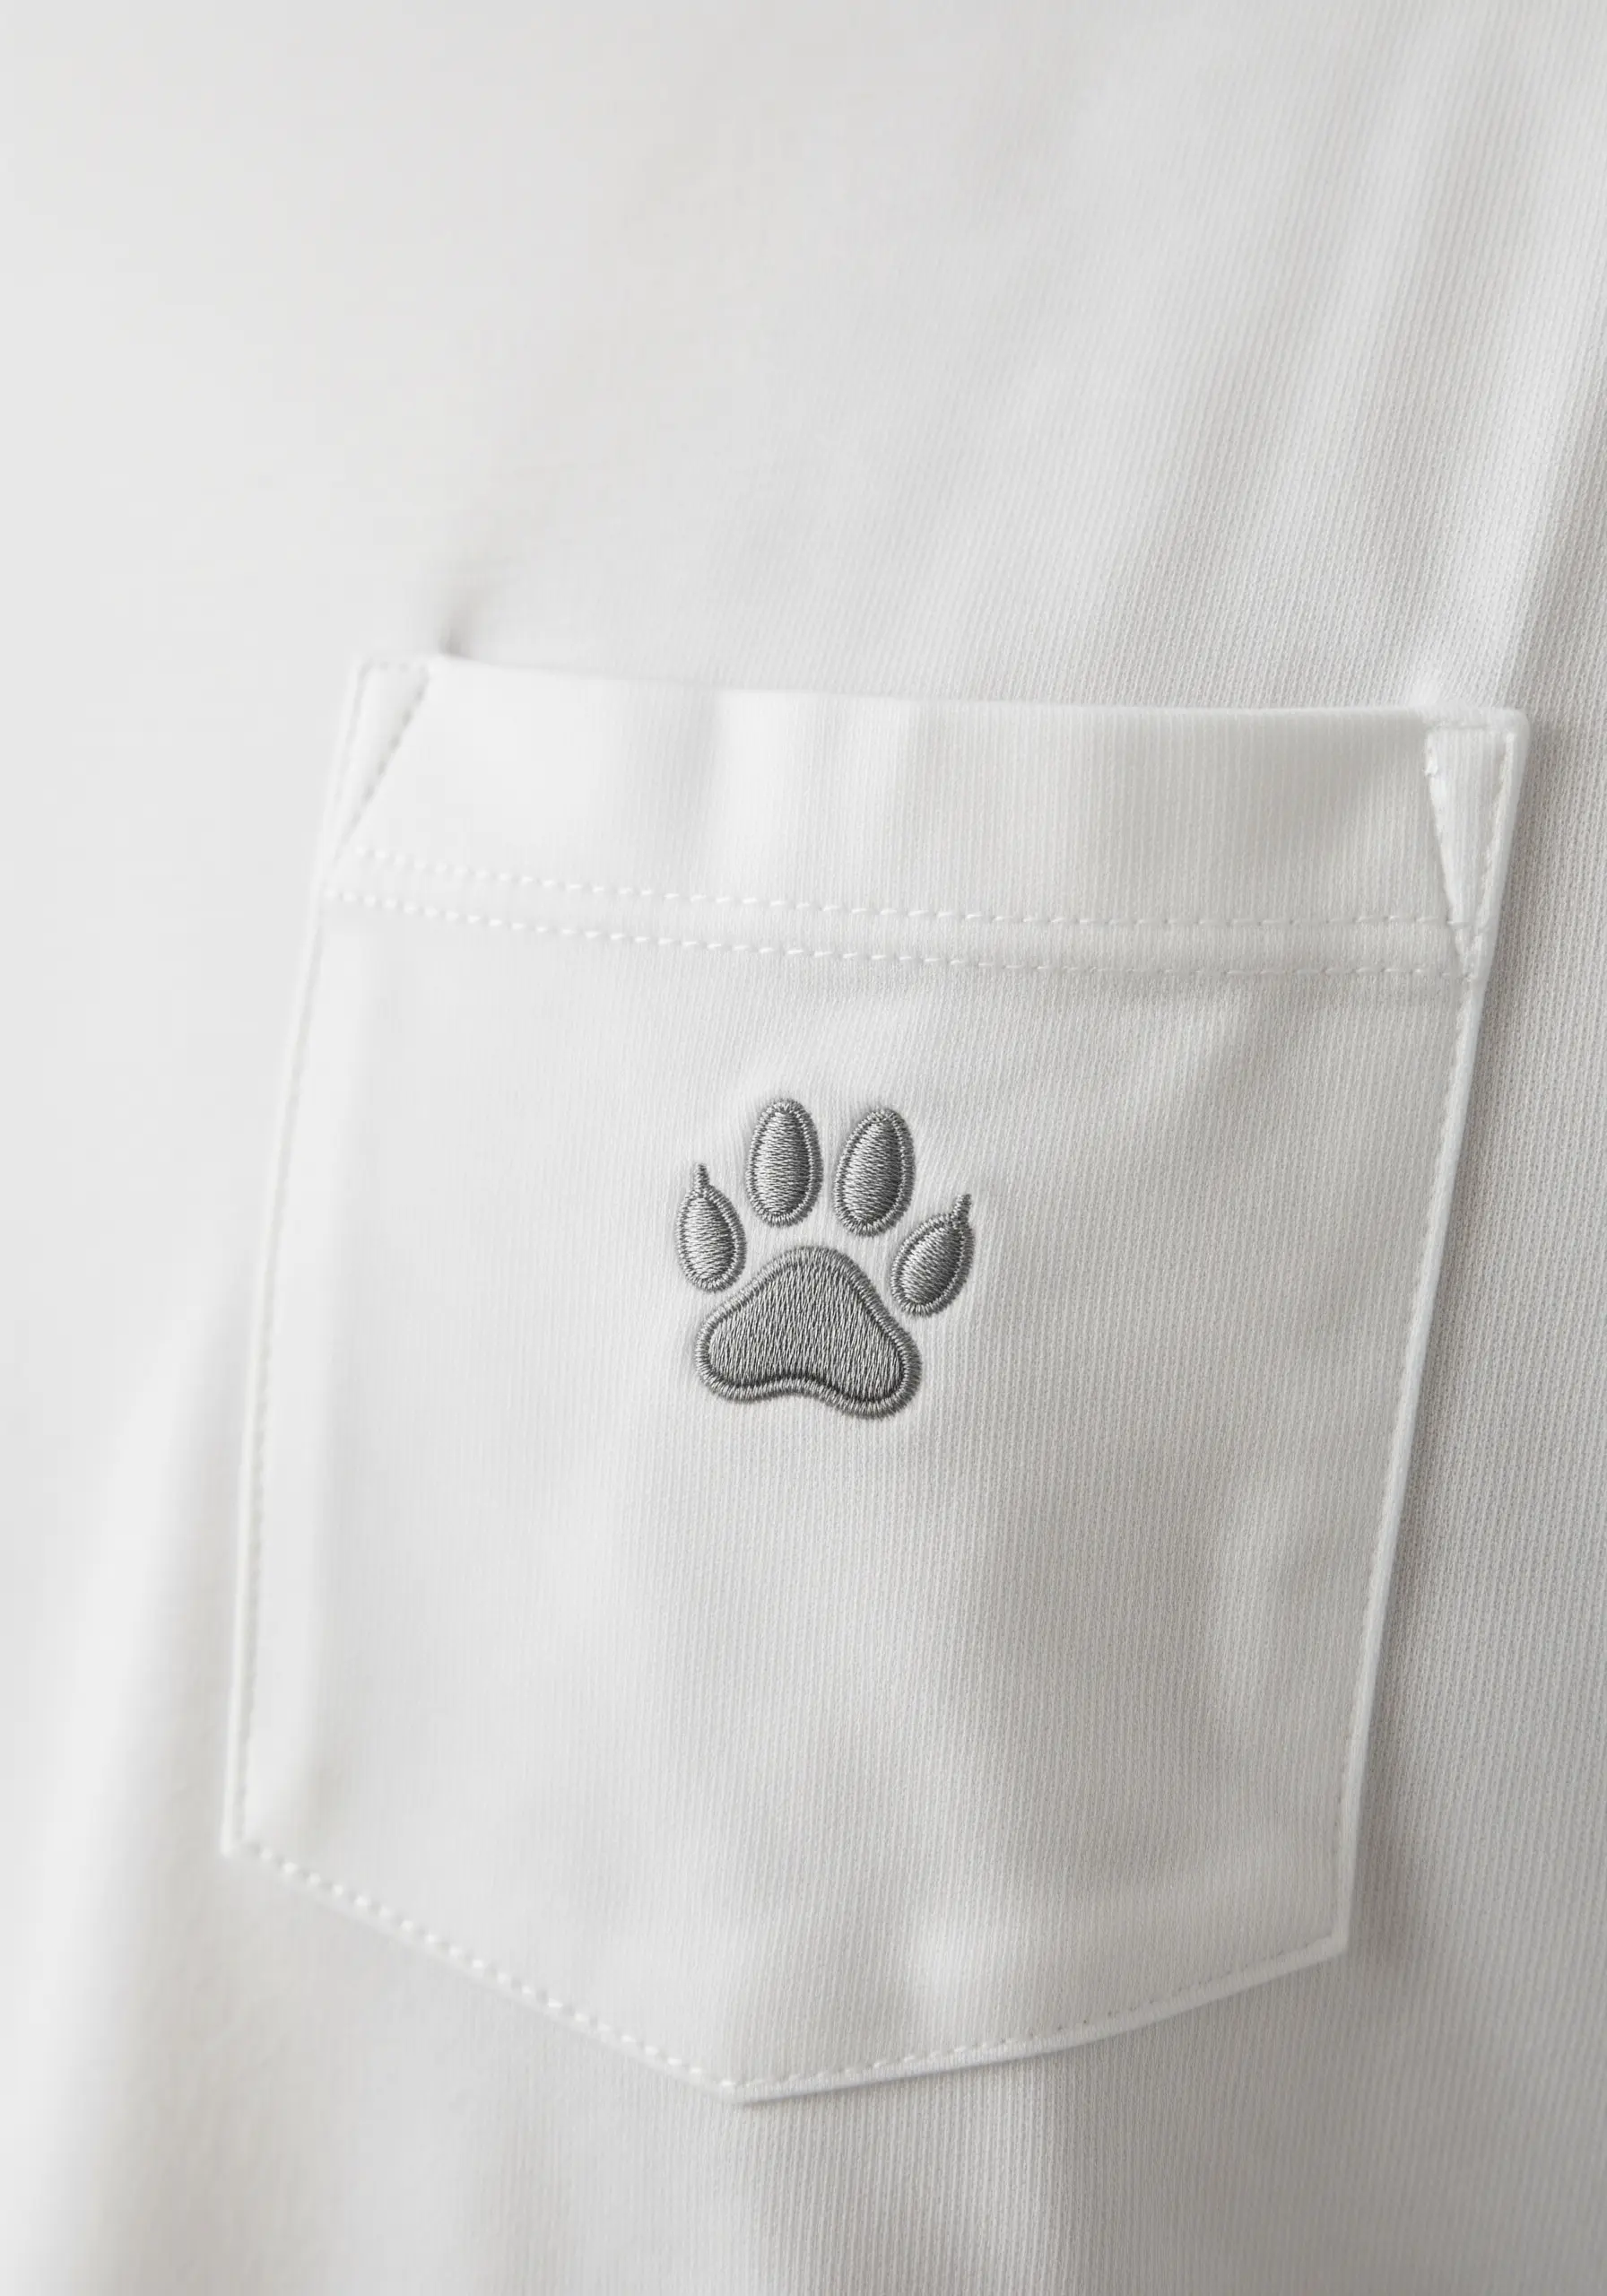
When outlining curved shapes, a backstitch can sometimes appear jagged or disconnected.
Switch to a split stitch for a flawless, continuous line. To make this stitch, you bring your needle up through the center of the previous stitch, literally splitting the floss.
This creates an interconnected, chain-like line that is perfect for defining the soft curves of a paw print, a letter, or a floral stem.
14. Combine Stitches for Authentic Natural Textures
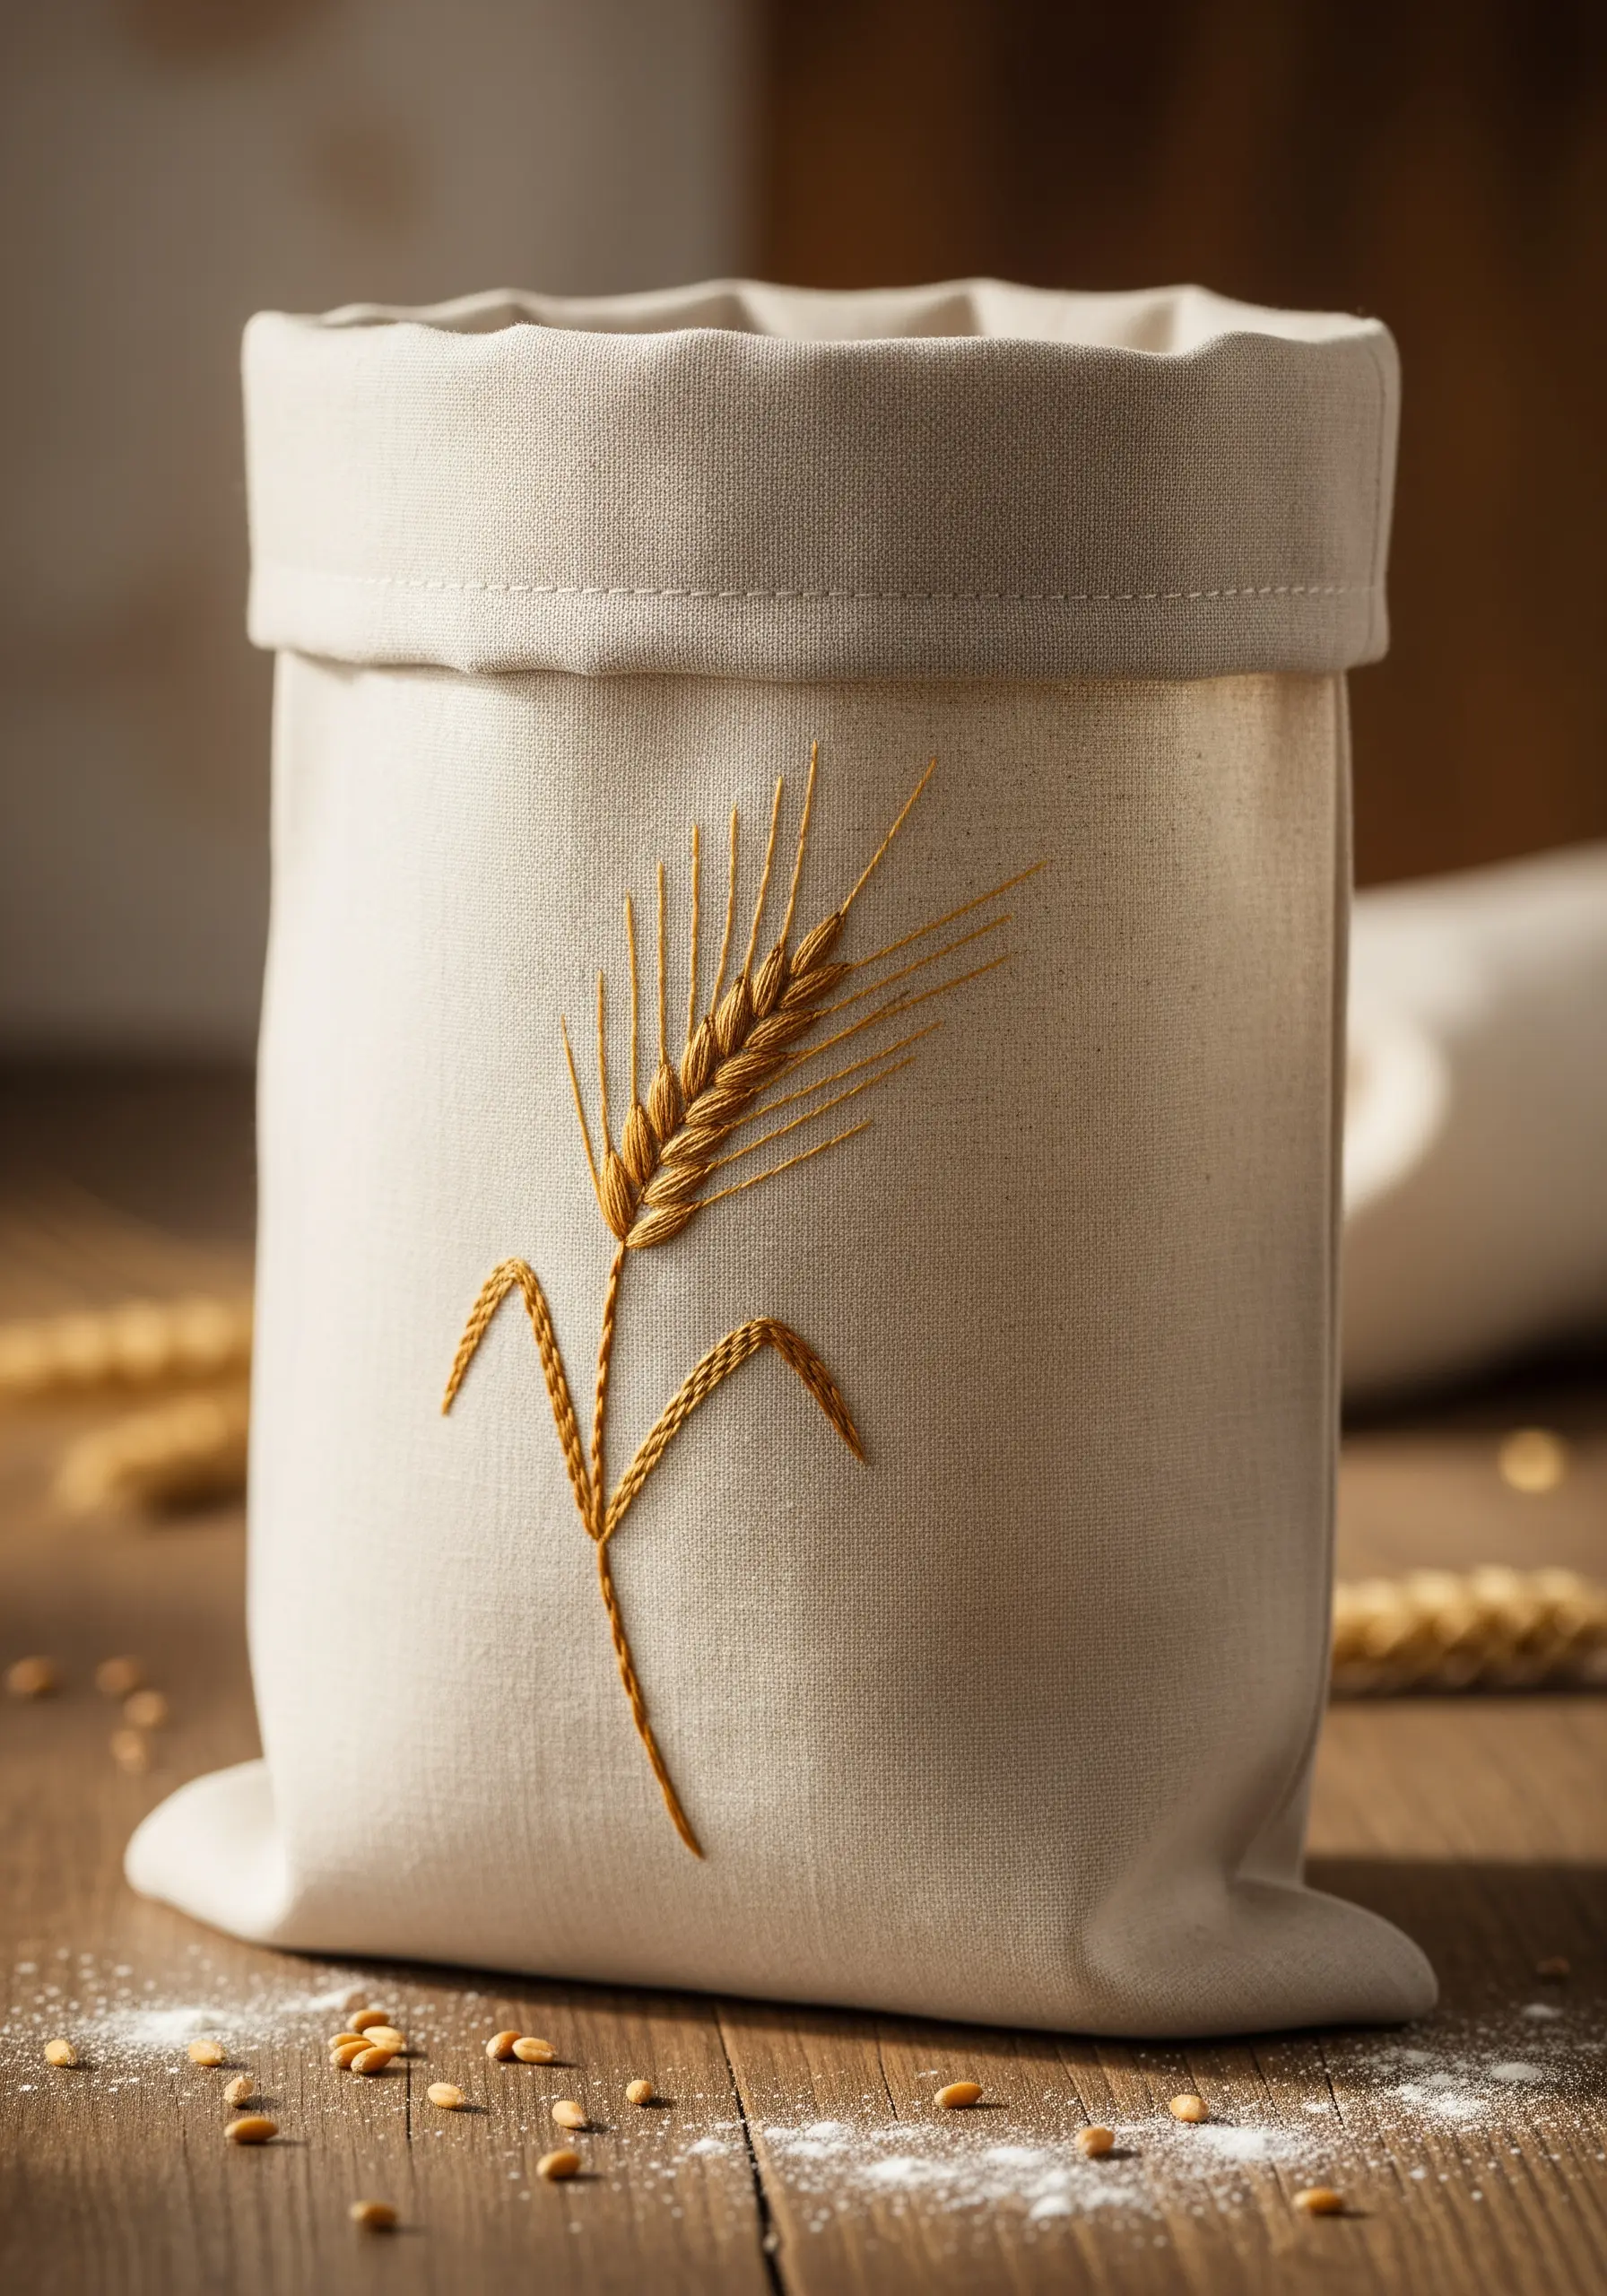
To capture the essence of a natural object like wheat, you must think in layers of texture.
Use a stem stitch for the main stalk to give it a solid, rounded form. For the individual grains, use a fishbone stitch, alternating the angle on each side of the stalk.
Finally, add the delicate awns with a single strand of floss and a few long, light straight stitches. This thoughtful combination turns a simple motif into a realistic study of nature and is one of our favorite earth-inspired embroidery designs.
15. Define Shapes with a Bold Whipped Backstitch

For an outline that is exceptionally smooth, solid, and slightly raised, the whipped backstitch is your answer.
First, create a foundation of simple backstitches. Then, take a second thread (using a blunt tapestry needle helps) and weave it through the backstitches without piercing the fabric.
This technique completely covers the gaps between stitches, creating a clean, rope-like line that makes simple line art pop.
16. Master Stitches on Stretchy Knits
Embroidering on stretchy fabrics like socks or sweaters can be intimidating, but a stabilizer makes it foolproof.
Place a layer of water-soluble stabilizer on top of the fabric; this prevents the knit from stretching as you stitch and gives you a smooth surface to work on.
Use a simple backstitch, which has enough flexibility to move with the fabric. When you’re done, the stabilizer dissolves in water, leaving a perfect design behind.
17. Create Elegant, Interwoven Lines
Elevate a simple line of backstitch into something truly special with the Pekinese stitch.
After creating your backstitch foundation, take a second thread on a tapestry needle and create interlocking loops through the foundation stitches without ever piercing the fabric.
The result is a beautifully textured, decorative line that looks far more complex than it is. It’s perfect for abstract borders and decorative accents.
18. Fill Shapes with Textural French Knots

Move beyond flat fills and use French knots to pack small areas with delightful texture.
When filling a shape like a cherry, place your knots closely together for a dense, plush effect. You can vary the size of the knots by wrapping the thread once or twice around the needle to fill in any tiny gaps.
This technique adds a playful, three-dimensional quality that invites touch, creating a strong contrast against the flat fabric.
19. Tell a Story with Whimsical Combinations
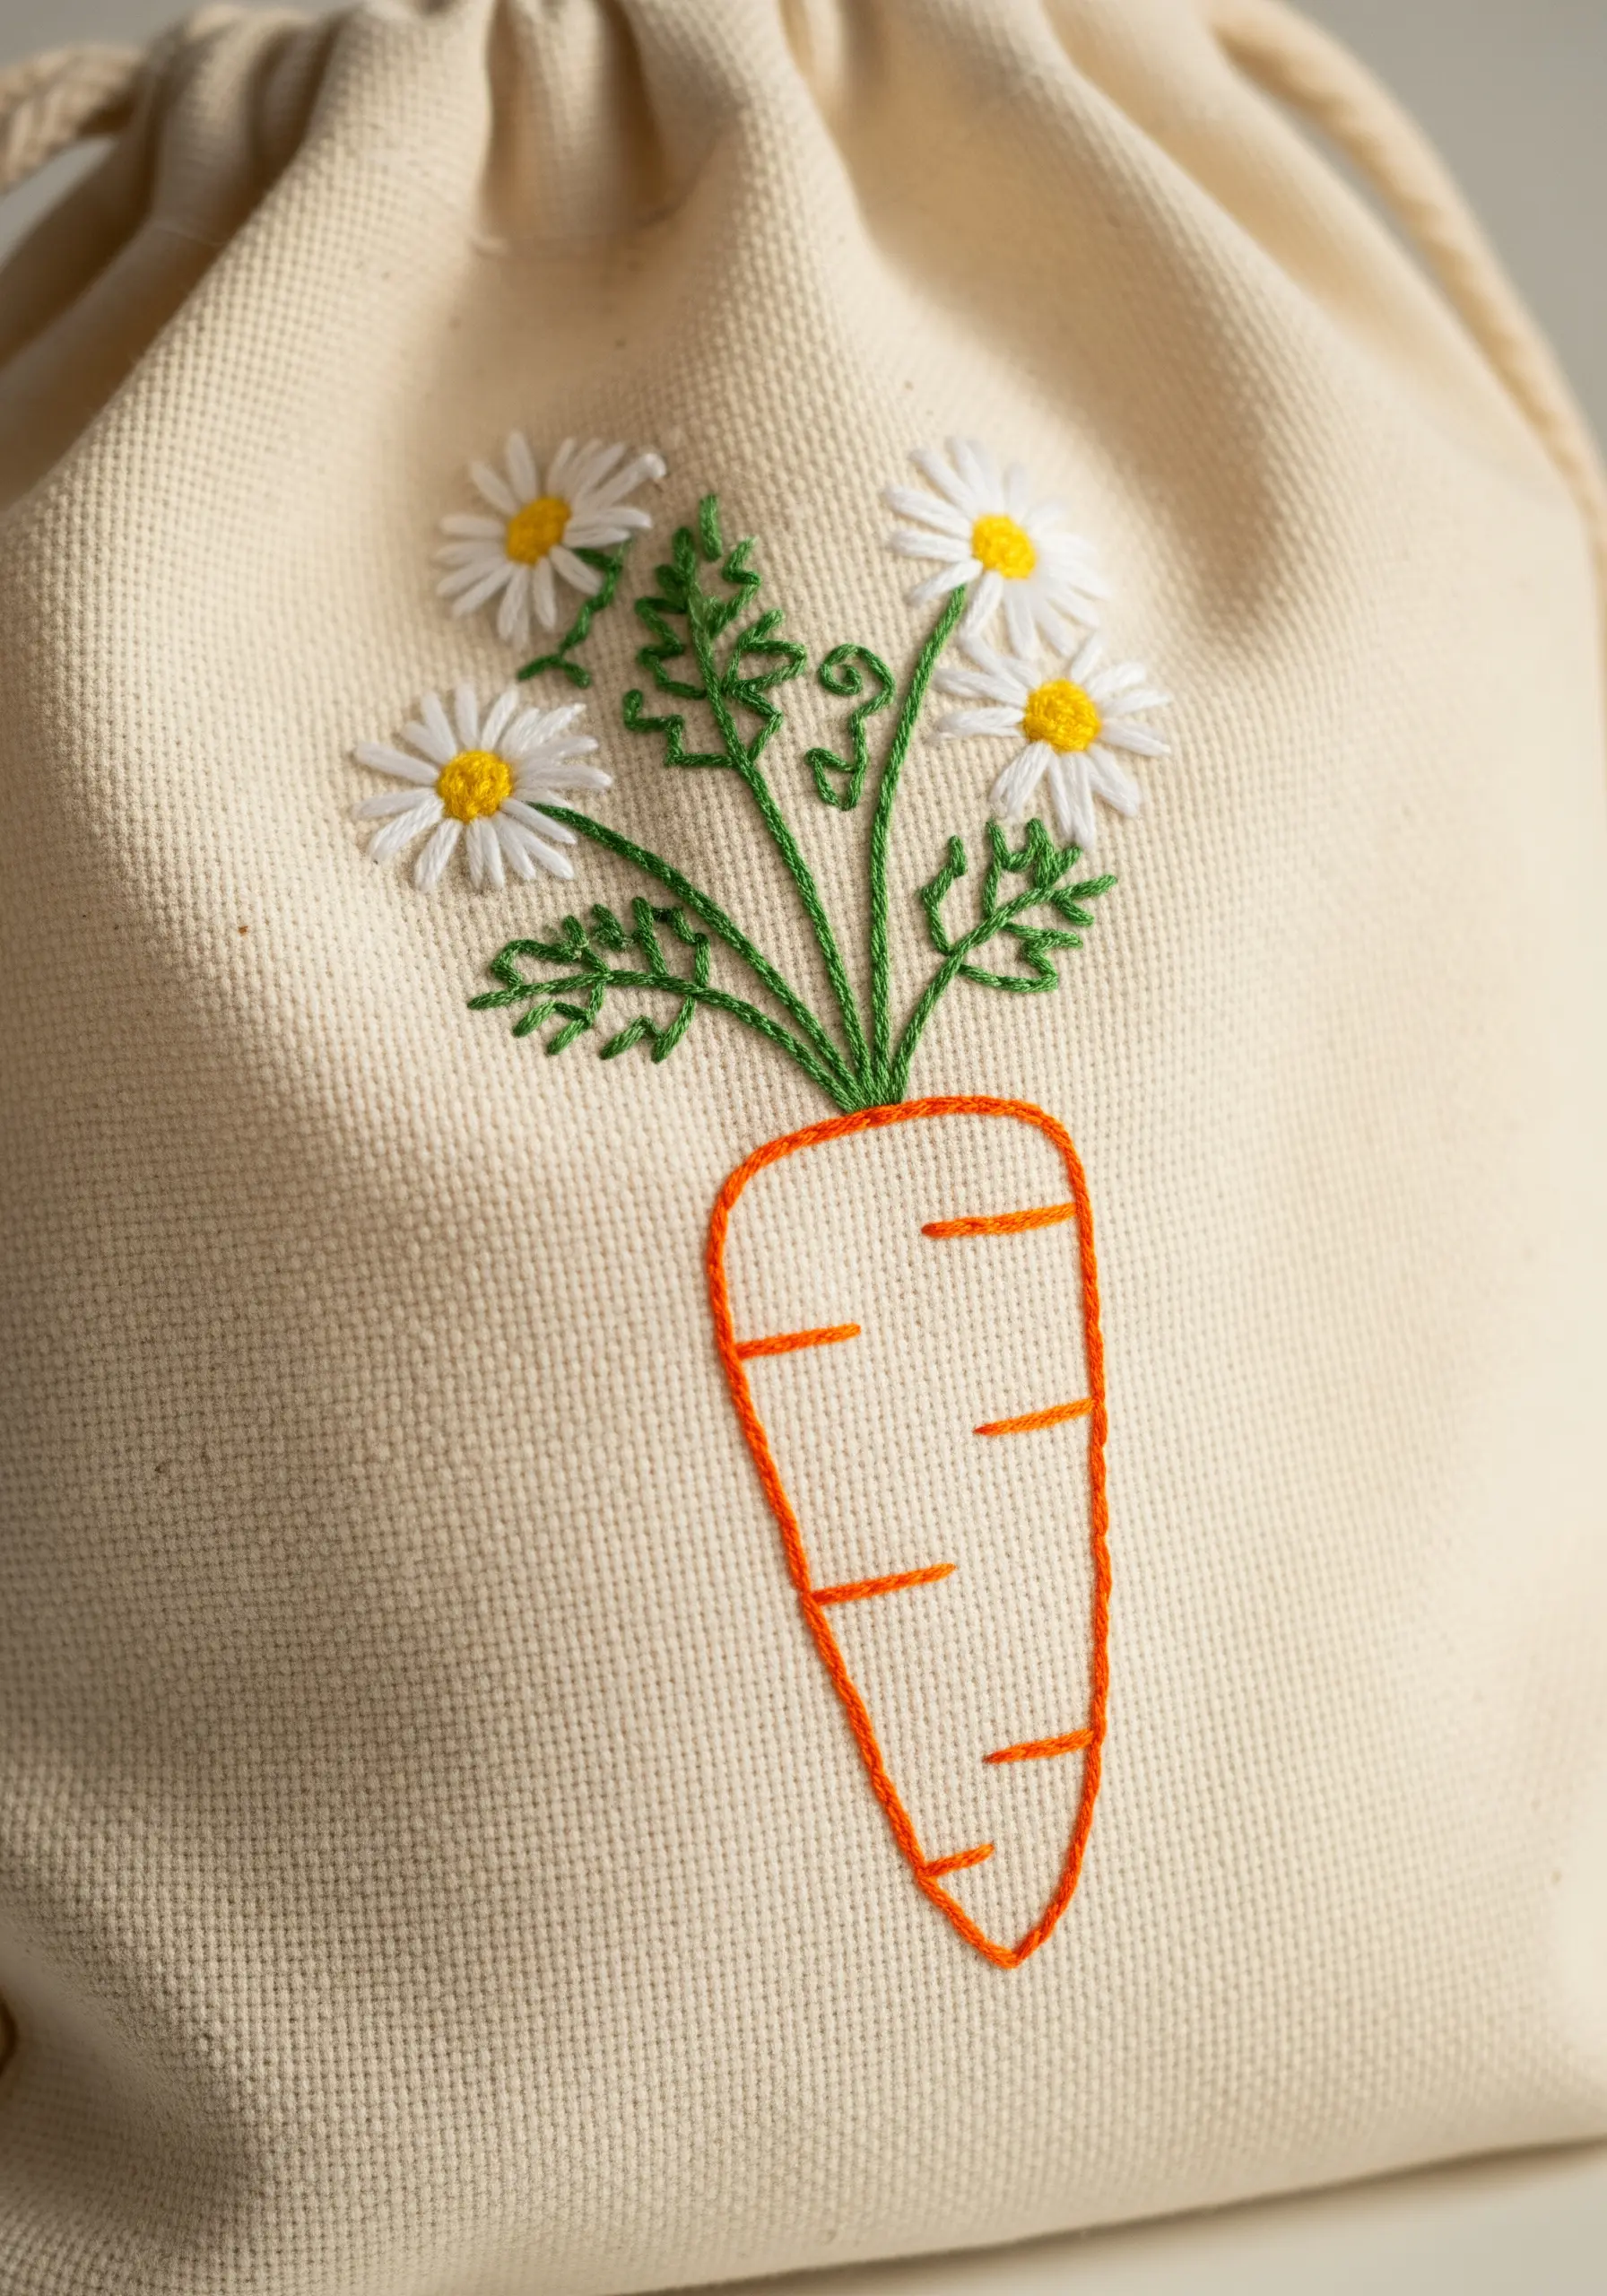
Create a charming and imaginative scene by combining two simple, unrelated motifs.
Here, a basic backstitched carrot outline becomes a creative “vase” for a bouquet of daisies, which are made with simple detached chain stitches and French knot centers.
This approach to composition elevates basic stitches into a piece of playful storytelling, perfect for transforming plain tote bags and pouches into something unique.
20. Make Stitches Pop on High-Pile Fabrics

When embroidering on heavily textured fabrics like fleece, sherpa, or terry cloth, your stitches can easily get lost in the pile.
The solution is to use a thicker thread—all six strands of floss, Perle cotton, or even fine yarn. Pair this with simple, bold stitches like the backstitch or straight stitch used for this snowflake.
A water-soluble stabilizer placed on top before stitching also helps by taming the texture and providing a clear stitching surface.
21. Add a Touch of Luxury with Metallic Thread
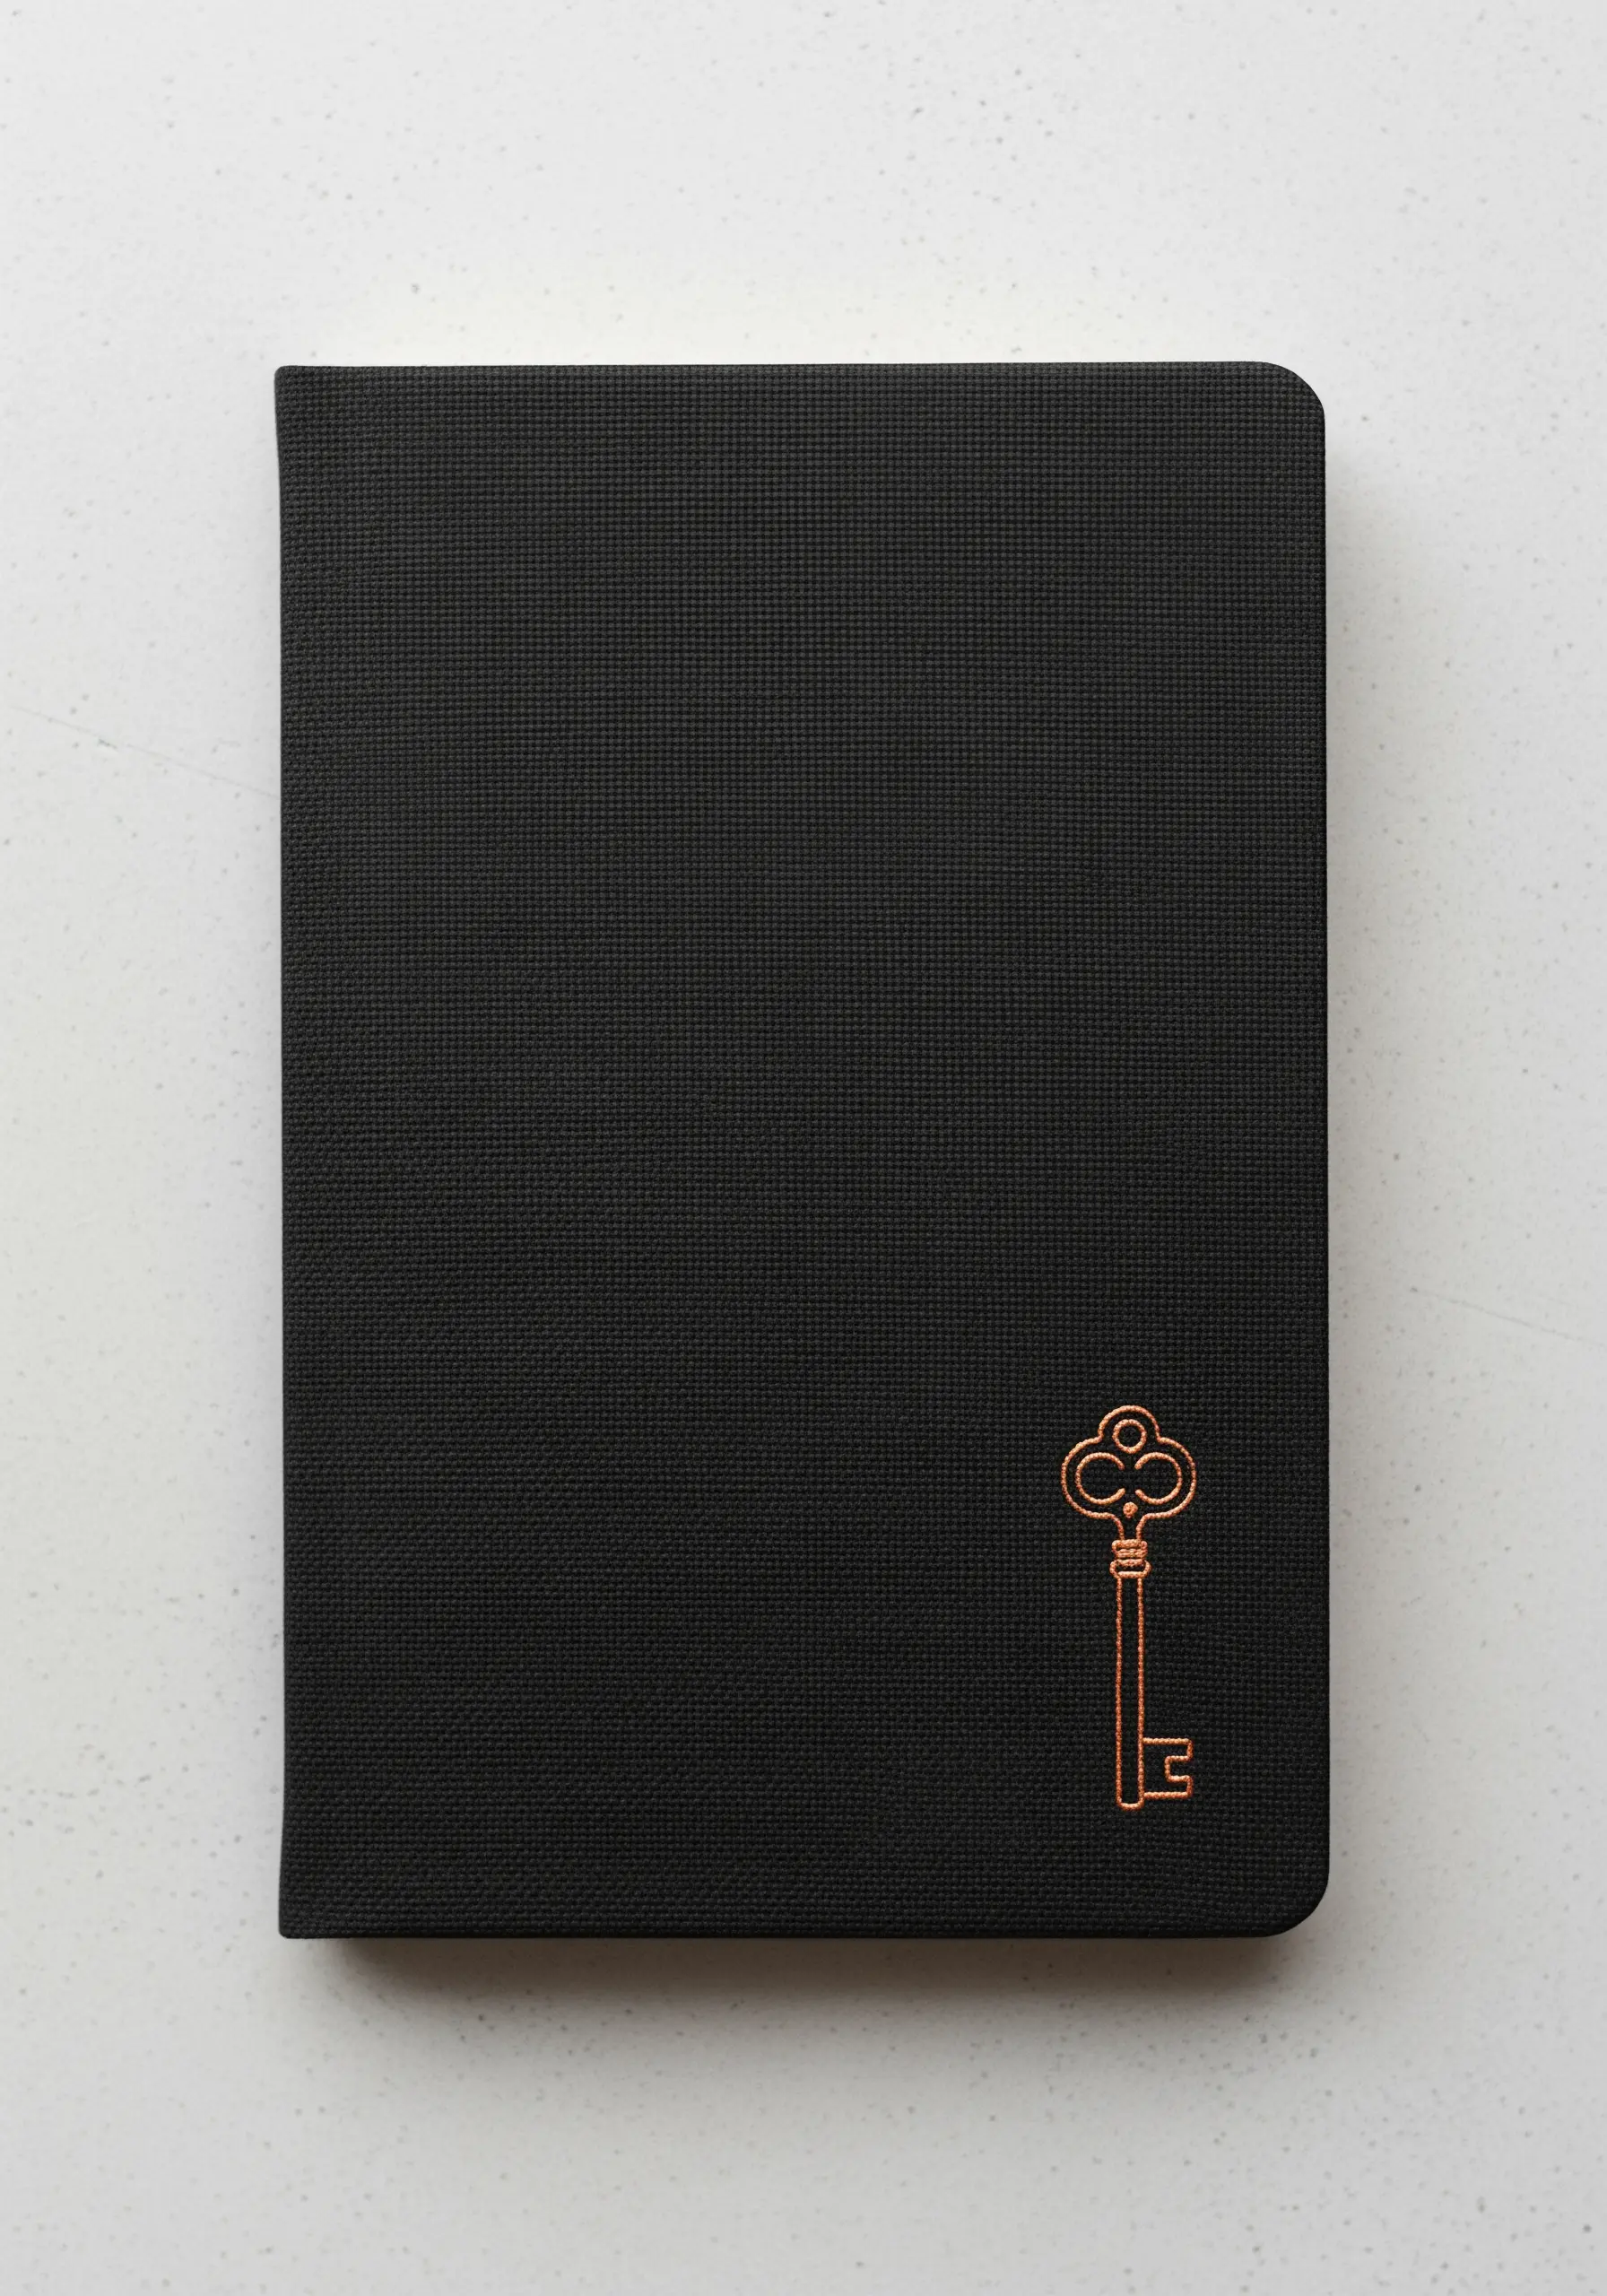
Metallic thread instantly elevates a simple design, but it requires a gentle hand.
To prevent tangling and breakage, work with shorter lengths of thread (about 12 inches) and use a thread conditioner if you have one.
A simple satin stitch fill and backstitch outline are all you need. The way the metallic thread catches the light against a dark, matte surface creates a sophisticated contrast perfect for special items like notebooks and journals.
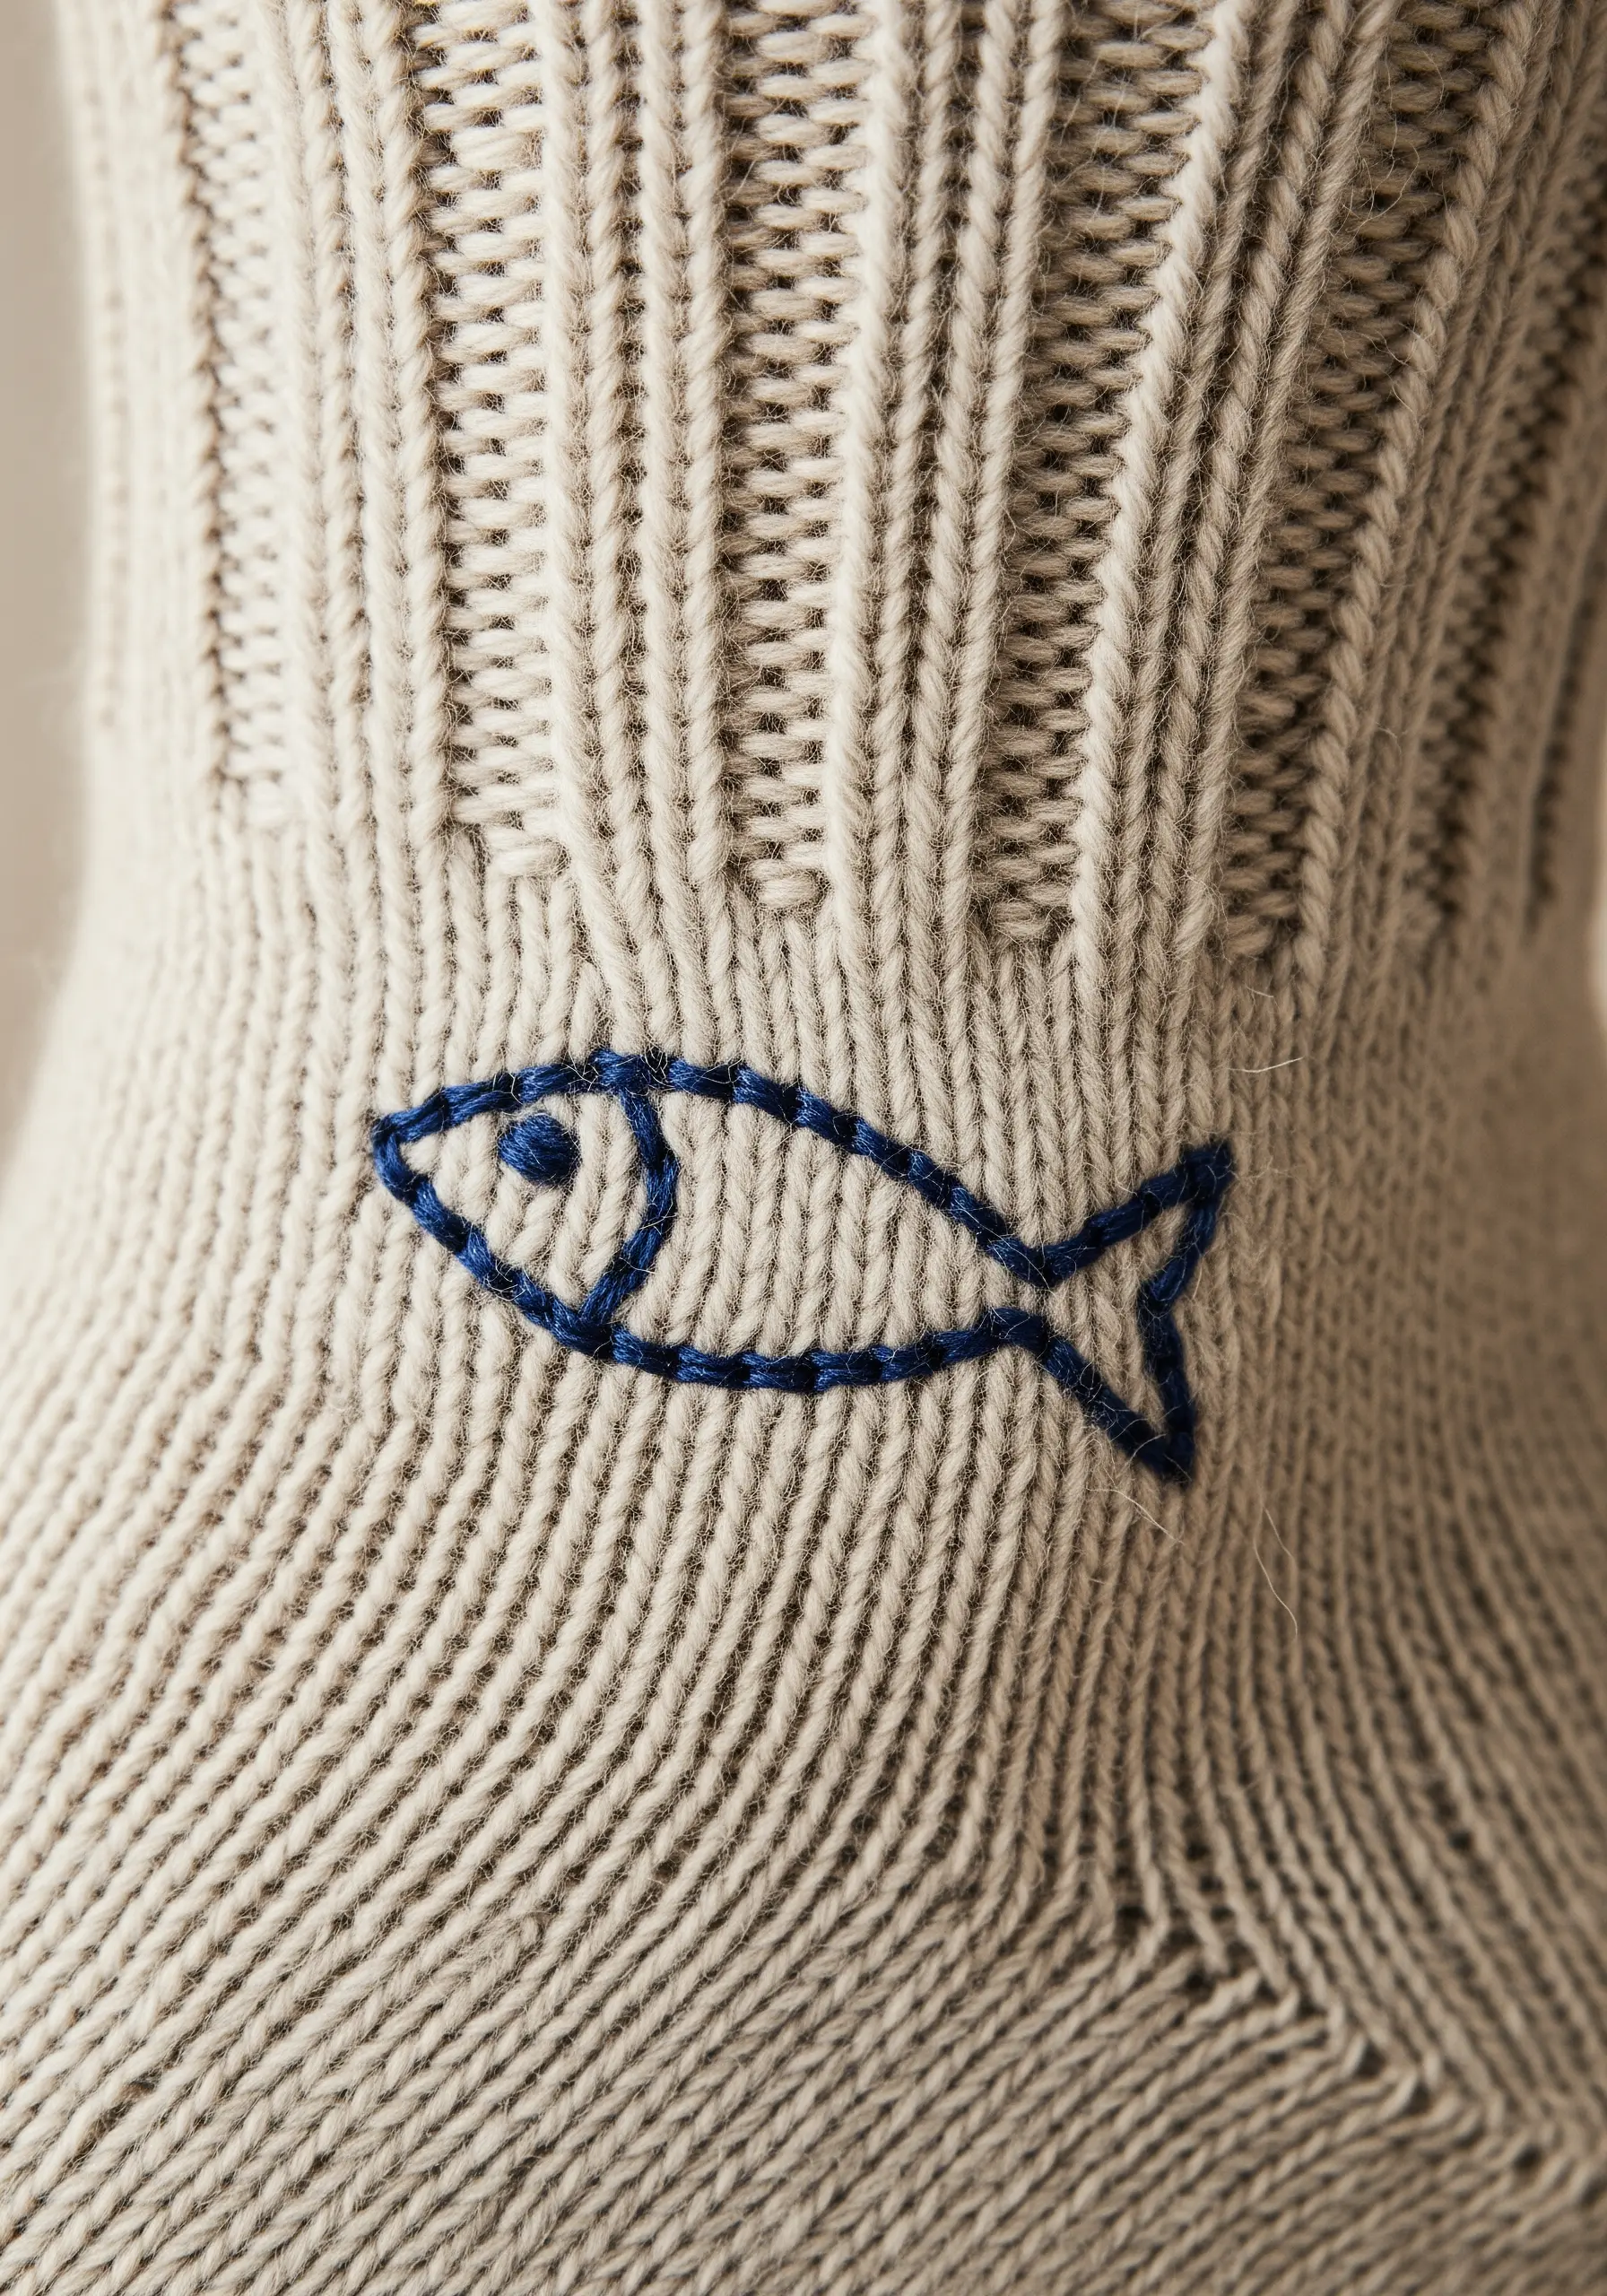
22. Integrate Stitches into Your Fabric’s Texture
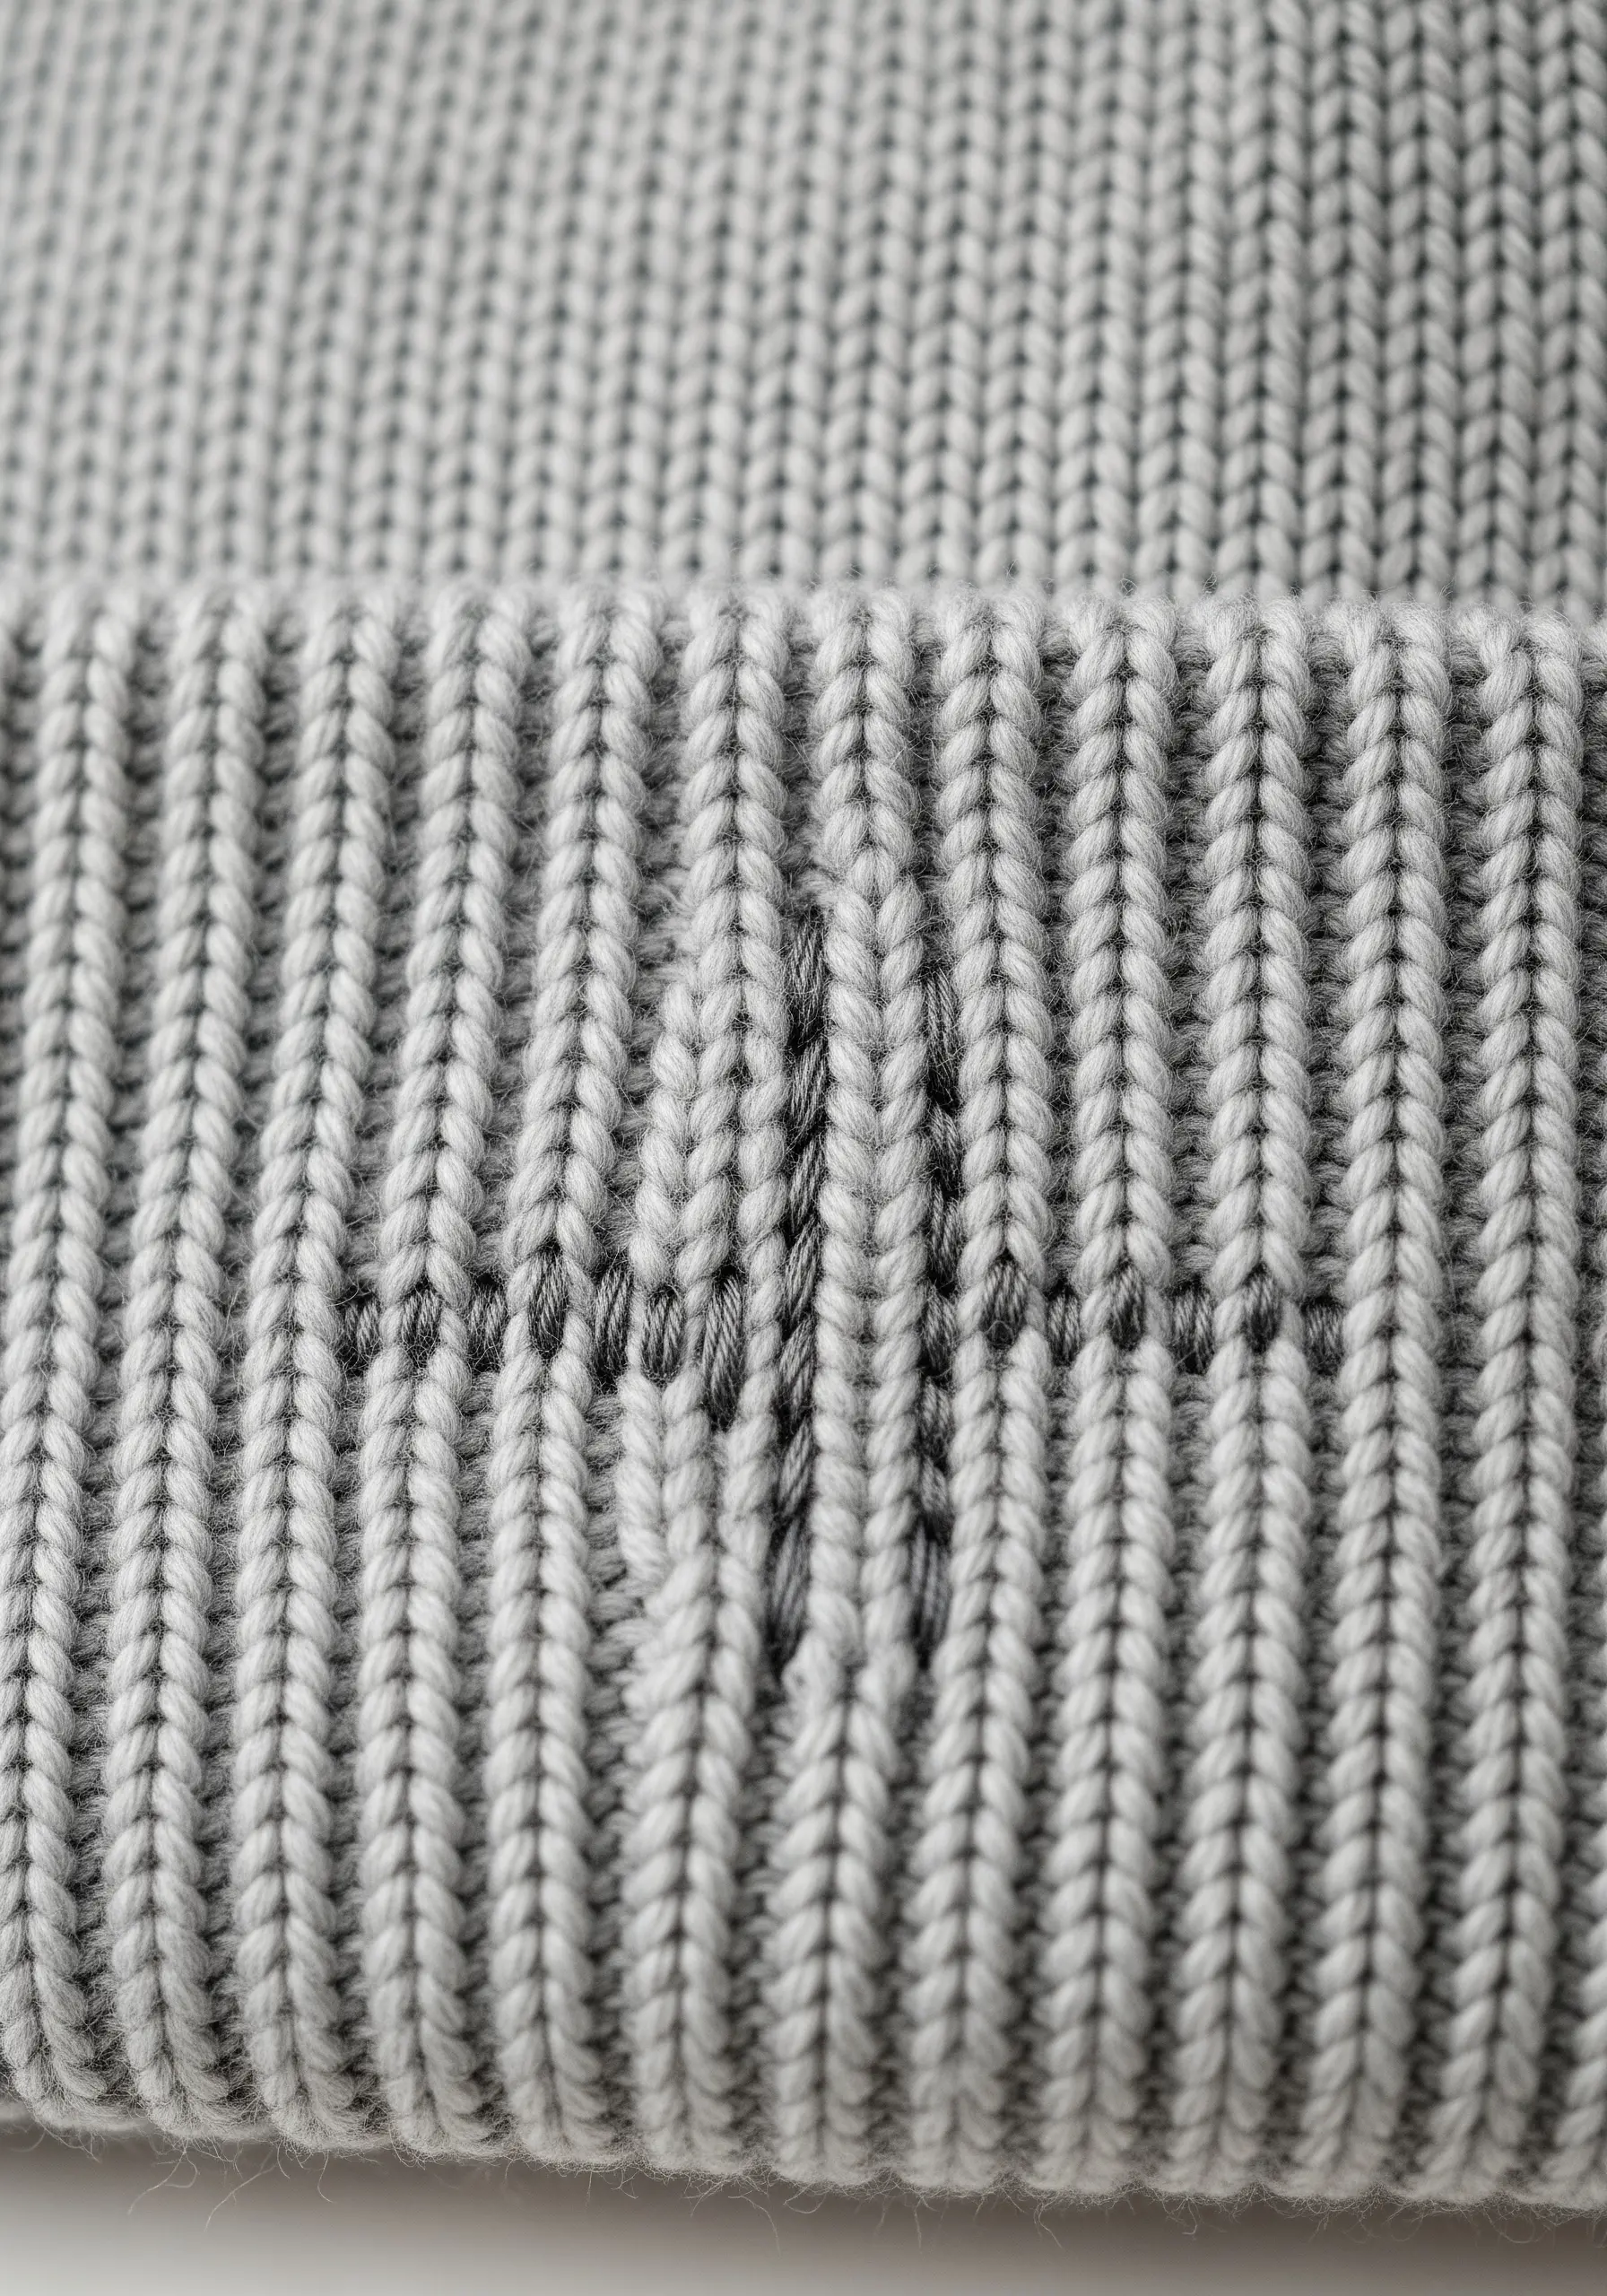
Instead of trying to hide the texture of a ribbed knit, use it as a natural guide for your stitches.
The vertical ribs on this beanie create a perfect grid for a simple backstitch. By working with the fabric’s structure, the embroidery looks seamlessly integrated, as if it were woven right in.
This technique is a nod to visible mending, transforming a simple garment into a personal statement.
23. Create a Wearable Patch for Hard-to-Stitch Items

Want to embroider on shoes, a backpack, or a thick hat? Make a patch.
Stitch your design onto a piece of sturdy, non-fraying fabric like felt or canvas. Use a clean backstitch for the outline and a tight satin stitch for the fill.
Once complete, carefully trim around the shape, leaving a tiny border. You can then attach it with a strong fabric adhesive for a clean, durable embellishment.
24. Use Directional Stitches for Organic Realism
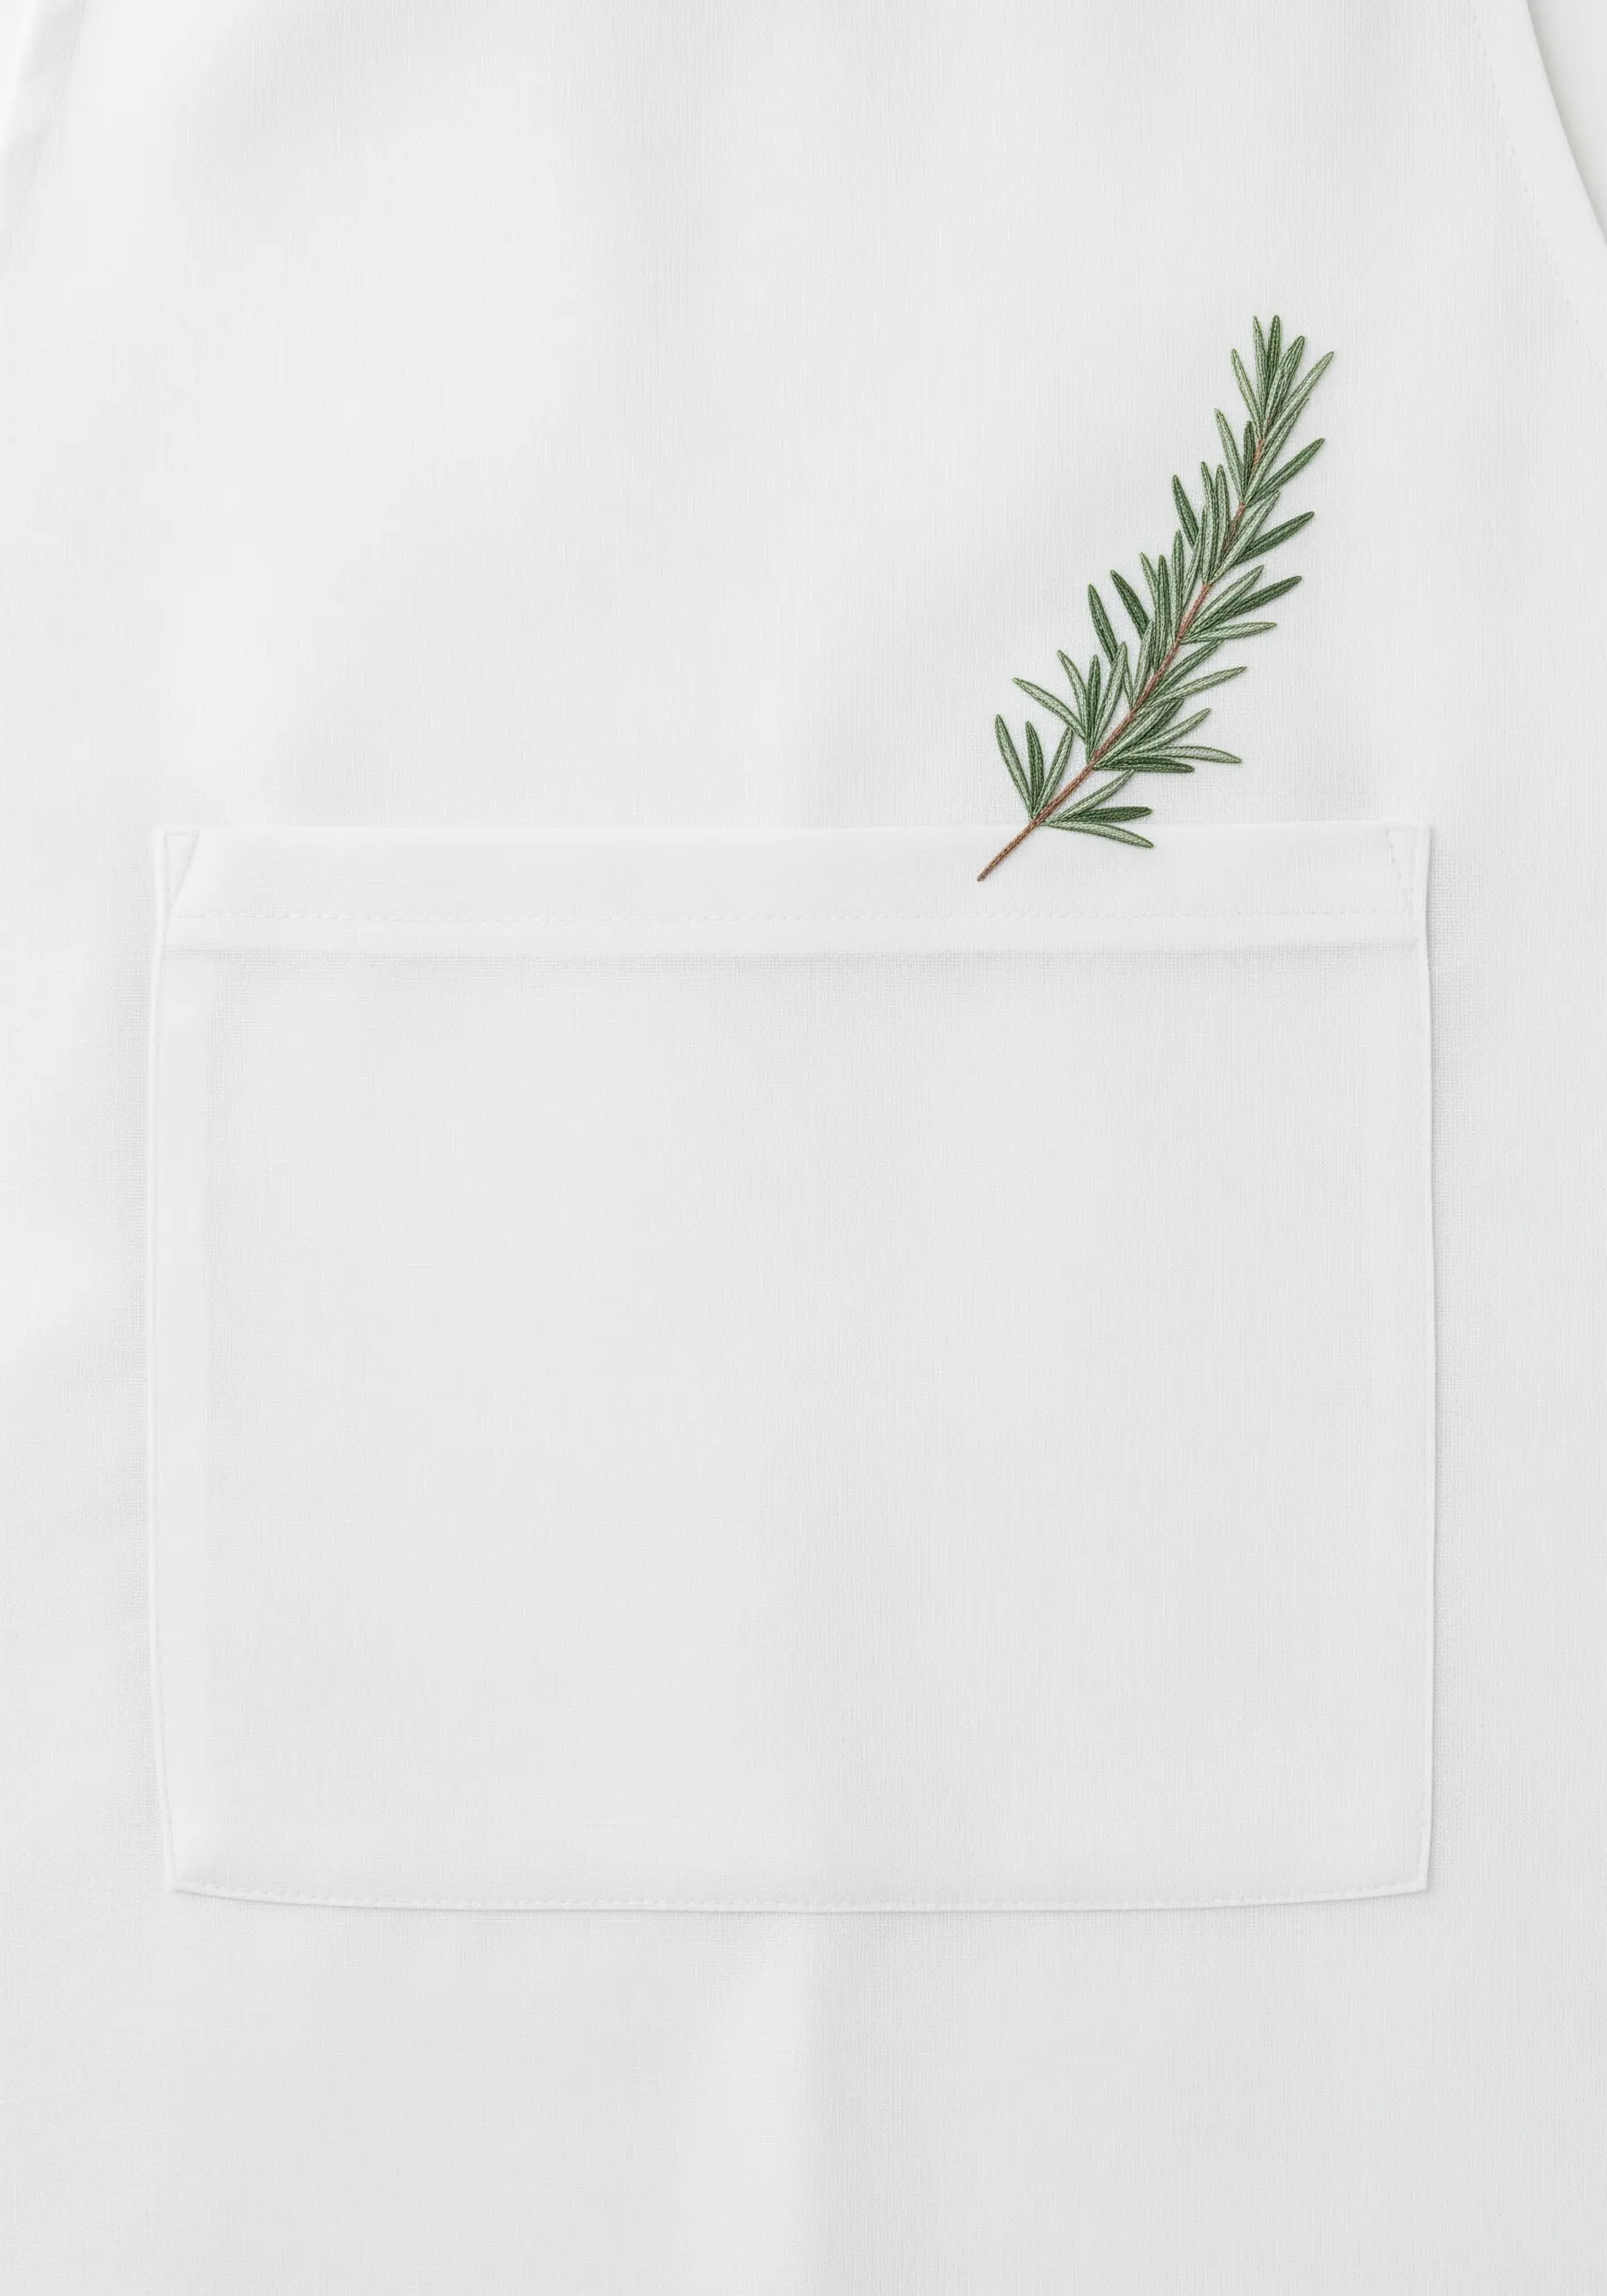
To make botanicals look truly alive, pay close attention to the direction of your stitches.
For this rosemary sprig, the central stalk is a simple stem stitch. The key is in the needles: use single, short straight stitches that angle slightly up and away from the stem.
By varying their lengths and overlapping them slightly, you create the illusion of lush, three-dimensional growth, transforming a simple design into a convincing piece of botanical embroidery.
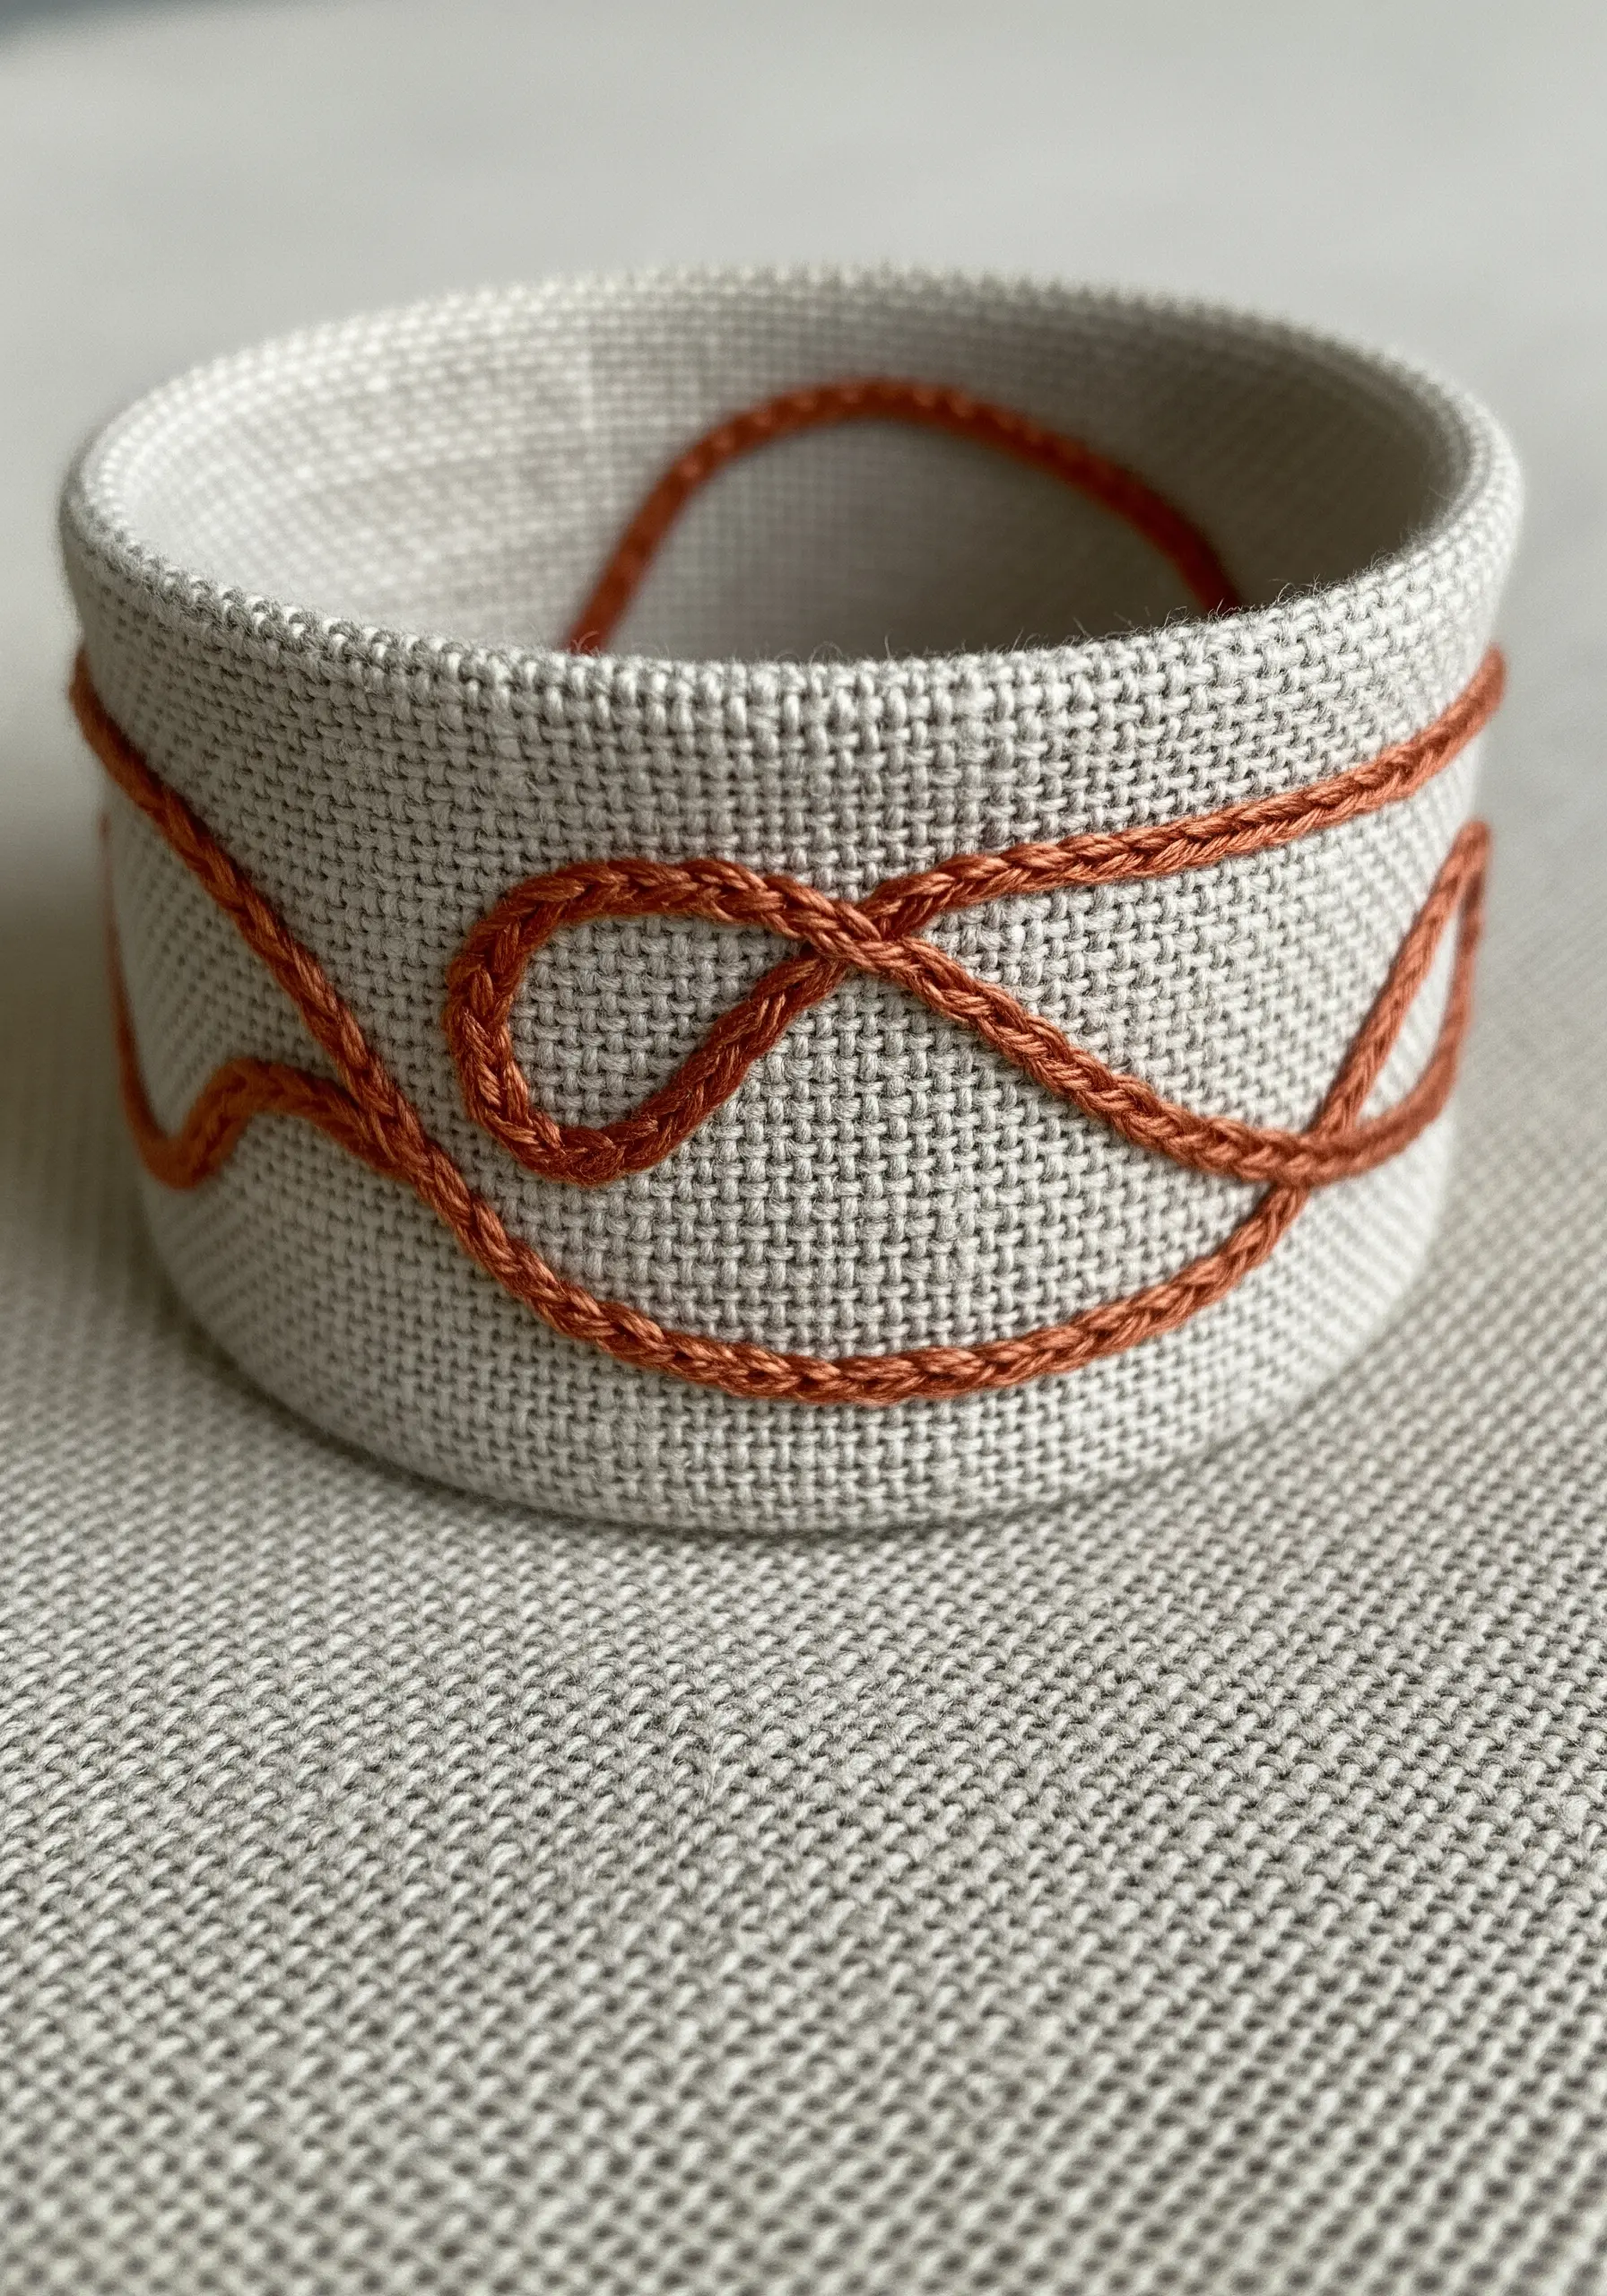
25. Reinforce and Decorate with Utilitarian Stitches
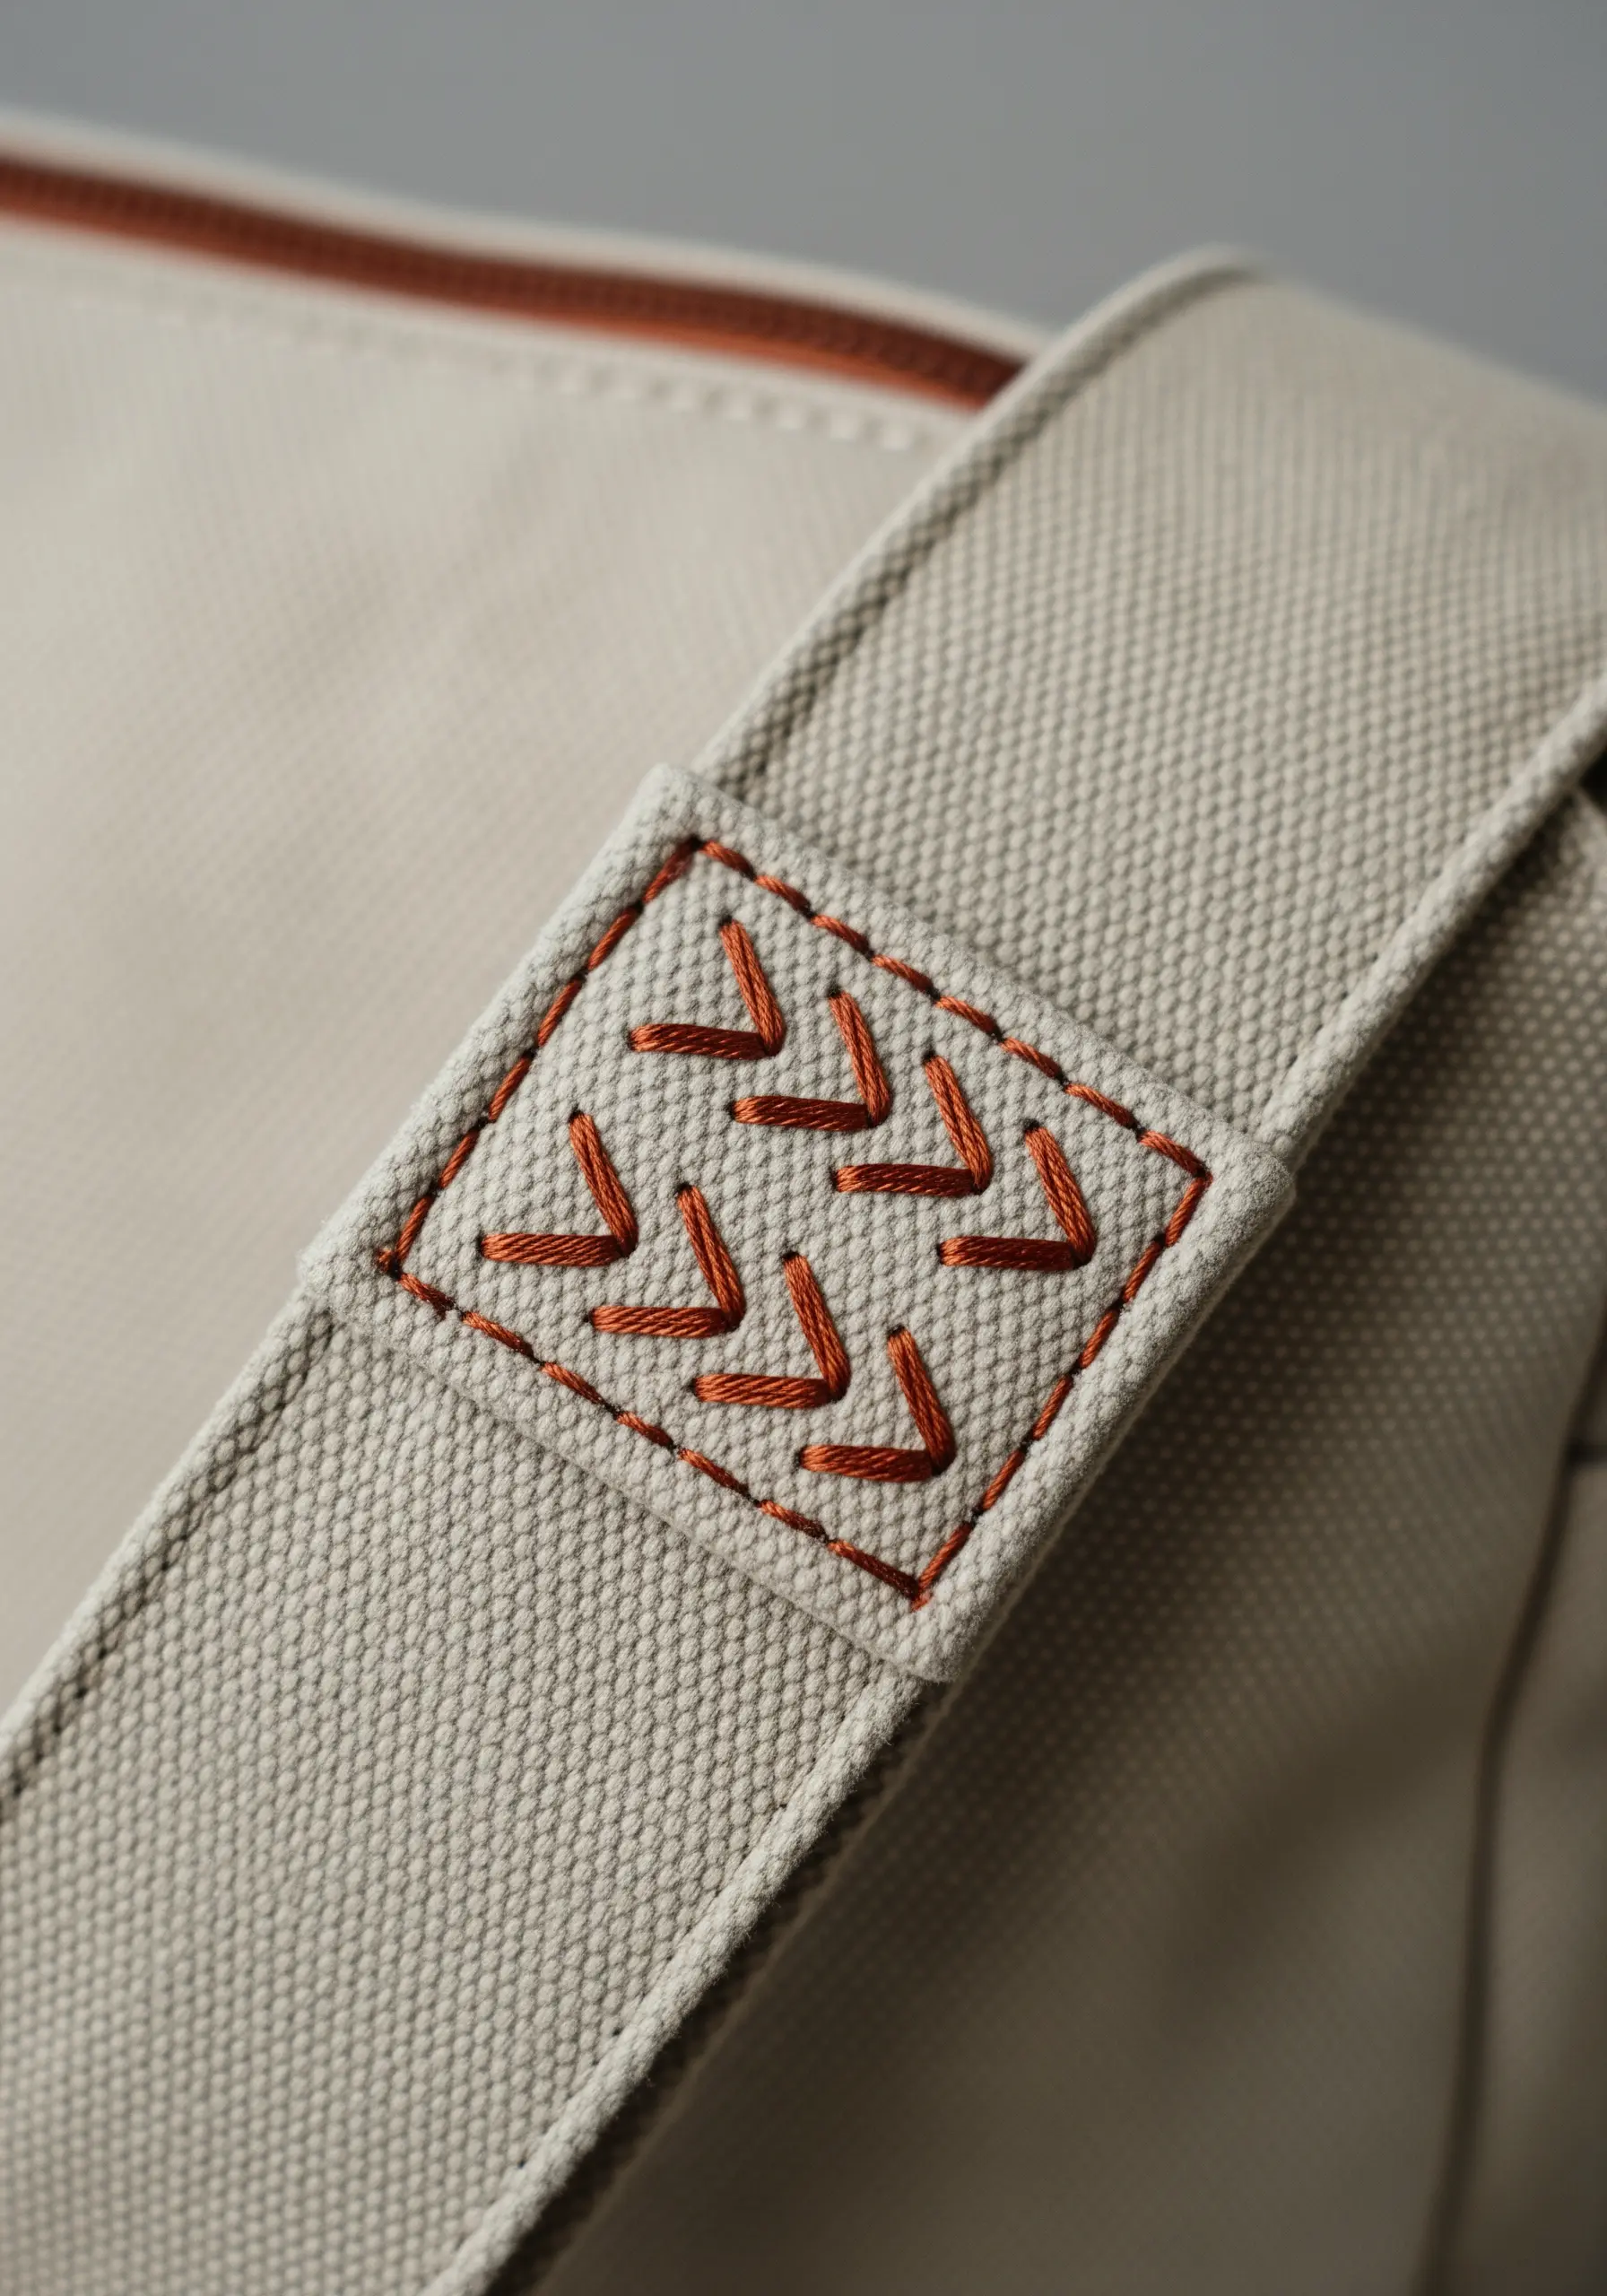
Elevate a purely functional stitch into a striking decorative detail.
Here, a pattern of simple straight stitches, arranged in chevrons, serves to reinforce the join on a bag strap.
By using a high-contrast thread color, you draw attention to the construction, celebrating the handcrafted nature of the object. It’s a modern take on a traditional technique that is both beautiful and practical.
26. Let Fabric Texture Guide Your Stitch Choice
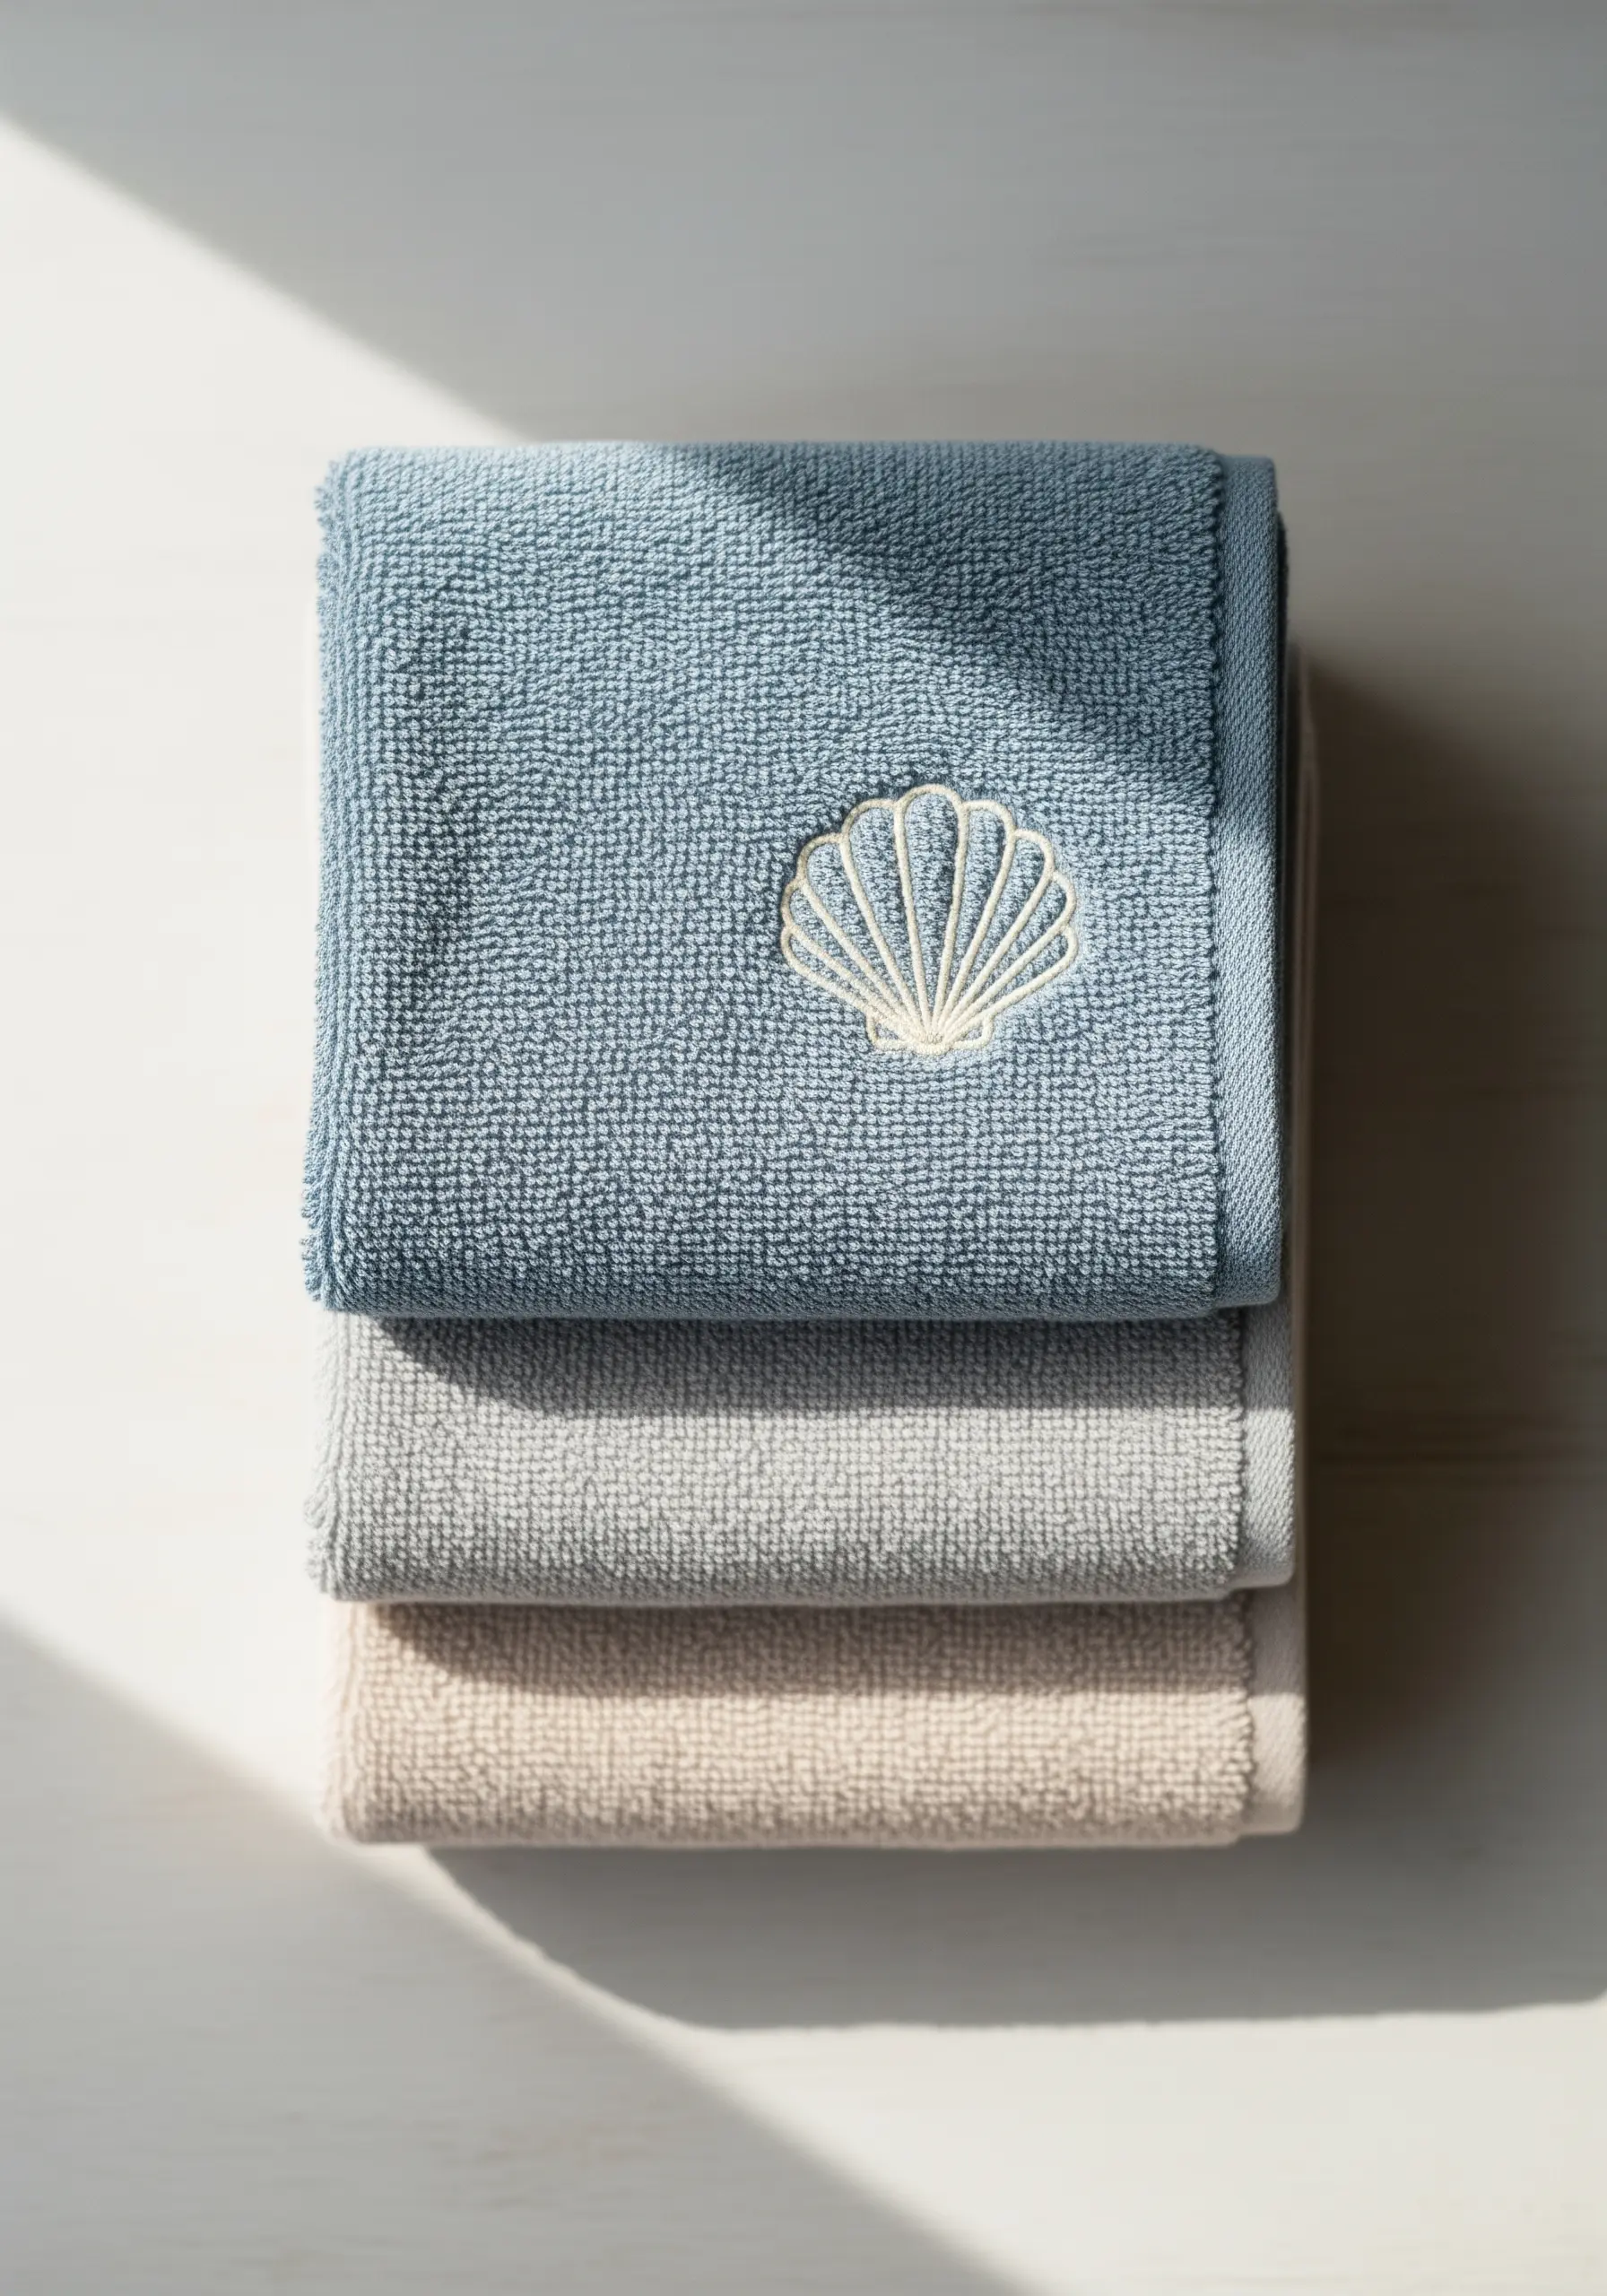
When working on a high-pile fabric like a terry cloth towel, delicate stitches will sink and disappear.
Choose a stitch that creates a solid, raised surface that sits on top of the fabric’s loops. A dense satin stitch or a bold chain stitch outline works perfectly.
Using a simple, graphic shape and a single color ensures your design remains crisp, clean, and beautifully visible against the textured background.
27. Add Rich Dimension with a Raised Chain Stitch
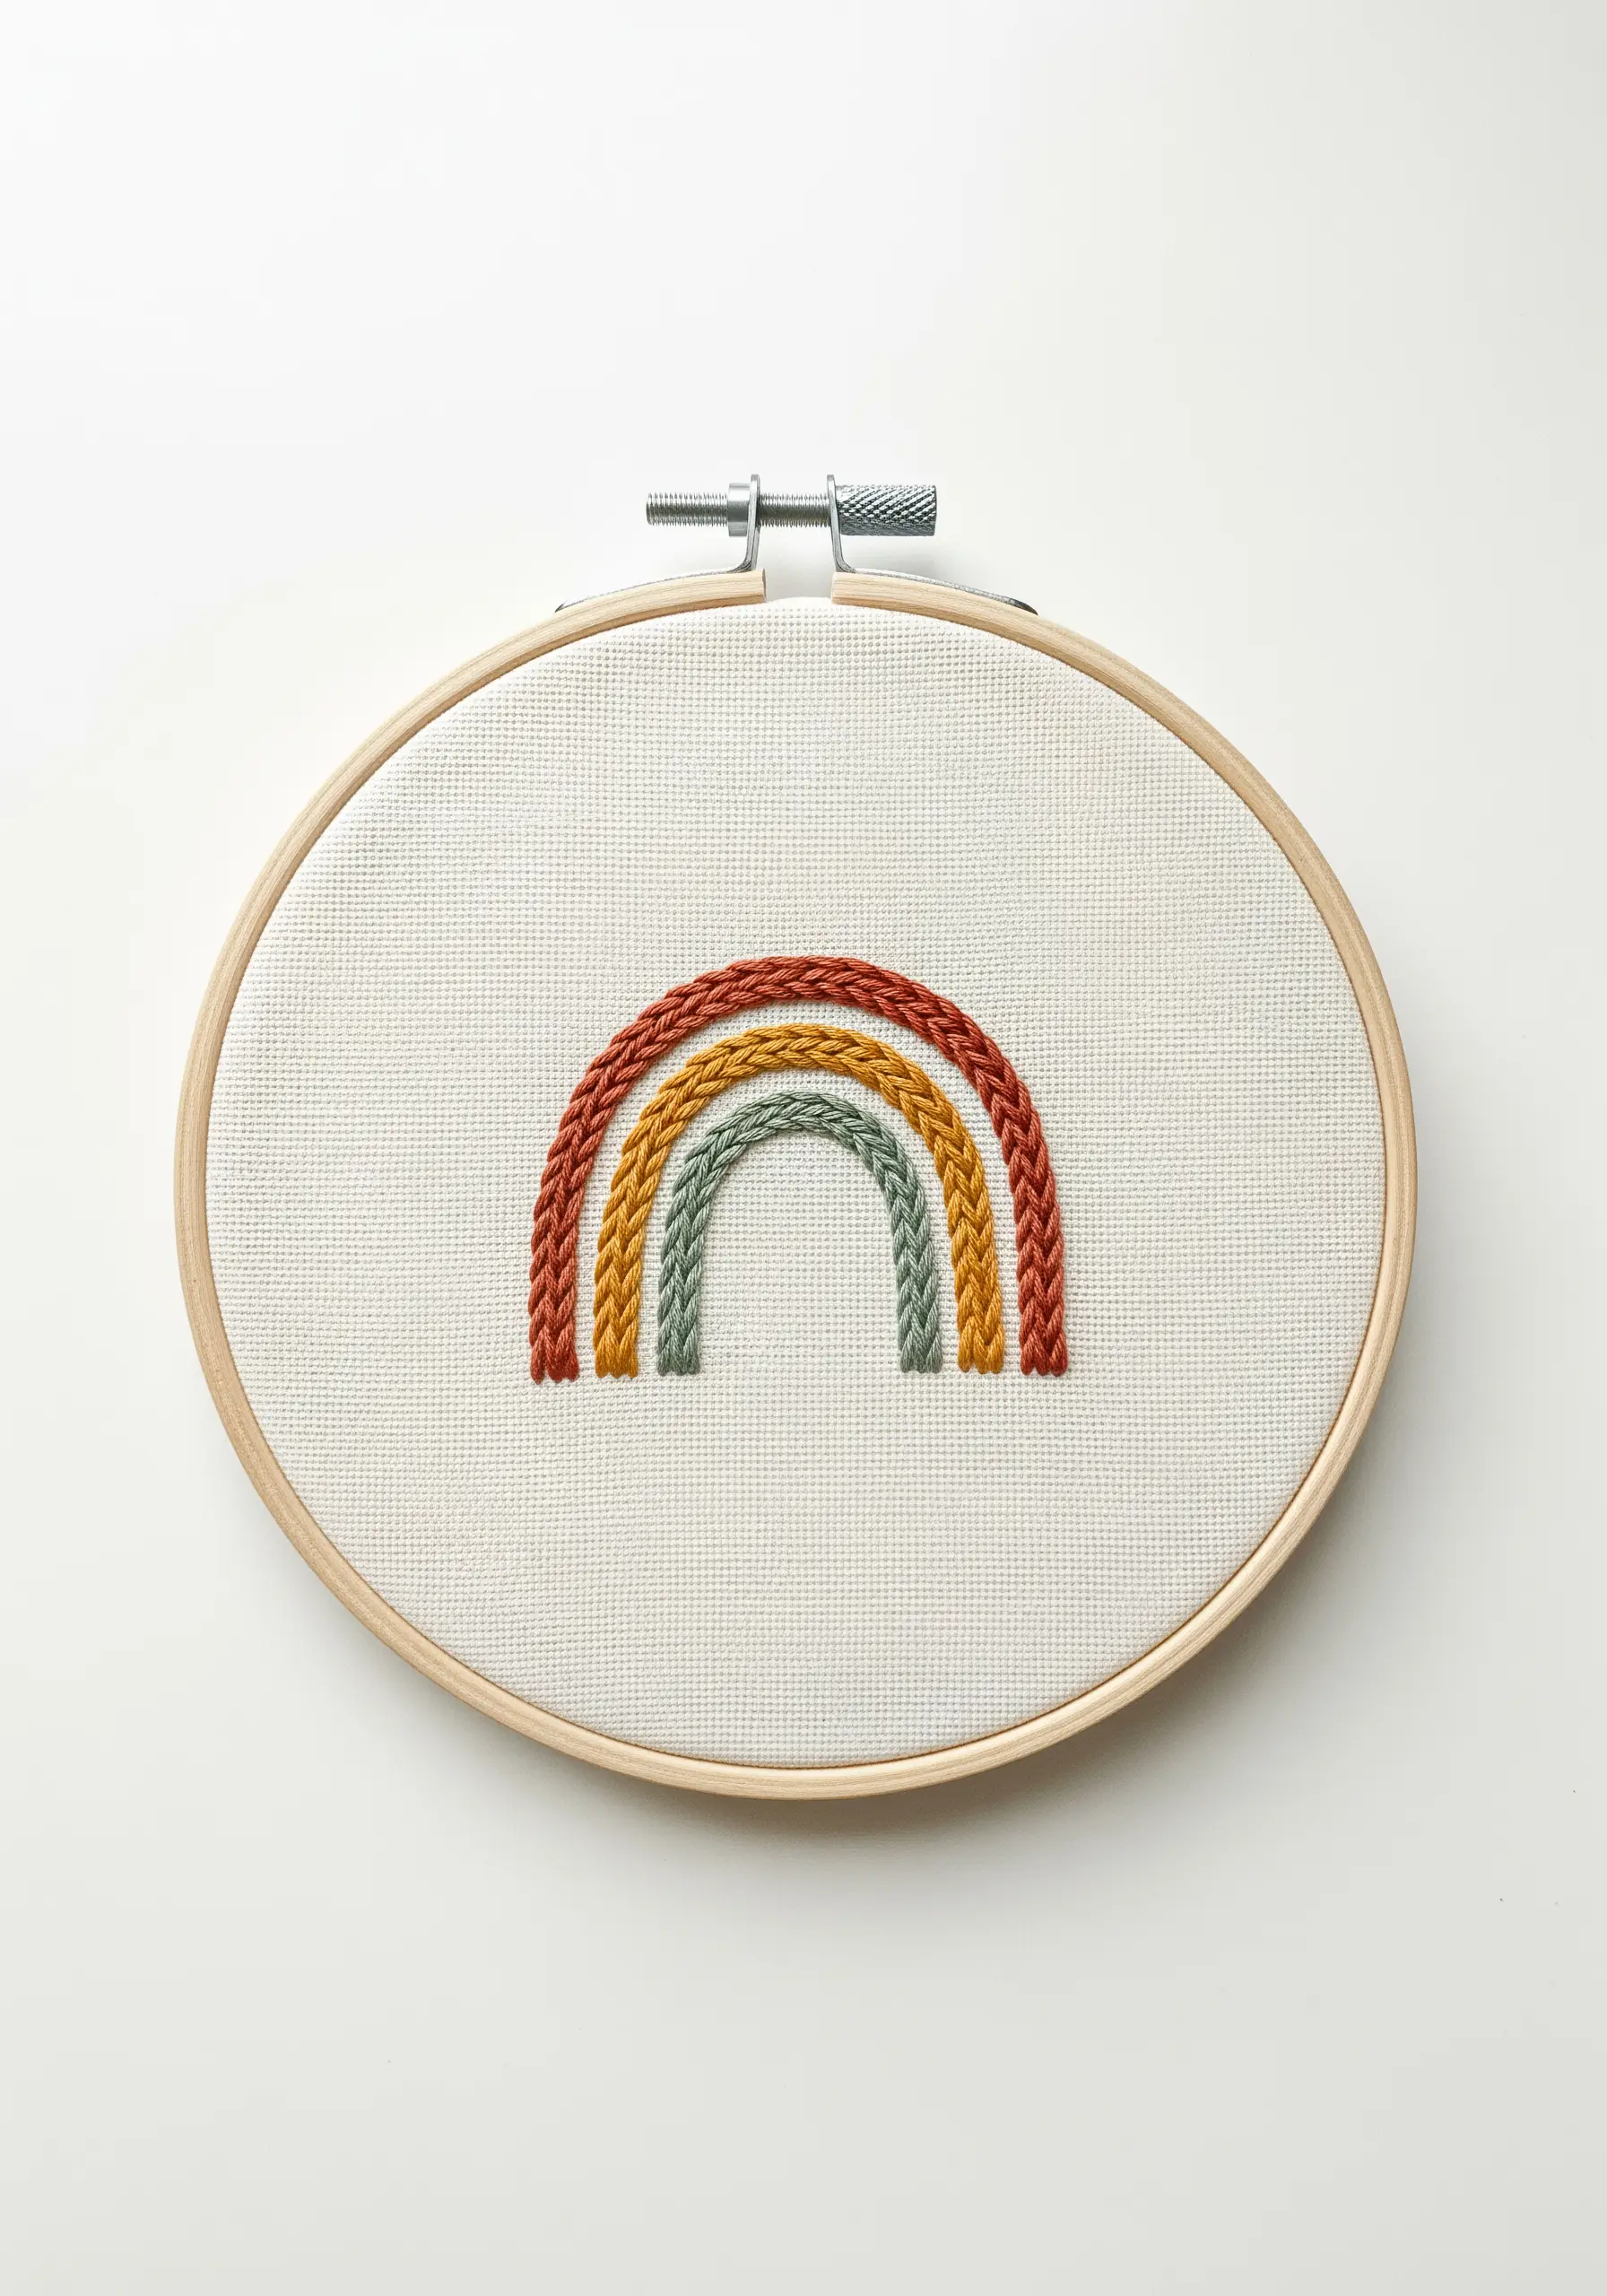
If you want a bold, rope-like texture that truly stands off the fabric, the raised chain stitch is the perfect choice.
This stitch creates a thick, three-dimensional line ideal for filling shapes or creating strong borders. Enhance the effect by using a thicker thread, like Perle cotton or all six strands of embroidery floss.
The result is a highly tactile design that turns a simple rainbow motif into a piece of modern abstract thread texture.


