
A scarf is more than just an accessory; it’s a canvas that moves with you, a quiet frame for a small, stitched story.
Perhaps you’ve hesitated to embellish your favorite pieces, worried that your work won’t look quite right. The secret isn’t in creating complex, elaborate scenes. It’s in the art of the single, perfectly chosen detail—a sprig of lavender with tangible texture, a minimalist outline with a flawlessly smooth line, or a constellation stitched in thread that catches the light.
These tiny ideas are your invitation to rethink embroidery not as a grand project, but as a series of small, intentional acts of creativity. Each one is an opportunity to transform a simple piece of fabric into something that feels thoughtfully, beautifully, and uniquely yours.
1. Dimensional Lavender Sprig
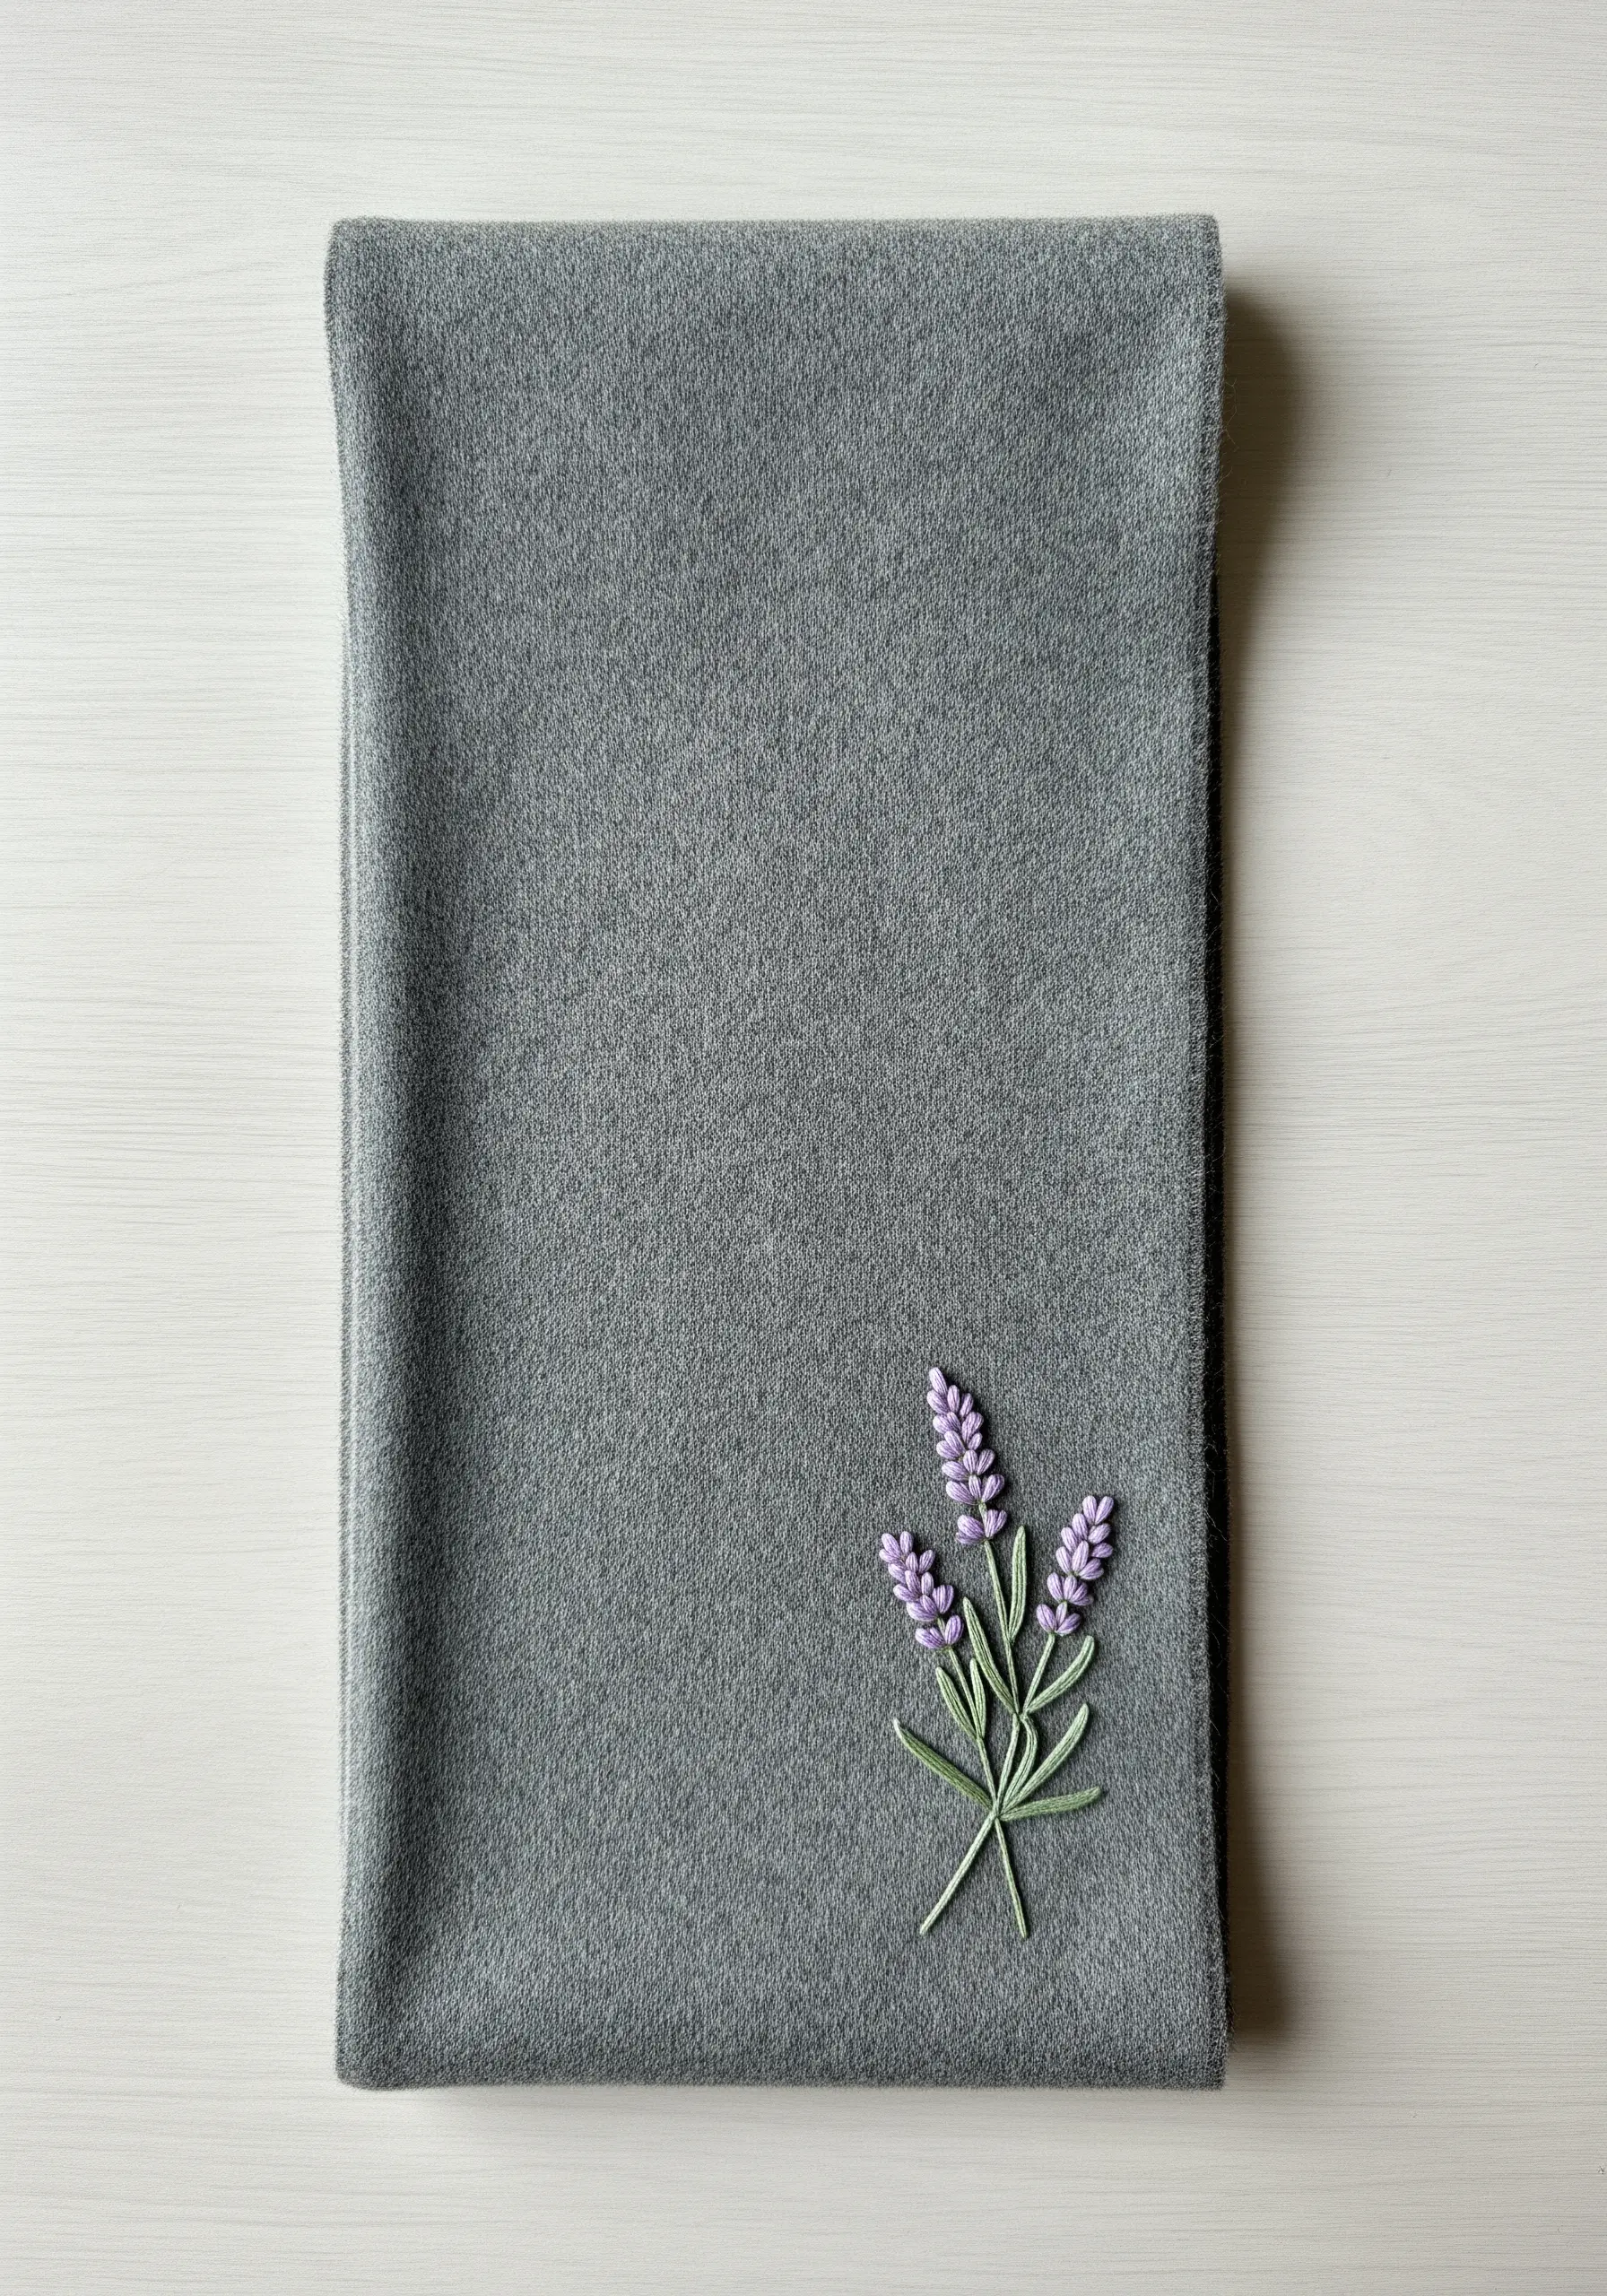
Create a touchable, three-dimensional effect by using bullion knots or a cluster of French knots for the lavender buds.
This technique works beautifully on thicker fabrics like wool or felt, as the soft texture of the scarf makes the raised stitches pop.
Use a full six strands of embroidery floss or a Perle cotton thread to give the knots volume and presence.
For the stems, a simple stem stitch provides a clean line that grounds the more complex floral buds.
2. Textured Honeybee Motif
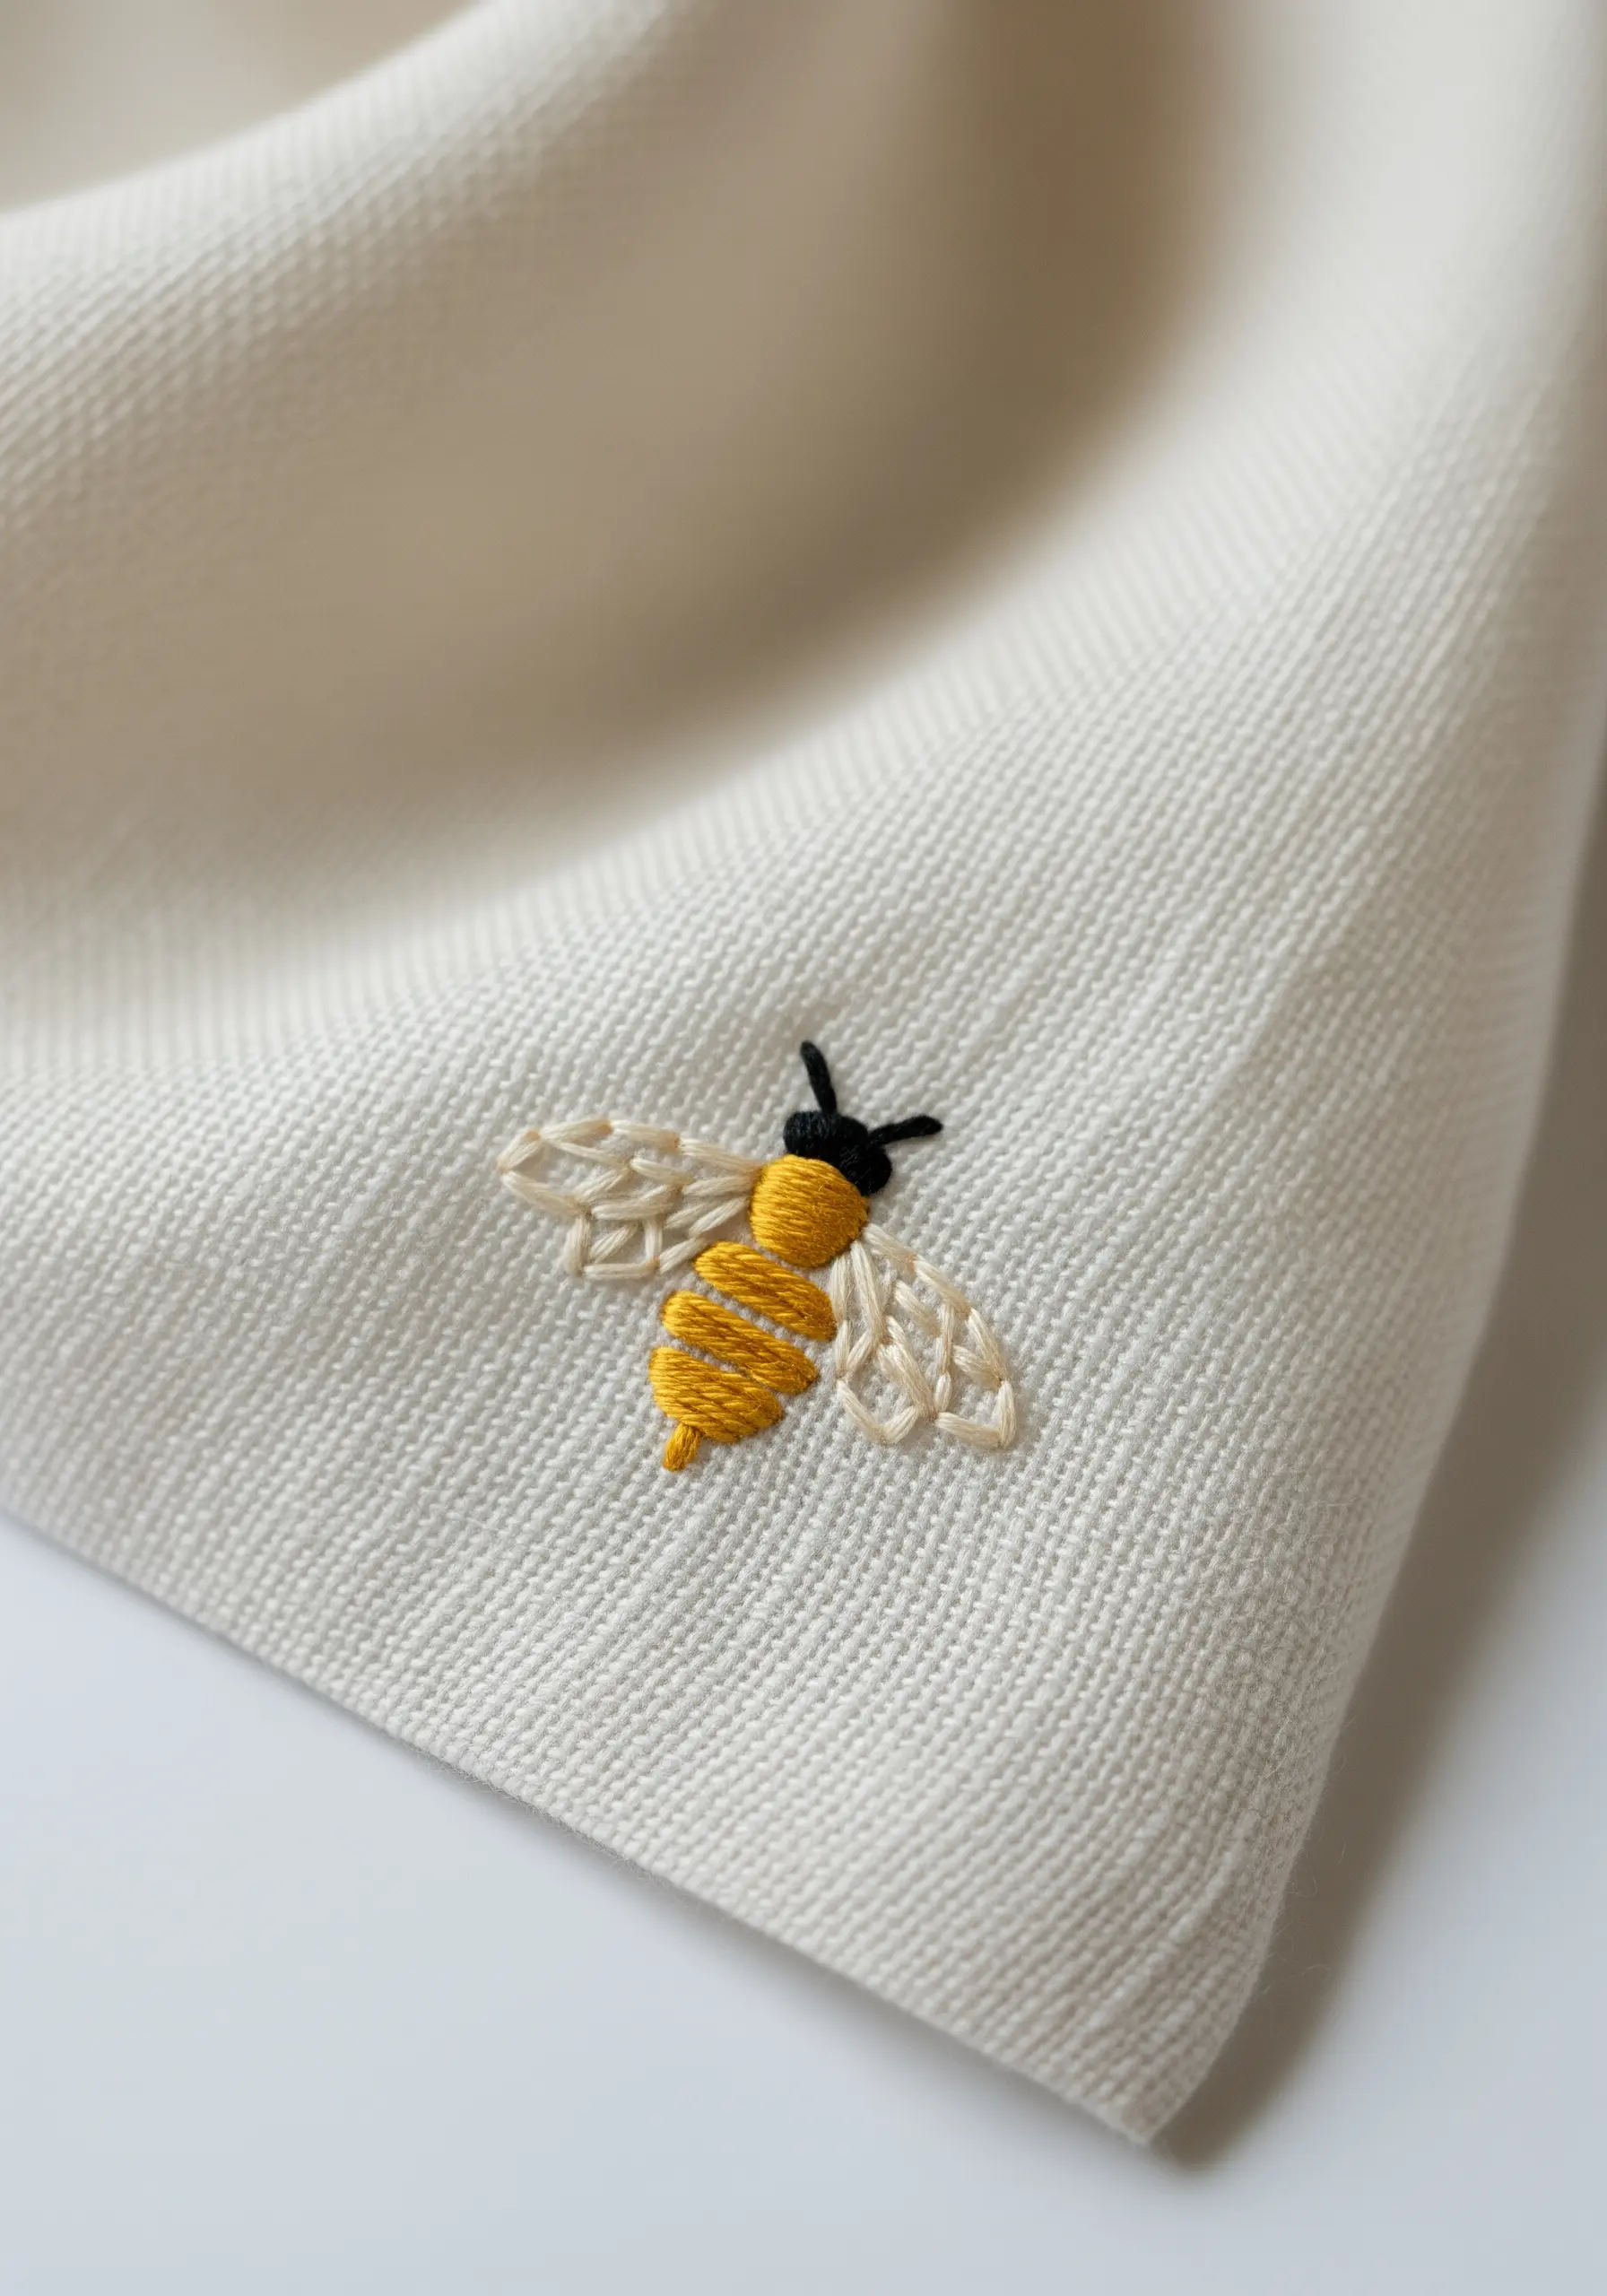
Give your tiny creatures life by varying the stitch texture.
Use a diagonal satin stitch for the bee’s body to create a smooth, light-catching surface that suggests plumpness.
For the wings, switch to a lighter, more open fill like seed stitch or a simple outline to create the illusion of translucency.
This contrast between dense and airy stitching makes the motif feel dynamic and intentional, even at a small scale.
3. Celestial Constellation with Metallic Thread
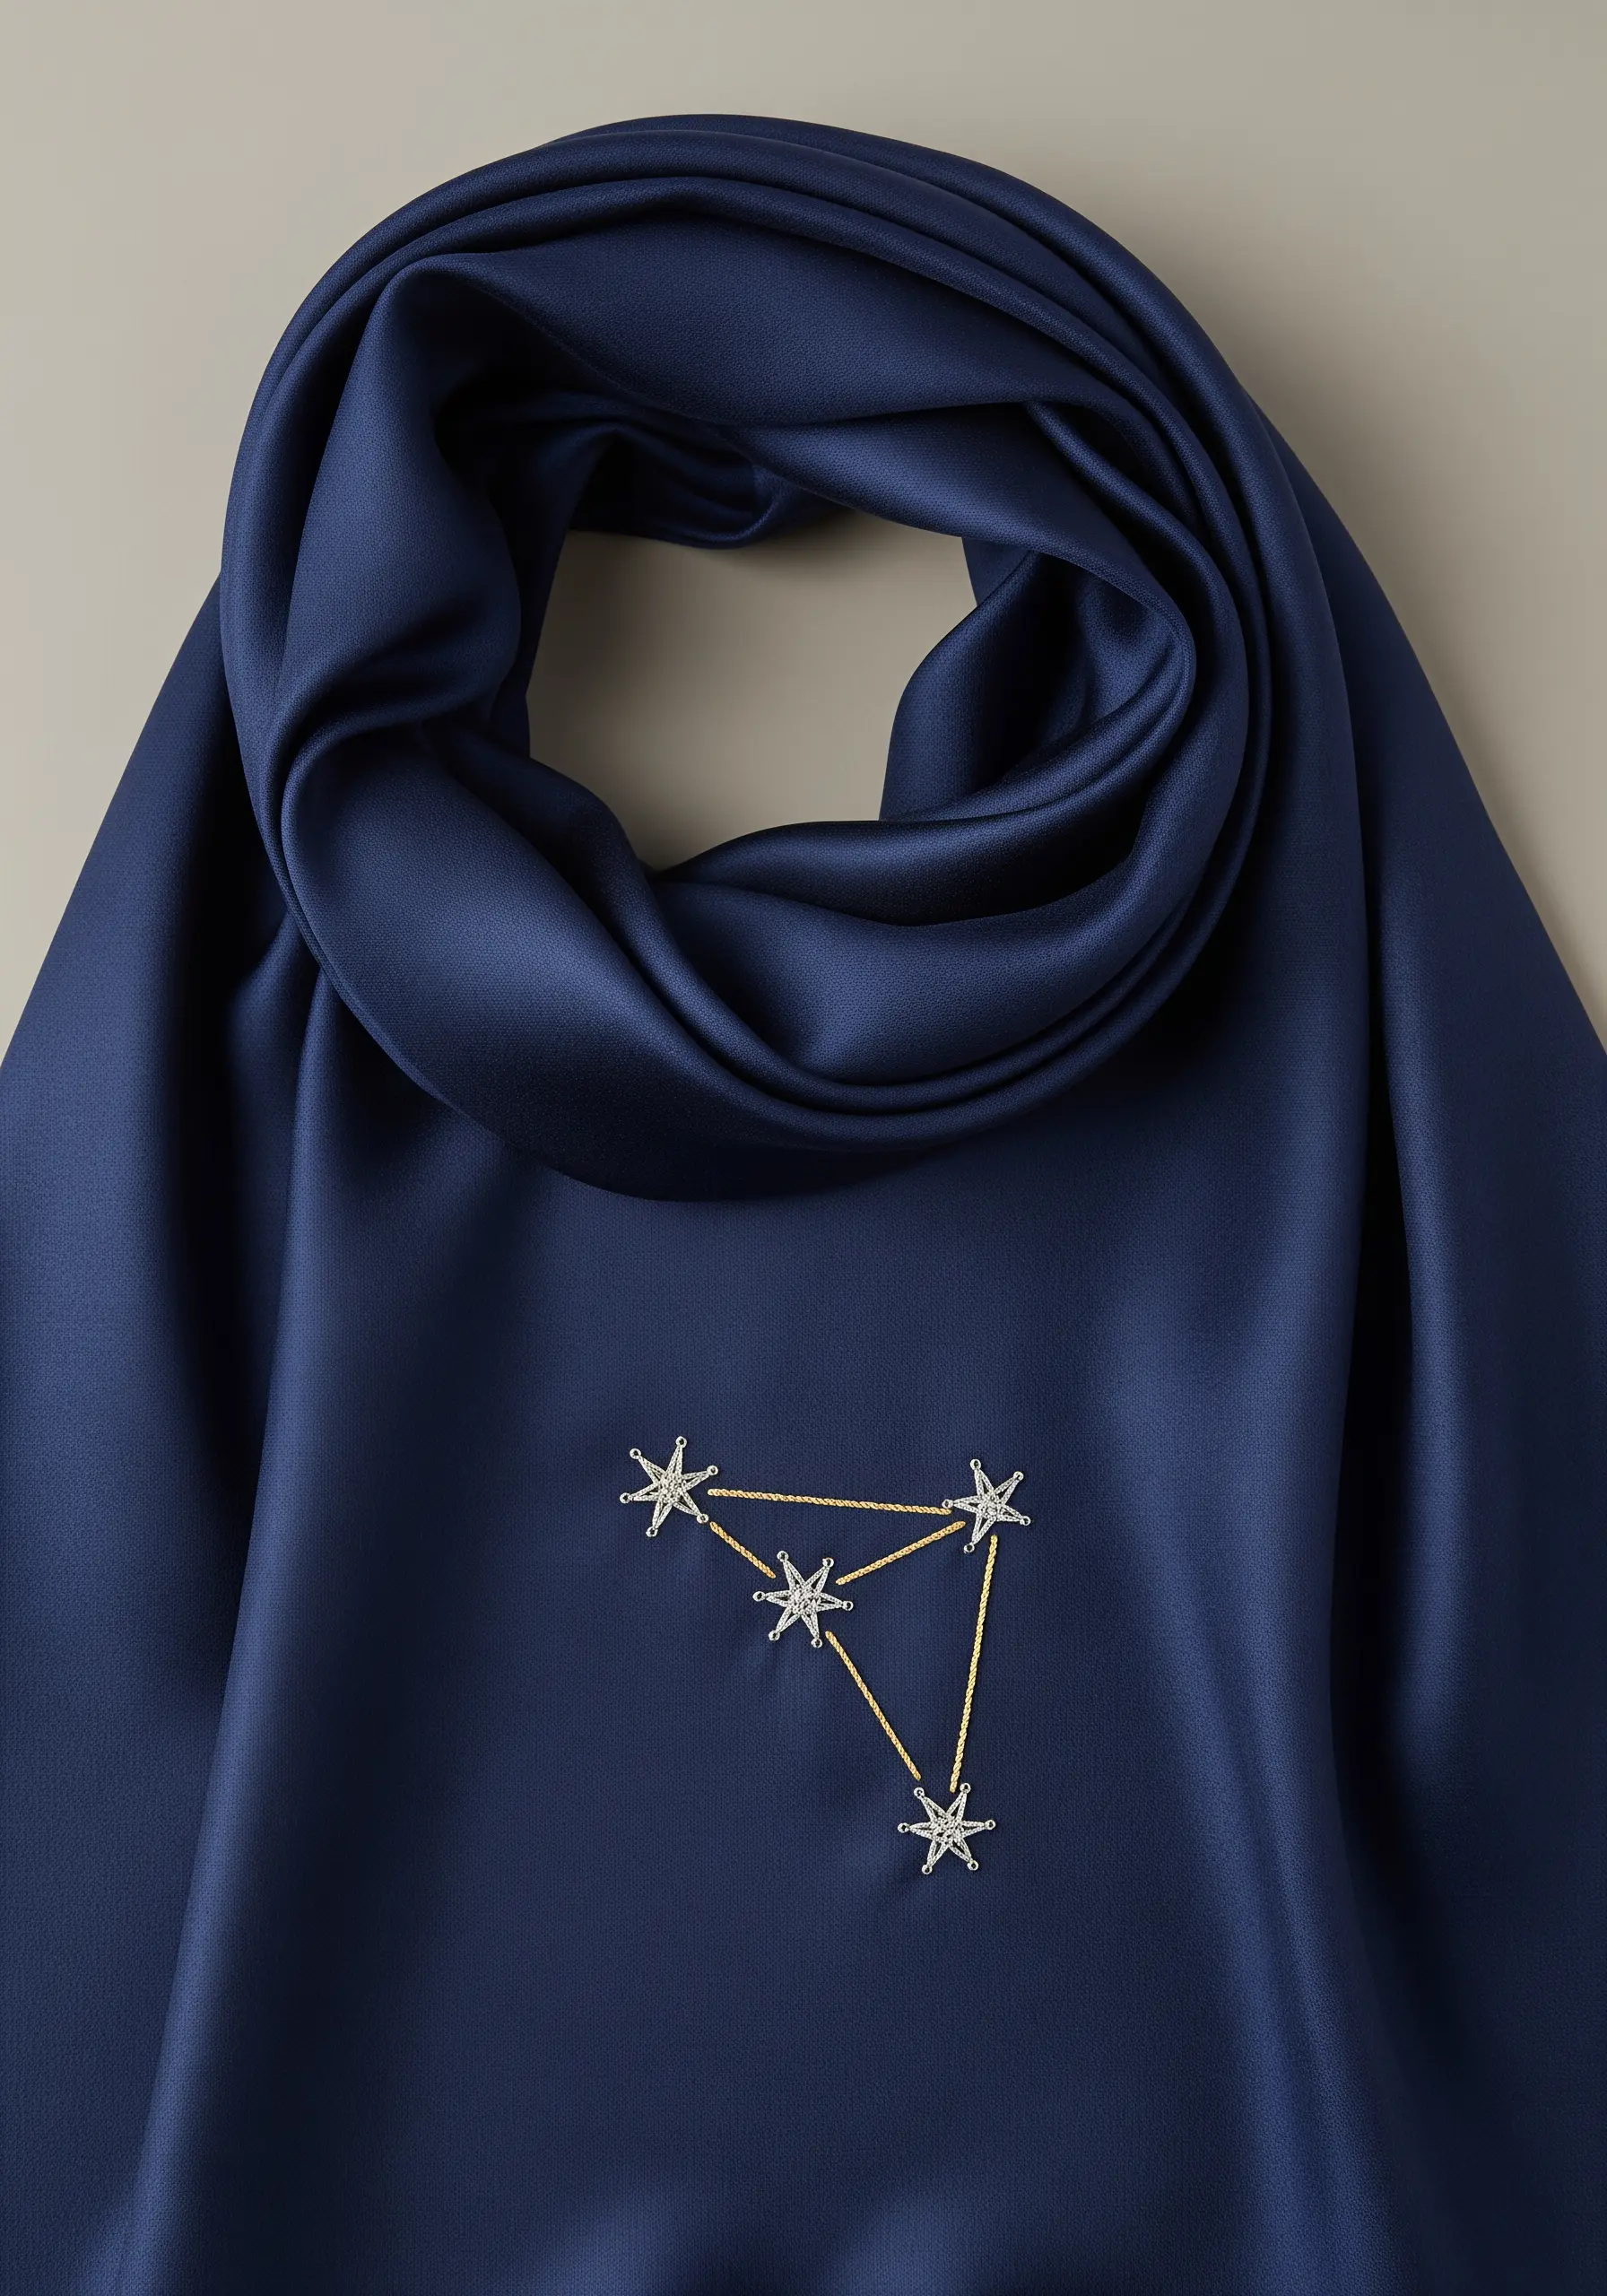
Working with metallic thread on silk or satin requires a gentle hand, but the result is unparalleled elegance.
Use a thread conditioner and a needle with a larger eye to prevent shredding and snagging.
Create the stars with radiating straight stitches, and connect them with a fine couched thread for a line that looks like liquid gold.
This approach gives the design a clean, jewelry-like quality that a simple backstitch can’t replicate.
4. Rhythmic Wave Border
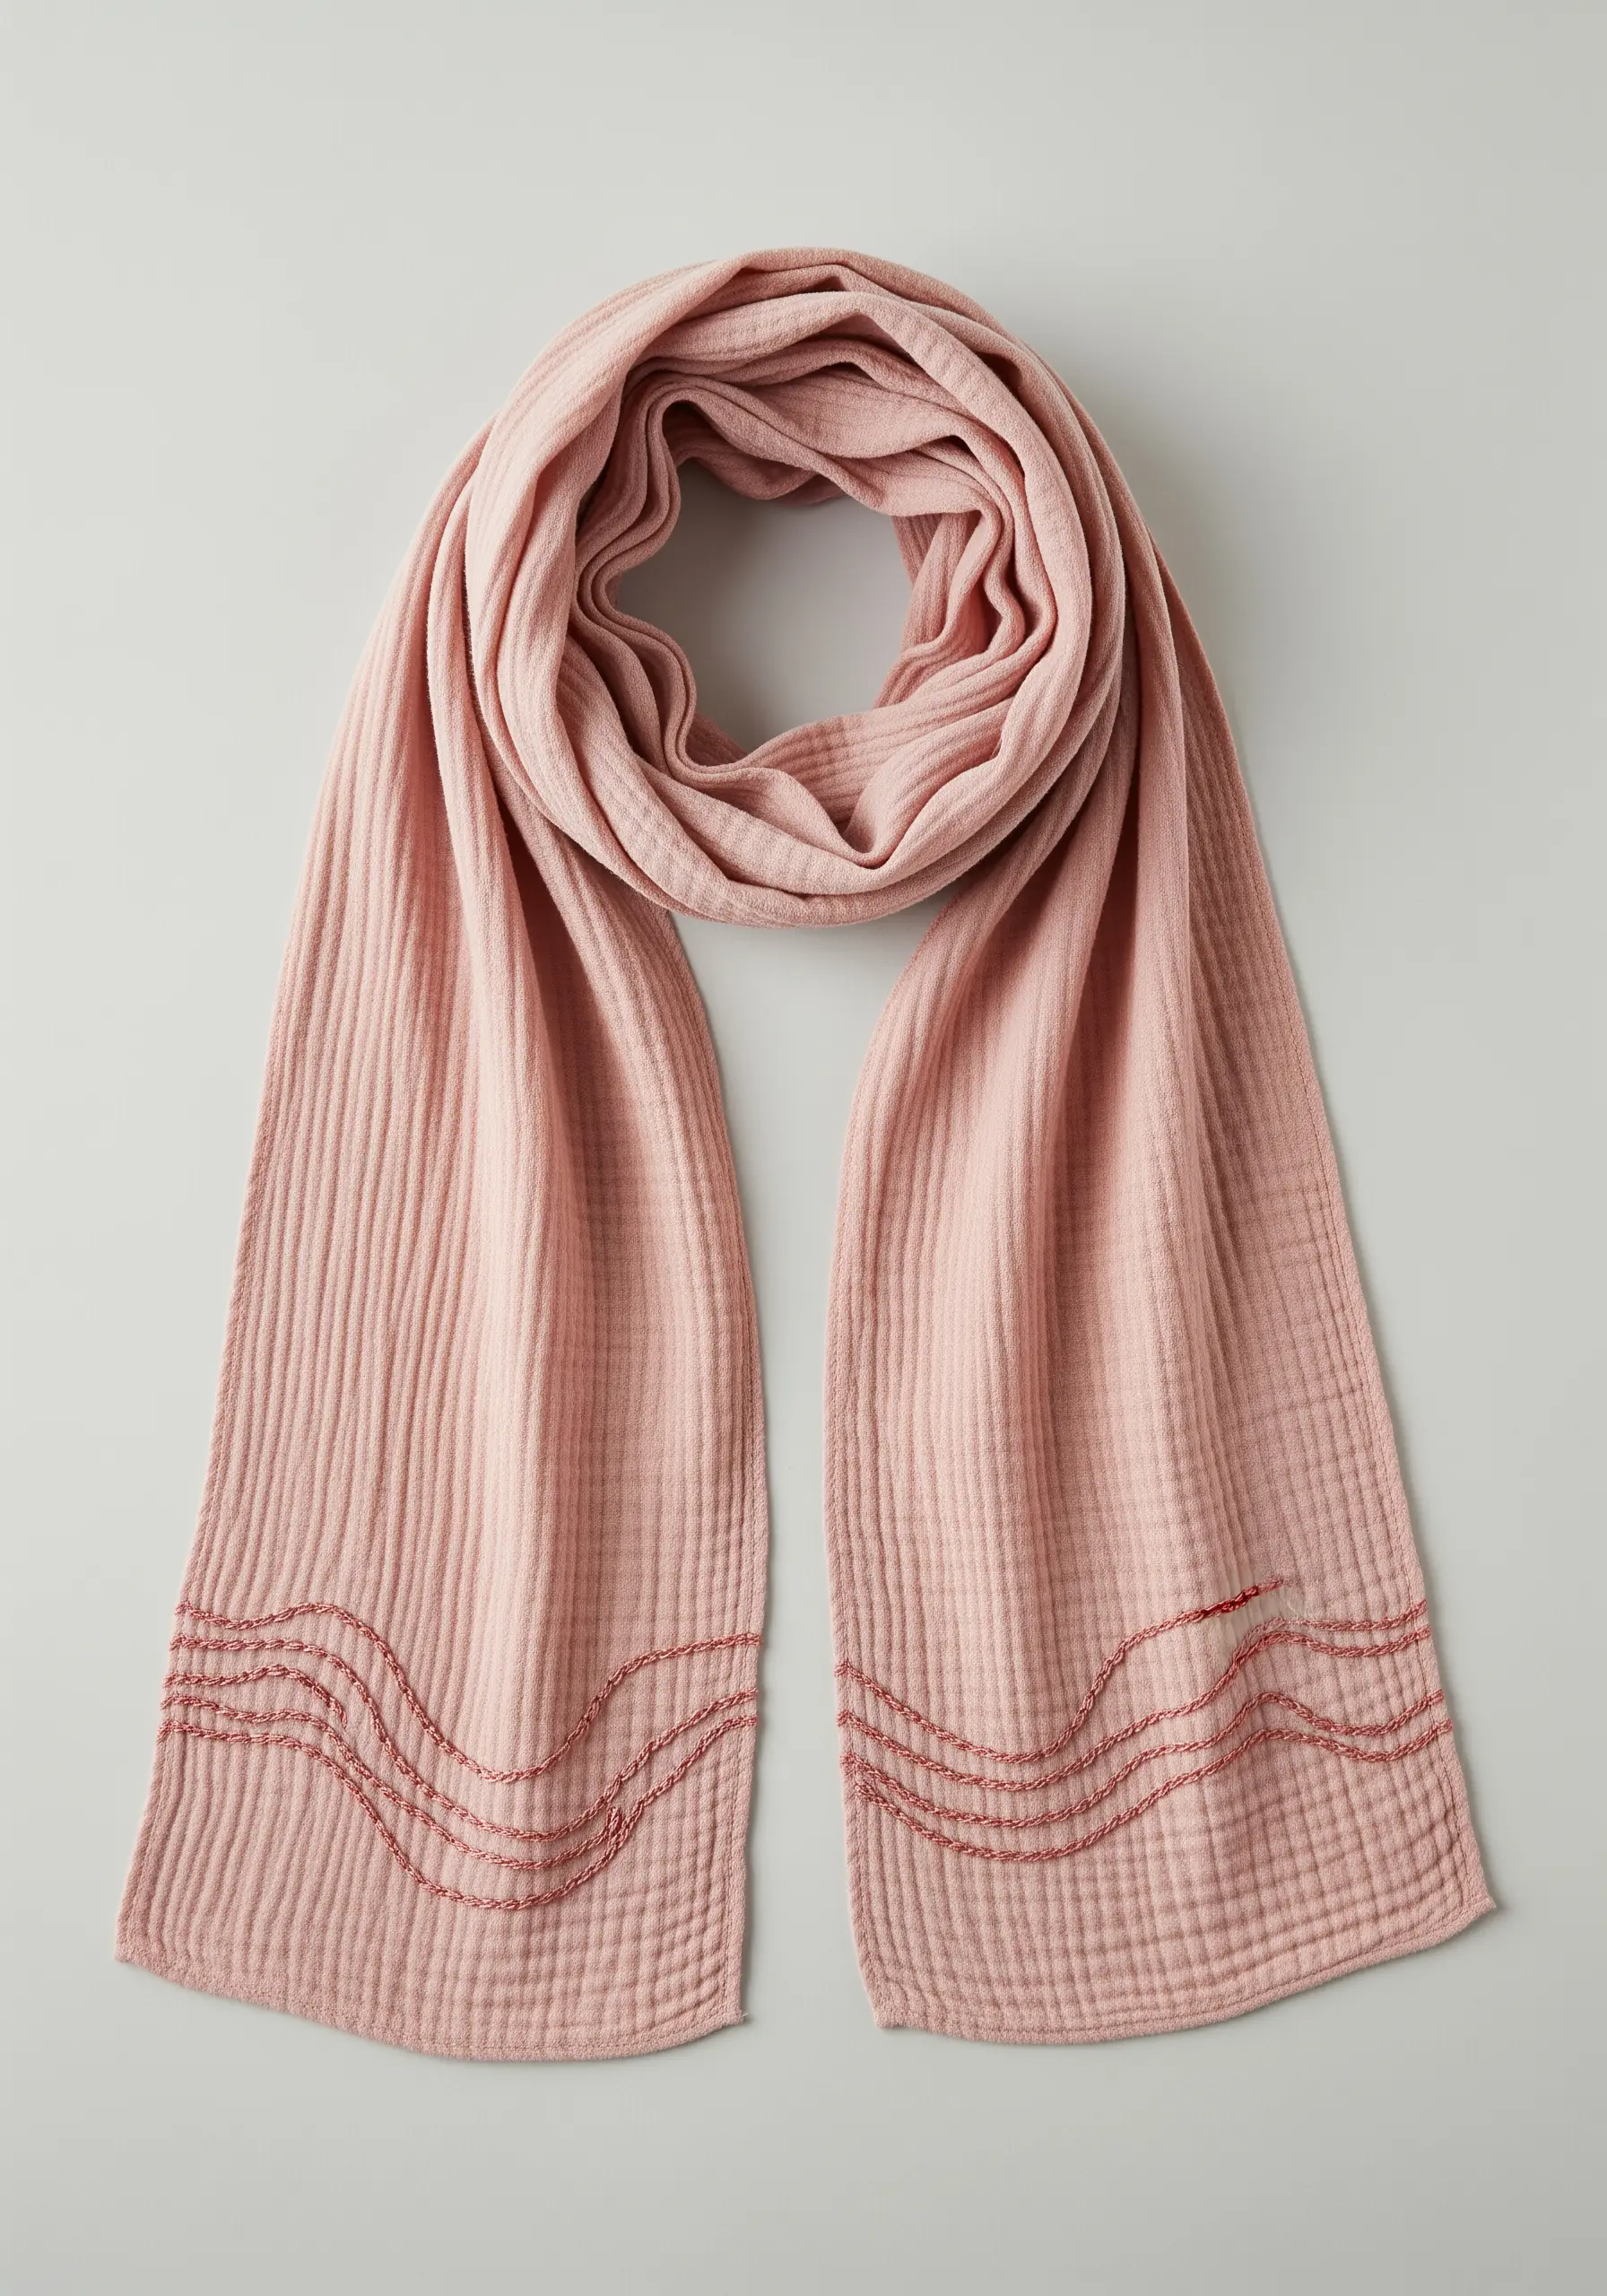
On highly textured fabrics like gauze or muslin, let the material guide your design.
Instead of forcing a perfectly straight line, embrace the fabric’s natural wave with parallel rows of running stitch.
Use a thicker thread, like a sashiko thread or Perle cotton, to create a line that sits on top of the texture rather than sinking into it.
The repetition creates a calming, rhythmic pattern that feels both organic and intentional.
5. Minimalist Pine on Knitwear

Stitching on knit fabric demands special care to avoid stretching or distorting the design.
Always use a lightweight, tear-away stabilizer on the back to support your stitches.
Choose a simple, open design like this pine tree, using straight stitches that won’t constrict the knit’s natural give.
A ballpoint needle is also recommended, as it parts the knit fibers rather than piercing and potentially breaking them.
6. Geometric Satin Stitch Border
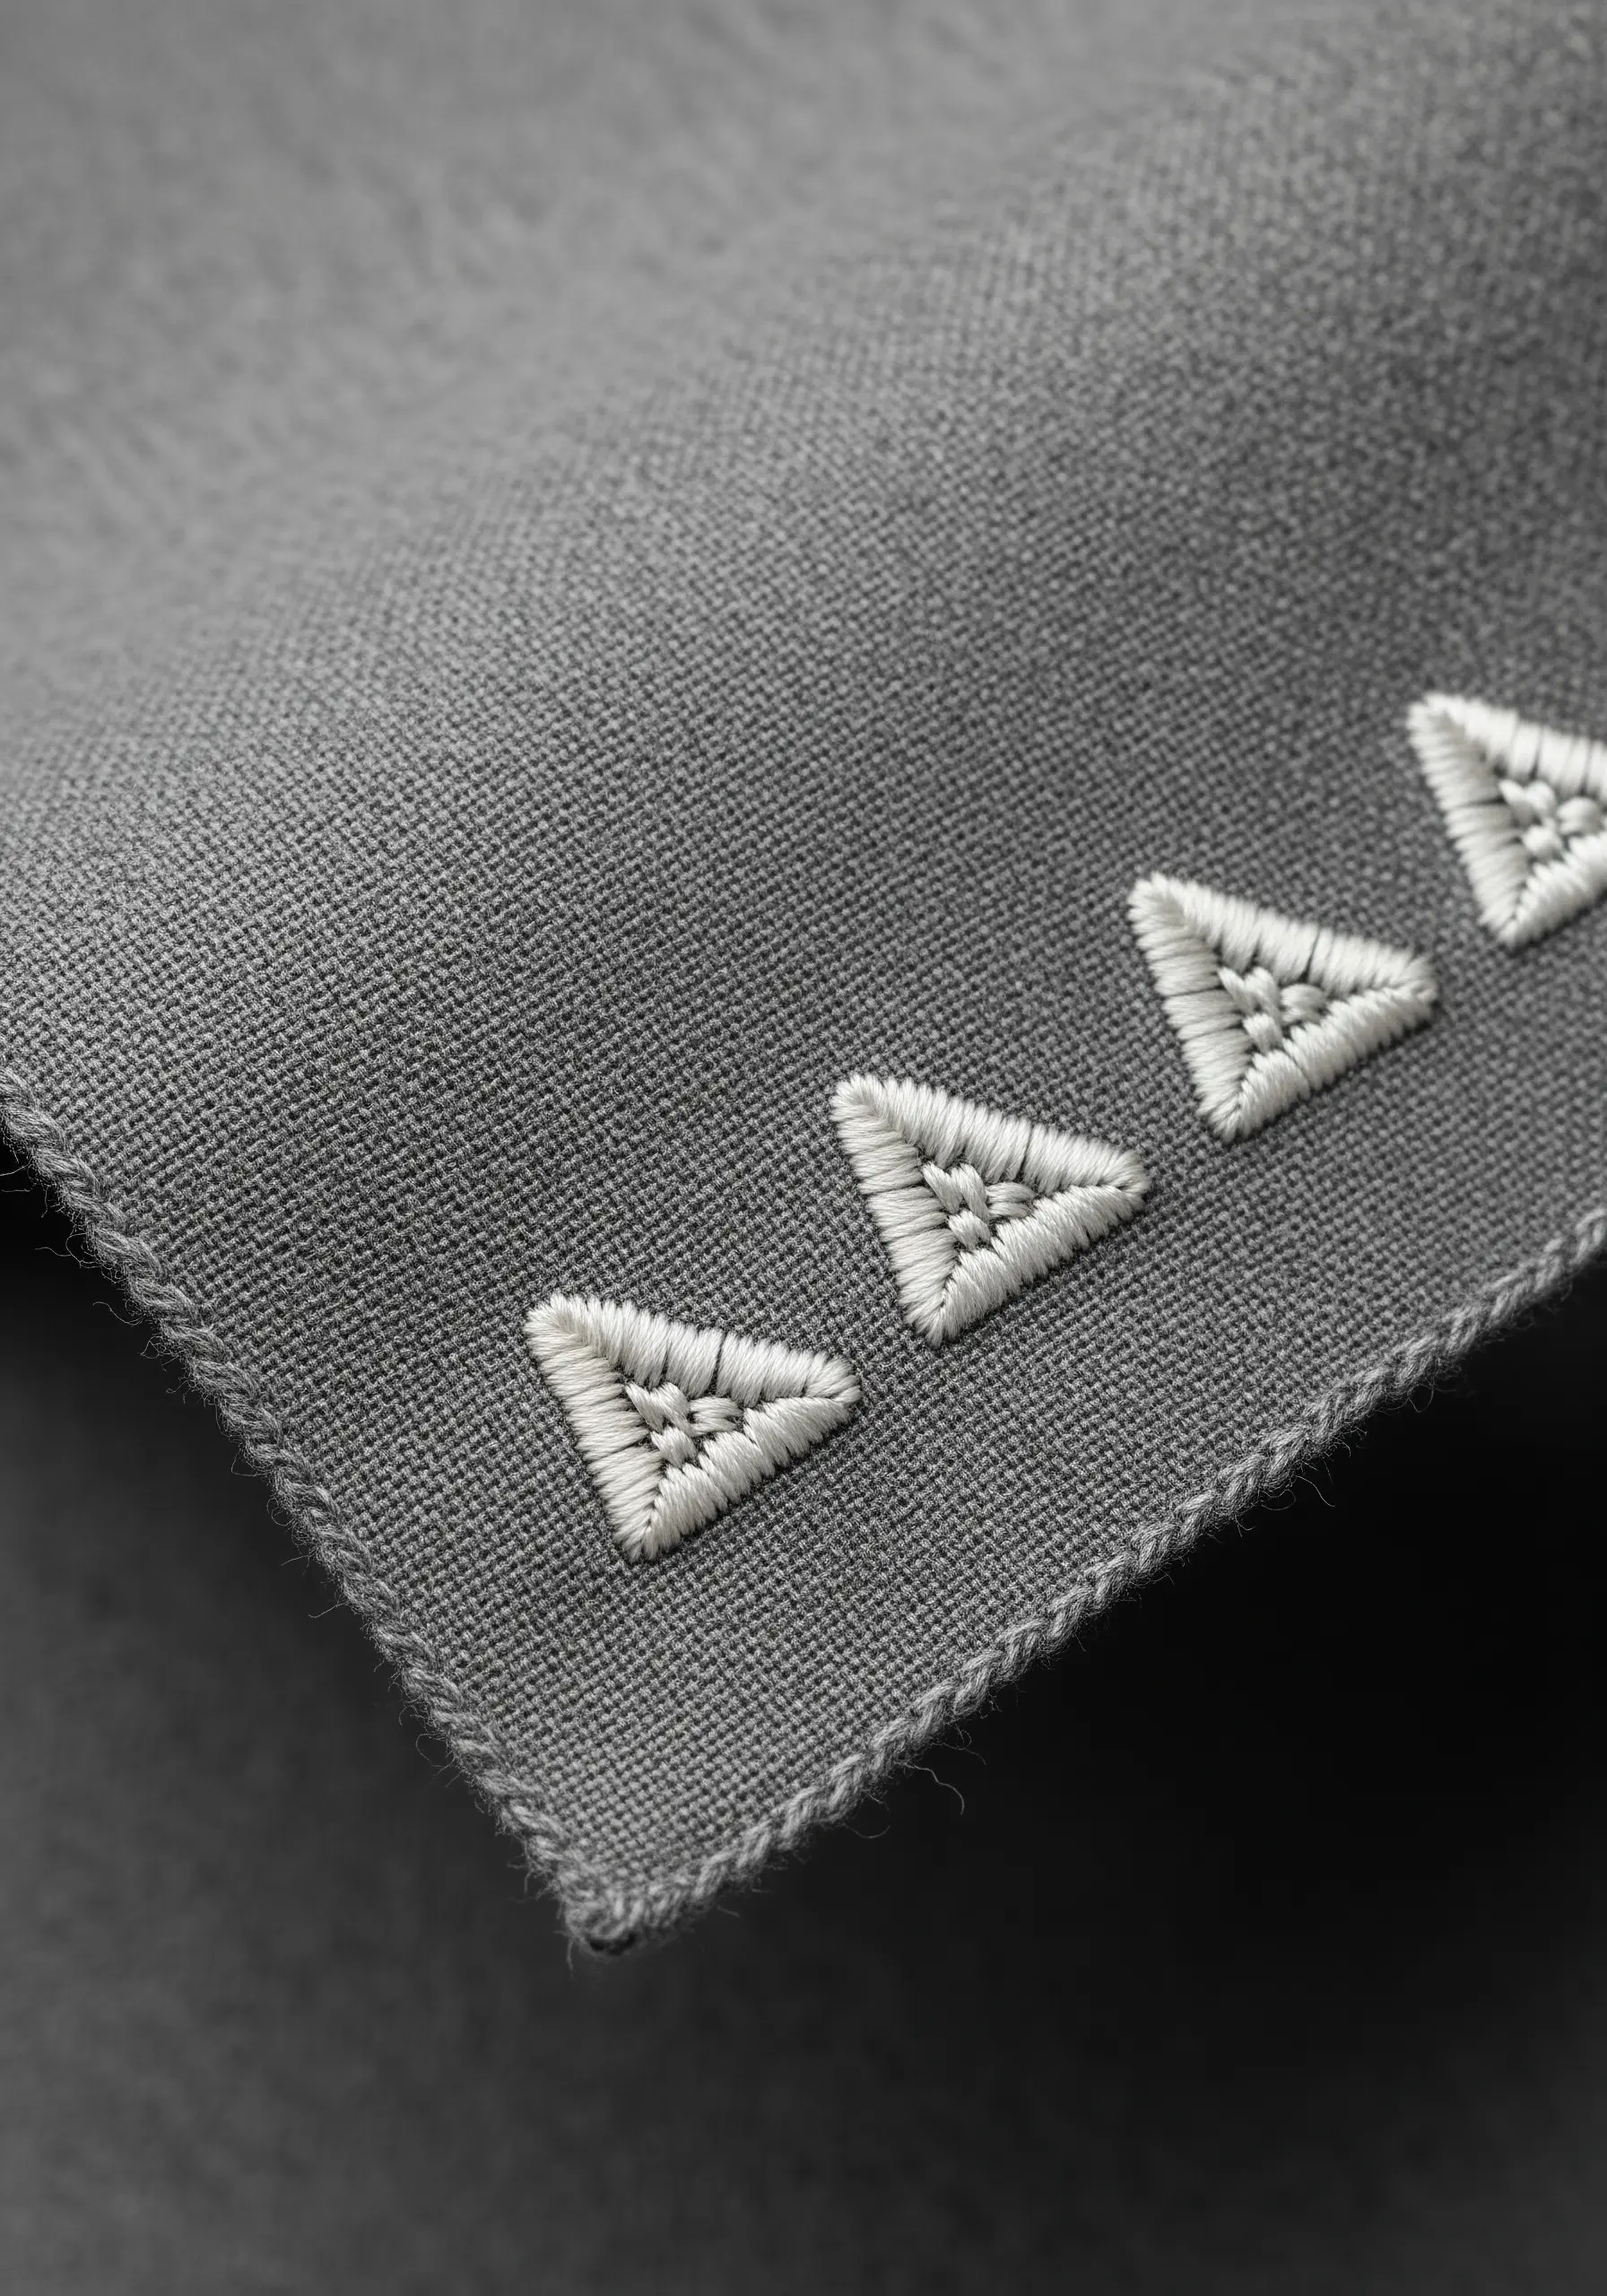
The secret to perfectly crisp geometric shapes is creating a foundational outline.
Before you begin the satin stitch, outline each triangle with a split stitch.
This raised edge acts as a precise boundary, allowing you to tuck the ends of your satin stitches underneath it for an exceptionally sharp and clean finish.
This small preparatory step makes the difference between a homemade and a professional-looking result.
7. Delicate Line-Art Paper Plane
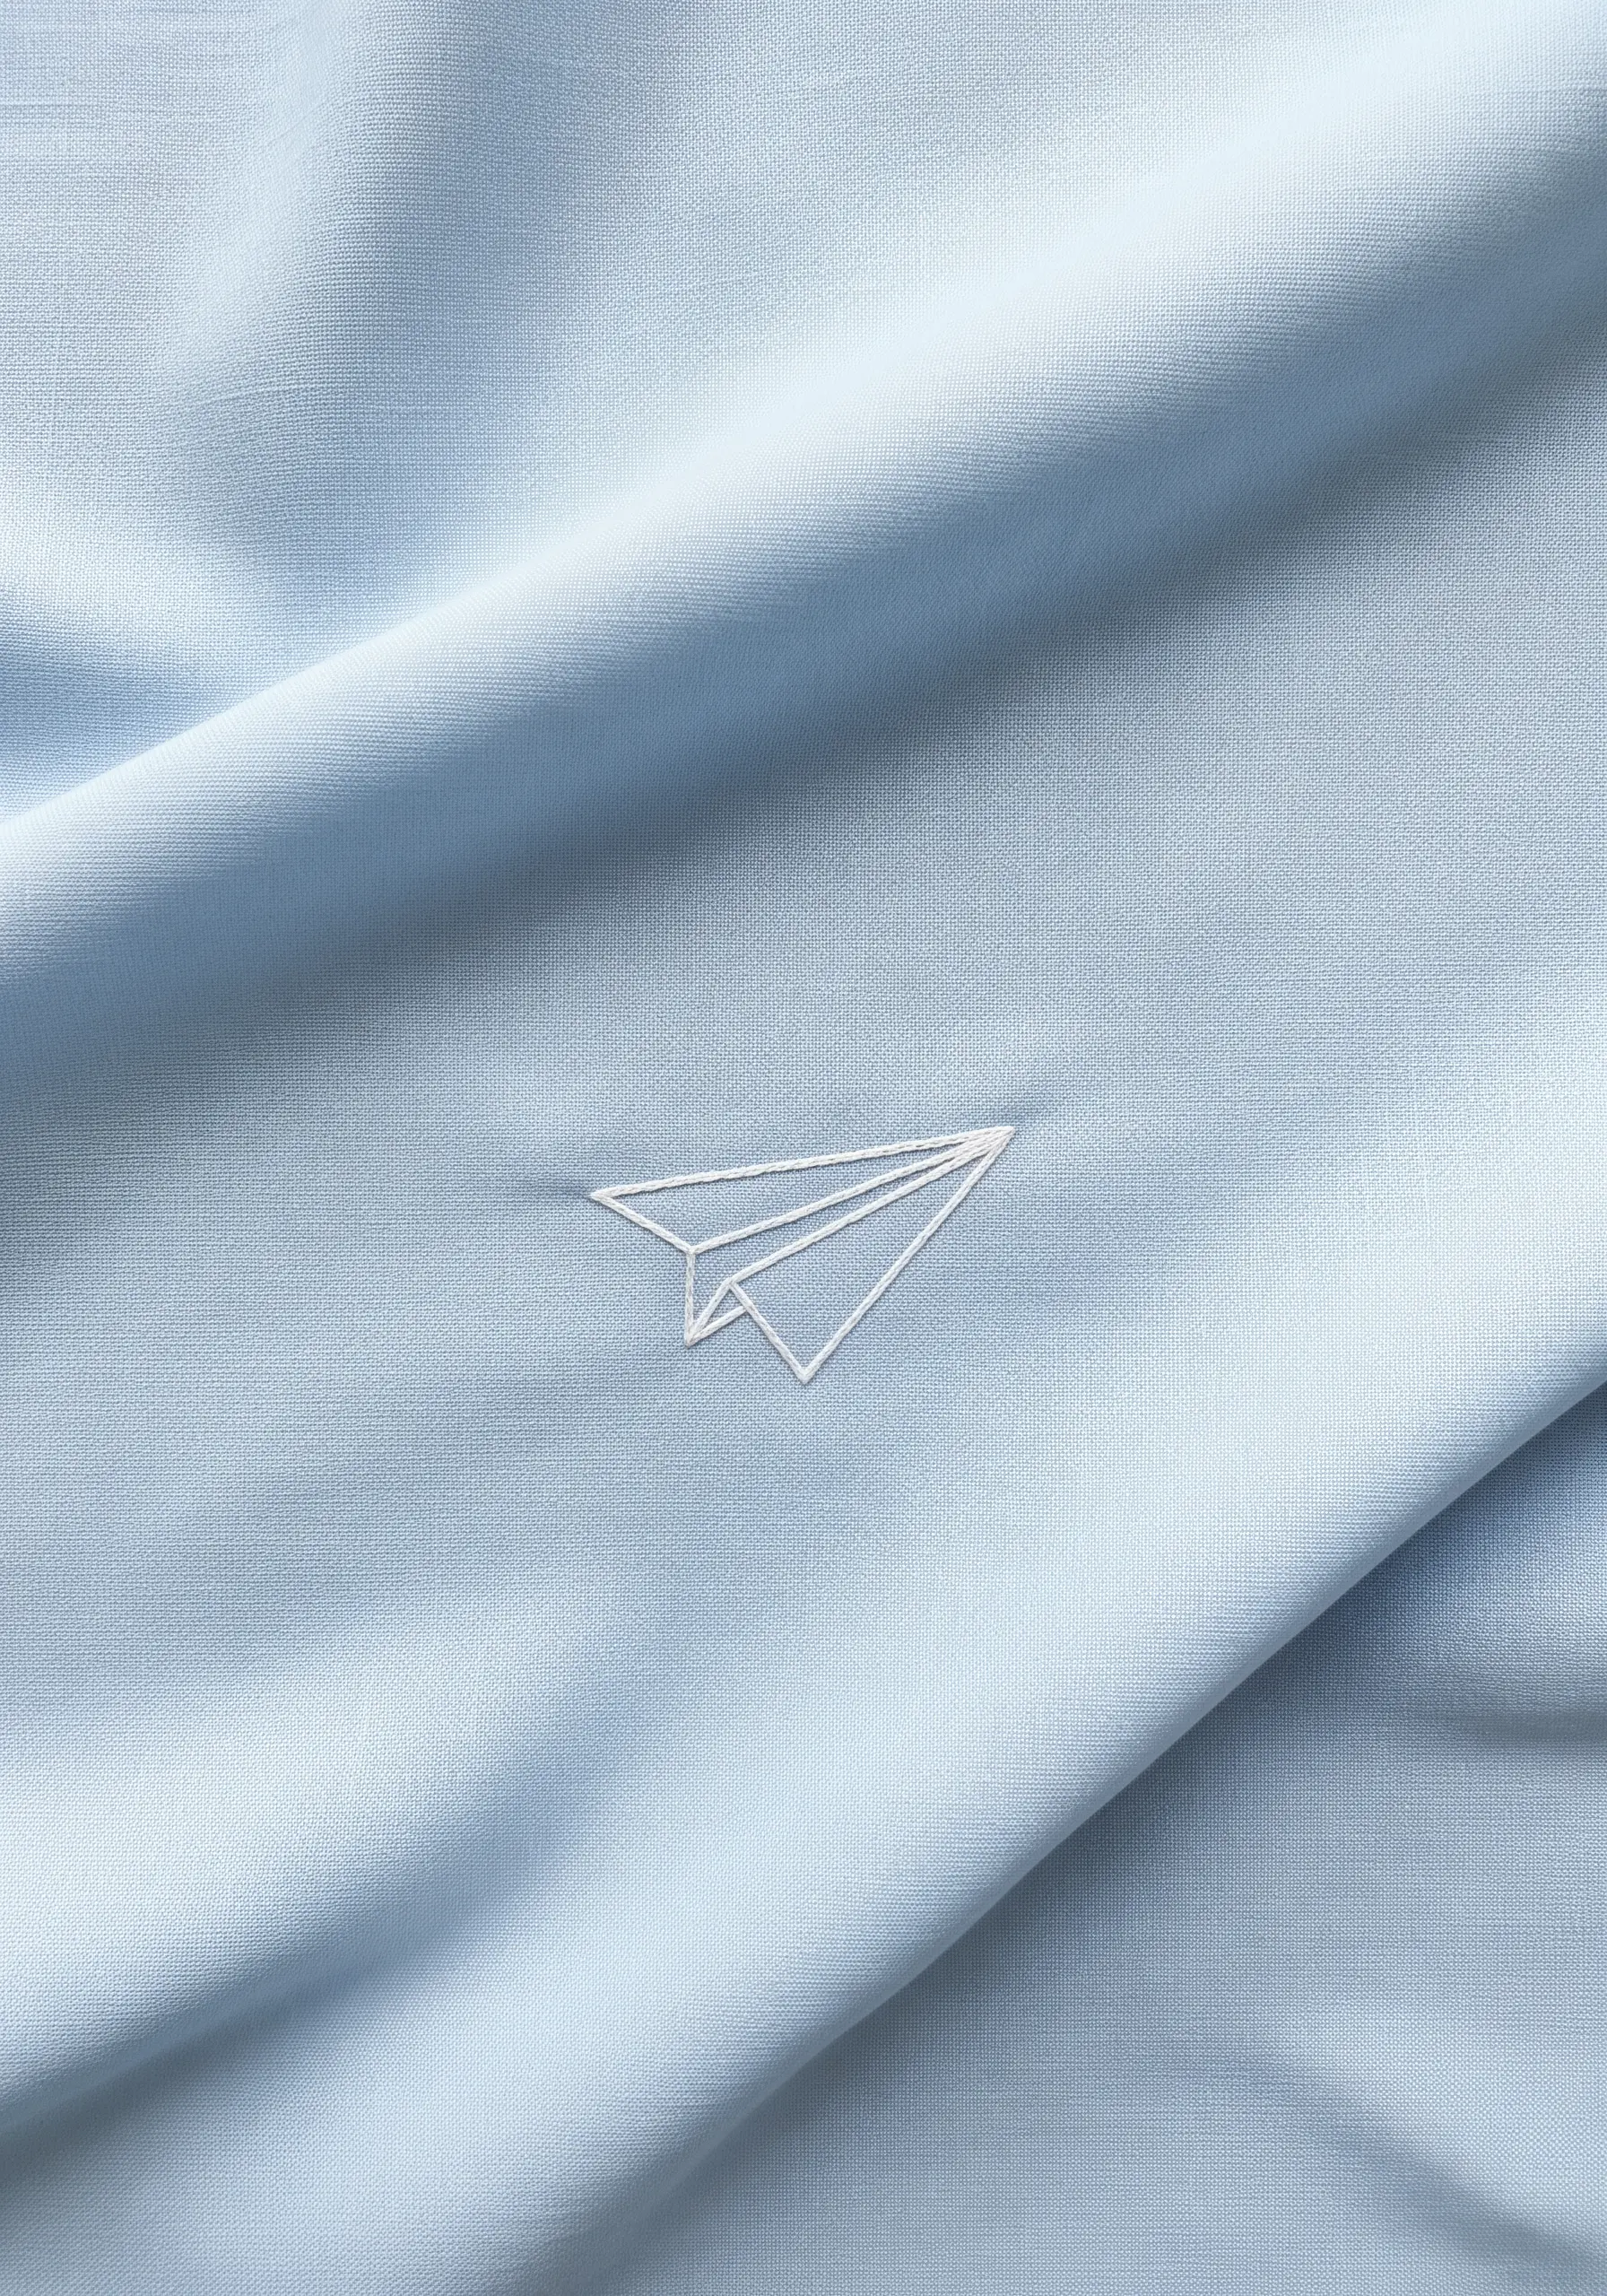
For minimalist designs where every line counts, your stitch choice is paramount.
Opt for a whipped backstitch or a split stitch using a single strand of floss.
Both stitches create a smoother, more solid line than a standard backstitch, which can look disjointed on sharp corners.
This technique ensures your line art remains fluid and unbroken, giving it a sophisticated, drawn-on appearance.
8. Woven Rosette Knots
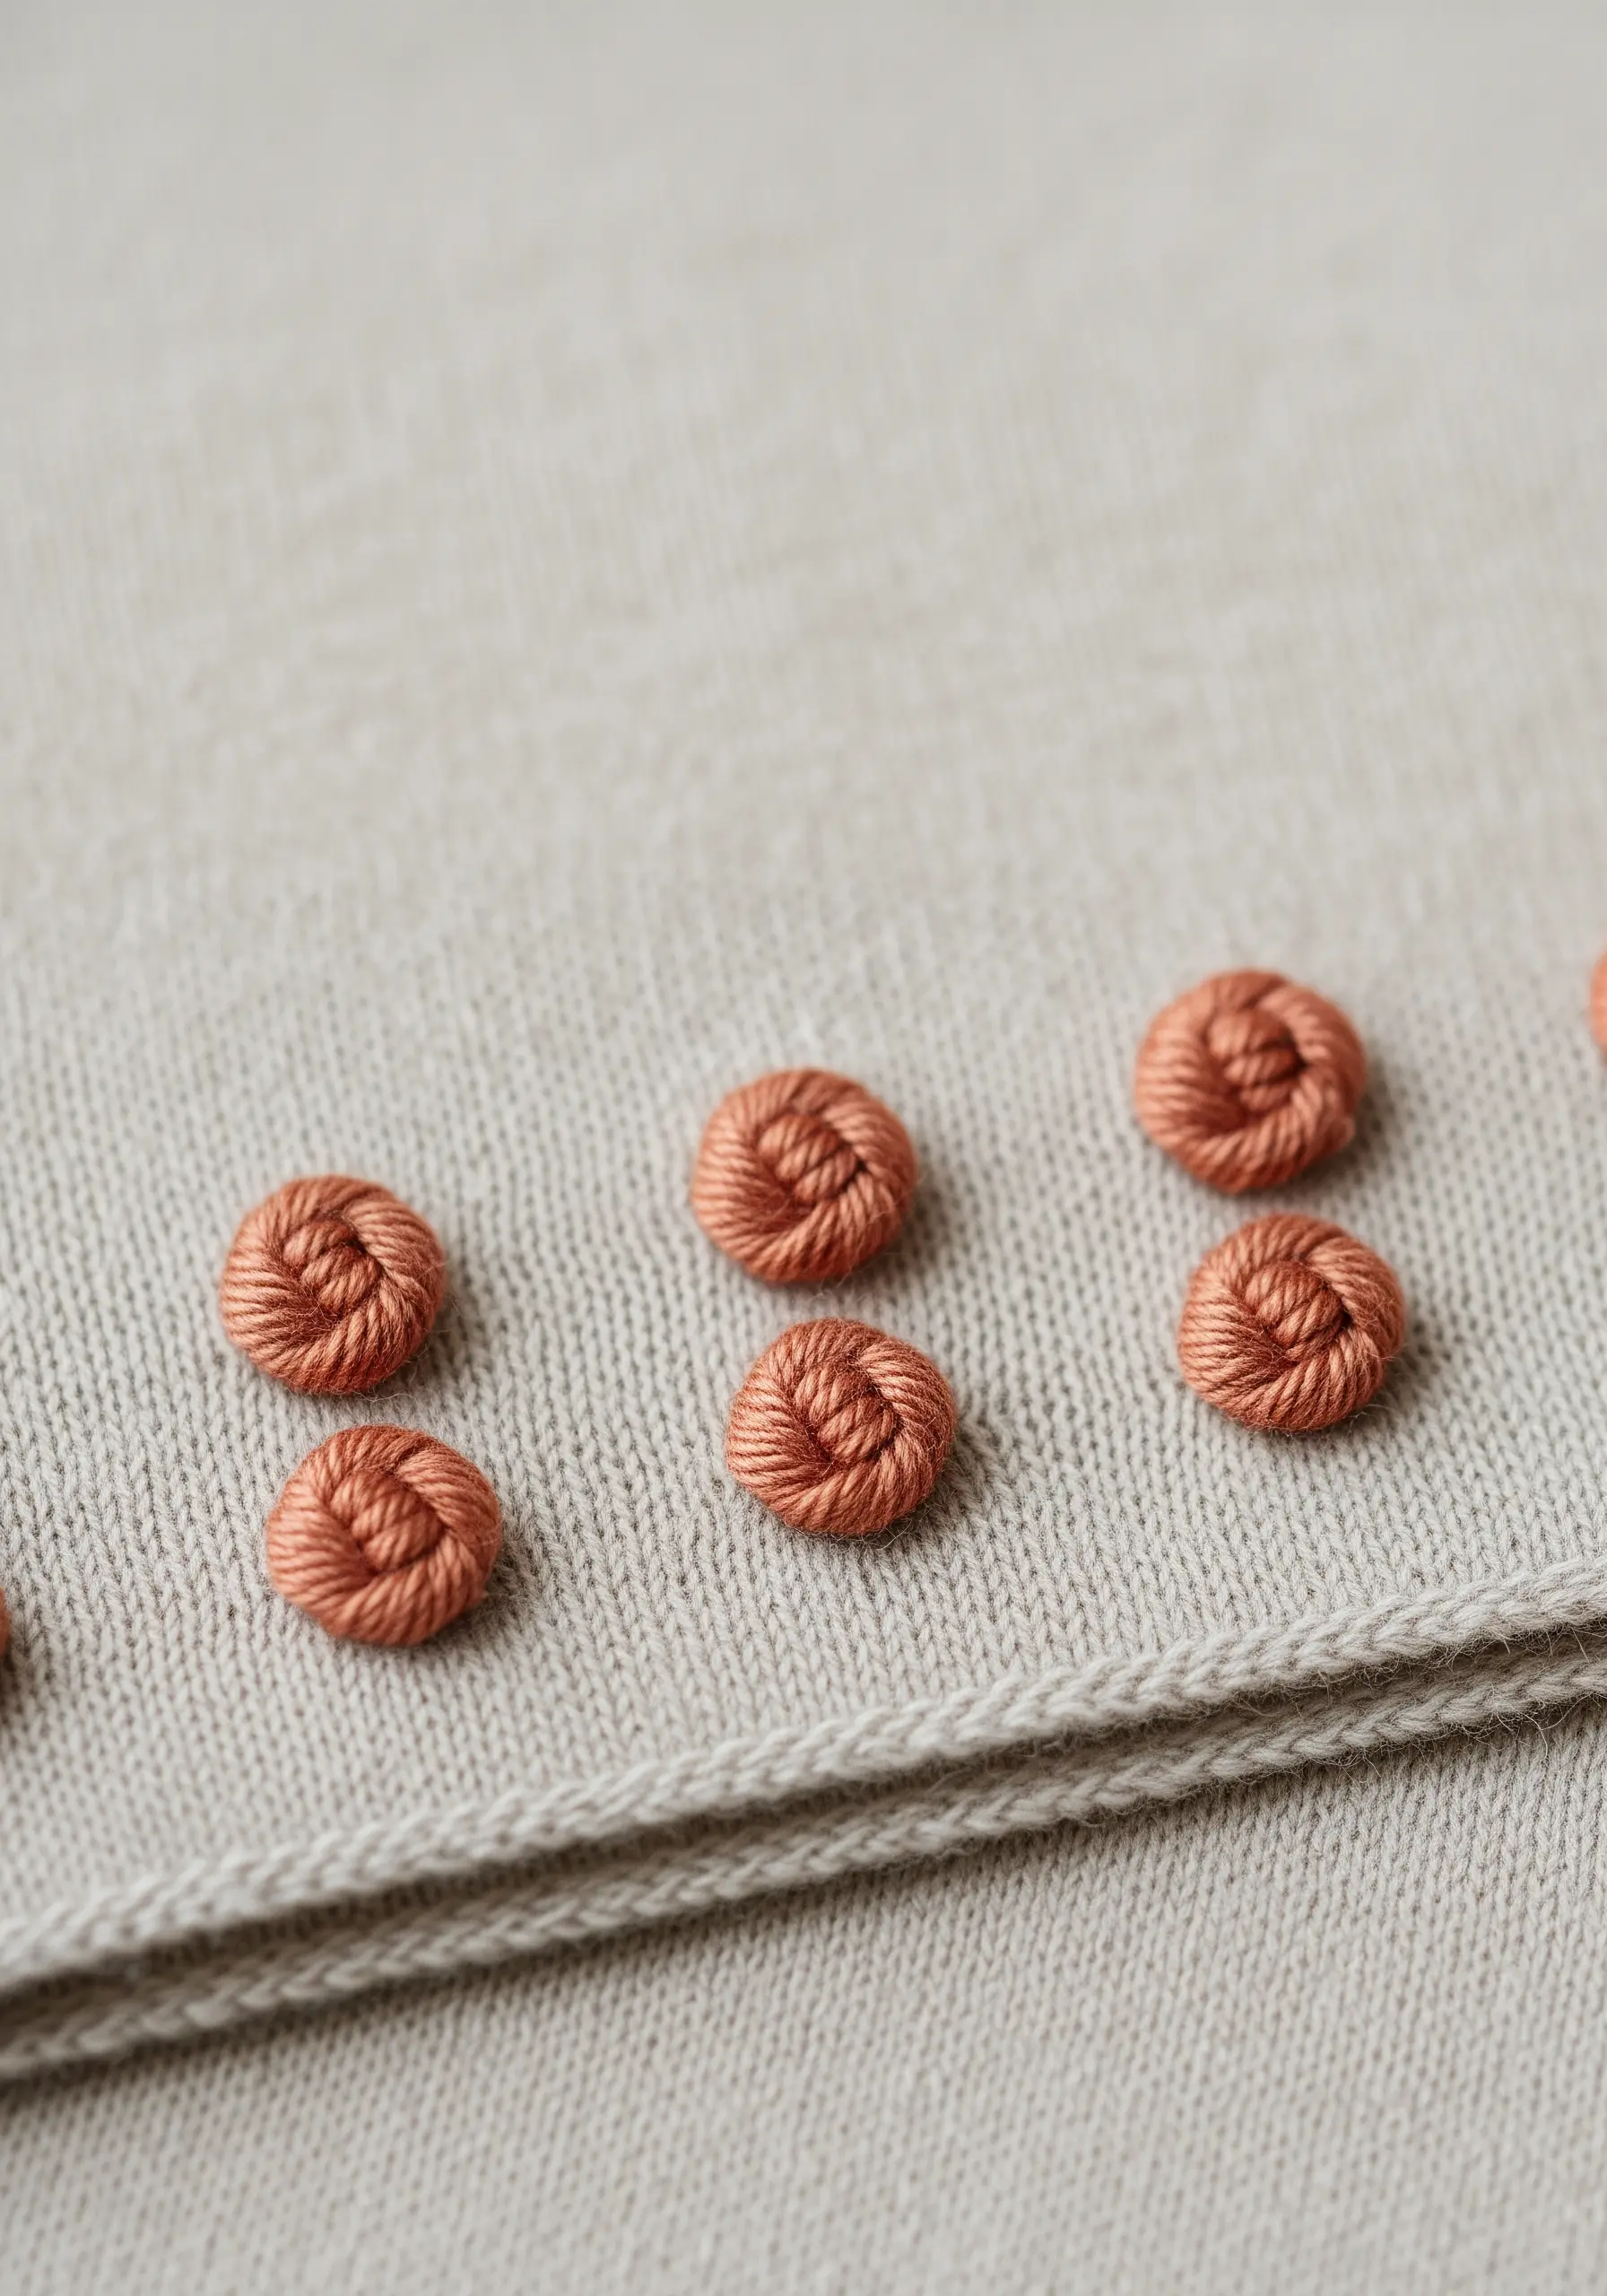
To add pops of high texture, master the woven wheel stitch.
Start by creating a small star of straight stitches (always use an odd number of spokes, like five or seven).
Then, weave your thread over and under these spokes until the area is filled, creating a beautiful, raised rosette.
These are faster to make than a cluster of French knots and add a wonderful tactile quality to any fabric.
9. Whispering Dandelion Seed Head

Capture a sense of lightness and movement by focusing on negative space and delicate stitches.
Use a single strand of floss for the entire design to keep it airy.
Form the seed parachutes with detached chain stitches (lazy daisies), and let the individual seeds fly off as single straight stitches.
Resist the urge to overfill the design; the empty space around the seeds is what tells the story of the wind.
10. Minimalist Coffee Cup Outline

When a design is this simple, the quality of the line is everything.
A whipped backstitch is the perfect choice for creating a smooth, rope-like line that looks refined and continuous.
Use two strands for the cup’s outline to give it presence, and switch to a single, delicate strand for the steam.
This subtle shift in thread weight creates visual hierarchy and makes the tiny detail feel expertly considered.
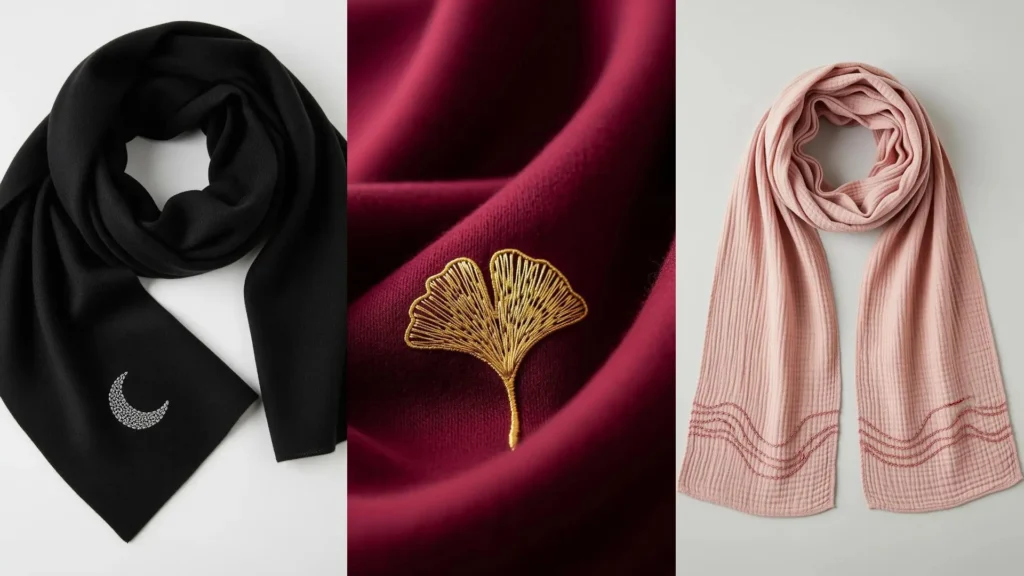
11. Gilded Ginkgo Leaf
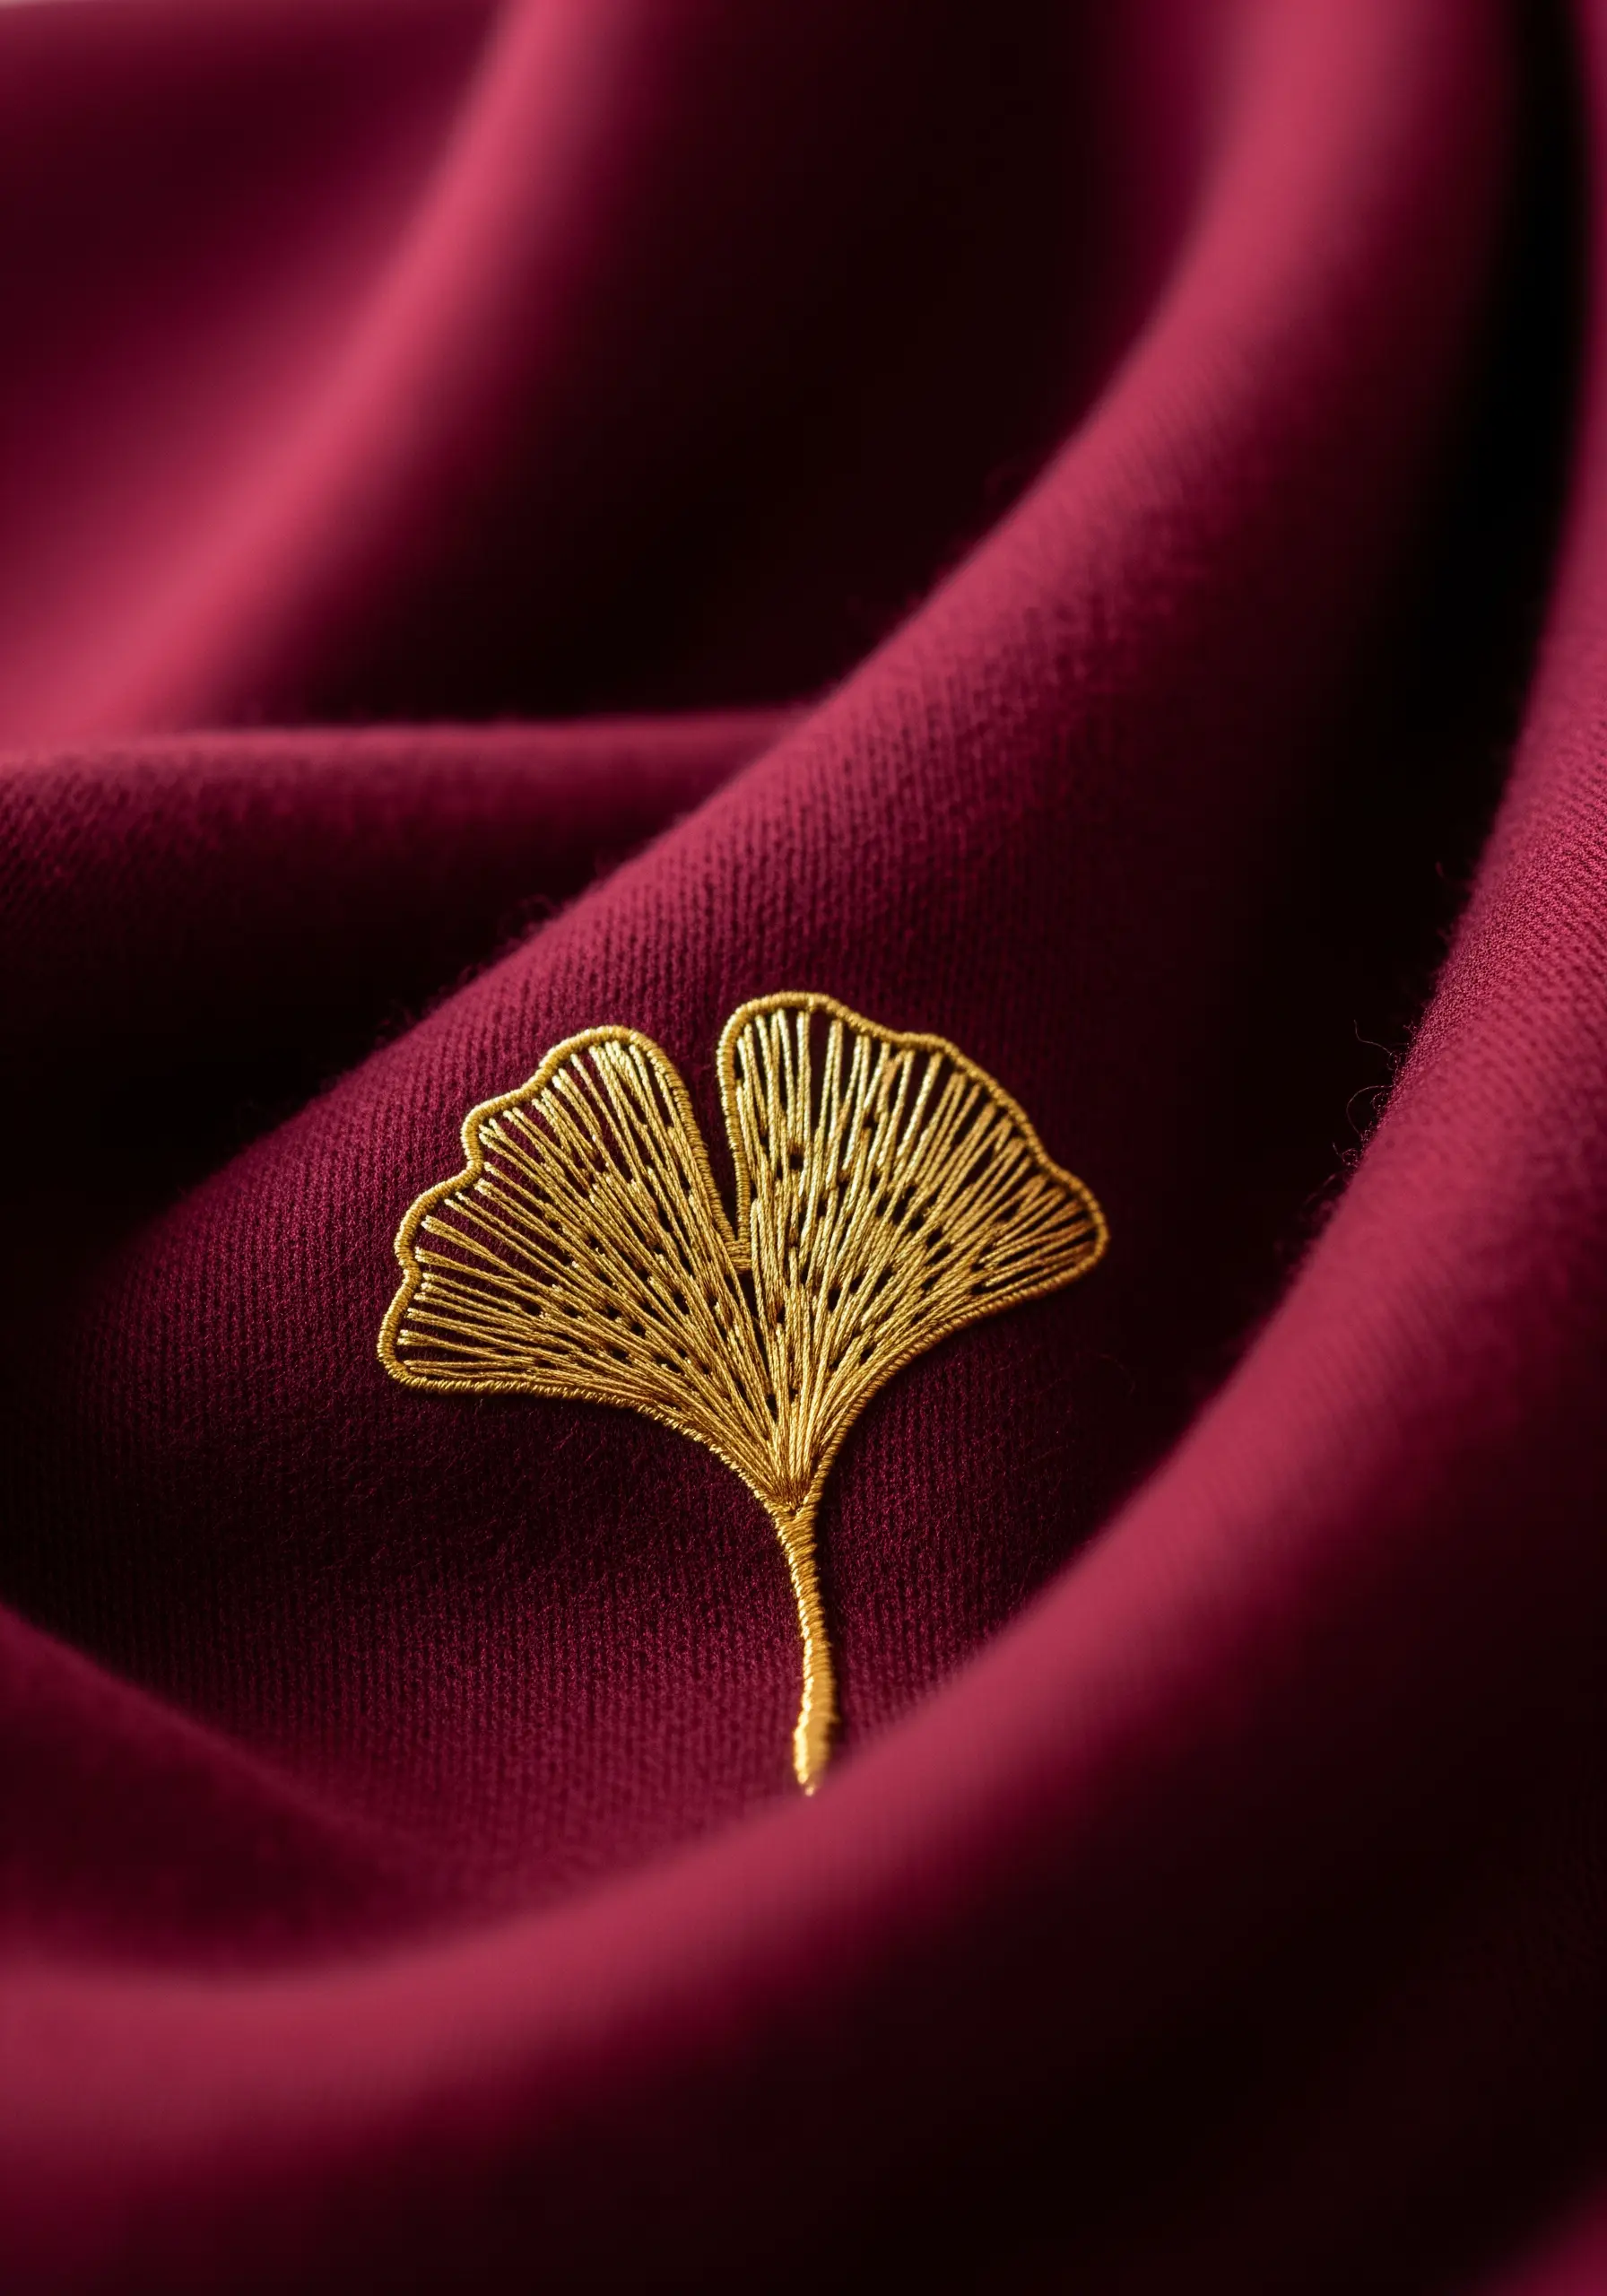
To achieve this luminous, fan-like effect with metallic thread, think like a painter.
Outline the leaf sections with a split stitch, then fill them with long, radiating straight stitches that all originate from the leaf’s base.
This directional stitching is key, as it allows the metallic thread to catch the light uniformly, creating a brilliant sheen.
Work on a tightly hooped fabric with a stabilizer to prevent the long stitches from sagging.
12. Jeweled Crescent Moon

You can replicate the sparkling texture of beadwork using just thread and a needle.
Create this effect by filling the crescent shape with tightly packed French knots using a silver metallic or a bright white thread.
For a more refined shape, vary the size of your knots by adjusting the number of times you wrap the thread around the needle.
Use larger knots in the center and smaller ones toward the tips for a delicate taper.
13. Hand-Drawn Heart Outline
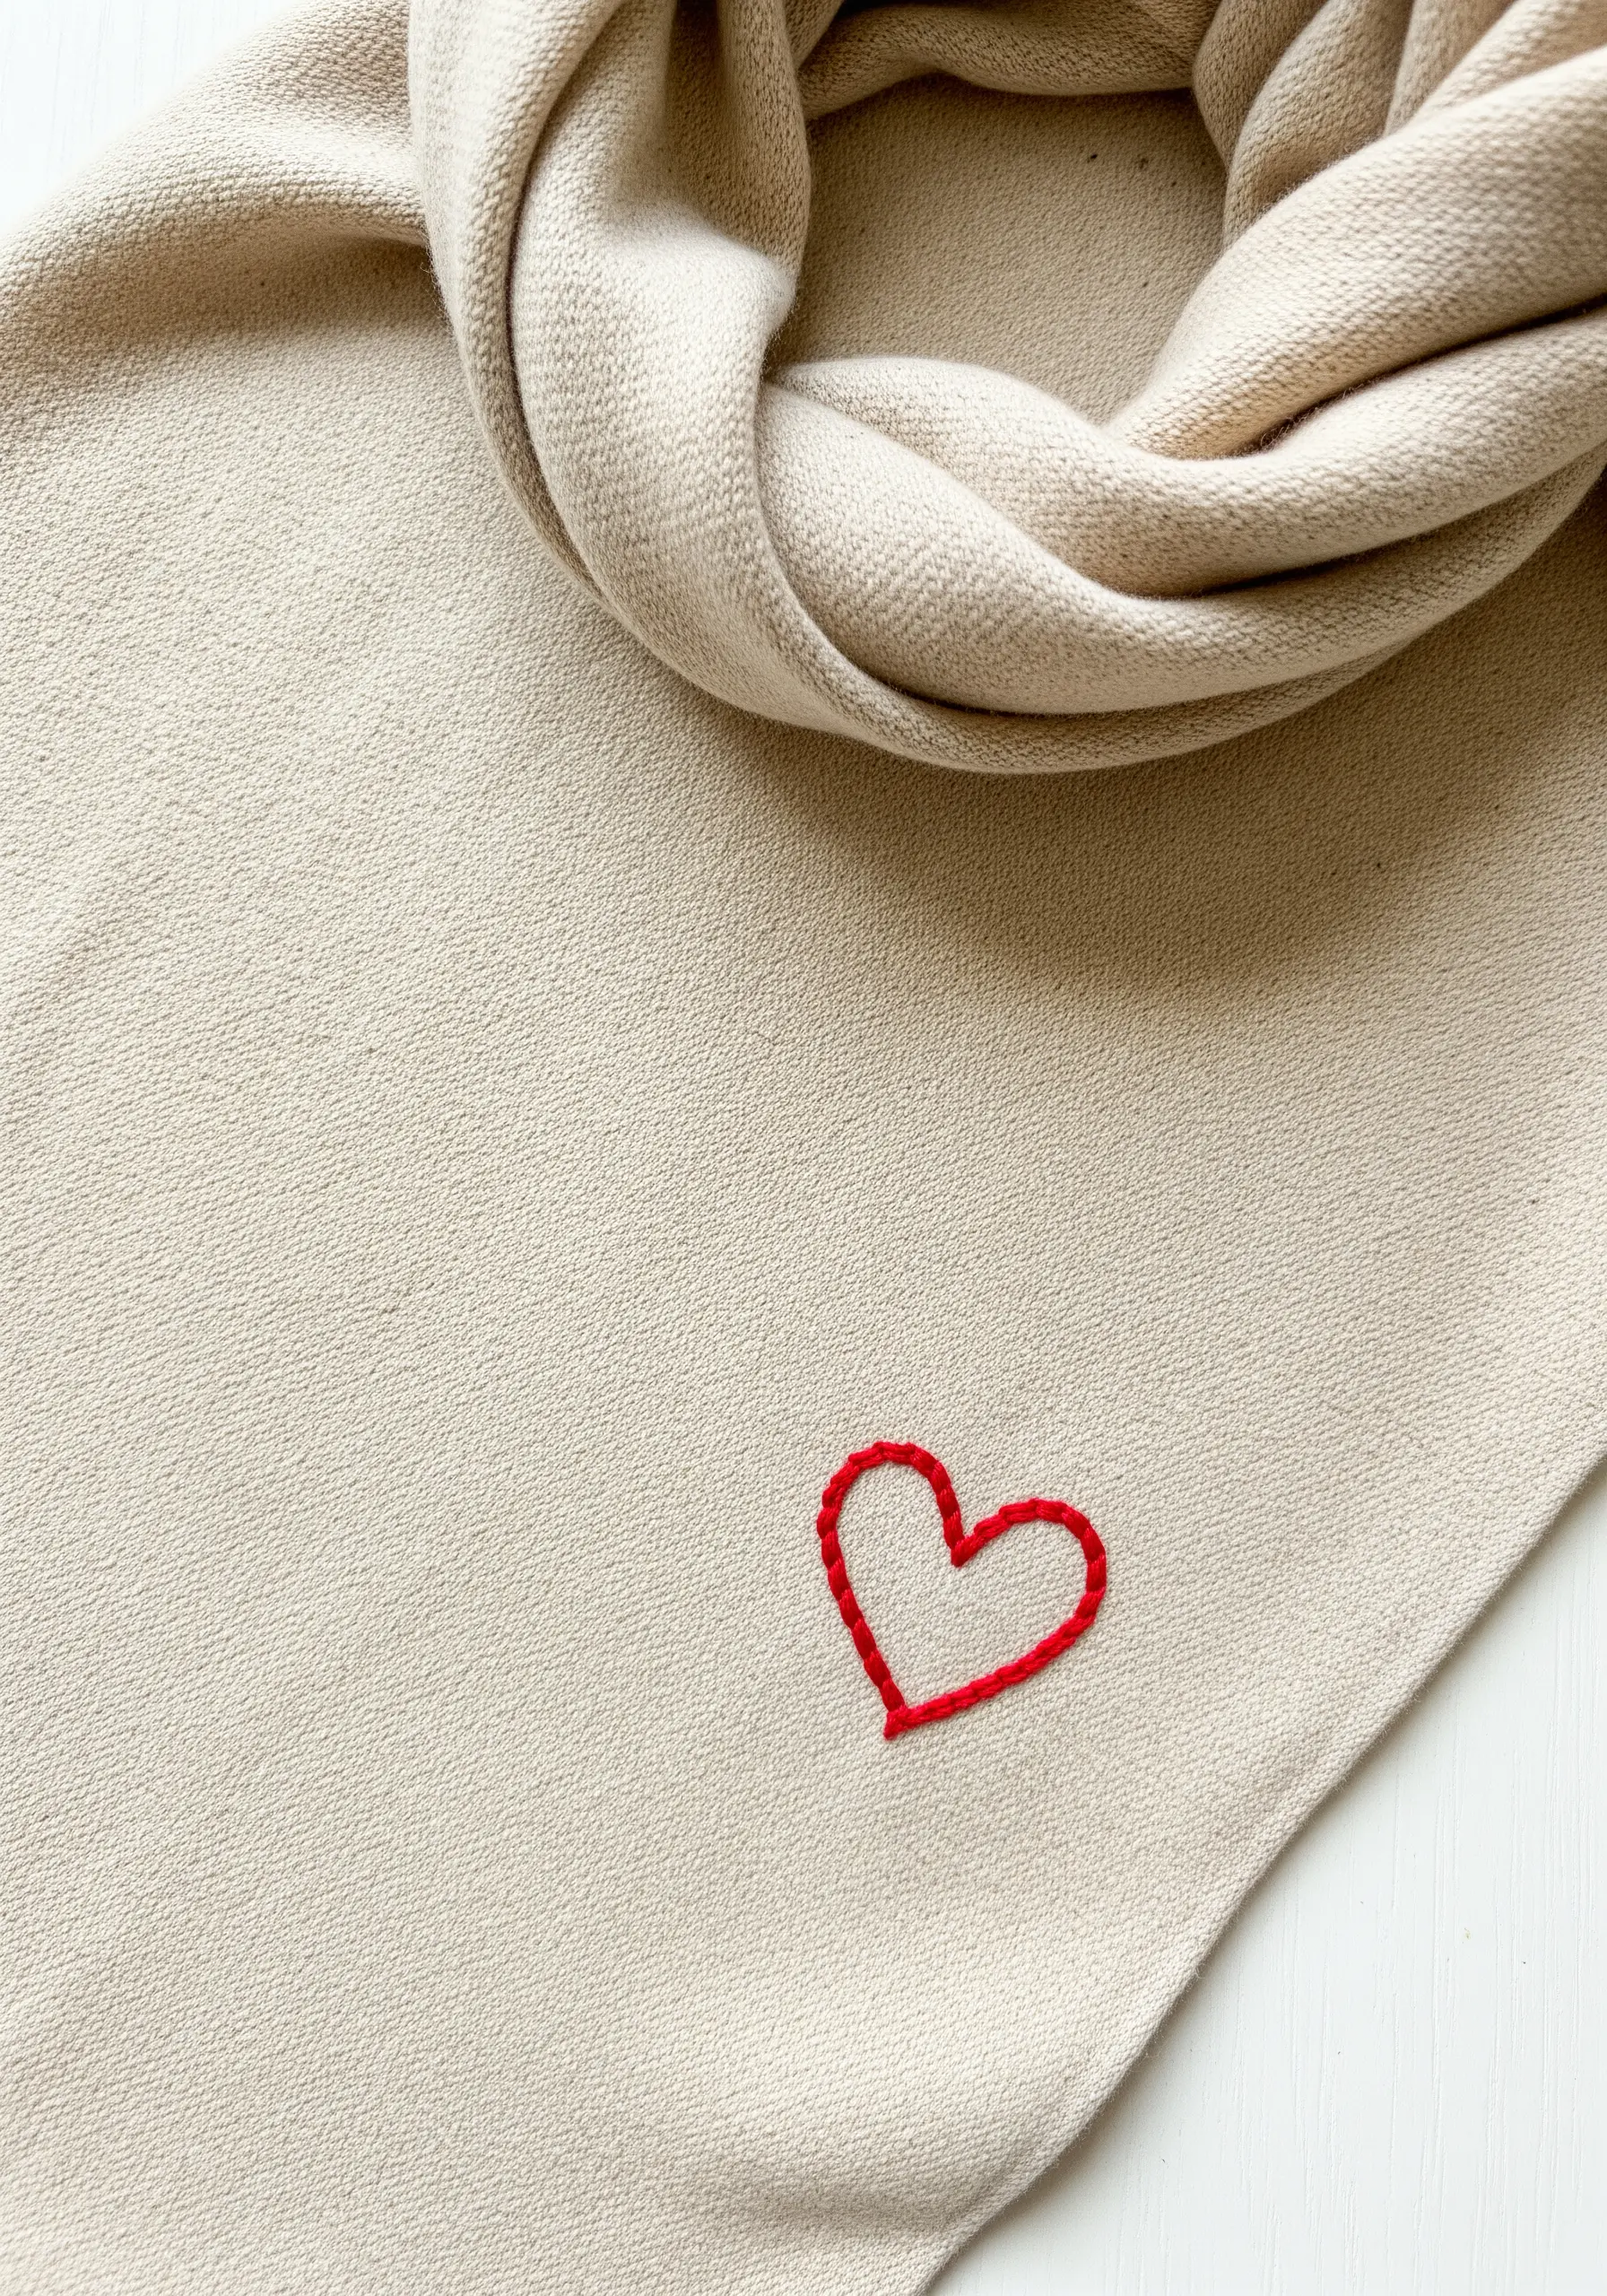
The appeal of a simple motif like this is its personal, imperfect charm.
Use a simple backstitch with two or three strands of floss, and don’t worry about making every stitch identical in length.
This slight variation is what gives the design its warmth and authenticity.
This is a perfect example of how tiny secret embroidery ideas can add a deeply personal touch to your favorite accessories.
14. Stylized Leaf Border
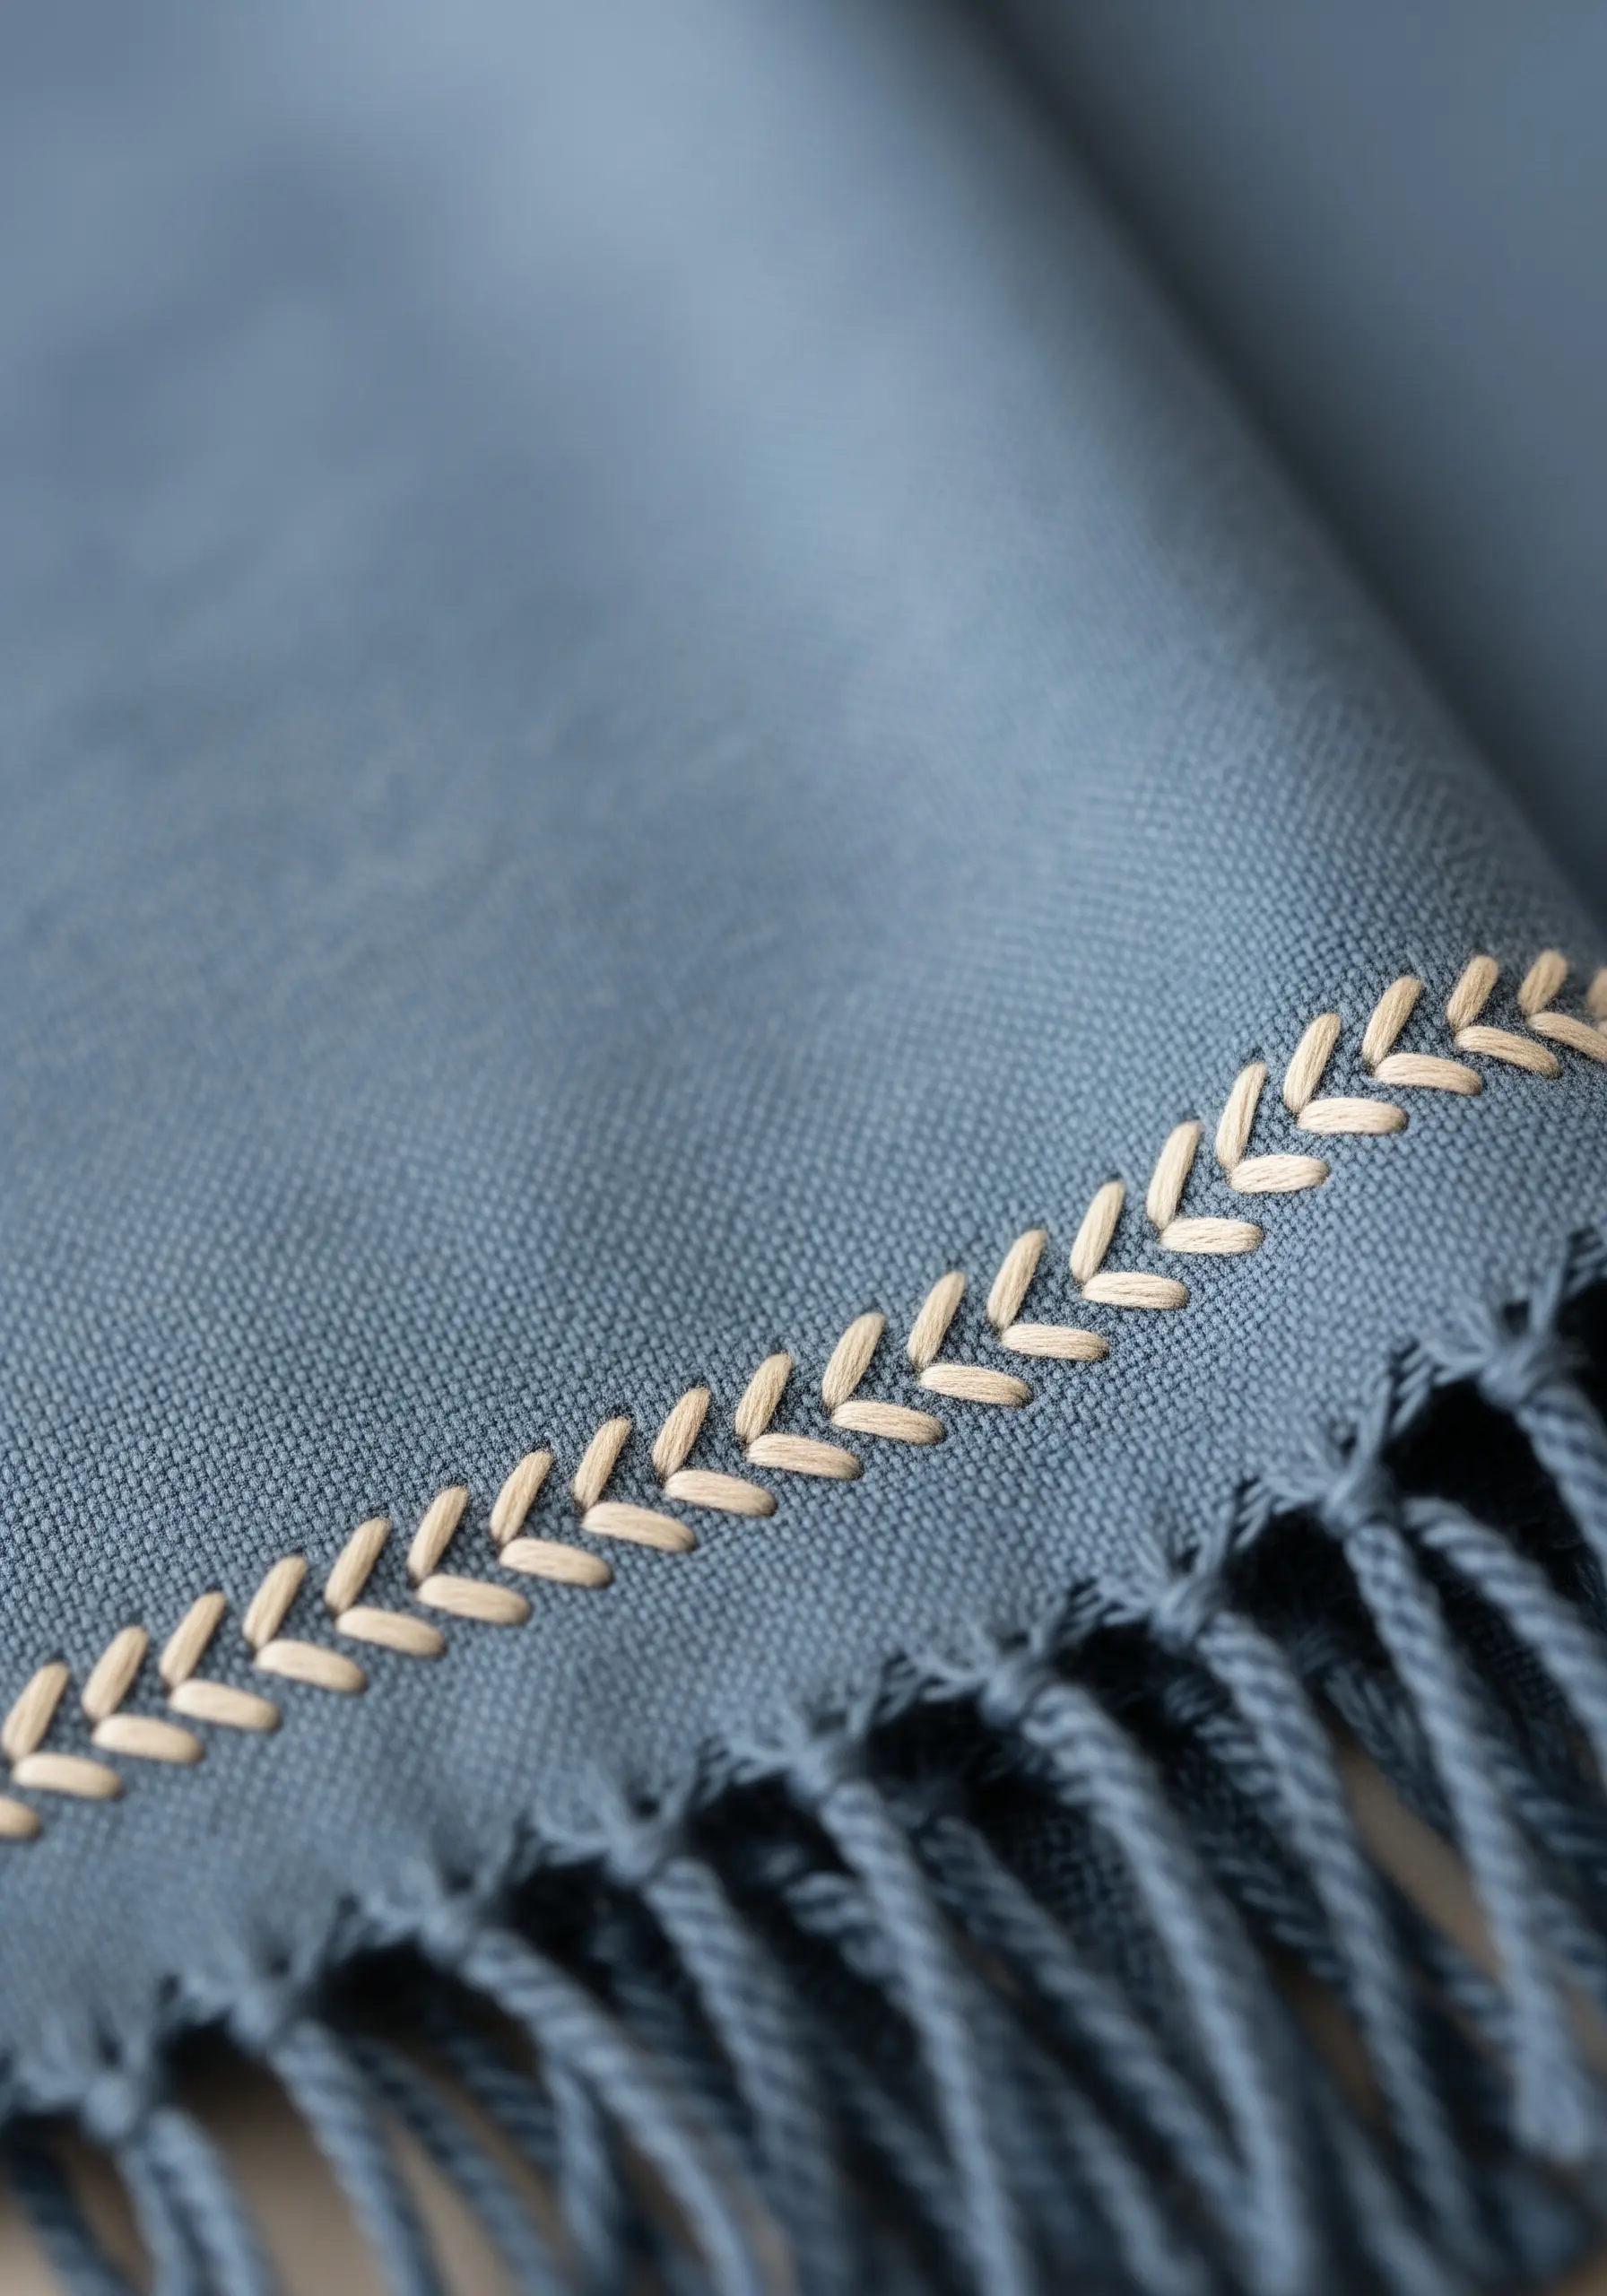
This elegant border is created with a continuous line of fly stitches.
Each ‘leaf’ is a single fly stitch—a V-shape anchored by a small straight stitch.
By working them in a neat, evenly spaced row along a hem or fringe, you create a sophisticated garland effect.
It’s a remarkably simple stitch that produces a complex and professional-looking decorative edge.
15. Classic Serif Monogram
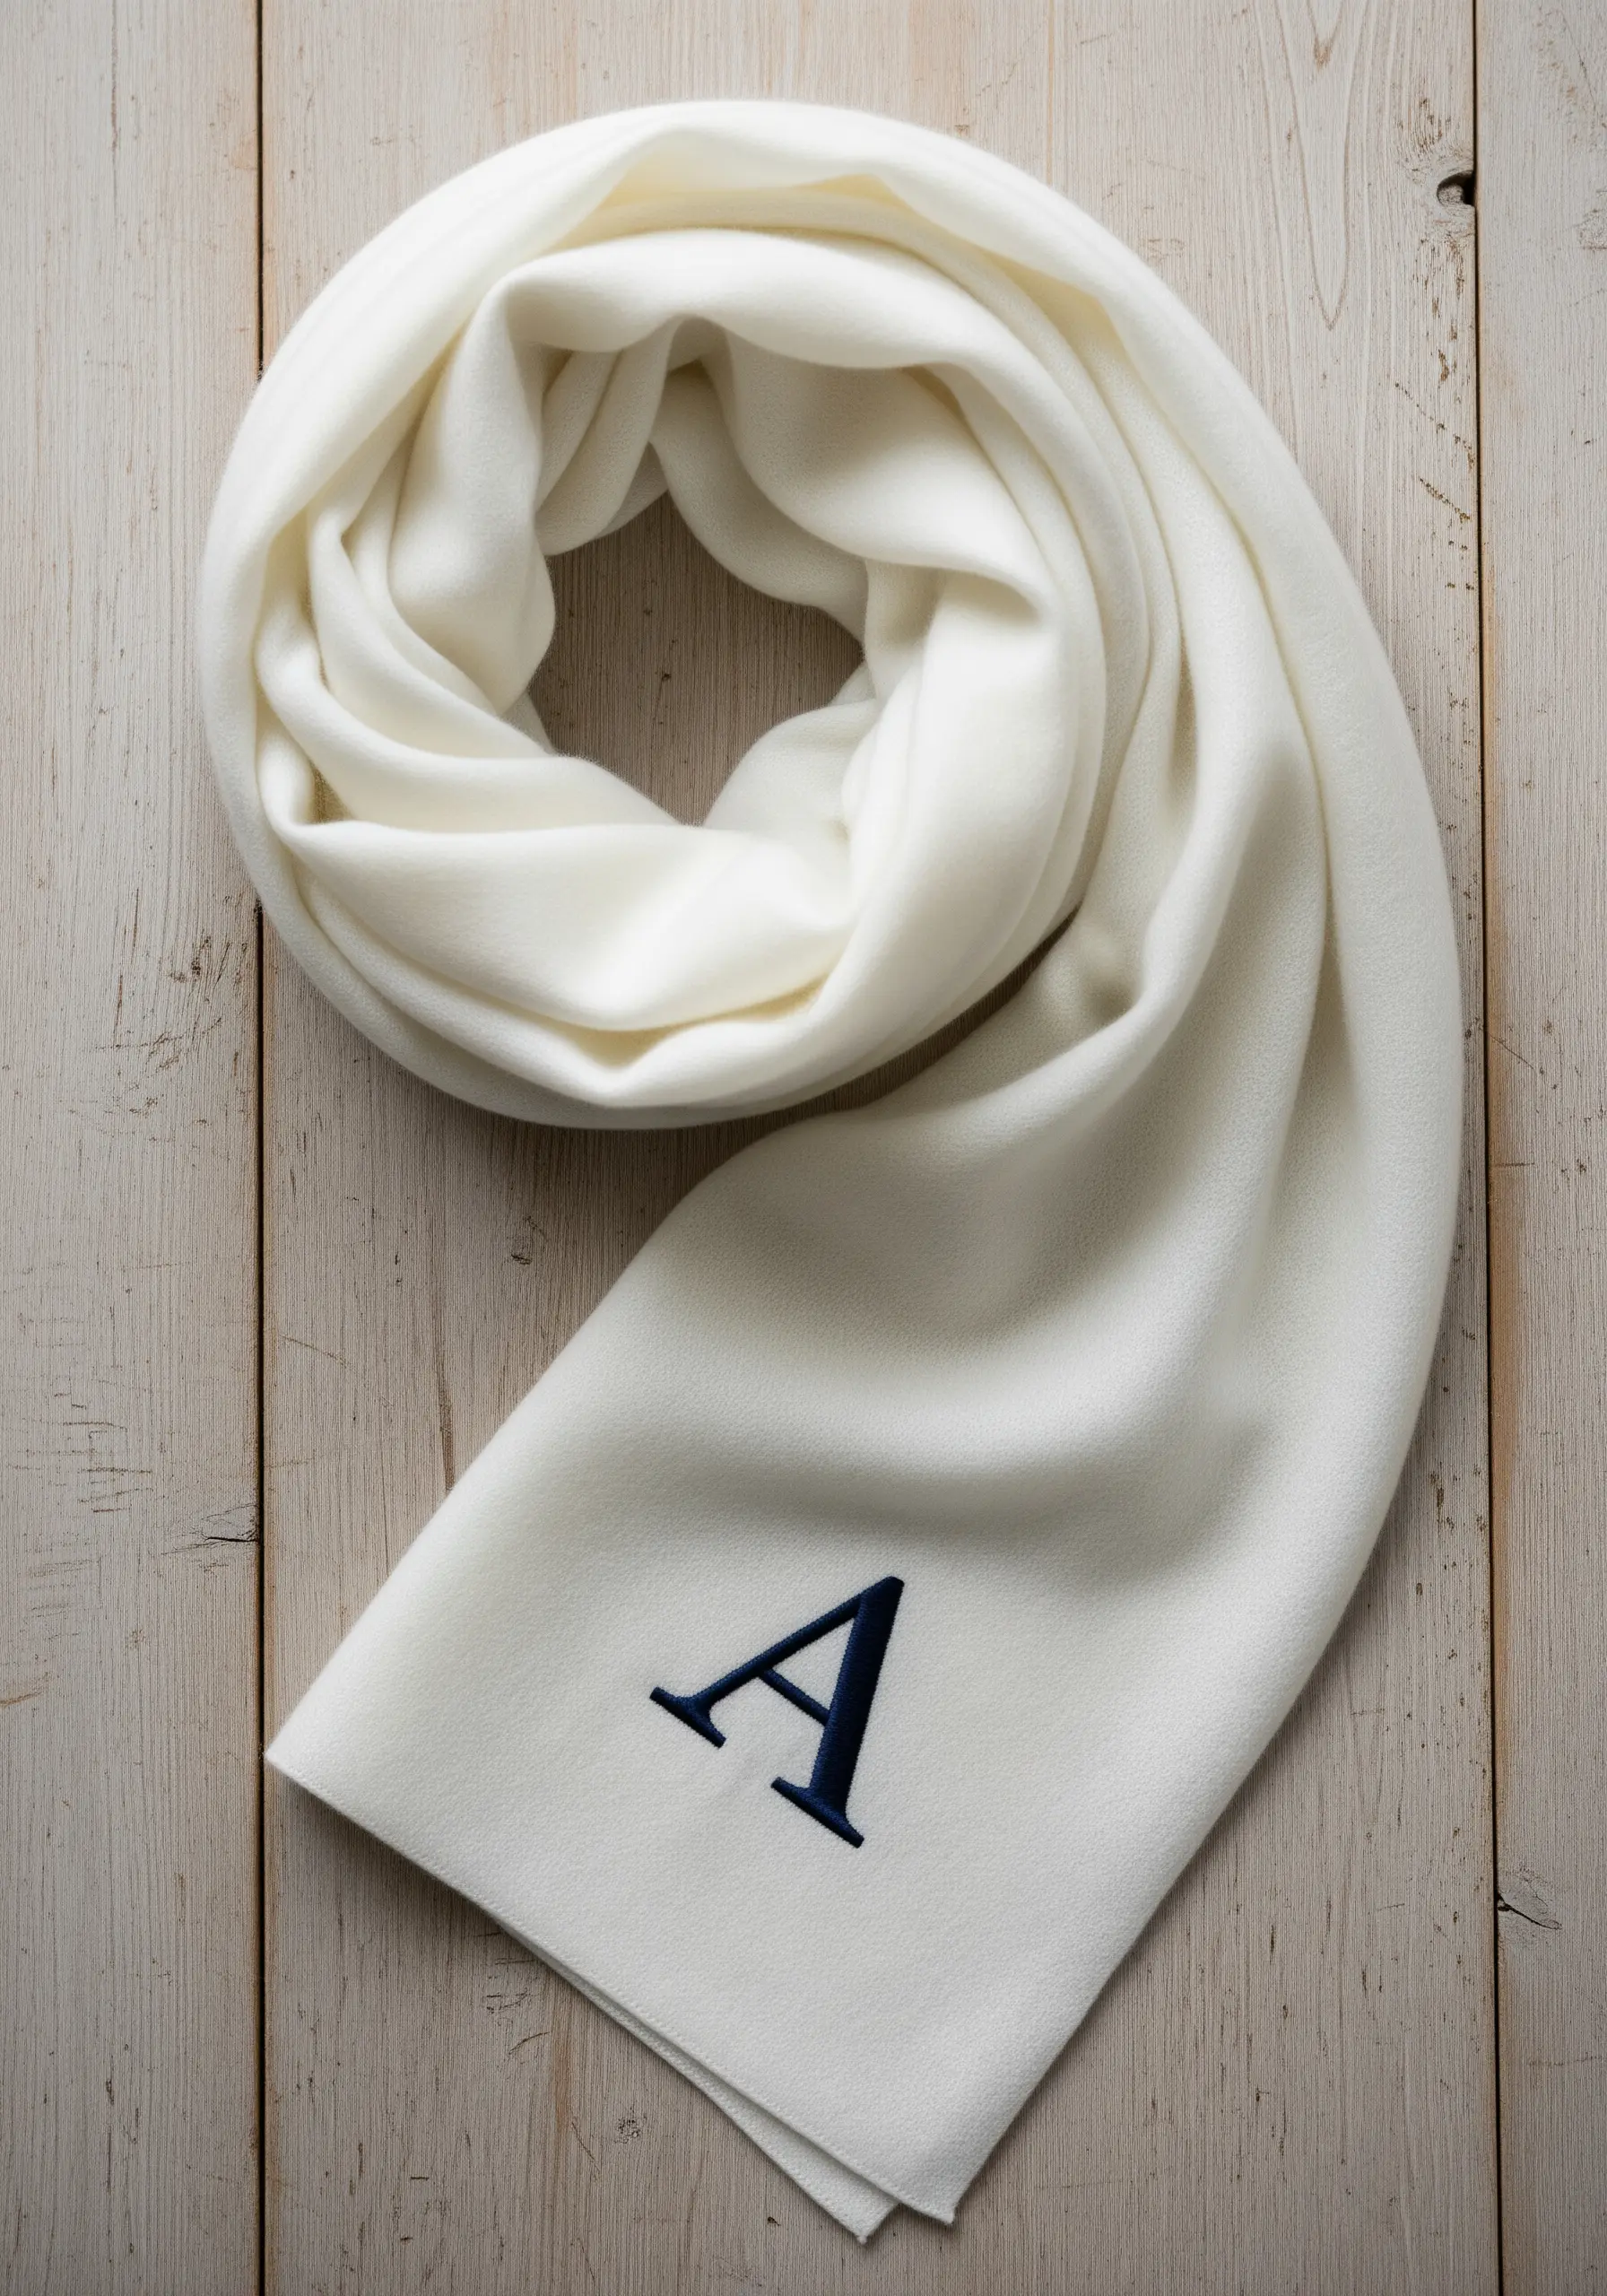
For a bold monogram that looks embossed, you must add padding before you lay a single satin stitch.
First, outline the letter with split stitch, then fill the inside with a layer of small running stitches.
Finally, cover this entire padded area with smooth, even satin stitches worked perpendicular to the padding stitches.
This technique gives the letter a raised, three-dimensional quality that feels incredibly luxurious.
16. Abstract Geometric Grid
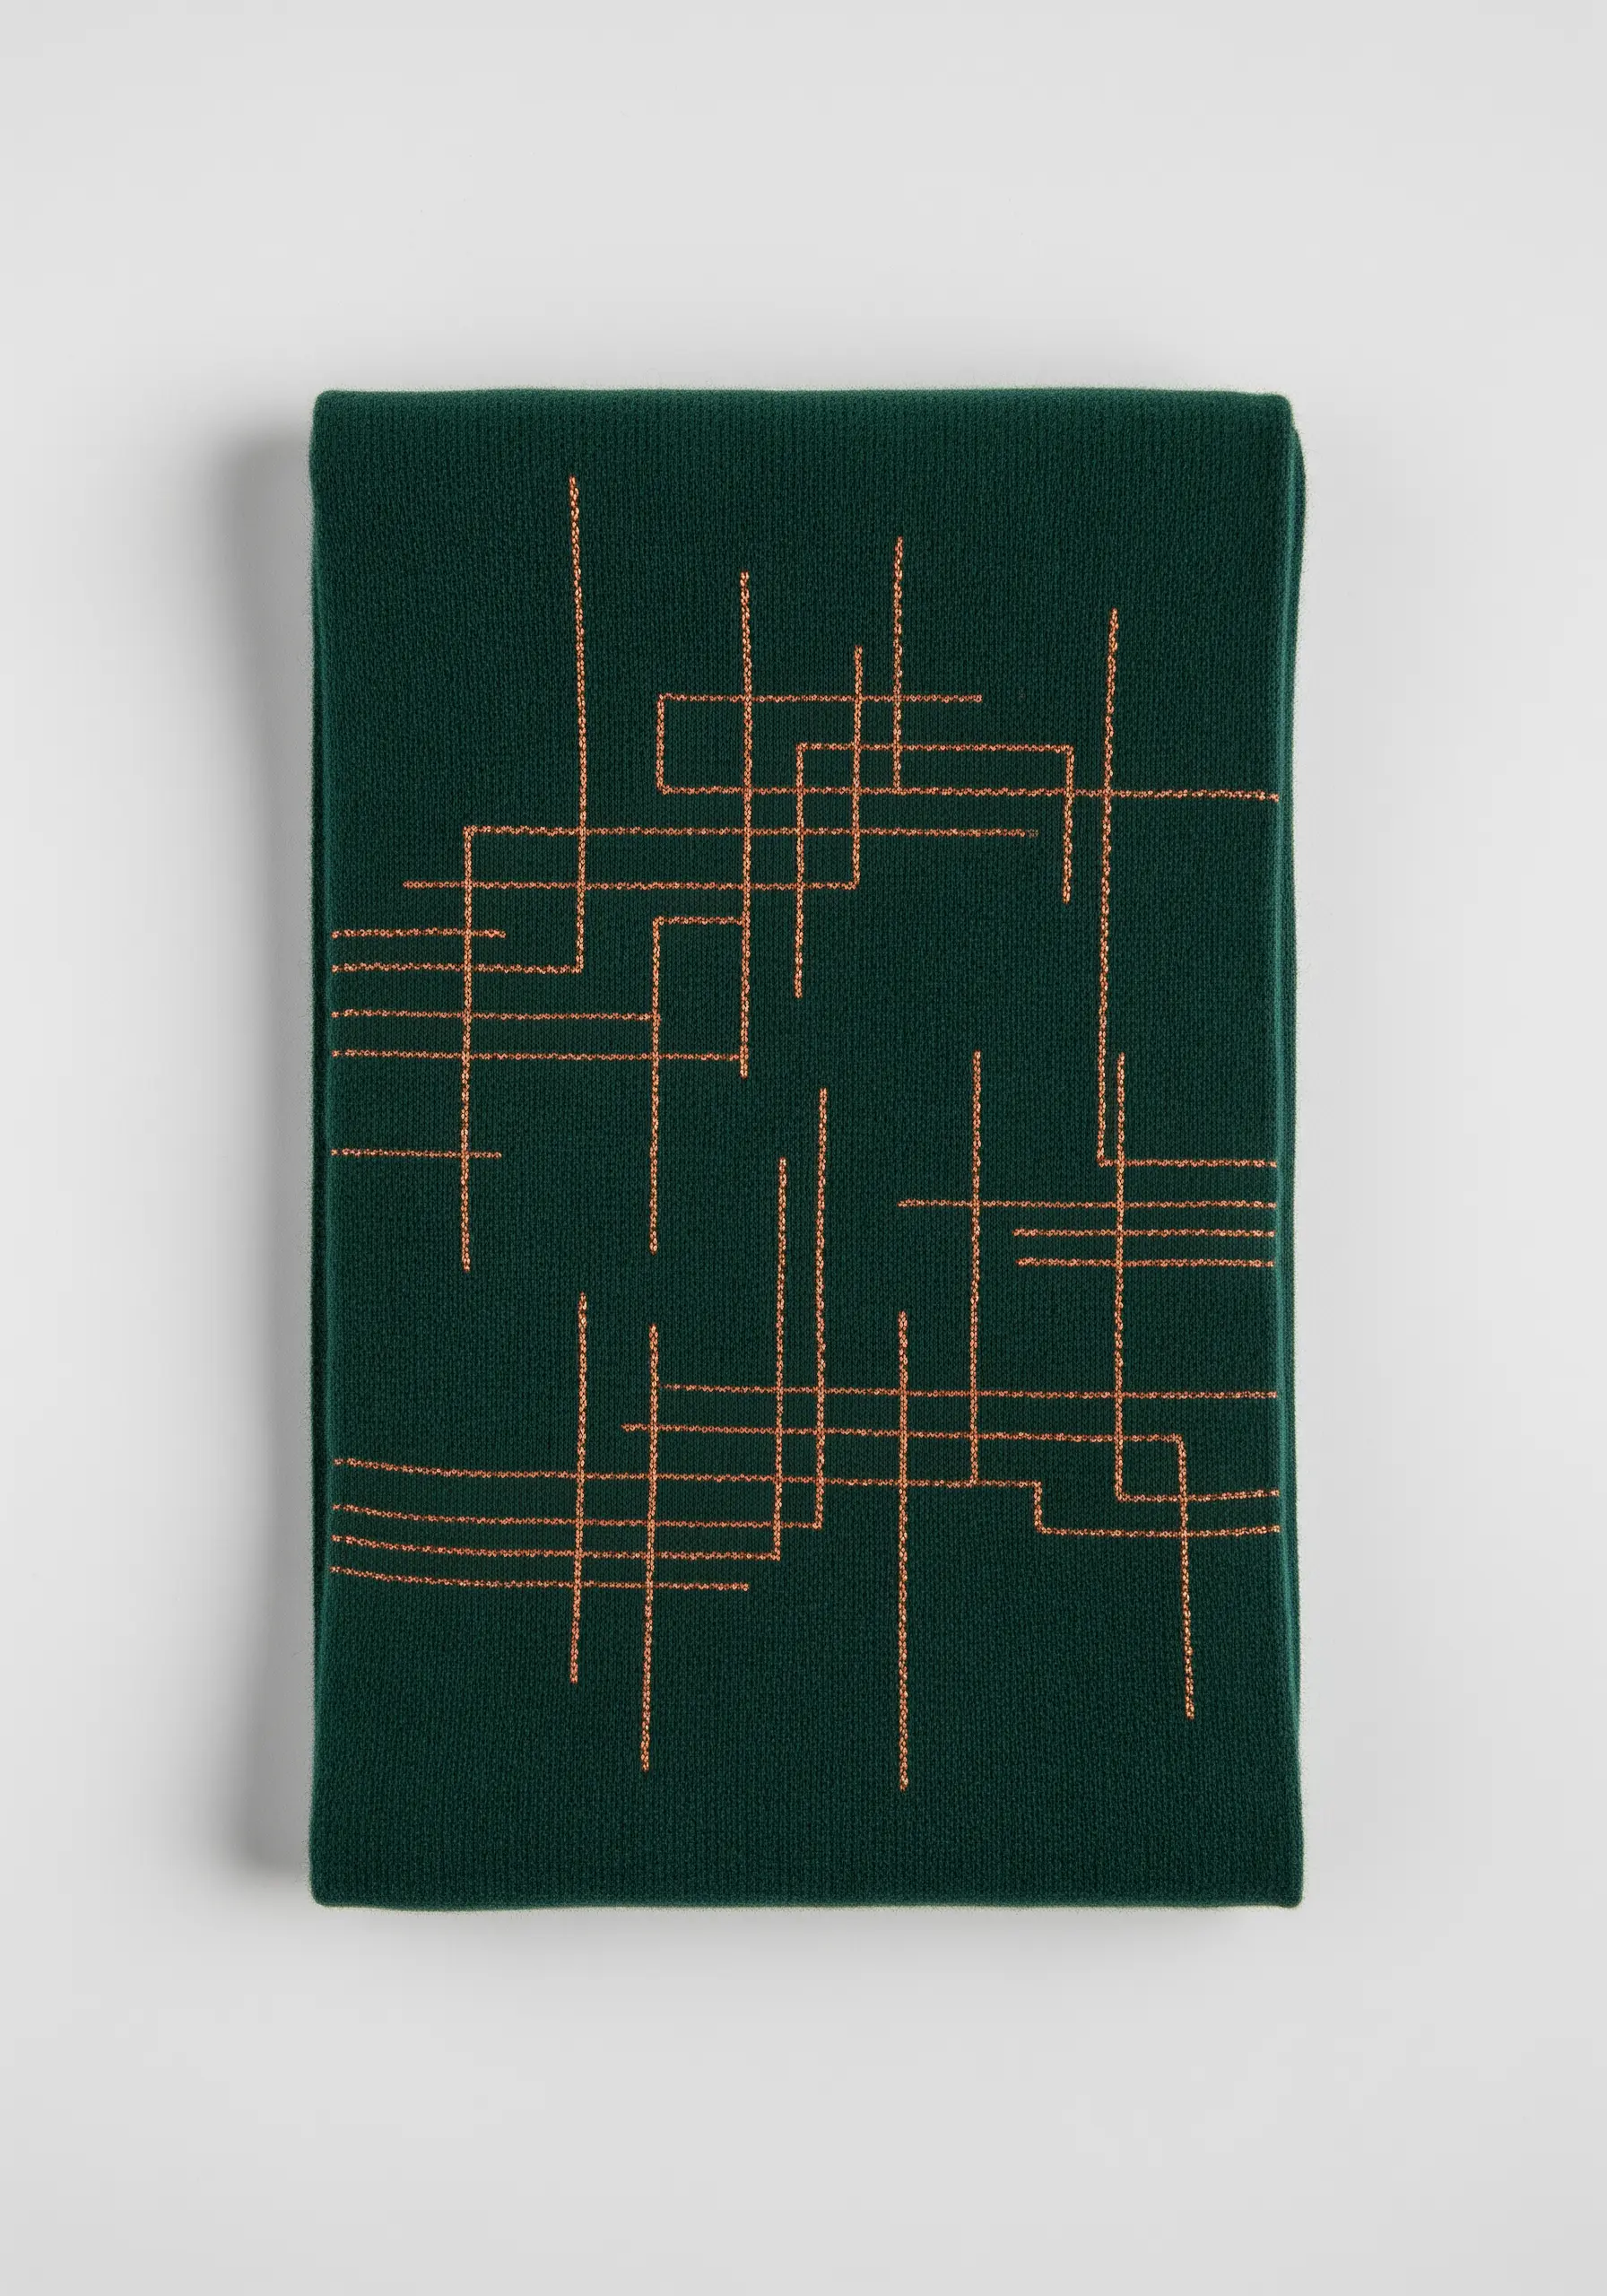
Turn the humble backstitch into a piece of modern art with a focus on precision.
Use a water-soluble marker and a small ruler to lightly draw your grid before you start stitching.
This ensures your lines are perfectly straight and your intersections are crisp.
Maintain a consistent stitch length throughout the design to create a clean, architectural pattern that feels intentional and balanced.
17. Delicate Fishbone Stitch Feather
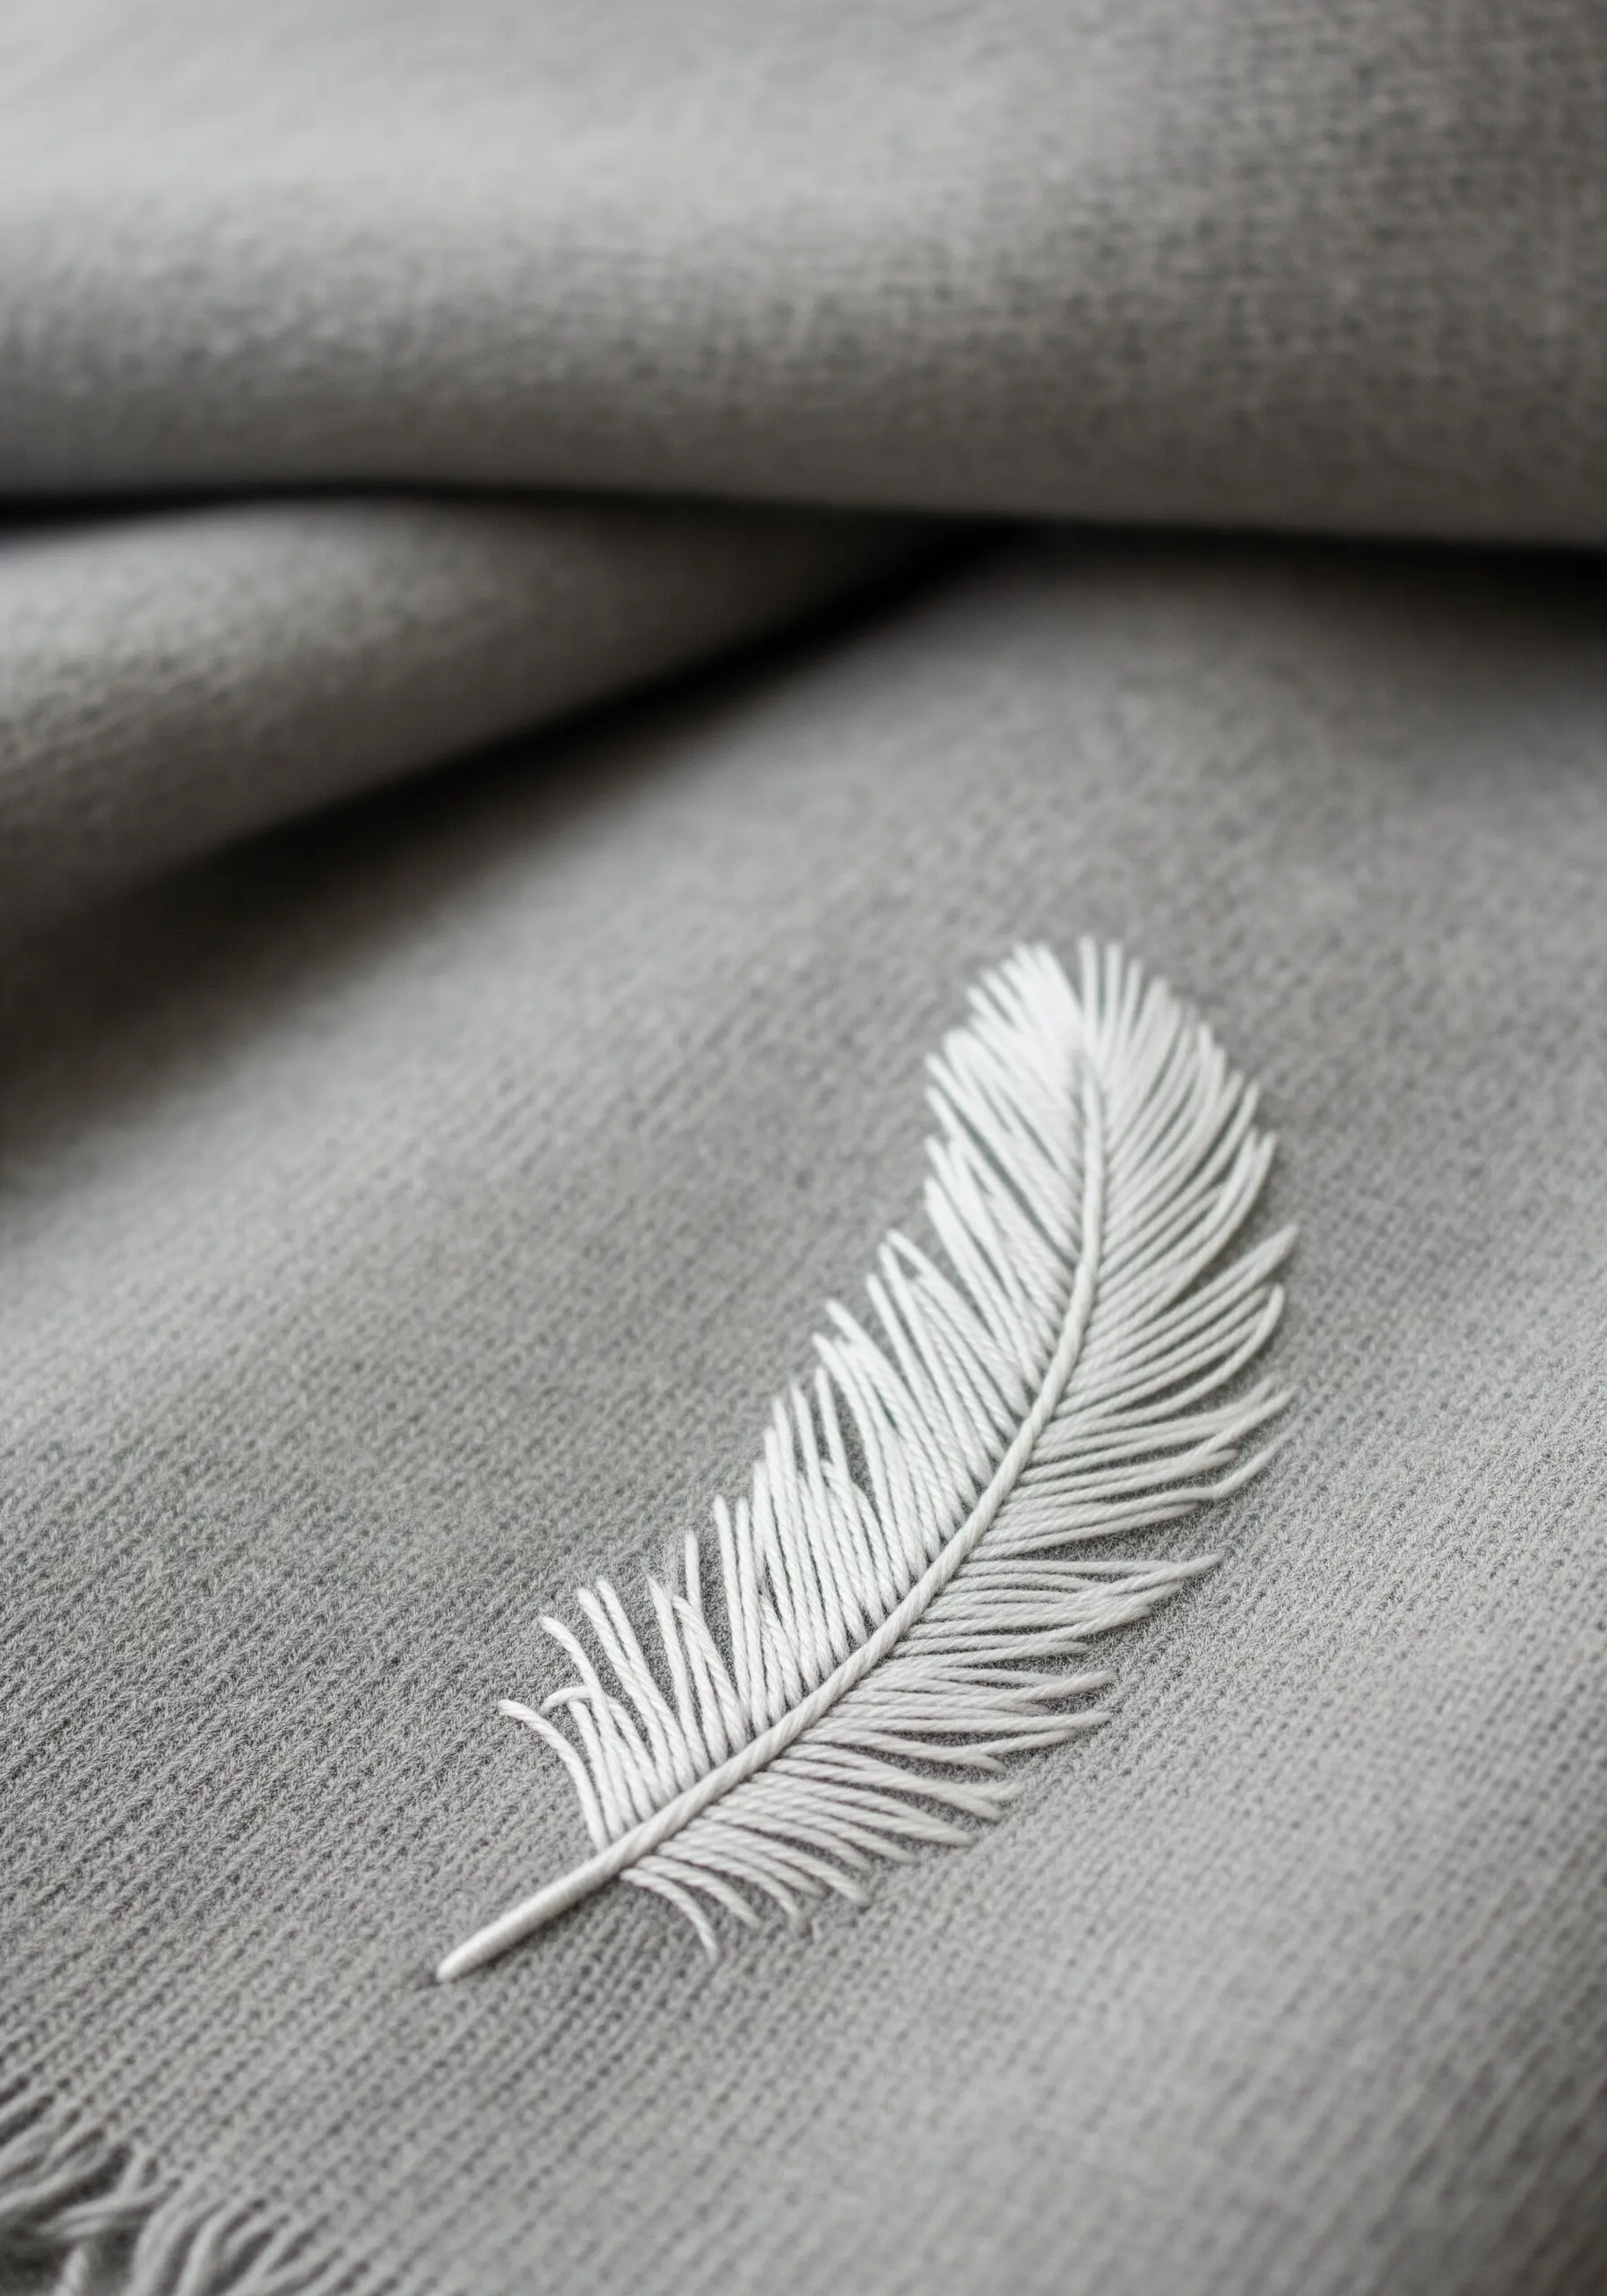
To capture the delicate structure of a feather, the fishbone stitch is your best friend.
Start with a single straight stitch for the central spine.
Then, work angled straight stitches from the outside edge down to the center, alternating sides as you move down the shaft.
Using a single strand of floss and keeping the stitches slightly open gives the feather a light, airy quality that feels incredibly realistic.
18. Two-Tone Sunburst Motif
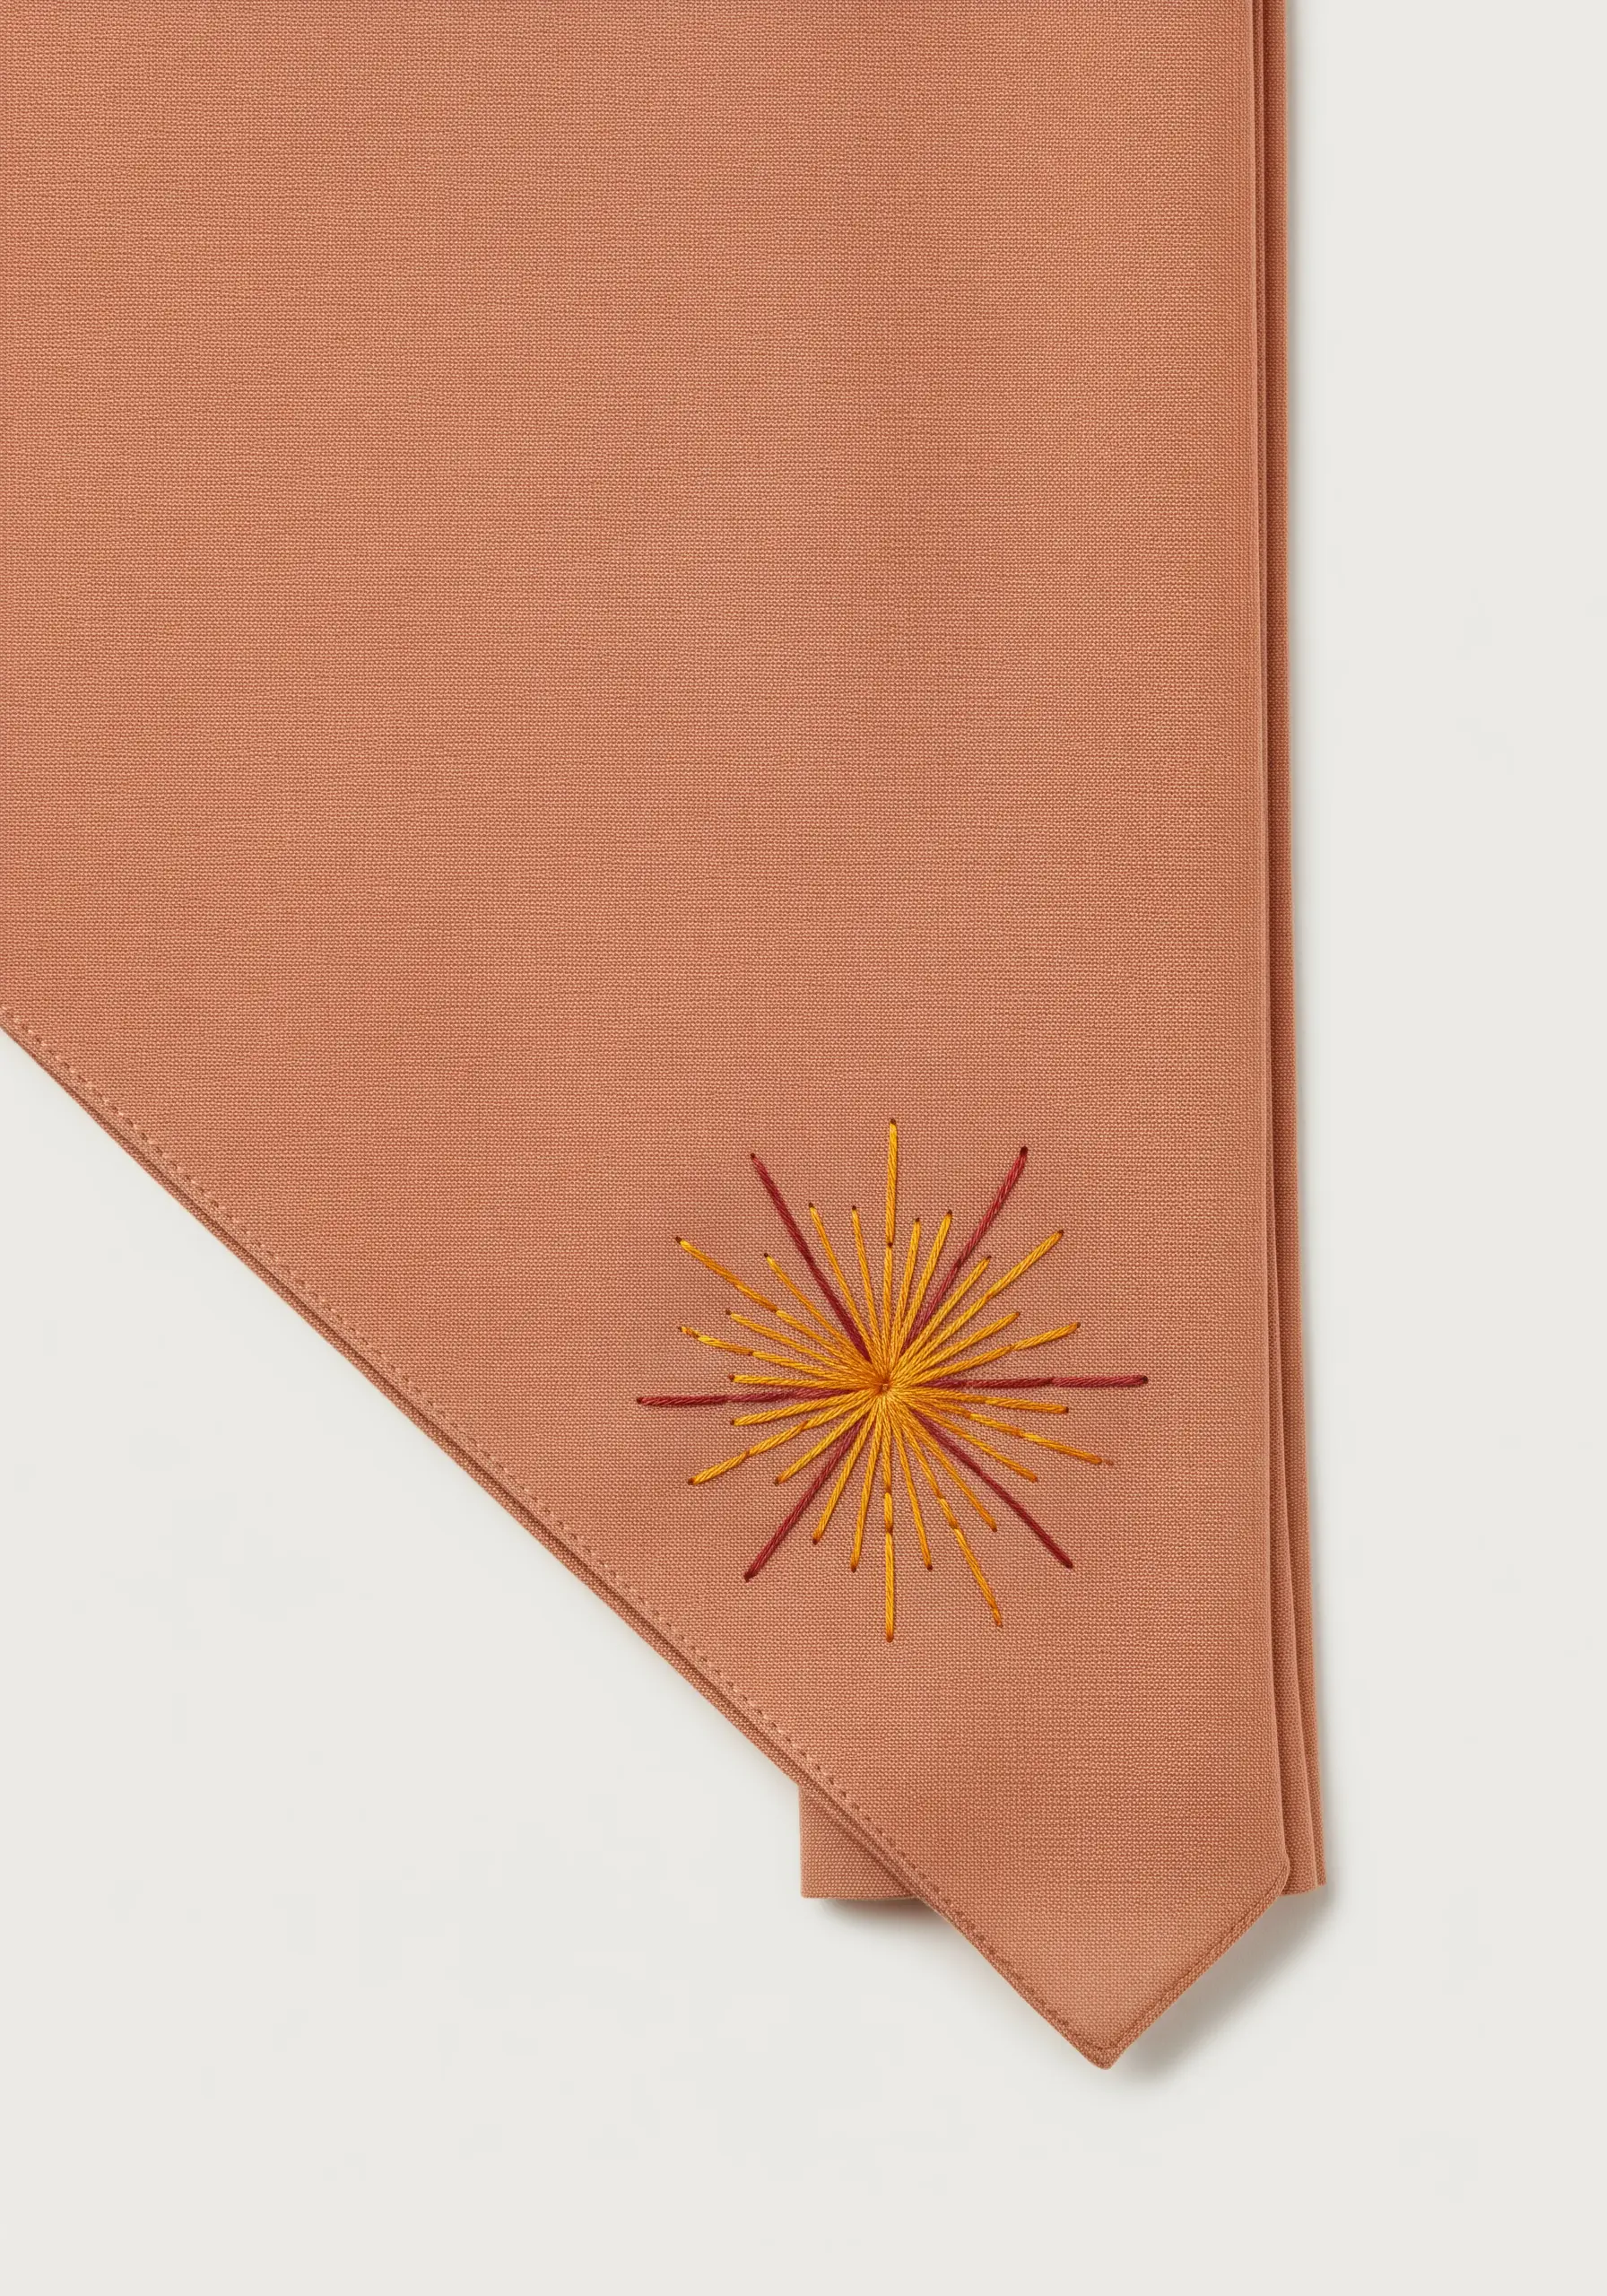
Create a dynamic gradient effect without complex blending by using strategic color placement.
This sunburst is made entirely of straight stitches of varying lengths, radiating from a central point.
The key is to use two or three related colors and intersperse them, rather than clustering them together.
This creates a vibrant, energetic design and is a great example of how two-color embroidery ideas can produce a rich, textured result.
19. Realistic Fern Frond
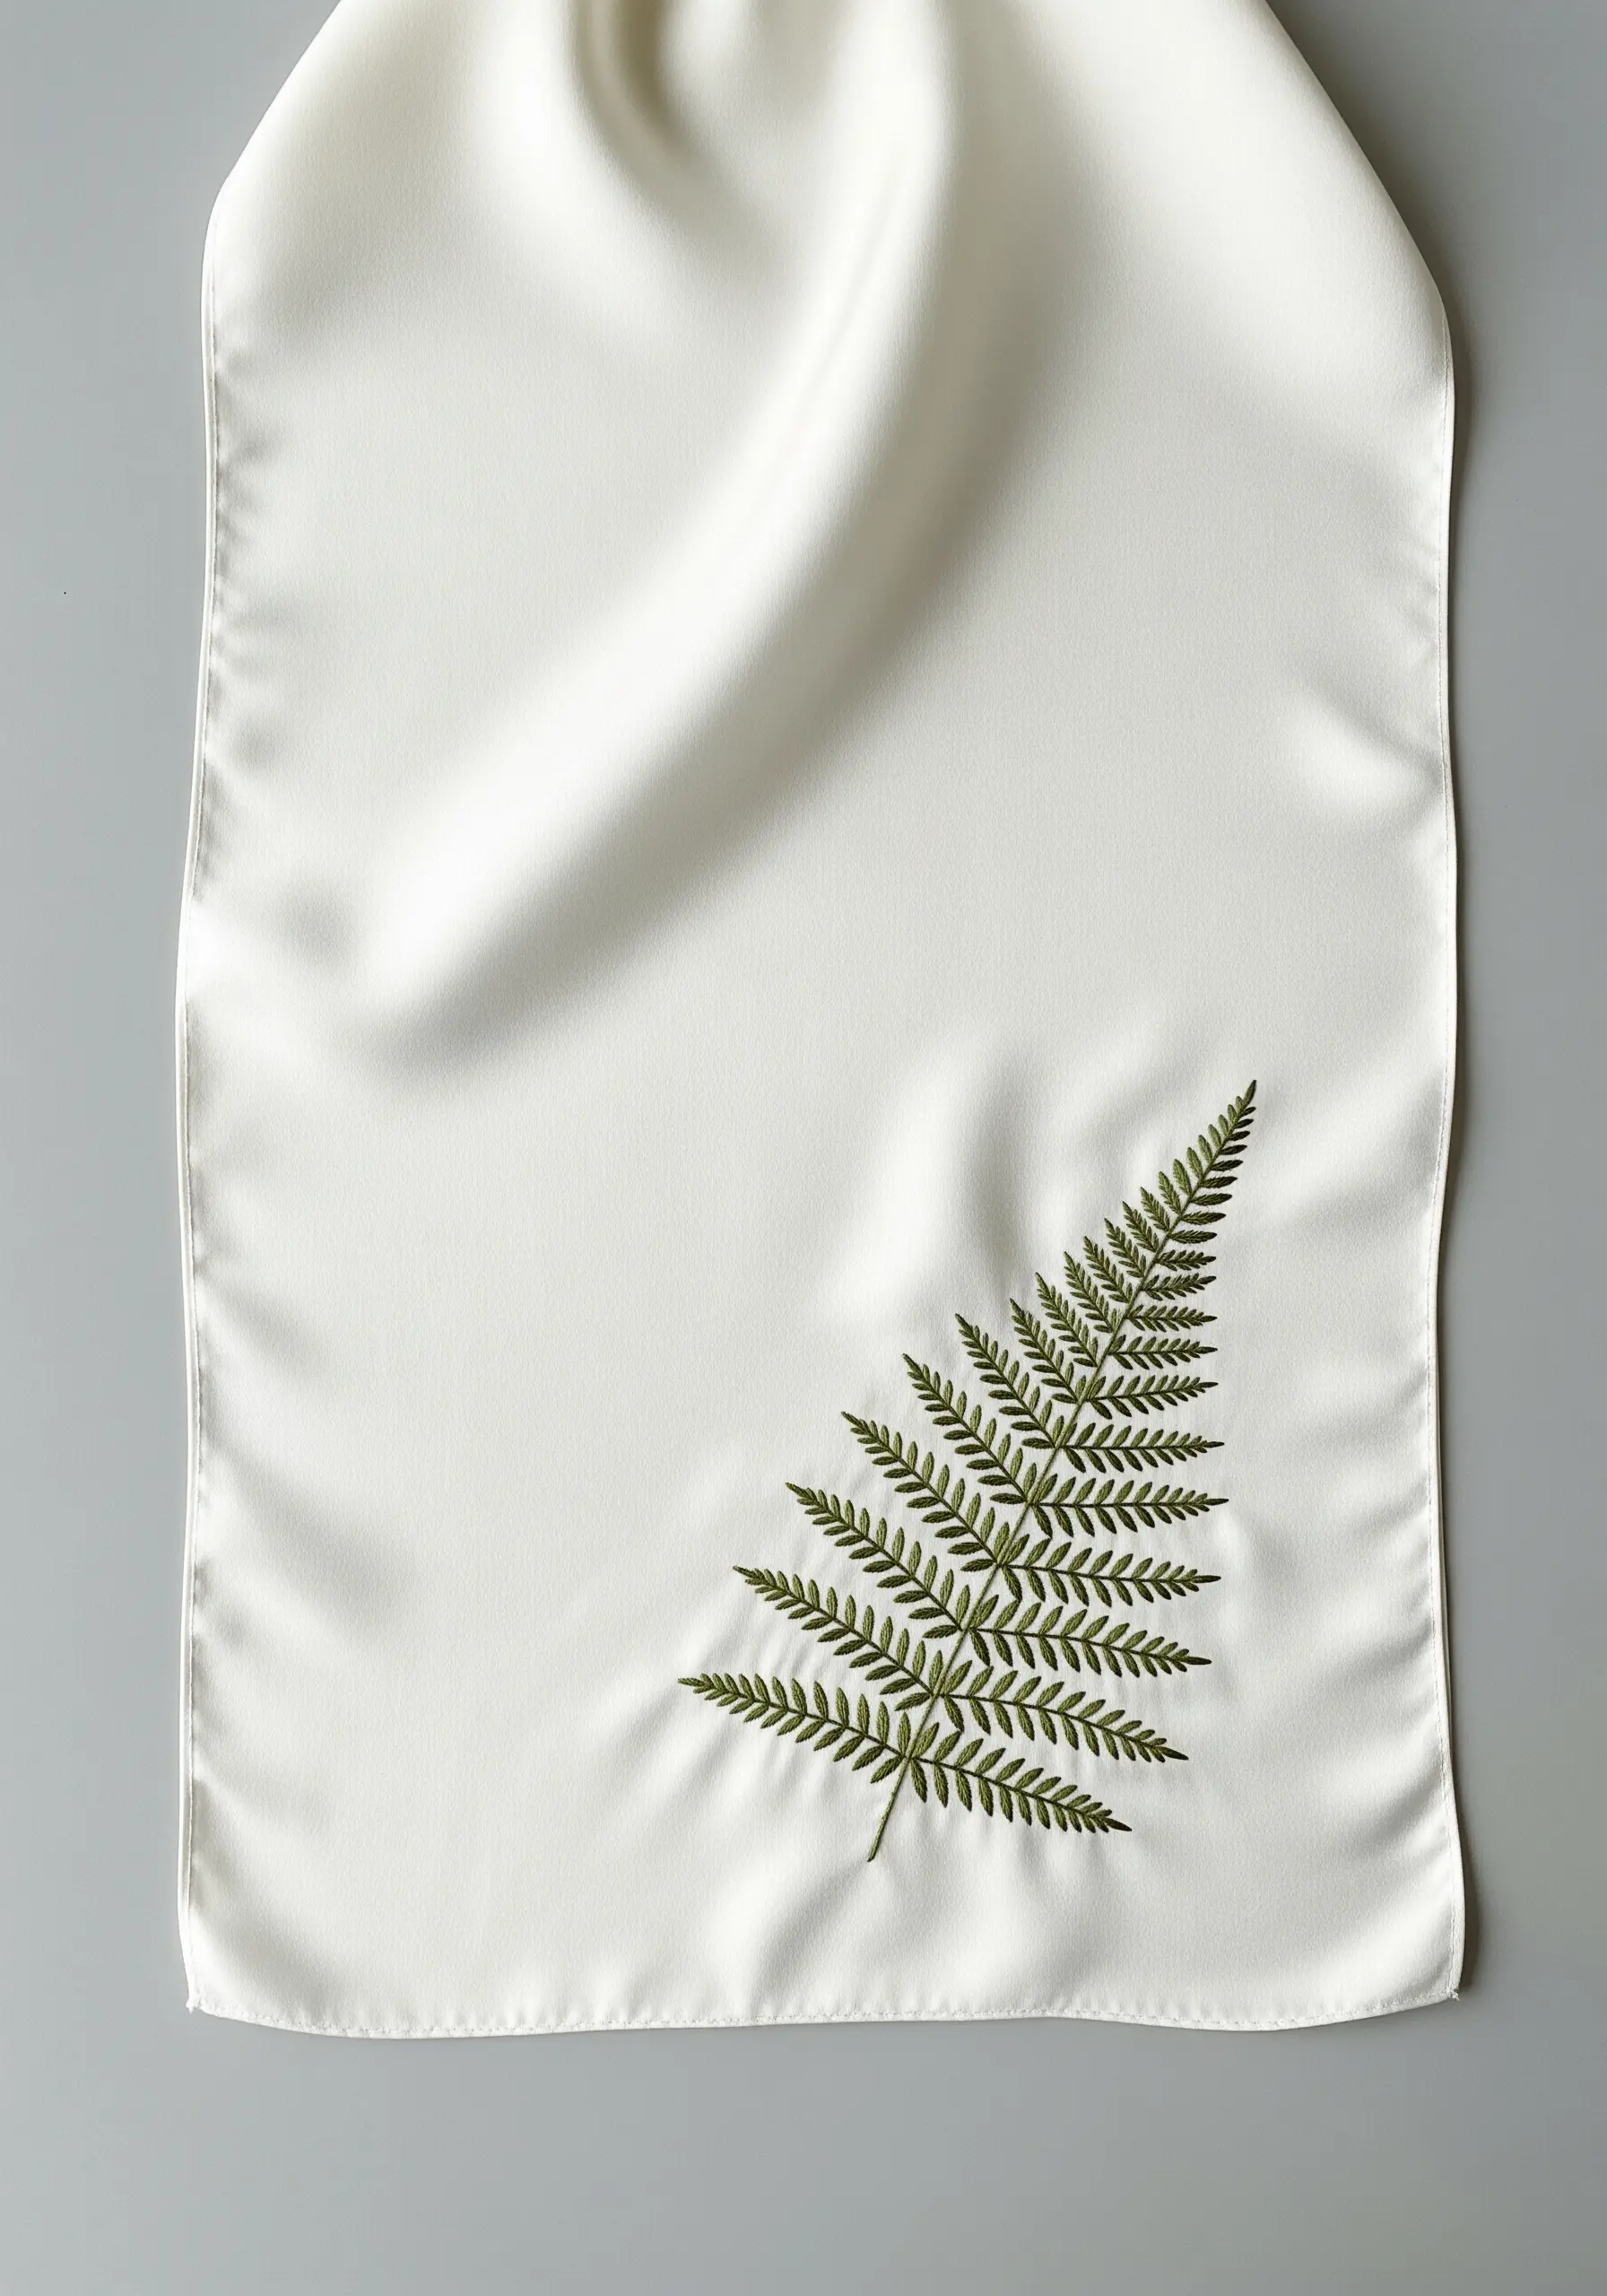
Achieving botanical accuracy in embroidery is about breaking the plant down into its essential parts.
Use a smooth, solid stitch like a whipped backstitch for the central stem to give it structure.
For the delicate leaflets, use individual fishbone stitches or tiny angled straight stitches.
This combination of different stitch structures for different parts of the plant is what creates a believable and lifelike result.
20. Minimalist Mountain Range
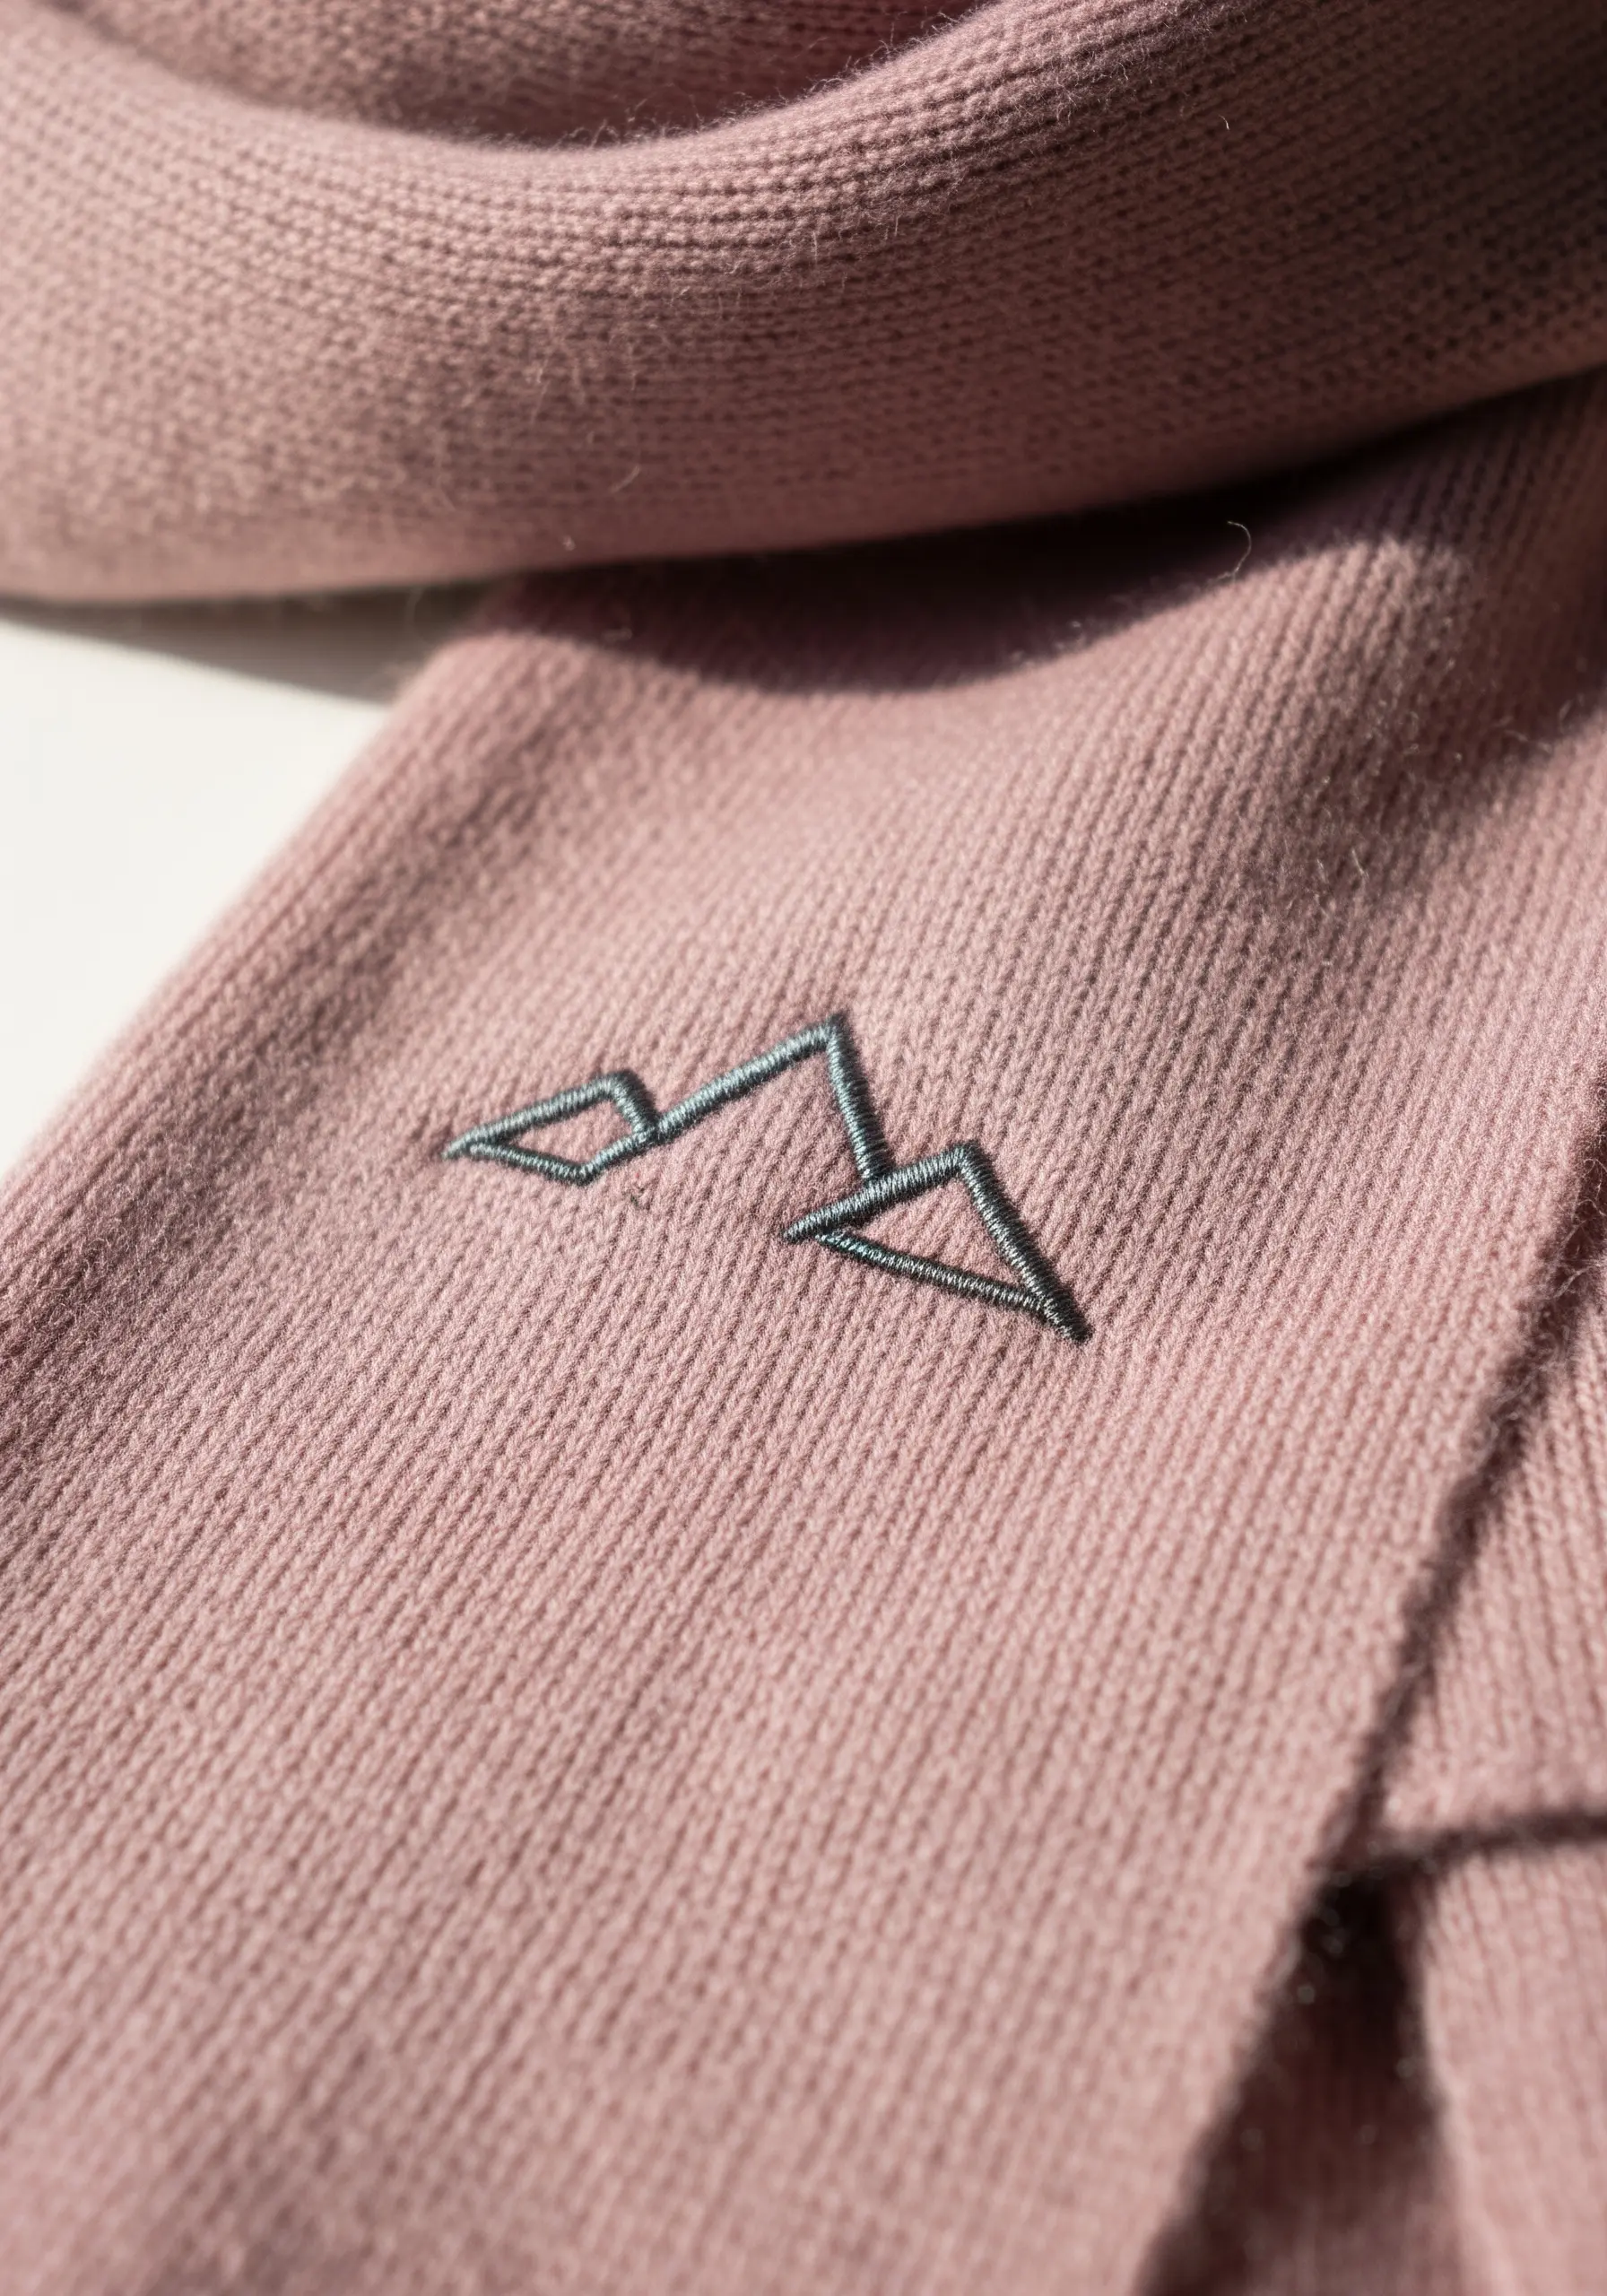
This design masterfully combines a crisp outline with a subtle fill to create depth.
Use a split stitch for the mountain peaks to ensure a sharp, unwavering line.
For the fill, use parallel straight stitches in a slightly lighter shade or with fewer strands of the same thread.
This adds a hint of shadow and dimension without overwhelming the minimalist aesthetic.
21. Scattered Cross-Stitch Pattern
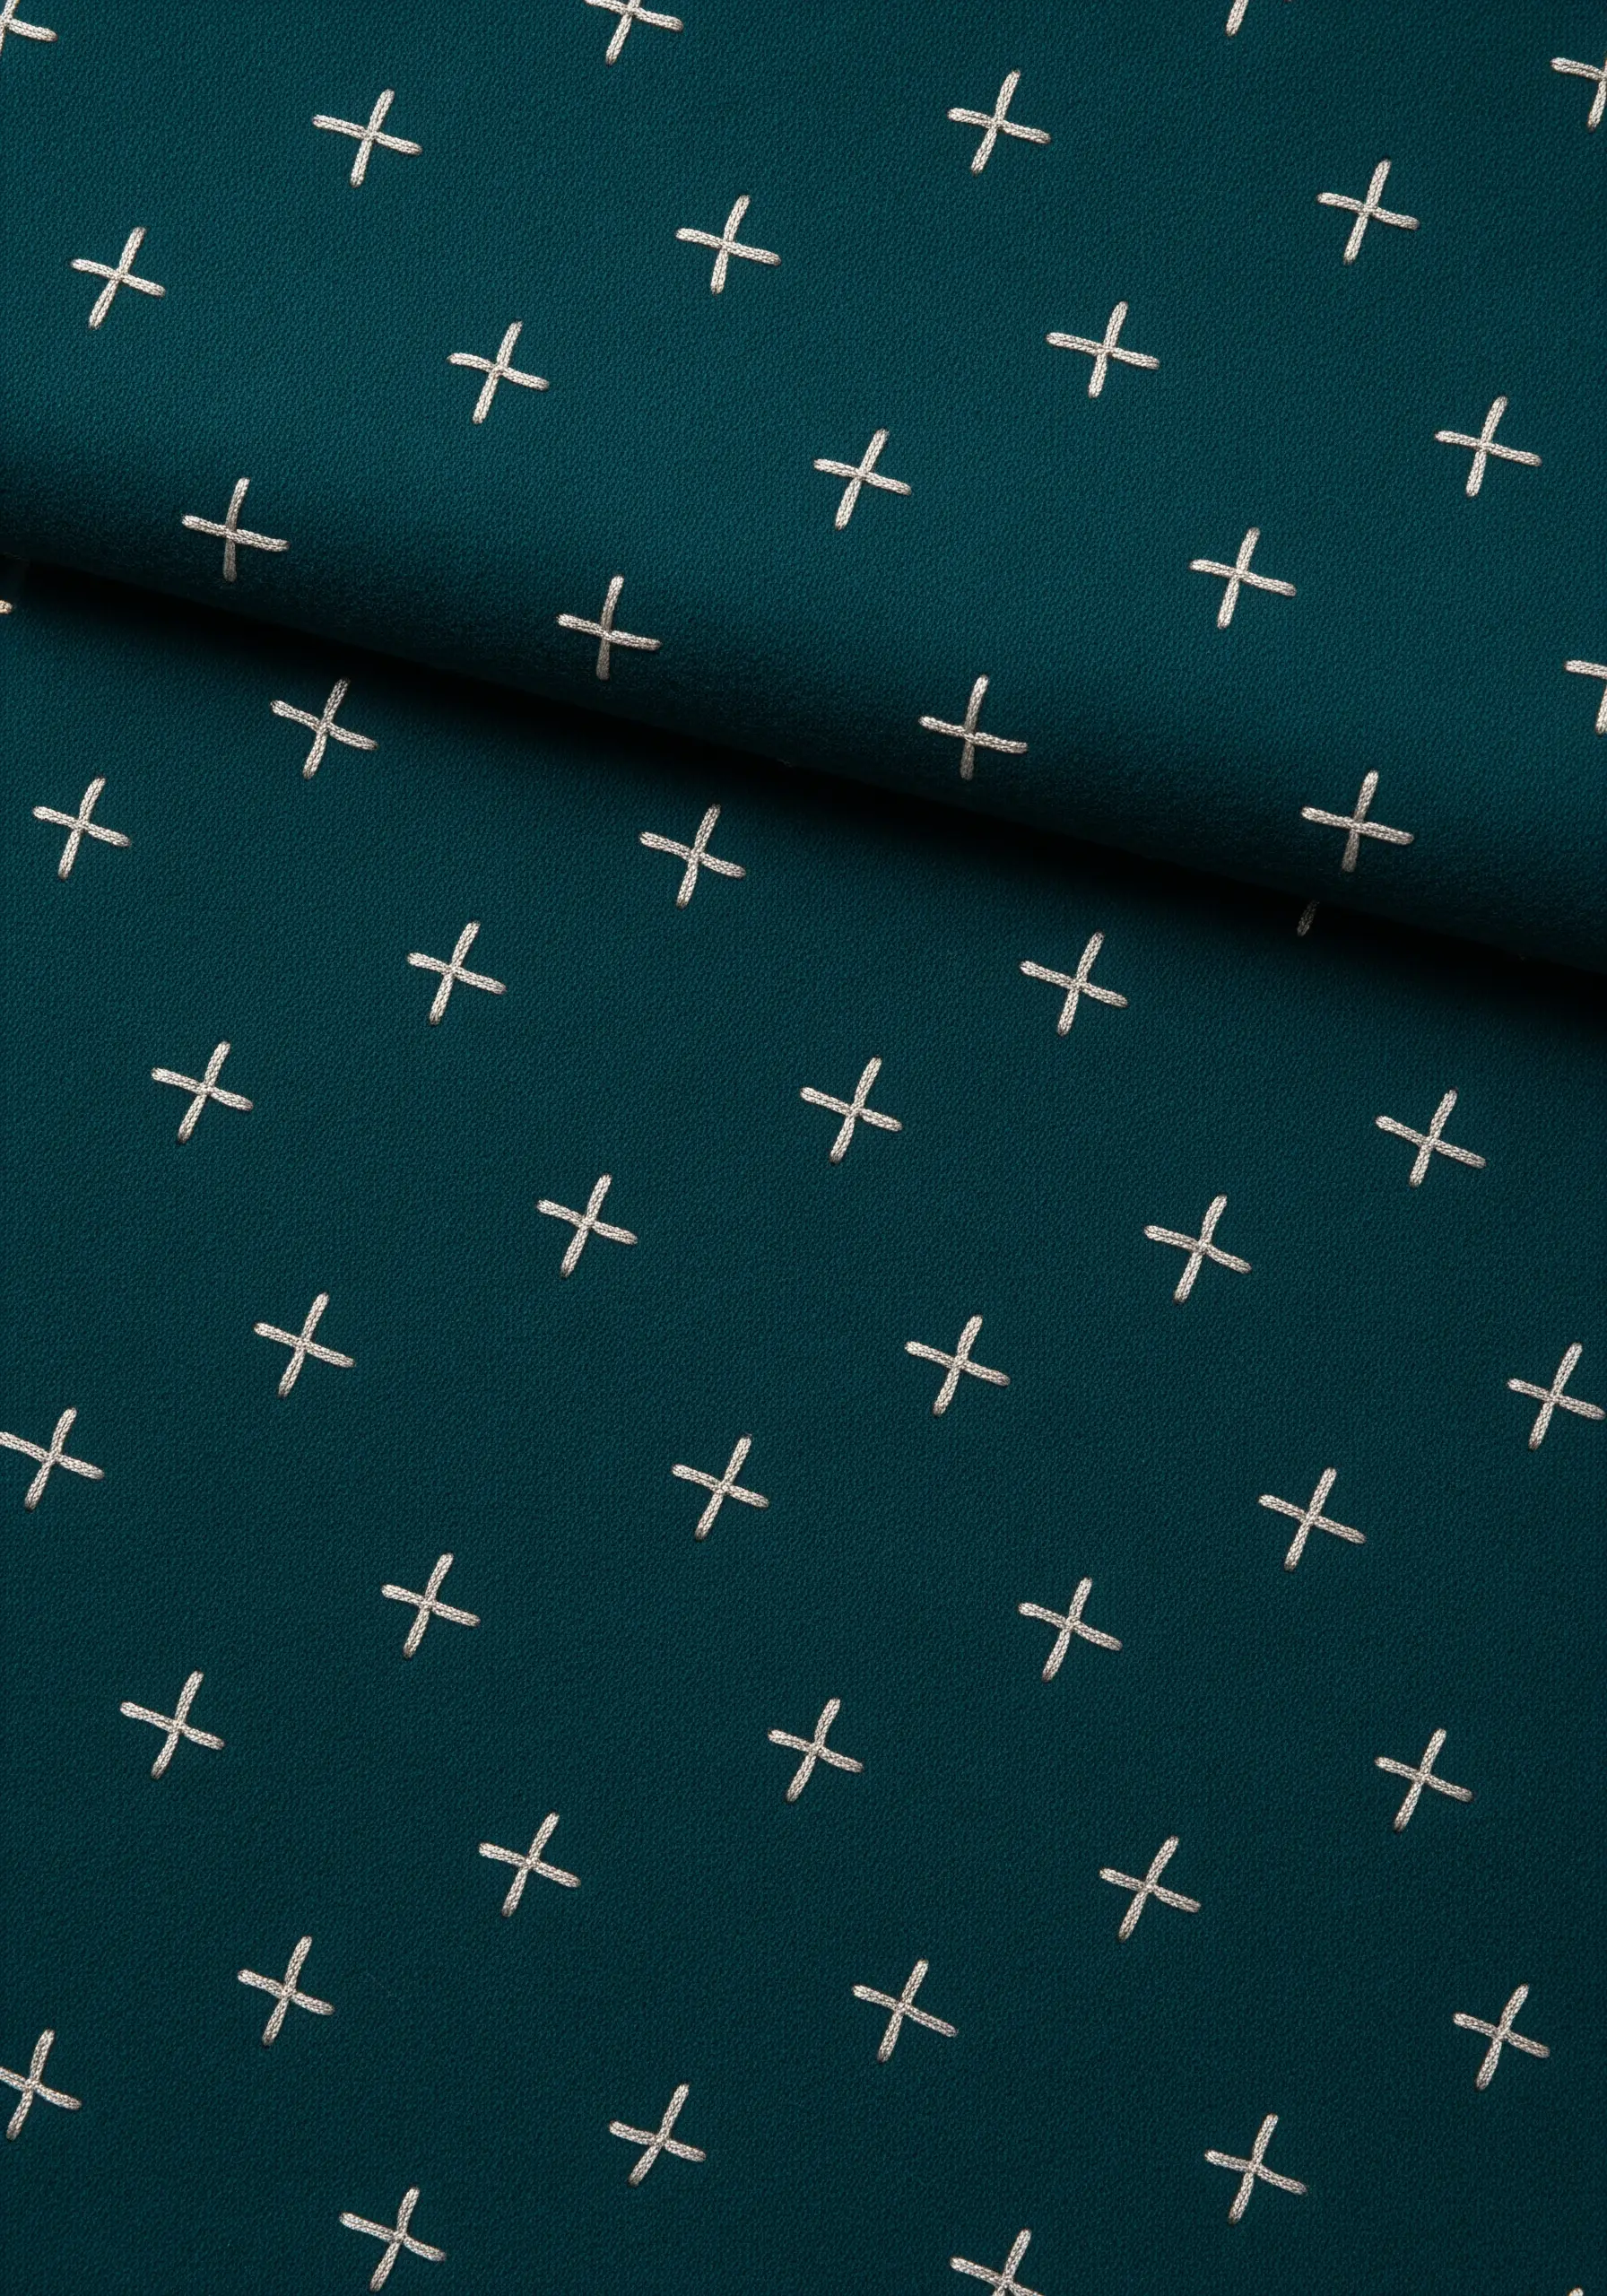
This is a wonderfully modern take on a traditional technique.
Instead of a dense grid, create a light, airy pattern by scattering individual cross stitches across the fabric.
The key to making this look sophisticated is consistency: ensure every cross is the same size and that the top stitch always crosses in the same direction.
This creates a subtle, pleasing rhythm and an elegant graphic texture.
22. Nautilus Shell in Whipped Chain Stitch
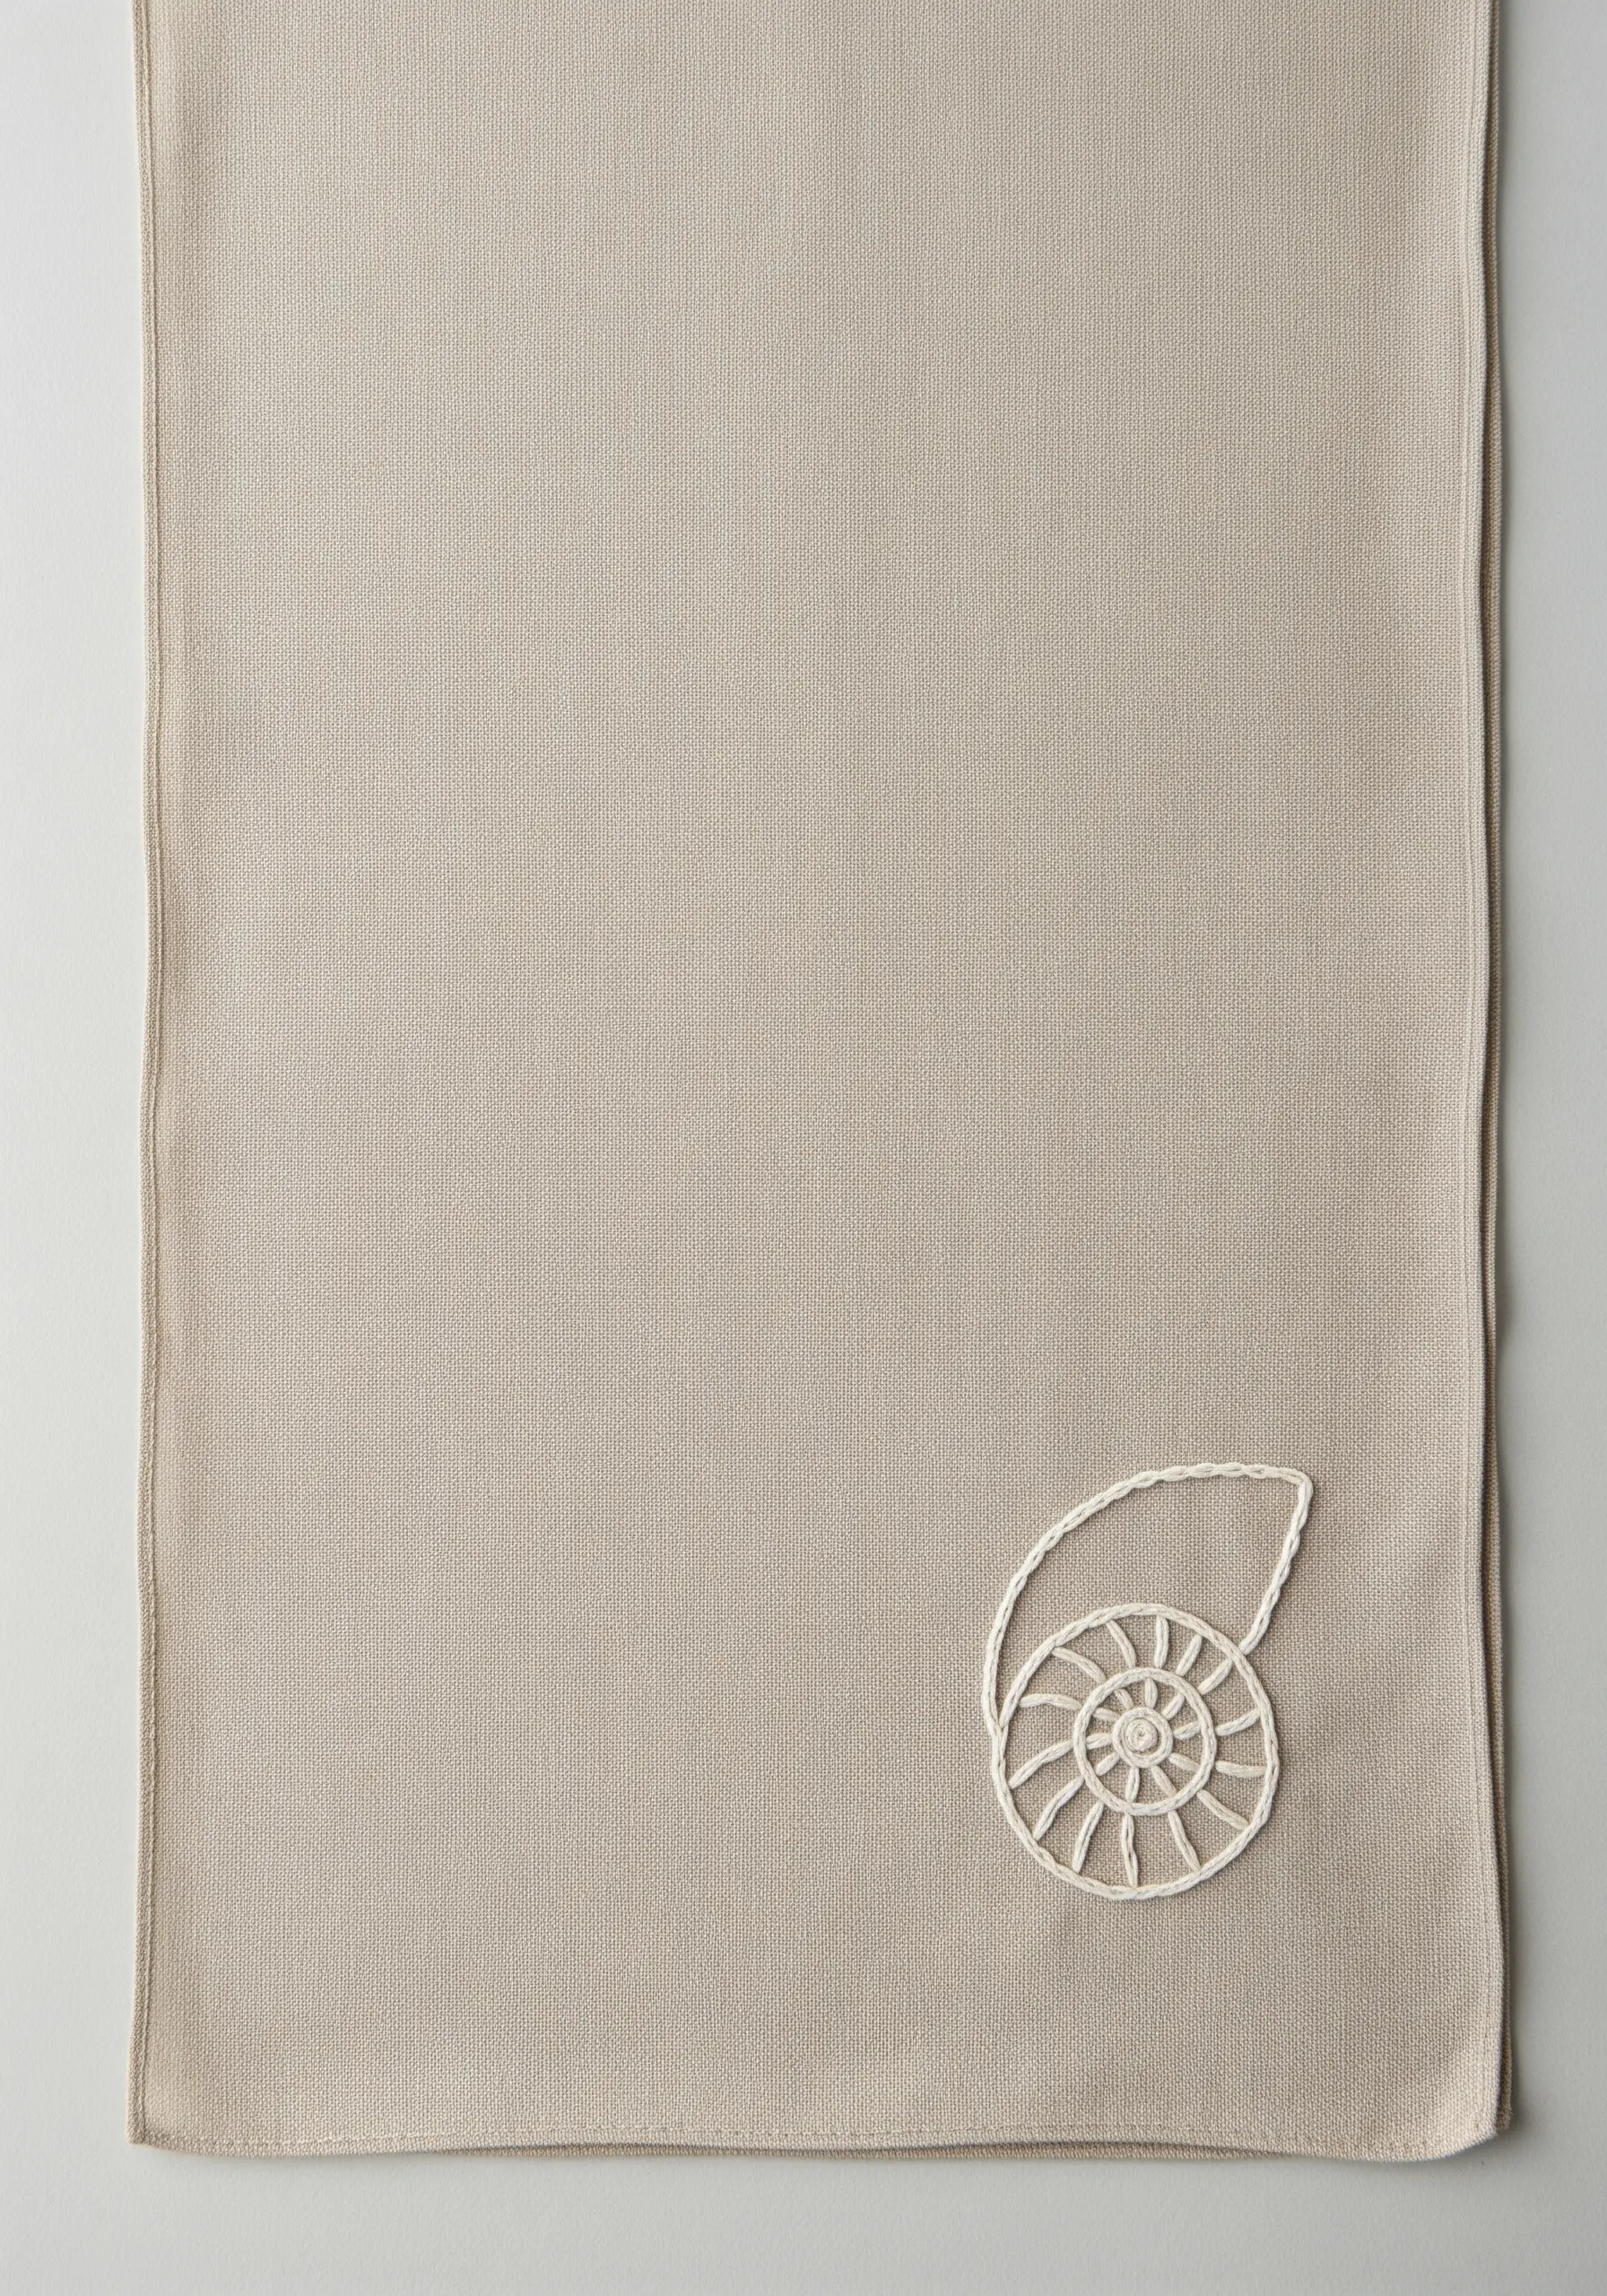
To create a bold, rope-like outline that has real dimension, go beyond a simple backstitch.
First, lay down a line of chain stitch. Then, use a second thread to whip around the outside of each chain link without piercing the fabric.
This technique, called a whipped chain stitch, creates a thick, rounded, and highly textured line that is perfect for capturing the sculptural form of a shell.
23. Gradient Raindrop
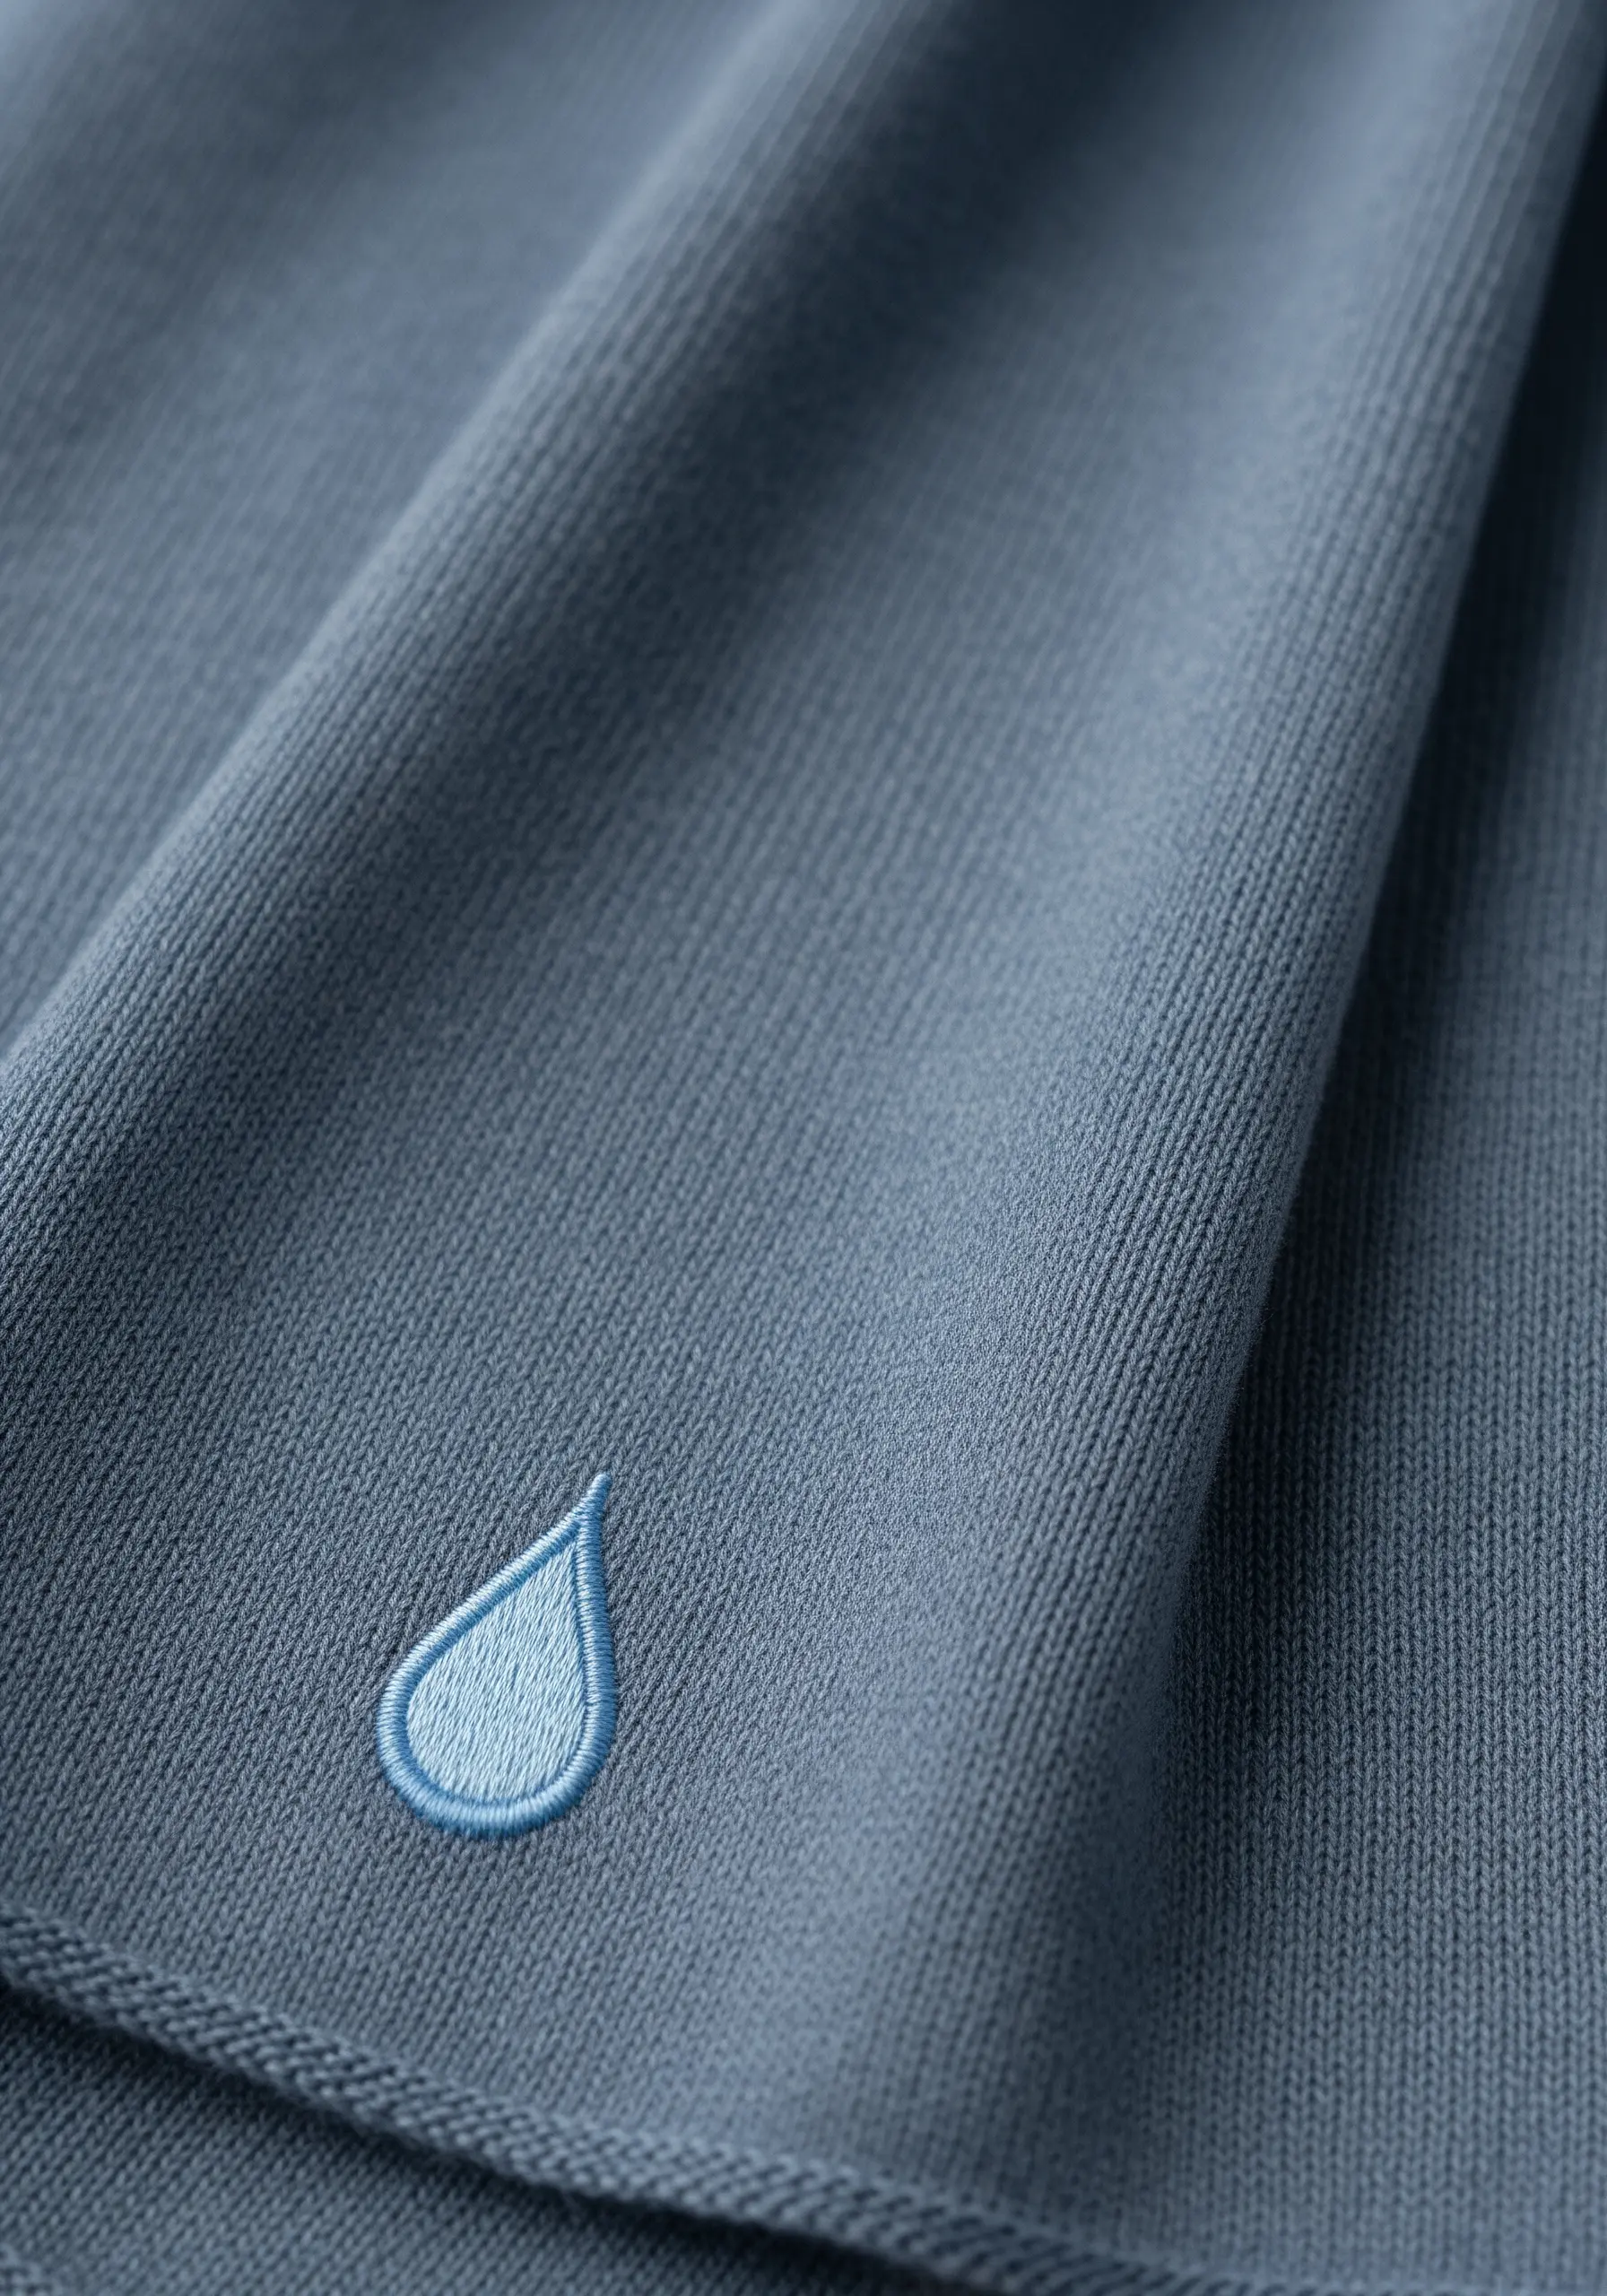
For exceptionally smooth color blending in a small shape, turn to the long-and-short stitch.
Using a single strand of floss for each color, create a soft gradient from light to dark blue.
Once the shape is filled, contain it with a sharp split stitch outline in the darkest shade.
This outline not only defines the shape but also conceals any minor imperfections along the edge, resulting in a perfectly polished motif.
24. Botanical Sketch Sprig
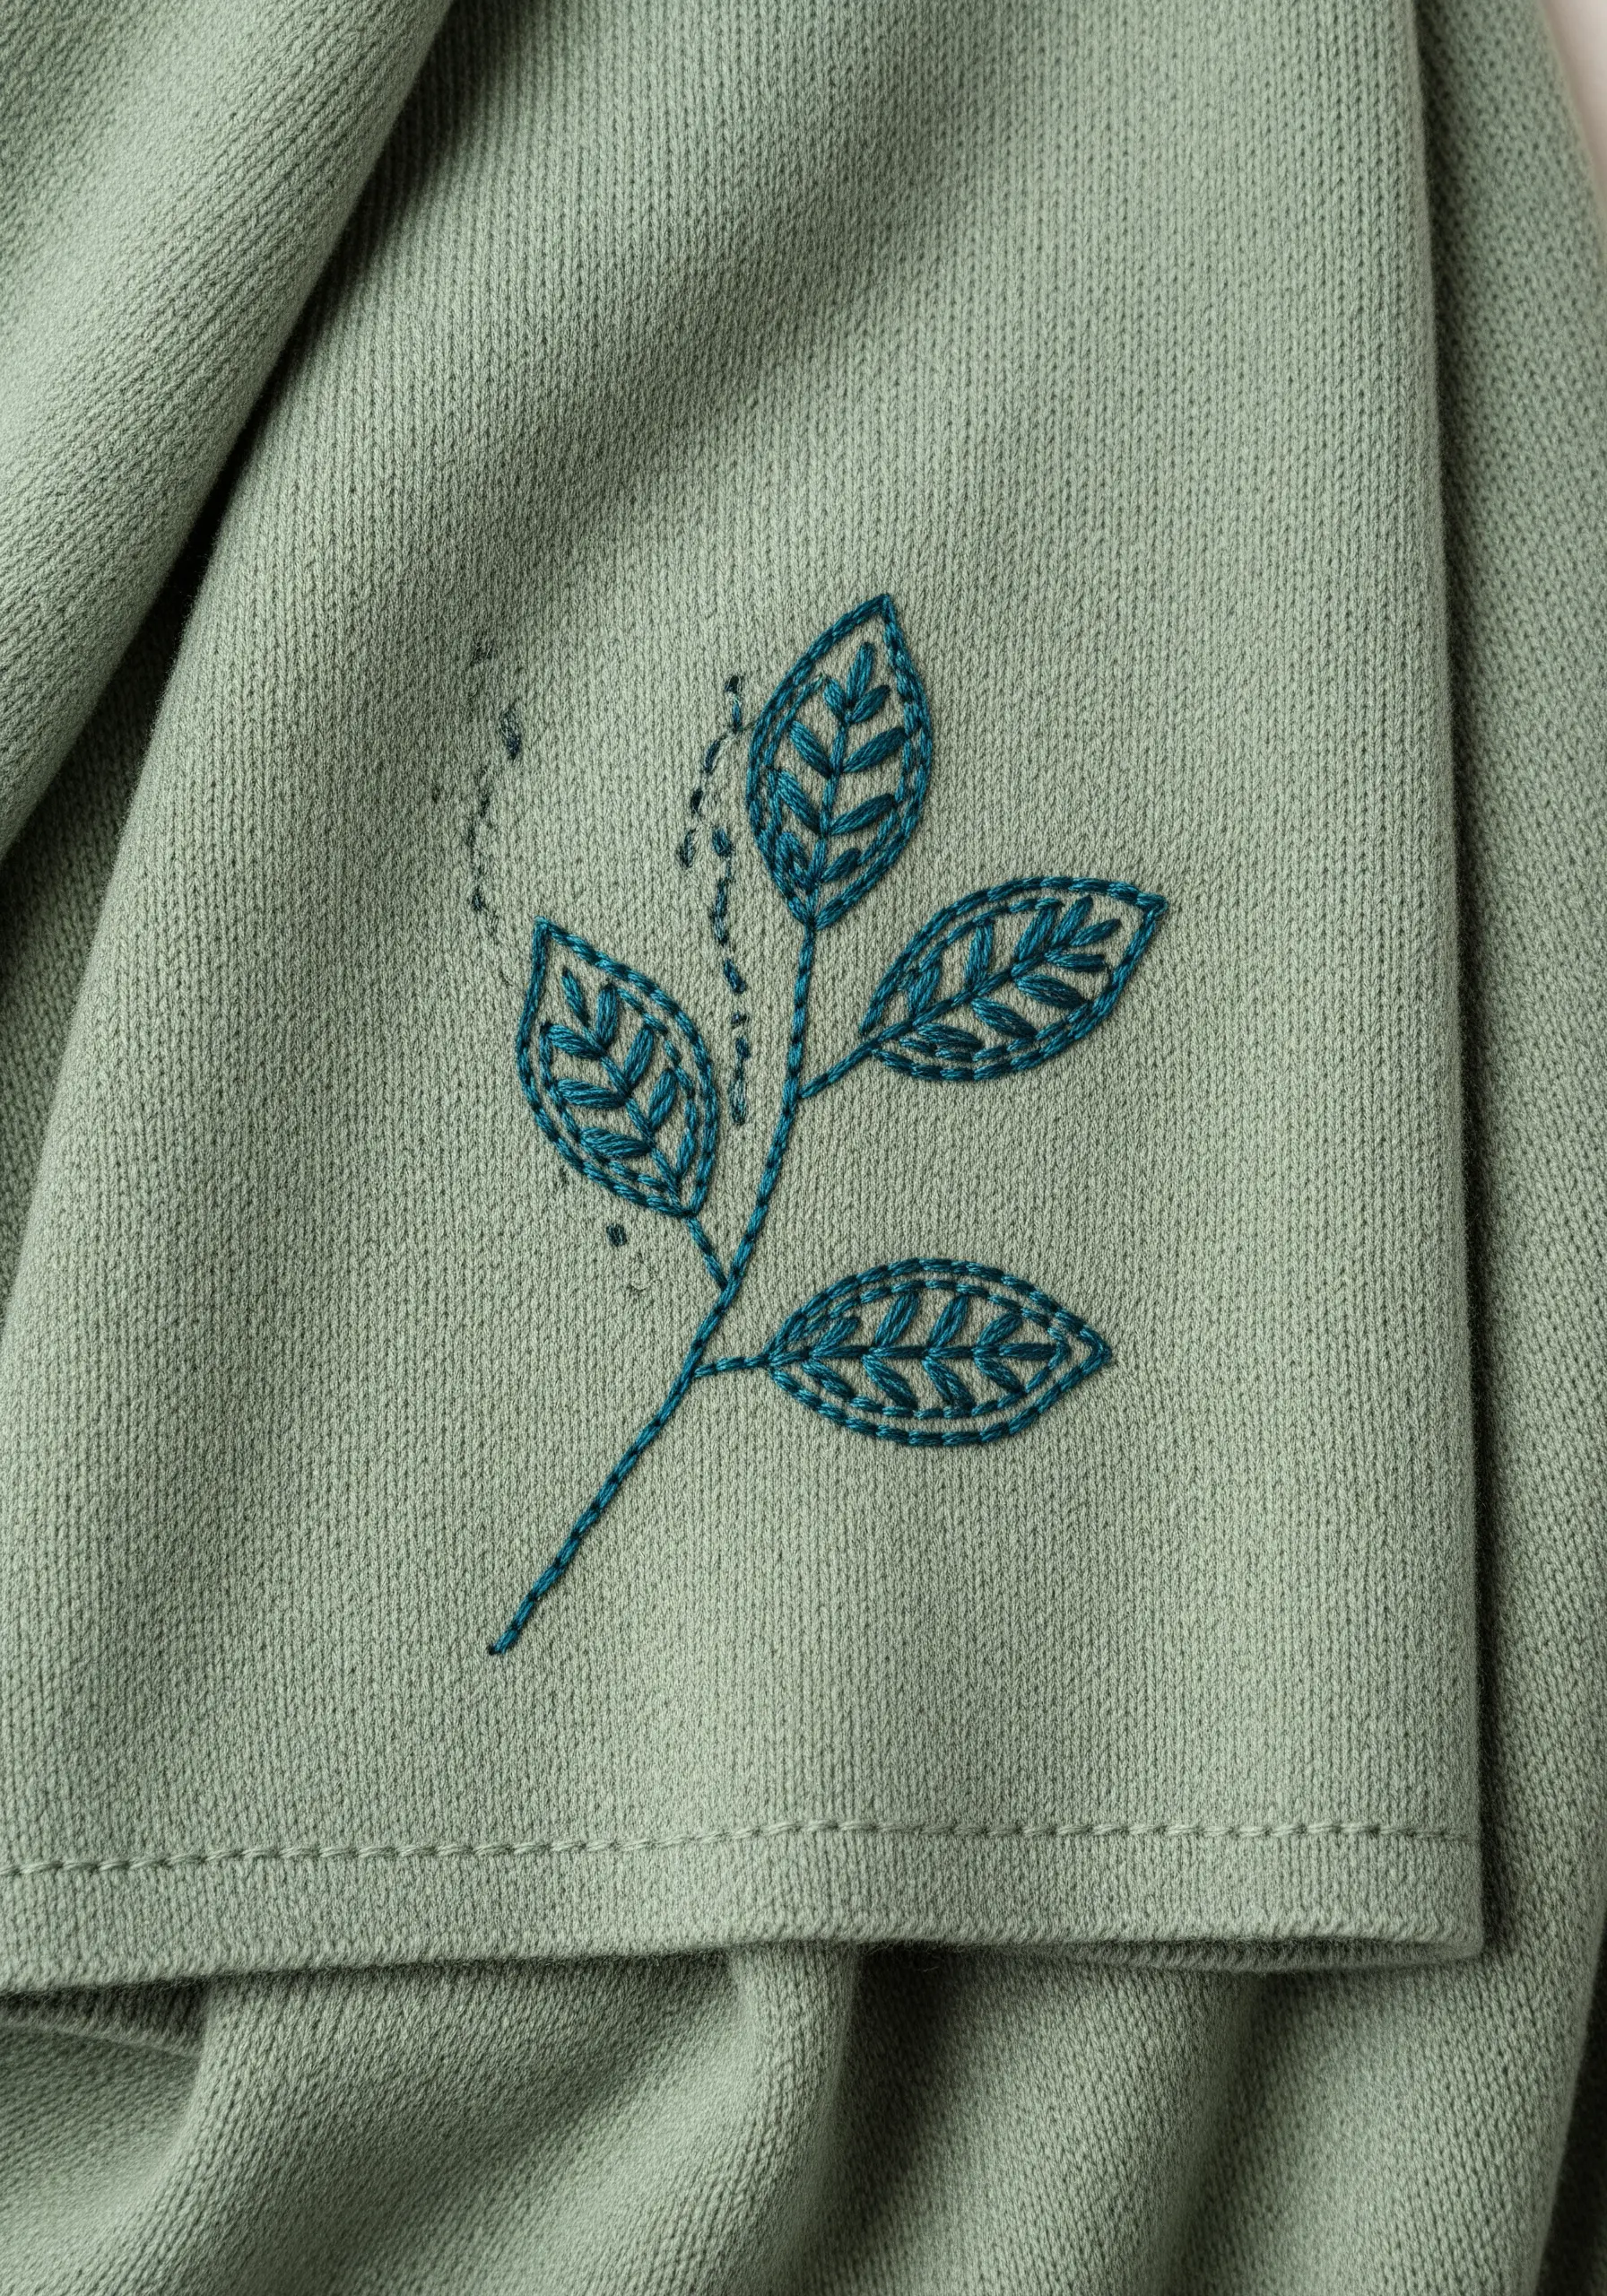
Achieve a light, illustrative quality by swapping dense fill stitches for something more open.
After creating the backstitch outlines for the leaves and stem, use a simple hatch fill—a series of evenly spaced, parallel straight stitches.
This technique suggests color and form without adding the weight and stiffness of a full satin stitch, making it perfect for preserving the drape of a soft knit scarf.
25. Elegant Cat Silhouette
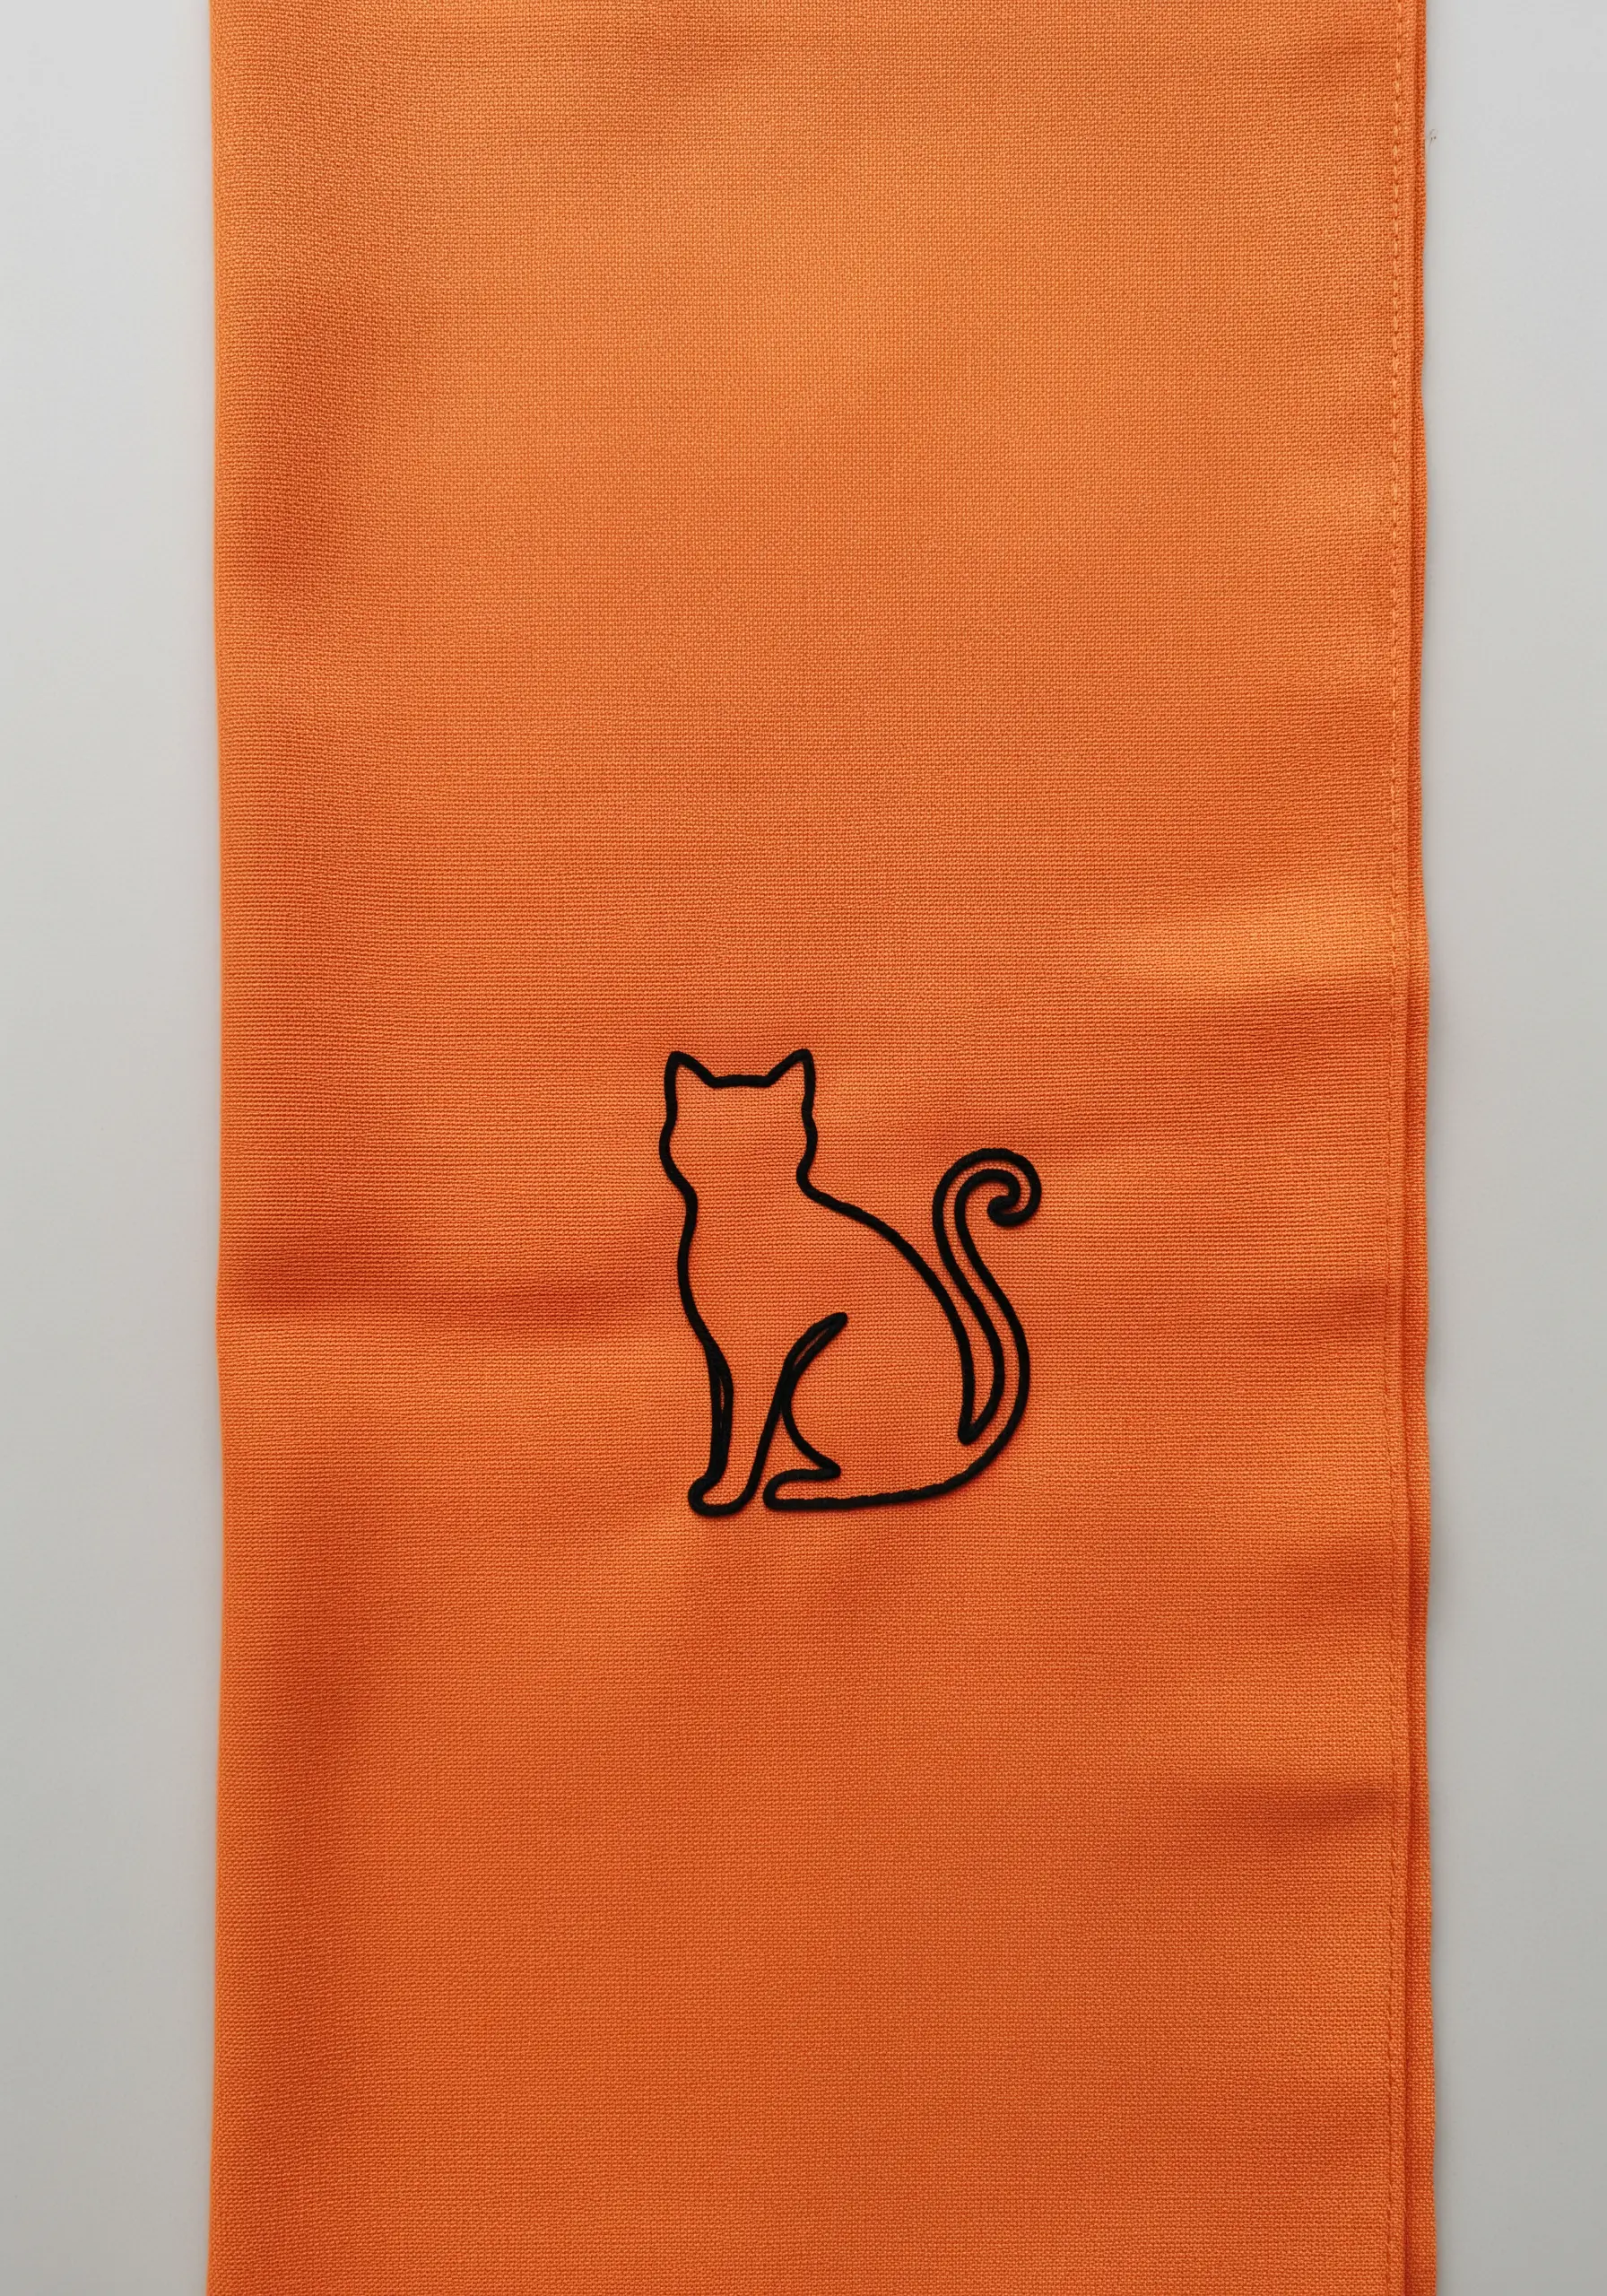
When embroidering a silhouette, the fluidity of the curves is crucial.
Use a stem stitch or whipped backstitch with at least three strands of floss for a bold, continuous line.
As you approach tight curves, like the swirl of the tail, significantly shorten your stitch length.
This simple adjustment prevents the line from becoming angular or jagged, ensuring the silhouette remains graceful and organic.
26. Plump Padded Cherries
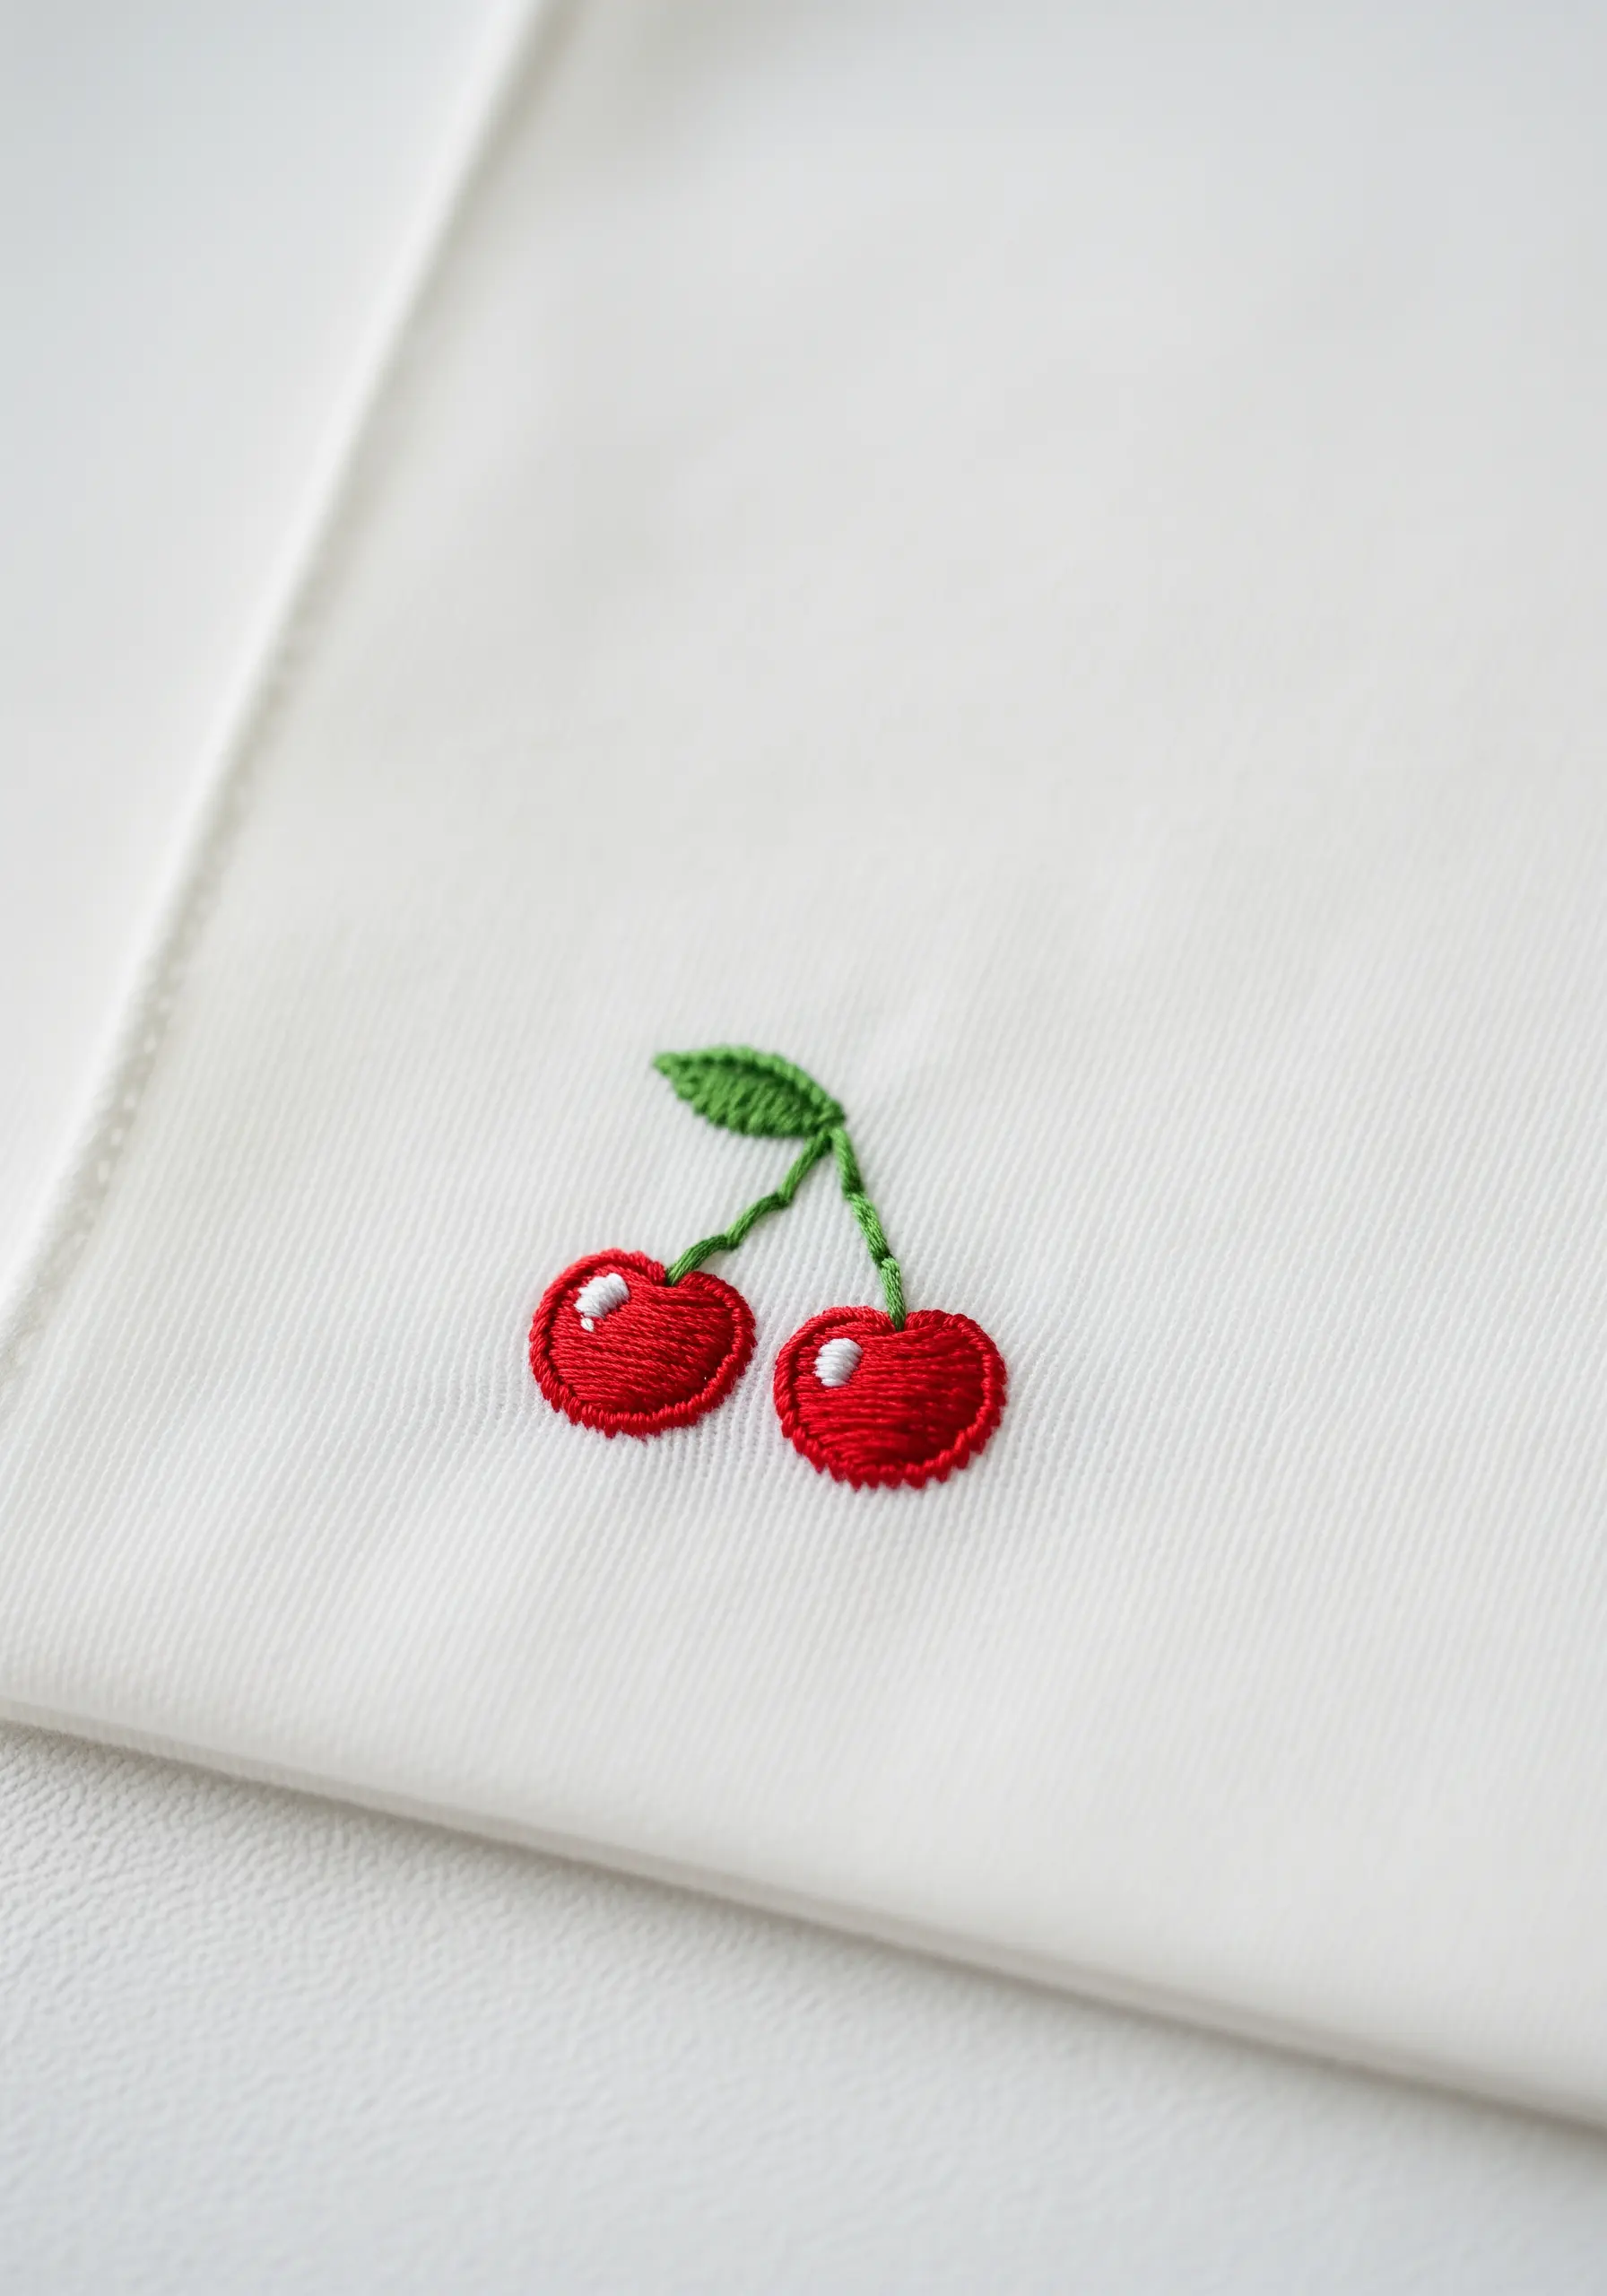
Give your fruit motifs a delightful, three-dimensional quality with padded satin stitch.
Before stitching the final red layer, fill the cherry shapes with an underlay of small seed stitches or horizontal straight stitches.
Then, work your final satin stitches vertically over this padding.
This raises the surface, creating a rounded, plump effect that catches the light beautifully. The single white French knot is the perfect highlight.
27. Vintage Key Outline
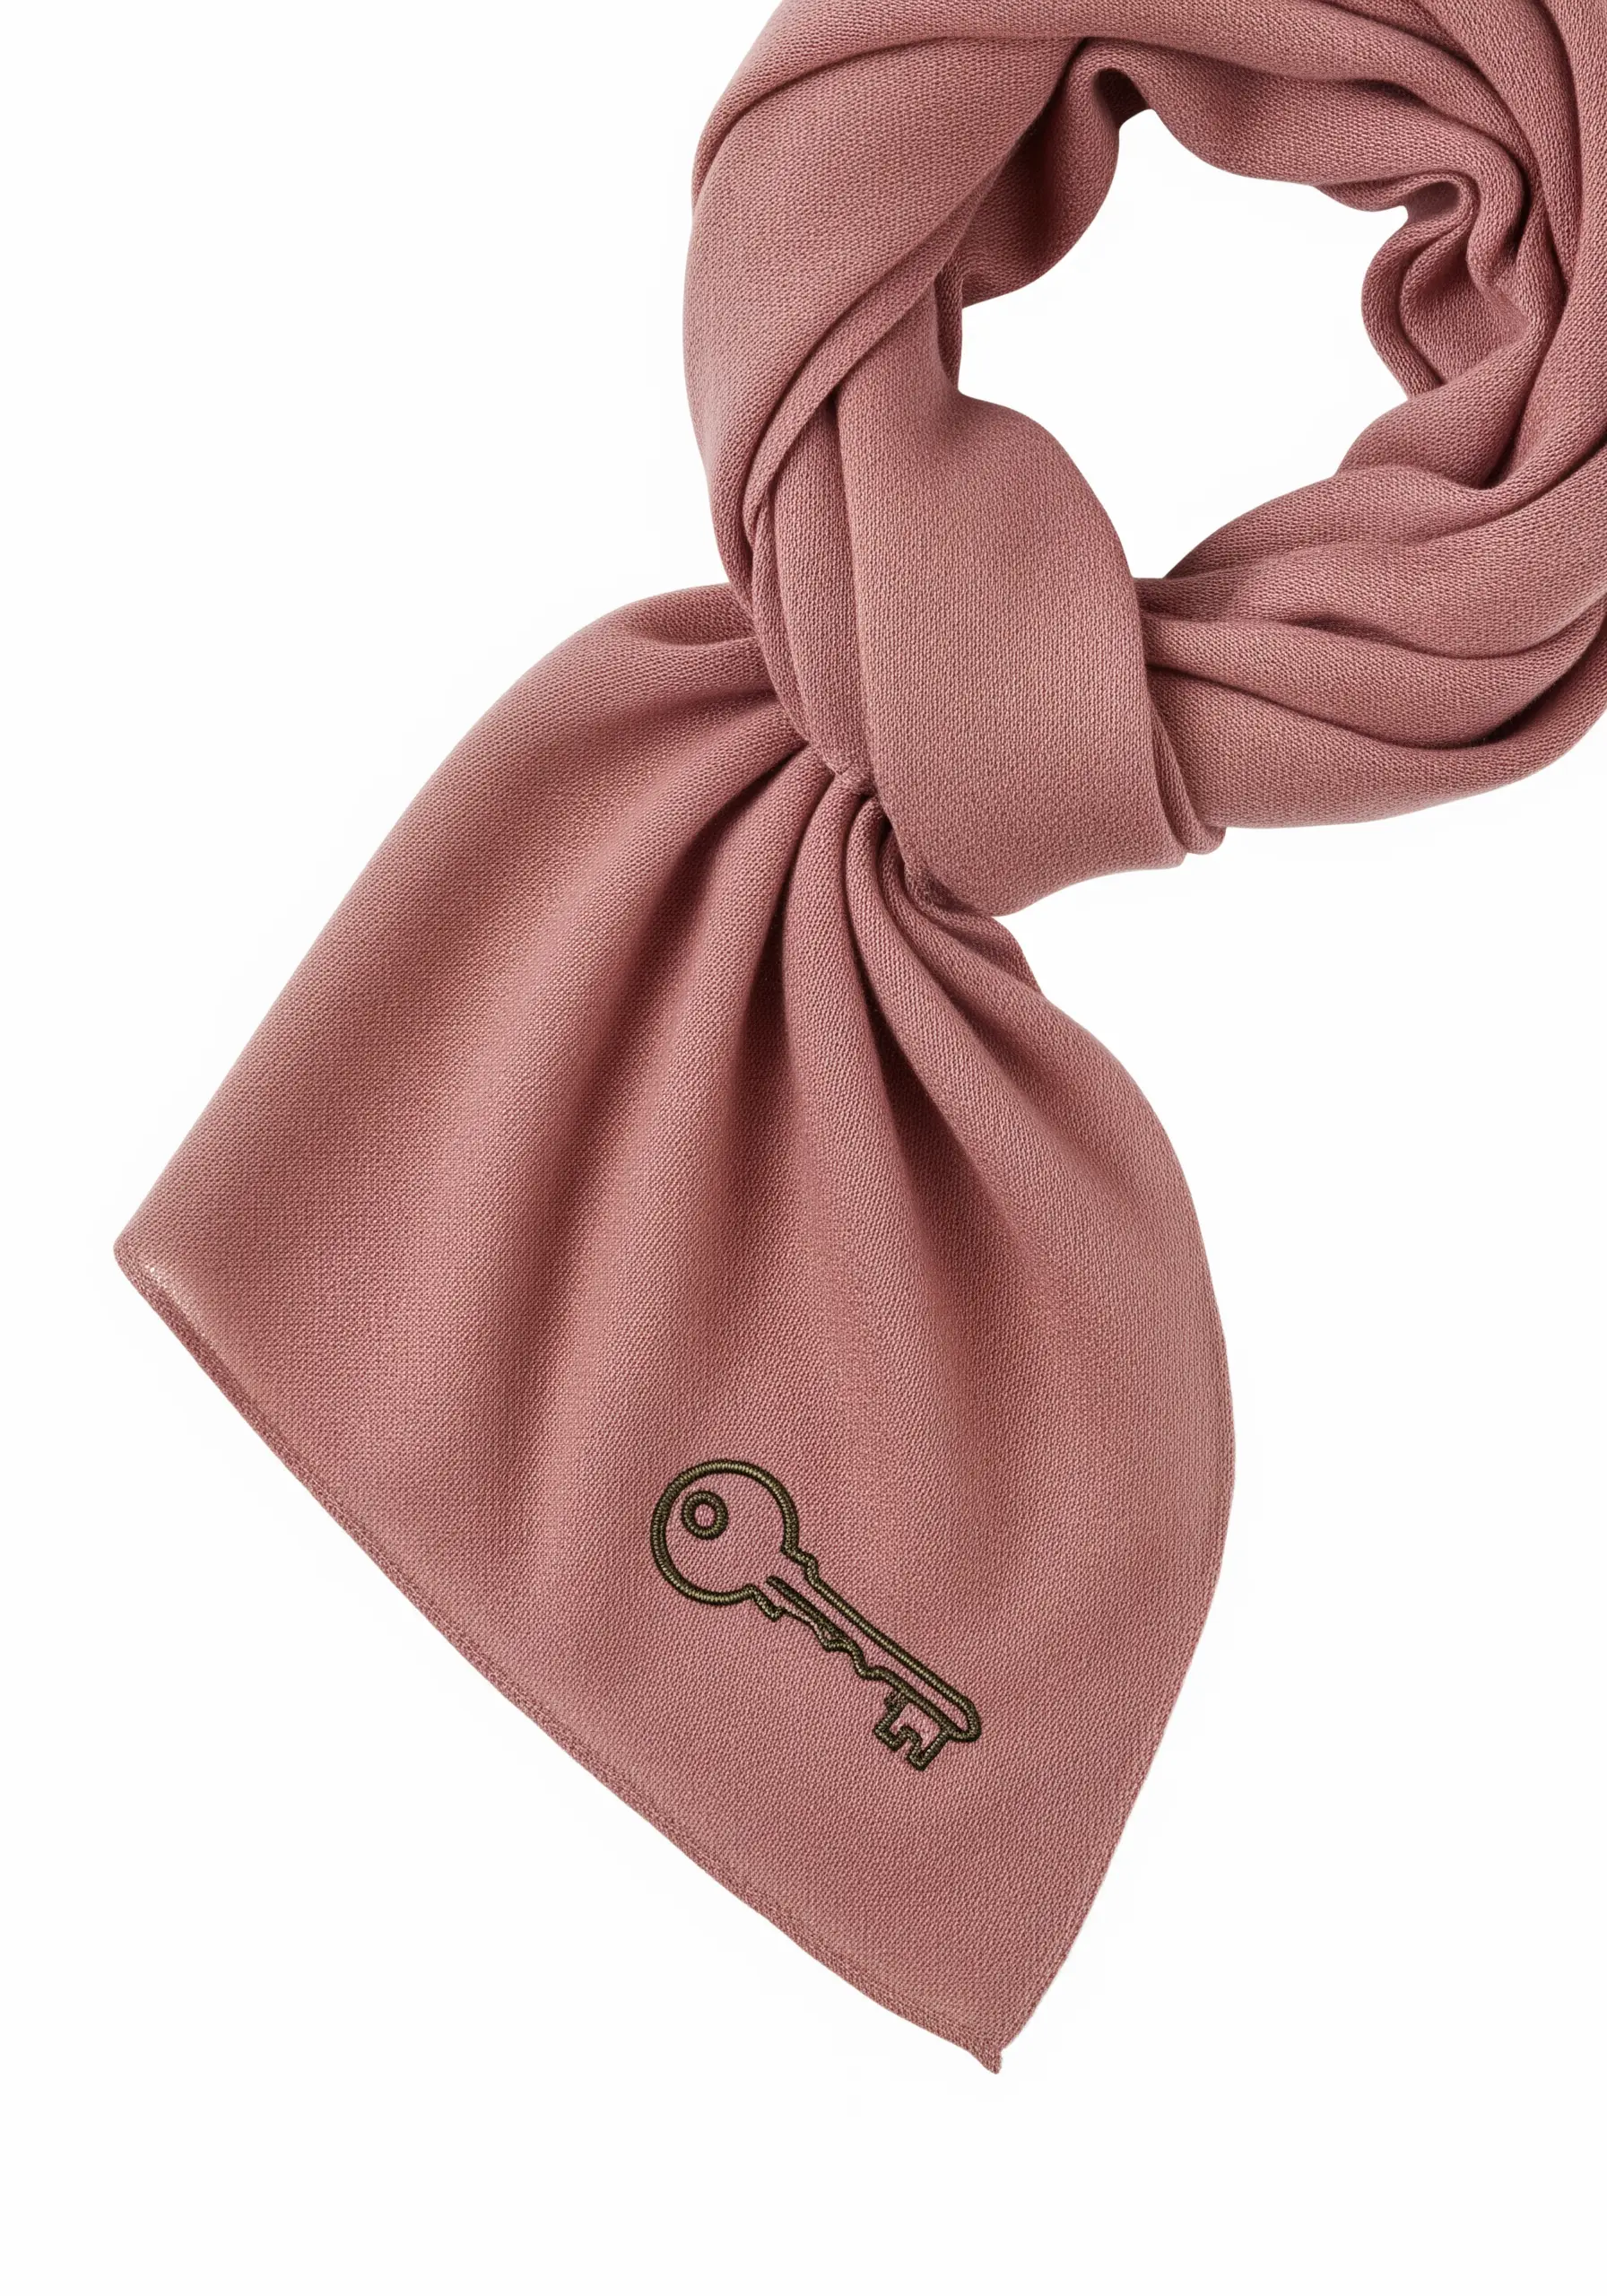
For an intricate design with fine details, your best tool is a precise, controllable line stitch.
A split stitch, worked with just two strands of embroidery floss, will give you the control you need to execute the sharp corners and delicate curves of the key’s bow and teeth.
This stitch creates a solid, fine line that looks almost etched into the fabric, perfect for detailed illustrations.
28. Raised Ampersand Motif

This incredible 3D effect is a simplified form of stumpwork, a technique that gives your embroidery a sculptural quality.
The ampersand is stitched onto a separate piece of felt or stiff fabric, often with padding underneath the satin stitch.
The shape is then carefully cut out and appliquéd onto the scarf, with the edges neatly finished with a buttonhole stitch.
This creates a bold, tactile element that truly stands out.
29. Luminous Firefly

You can create the illusion of light with clever thread choice and composition.
For the glowing abdomen, use a vibrant yellow or even a glow-in-the-dark thread, filling the shape with a dense satin stitch to maximize its impact.
Stitch the rest of the firefly—the body, wings, and legs—with a very fine, dark thread.
This high contrast makes the bright color appear to glow against the dark fabric.
30. Contrasting Blanket Stitch Hem

Elevate the edge of a simple wool scarf by using a functional stitch as a decorative feature.
The blanket stitch is perfect for neatly finishing a raw edge while adding a strong graphic element.
Choose a thick thread, like Perle cotton, in a high-contrast color to make the stitches pop.
Focus on keeping the height and spacing of your stitches perfectly uniform for a polished, handcrafted look.
31. Softly Shaded Tulip
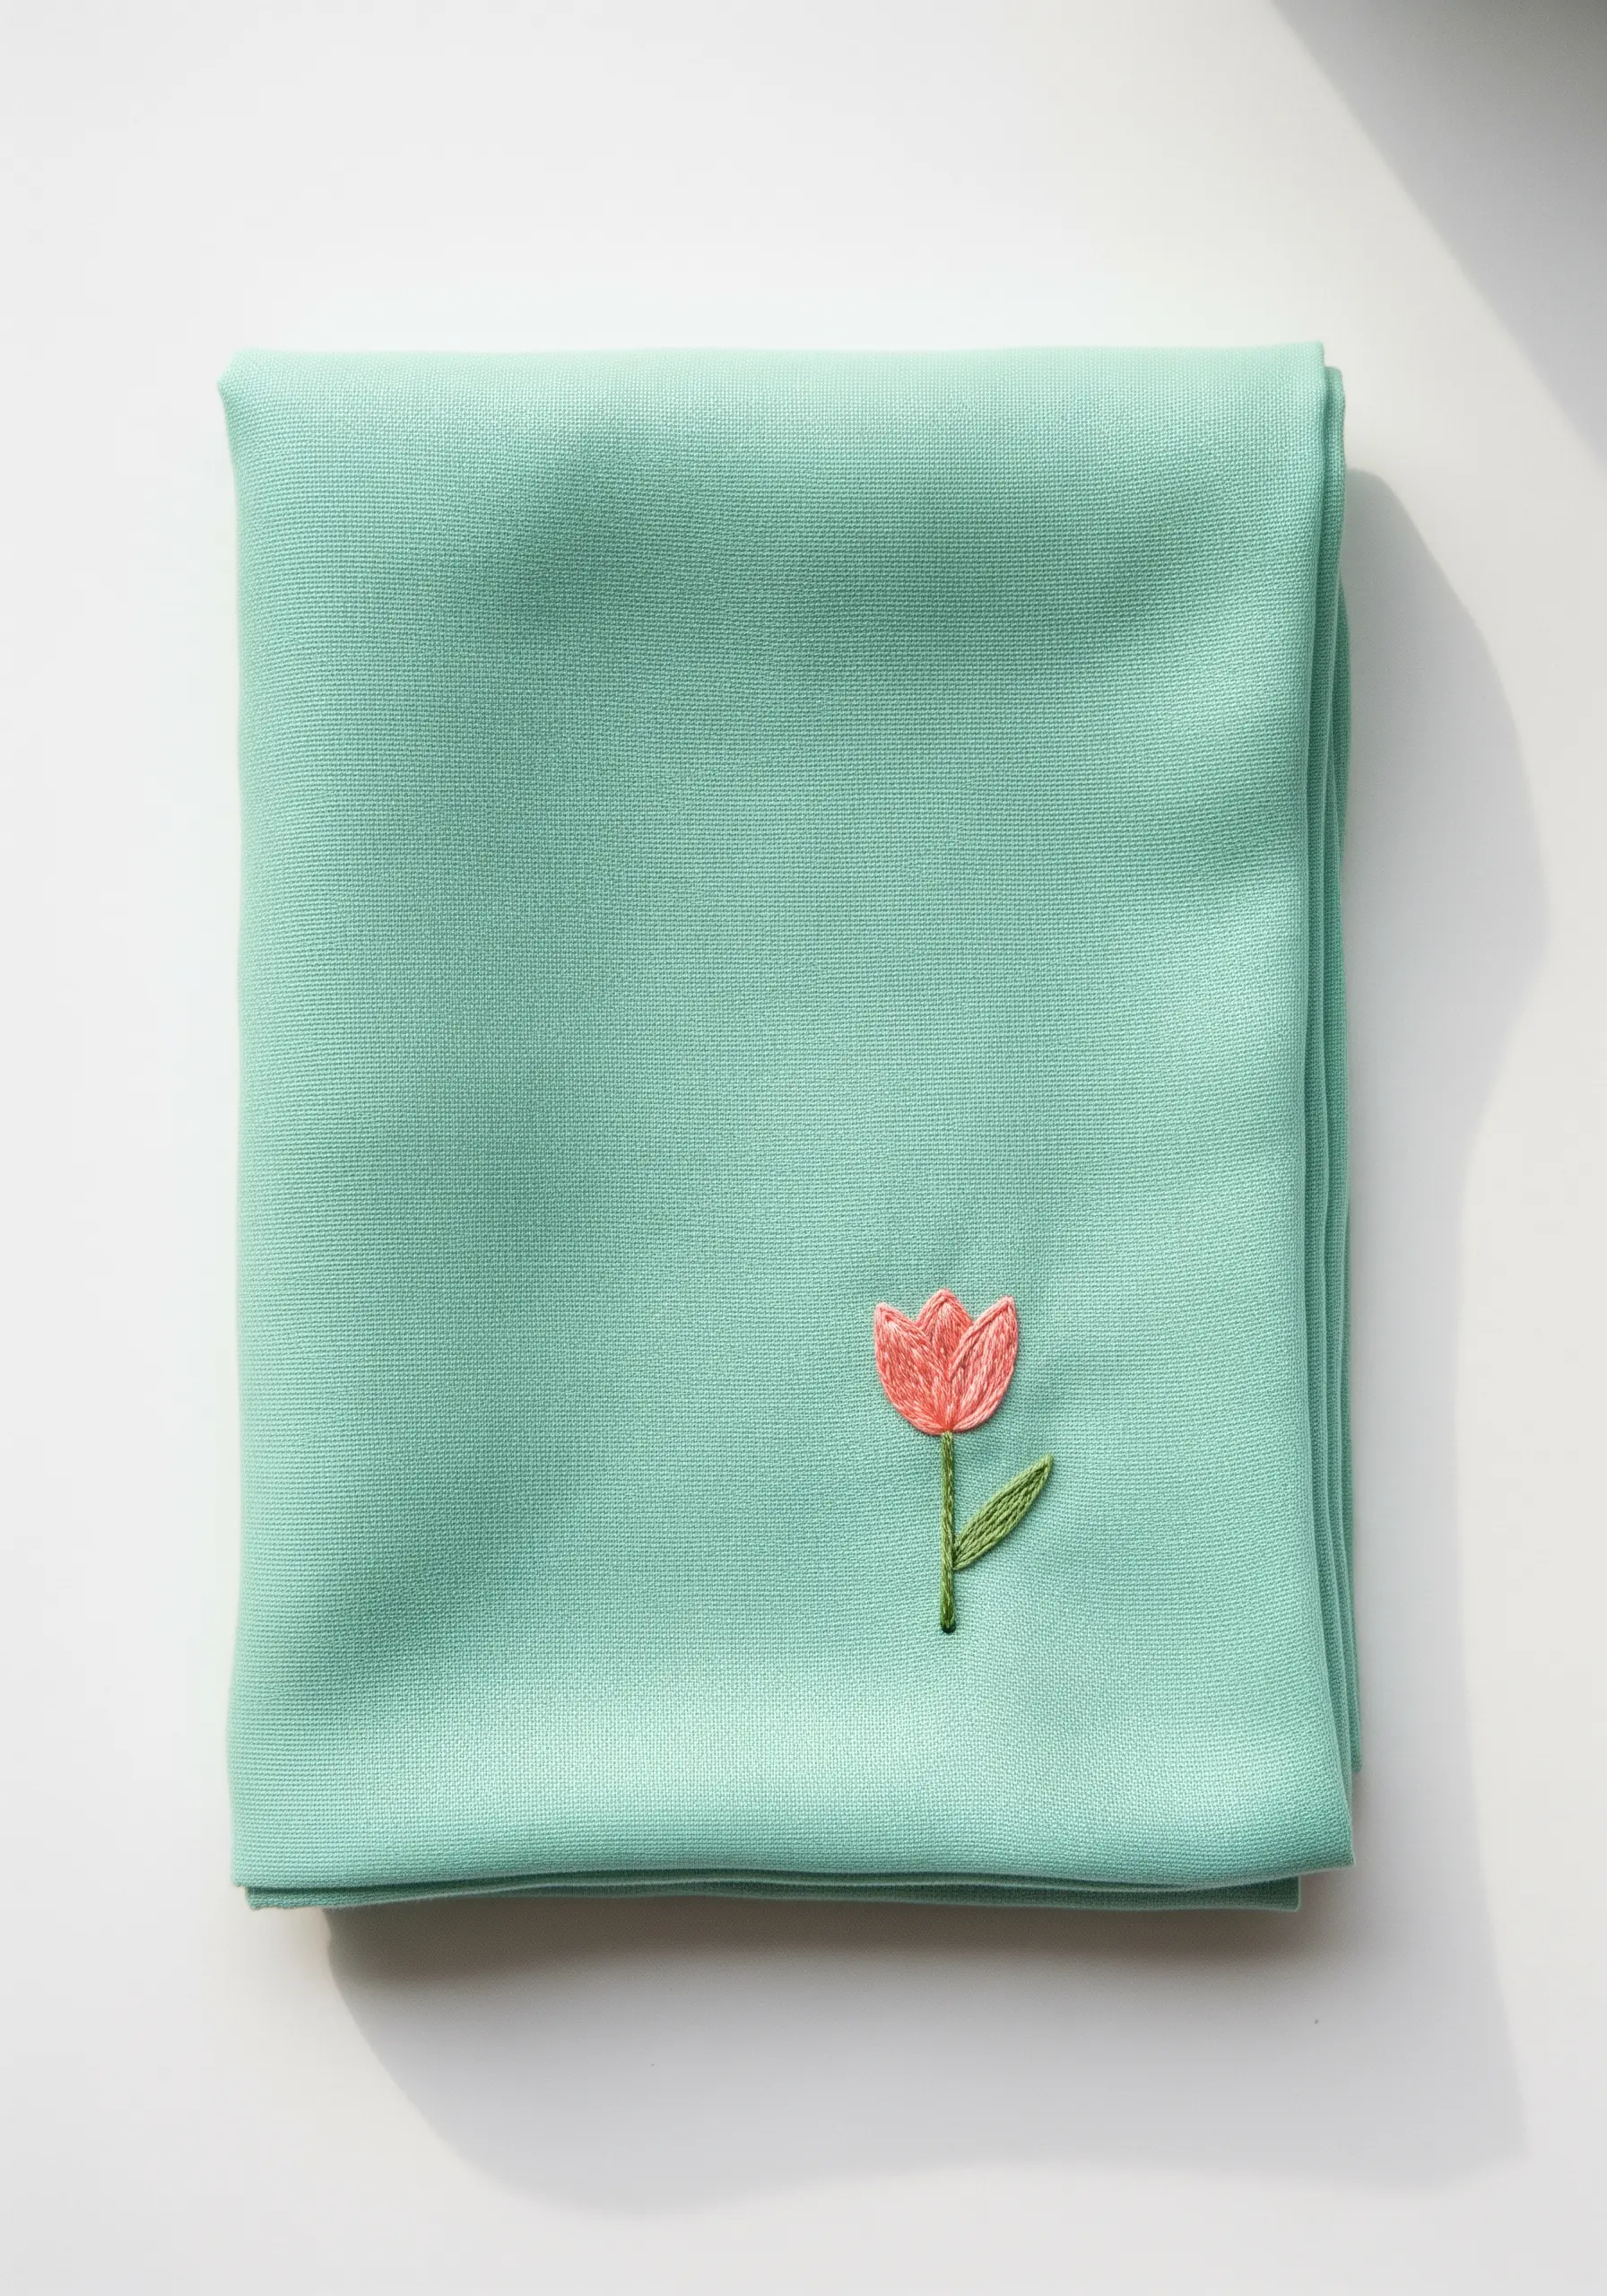
Achieve a beautiful, painterly effect with minimal effort by choosing the right thread.
This simple tulip is filled with satin stitch, but it uses a variegated floss that naturally shifts between light and dark shades of pink.
This allows you to create the illusion of light and shadow within the petals without needing to change threads or use complex blending techniques.
It’s an elegant shortcut to sophisticated color work.
32. Grid of Colonial Knots
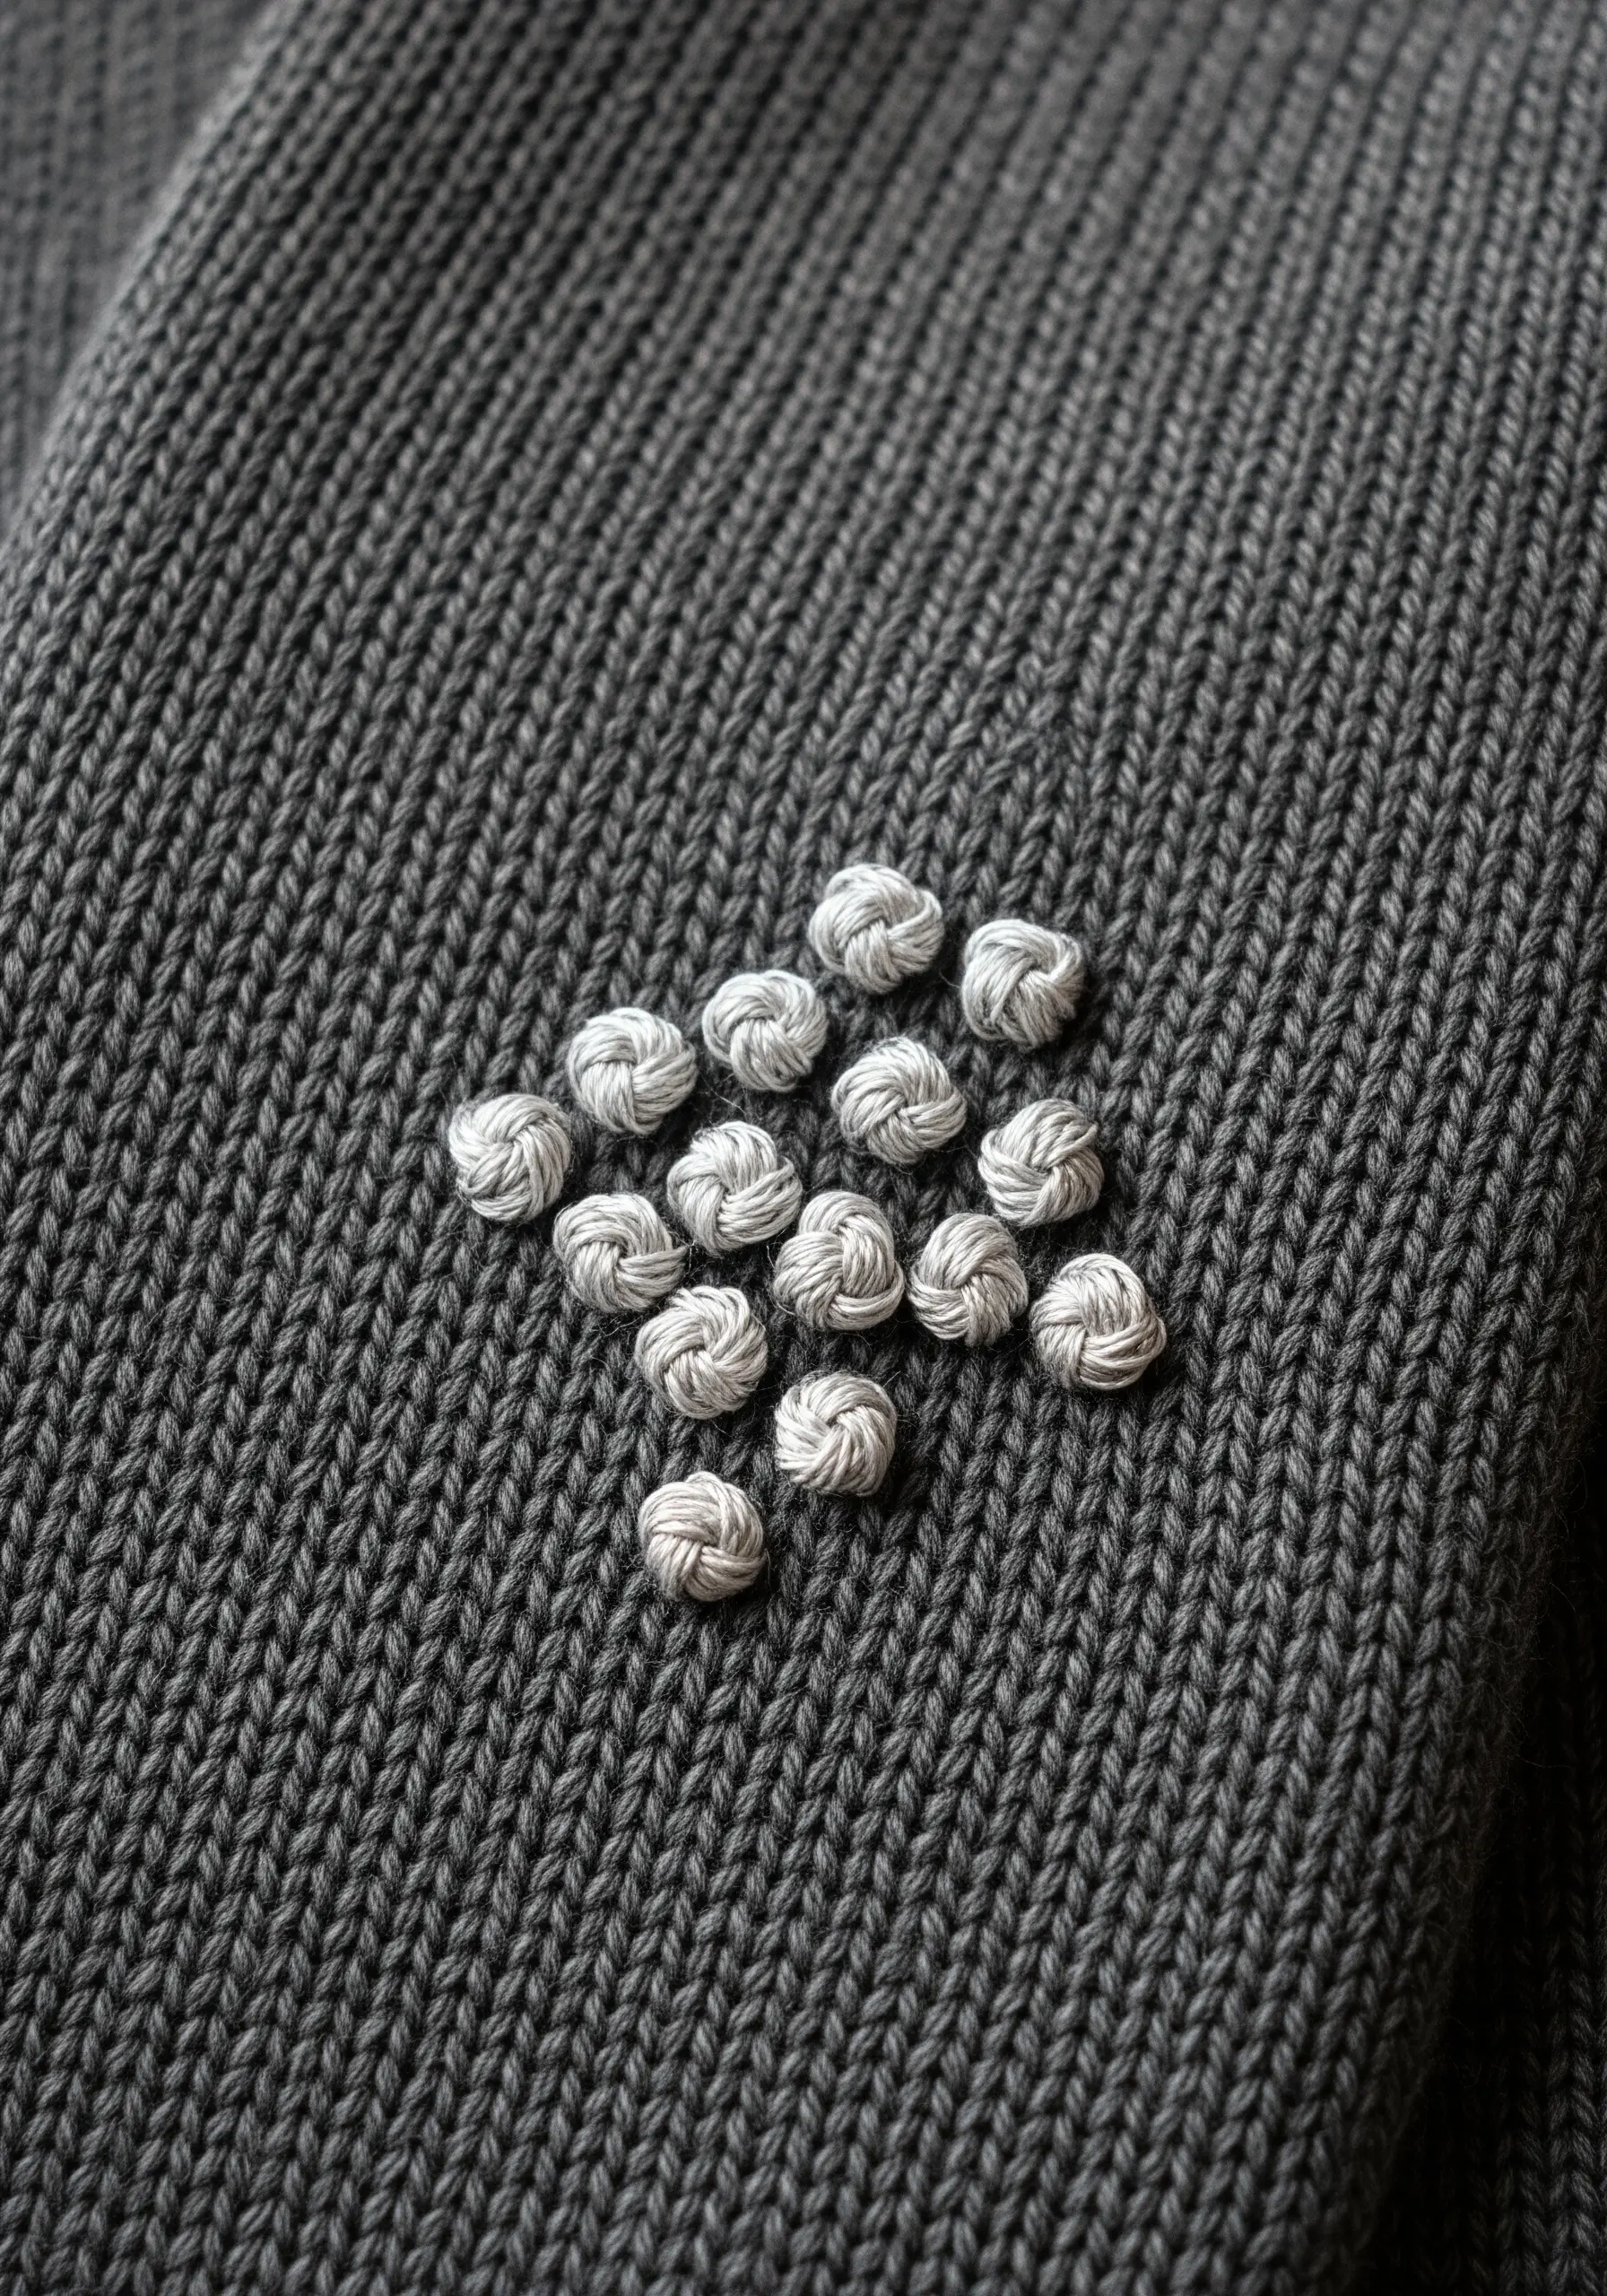
Create a stunningly textured geometric pattern by arranging knotted stitches in a precise grid.
This diamond shape is filled with Colonial knots, which are a sturdy and beautifully uniform alternative to French knots.
To ensure perfect placement, use a removable marker to lightly draw a grid on your fabric, then place a knot at each intersection.
This technique adds a wonderful tactile quality that works especially well on knitwear.
33. Classic Bicycle Outline
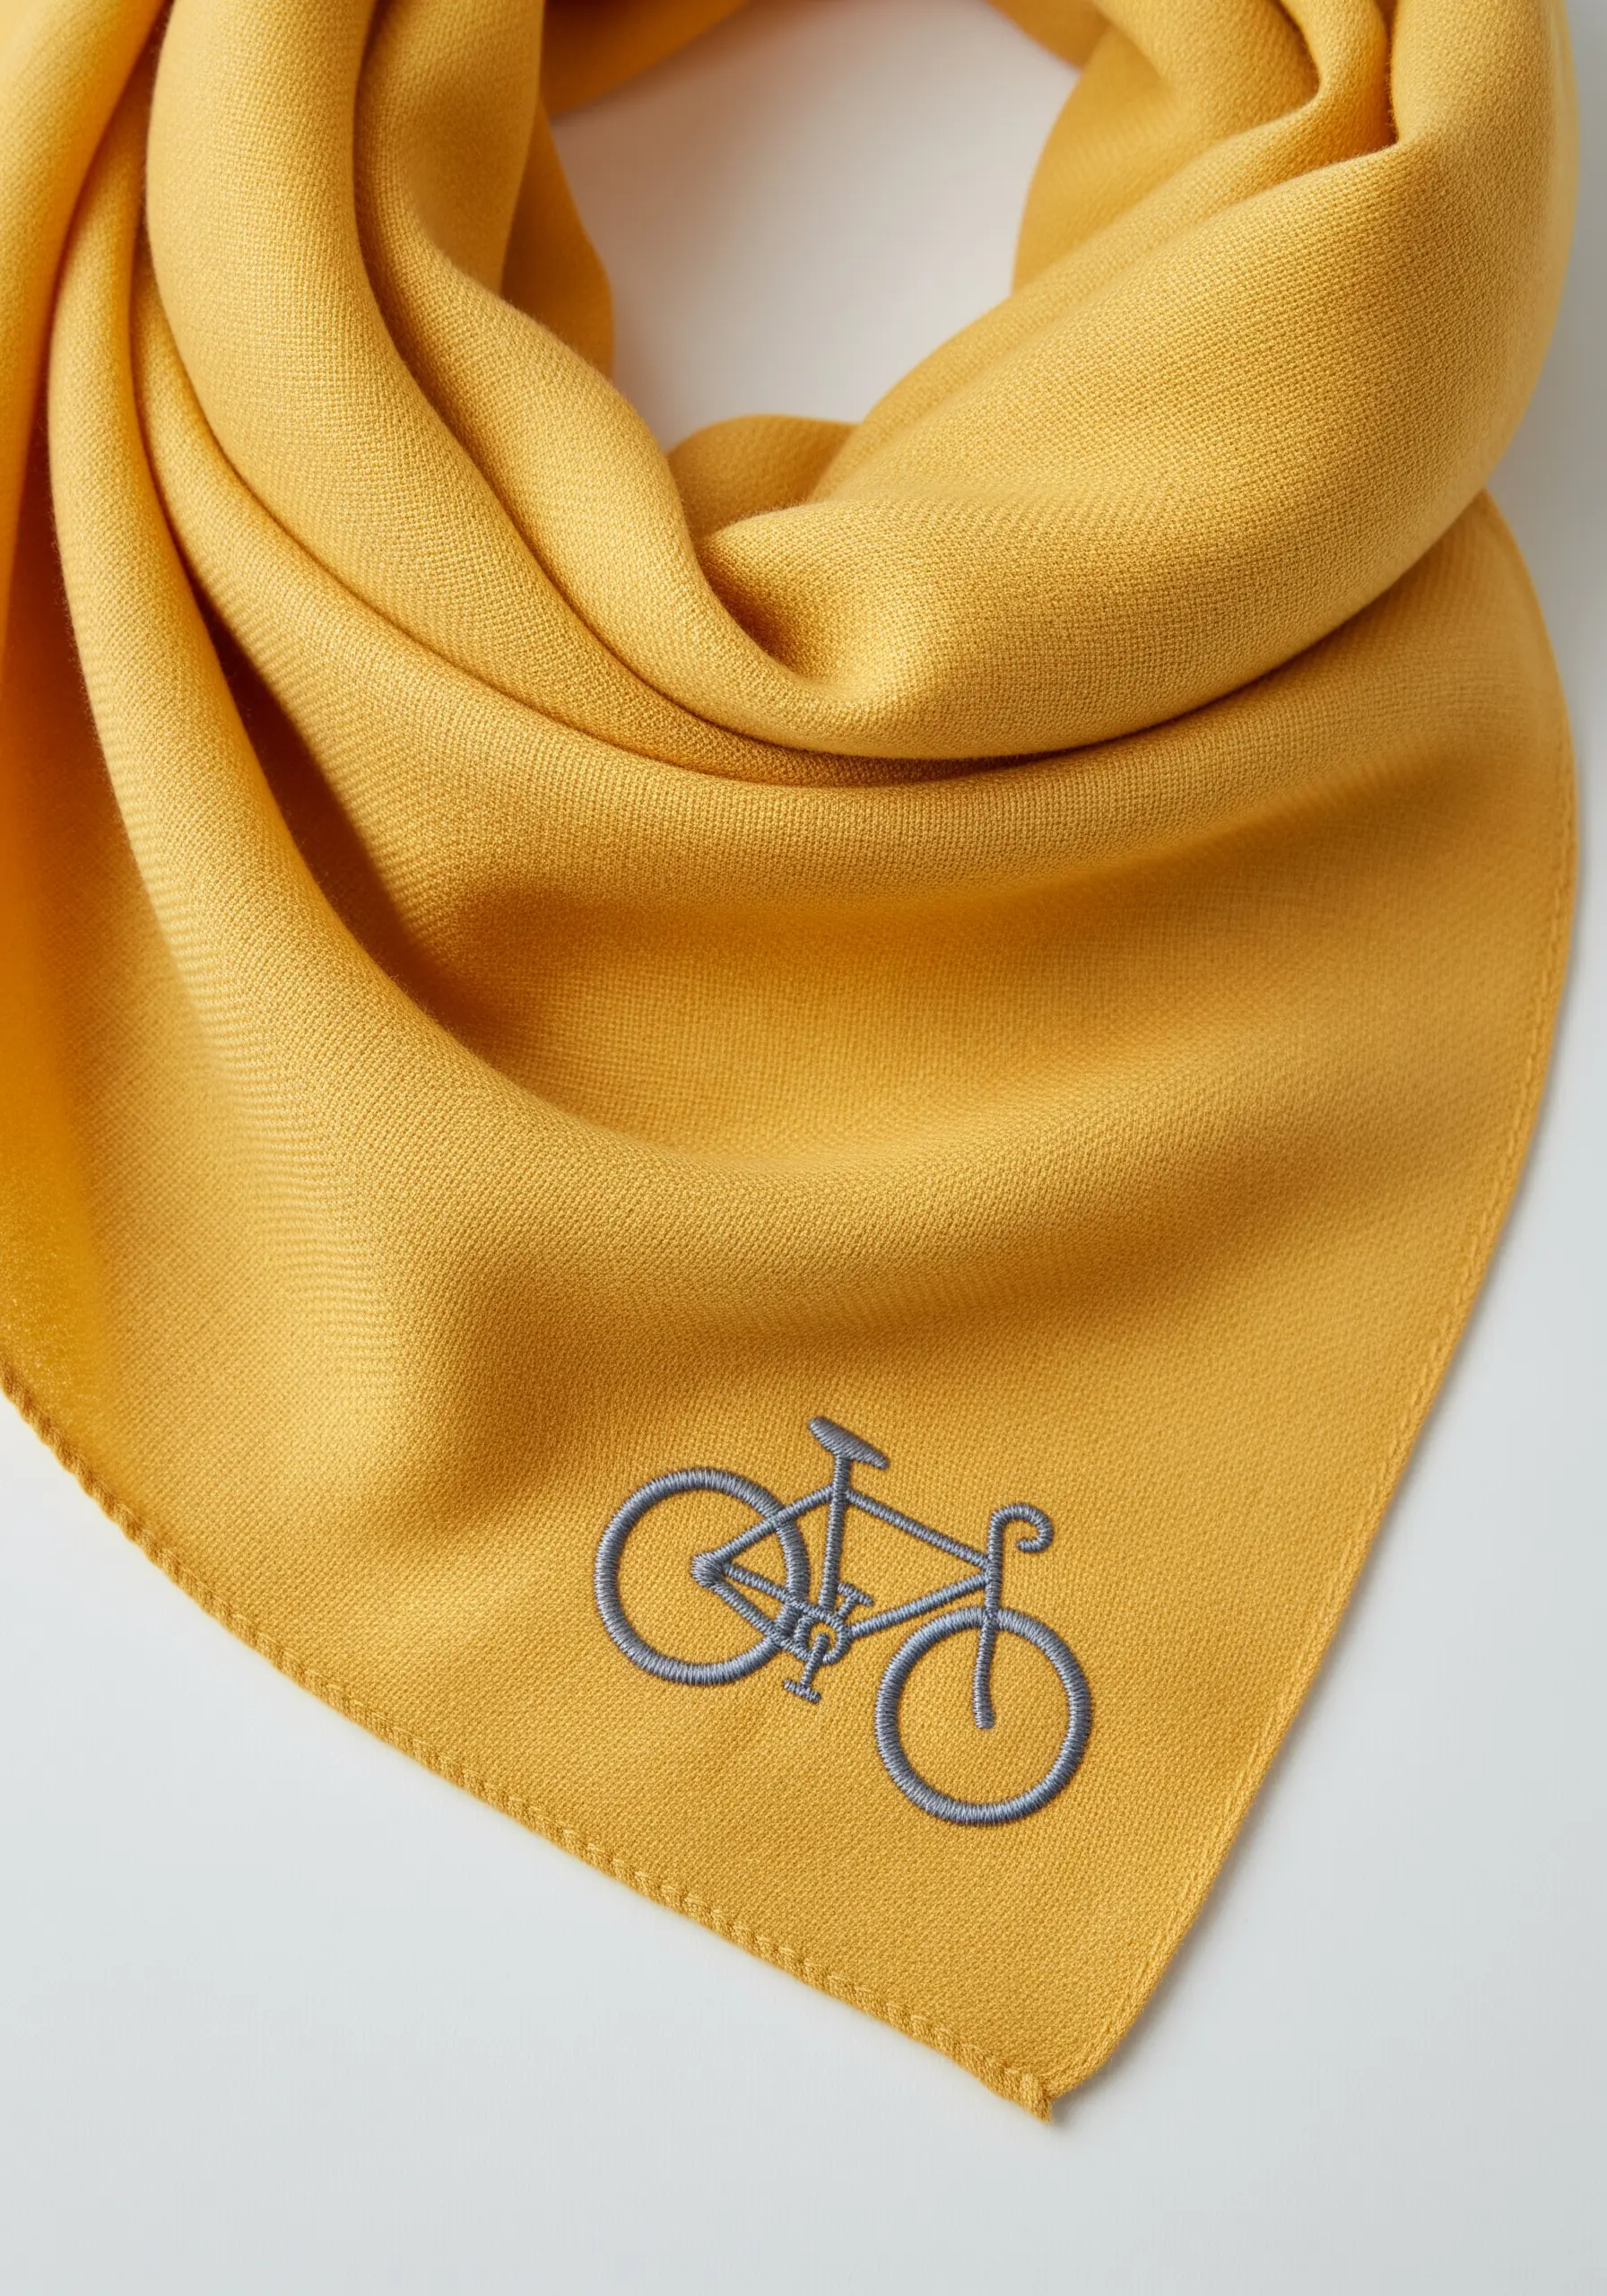
When you need an outline to be bold and clear on a textured fabric, the stem stitch is your most reliable choice.
Use at least three strands of floss to create a thick, rope-like line that sits proudly on the surface of the weave, refusing to get lost.
The twisting nature of the stem stitch gives the design a pleasing solidity and a slightly raised definition that a backstitch lacks.
34. Crystalline Snowflake
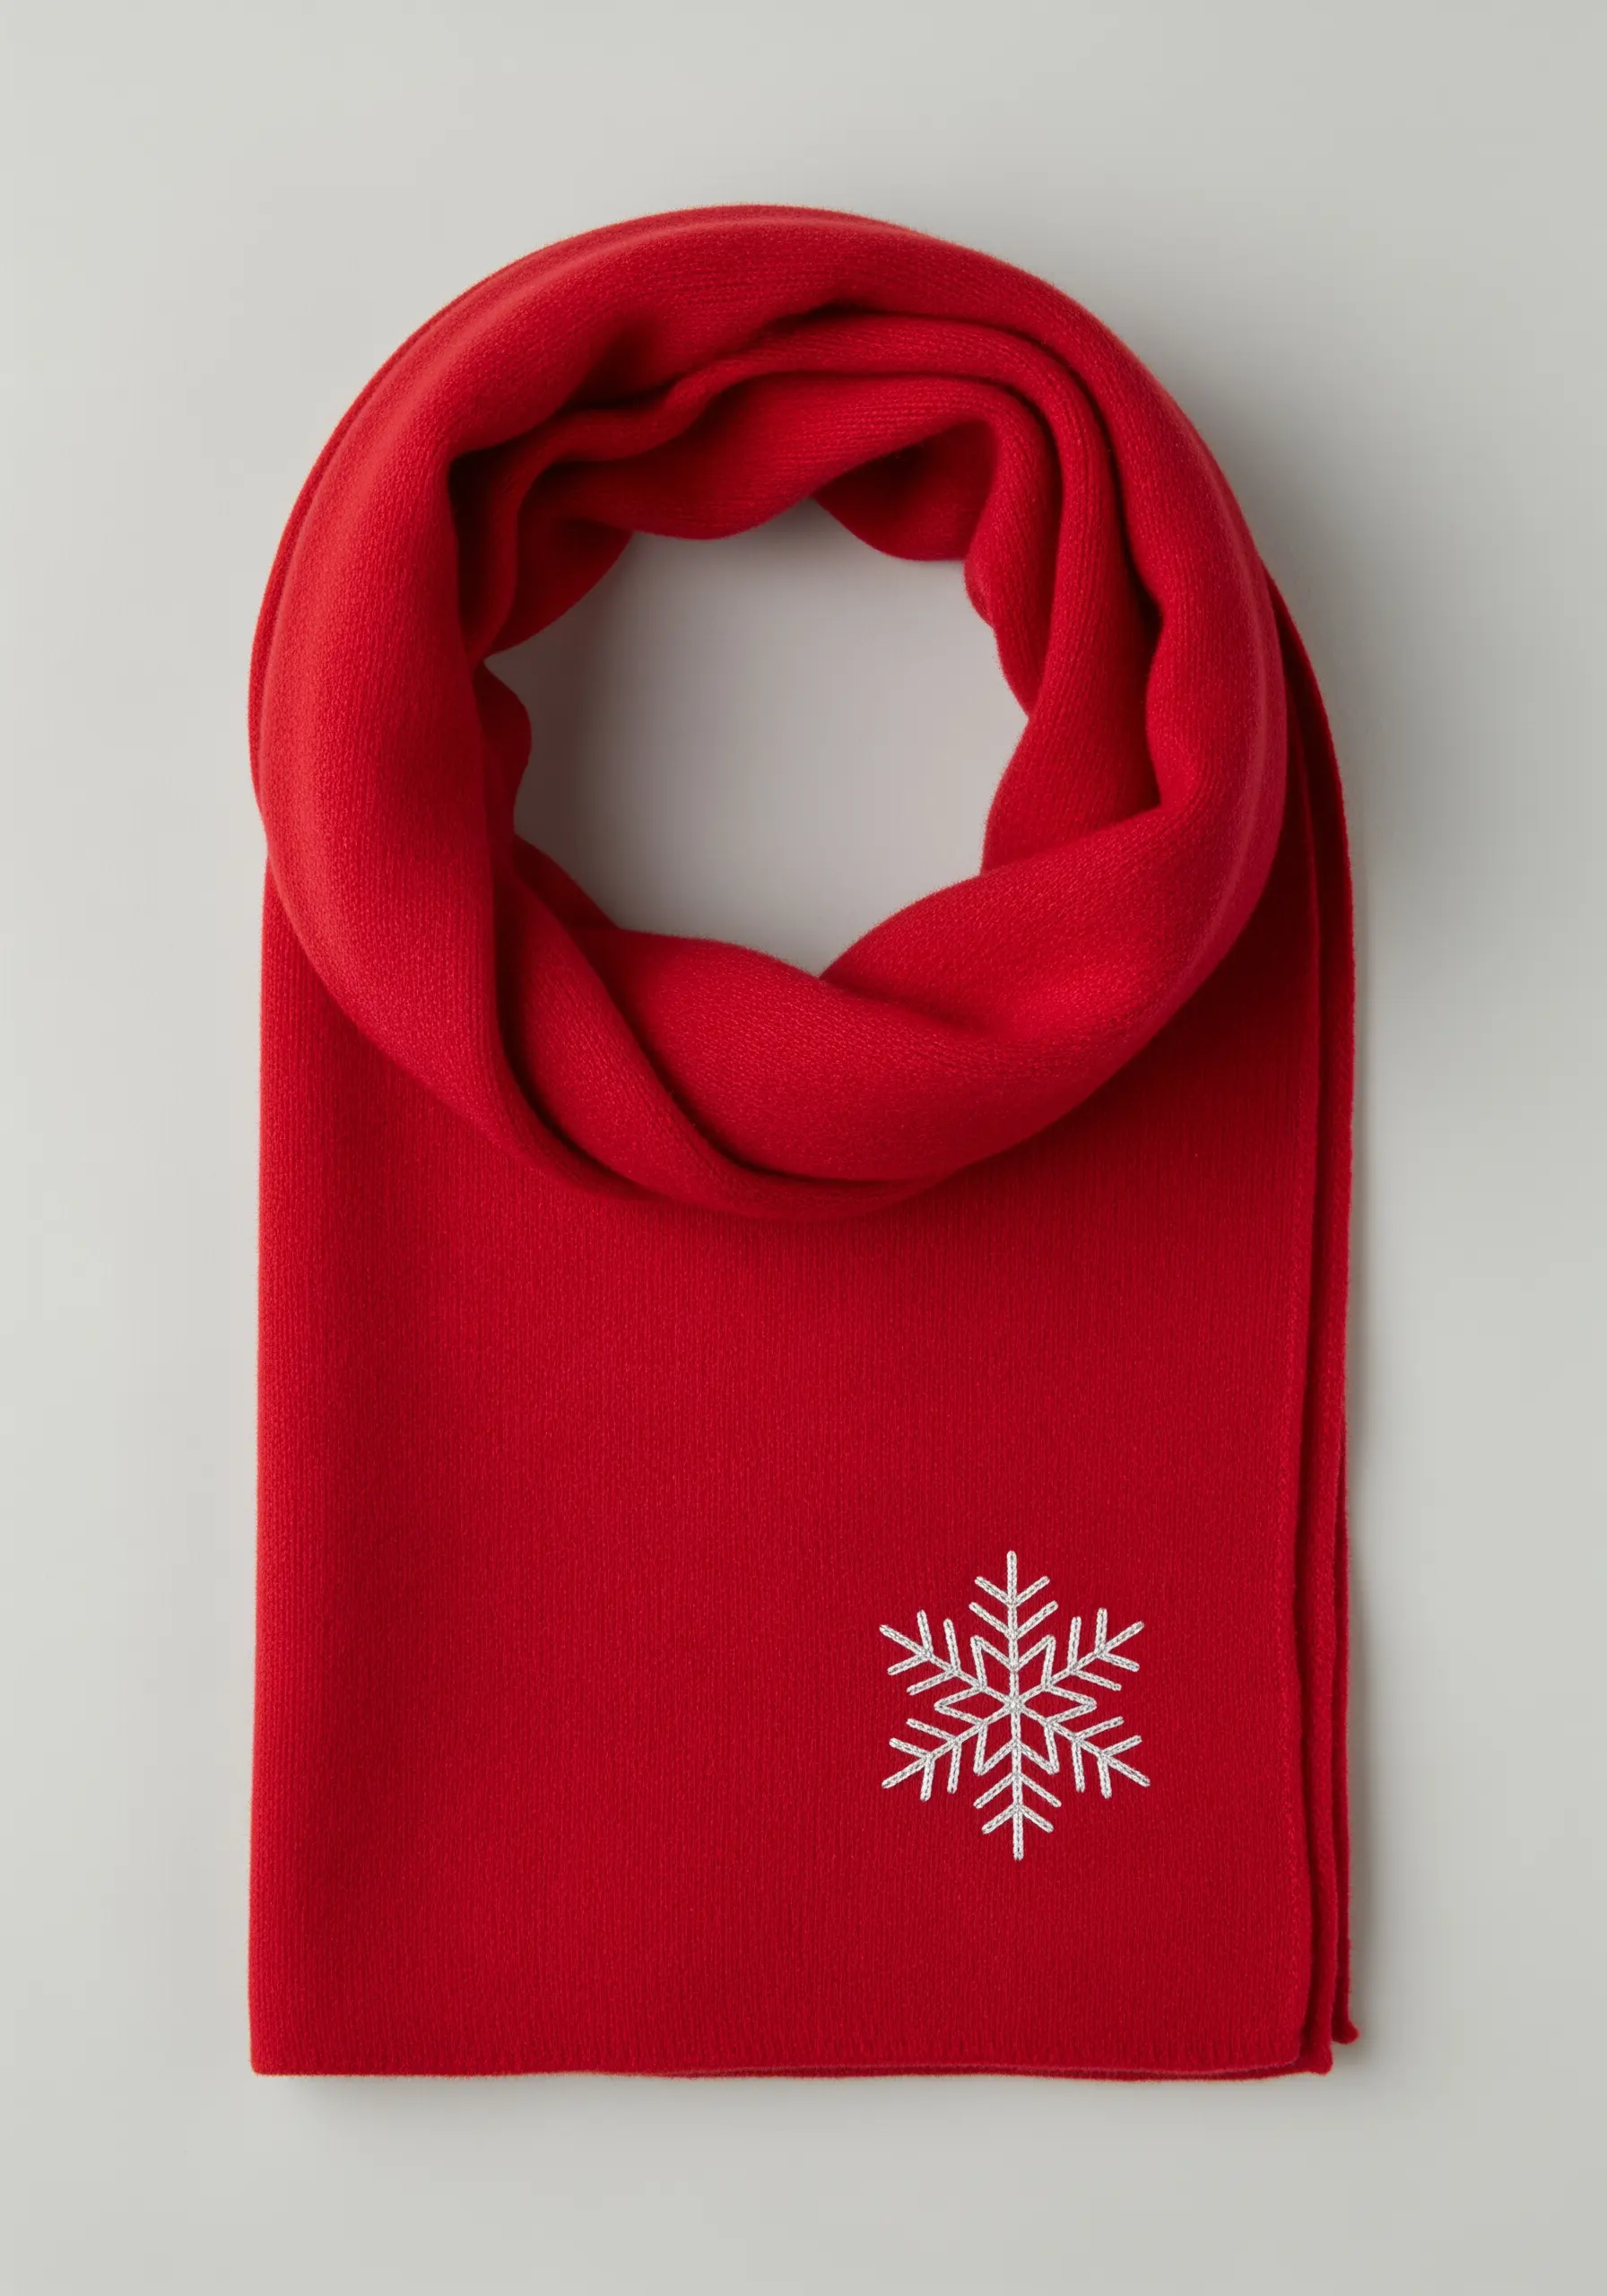
The key to a perfect embroidered snowflake is flawless symmetry.
The easiest way to achieve this is to print or draw your design onto a sheet of water-soluble stabilizer.
Hoop the stabilizer on top of your fabric and stitch directly through it using simple straight stitches.
When you’re finished, rinse the scarf in water, and the stabilizer will dissolve, leaving behind a crisp, perfectly symmetrical motif.
35. Bold Nautical Anchor
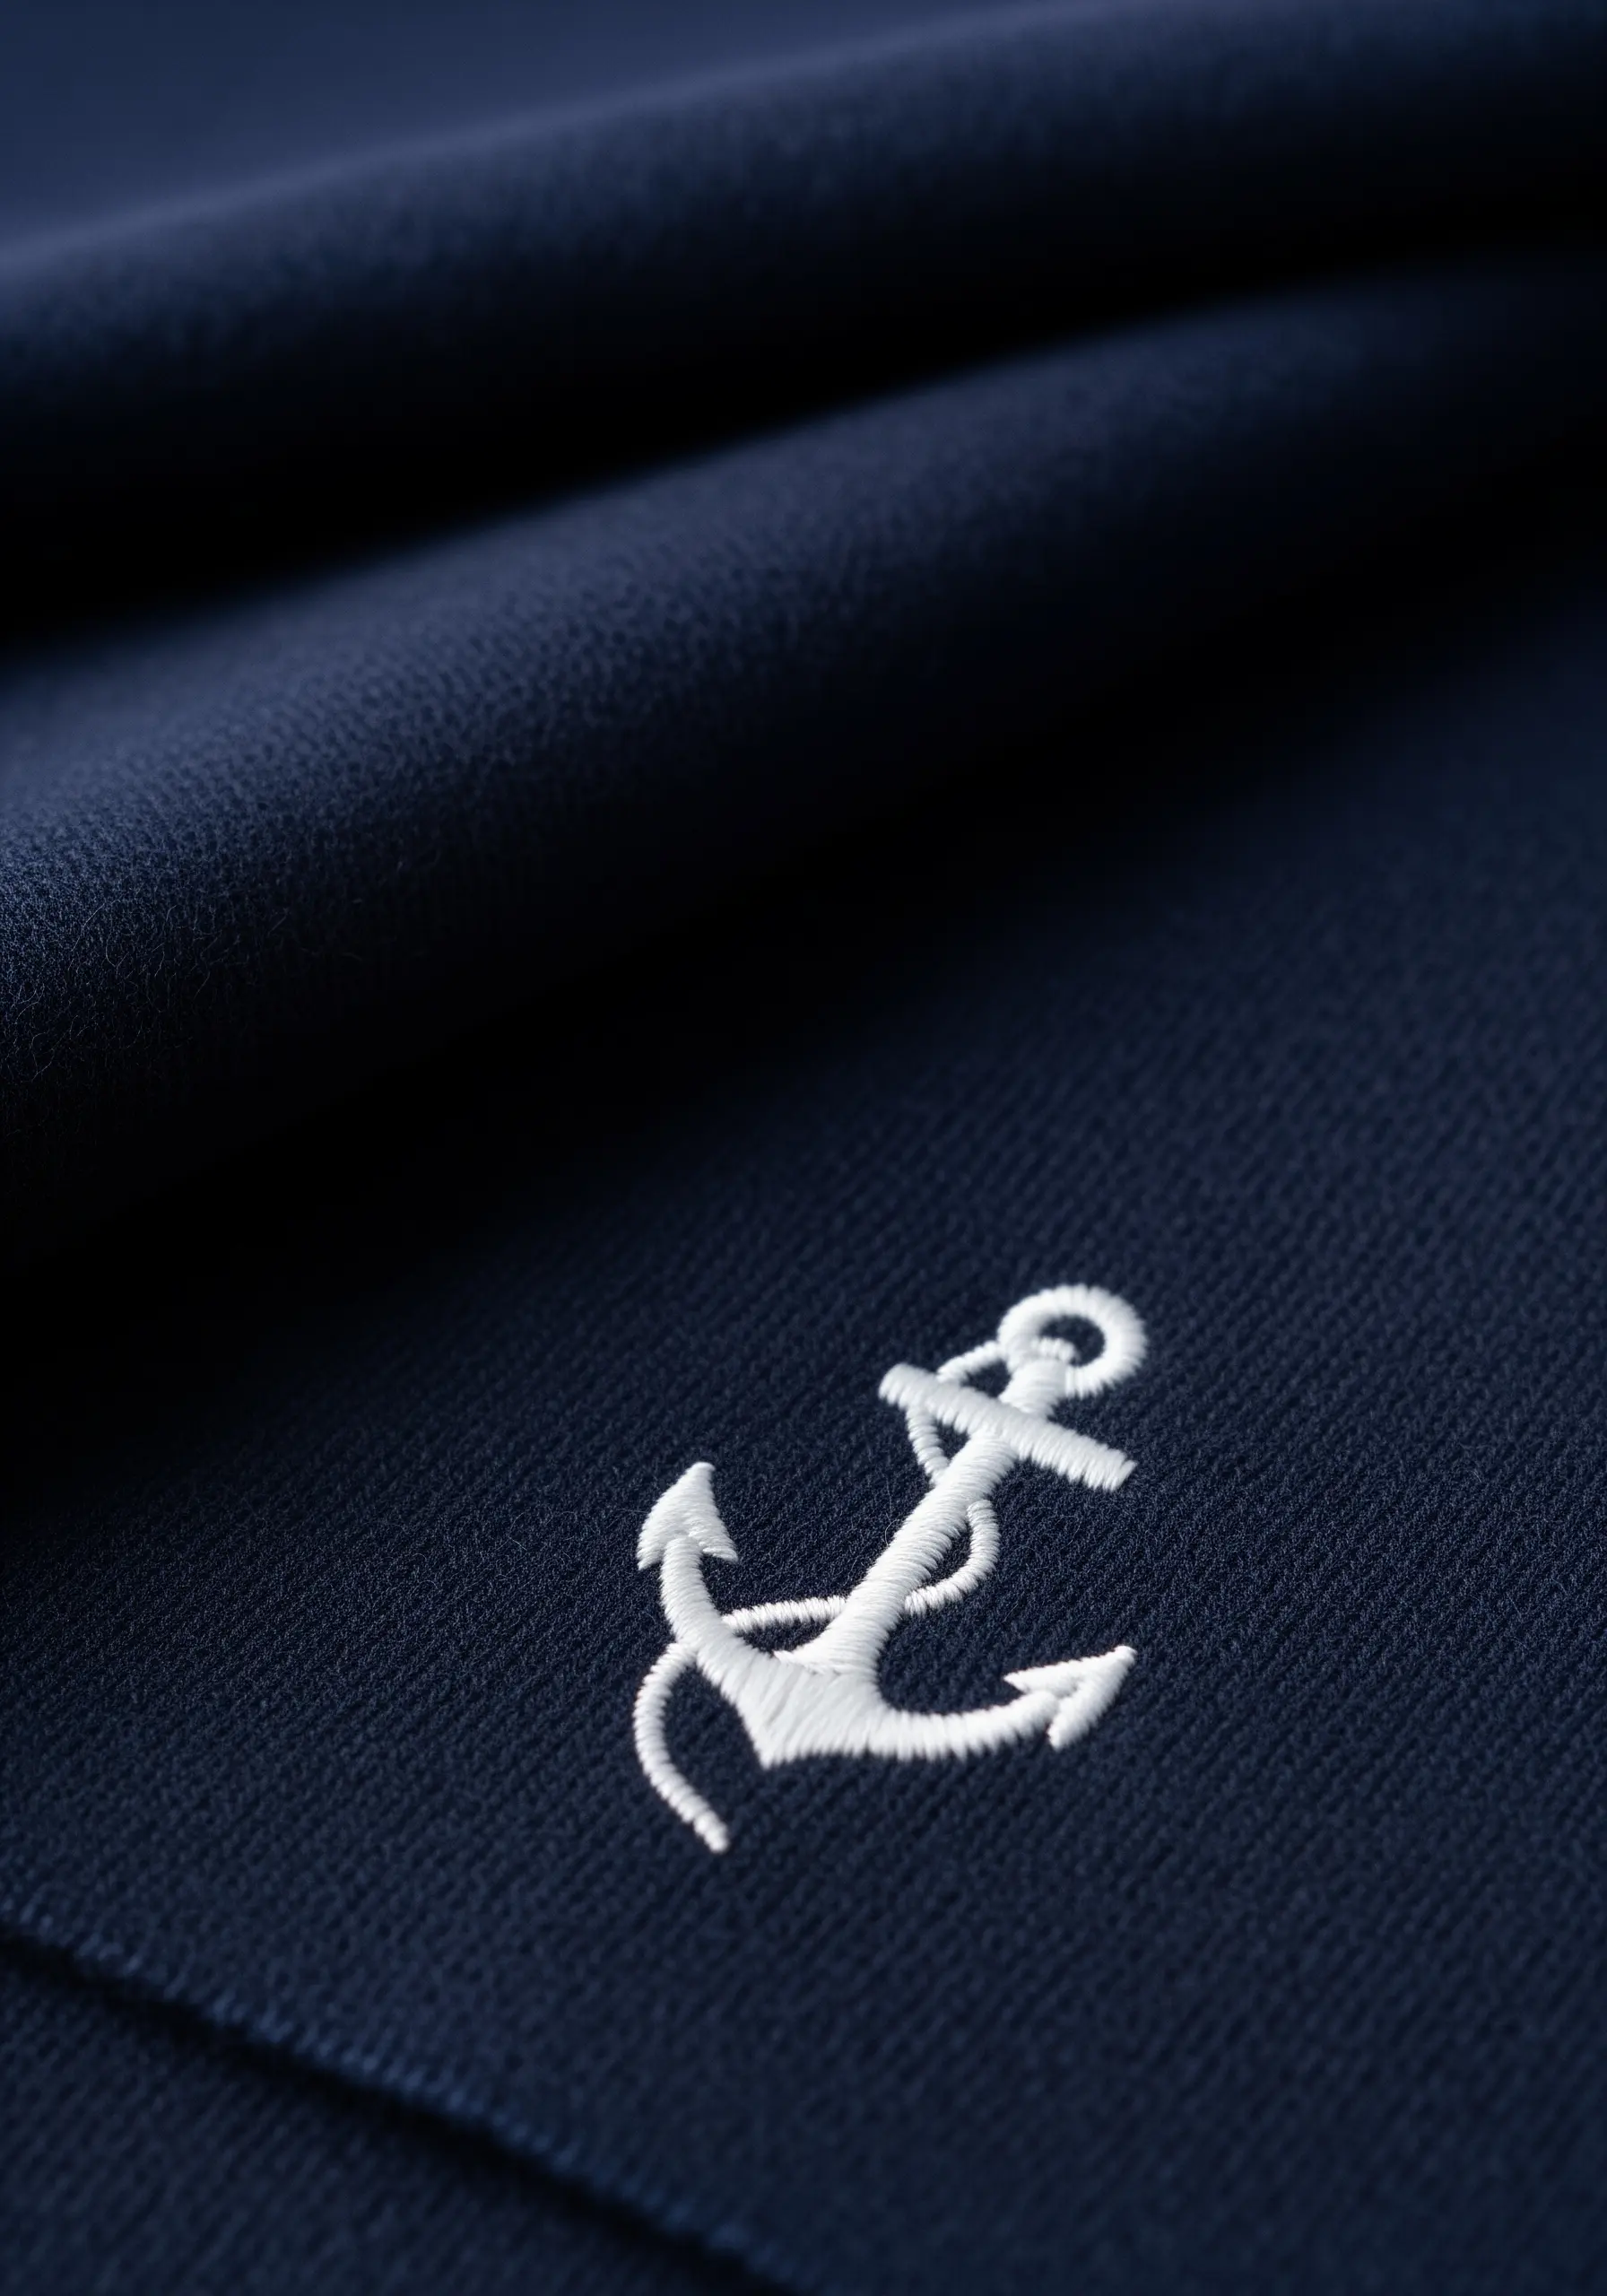
Achieving a smooth, dense satin stitch on a ribbed or heavily textured fabric is impossible without a proper foundation.
Use a cut-away stabilizer on the back of your fabric; it will remain permanently to support the stitches and prevent puckering.
This provides a stable surface for your stitches, allowing you to create a bold, crisp motif that won’t distort or sink into the fabric’s texture over time.


