
In the quiet corners of a small apartment, every detail matters. This is where embroidery finds its true purpose—not in grand, complex tapestries, but in small, intentional touches that make a space feel like your own.
Think of your thread as a tool for infusion, a way to add warmth, texture, and personality to the things you already live with. A few well-placed stitches can soften a plain cushion, animate a kitchen towel, or turn an empty patch of wall into a point of focus and calm.
Here, you won’t find overwhelming projects. Instead, you’ll discover how simple techniques and thoughtful details can transform your home. It’s about creating a personal sanctuary, one quiet, meaningful stitch at a time.
1. Embrace Chunky Fibers for Tactile Warmth
While not traditional embroidery, the appeal of chunky knits lies in their profound texture—a quality you can easily translate into your stitch work.
Instead of fine floss, try couching thick merino yarn onto a sturdy fabric base like felt or canvas.
This technique allows you to create bold, sculptural lines and fills that mimic the cozy weight of a hand-knit blanket, adding instant warmth to a wall hanging or cushion cover.
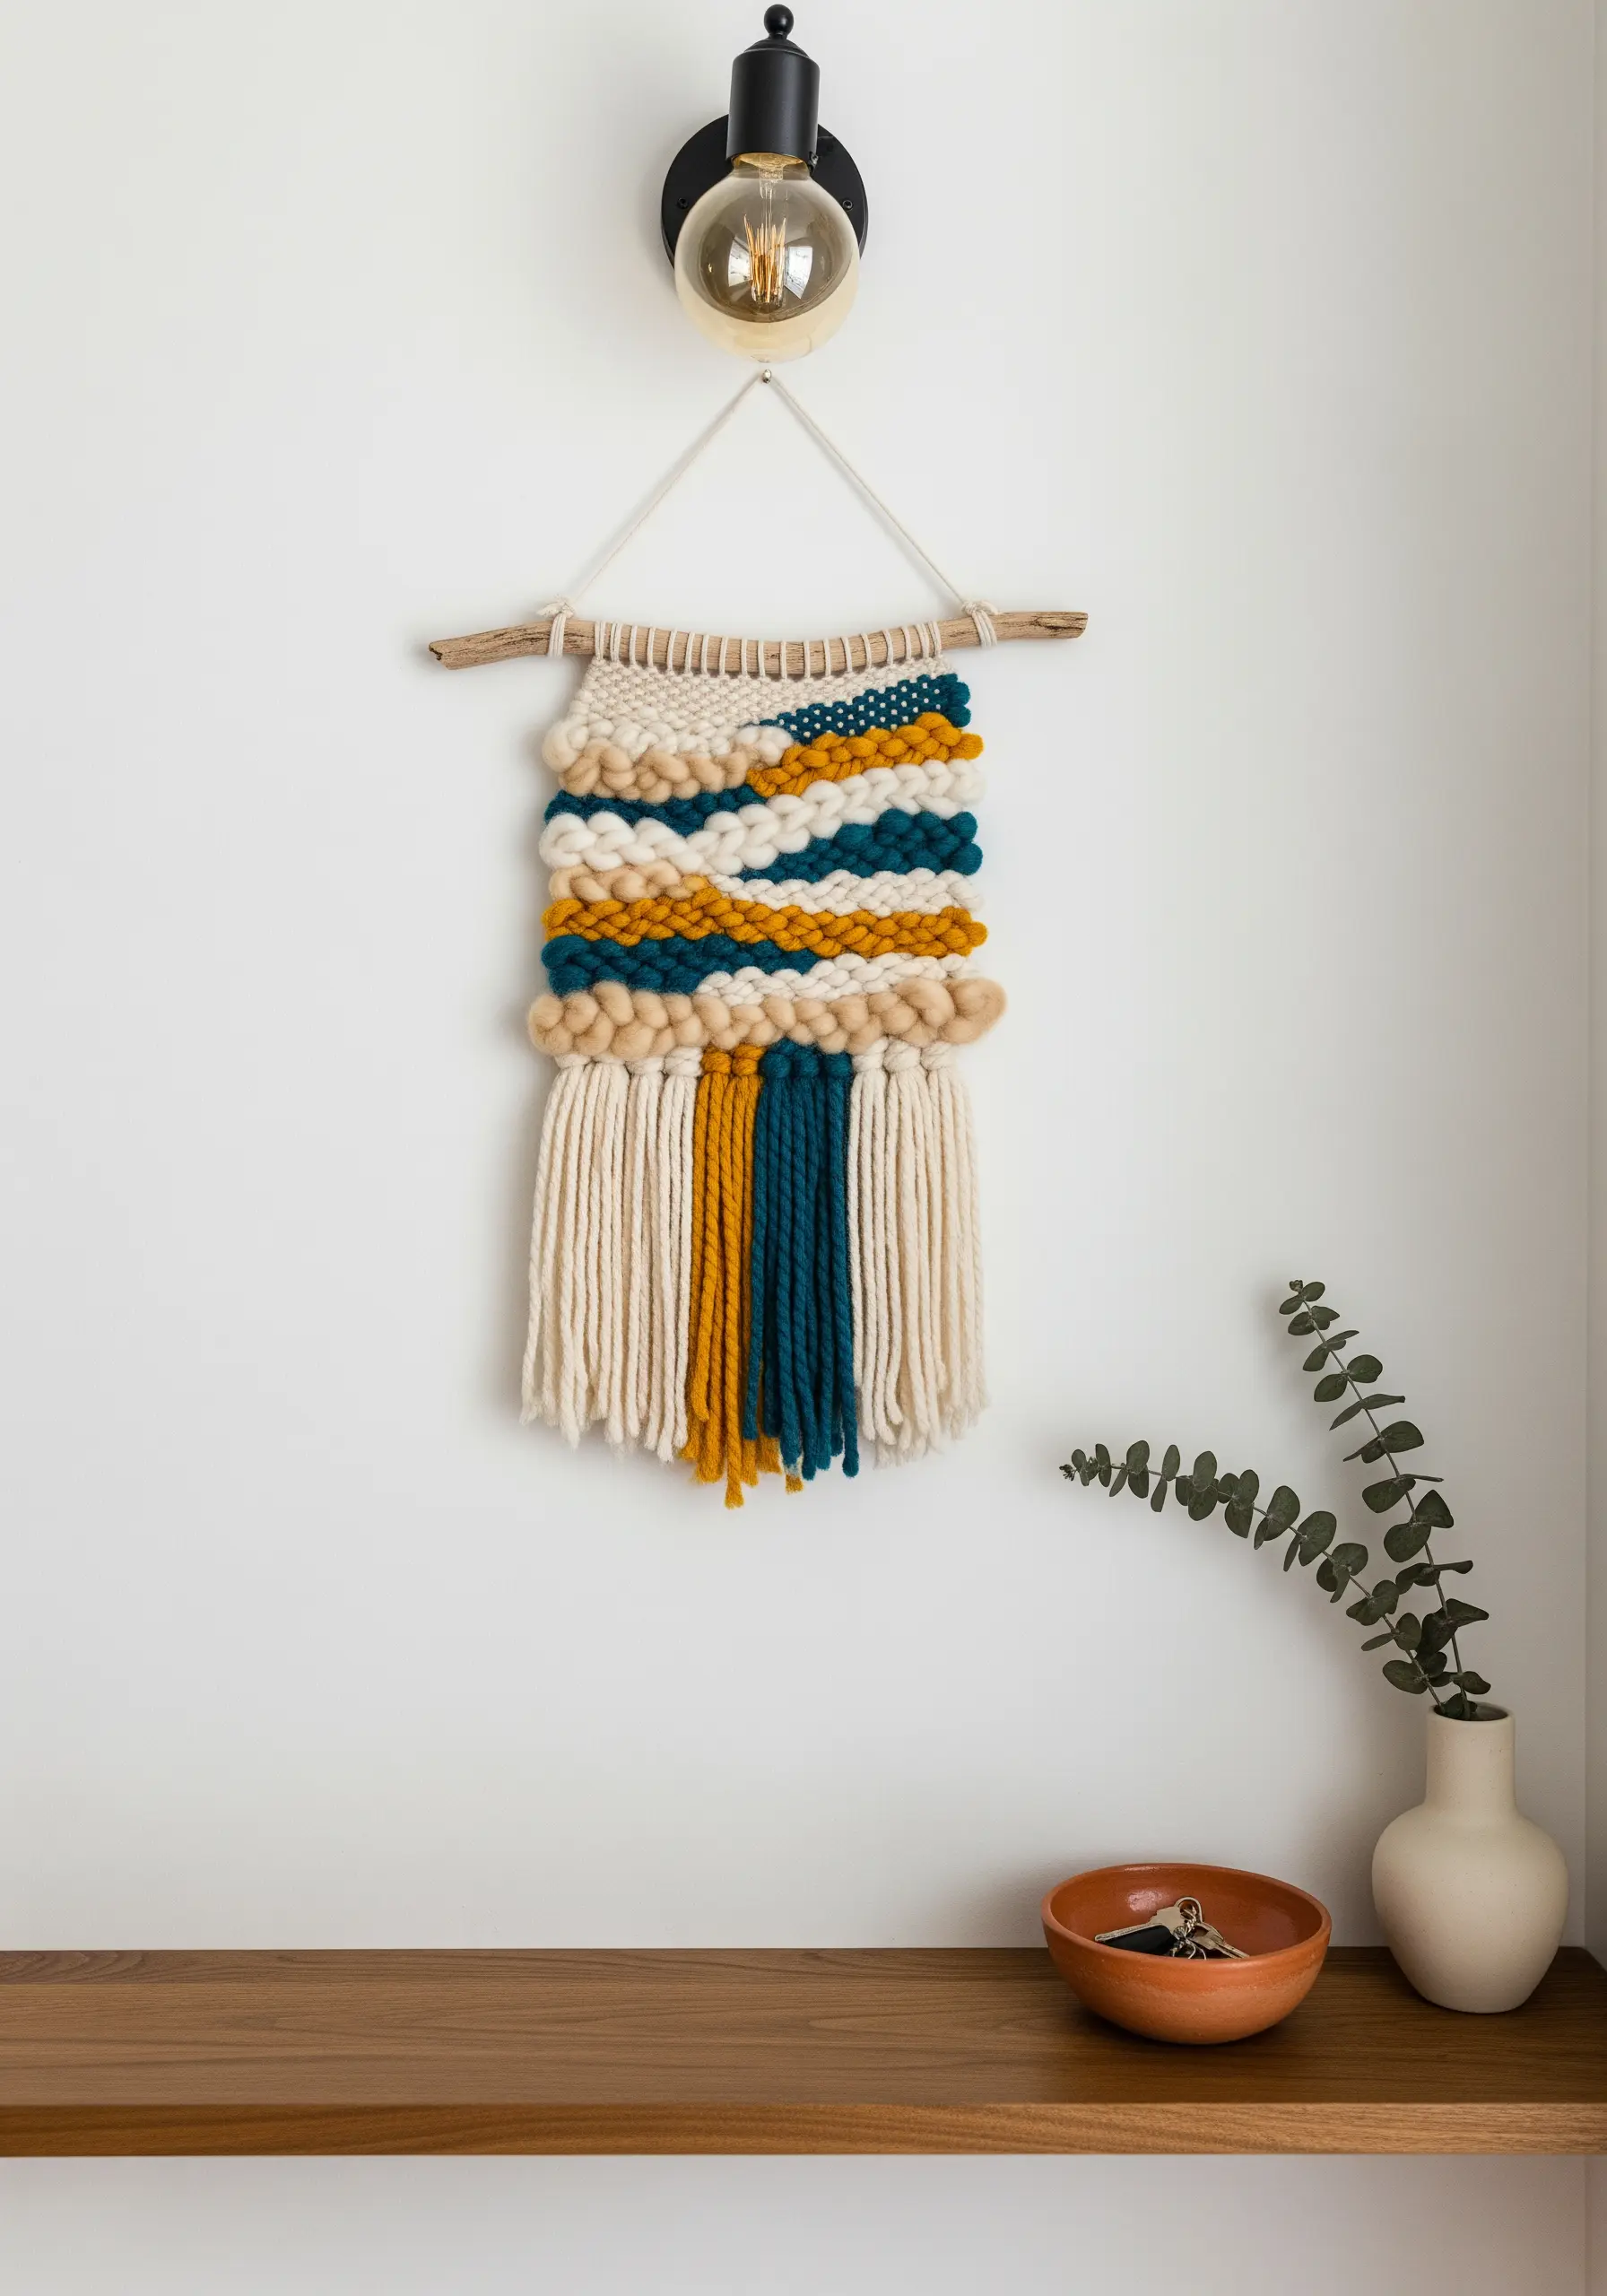
2. Translate Macrame Knots into Thread Art
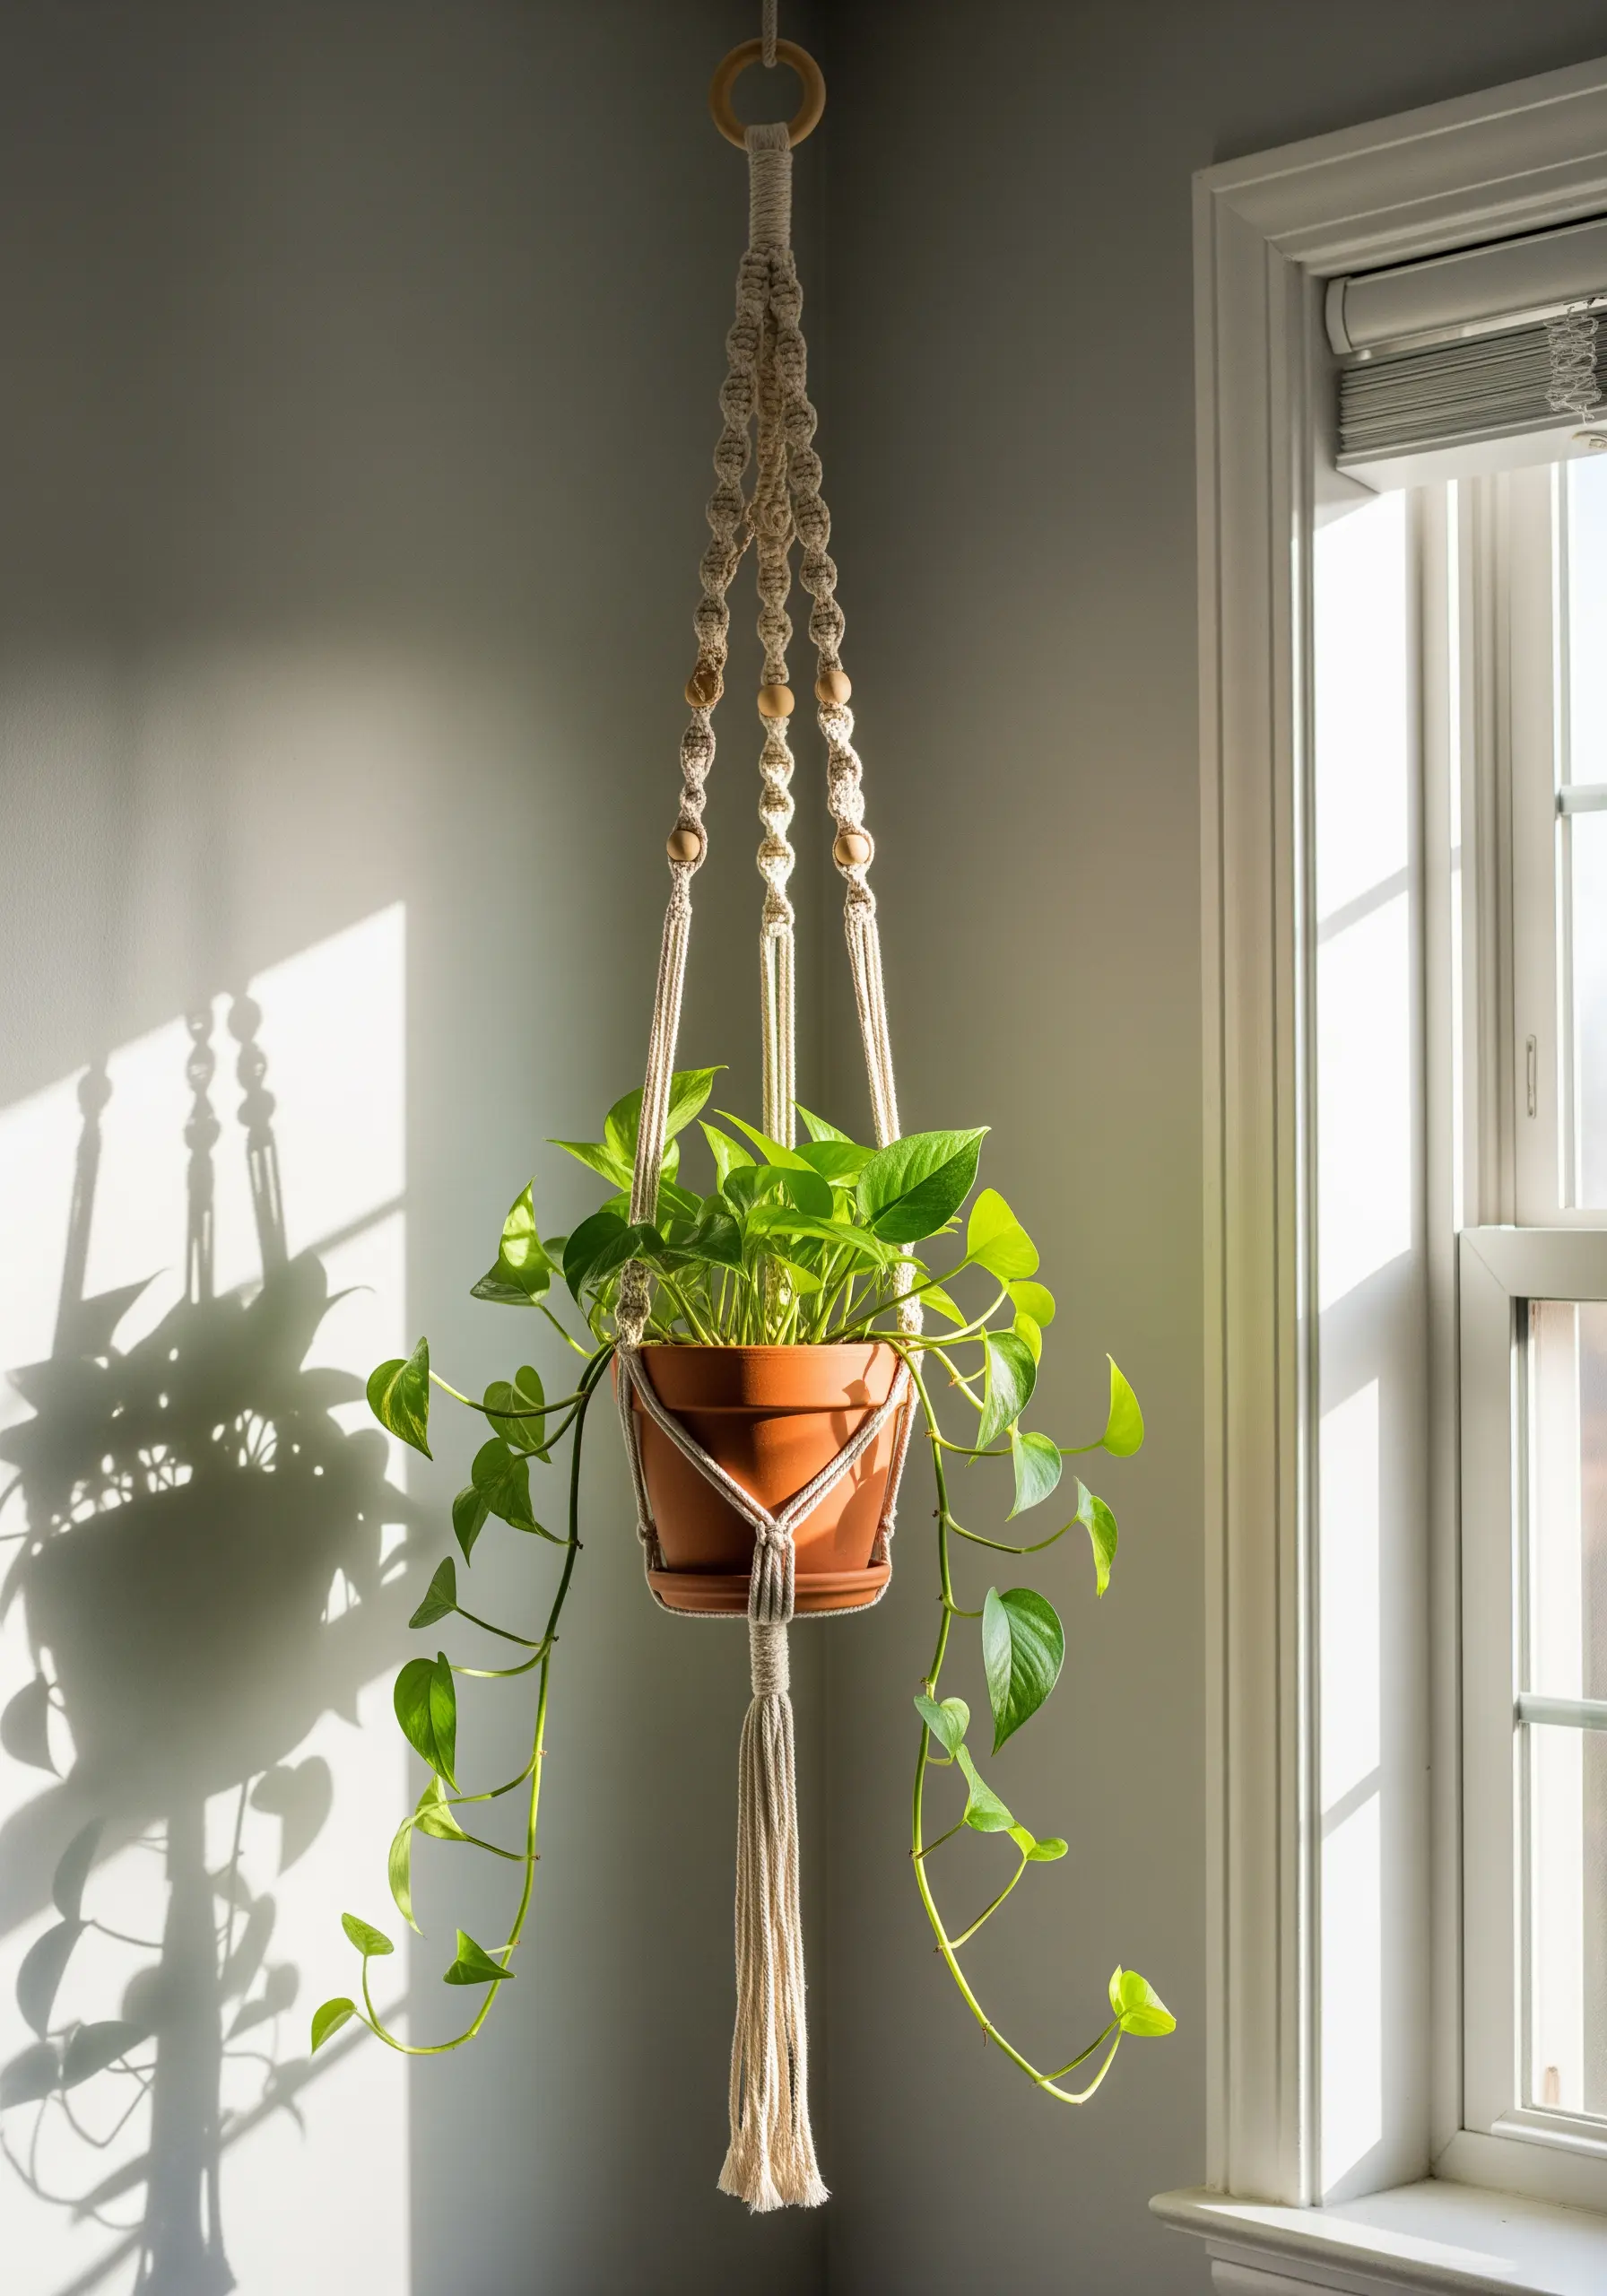
The beauty of this macrame hanger is its simple, structural elegance—something you can capture in embroidery using dimensional knots.
Practice your French knots and bullion knots, varying the number of thread strands and wraps to create different sizes.
Arrange these knots in vertical lines or clusters on your fabric to mimic the beaded, tactile quality of macrame, creating a piece of hoop art with surprising depth and structure.
3. Personalize Linens with Hand-Stitched Motifs
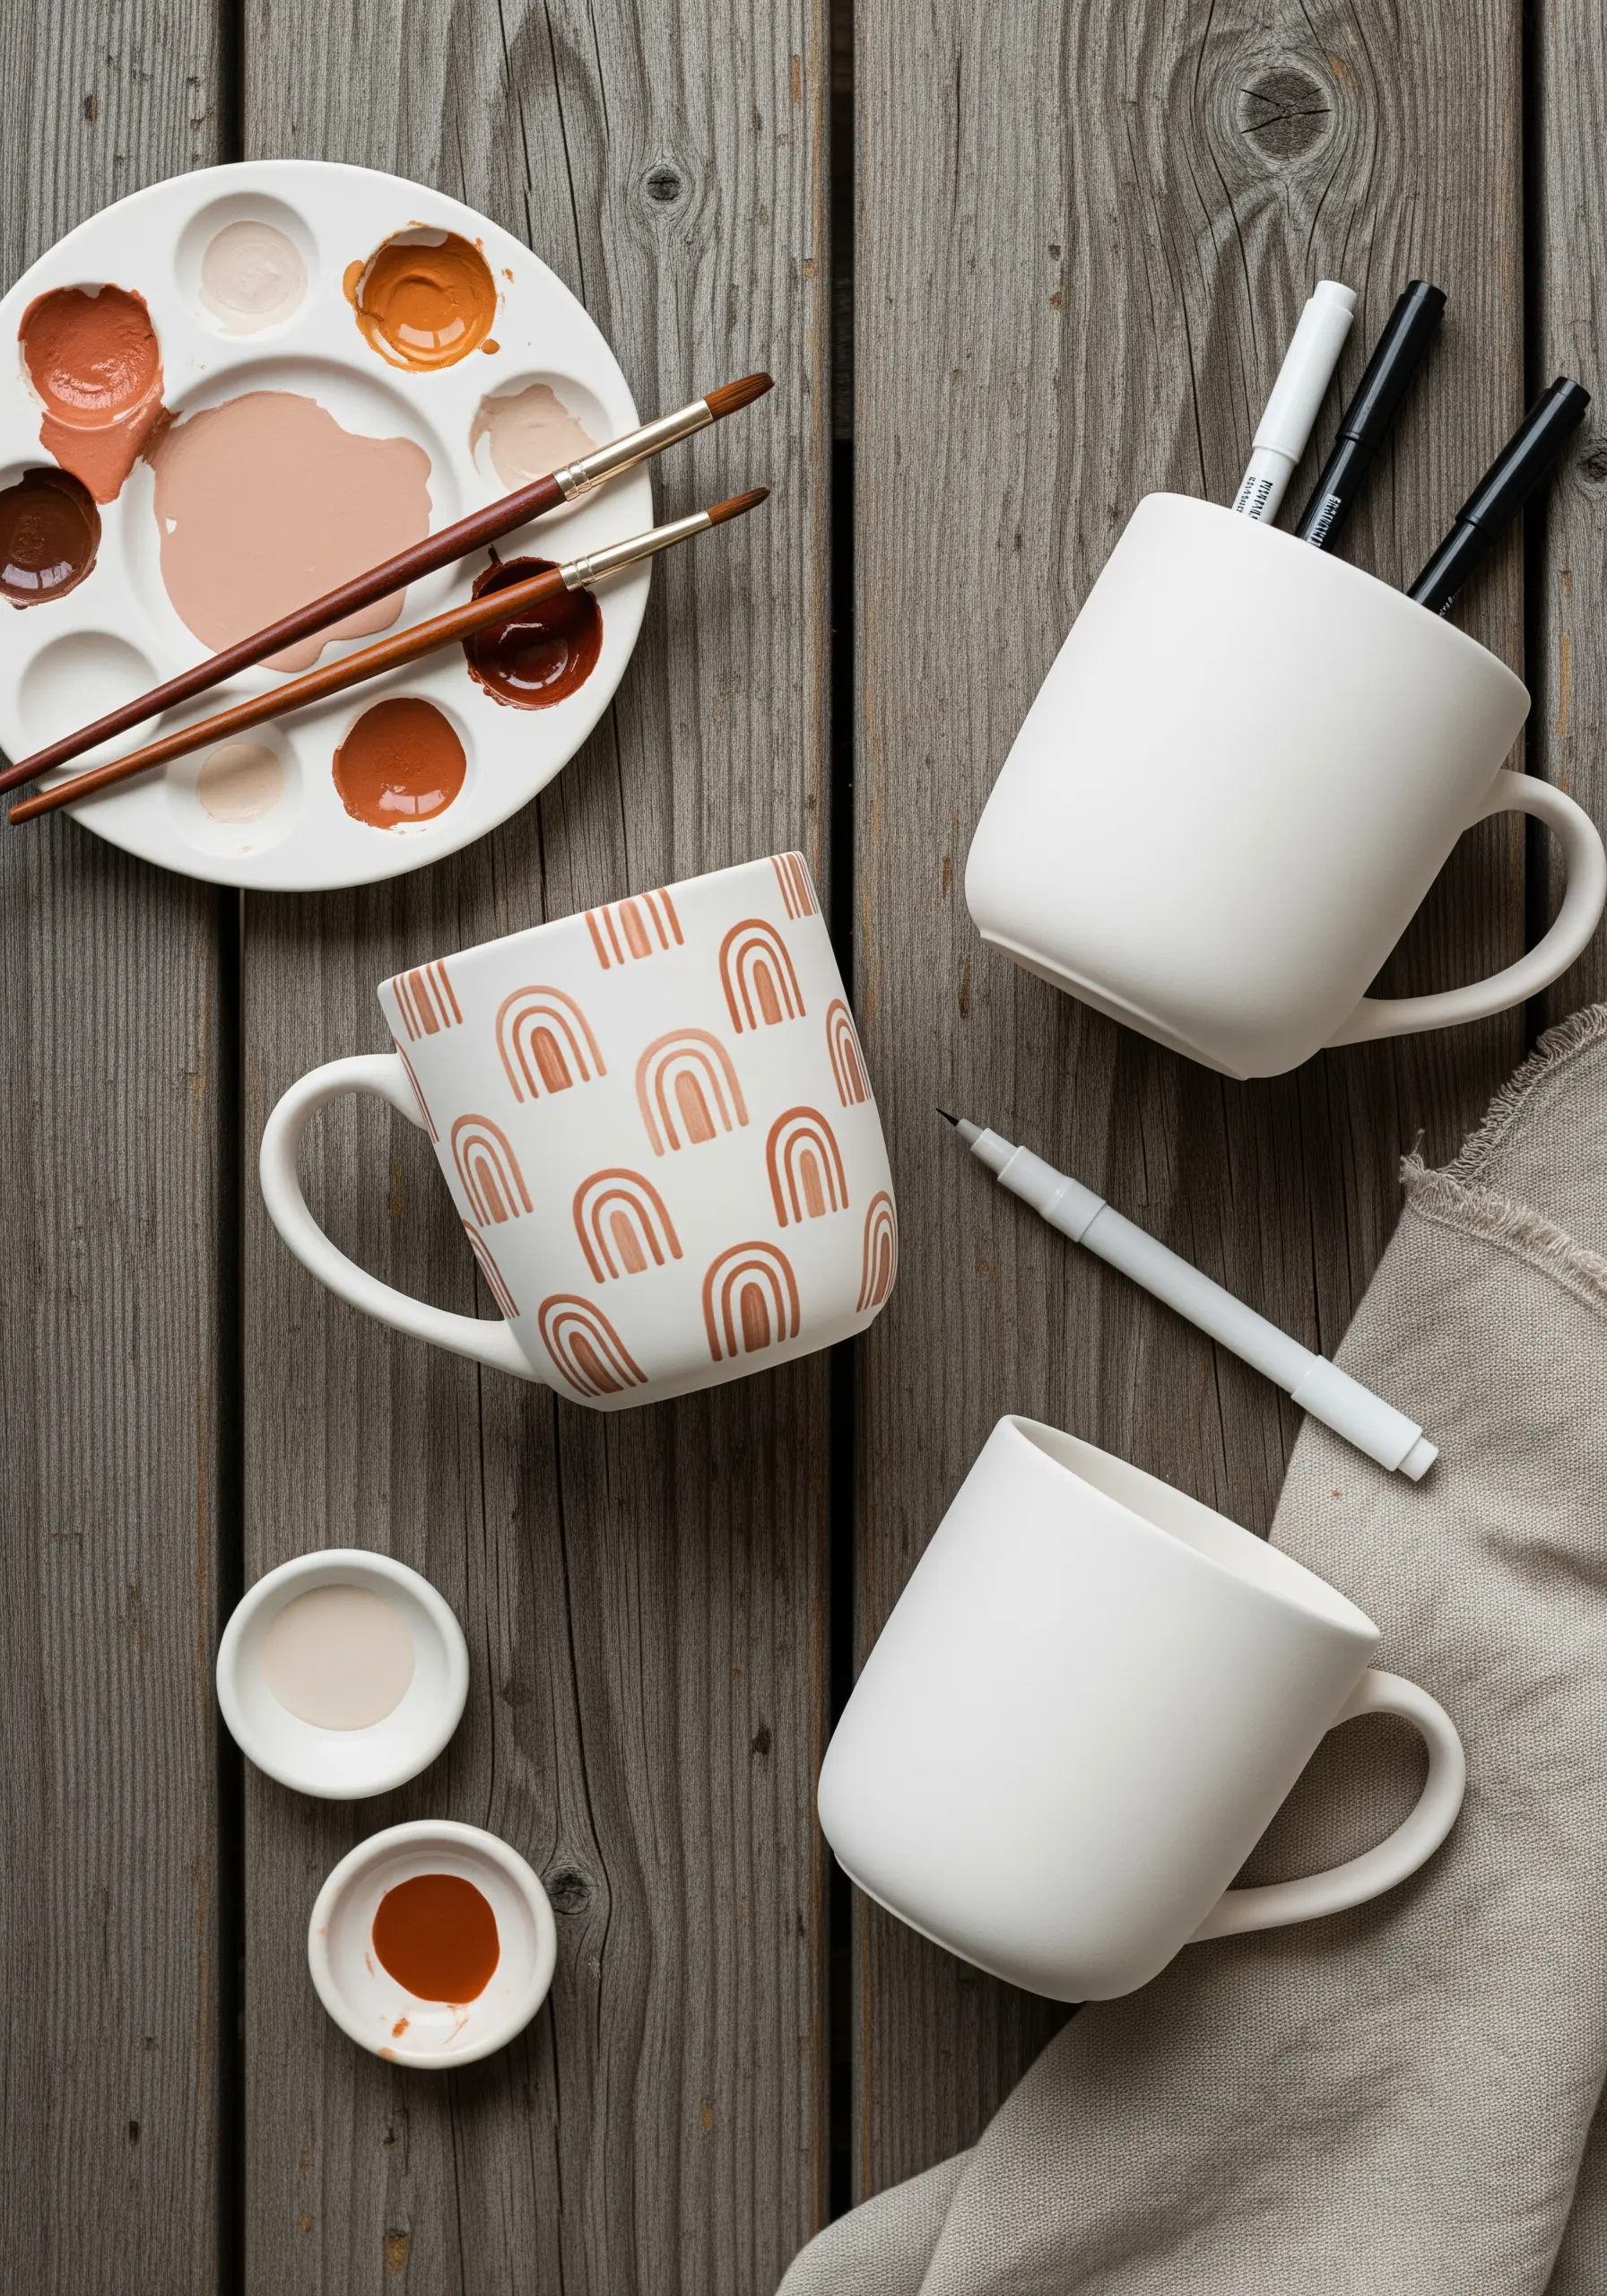
The simple, repeating arches on this mug translate beautifully to textile art, offering a lesson in clean, graphic stitching.
Use a water-soluble marker to draw a similar pattern on a linen napkin or cotton tea towel.
Then, use a two-strand backstitch to outline the shapes. This creates a durable, washable design that adds a touch of bespoke artistry to everyday items.
4. Weave Texture into Your Hoop Art
Bridge the gap between weaving and embroidery by creating a small loom directly in your hoop.
First, create a warp by stitching long, parallel vertical threads across the hoop. Then, use a tapestry needle to weave different textured yarns—like chunky wool and fine cotton—horizontally through the warp.
This method lets you build up gorgeous mixed-fiber textures and color blocks, turning a simple hoop into a miniature woven tapestry.
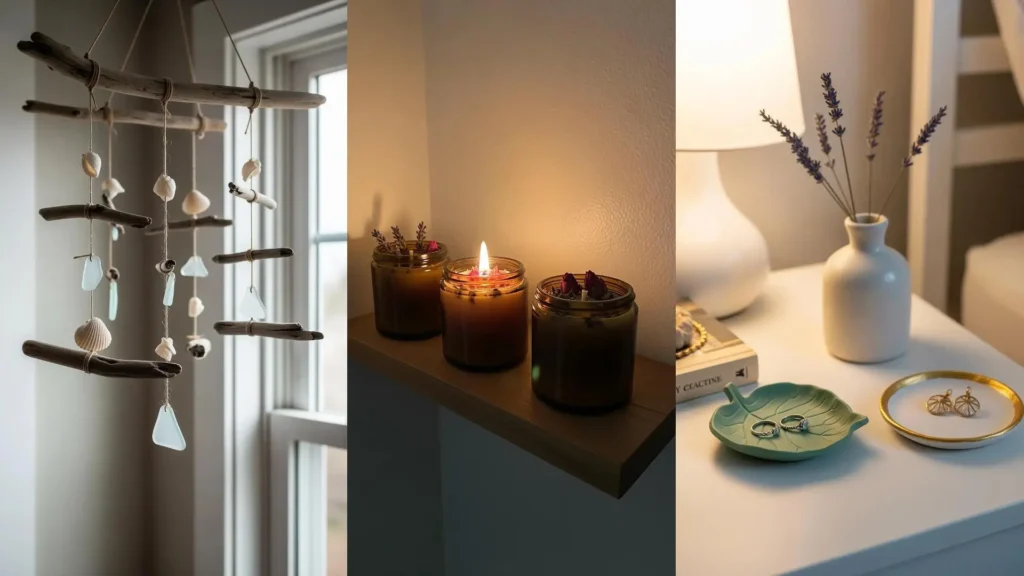
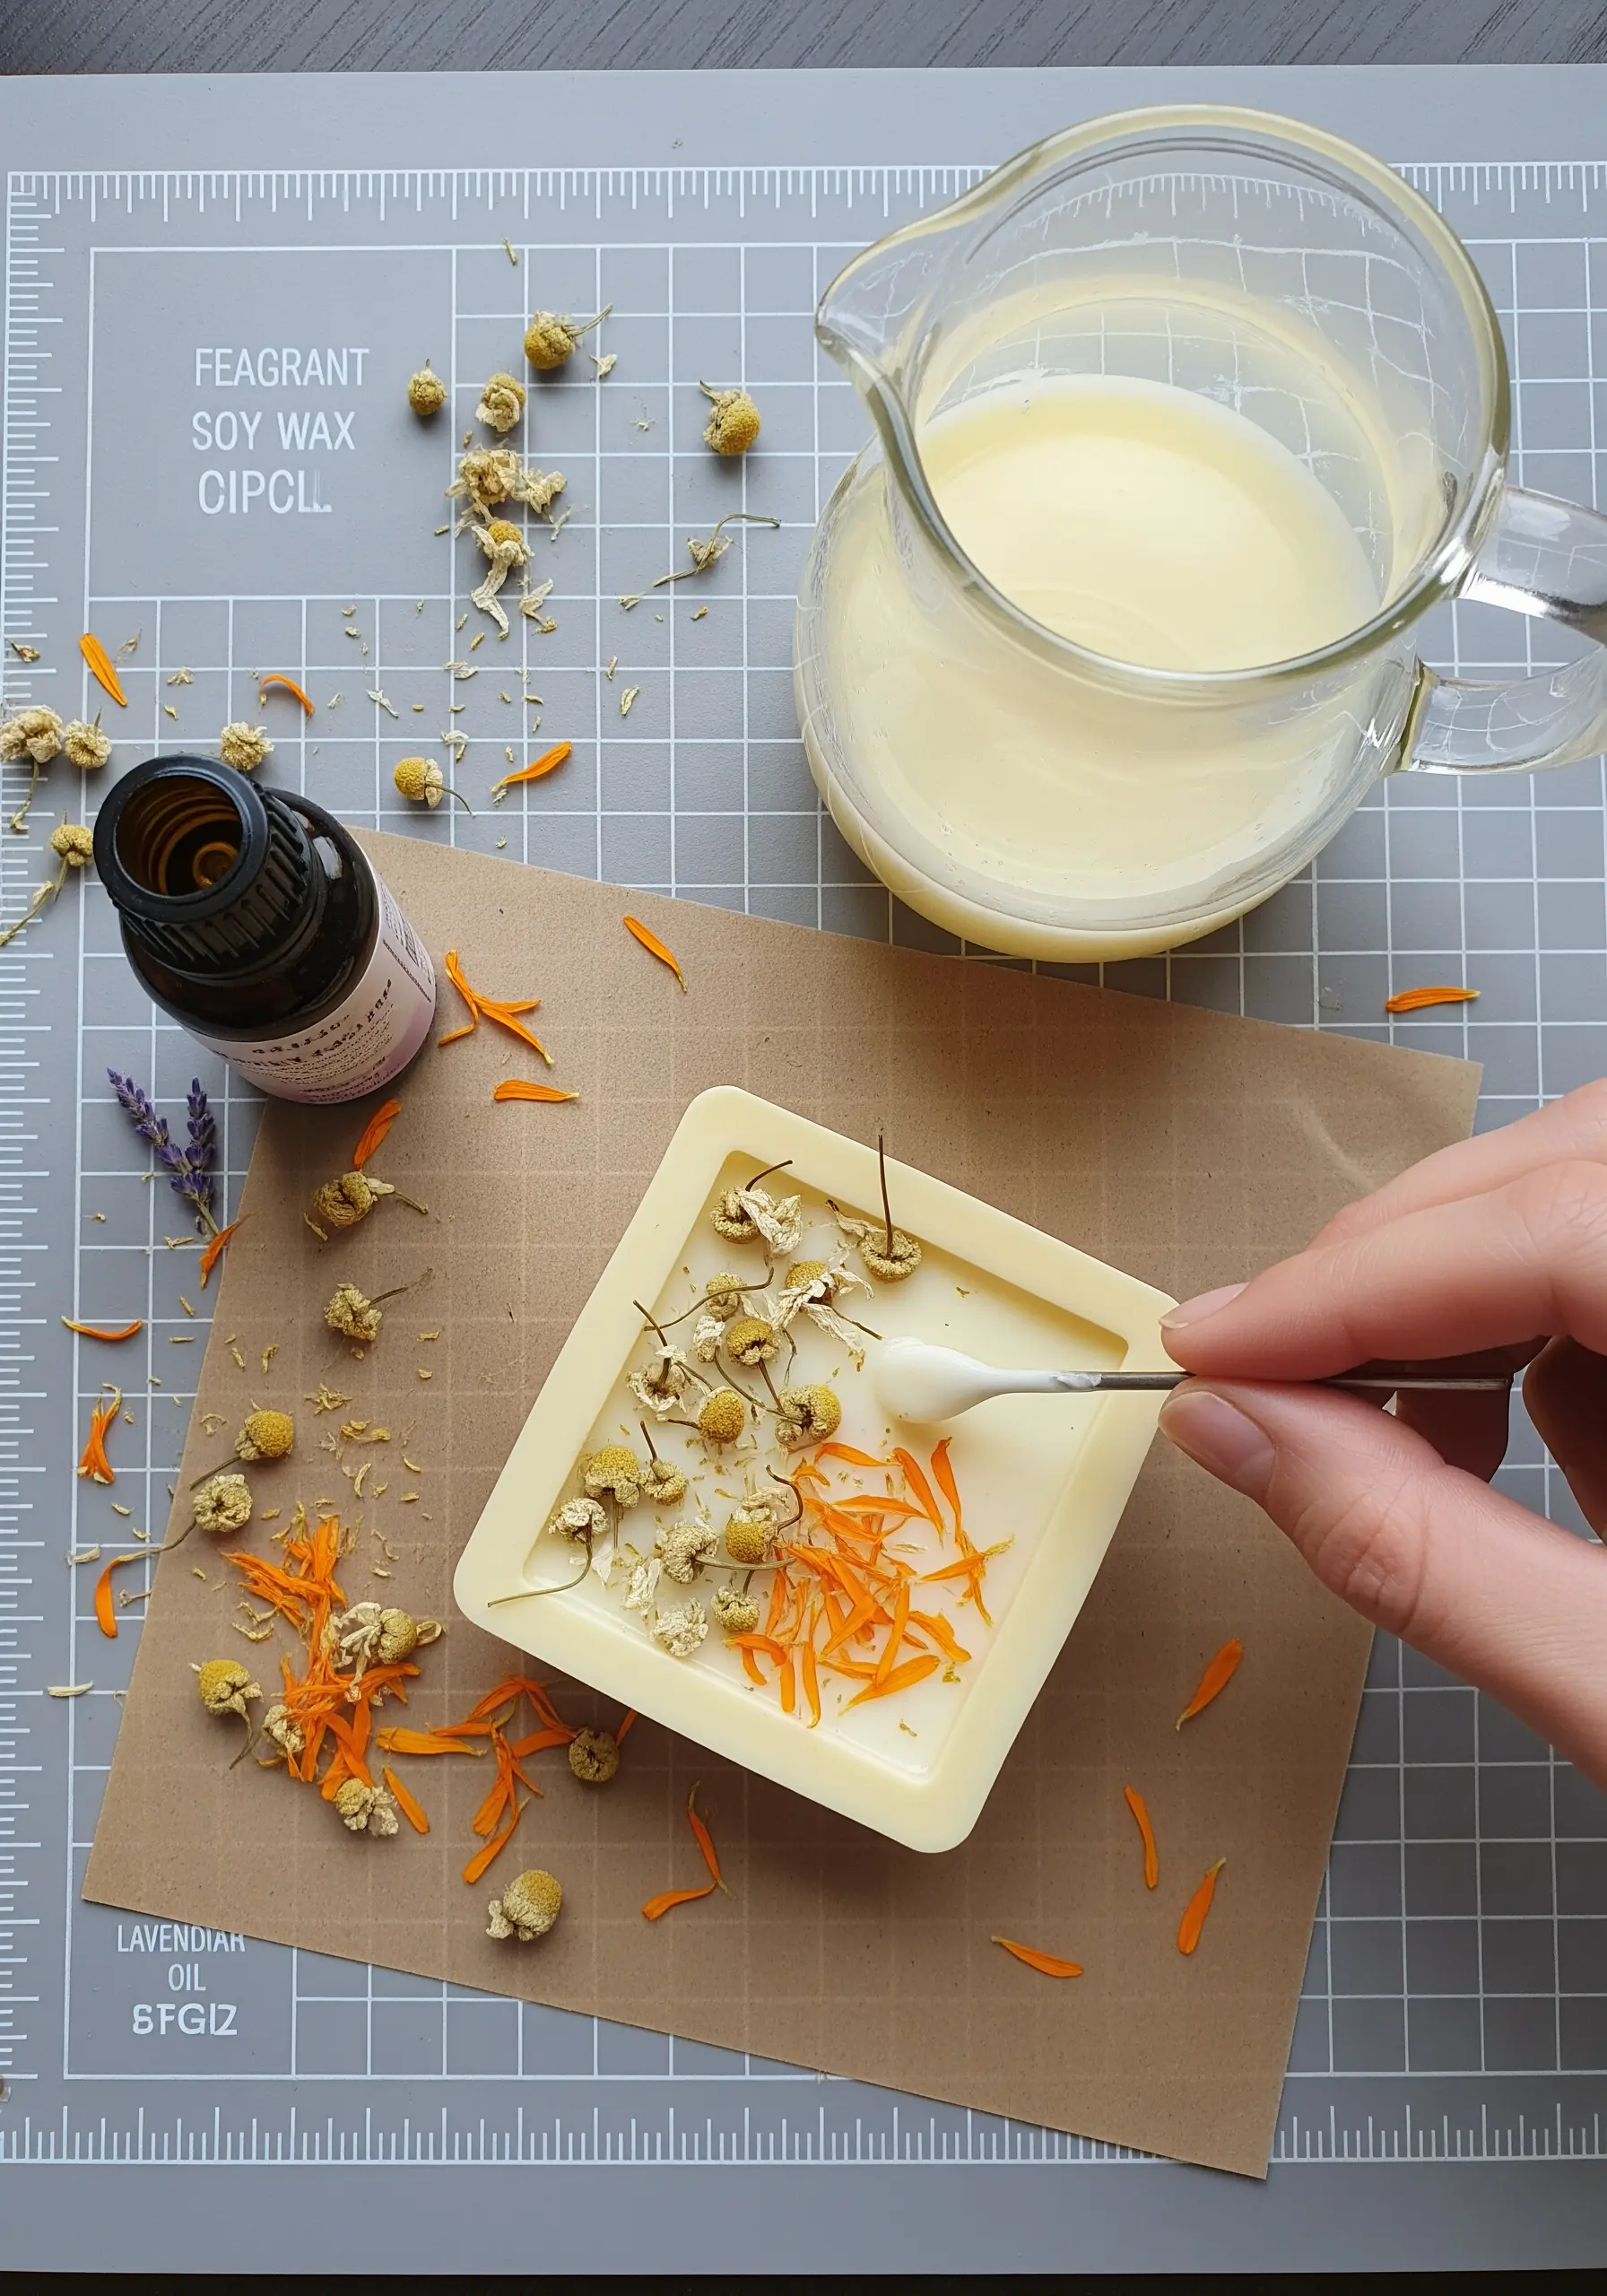
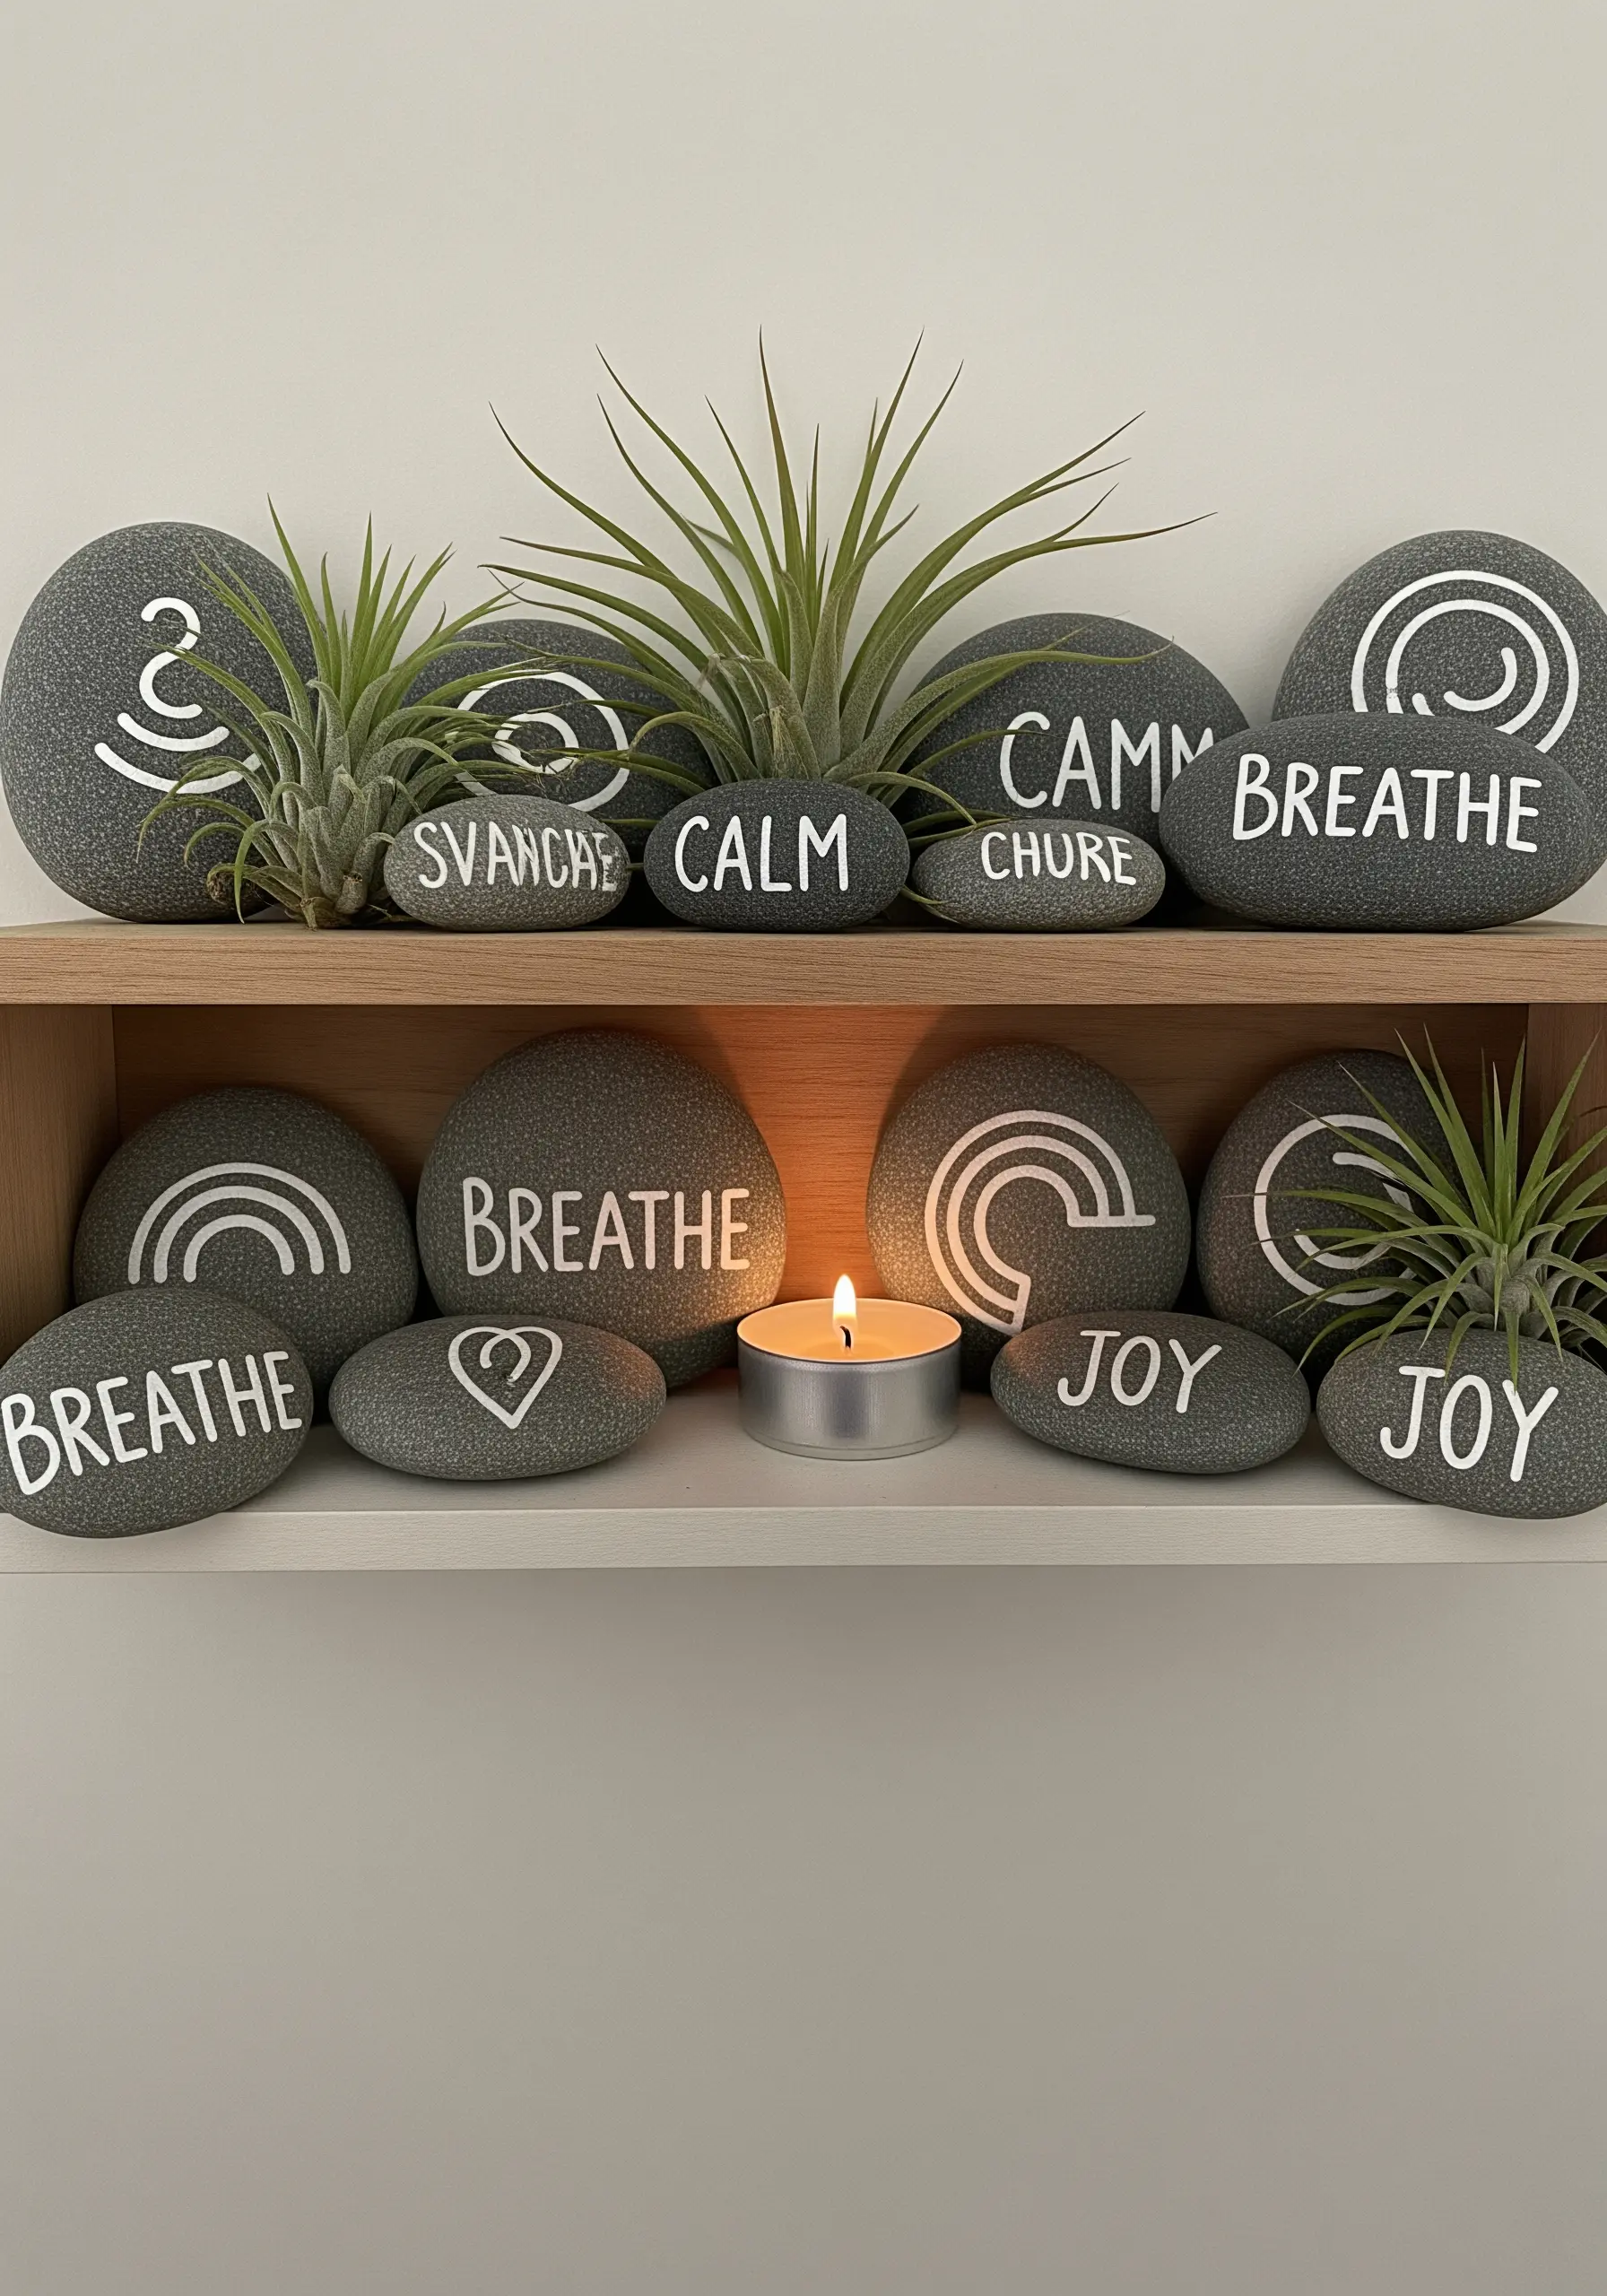
5. Stitch a Serene Scene for Quiet Corners
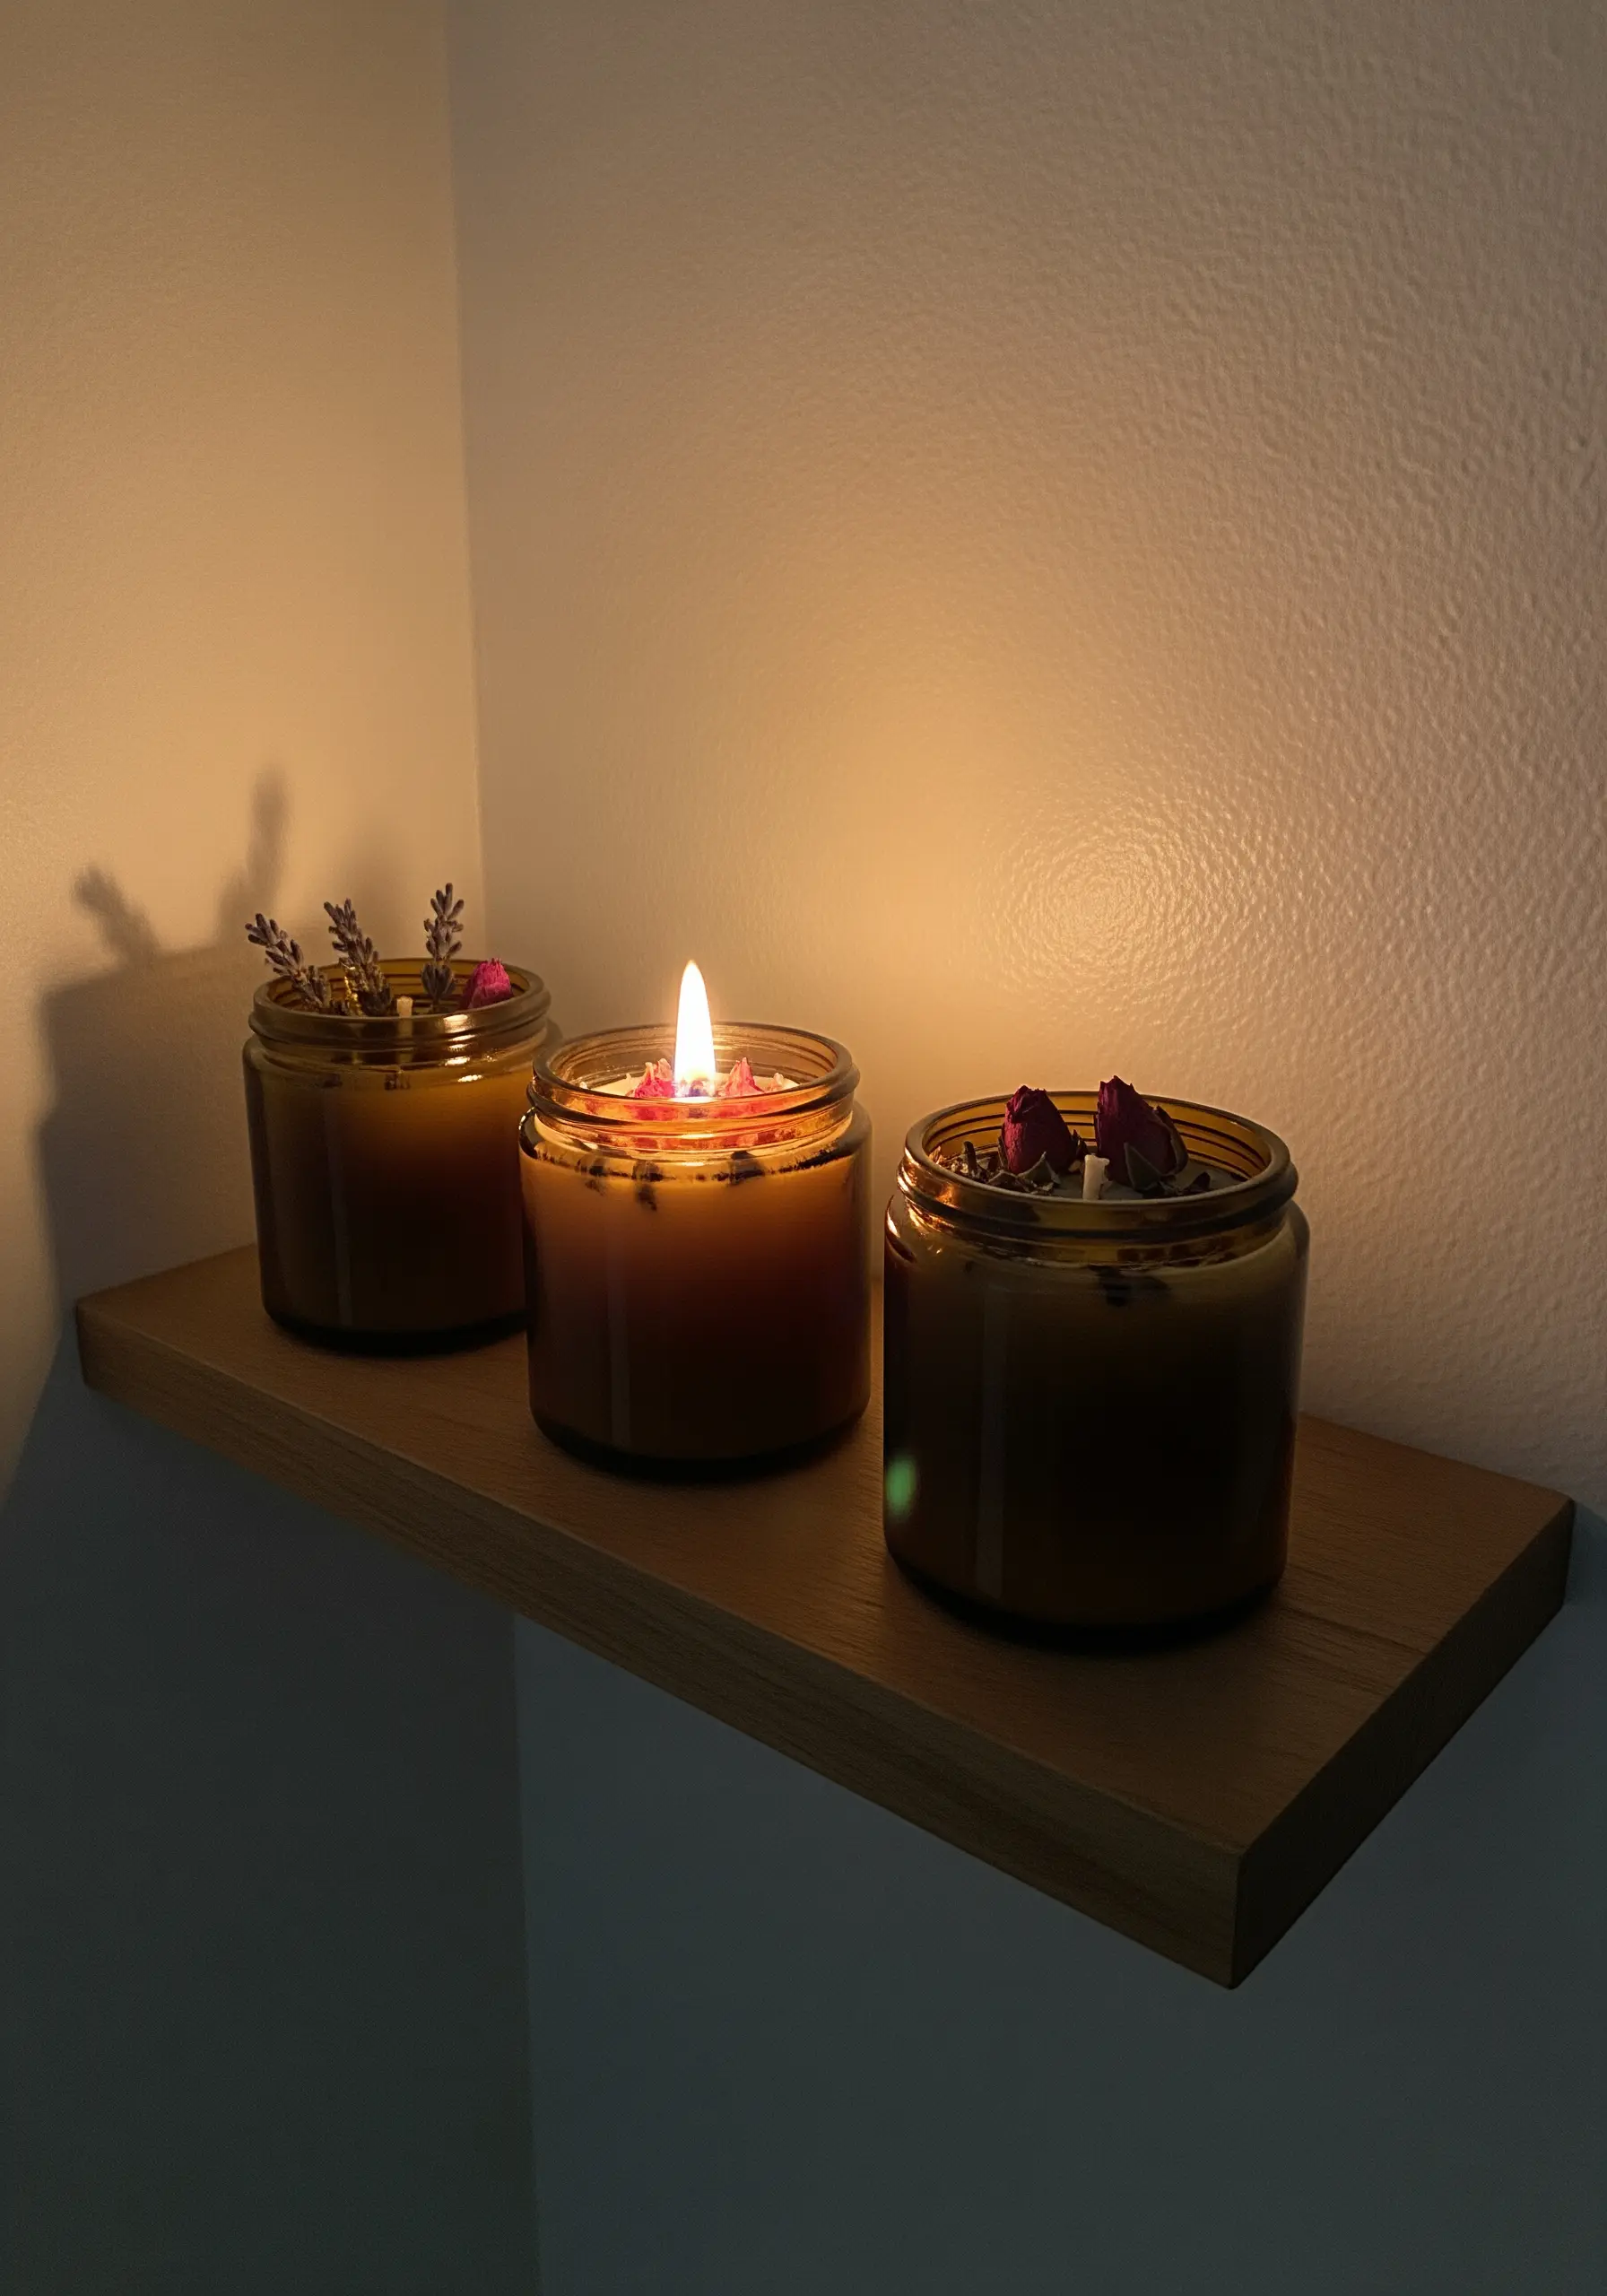
The soft glow of a handmade candle creates a calm, focused atmosphere—a feeling you can capture with a small, meditative embroidery piece.
Choose a dark fabric like navy linen and stitch a minimal crescent moon or a simple starfield using a single strand of metallic or white thread.
Placing this tiny hoop on a shelf next to a candle enhances the serene mood and creates a thoughtful, curated vignette in a small space.
6. Master the Art of Tonal Leaf Embroidery

To achieve this clean, graphic monstera leaf, the key is precision in your satin stitch and a smart color choice.
Use two shades of the same green—one light, one dark—to create contrast without overwhelming the design. Ensure your satin stitches within each segment are perfectly parallel and lie flat against the fabric.
Define the central vein with a single, sharp line of stem stitch. This technique makes the design pop and gives it a modern, polished finish.
7. Transfer Graphic Pot Patterns onto Fabric
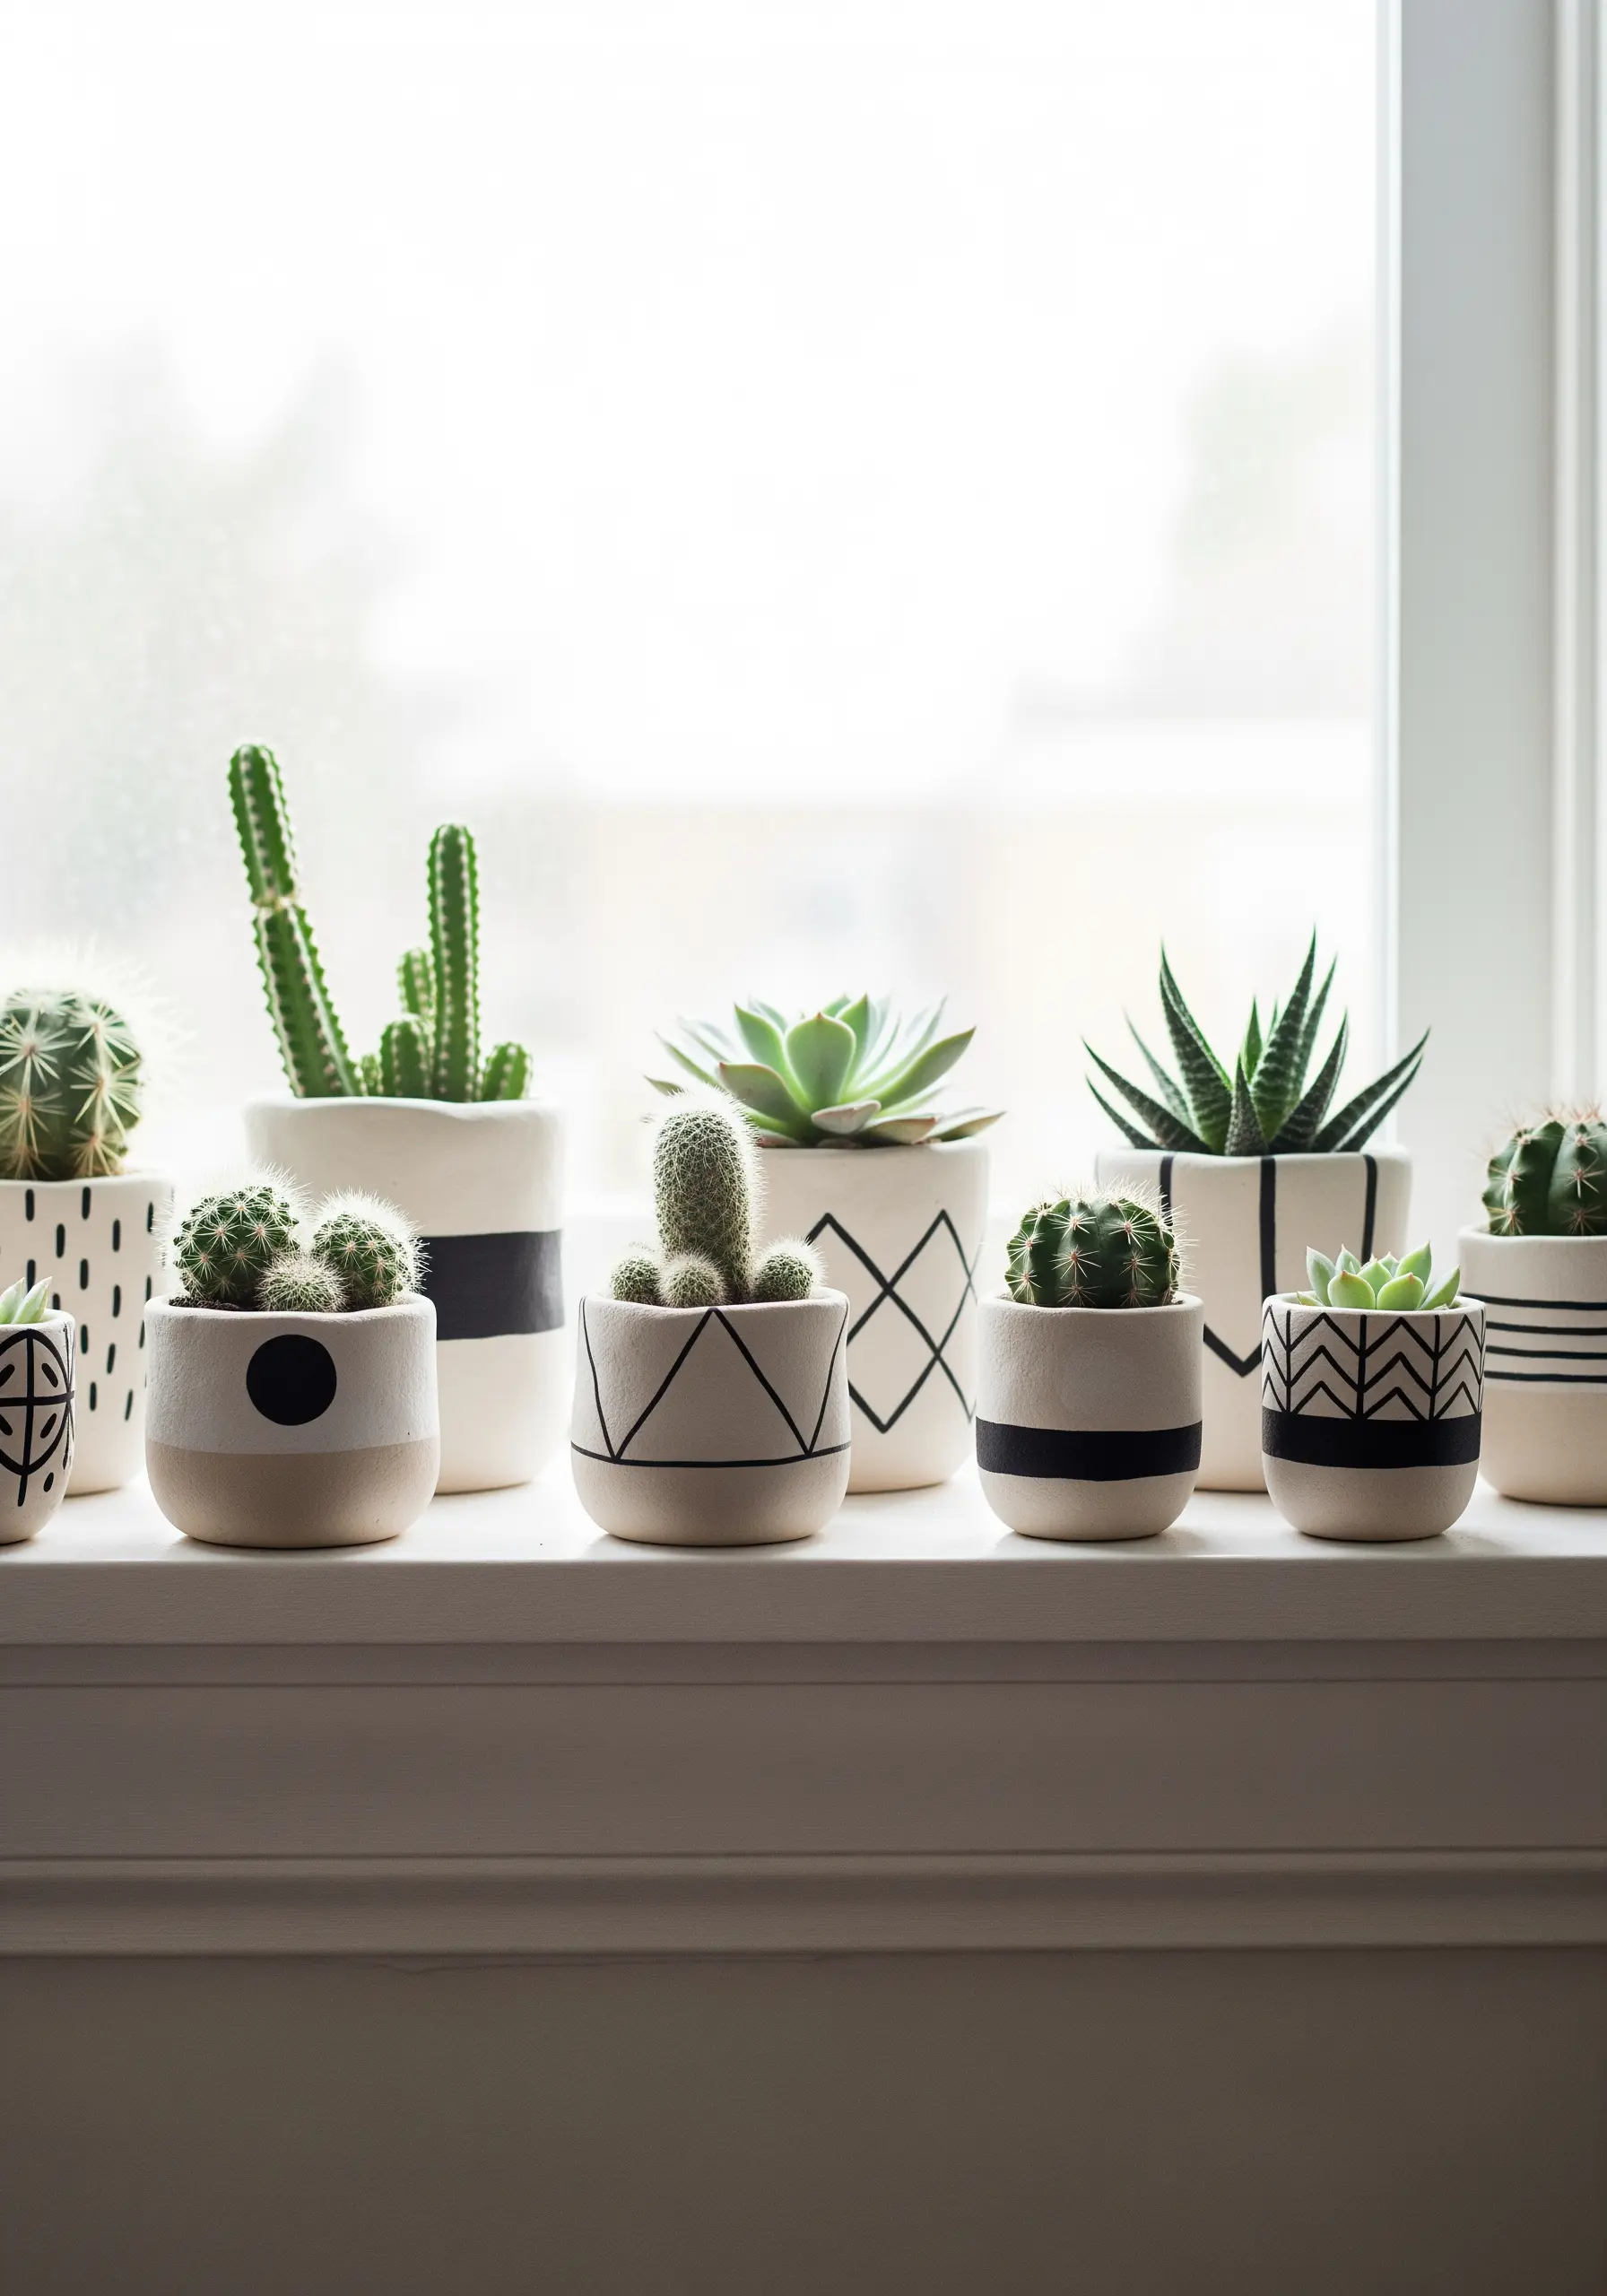
The bold, geometric patterns on these planters are perfect inspiration for a modern embroidery series.
Choose a heavy-weight fabric like cotton canvas that can support dense stitching. Sketch the designs lightly with a pencil or use a water-soluble pen for precision.
Use a simple backstitch or chain stitch with three strands of floss to create clean, impactful lines. Grouping several small hoops with coordinated patterns creates a cohesive display, just like these pots. You can try minimal embroidery patterns that look harder than they are to start.
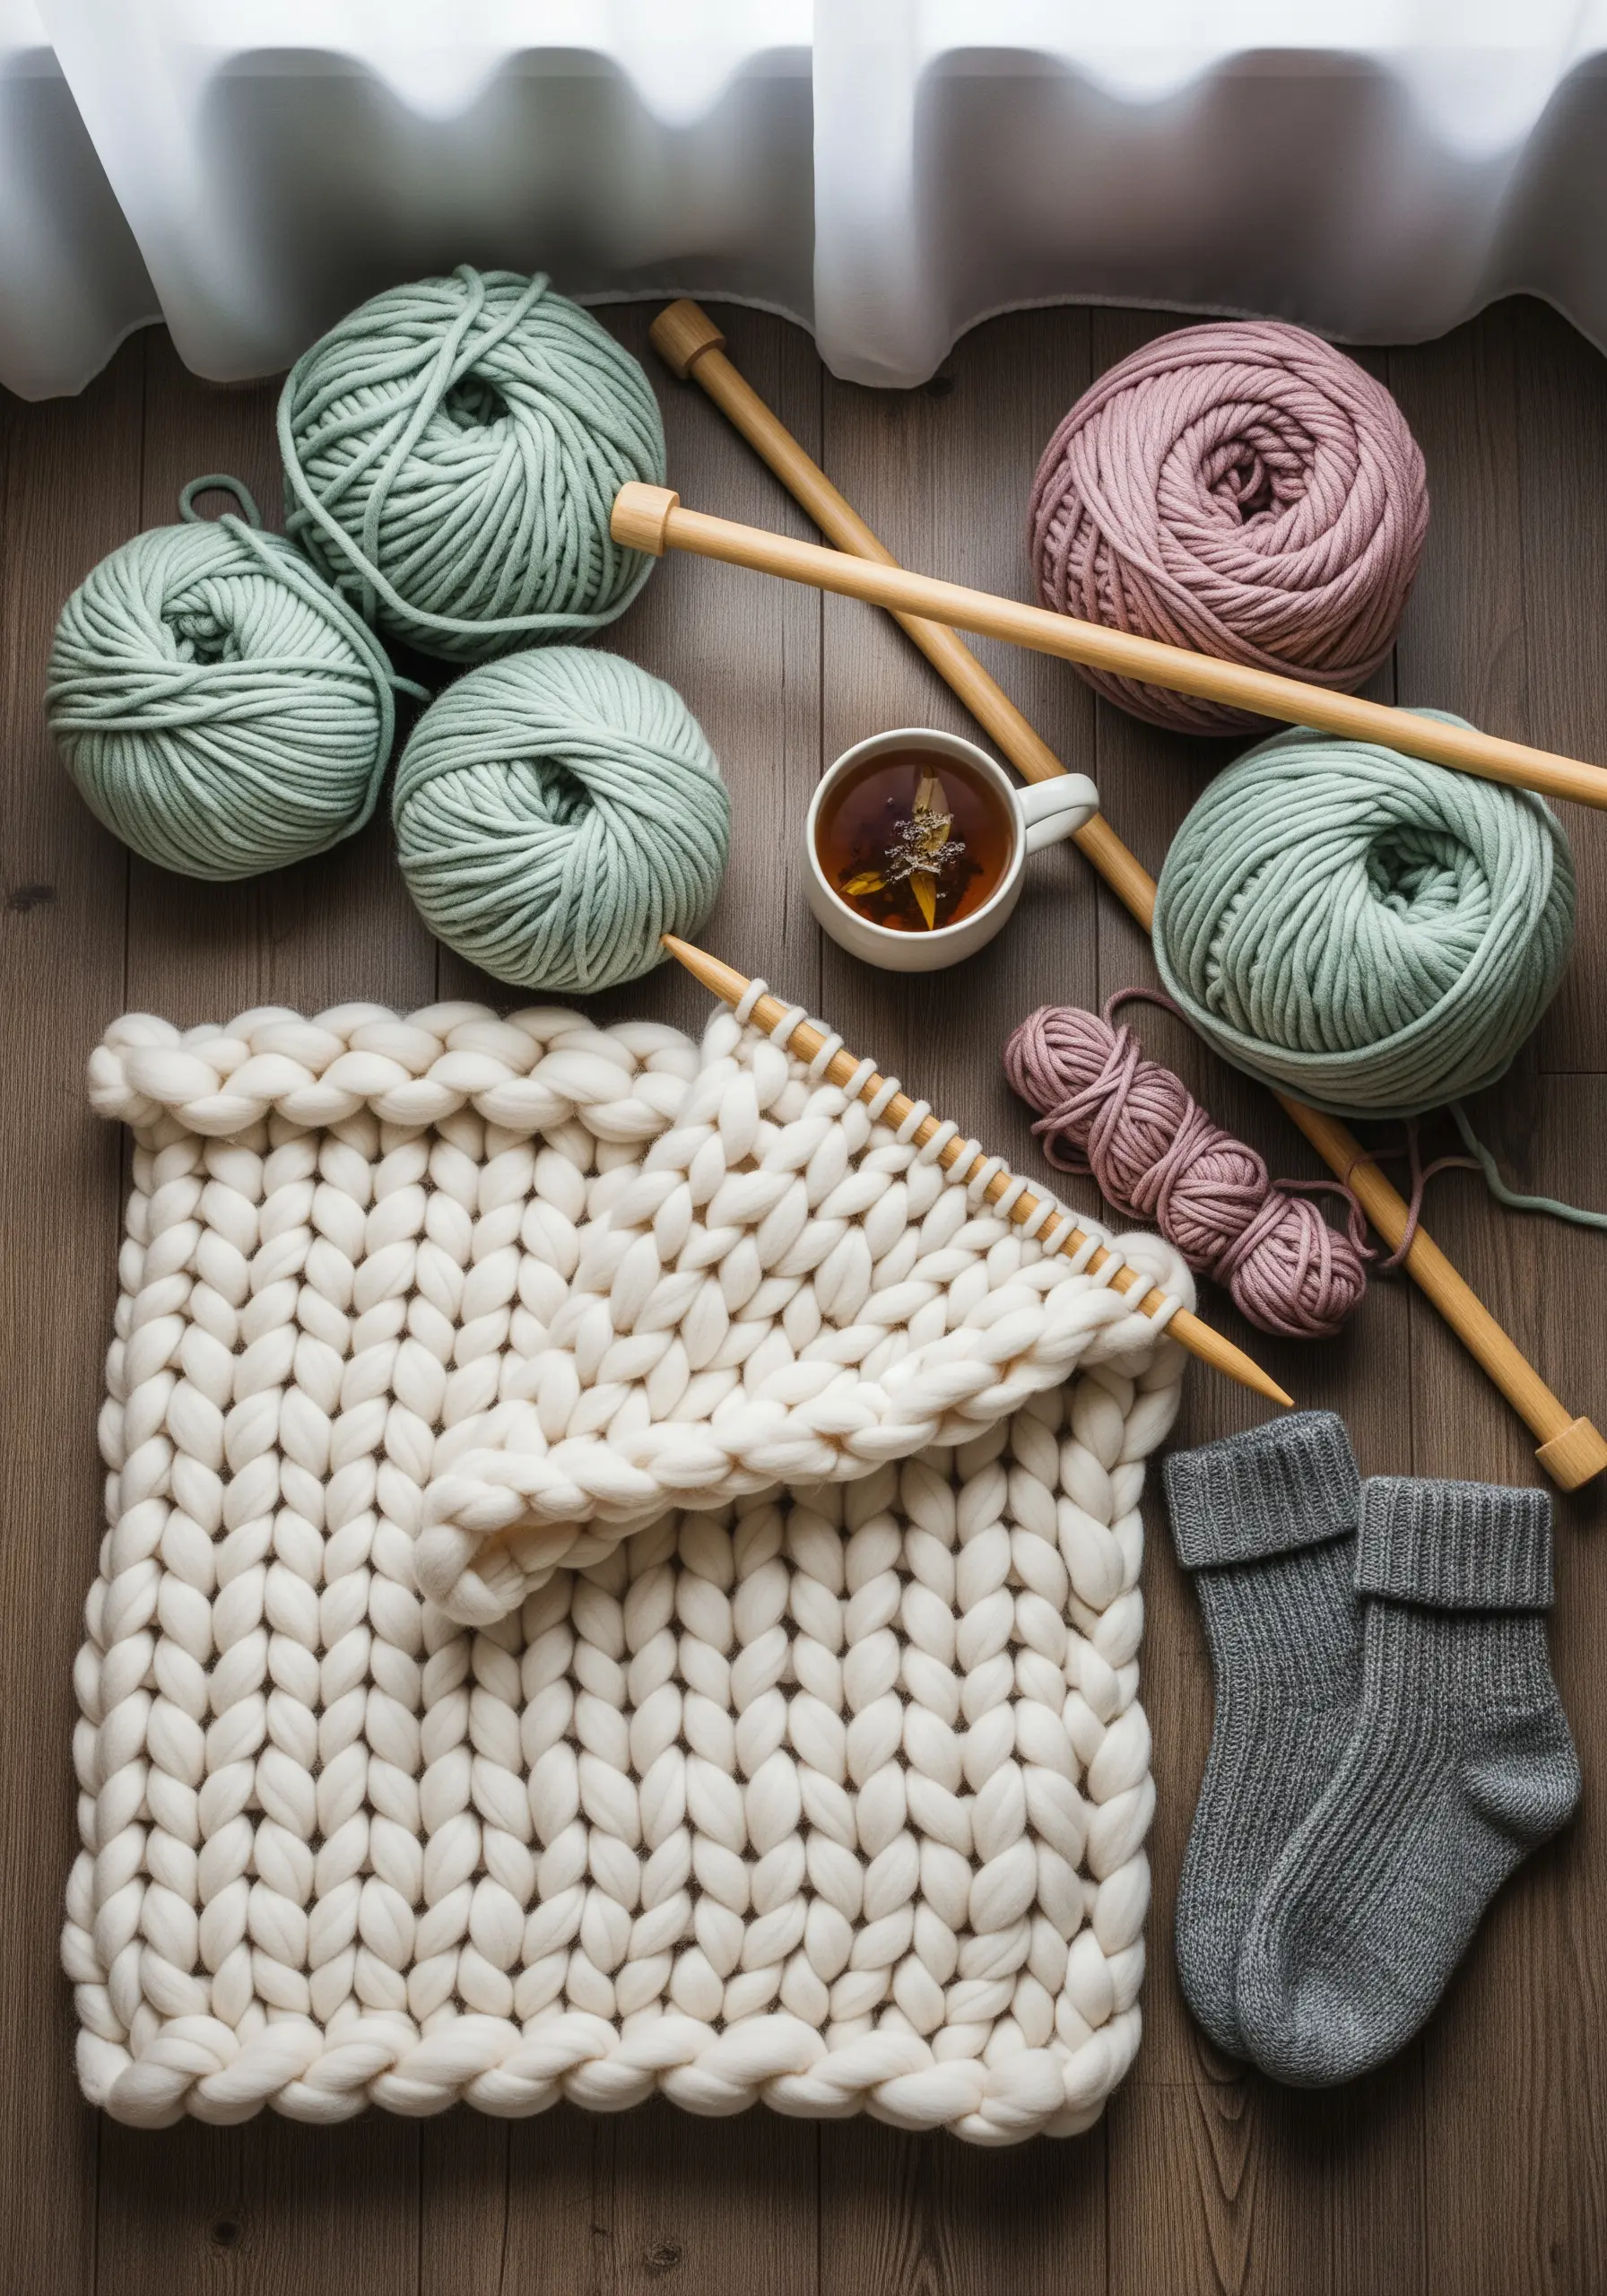
8. Mimic Cable-Knit Textures with Padded Satin Stitch
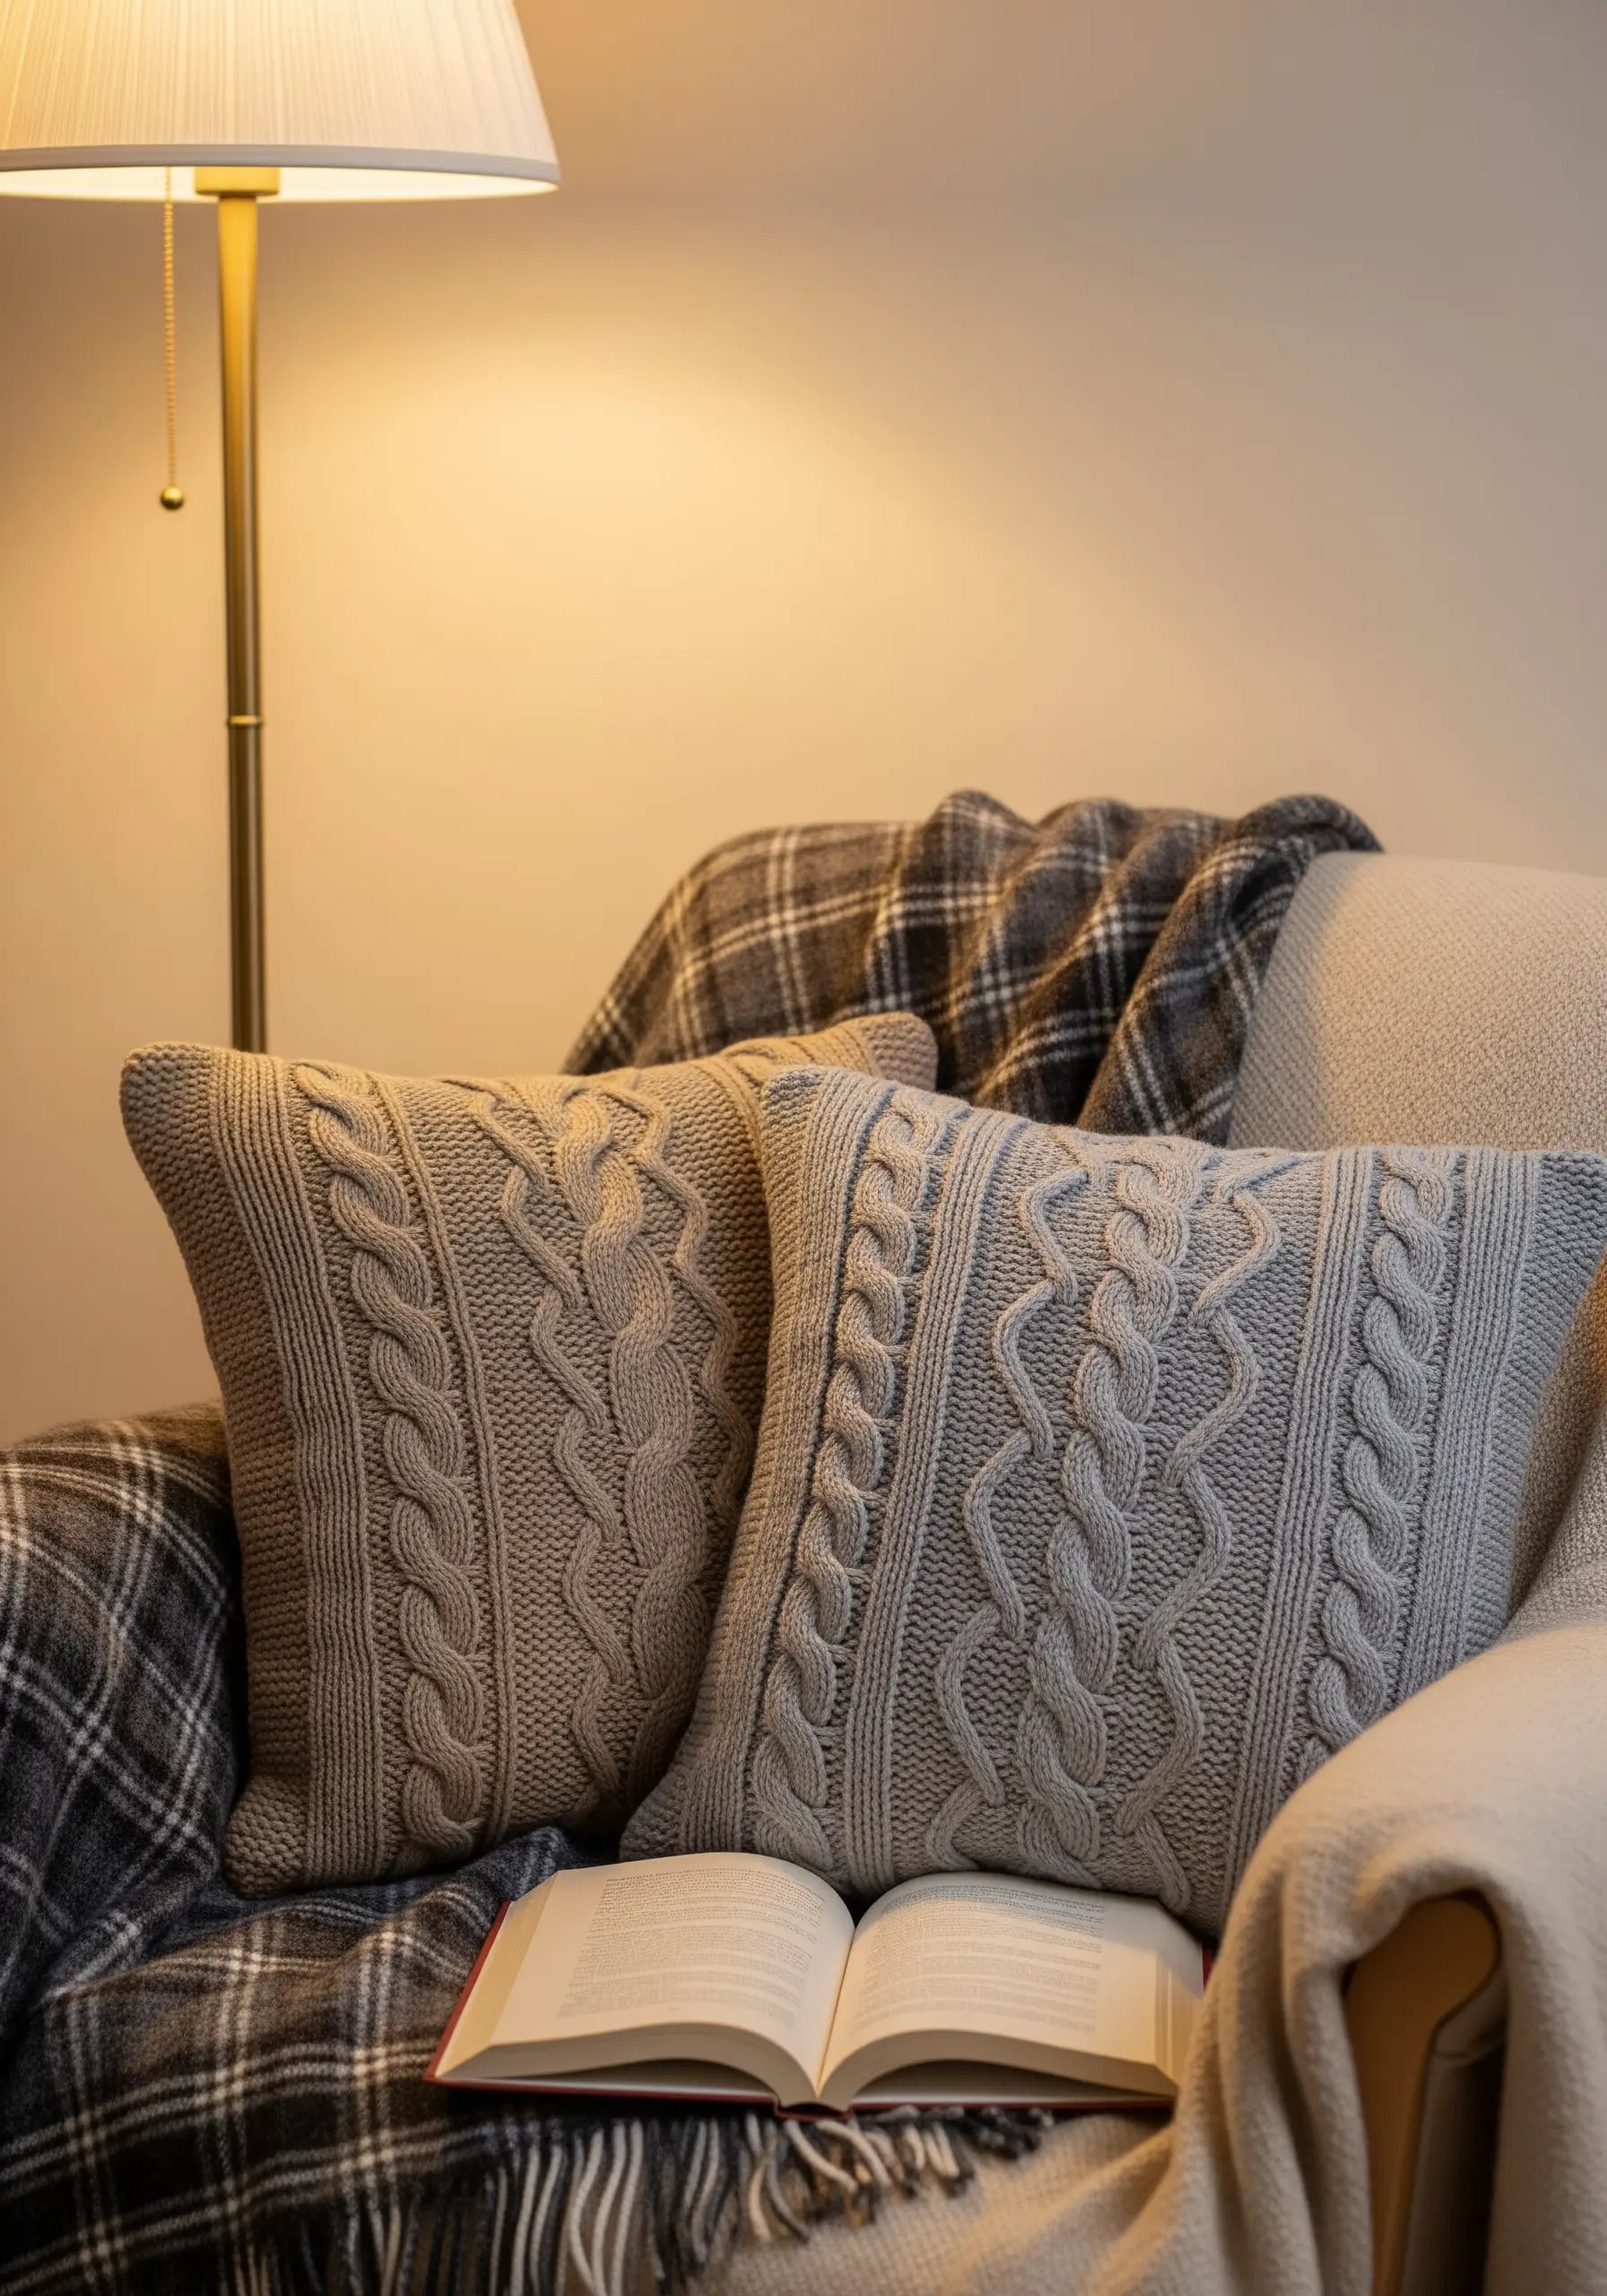
You can replicate the cozy, three-dimensional look of a cable-knit sweater using a technique called padded satin stitch.
First, lay down a foundation of stitches (or a small piece of felt) in the shape you want to raise. Then, cover this padding with smooth, tight satin stitches worked in the opposite direction.
This creates a raised, tactile effect that adds depth and a luxurious feel to cushions and wall art, making it one of the best texture-rich embroidery ideas for bedroom spaces built for rest.
9. Capture Pressed-Flower Delicacy with Single-Strand Stitches
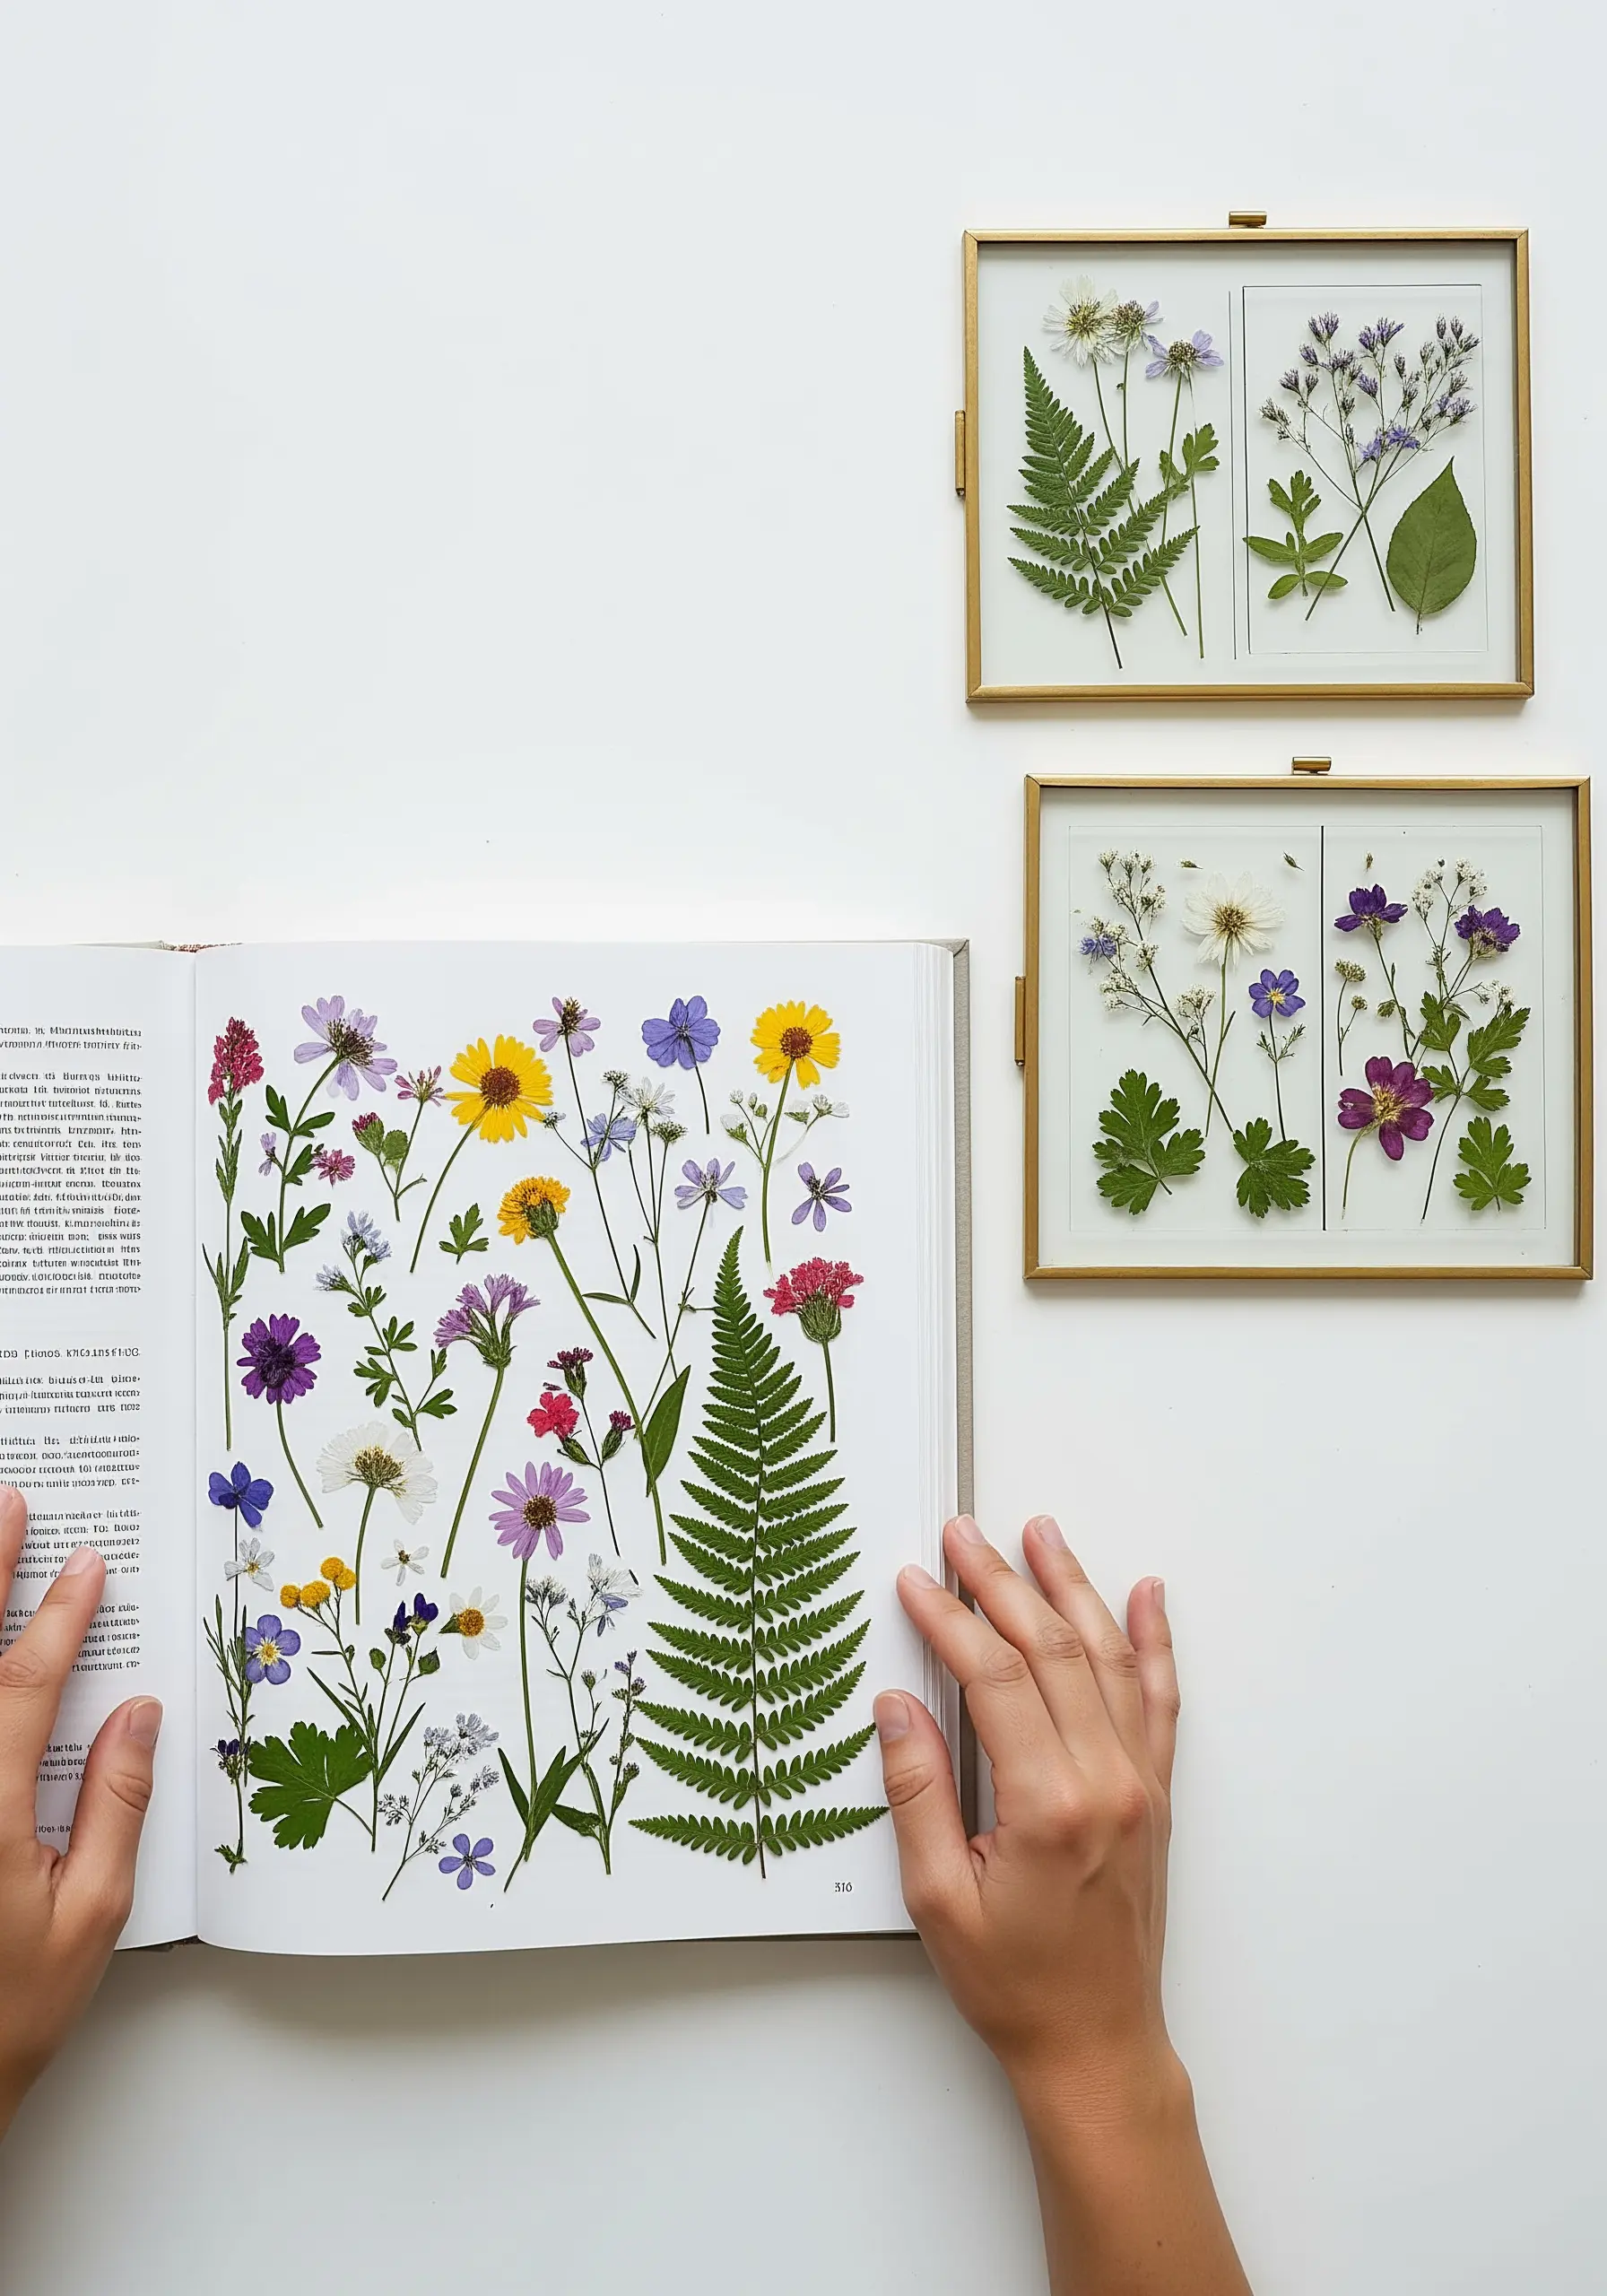
To embroider botanicals with the same fragile elegance as pressed flowers, your choice of thread and stitch is crucial.
Work with a single strand of cotton floss to keep your lines incredibly fine and delicate. Use stem stitch for the stalks and tiny, individual straight stitches or detached chain stitches for the petals.
This minimalist approach prevents the design from becoming bulky and perfectly captures the airy, paper-thin quality of real pressed specimens.
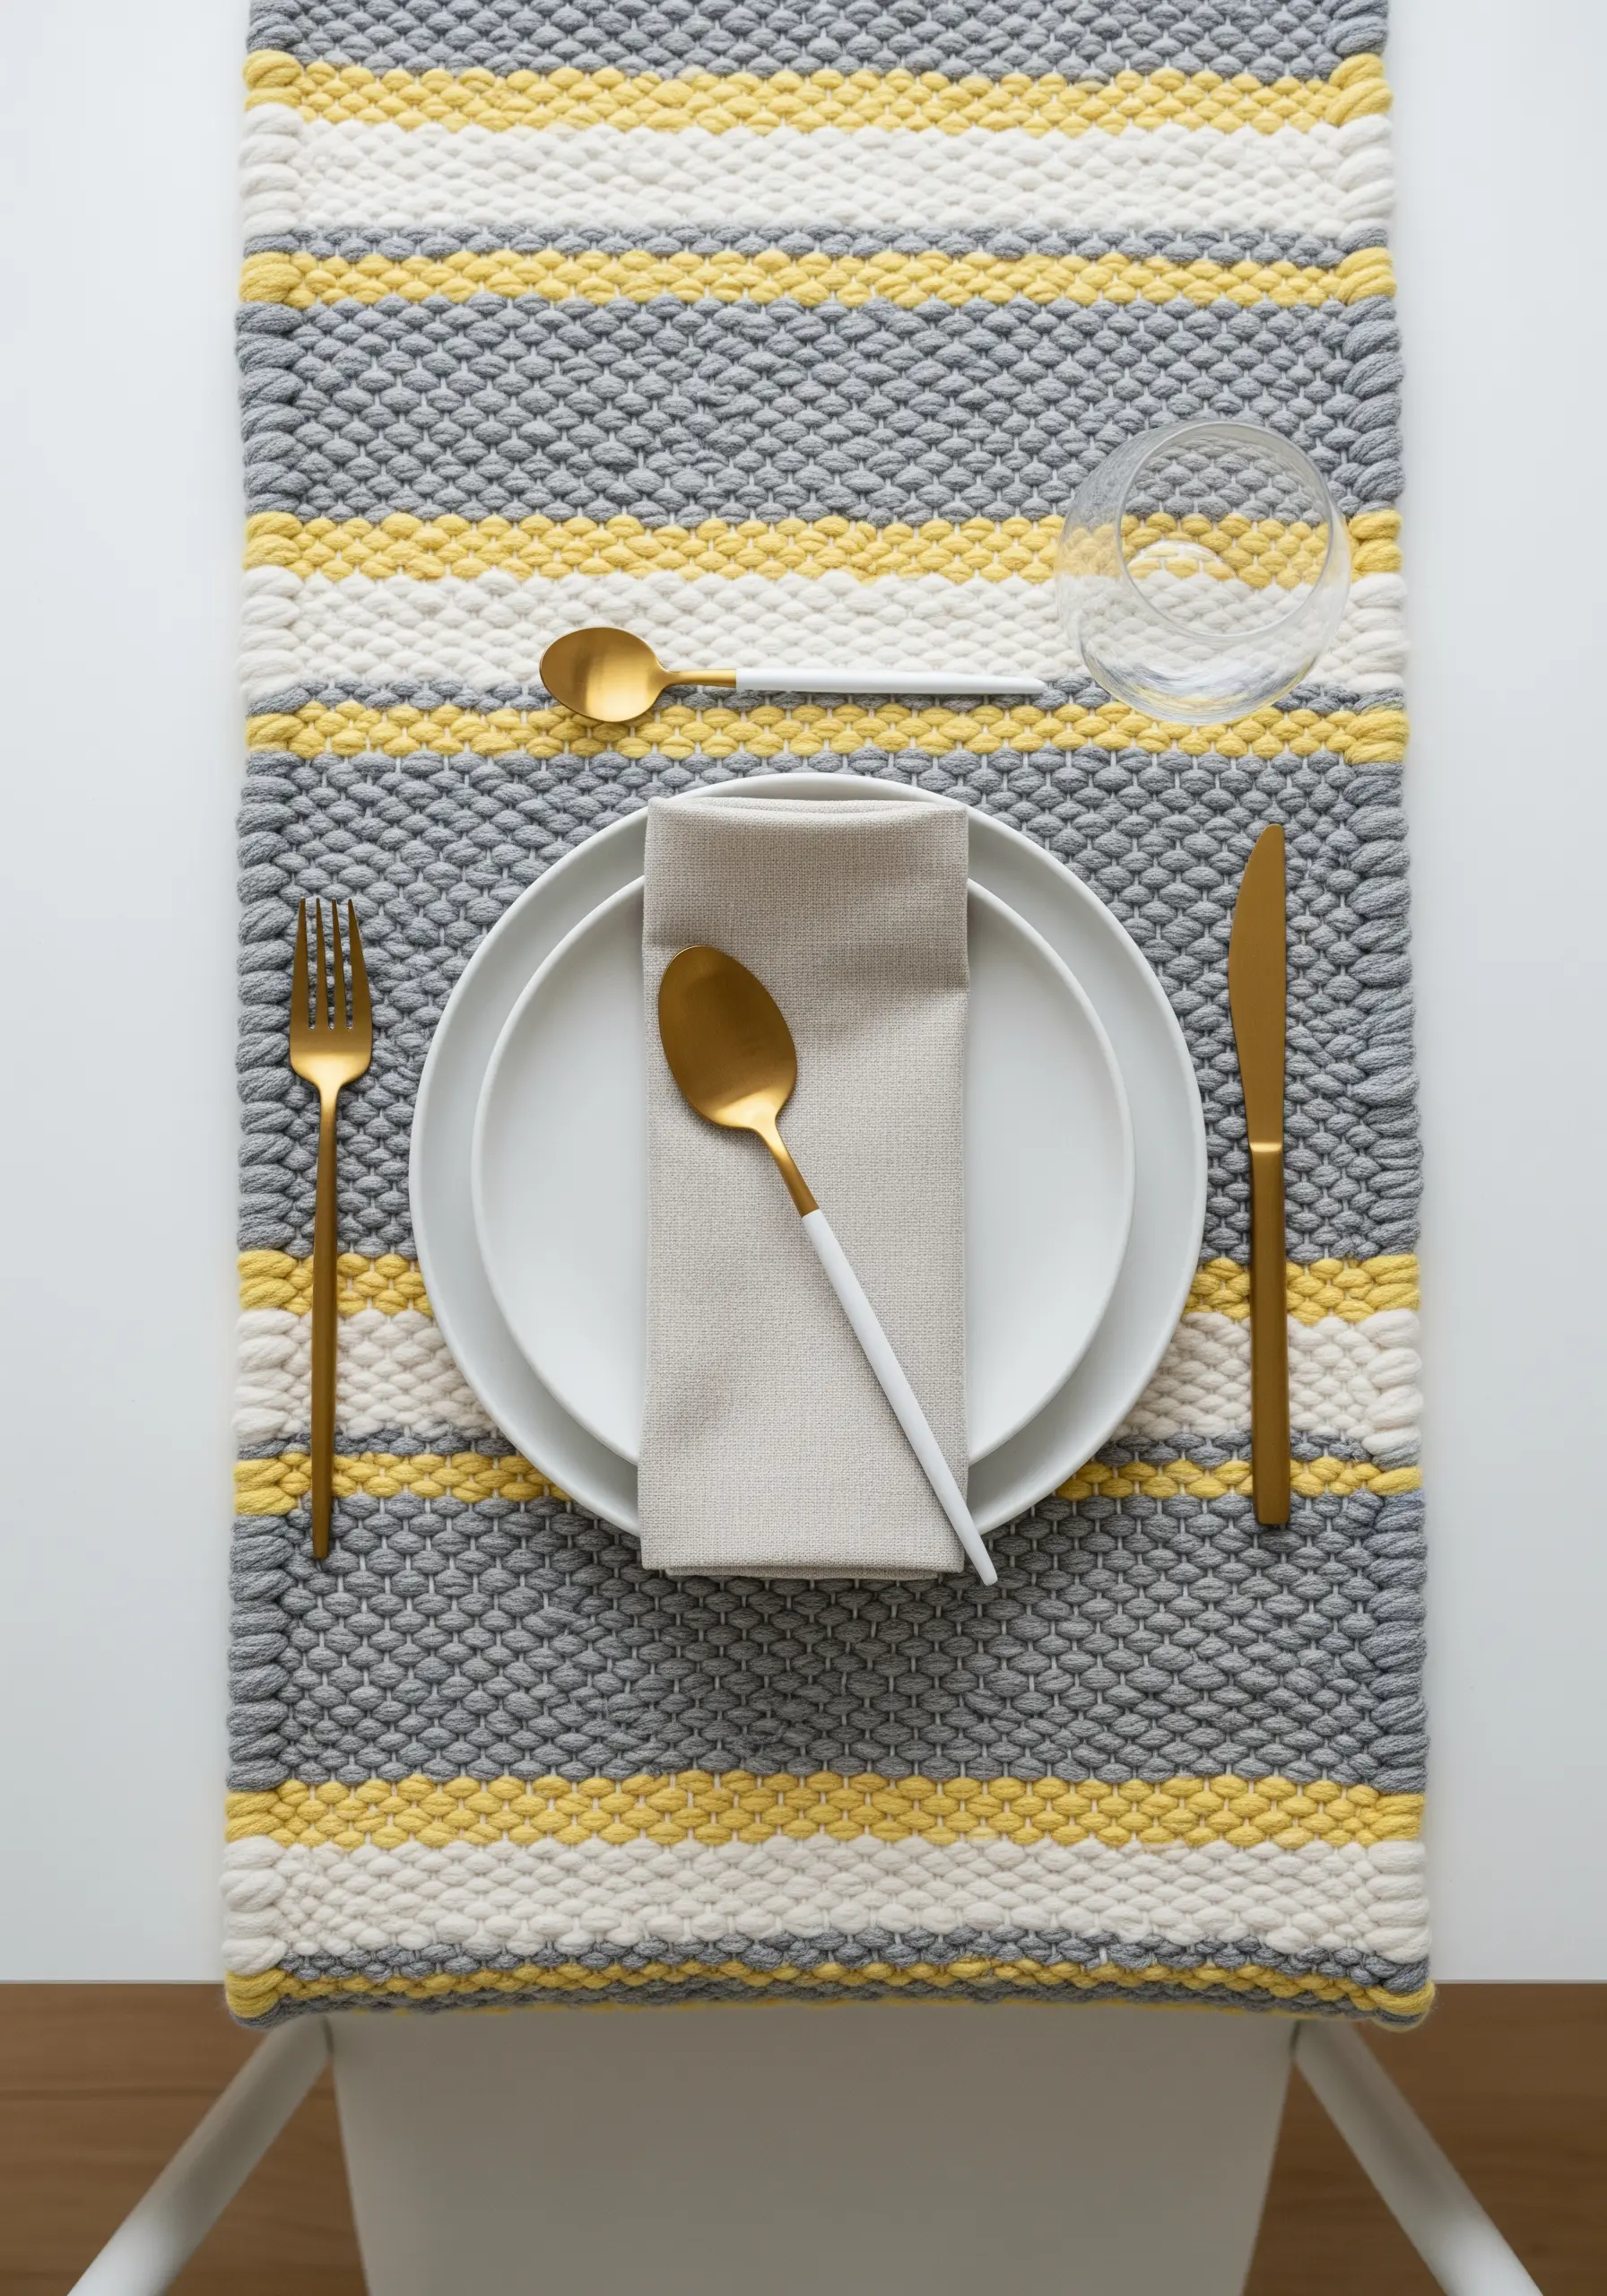
10. Elevate Kitchen Linens with Crisp Border Designs
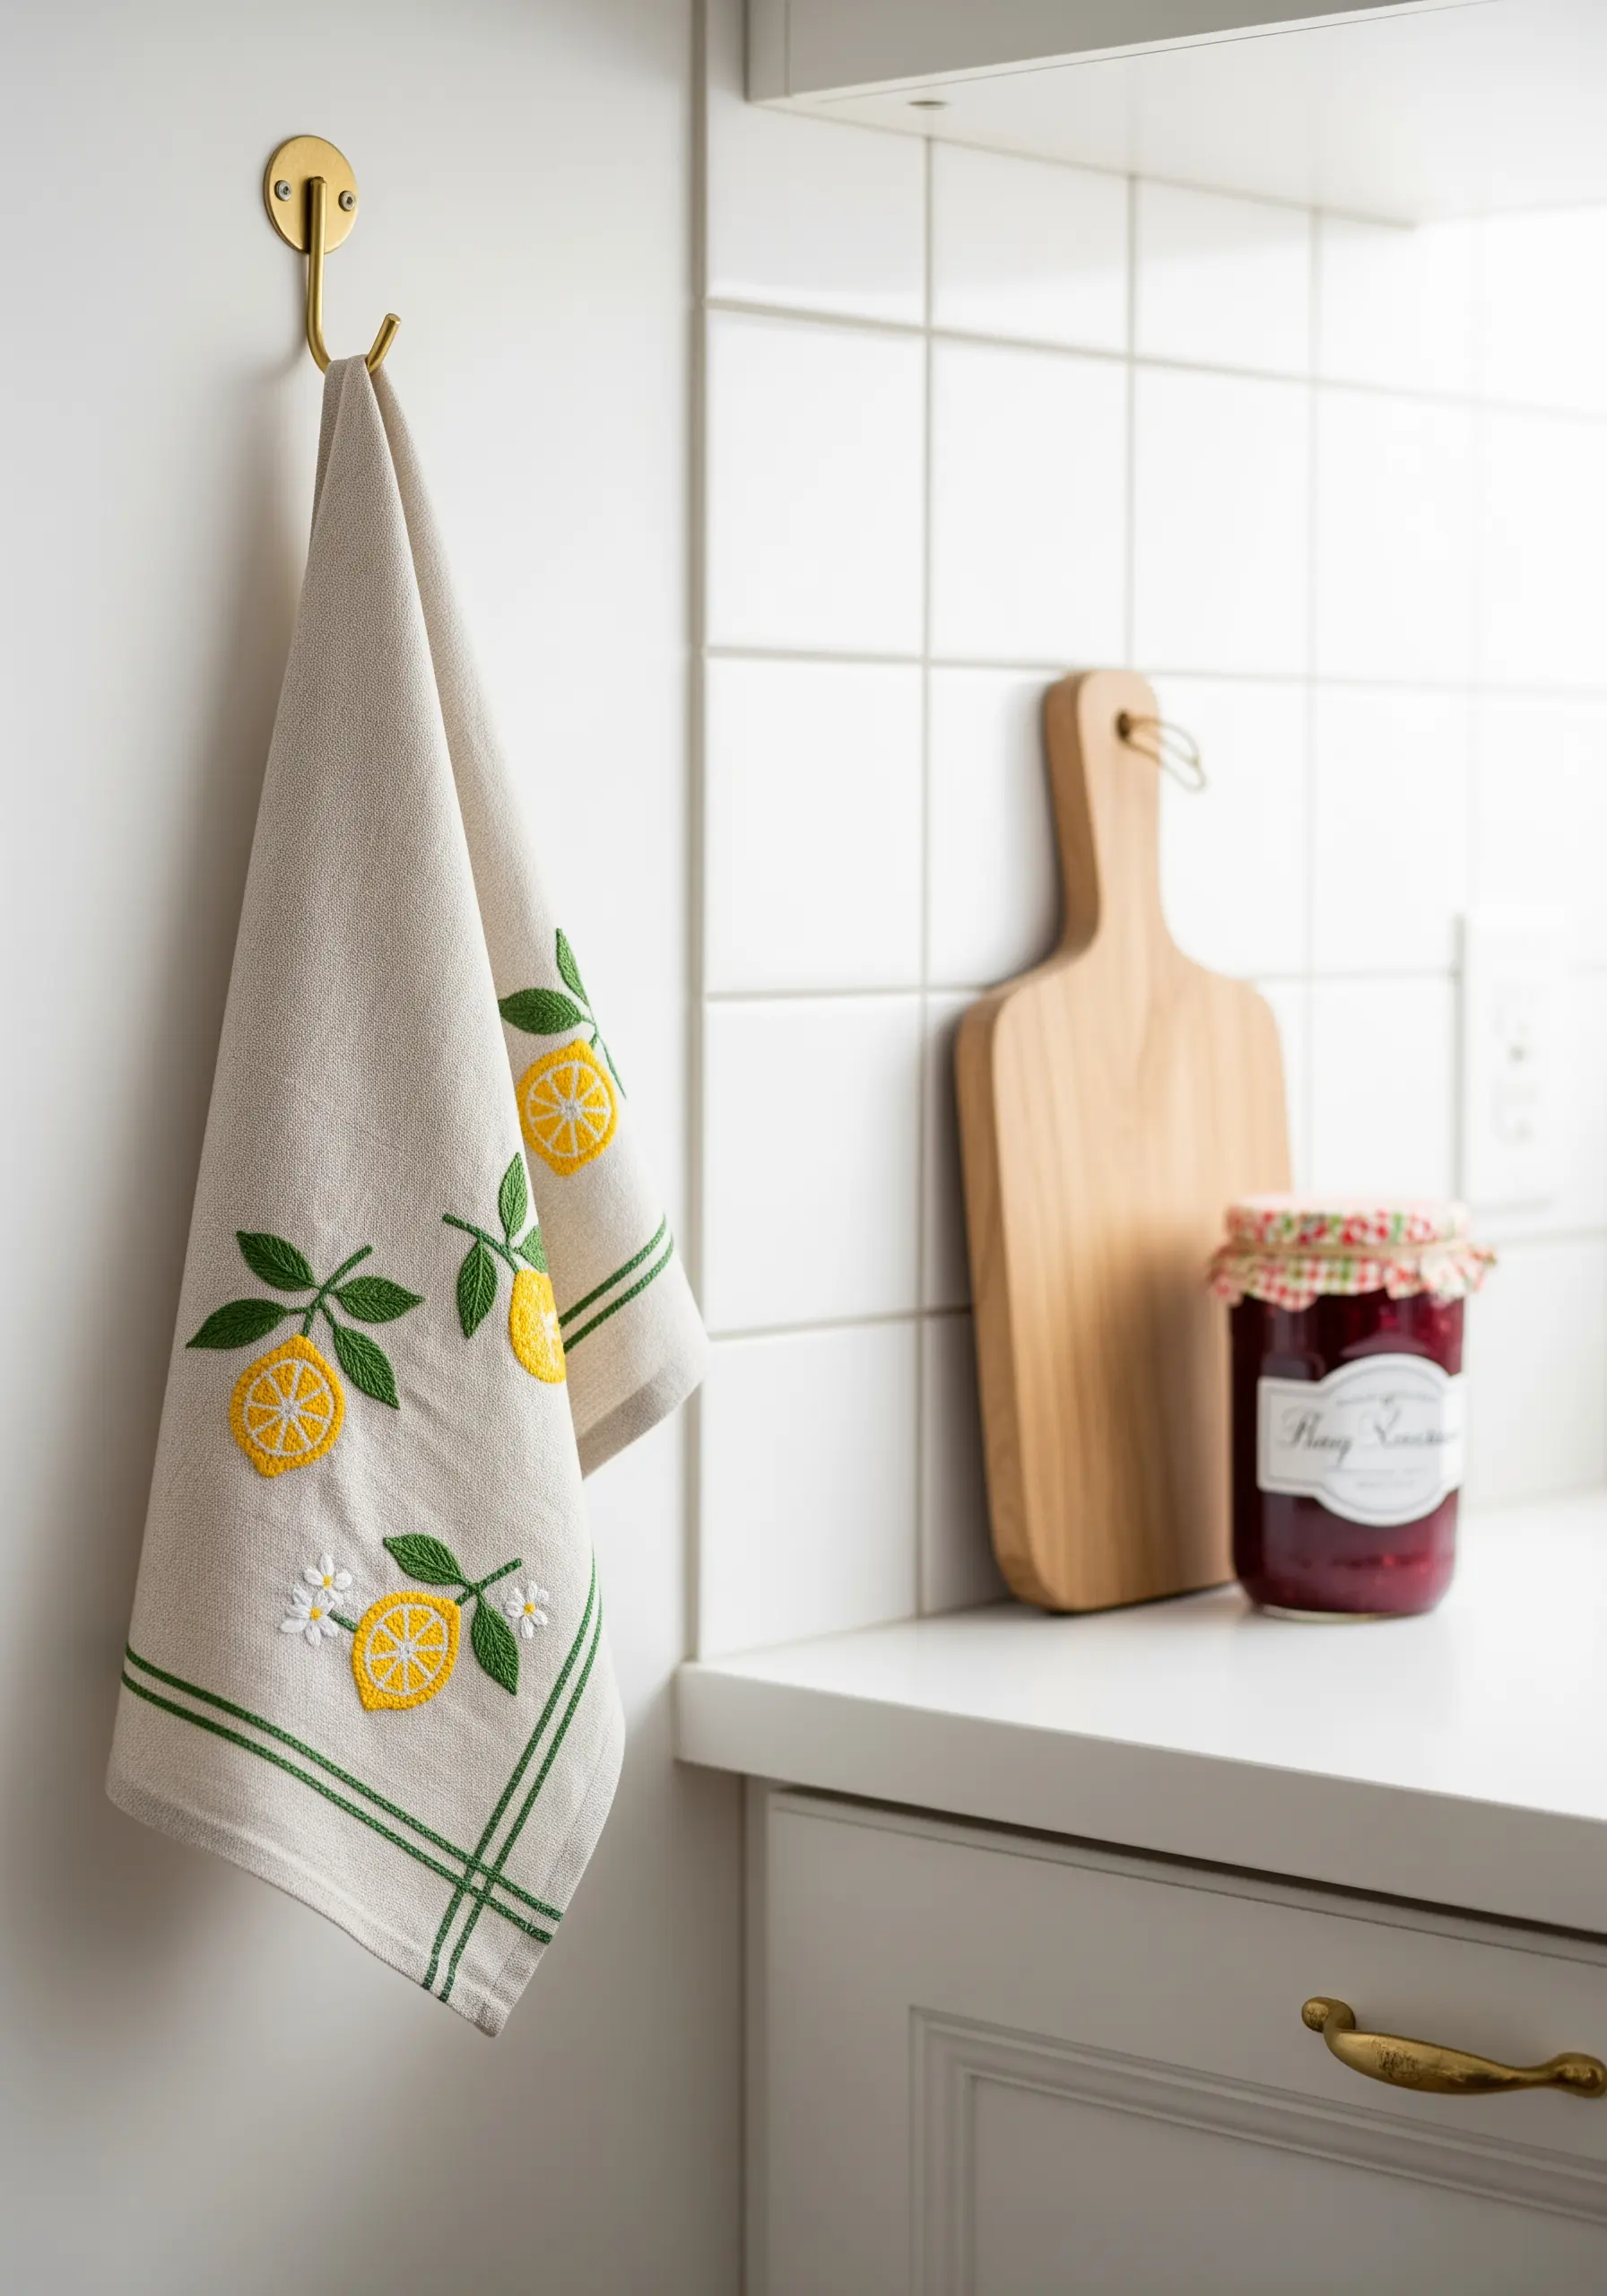
A simple stitched border is what transforms this tea towel from a plain cloth into a finished piece of decor.
Frame your central motif with two parallel lines of backstitch or running stitch, using a color that complements your design. This simple addition provides structure and makes the entire piece look more intentional and polished.
For the lemons, use short satin stitches that follow the fruit’s natural curve to suggest roundness and dimension.
11. Embellish Fabric Journal Covers Before Assembly
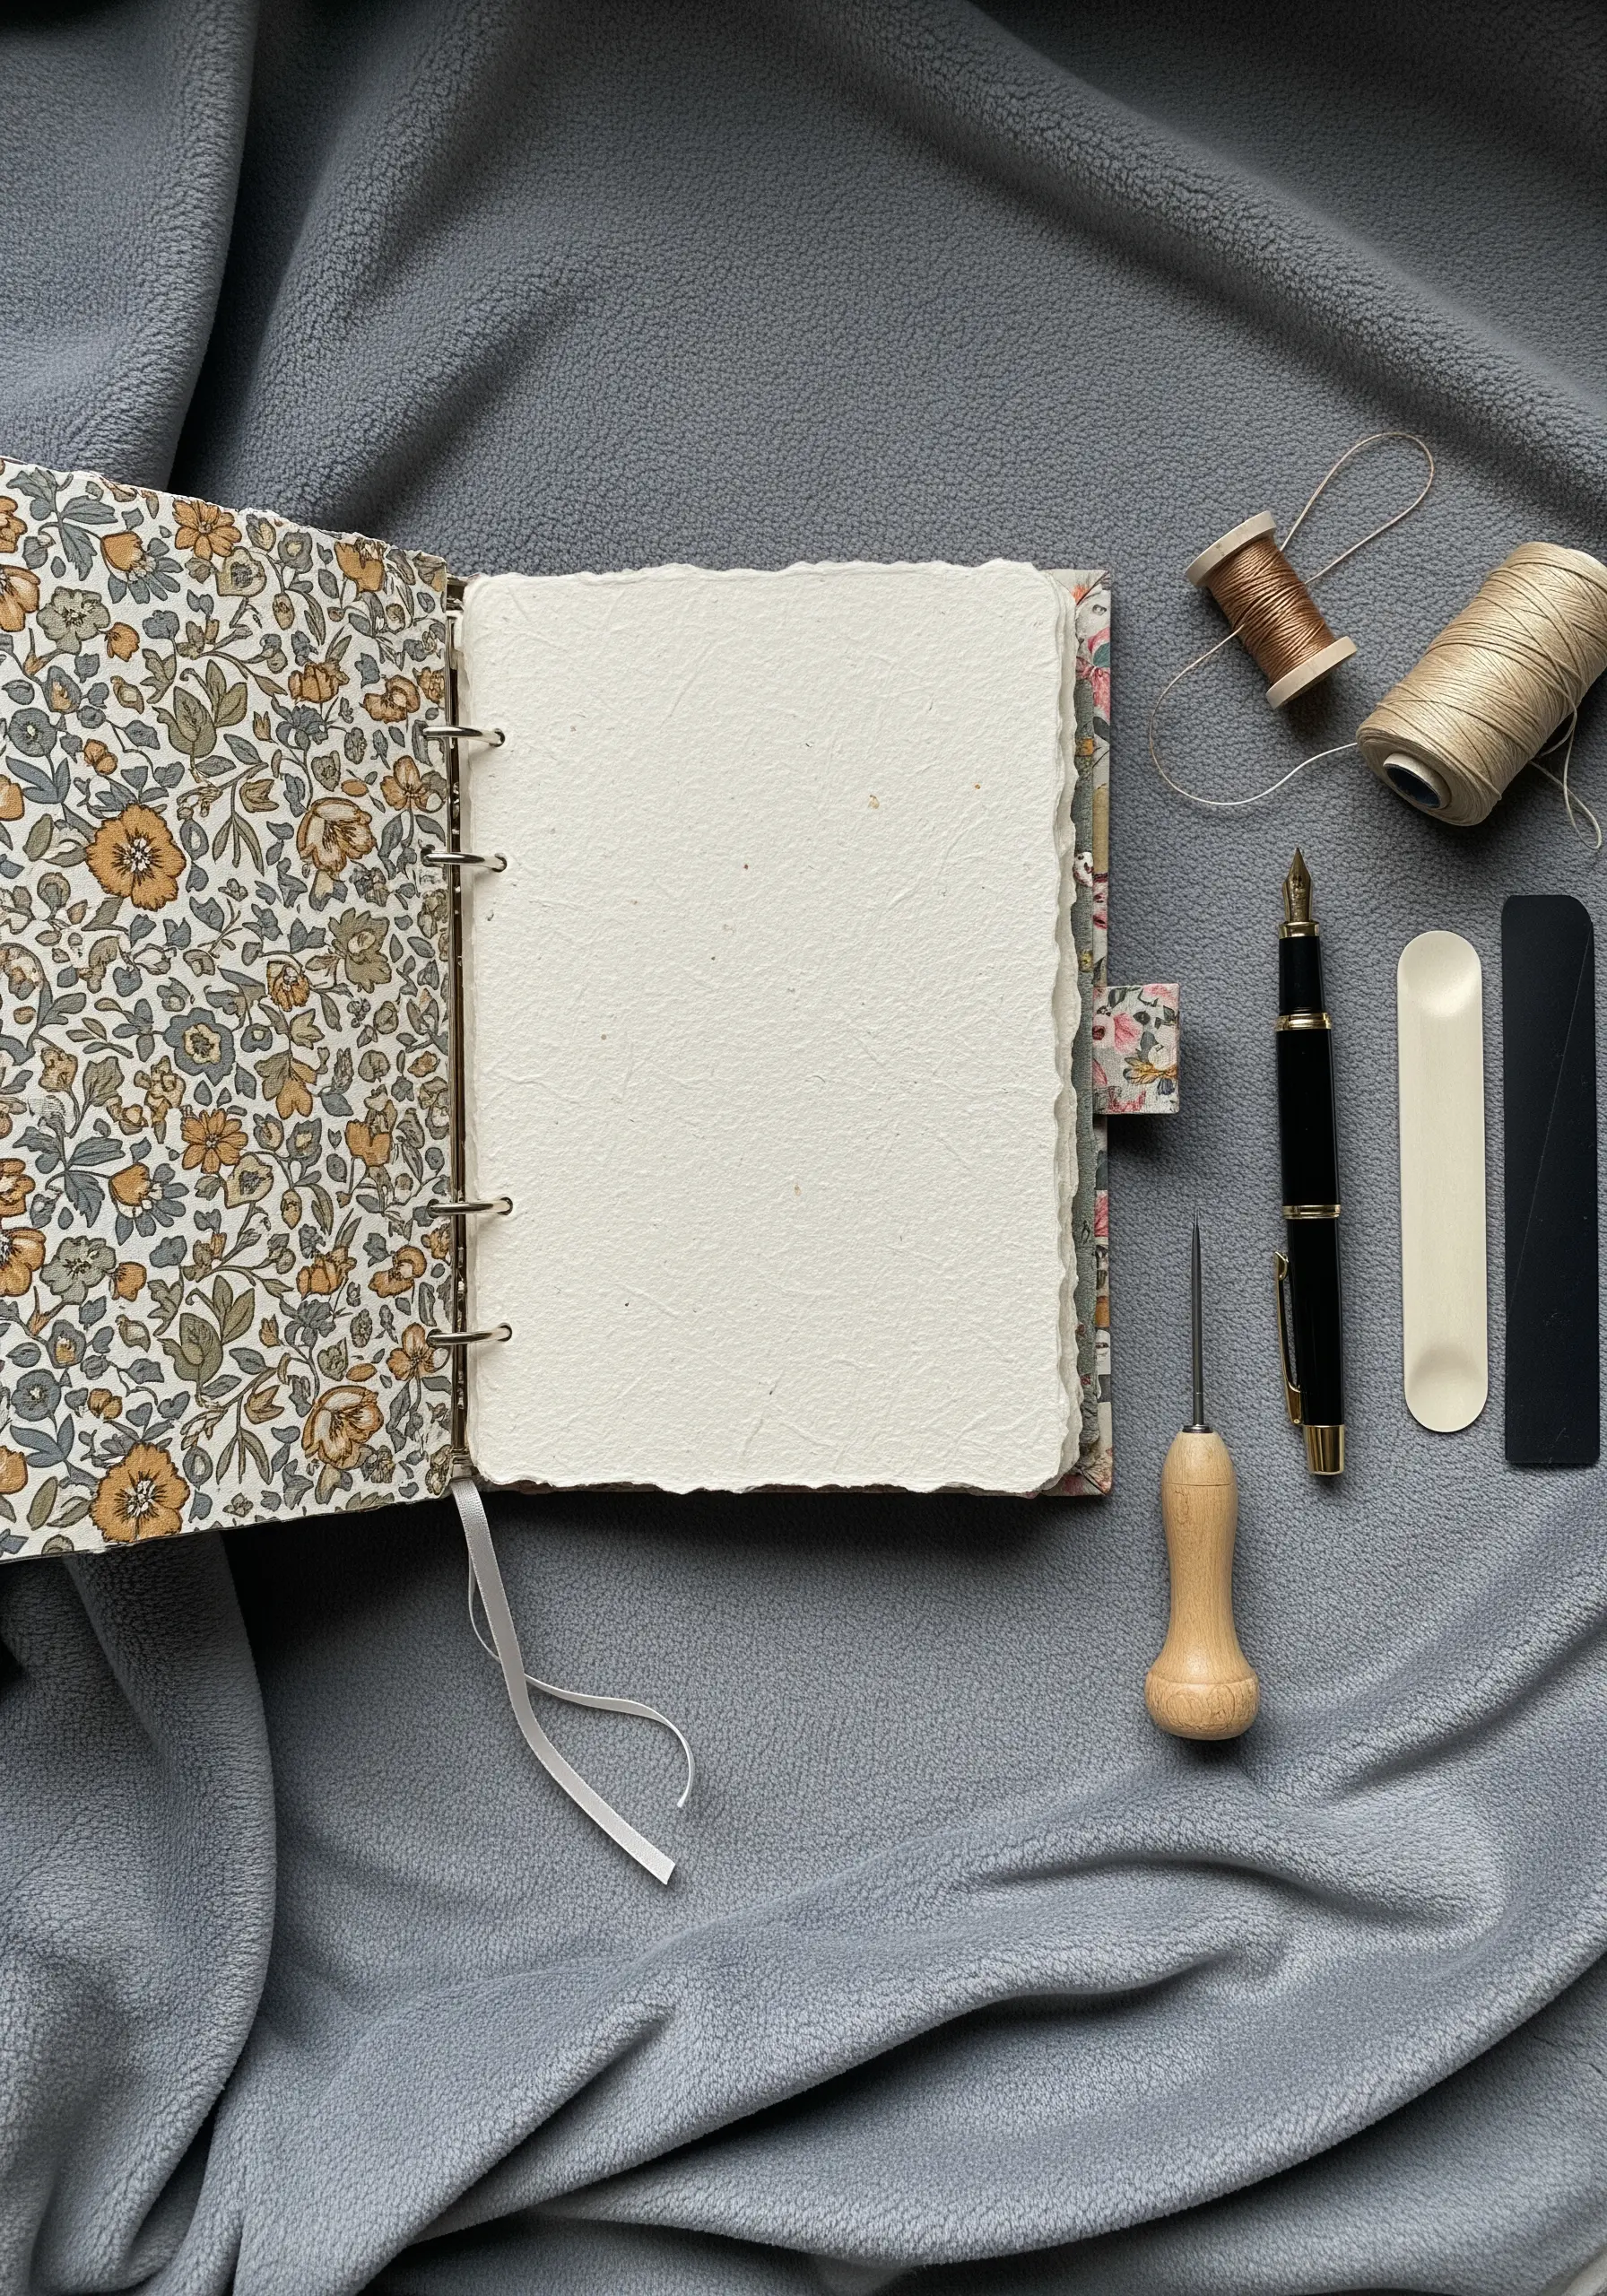
Adding a personal touch to a handmade journal is a beautiful idea, but the timing is everything.
Plan and execute your embroidery on the cover fabric *before* you begin the bookbinding process. This allows you to secure your threads neatly on the back and ensures the embroidery lies flat.
A simple monogram using a two-strand backstitch or a tiny floral motif in a corner is all you need to make it uniquely yours.
12. Create Sculptural Decor with High-Relief Stitches
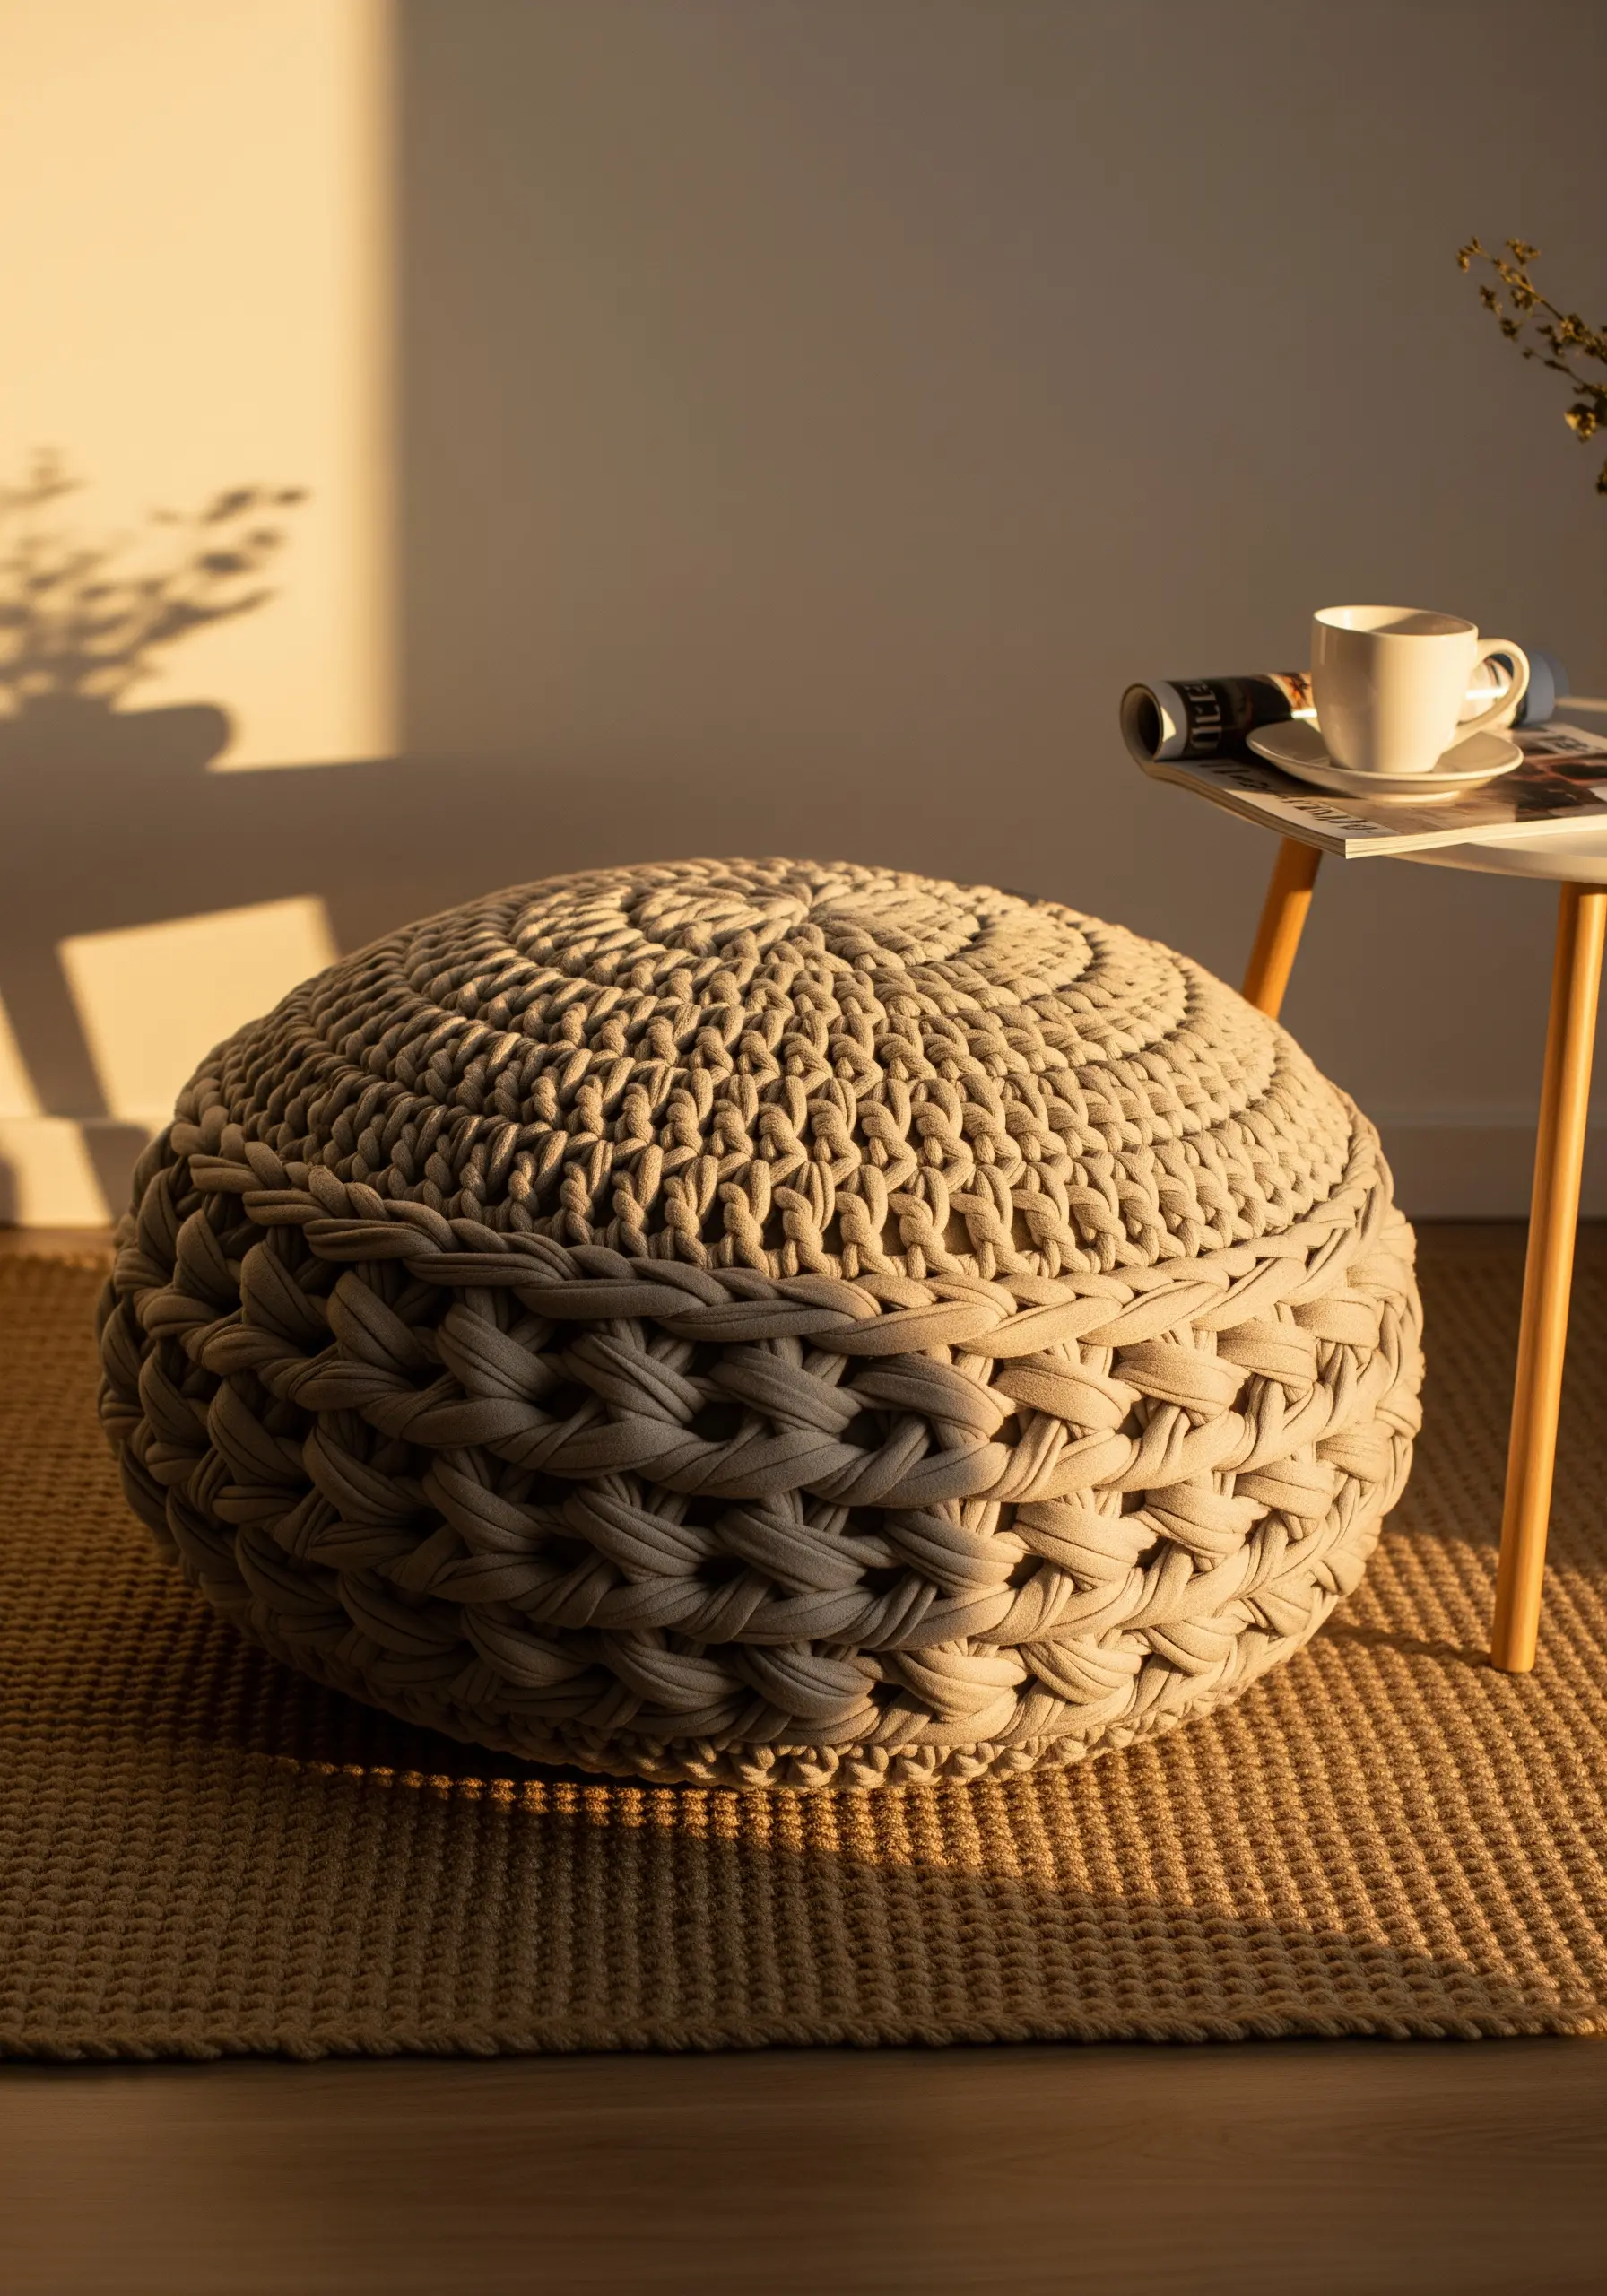
The immense texture of this pouf can inspire you to think beyond flat embroidery and toward creating sculptural surfaces.
On a heavy canvas base, use thick yarn or roving to make oversized French knots or couched coils. Pack them tightly together to build a dense, highly tactile area.
This technique is perfect for creating abstract wall art or a statement cushion that invites touch and adds a dramatic, cozy element to your room.
13. Stitch Tiny Motifs for Functional Hoop Art

Turn your embroidery into a piece of functional decor by creating a miniature jewelry holder.
Stretch a piece of sturdy fabric like linen in a small 3- or 4-inch hoop. Embroider a delicate branch, a few scattered stars, or a simple geometric shape.
Hang it on the wall above your dresser; the taut fabric is perfect for holding stud earrings, or you can hang lightweight necklaces and rings from the hoop’s screw fastener.
14. Arrange Small Hoops into a Cohesive Gallery Wall
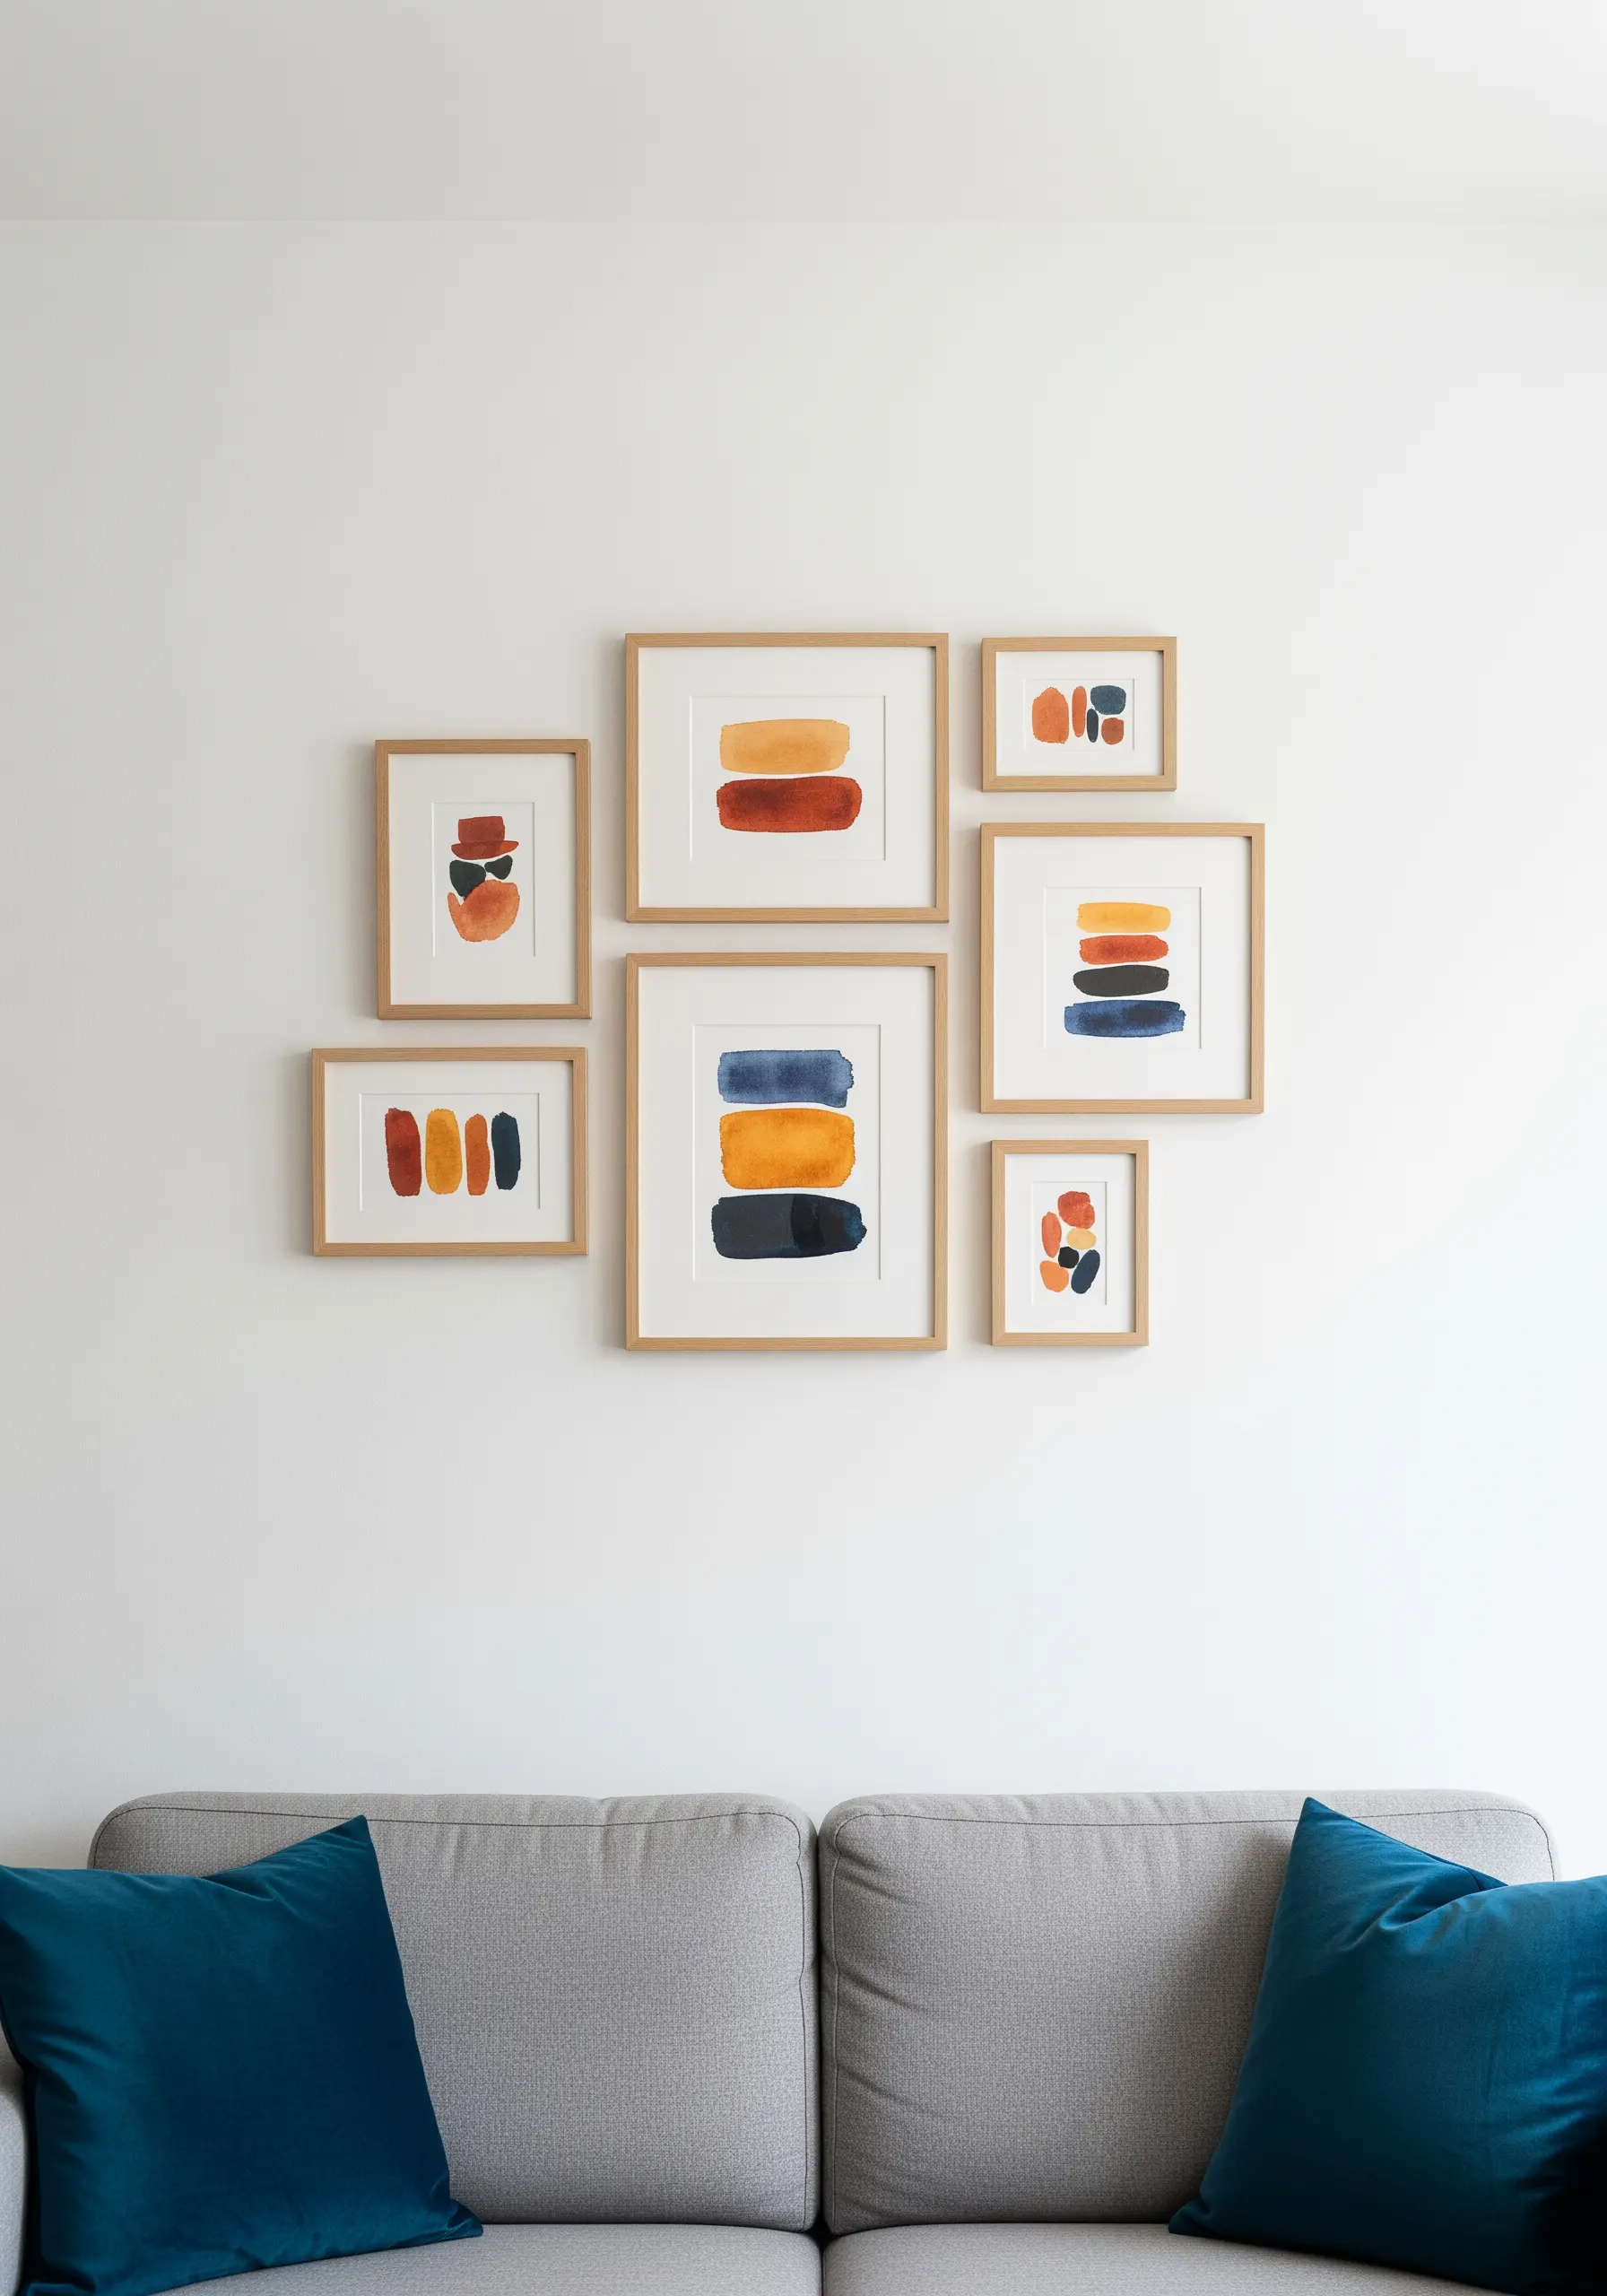
Creating a gallery wall with embroidery hoops requires a thoughtful approach to composition, just like with framed art.
To ensure a cohesive look, stick to a limited color palette across all your pieces. Use hoops made of the same material, like bamboo or dark wood, to create a unifying element.
Vary the size of the hoops and the complexity of the designs, but let the shared colors and materials tie everything together into stunning circle frame minimal embroidery compositions.
15. Embroider on Sheer Fabric for a Light-Catching Effect
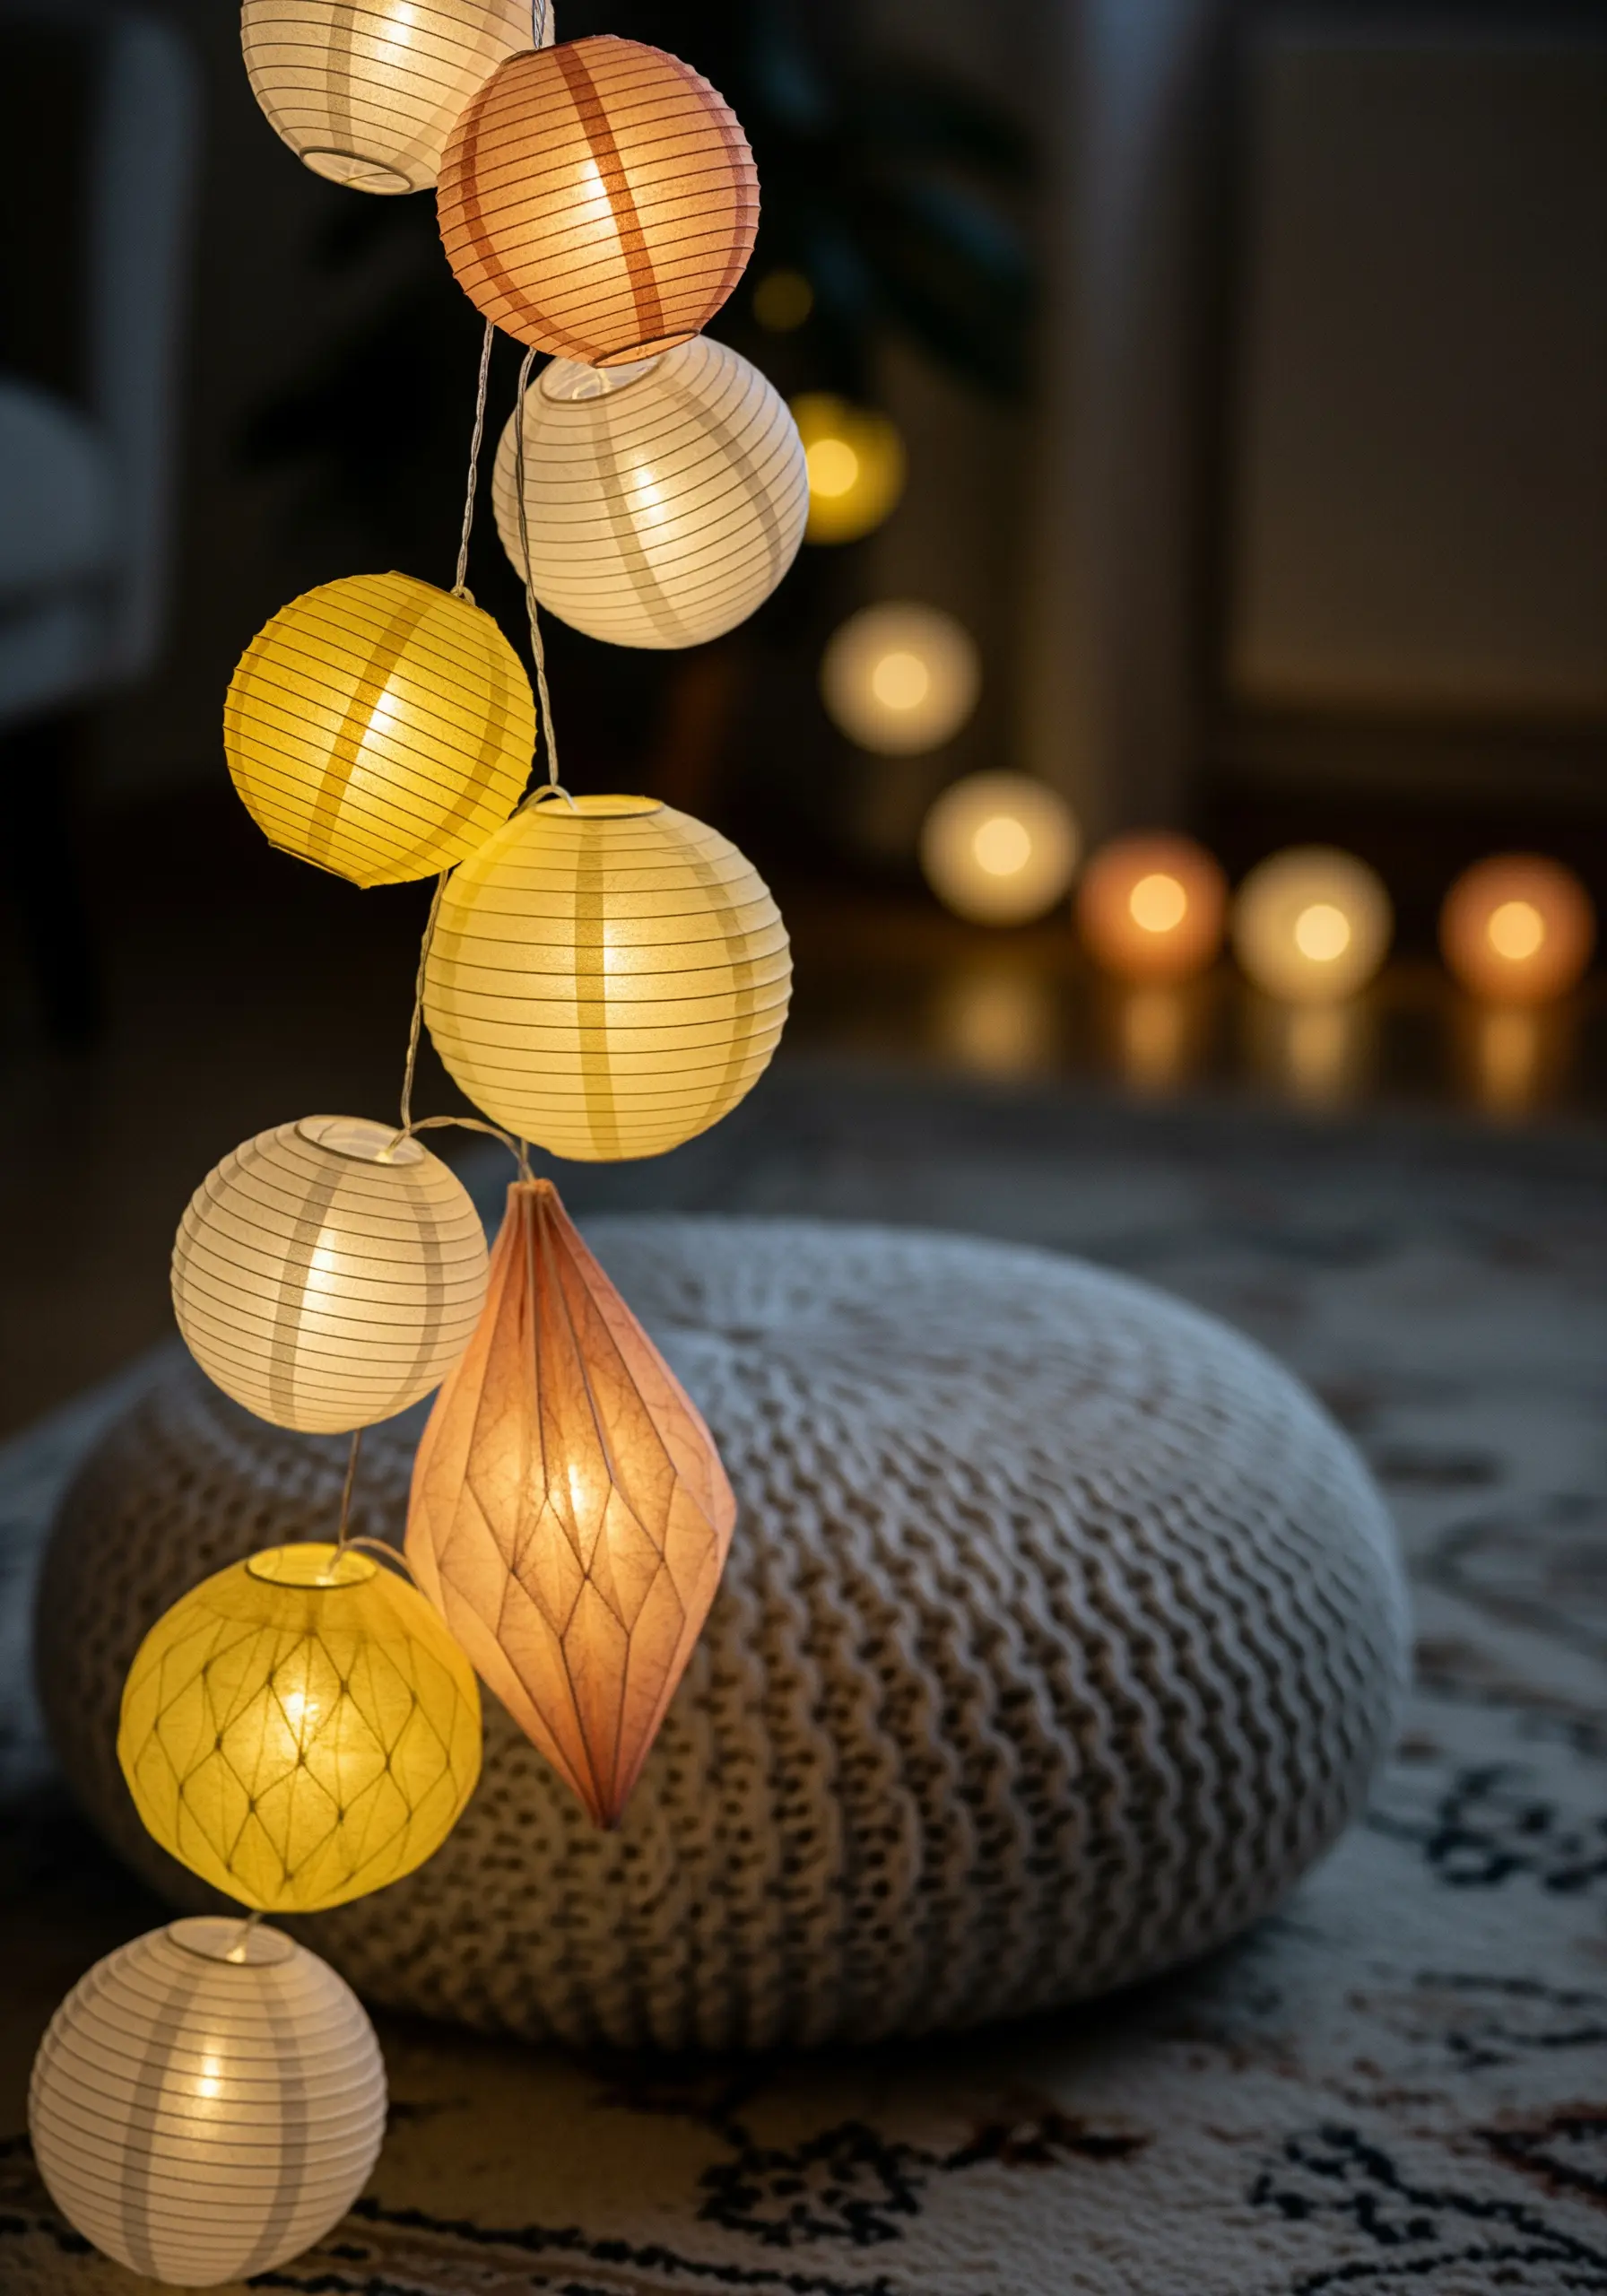
Capture the ethereal glow of paper lanterns by stitching on a transparent or semi-transparent fabric like tulle or organza.
When you embroider on a sheer base, your stitches appear to float in mid-air. Use simple designs and basic stitches like the backstitch or straight stitch to avoid overwhelming the delicate material.
Hang the finished hoop in a window, and the light will shine through, illuminating your thread work and creating a beautiful, delicate focal point.
16. Upgrade Fabric Storage with Embroidered Labels
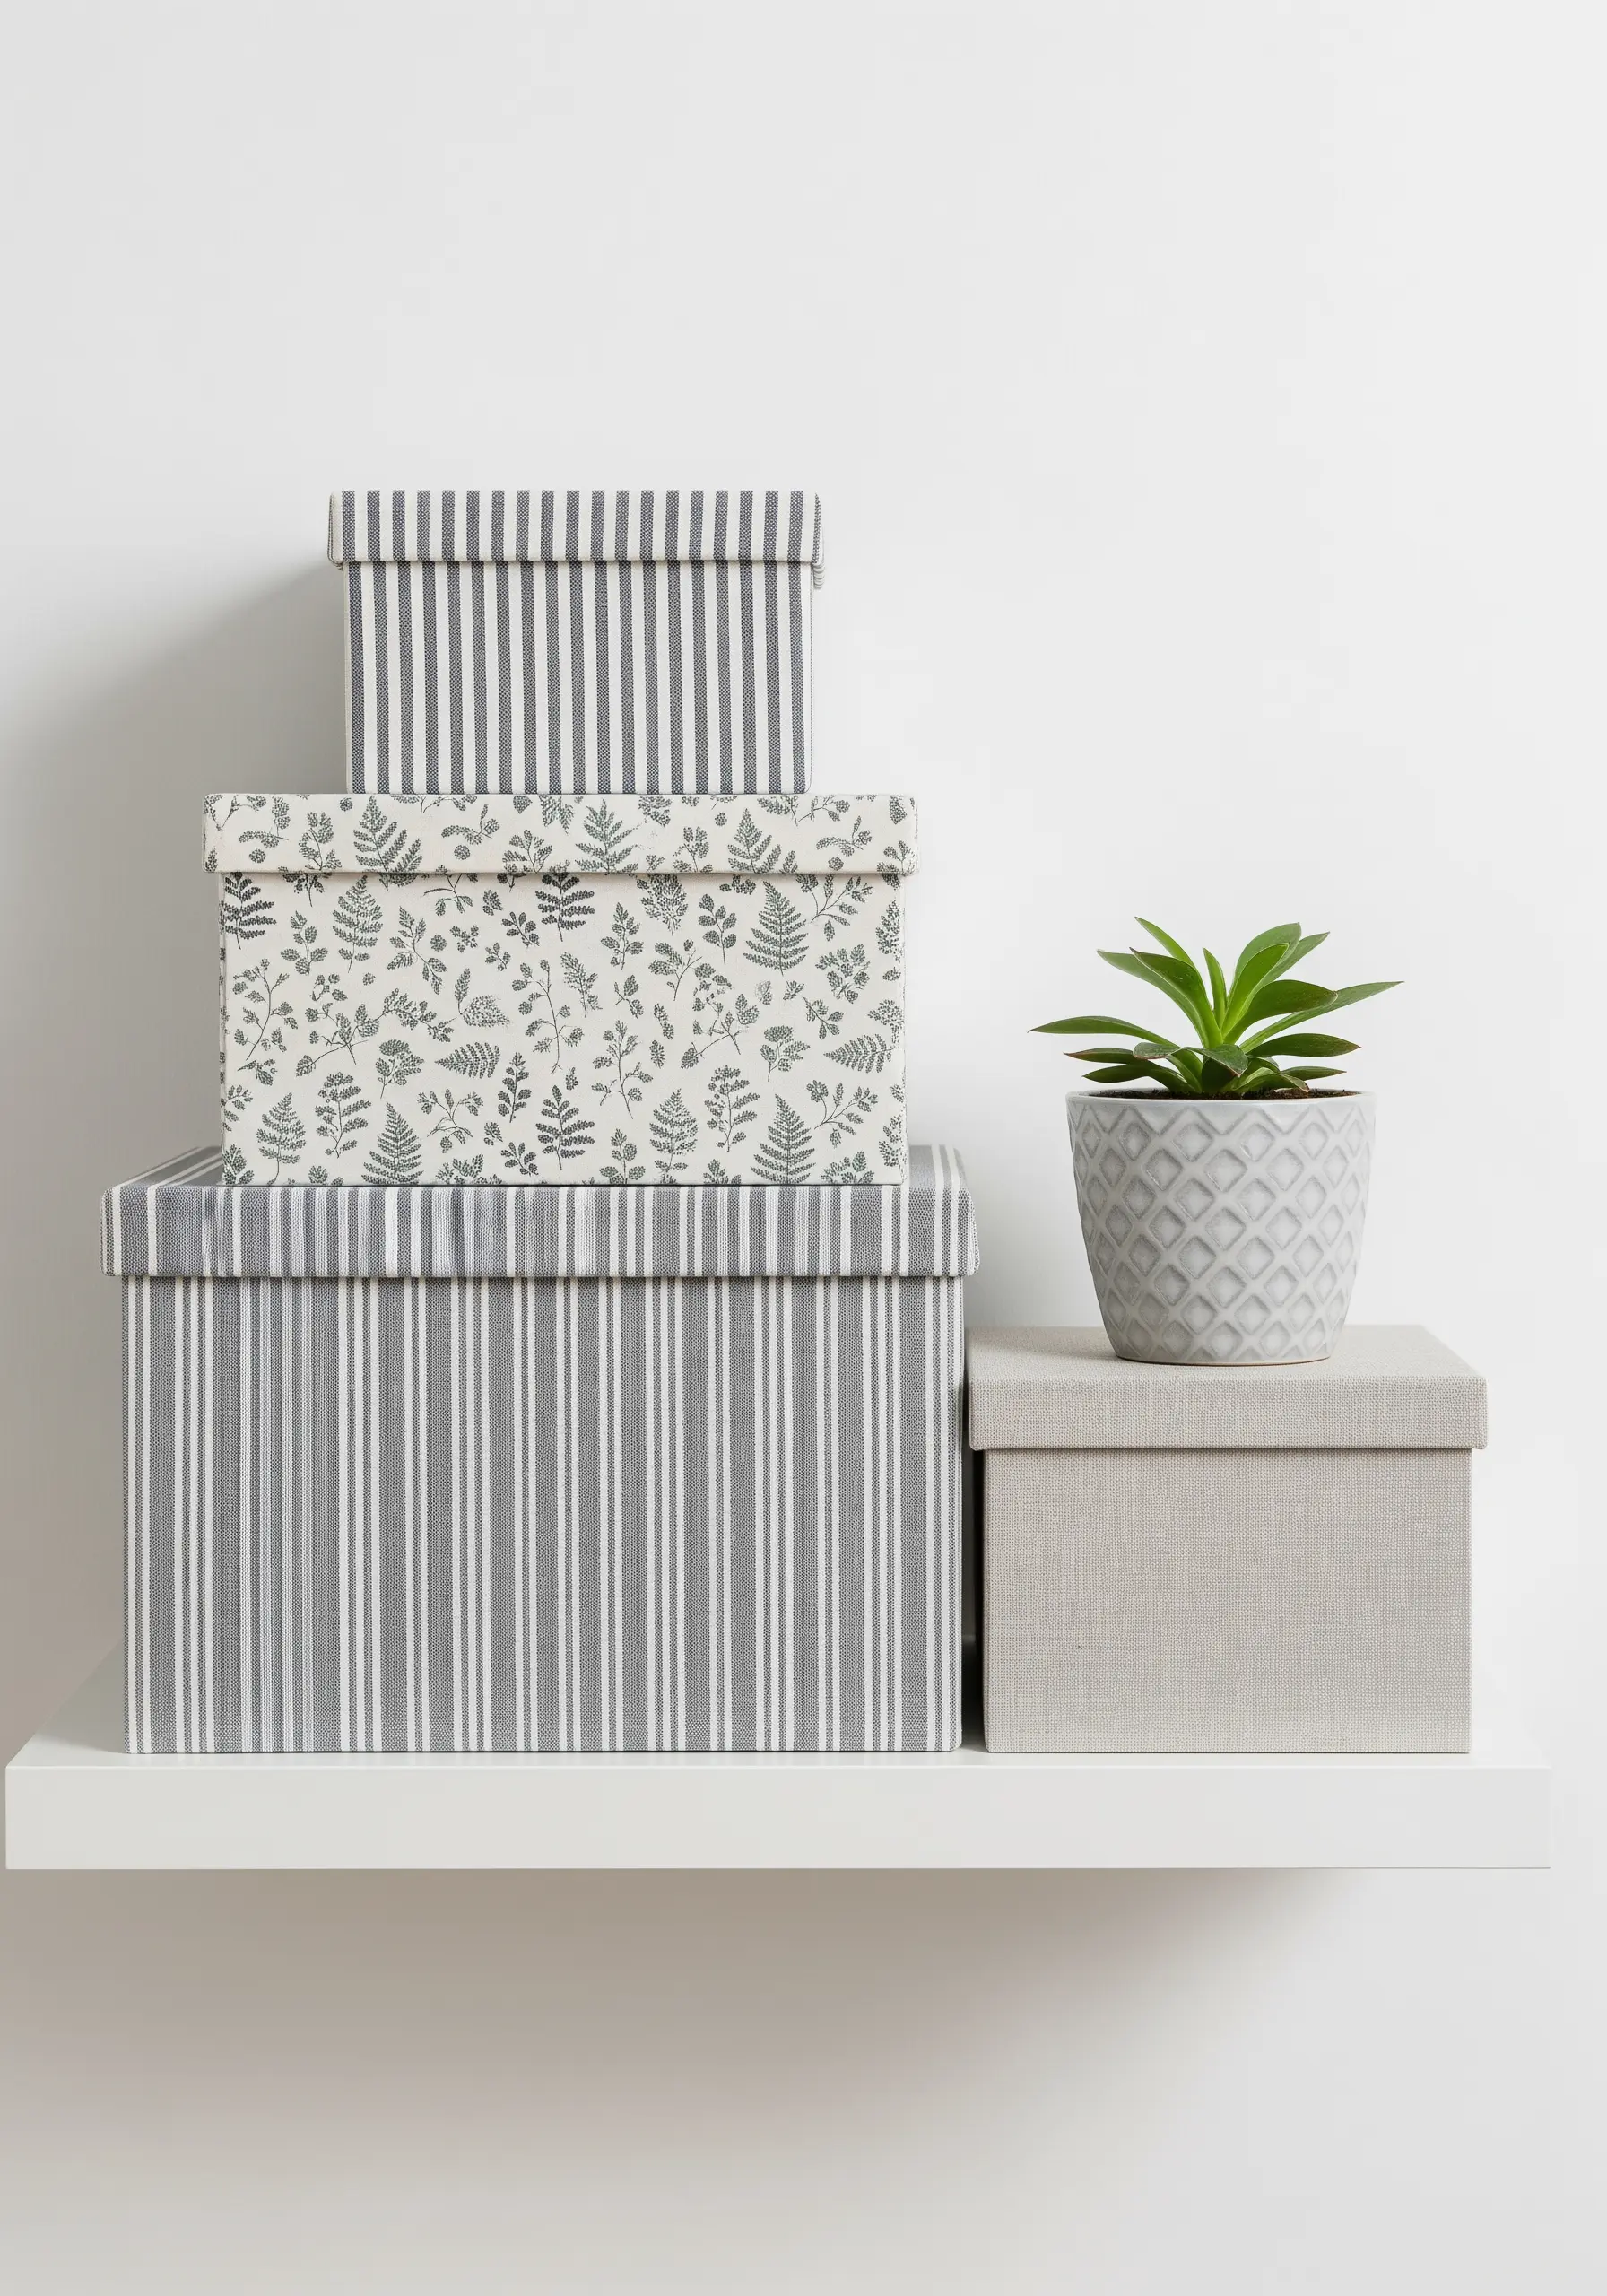
Bring a touch of handmade elegance to your storage solutions by adding custom embroidered labels.
Cut small rectangles of felt or non-fraying canvas and stitch simple labels like “yarn,” “photos,” or “letters” using a contrasting thread color.
A clean, simple backstitch is perfect for legible lettering. Then, either glue or stitch the finished patch onto your storage boxes for a solution that is both beautiful and functional.
17. Stitch Geometric Patterns onto Felt for Modern Coasters
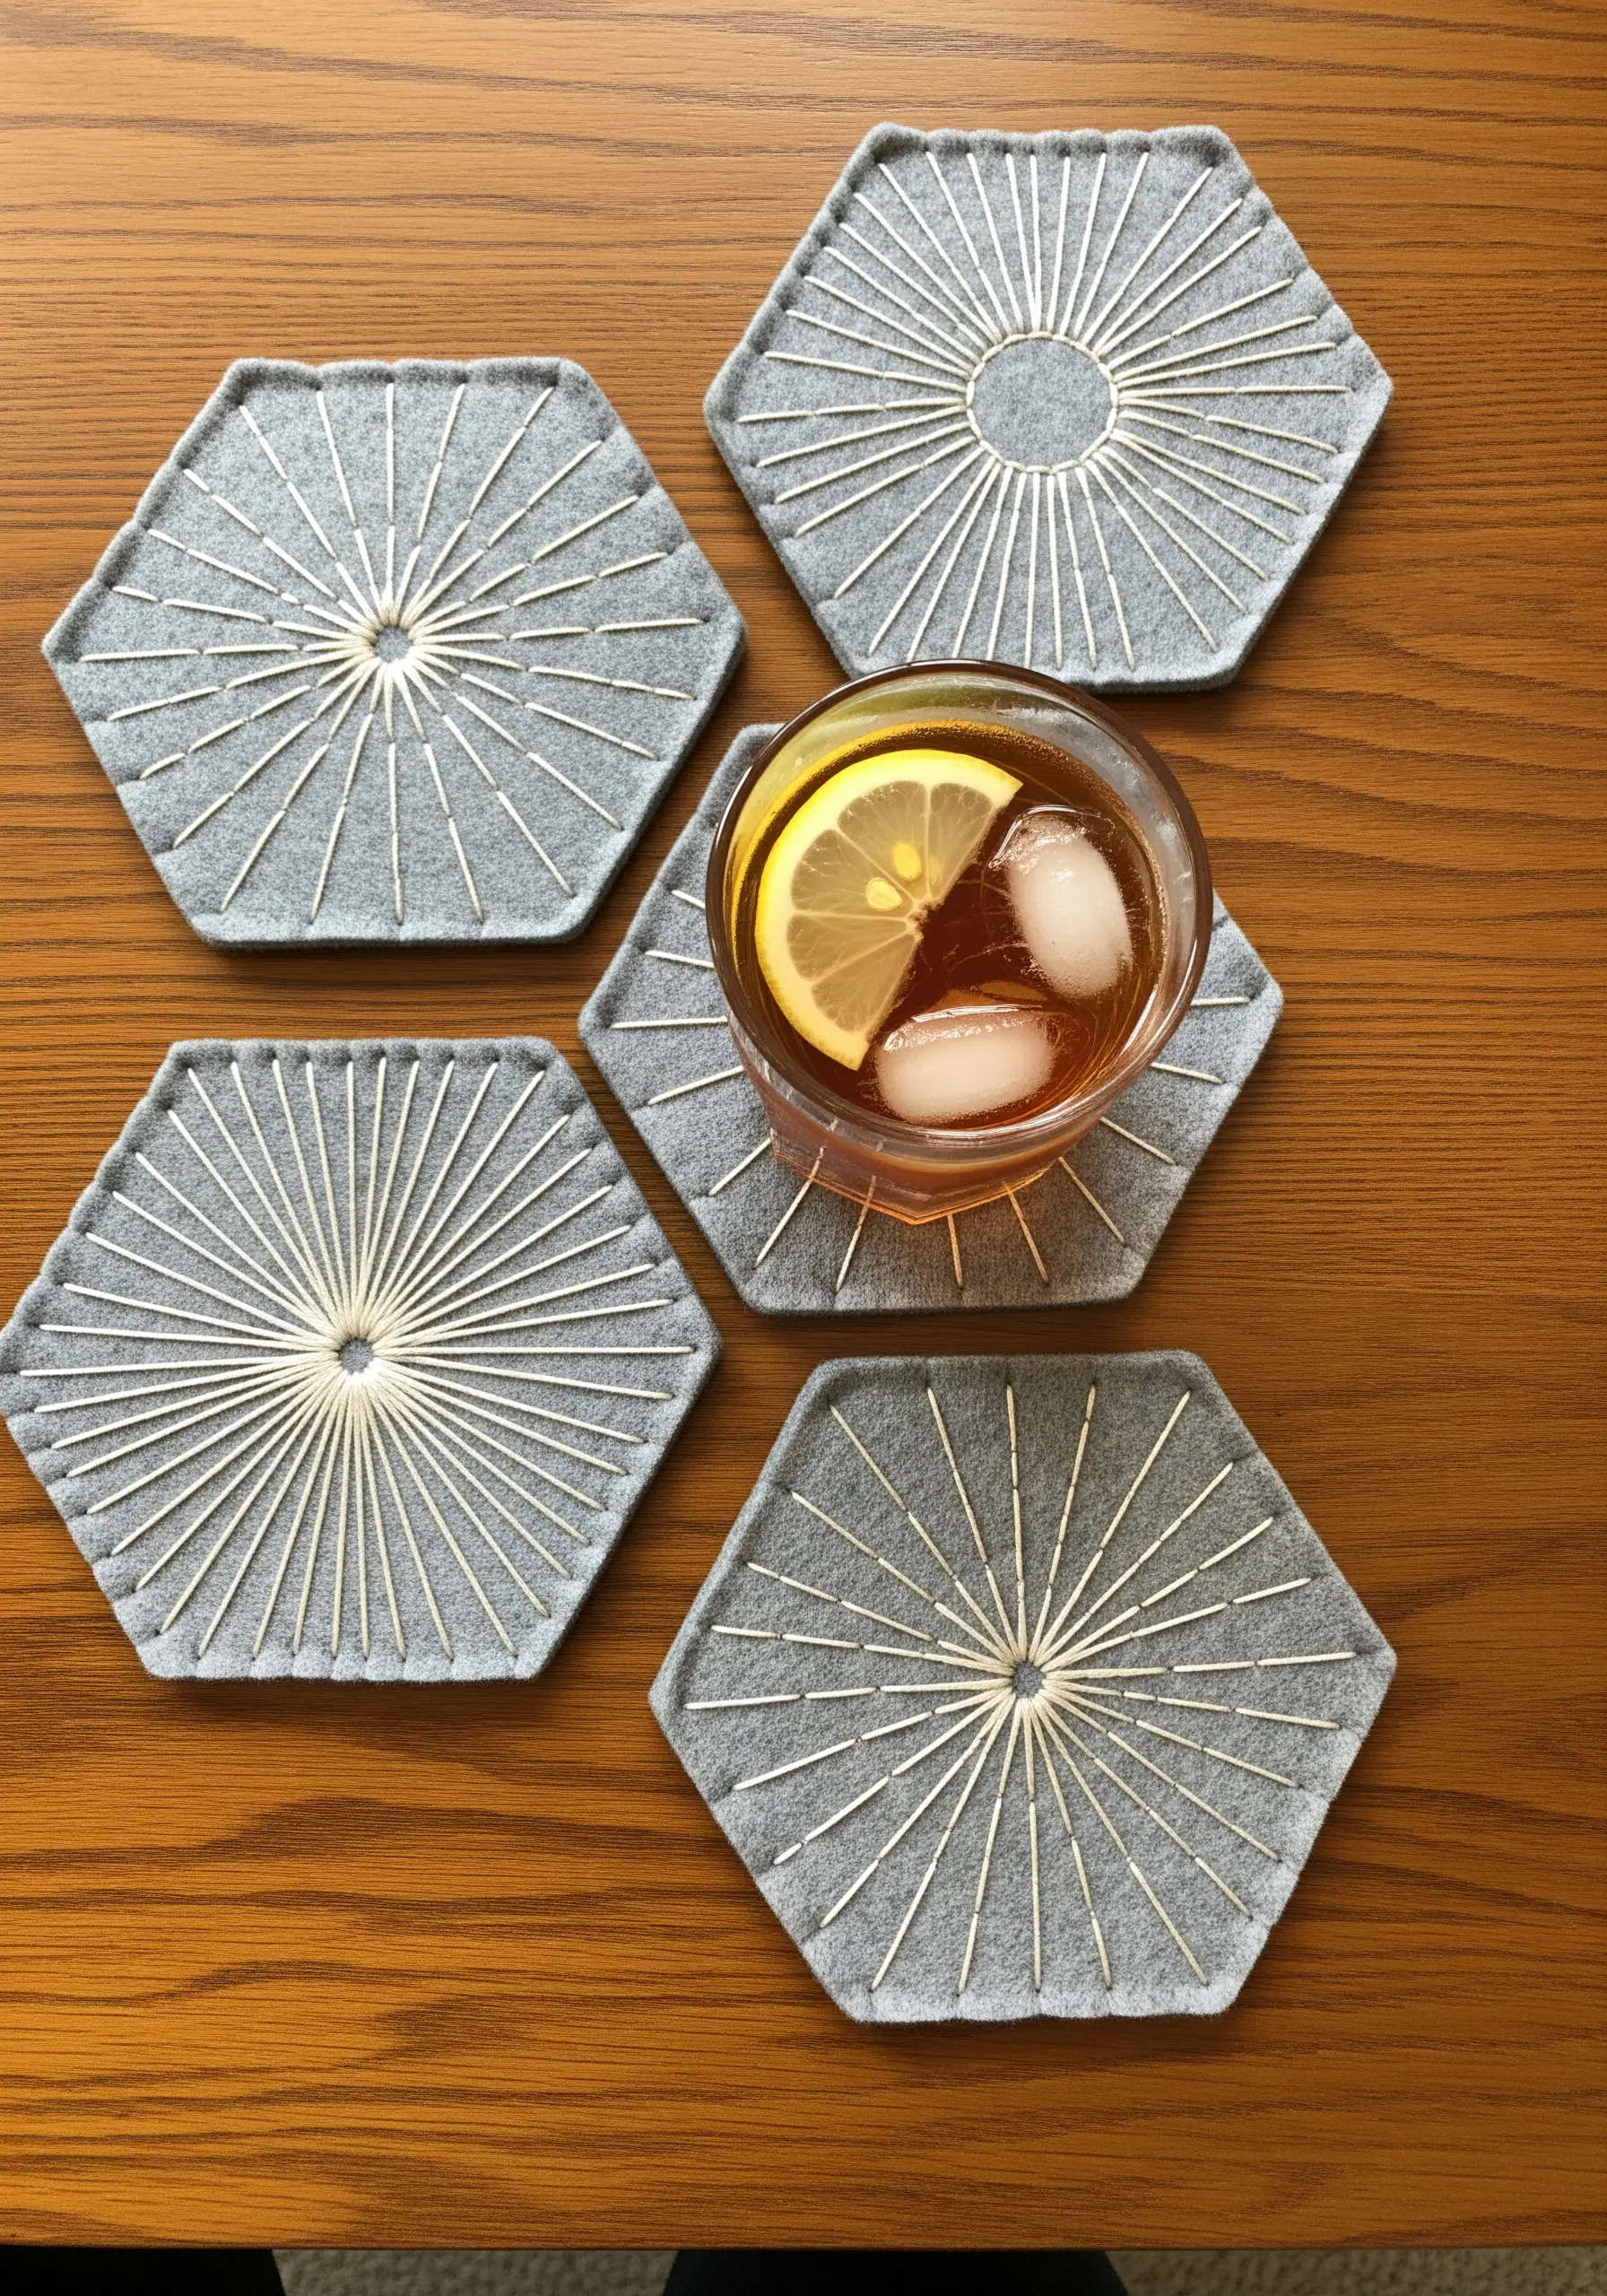
Felt is the perfect canvas for functional projects like coasters because it’s sturdy, absorbent, and its edges won’t unravel.
Use a ruler and a disappearing ink pen to mark a radiating starburst pattern on hexagonal felt pieces.
Stitch the lines with a contrasting pearl cotton or sashiko thread; its thickness will stand out beautifully against the dense felt. This quick project yields a set of modern, graphic coasters that are both durable and stylish.
18. Accent Quilted Pieces with Hand-Stitched Details
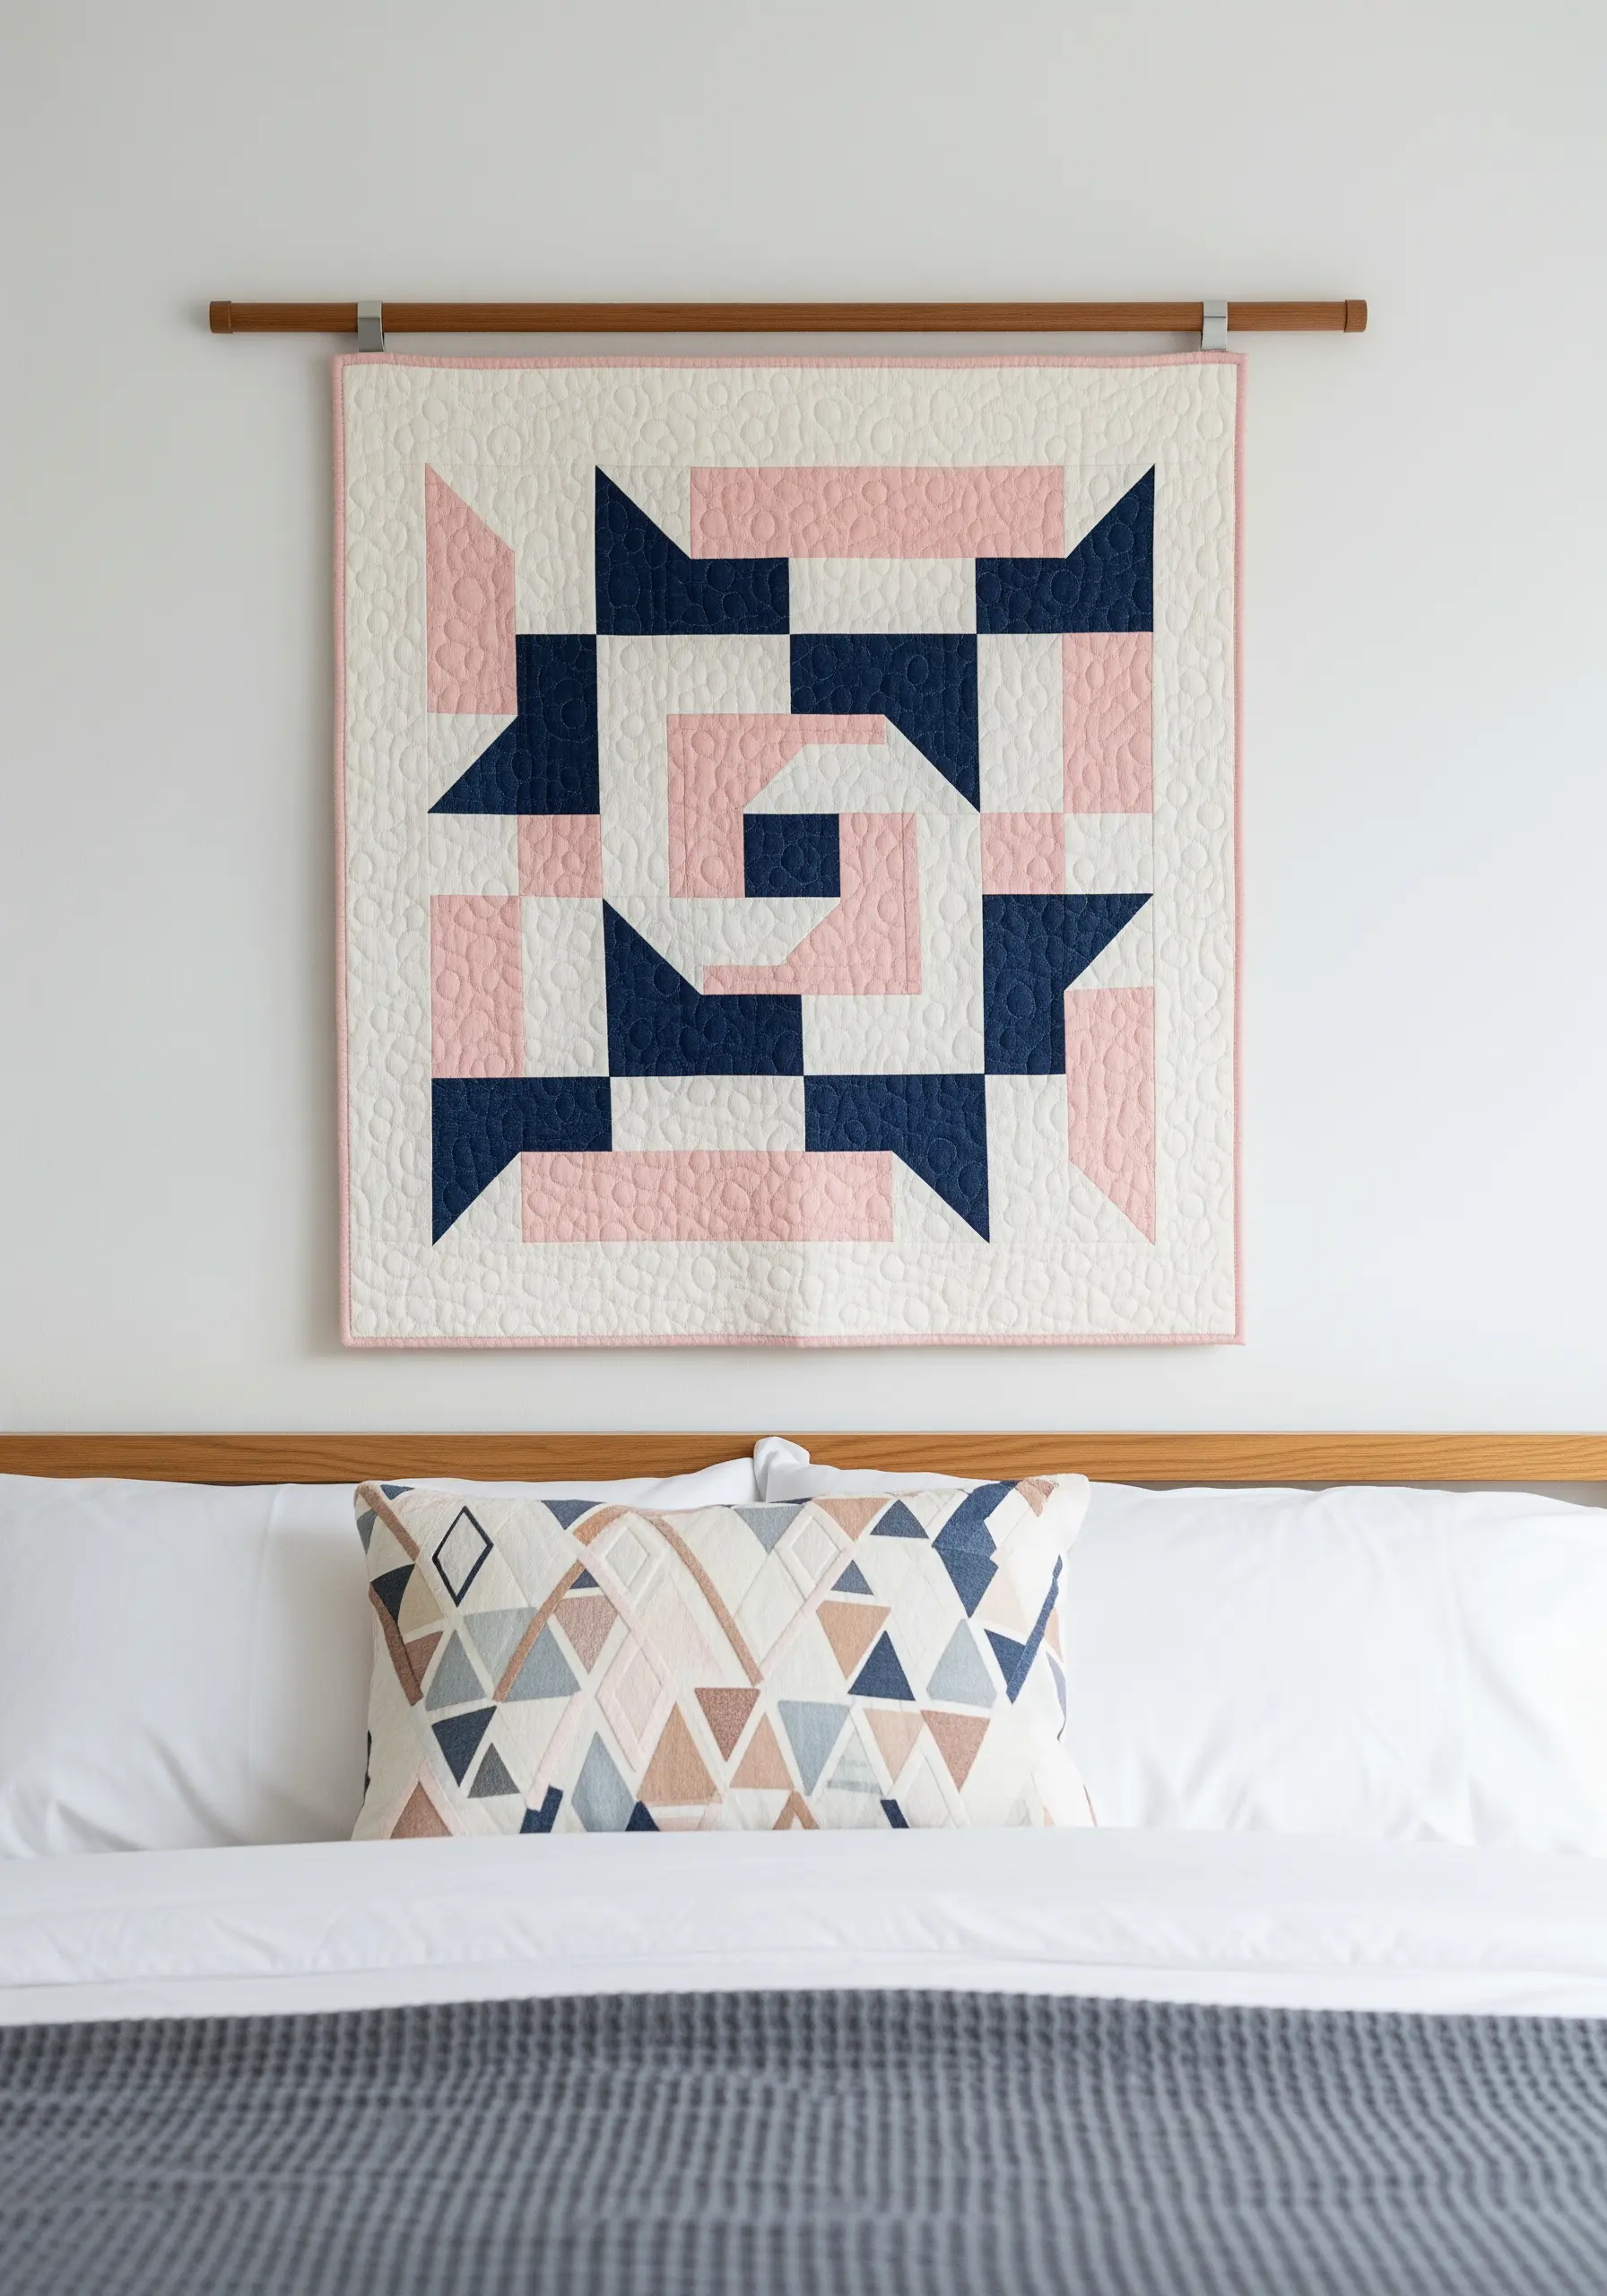
Elevate a simple quilt block by incorporating hand embroidery as a final, textural layer.
After you’ve pieced your geometric shapes, use a contrasting color of embroidery floss to add subtle accents with a simple running stitch or seed stitch.
You can echo the seam lines or fill in a solid-colored block to add a layer of handmade detail that bridges the gap between quilting and embroidery, creating a truly unique textile piece.
19. Create Suspended Art with Embroidered Details
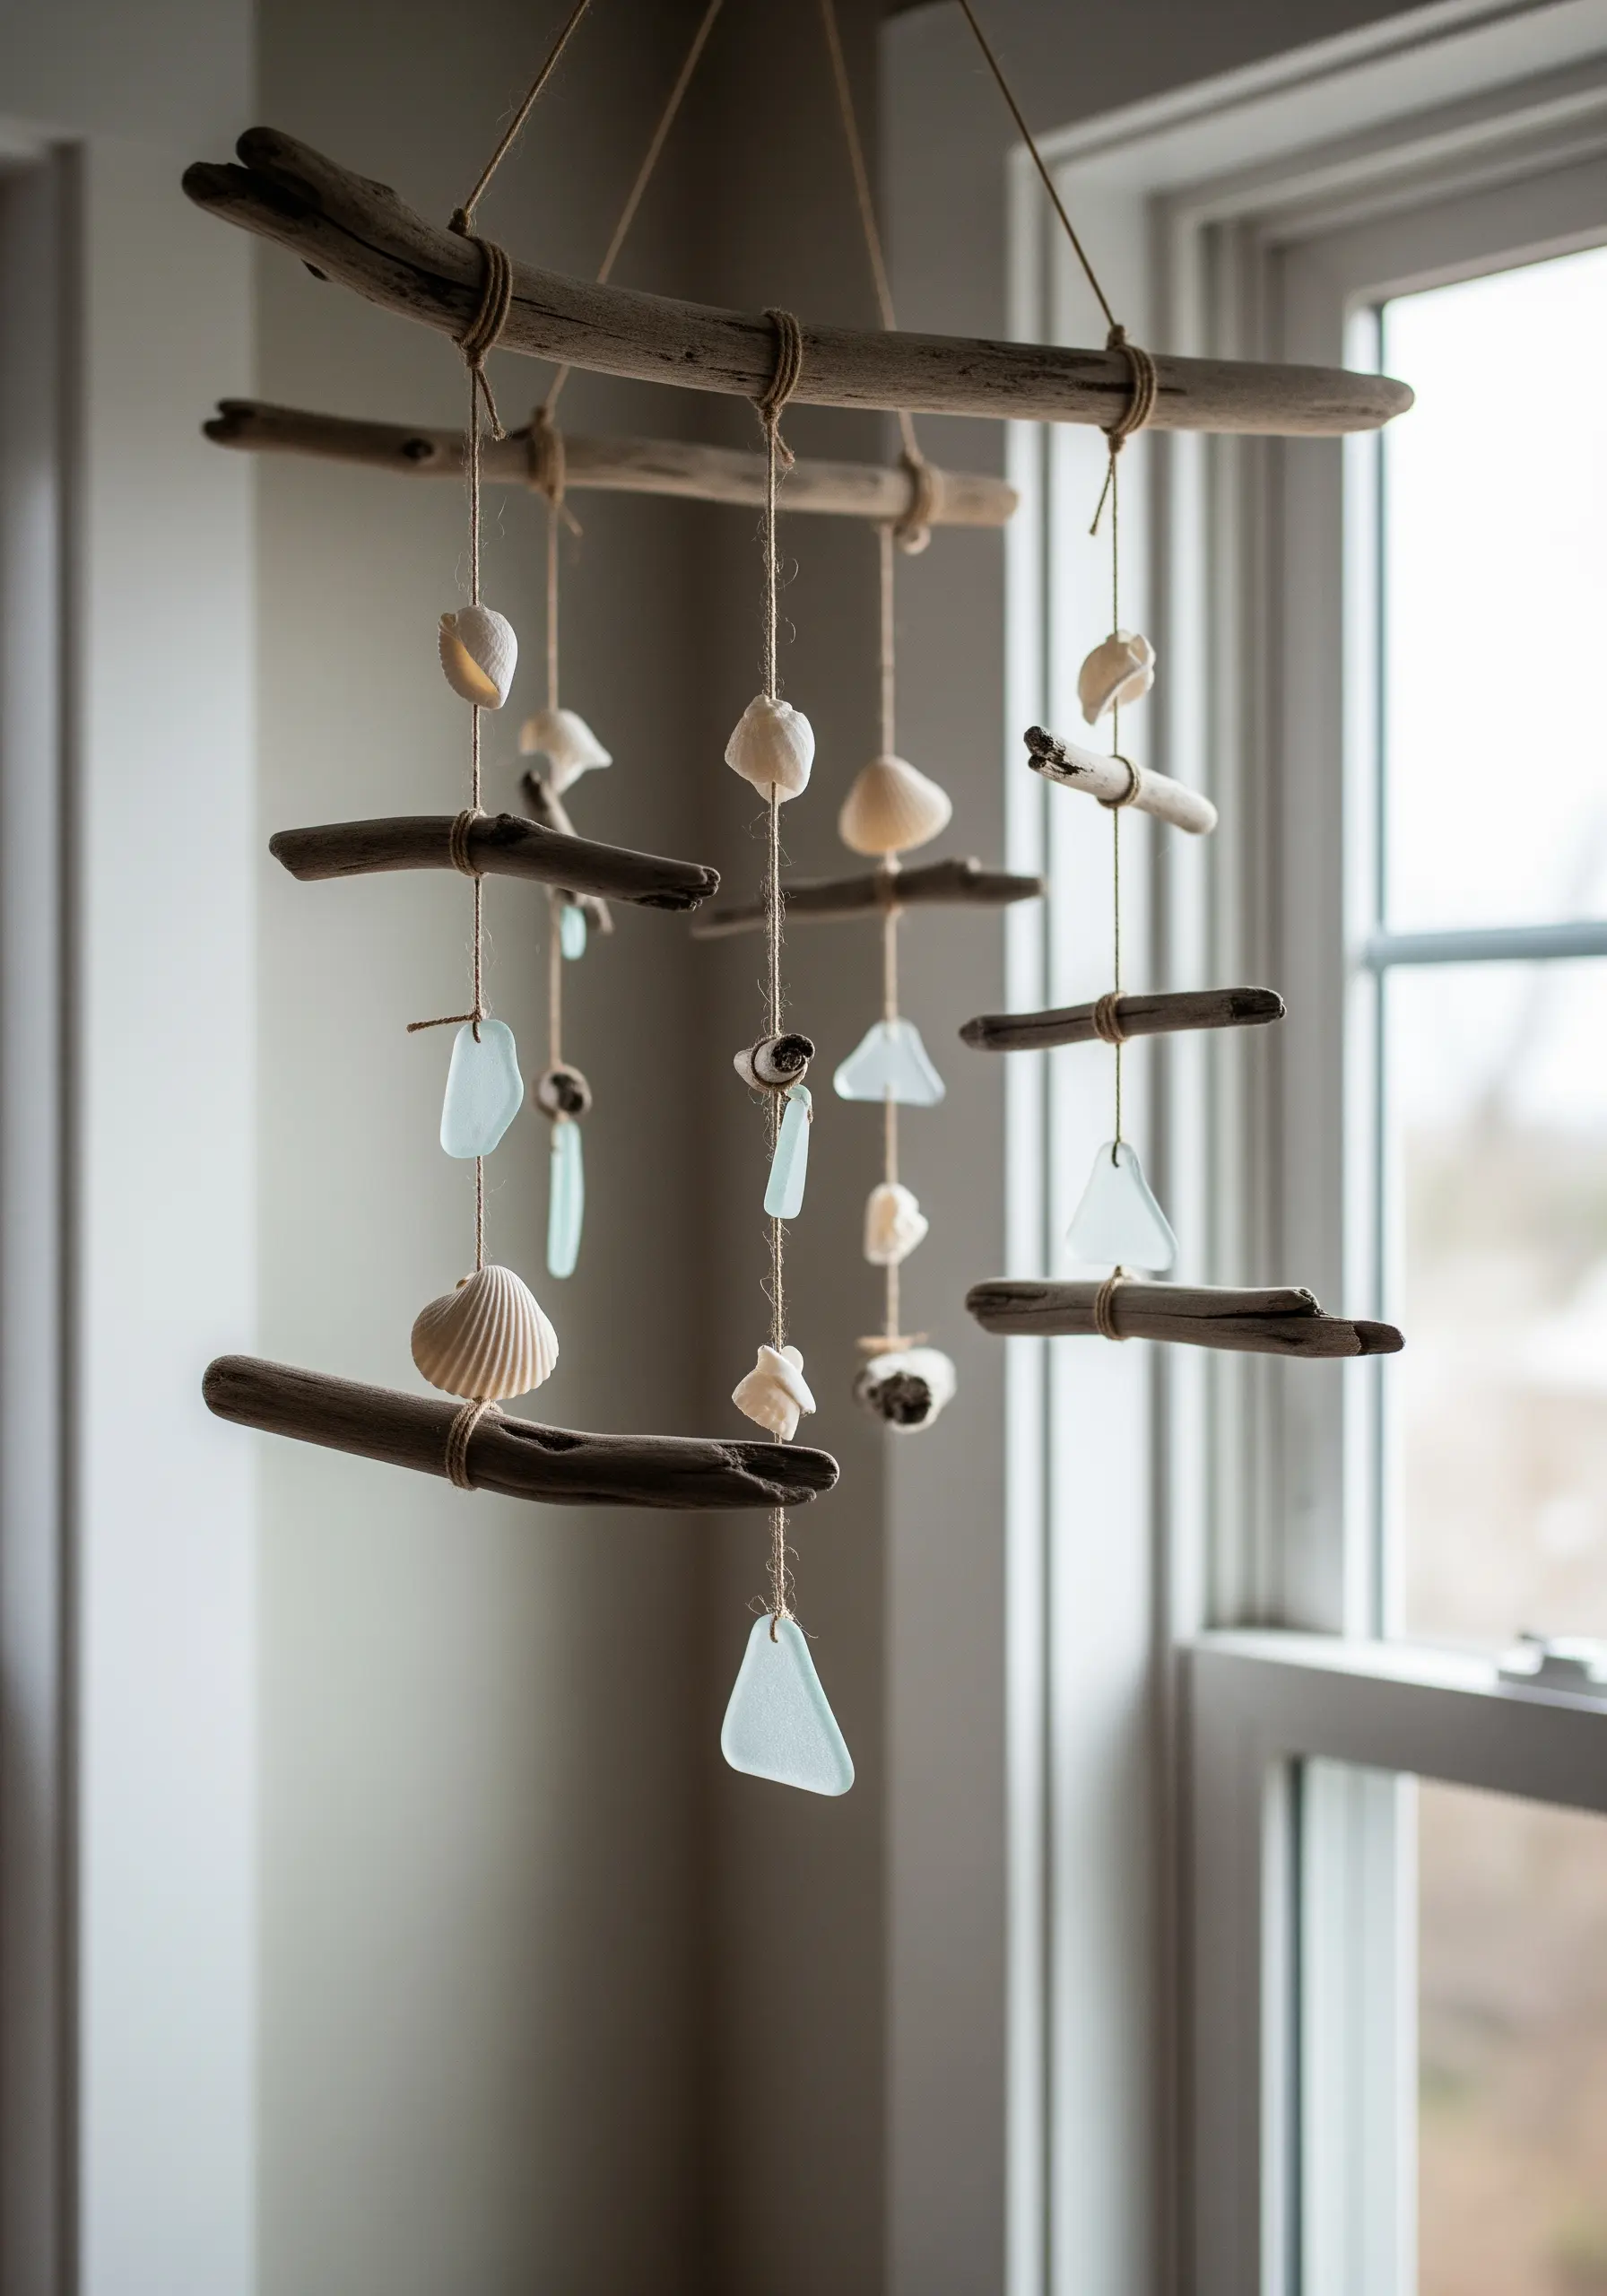
A mobile made from natural elements has a beautiful, organic feel. You can incorporate embroidery to add a soft, personal touch.
Instead of shells, create small embroidered medallions. Stitch simple motifs—like a leaf, a spiral, or a star—onto circles of felt or sturdy linen.
Back the circles with another piece of felt for a clean finish, then use twine to suspend them from a piece of driftwood for a gentle, handmade mobile.
20. Stitch Botanical Scatters for a Wildflower Effect
Recreate the delicate look of scattered petals and herbs by using a few simple stitches in a random, organic pattern.
Fill an area of your fabric with tiny French knots (using one or two strands) and single, detached chain stitches, varying the colors as you go.
This technique, known as a seed stitch filling, is perfect for creating a texture that feels like a wildflower meadow or a sprinkle of dried botanicals, adding subtle color and detail to any piece.
21. Build Depth with Layered Botanical Embroidery
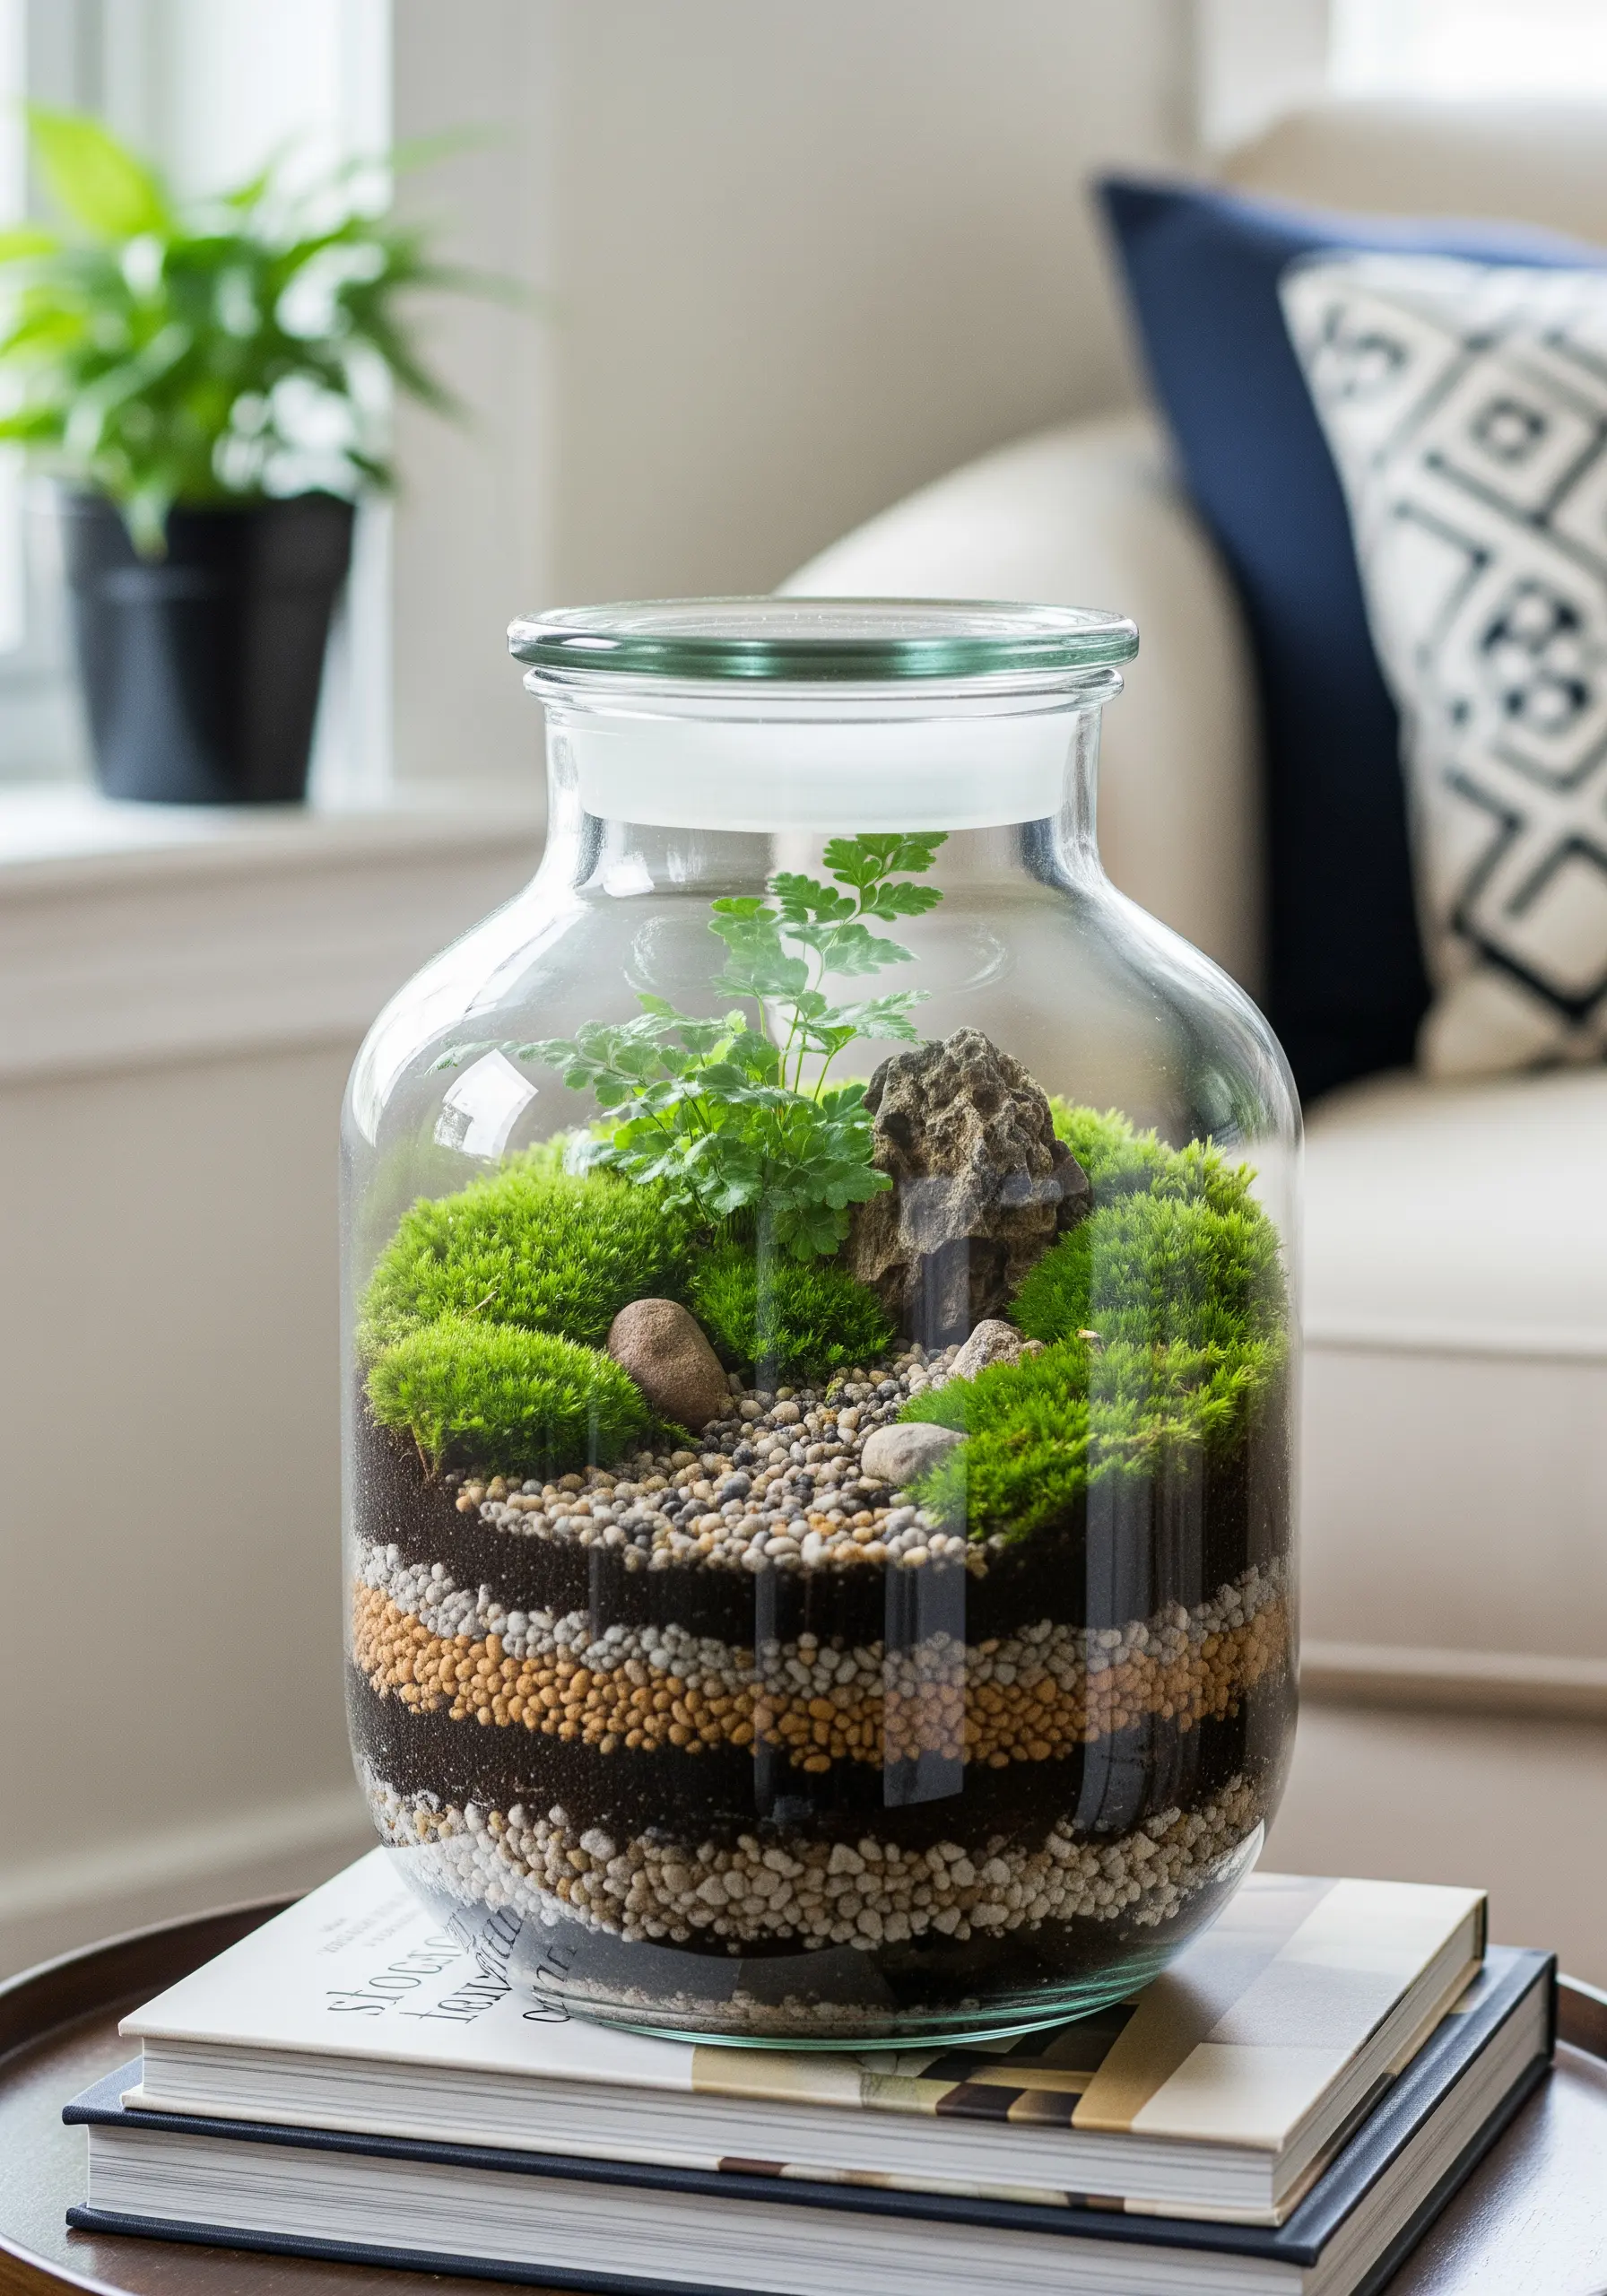
A terrarium teaches a valuable lesson in visual layering, which you can apply directly to your embroidery to create a sense of depth.
Begin by stitching the elements that are farthest away—like background leaves—using fewer strands of thread and lighter colors. Then, stitch the mid-ground elements over them.
Finish with the foreground details, using more strands of floss and bolder, darker colors. This simple technique tricks the eye and makes your two-dimensional scene feel surprisingly deep.
22. Add Hand-Stitched Borders to Woven Textiles
Give a store-bought woven placemat or table runner a custom, handmade finish by adding a simple embroidered border.
Using a thick, contrasting yarn and a tapestry needle, work a blanket stitch or a simple cross stitch along the edges of the textile.
This small detail adds a pop of color and texture, making an inexpensive item like a hand-stitched table runner feel special and thoughtfully designed.
23. Stitch Inspirational Words with Whipped Backstitch
When you want your lettering to be smooth, bold, and stand out from the fabric, a whipped backstitch is the perfect technique.
First, stitch your word or phrase using a standard backstitch. Then, take a second length of the same thread and, using a tapestry needle, ‘whip’ it around each backstitch without piercing the fabric.
This covers the gaps in the backstitch, creating a solid, raised line that looks like a miniature cord and is perfect for inspirational quotes.
24. Personalize Home Essentials with Simple Embroidered Details
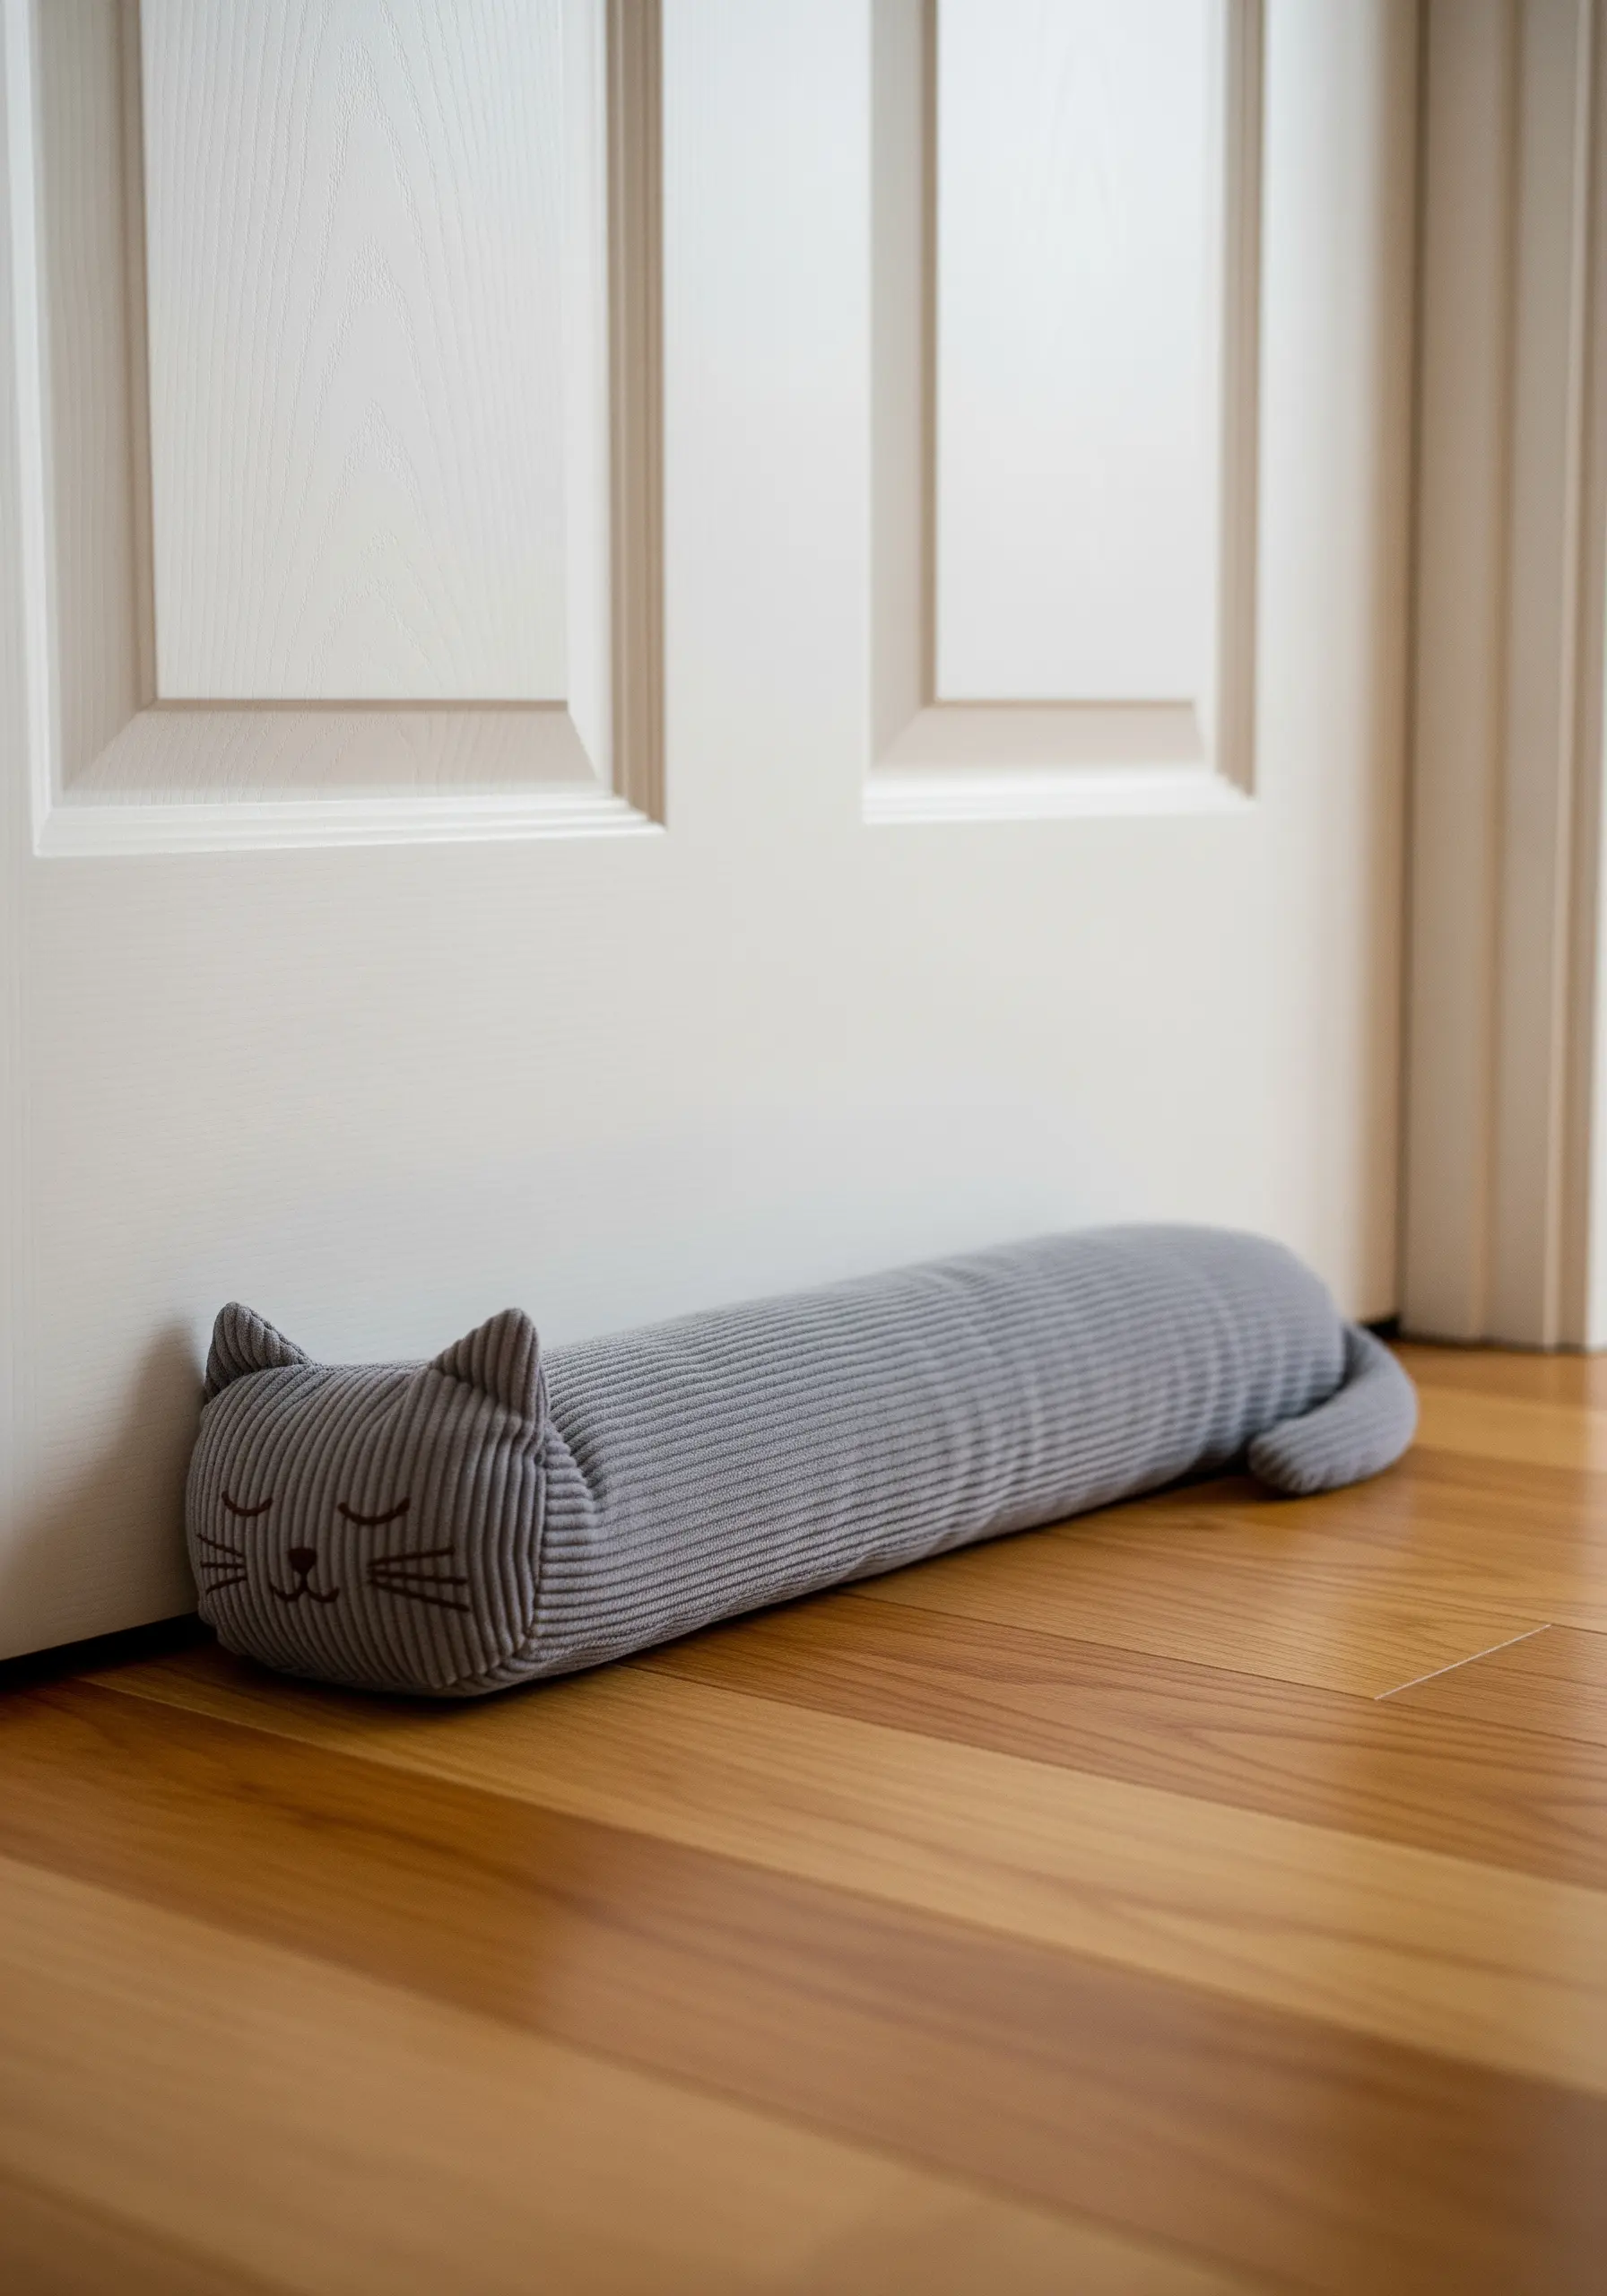
Even the most functional household items can be transformed with a few thoughtful stitches.
A simple draft stopper becomes a piece of charming decor with the addition of a sleeping cat face. Use backstitch for the closed eyes and mouth, and a few straight stitches for the whiskers.
This small act of personalization elevates an everyday object, infusing your space with personality and a cozy, handmade feel.
25. Use Block-Printing Ink to Guide Your Stitches
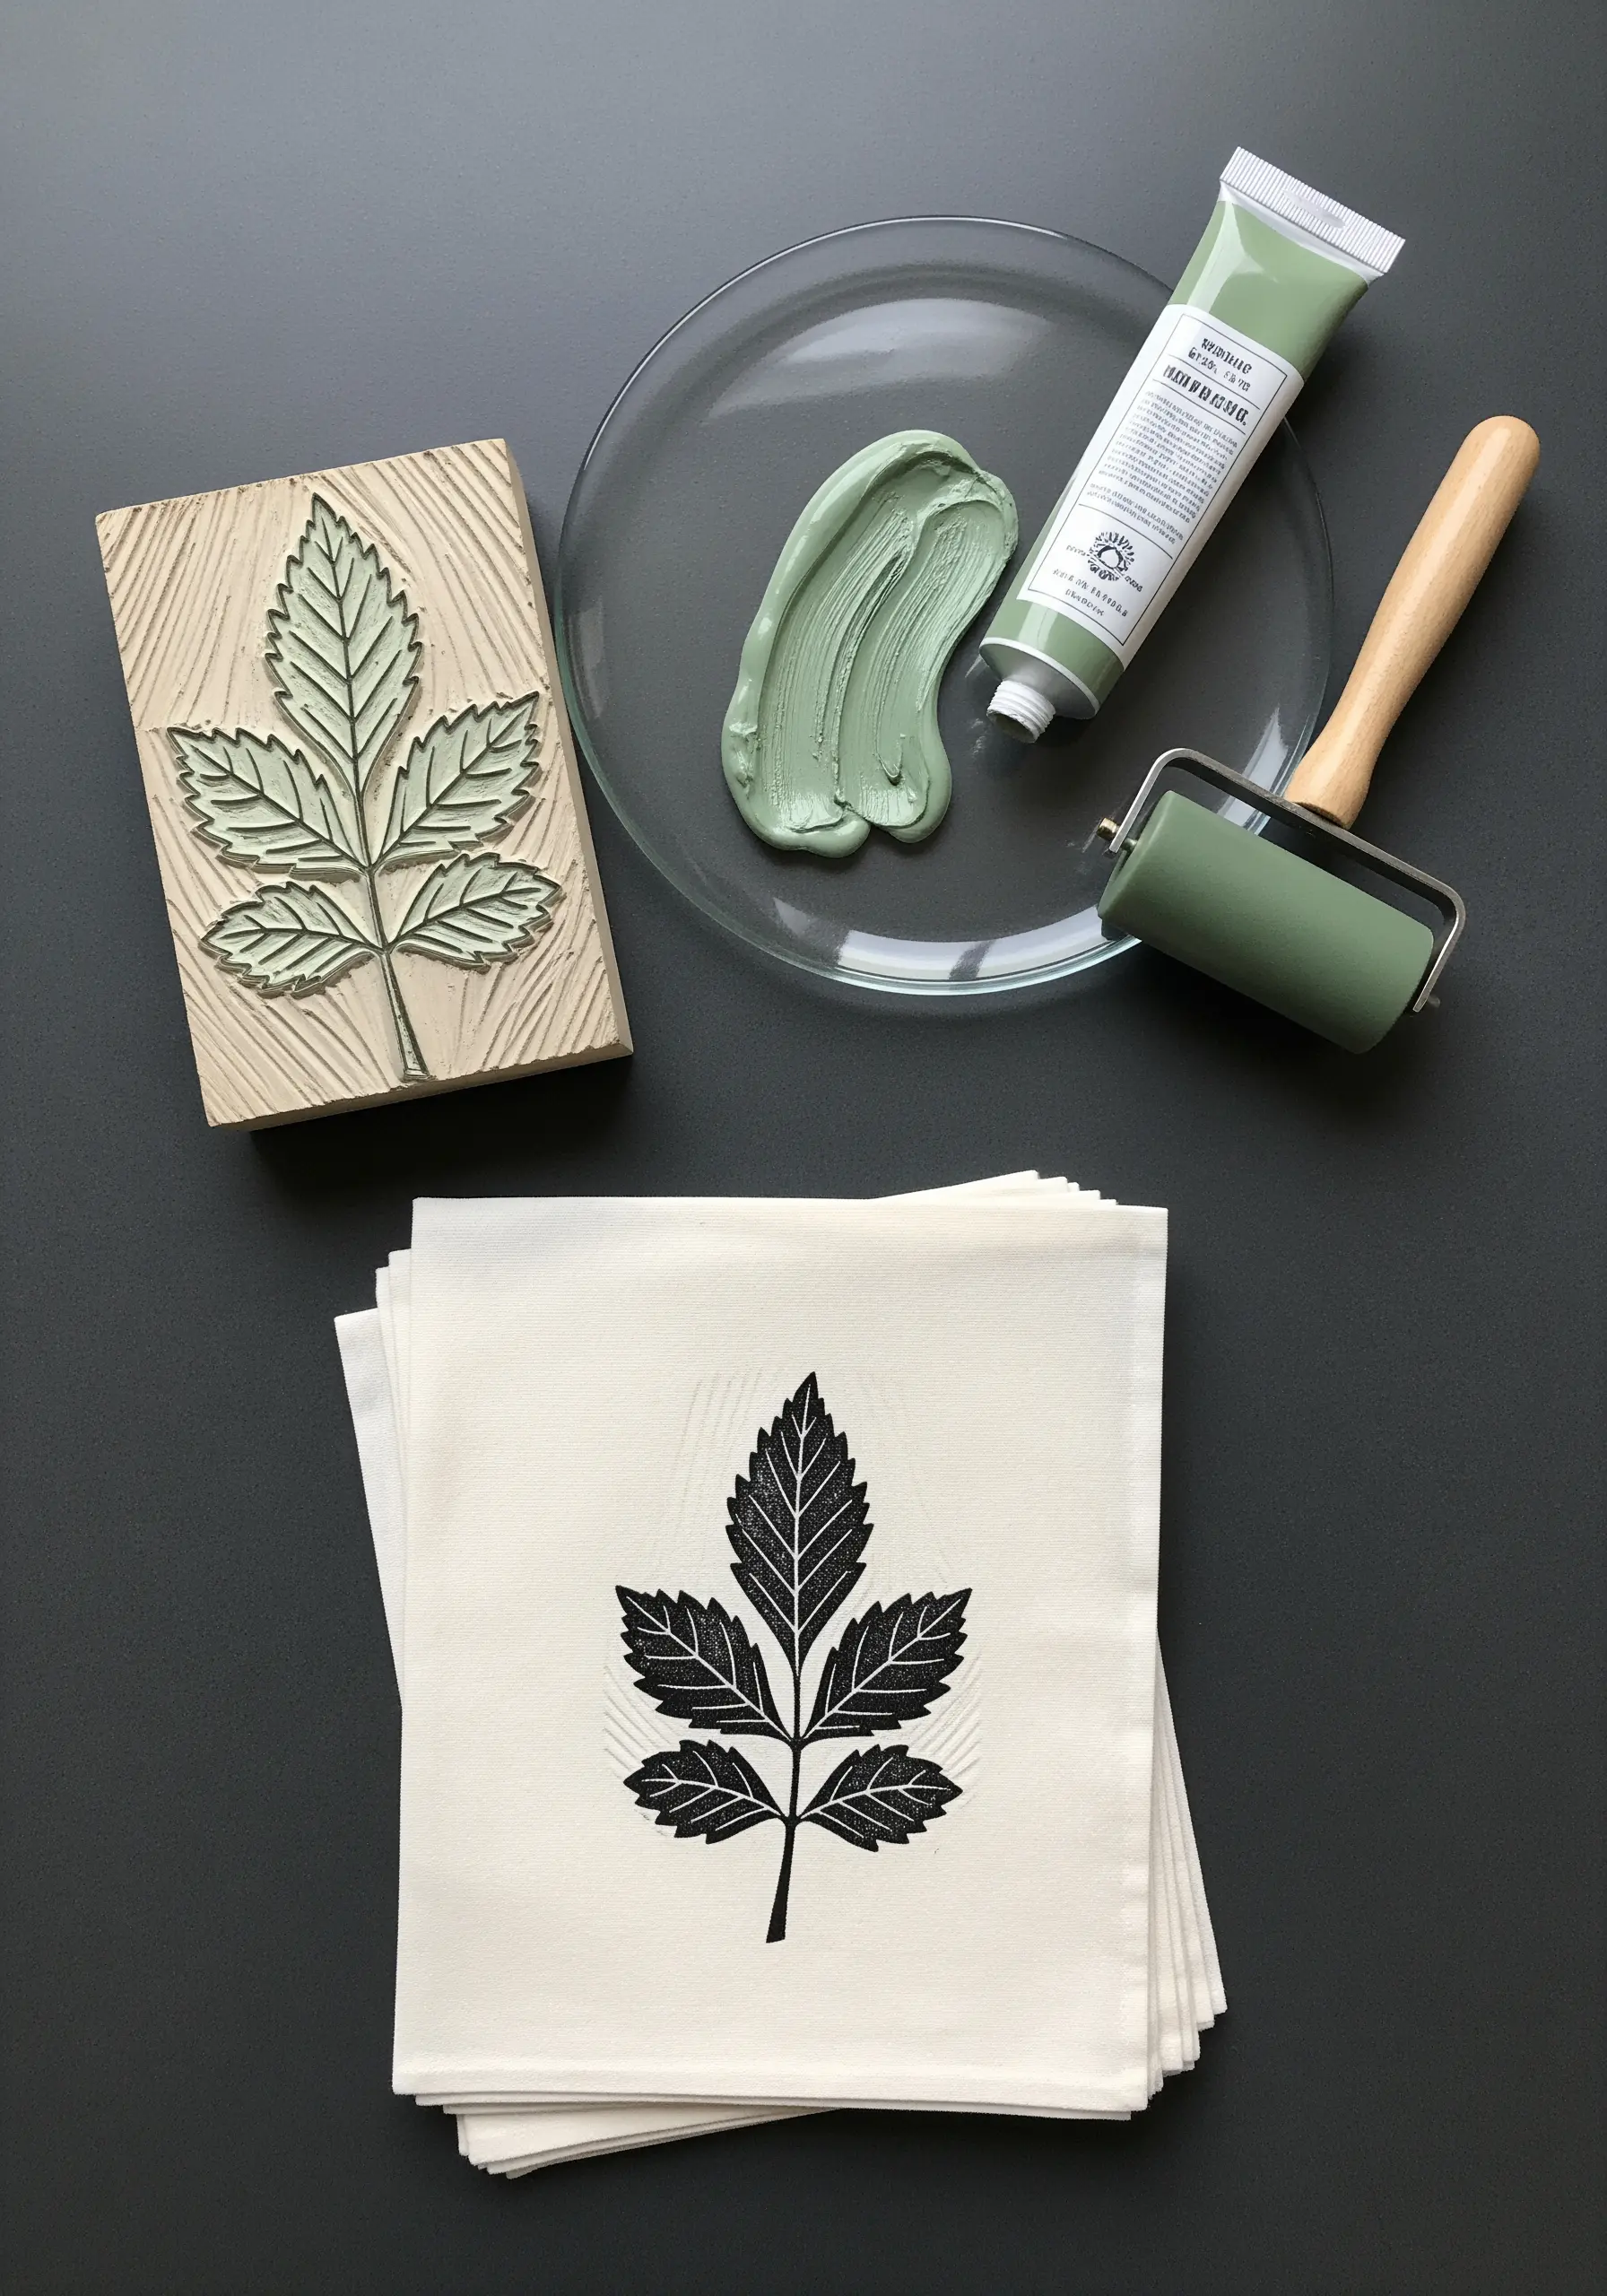
For a design that is both a pattern guide and a permanent part of the art, try using a block print as your base.
Carve a simple design into a linoleum or rubber block, apply fabric-safe ink, and press it onto your cloth. Once the ink is dry and heat-set, you can stitch directly over it.
Embroider select details to add texture and dimension, leaving parts of the print exposed. This mixed-media approach creates a rich, layered look that is beautifully graphic.
26. Embellish a Fabric Wall Pocket for Stylish Storage
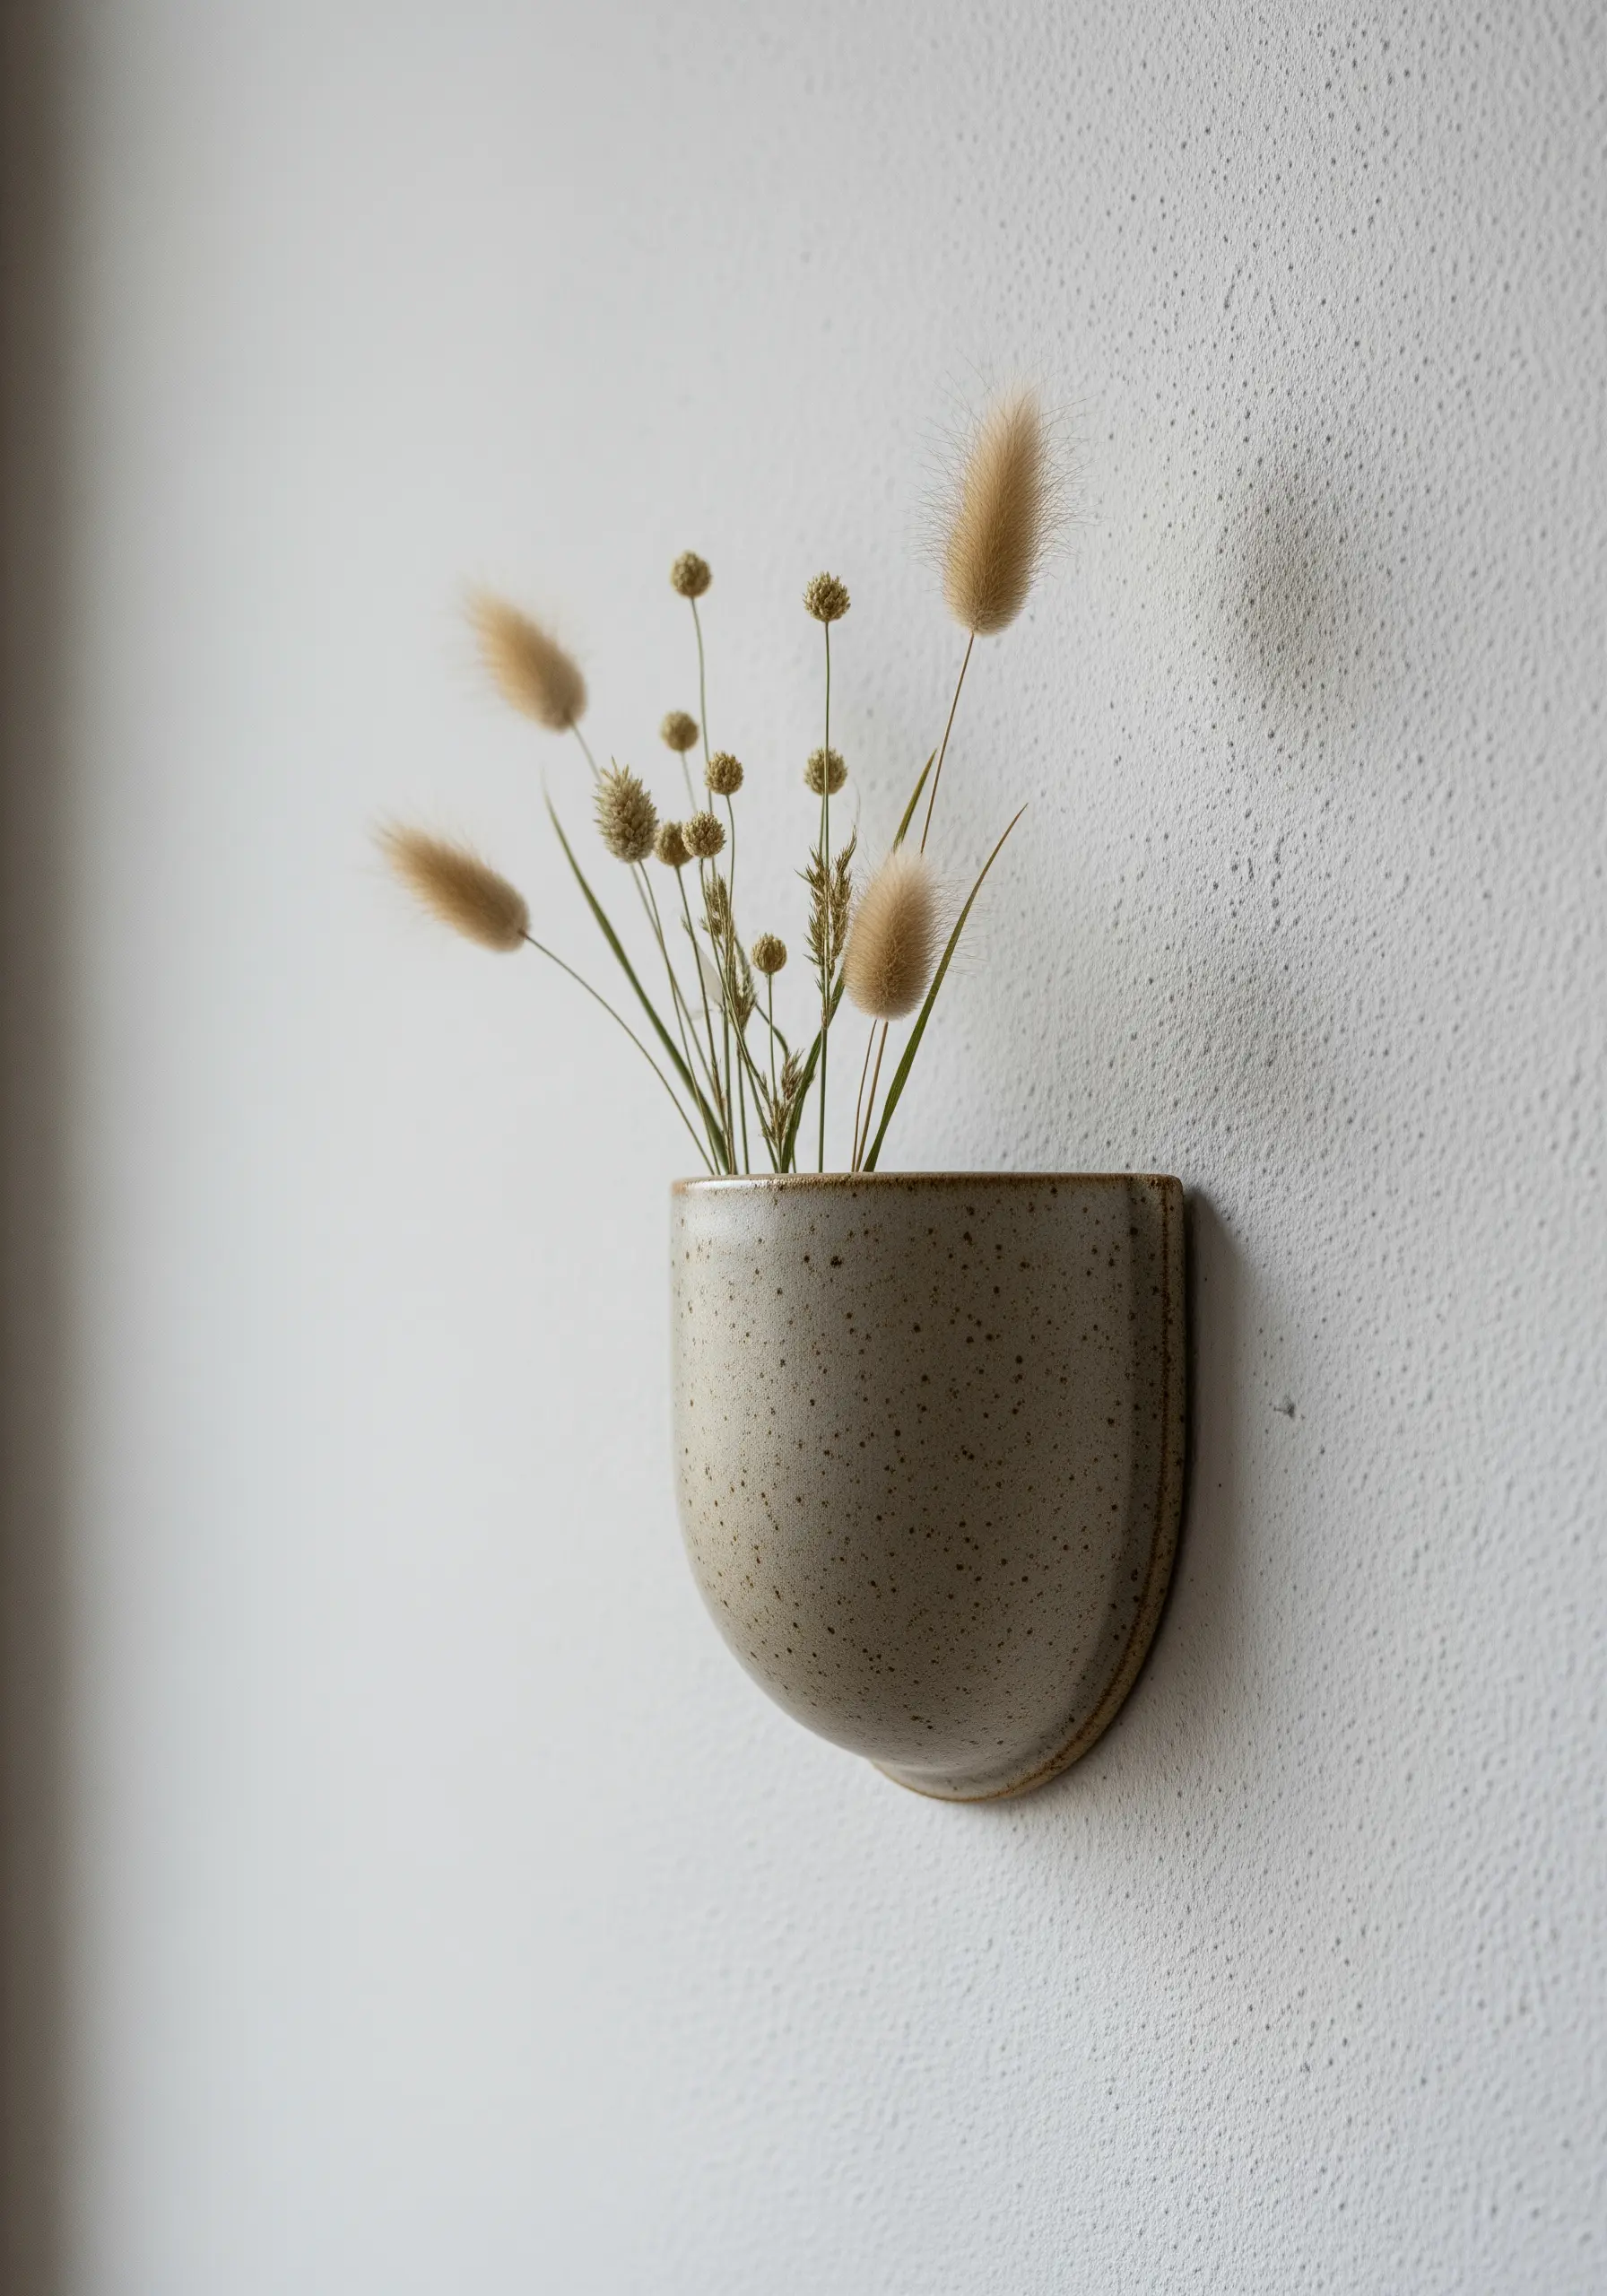
A fabric wall pocket is a perfect small-space solution, and a touch of embroidery makes it a decorative feature.
Choose the front panel of your wall pocket and, before sewing the pieces together, add a simple embroidered design.
A spray of botanical line art or a minimal geometric pattern in a coordinating thread color will elevate this simple organizer into a piece of intentional, functional art.


