
Your bedroom should be a sanctuary, but creating that sense of peace can feel just out of reach. You have the threads, the fabric, and the desire to make something beautiful, yet the path from a simple idea to a finished piece of art can seem unclear.
A peaceful retreat isn’t built on complexity. It’s created through intention. It’s in the deliberate pull of a single thread, the choice of a quiet color, and the balance of a simple shape against open space. Minimalist embroidery is more than a craft; it’s a meditative practice that declutters your mind as you decorate your walls.
Here, you won’t find vague suggestions. Instead, you’ll discover specific, actionable techniques designed to elevate your stitching. Each idea is a quiet invitation to slow down, focus your hands, and create something that brings a tangible sense of calm and accomplishment to your personal space.
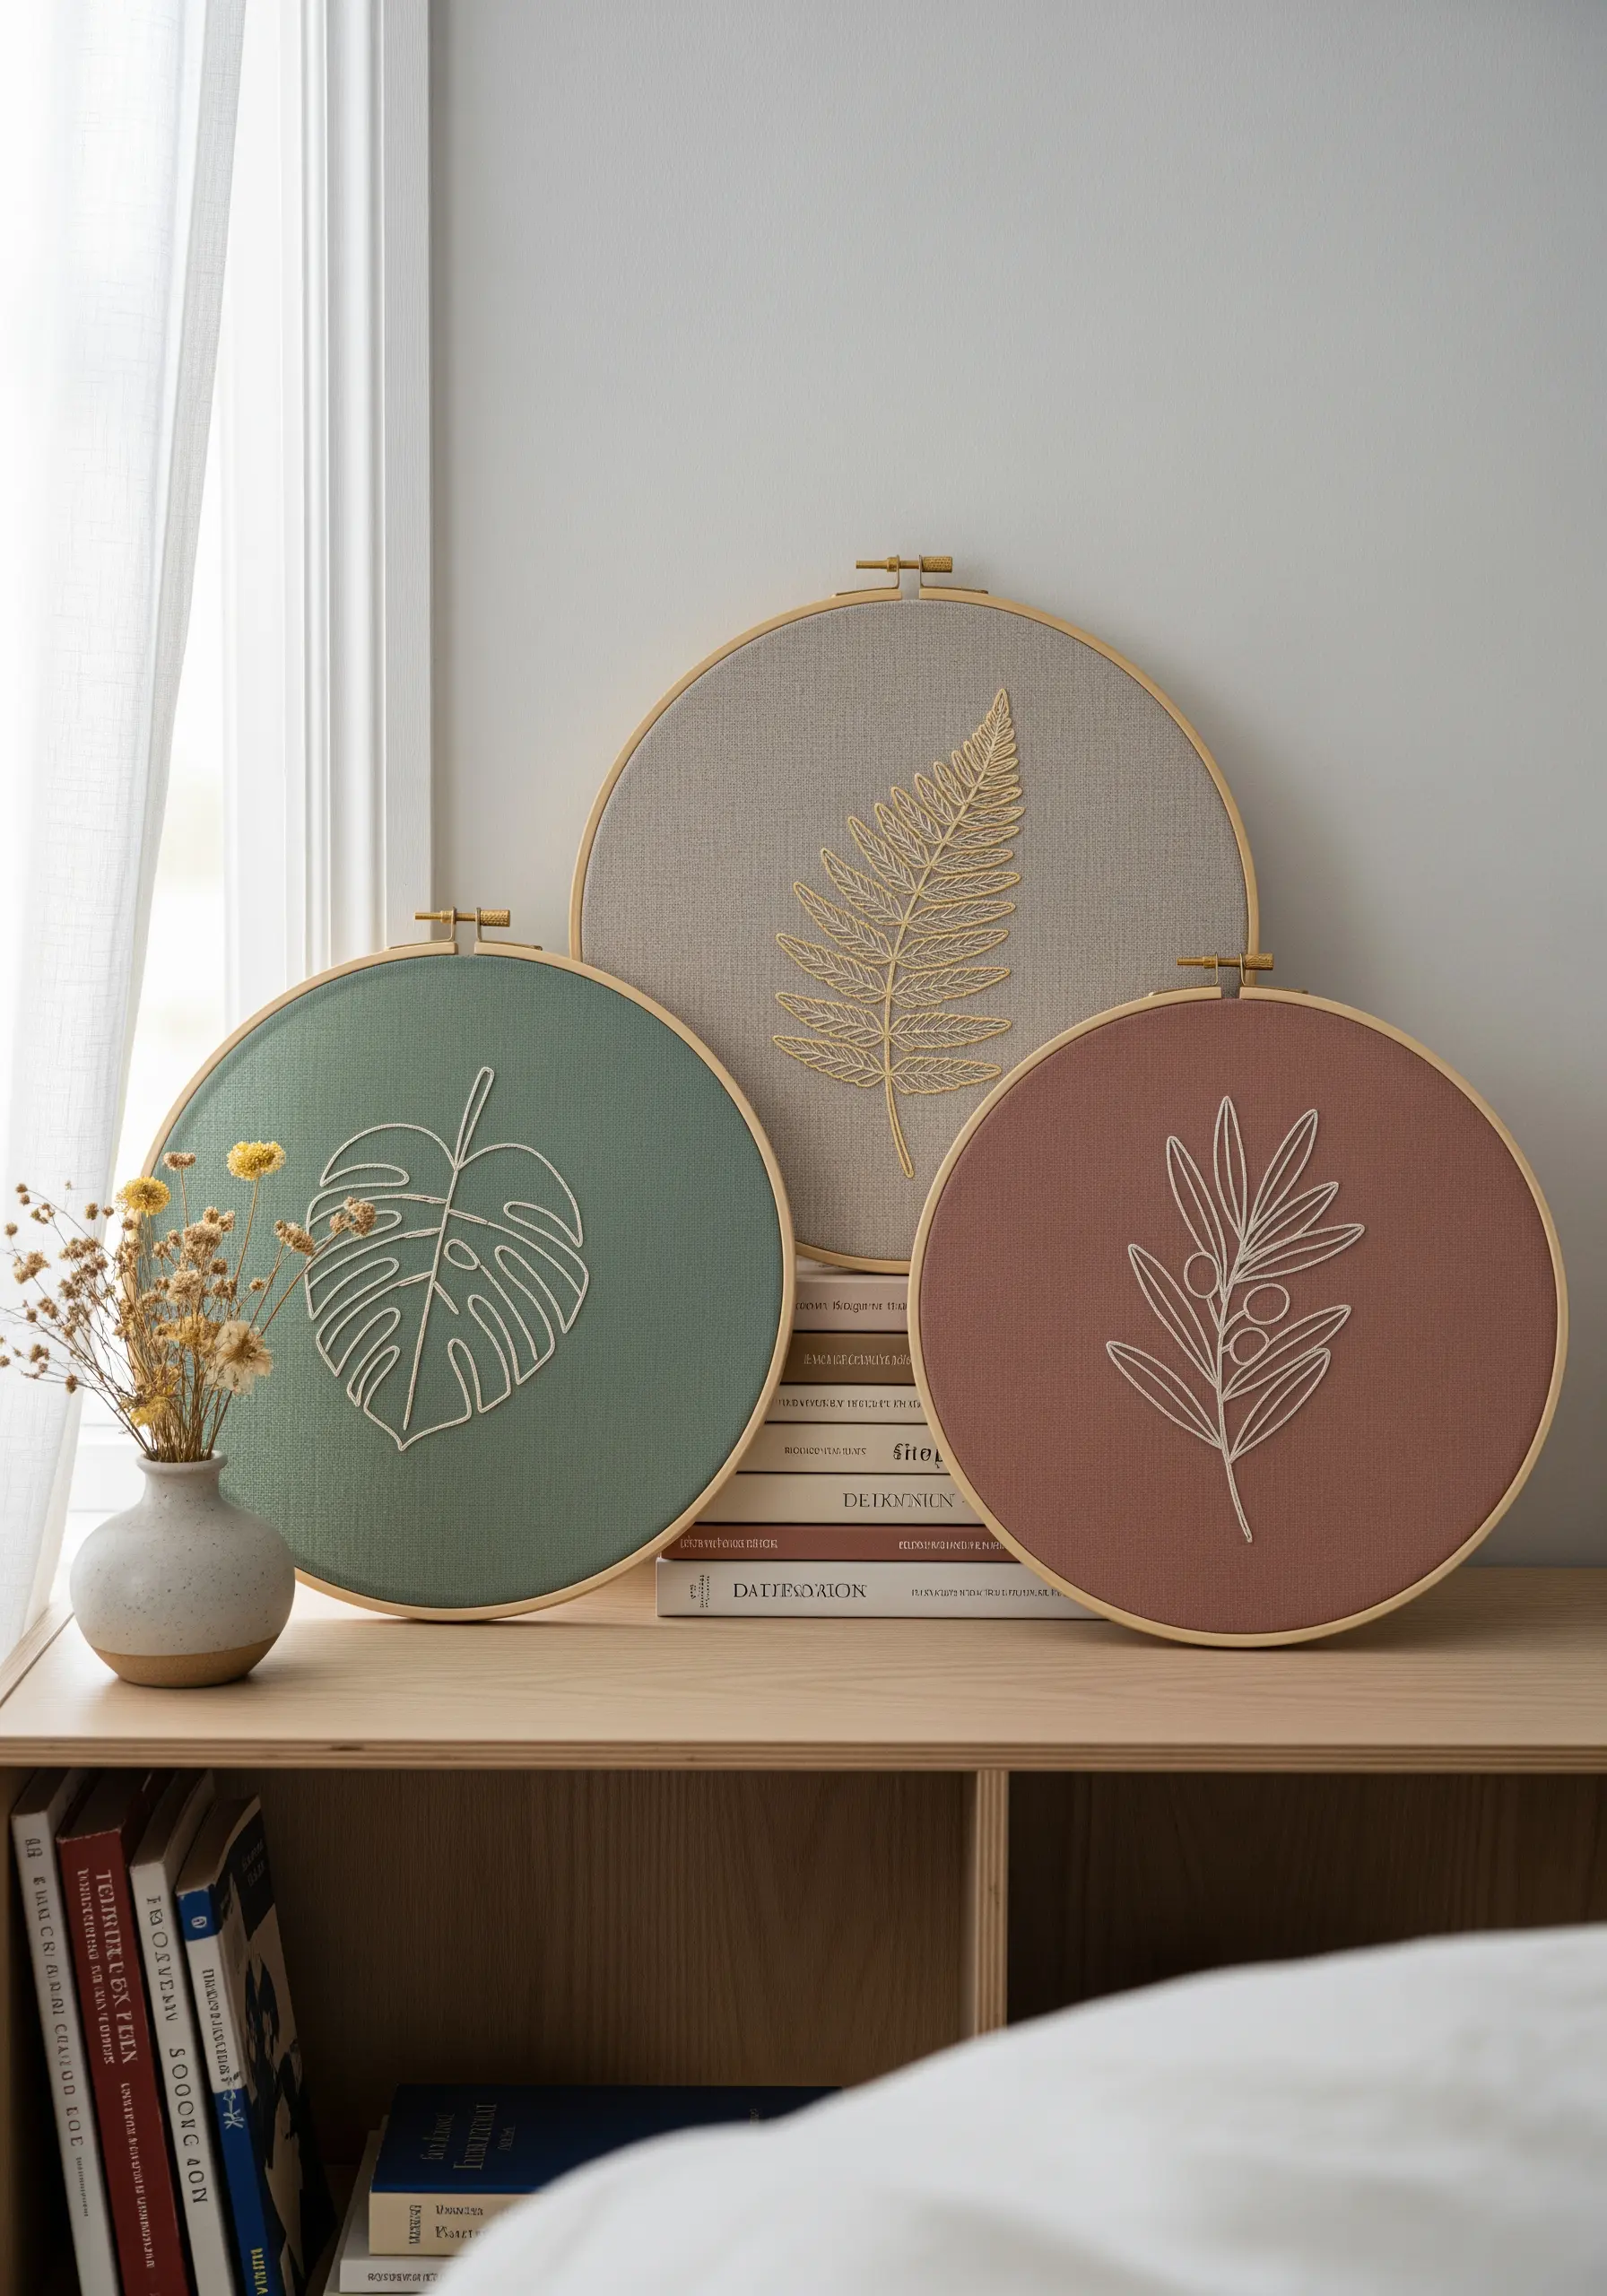
1. Master the Simplicity of Botanical Outlines
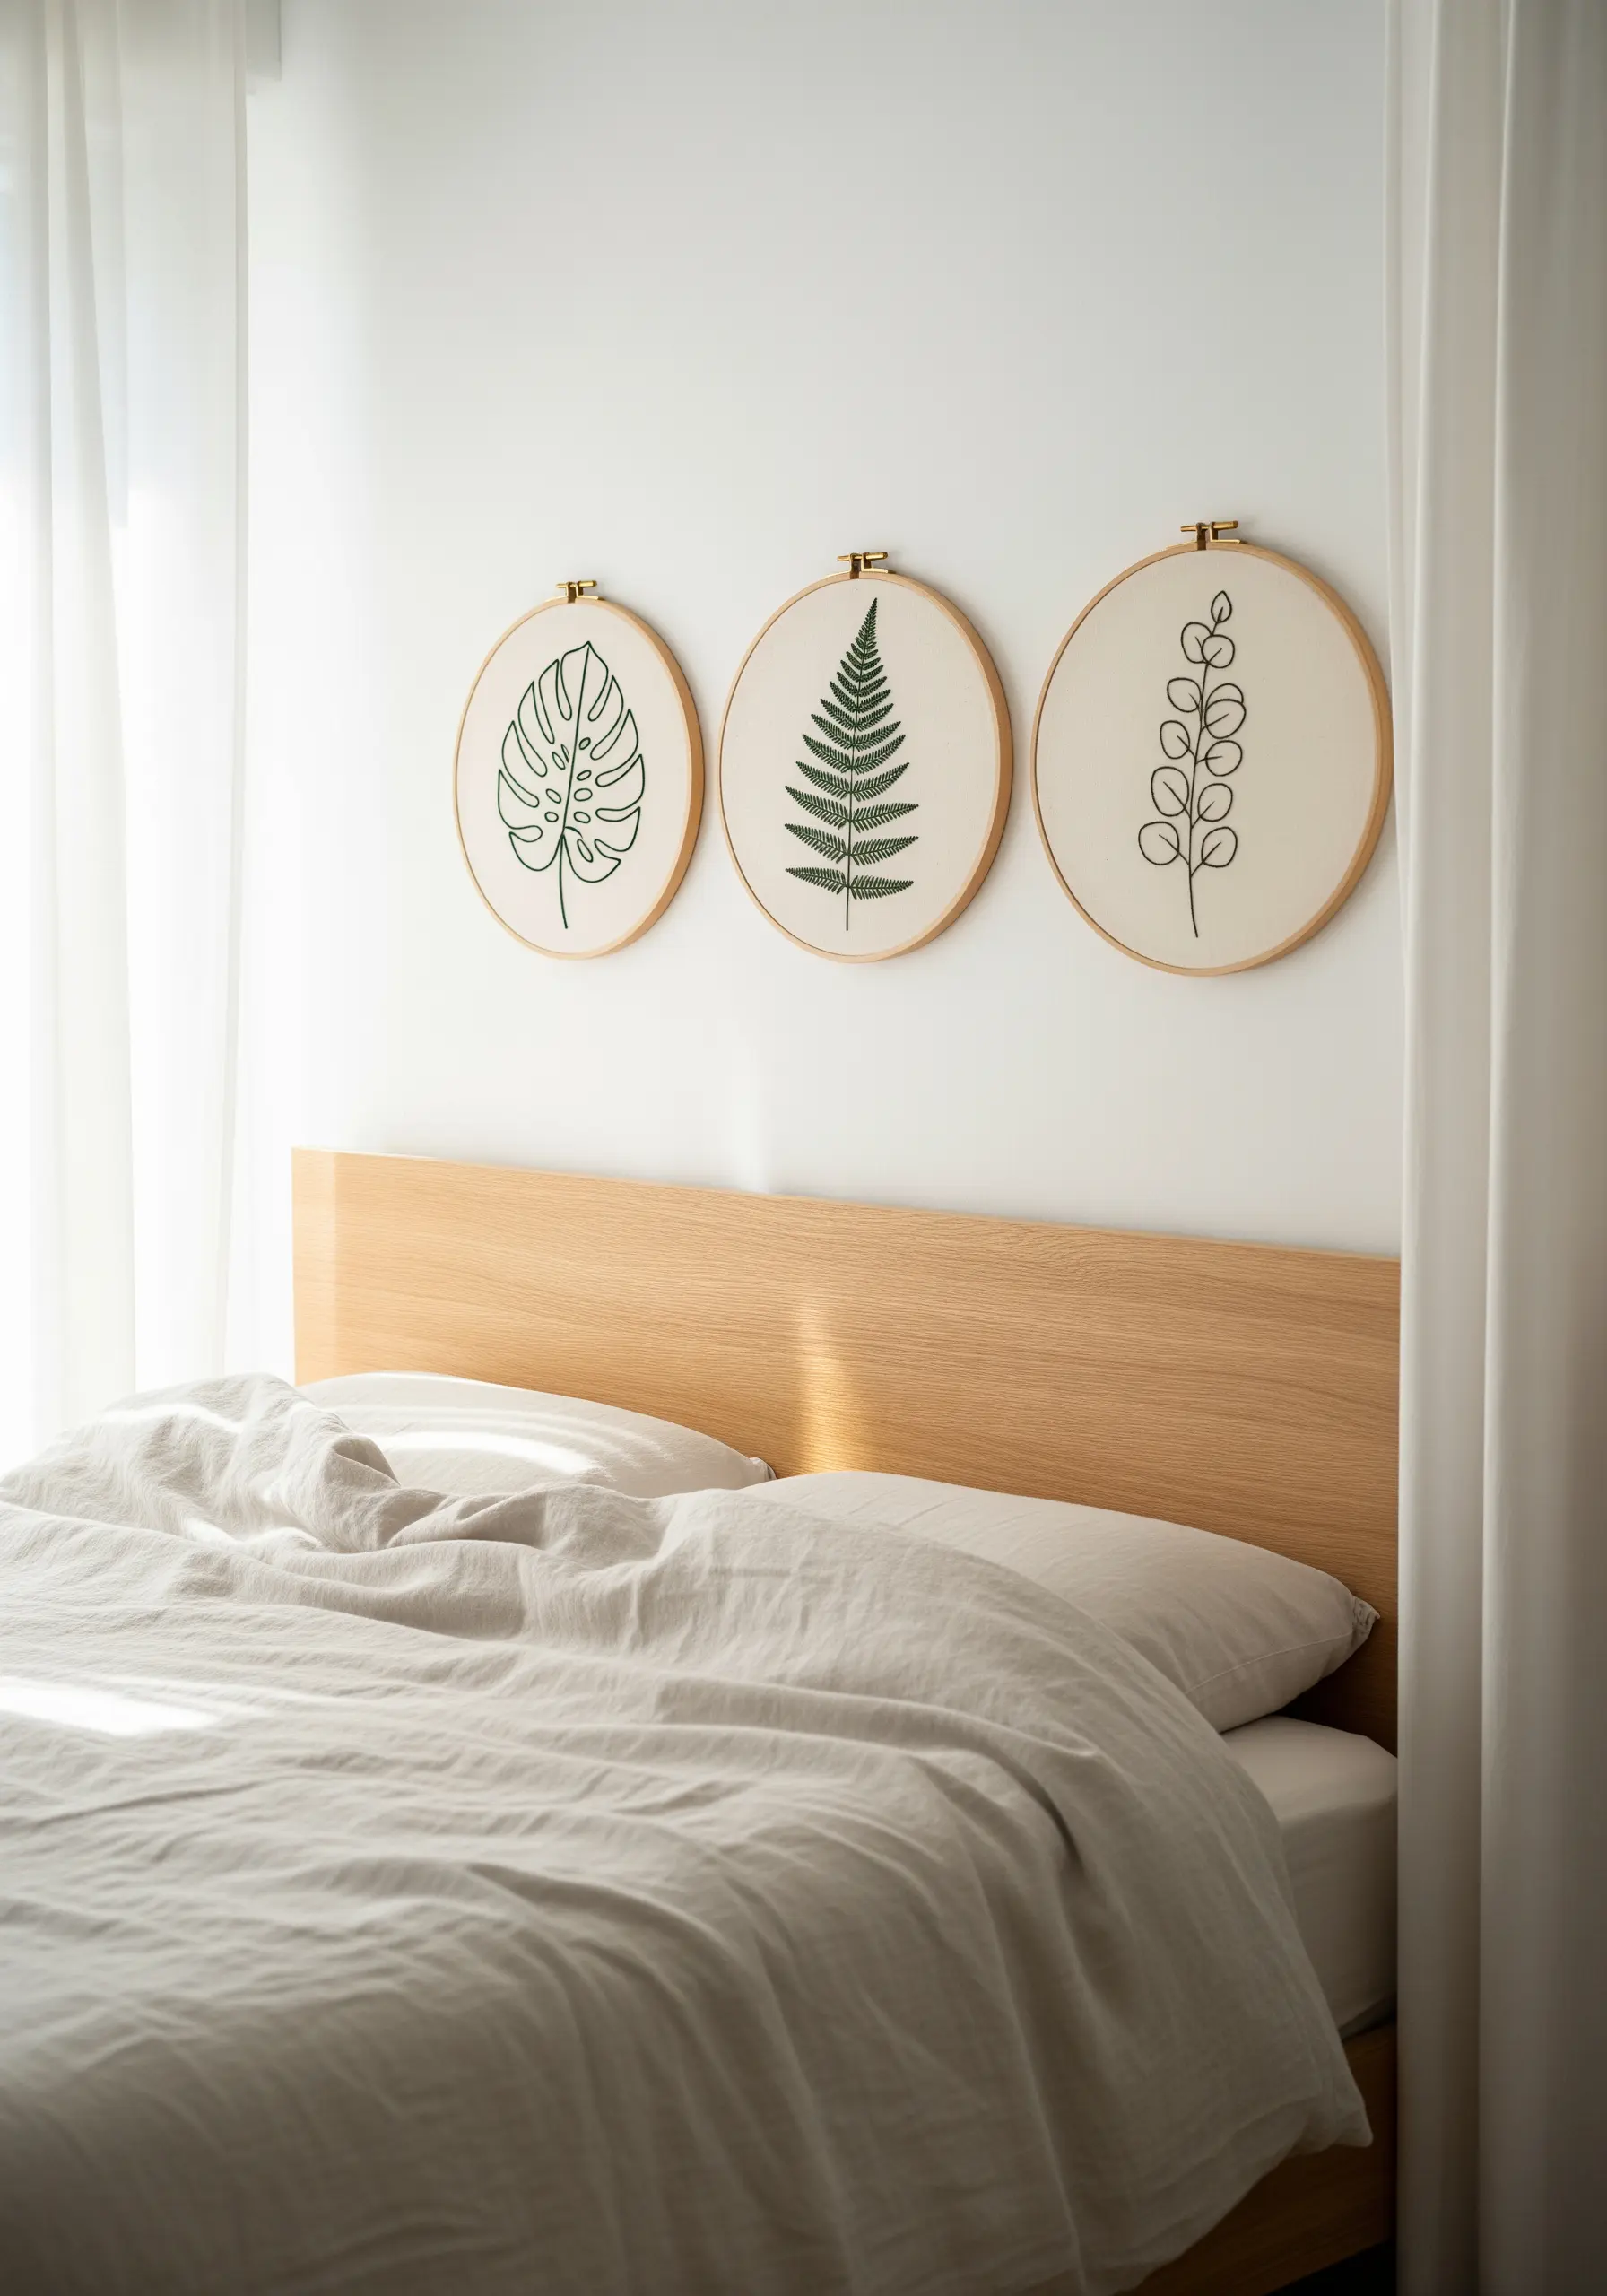
To achieve this clean, graphic look, focus on the quality of your line stitch.
Instead of a standard backstitch, which can appear broken on curves, use a split stitch or stem stitch for a fluid, uninterrupted line.
Use three strands of cotton floss to give the outline presence without making it bulky, allowing the negative space to feel just as important as the stitched motif.
Grouping three related designs, like this minimalist line art nature embroidery, creates a cohesive triptych that brings a sense of calm order above a headboard.
2. Sculpt Landscapes with Directional Satin Stitch
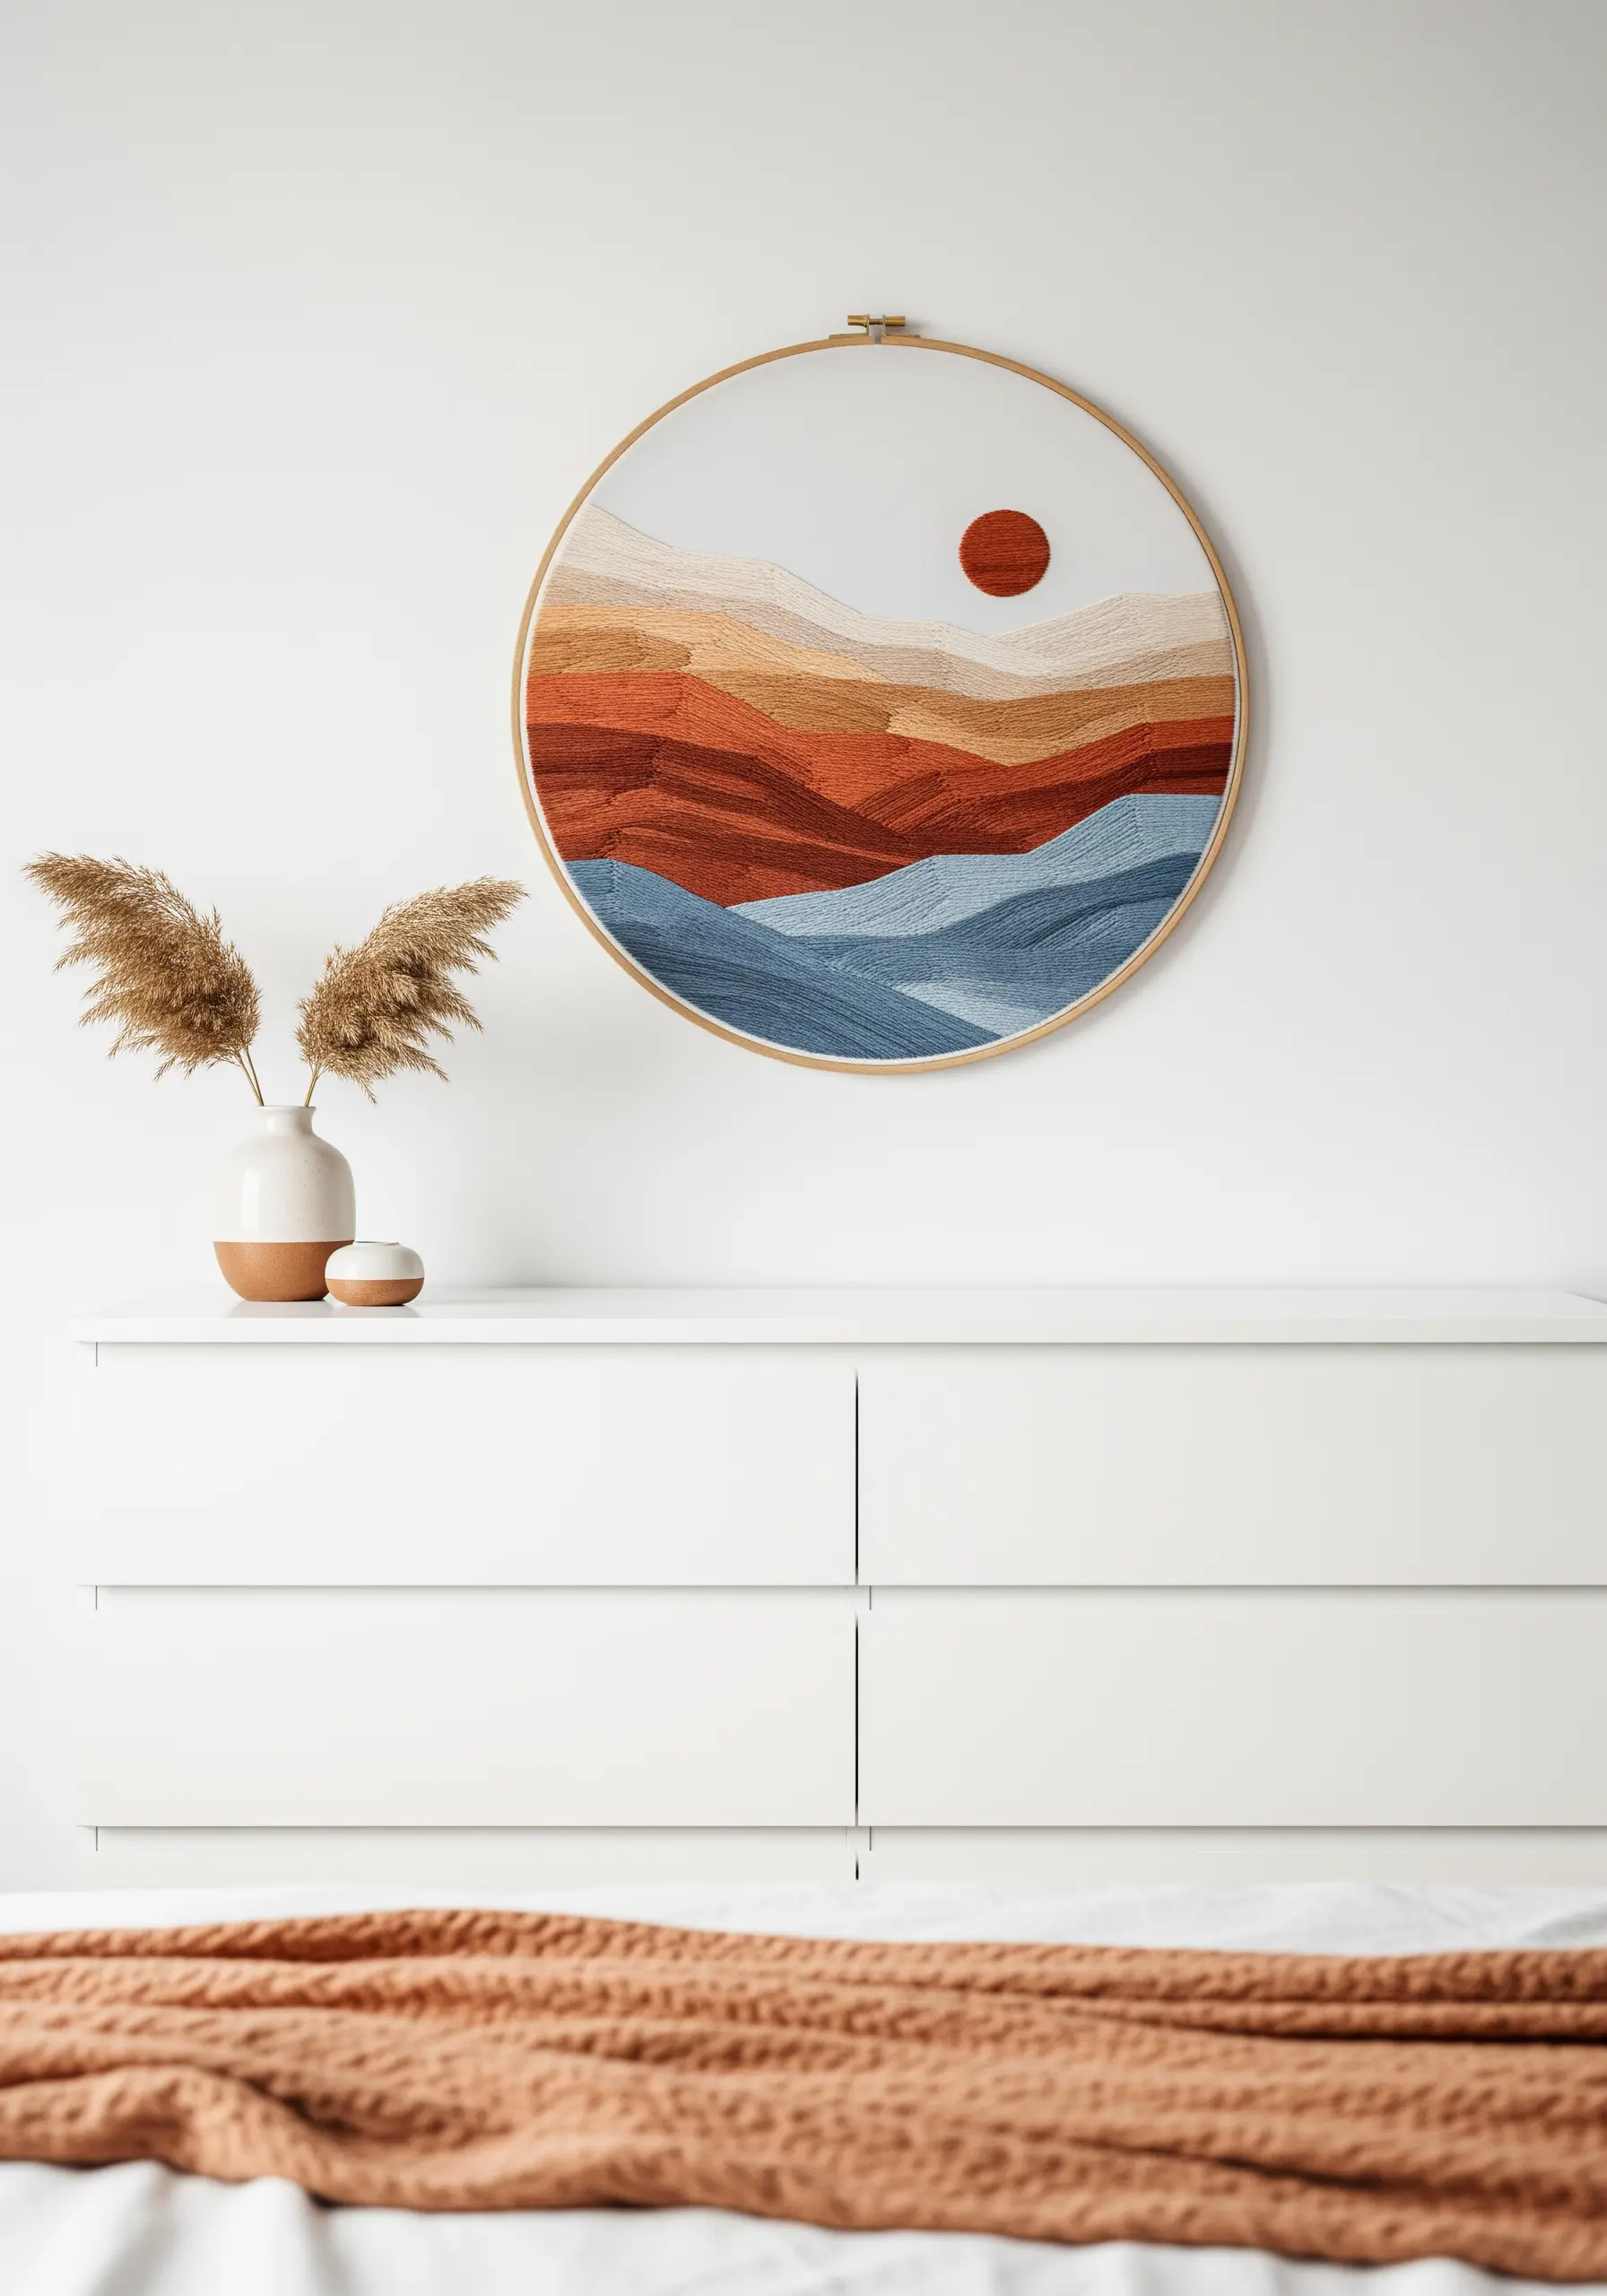
Give your abstract landscapes depth by controlling the direction of your satin stitch.
Vary the angle of your stitches for each color block to mimic the natural contours of hills and valleys, creating subtle shifts in texture and light.
Before filling each shape, secure its perimeter with a split stitch outline; this ensures crisp, clean edges where colors meet.
Choose a matte cotton thread, which absorbs light and enhances the rich, earthy palette, making the finished piece feel grounded and serene.
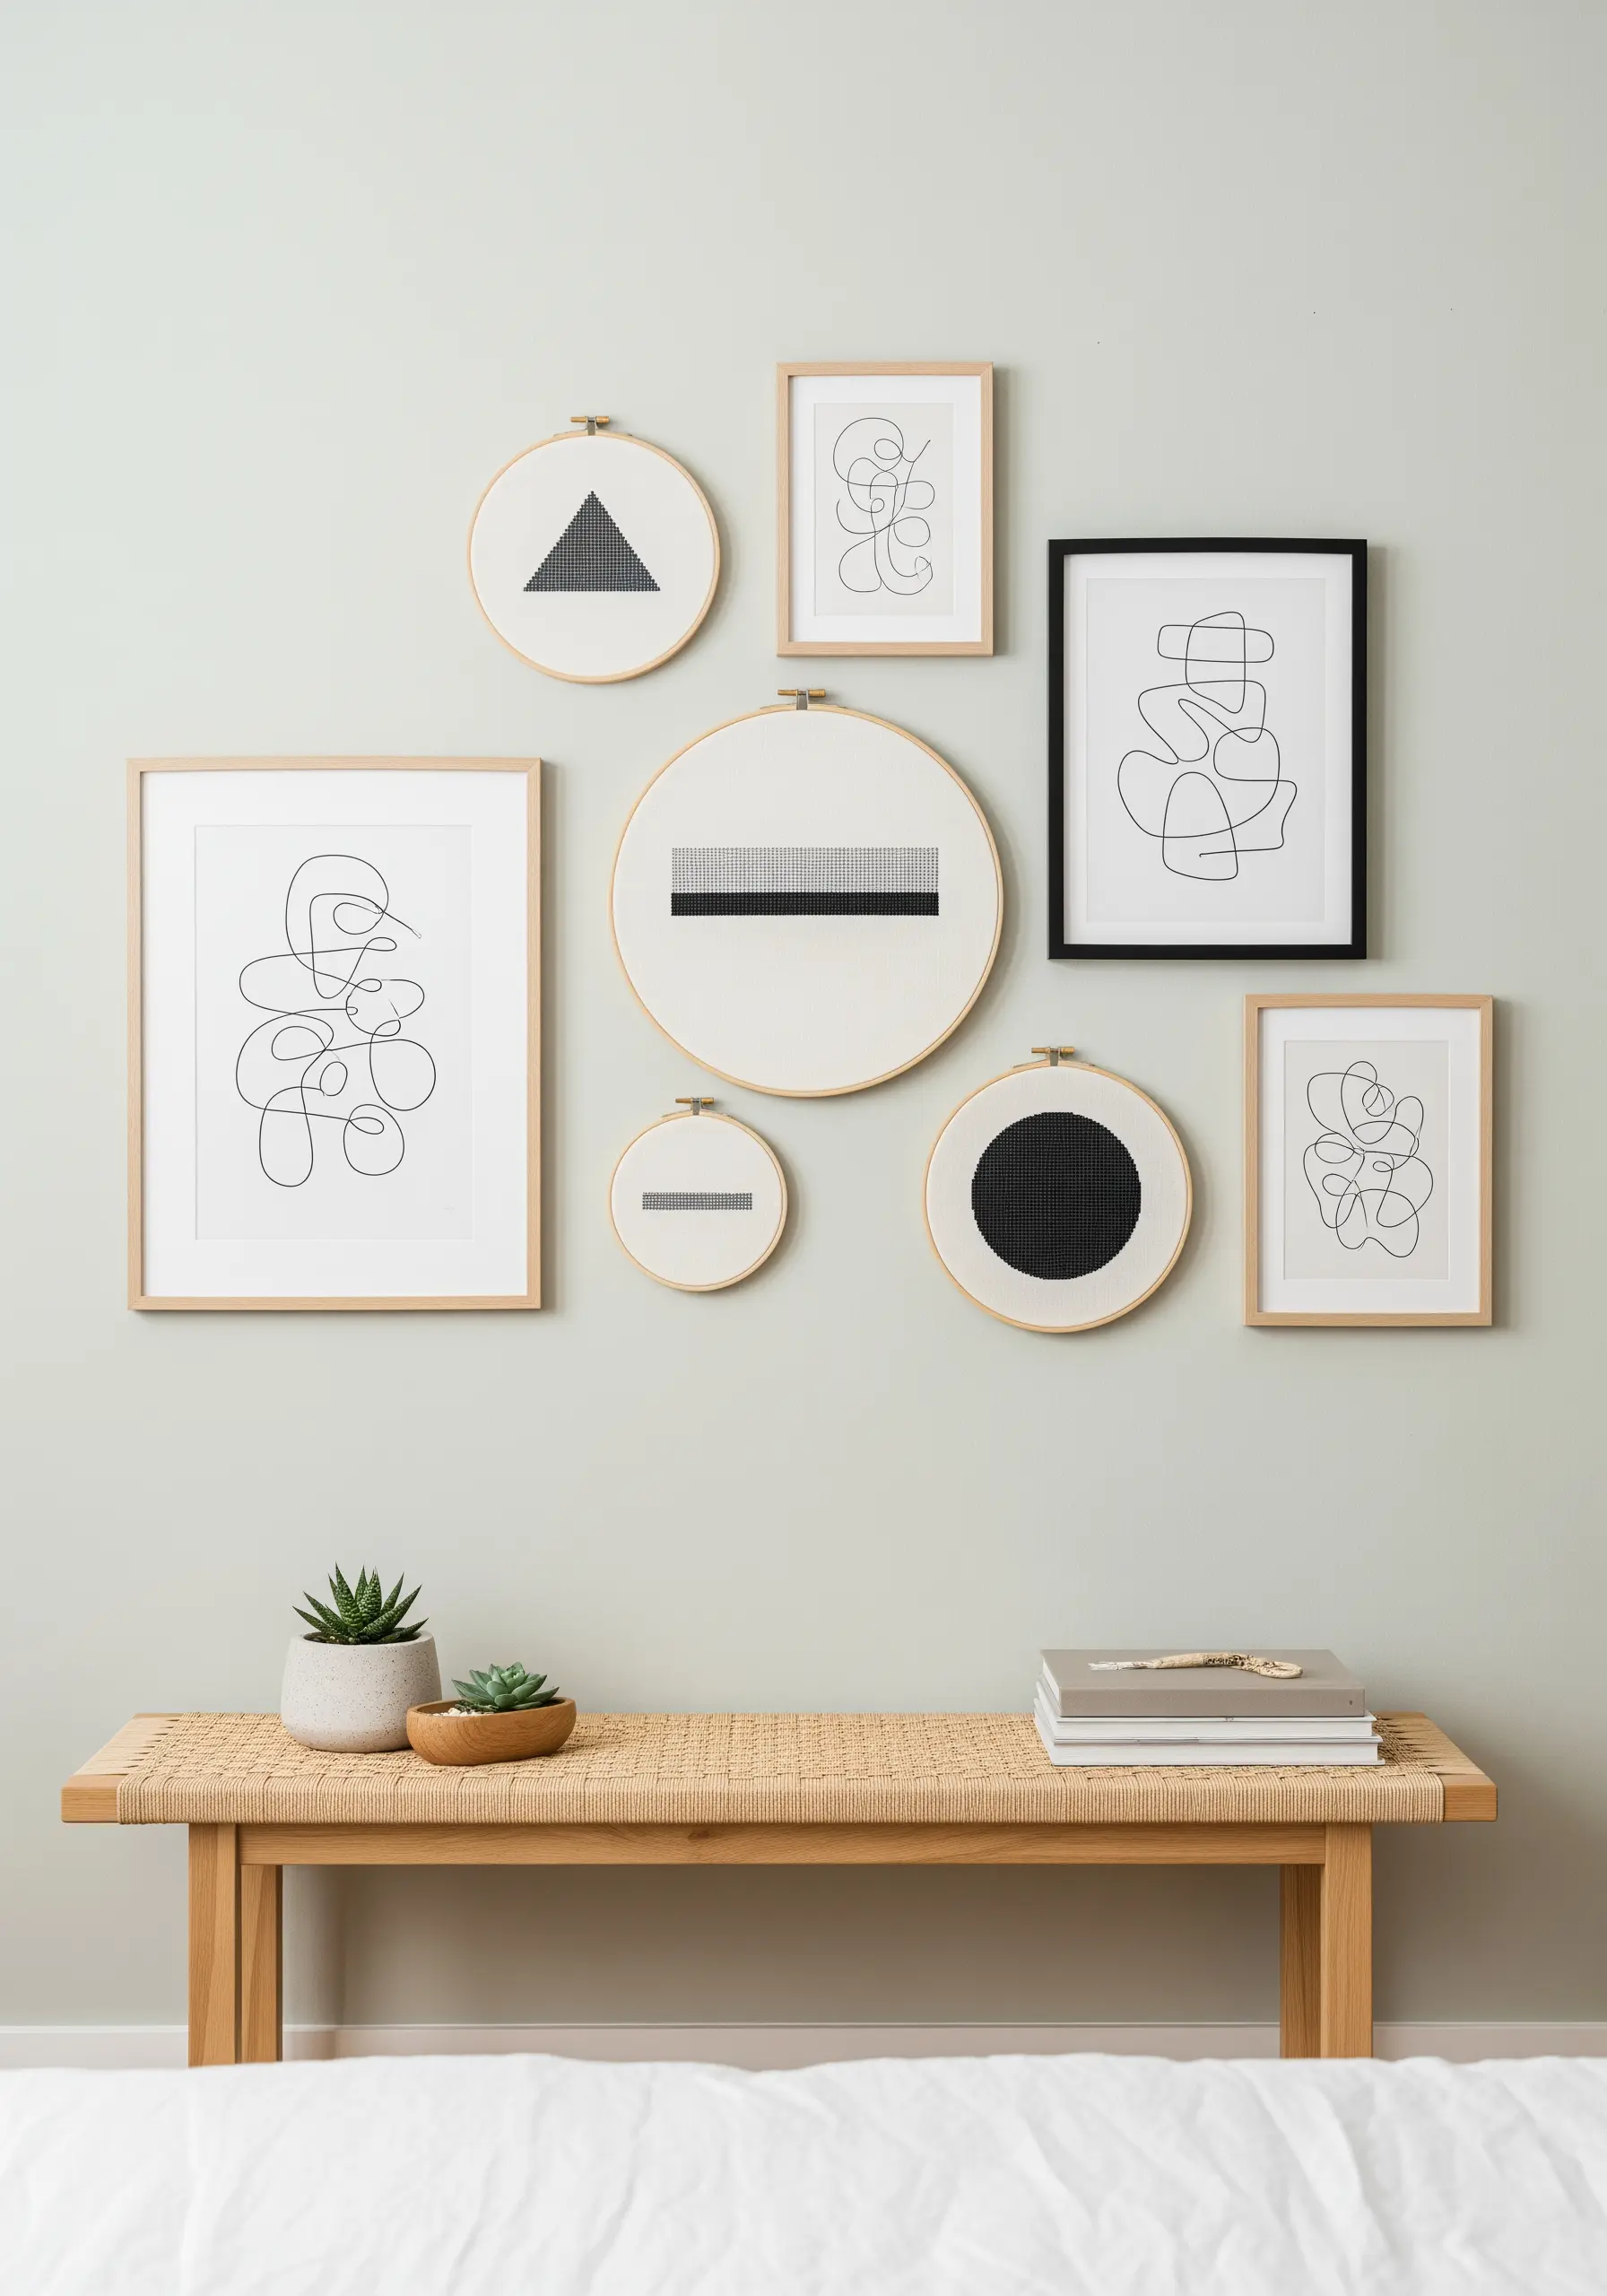
3. Curate a Cohesive Hoop Art Collection
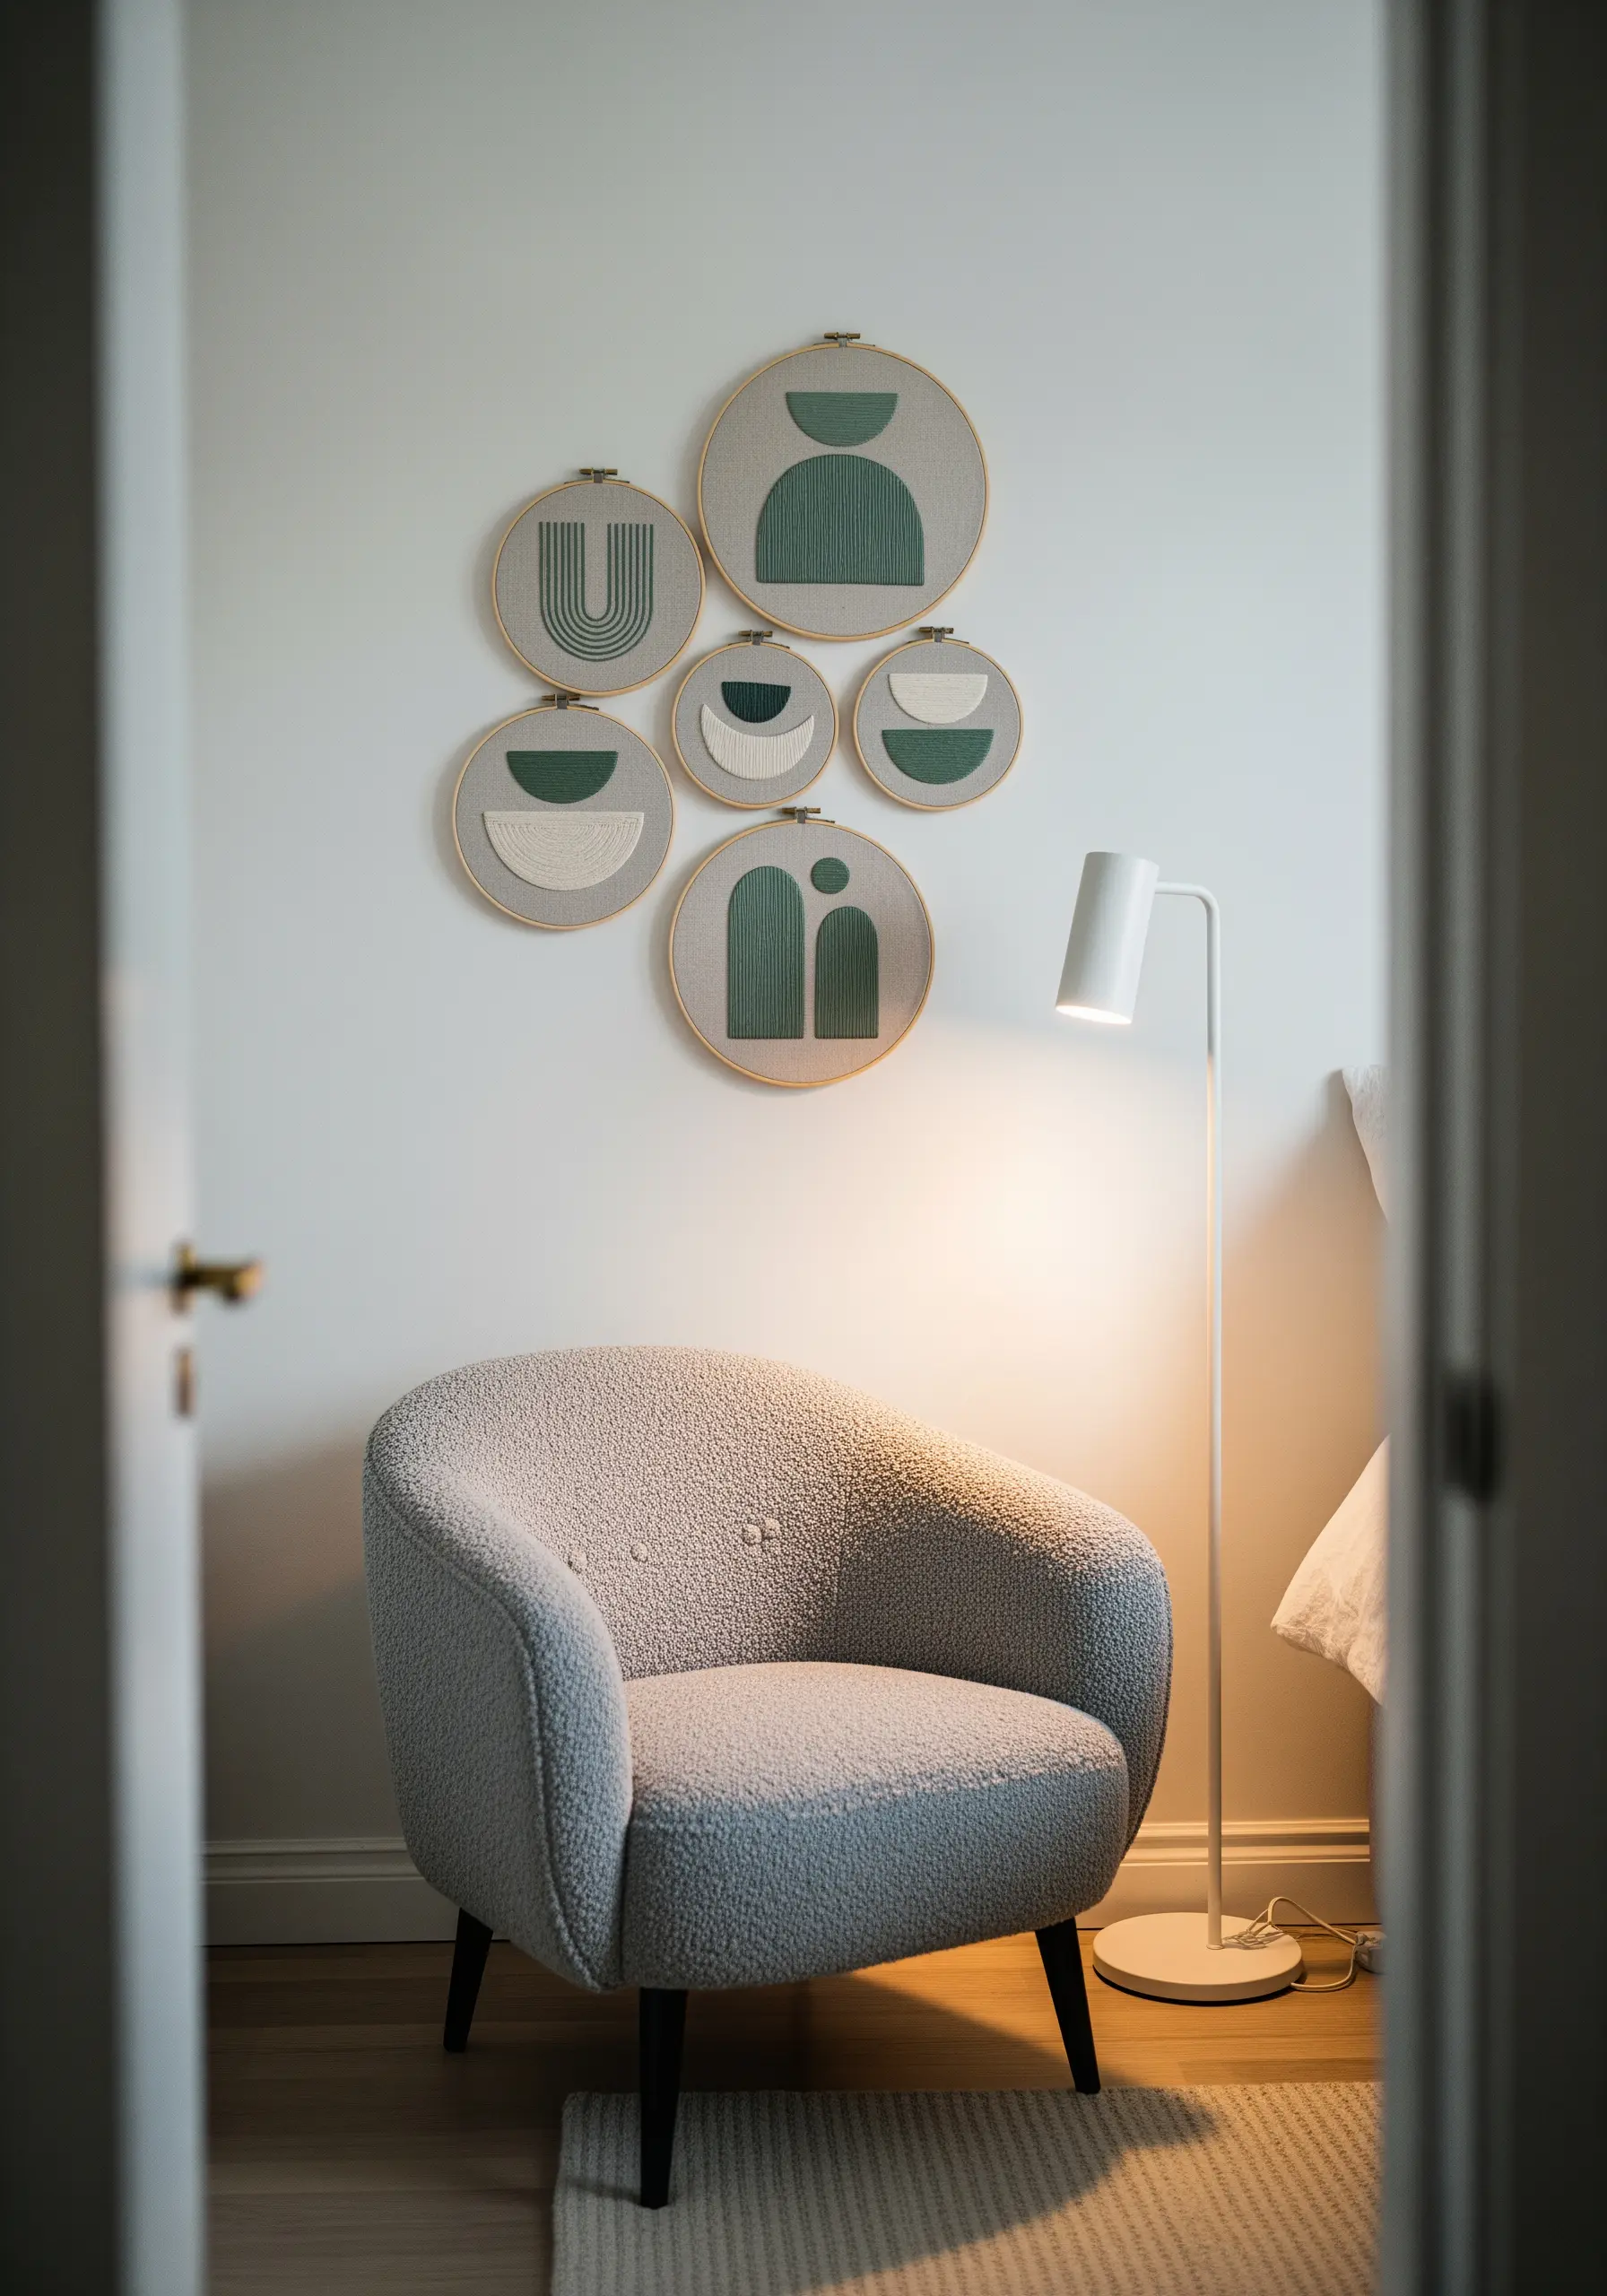
To design a harmonious gallery wall, establish a strict two-color palette and a consistent design language, such as geometric abstraction.
Arrange hoops of varying sizes to create a dynamic visual rhythm, playing with the balance of positive and negative space in each piece.
Use a dense, flat satin stitch to give the solid shapes a block-printed quality that contrasts beautifully against the texture of the raw linen.
This method transforms individual pieces into a single, intentional art installation, perfect for a quiet reading corner or meditation space.
4. Achieve Graphic Precision with Abstract Lines
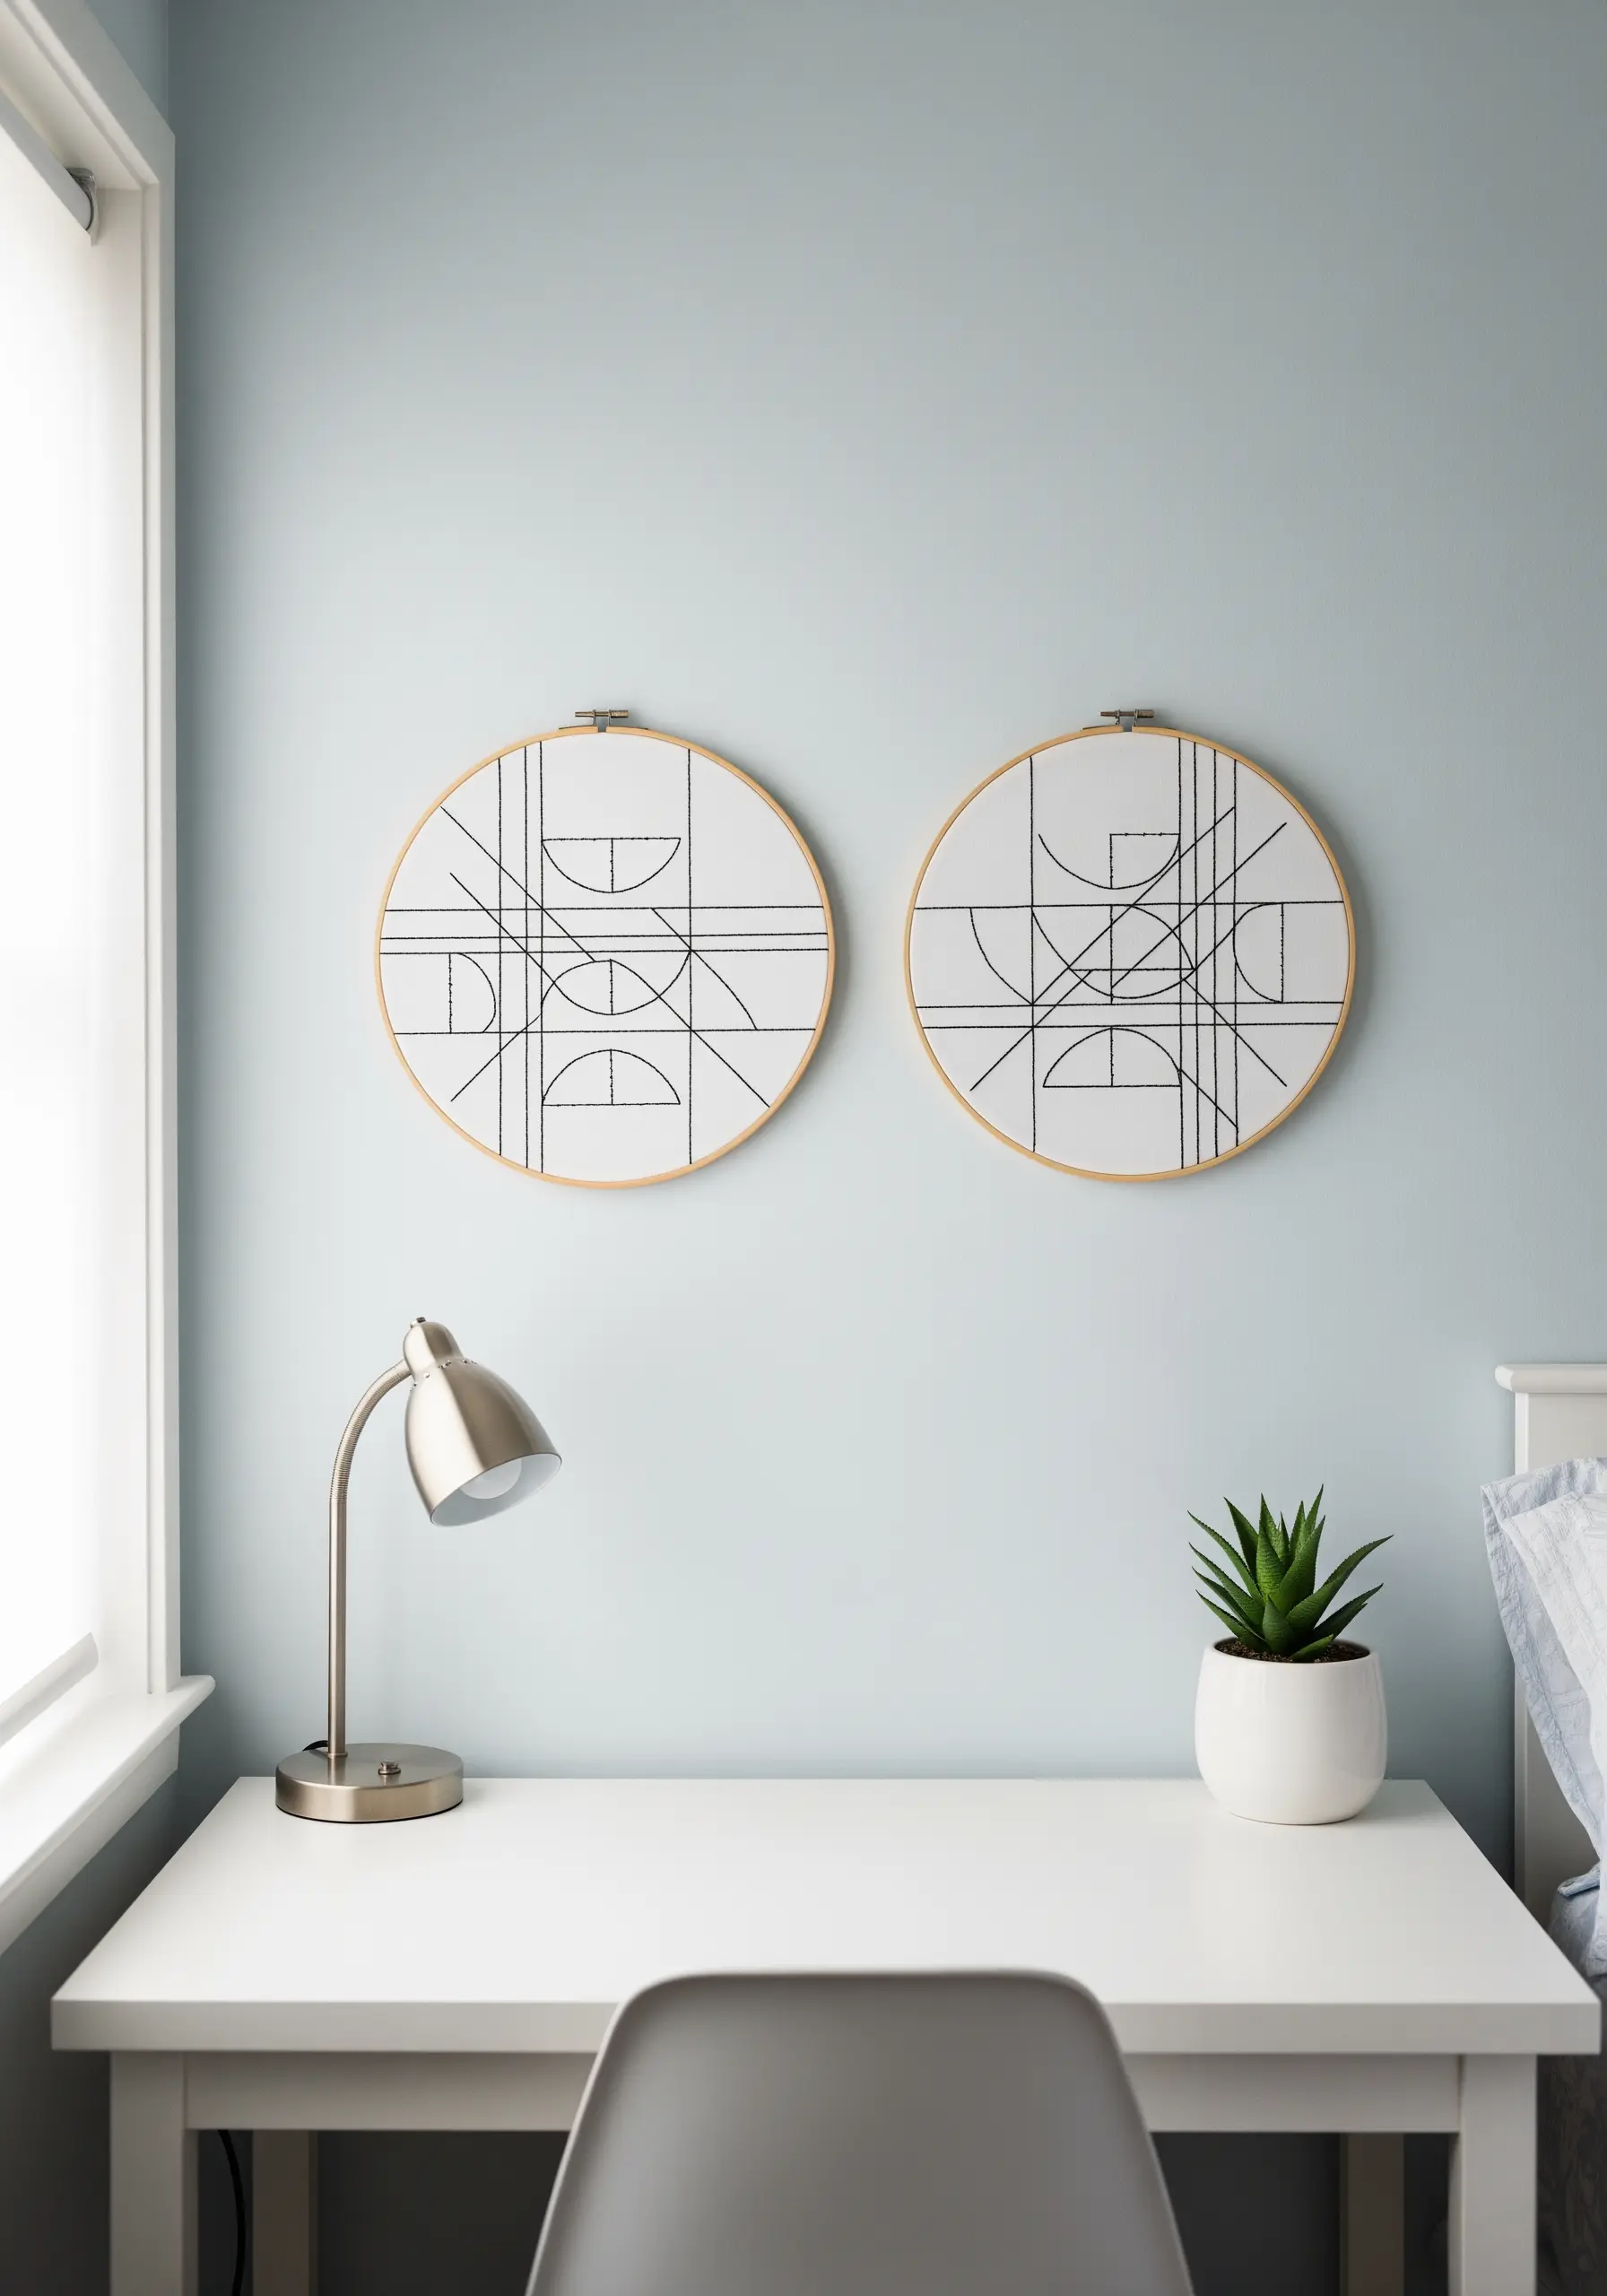
Create the crisp, clean look of a digital drawing by using a single strand of black thread on a high-count, evenweave fabric.
For perfectly straight lines that don’t sag, maintain taut tension in your hoop and use a temporary stabilizer on the back of your fabric.
A simple backstitch is all you need, but focus on keeping your stitch length perfectly consistent for a professional, uniform finish.
The beauty of this style lies in its balance of intersecting lines and open space, turning simple stitches into sophisticated art.
5. Refine Your Lettering with Whipped Backstitch
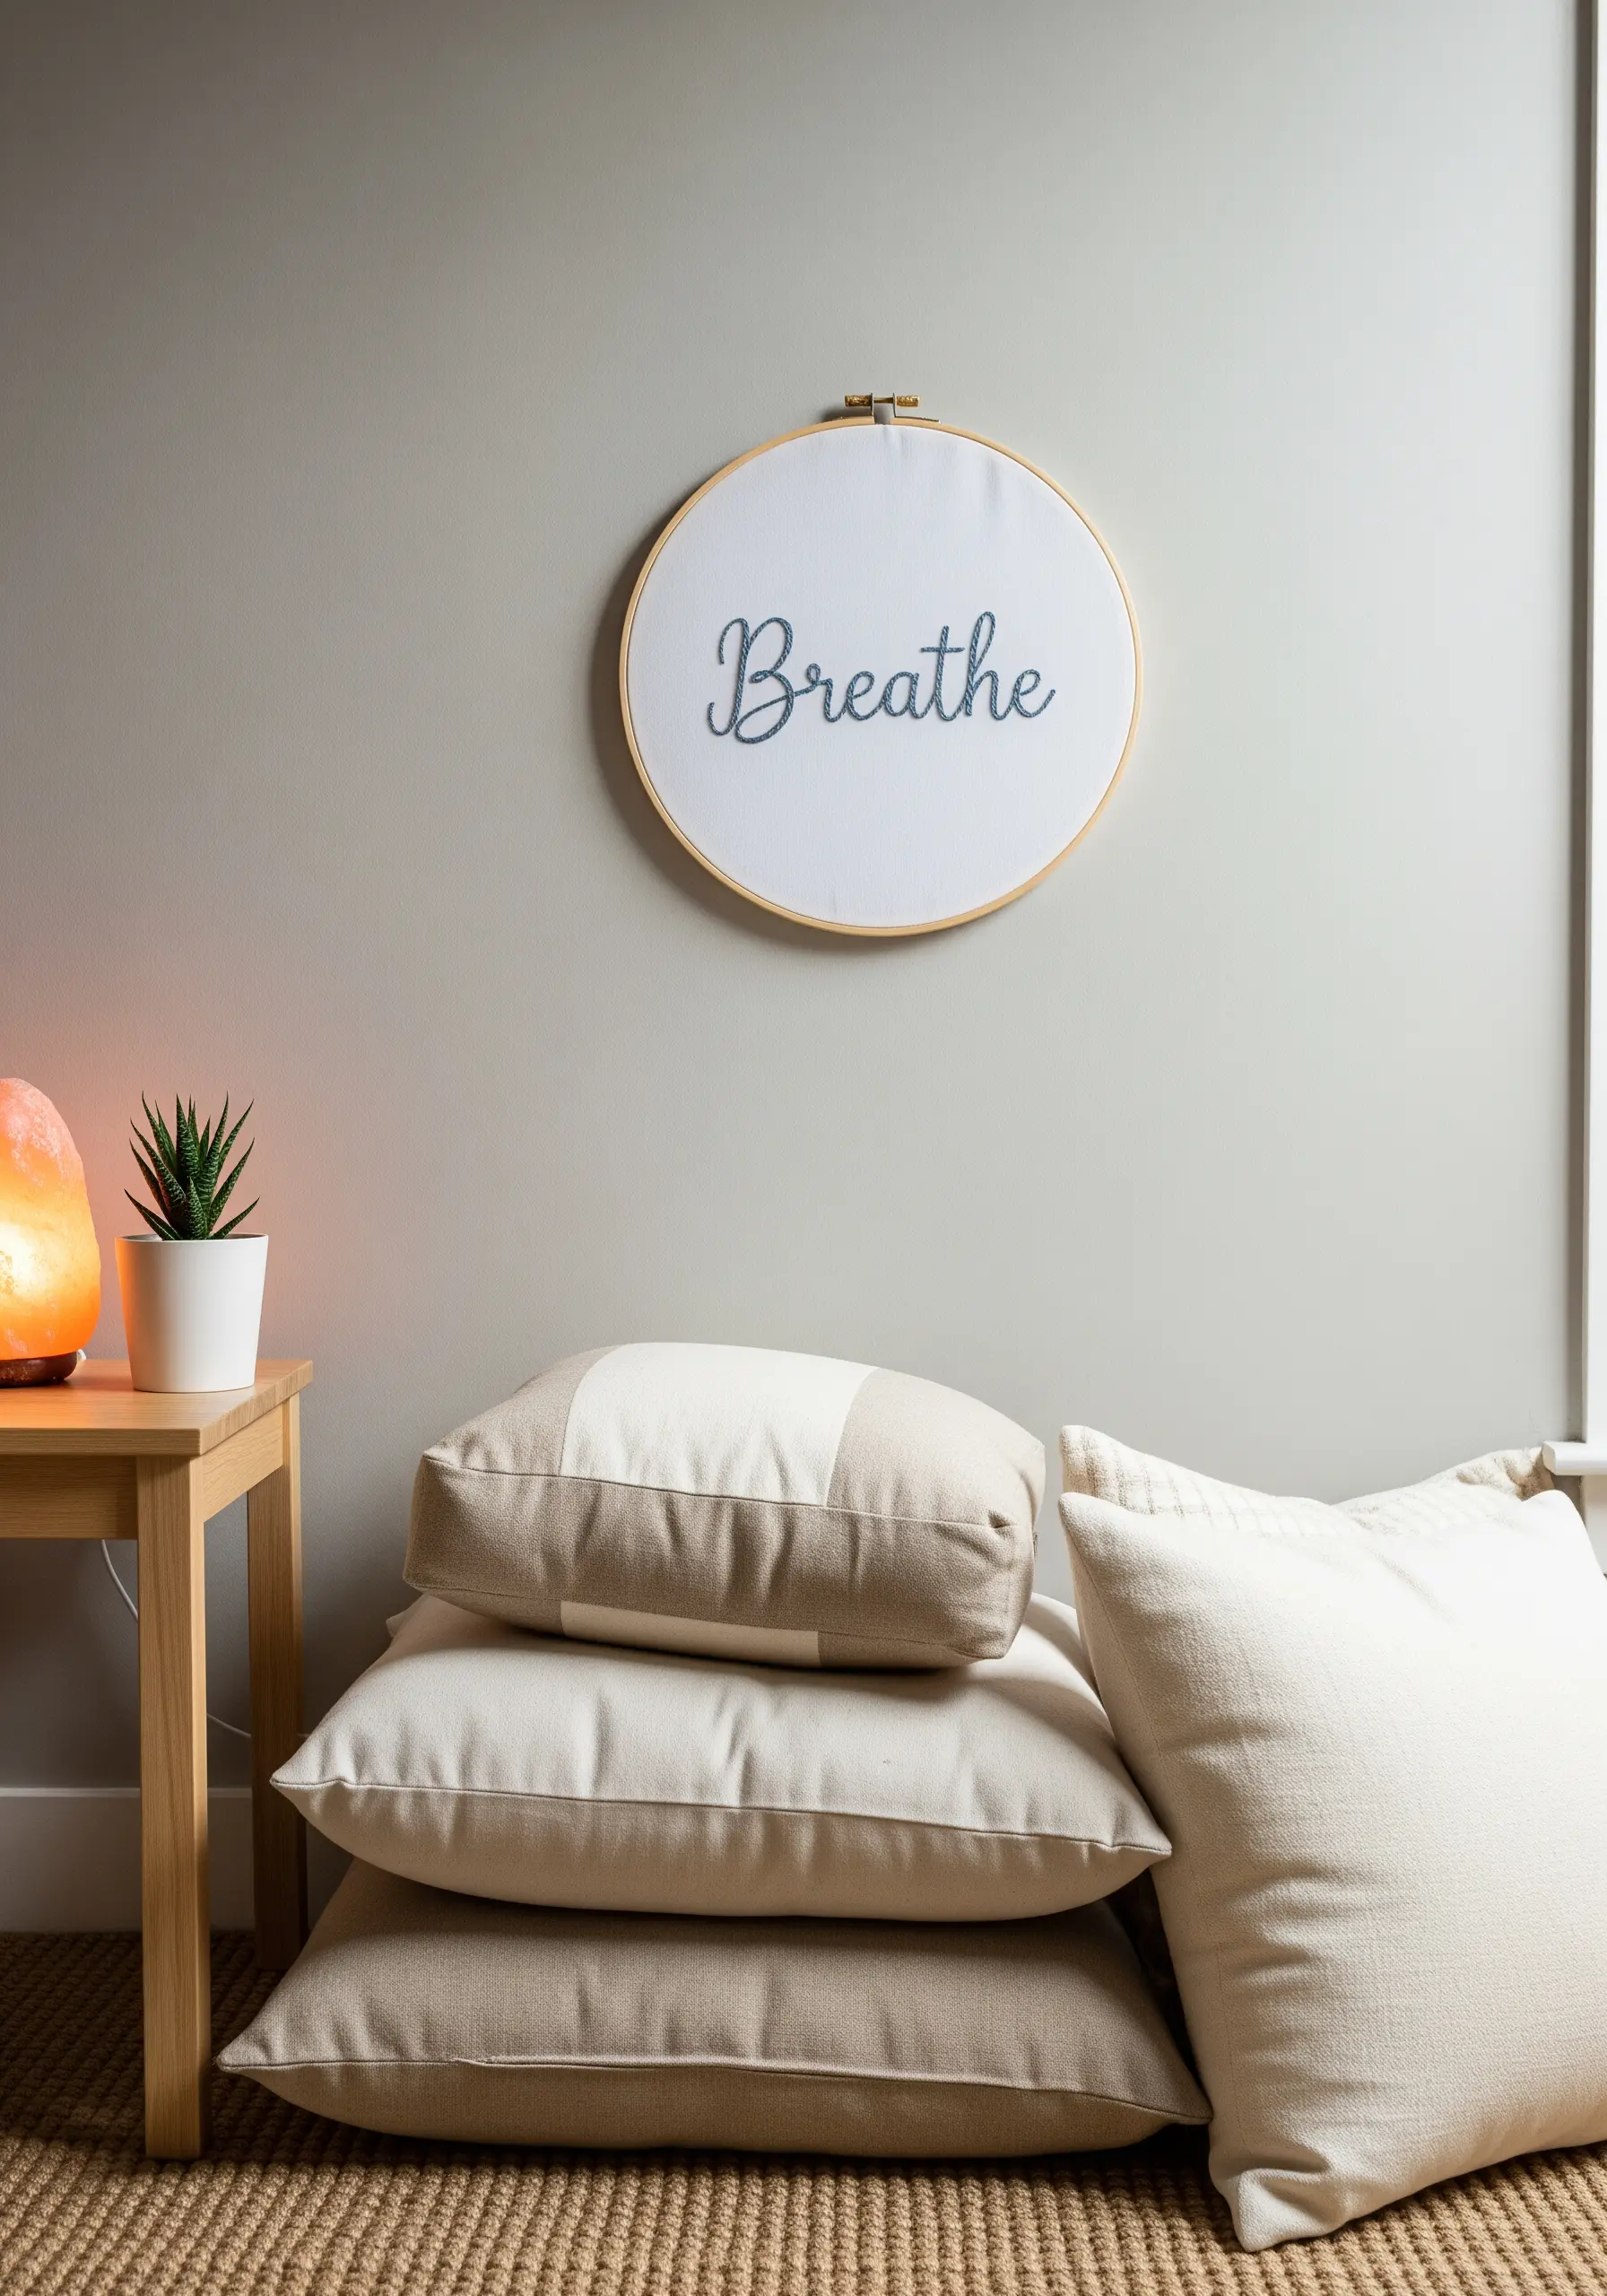
To elevate simple embroidered text, use a whipped backstitch for a smooth, cord-like appearance.
First, stitch your word using a standard backstitch, focusing on even stitch length.
Then, using a second length of the same thread and a tapestry needle, slide the needle under each backstitch without piercing the fabric, wrapping the foundational stitches.
This technique eliminates the segmented look of a plain backstitch, creating a fluid line ideal for cursive scripts and inspirational quote embroidery hoops.
6. Capture Moonlight with Textural Stitches
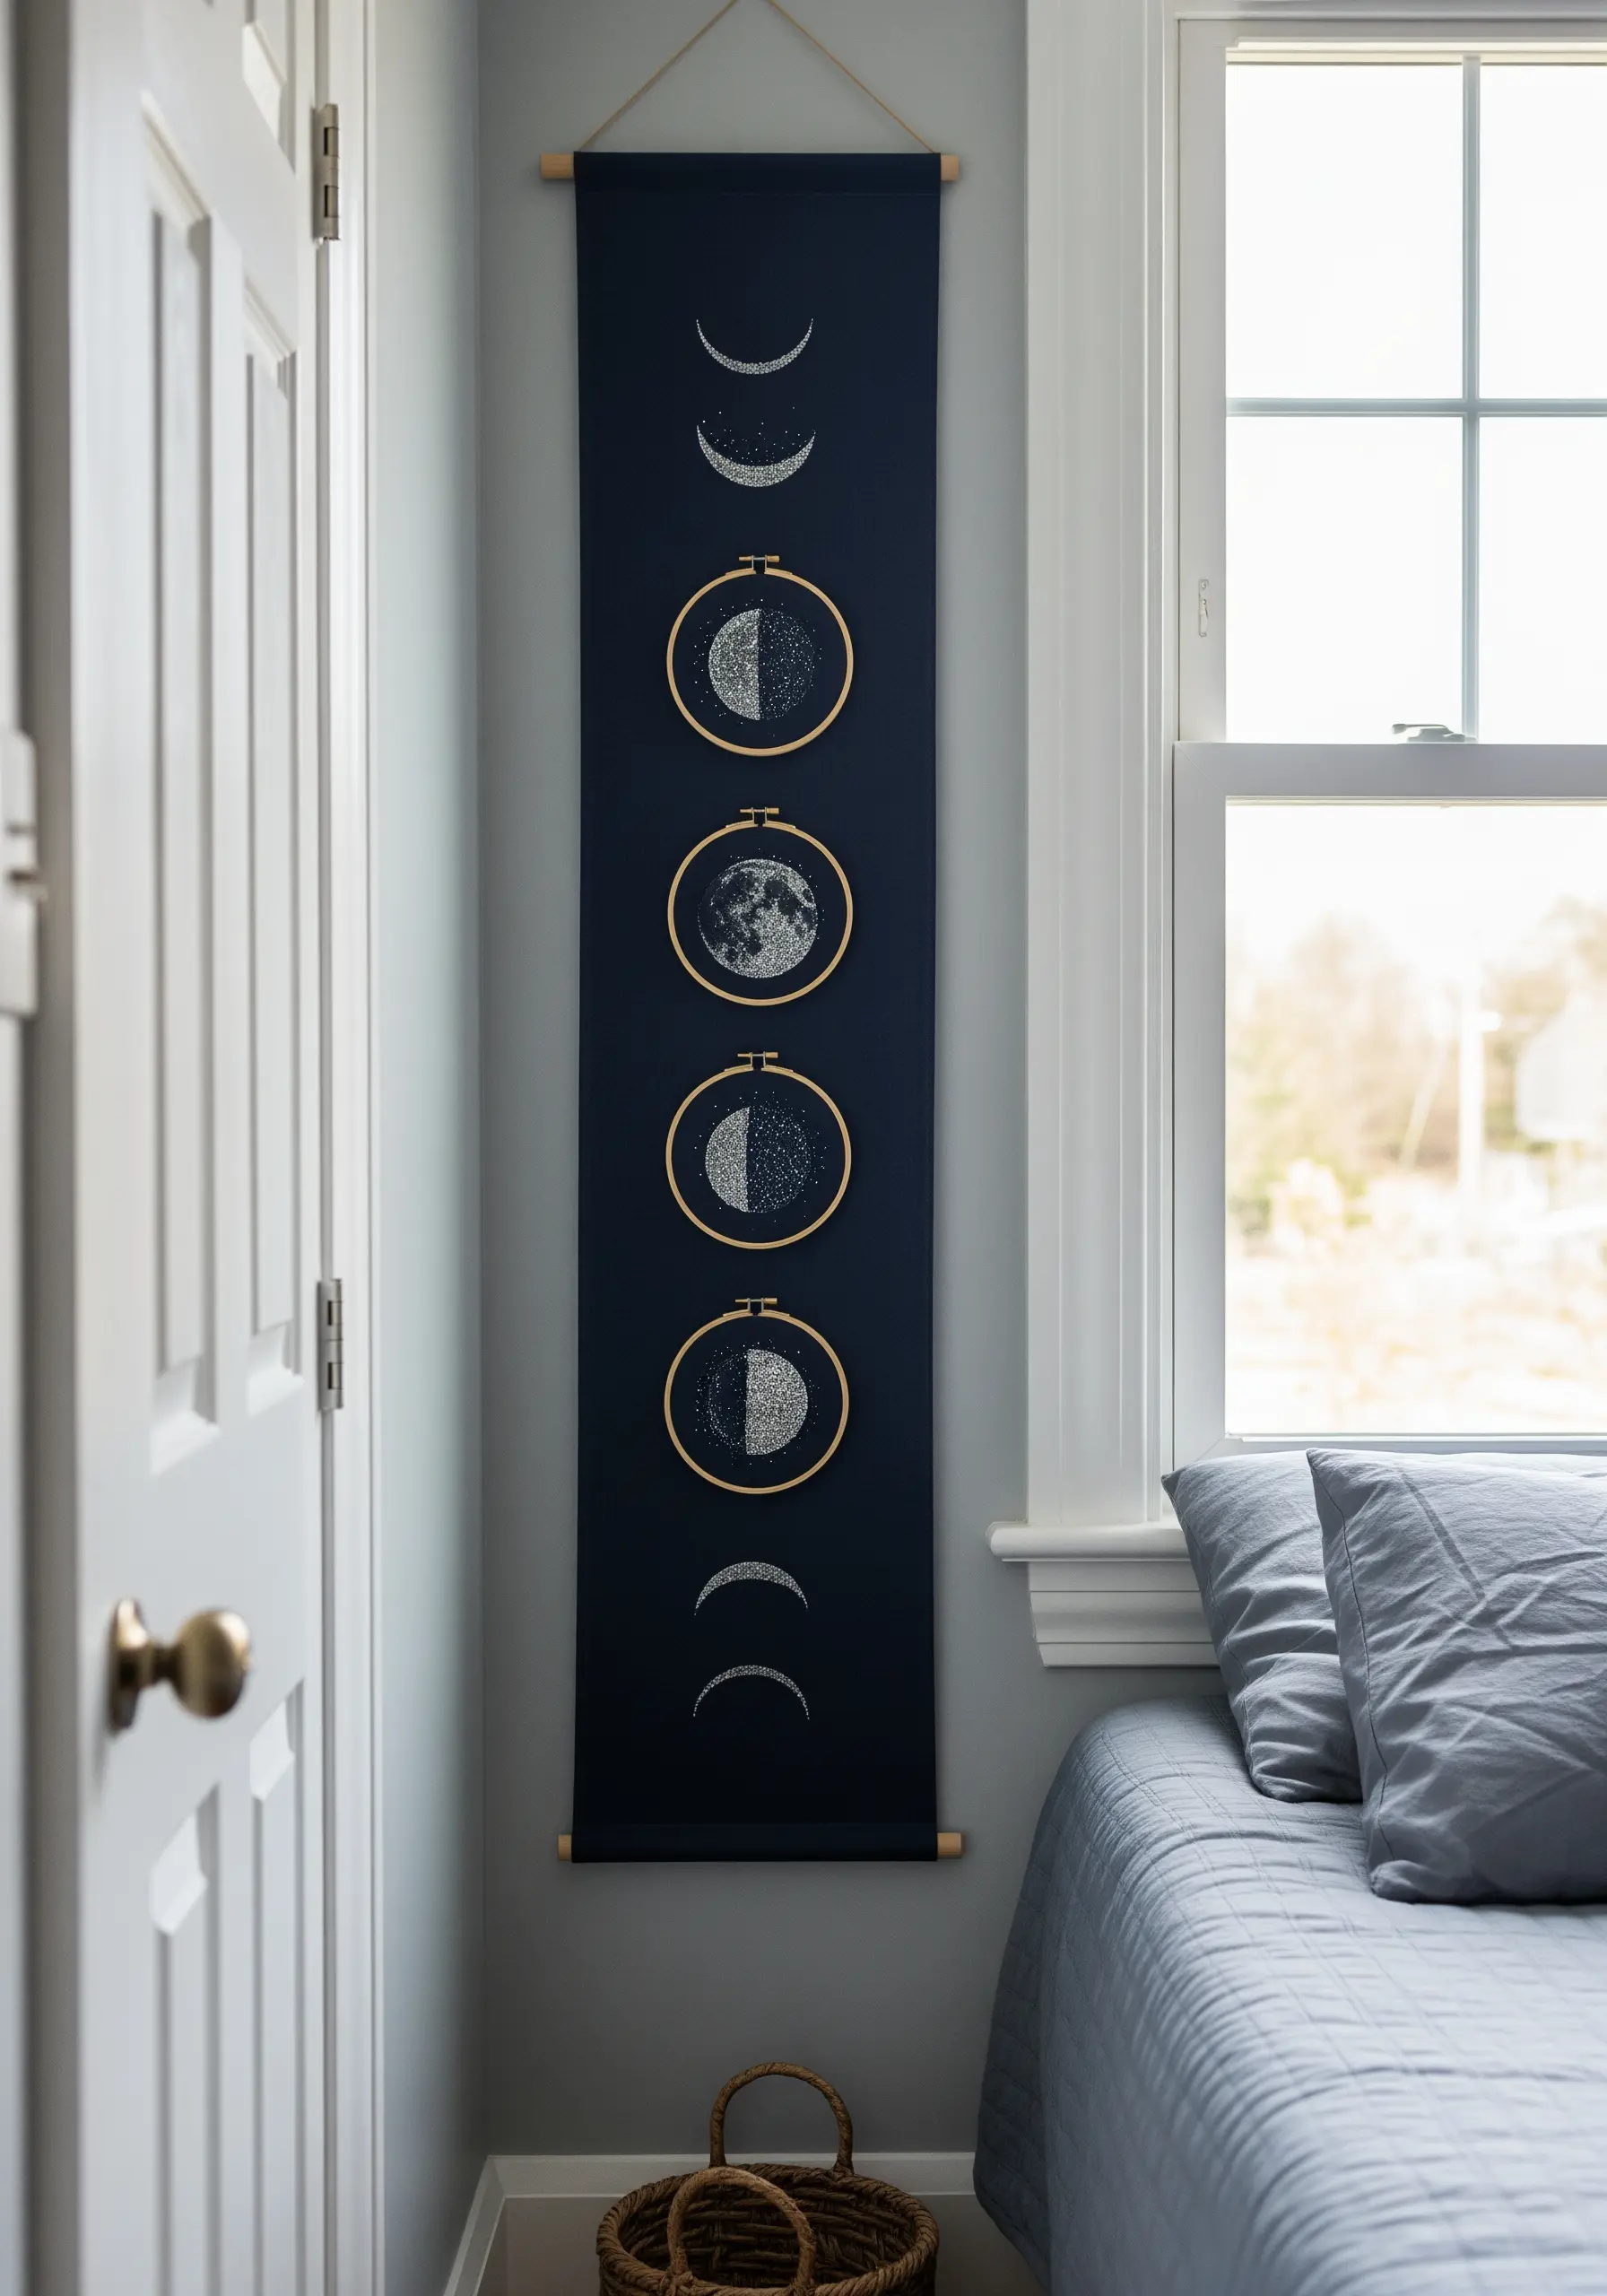
To mimic the cratered, tactile surface of the moon, fill the shapes with hundreds of French knots.
Use a silvery-white or light gray thread, and vary the number of wraps around your needle (one or two) to create subtle differences in knot size and texture.
For the sharp crescent outlines, switch to a satin stitch using a metallic silver thread to catch the light and create a beautiful contrast.
This combination of matte texture and metallic sheen brings these tiny night sky embroidery designs to life.
7. Create Understated Depth with Tone-on-Tone Palettes
For a subtle, sophisticated effect, select a thread color that is only a few shades lighter or darker than your colored linen fabric.
This tone-on-tone embroidery technique creates an almost embossed look, where the texture of the stitch becomes the main focus.
Use a simple stem or split stitch for clean botanical outlines that feel elegant and restrained.
This approach is perfect for creating art that complements your decor without overwhelming it, adding a layer of quiet detail to your room.
8. Integrate Embroidery with Framed Wall Art
Blend your textile art seamlessly with traditional framed prints by establishing a unified visual theme.
Choose a consistent color palette, like black and neutral, and a shared subject, such as abstract line work, to tie the different mediums together.
The tactile nature of the embroidery will provide a beautiful textural contrast to the flat surfaces of the prints.
Use simple backstitch or satin-stitched bars in your hoops to echo the graphic quality of the printed artwork, creating a curated, gallery-like feel.
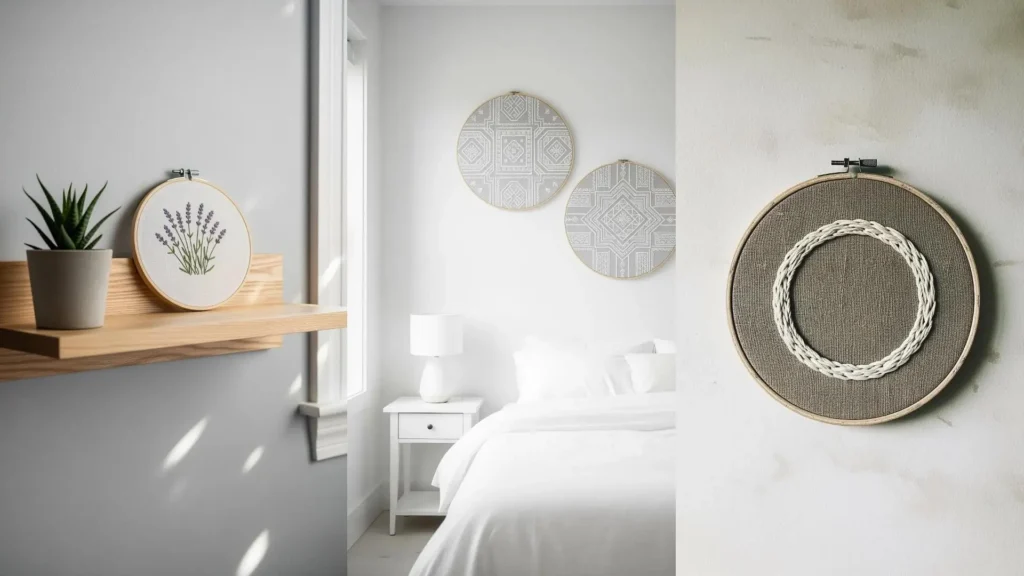
9. Add Sculptural Form with Couching Stitches
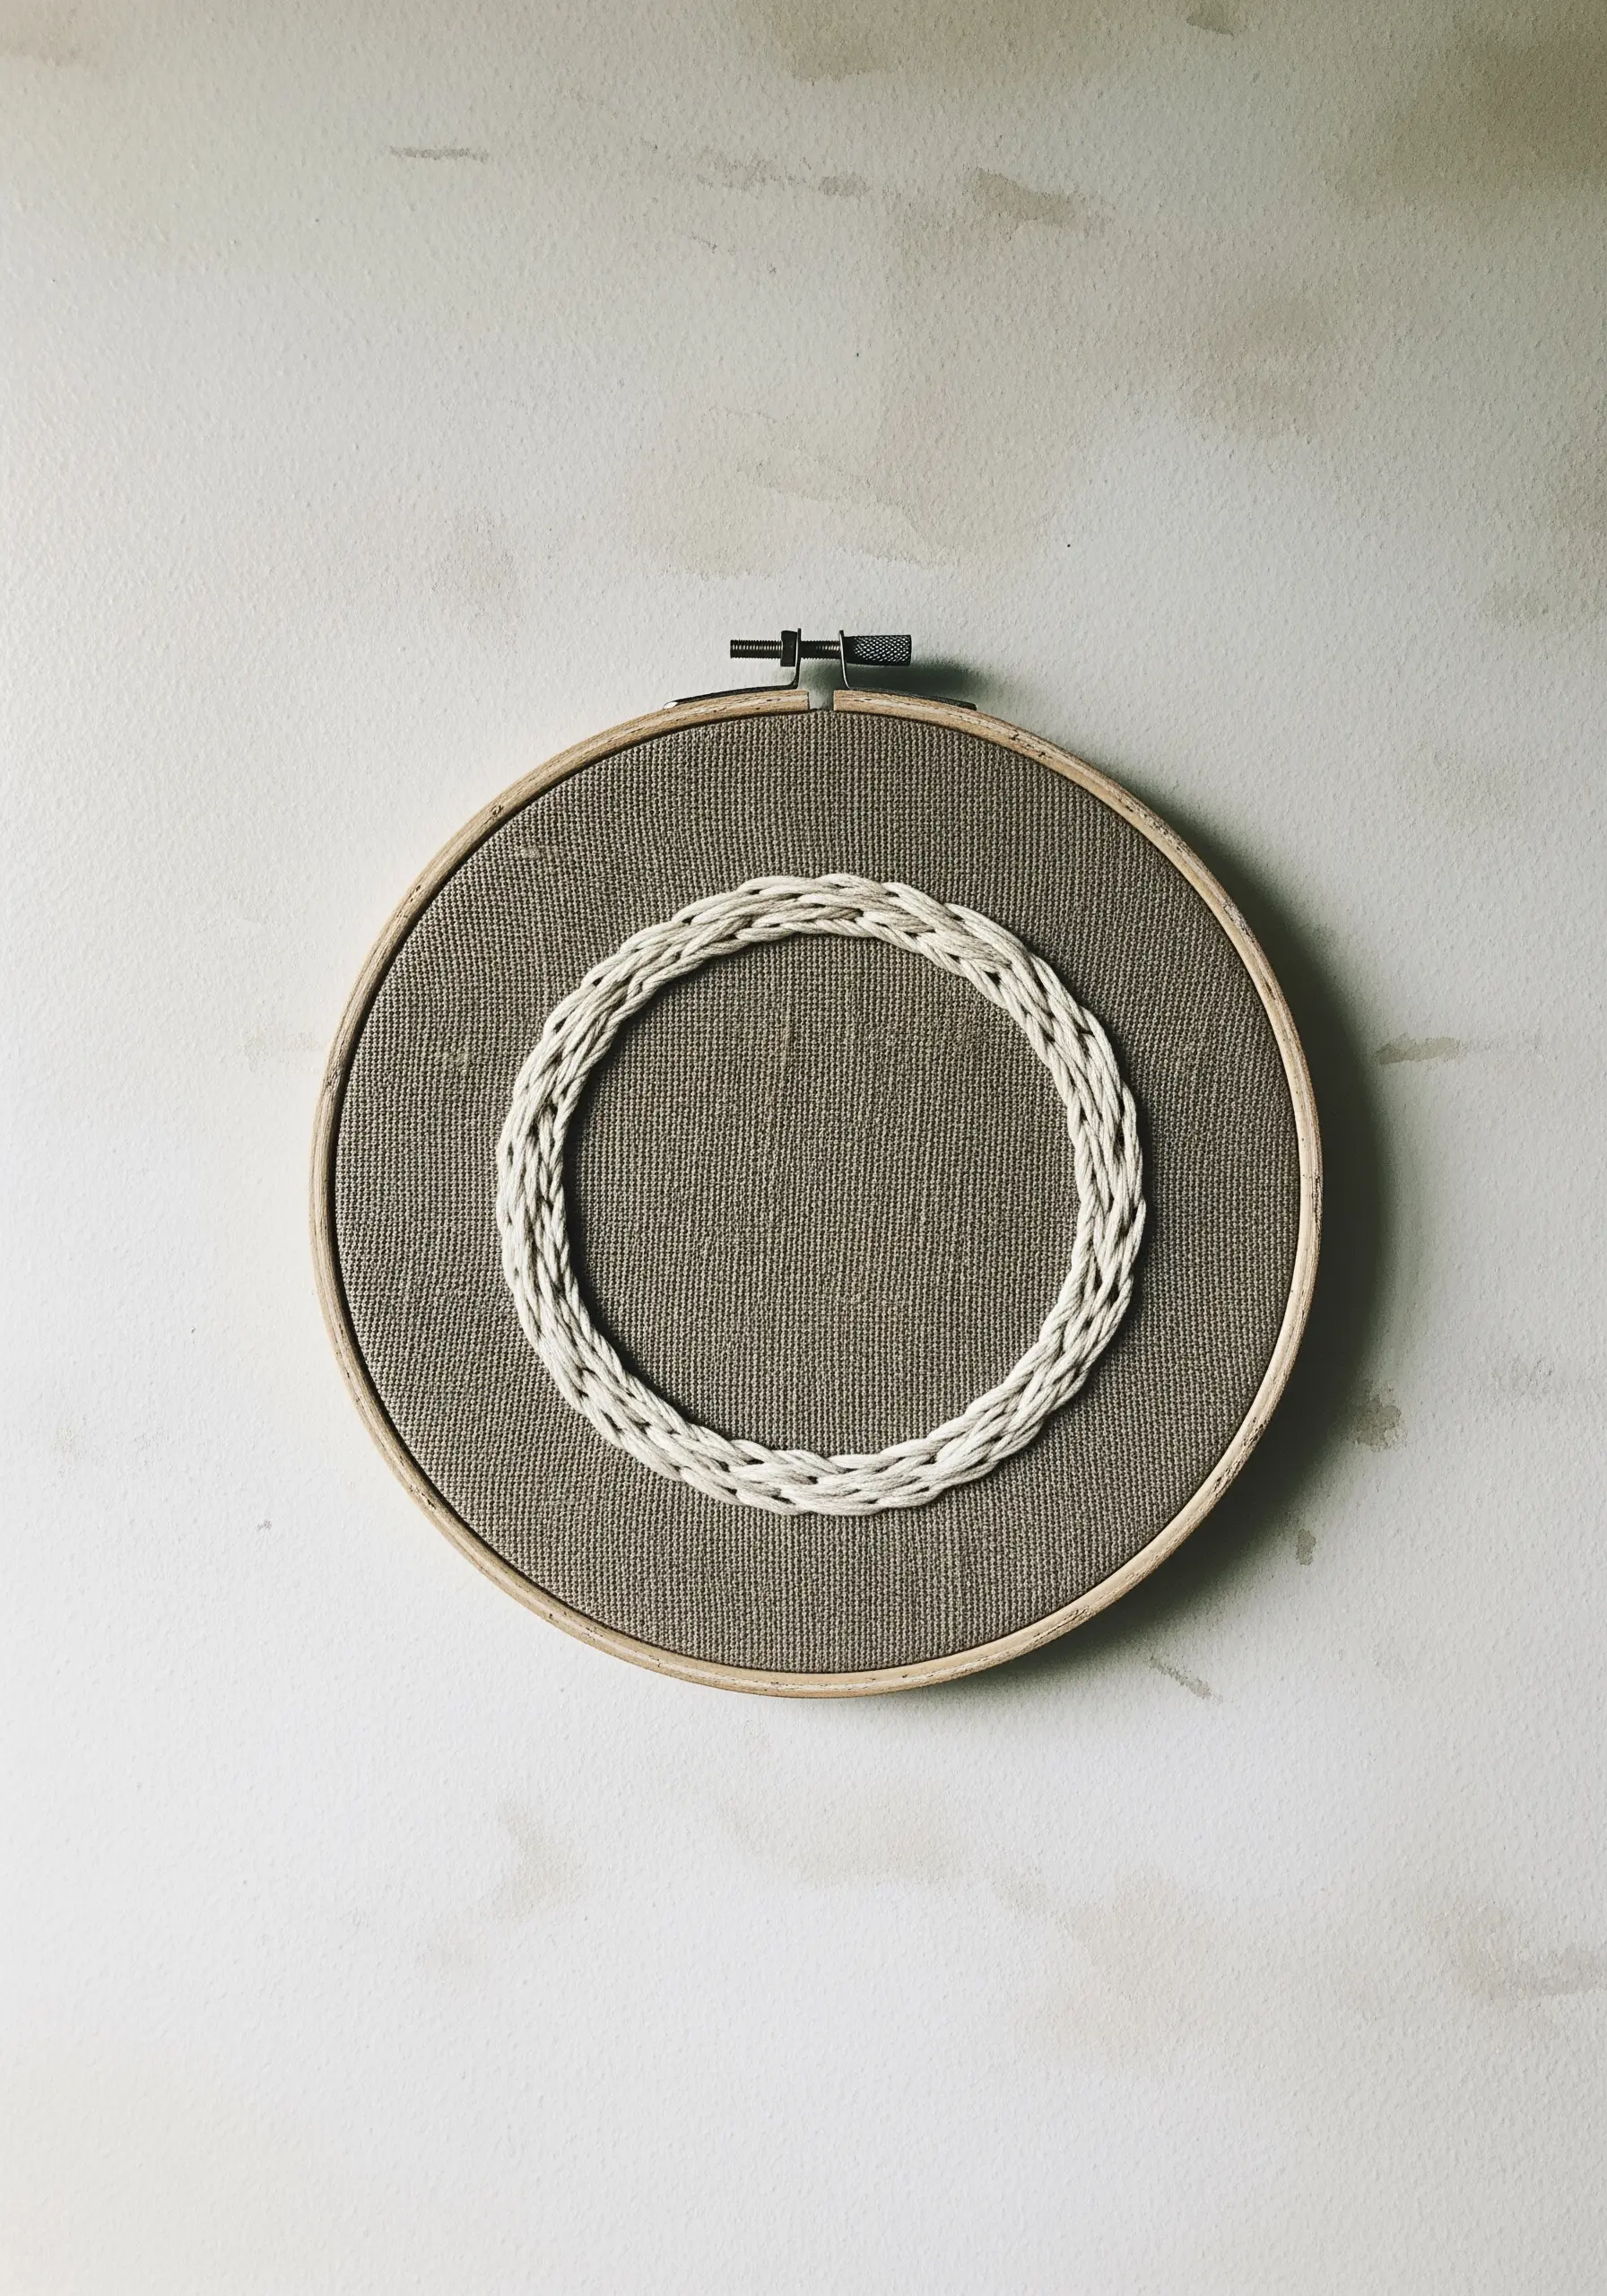
To achieve a bold, three-dimensional effect, move beyond standard floss and incorporate thicker fibers like yarn or cotton cording.
Lay the thick fiber on the surface of your fabric and use a regular, thinner embroidery thread to tack it down with small, evenly spaced stitches—a technique called couching.
This allows you to create highly textural, raised lines that add a sculptural quality to minimalist designs.
The contrast between the thick, smooth cord and the woven fabric base creates immediate visual and tactile interest.
10. Embrace the Power of Graphic Minimalism
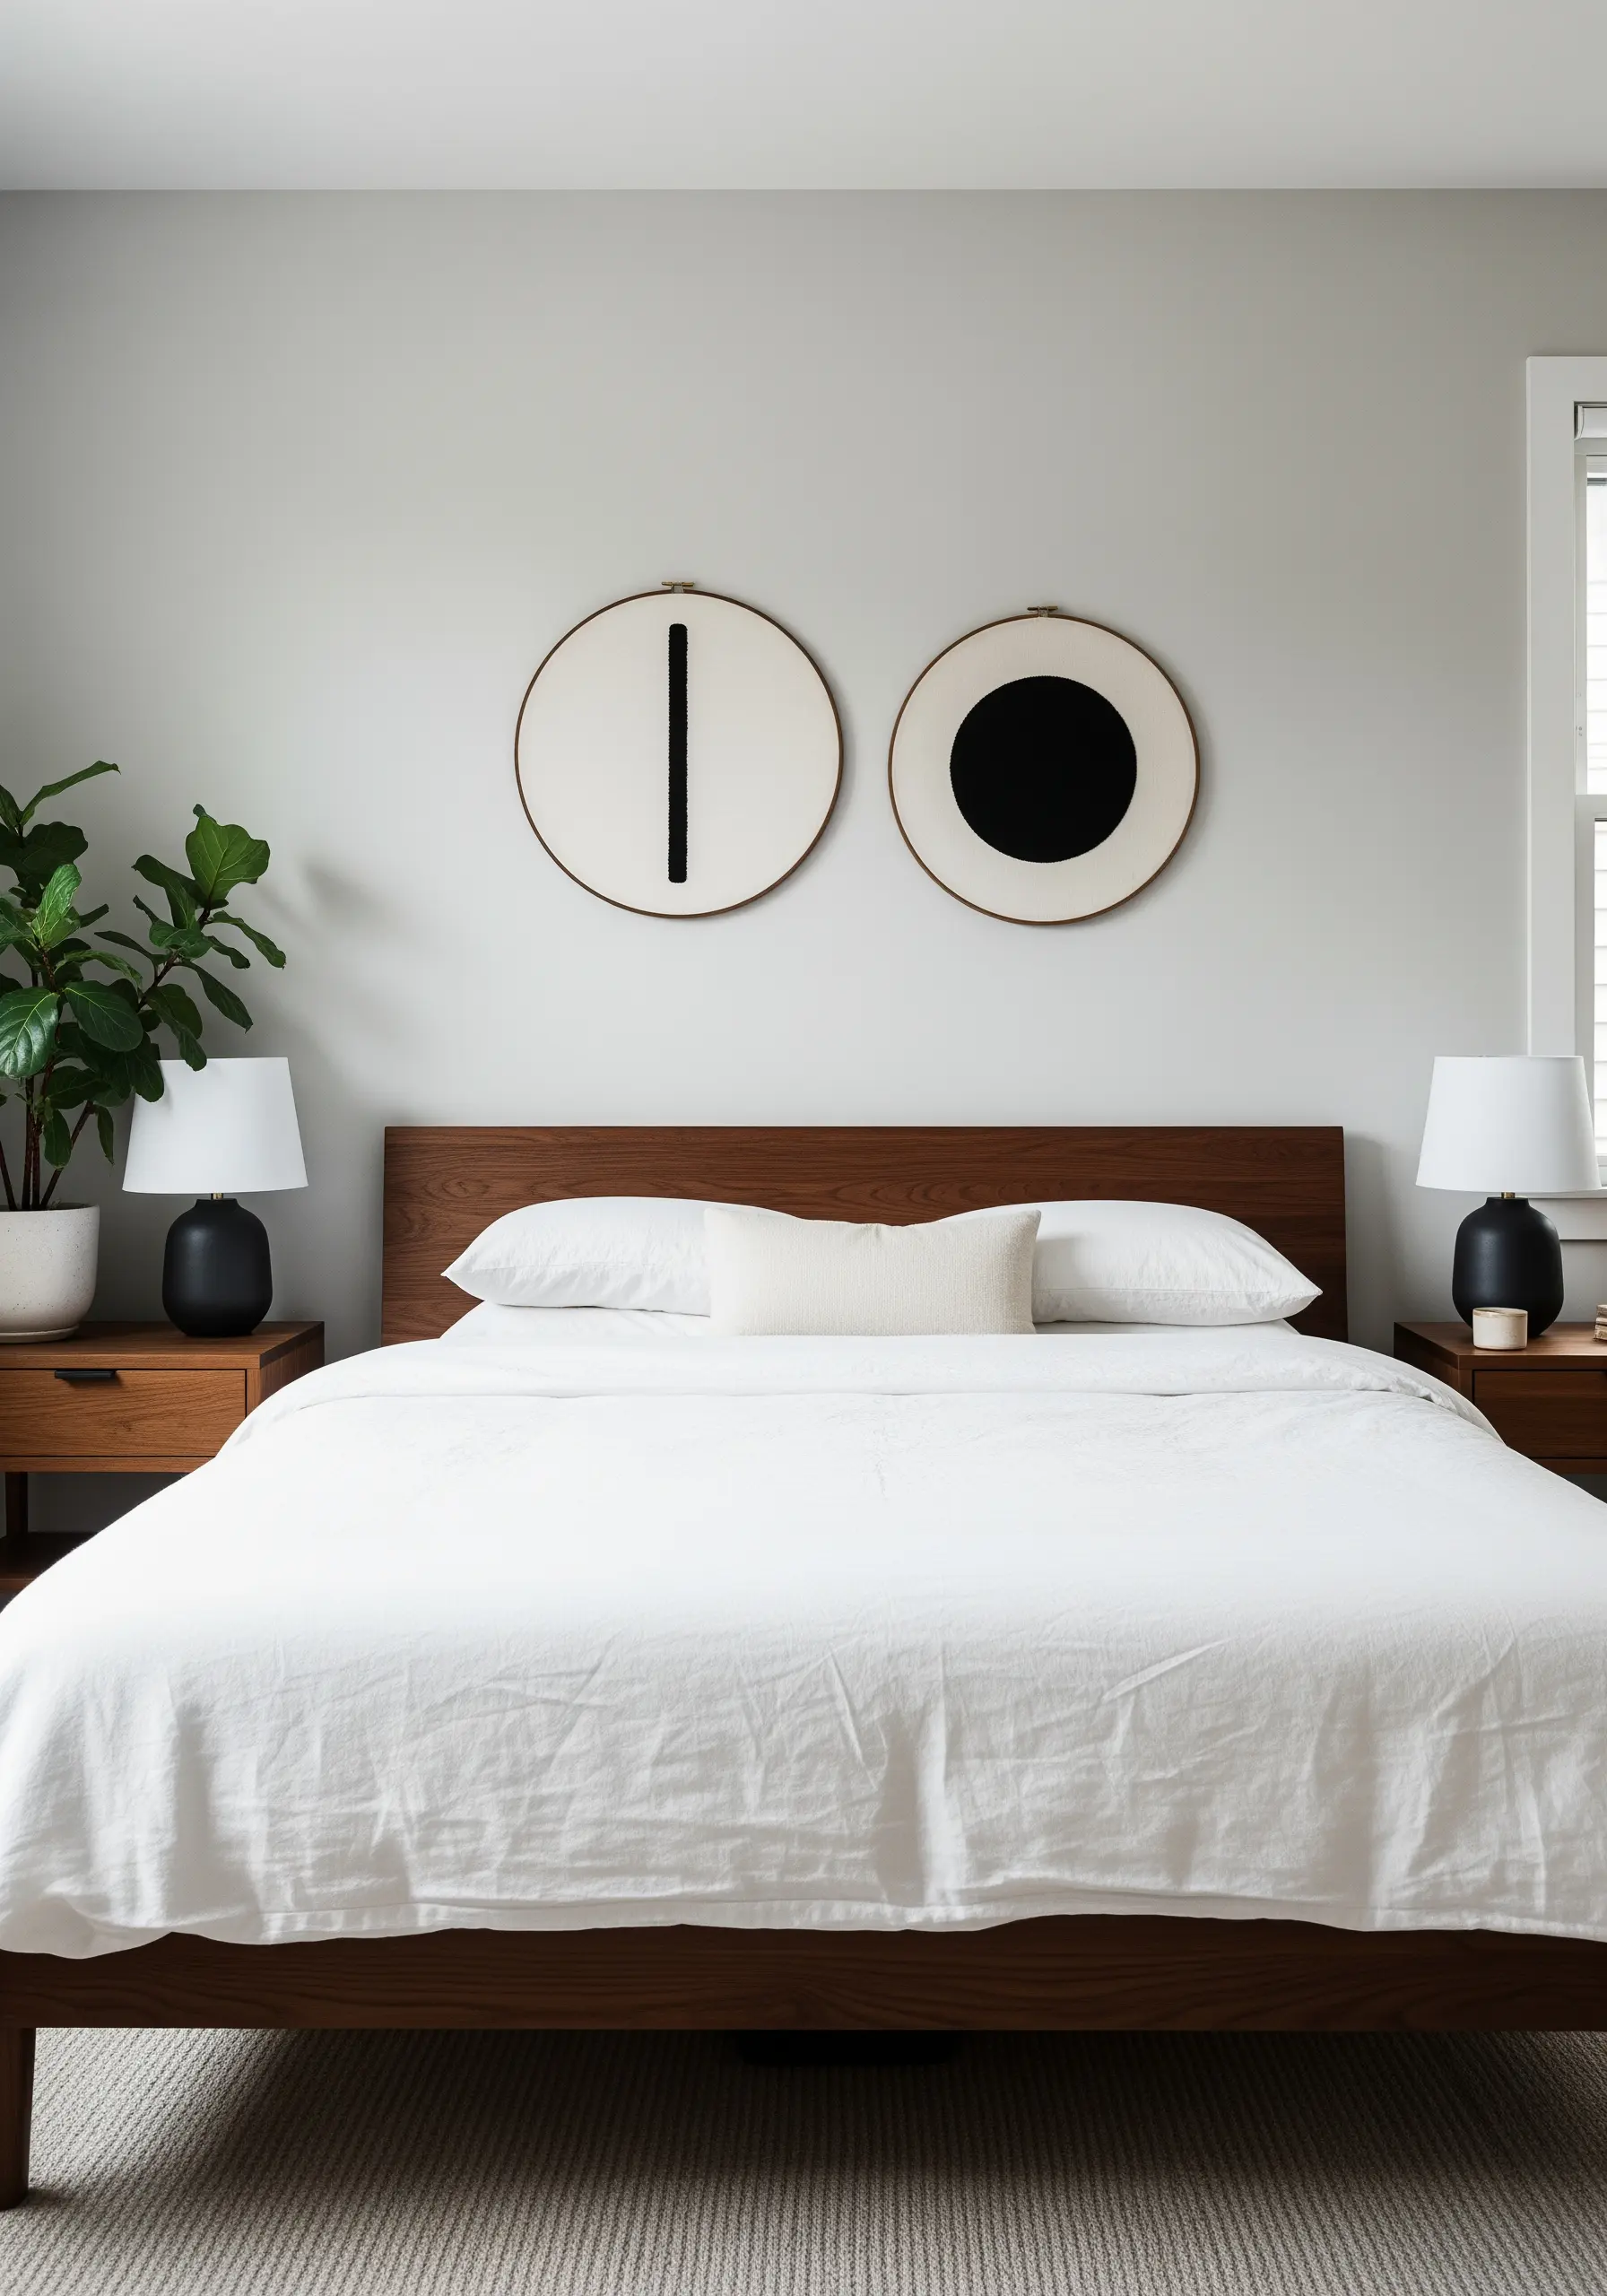
Make a dramatic statement with high-contrast compositions that celebrate the power of simple shapes.
For a perfectly filled, solid circle, use a spiral satin stitch: start from the outer edge and work your way inward to avoid puckering in the center.
For the bold line, create a wide satin stitch band, ensuring each stitch lies flat and parallel to the last for a smooth, uniform finish.
These bold, monochrome black thread designs transform your wall into a modern art space.
11. Stitch Fluid Motion with Color Blending
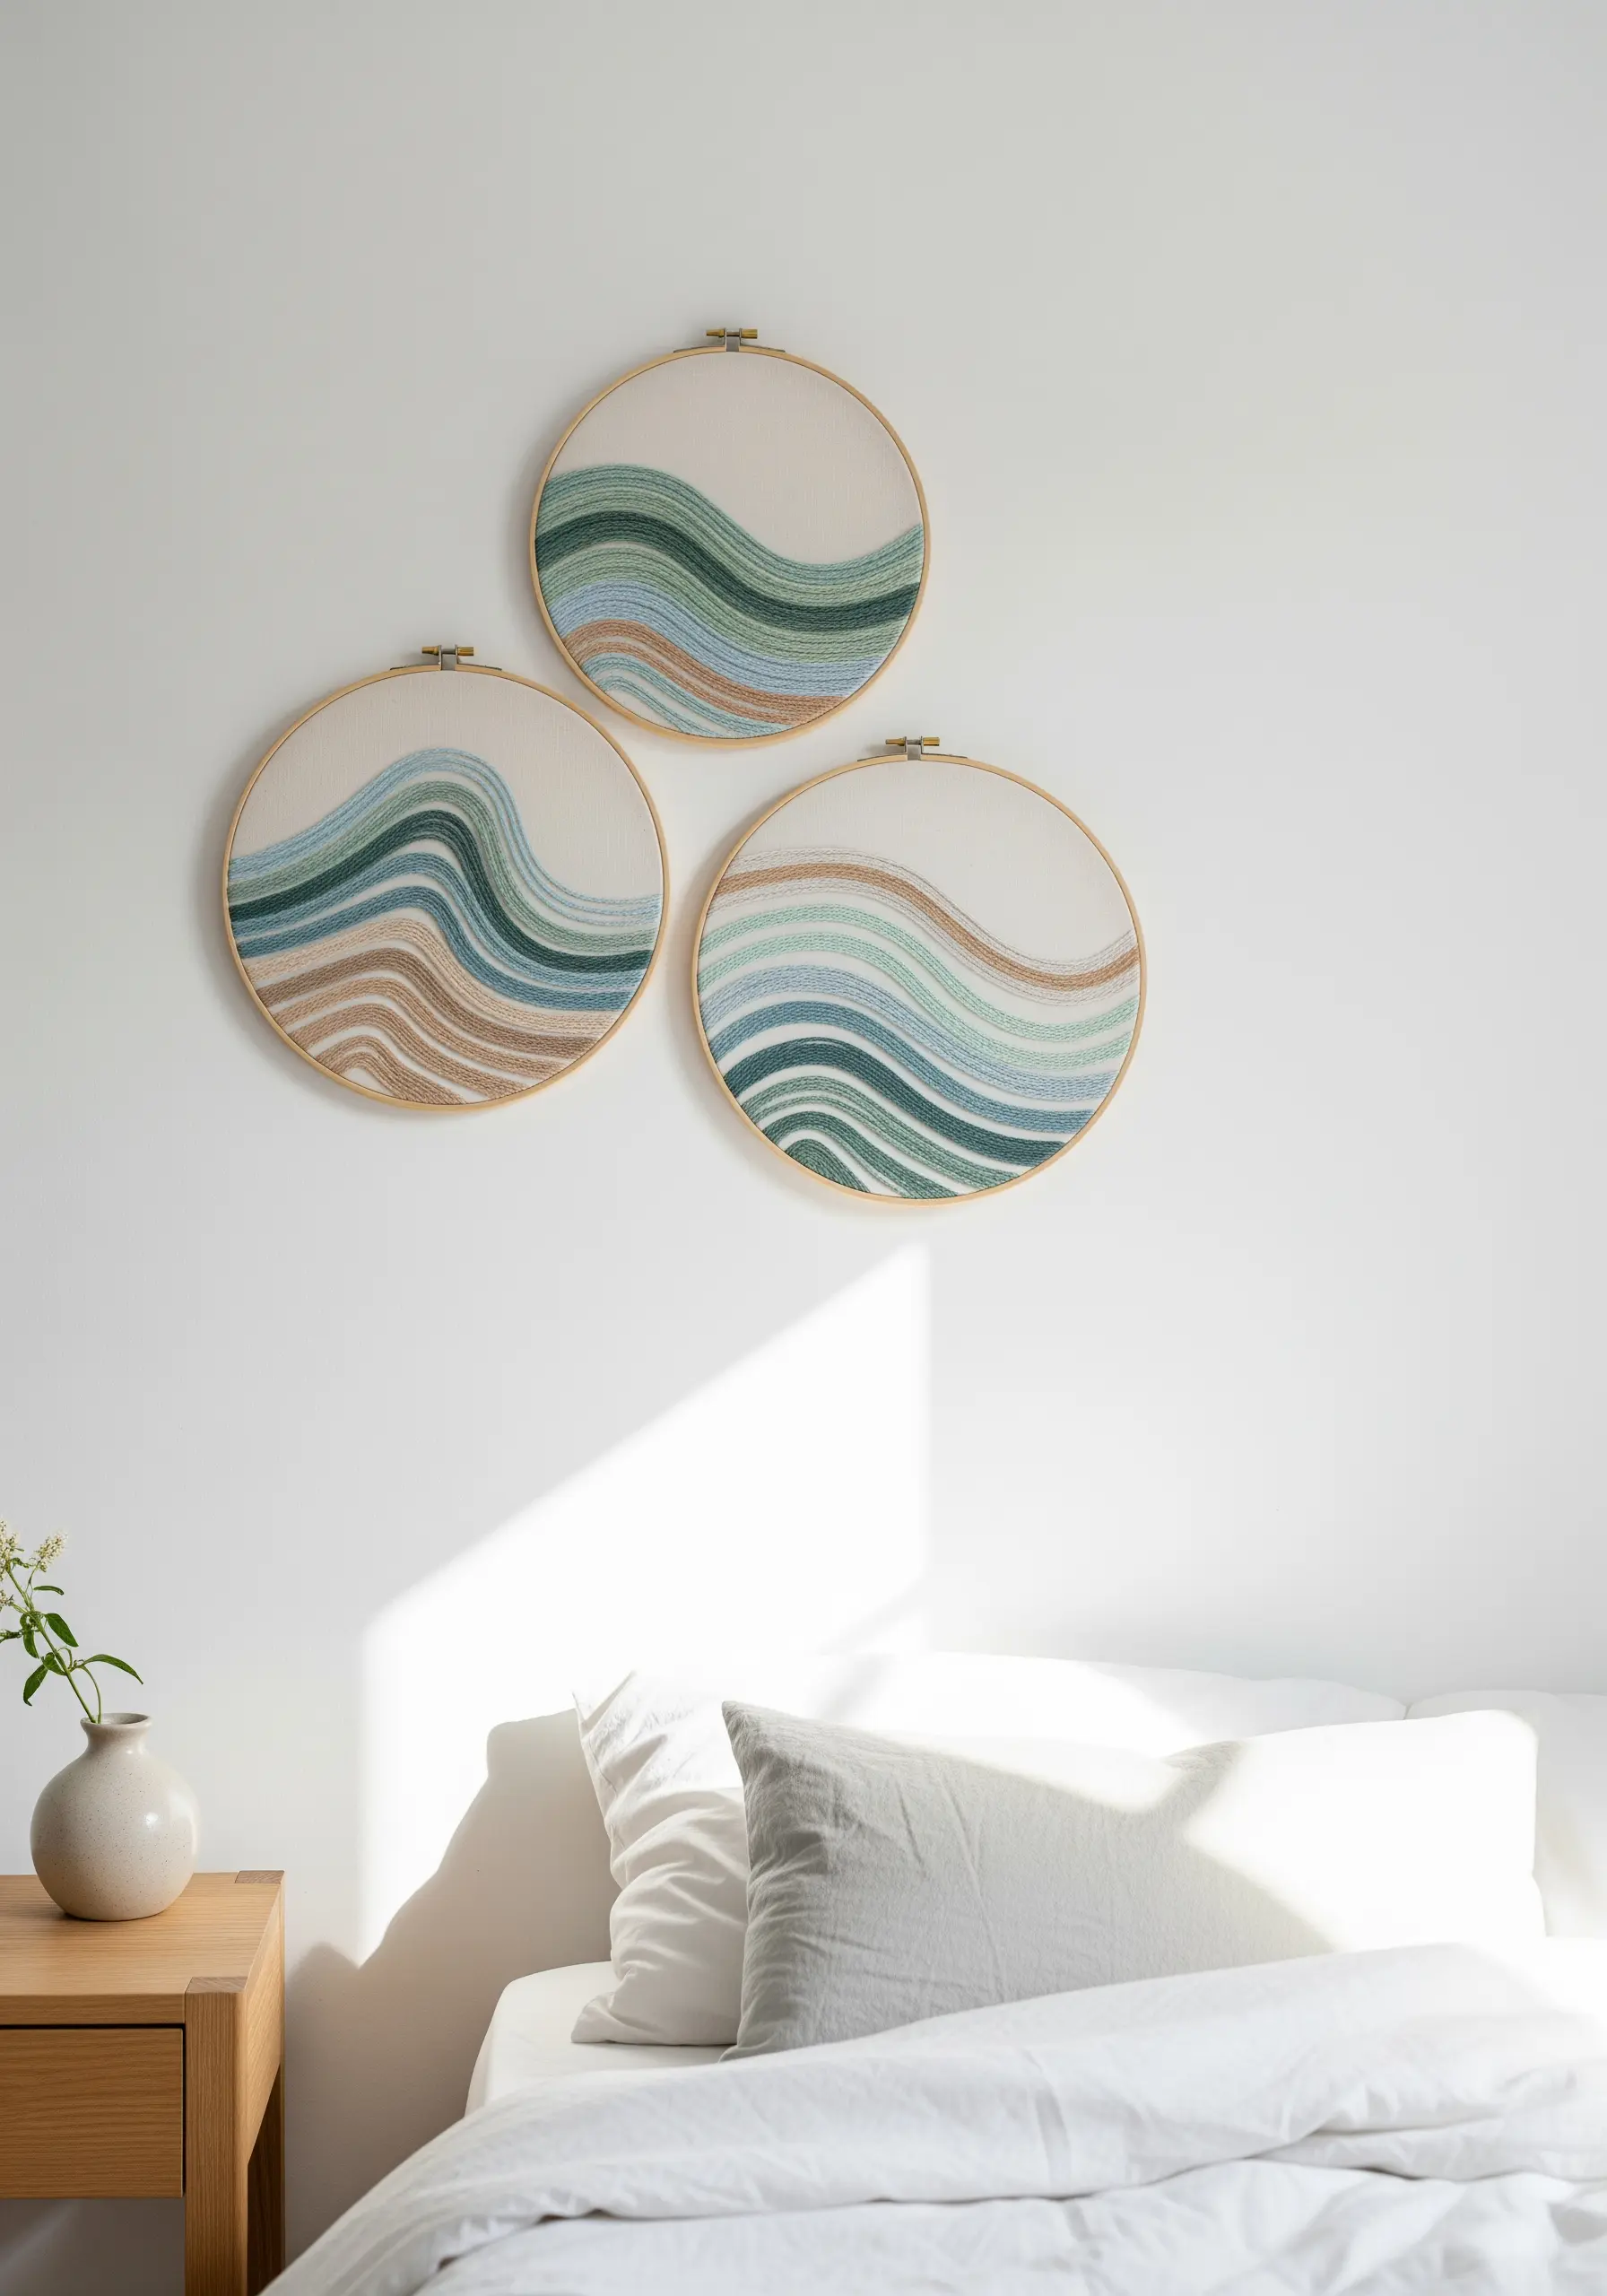
Create the soft, flowing movement of water by using long and short stitch to blend your colors.
Work with only one or two strands of floss at a time, allowing the shades of blue, green, and sand to merge seamlessly into one another.
Stagger the lengths of your stitches and avoid creating hard lines between color sections to enhance the organic, watercolor-like effect.
This technique turns simple abstract thread waves into a calming, meditative focal point for a bedroom.
12. Capture Botanical Details on a Small Scale
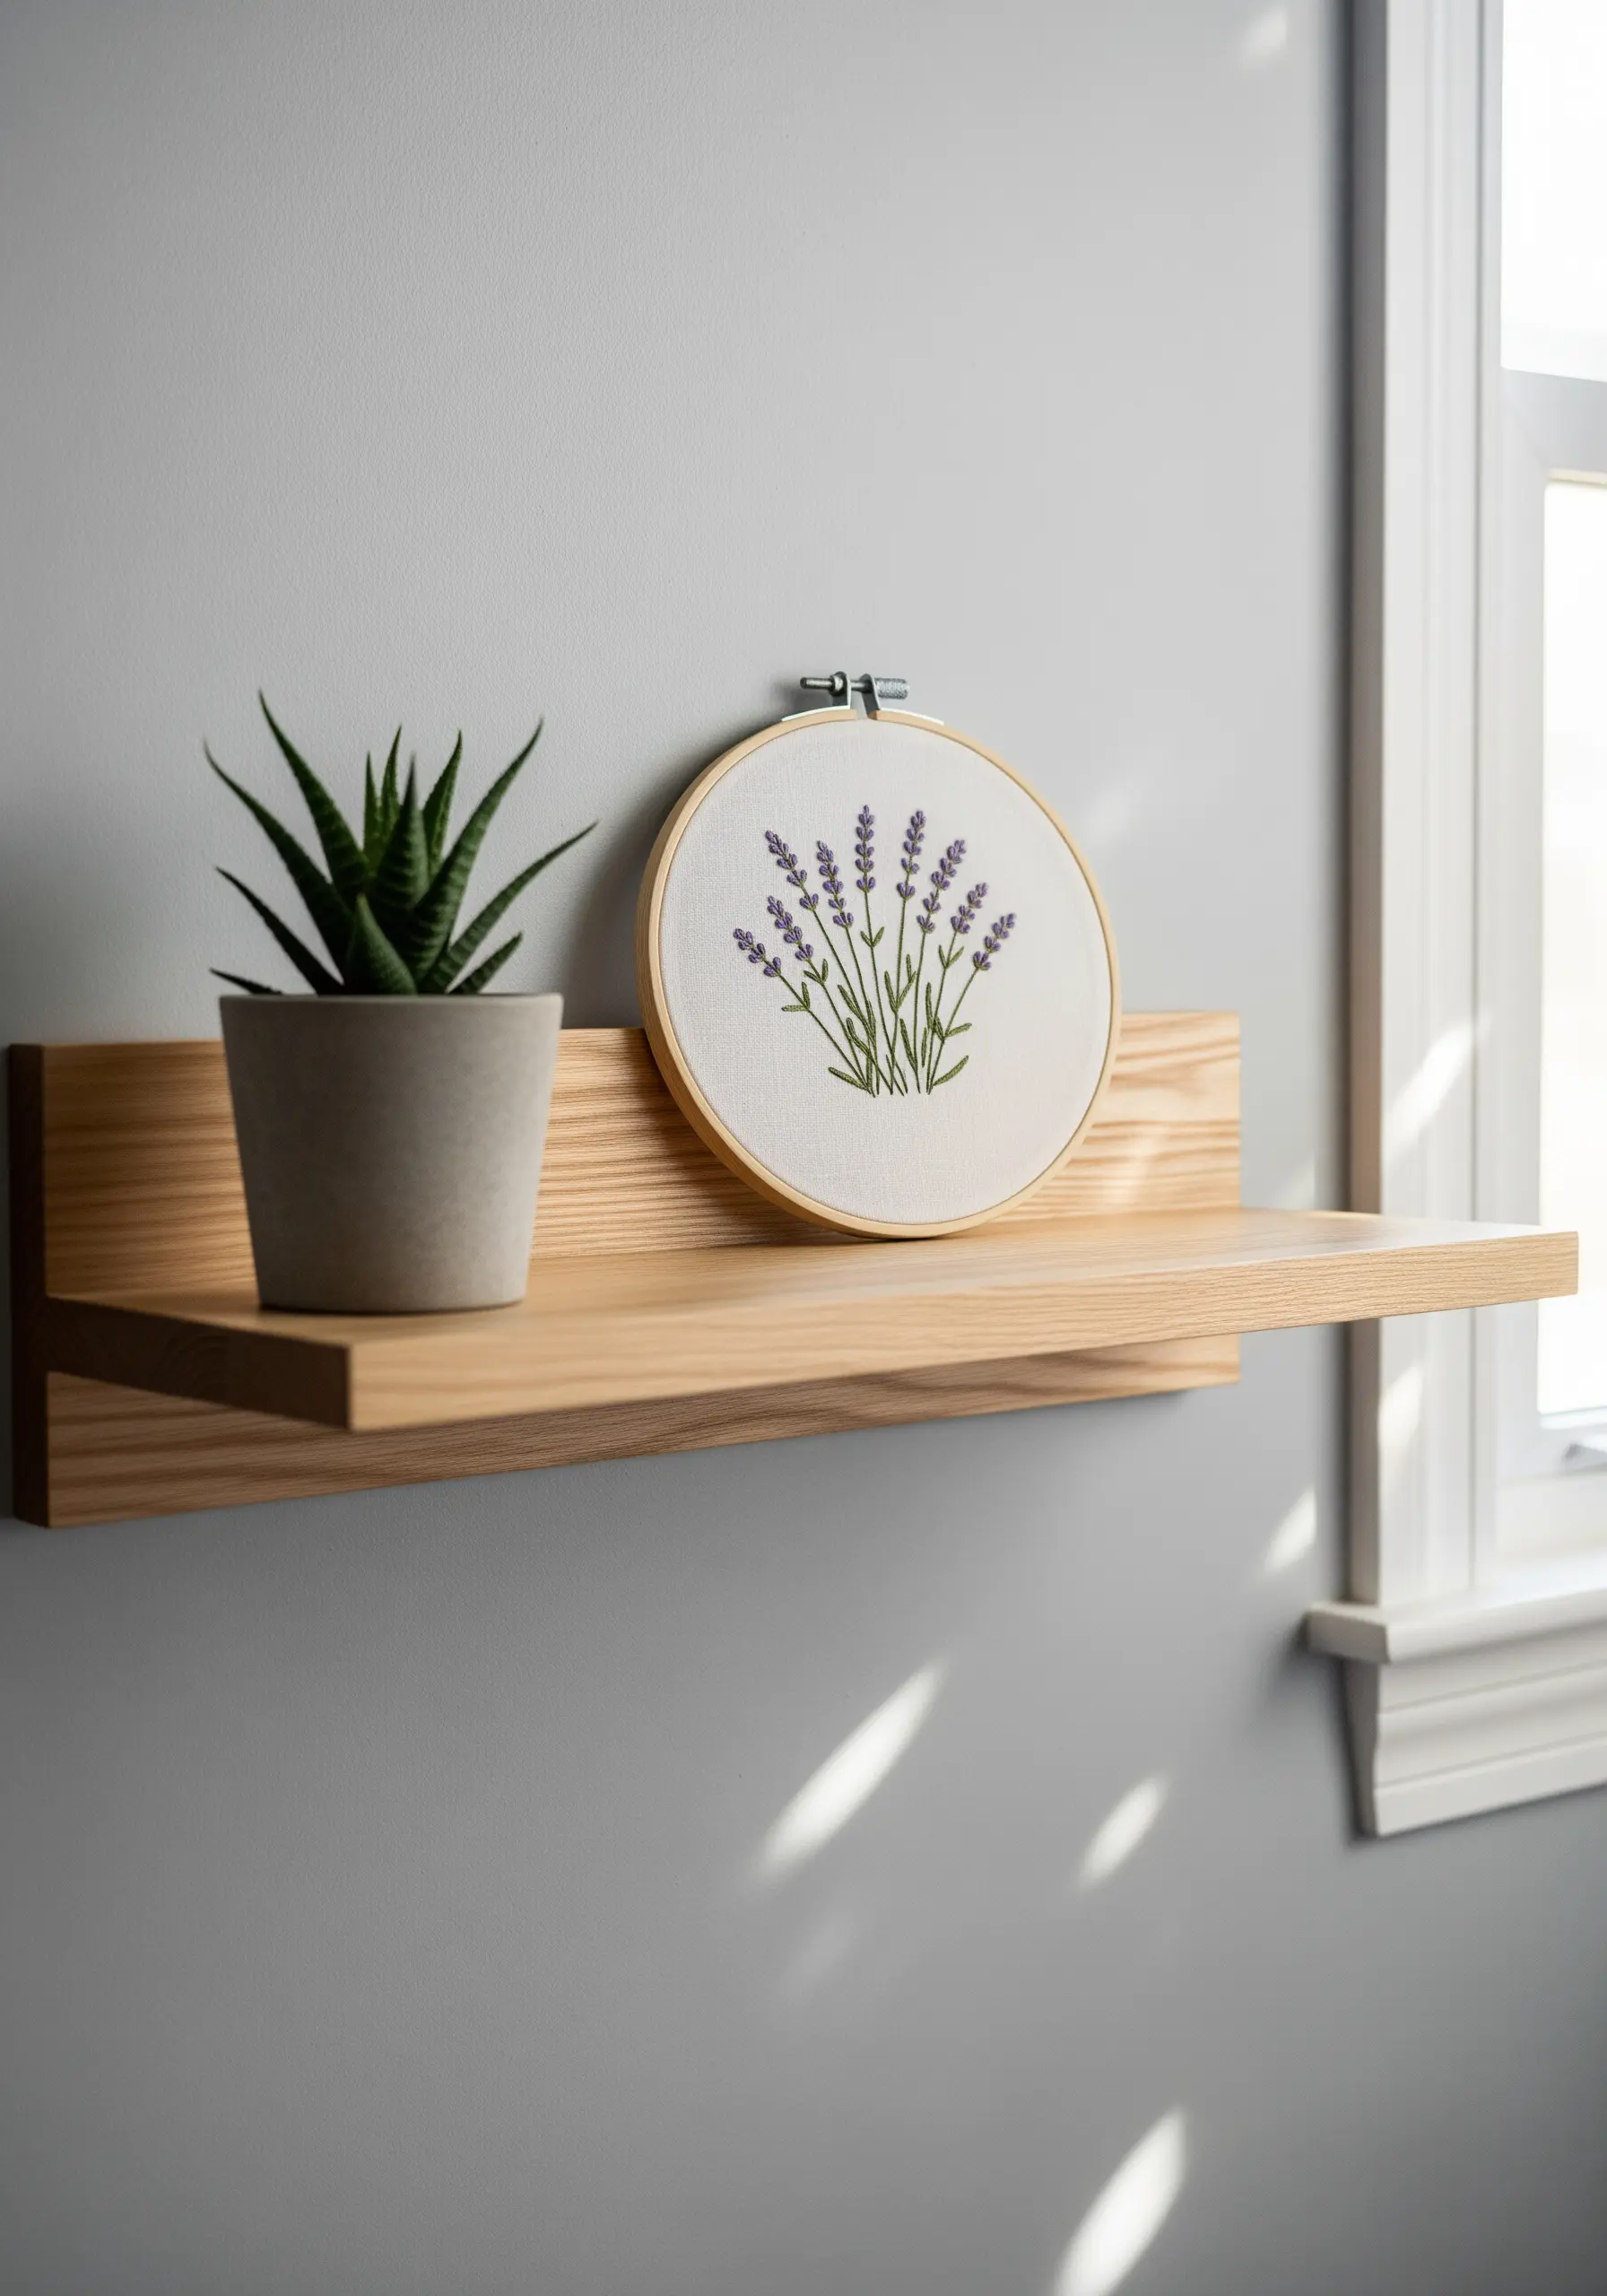
For delicate motifs like lavender, simplify your stitches and reduce your thread count.
Use a single strand of green floss for the stems with a simple stem stitch, and create the purple buds with tiny French knots or detached chain stitches.
Working in a small hoop encourages restraint, focusing your attention on capturing the essence of the plant rather than every minute detail.
This results in a charming, jewel-like piece of art, perfect for adding a subtle touch of nature to a shelf or nightstand.
13. Build Intricate Patterns with a Simple Backstitch
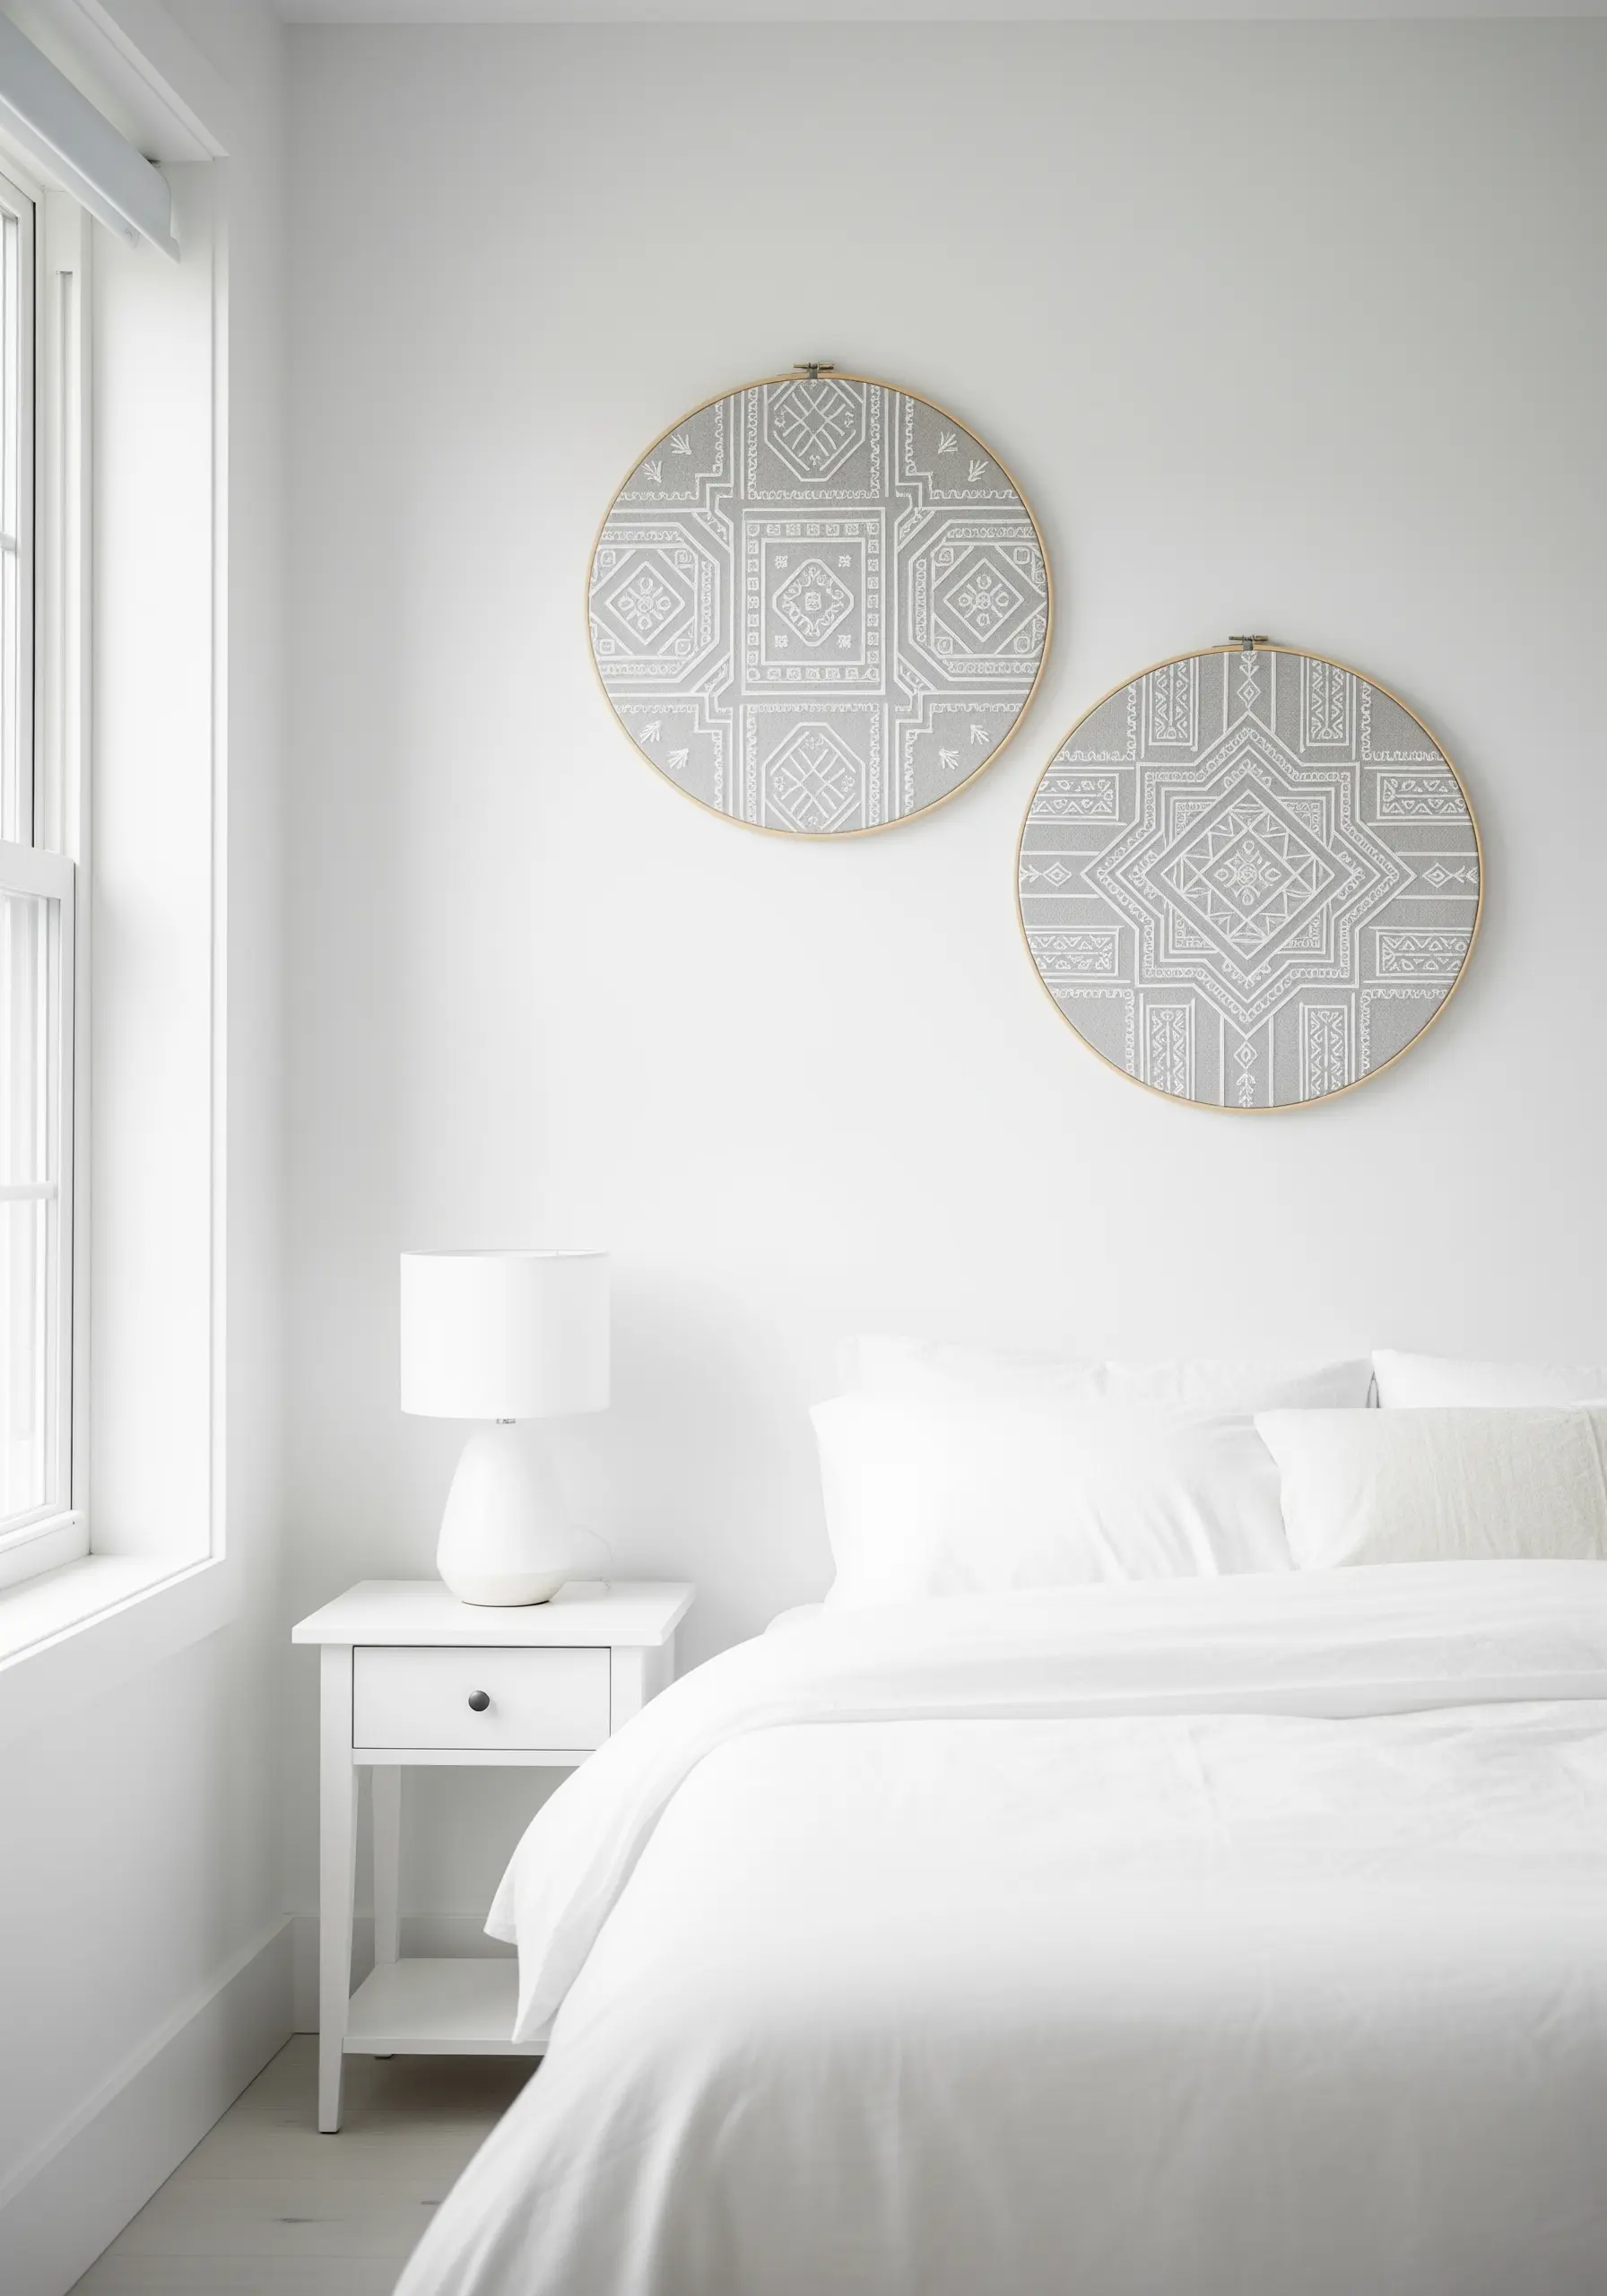
You don’t need complex stitches to create a mesmerizing, tile-like effect; a precise backstitch is all it takes.
The key to success is consistency. Use a fabric with a clear weave, like linen, to act as a grid, helping you keep every stitch the exact same length.
Stitching in a single color (like white on gray) places all the emphasis on the beauty of the geometric pattern itself.
This meditative process transforms a basic stitch into an intricate, heirloom-quality piece of art.
14. Tell a Story with a Constellation of Hoops
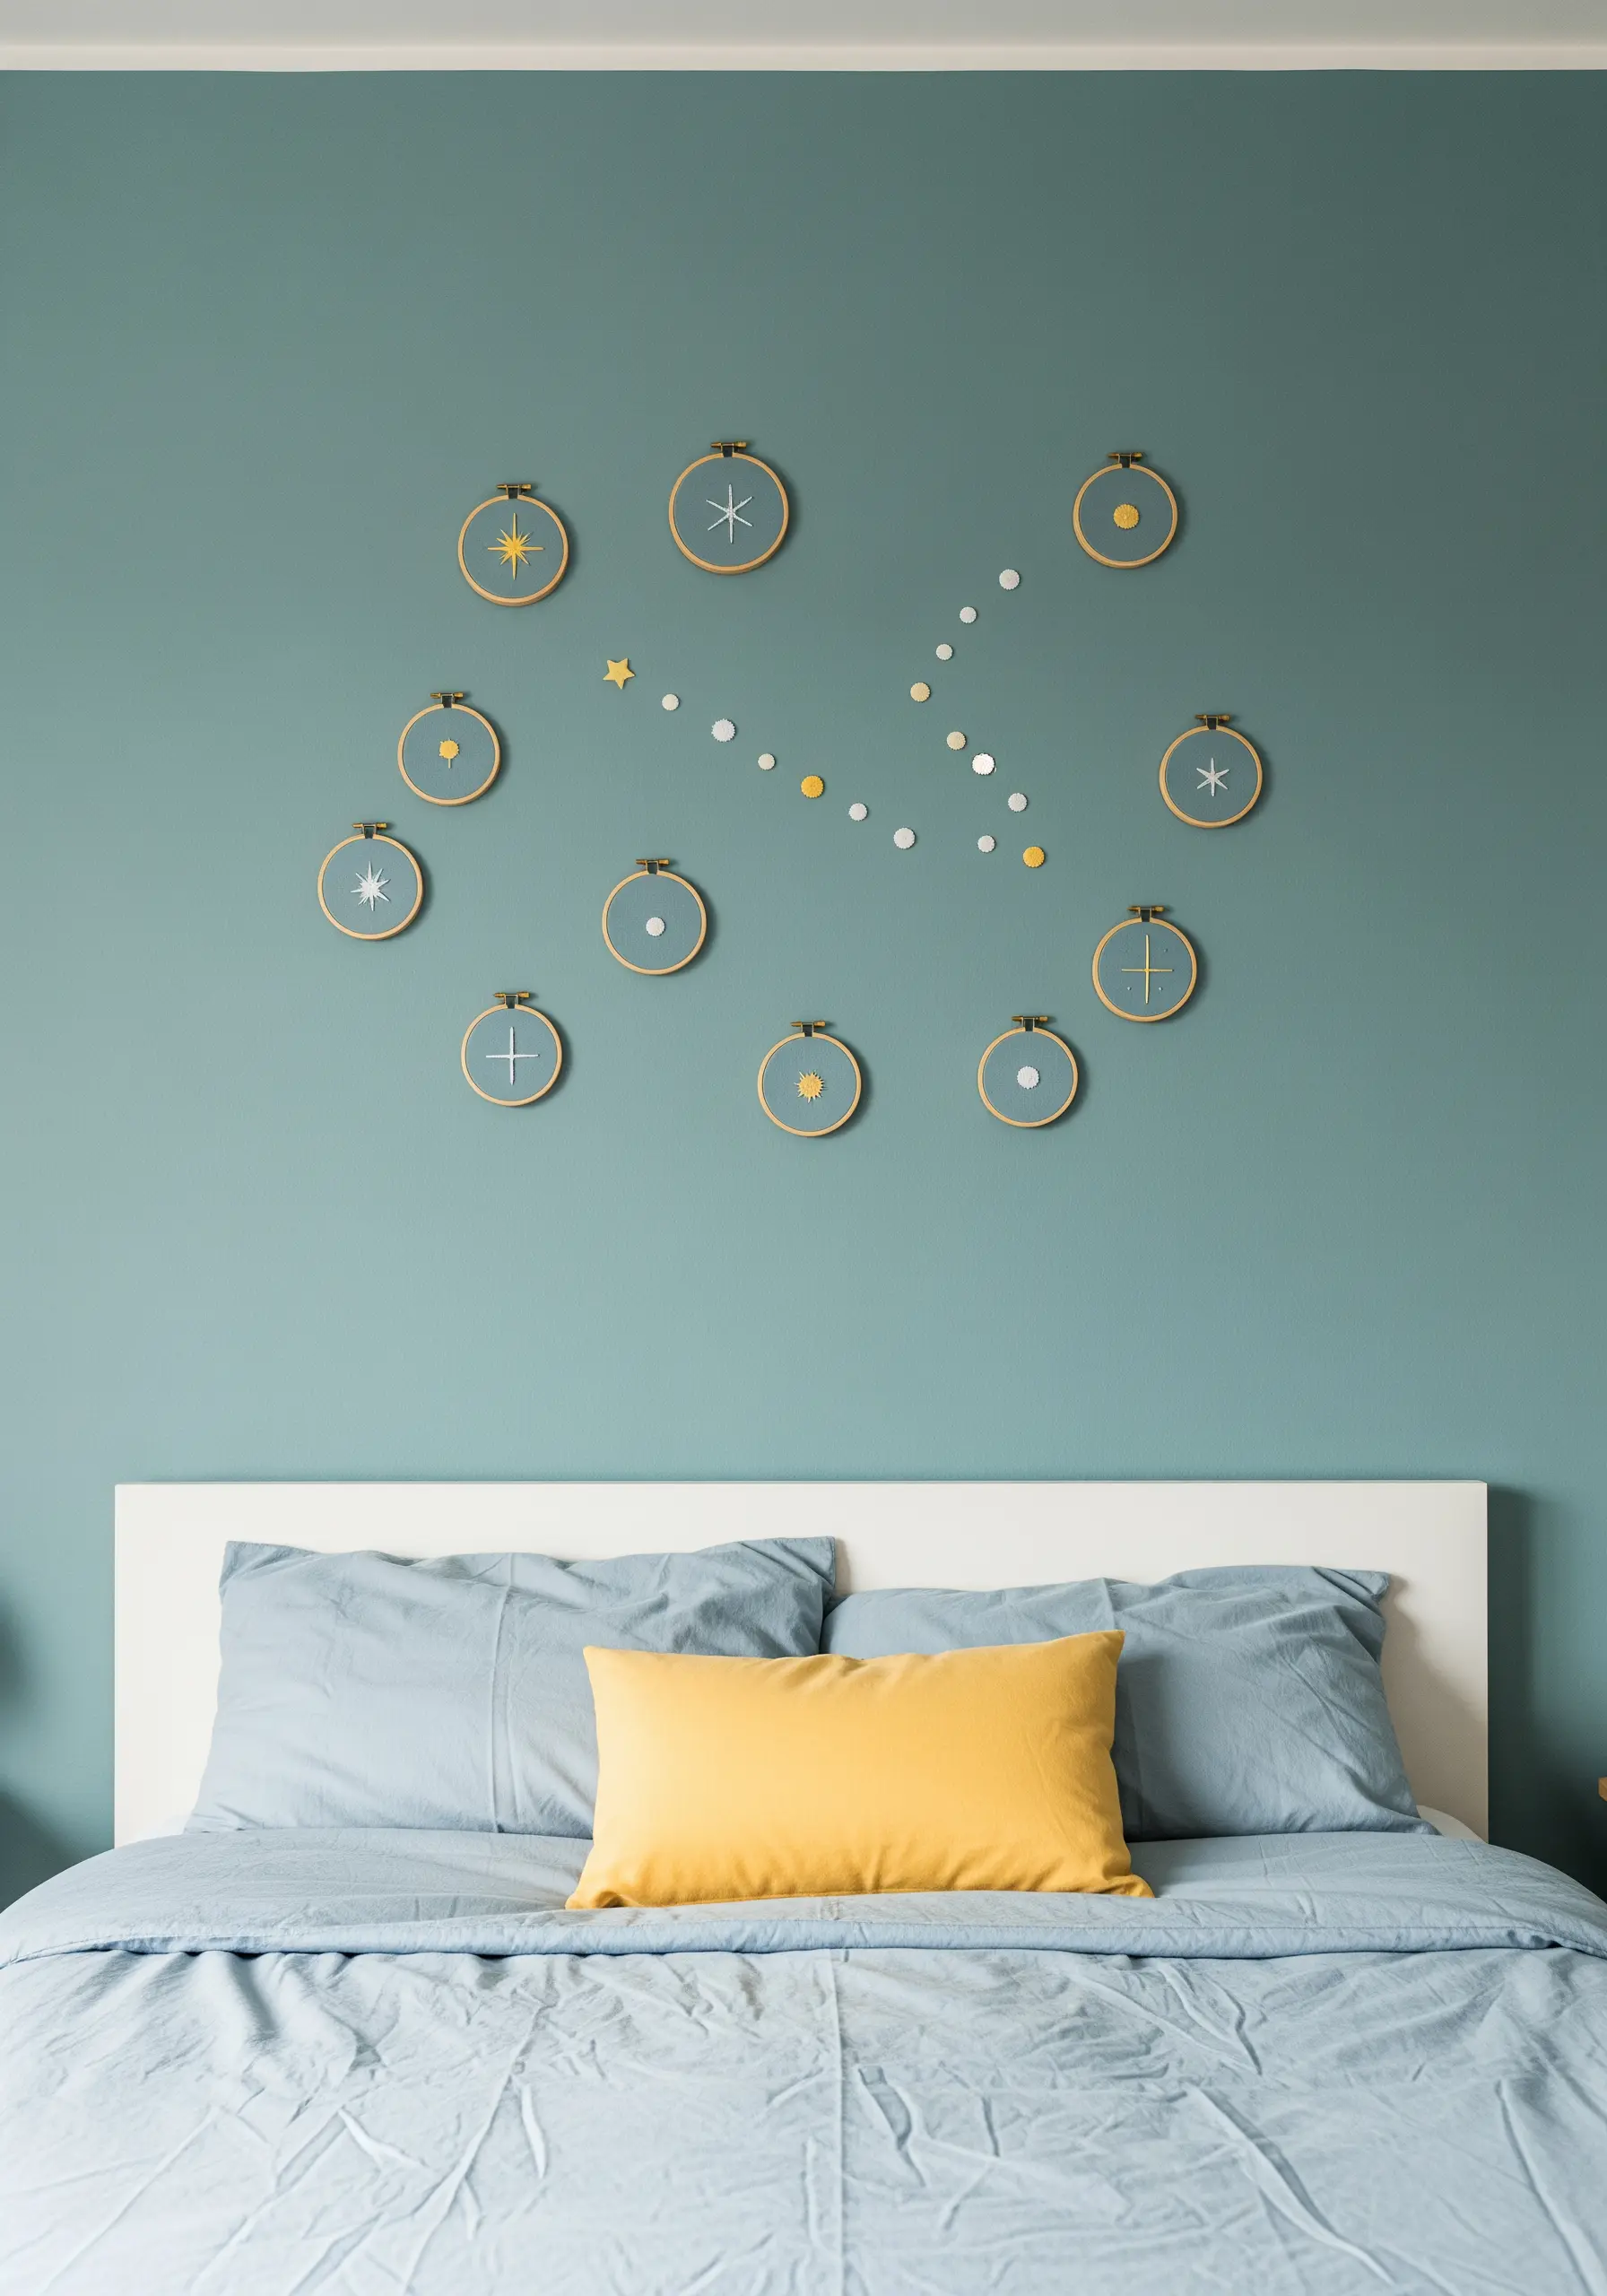
Create a large-scale art installation by arranging multiple mini hoops into a single, cohesive design.
Stitch simple, related motifs in each hoop—like individual stars—and then arrange them on the wall to form a larger picture, such as a zodiac constellation.
To add more dimension, you can incorporate other elements like metallic vinyl dots or small painted accents between the hoops.
This modular approach makes creating impactful celestial micro-embroidery ideas feel manageable and fun.
15. Master Clean Edges in Color-Blocked Designs
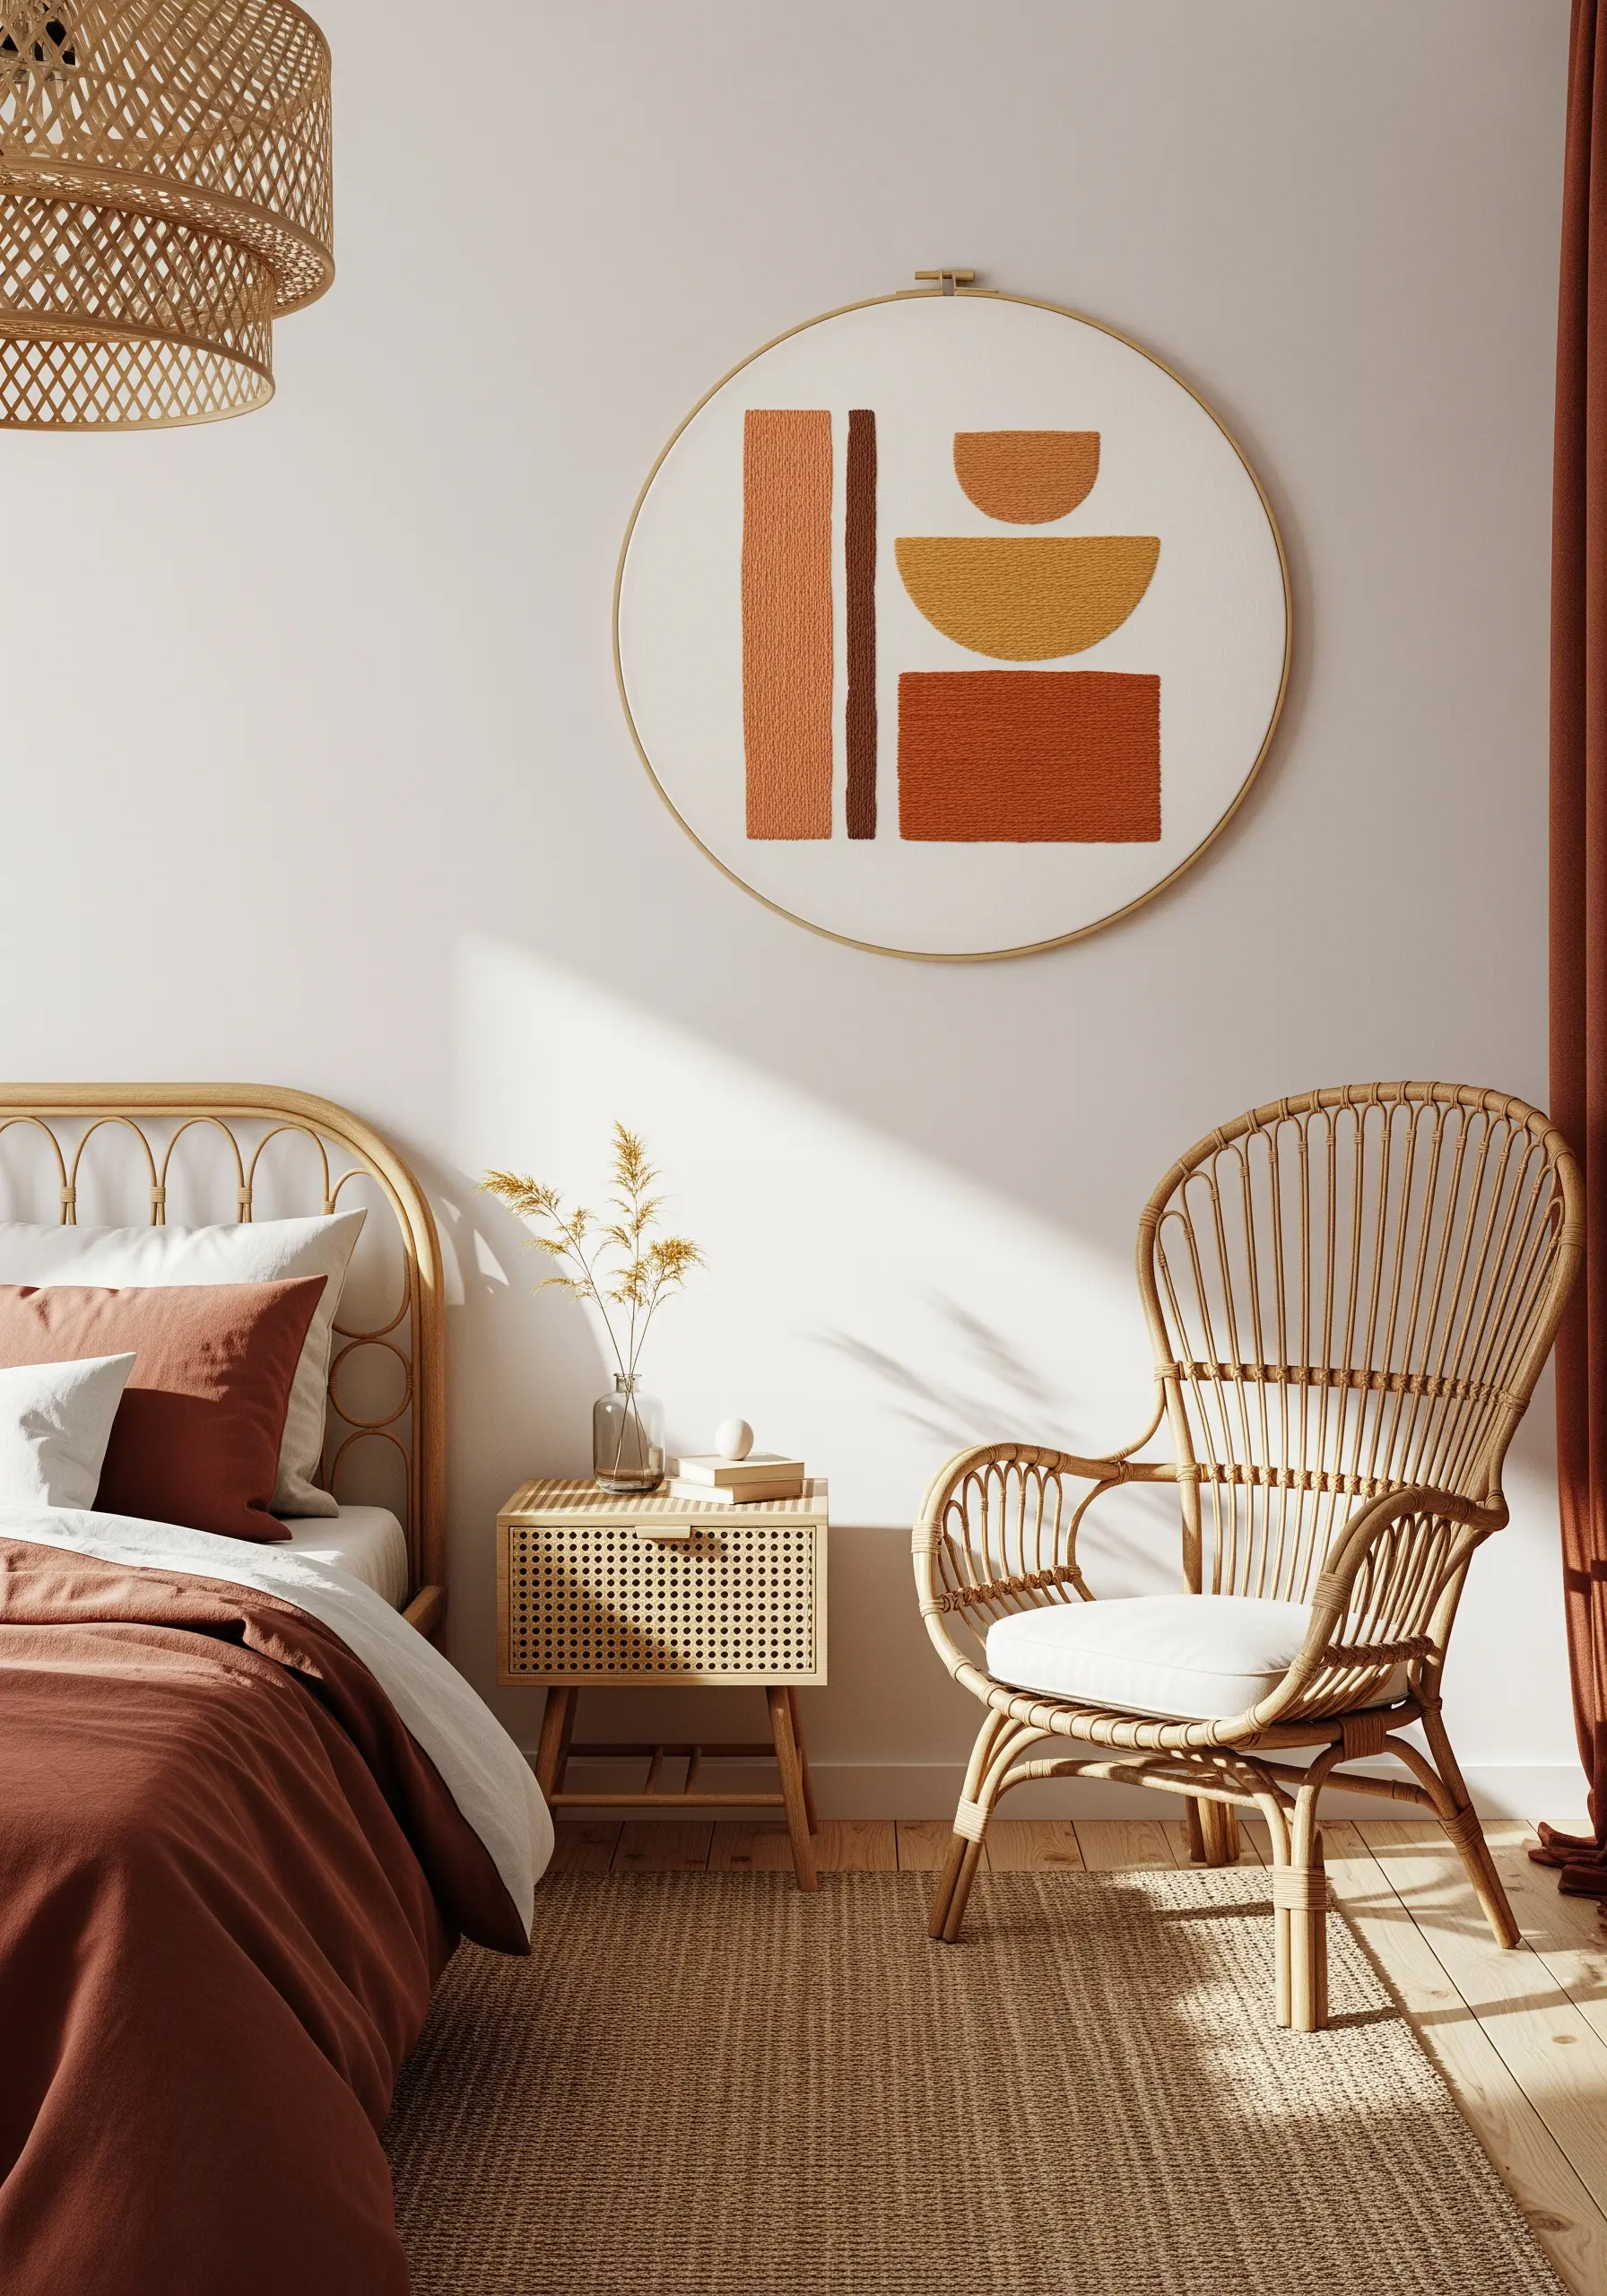
To achieve the sharp, graphic look of color blocking, the secret lies in creating a perfect edge between shades.
Before you begin your satin stitch fill, outline the entire edge of each shape with a tiny split stitch using the same color thread.
This subtle raised border acts as a barrier, preventing your fill stitches from slipping and ensuring a crisp, clean line where the colors meet.
Pair this technique with a warm, handmade earth-tone palette for a modern yet inviting piece.
16. Evoke Character with Minimalist Animal Contours
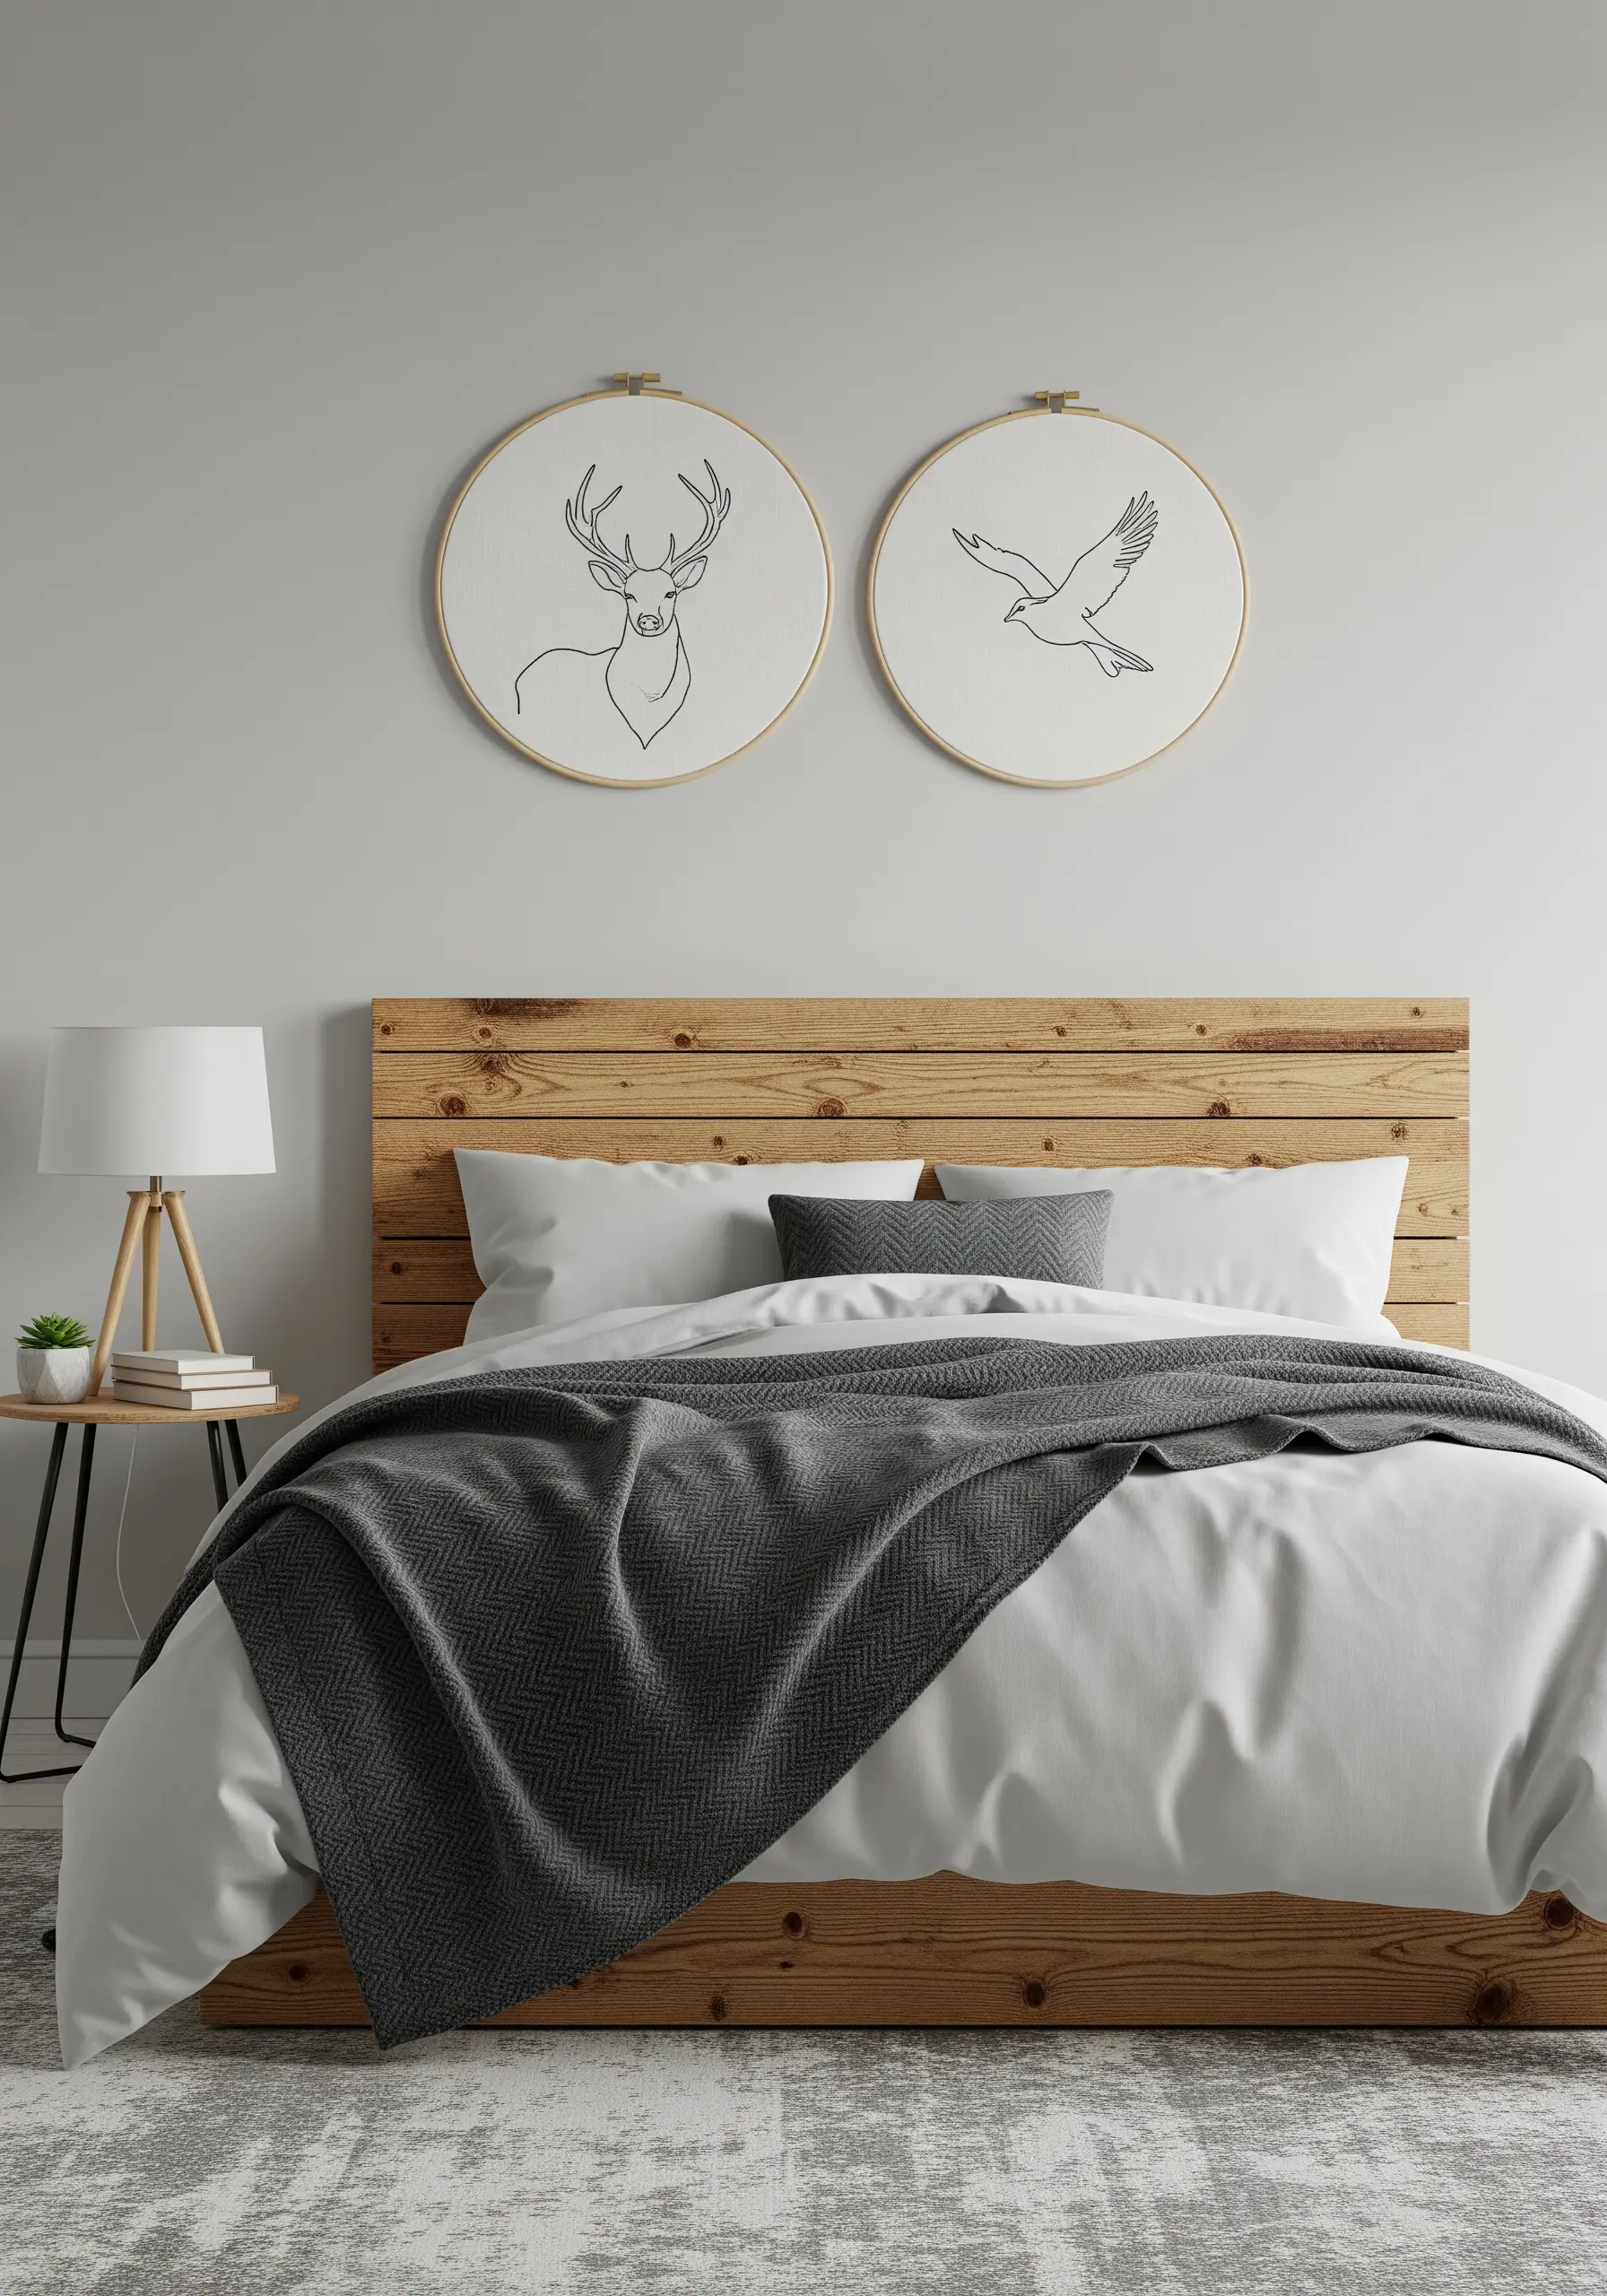
Capture the spirit of an animal not with detail, but with the elegance of a single, expressive line.
Use a single strand of black or dark gray thread to maintain a delicate, ink-like quality, as if drawn on paper.
A stem stitch is ideal for this, as it handles curves more smoothly than a backstitch, allowing you to create a fluid, continuous silhouette.
This style of minimalist line art animal designs relies on the power of suggestion and negative space to bring the form to life.
17. Display Your Art with Natural Elements
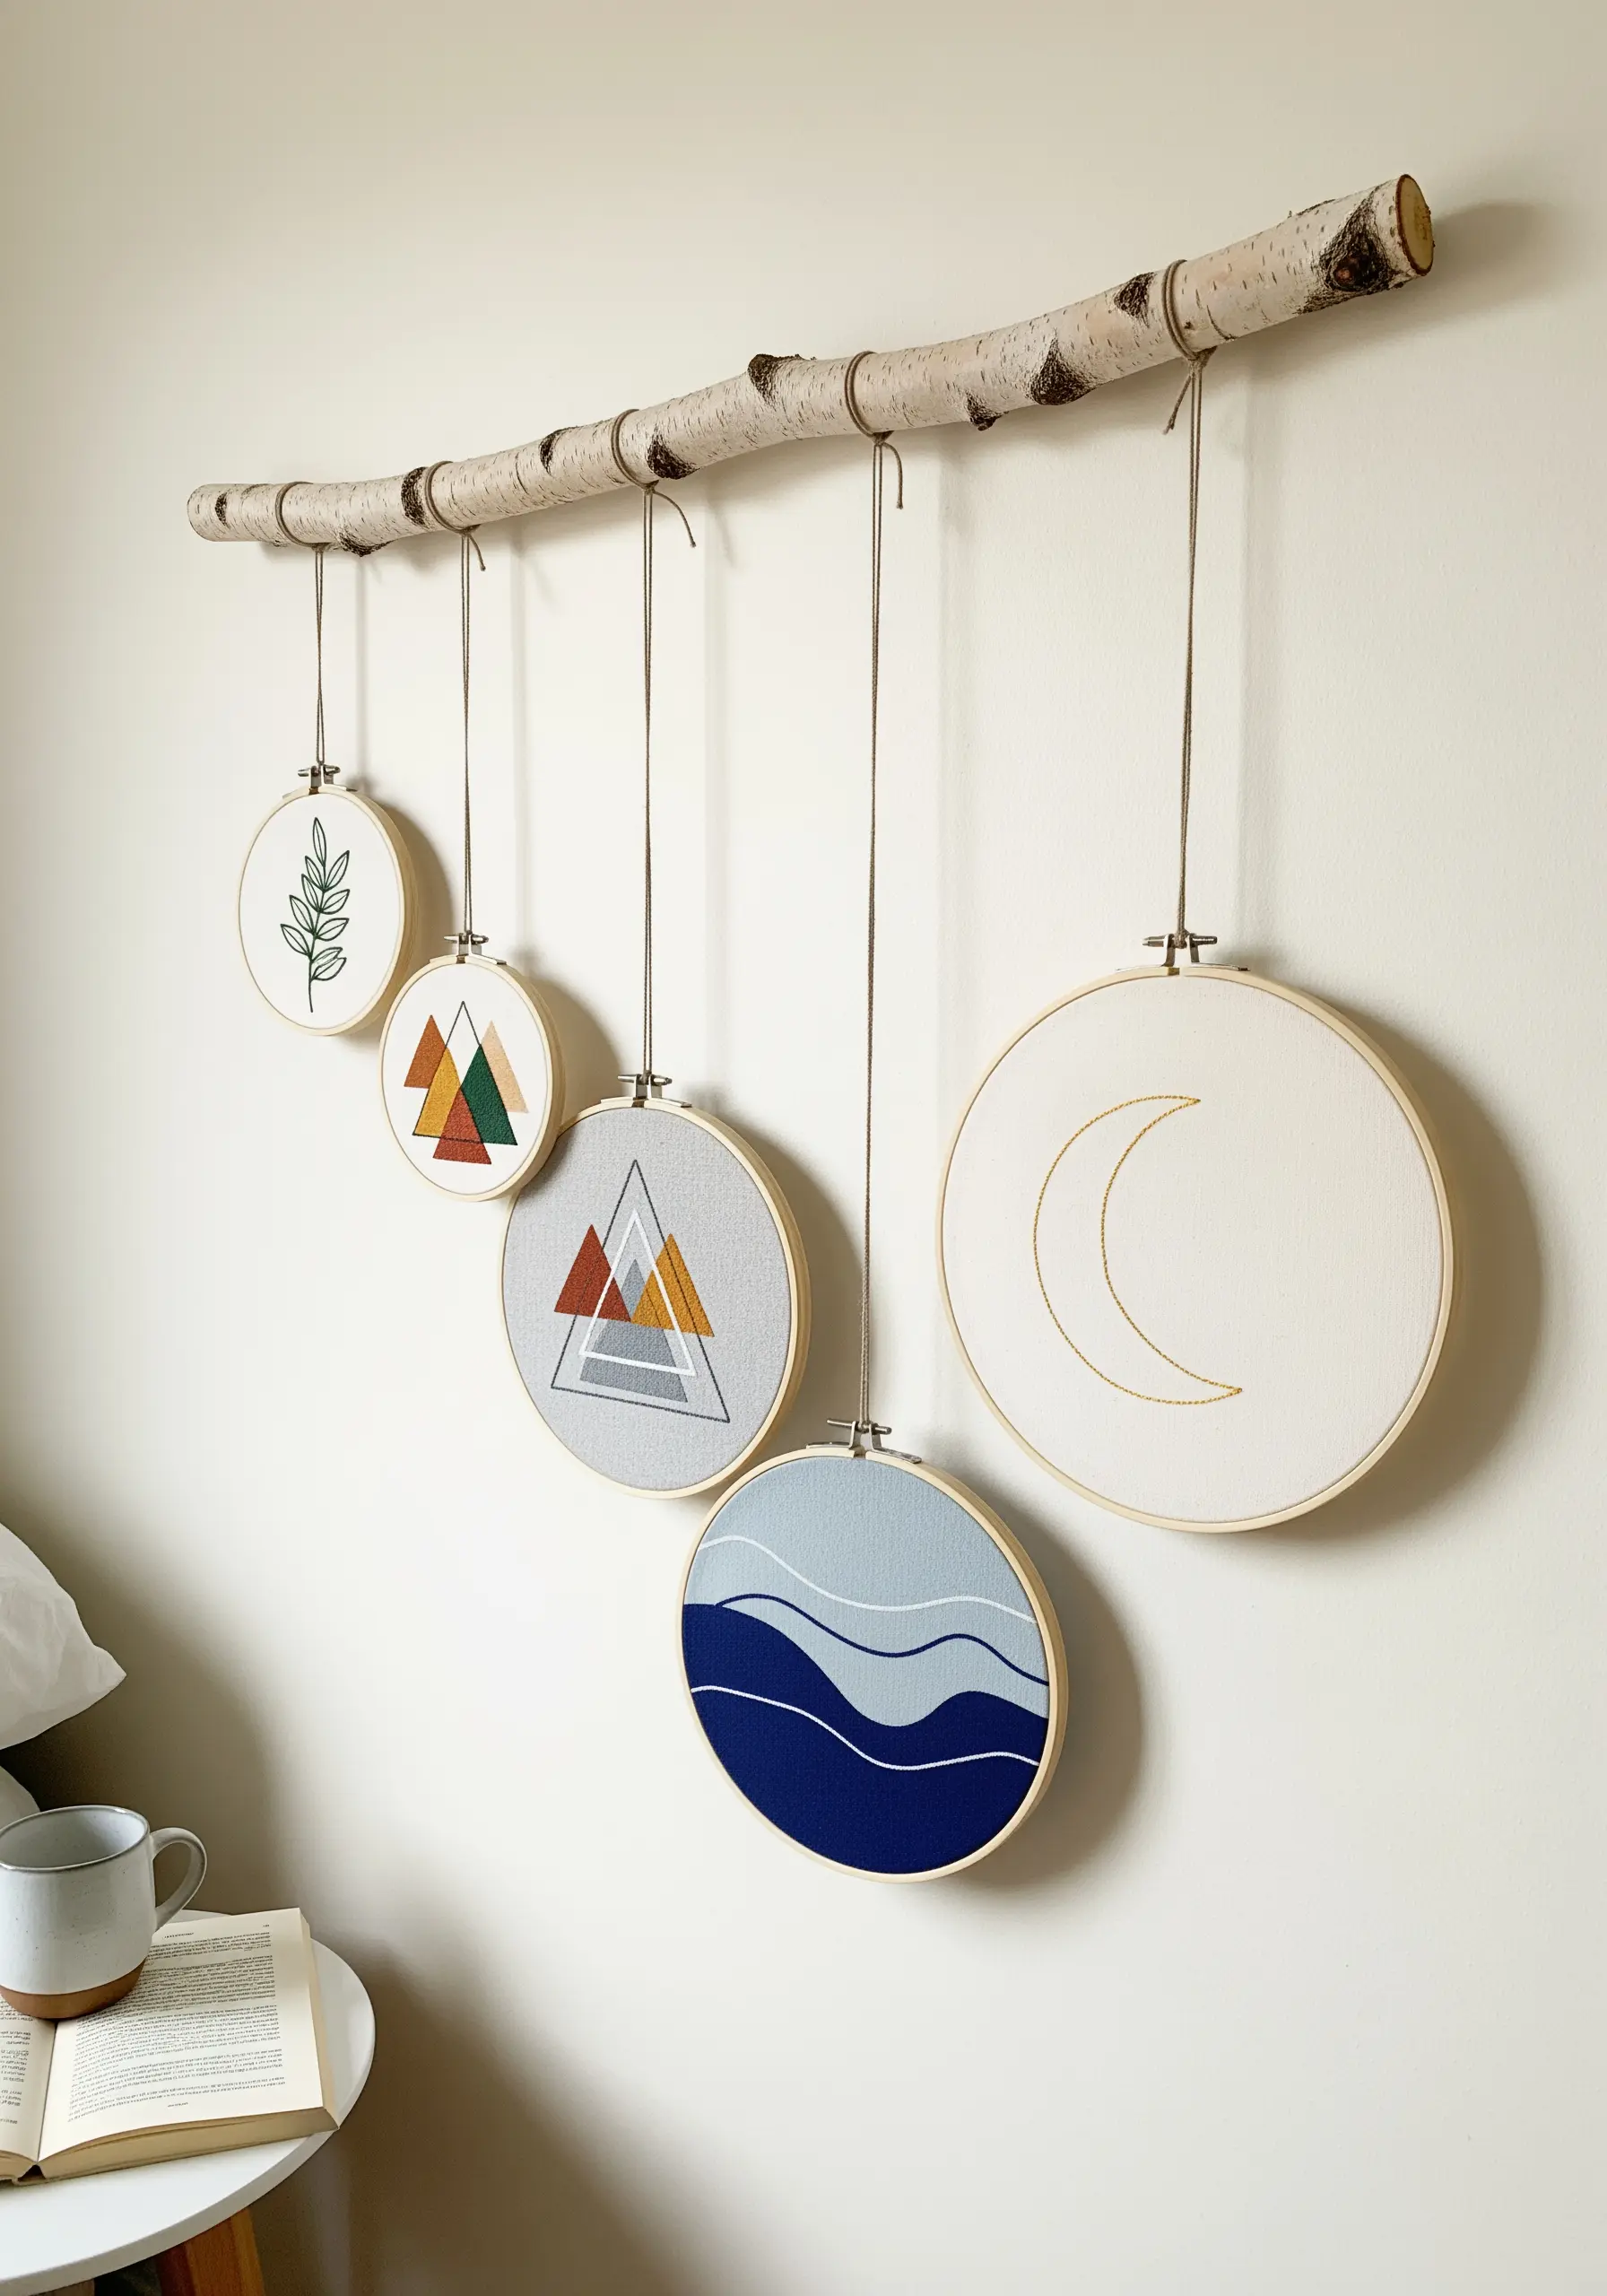
Elevate your finished hoops by creating a custom wall hanging with a piece of found nature, like a birch branch or length of driftwood.
This approach groups individual pieces into a single, cohesive art installation that feels both handmade and intentional.
Vary the sizes of your hoops and the lengths of the thread or twine you use to hang them, creating a balanced and visually interesting composition.
This is a beautiful way to display nature-inspired embroidery wall decor projects, tying the theme together perfectly.
18. Create Radiating Light with Straight Stitches
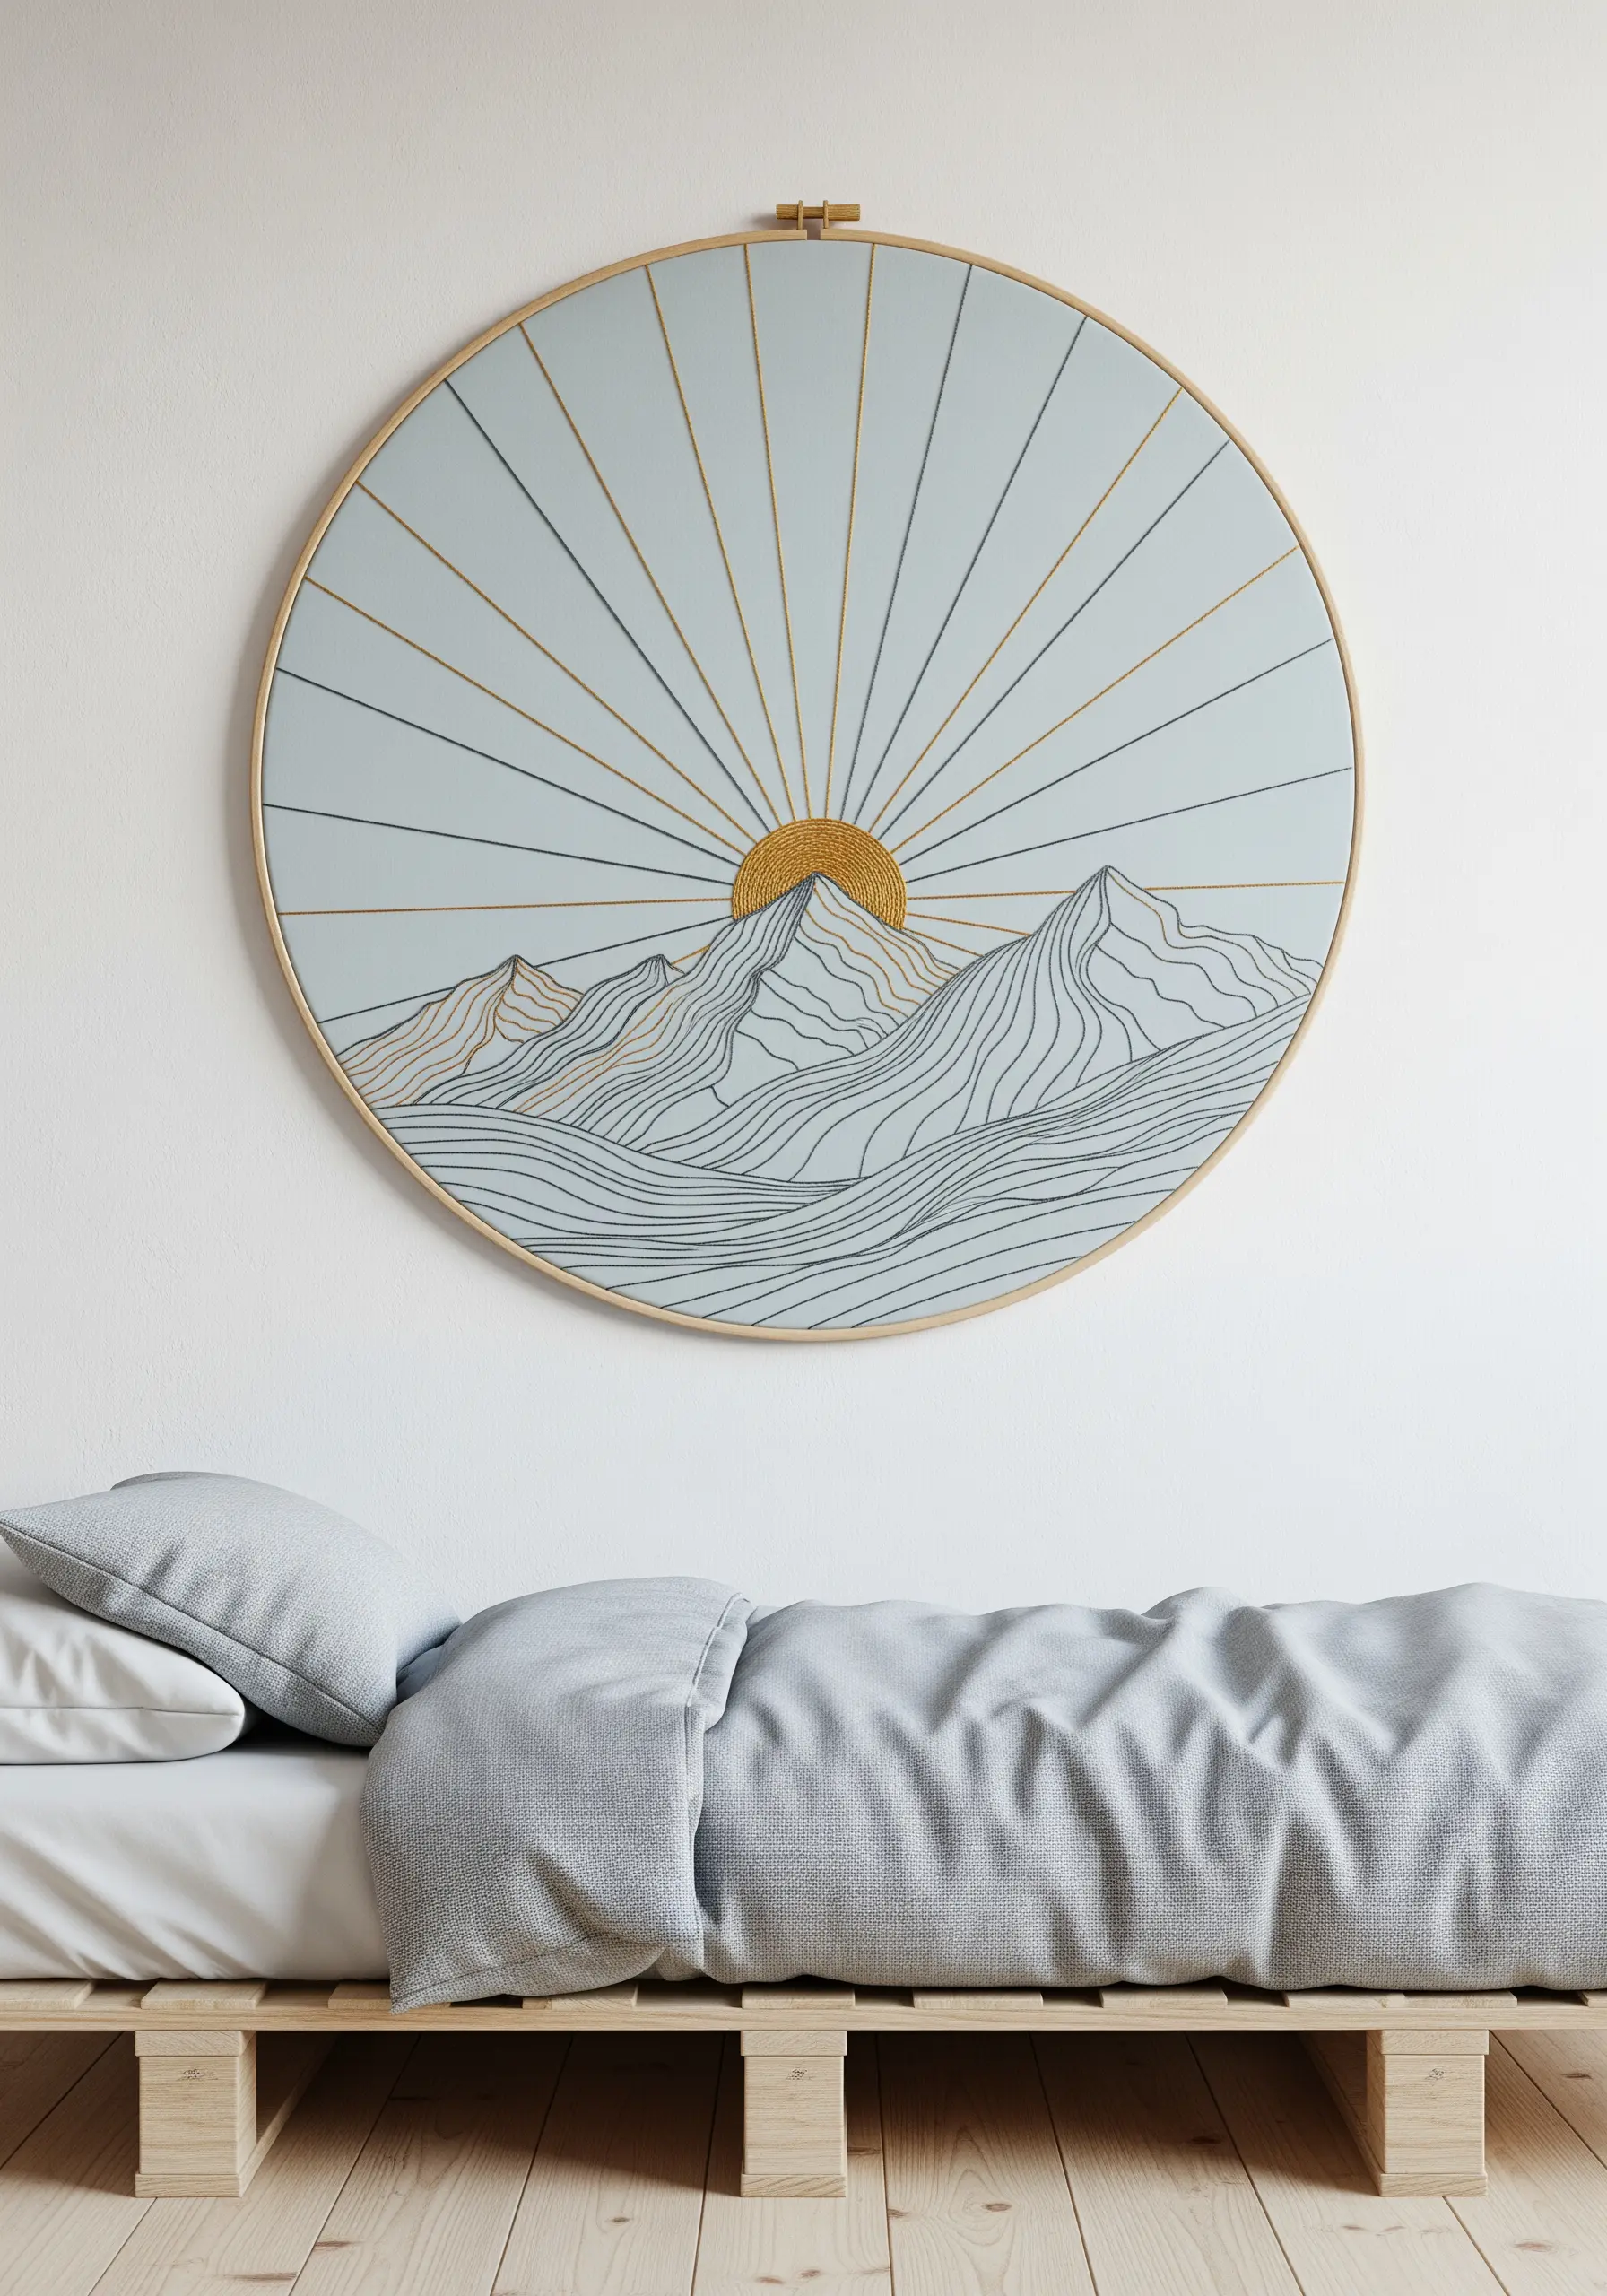
You can generate a powerful sense of energy and movement using only the humble straight stitch.
To create a sunburst, stitch radiating lines from a central point, focusing on maintaining even tension to prevent the fabric from puckering under the long stitches.
Use a contrasting metallic thread for the sun’s rays to create a focal point that catches the light and draws the eye.
This technique is proof that the simplest stitches can often create the most dramatic and impactful designs.
19. Personalize Your Space with a Padded Monogram
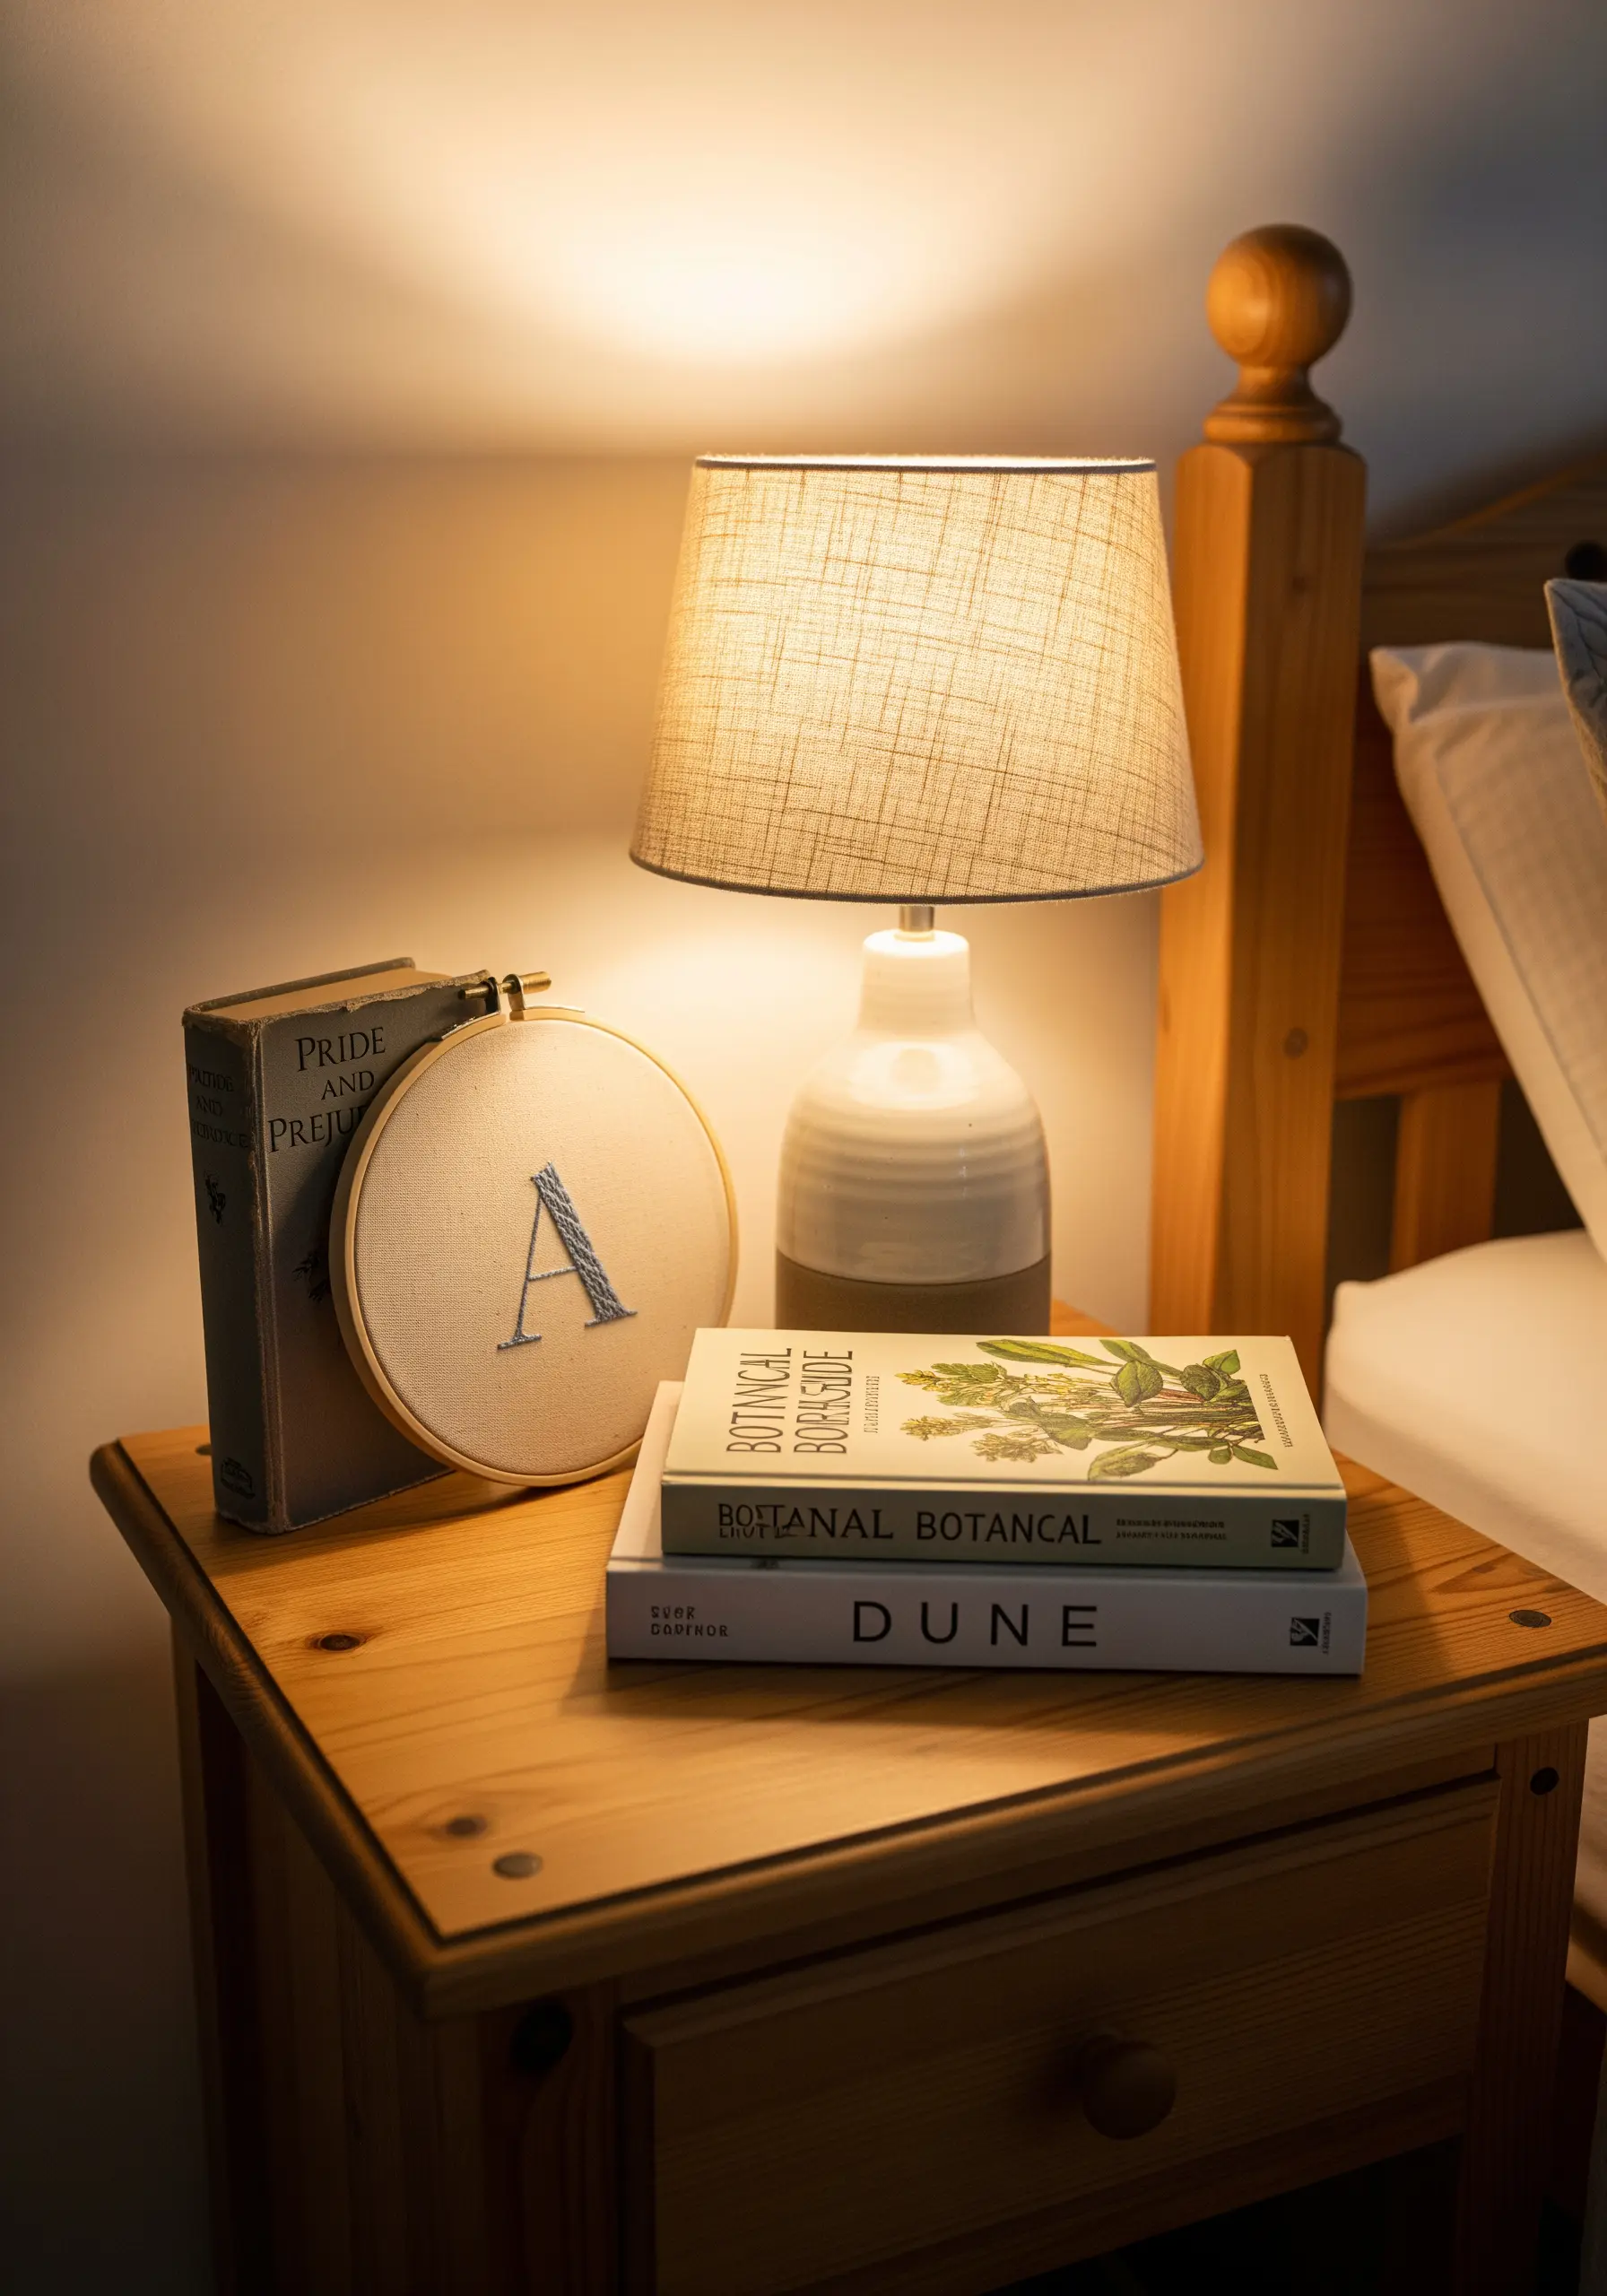
Add a touch of timeless, personal elegance to your nightstand with a hand-stitched monogram.
To give the letter a subtle, raised dimension, use a padded satin stitch.
First, fill the shape of the letter with an underlayer of small, horizontal straight stitches.
Then, cover this padding with your final vertical satin stitches; the underlay will lift the top layer, creating a beautiful, plush effect that makes even minimal monogram styles feel luxurious.


