
You have the threads, the fabric, and the desire to create something beautiful. But sometimes, the finished piece doesn’t quite capture the elegance you imagined. It’s a quiet frustration many of us feel—the gap between the vision in our minds and the stitches in the hoop.
Let me reassure you: elevating your work isn’t about mastering dozens of complex techniques. It’s about making small, intentional adjustments. It’s about understanding why changing the direction of a stitch, choosing a single strand over six, or adding a simple outline can transform the entire feel of your project.
These projects are designed to be your guide. Each one is a quick, tangible way to practice a specific principle of modern embroidery. They are invitations to add a touch of handcrafted artistry to your home—not as a chore, but as a moment of creative calm that leaves you with something truly personal and polished.
1. Capturing Botanical Texture in Lavender Sprigs

Instead of using a flat satin stitch for lavender buds, create dimension with French knots.
Group them tightly at the top of each flower and scatter them more loosely toward the stem to mimic natural growth.
For the stems, use a whipped backstitch—it adds a rounded, cord-like finish that gives the thin stalks more presence than a simple backstitch.
This combination of textures makes the delicate lavender feel more lifelike and visually interesting.
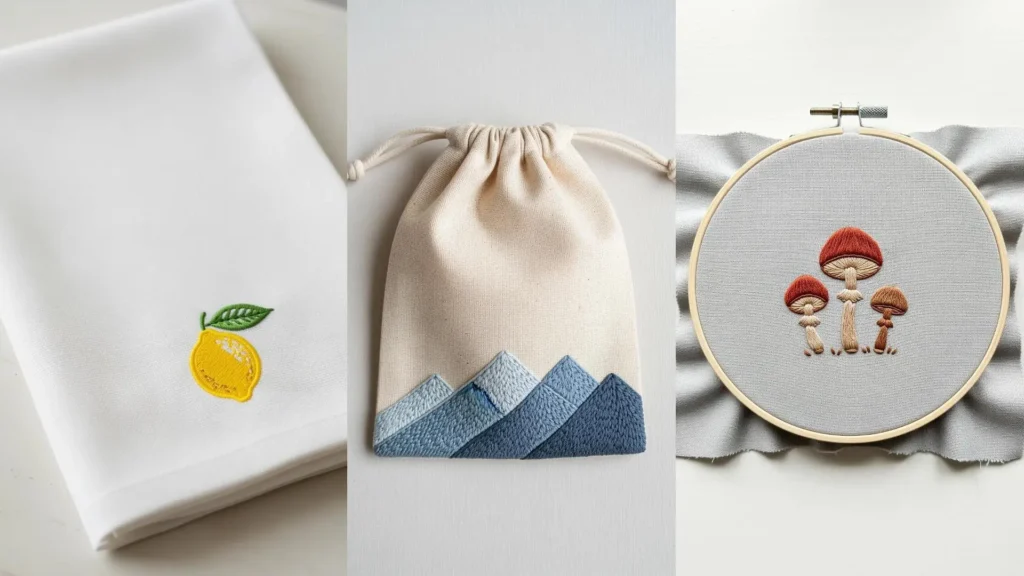
2. Achieving a Lustrous Fill on Table Linens
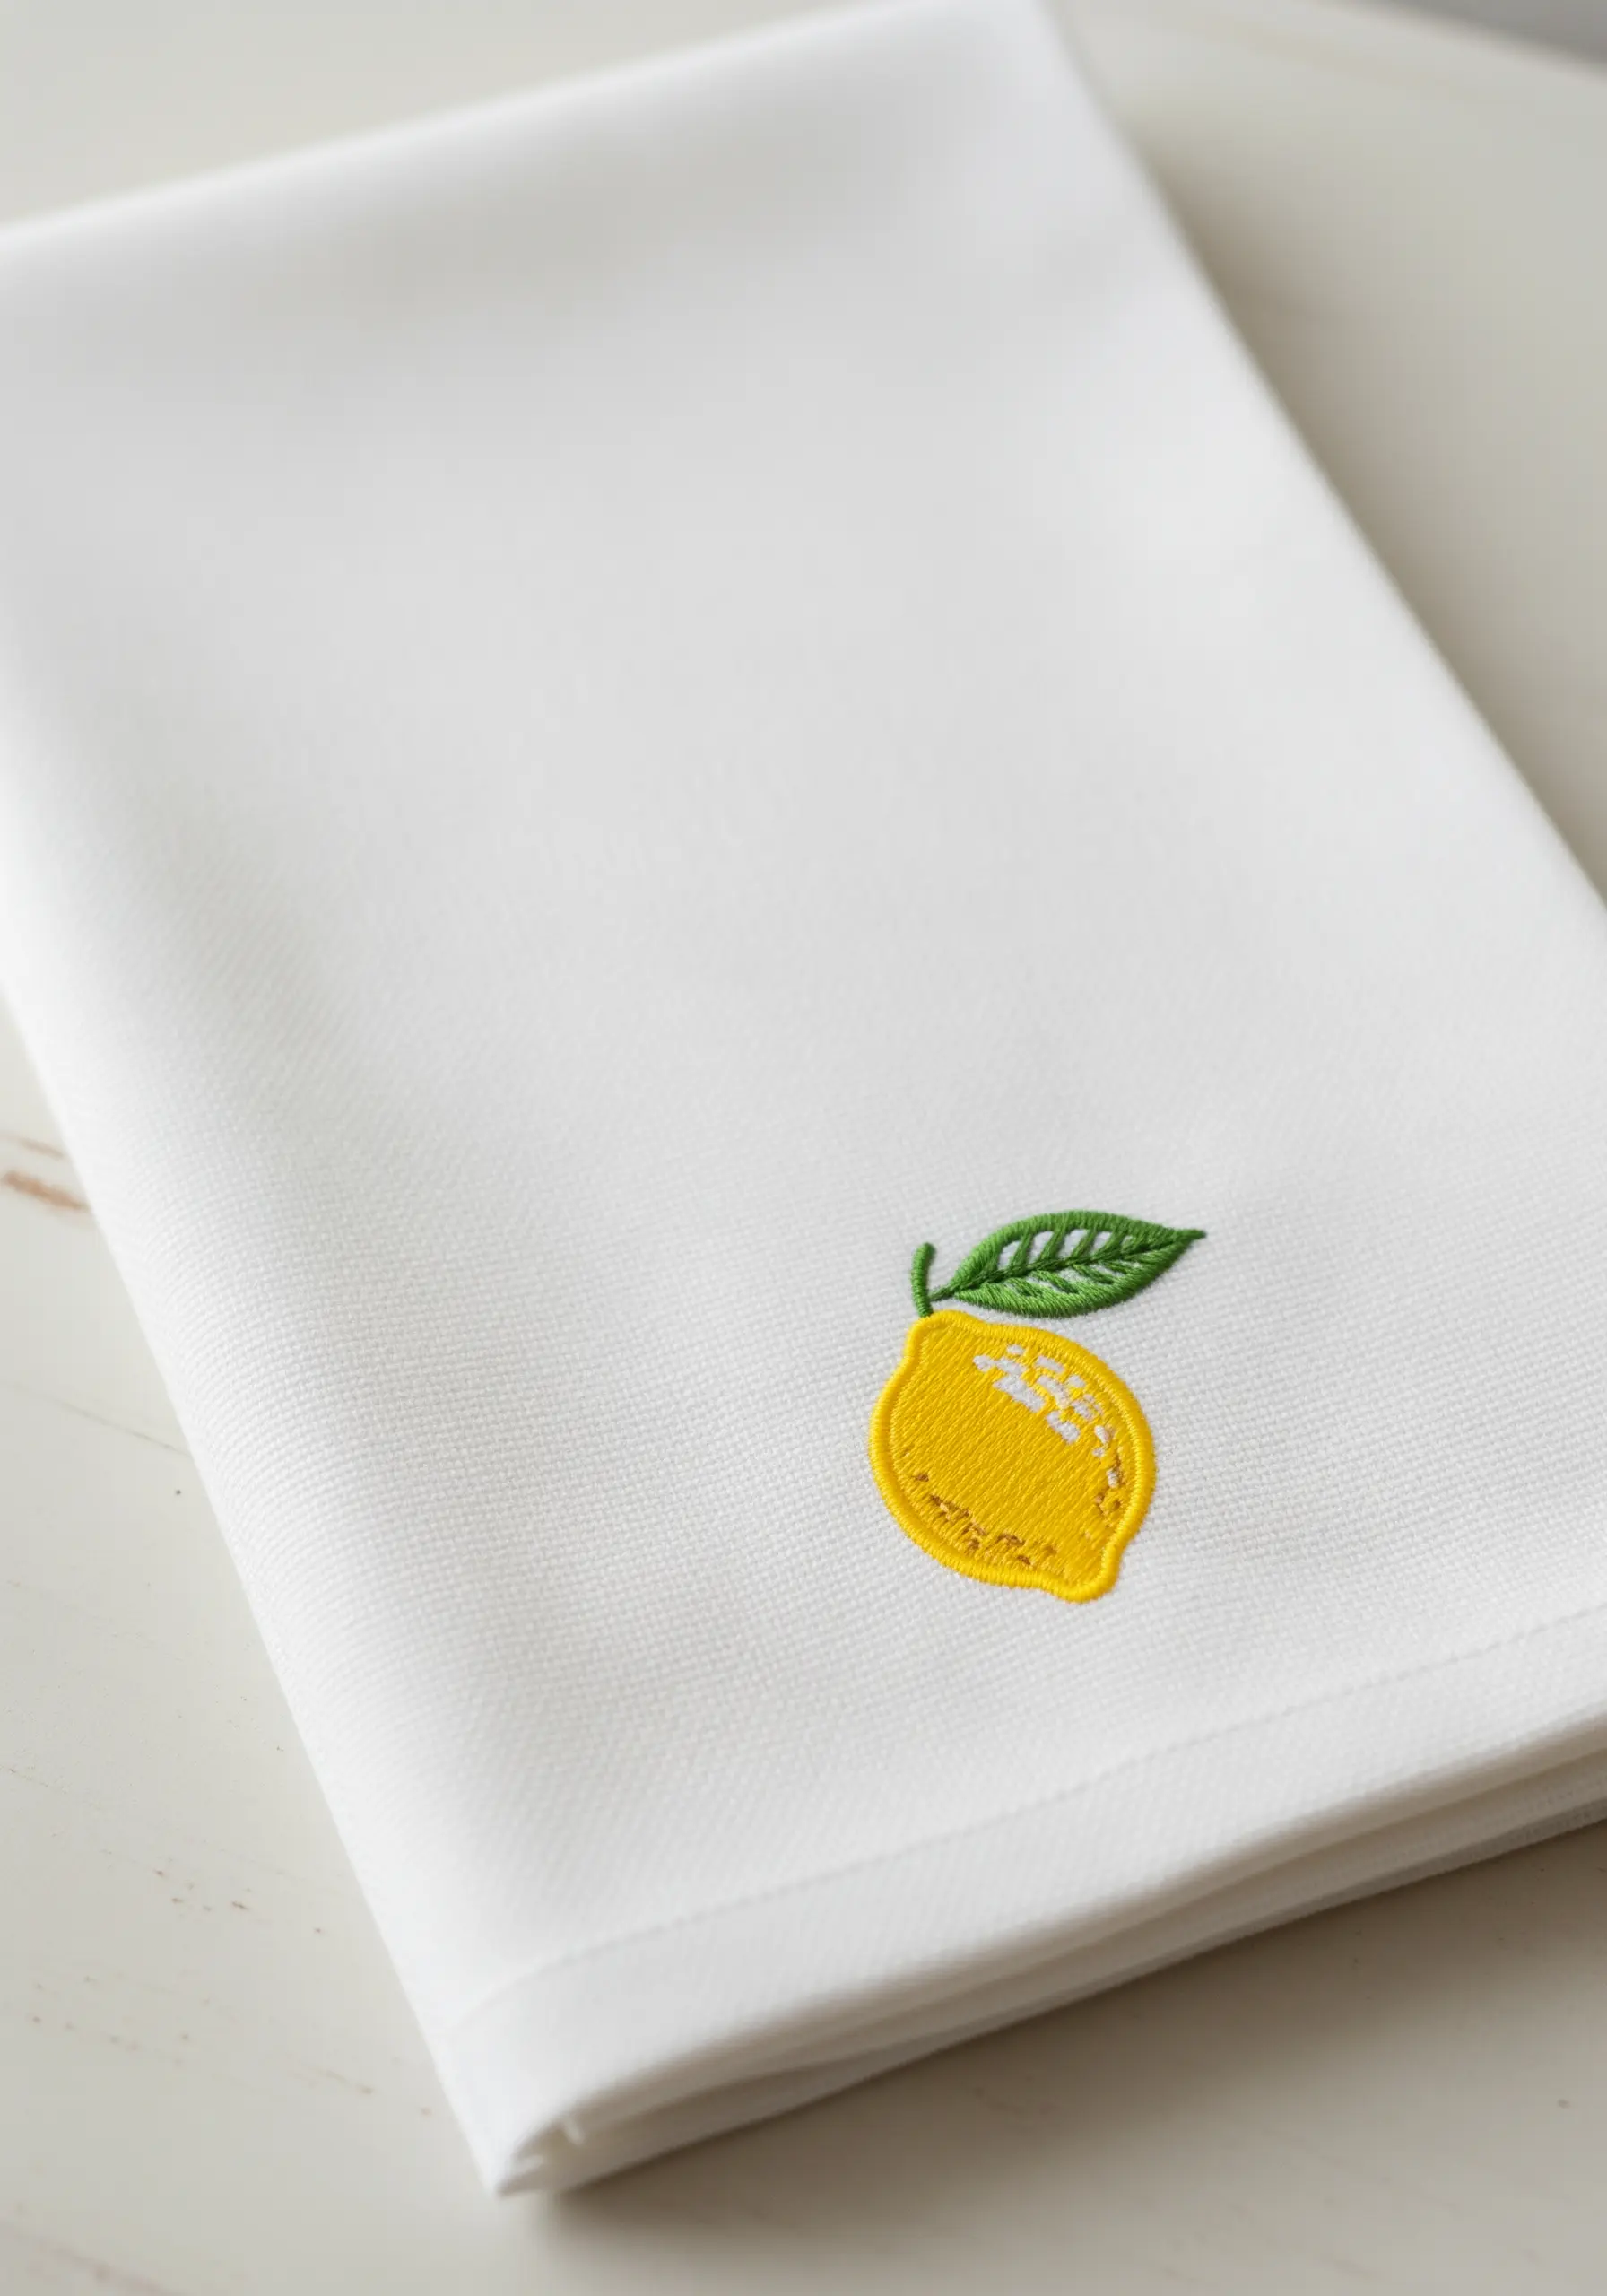
The key to a professional satin stitch on a simple motif is preparing a clean edge.
First, outline the entire shape with a split stitch using two strands of floss.
Then, fill the shape with your satin stitches, tucking your needle just under the raised outline. This prevents gaps and creates a perfectly smooth, contained shape.
For the highlight, add a few straight stitches in a lighter shade on top, following the curve of the fruit for a subtle, light-catching effect.
3. The Understated Elegance of a Padded Monogram
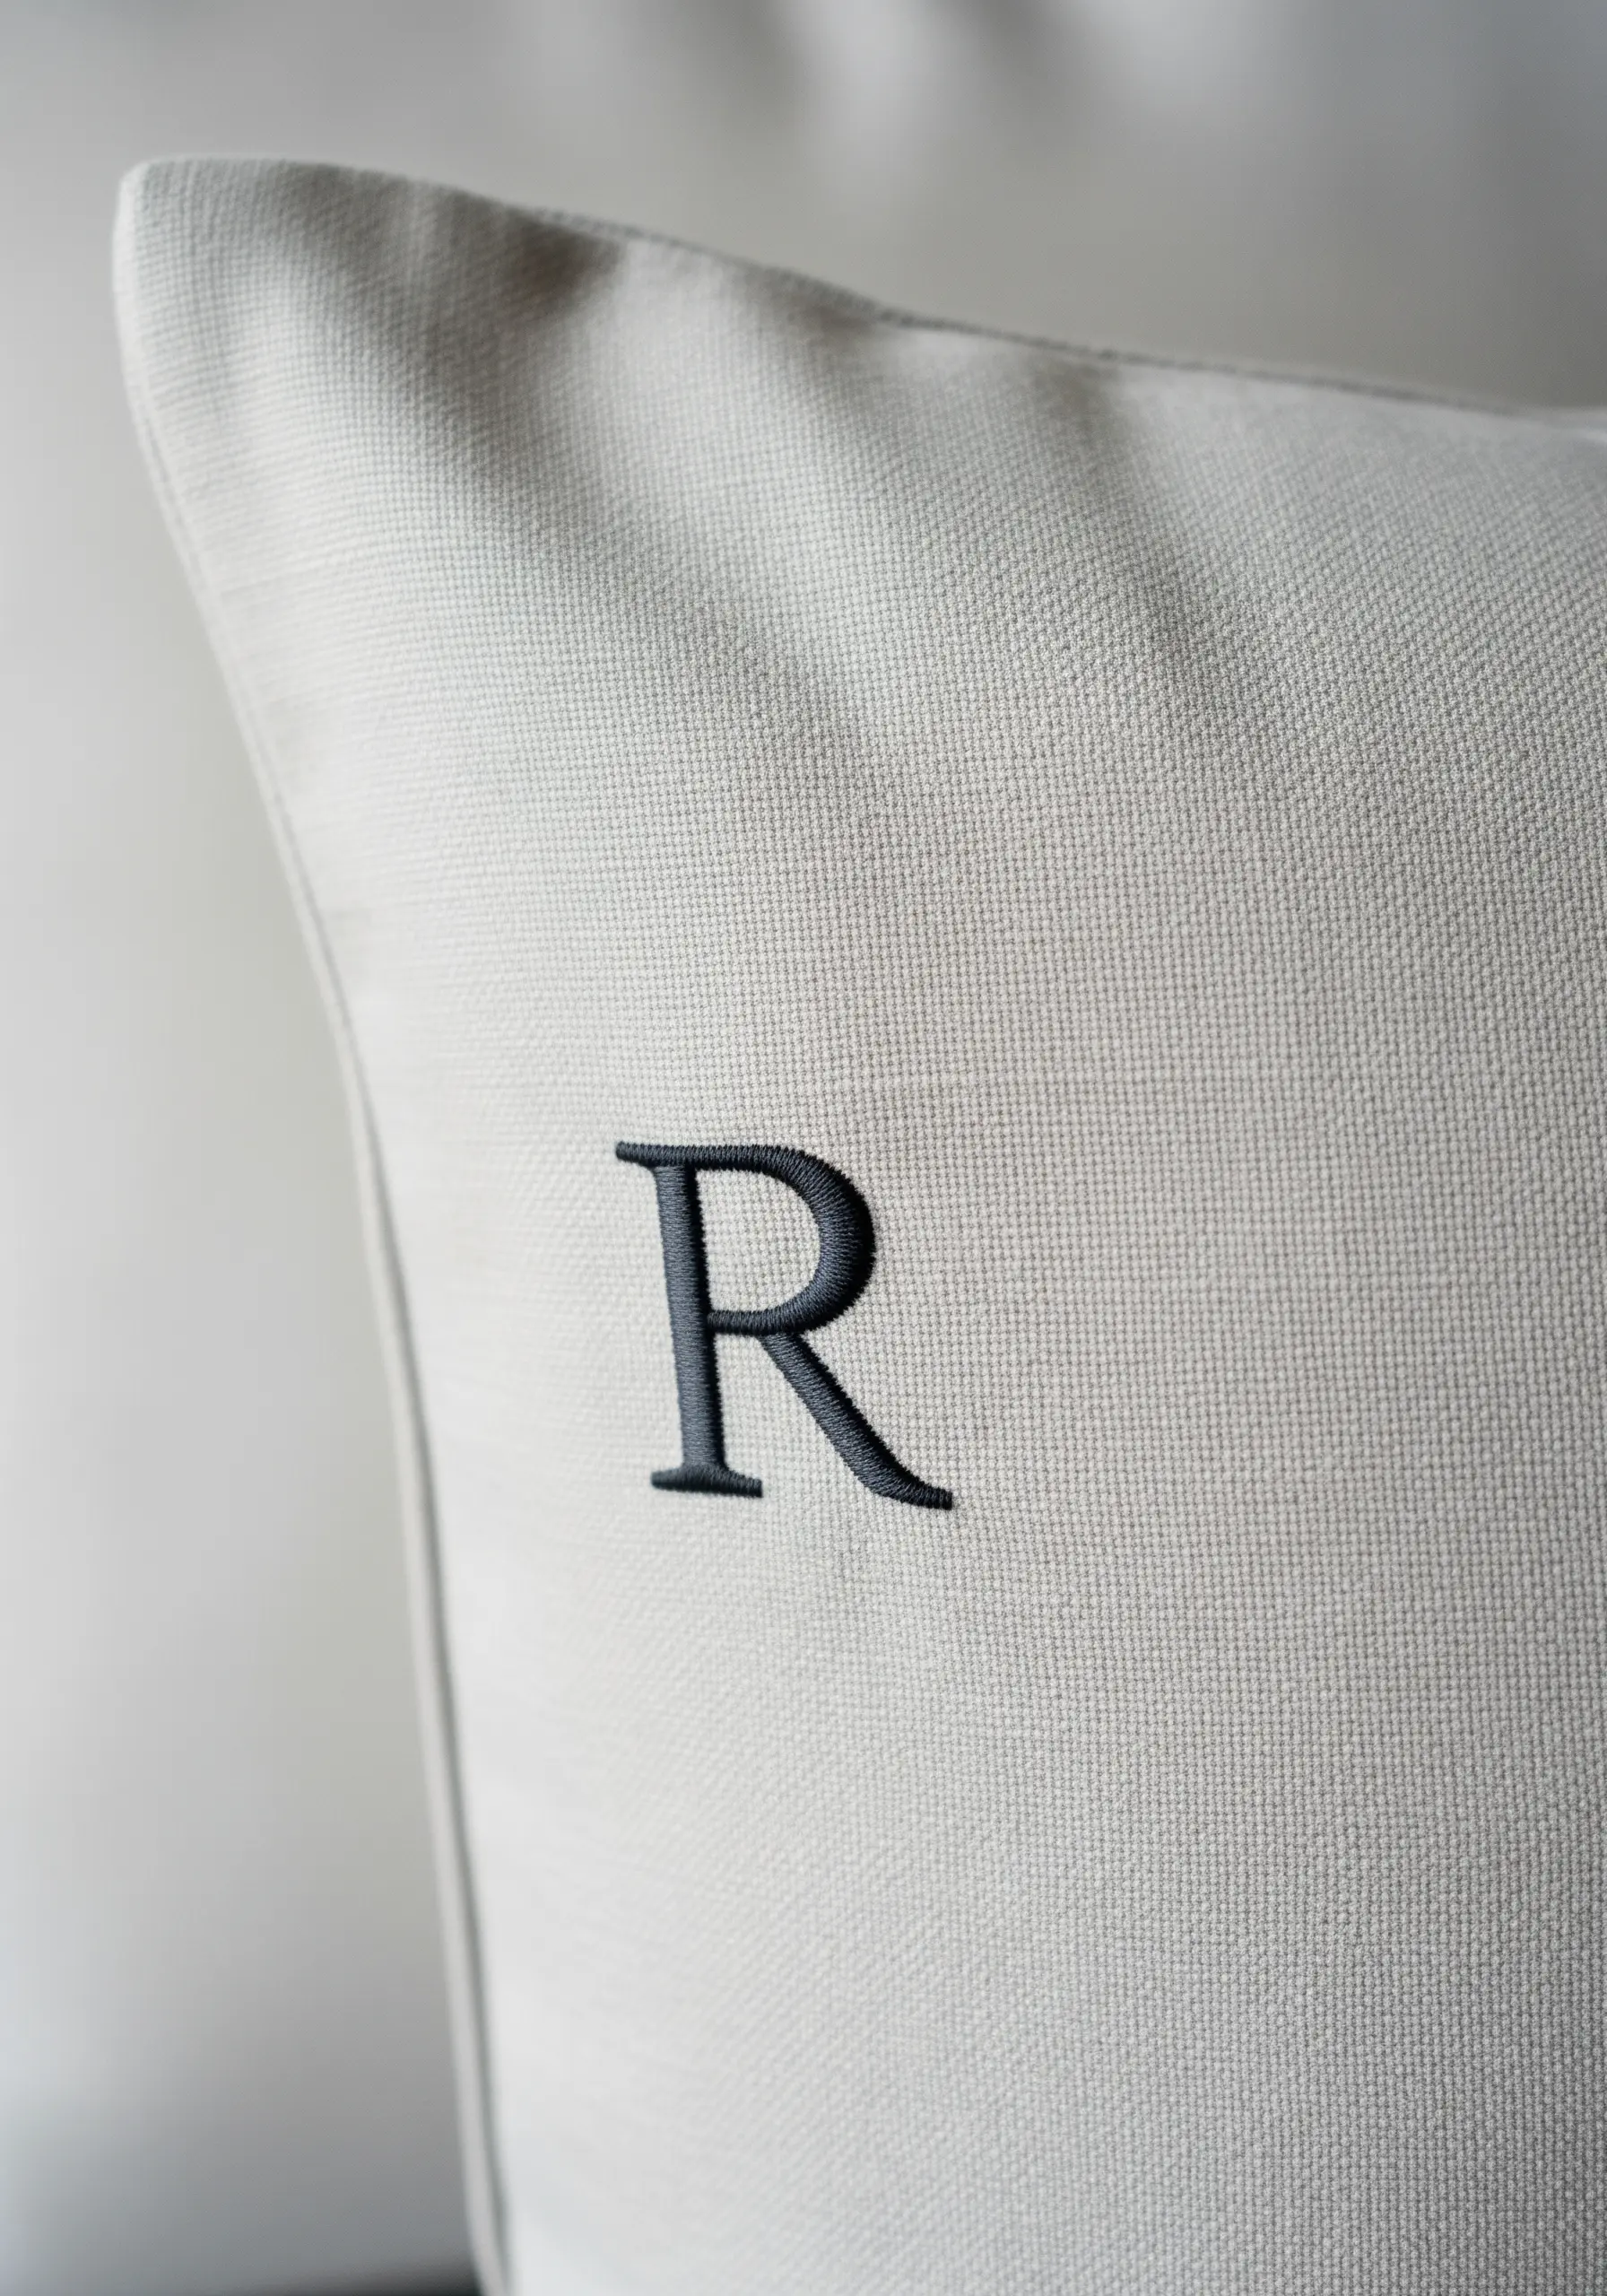
To give a simple monogram a luxurious, raised effect, you need to build a foundation before stitching your final layer.
First, fill the letter shape with a base of small, horizontal seed stitches.
Then, work your final vertical satin stitches directly over this padding. The underlying layer pushes the satin stitch up, creating subtle shadow and dimension.
This technique turns a flat letter into a sophisticated, tactile detail on any cushion or towel.
4. Mastering Fluid Lines for Illustrative Art
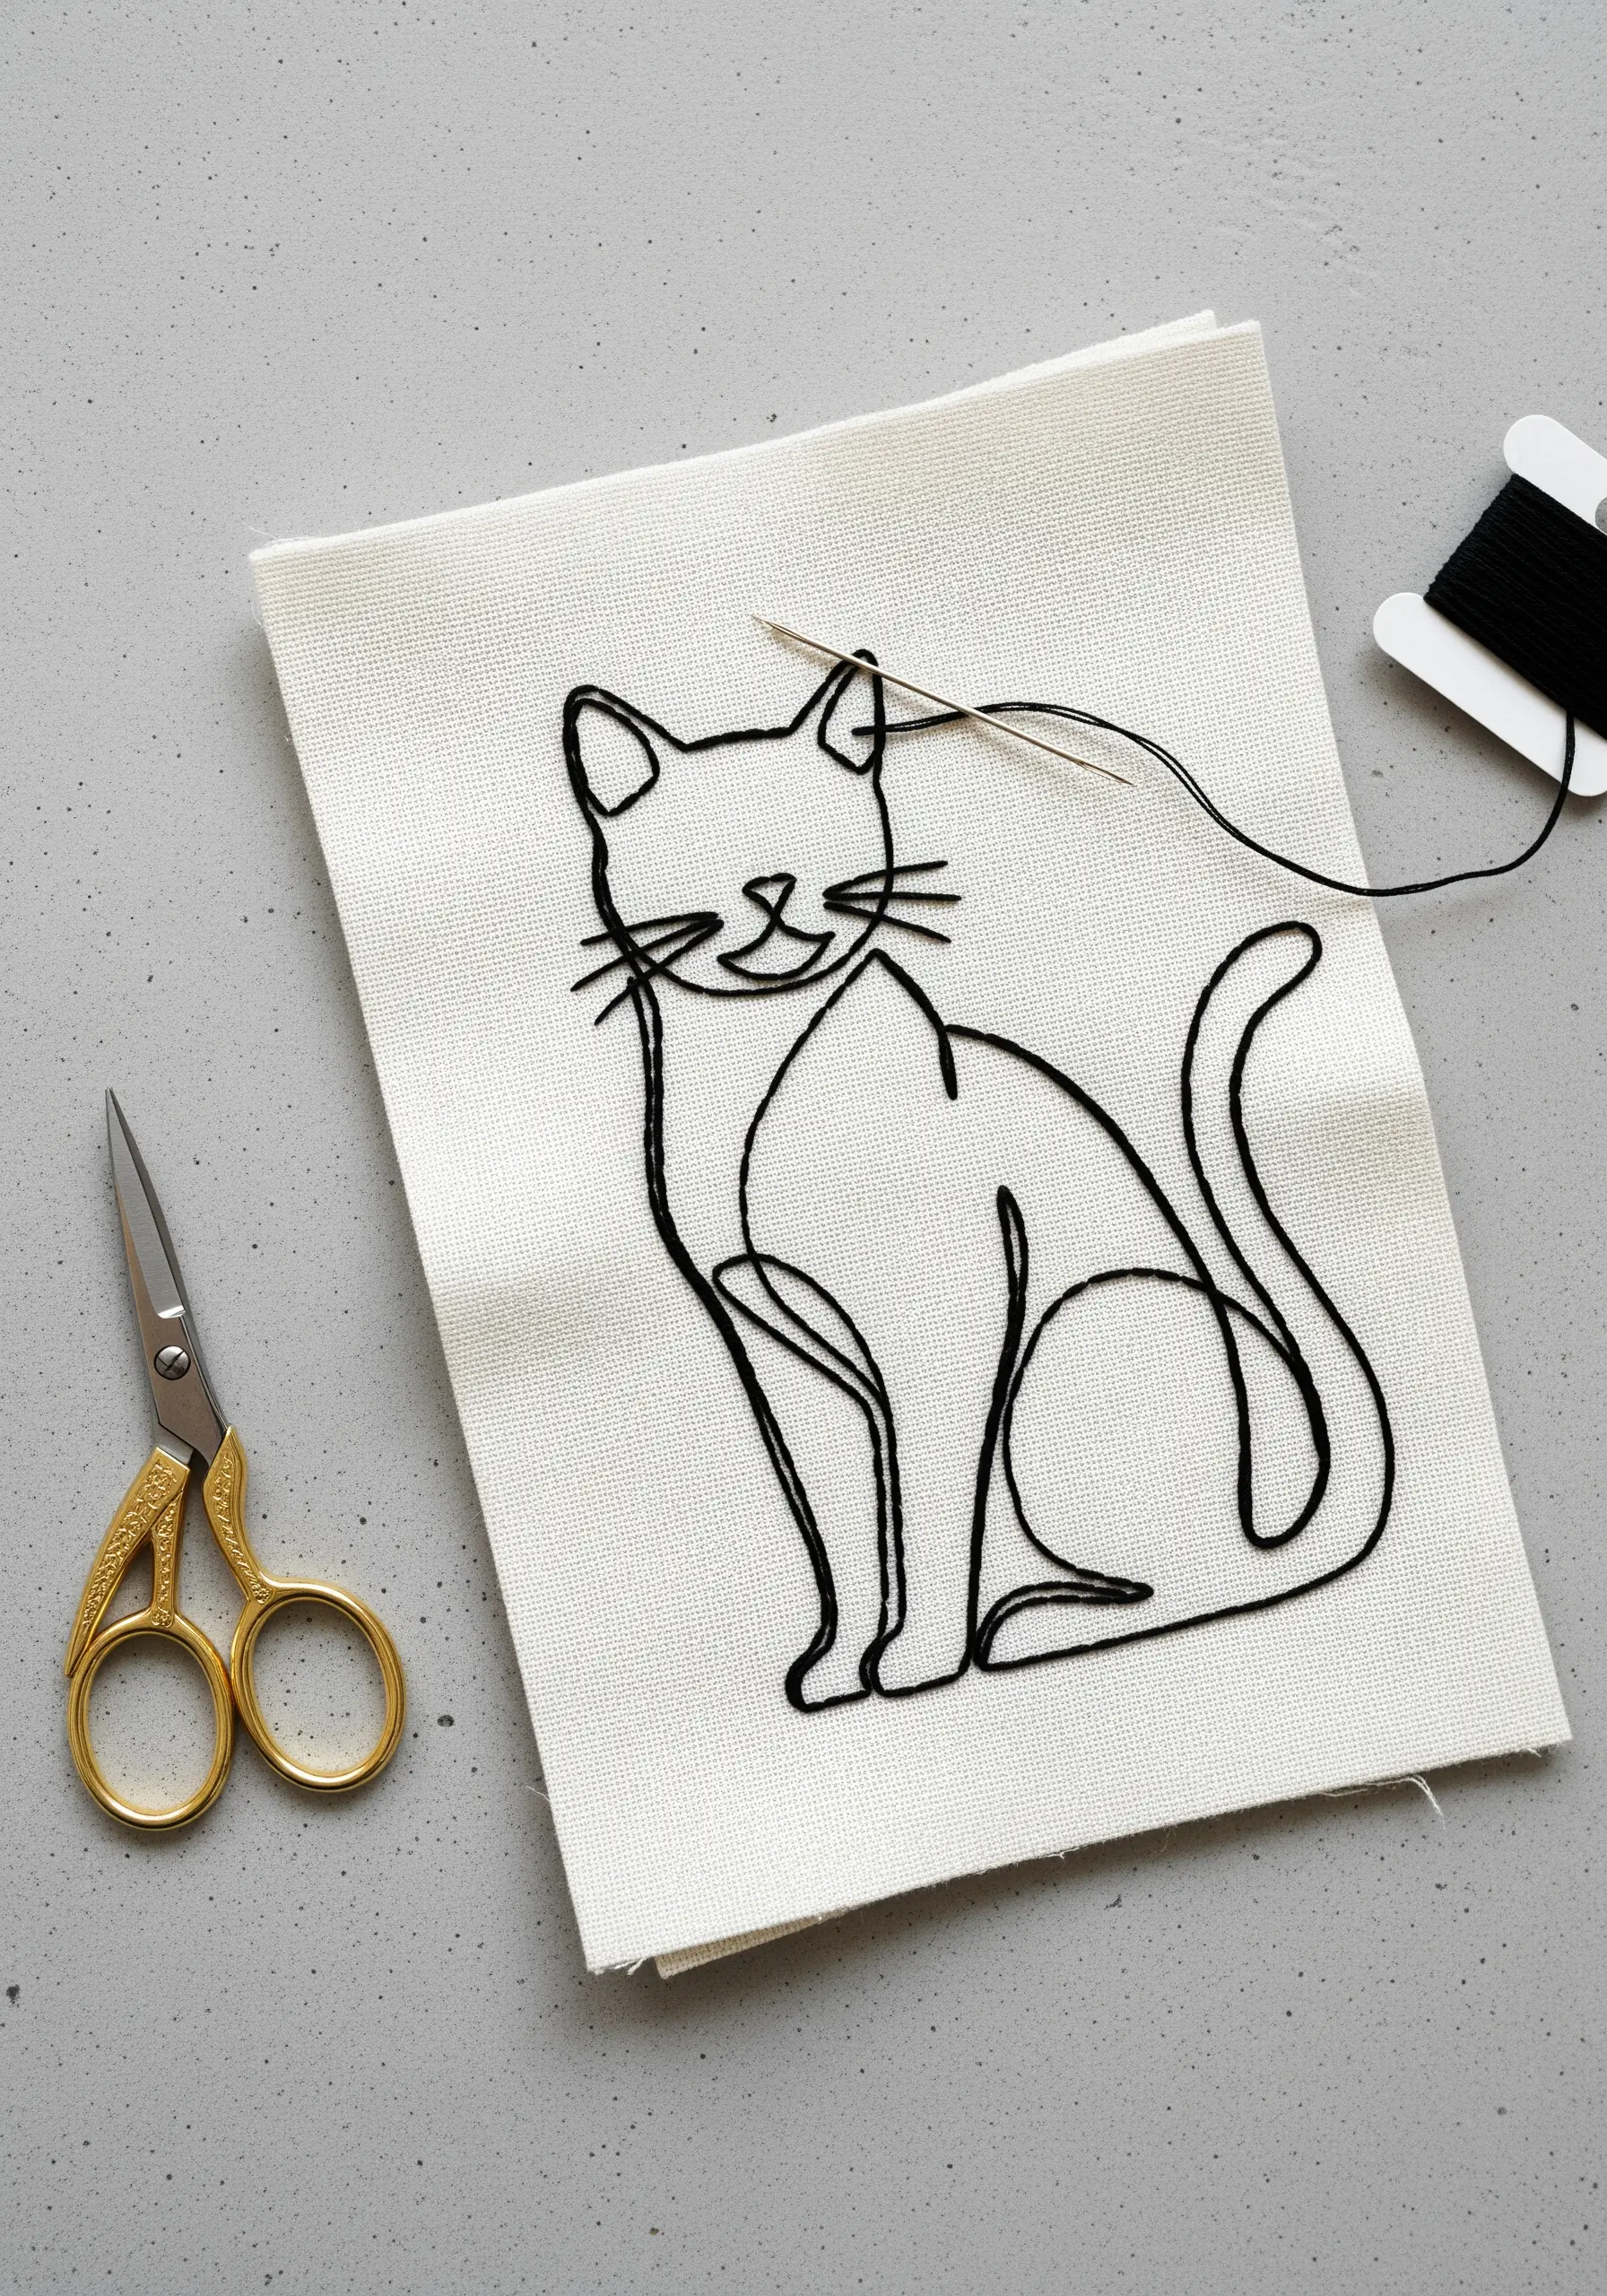
For continuous line art, a standard backstitch can appear dotted or uneven.
To create a smooth, unbroken line that mimics ink, switch to a whipped backstitch.
Complete the entire design with a basic backstitch, then take a second thread and weave it under each stitch without piercing the fabric.
This simple extra step fills the gaps and transforms a choppy outline into a single, flowing cord perfect for minimalist line art animal designs.
5. Creating Celestial Sparkle on a Bookmark

Bring a constellation to life by varying your stitches and thread types.
Use a silver metallic thread for the main lines, but instead of simple dots for stars, create small star stitches with four overlapping straight stitches.
For smaller, distant stars, scatter tiny French knots using just a single strand of metallic floss.
This combination of bold stars and subtle sparkles on a dark background adds depth and magic to the design, making it a perfect DIY cozy embroidery bookmark.
6. The Art of Intentional, Imperfect Stitches
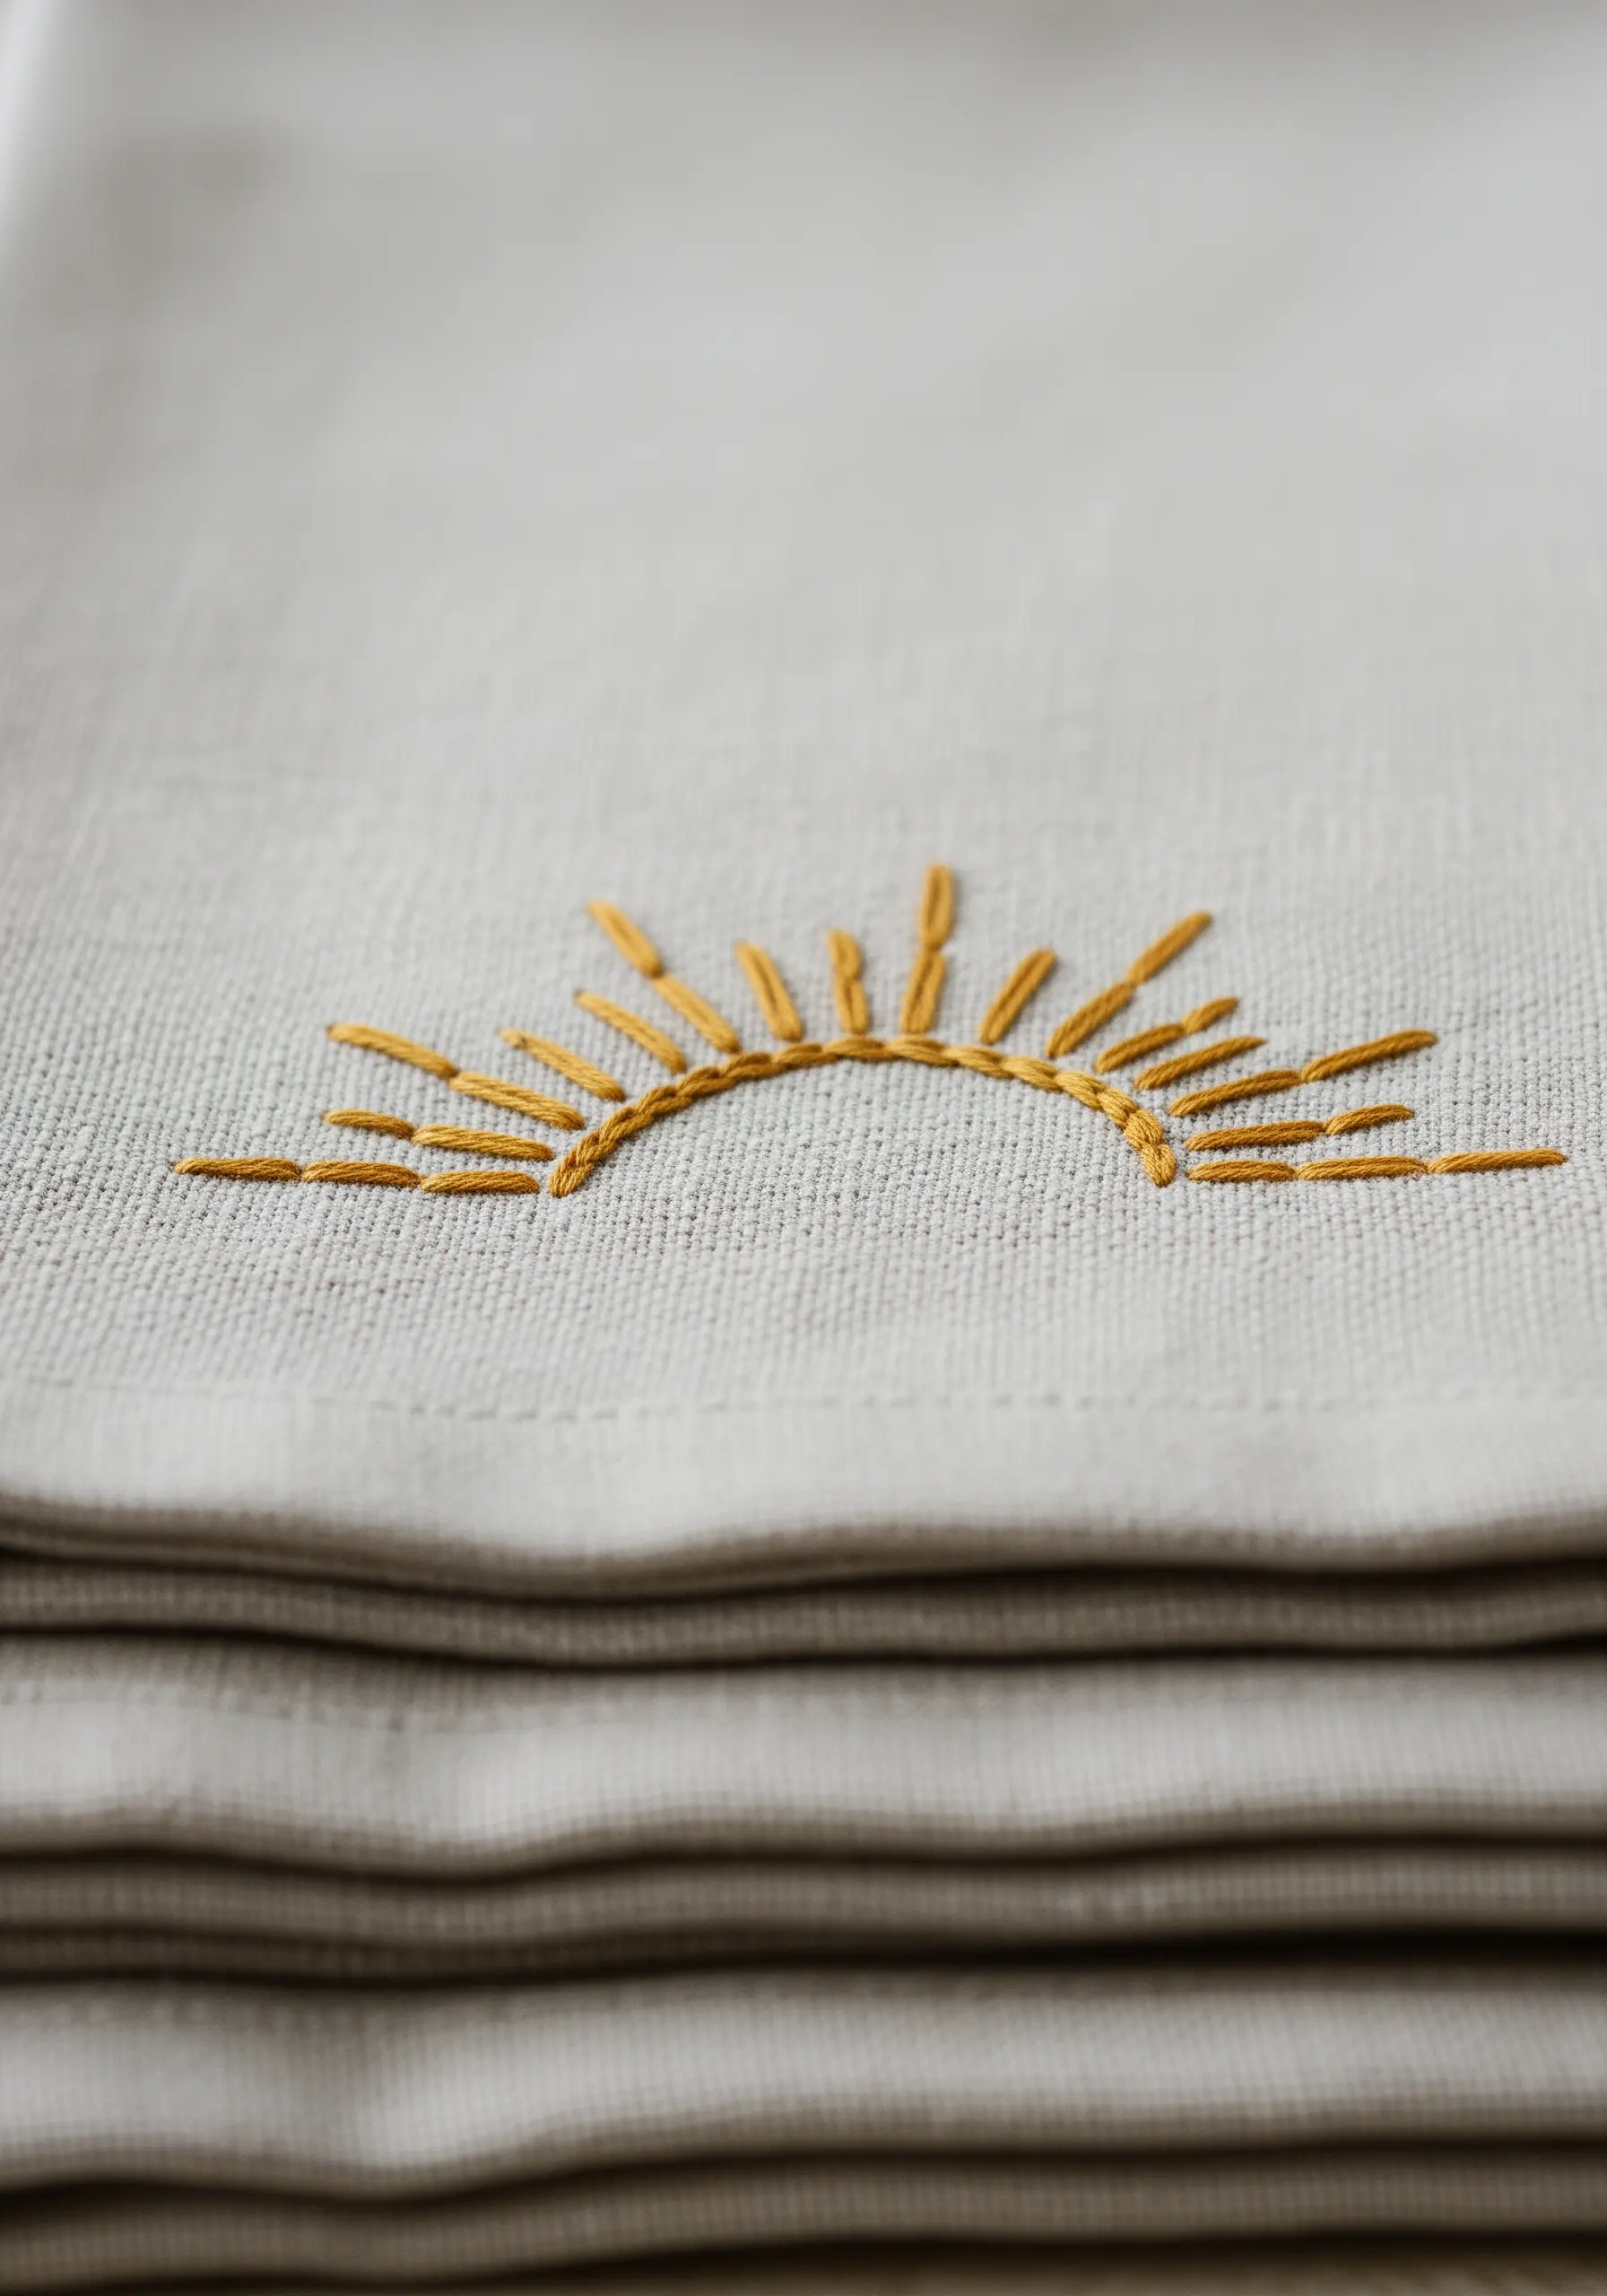
This minimalist sun motif celebrates its handcrafted charm, not perfect symmetry.
Use all six strands of embroidery floss to give the sun’s rays a bold, substantial feel.
Deliberately vary the length and angle of each straight stitch ray, which creates a more organic and dynamic energy than perfectly measured lines would.
This approach proves that beautiful embroidery can be quick and expressive without needing to be flawless.
7. Building Depth with Layered Fill Stitches
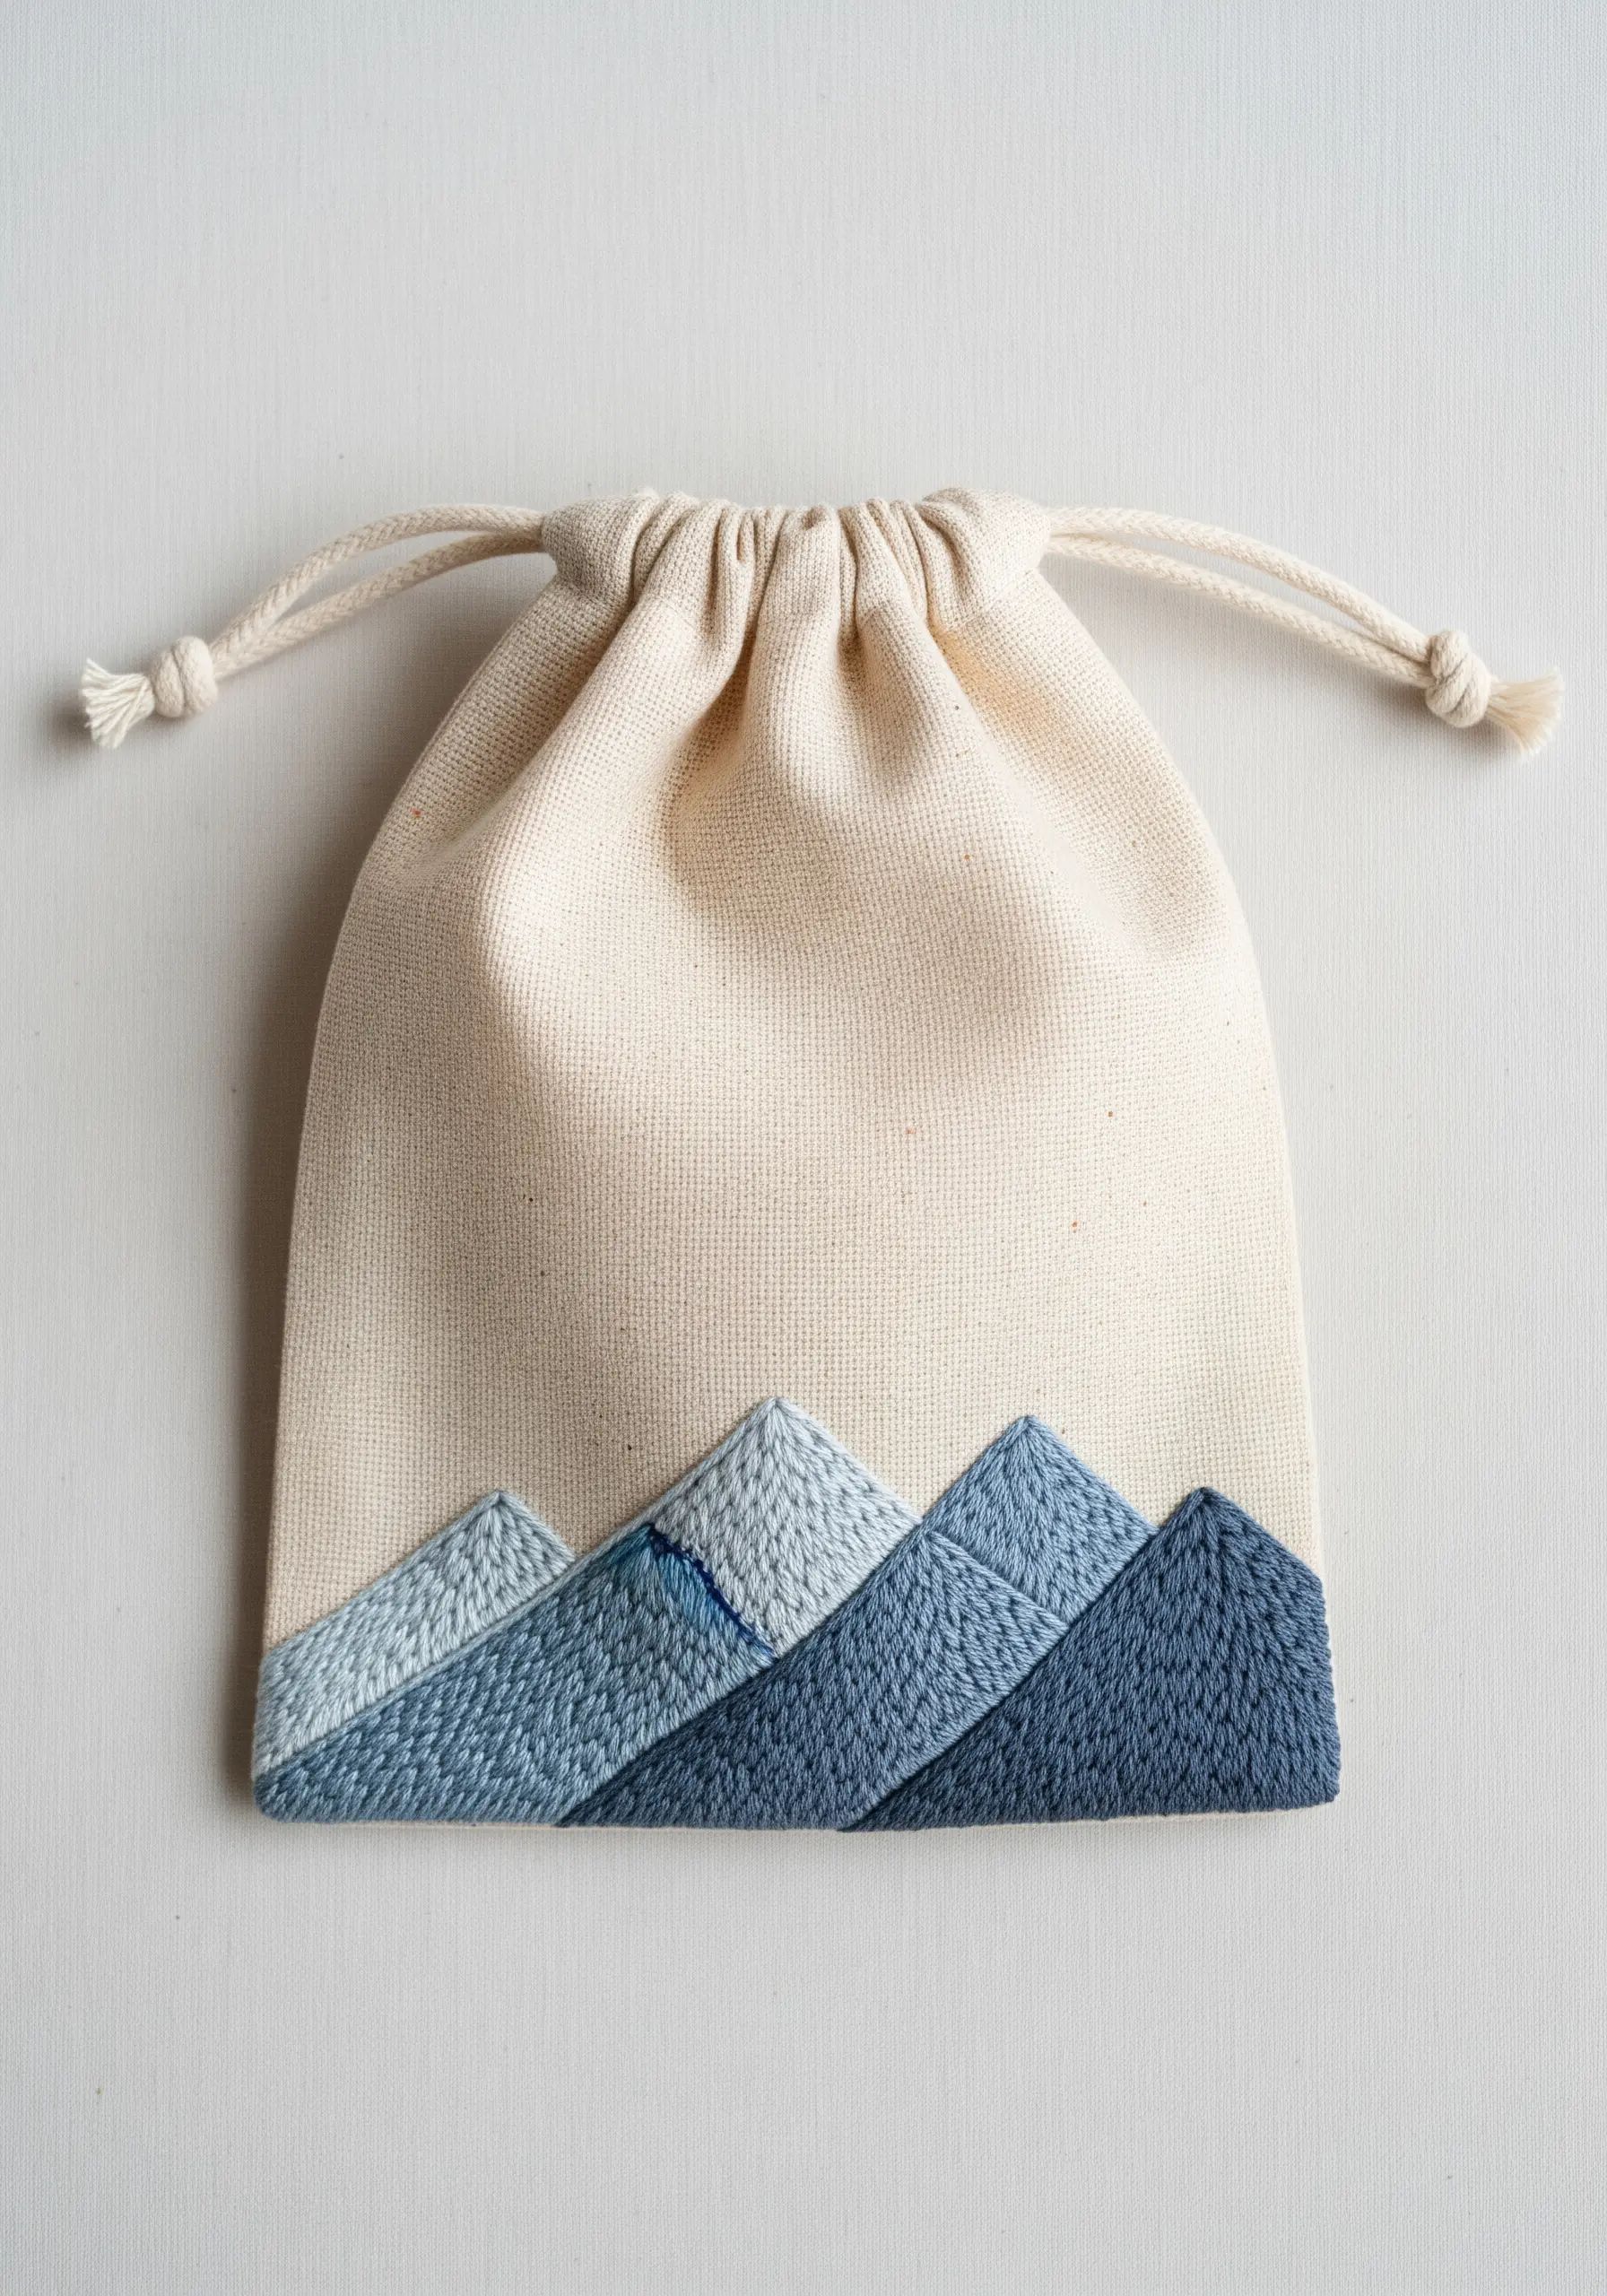
Create a graphic landscape with tactile depth by varying your fill stitches.
Use long-and-short stitch for the furthest, lightest mountain to give it a soft, atmospheric quality.
For the closer, darker peaks, switch to a dense, directional satin stitch to create solid, bold shapes that feel nearer.
Overlapping the shapes slightly enhances the sense of distance, creating a compelling composition using just a few shades of a single color.
8. Tone-on-Tone Embroidery for High-Pile Textiles
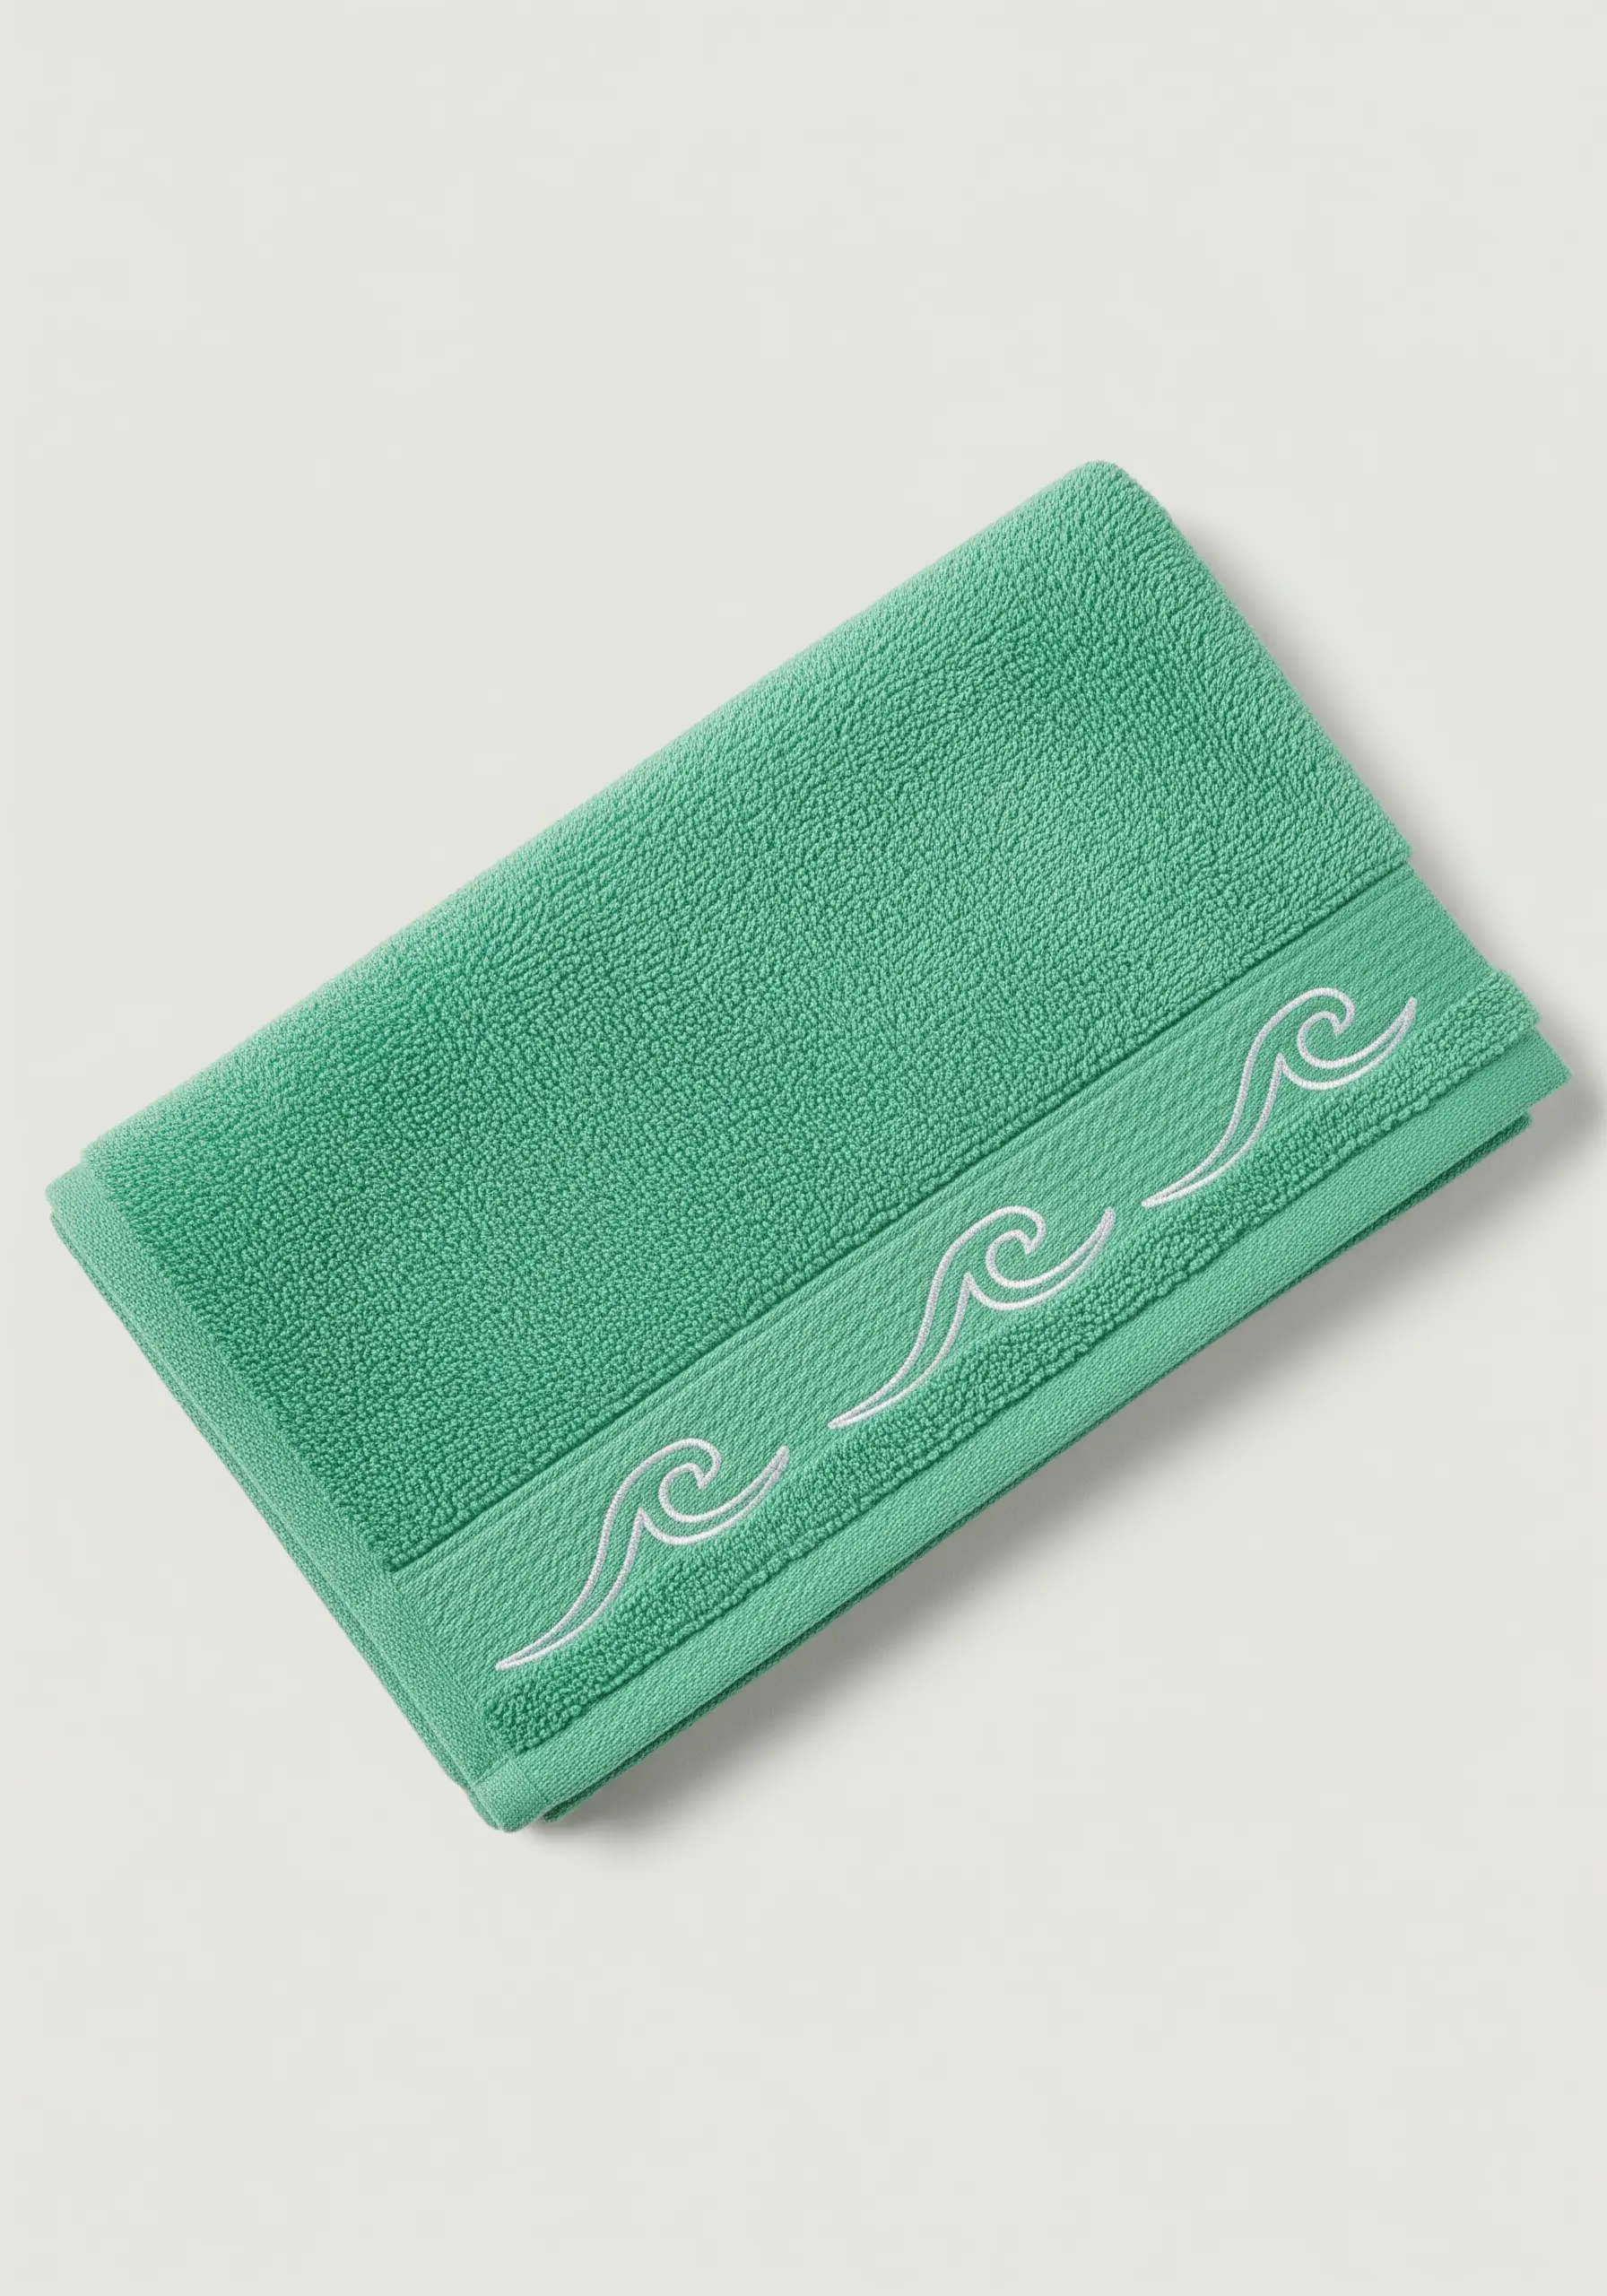
When embroidering on plush items like towels, a tone-on-tone color scheme adds elegance without overwhelming the texture.
Choose a thread that is one or two shades lighter or darker than the towel for a subtle, integrated look.
The most crucial step is to use a stabilizer on the back. A wash-away or tear-away stabilizer prevents the fabric’s loops from pulling through and distorting your stitches, ensuring your design stays crisp and clean.
9. Graphic Impact with Thread on Felt

Felt is an ideal base for quick decor projects because it’s stable, doesn’t fray, and requires no hooping for small designs.
To make a simple geometric pattern pop, choose a high-contrast thread color, like this vibrant yellow on charcoal gray felt.
Use a simple backstitch for the outlines. The felt’s thickness naturally hides the back of the stitches, giving you a clean finish without needing a separate backing—perfect for coasters or ornaments.
10. Sculptural Dimension with Woven Knots
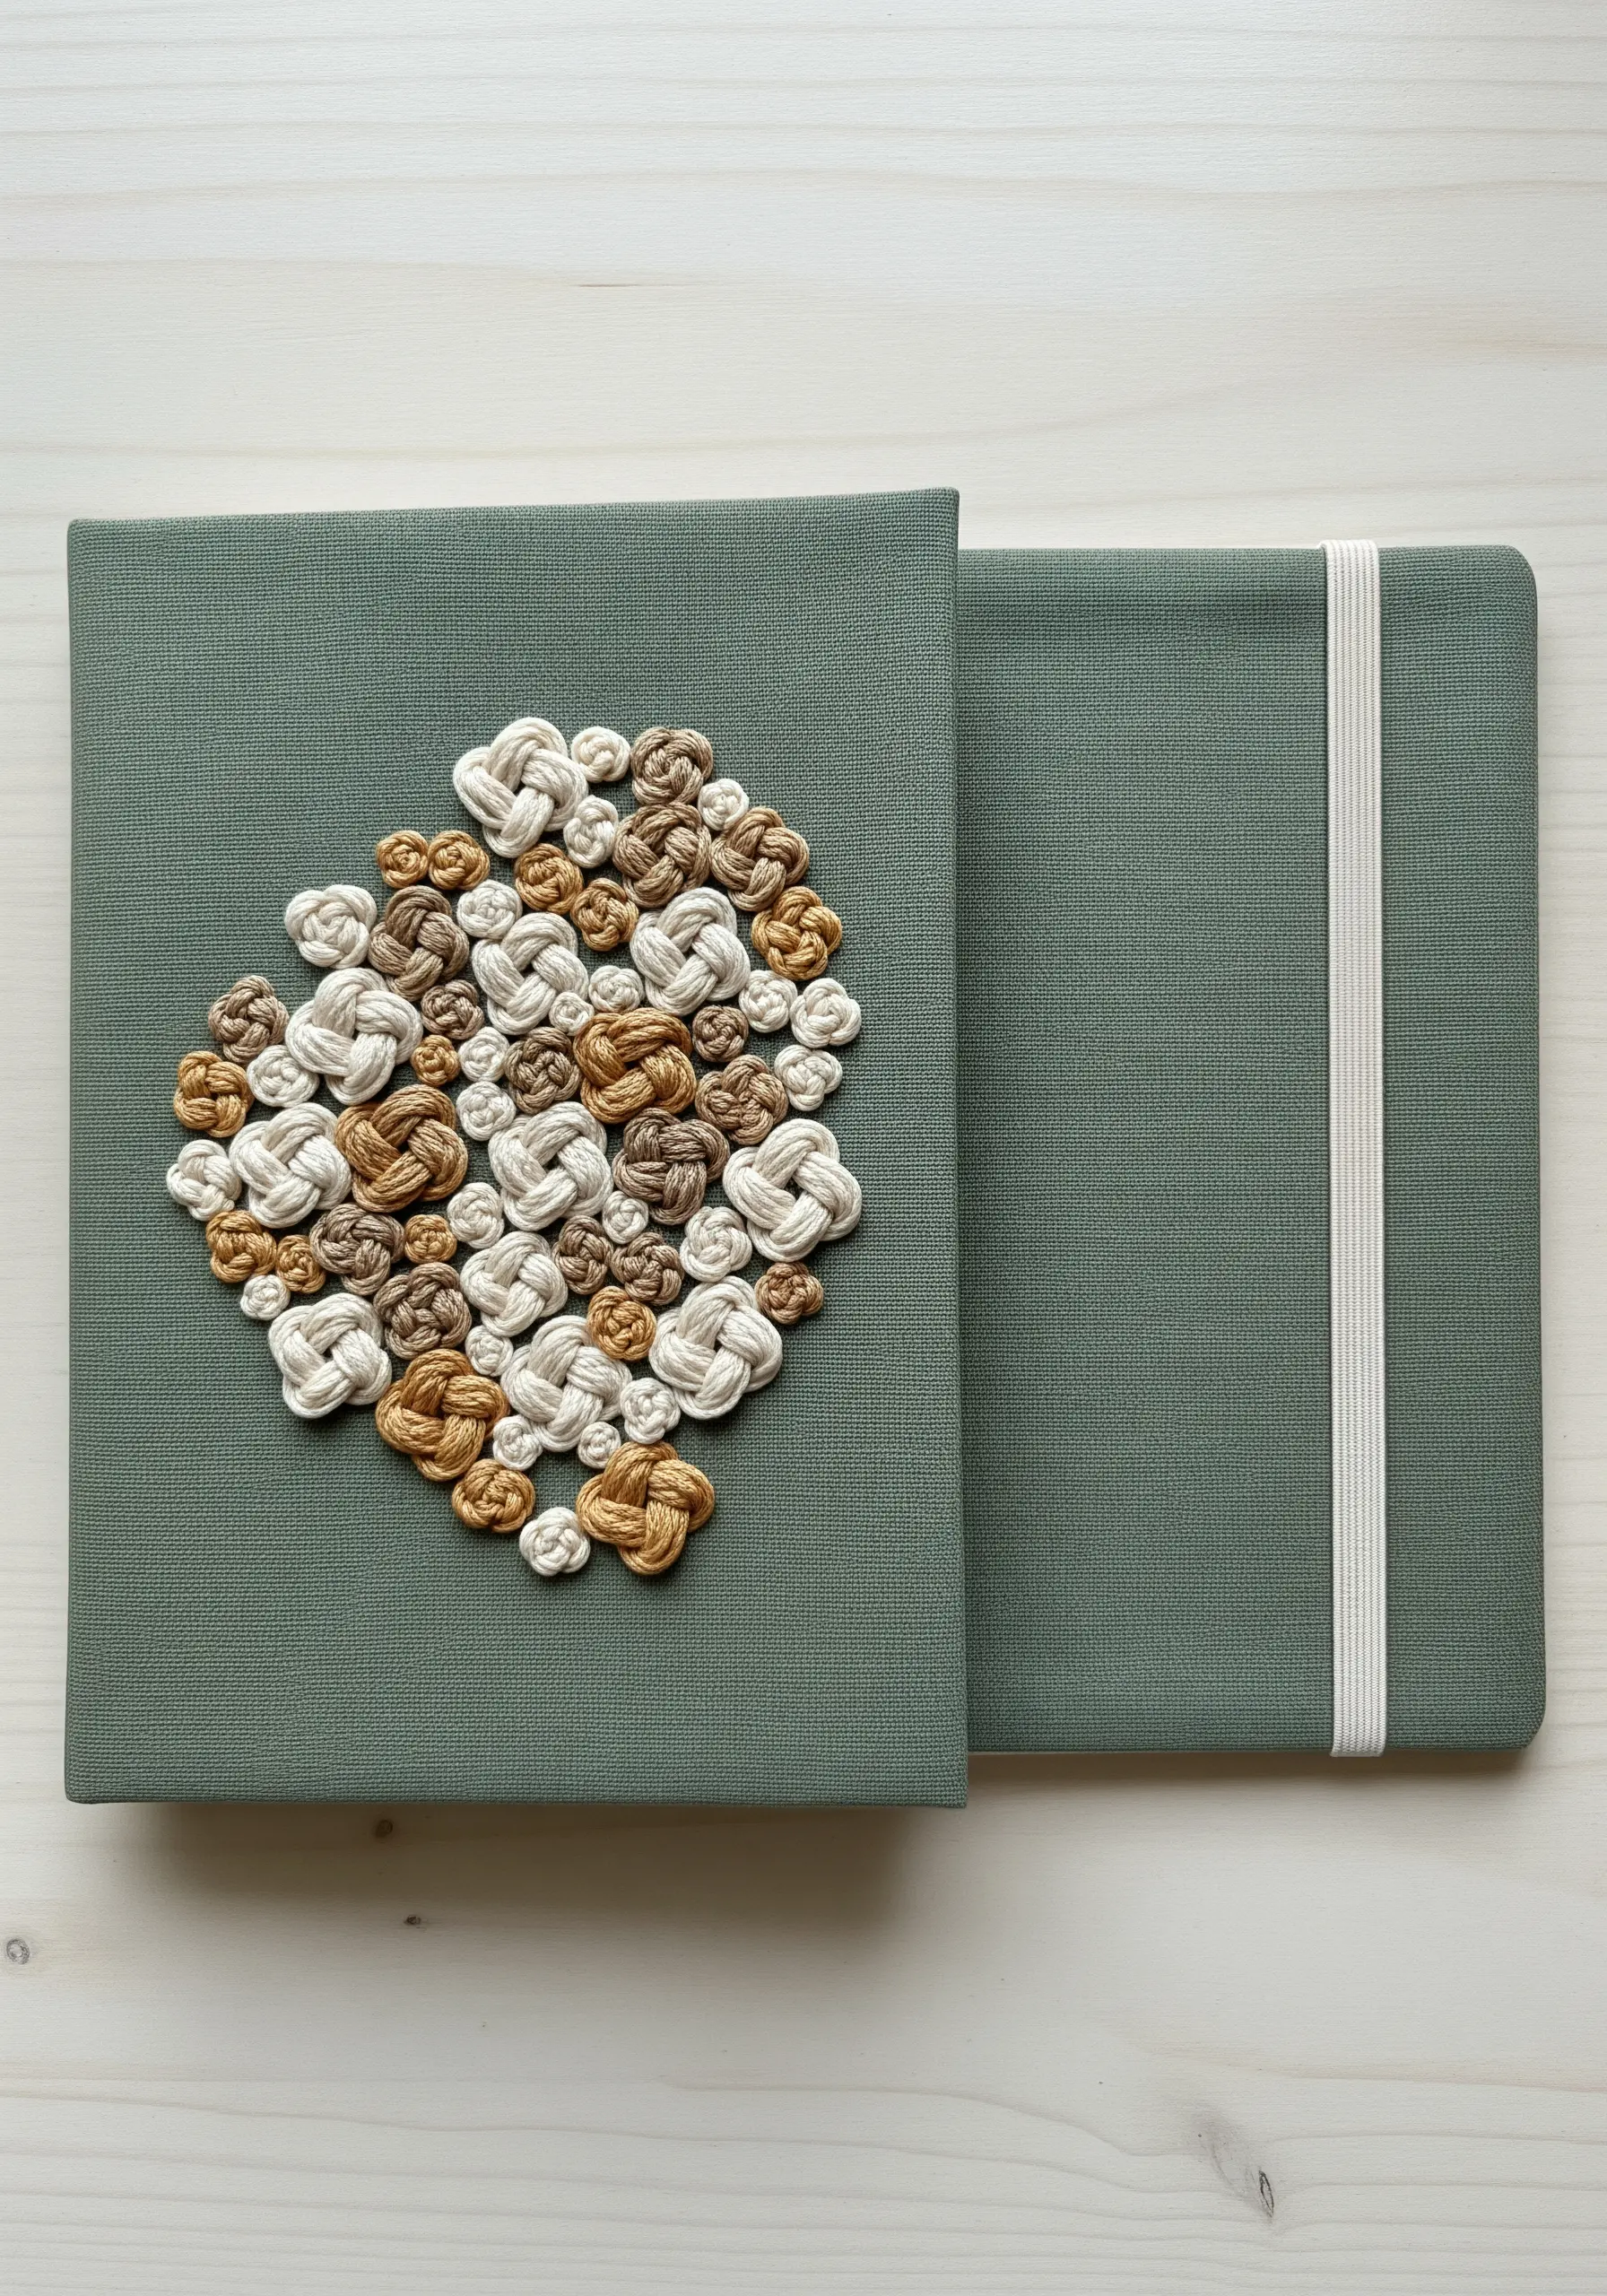
This design moves beyond surface stitching into sculptural embellishment, using knots created separately and then securely attached.
To achieve a similar effect directly on fabric, explore highly textured stitches like the bullion knot or the cast-on stitch.
Group these raised stitches in various sizes and complementary earth-inspired embroidery designs to create a stunning, tactile centerpiece on a journal cover or textile box.
11. Defining a Bold Shape on a Tote Bag
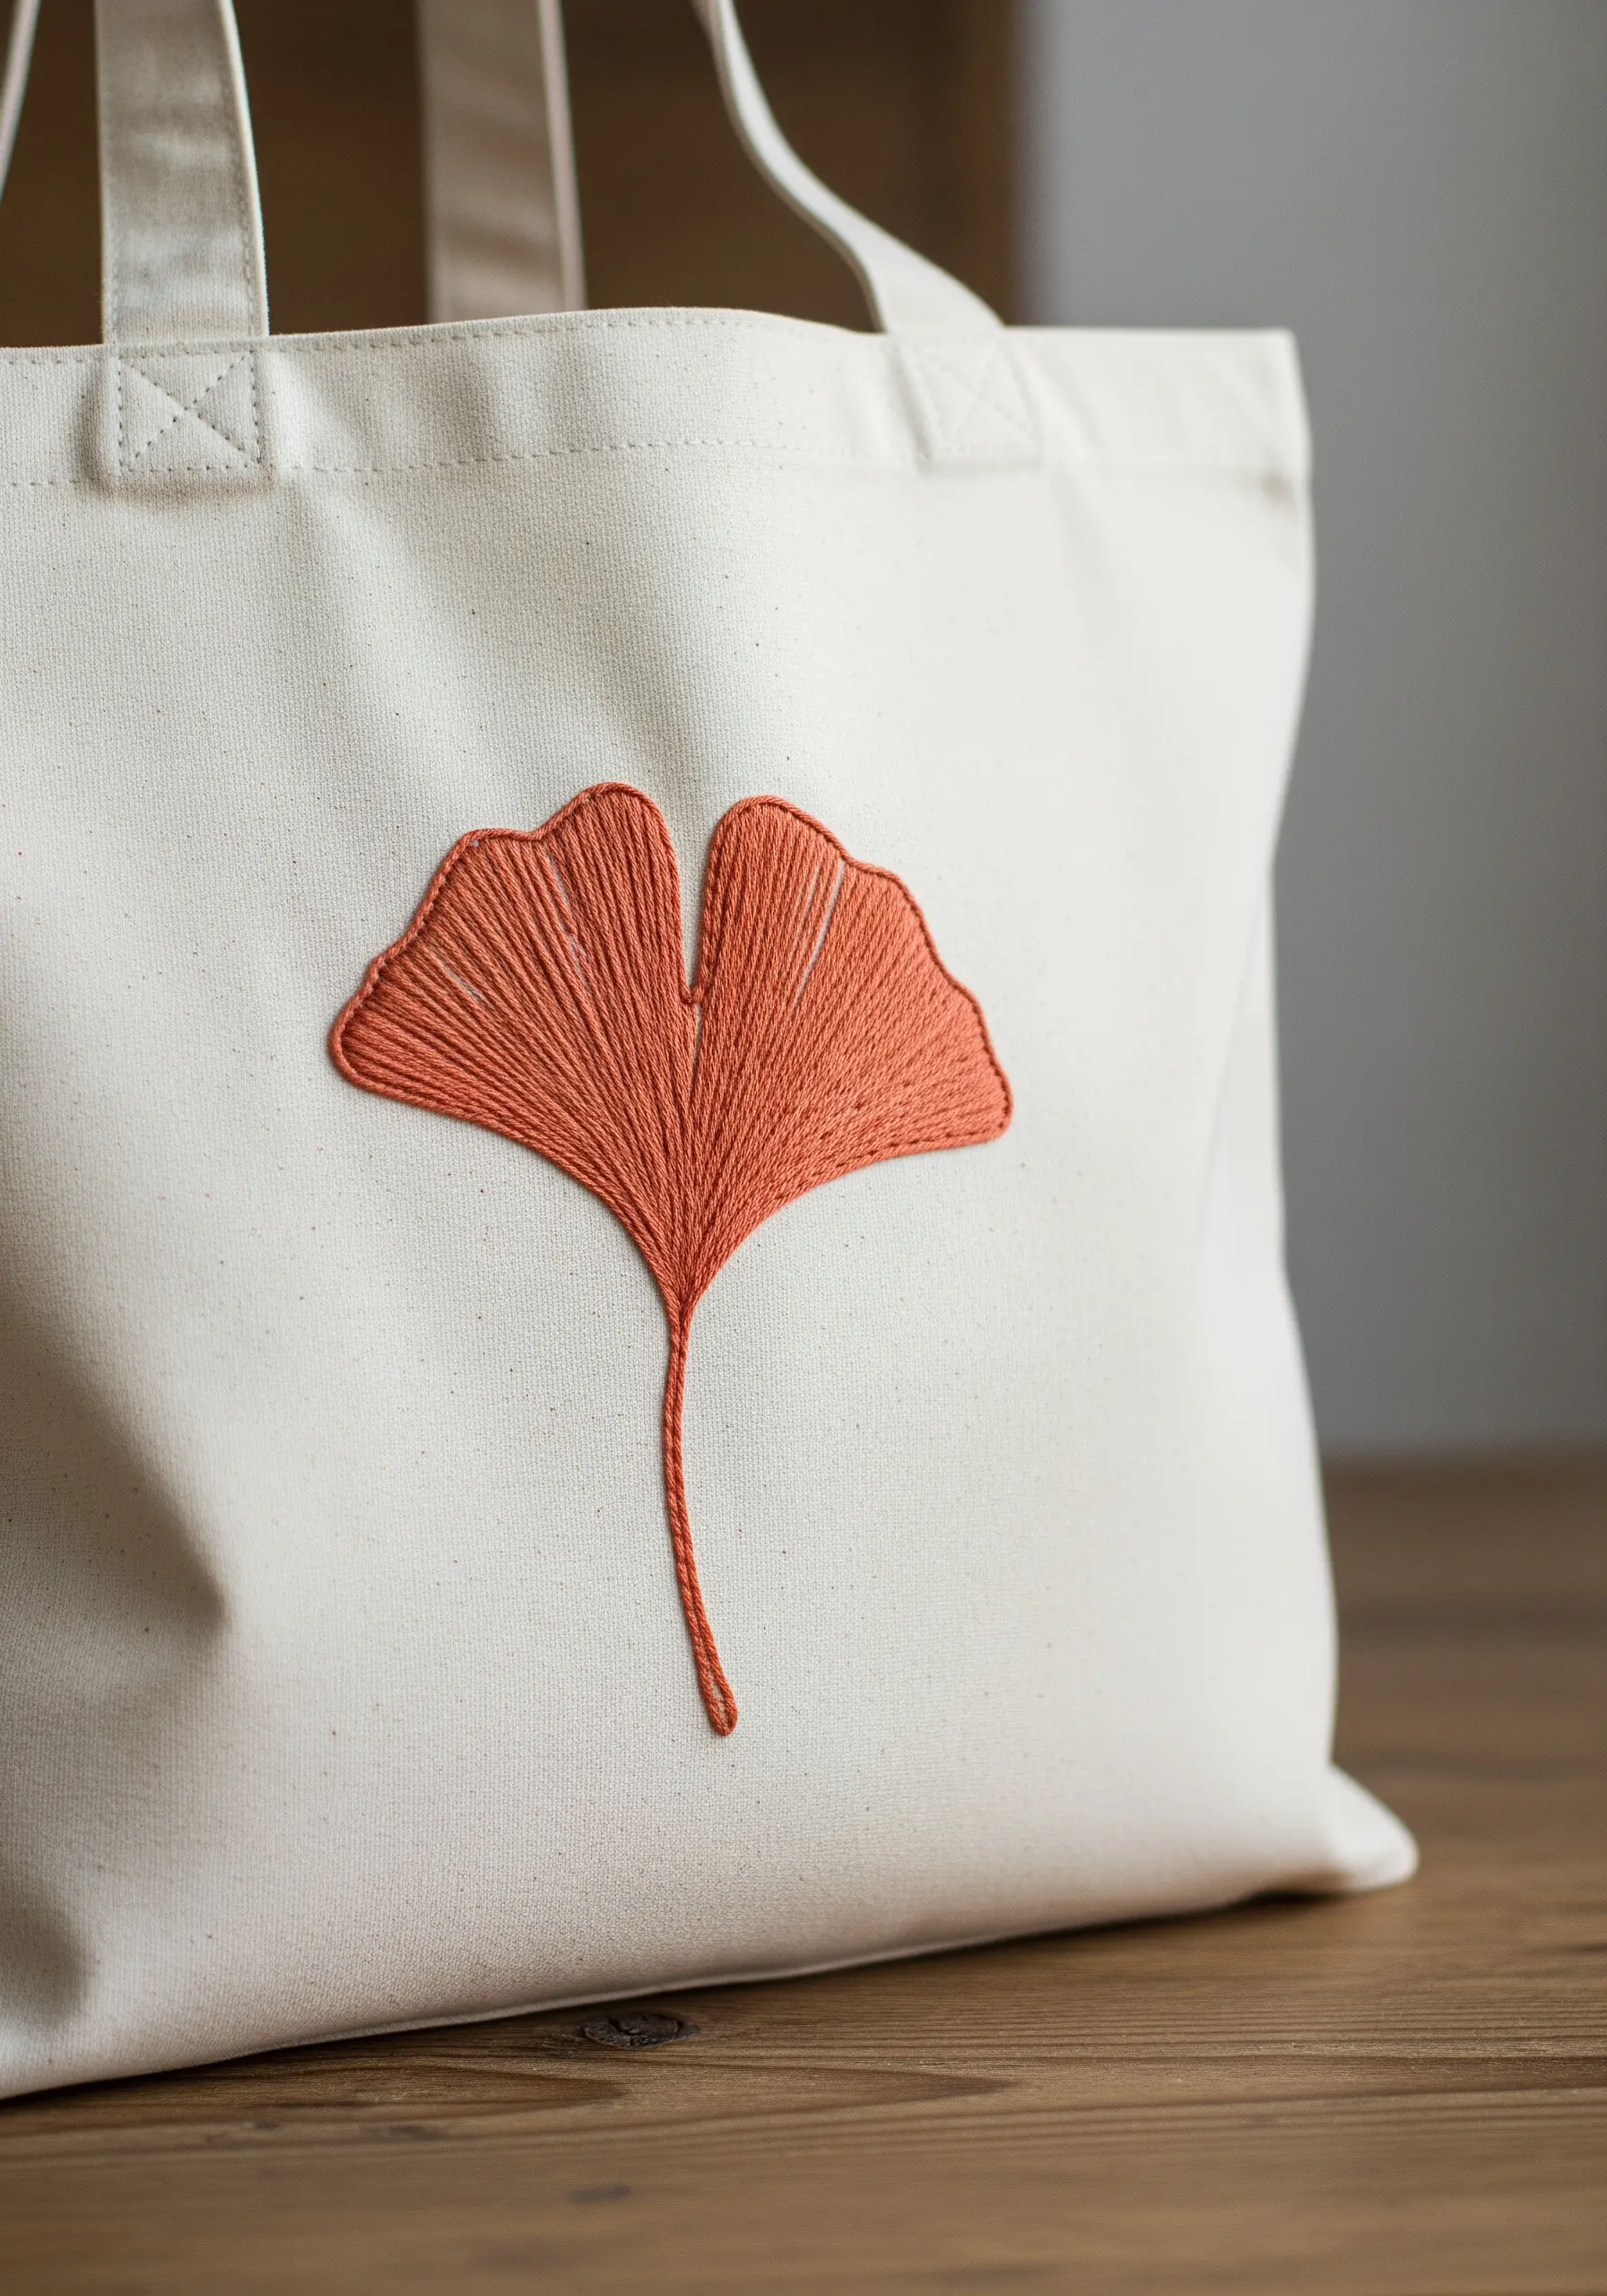
For a large filled area like this ginkgo leaf, a clean edge is essential for a polished look.
Before you begin your fill, outline the entire shape with a precise split stitch. This creates a slightly raised, firm border to work against.
As you fill with a long-and-short stitch, your stitches will tuck neatly under this outline, ensuring the silhouette remains sharp and defined against the canvas background.
12. Adding Rhythmic Pattern to a Fabric Basket
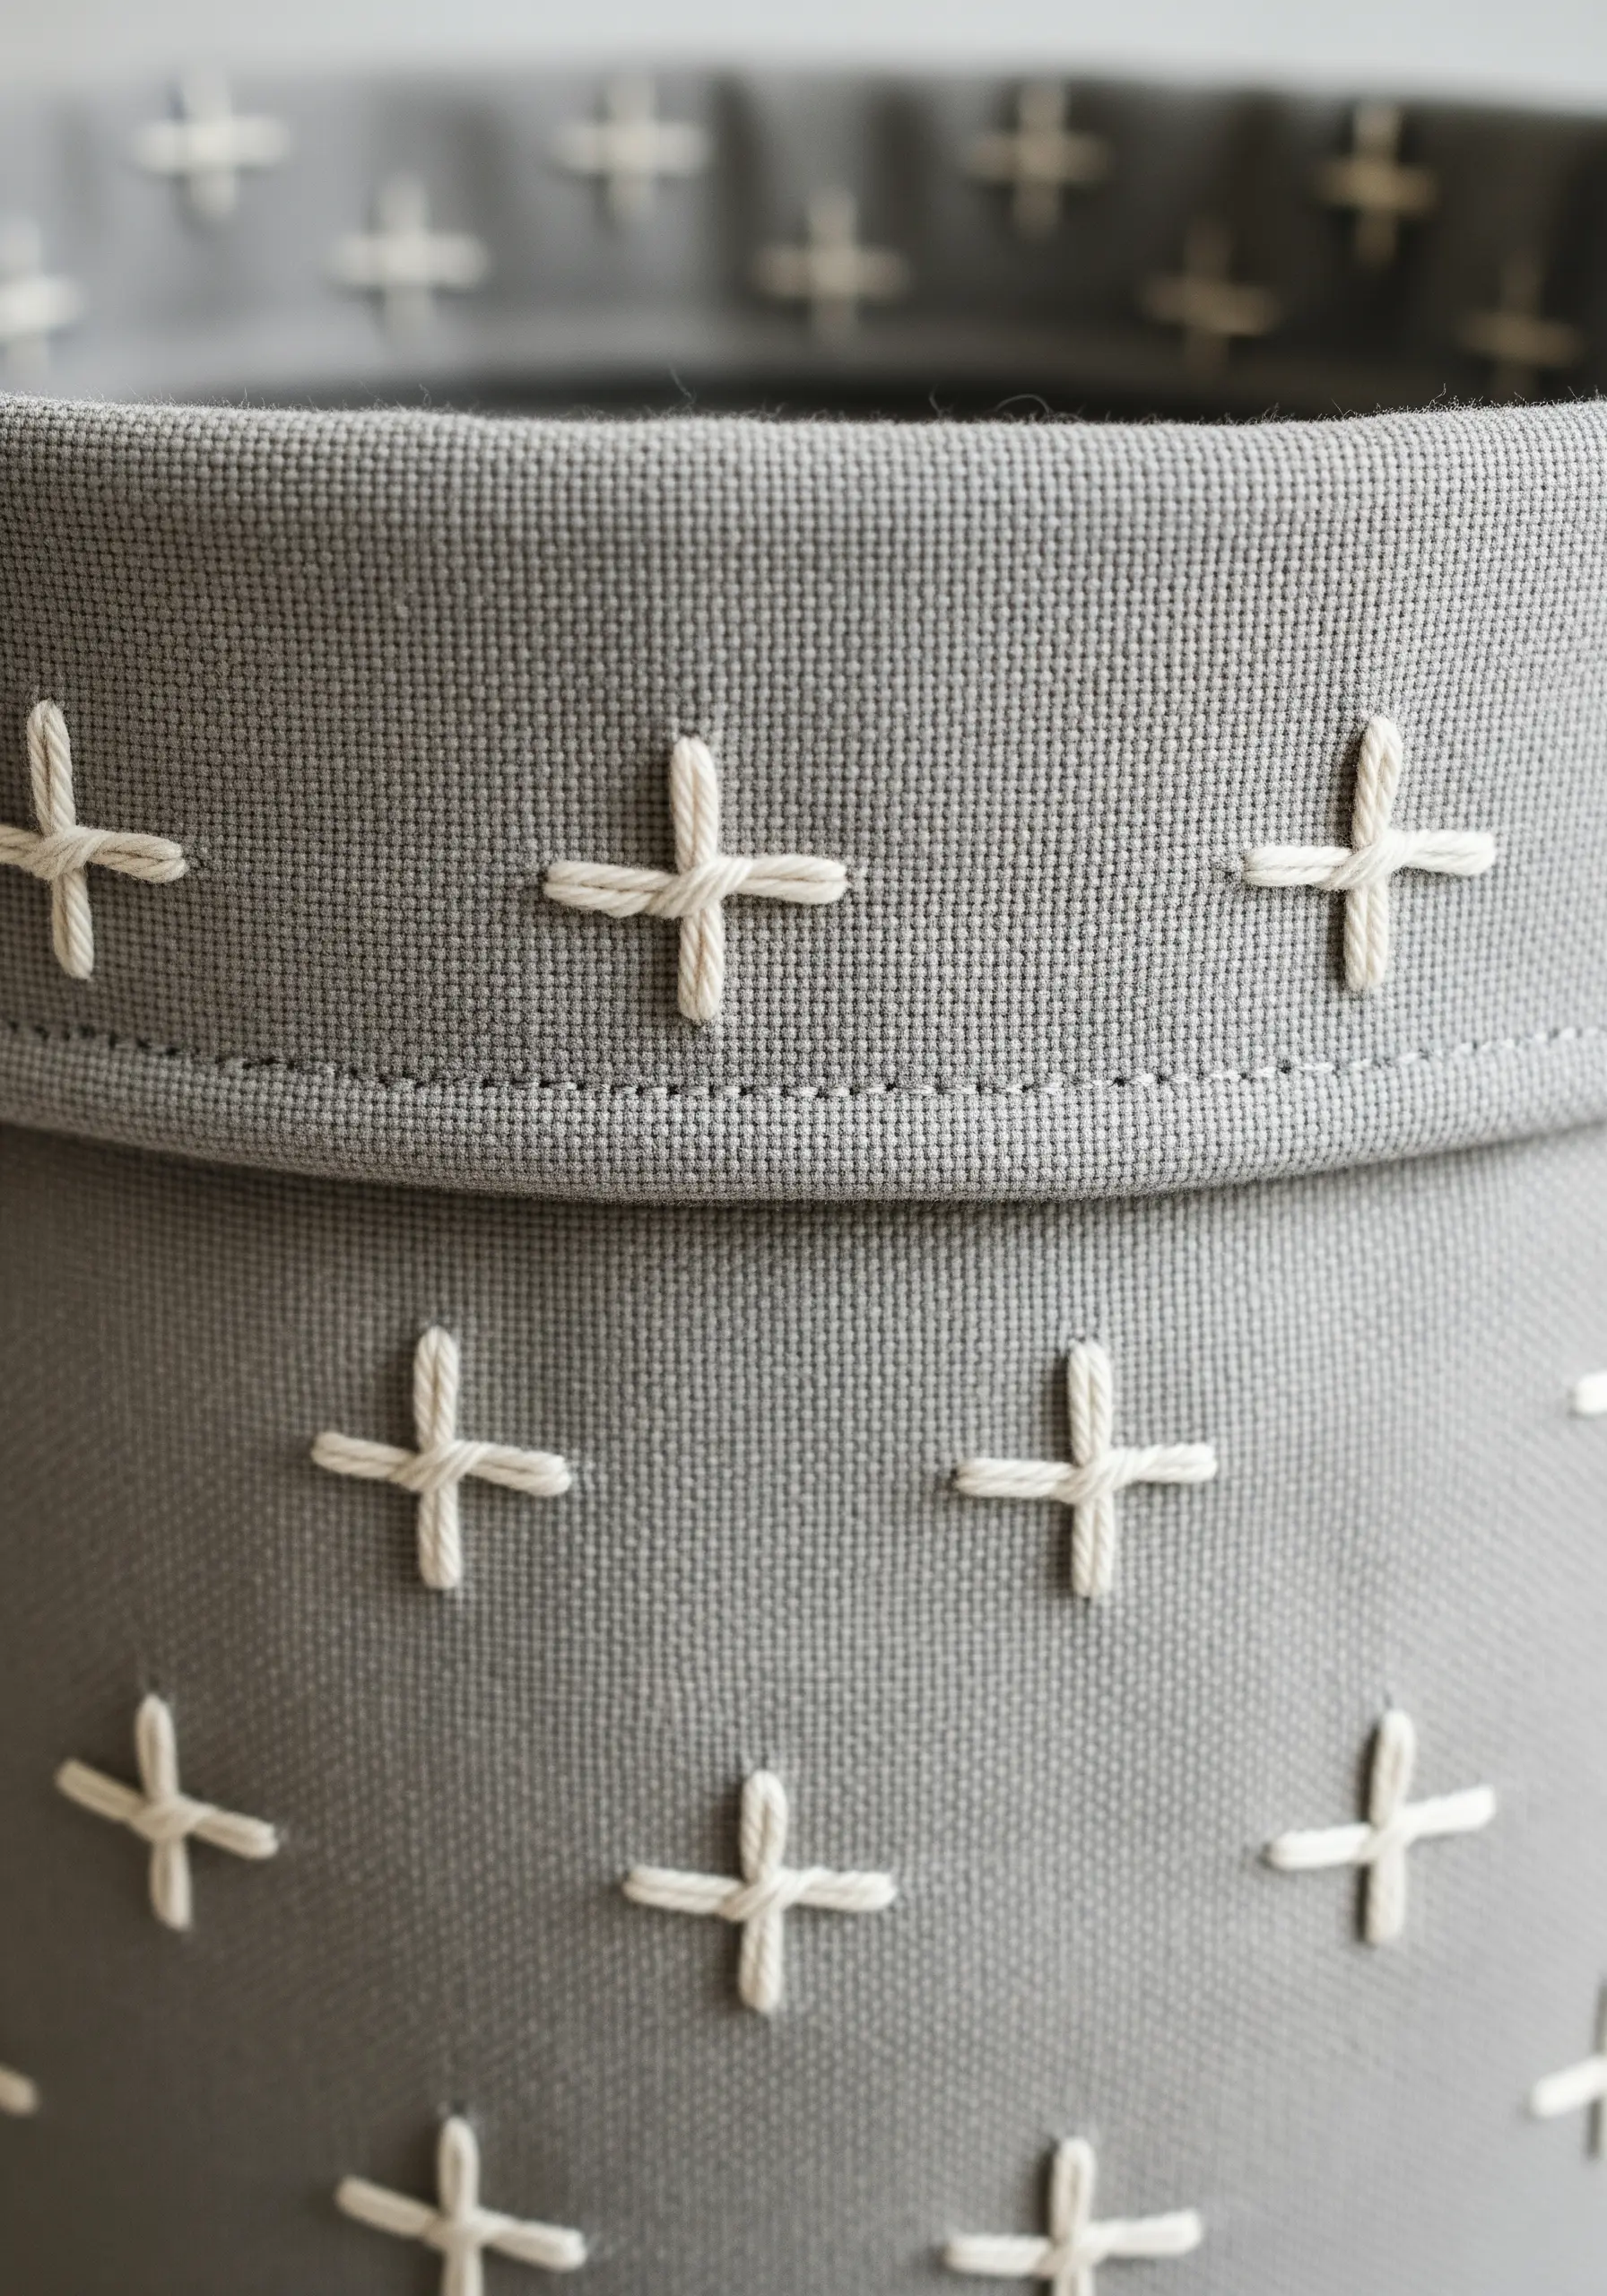
Transform a plain fabric item with a scattered pattern of simple cross stitches or plus signs.
The key to a clean, modern look is consistency. Use the weave of the fabric as a natural grid to keep your stitches uniform in size and shape.
Work with a thicker thread, such as all six strands of floss, to make each stitch feel substantial and intentional.
This simple addition turns a storage basket into a thoughtful piece of decor.
13. Creating Delicate Details on a Sachet
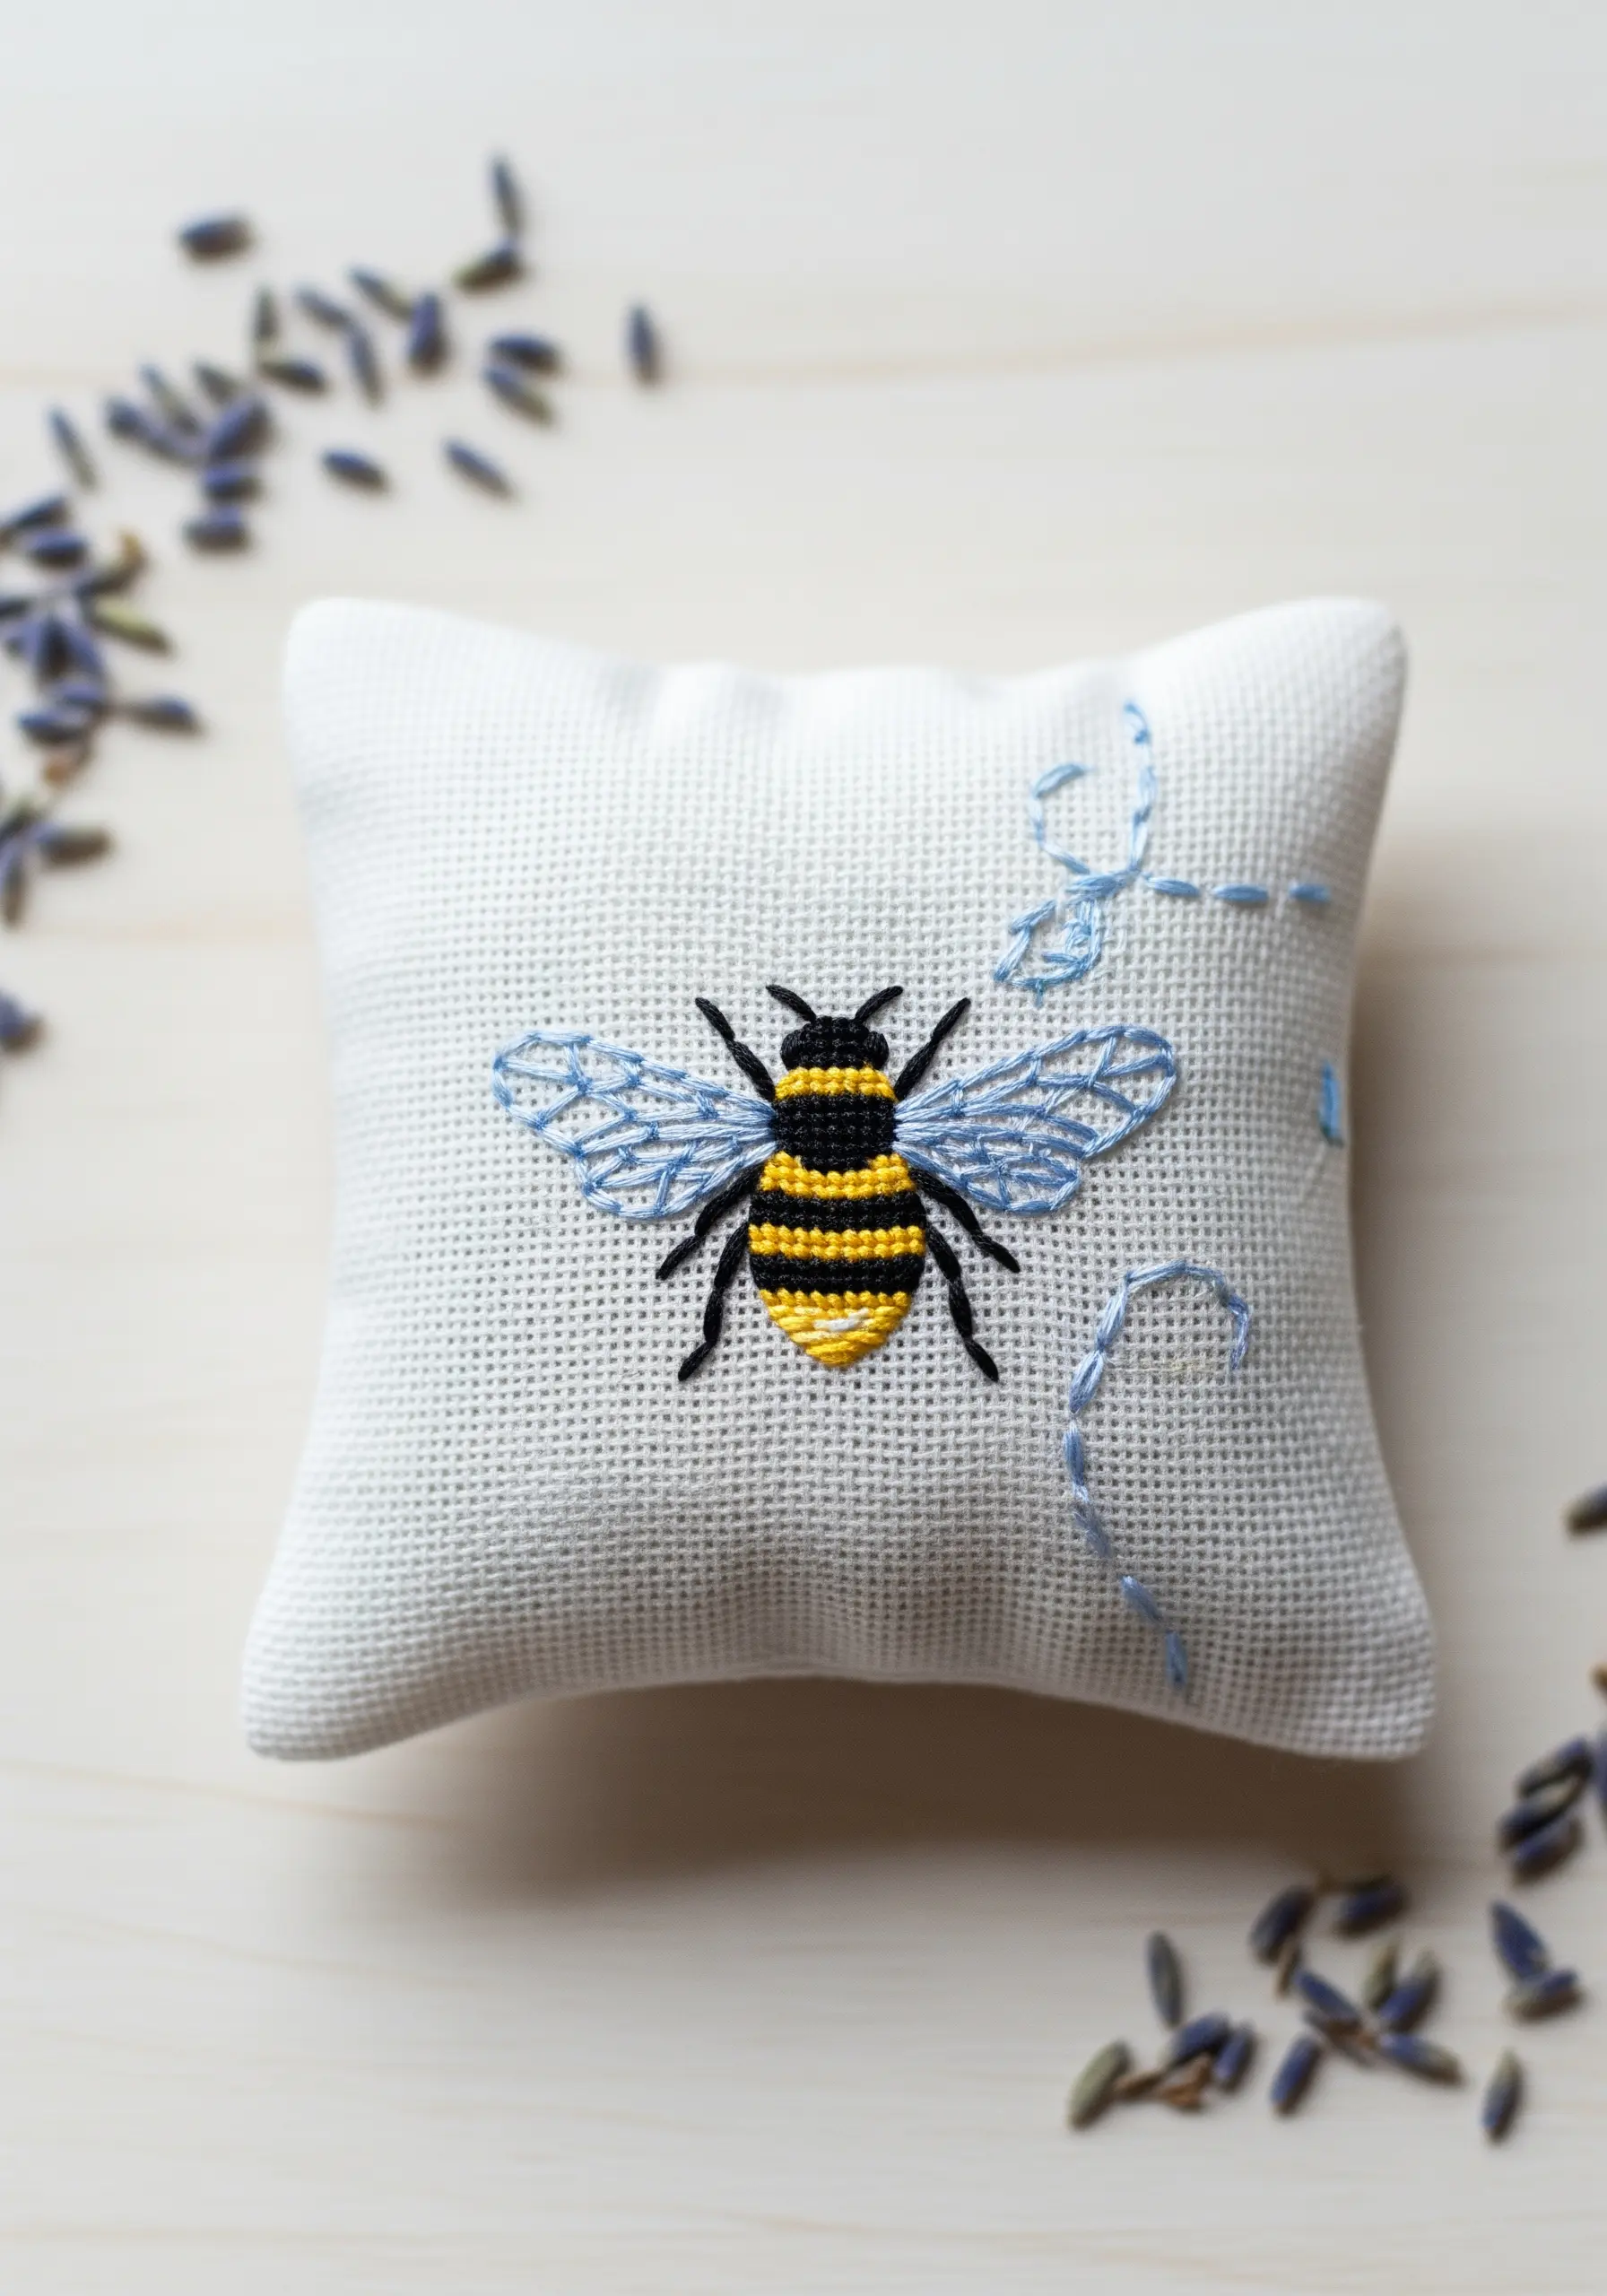
To achieve the fine, almost translucent quality of the bee’s wings, reduce your thread to a single strand.
Use an open fill like spaced-out seed stitches to suggest texture without adding bulk.
Contrast this delicacy with the bee’s body, where you can use 3-4 strands and a dense satin stitch for a solid, fuzzy appearance.
This strategic contrast in thread weight is what gives a small motif its life and realism.
14. Achieving Dimensional Lettering on Felt
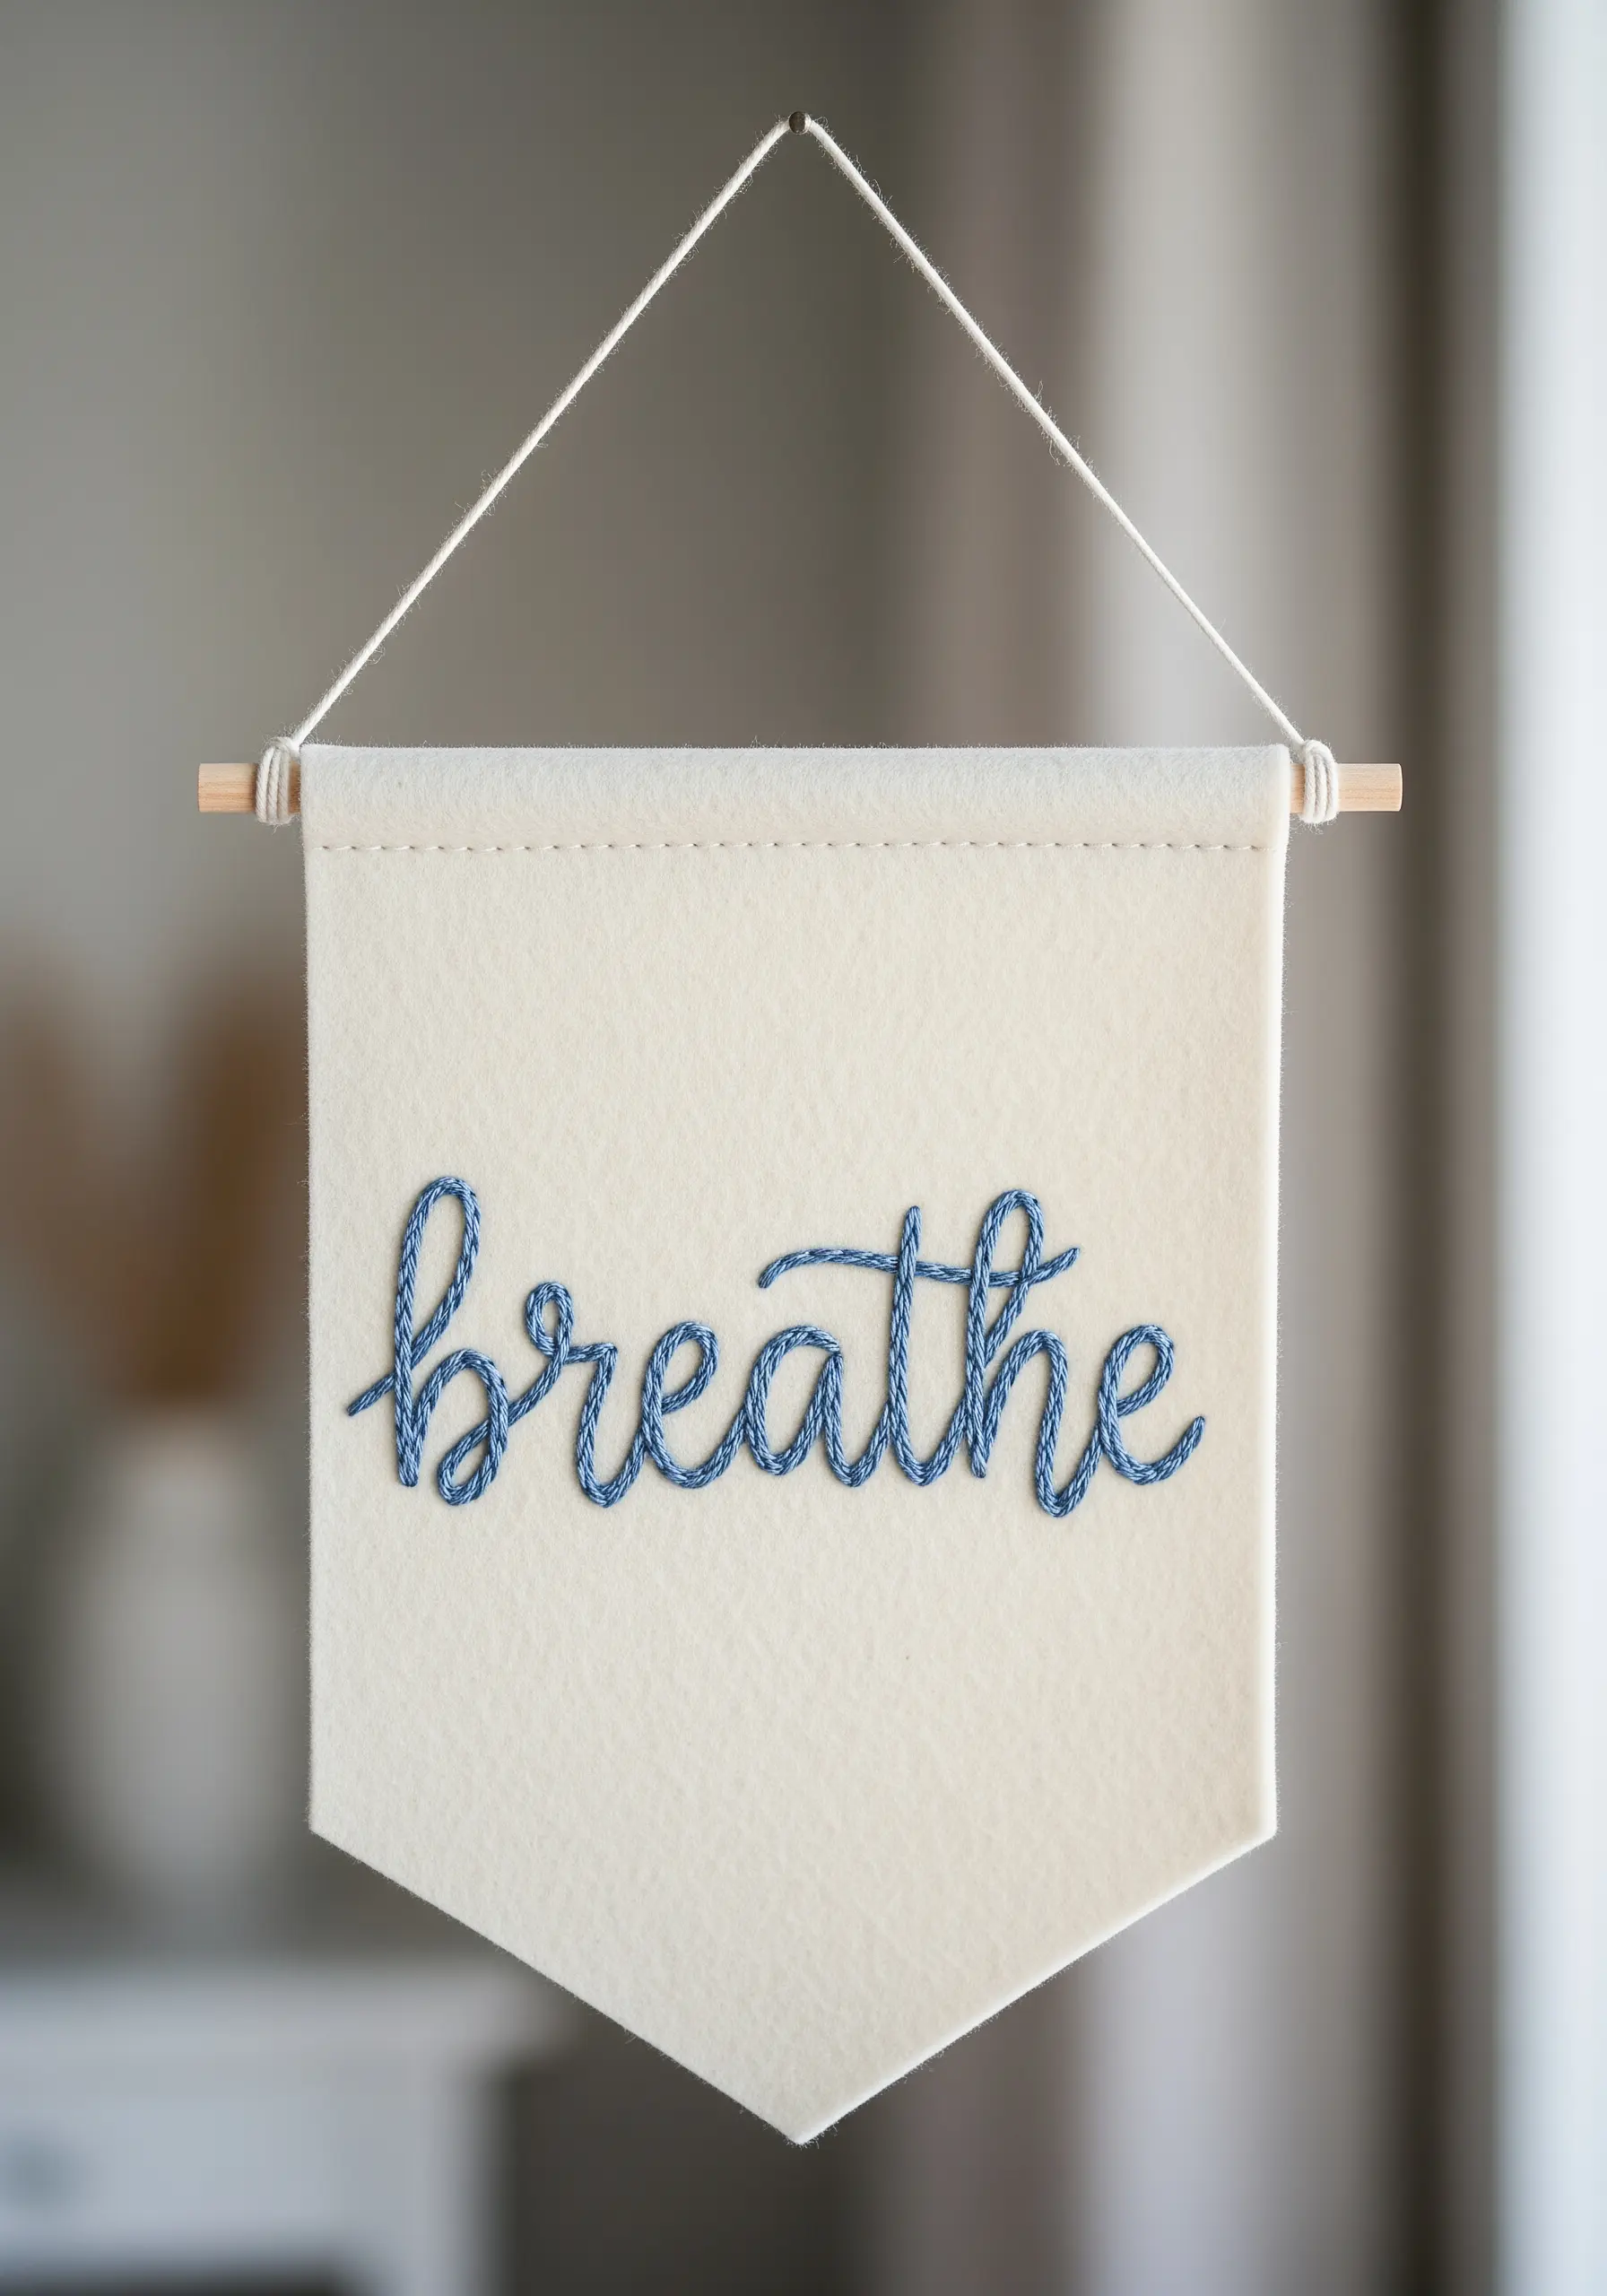
For bold, cursive lettering that needs to stand out, the chain stitch is the perfect choice.
It creates a thick, rope-like line that has much more presence and texture than a simple backstitch.
To ensure smooth curves, keep your individual chain stitches small and consistent in size, especially around tight turns.
Using felt as a base means you don’t need a hoop, making this an easy way to create embroidered quote wall hangings.
15. Contrasting Textures for a Celestial Cushion

Create a dynamic night sky by contrasting a smooth fill with sharp, linear details.
Fill the crescent moon with a dense, perfectly aligned satin stitch for a clean, graphic look.
For the stars, use radiating straight stitches of varied lengths to form starbursts. This technique is often called a star stitch.
The visual tension between the solid, curved moon and the delicate, spiky stars makes the entire composition more engaging, especially with a light, pearlescent thread on dark fabric.
16. Creating Movement with Scattered Botanicals
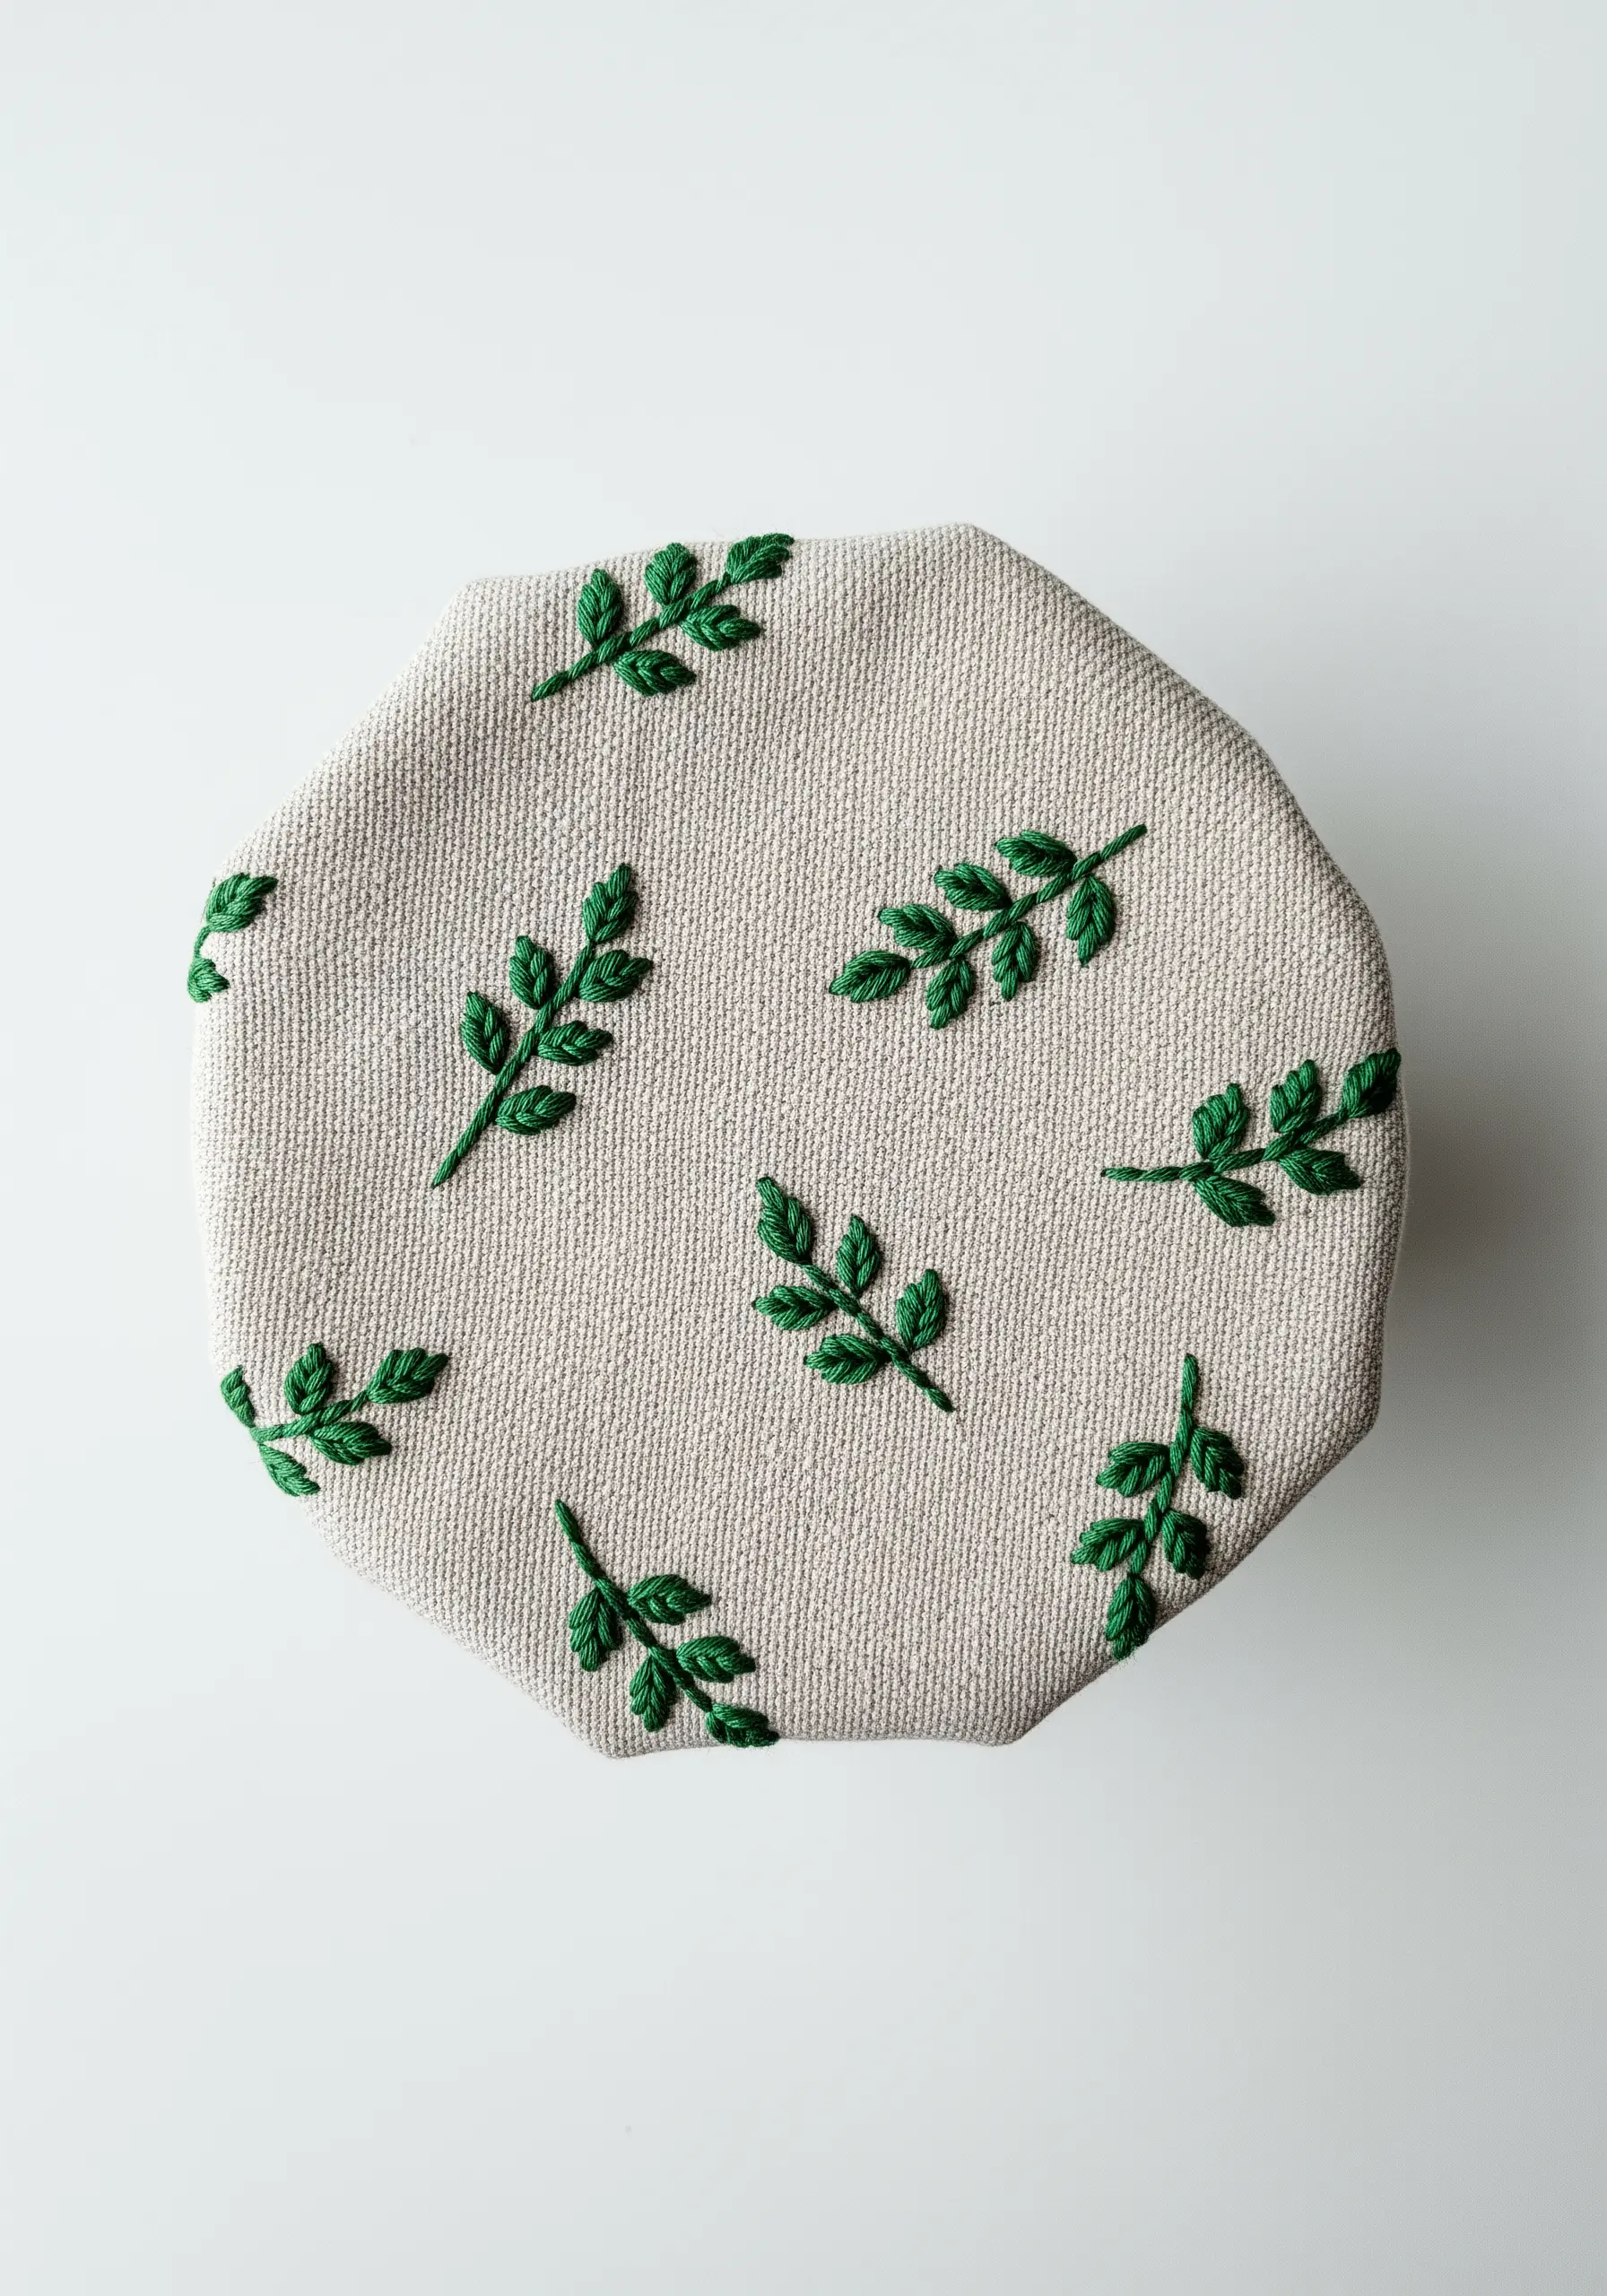
A repeating motif doesn’t need to follow a rigid grid to look cohesive.
To give this leafy pattern a natural, ‘fallen leaves’ feel, scatter the motifs randomly across the fabric of a jar cover or pouch.
Vary the orientation of each leaf, pointing them in different directions to create a sense of gentle movement and organic flow.
Sticking to a single thread color unifies the design, preventing the random placement from looking chaotic.
17. The Enduring Charm of a Backstitch Keychain
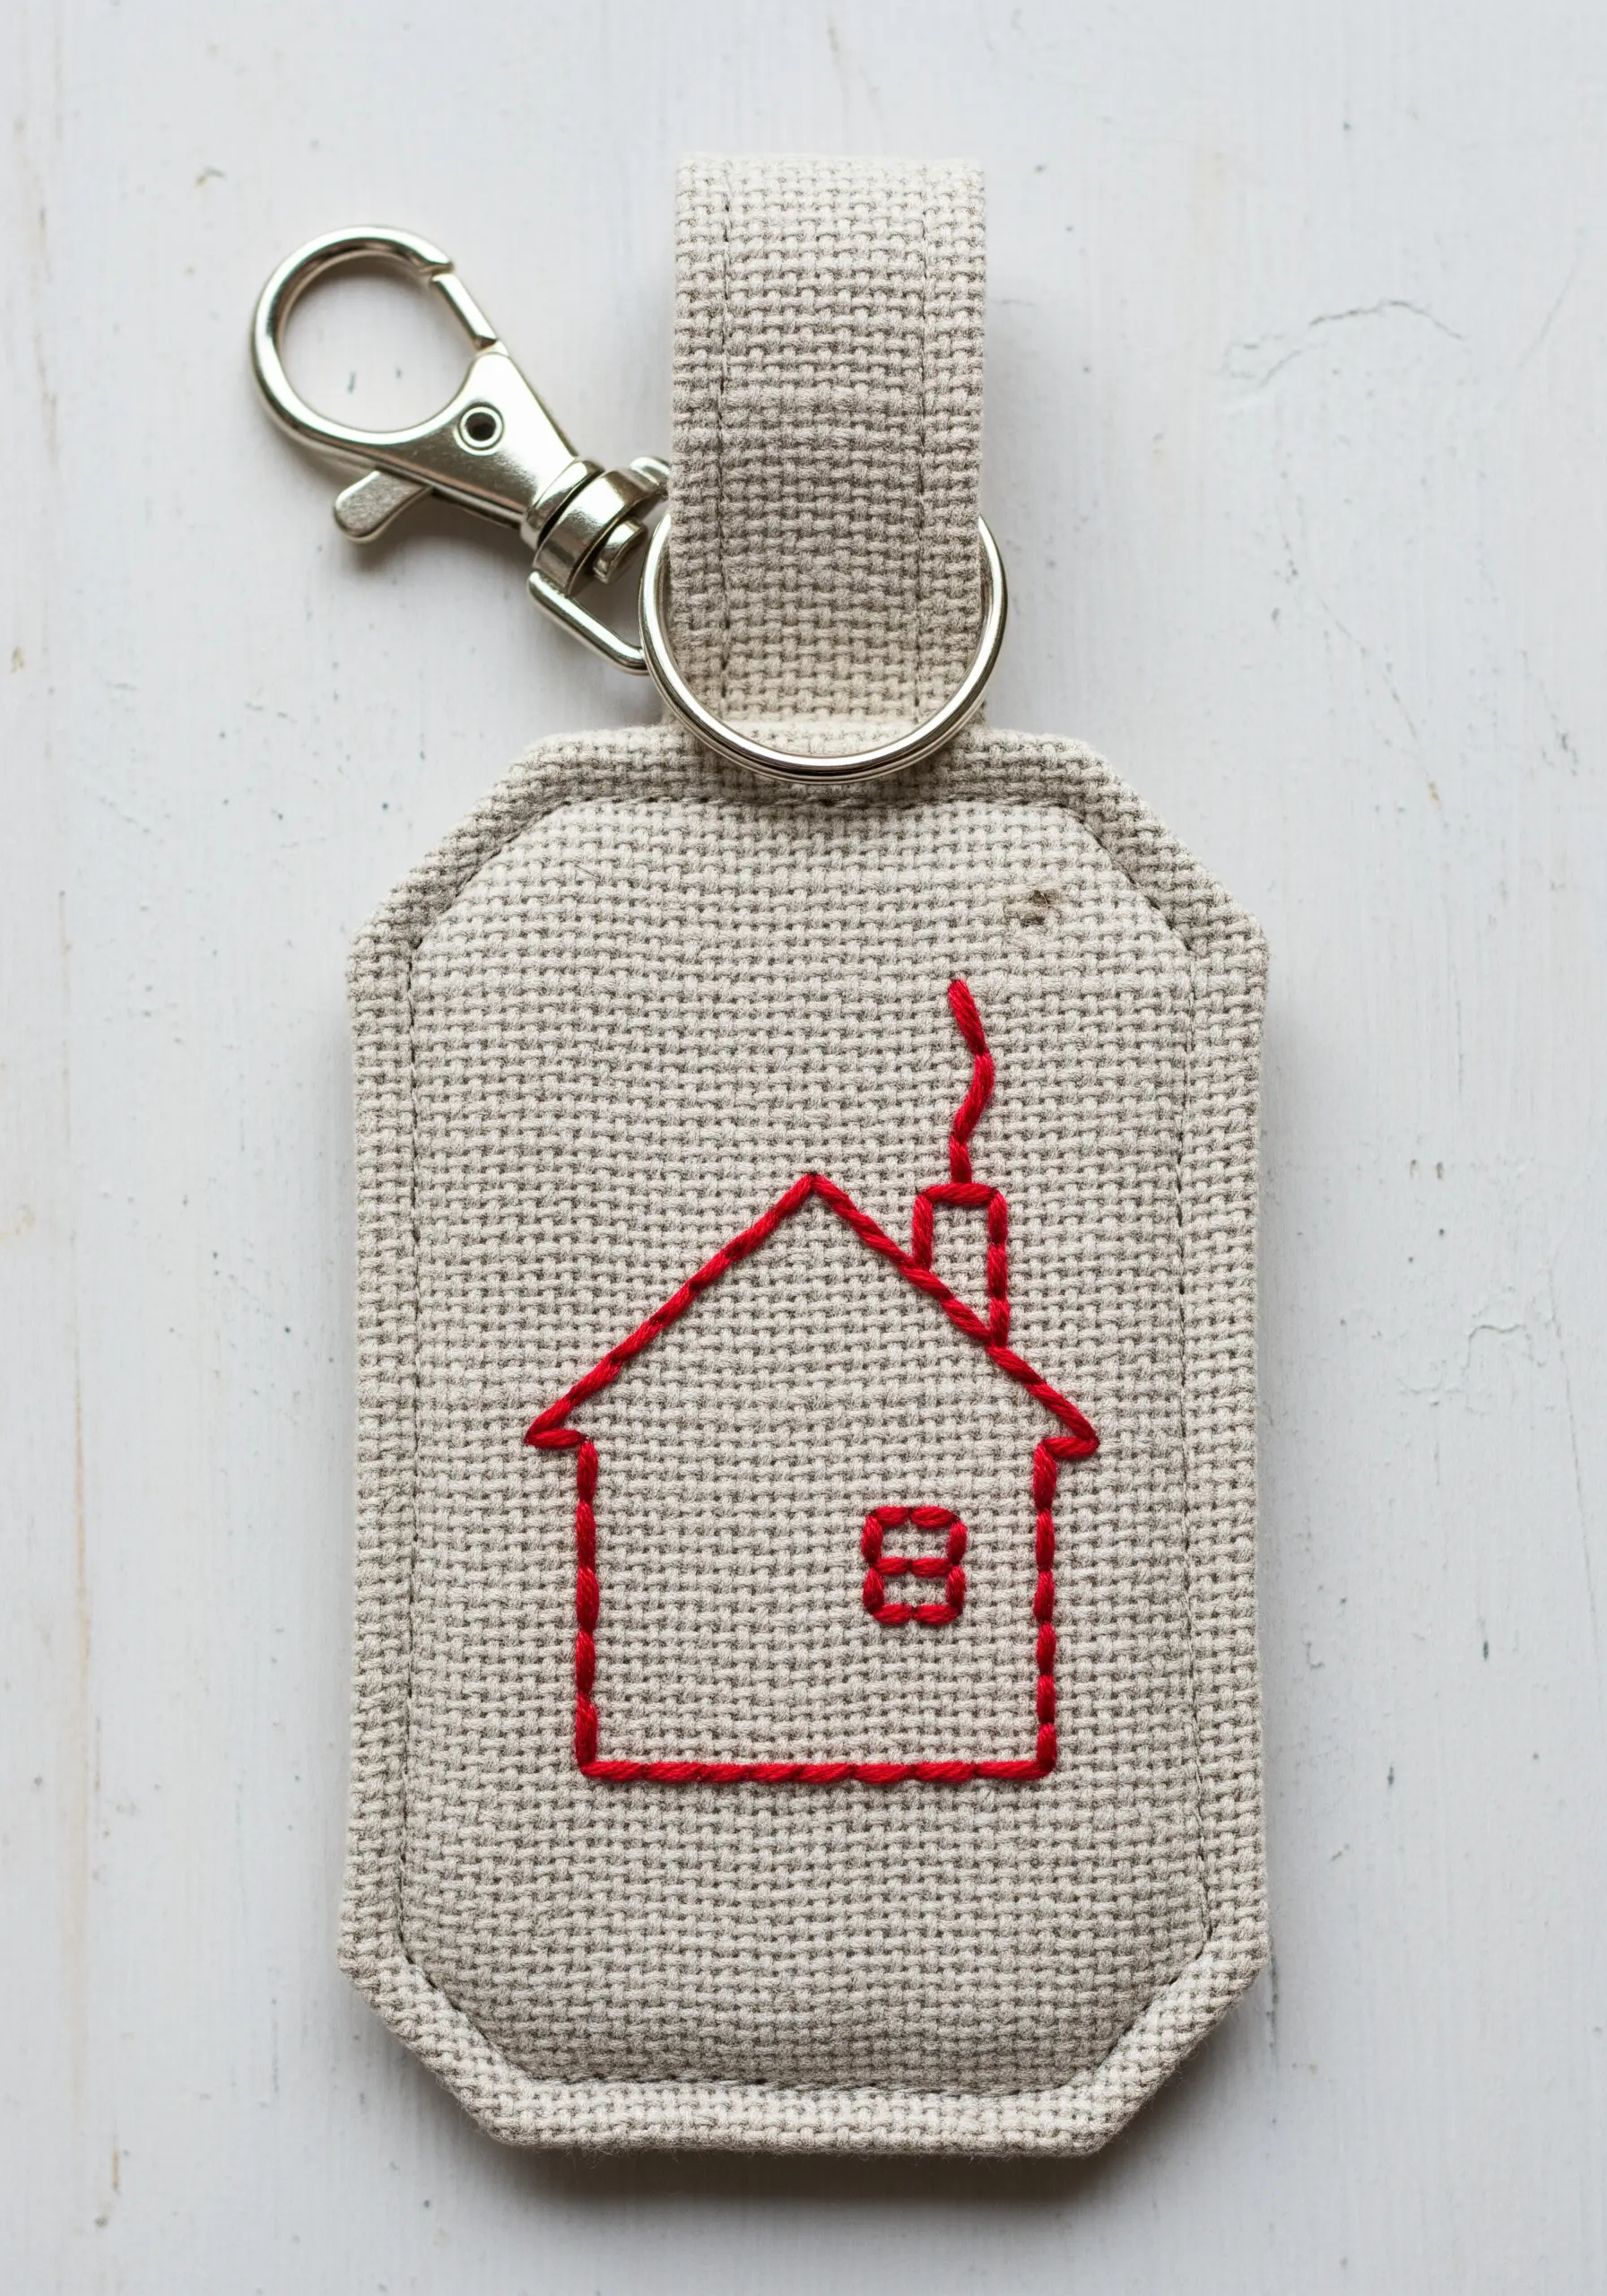
You don’t need complex stitches to create a meaningful design. A simple backstitch is perfect for clean, illustrative outlines.
To keep your lines straight and corners sharp on an evenweave fabric like this, count the fabric threads for each stitch to ensure perfect uniformity.
For a project that will be handled often, use a durable thread and add a fusible interfacing to the back of the fabric before stitching to prevent stretching.
18. Realistic Foliage with the Fishbone Stitch
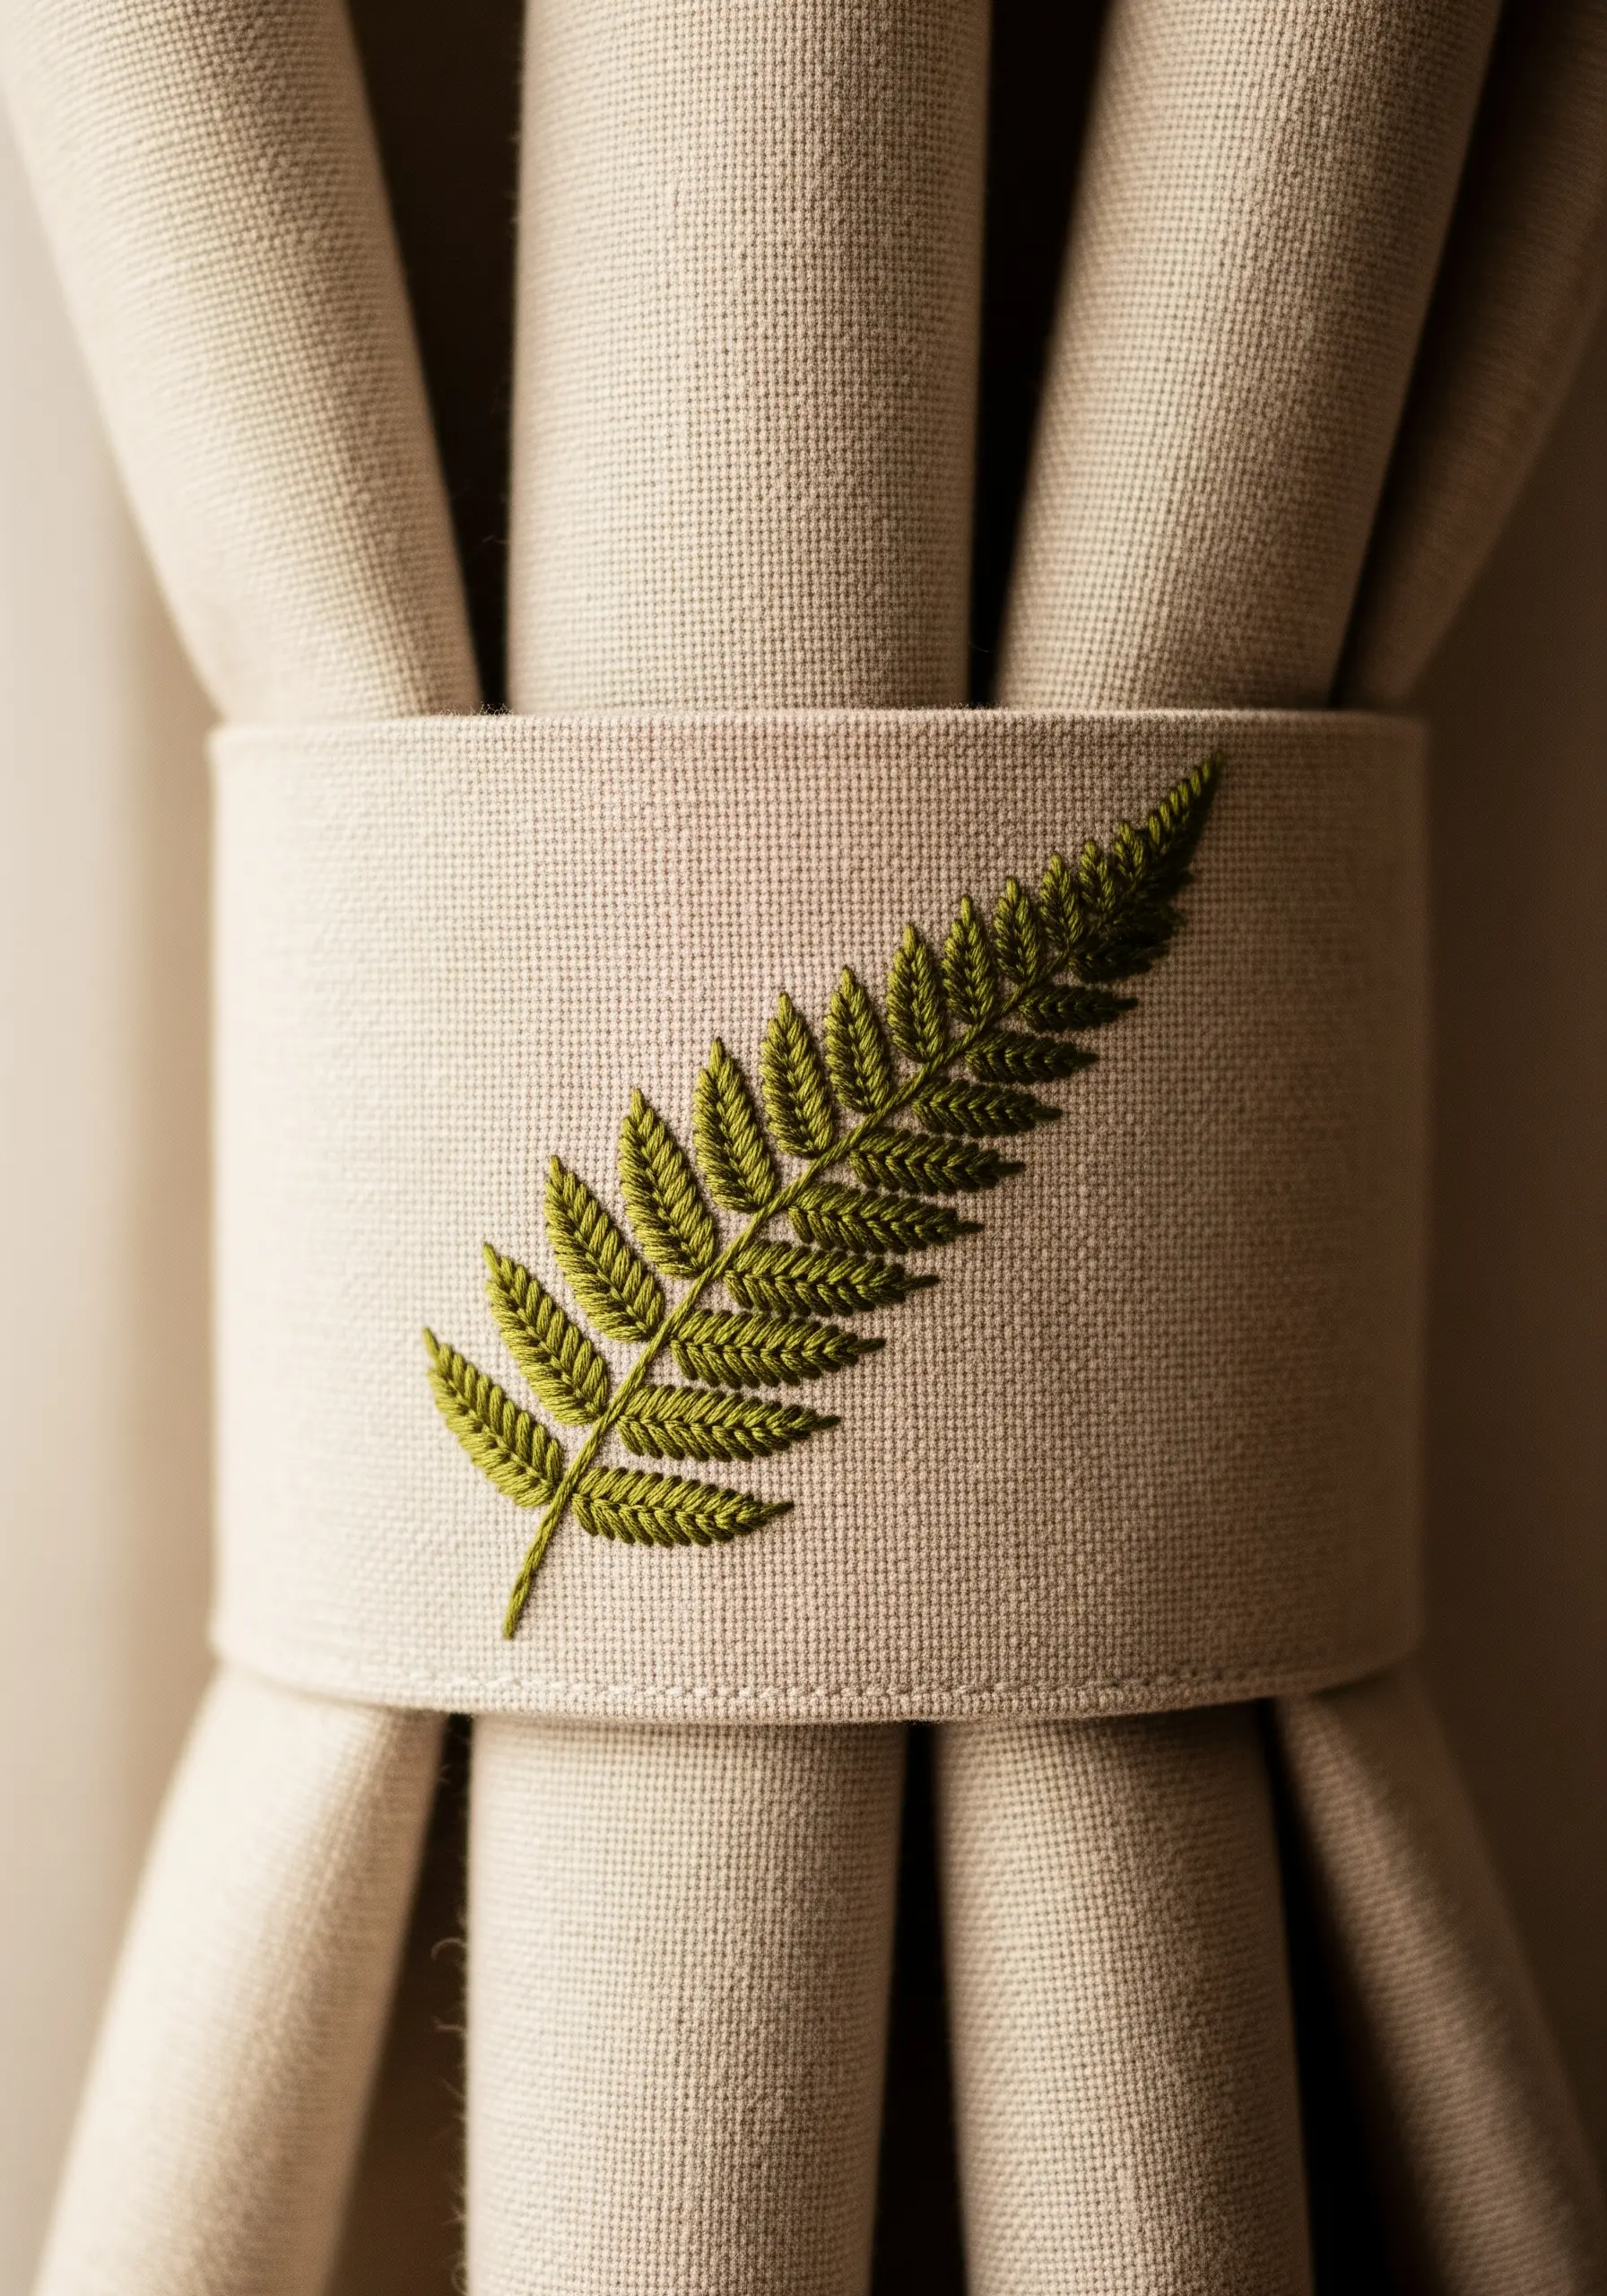
The fishbone stitch is ideal for creating leaves with a central vein, like this fern on a curtain tie-back.
It uses overlapping diagonal stitches that meet in the middle, automatically creating a beautiful, textured centerline.
To add subtle realism, use two closely related shades of green—one for the left side of each frond and another for the right. This mimics how light hits foliage and adds incredible depth with minimal extra effort, perfect for fern and foliage stitch variations.
19. Blending Colors with Long-and-Short Stitch

To achieve the soft, painterly gradients on these mushroom caps, use the long-and-short stitch.
This technique allows you to blend colors seamlessly. Work your first row of stitches in your darkest color, varying the length of each stitch.
Then, bring your needle up through the previous row with your next color, staggering the new stitches to break up any hard lines between shades.
This ‘thread painting’ method creates a depth and realism that a simple satin stitch cannot achieve.


