
That plain canvas tote bag in your closet isn’t just an empty space—it’s an invitation. It’s a chance to add a single, thoughtful detail that makes something mass-produced feel entirely your own. But often, we think the only way to make an impact is to go big, to fill the entire surface.
I want you to reconsider the power of the small. A tiny, perfectly executed motif can carry more elegance and personality than a large, complex design. It’s in these small spaces that your control over the thread, your choice of stitch, and your understanding of texture truly shine. It’s about making one small moment on the fabric perfect.
Think of these ideas not just as patterns to be copied, but as miniature lessons in technique. See how a change in stitch direction can create dimension, how a simple outline can define a shape, and how texture can tell a story. This is how you transform not just a tote bag, but the way you approach embroidery itself: with intention, precision, and the confidence that even the smallest stitch can make a beautiful statement.
1. Layering Petals for Subtle Dimension
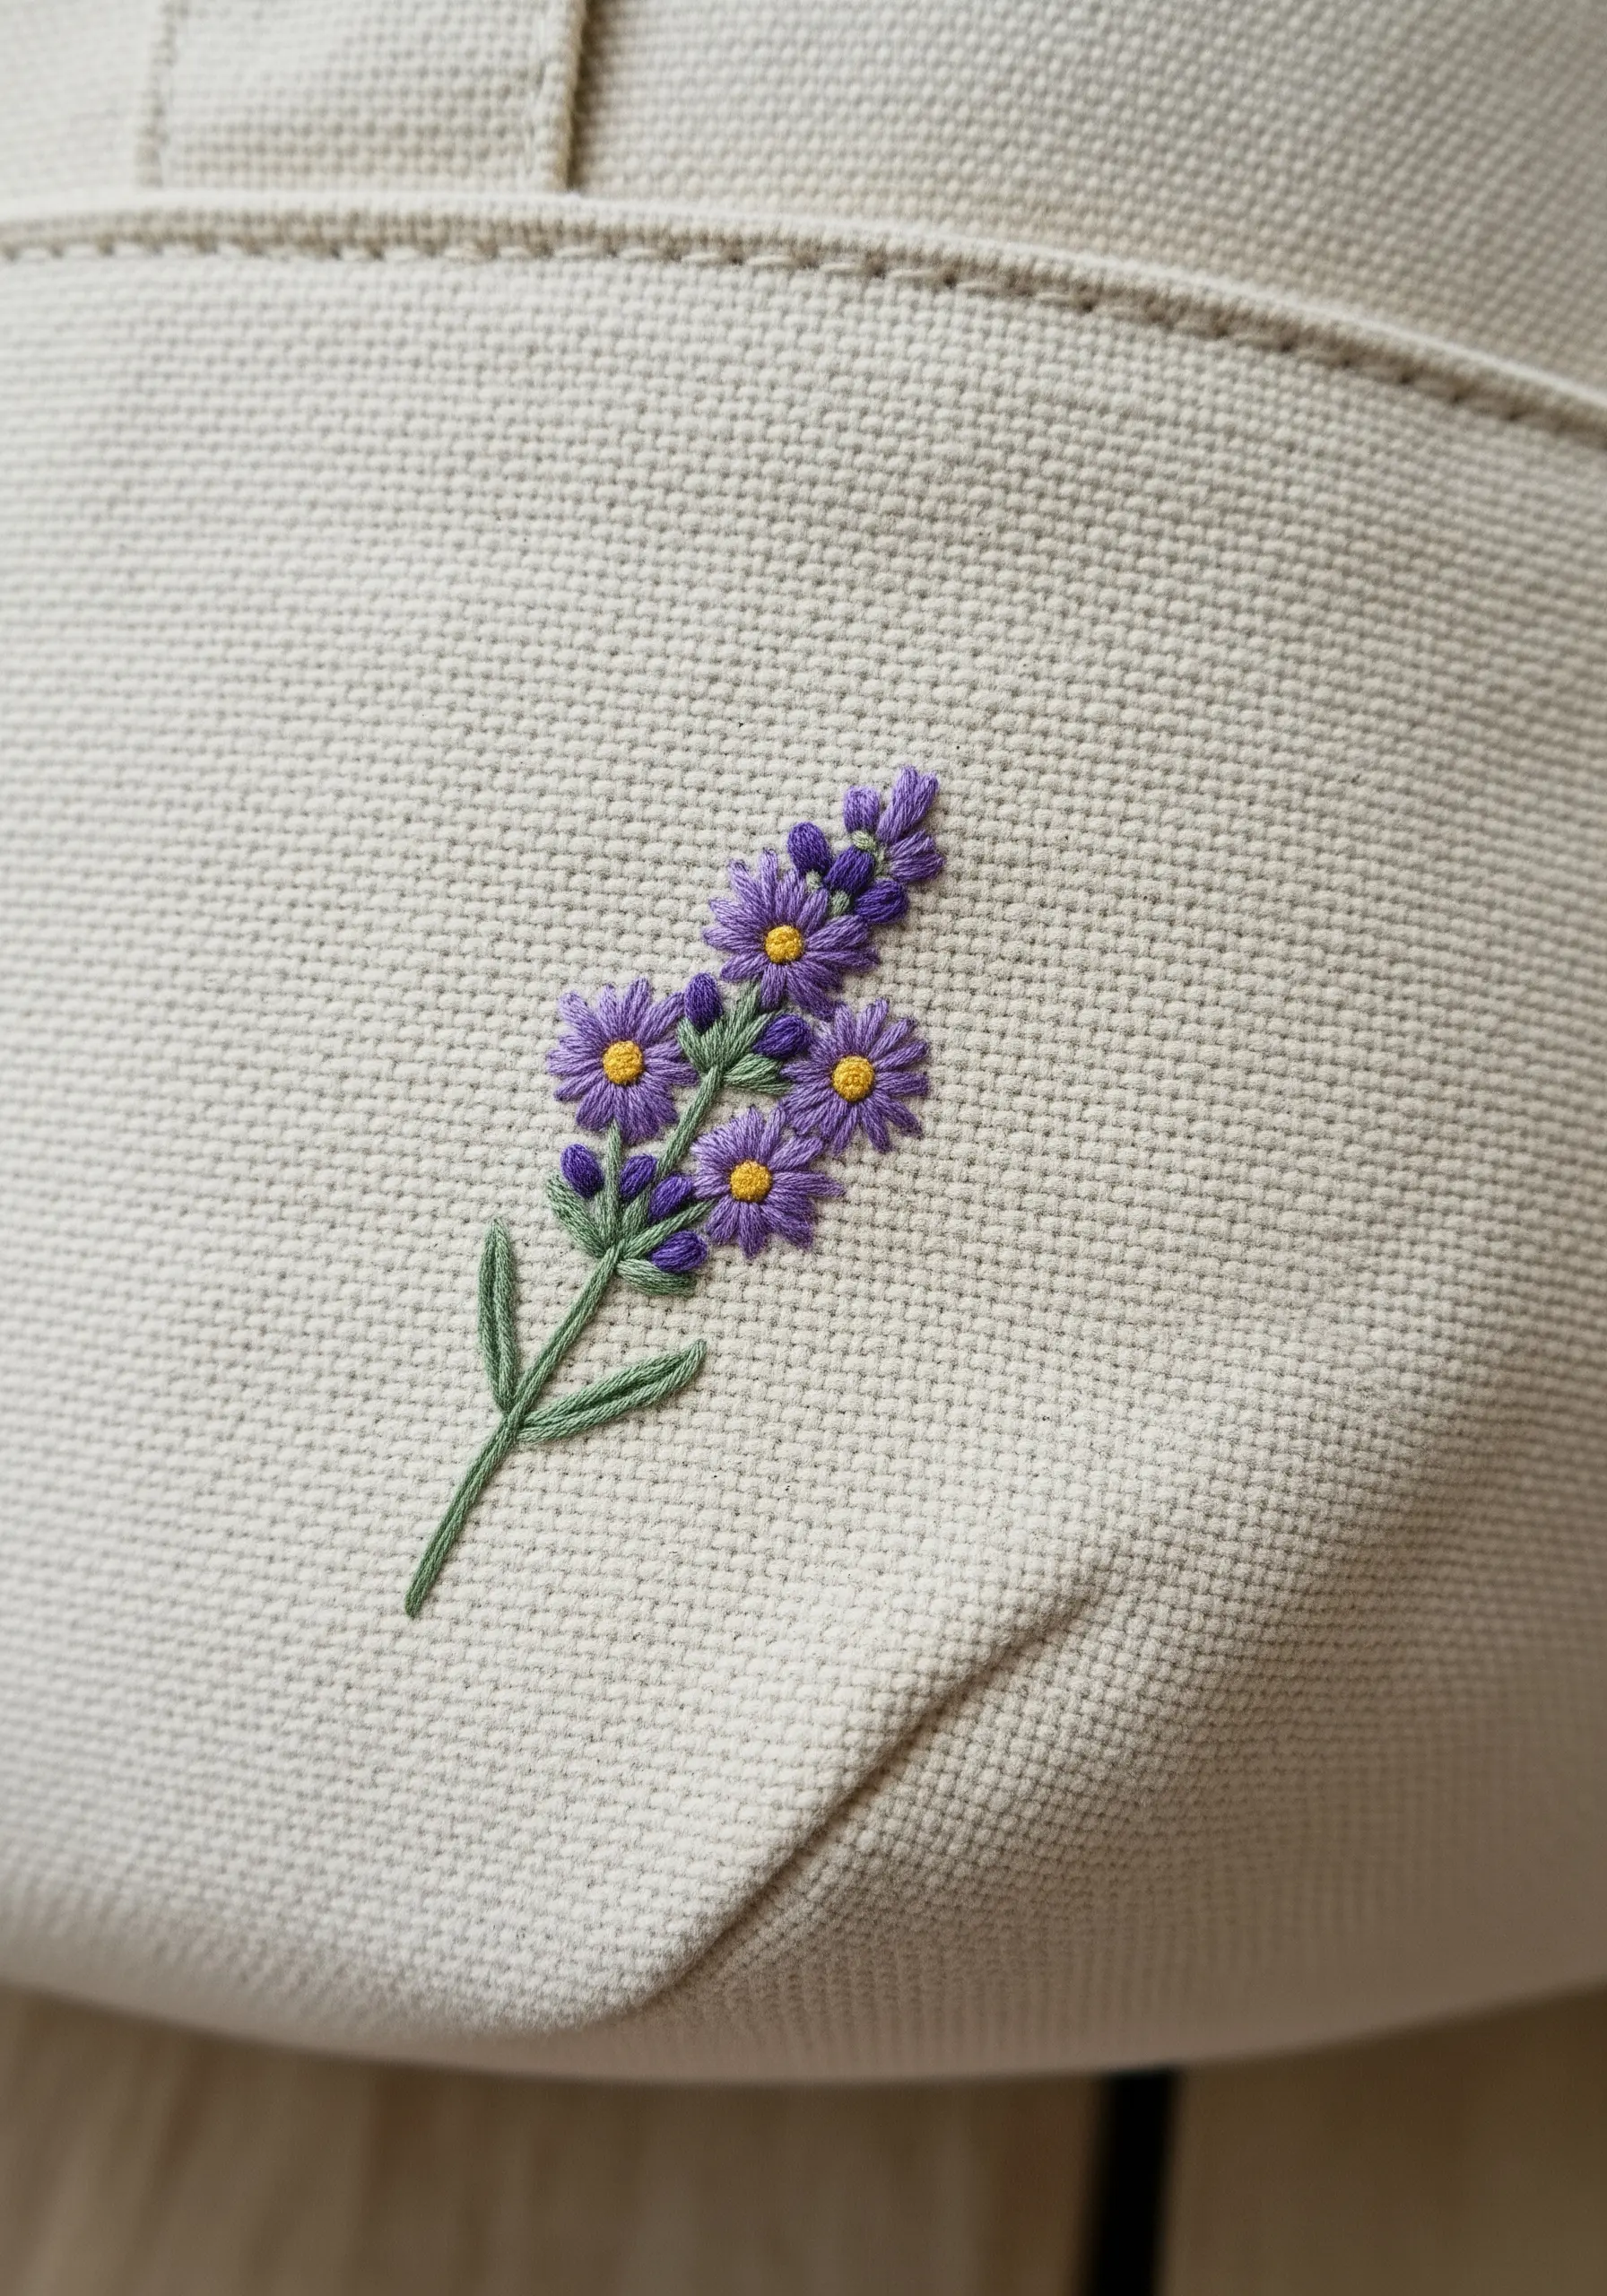
Create depth in small florals by working the petals in layers instead of as a single flat shape.
First, stitch the petals in the background using a light purple satin stitch.
Next, stitch the foreground petals directly on top using a slightly darker purple, allowing the back layer to peek through.
Finish with tiny French knots in a contrasting yellow for the centers, which pulls the entire blossom together and adds a final touch of texture.
This layering technique gives a simple motif a more realistic, three-dimensional feel without complex shading.
2. Creating Luminous Texture with Metallic Thread
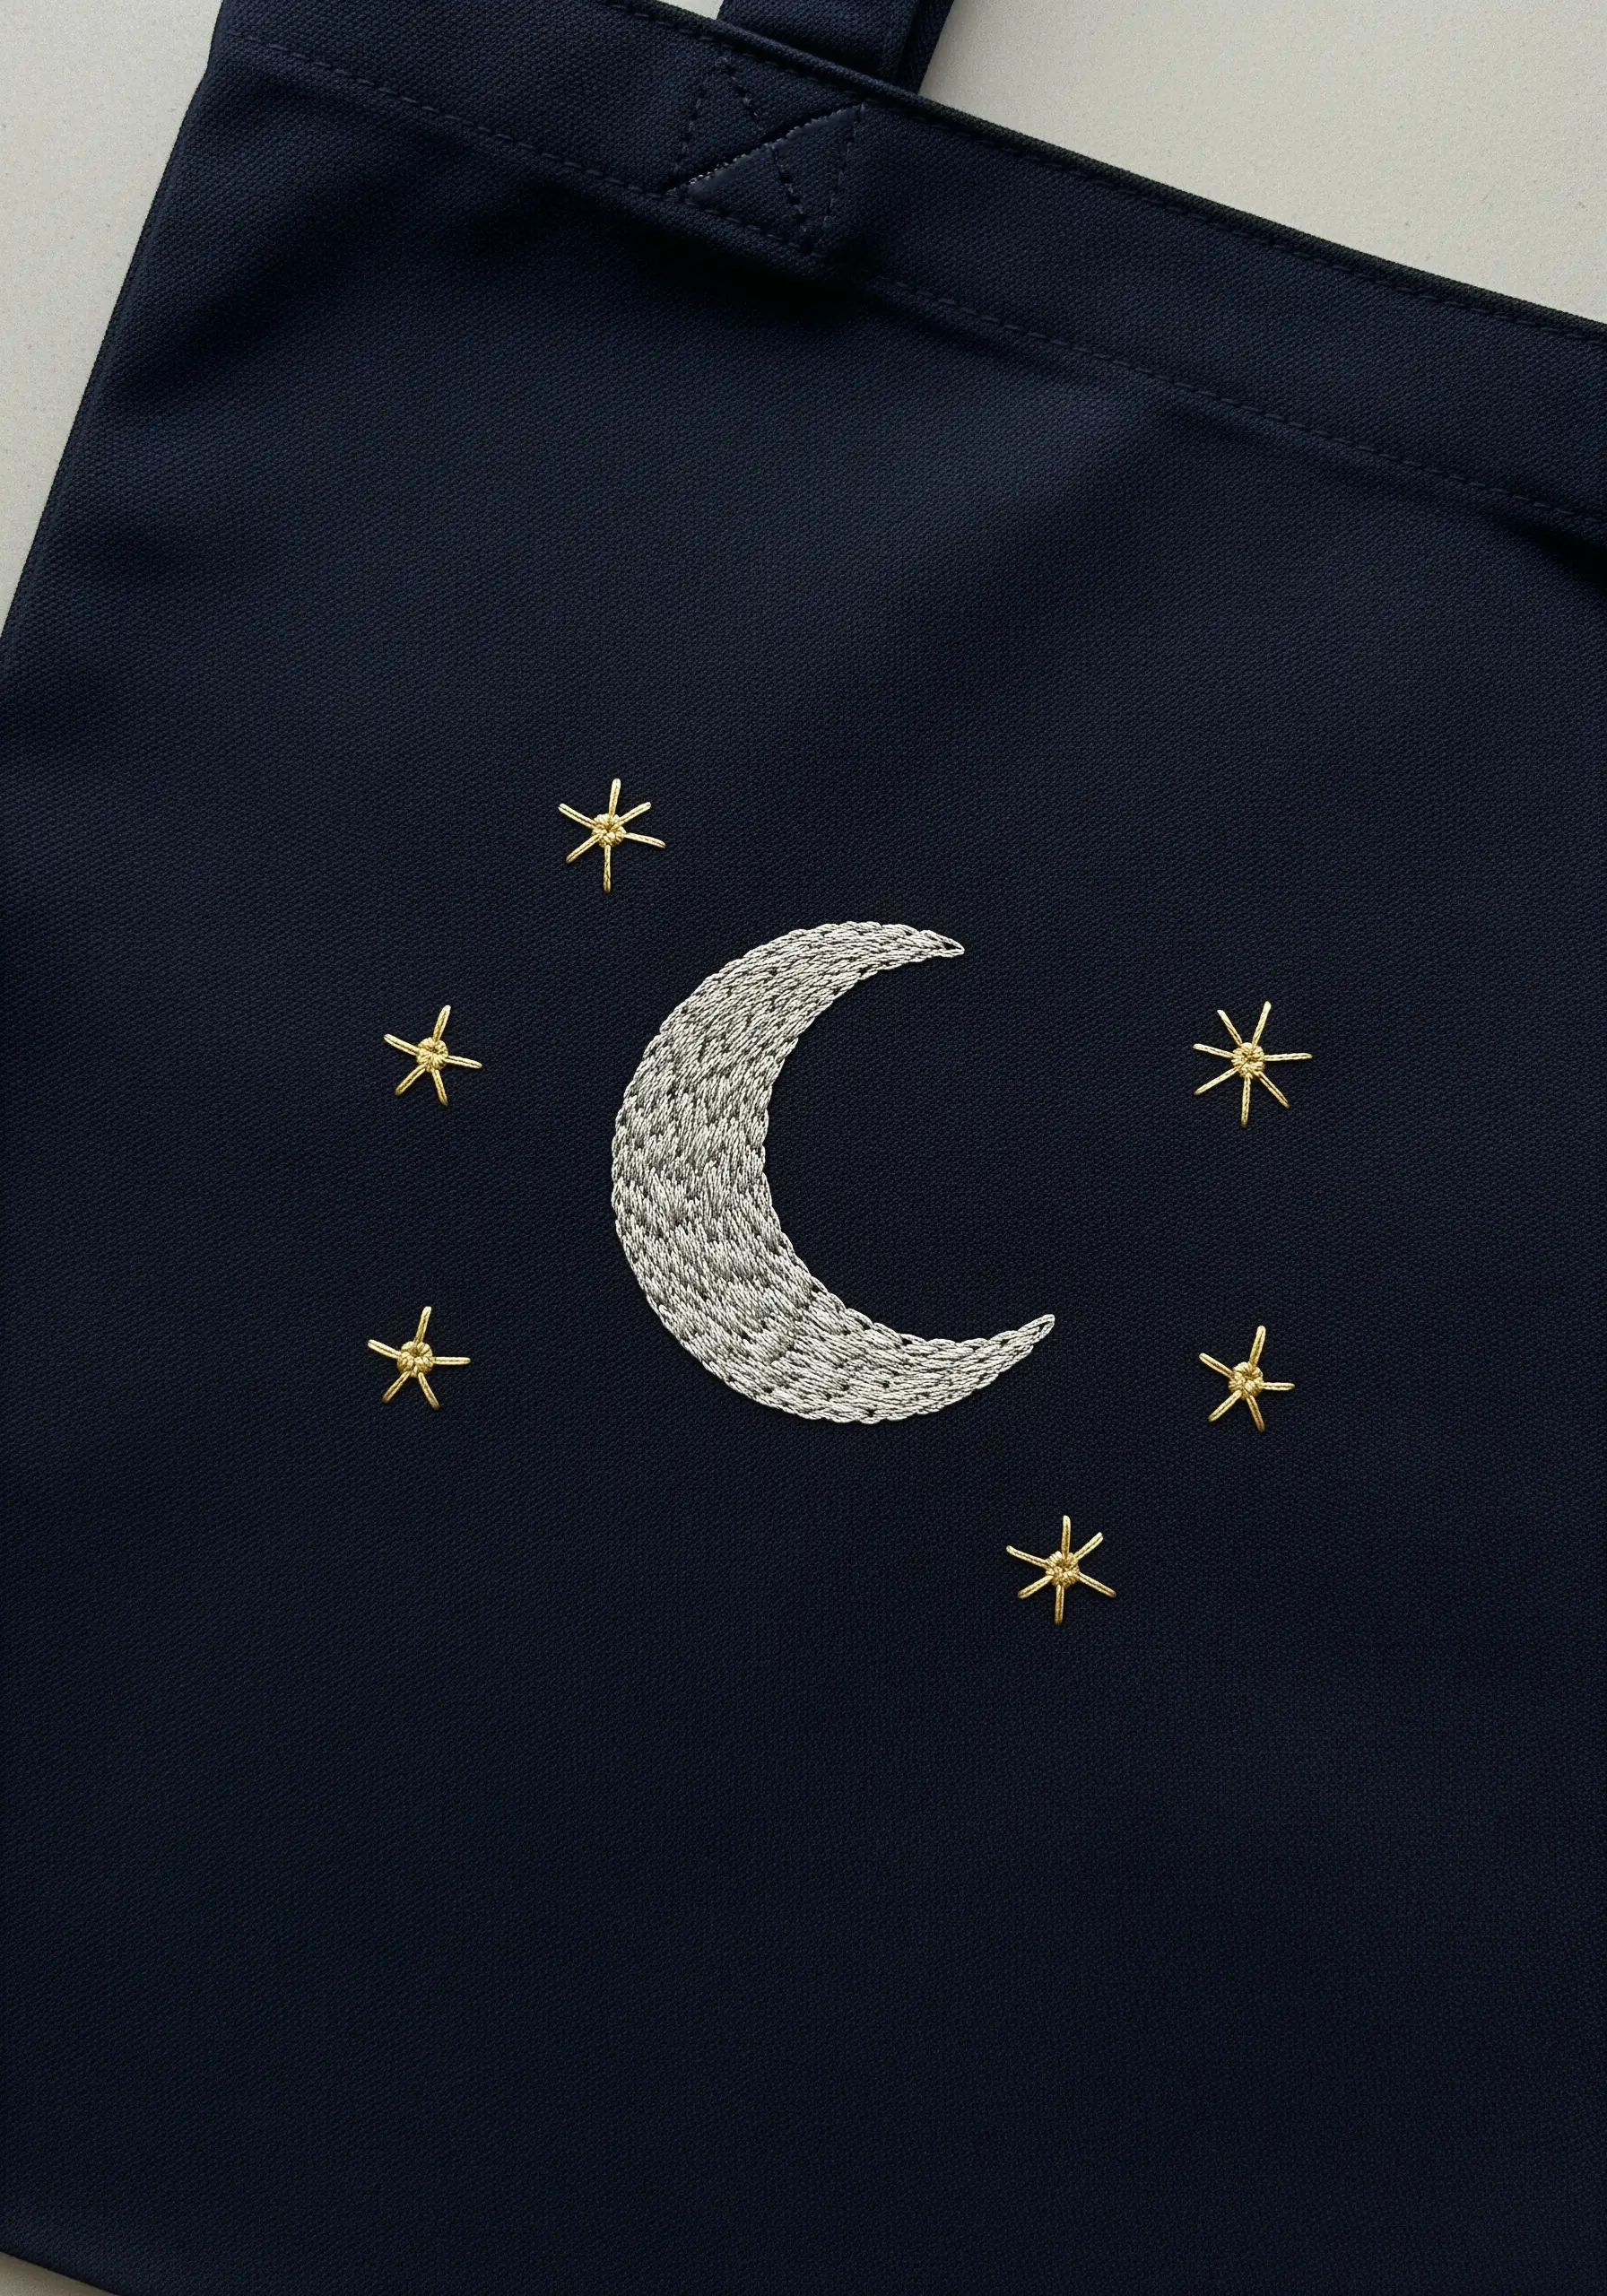
To make a motif truly stand out on dark fabric, play with light and texture using metallic floss.
Fill the crescent moon with a dense satin stitch, angling your stitches slightly to follow the curve—this helps the metallic thread catch the light from multiple directions, creating a shimmer.
For the stars, use a simple straight stitch or star stitch with a single strand of gold metallic thread to ensure they remain crisp and delicate, not bulky.
The contrast between the cool silver and warm gold on a navy background creates a dramatic, celestial focal point.
3. Mastering Abstract Shapes with a Split-Stitch Border

The key to perfectly clean satin-stitched shapes lies in the preparation, not just the fill.
Before you begin your satin stitch, outline each semi-circle with a tight split stitch using a matching color.
This simple step creates a raised, firm edge that acts as a physical guide for your fill stitches, preventing them from slipping and creating a messy border.
You can then lay your satin stitches neatly against this ‘wall’ for an exceptionally smooth and professional finish.
4. Combining Outline and Fill Stitches for Botanical Detail

Elevate a simple leaf by using two distinct stitches that create a beautiful textural contrast.
Use a chain stitch for the outline and central vein; its rope-like quality provides a bold, defined edge.
For the inner sections, switch to a woven wheel stitch or even simple seed stitches in a lighter, contrasting color.
This combination prevents the motif from appearing flat and adds a sophisticated layer of visual interest, highlighting the structure of the leaf.
5. Capturing a Sense of Movement with Detached Stitches

To give your embroidery a feeling of lightness and motion, choose stitches that appear to float on the fabric.
For the dandelion seeds, use a single straight stitch for the stem and a detached chain stitch (or lazy daisy) for the parachute.
This pairing is visually delicate and perfectly captures the feeling of seeds drifting on the wind.
In the main flower head, radiating straight stitches from a central point mimic the plant’s natural structure before it disperses.
6. The Power of Refined and Minimalist Line Art

A simple line drawing can look incredibly chic when executed with precision.
Use a consistent backstitch or stem stitch to ensure your lines are smooth and even, avoiding the choppy look of a running stitch.
Work with only two or three strands of six-strand floss; this keeps the line delicate and modern, not heavy or cartoonish.
This is a perfect example of how minimalist line art embroidery patterns can transform a simple object into a statement piece.
7. Stitching Constellations with Woven Wheel Stars

Instead of using French knots for stars, which can sometimes look inconsistent, try a small woven wheel or star stitch.
Create a small foundation of an odd number of straight stitches (like an asterisk), then weave your thread over and under these spokes to form a tiny, raised dot that is both textural and uniform.
Connect your woven stars with a delicate, single-strand running stitch to map out the constellation’s shape against the dark fabric.
8. Achieving Smooth Gradients with Thread Painting

To create the realistic, curved body of the bee, use the long-and-short stitch technique, often called thread painting.
Work in rows, staggering your stitch lengths and blending one color into the next to create a seamless gradient from brown to yellow.
This method eliminates the hard lines you’d get with color blocking and creates a soft, natural look.
It’s one of the best ways to capture nature’s textures in your next embroidery project, even on a tiny scale.
9. Evoking Playfulness with a Dynamic Running Stitch
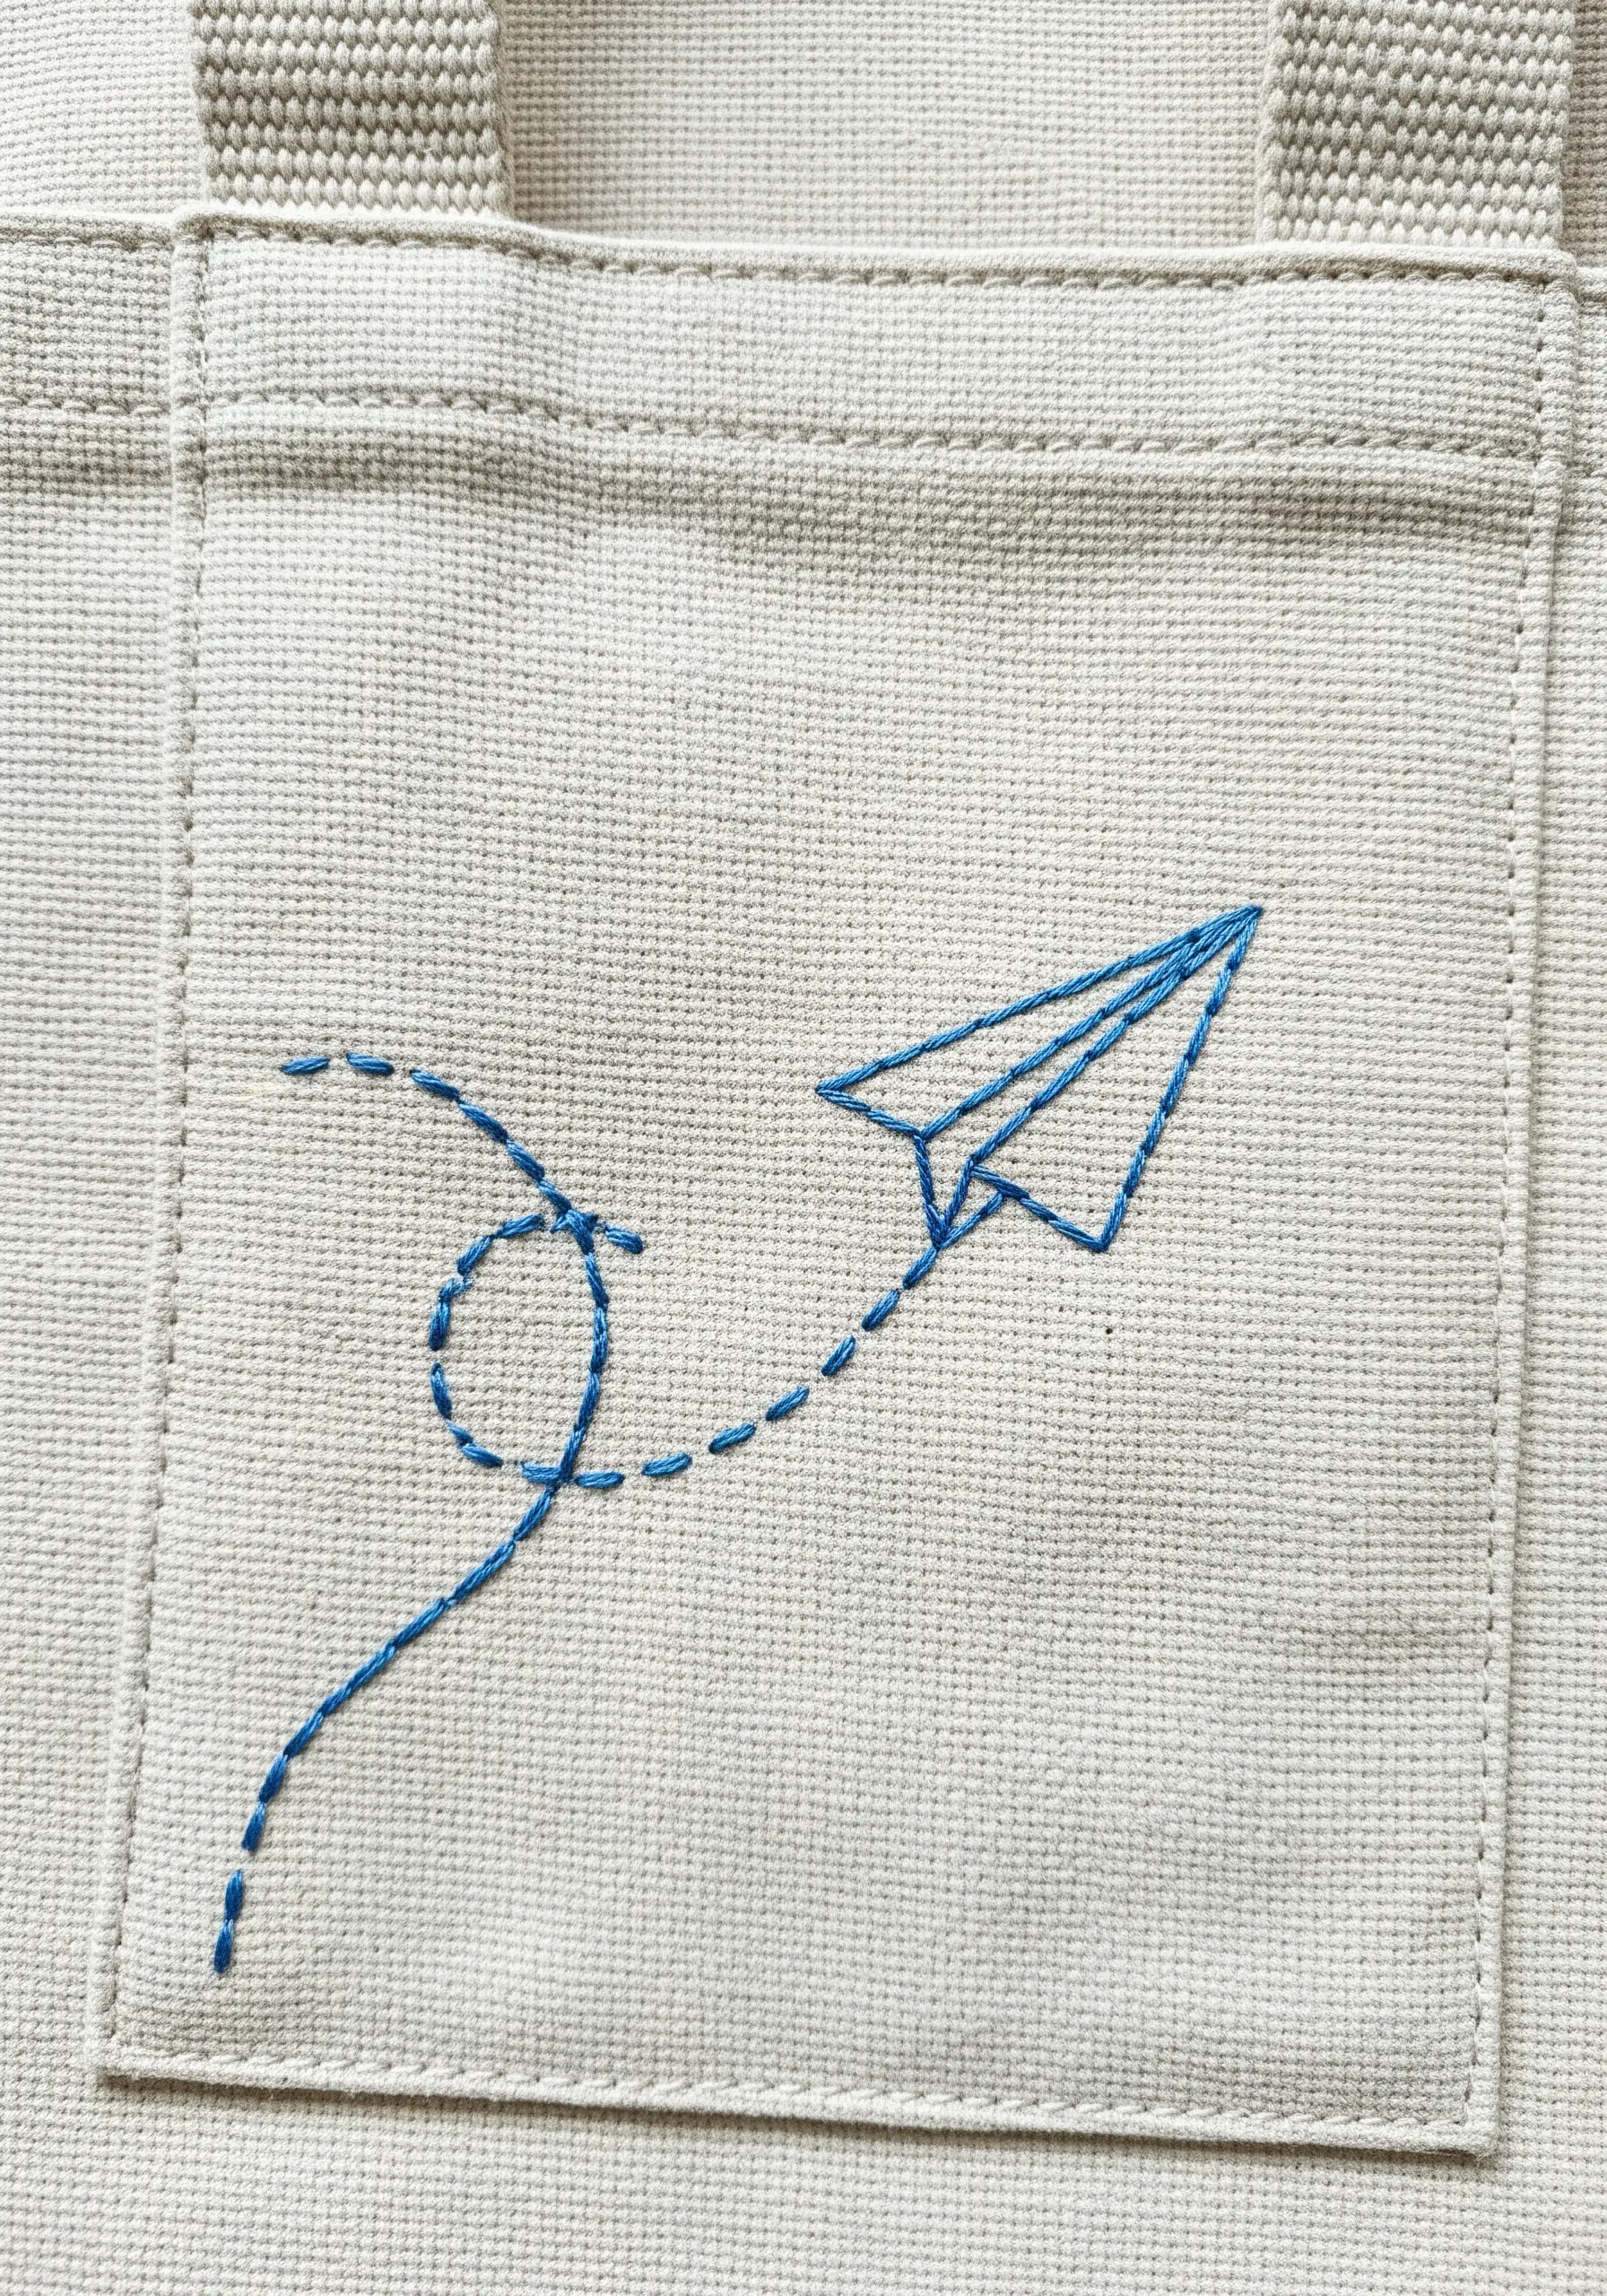
This design demonstrates how a basic stitch can tell a story.
Create the solid paper plane with a simple backstitch for clean, defined lines.
For the flight path, switch to a deliberately spaced running stitch, varying the length of the dashes and the curve of the line.
This contrast between solid and broken lines creates a strong sense of whimsical movement and transforms a static image into a dynamic one.
10. Layering Outlines for Graphic Mountainscapes
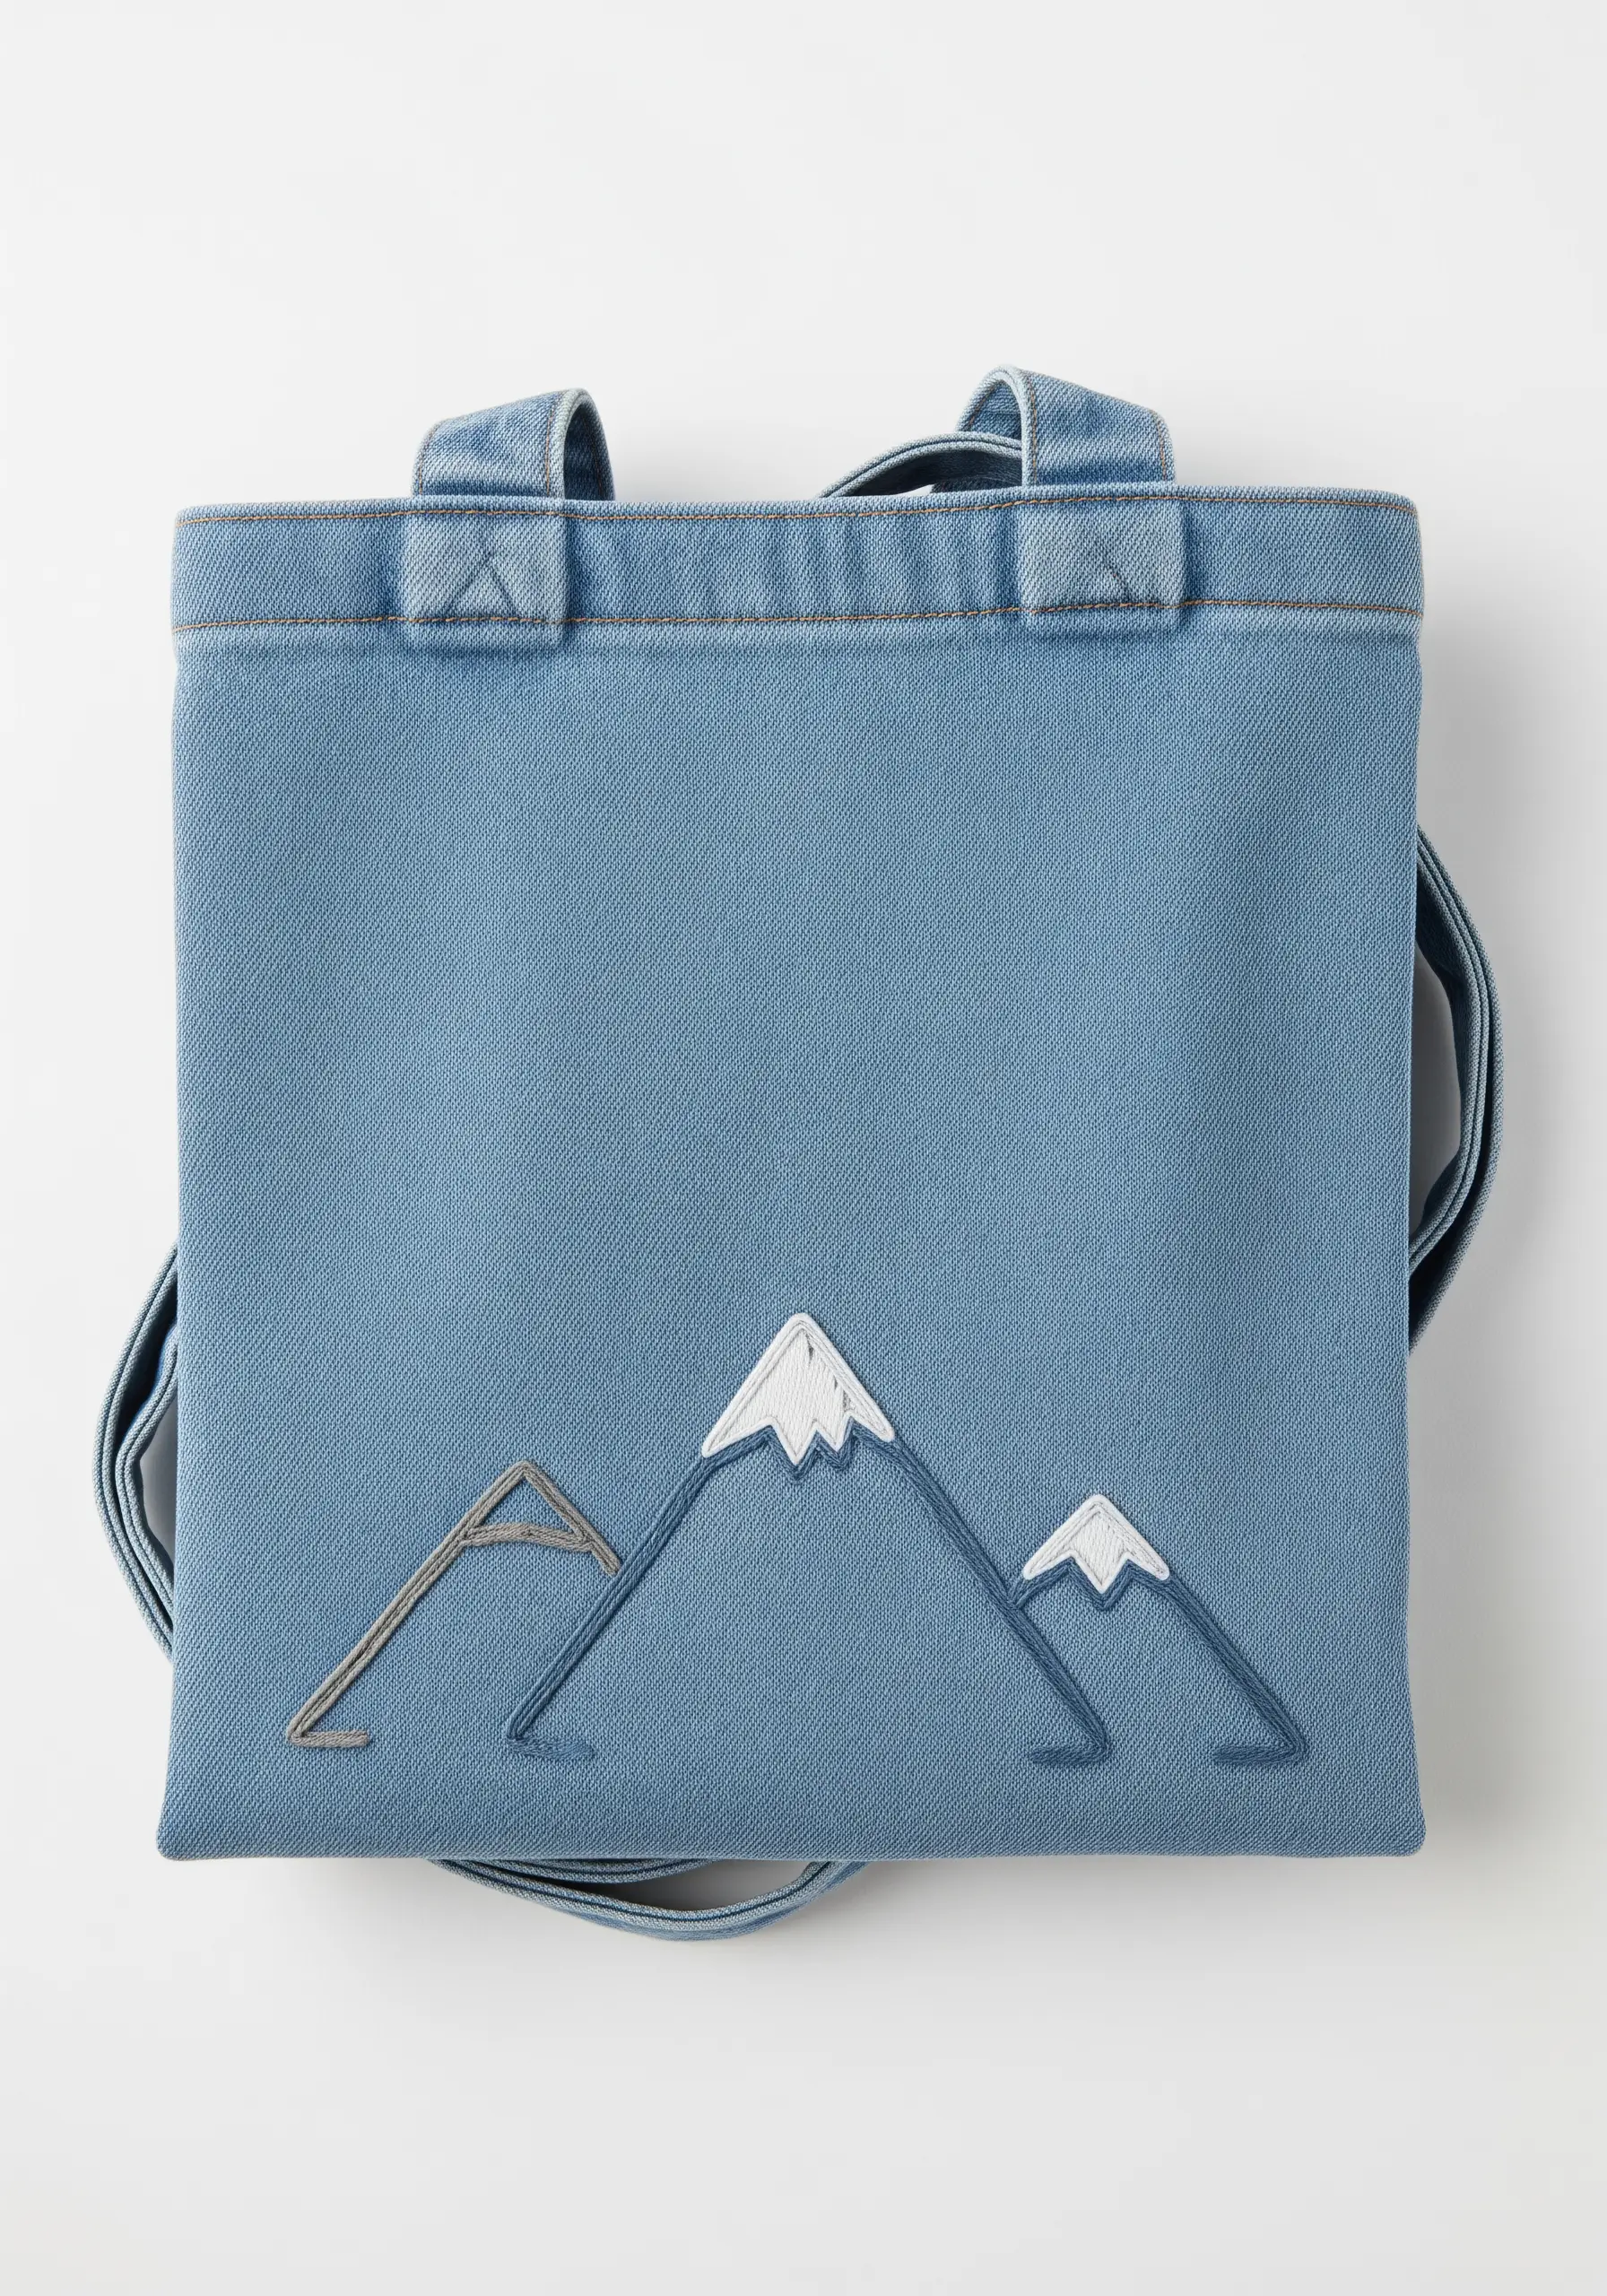
Create a sense of depth and perspective in a simple landscape using layered outlines and minimal fill.
Stitch the farthest mountain with a thinner, lighter thread and a simple backstitch.
Bring the central mountain forward by using a bolder, darker chain stitch for its outline and filling only the peak with white satin stitch.
This selective use of stitch weight and fill draws the eye and creates an effective illusion of distance with very few elements.
11. Defining Shapes with Layered, Contrasting Outlines
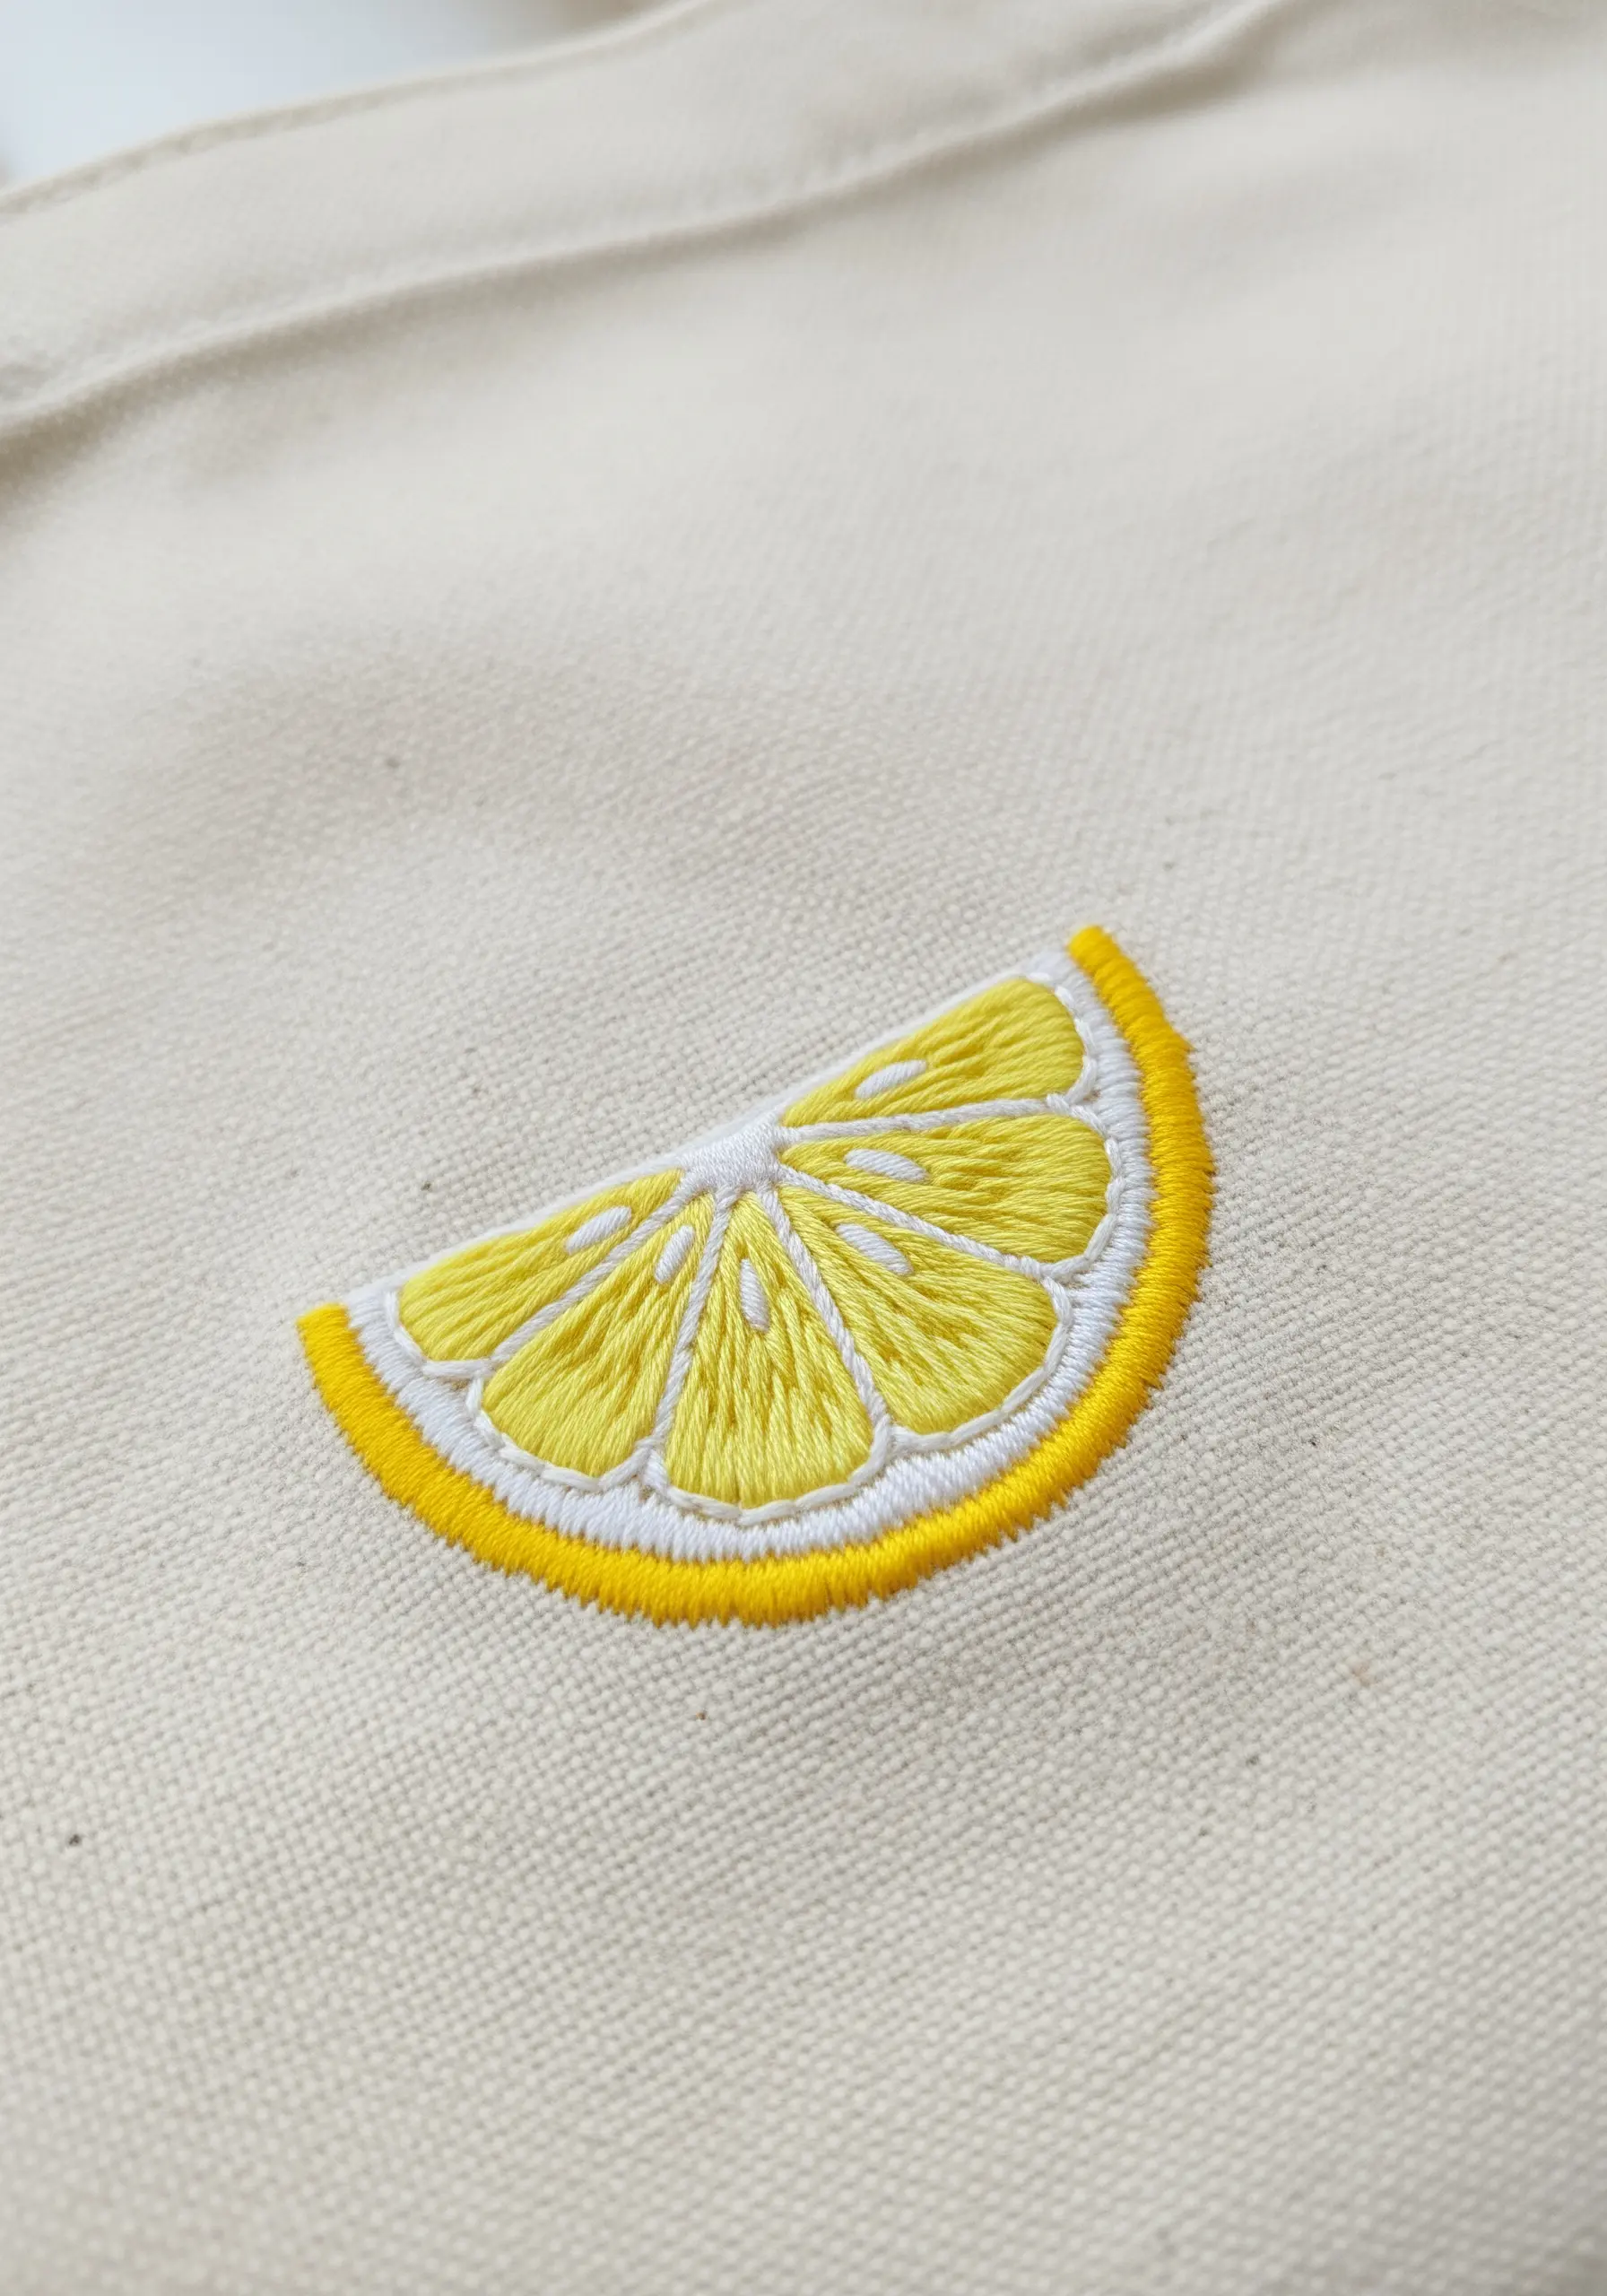
The brilliance of this lemon slice lies in its crisp, graphic definition, achieved through careful outlining.
First, fill each fruit segment with a directional satin stitch.
Next, outline these segments with a single strand of white backstitch to separate them and mimic the pith.
Finally, enclose the entire design with a bold, bright yellow satin stitch border. This multi-step outlining technique is what makes the motif look so polished and clean.
12. Sculpting Leaves with Directional Satin Stitch
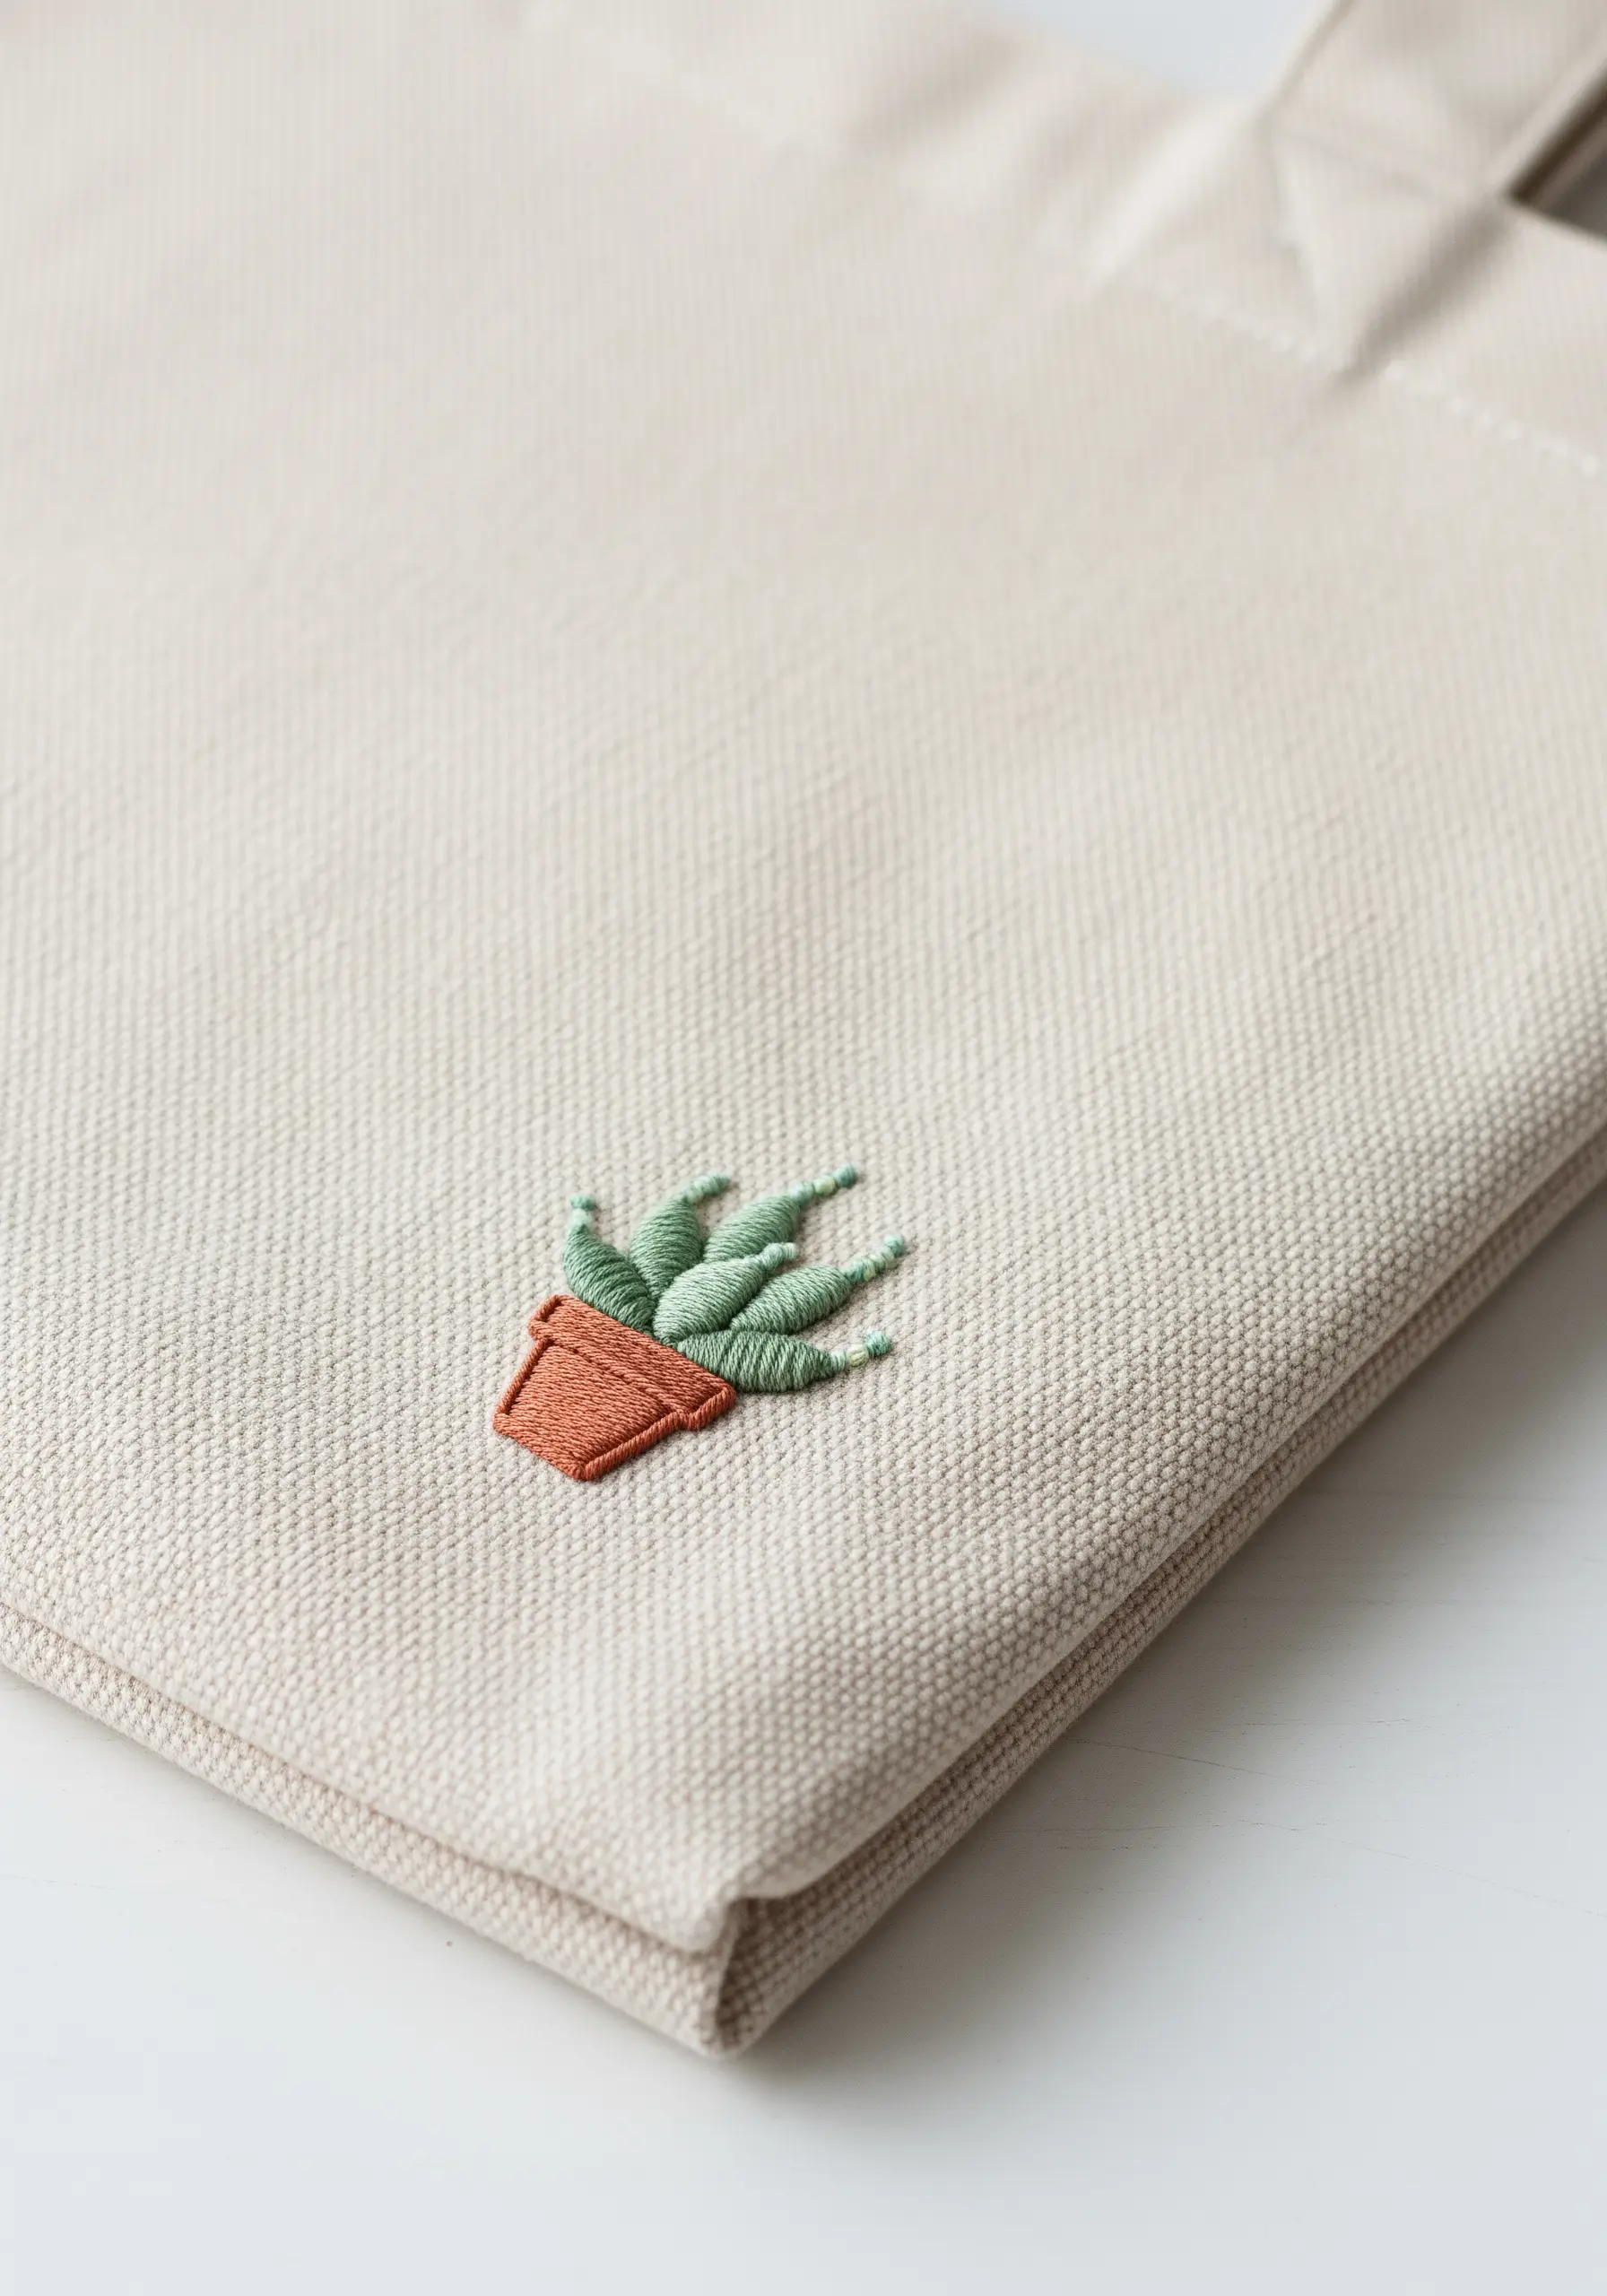
Give small botanicals a realistic, three-dimensional form by paying attention to the direction of your satin stitches.
Instead of filling the succulent leaves with uniform horizontal or vertical stitches, angle them to radiate outward from the plant’s center.
Stitch each leaf as an individual shape. This simple adjustment in stitch direction creates subtle highlights and shadows that mimic how a real plant grows, lifting it from the fabric.
13. Creating a Fan Effect with Radiating Satin Stitches
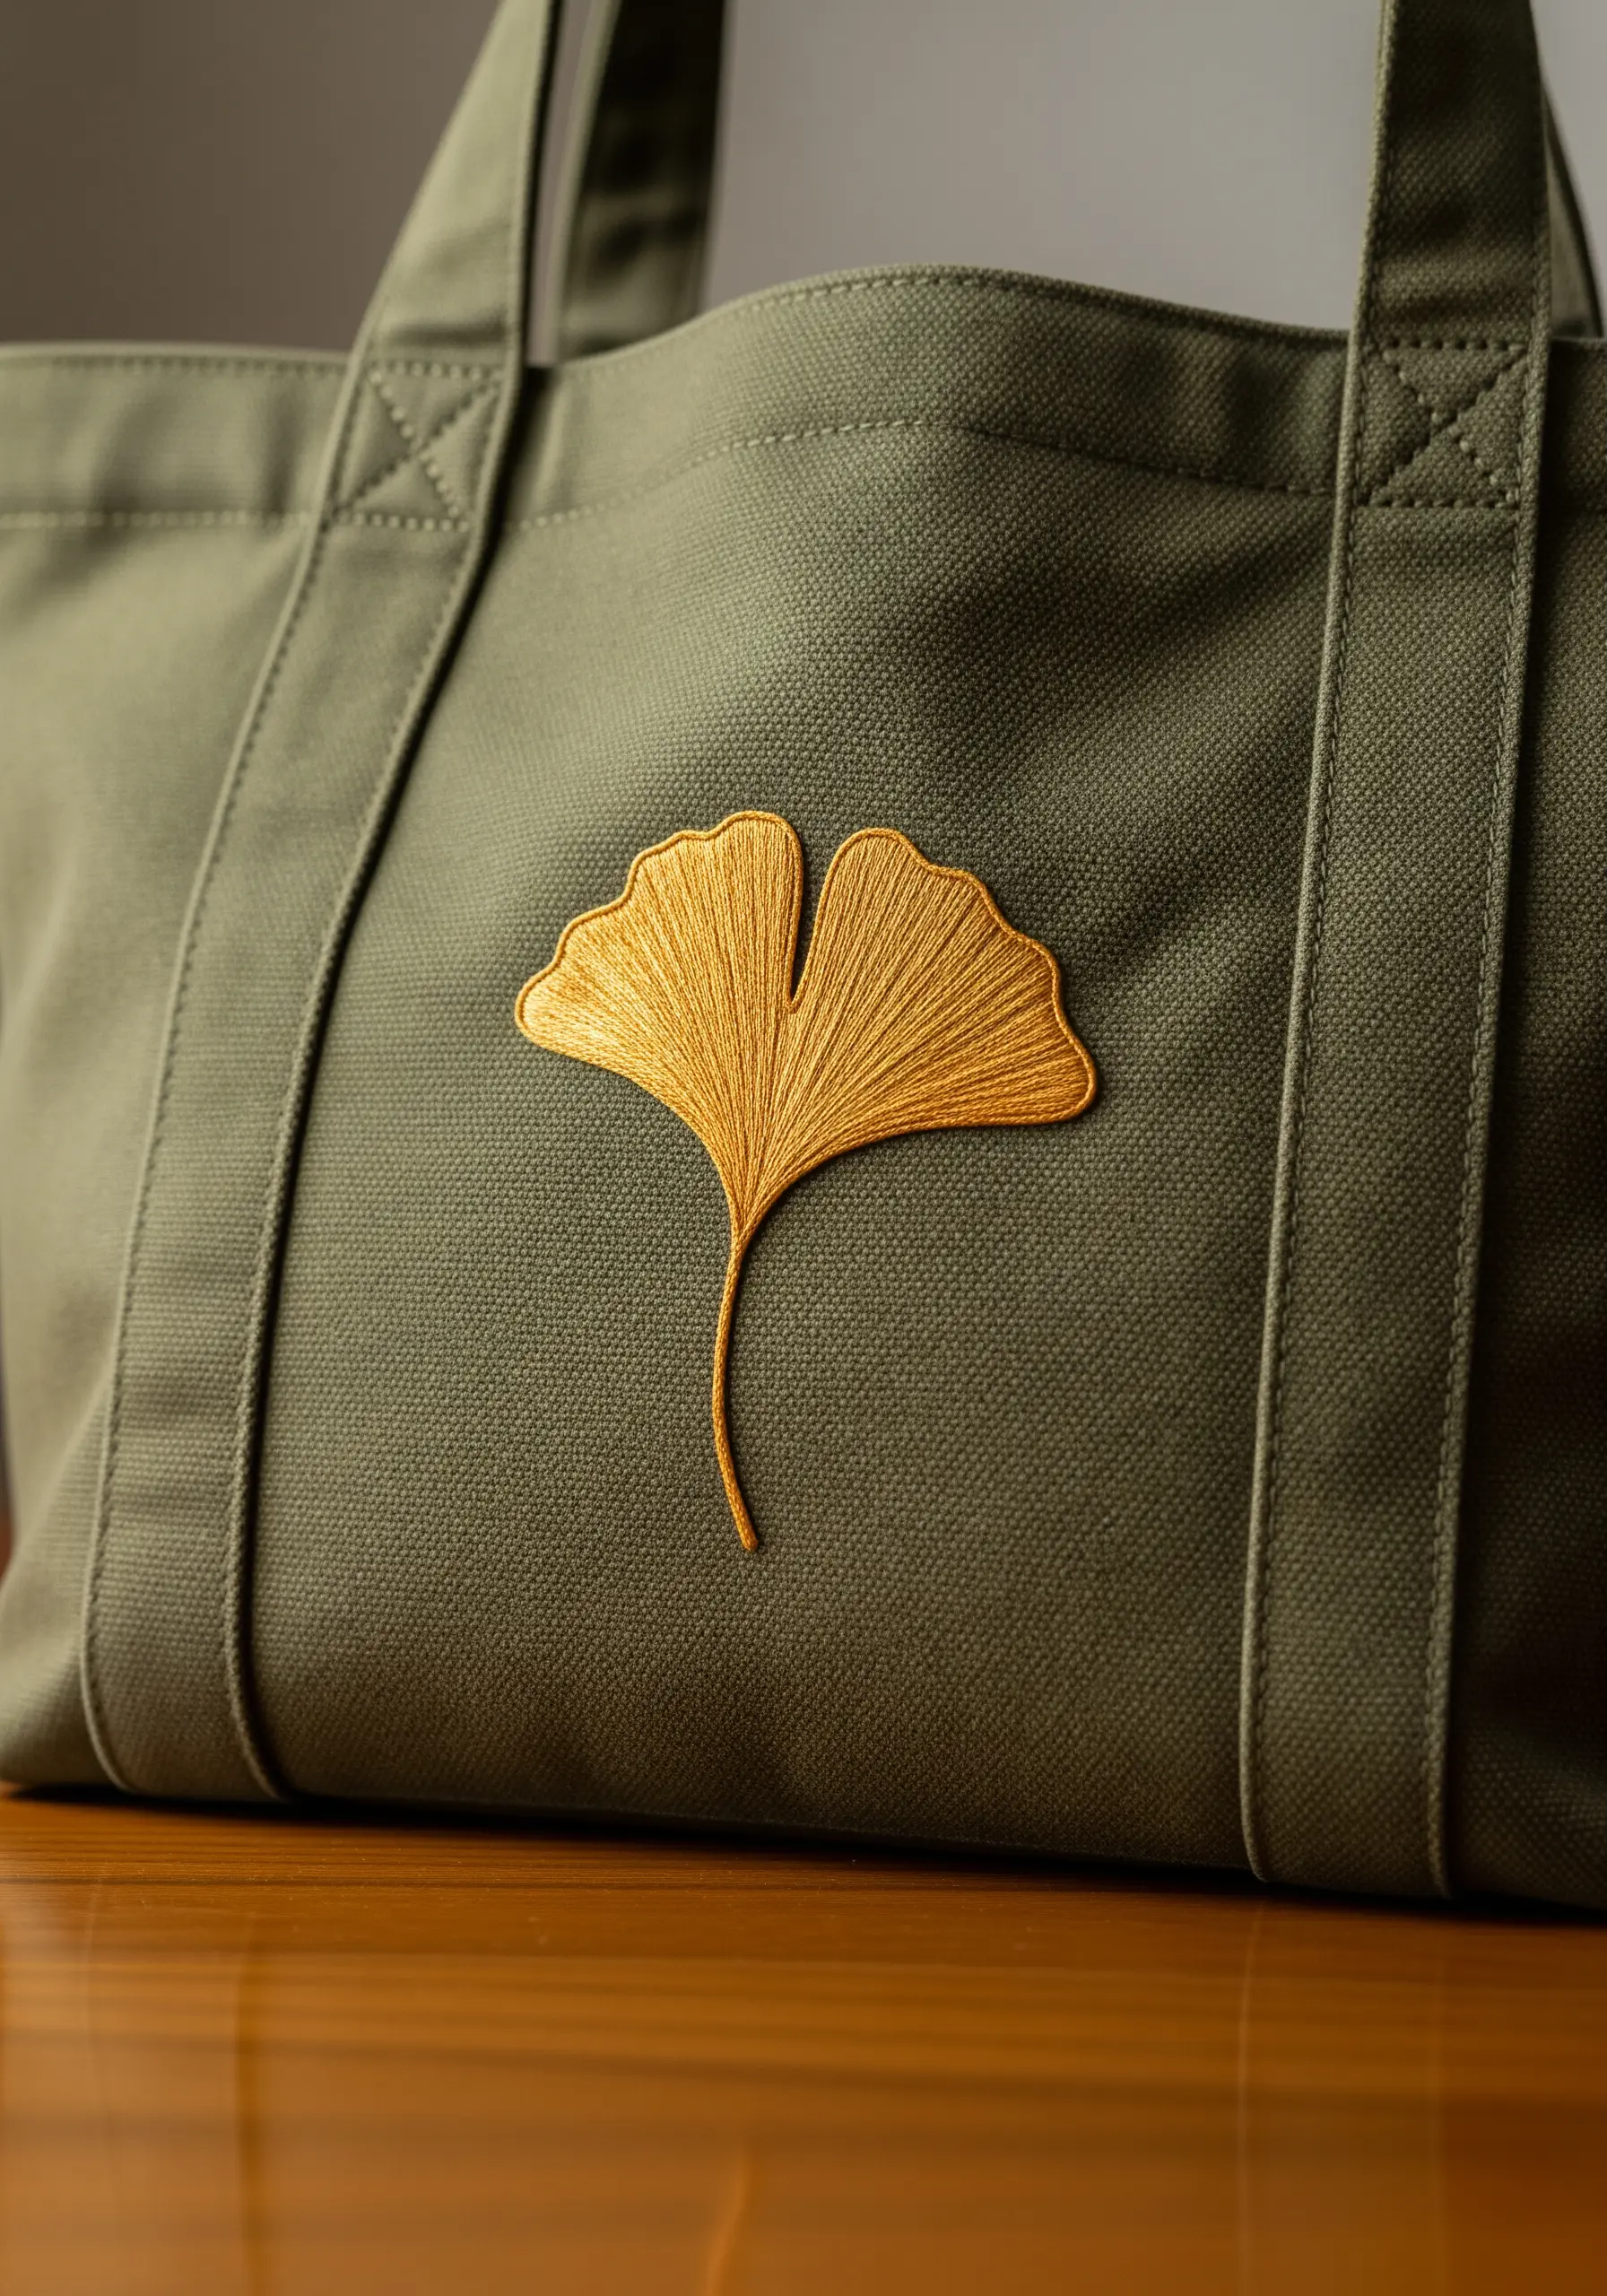
Capture the elegant form of a ginkgo leaf by using your stitches to replicate its natural vein structure.
Begin every satin stitch at the narrow base where the leaf meets the stem.
From this single point, fan each stitch out toward the wide, curved top edge, placing them tightly together.
This technique creates a stunning visual effect and a beautiful sheen as the long, parallel threads catch the light.
14. Using a Bold Outline for an Illustrative Style
Achieve a clean, graphic look by treating your embroidery like a pen-and-ink illustration.
First, fill in each block of color with a smooth, dense satin stitch.
Then, trace every edge of the design with a contrasting black thread using a precise backstitch.
This strong outline contains the colors, sharpens the edges, and gives the entire motif a polished, storybook quality that feels both timeless and modern.
15. Building Bold Texture with a Raised Chain Stitch
When you want a motif that is truly tactile and three-dimensional, a standard chain stitch won’t suffice.
Instead, use a raised chain stitch band. This technique involves creating a foundation of ladder-like straight stitches and then working your chain stitches over these ‘rungs’.
The result is a highly textured, corded line that sits prominently on the surface of the fabric, perfect for abstract motifs or bold outlines.
16. Detailing with Negative Space and French Knots
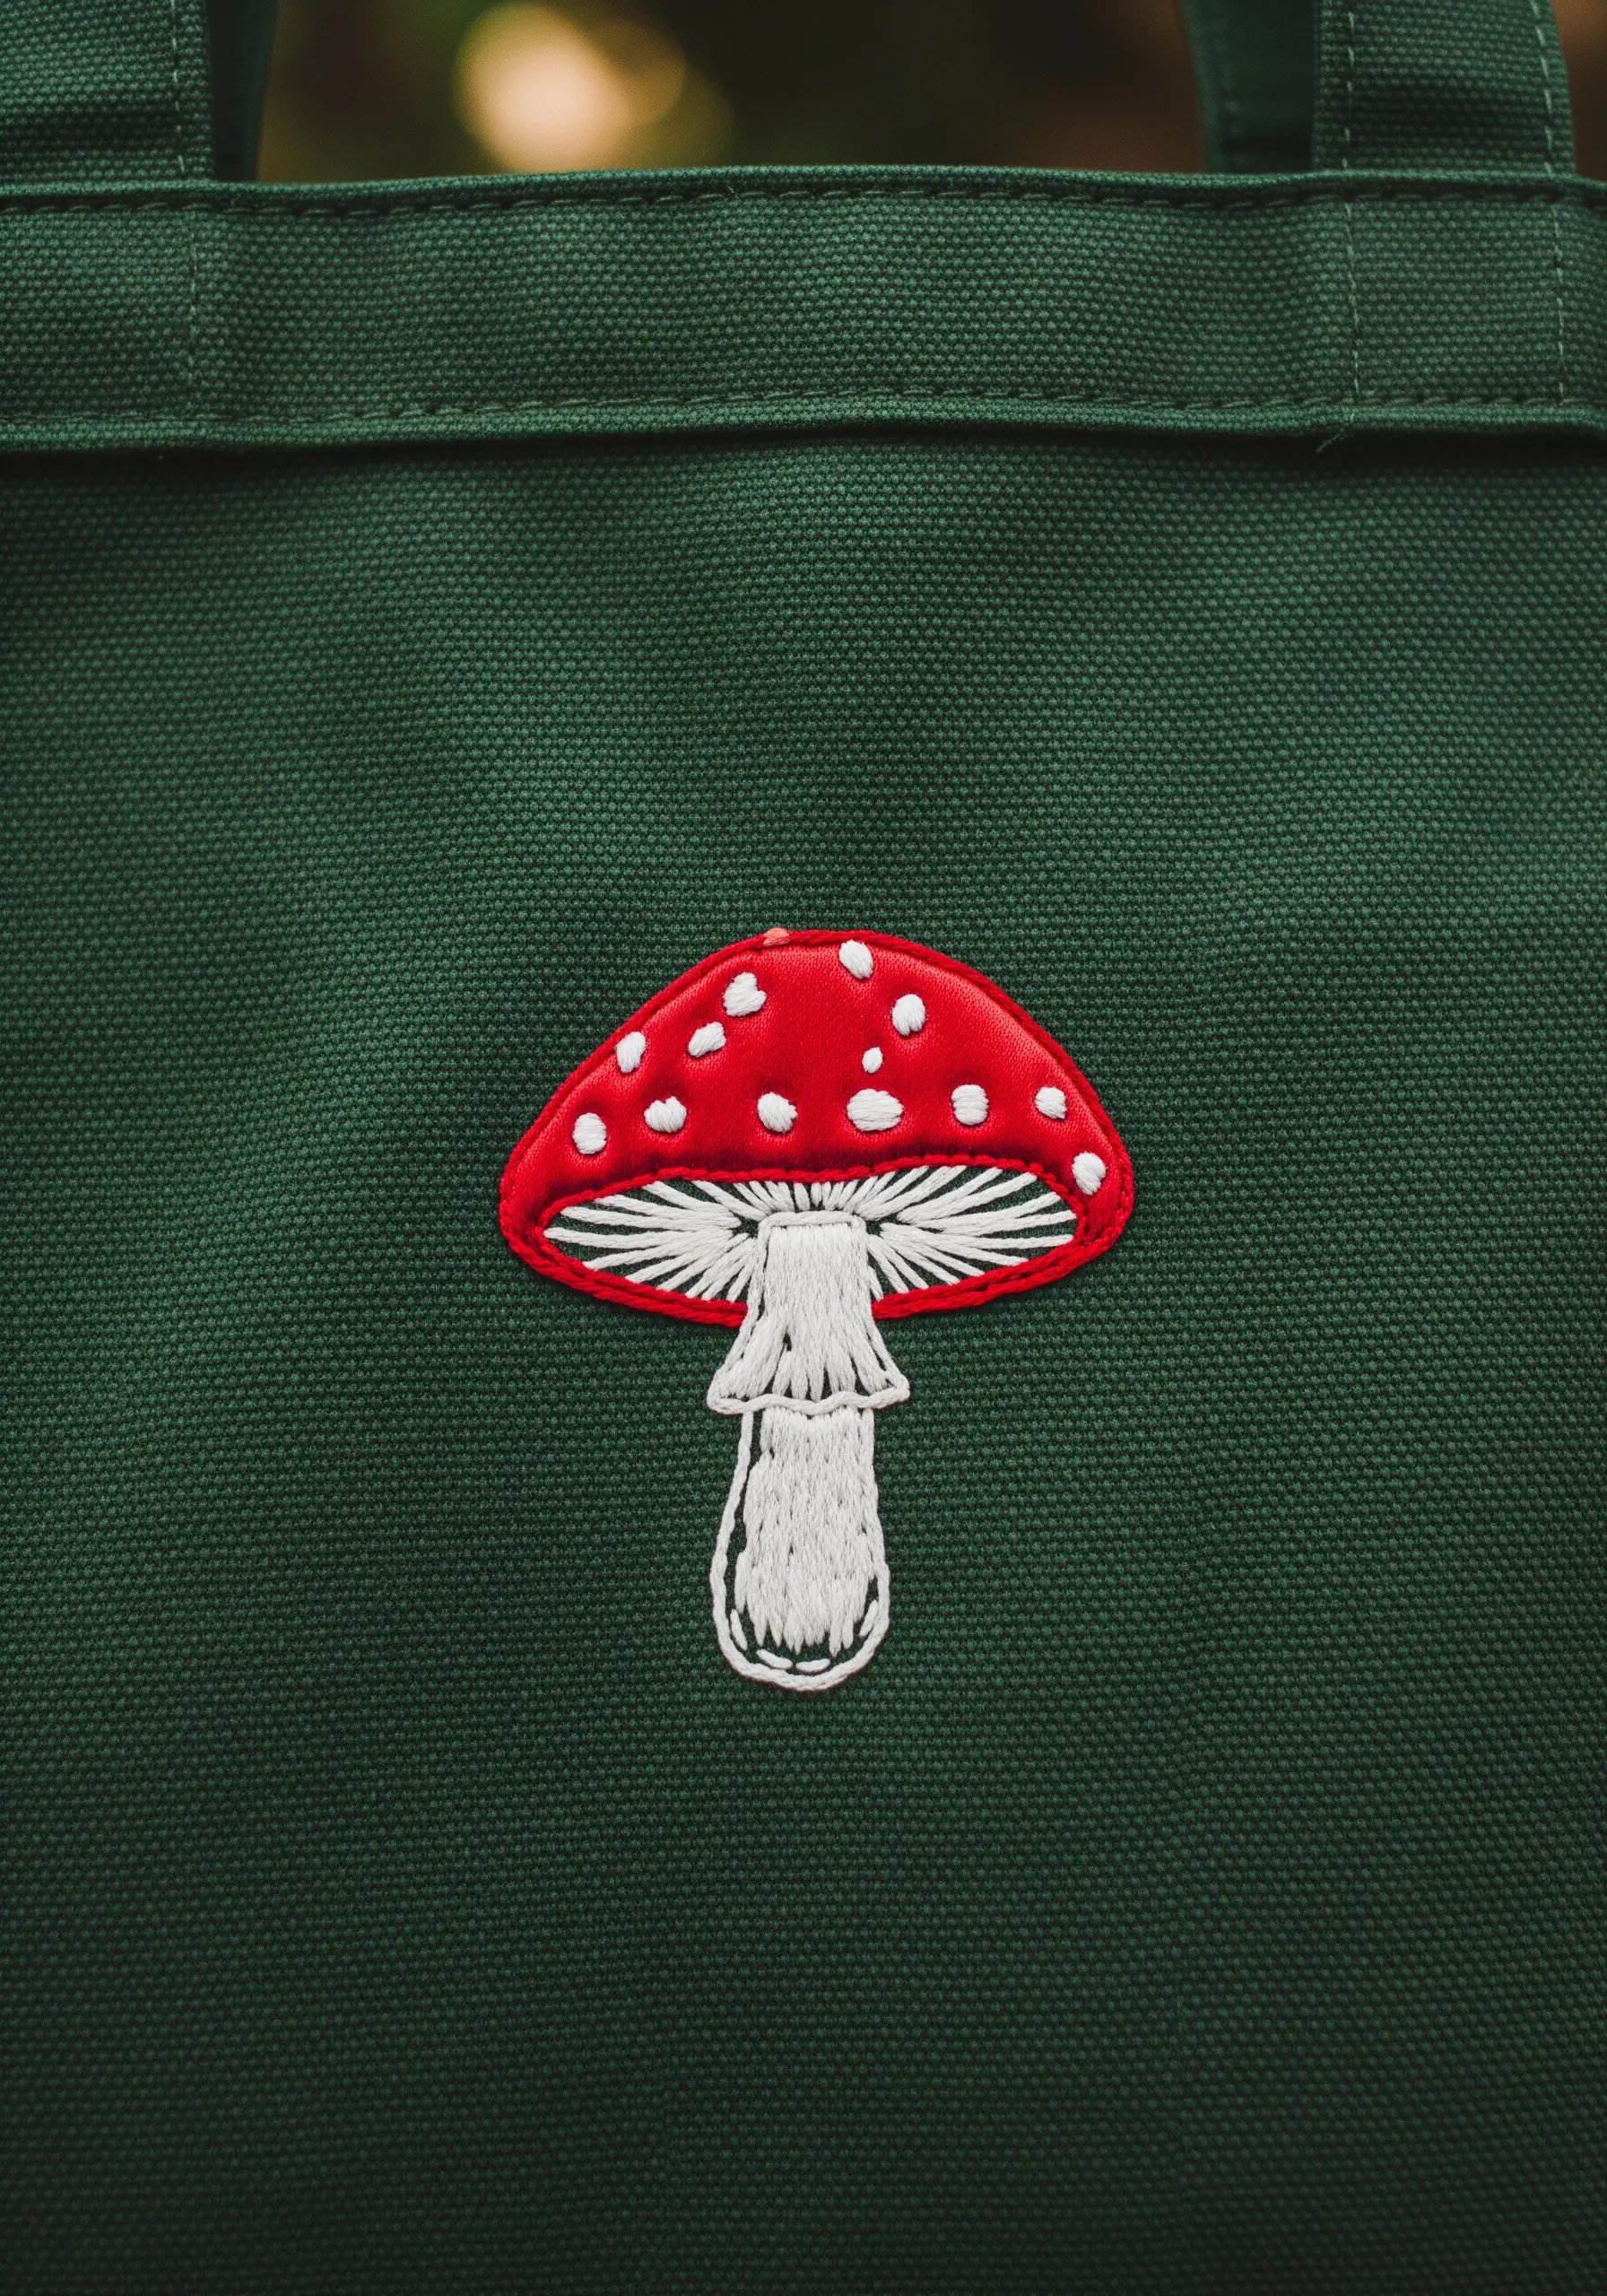
The most interesting part of this mushroom isn’t the fill stitch, but the illusion created underneath.
For the gills, use long vertical straight stitches in a light color, leaving tiny slivers of the dark fabric showing through.
This use of negative space is far more effective than trying to stitch each gill individually.
The scattered white French knots on the red satin-stitched cap add a final layer of texture and dimension, completing the whimsical look.
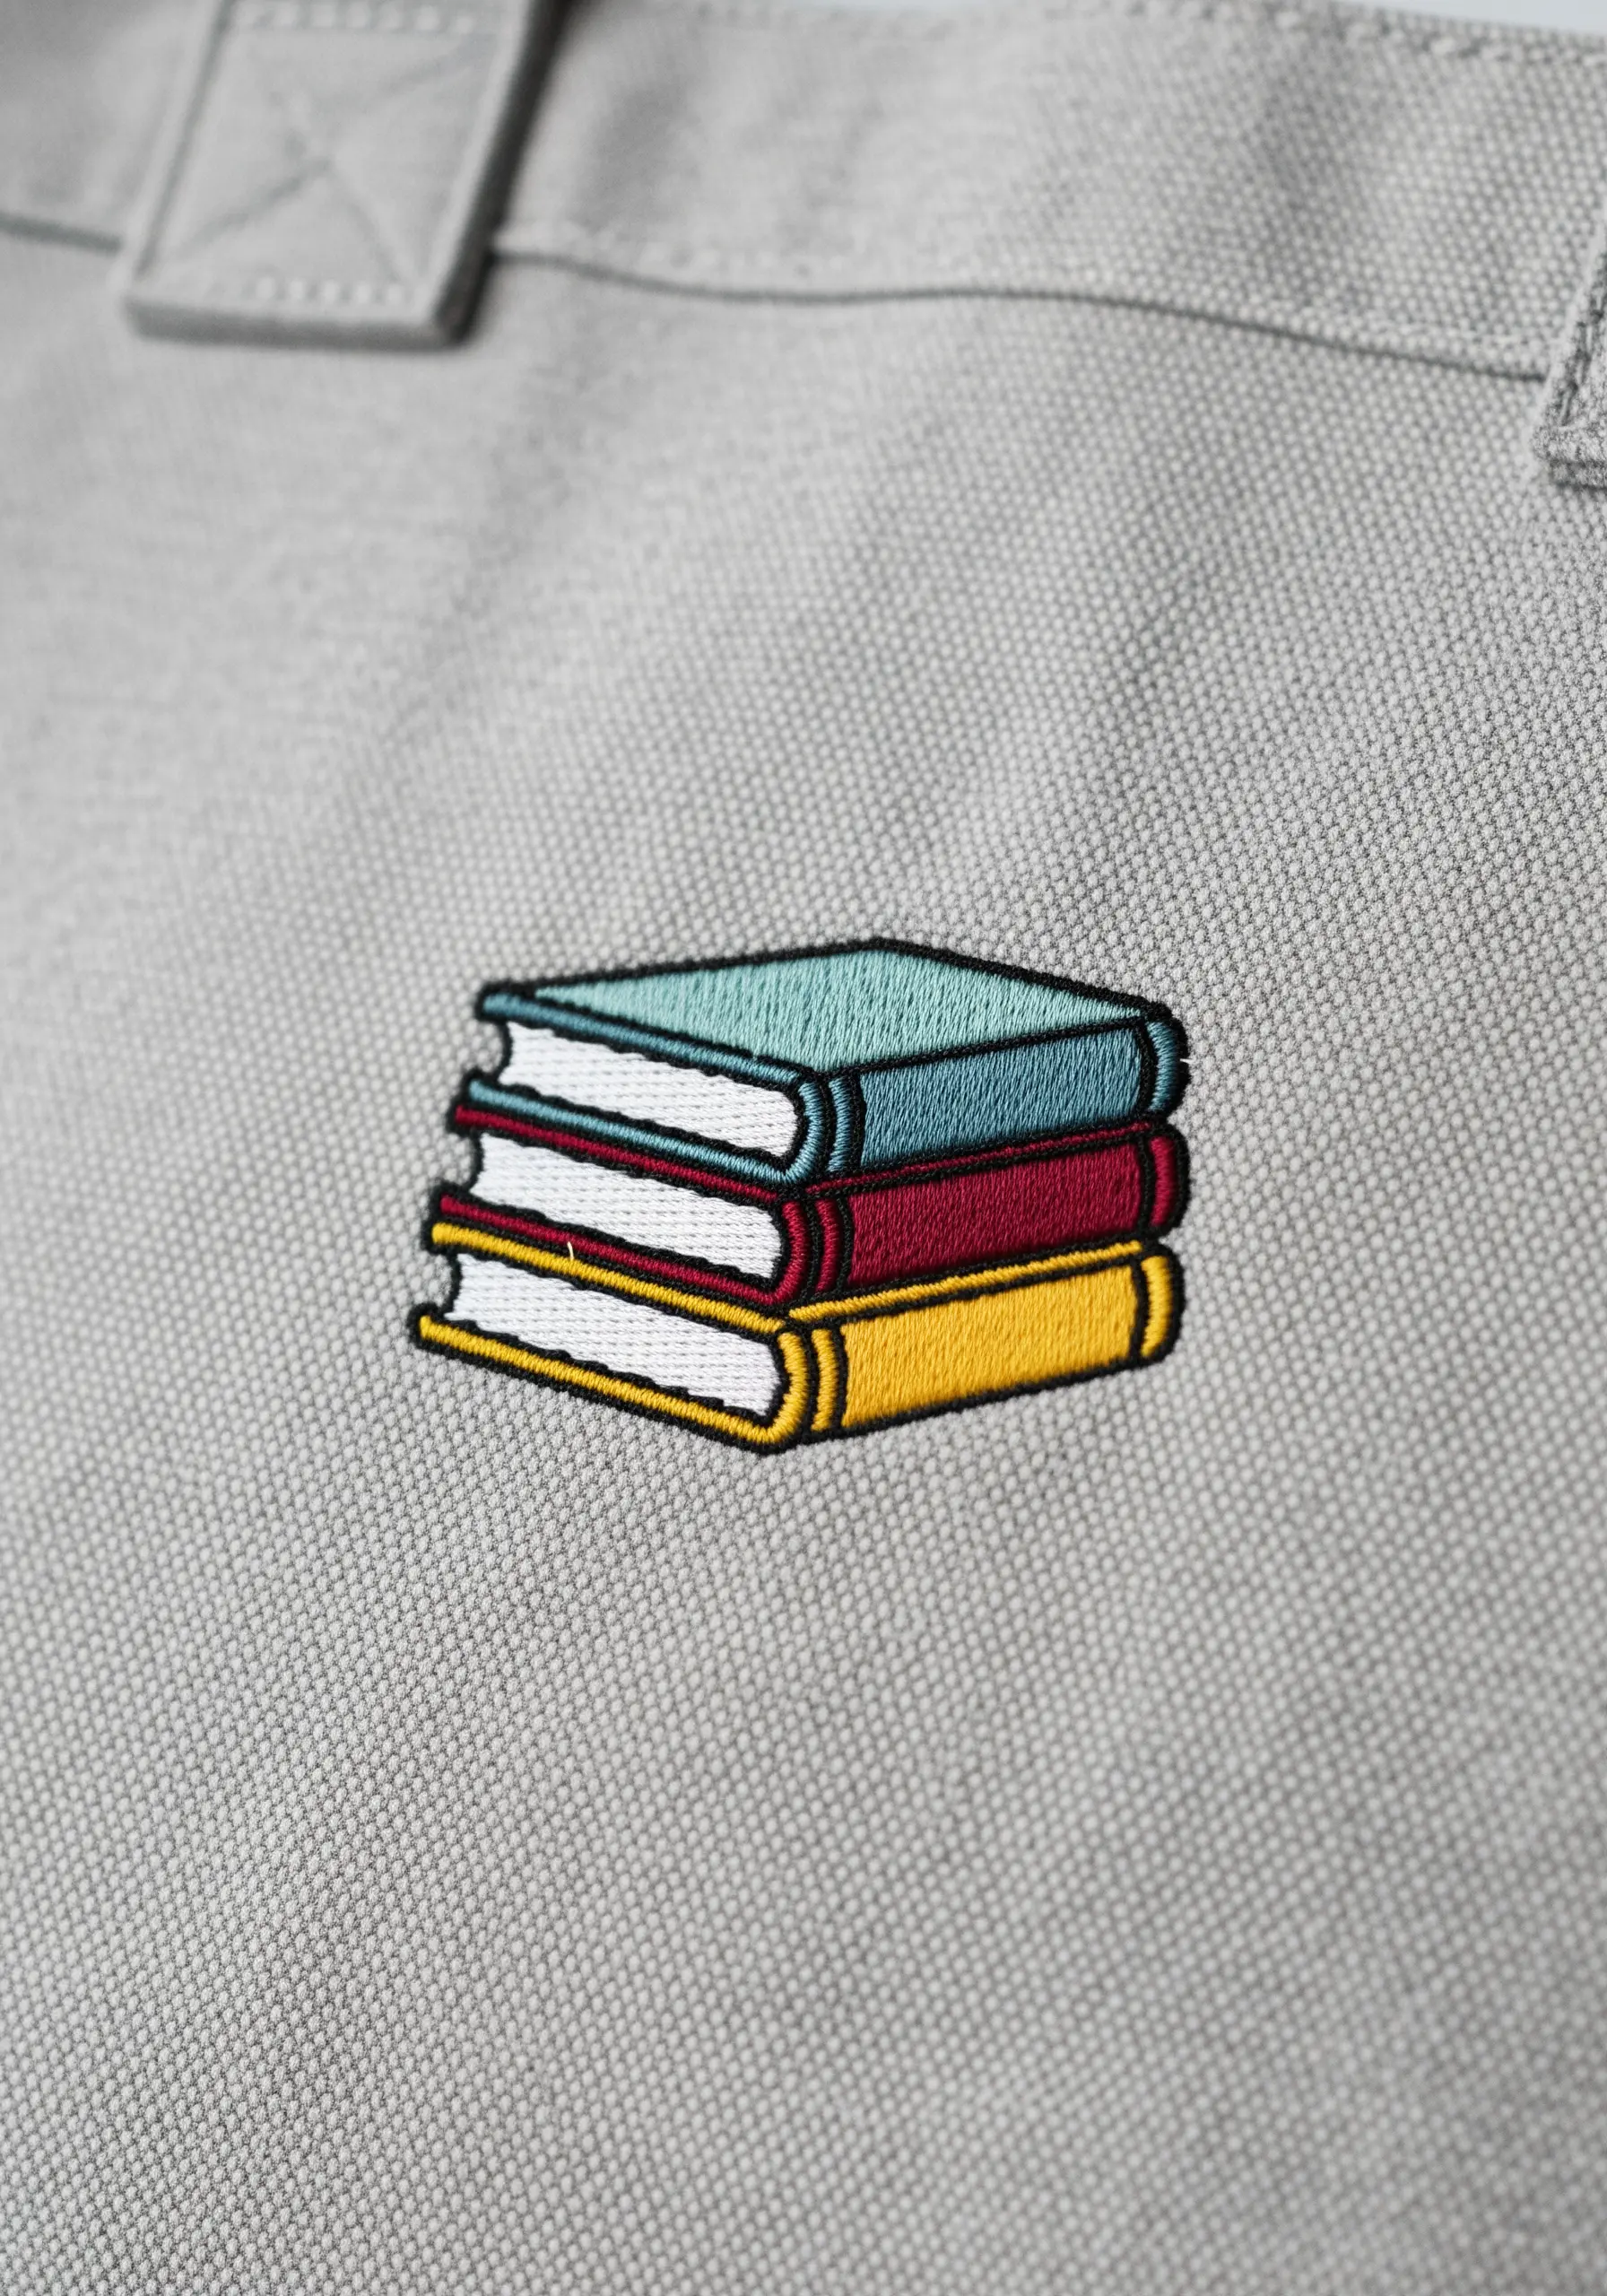
17. The Timeless Impact of a Single, Solid Motif

Never underestimate the power of a single, perfectly placed motif.
On a patterned or striped fabric, a complex design can get lost. Instead, choose a simple, iconic shape and execute it flawlessly.
Use a dense satin stitch to create a solid, patch-like effect, ensuring your stitches are smooth and your edges are crisp.
Select a bold color that provides high contrast to the background, making the simple shape the undeniable star of the show.
18. Crafting Elegant Lines with Stem Stitch
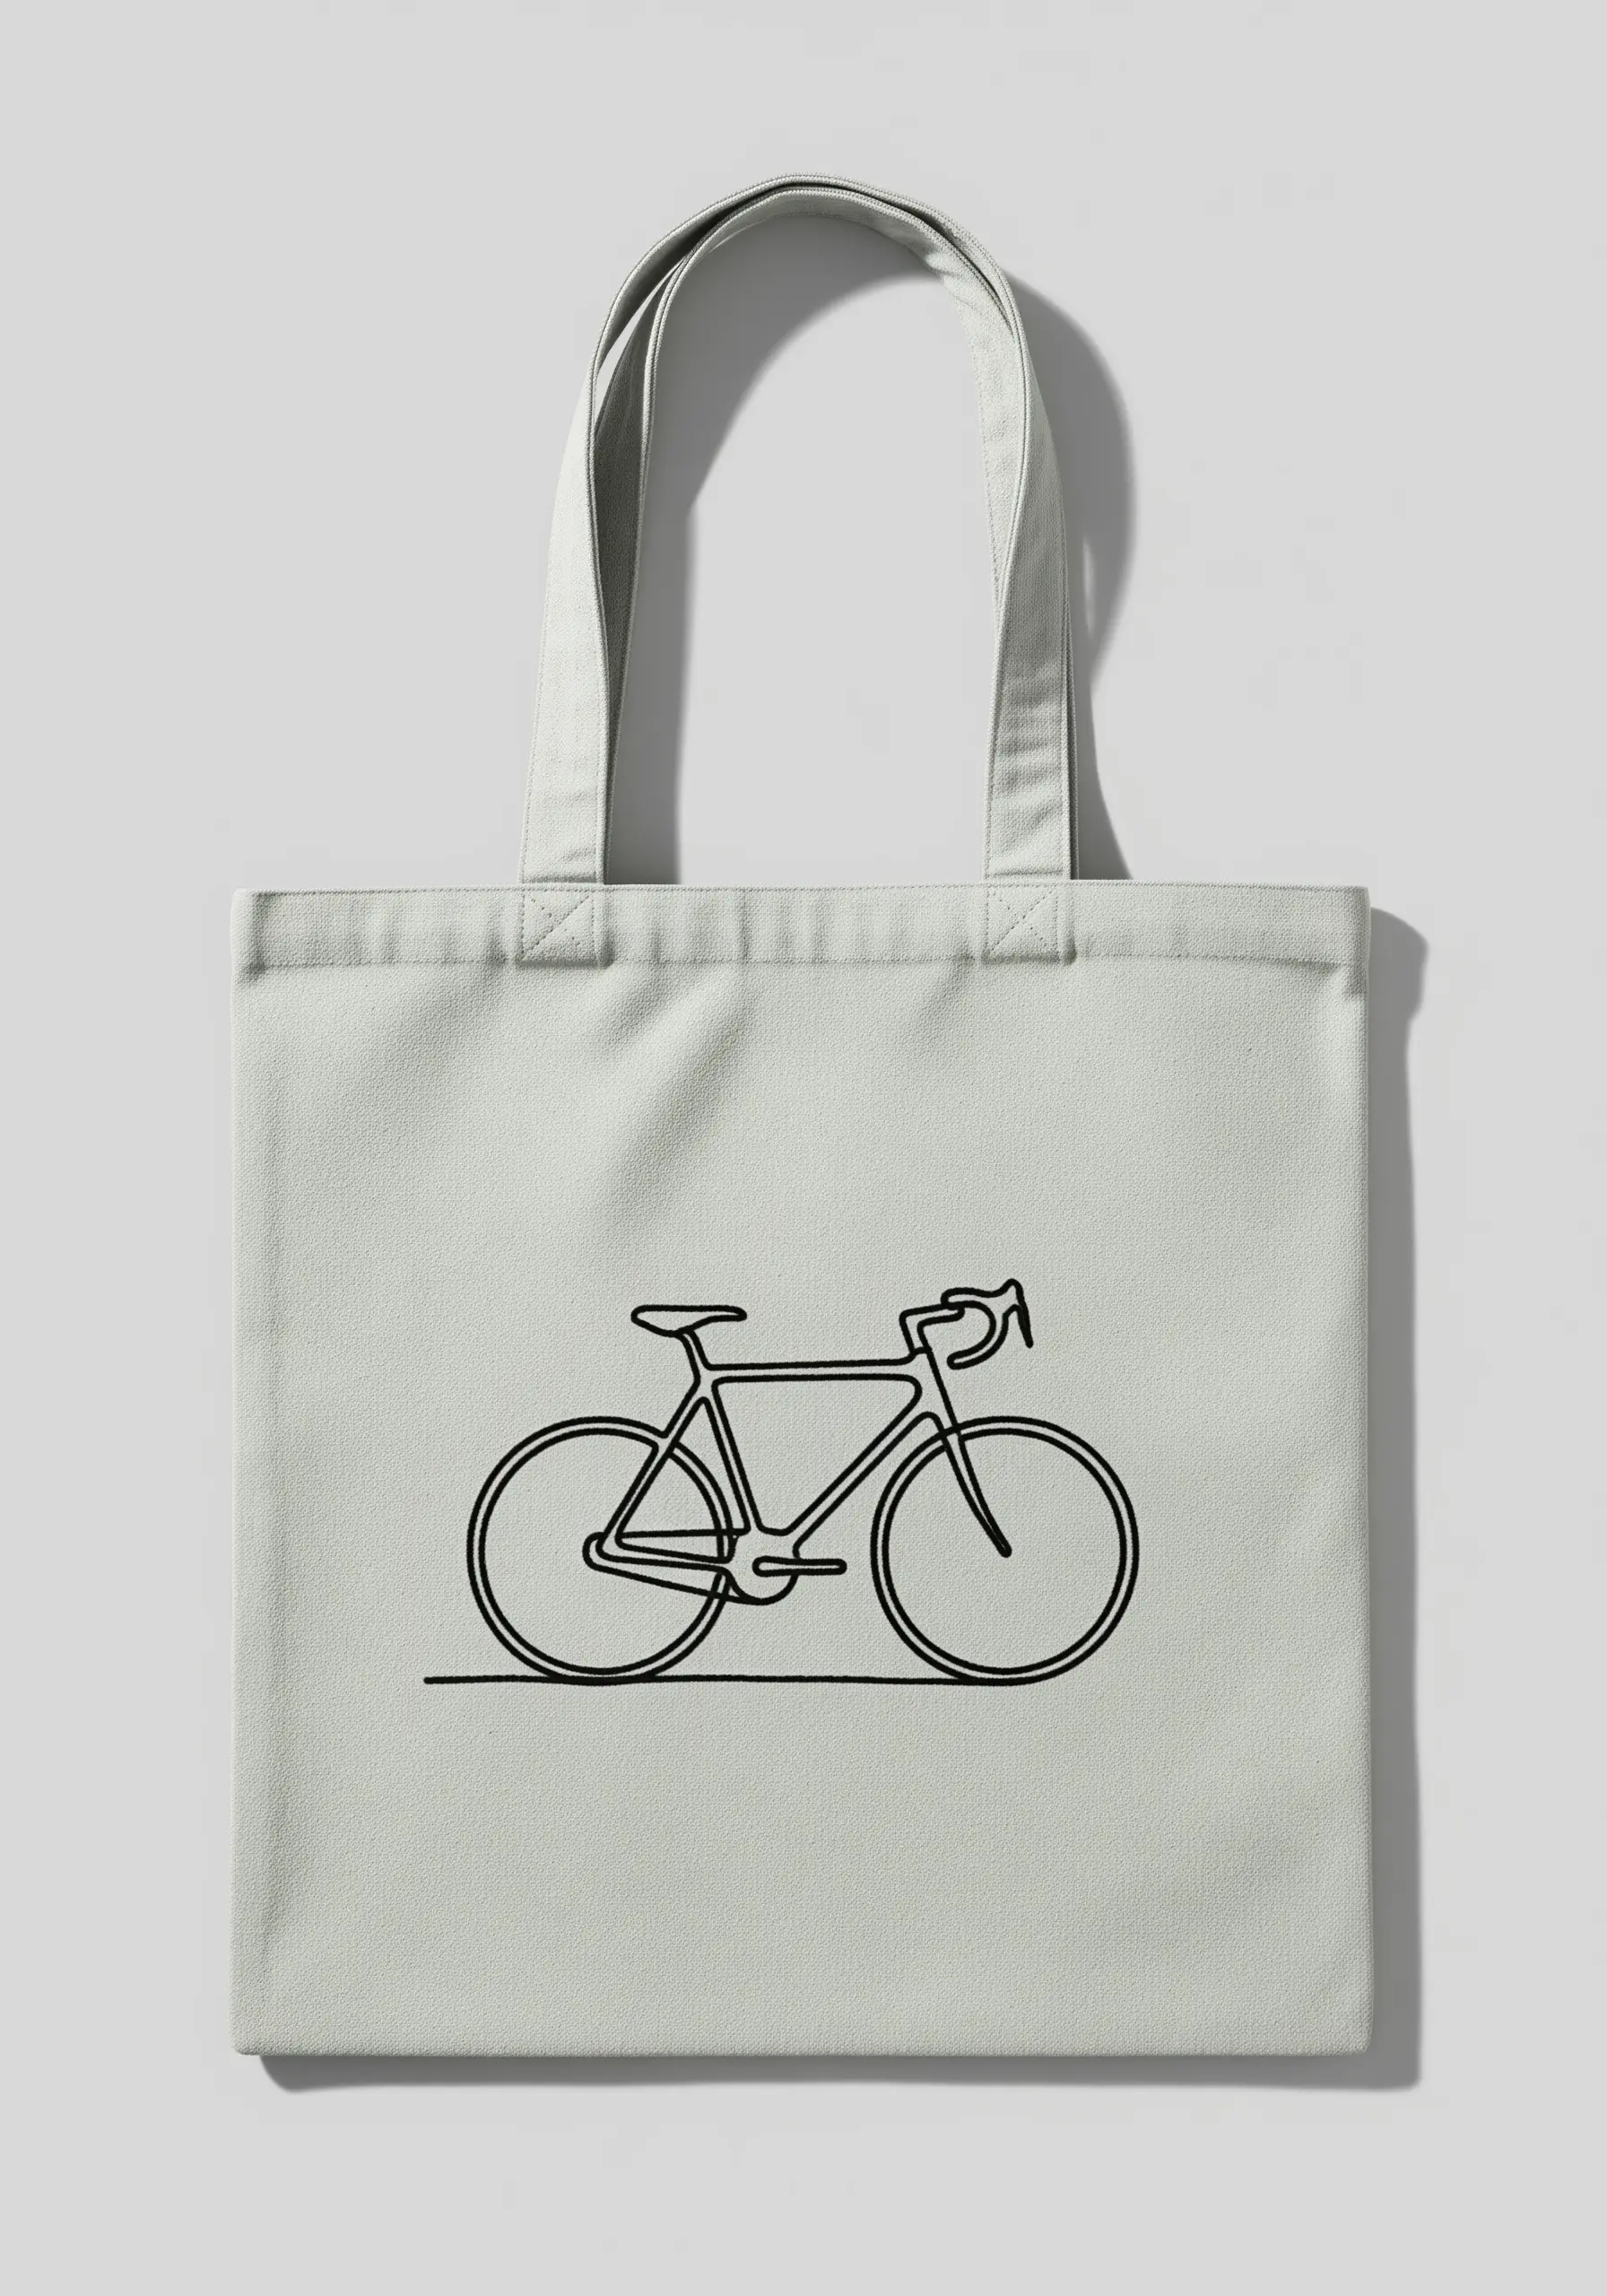
To achieve the smooth, flowing feel of a continuous-line drawing, your choice of outline stitch is critical.
Opt for a stem stitch or a whipped backstitch over a standard backstitch.
The overlapping nature of the stem stitch creates a seamless, rope-like line that is perfect for curves and lends an elegant weight to the design.
Plan your stitch path in advance to minimize the need to tie off your thread, which reinforces the unbroken-line illusion.
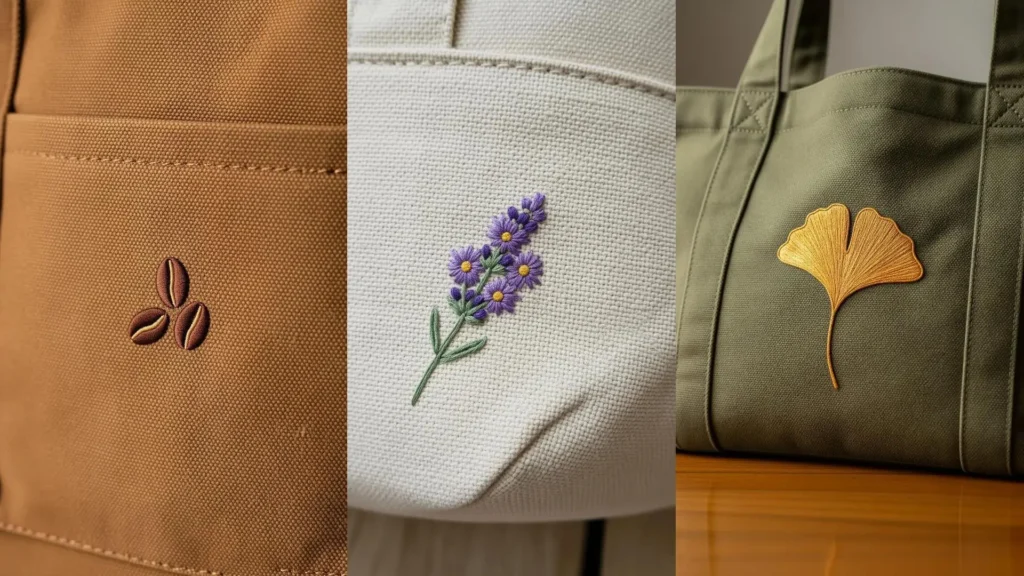
19. Sculpting Small Shapes with Padded Satin Stitch

To give small motifs a raised, almost three-dimensional appearance, use padding beneath your final stitches.
First, fill the coffee bean shape with small seed stitches or a lattice of straight stitches.
Then, work your final satin stitches over this foundation, going in the opposite direction.
This simple underlayer lifts the satin stitch off the fabric’s surface, creating subtle shadows and a much more substantial, professional-looking result.
20. Creating Atmospheric Texture with Varied Fills
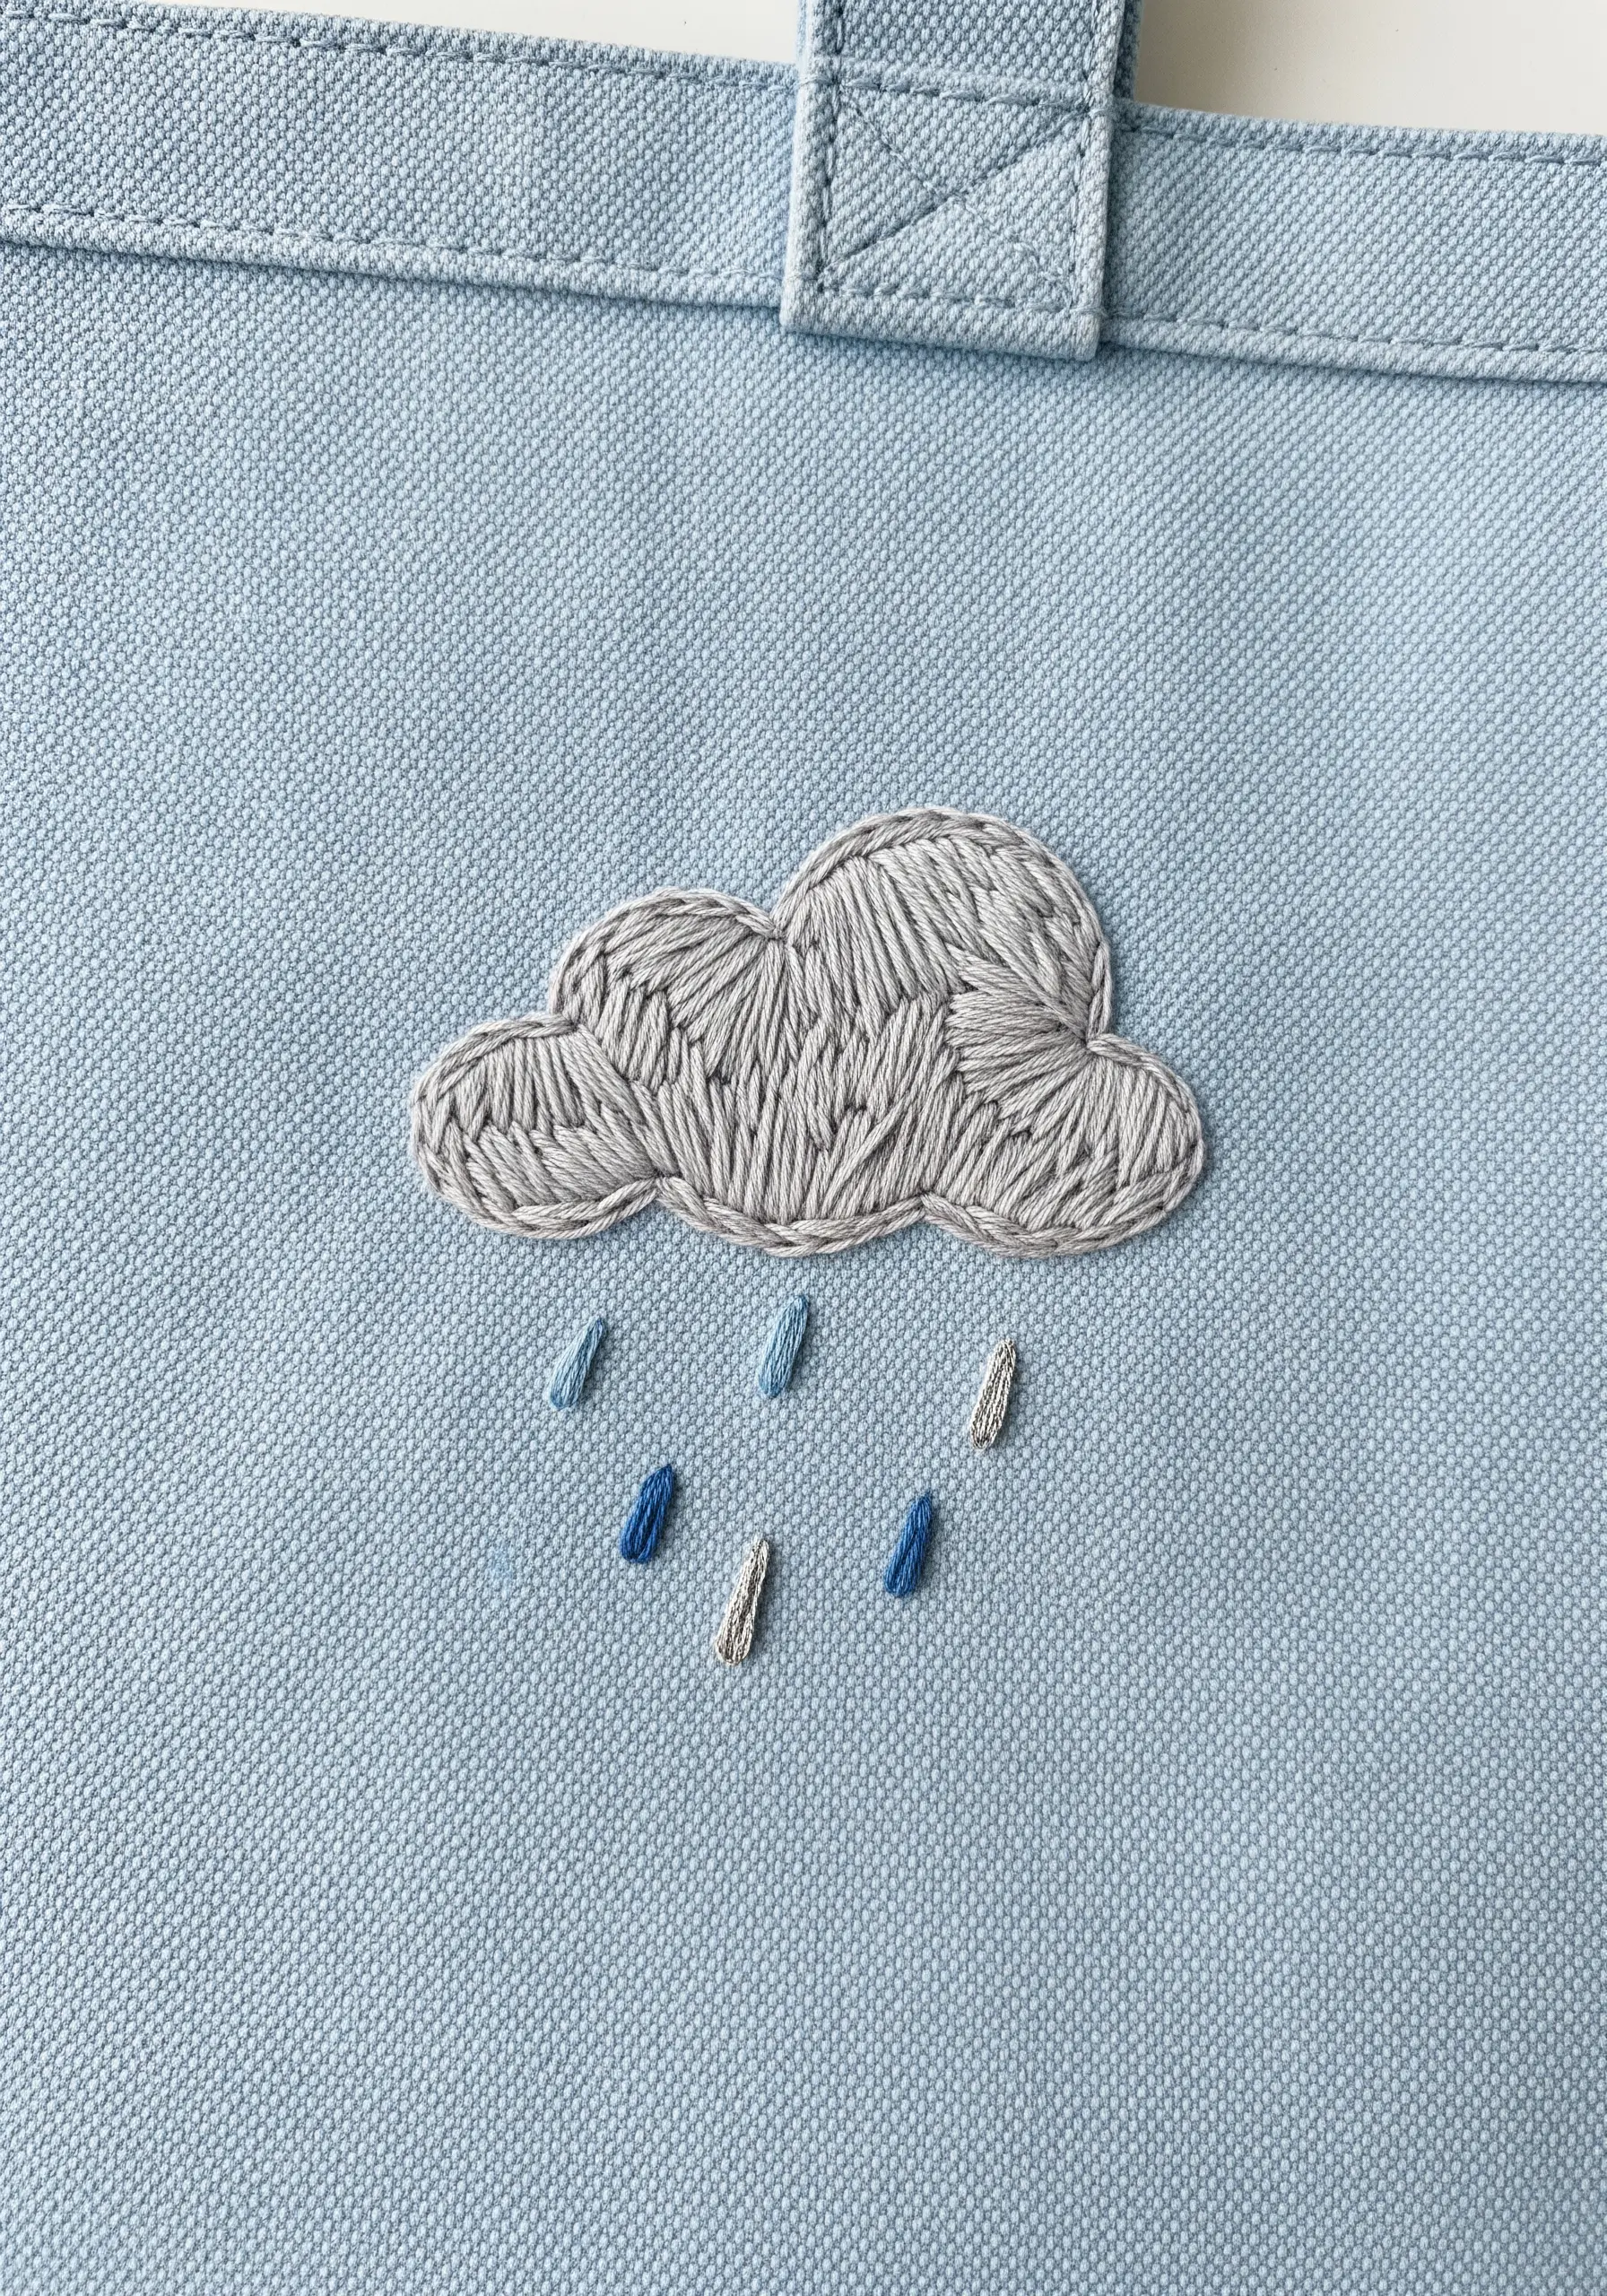
Give a simple shape like a cloud more personality by breaking up the fill stitch.
Instead of a uniform satin stitch, fill the cloud with clusters of stitches going in different directions—almost like a random long-and-short stitch.
This creates a more organic, puffy texture.
For the raindrops, use a variegated blue thread to give subtle color variation to each drop without having to change your floss, adding another layer of visual interest.
21. The Sophistication of Tone-on-Tone Stitching

For an understated and modern aesthetic, embroider a motif using a thread that is the same color as your fabric, or only a shade darker.
The design becomes visible through the texture and sheen of the thread rather than through color contrast.
To maximize this effect, choose a stitch with a distinct texture, like a satin stitch with a raised backstitch outline.
This technique results in a subtle, elegant detail that feels incredibly high-end and is a key principle in many cozy neutral decor ideas.


