

You love the texture of thread, the calm rhythm of the needle, and the way a finished piece feels in your hands. But perhaps you’re ready to explore what lies beyond the fabric and hoop. What happens when your needle meets paper, or when your stitches accent the fluid strokes of a paintbrush?
Combining embroidery with paper and paint isn’t about mastering three separate disciplines; it’s about expanding your creative language. Think of paper as another kind of fabric—one that holds a crisp line and offers a smooth surface. Think of paint not as a replacement for thread, but as a partner that can create depth, mood, and soft color fields for your stitches to dance upon.
These ideas are invitations to experiment. You don’t need to be a painter to add a wash of color, nor a sculptor to play with paper collage. You simply need the curiosity to see your needle as more than a stitching tool—it’s a pen for drawing, a wand for adding texture, and the final, magical touch that brings it all together.
1. Watercolor Foundations for Delicate Line Work
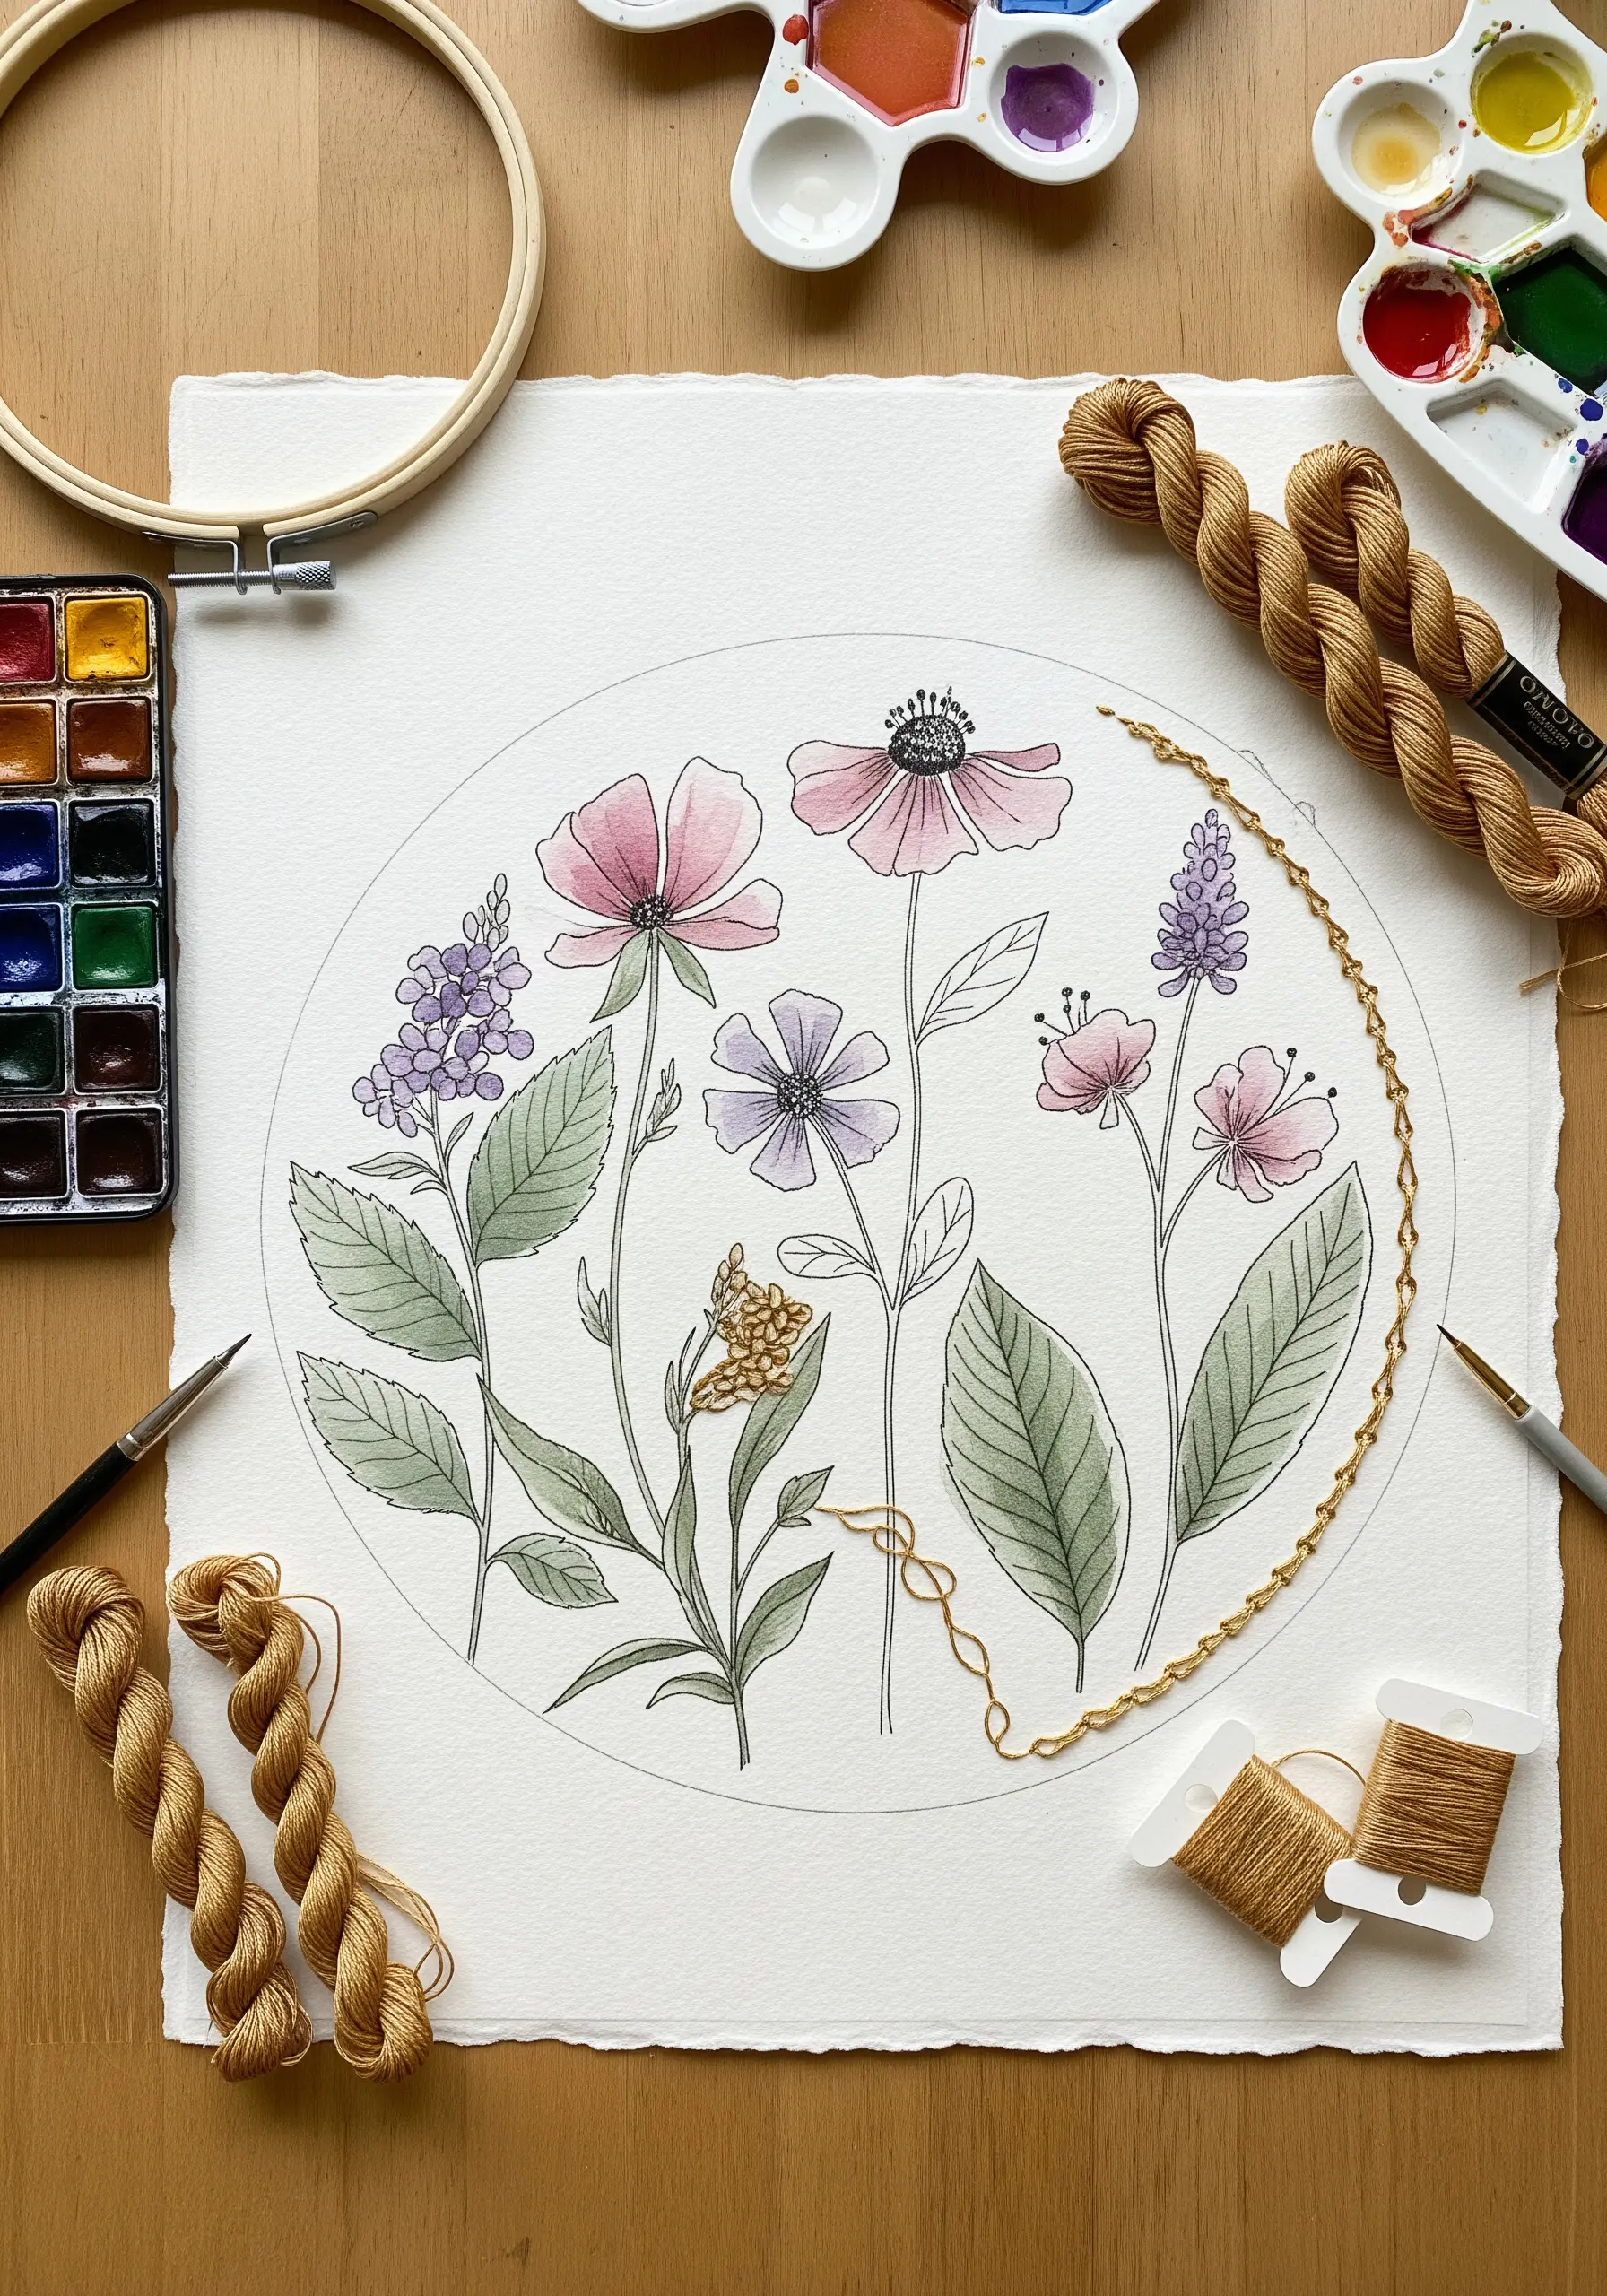
Begin by creating a soft, illustrative base with watercolor on heavy paper, such as 140 lb cold press.
Allow the paint to dry completely—at least a few hours—to prevent the paper fibers from tearing when you stitch.
Using a single strand of embroidery floss, outline the painted botanicals with a delicate backstitch or stem stitch.
Select a thread color that complements, rather than perfectly matches, the paint; a metallic gold or a slightly darker shade adds definition without overpowering the artwork.
This is one of the most elegant paper art embroidery ideas you’ve never tried before, merging fluid color with precise lines.
2. Abstract Collages with Stitched Constellations
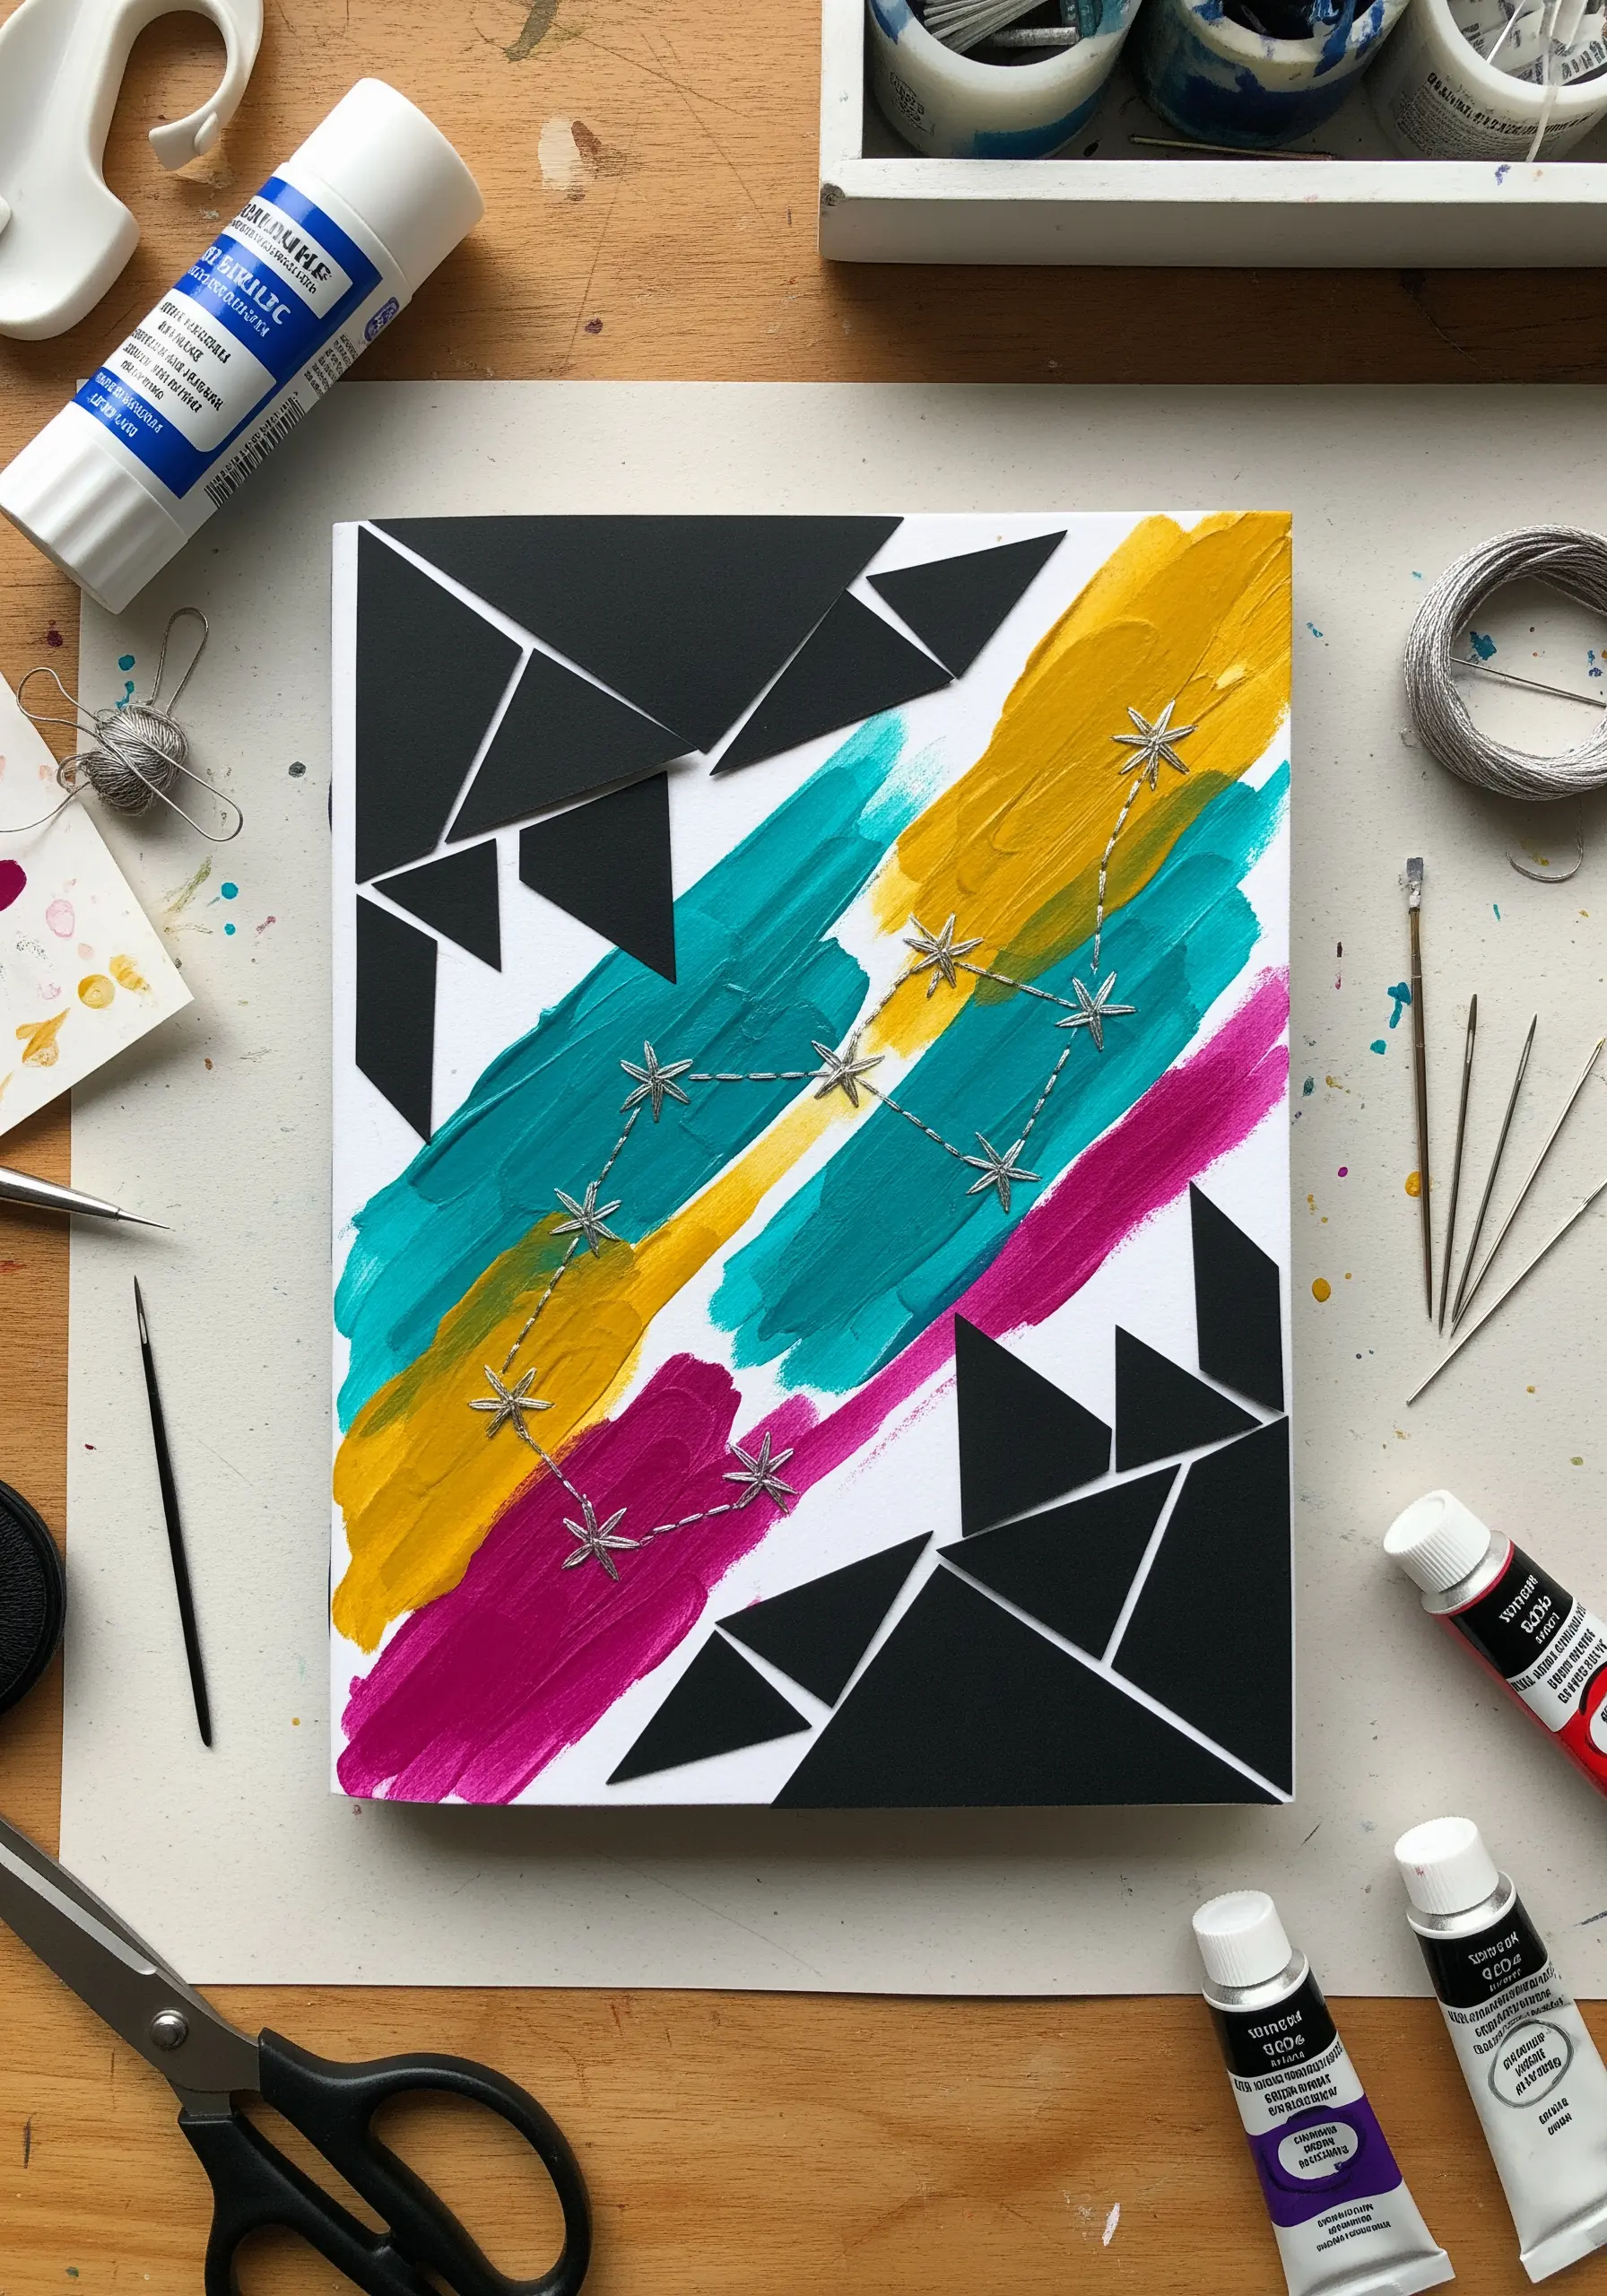
Build a dynamic background using bold acrylic paint strokes and sharp, geometric paper cutouts.
This contrast between the fluid paint and the crisp paper edges creates immediate visual energy.
Once the surface is dry, gently pierce holes to map out a constellation pattern directly through the layers.
Use a bright metallic thread to connect the points with straight stitches, forming stars with tiny seed stitches or Asterisk stitches for a subtle sparkle.
This layering transforms your piece into one of many handmade collage projects you can embellish with tiny hand stitches.
3. Layered Paper Landscapes with Minimal Stitches

Create the illusion of rolling hills or mountain ranges by layering torn pieces of textured paper.
The torn edges offer a soft, organic quality that cut lines cannot replicate, mimicking natural topography.
Adhere the layers to a canvas or heavy cardstock using a clear, acid-free glue to prevent discoloration.
For the final touch, add a scattering of tiny white French knots or single seed stitches across the sky—this minimal detail adds a touch of magic and unifies the composition.
4. Integrating Thread Painting into Watercolor Illustrations
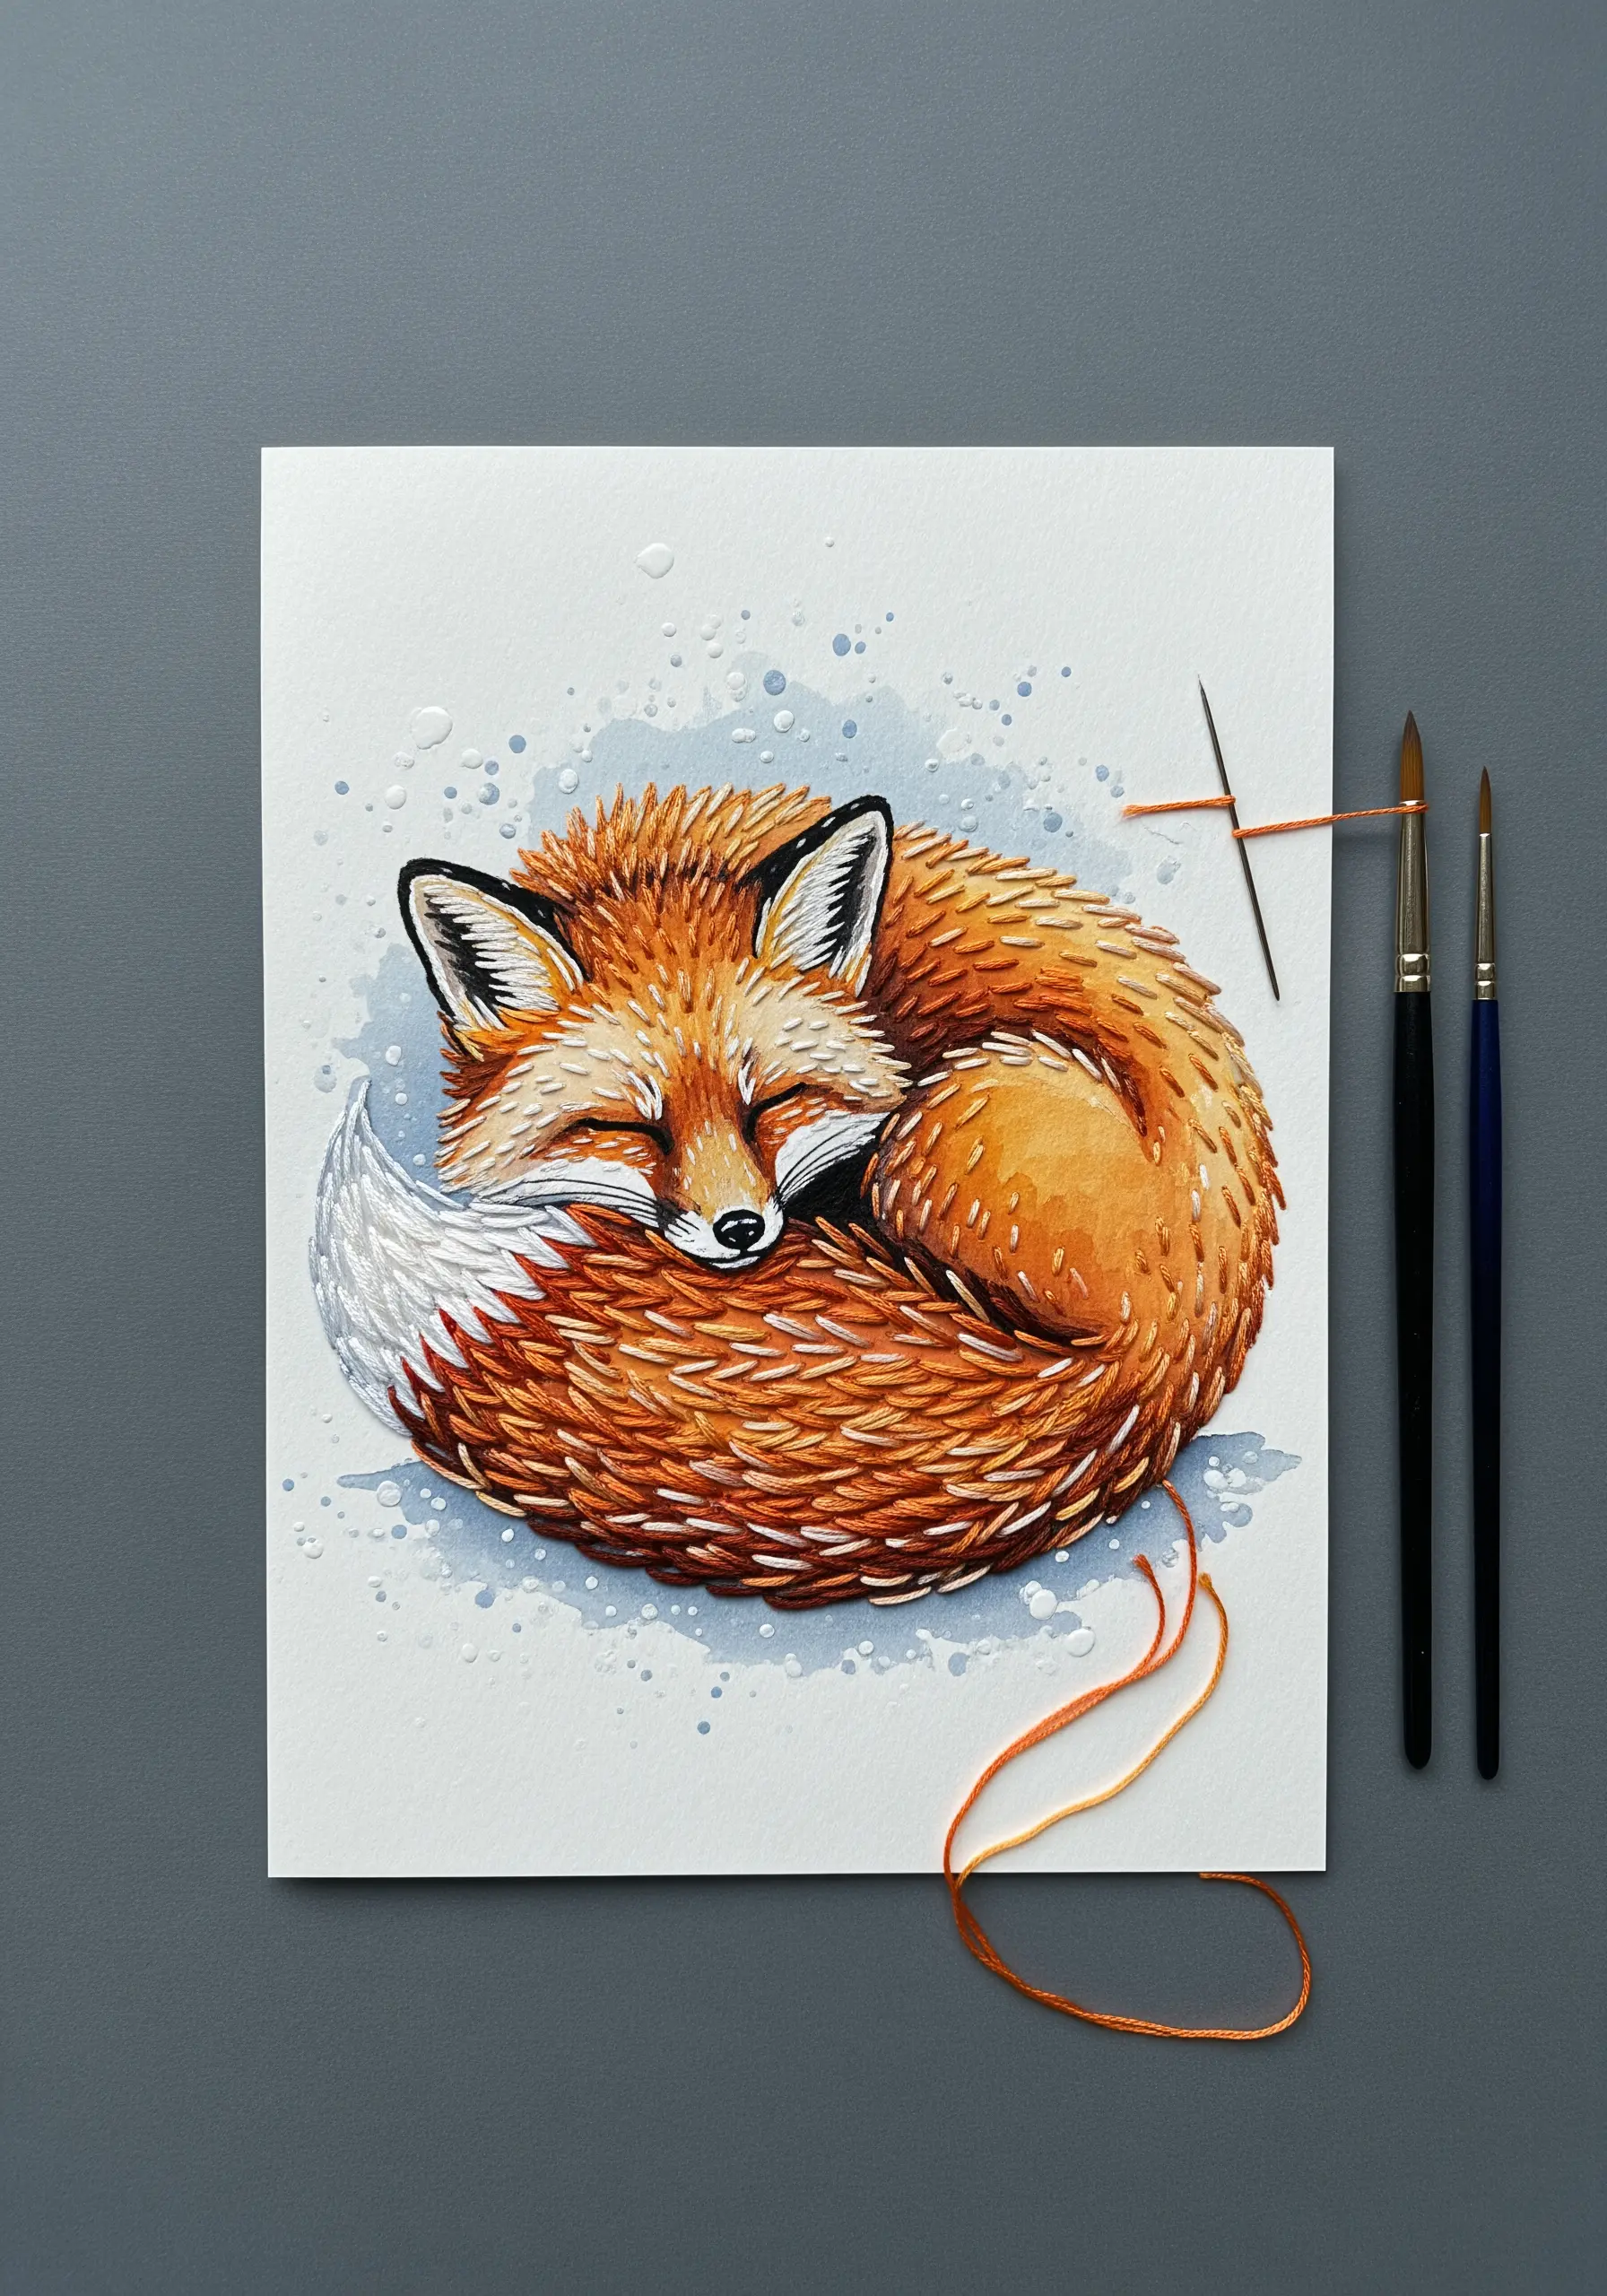
Begin with a finished watercolor painting, paying close attention to light and shadow to establish form.
Instead of merely outlining, use thread to introduce hyper-realistic texture in specific areas.
For fur or feathers, apply short, directional satin stitches in colors that blend with your paint, using just one or two strands of floss.
This technique, known as thread painting, makes the texture emerge from the flat surface, adding a surprising and sophisticated 3D effect that showcases ways to capture nature’s textures in your next embroidery project.
5. Pressed Botanicals Framed with Thread
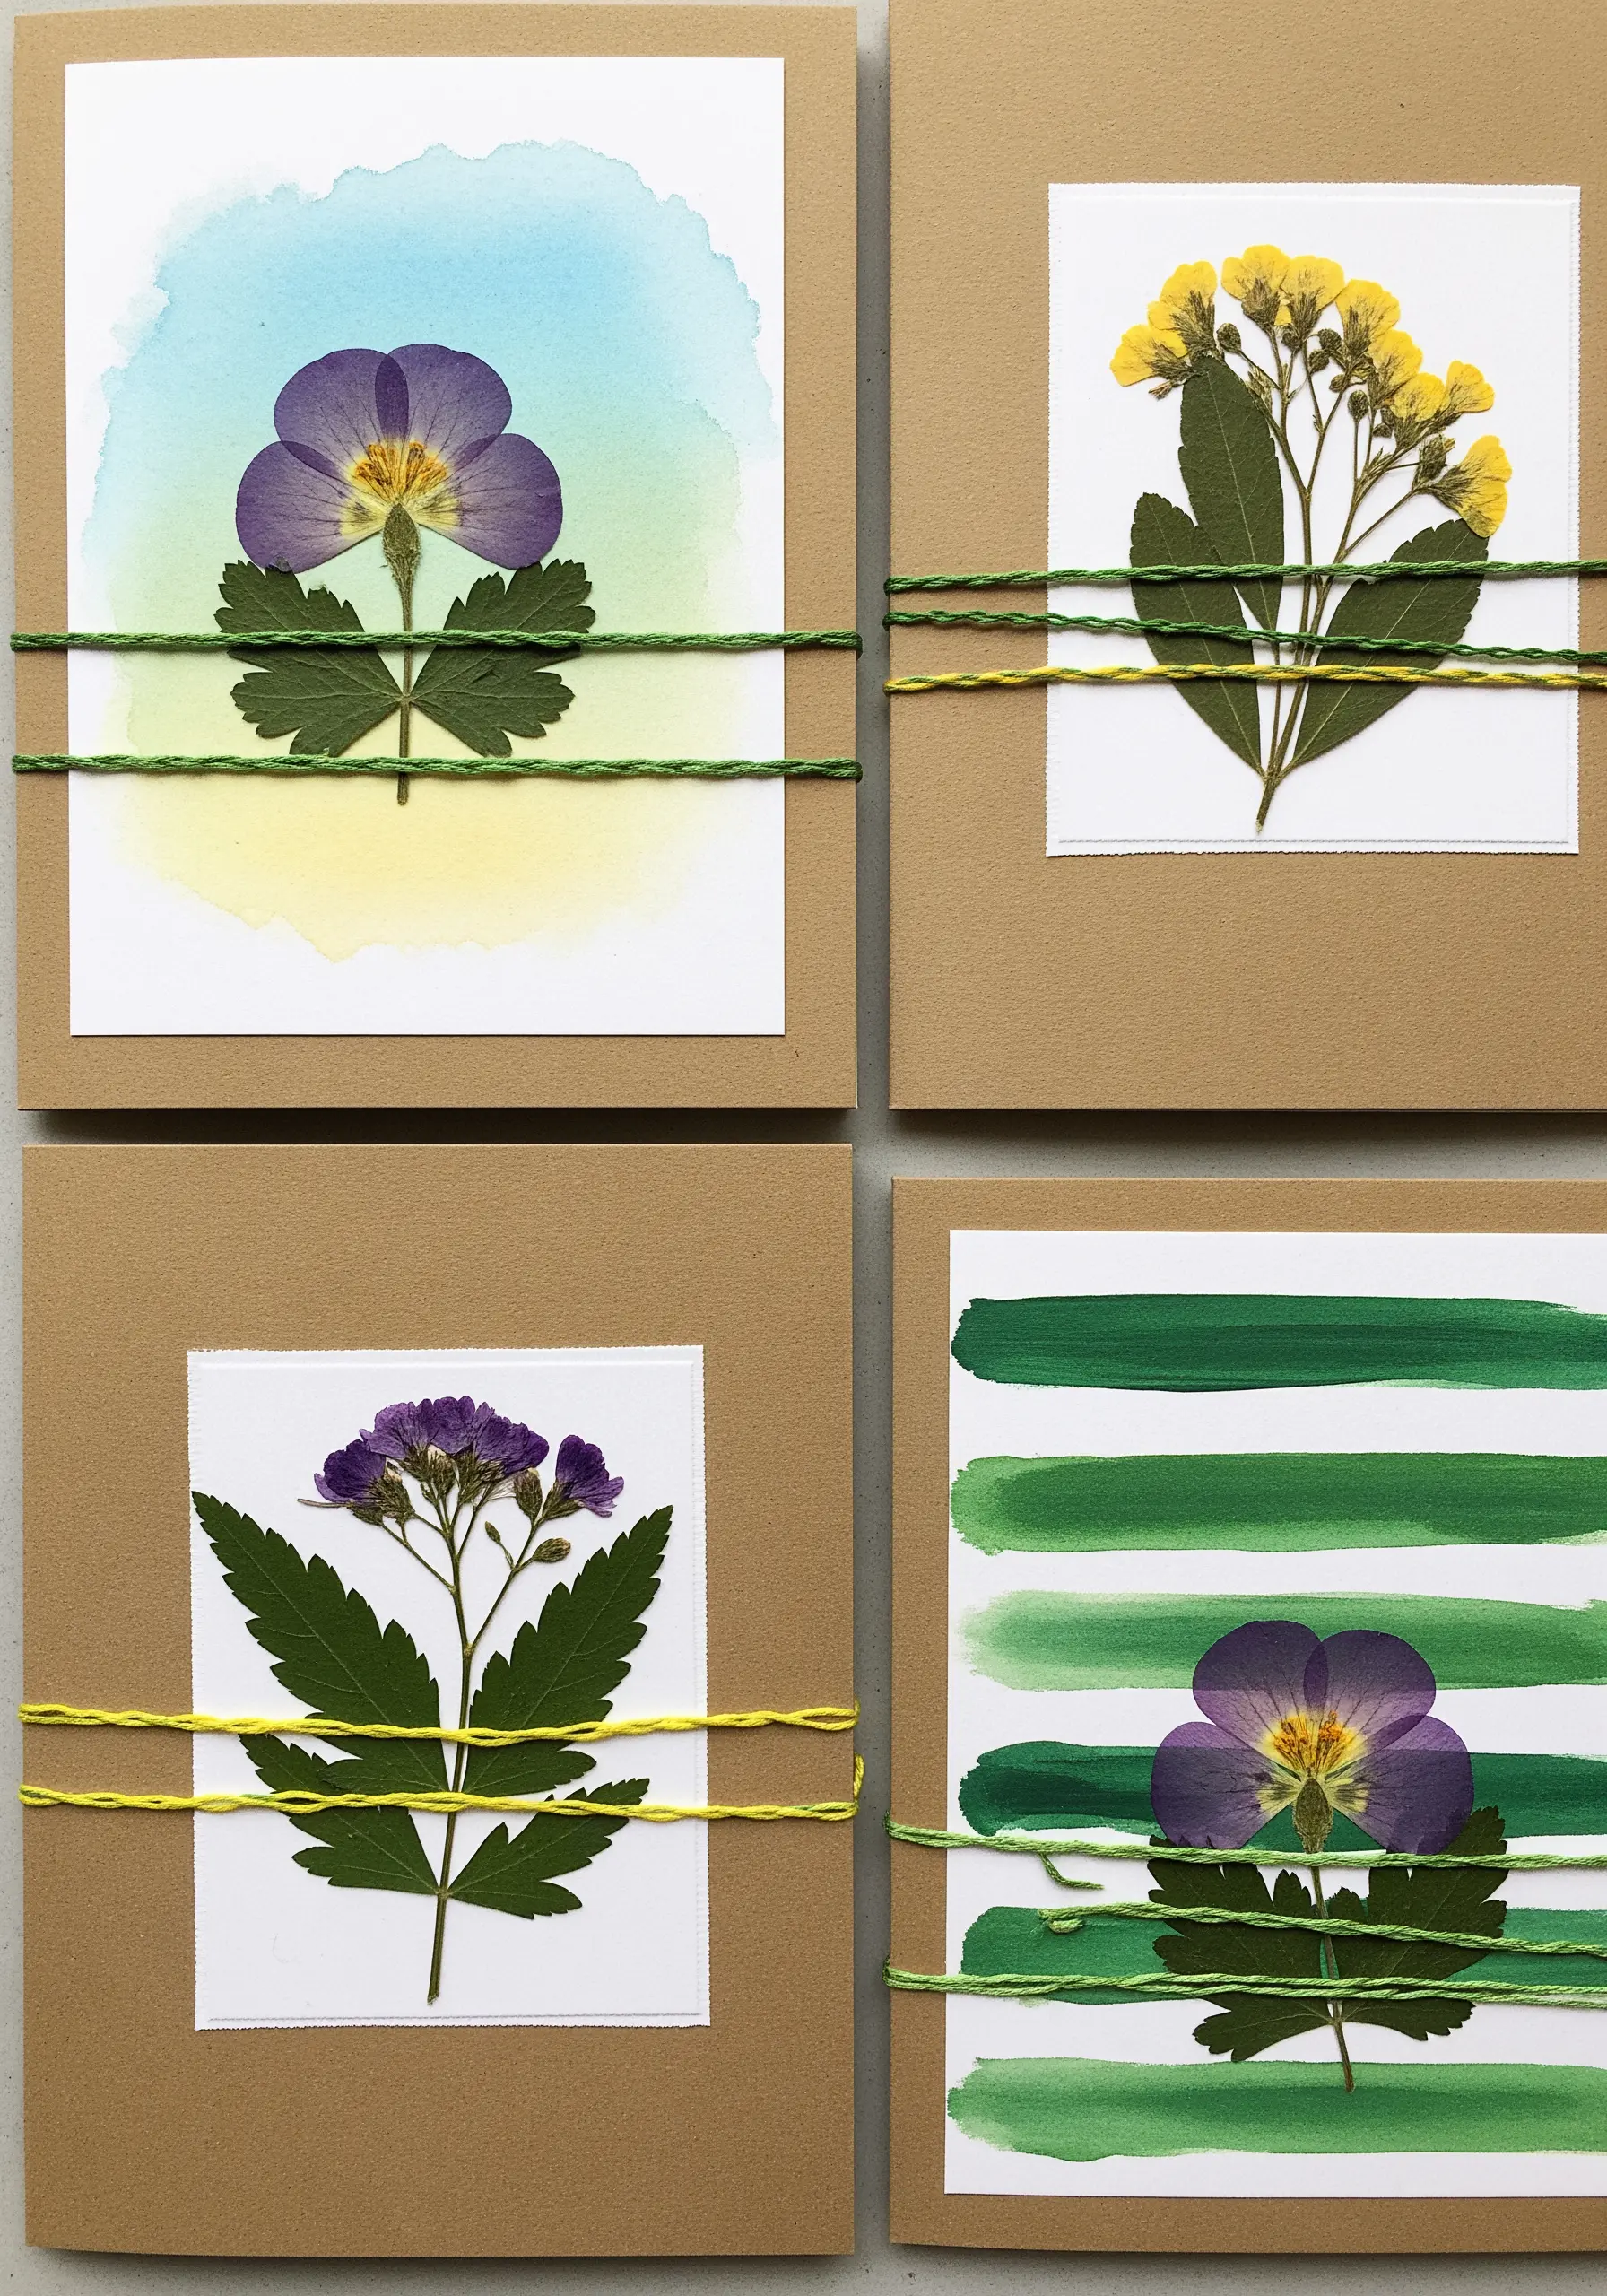
Elevate the simple beauty of a pressed flower by mounting it on high-quality paper, perhaps over a soft watercolor wash for subtle depth.
Instead of a traditional frame, create a clean, graphic border by wrapping embroidery floss around the cardstock.
This simple wrapping technique not only secures the central botanical element but also adds a tactile, handcrafted detail that feels both modern and delicate.
It’s a beautiful way to try pressed flower inspired embroidery stitches for vintage style nature lovers without a needle.
6. Celestial Maps on Painted Night Skies
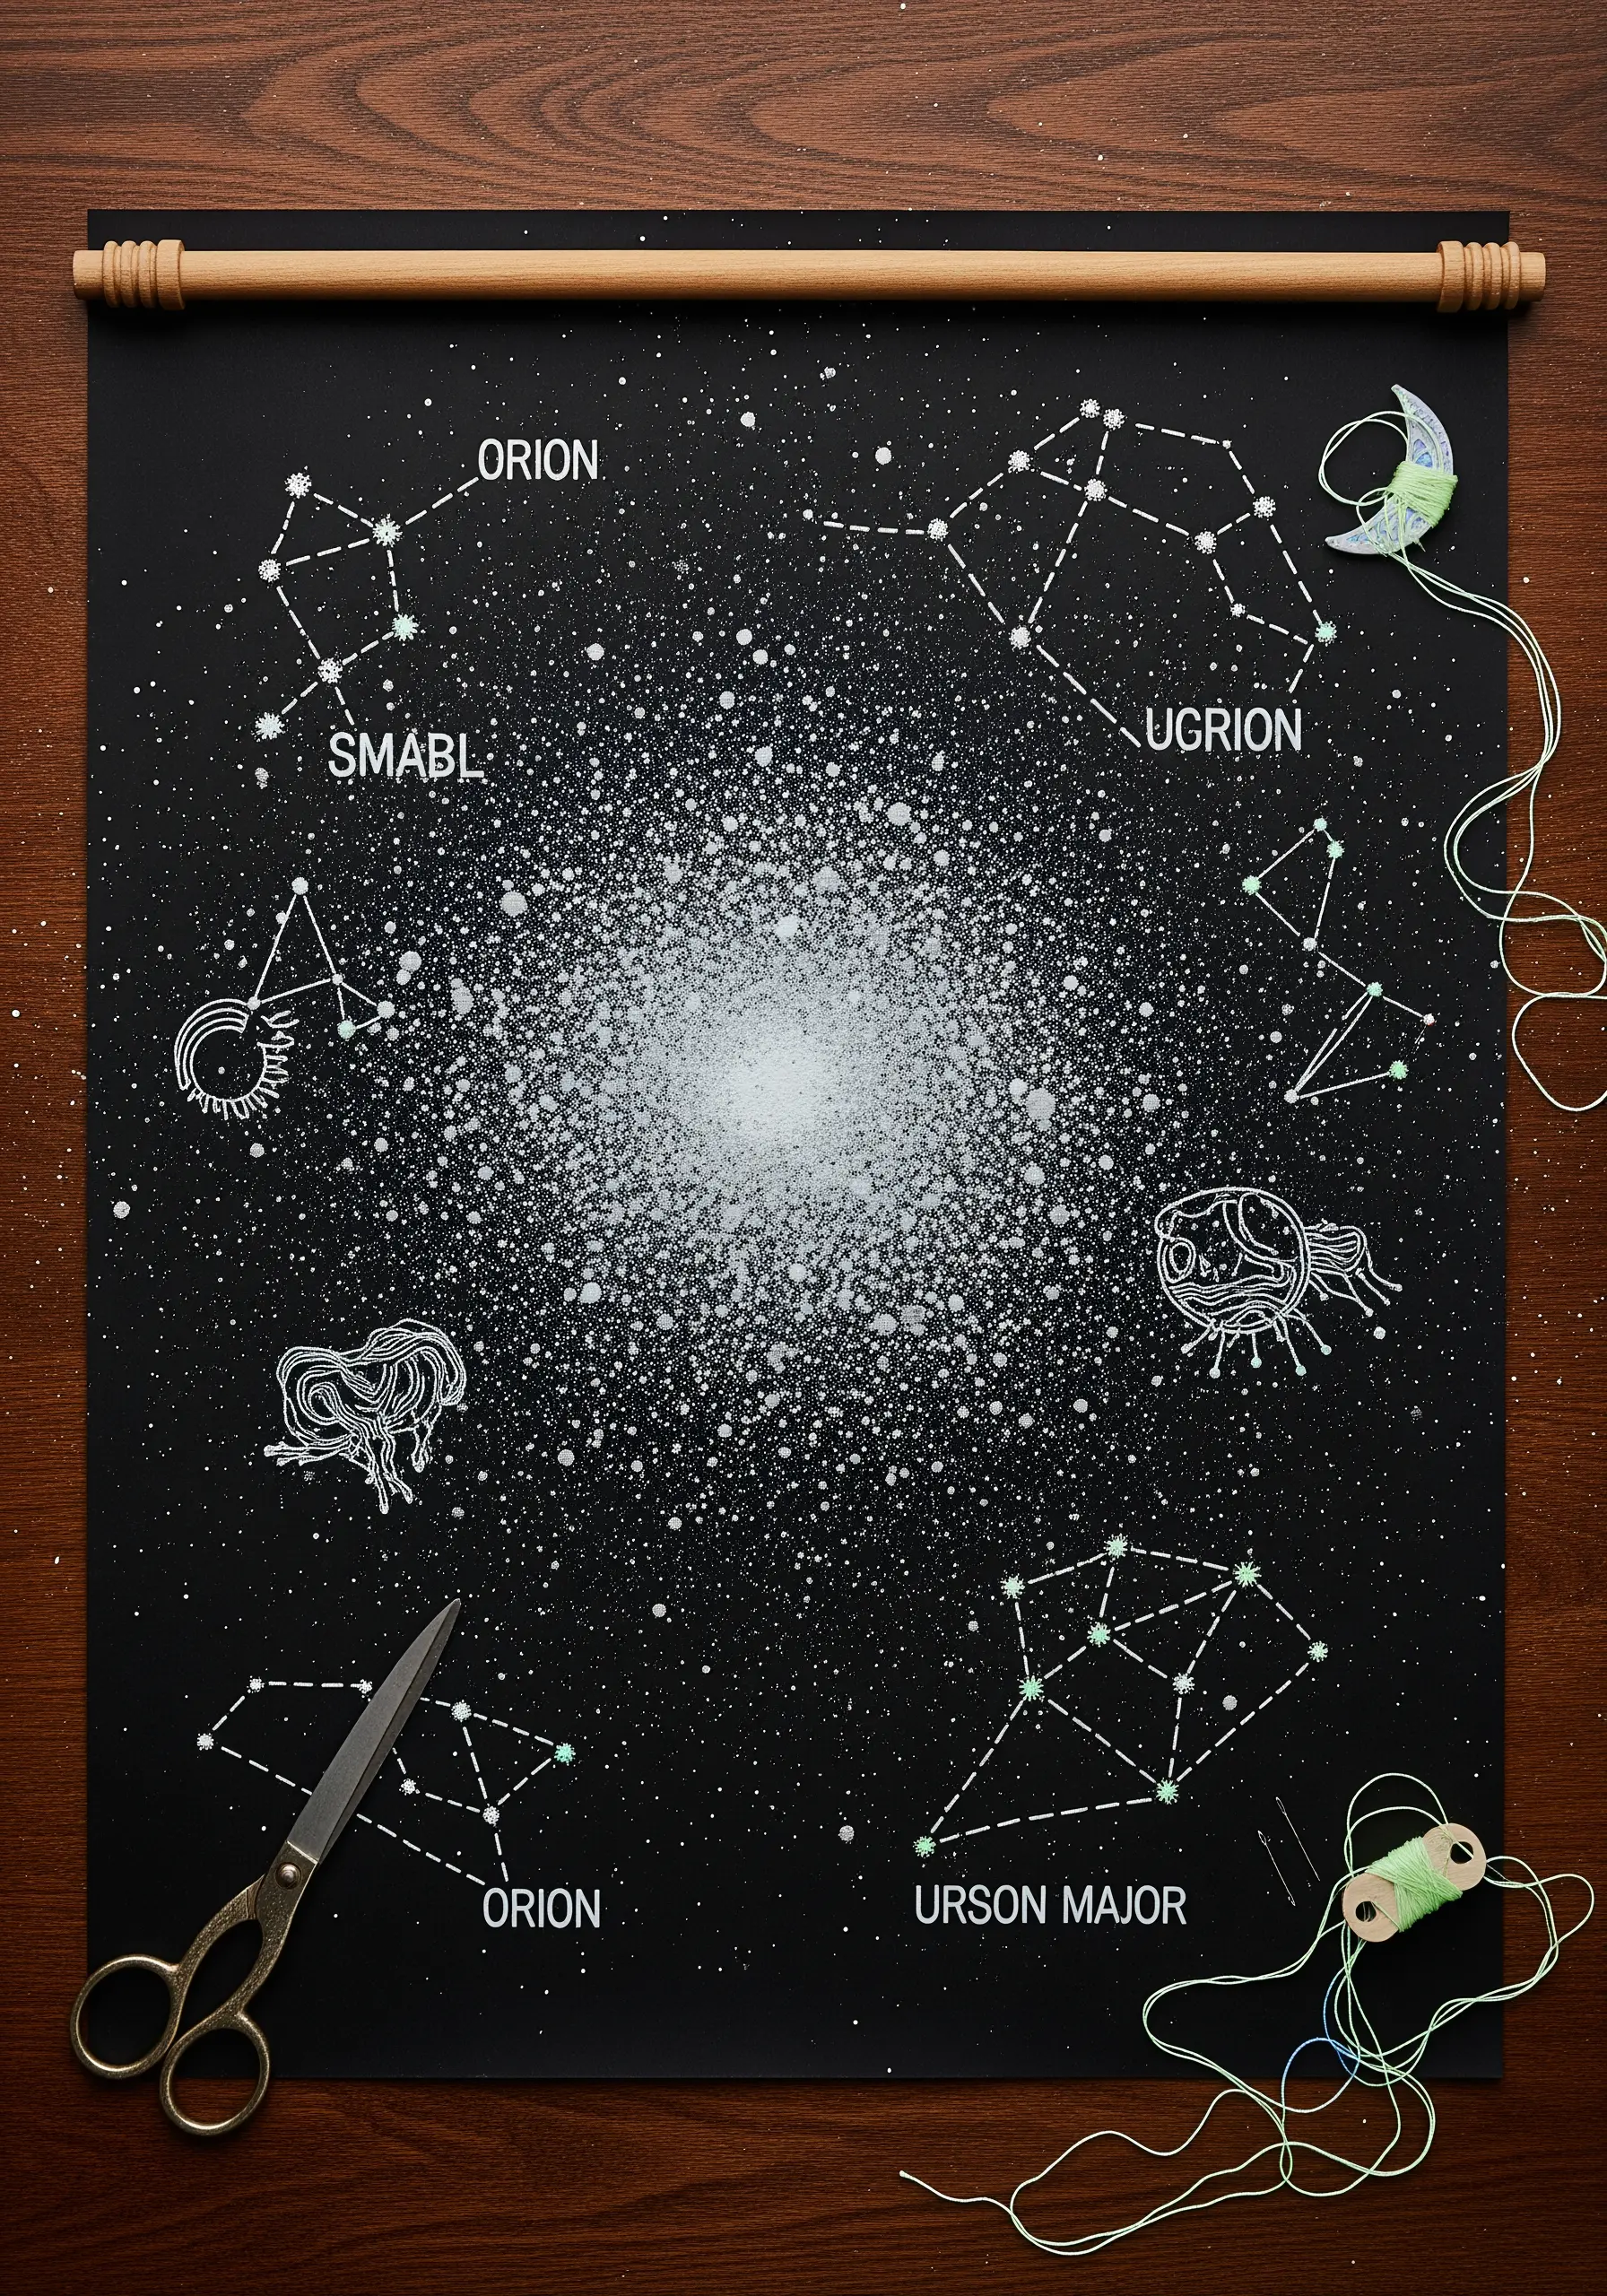
Start with a sheet of heavy black cardstock to create a dramatic canvas for your cosmos.
Create a convincing galaxy effect by dipping a stiff-bristled brush in white acrylic paint and flicking it across the surface to create a field of stars.
Once fully dry, pierce your constellation patterns before stitching to ensure clean holes and prevent the paper from buckling.
Use a simple backstitch for connecting lines and small French knots for the main stars, turning your wall into one of those tiny night sky embroidery designs that turn small bedrooms into dreamy galaxies.
7. Sculptural Seascapes with Impasto and Fiber
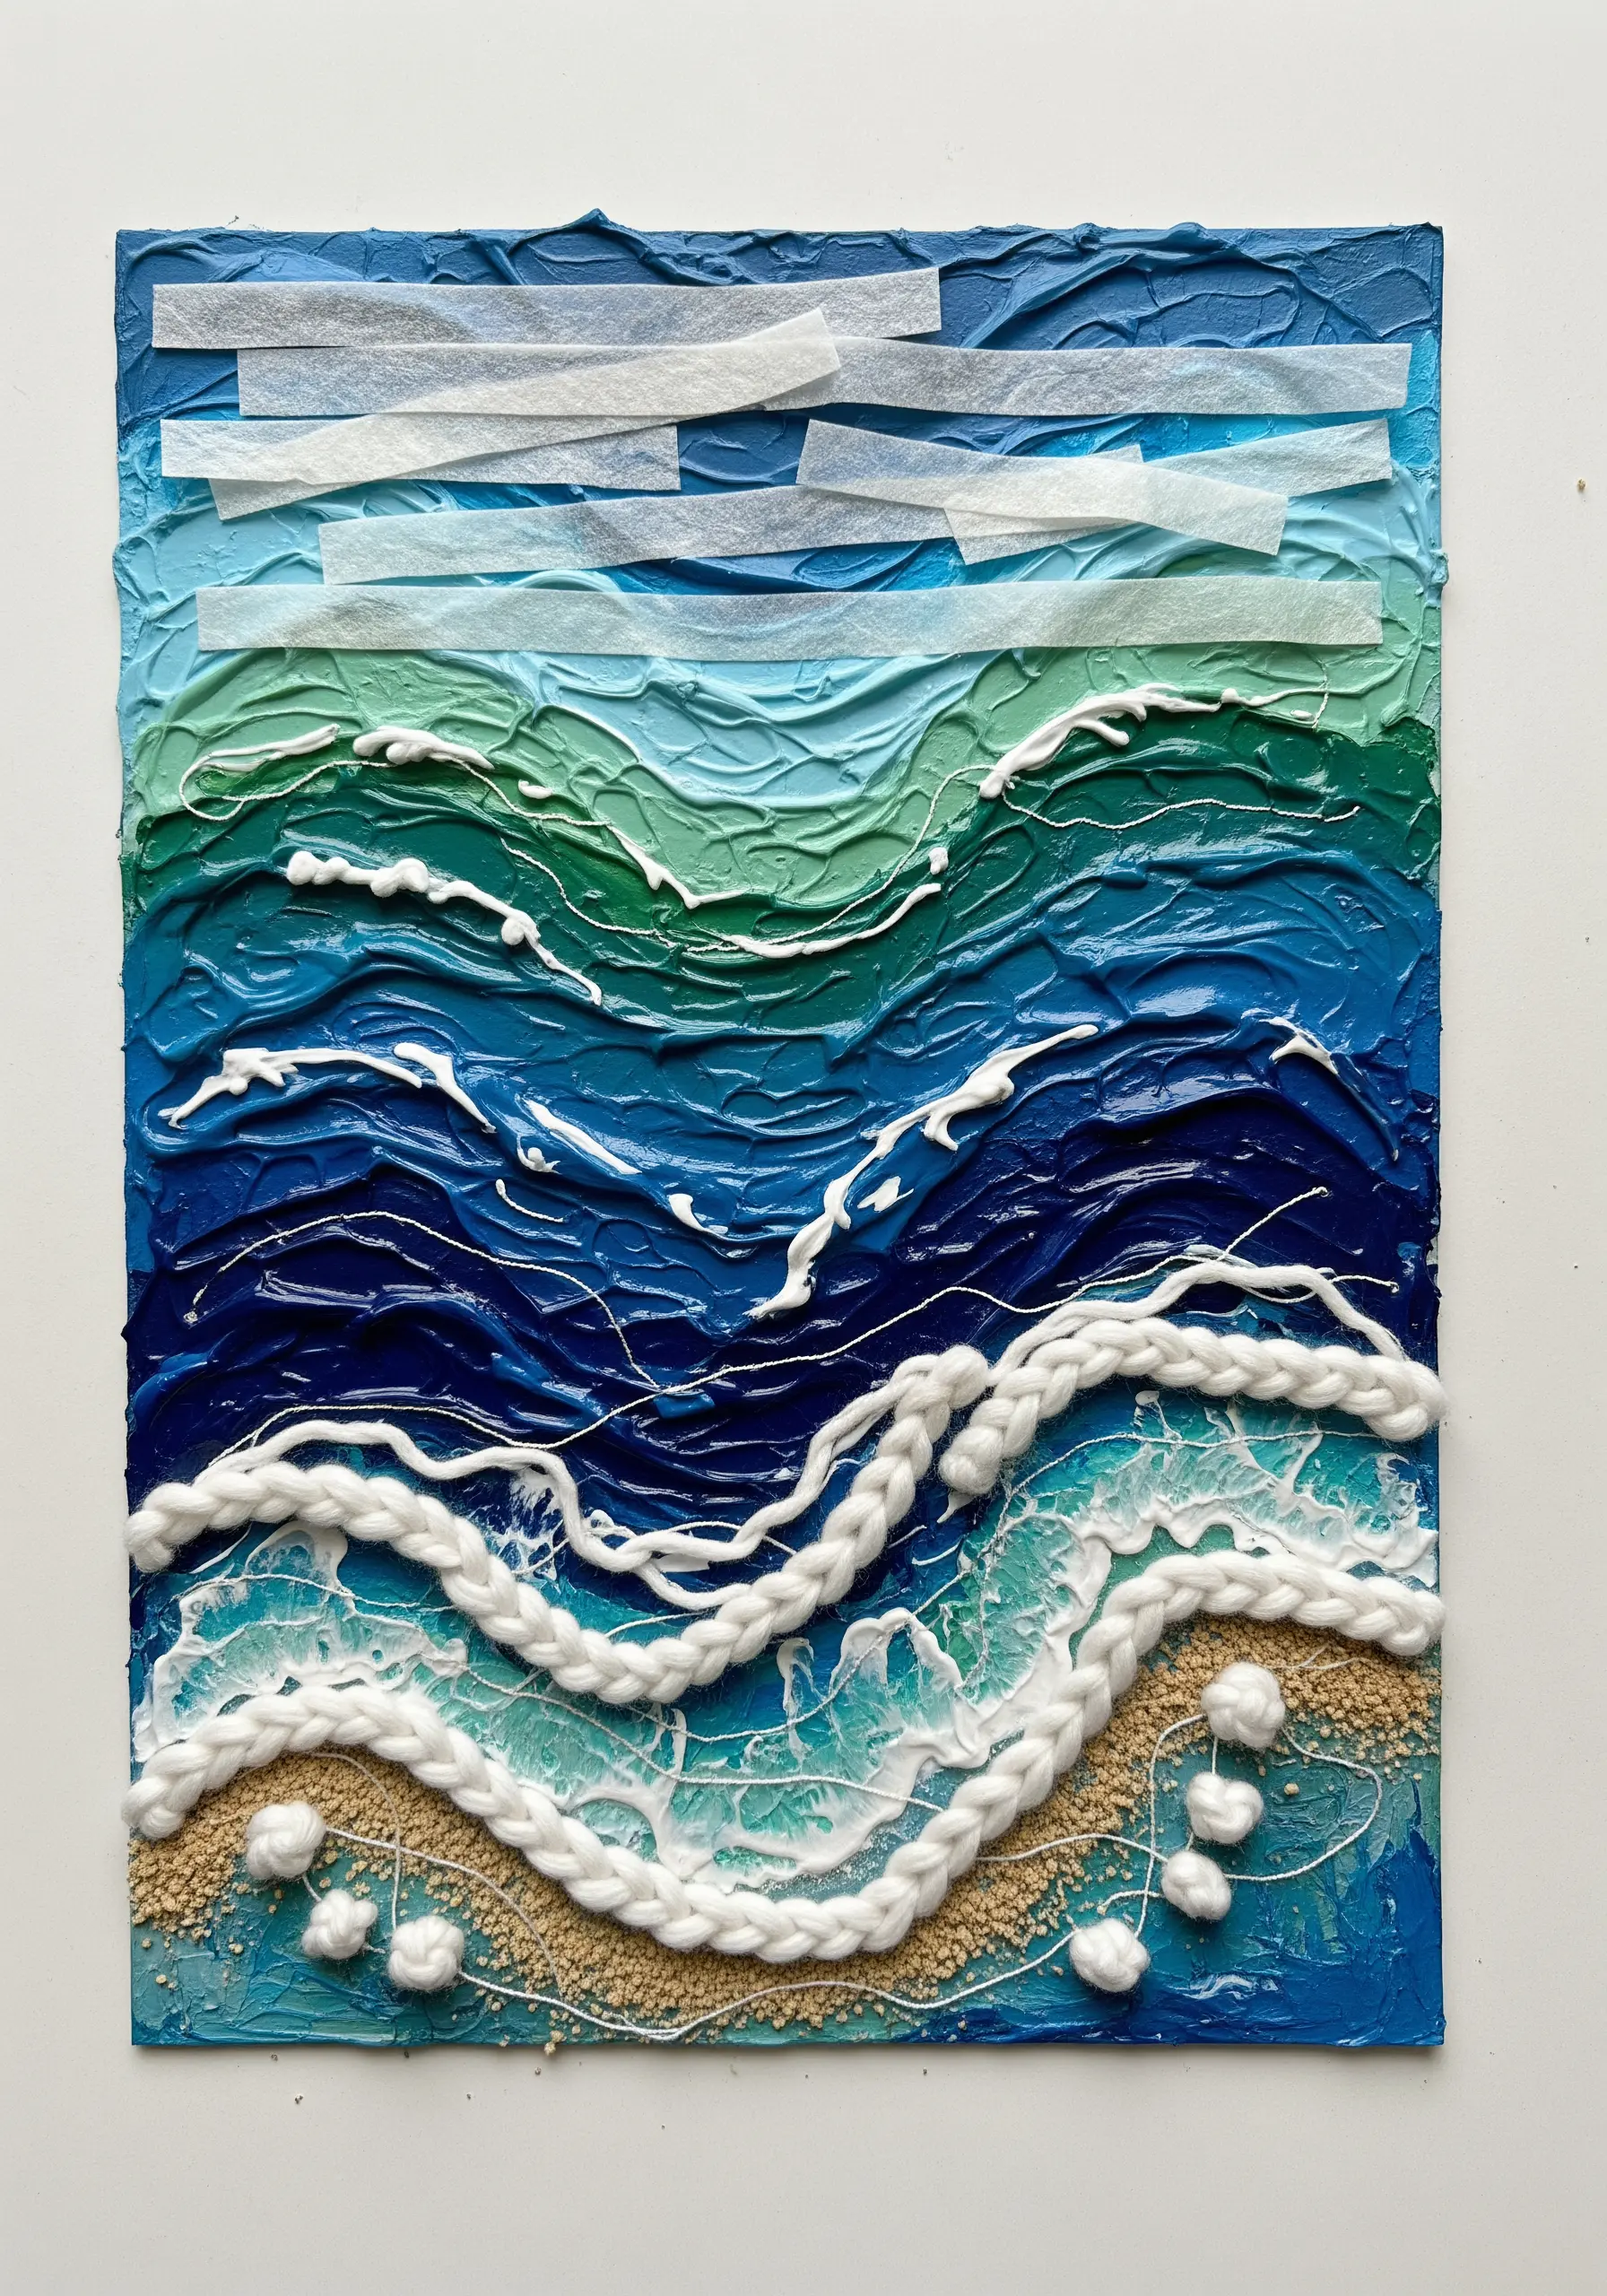
Use a palette knife to apply thick layers of heavy body acrylic paint or modeling paste onto a canvas, creating sculptural waves.
While the medium is still wet, embed fine sand to create a realistic shoreline texture.
After it dries, accentuate the seafoam by couching down thick yarn or cotton roving along the crests of the waves.
This combination of textures transforms a flat painting into a multi-sensory experience, perfect for ocean inspired hoop embroidery ideas for seashells waves coral.
8. Embossed Mandalas on Watercolor Bookmarks
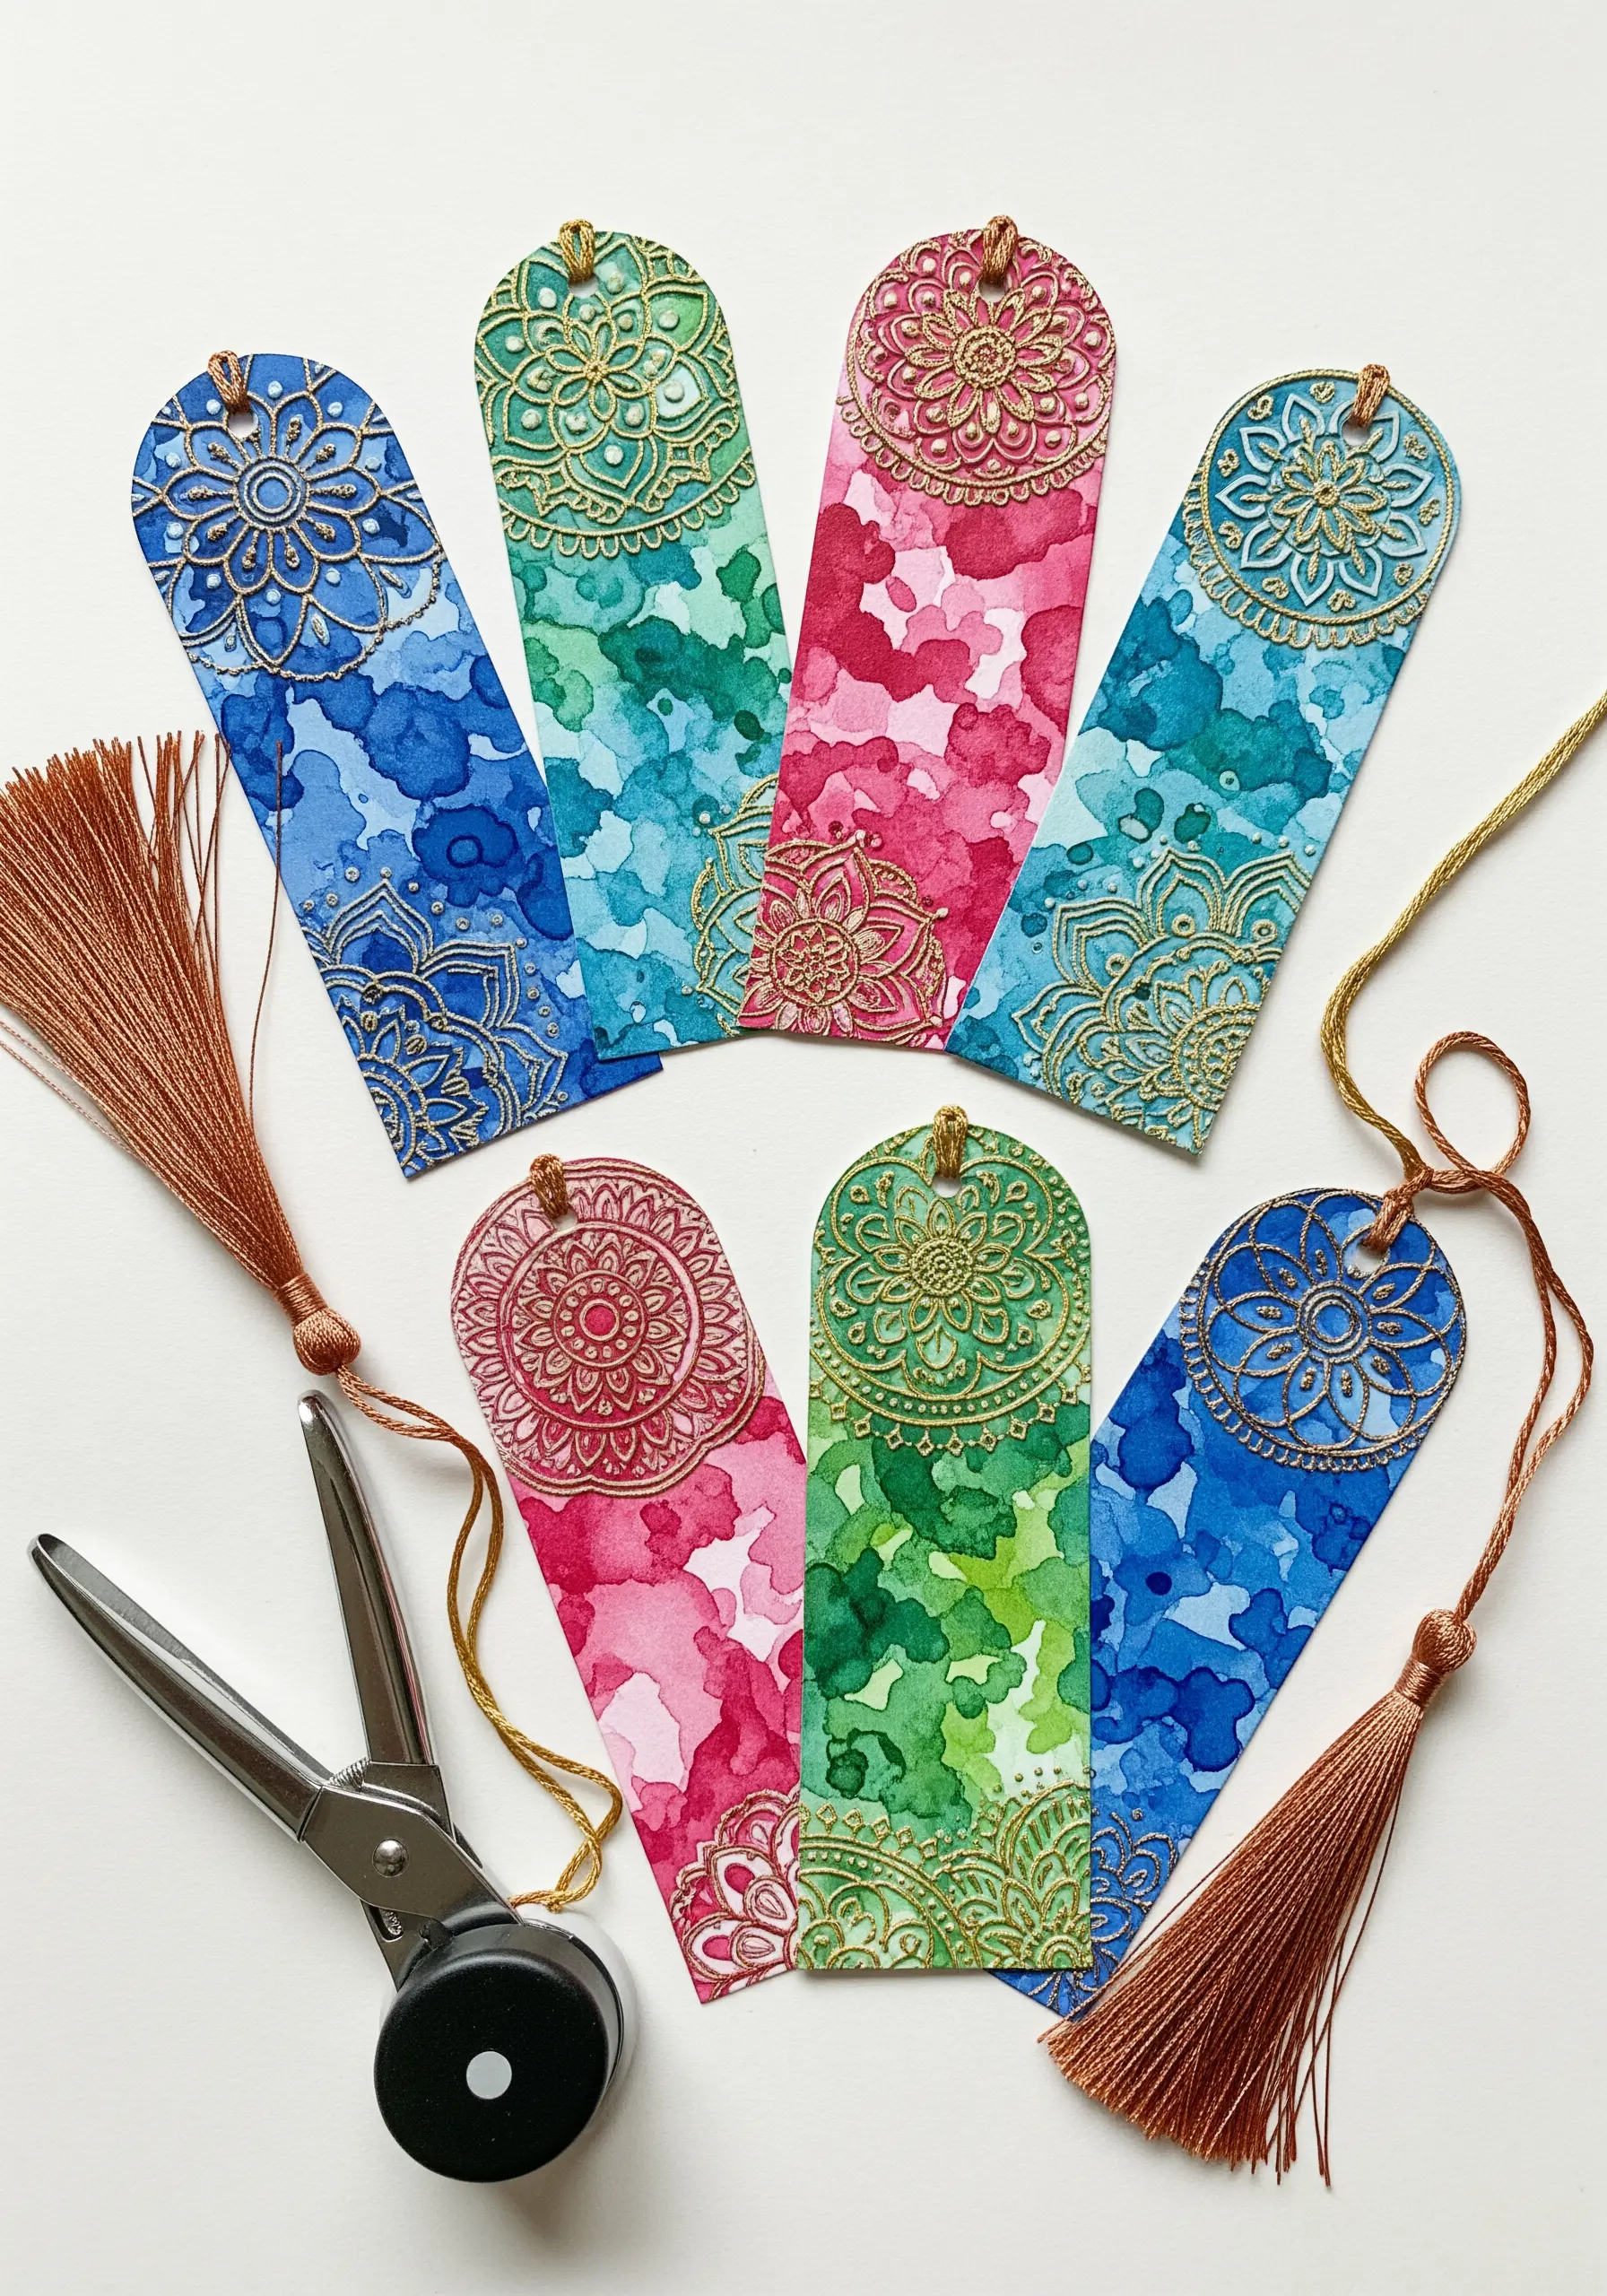
This technique combines the precision of heat embossing with the organic flow of watercolor.
First, stamp your mandala design onto heavy cardstock with a clear embossing ink, cover it with metallic embossing powder, and set it with a heat tool.
The raised, waterproof lines of the embossed pattern create perfect little wells to hold watercolor paint.
Drop different colors into the sections and let them bleed together for a beautiful, contained effect, ideal for embroidered mandala wall art designs for mindful stitching zen decor translated to paper.
9. Character Illustrations with Paper Collage Wardrobes
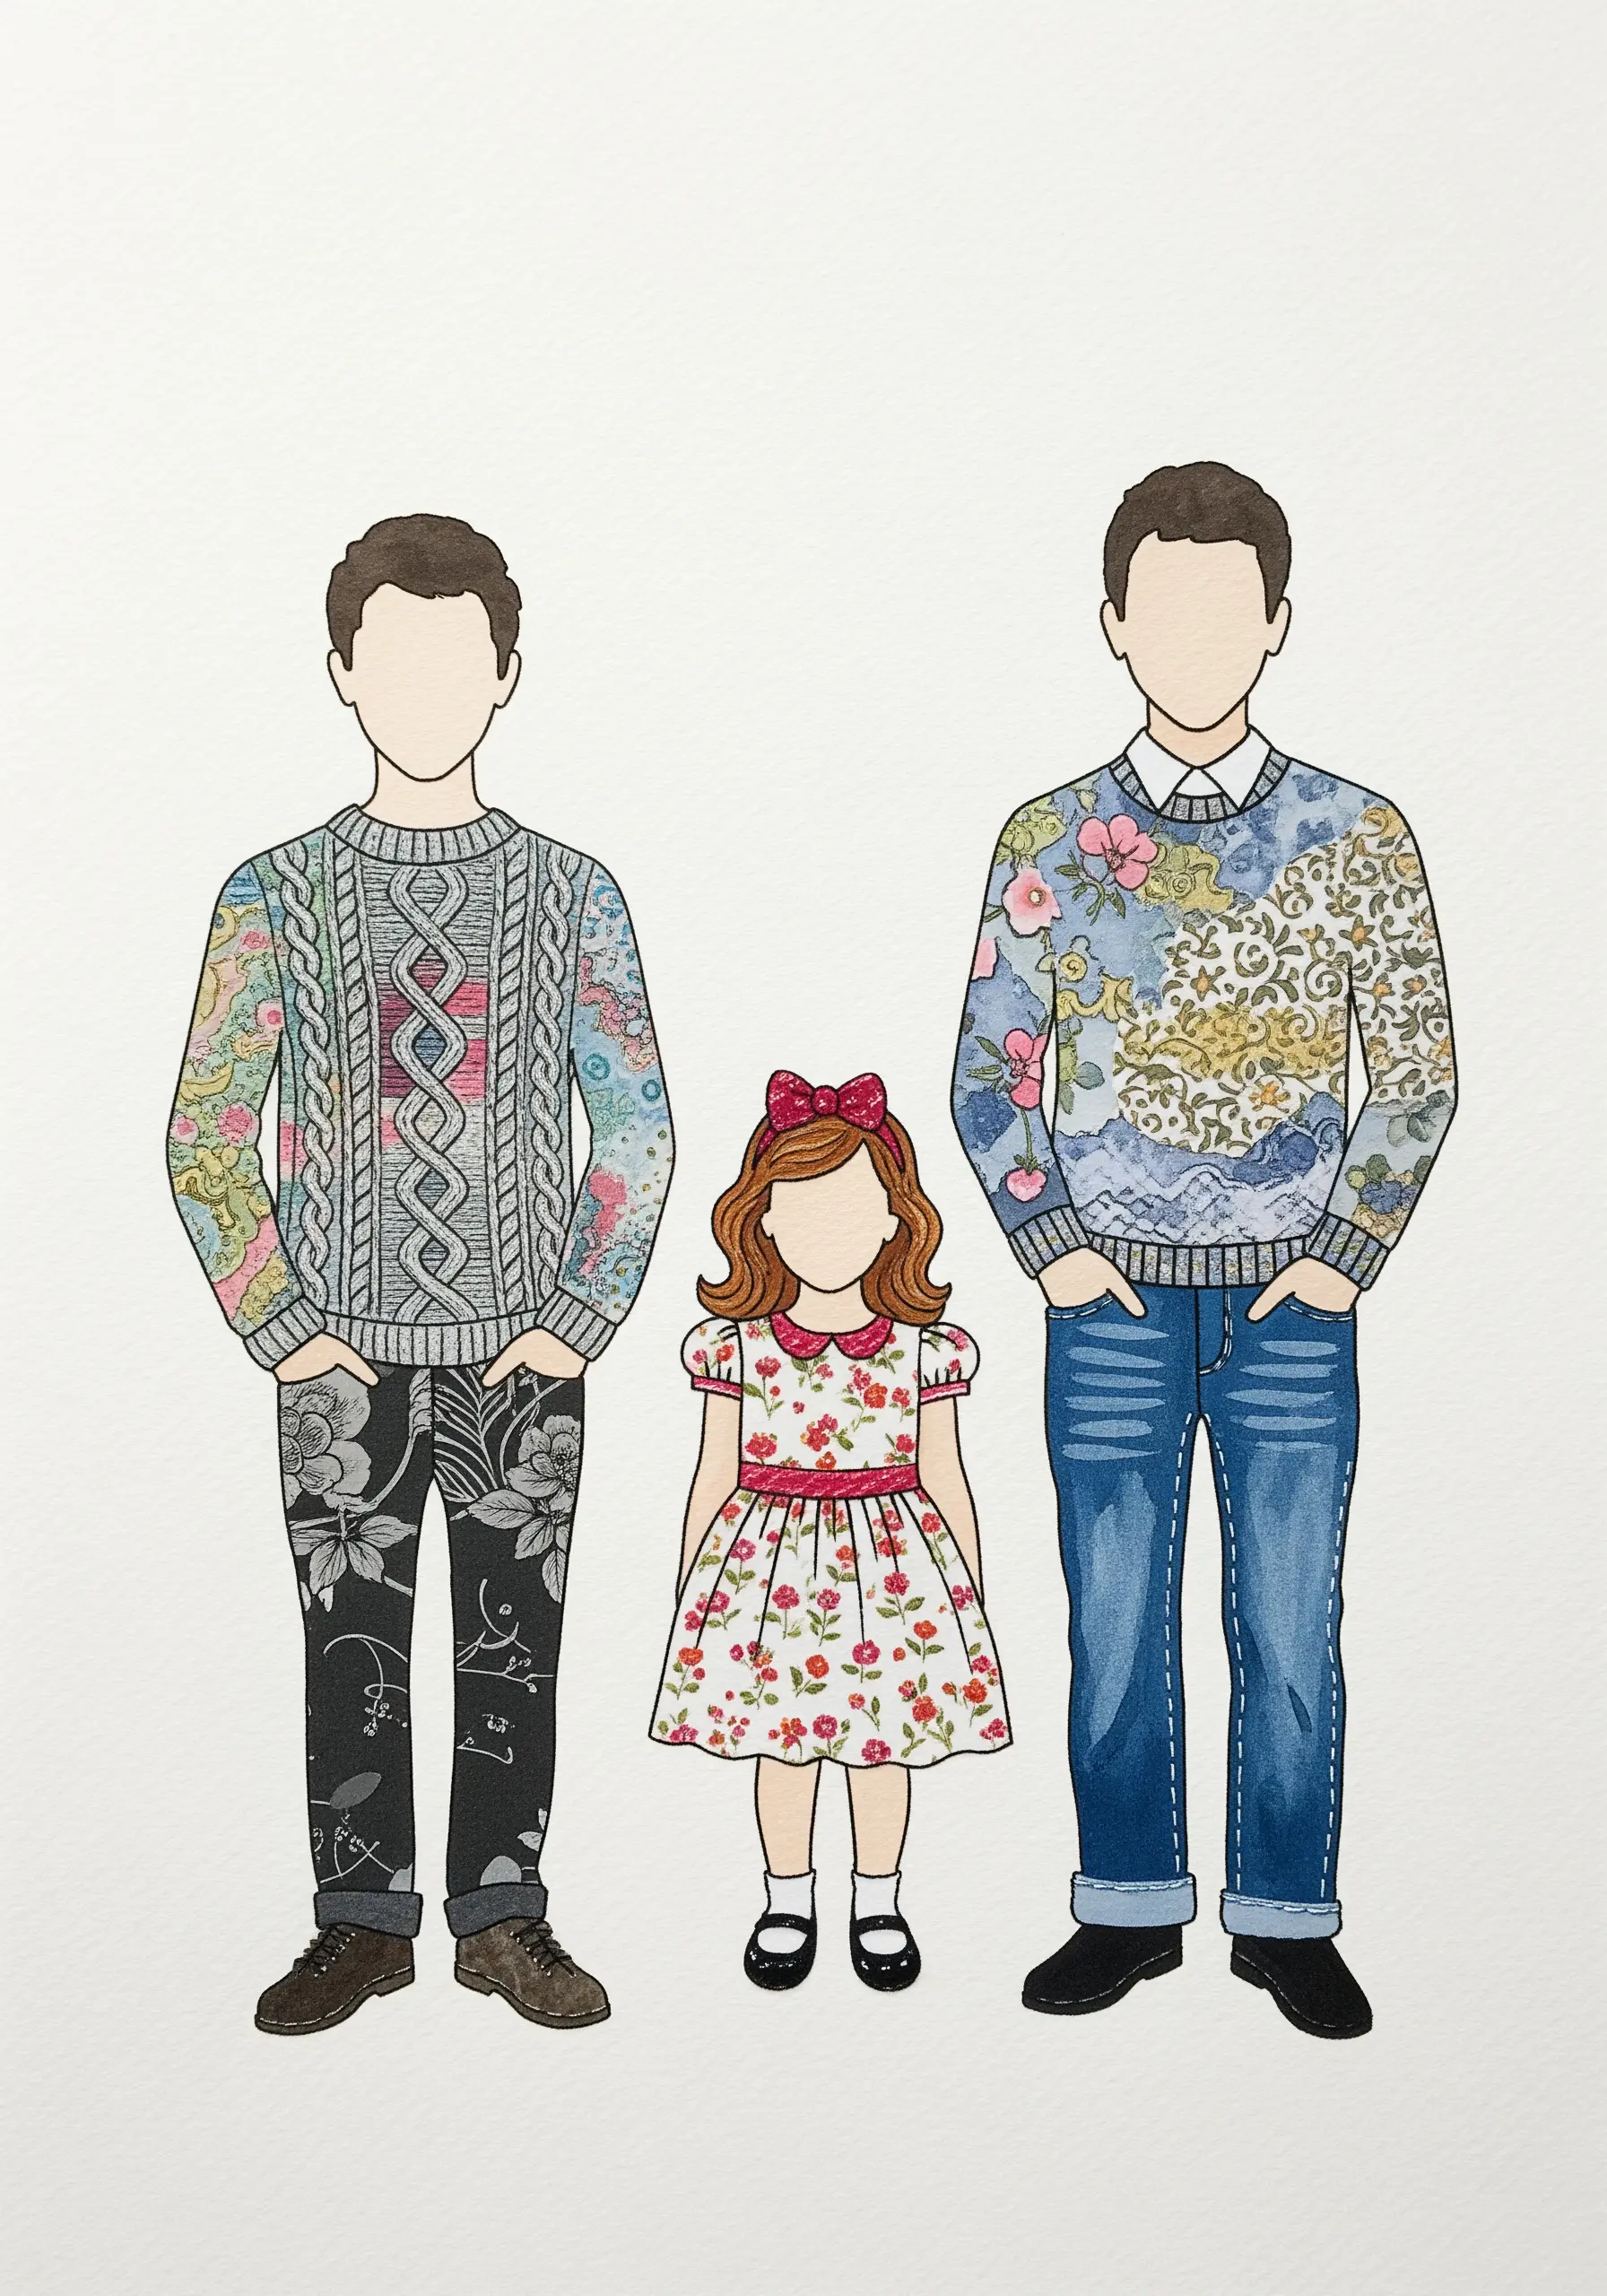
Begin by drawing and painting your figures on watercolor paper, focusing on posture and skin tones.
Instead of painting the clothes, cut garment shapes from decorative scrapbook paper or fabric swatches.
Carefully glue the paper clothing onto your illustrations, creating a layered, paper-doll effect.
This simple collage technique adds instant pattern, texture, and personality, turning a simple drawing into a detailed character study.
It’s a great starting point for creative collage inspirations for combining paper layers with subtle embroidery.
10. Decorative Stitching on Gradient Paper Feathers
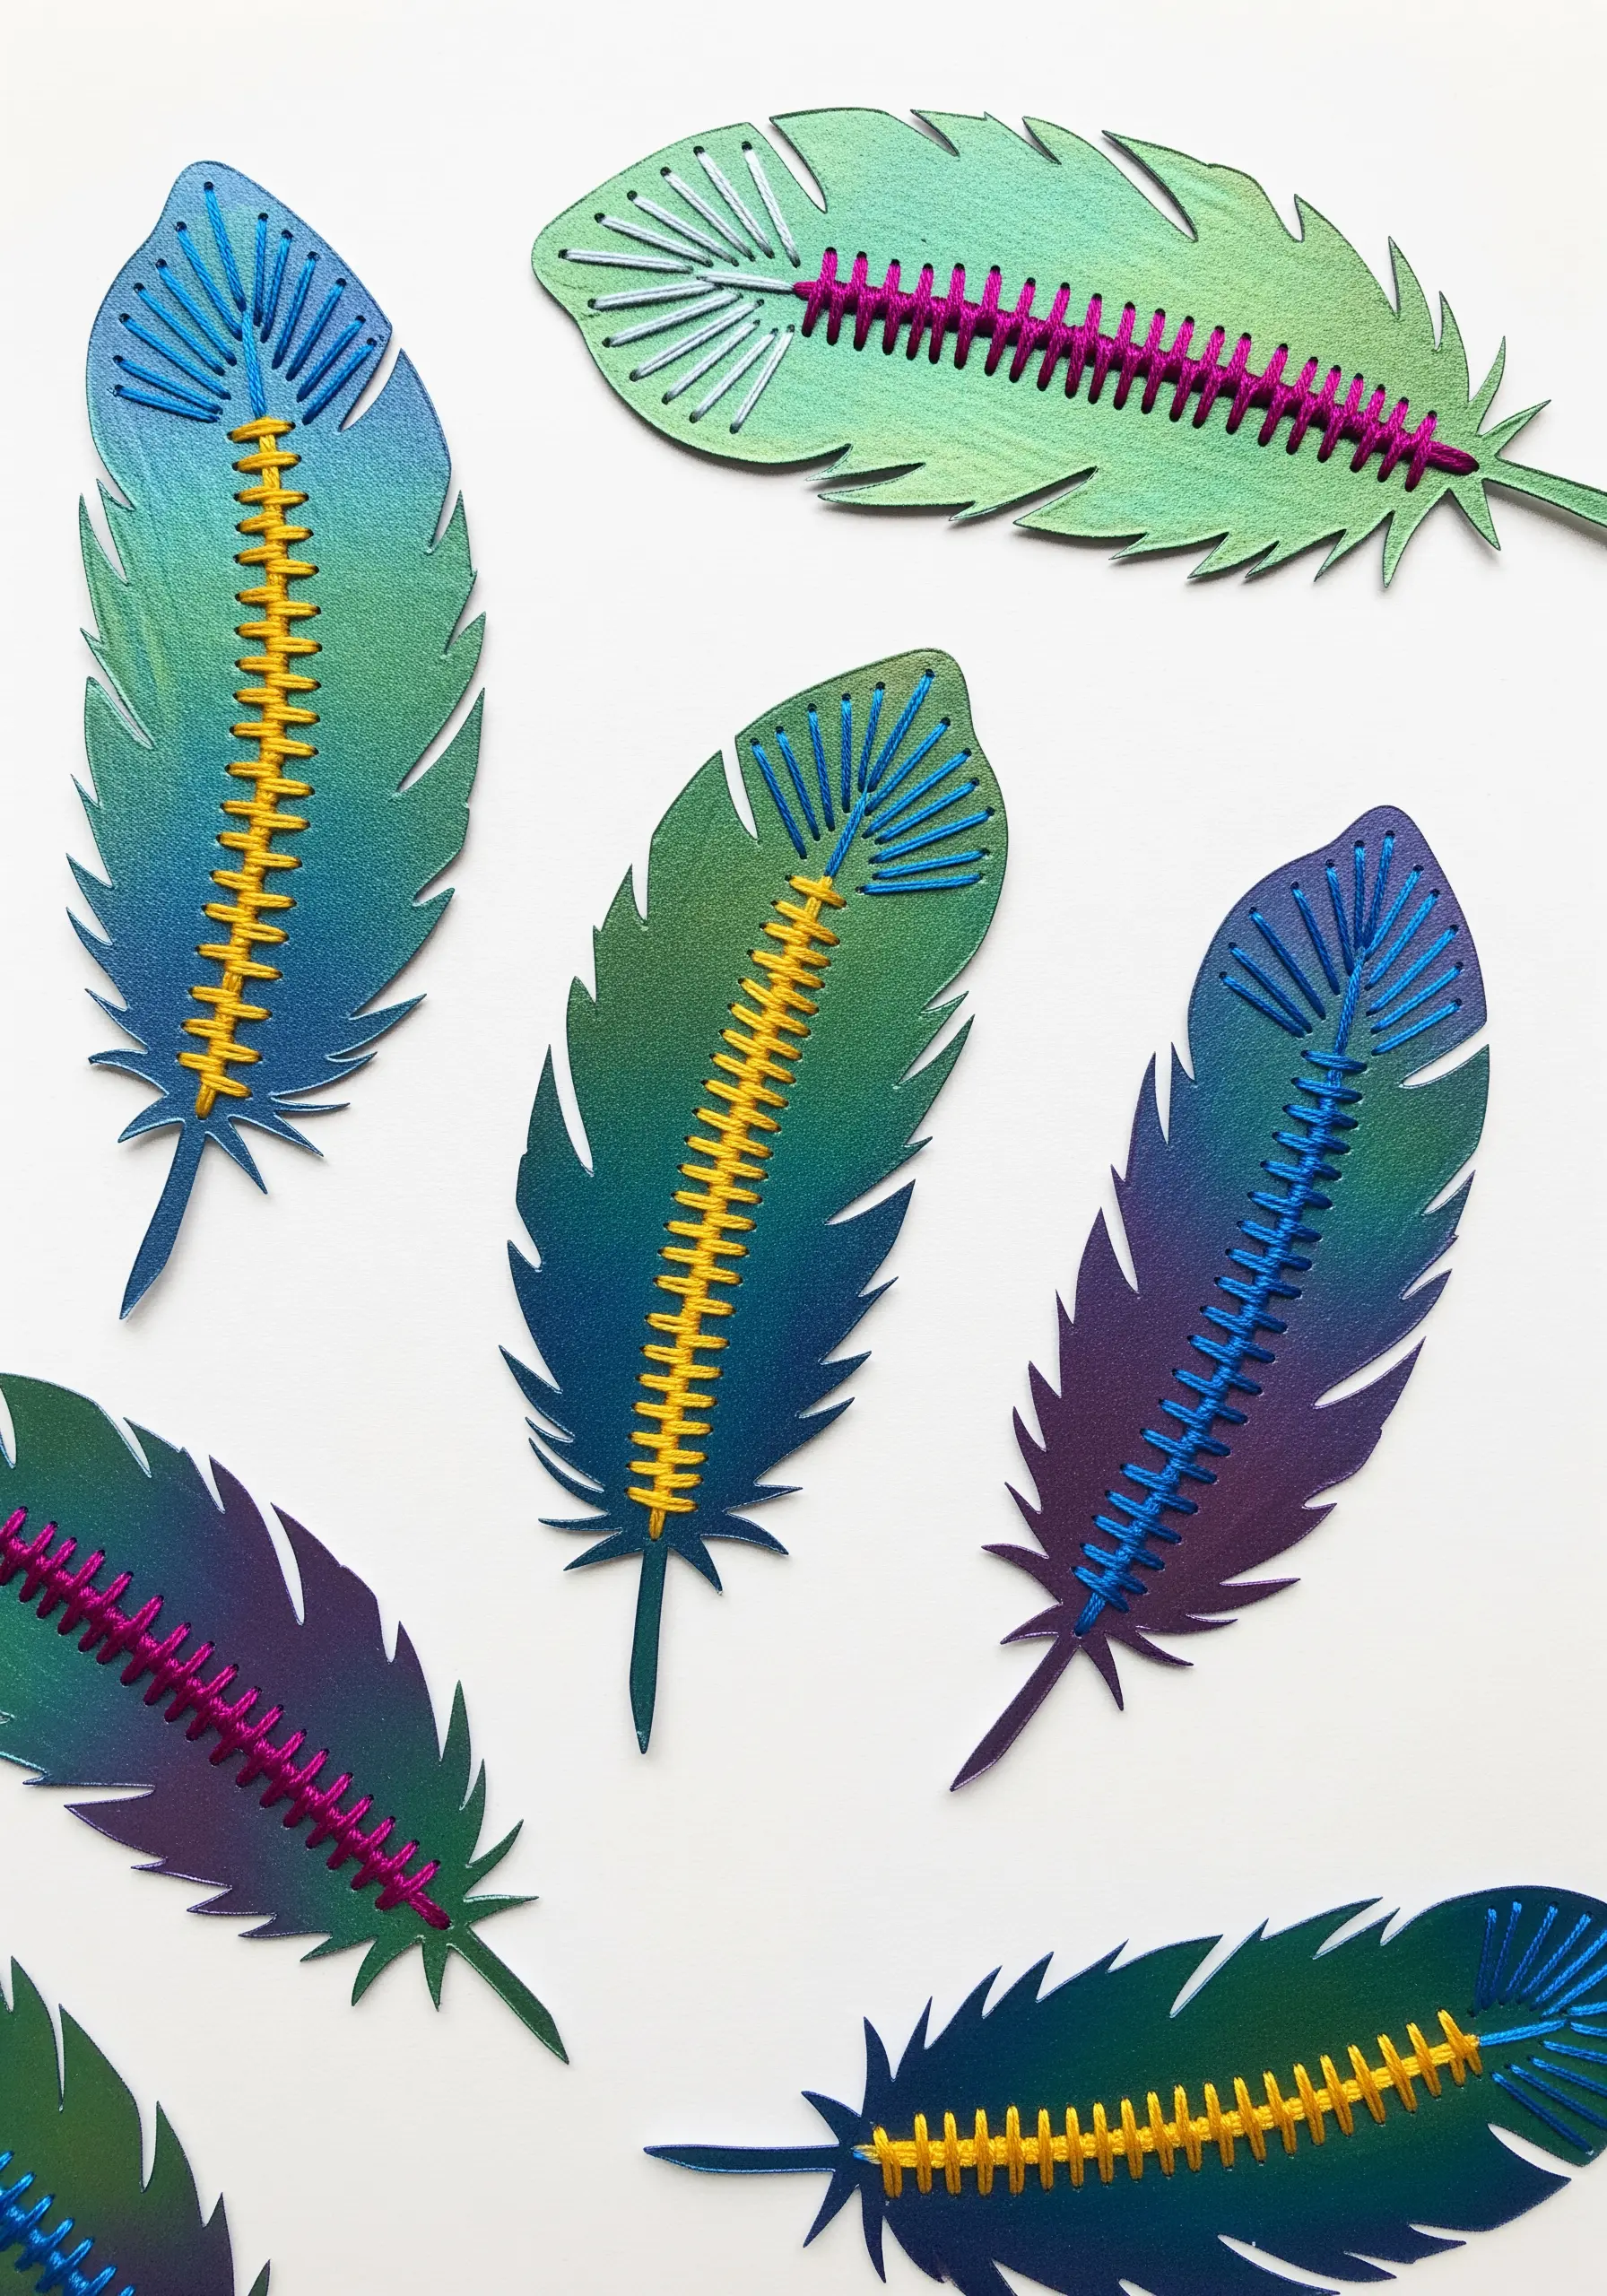
Cut feather shapes from gradient cardstock, or create your own custom colors using ink blending tools on white paper.
Use a sharp awl or a thick needle to pre-pierce holes along the spine and edges of the paper cutouts.
Experiment with contrasting thread colors and simple, graphic stitches like the blanket stitch, fly stitch, or a basic running stitch to add definition and texture.
These collage art tutorials that show you how to stitch over paper for unique results are perfect for using up thread scraps.
11. Geometric Collage with a Faux Stitch Finish
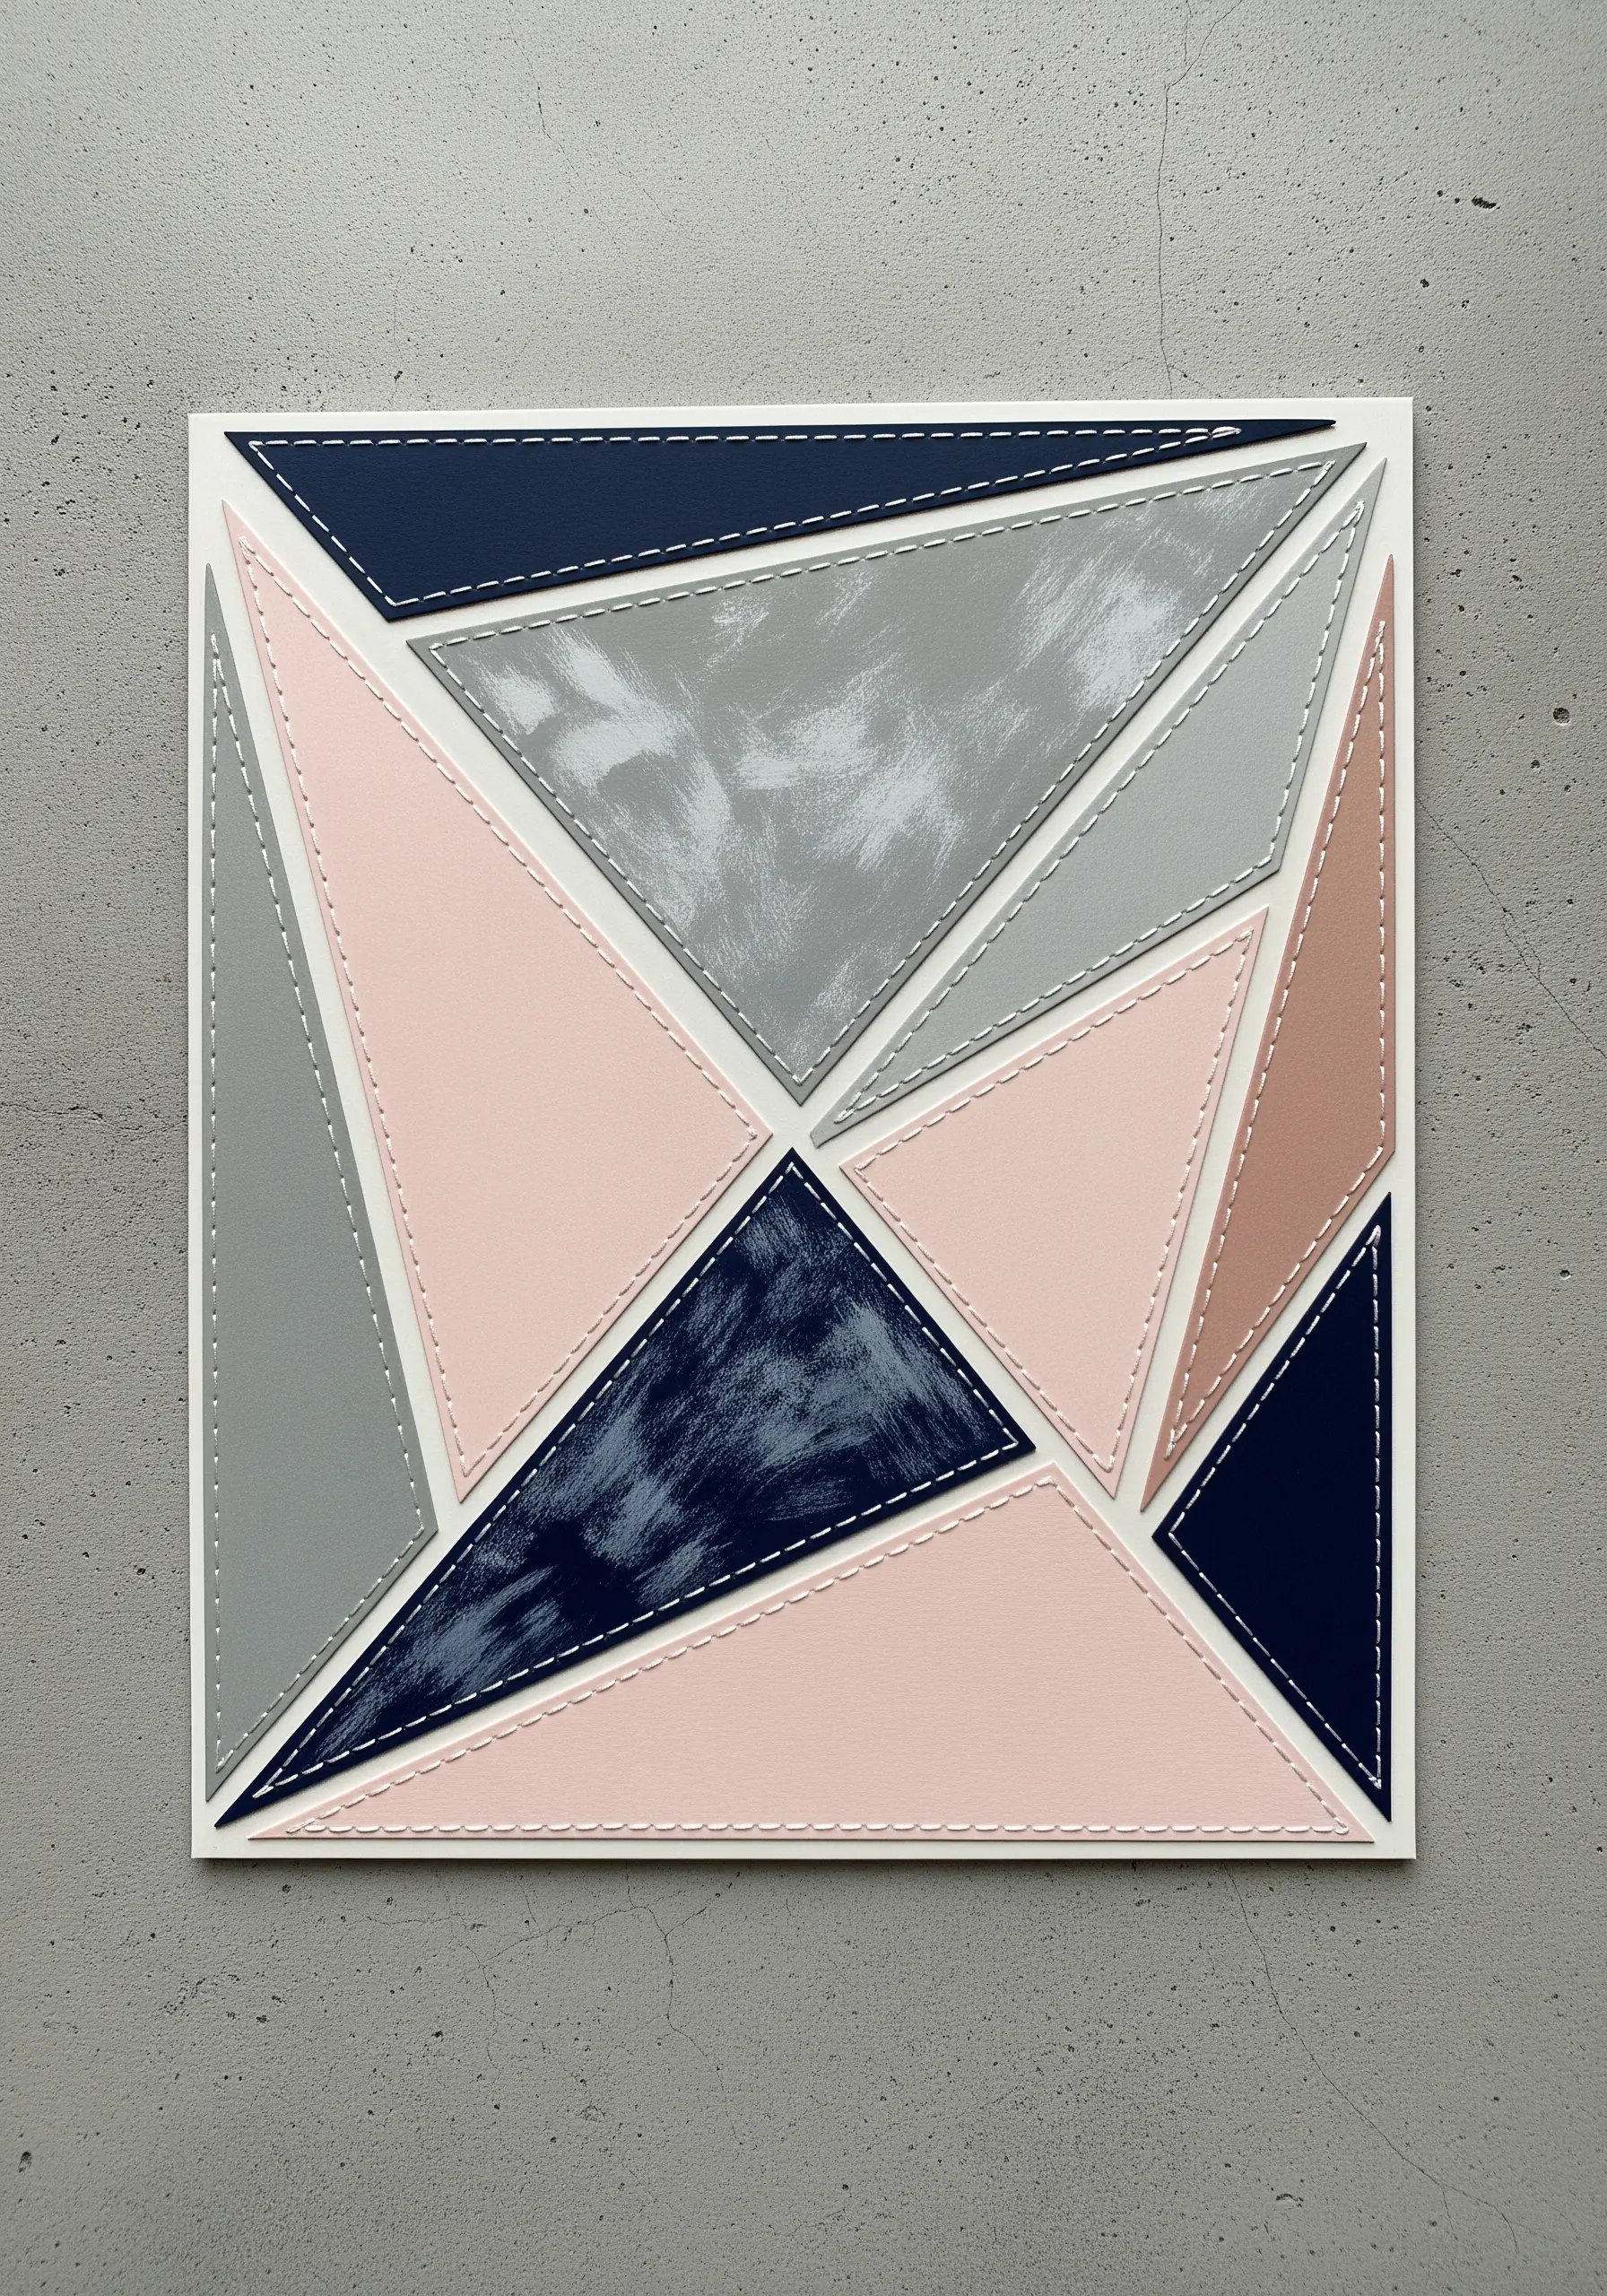
Create a sophisticated, minimalist composition by arranging geometric shapes cut from faux-leather or textured paper.
Adhere the pieces to a sturdy backing, leaving a slight gap between each shape to define the boundaries.
Instead of puncturing the paper, create the illusion of hand-stitching by drawing a neat running stitch along the edges with a fine-tipped white gel pen or paint marker.
This clever technique provides the aesthetic of stitched leatherwork, making for beautiful and unique handmade gifts.
12. Embellishing Vintage Portraits with Thread and Paint
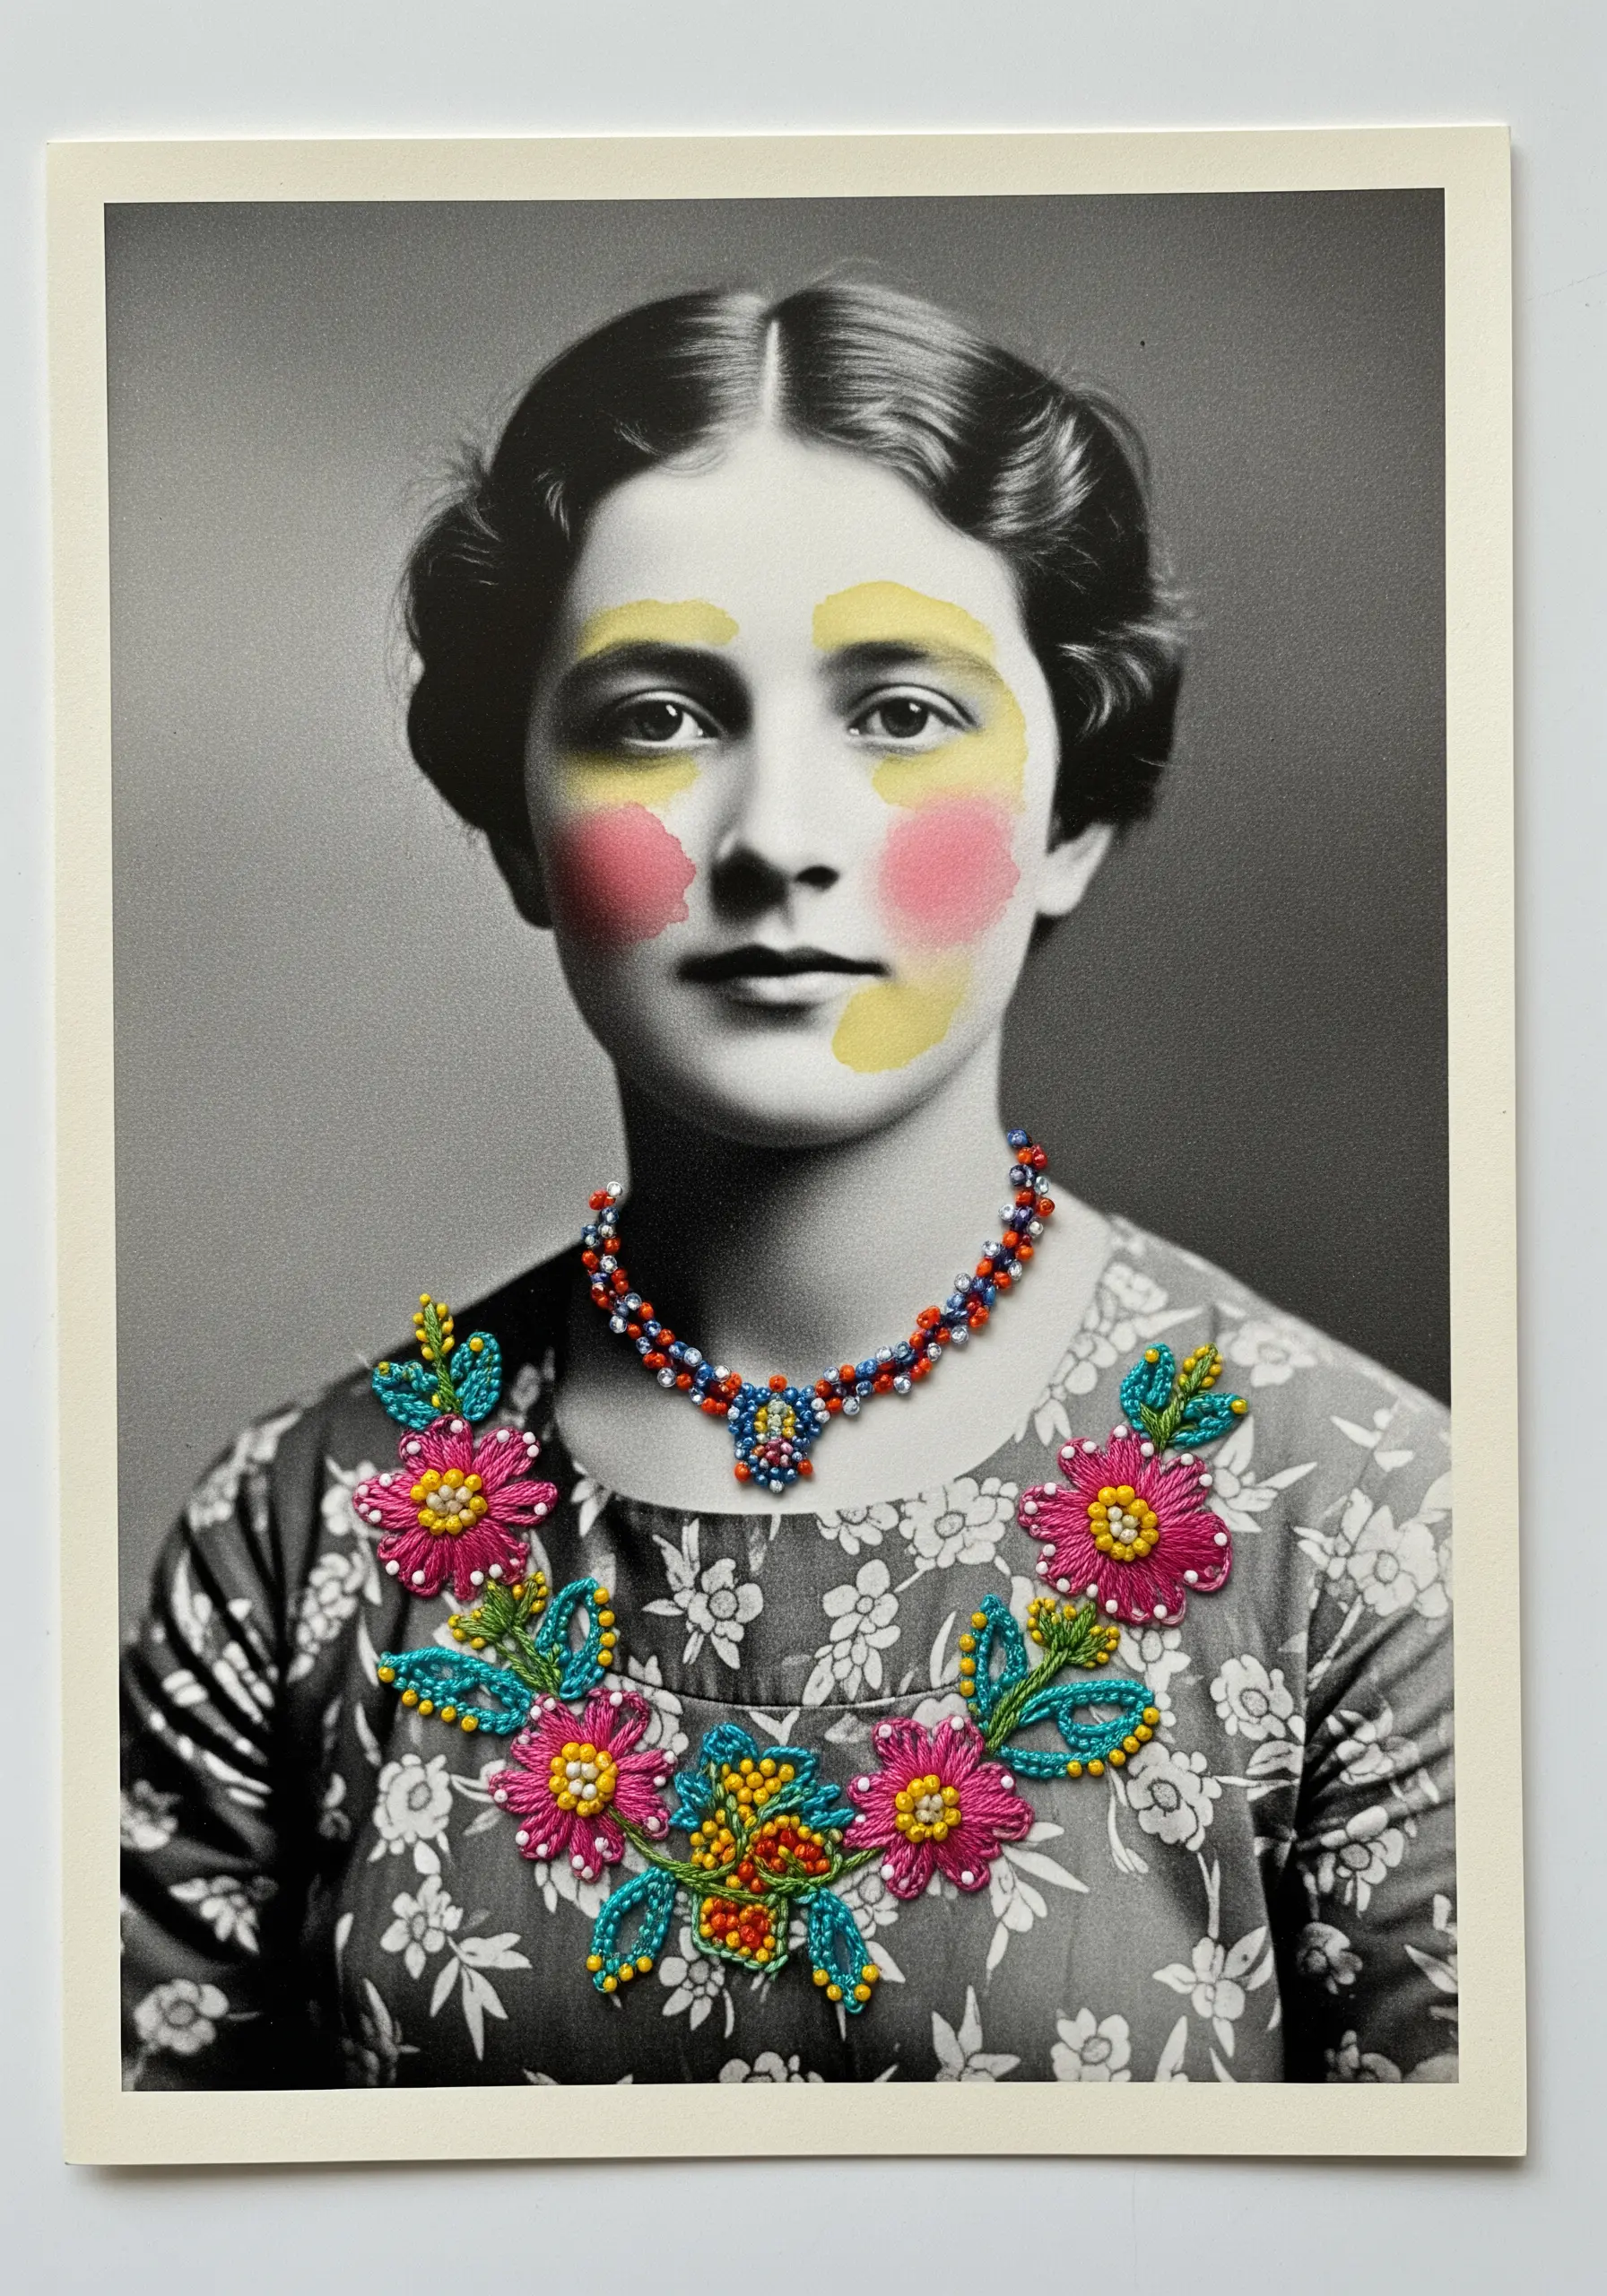
Give a new life to a reproduction of a vintage photograph by adding thoughtful, modern embellishments.
Apply a soft wash of diluted acrylic paint to add a touch of color to the cheeks or background.
Then, embroider directly onto the photo paper, creating a vibrant floral necklace using French knots for texture and satin-stitched petals for smooth color blocks.
The striking contrast between the monochrome portrait and the dimensional, colorful additions creates a powerful and contemporary piece of art.
13. Hand-Stitched Journeys on a Watercolor Map
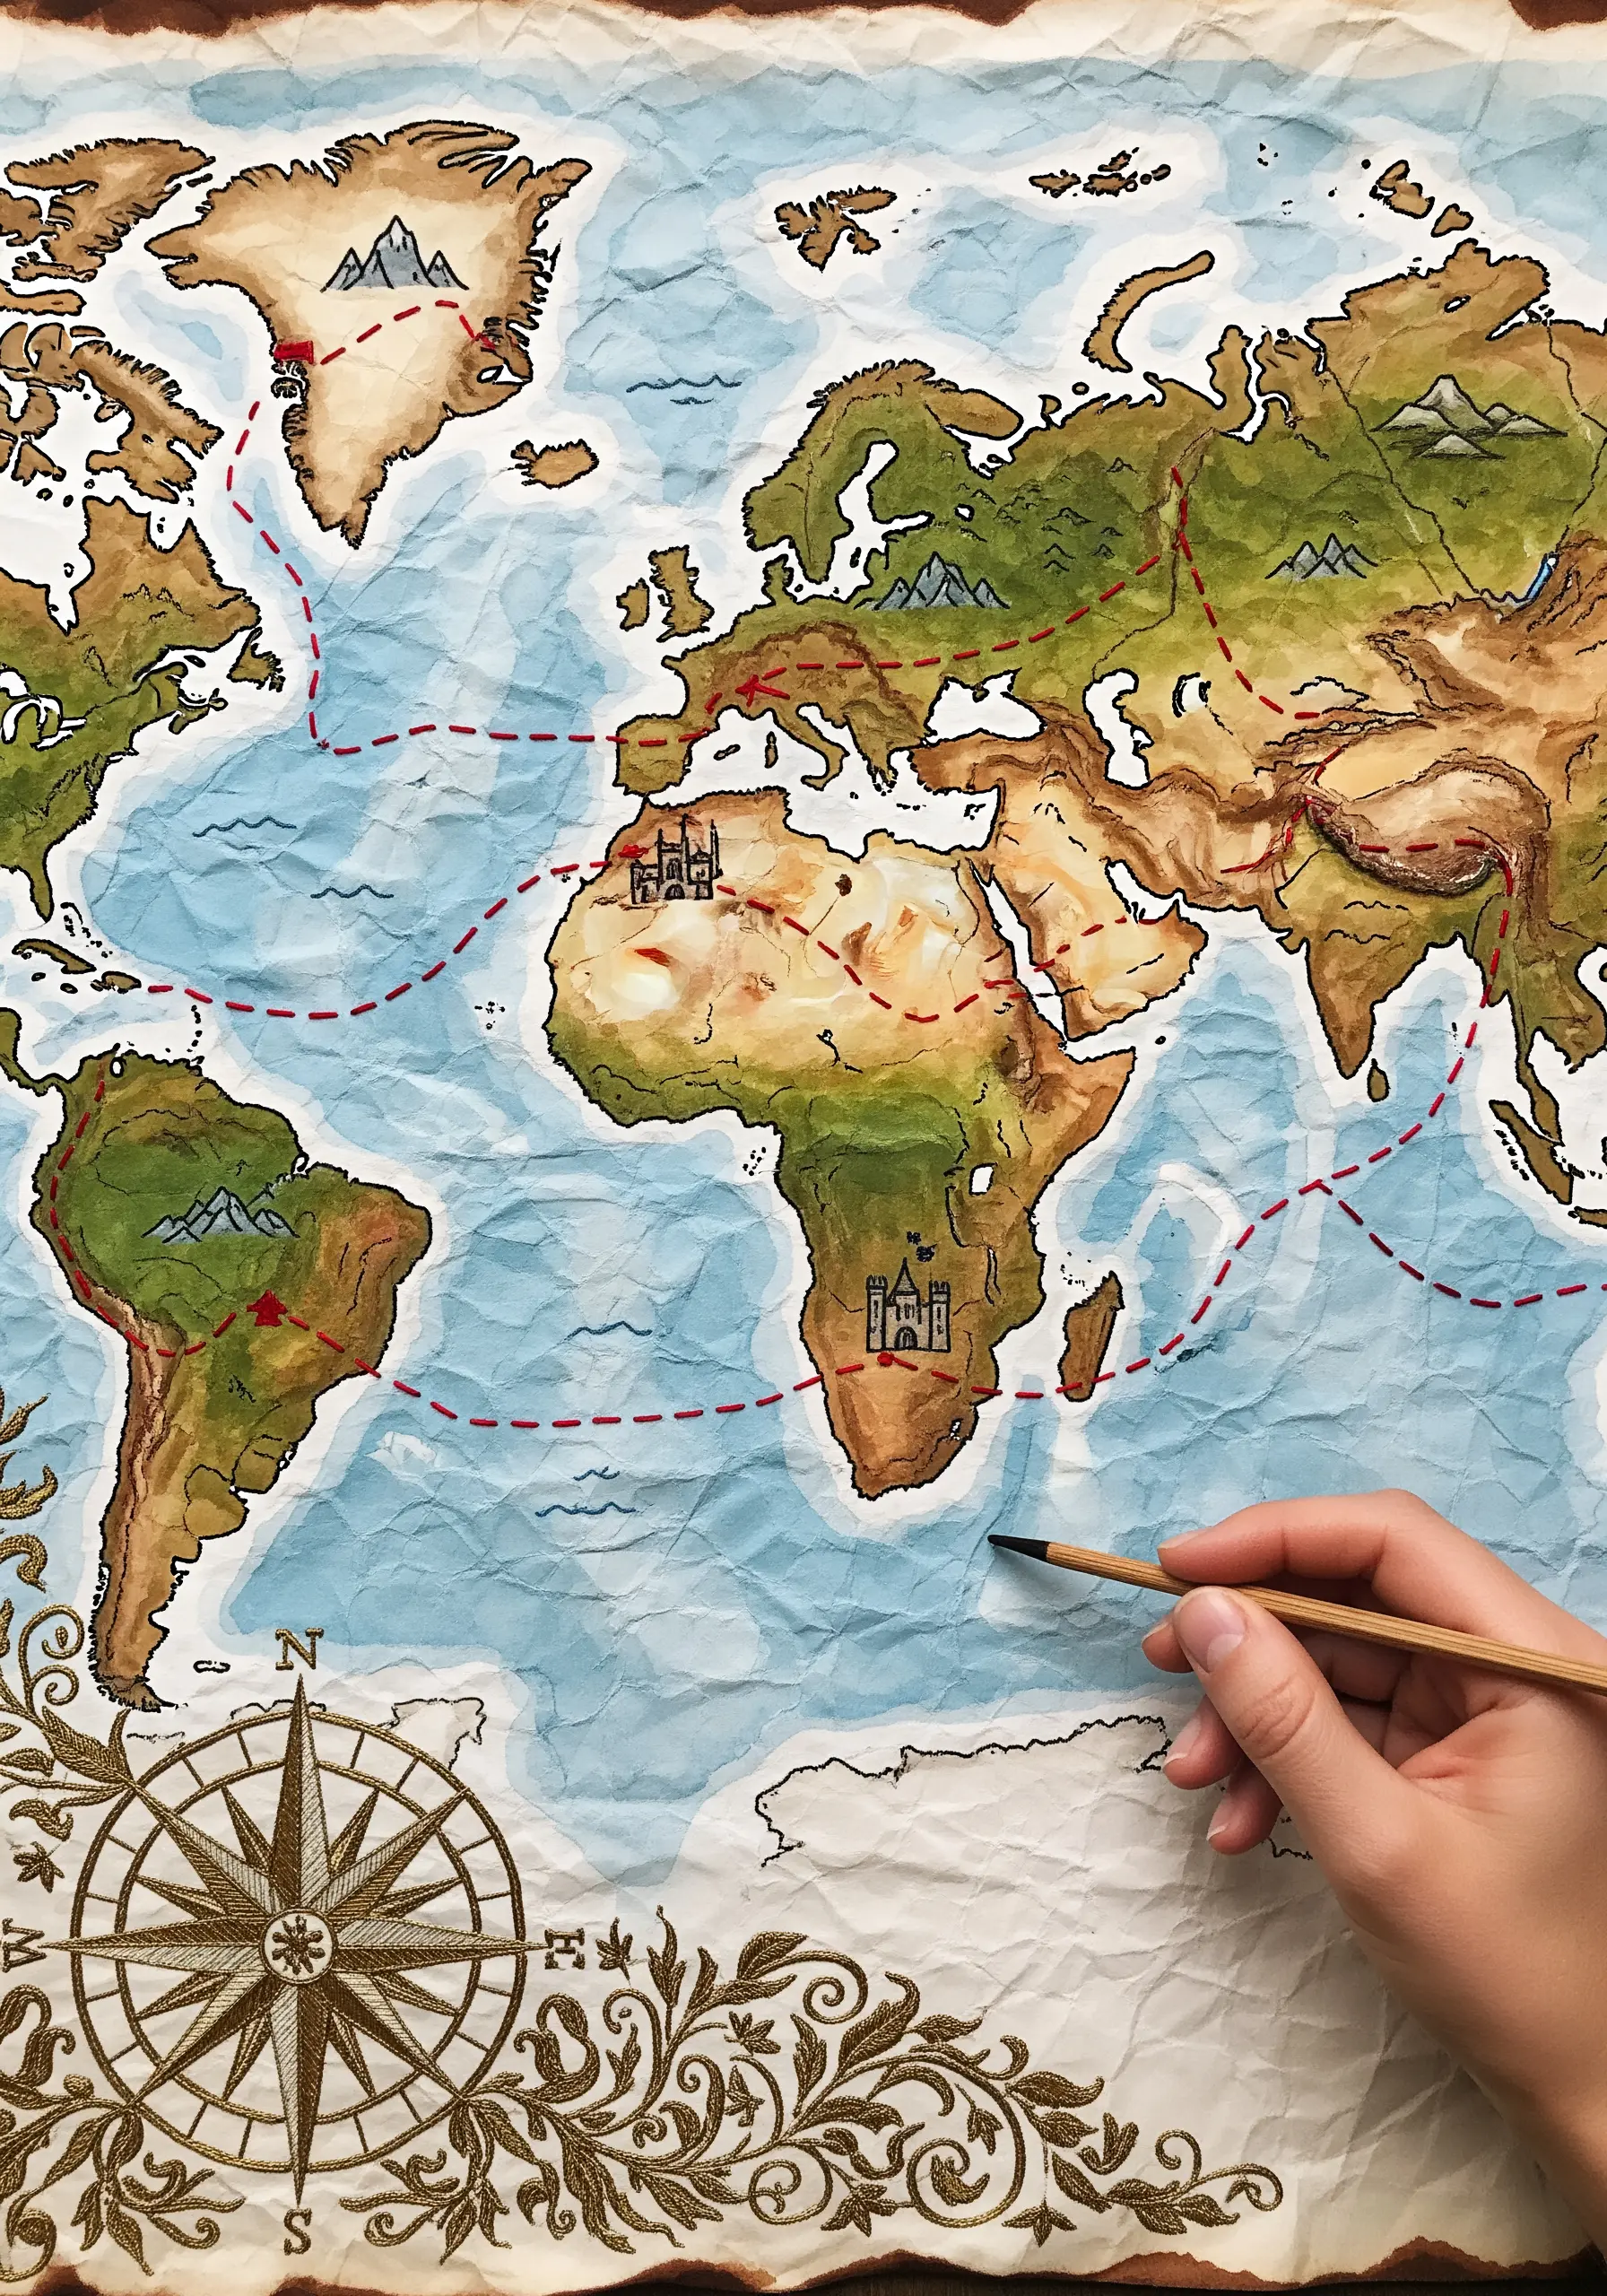
To create an antique look, paint a world map on heavy paper and gently crumple it after the paint has dried, then flatten it back out.
This process gives the paper a wonderful, aged texture and character.
Mark a significant travel route by pre-piercing small, evenly spaced holes along the path.
Use a bold red thread and a simple backstitch to connect the destinations, transforming a beautiful illustration into a personal story and one of your favorite travel inspired embroidery hoops that tell a story on your wall.
14. Capturing Urban Motion with Paint

On a dark canvas, paint a loose, suggestive cityscape as your background.
To create the illusion of light trails and movement, load a palette knife or a fine-tipped brush with fluid acrylic paint in neon hues.
In a single, confident motion, drag the paint across the canvas to create long, sharp lines that mimic the look of thread art or long-exposure photography.
This technique is all about capturing energy and speed through the deliberate application of paint.
15. Folk Art Illustrations with Stitched Contours
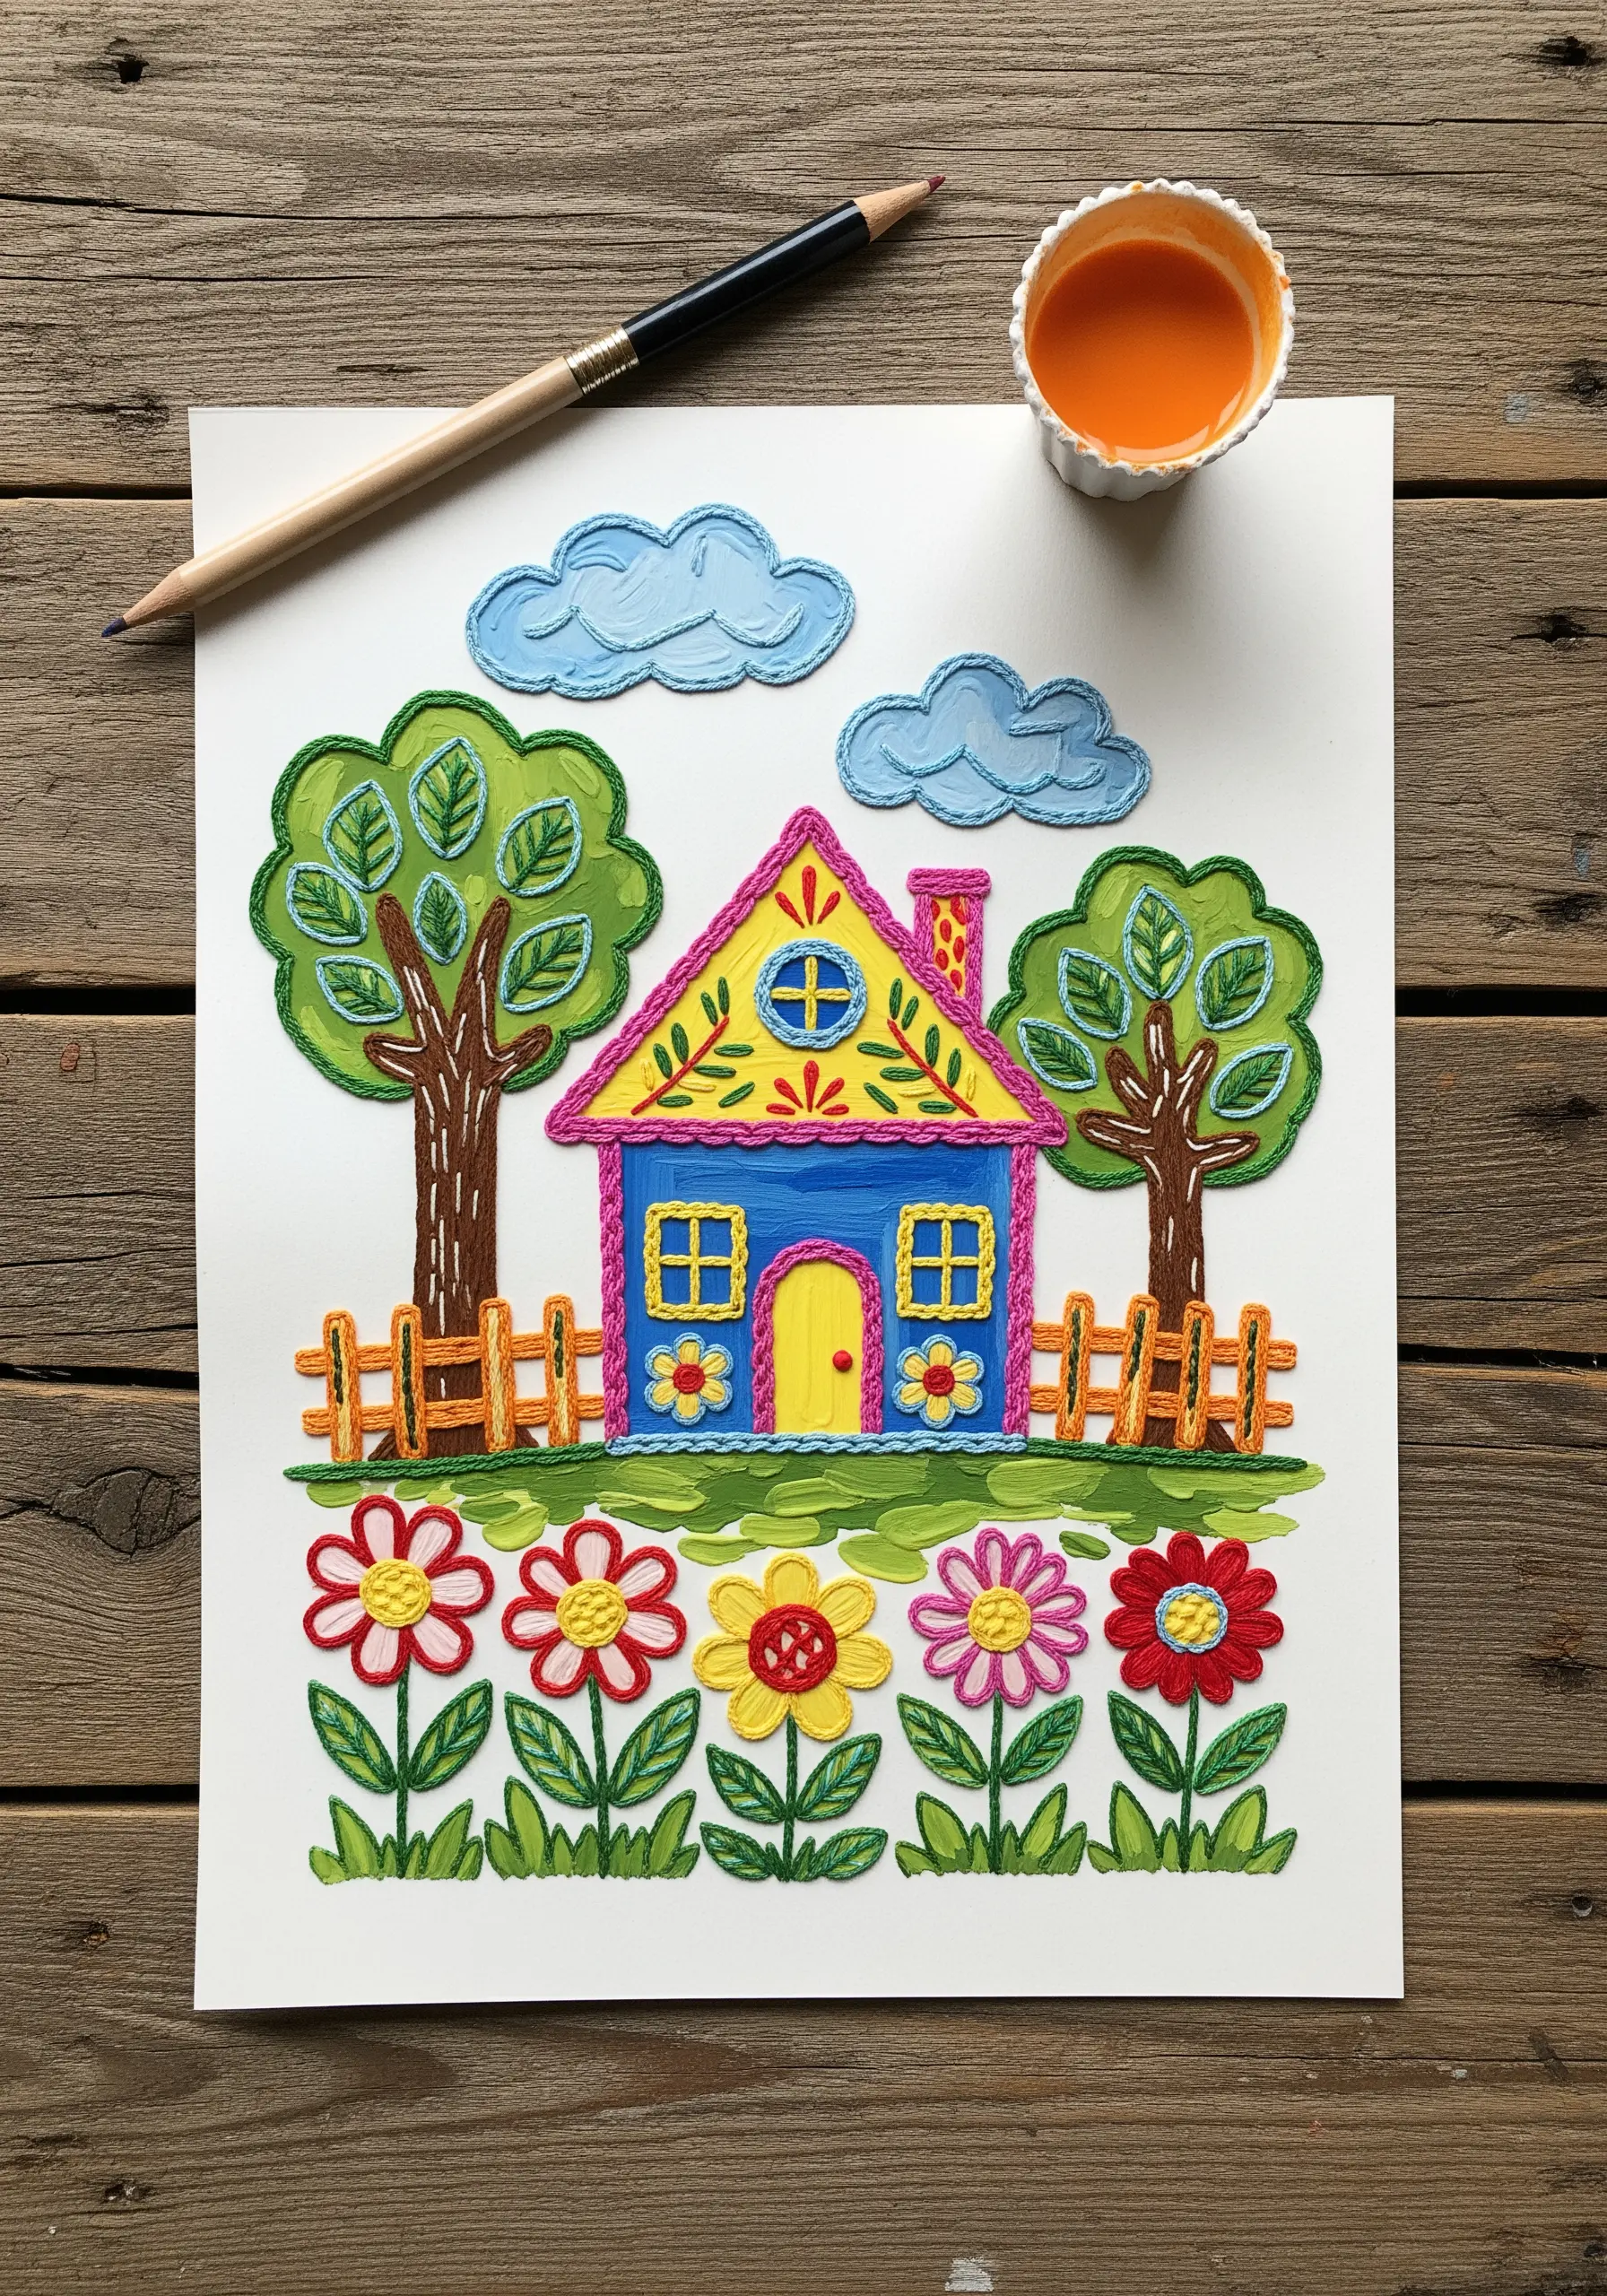
Combine the charm of folk art painting with the tactile quality of embroidery.
First, create a simple, colorful scene on heavy cardstock or watercolor paper using gouache or acrylics.
Once the paint is completely dry, use a contrasting thread—like a classic black or dark blue—to outline the primary shapes with a clean backstitch or stem stitch.
This stitched outline adds definition, texture, and an undeniable handcrafted warmth to the piece.
16. Sculptural Paper Polyhedra with Stitched Seams
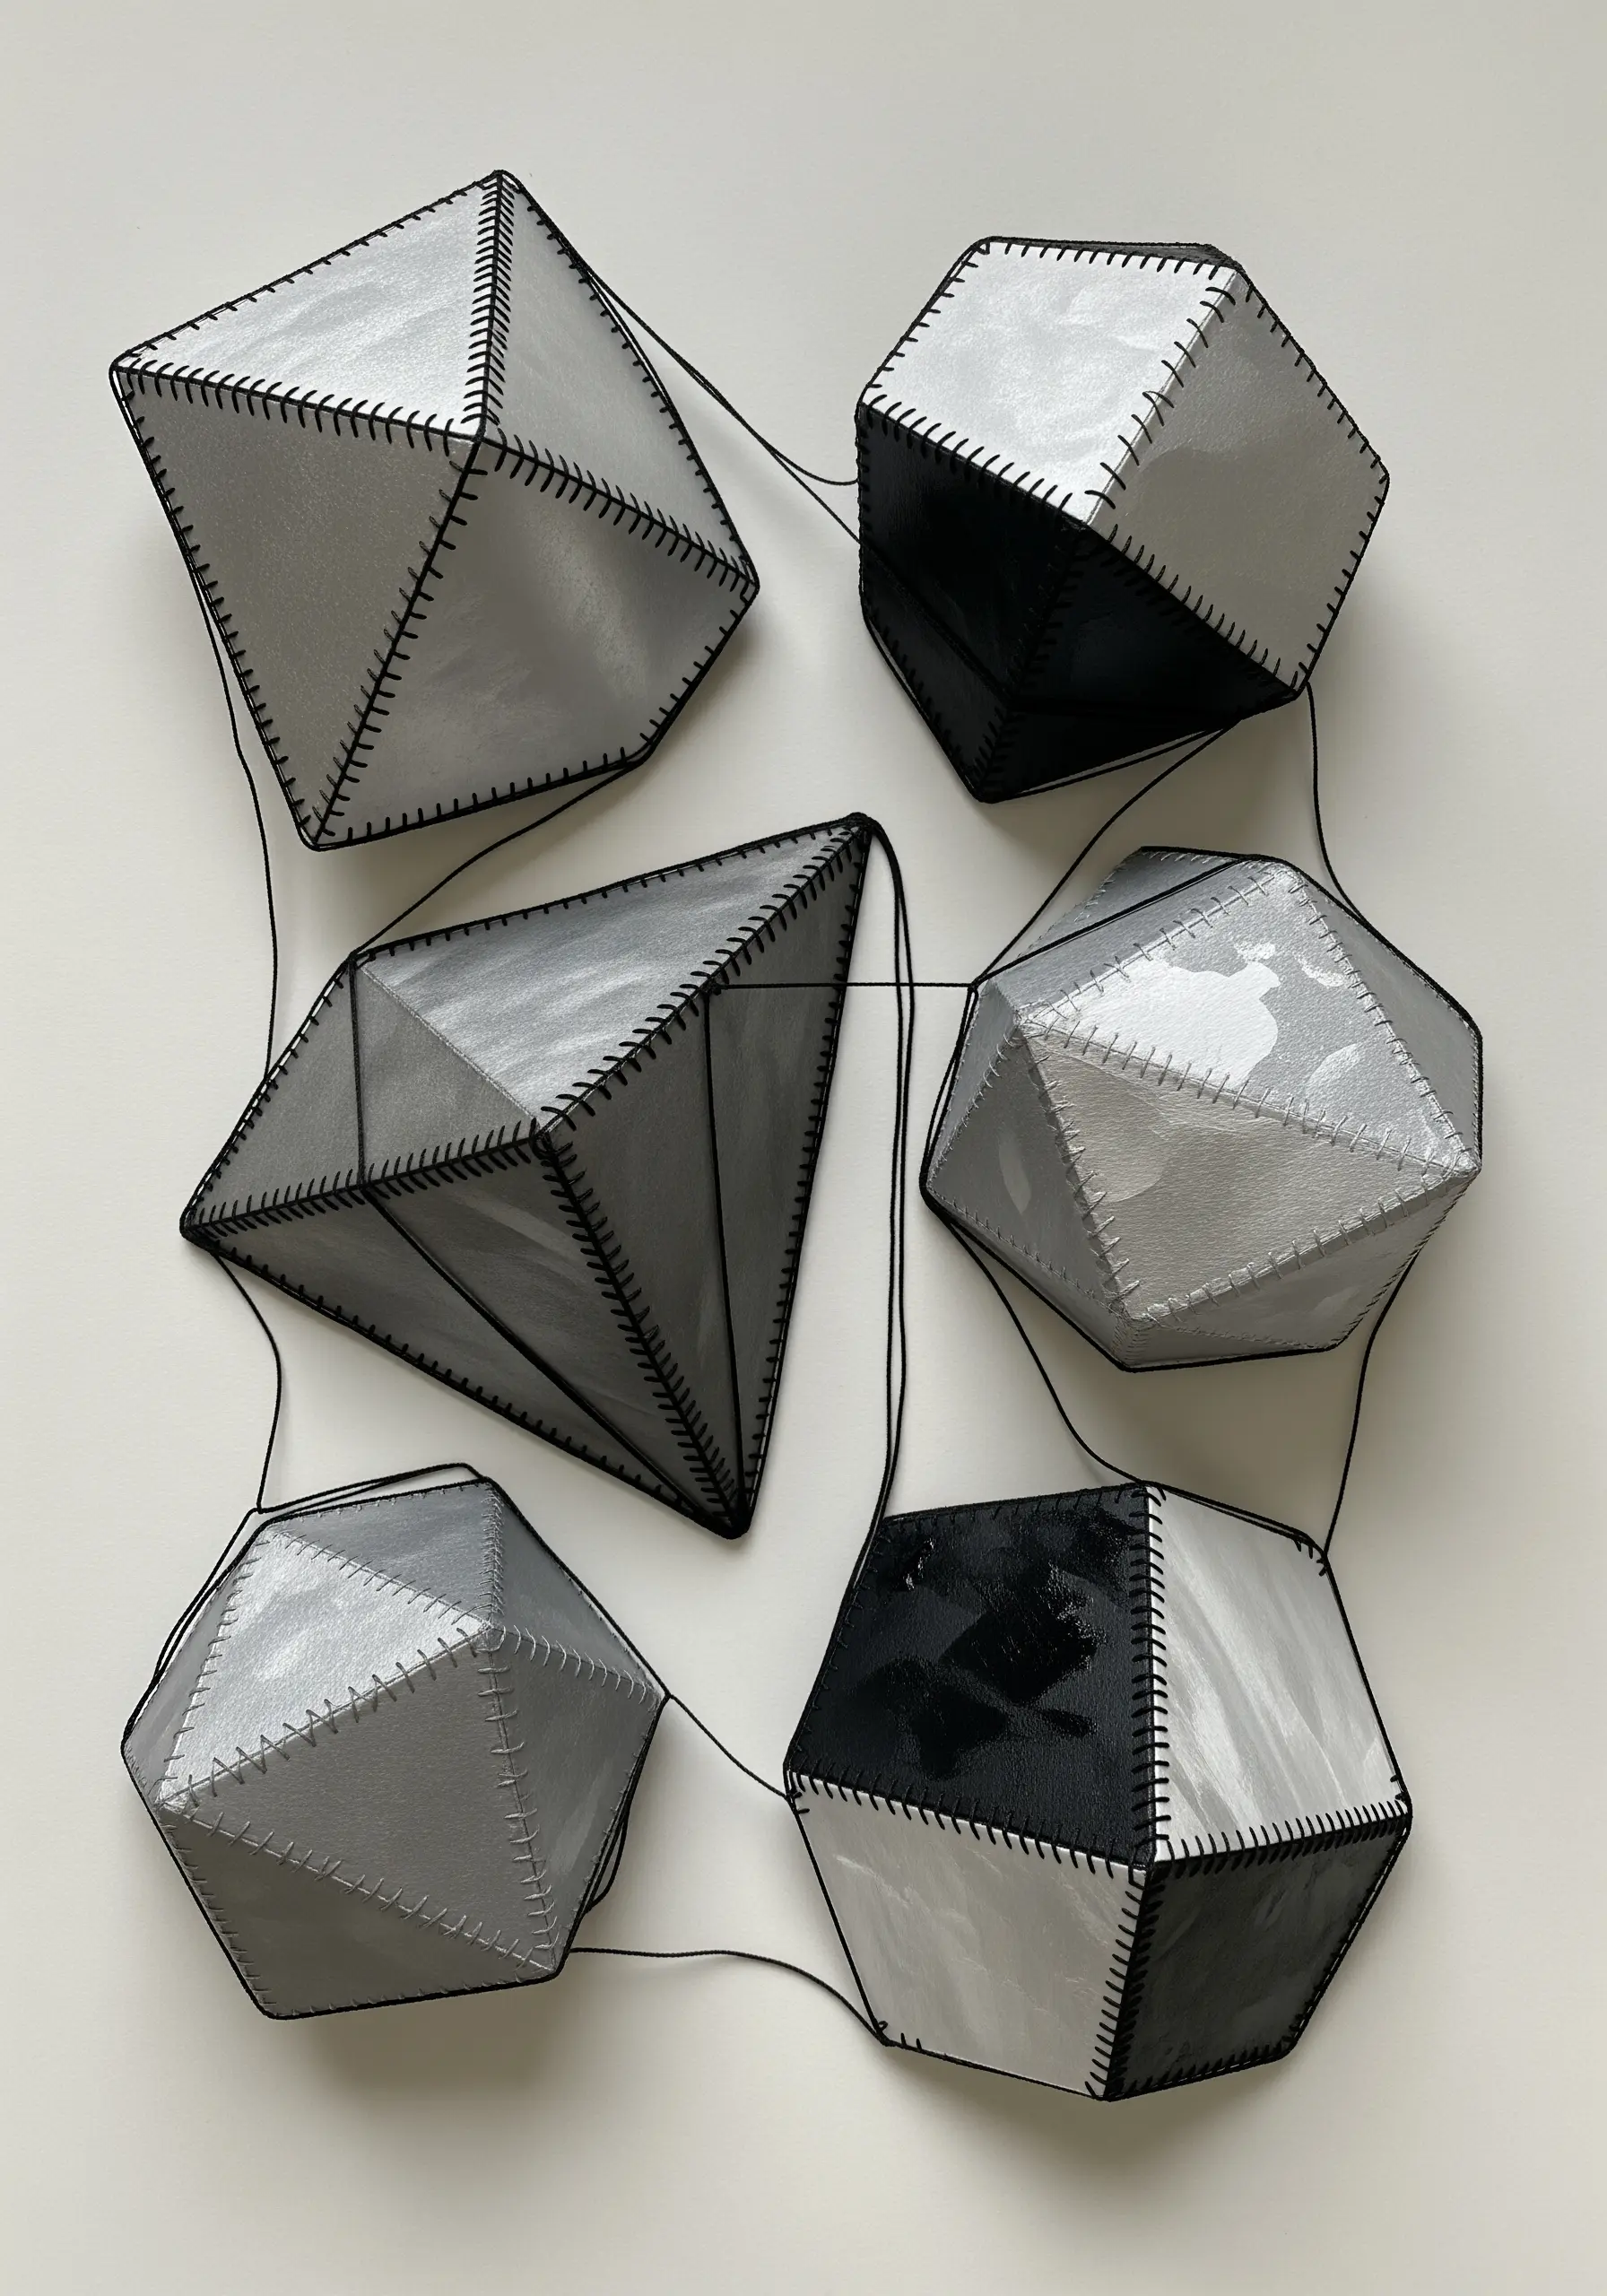
Explore three-dimensional form by constructing geometric shapes from heavy cardstock.
Before you fold and assemble the shapes, use an awl to pierce stitching holes along the edges that will form the seams.
Use a sturdy, contrasting thread and a simple whip stitch to join the faces of the polyhedra together.
This method turns a structural necessity into a prominent decorative element, highlighting the form of your modern geometric thread art ideas.
17. Anatomical Studies on Aged Paper
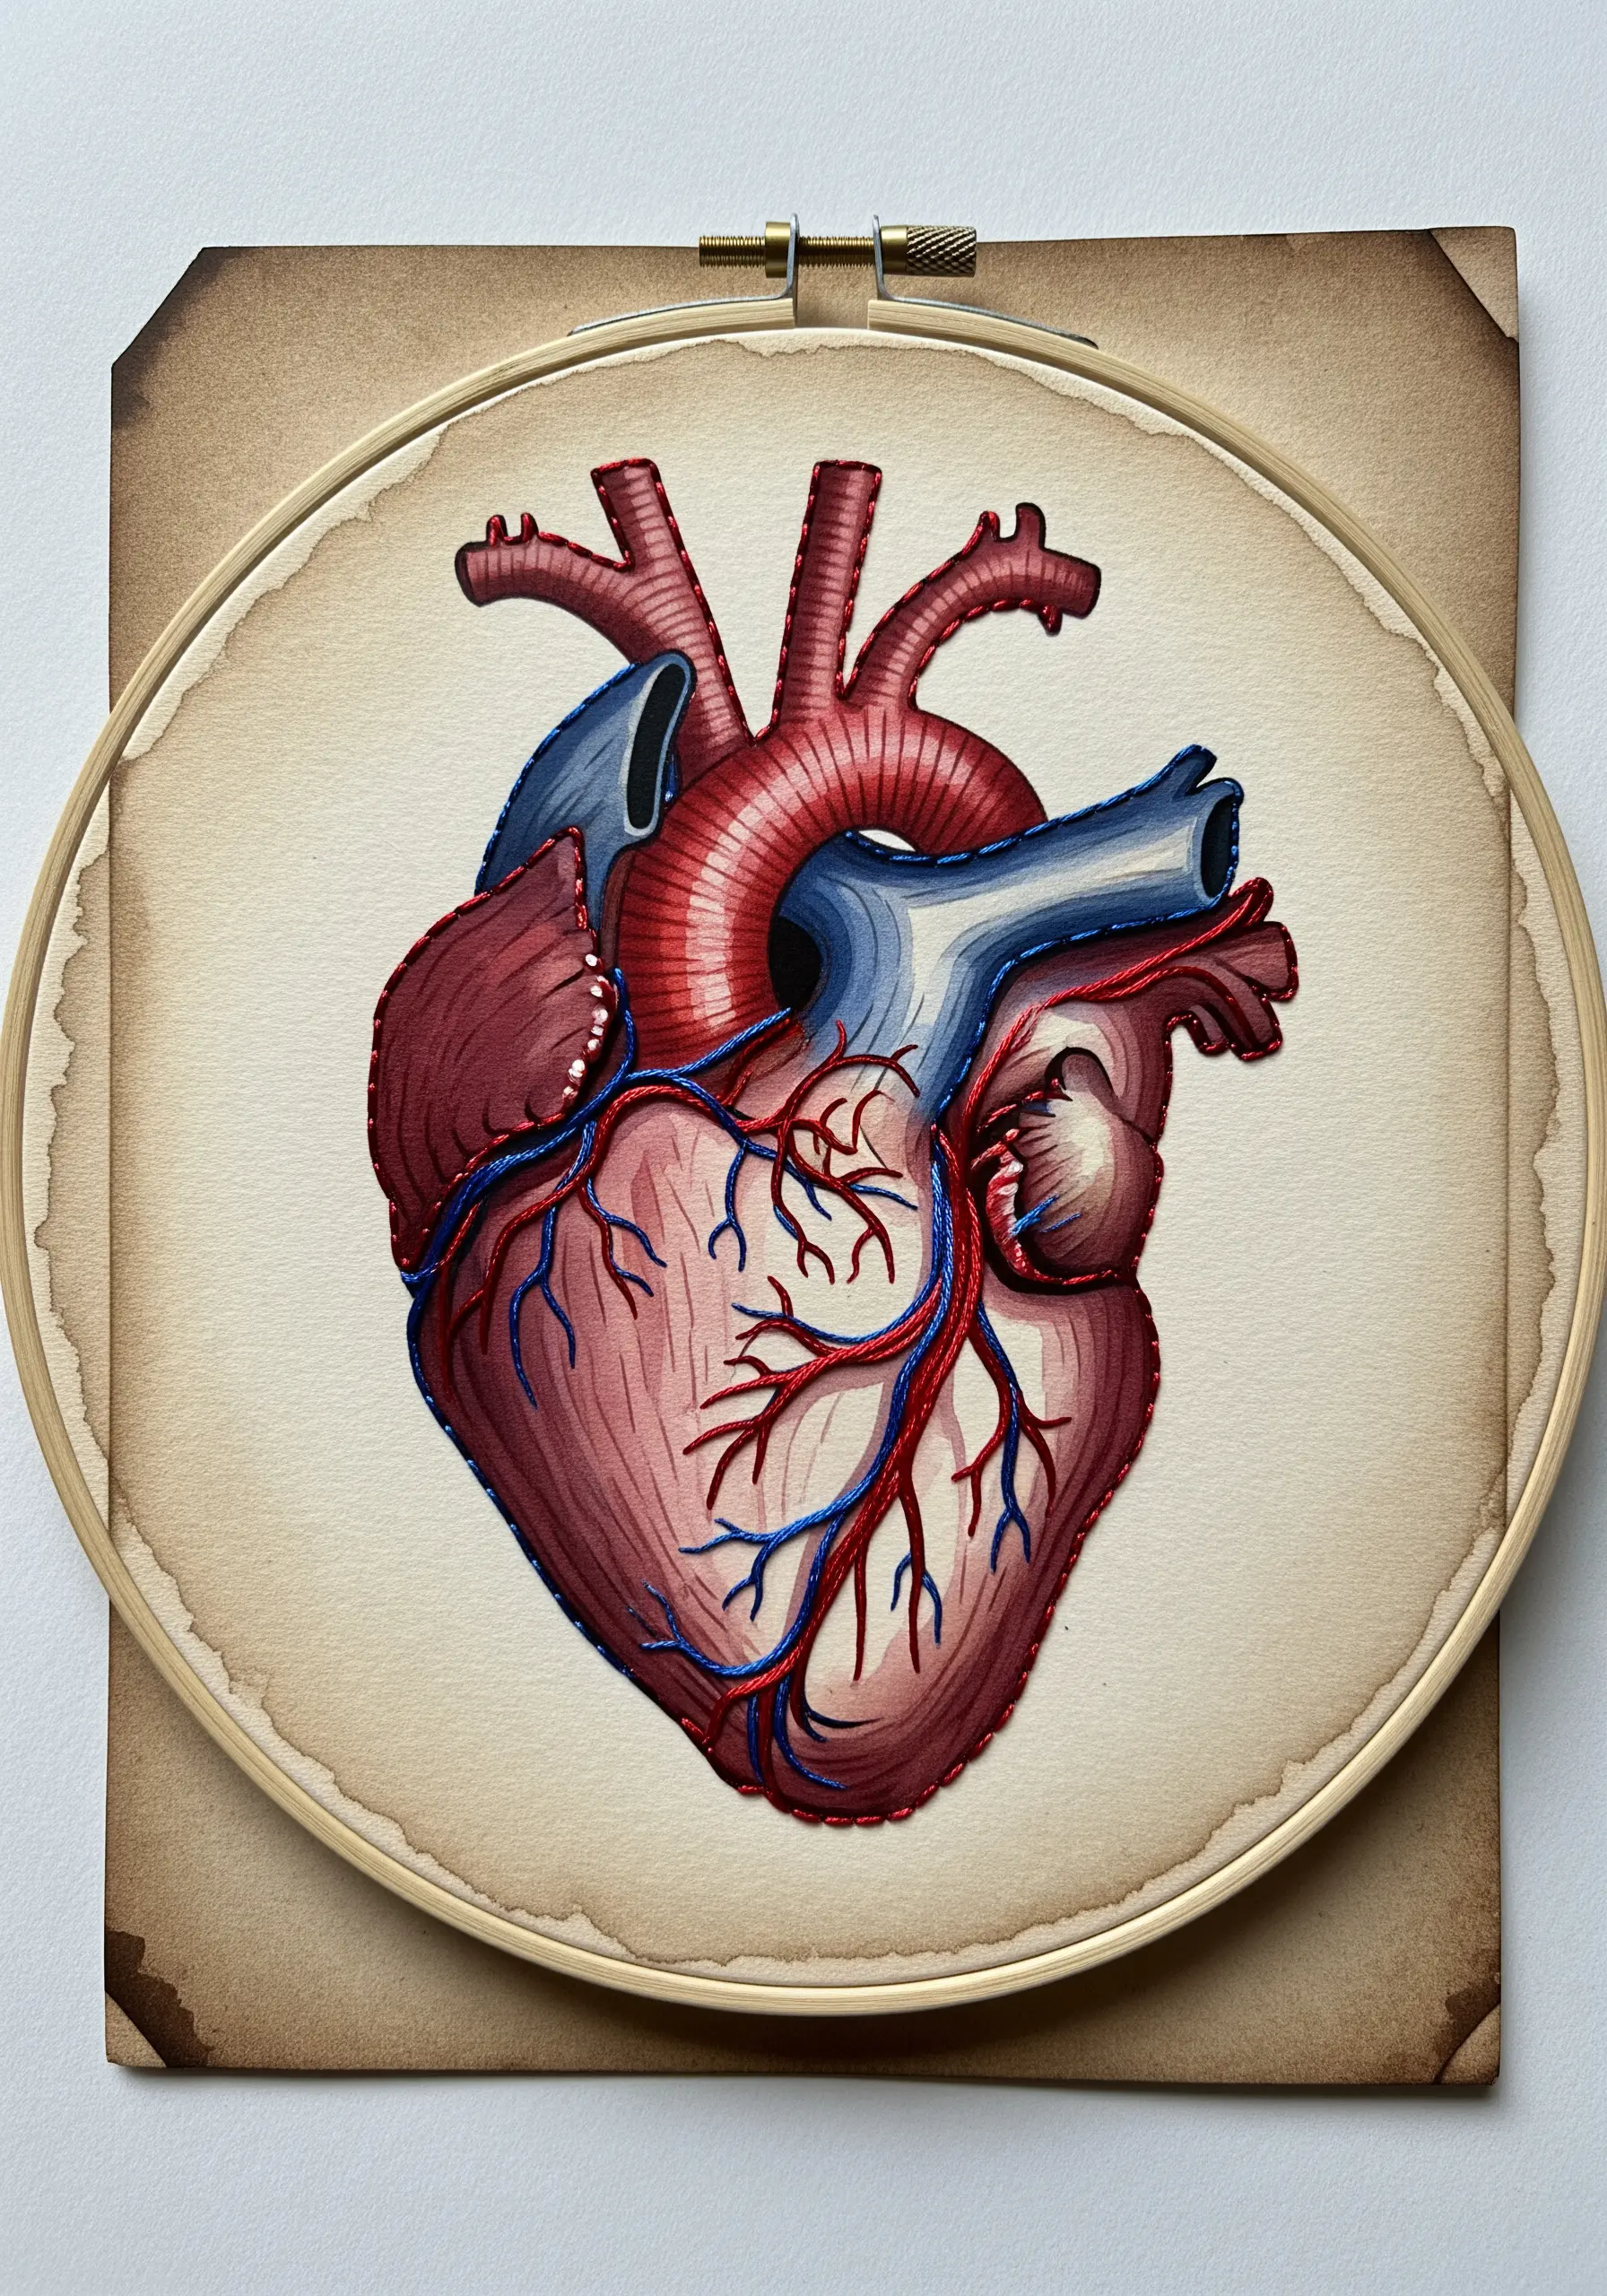
Create the look of a vintage scientific illustration by staining your paper with coffee or tea before you begin.
Once the paper is dry, transfer your anatomical design and begin embroidering it with thread painting techniques.
Use long-and-short stitches to blend shades of red, blue, and brown, creating realistic gradients for muscle and veins.
The combination of meticulous stitching and aged paper results in a piece that feels both artistic and historical, creating framed embroidery patterns that look like they belong in a gallery.
18. Embellishing Painted Surfaces with a Focal Stitch
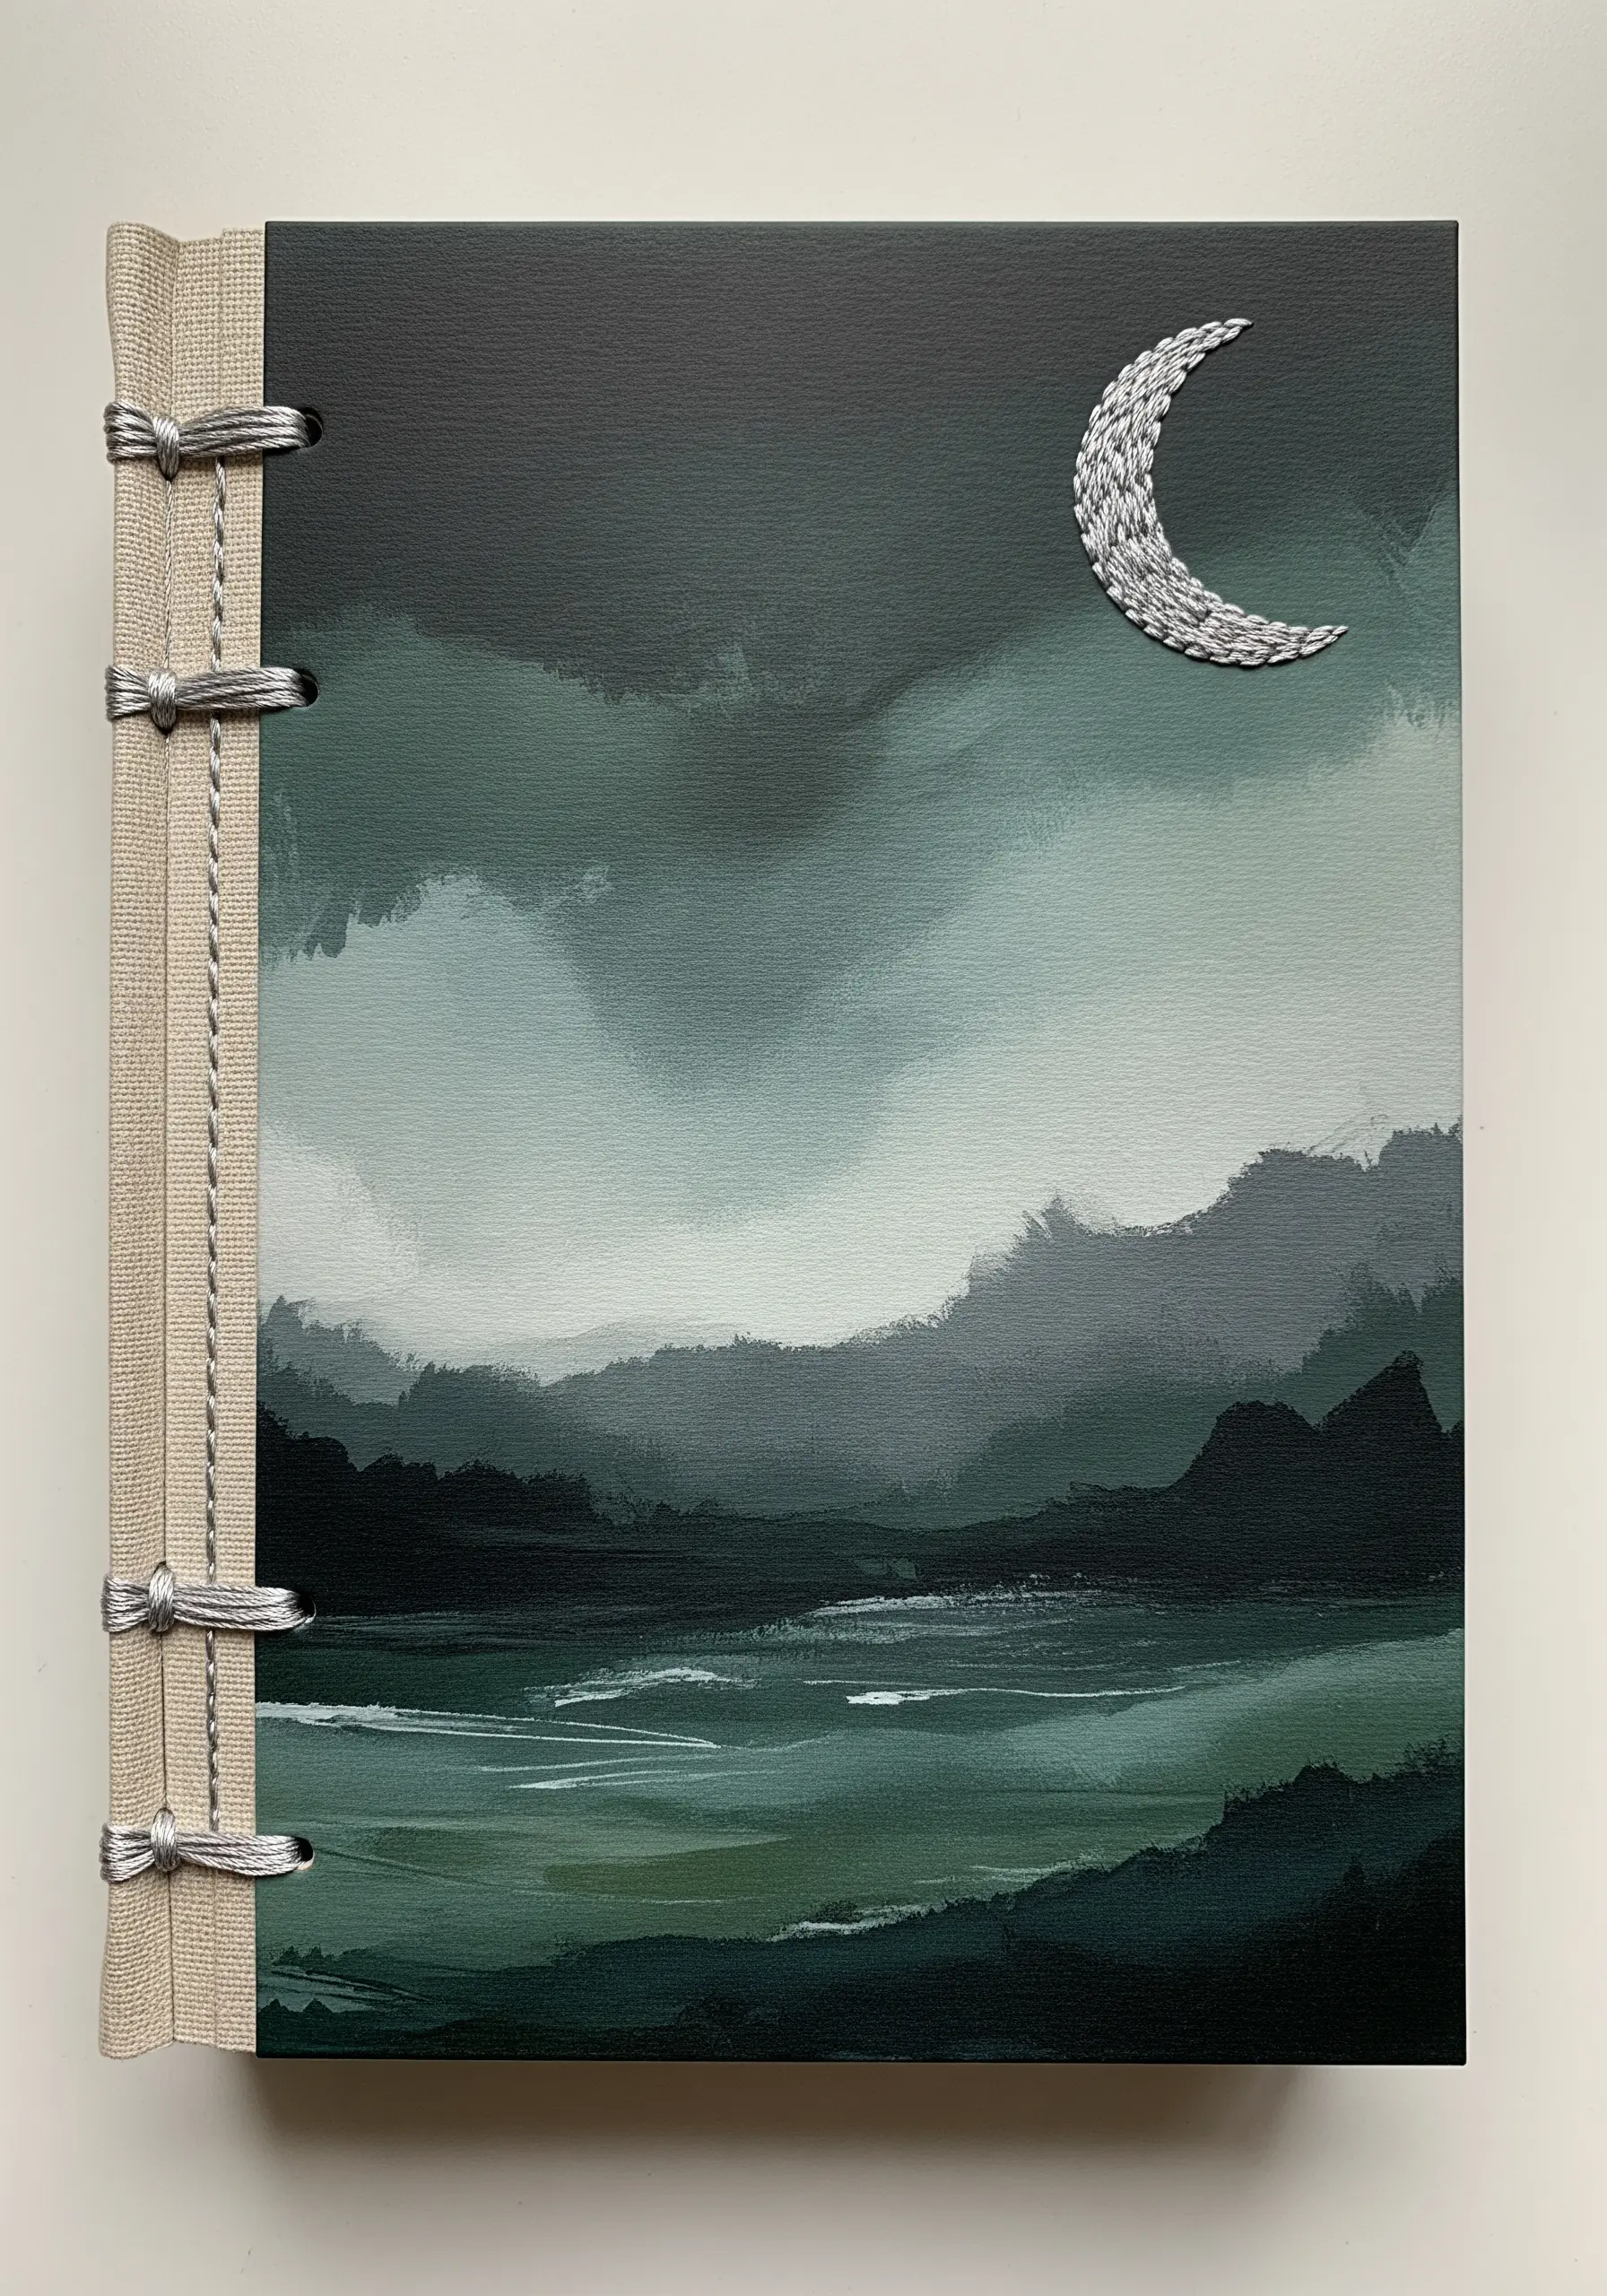
Turn a plain journal or canvas board into a work of art by starting with a painted background.
Create a simple, moody landscape using acrylic paints in a muted palette.
Choose a single, powerful element—like the moon—to render in thread, making it the undeniable focal point.
Use a smooth satin stitch with a metallic silver thread to create a raised, lustrous texture that beautifully contrasts with the flat, painted surface.
19. Adding Hyper-Realistic Details with Thread
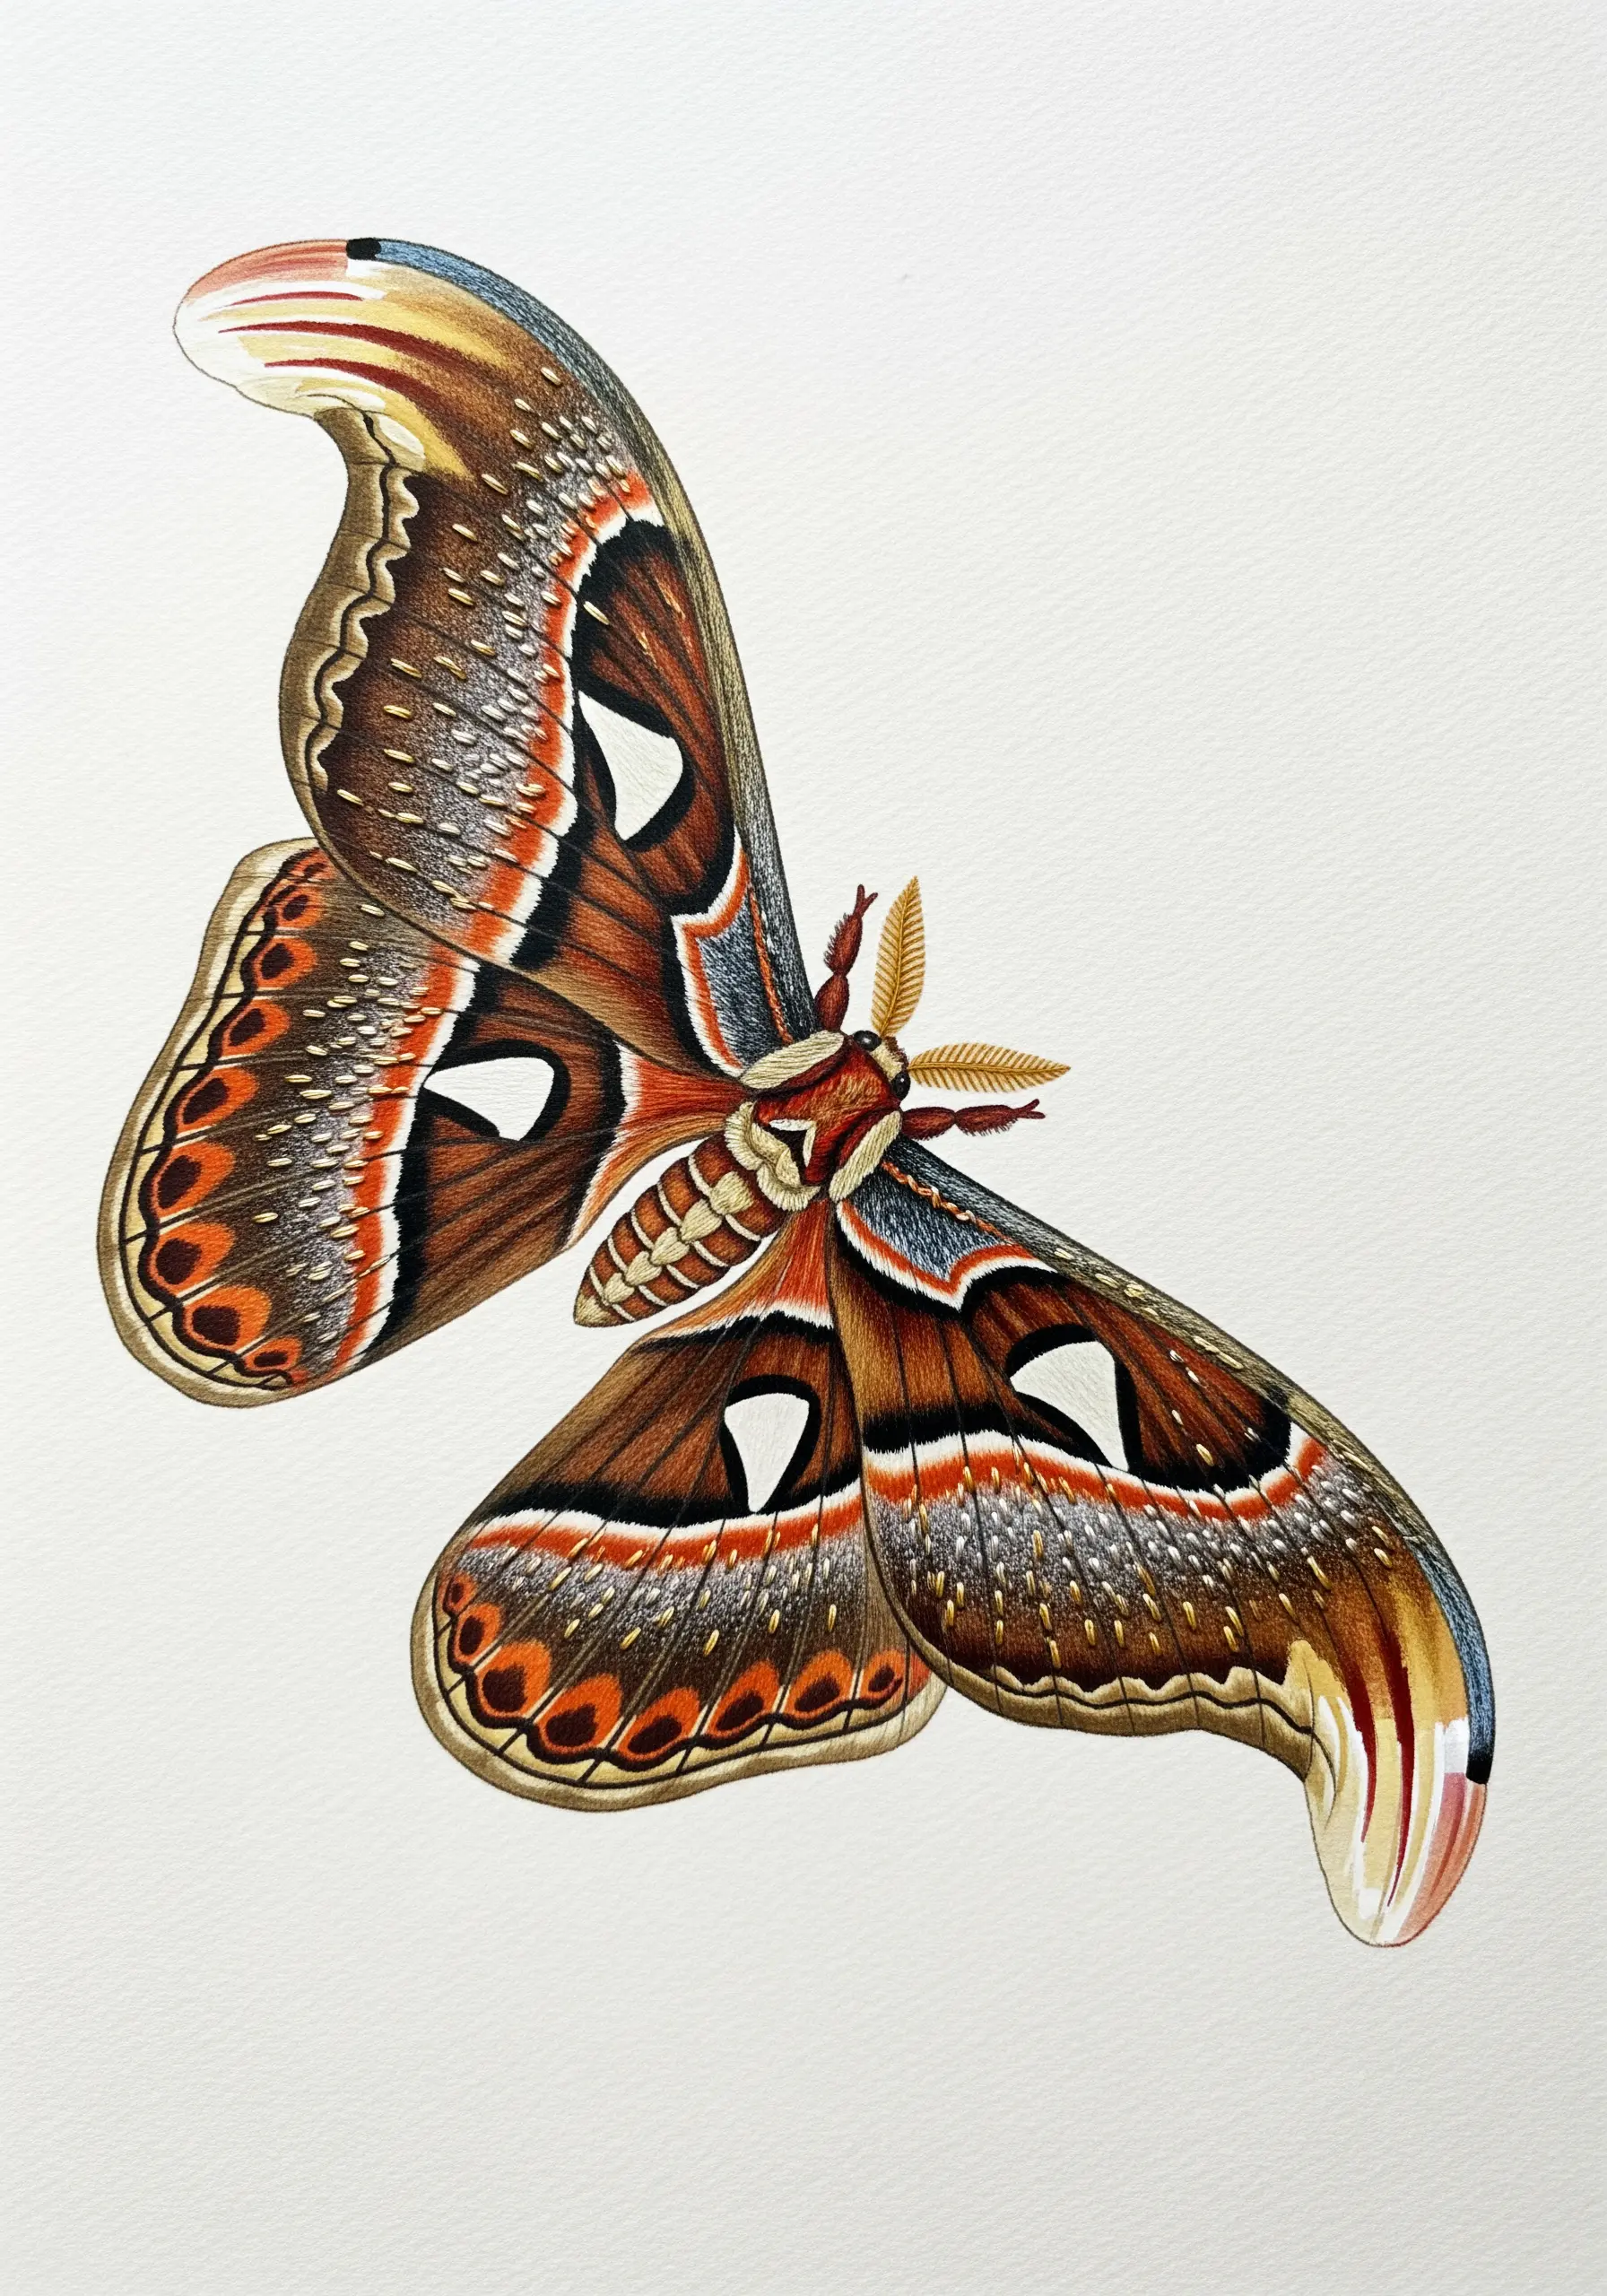
Start with a high-quality print of a vintage botanical or entomological illustration.
Select one tiny detail to bring to life with embroidery, adding a surprising element of texture and dimension.
For a moth or butterfly, the antennae are the perfect candidate; use a single strand of fine thread and tiny, precise fly stitches to create a delicate, feathery effect.
This subtle intervention invites the viewer to look closer and appreciate the blend of mediums.
20. Dimensional Lettering Over a Textured Ground
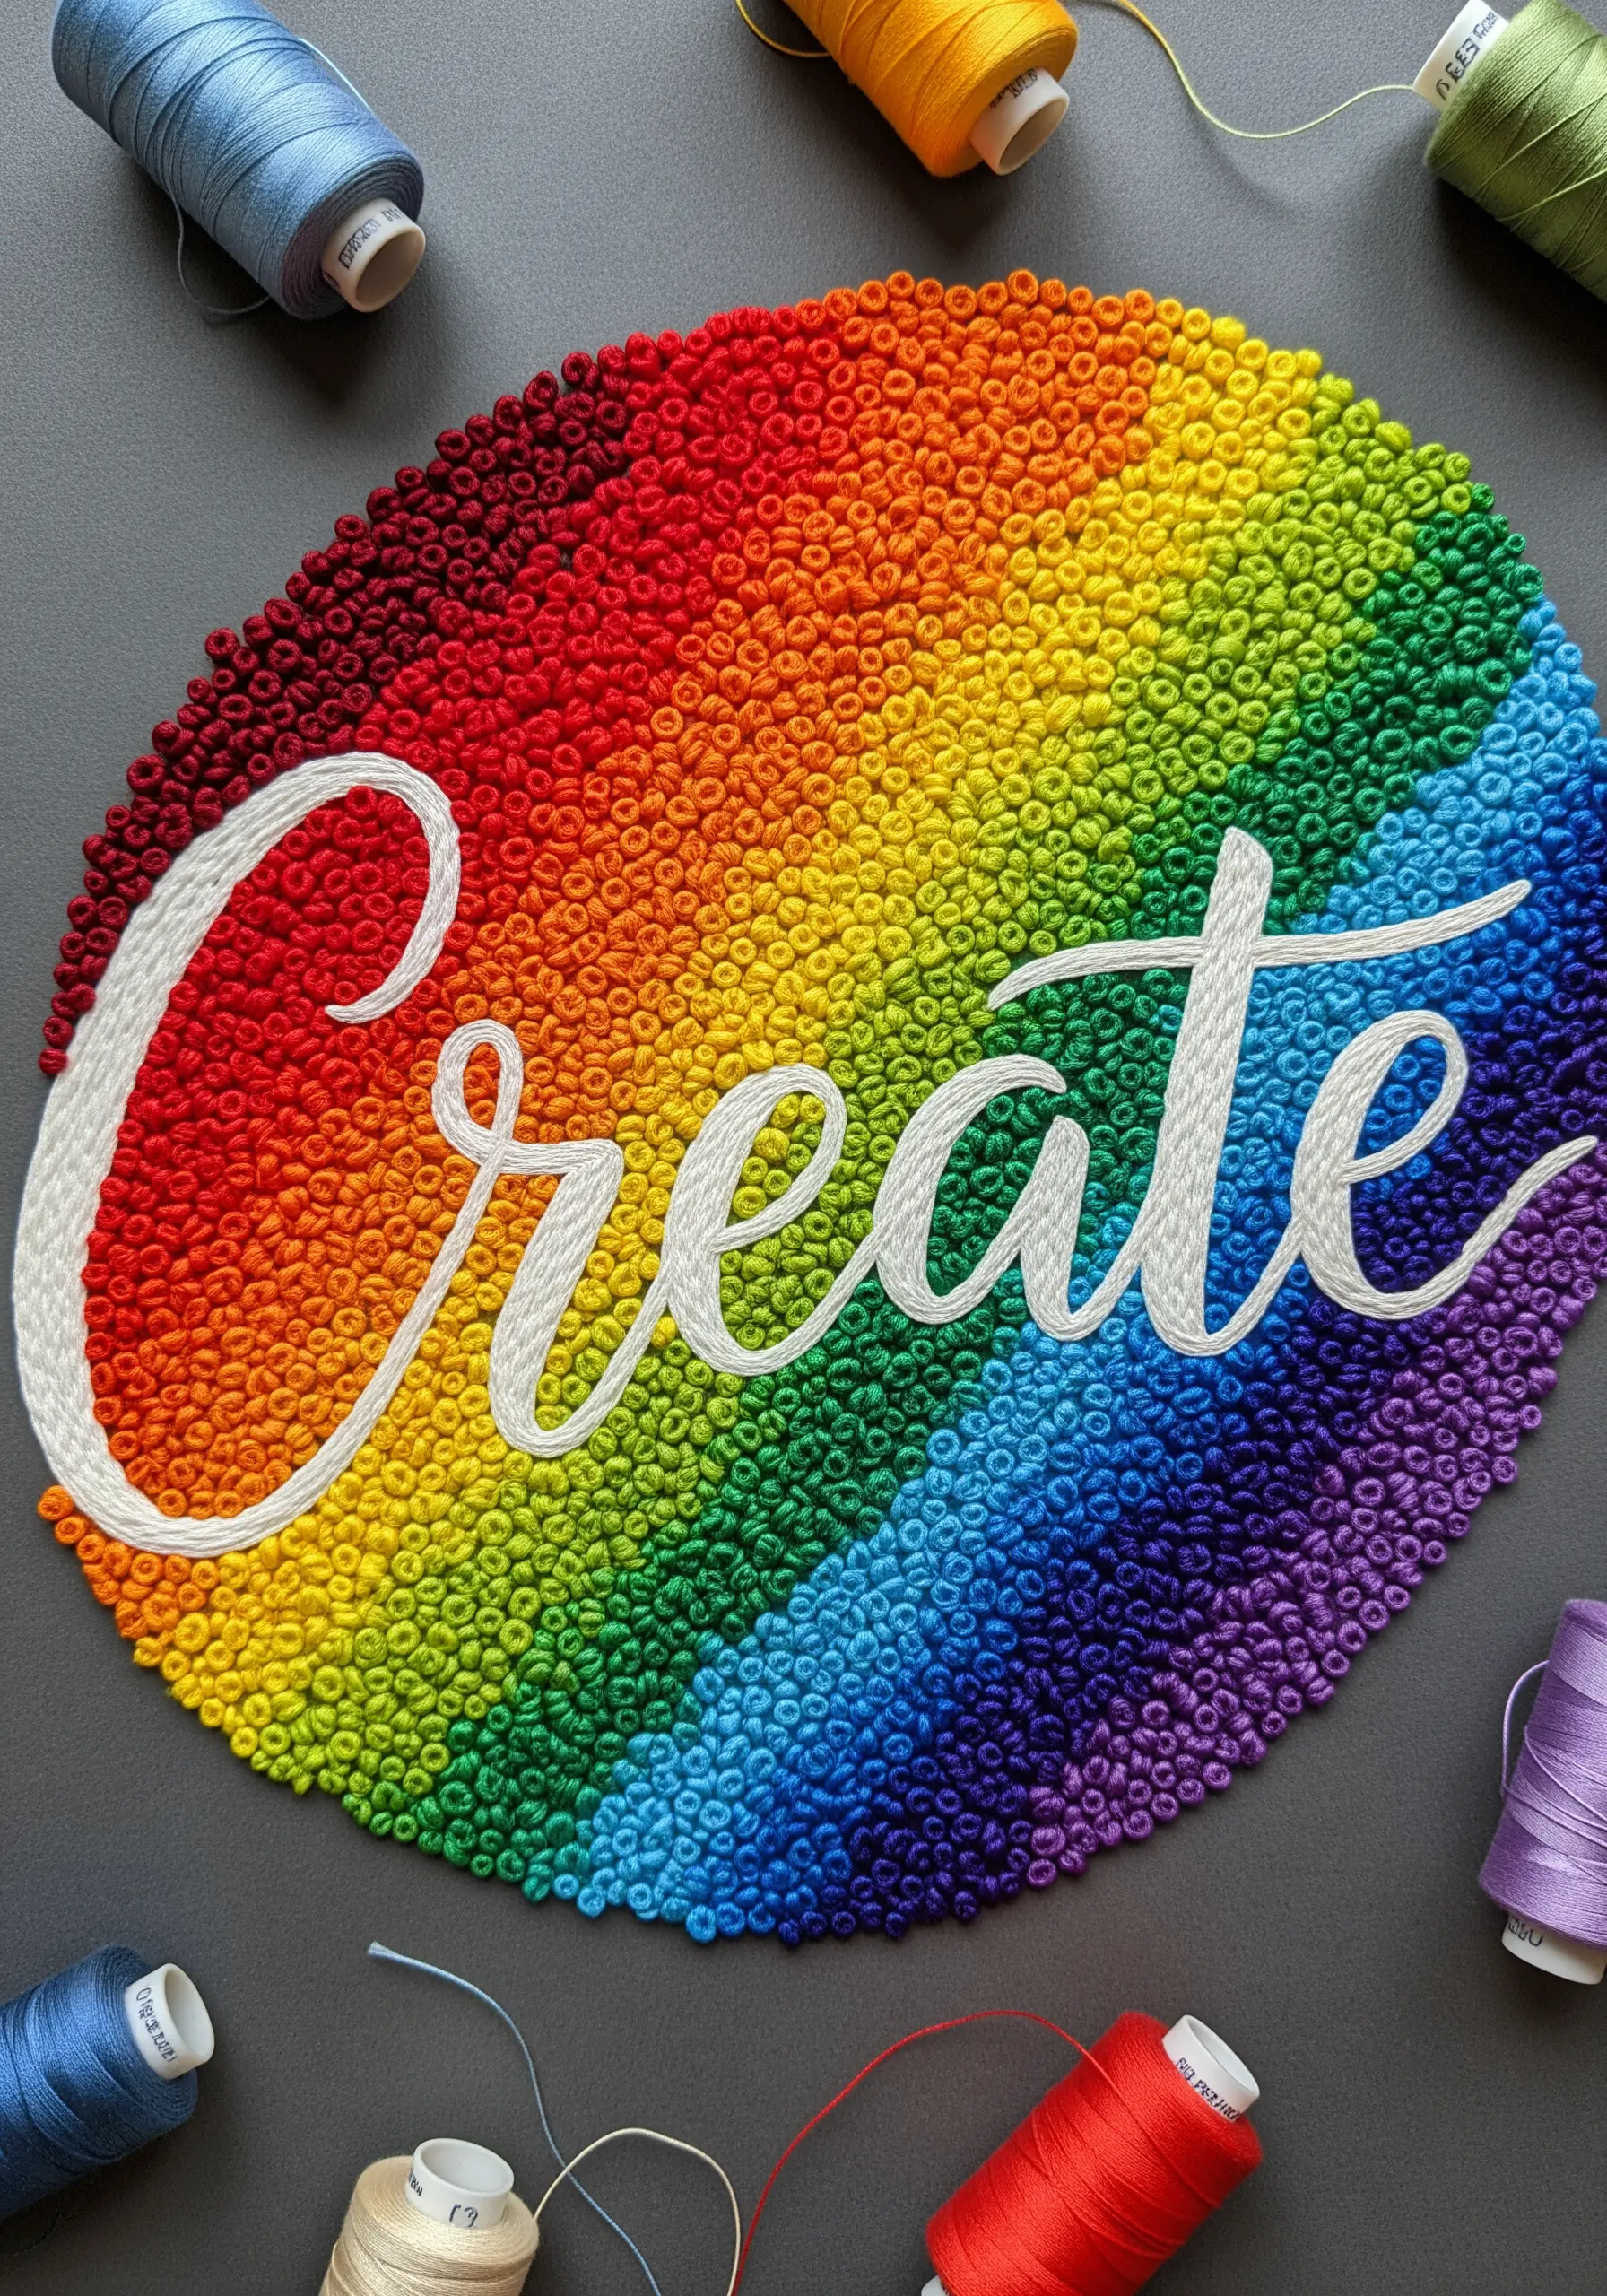
Create a vibrant, tactile background by filling an area with densely packed French knots in a smooth rainbow gradient.
To ensure your lettering stands out against this busy texture, couch a thick, smooth material like yarn or cotton cord on top of the knots to form the letters.
This technique allows the lettering to float above the textured field, creating a clean, legible message with incredible depth and contrast.
21. Connecting Collage Elements with Narrative Thread
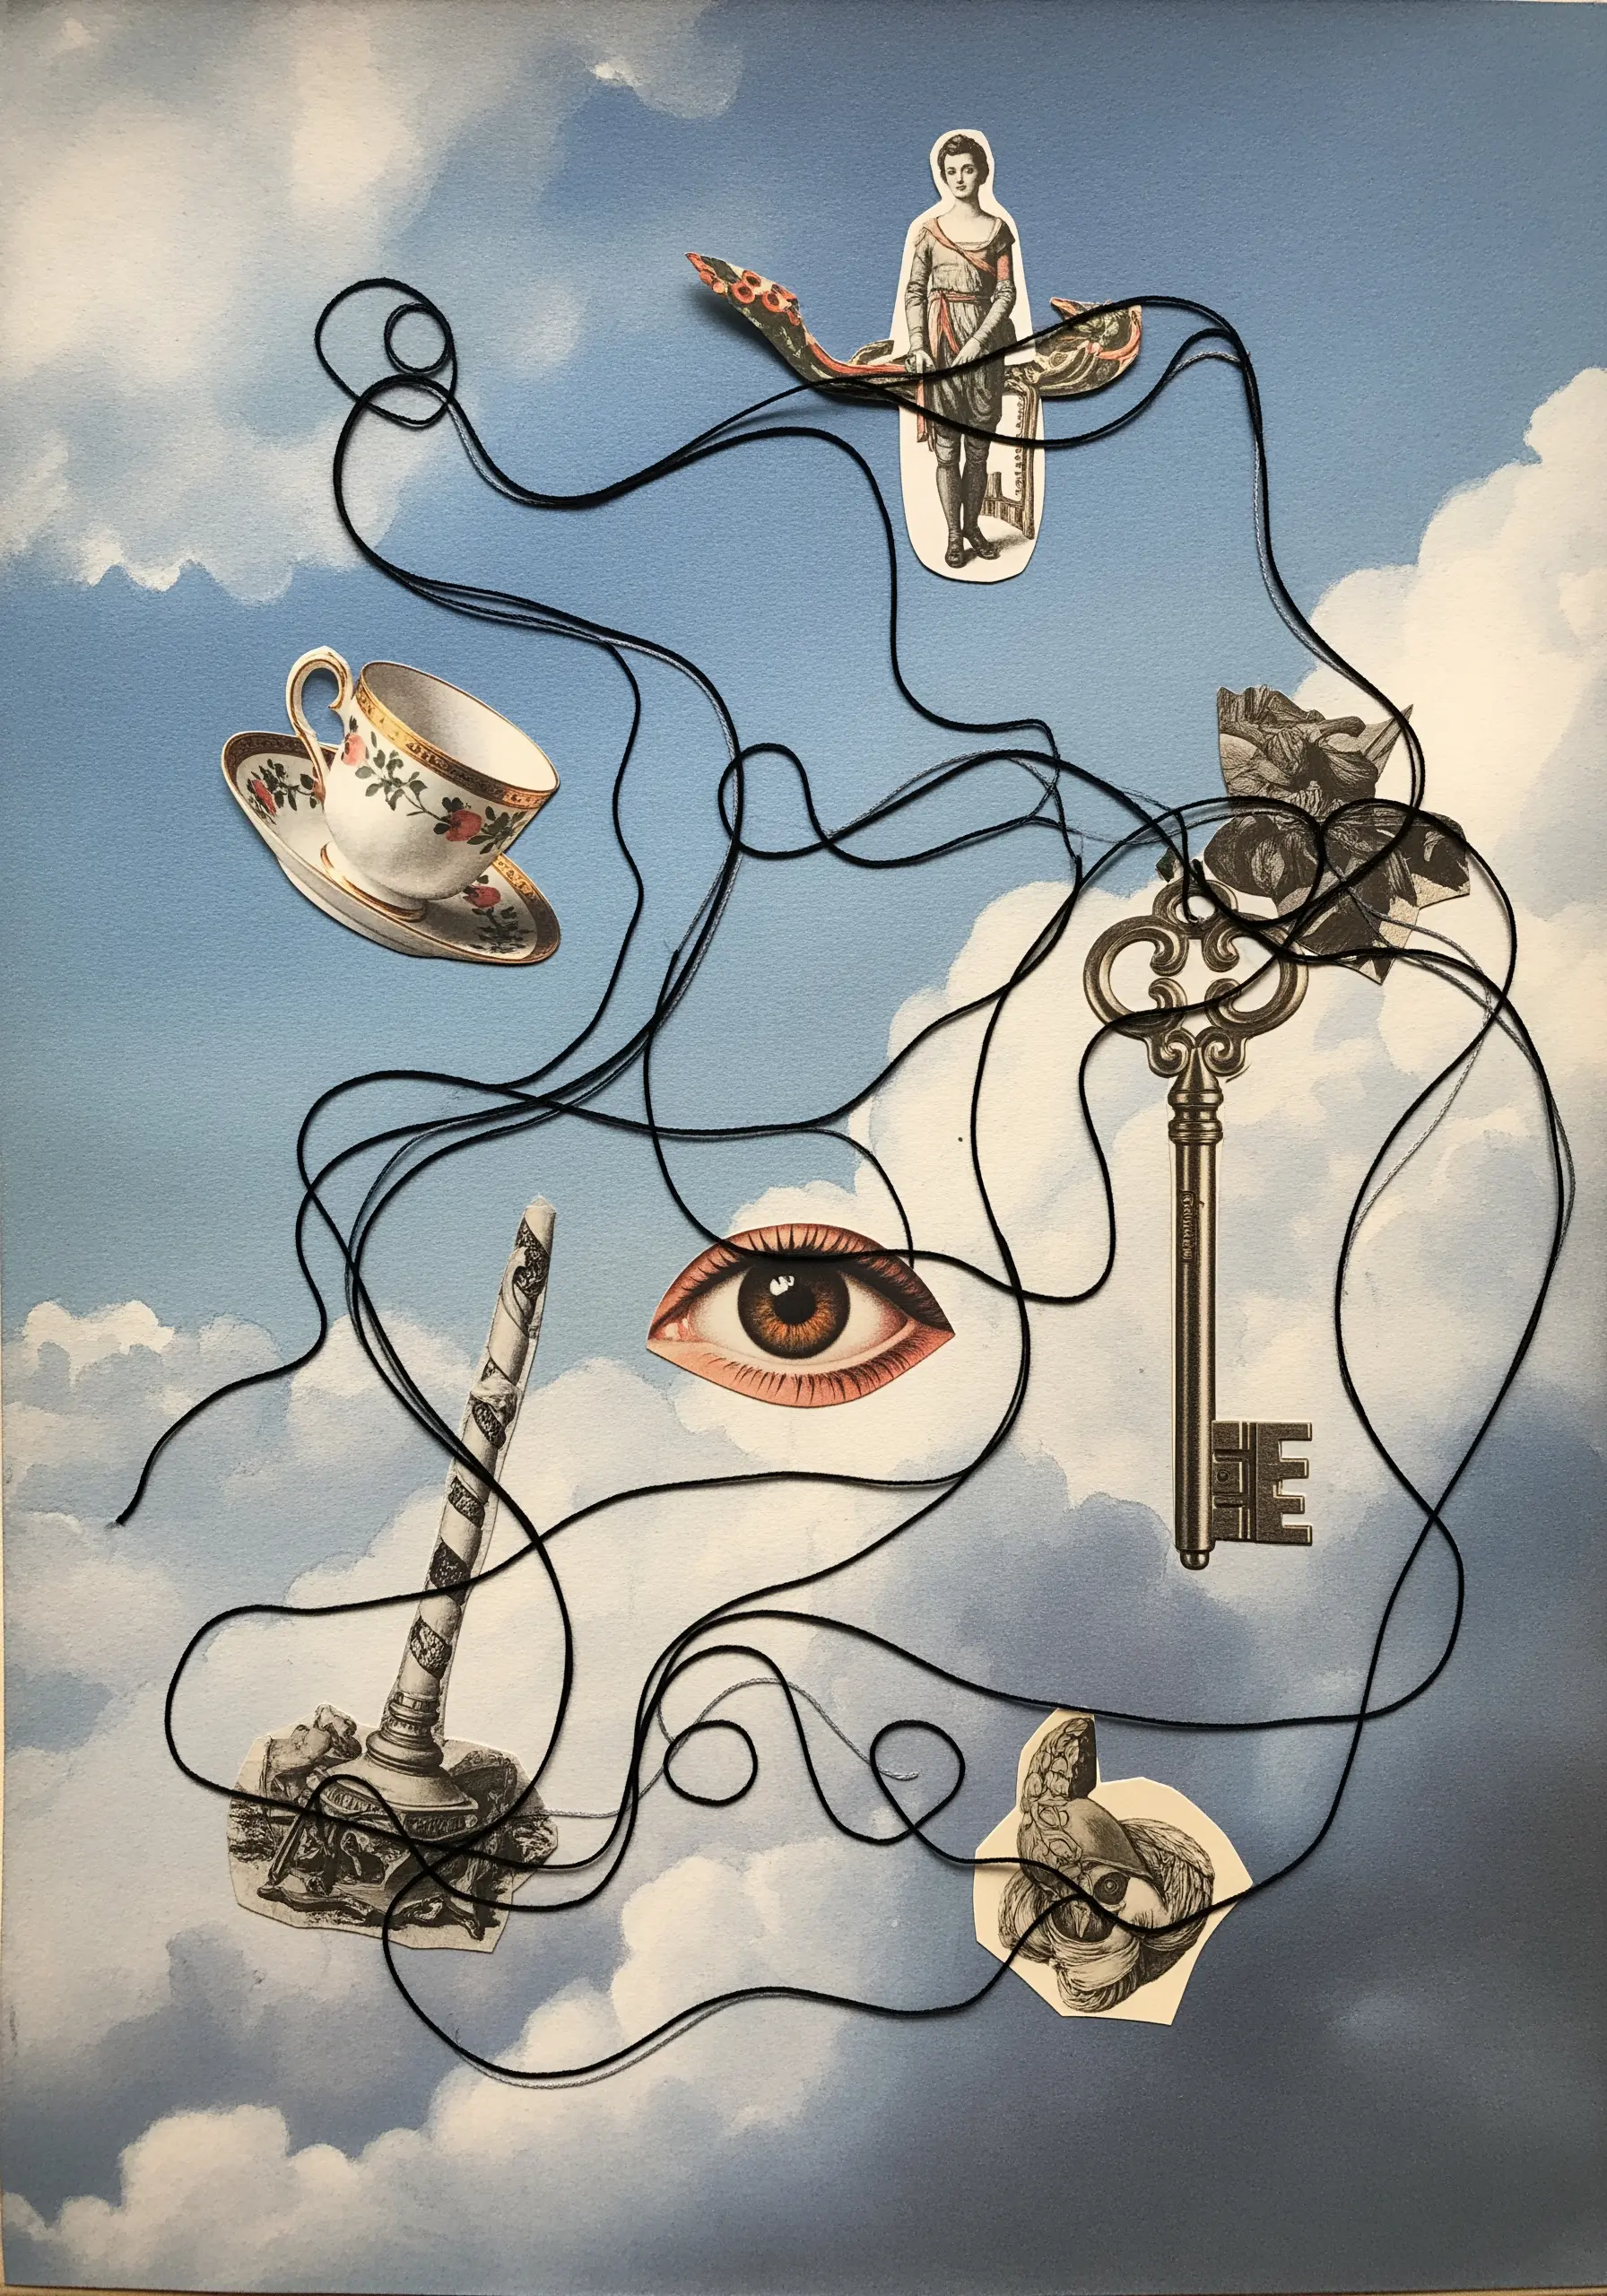
Arrange a collection of disparate paper cutouts on a background to create a surrealist or dreamlike composition.
Instead of merely gluing the elements down, use a single, long strand of thread to physically and conceptually link them.
Stitch the thread loosely across the page, allowing it to loop, meander, and interact with the images.
The thread acts as a visual through-line, suggesting a hidden narrative or connection between the static pieces, resulting in a project that feels like one of many abstract embroidery stitches that turn plain fabric into bold wall sculptures.
22. Painted Quilt Blocks with Hand-Stitched Accents
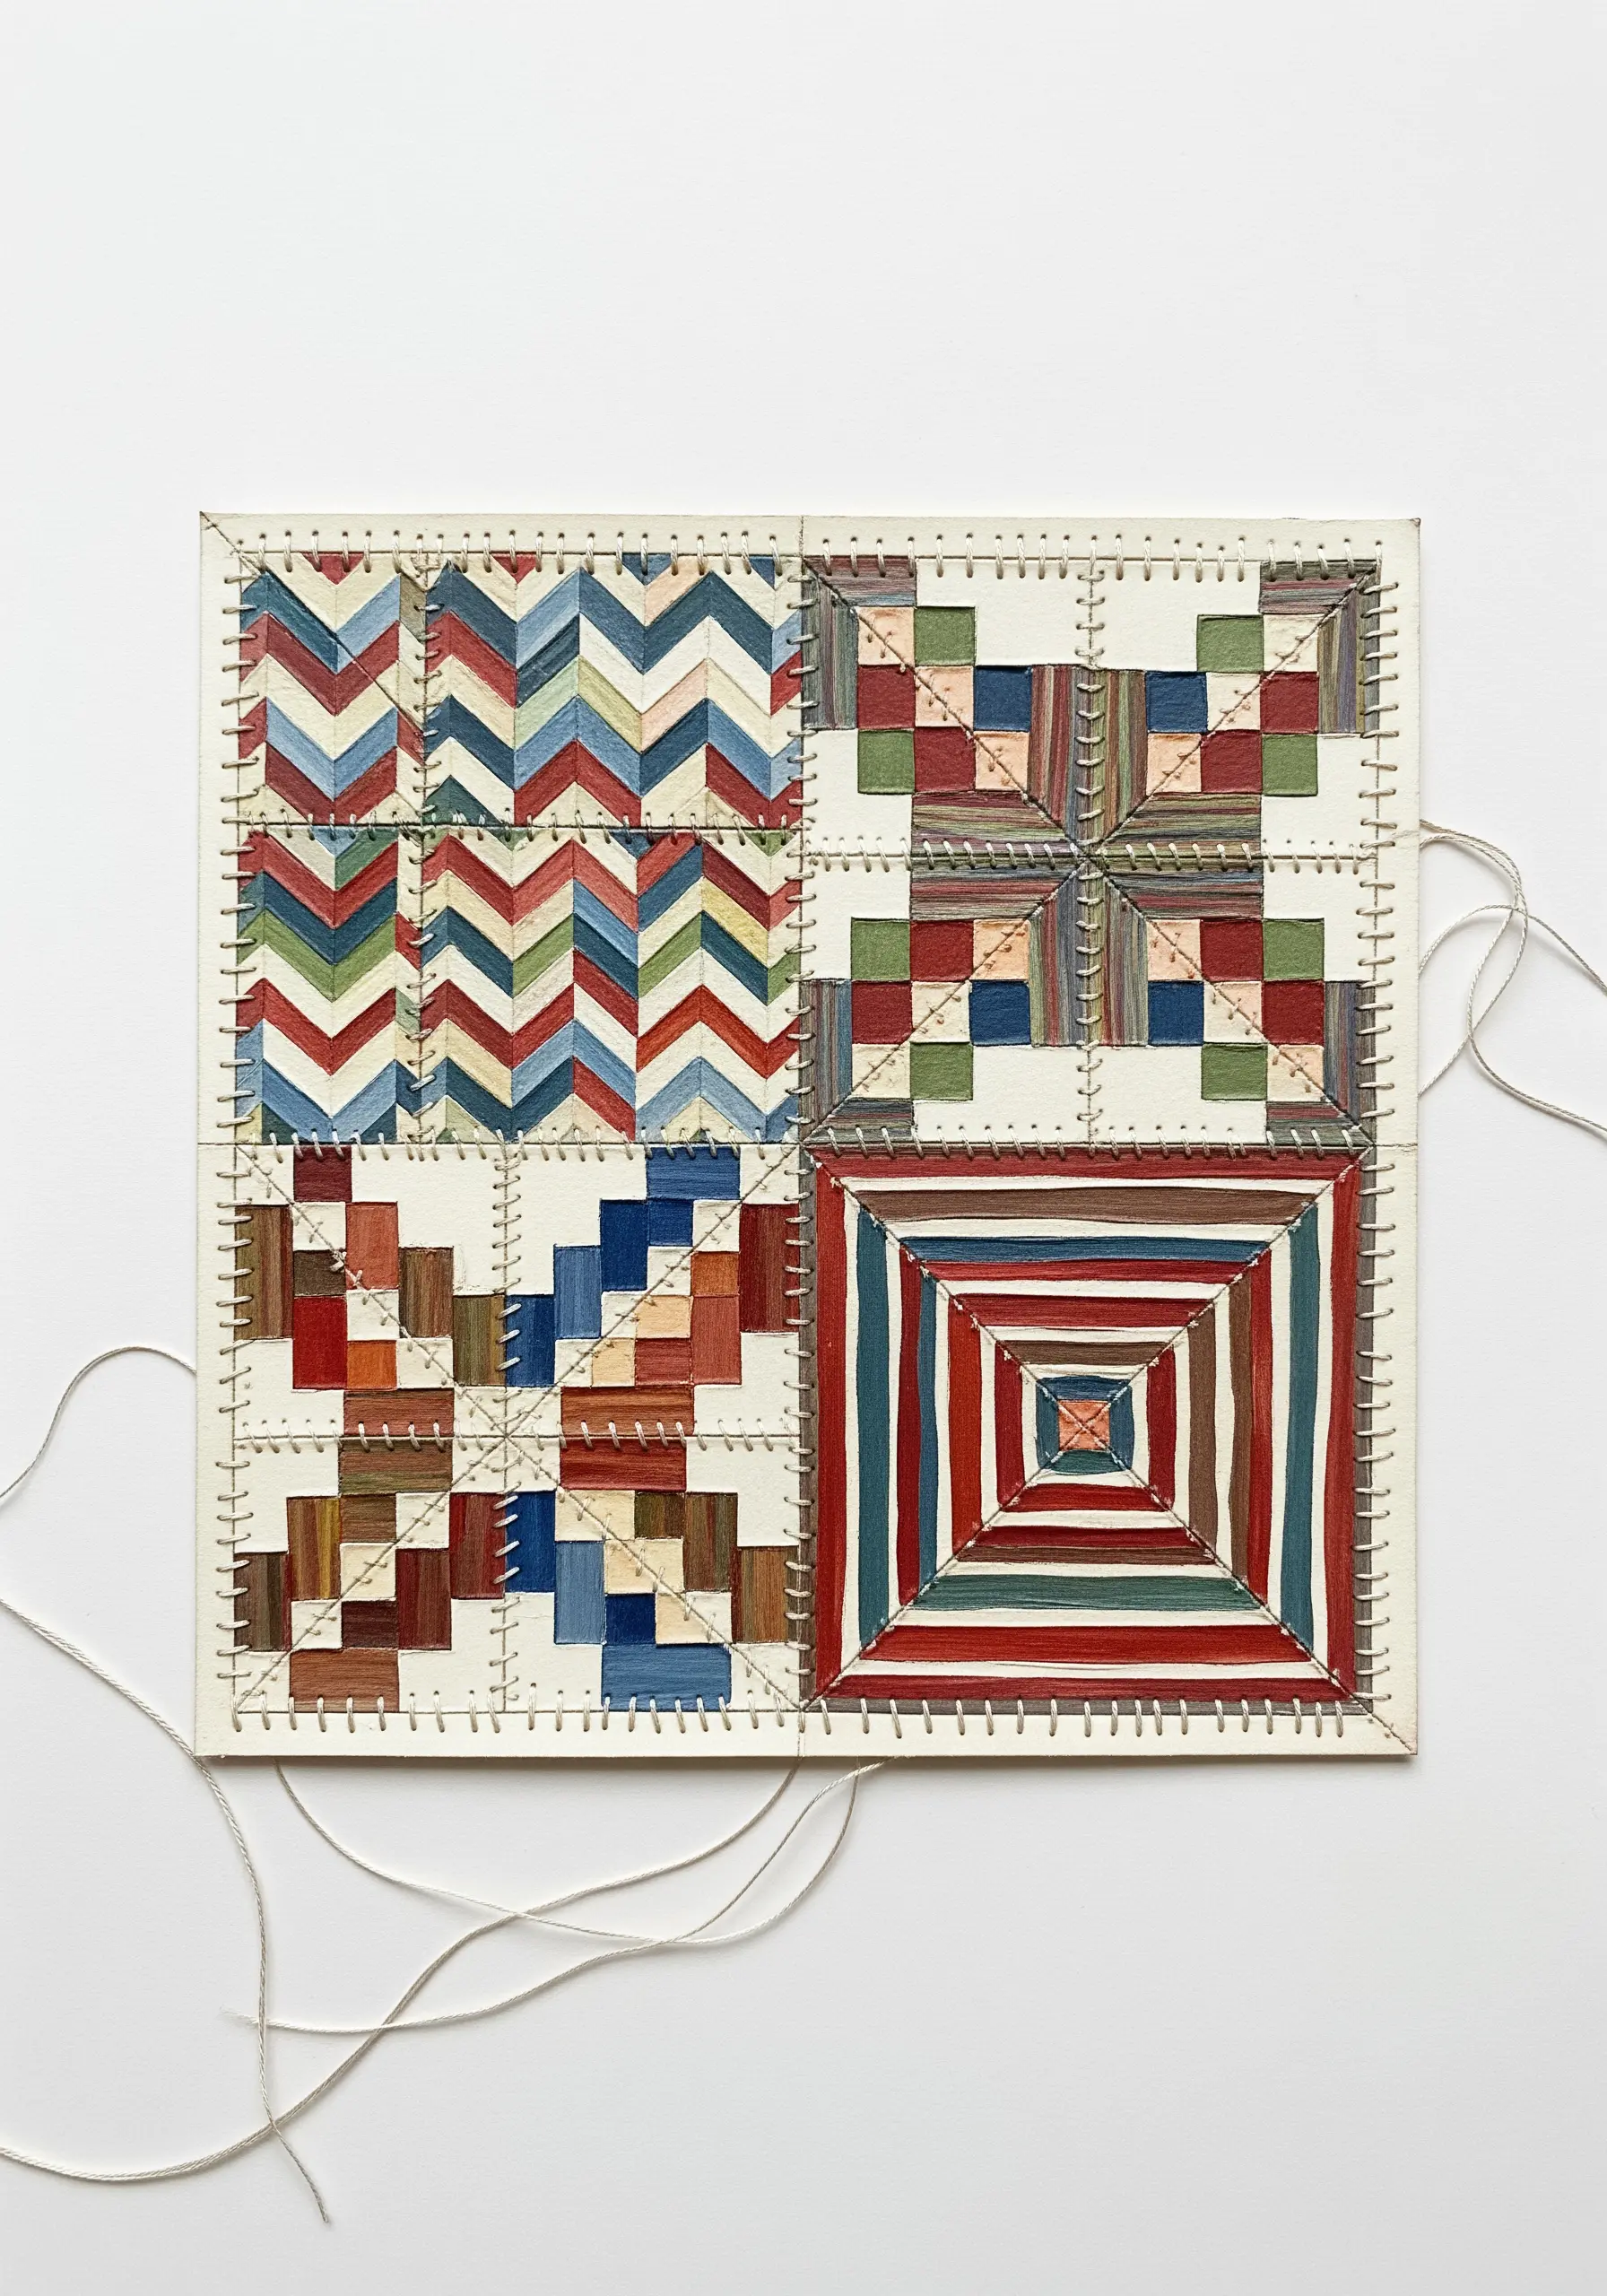
Translate the beauty of traditional quilt blocks into a mixed-media piece by painting the patterns onto heavy paper or a canvas panel.
Use painter’s tape to achieve crisp, clean lines for your geometric shapes.
Once the paint is dry, use a neutral-colored thread and a simple running stitch to outline the “seams” of the painted blocks.
This hand-stitched detail adds a layer of authenticity and tactile warmth, honoring the textile craft in a new medium.
23. Art Deco Elegance with Metallic Thread on Paper
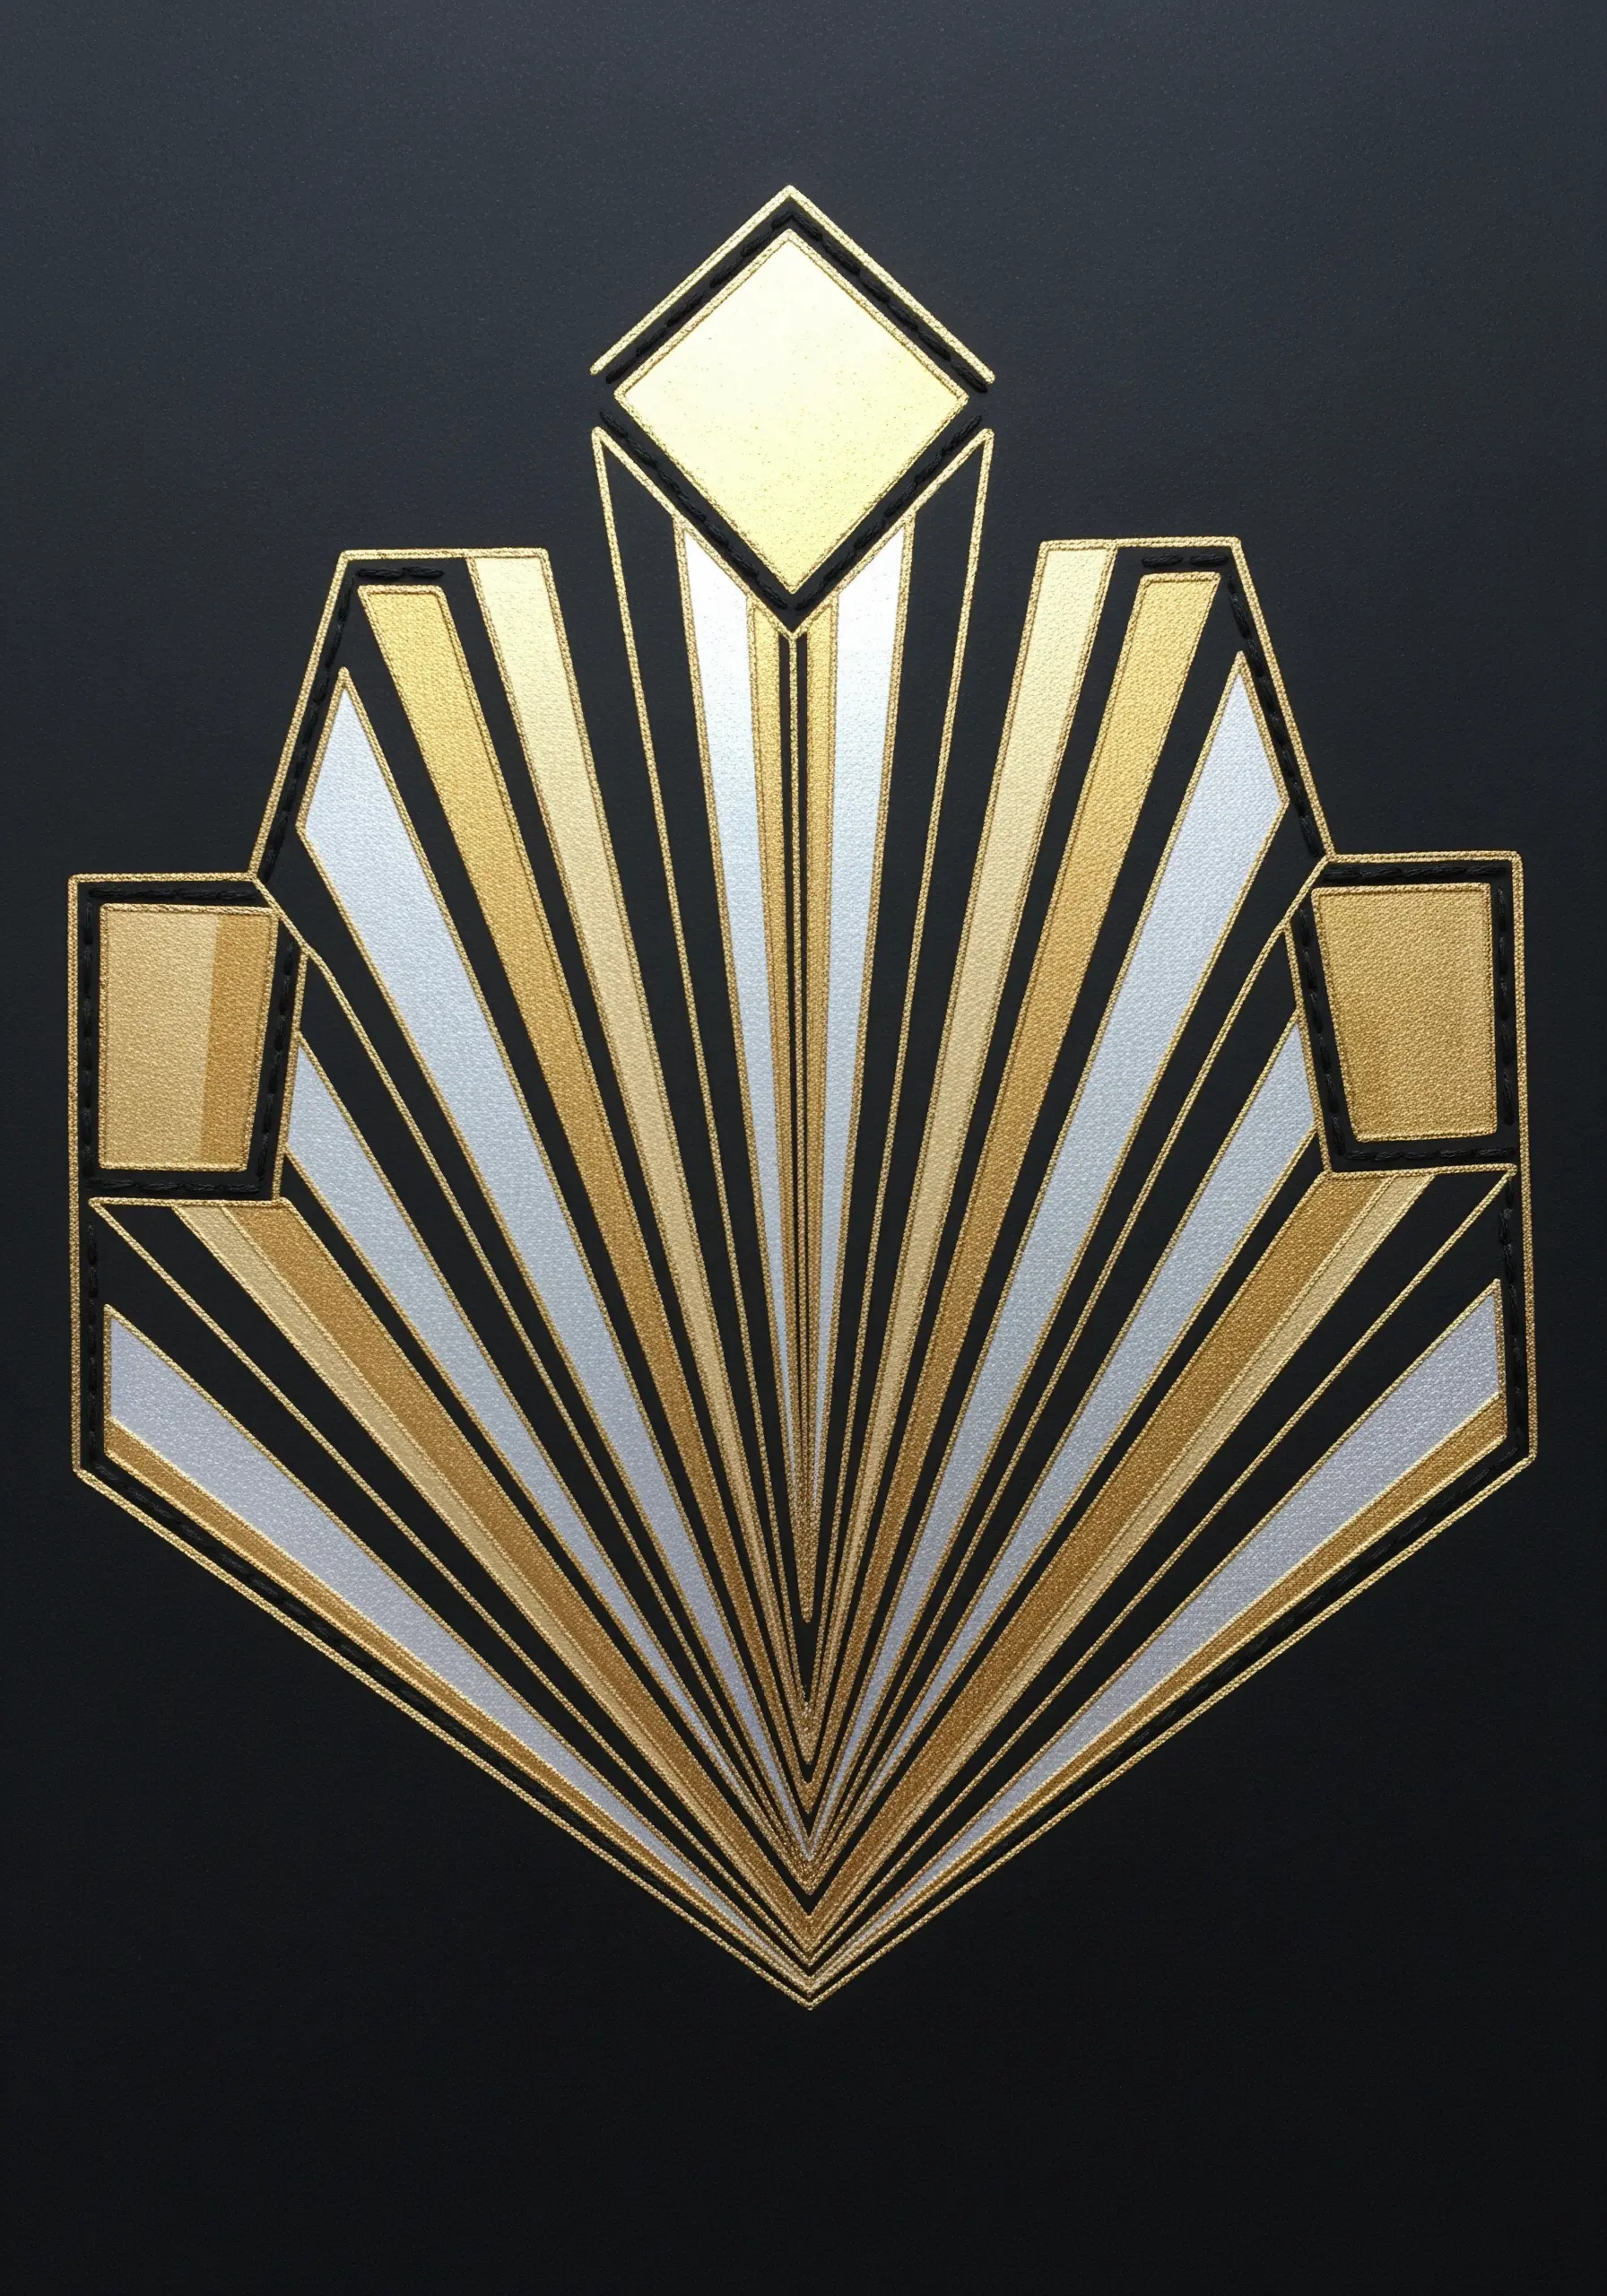
Black cardstock provides the perfect high-contrast background to showcase the brilliance of metallic threads.
Sketch out a bold, geometric Art Deco design and fill the shapes with clean, precise satin stitches.
To prevent metallic thread from snagging or fraying when stitching on paper, use a thread conditioner like beeswax and a slightly larger needle to create a clean path for the floss to pass through.
24. Highlighting Natural Forms with Directional Stitches
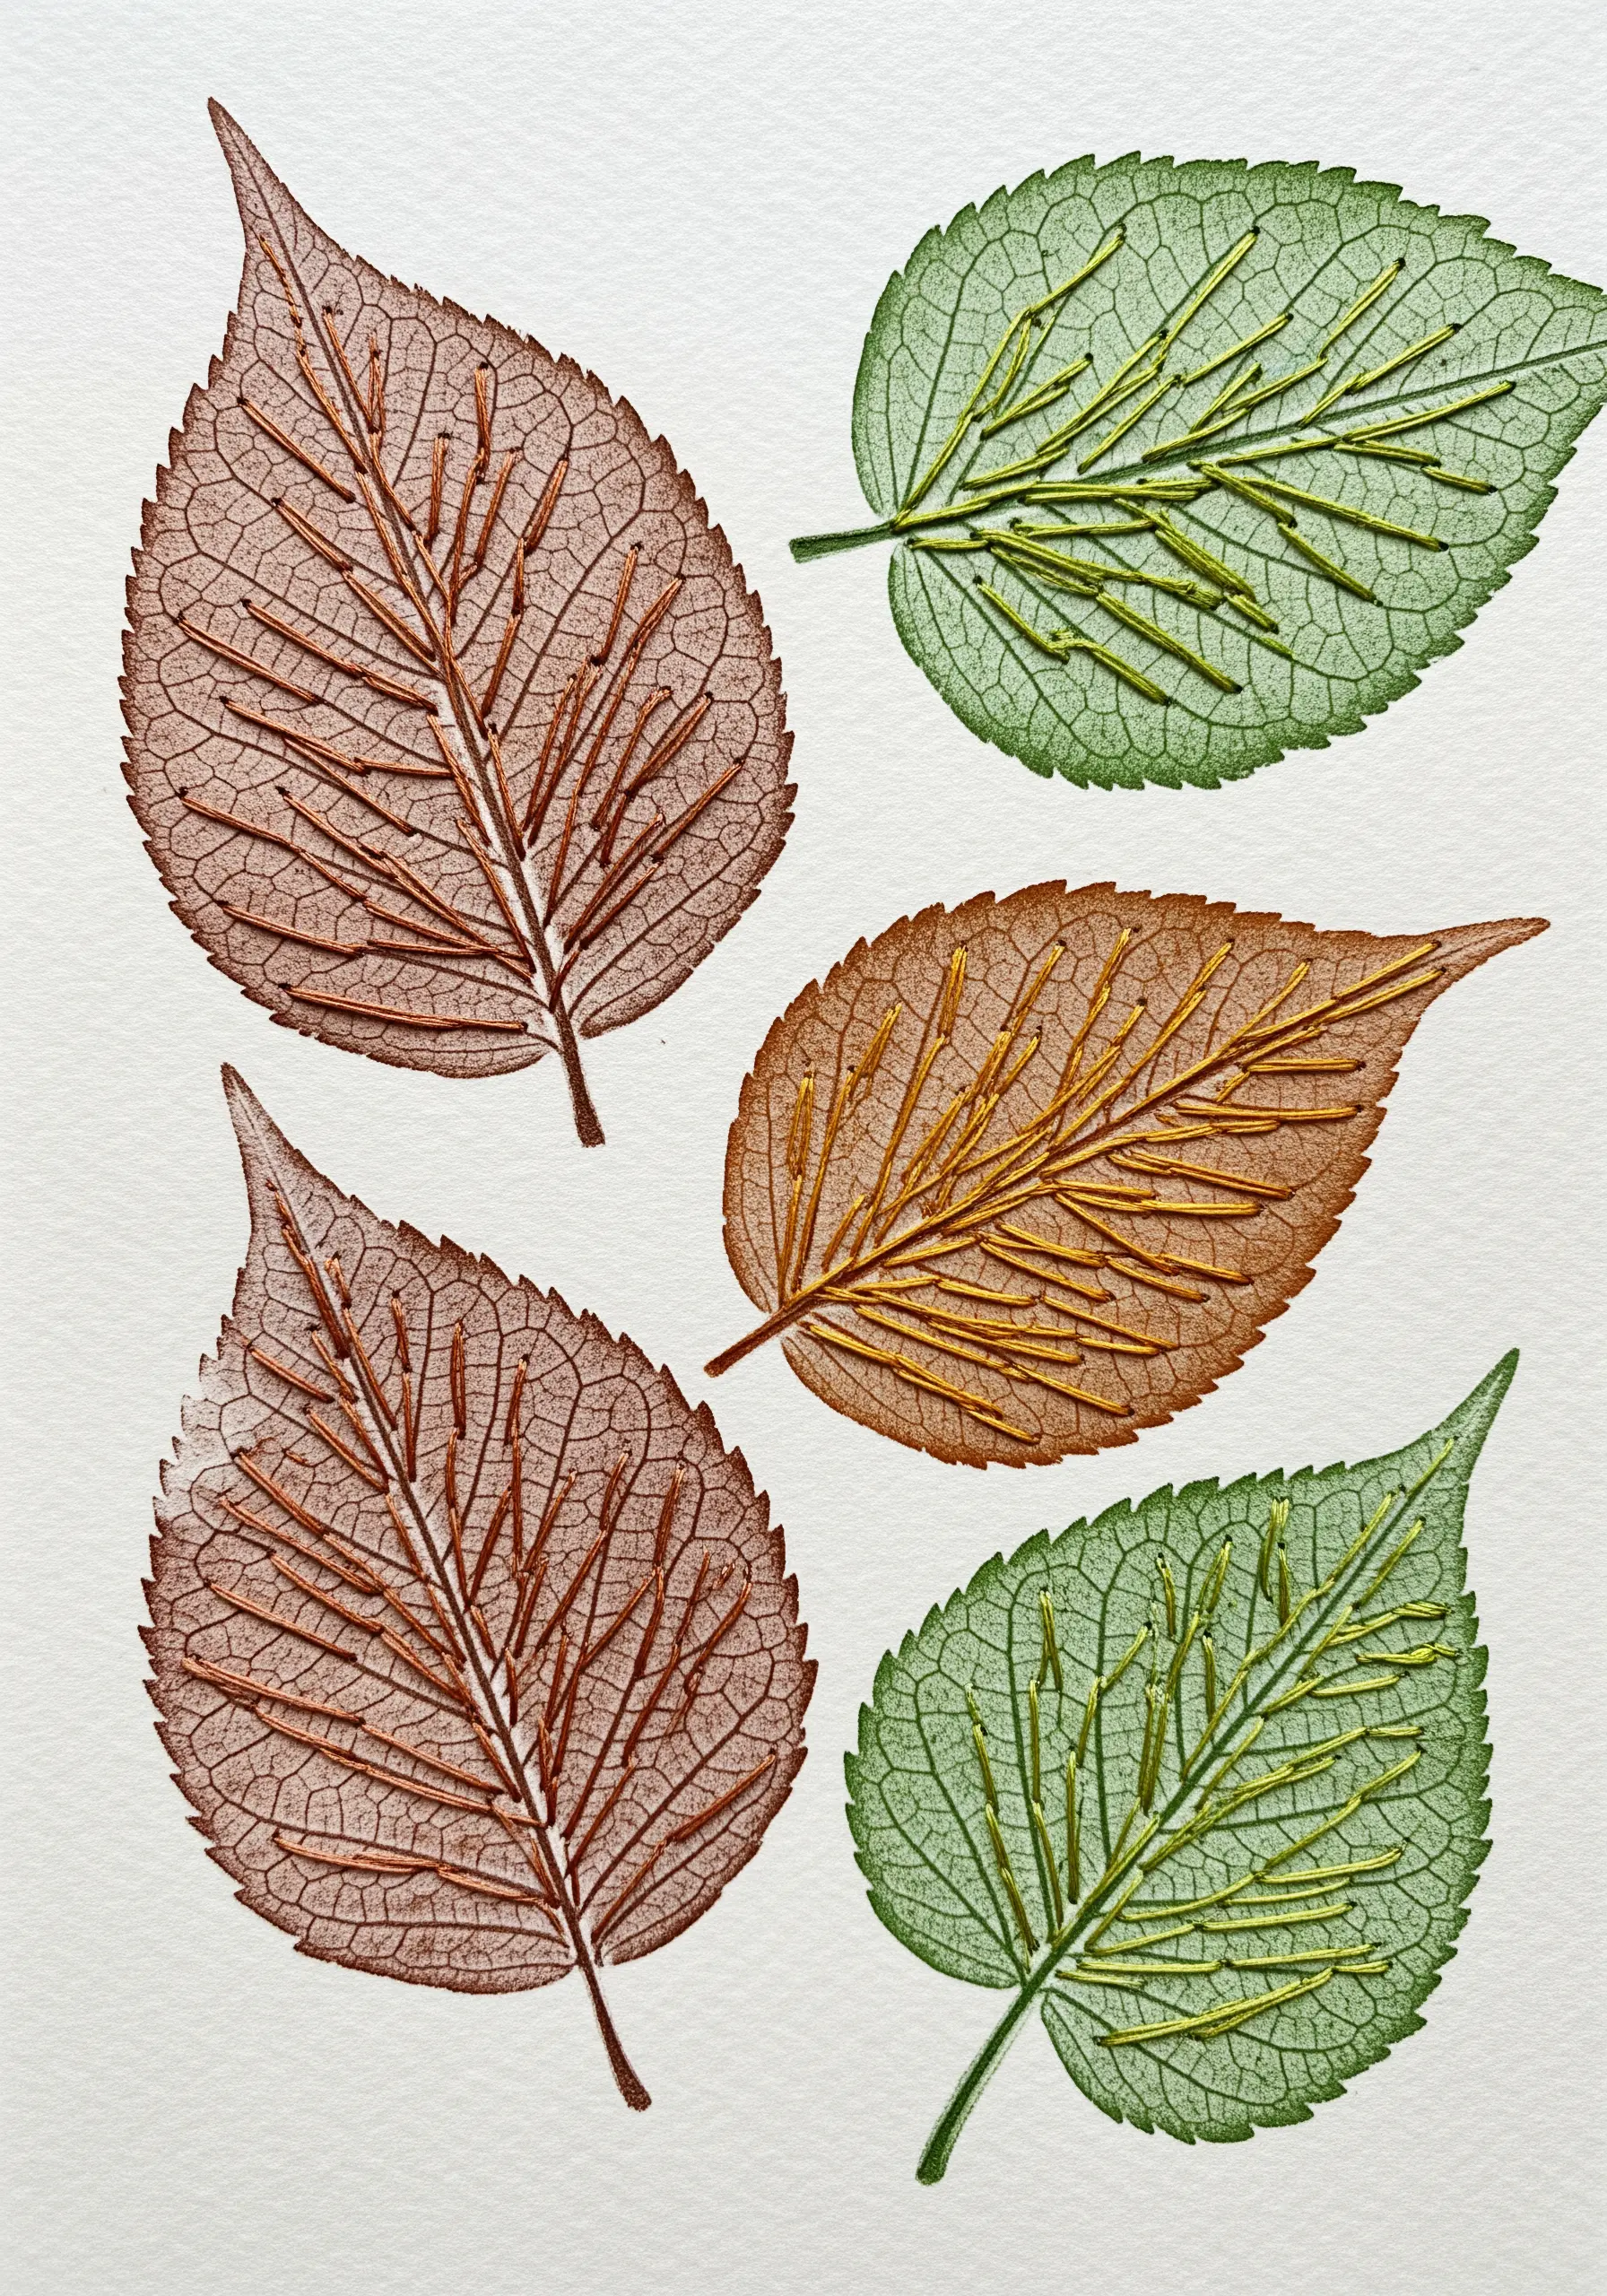
Use delicate skeleton leaves—either real or high-quality prints—as your canvas and guide.
With a single strand of embroidery floss in a contrasting or complementary color, trace the primary veins of the leaf.
Simple, long straight stitches or a neat backstitch work perfectly to emphasize the leaf’s intricate natural architecture.
This meditative technique adds a subtle layer of color and texture, celebrating the beauty of the original form.
25. Watercolor and Line Art for Botanical Tags
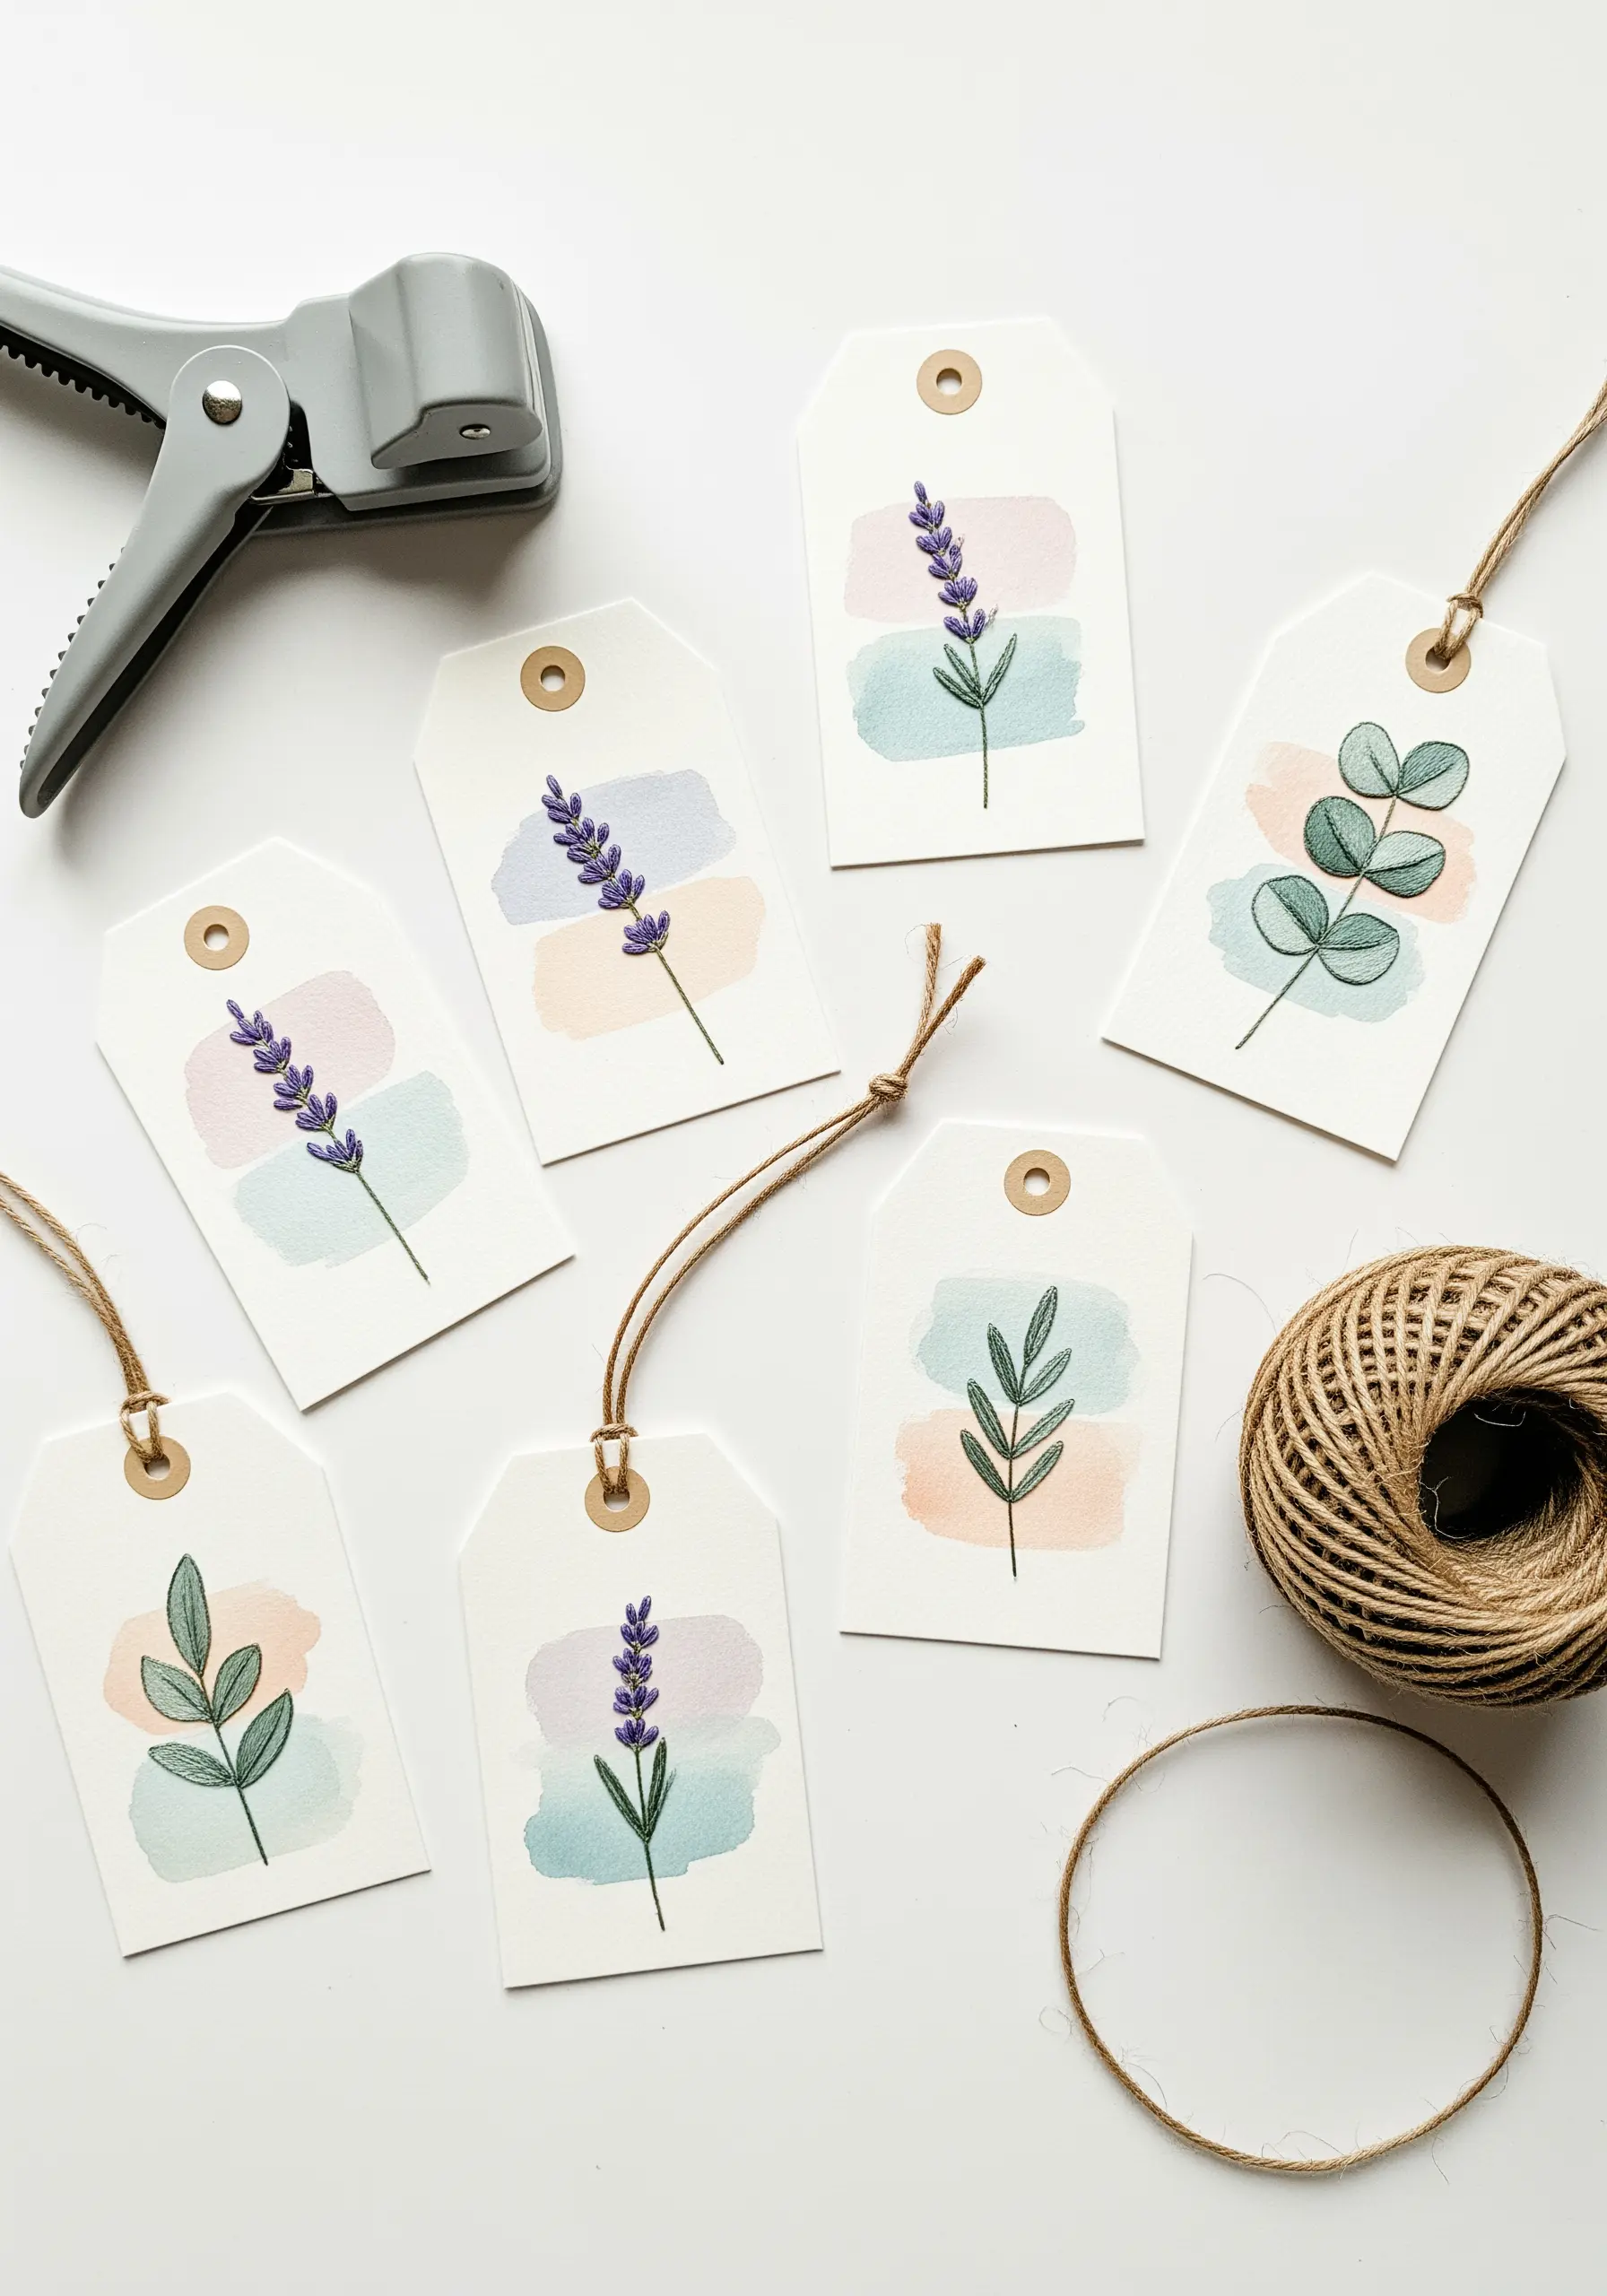
This simple yet stunning project relies on the elegant interplay of two distinct mediums.
Begin by laying down a soft, abstract wash of watercolor onto a paper gift tag.
Once it has dried completely, use a fine-tipped waterproof ink pen to draw a clean, simple botanical illustration directly over the color block.
The contrast between the loose, organic color and the precise, graphic line art creates a sophisticated and modern aesthetic.
26. Visualizing Sound with Paint and Knotted Fibers
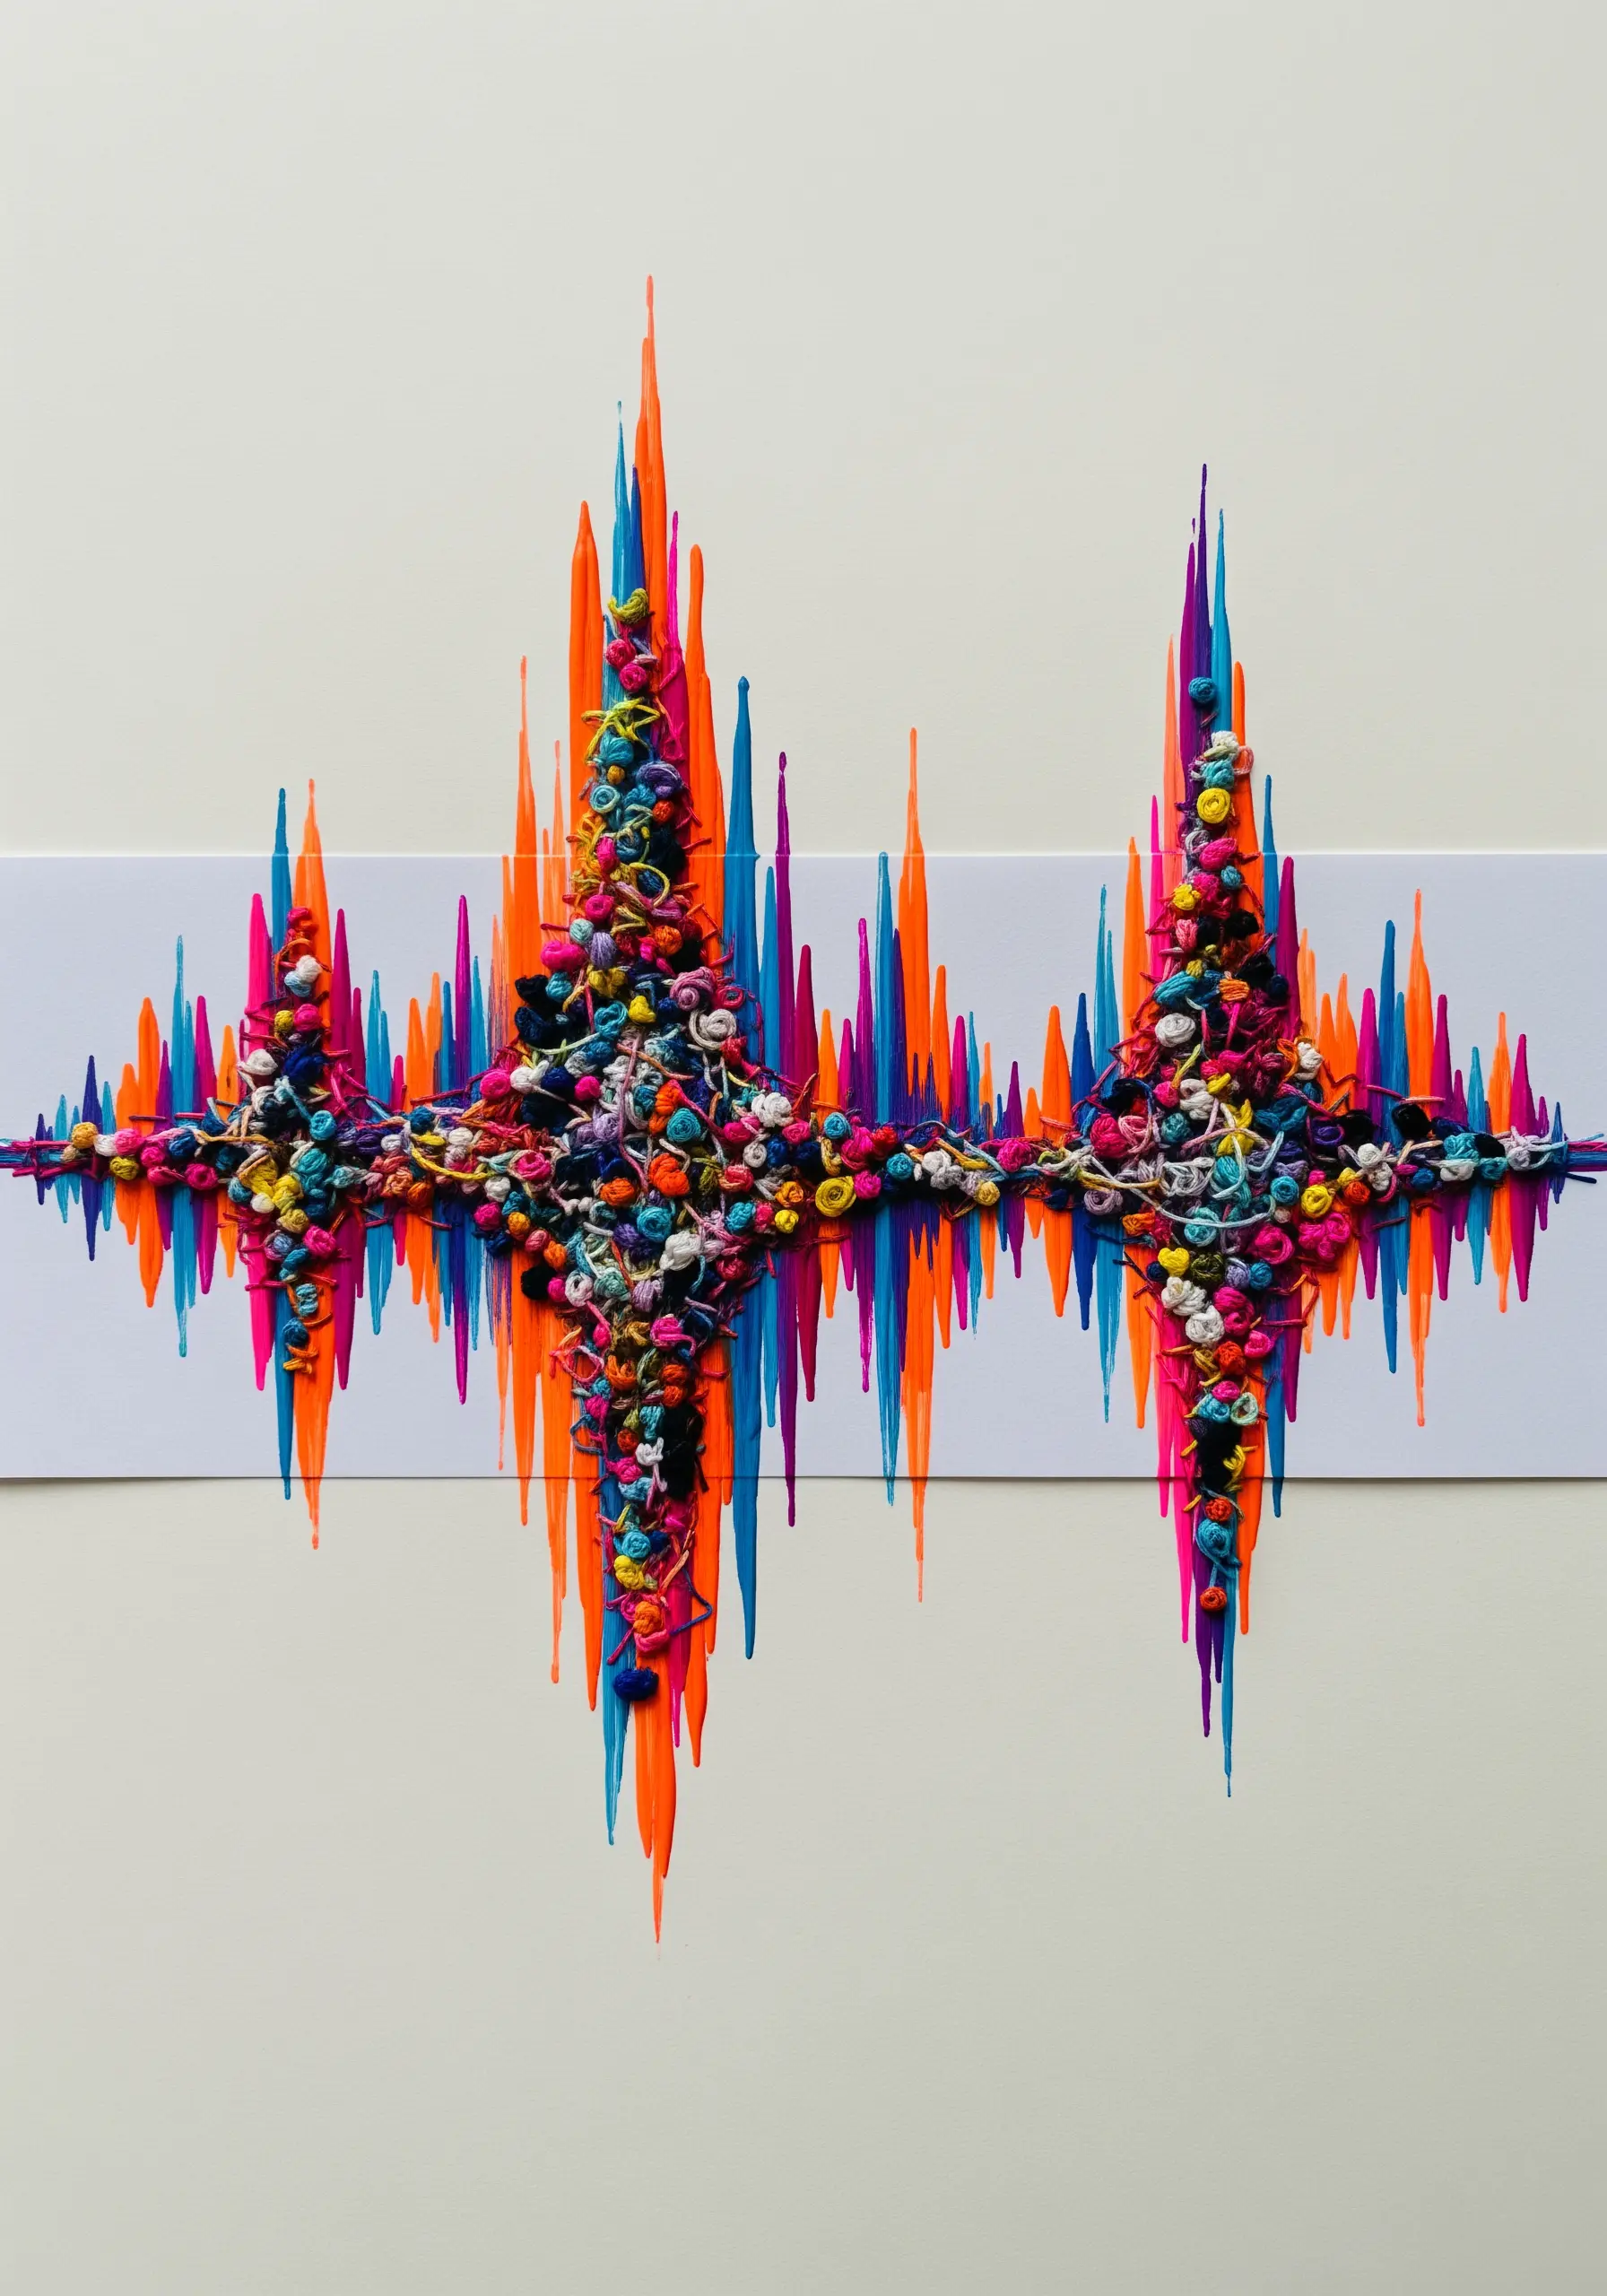
Create a powerful abstract piece by first dripping vibrant, fluid paint vertically down your canvas to represent a sound wave.
After the paint has dried, build up extreme texture along a central axis using a dense mass of knotted threads, yarn ends, and tiny fabric scraps.
Secure these fibers with a strong gel medium or by couching them down with a sturdy thread.
This technique creates a visceral contrast between the flat, fluid paint and the chaotic, sculptural knots, resulting in fantastic abstract thread splatter inspired projects for artists who love controlled chaos.
27. Stitched Weather Icons with Paper Appliqué
Create a charming scene by cutting weather-related shapes from colored and textured paper.
Layer the paper pieces to create depth—like placing a white cloud over a blue background—and secure them with a touch of glue.
Bring the shapes to life with simple stitched details: a running stitch around the edge adds definition, while tiny seed stitches and silver beads can represent raindrops.
This is a perfect introduction to fun and simple DIY mixed media embroidery projects you can finish in an afternoon.


