
You have the threads, the fabric, and the desire to create something beautiful. But perhaps you feel your work could be more refined, more intentional. The secret to elevating your embroidery often isn’t in learning dozens of complex new stitches, but in mastering the subtle power of a neutral palette.
Working with neutrals—creams, greys, ochres, and charcoals—invites you to focus on what truly makes embroidery magical: texture, composition, and the quiet rhythm of your stitches. It’s a shift from shouting with color to speaking with detail. A simple backstitch becomes a crisp graphic line; a cluster of French knots transforms into a tactile, pointillist field.
In these designs, you’ll discover how small adjustments in thread weight, stitch direction, and pattern repetition can turn a simple project into a piece of decor that feels both deeply personal and professionally finished. This is your invitation to stitch with quiet confidence, creating pieces that will bring a sense of calm, sophisticated artistry to your home.
1. Capture a Sense of Movement with Dandelion Seeds
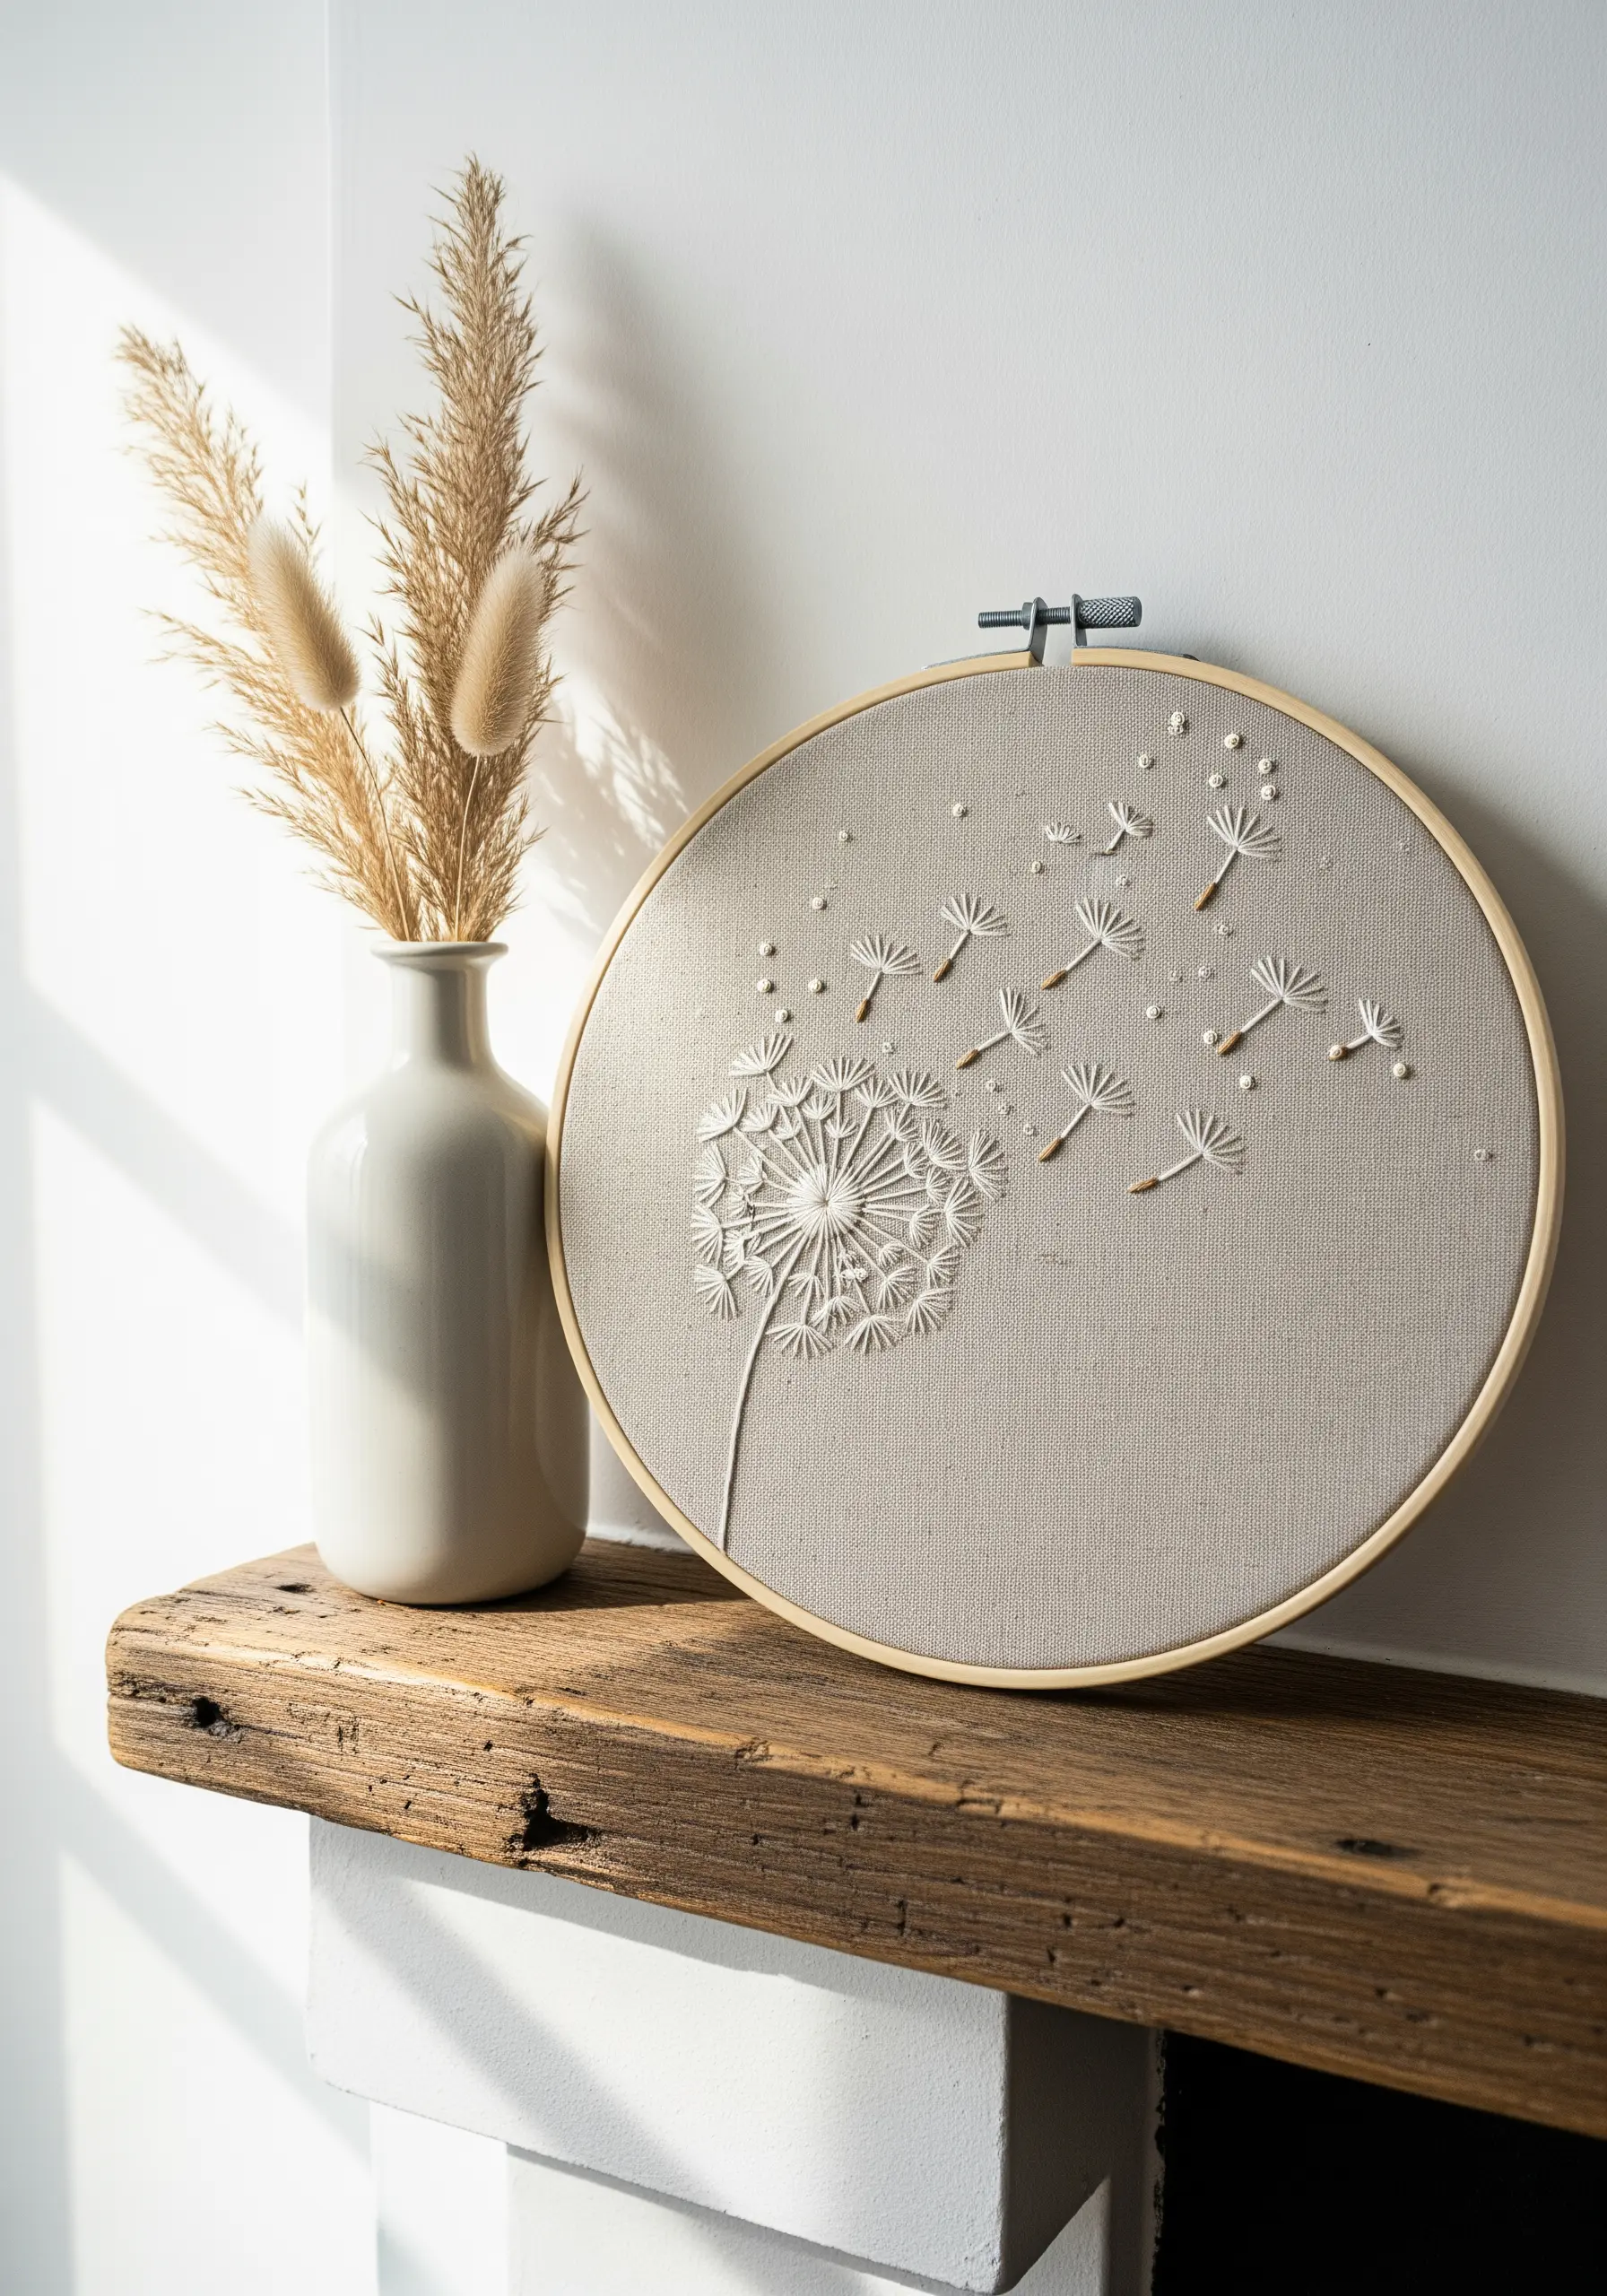
To create the illusion of dandelion seeds floating on a breeze, focus on varying the length and angle of your stitches.
Use a single strand of off-white floss for the delicate parachute stems, employing a simple straight stitch.
For the seed heads themselves, combine a tiny detached chain stitch (lazy daisy) with a single French knot at the base.
This combination of stitches provides just enough texture and direction to make the composition feel alive and dynamic.
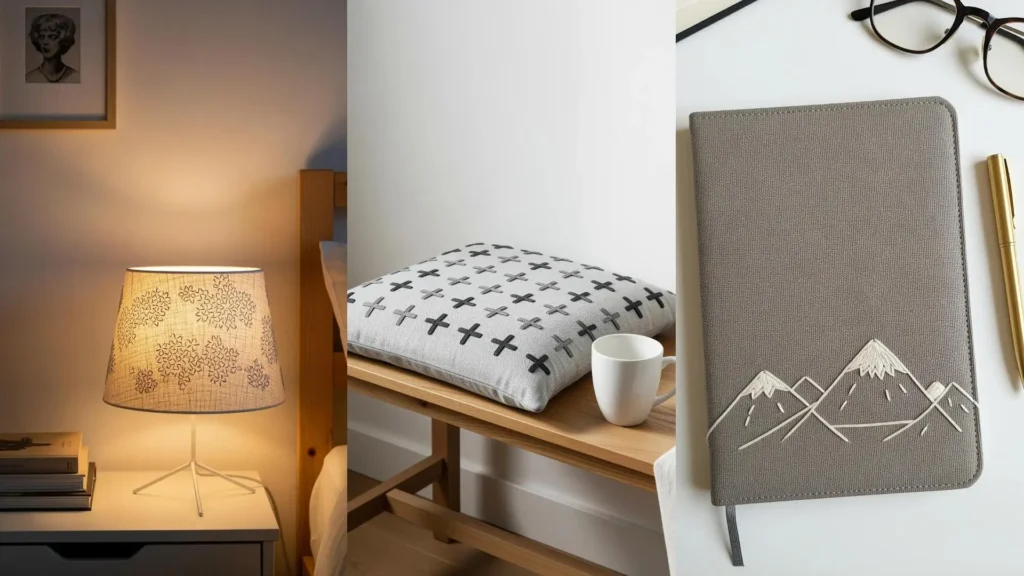
2. Weave a Textural Narrative with Chain Stitch Variations

Transform a simple pillow into a tactile masterpiece by dedicating each row to a different stitch or thread weight.
Create parallel lines using variations like the standard chain stitch, the heavy chain stitch, and the twisted chain stitch.
Alternate between a full six strands of cotton floss and a thicker perle cotton to introduce subtle shifts in dimension.
This methodical exploration of a single stitch family in a palette of mushroom, sand, and charcoal results in a sophisticated and cohesive design.
3. Master Organic Form with Directional Satin Stitch

To stitch a realistic fern, the direction of your satin stitch is more important than perfection.
Instead of stitching straight across each leaflet, angle your stitches slightly upward and outward from the central stem, mimicking its natural growth pattern.
Before you begin, create a split-stitch outline for each leaflet to ensure your satin stitches have a crisp, defined edge to sit against.
This is one of the fern foliage stitch variations that adds incredible depth with minimal effort.
4. Refine Your Linework for Crisp Botanical Motifs

For clean, minimalist botanicals on functional items like coasters, precision is everything.
Use a backstitch with two strands of floss to achieve a sharp, graphic line that stands out against the linen.
To maintain smooth curves, shorten your stitch length as you navigate tighter arcs—this single adjustment prevents a clean line from becoming jagged or angular.
These elegant organic embroidery designs are perfect for adding a handmade touch to everyday objects.
5. Create Celestial Sparkle with Contrasting Stitches
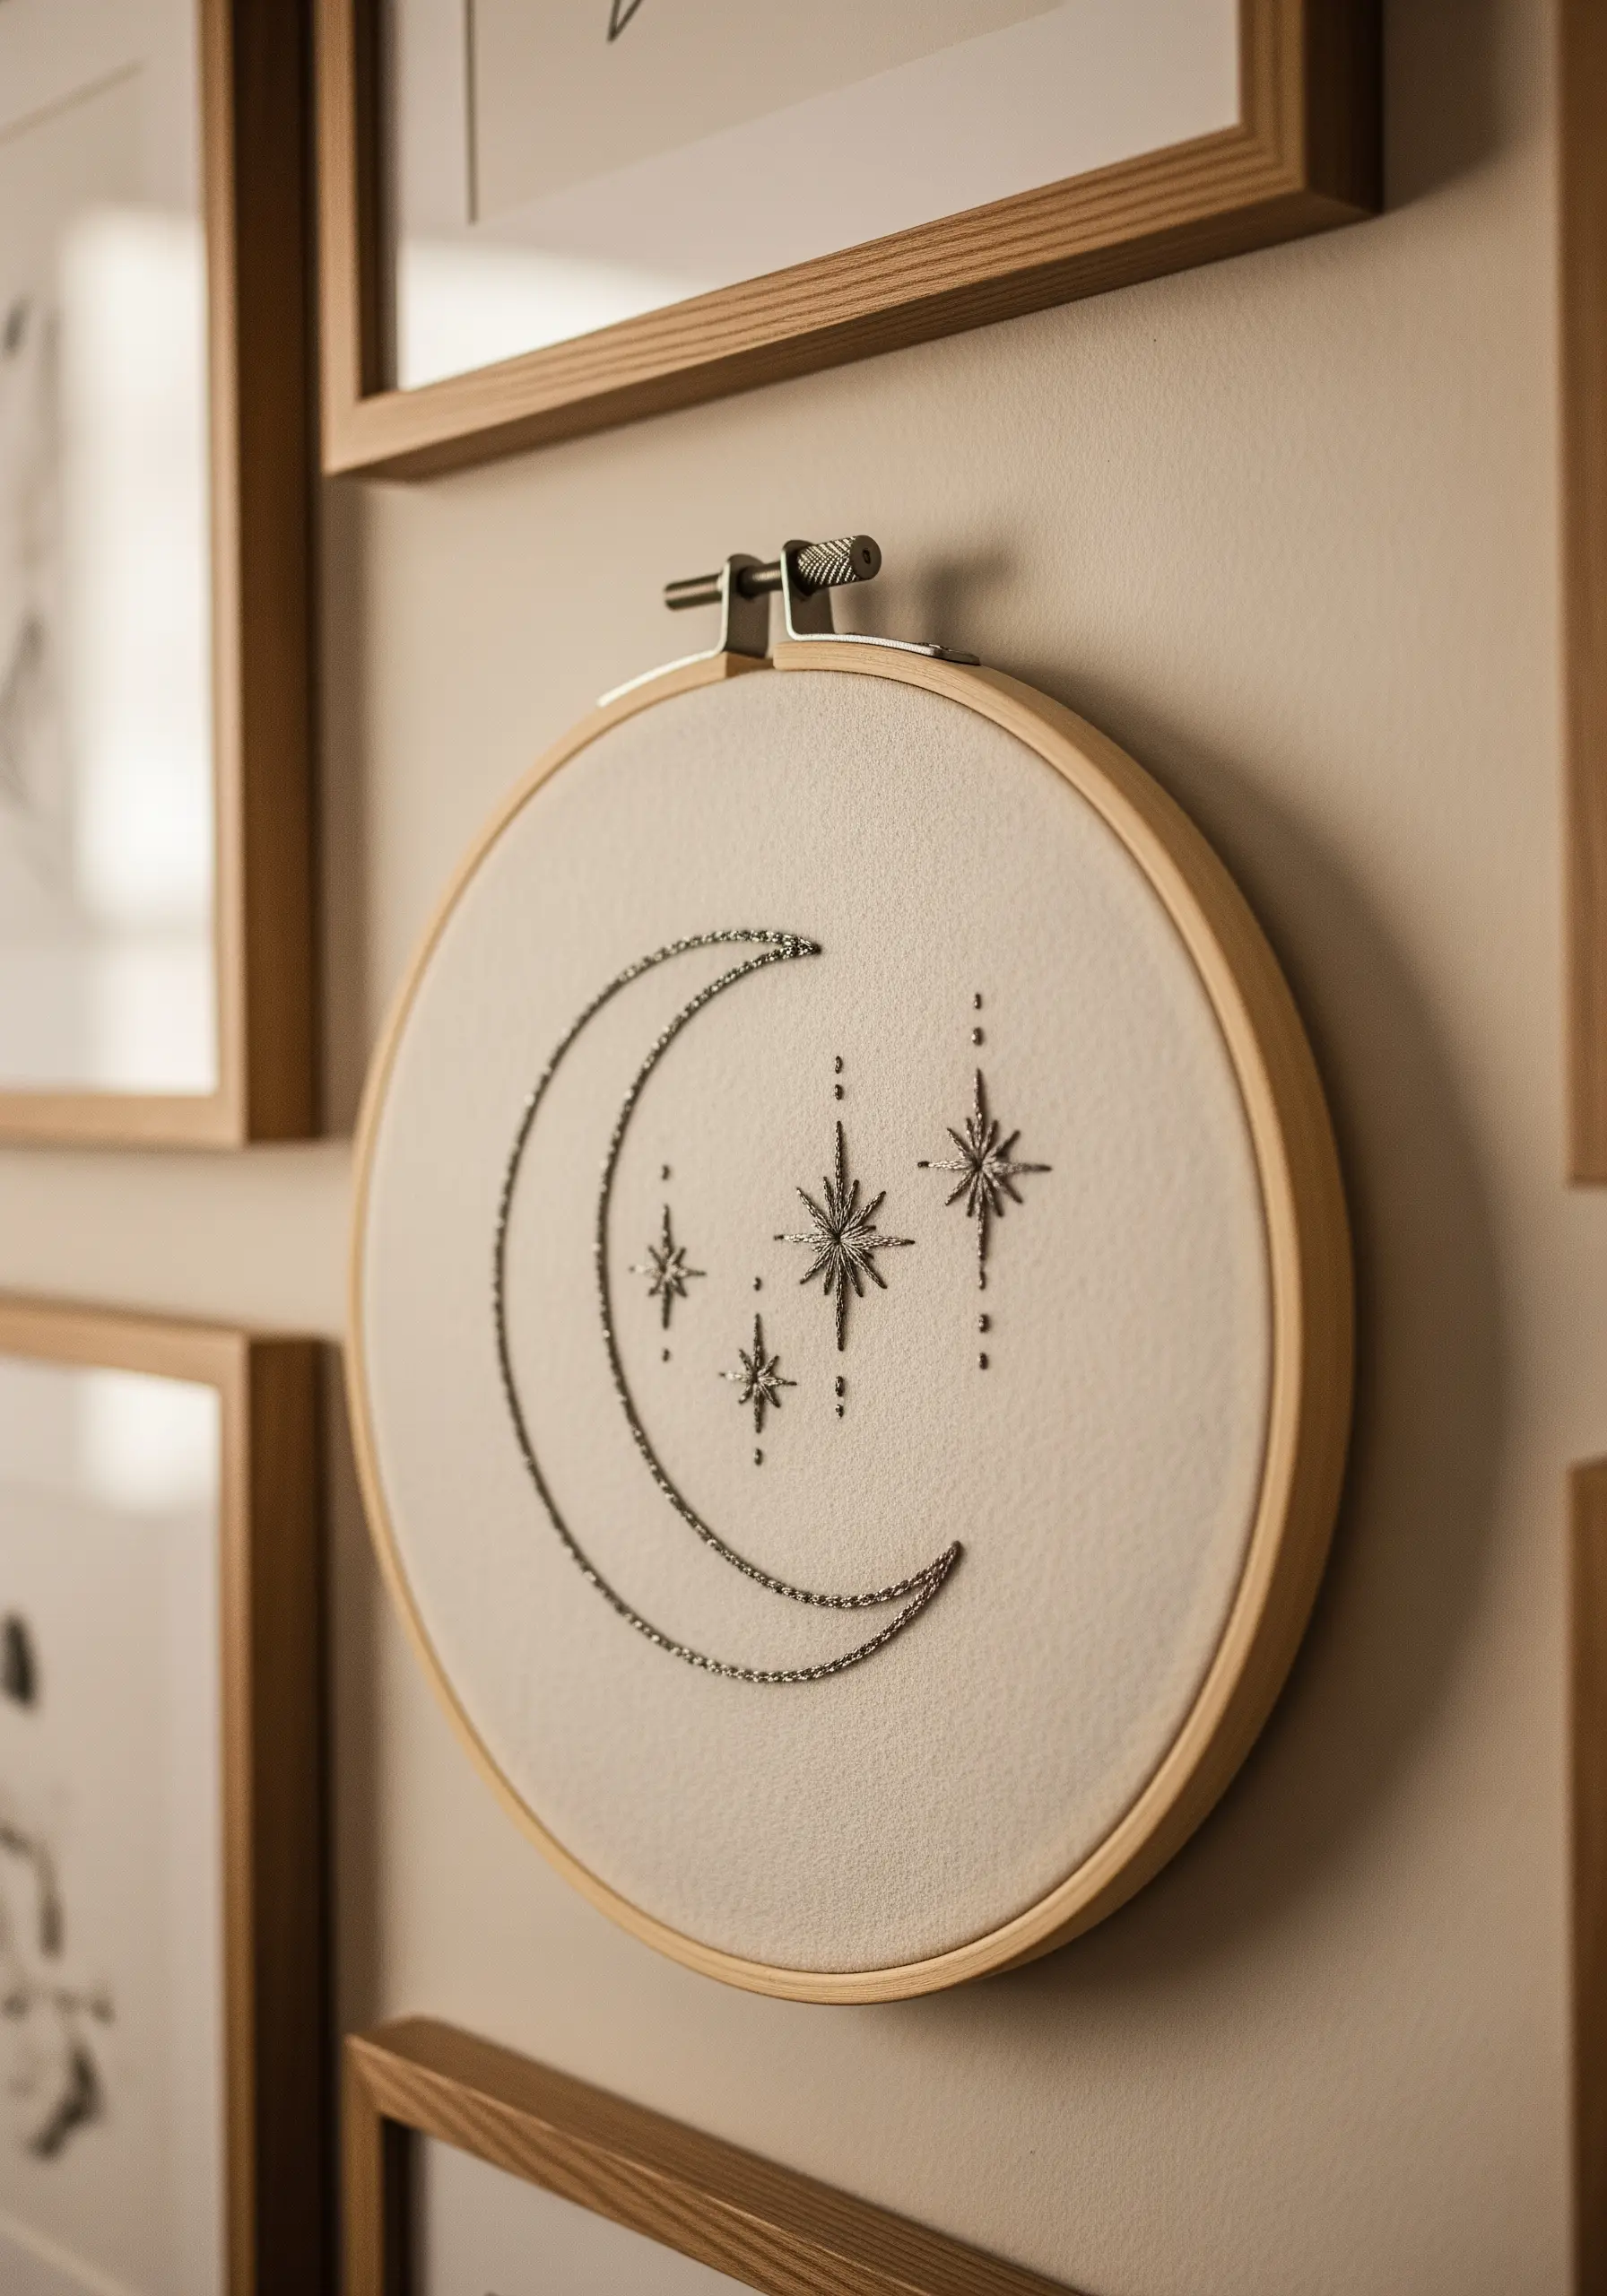
To give your celestial designs a dynamic quality, combine stitch textures for visual interest.
Use a whipped backstitch or a fine chain stitch for the crescent moon, which creates a solid, rope-like presence.
For the stars, stitch Algerian eye stitches or simple star stitches in varying sizes, using a lighter weight thread for the smaller stars to create a sense of distance.
This combination of bold and fine stitches adds depth to an otherwise simple motif, making for beautiful minimal sky moon designs.
6. Achieve Natural Elegance with the Fishbone Stitch

The fishbone stitch is the perfect choice for embroidering symmetrical, organic shapes like wheat kernels or leaves.
Each stitch crosses over the central axis, creating a beautifully plaited texture that subtly mimics a central vein.
Pair the fishbone-stitched kernels with a simple stem stitch for the stalks, using a warm, golden-ochre thread on a cream fabric for a timeless, rustic feel.
Consistency in your stitch angle and length is what will make this design look polished and professional.
7. Build Sculptural Texture with Woven Wheel Roses

Move beyond flat embroidery to create a stunning, three-dimensional surface with woven wheel stitches.
For a plush, sculptural effect, use a thick material like merino wool yarn or a full six strands of cotton floss for each stitch.
Start with a base of five or seven straight stitches arranged like spokes, then weave your thread over and under until the shape is filled.
By clustering them in various sizes and neutral colors, you can create a piece of texture-rich thread art that invites touch.
8. Define Form with Raised Lines and Couching

For a clean, graphic design like concentric circles, a standard backstitch can appear segmented and uneven.
Instead, try couching: lay down a thicker foundation thread (like perle cotton) along your design line, then use a thinner, matching thread to tack it down at small, regular intervals.
This technique creates a perfectly smooth, continuous, and raised line that feels incredibly sophisticated and intentional.
It’s a simple method to achieve a high-end, embossed look, perfect for minimalist embroidery decor.
9. Contrast Line and Fill for Graphic Landscapes

Create a striking mountain scene by strategically combining outline and fill stitches.
Use a clean backstitch in a dark neutral to define the sharp, geometric forms of the mountain range.
Then, fill just the peaks with a dense, smooth satin stitch in a contrasting cream or white thread.
The interplay between the empty space of the outlines and the solid fill of the snow creates visual depth and a modern, graphic feel perfect for a journal cover.
10. Design a Graceful, Flowing Vine for Table Linens

When embroidering a long, narrow surface like a table runner, a meandering design is far more engaging than a static, straight line.
Lightly sketch a gentle S-curve to act as a guide for your main stem, which you can execute in a simple stem stitch.
Add leaves along the vine using fishbone stitch, alternating their direction to enhance the sense of movement.
Using a variegated thread in soft creams adds subtle dimension, giving the modern minimalist table linen embroidery a bespoke, heirloom quality.
11. Paint with Thread Using Pointillist French Knots
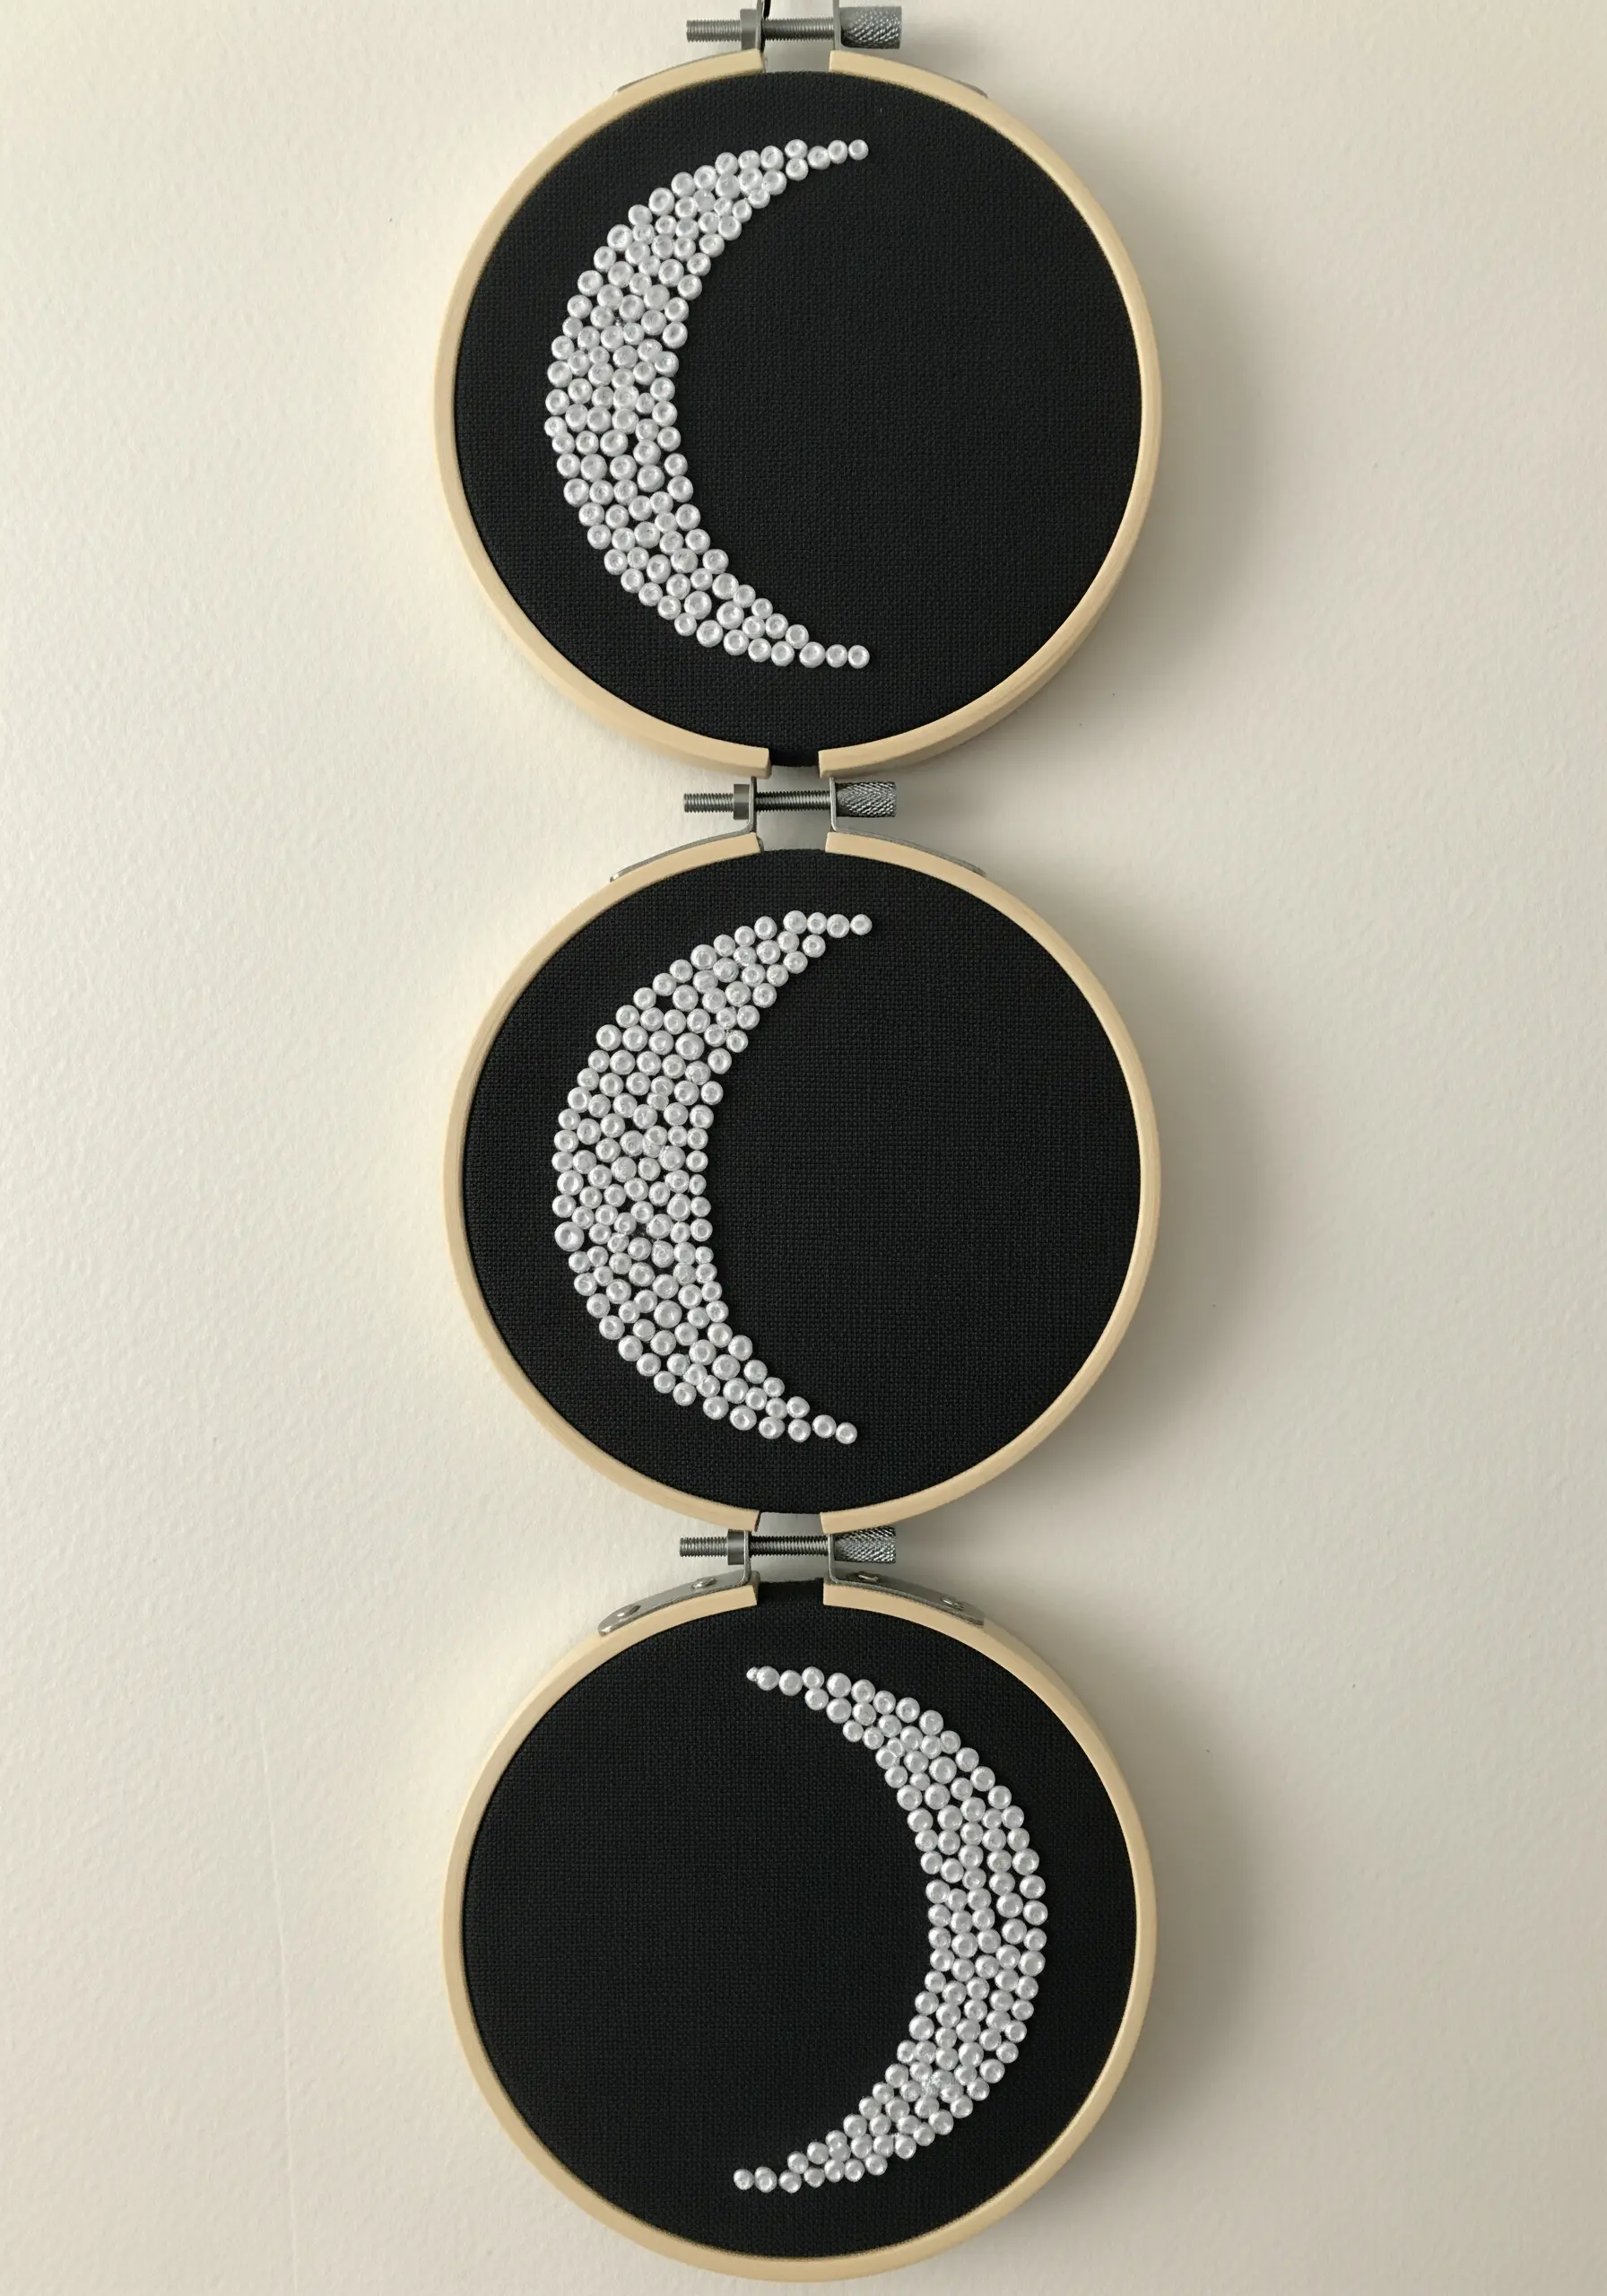
Instead of creating a shape with lines, build it entirely with texture.
By filling a design with hundreds of tightly packed French knots, you achieve a stunning, pointillist effect that draws the eye.
For a clean edge, draw your outline with a removable fabric marker and place your outermost knots directly on the line.
Using a bright white thread on high-contrast black fabric makes the texture the star of the piece, turning a simple stitch into captivating art.
12. Master the Continuous Line for Abstract Portraits
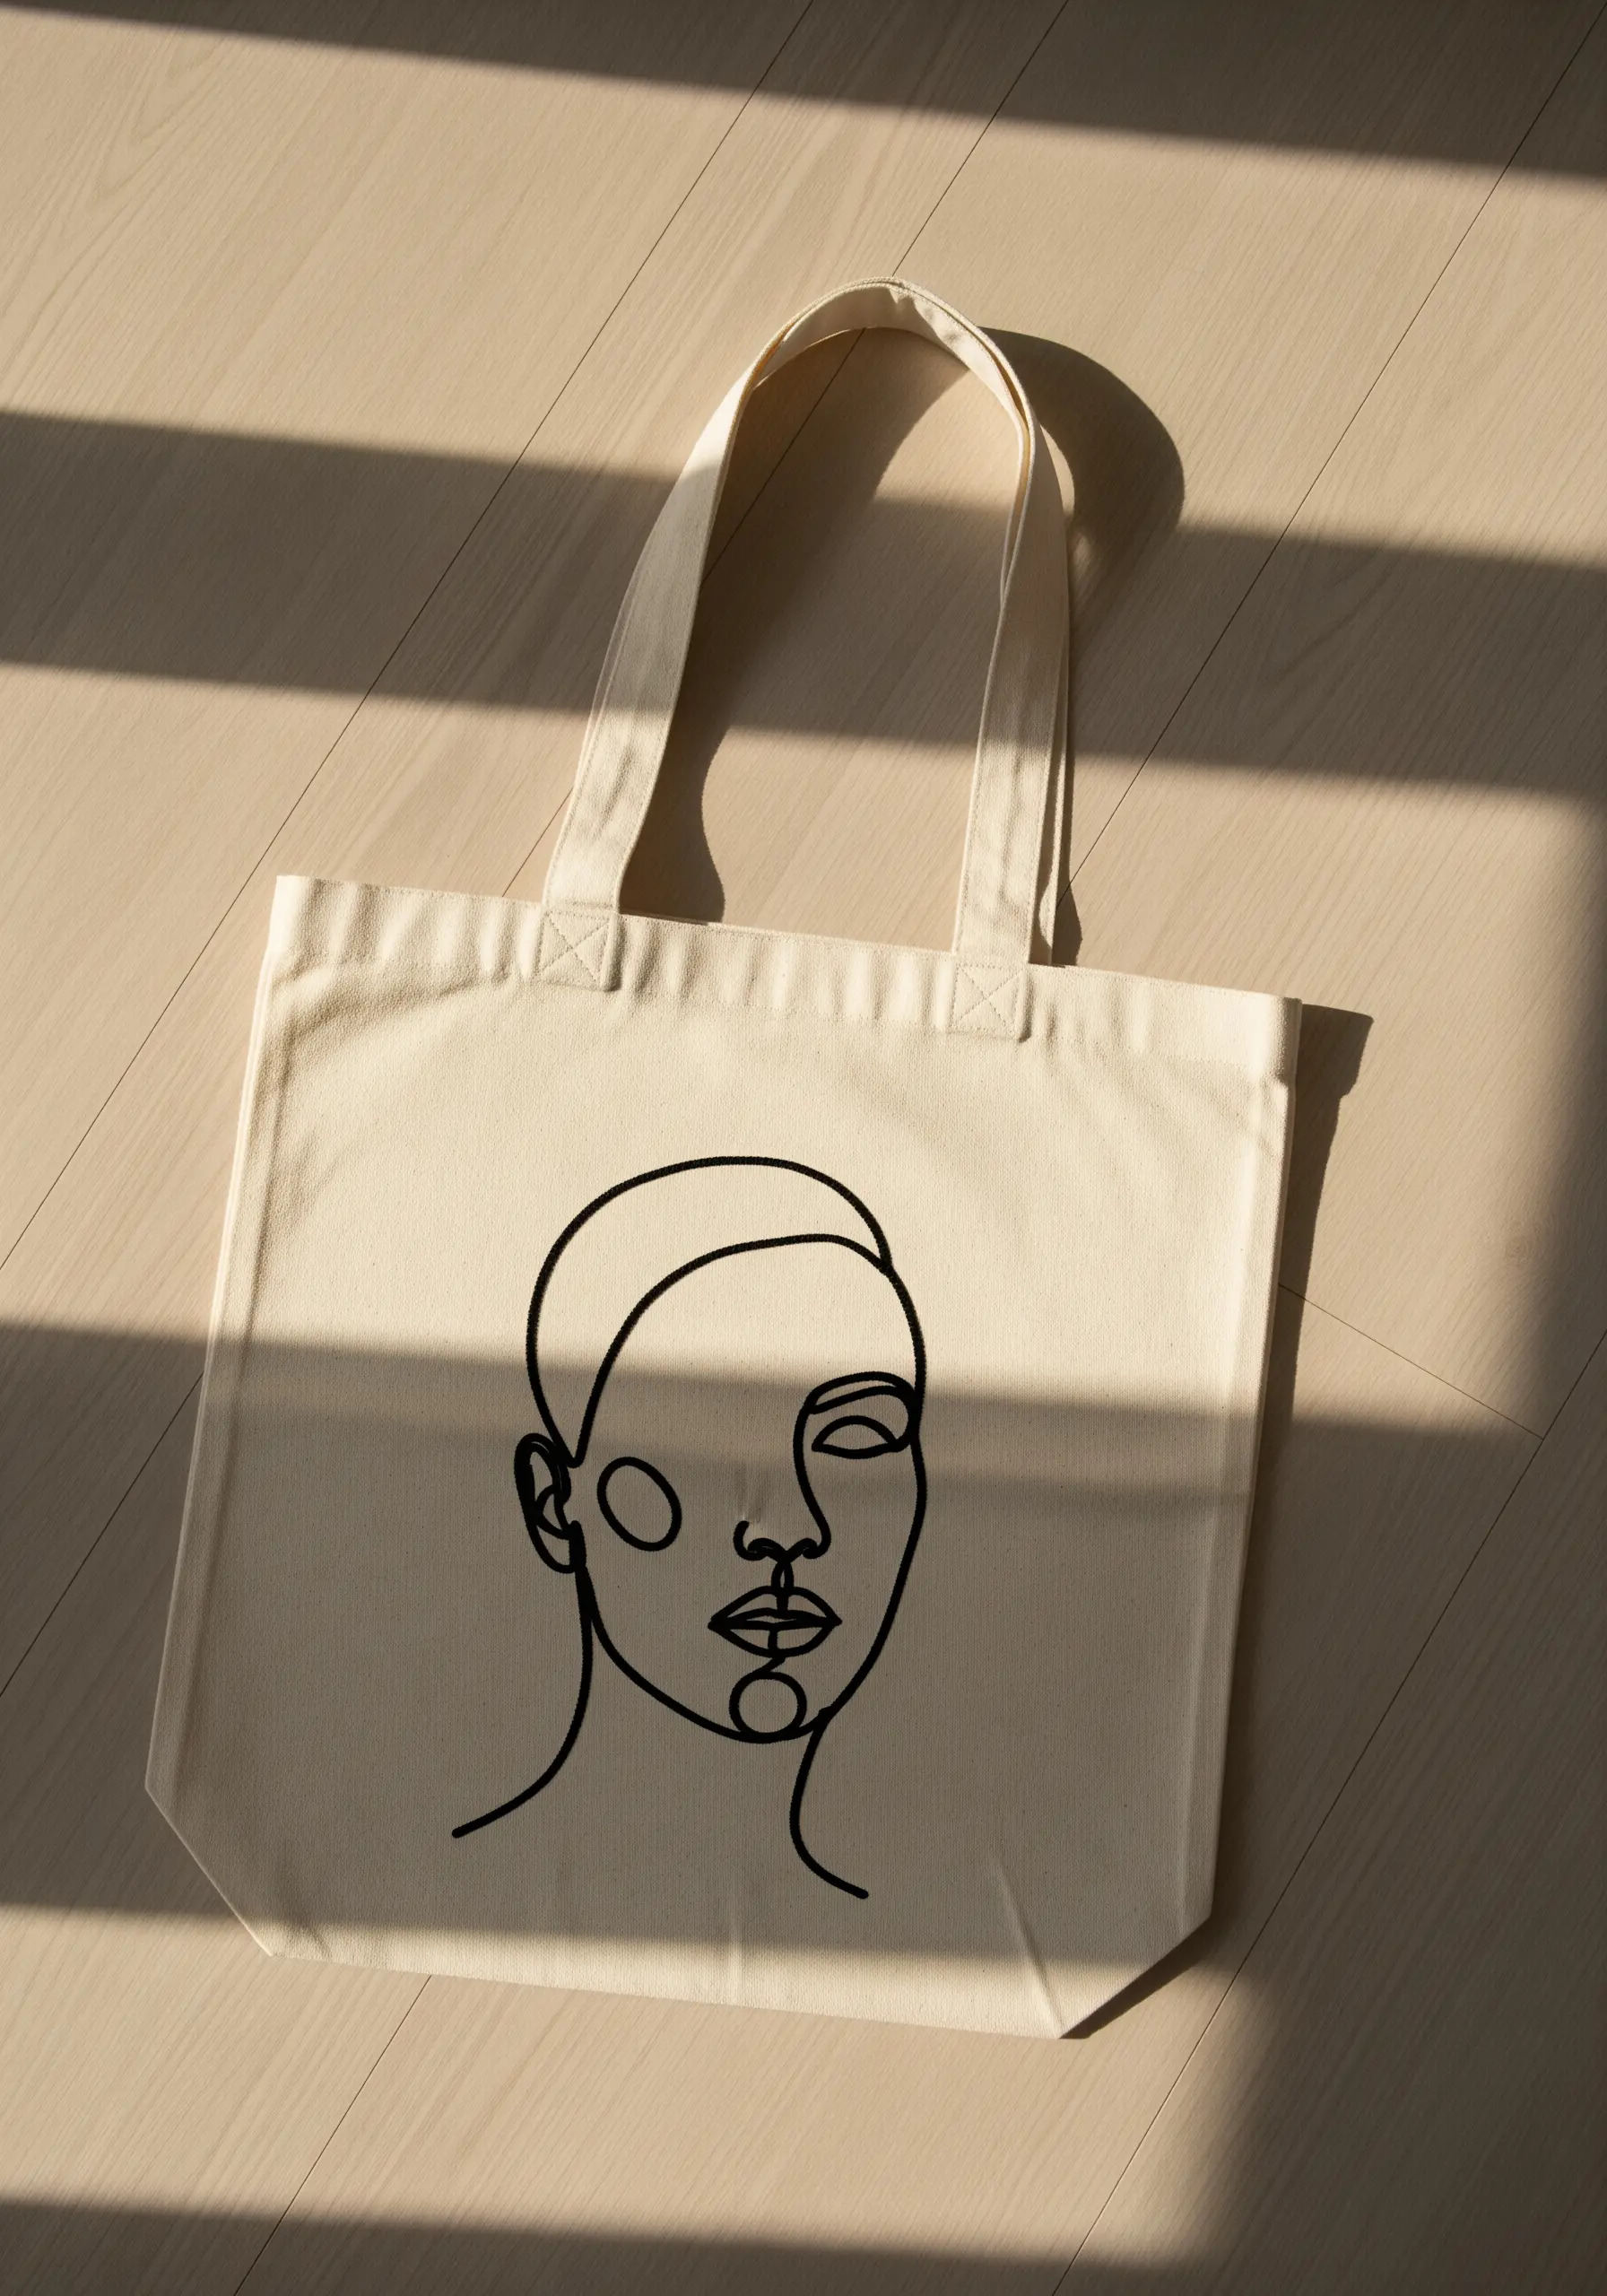
For abstract, single-line art, the goal is to create a fluid, unbroken stroke that looks like it was drawn in one motion.
While a backstitch is a common choice, it can appear segmented. To elevate it, first complete your backstitch outline.
Then, using the same thread, whip the stitches by sliding your needle under each backstitch without piercing the fabric.
This simple finishing step covers the gaps and transforms your work into a single, smooth, elegant line, making your minimalist line art embroidery patterns look professionally executed.
13. Bring Hand-Stitched Patterns to Lighting

Embroidering a lampshade adds a beautiful, custom touch and interacts with light in a unique way.
Choose a simple, repeating geometric motif that can be stitched with a basic backstitch or running stitch for clean results.
Use a high-contrast thread so the design is visible both when the light is off and when it is illuminated.
As light shines through the pierced holes of the embroidery, it creates a delicate, starry effect that adds warmth and texture to your room.
14. Unify Fabric Collage with Stitched Overlays

Elevate a simple fabric collage by using embroidery to connect and unify the composition.
First, arrange and affix patches of neutral, textured fabrics onto a canvas base, leaving the edges raw for a soft, tactile quality.
Then, use long, deliberate straight stitches in a contrasting color to create a grid or plaid pattern over the entire piece.
This stitched overlay pulls the separate elements together, transforming fabric scraps into cohesive, abstract fabric collage embroidery ideas that feel incredibly artistic.
15. Capture Delicate Florals with Tiny, Clustered Knots
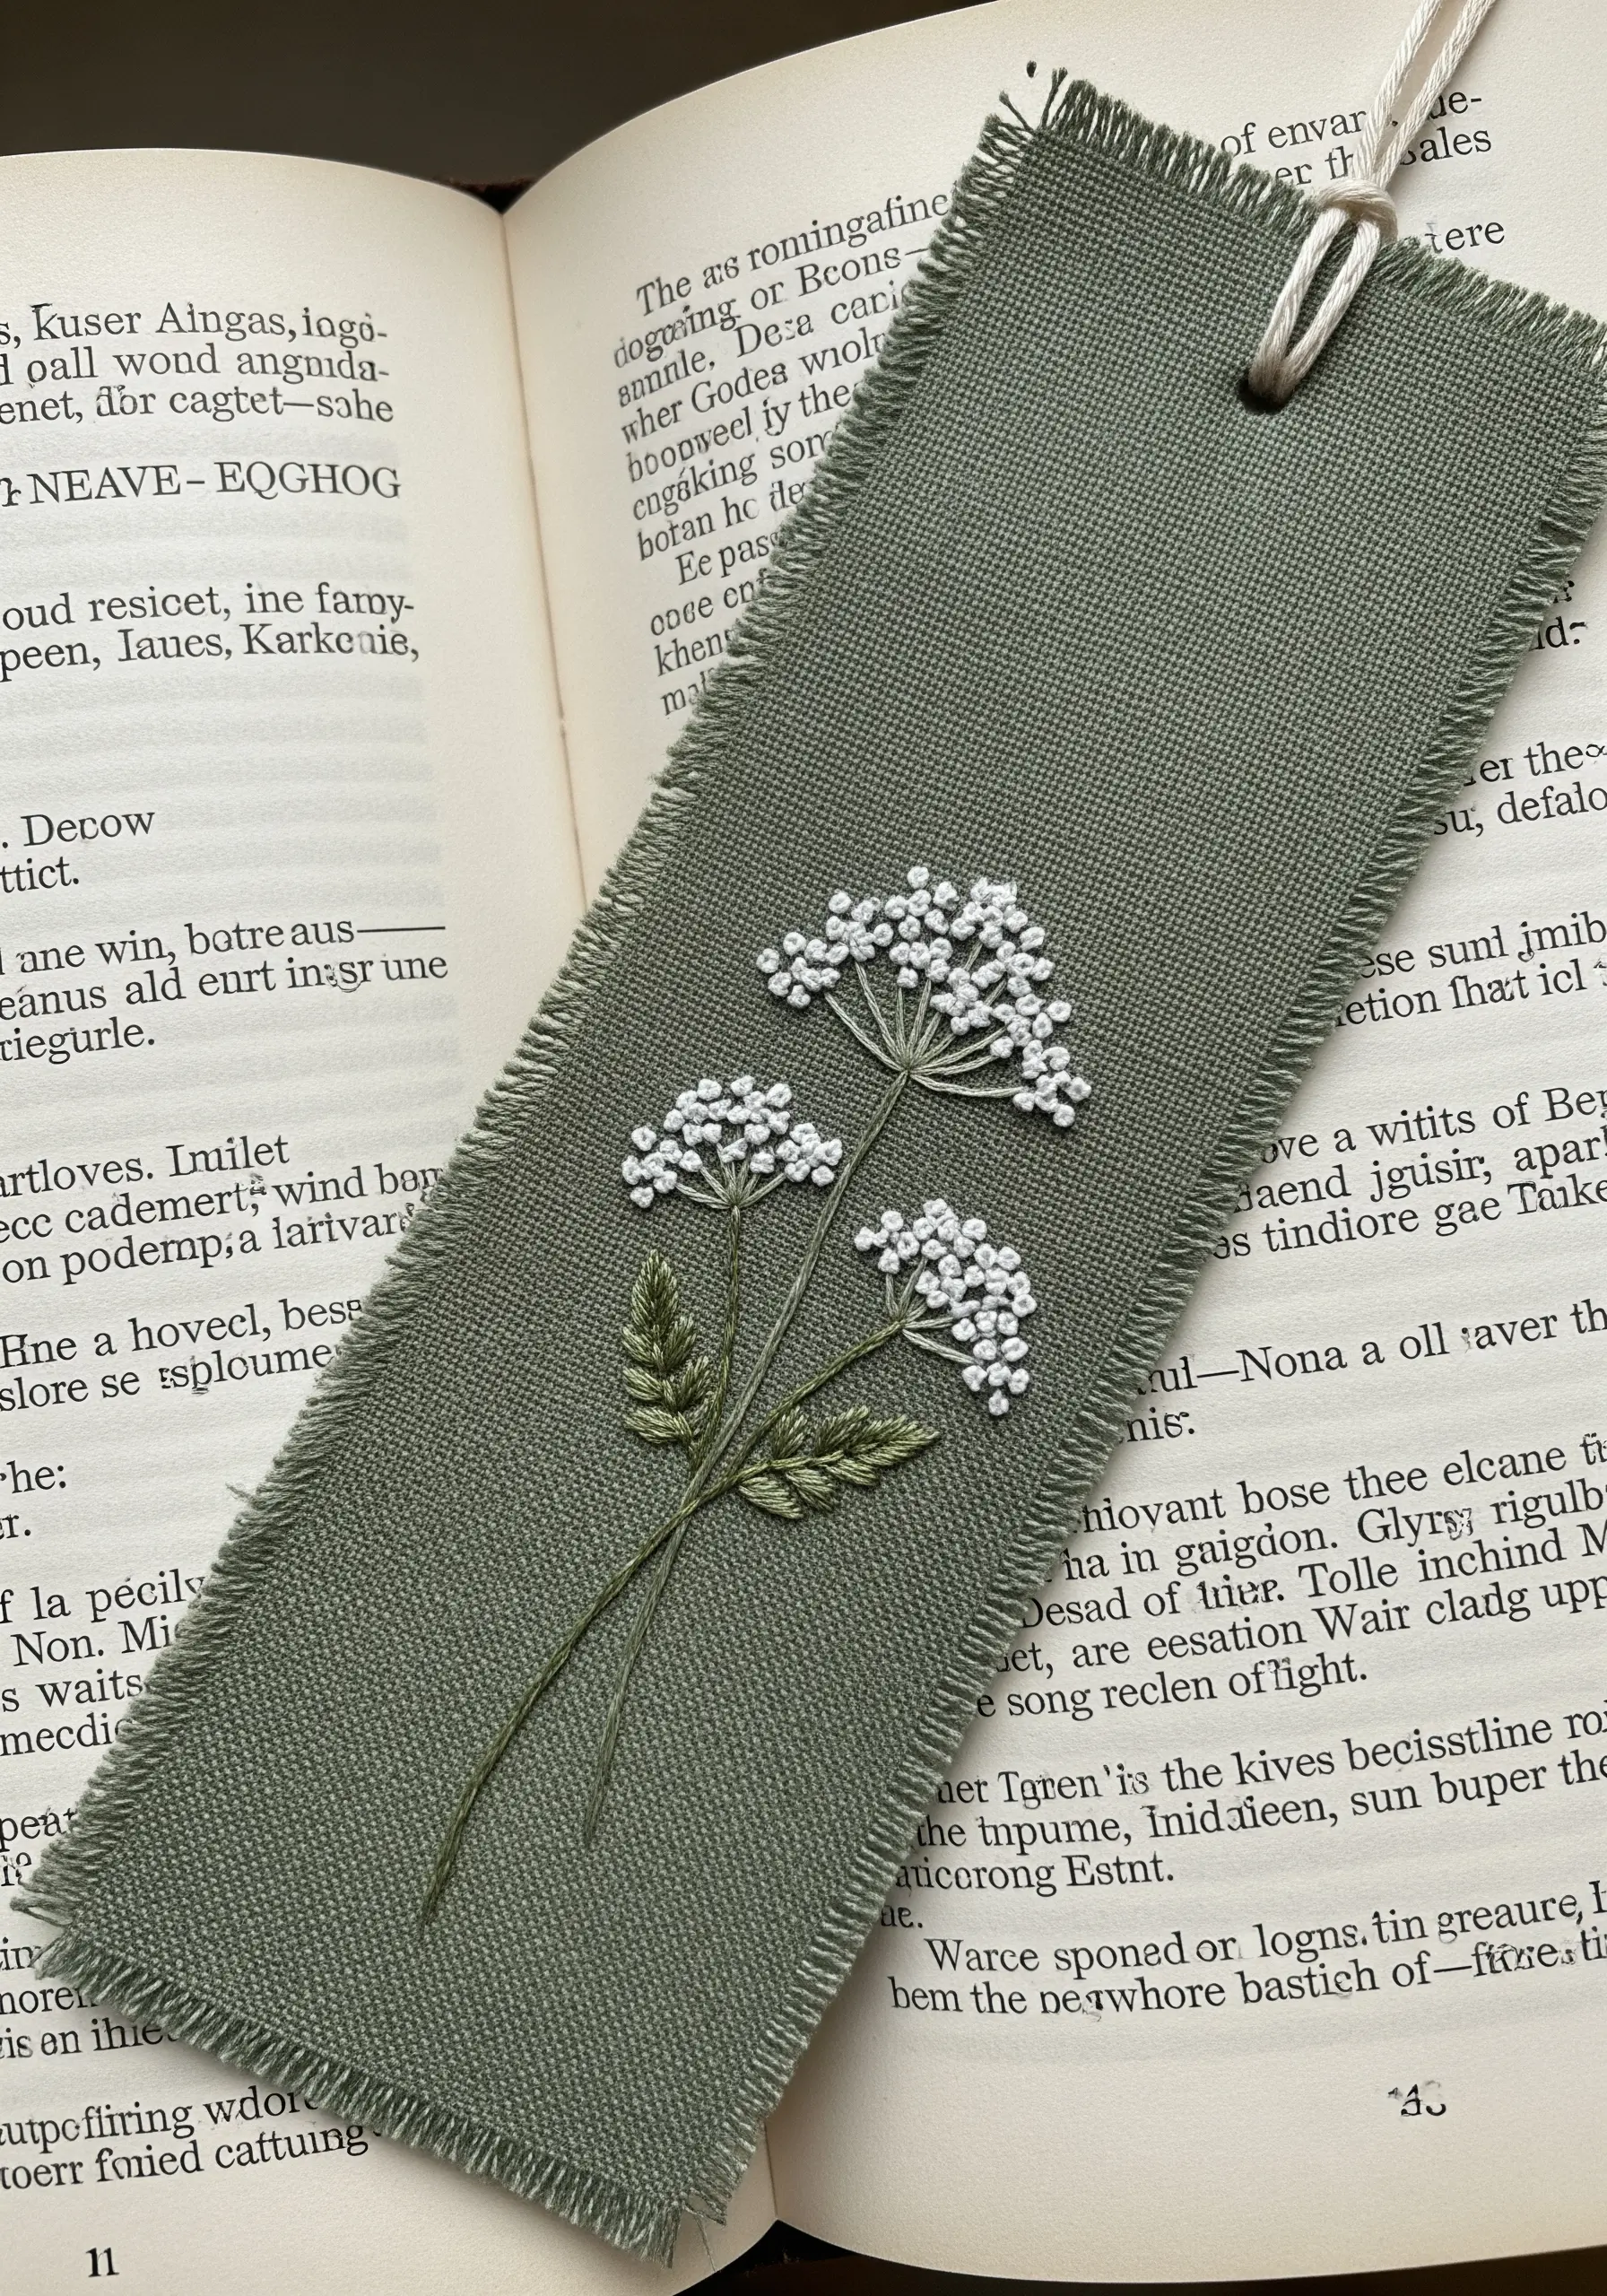
To recreate the airy, intricate feel of wildflowers like Queen Anne’s Lace, rely on clusters of tiny French knots.
Use just one or two strands of white floss and make single-wrap knots, grouping them closely together to form the delicate flower heads.
For the stems, use a single strand of green thread in a fine stem stitch to keep them slender and graceful.
This delicate approach is perfect for small projects like bookmarks, where fine detail makes the biggest impact.
16. Create Bold, Roped Texture with a Heavy Chain Stitch
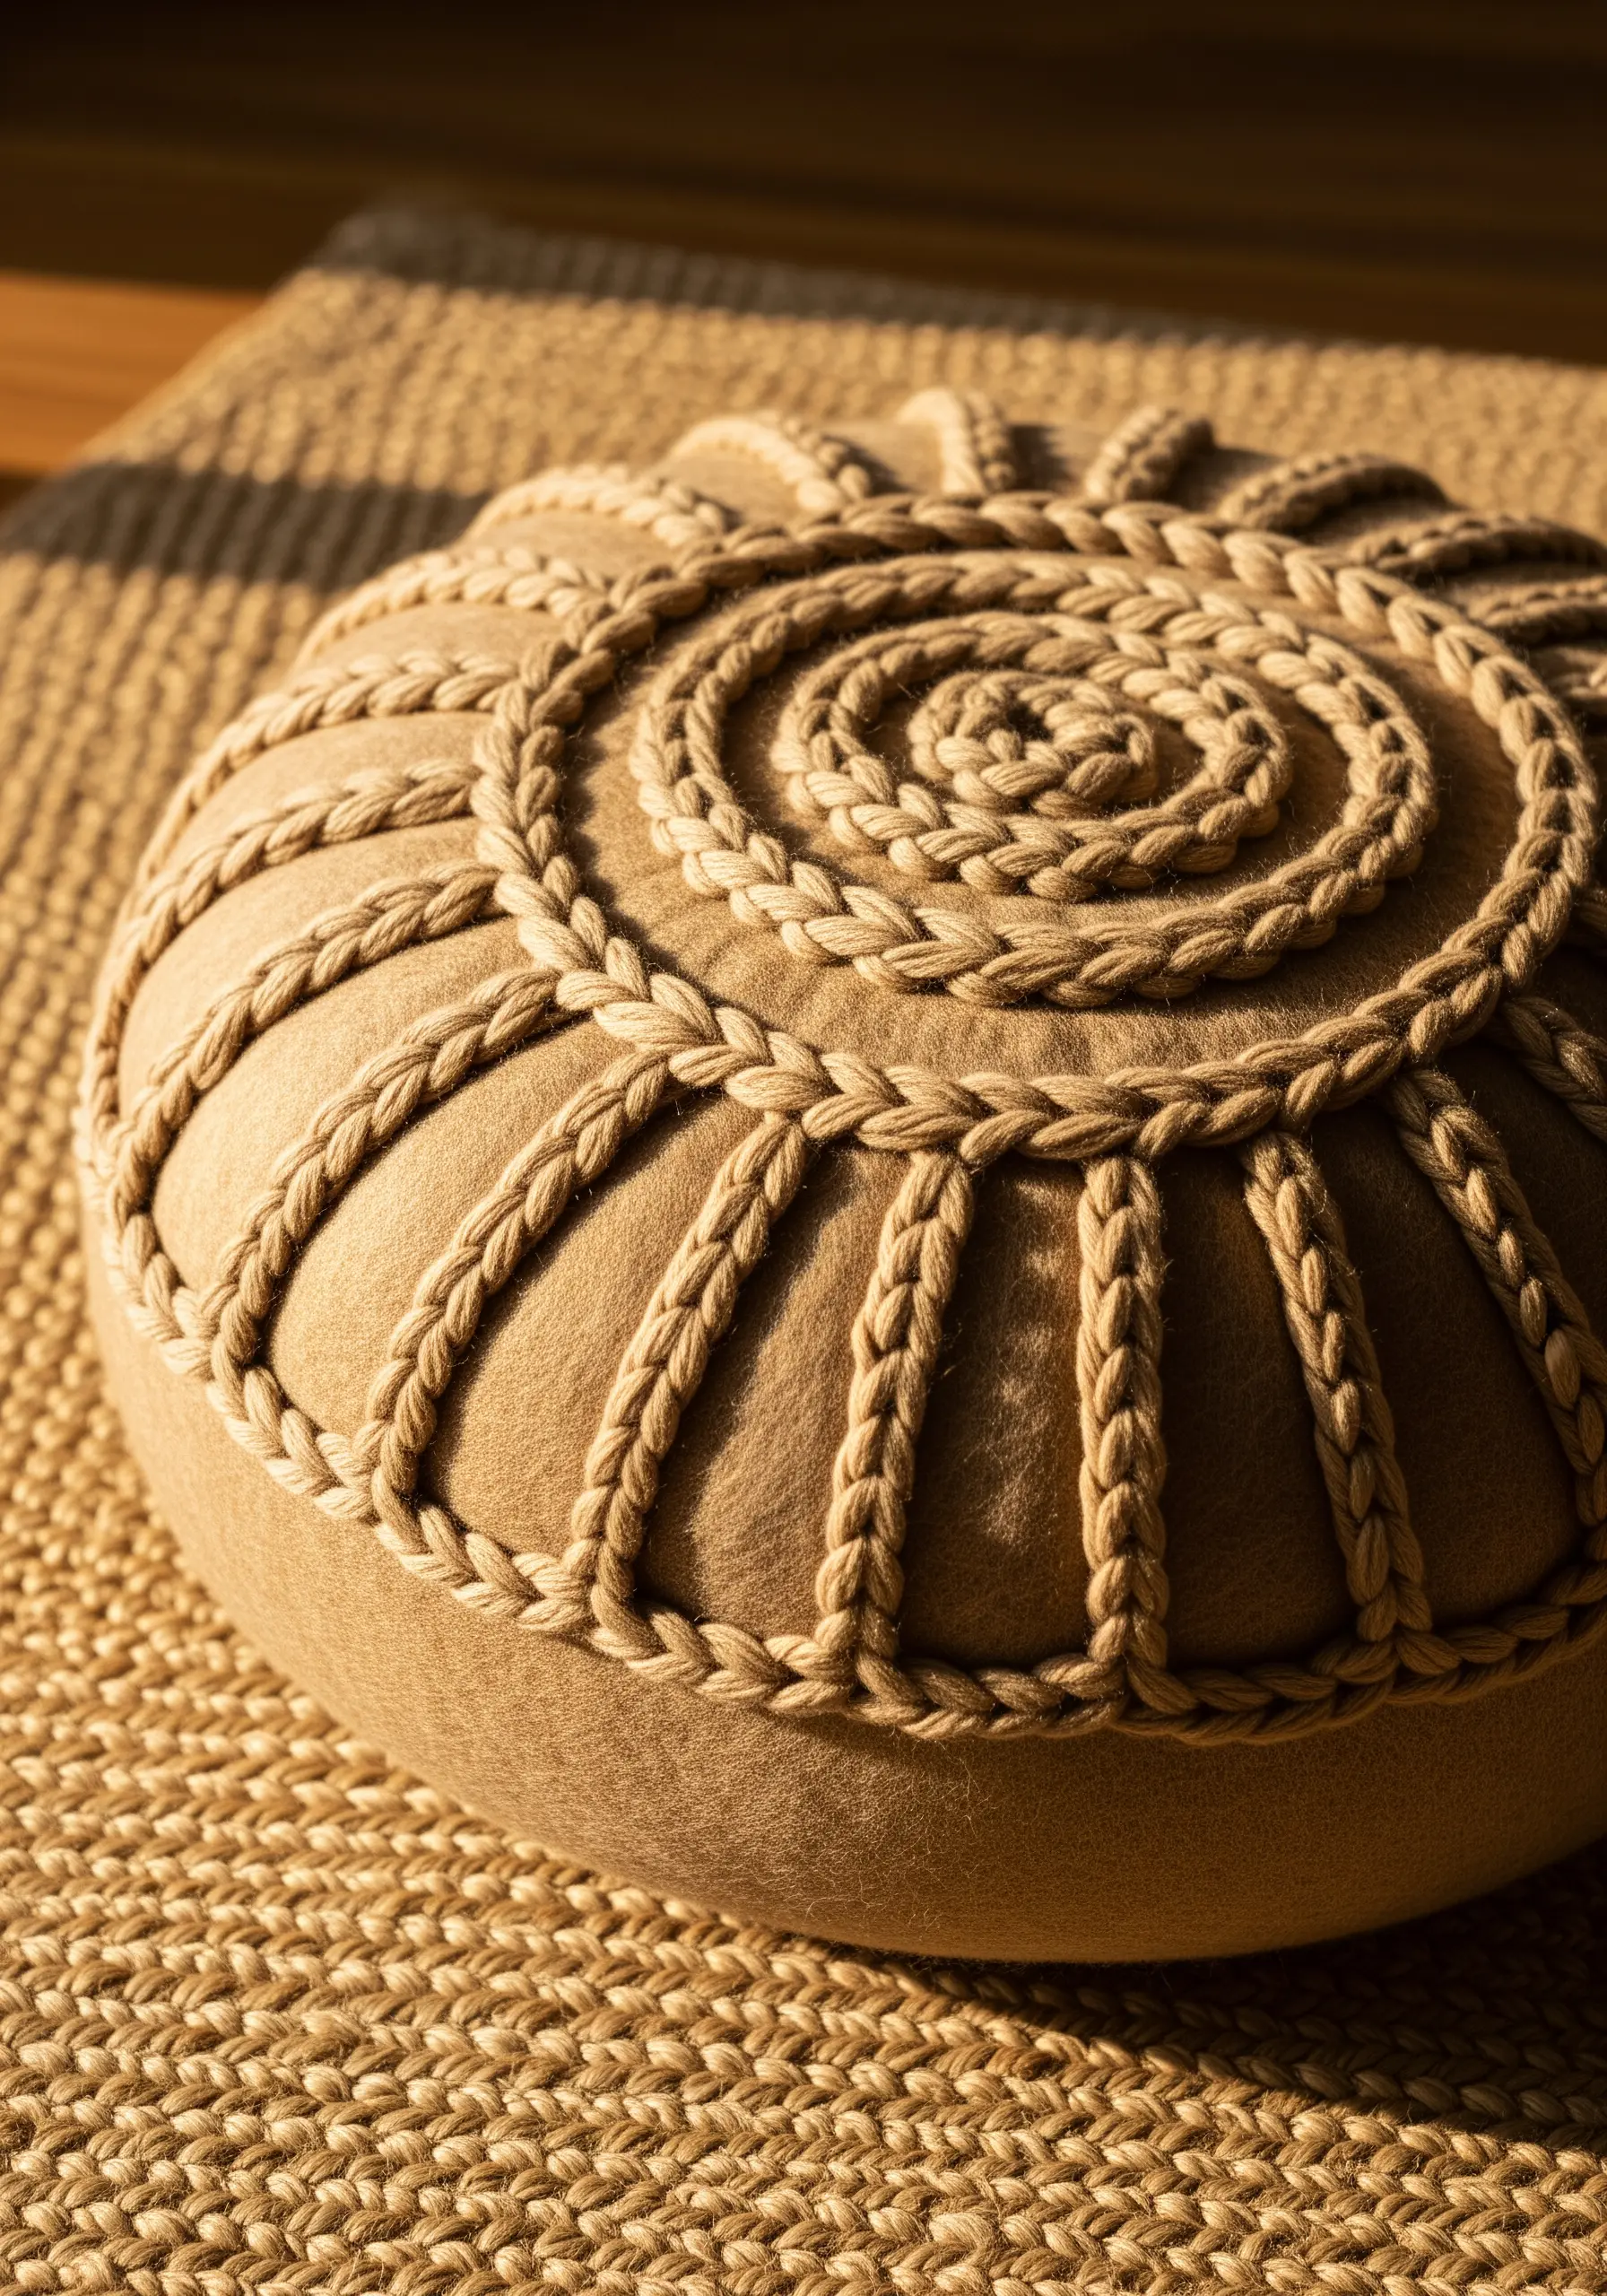
To achieve a substantial, braided look on upholstery like a pouf or cushion, a heavy chain stitch worked in thick yarn is your best technique.
This stitch creates a raised, plaited line that closely mimics the appearance of a decorative cord, but is fully integrated into the fabric.
Work the stitch in a spiral or other geometric pattern, maintaining even tension so the loops are consistent in size for a durable and beautifully textured result.
17. Explore Textural Fills for Large-Scale Abstract Art
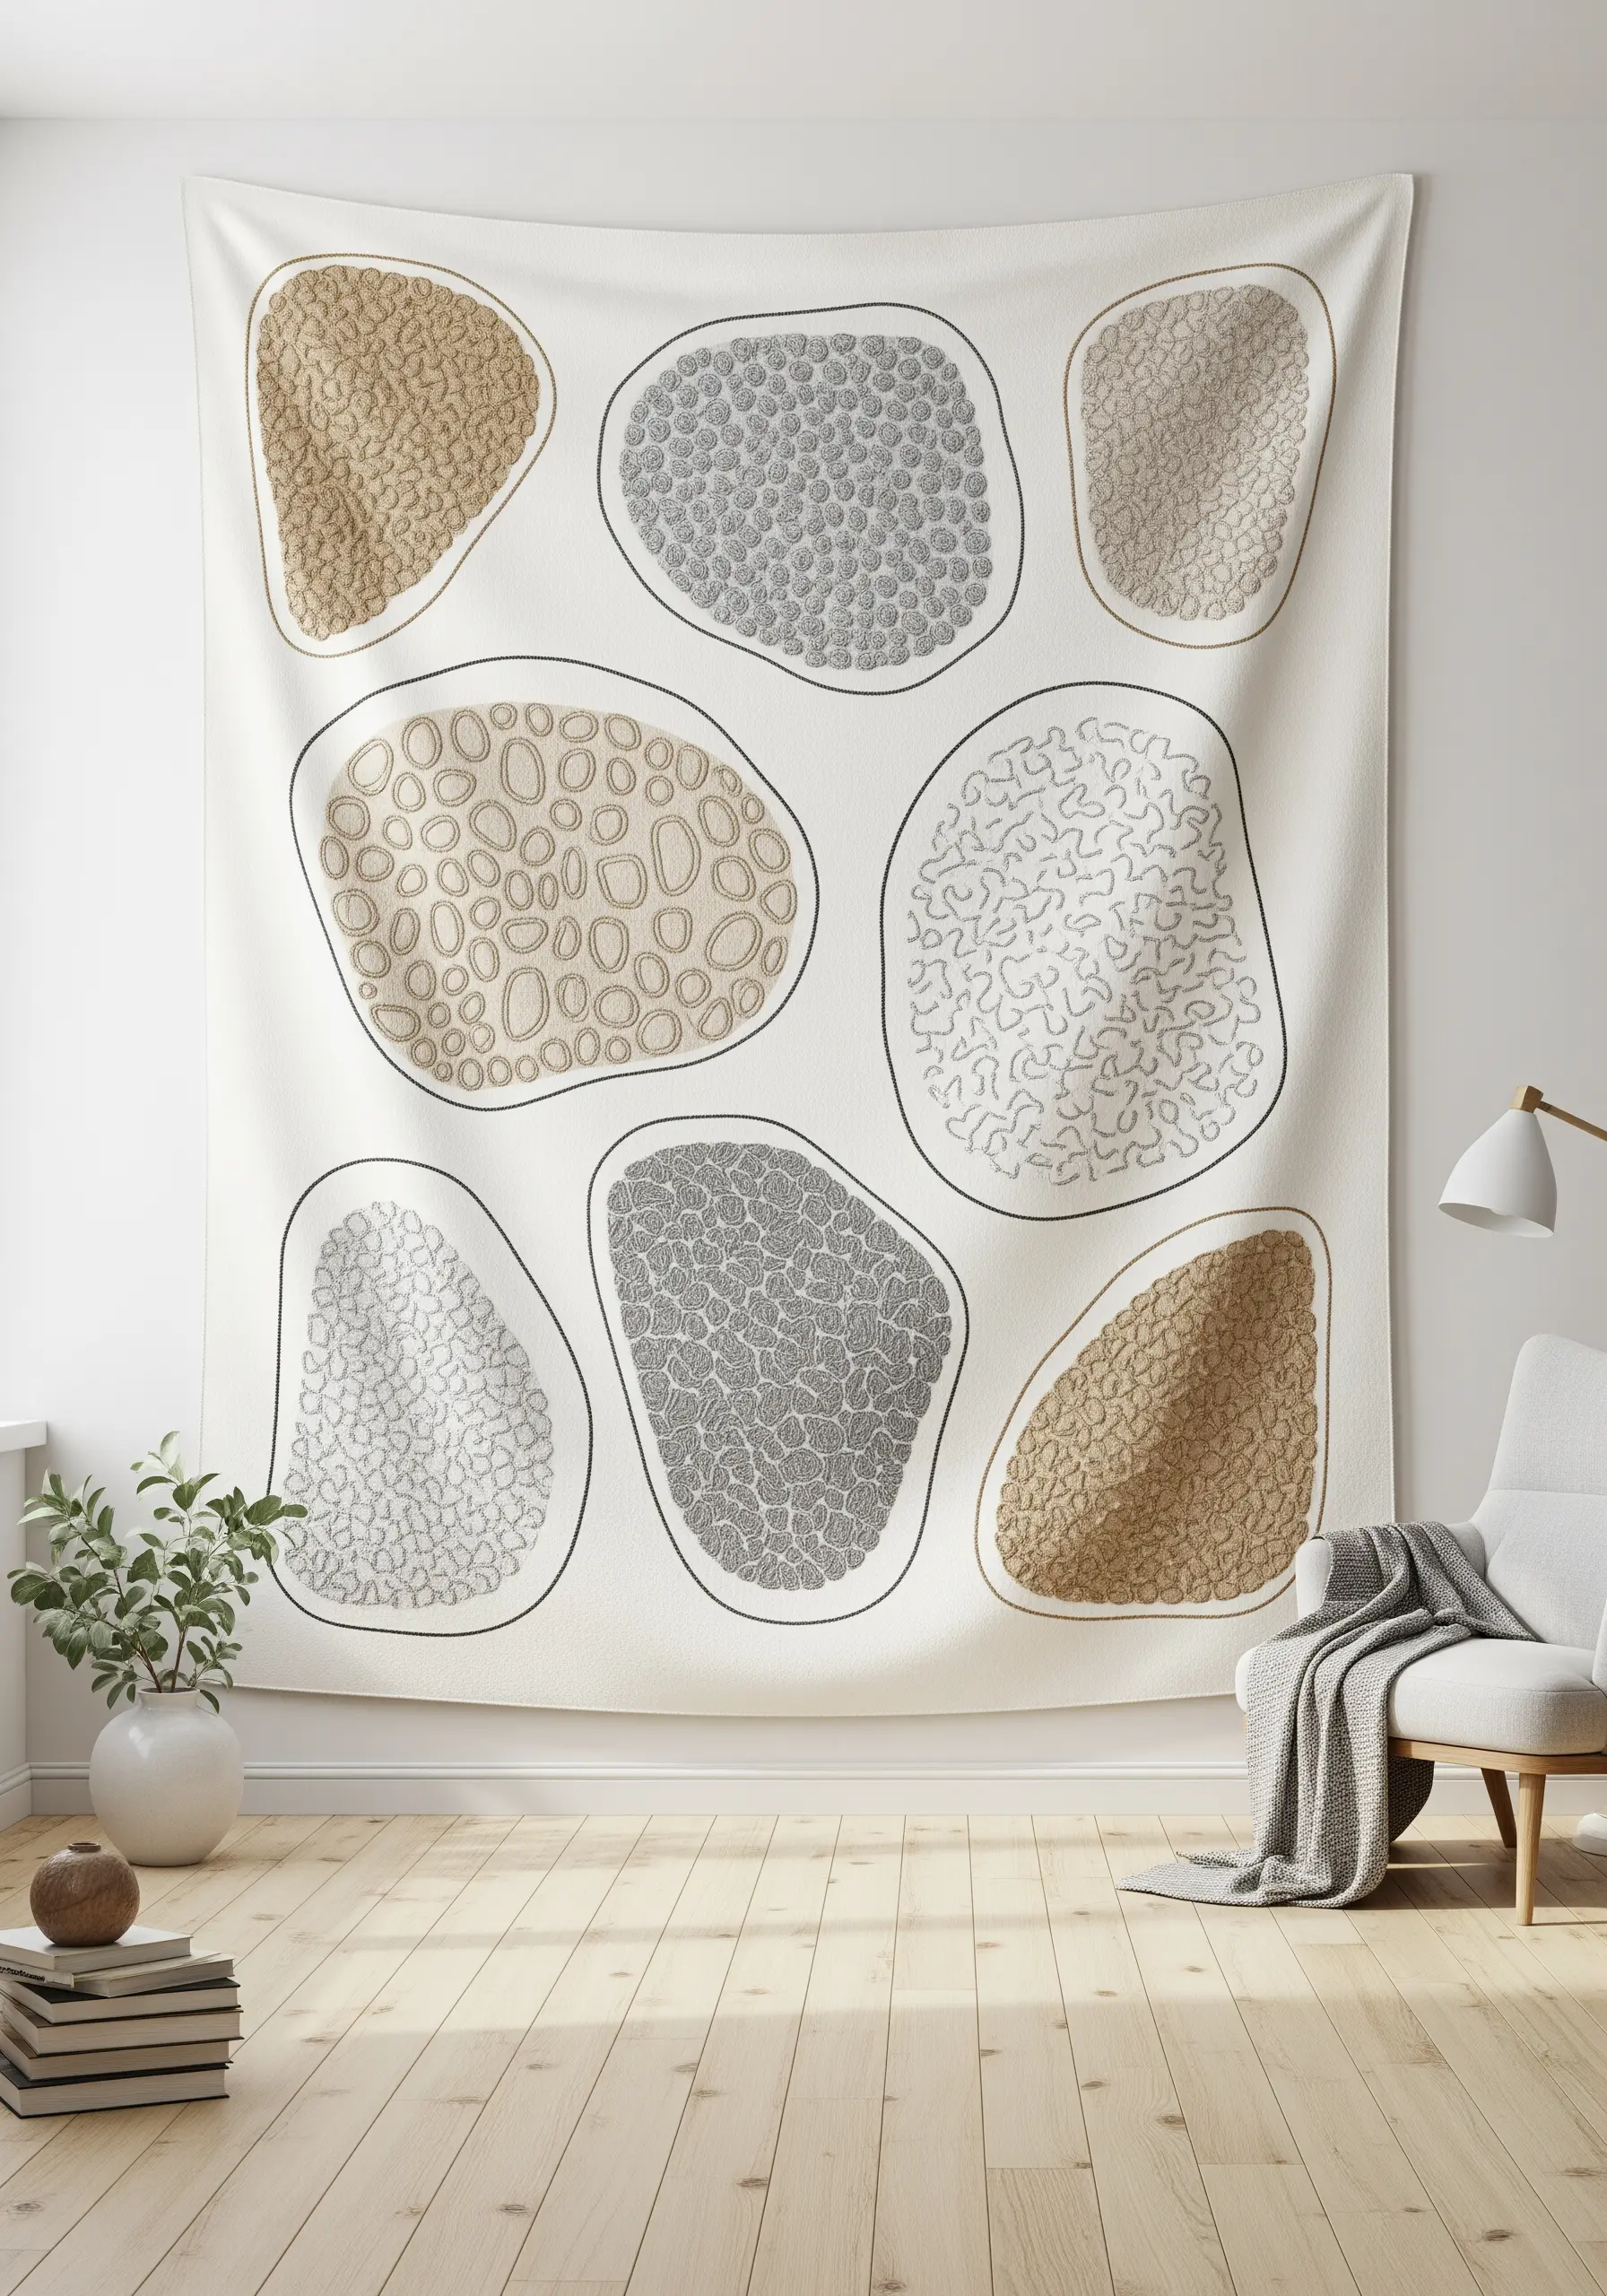
When working on a large tapestry, filling entire shapes with satin stitch is impractical and can cause puckering.
Instead, explore textural fill stitches by first outlining your organic shape embroidery patterns with a bold stem stitch.
Then, assign a different darning stitch or fill pattern to each shape: dense seed stitches, parallel running stitches, or meandering, free-form lines.
This approach adds incredible visual interest and allows you to cover large areas while celebrating the unique quality of hand-stitching.
18. Stabilize Your Stitches for Crisp Motifs on Terrycloth
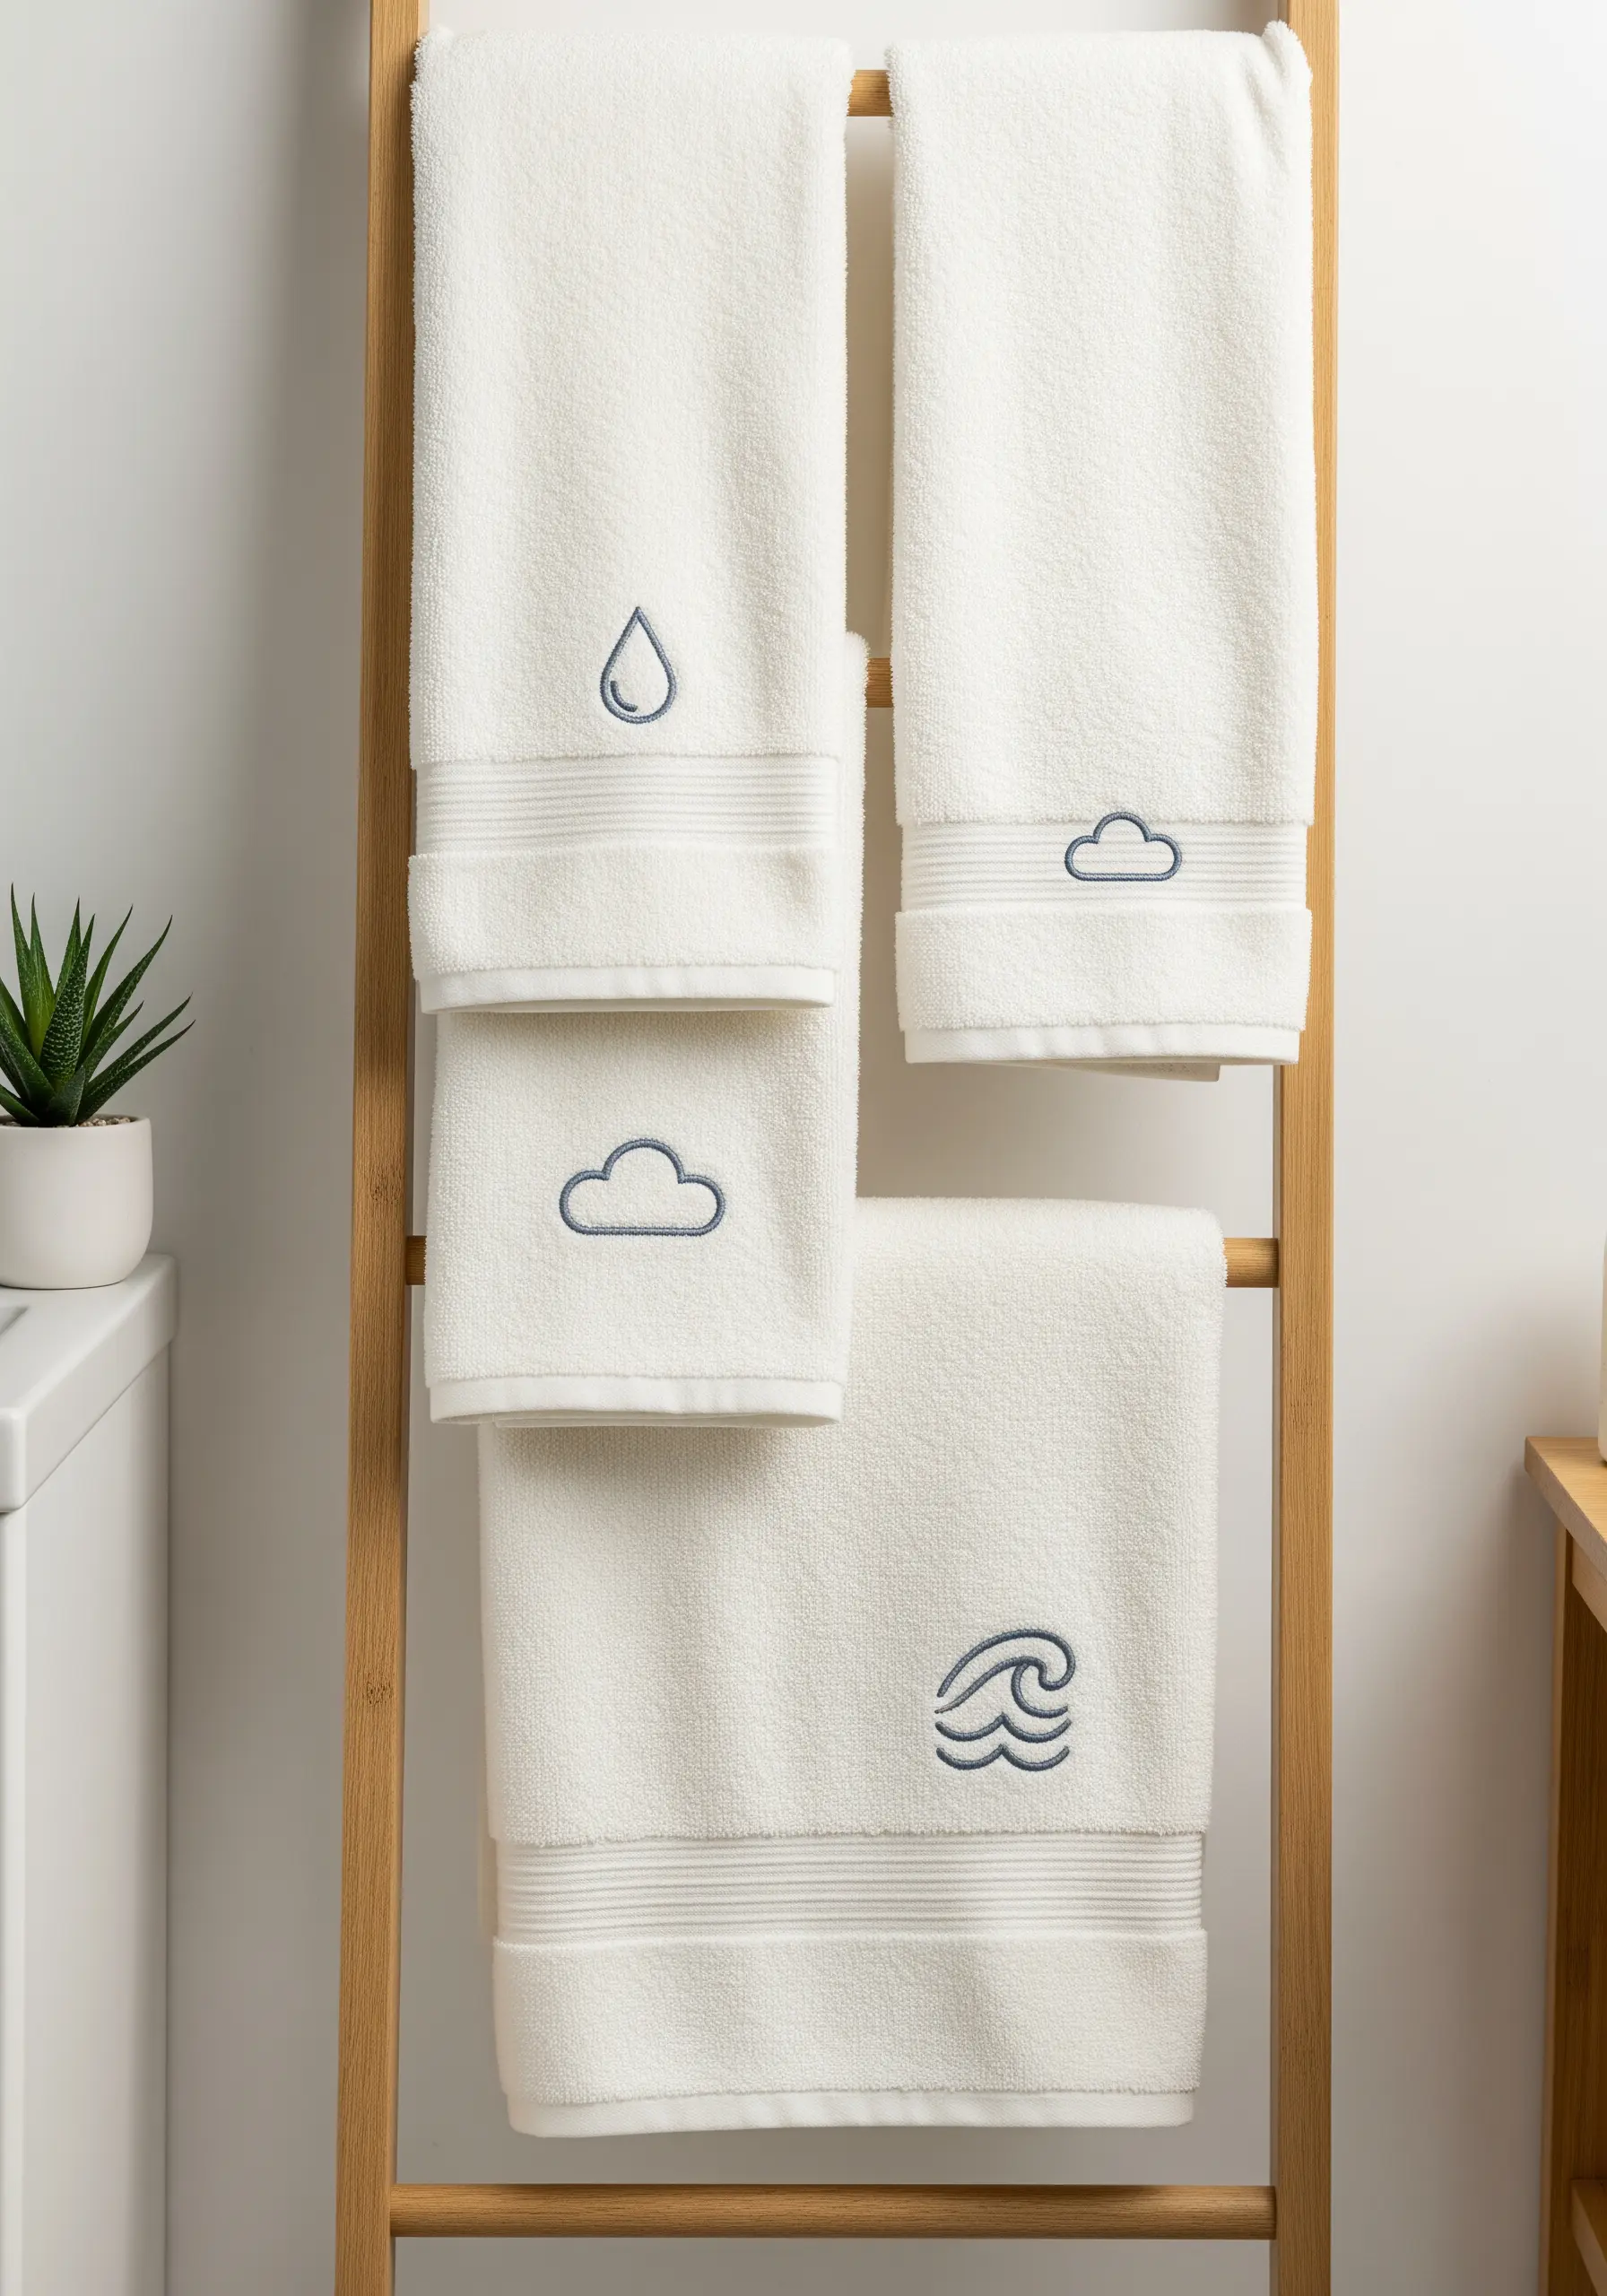
Embroidering on plush fabrics like towels requires one crucial step for professional results: using a stabilizer.
Place a piece of tear-away or wash-away stabilizer on the back of the fabric before you begin stitching.
This provides a solid foundation that prevents the fabric’s loops from swallowing your stitches or distorting their shape.
A simple backstitch outline followed by a dense satin stitch fill will now appear crisp and defined, even after repeated washing.
19. Achieve Geometric Precision with a Perfect Grid

For a flawless geometric pattern like this honeycomb design, your preparation is more important than your stitching speed.
Do not try to eyeball the spacing. Instead, use a ruler and a water-soluble fabric pen to carefully draw the complete grid onto your fabric before you make a single stitch.
Once your guide is in place, you can relax and focus on creating neat, consistent backstitches.
The drawn grid is your secret to perfect symmetry and spacing, leading to a professional and deeply satisfying result.
20. Combine Simple Stitches for Delicate Botanical Gifts

You can create charming and detailed botanical designs for sachets by mastering just a few elemental stitches.
Use stem stitch for stalks, fishbone stitch for simple leaves, and French knots for lavender buds or the centers of daisies.
For the daisy petals themselves, a simple detached chain stitch (or lazy daisy) is perfect.
By keeping the thread weight low—just two or three strands—you ensure the tiny botanicals look delicate and refined, making them ideal for small handmade projects that double as thoughtful gifts.
21. Map the Night Sky with Precise, Delicate Stitches
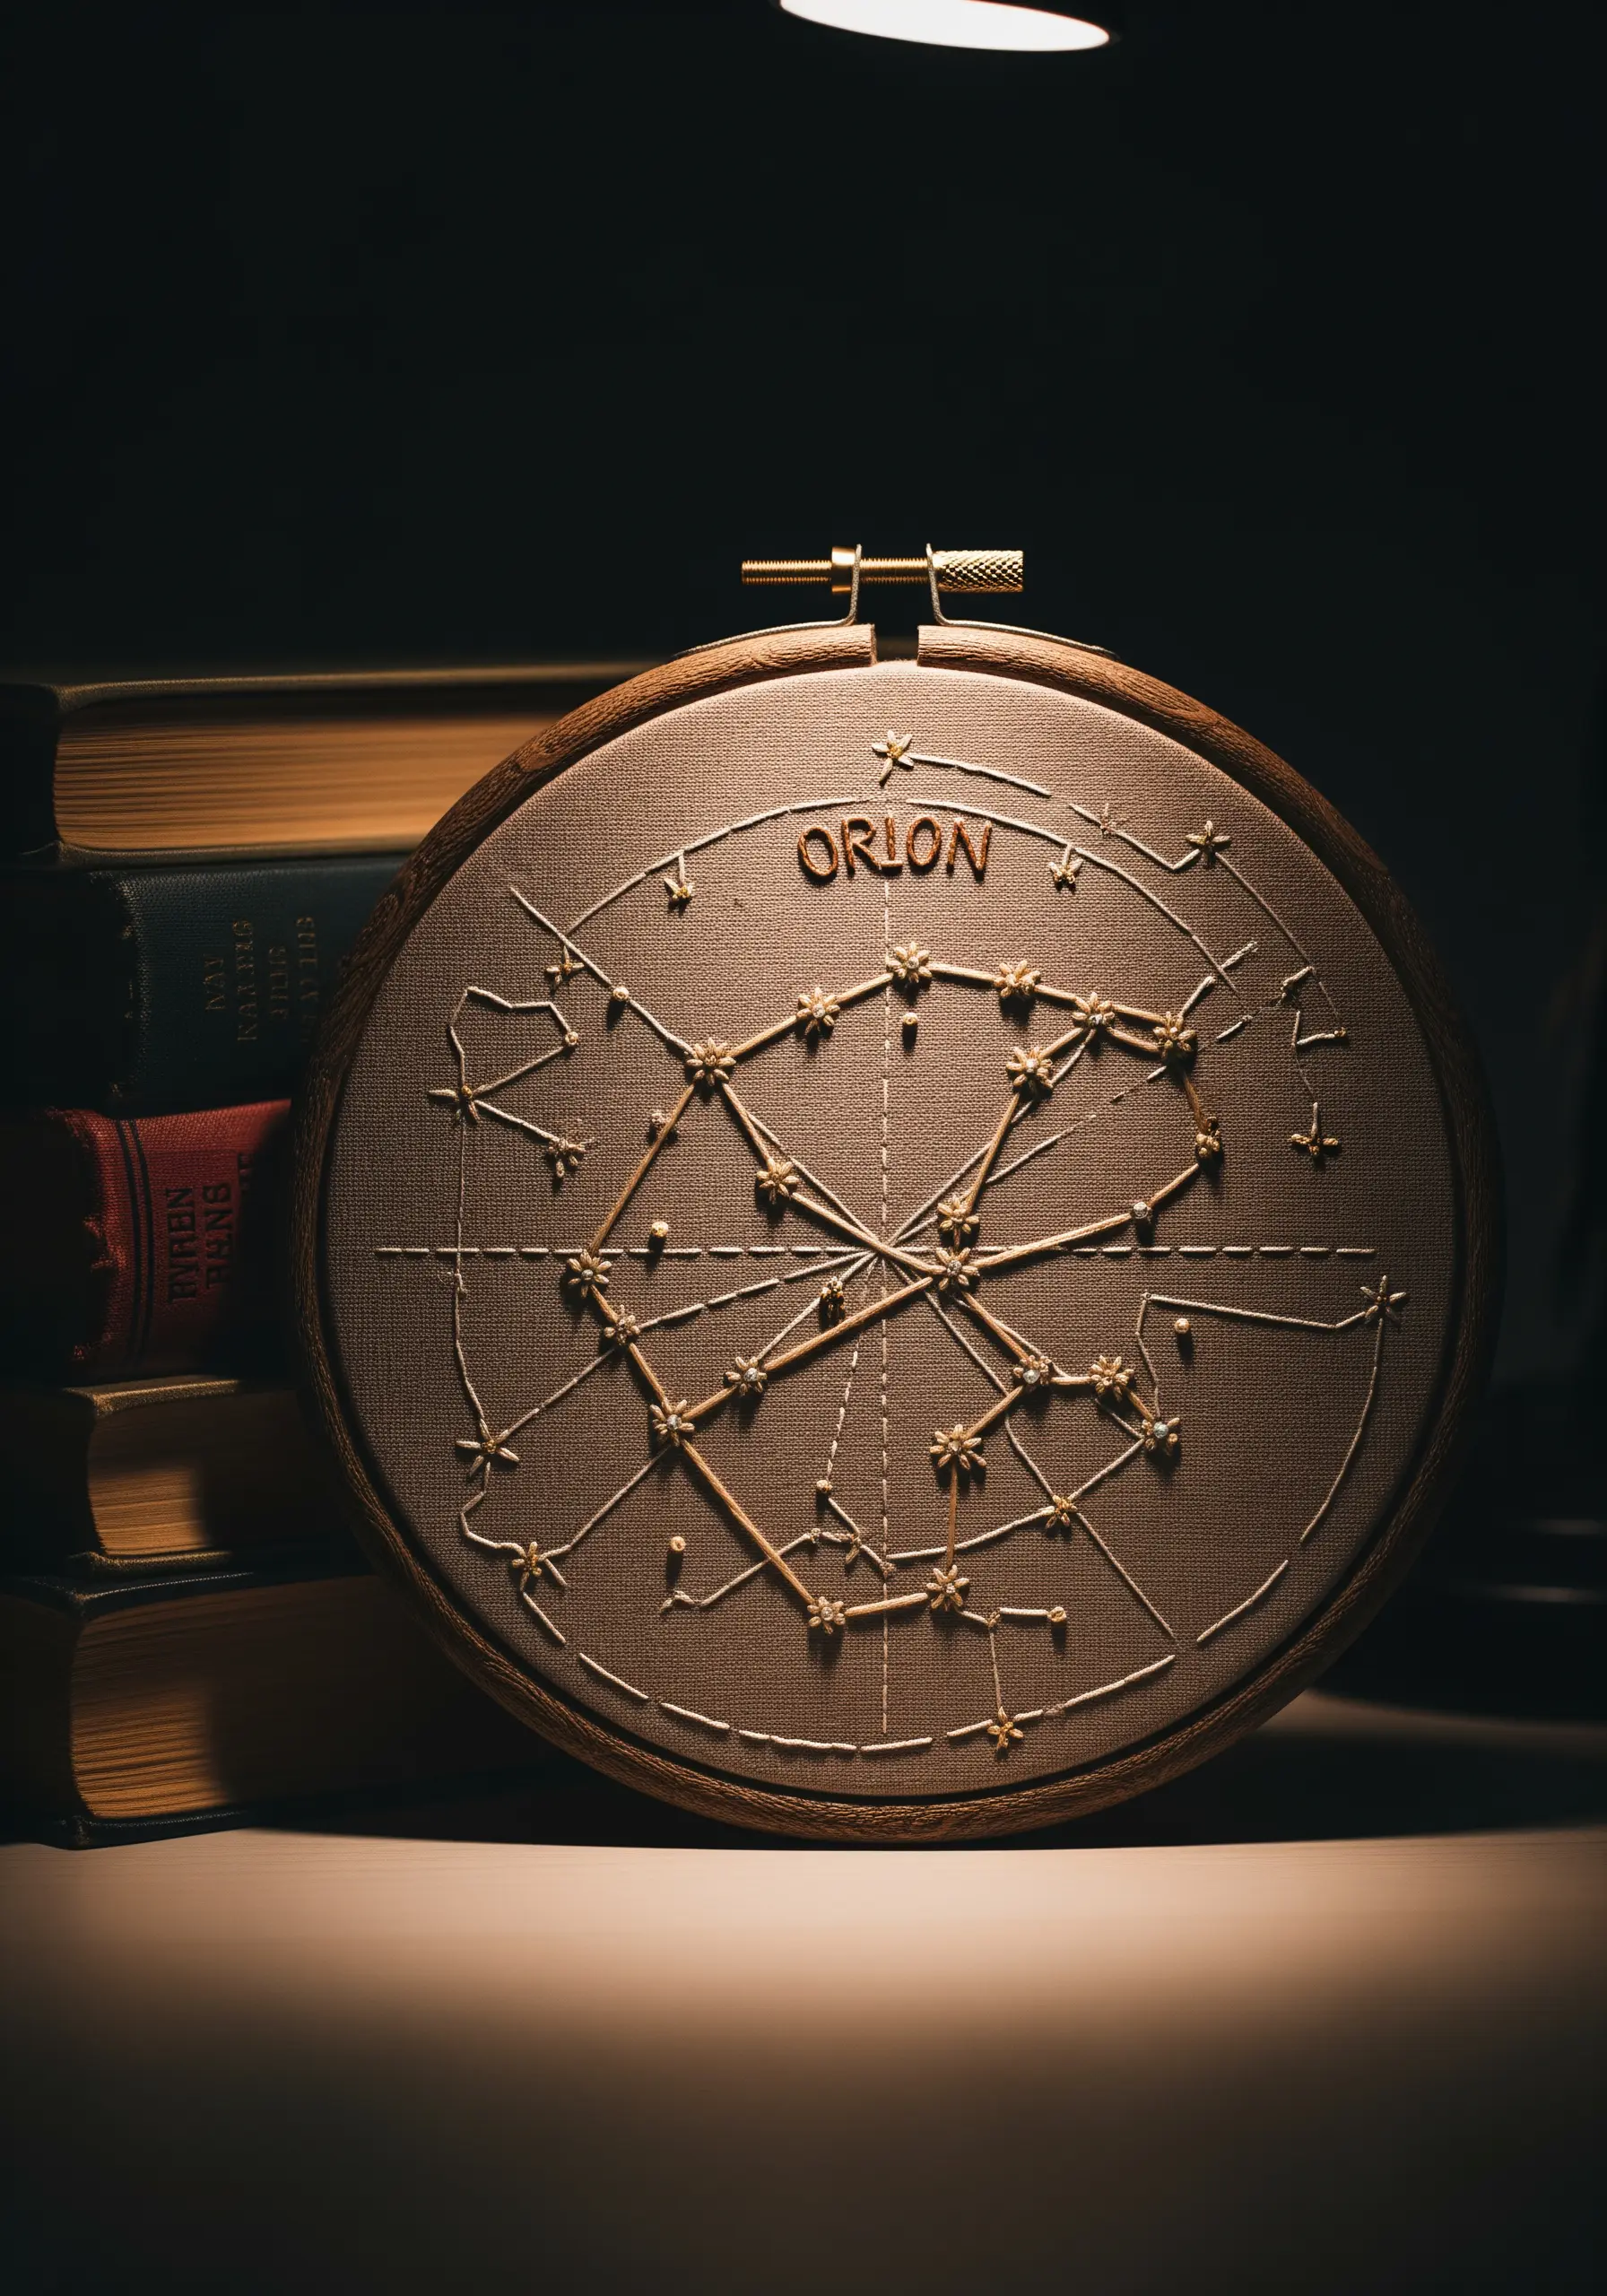
To embroider a constellation accurately, begin by transferring a star map to your fabric to mark the exact position of each star.
For the stars themselves, use a small star stitch or a cluster of three tiny lazy daisy stitches to create a sparkling effect that feels more dynamic than a simple knot.
Connect the stars with clean, taut straight stitches pulled just tight enough to lay flat without puckering the fabric.
Adding lettering with a tiny backstitch gives the piece a classic, scientific-illustration feel.
22. Emulate Nature with Free-Form Vertical Stitching
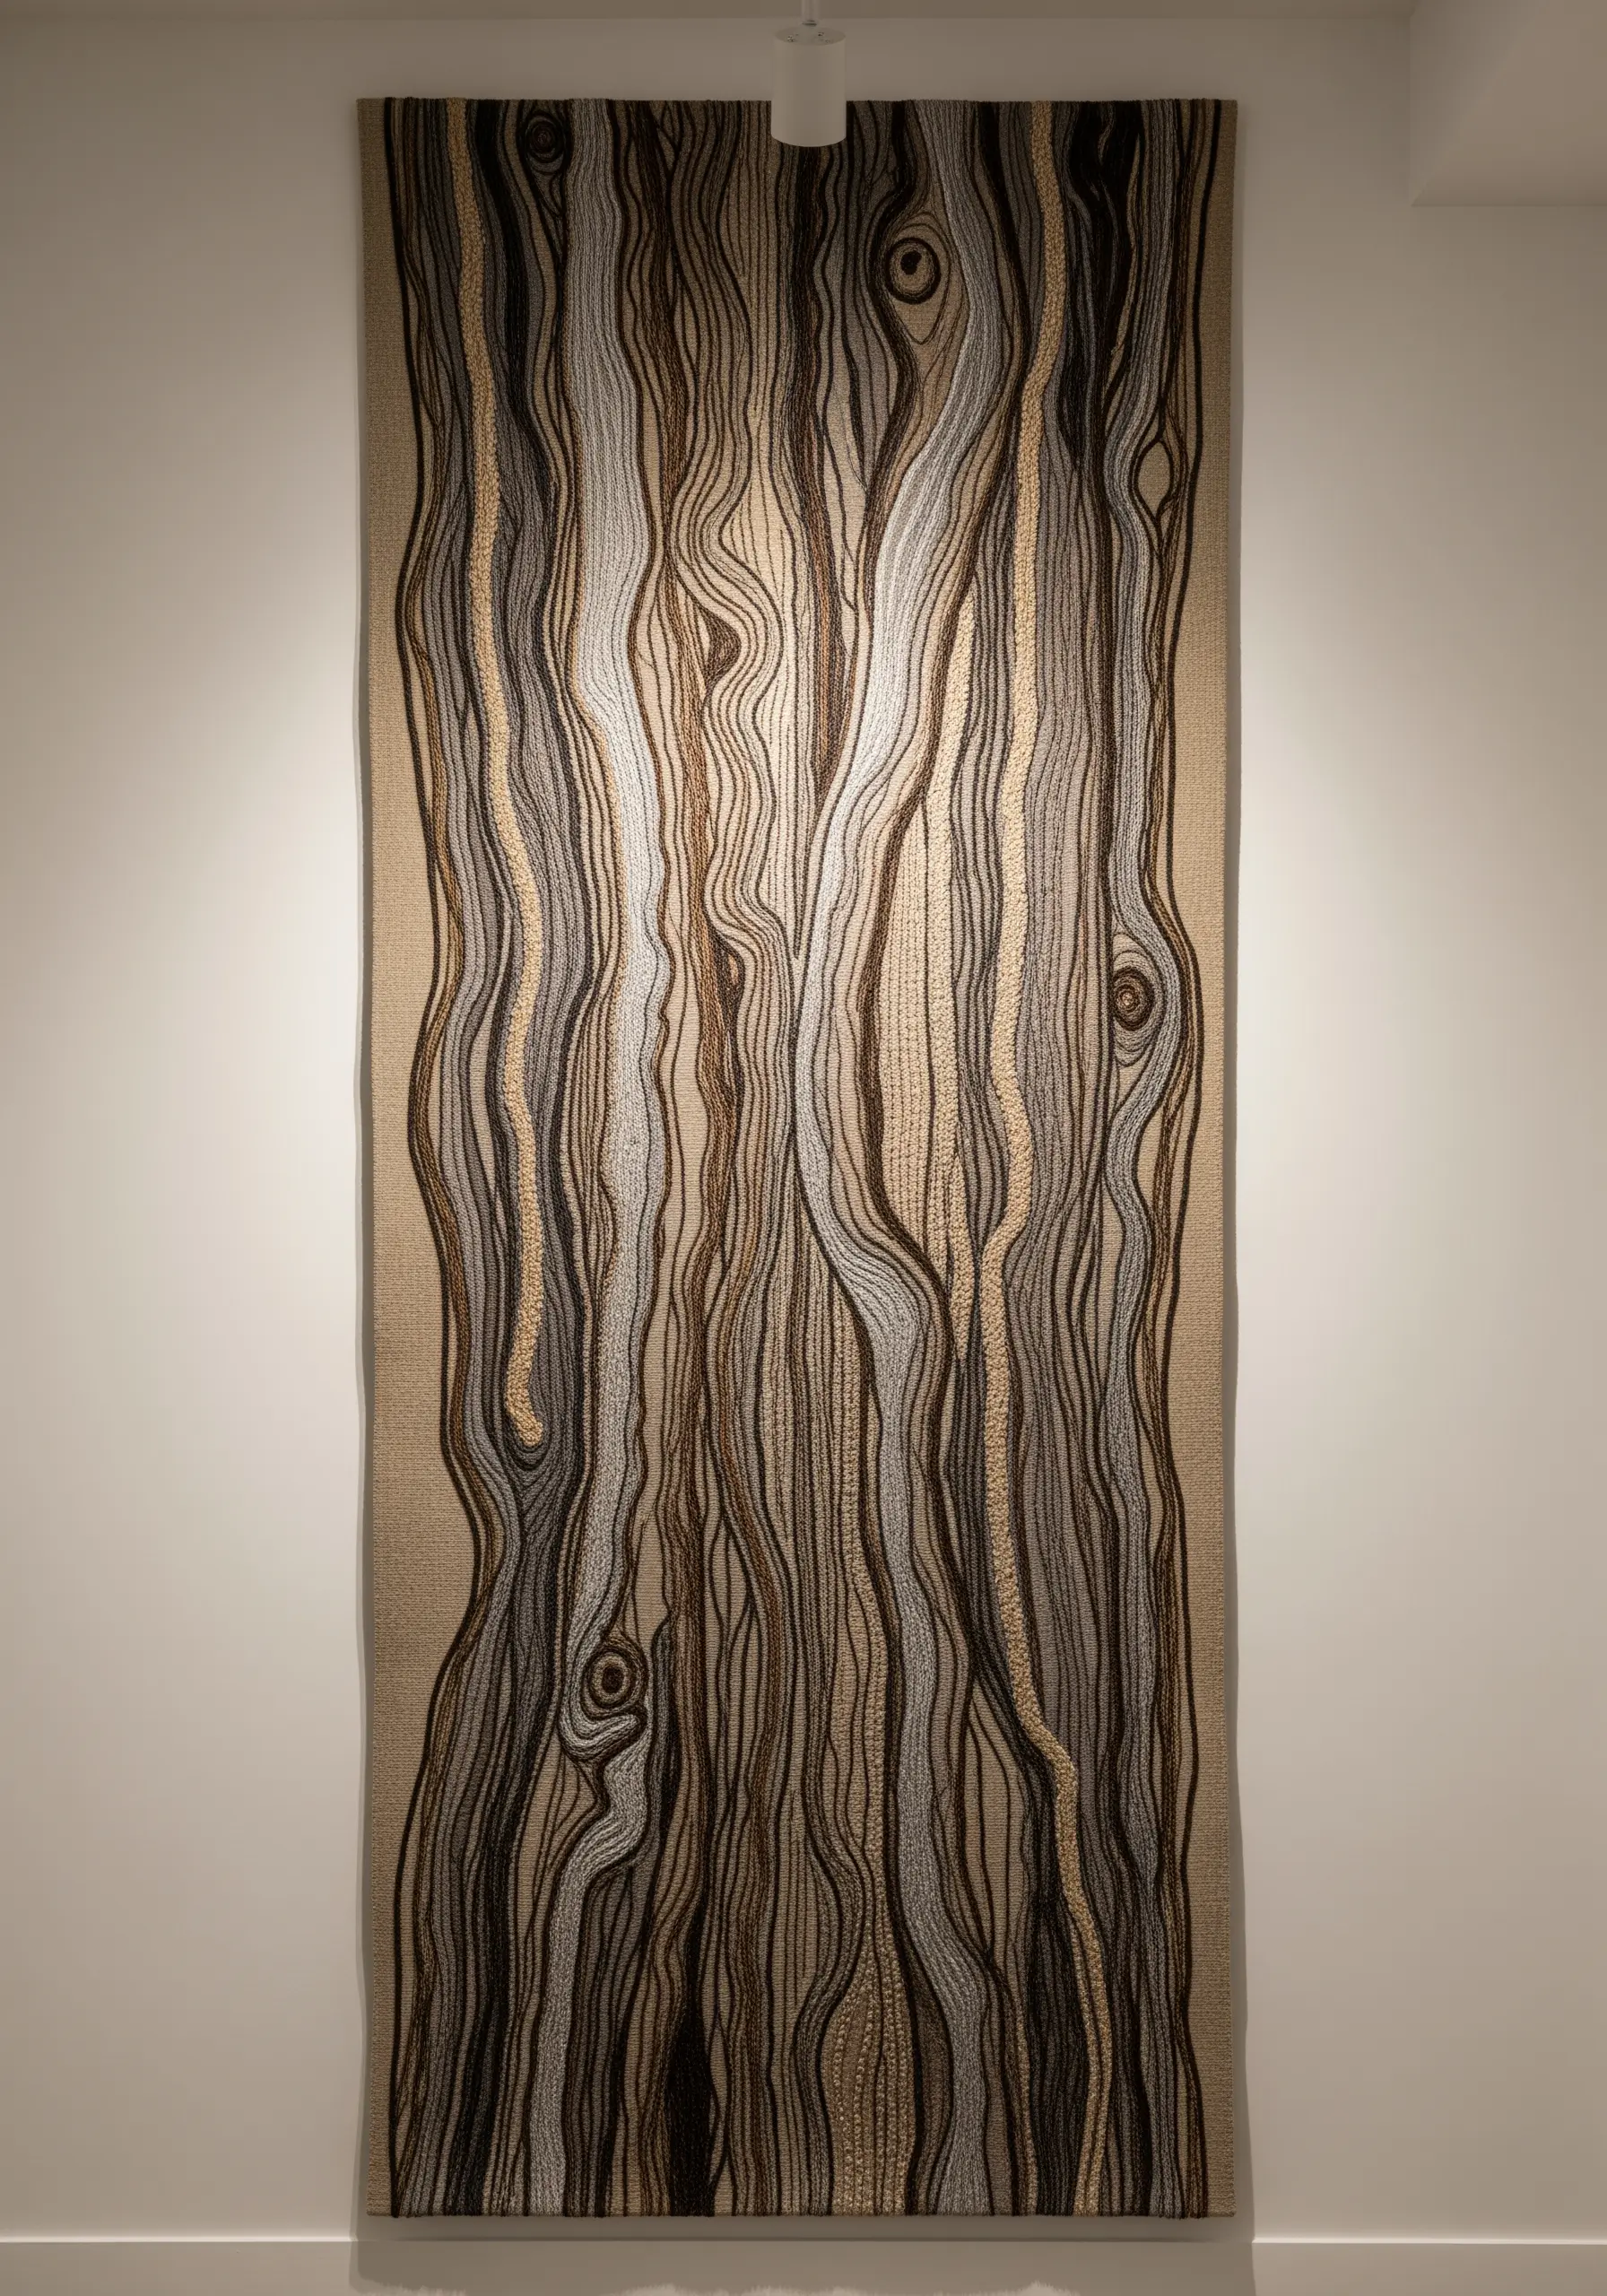
Recreate the organic texture of tree bark by letting go of rigid stitch rules and embracing an intuitive process.
Use a mix of neutral-colored threads in varying weights, from fine cotton to thicker wool.
Work with long, slightly wavy vertical stitches, allowing them to overlap and weave around each other to build up layers of color and texture.
This is one of the most effective ways to capture nature’s textures in your next embroidery project, resulting in a dense, tactile surface that feels beautifully abstract yet familiar.
23. Elevate a Simple Mark into a Bold, Rhythmic Pattern

Even the simplest stitch, like a cross, becomes a sophisticated design element when organized in a repeating grid.
Use a thick thread, like perle cotton or tapestry wool, to give each ‘x’ stitch weight and a strong graphic presence.
To add subtle depth to the pattern, alternate between two closely related neutral tones, such as charcoal and a medium grey.
The beauty of this design lies in its rhythm and texture, transforming a basic mark into a modern statement for a cushion or throw.


