
You have the threads, the linen, and the quiet desire to create something beautiful. But perhaps you feel a gap between the work your hands make and the art you envision. It’s not about mastering a hundred complex stitches; it’s about learning to use a few simple ones with artistic intention.
This is where your work transforms. We will move beyond merely following a pattern and into the realm of designing with thread. You will see how thoughtful choices in texture, line weight, and composition can turn a simple piece into sophisticated art—perfect for those compact, overlooked spaces in your home that are waiting for a personal touch.
Let go of the need for flawless perfection. Instead, focus on a single, deliberate adjustment. Choose a thicker yarn to create a line you can feel. Explore a tone-on-tone palette for texture that whispers. Or build a precise grid for graphic impact. These small, mindful shifts are what elevate your embroidery from a hobby into a statement.
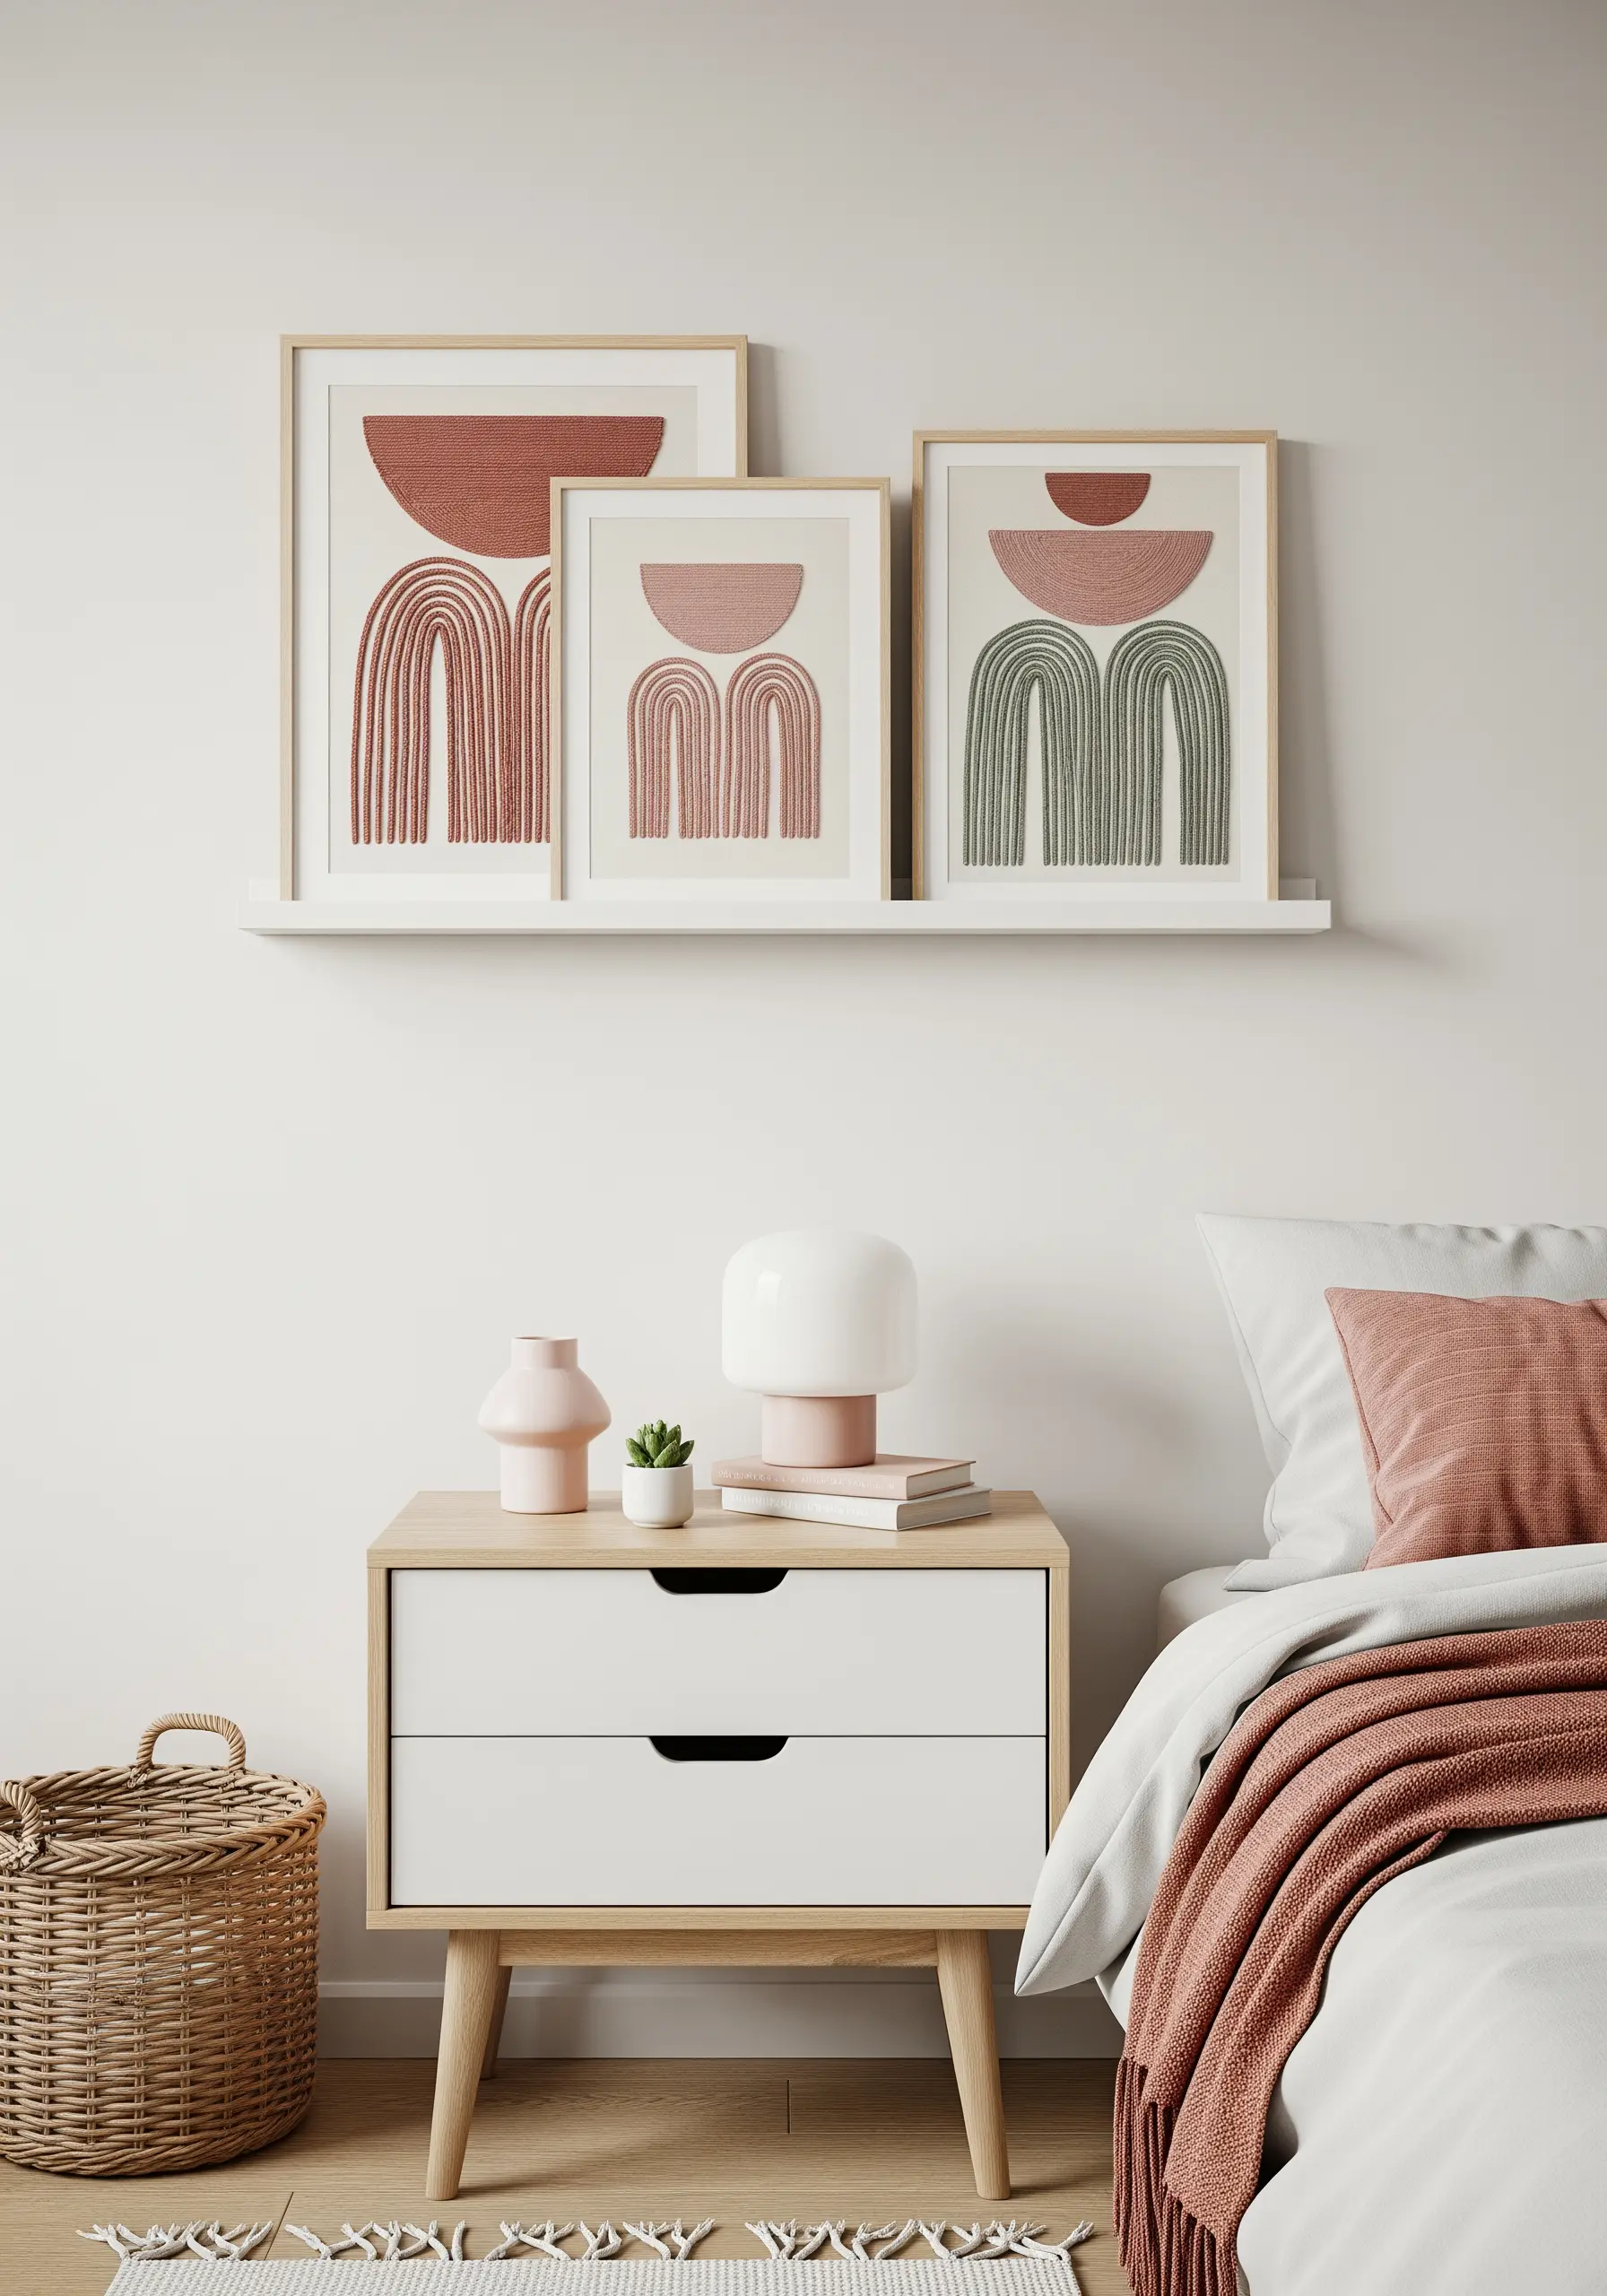
1. Create Sculptural Lines with Yarn Couching

To create these bold, dimensional forms, use a couching stitch with thick yarn or several strands of embroidery floss held together.
You essentially “draw” with the thick cord on the surface, using a thinner, matching thread to tack it down with small, perpendicular stitches.
This technique adds shadow and depth instantly, turning simple lines into bold wall sculptures that command attention.
It’s an efficient way to introduce texture without the density of satin stitch, perfect for graphic, abstract compositions.
2. Capture Fluid Motion with Metallic Threads
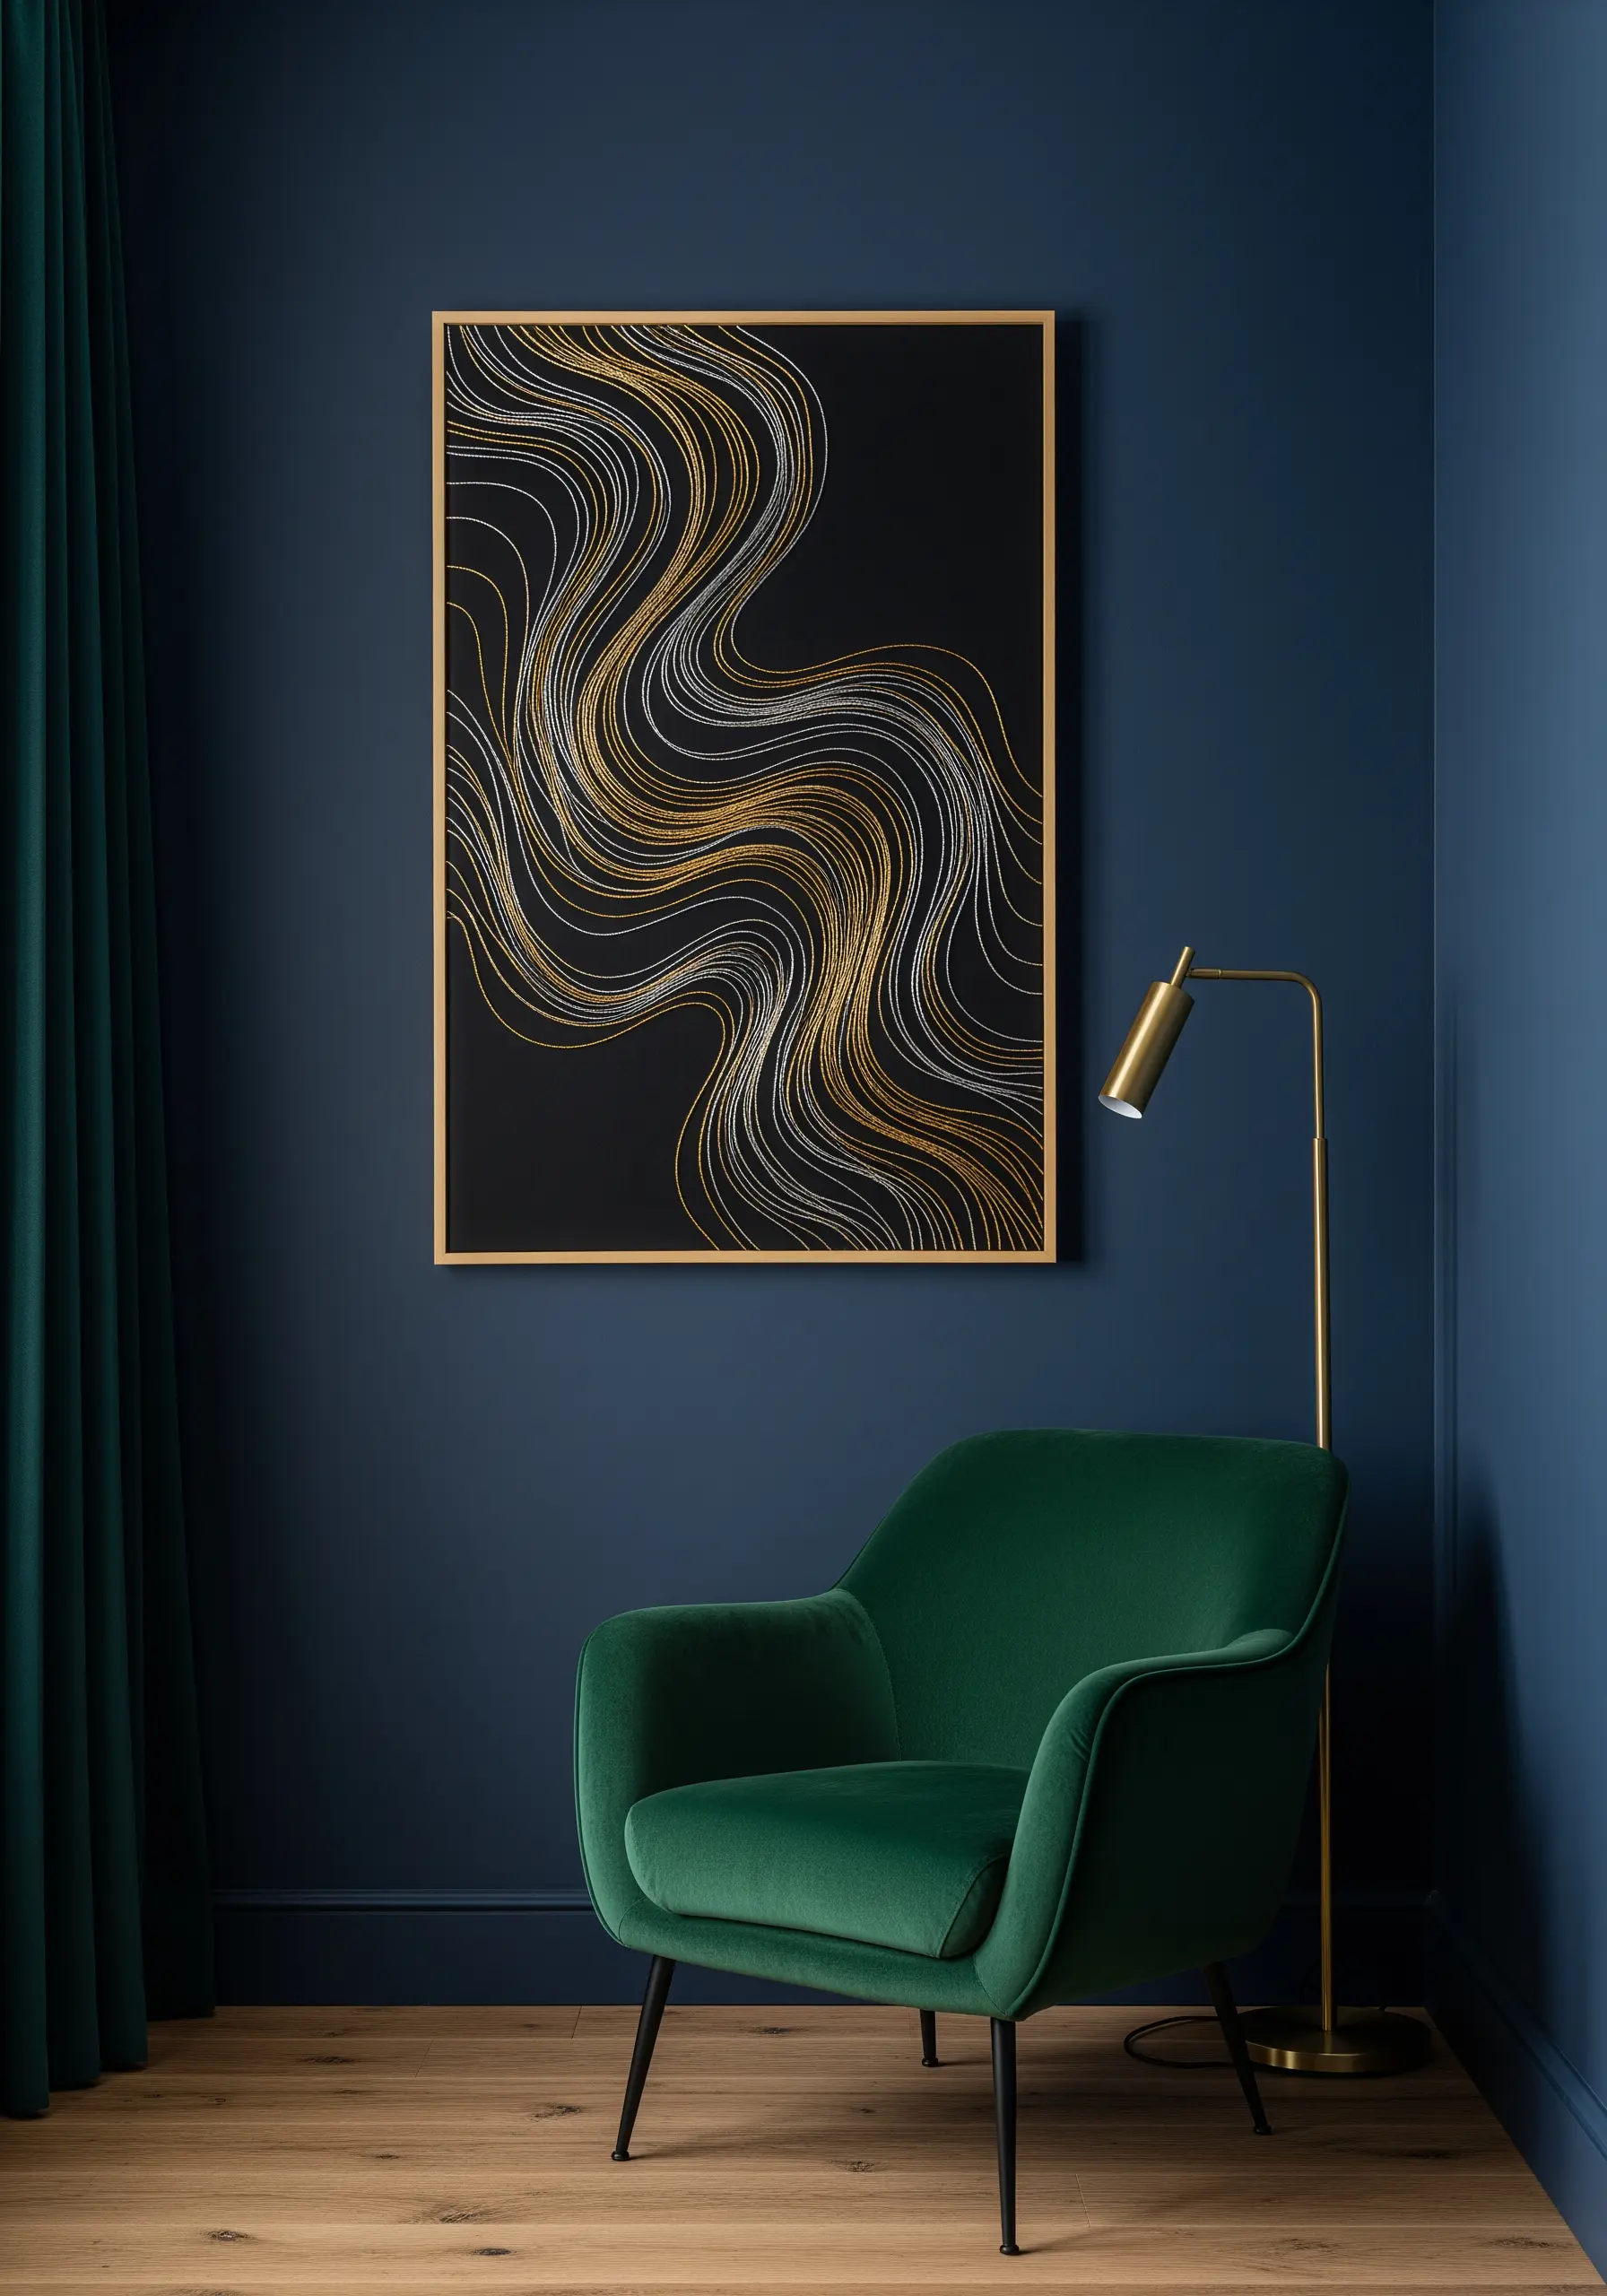
When working with metallic threads, use a shorter length than usual—no more than 12 inches—to minimize tangling and fraying.
A thread conditioner or beeswax will also help it glide smoothly through your fabric, preserving its shine.
Use a simple backstitch or straight stitch to create flowing lines, allowing the thread’s natural luminosity to be the focus.
The magic is in the way these light-catching effects shift as you move around the piece, creating a sense of energy and elegance.
3. Blend Colors with Architectural Precision

Achieve a seamless, painted look by blending adjacent color blocks with the long-and-short stitch.
Work with a single strand of floss to create the most subtle transitions, ensuring your stitches are tight and uniform for a solid appearance.
Lightly sketch your arches onto the fabric first to serve as a precise guide for your color placement.
This technique transforms simple shapes into neutral color gradient masterpieces with a calm, sophisticated feel.
4. Explore Texture with Tone-on-Tone Stitching
Tone-on-tone embroidery thrives on texture, not color contrast, to make its statement.
Choose a thread that is the exact same shade as your fabric, relying on the shadows cast by your stitches to reveal the design.
Maximize this effect by using thicker threads like pearl cotton or textured stitches like the chain stitch or French knot.
The result is an understated, elegant piece that invites a closer look and adds quiet sophistication to any wall.
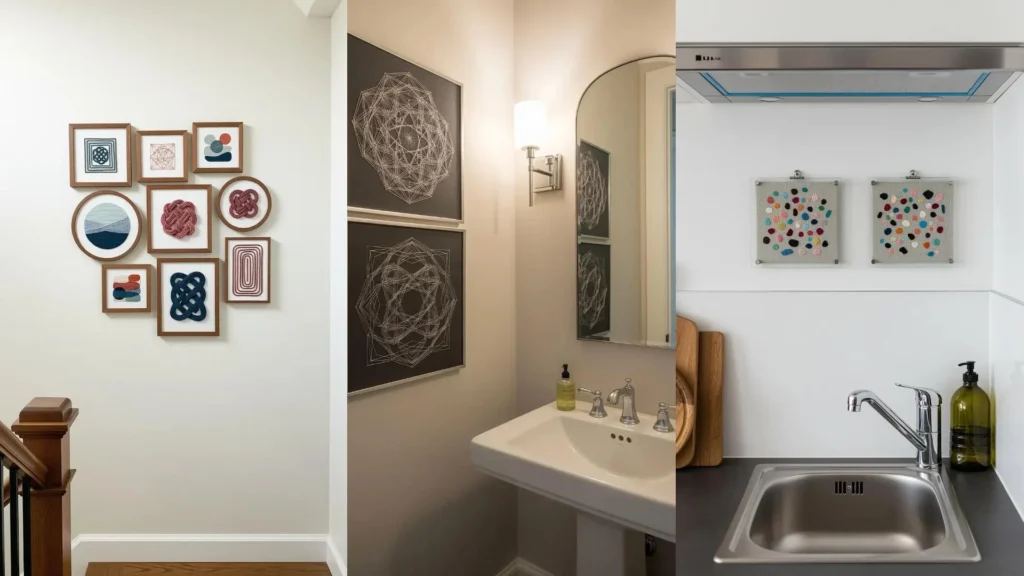
5. Design a Cohesive Hoop Gallery Wall
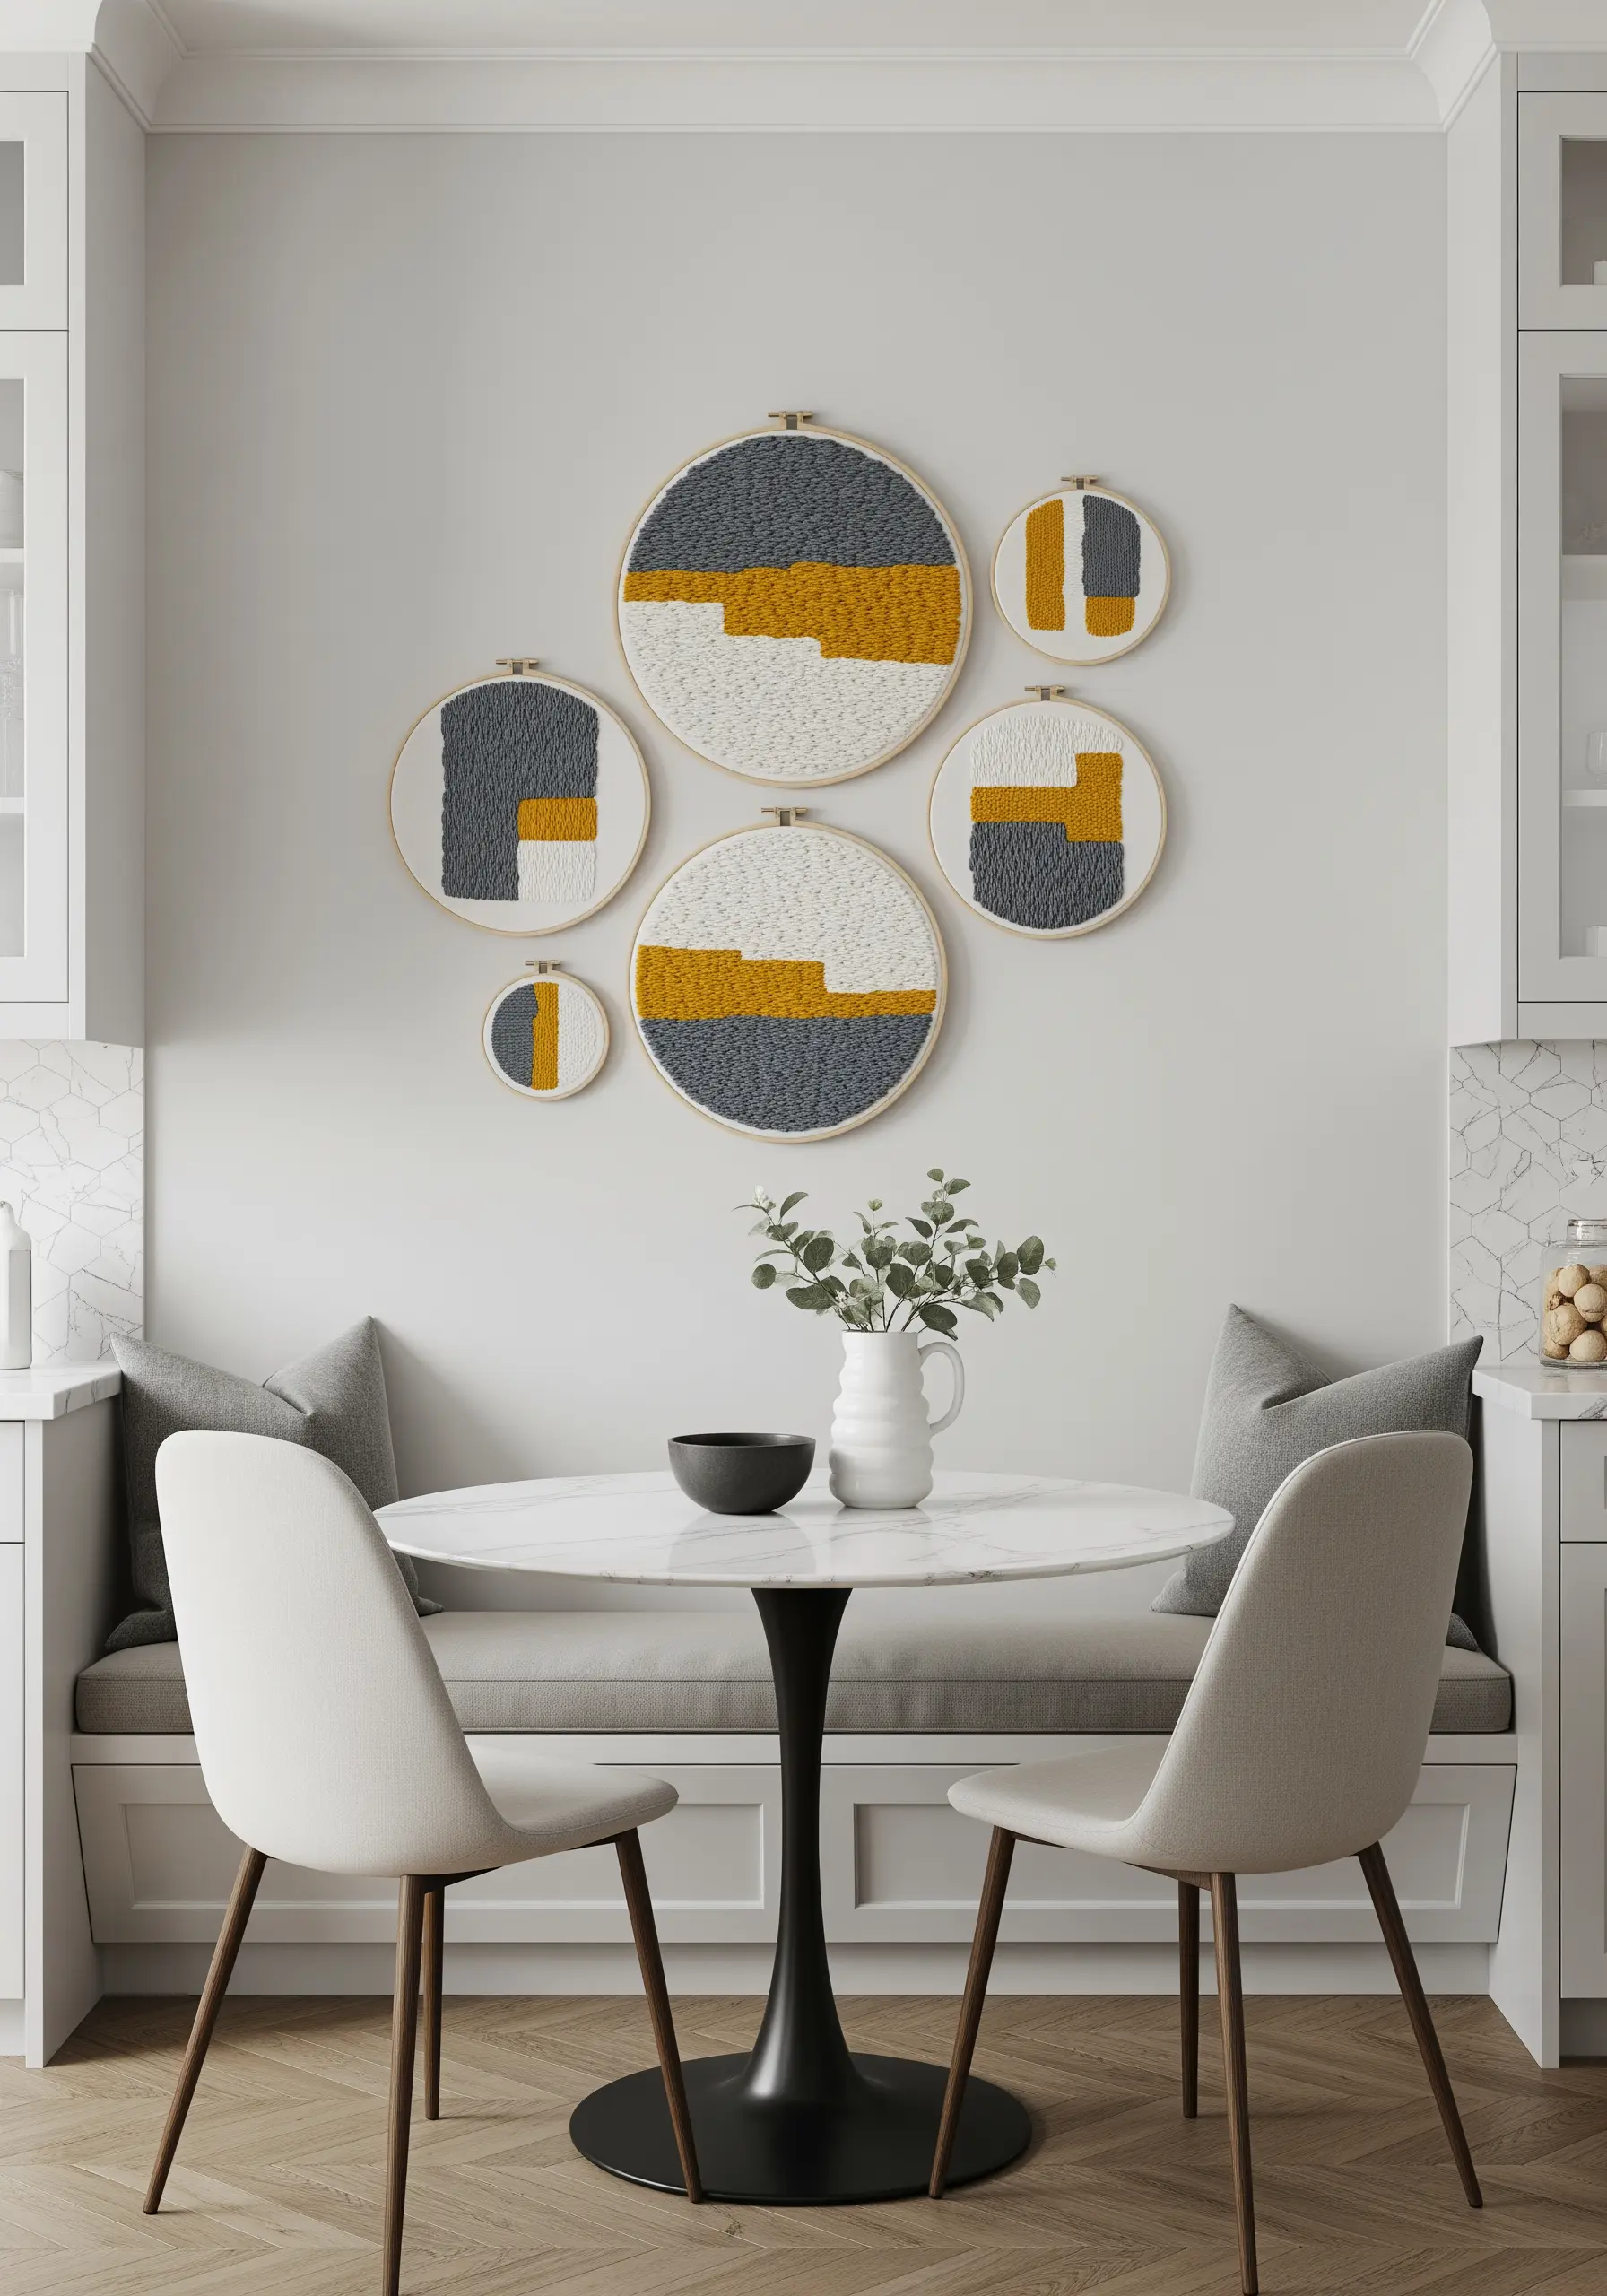
To create a dynamic yet balanced gallery wall with embroidery hoops, use a consistent color palette across varied sizes and designs.
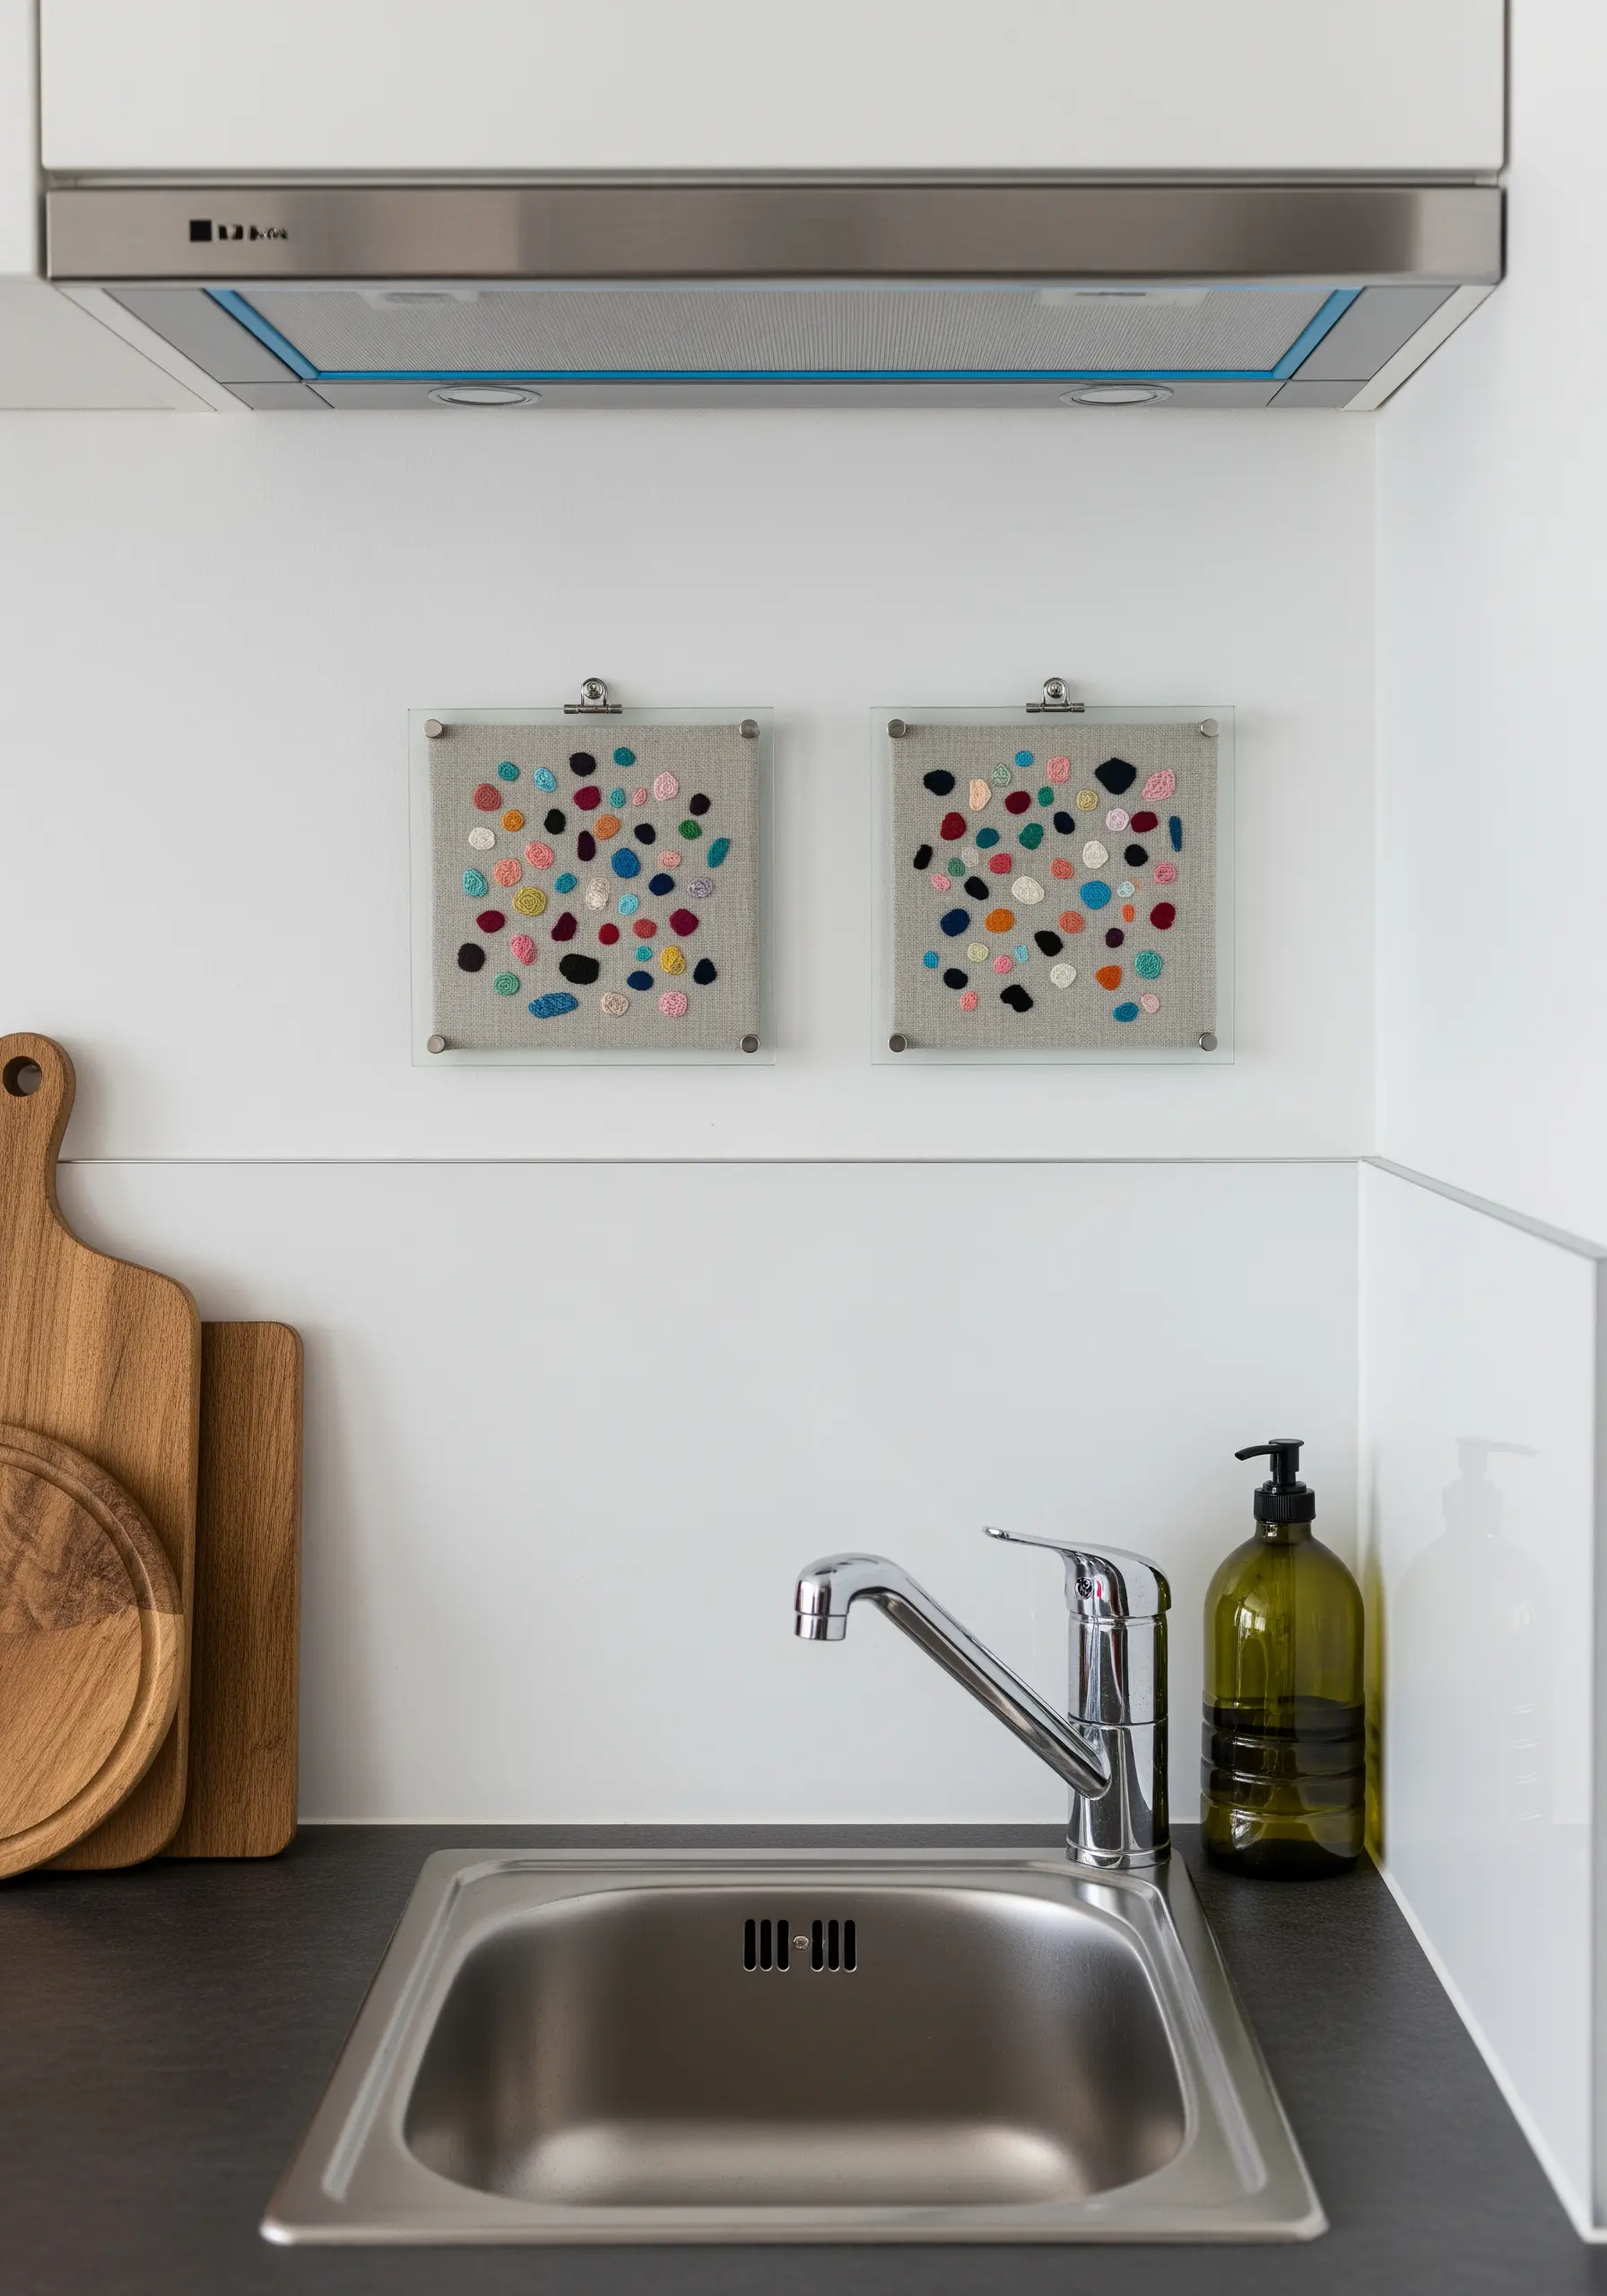
For the plush, solid blocks of color, a punch needle with yarn is an excellent choice for its speed and satisfyingly dense texture.
Arrange your finished hoops on the floor first, experimenting with spacing and flow until the composition feels right.
This approach turns a collection of small pieces into a single, impactful installation.
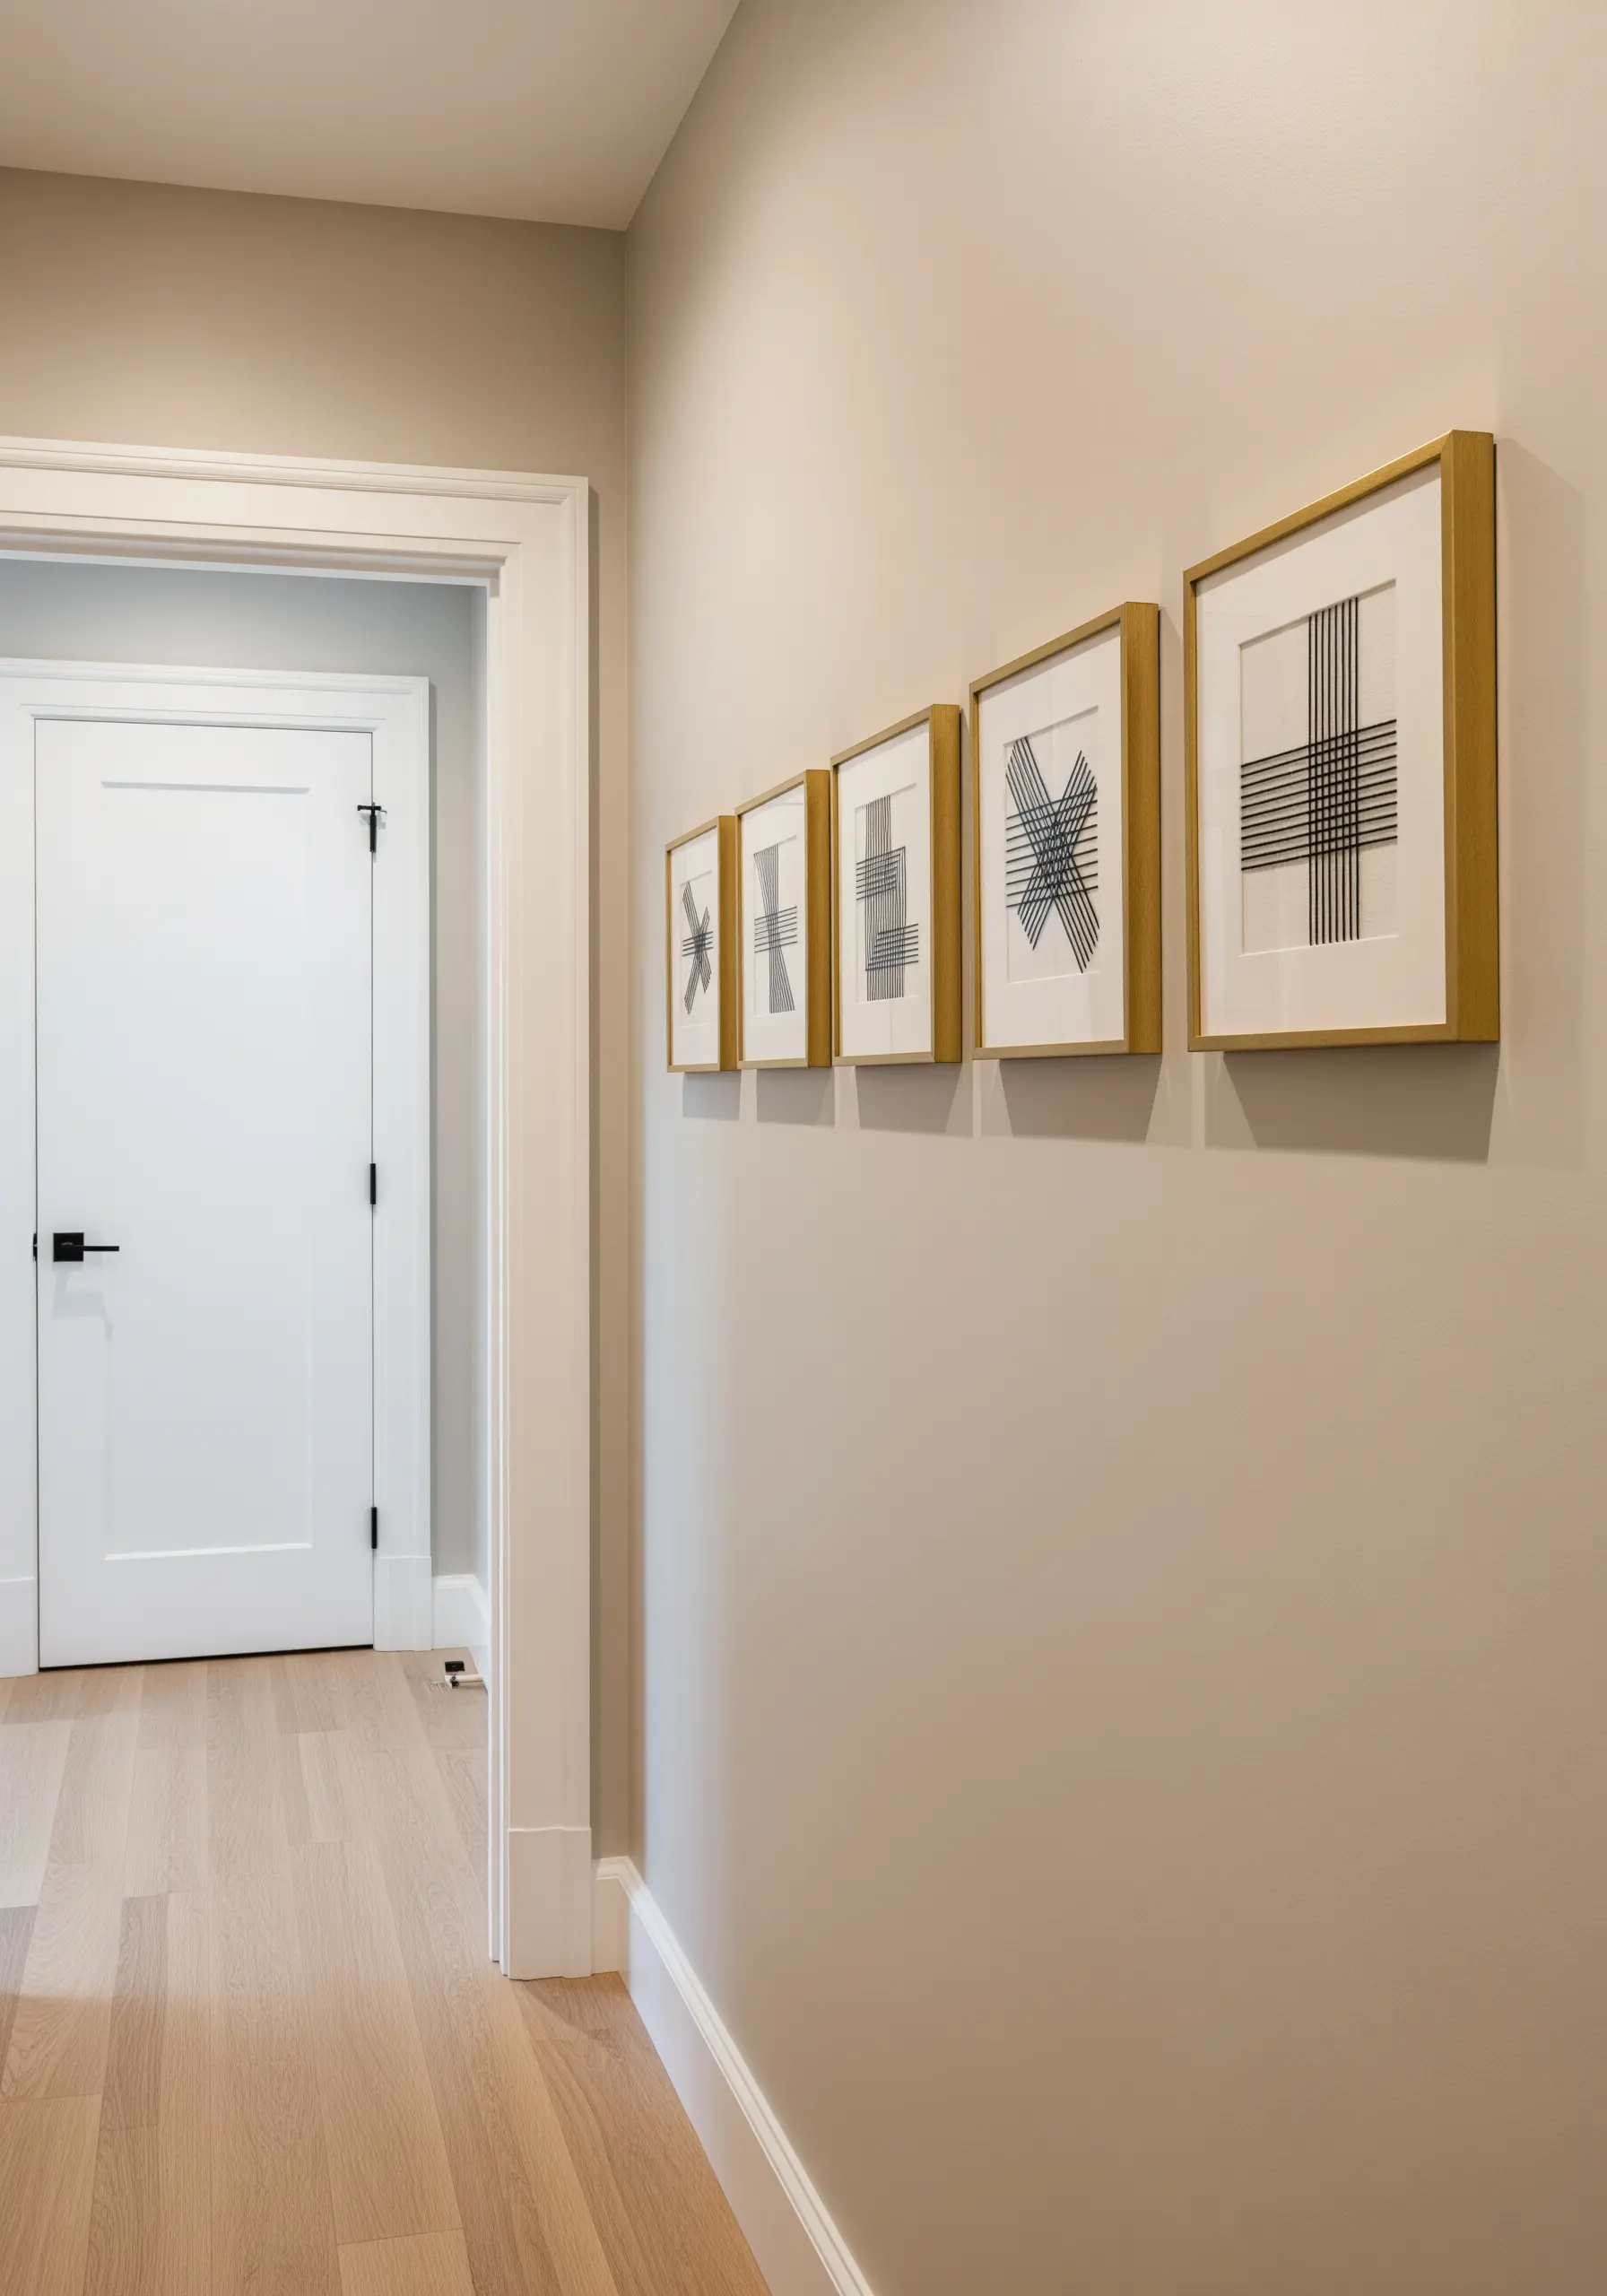
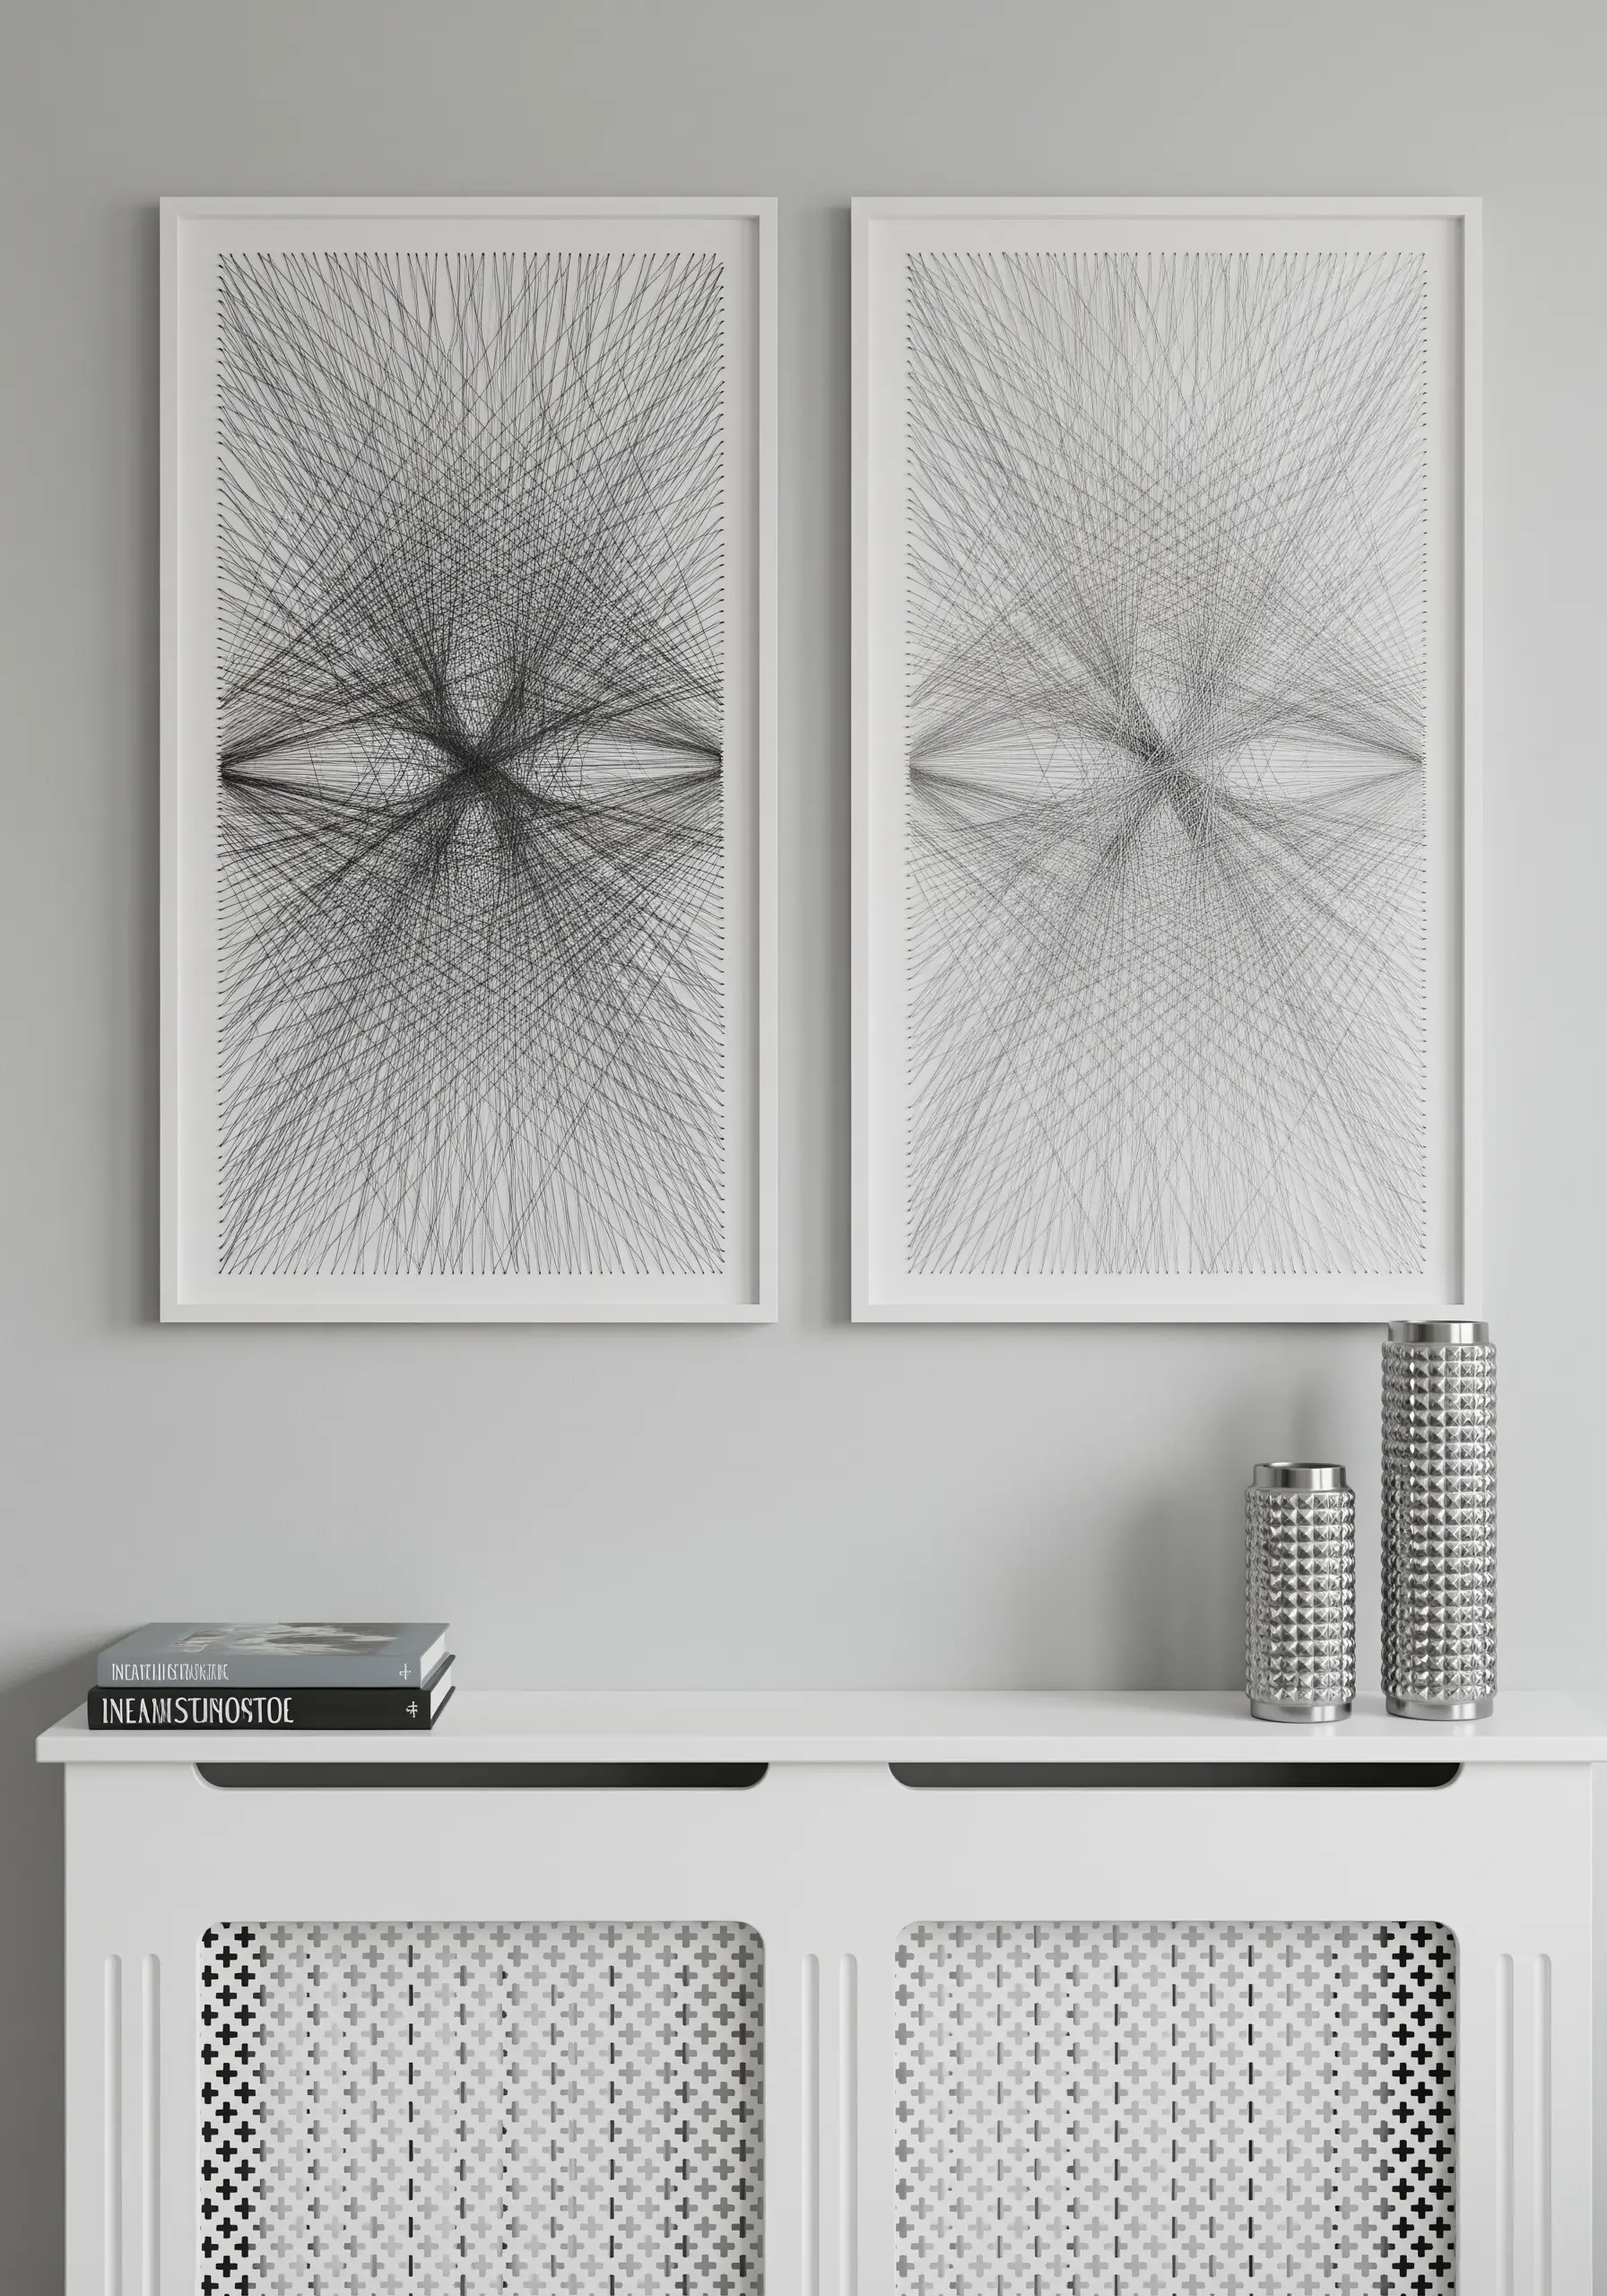
6. Adapt String Art for a Graphic Edge

You can achieve the crisp precision of string art on fabric by using stitches as your anchor points instead of nails.
First, create a perimeter of tiny, evenly spaced seed stitches or backstitches to outline your shape.
Then, stretch a single, long strand of high-contrast thread between these points to form your intersecting lines.
This method produces stunningly clean modern geometric thread art with mathematical elegance.
7. Build Density with Concentric Laid Work
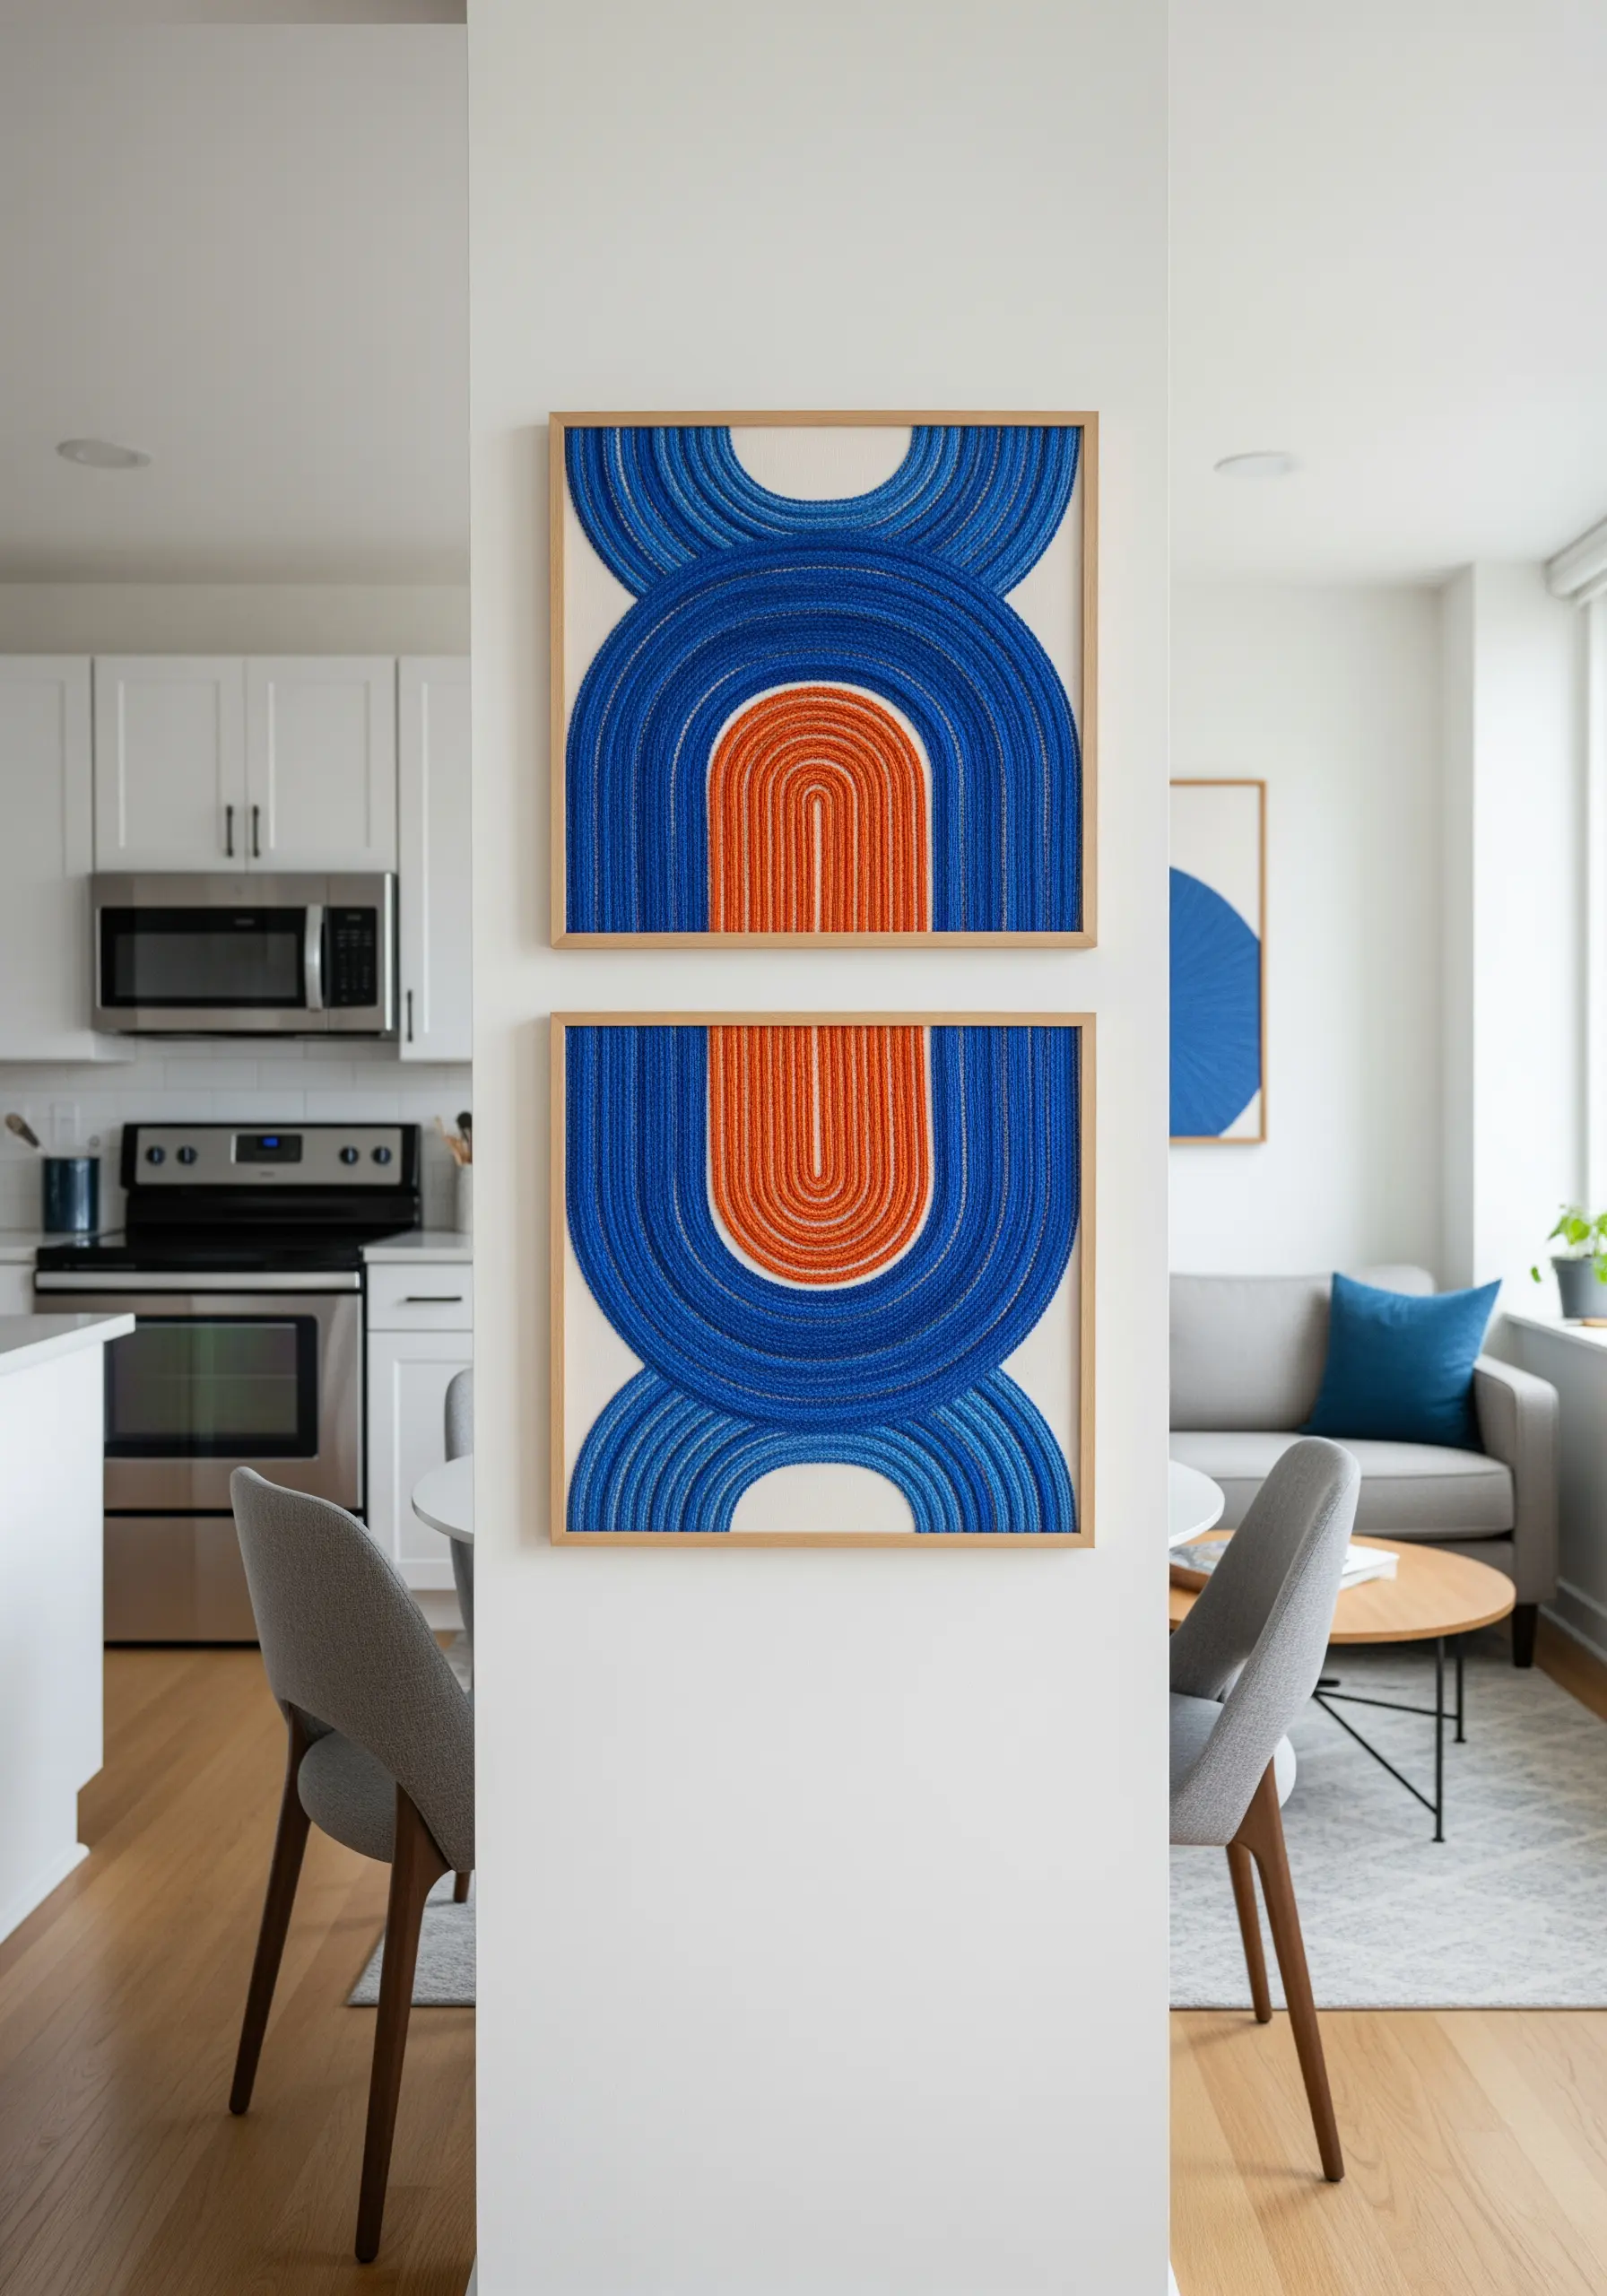
To create these bold, concentric arcs, use a technique called laid work, where threads are laid parallel on the surface rather than pulled through.
Lay down bundles of floss side-by-side, and then use a single, finer thread to tack them down with tiny, discreet stitches.
This gives you perfect color definition and a highly textured, corded effect that is both graphic and satisfyingly tactile.
The result feels robust and sculptural, making primary colors feel sophisticated and modern.
8. Weave an Abstract Landscape Tapestry
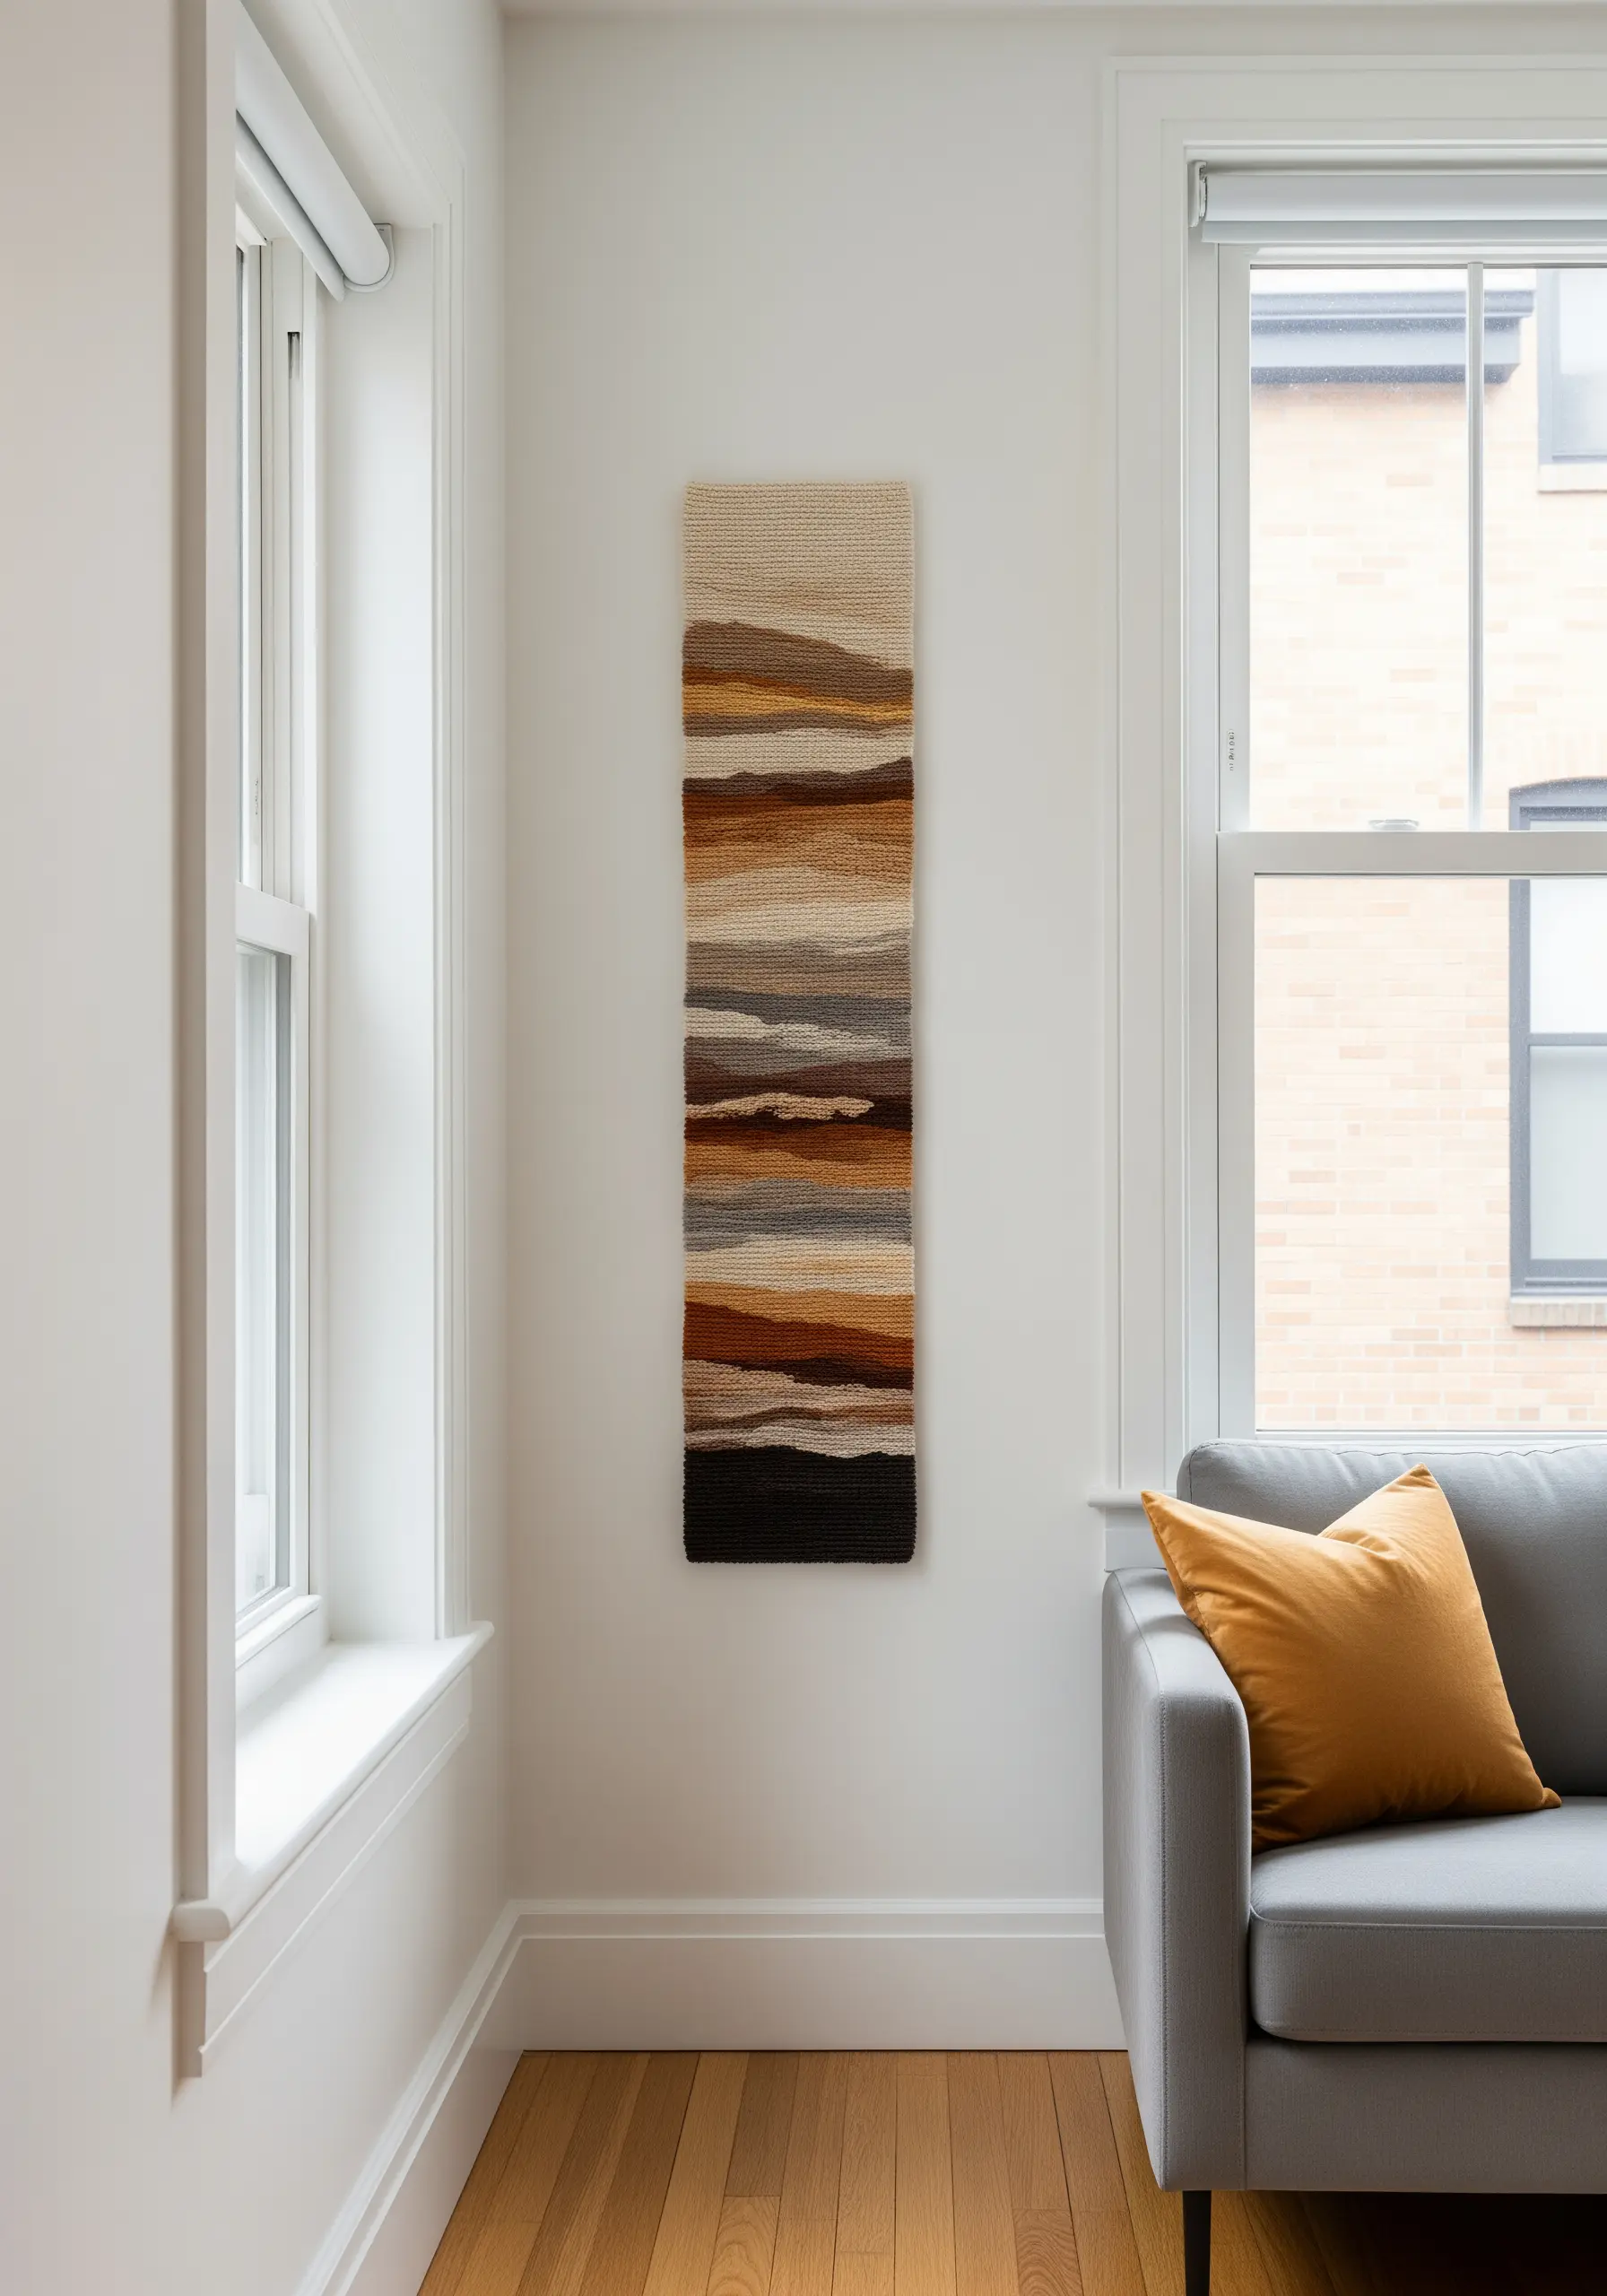
For a departure from needle and thread, try weaving a narrow textile wall hanging on a simple frame loom.
Use yarns of varying weights and textures to build abstract color fields that evoke the feeling of a landscape.
Alternate between a basic tabby weave for flat areas and a looped or soumak weave to create raised, textural lines.
This method produces a piece with far more depth and sculptural presence than surface embroidery alone.
9. Introduce Depth with Sculptural Knots
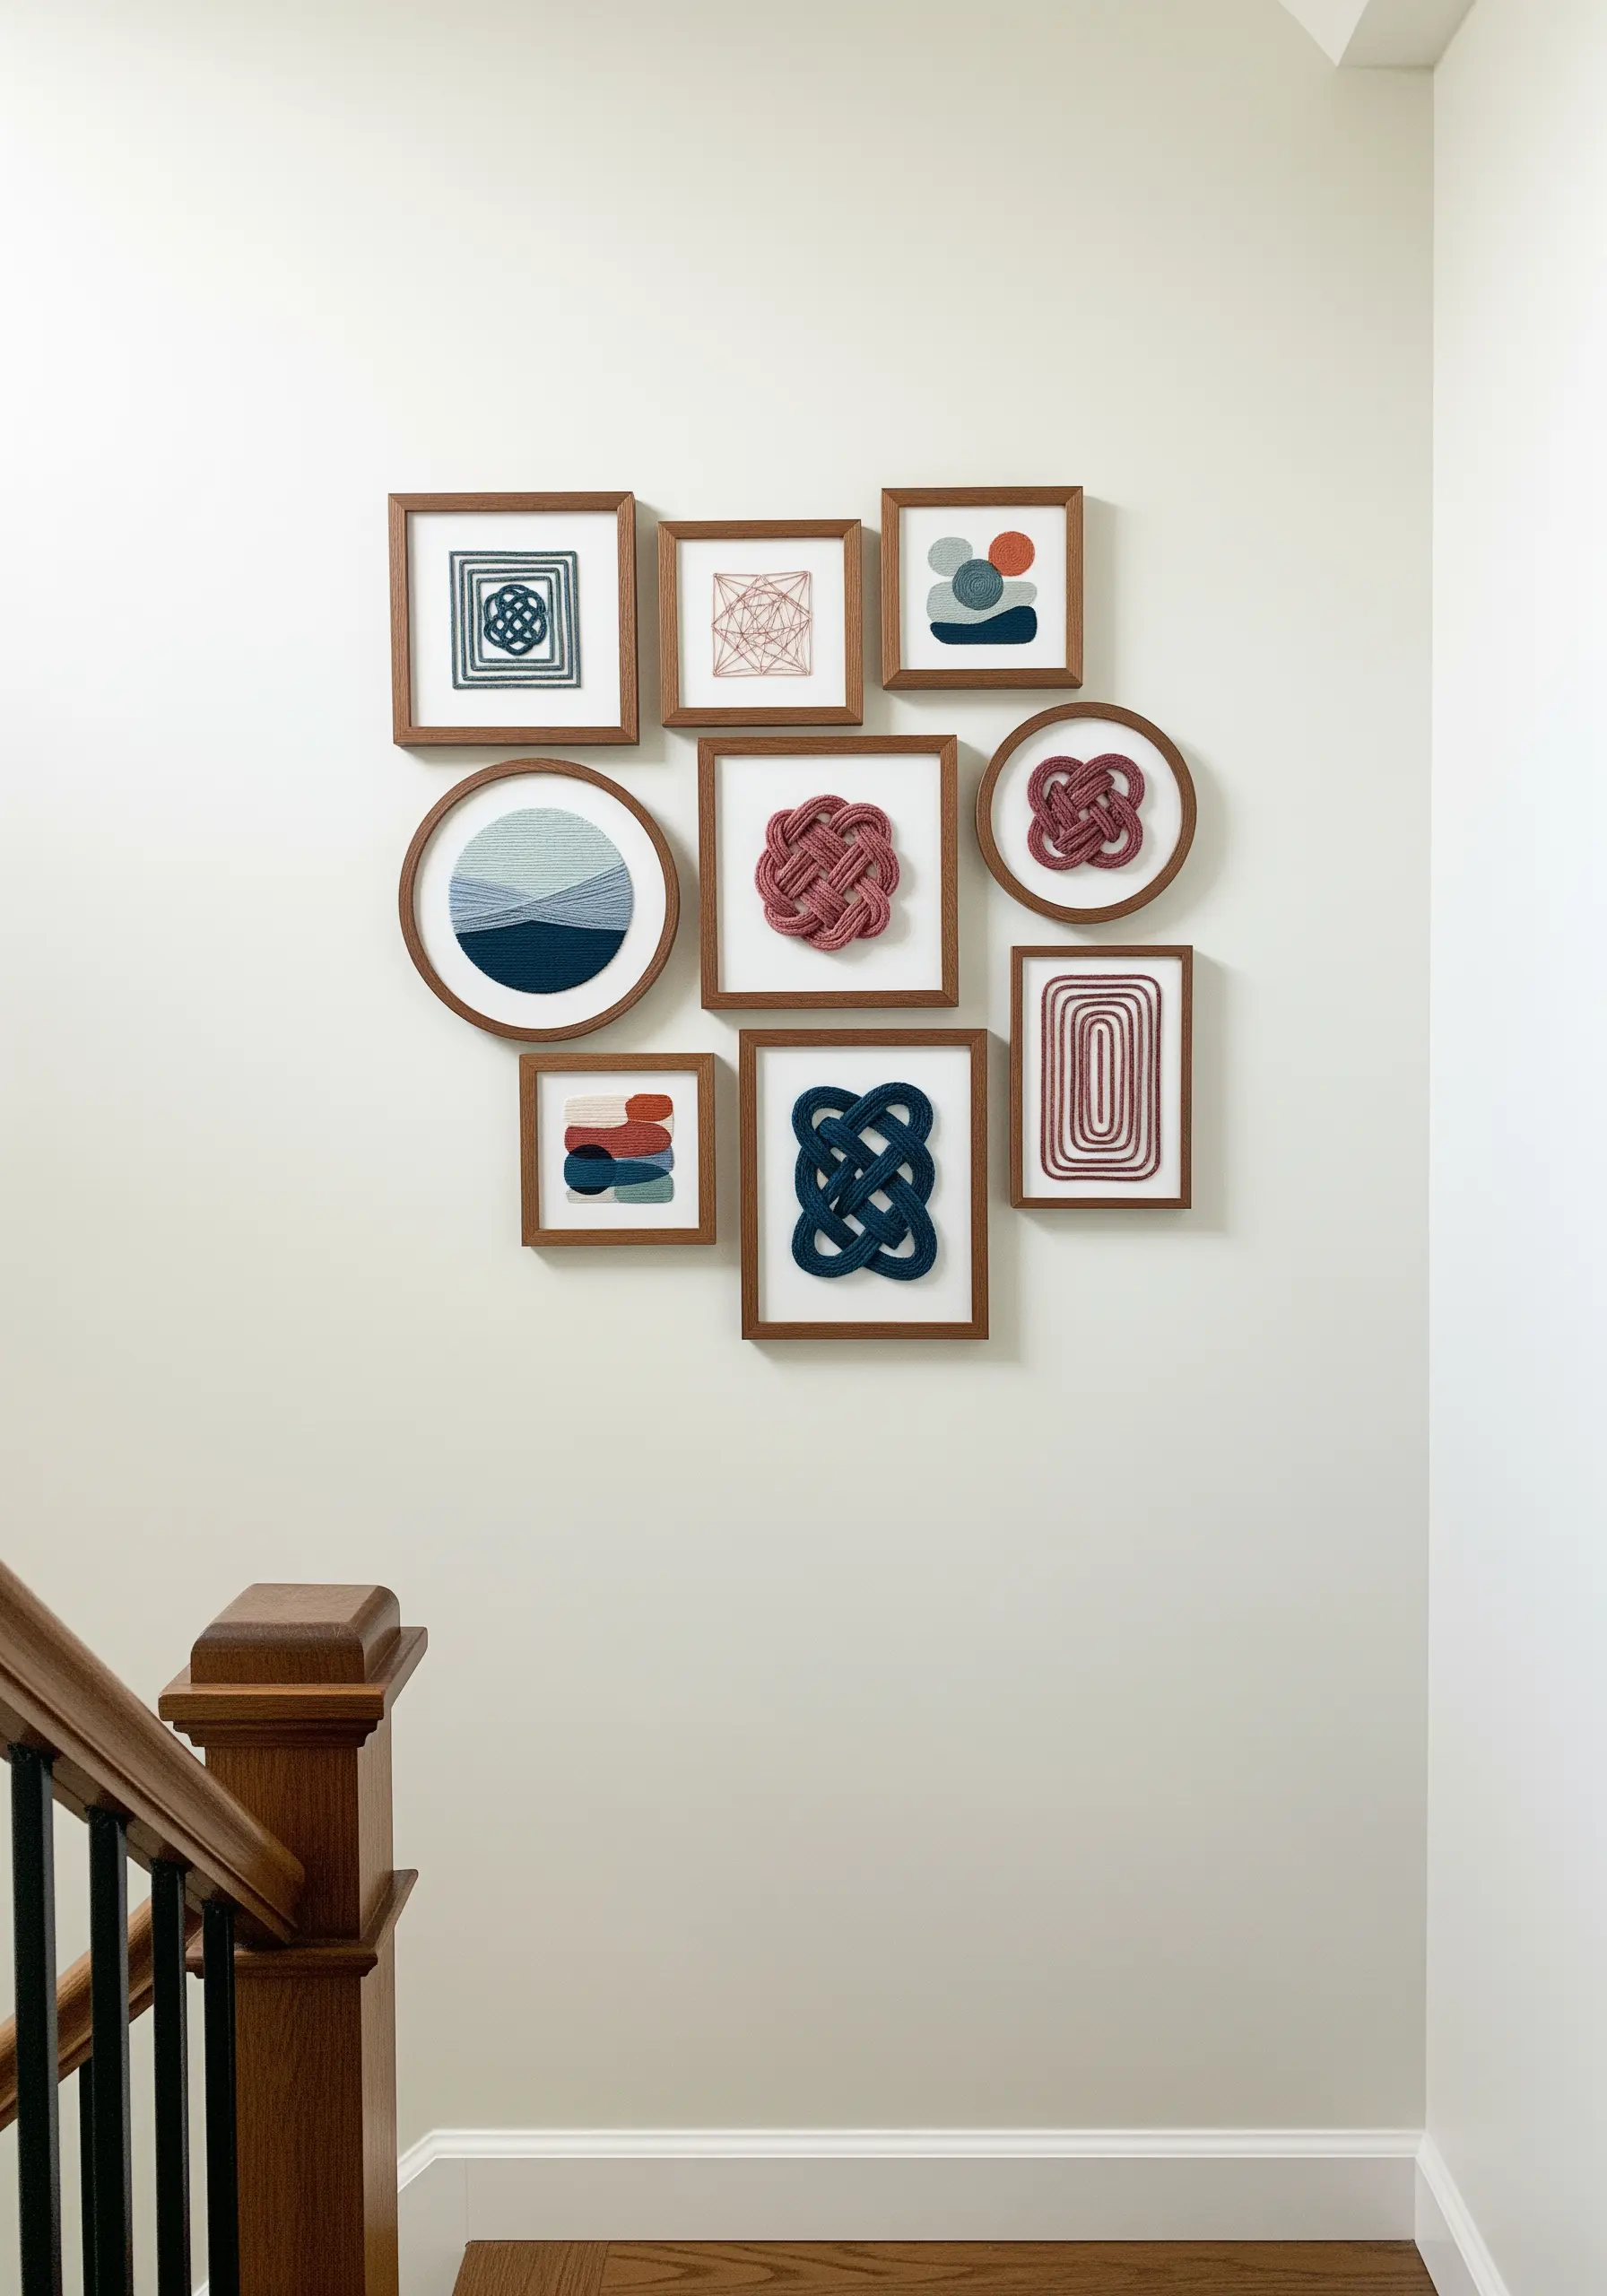
Move beyond flat stitches and explore raised, three-dimensional elements to give your work a sculptural quality.
For the large, Celtic-inspired knots, wrap thick yarn or rope into your desired shape and couch it securely to the fabric.
Smaller textural areas can be filled with bullion knots, woven wheels, or clusters of French knots for added dimension and shadow play.
This approach turns the thread itself into a miniature sculpture.
10. Perfect Your Shapes with a Split-Stitch Outline
To achieve perfectly smooth, contained satin-stitched shapes, give them a foundation first.
Outline your desired shape with a neat split stitch before you begin filling it in.
This simple preparation acts as a raised border, guiding your satin stitches and preventing them from straying, which results in a crisp, clean edge.
This technique is essential for creating polished organic shape embroidery patterns that look intentional and refined.
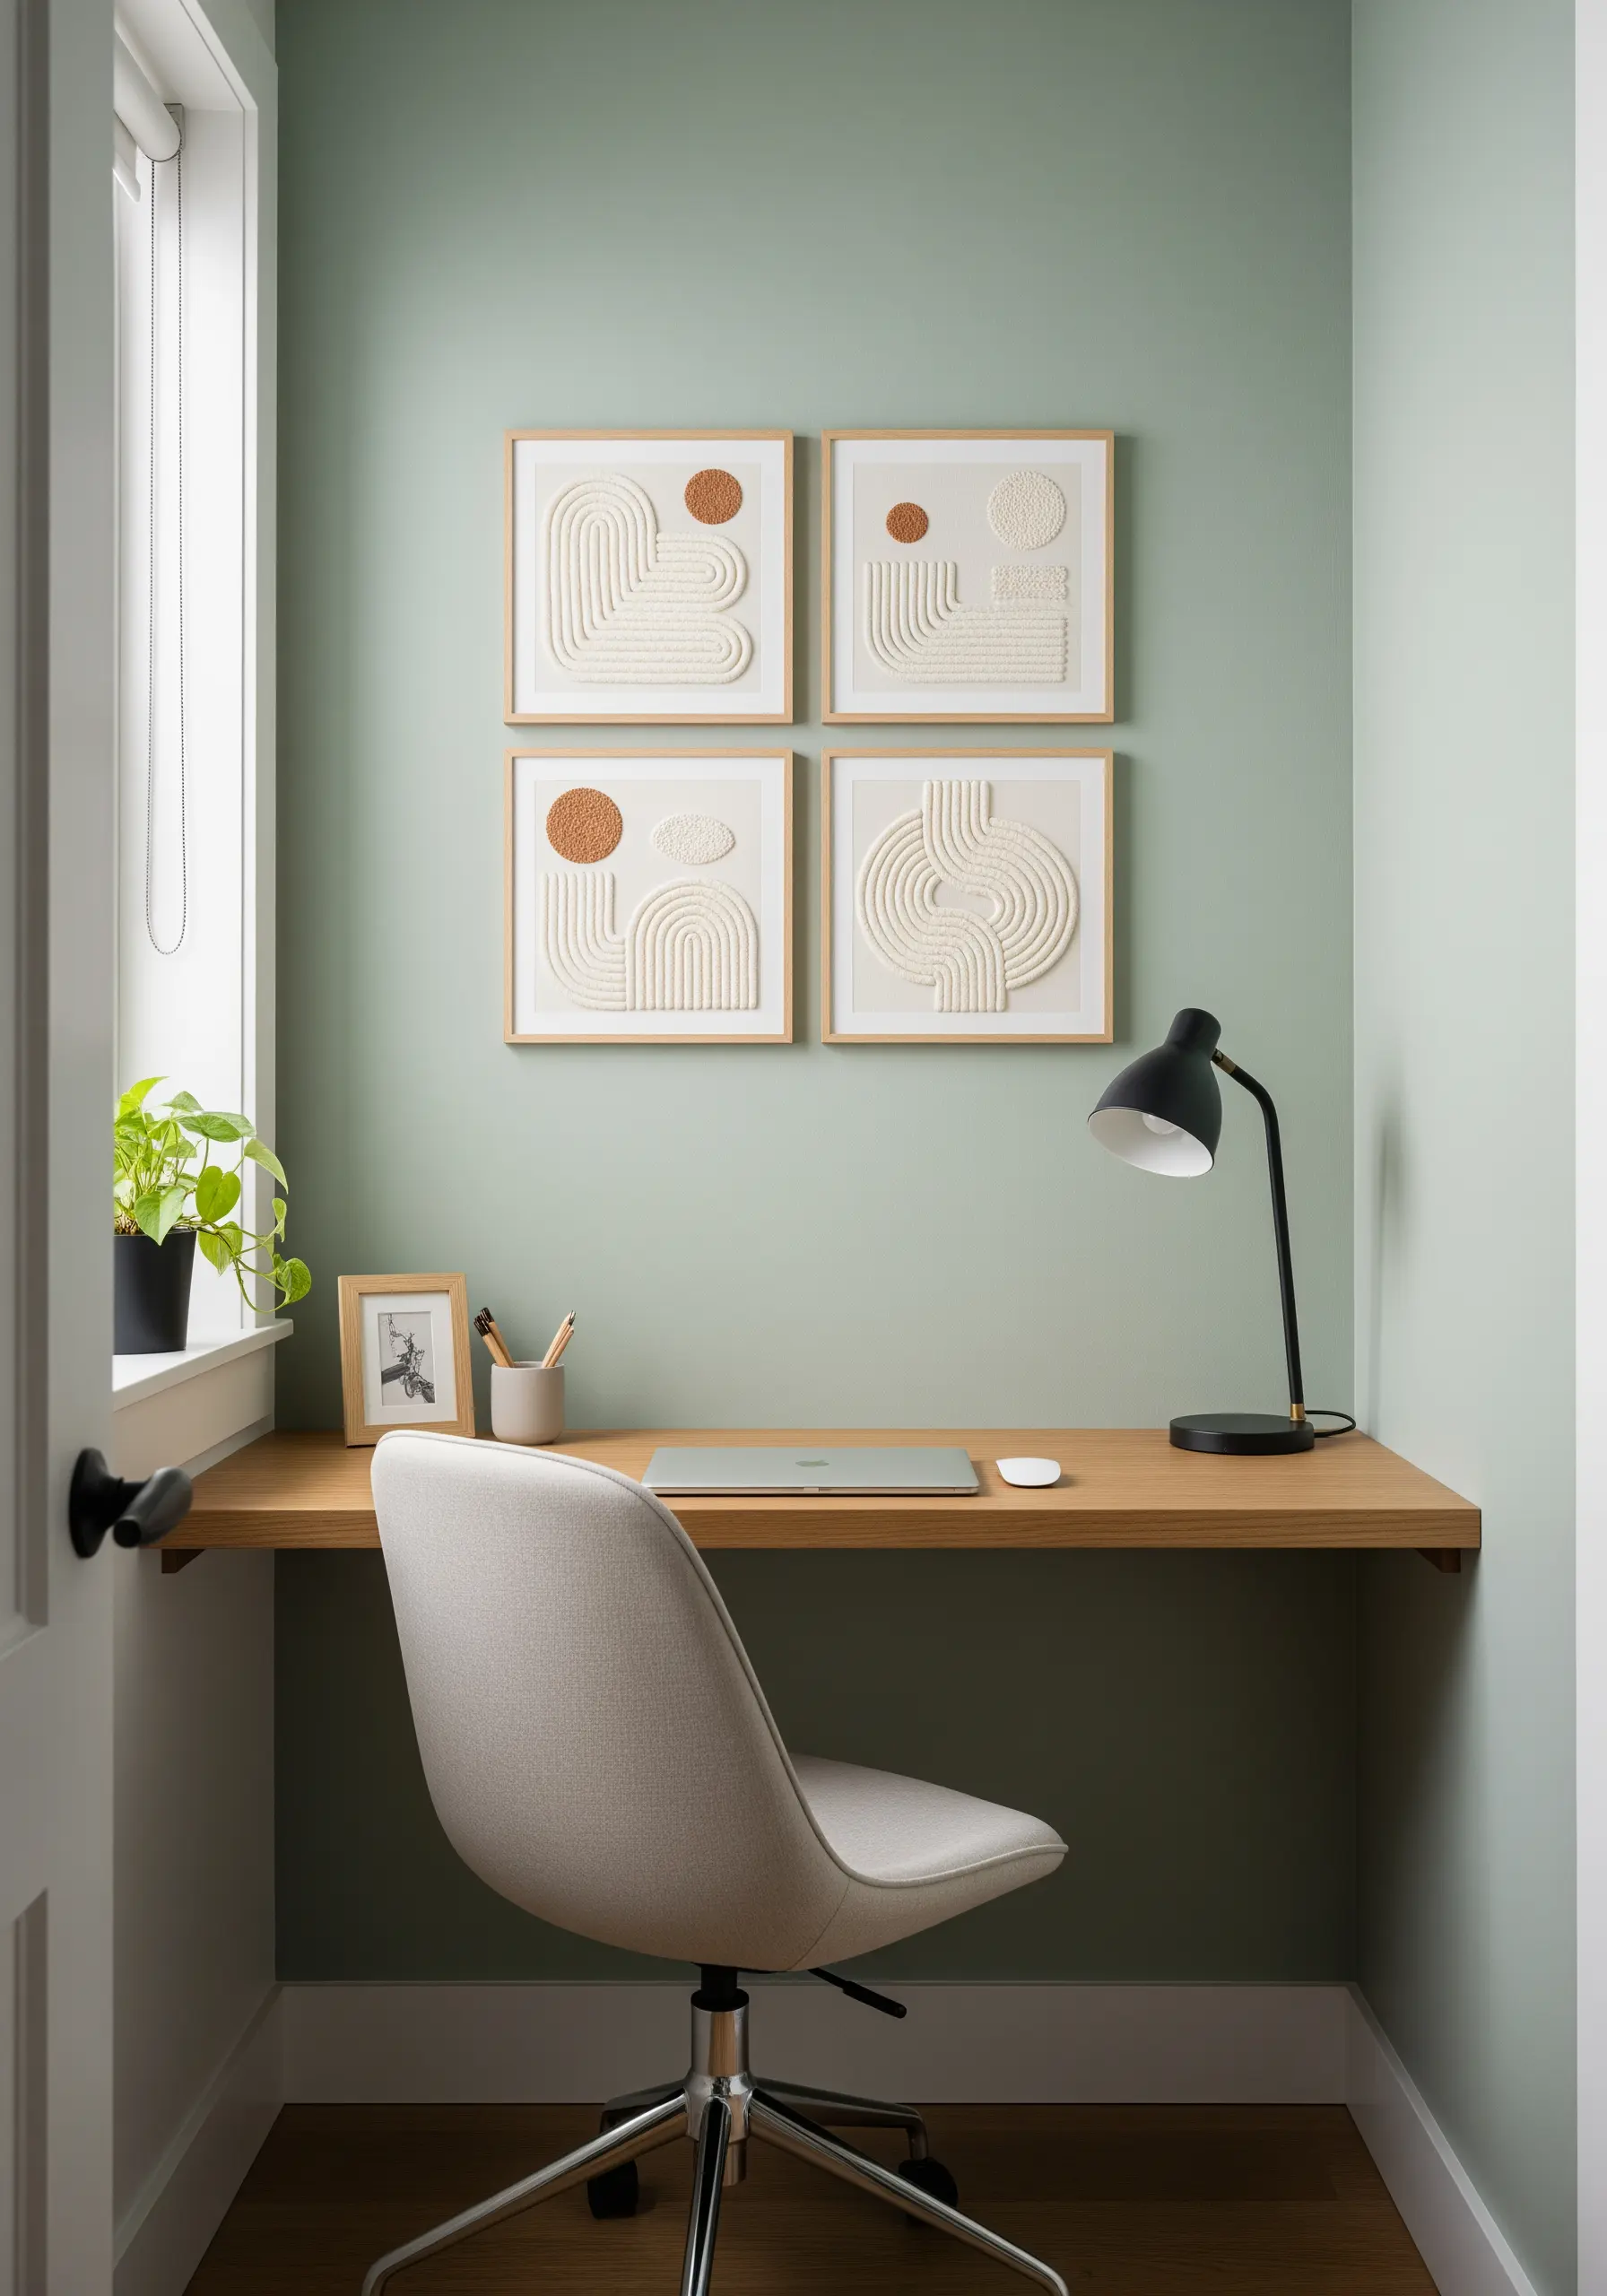
11. Balance Your Composition with Negative Space
A design’s sophistication often lies in what you choose to leave out.
Instead of filling every shape completely, use lines of running stitch or backstitch to suggest form, leaving the fabric bare inside.
Juxtapose these airy, linear elements with a single, densely filled satin stitch shape to create a dynamic focal point.
This intentional use of negative space gives the composition room to breathe, making it feel more modern and considered.
12. Make a Statement with Singular, Sculptural Yarn

You don’t need complexity to create high-impact art; sometimes, a single, decisive element is all it takes.
Couch one continuous piece of chunky yarn or soft cording onto a plain background, guiding it into a fluid, calligraphic swirl.
The texture and shadow of the thick yarn become the focal point, turning a simple material into a graphic statement.
This is proof that the best minimalist embroidery projects often rely on restraint and material choice.
13. Tell a Story Through a Geometric Series
Transform simple lines into a conceptual piece by working in a series.
Begin with a basic grid of straight stitches in a high-contrast color like black on white.
In each subsequent frame, systematically alter the pattern—add density, introduce an angle, or create an intersection.
This narrative approach elevates monochrome black thread designs from mere patterns into a thoughtful exploration of form and progression.
14. Achieve Precision with a Stitch-Point Grid
For intricate linear designs that border on an optical illusion, your setup is crucial.
Use a ruler and a water-soluble fabric pen to mark the exact start and end points for every single stitch.
Work with a single strand of floss for the finest line possible, and maintain consistent, even tension to prevent any puckering or sagging.
The meticulous planning pays off in a design that feels flawlessly executed and mesmerizing to view.
15. Master Tension in Radial Compositions
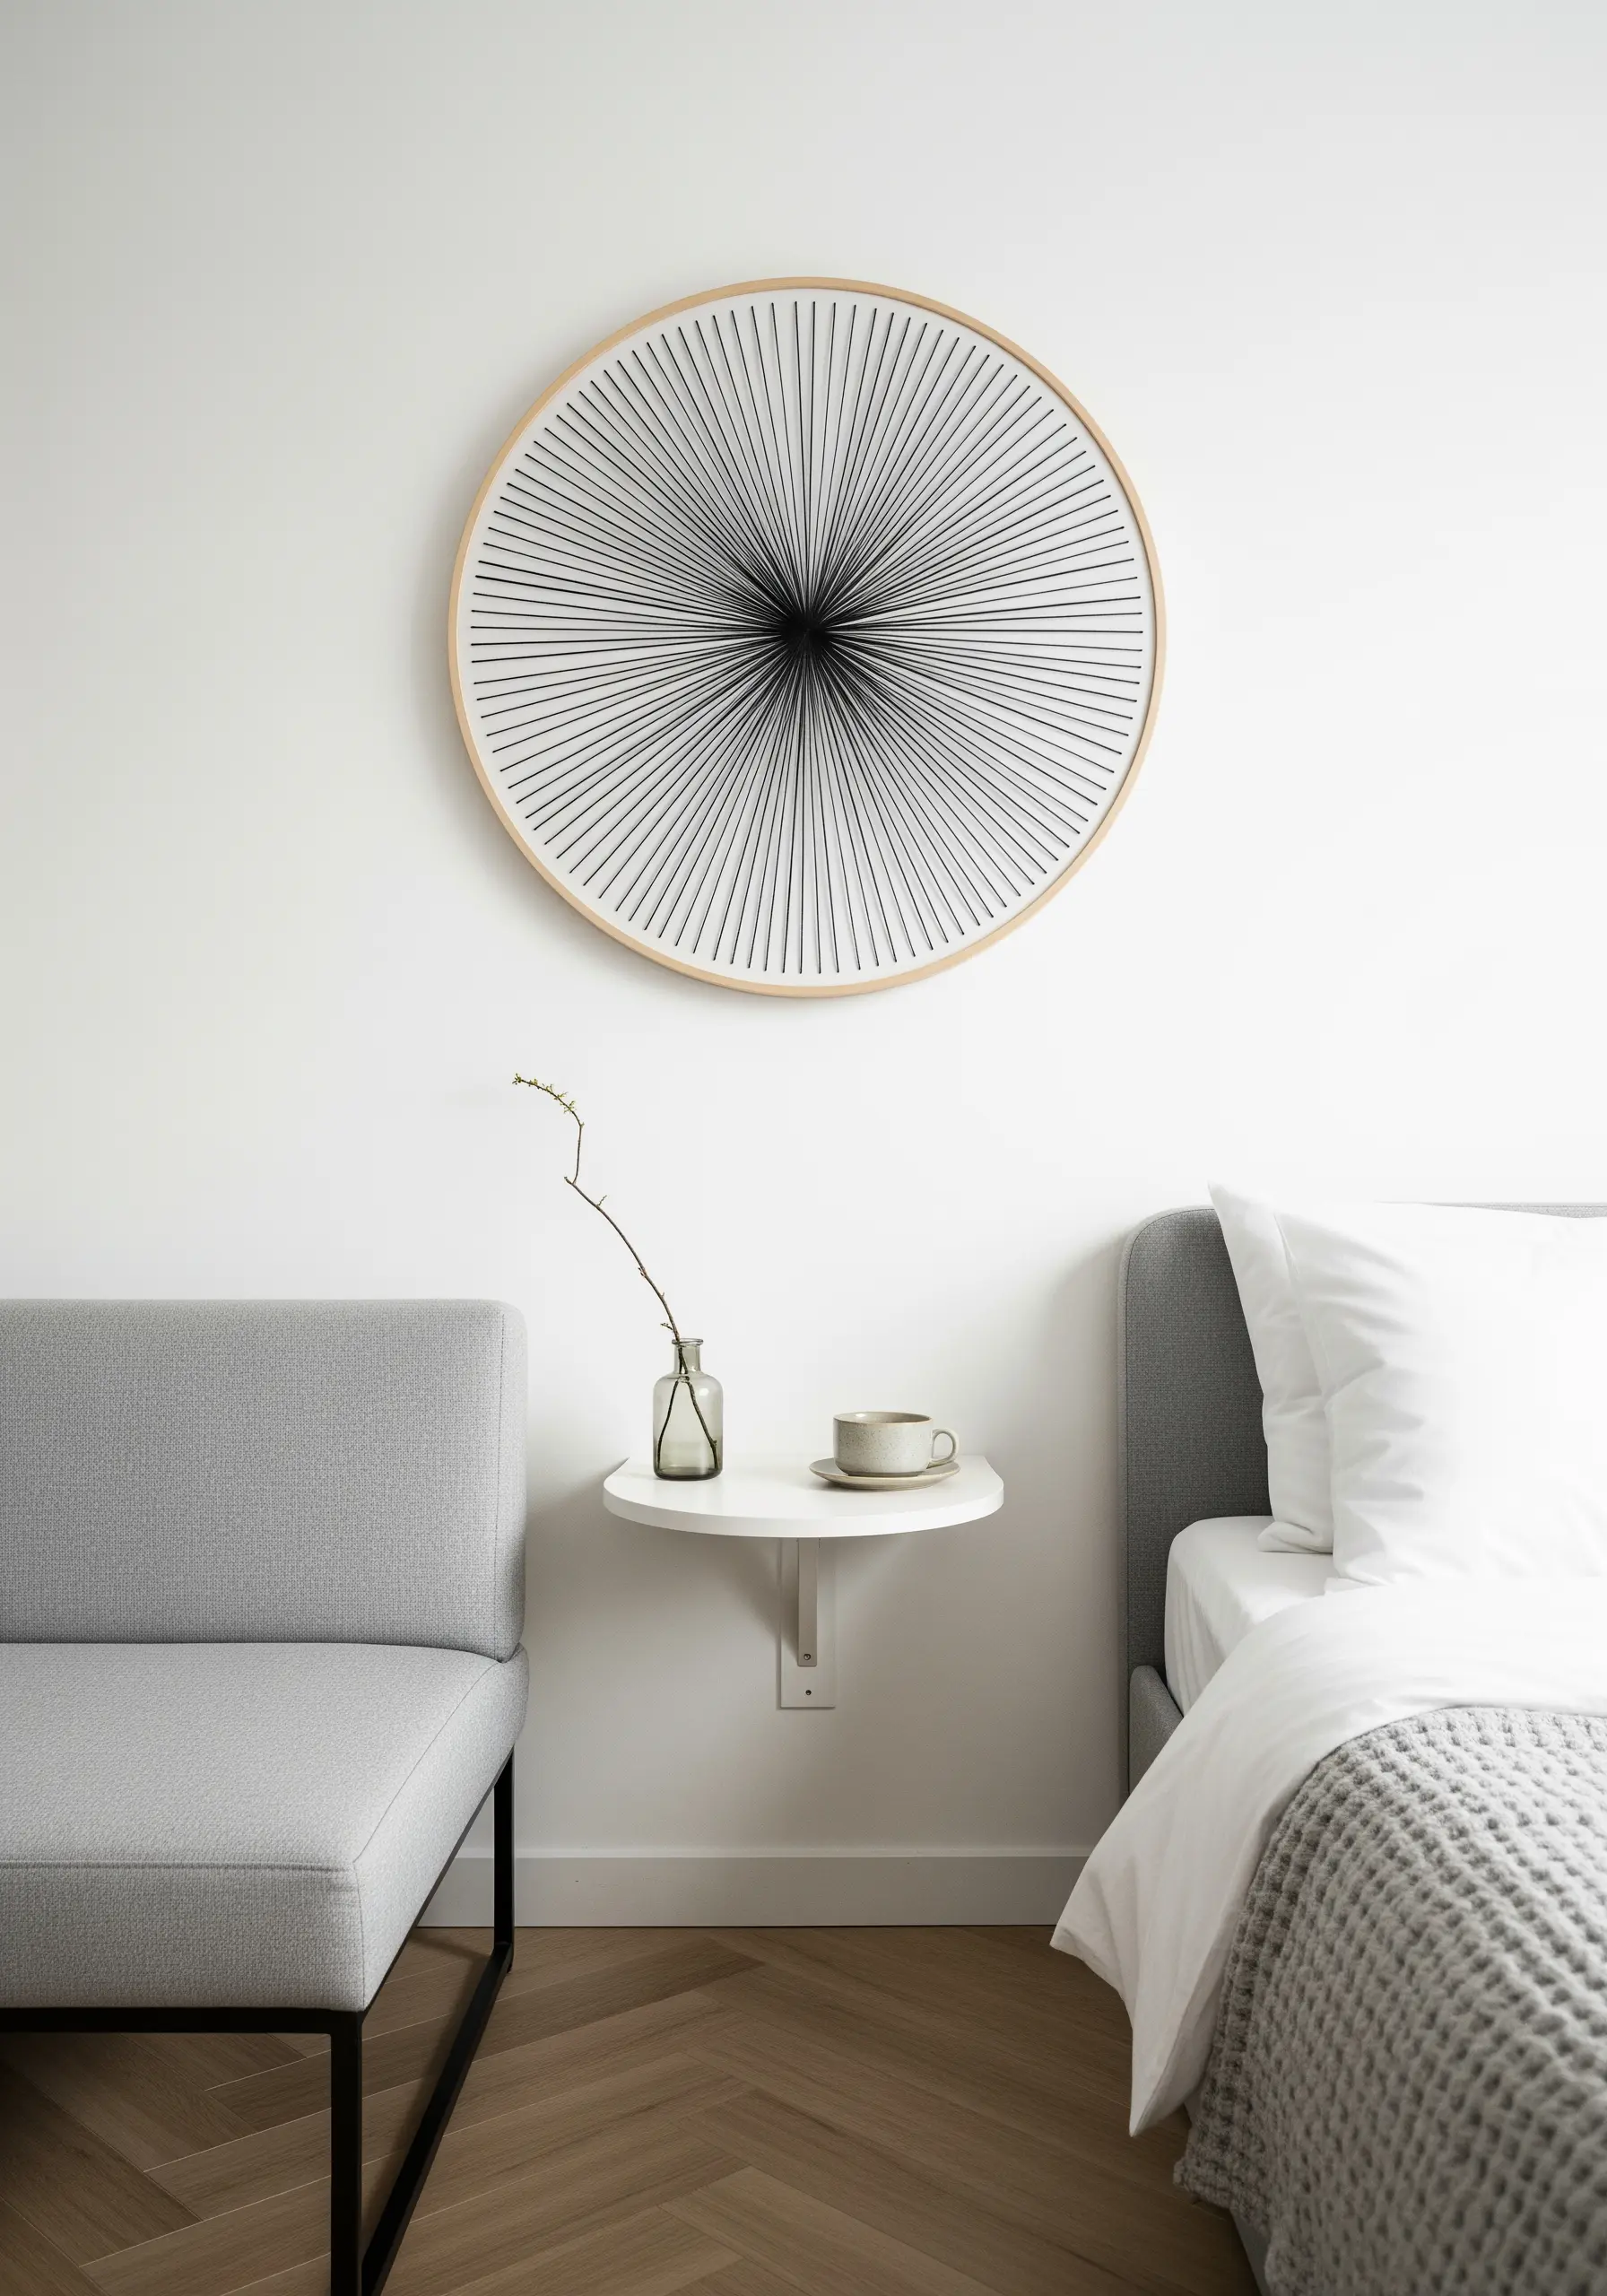
To create a perfect starburst effect without distorting your fabric, you must distribute the thread tension evenly.
Begin by stitching the main axes of your circle—like hands on a clock at 12, 6, 3, and 9.
Once these primary lines have anchored the fabric, you can confidently fill in the remaining stitches between them.
This method is foundational for creating crisp, taut radial designs that radiate with graphic energy.
16. Convey Balance with Color Stacking
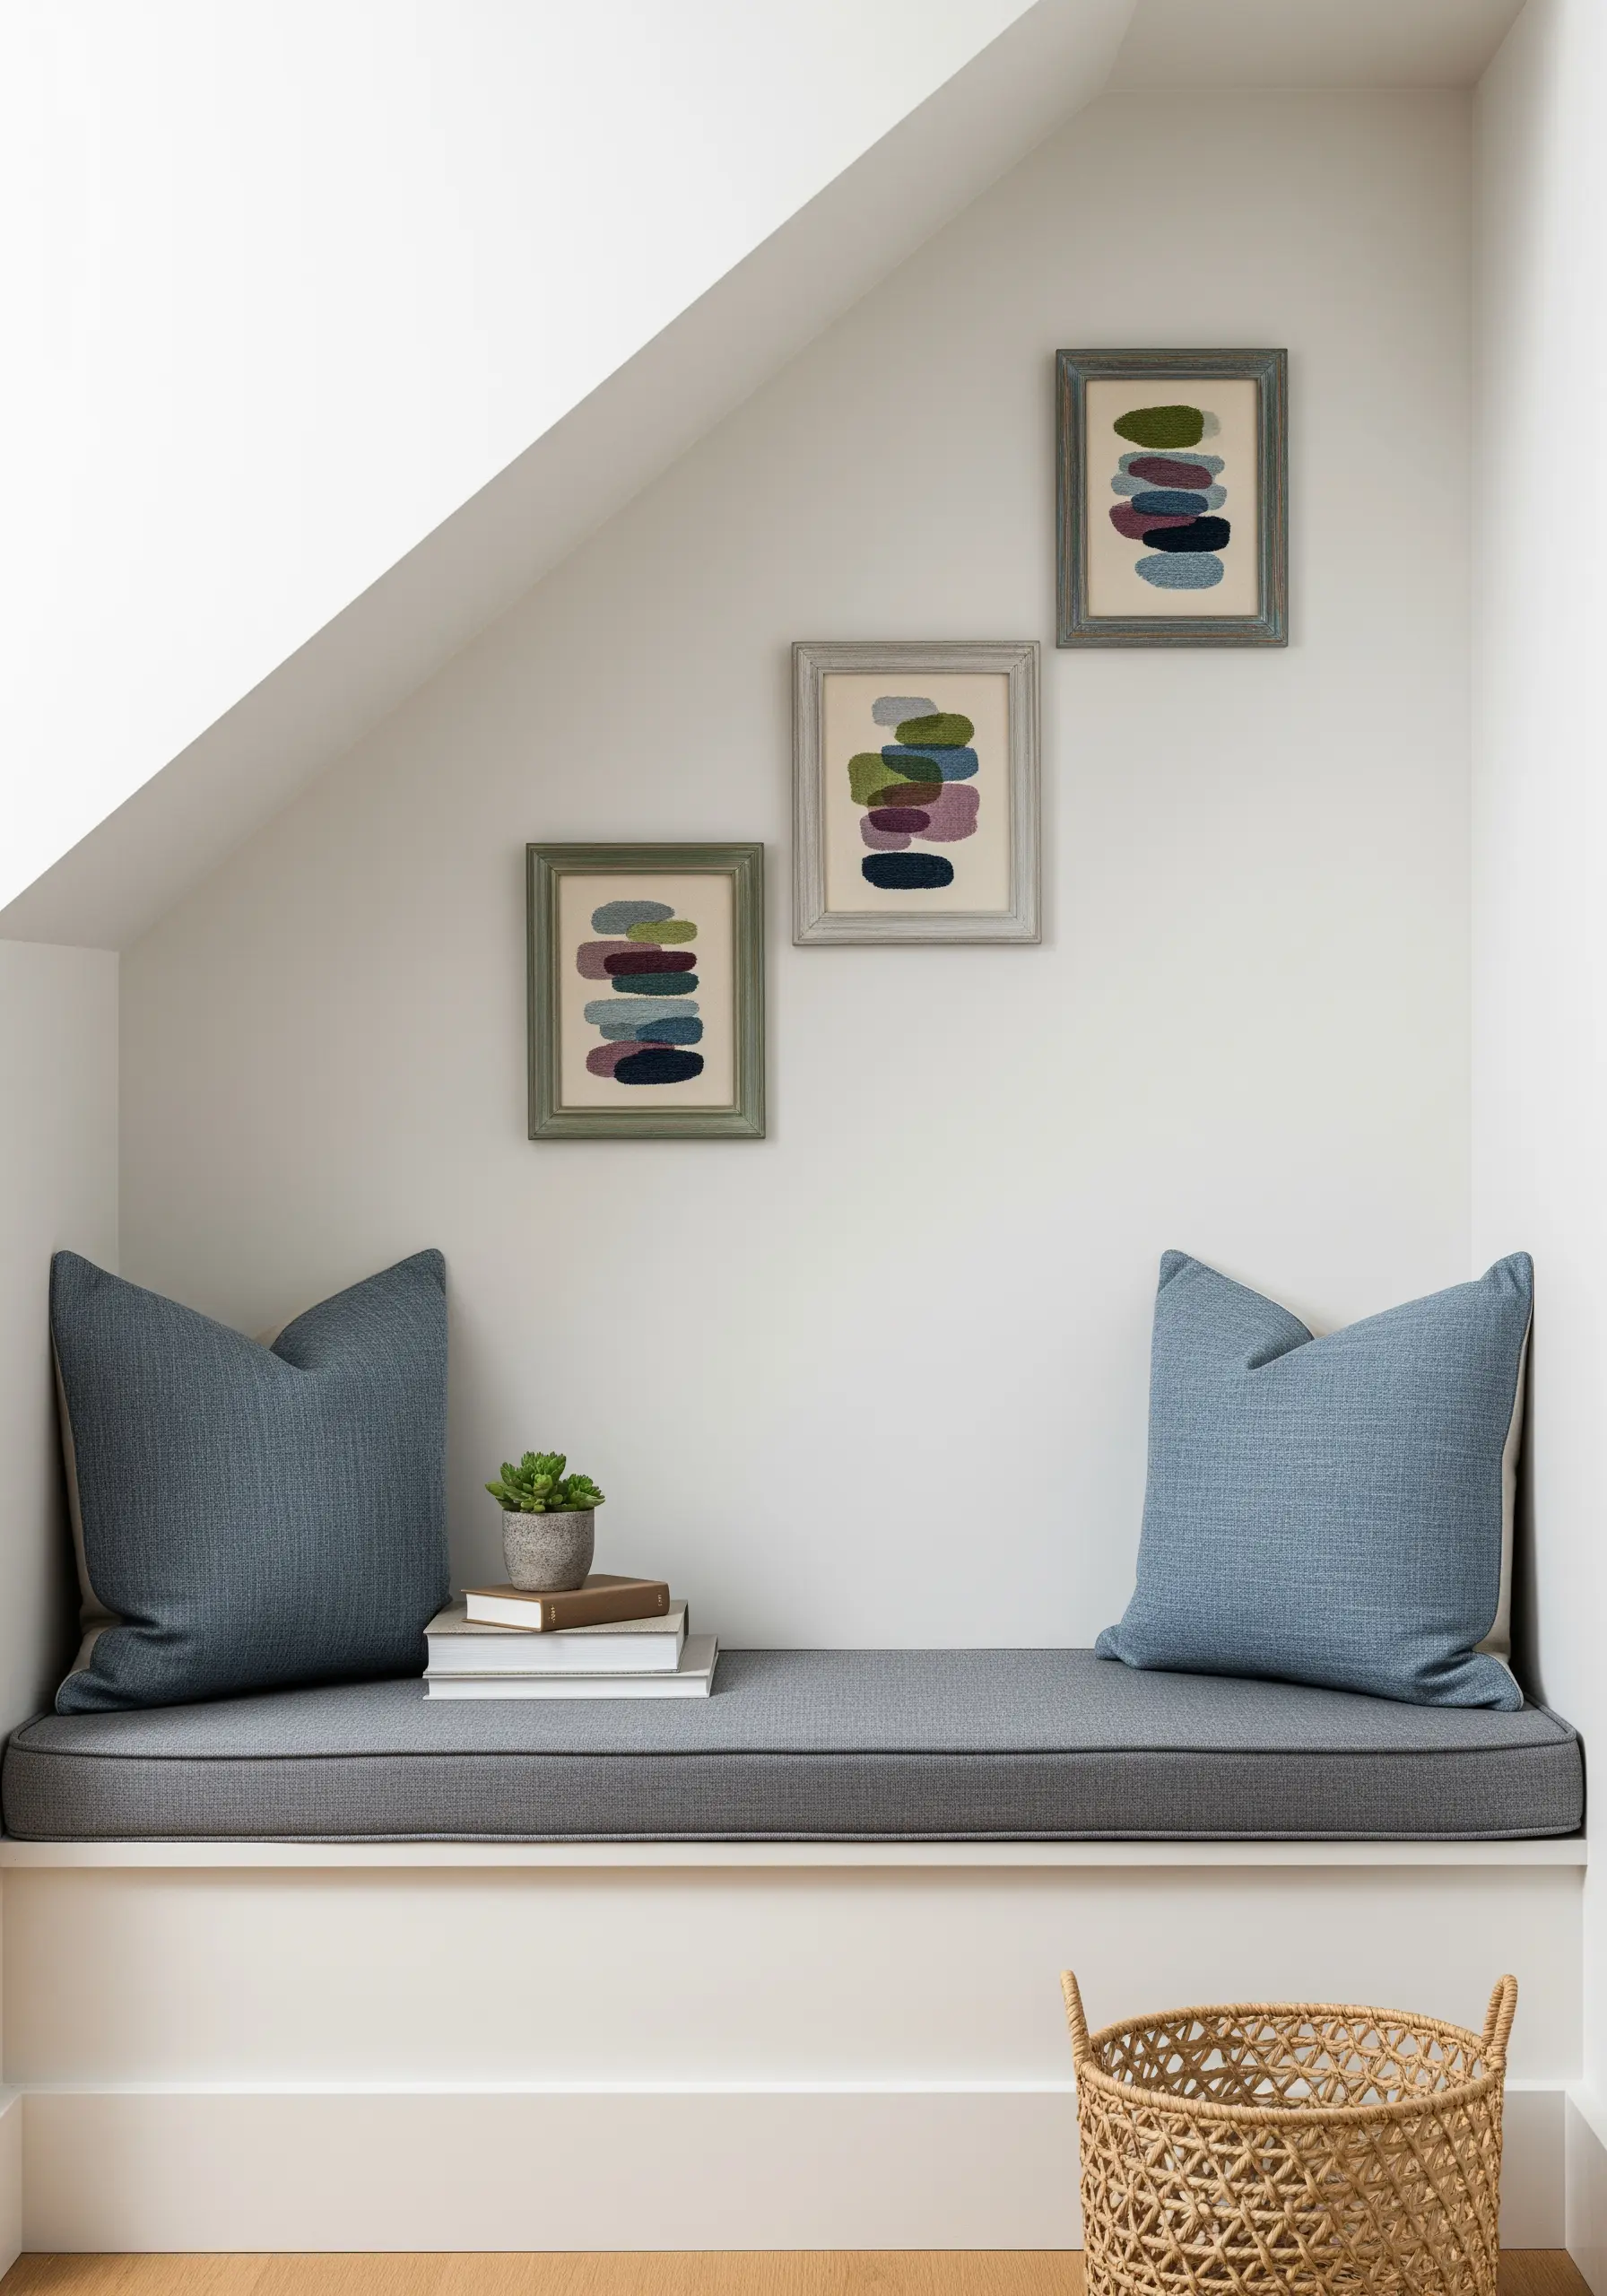
The calming effect of these stacked forms comes from a carefully considered color palette and a sense of visual weight.
Choose a family of muted, analogous colors to ensure harmony, then stitch each organic shape with dense satin stitch.
Slightly overlap each shape as you stack them, just as you would with real stones, to create a believable composition.
This simple illusion of weight and balance turns abstract shapes into a meditative stacked stone arrangement.
17. Build Rich Texture with Woven Stitches
Introduce a textile-like quality to your embroidery by using woven stitch variations like the basket stitch or woven bars.
These stitches build upon a foundation of straight stitches, with the needle weaving the thread over and under on the fabric’s surface.
This creates a raised, dense block of color that has a tangible, fabric-like feel.
Alternate the direction of your stitches in adjacent blocks to enhance the woven, patchwork effect.
18. Capture Fluidity with a Single, Expressive Line

To translate the effortless grace of a one-line drawing into thread, your choice of stitch is paramount.
Use a whipped backstitch or a stem stitch to create a smooth, solid line that navigates curves beautifully without breaking or looking disjointed.
Select a 3 or 4-ply thread to give the line enough weight to stand out against the bare fabric.
This technique is perfect for creating abstract line art silhouettes that feel both delicate and confident.


