
Embroidery is more than just a way to decorate fabric—it’s a thoughtful, tactile language. When you create a card by hand, you’re sending a piece of your time, your focus, and your care. But how do you translate that intention into a piece that feels both personal and polished?
The answer often lies in looking beyond the thread. By introducing mixed media—paper, paint, beads, or even found objects—you add layers of texture and meaning that elevate a simple stitched design into a small work of art. This isn’t about complexity; it’s about contrast. The softness of floss against the crisp edge of paper, or the sheen of metallic thread over a matte watercolor wash.
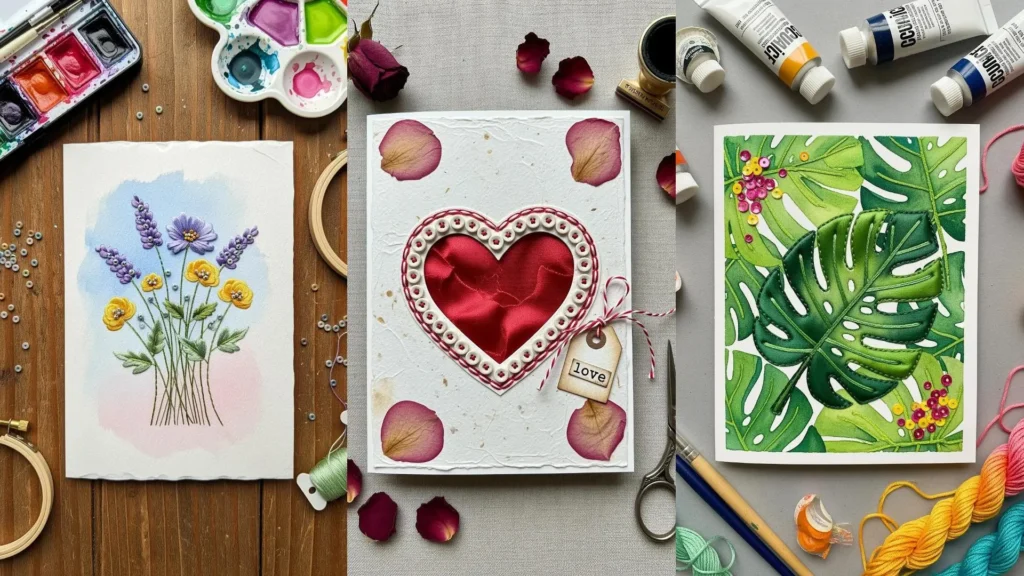
Here, you’ll find techniques that honor the mindful process of stitching while expanding your creative toolkit. Each idea is designed to help you create cards that are not just seen, but felt—a true connection, held in the hand.
1. Watercolor Blooms with Satin Stitch Petals
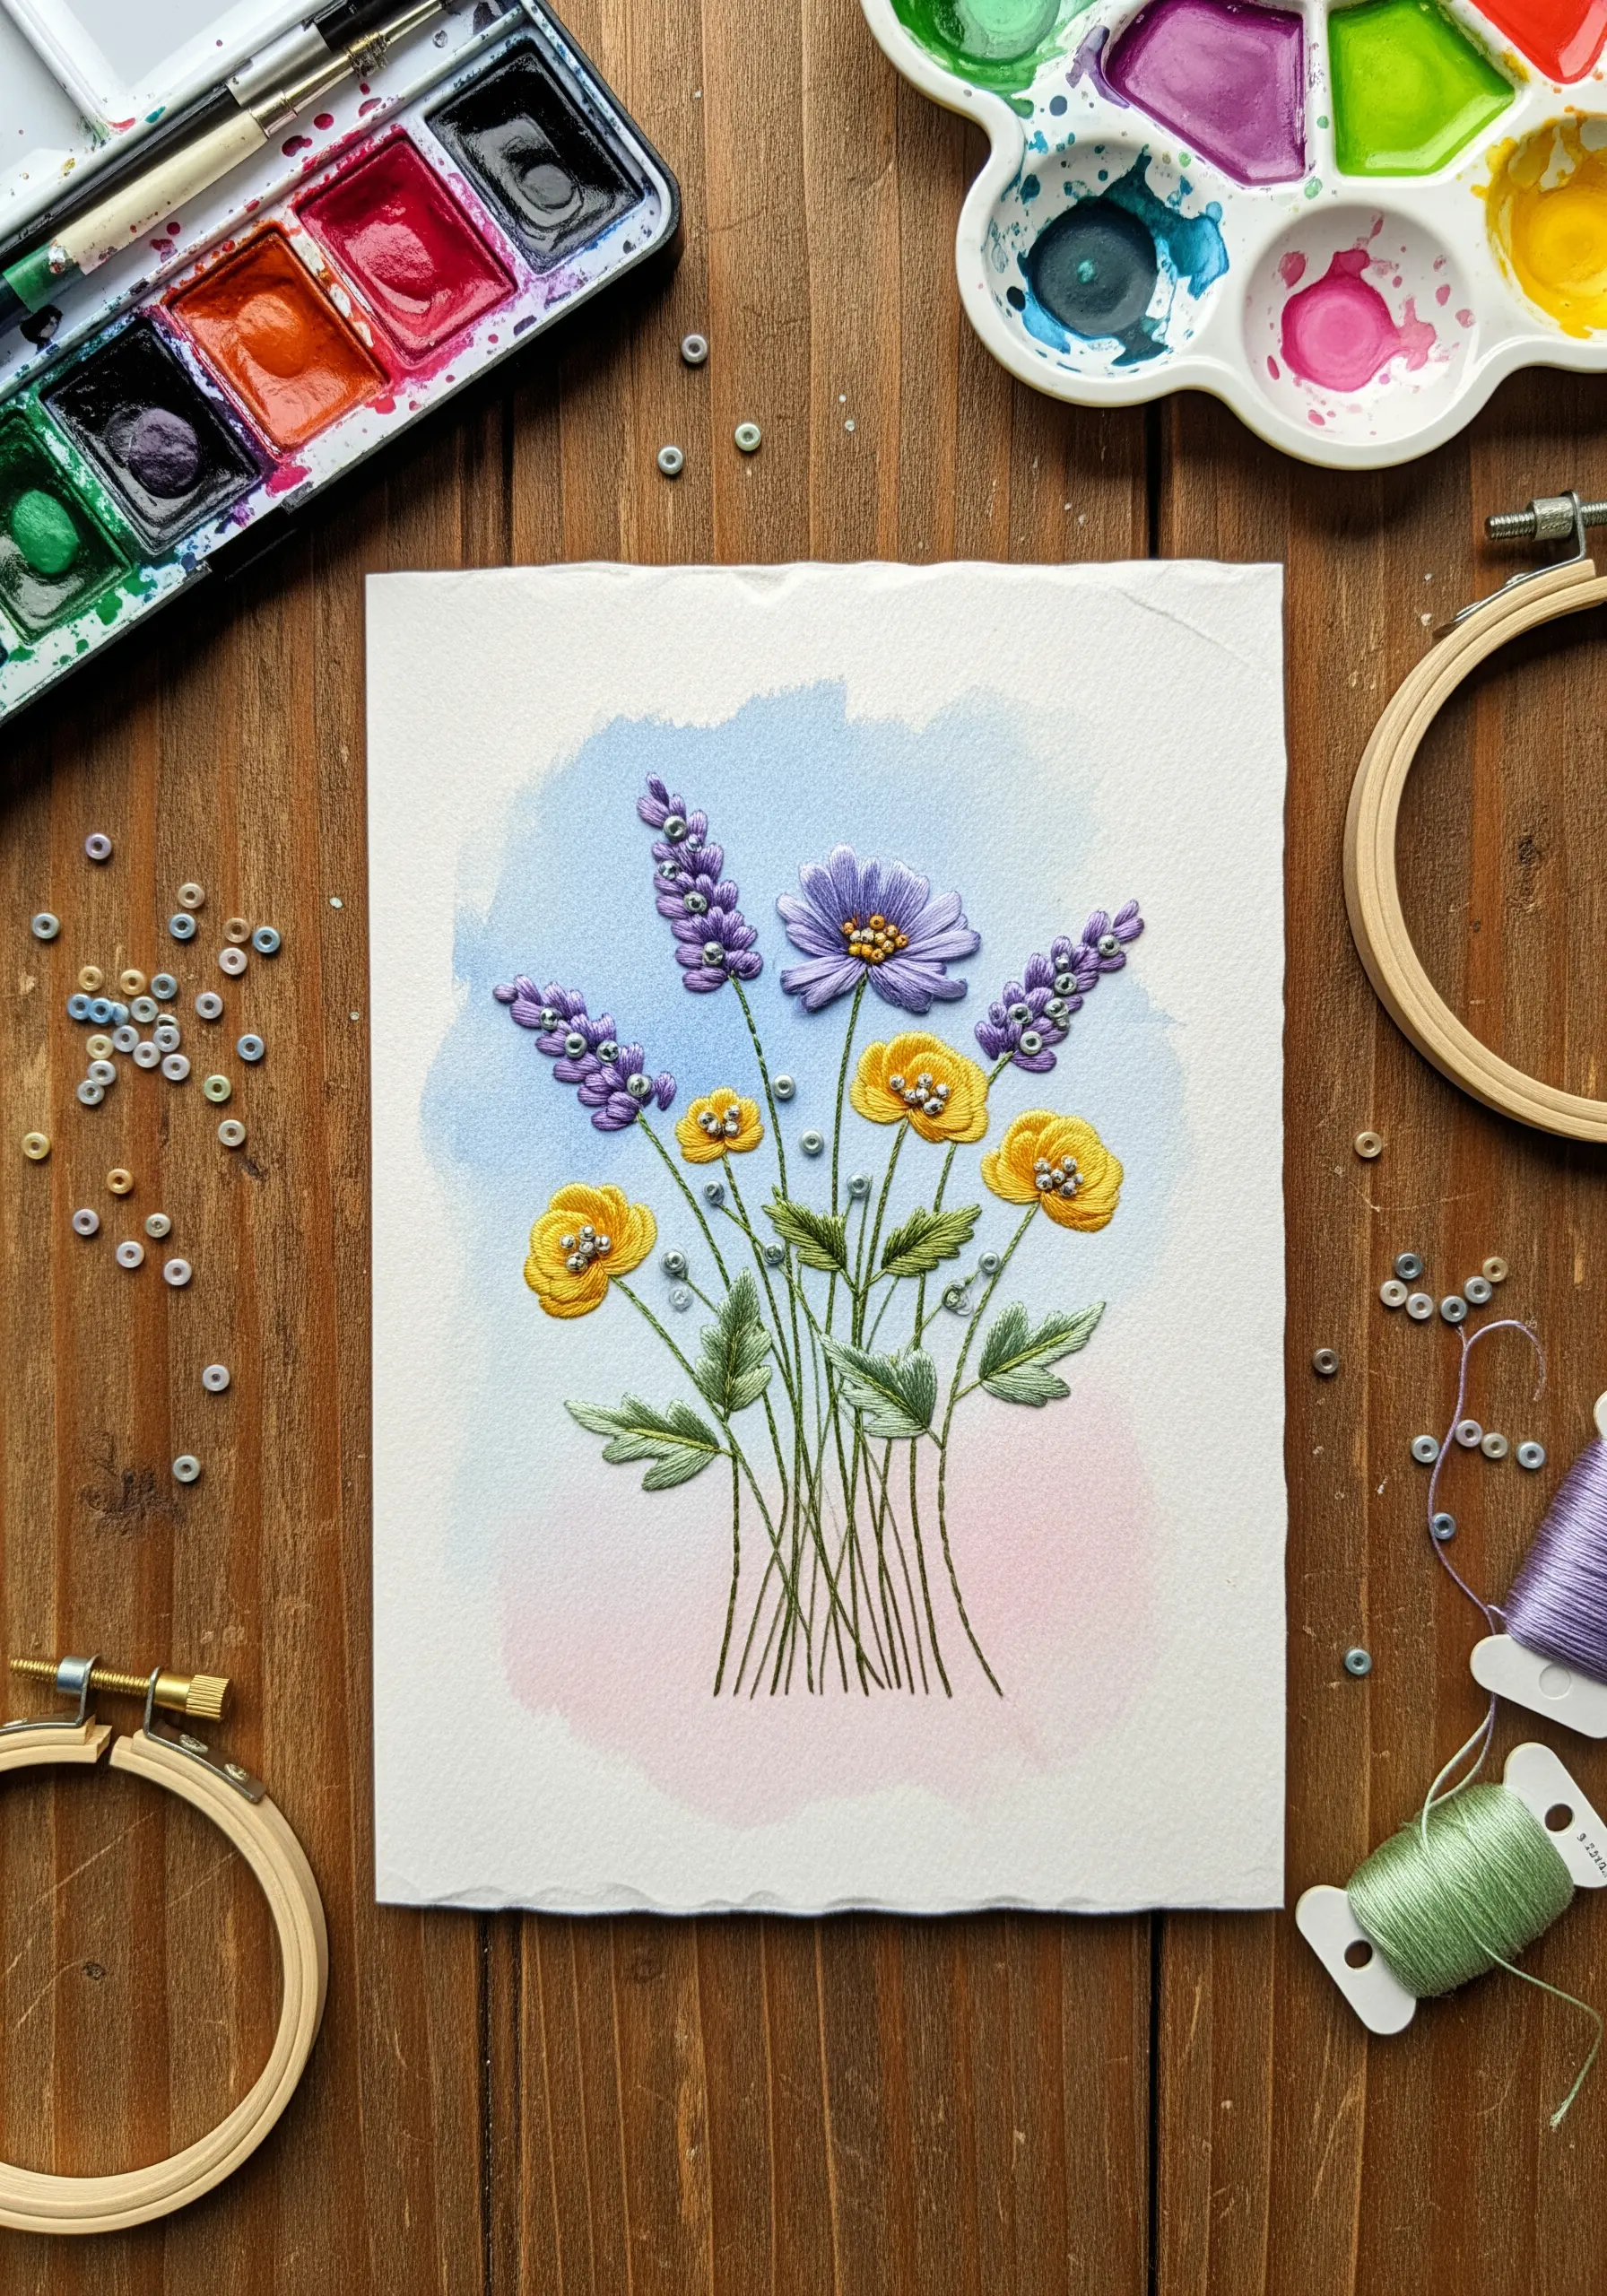
Begin by applying a soft, diffused watercolor wash onto thick, high-quality cardstock, allowing it to dry completely before you stitch.
Use satin stitch for the flower petals, intentionally changing the angle of your stitches to follow the natural curve of each petal.
This simple adjustment creates a subtle, light-catching effect that adds realism and dimension.
For the lavender sprigs, cluster small bullion knots or French knots together to build texture.
The gentle watercolor background provides a soft context that makes the thread’s rich texture the focal point.
2. Celestial Geometry with Metallic Thread
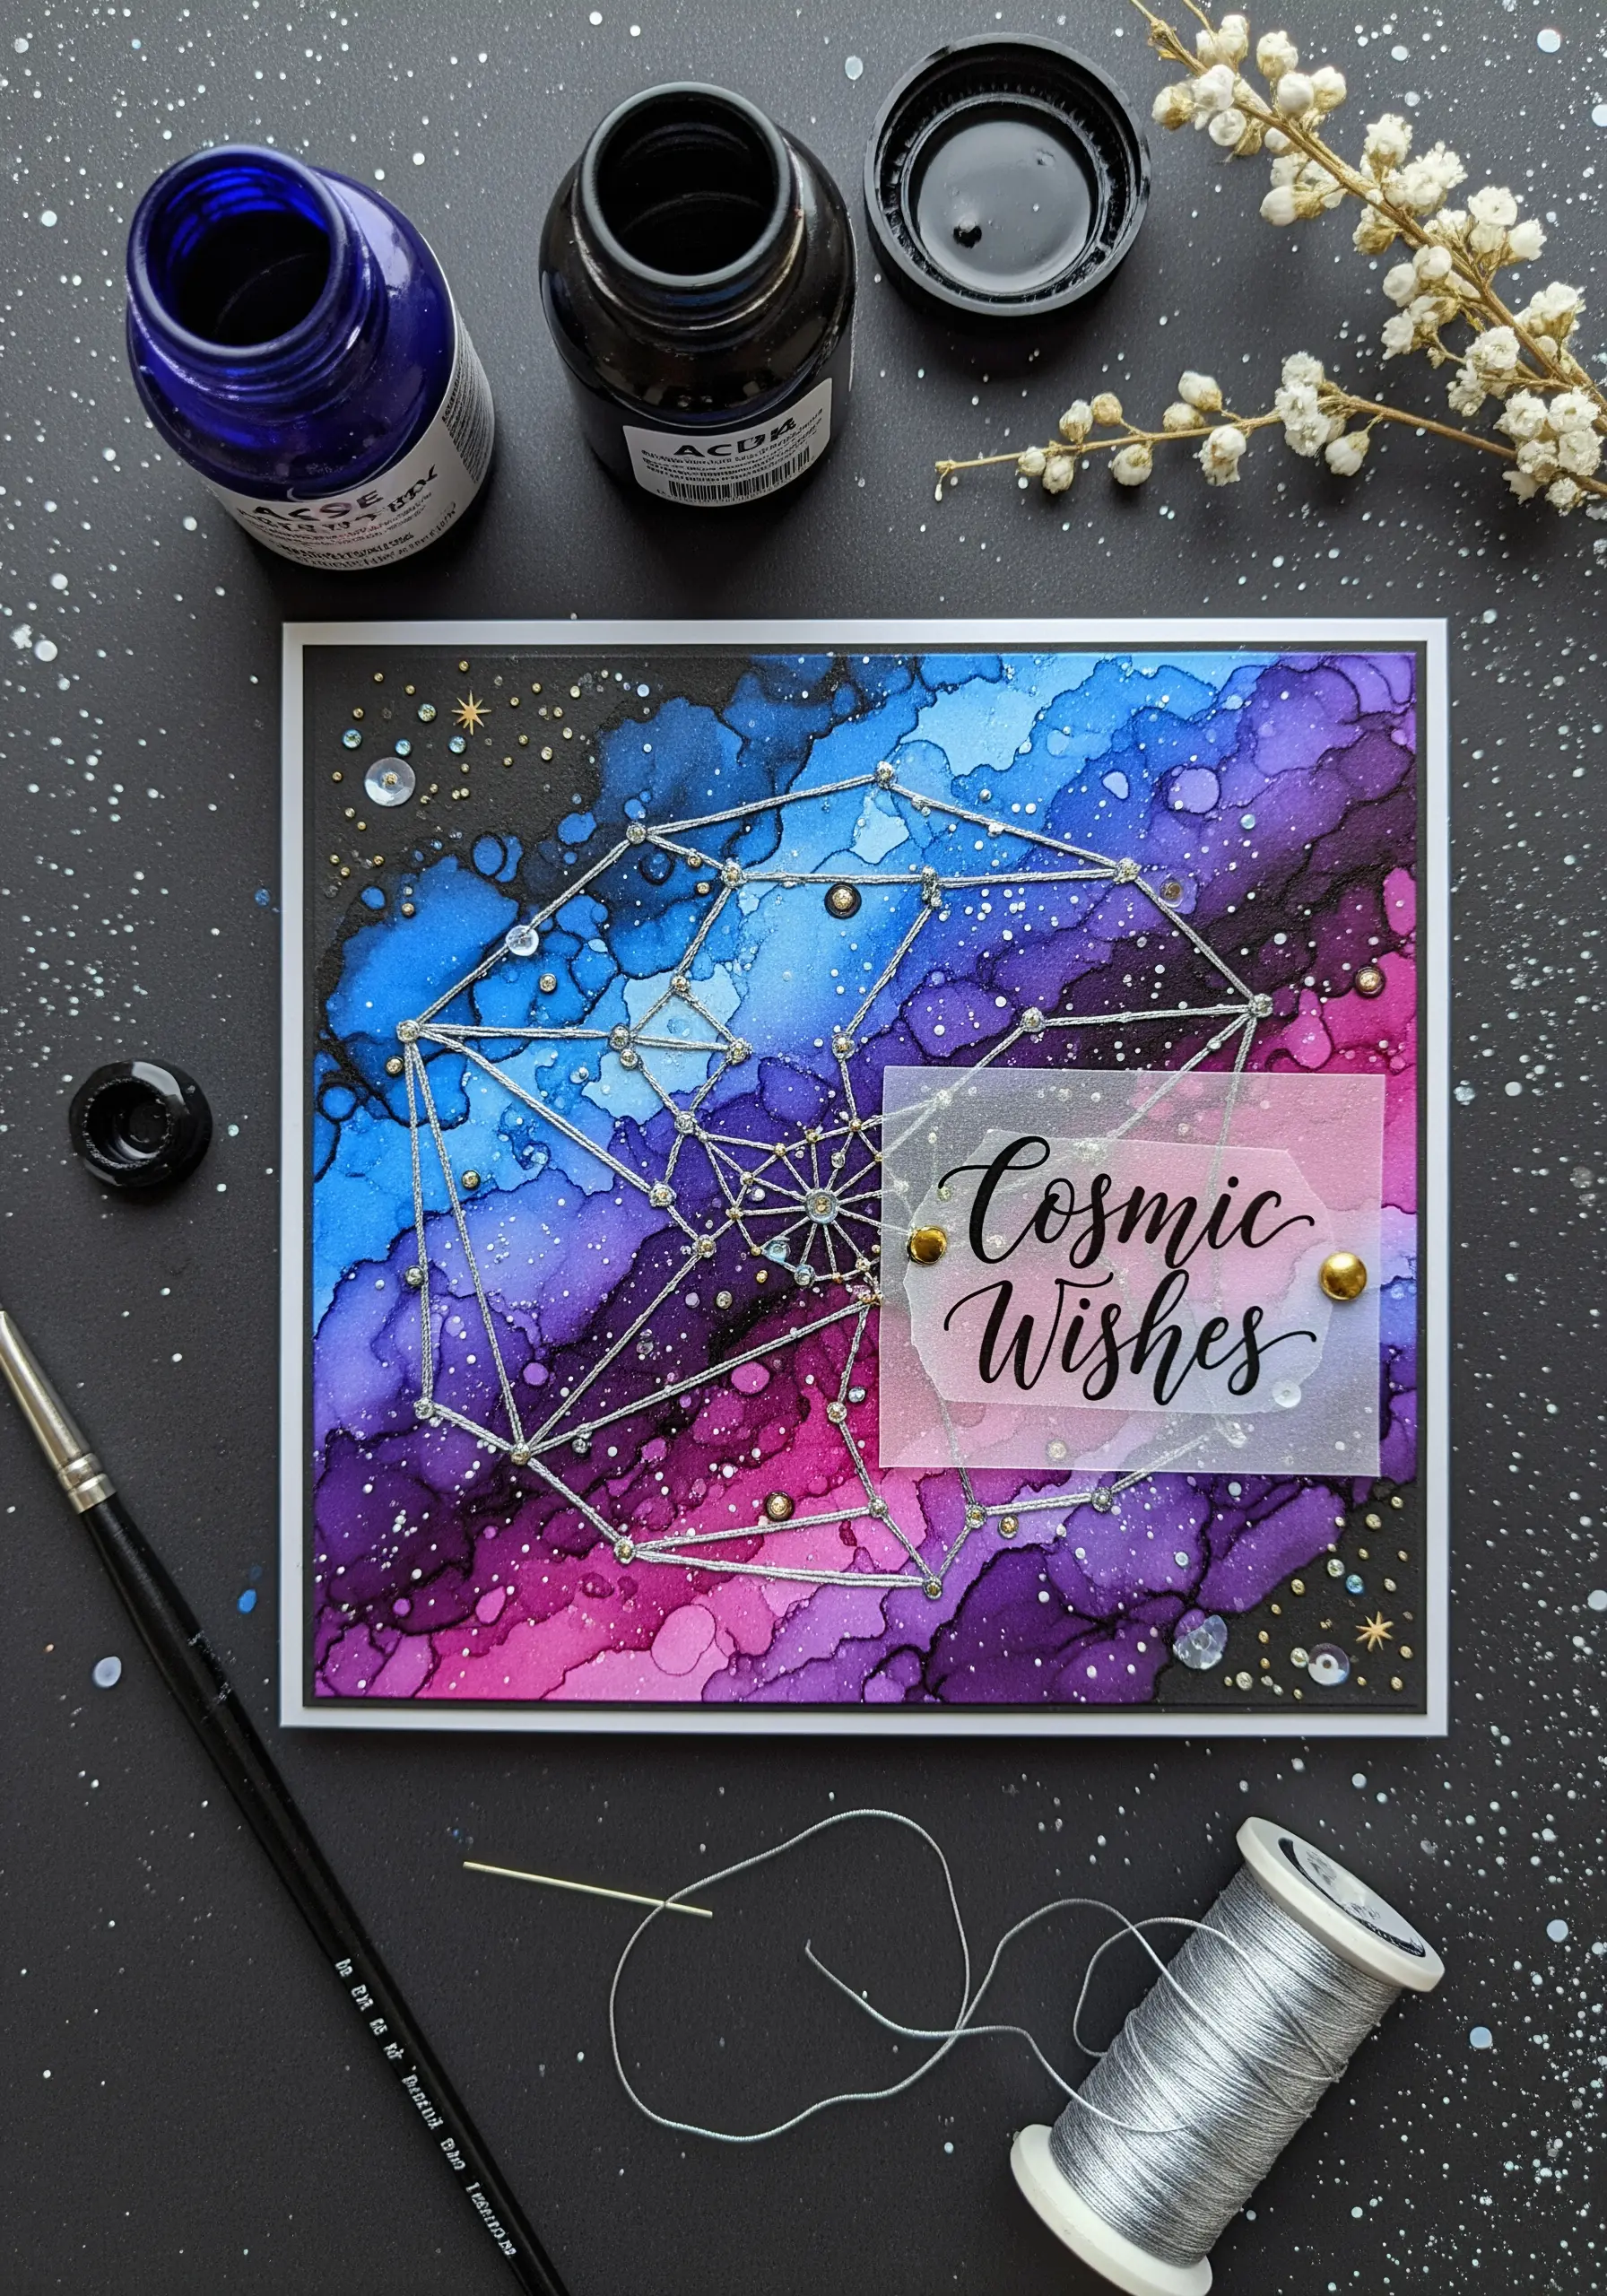
Create a vibrant galaxy background using alcohol inks on yupo paper, then mount the dried piece onto your card base.
Using a template, pierce your geometric pattern before you start stitching to ensure clean entry points.
Opt for a fine metallic thread, which provides a crisp, brilliant line that standard cotton floss cannot replicate.
To complete the celestial effect, anchor the thread at key intersections with tiny silver beads to mimic stars and add a tactile, refined finish.
3. Mid-Century Modern Thread Painting
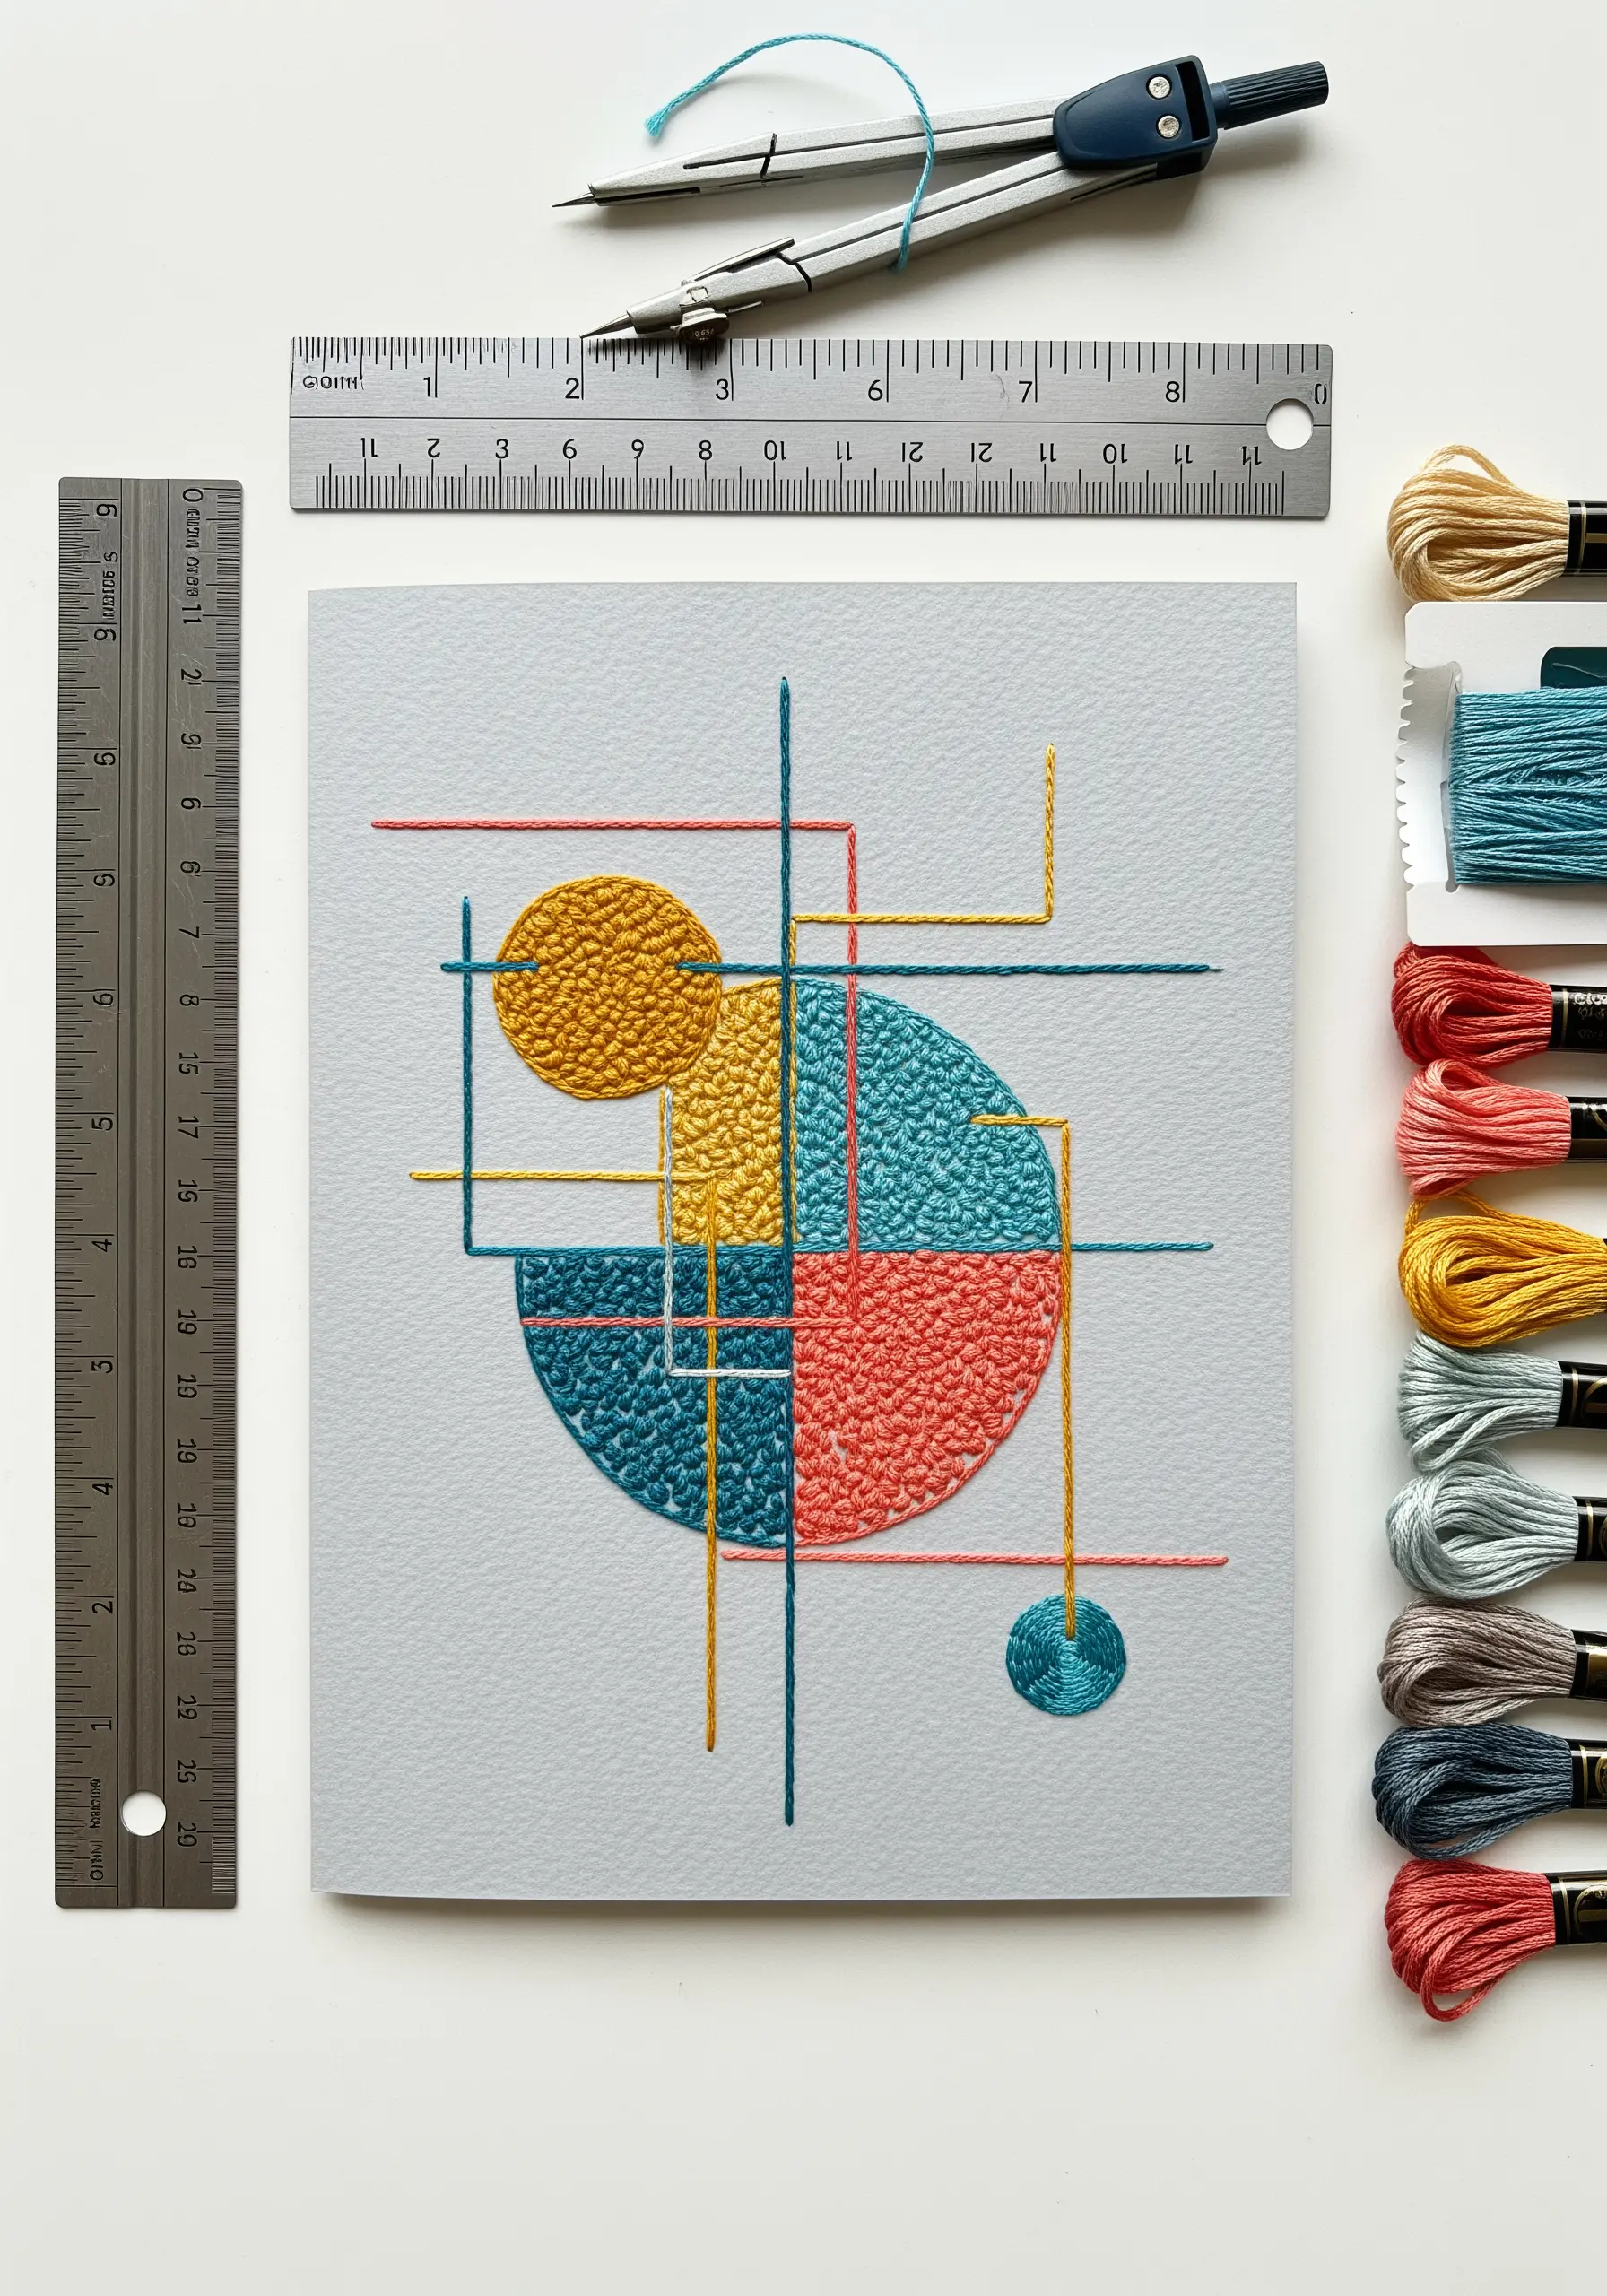
First, map out your geometric composition lightly with a pencil to guide your stitching.
Instead of a flat satin stitch, fill the shapes with dense seed stitches or French knots to create a stippled, painterly texture.
This textural fill provides a beautiful contrast against the clean, straight-stitched lines that define the composition.
Maintain visual harmony by using a consistent number of strands—such as three—for every color, giving the piece a cohesive and modern, tactile feel.
4. Layered Felt Appliqué with Stitch Accents
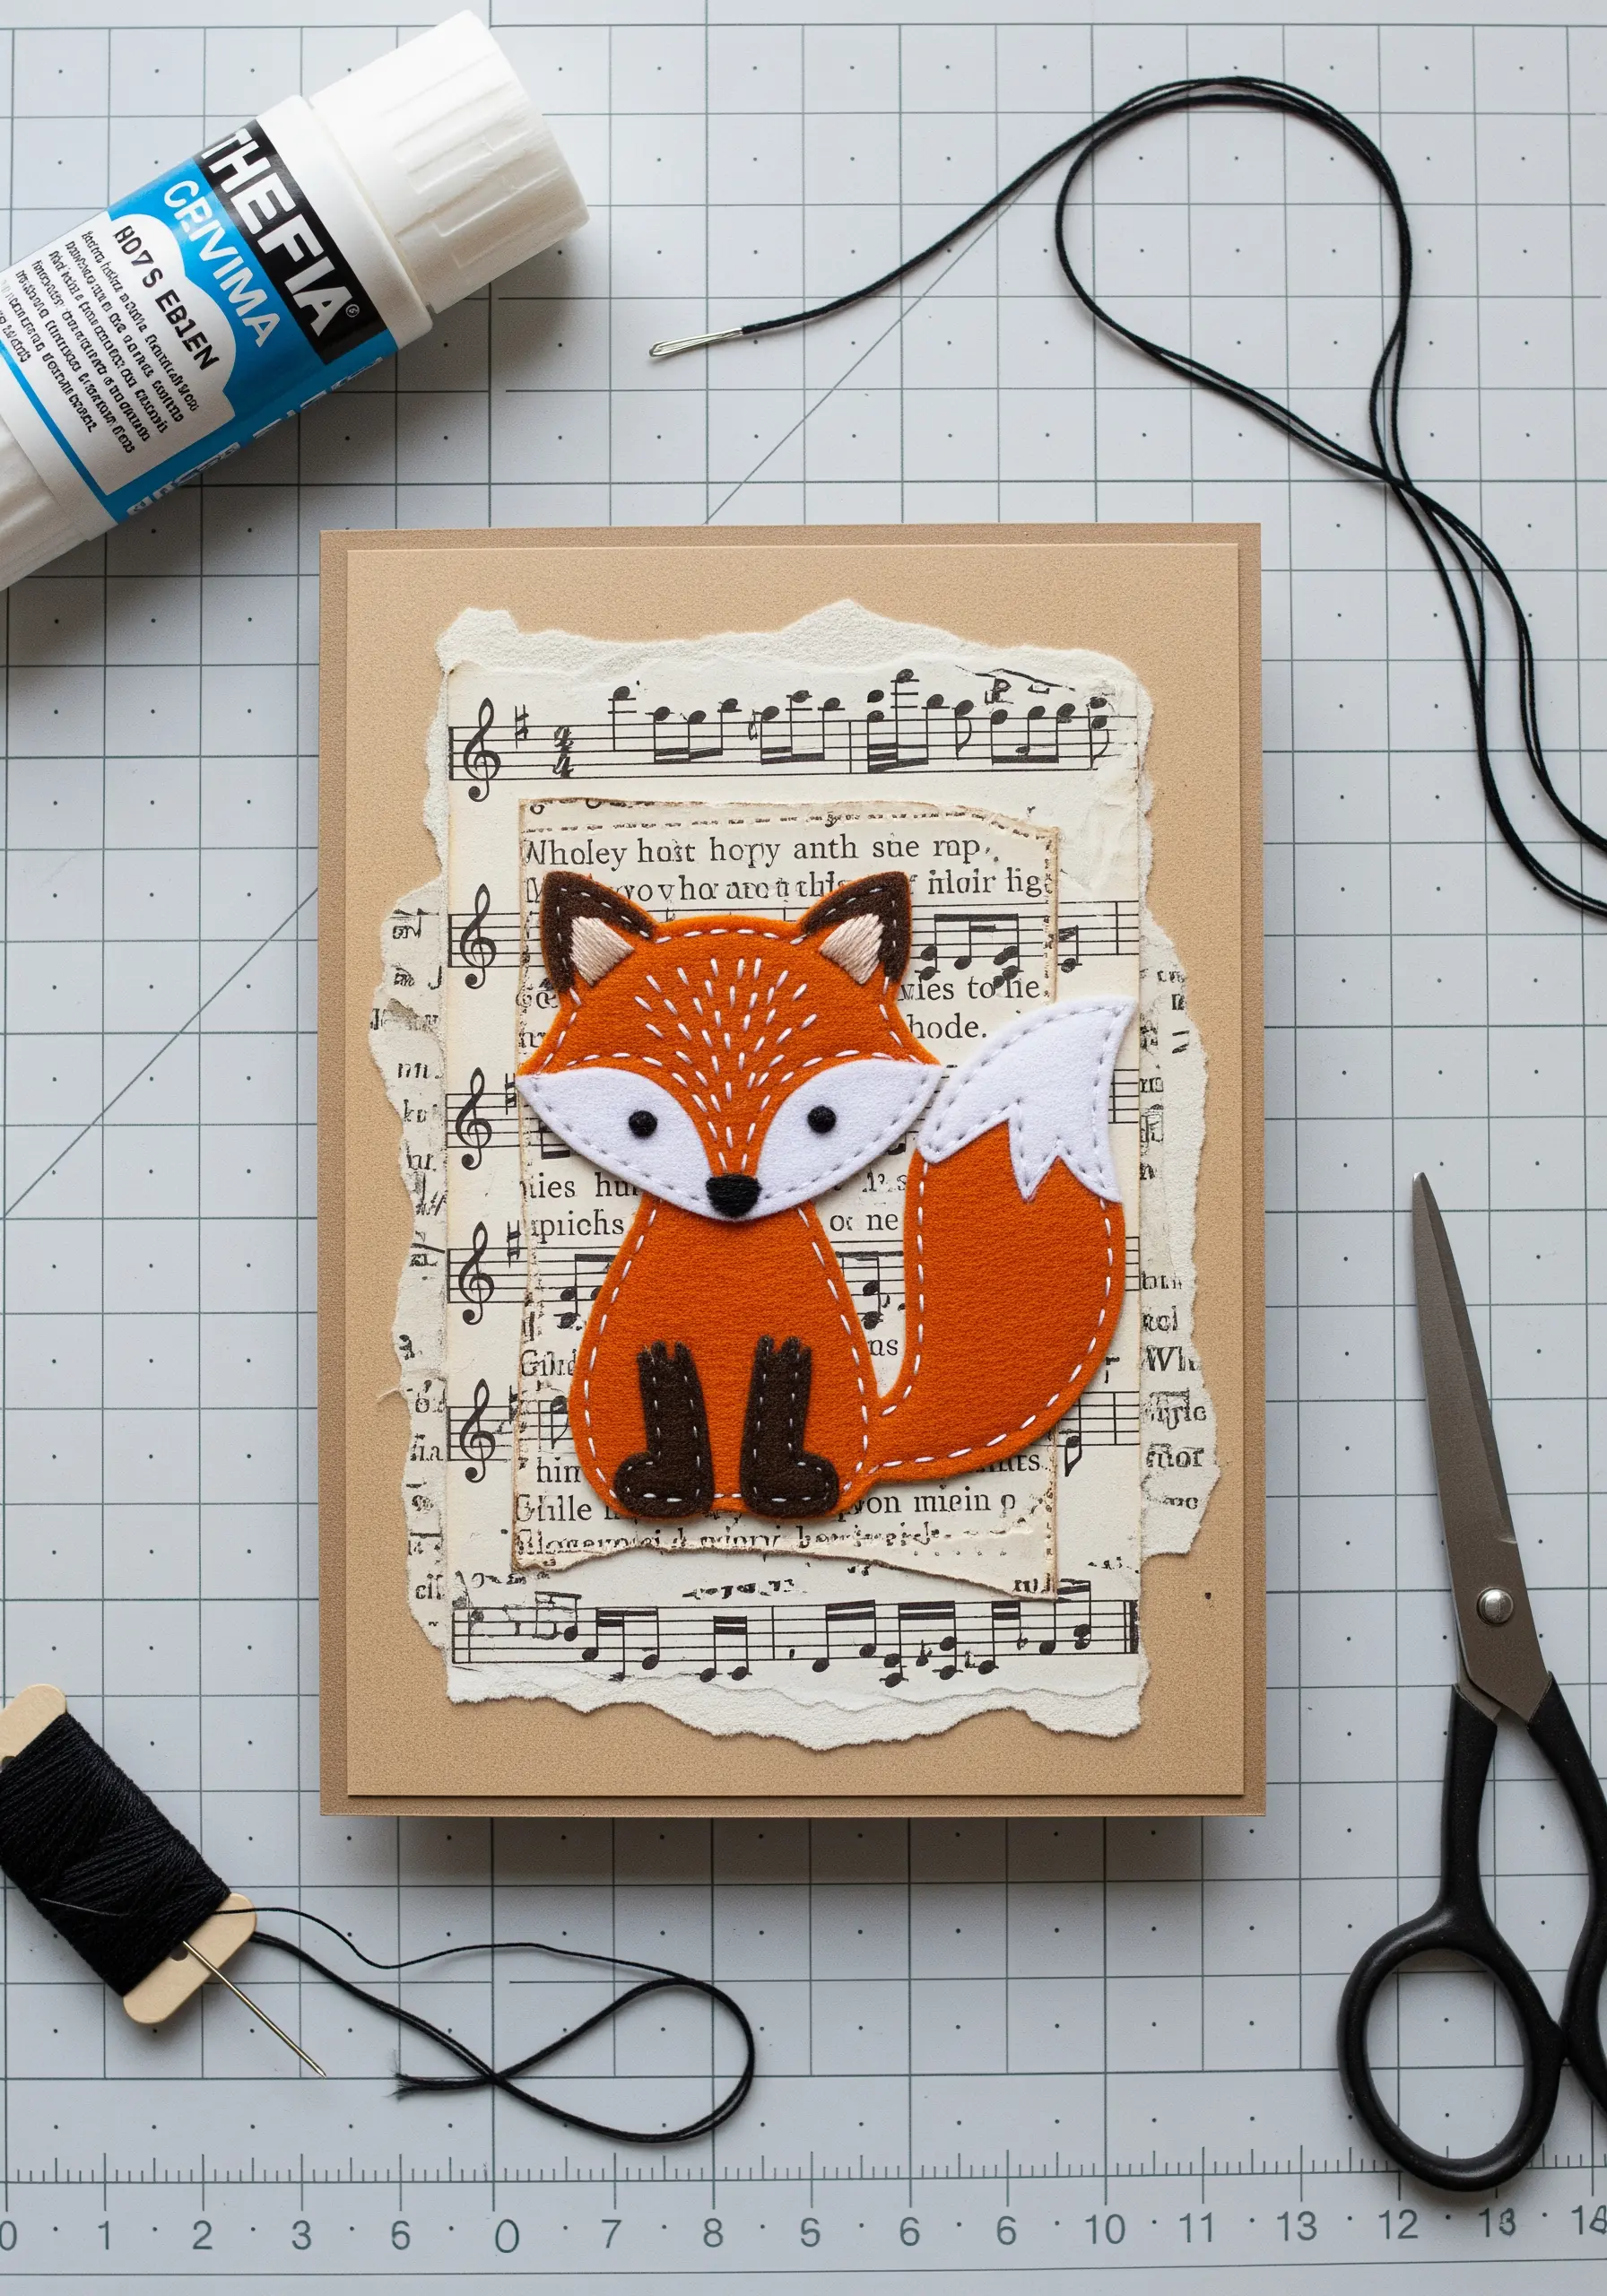
This technique is all about building depth through layered textures.
Cut your fox shapes from different colored felt, then use a simple running stitch or whip stitch in a contrasting thread to assemble the appliqué.
The visibility of the stitching is intentional—it adds a cozy, handmade quality that enhances the design’s charm.
Mount your finished felt character on a background of torn sheet music to create a soft, vintage frame, transforming it into a charming, storybook-style card.
5. Ethereal Vellum Wings with Couching
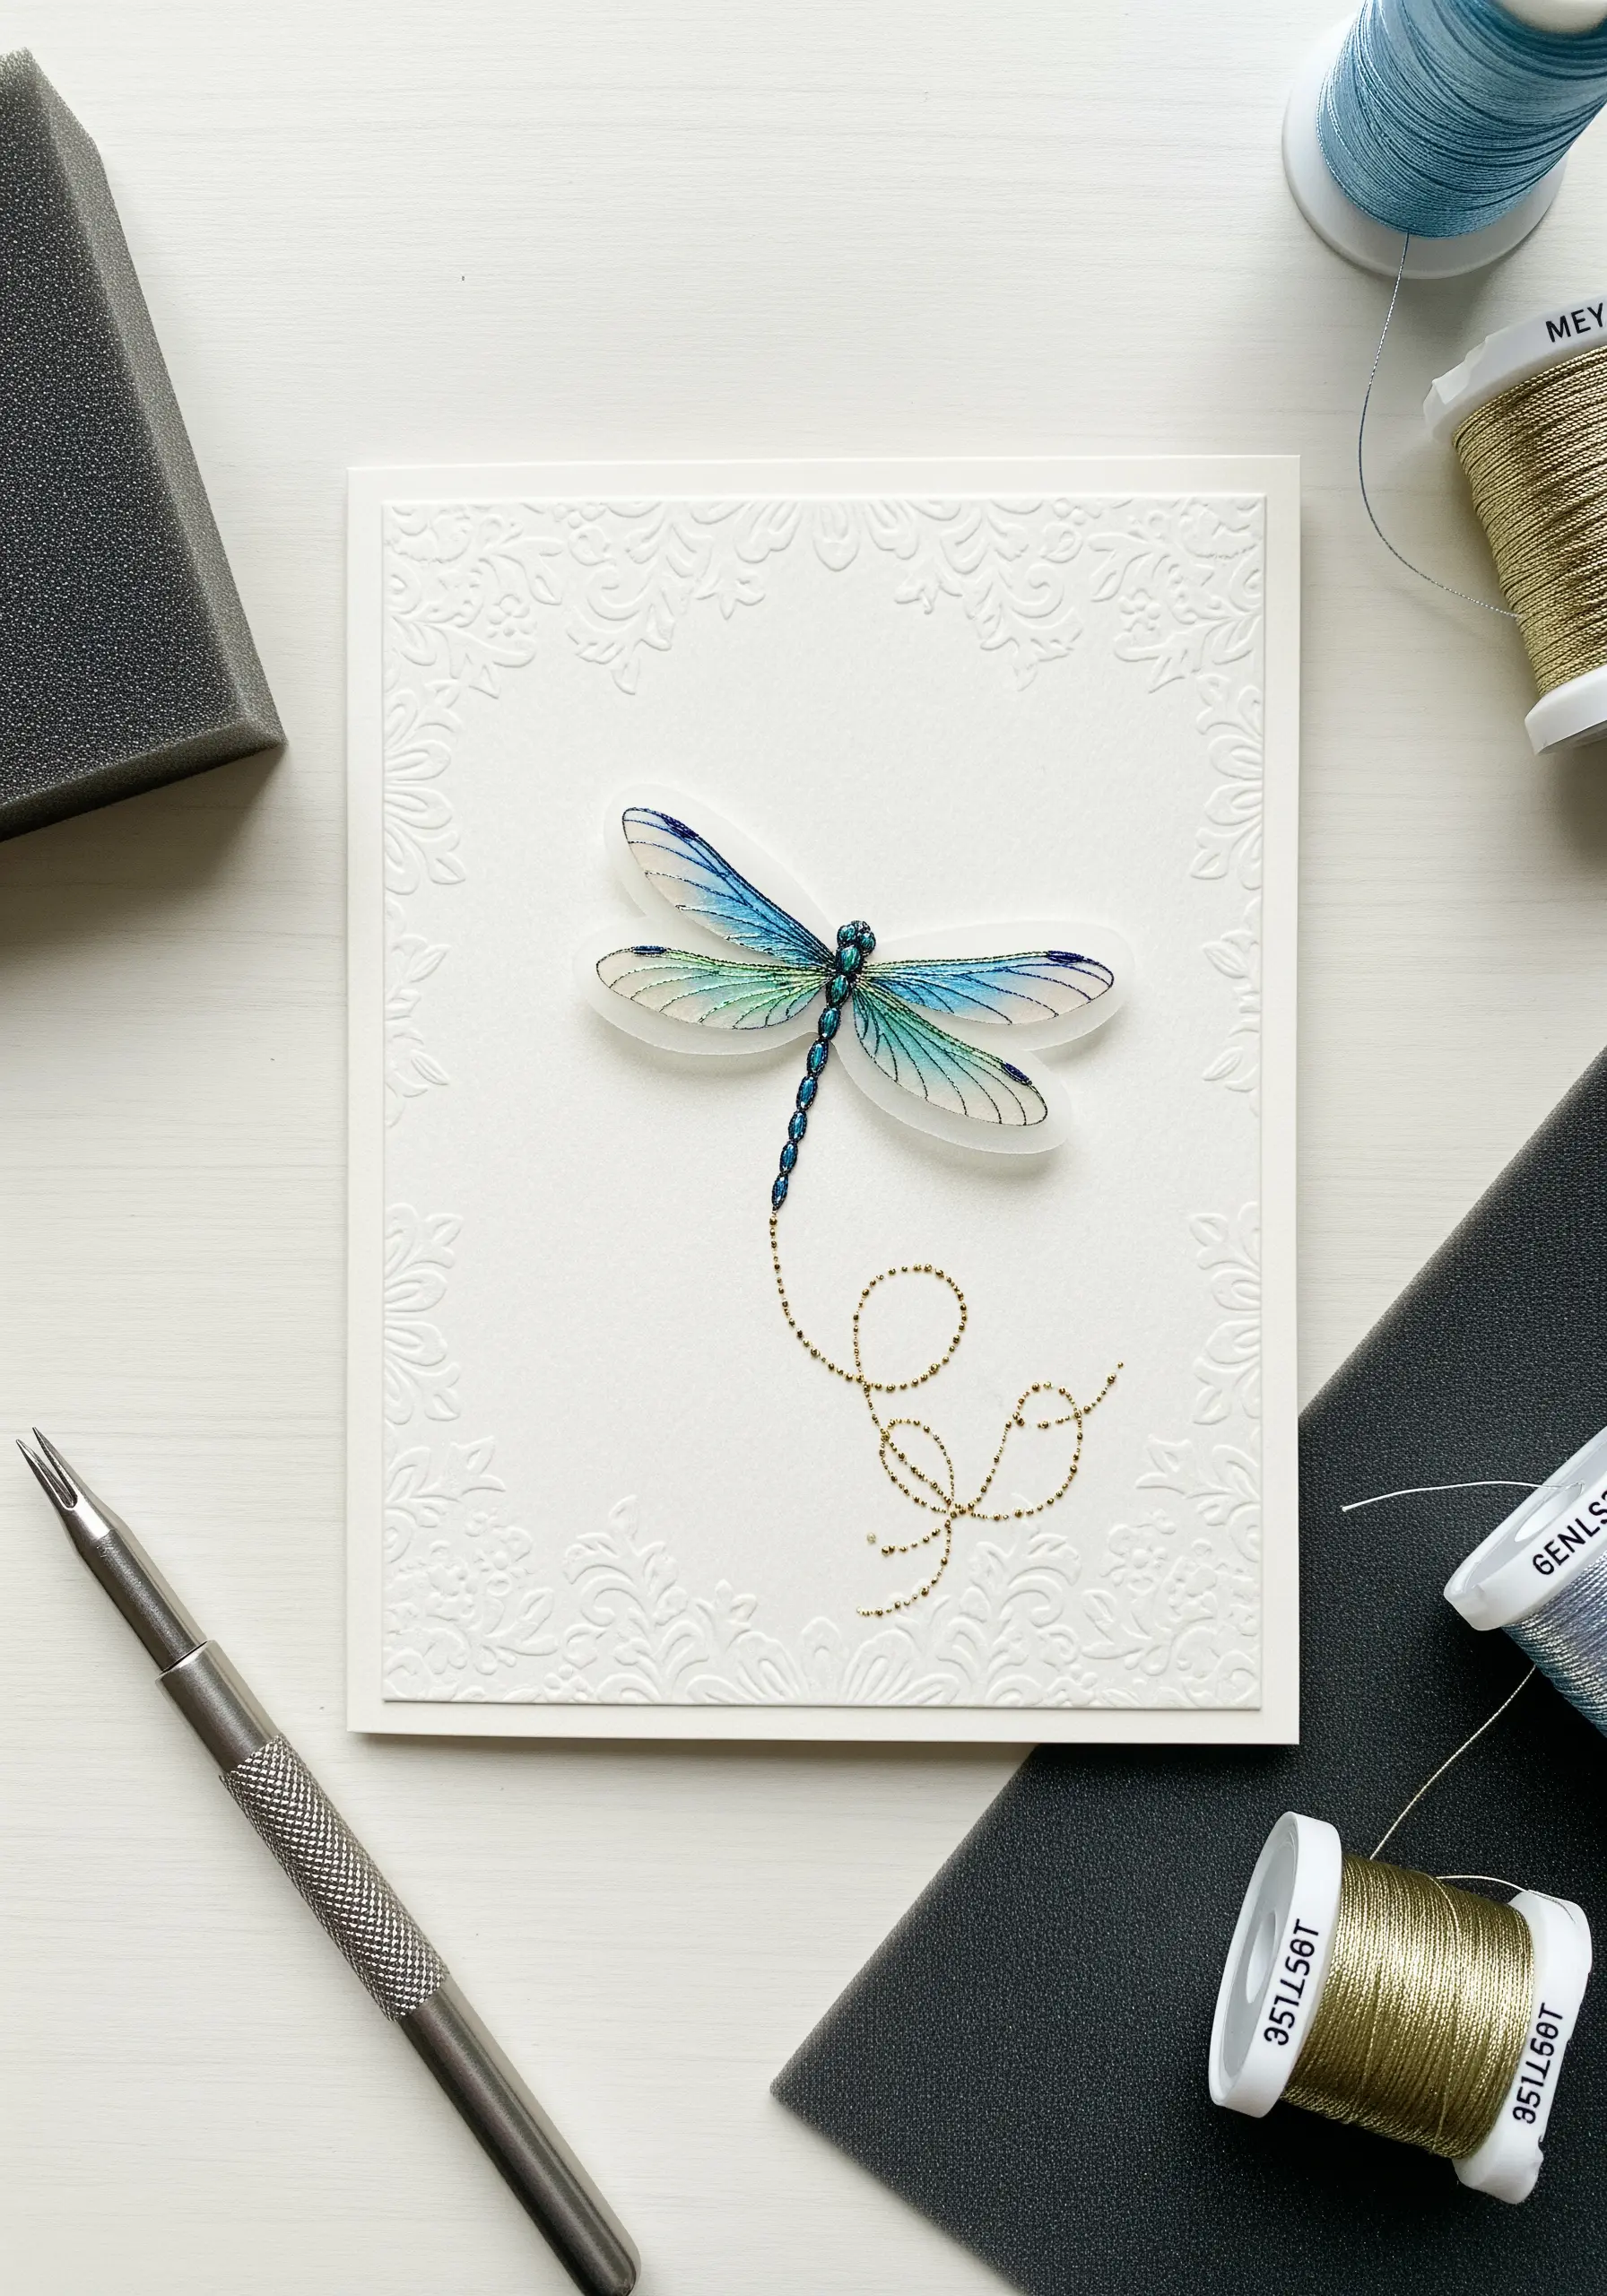
Achieve delicate, translucent wings by using vellum paper, which you can color from behind with alcohol markers for a soft tint.
For the dragonfly’s elegant, swirling tail, employ the couching technique: lay down a thicker metallic thread and tack it into place with a thinner, matching thread.
Couching gives you the freedom to create smooth, dramatic curves that would be impossible with a standard stitch.
A blind embossed border adds another layer of texture without visually competing with your focal point.
6. Stitched Framing for Pressed Botanicals
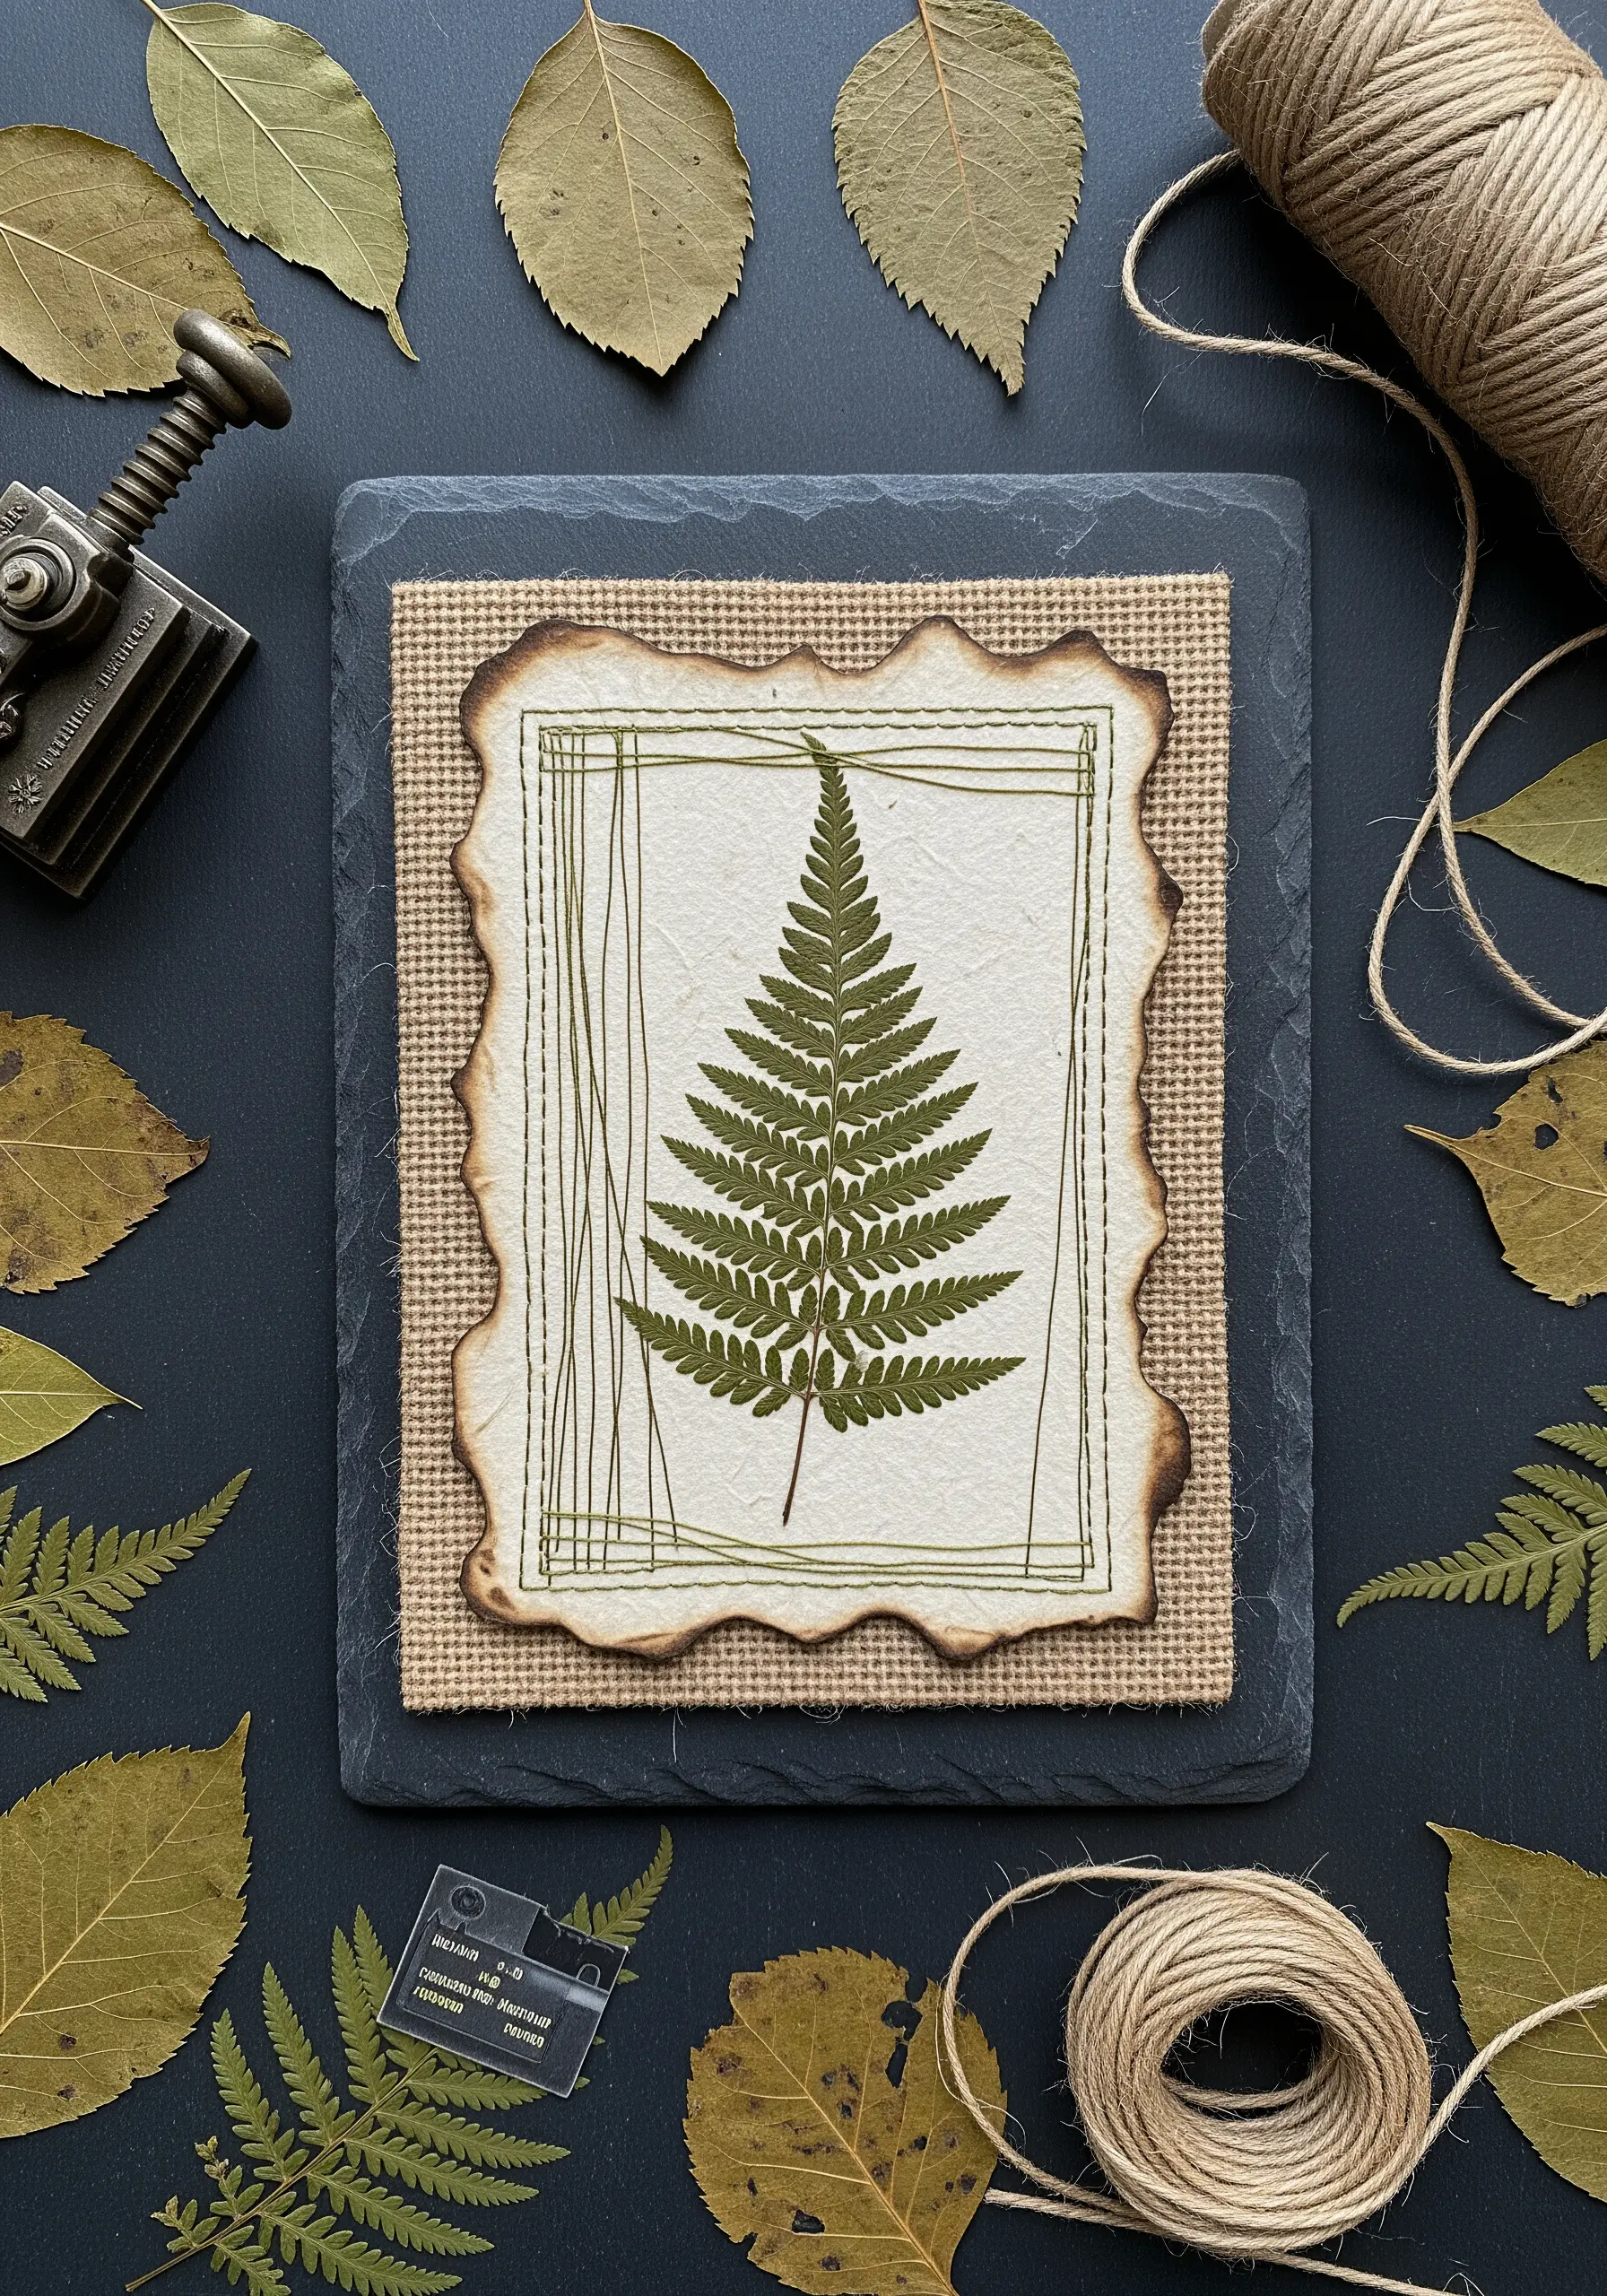
Allow a natural element to be the undisputed centerpiece of your card.
Carefully secure a pressed fern or leaf onto handmade paper with a minuscule dot of acid-free adhesive.
Instead of a traditional paper frame, create one with intersecting long stitches, using thread to draw a loose, organic border.
This technique integrates the botanical element directly into the textile art, while the burnt paper edges add a rustic, archival feel.
7. Ribbon Stitch for Sculptural Leaves
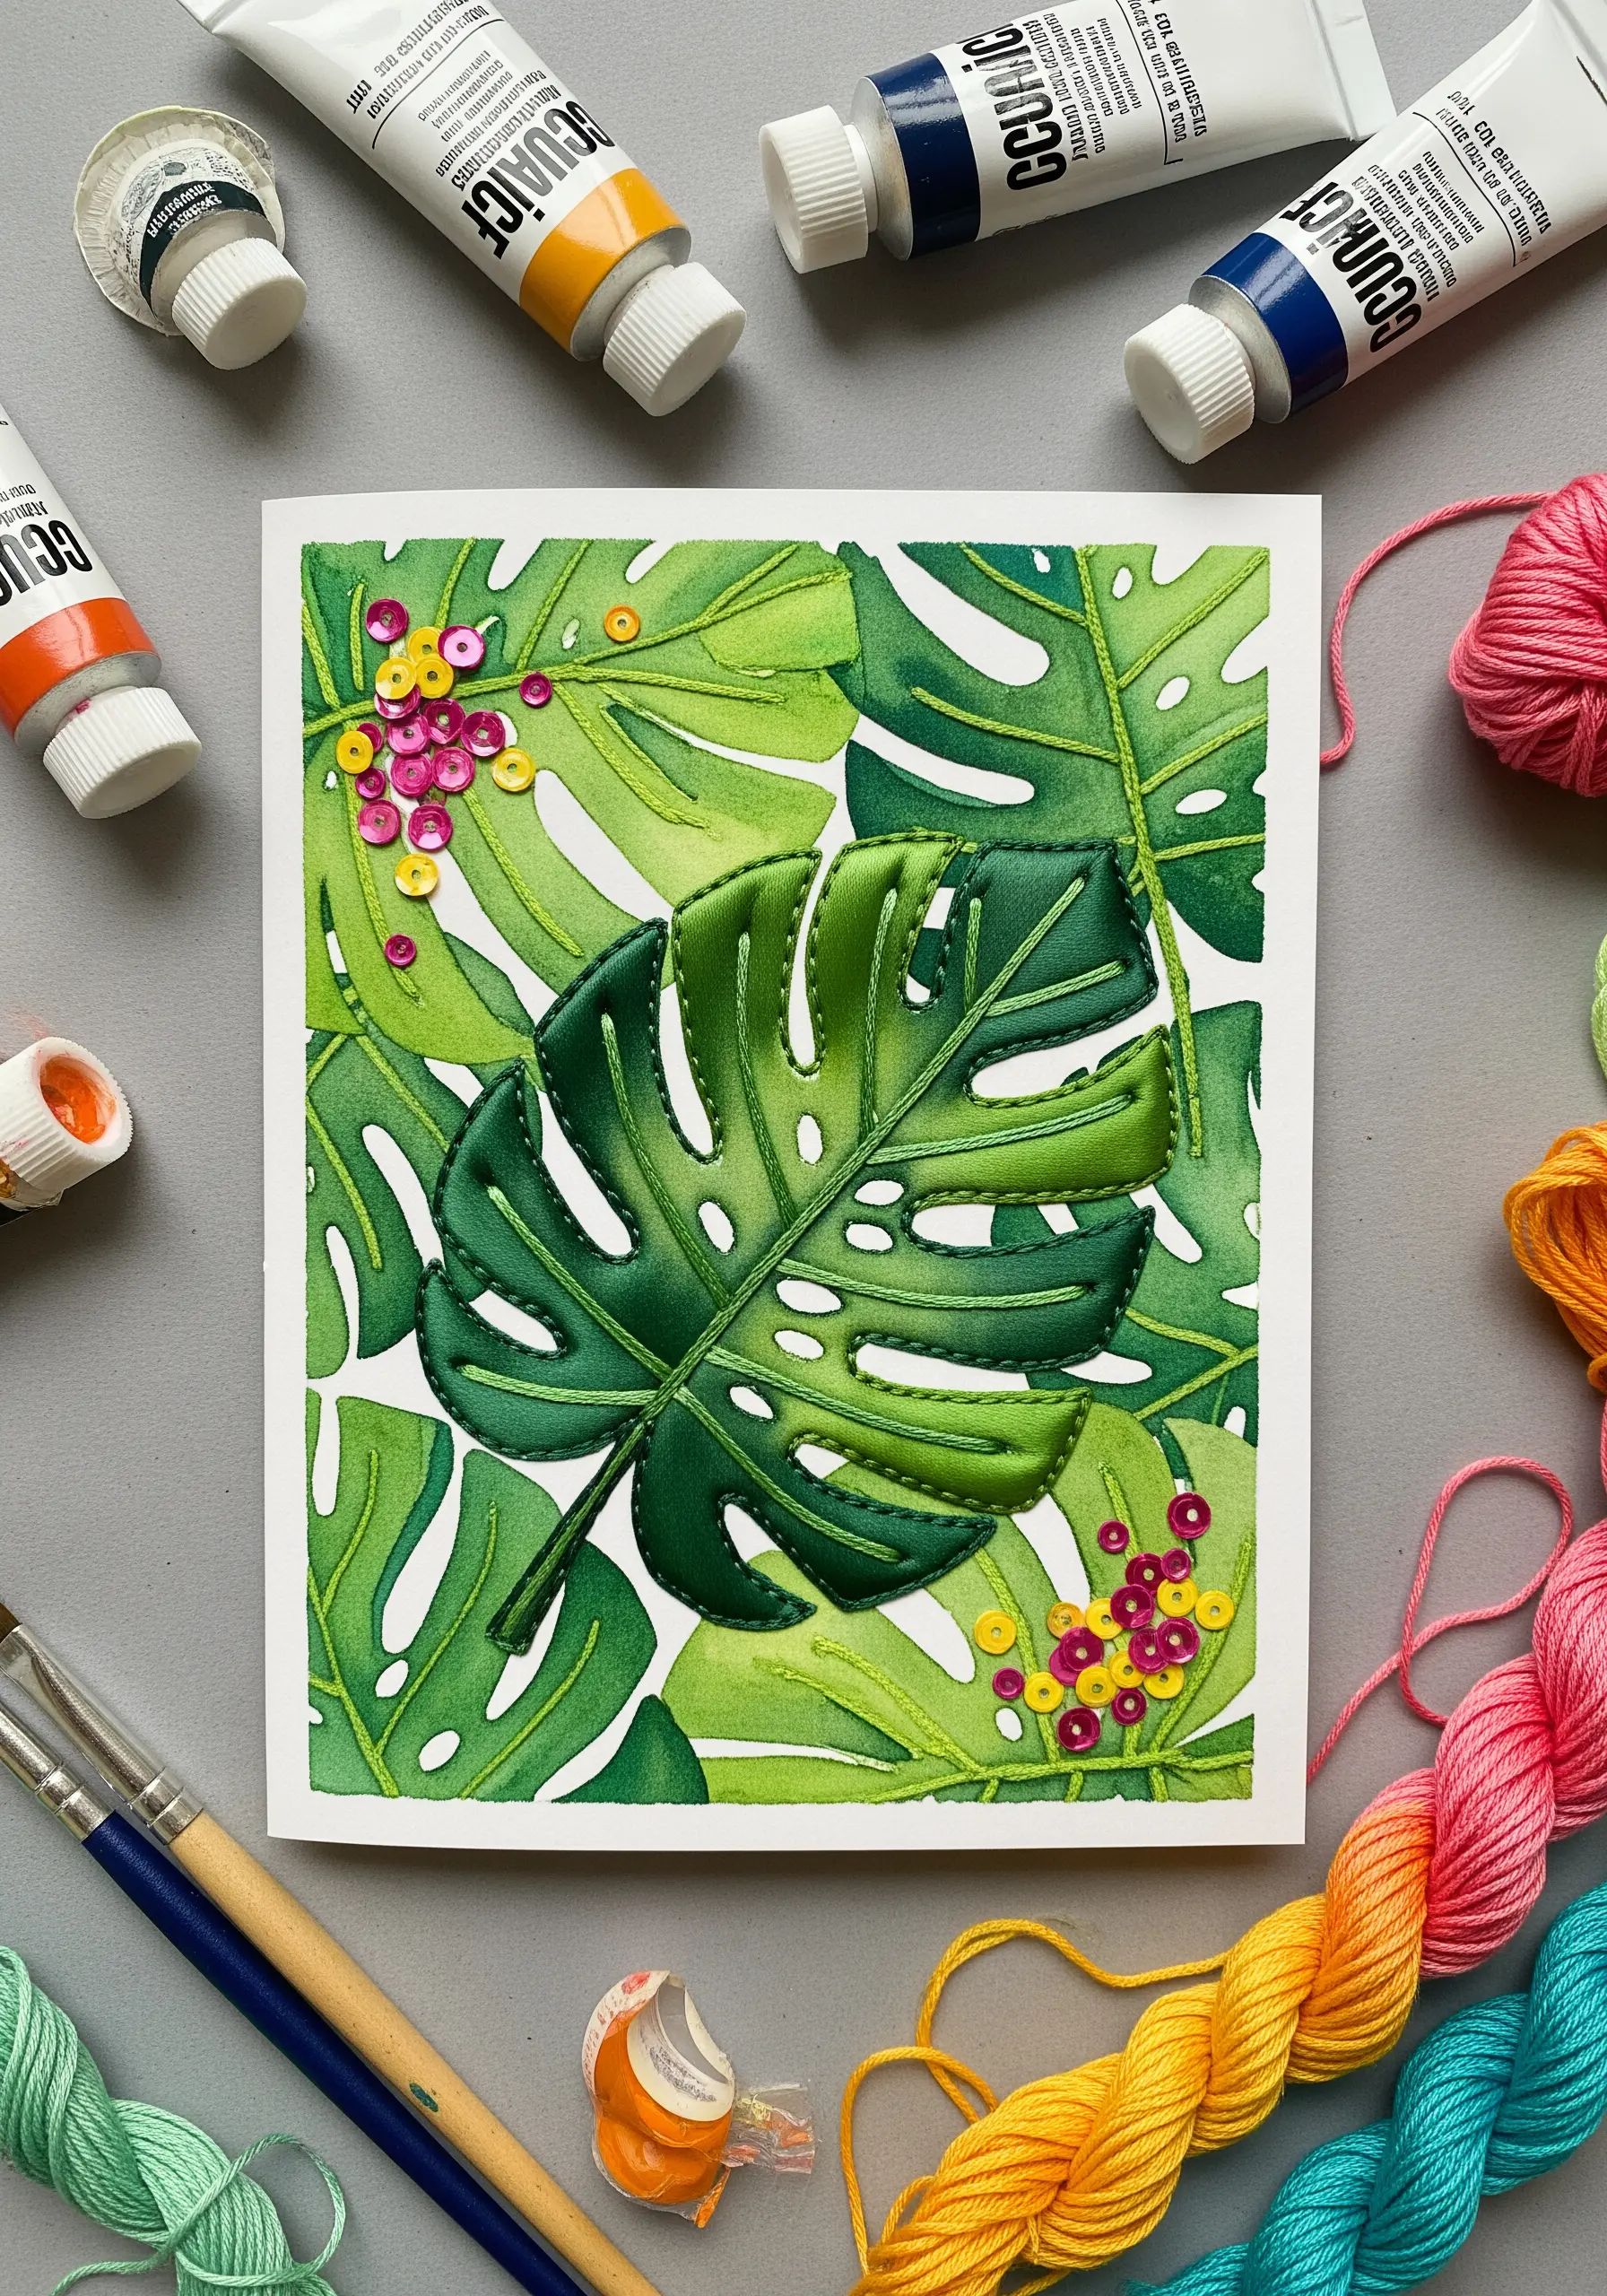
To create a glossy, three-dimensional monstera leaf, work with silk ribbon instead of standard embroidery floss.
The ribbon’s width fills the space efficiently and reflects light beautifully, adding a luxurious sheen.
Use a simple ribbon stitch or straight stitch, twisting the ribbon as you work to create highlights and shadows that mimic a real leaf’s surface.
Painting a subtle pattern in the background creates depth and makes your stitched leaf the hero of the composition.
8. Patchwork Fabric Collage with Thread Accents
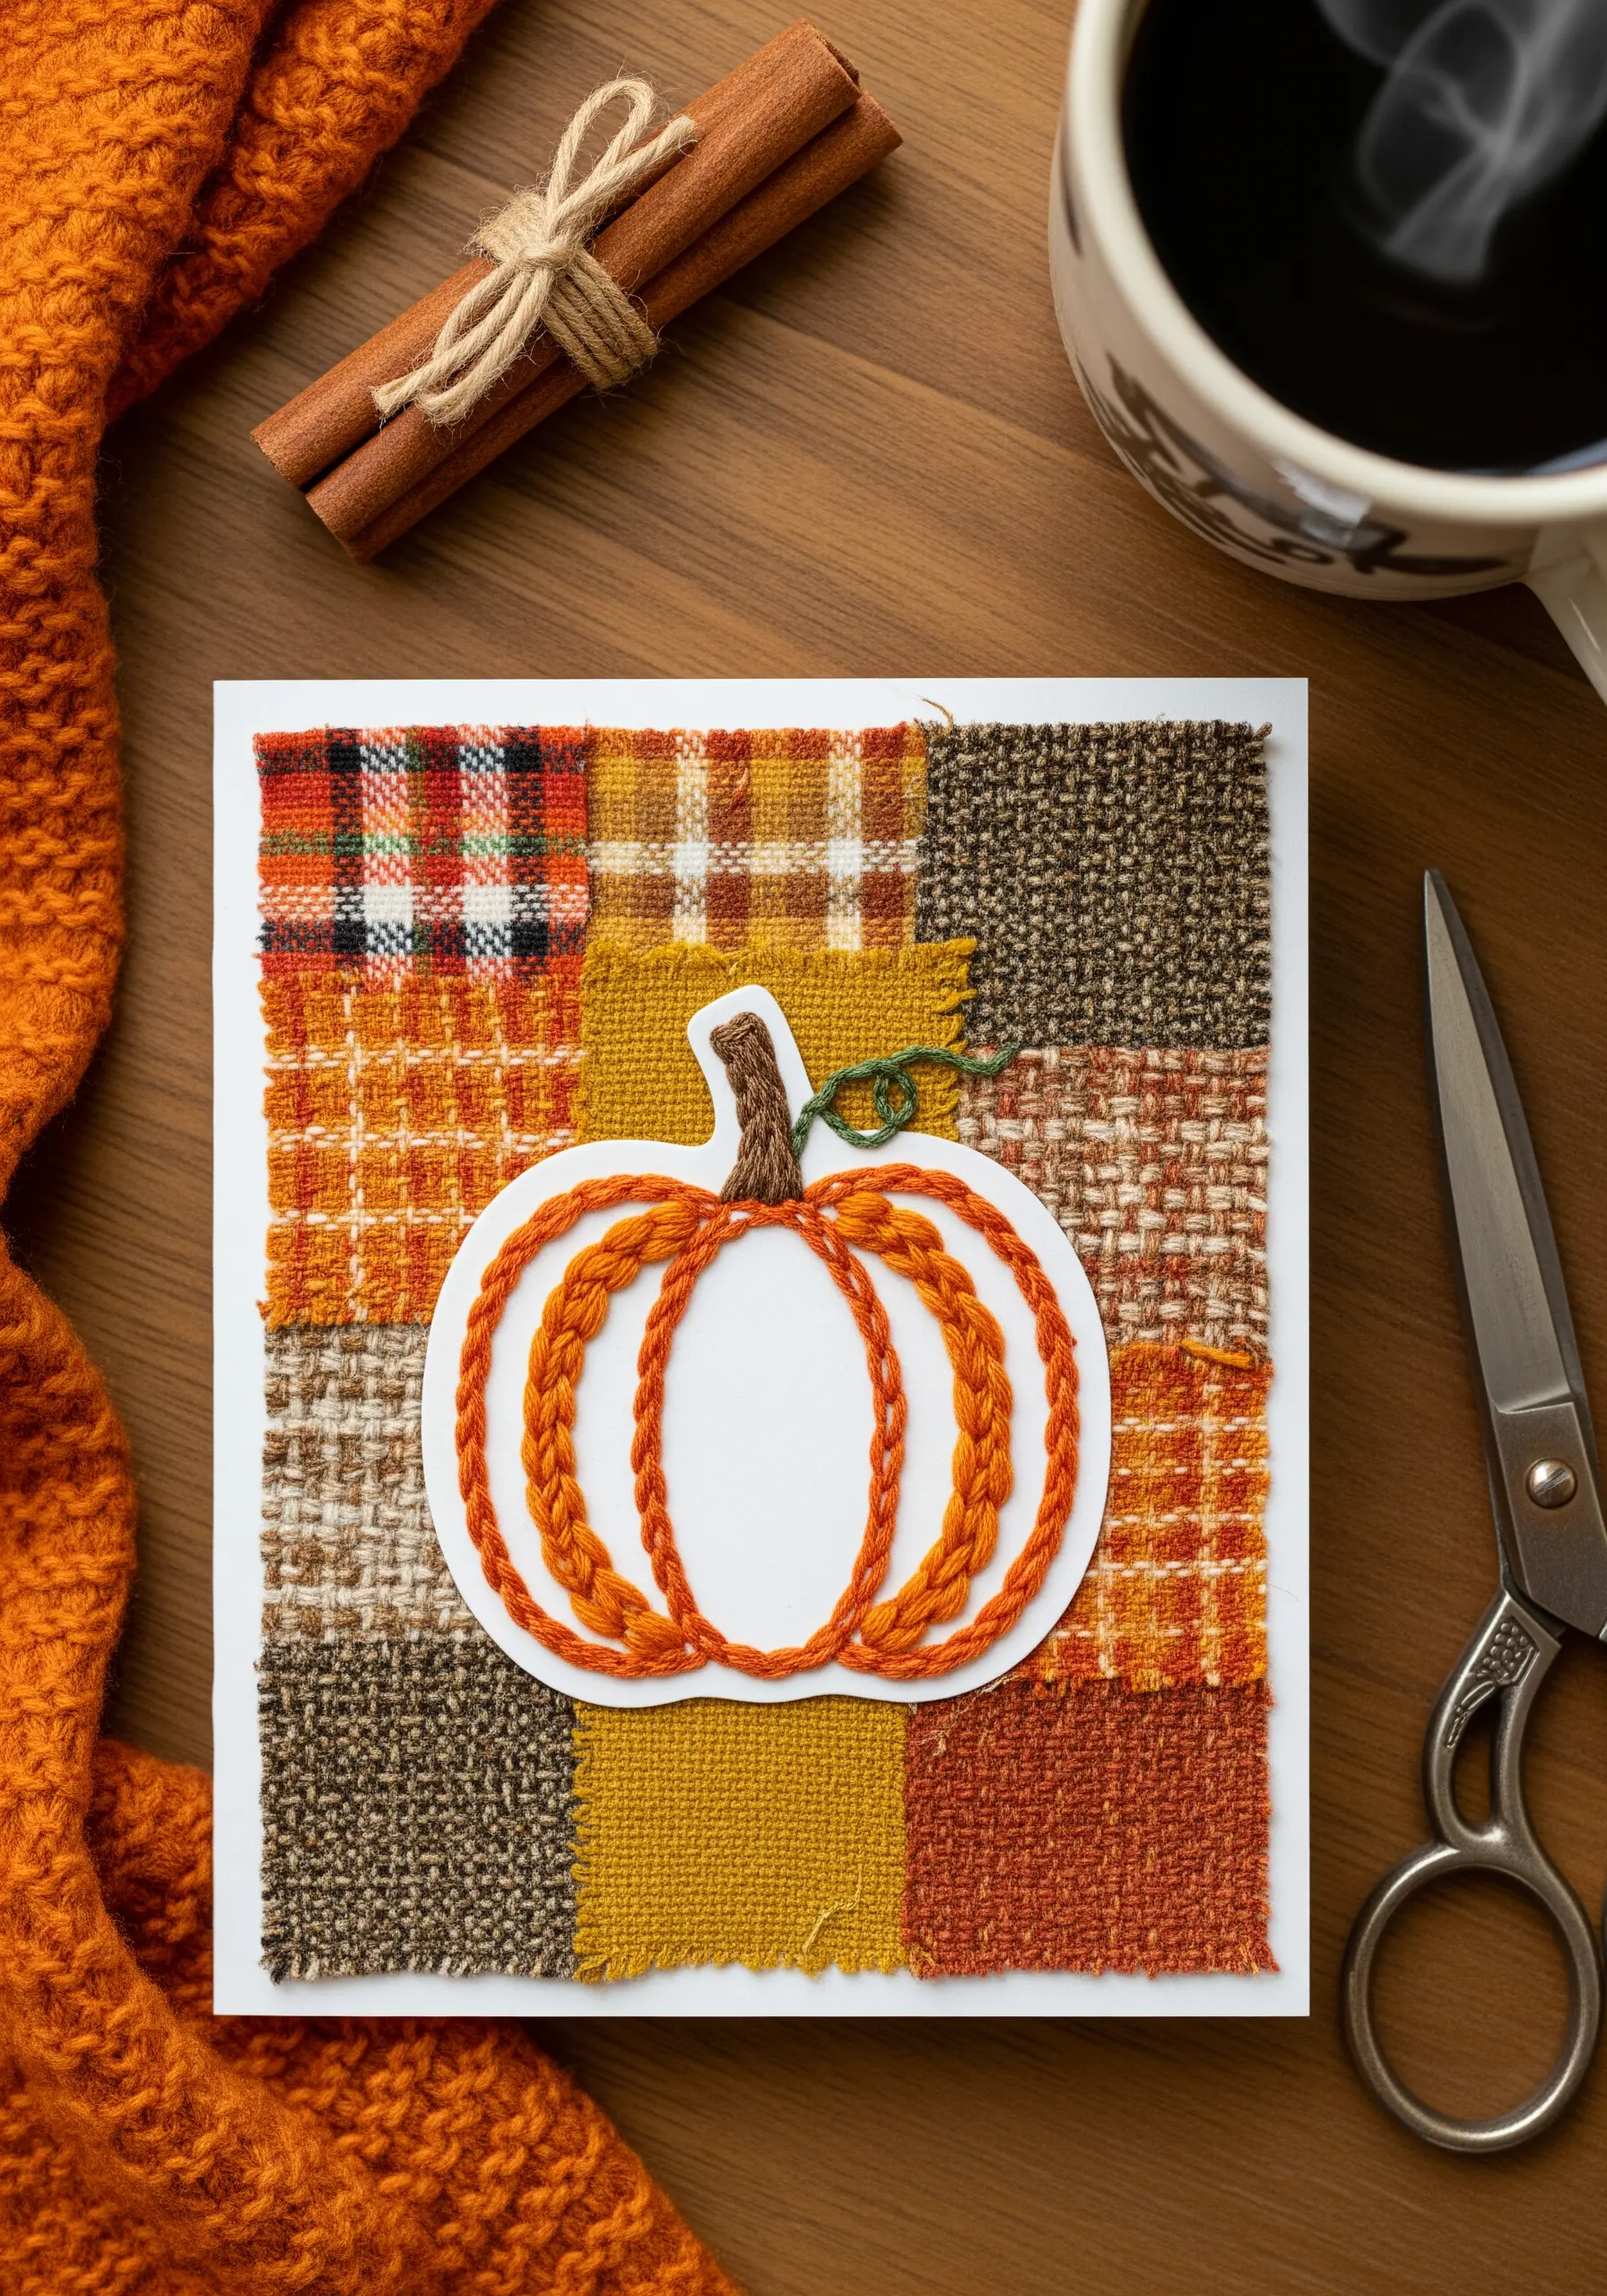
Build a cozy, textural background by arranging and adhering small squares of autumnal fabrics like tweed, flannel, and woven cottons.
On a separate paper pumpkin cutout, use a thick, twisted thread like pearl cotton to stitch the segments.
Chain stitch is perfect for this, as it creates a bold, rope-like line that defines the shape clearly.
Layering the stitched paper element over the fabric collage adds dimension and provides a clean focal point.
9. Torn Paper Waves with Thread-Painted Sails

Create dynamic, textured waves by layering strips of torn paper in various shades of blue and white.
The torn edges produce a soft, organic line that beautifully mimics sea foam.
For the sailboat, use a long-and-short stitch to fill the sails, giving them a smooth, fabric-like appearance that contrasts with the rough paper.
This design masterfully combines the sharp precision of thread with the soft chaos of torn paper.
10. Art Deco String Art with Bead Anchors
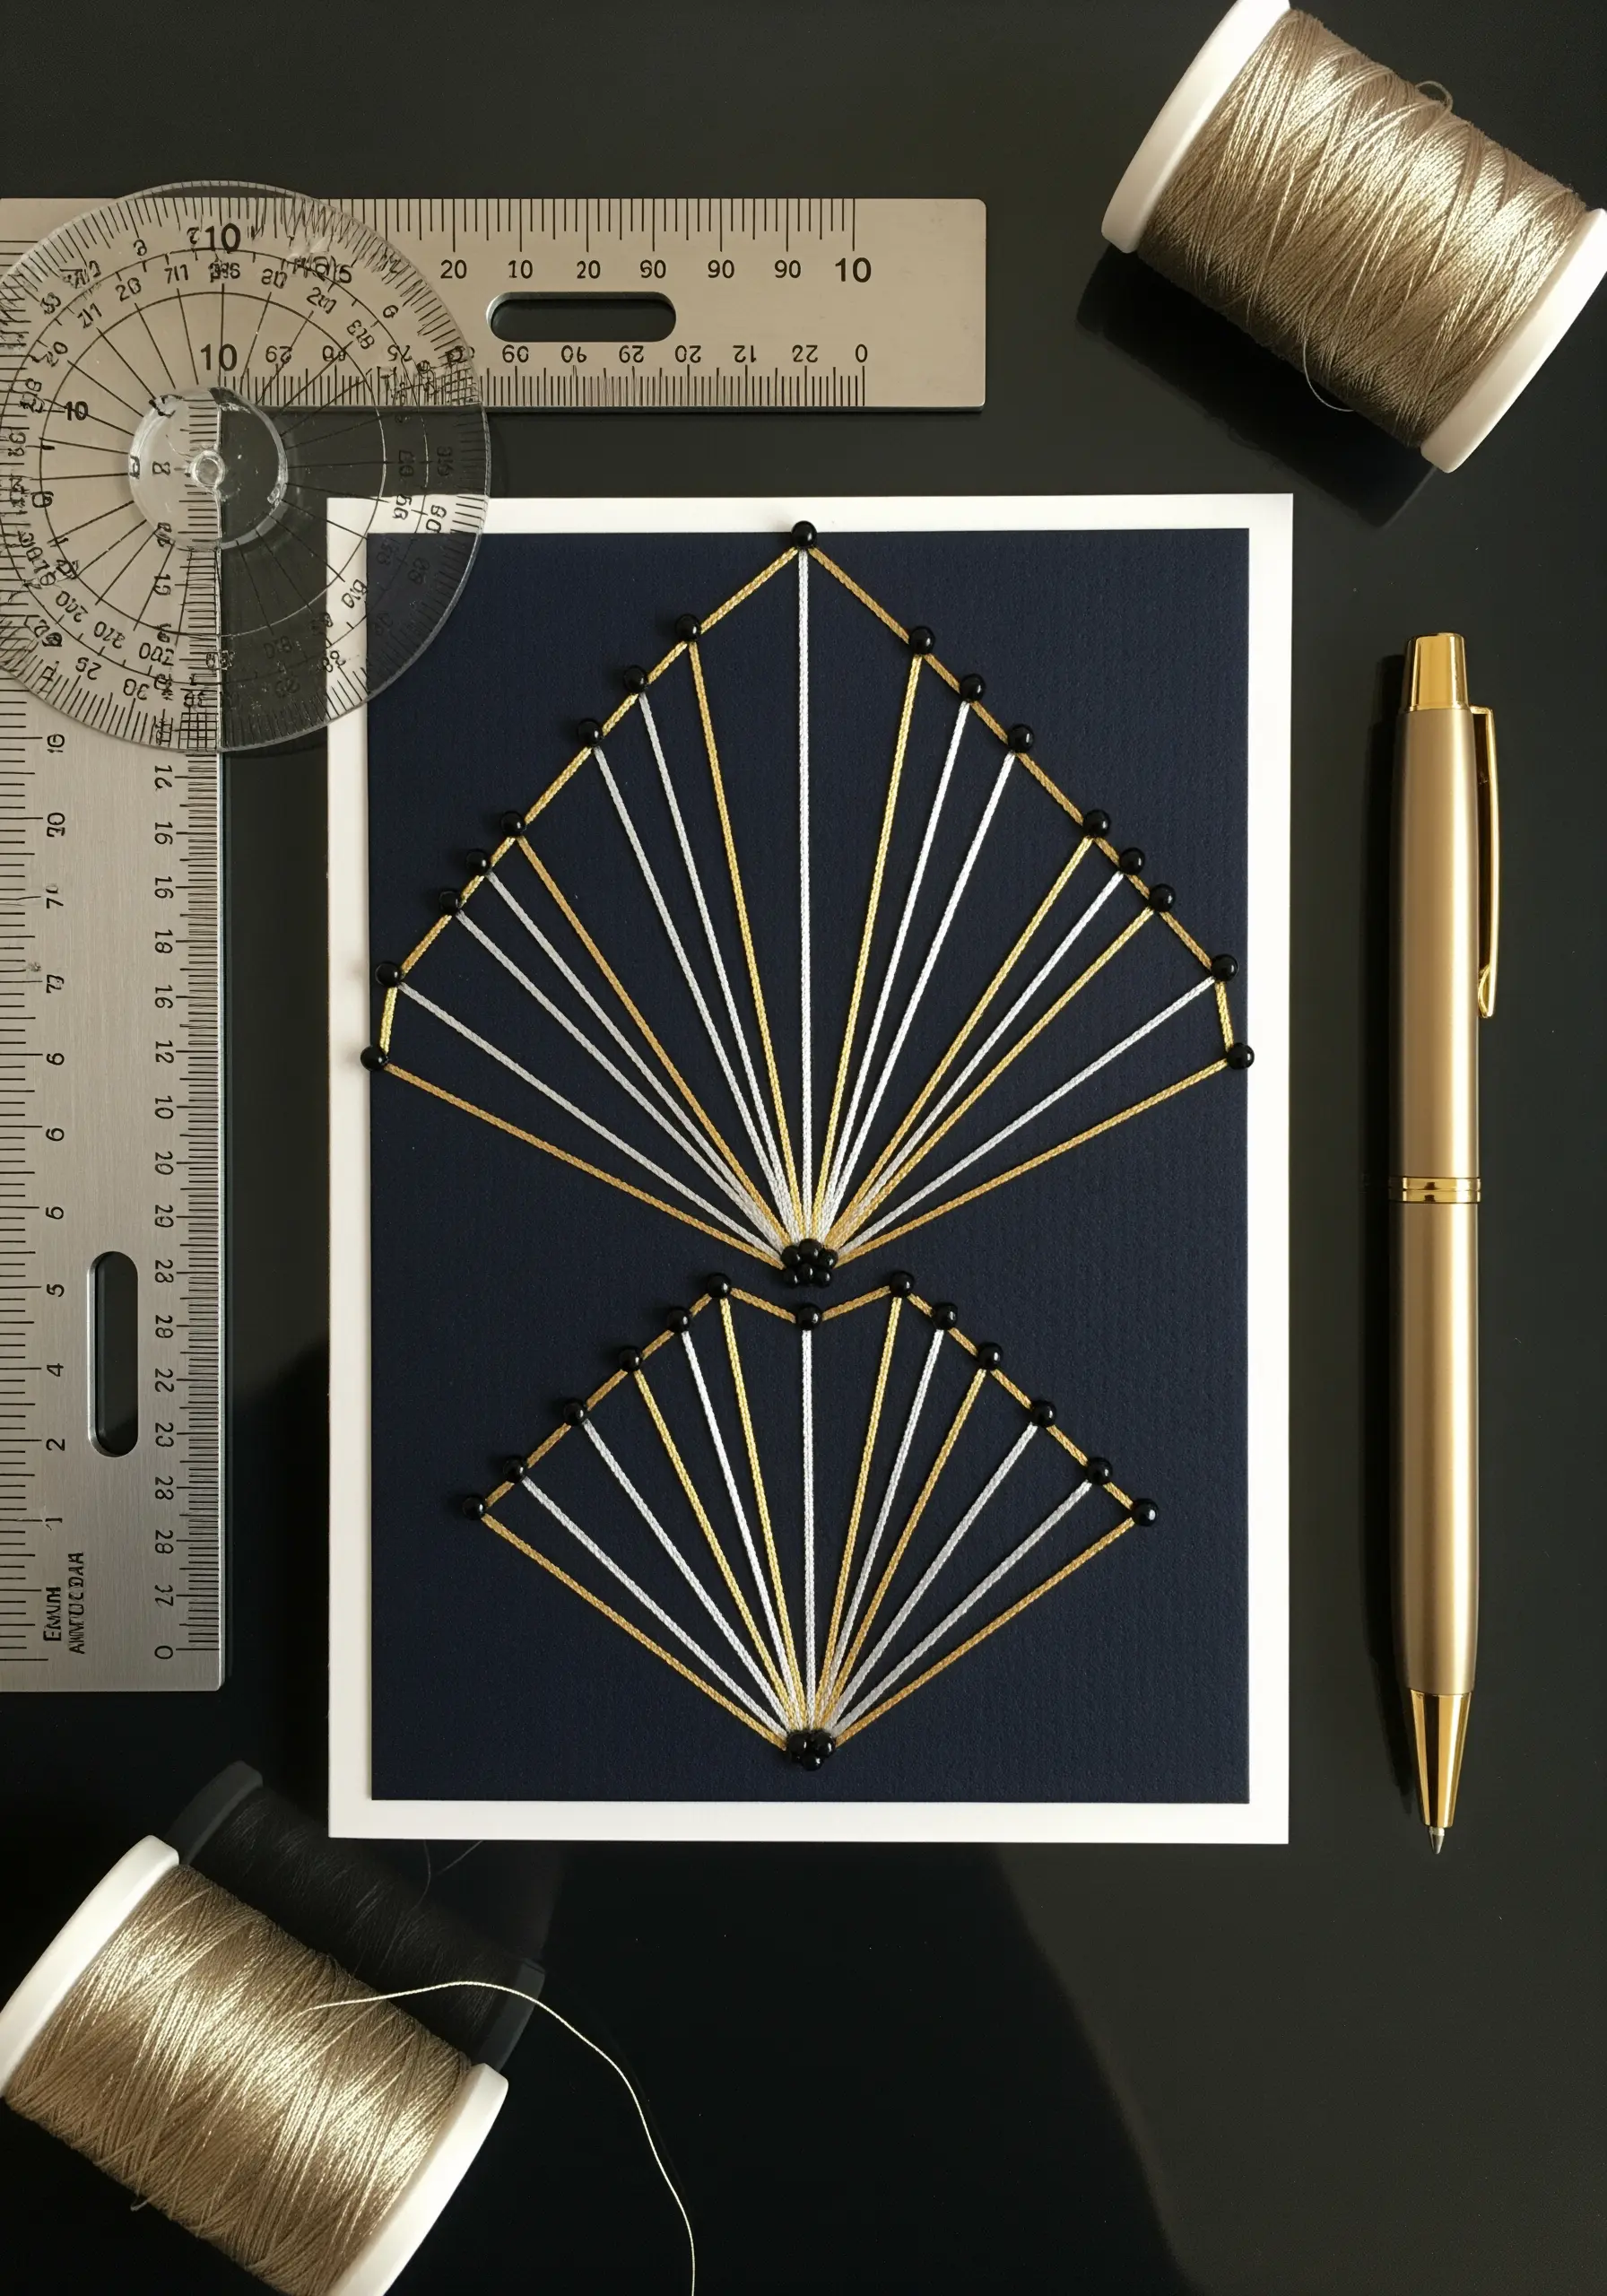
The success of this design lies in its precision, so use a protractor to mark your points evenly on dark cardstock.
Instead of using knots, which can be bulky, anchor the ends of your metallic threads with small, complementary beads.
This technique creates a clean, polished finish and adds a touch of glamour.
Alternating between gold and silver thread introduces depth and visual interest, perfectly capturing an Art Deco elegance.
11. Sculptural Frosting with French Knots
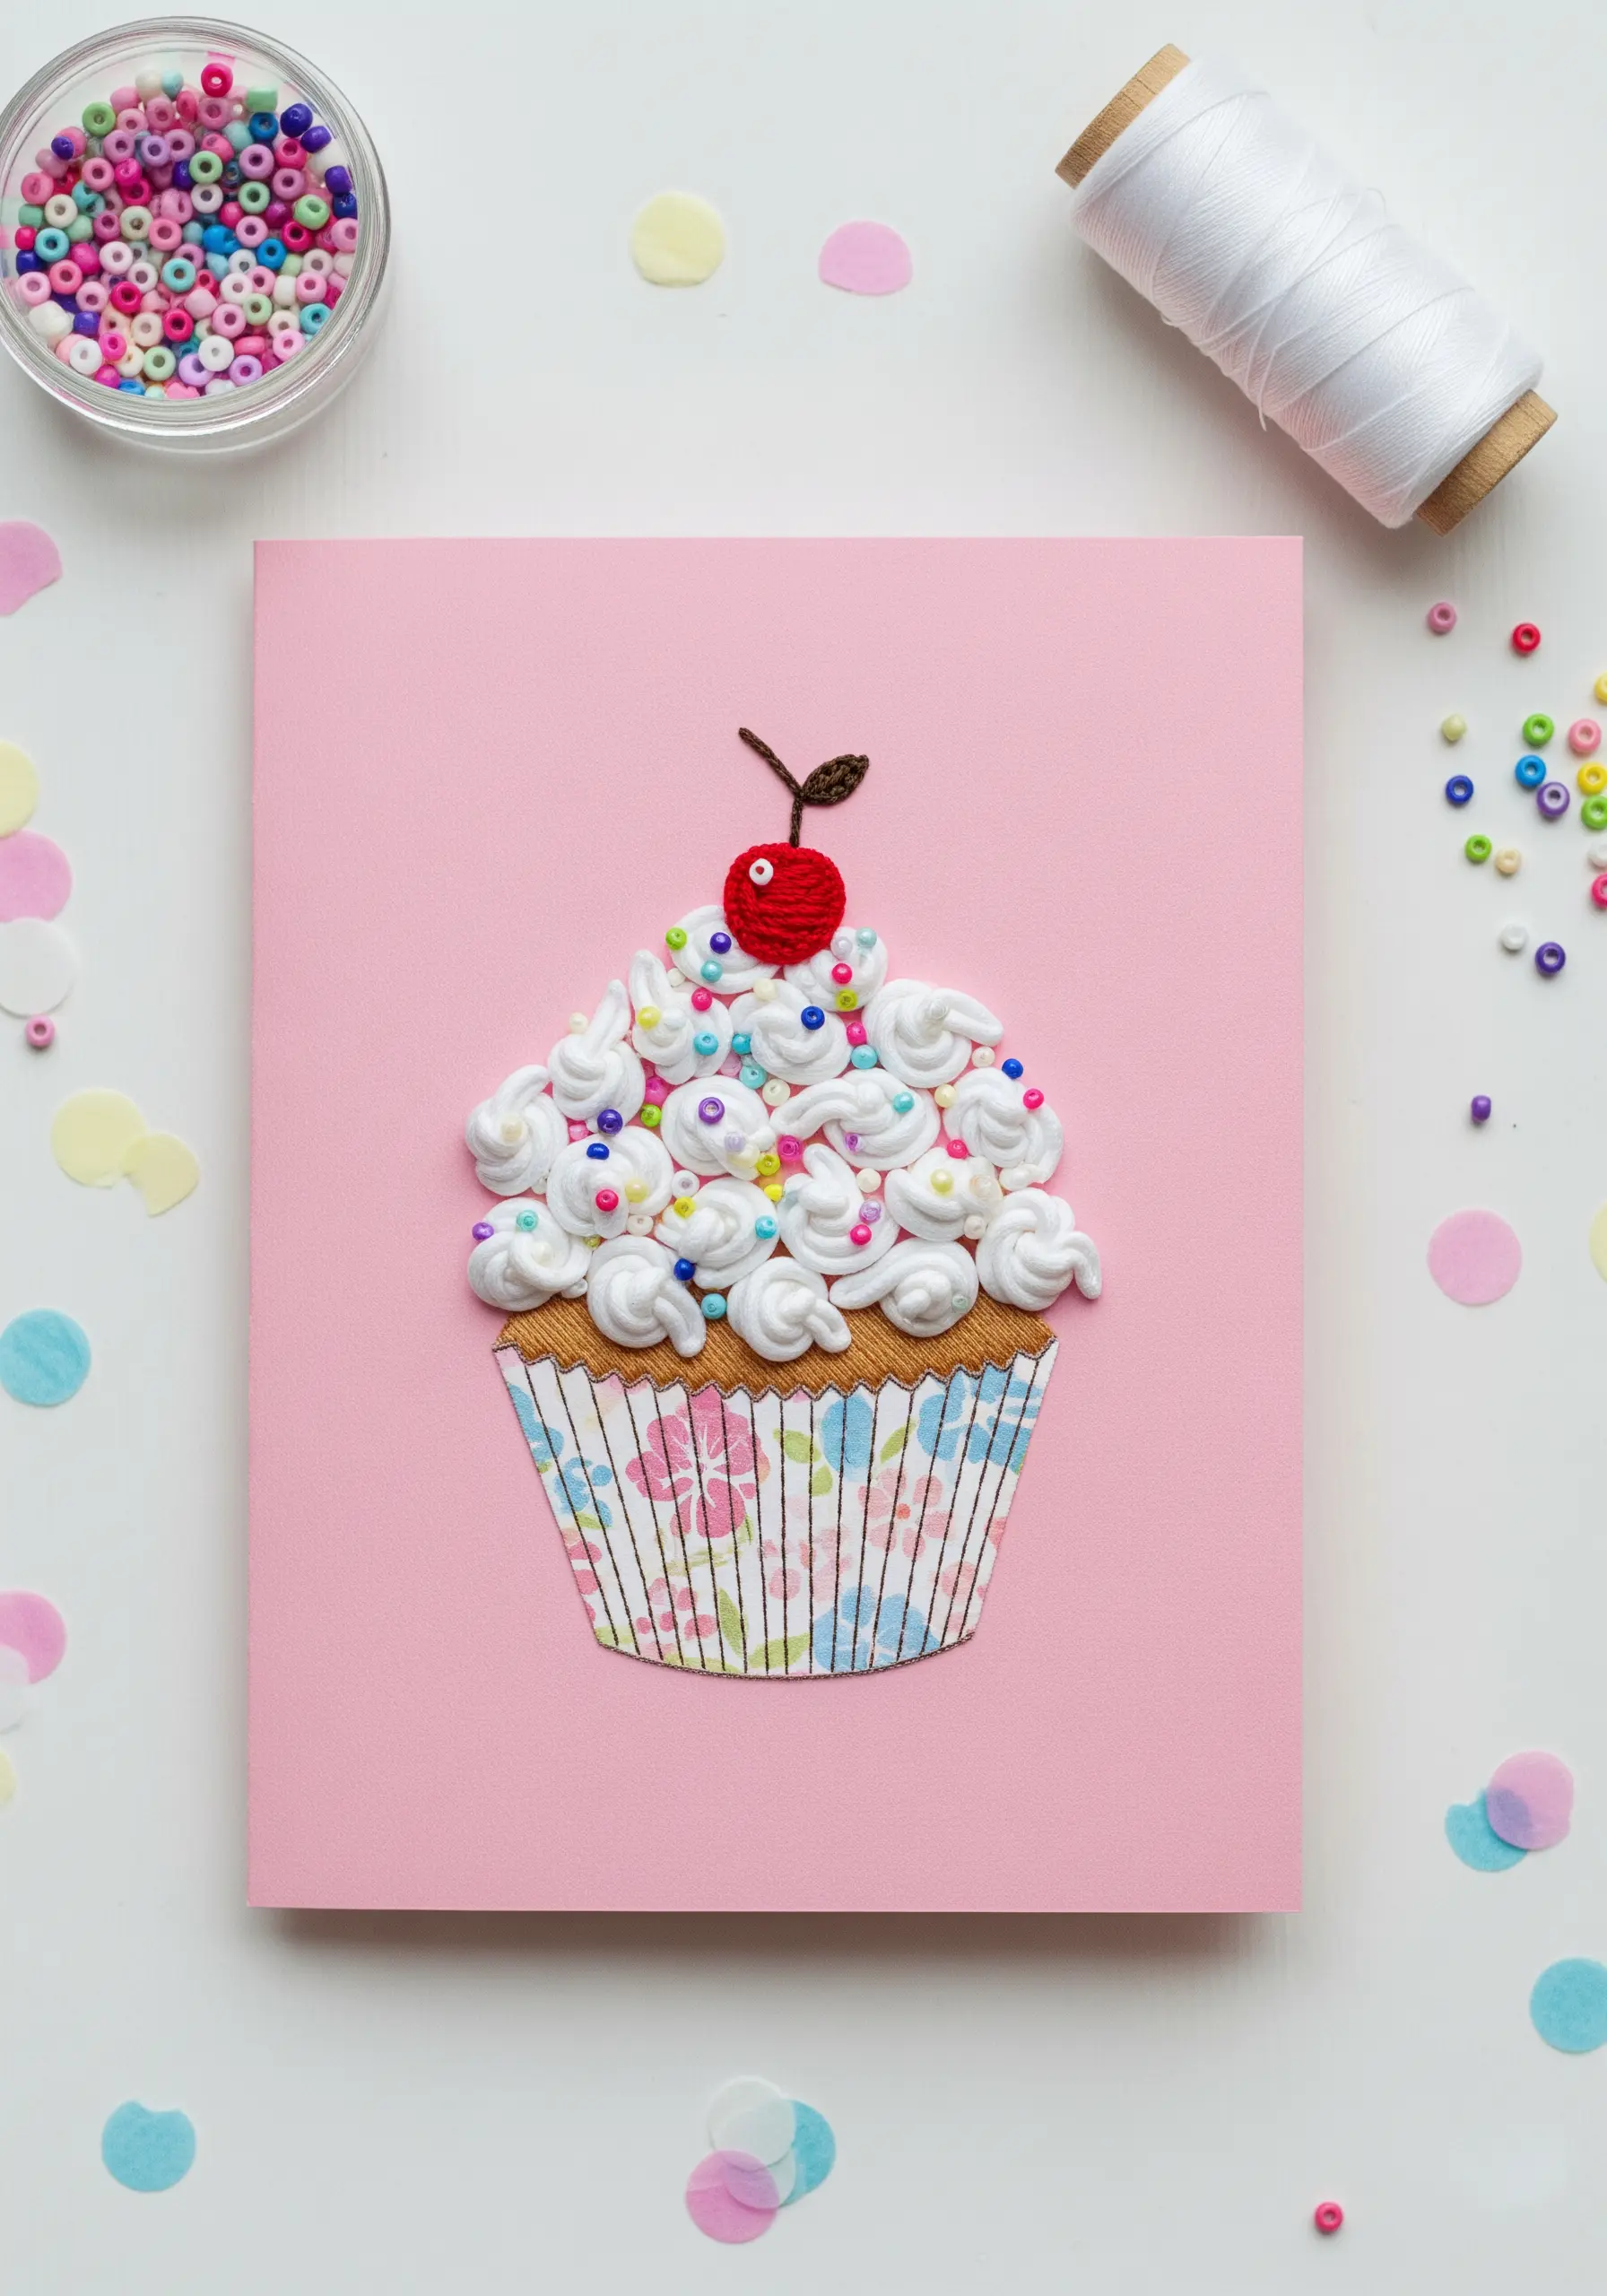
To create that fluffy, dimensional frosting, use a thick, soft yarn or multiple strands of white cotton floss.
Fill the area with densely packed French knots, varying their size slightly to mimic the natural swirls of piped frosting.
For the sprinkles, scatter tiny, colorful seed beads into the loops of the knots before tightening them, or stitch them on afterward for more control.
The contrast between the soft, tactile topping and the crisp paper liner makes the design irresistible, three-dimensional art.
12. Buttonhole Stitch Frame with Woven Ribbon
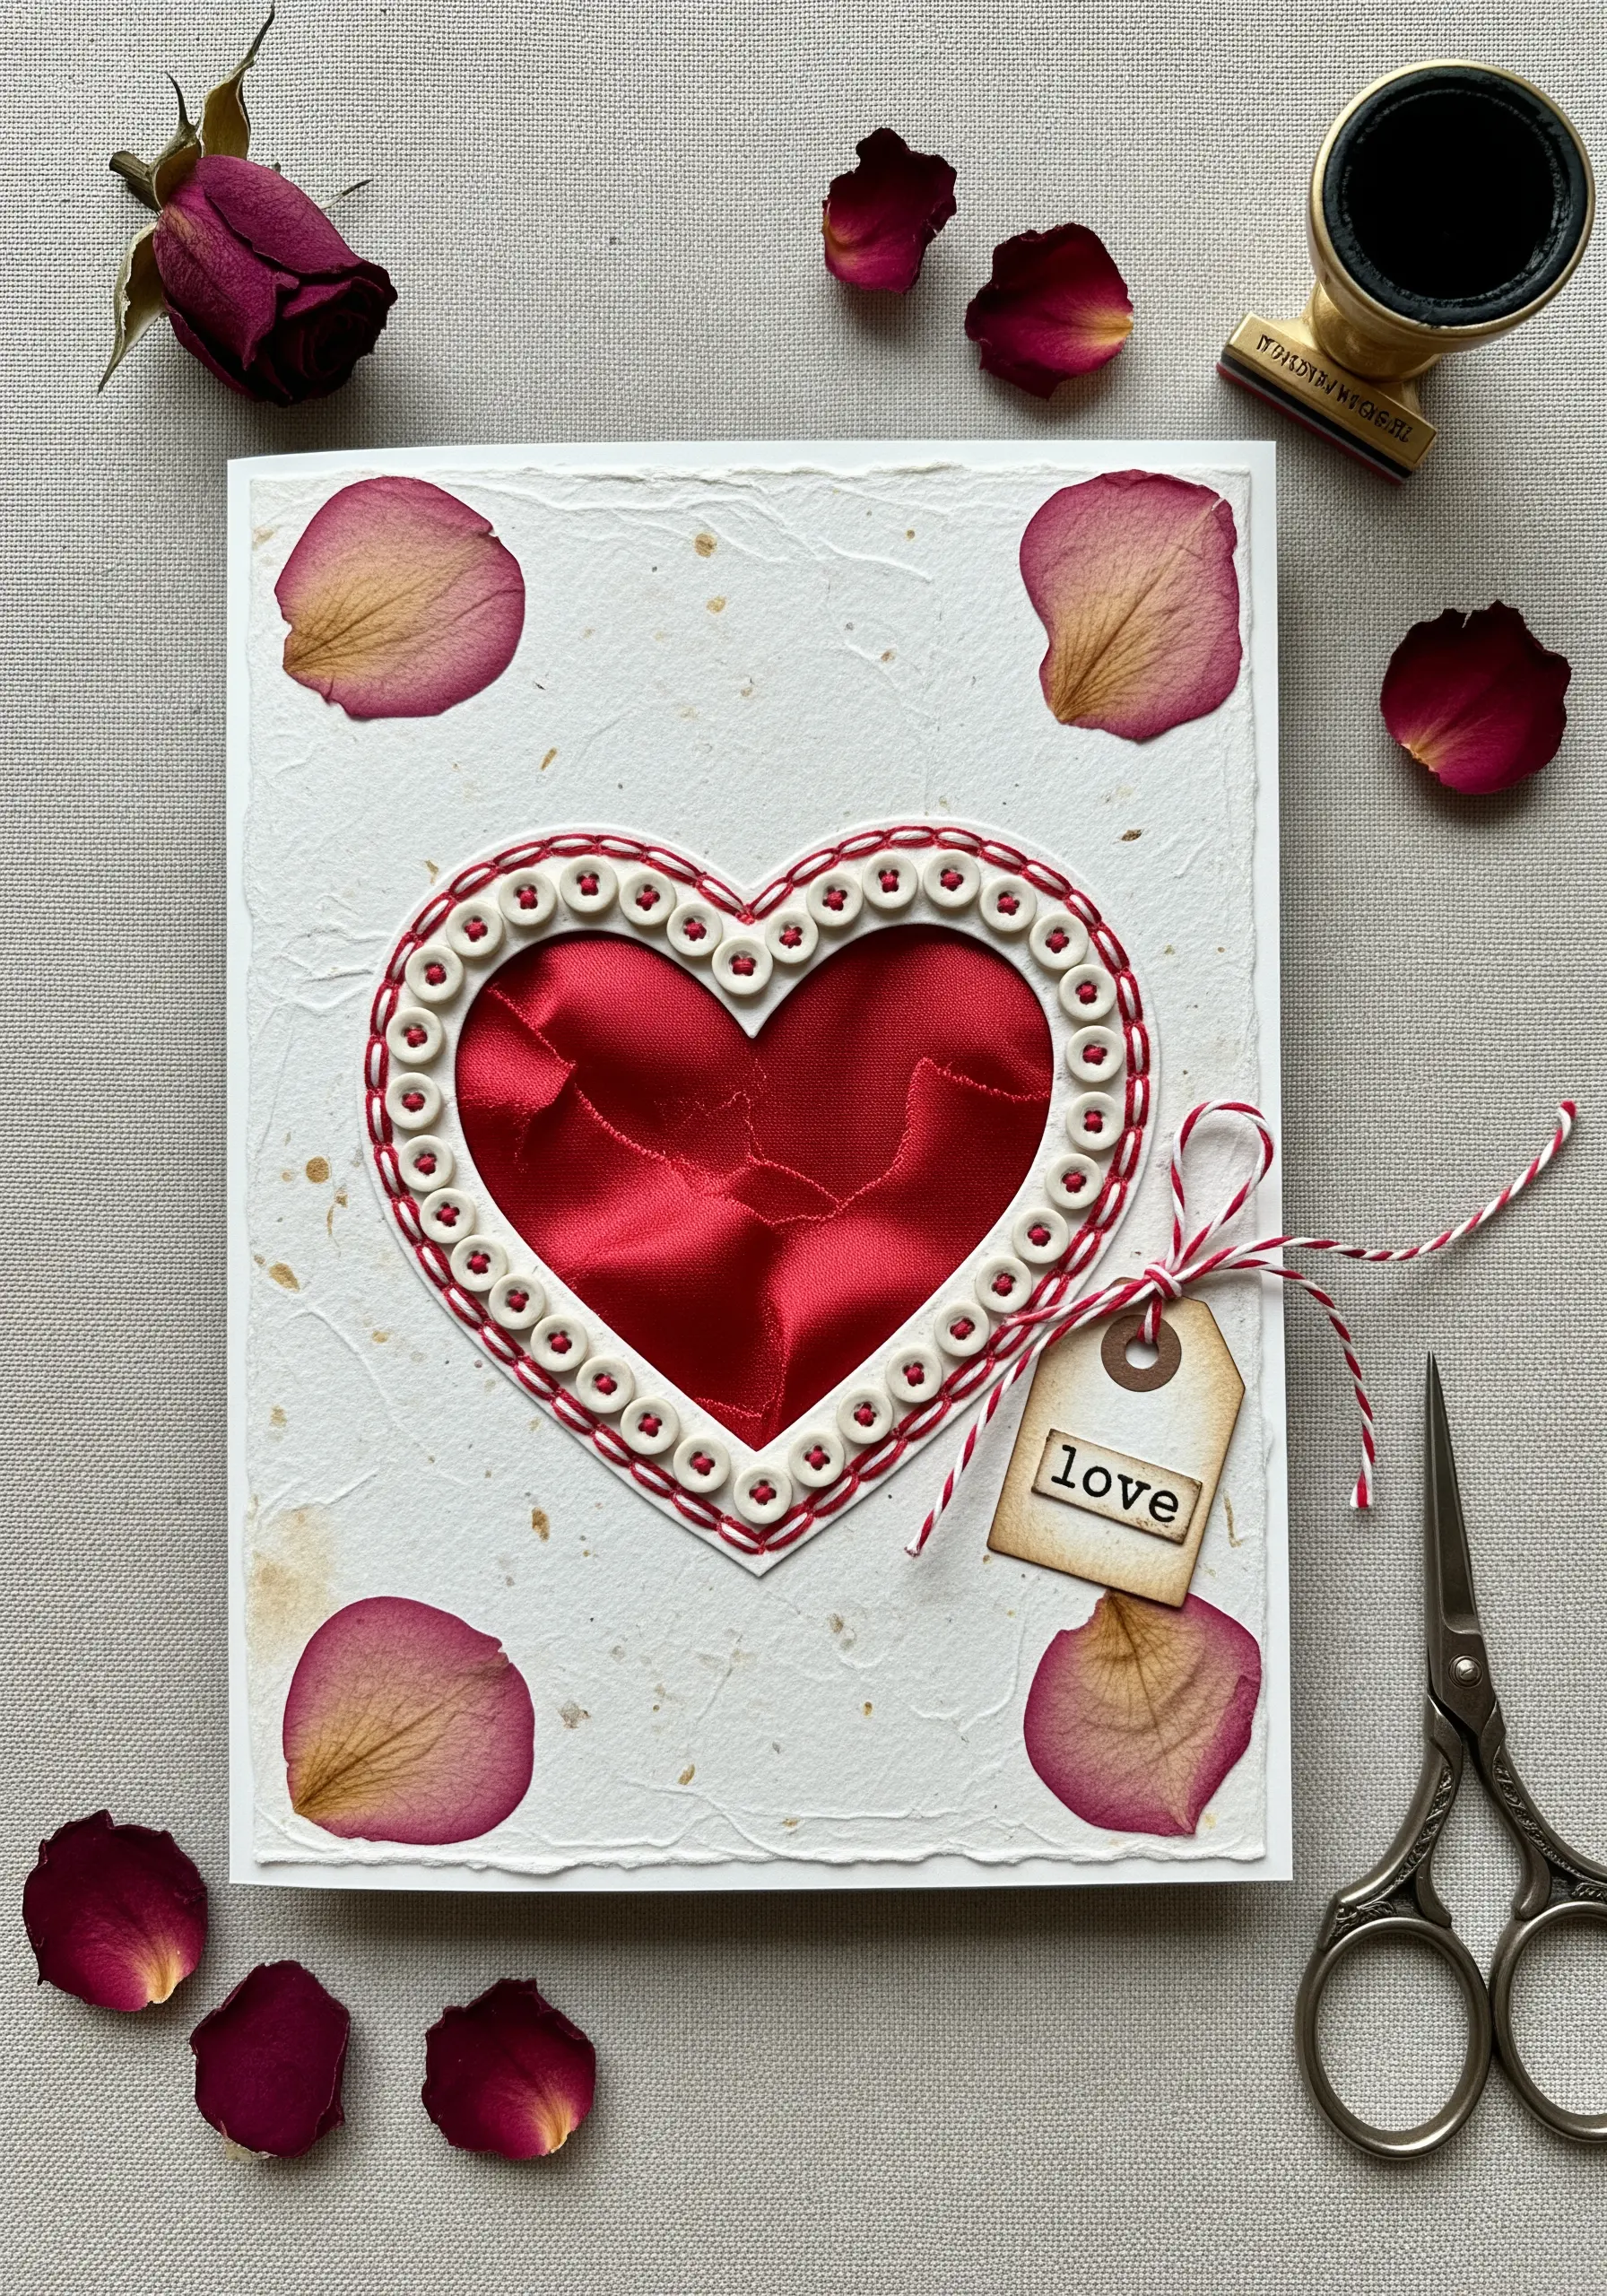
Elevate a simple heart shape by creating a frame with evenly spaced buttonhole stitches around a cutout.
This technique produces a neat, decorative border that contains your central element.
Weave a piece of lustrous satin ribbon through the stitches to add shine and volume.
The crinkled texture of the gathered ribbon inside the heart adds a soft, romantic contrast to the structured, stitched border.
13. Metallic Thread Snowflake with Satin Stitch
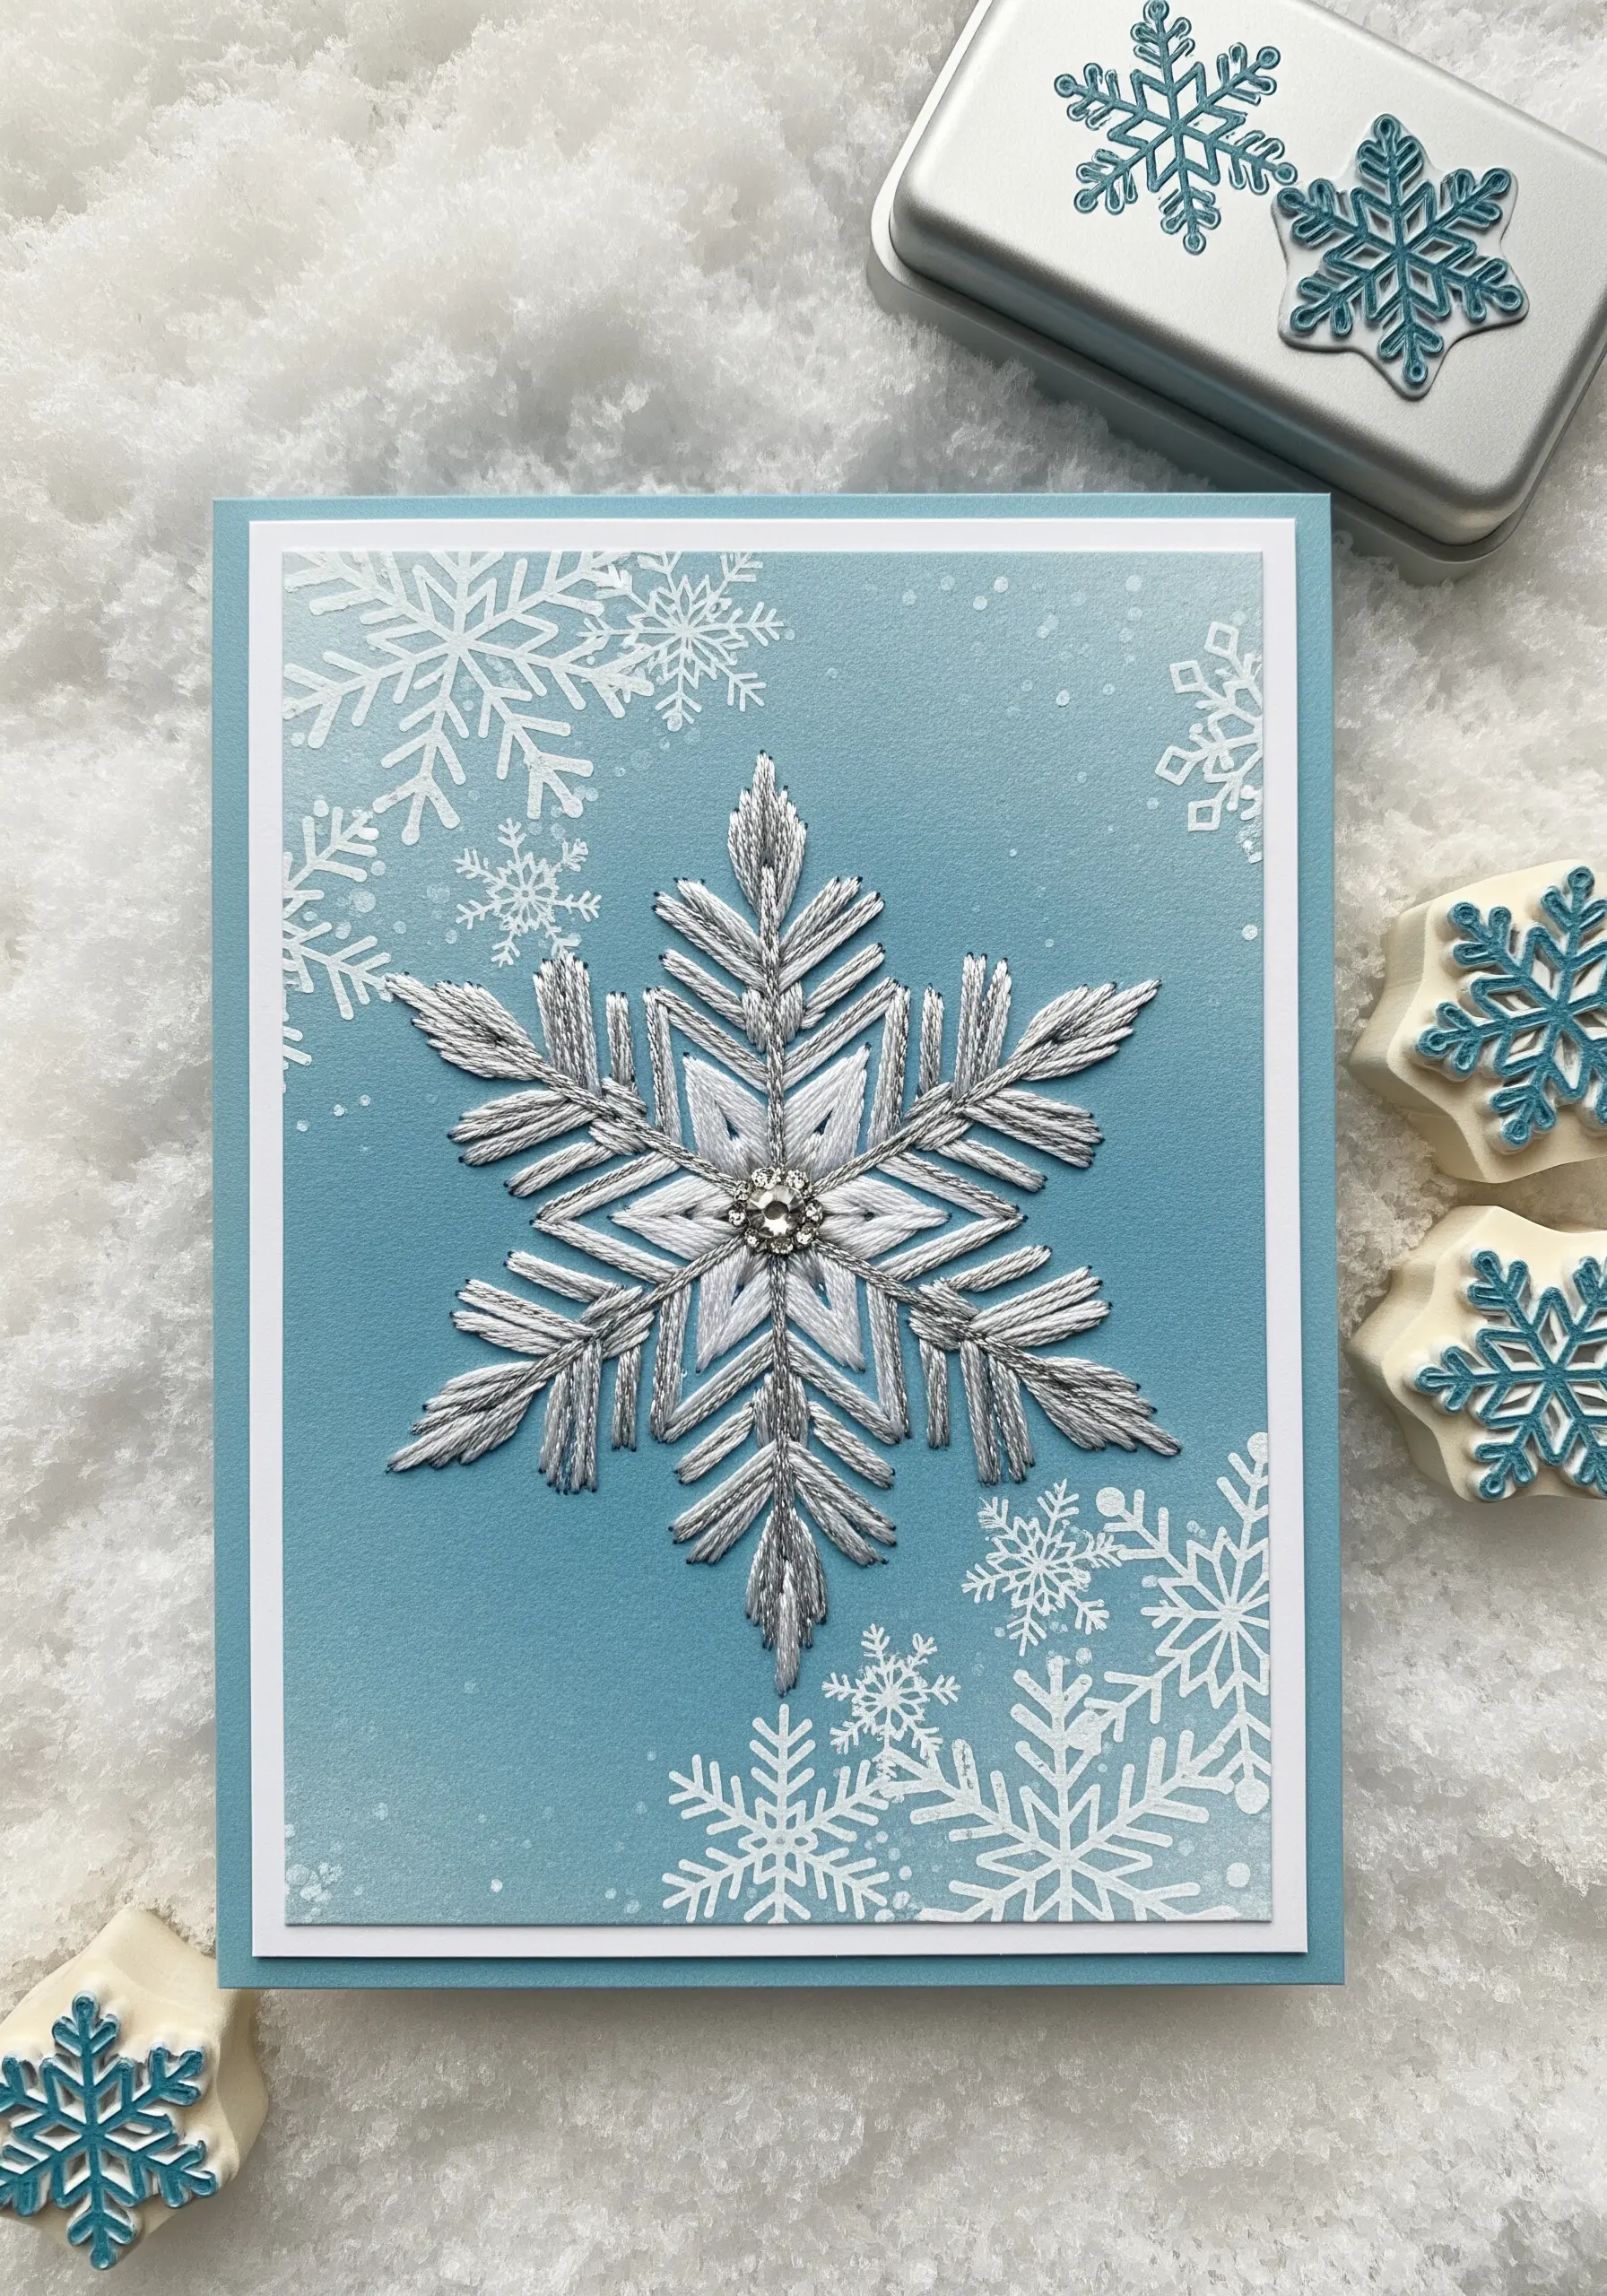
To capture the shimmer of a real snowflake, use a high-quality silver metallic thread that won’t fray easily.
Combine long, sharp straight stitches for the main arms of the snowflake with small, neat satin stitches for the feathery interior details.
Stitching on cool blue cardstock enhances the icy feel and makes the silver pop.
A single faceted rhinestone at the center provides a perfect focal point and an extra touch of sparkle.
14. Minimalist Yarn Couching on Paper Collage

This composition is a sophisticated study in texture and restraint.
Create a subtle, neutral collage using torn handmade paper, corrugated cardboard, and other textured paper scraps.
Next, lay a piece of thick yarn or cord in an organic, flowing line across the composition.
Secure it with a thinner, matching thread using small, almost invisible tacking stitches—a technique known as couching—to add a bold, sculptural line to the delicate paper surface.
15. Textured Bee with Sheer Vellum Wings
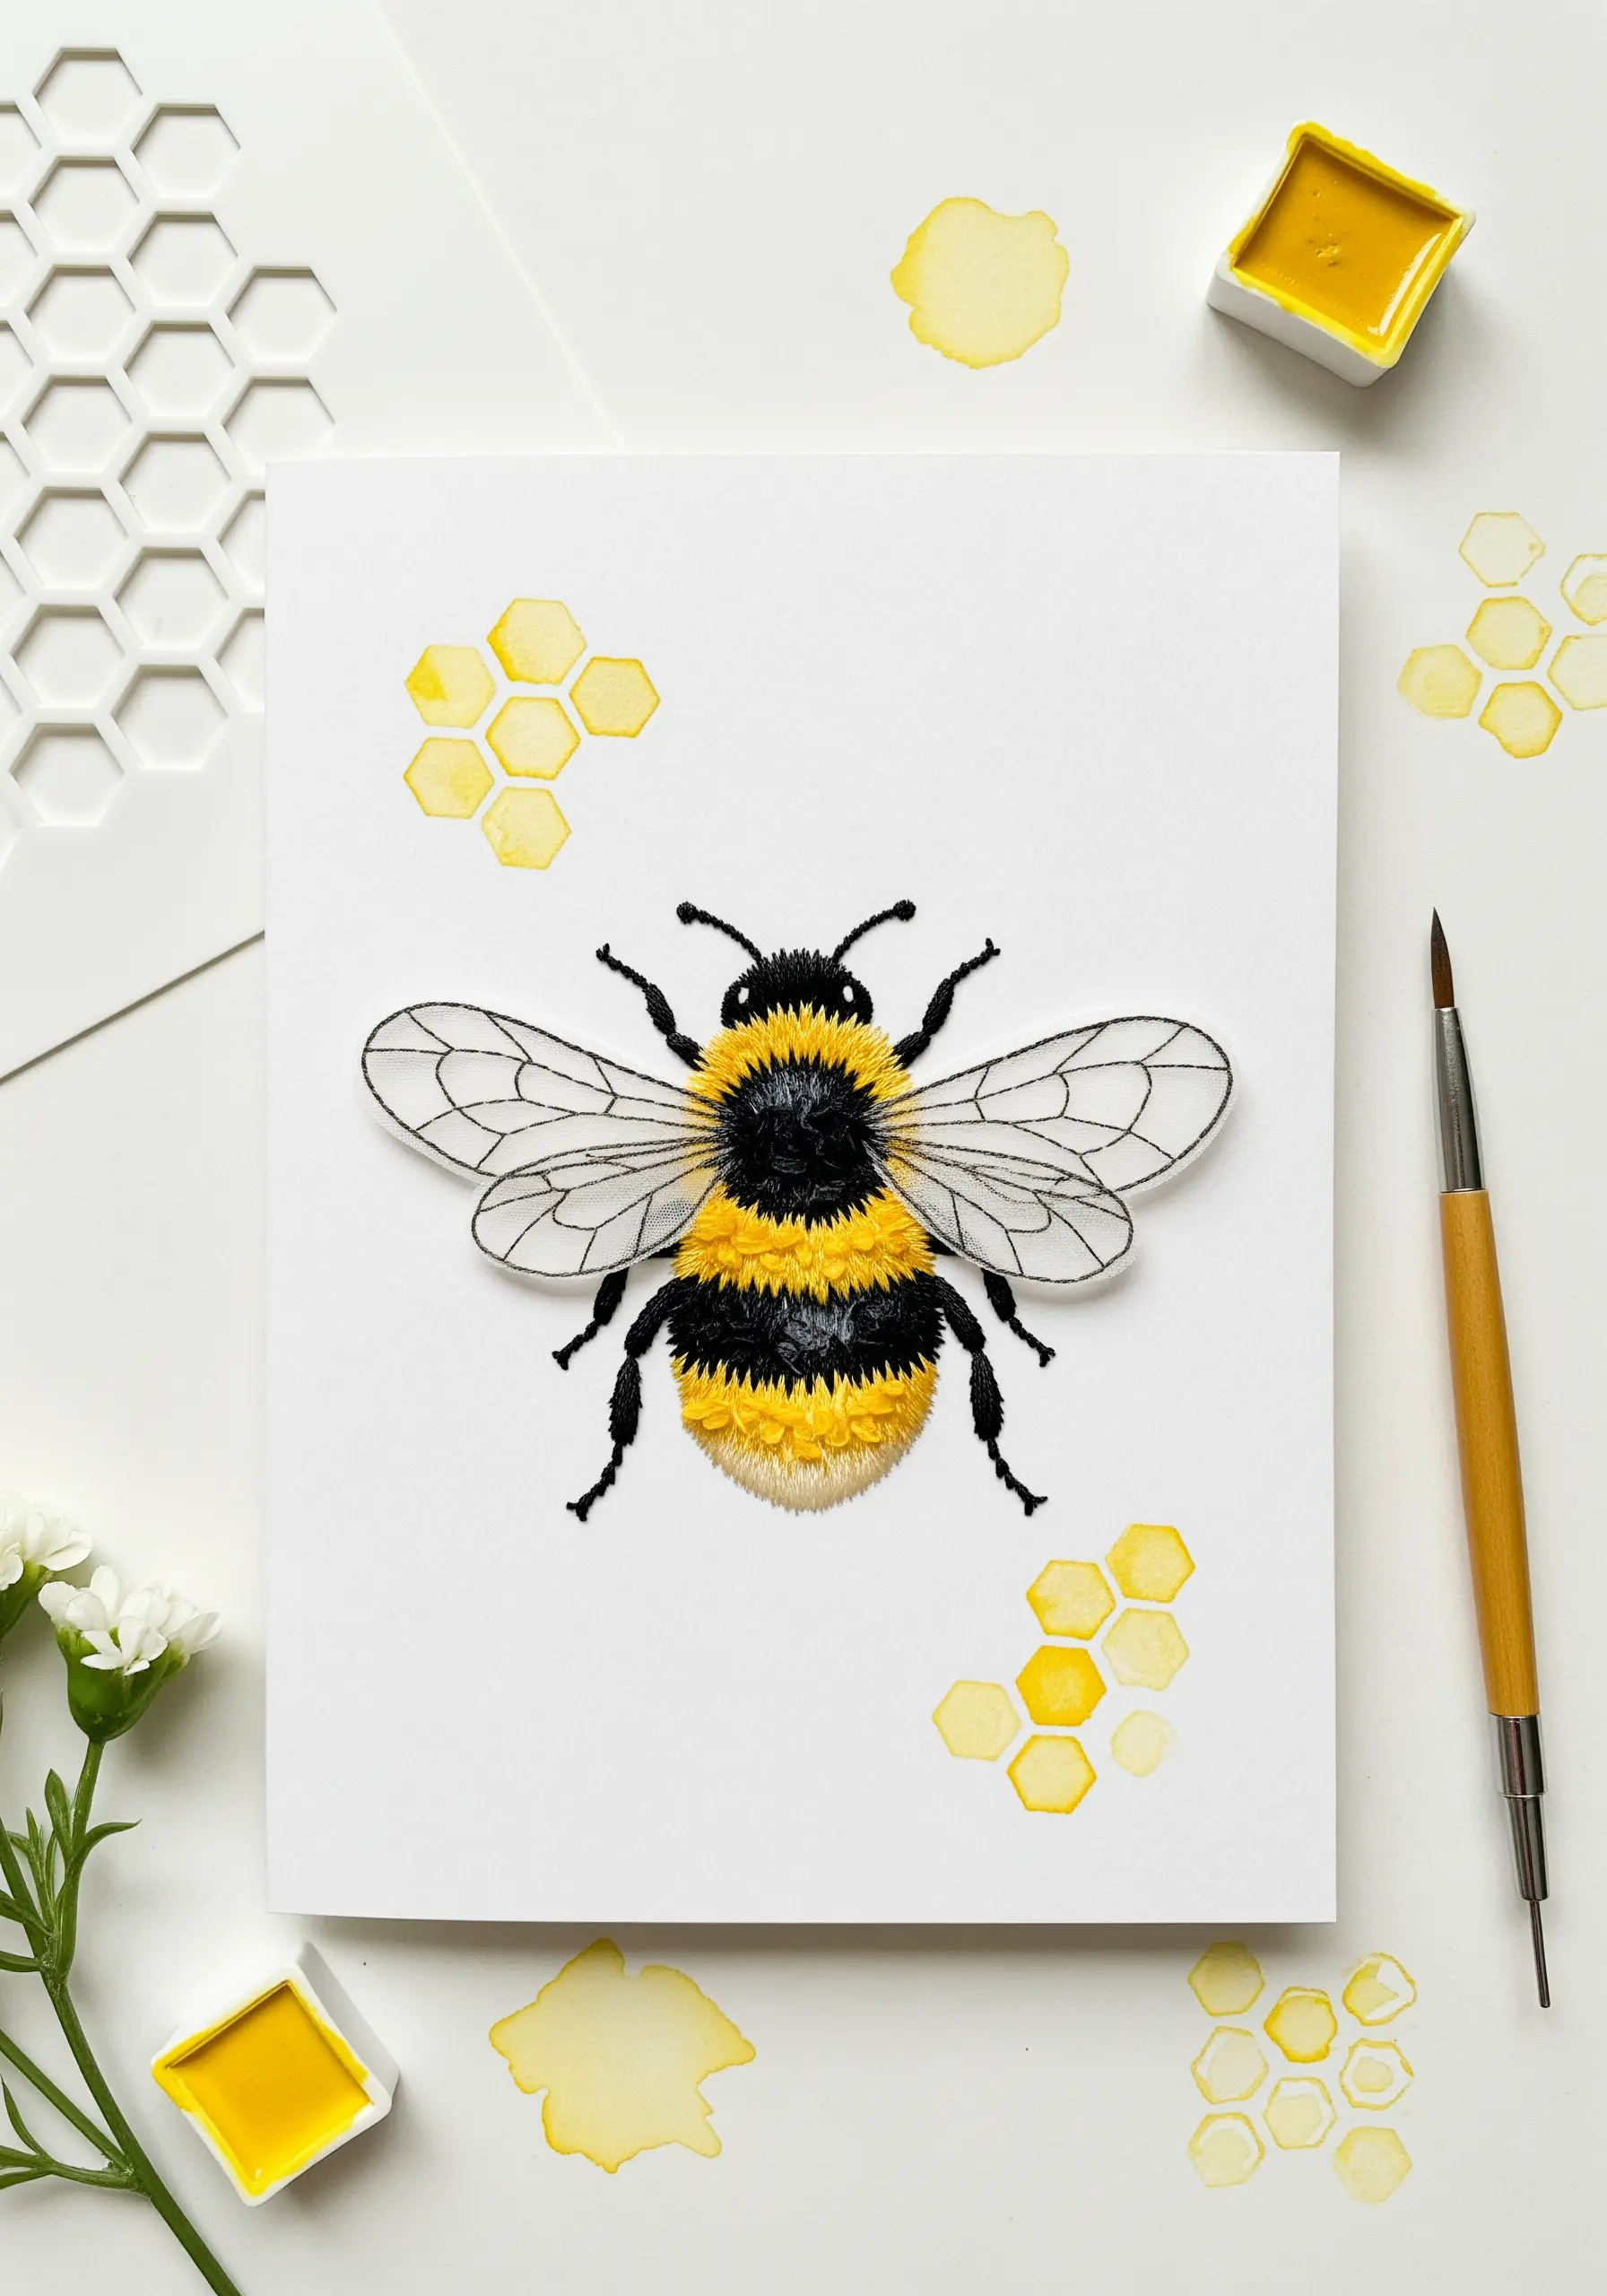
Give your embroidered bee a fuzzy, realistic body by using turkey work or densely packed French knots in yellow and black floss.
This creates a wonderfully plush and tactile effect that begs to be touched.
For the wings, use vellum paper; you can print vein details onto it or draw them with a fine-liner pen.
Attach the wings only at the very base, allowing them to lift slightly from the page for a stunning 3D effect that makes your lifelike bee almost fly off the card.
16. Single-Line Contour Stitching
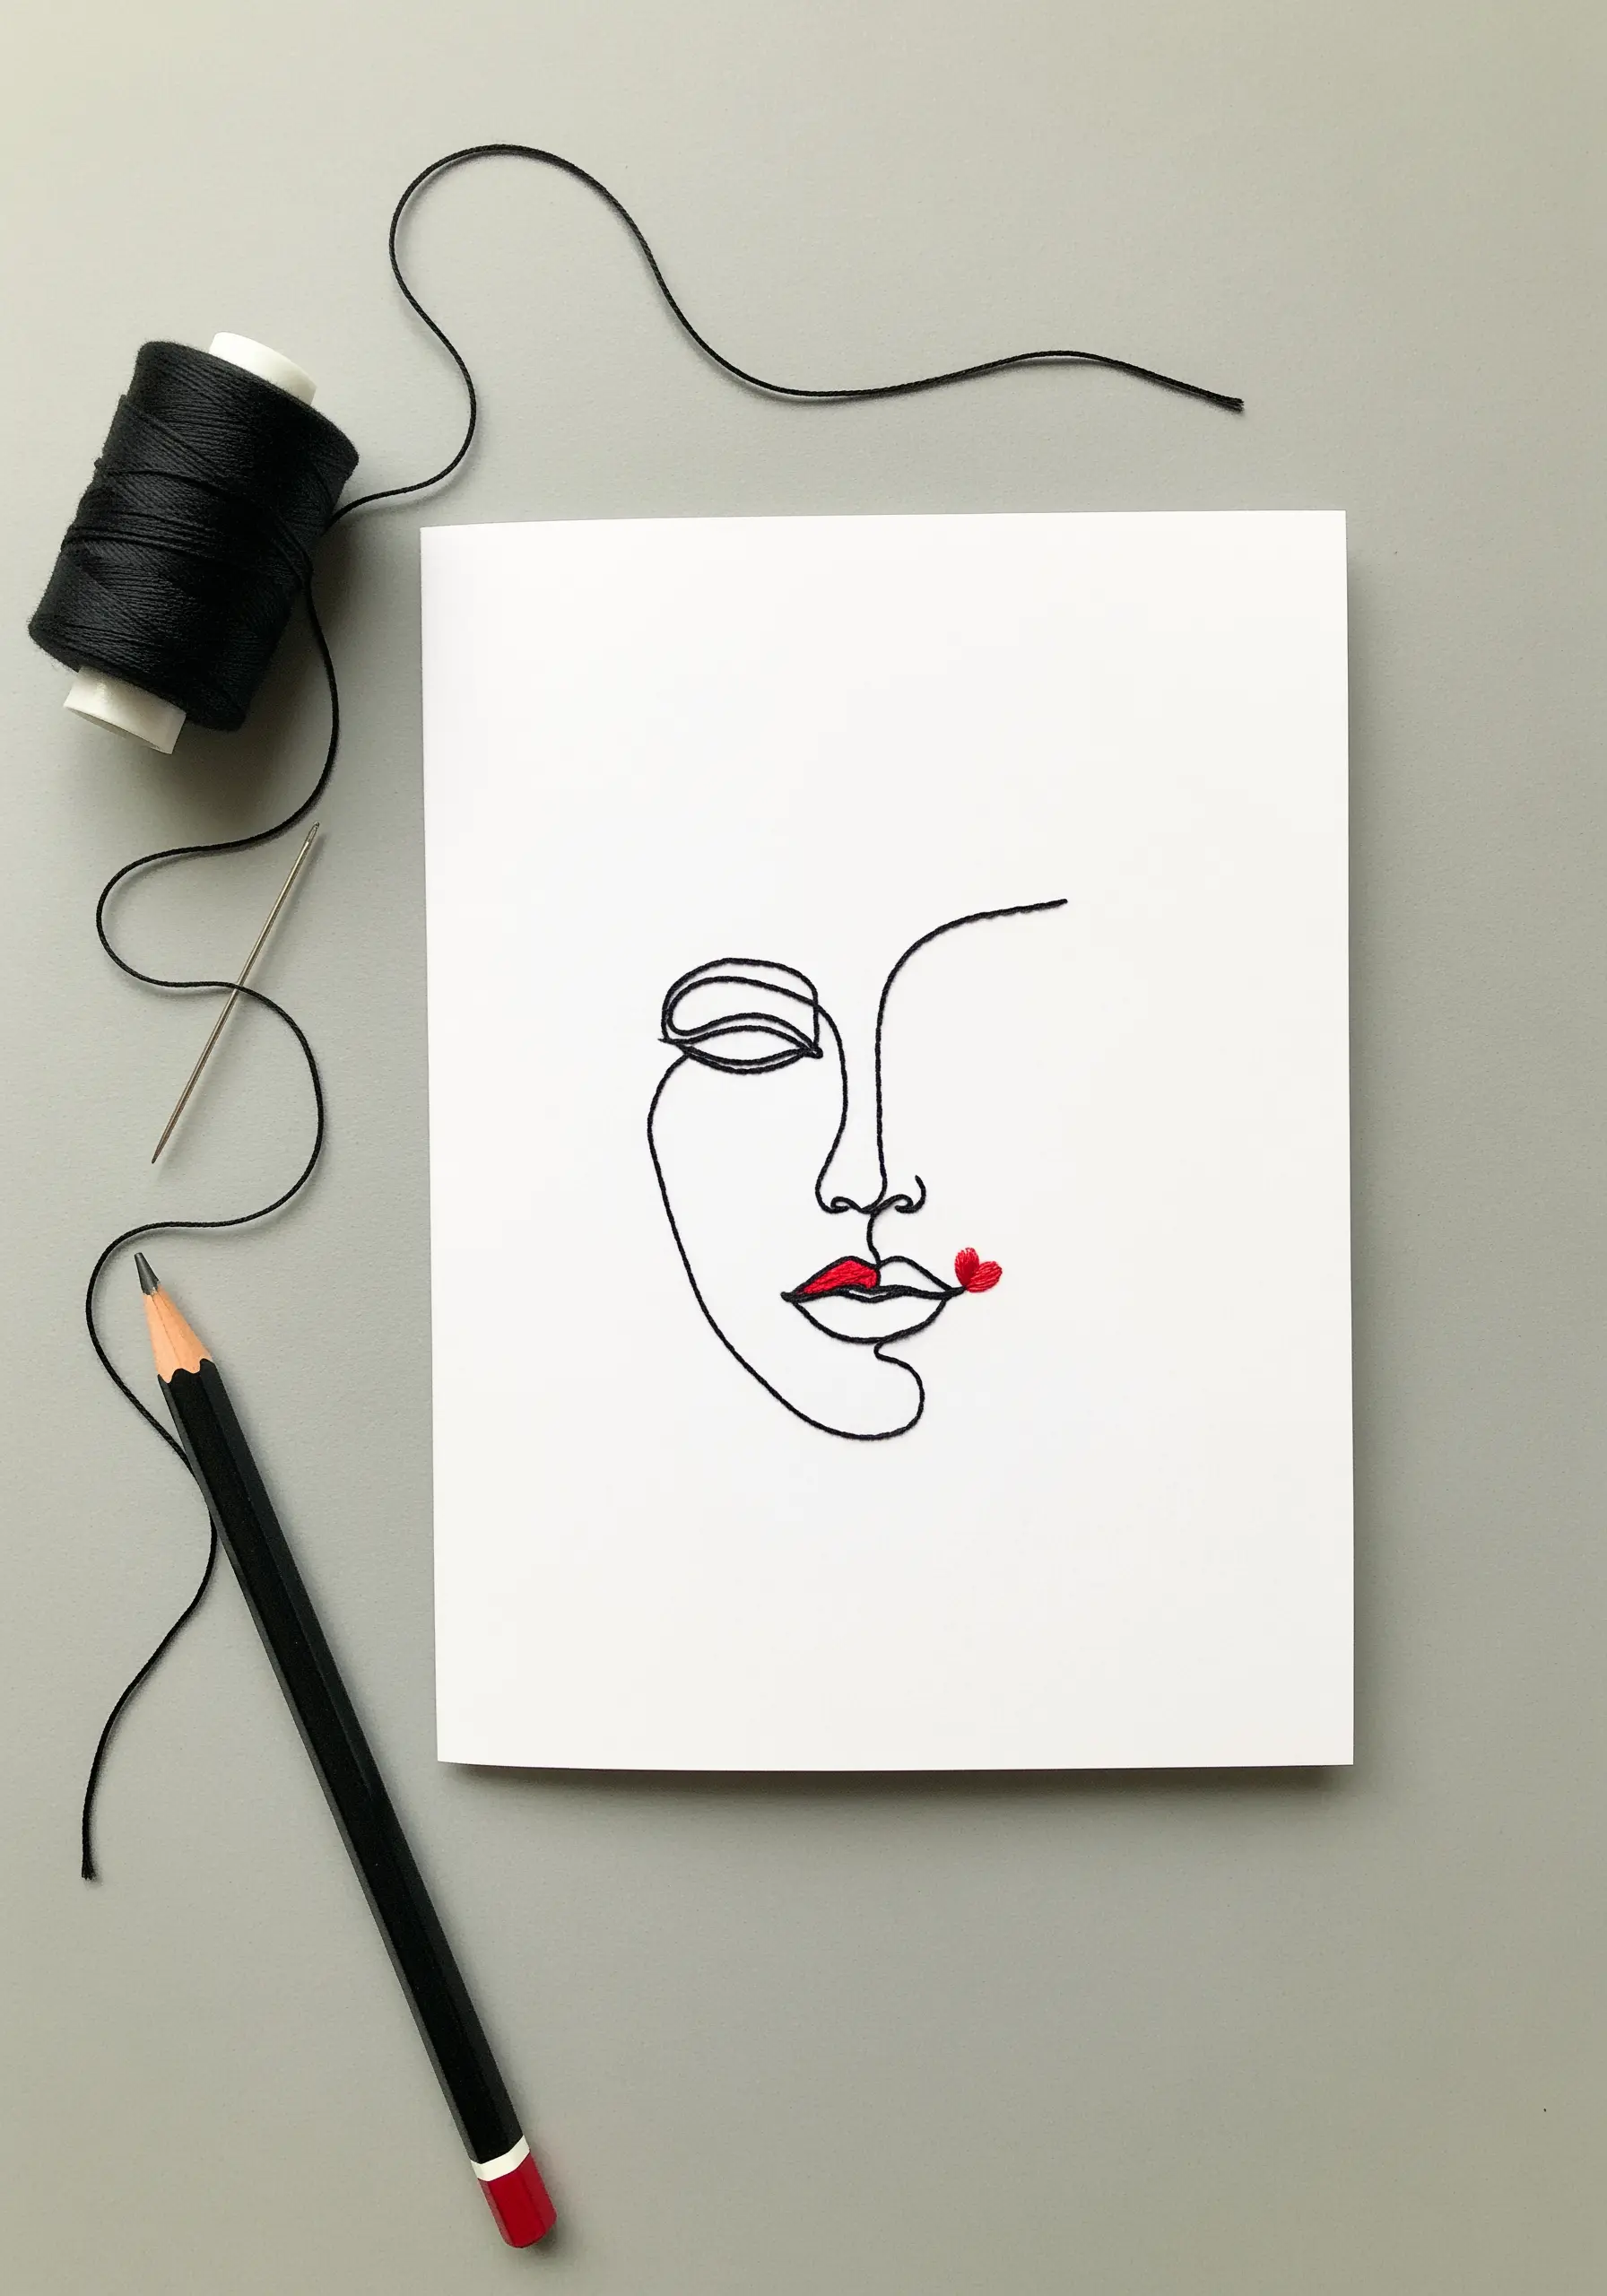
The elegance of this design lies entirely in its simplicity and continuous flow.
Transfer a simple line art drawing to your card and use a single, continuous thread to render the entire design with a backstitch.
Plan your stitch path carefully to minimize jumps on the back of the paper.
A tiny, bold pop of color, like the red satin-stitched lips, draws the eye and adds a touch of focused emotion to the otherwise minimal composition.
17. Embellishing Paper Cuts with Chain Stitch
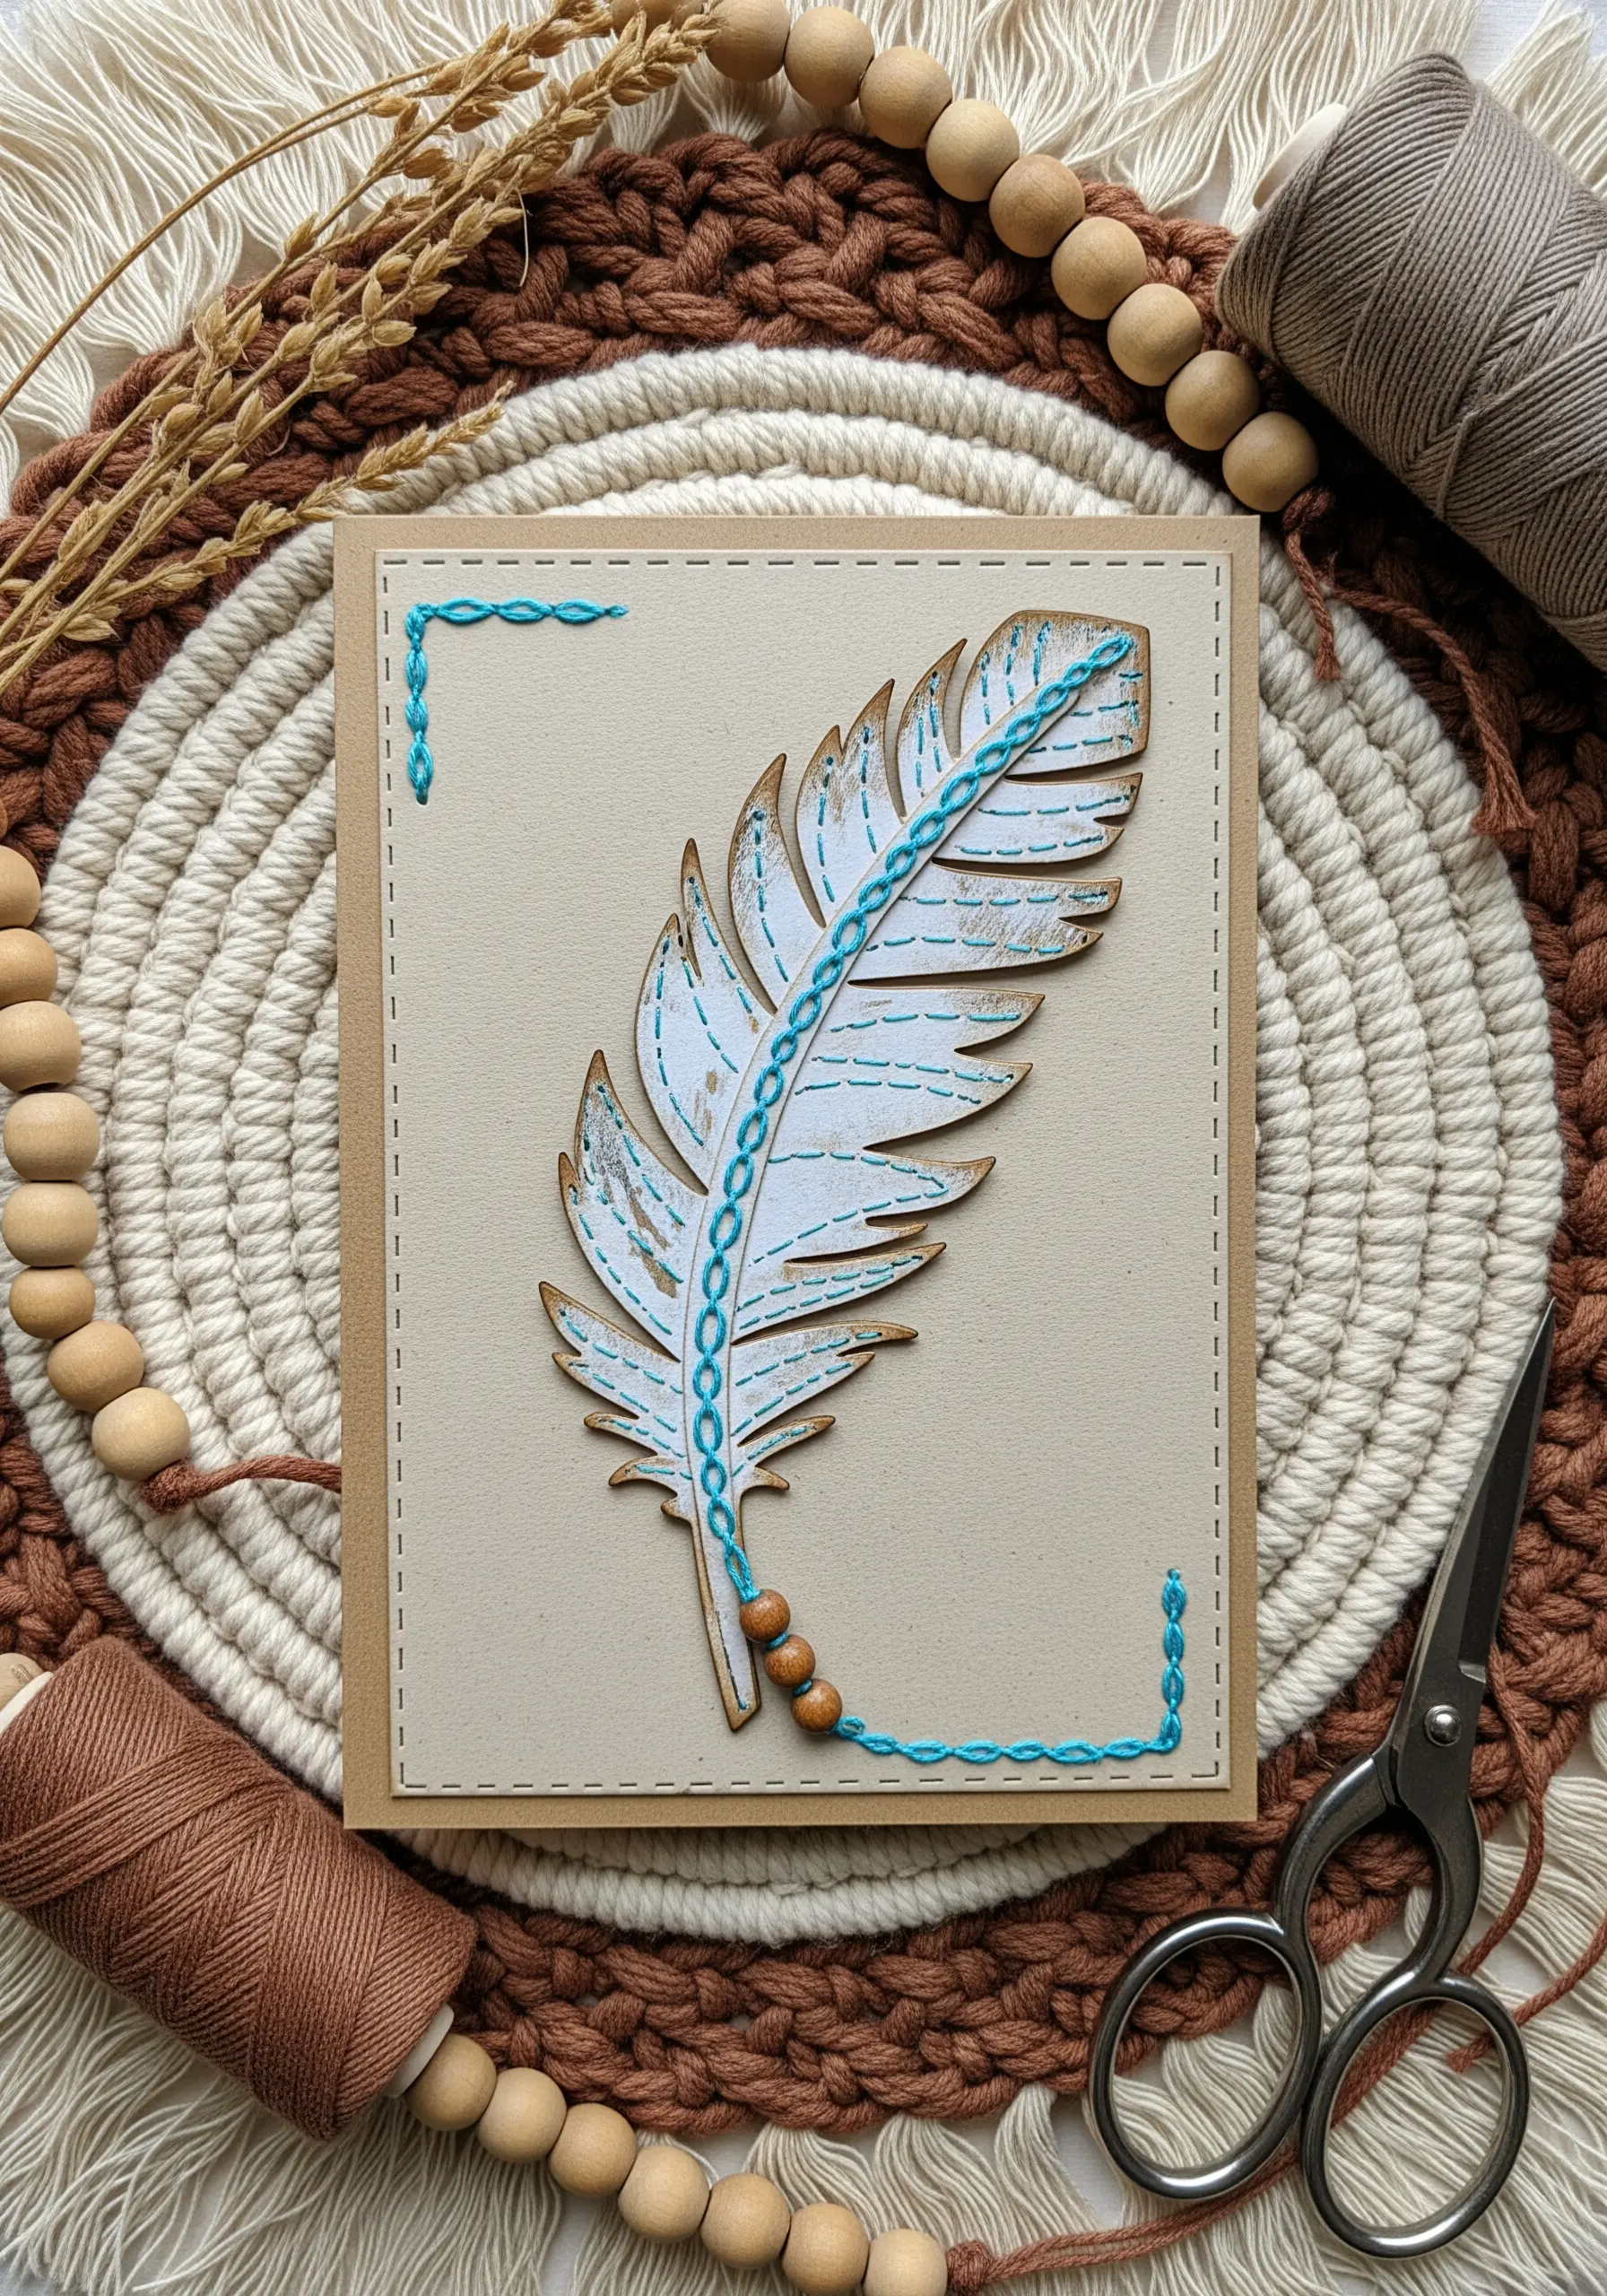
Begin with a pre-cut paper or thin wooden feather shape as your base.
Instead of drawing the details, stitch them directly onto the shape for a tactile result.
Use a chain stitch with a contrasting, vibrant thread to define the central quill—this stitch’s braided texture adds beautiful dimension.
Simple running stitches along the edges and a few small beads at the base complete the bohemian look.
18. Layered Paper Landscape with Threaded Sunbeams
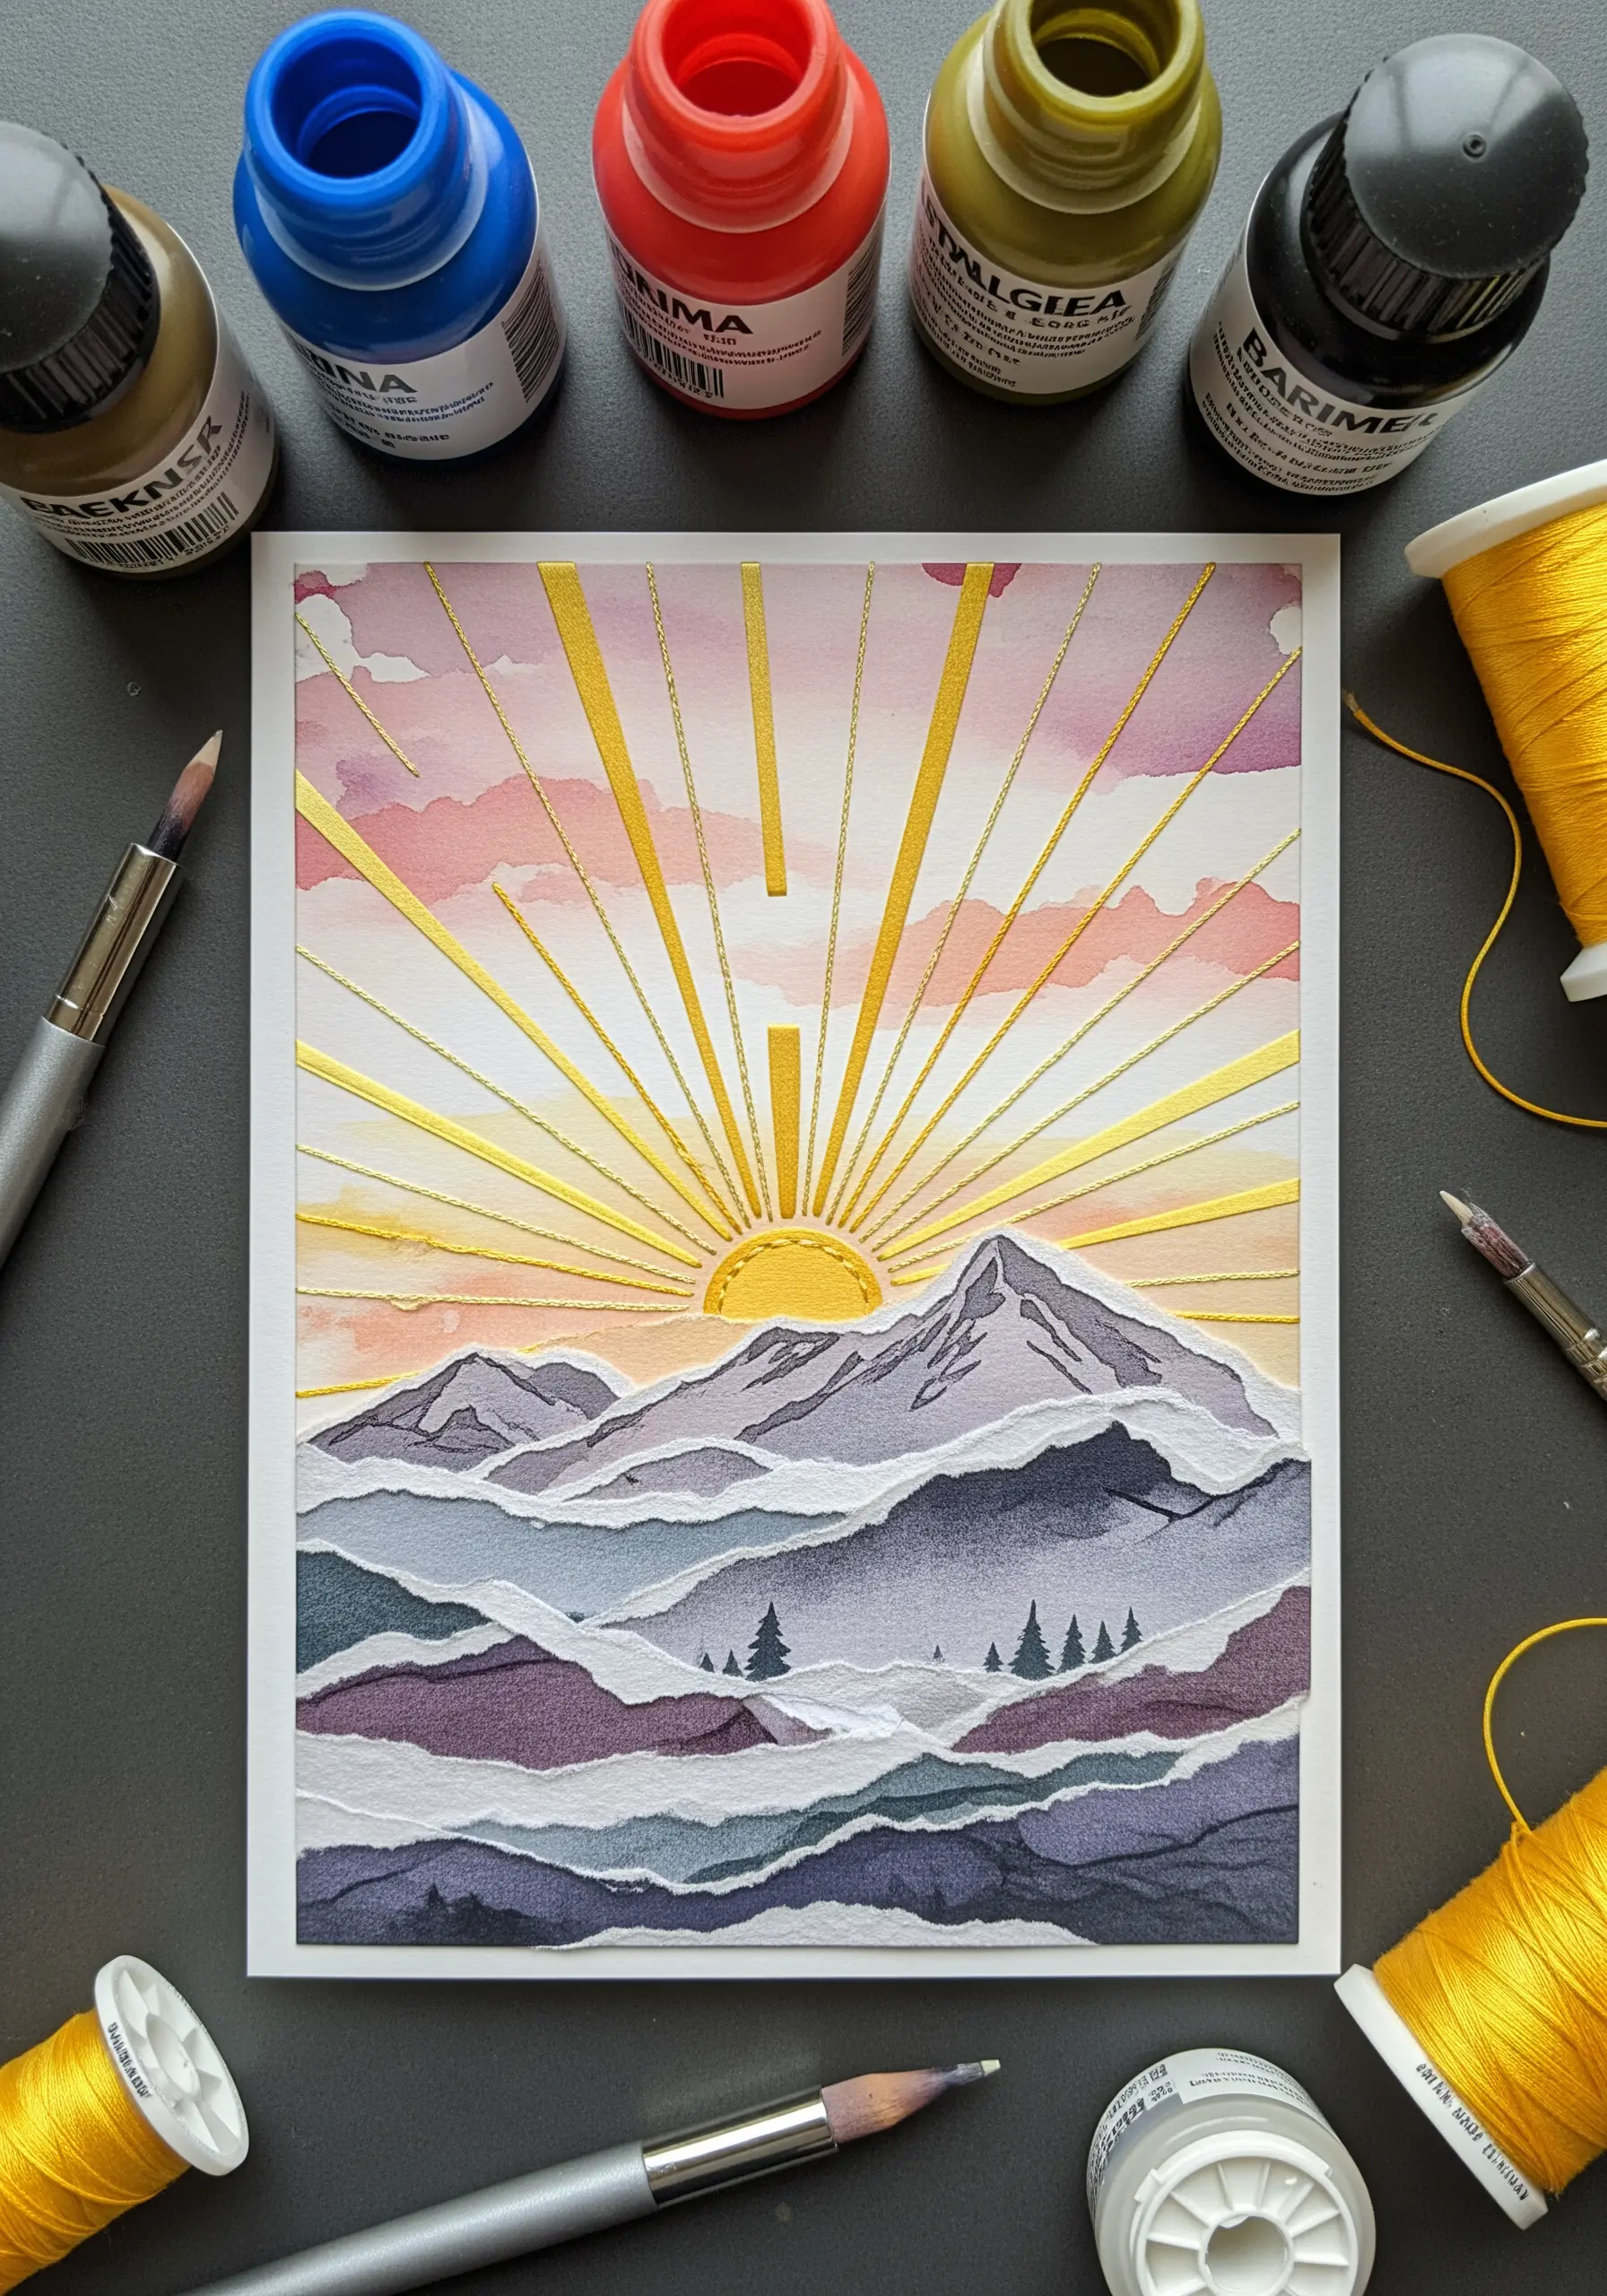
Build your mountain scene using layers of textured, hand-torn paper in muted tones; the torn edges create natural-looking, soft ridges.
For the sunbeams, use long, precise satin stitches in a glossy golden thread that will catch the light.
The smooth, reflective quality of the thread contrasts dramatically with the matte, textured paper of the mountains and sky.
This technique makes the thread an active element in the landscape, representing light itself.
19. Fabric Appliqué with Seed Stitch Details
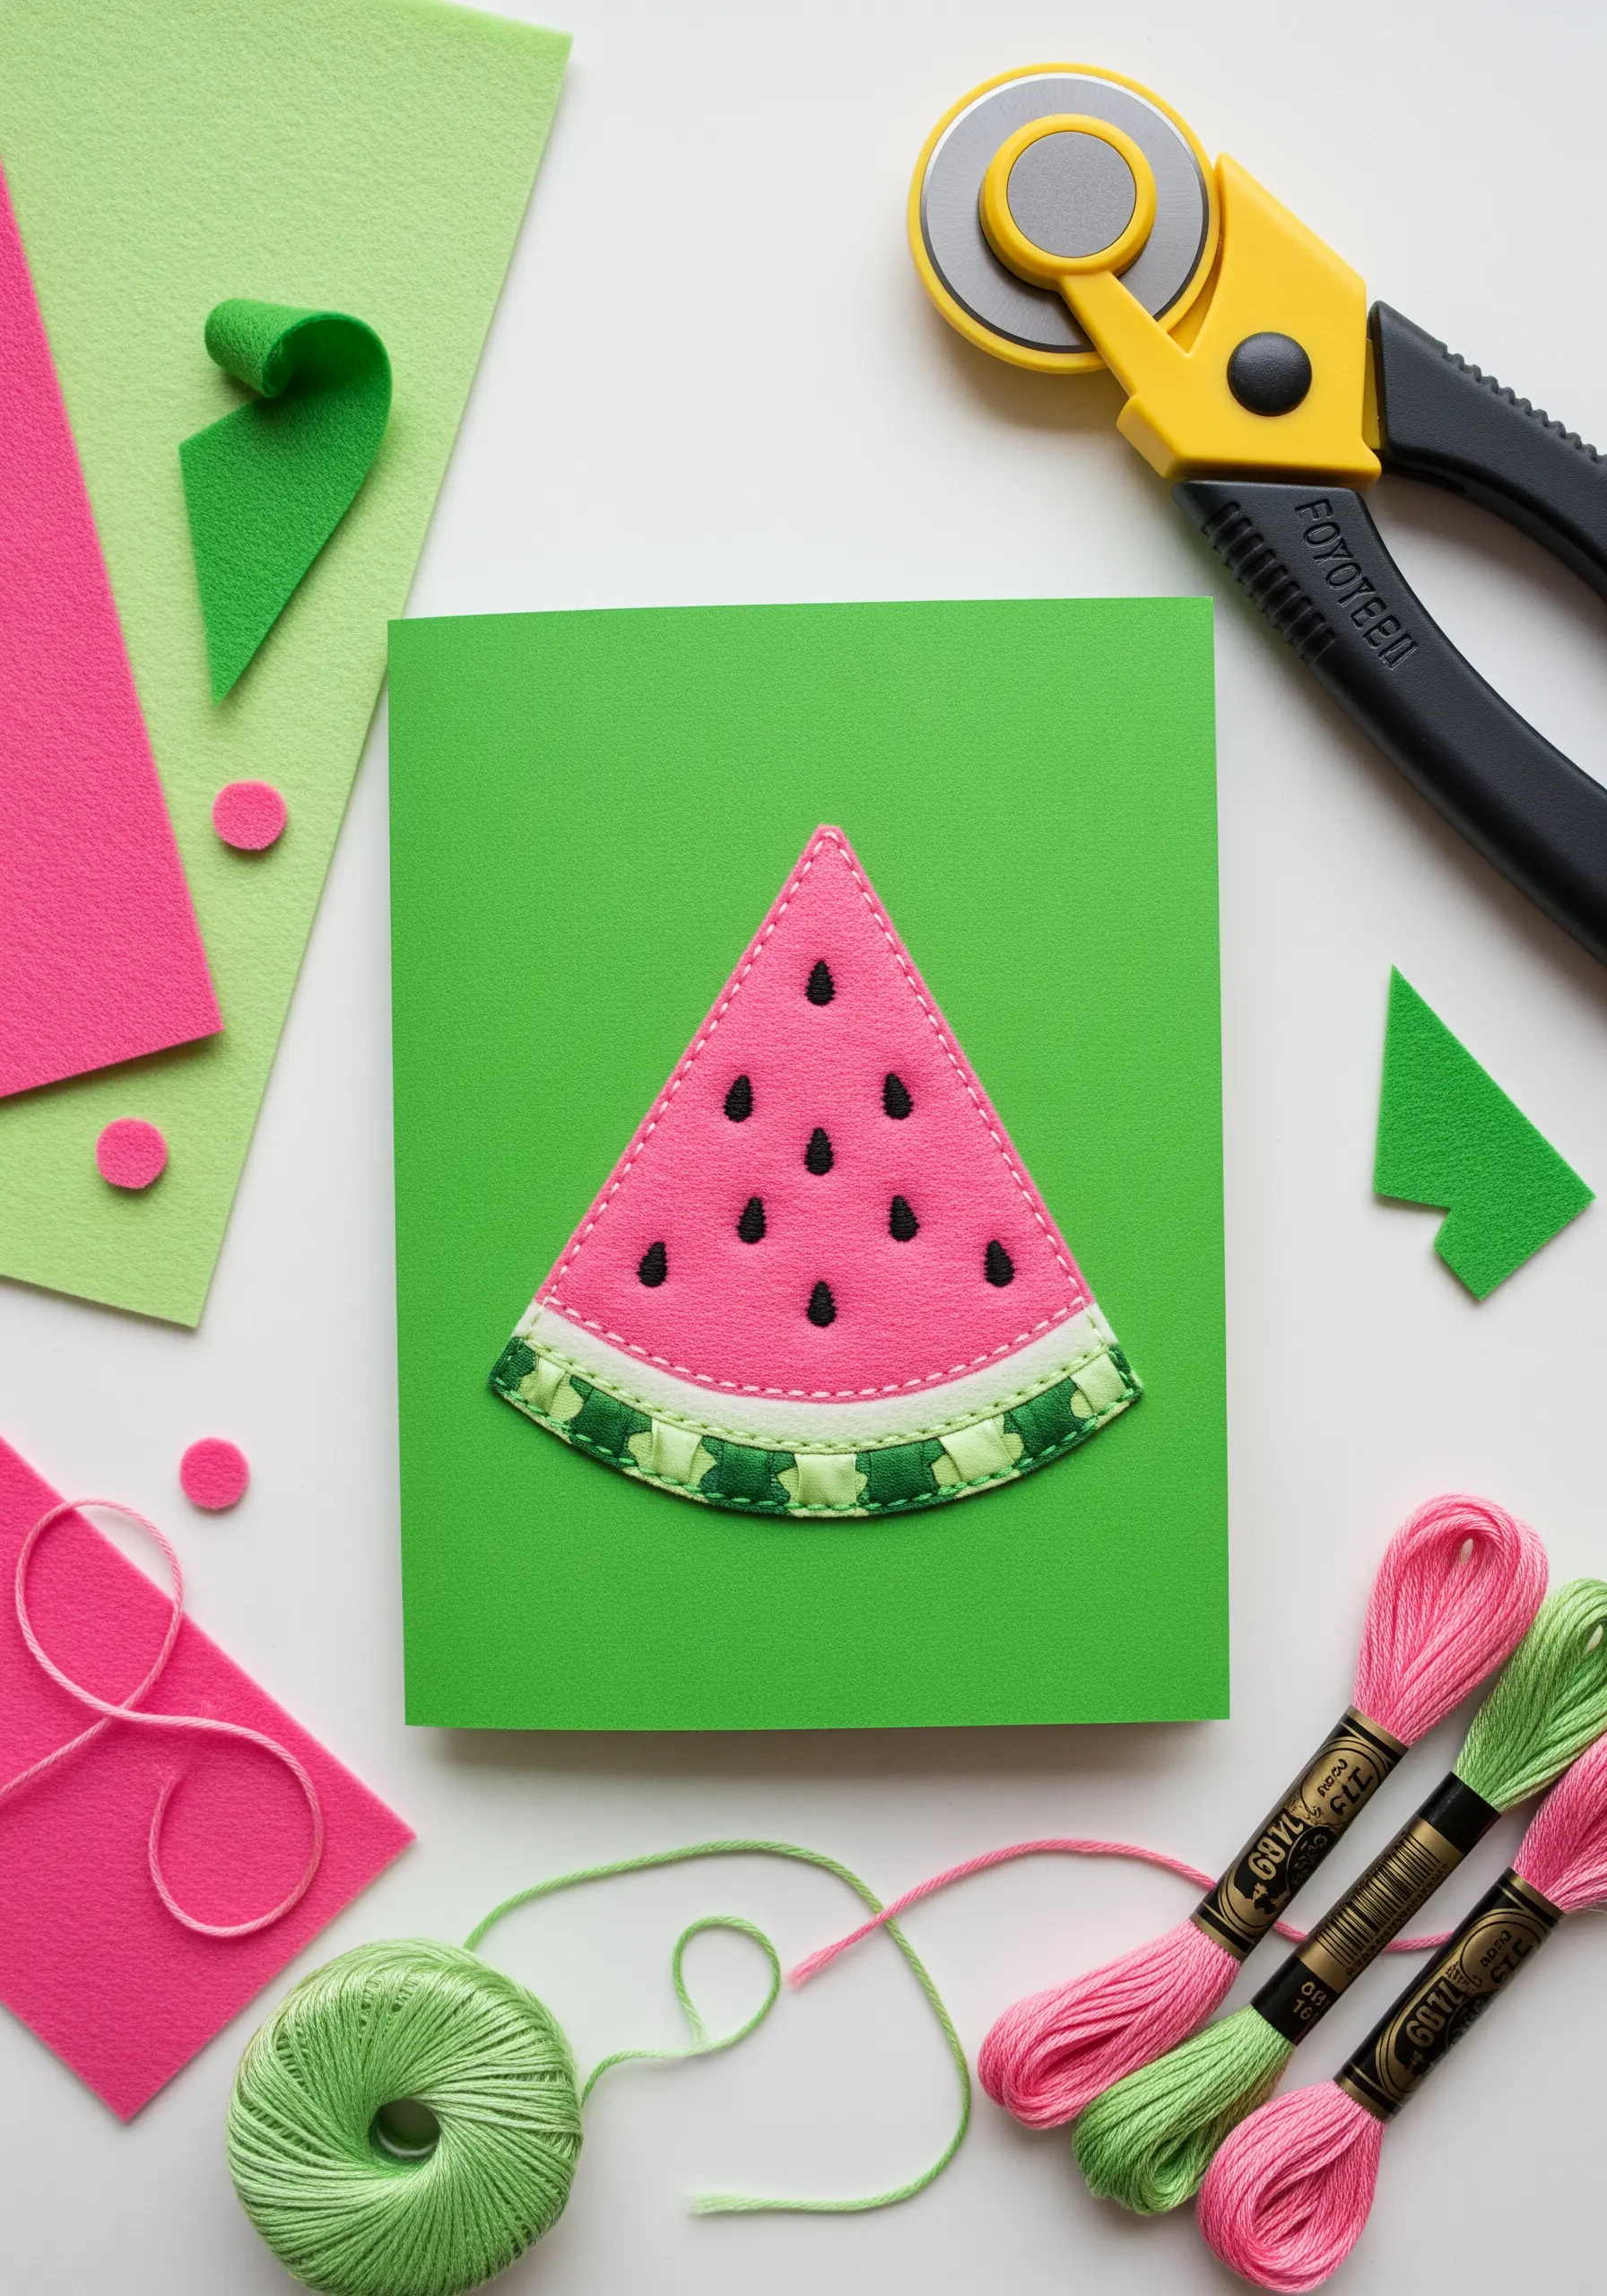
Combine different materials to create a playful and tactile watermelon slice.
Use pink felt for the juicy flesh and a patterned green fabric for the rind, with a thin strip of white fabric in between for a crisp separation.
The crucial detail is the seeds: use single black seed stitches scattered across the pink felt for a perfect finishing touch.
This combination of simple appliqué and minimal stitching results in a fun and playful and graphic design.
20. Variegated Thread Lettering
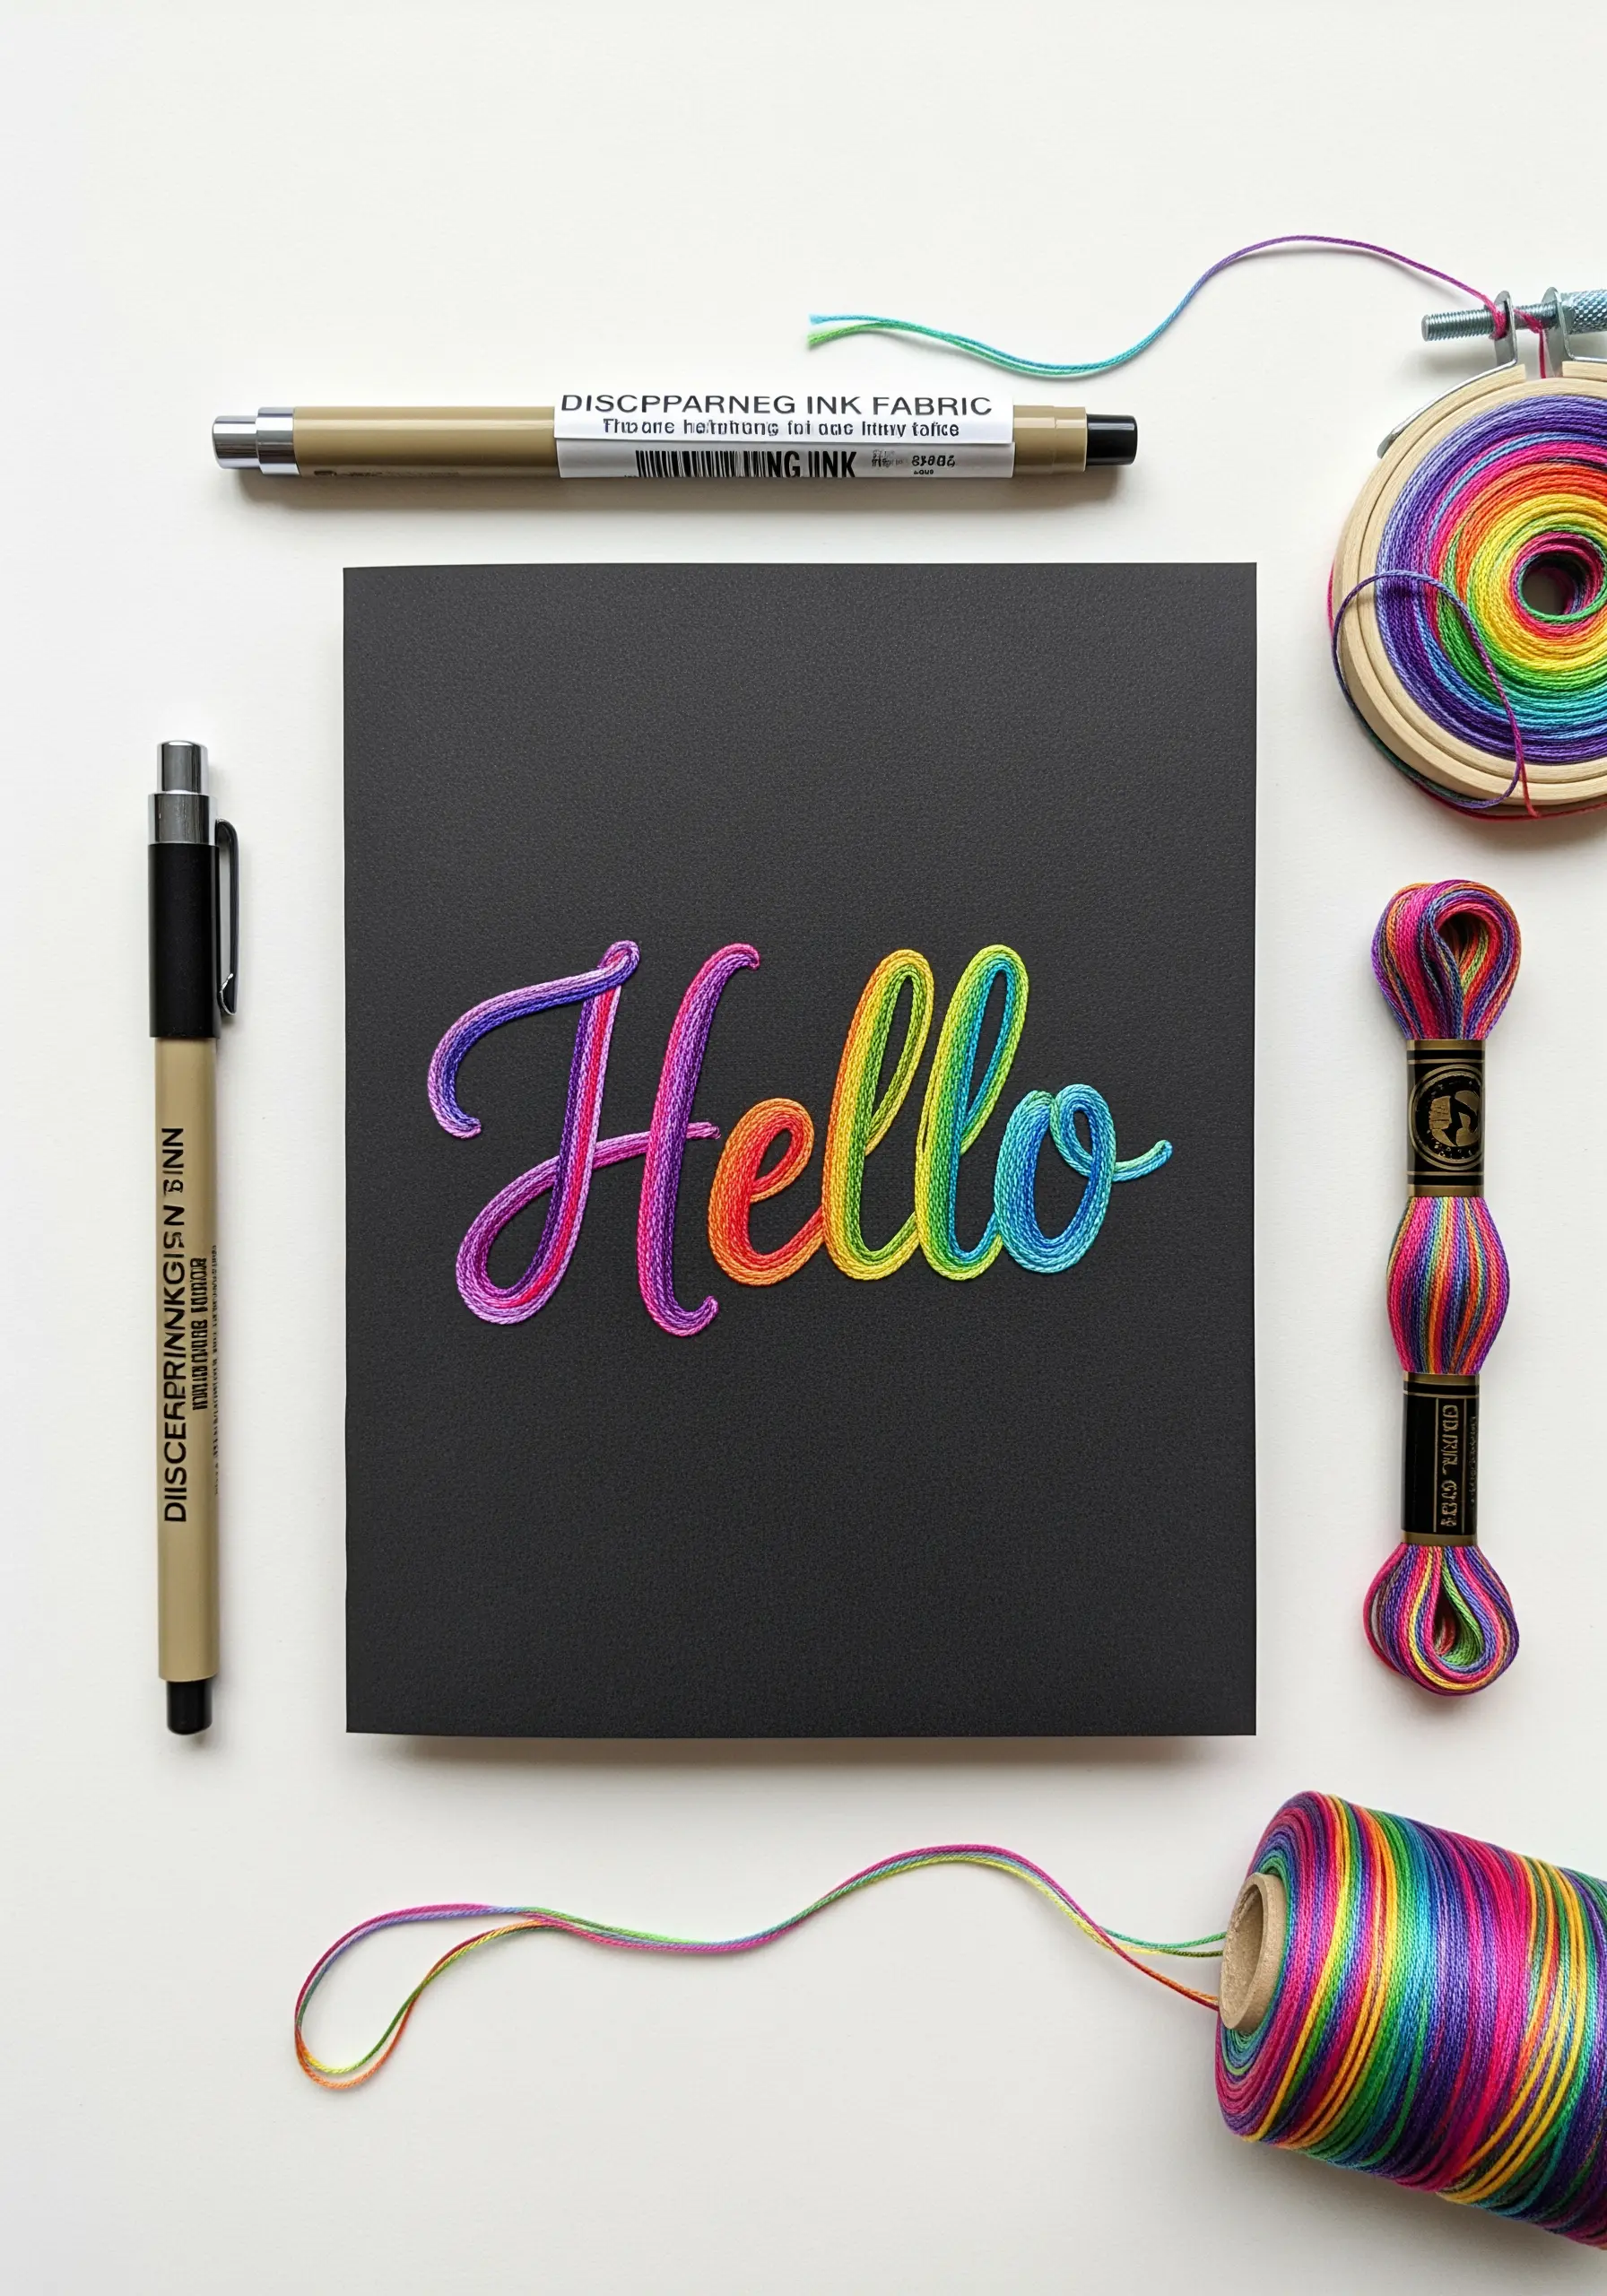
To achieve this seamless rainbow gradient with minimal effort, choose a high-quality variegated embroidery floss.
First, outline your letters with a split stitch; this creates a slightly raised, stable base that makes your satin stitches look fuller.
Fill the letters with satin stitch, laying your stitches closely together and following the curves of the script.
The variegated thread handles all the color blending for you, creating a smooth, professional-looking gradient that pops against dark cardstock.
21. Sashiko-Inspired Paper Stitching
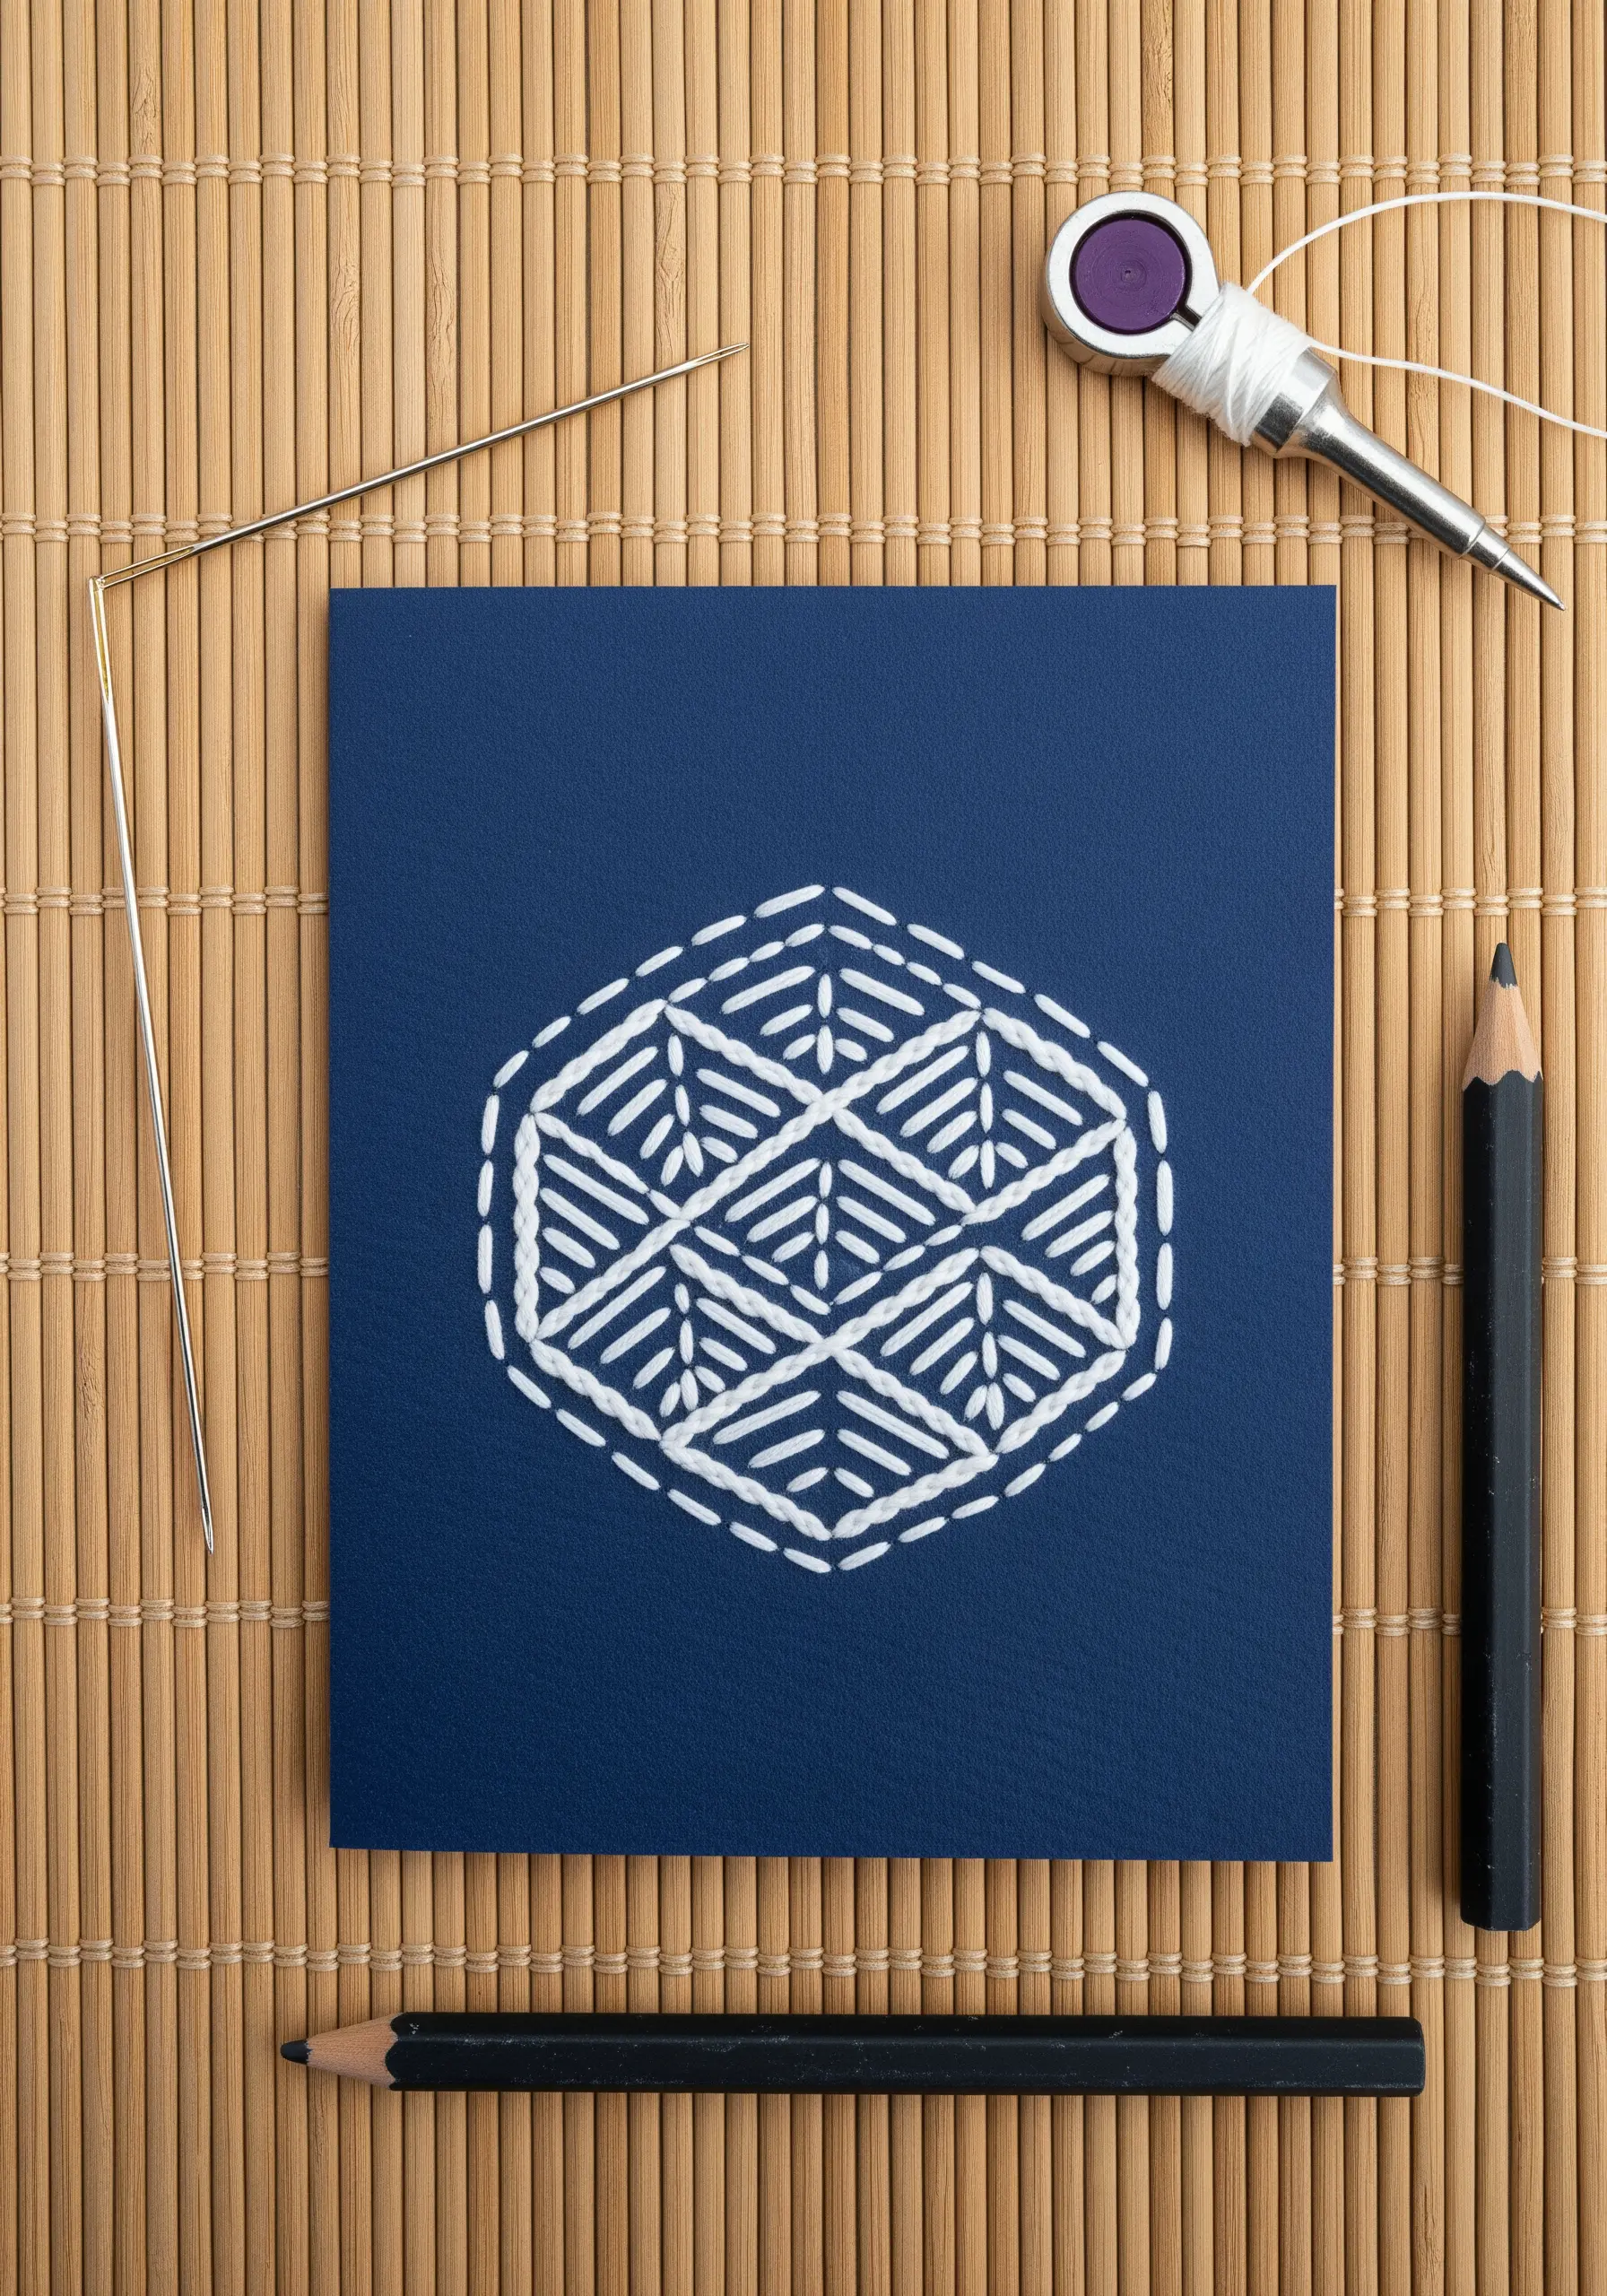
Sashiko, the traditional Japanese art of mending and reinforcement stitching, translates beautifully to paper crafts.
Use a thicker, soft cotton thread—like authentic sashiko thread or pearl cotton—to achieve the distinct, bold lines.
The key to the technique is the rhythmic, even running stitch, so aim for consistency in length and spacing.
Always pre-pierce your holes with an awl or needle tool to prevent tearing the paper and ensure a clean graphic effect.
22. Repurposed Lace and Fabric Collage
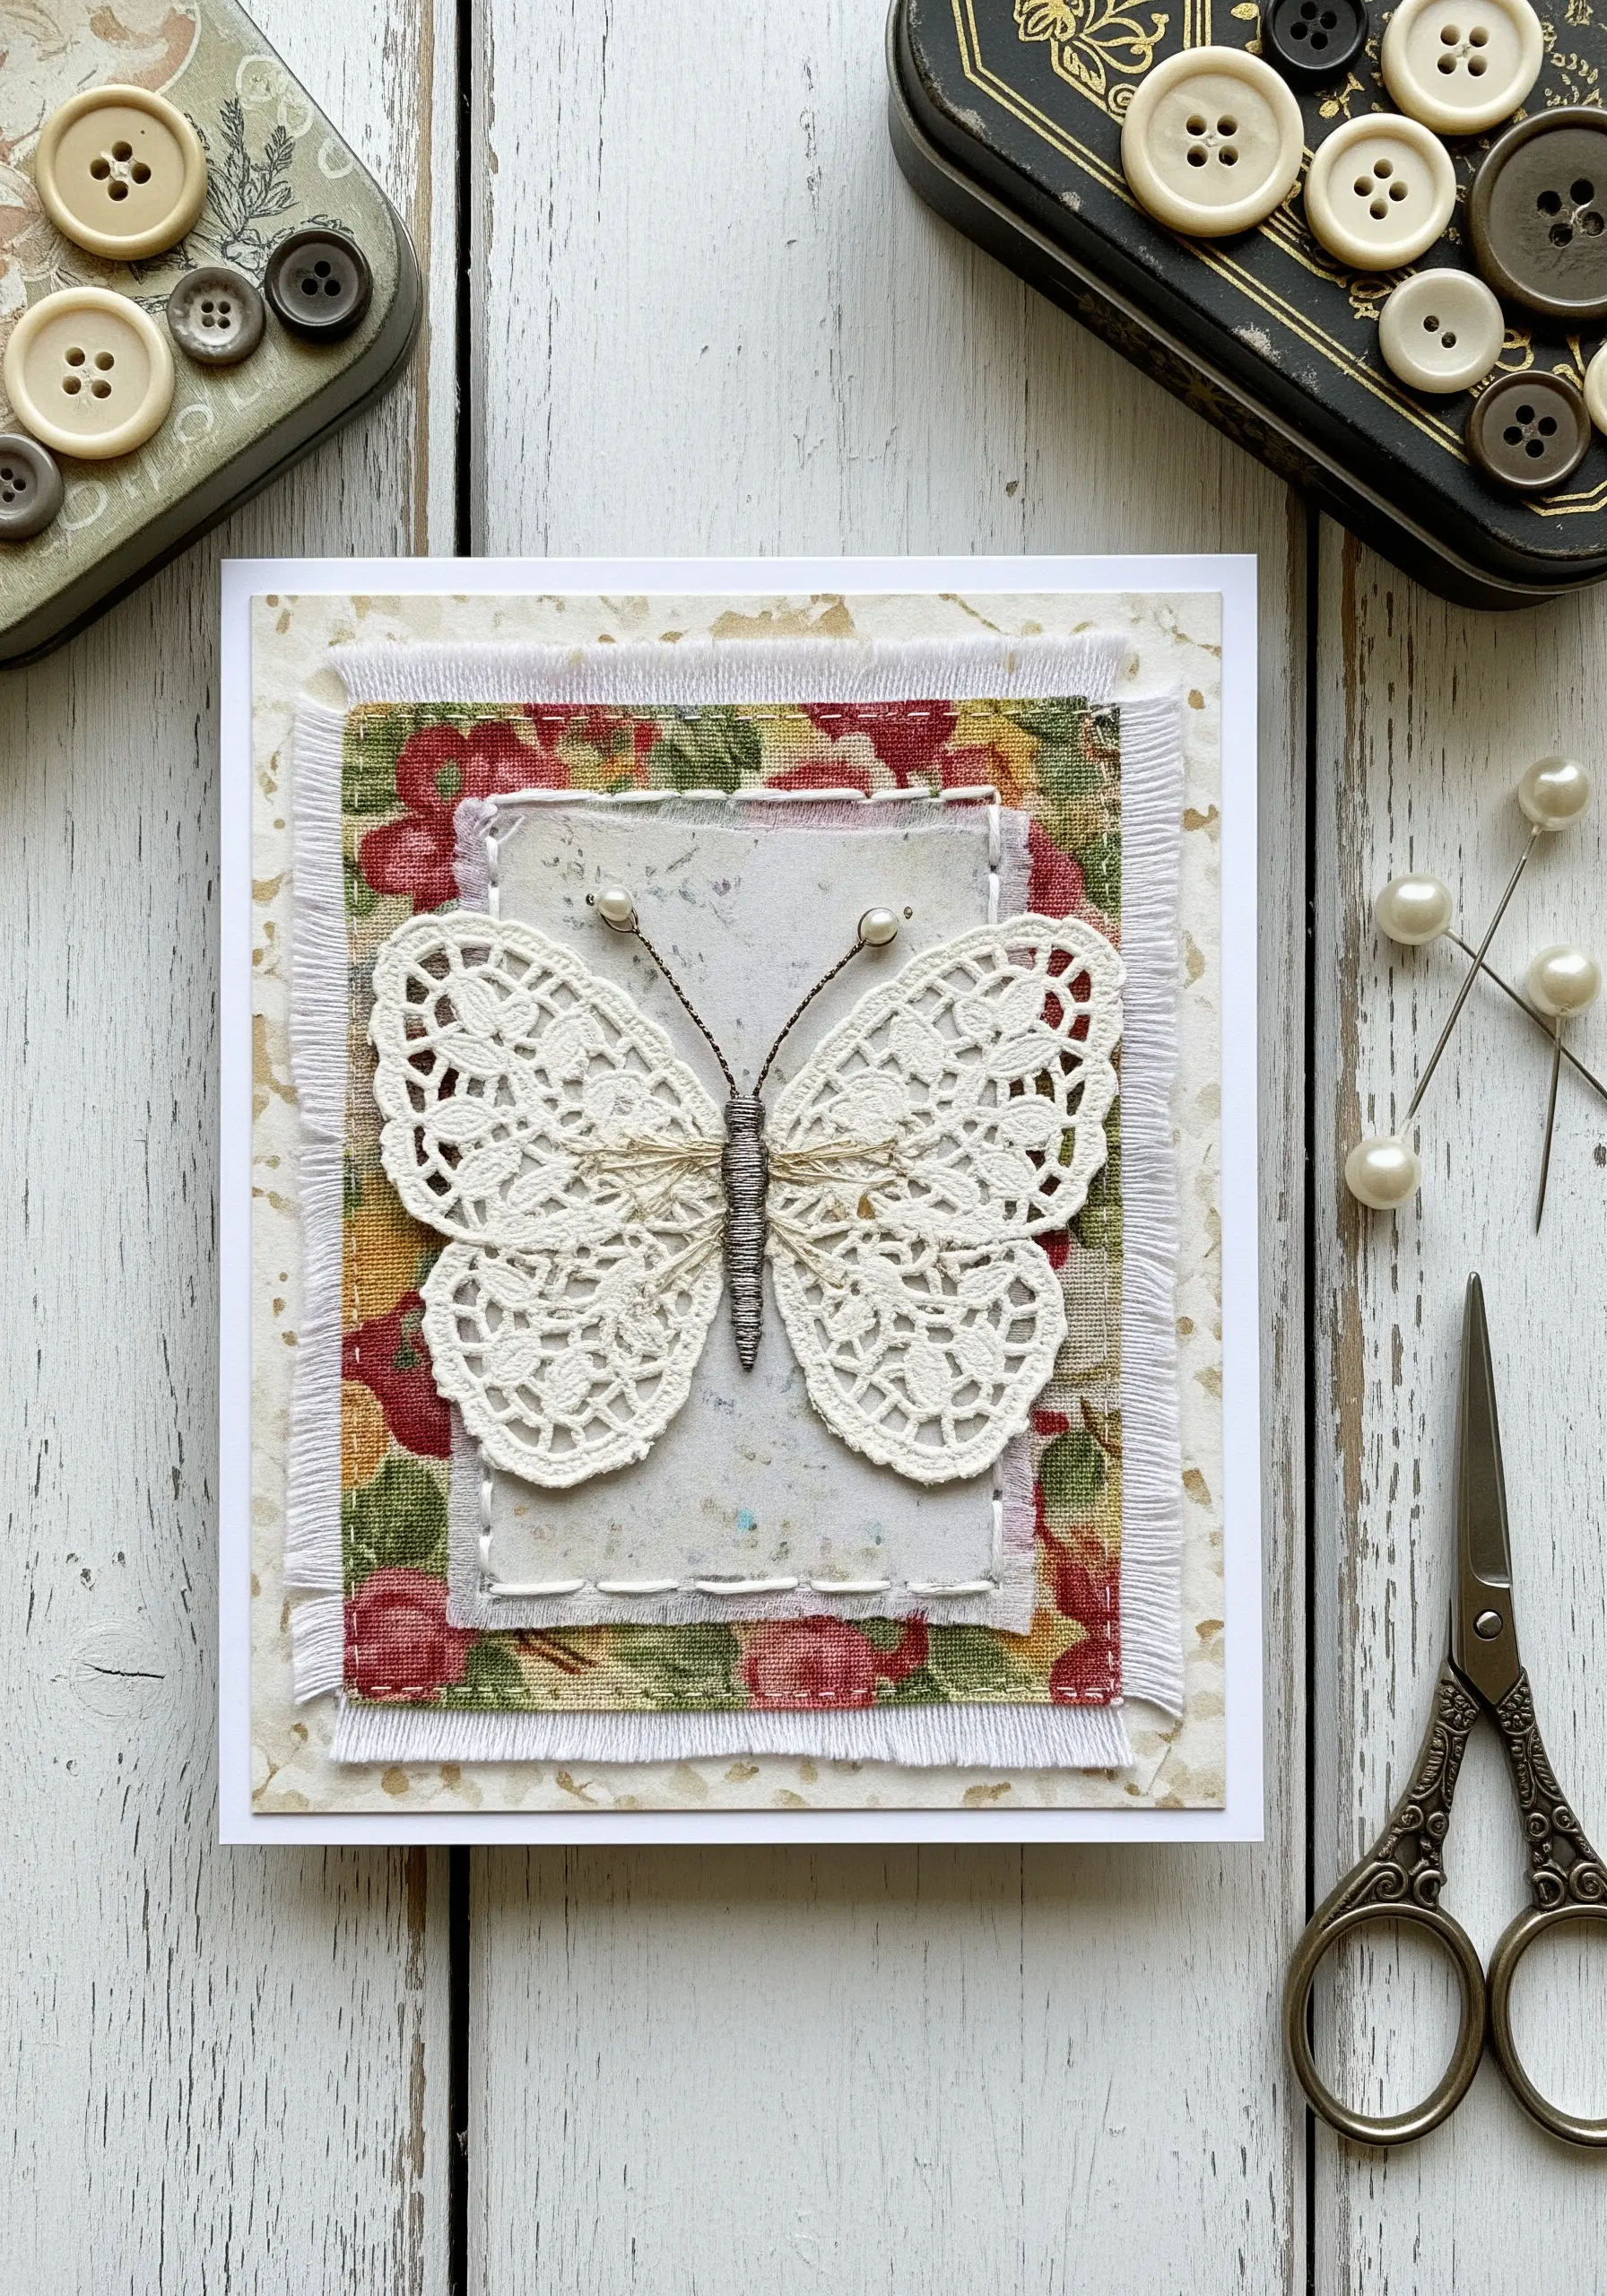
Give new life to small scraps of lace doilies by repurposing them as elegant butterfly wings.
Create the body and antennae by wrapping the center with a neutral twine or thick thread.
Layer your lace butterfly over a collage of frayed-edge fabrics and handmade papers to build depth and texture.
This method transforms simple materials into a charming, vintage-inspired collage card, finished perfectly with a few pearl-headed pins for eyes.
23. Detailed Appliqué with Embroidered Text
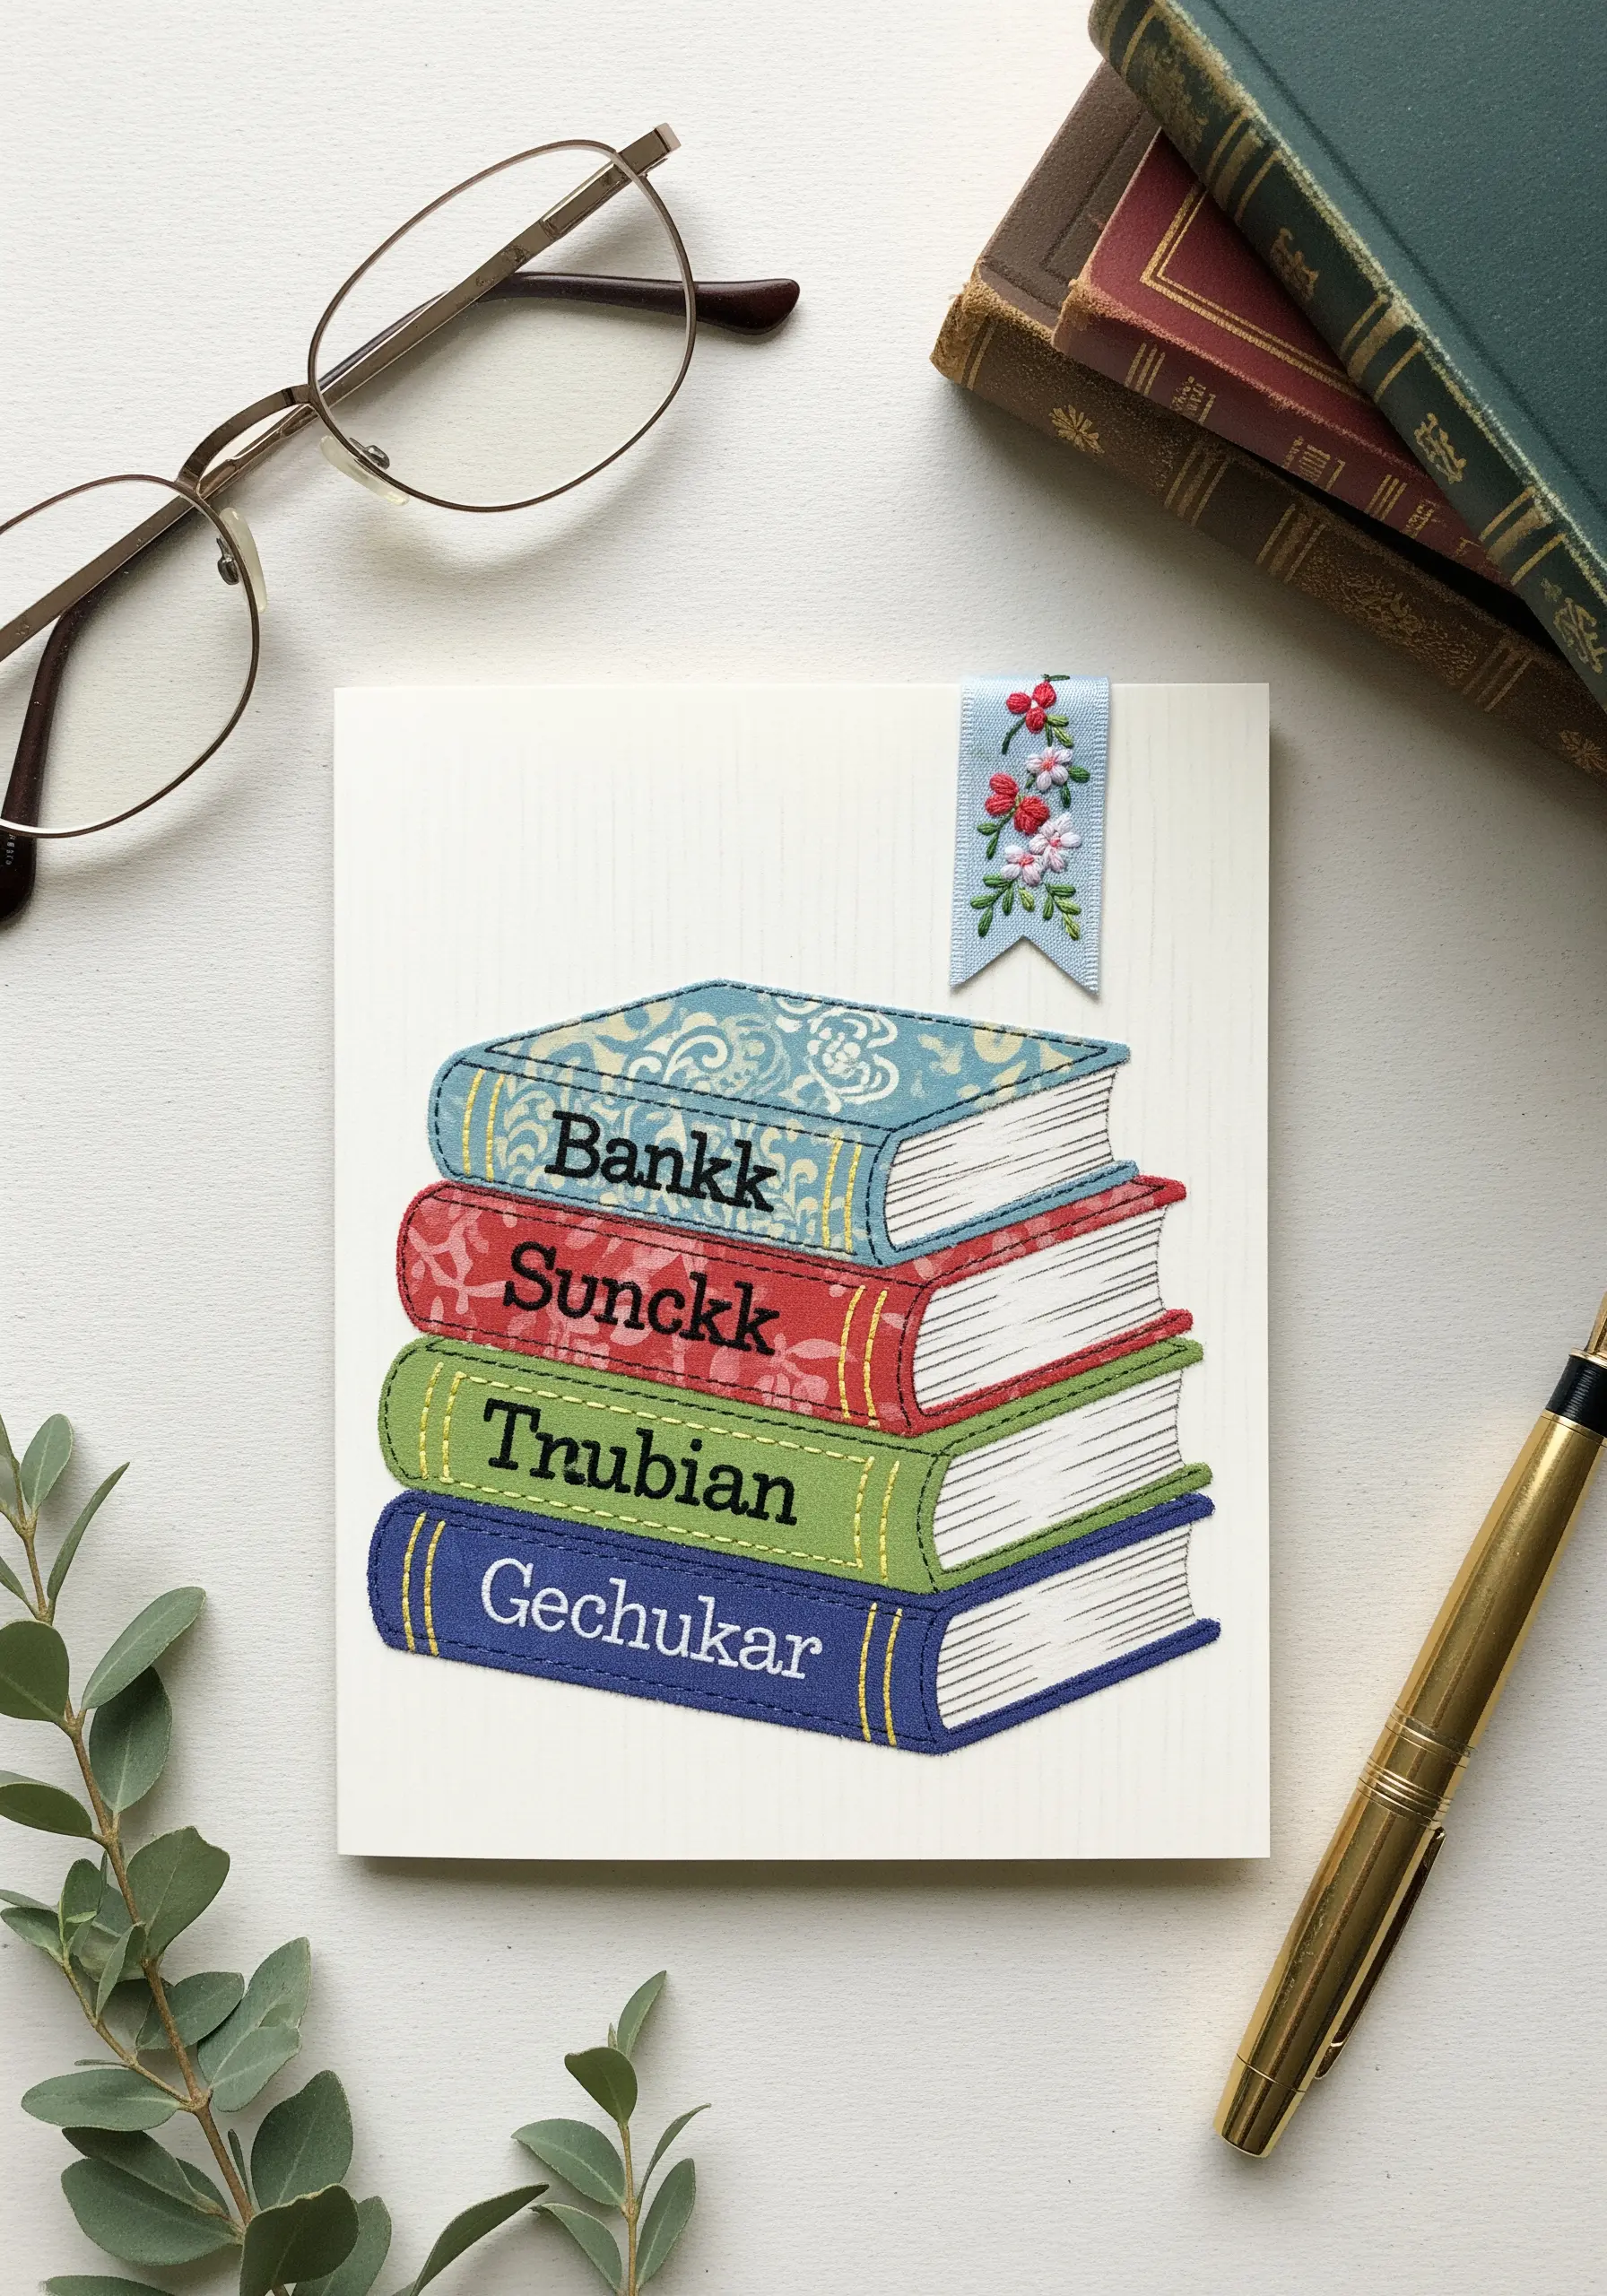
Cut your book shapes from various patterned fabrics to represent different covers.
Before attaching them to the card, embroider the titles directly onto the fabric using a tiny backstitch or a single strand of stem stitch for maximum clarity.
Once the books are adhered, use a clean satin stitch in a contrasting color for the pages.
Adding a tiny embroidered bookmark is a delightful, personal detail that truly elevates the design.
24. Paper Piecing with Decorative Stitching
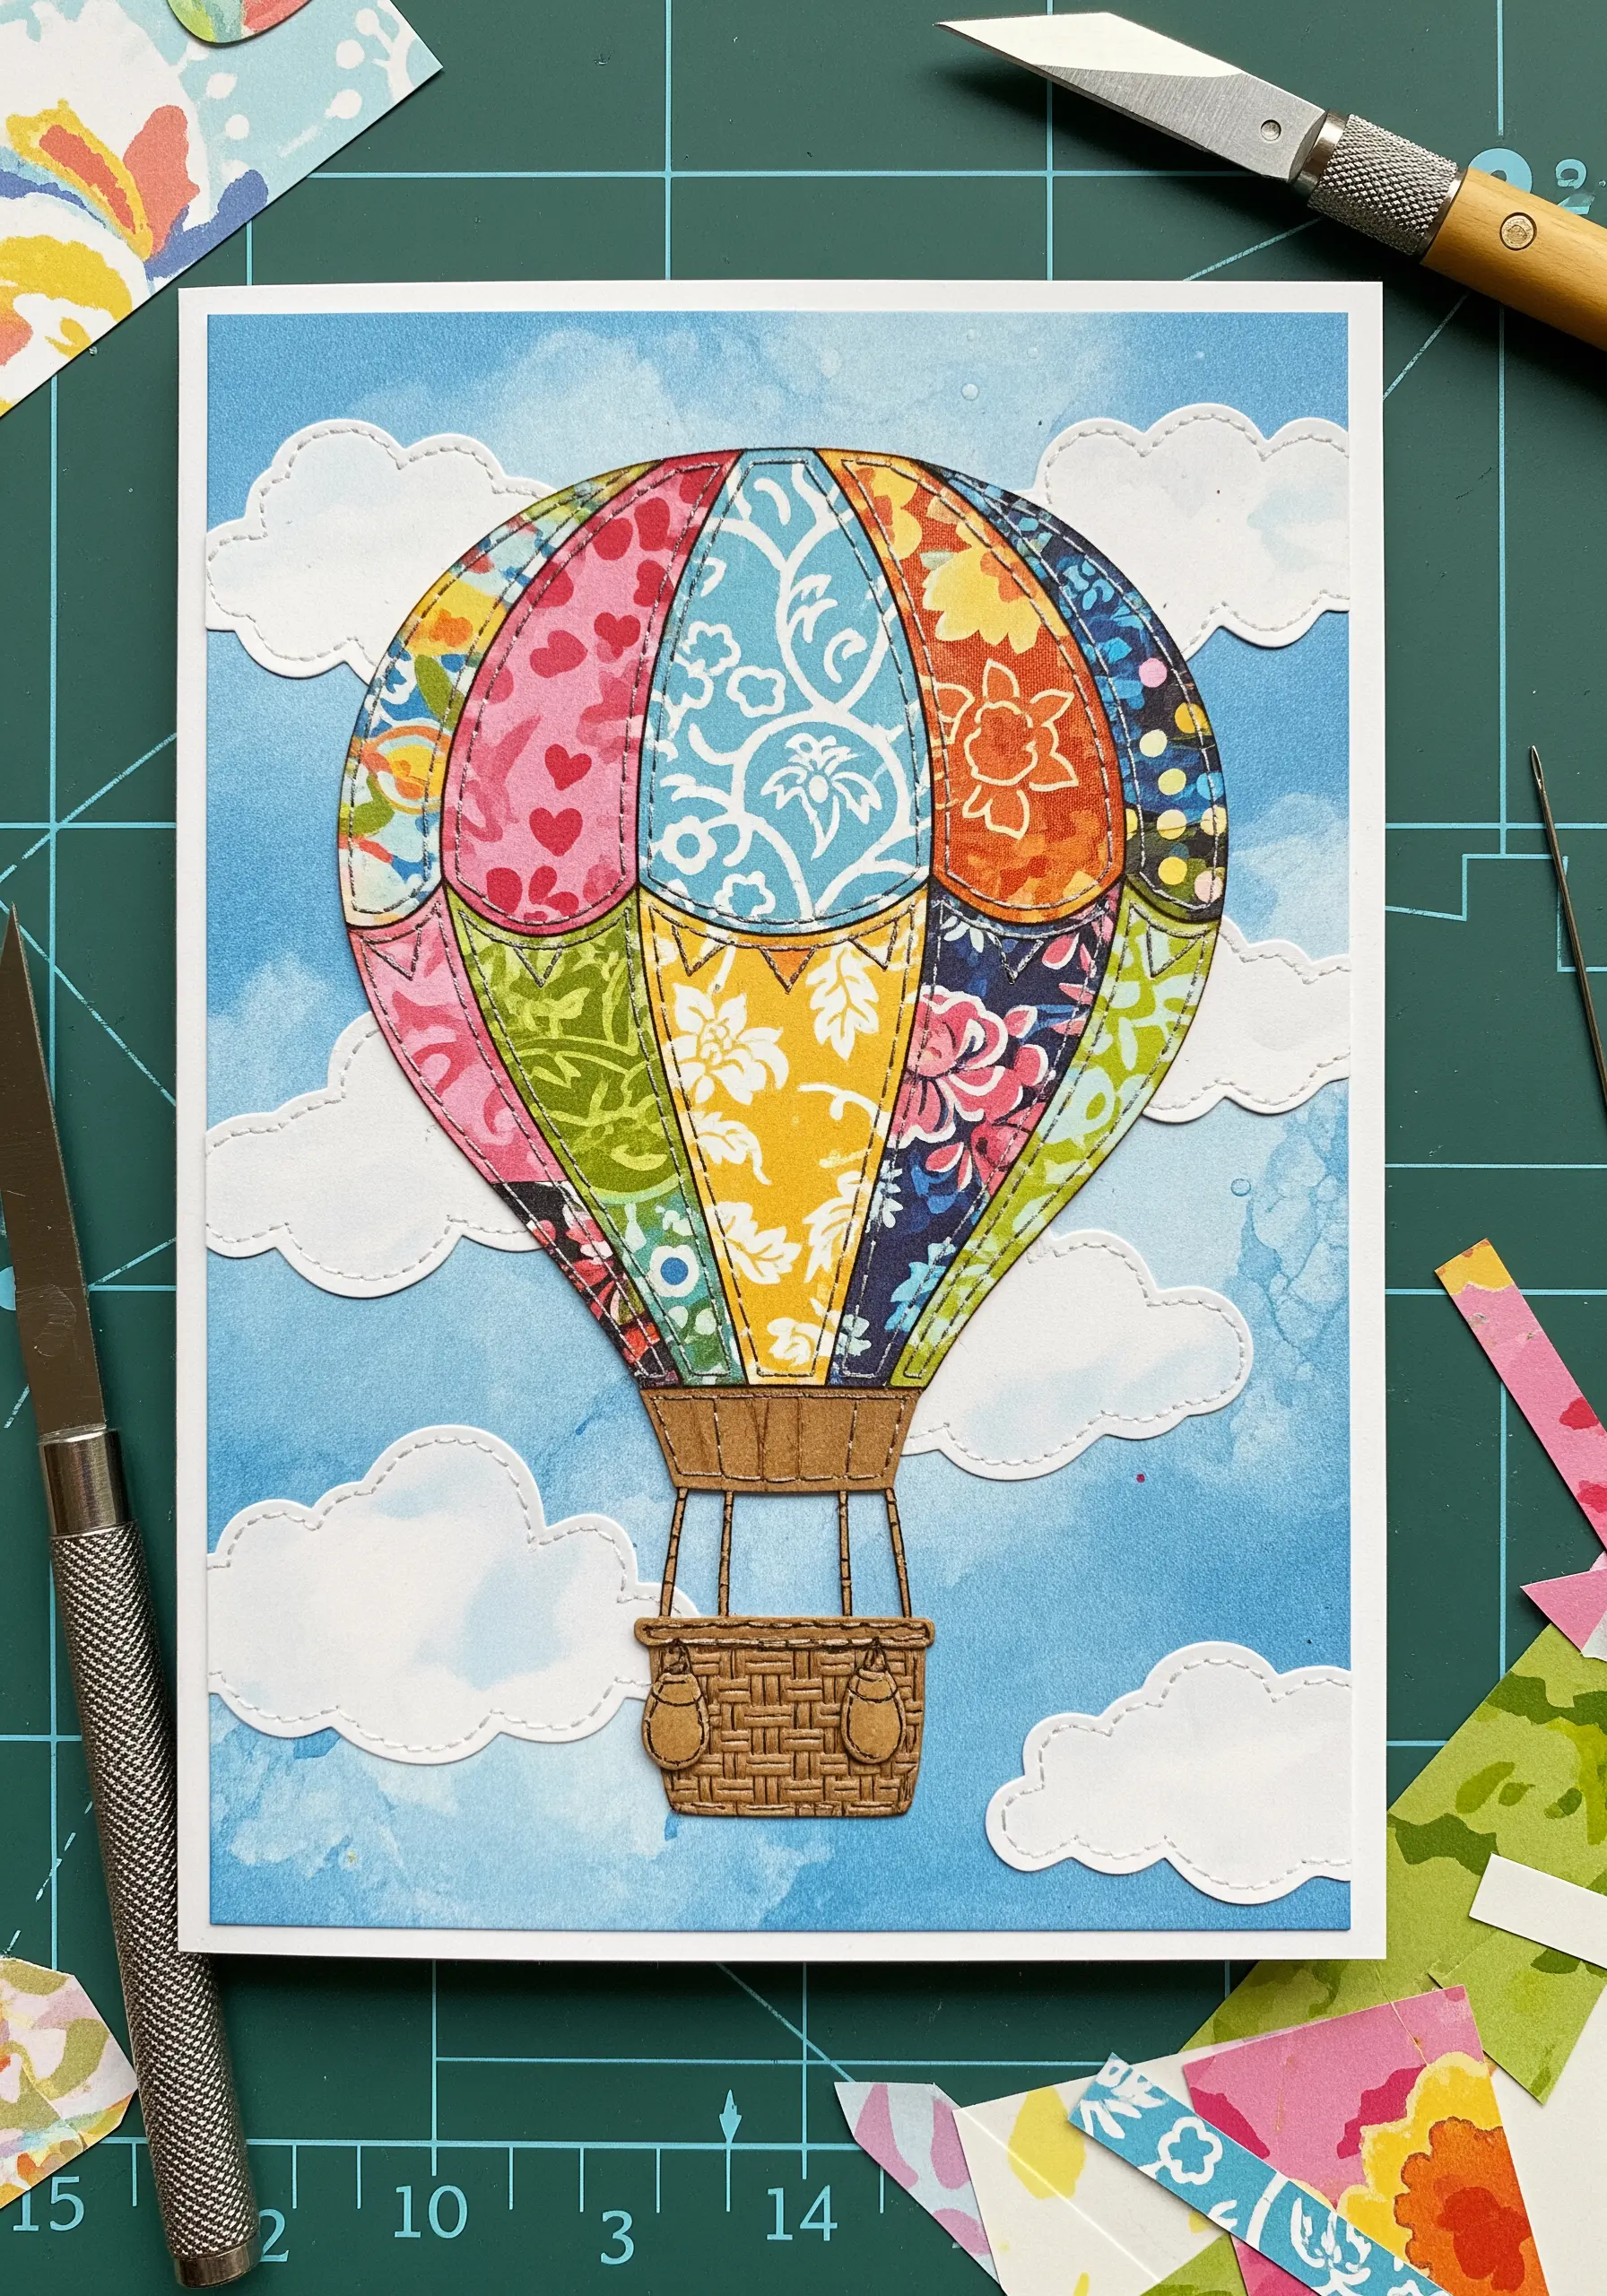
This technique, borrowed from quilting, is known as paper piecing.
Cut different patterned papers into segments and assemble them to form the hot air balloon shape.
To give the collage a cohesive, handcrafted look, use a sewing machine or hand-stitch with a simple backstitch along the seams where the papers meet.
This simple step adds texture and definition, transforming the paper collage into something more intricate and textile-inspired.
25. Thread-Painted Stained Glass Effect
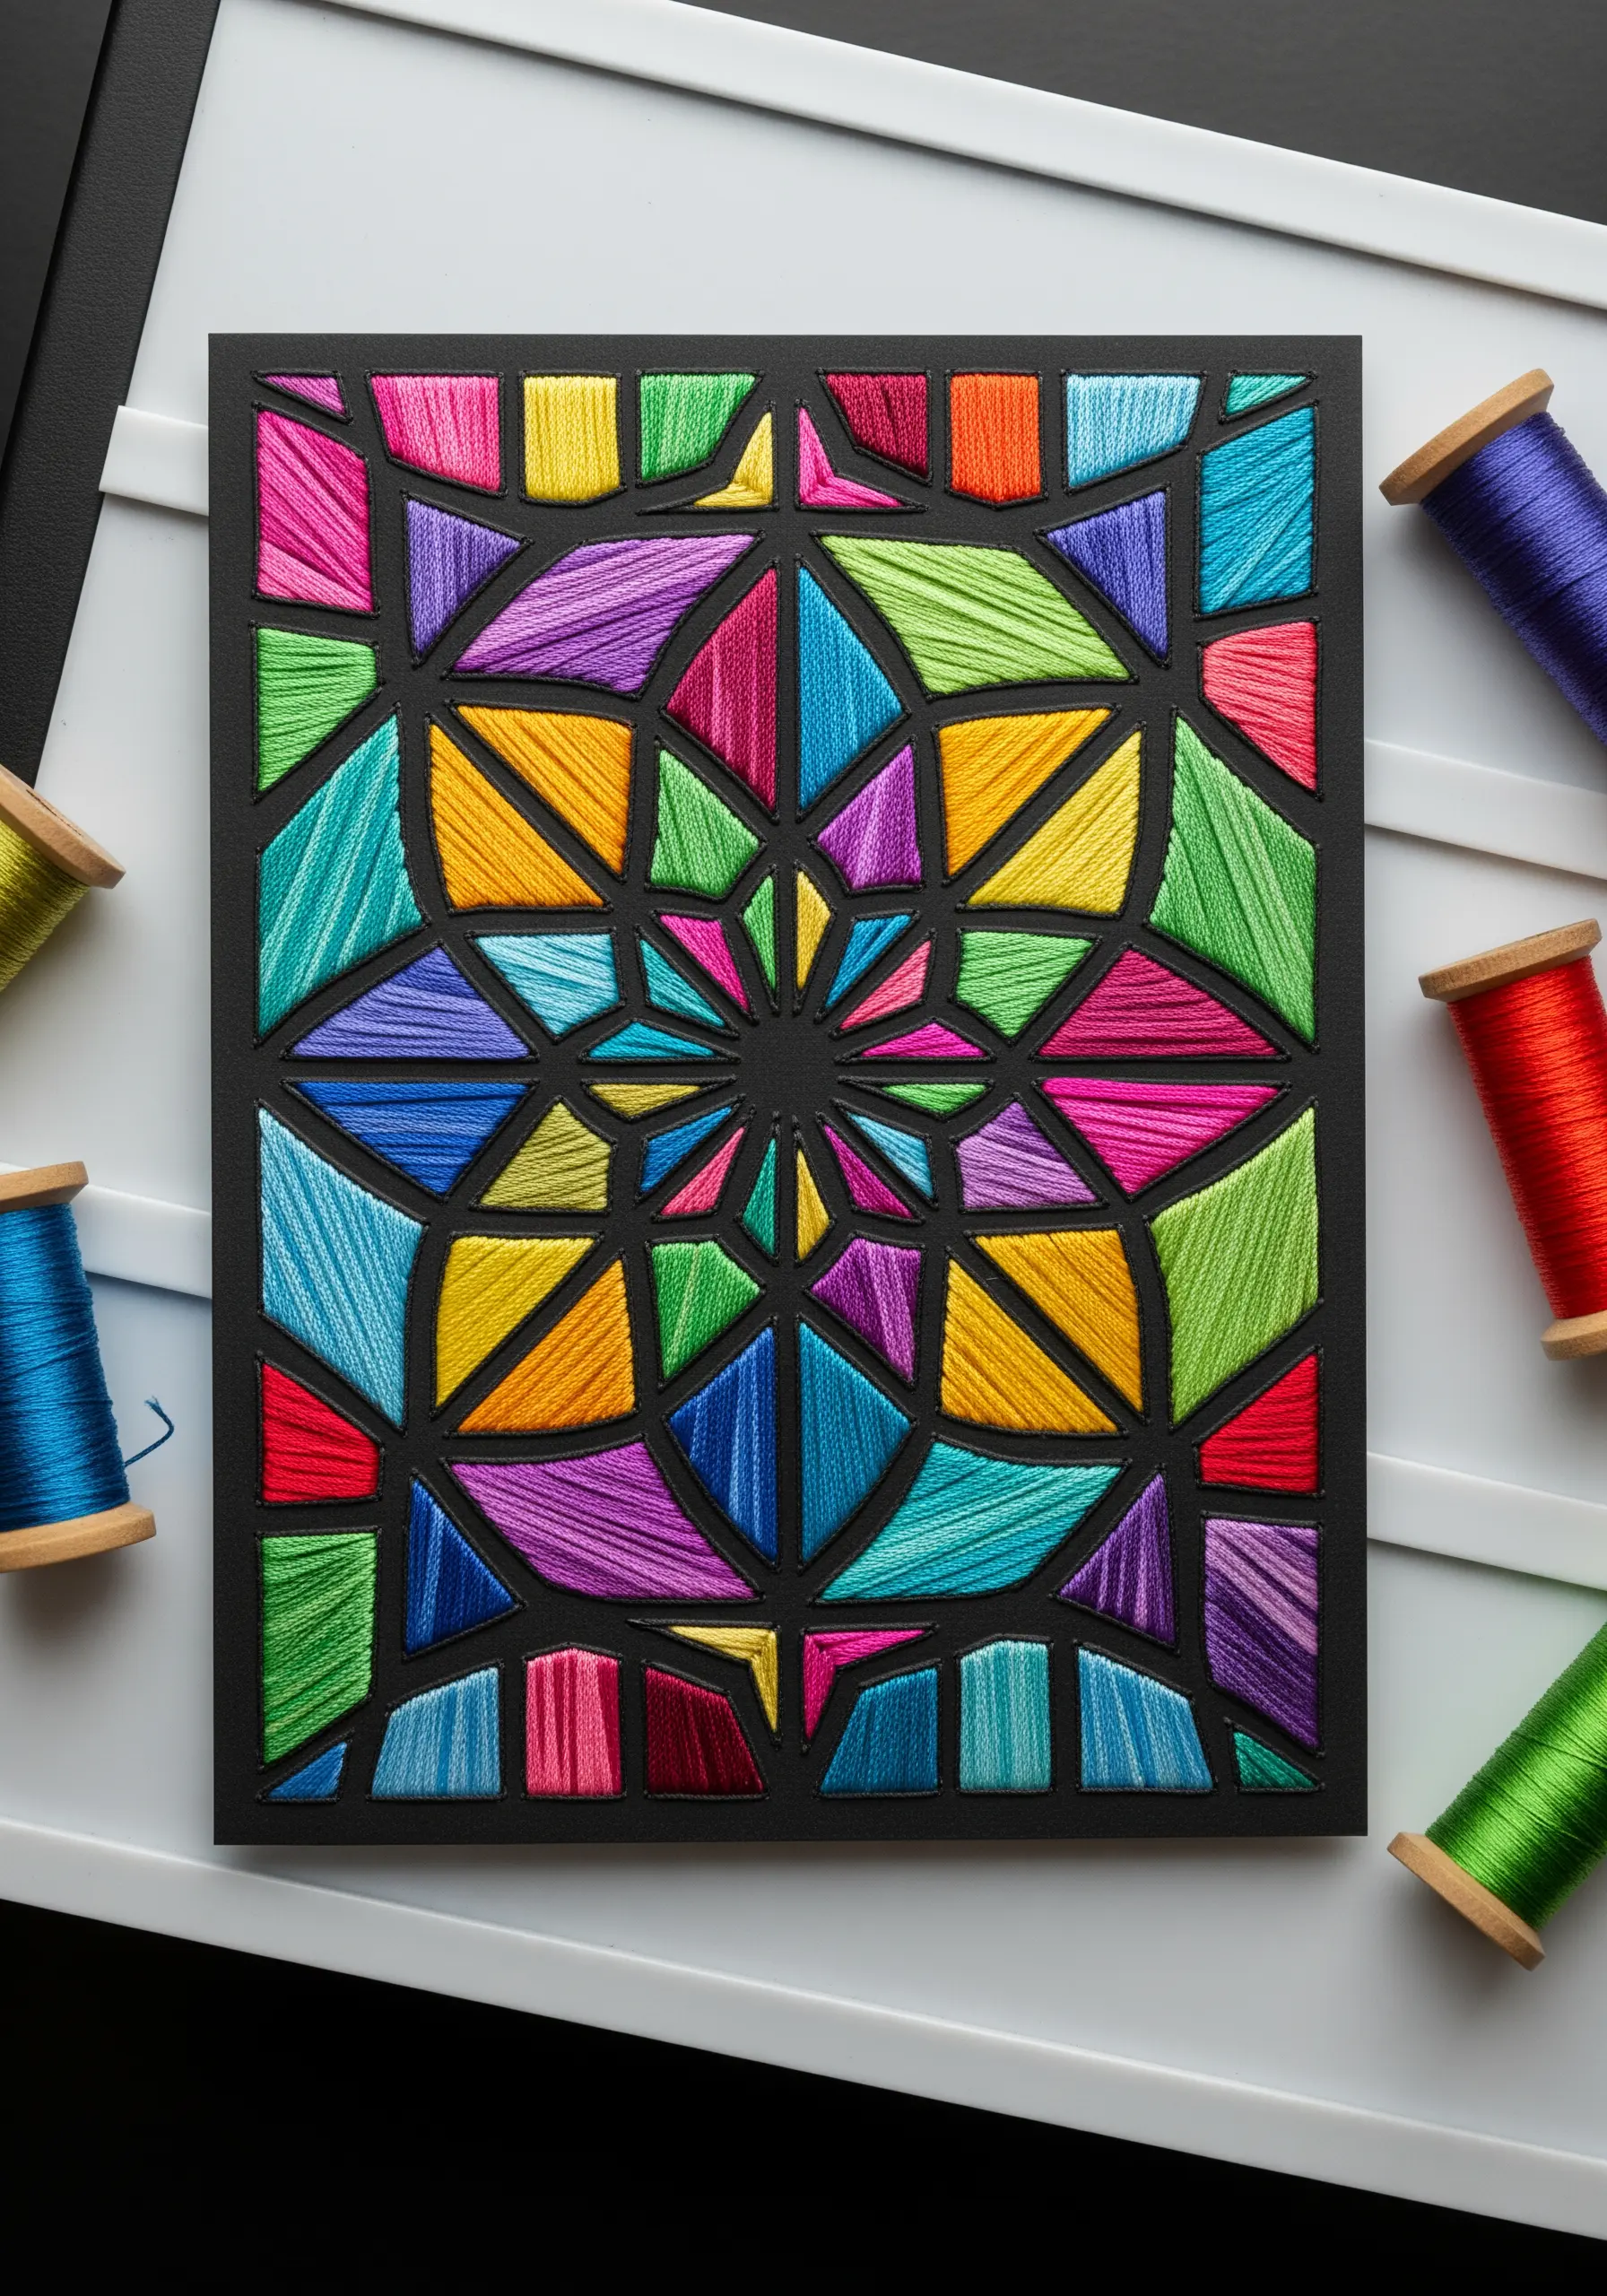
To create this vibrant stained glass look, start by outlining your geometric sections on dark paper with a thin black line, using either a fine-liner pen or a simple backstitch.
Next, fill each section with long satin stitches using bold, jewel-toned threads.
The key is to vary the direction of your stitches in adjacent sections; this simple trick creates the illusion of different panes of glass catching the light at different angles.
26. Embroidered Terrarium with Beaded Gravel
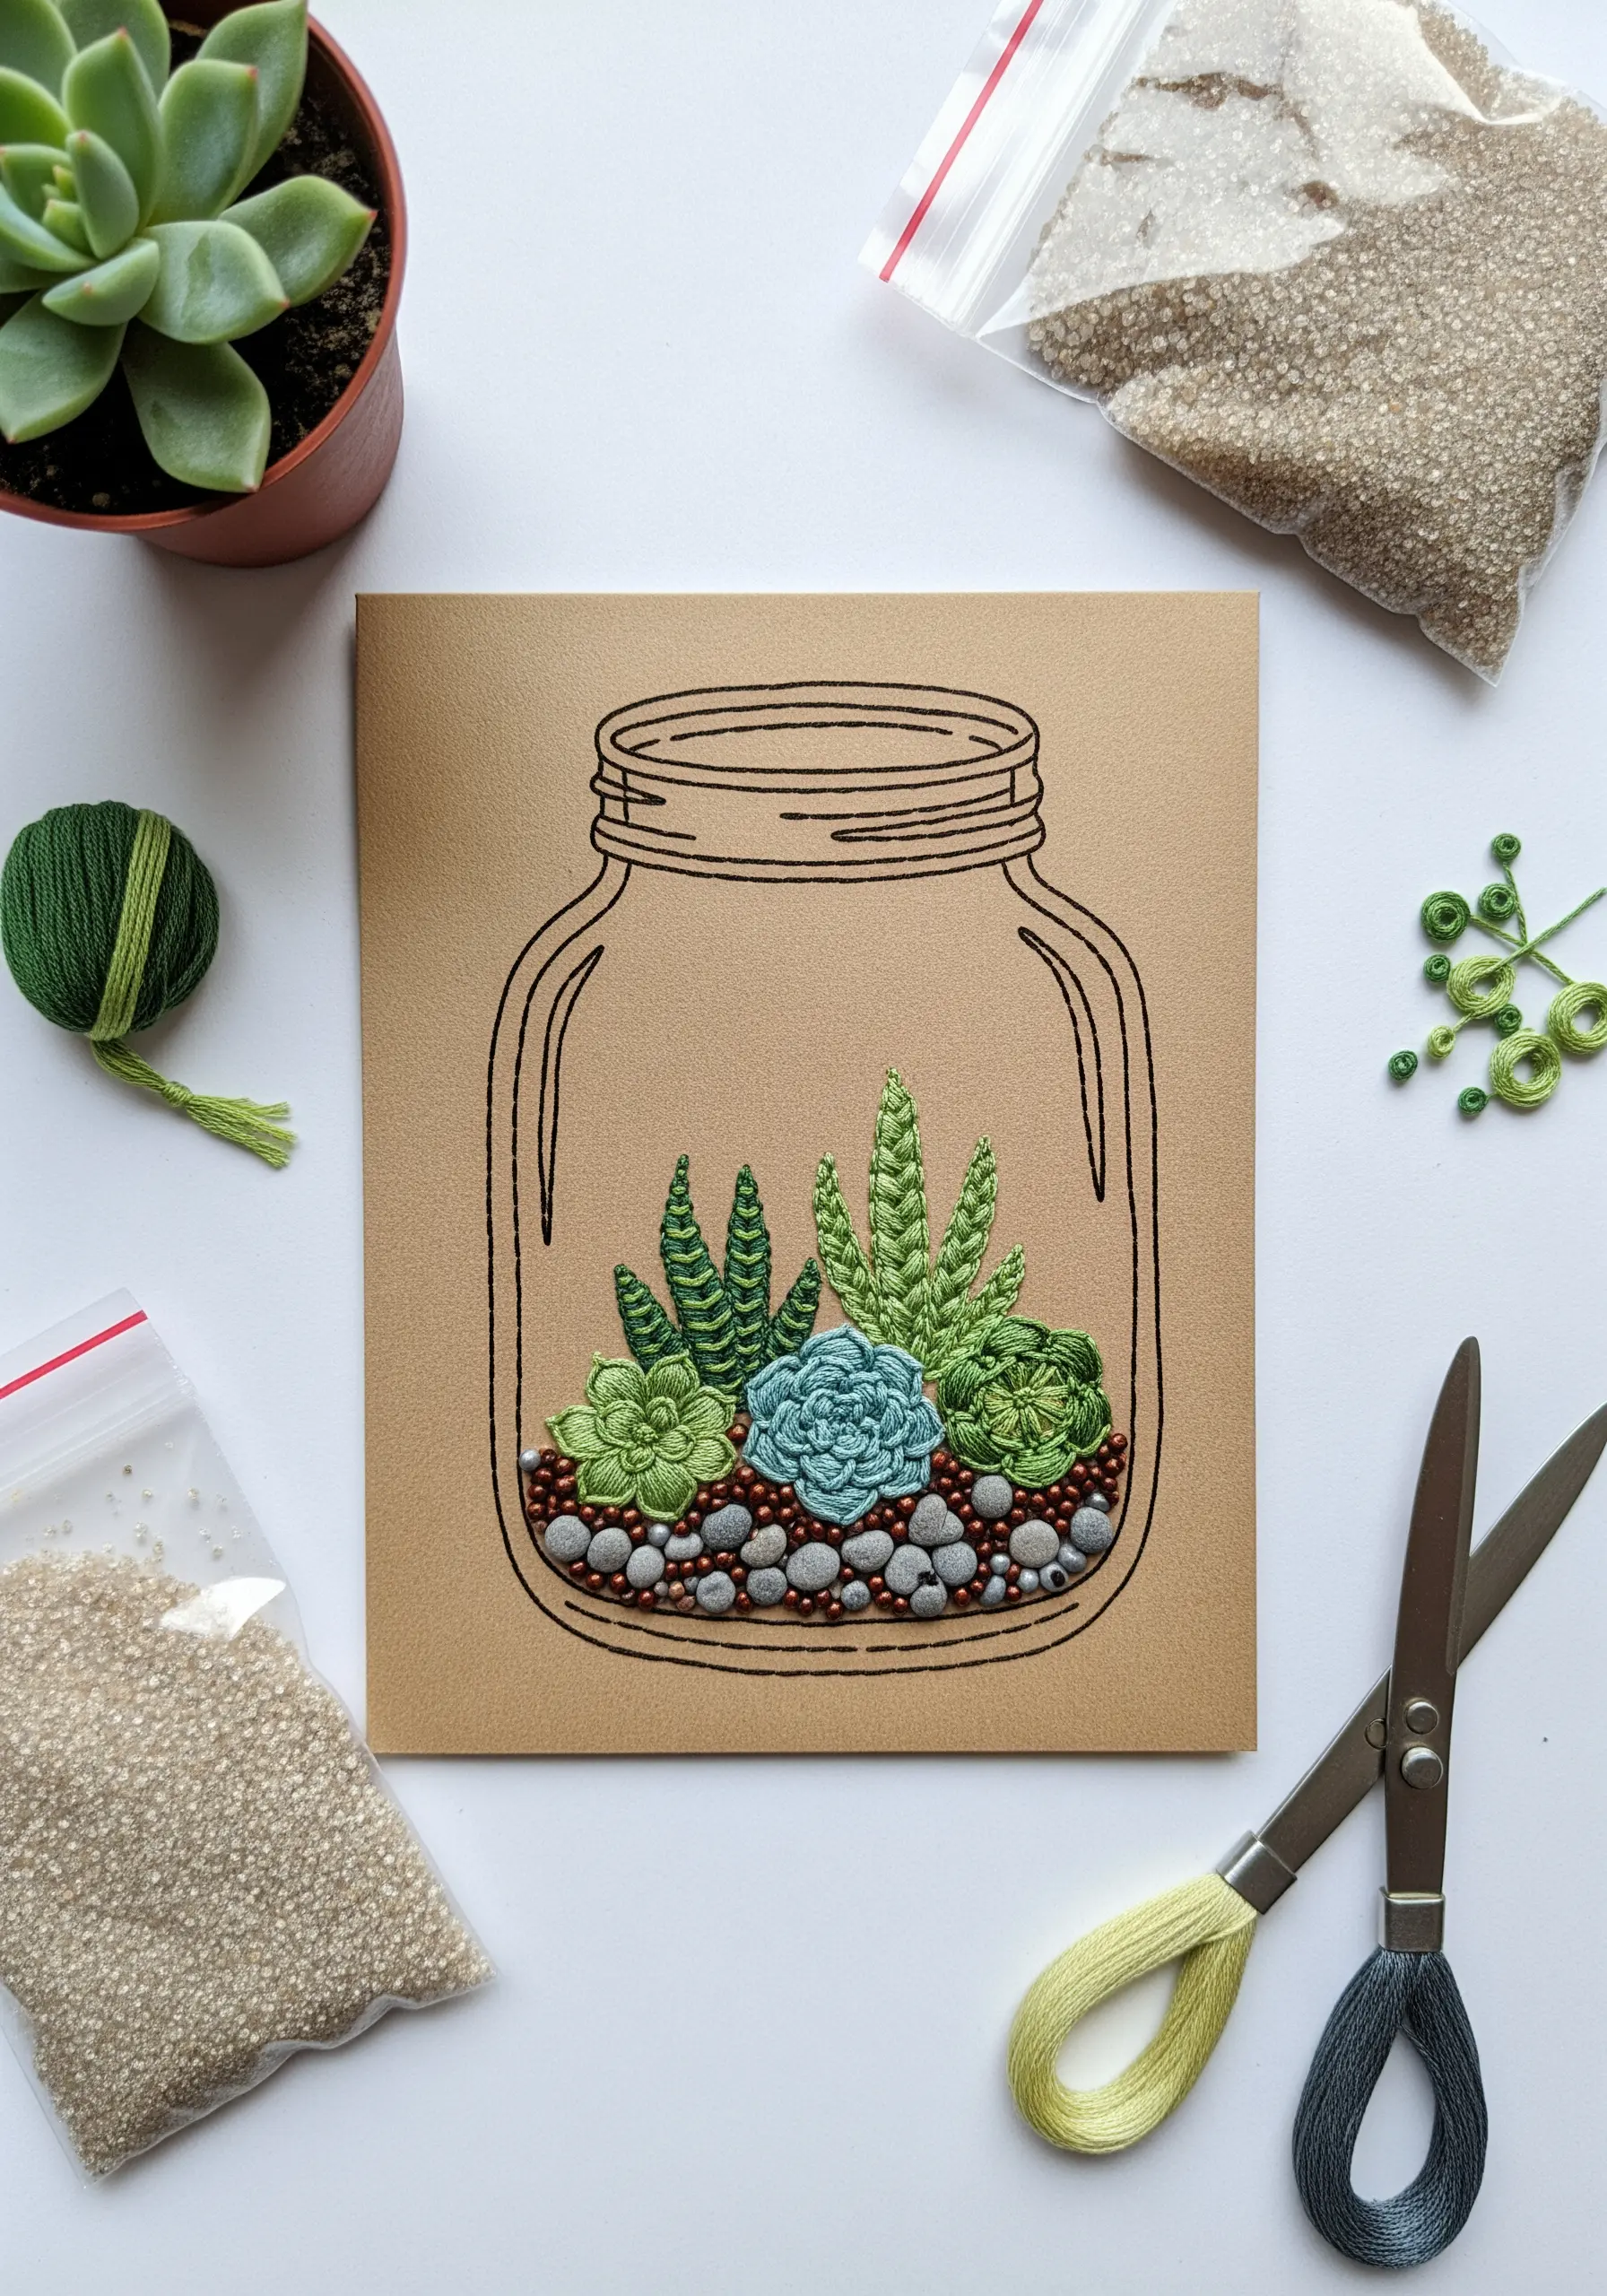
Combine a variety of green stitches to create a lush collection of succulents.
Use woven wheel stitch for plump rosette shapes, lazy daisy stitches for spiky leaves, and French knots for small, clustered plants.
The secret to achieving realism is the gravel: fill the bottom of the jar outline with a dense layer of tiny seed beads or sand beads.
This adds a wonderful granular texture that perfectly contrasts with the smooth, stitched plants above.


