
Perhaps you’ve found that your embroidery, while lovely, feels like it’s missing a certain something—a quiet confidence, a sense of cohesion. You don’t need louder colors or more complex patterns to find it. Instead, the most profound transformations happen in the details: the choice of a stitch, the weight of a thread, the play of texture against texture.
This collection is an invitation to explore the power of restraint. By embracing a palette of cream, ivory, and ecru, you allow texture and form to take center stage. You’ll discover how a simple line can gain elegance with a whipped backstitch, how a padded satin stitch can turn a flat motif into a soft sculpture, and how the simplest running stitch, when repeated with care, becomes a modern masterpiece.
These are not just projects; they are exercises in intention. Each one is designed to sharpen your eye and refine your technique, helping you create pieces that feel less like craft and more like art. Let this be the moment you stop just stitching and start designing with purpose, creating embroidered accents that bring a calm, sophisticated, and deeply personal touch to your home.
1. Tone-on-Tone Wheat with Padded Satin Stitch
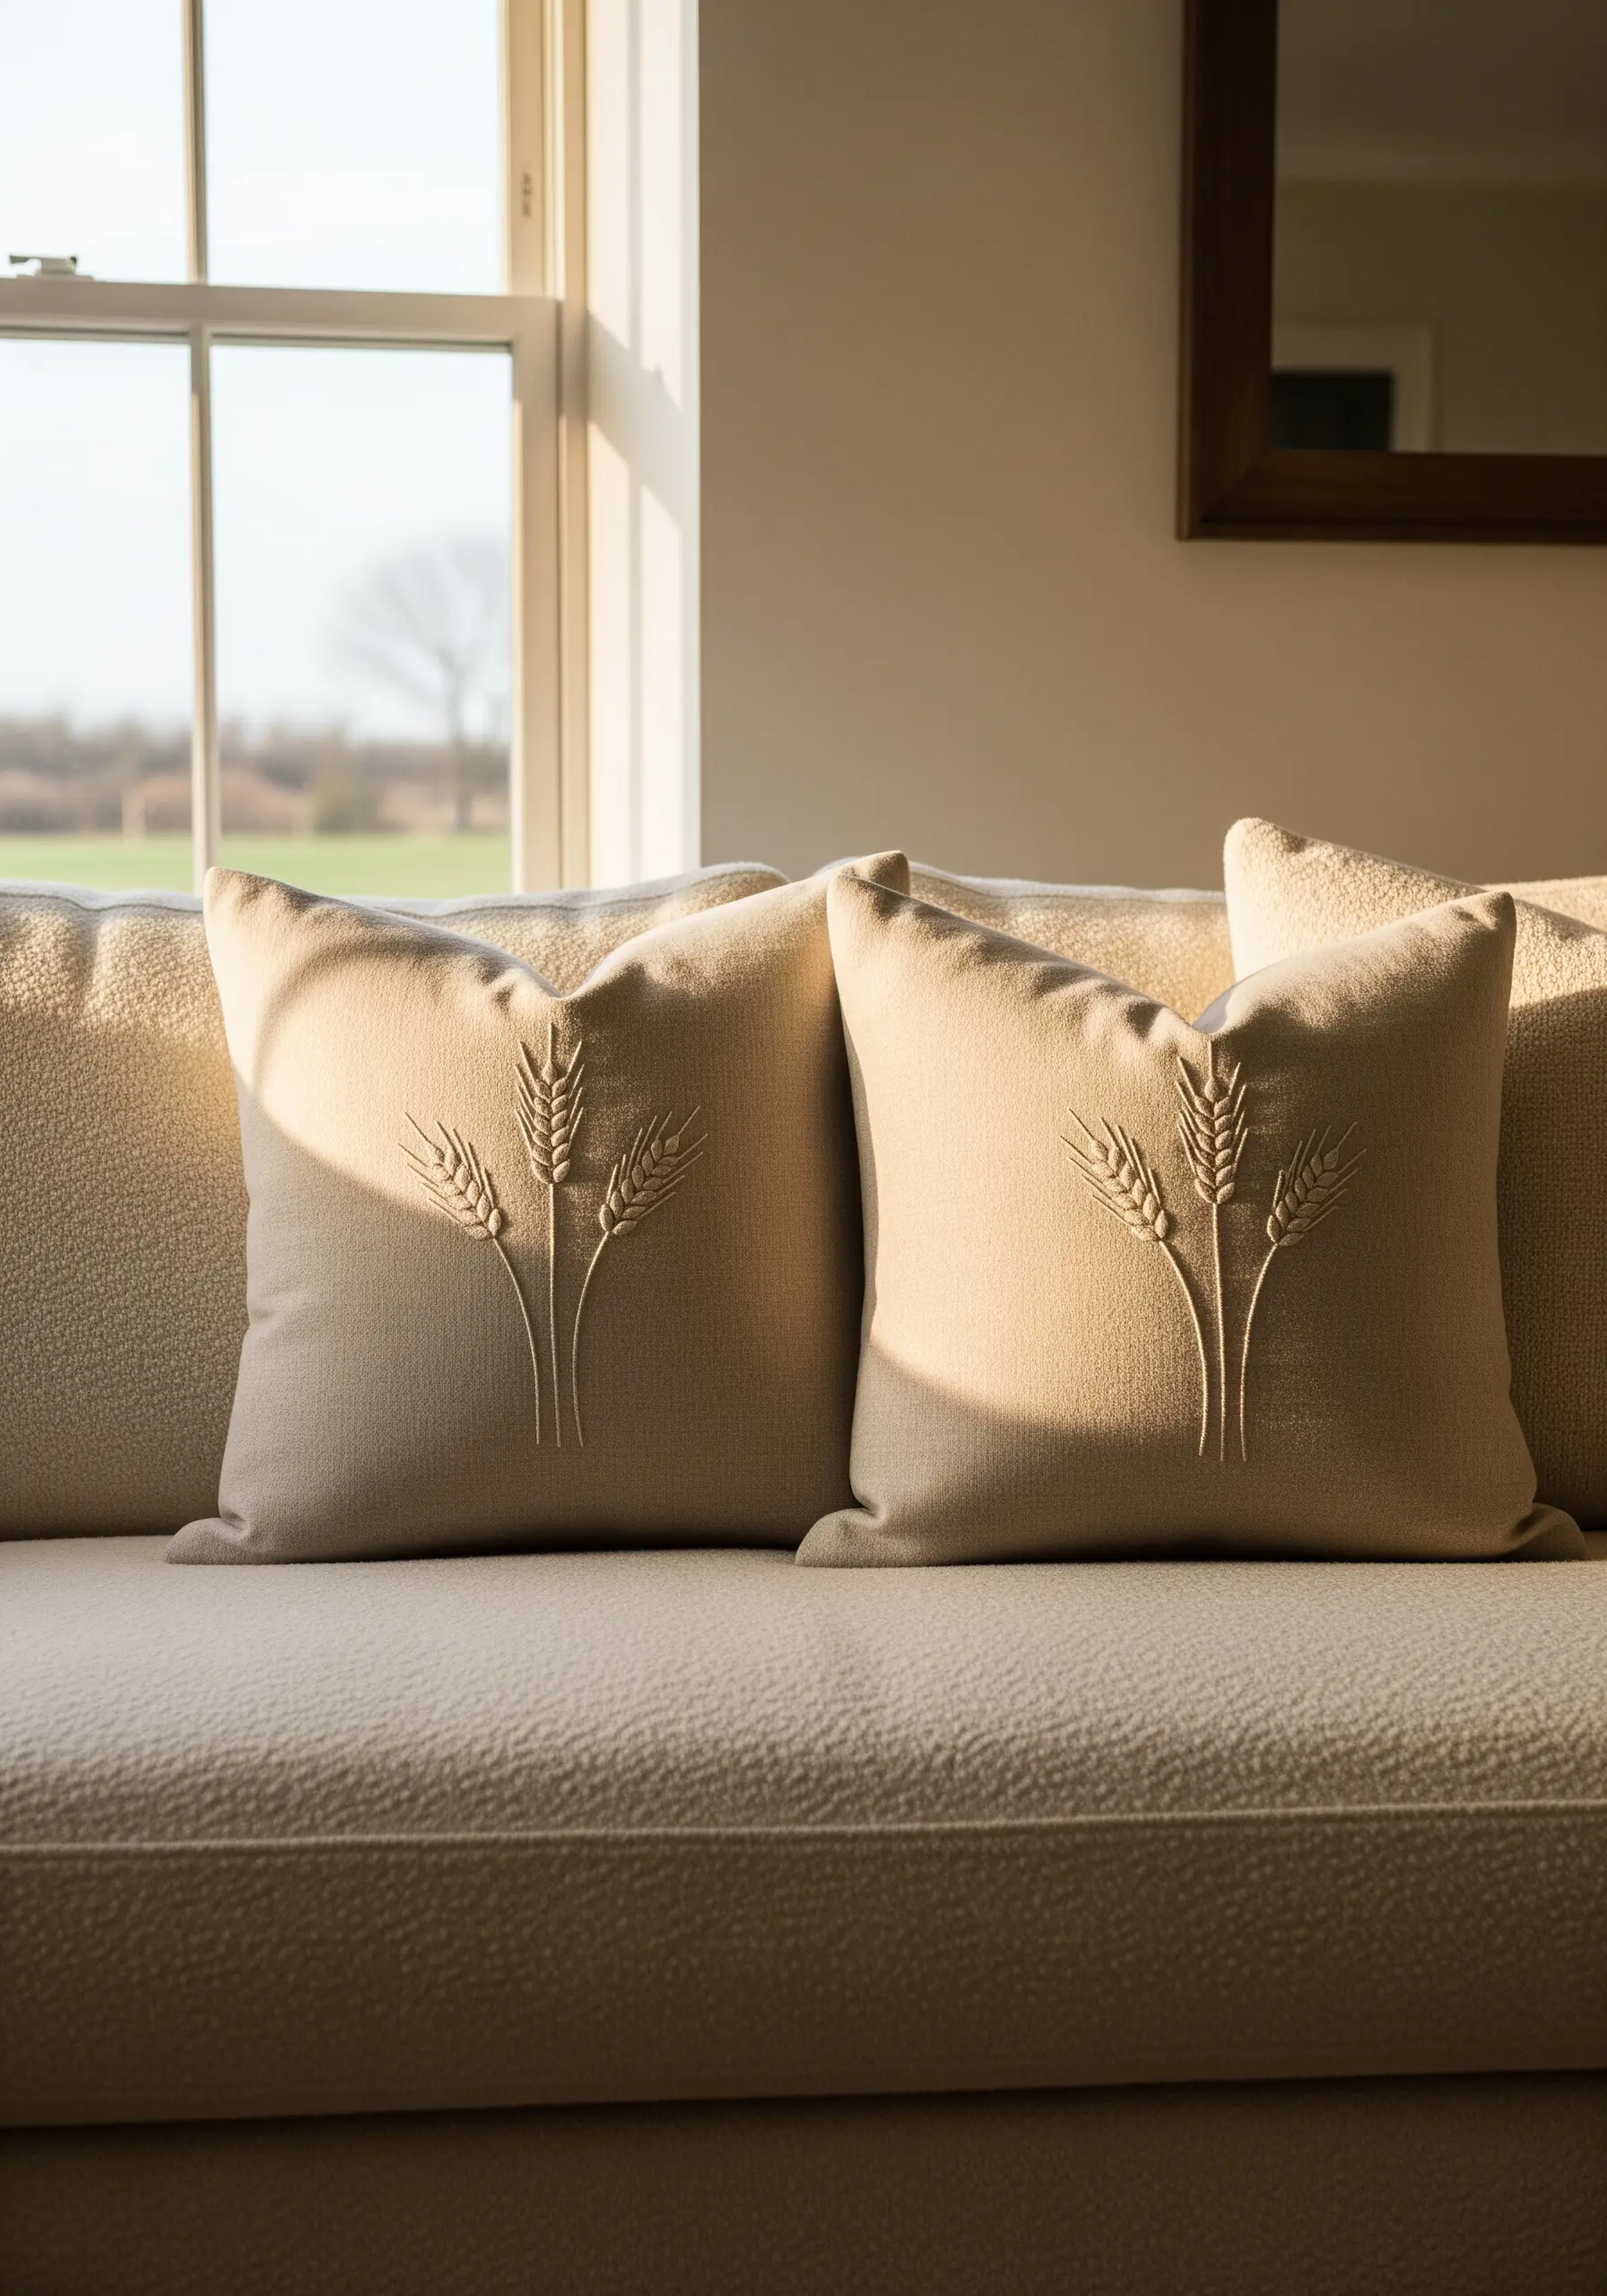
To achieve this raised, sculptural effect, you must build dimension before you stitch.
First, create a base of small, underlying stitches (like split stitches) within your wheat sheaf outlines—this is called padding.
Then, cover this padding with long, smooth satin stitches using a matte cotton floss in a shade just slightly darker than your fabric.
Stitch each grain of wheat at a slight angle, following its natural curve, to create subtle movement and realism that catches the light beautifully.
This tone-on-tone embroidery technique adds elegance without needing a single pop of color.
2. Sculptural Lines with Couching Technique
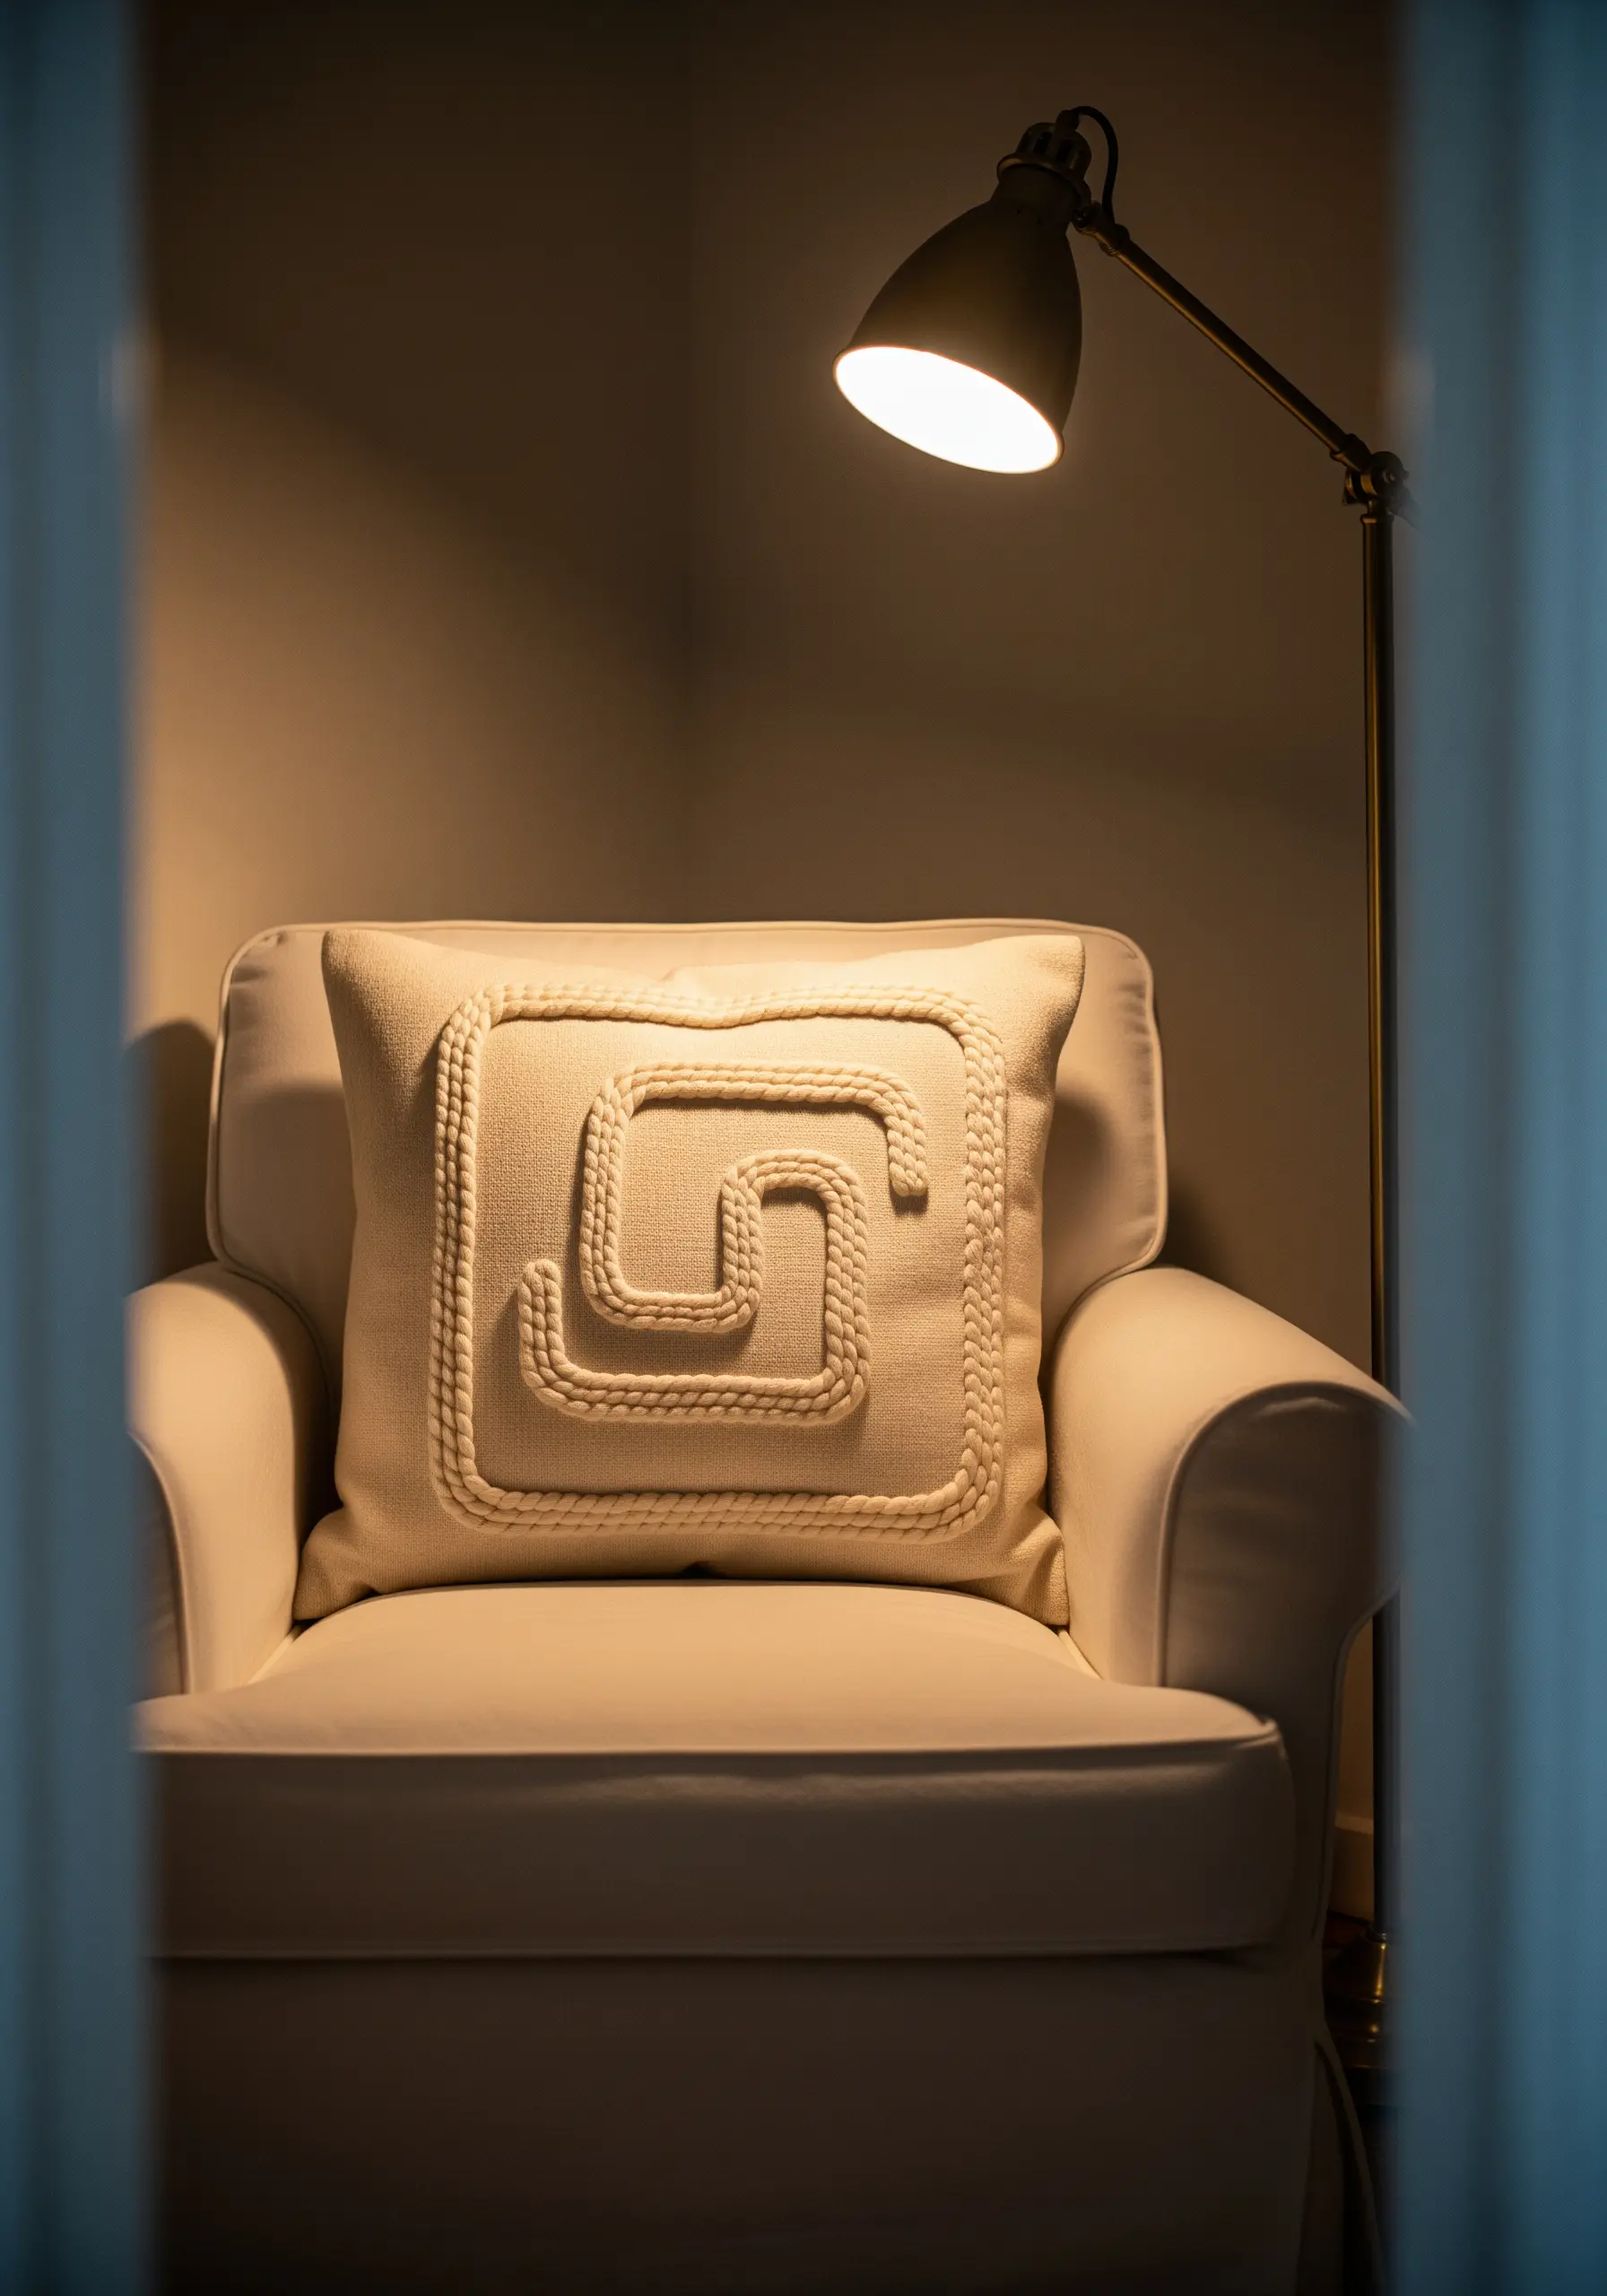
This bold, graphic look isn’t created with a stitch, but by laying down a thick cord or yarn and tacking it into place.
Choose a braided cotton cord and arrange it in your desired geometric or swirling pattern.
Using a single strand of matching embroidery floss, make tiny, perpendicular stitches over the cord to secure it to the pillow fabric.
Space these anchoring stitches about a quarter-inch apart, ensuring they sink invisibly into the cord’s texture.
This method allows you to create impactful, three-dimensional lines that would be impossible with thread alone.
3. The Elegance of a Single, Perfect Outline

A minimal botanical motif gains its power from the quality of its line.
Instead of a standard backstitch, which can look segmented, use a whipped backstitch for a perfectly smooth, continuous line.
First, complete your design in a simple backstitch, then weave a second thread through the back of those stitches without piercing the fabric.
This ‘whipping’ motion covers the gaps, resulting in a clean, rope-like finish that gives your simple drawing a refined, professional edge.
This is one of the most effective minimalist embroidery projects for modern décor.
4. Calligraphic Script with Varied Stitching
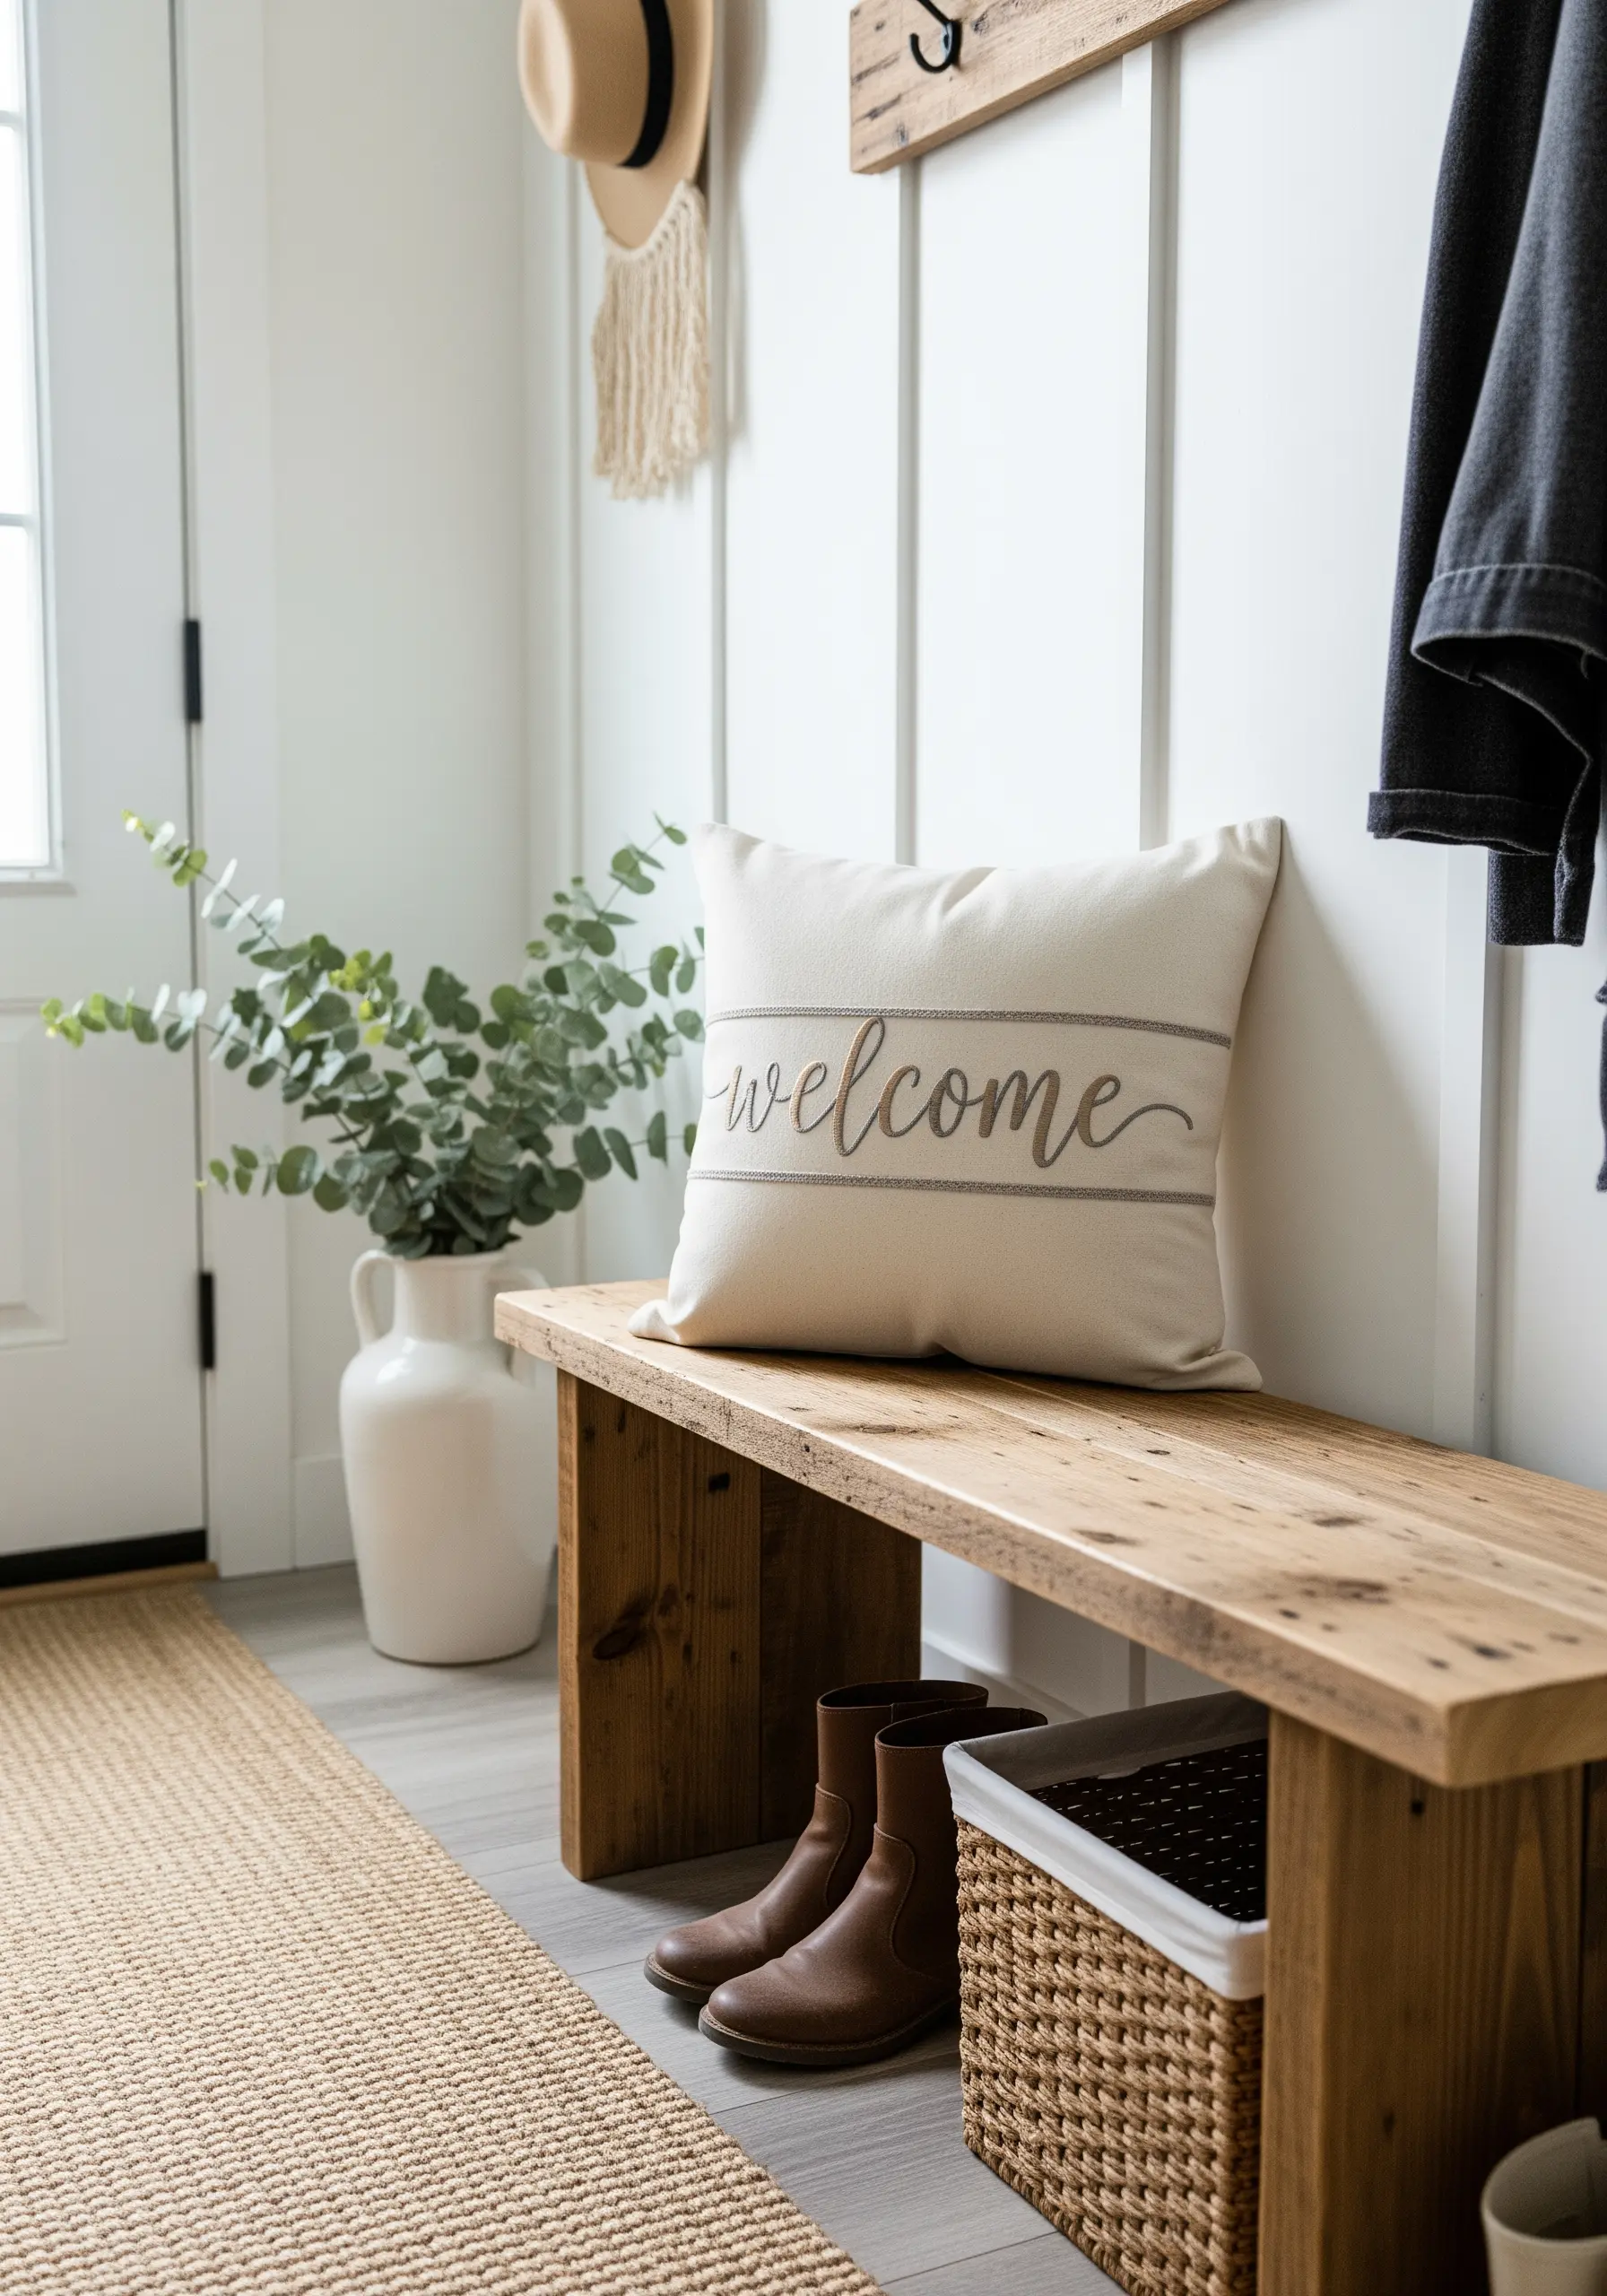
To make embroidered typography look like elegant calligraphy, you need to vary the weight of your lines.
Use a split stitch with three strands of floss for the thicker downstrokes of each letter to give them presence and weight.
For the delicate upstrokes and connectors, switch to a single-strand backstitch.
This contrast mimics the pressure and release of a calligraphy pen, lending your lettering a graceful, hand-drawn flow that feels both personal and polished.
These minimal typography embroidery patterns add a welcoming touch to any space.
5. Perfect Radiating Lines for a Sunburst Motif
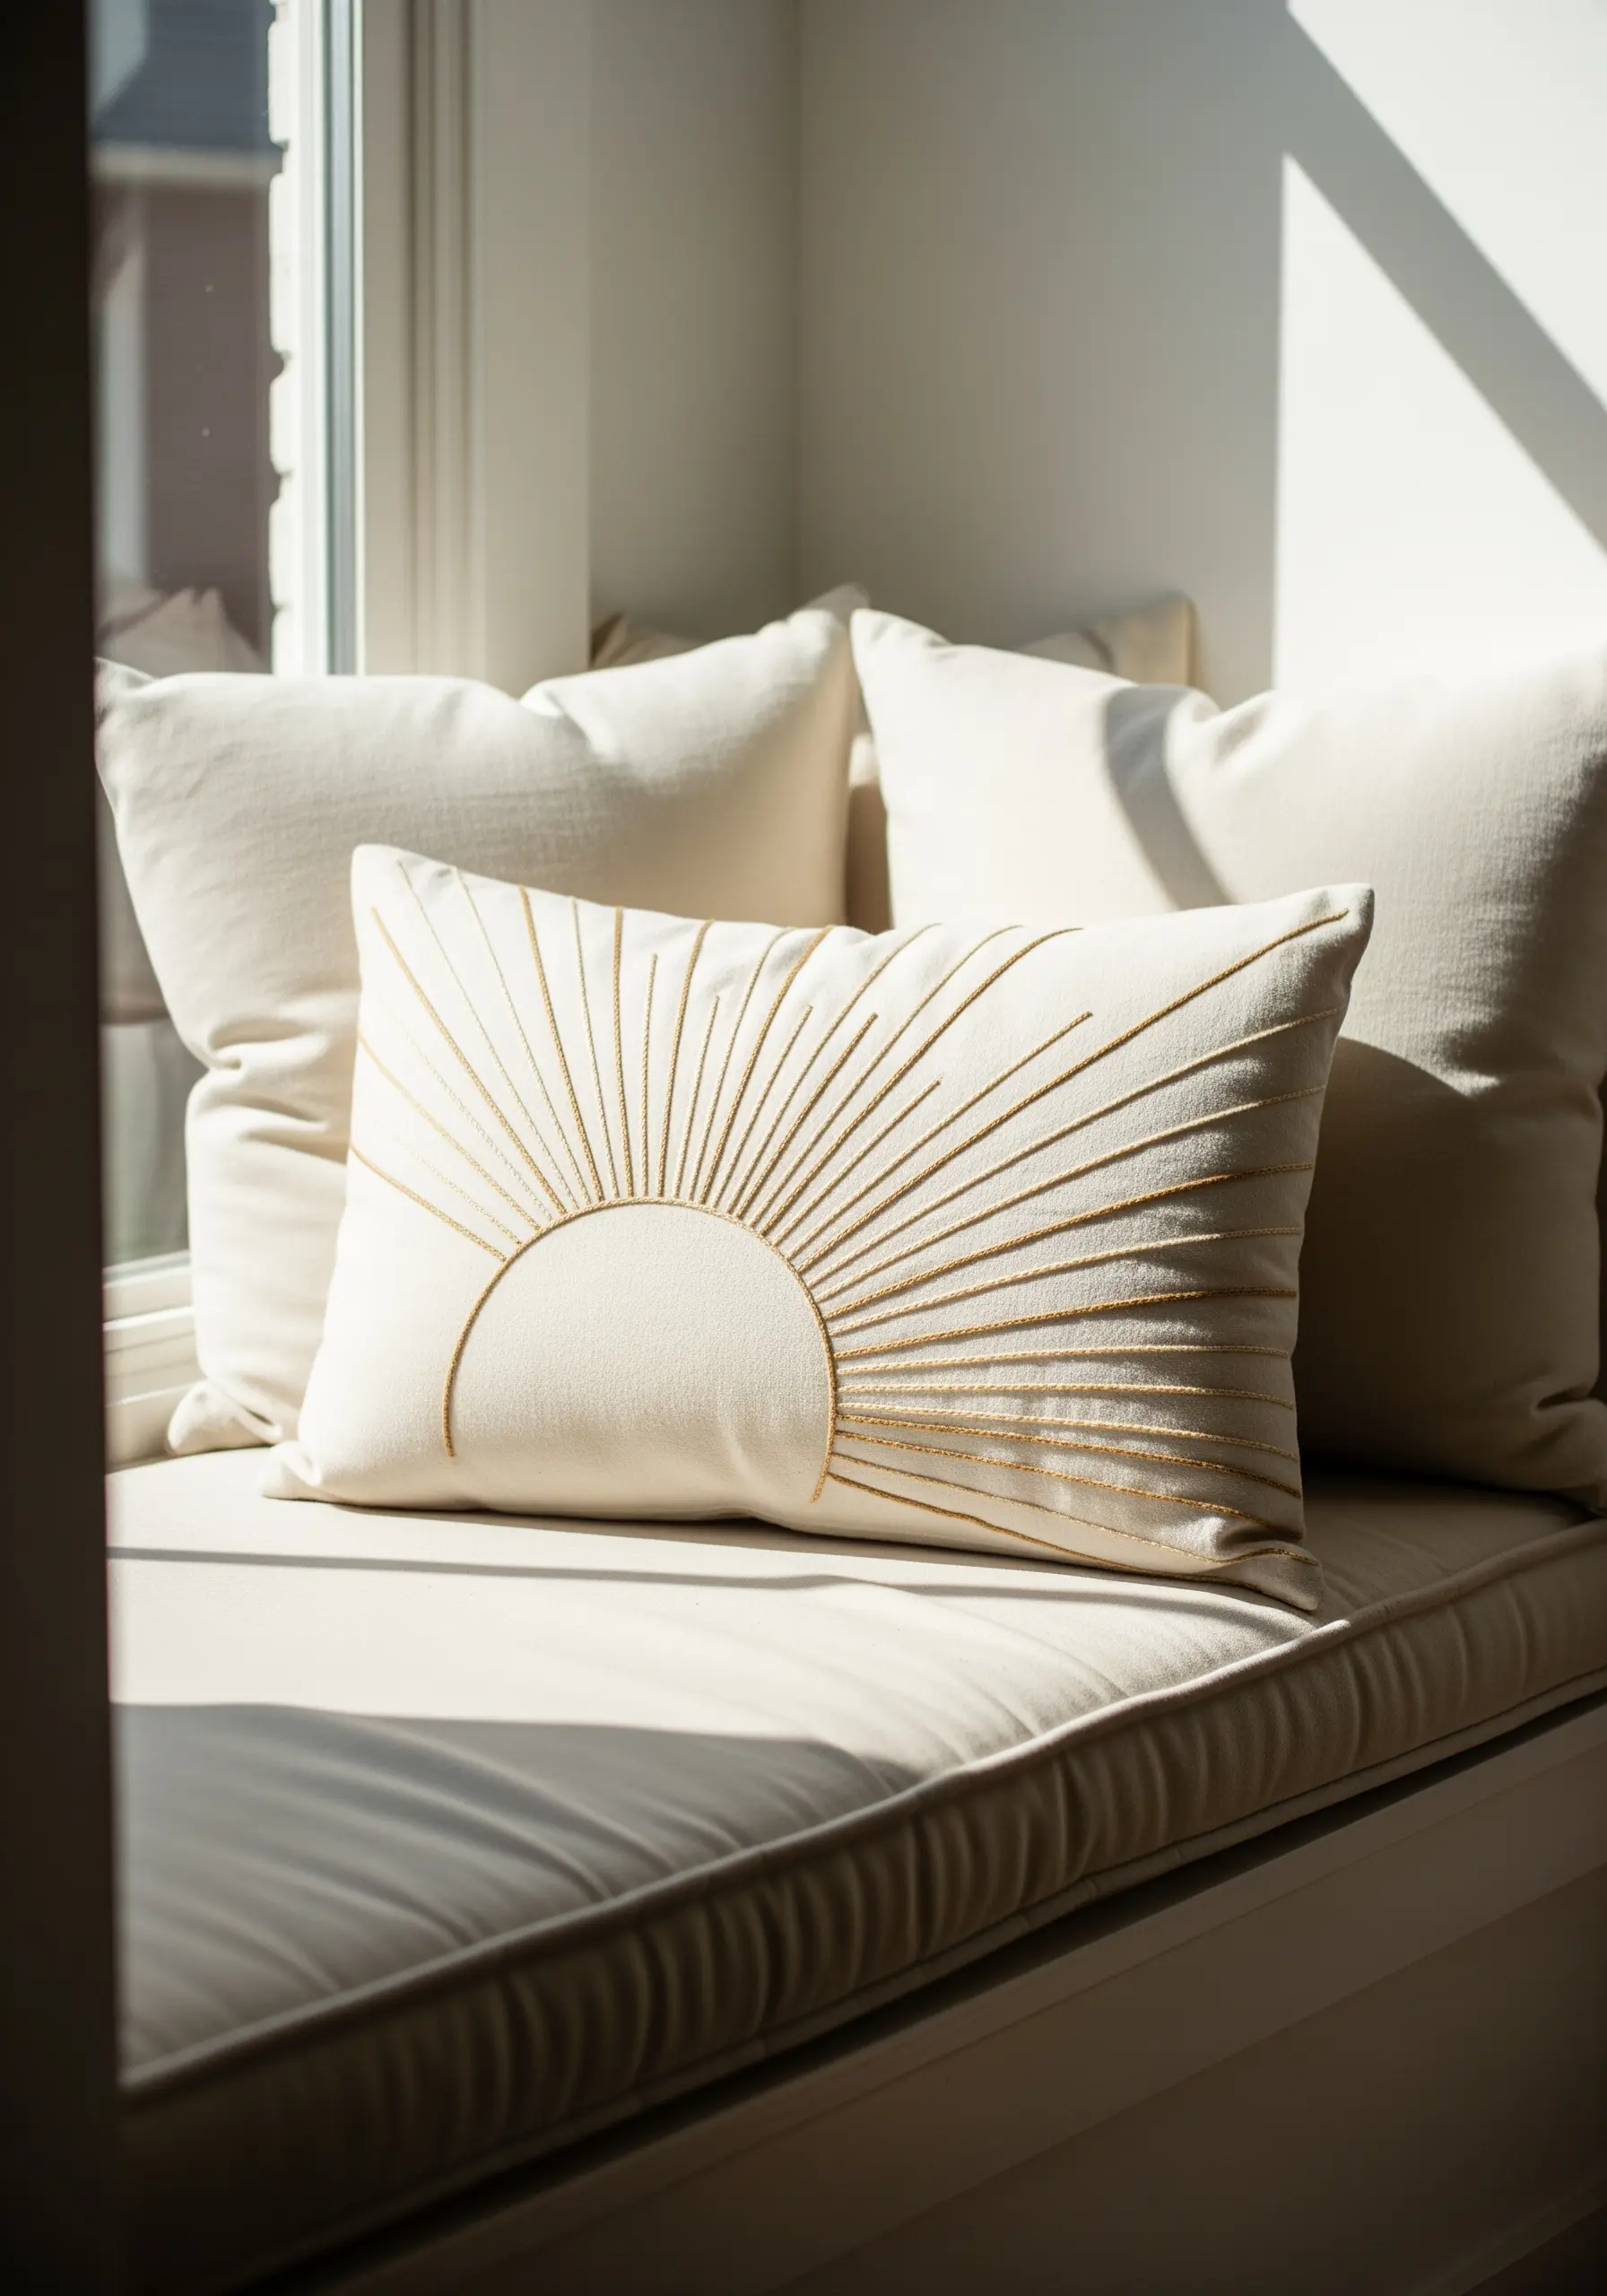
The success of a sunburst design depends entirely on the precision of its radiating lines.
Use a water-soluble marker and a protractor to mark each ray perfectly from a central half-circle before you begin.
Work each line as a single long stitch, pulling the thread taut enough to be straight but not so tight that it puckers the fabric.
Using a slightly heavier thread, like a pearl cotton, will give the rays a more defined presence and a subtle sheen.
6. Creating Weightlessness with Thread Variation
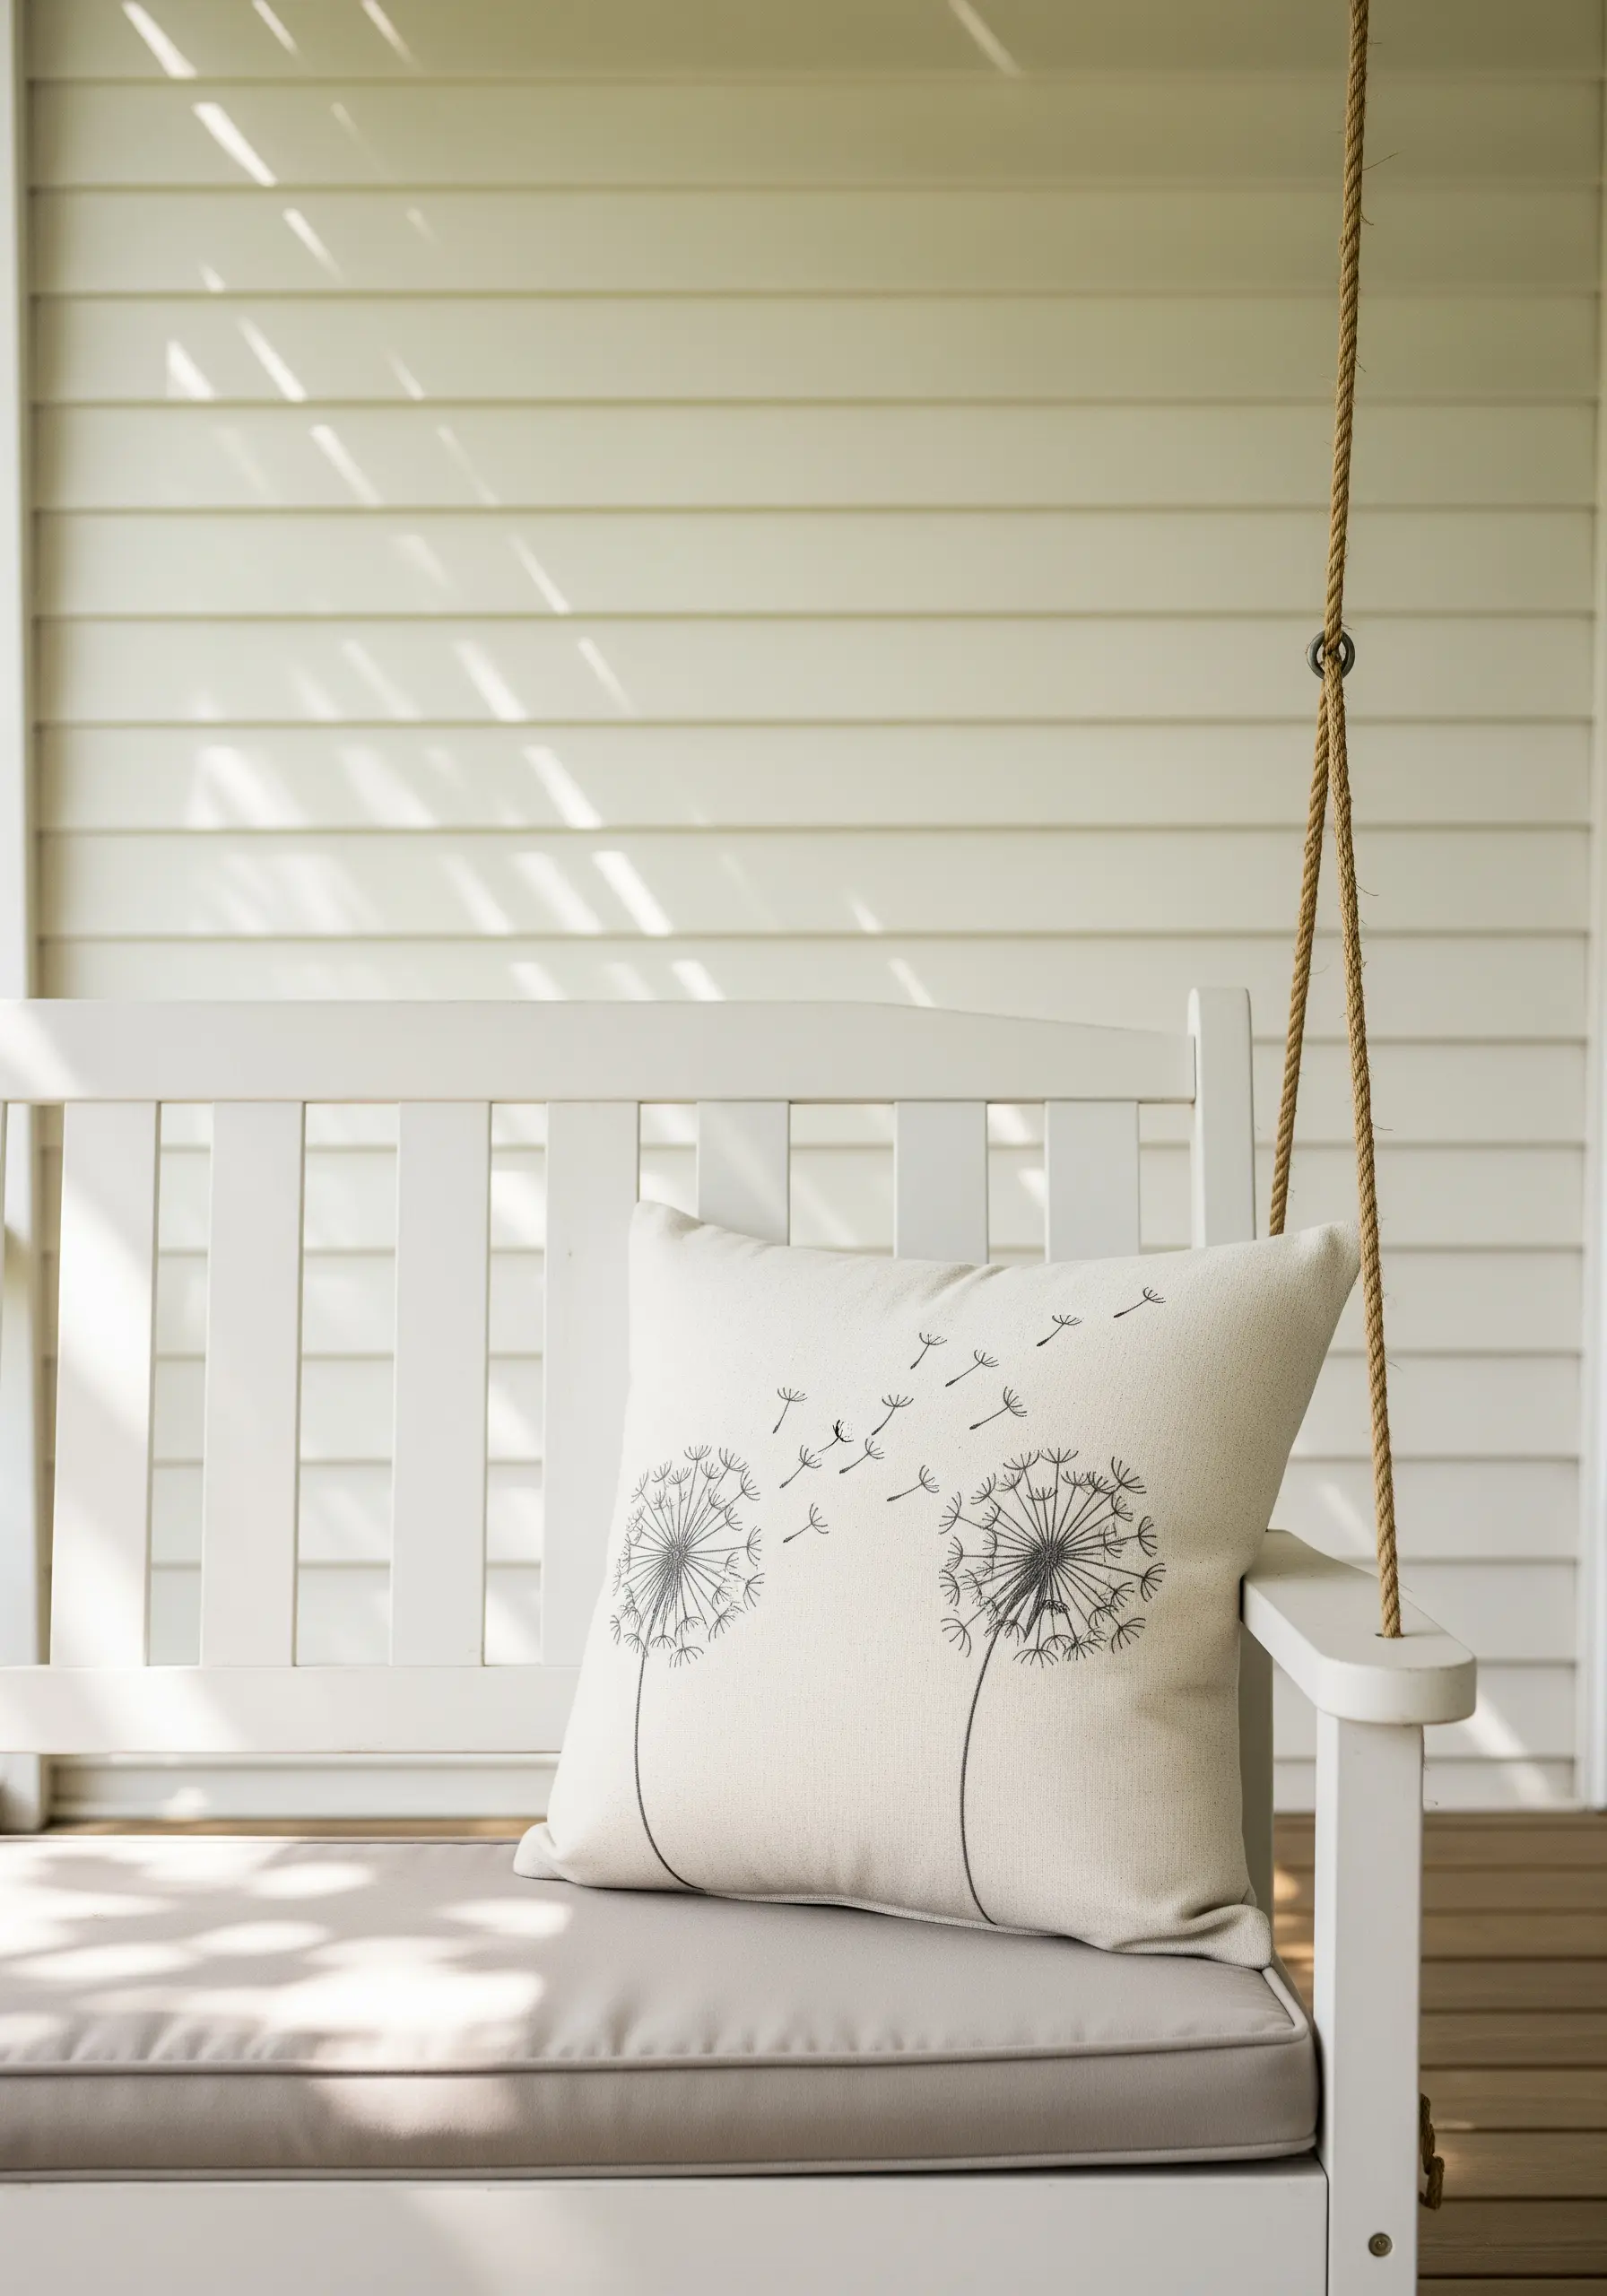
To capture the delicate nature of dandelion seeds drifting on the wind, thread choice is everything.
Embroider the dandelion stems and heads with two or three strands of floss using a stem stitch and satin stitch fills.
Then, for the tiny seeds floating away, switch to a single strand of the same color.
This immediate reduction in thread weight creates a visual effect of distance and airiness, making the composition feel light and dynamic.
7. All-Over Texture with the Herringbone Stitch
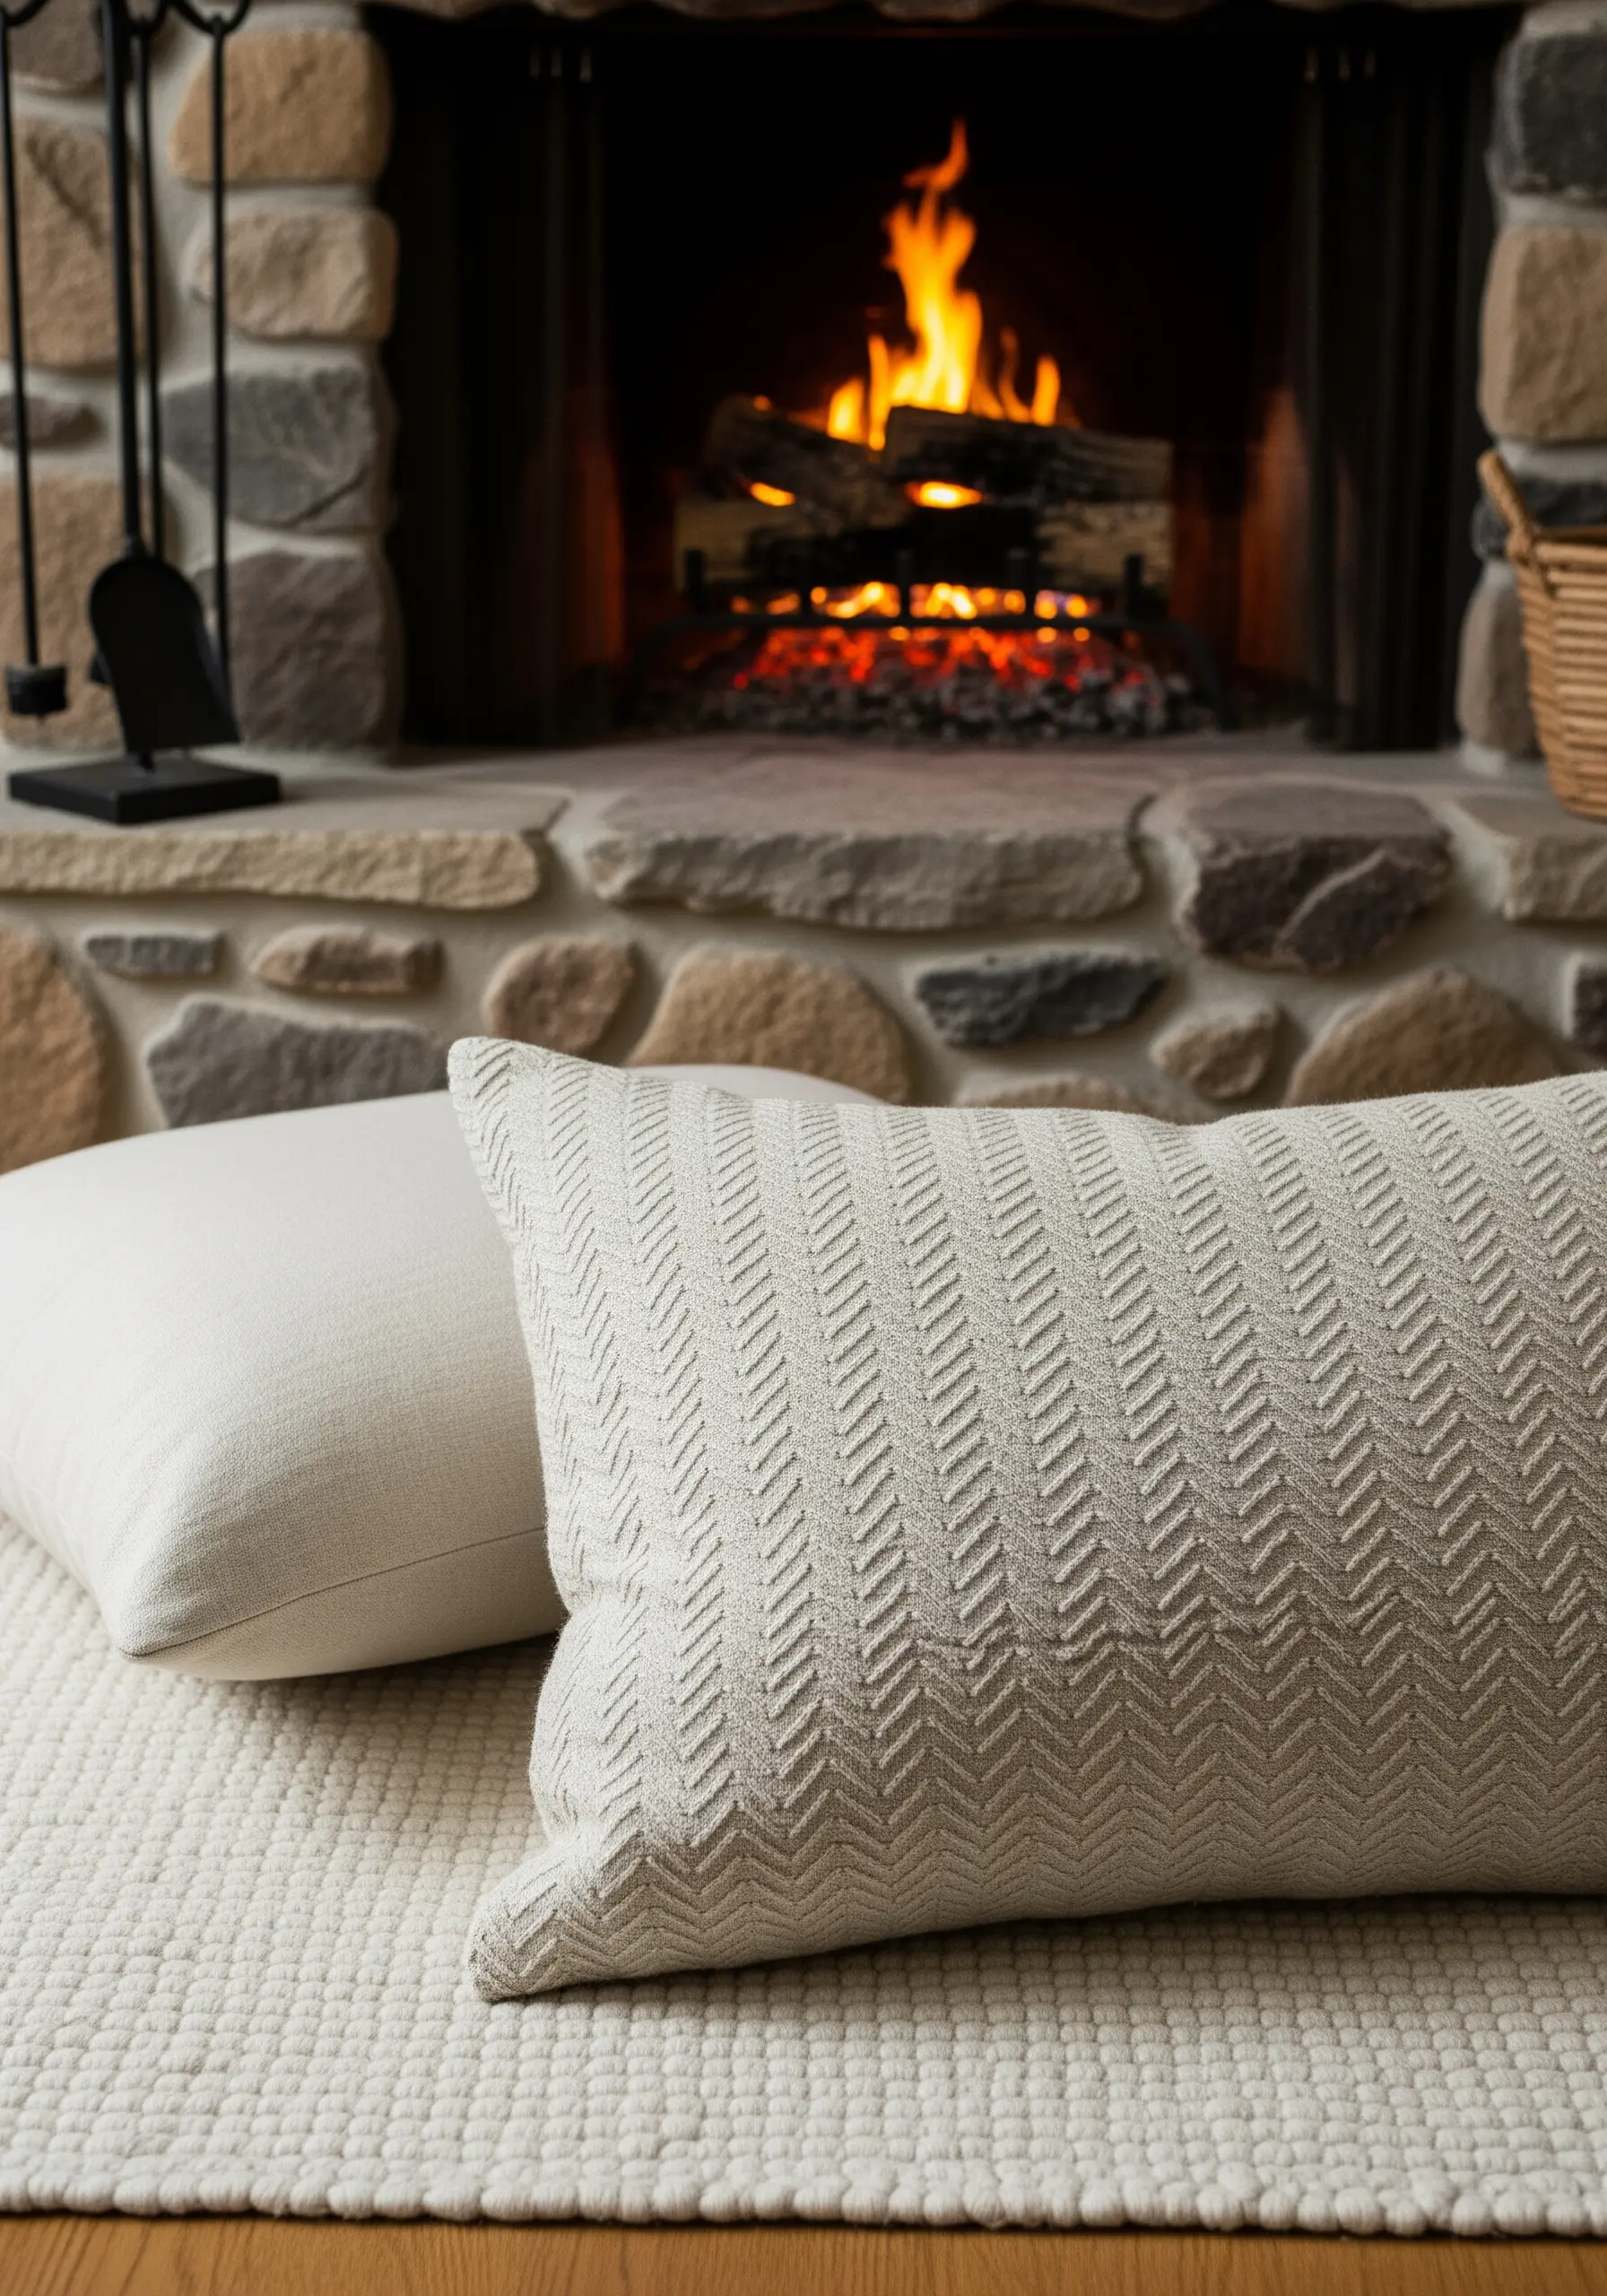
For a rich, woven texture that covers the entire pillow, the herringbone stitch is your best tool.
Work in horizontal rows across the fabric, interlocking each stitch with the one above it to create that classic arrow-like pattern.
The key to a uniform look is consistency in stitch length and spacing.
Using a thread that matches the fabric color creates a subtle, tactile pattern that feels luxurious and adds incredible depth—a perfect example of how organic texture embroidery designs can elevate a simple object.
8. Crisp Celestial Motifs with Split Stitch
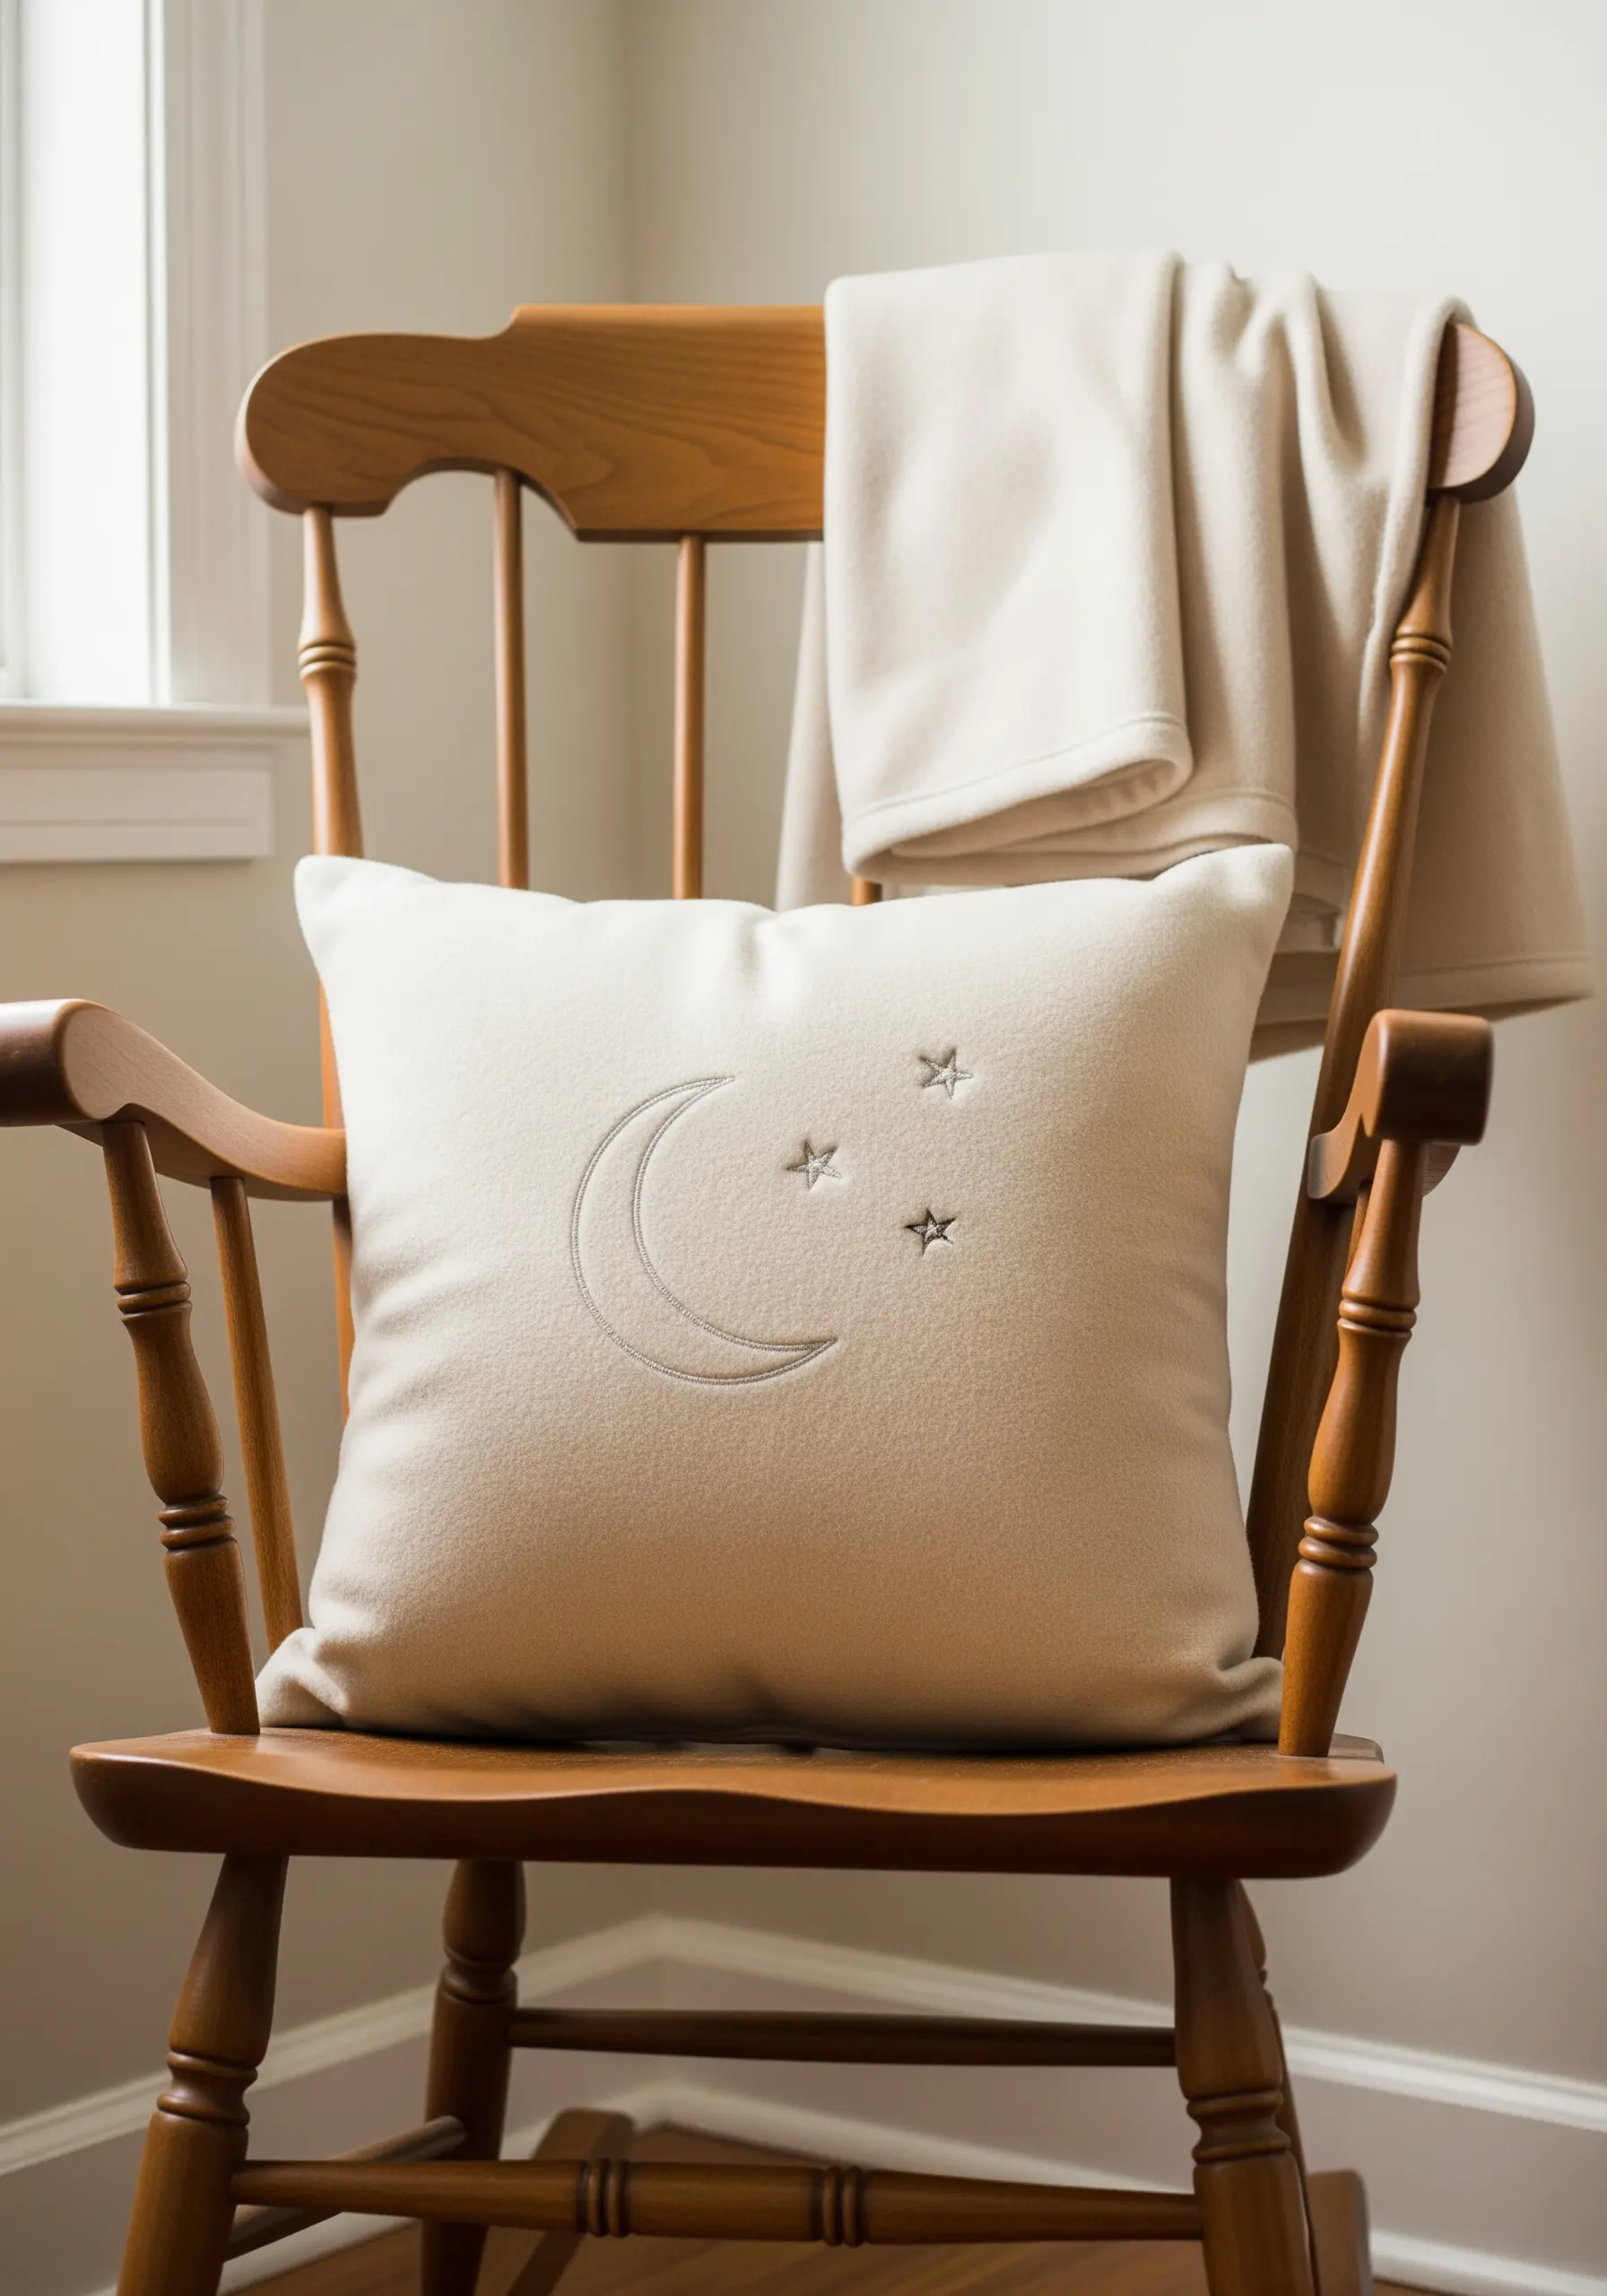
When embroidering simple celestial shapes like a crescent moon and stars, the clarity of the outline is paramount.
Use a split stitch for your outlines instead of a backstitch.
By piercing the thread of the previous stitch, you create a solid, chain-like line with no gaps, resulting in a sharper and more defined shape.
Use two strands of a silvery-grey floss to give the design a gentle, lunar glow against the cream fabric.
9. A Modern Grid with a Simple Running Stitch
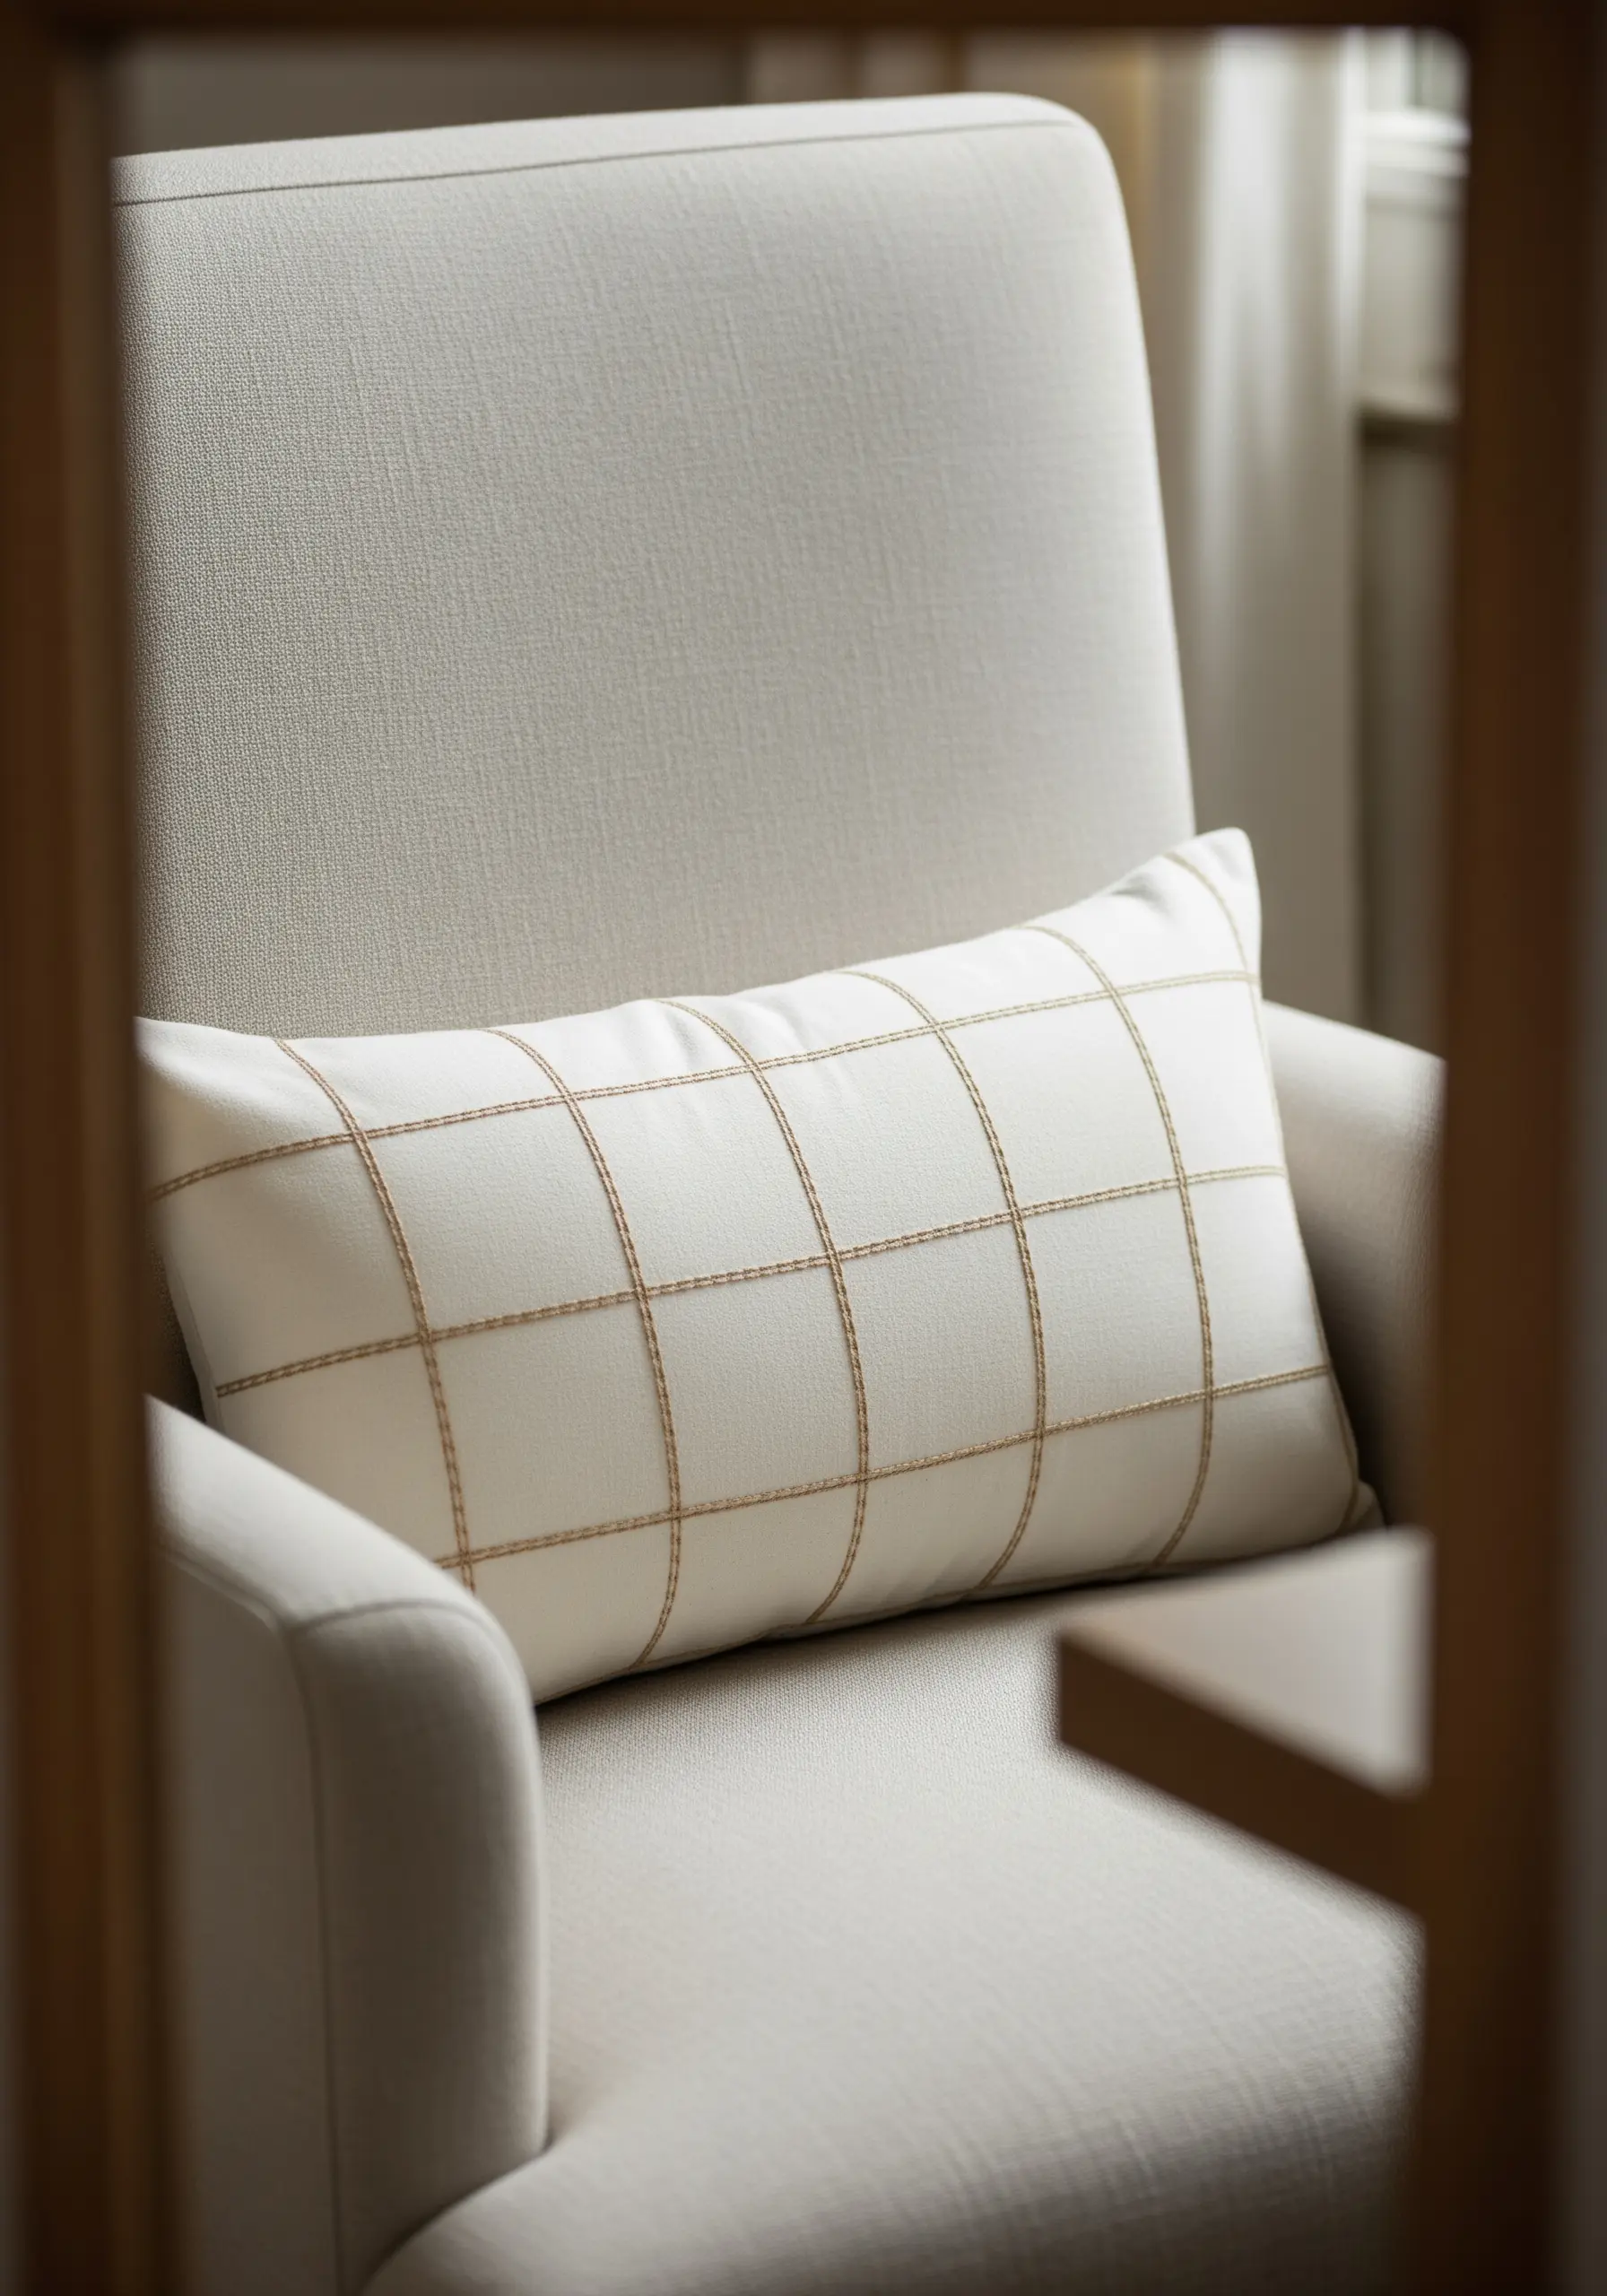
This windowpane grid pattern achieves a modern, architectural look through pure simplicity and precision.
Use a ruler and a removable fabric marker to draw a perfect grid on your pillow cover before you begin.
Then, use a running stitch with a slightly contrasting thread—like a soft taupe or gold—to trace the lines.
Keep your stitches and the spaces between them as uniform as possible. This disciplined approach is what gives the finished piece its clean, high-end feel.
10. Delicate Botanicals with Stem and Lazy Daisy Stitches
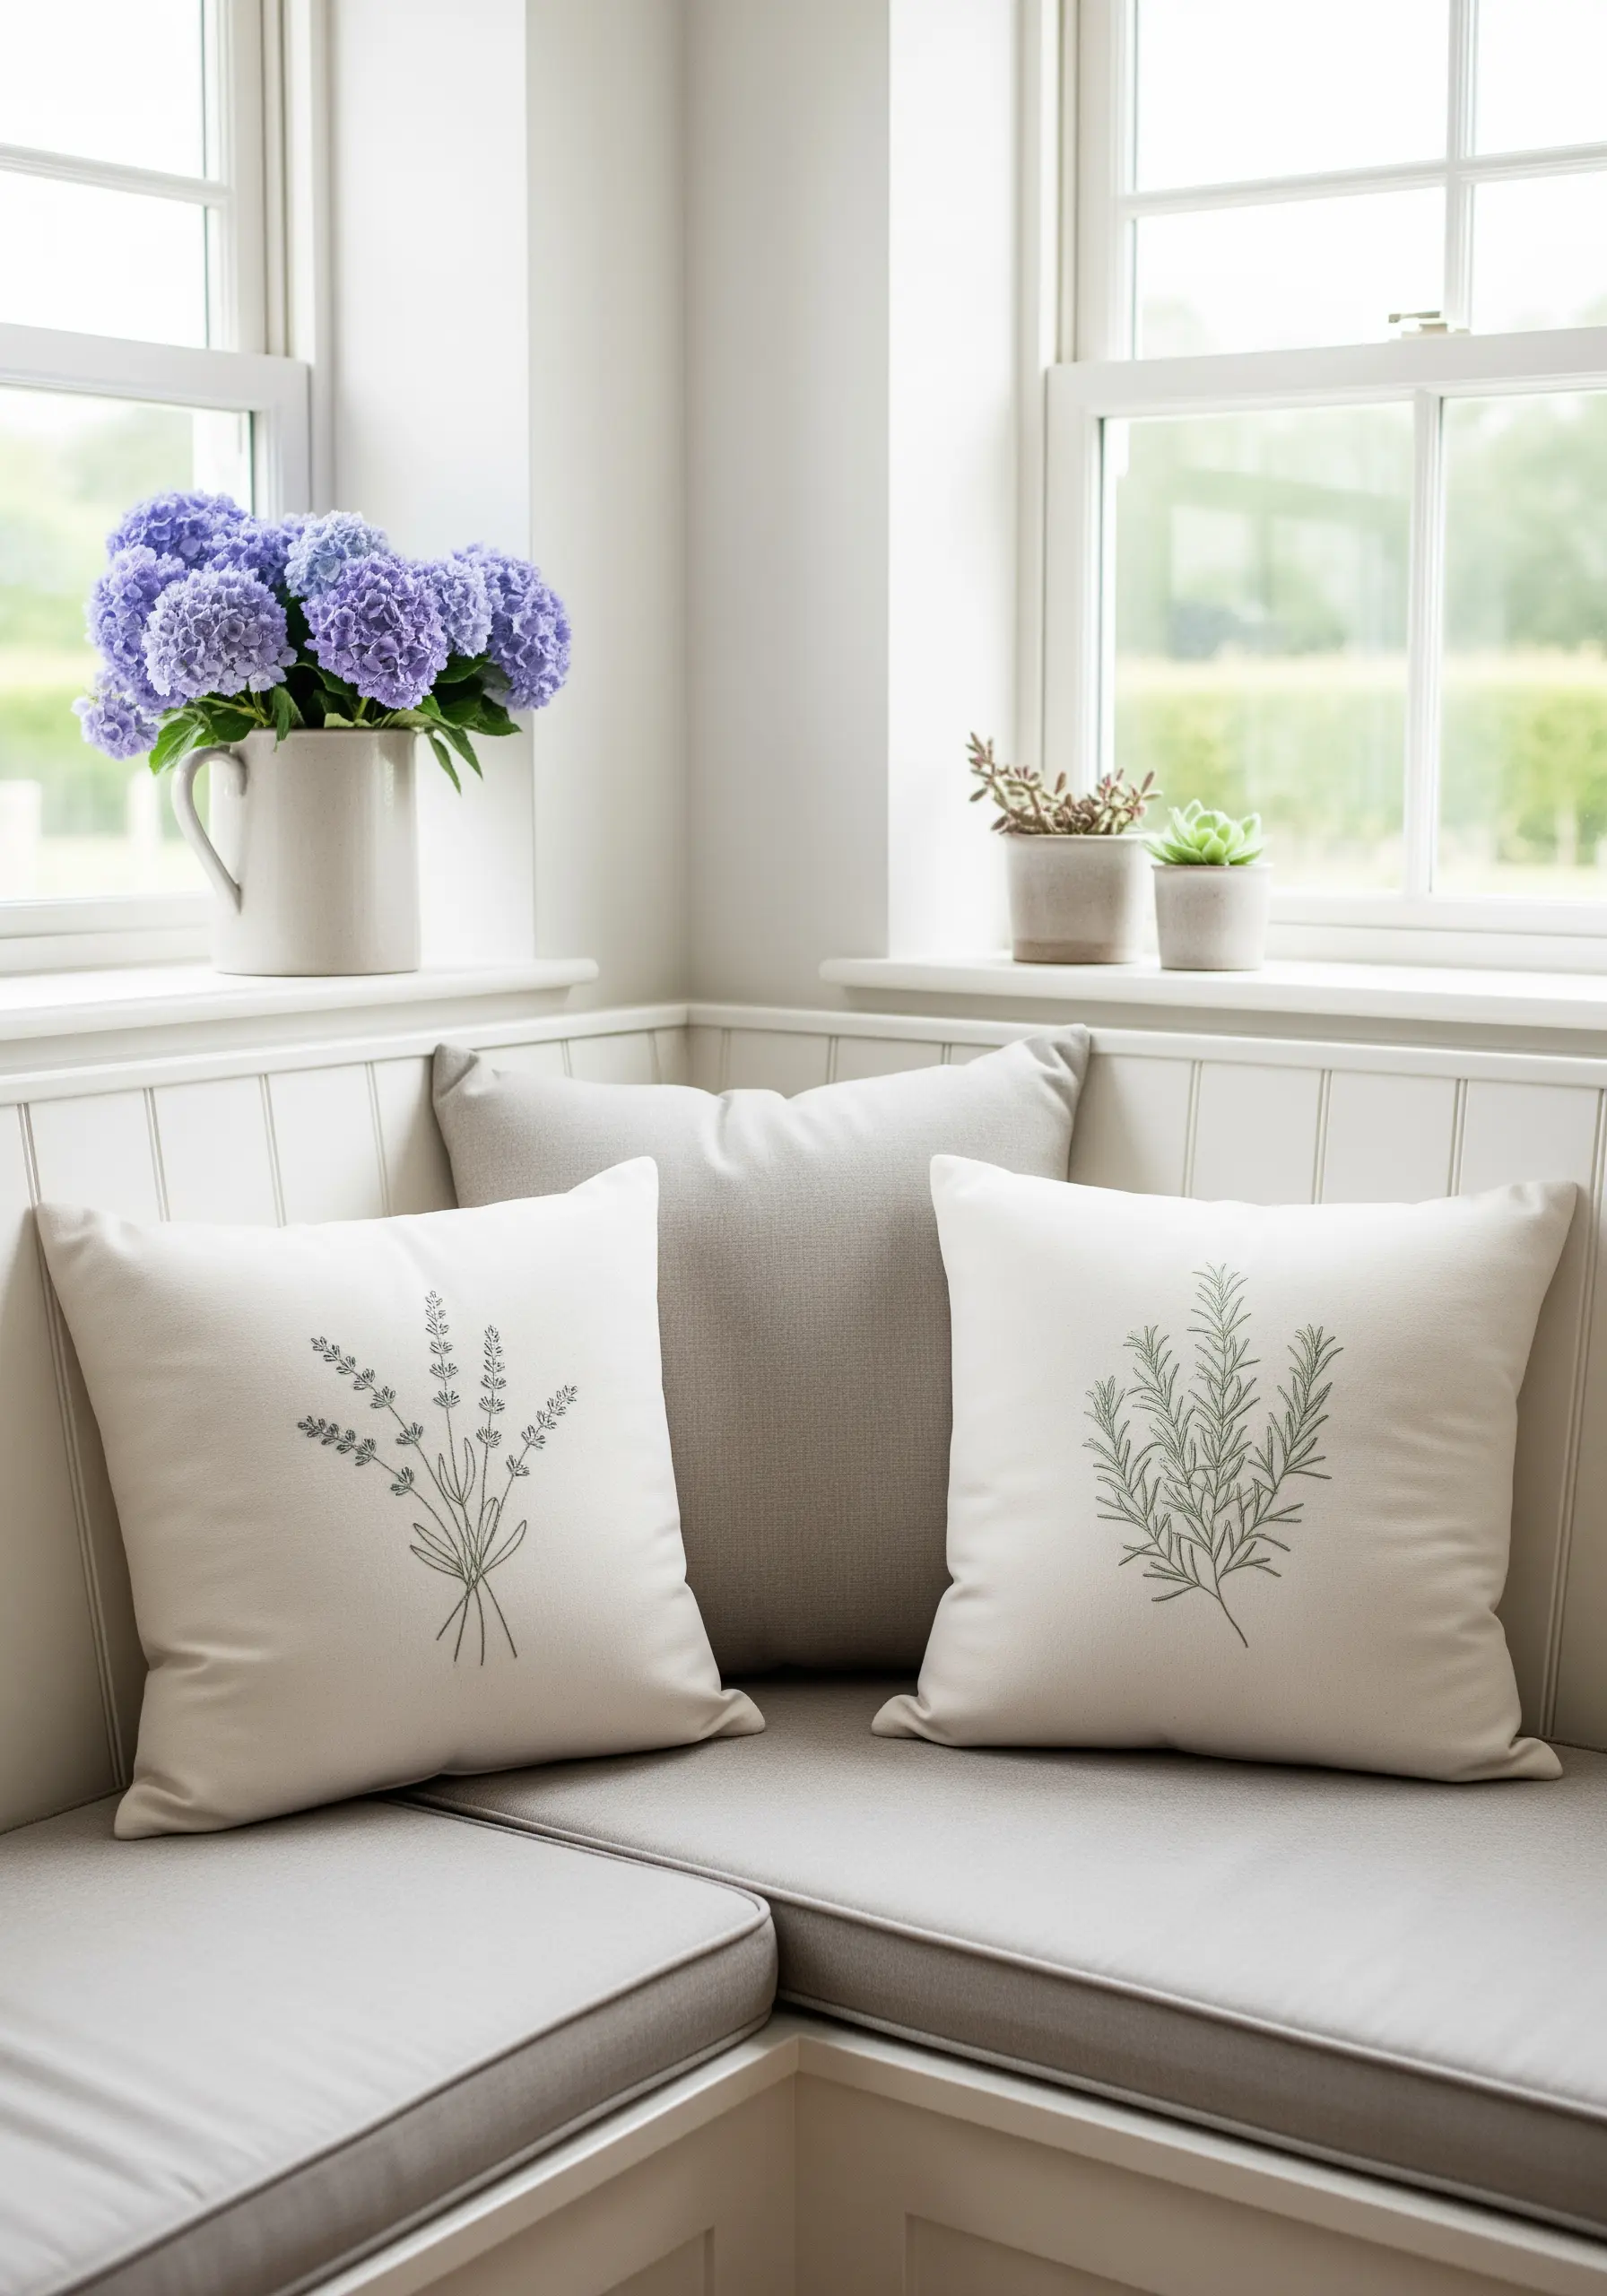
To create these airy herbal sprigs, combine two fundamental stitches for a natural, organic look.
Use a fine stem stitch for the main branches, which gives them a smooth, rope-like definition.
For the tiny leaves, use the lazy daisy stitch—each stitch creates a single, perfect teardrop-shaped leaf.
Work with just two strands of floss in a soft sage or grey to keep the design feeling light and delicate, like a pencil sketch on fabric.
11. The Classic Serif Monogram
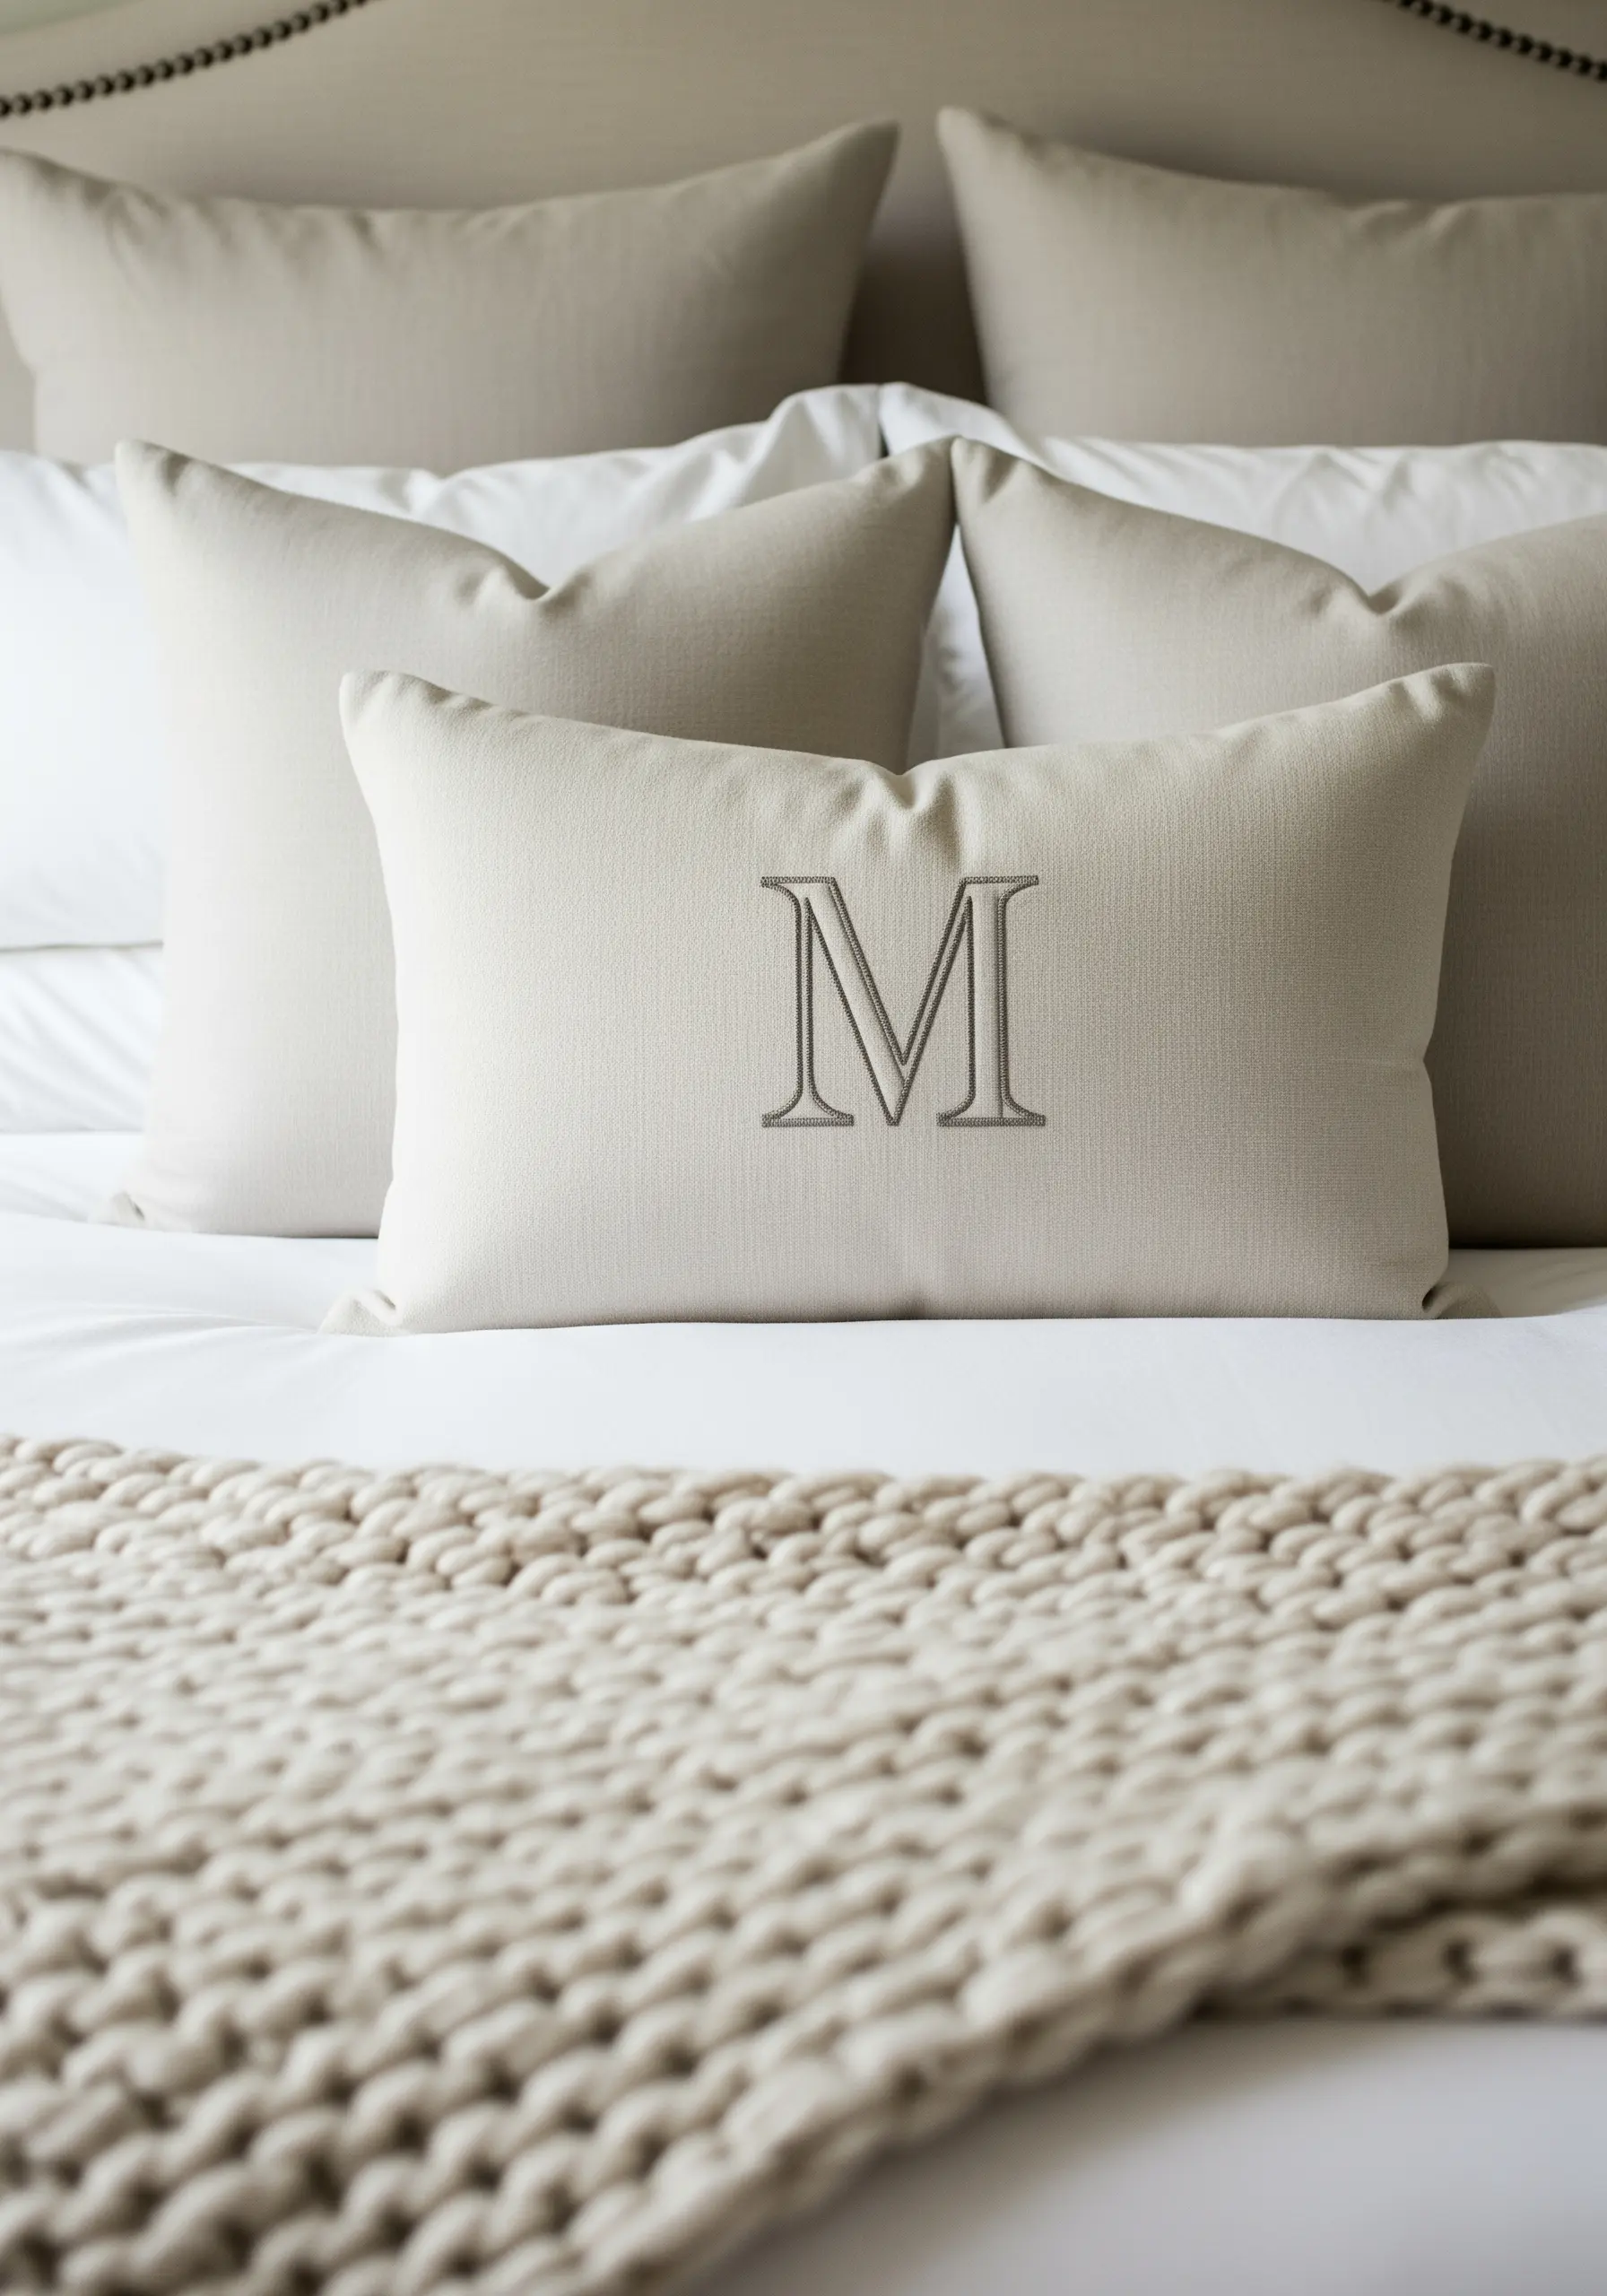
A timeless serif monogram requires a two-step approach for a truly polished look.
First, outline the entire letter using a precise split stitch. This creates a slightly raised, clean edge that will contain your fill stitches.
Next, fill the shape with satin stitch, keeping your stitches perfectly parallel to one another.
For the thin serifs, use single straight stitches. This technique results in a sharp, beautifully finished initial that feels both personal and luxurious.
12. Realistic Foliage with the Fishbone Stitch

The fishbone stitch is the secret to creating leaves that have a central vein and natural, angled texture.
You’ll work from the tip of the leaf downwards, alternating stitches from left to right that cross over in the center.
This overlapping creates a raised spine and causes the stitches to lie at a gentle angle, perfectly mimicking the way a real fern frond grows.
It’s a meditative and repetitive stitch that produces stunningly realistic leaf shape ideas.
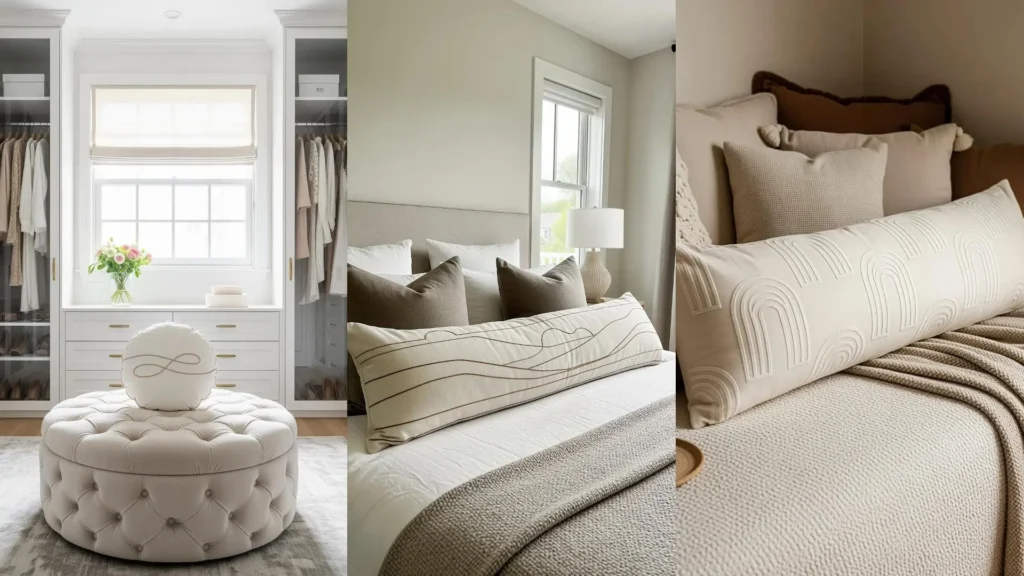
13. Flowing Landscape Lines
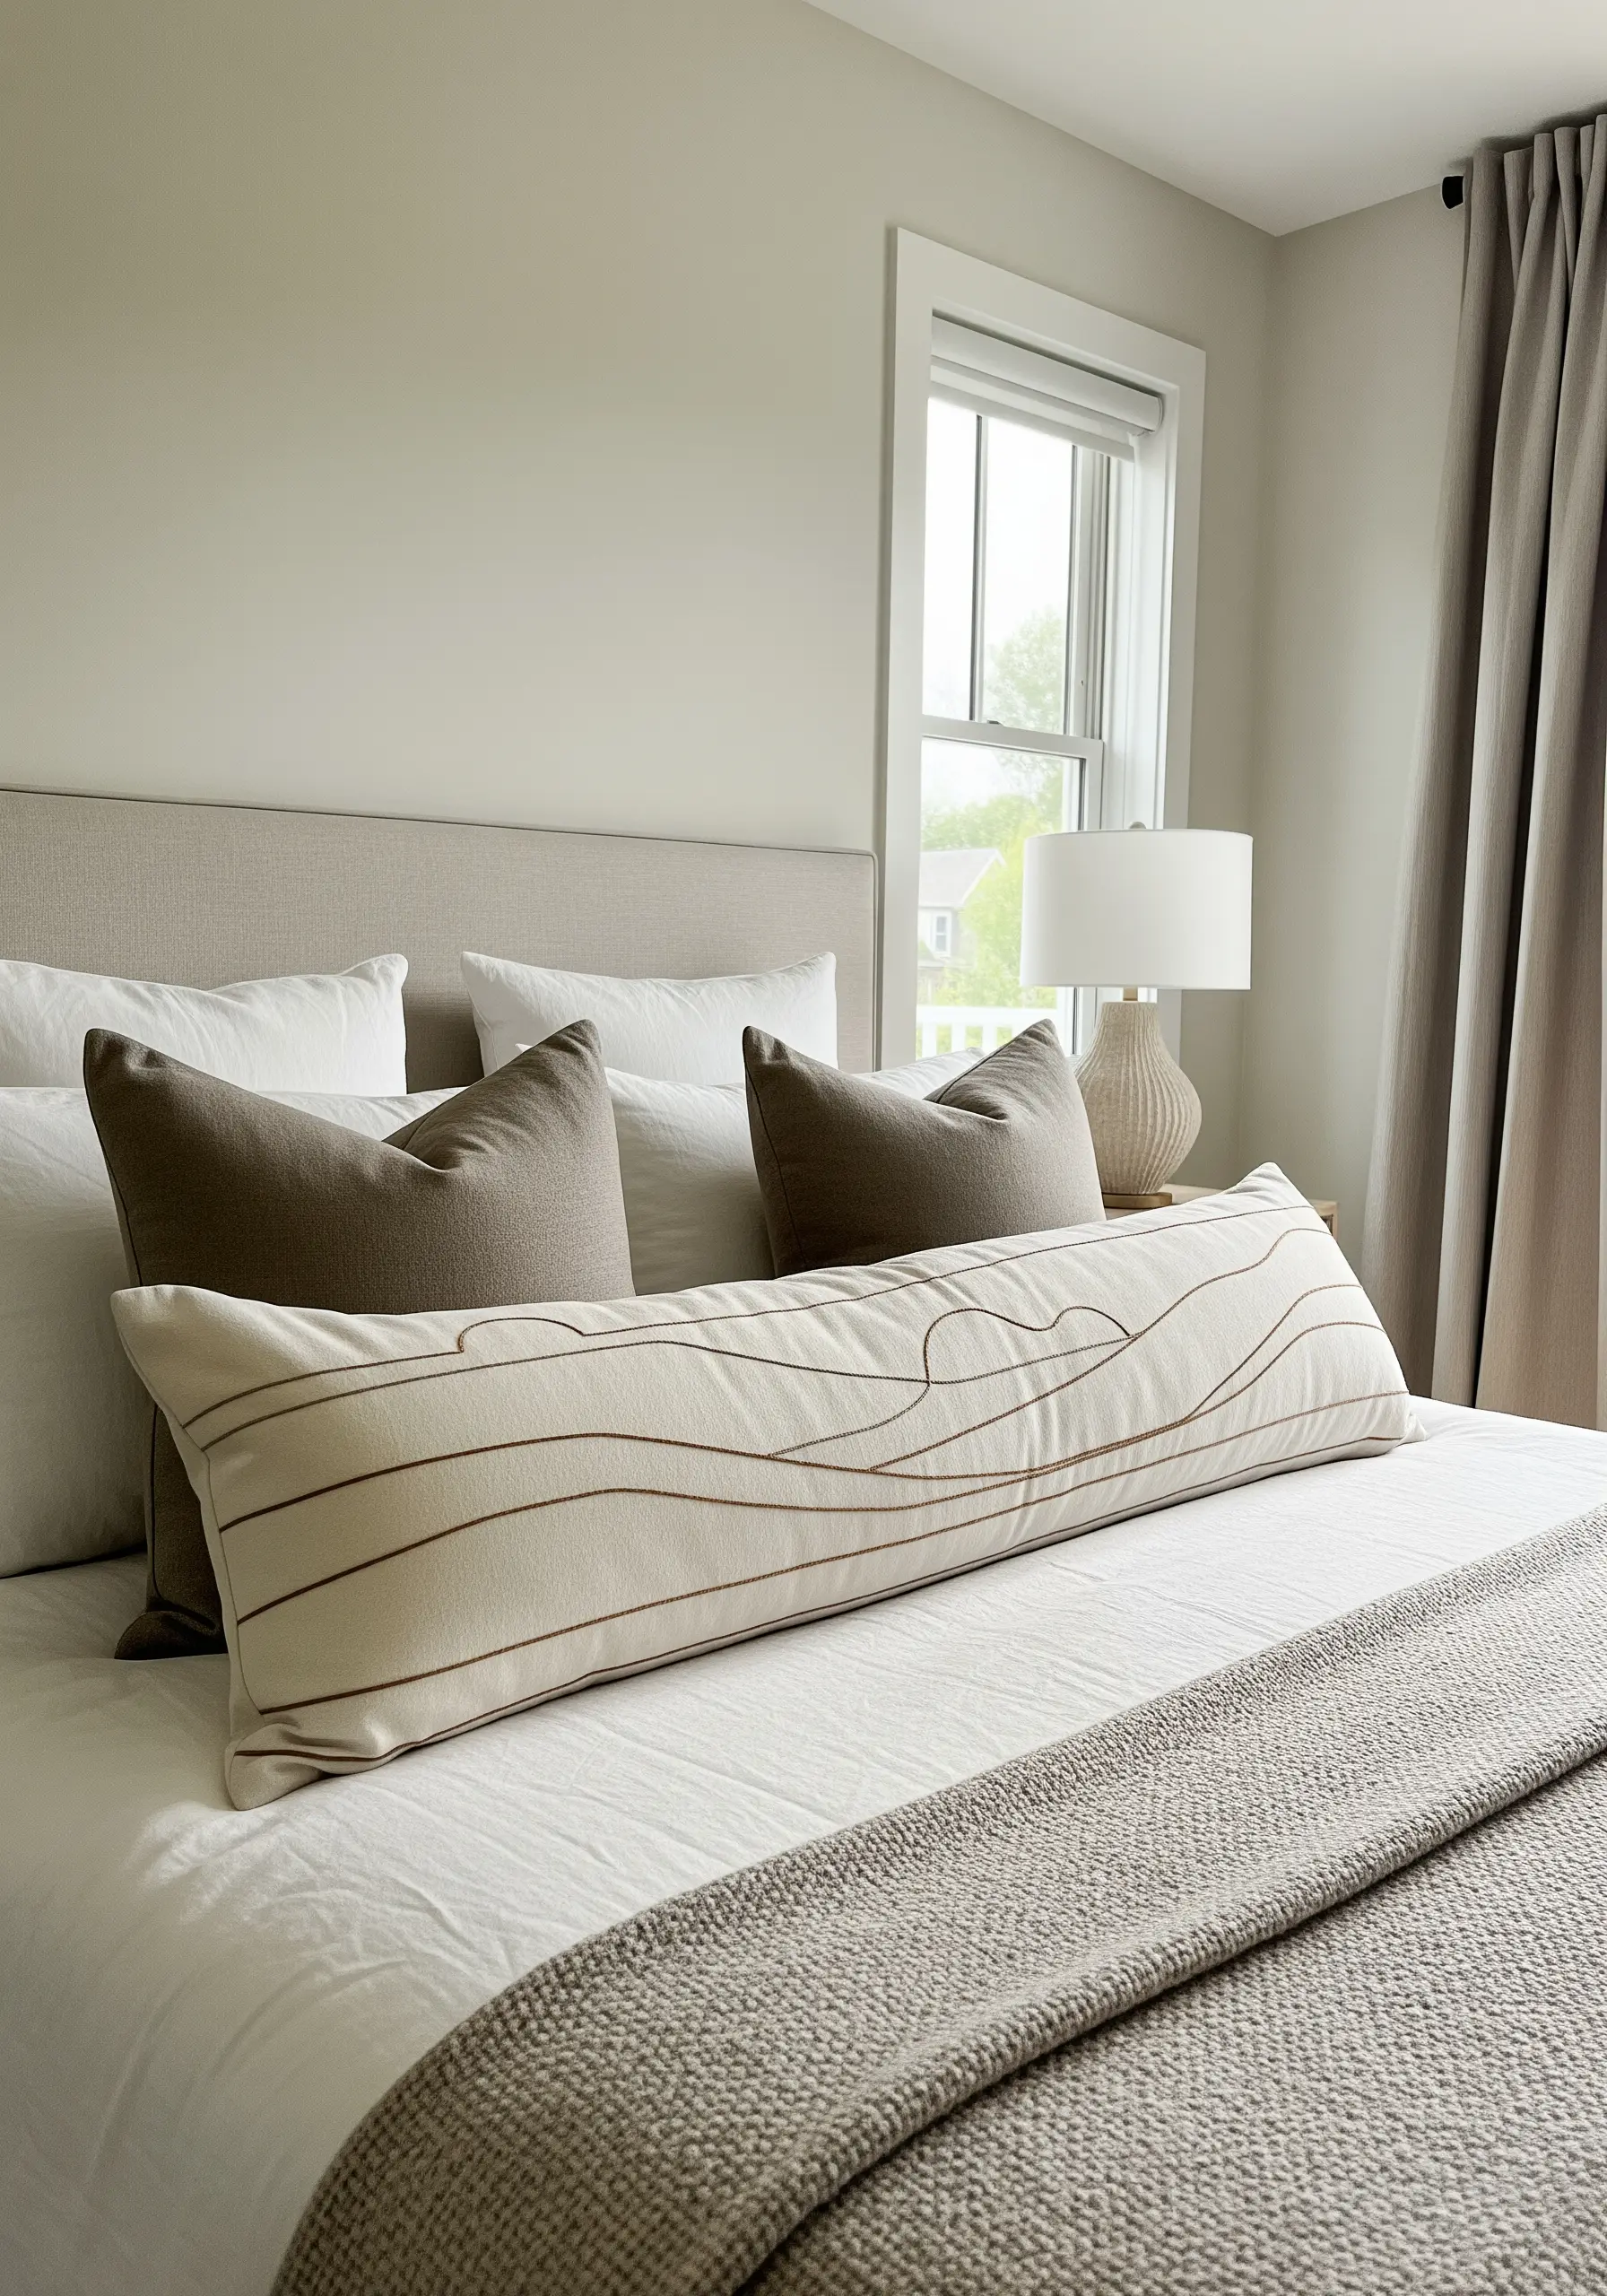
To capture the organic, flowing feel of an abstract landscape, you need a stitch that moves with you.
Use a heavy chain stitch or a whipped backstitch to create the continuous, undulating lines.
Unlike a simple backstitch, these options provide a solid, uninterrupted line that gives the design weight and a sense of movement.
Choose an earthy brown or charcoal thread to ground the abstract design, making it feel like a subtle topographical map on fabric.
14. Geometric Precision with a Honeycomb Pattern
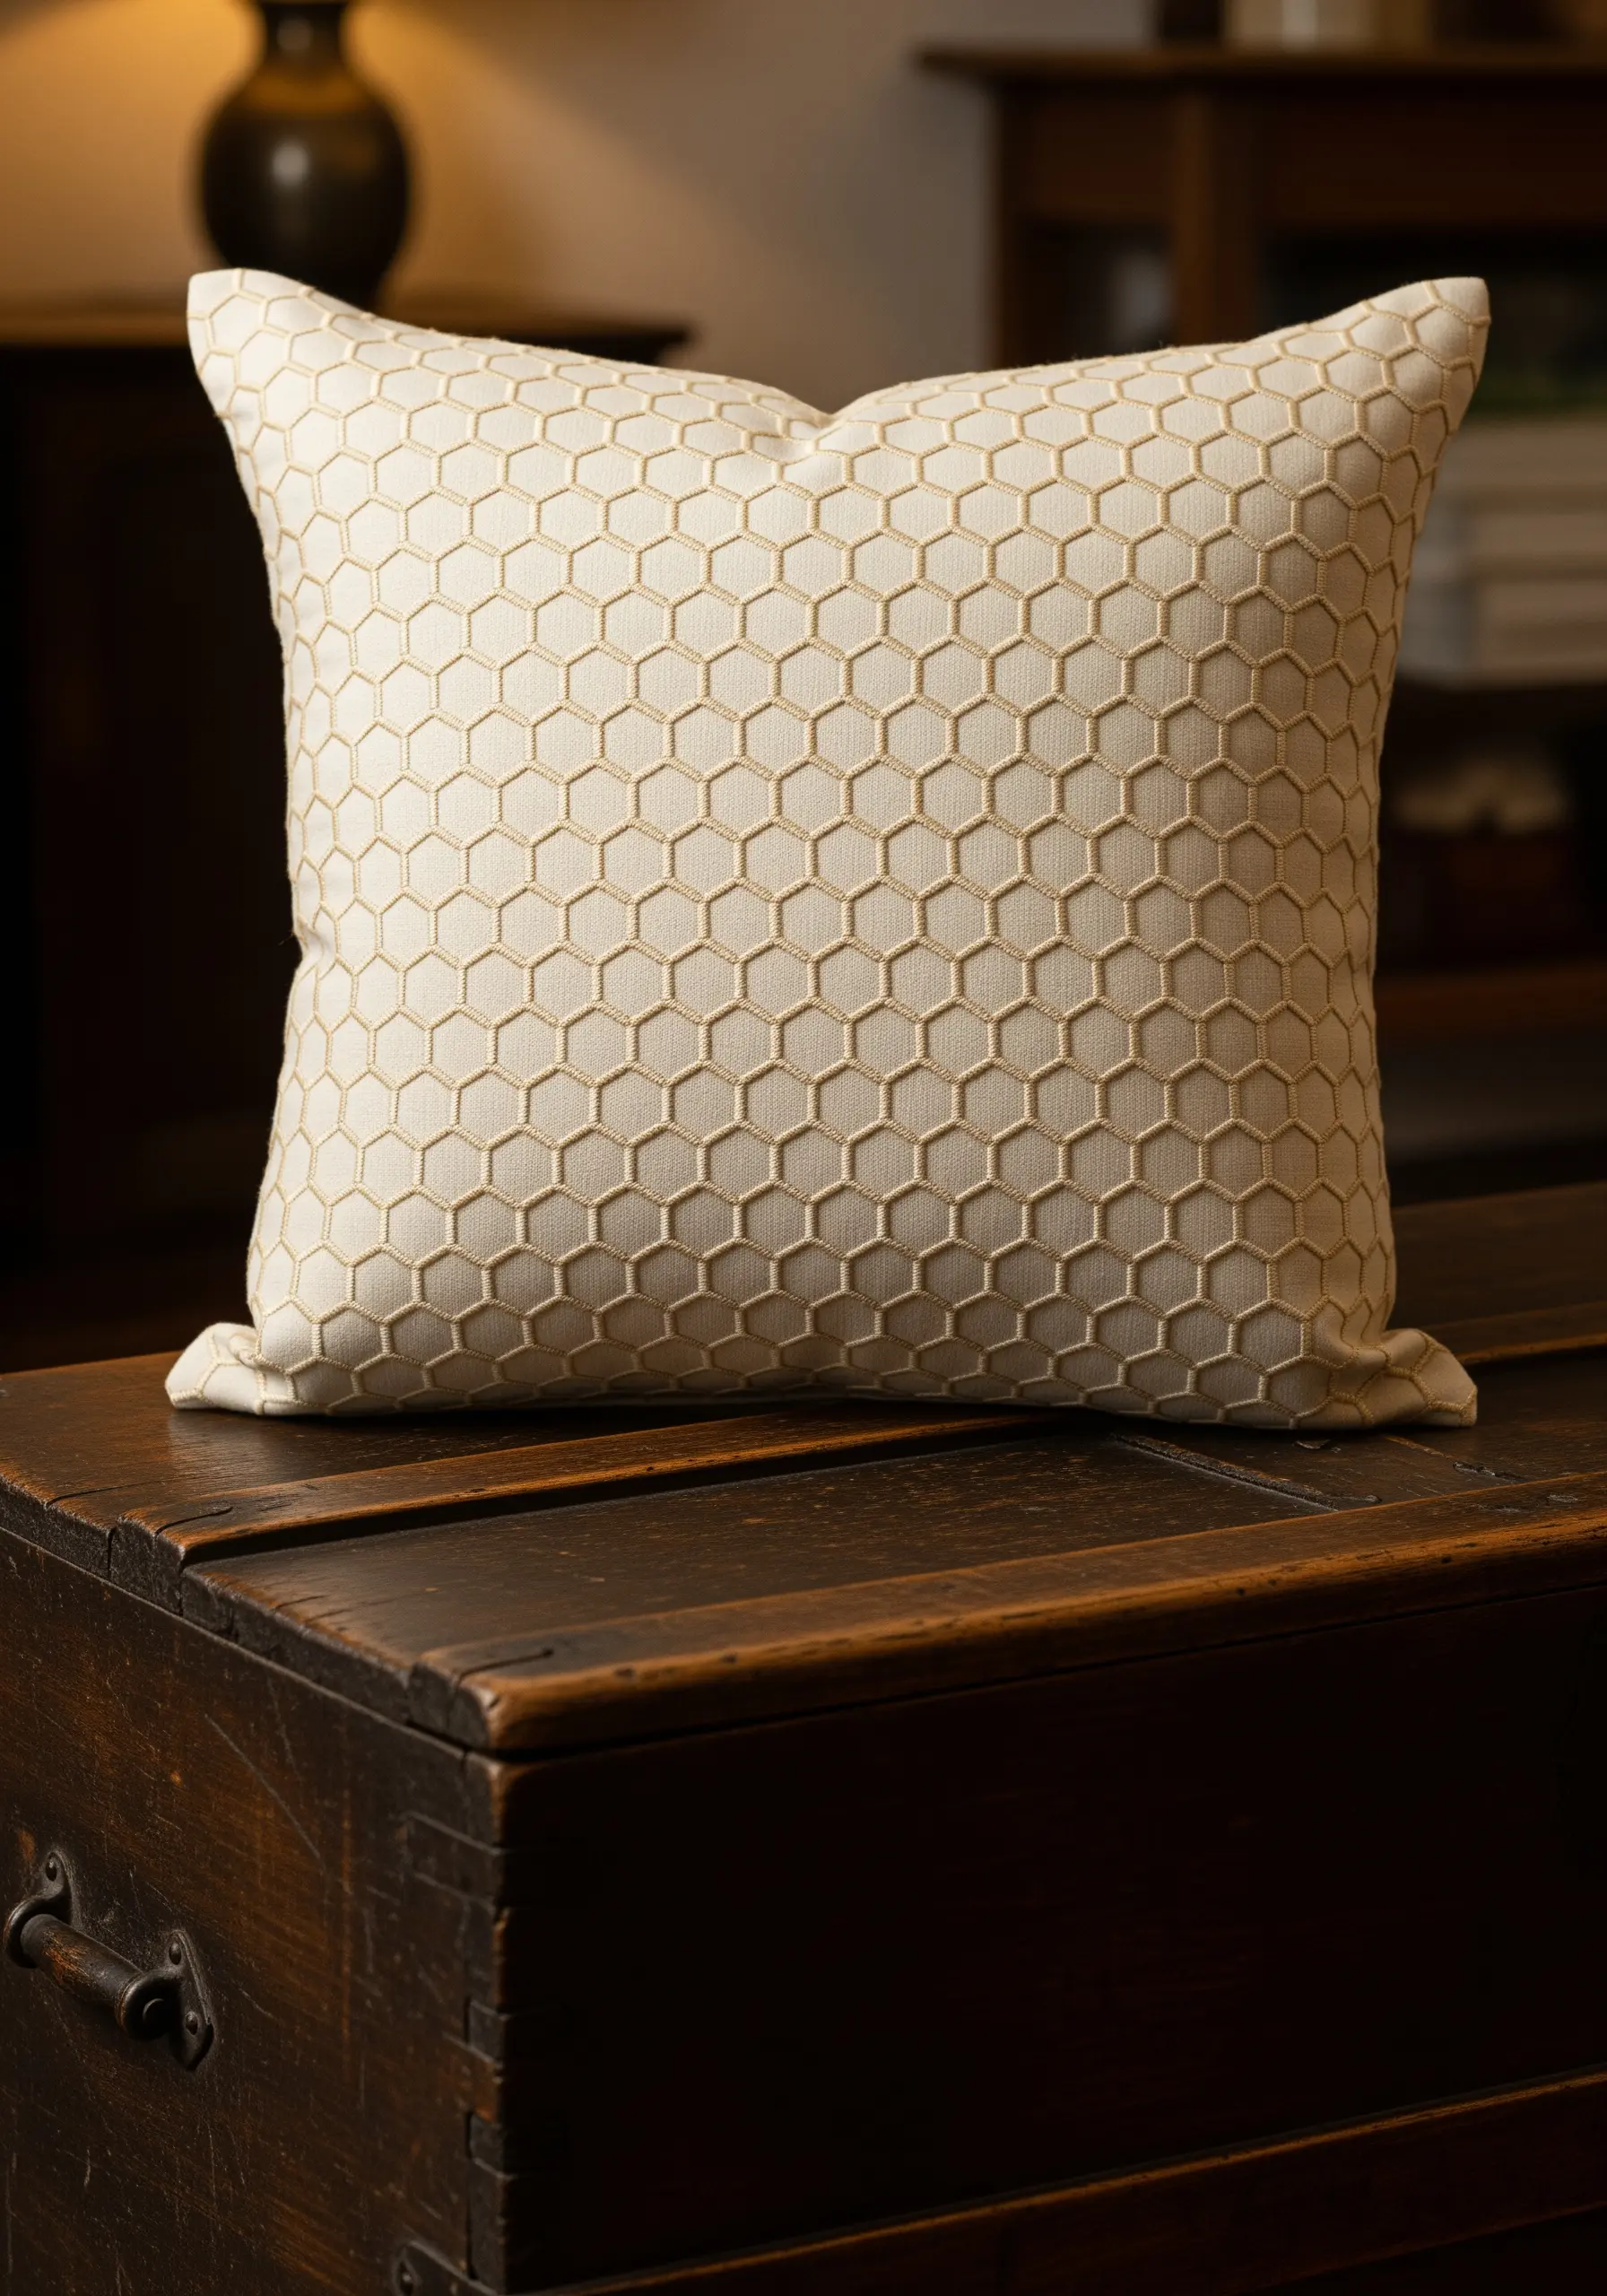
For a dense geometric pattern like this, precision is non-negotiable.
Create or print a hexagon grid template and transfer it to your fabric using a fine-tipped, water-soluble pen.
Use a simple backstitch with three strands of floss to outline each shape, focusing on sharp corners and straight lines.
The slightly raised quality of the backstitch against the fabric creates a subtle 3D effect, turning a simple shape into a complex and engaging texture. It’s a perfect example of modern geometric framed embroidery patterns.
15. Sculptural Spirals with a Plaited Braid Stitch
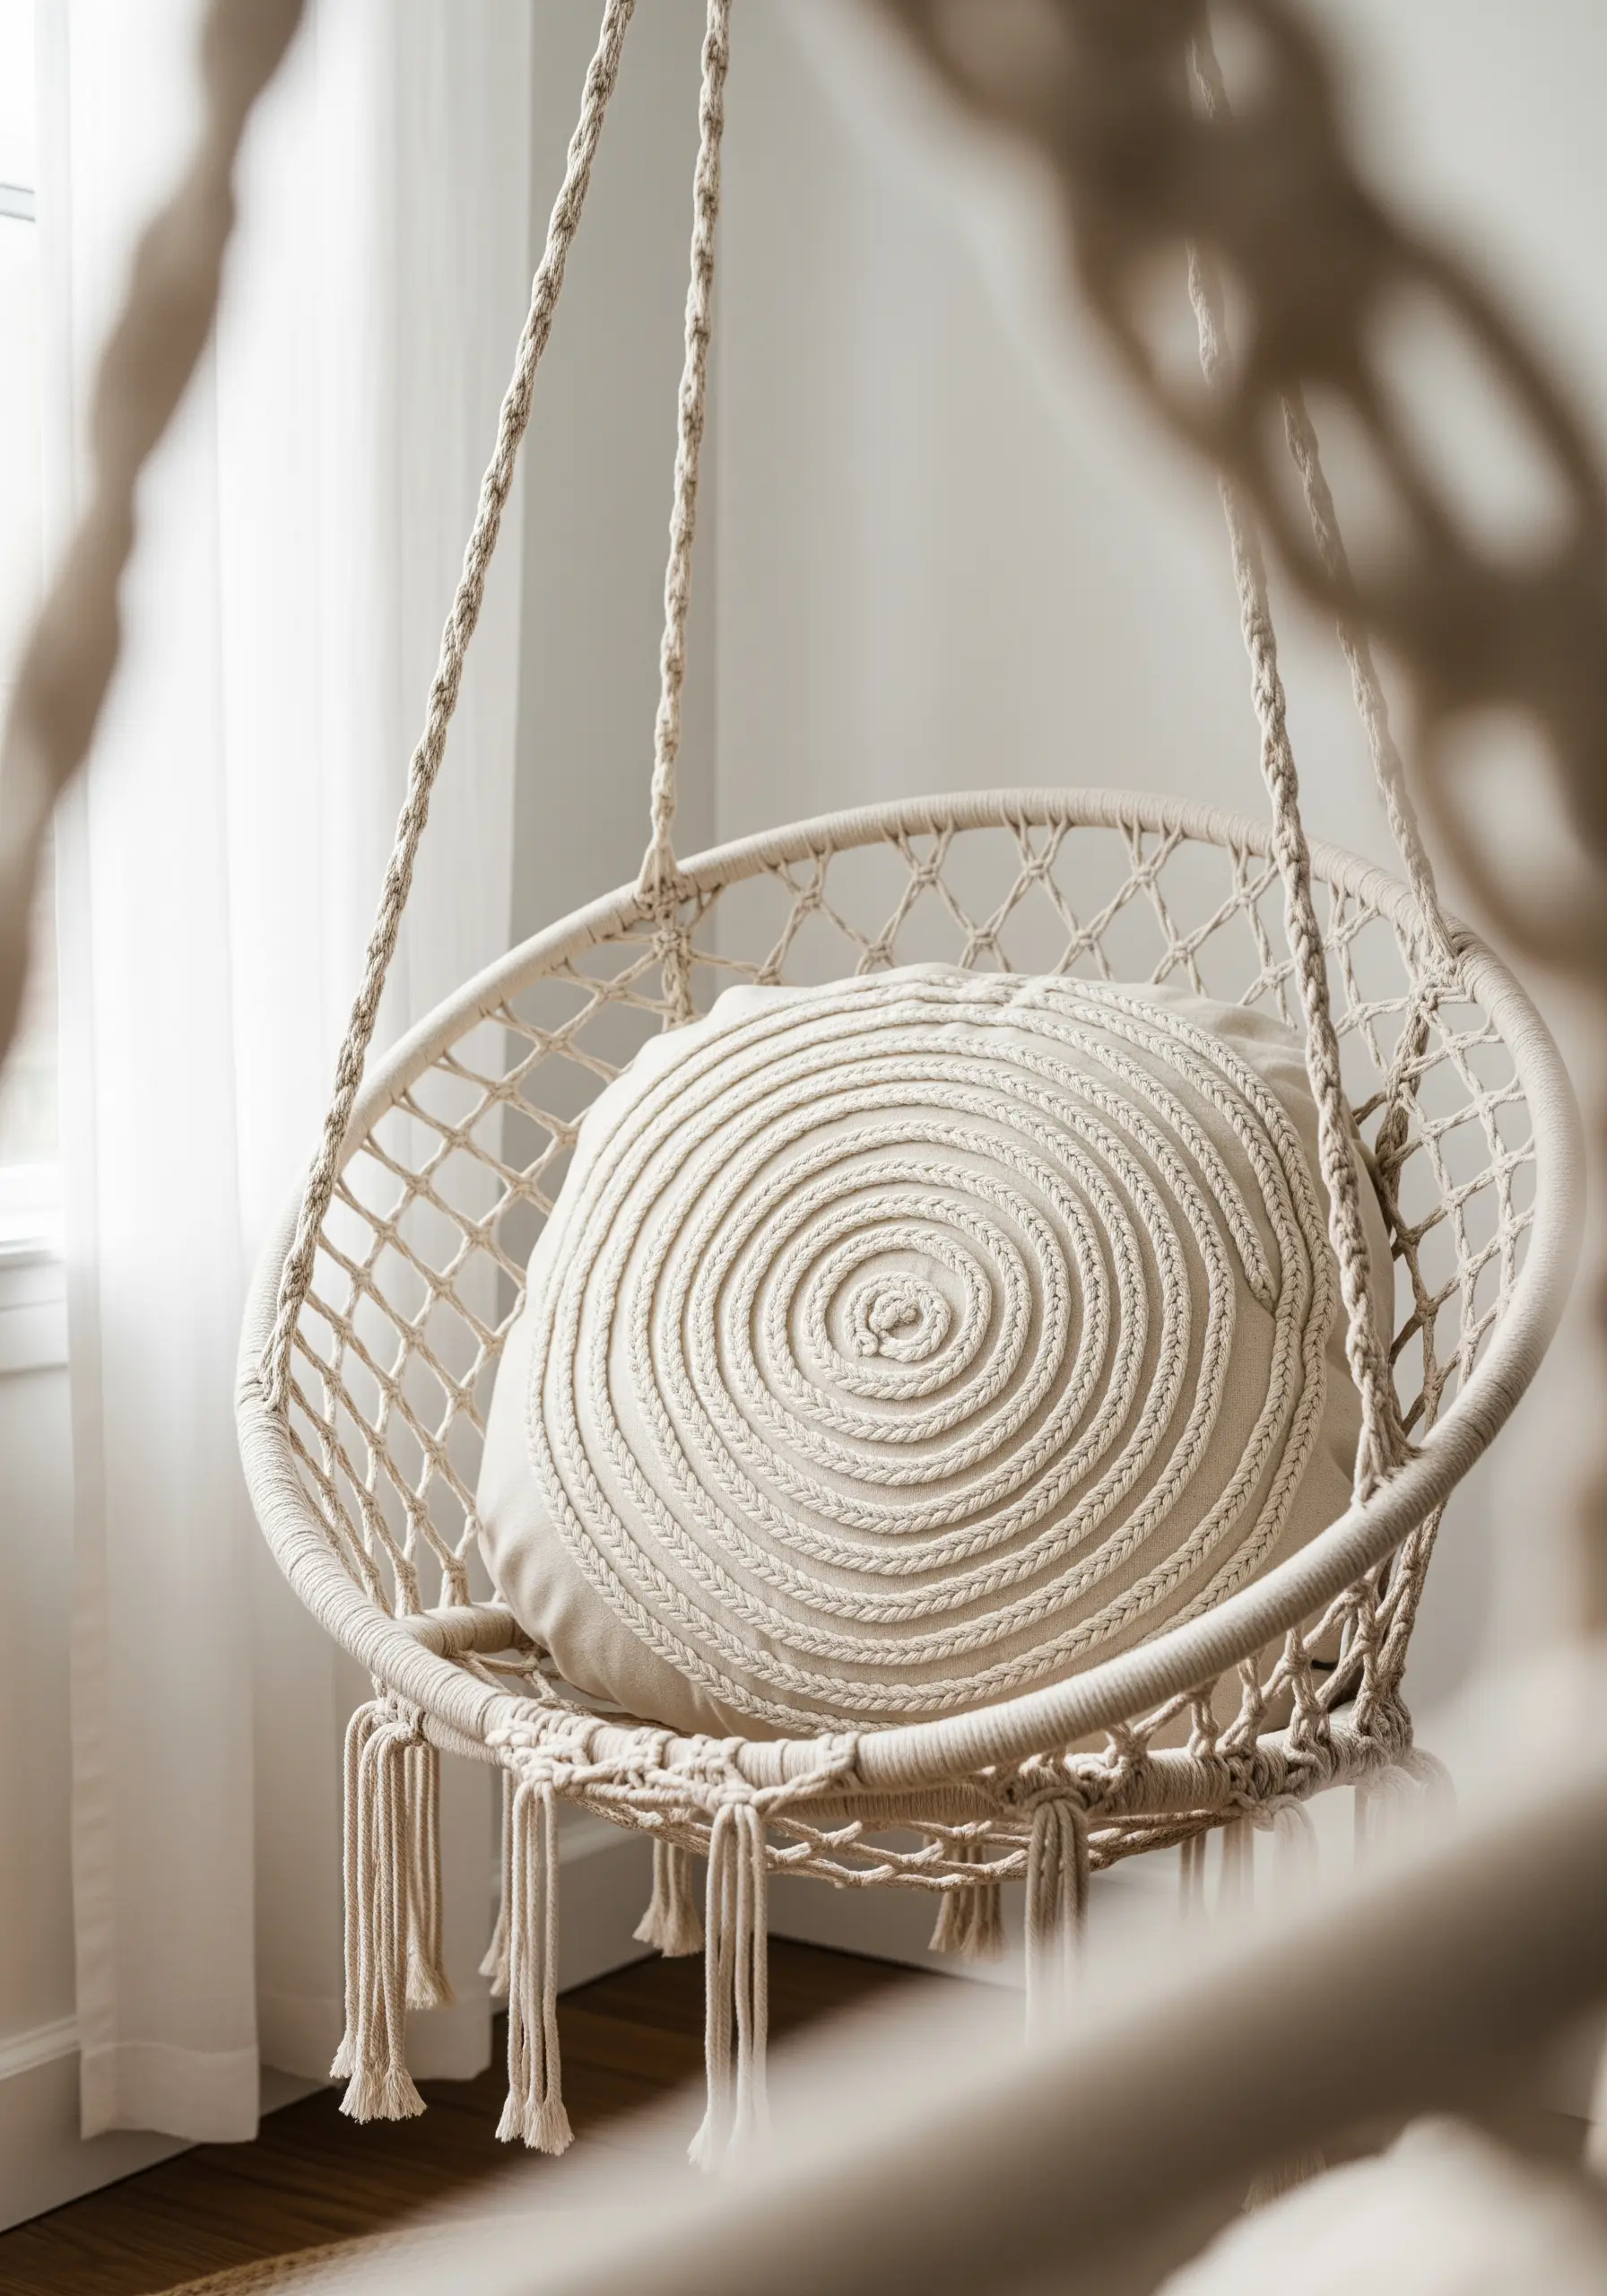
To achieve this highly textural, raised spiral without applying a separate cord, use the plaited braid stitch.
This advanced stitch uses a thick thread, like pearl cotton, and a series of looped movements to build a dimensional, braided line directly on the fabric.
Alternatively, for a simpler approach, use the couching technique by laying down a thick, soft braid and tacking it in place.
Either method creates a stunning, hypnotic design that invites touch and adds incredible depth to the pillow.
16. Clean Lines for a Graphic Compass Rose
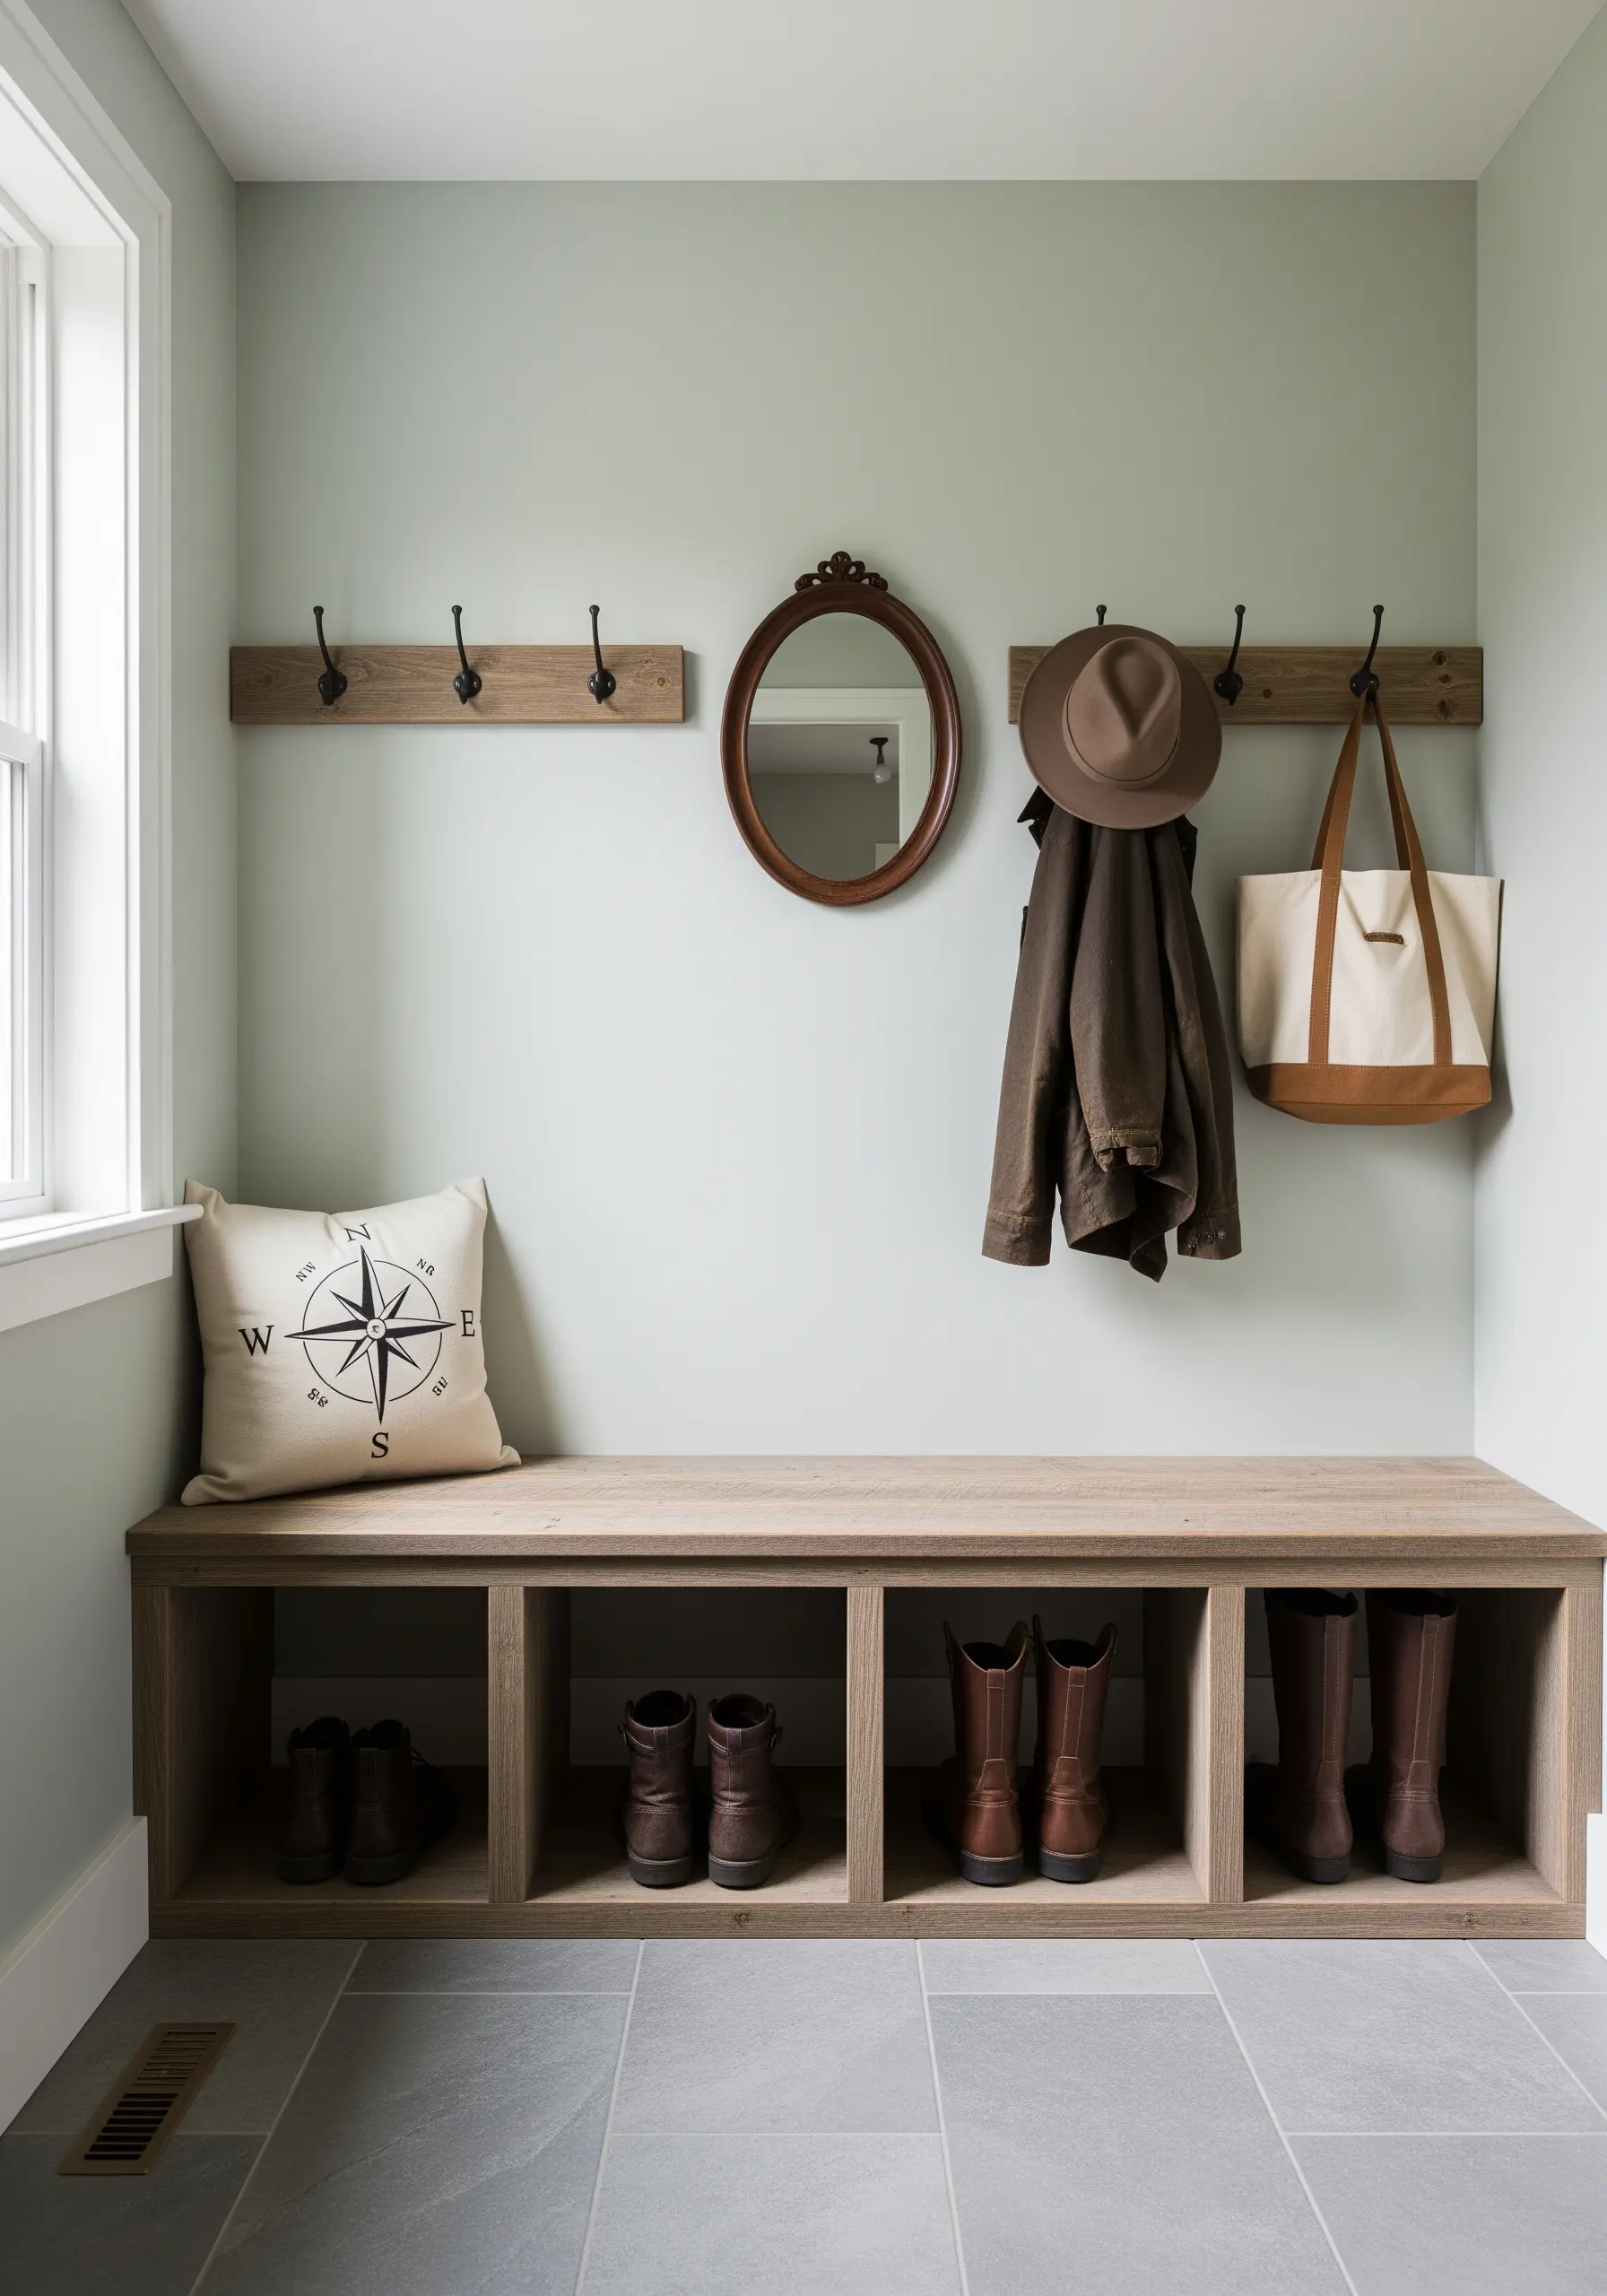
A graphic design with sharp points and long, straight lines, like a compass, requires stability to look its best.
Apply a fusible interfacing to the back of your fabric before stitching. This prevents the fabric from stretching or distorting as you pull the thread tight.
Use a crisp backstitch or stem stitch for all the lines.
The stabilizer ensures that your points remain sharp and your lines stay perfectly straight, resulting in a clean, professional finish.
17. A Sampler of Quiet Textures
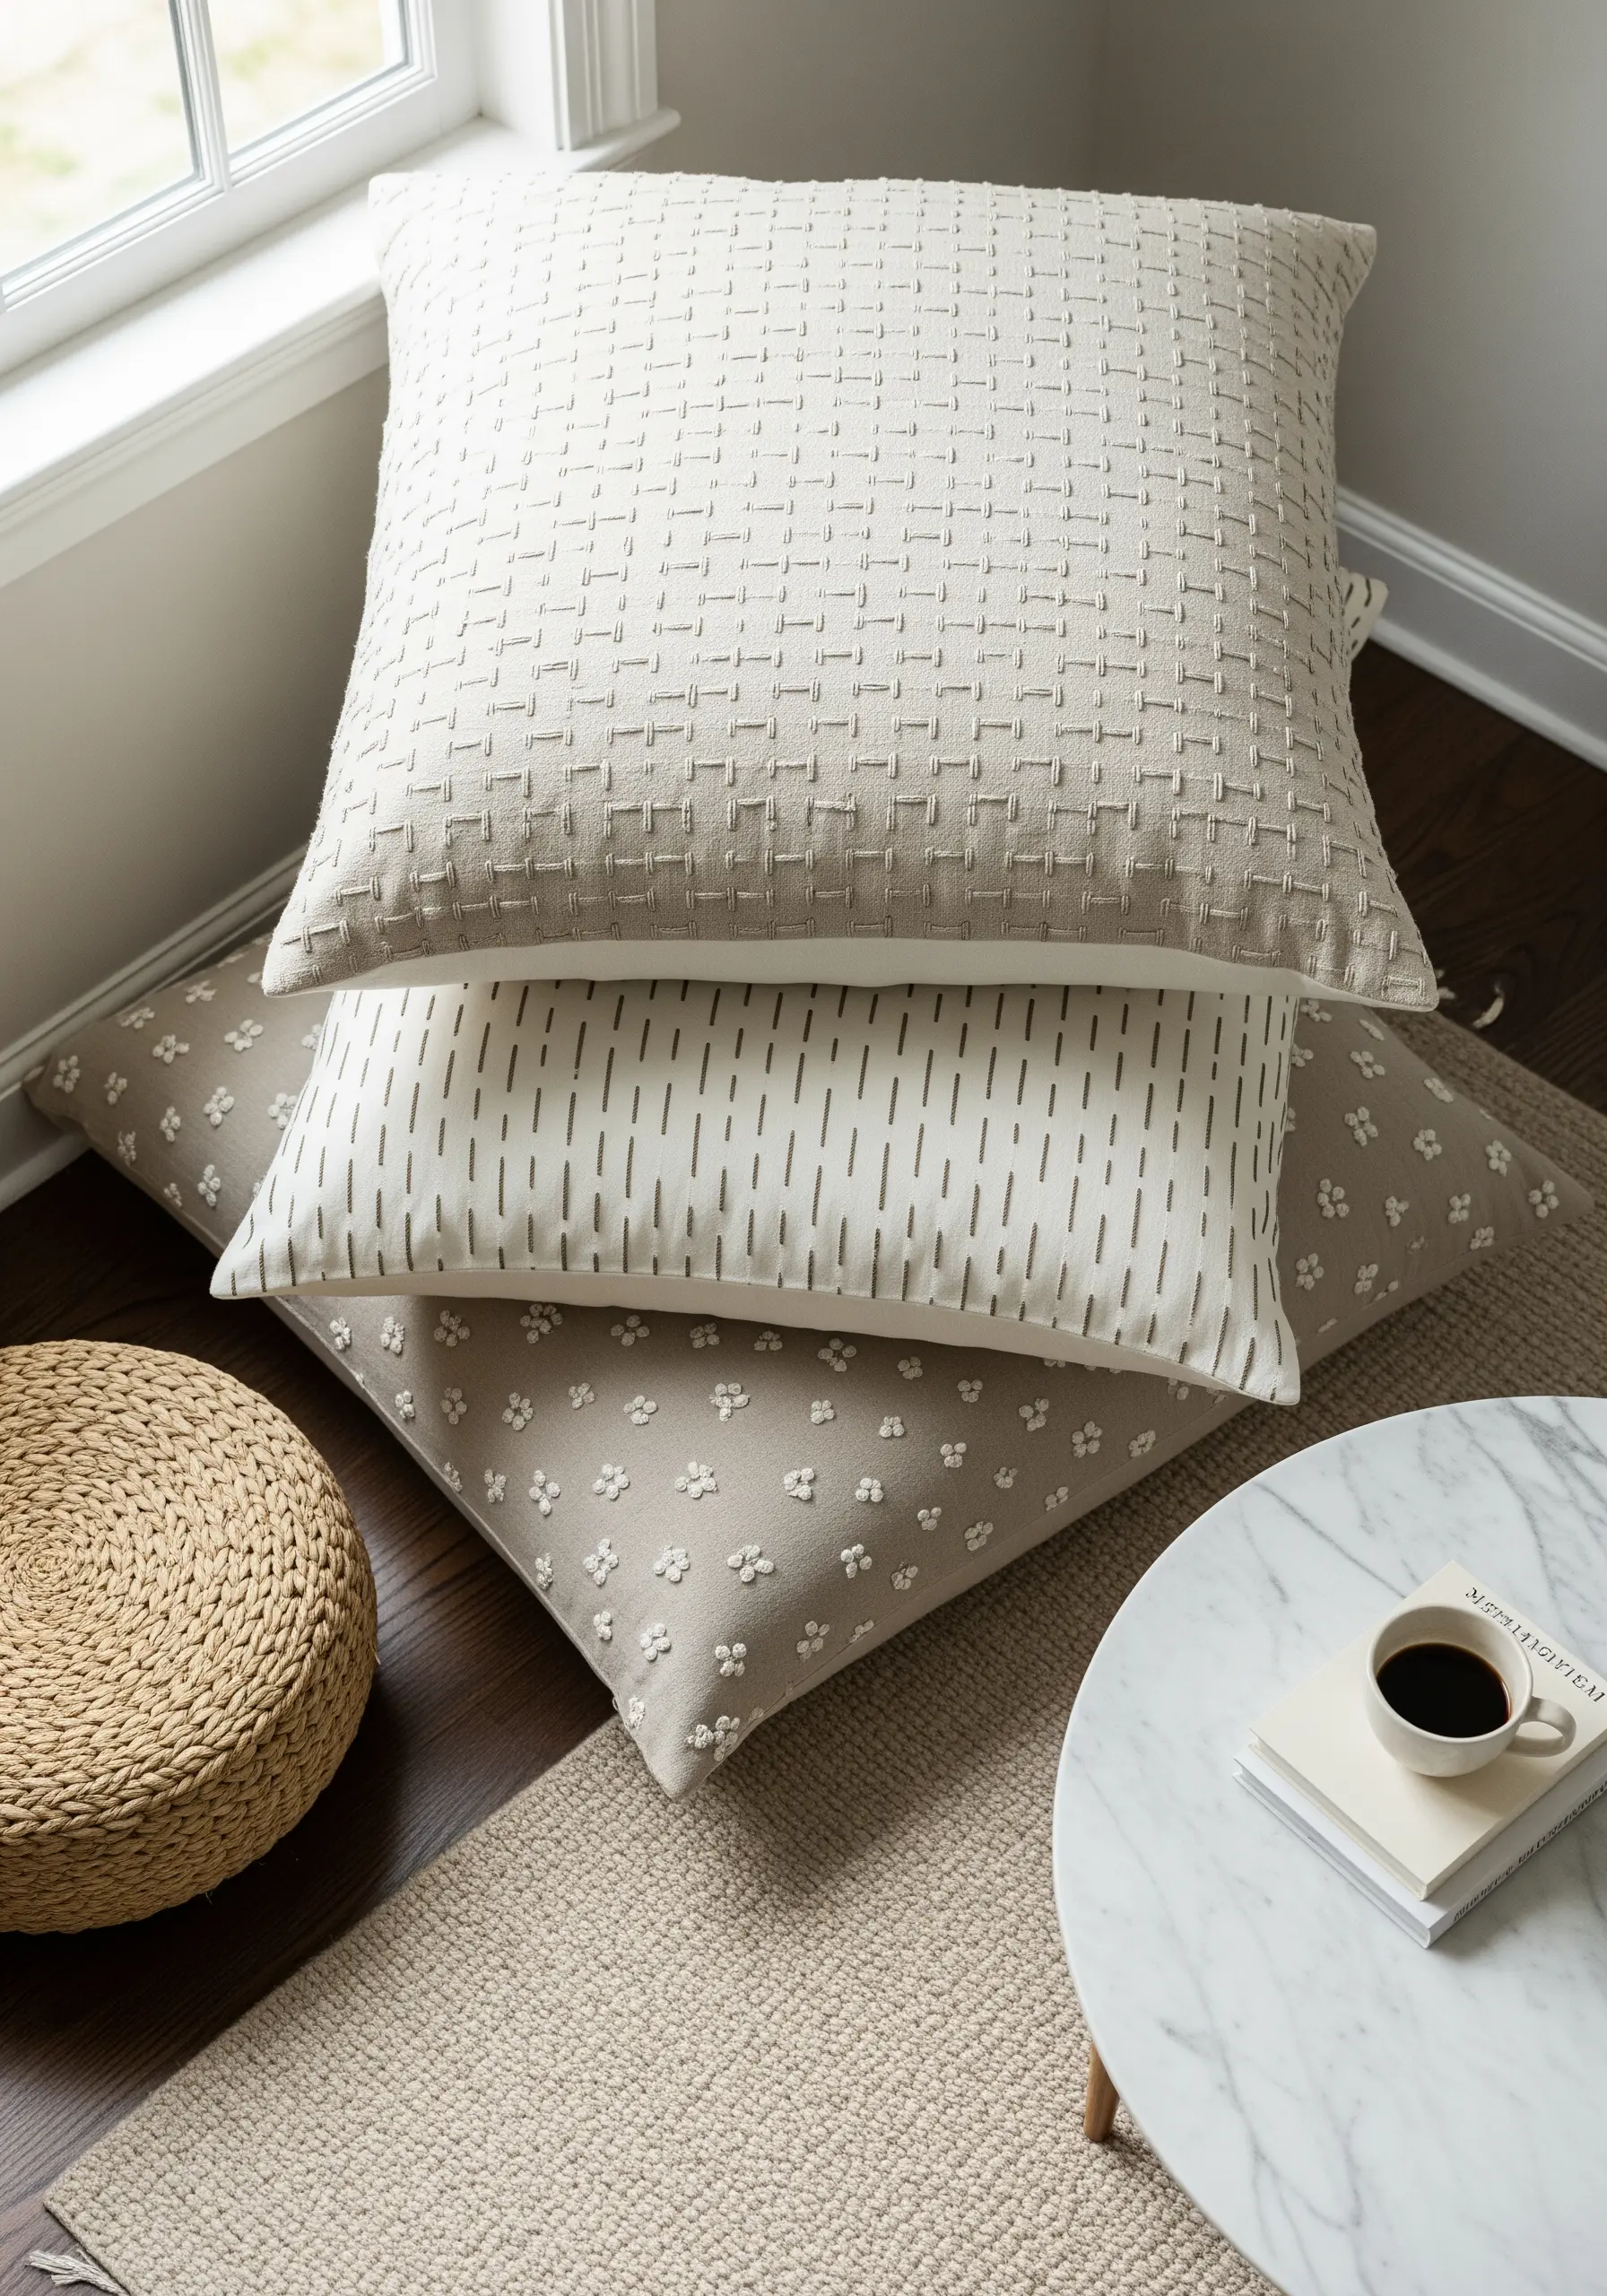
Create a harmonious pillow collection by assigning a different textural stitch to each one, all in the same neutral palette.
Try a woven stitch on one for a basket-like surface, and short, parallel running stitches on another for a dashed-line effect.
For the third, use tiny French knots or seed stitches scattered across the fabric for a dotted, pointillist texture.
Stitching with the same cream-colored thread on slightly different base fabrics (linen, cotton, canvas) adds another layer of subtle, sophisticated contrast.
18. The Power of a Simple, Repeated Arch
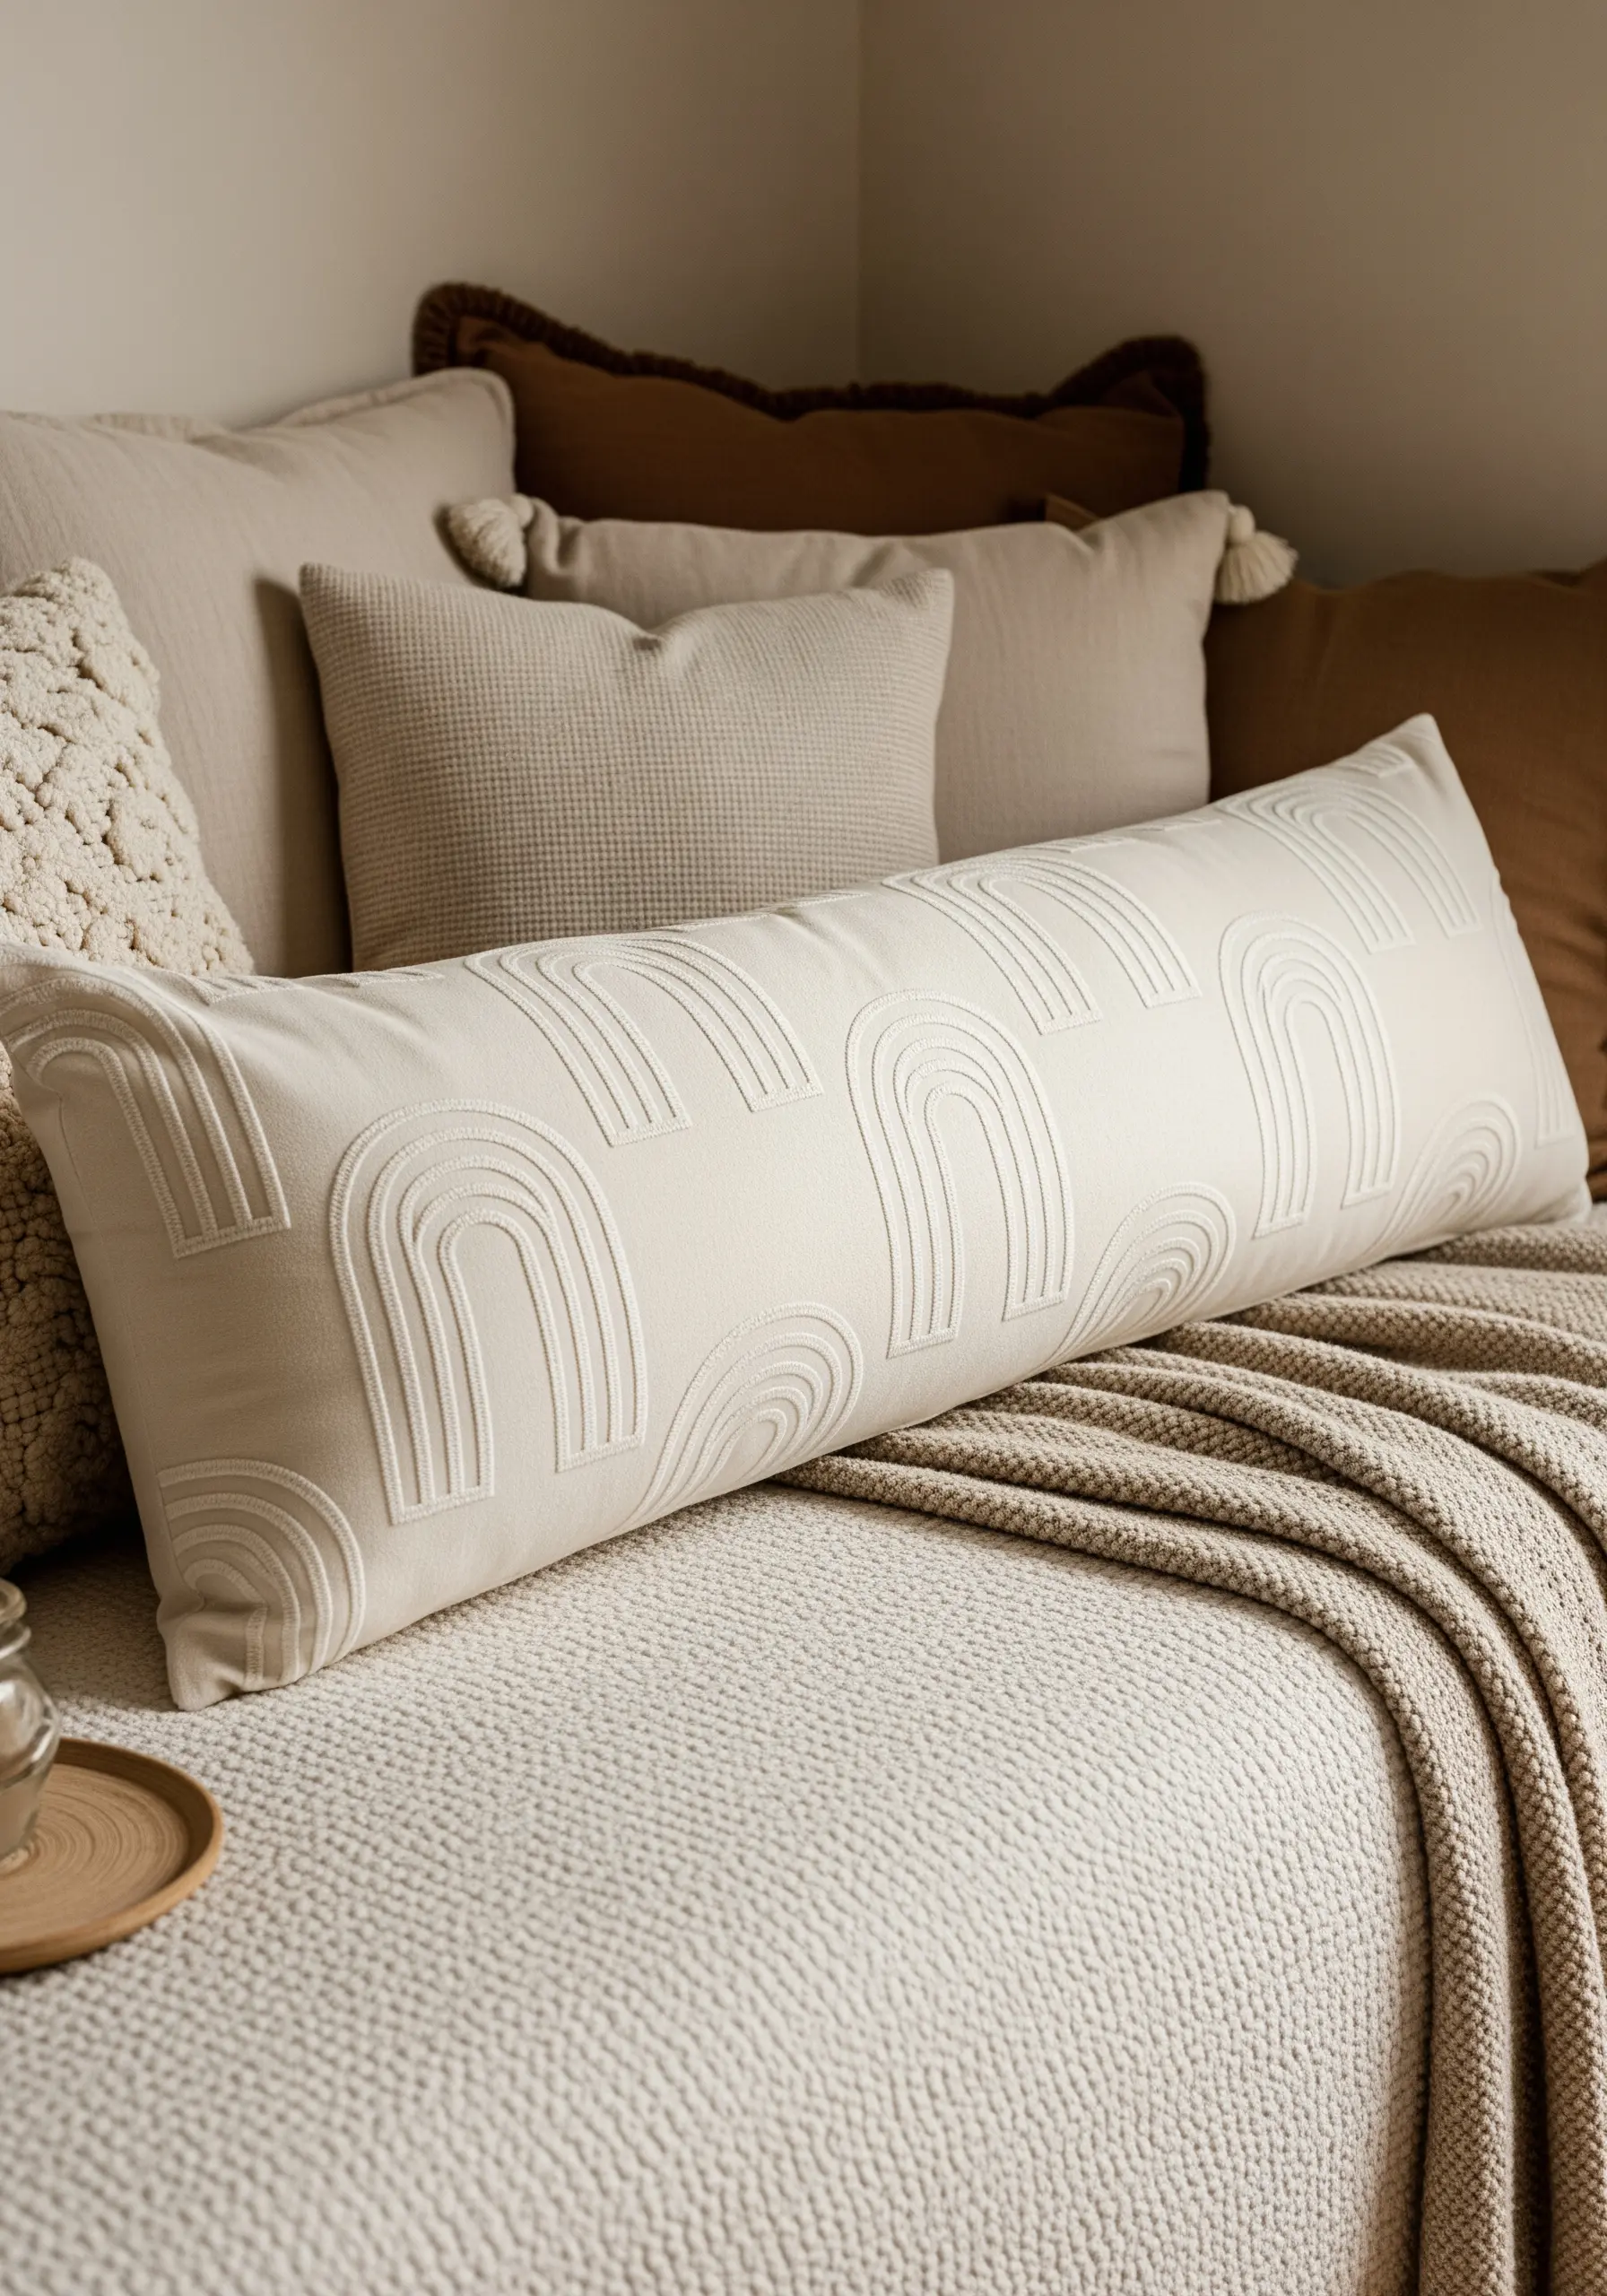
This design’s modern, calming effect comes from the flawless repetition of a simple shape.
To ensure perfect uniformity, create a cardboard stencil of a single arch and use it to trace your pattern across the pillow.
Use a three-strand split stitch to give the lines a smooth, solid appearance.
By focusing on identical spacing and clean execution, you transform a basic shape into a sophisticated and rhythmic pattern that feels both handmade and impeccably designed.
19. Sheer Elegance on Delicate Fabric
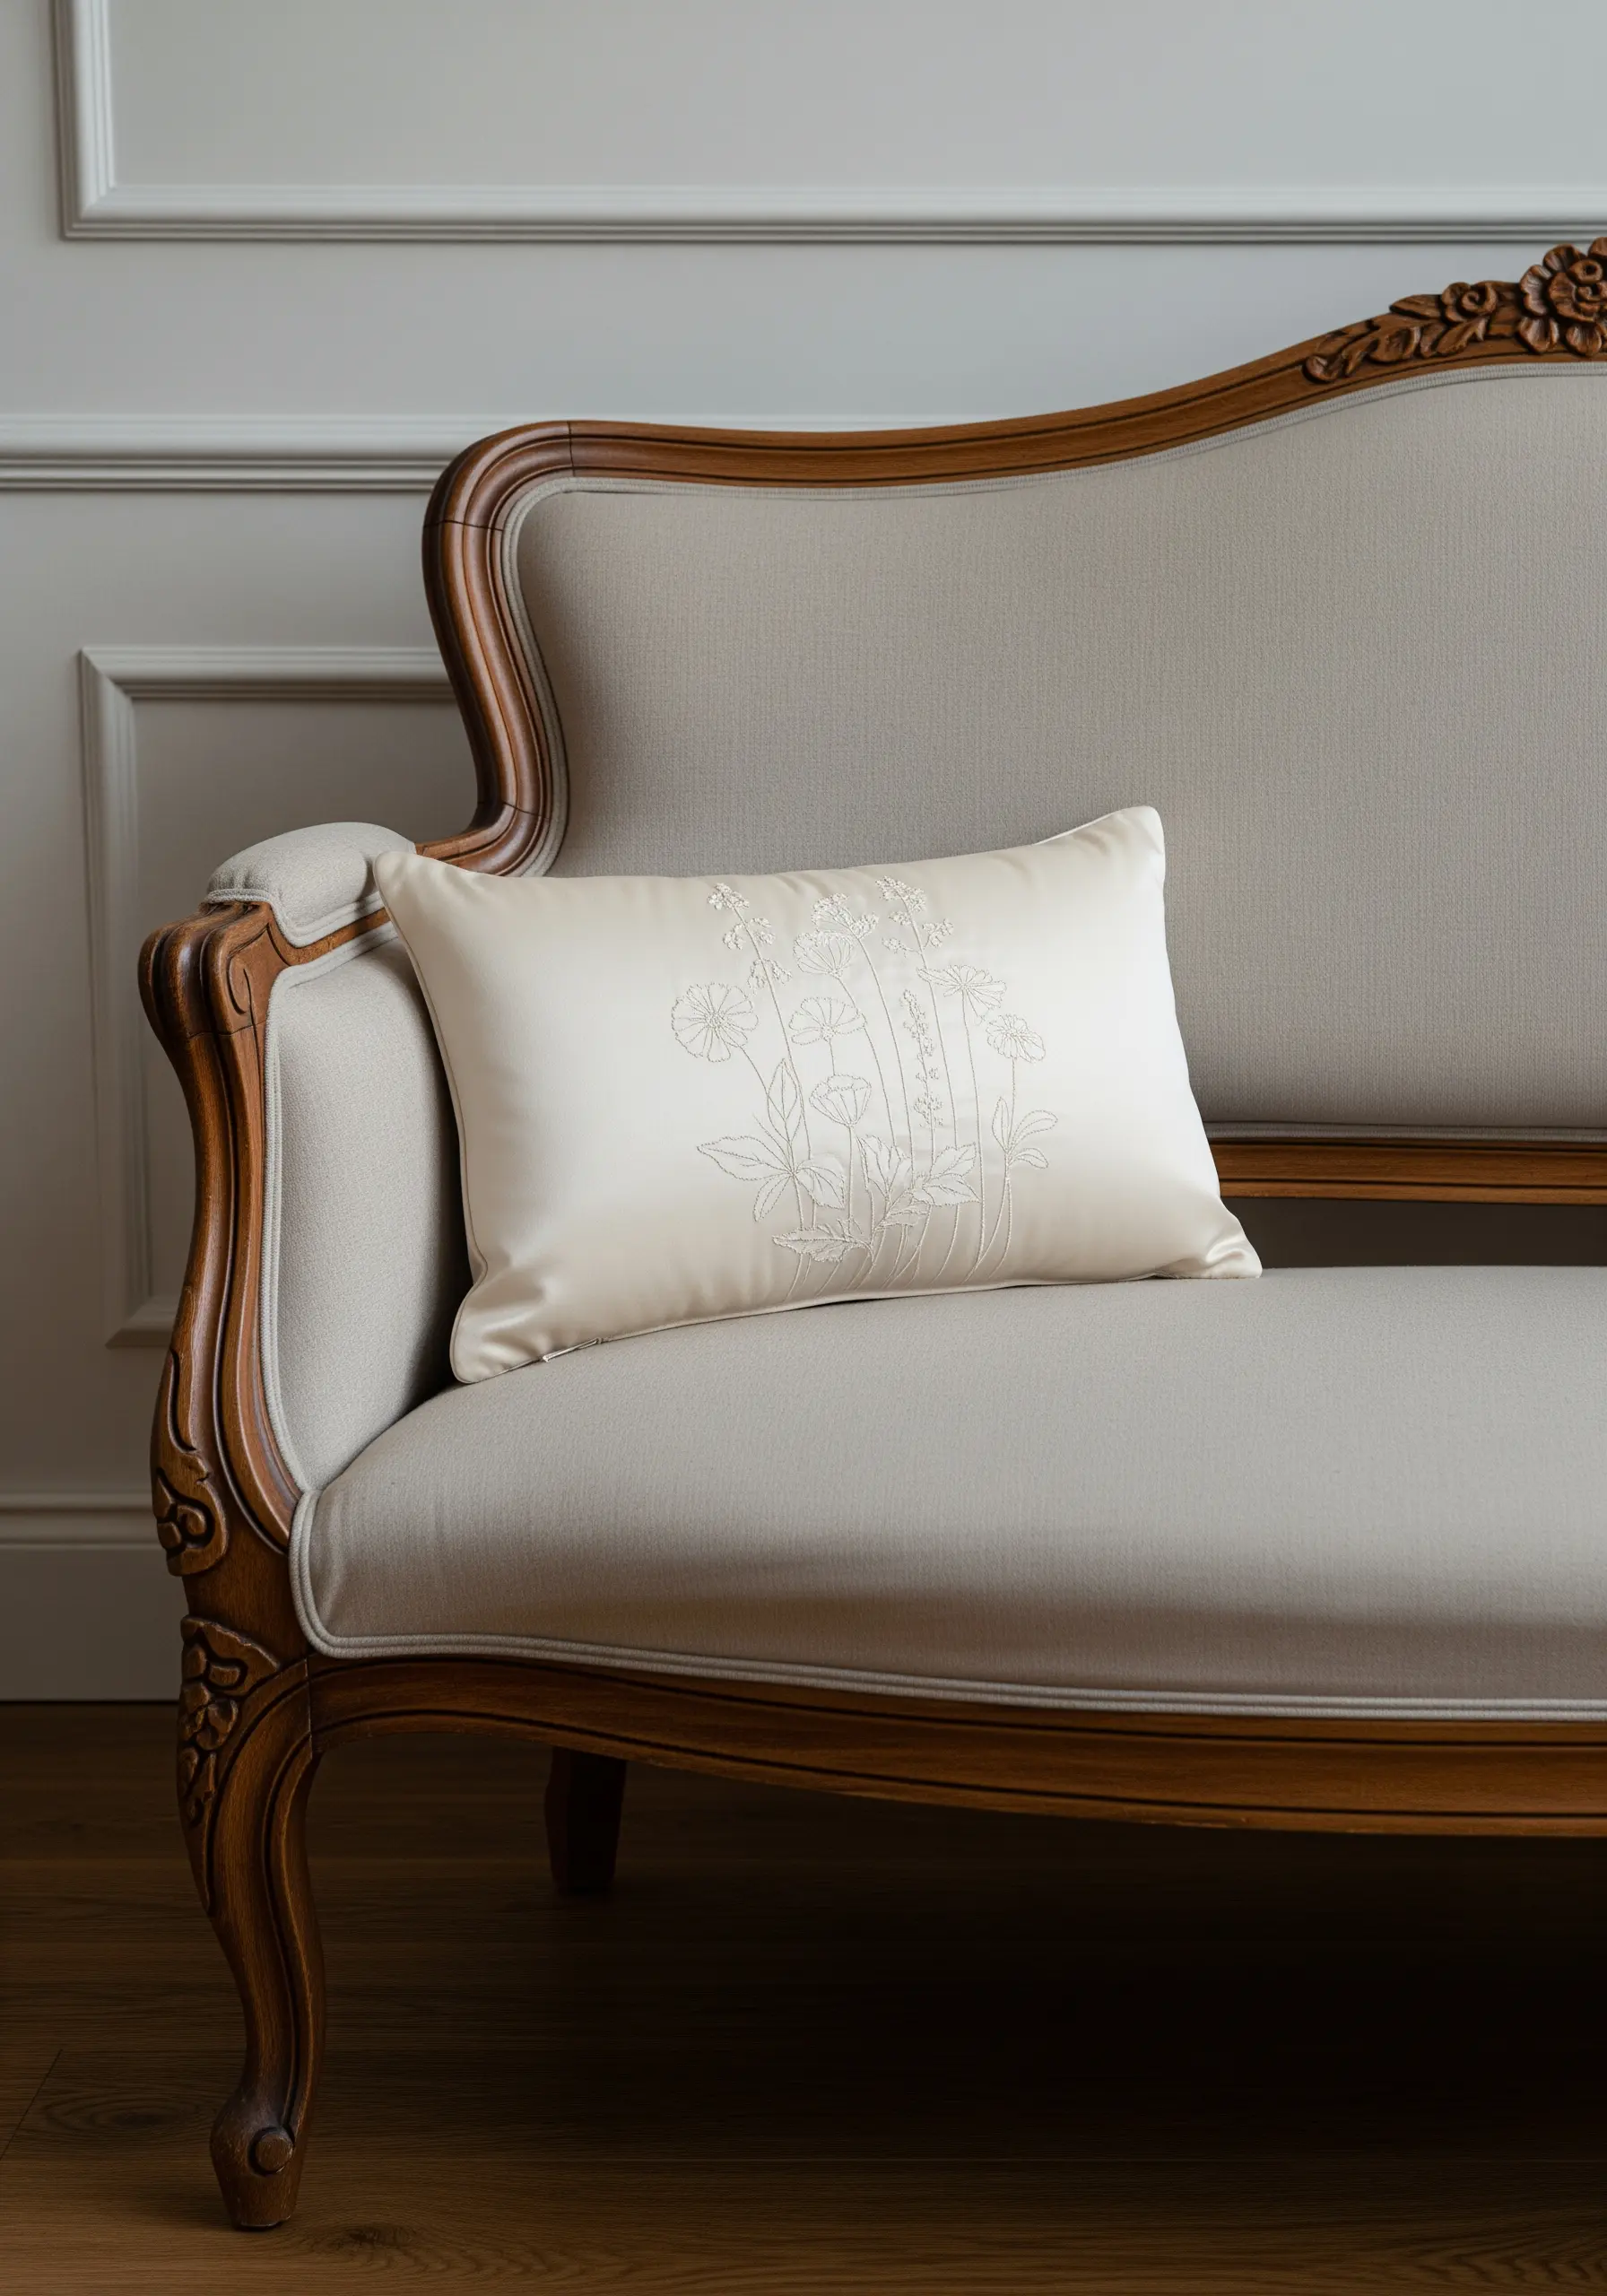
Stitching on a fabric with a sheen, like silk or sateen, requires a delicate touch.
Use a very fine needle (a size 9 or 10) and only one or two strands of floss to prevent leaving noticeable holes in the fabric.
A simple backstitch or stem stitch is all you need for these wispy wildflower outlines.
The way the matte thread contrasts with the lustrous fabric is the true centerpiece here, creating a look of understated luxury.
20. Painterly Texture with Seed Stitch Fill
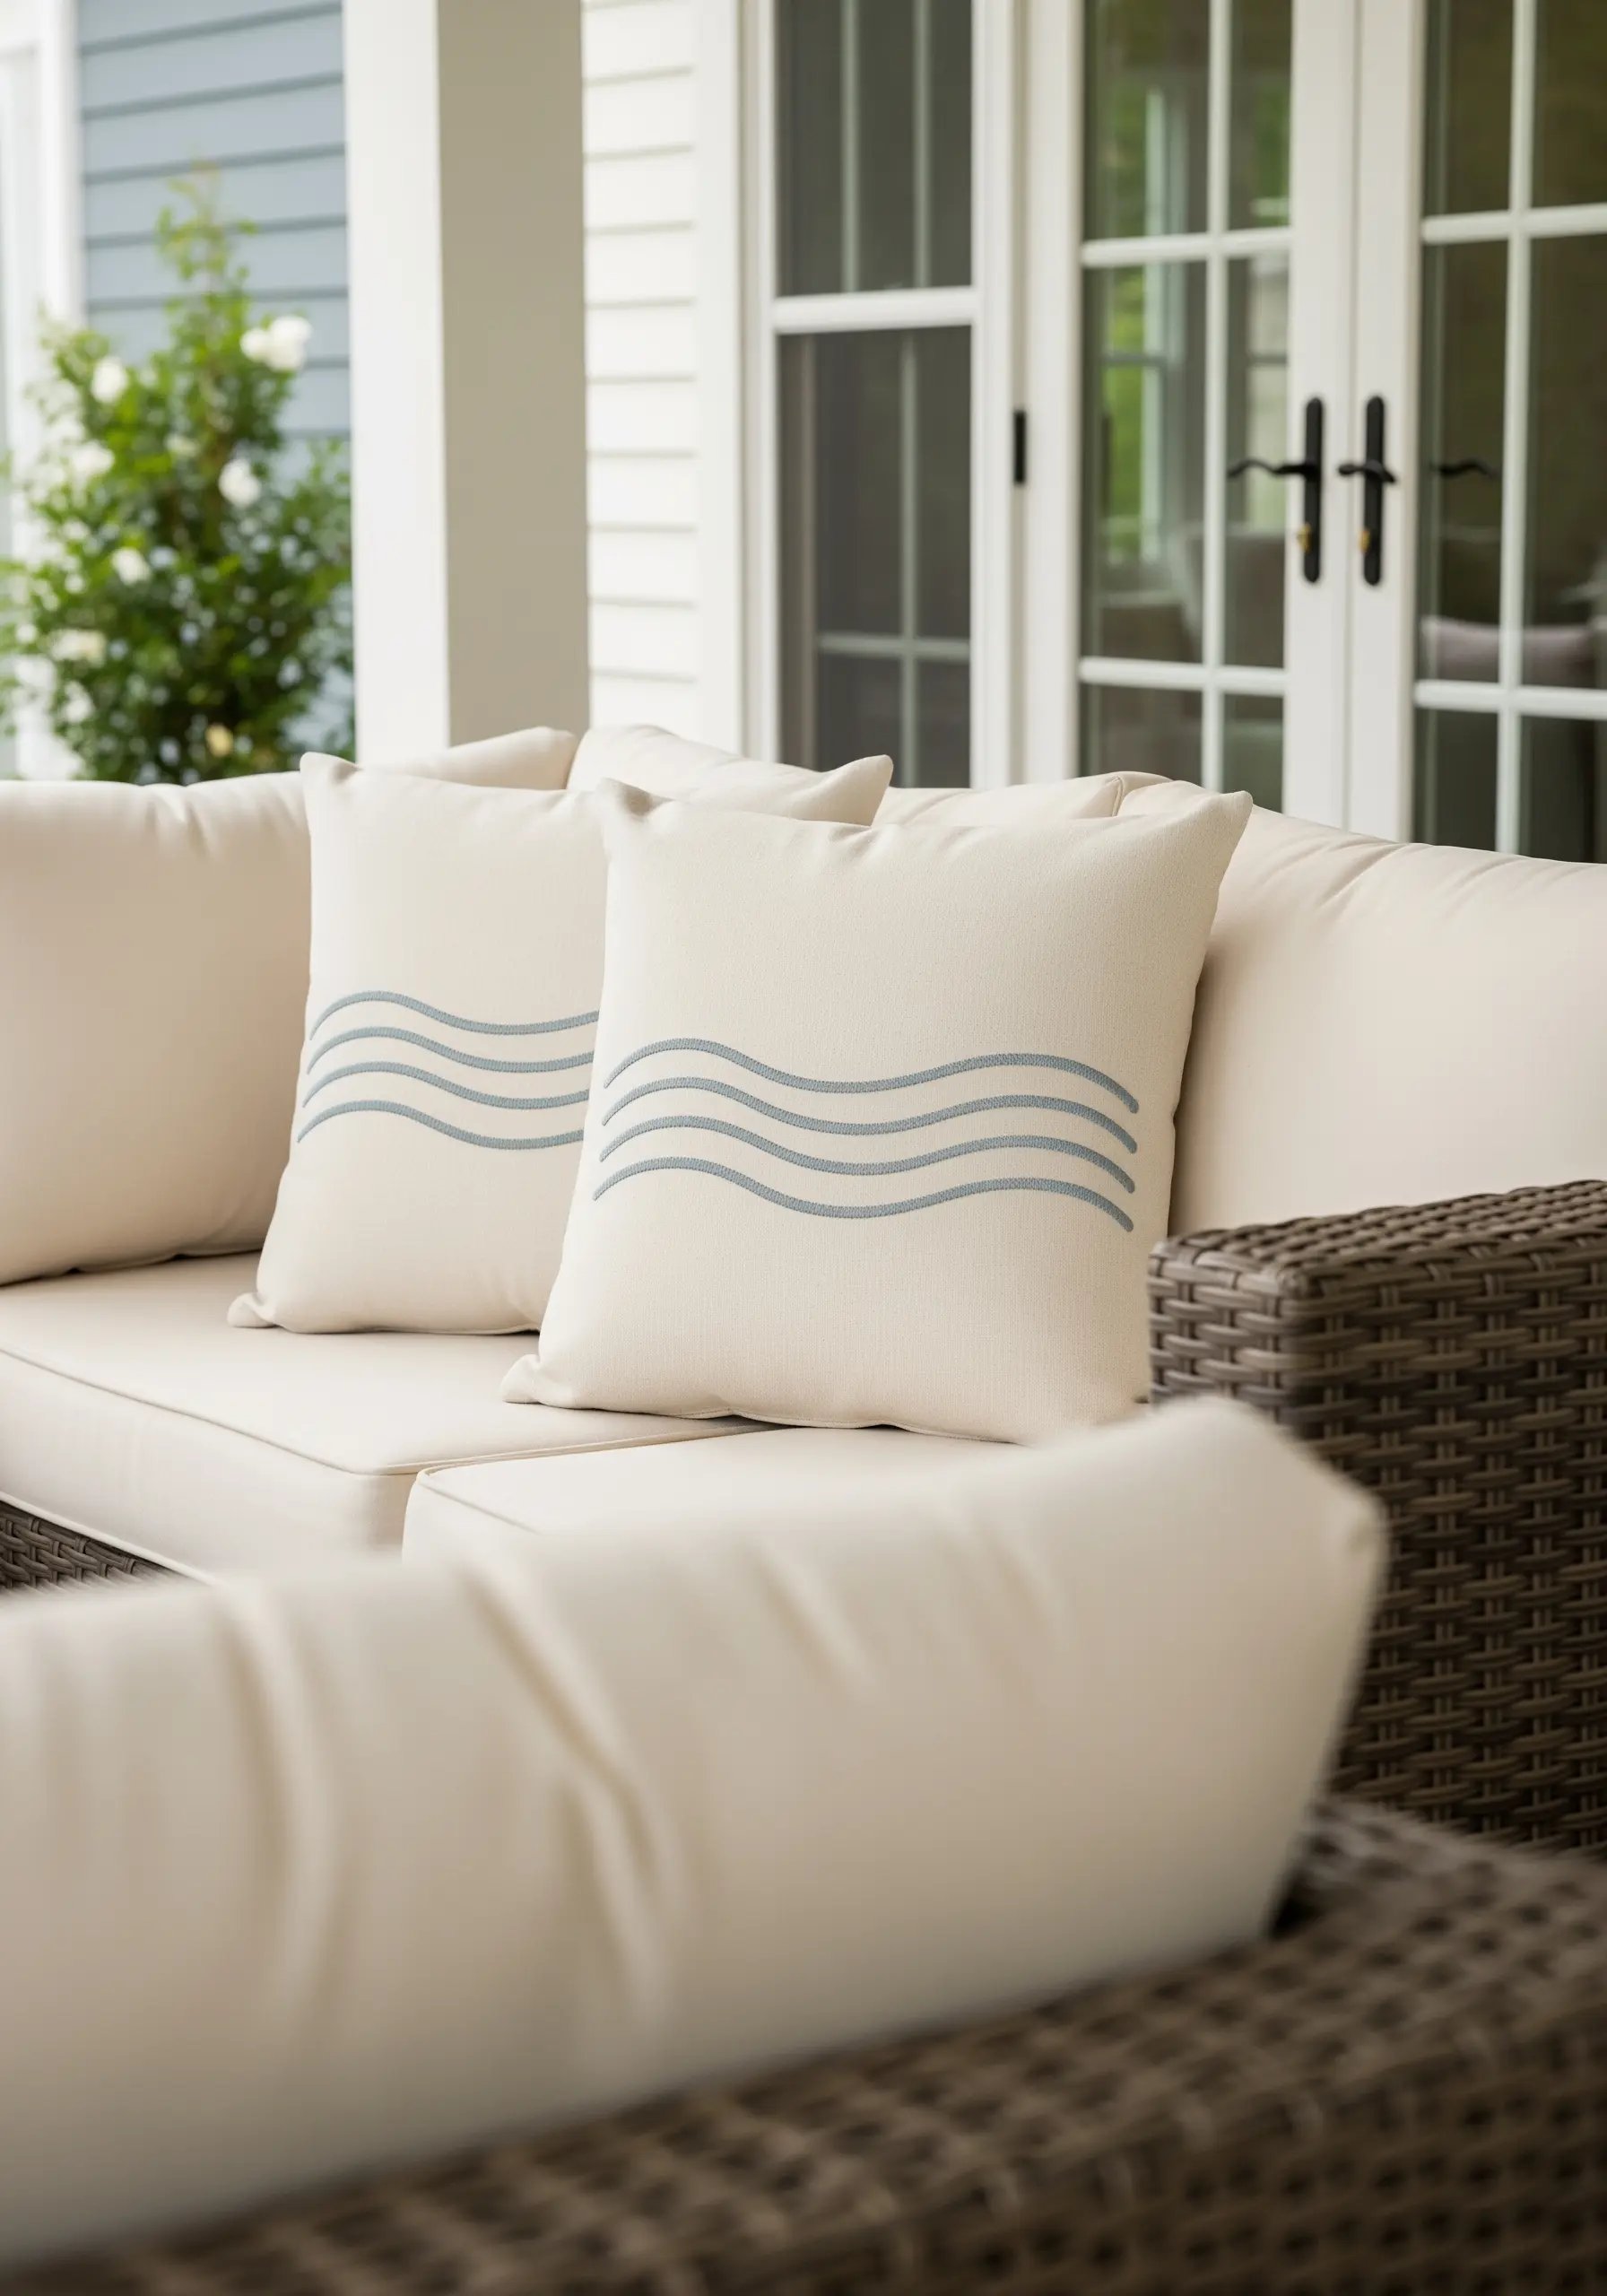
Instead of a flat satin stitch, fill these abstract wave shapes with a dense scattering of tiny, random straight stitches, also known as seed stitch.
This technique creates a soft, textural fill that has more movement and depth than a solid block of color.
It breaks up the light, giving the shapes a gentle, stippled appearance that feels more organic and painterly.
Using a slightly darker thread color, like a soft grey, enhances the design’s visibility while maintaining a calm, neutral palette.
21. A Branch of Blossoms with French Knots
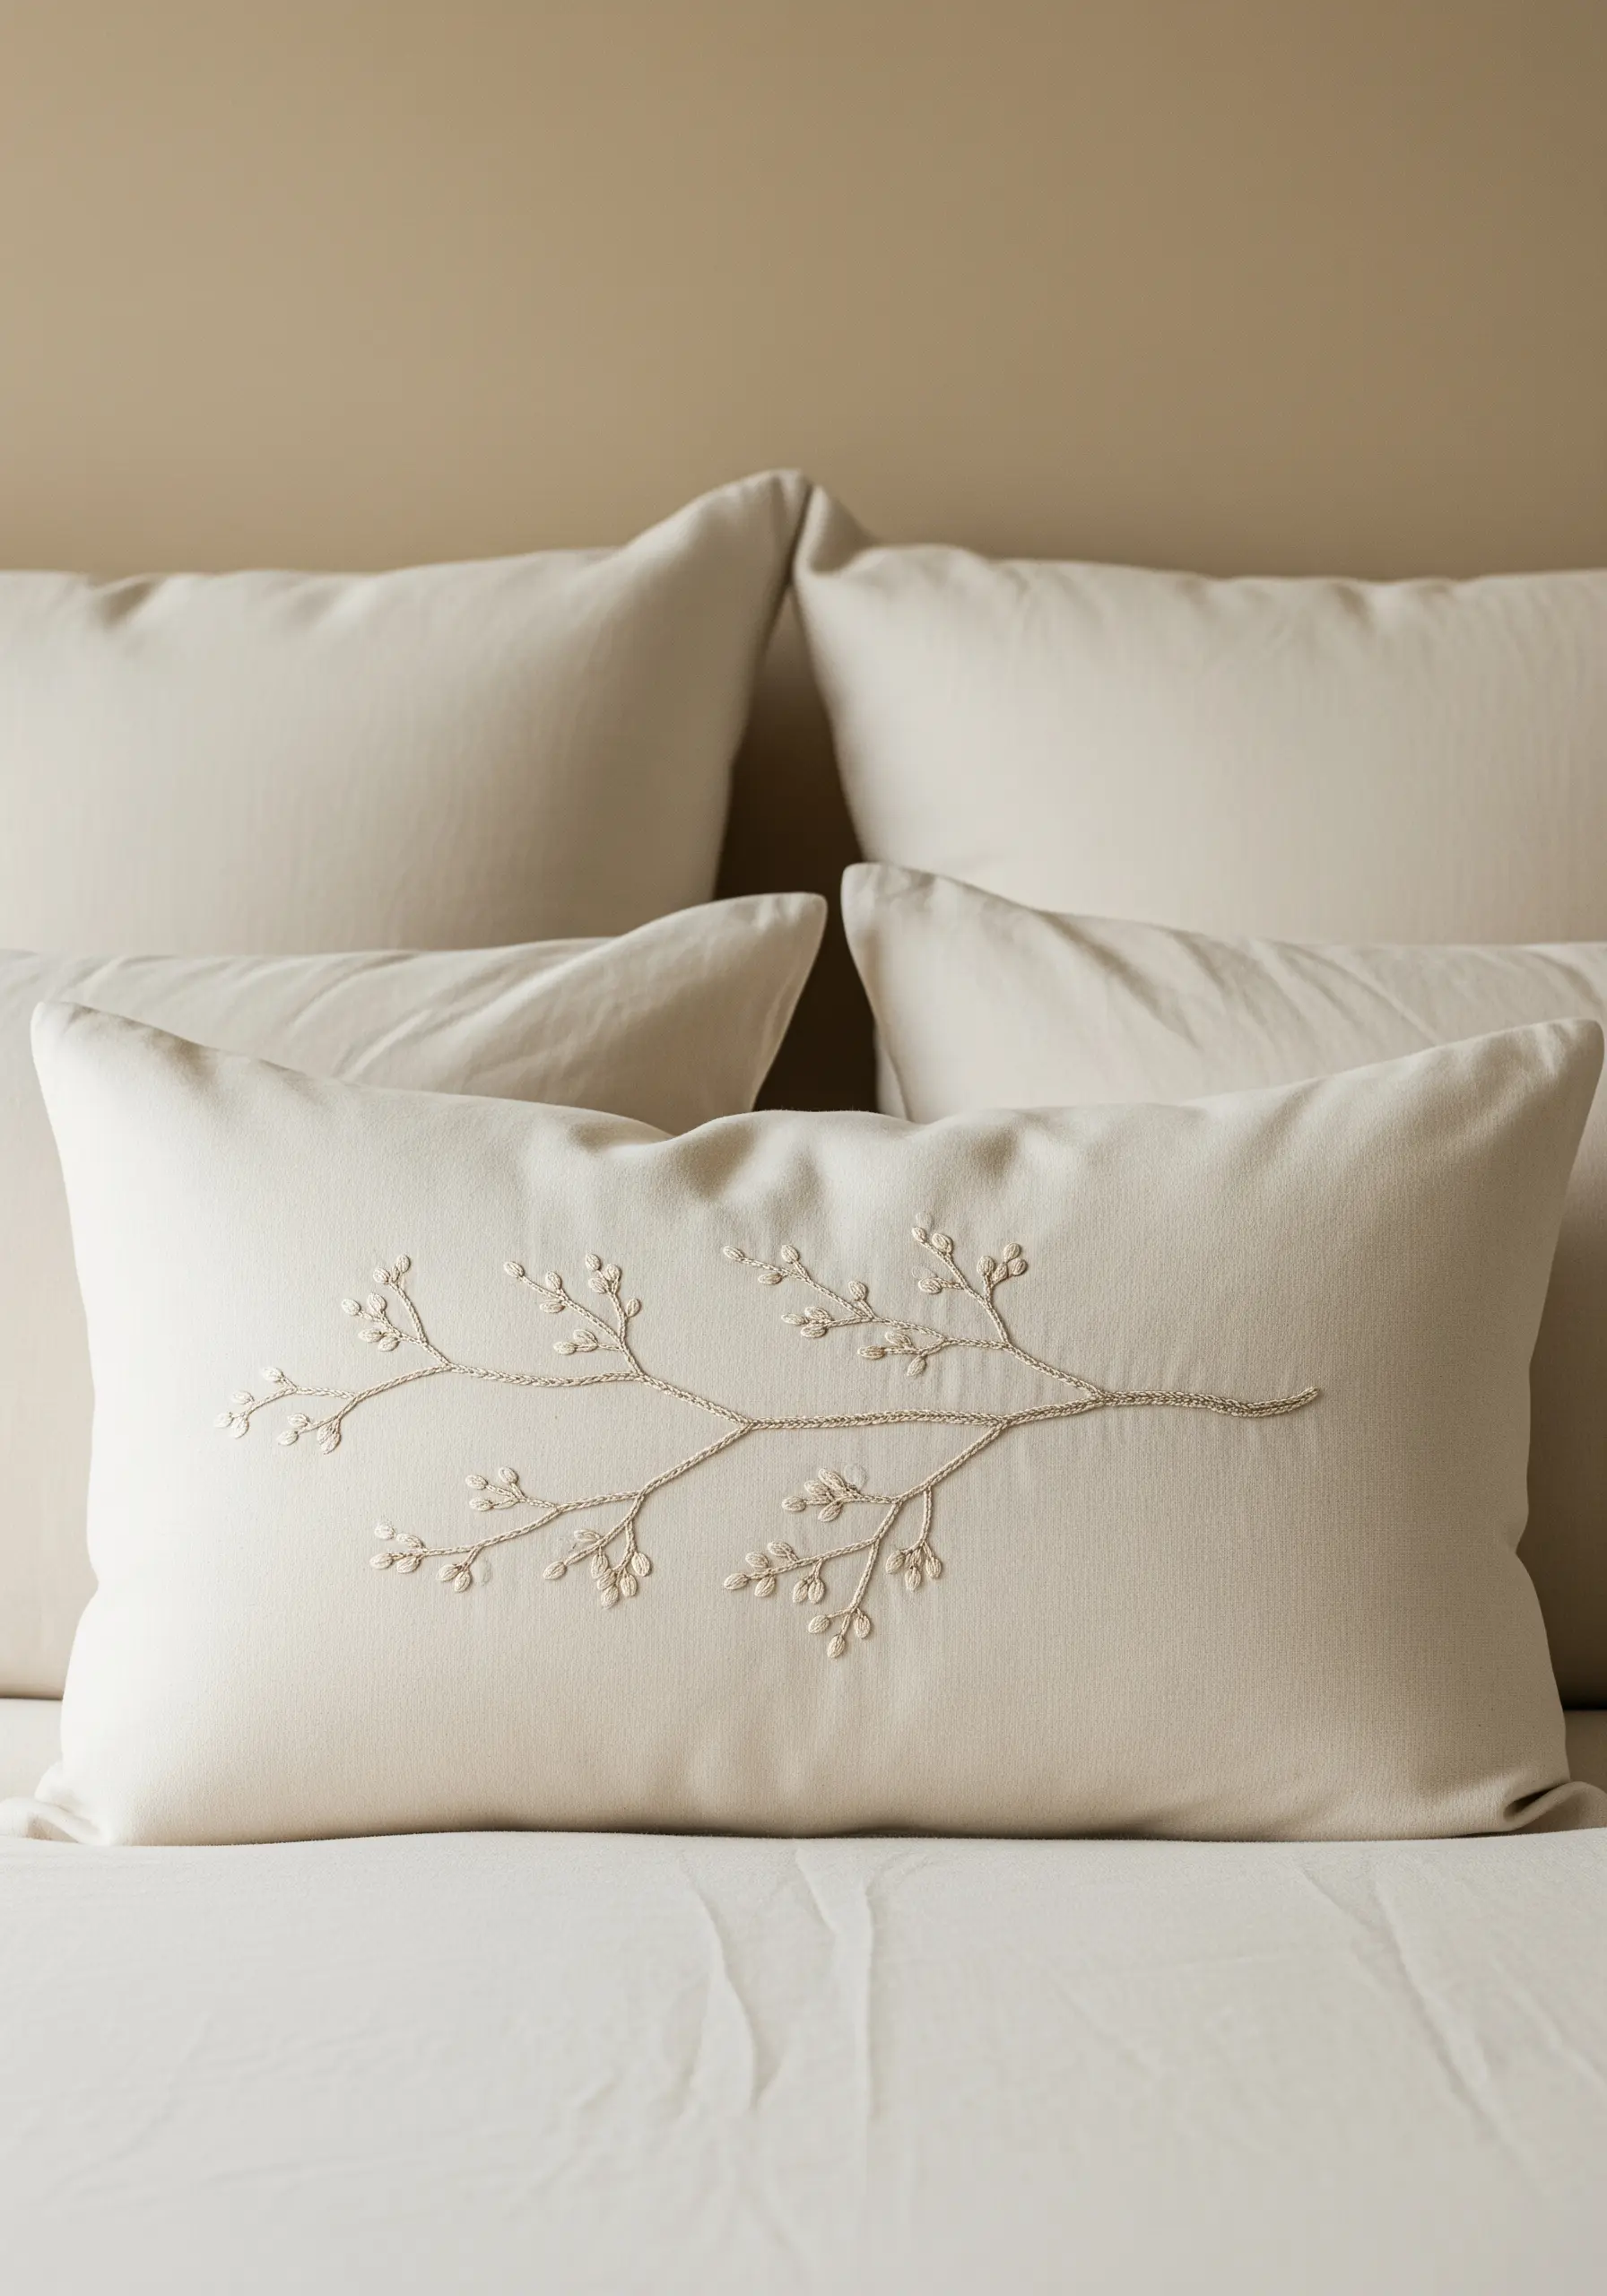
This design beautifully combines line work with textural dots for a delicate, organic feel.
Use a stem stitch for the branches to give them a smooth, defined line.
For the tiny blossoms, use French knots. You can vary their size by changing the number of times you wrap the thread around the needle—one wrap for tiny buds, two for fuller blooms.
This variation makes the branch feel more alive and natural, adding a charming, touchable detail to the pillow.
22. Continuous Line Art for a Mountain Scene
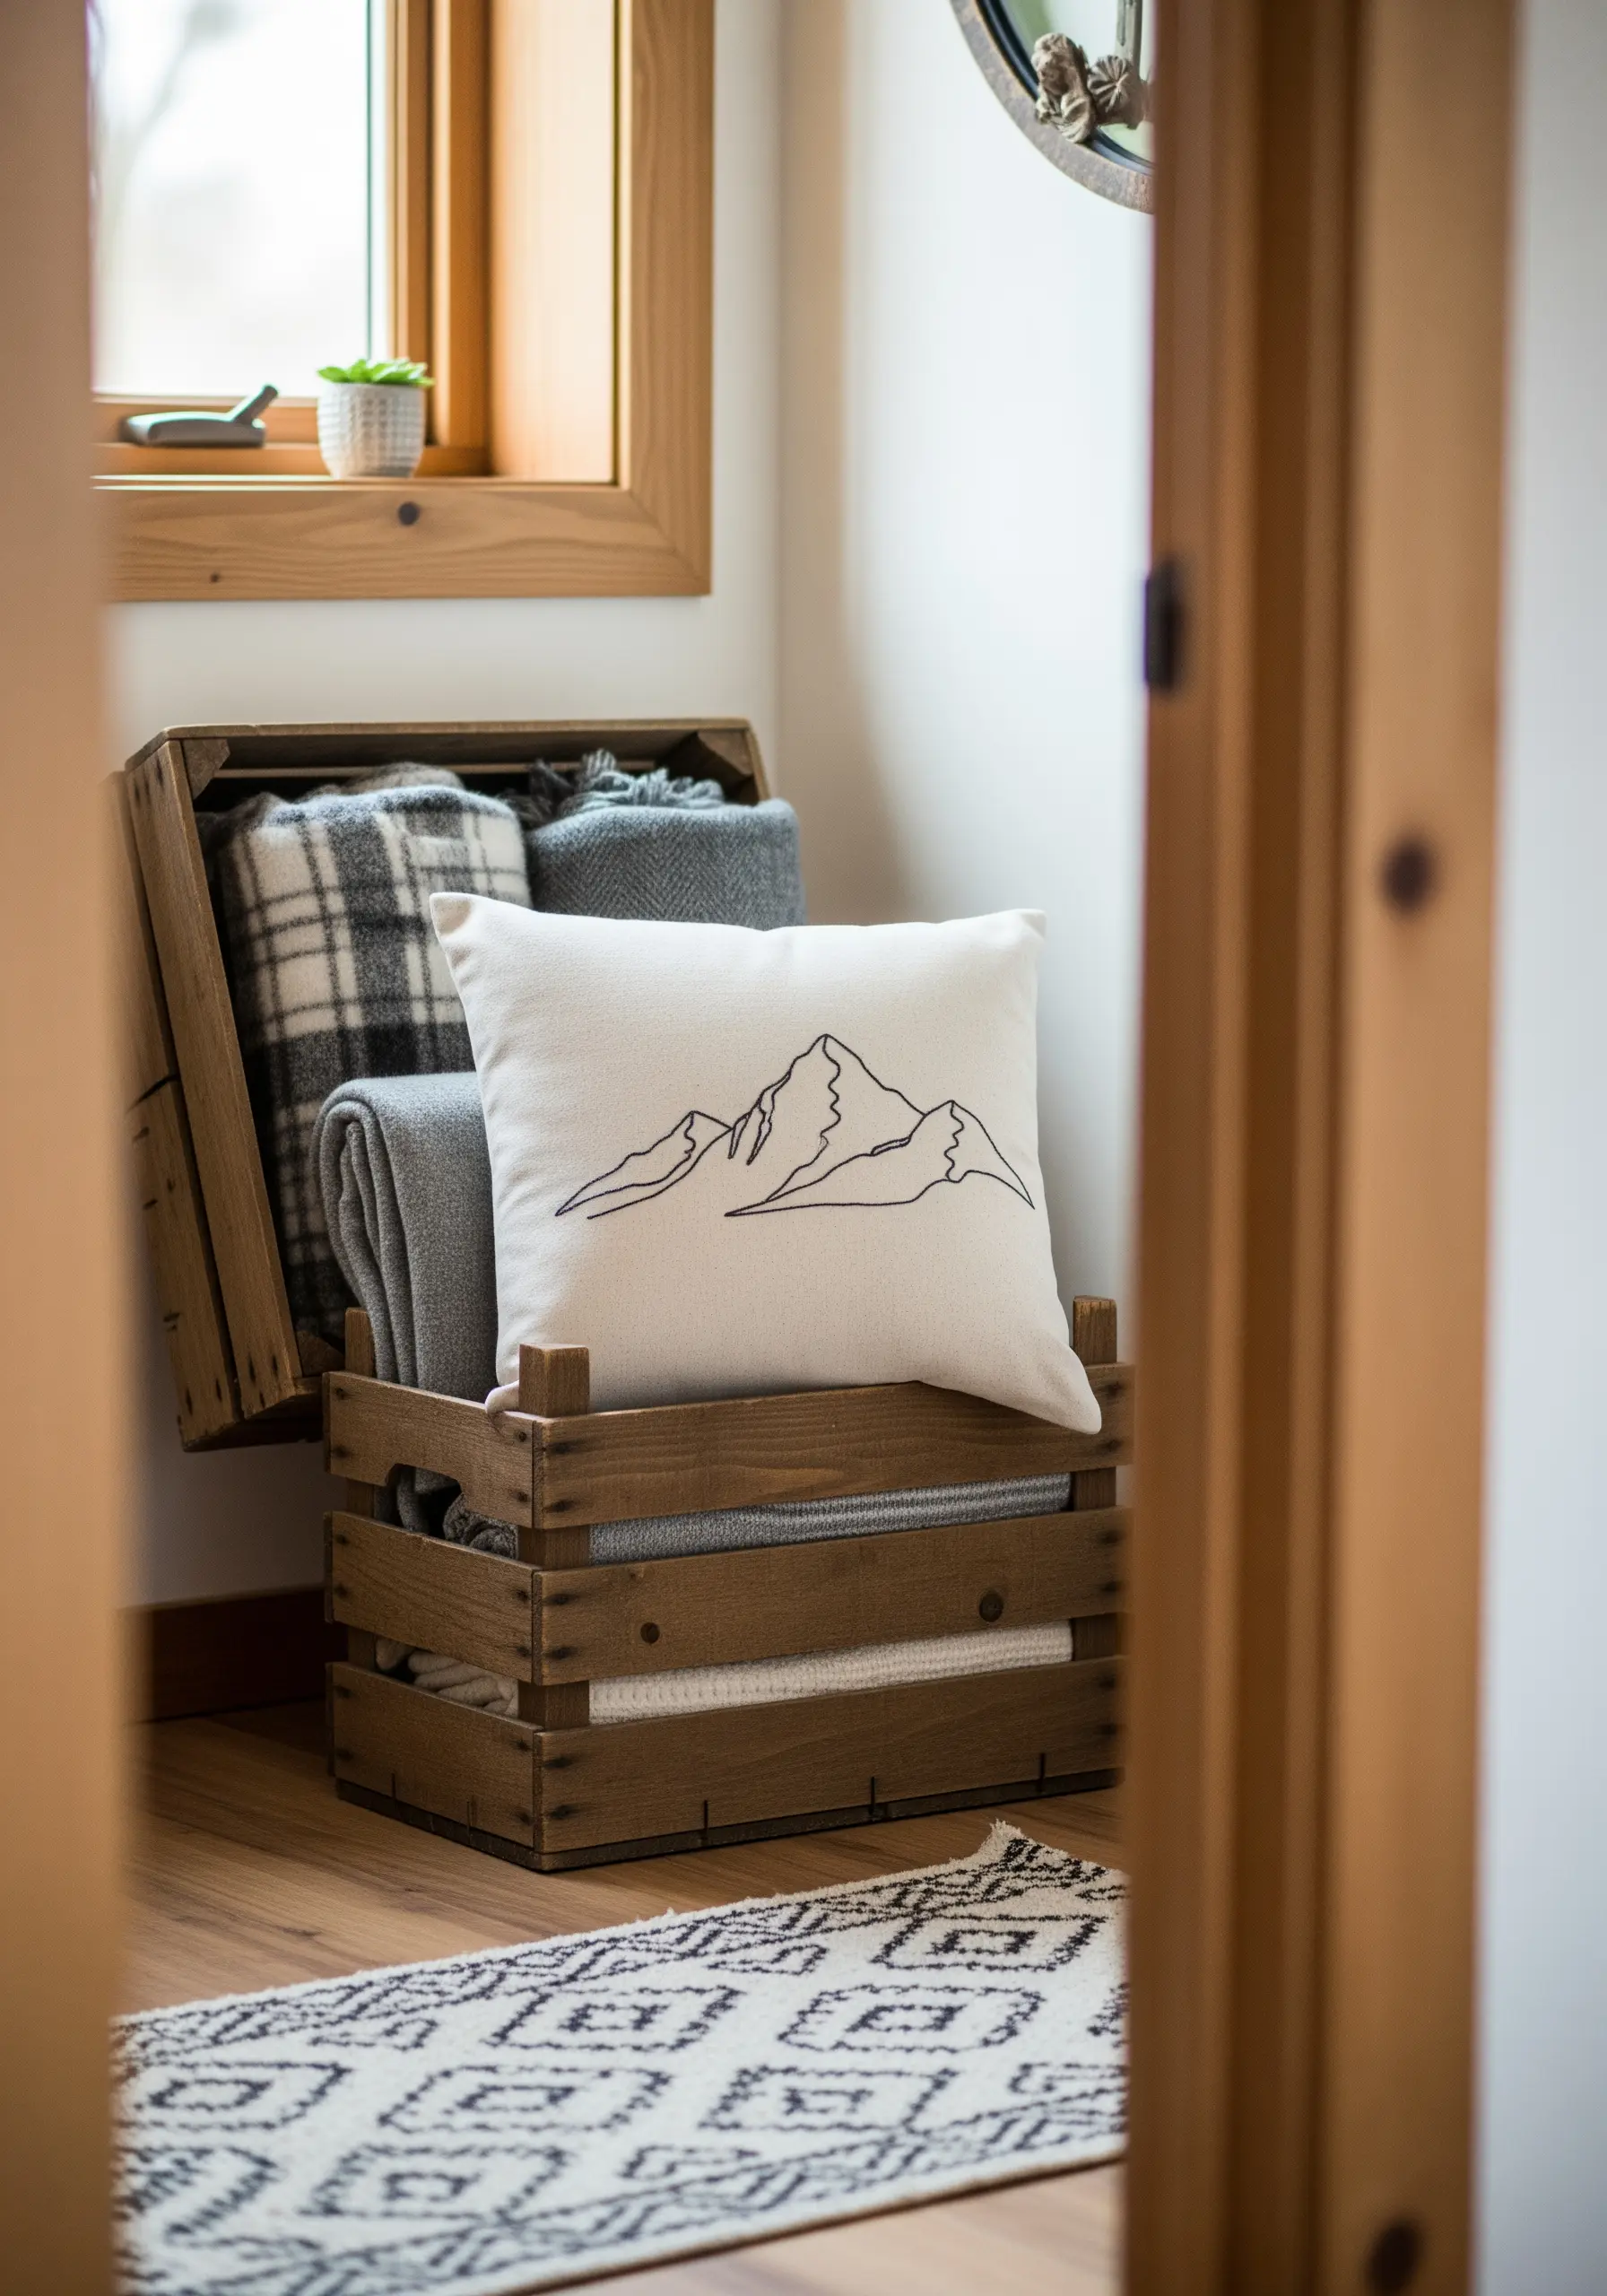
The beauty of this mountain range lies in its execution as a single, unbroken line, like an ink drawing.
To achieve this fluid look, use a whipped backstitch or a stem stitch, which conceals the gaps between individual stitches.
Plan your stitch path carefully so you never have to break the thread.
This technique emphasizes the clean, graphic quality of the design, allowing the negative space around the mountains to feel just as intentional as the stitched lines.
23. Soft Gradients with Long and Short Stitch
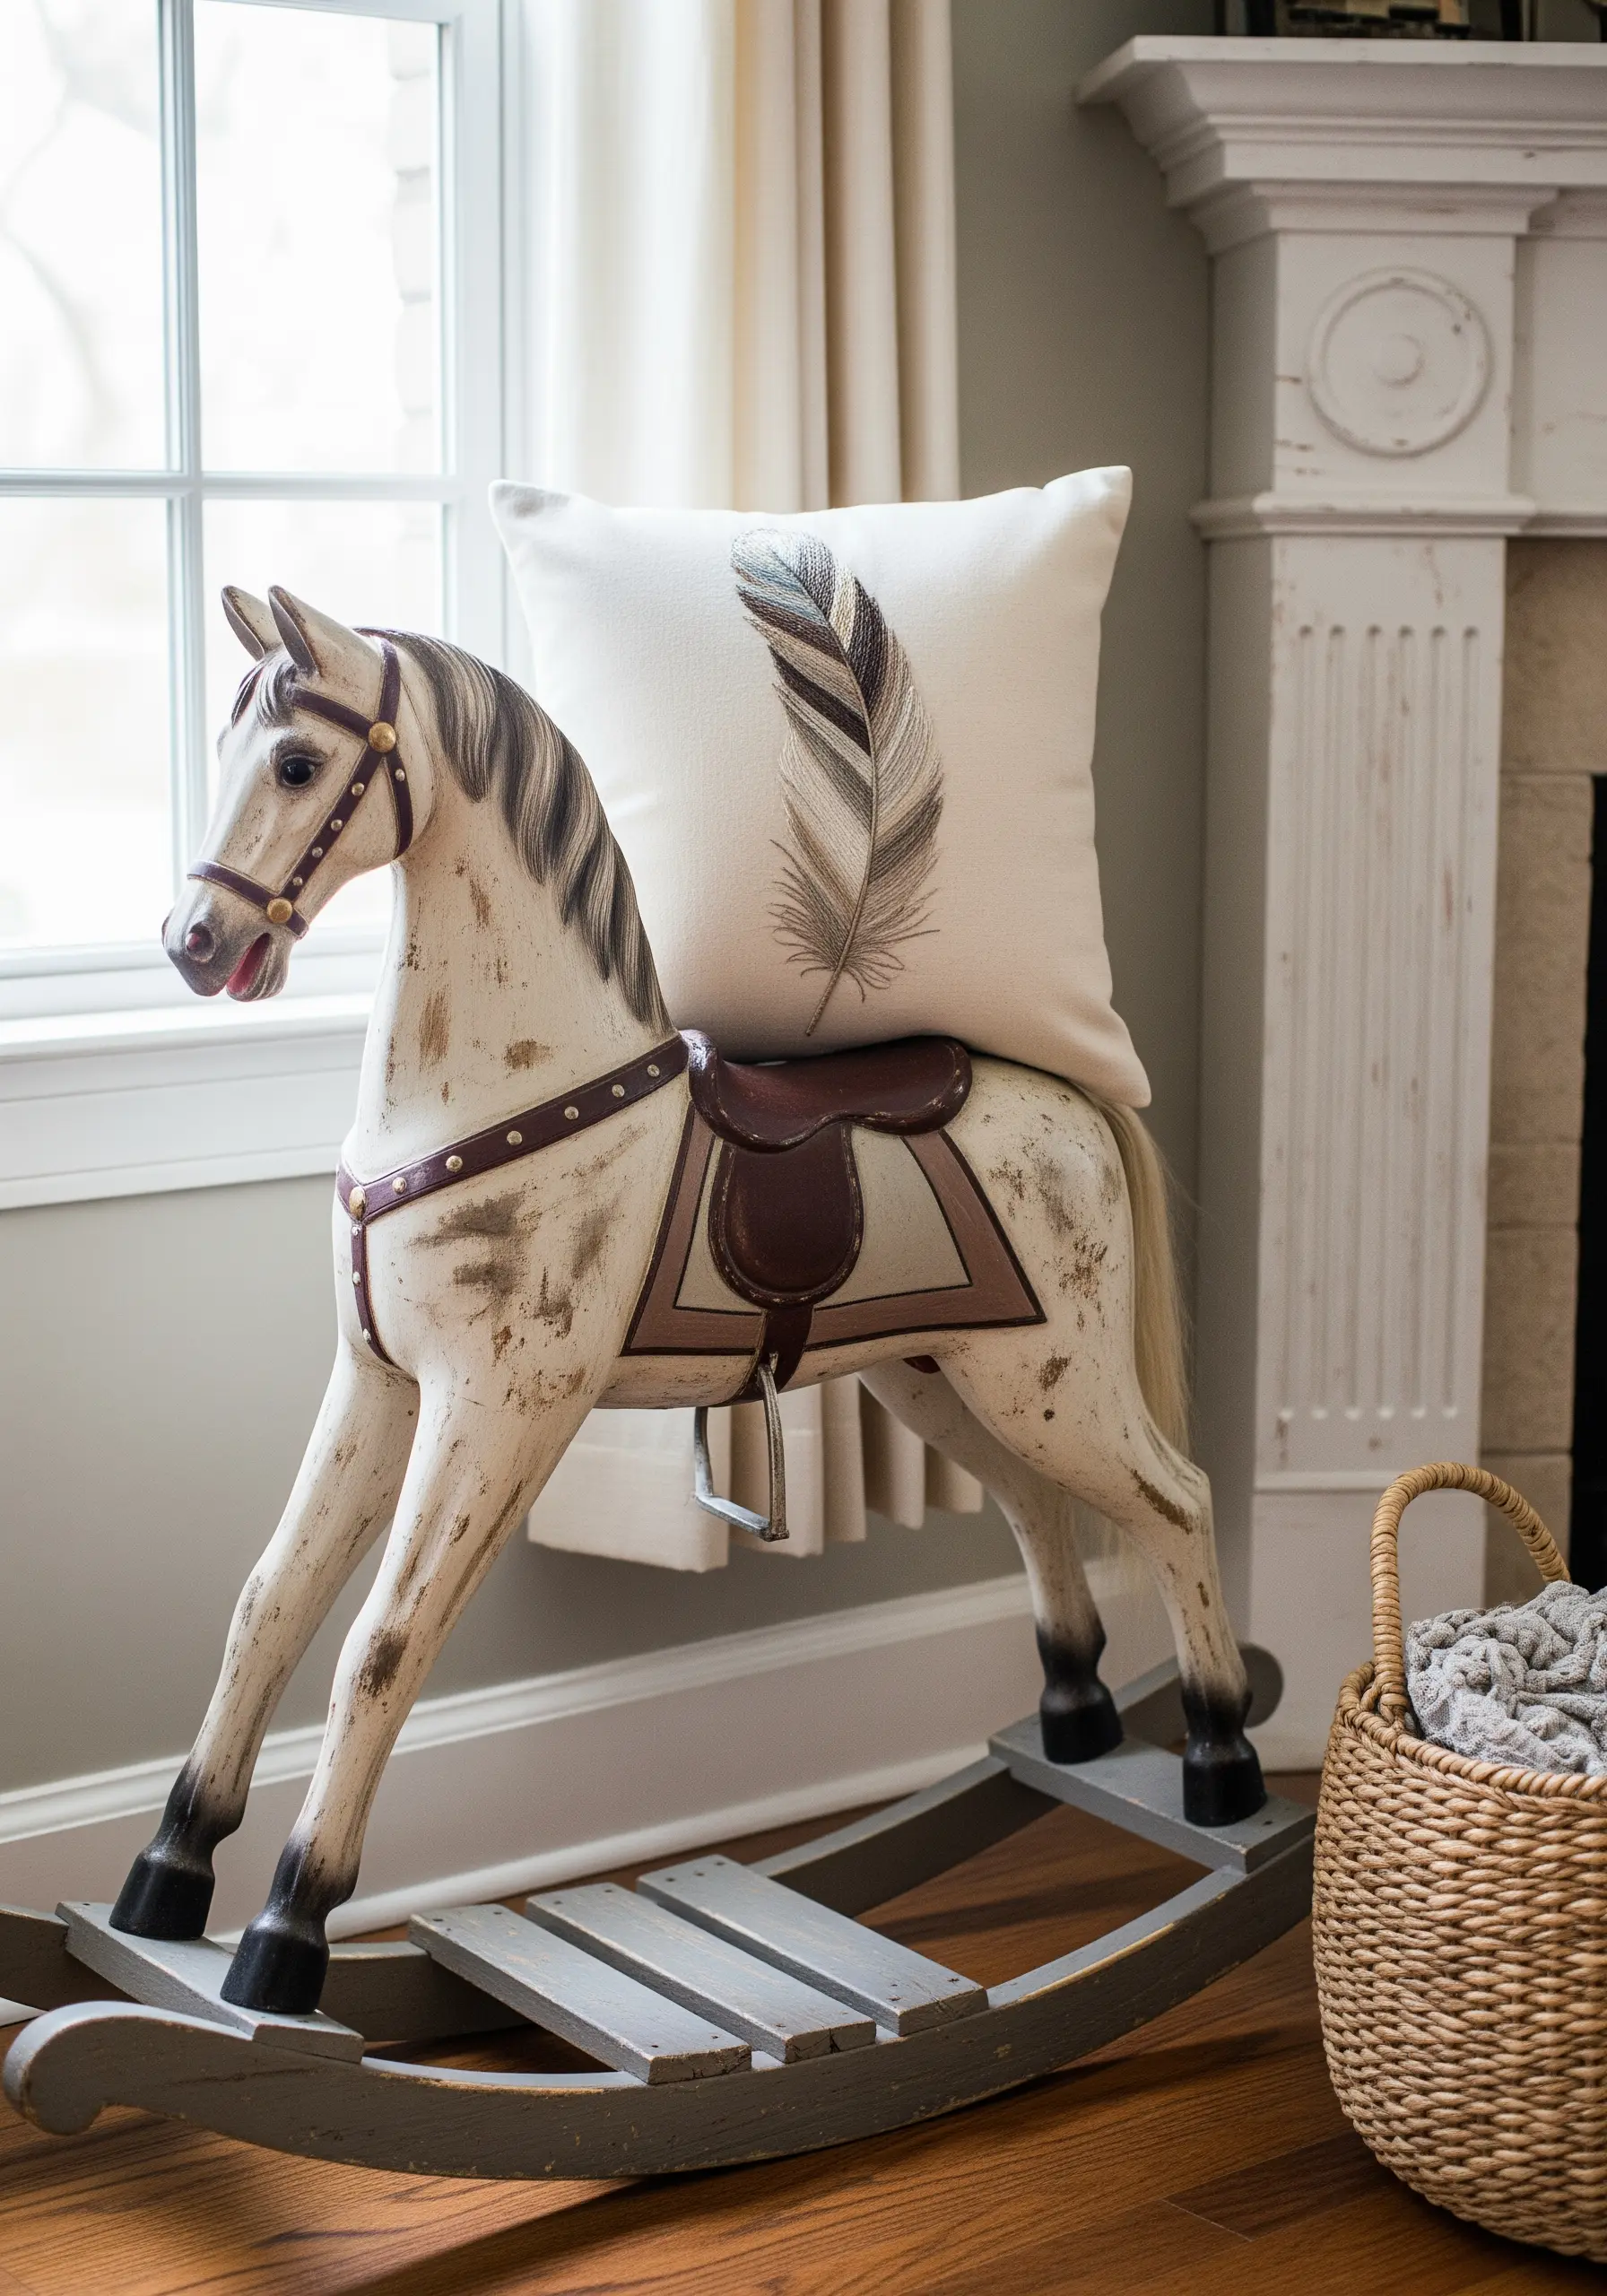
To create the soft, blended shading of this feather, you need to think like a painter.
Use the long and short stitch technique with three or four closely-related shades of cream, taupe, and grey.
Begin at the tip and work your way down, interlocking rows of stitches of varying lengths. This blending of colors removes any harsh lines, resulting in a soft, realistic gradient.
Finish with a single backstitch down the center for the quill, giving the feather structure.
24. Illustrative Charm with a Simple Backstitch
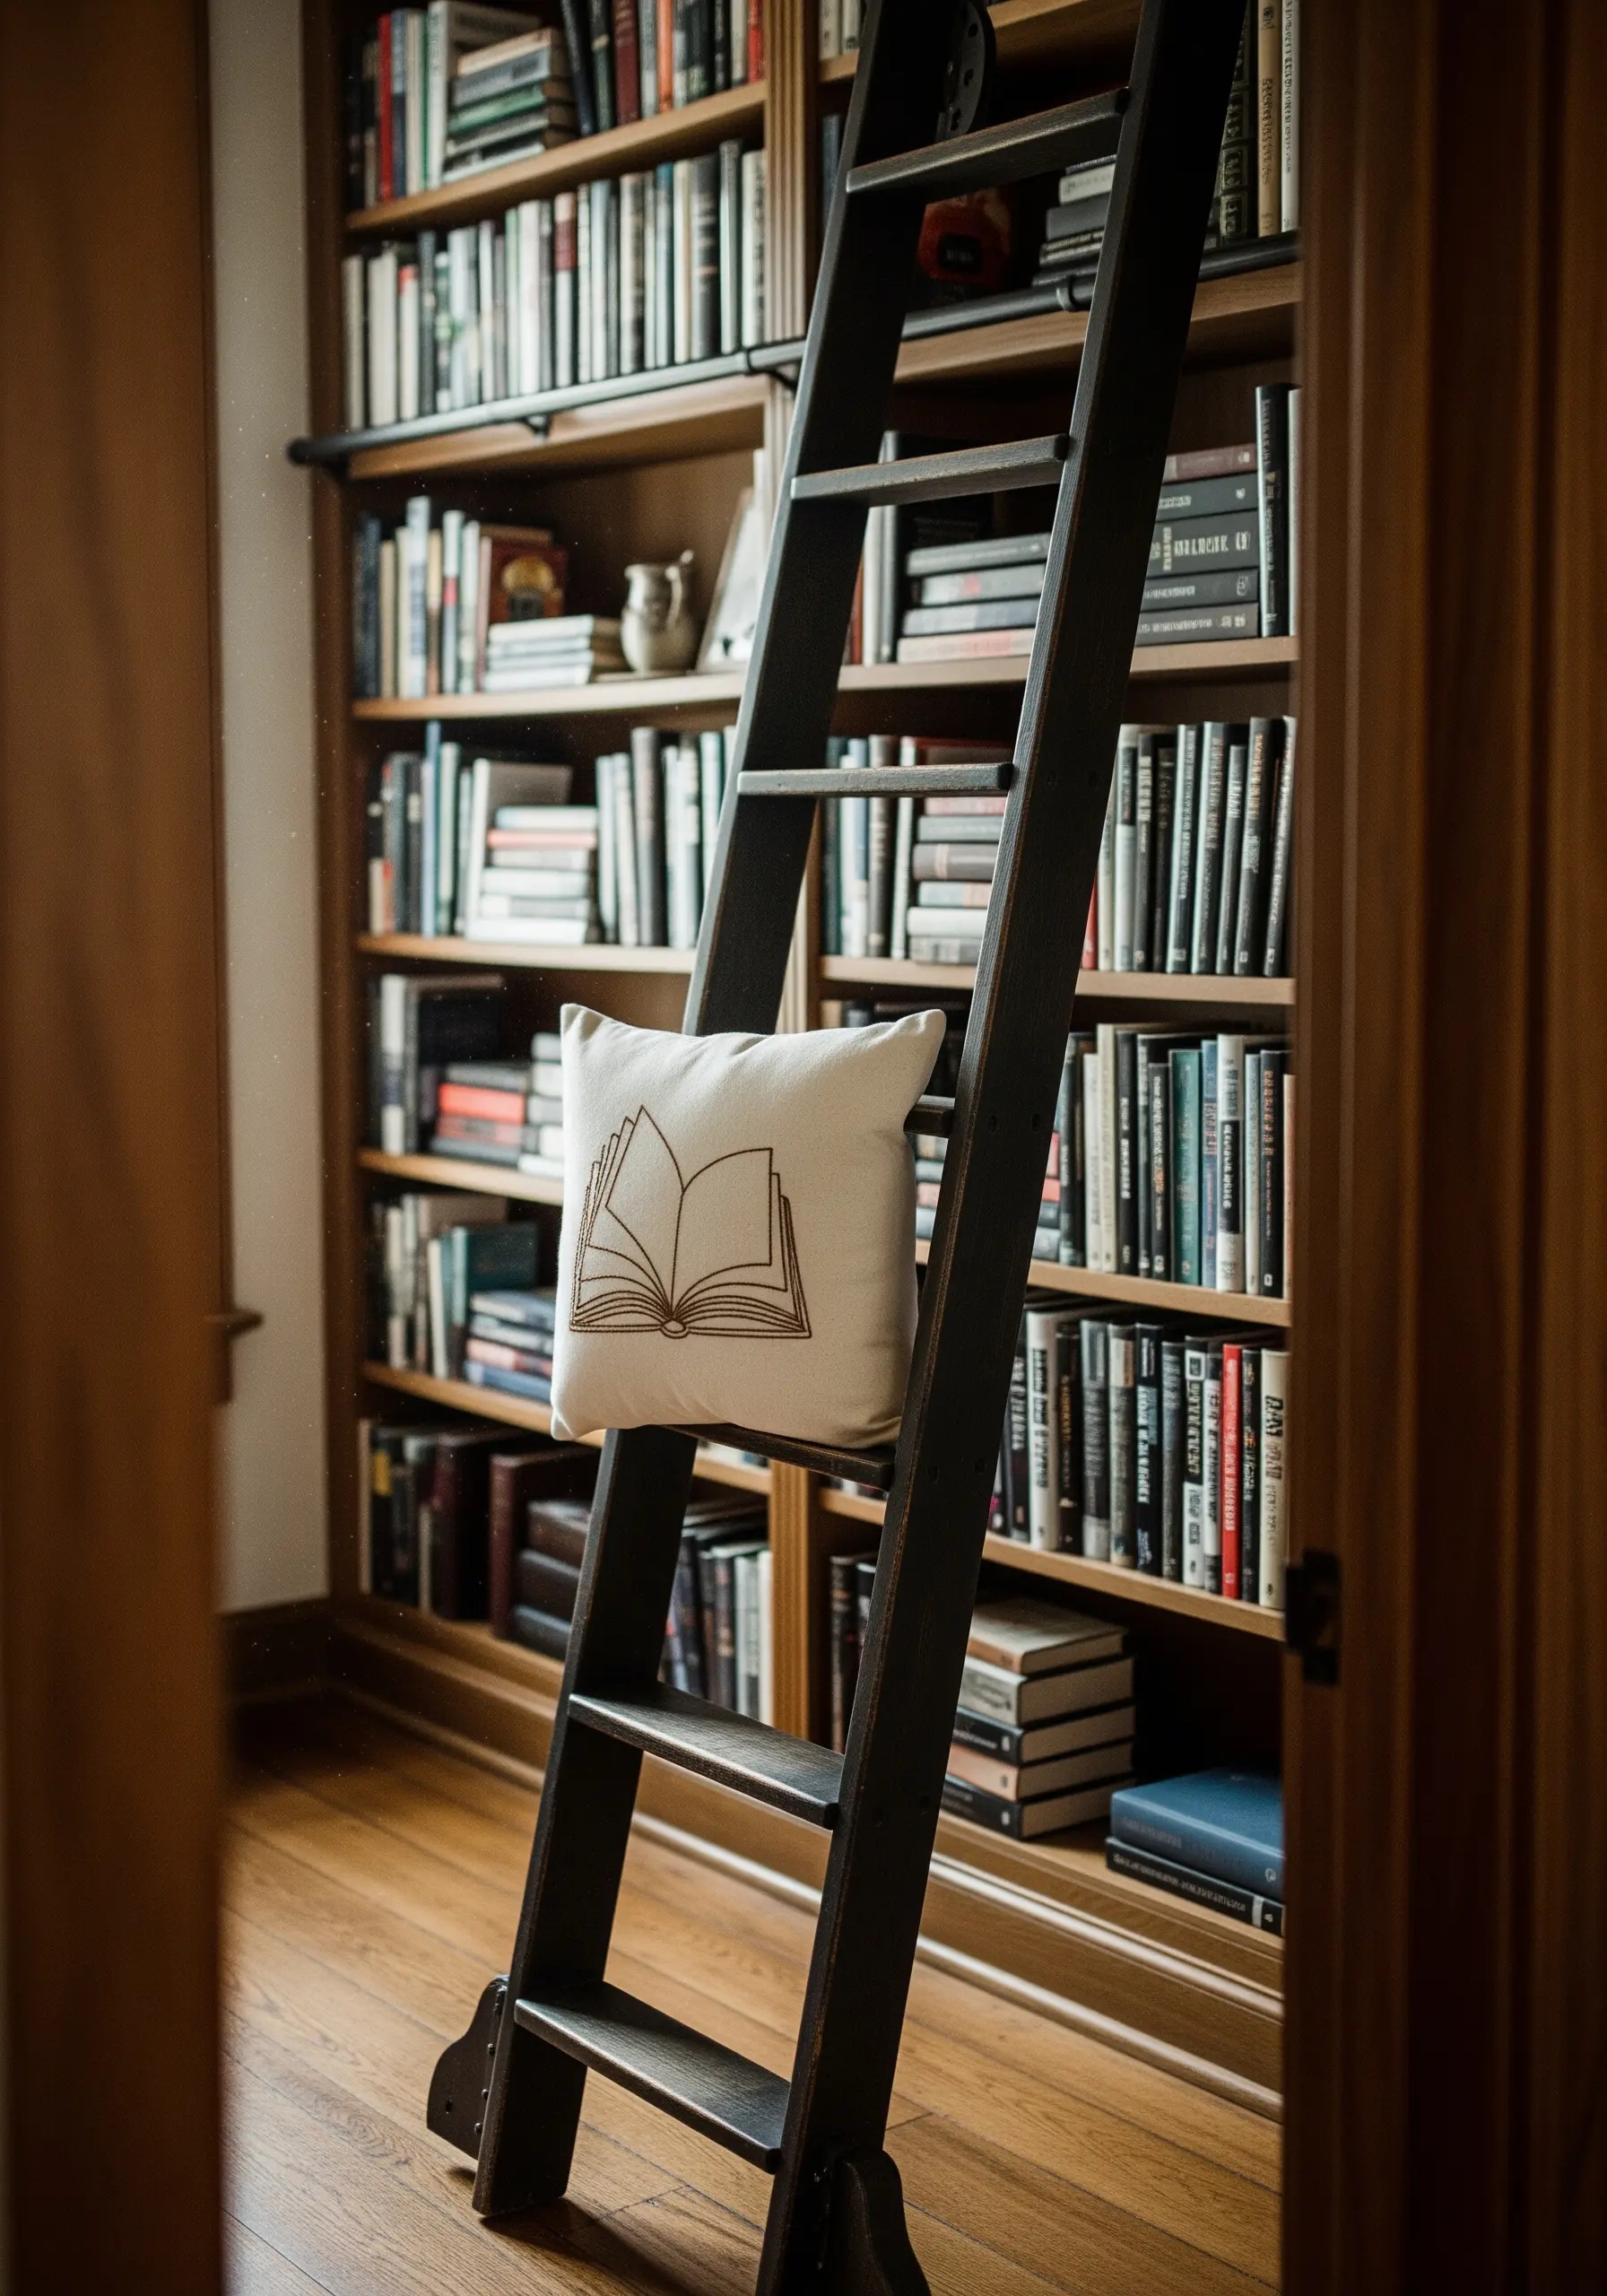
Sometimes, the simplest approach is the most effective. This open book motif is all about clean, illustrative lines.
A basic backstitch using two or three strands of floss is perfect for this.
It provides a clear, defined line that looks like a pen drawing, giving the design a storybook charm.
Focus on maintaining consistent stitch length, especially around the curves of the pages, to keep the illustration crisp and easy to read.
25. A Touch of Whimsy with a Tiny Motif
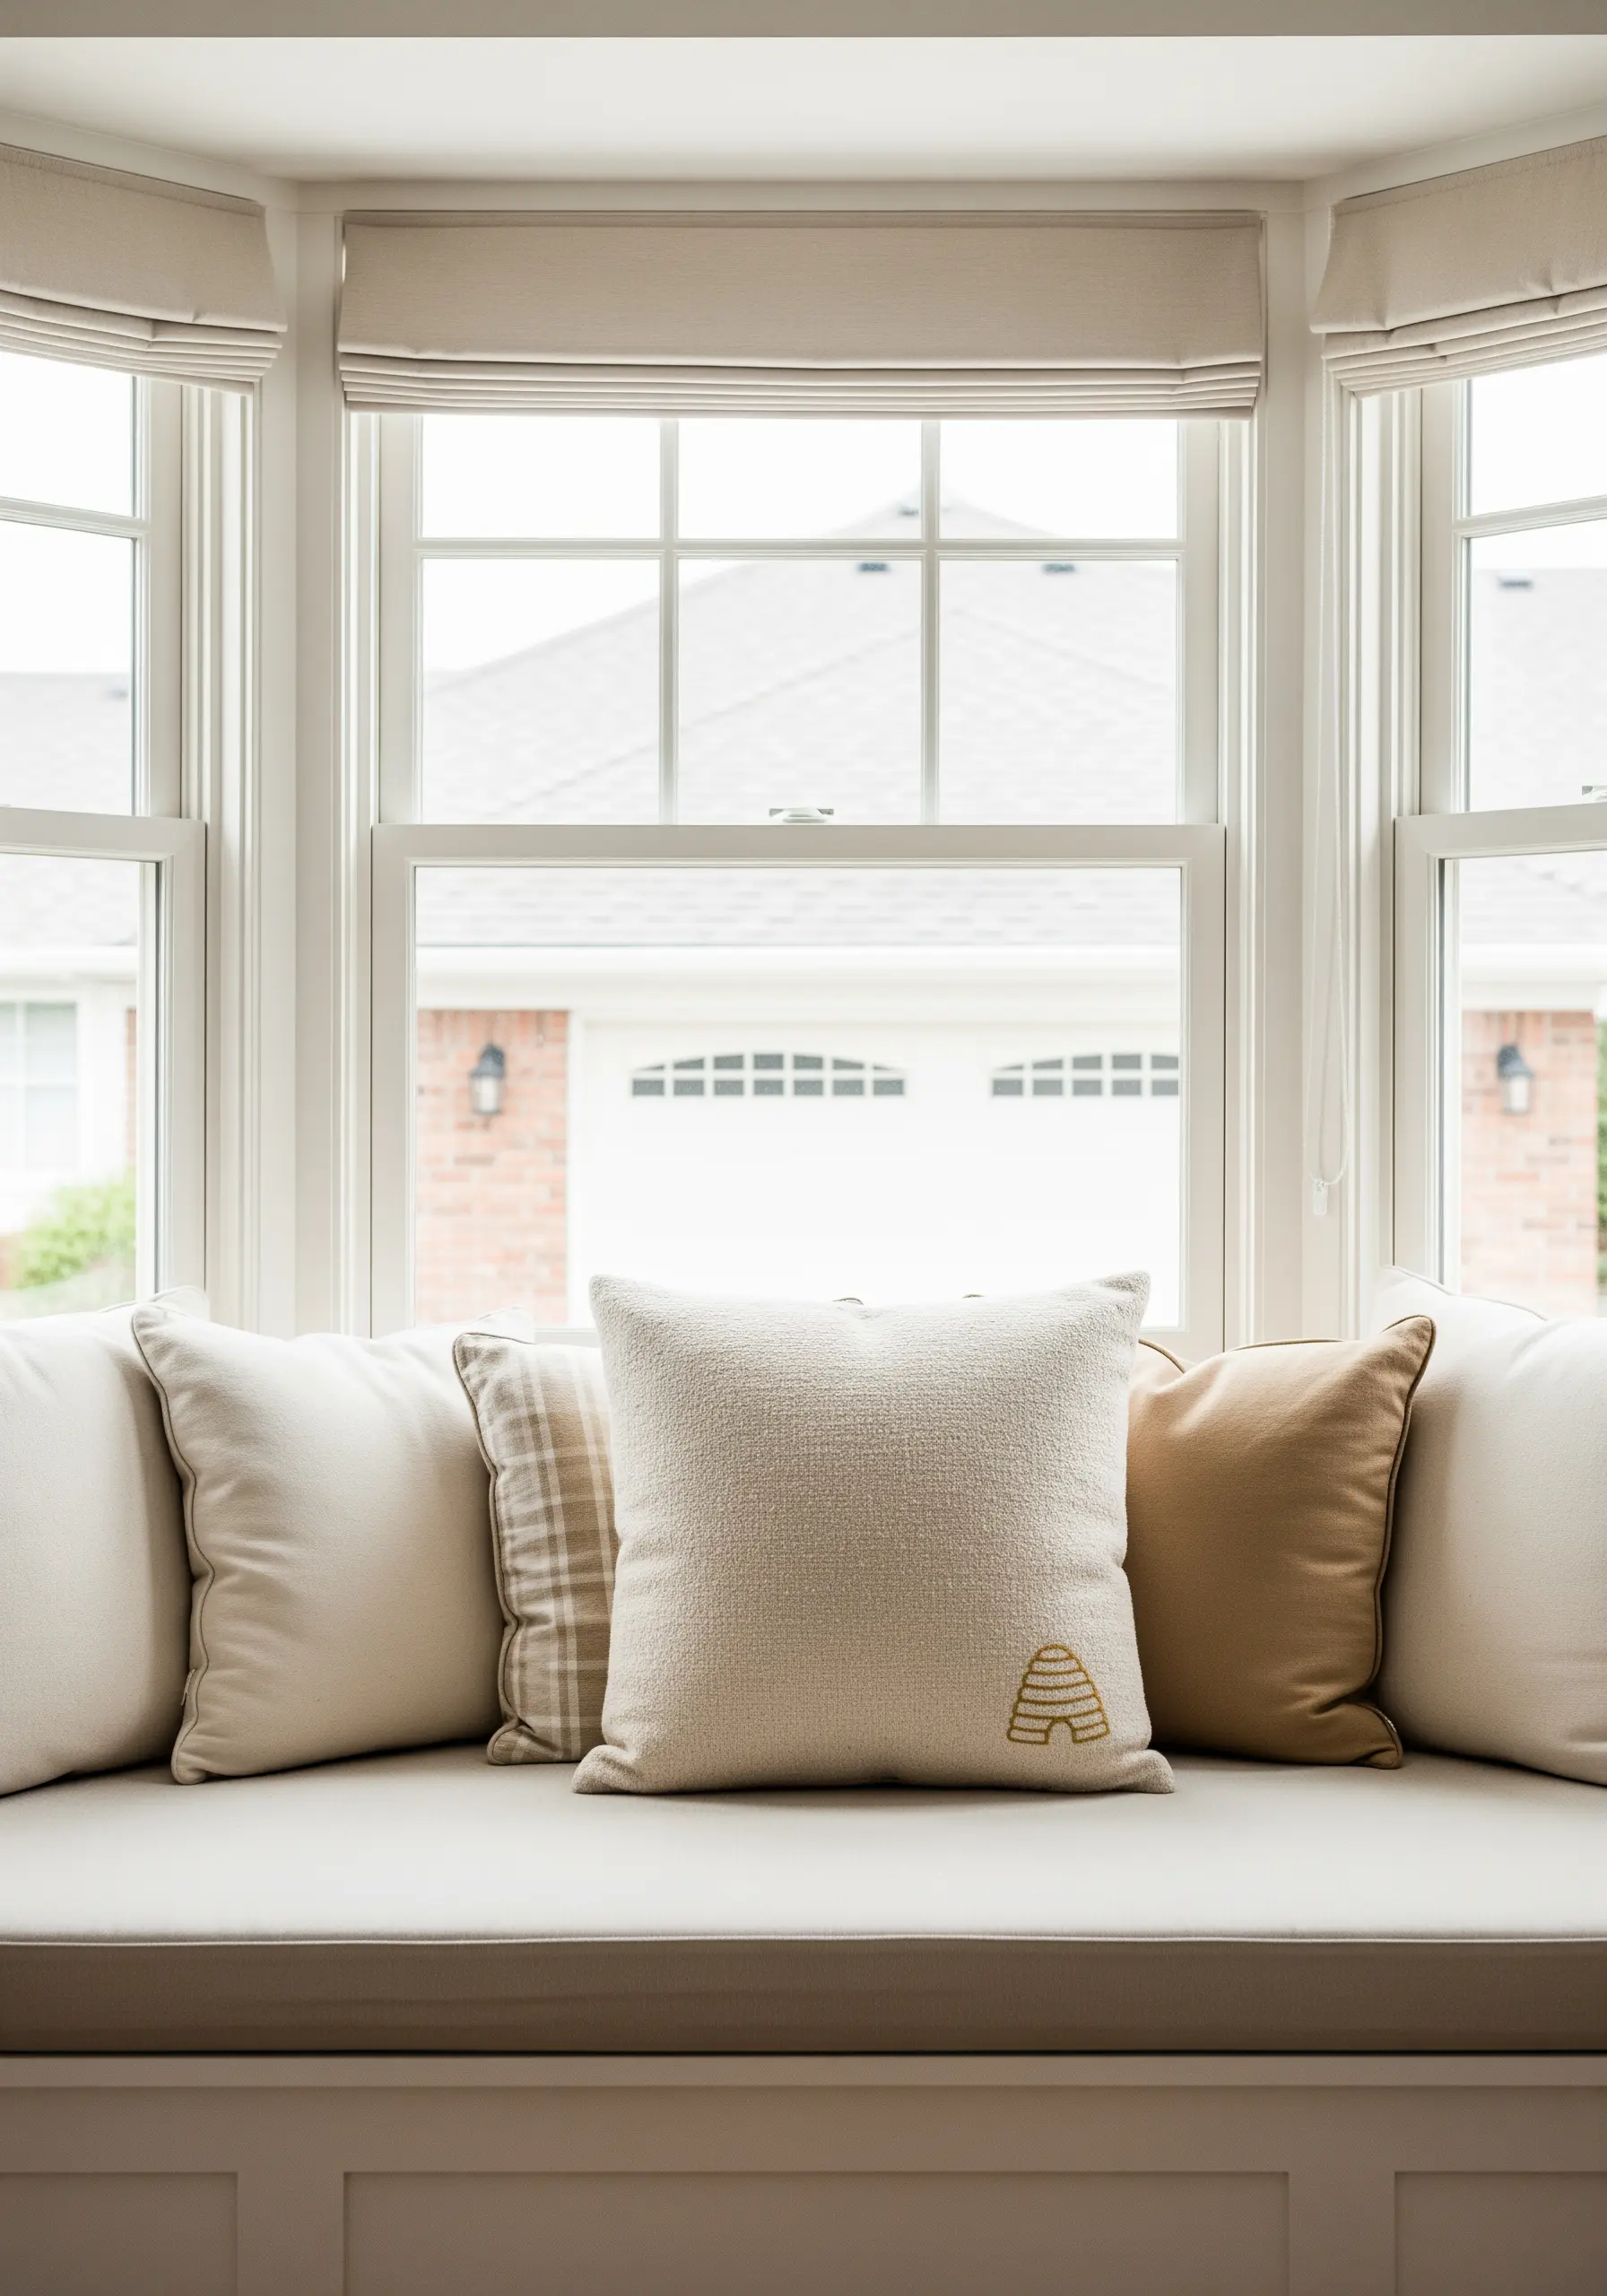
A single, small embroidered motif can have a huge impact, especially when placed off-center.
Create this beehive by filling the shape with horizontal satin stitches in a warm, honey-toned thread.
Then, outline it with a backstitch in a slightly darker shade to give it crisp definition.
This tiny detail adds a focal point and a touch of personality, proving that embroidery doesn’t need to be large to be meaningful. This is one of those tiny embroidery patterns that elevates an entire object.
26. Fluid Form with a Chain Stitch
For a bold, continuous line that needs to curve smoothly, the chain stitch is an ideal choice.
Each interlocking loop of the chain stitch builds upon the last, creating a flexible, rope-like line that handles curves with ease.
This makes it perfect for an infinity symbol or any other fluid, single-line design.
Using a thicker pearl cotton thread will enhance the stitch’s texture, making the symbol stand out as a bold, graphic statement on the unconventional round pillow.
27. Replicating Knit Textures with Embroidery
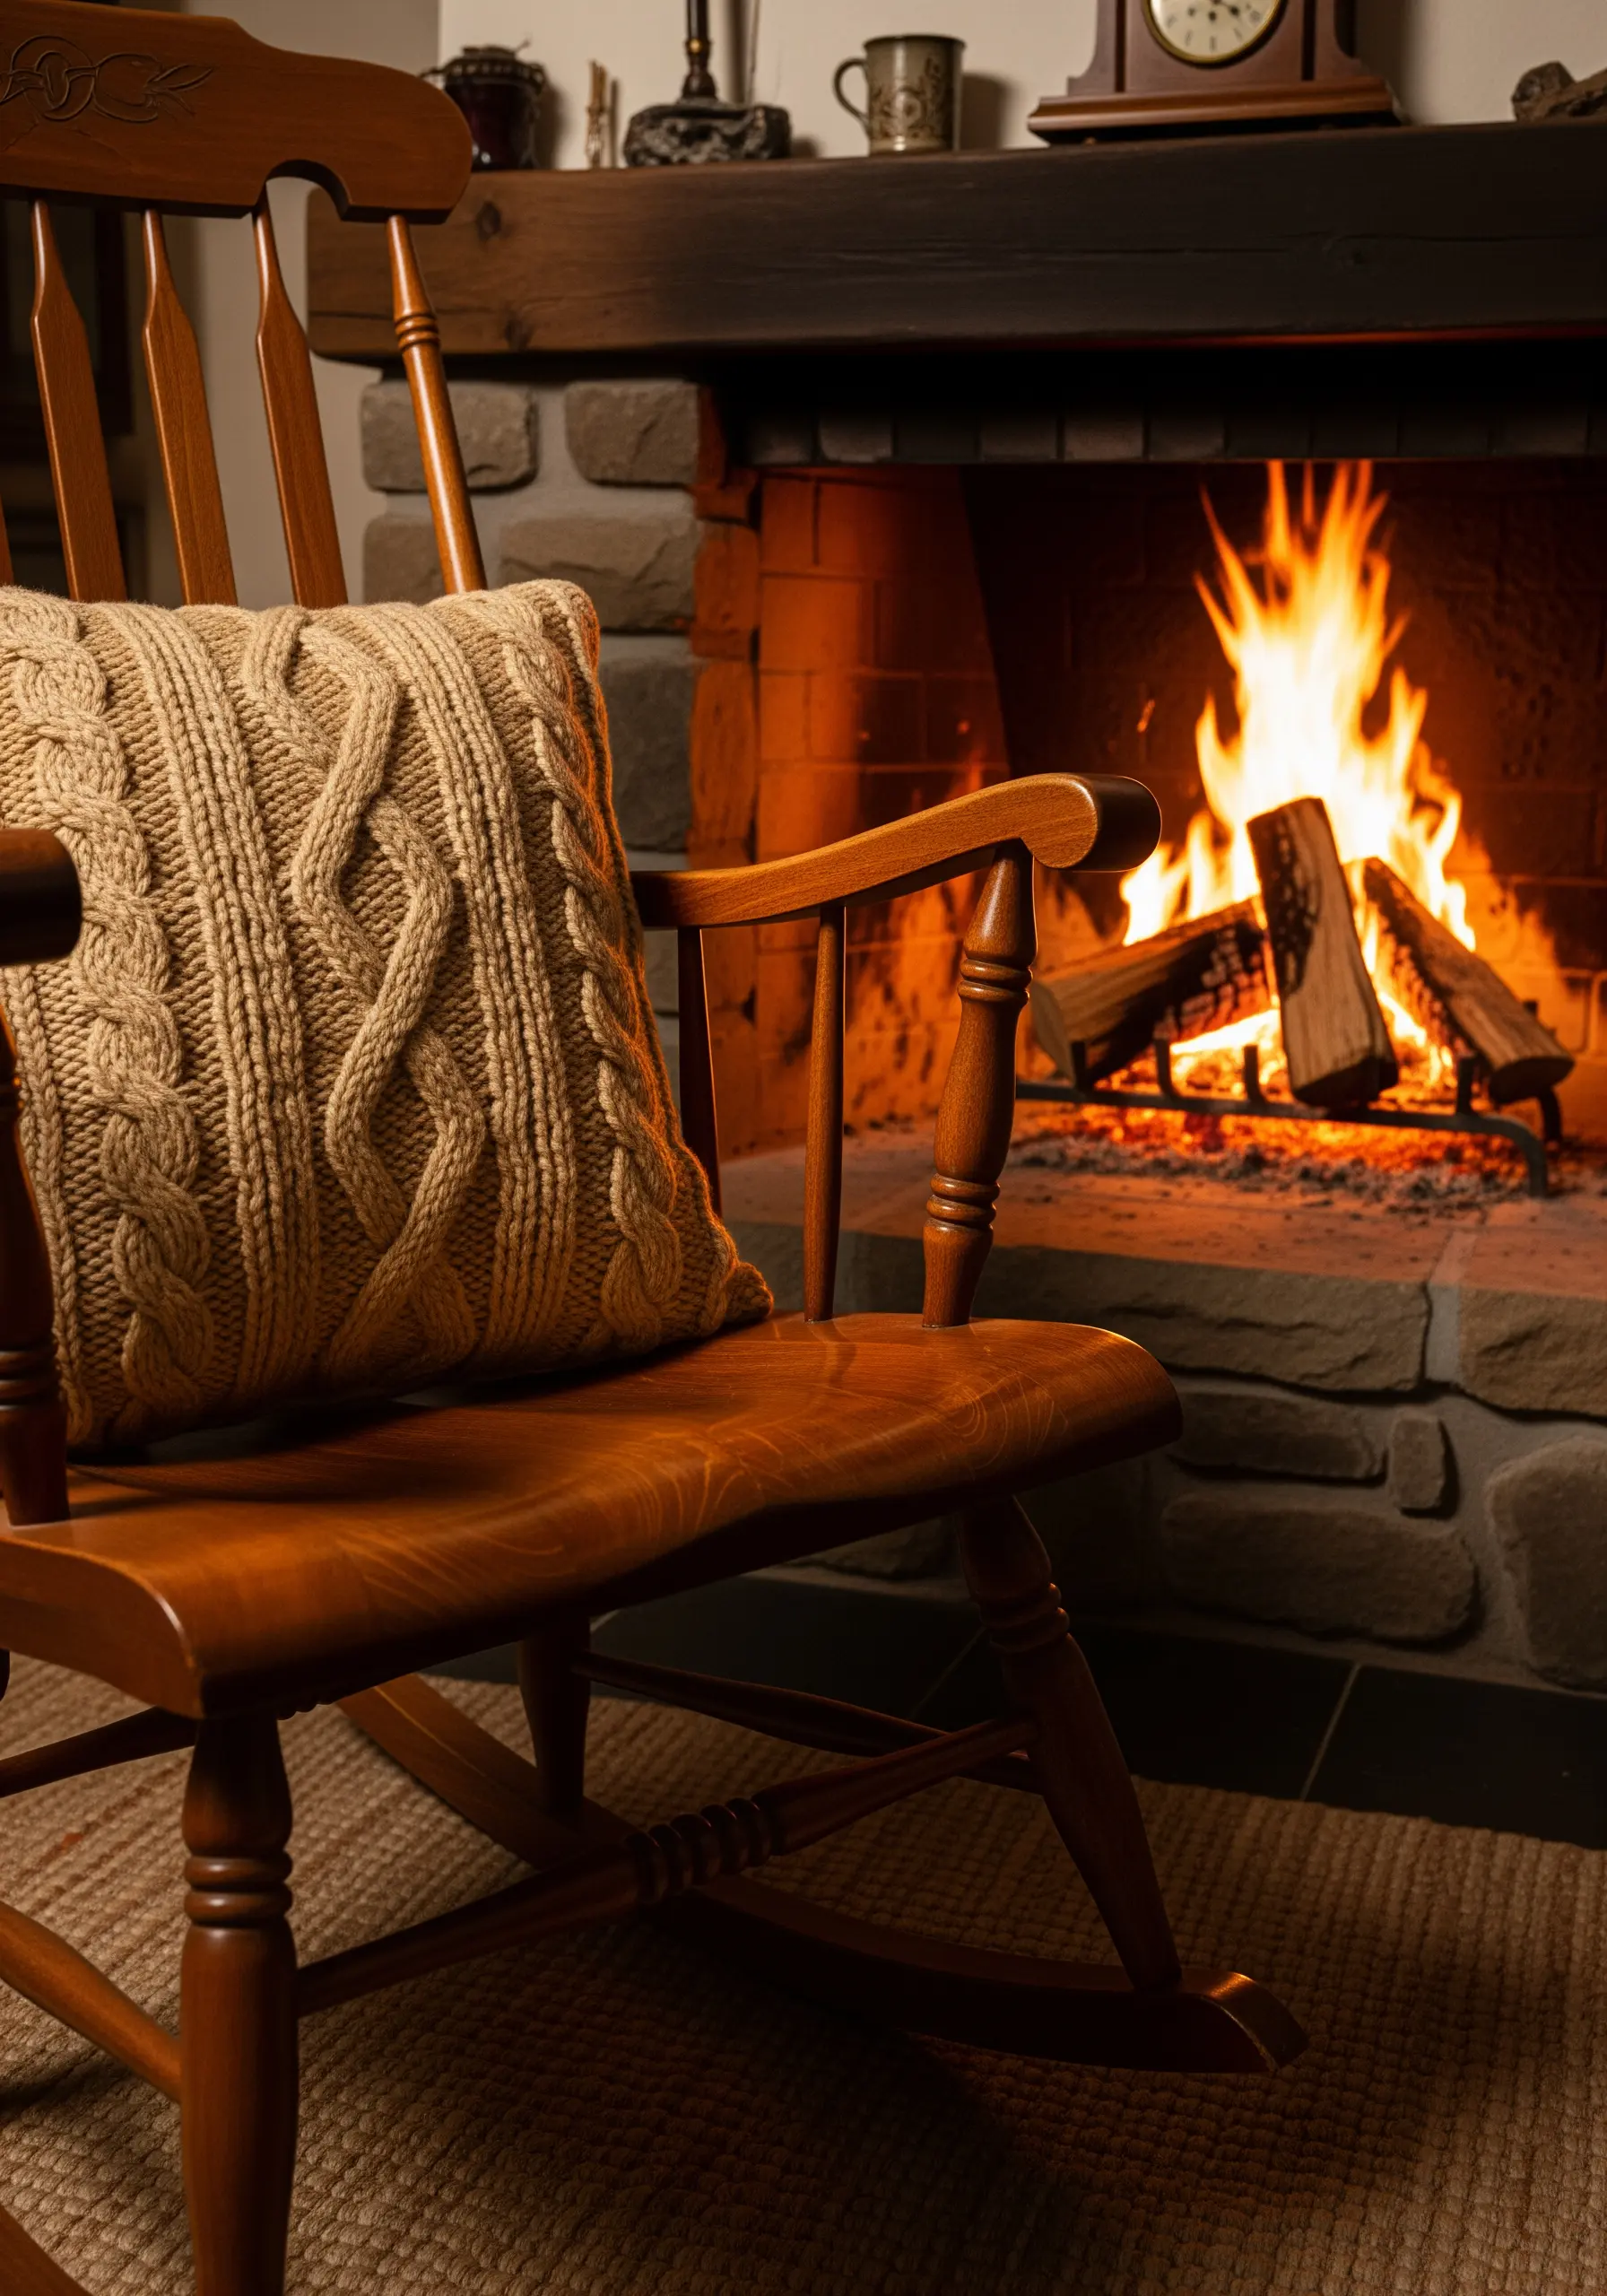
To get the chunky, cozy feel of a cable-knit sweater, you need to work with unconventional materials and techniques.
Use a very thick yarn and the couching method, laying the yarn on the fabric in a cable pattern and tacking it down with a matching thread.
For an even more integrated look, try a plaited braid stitch or a Ceylon stitch with a heavy yarn. These raised stitches build incredible dimension and replicate that sought-after cozy embroidery texture.
28. Celestial Sparkle with Metallic Thread
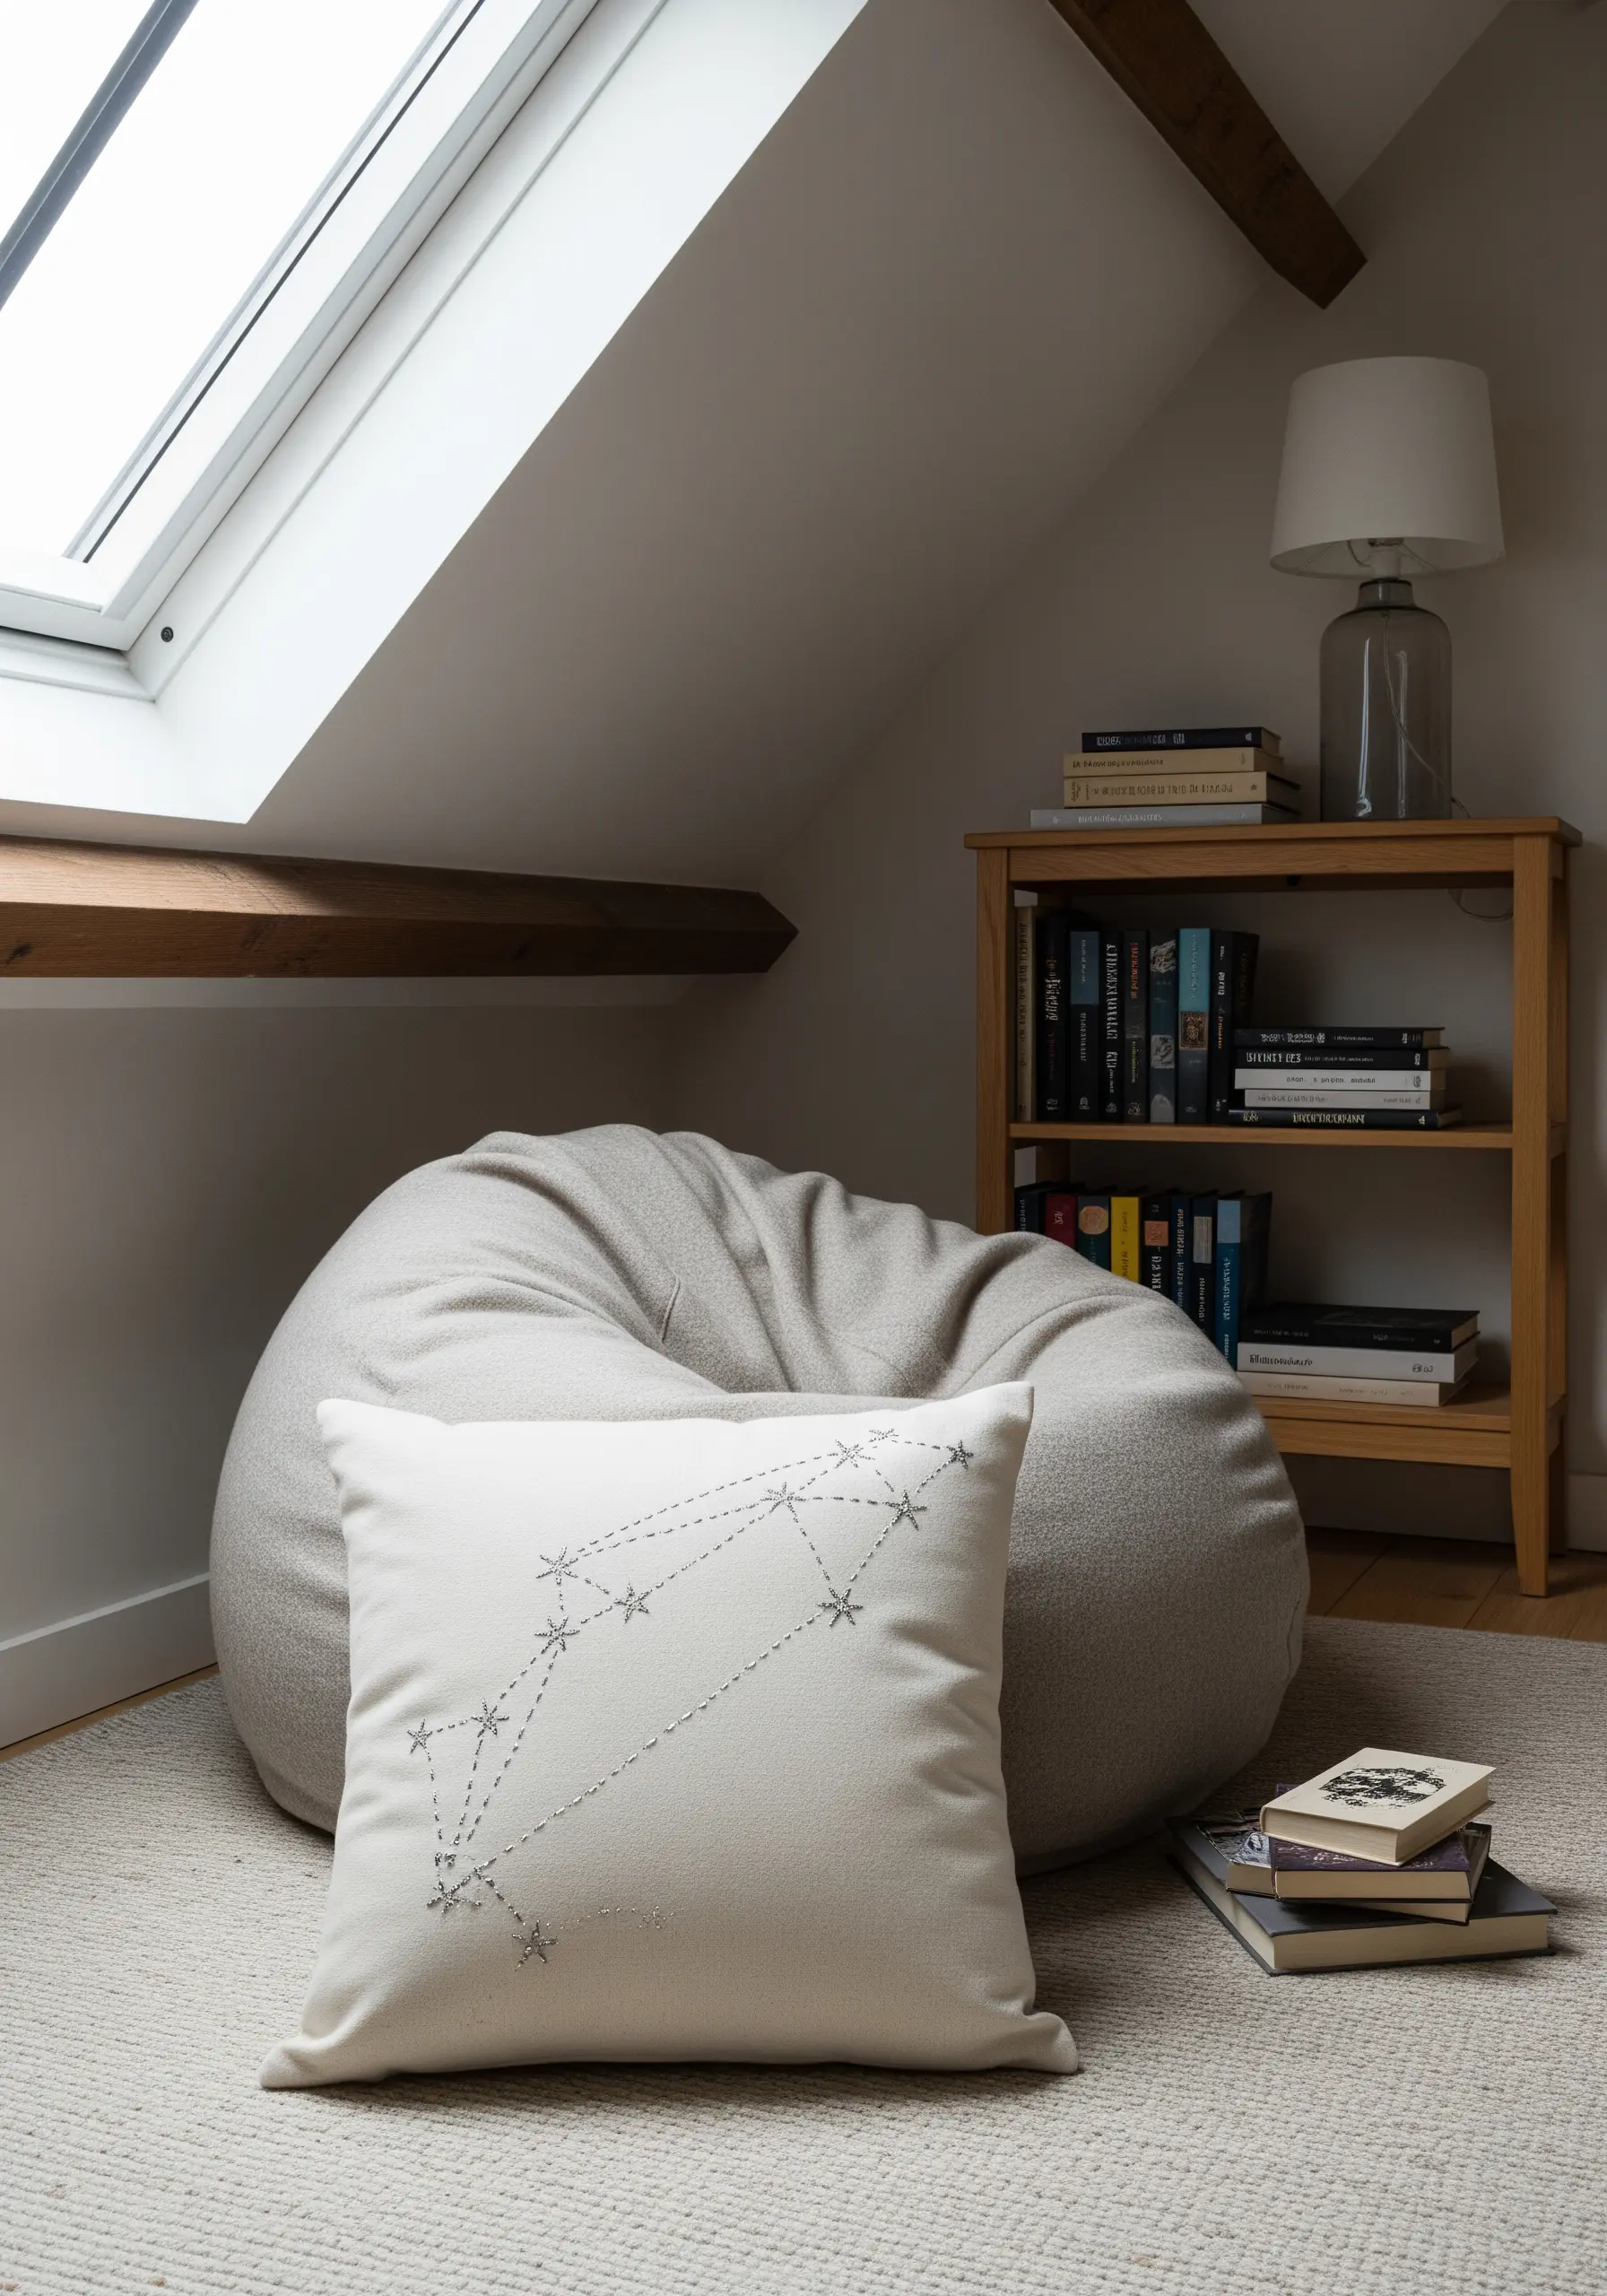
Bring a constellation to life by choosing your thread wisely.
Use a single strand of a light silver or pale gold metallic thread for a subtle, star-like shimmer.
Create the stars with a simple star stitch or a tiny French knot, and connect them with a neat, single-line backstitch.
Metallic thread can be tricky, so work with shorter lengths to avoid tangling and use a thread conditioner to help it glide through the fabric more smoothly.


