
You know that feeling when you walk through your front door—the desire for the space to feel calm, organized, and truly yours. The entryway sets the tone for your entire home, yet it’s so often overlooked. This is where your embroidery can do more than just decorate; it can create a feeling.
A polished result isn’t about complexity or hours of dense stitching. It’s about intention. It’s in the clean, unbroken line of a whipped backstitch, the satisfying texture of a couched cord, or the quiet rhythm of a repeating geometric pattern. These small, thoughtful details are what transform a simple object into a piece of personal art.
Think of your entryway as a small gallery waiting for its first exhibit. The ideas that follow are designed to be both achievable and genuinely impactful. They are invitations to add a quiet touch of handmade elegance that welcomes you—and your guests—home with warmth and style.
1. Frame a Graphic Motif with High-Texture Cord
For a bold, dimensional effect that is much faster than traditional fill stitches, try couching a thick cord or yarn onto your fabric.
You will simply lay the cord along your design line and use a thinner, matching thread to tack it down with small, evenly spaced stitches.
This technique turns a simple outline into a sculptural element, and the contrast between the chunky cord and the flat linen background creates a sophisticated, modern look perfect for a functional art piece.
It’s a wonderful way to apply string art principles to fabric.
2. Master Fluid Lettering with Whipped Backstitch
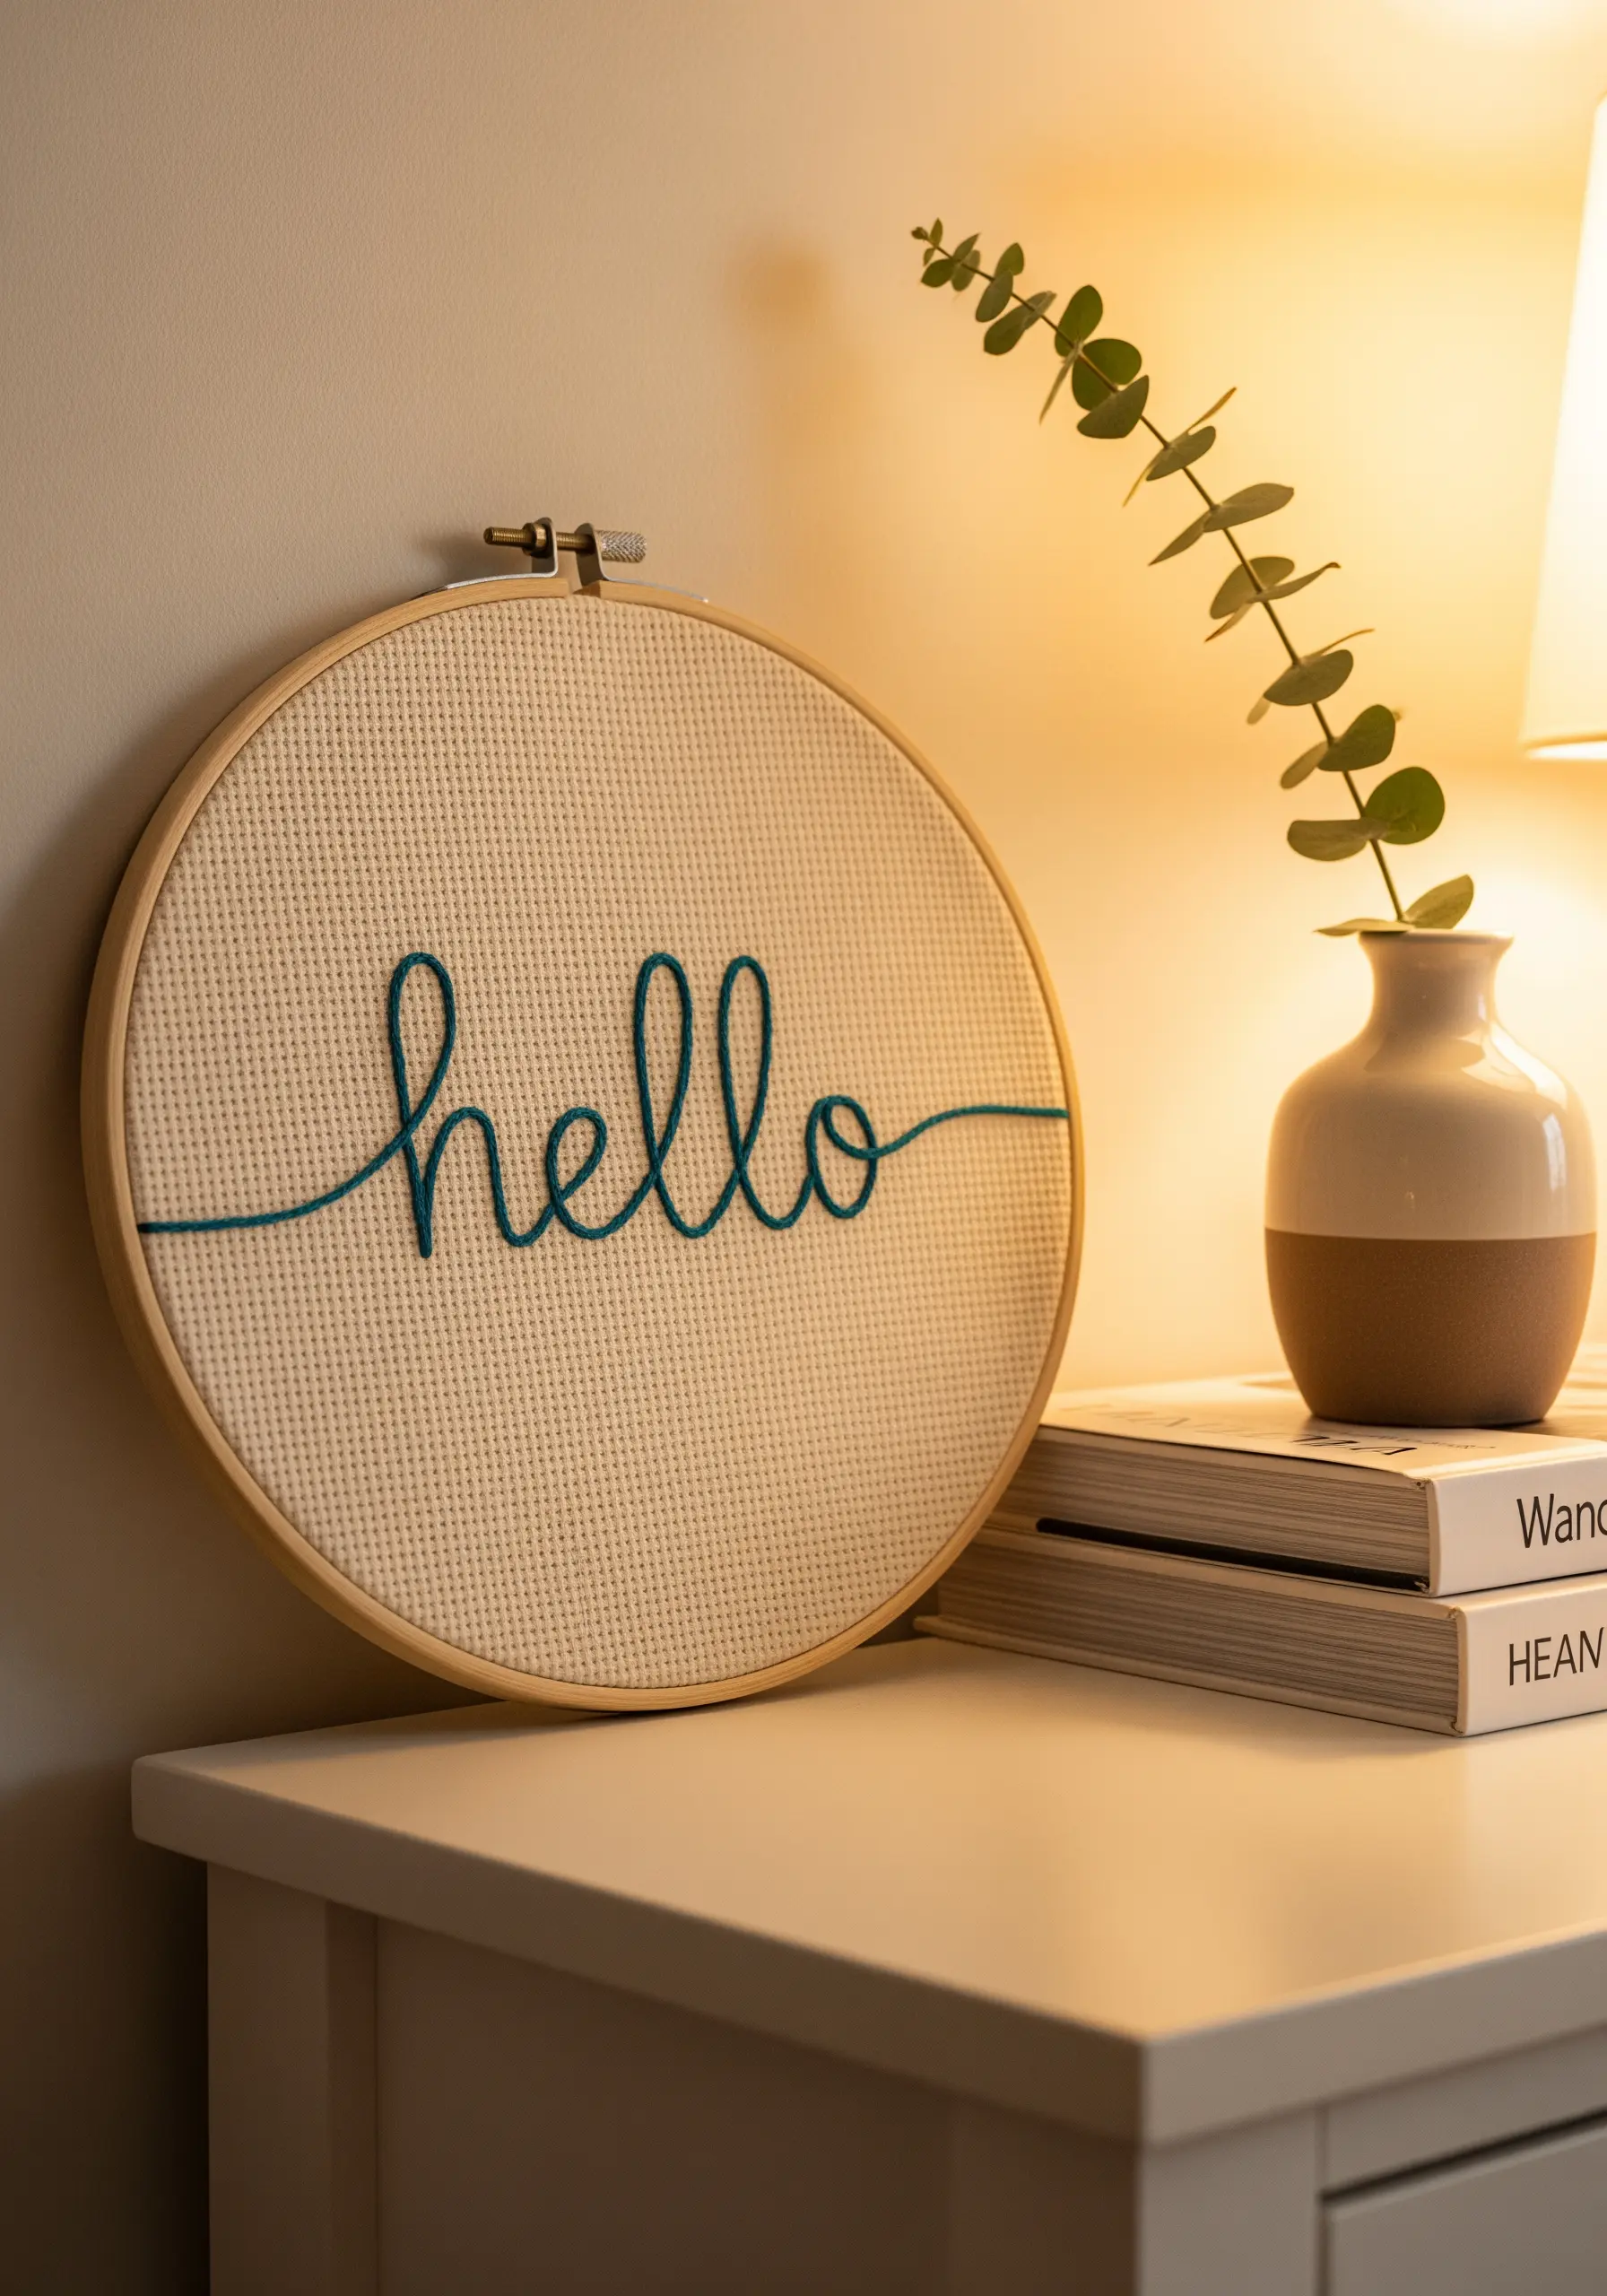
If your cursive lettering looks choppy, the solution is to smooth the lines with a whipped backstitch.
First, create your letters using a standard backstitch, keeping your stitch length consistent.
Then, take a second length of the same thread and, using a tapestry needle, weave it under each backstitch without piercing the fabric, creating a seamless, cord-like line.
This small adjustment transforms basic text into elegant, flowing script, perfect for a welcoming message.
3. Define Edges with a Geometric Blanket Stitch Border
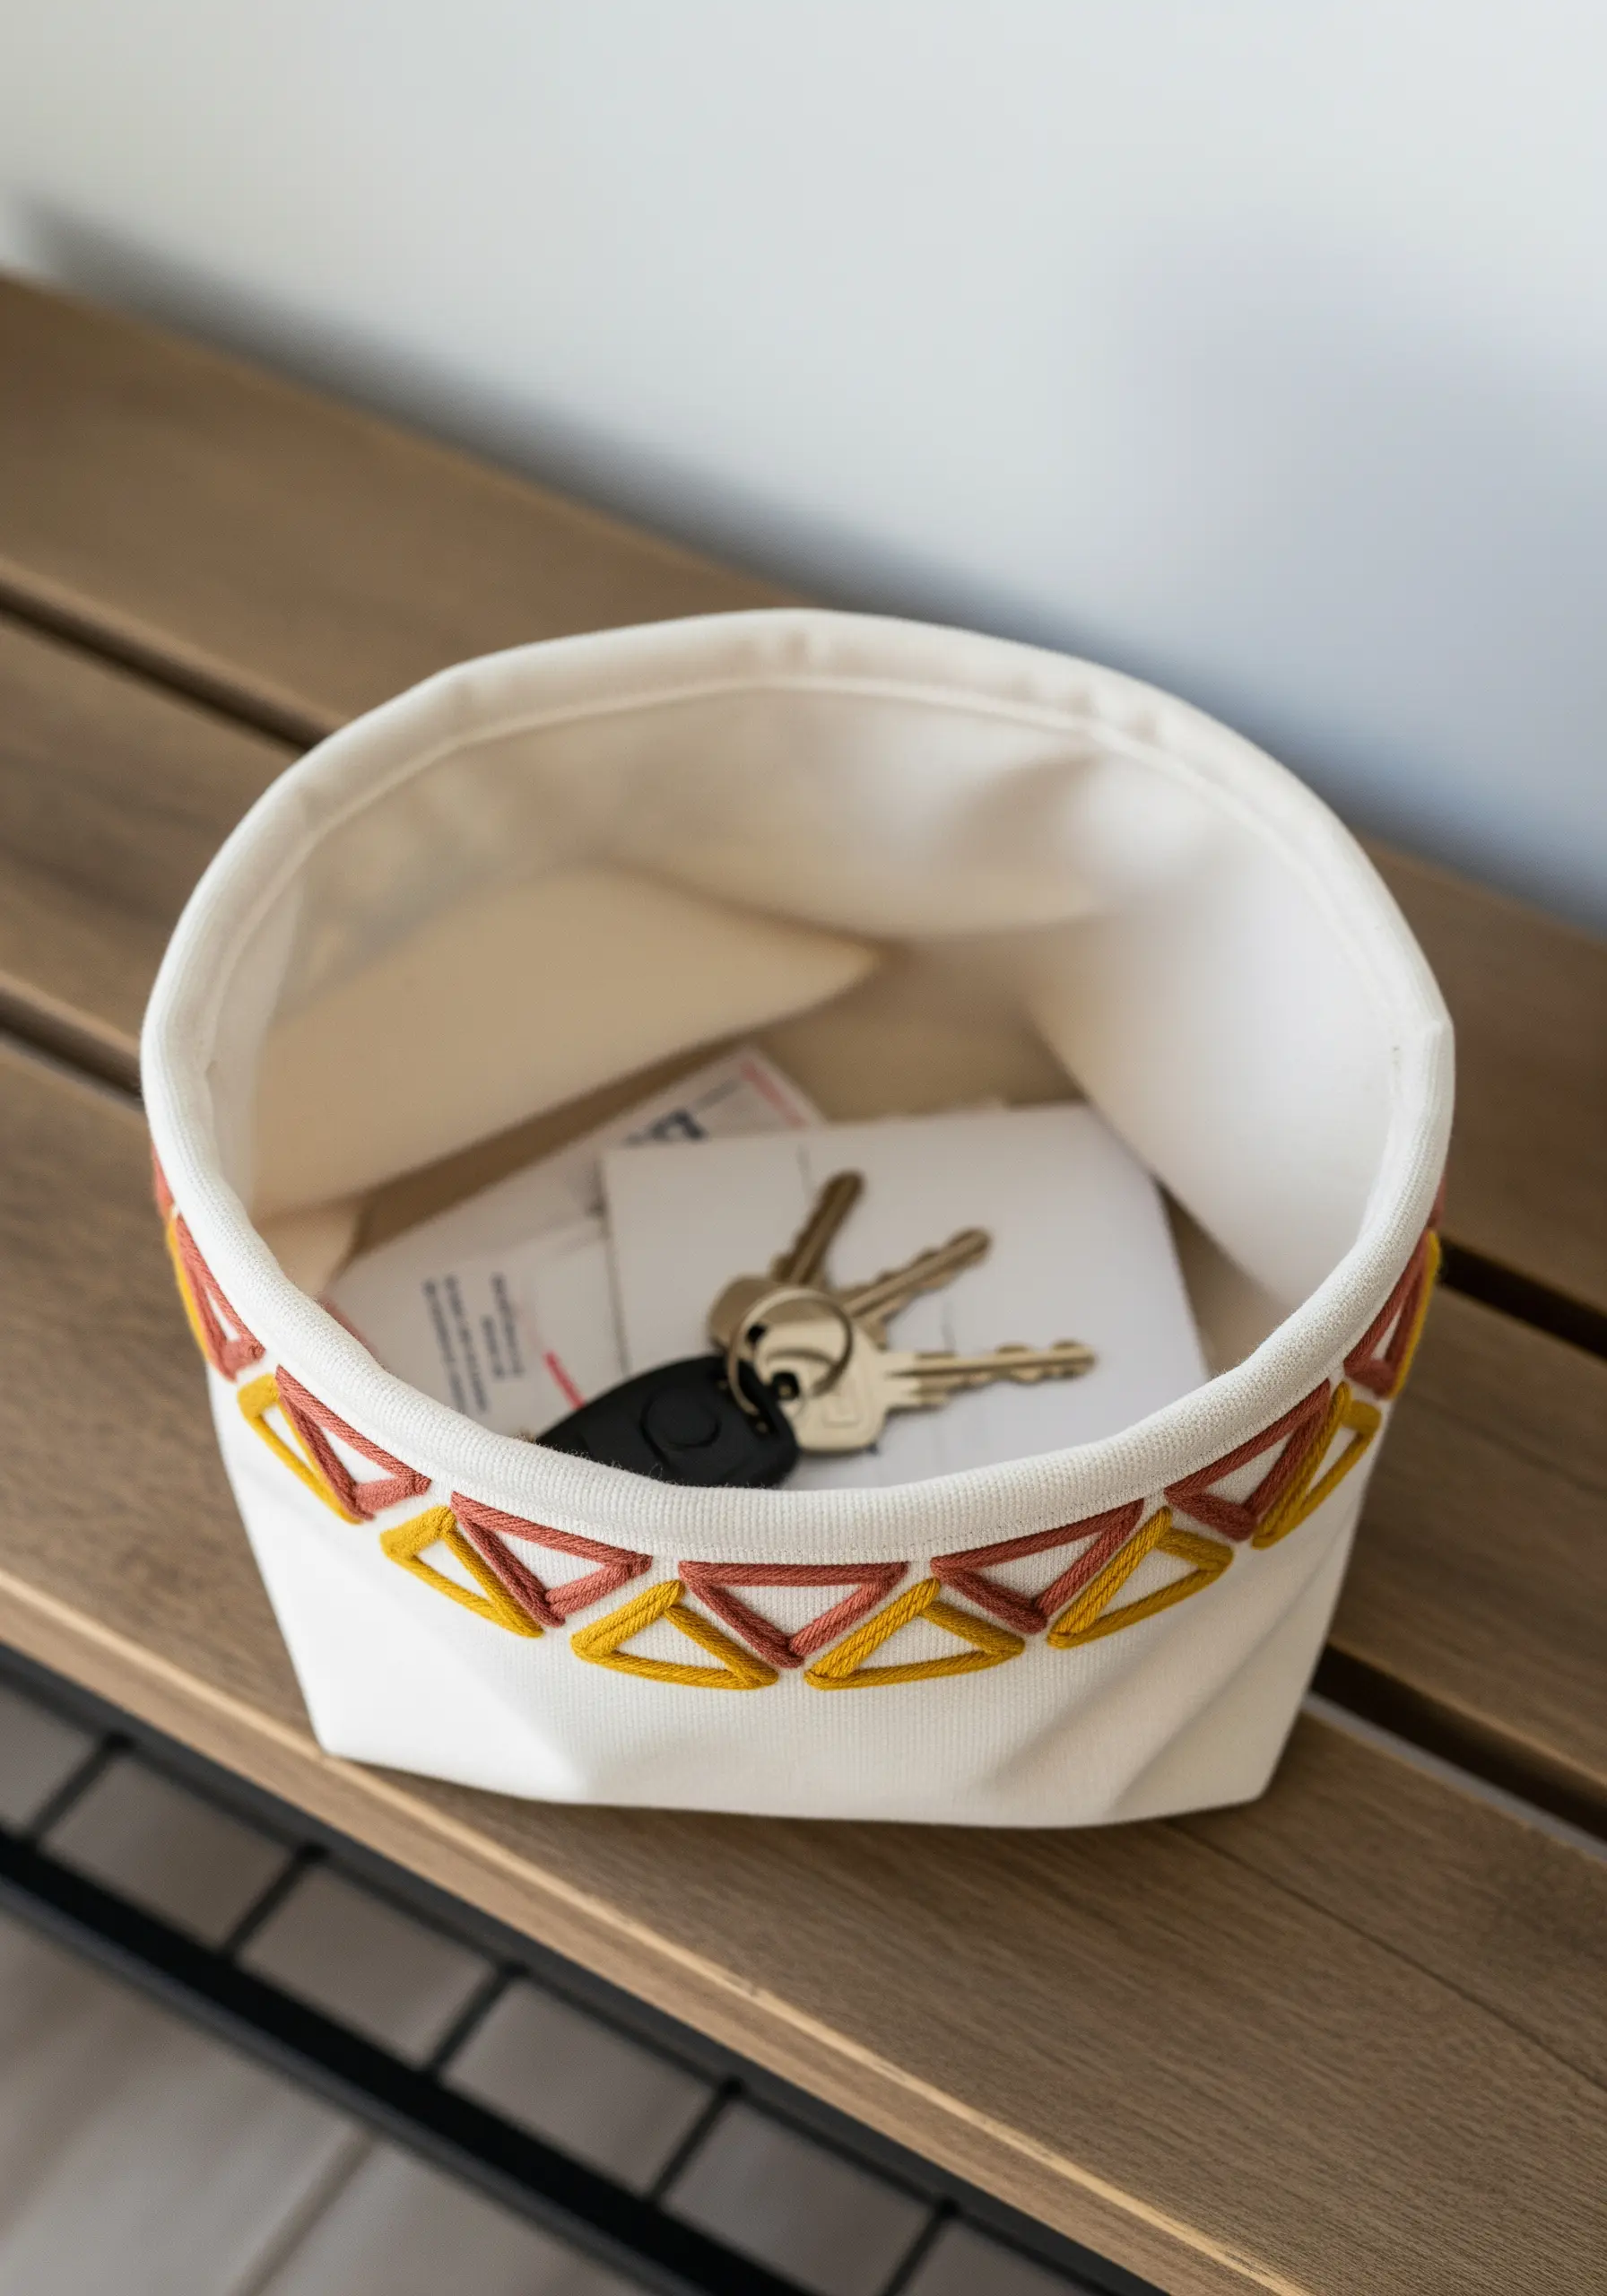
Elevate a plain canvas catch-all by adding a structural, decorative border to the rim.
You can create this striking triangular pattern using a variation of the blanket stitch or fly stitch, worked in repeating groups.
To ensure a professional finish, use a water-soluble marker to lightly mark evenly spaced dots along the edge before you begin.
Choosing a variegated thread adds beautiful, subtle color shifts, giving the design depth without needing to change floss. It’s one of those tiny embroidery details that make fabric crafts pop.
4. Create Vertical Impact with an Elongated Botanical
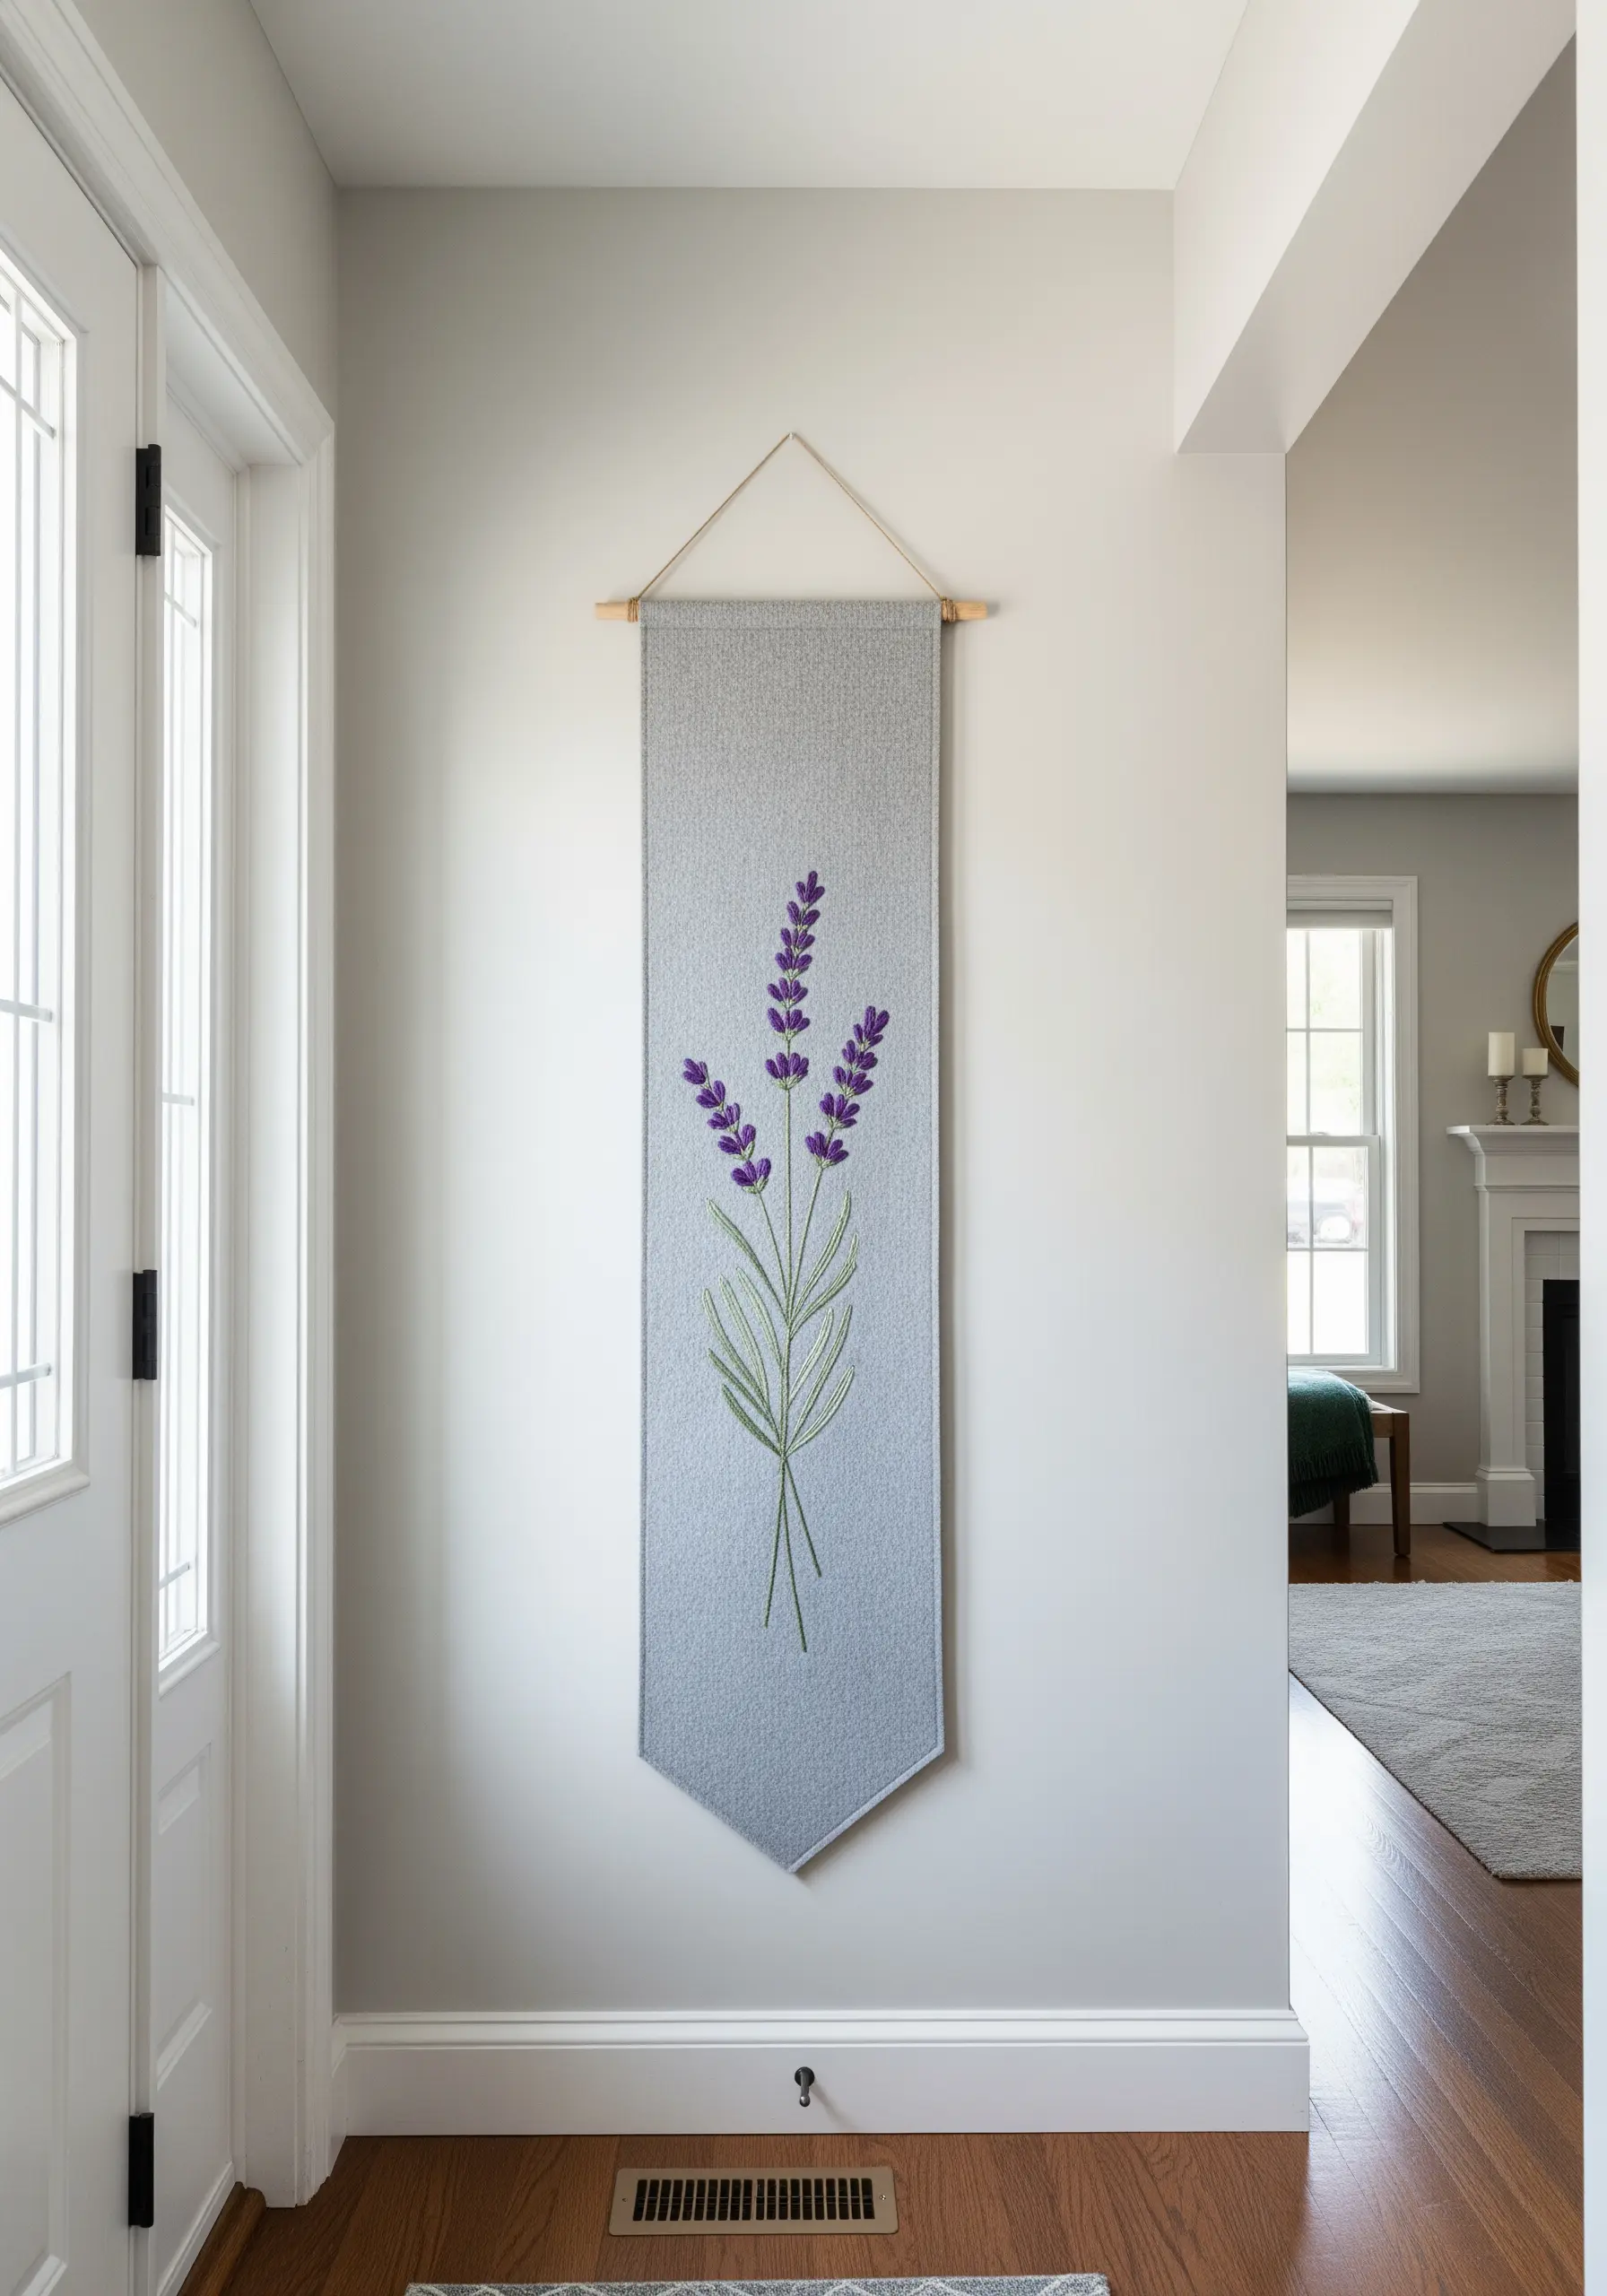
Use a long, narrow wall hanging to draw the eye upward, making your entryway feel taller and more spacious.
For a botanical design like lavender, combine stitches to create realistic texture: use stem stitch for the graceful stalks and clusters of French knots for the dense blossoms.
Select a fabric with some weight, such as a linen blend or thin felt, which will help the banner hang straight and prevent the embroidery from causing puckering.
This kind of botanical embroidery wall piece adds a serene, natural touch to your home’s first impression.
5. Achieve Crisp Typography with a Split Stitch Foundation

For embroidered lettering that rivals formal print, precision is everything.
Before you begin your satin stitch, first outline each letter using a tiny split stitch with a single strand of floss.
This foundation creates a slightly raised, sharp edge that contains your satin stitches, preventing them from looking uneven or fuzzy.
When you fill the letters, your satin stitches will butt up against this clean edge, resulting in exceptionally crisp, professional-looking typography.
6. Add Subtle Order with a Minimalist Grid Pattern
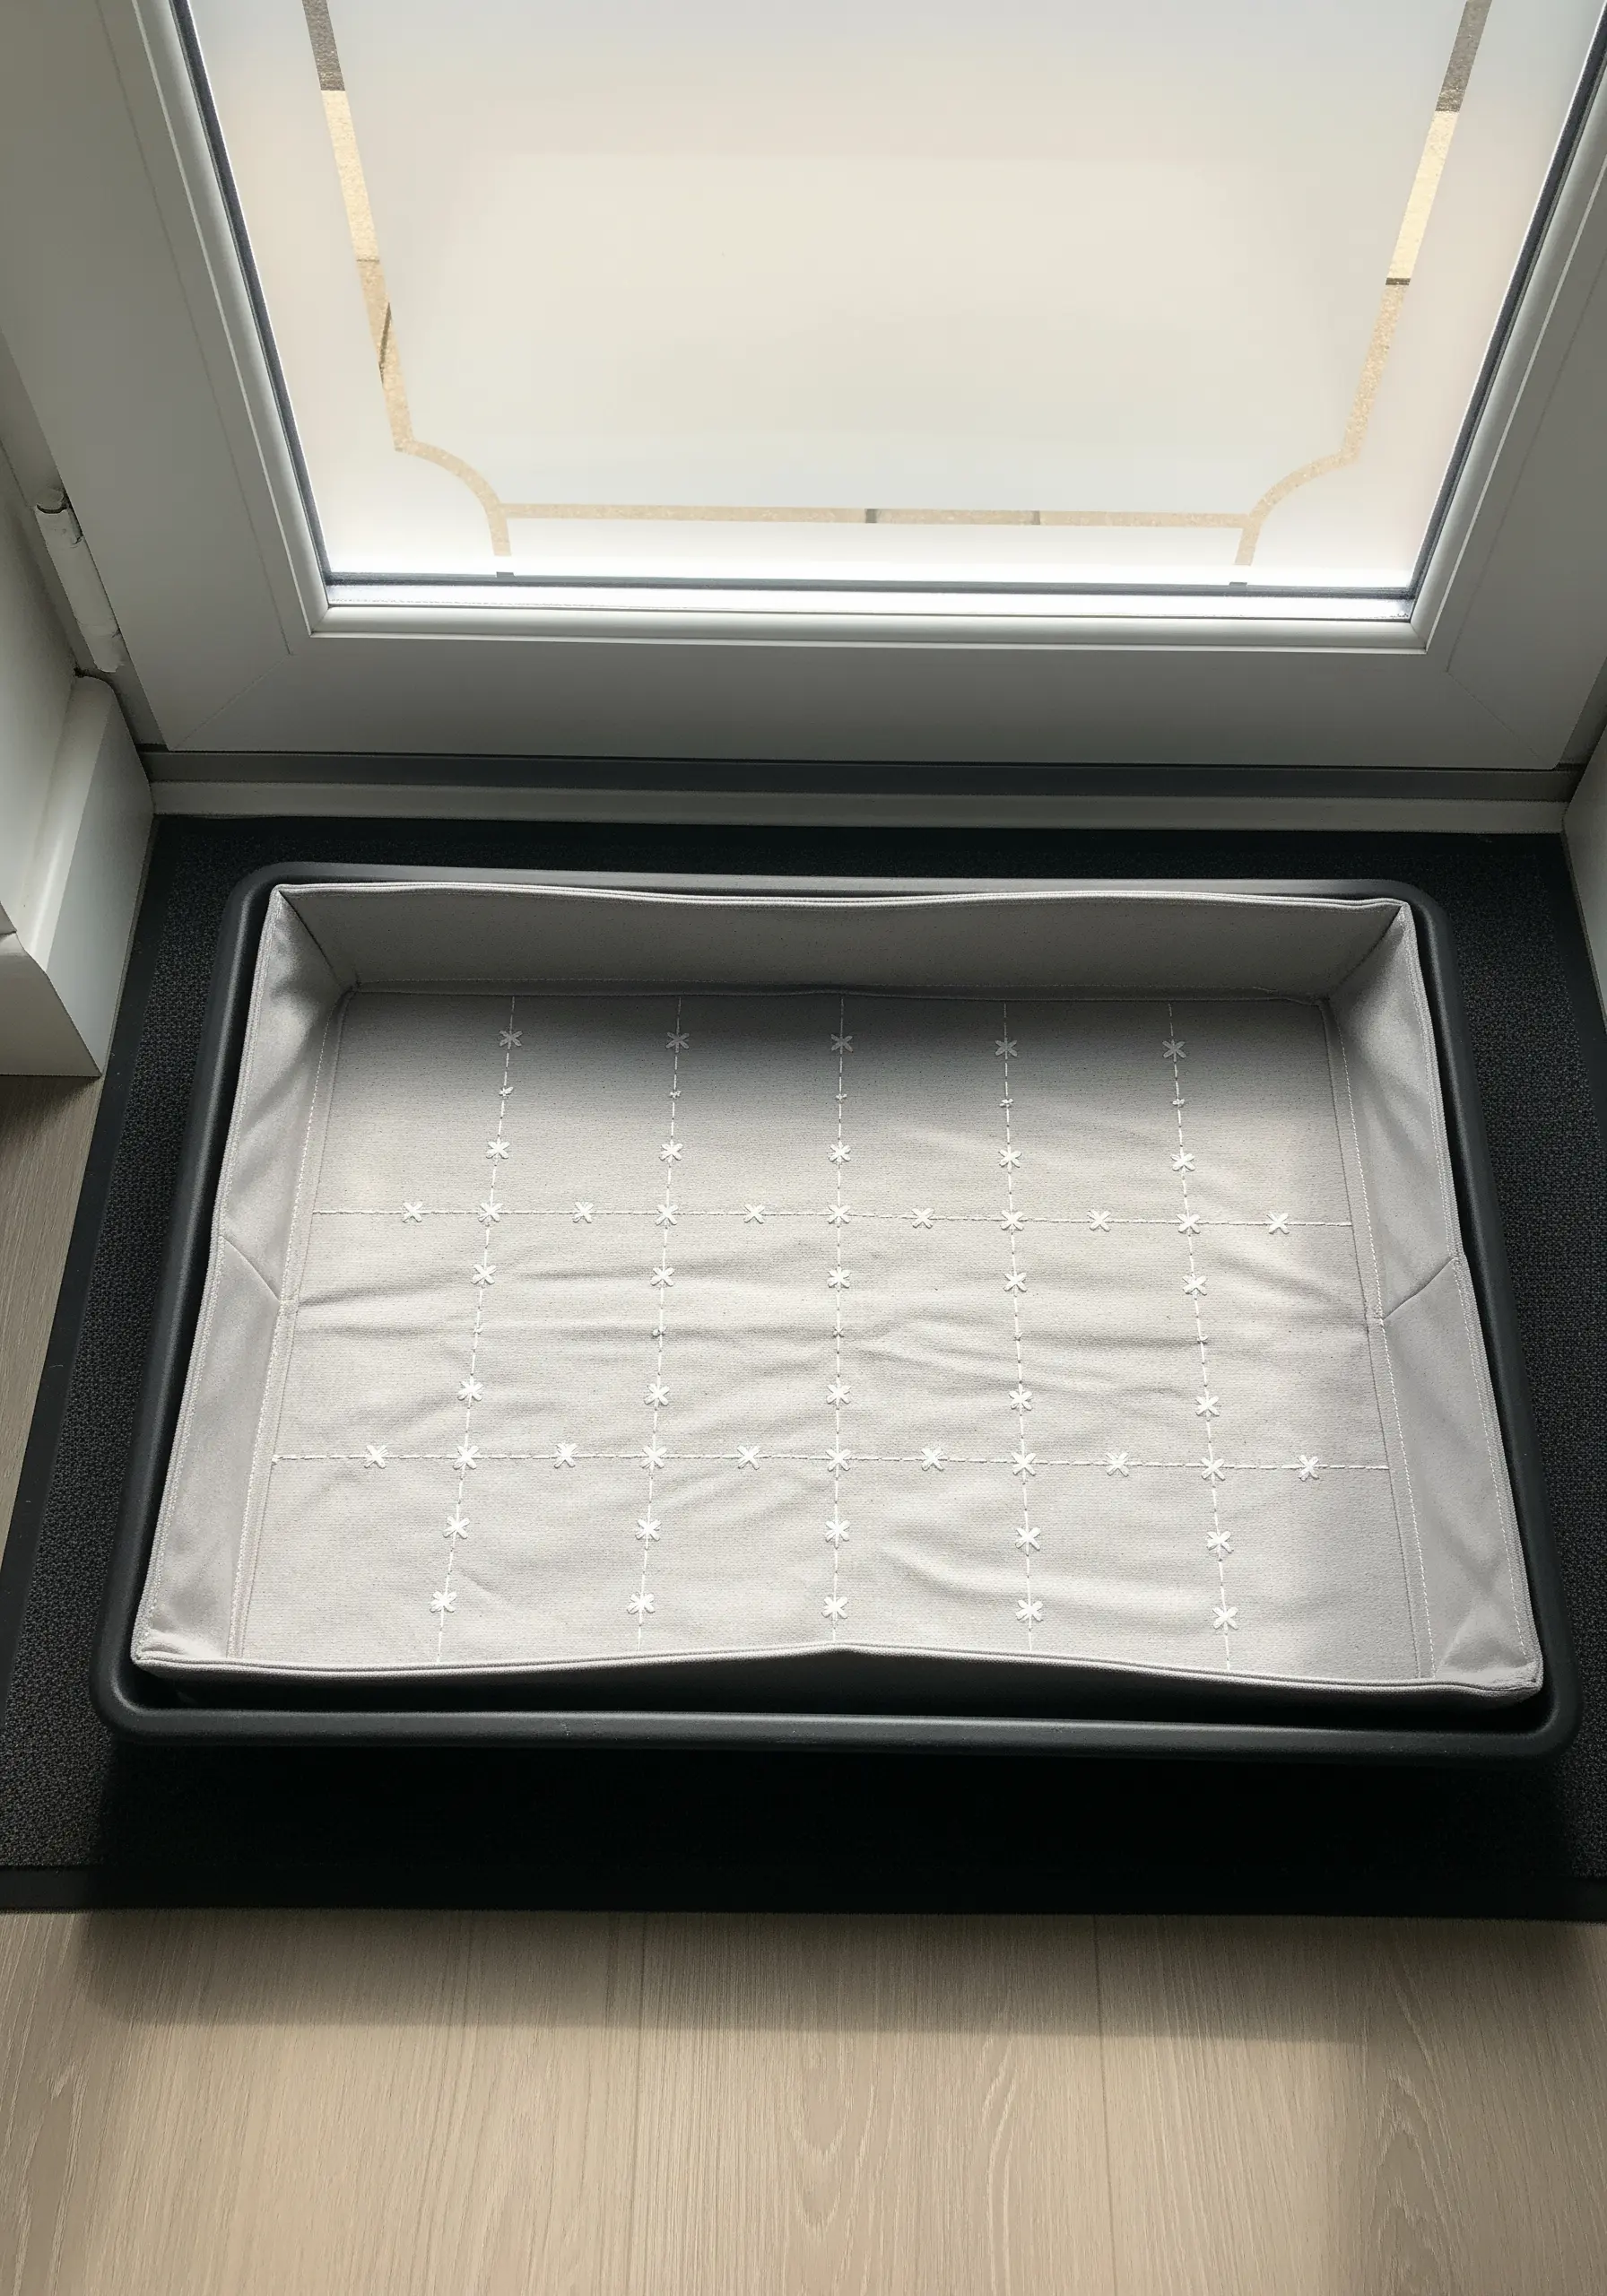
Transform a purely functional item, like a boot tray liner, into a piece of intentional decor with a simple, repeating stitch.
Using a ruler and a disappearing ink pen, mark out a light grid on your fabric.
At each intersection, work a small star stitch or isolated cross stitch in a high-contrast thread.
The clean repetition creates a calming, geometric rhythm that feels polished and thoughtful, subtly elevating an often-overlooked area. It’s a prime example of turning fabric into luxe minimalist wall art, but for the floor.
7. Stitch Expressive Icons on Felt for Tactile Charm
Work with pressed wool felt to create soft, tactile ornaments for hooks or doorknobs.
Felt’s dense structure means it won’t fray, so you can stitch directly onto cut shapes without needing a hoop or finished edges.
Use a thicker thread, like pearl cotton or all six strands of embroidery floss, to make your backstitch or stem stitch lines stand out against the soft surface.
These handmade mini decor pieces add a personal, rustic warmth to your space.
8. Build Abstract Shapes with Dense Couching
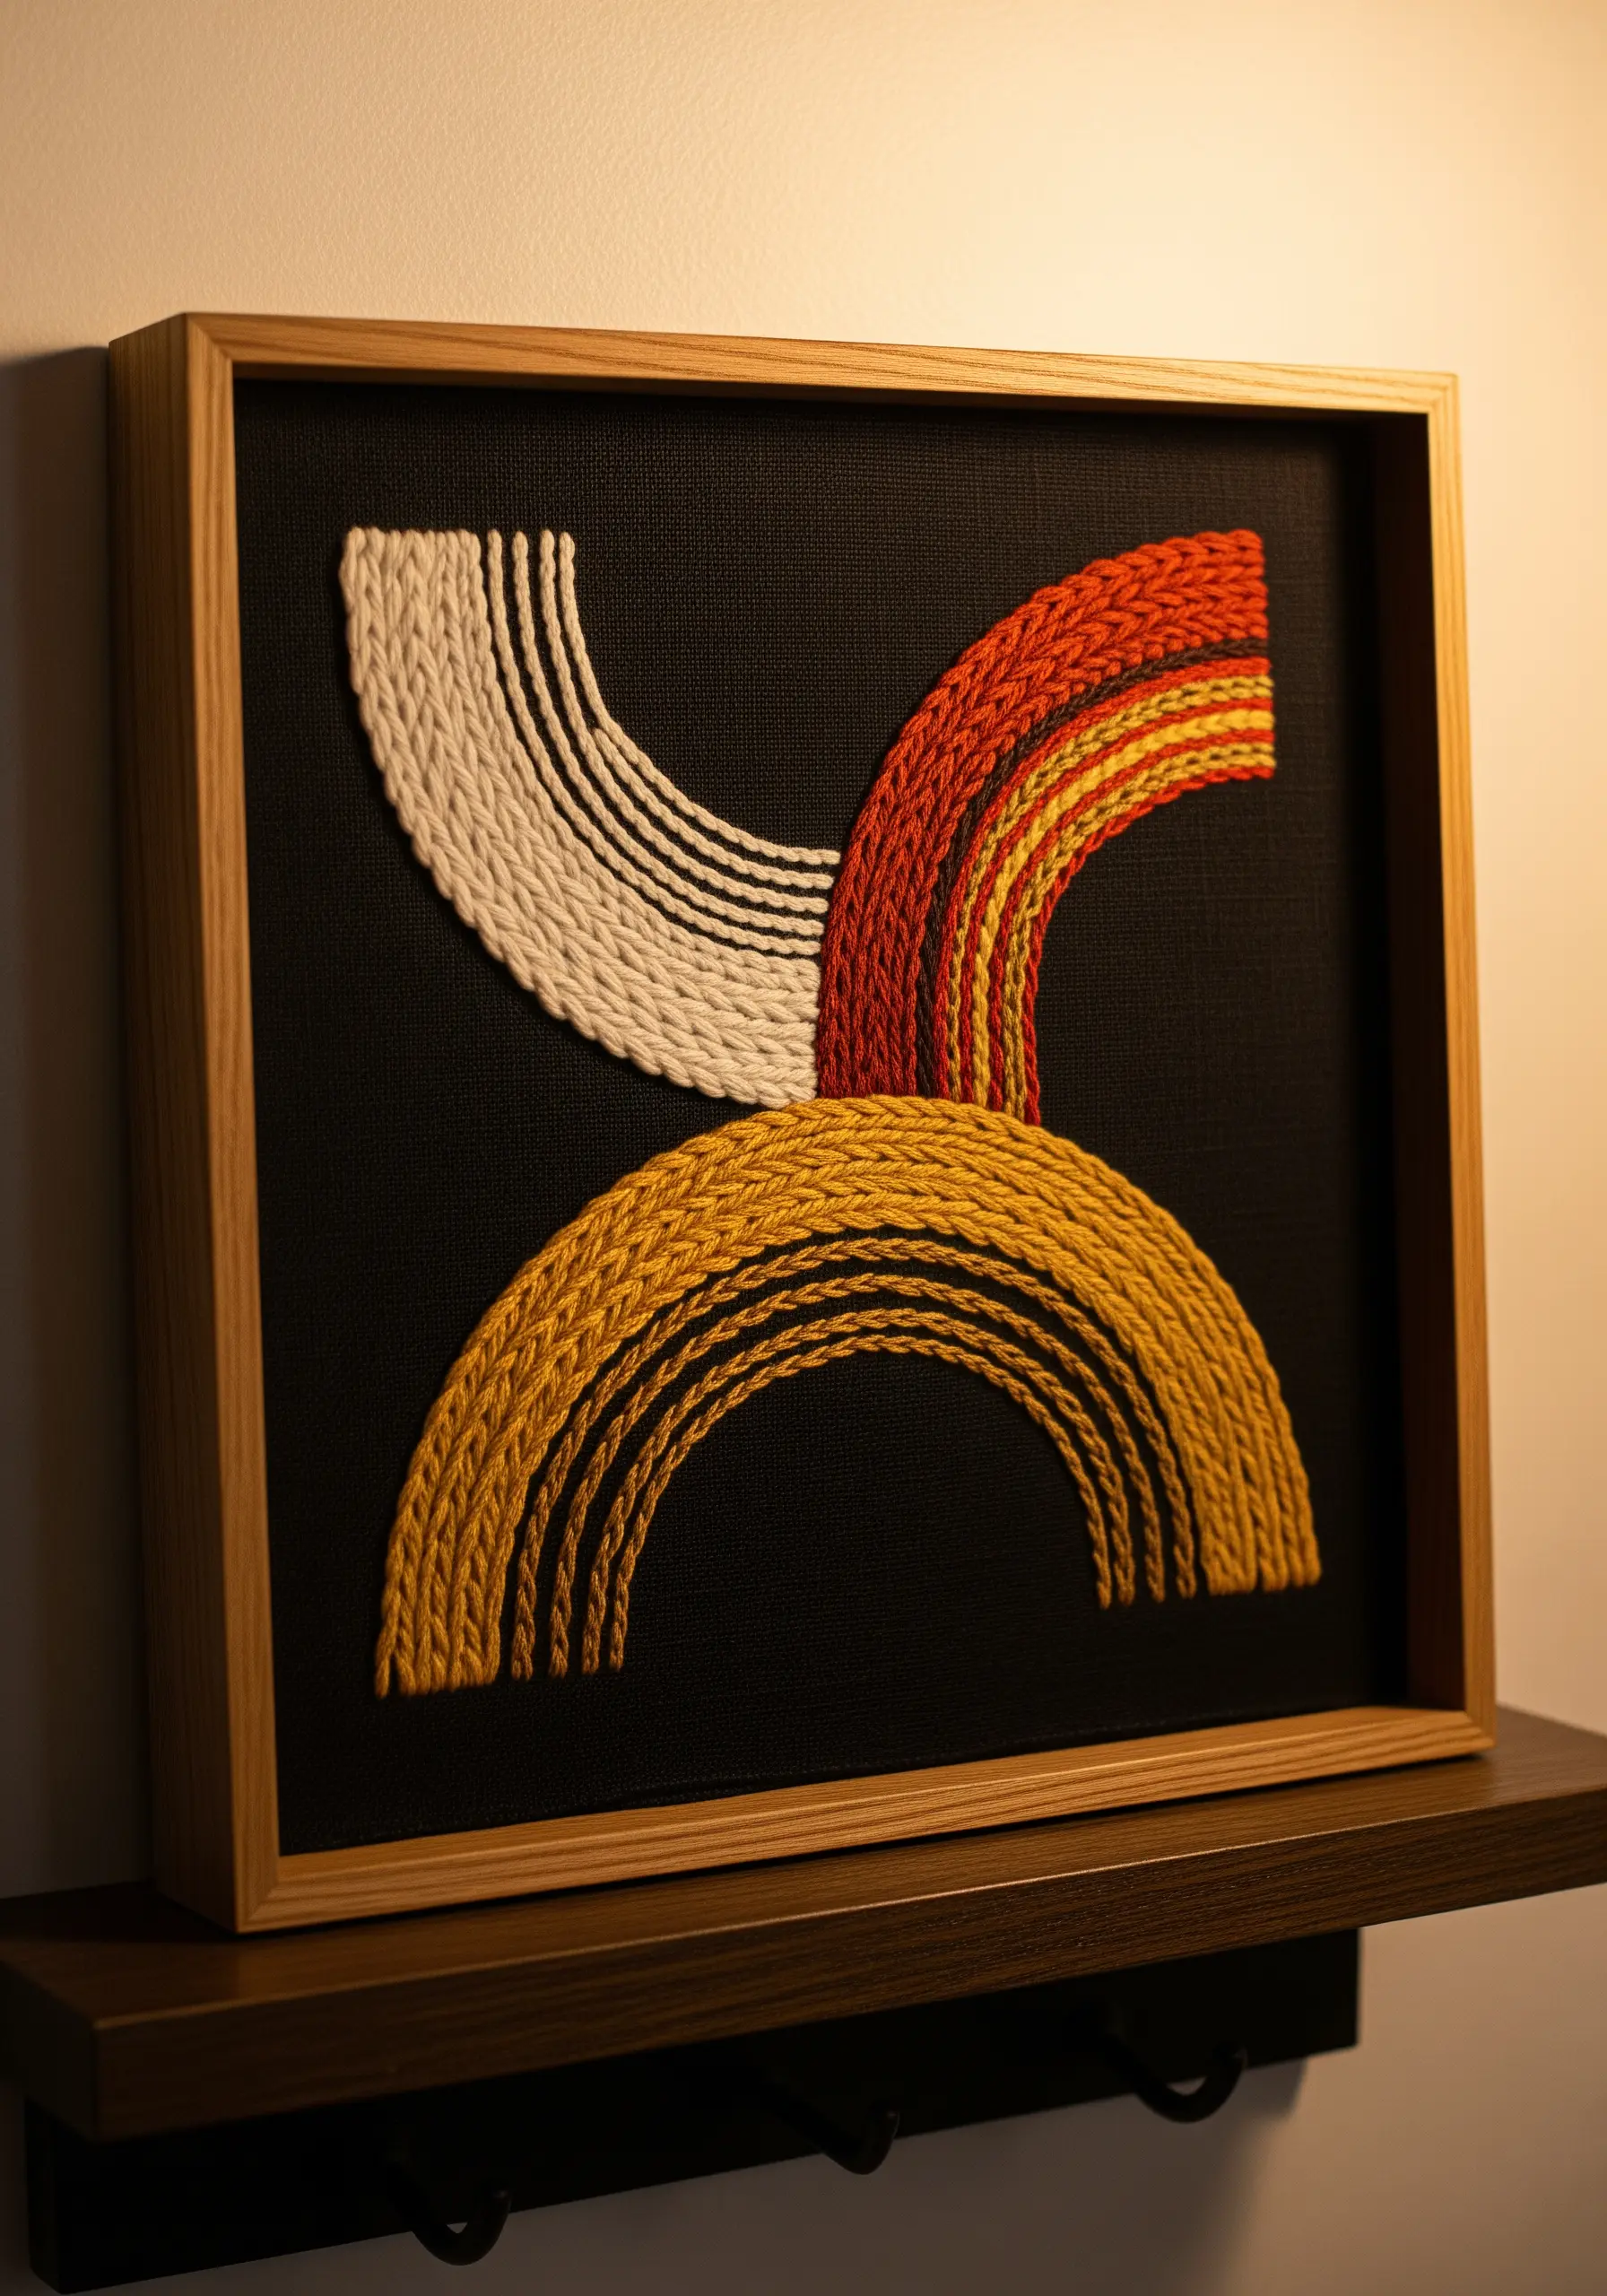
Create bold, textural art by couching thick yarn or cord side-by-side to fill a shape.
Lay down strands of your thick fiber and use a thinner, matching thread to tack them onto the base fabric, placing the strands tightly together to build solid blocks of color and texture.
Stitching on black fabric makes the colors feel more vibrant and the texture more pronounced.
This technique allows you to ‘paint’ with fiber, resulting in dramatic and modern abstract framed embroidery patterns.
9. Personalize a Doormat with Bold Yarn Stitching
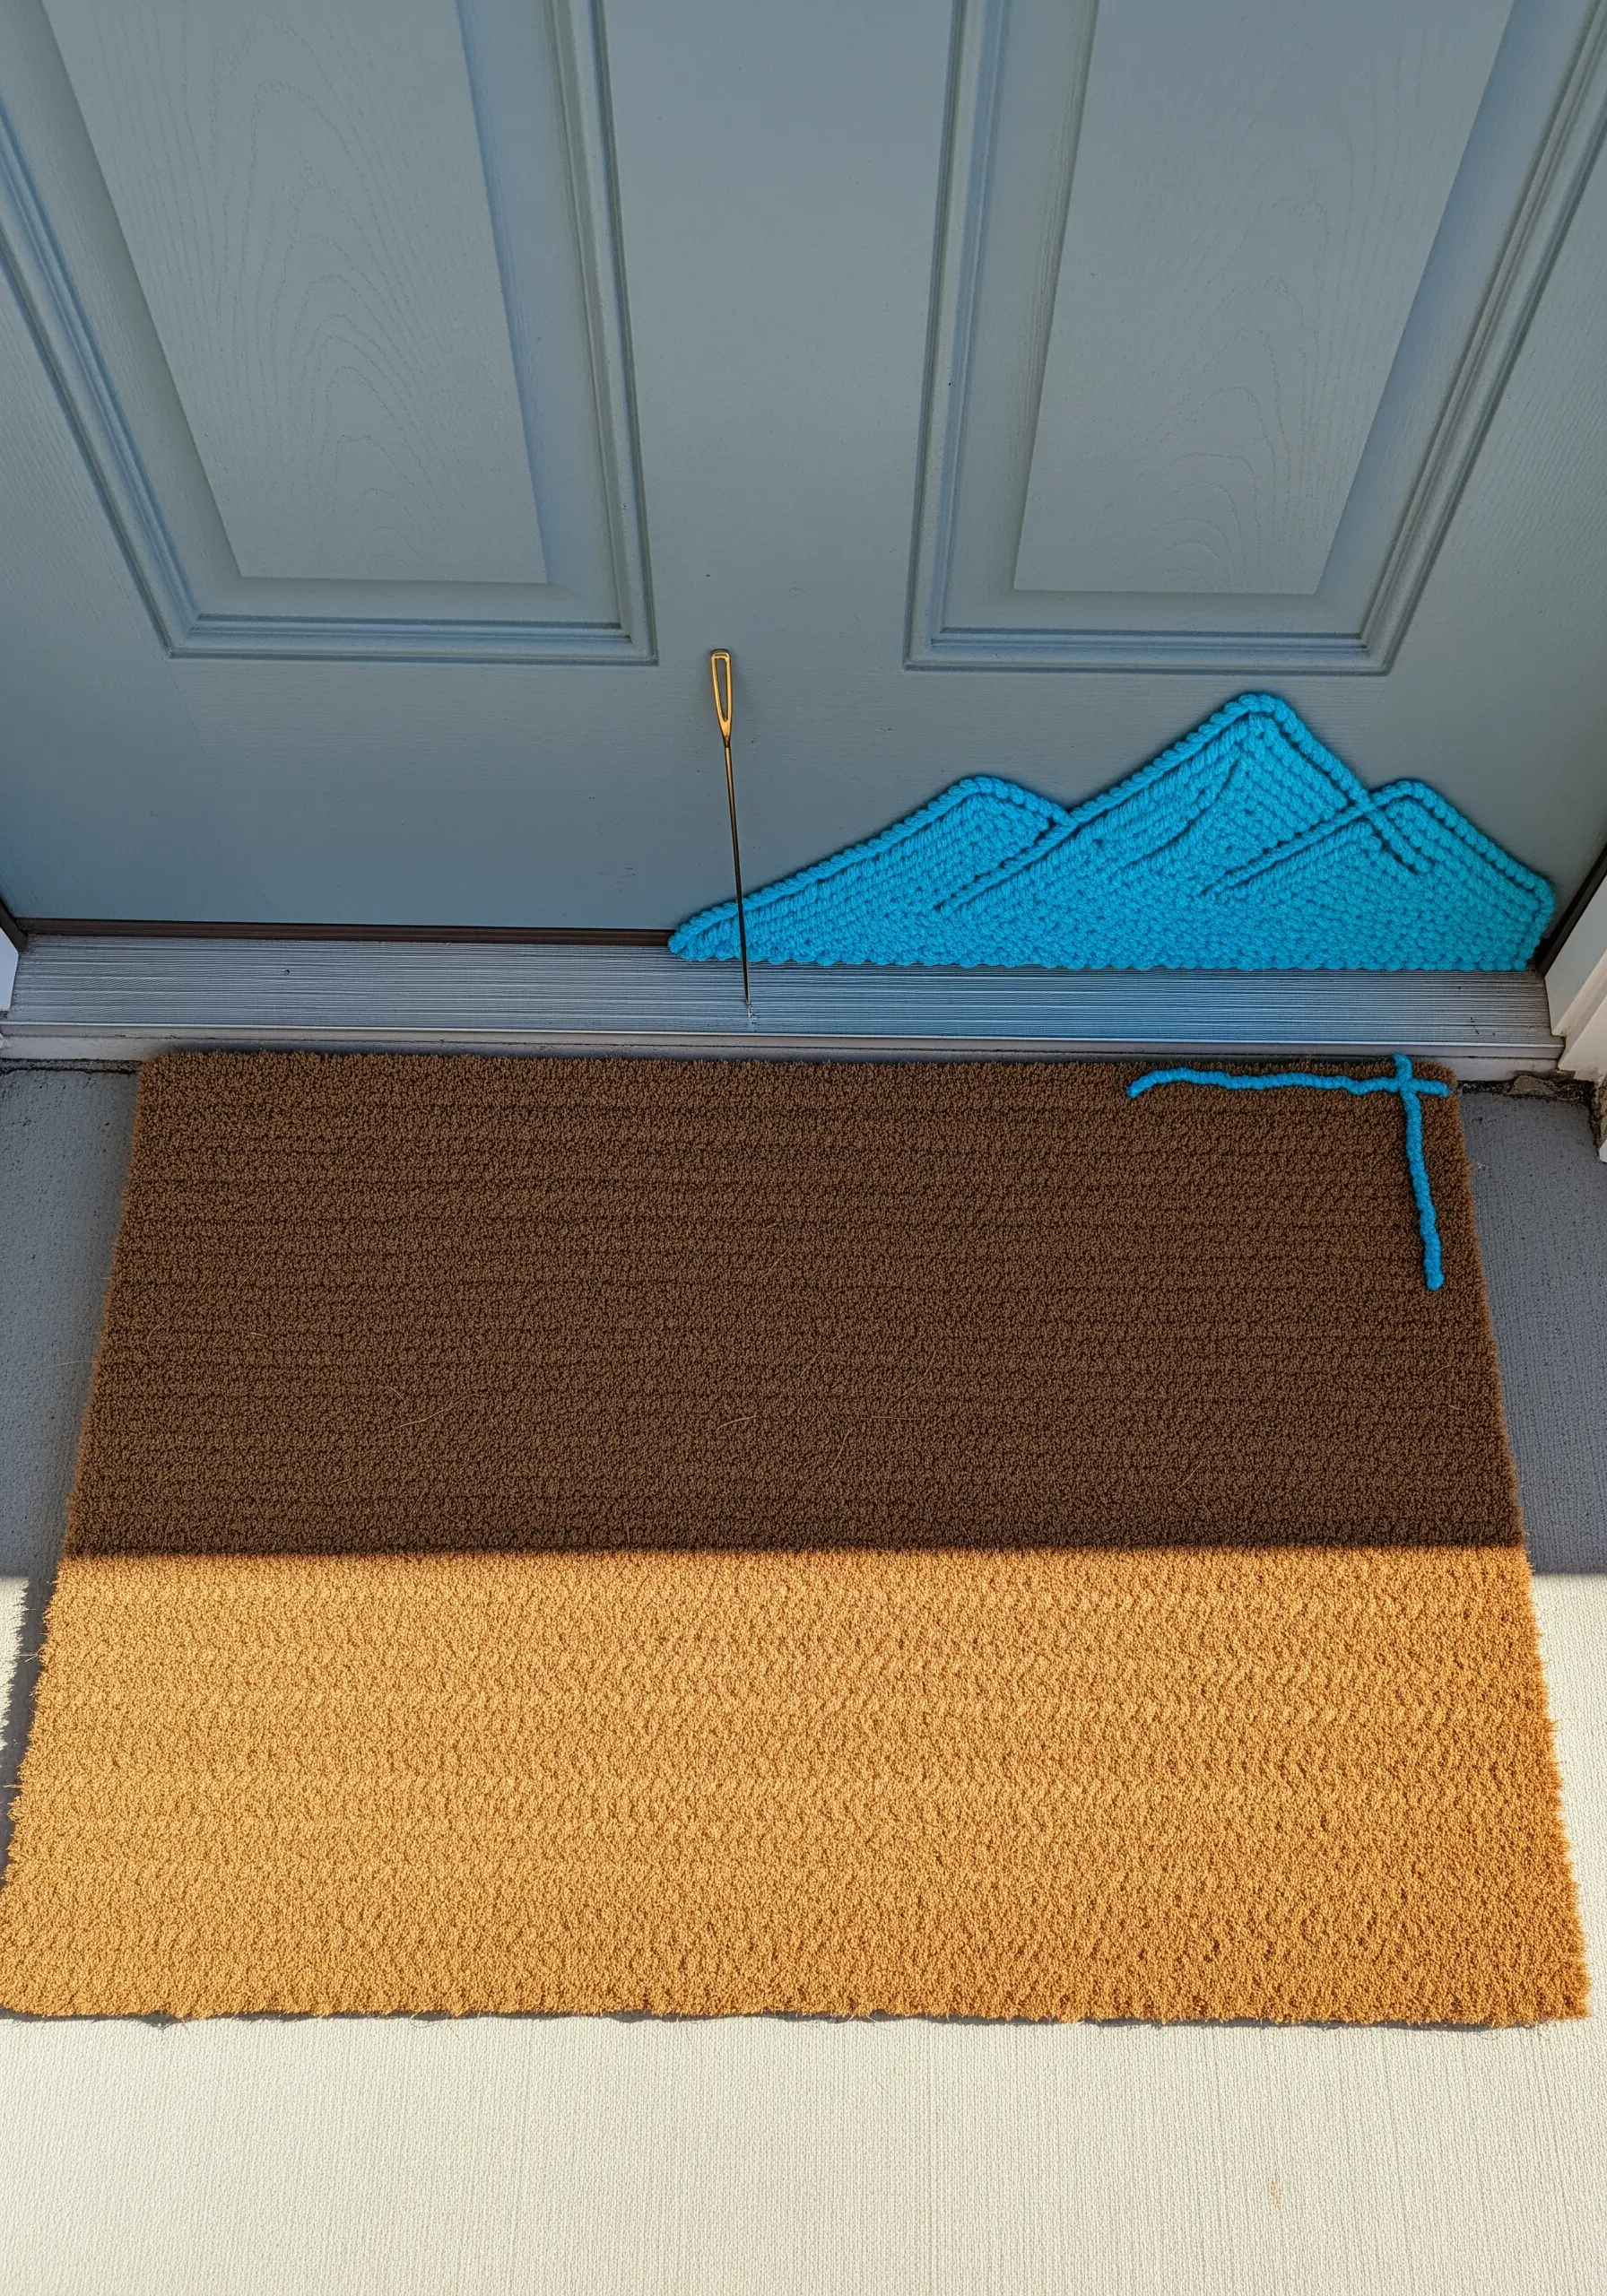
Take your stitching beyond the hoop by adding a yarn accent directly onto a coir doormat.
You’ll need a large tapestry needle or a latch hook needle and durable, weather-resistant yarn.
Punch the needle through the mat’s woven backing to create oversized stitches, forming a simple, graphic shape.
This playful technique adds an unexpected pop of color and personality right at your doorstep, transforming an everyday object with one of those unexpected fabric crafts.
10. Frame a Mirror with Delicate Botanical Line Work
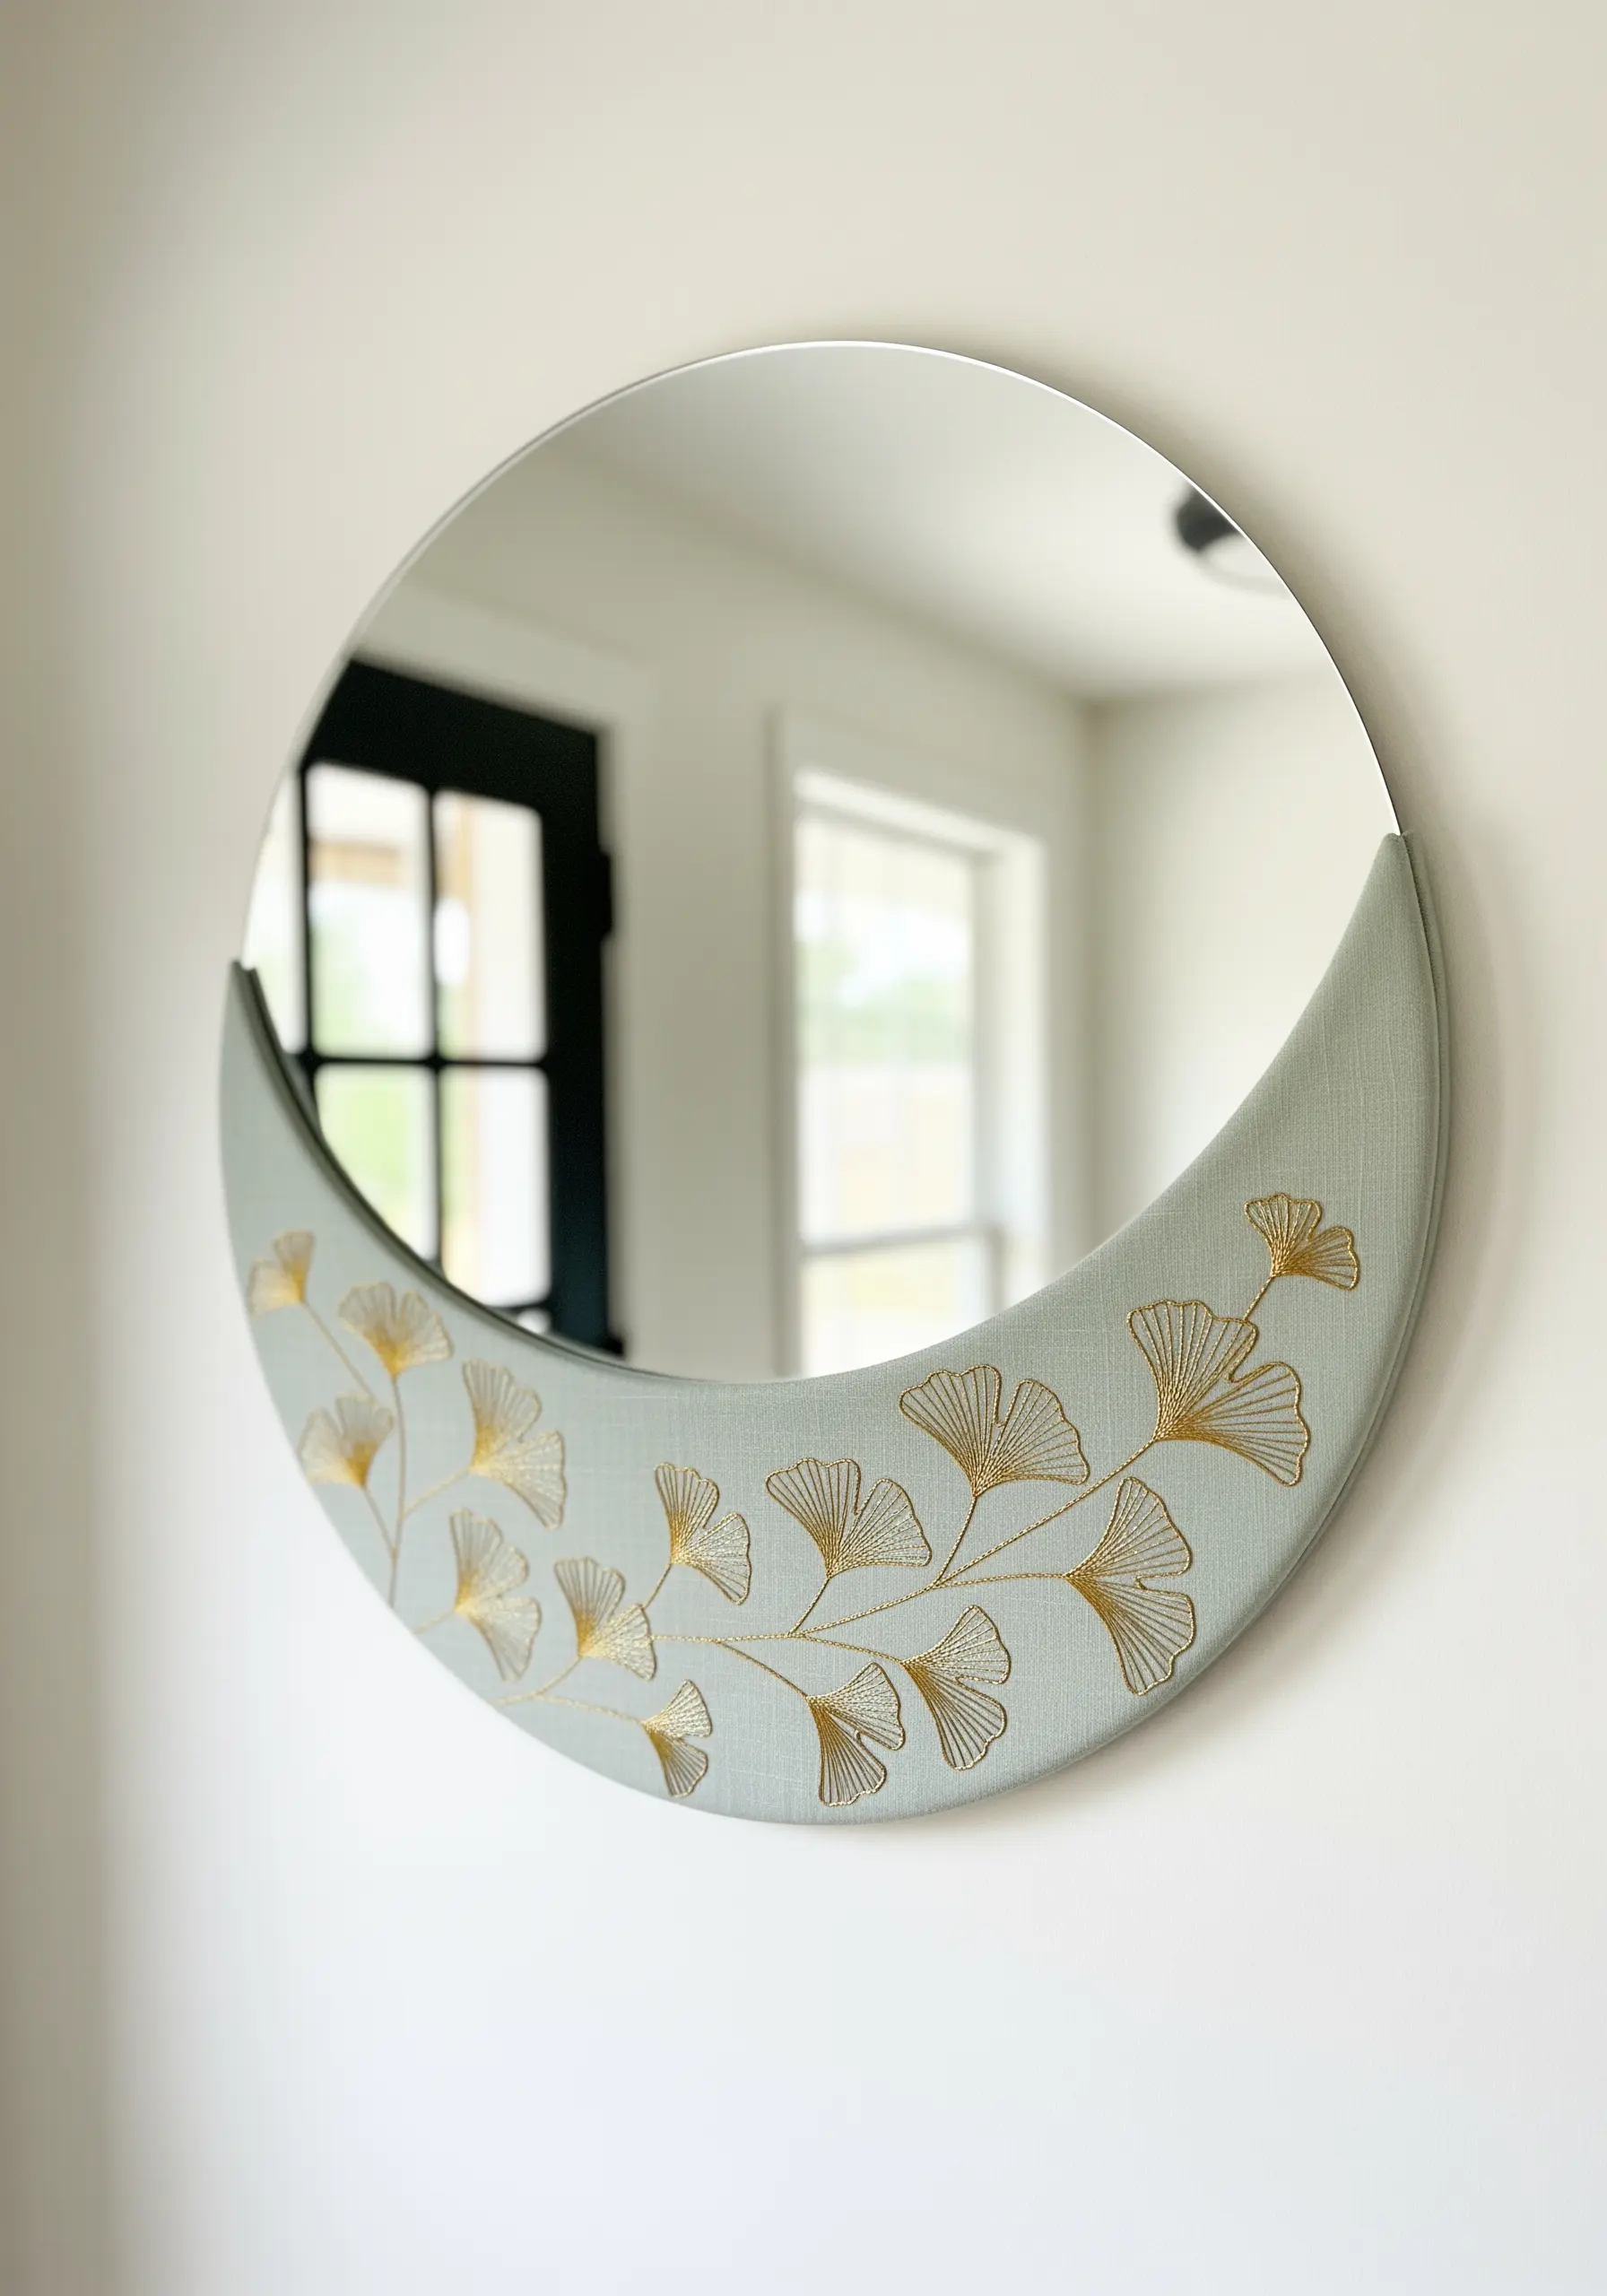
Soften the hard lines of a round mirror by crafting a custom fabric frame for it.
Create a template for the crescent shape, then stitch your design before assembling the final piece.
For an ethereal look like these ginkgo leaves, use a metallic thread in gold or silver and keep your stitches light—a simple backstitch for the stems and straight stitches for the fans.
This project elevates a functional mirror into a piece of elegant framed embroidery artwork.
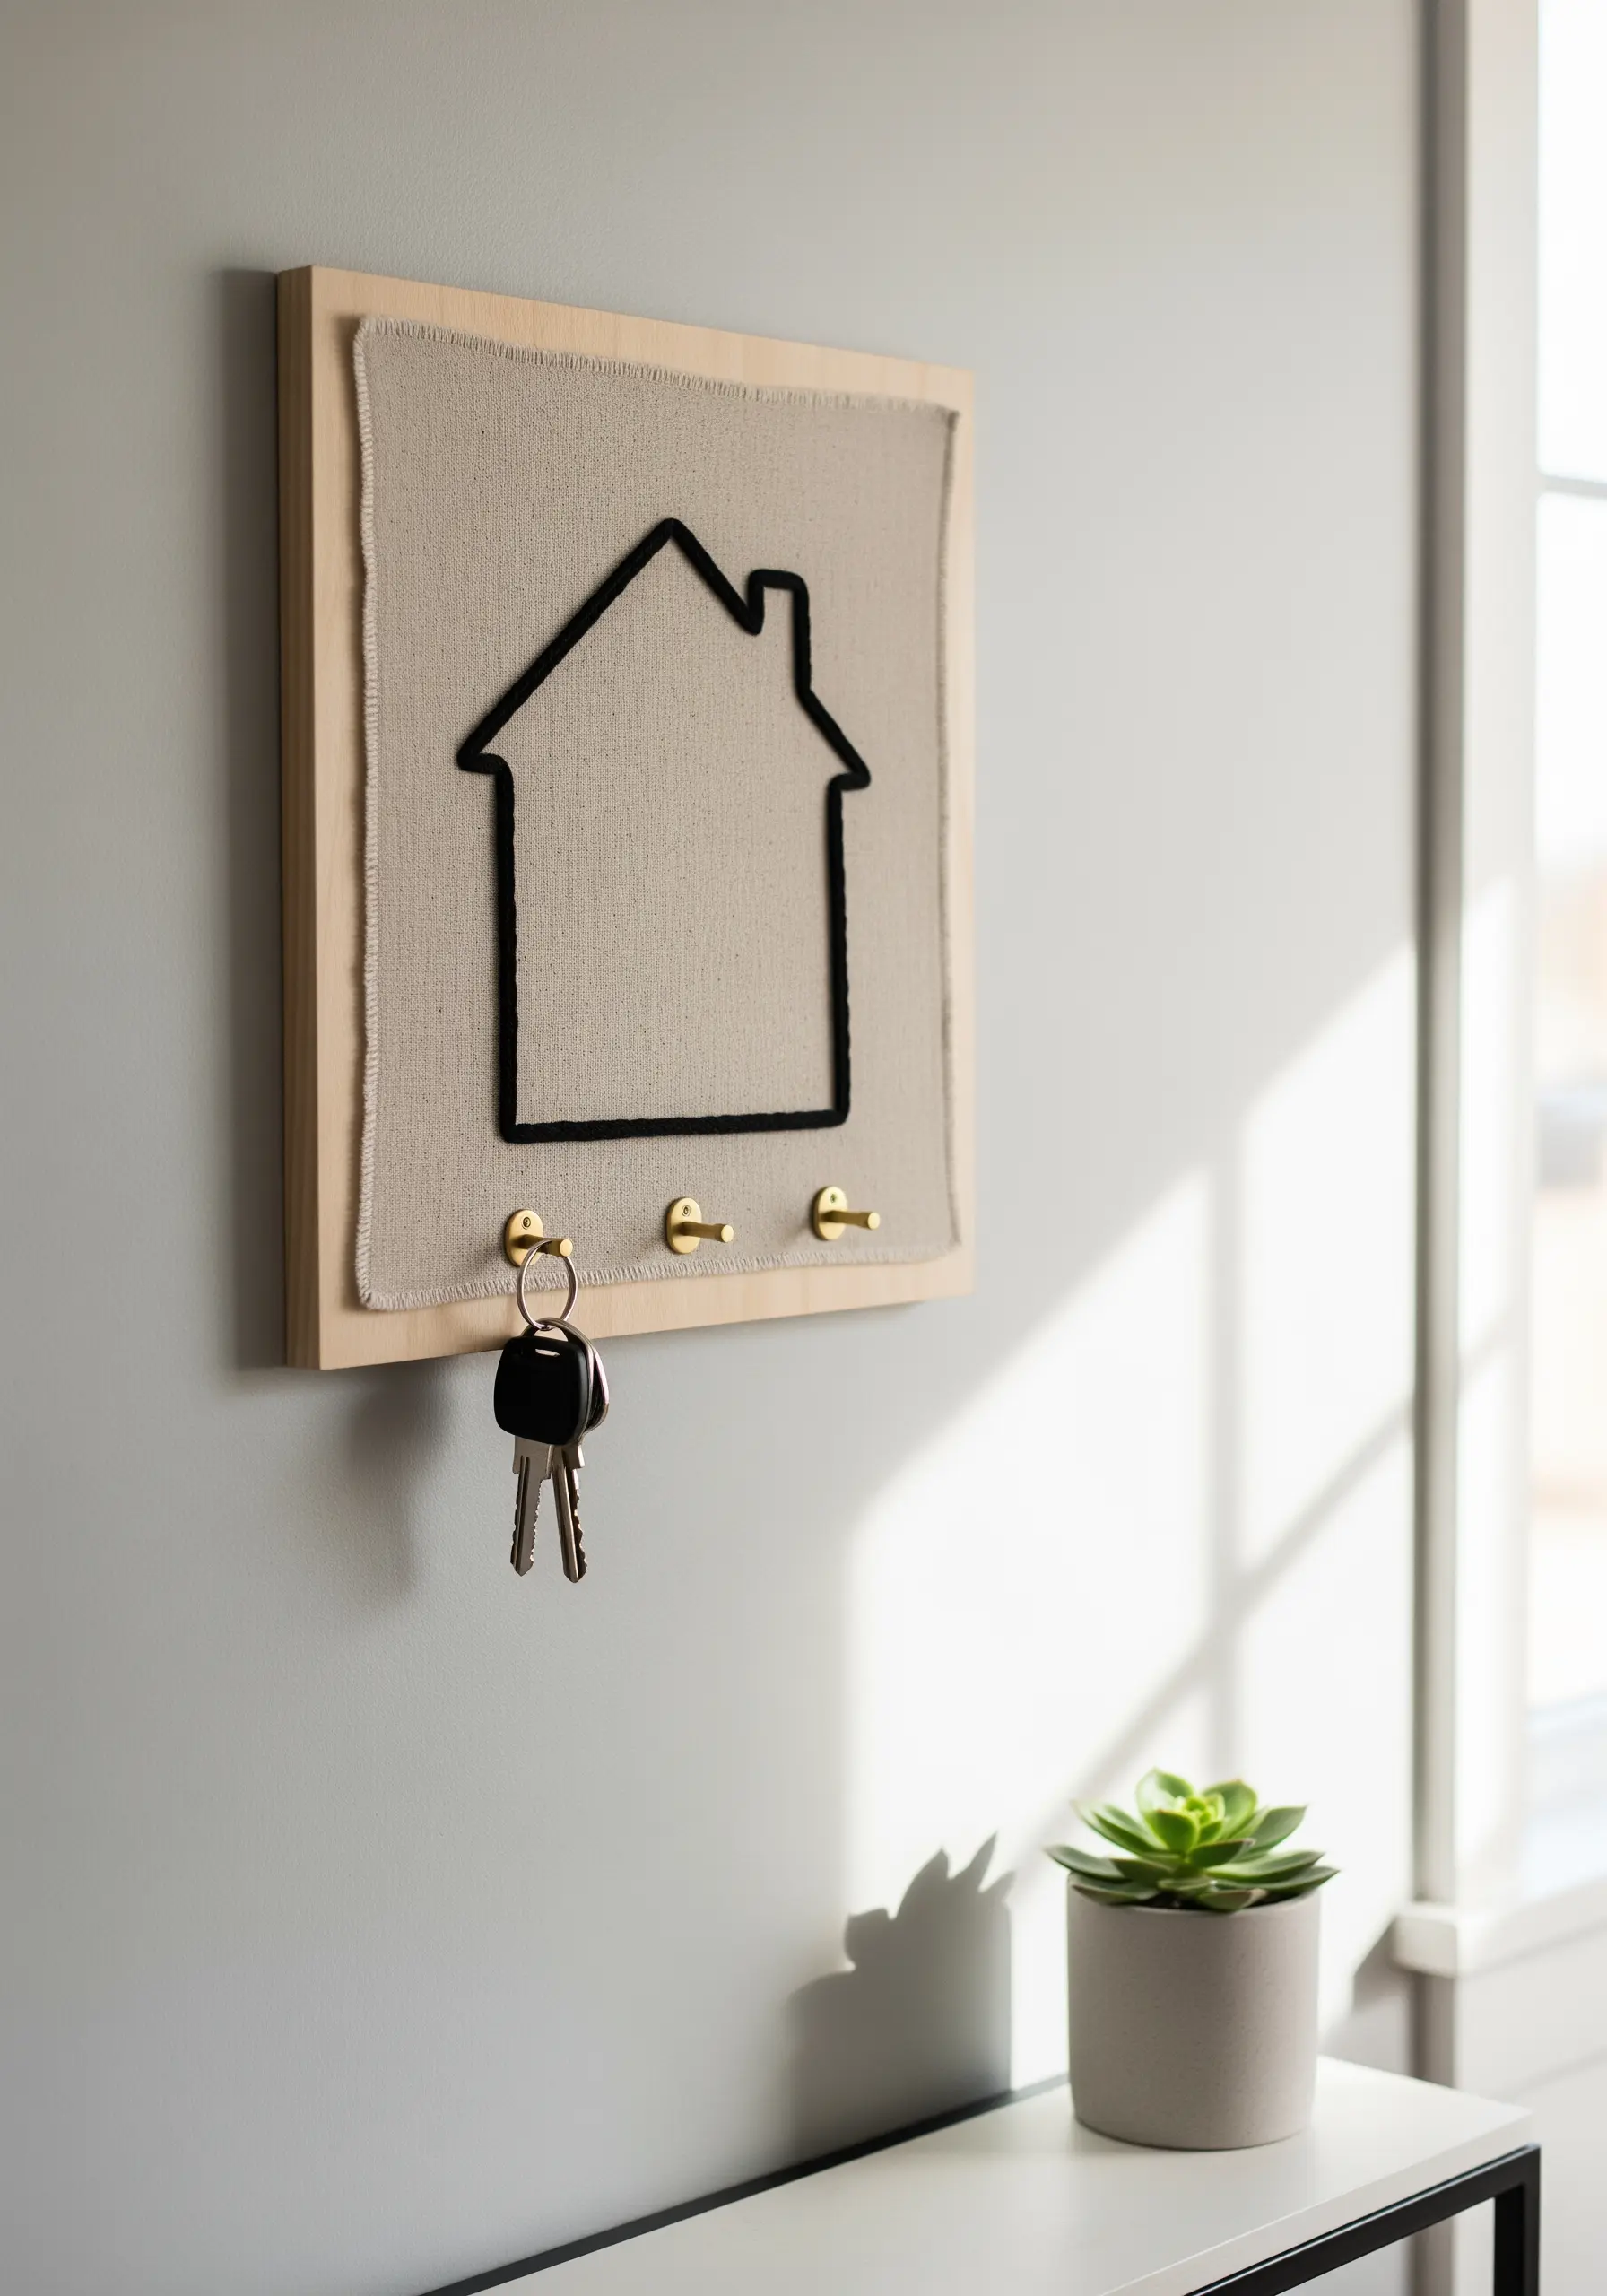
11. Craft High-Visibility House Numbers with Corded Stitching
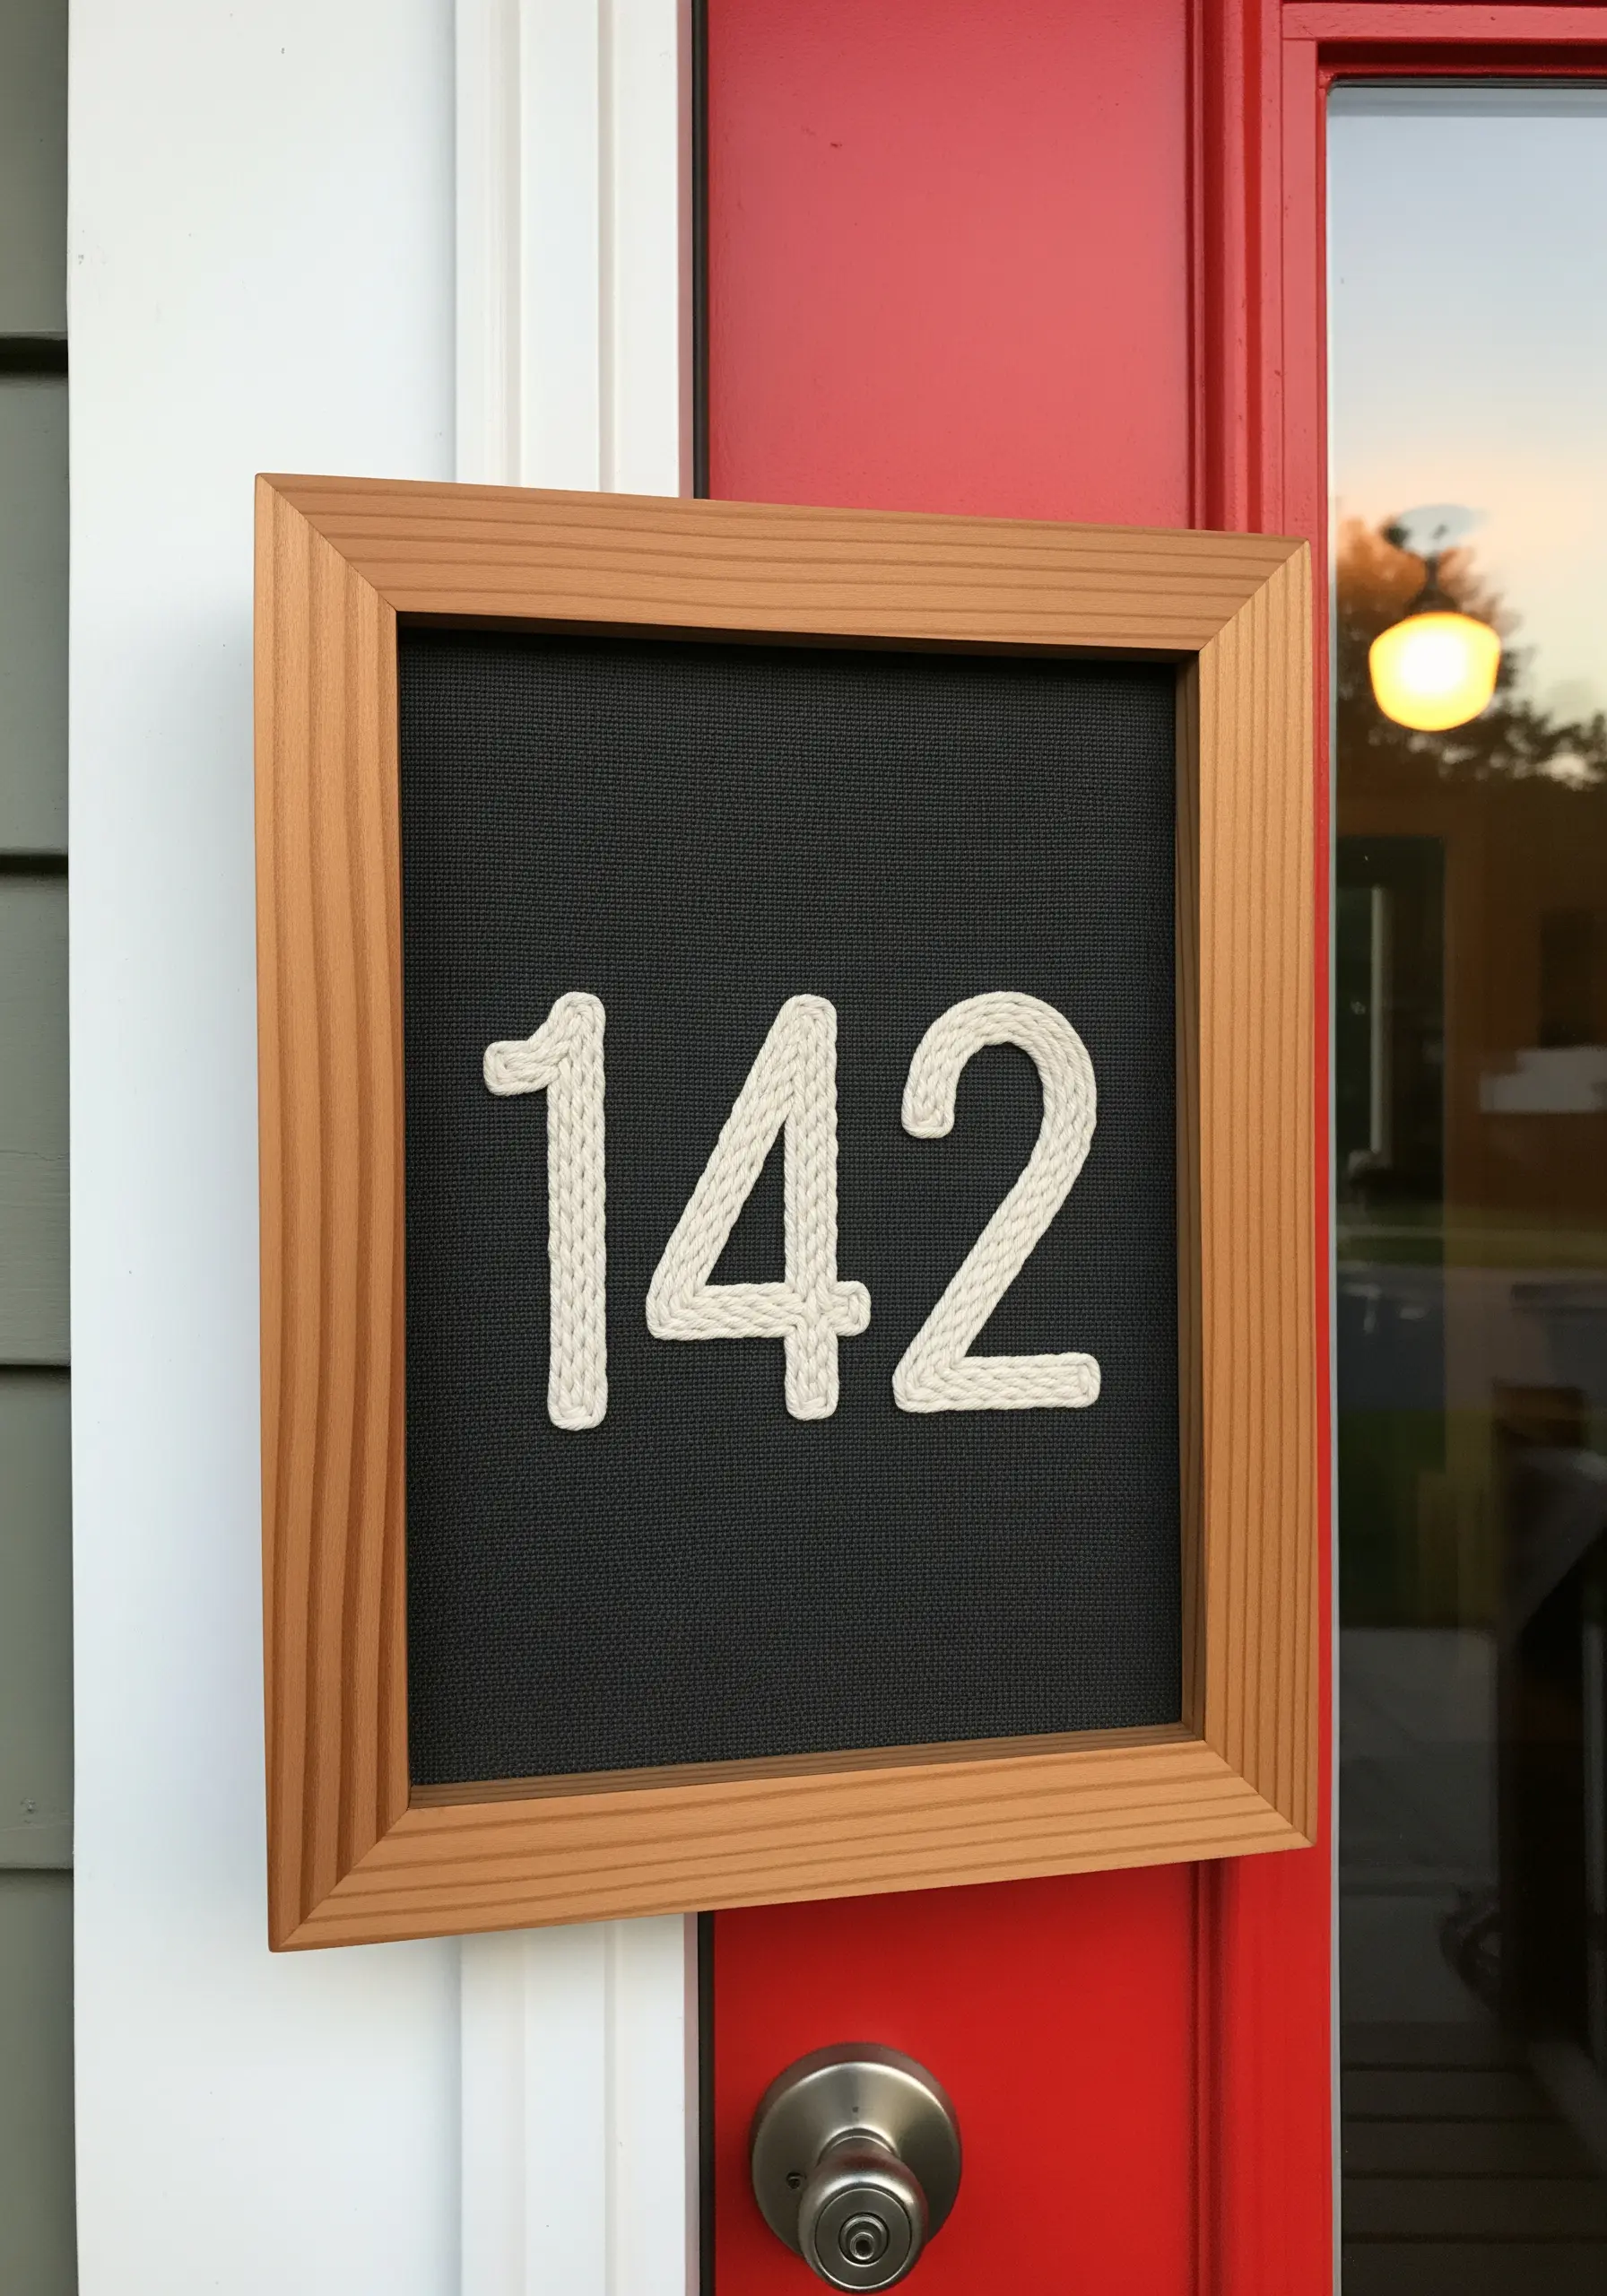
Design a custom house number plaque that combines rustic texture with modern clarity.
Use a thick, braided cotton cord and couch it onto a dark, durable fabric like canvas or outdoor duck cloth.
The high contrast and three-dimensional texture ensure the numbers are legible from a distance, while the handmade quality adds immense curb appeal.
This method is one of those DIY wall art embroidery projects that is both beautiful and highly practical.
12. Organize with Minimalist Line Art Icons
Add intuitive visual labels to a fabric wall organizer using clean, single-line embroidery.
A simple backstitch or stem stitch is all you need to render clean, recognizable icons like an envelope or a key.
For maximum legibility, choose a thread that contrasts sharply with your base fabric—black on cream is timeless.
These minimalist line art designs bring a touch of Scandinavian simplicity and effortless order to your entryway.
13. Add 3D Texture with Beaded Fill Stitch
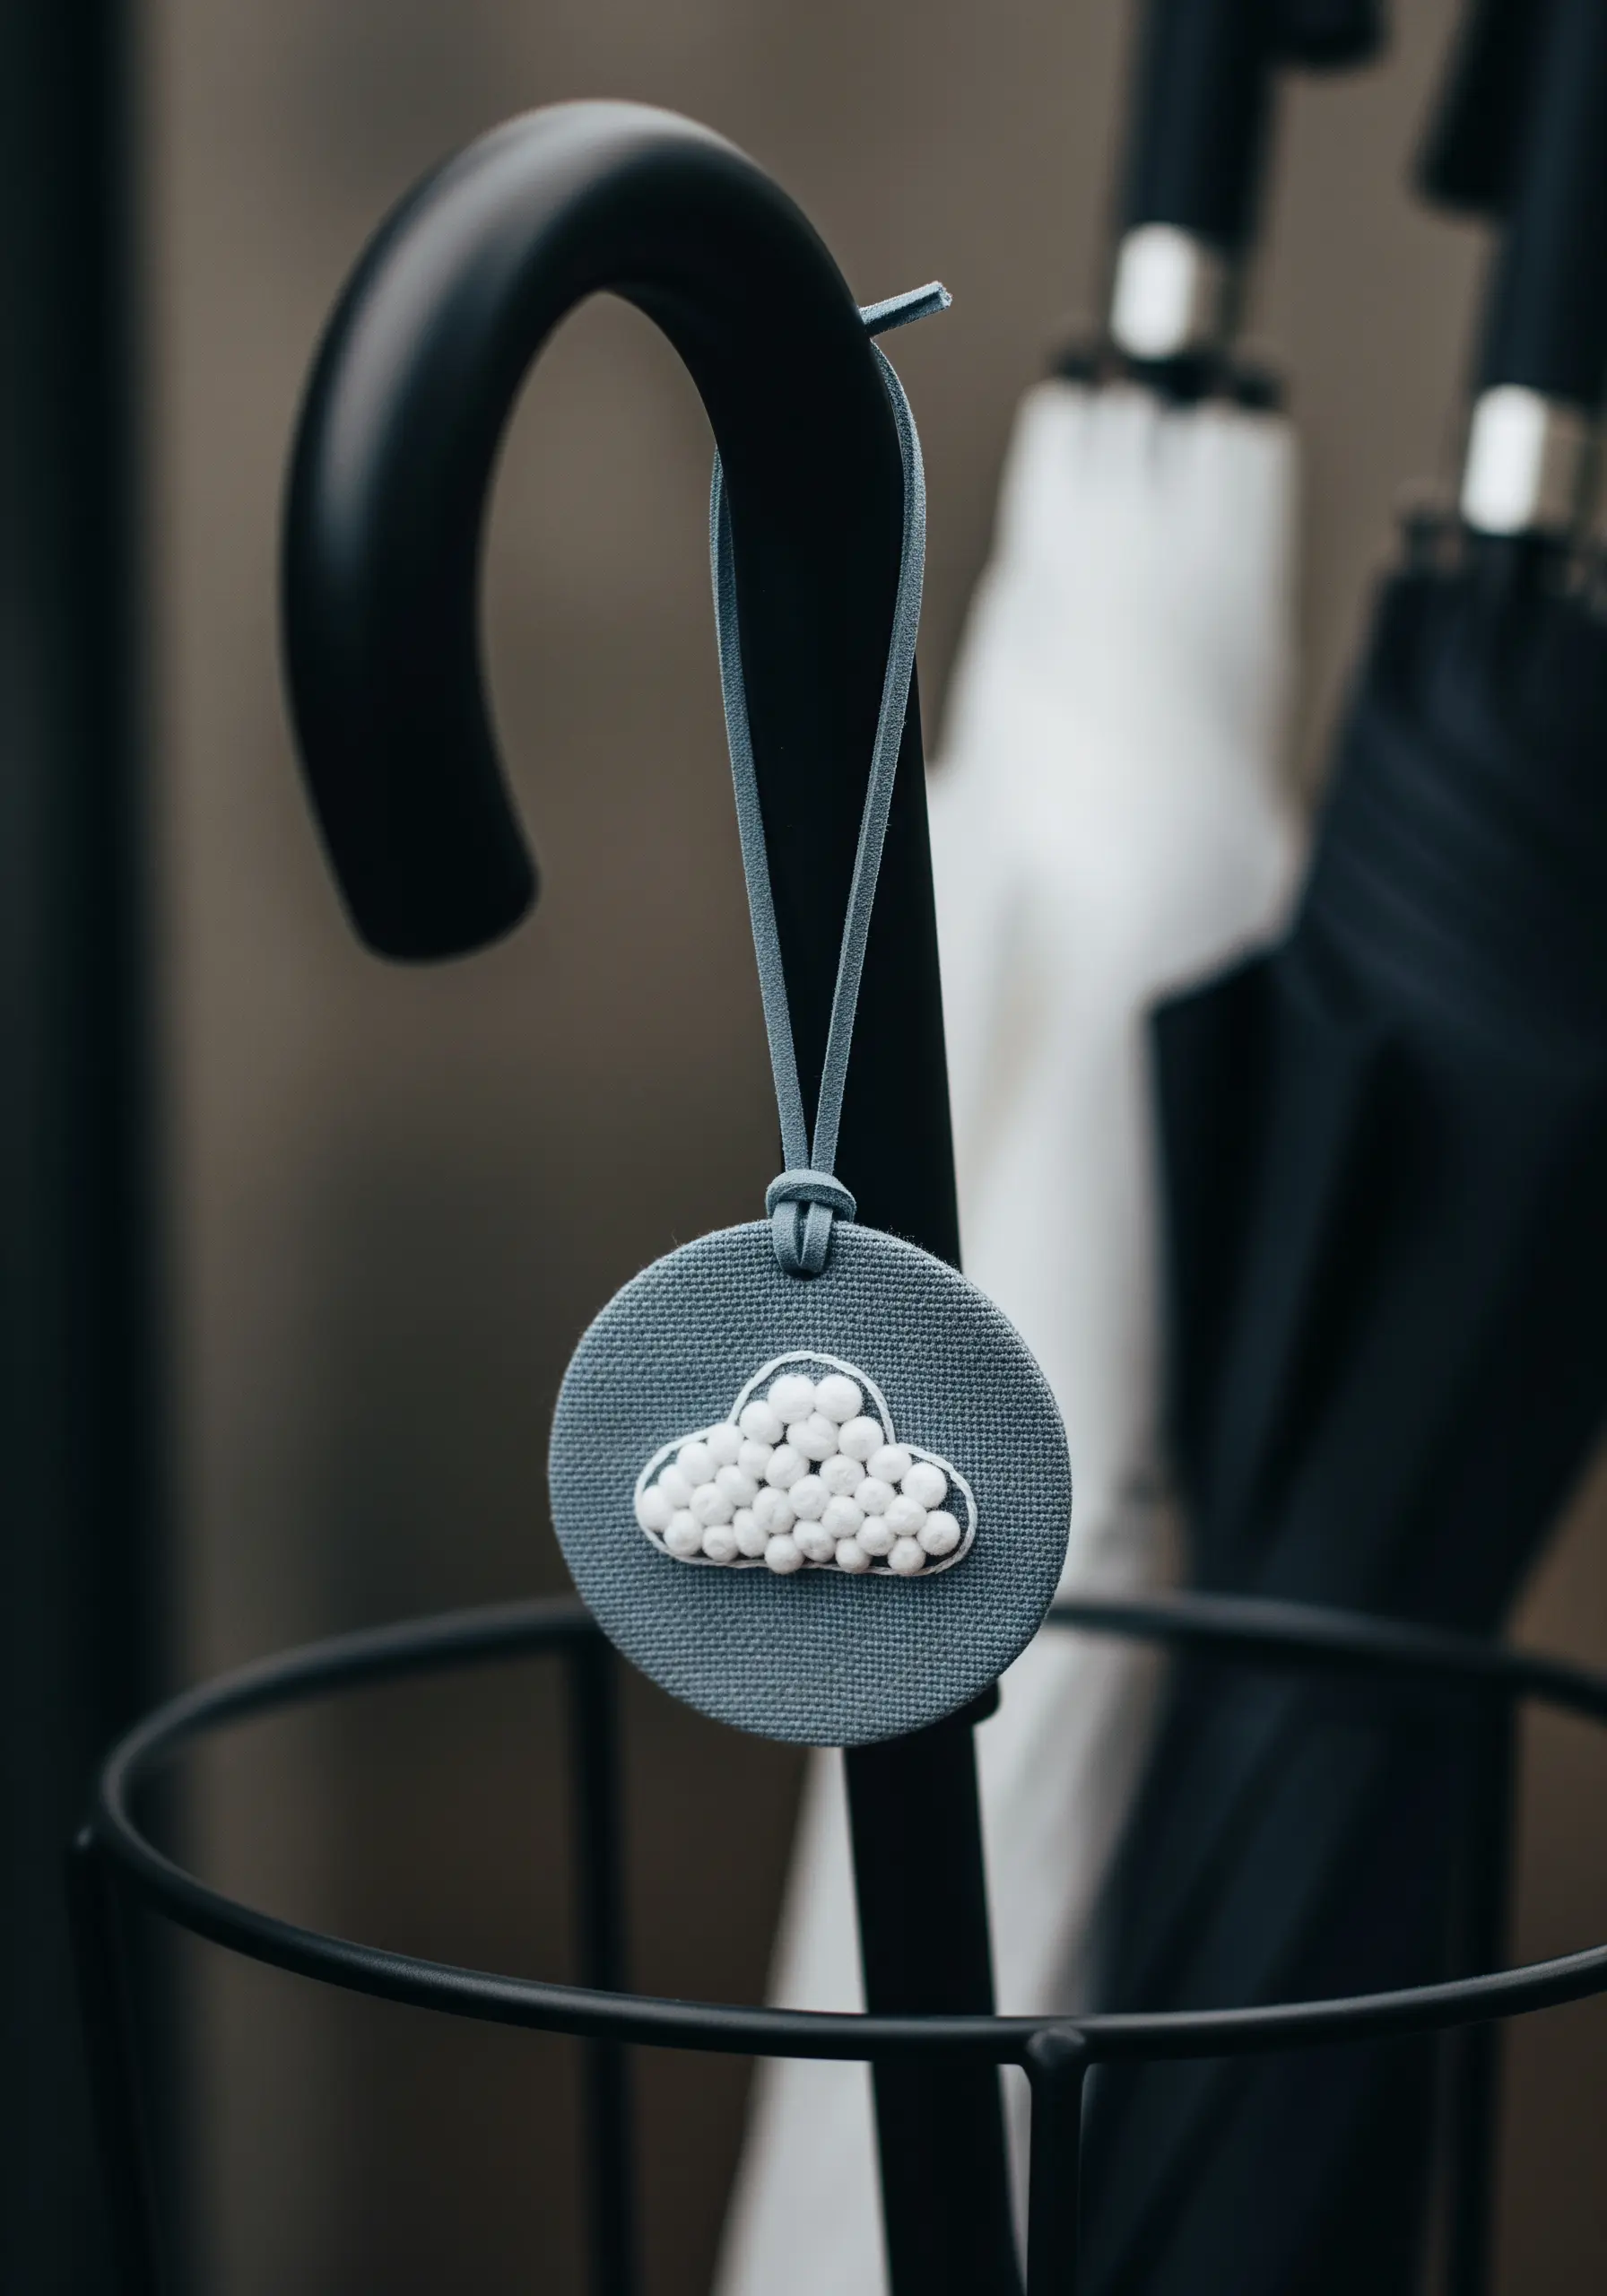
Introduce a surprising tactile element to a small project by filling a shape with beads instead of thread.
First, secure the shape’s boundary with a simple backstitch outline.
Then, using a beading needle and matching thread, sew on seed beads one by one to fill the interior, creating a dense, pebbly texture that catches the light beautifully.
This mixed-media approach transforms a simple charm into a sophisticated, eye-catching accessory.
14. Transform a Light Switch with a Stitched Fabric Cover

Turn a mundane fixture into a delightful detail by creating a custom embroidered fabric cover.
Choose a sturdy, even-weave fabric that won’t stretch, like cotton canvas or linen.
Stitch a small, simple motif—like these lightning bolts—to frame the switch itself.
To assemble, wrap the fabric tightly around the plastic switch plate and secure it on the back with strong craft glue, ensuring your cutouts for the switch and screws are neat and precise.
15. Create a Radiant Sunburst with Straight Stitches
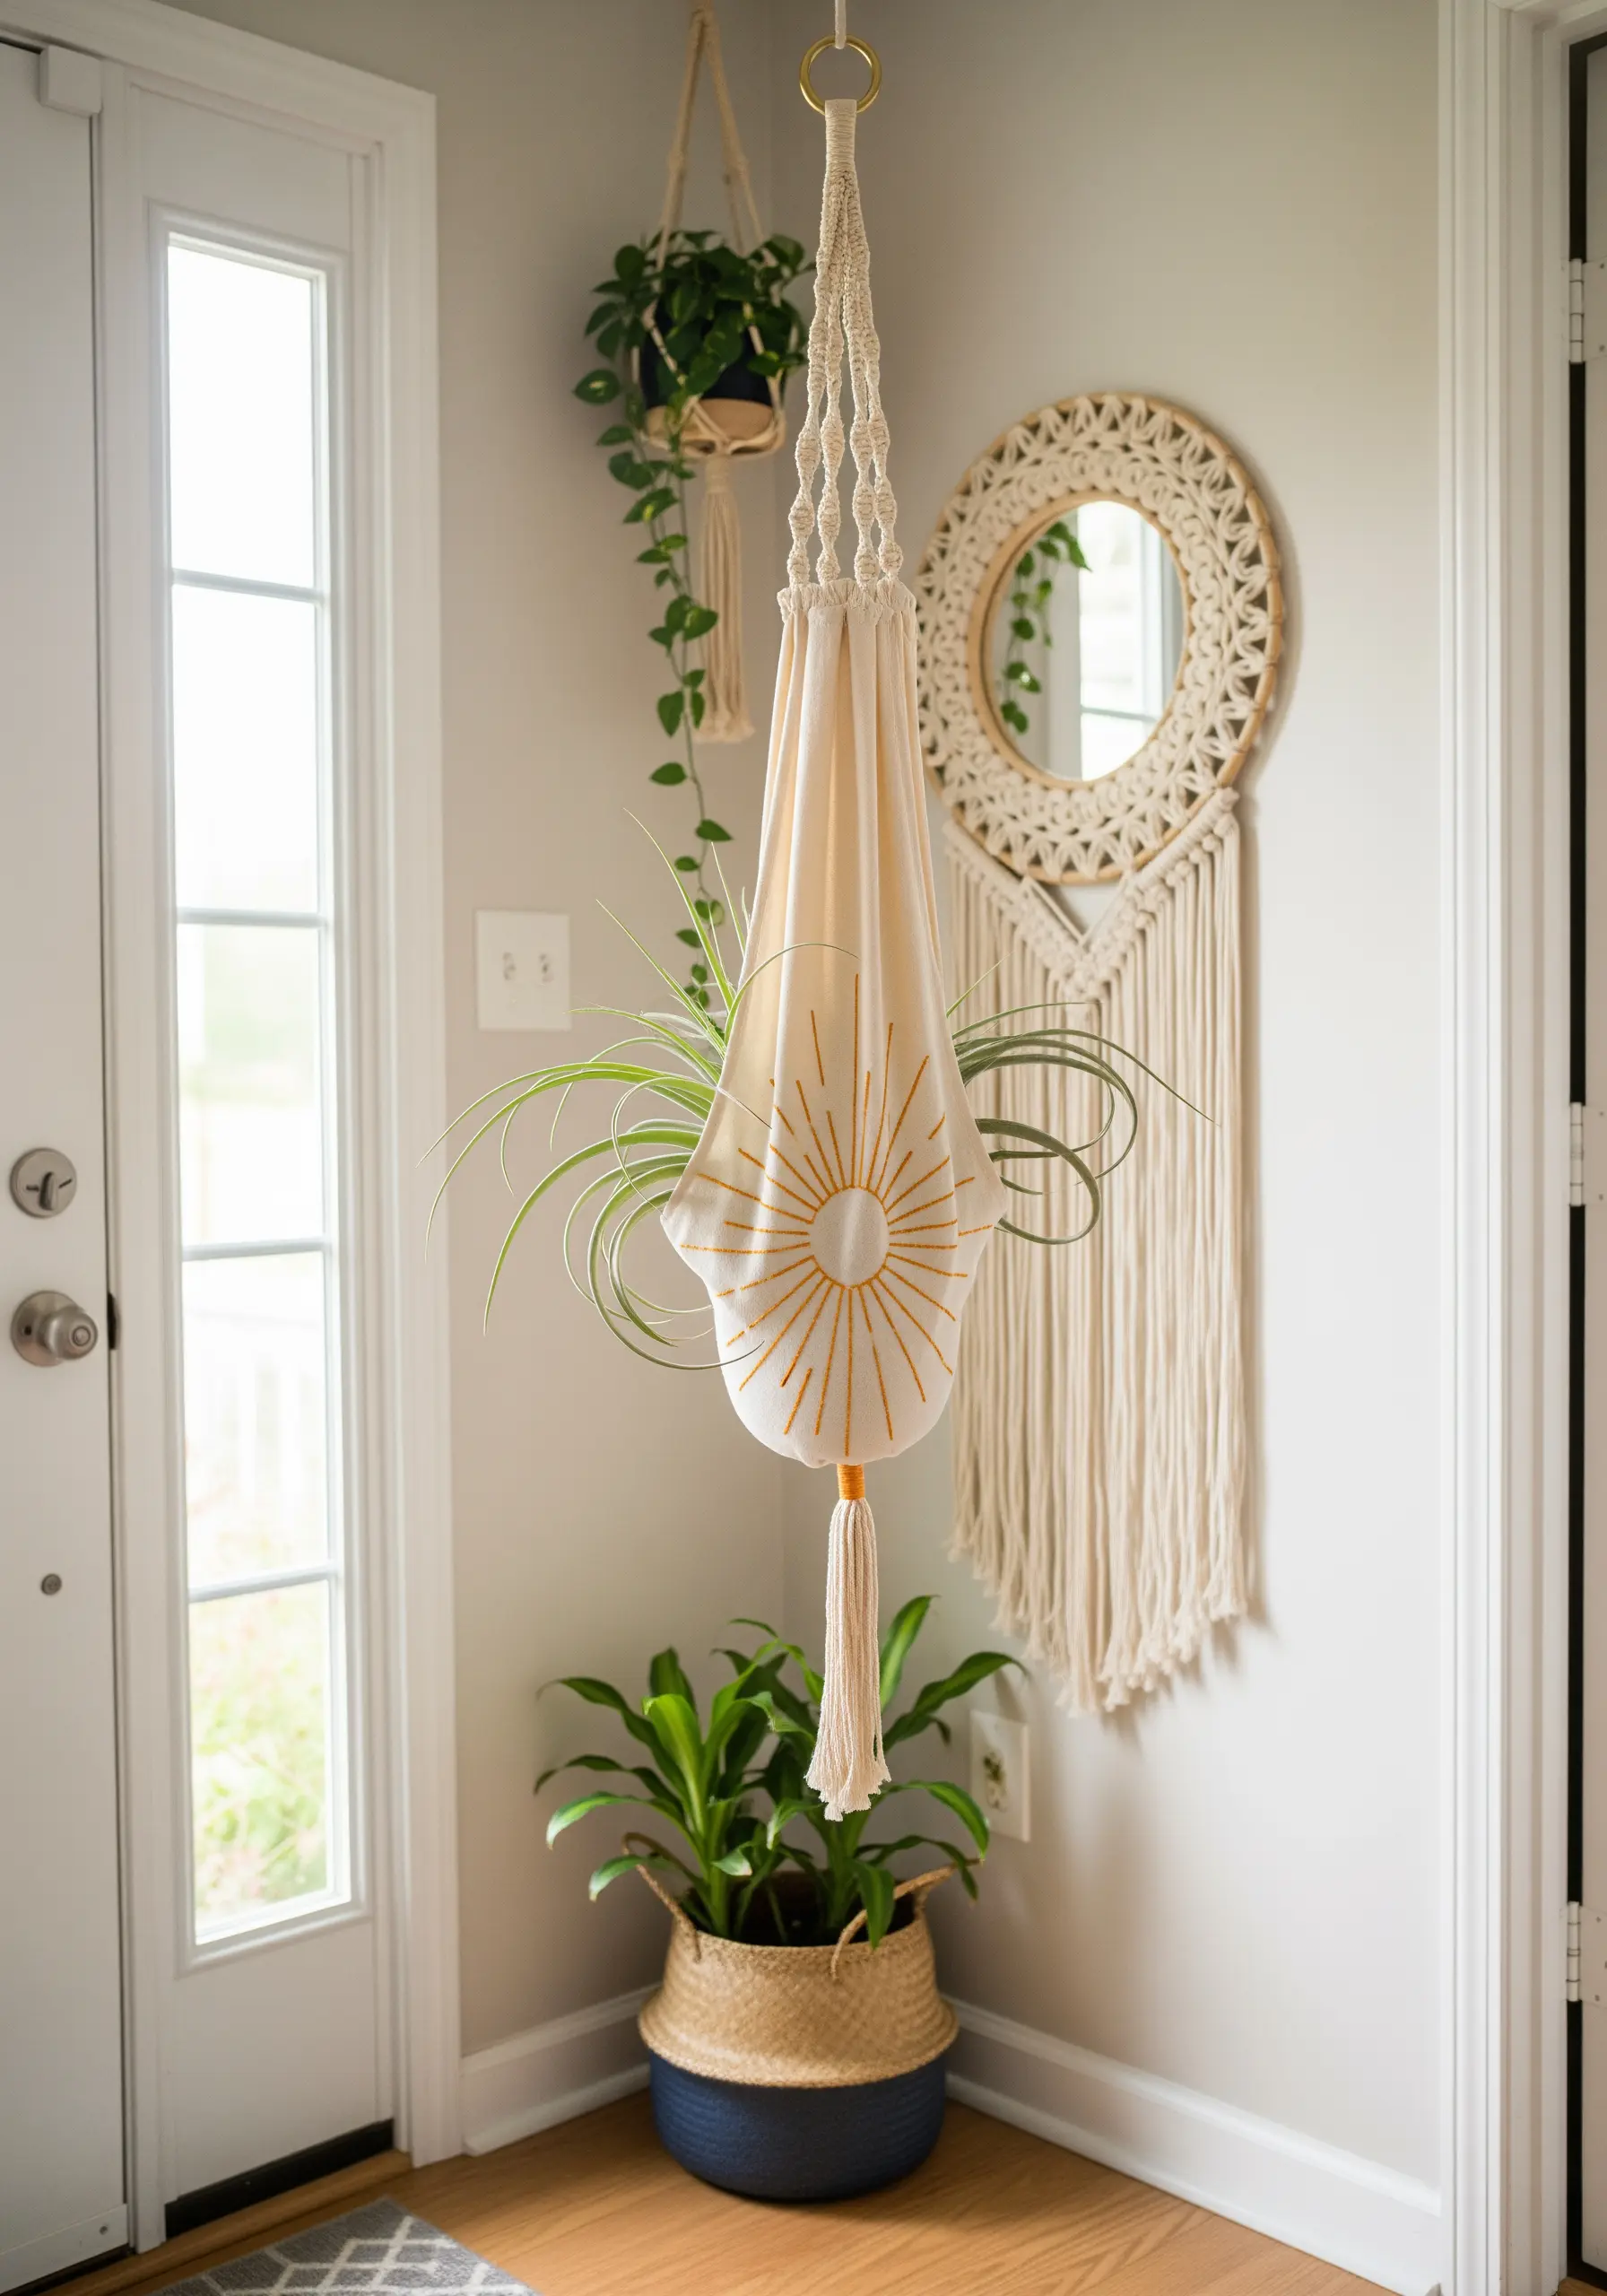
Embellish a simple fabric plant pouch with a radiating sun motif using only the most basic stitch.
Begin by marking a central point, then work straight stitches of varying lengths fanning out from the center.
The key to a dynamic look is alternating long and short stitches to create movement.
This simple technique adds a powerful graphic effect that feels both modern and bohemian, bringing a touch of sunshine to your indoor greenery.
16. Define a Landscape with a Single, Confident Line
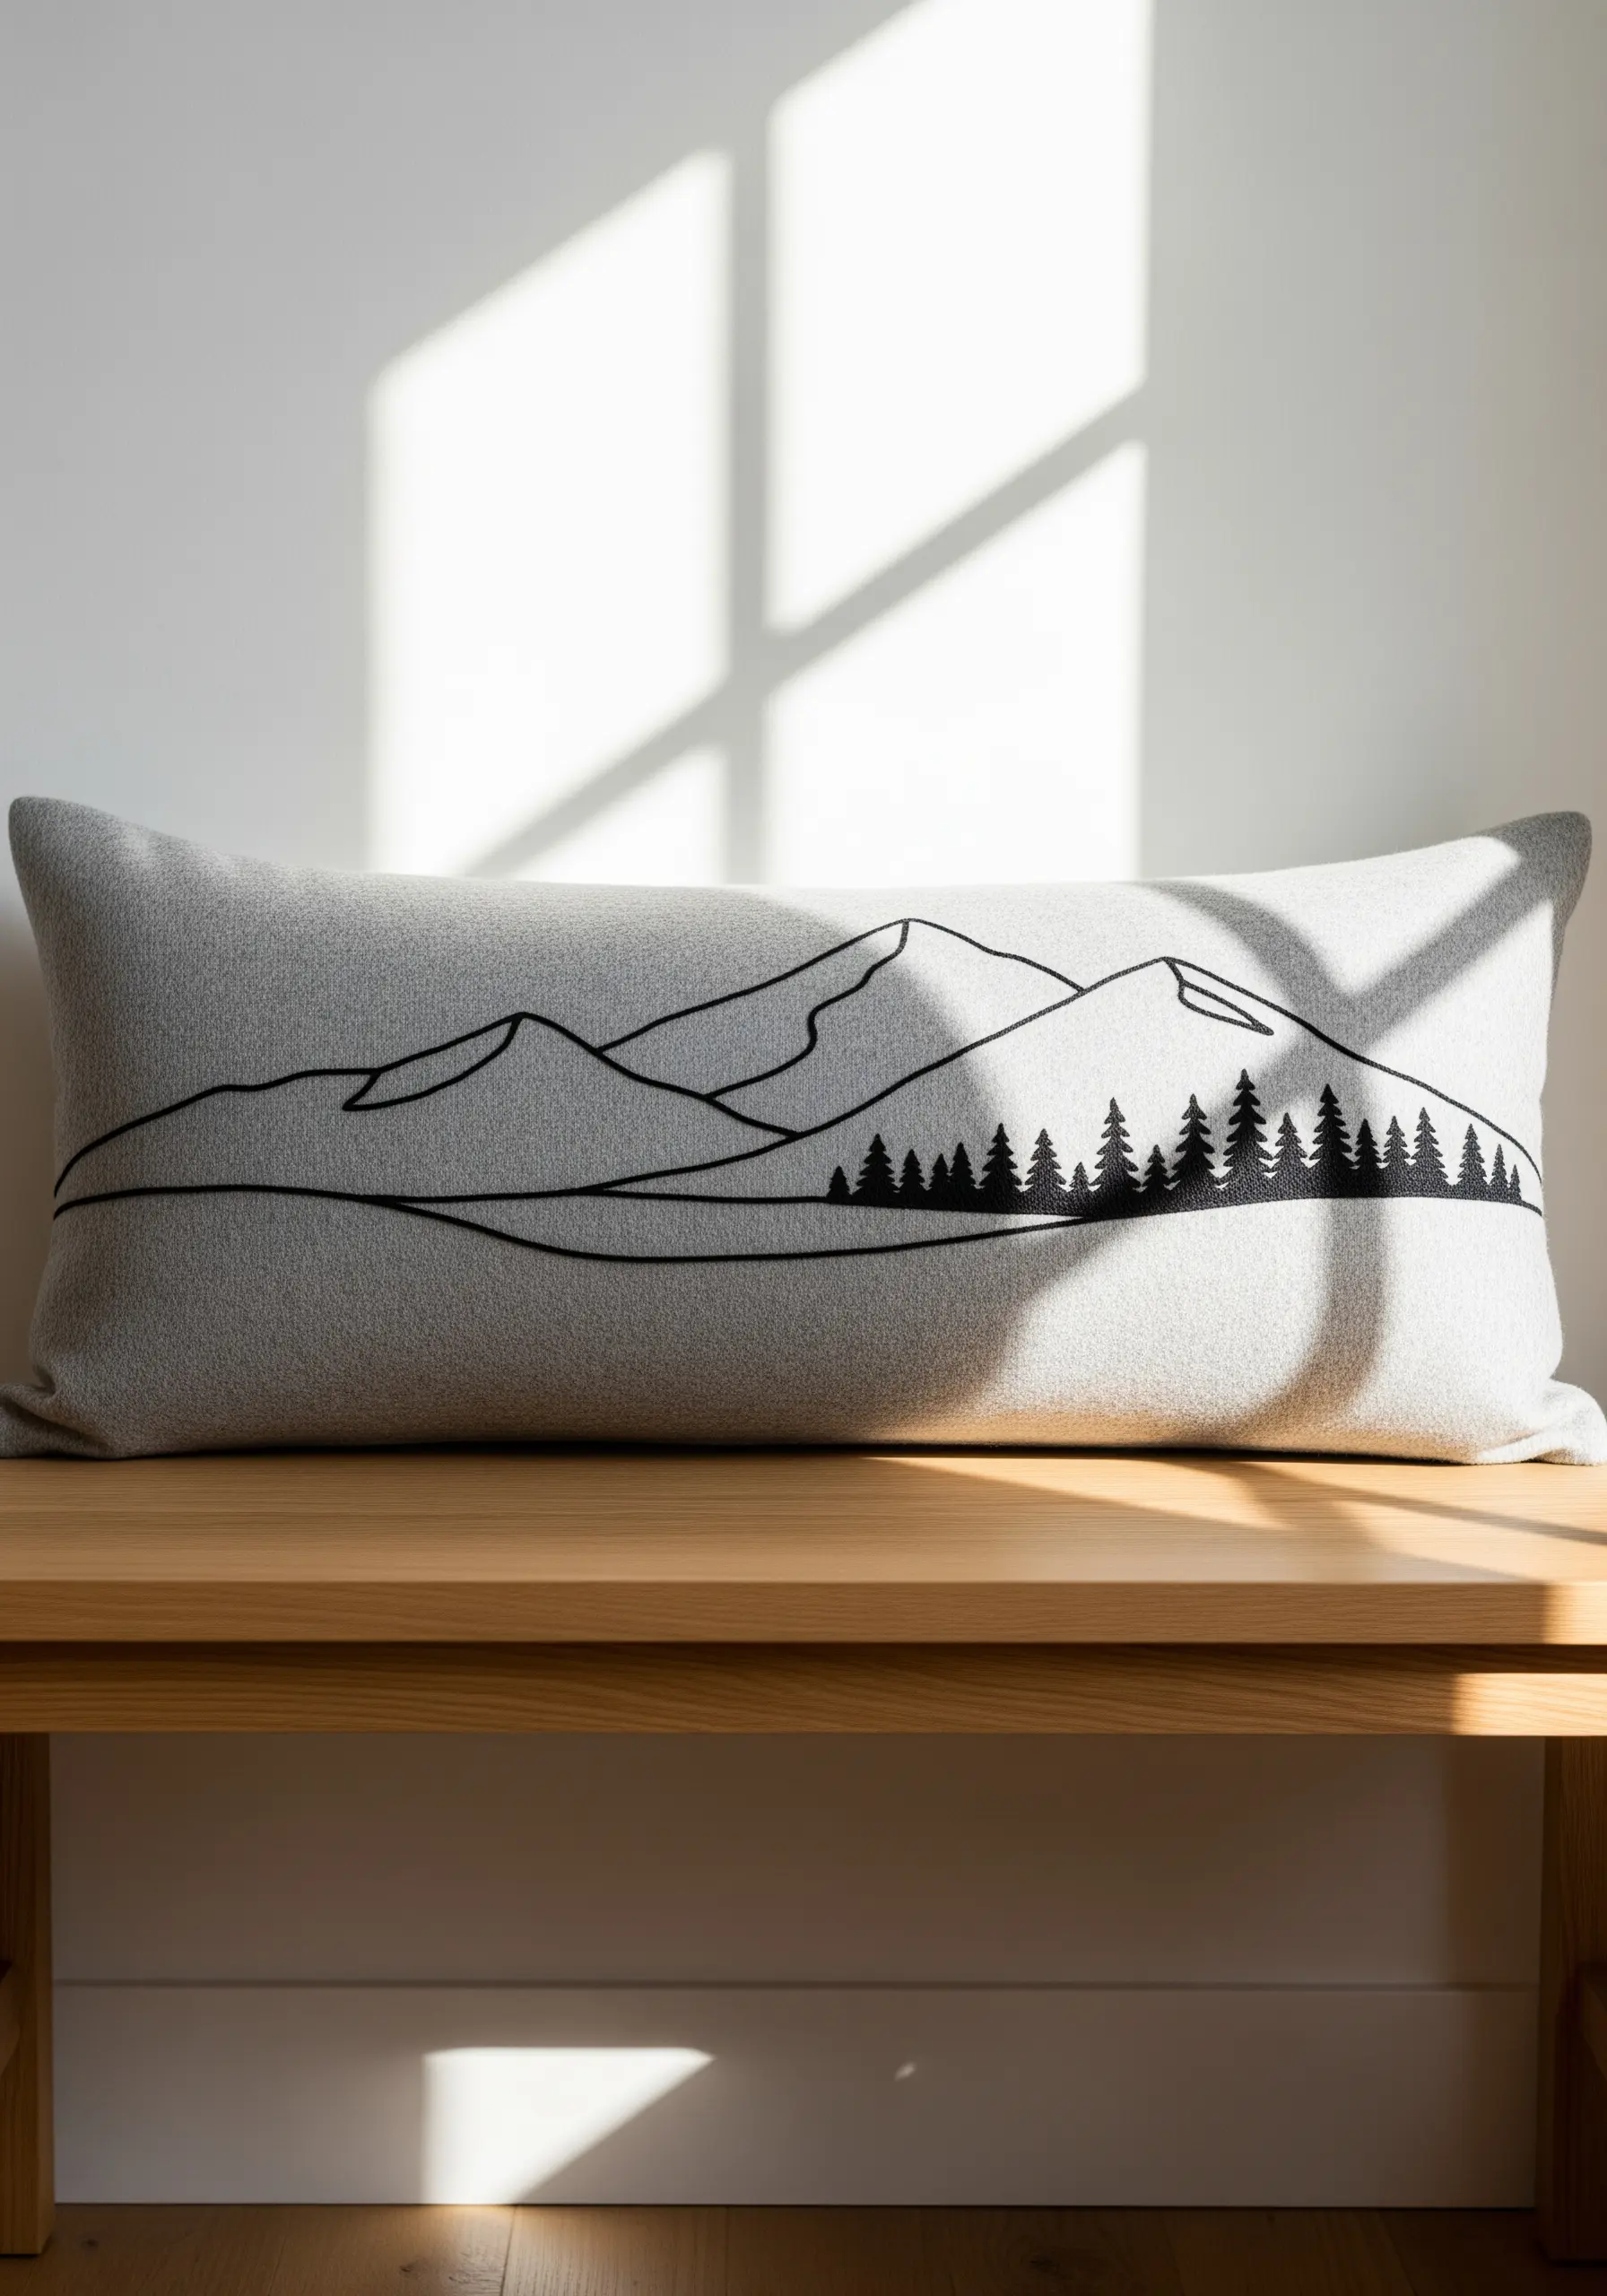
Capture the essence of a mountain scene using a clean, continuous outline stitch on a textured fabric.
A whipped backstitch or a smooth stem stitch, worked in a dark and contrasting thread, creates a graphic line that suggests form and distance without overwhelming detail.
This minimalist approach allows the fabric’s texture to become part of the landscape itself, resulting in a serene piece that feels both artistic and calm.
This is a perfect application of minimalist line art nature embroidery for a modern home.
17. Fill a Small Motif with Directional Satin Stitch
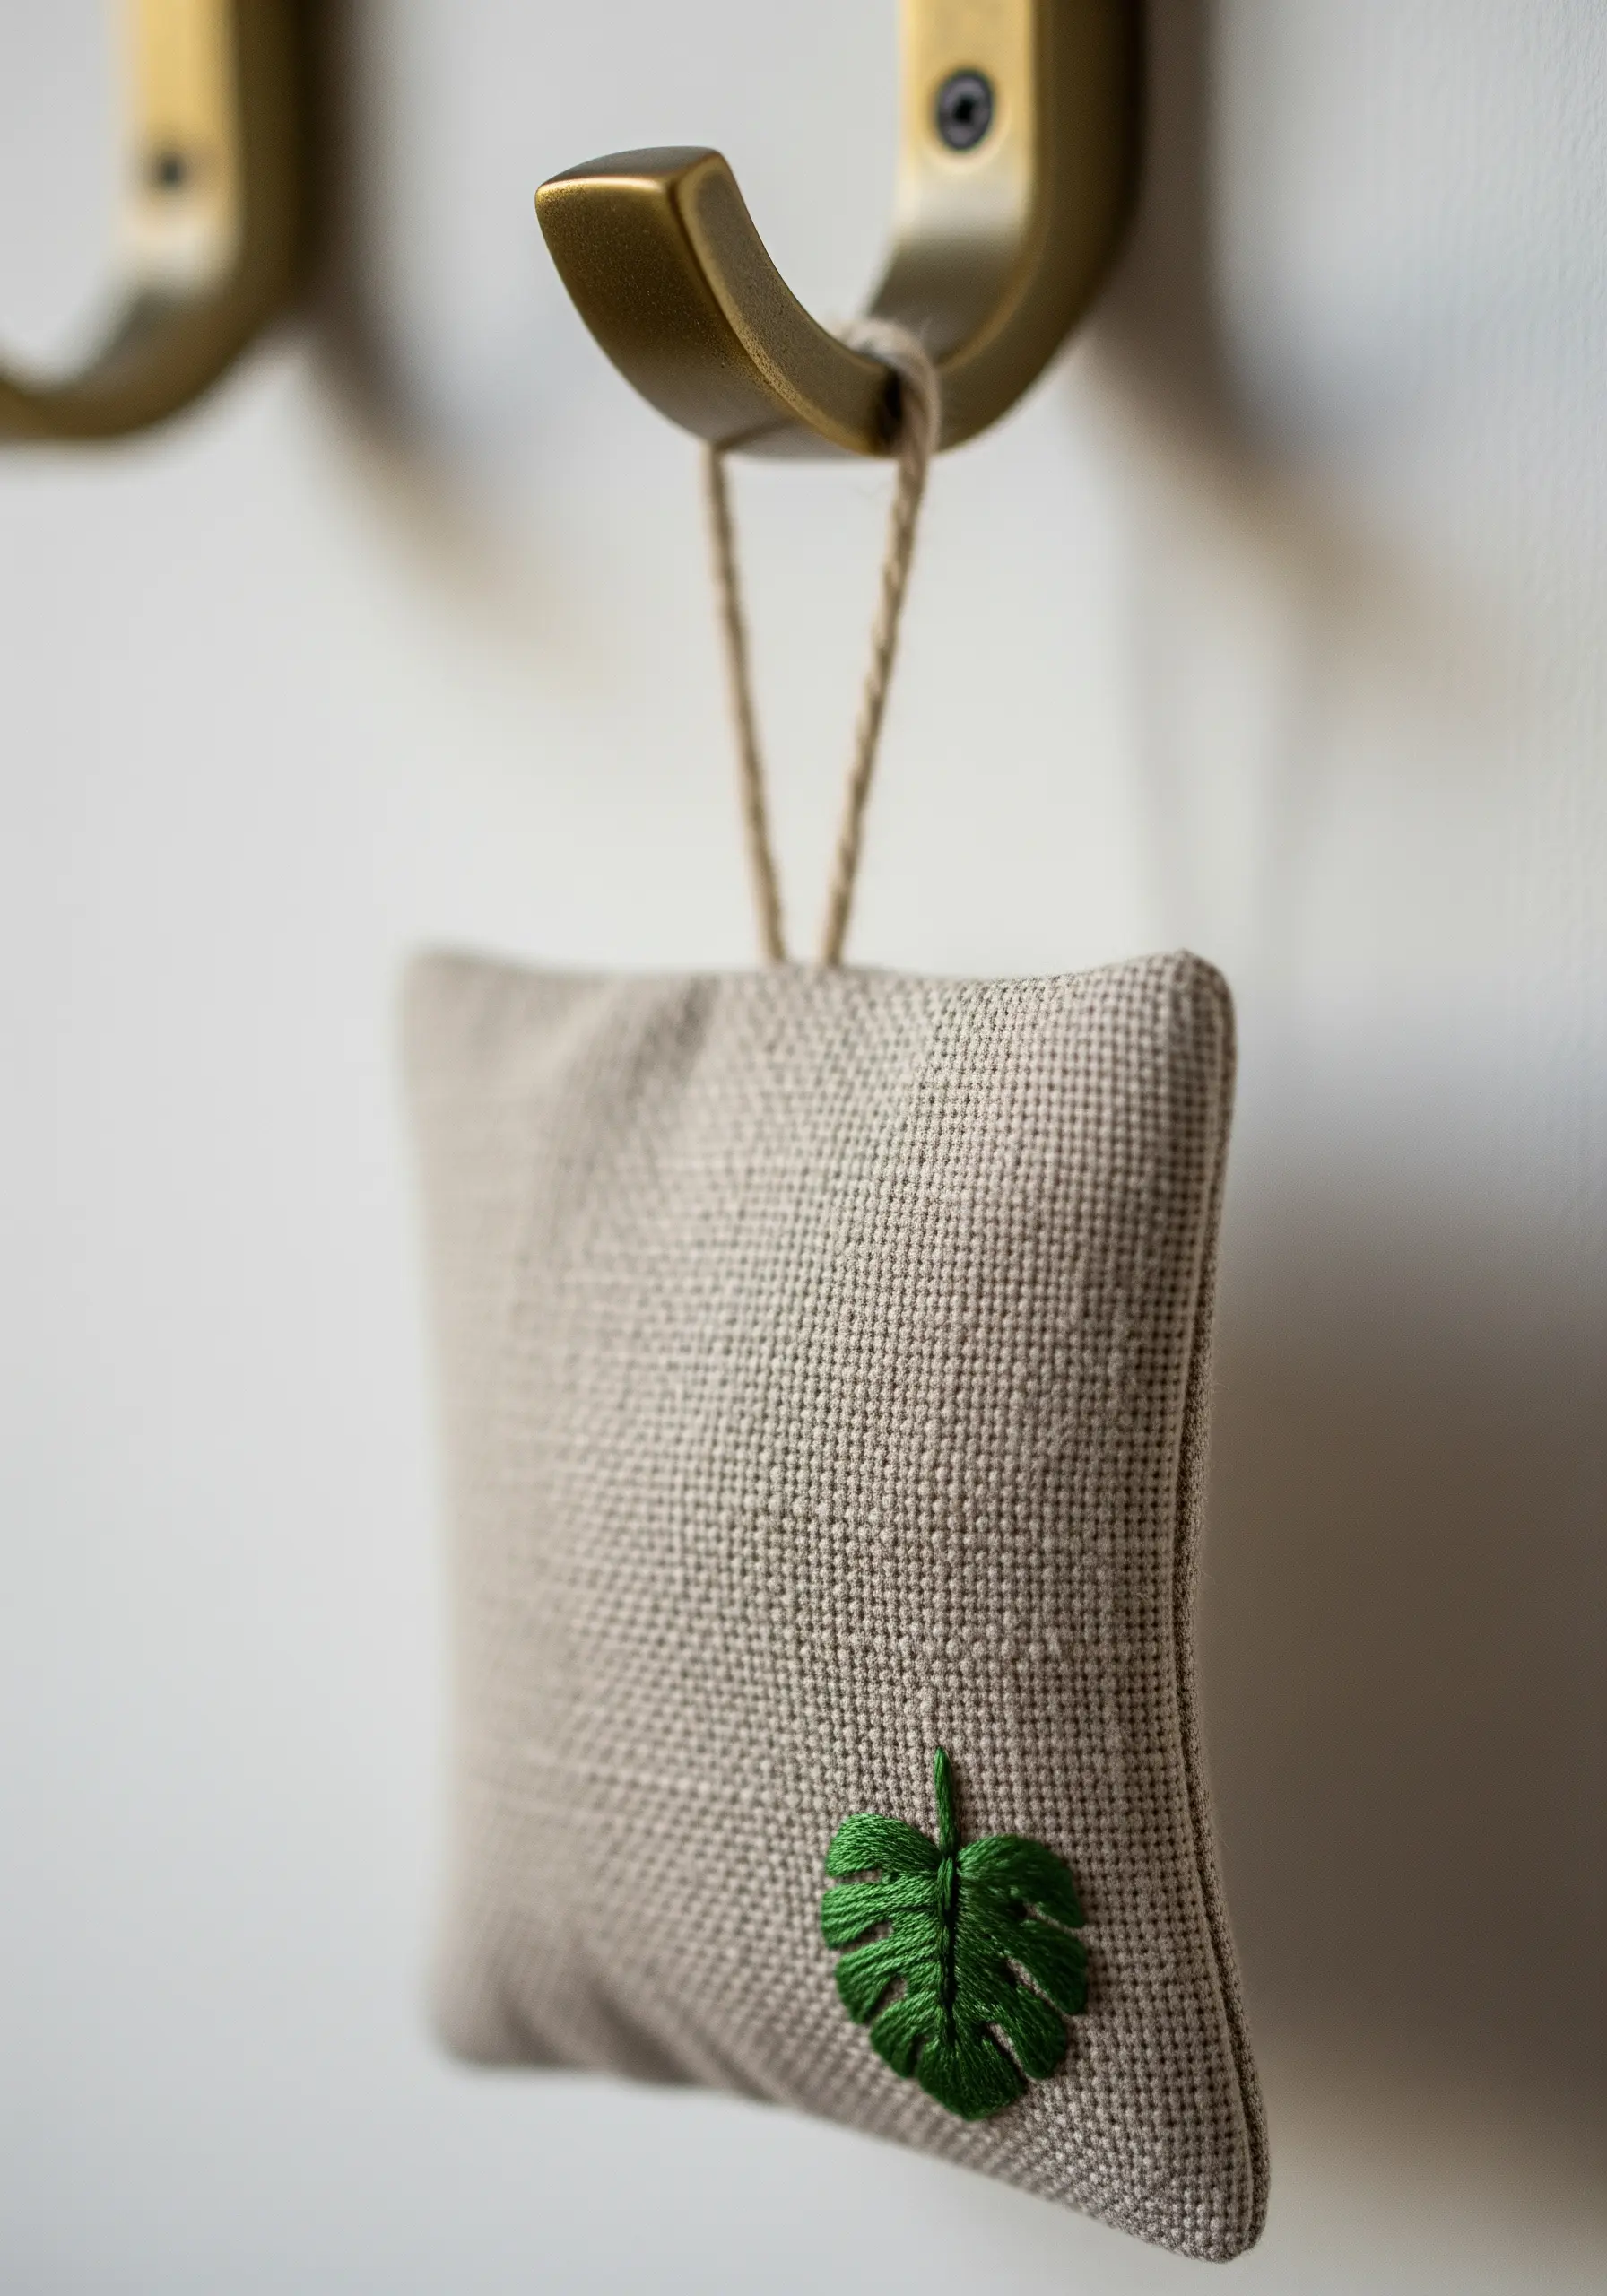
Give a simple botanical motif dimension and realism by carefully considering the direction of your satin stitches.
Instead of filling the shape with uniform vertical or horizontal stitches, angle them to mimic the natural growth and veins of a leaf.
This small adjustment creates a subtle play of light and shadow, making the design feel more organic and alive.
On a small item like a sachet, this single, well-executed detail is one of those tiny embroidered accents that make your home look designer-crafted.
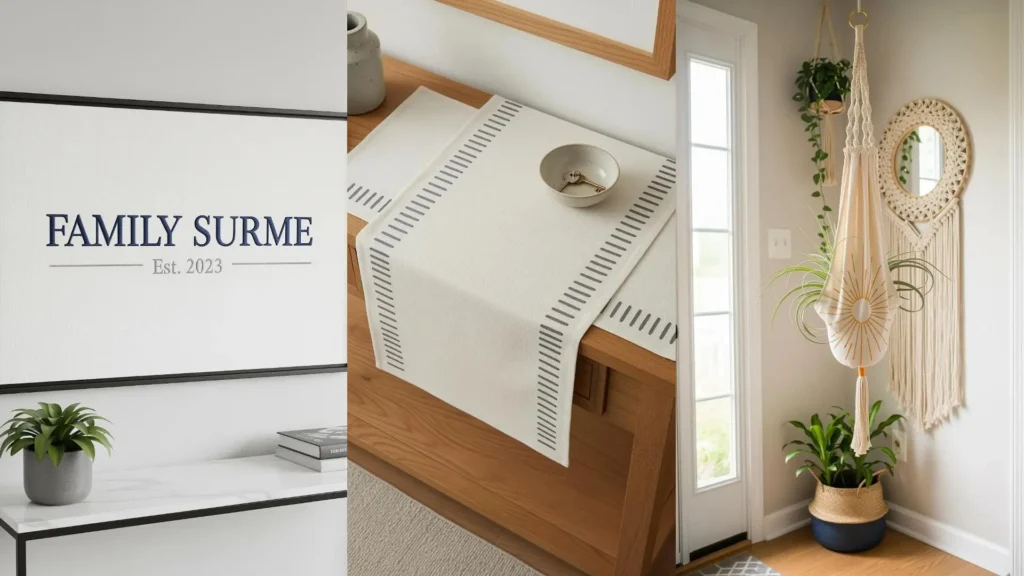
18. Frame Linens with a Rhythmic Satin Stitch Border
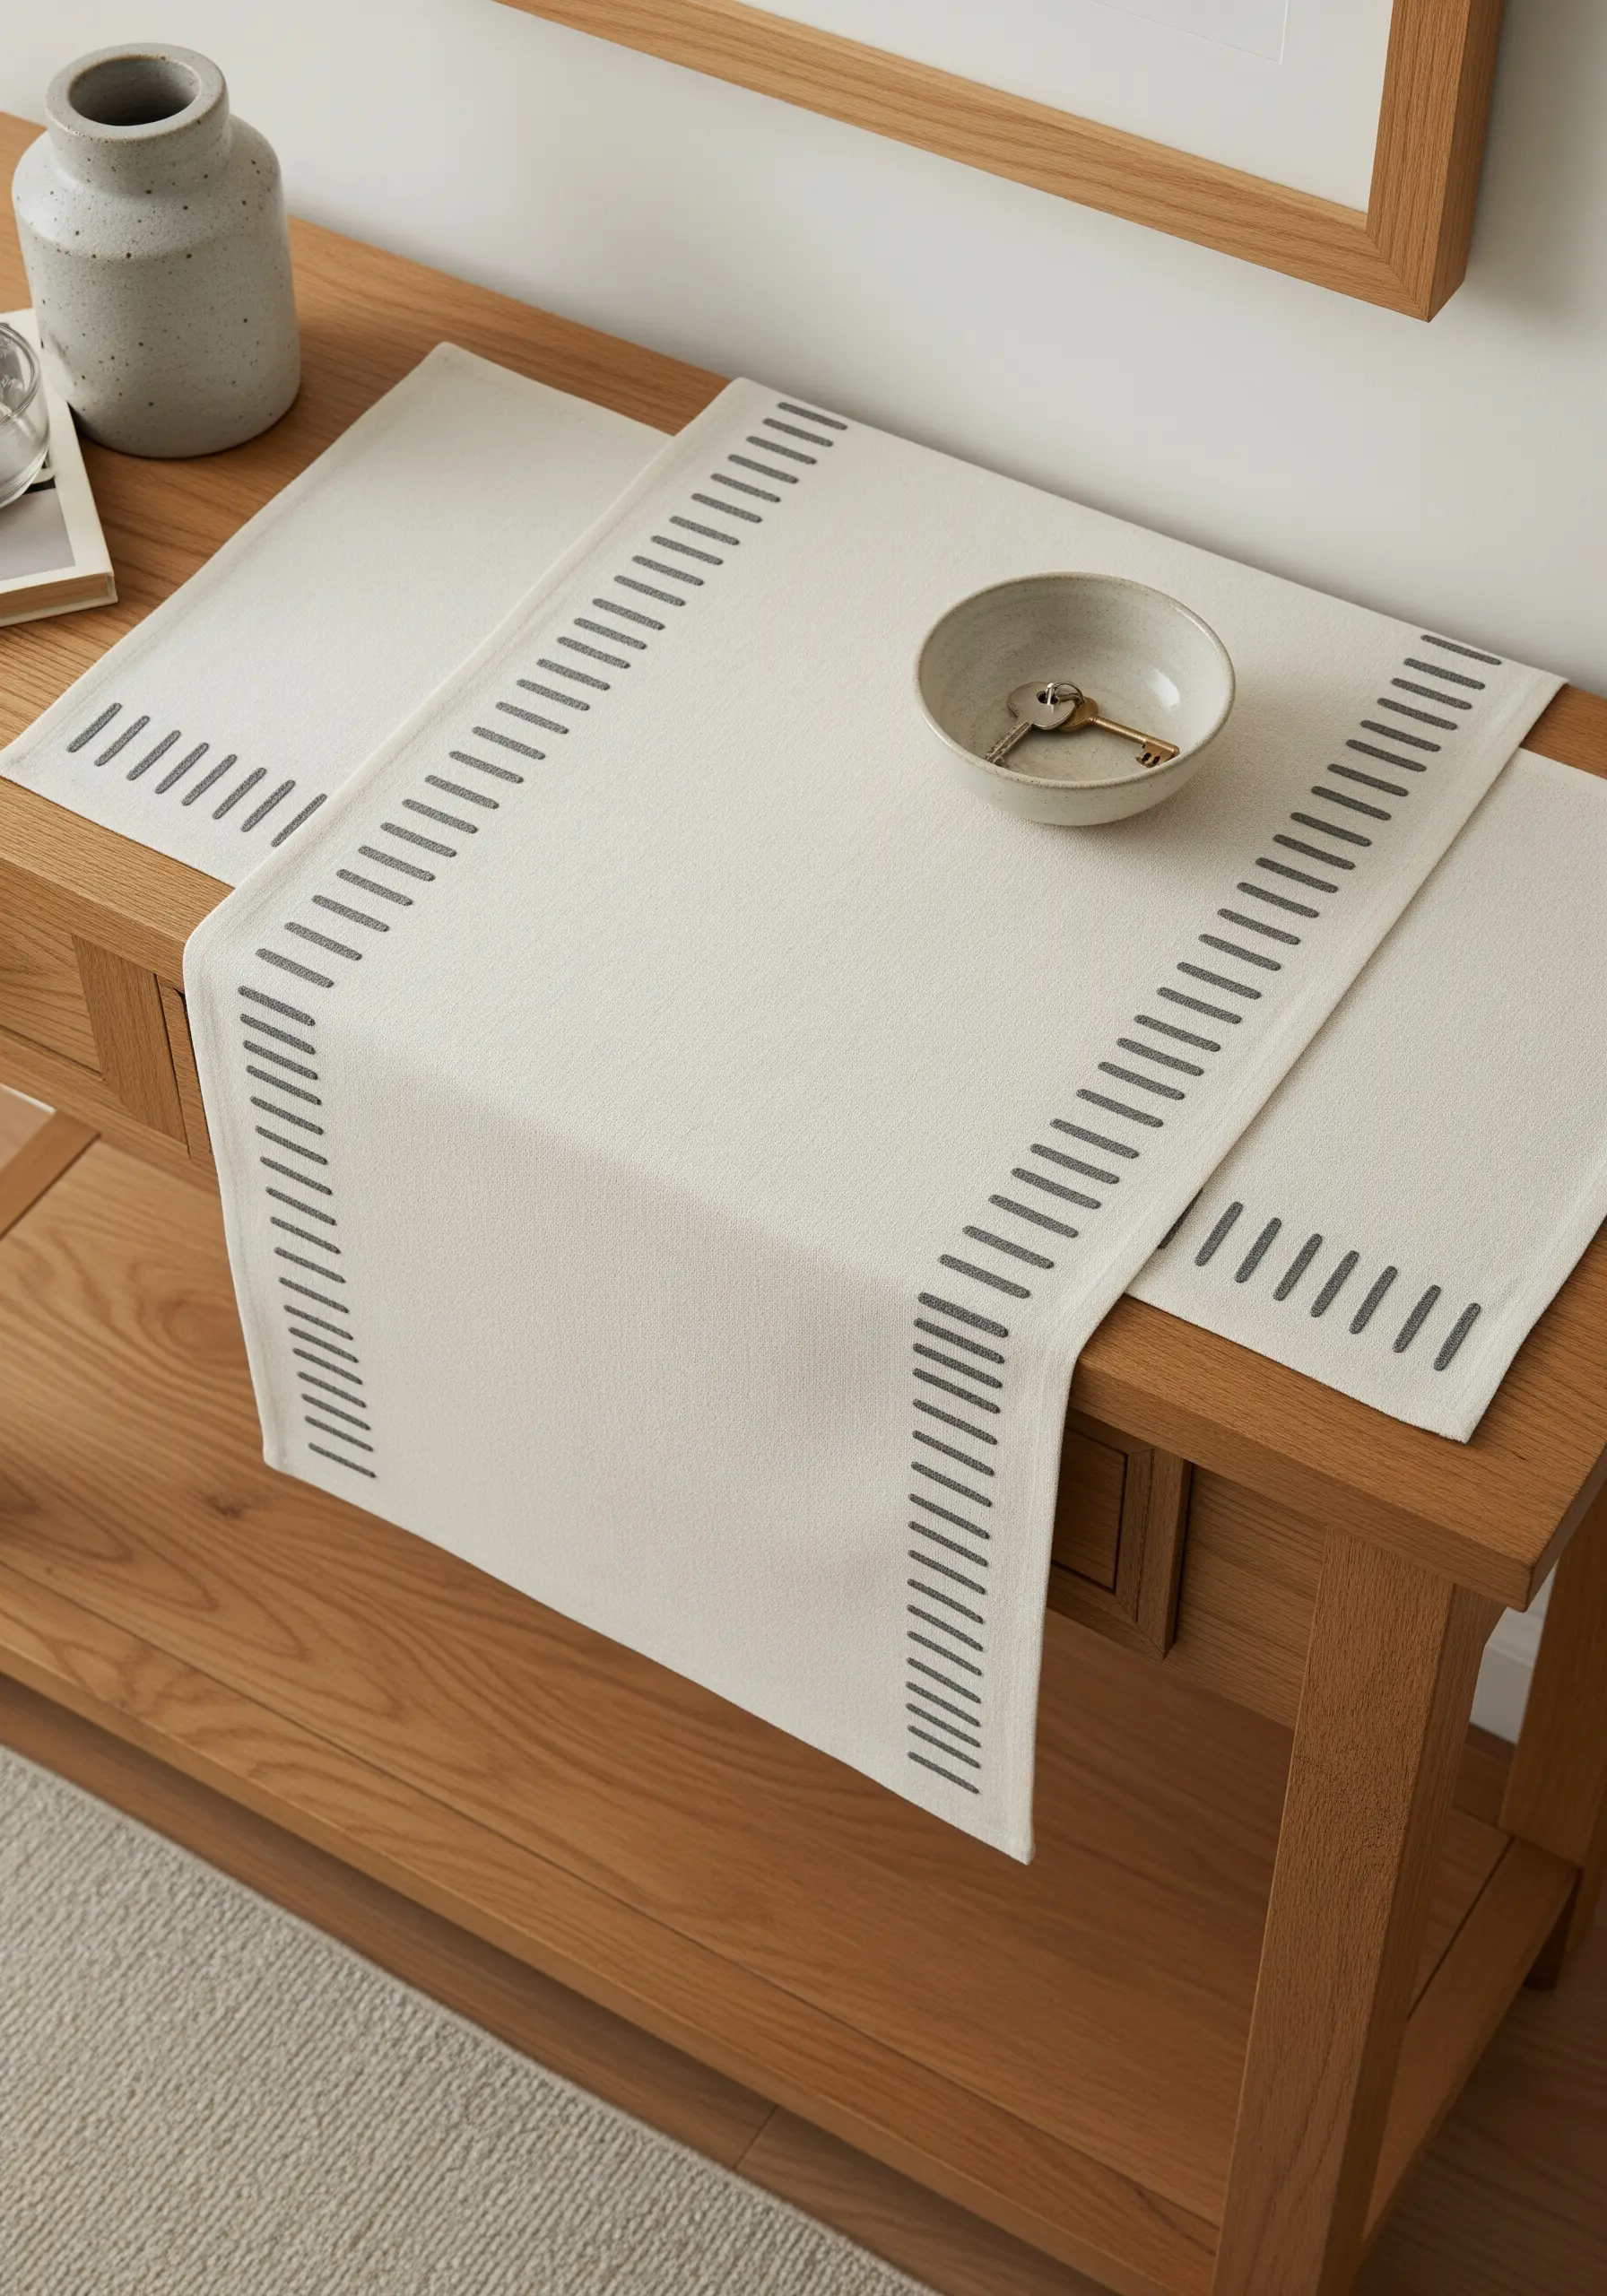
Create a clean, modern border on a table runner or placemat using perfectly spaced, repeating satin stitch bars.
The key to a polished, uniform look is meticulous preparation: use a ruler and a removable fabric marker to draw guidelines for the height and spacing of each bar.
This simple, geometric pattern adds a graphic, architectural element that feels contemporary and intentional.
It’s an ideal technique for anyone who loves modern minimalist table linen embroidery.


