
You’ve spent hours pouring your care and creativity into each stitch, but now your beautiful embroidery is tucked away in a drawer or stacked in a corner. When you can’t drill into your walls, it can feel like your only option is to hide your work, leaving your space feeling impersonal and bare.
But displaying your art is the final, joyful step of the creative process. It’s about honoring your skill and infusing your home with a spirit that is uniquely yours. You don’t need nails and a hammer to create a stunning gallery—you just need a new way of seeing the surfaces and spaces you already have.
These renter-friendly ideas are designed to help you do just that. We’ll explore how to use furniture, windows, doors, and simple, damage-free tools to transform your finished pieces into the intentional, beautiful decor they were always meant to be. It’s time to let your embroidery shine.
1. The Tiered Ladder Display
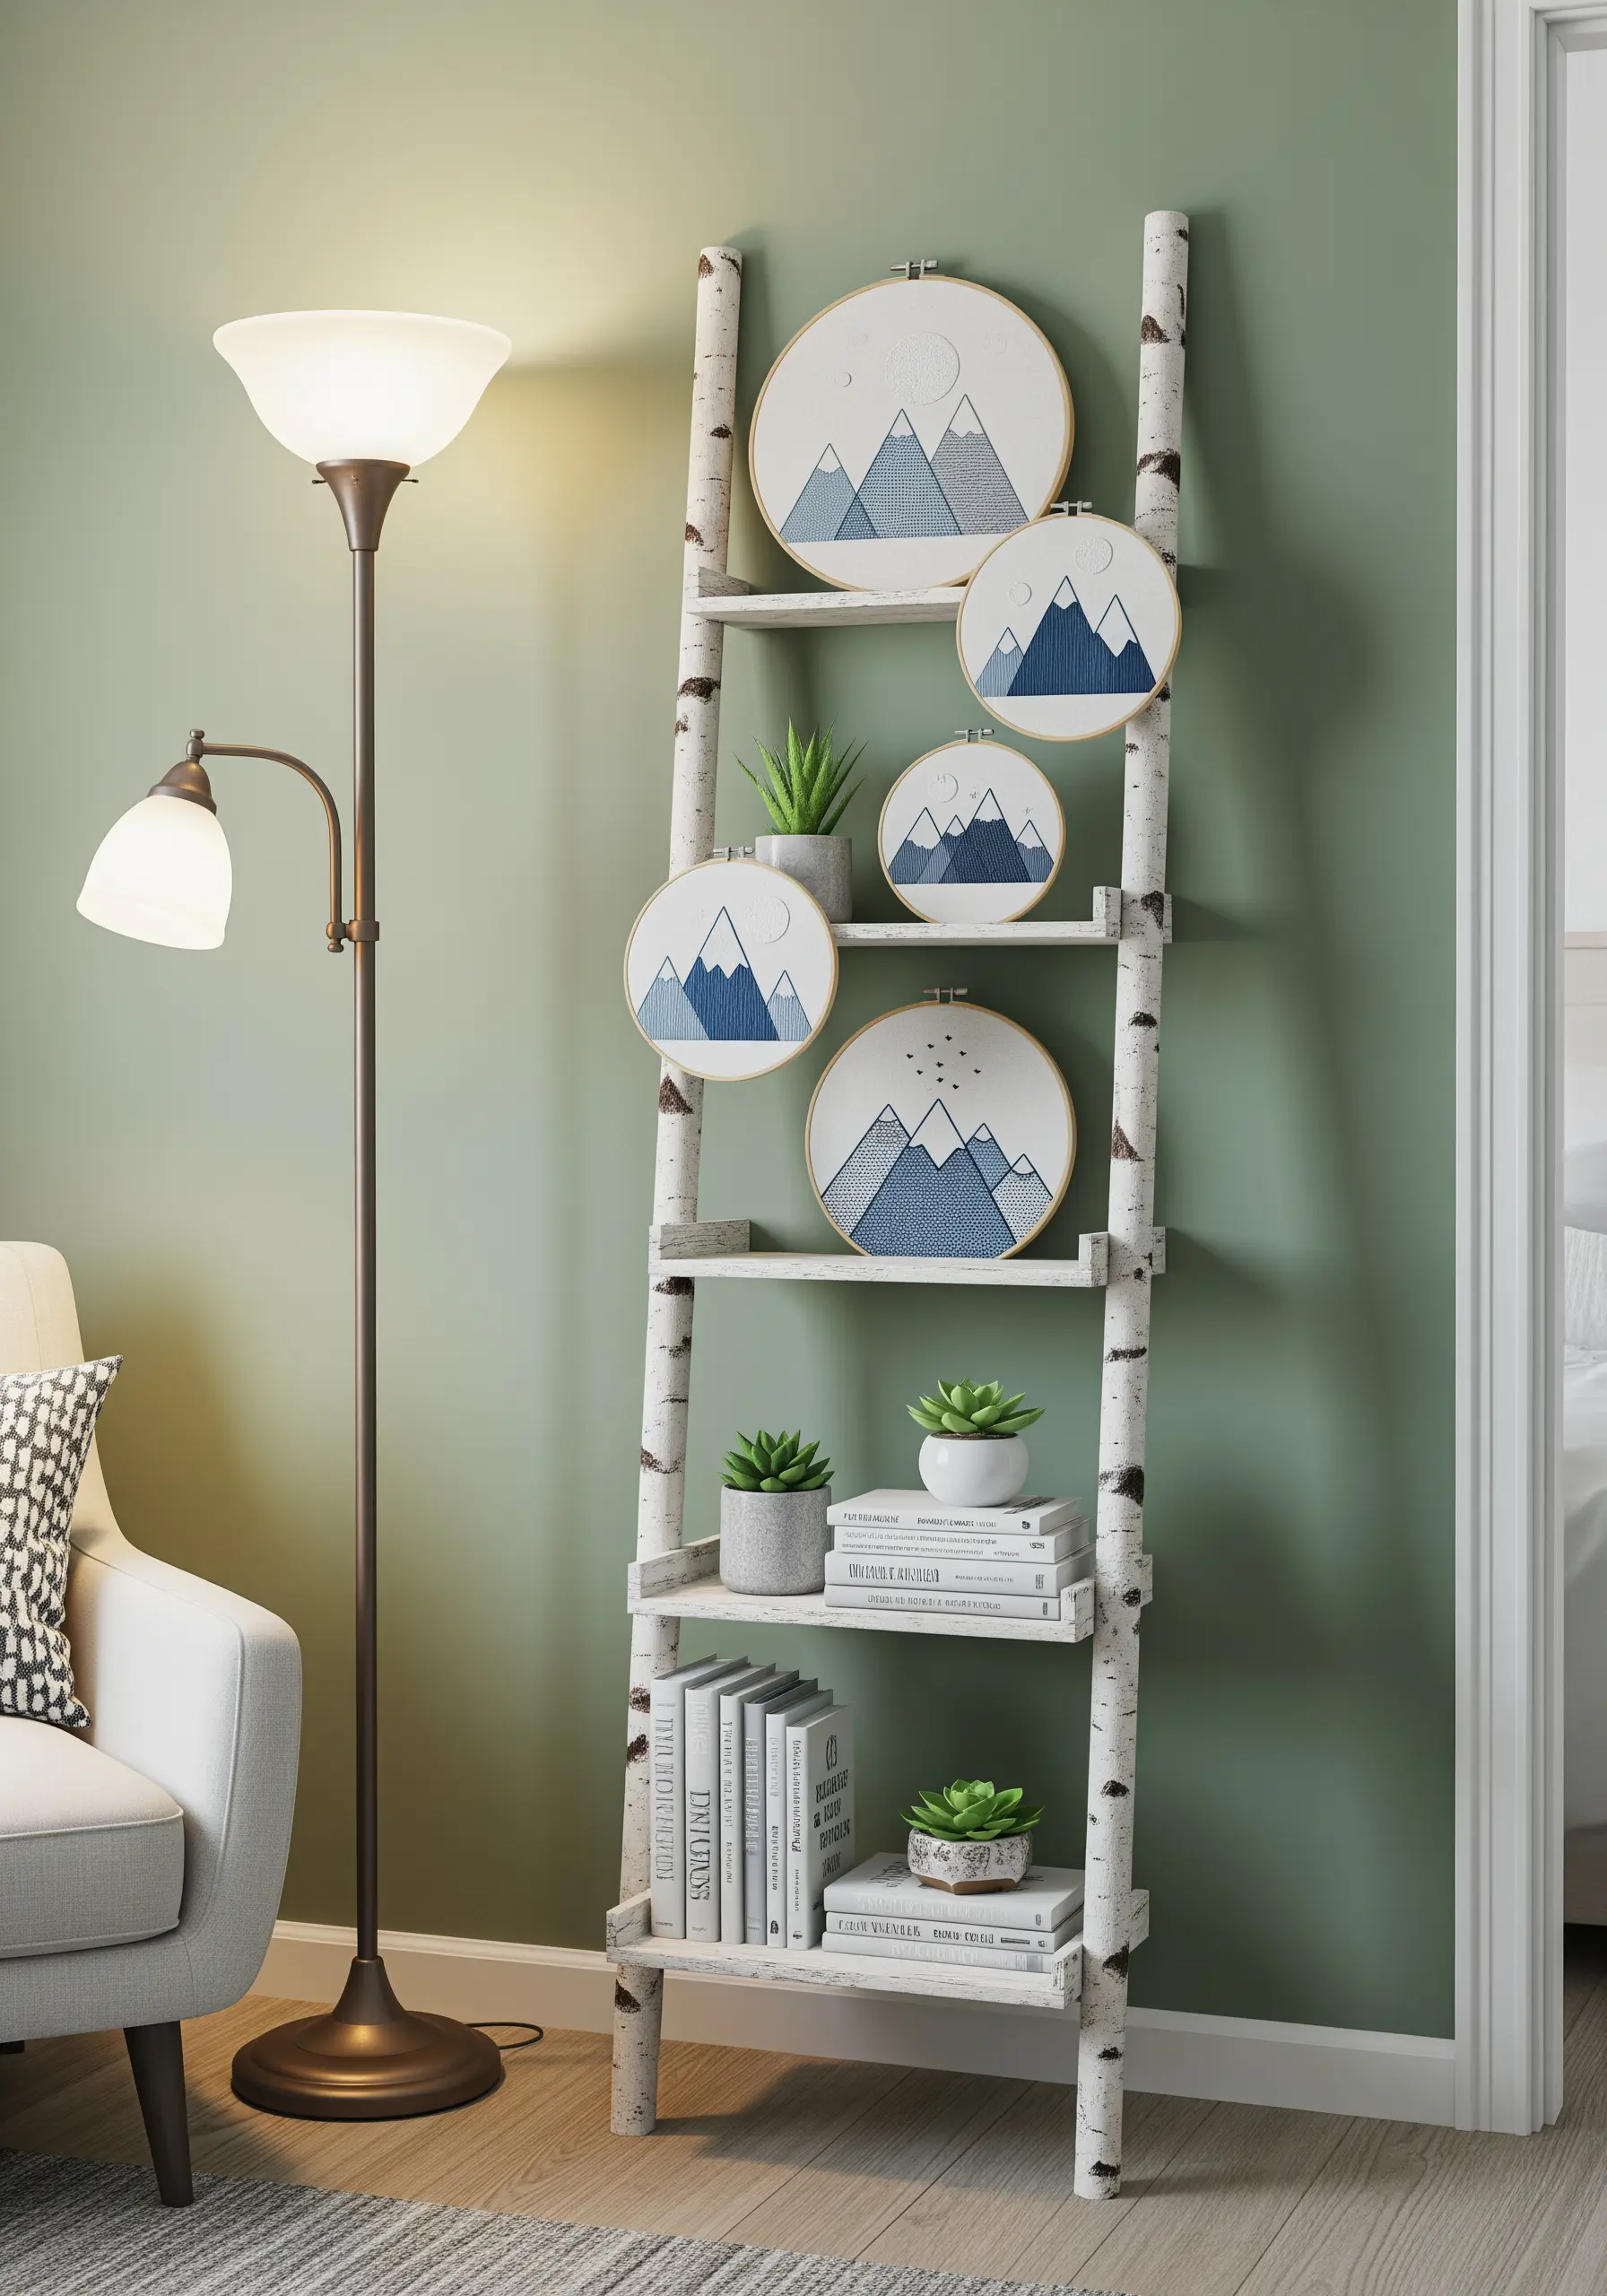
Repurpose a decorative ladder to create a vertical gallery that draws the eye upward, making a small space feel taller.
Group a series of hoops by a unifying theme, like these minimalist mountainscapes, but vary the sizes to create a dynamic rhythm.
Stagger the hoops on different rungs and mix in small plants or books to break up the composition and add organic texture.
This method turns a simple piece of furniture into an intentional, nature-inspired embroidery display that tells a cohesive story.
2. The Tension Rod Window Tapestry
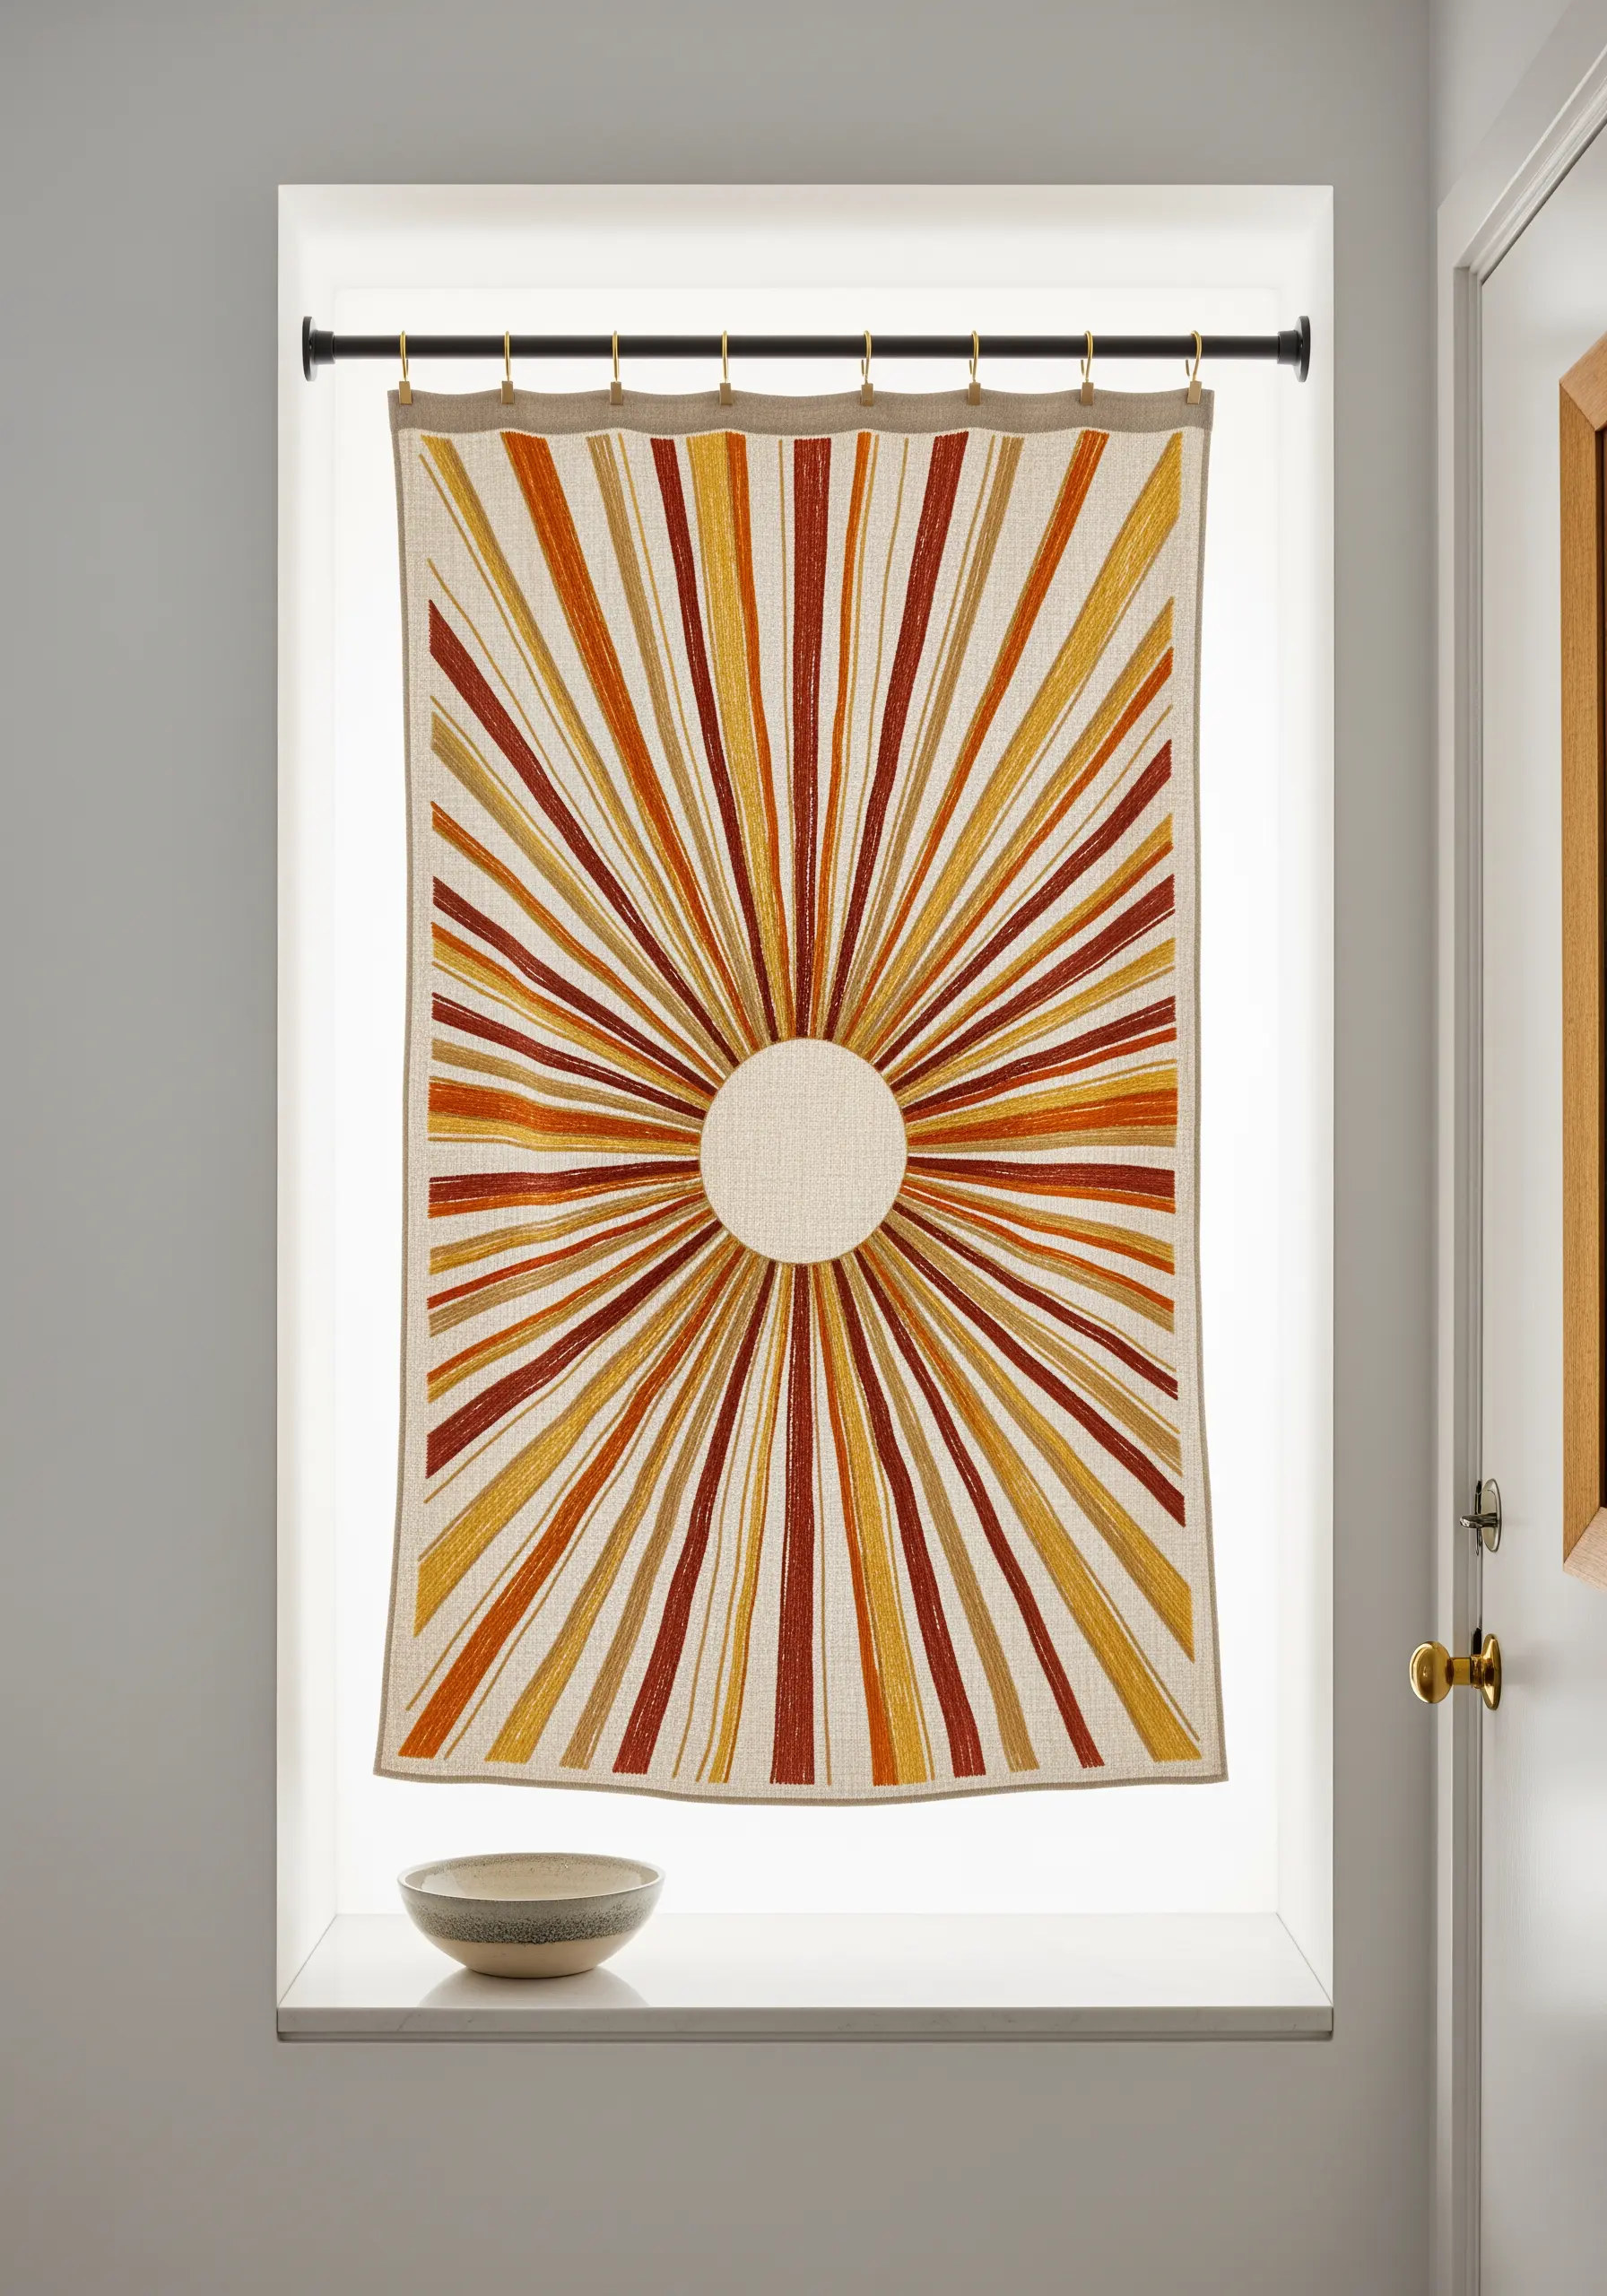
For large-scale pieces, a simple tension rod is your best tool—it requires no screws and fits snugly inside a window frame.
This technique transforms your embroidery into a functional light filter, creating a soft, colored glow as sunlight passes through the threads.
Finish your panel with a neat hem and use curtain rings with clips for an elegant, polished look that’s easy to install and remove.
It’s a perfect way to display large-scale embroidery tapestries without committing to permanent fixtures.
3. The Layered Mantelpiece Curation
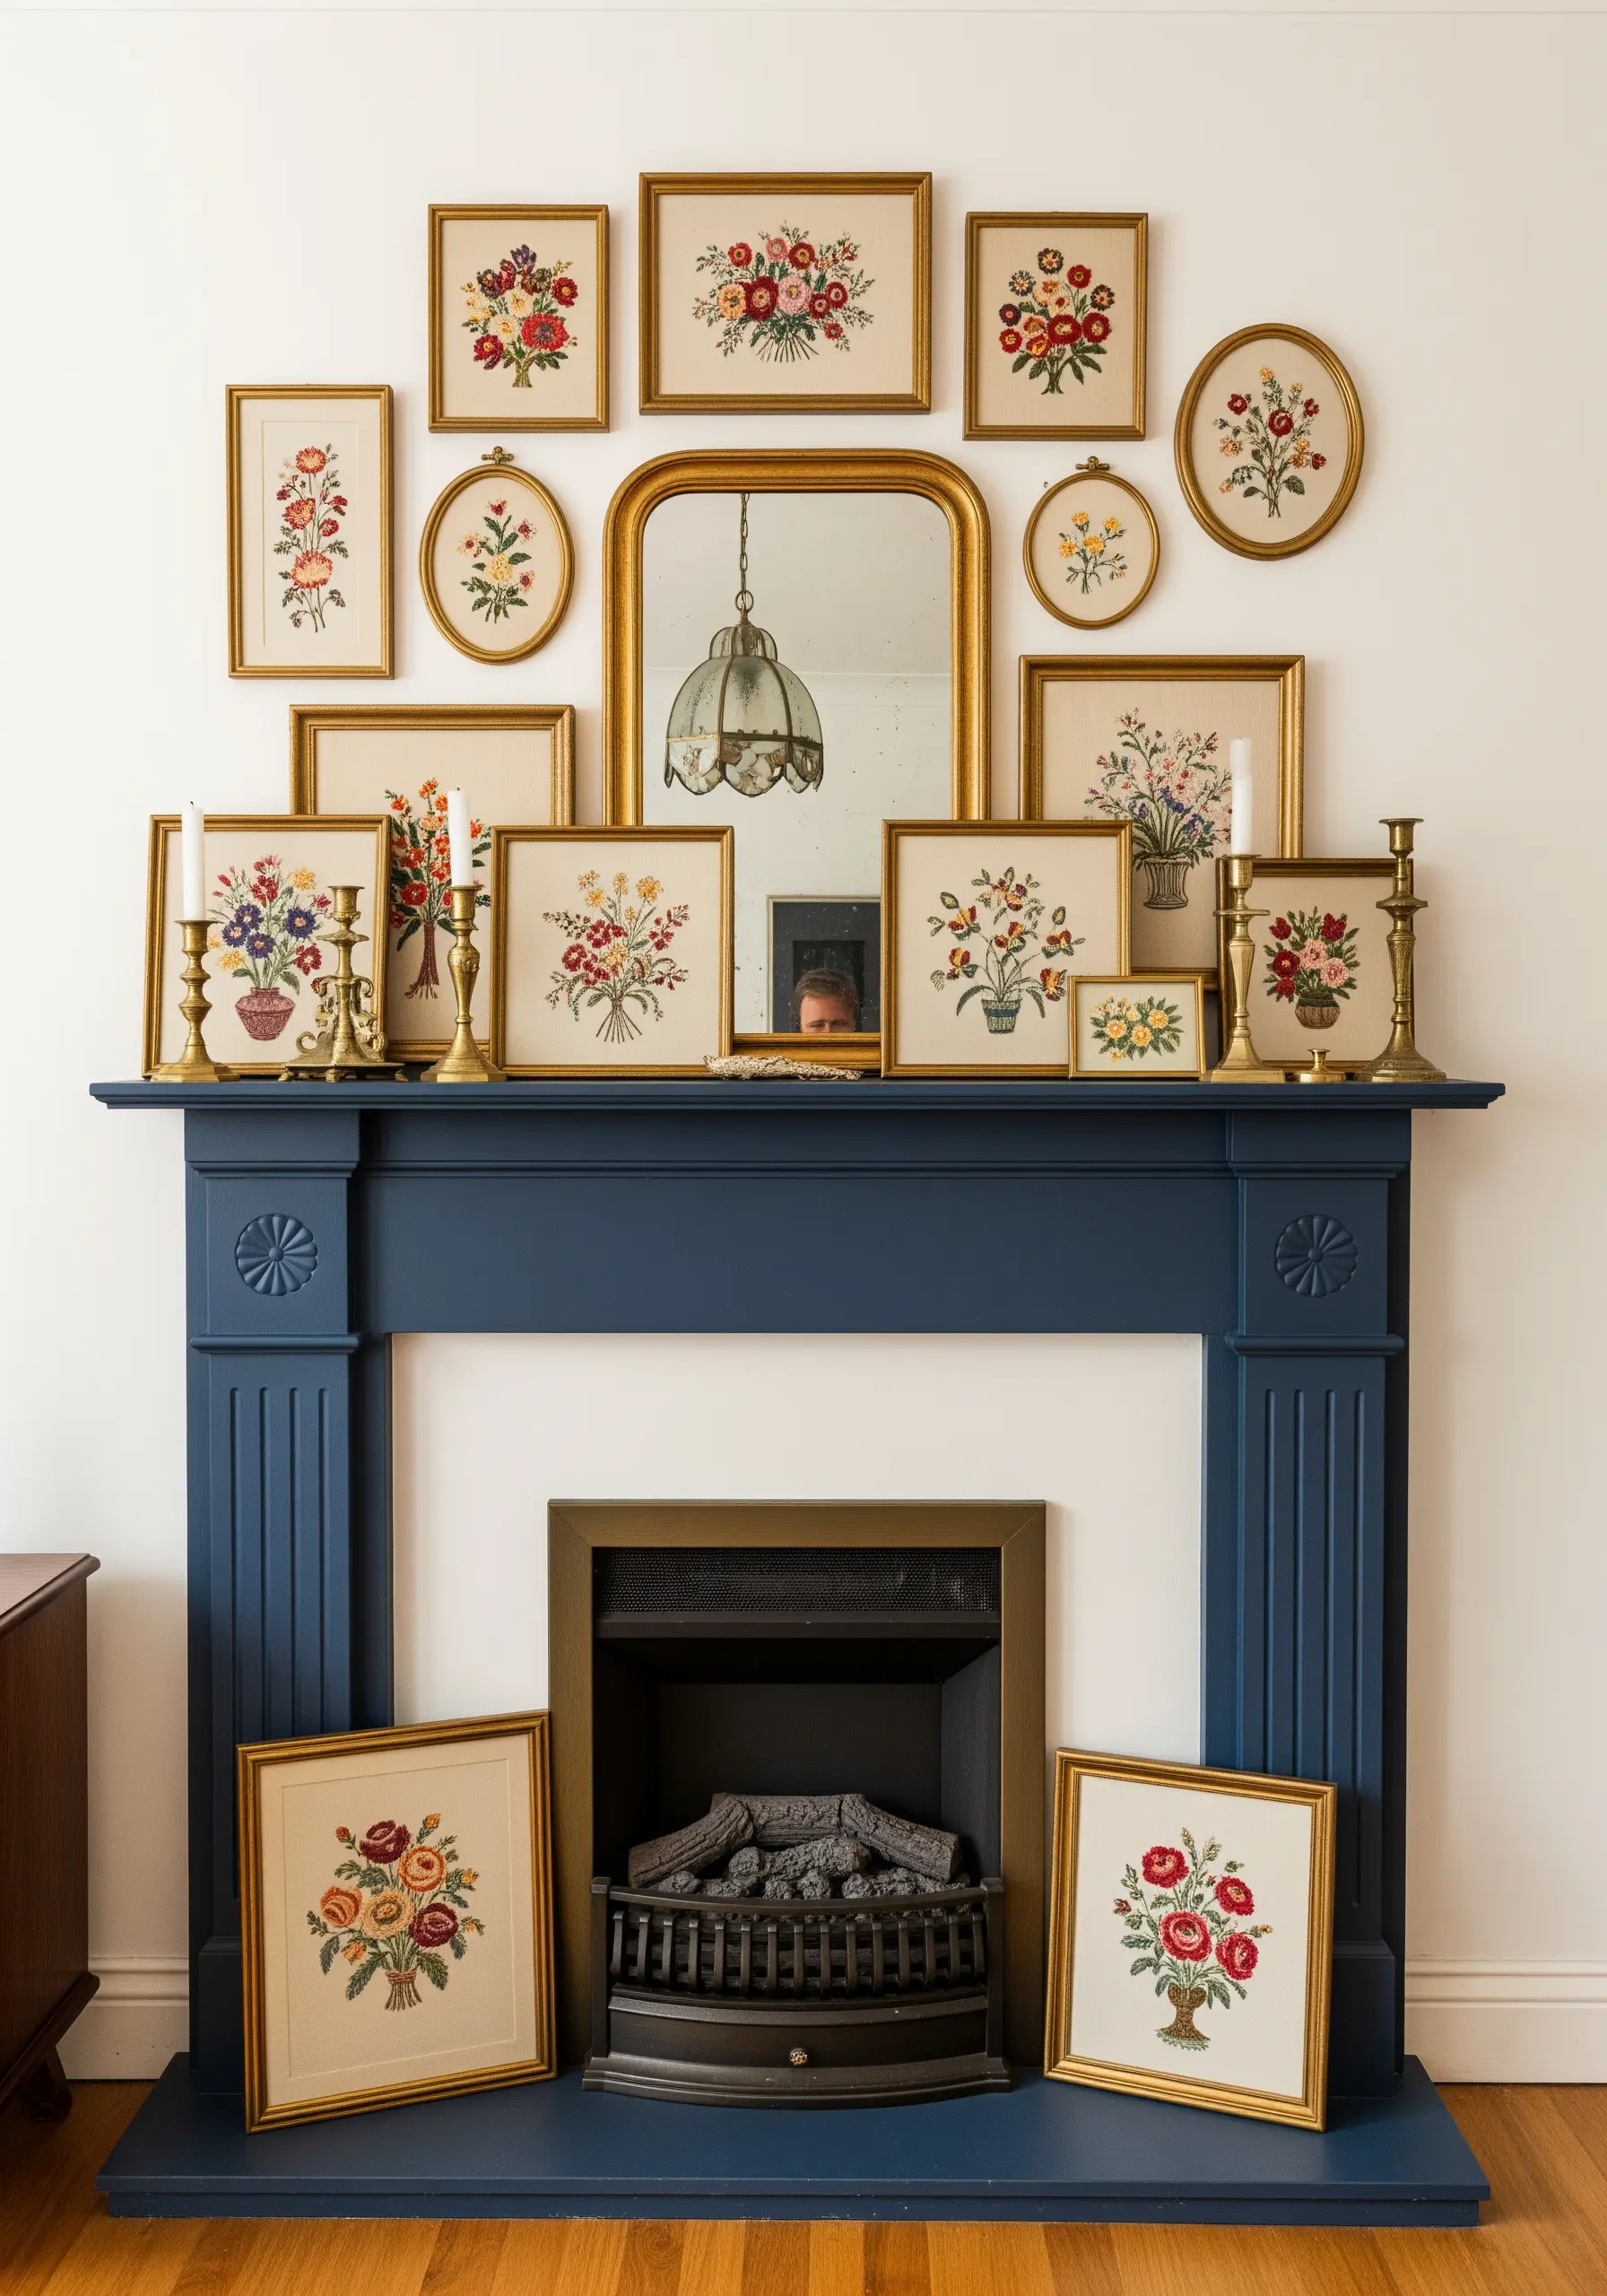
Treat your mantelpiece, floating shelf, or sideboard as a miniature gallery stage, where you can build depth and interest without a single nail.
Layering your framed embroidery of different sizes and orientations creates a sophisticated, curated feel.
Integrate other objects like brass candlesticks, a vintage mirror, or small ceramic pieces to build a rich visual narrative around your stitchwork.
This approach allows you to rotate pieces seasonally, keeping your decor fresh and personal.
4. The Miniature Easel Accent
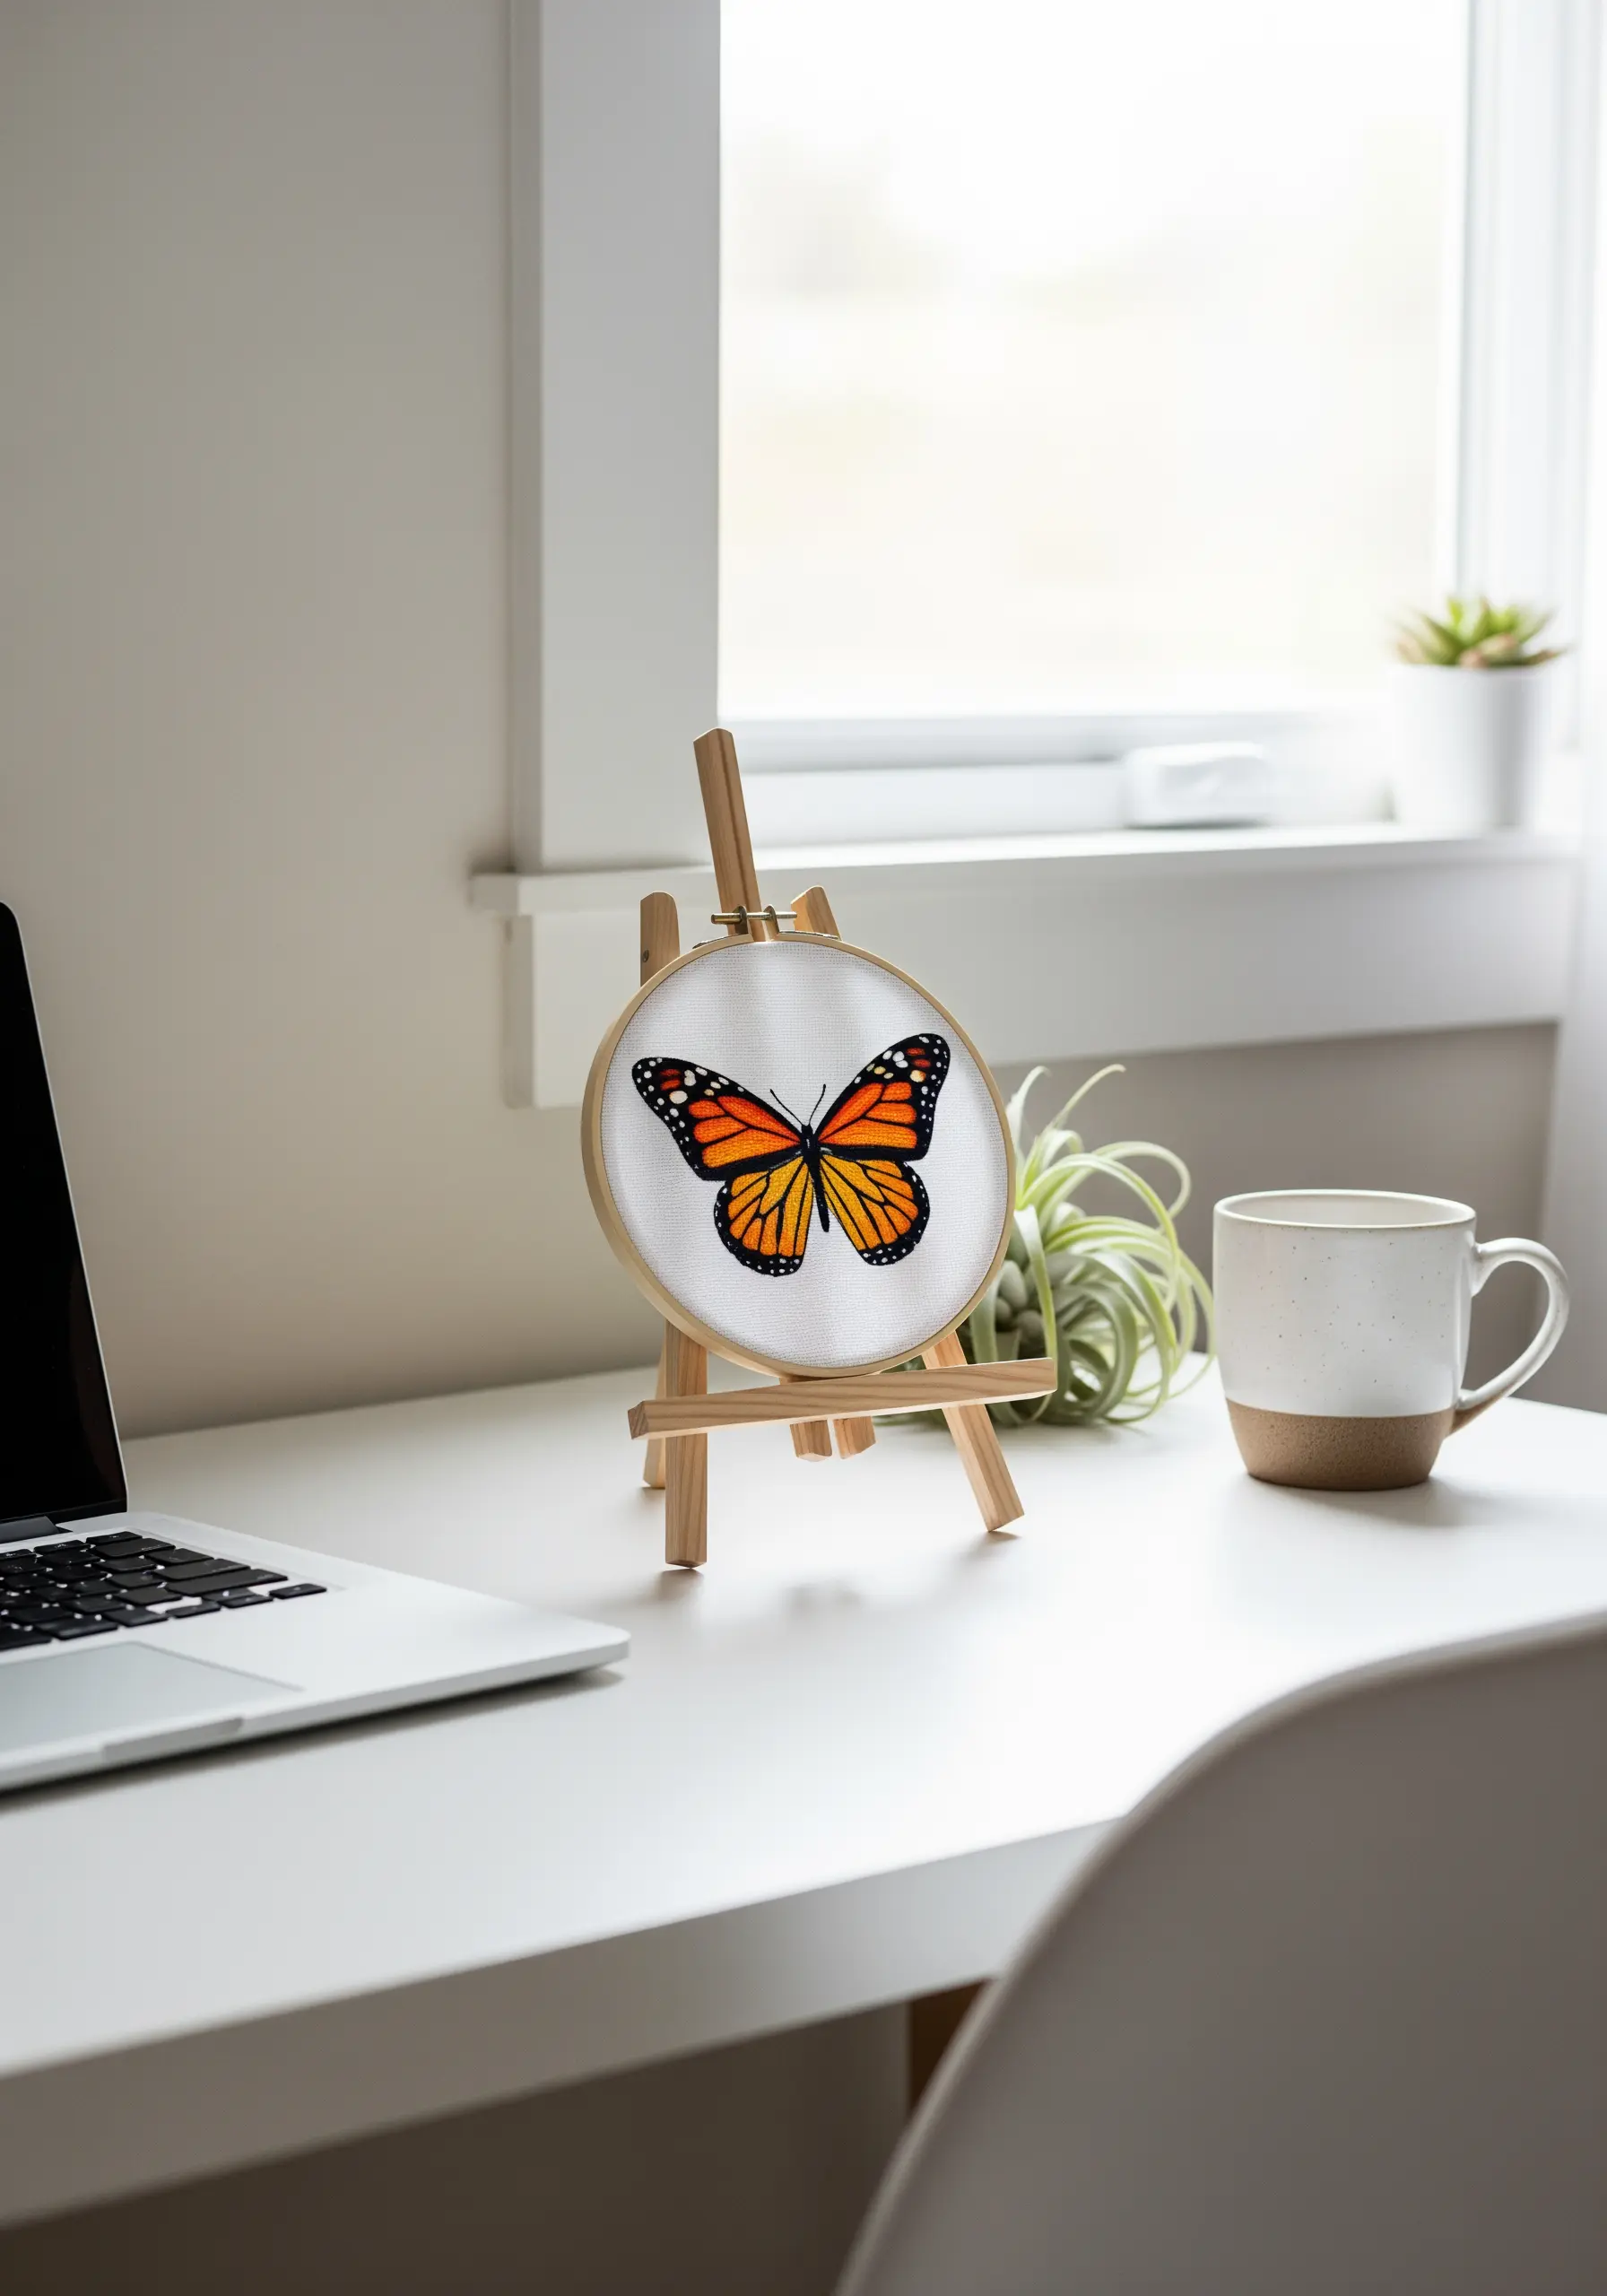
A tiny wooden easel instantly elevates a single embroidery hoop from a work-in-progress to a finished piece of art.
This method is ideal for showcasing a particularly intricate motif on your desk, nightstand, or bookshelf, giving it the prominence it deserves.
It’s an intimate, personal way to display your work that invites closer inspection and can be moved and repositioned effortlessly.
5. The Clipboard Grid Gallery
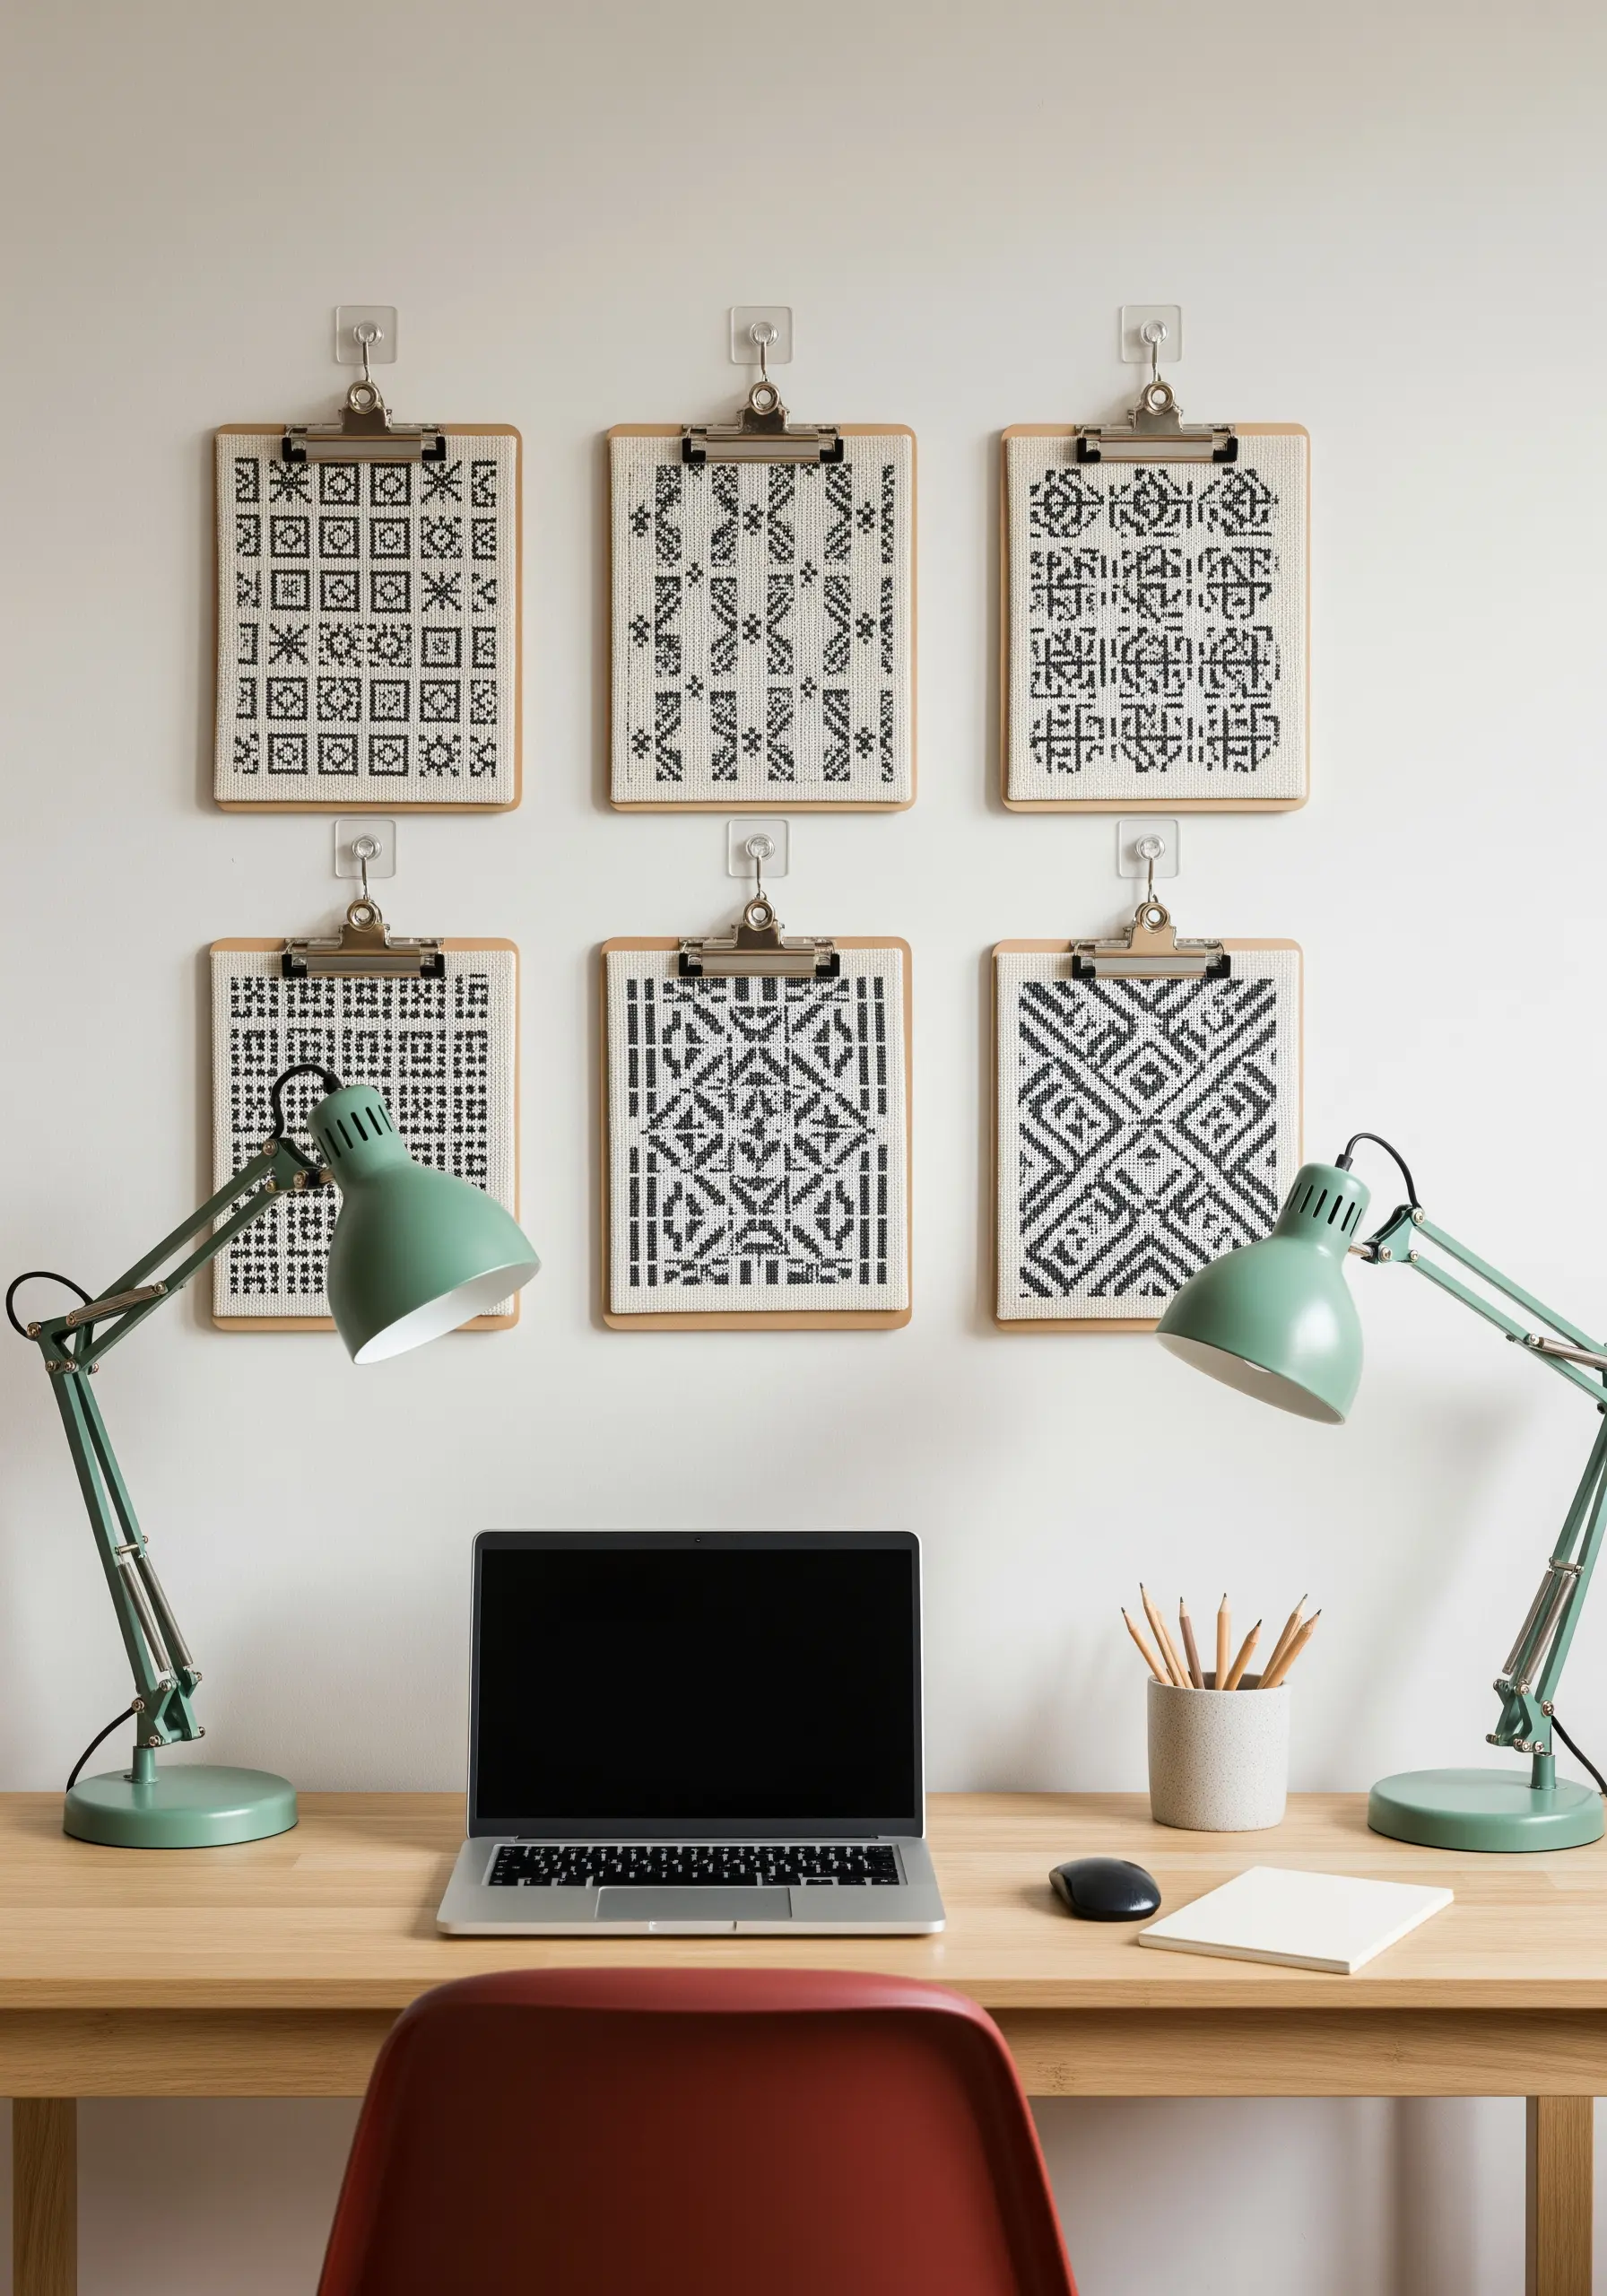
Mount your stitched fabric squares onto standard clipboards for an unexpected, modern-industrial display.
The clipboards act as clean, minimalist frames, adding structure and a sense of intention to your pieces.
Arrange them in a precise grid on the wall using removable adhesive hooks for a high-impact, organized look that you can rearrange anytime.
This technique is perfect for showcasing a series of patterns or stitch samplers.
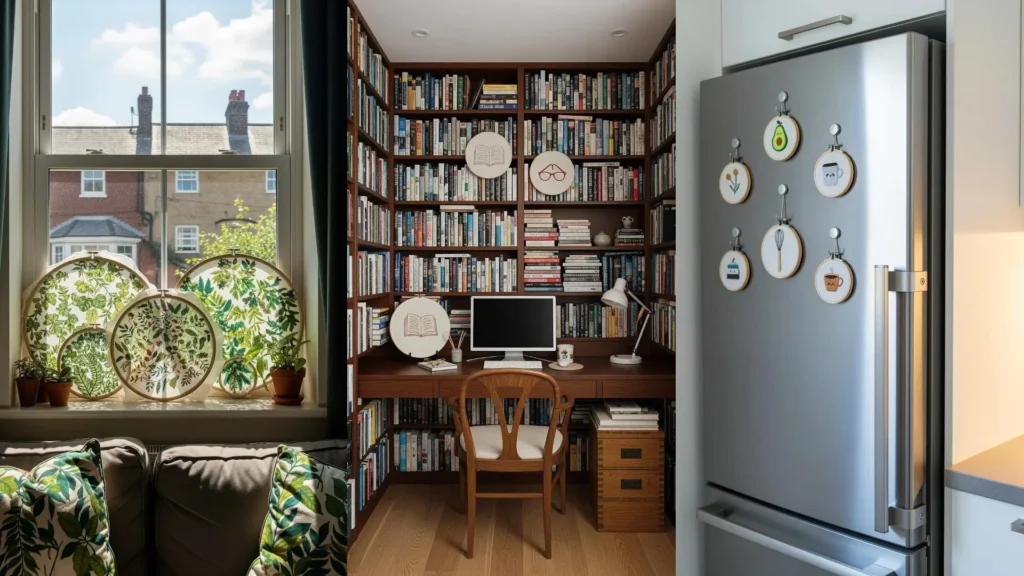
6. The Magnetic Hoop Collection
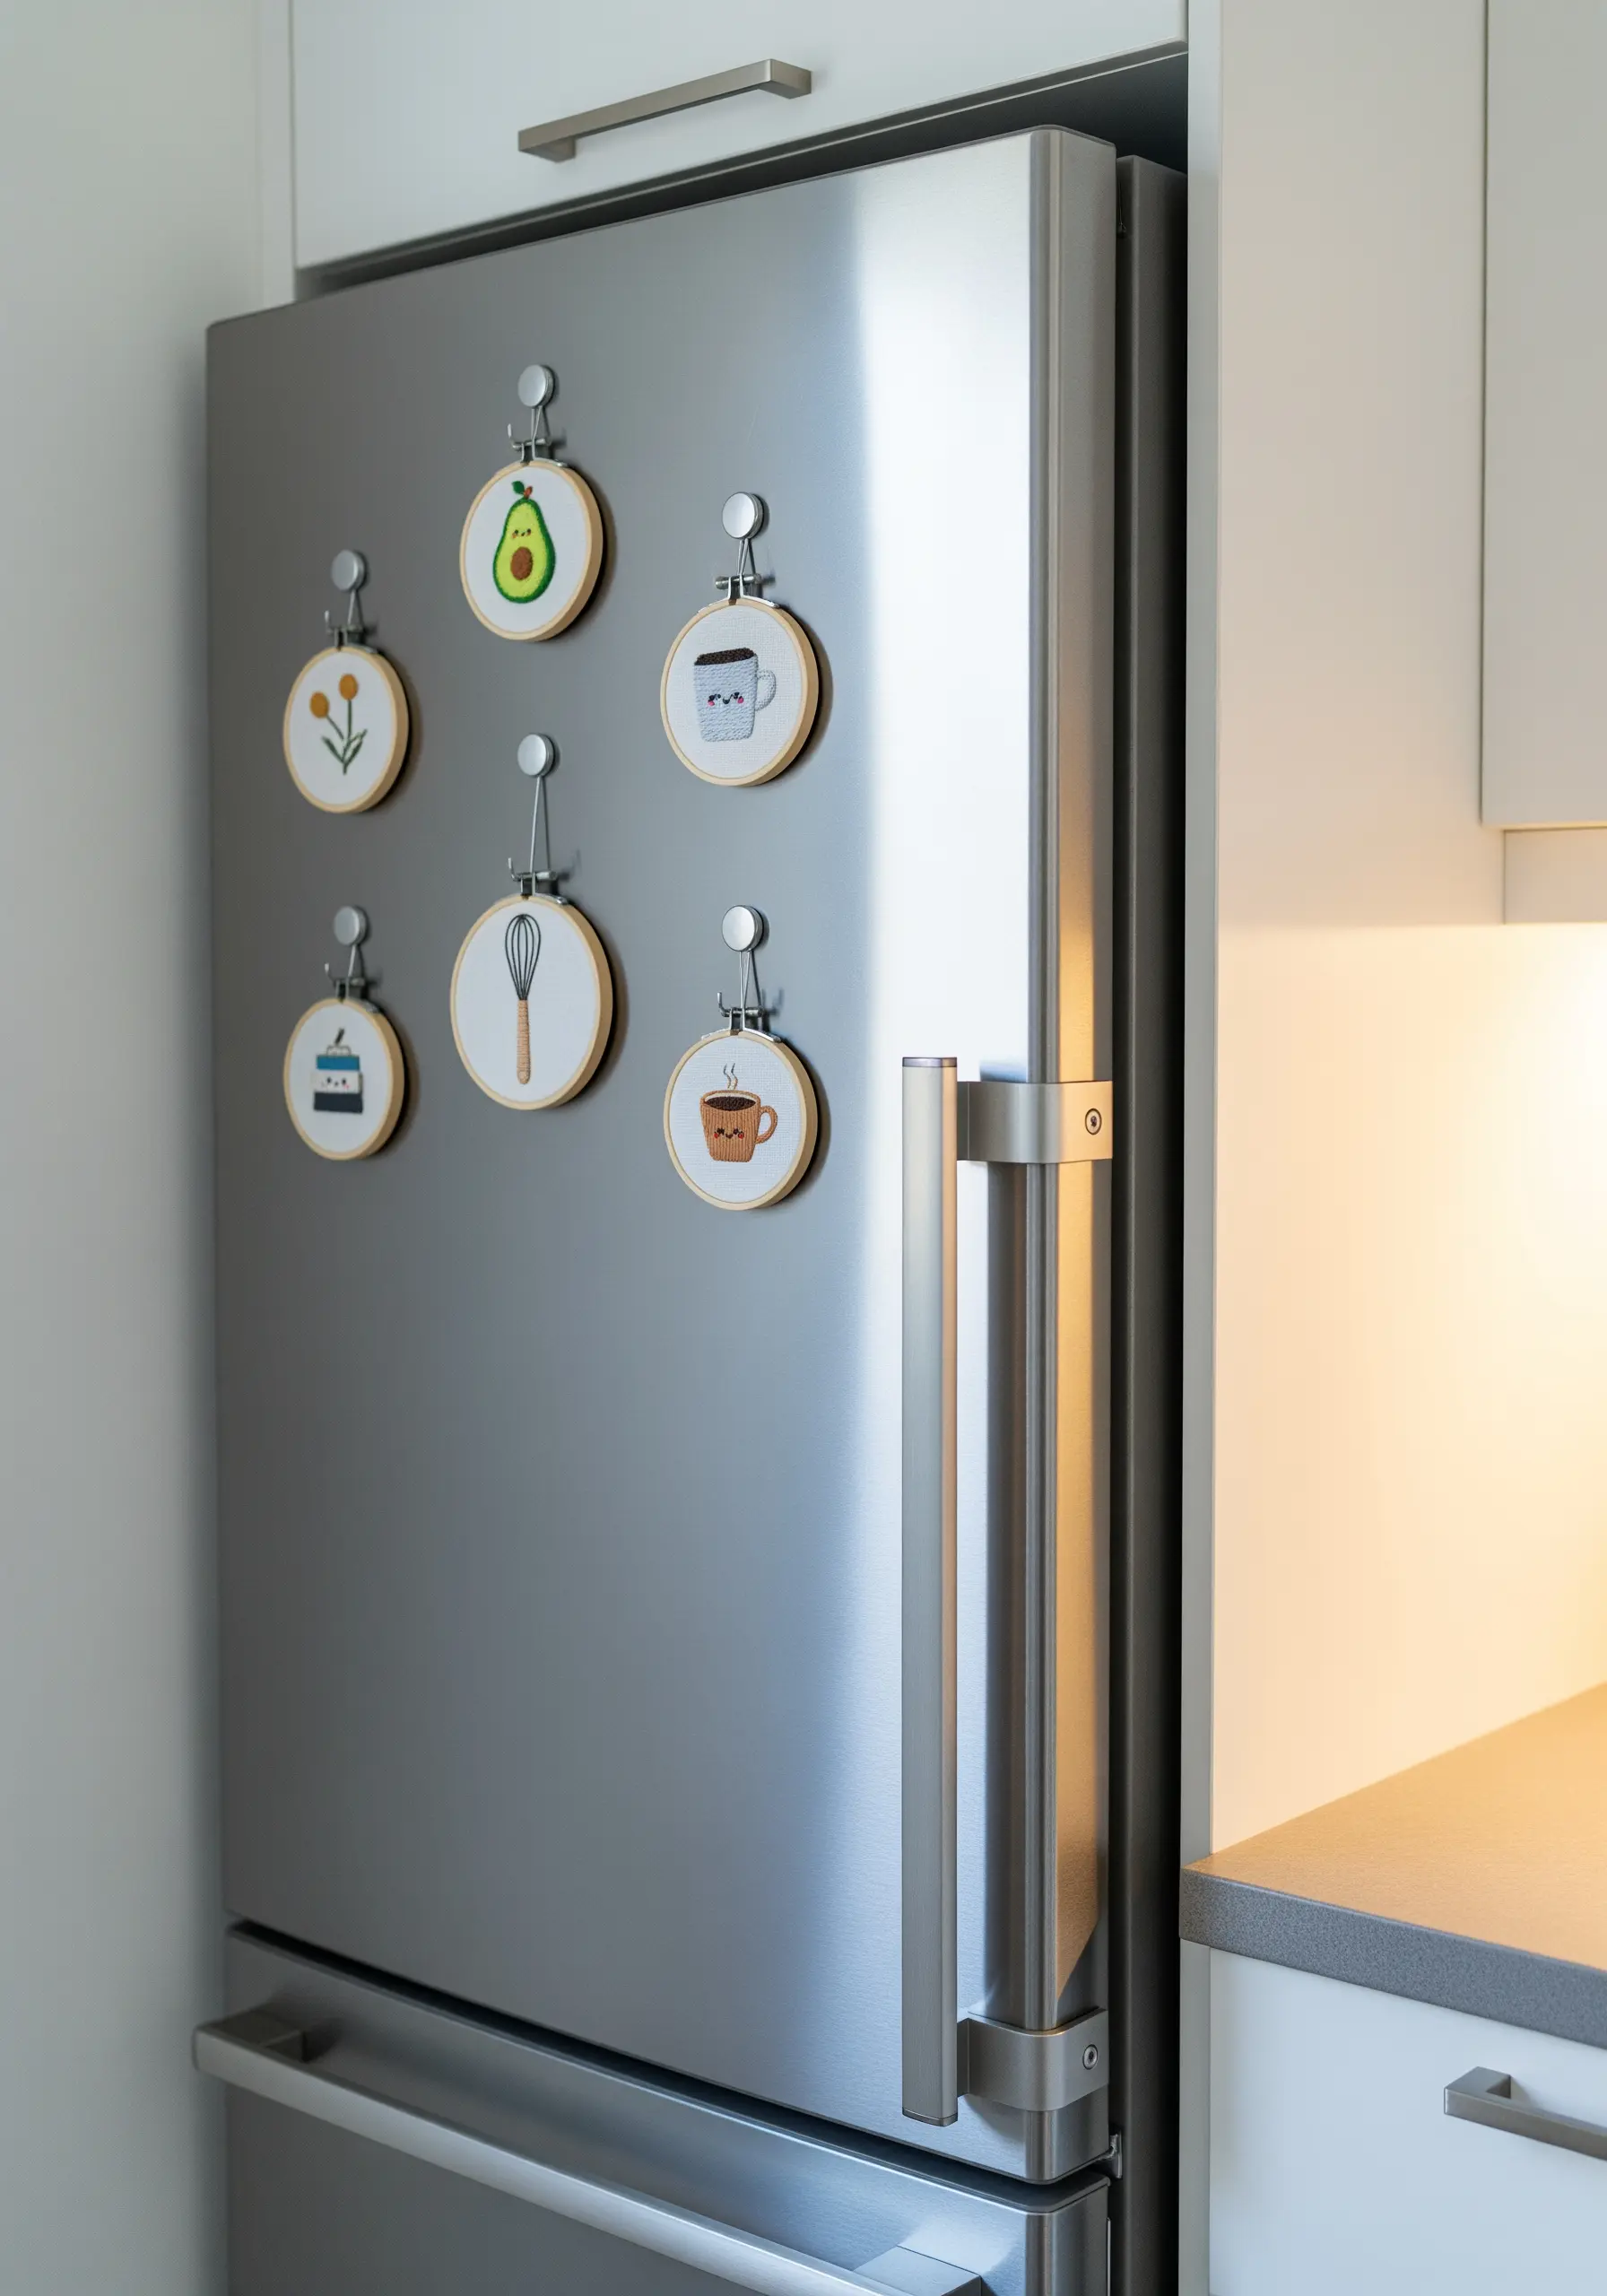
Transform your refrigerator or any metal surface into a rotating gallery with strong magnetic hooks.
This display method is perfect for adding a touch of handmade charm to utilitarian spaces like the kitchen or home office.
It’s an excellent way to enjoy your tiny hoop embroidery projects daily, turning simple motifs into delightful focal points.
7. The Illuminated Fairy Light Garland
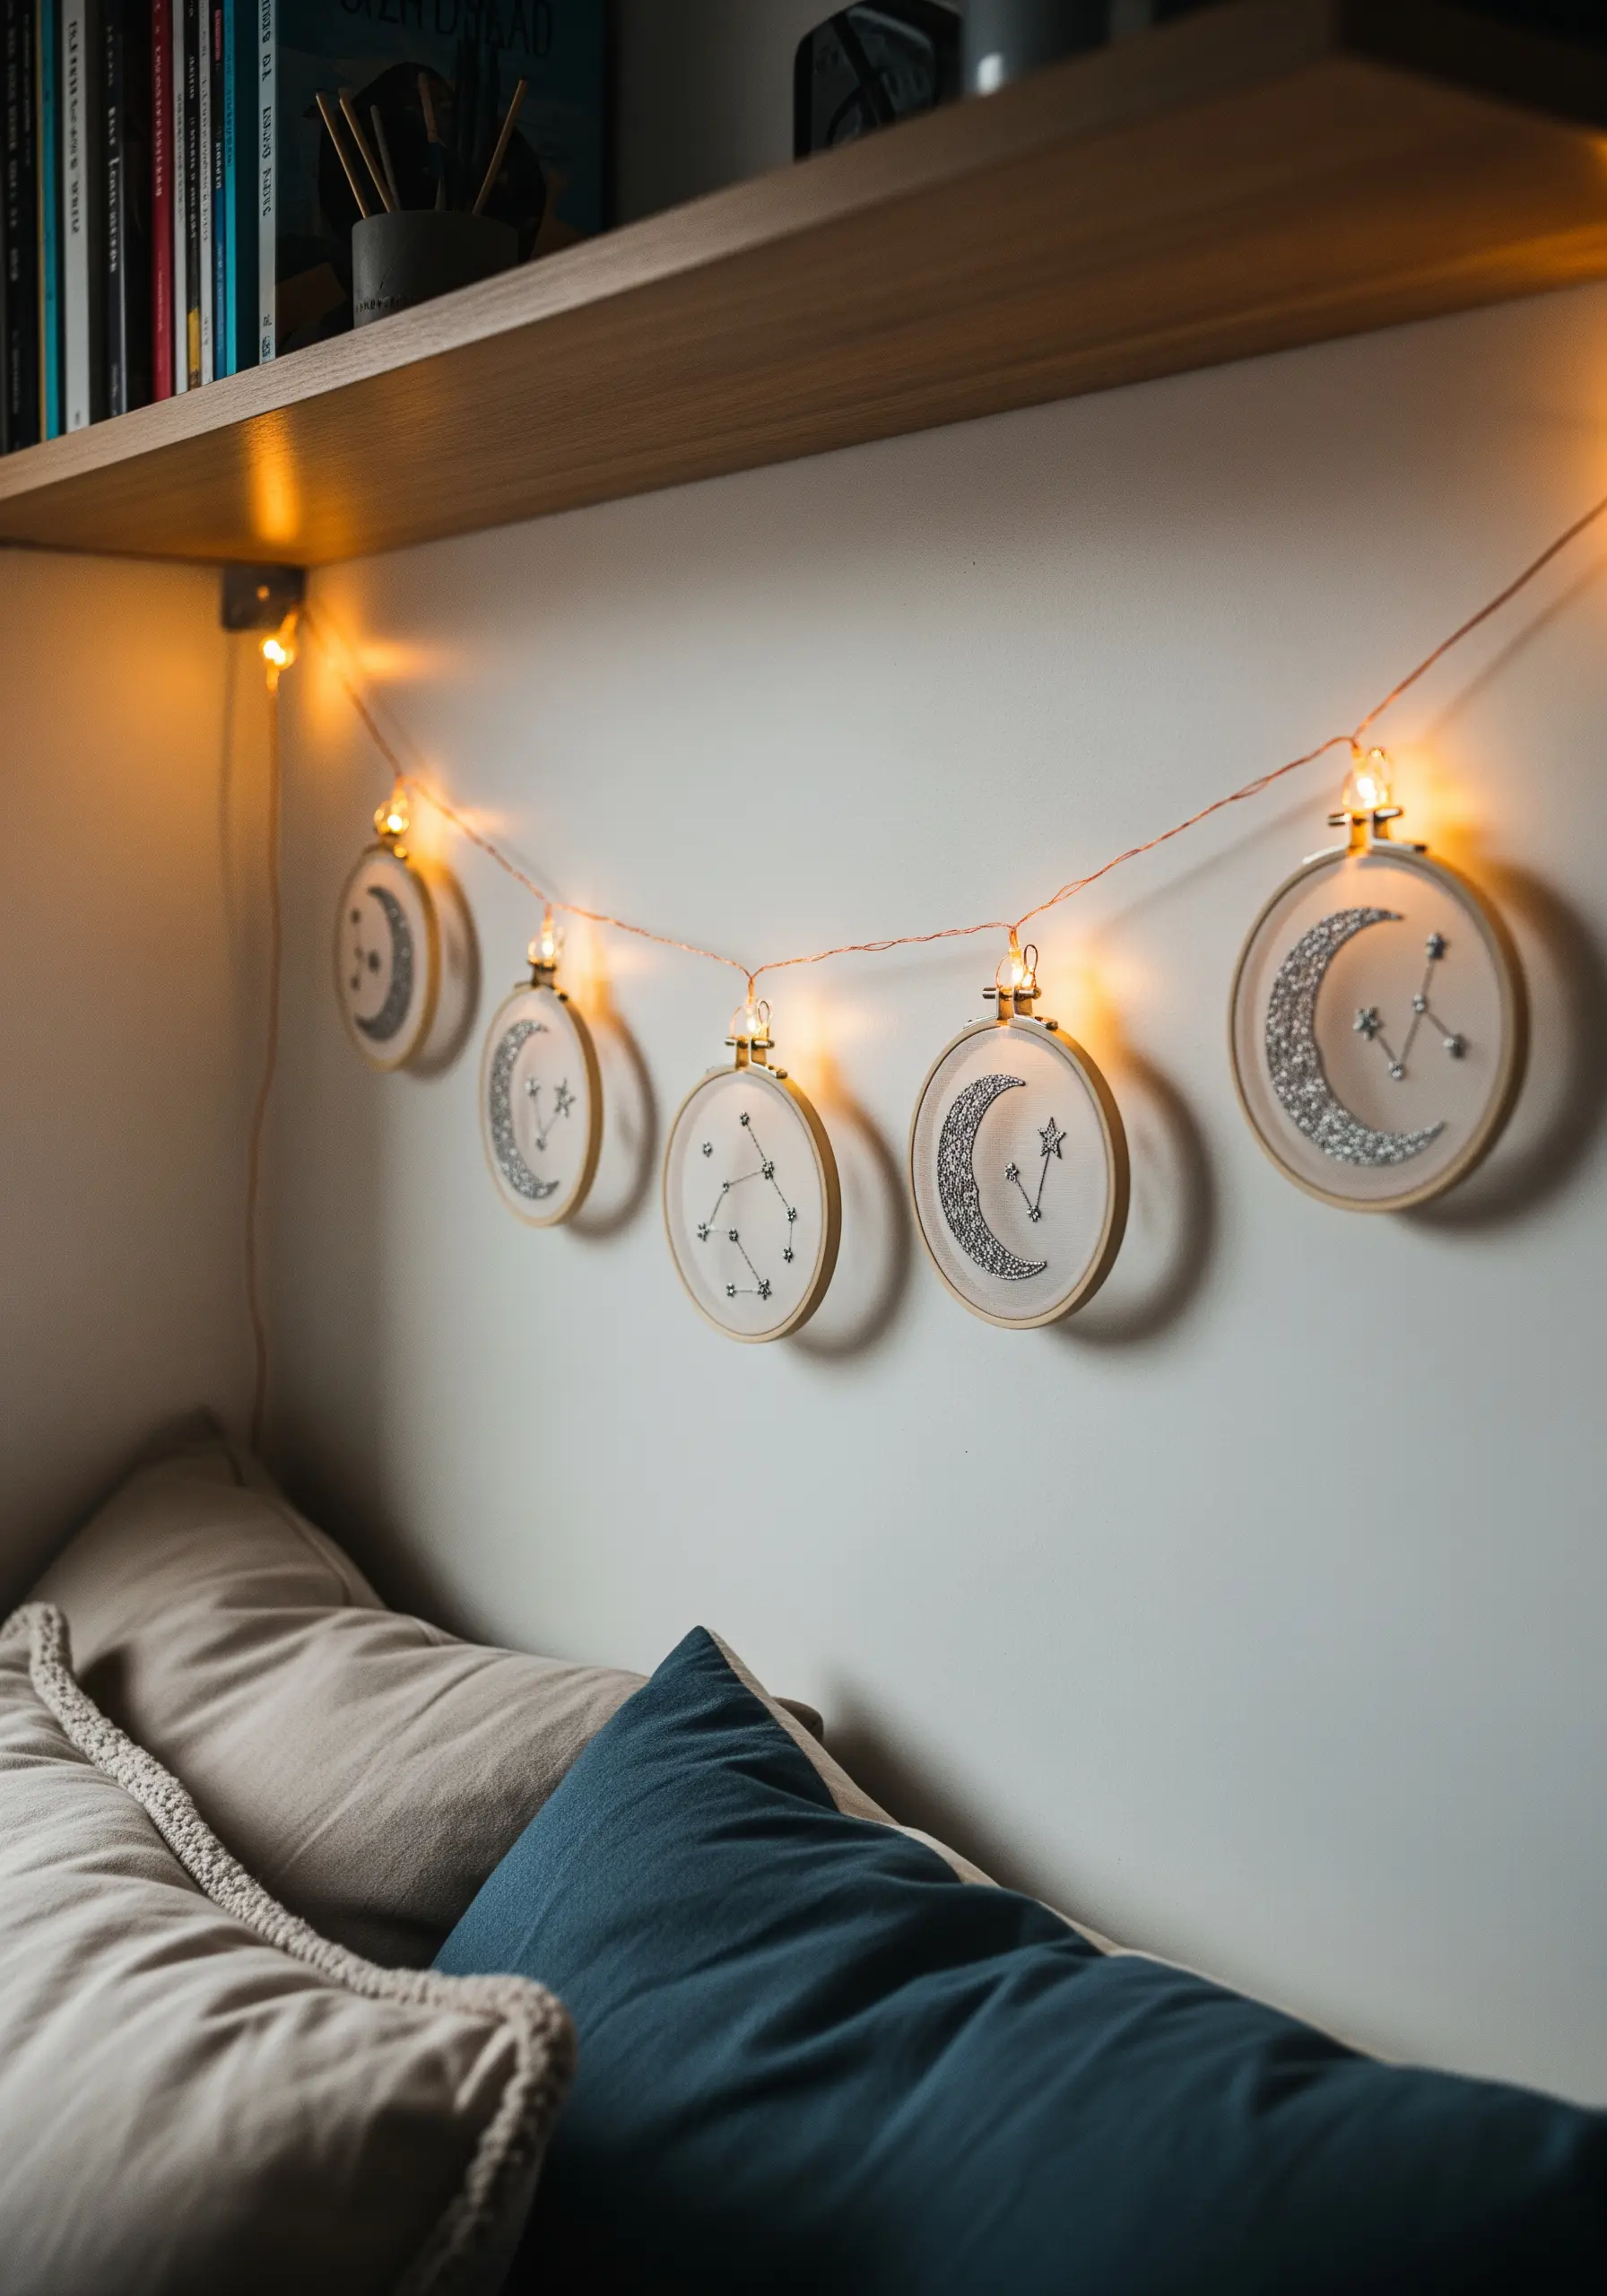
Create an ambient, magical display by weaving a string of copper-wire fairy lights around the hardware of your hoops.
Use small, clear clips or simply wrap the wire to secure the hoops along the string, creating an illuminated garland.
This technique is especially effective above a bed or sofa, where it adds a warm, cozy glow and turns your embroidery into enchanting nighttime decor.
8. The Evolving Corkboard Display
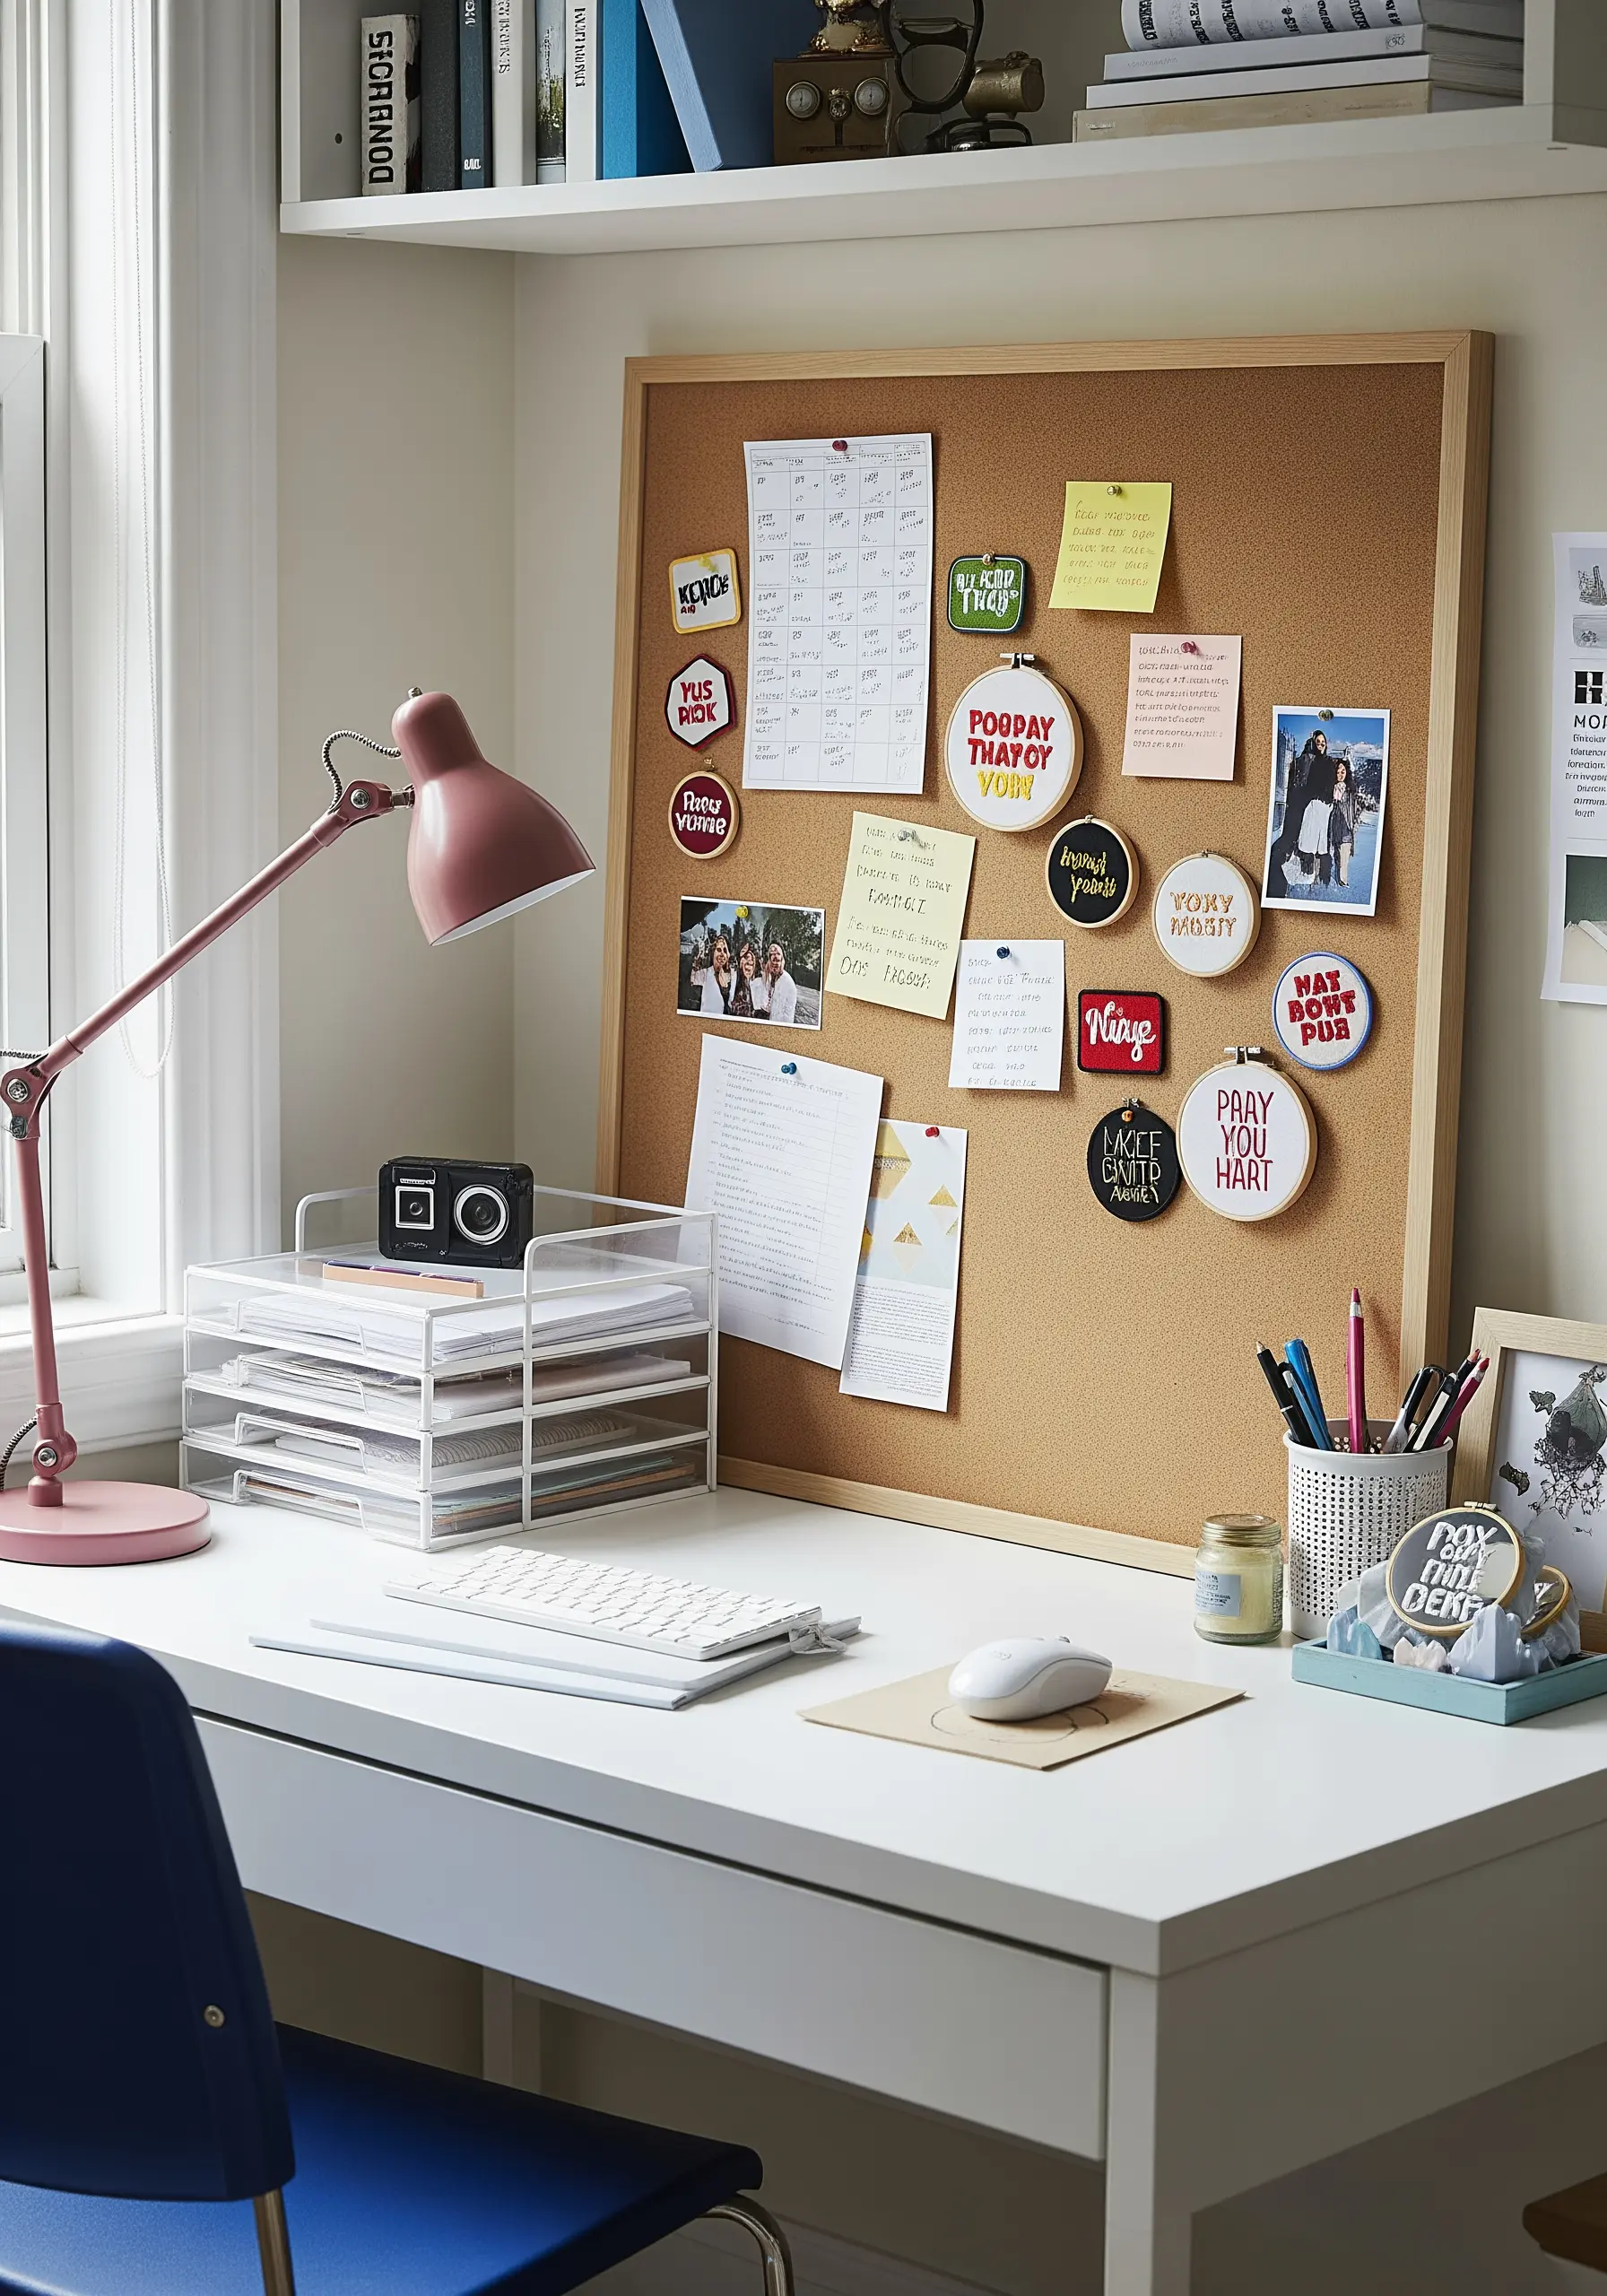
Use a simple corkboard to create a dynamic, ever-changing mood board that features your embroidery.
Pin your smaller hoops directly onto the board alongside photos, inspiring quotes, and fabric swatches.
This method celebrates the creative process, allowing your stitched pieces to live among your other inspirations in a flexible, low-commitment format.
It is perfect for inspirational quote embroidery hoops that can be changed with your mood.
9. The Botanical Suncatcher Cluster

Stitch your designs onto a sheer fabric like organza or tulle to create elegant, light-filtering suncatchers.
When clustered in a windowsill, the sunlight illuminates the threads, making the colors appear vibrant and revealing the texture of every stitch.
This technique works beautifully for delicate botanical designs, transforming your window into a translucent indoor garden.
10. The Cascading Ribbon Hanger
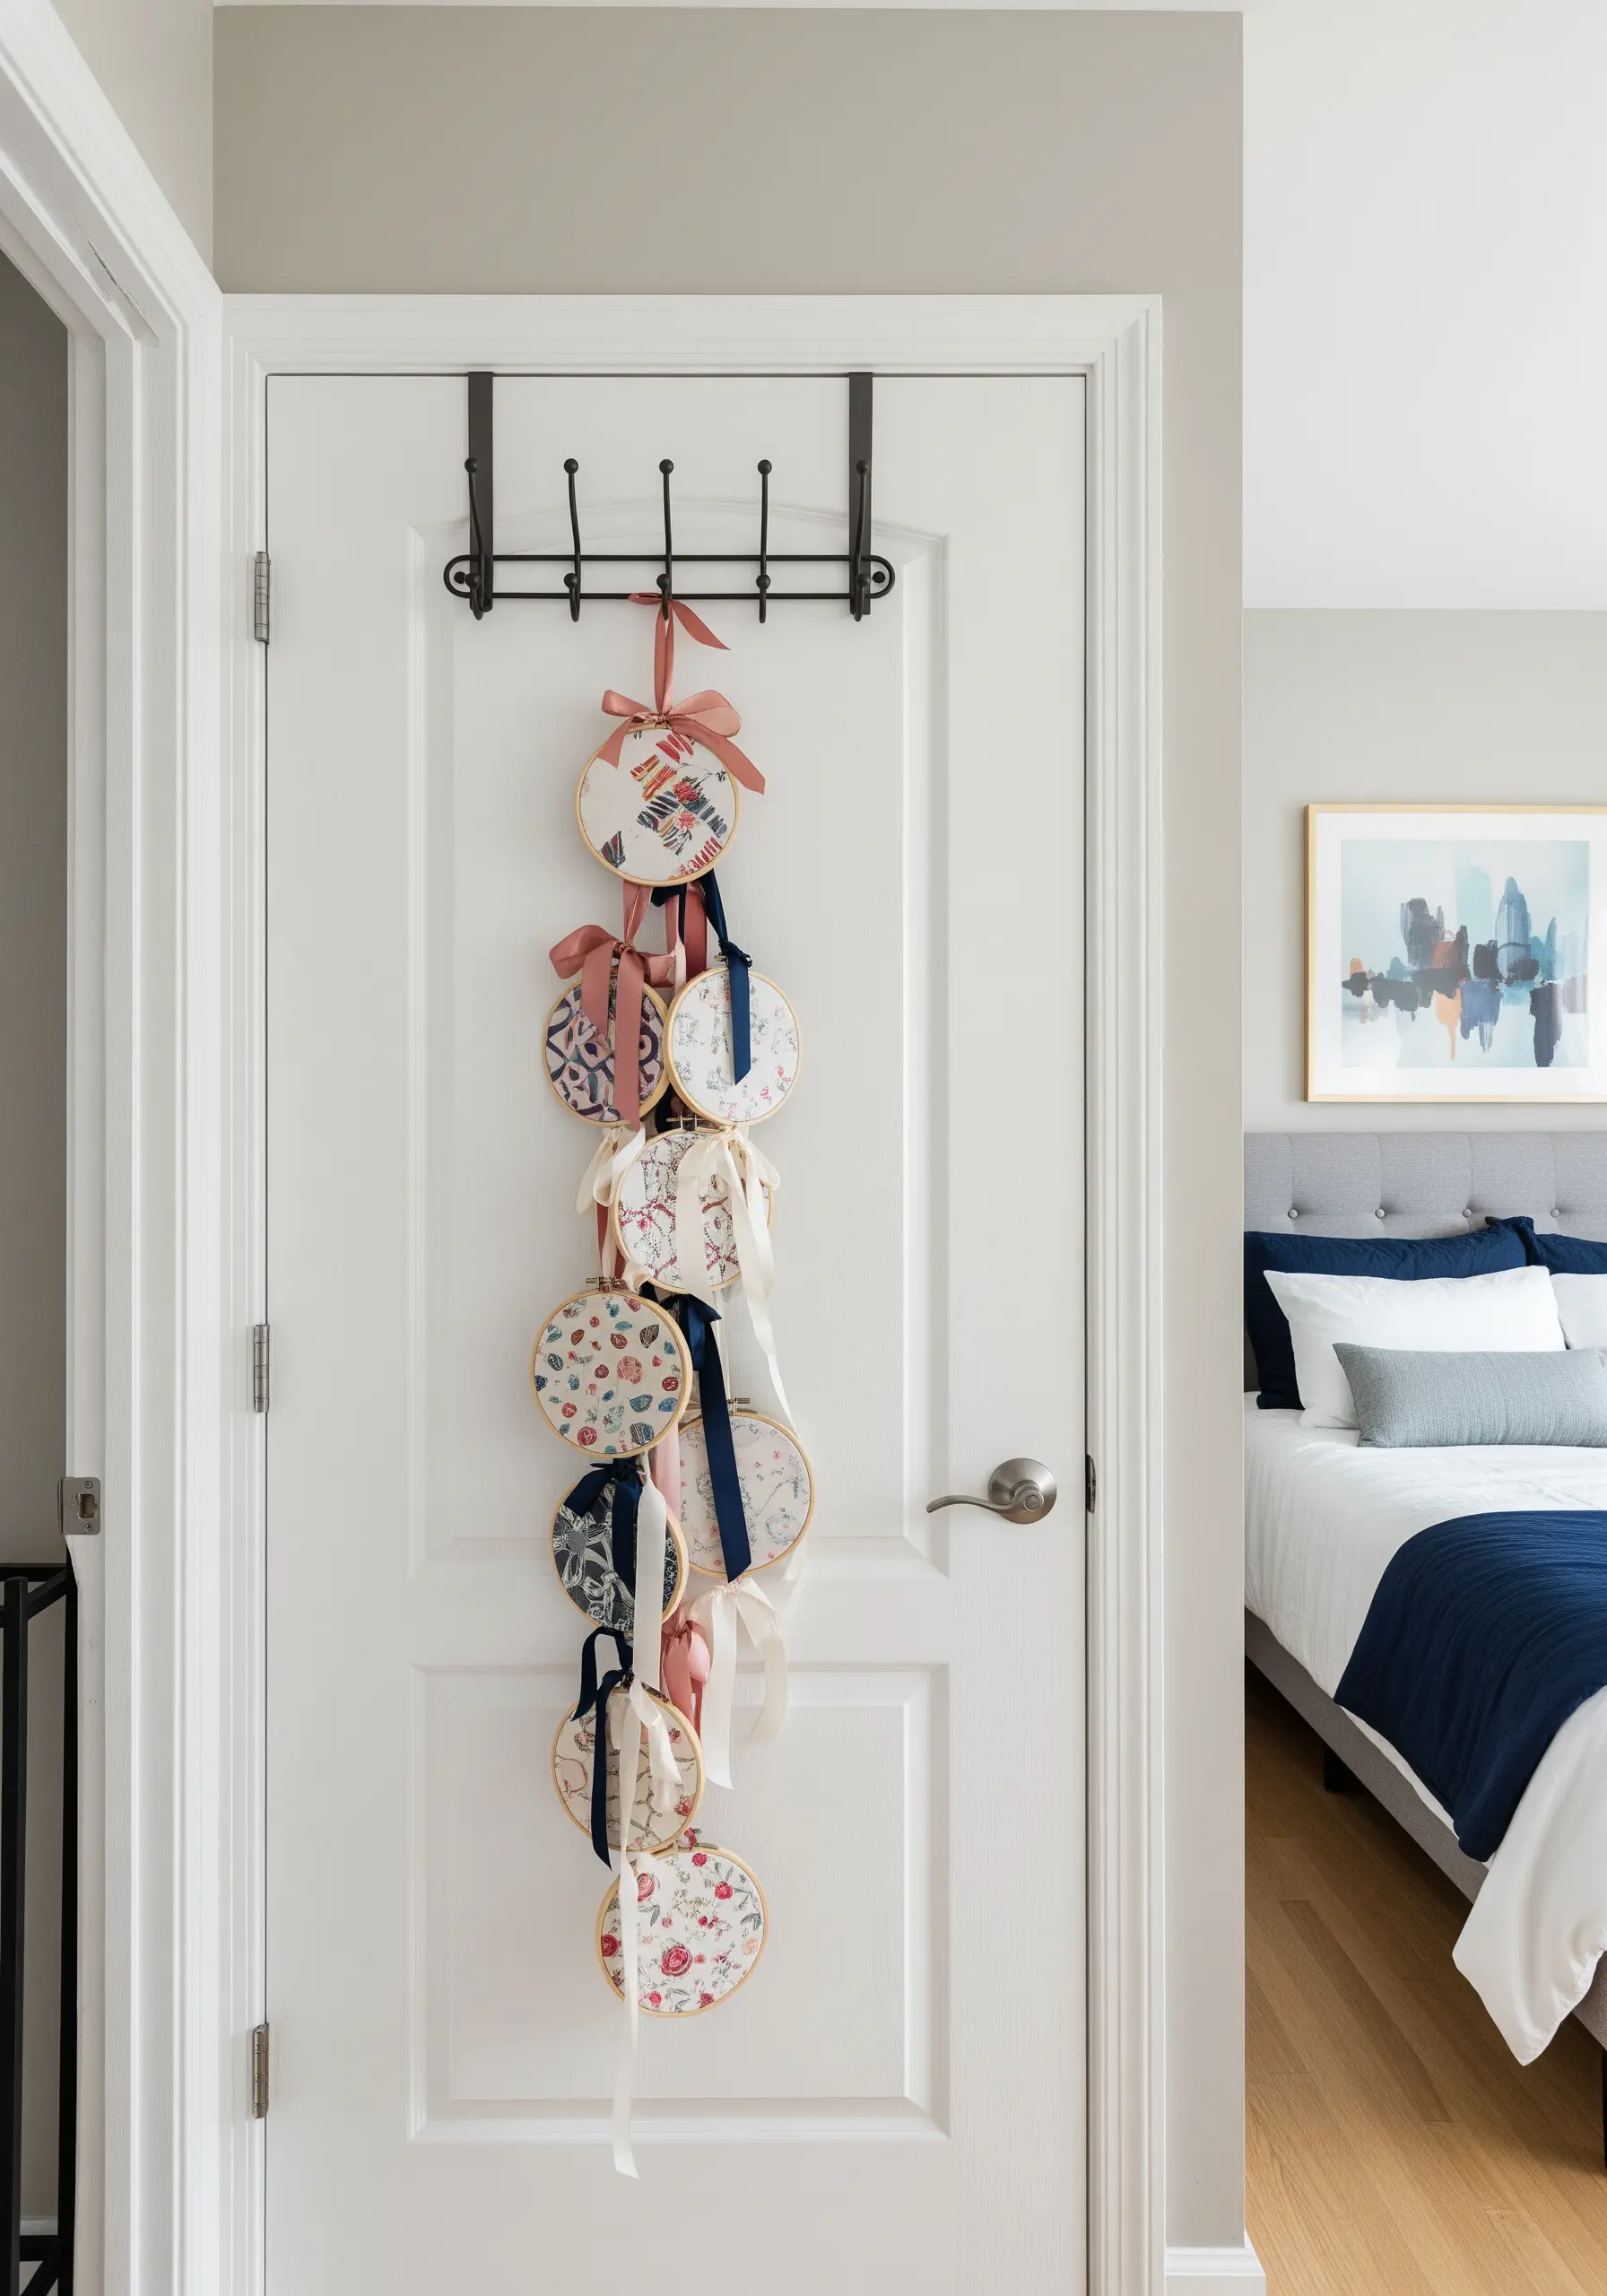
An over-the-door hook rack provides a perfect, damage-free anchor for a vertical embroidery display.
Use satin or velvet ribbons in varying lengths and complementary colors to tie your hoops to the hooks.
This creates a soft, cascading effect that utilizes the often-overlooked vertical space on a door, adding color, texture, and handmade charm.
11. The Curated Floating Shelf Grouping
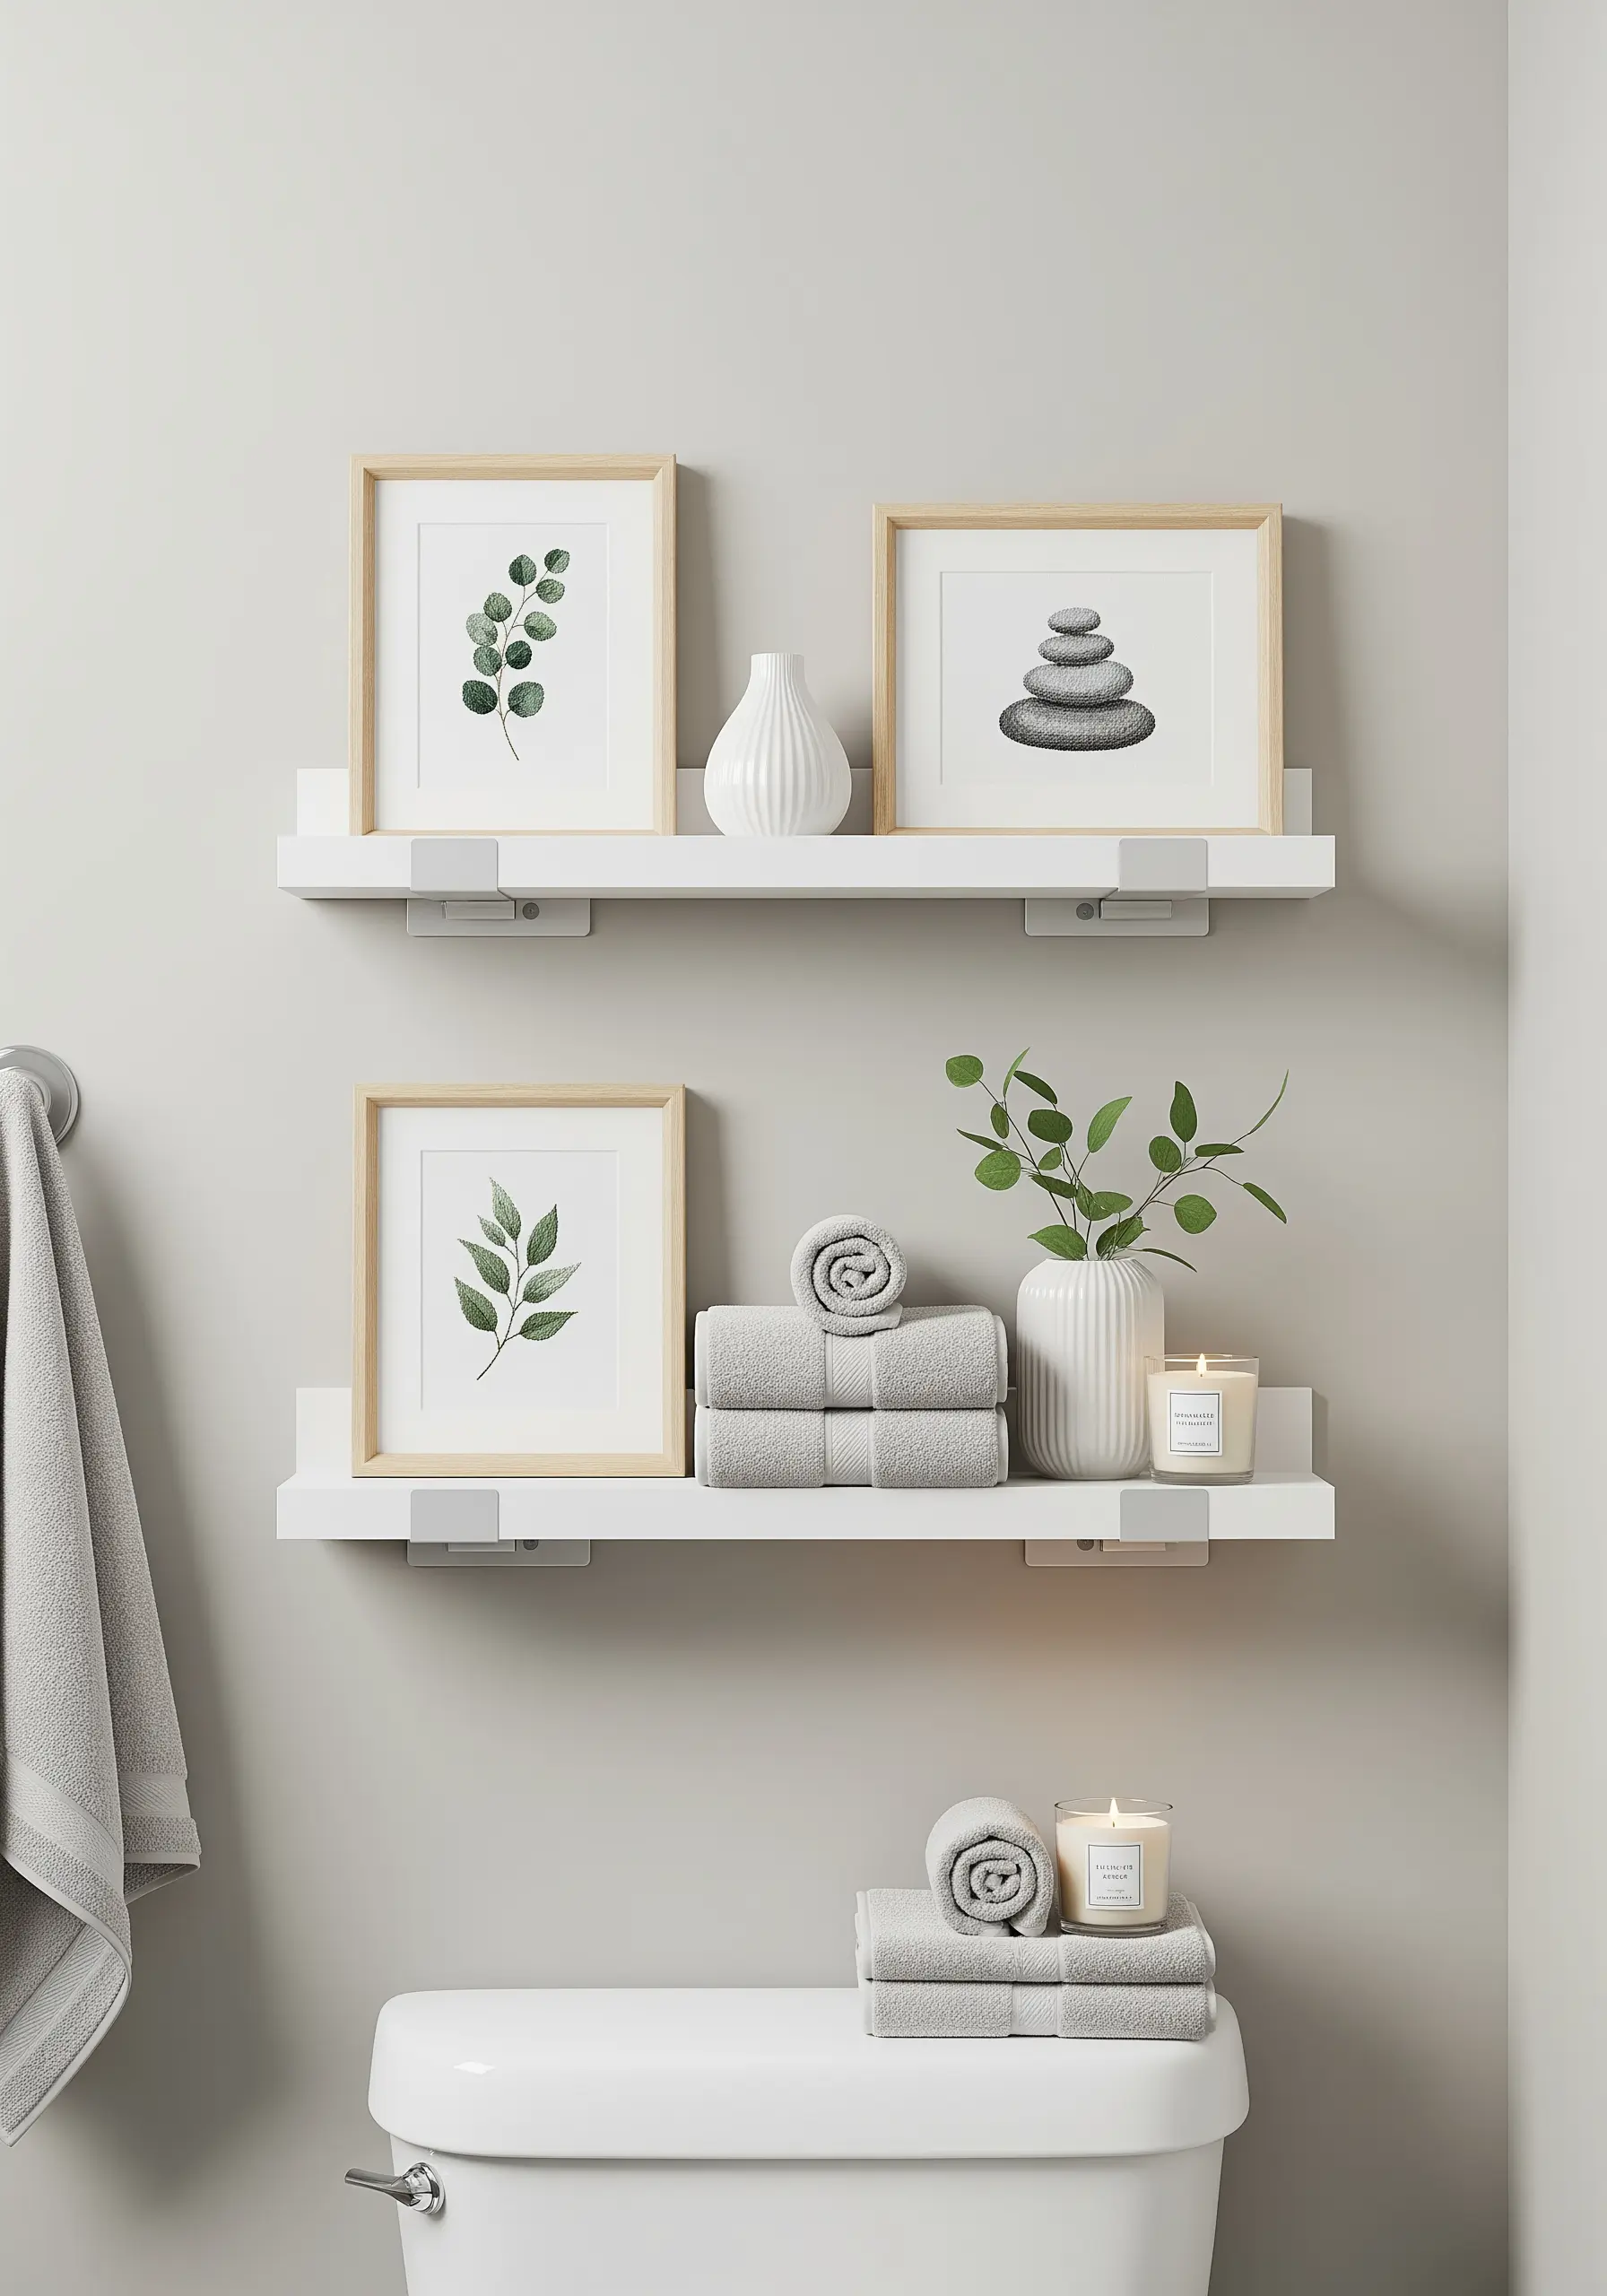
Instead of hanging your framed work, simply prop it against the wall on existing floating shelves.
This gives your embroidery a casual yet intentional look, as if it belongs in a high-end boutique or gallery.
Mix and match your stitched pieces with small plants, candles, and ceramic objects to create balanced, visually interesting vignettes that feel personal and styled.
It makes for minimal embroidery wall pieces that feel thoughtfully placed.
12. The Natural Driftwood Installation

Suspend a piece of found driftwood or a fallen branch from one or two strong adhesive hooks to serve as a hanger.
Tie your embroidered banners or wall hangings from the branch to create a single, cohesive art installation.
This method introduces a beautiful, organic element into your space and unifies multiple pieces into a significant statement piece, perfect for above a sofa or bed.
These fiber art installations become an instant focal point.
13. The Washi Tape Grid
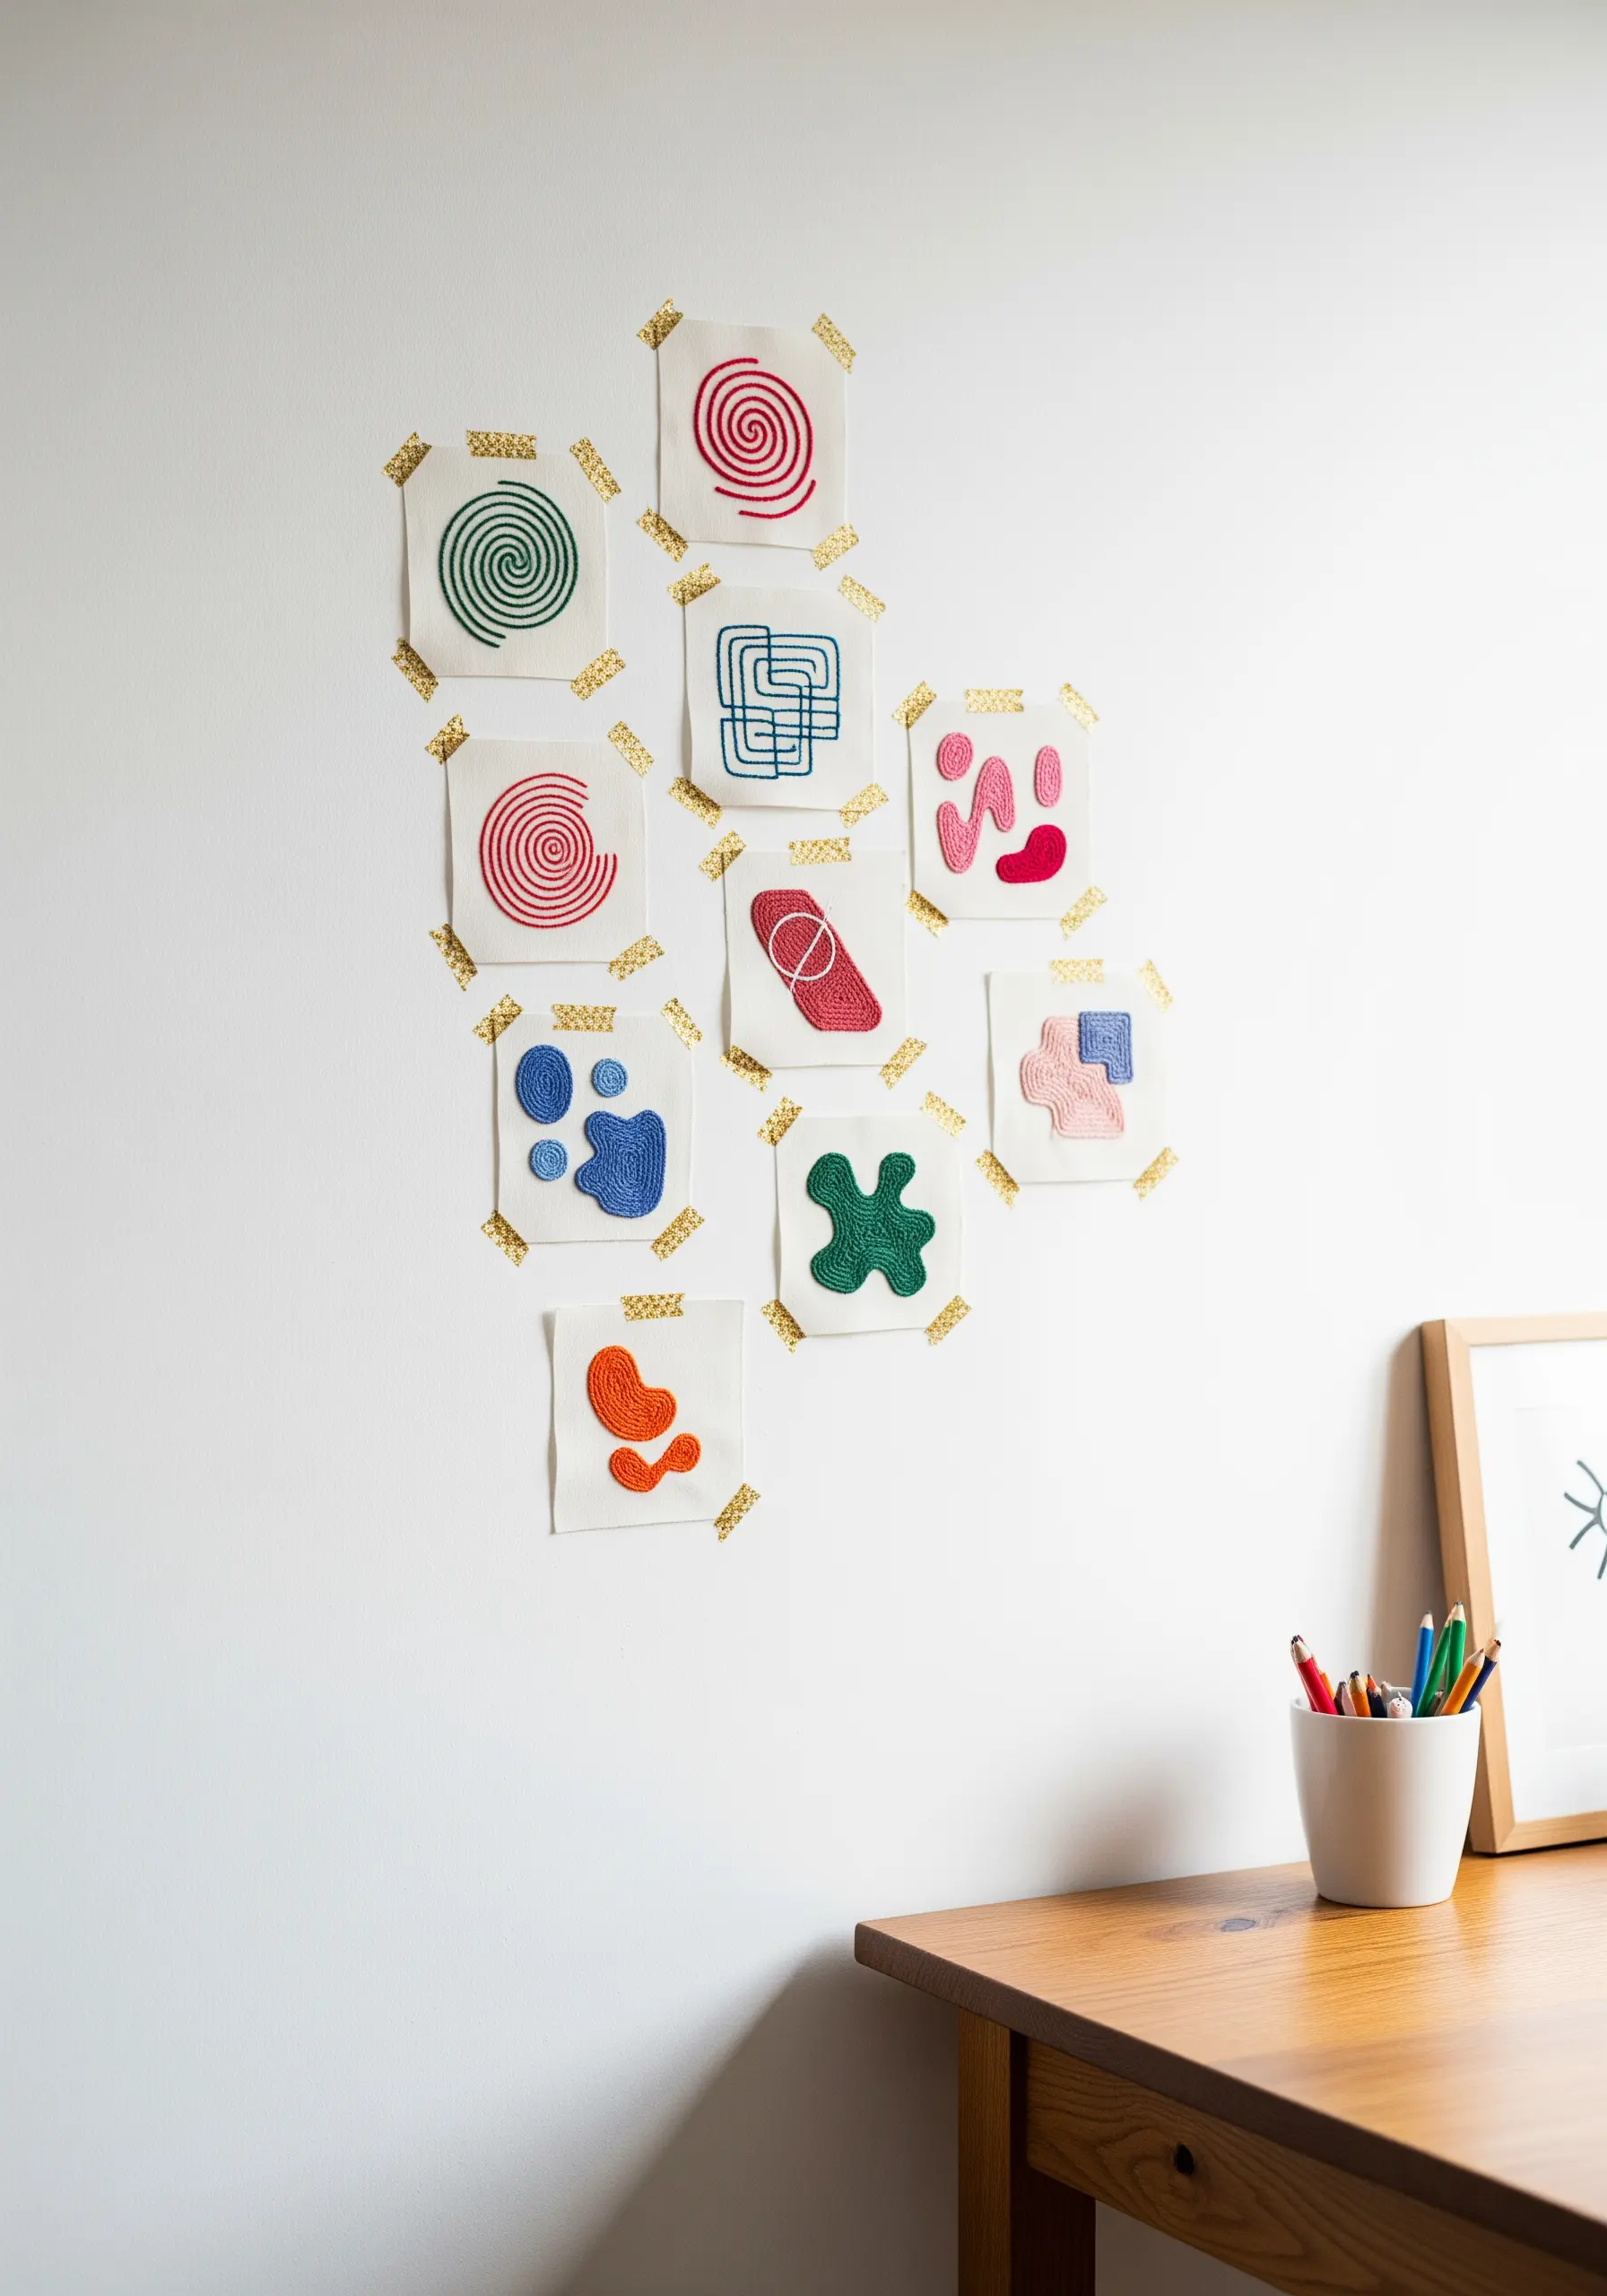
For an ultra-minimalist and completely reversible display, use washi tape to secure small, unframed fabric swatches to the wall.
This technique is exceptionally gentle on painted surfaces and offers a casual, sketchbook-like aesthetic.
Arrange your pieces in a loose grid or an organic cluster to showcase experimental stitches, color palettes, or abstract embroidery stitches.
14. The Jewelry Tree Showcase
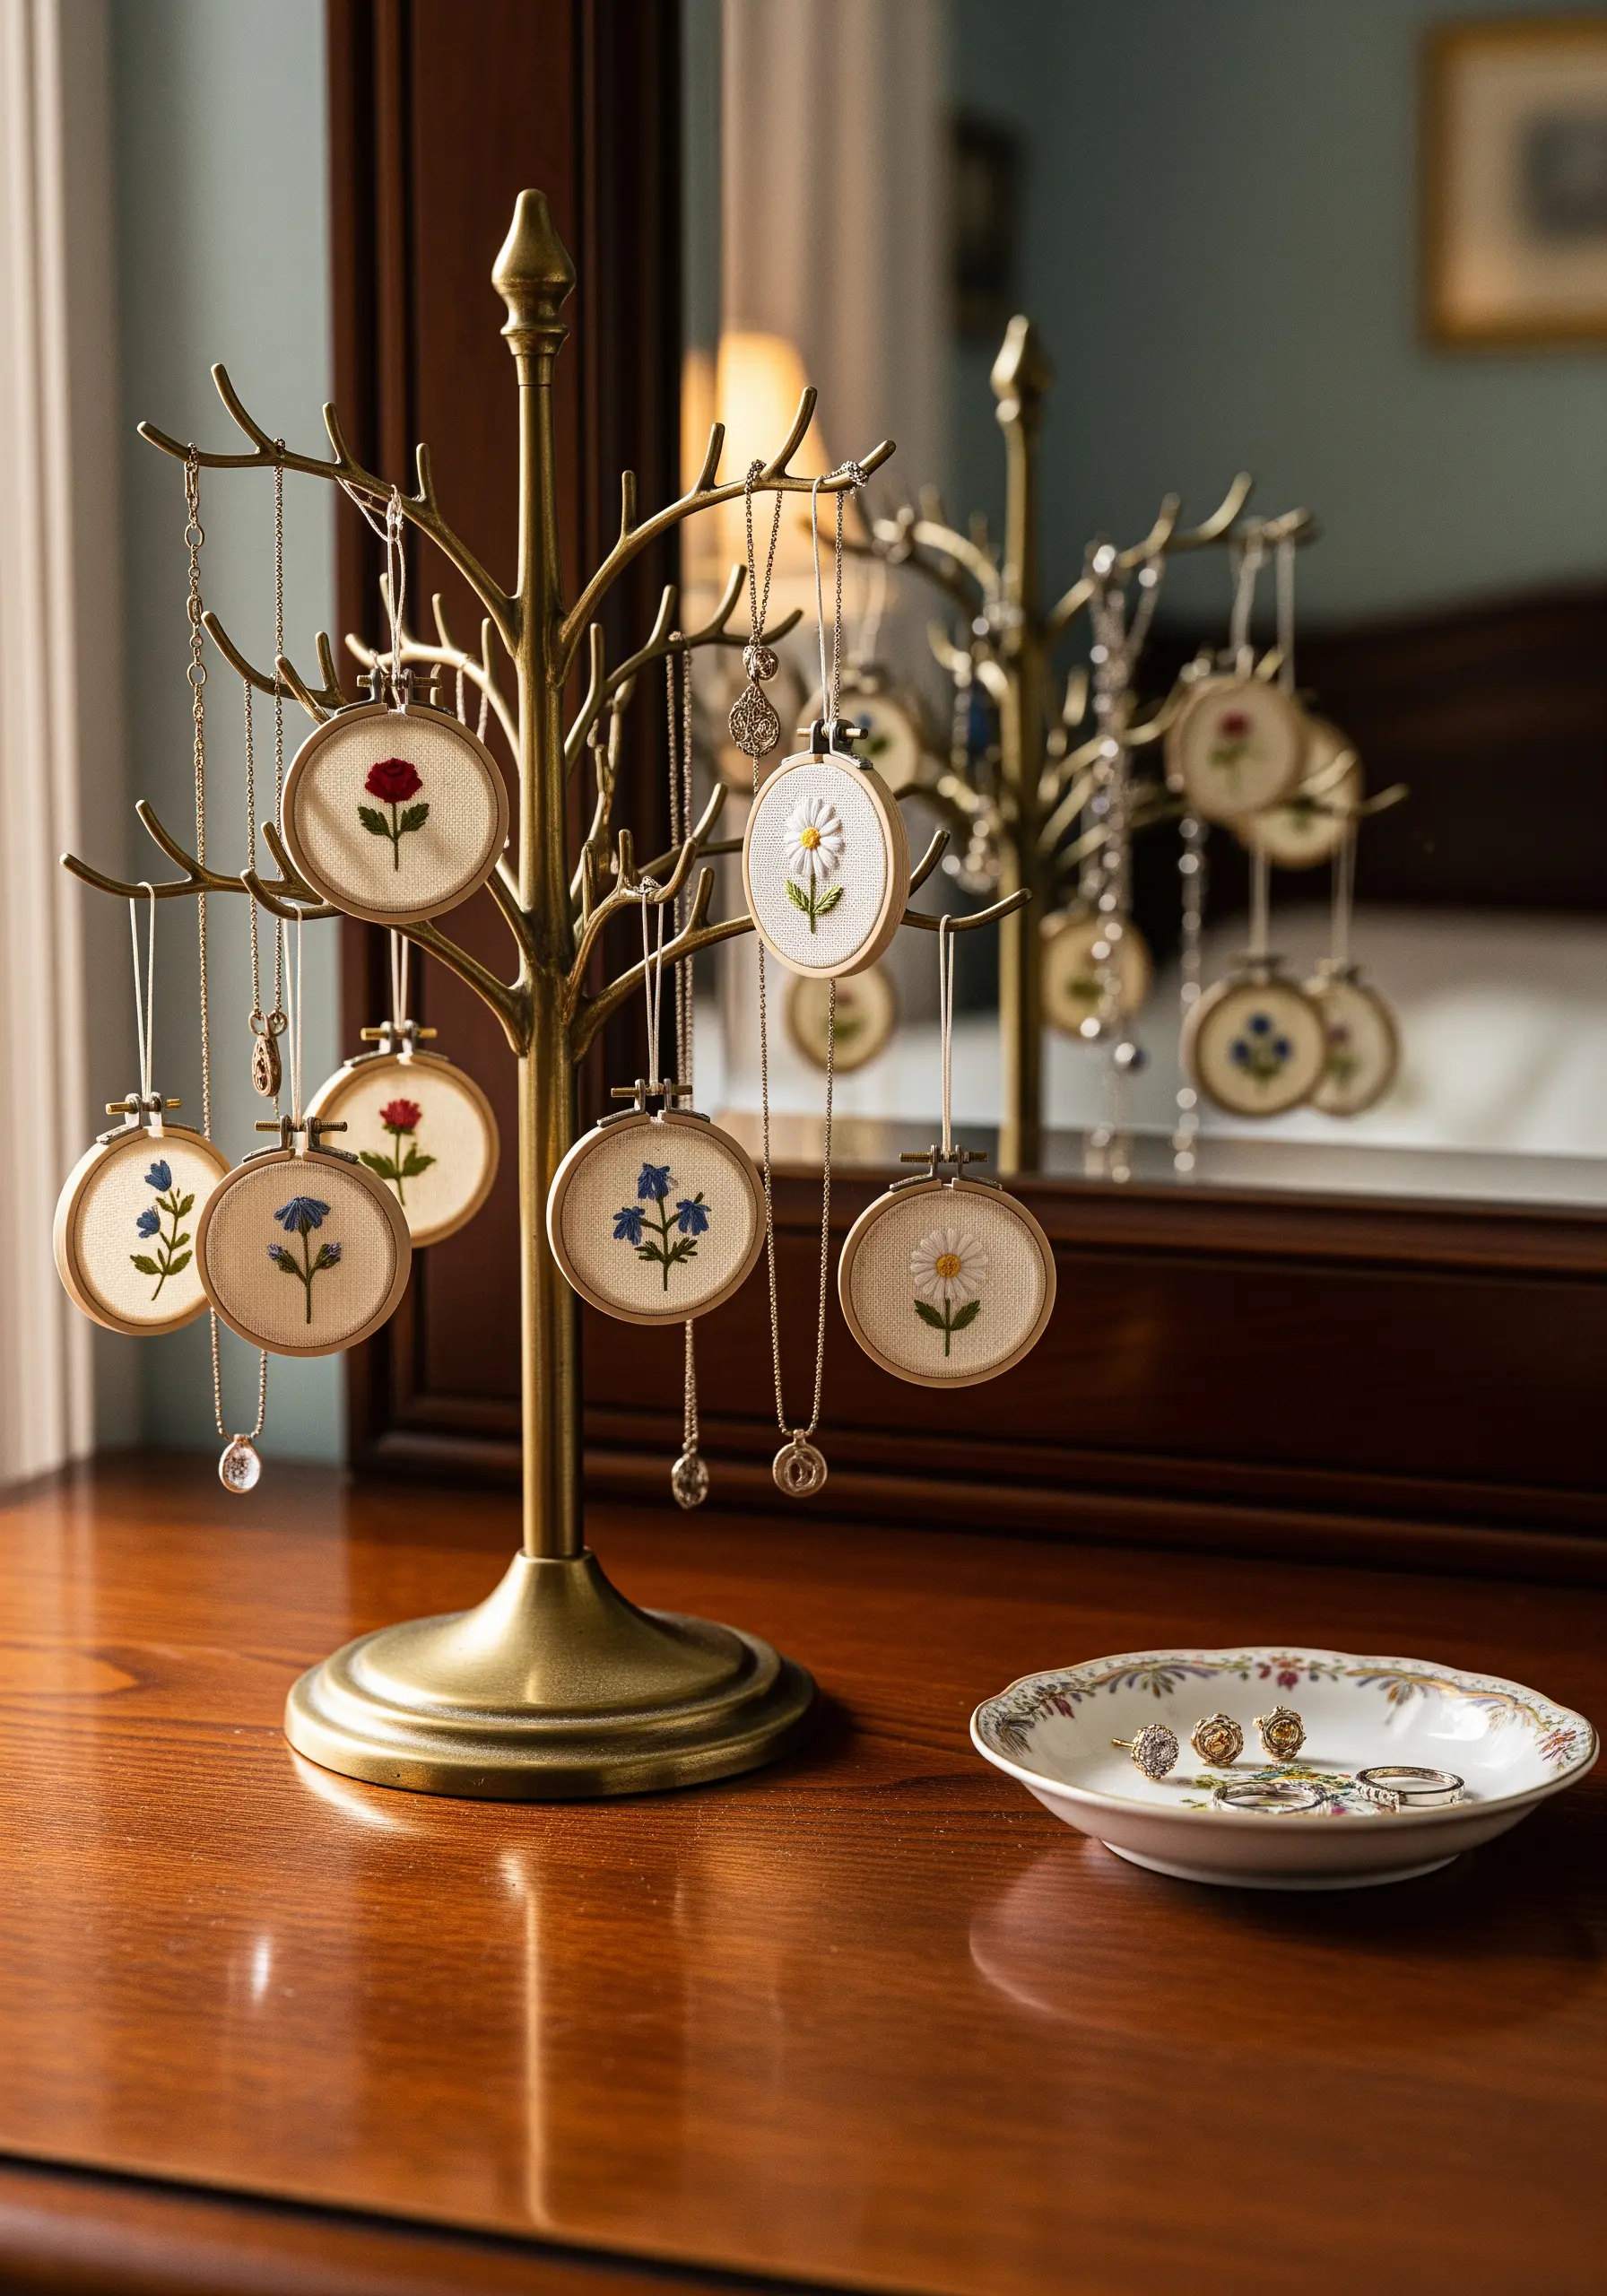
Repurpose a decorative jewelry stand to display your collection of miniature embroidery hoops.
Hanging your tiny, detailed work from the branches transforms each piece into a precious ornament, inviting admiration.
This is a beautiful way to add a handmade touch to a dresser or vanity, combining art and organization in one elegant object.
Create your own handmade embroidery gifts and display them with this method.
15. The Industrial Grid Panel Display
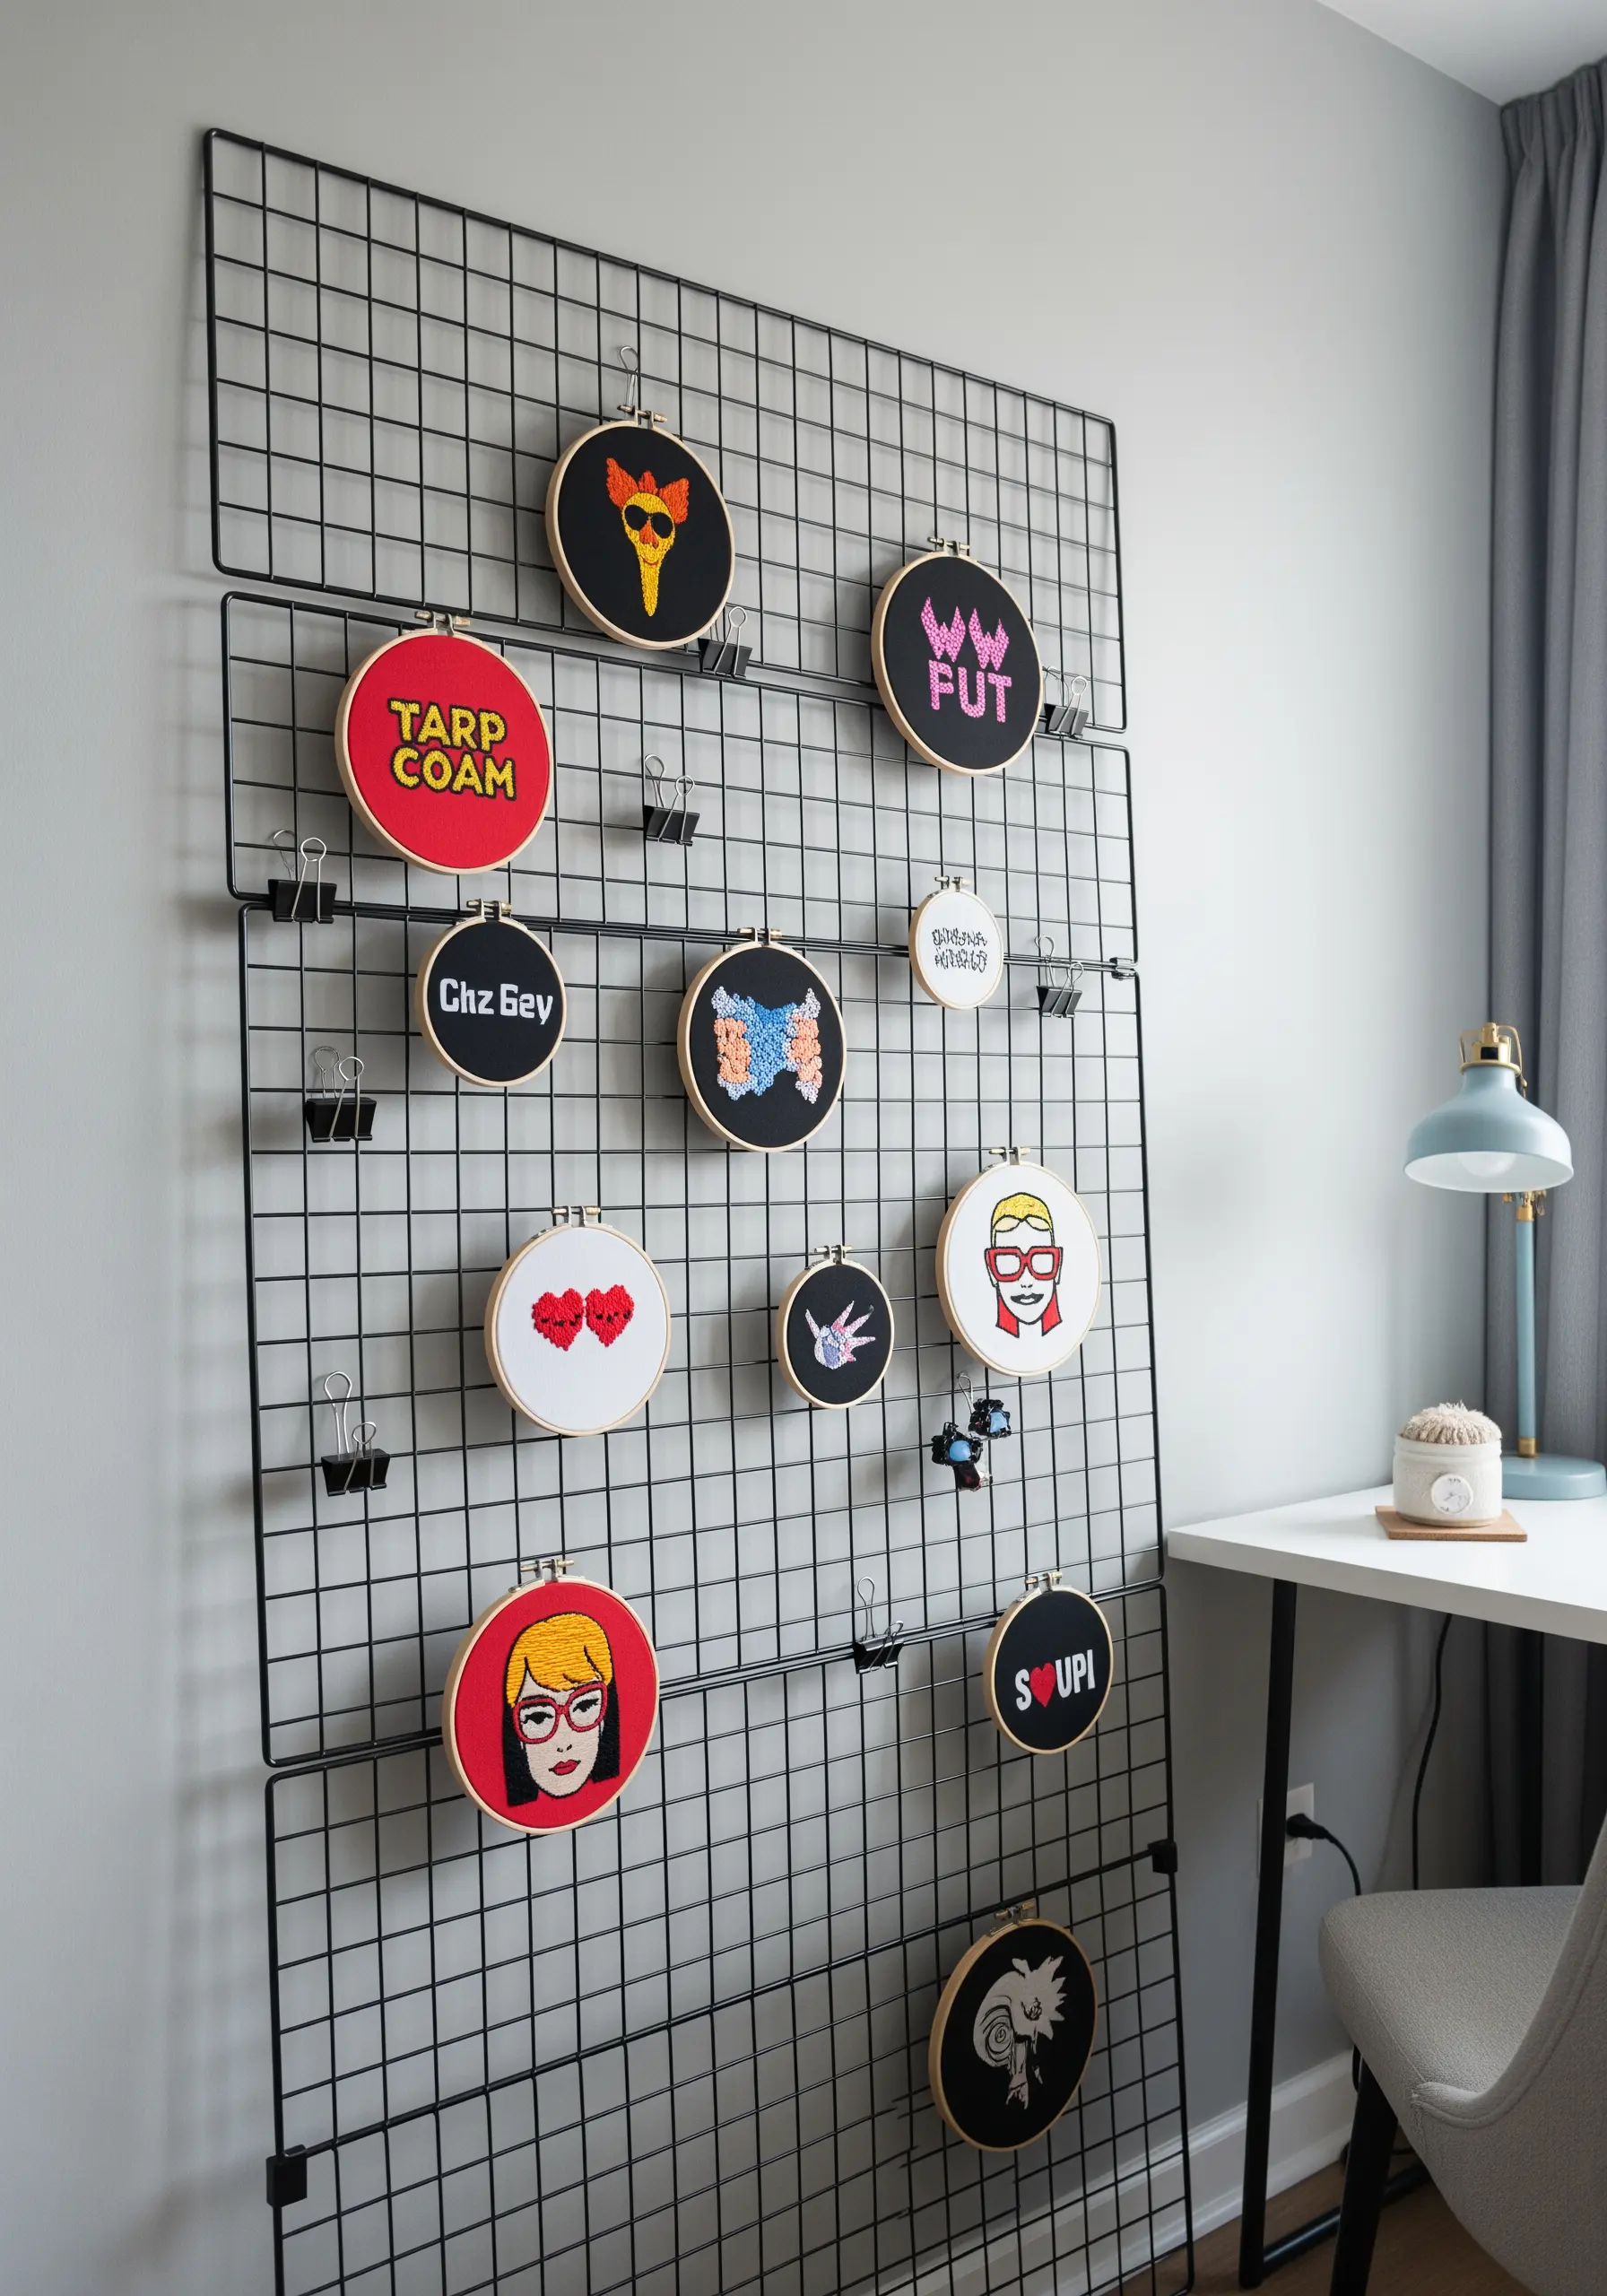
Lean a large wire grid panel against a wall for a versatile, non-permanent display solution with an industrial-chic vibe.
Use binder clips, S-hooks, or small clips to attach your hoops, allowing for endless reconfiguration as your collection grows.
This modular system is perfect for a home office or creative studio, keeping your work visible and inspiring.
16. The Integrated Clothing Rack Statement
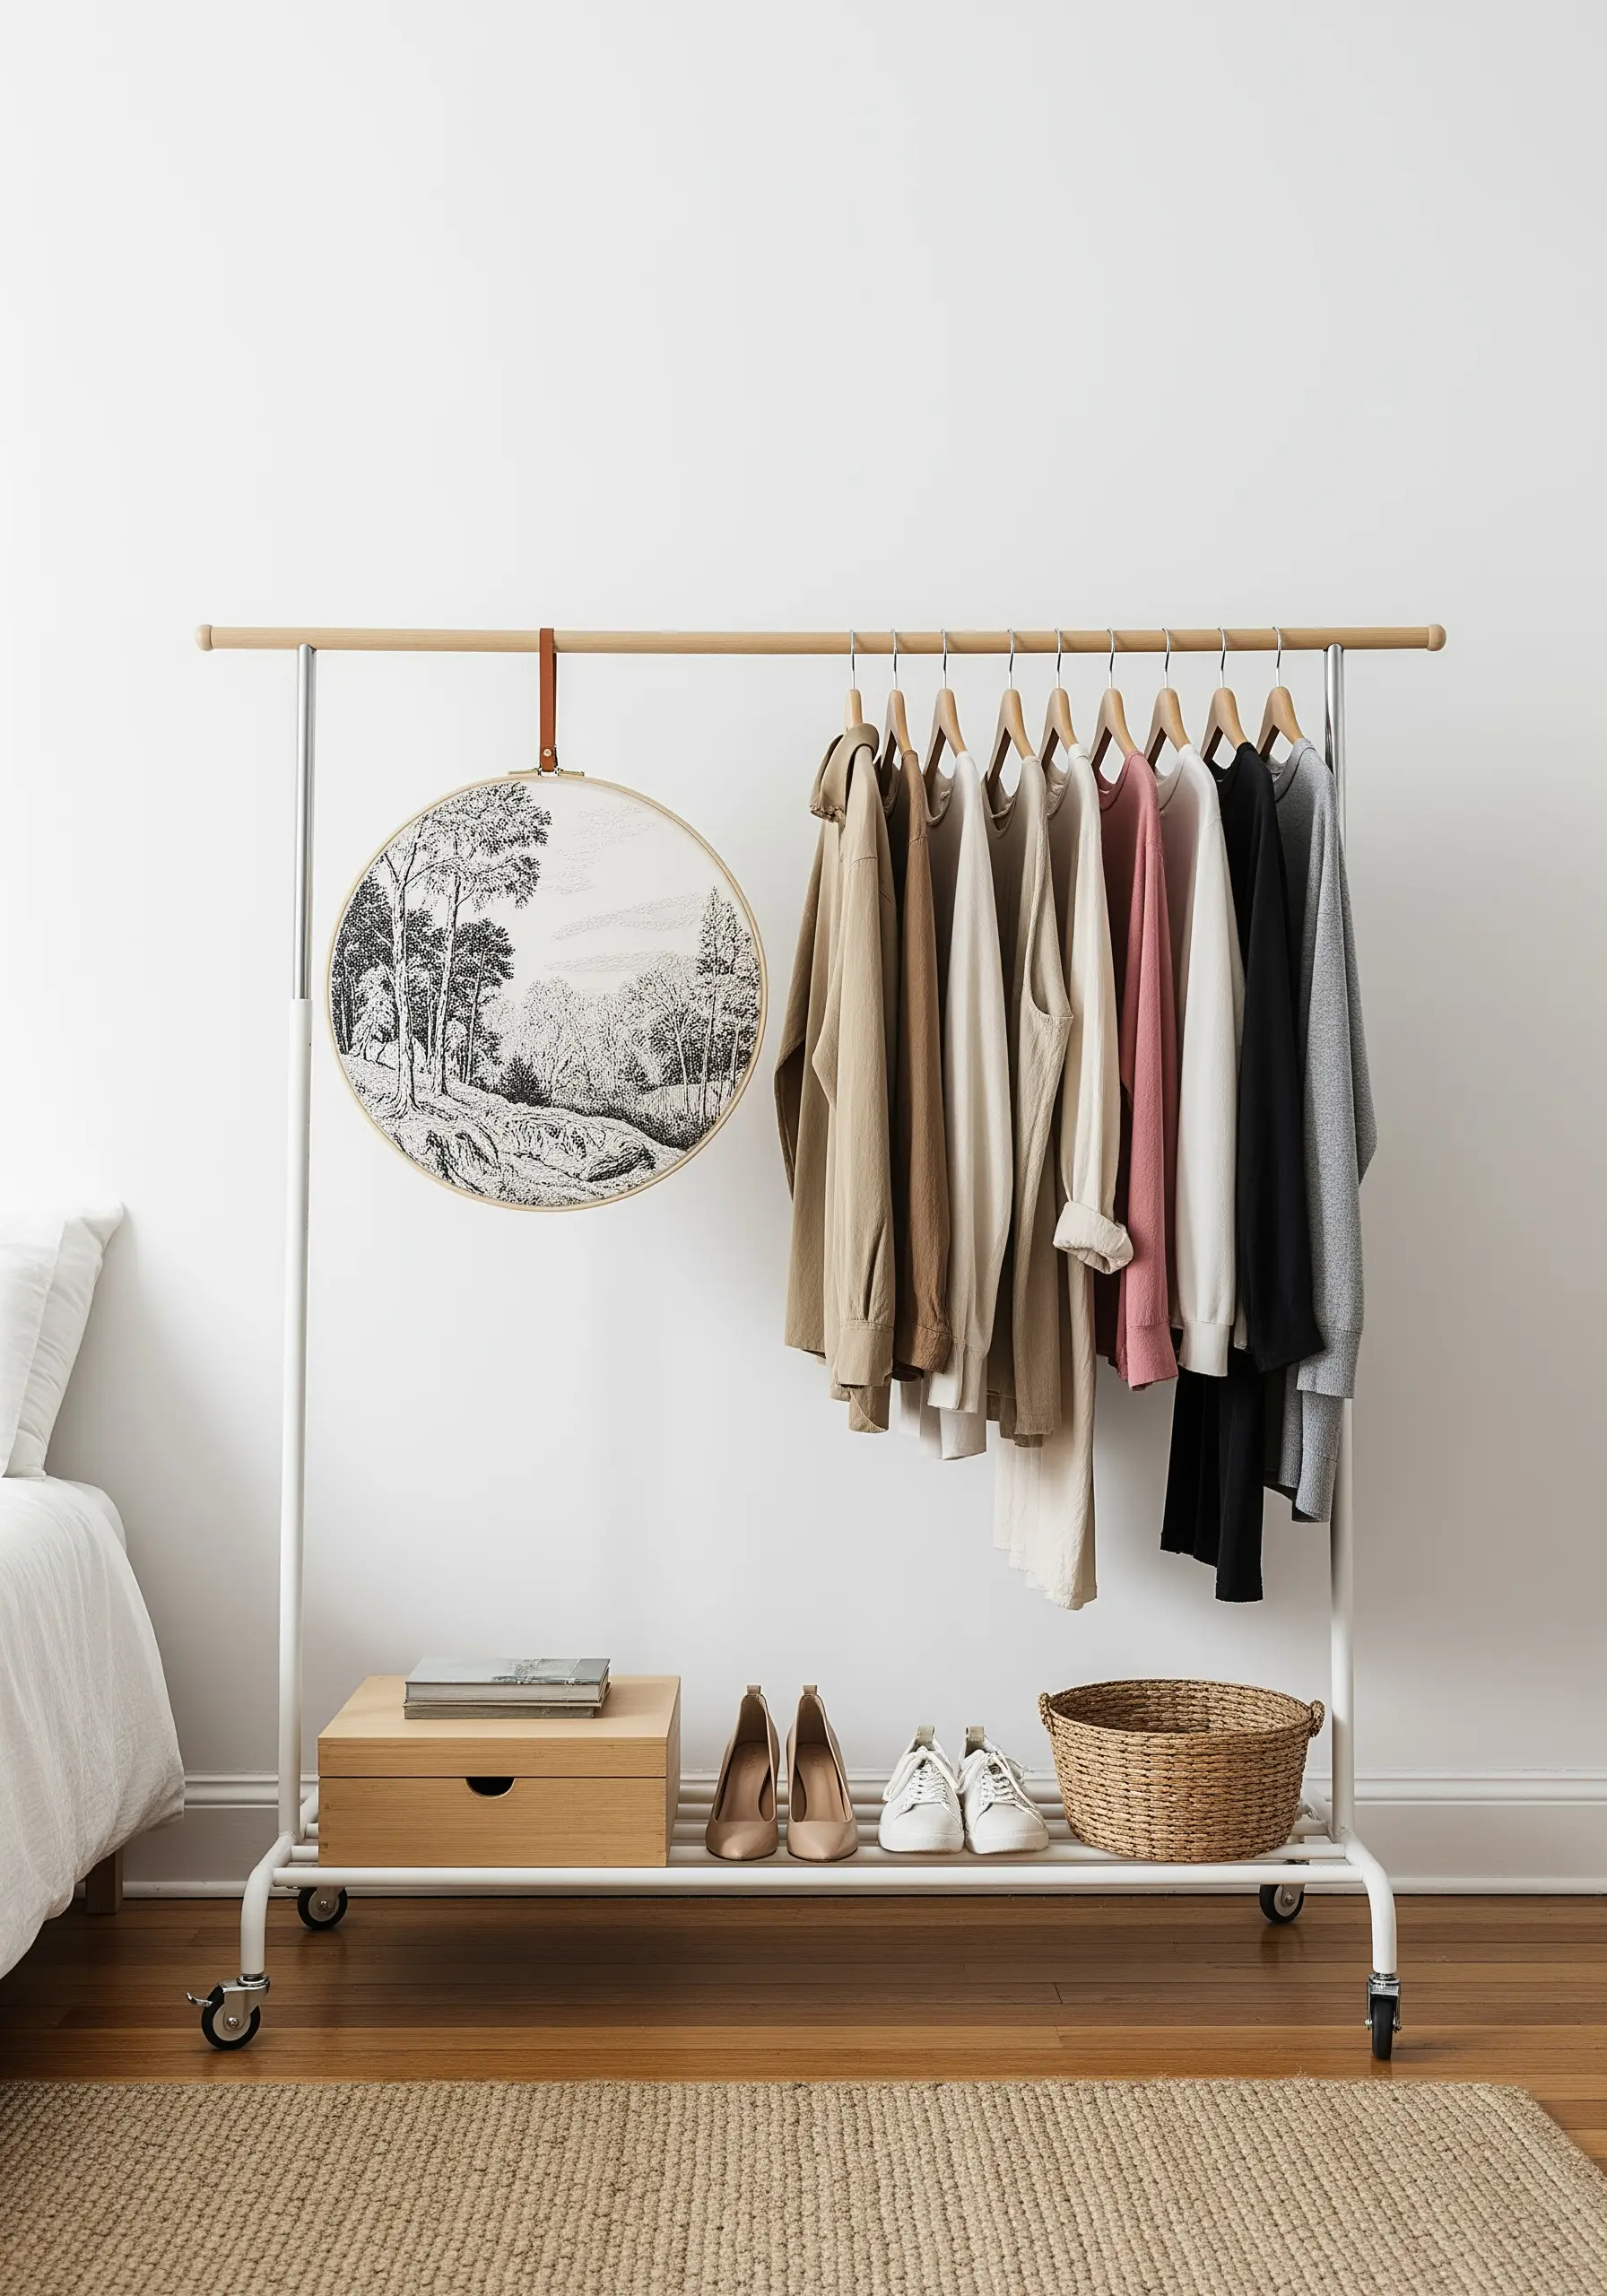
Incorporate your embroidery directly into your room’s decor by hanging a large hoop from a freestanding clothing rack.
Use a leather strap or a beautiful ribbon to suspend the piece from the end of the rack, turning it into an artistic focal point.
This blurs the line between art and everyday life, making your creative work a natural part of your personal style.
17. The Bookshelf Art Nook

Use the existing space on your bookshelves to create small, thoughtful art moments without needing any wall space.
Prop hoops in front of a row of books to break up the monotonous lines of spines, or place a small piece in an open space next to a vase or photo frame.
This method seamlessly integrates your craft into your daily life, creating little pockets of handmade beauty.
18. The Room Divider Gallery
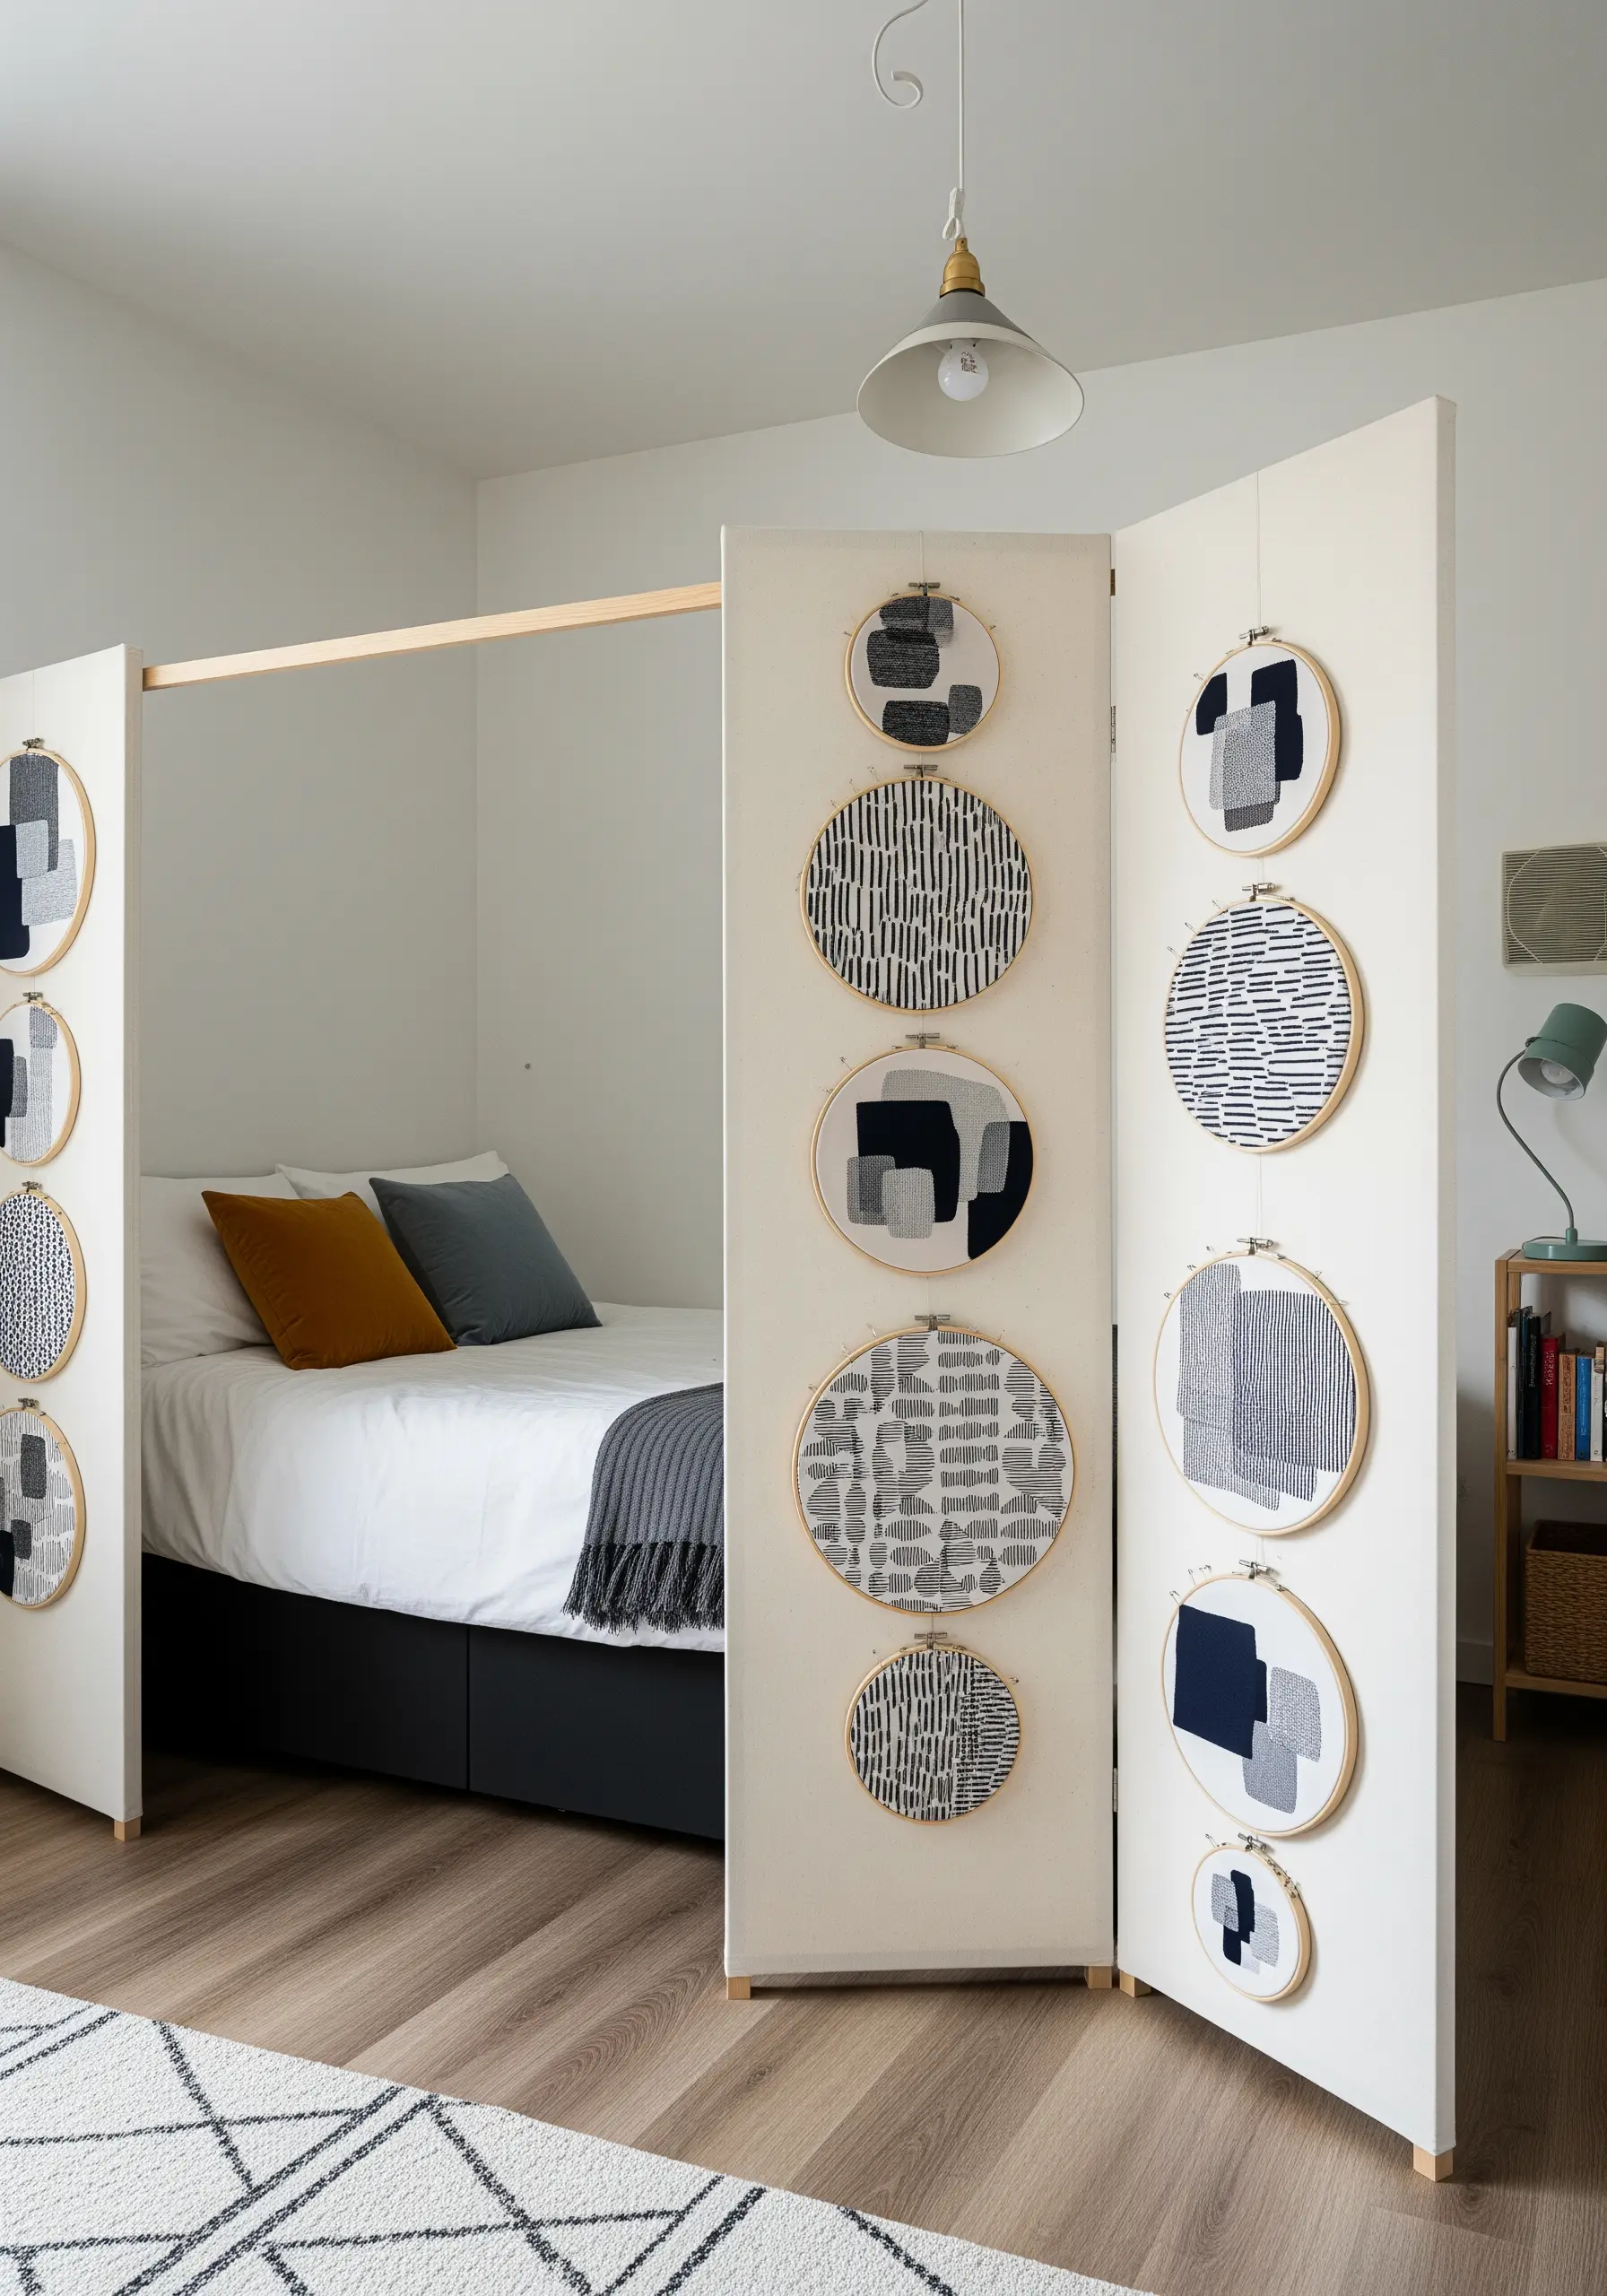
A folding screen is a renter’s secret weapon: it’s a freestanding, movable wall perfect for displaying art.
Attach your hoops using small pins, ribbons, or clear hooks to create a dynamic, multi-panel gallery.
This is an excellent solution for studio apartments, as it helps define different living zones while simultaneously showcasing your embroidery collection.
It’s one of the best cozy embroidered wall art ideas for flexible spaces.
19. The Functional Art Drape
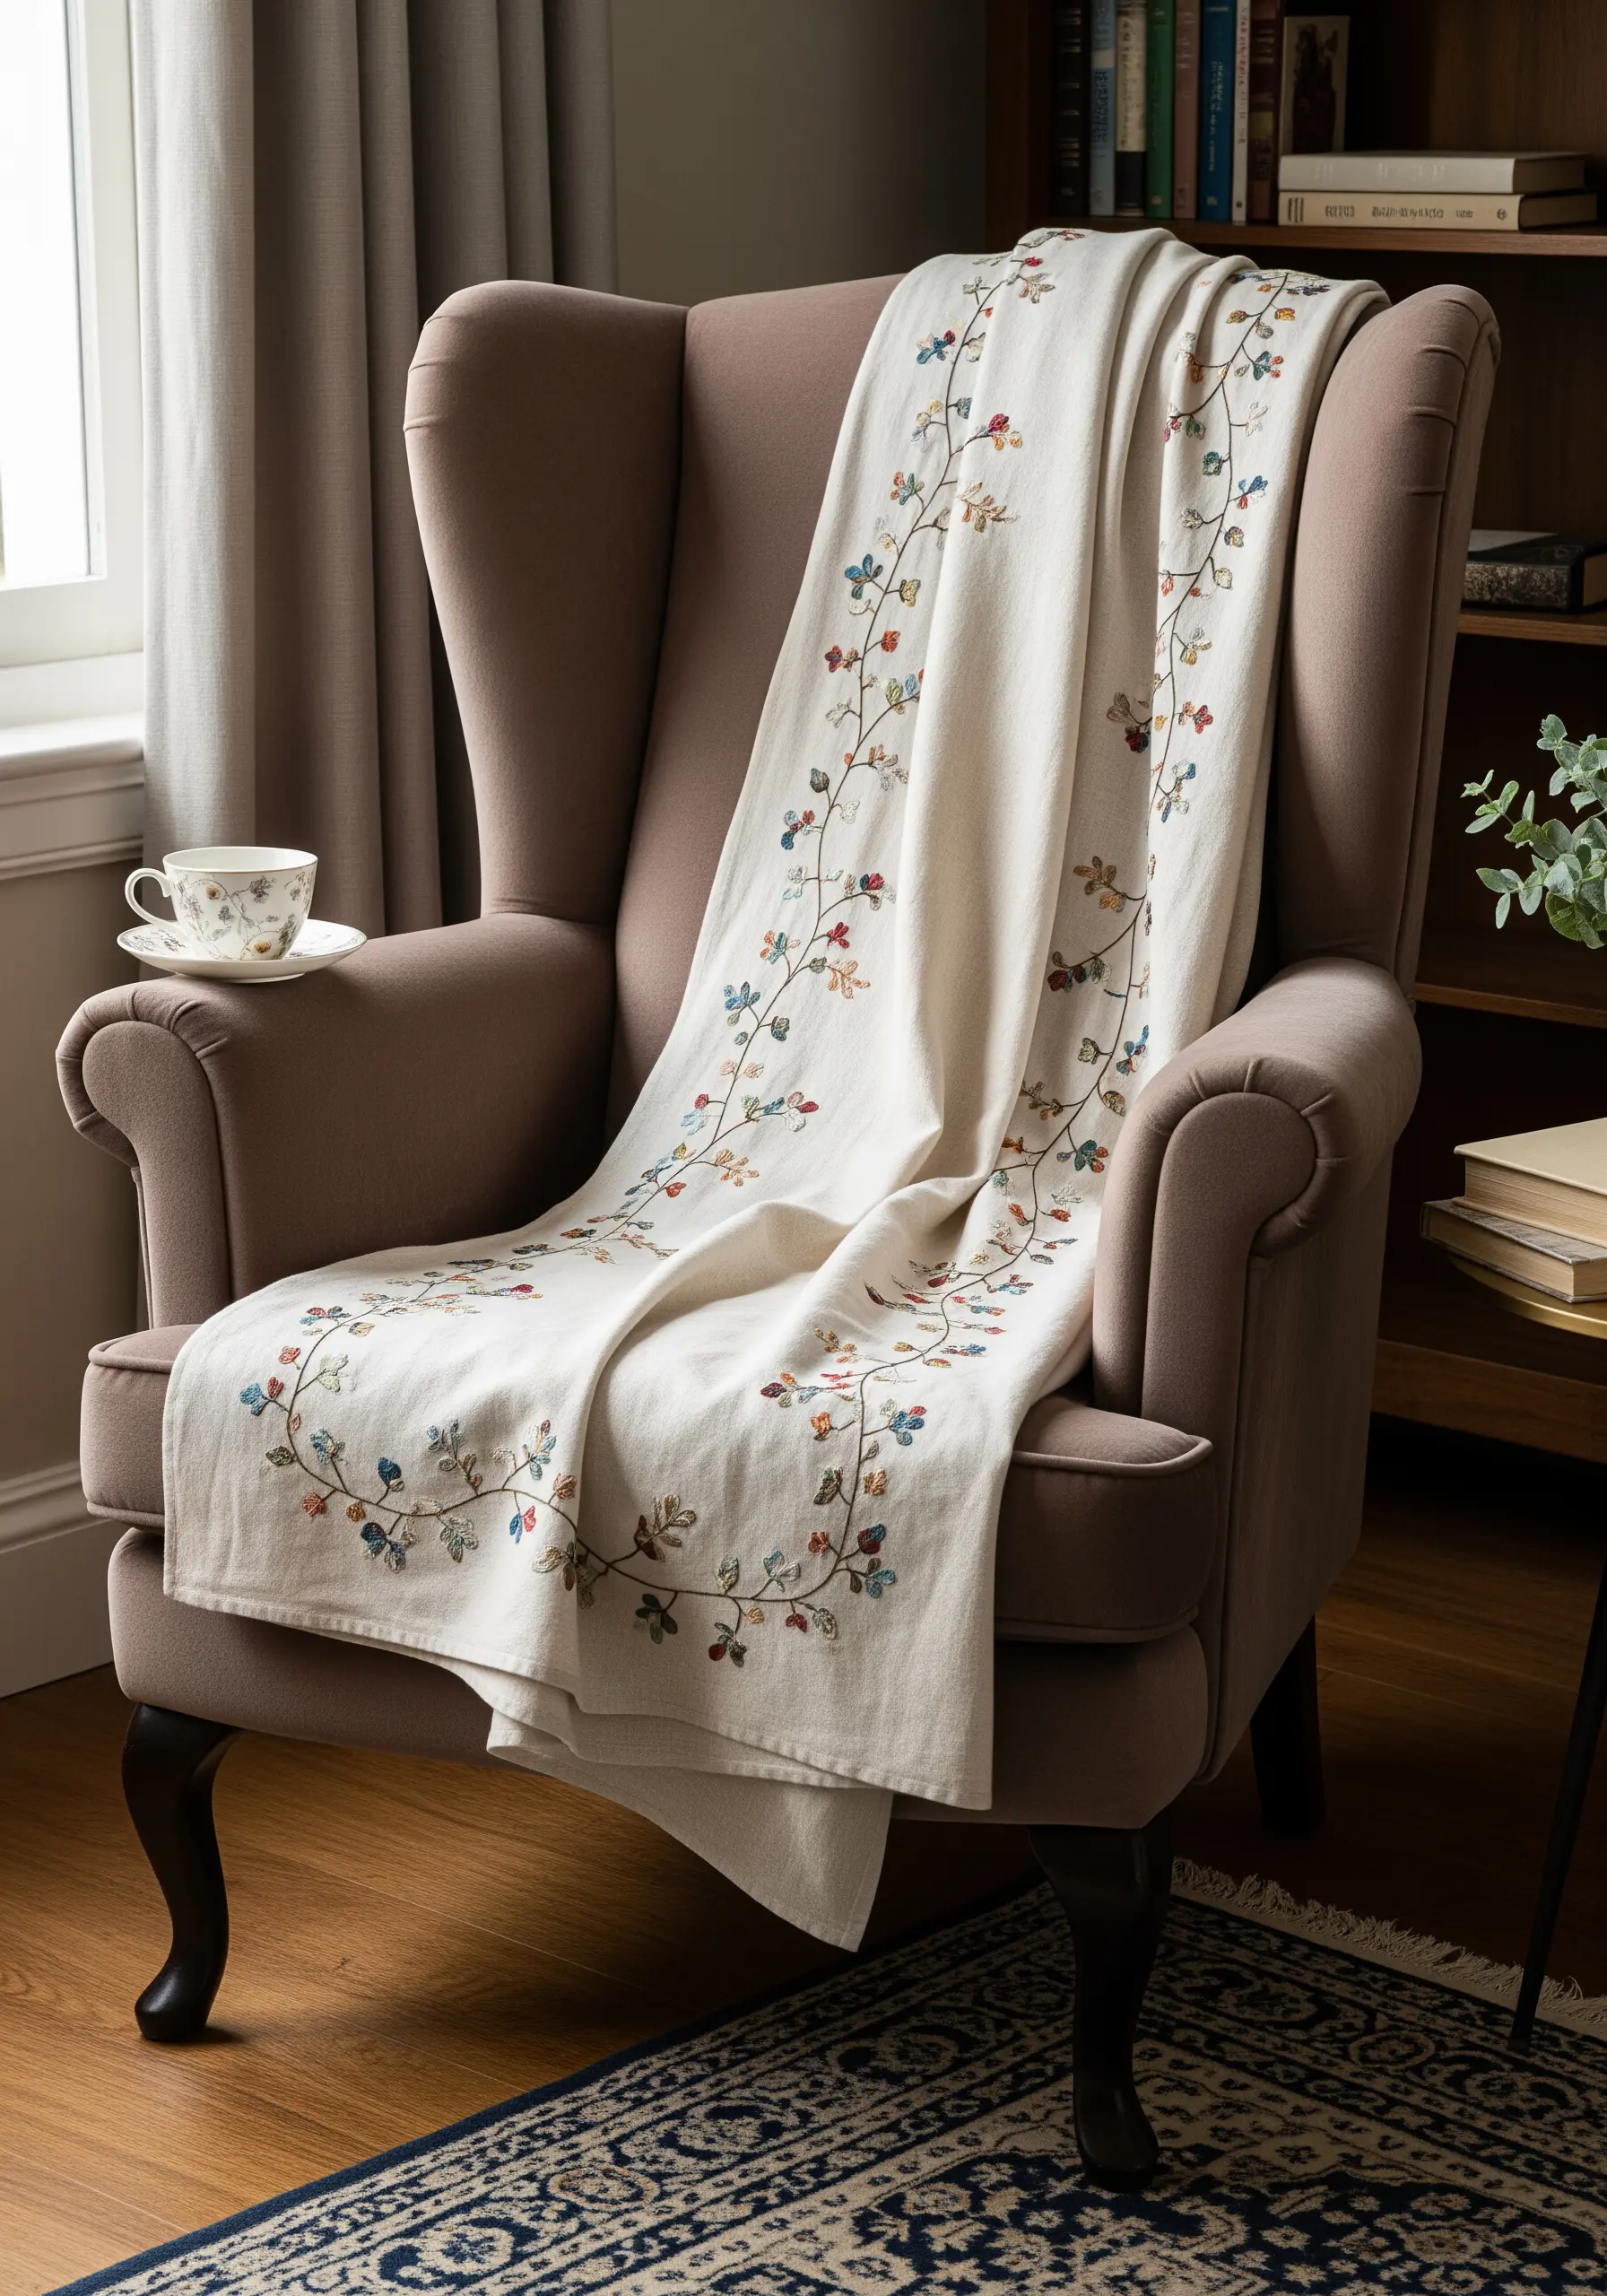
Think beyond the frame and let your embroidery be a functional part of your home.
A throw blanket adorned with a delicate running stitch vine or a cluster of stitched botanicals becomes a piece of touchable art.
Drape it over an armchair, the foot of a bed, or a sofa to add a layer of texture, color, and personal craftsmanship to your space.
20. The Clipped Hanger Display

For a minimalist and modern alternative to framing, use a wooden pants hanger with clips to showcase your finished embroidery.
This method allows the fabric to hang naturally, celebrating its textile quality.
All you need is a single damage-free hook to hang it from, making it an incredibly simple, chic, and renter-friendly option for displaying un-hooped work.
21. The Floating Acrylic Gallery Frame
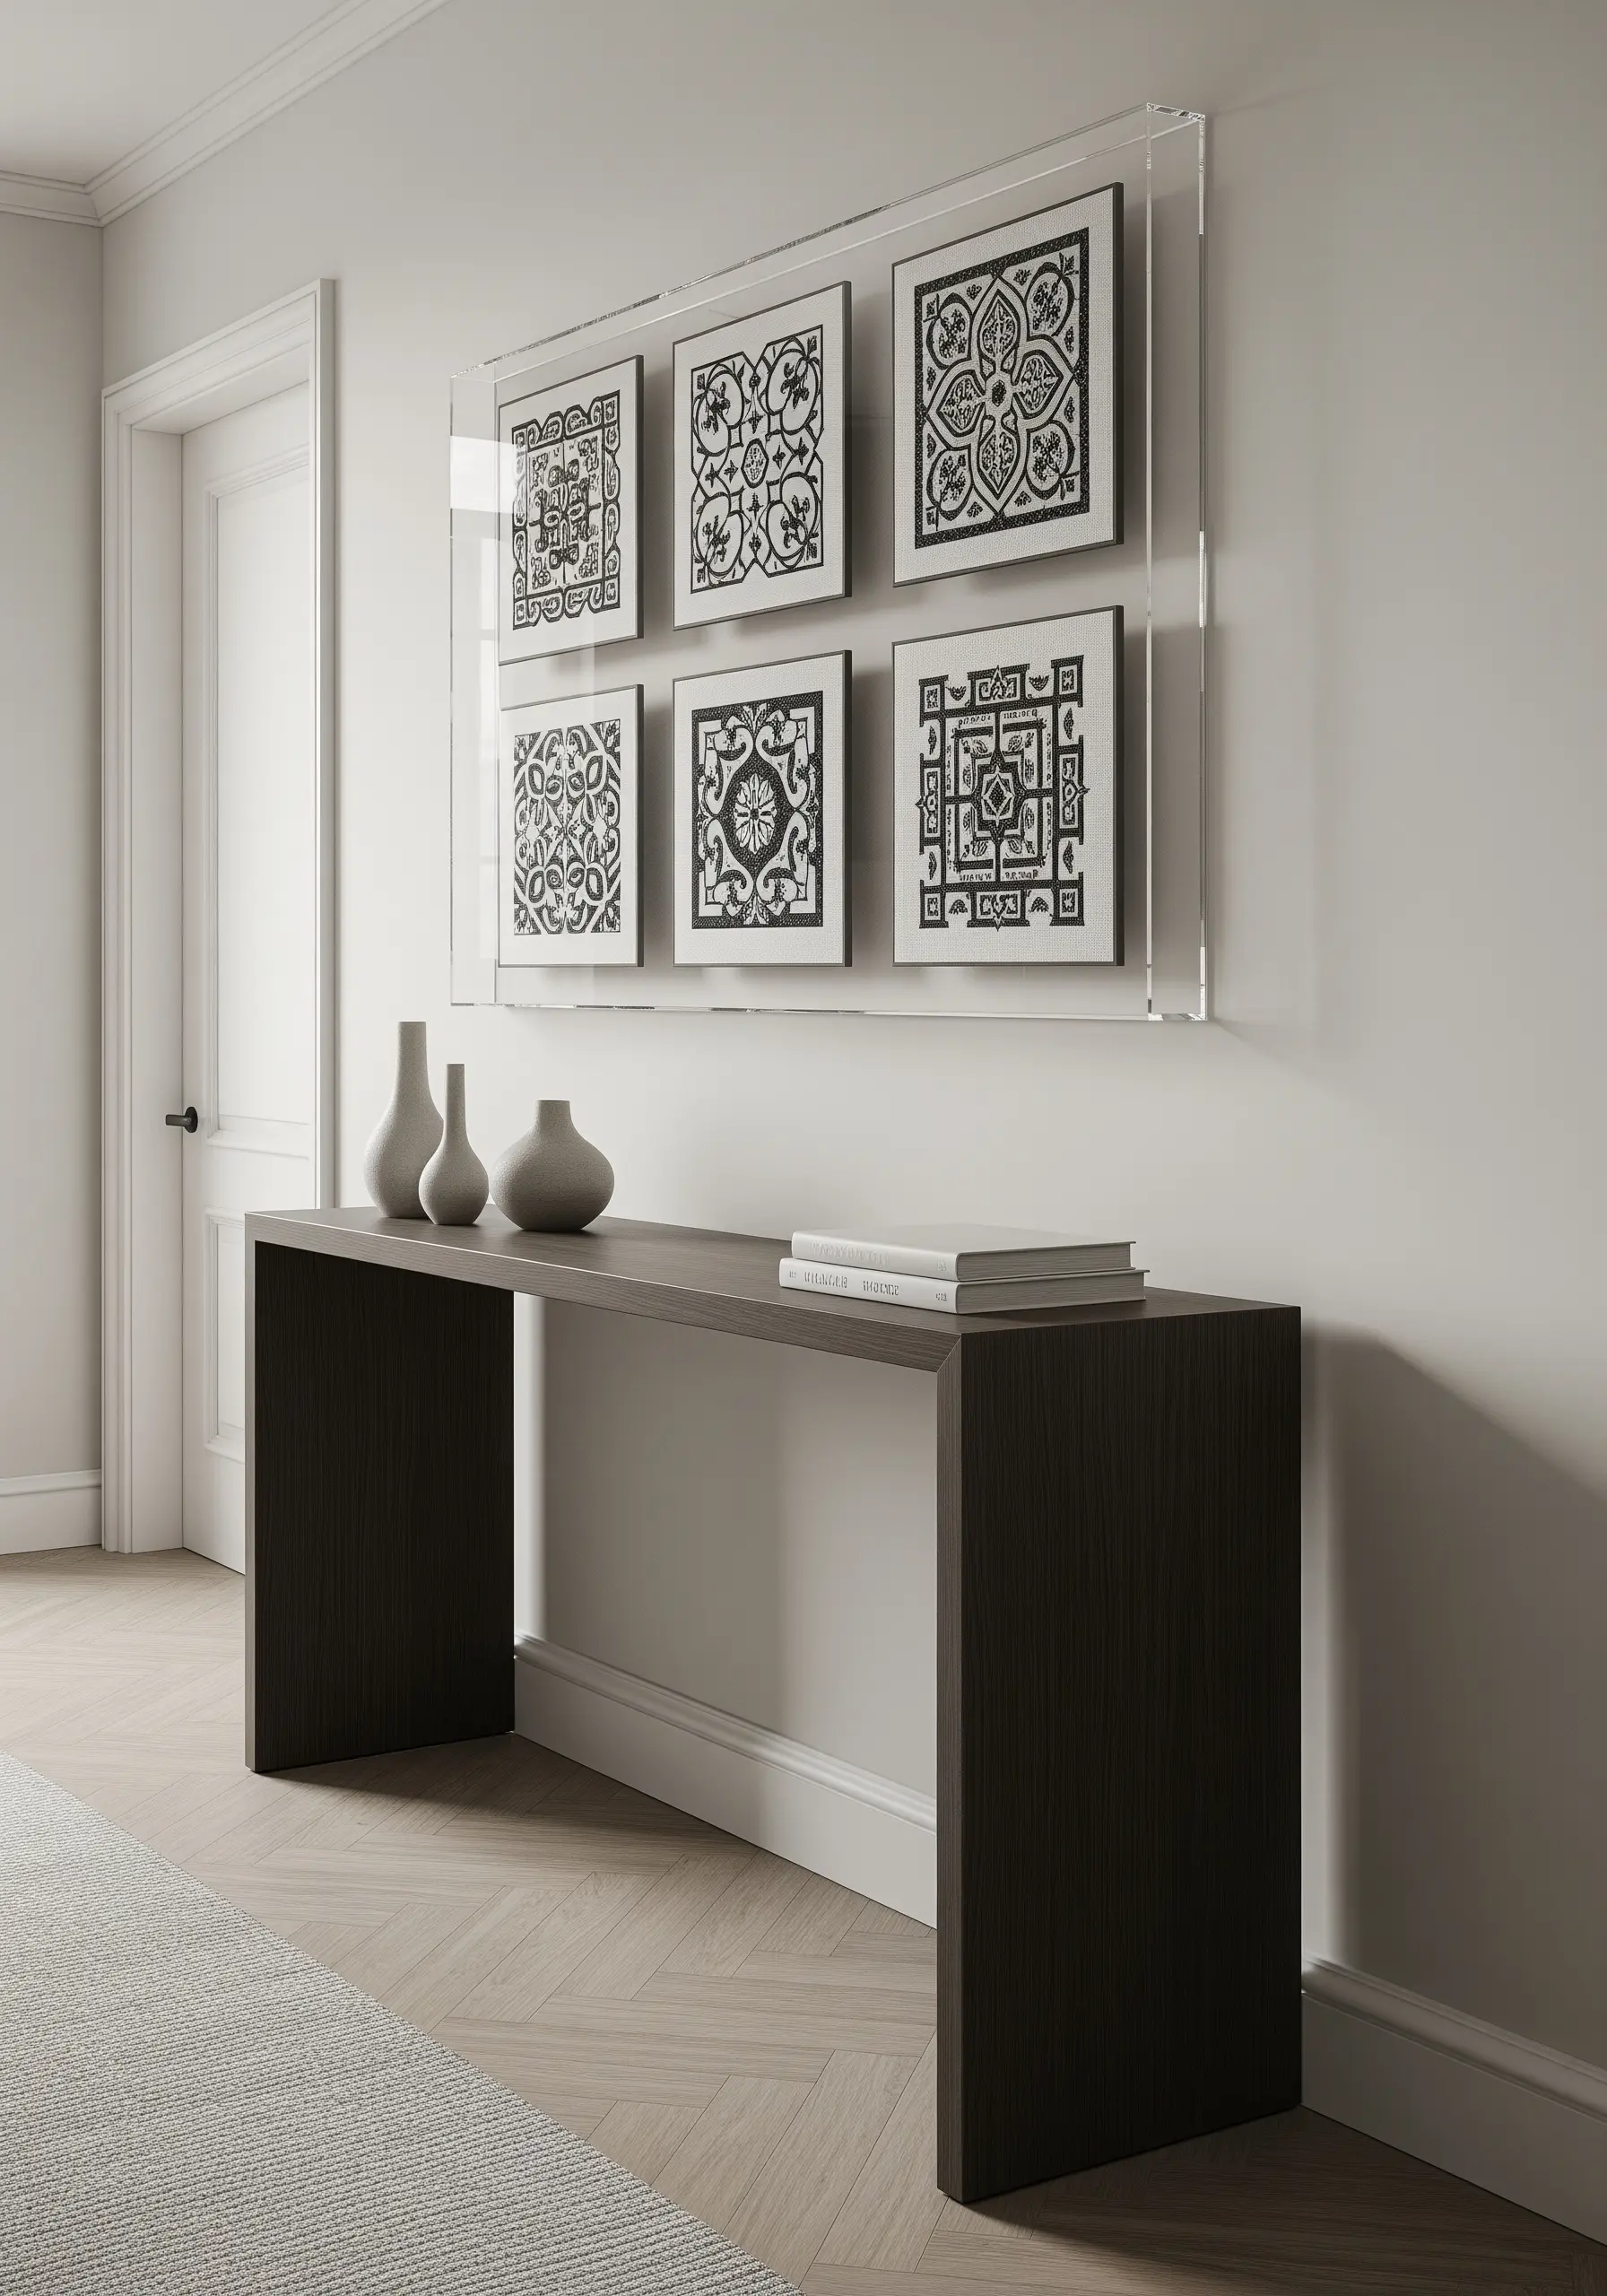
Consolidate a collection of smaller embroidered works into one significant statement piece with a large, clear acrylic floating frame.
Mount your fabric swatches between the two panels to create the illusion that they are suspended in mid-air.
This technique provides a clean, contemporary look, protects your work from dust, and transforms multiple small pieces into a single, high-impact artwork.
Use this for your favorite monochrome black thread designs for a graphic statement.


