
When you look at a blank piece of fabric, I want you to see more than just a surface. See it as a quiet space waiting to hold a universe. With just a needle and thread, you can map constellations onto a pillowcase, capture the texture of the moon on a wall hanging, or stitch a swirling galaxy onto the corner of your duvet.
These tiny night-sky designs are not just about filling space; they are about creating it. They are small acts of artistry that transform a simple bedroom into a sanctuary for dreaming. It’s about finding magic in the details—the glint of a metallic thread, the perfect tension of a single stitch, the soft gradient of a thread-painted nebula.
Here, you won’t find complicated instructions, but rather clear, thoughtful techniques to elevate your work. You’ll learn how to choose the right stitch for a crisp outline, how to blend colors to create atmospheric depth, and how to add texture that invites you to reach out and touch. Let’s begin.
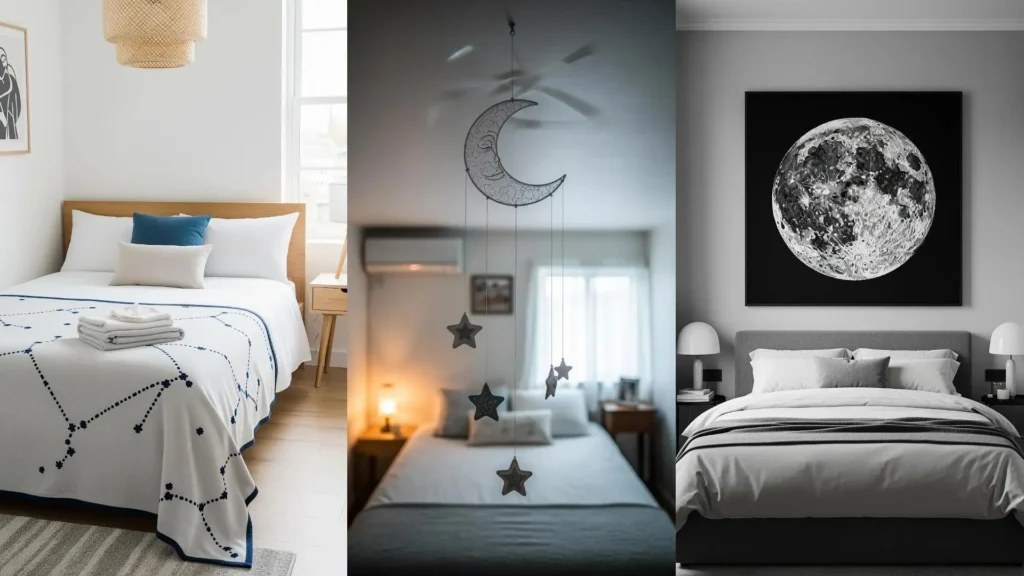
1. Embroider a Headboard as Your Personal Constellation

Transform a simple velvet or linen headboard into a celestial focal point by stitching a constellation directly onto the fabric.
Use a water-soluble transfer pen to draw your design, then opt for a thicker thread, like a #8 perle cotton, to ensure the lines have presence against the upholstery.
A simple backstitch or stem stitch will create clean, defined lines, while tiny French knots or star stitches can mark the individual stars for a touch of texture.
This technique turns a functional piece of furniture into a personalized art installation that feels both grand and intimate.
2. Capture Lunar Phases with Dimensional Stitches
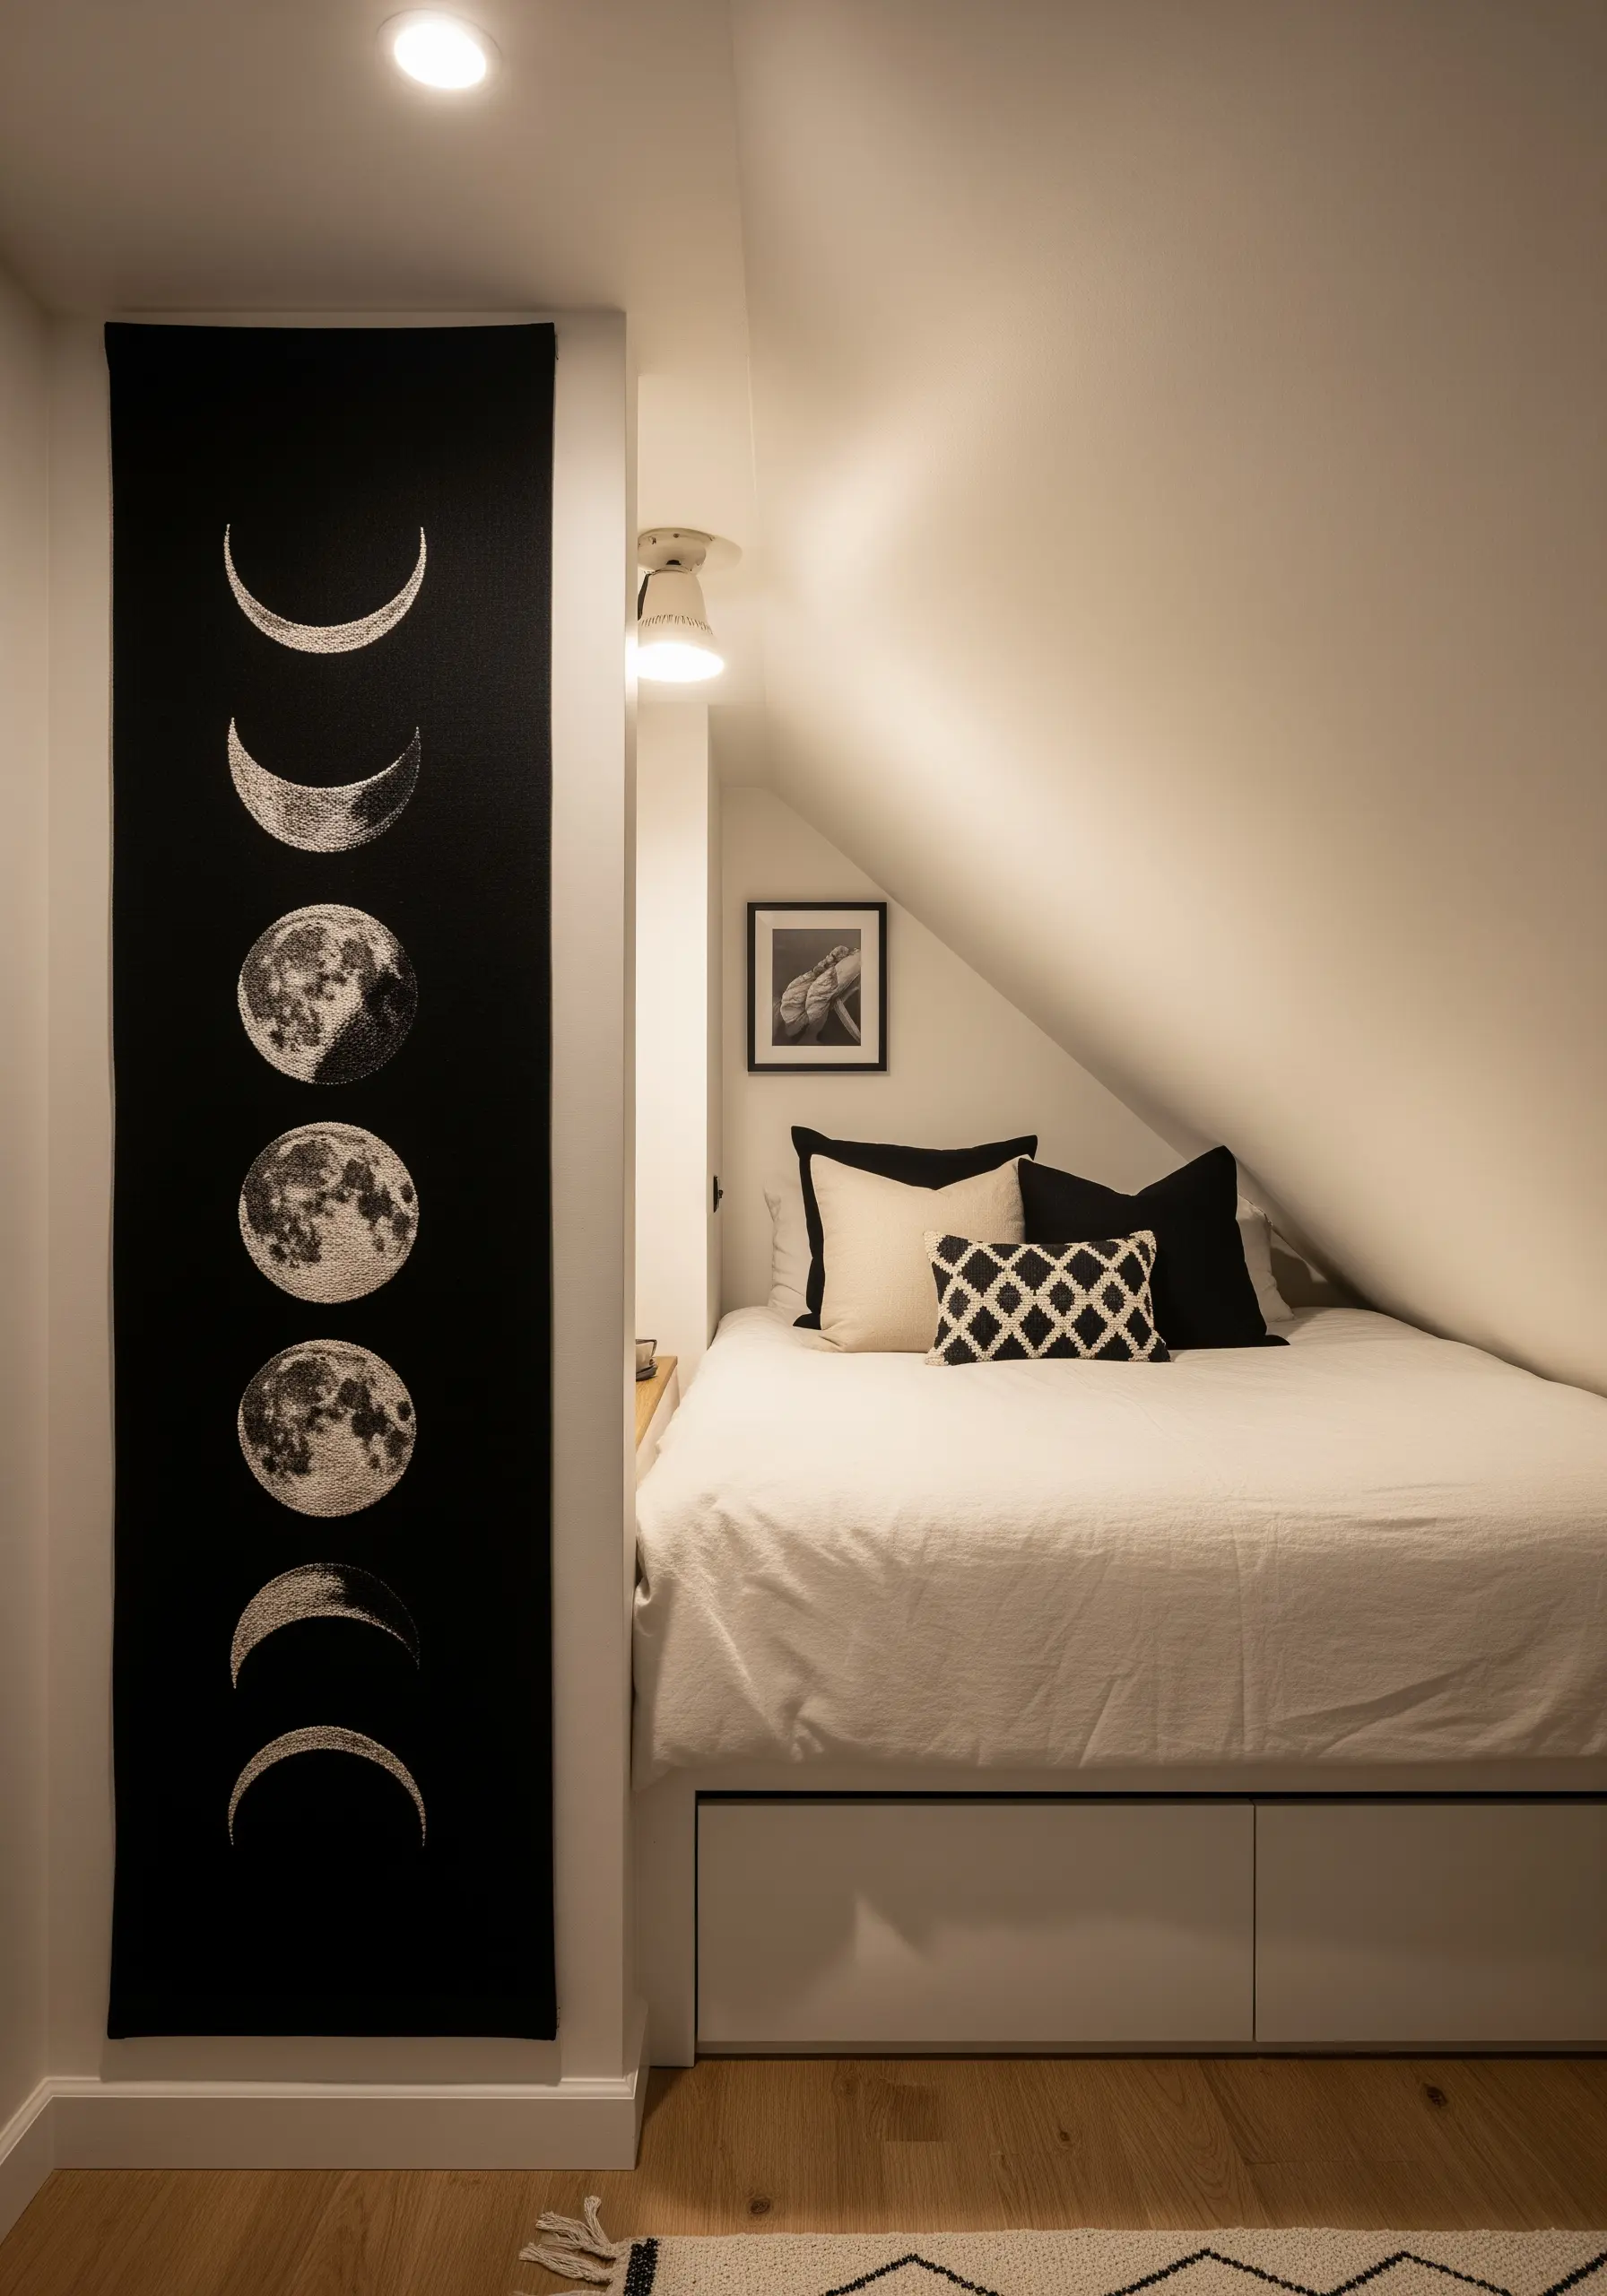
To embroider a realistic moon, you need to think in terms of texture, not just color.
On a dark, tightly woven fabric like cotton twill or linen, use a dense scattering of French knots and seed stitches in shades of grey, silver, and off-white to build the cratered surface.
For the crescent phases, use a smooth satin stitch for the lit portion and leave the dark fabric exposed for the shadow, creating a sharp, graphic contrast.
This combination of texture and negative space gives the design a tactile quality that feels sophisticated and modern.
3. Stitch a Swirling Galaxy with Variegated Threads
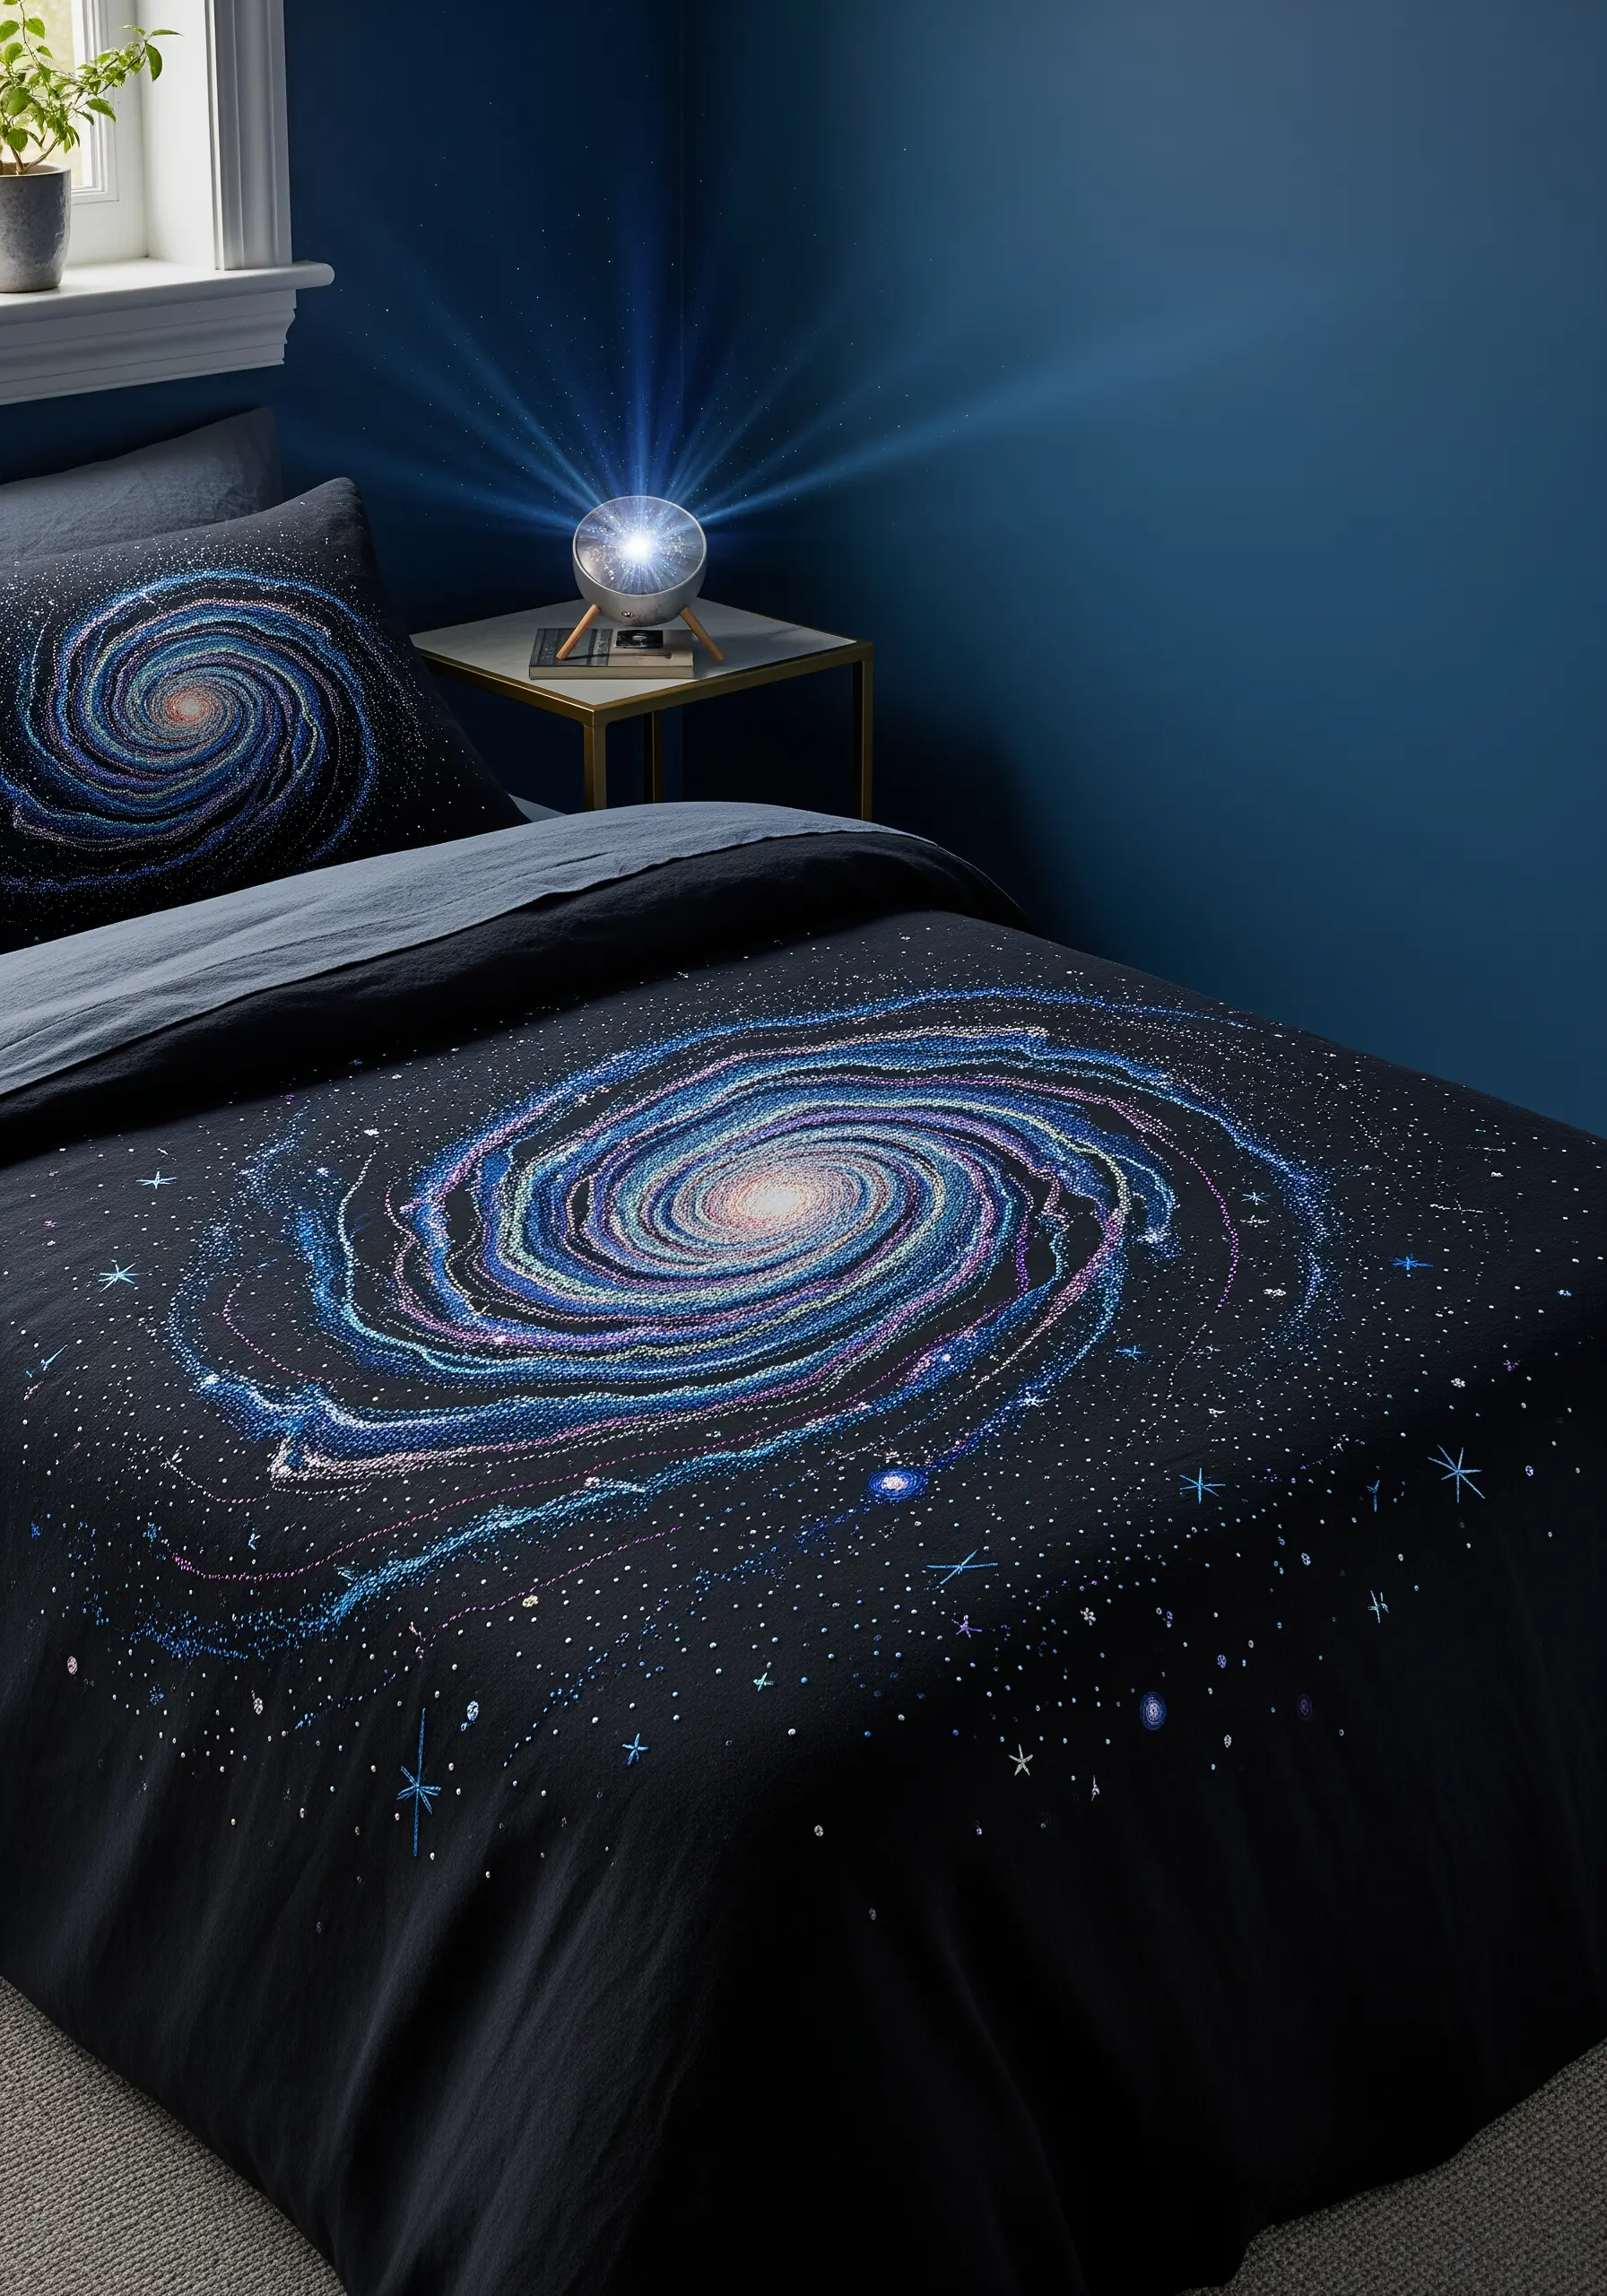
Recreate the ethereal look of a galaxy by using variegated and metallic threads on a dark fabric base, like a duvet cover or pillowcase.
Instead of following a rigid pattern, let your stitches flow organically, using a mix of long-and-short stitch, seed stitch, and straight stitches in swirling motions.
Allow the color changes in the variegated thread to create natural gradients, mimicking cosmic dust clouds.
Finish by scattering tiny French knots made with a single strand of metallic silver thread to represent distant stars, adding depth and a subtle sparkle.
4. Create a Luminous Starburst with Directional Stitching

To make a starburst design feel dynamic and radiant, the key is directional stitching combined with varied thread weights.
Start from a central point and work your way out with straight stitches, pulling the thread slightly tighter at the center to create a subtle pucker that adds dimension.
Use a mix of standard six-strand floss, metallic thread, and even a single strand of silvery-white to vary the thickness and reflectivity of the rays.
This approach transforms a simple shape into an abstract thread burst that captures the explosive energy of a distant star.
5. Embroider Shooting Stars on Sheer Curtains

Stitching on delicate, sheer fabric requires a gentle touch and the right materials to prevent puckering or tearing.
Use a lightweight, water-soluble stabilizer on the back of the curtain to support your stitches, and opt for a fine, sharp needle (size 9 or 10) and a single strand of thread.
A simple straight stitch for the tail and a small star stitch or a single French knot for the star itself is all you need.
The stabilizer washes away, leaving what appears to be a floating, ethereal design that catches the light beautifully.
6. Define a Crescent Moon with a Bold Whipped Backstitch
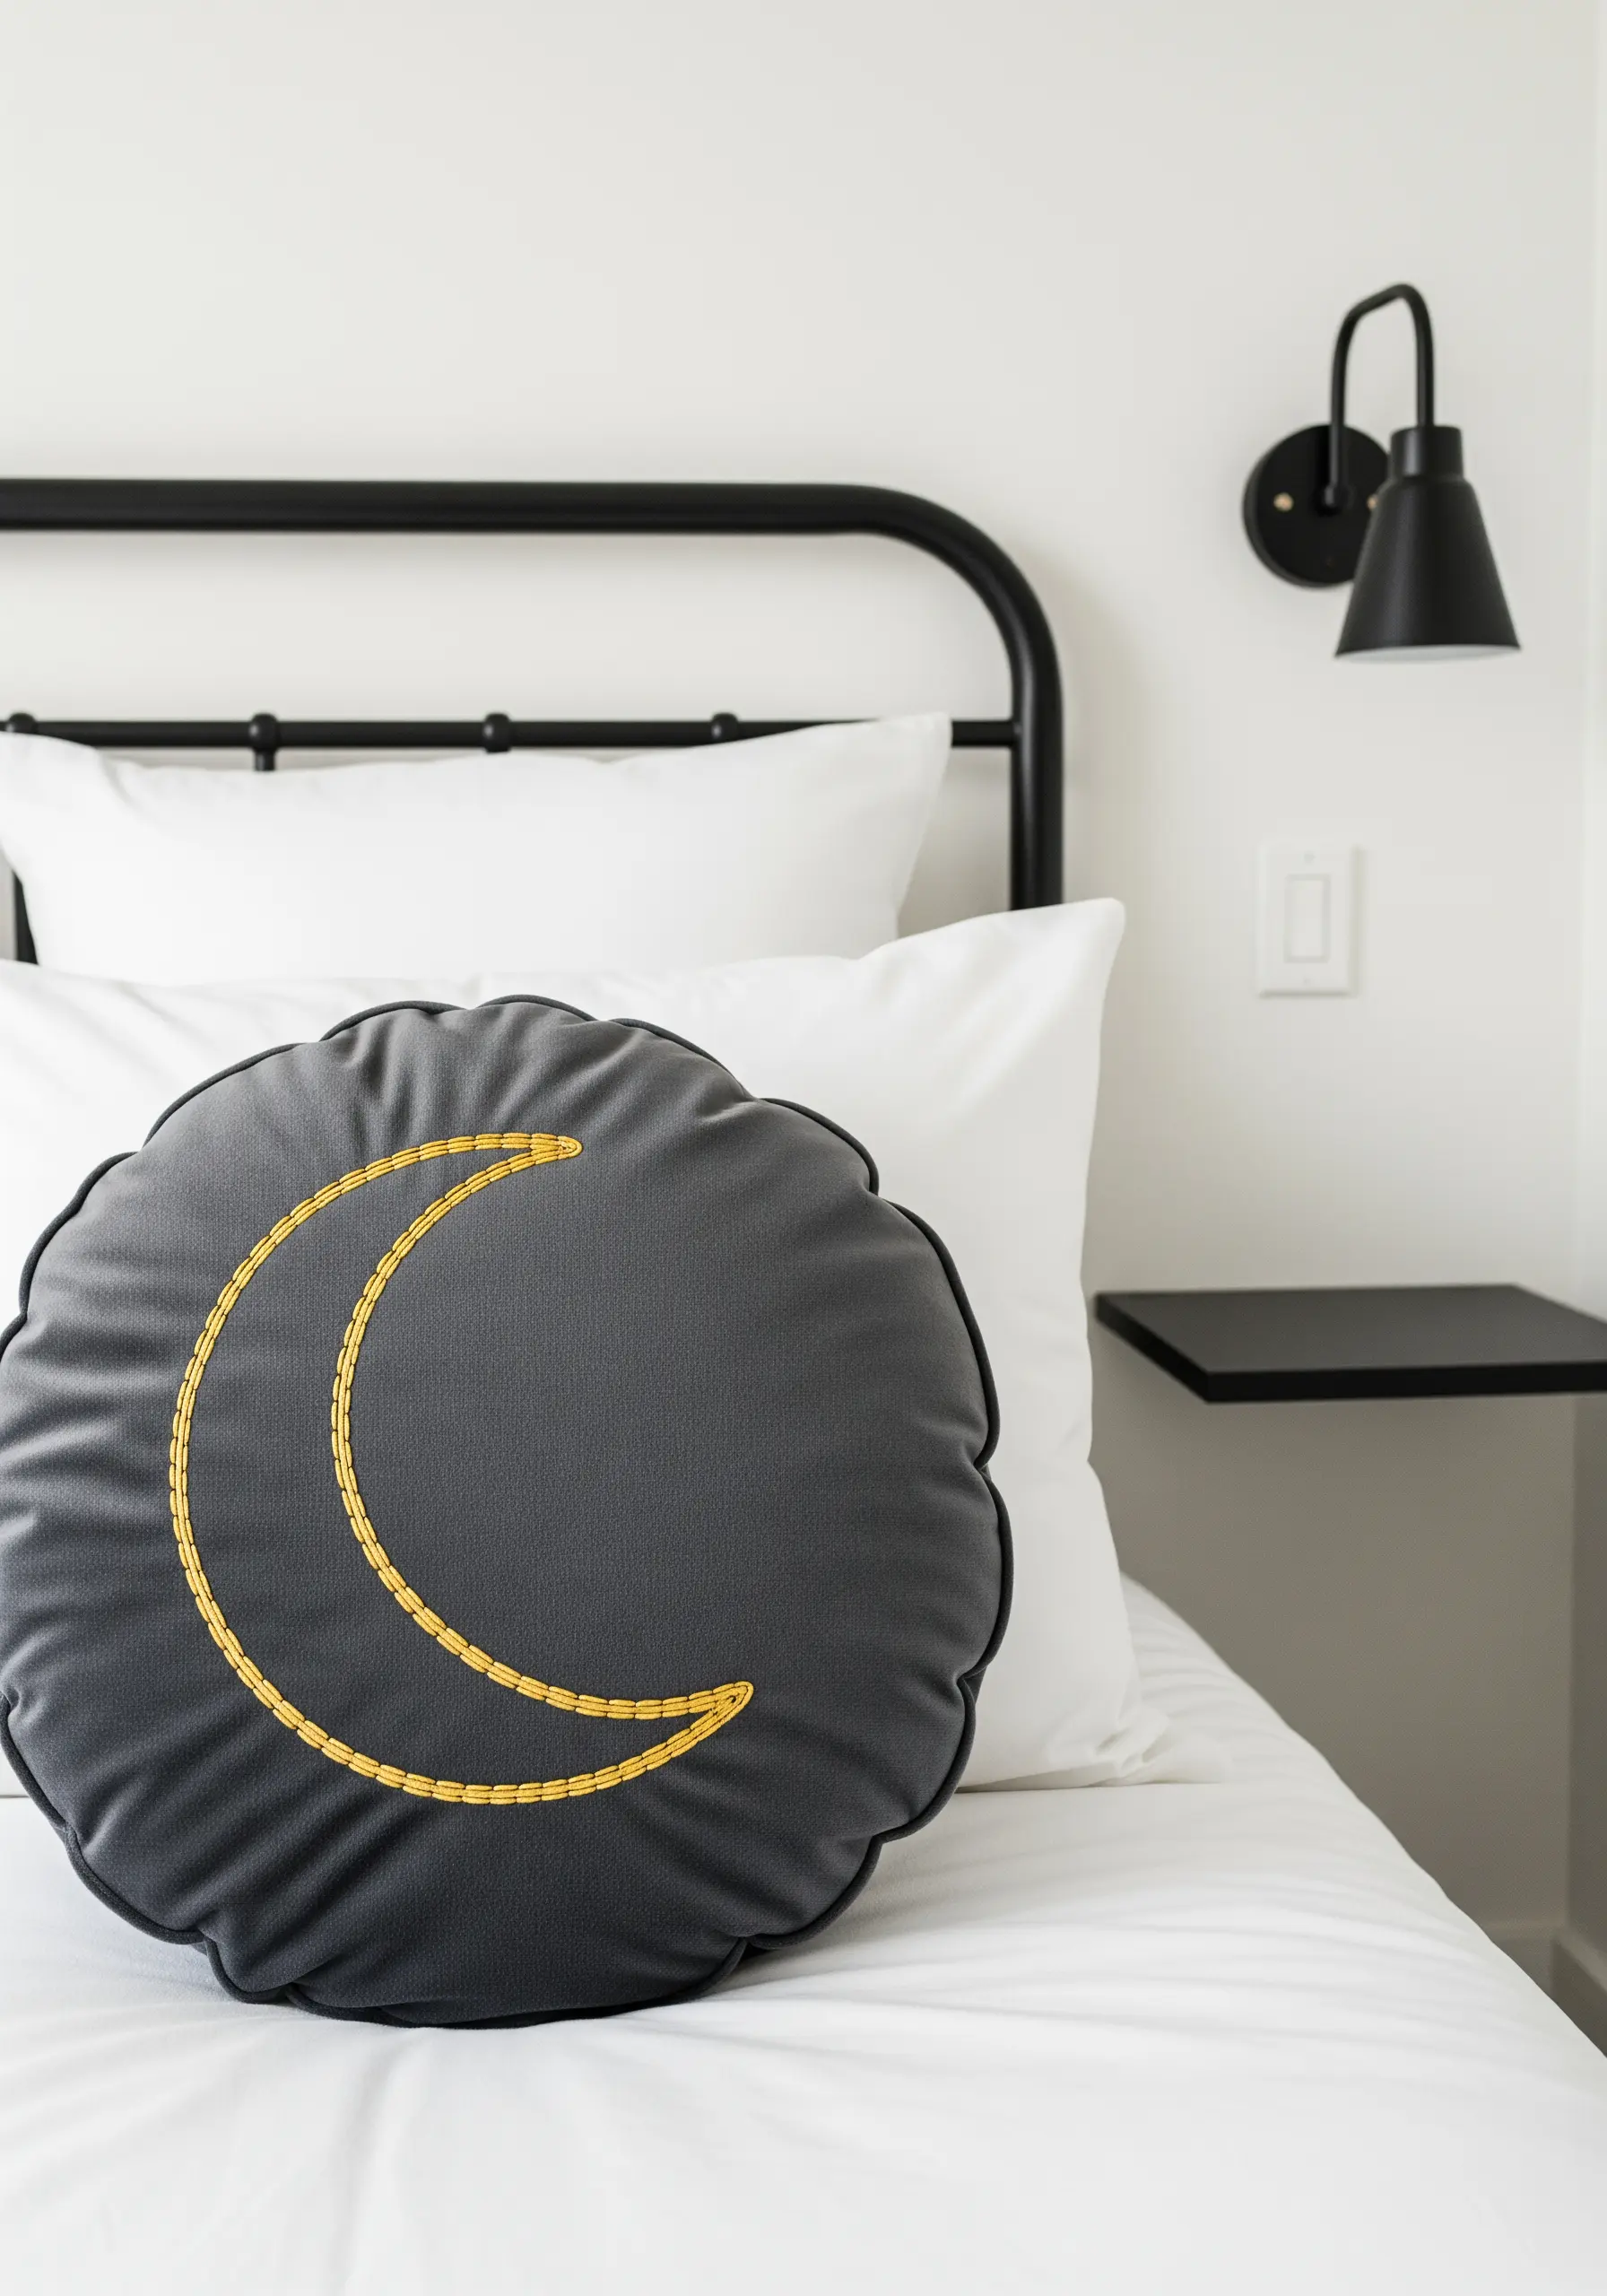
When embroidering a simple, graphic shape like a crescent moon, a clean and substantial outline is crucial for impact.
Instead of a standard backstitch, first lay down a row of simple backstitches, then whip it with a second strand of the same color.
This technique covers the gaps between stitches, creating a smooth, rope-like line that stands out, especially with a high-contrast thread color like gold on charcoal gray.
It provides the polish and definition needed to turn a minimal design into a statement piece.
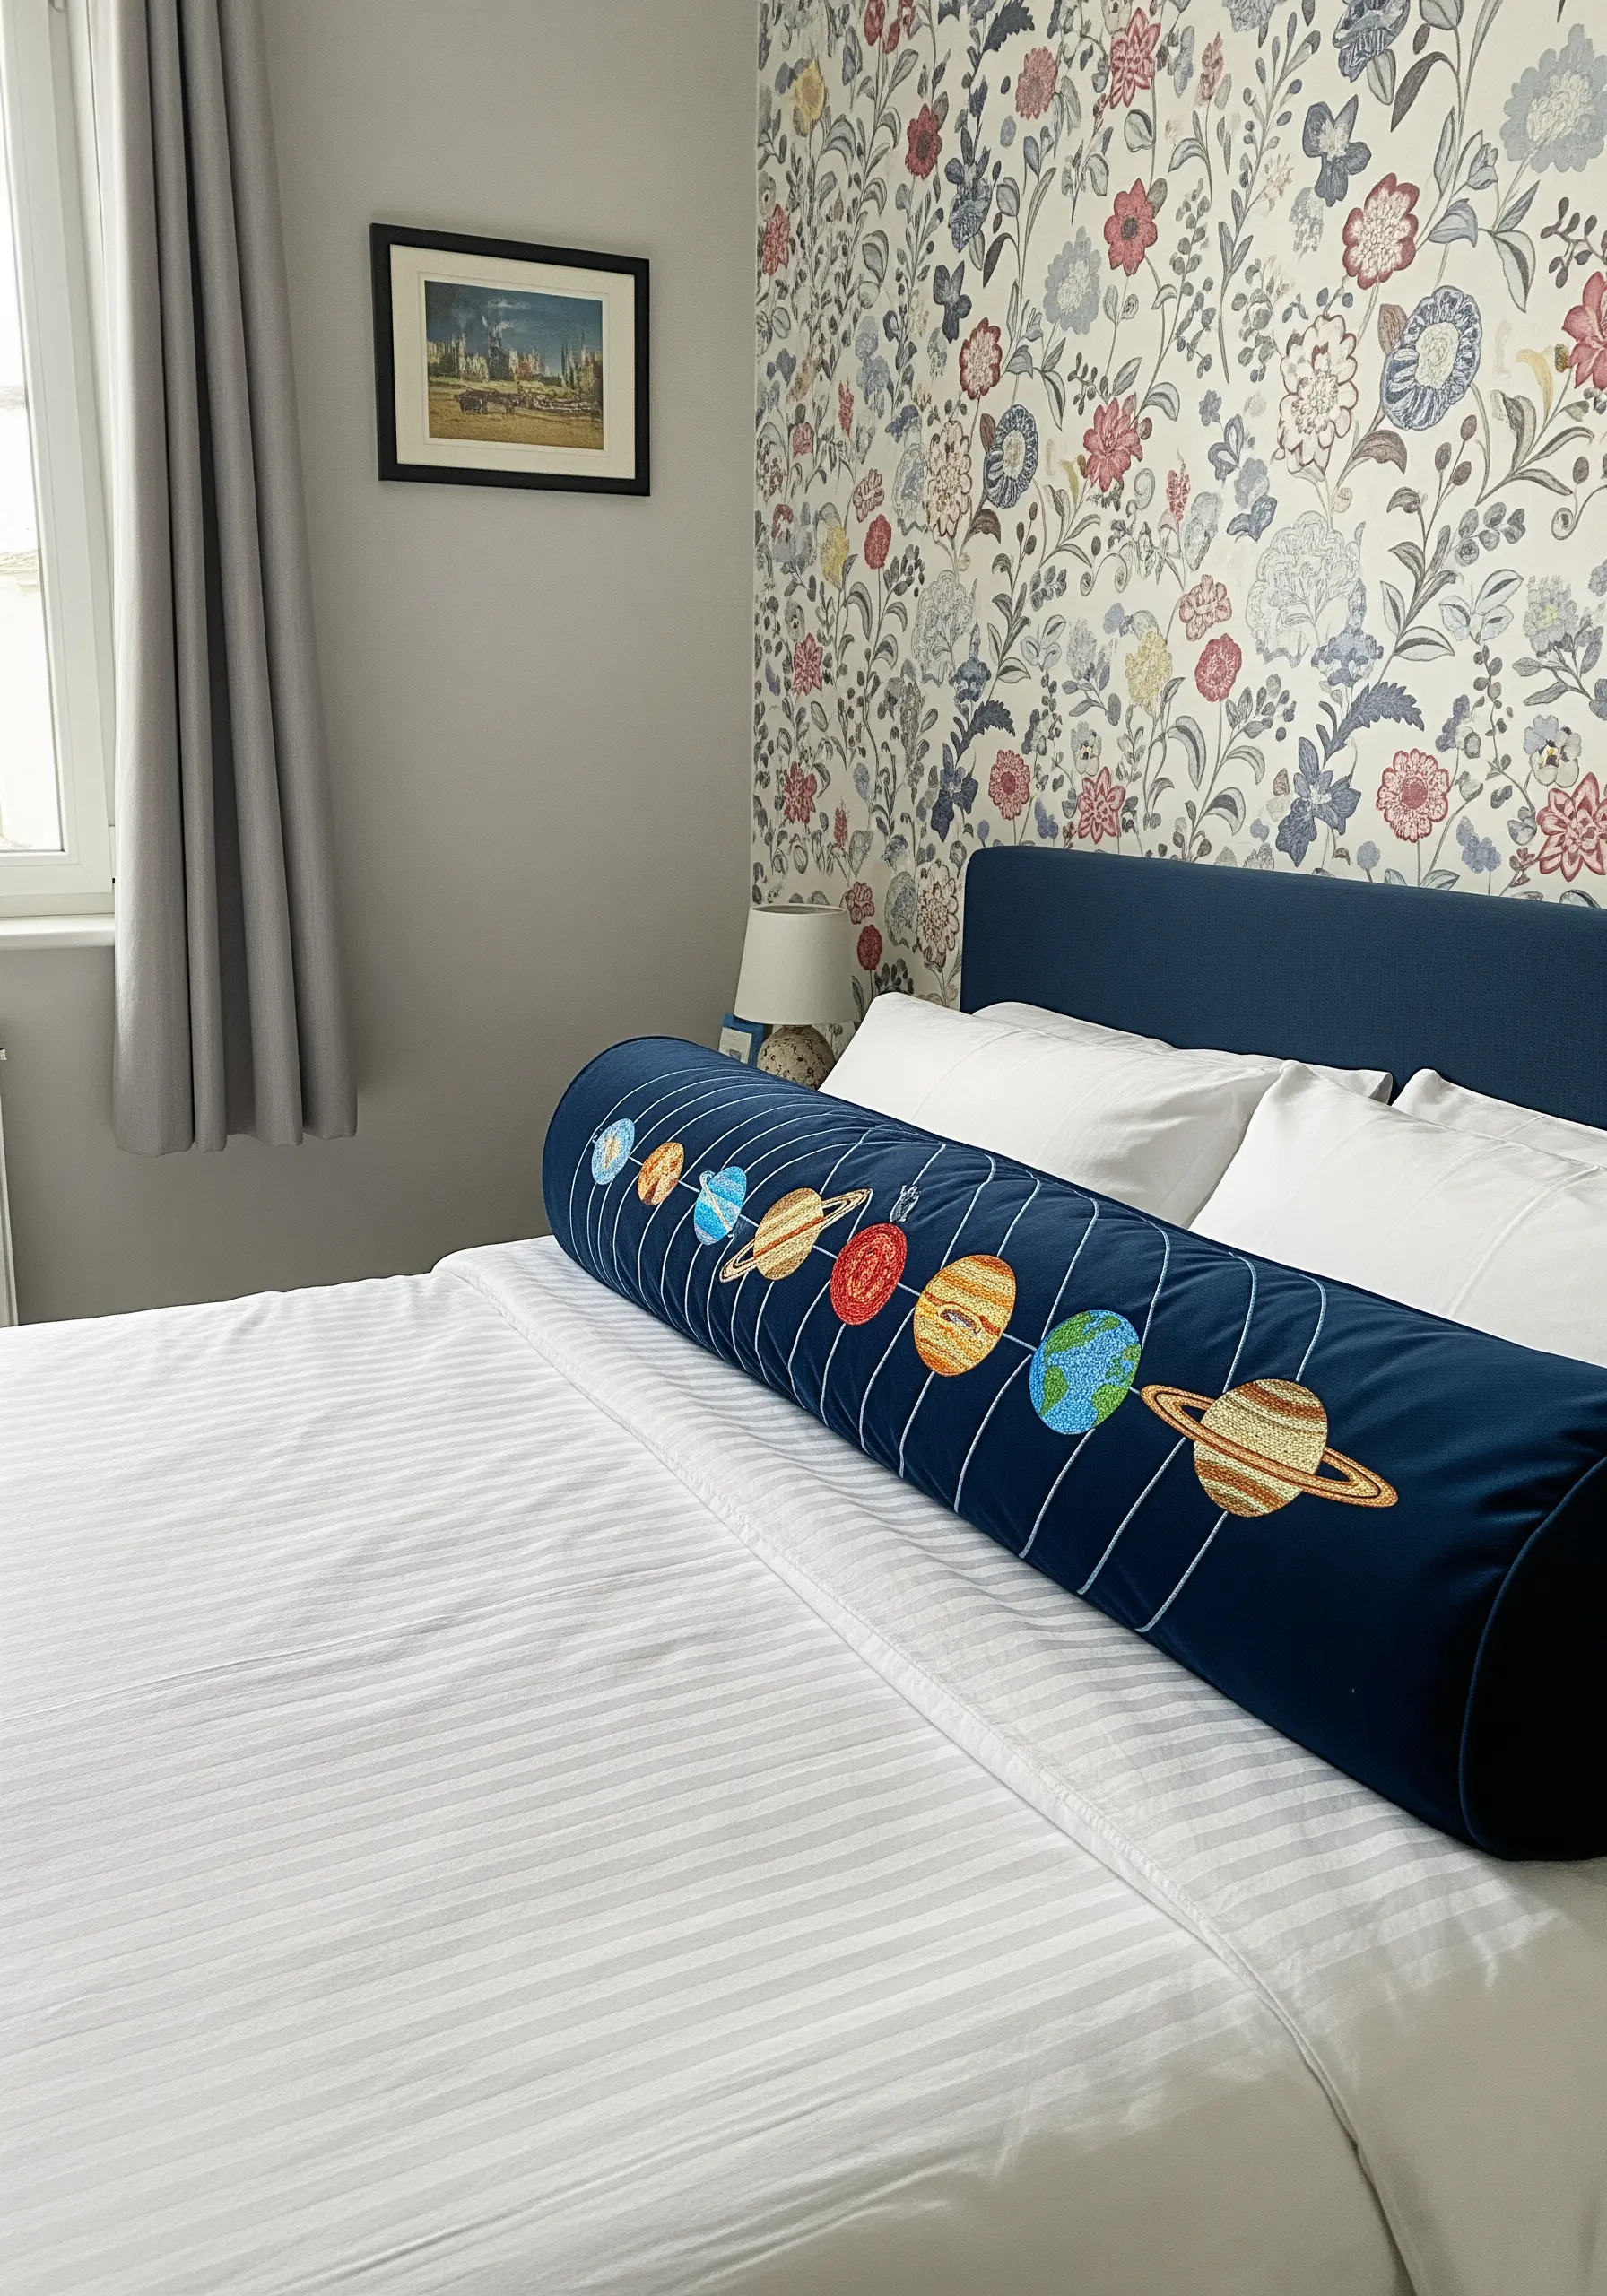
7. Craft a Mini Planetarium with Small Hoop Art
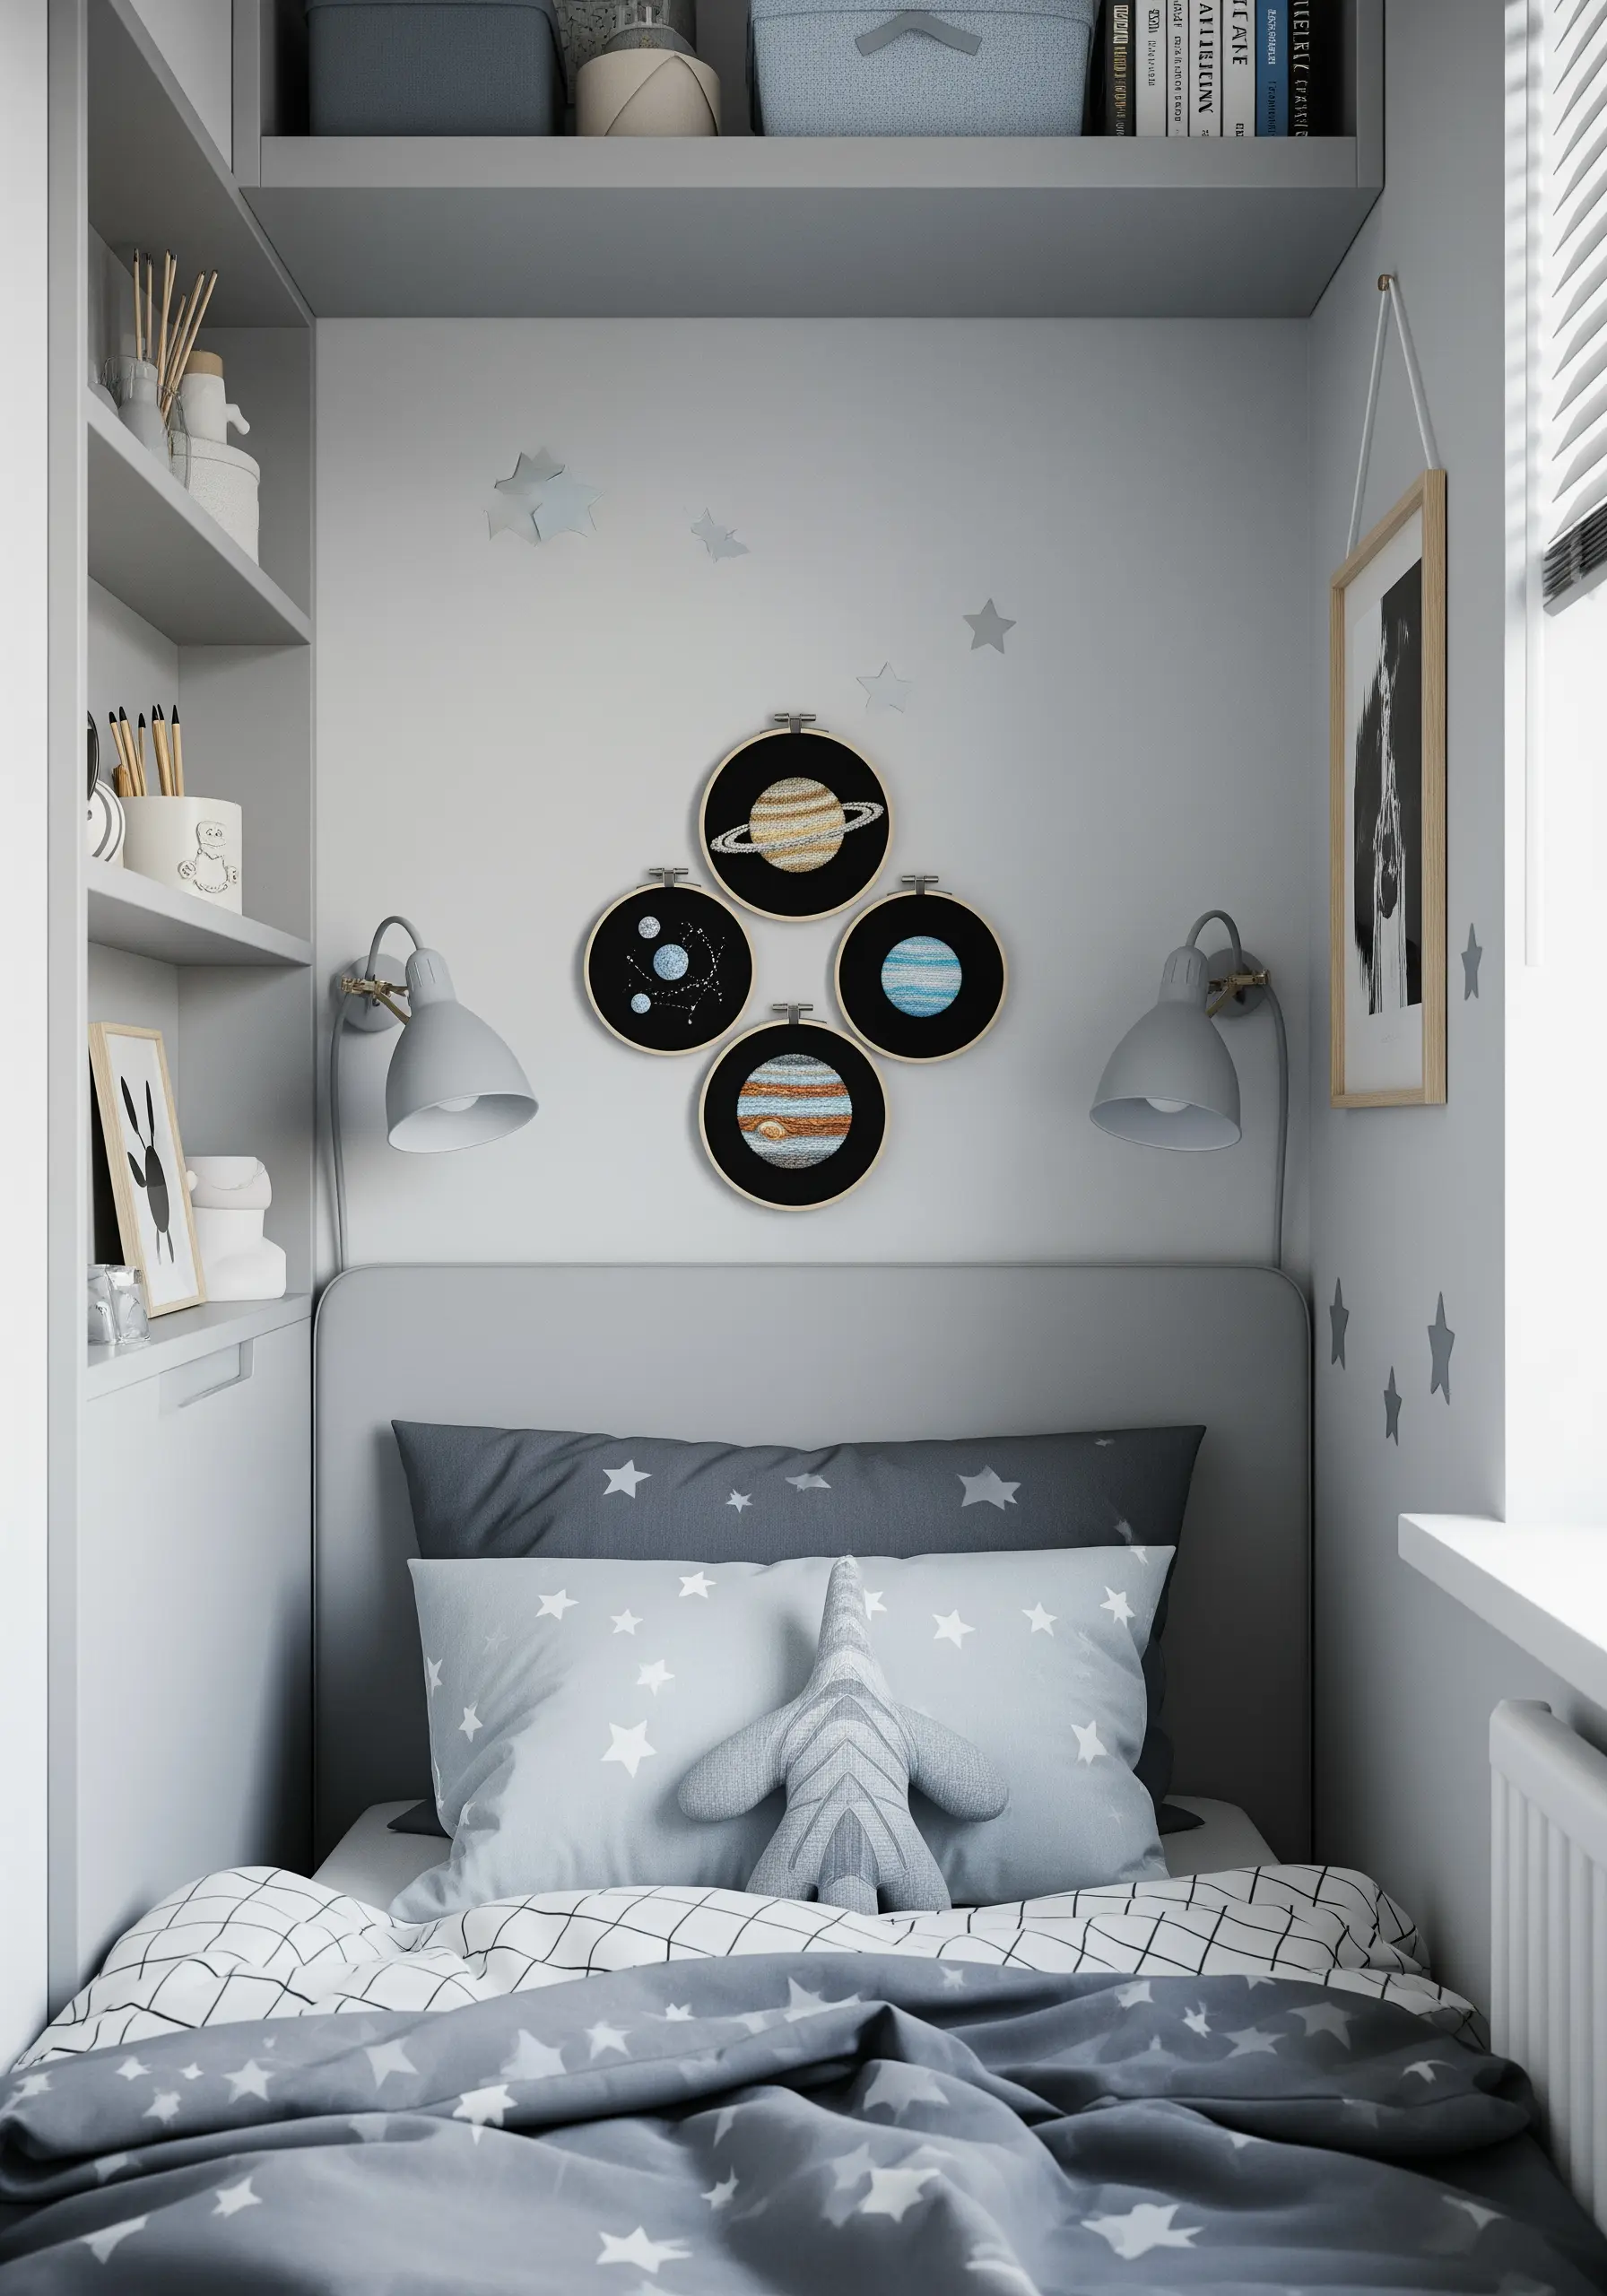
Turn a collection of small hoops into a personal solar system to hang above a bed or in a cozy corner.
Dedicate each hoop to a different planet, using varied stitches to represent their unique surfaces: long-and-short stitch for Jupiter’s gaseous bands, satin stitch for Saturn’s rings, and French knots for a textured Mars.
Arranging these small hoop embroidery ideas together creates a cohesive gallery wall that is both educational and artistically expressive.
Use a dark blue or black cotton fabric as your base to make the planetary colors truly pop.
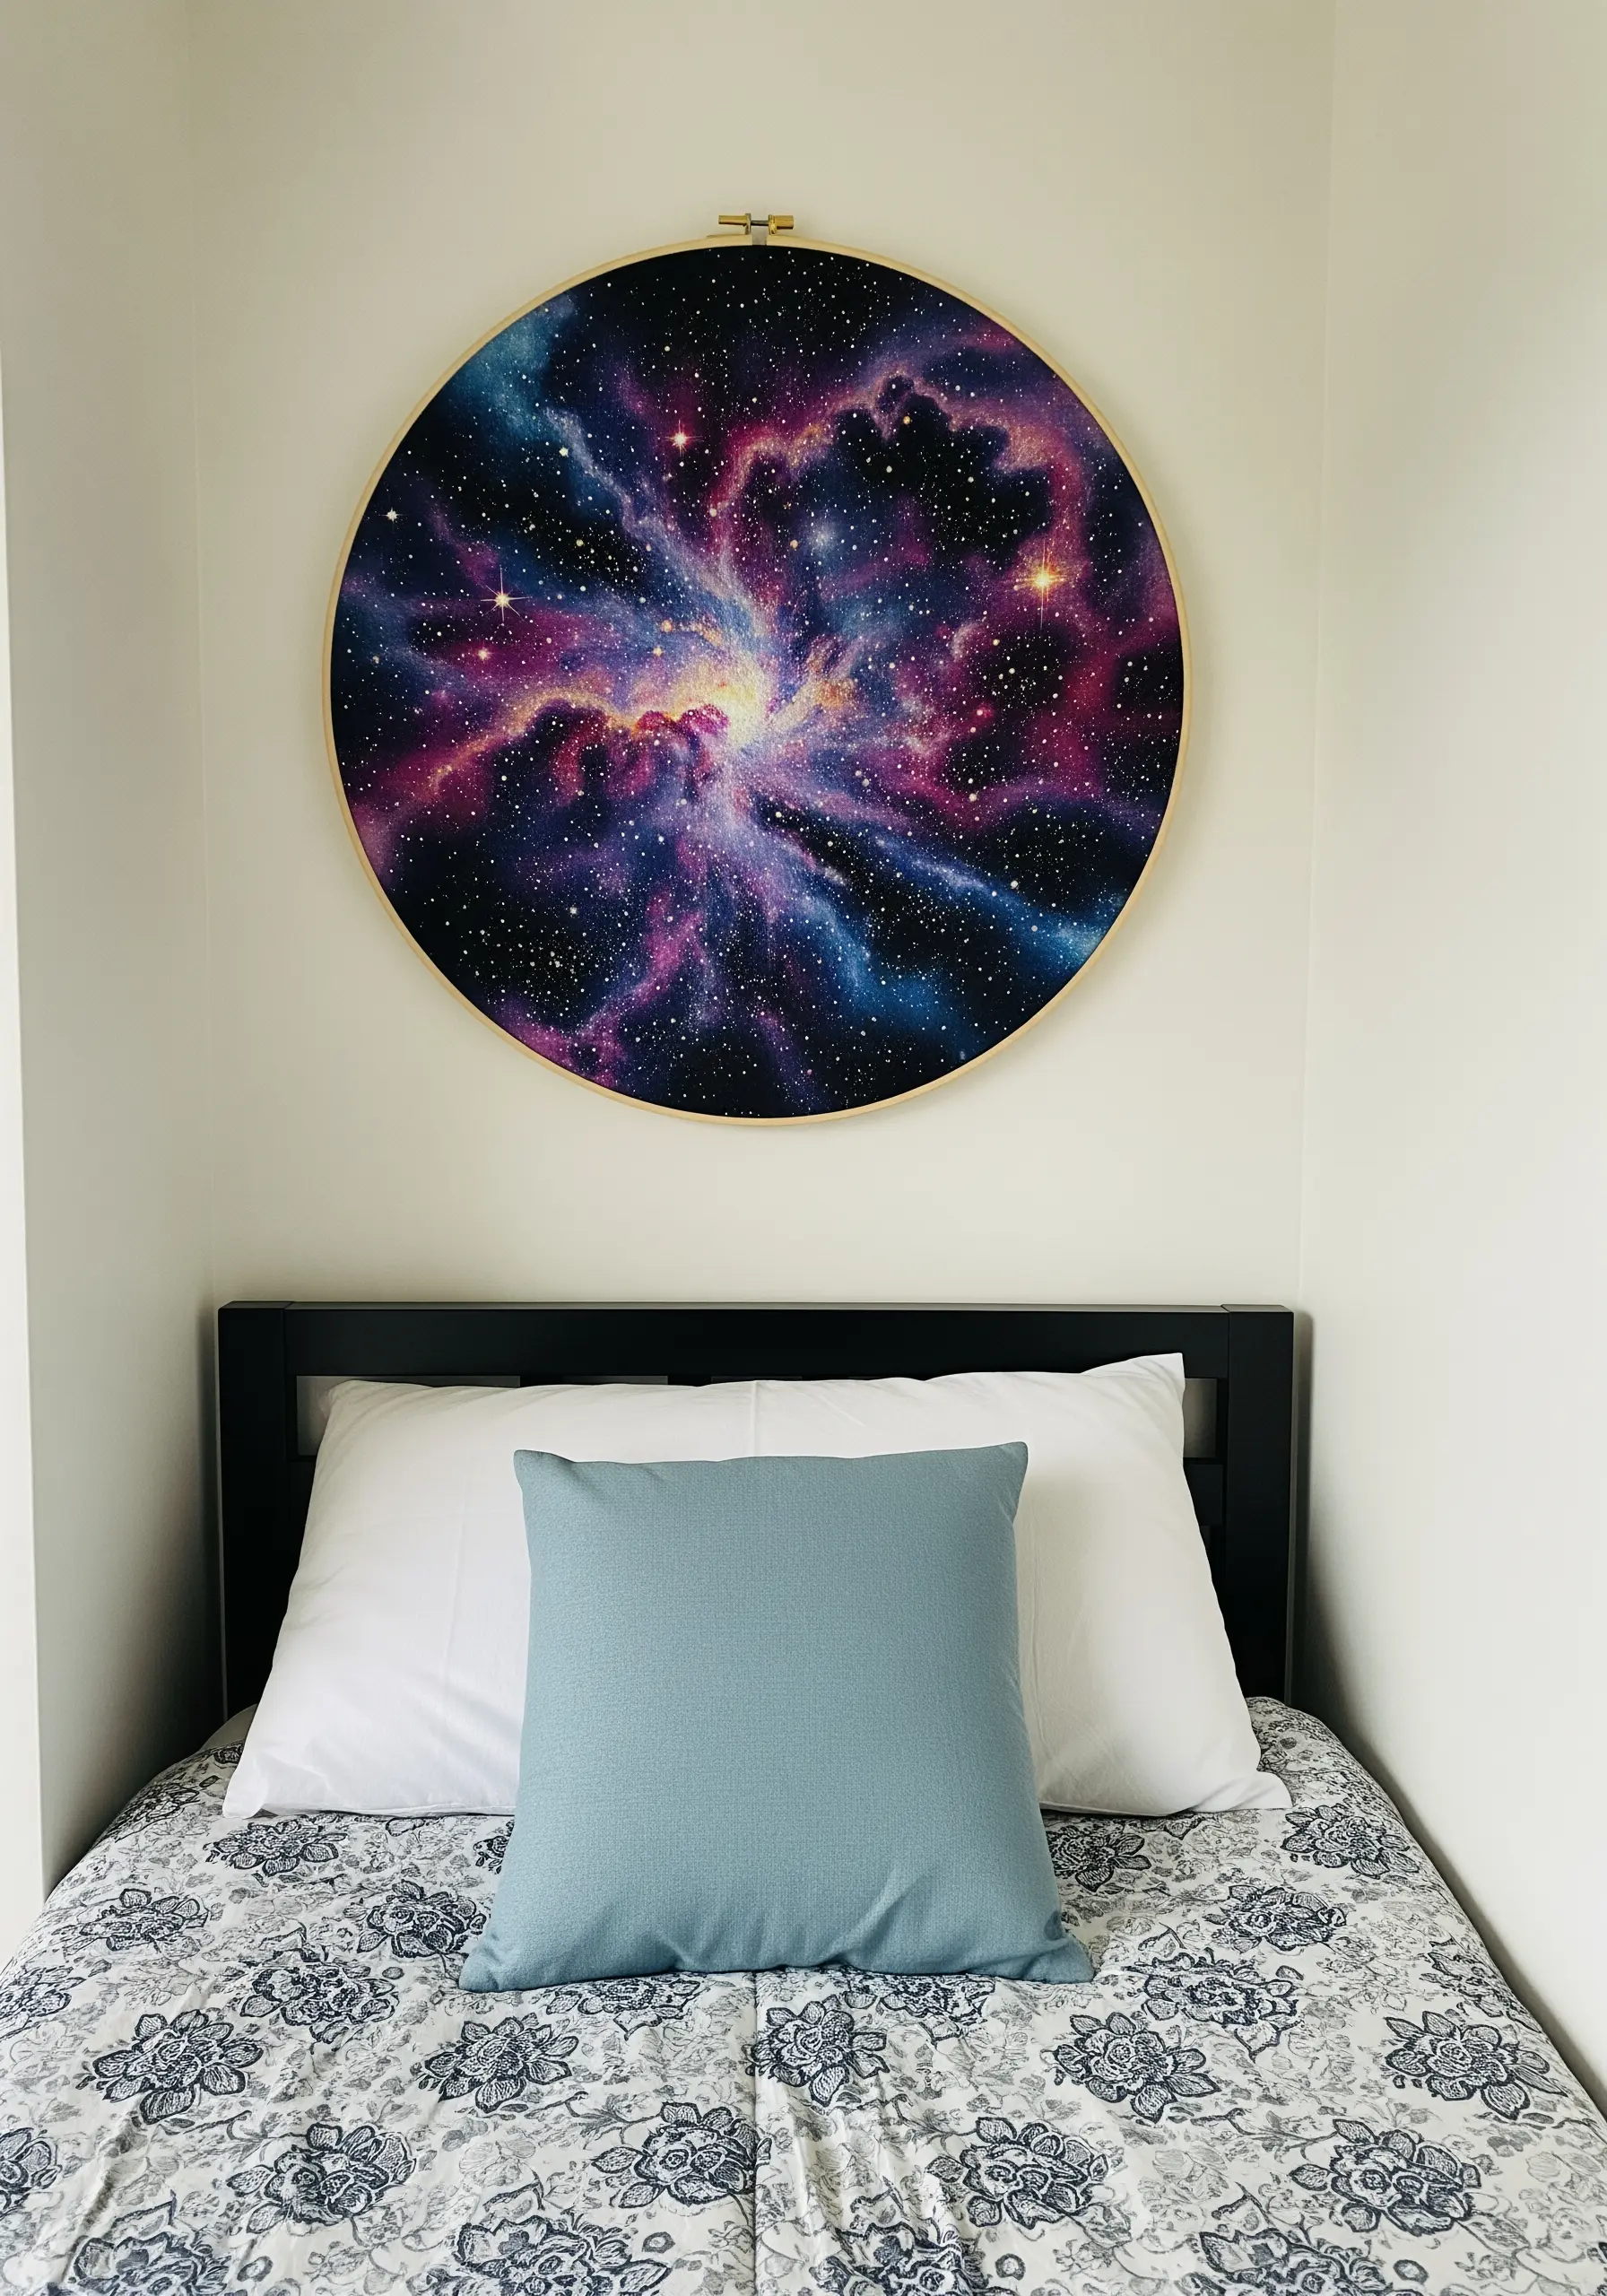
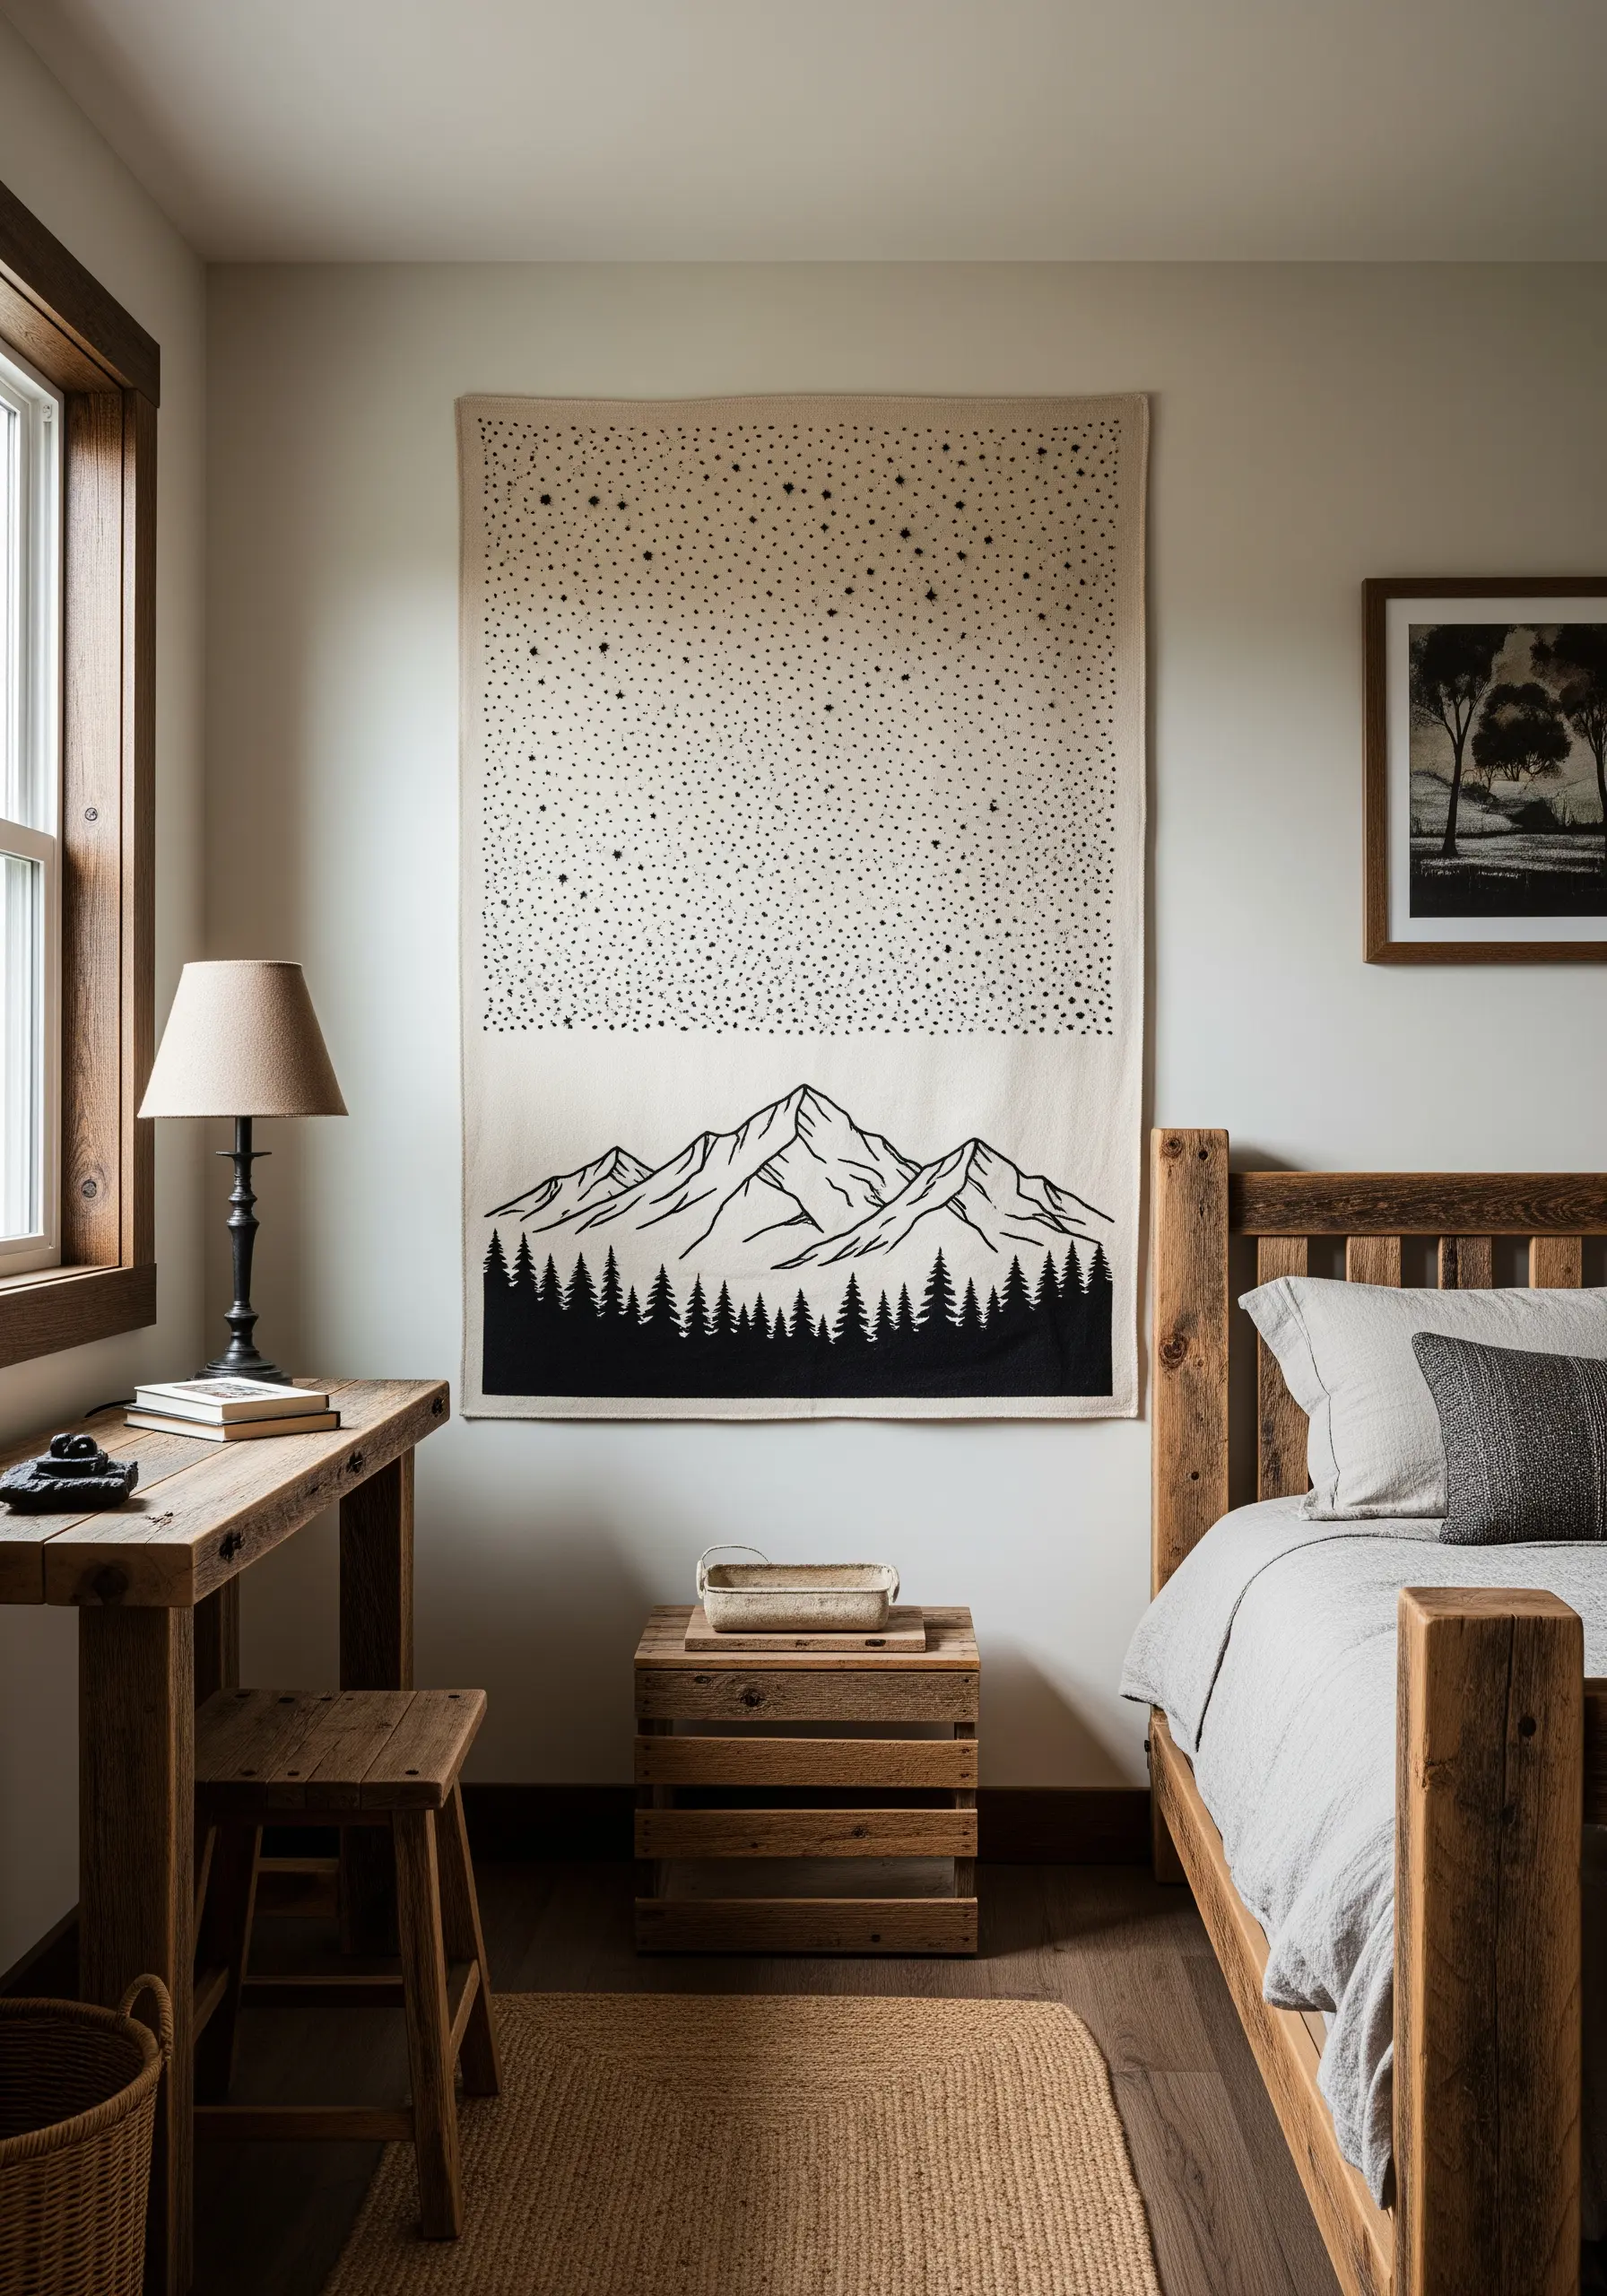
8. Map the Heavens on a Large-Scale Wall Tapestry

For a project as large as a wall tapestry, transferring the design accurately is the first step to a professional finish.
Use a digital projector to cast your celestial map onto a large piece of canvas or heavy linen pinned to the wall, then trace the lines with a heat-erasable pen.
Keep the stitching simple—a clean backstitch or stem stitch in a contrasting color will ensure the intricate constellation lines are legible from a distance.
The result is a stunning, graphic piece of art that makes a powerful statement in a small room.
9. Thread Paint the Aurora Borealis with Luminous Thread
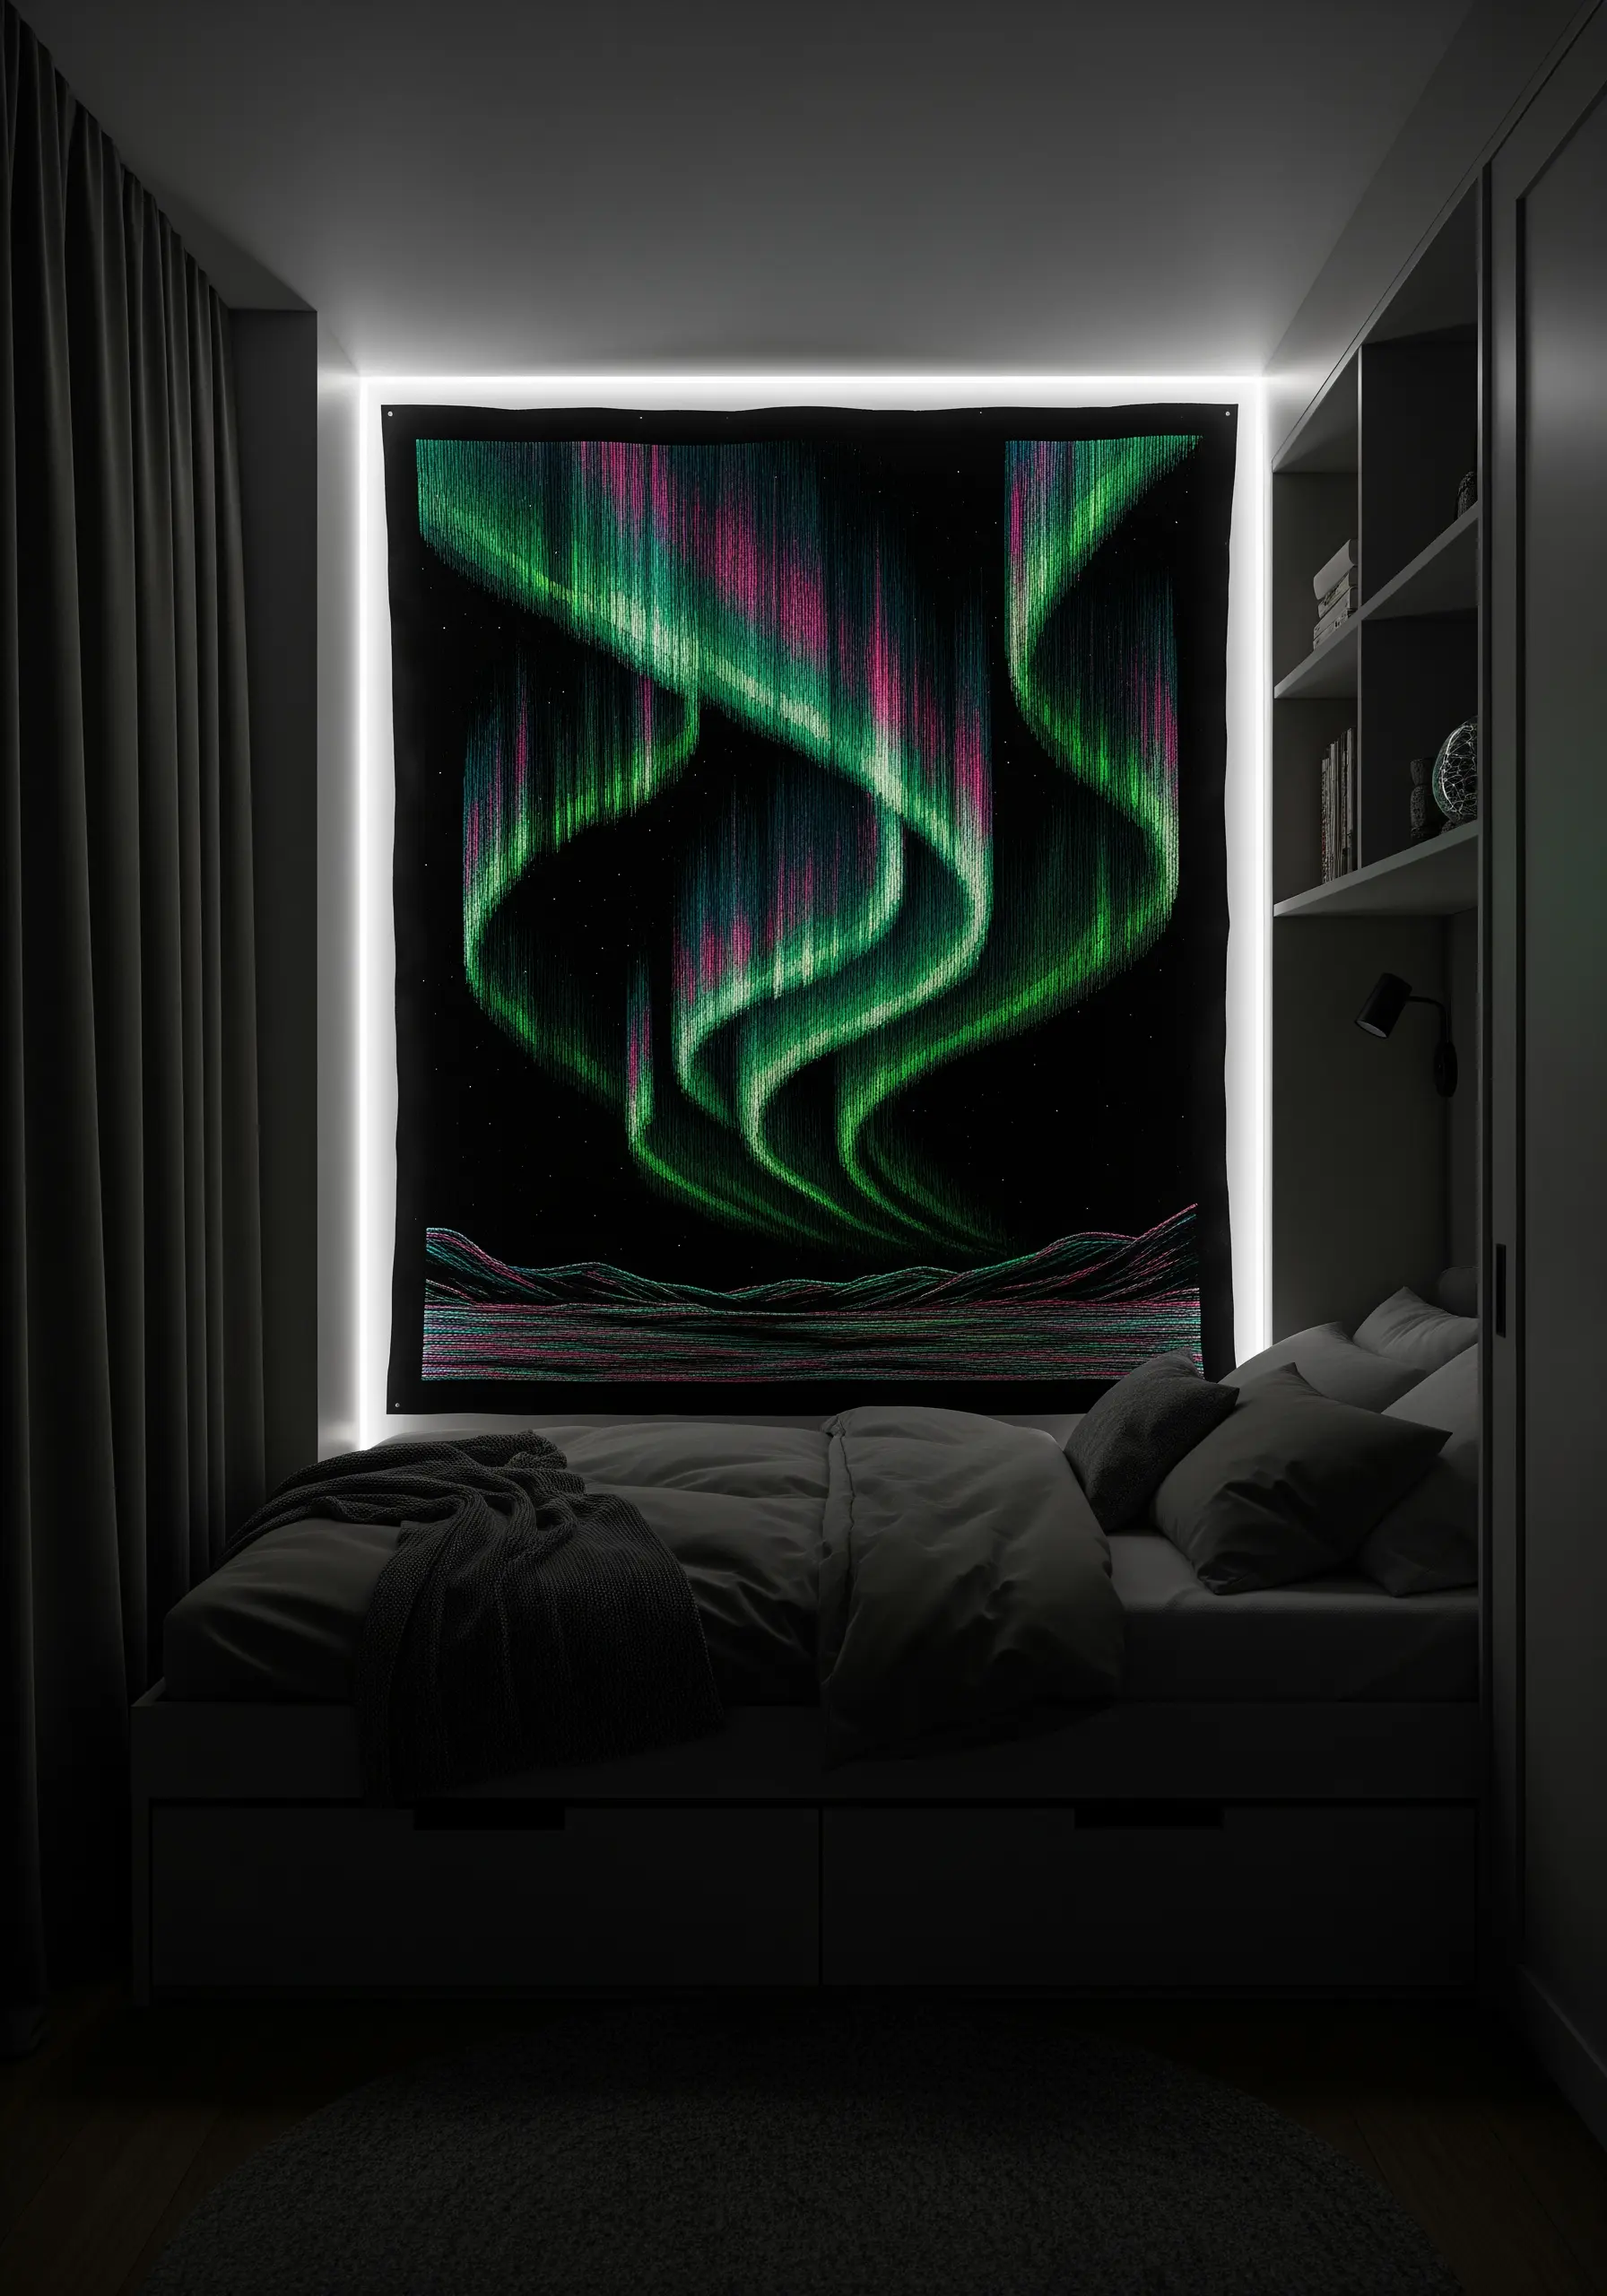
Capture the otherworldly glow of the Northern Lights by using glow-in-the-dark thread alongside vibrant greens, pinks, and purples.
Use the long-and-short stitch technique, blending the colors vertically to create the signature flowing, curtain-like effect of the aurora.
Work on a black fabric background to maximize the contrast and the thread’s luminosity.
During the day, it’s a beautiful piece of fiber art; at night, it reveals a secret, ethereal glow that transforms your room.
10. Illuminate a Lampshade with Pre-Punched Stitches
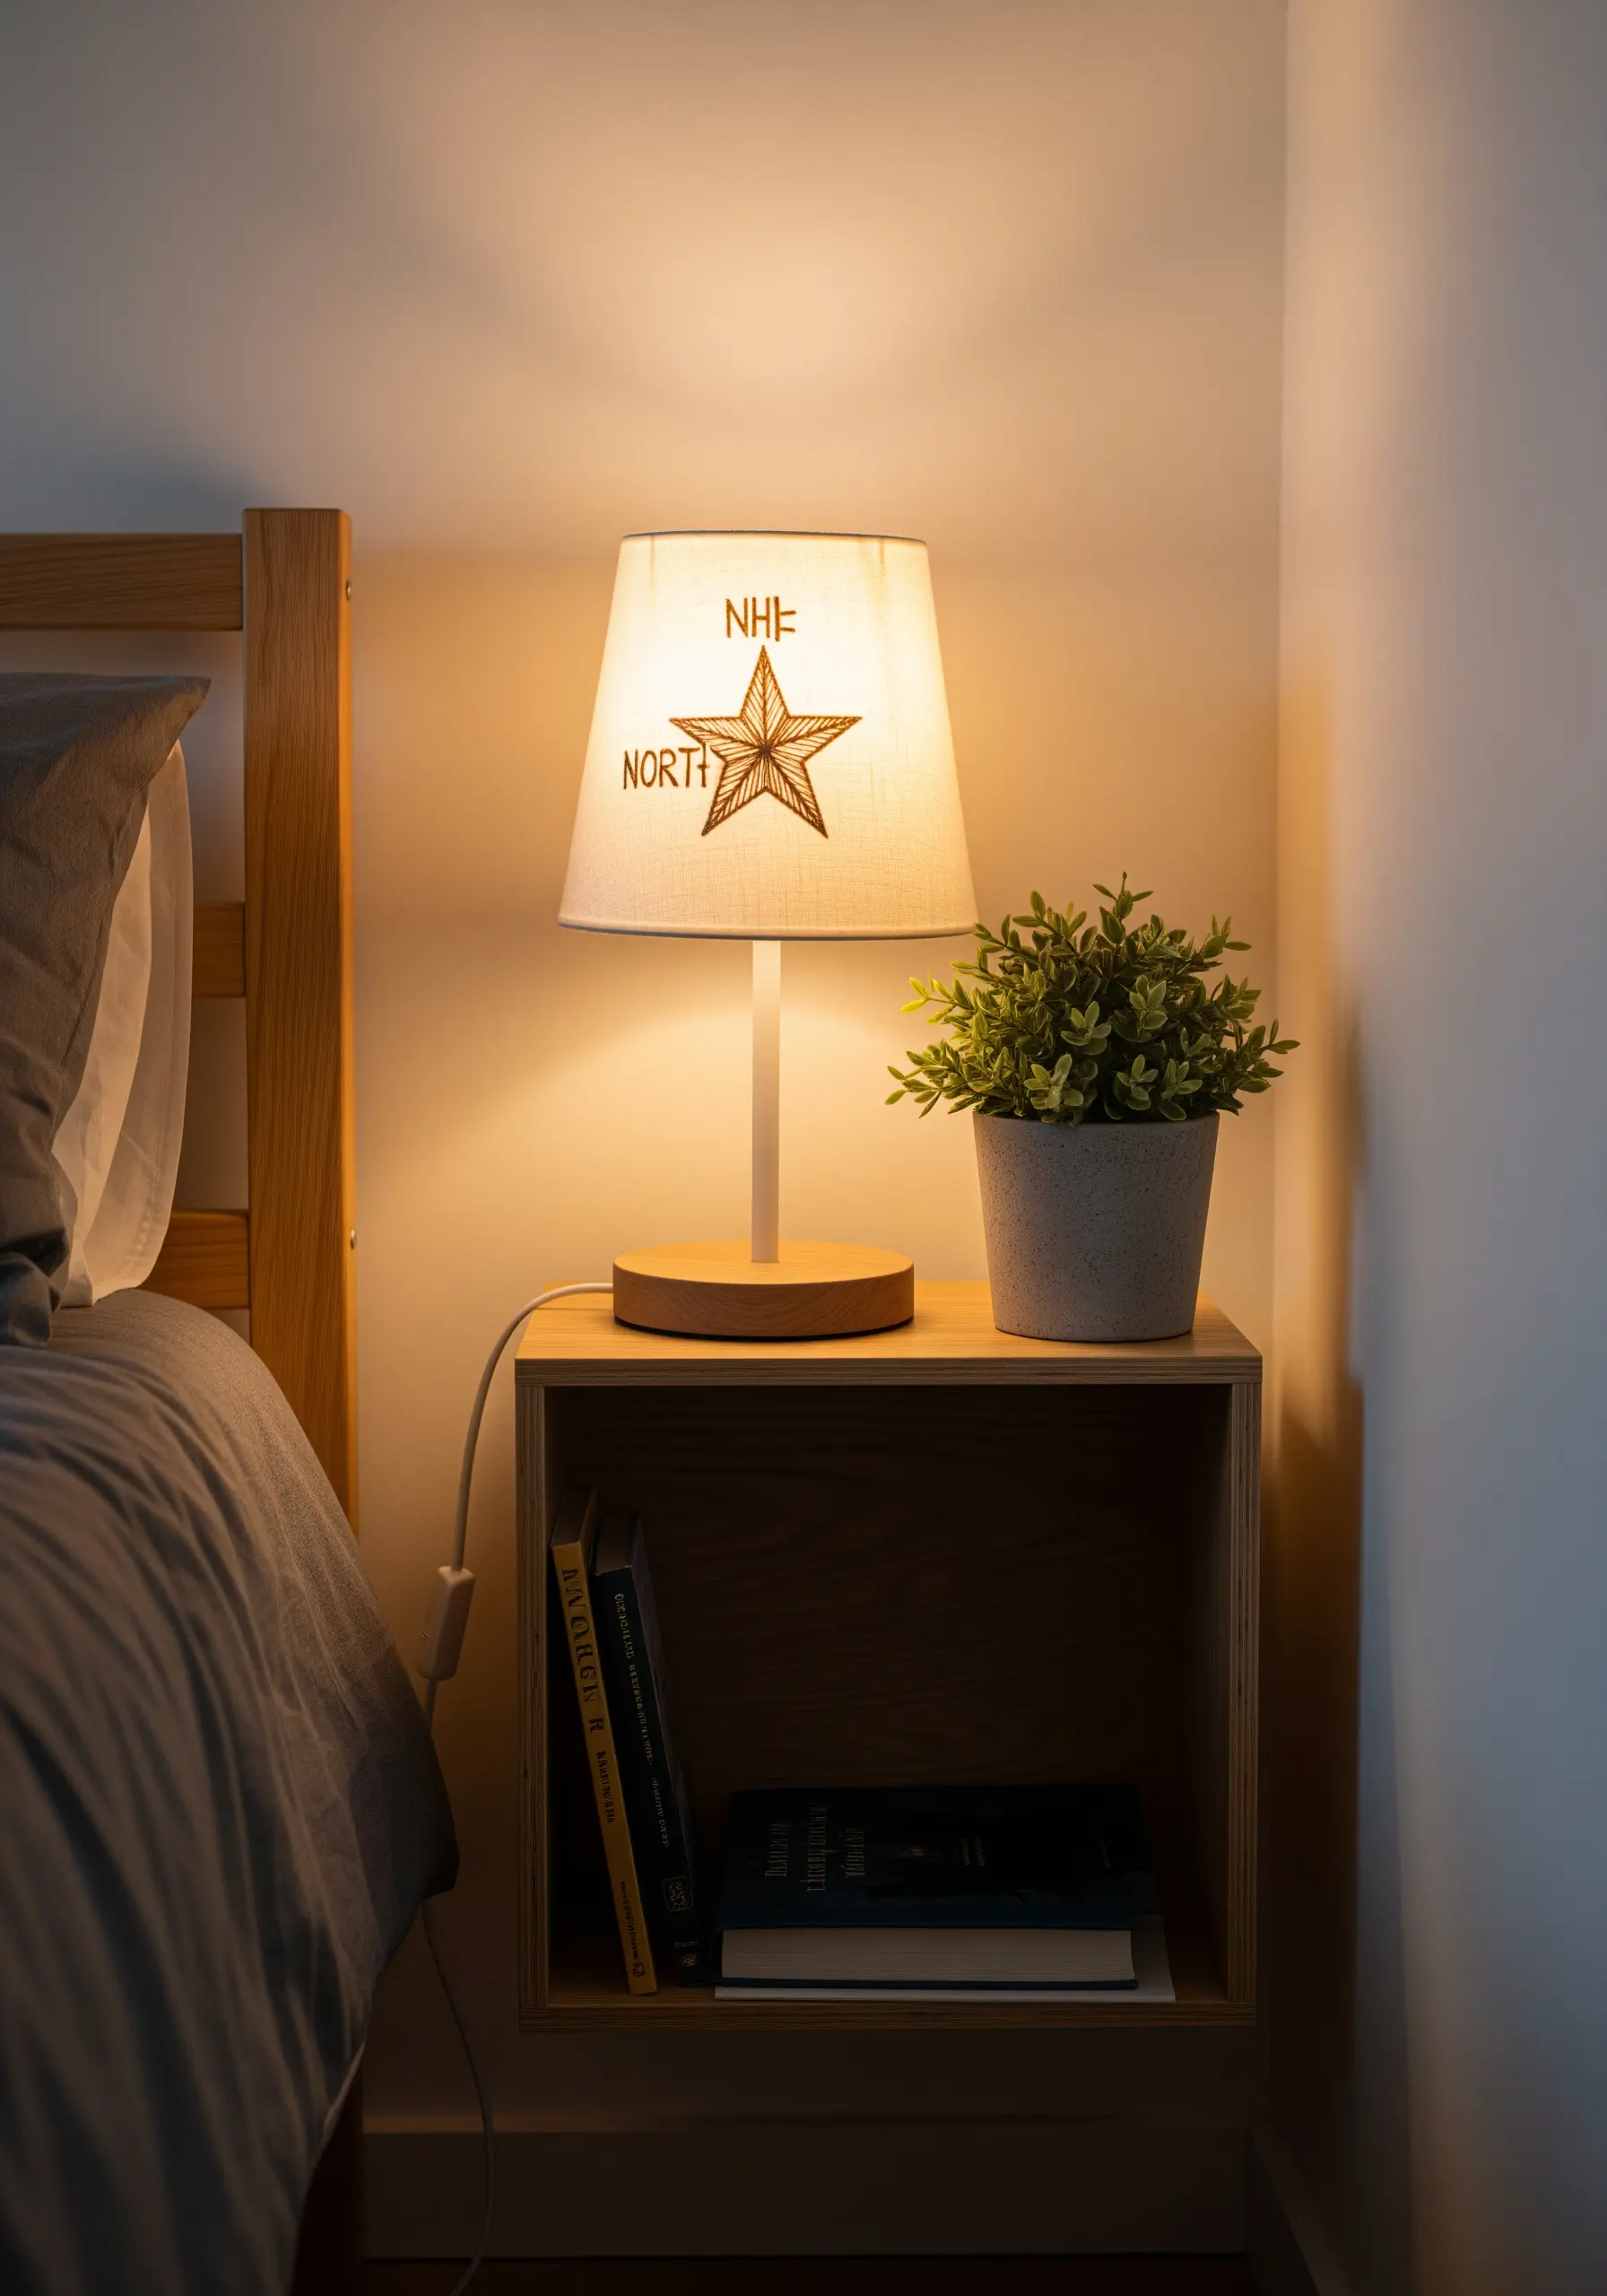
Embroidering on a stiff lampshade requires a different approach than fabric; you need to create the holes before you stitch.
Lightly draw your design on the inside of the shade, then use a pin or a small awl to carefully pre-punch holes along the lines.
Use a simple backstitch with a sturdy thread like perle cotton that won’t easily fray.
This method prevents the paper or parchment from buckling and creates a clean, precise design that casts beautiful, patterned shadows when the lamp is lit.
11. Add Appliqué Stars to Cozy Textiles
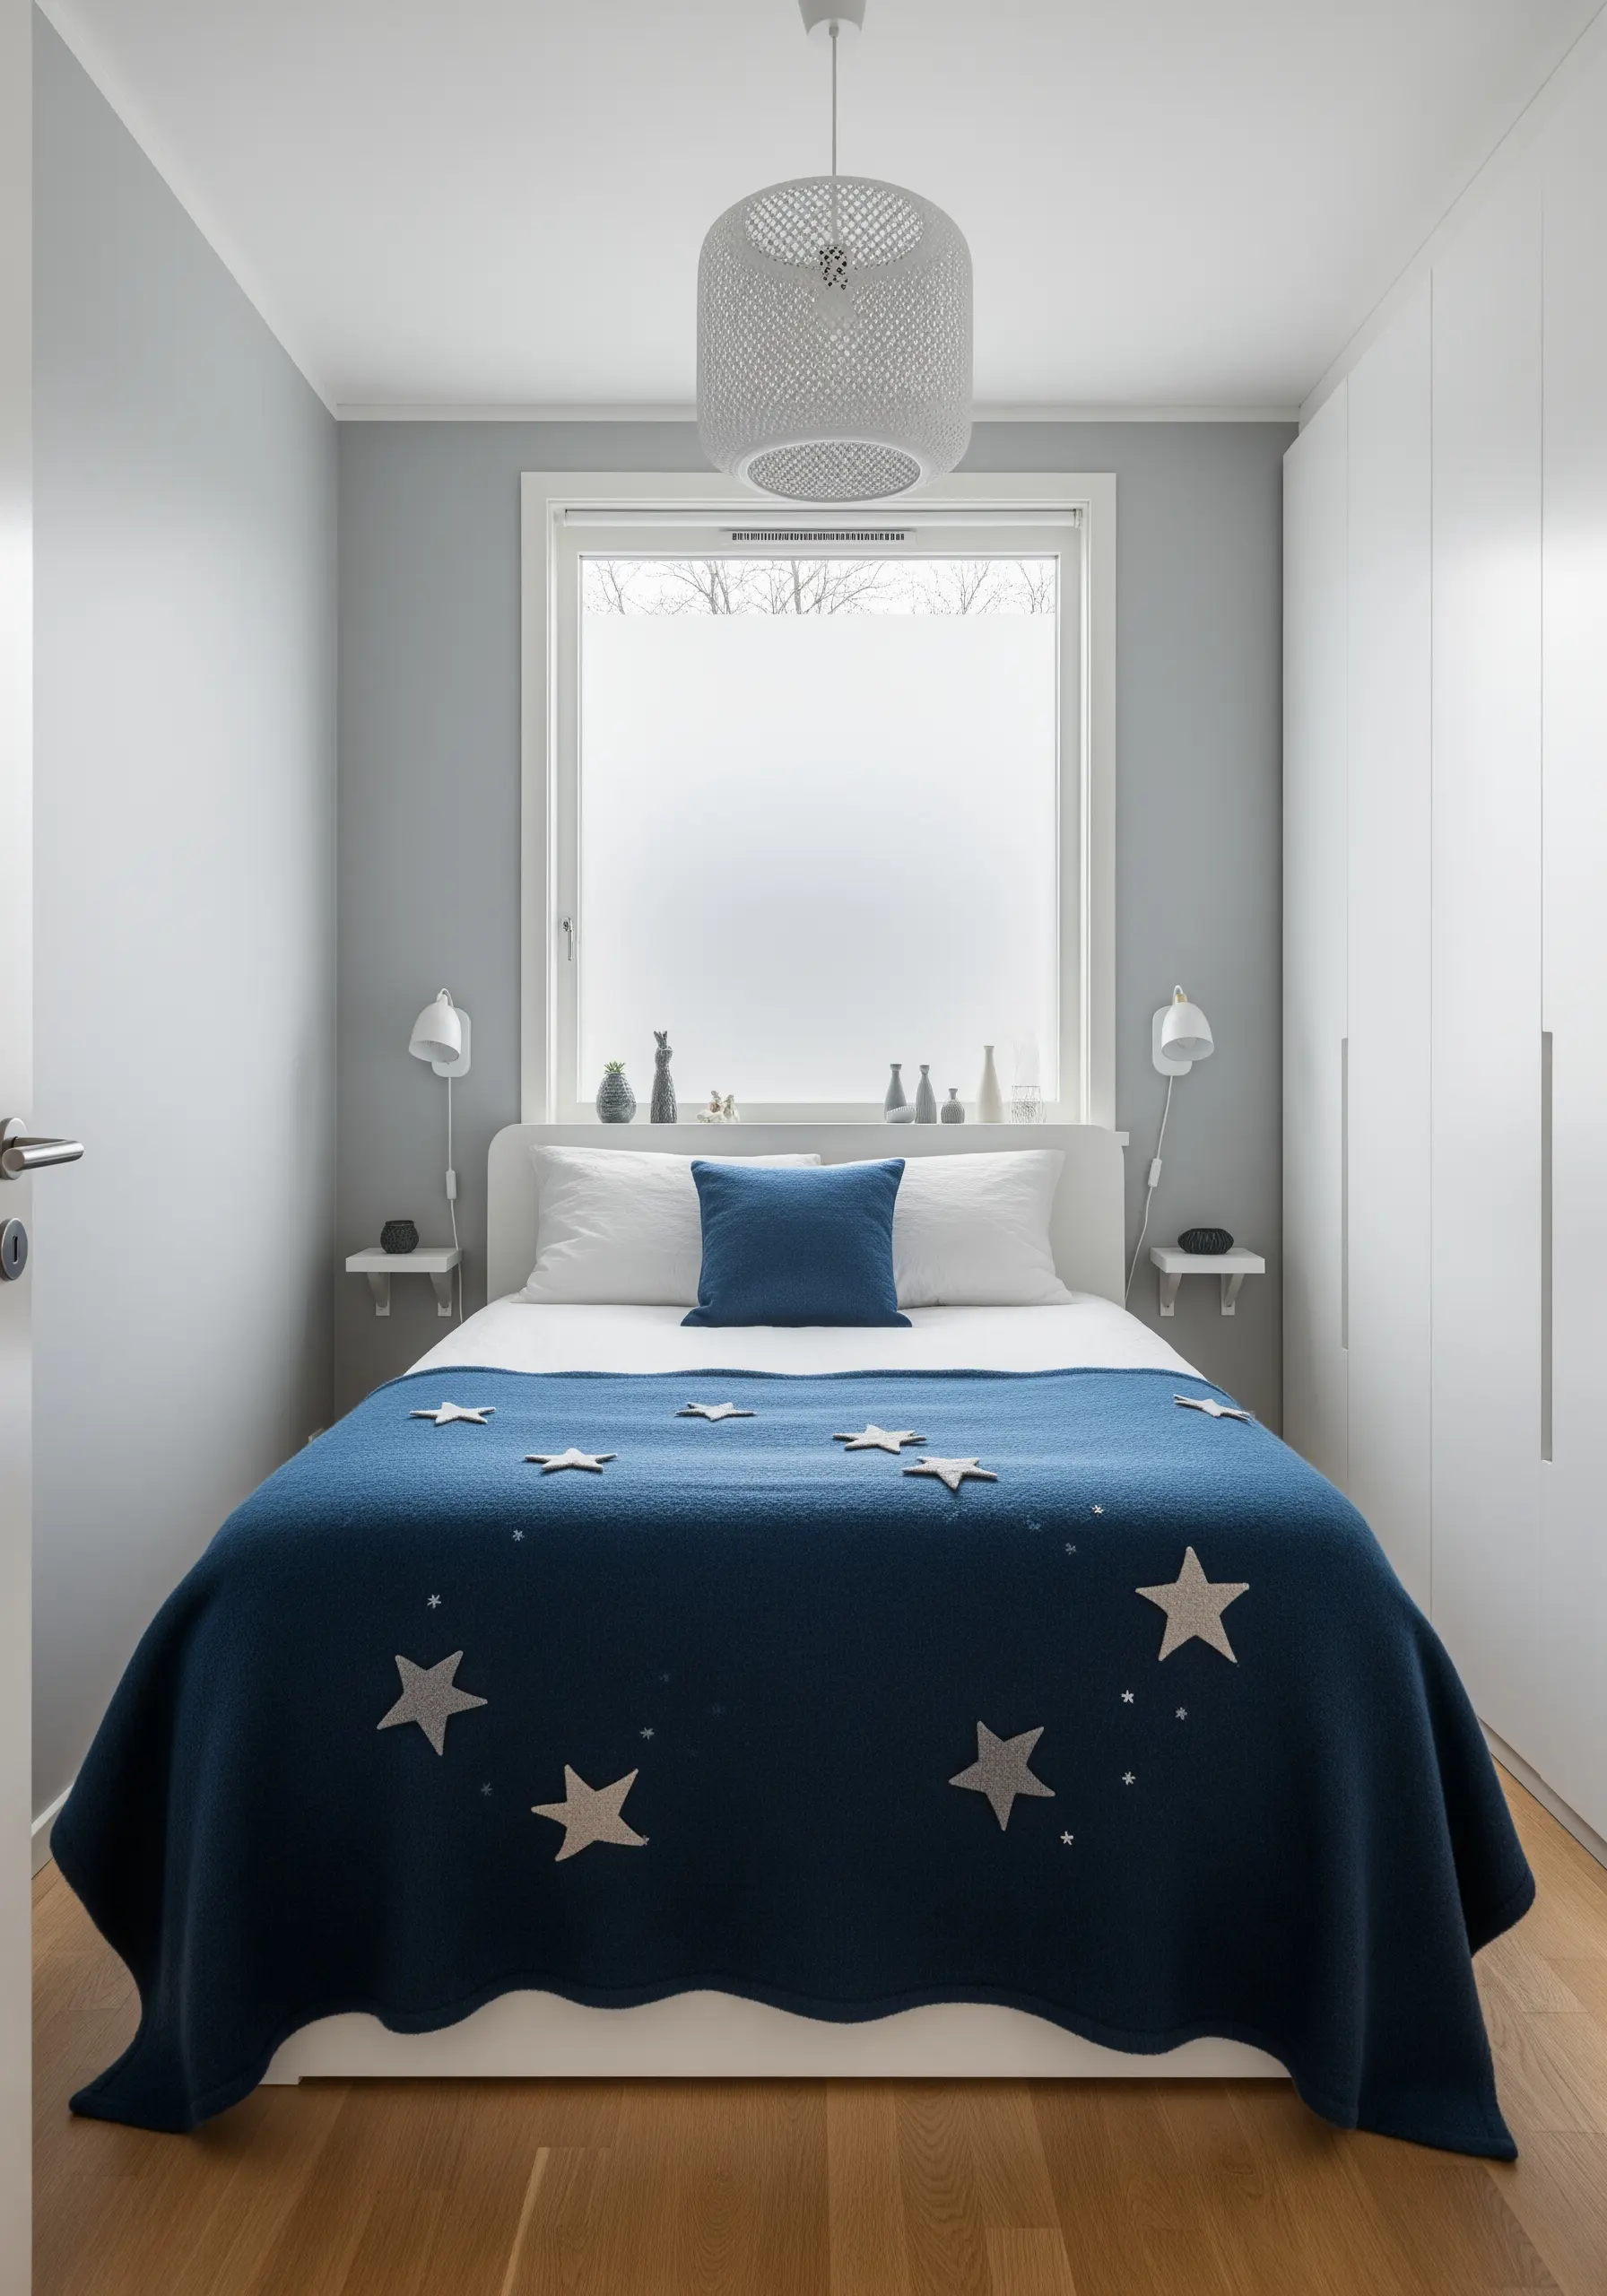
Combine the softness of felt appliqué with the sharp detail of embroidery to create textured stars on a blanket or throw.
Cut star shapes from felt or a non-fraying fabric, then secure them to the blanket using an even blanket stitch around the edges with a contrasting thread.
This not only attaches the appliqué securely but also frames it with a decorative, handcrafted border.
Add a few simple embroidered starbursts around the appliqués to integrate them into a larger celestial scene.
12. Paint a Nebula with Abstract Thread Blending
To create the soft, gaseous look of a nebula, abandon outlines and focus entirely on color blending with the long-and-short stitch.
Use single strands of floss in purples, pinks, blues, and oranges, allowing your stitches to overlap organically to create soft transitions between hues.
Vary the direction and length of your stitches to build up layers of color, just as cosmic dust clouds overlap in space.
This technique makes abstract embroidery hoops that look like fine art, turning thread into a painterly medium.
13. Personalize Pillowcases with Fine-Line Zodiac Signs

For delicate designs like zodiac constellations on fine cotton pillowcases, precision is everything.
Use a single strand of embroidery floss and a sharp, small needle (like a size 9 embroidery needle) to achieve crisp, thin lines.
A simple backstitch is perfect for the constellation lines, while tiny, neat French knots can represent the stars.
This minimalist approach adds a touch of personal meaning to your bedding without overwhelming the space, keeping the feel serene and elegant.
14. Translate a Masterpiece with Painterly Stitches

To capture the iconic movement of Van Gogh’s “The Starry Night,” think like a painter and use your stitches as brushstrokes.
Use short, directional satin stitches and dense clusters of French knots to mimic the thick, impasto texture of the original painting.
Pay close attention to the direction of the swirls in the sky, laying your stitches to follow that same flow.
This advanced technique transforms a flat piece of fabric into a tactile interpretation of a masterpiece, full of energy and texture.
15. Stabilize Stitches on High-Pile Towels
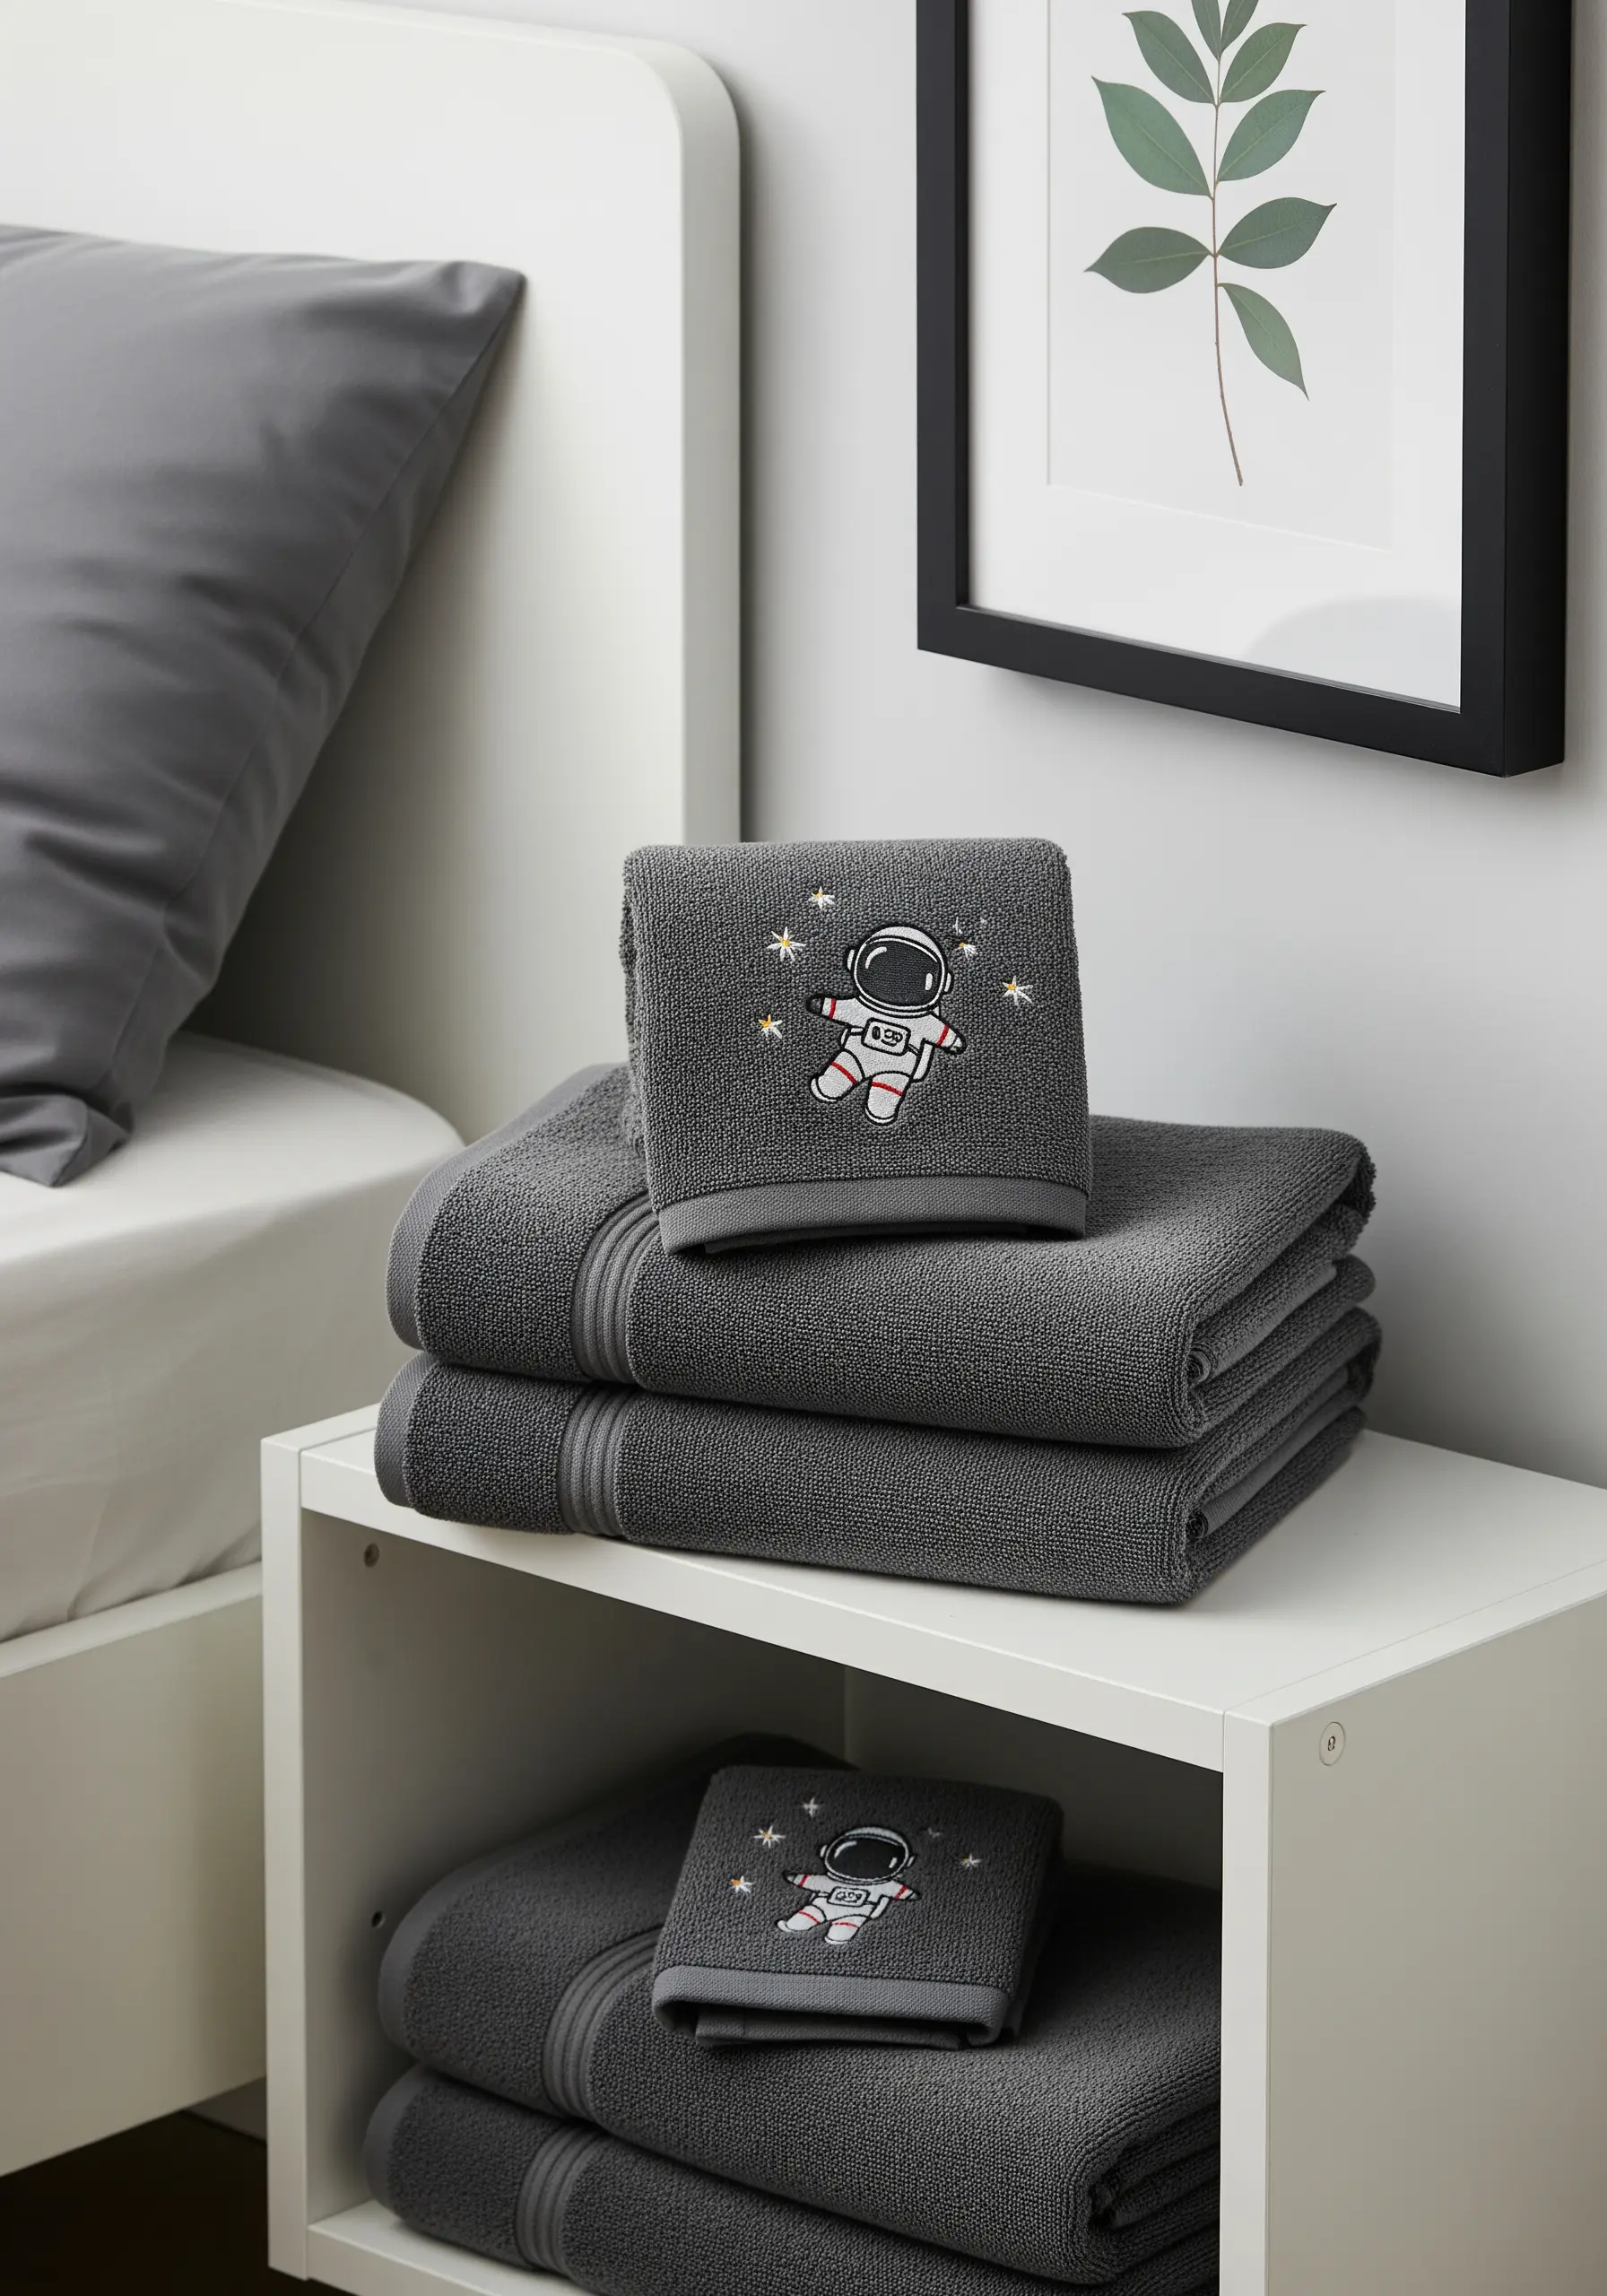
Embroidering on a textured surface like a terry cloth towel can be frustrating, as stitches tend to disappear into the loops.
The solution is to use a water-soluble stabilizer on top of the fabric. Hoop both the towel and the stabilizer together, then stitch your design as usual.
The stabilizer provides a smooth surface for your needle and prevents the thread from sinking into the pile.
Once you’re finished, simply wash it away, leaving a crisp, professional-looking design that sits perfectly on the surface.
16. Achieve Perfect Circles with a Split Stitch Foundation
Stitching a perfectly round and smooth satin-stitched planet can be a challenge. The secret is to create a raised guide for your stitches.
First, outline the circle of your planet with a split stitch. Then, work your satin stitches over this raised line, going from one side to the other.
The split stitch outline acts as a boundary, helping you keep the edge perfectly clean and giving the final shape a subtle, satisfying dimension.
This preparation step is the key to achieving a flawless, professional finish on any circular motif.
17. Create a Comet’s Trail with a Gradient of Textures
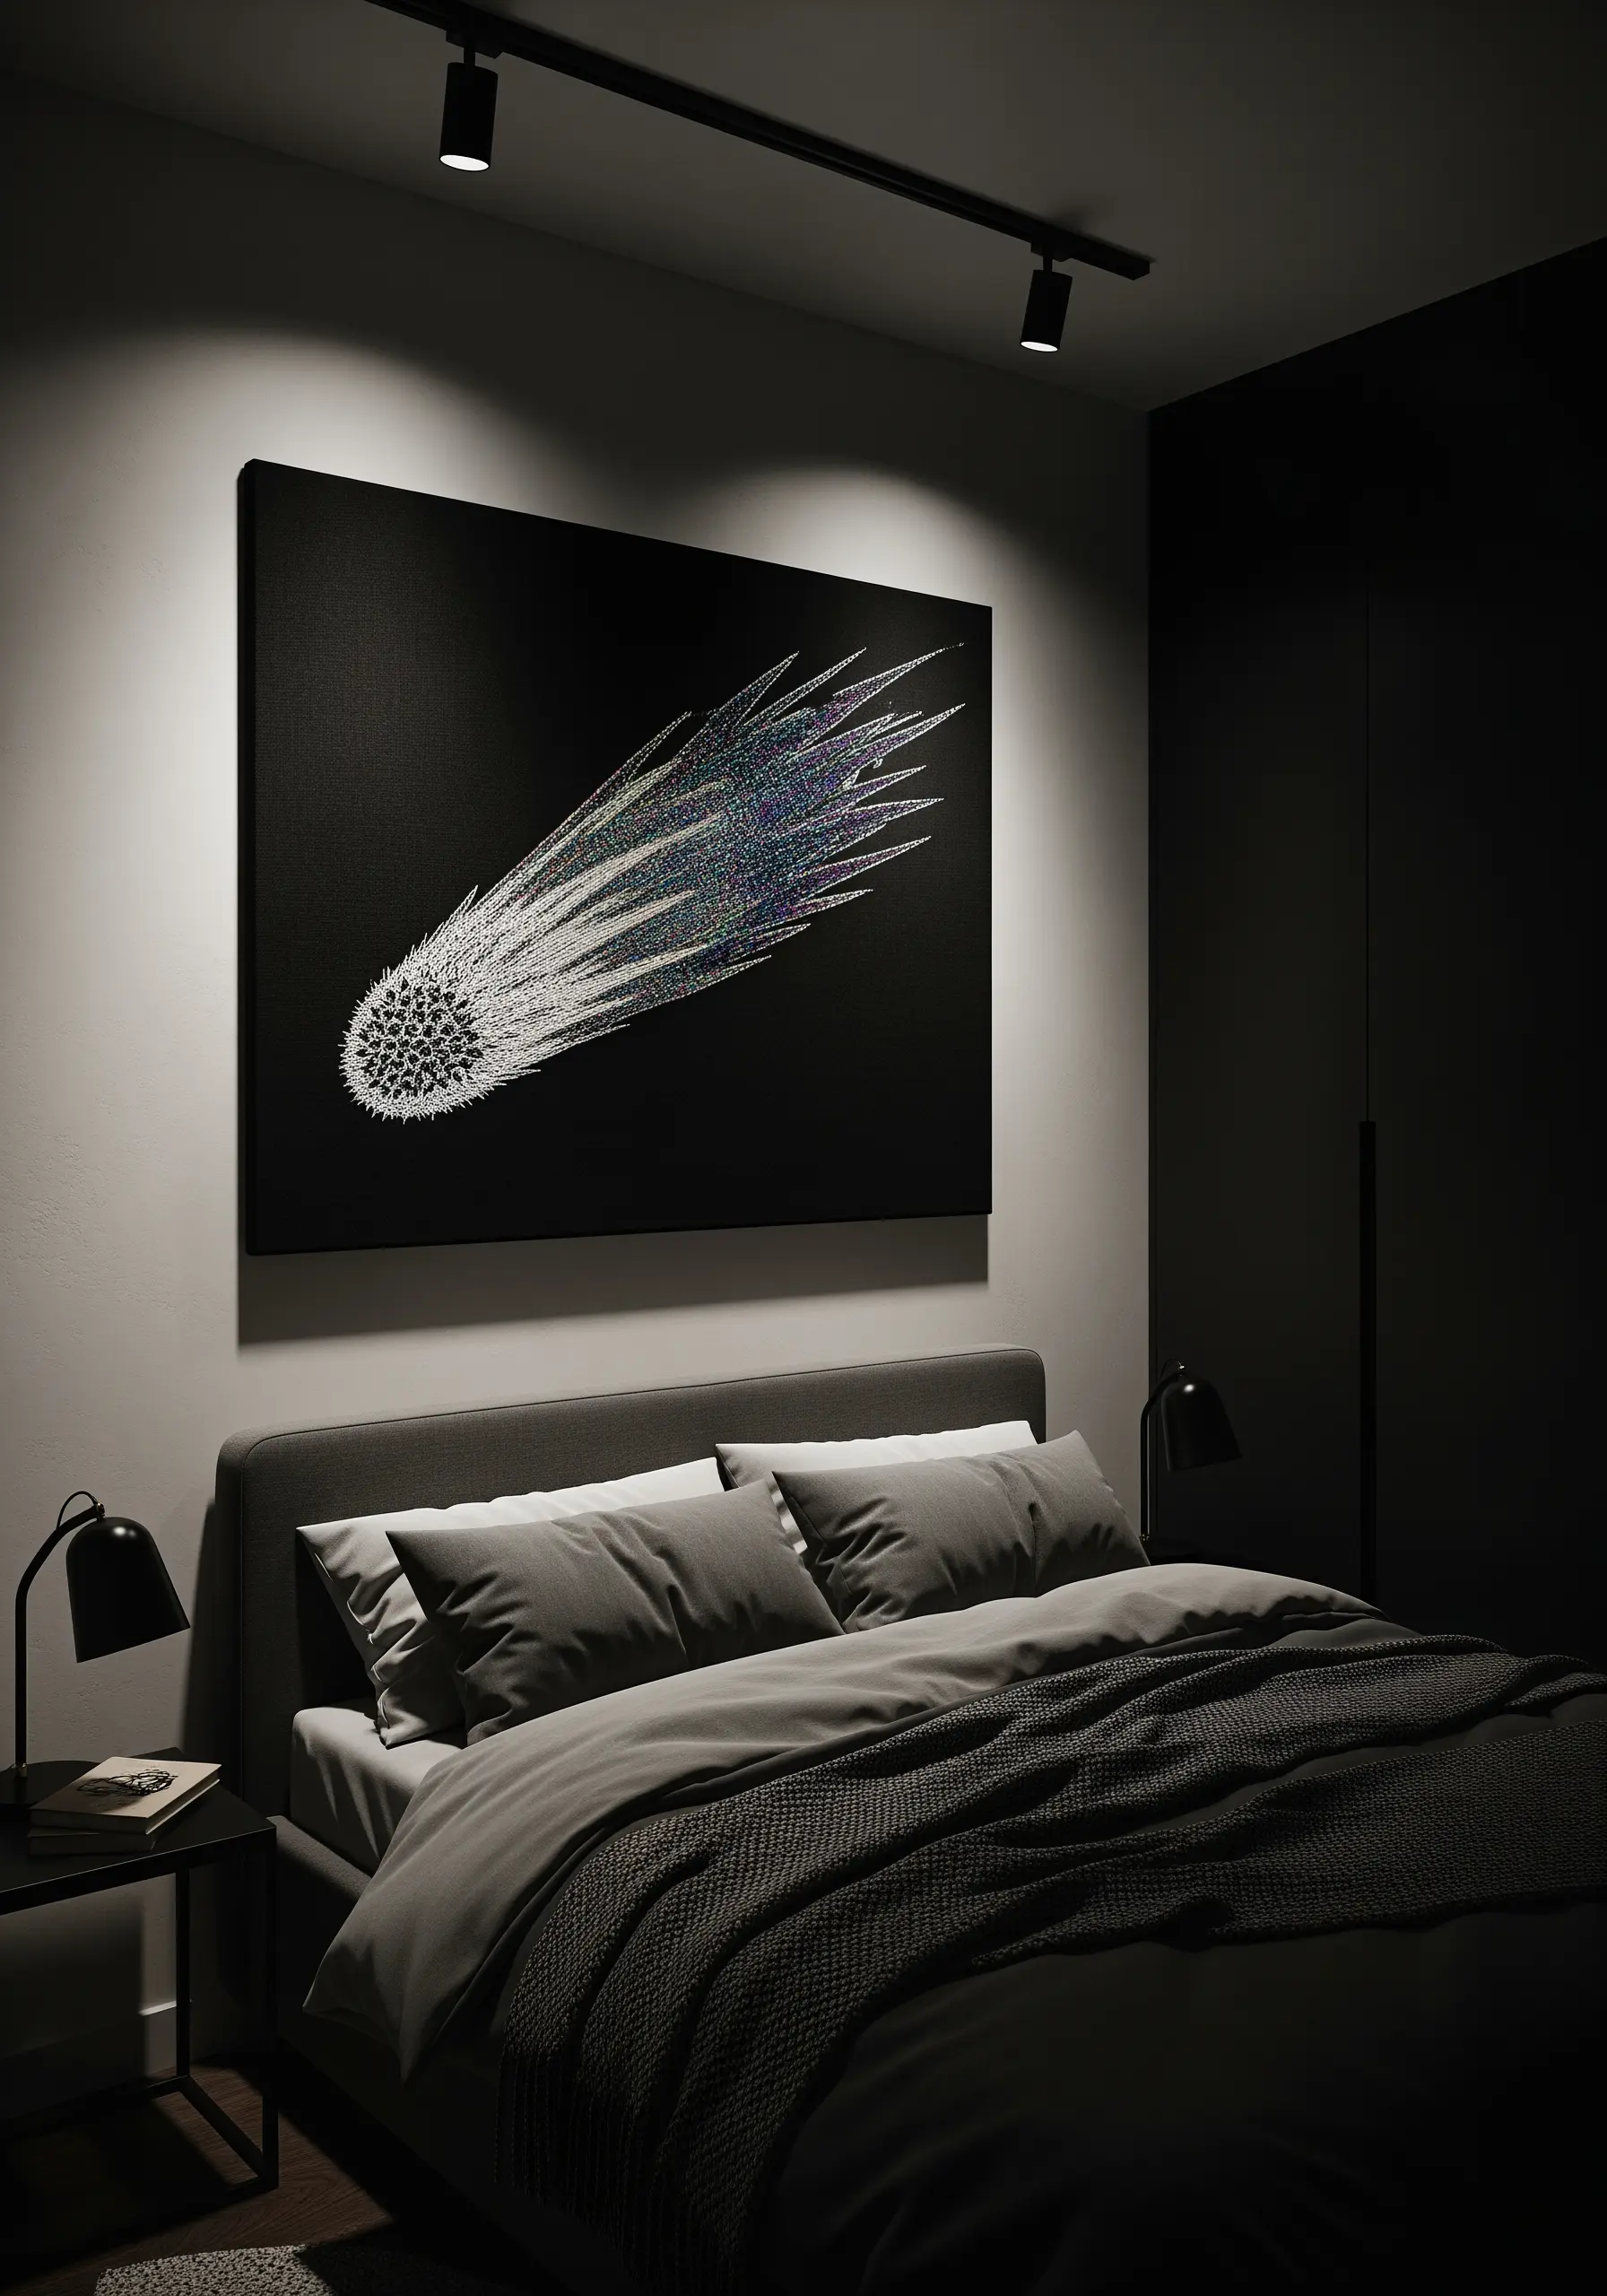
To give an embroidered comet a sense of speed and luminosity, build its tail with a gradient of different threads and stitch densities.
Start with dense, bright stitches near the head using metallic or holographic thread, then gradually space them out and switch to a matte cotton floss as you move down the tail.
Use a mix of straight stitches and seed stitches, varying their angles to suggest chaotic movement.
This thoughtful use of materials creates a powerful illusion of light and motion, turning a static design into something dynamic.
18. Embrace High-Contrast Minimalist Constellations
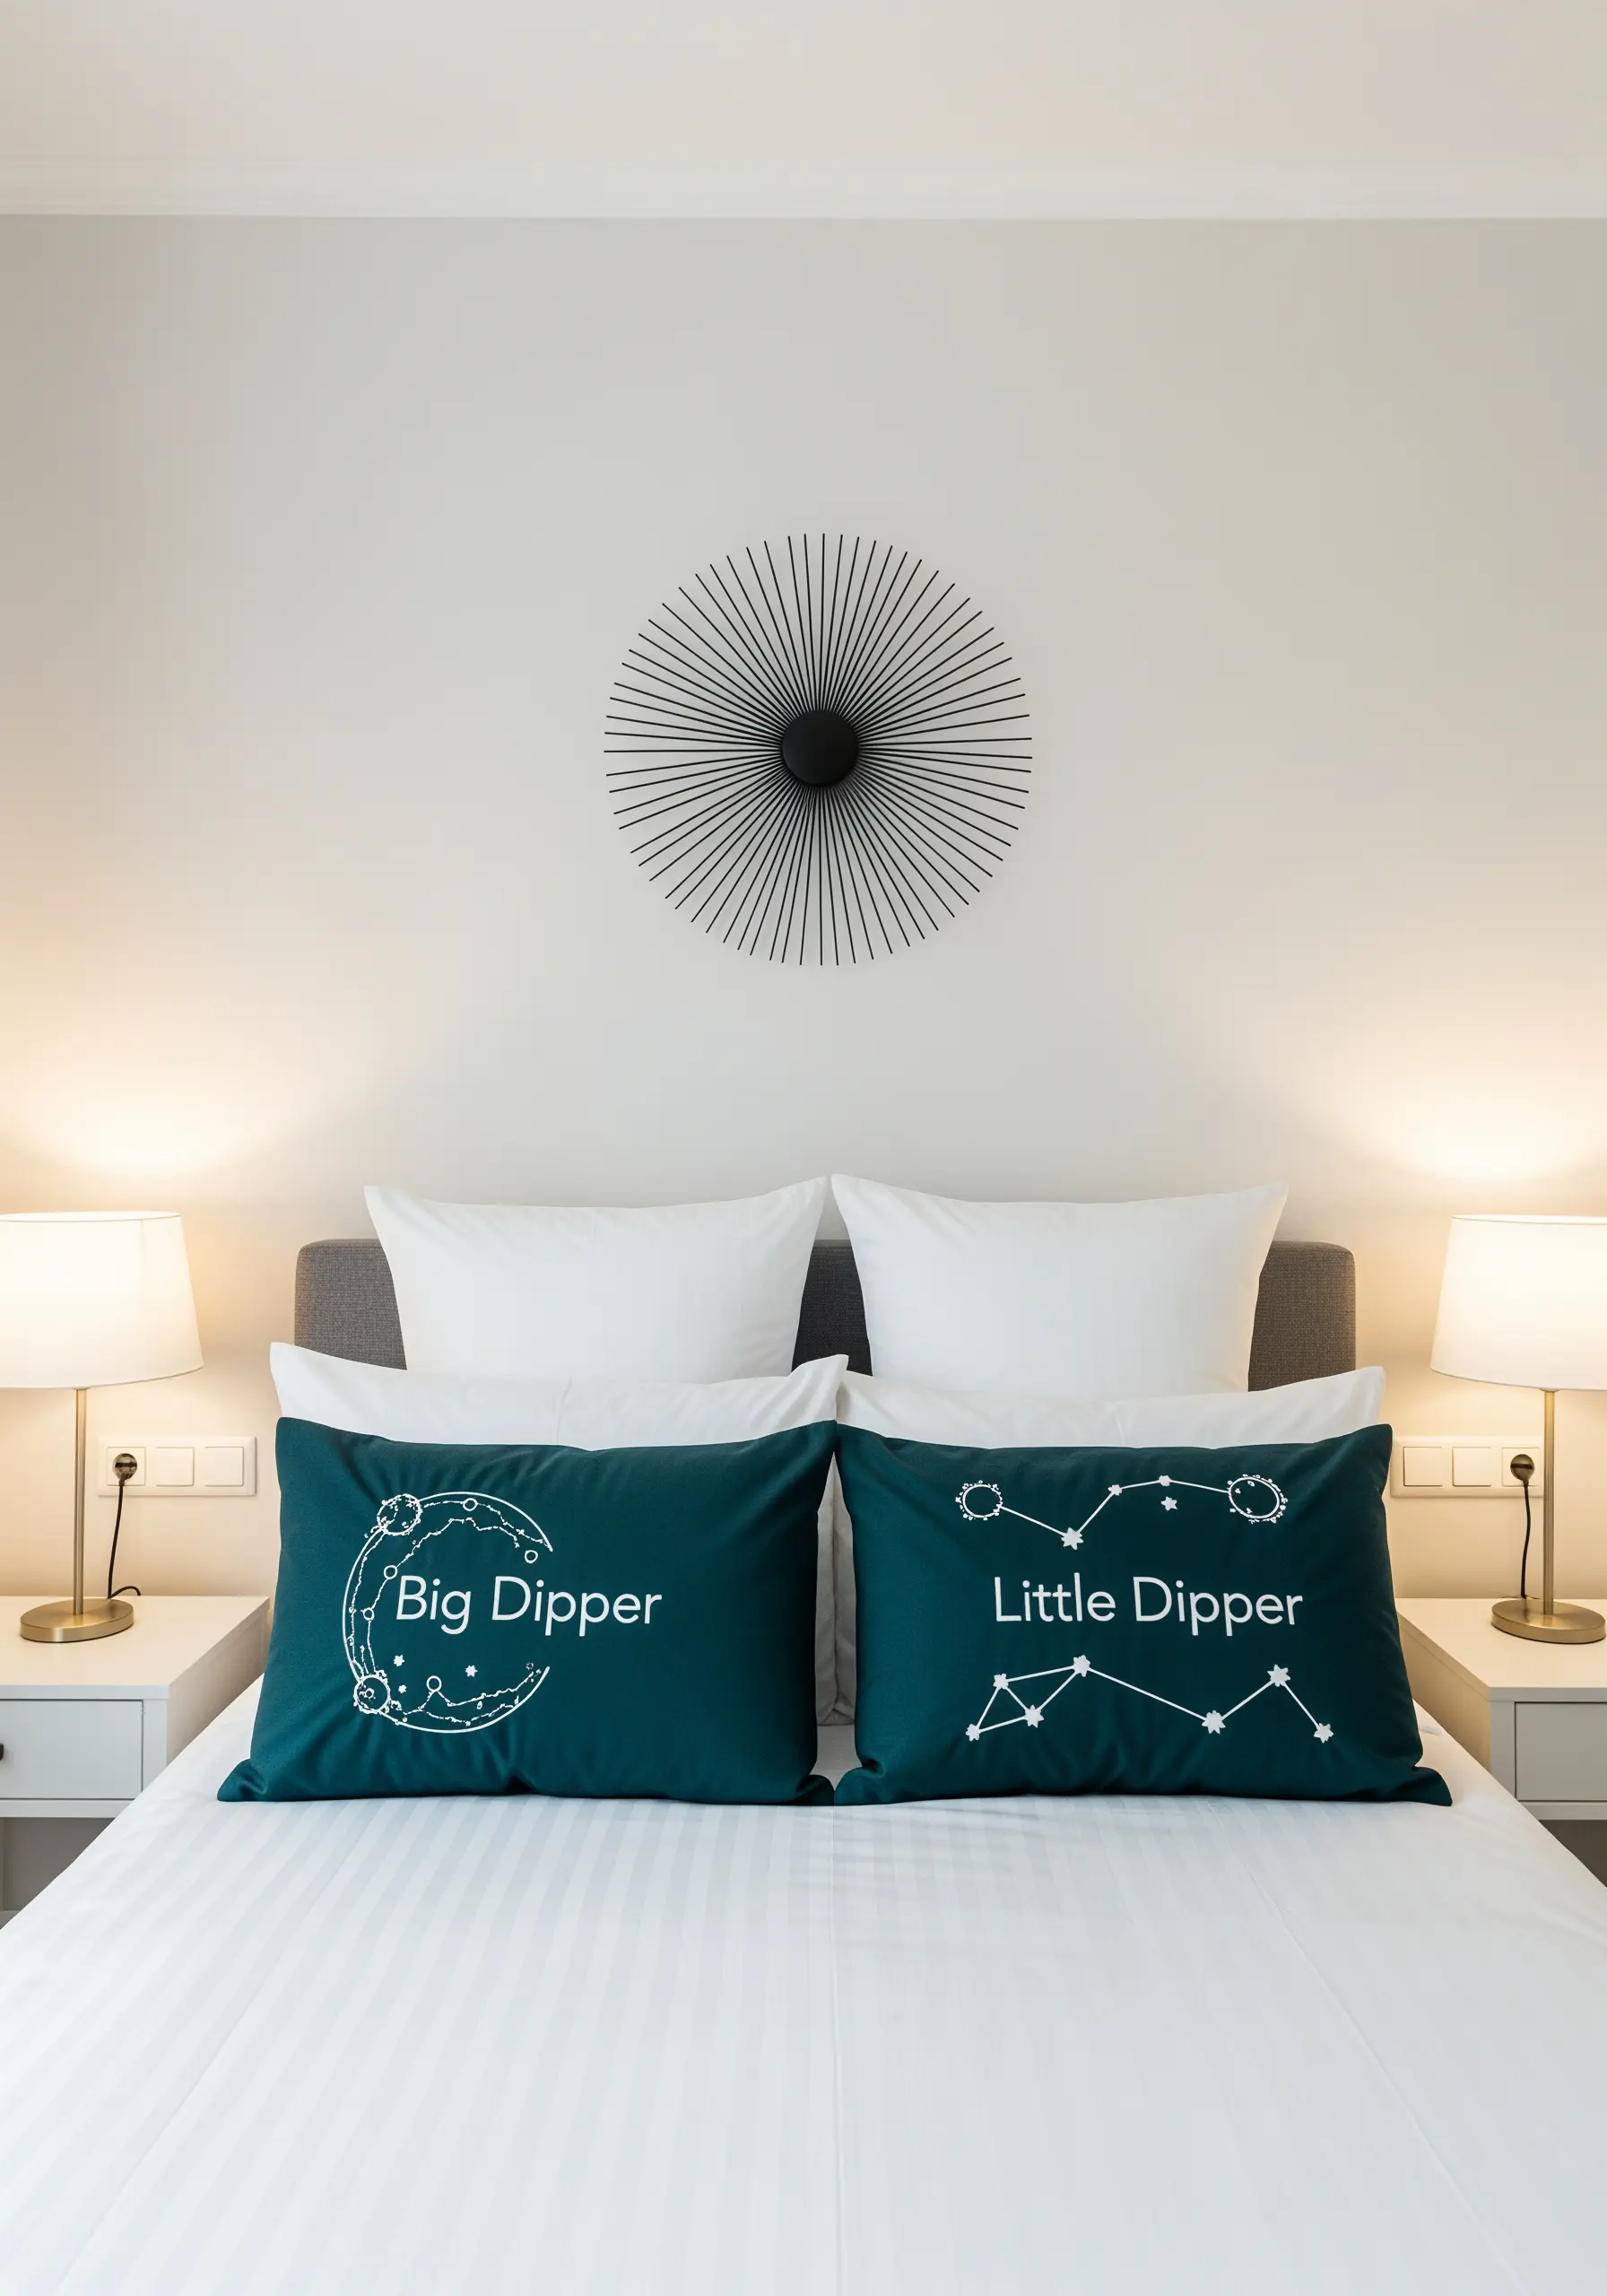
You don’t need complex stitches to make an impact; sometimes, the simplest design with a strong color contrast is the most effective.
Choose a rich, deeply colored fabric like teal or navy, and stitch your constellation using a bright white or silver thread.
A clean backstitch or even a simple running stitch is enough to define the shapes of the Big and Little Dipper.
This is a perfect example of how minimal embroidery designs that use only three colors can create a striking, modern aesthetic in a bedroom.
19. Fill Large Shapes with Couching for Metallic Shine

Filling a large area with metallic thread can be difficult, as it tends to snag and fray. Couching is the perfect alternative for achieving a smooth, shimmering surface.
Lay down long strands of a thick metallic yarn or multiple strands of metallic floss across your design. Then, use a second, finer thread (in a matching color) to tack the metallic yarn down at regular intervals.
This technique allows you to achieve a dense, metallic fill without ever pulling the delicate thread through the fabric, resulting in a flawless, high-impact shine.
20. Sketch with Thread for Playful Line Art
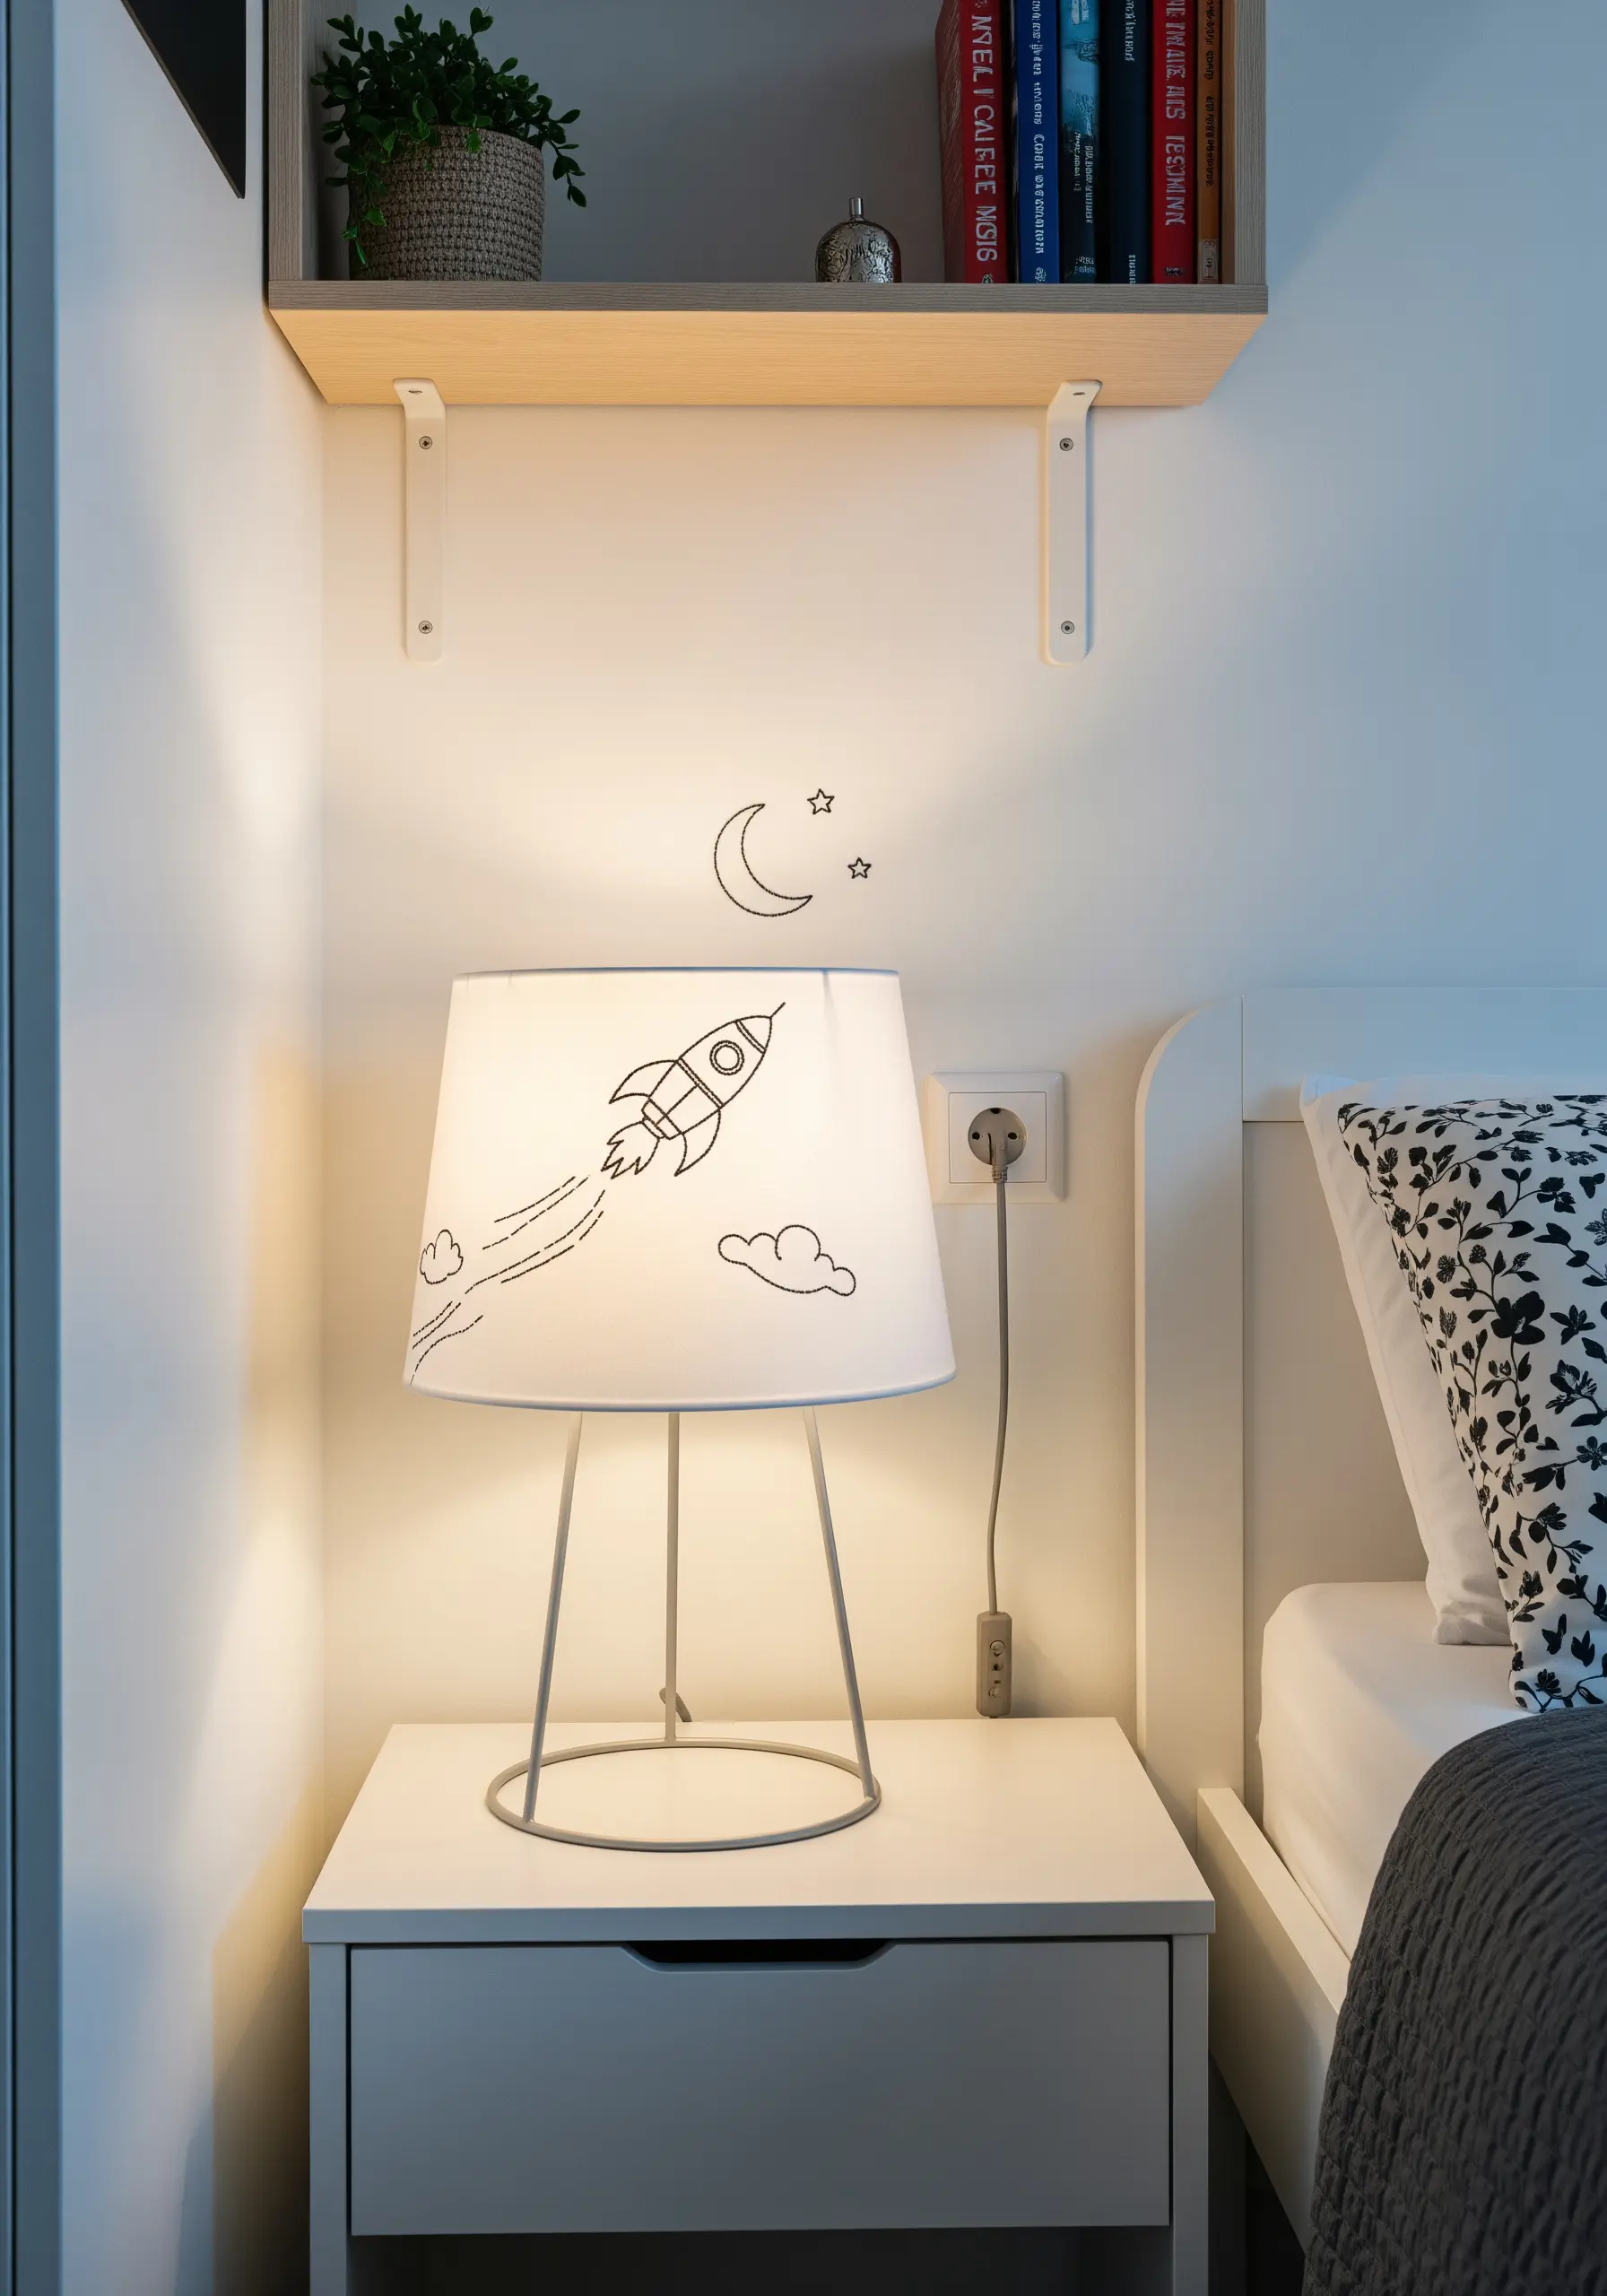
Capture the spontaneous energy of a hand-drawn sketch by using a loose, expressive backstitch or stem stitch.
Don’t worry about perfectly even stitches. Instead, vary the length and direction slightly to mimic the quality of a pen line on paper.
Use a single, dark-colored thread on a light background for a classic ink-and-paper feel.
This approach is perfect for whimsical, narrative designs like a rocket ship journey, turning a simple lampshade into a storytelling object.
21. Weave a Spiral Galaxy with French Knots and Seed Stitch
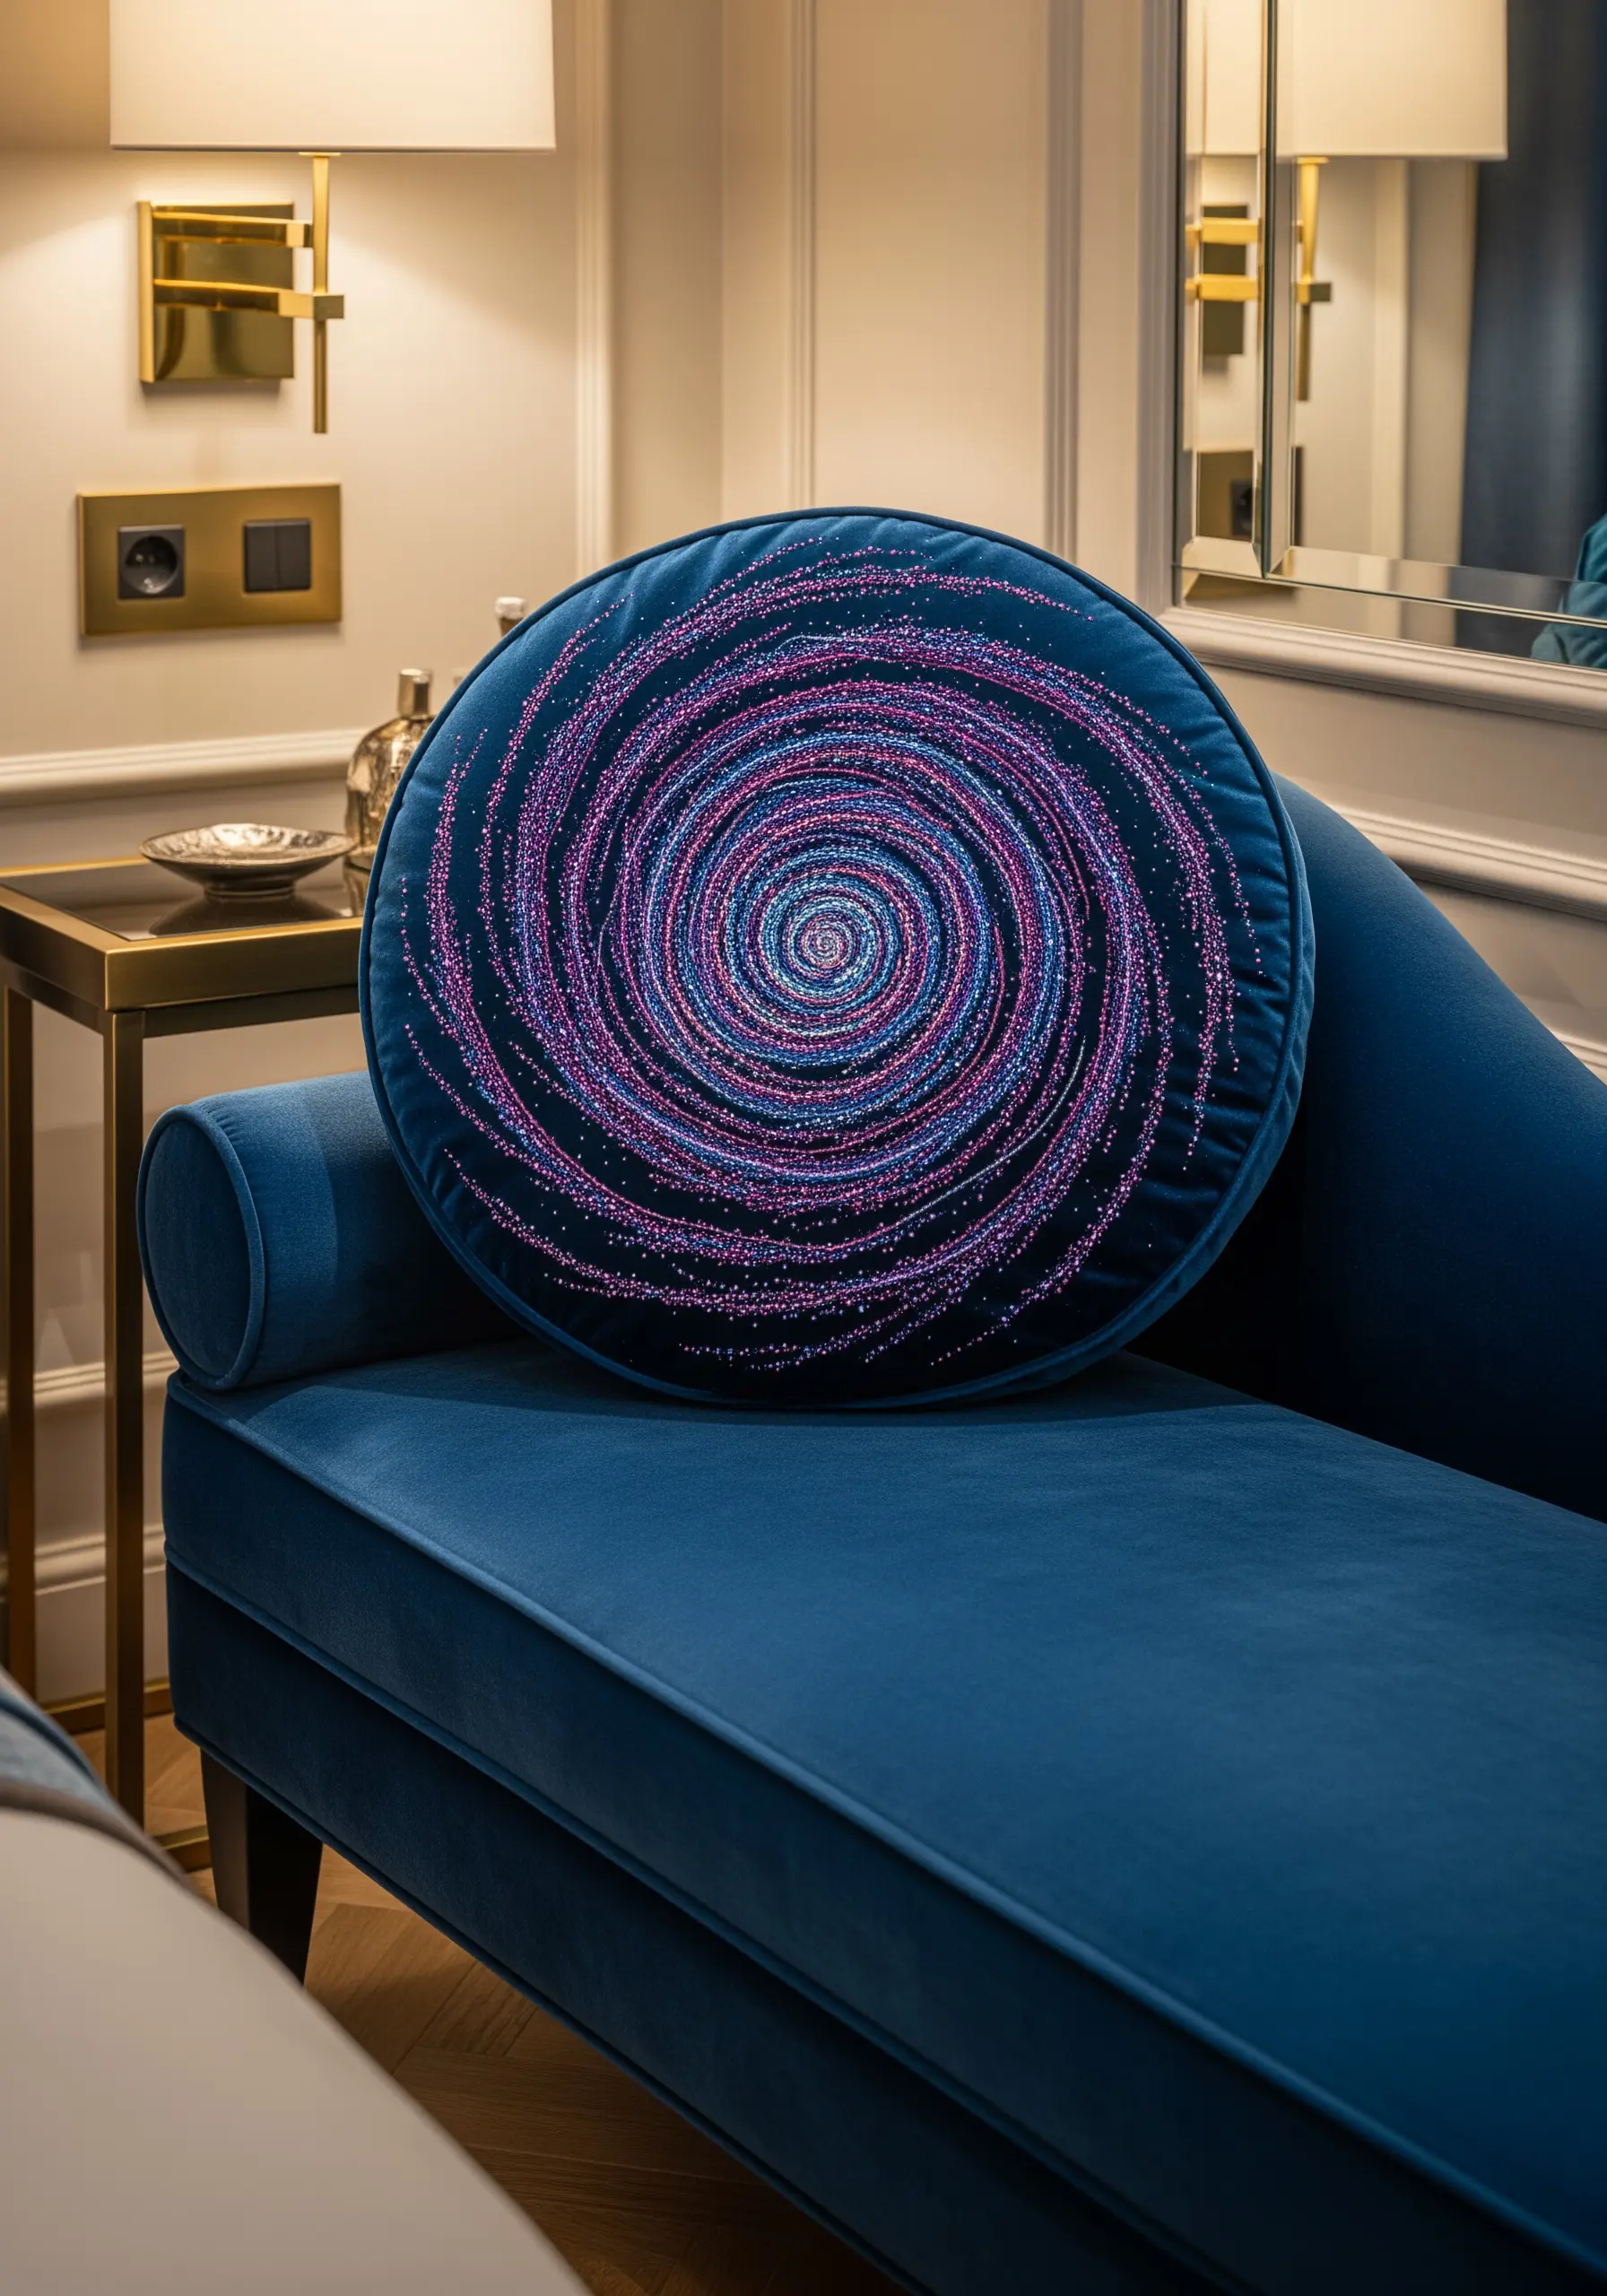
To create a richly textured spiral, like a galaxy on a cushion, rely on the tactile quality of dense knot stitches.
Draw a simple spiral guideline on your fabric with a water-soluble marker. Then, fill the lines with a dense mix of French knots and seed stitches.
Use several shades of a color family—like purples, blues, and pinks—and sprinkle in some metallic thread to represent star clusters.
The result is a highly dimensional, touchable design that invites closer inspection and adds a luxurious feel to your decor.
22. Anchor Lettering with a Field of Stars
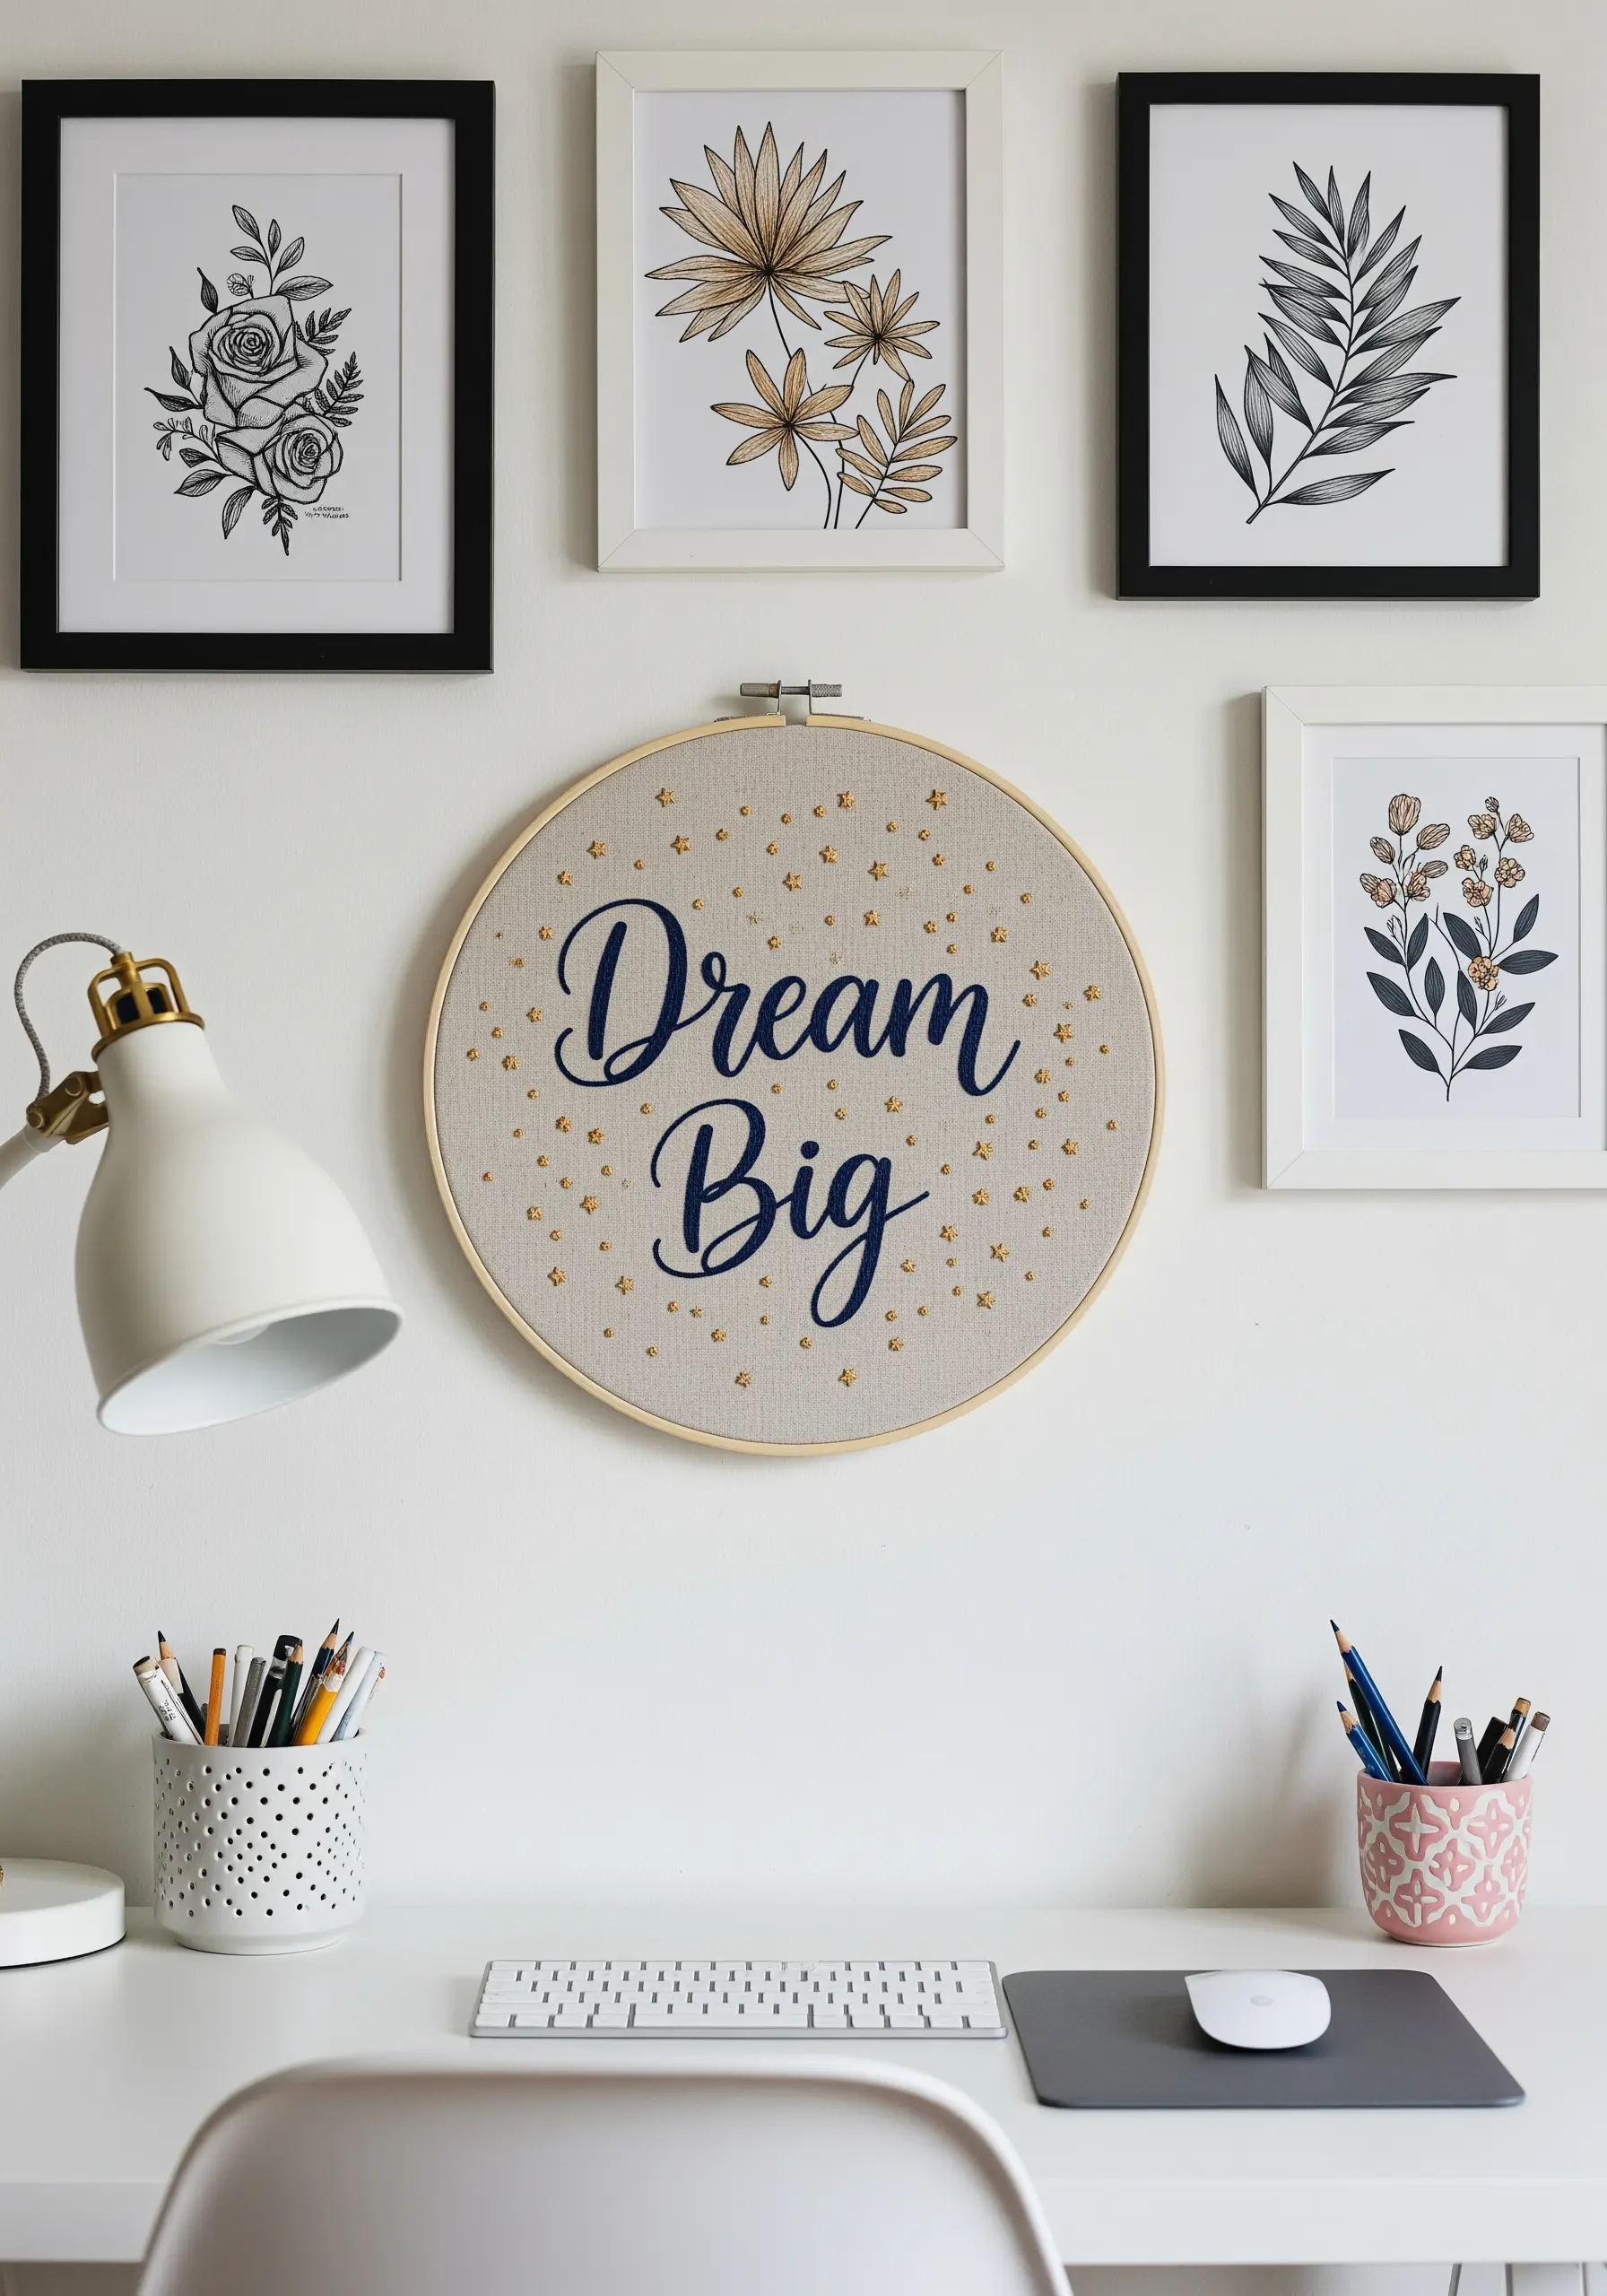
When combining lettering with decorative elements, ensure the two feel balanced and integrated.
After stitching your main phrase with a smooth satin stitch or a bold chain stitch, create a scattered background of tiny star stitches or French knots.
Place the ‘stars’ randomly, avoiding any hint of a grid pattern, and let them cluster more densely near the edges of the hoop to naturally frame the words.
This technique elevates simple peaceful, poetic quote embroidery hoops into beautifully composed pieces of art.
23. Create Atmospheric Perspective with Varied Knot Sizes
To give a densely stitched starry sky a sense of depth, use French knots of varying sizes.
For the ‘closer’ stars, wrap the thread around your needle two or three times to create larger, bolder knots.
For the more distant stars, use a single strand of floss and wrap it only once for a tiny, delicate point of light.
Scatter these different sizes across your fabric. This simple variation tricks the eye into seeing a vast, three-dimensional space, perfect for embroidery ideas inspired by national parks and landscapes.
24. Construct a 3D Mobile with Wire and Thread
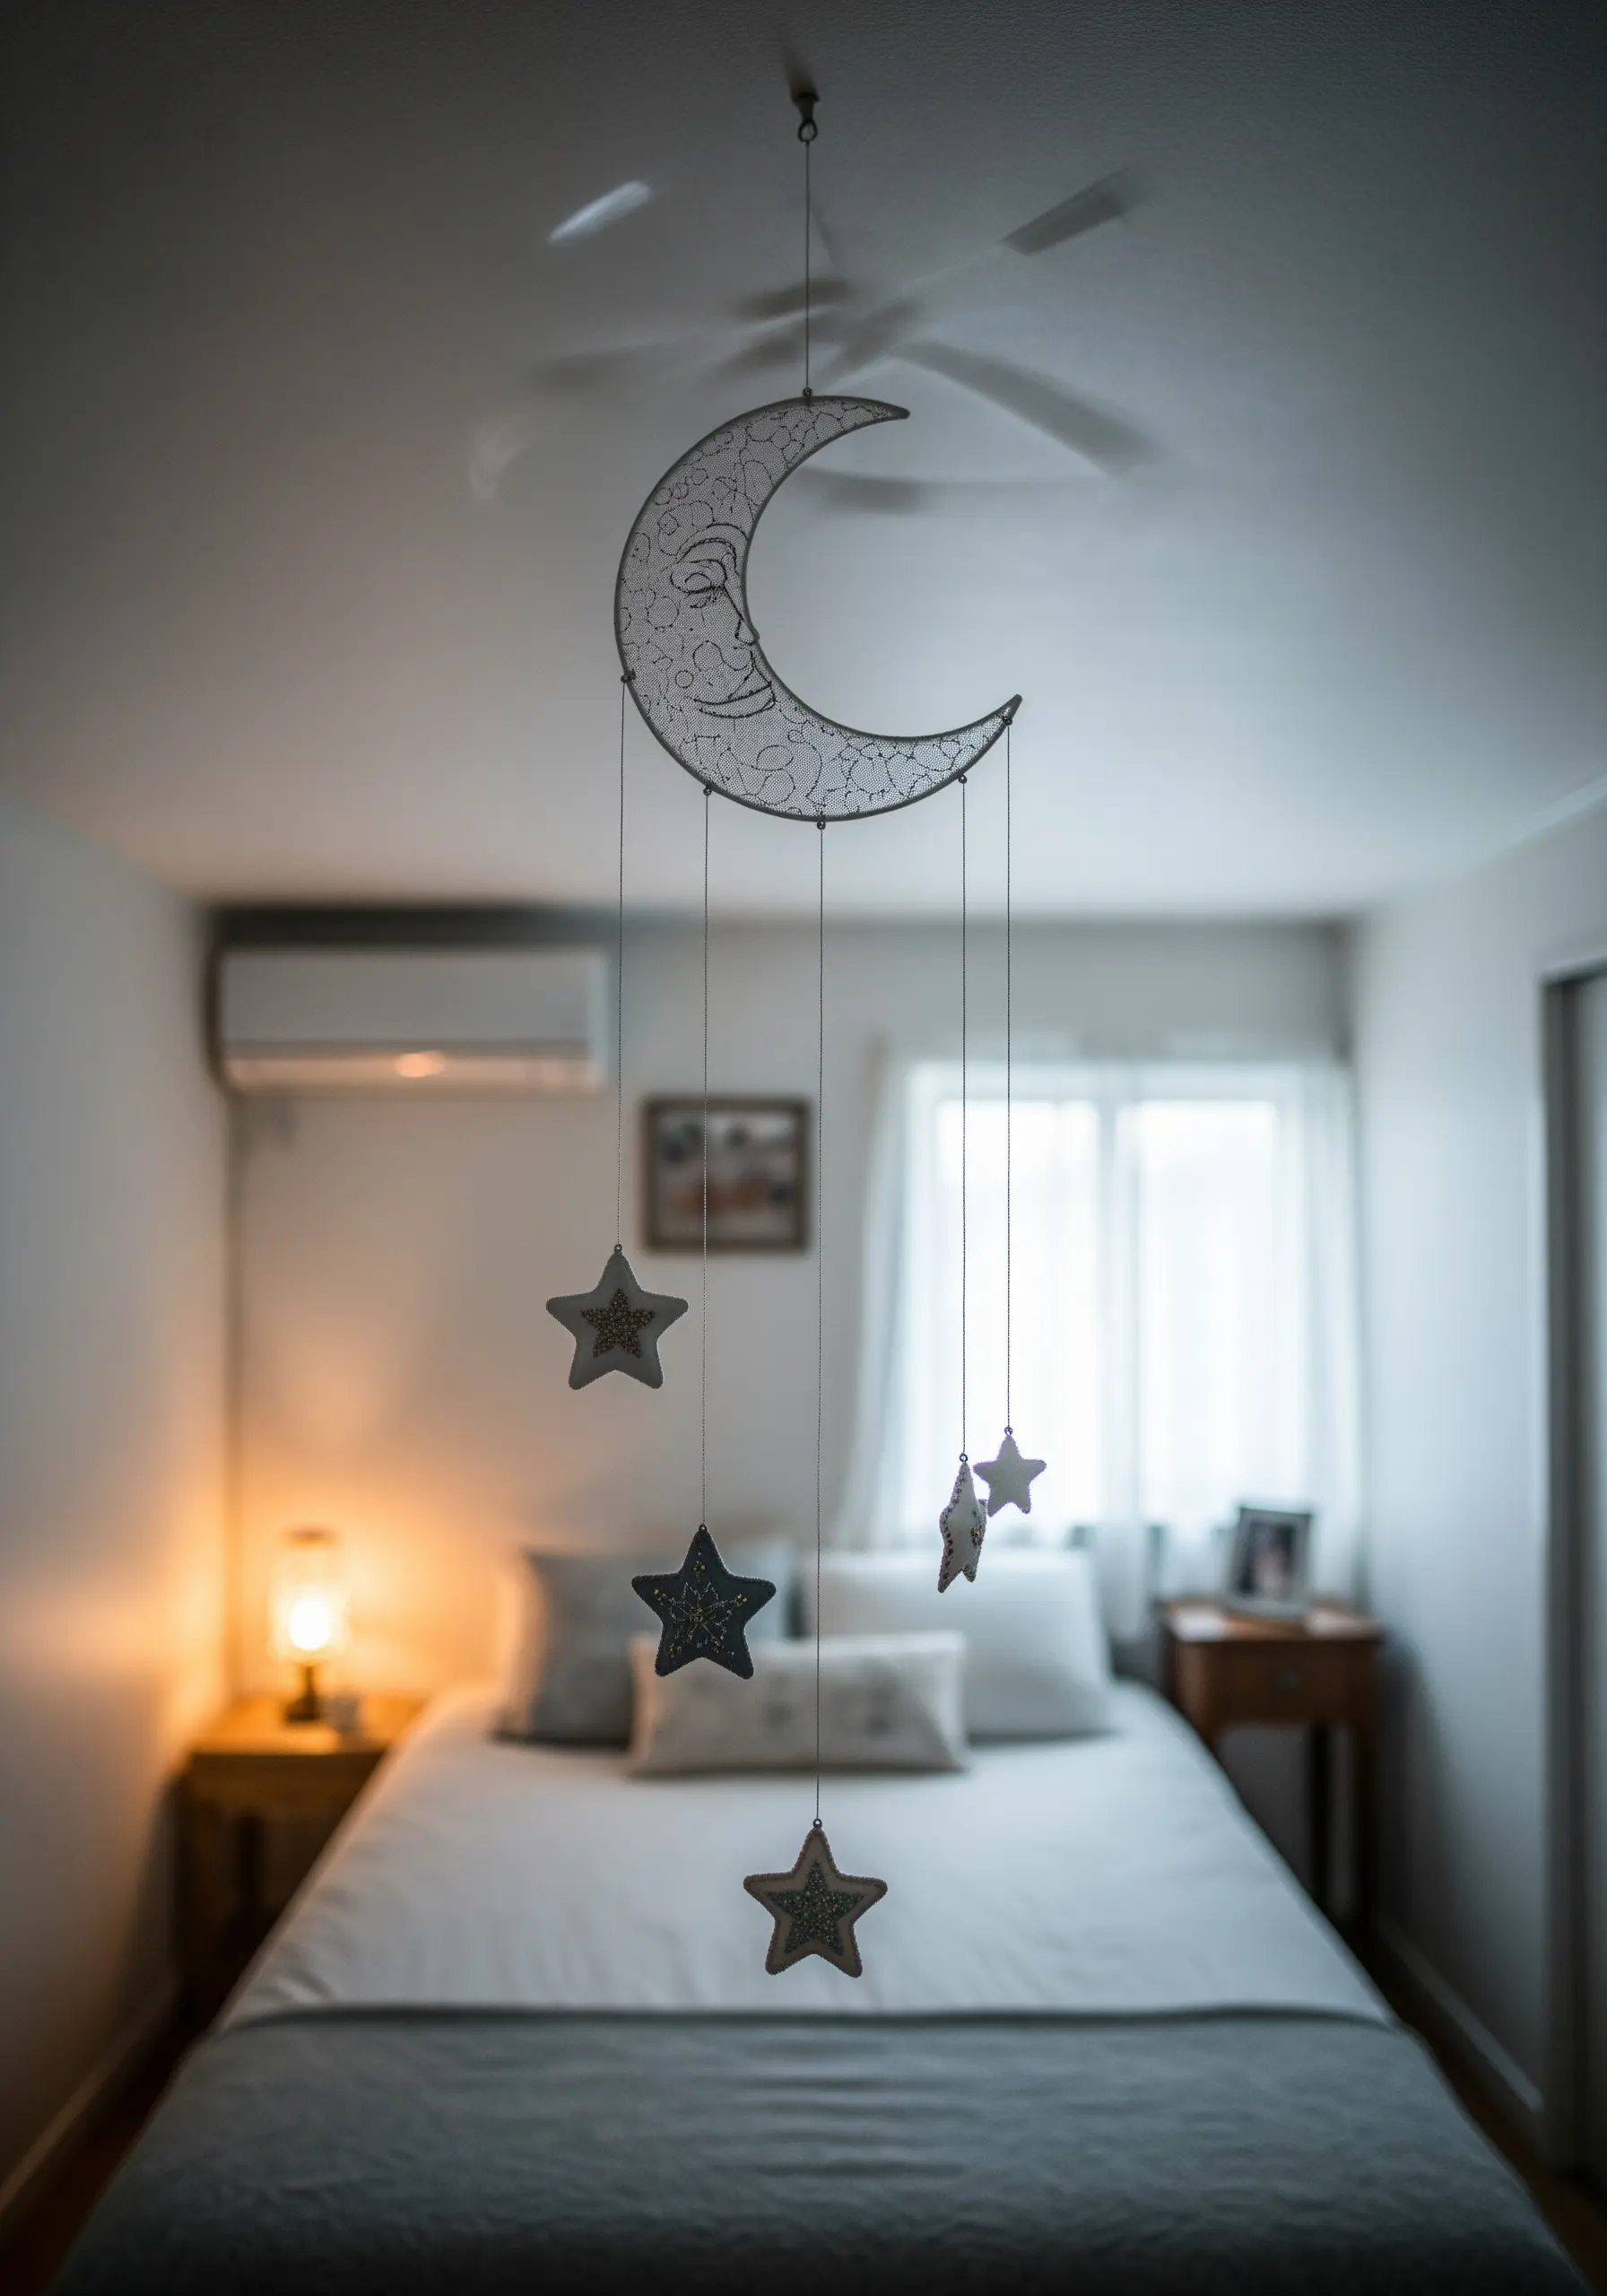
Take your embroidery off the fabric and into the third dimension by creating a celestial mobile.
Form moon and star shapes with a medium-gauge craft wire, then wrap them tightly and evenly with metallic or variegated embroidery floss.
For extra detail, you can add tiny beads or stitch small patterns onto felt shapes and hang them within the wire frames.
This technique combines wire sculpture with fiber art to create a delicate, kinetic piece that gently moves with the air in the room.
25. Build Realistic Lunar Texture with Layered Grey Tones
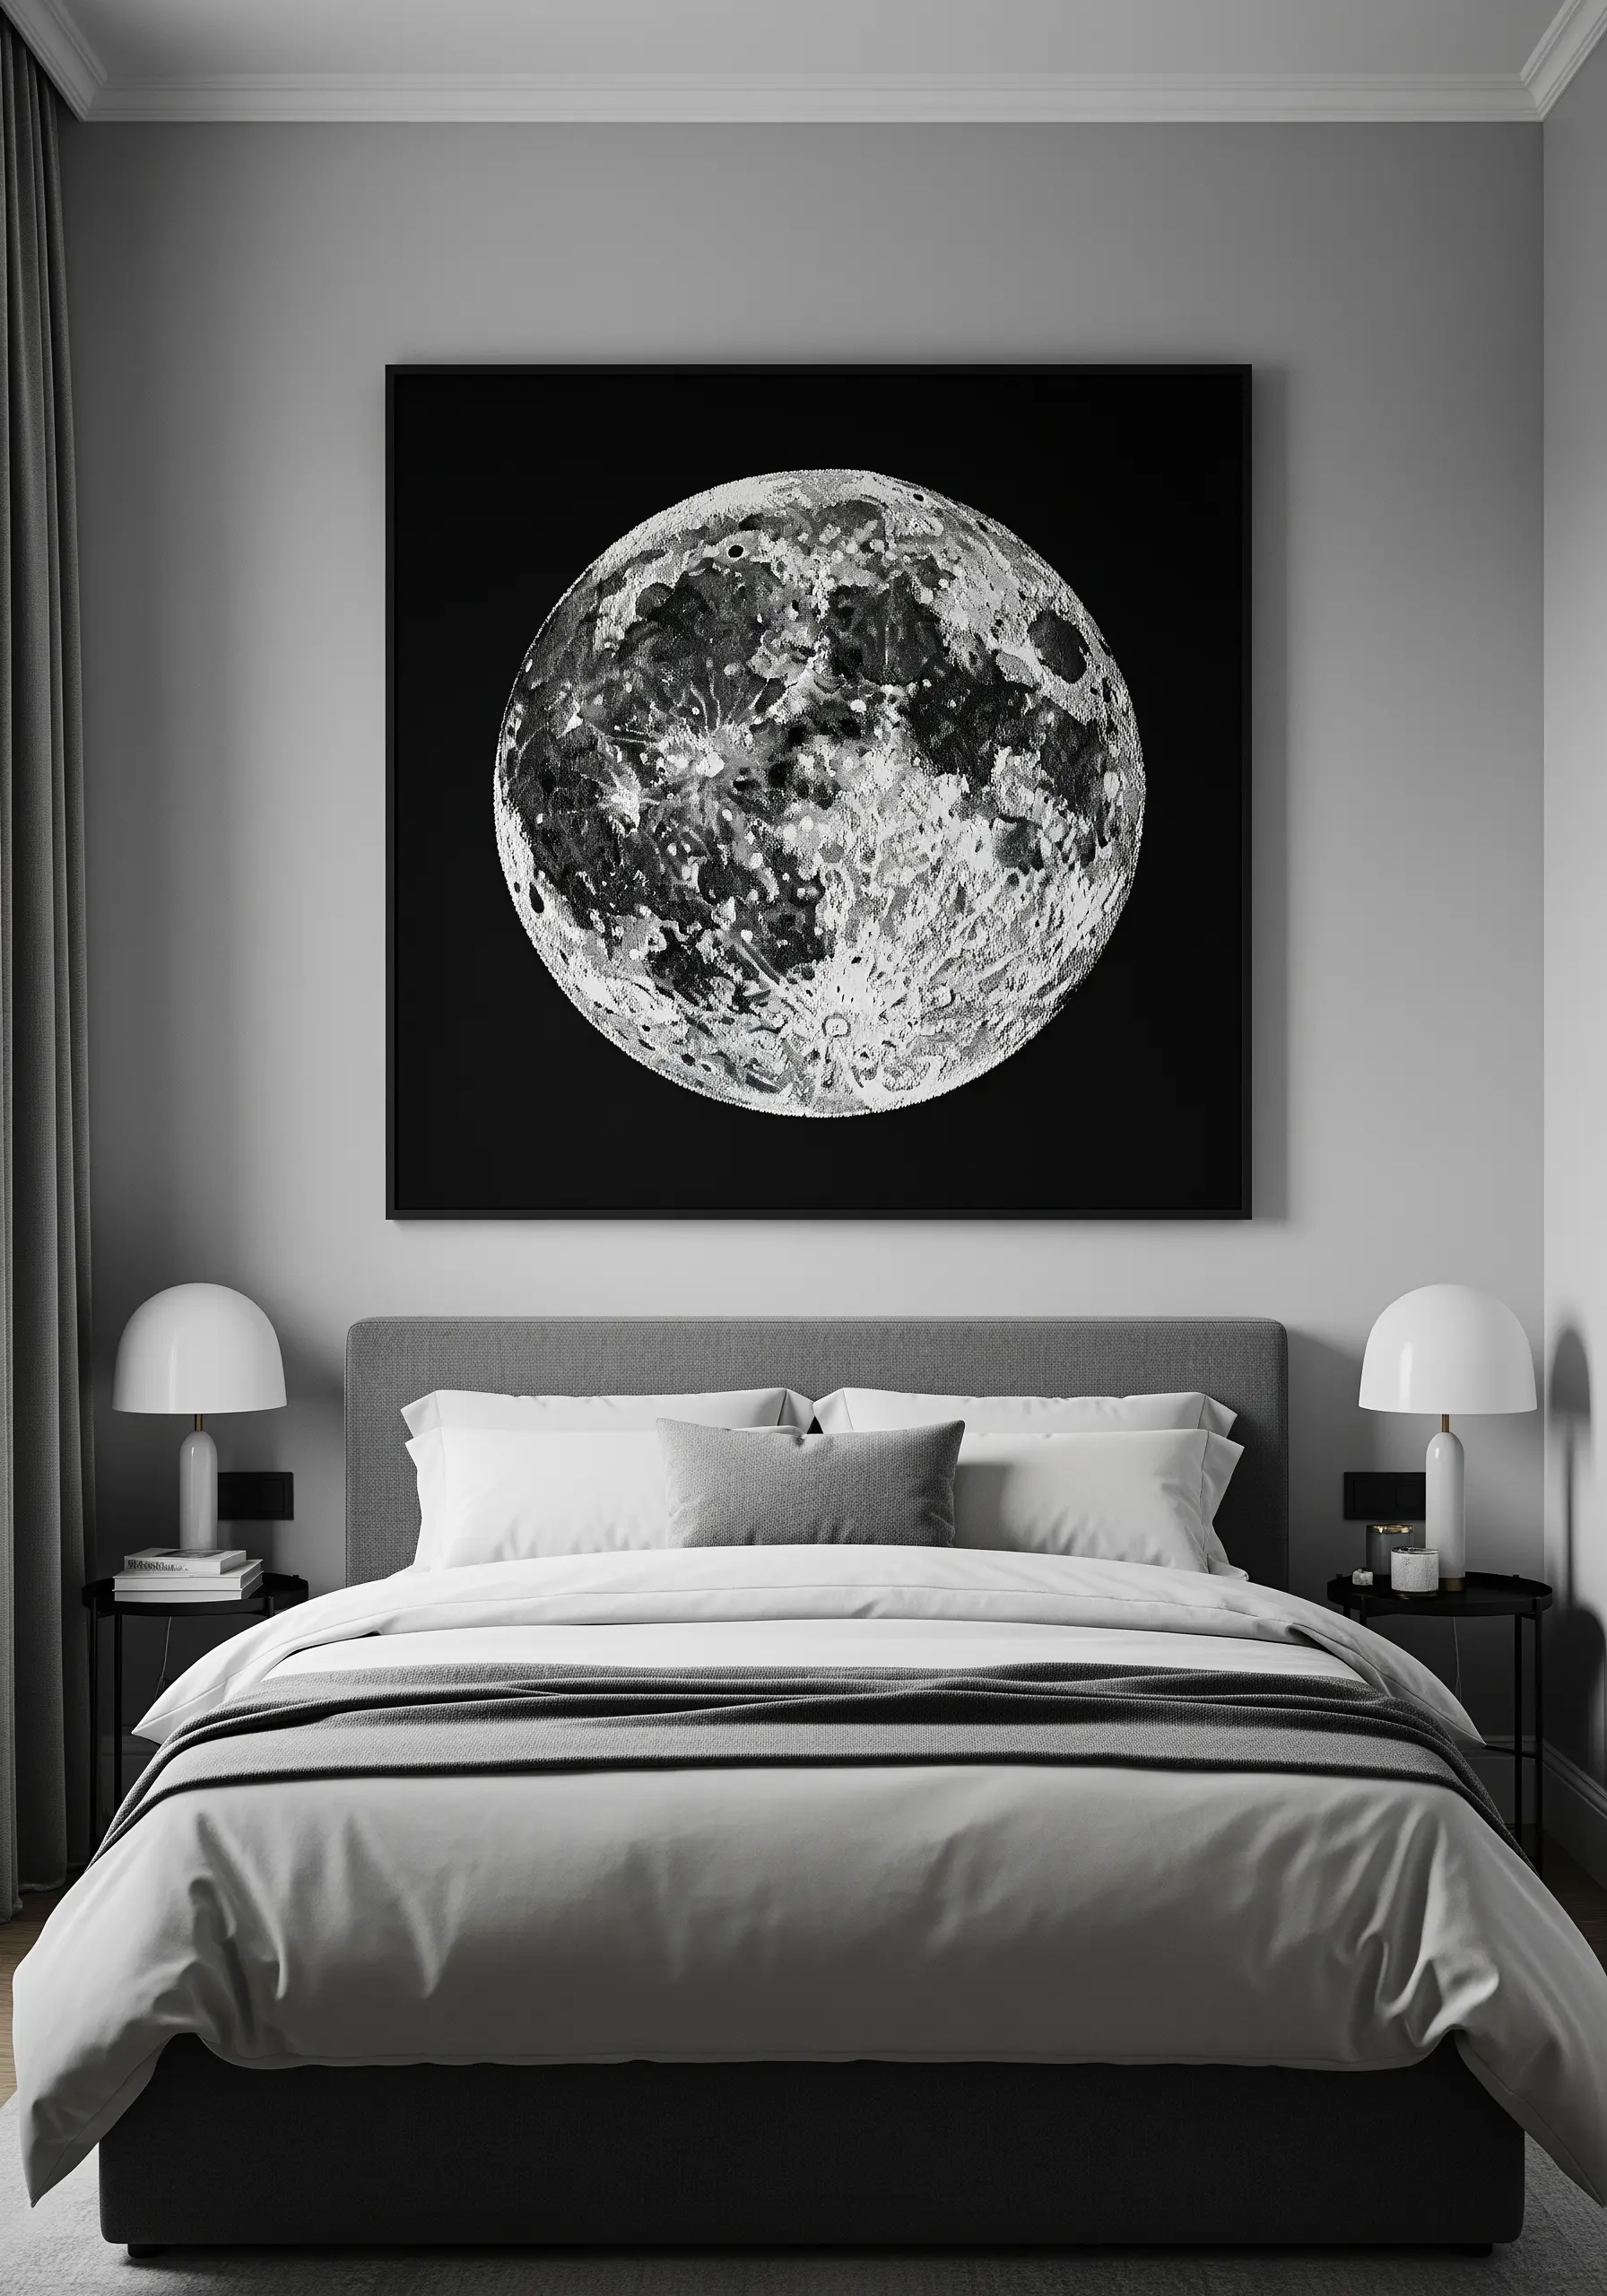
A convincing embroidered moon relies on subtle shading and immense texture to suggest craters and plains.
Work with at least four or five shades of grey floss, from dark charcoal to bright white, plus a strand of silver metallic for highlights.
Fill the entire circle with a chaotic mix of seed stitch, French knots, and short straight stitches, layering the colors to build up dimension.
There’s no need for perfect blending; the slightly random placement of tones is what creates a realistic, rugged lunar surface.
26. Add Functional Art with Durable Stitches

When embroidering a utilitarian item like a hanging organizer, choose stitches and threads that can withstand regular use.
Opt for a heavy-duty fabric like canvas or denim and use all six strands of your embroidery floss or a #5 perle cotton for strength.
Stitches like the chain stitch, stem stitch, or split stitch are excellent choices as they are robust and create clear, visible lines for your satellite and planet designs.
This ensures your decorative work remains beautiful without compromising the item’s function.
27. Design a Geometric Constellation Pattern
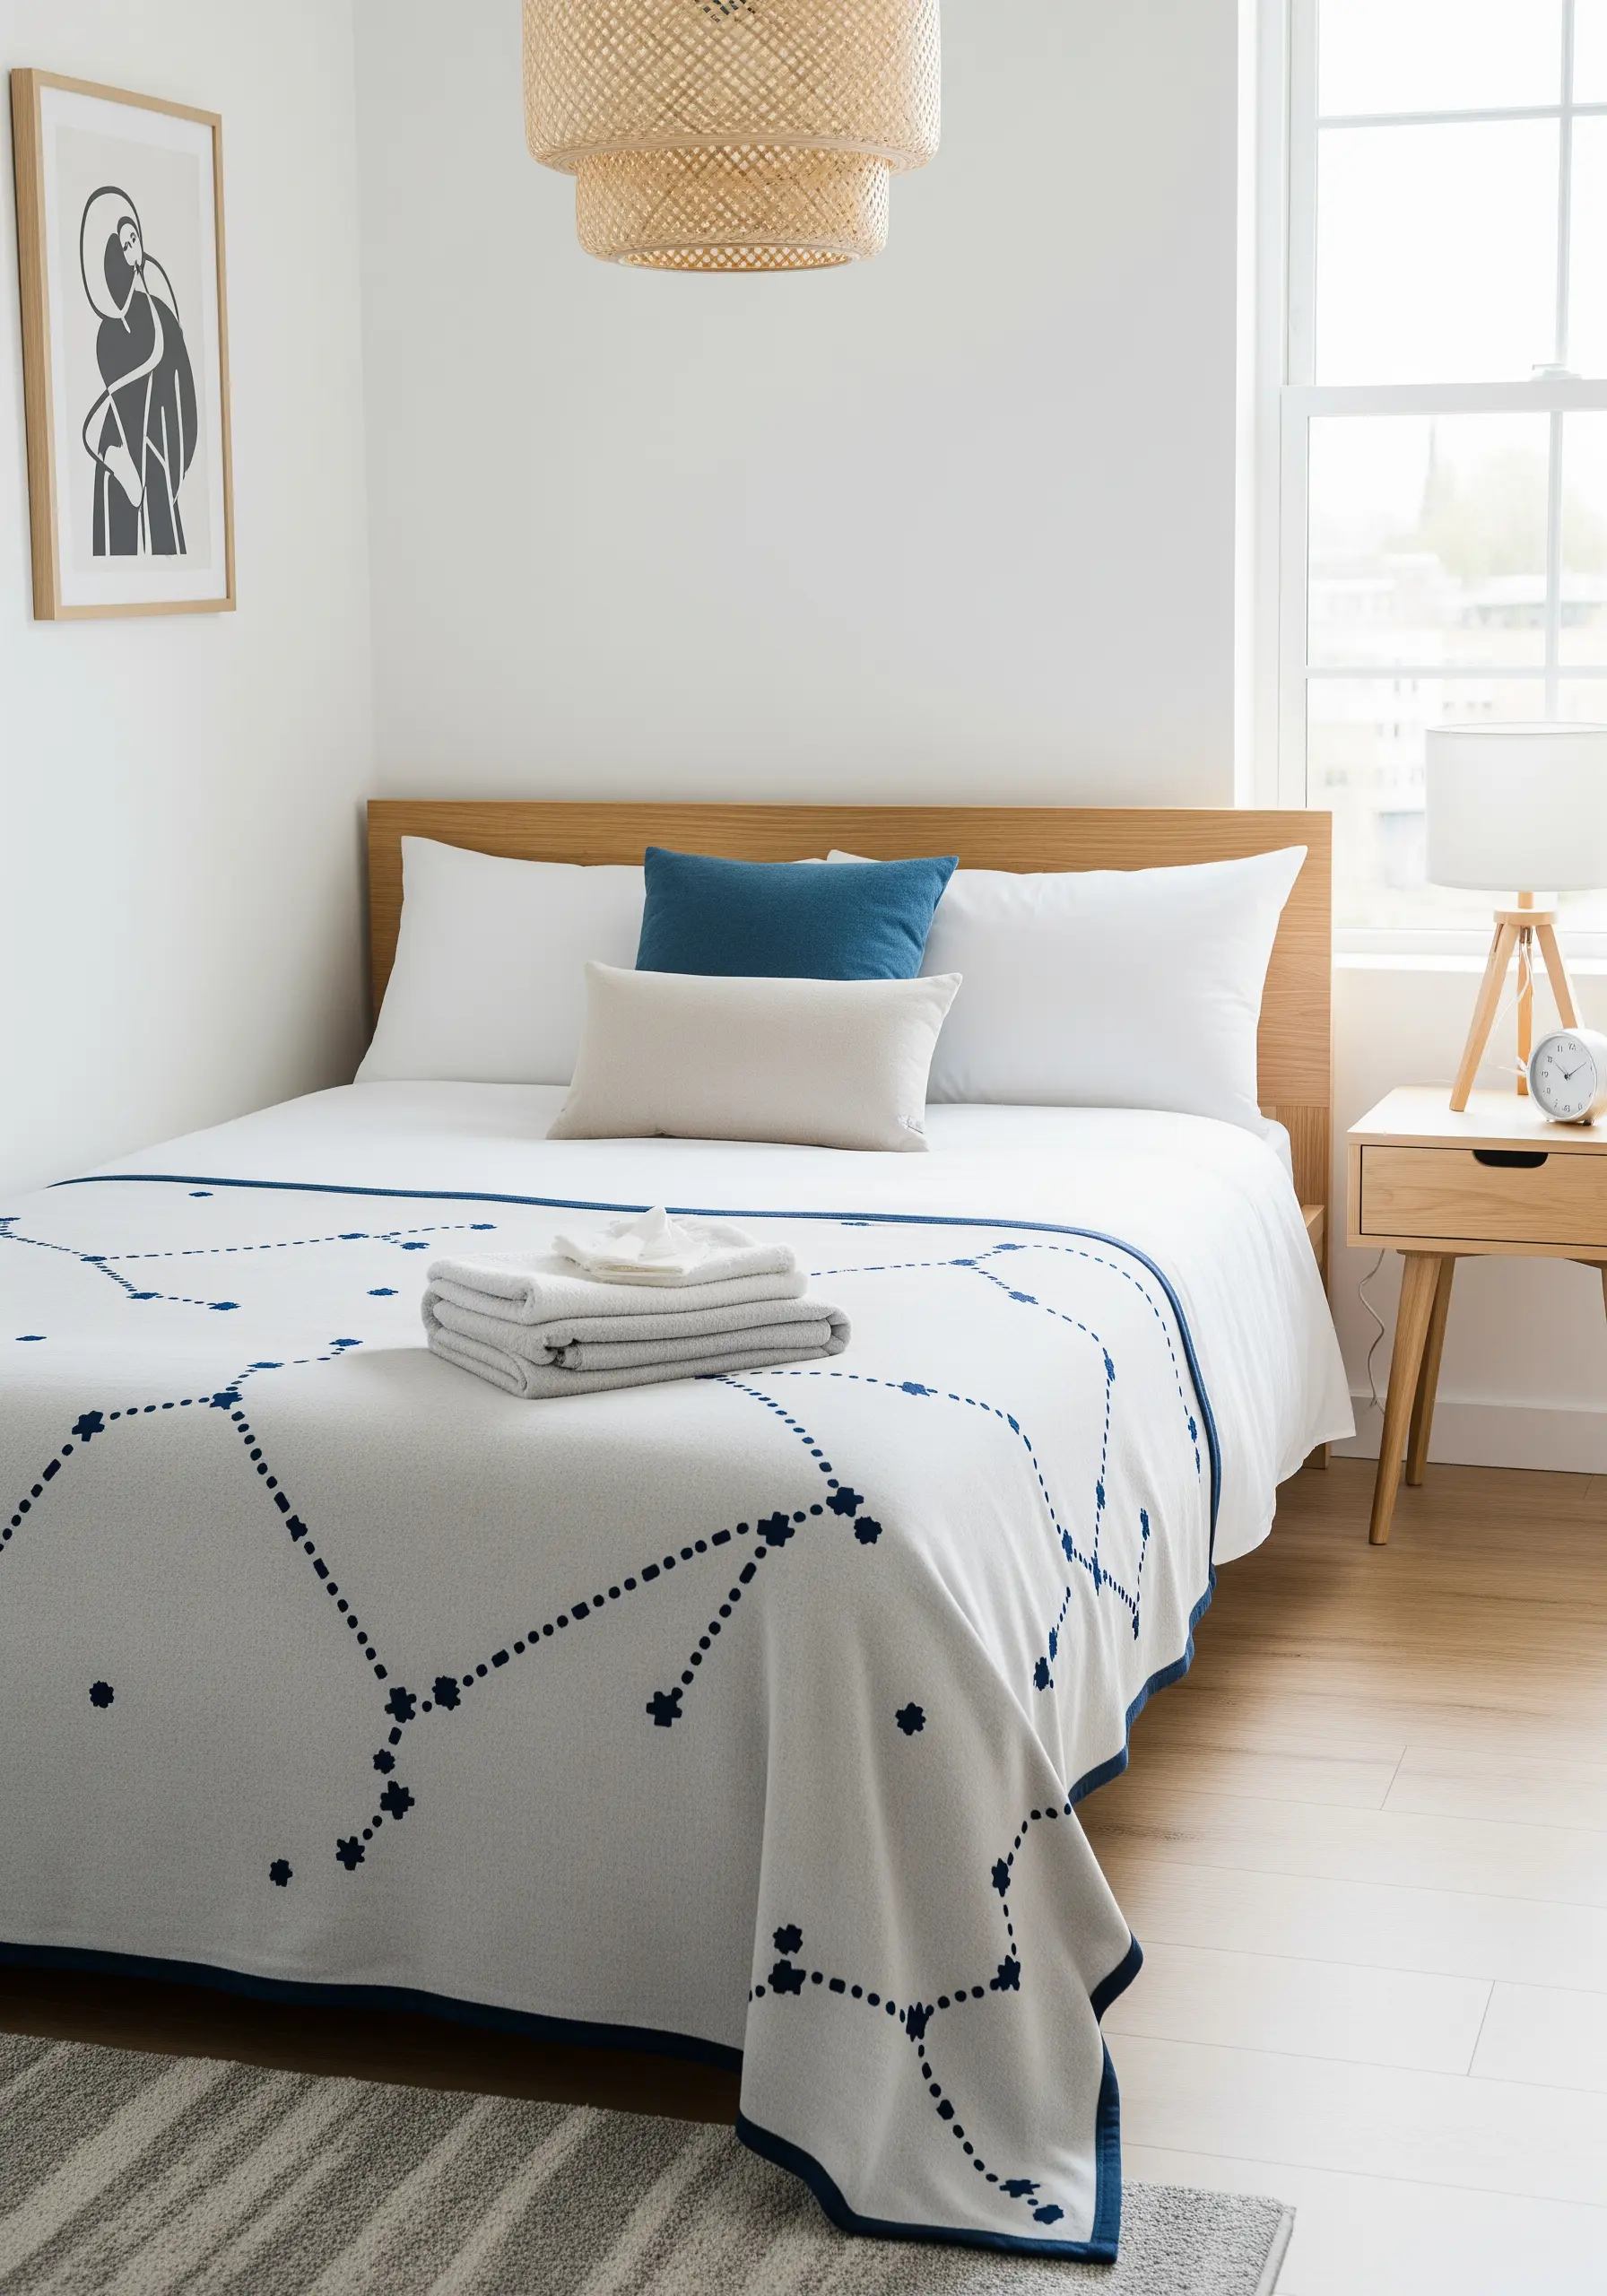
For a modern, graphic take on a celestial theme, arrange star or floral motifs into a repeating geometric grid, like the pattern on a blanket.
Use a water-soluble fabric marker and a clear quilting ruler to mark out a diamond or square grid on your fabric first.
Then, place a small, simple motif—like a cluster of French knots or a small star made of straight stitches—at each intersection of the grid lines.
This creates a clean, orderly, and sophisticated pattern that feels both classic and contemporary.


