
Have you ever finished an embroidery project and felt it was missing… something? A certain polish, a quiet confidence that separates a personal craft from a piece of art. You have the skills, but you’re looking for that next step to make your work feel truly intentional.
The secret isn’t in mastering dozens of complex stitches or buying every color of thread. Instead, it lies in the subtle choices you make: how you use a single line to define a shape, how you build texture with purpose, and how you allow negative space to speak as loudly as your stitches.
These projects are your invitation to explore that subtlety. Each one is built around a core principle—from refining your lettering to playing with textural fills—that will elevate not just the final piece, but your understanding of what embroidery can be. Let’s begin.
1. Master the Single Continuous Line Portrait

To achieve a fluid, uninterrupted line for an abstract portrait, abandon the standard backstitch for a whipped backstitch or a stem stitch.
These stitches smooth out the jagged edges that can occur at sharp curves, creating a seamless look that mimics ink on paper.
Use all six strands of cotton floss for a bold, graphic weight that contrasts sharply against a neutral linen or cotton-blend cushion cover.
Maintaining consistent thread tension is crucial; pulling too tight will pucker the fabric, while loose stitches will snag and disrupt the clean silhouette of your abstract face line embroidery designs.
2. Explore Geometric Patterns on Felt
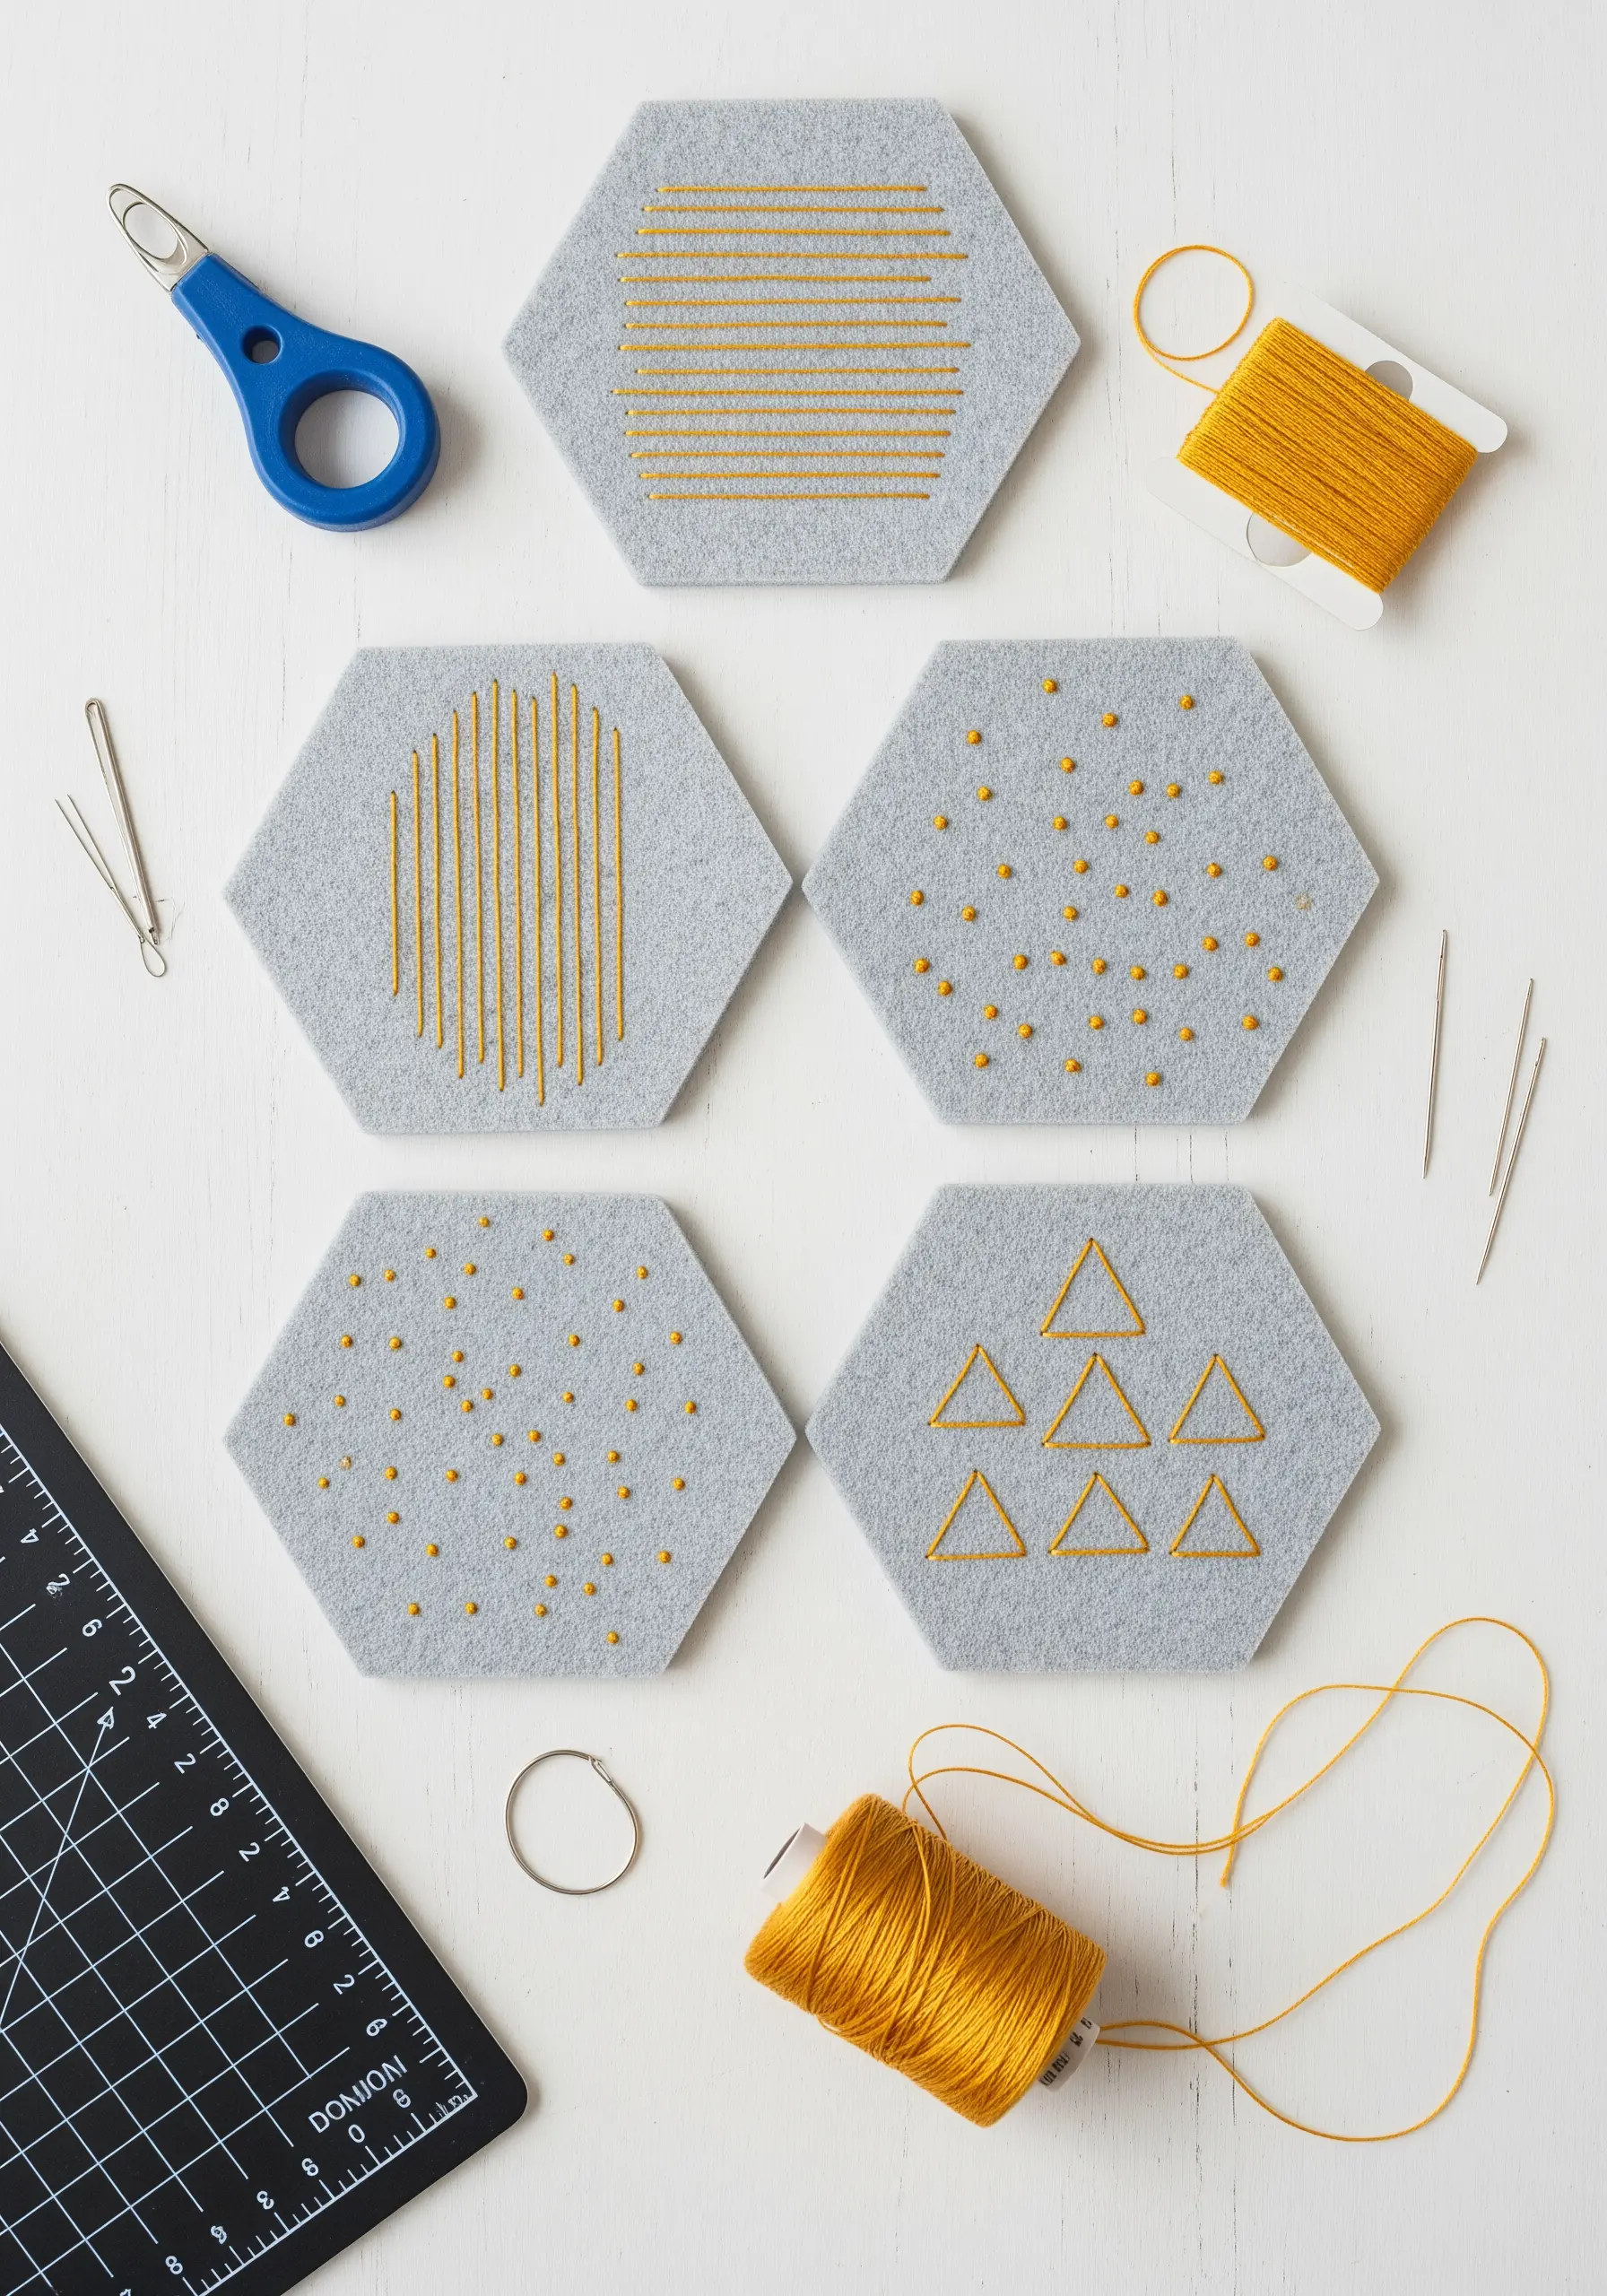
Use pressed felt as your canvas for sharp, modern coasters that require no hemming or finishing.
The dense, non-woven material provides excellent stability, allowing your stitches to sit on the surface without pulling the fabric.
Create visual rhythm with simple running stitches, seed stitches, and precisely placed French knots.
To transfer your design, use a chalk pencil or a heat-erasable pen to mark your grid, ensuring perfect symmetry in your minimalist thread art ideas.
3. Create Depth with Directional Fill Stitches
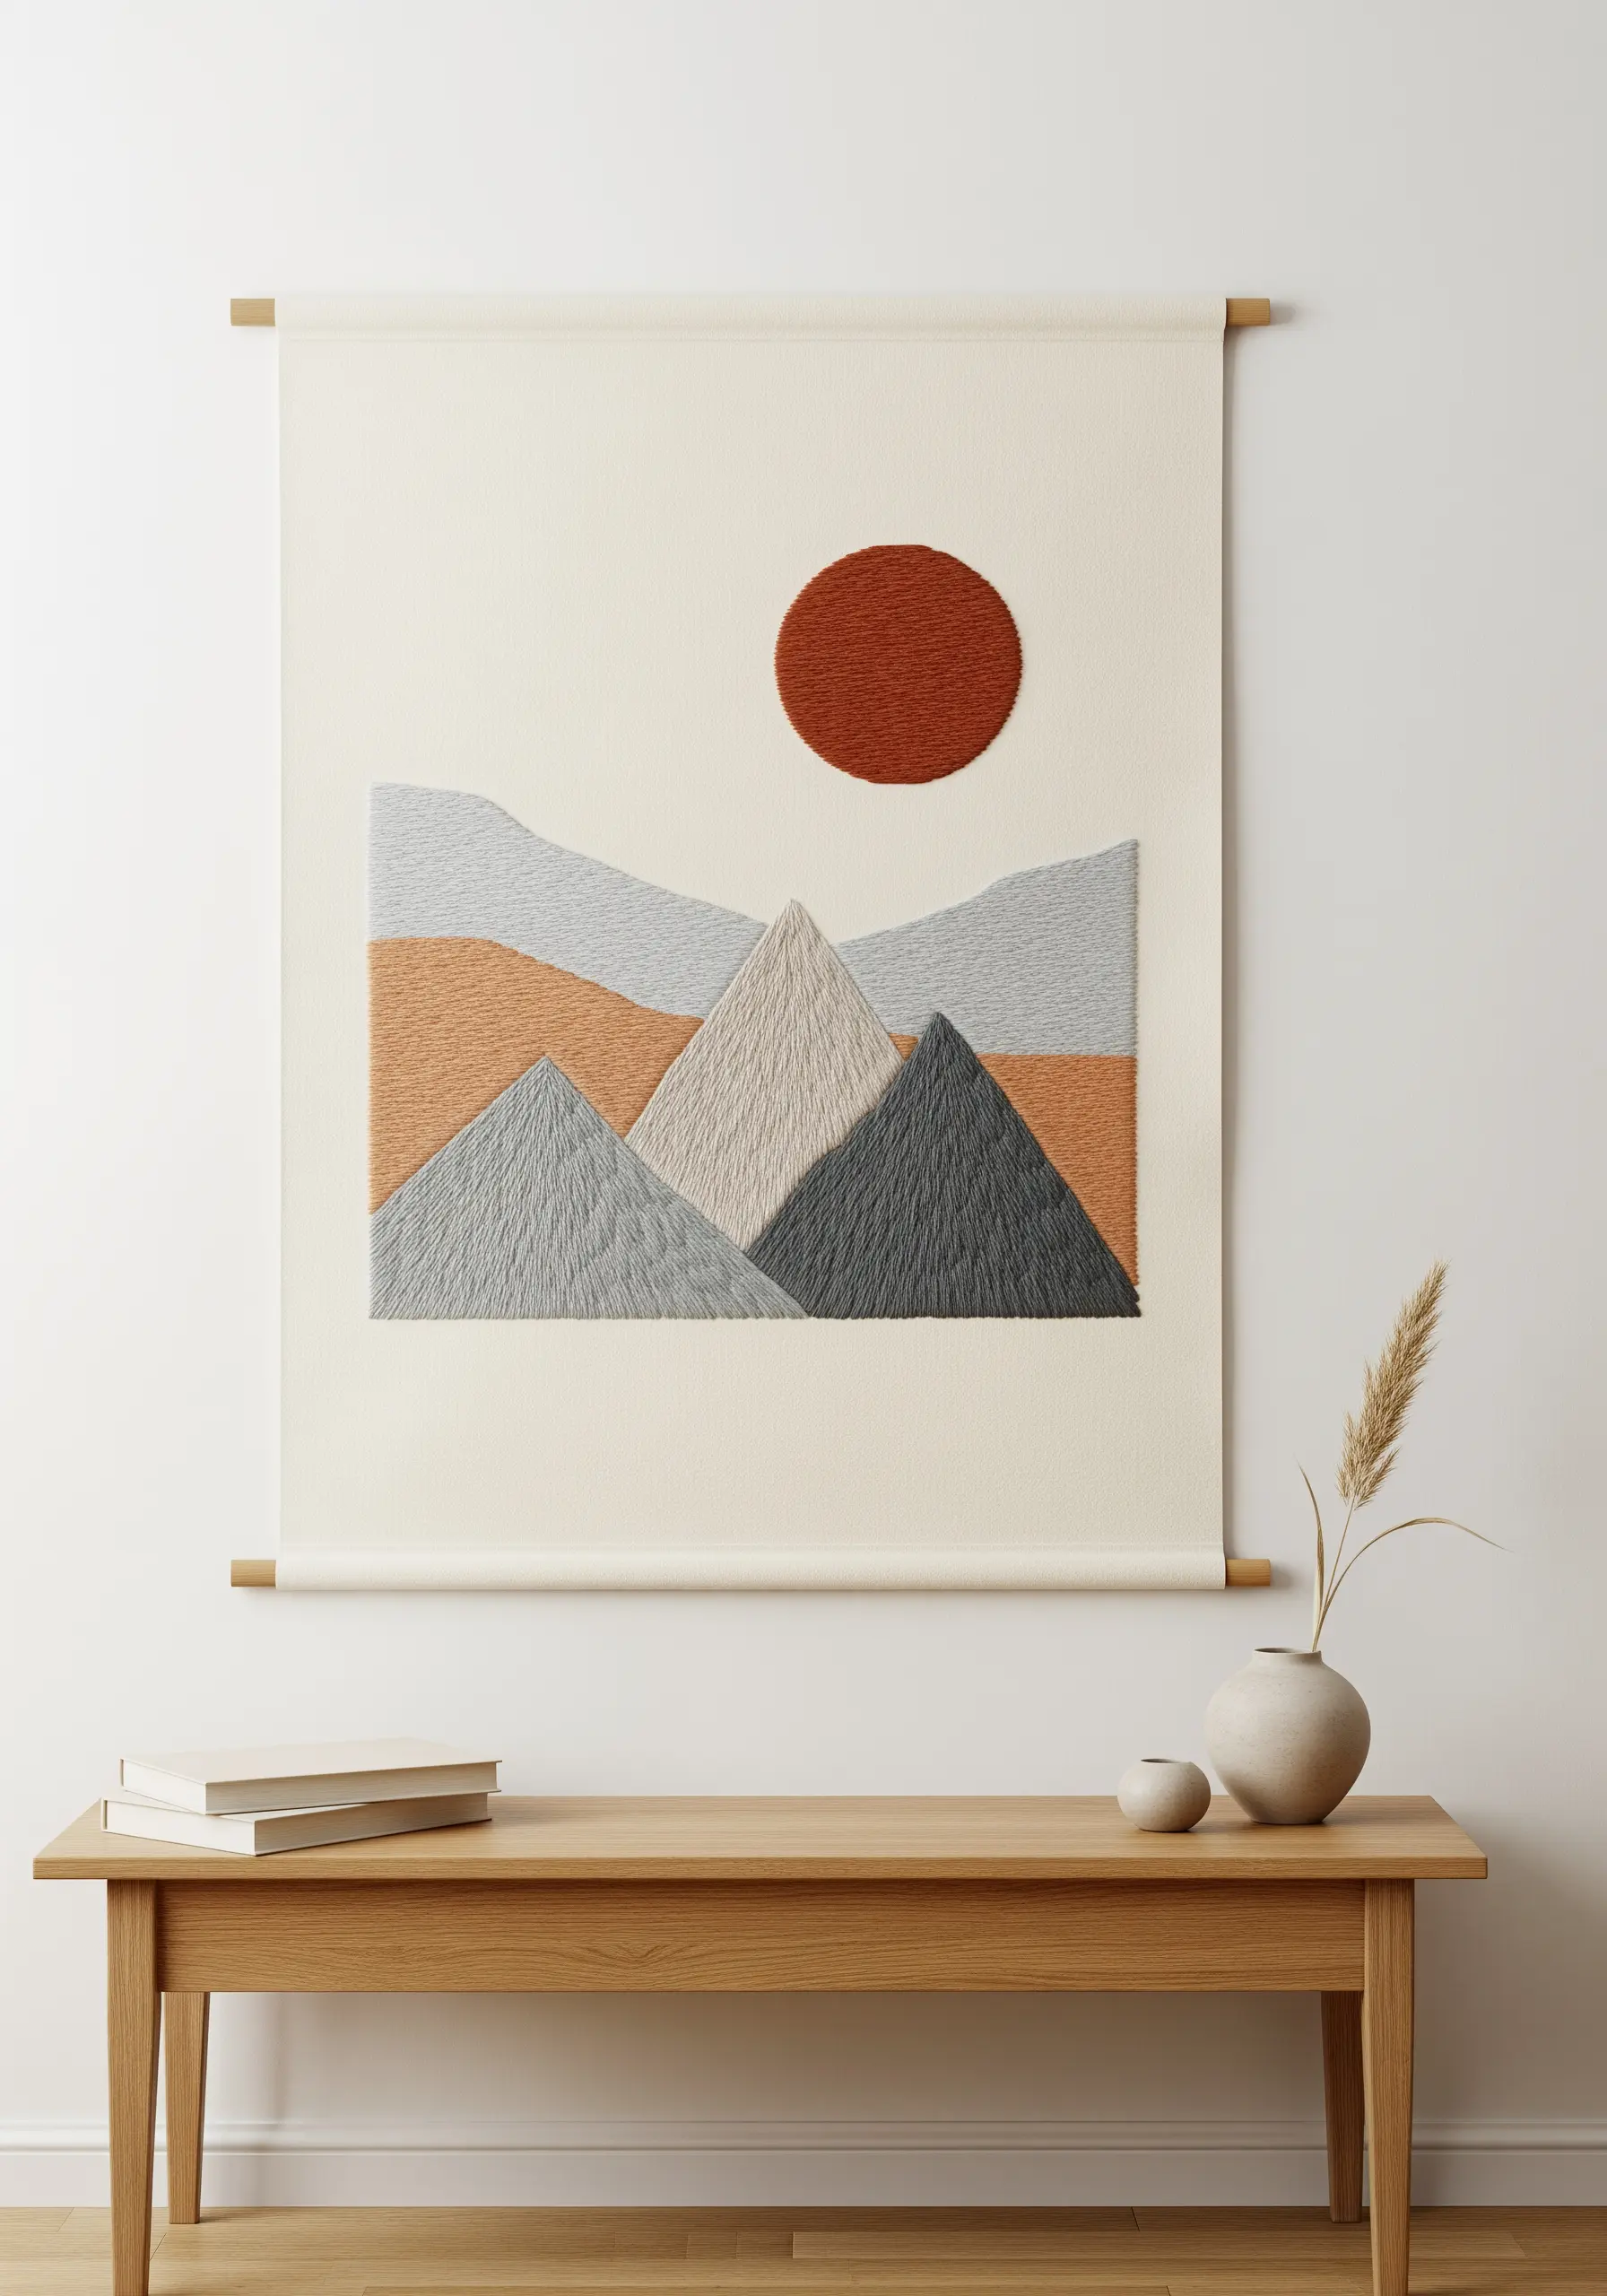
Instead of a simple satin stitch, use a long-and-short stitch to fill large shapes like these mountains.
By angling your stitches to follow the slope of each peak, you create a sense of dimension and texture that feels more organic and sophisticated.
This technique, often called thread painting, allows you to blend colors subtly at the edges or create bold, graphic color blocks.
Choose a tightly woven cotton or linen for your background fabric to support the density of the stitches in large-scale embroidery tapestries and prevent distortion.
4. Scatter Delicate Botanicals on a Throw Blanket
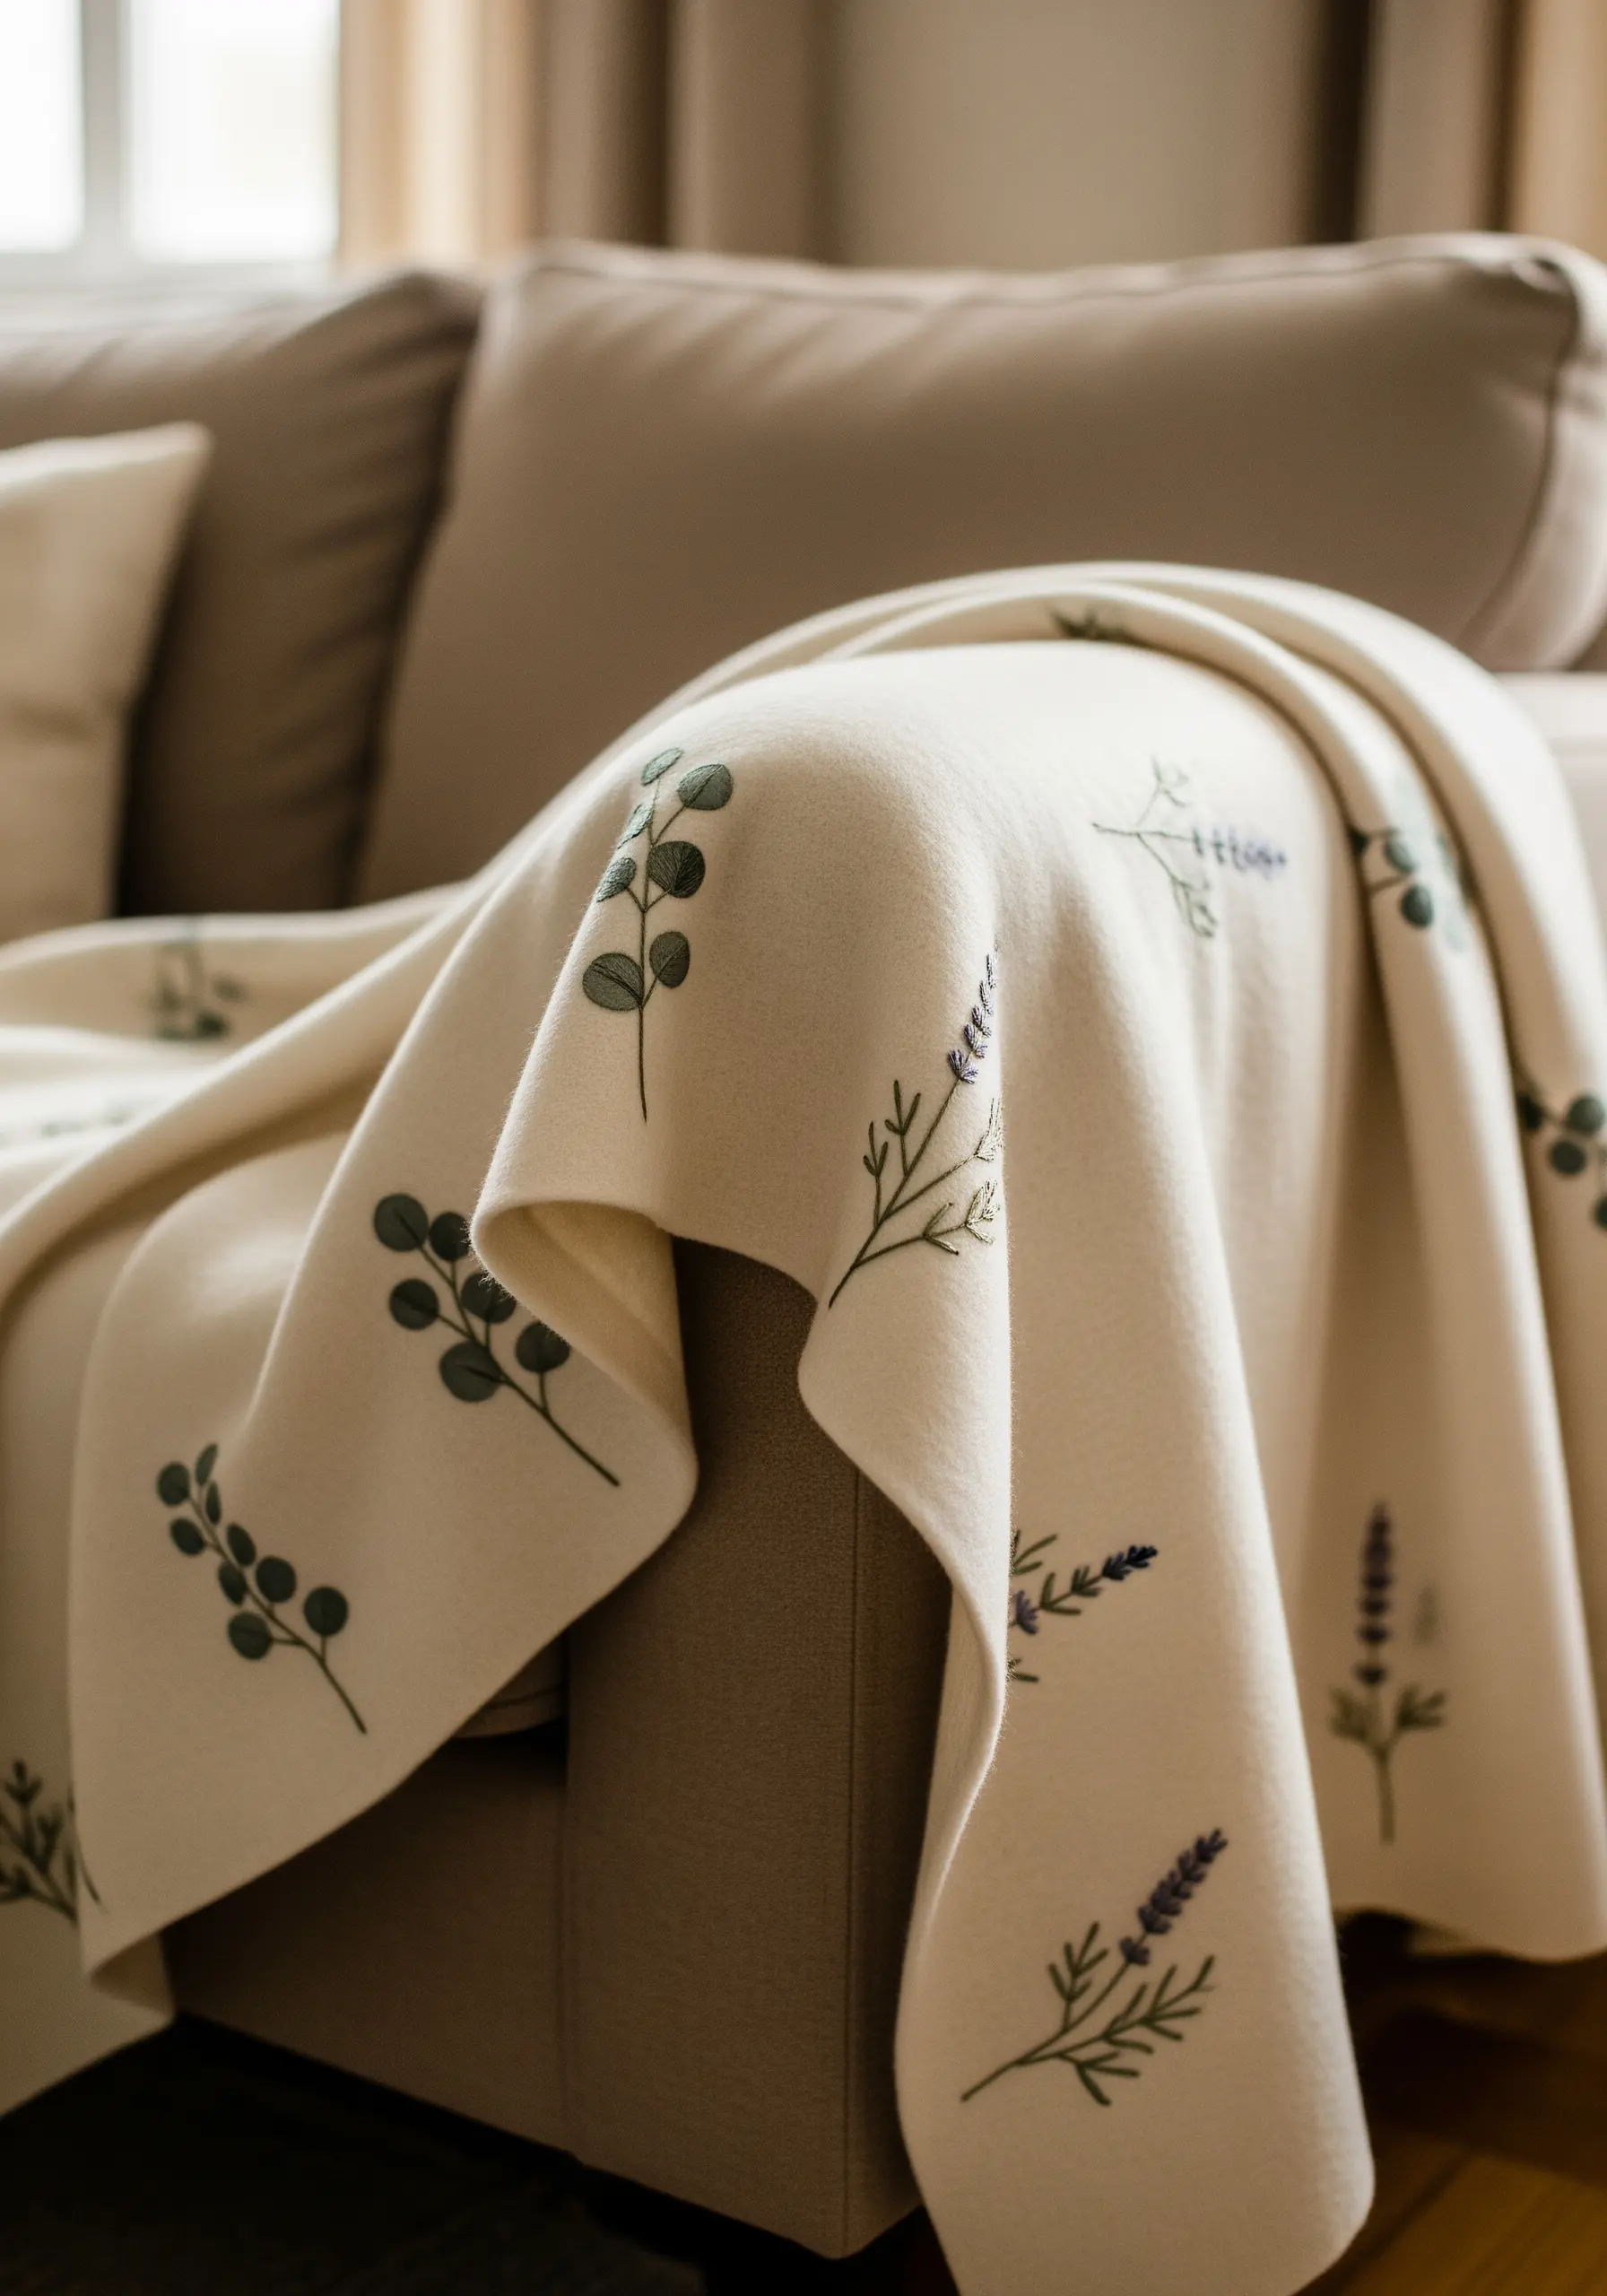
Embellishing a thick or plush fabric like a wool or fleece blanket requires a stabilizer to prevent stitches from sinking or stretching the material.
Iron on a cut-away stabilizer to the back of your stitching area before you begin, then trim it away carefully when finished.
Use simple, airy stitches like the lazy daisy for leaves and a basic backstitch for stems to create a delicate, scattered pattern.
This approach adds a touch of handmade elegance without overwhelming the cozy texture of the blanket, making it one of the simplest embroidery patterns to transform your neutral home.
5. Stitch a Constellation with Metallic Thread
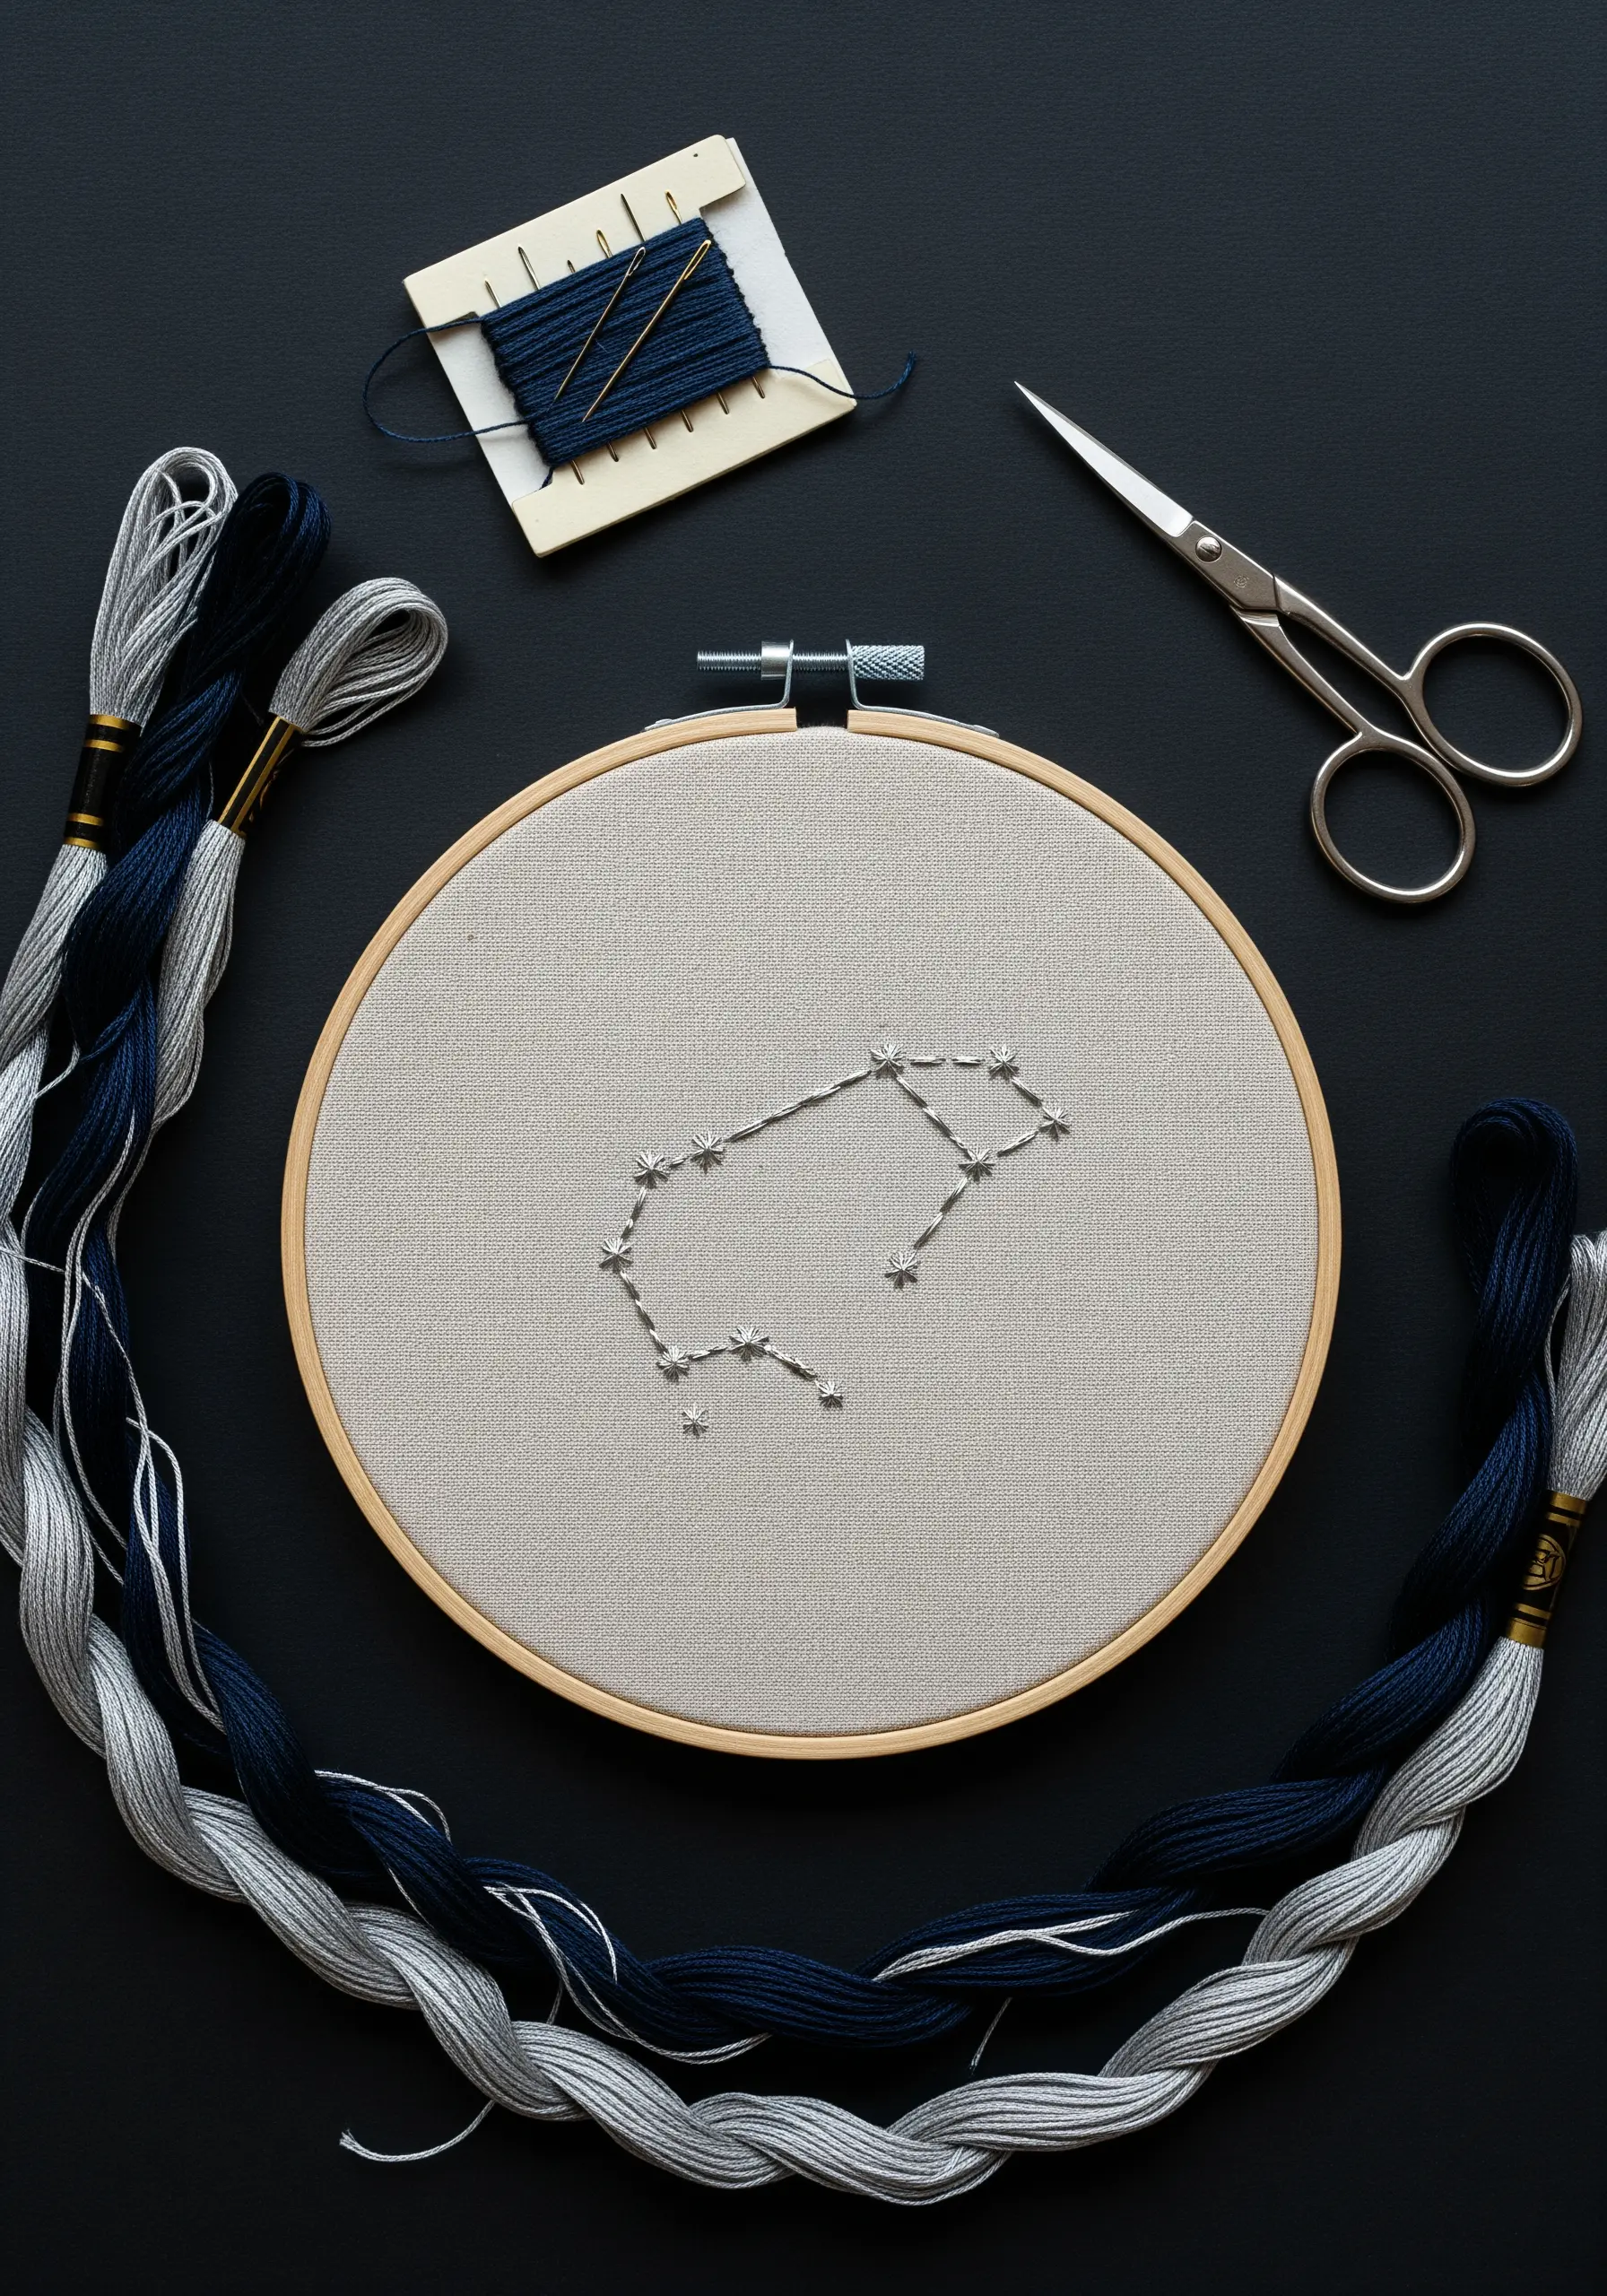
Capture the night sky by using a single strand of silver metallic thread on a dark, tightly woven fabric like linen or cotton twill.
The contrast creates a dramatic effect, allowing the delicate lines to shine.
Use a simple backstitch for the connecting lines and create stars with tiny star stitches or French knots for a subtle textural difference.
Work slowly with metallic floss, as it can be prone to tangling; using a thread conditioner like beeswax can make the process much smoother for your minimal sky moon designs.
6. Adorn a Planter with a Fabric Wrap
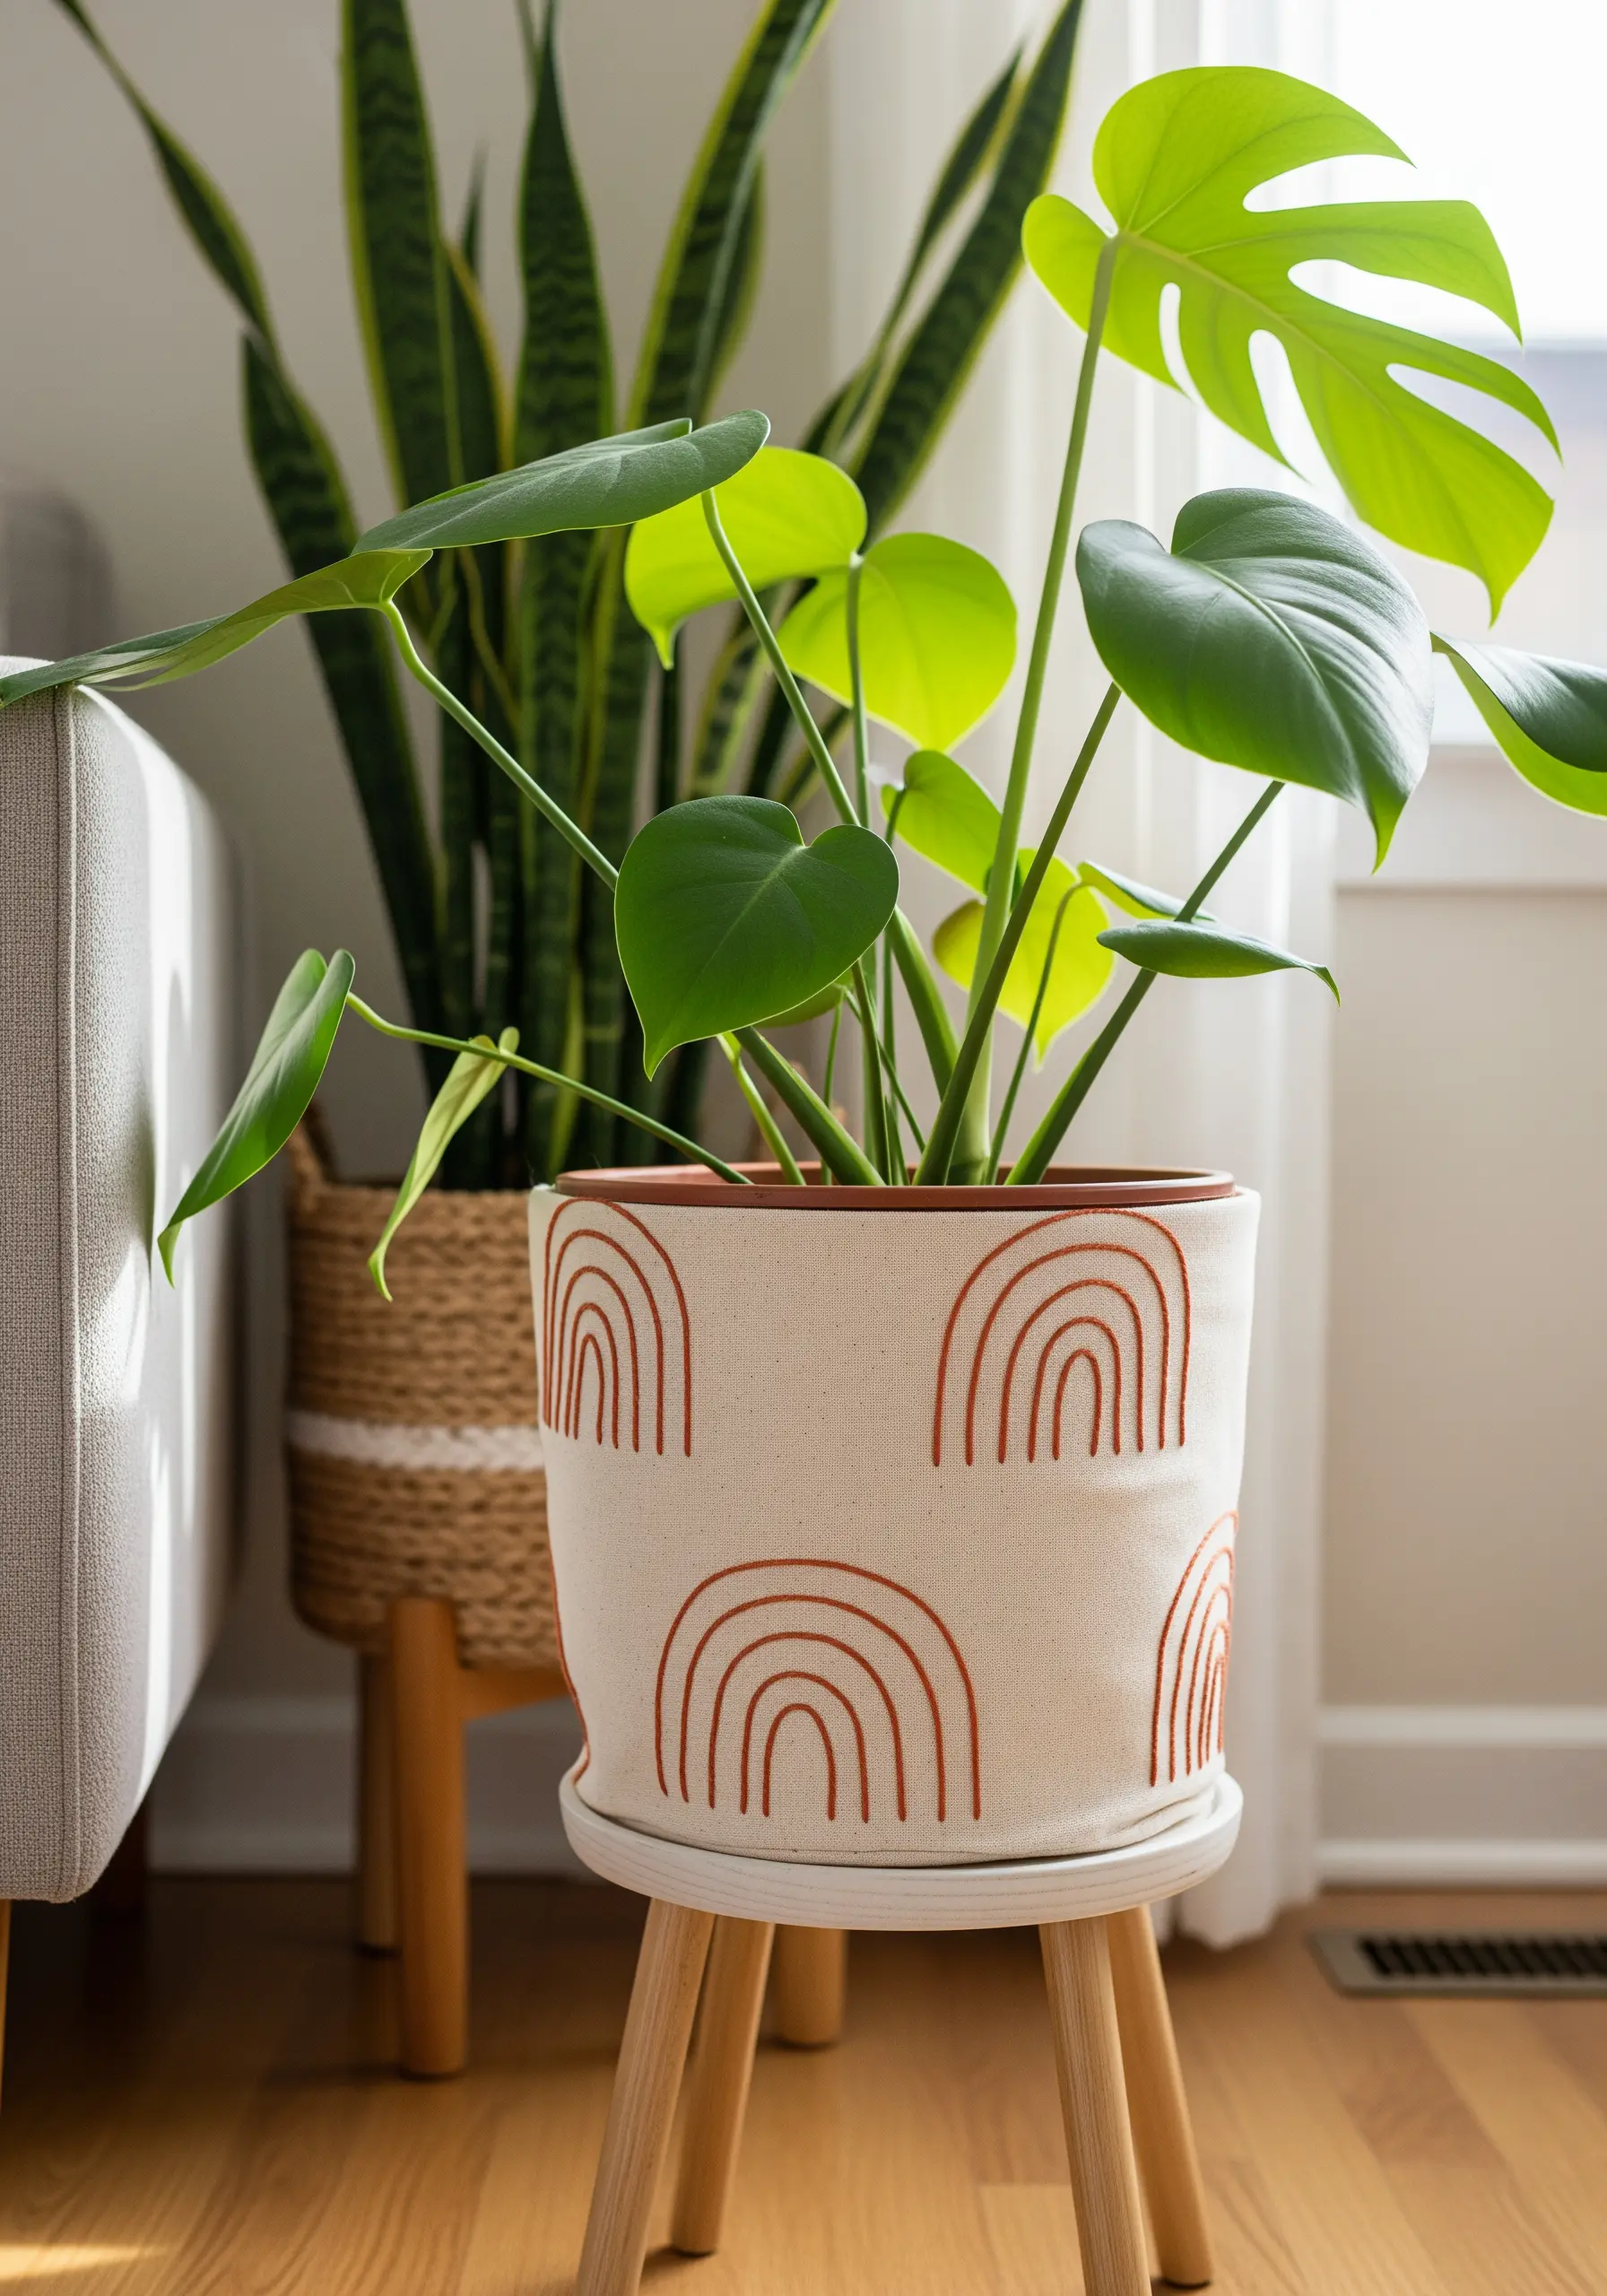
Elevate a simple ceramic pot by creating a removable, embroidered fabric cover.
Choose a sturdy, natural fabric like canvas or medium-weight linen that will hold its shape.
Use a chain stitch or split stitch with a full six strands of floss to create bold, graphic arches with a satisfying texture.
This technique gives your houseplant embroidery motifs a modern, block-printed look while allowing you to easily update your decor.
7. Design a Cohesive Triptych Hoop Set
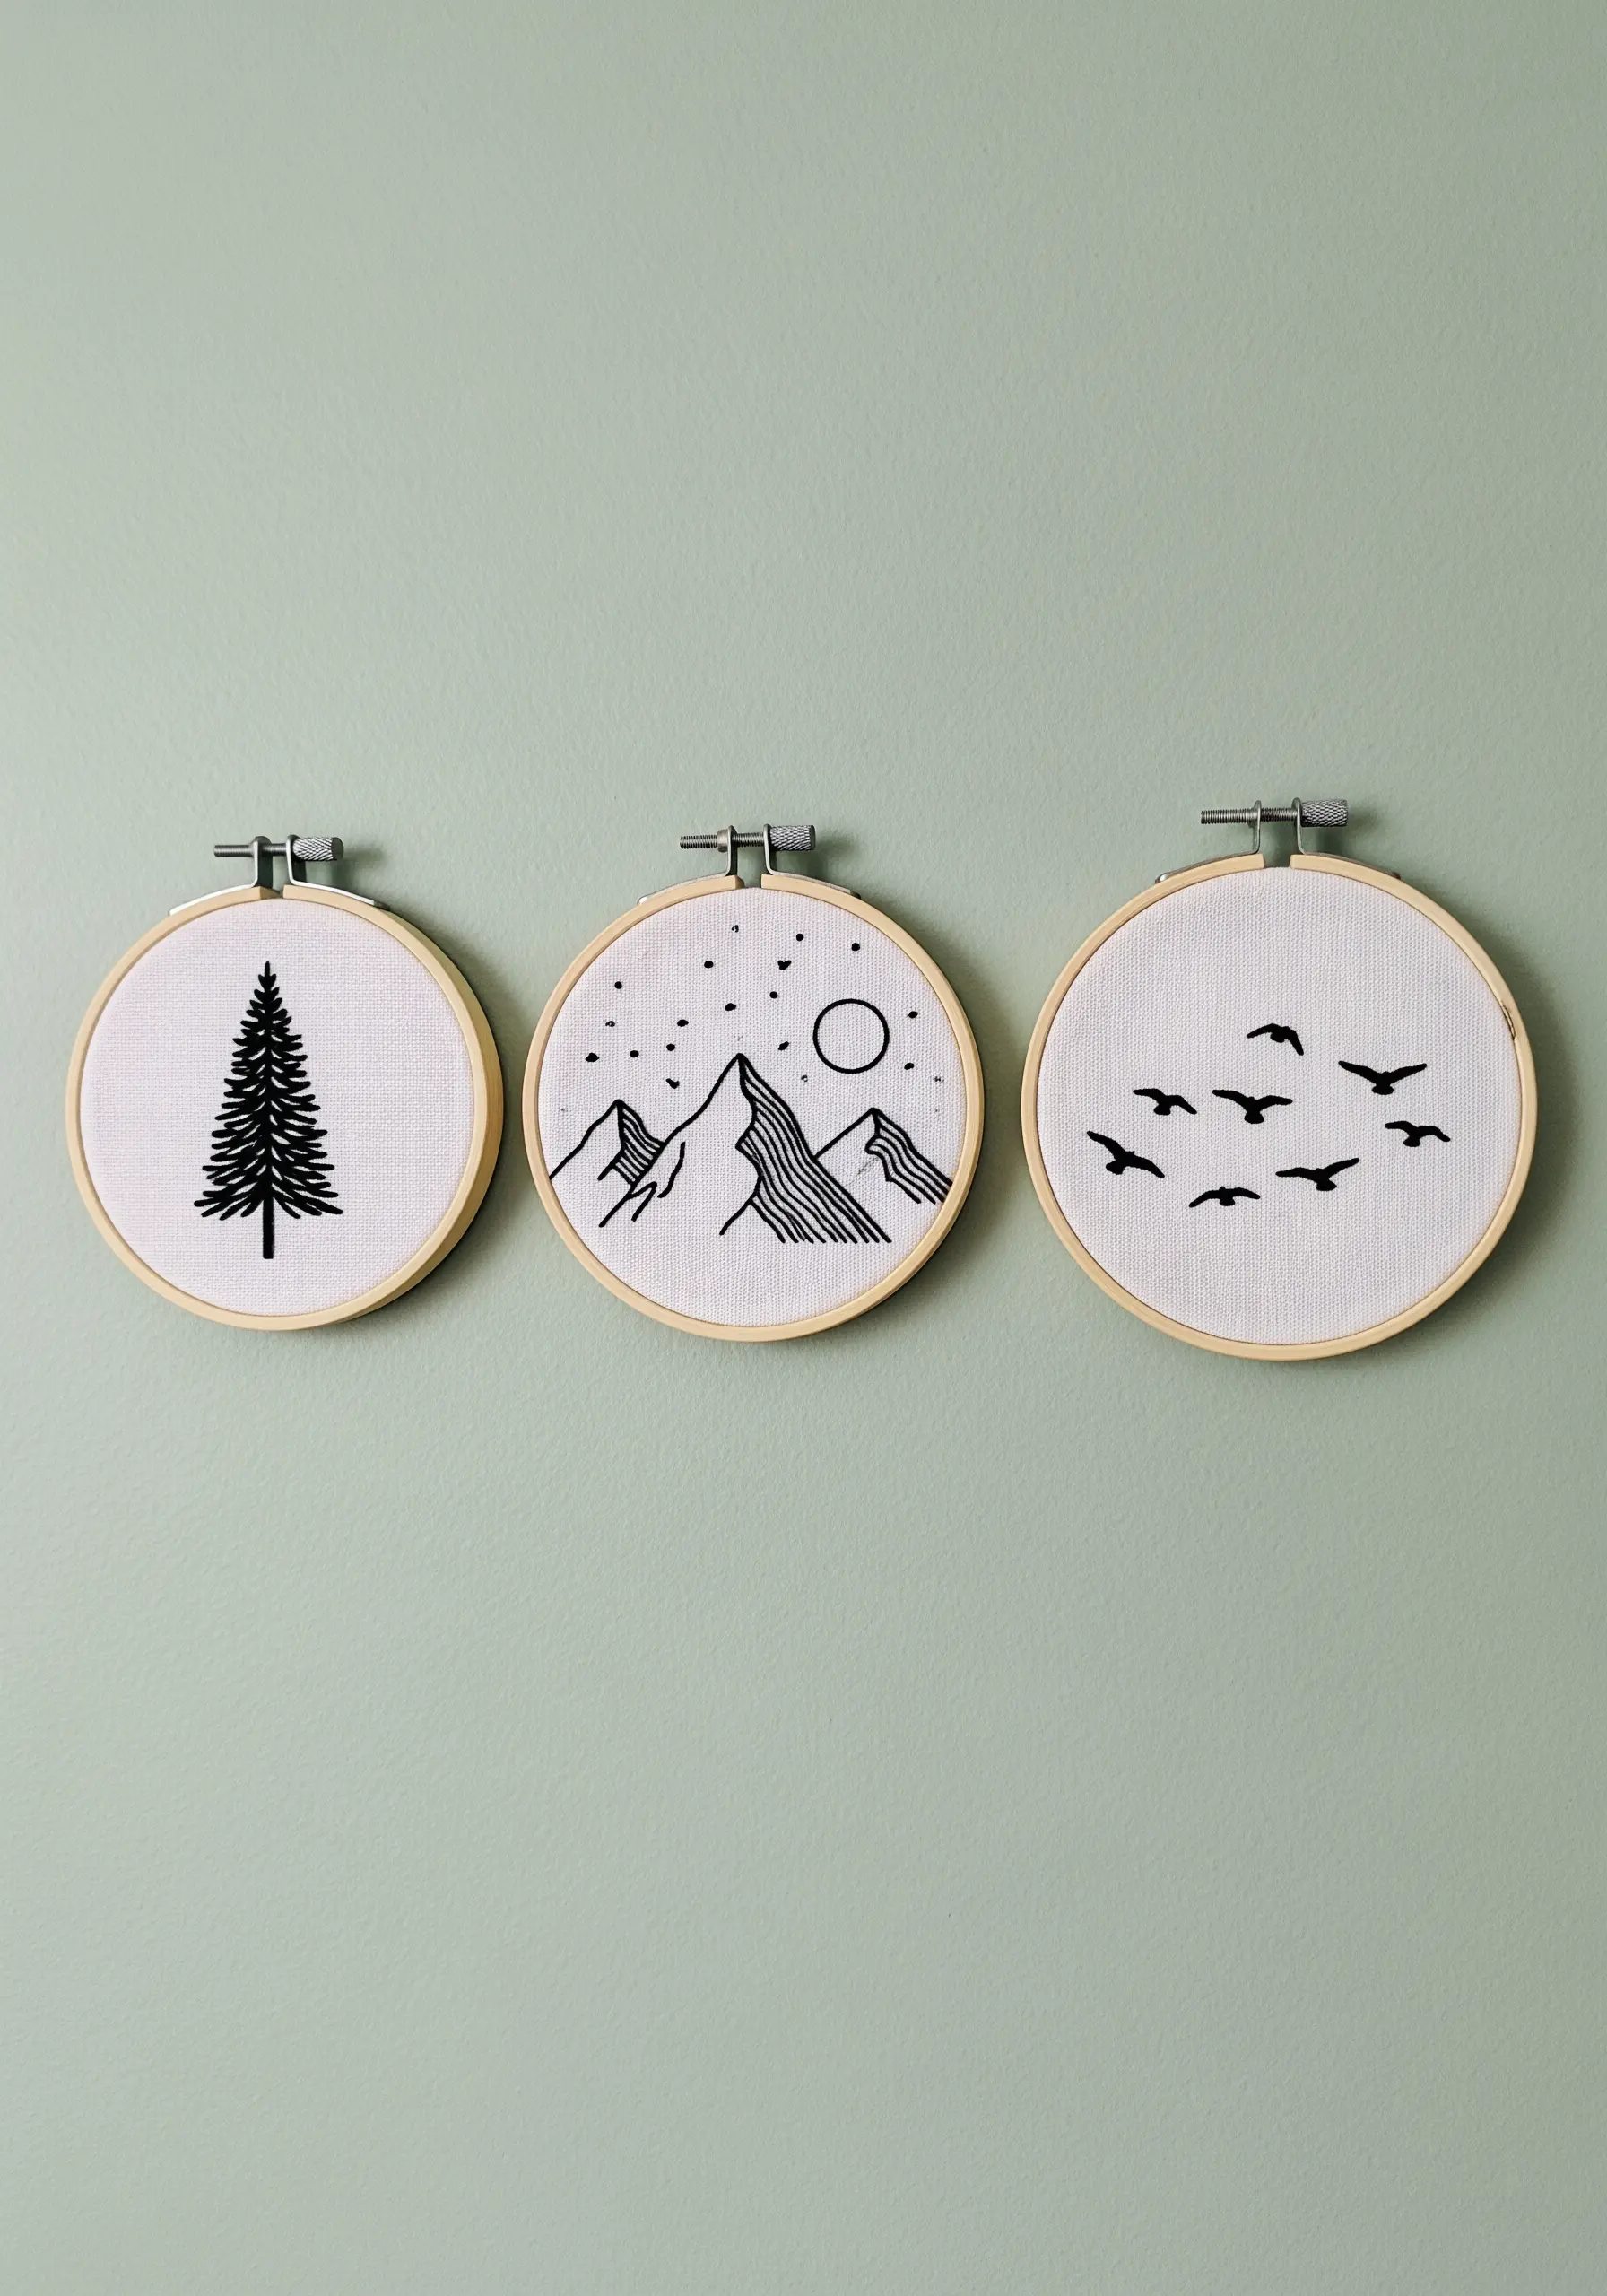
To create a balanced gallery wall effect, stitch a series of three related designs using a unified color palette—in this case, simple black on white.
Vary the stitch techniques within the set to maintain visual interest: use a dense satin stitch for solid shapes, a clean backstitch for outlines, and small seed stitches for scattered details.
This consistency in color and style is what makes a collection of minimal embroidery wall pieces feel intentional and curated rather than random.
8. Introduce Bold Texture with Yarn Couching
For a project that makes a statement without intricate stitching, try couching thick yarn onto a sturdy fabric base.
Simply lay the yarn in your desired shape and use a thinner embroidery floss in a contrasting or matching color to tack it down with small, evenly spaced stitches.
This technique is perfect for creating bold outlines and adding dramatic texture quickly.
It’s an accessible entry point into fiber art installations that don’t require complex knotting or weaving skills.
9. Add Functional Detail to Curtain Tie-Backs
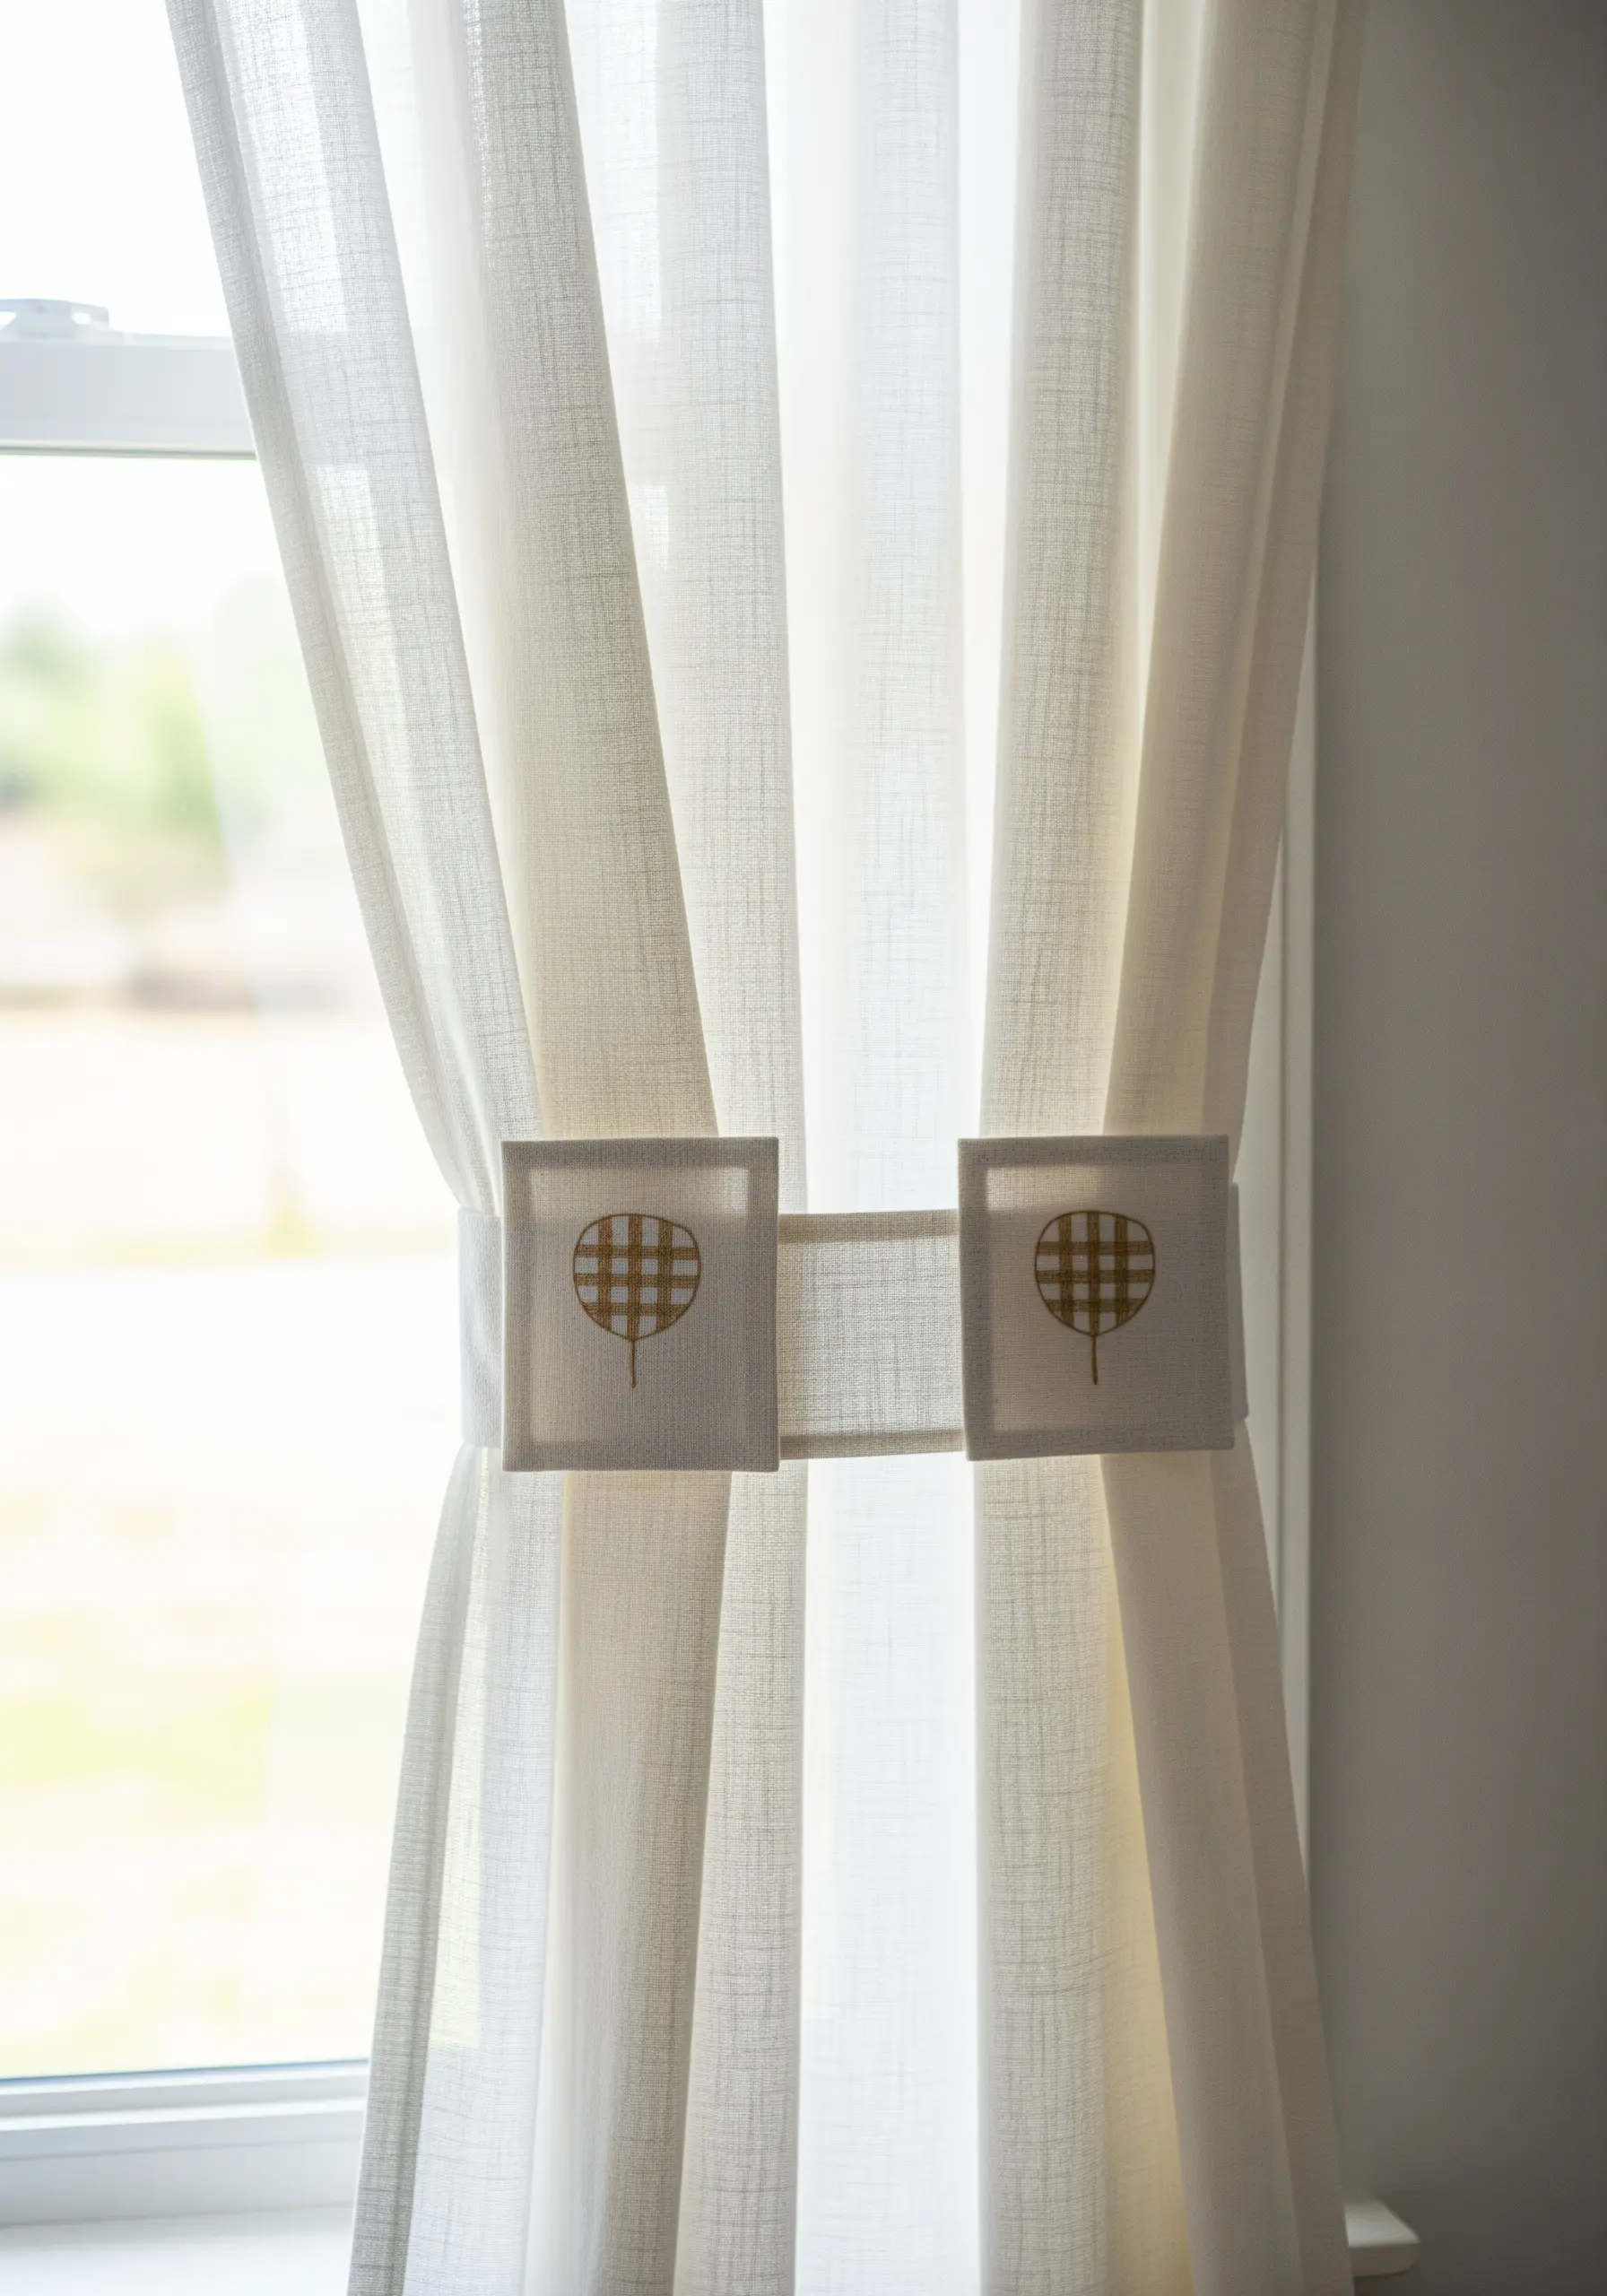
Transform a purely functional item into a decorative accent with a single, well-placed motif.
For these tie-backs, choose a durable fabric like heavy linen and interface it for extra stiffness.
Use a satin stitch to create a clean, graphic design, ensuring your stitches lie flat and even.
A simple running stitch border adds a polished, finished feel to your custom embroidered curtain borders, tying the whole look together.
10. Play with Texture on Complementary Cushions
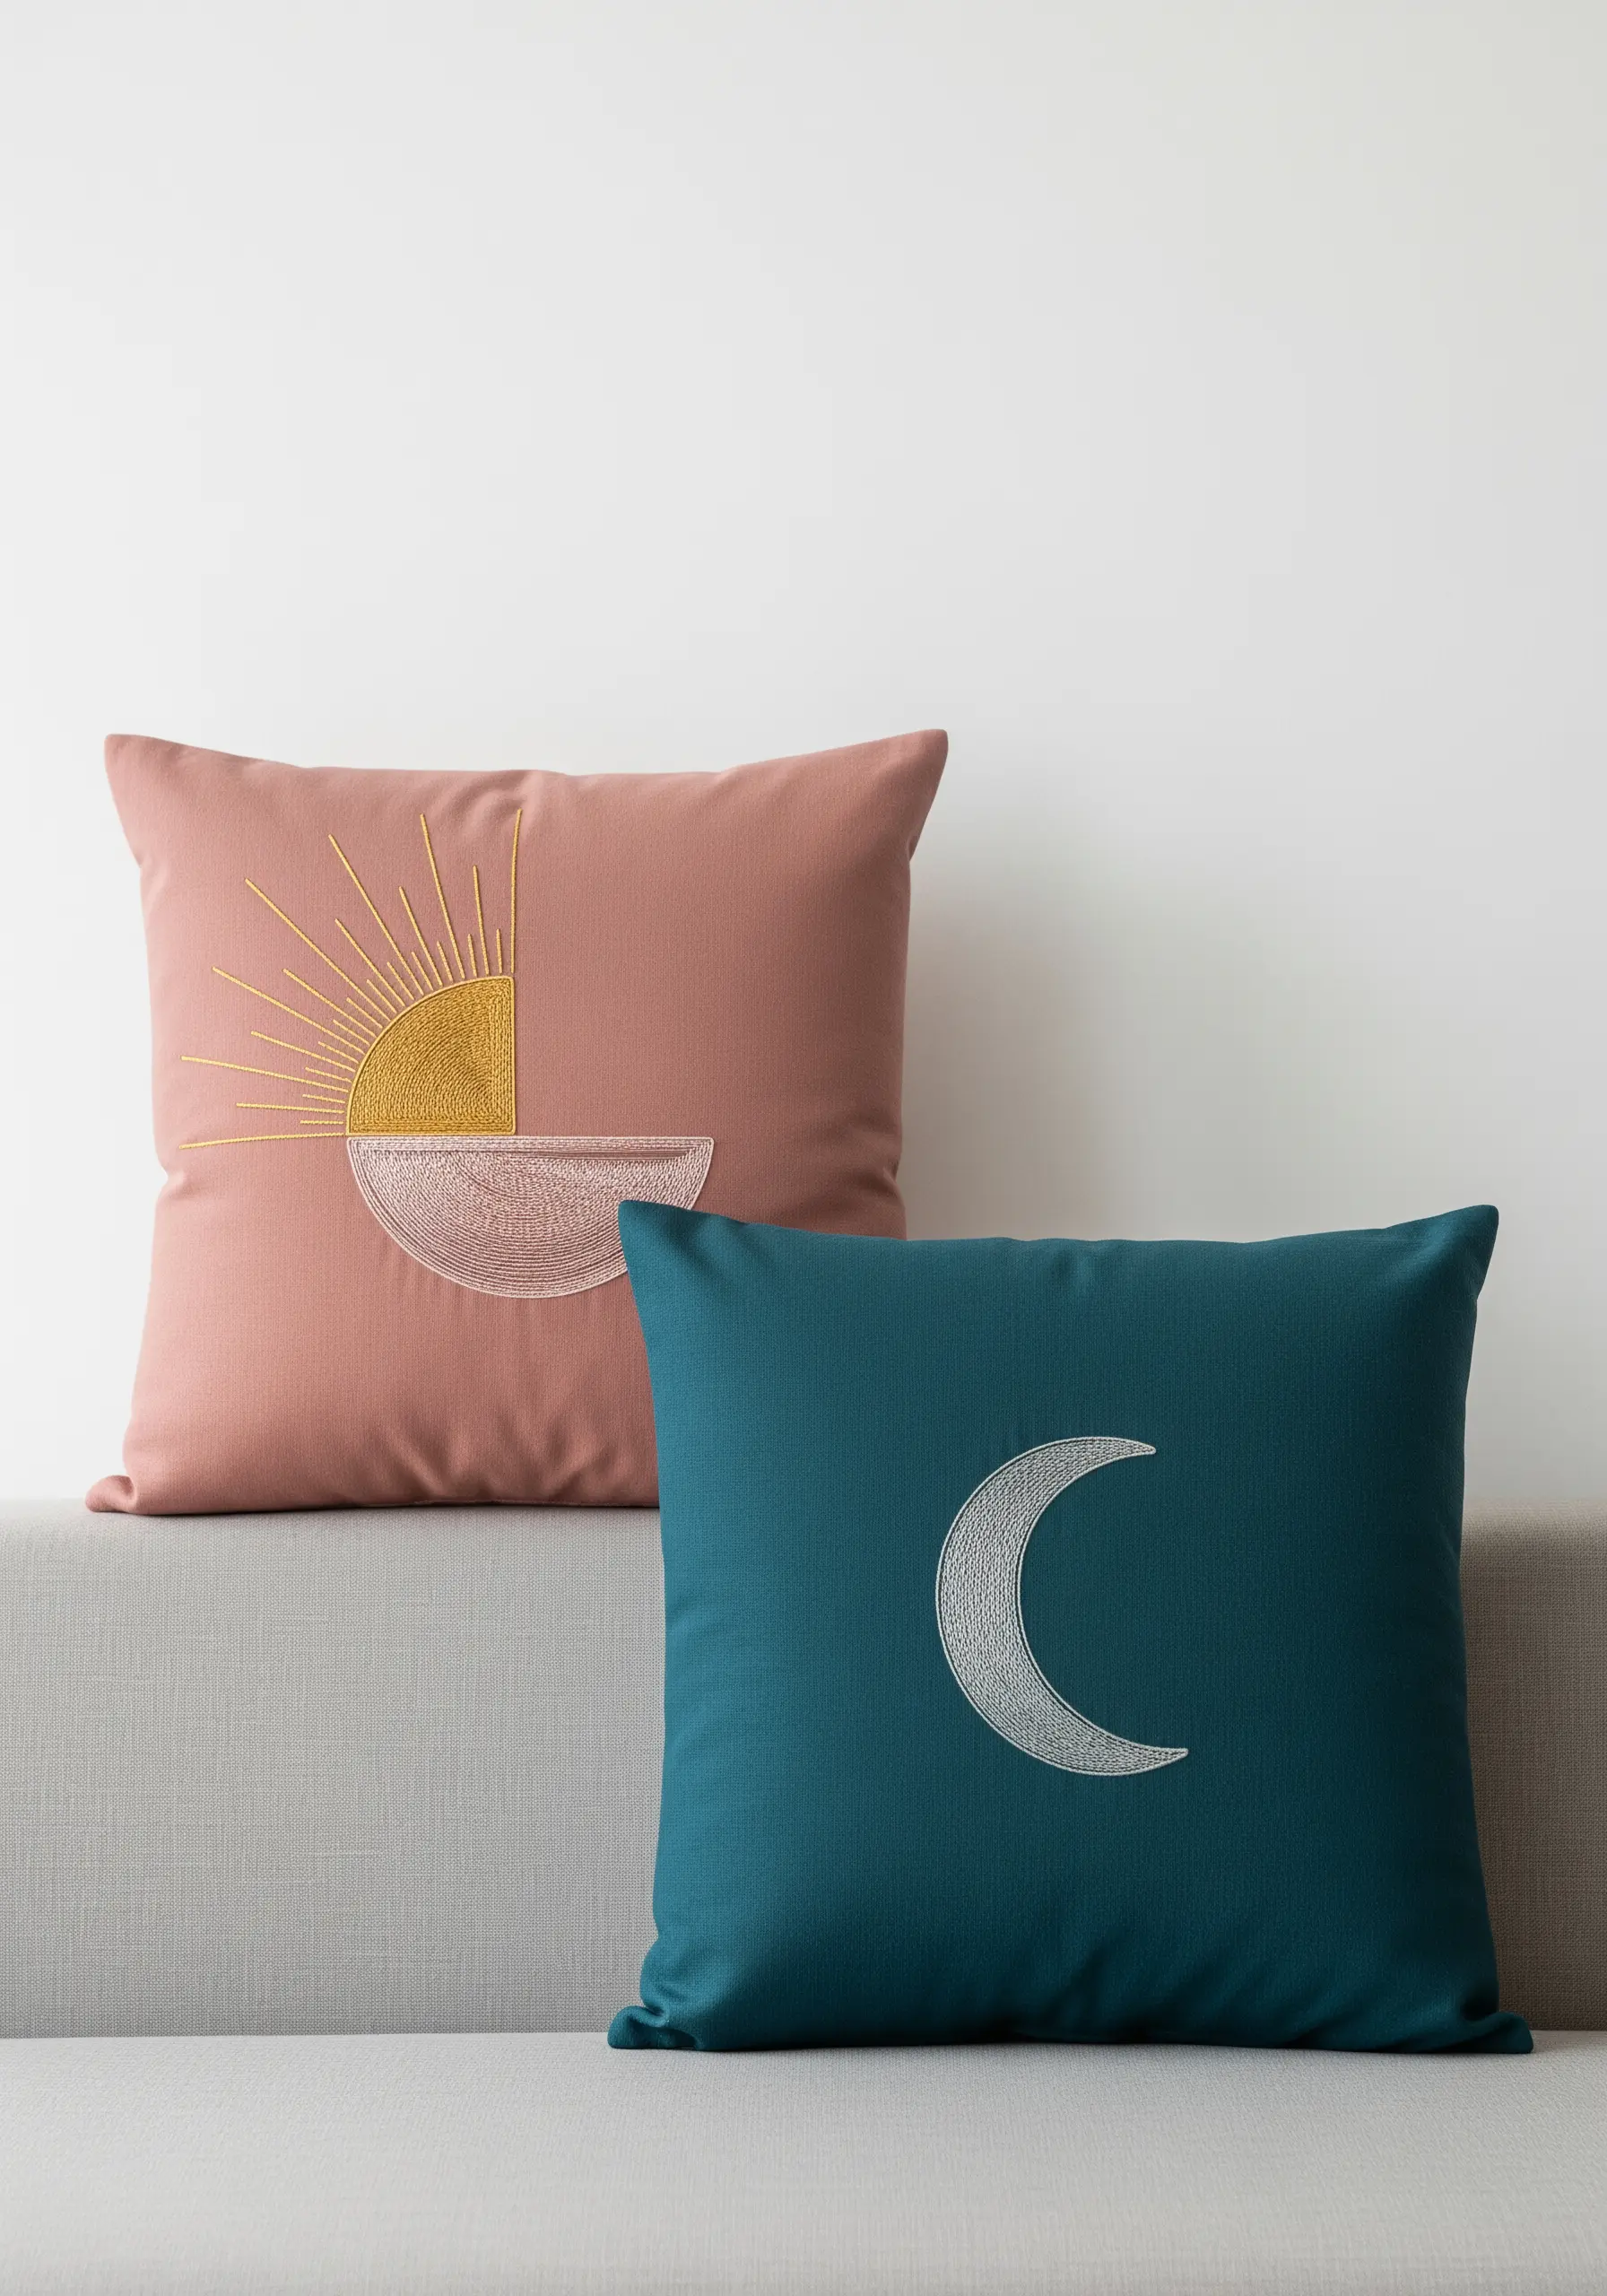
Create a dynamic duo of cushions by exploring different fill stitches within a unified celestial theme.
On one, use a dense satin stitch with metallic thread to create a solid, light-catching shape.
On its partner, combine satin-stitched rays with an open, airy whipped backstitch for the hemisphere, creating a beautiful textural contrast.
This thoughtful variation is what elevates a simple set of minimal stitch patterns into a designer-quality pairing.
11. Refine Your Lettering with a Stem Stitch
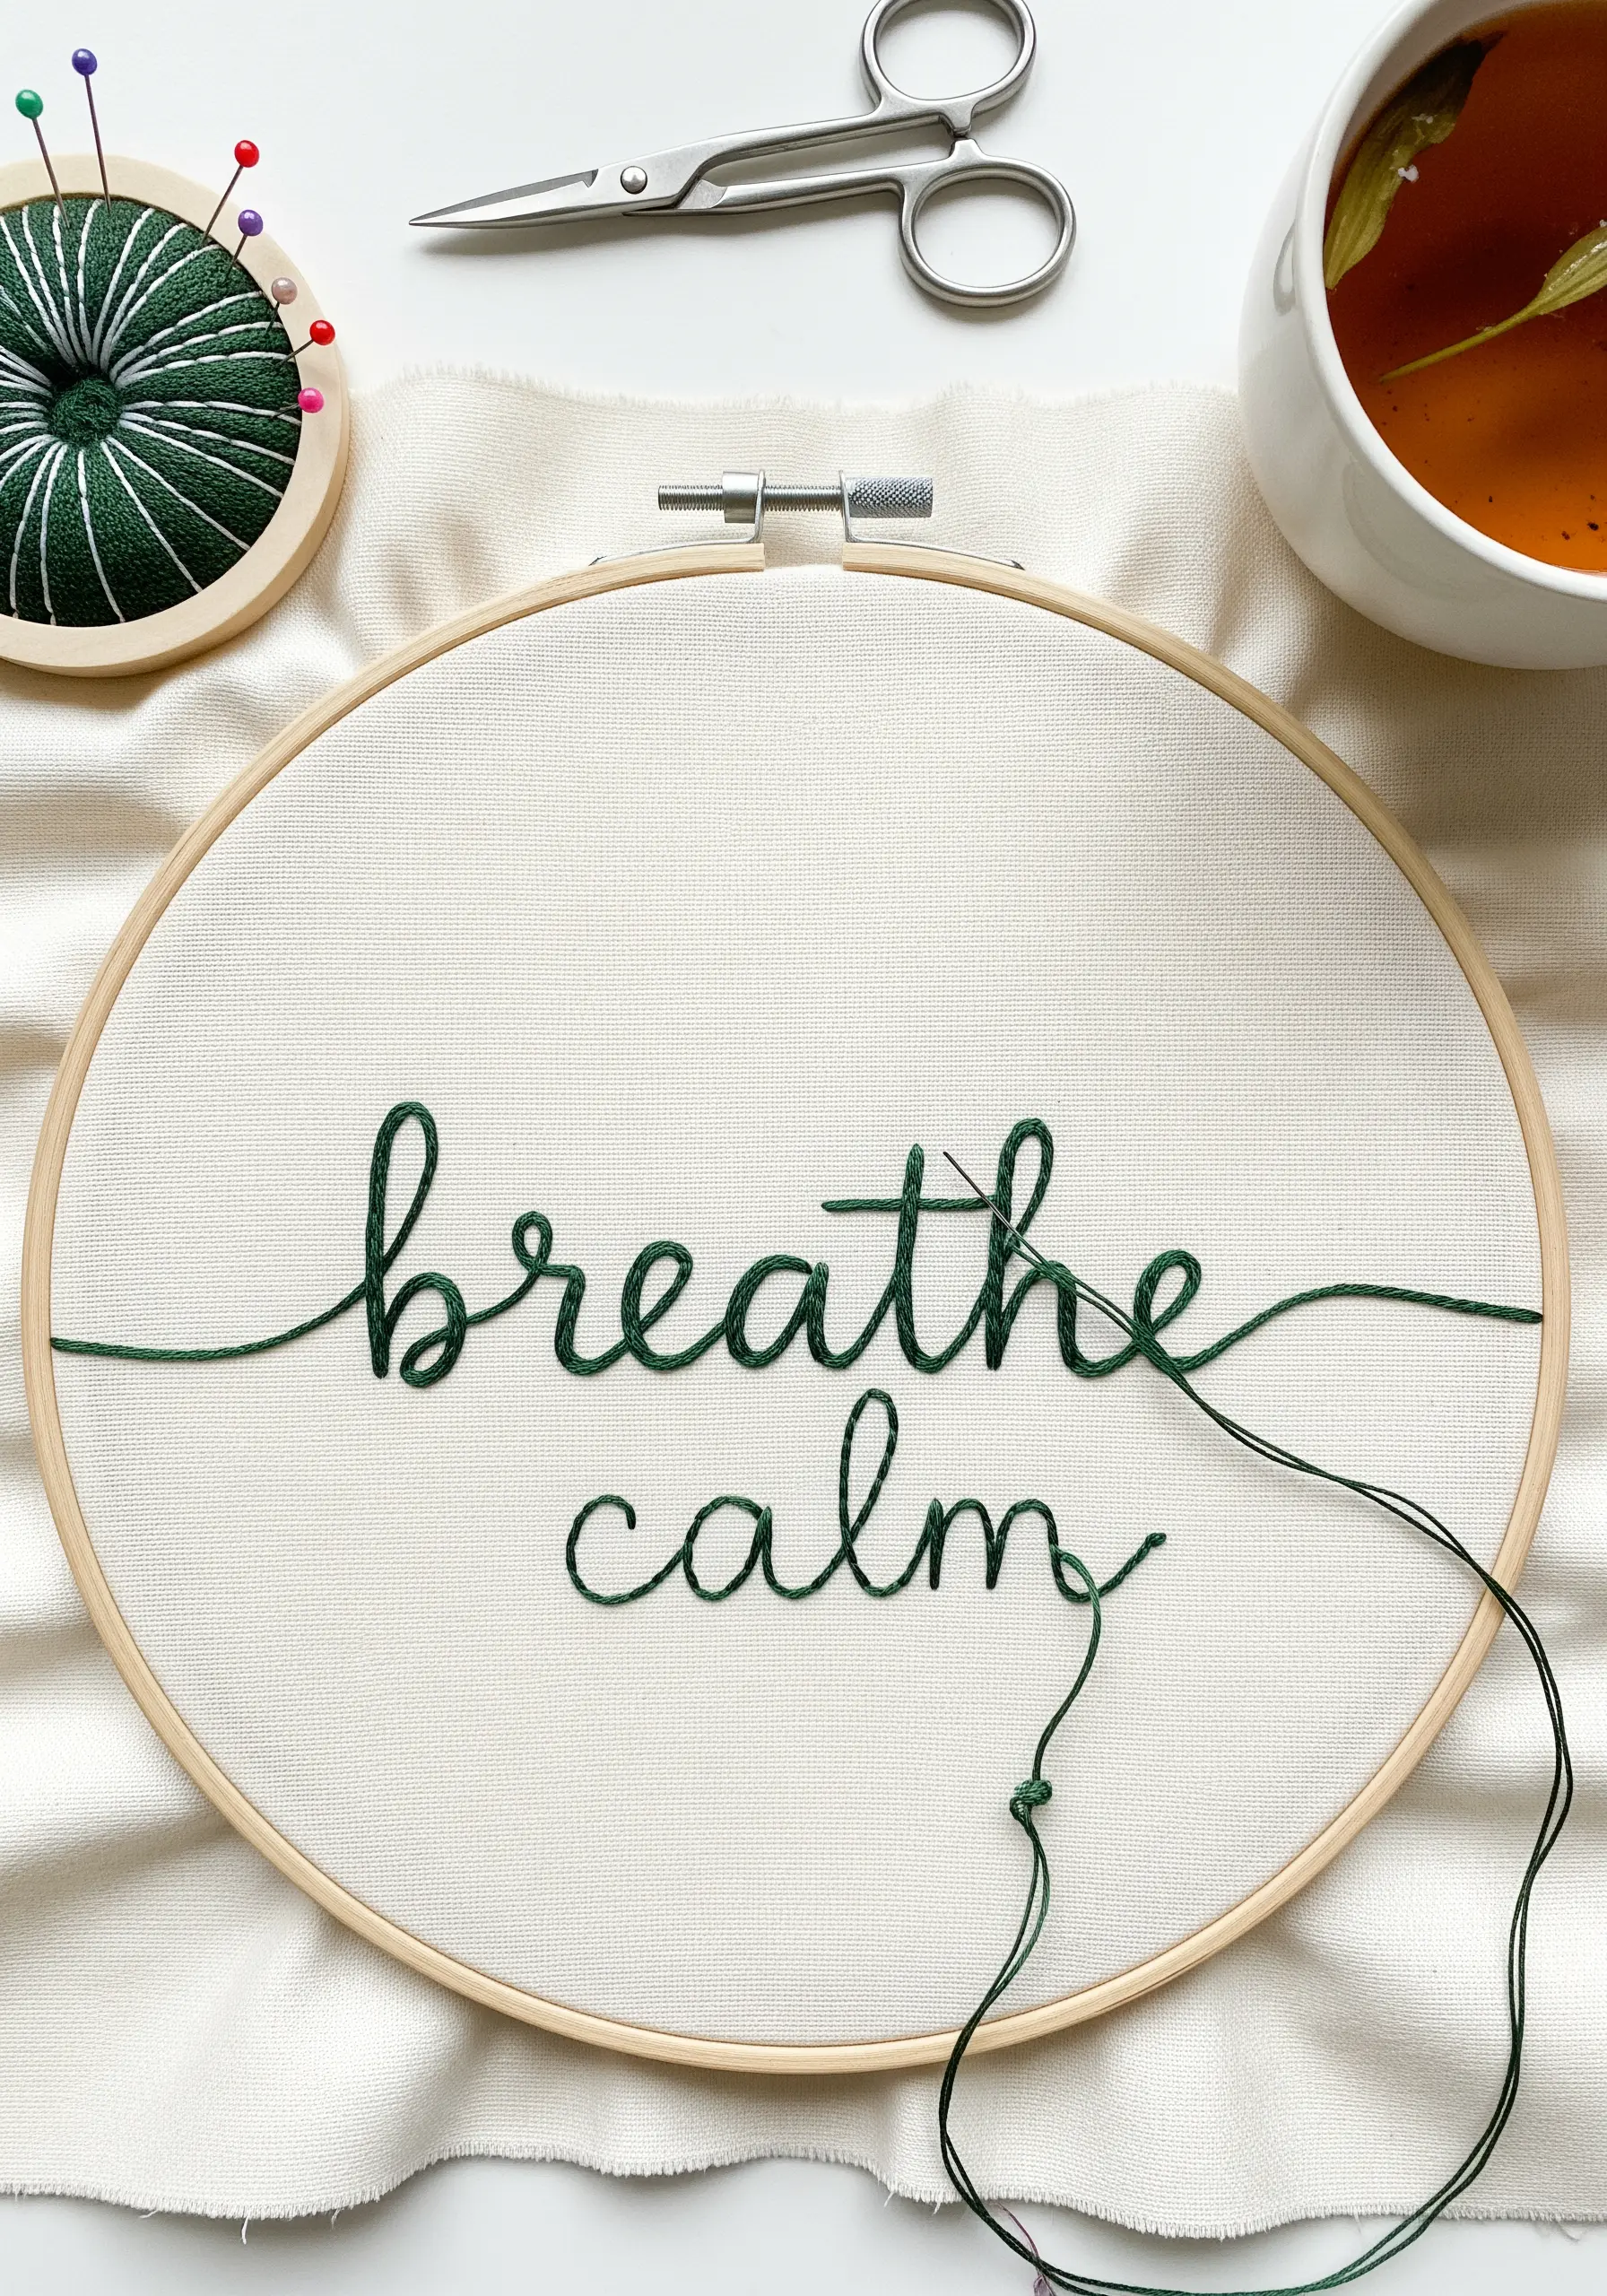
For elegant, flowing script, the stem stitch is your greatest ally. It creates a smooth, rope-like line that handles curves beautifully.
The key to perfect lettering is consistency in your stitch length and angle. Before you begin, lightly draw your words onto the fabric with a water-soluble pen.
Using a thicker thread—or all six strands of floss—will give your words more presence and weight.
Embroidered quote wall hangings with clean lettering feel both personal and polished.
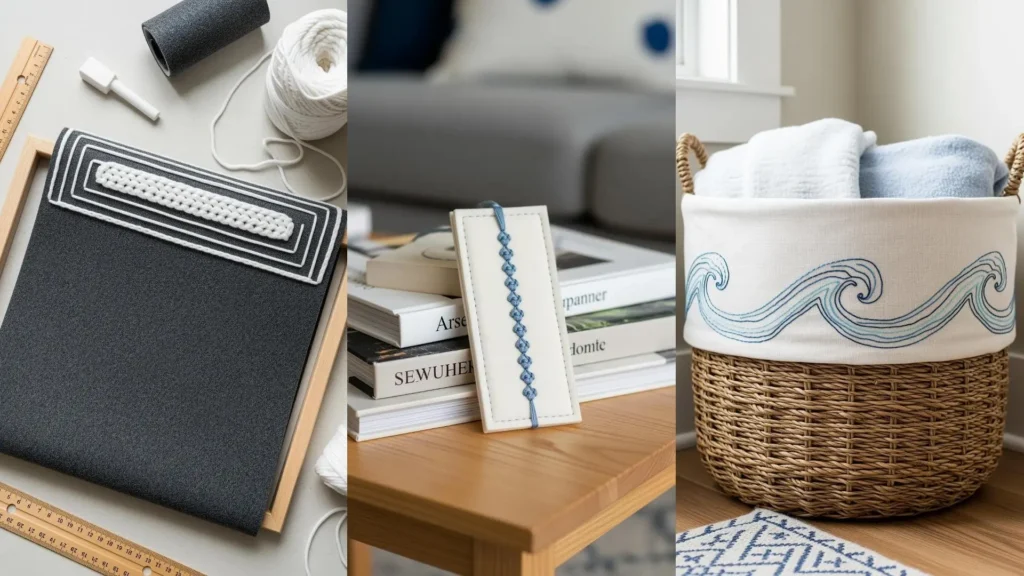
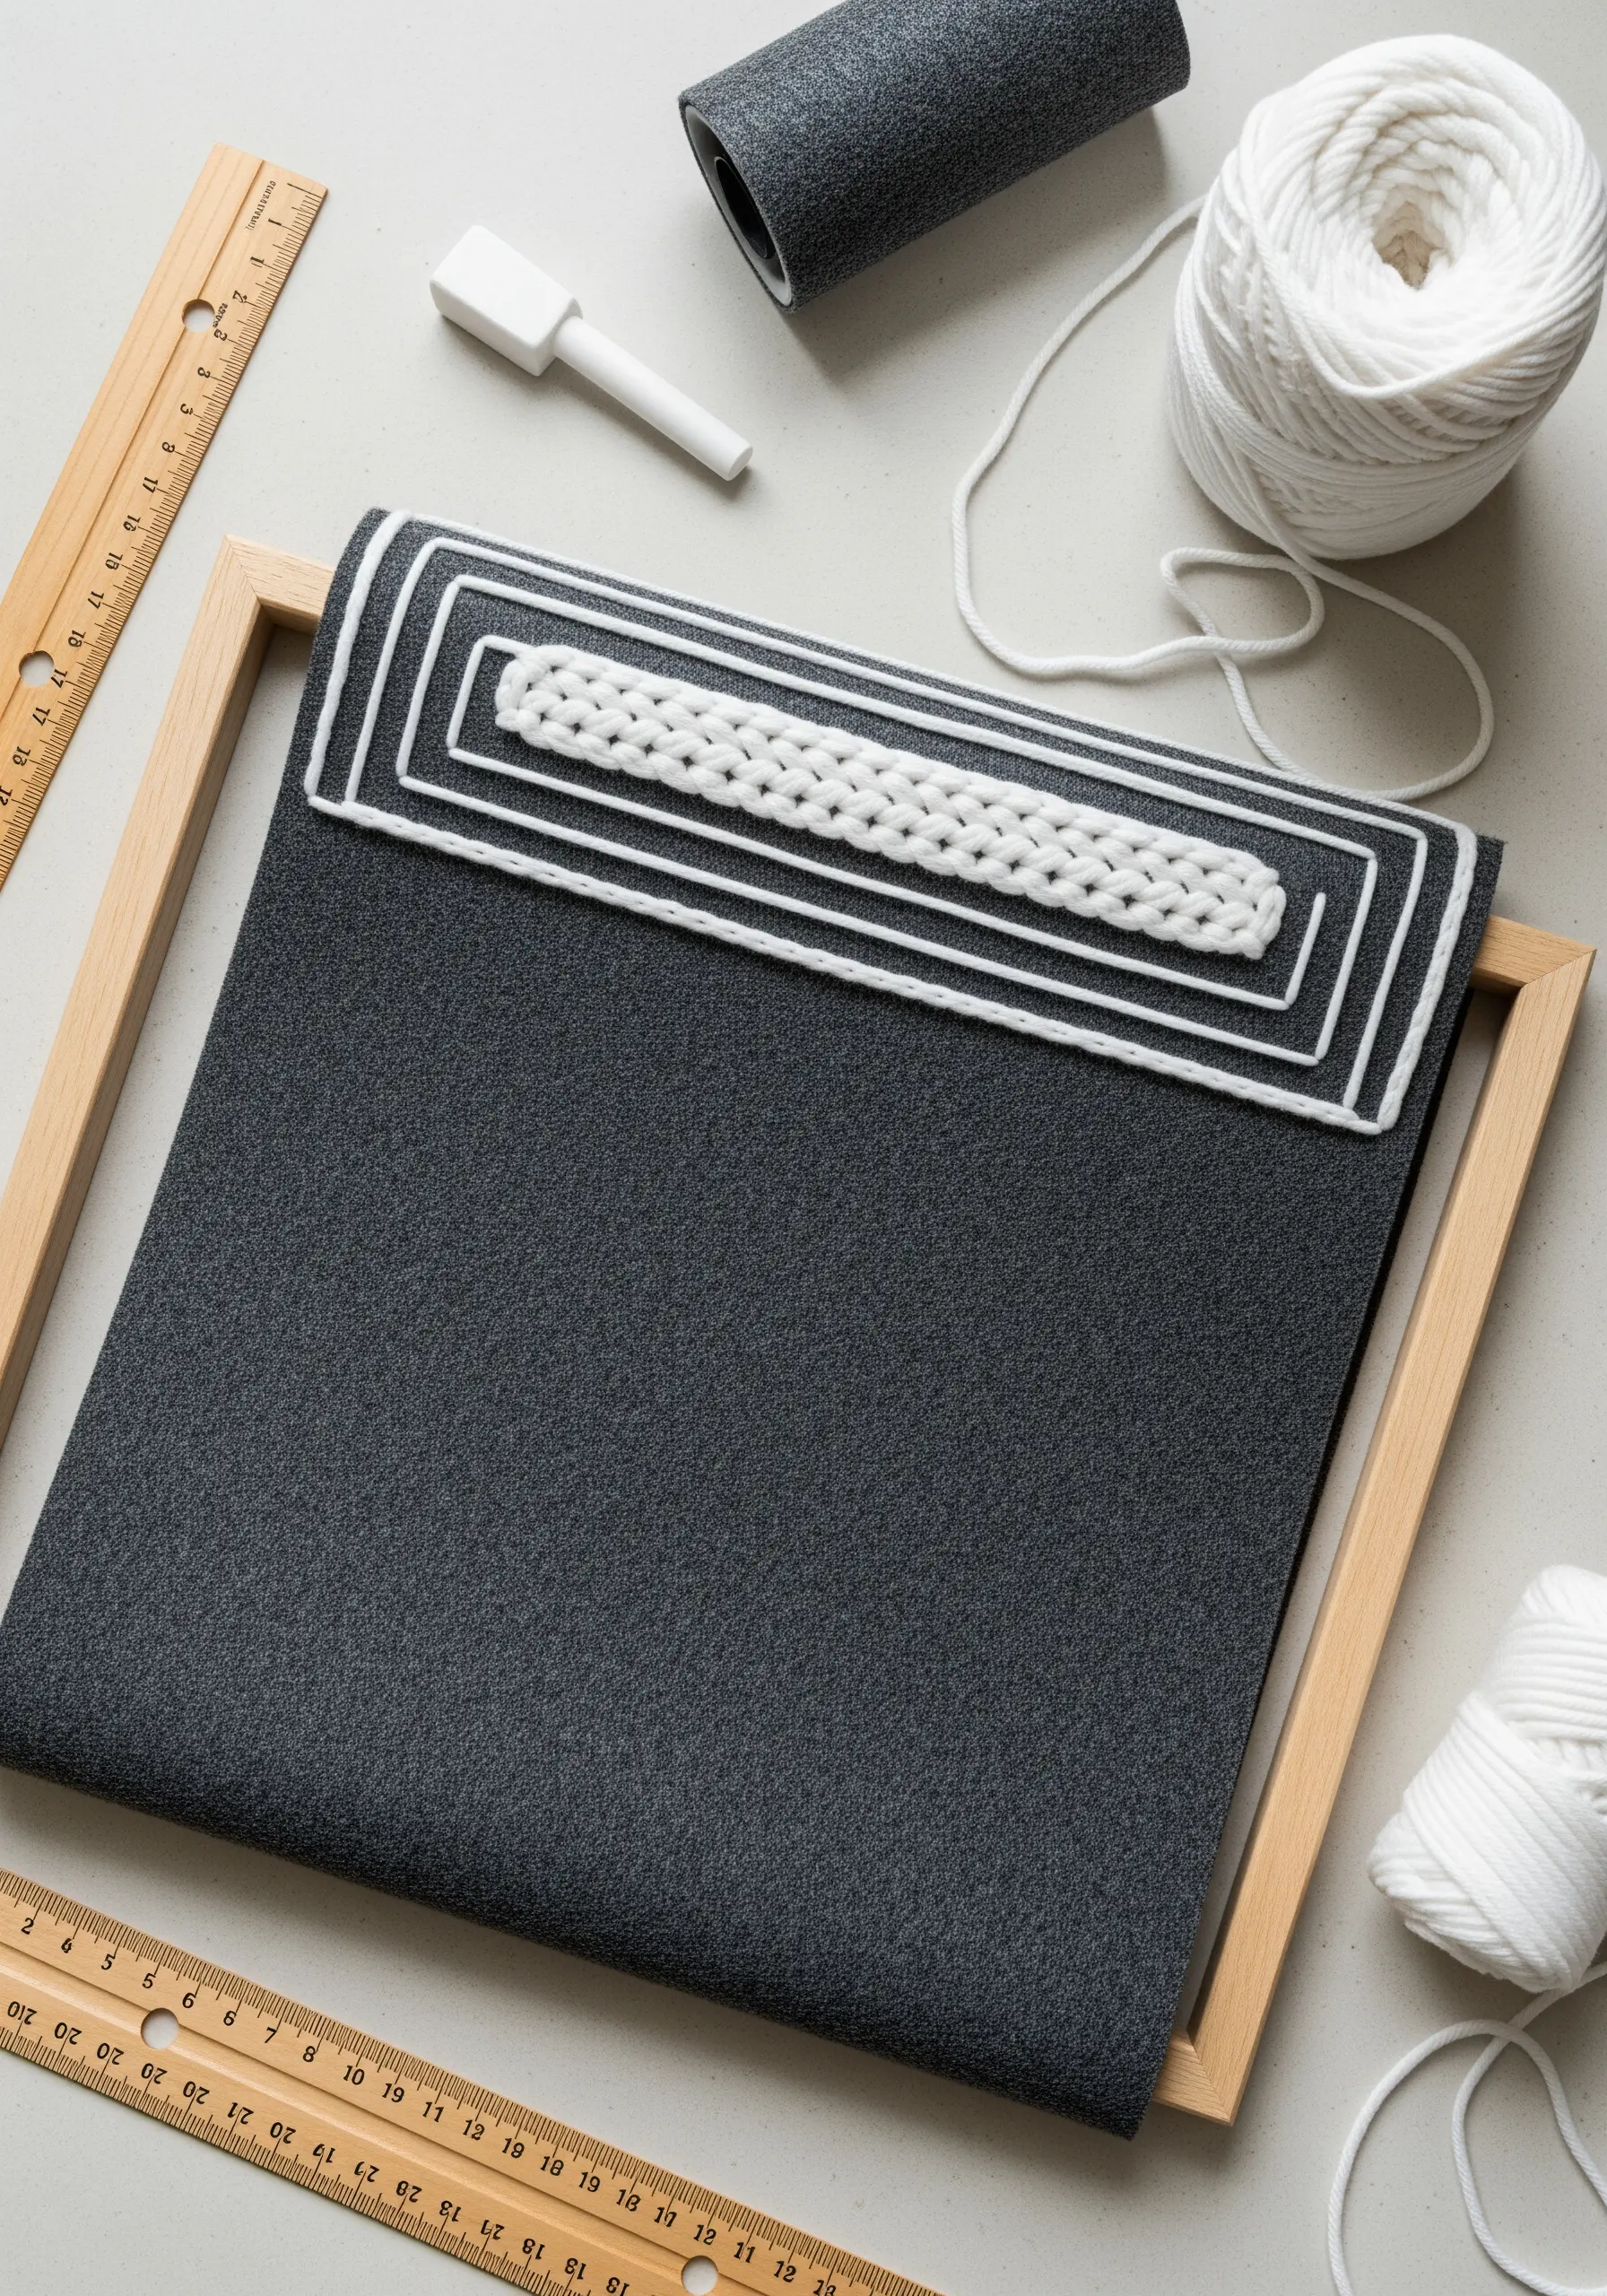
12. Embellish a Binder with Architectural Lines
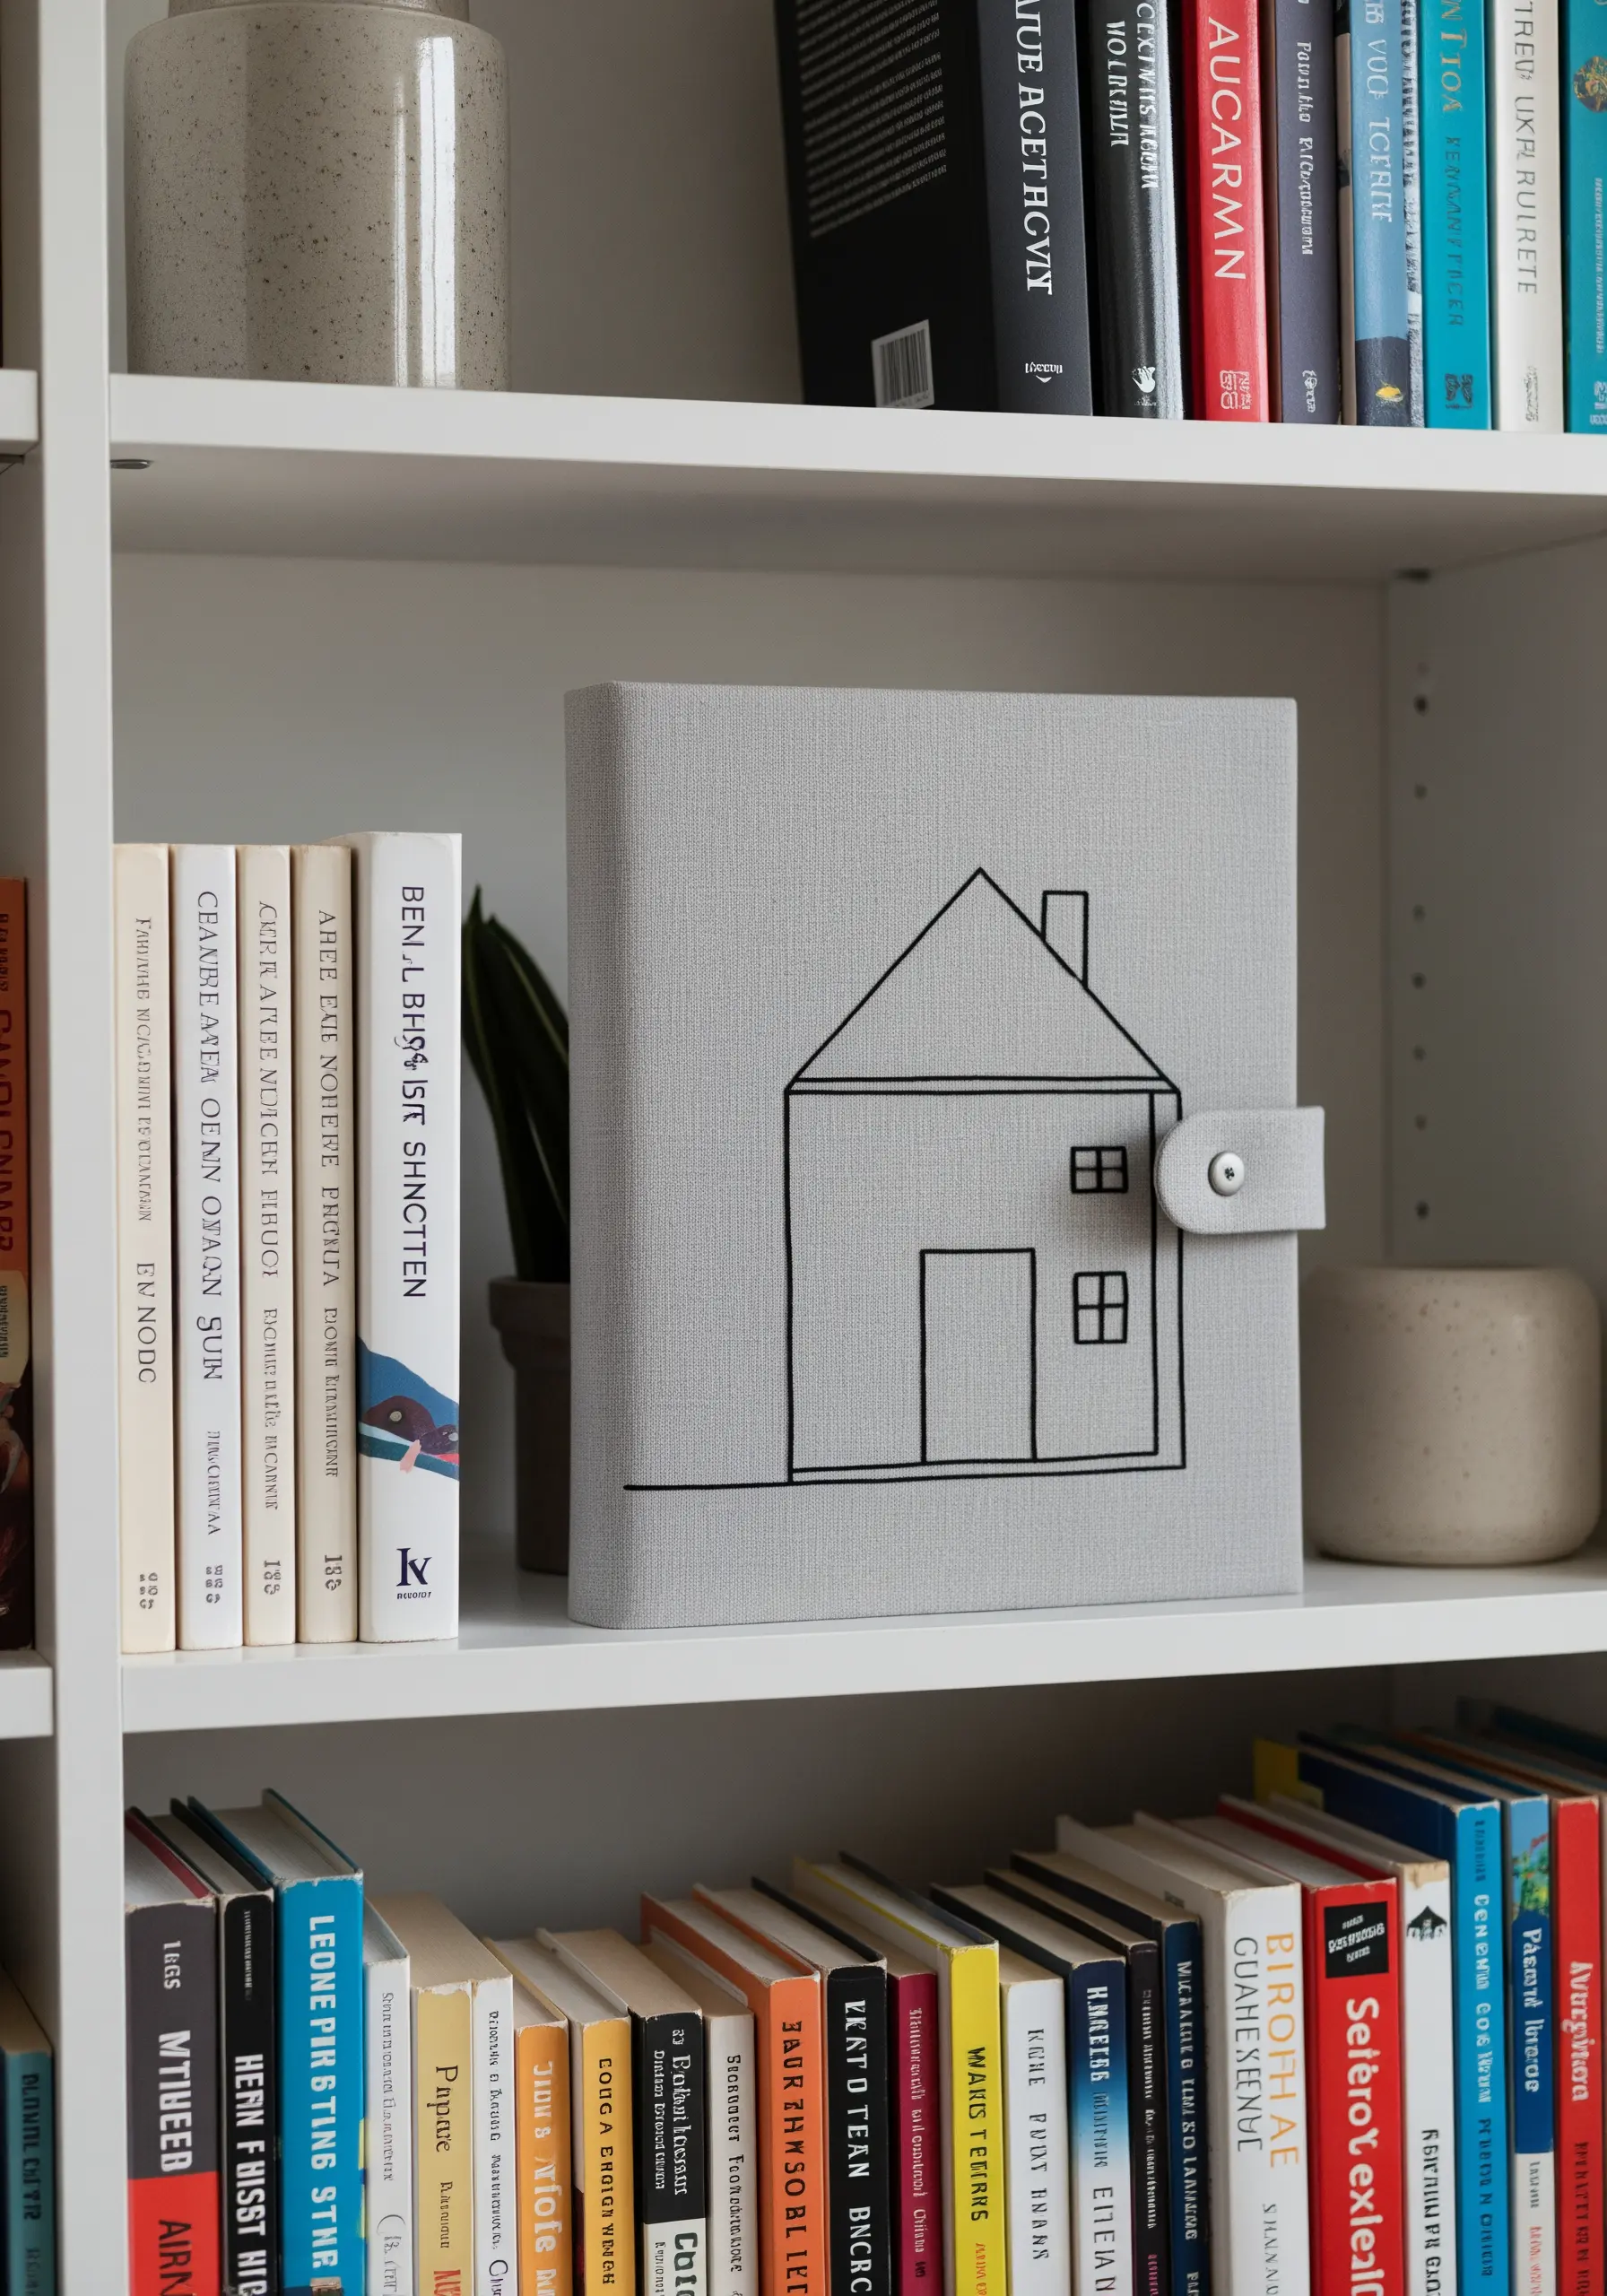
Transform an ordinary fabric-covered binder or notebook with a simple line-art design.
Use a clean backstitch with three strands of black floss to achieve a crisp, architectural look that stands out against the grey linen.
Because you can’t use a hoop, choose a design with straight lines, which are easier to control by hand.
This is one of the most effective artistic embroidery projects that turn everyday items into presents or sophisticated office accessories.
13. Stitch a Subtle Lampshade Border
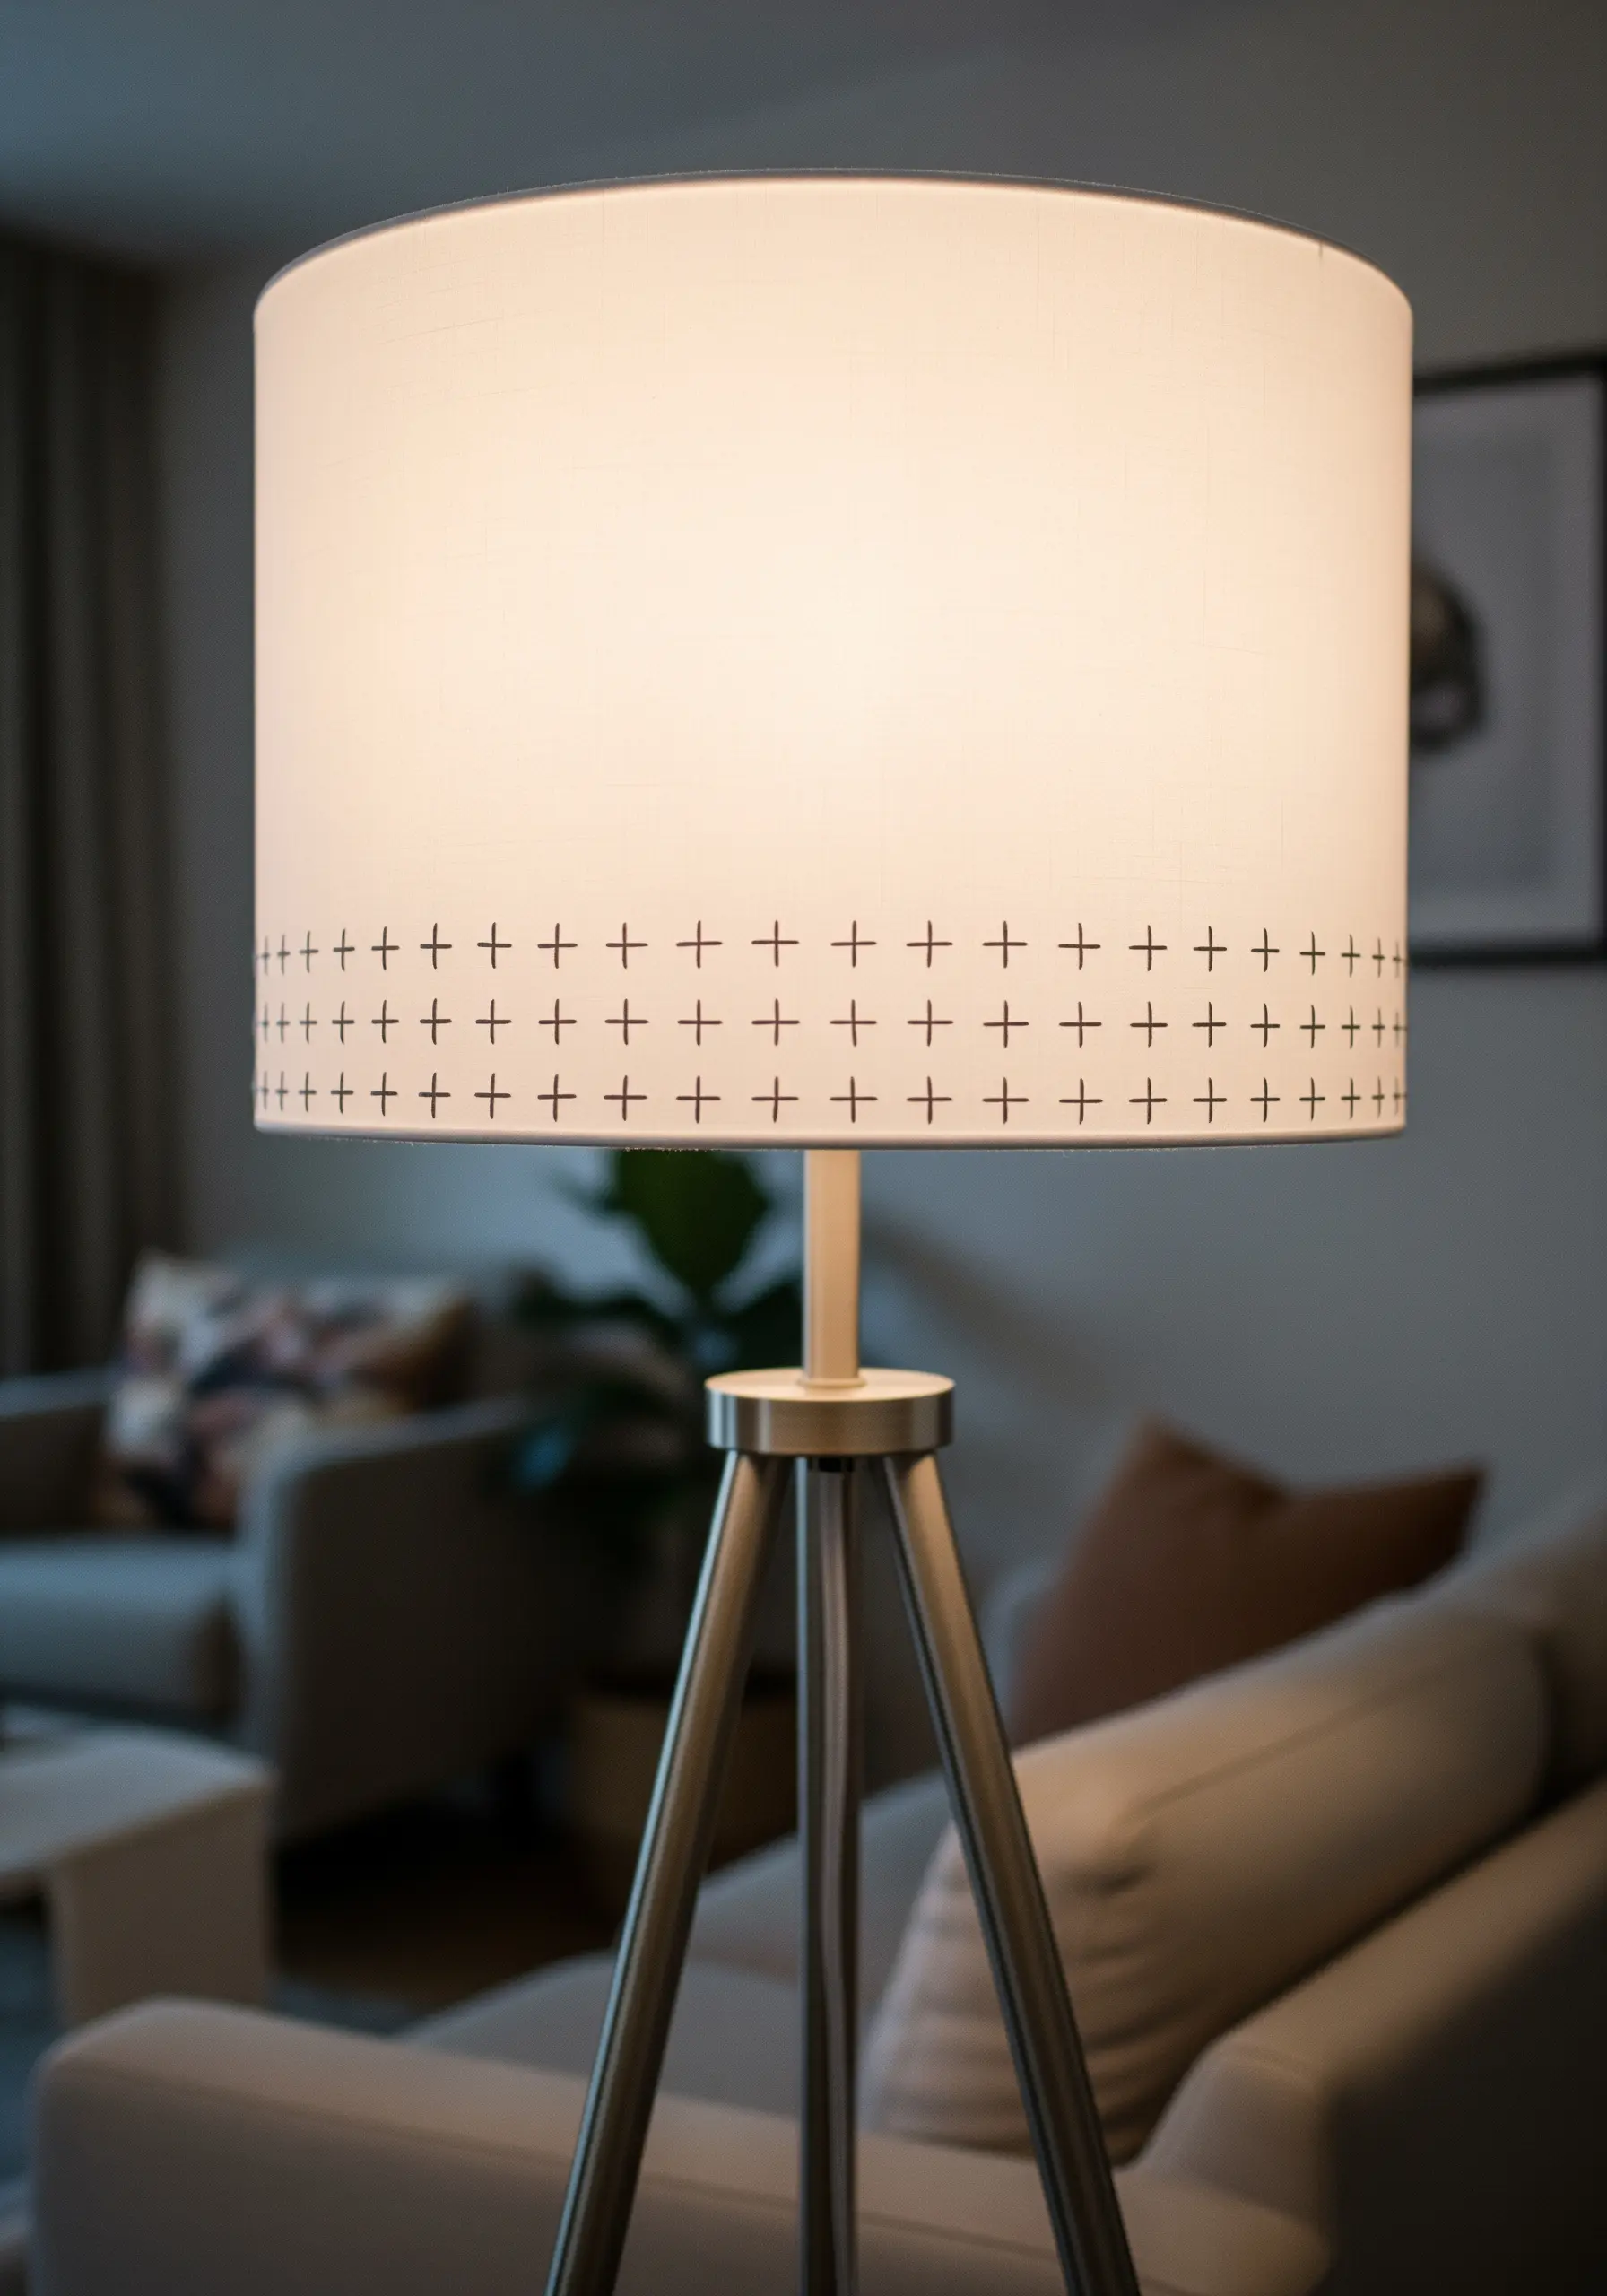
Adding embroidery to a lampshade brings a soft, textural element to your lighting.
Since you cannot use a hoop, select a simple, repetitive pattern that is easy to stitch by hand, like this cross-stitch grid.
Use a sharp needle and light tension to avoid damaging the lampshade material.
Mark your pattern lightly with a pencil to ensure even spacing, creating one of those simple embroidery accents that guests will always notice.
14. Design Sculptural Napkins with Cord Appliqué

Create bold, three-dimensional designs on table linens by couching a thick, braided cord onto the fabric.
Lay the cord in your desired geometric or organic shape and use a matching embroidery floss to secure it with small, discreet stitches.
This method adds incredible texture and a sculptural quality that feels luxurious and modern.
It’s a faster alternative to satin stitch for filling shapes and a perfect way to execute modern minimalist table linen embroidery ideas.
15. Illustrate Motion with Parallel Stitches
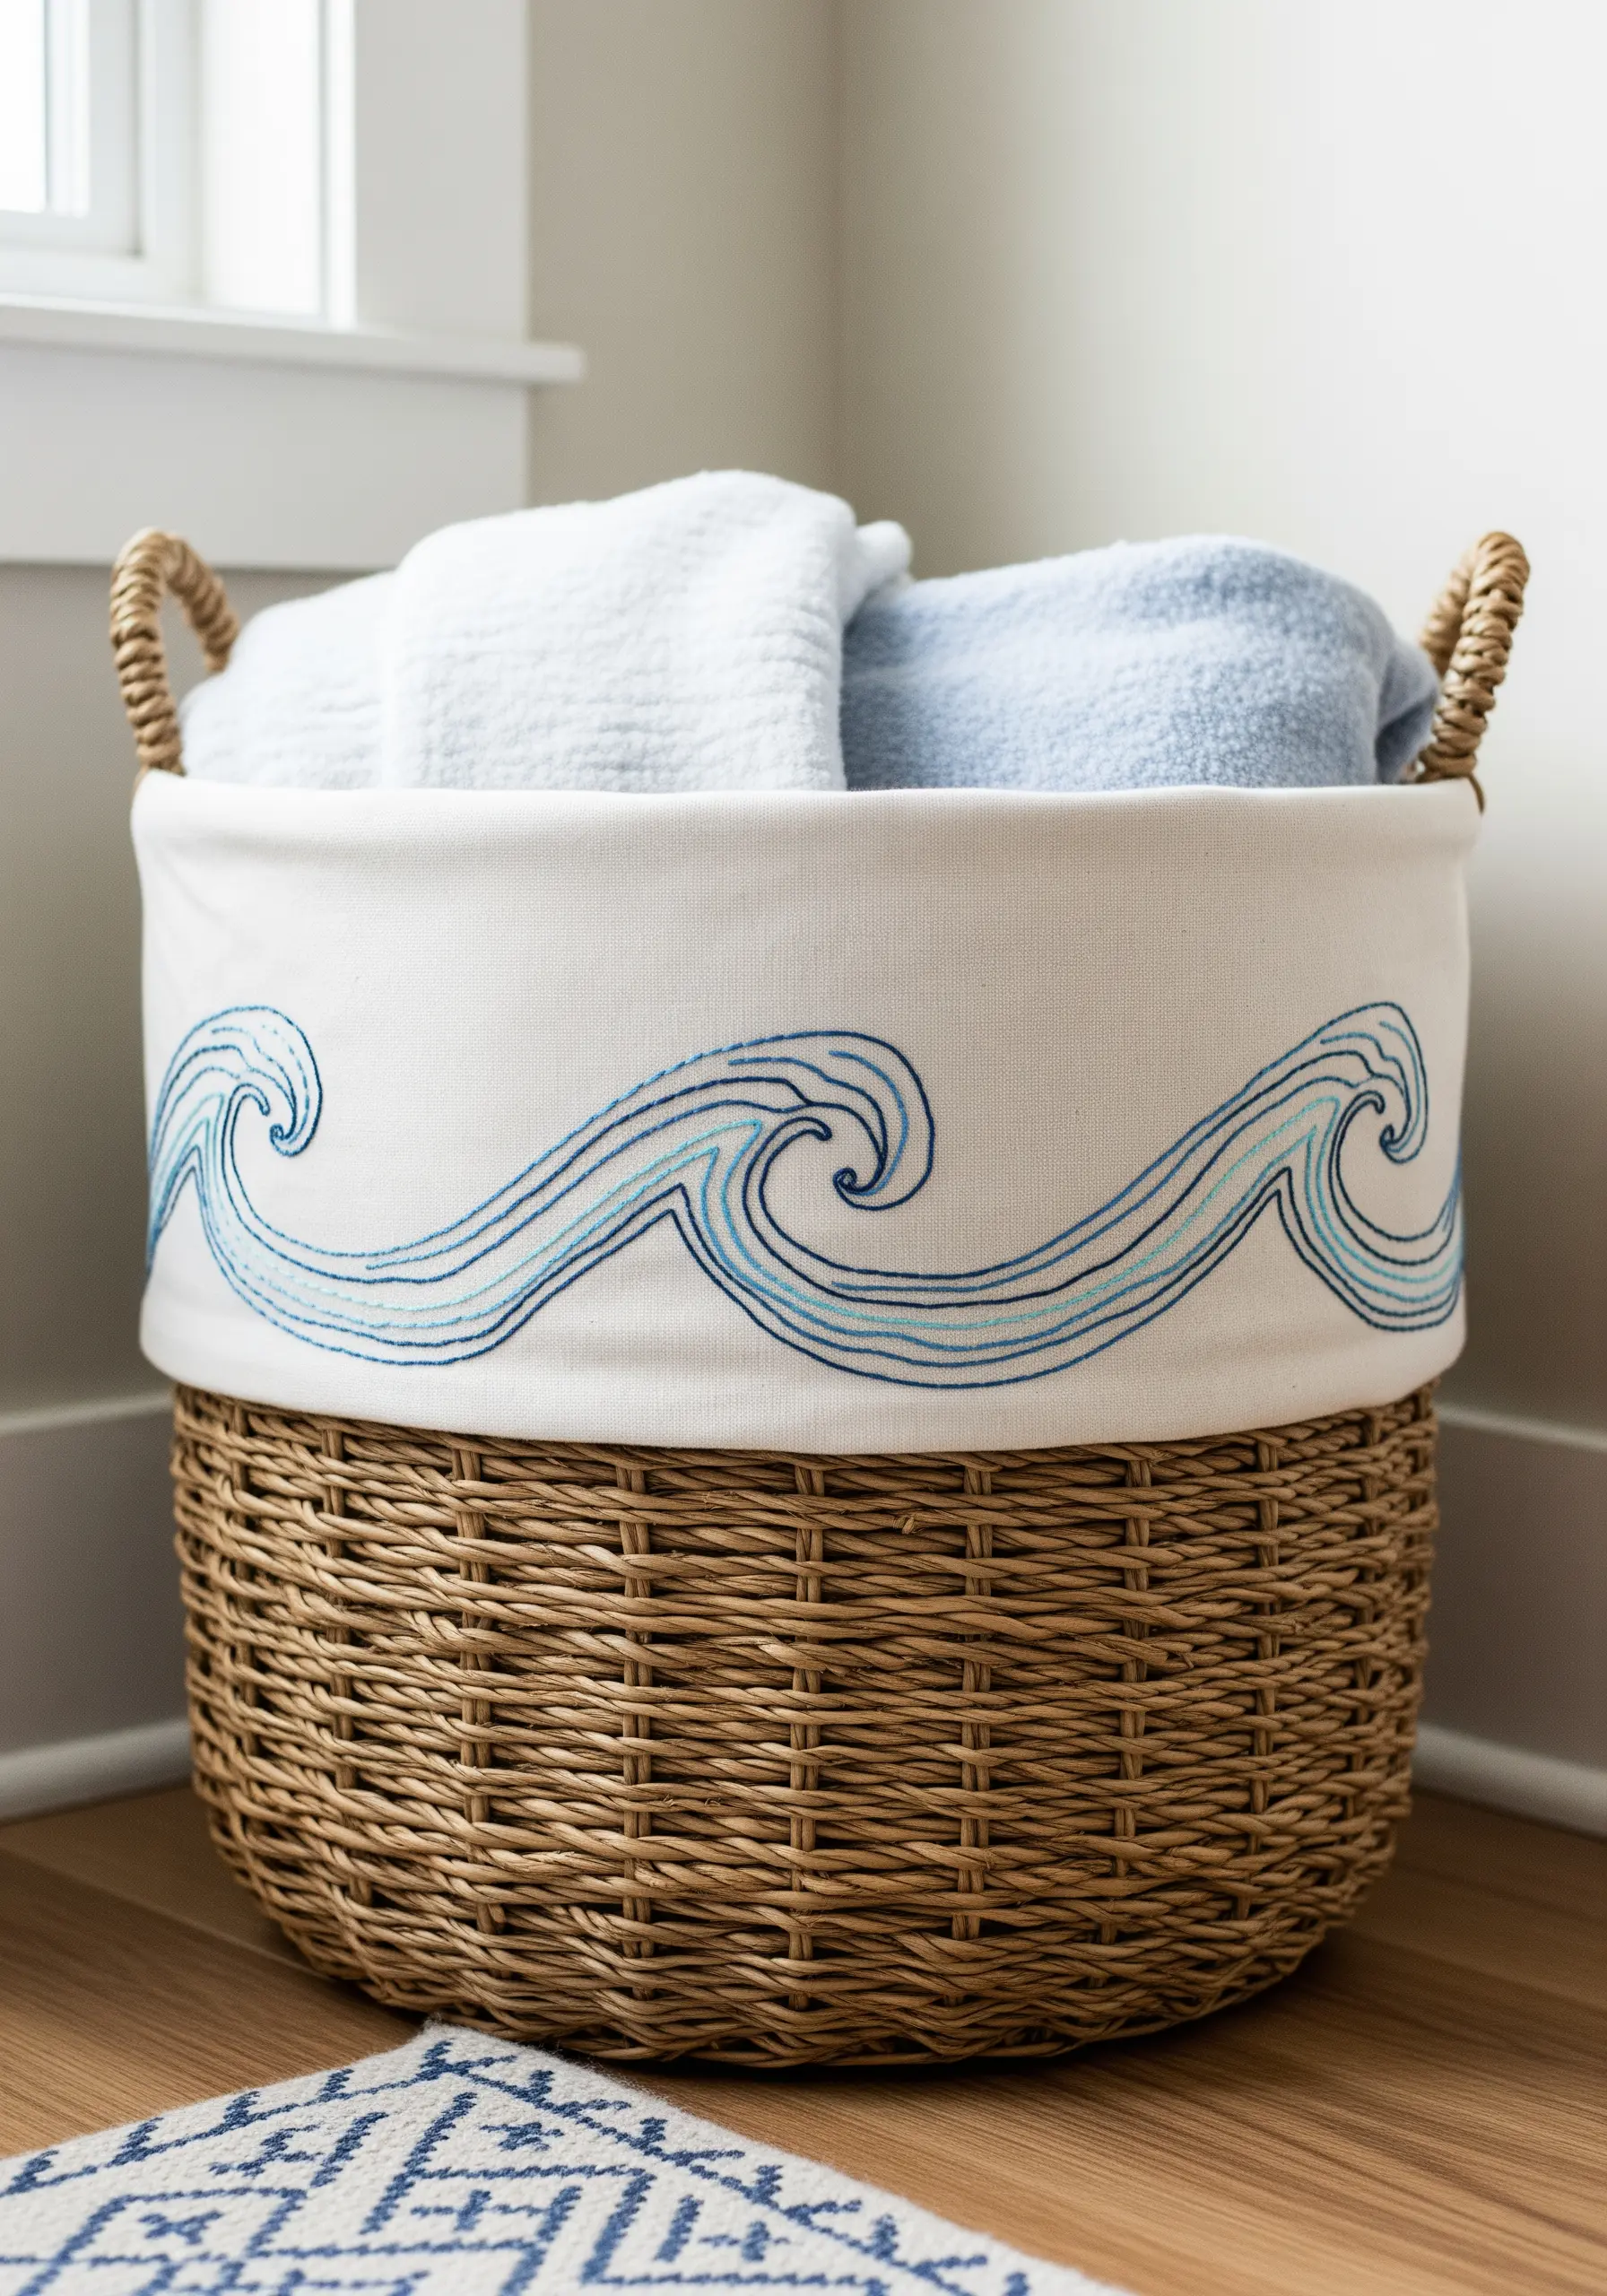
To create the illusion of flowing water, stitch multiple, parallel lines of backstitch that follow the curve of a wave.
Use three to four shades of the same color—from dark to light—to add depth and a sense of movement.
The key is to maintain consistent spacing between each line, which you can ensure by lightly drawing guidelines with a water-soluble pen before you start.
This technique turns simple lines into dynamic, ocean-inspired string art ideas that feel alive.
16. Create a Functional Embroidered Wall Calendar
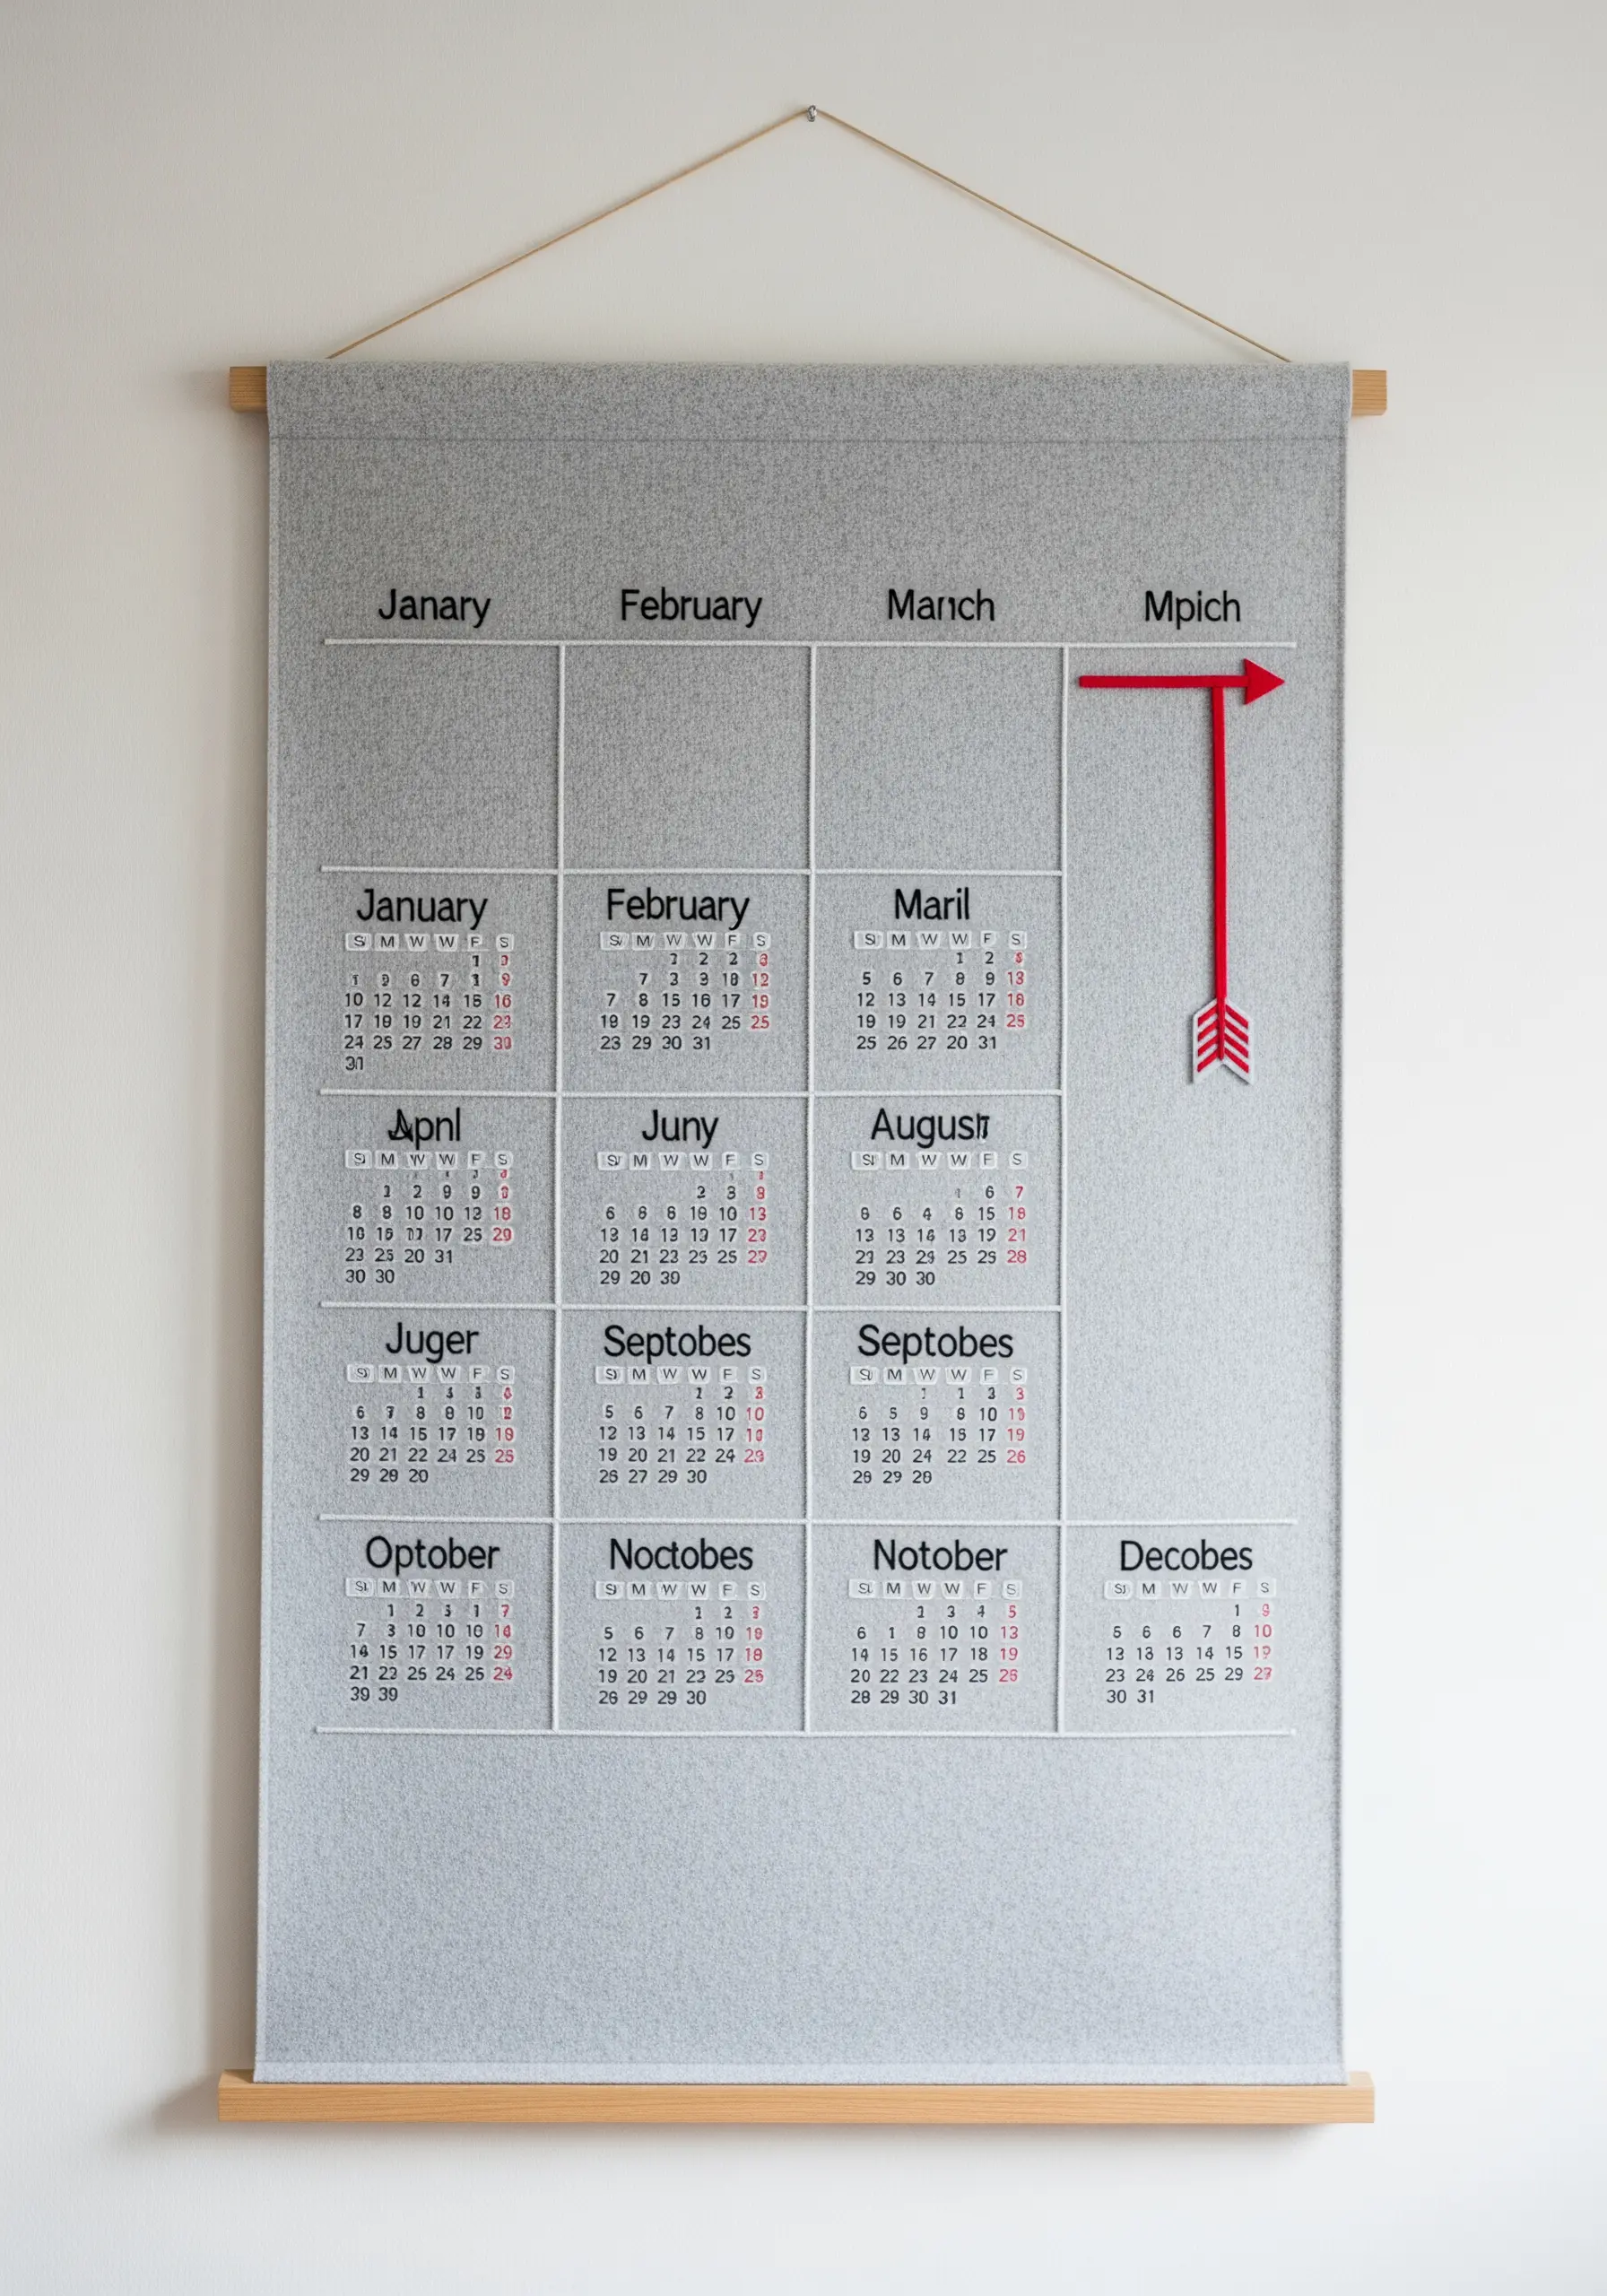
Combine utility and artistry by stitching a reusable calendar on a piece of felt or heavy canvas.
Use a single strand of thread and a precise backstitch to create the grid and text, ensuring legibility.
The most critical step is mapping out your grid with a ruler and a removable fabric marker for perfectly straight lines and even spacing.
This is one of those DIY wall art embroidery projects that is both beautiful and genuinely useful.
17. Add Tactile Detail with Knotted Stitches
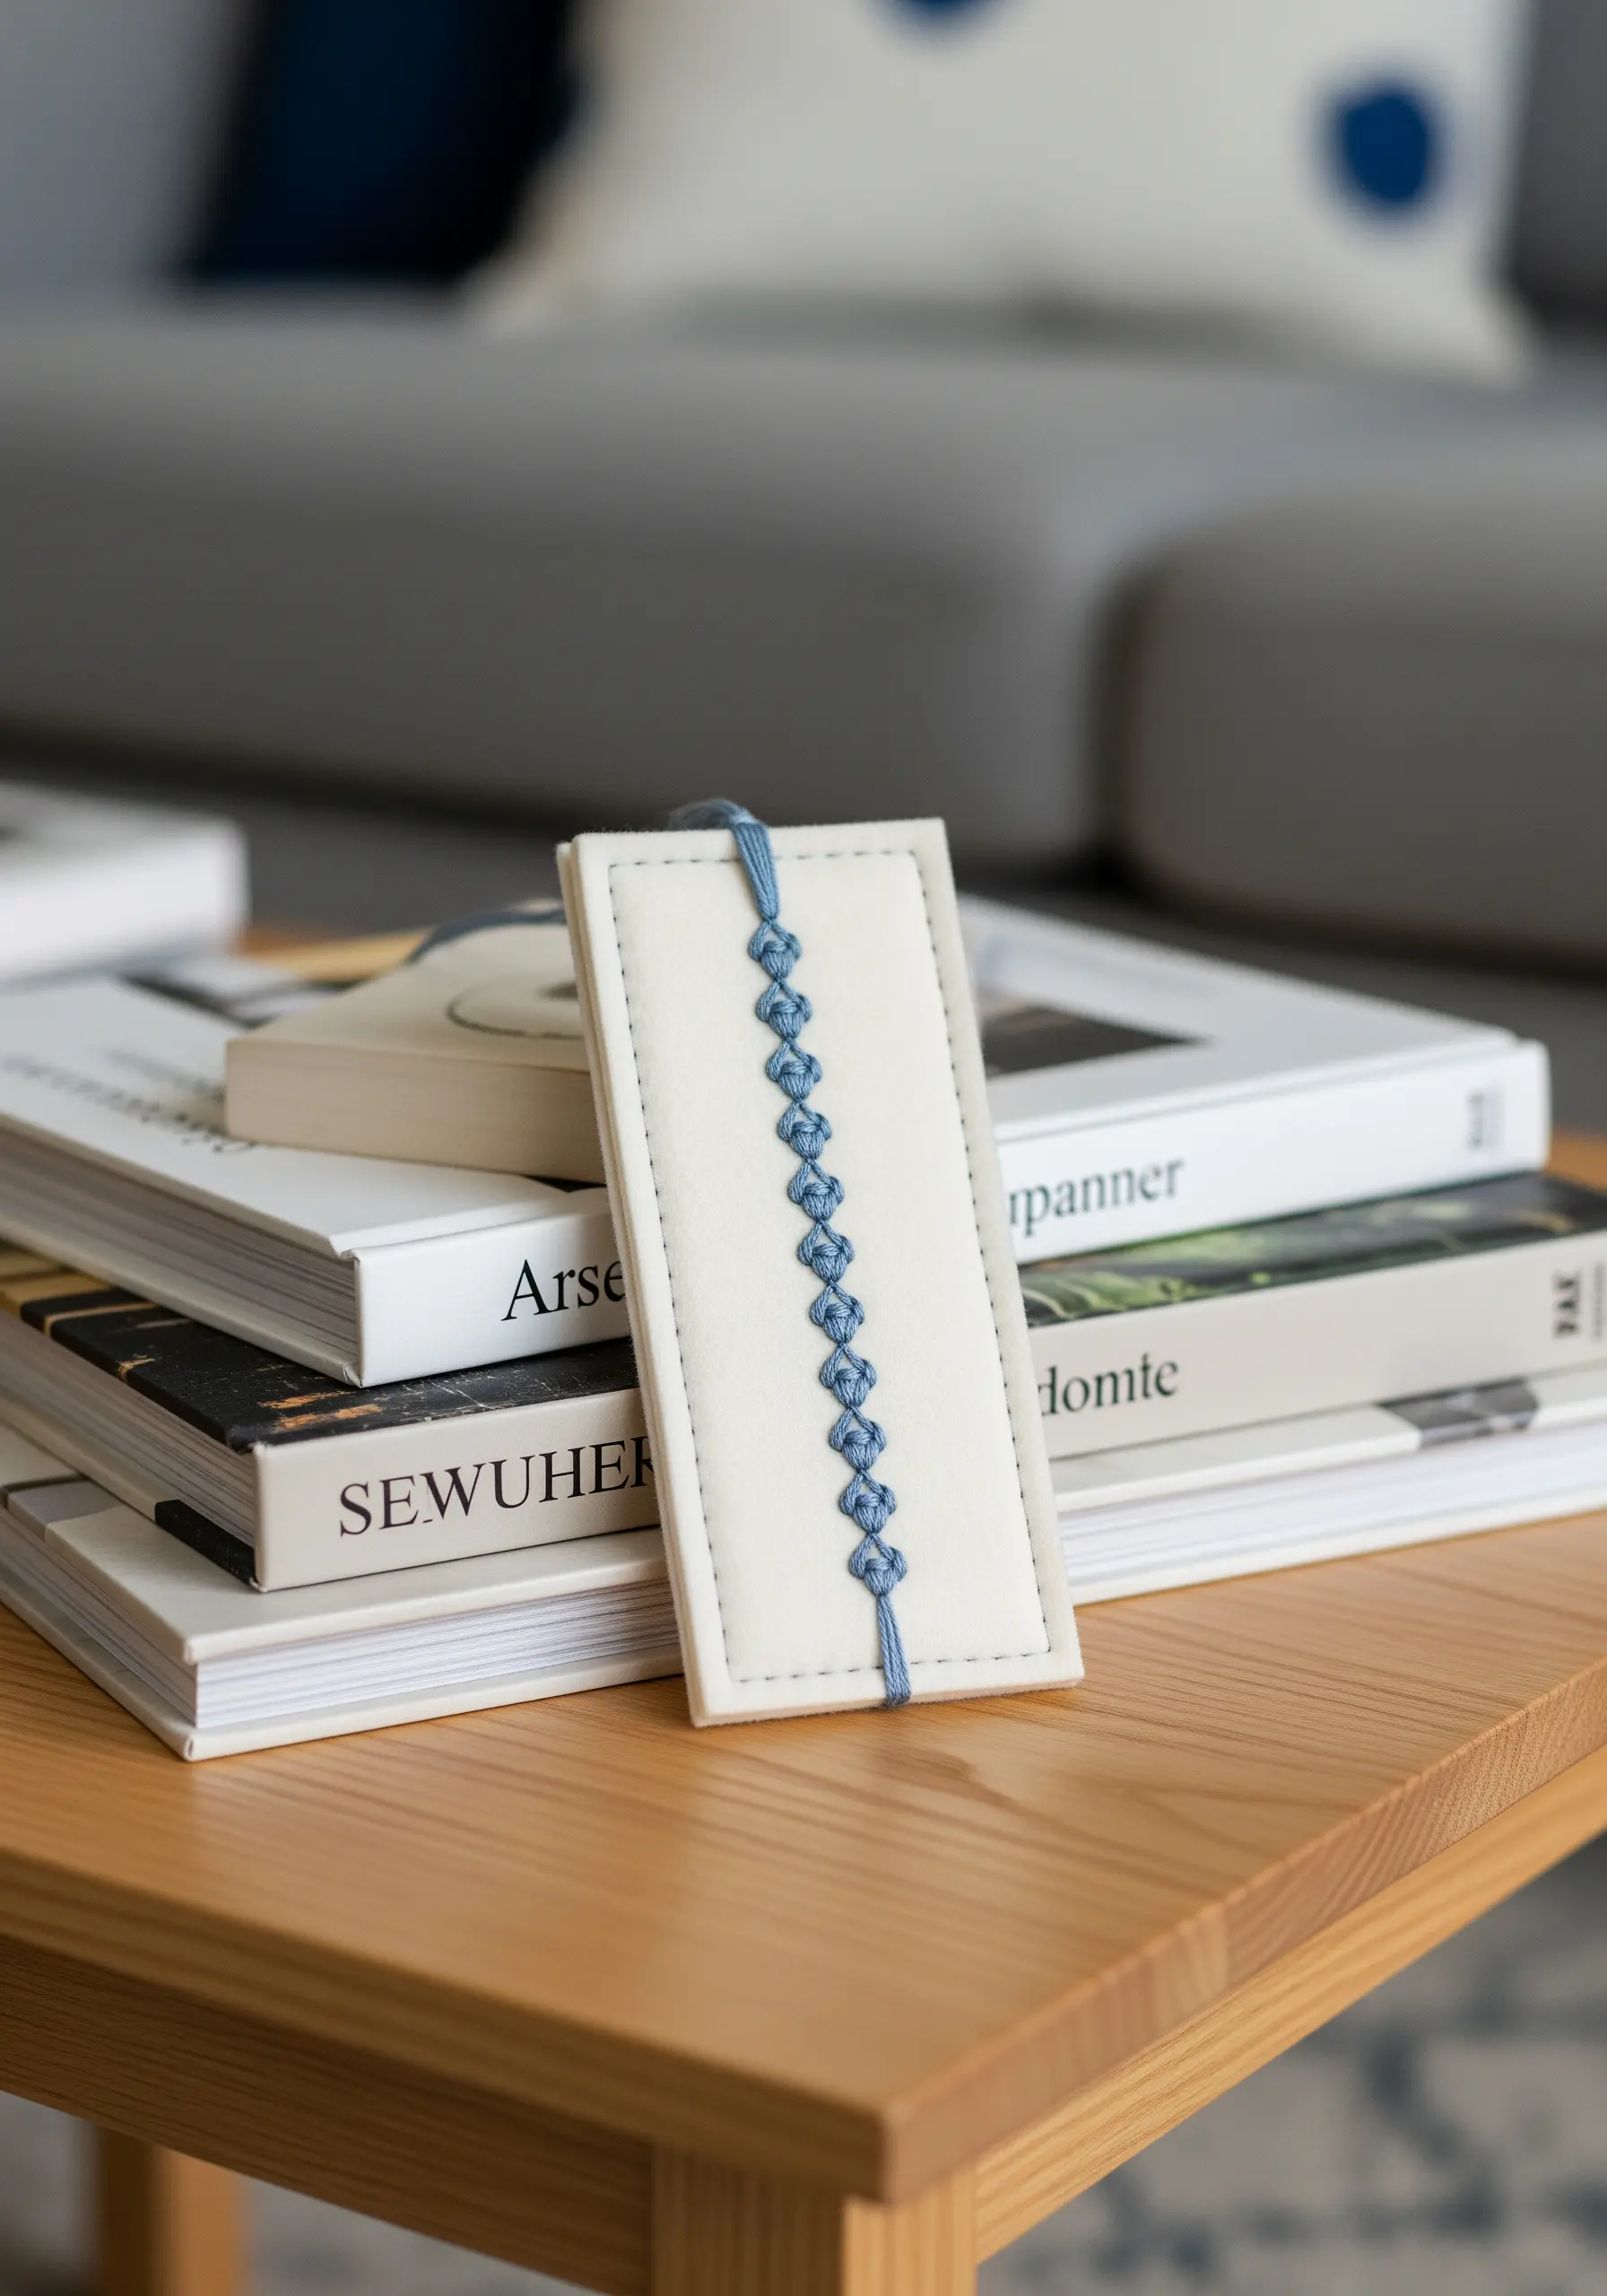
Move beyond flat stitches by incorporating decorative knots into your design.
A row of Chinese knot stitches, alternately known as Josephine knots, creates a beautiful, braided texture that is both visual and tactile.
These knots are ideal for borders, lines, or as standalone accents on items that are handled, like bookmarks.
Practice the knot with spare thread until you can create them with consistent size and tension for polished DIY cozy embroidery bookmarks.


