

Your notebook is more than just paper; it’s a space for your thoughts, plans, and dreams. So why not make the cover just as personal and expressive?
Embroidering on a journal cover transforms it into a tactile piece of art—a small, quiet statement of your own creativity. It’s not about starting a massive, complex project. It’s about the simple, satisfying act of adding a few intentional stitches that bring you joy every time you pick it up.
Here are a few quick, modern ideas designed to inspire you. Think of them not as strict patterns, but as techniques you can adapt to create something that feels uniquely yours. Let’s make your journal a true reflection of you, one stitch at a time.
1. Build Texture with Botanical Stitches
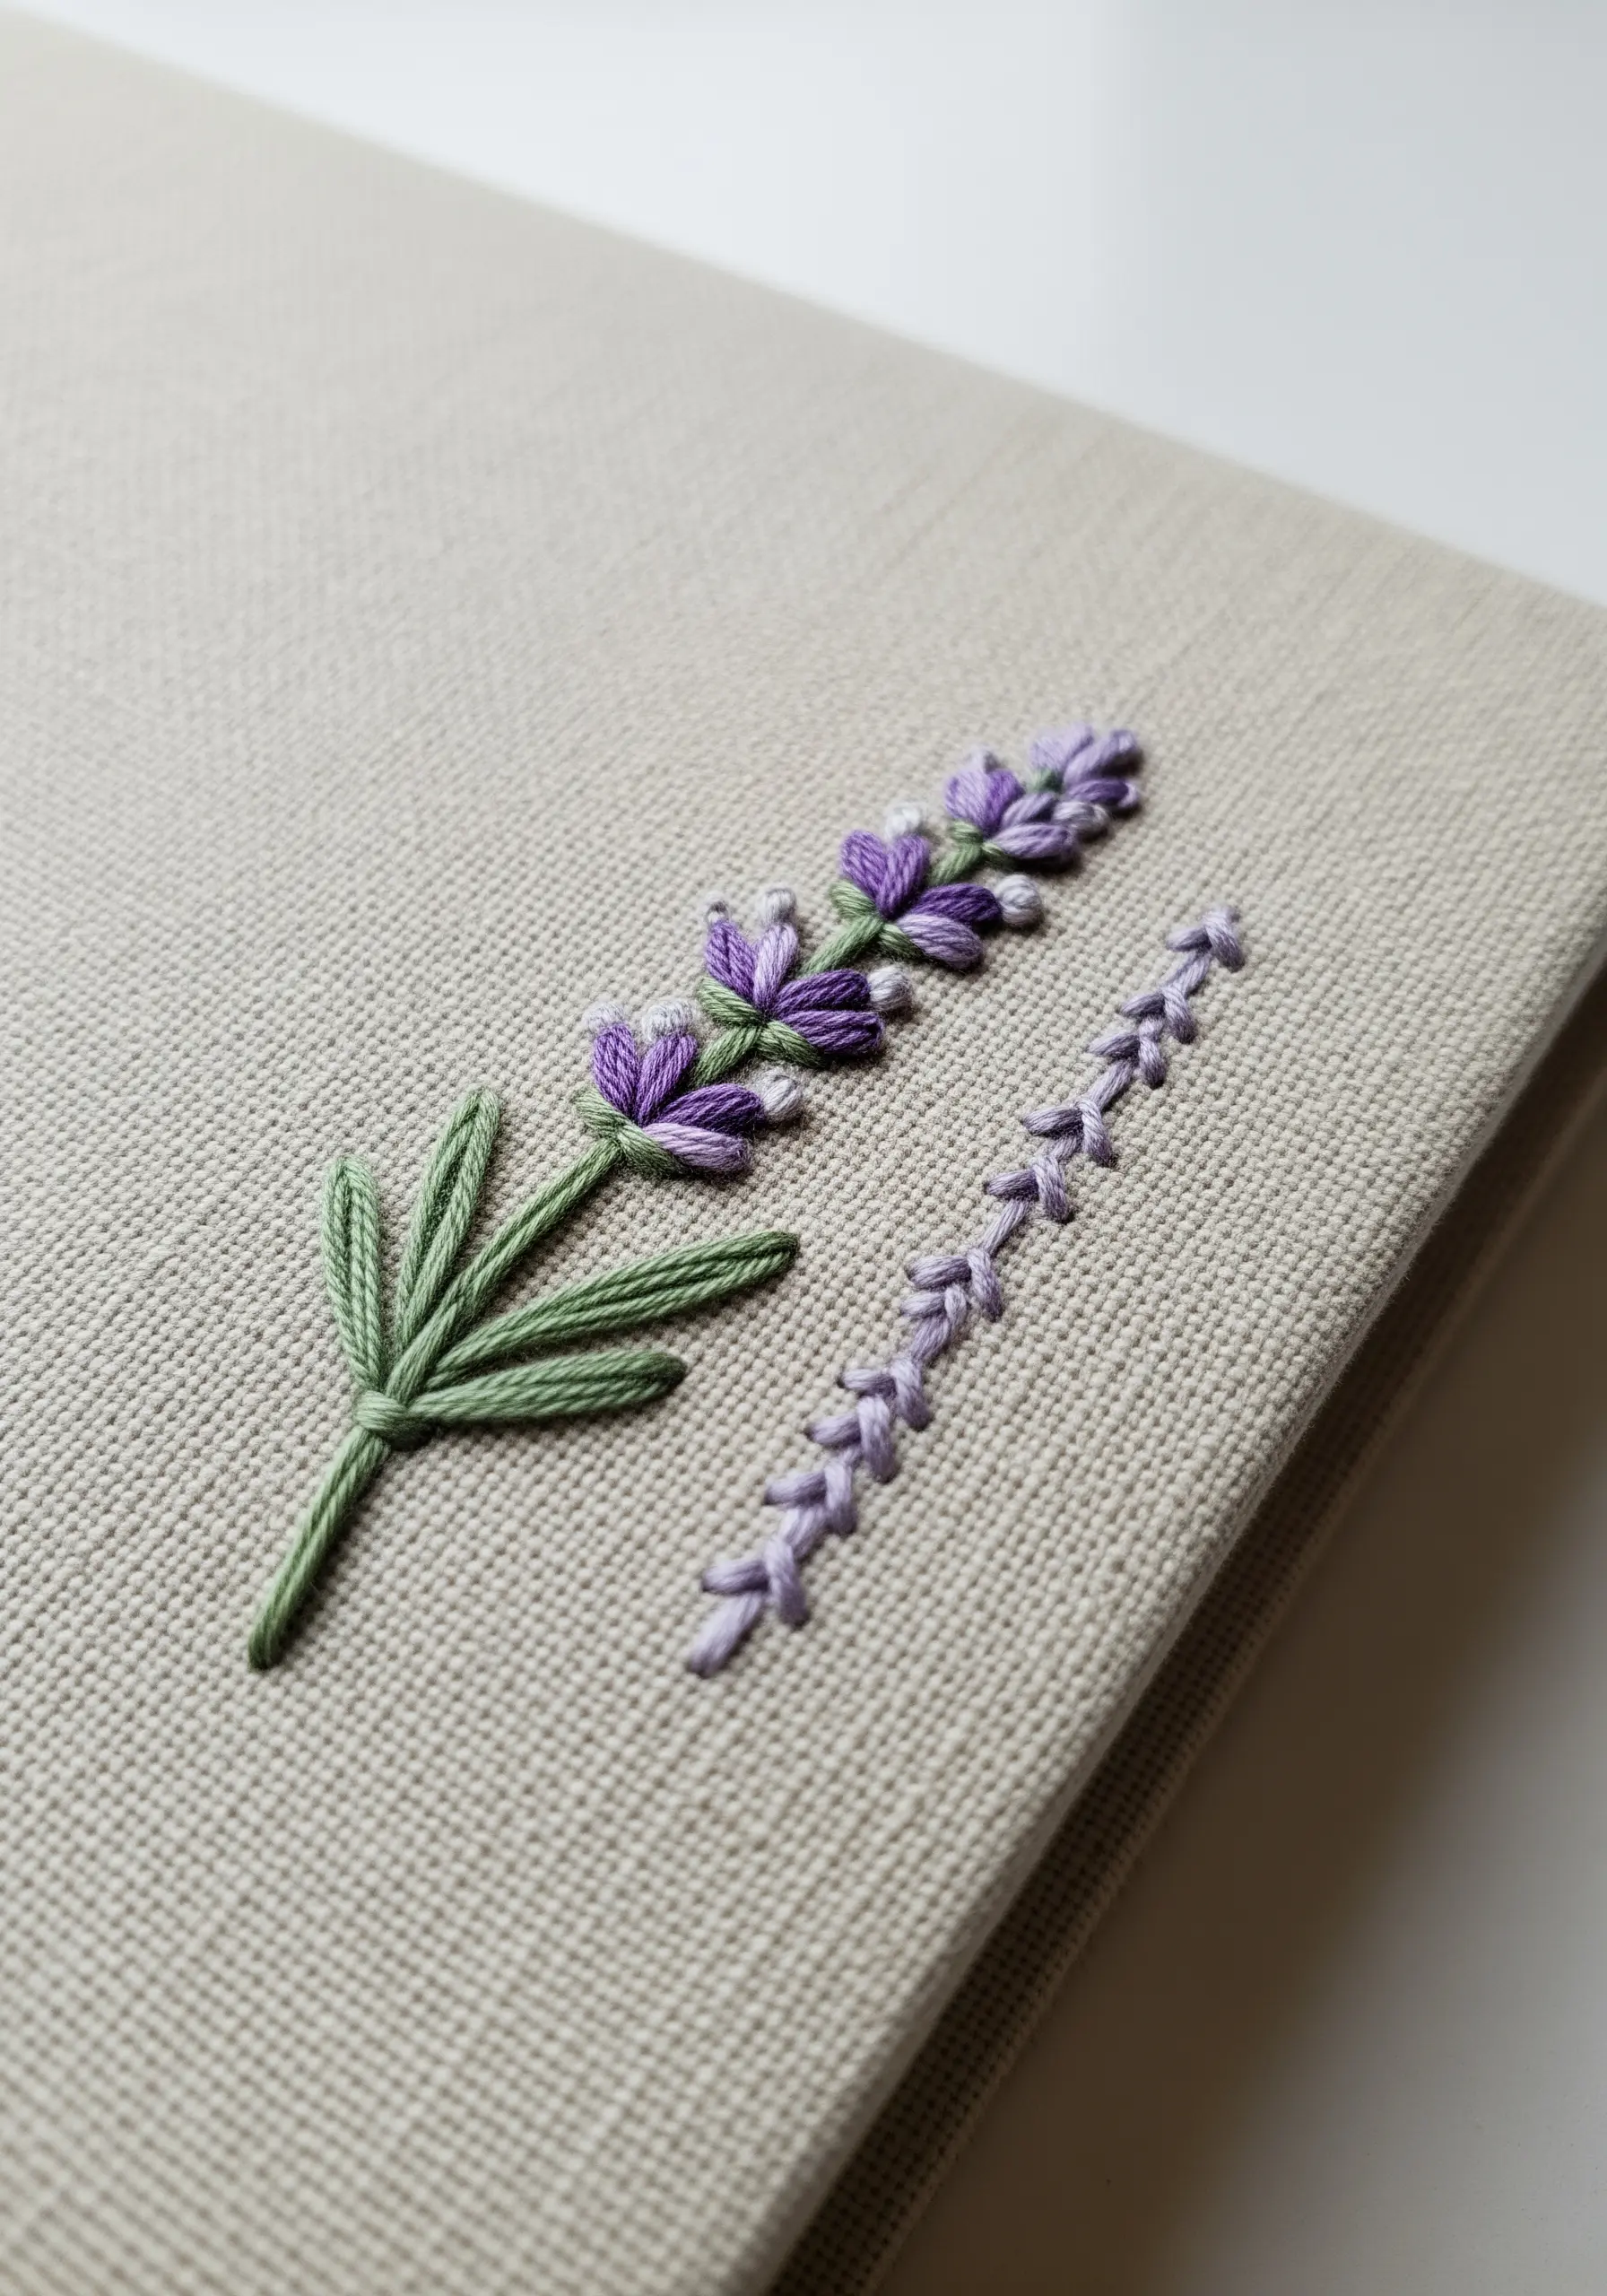
Give your lavender sprigs a realistic, tactile quality by using detached chain stitches for the individual buds.
Vary the angle and tightness of each stitch to mimic the natural, slightly chaotic growth of a flowerhead.
For the leaves, choose a fishbone stitch instead of a simple satin stitch; this creates a beautiful central vein that adds depth and realism.
Use two or three shades of purple and lilac, scattering them to create a subtle, natural color variation.
2. Master the Minimalist Motif
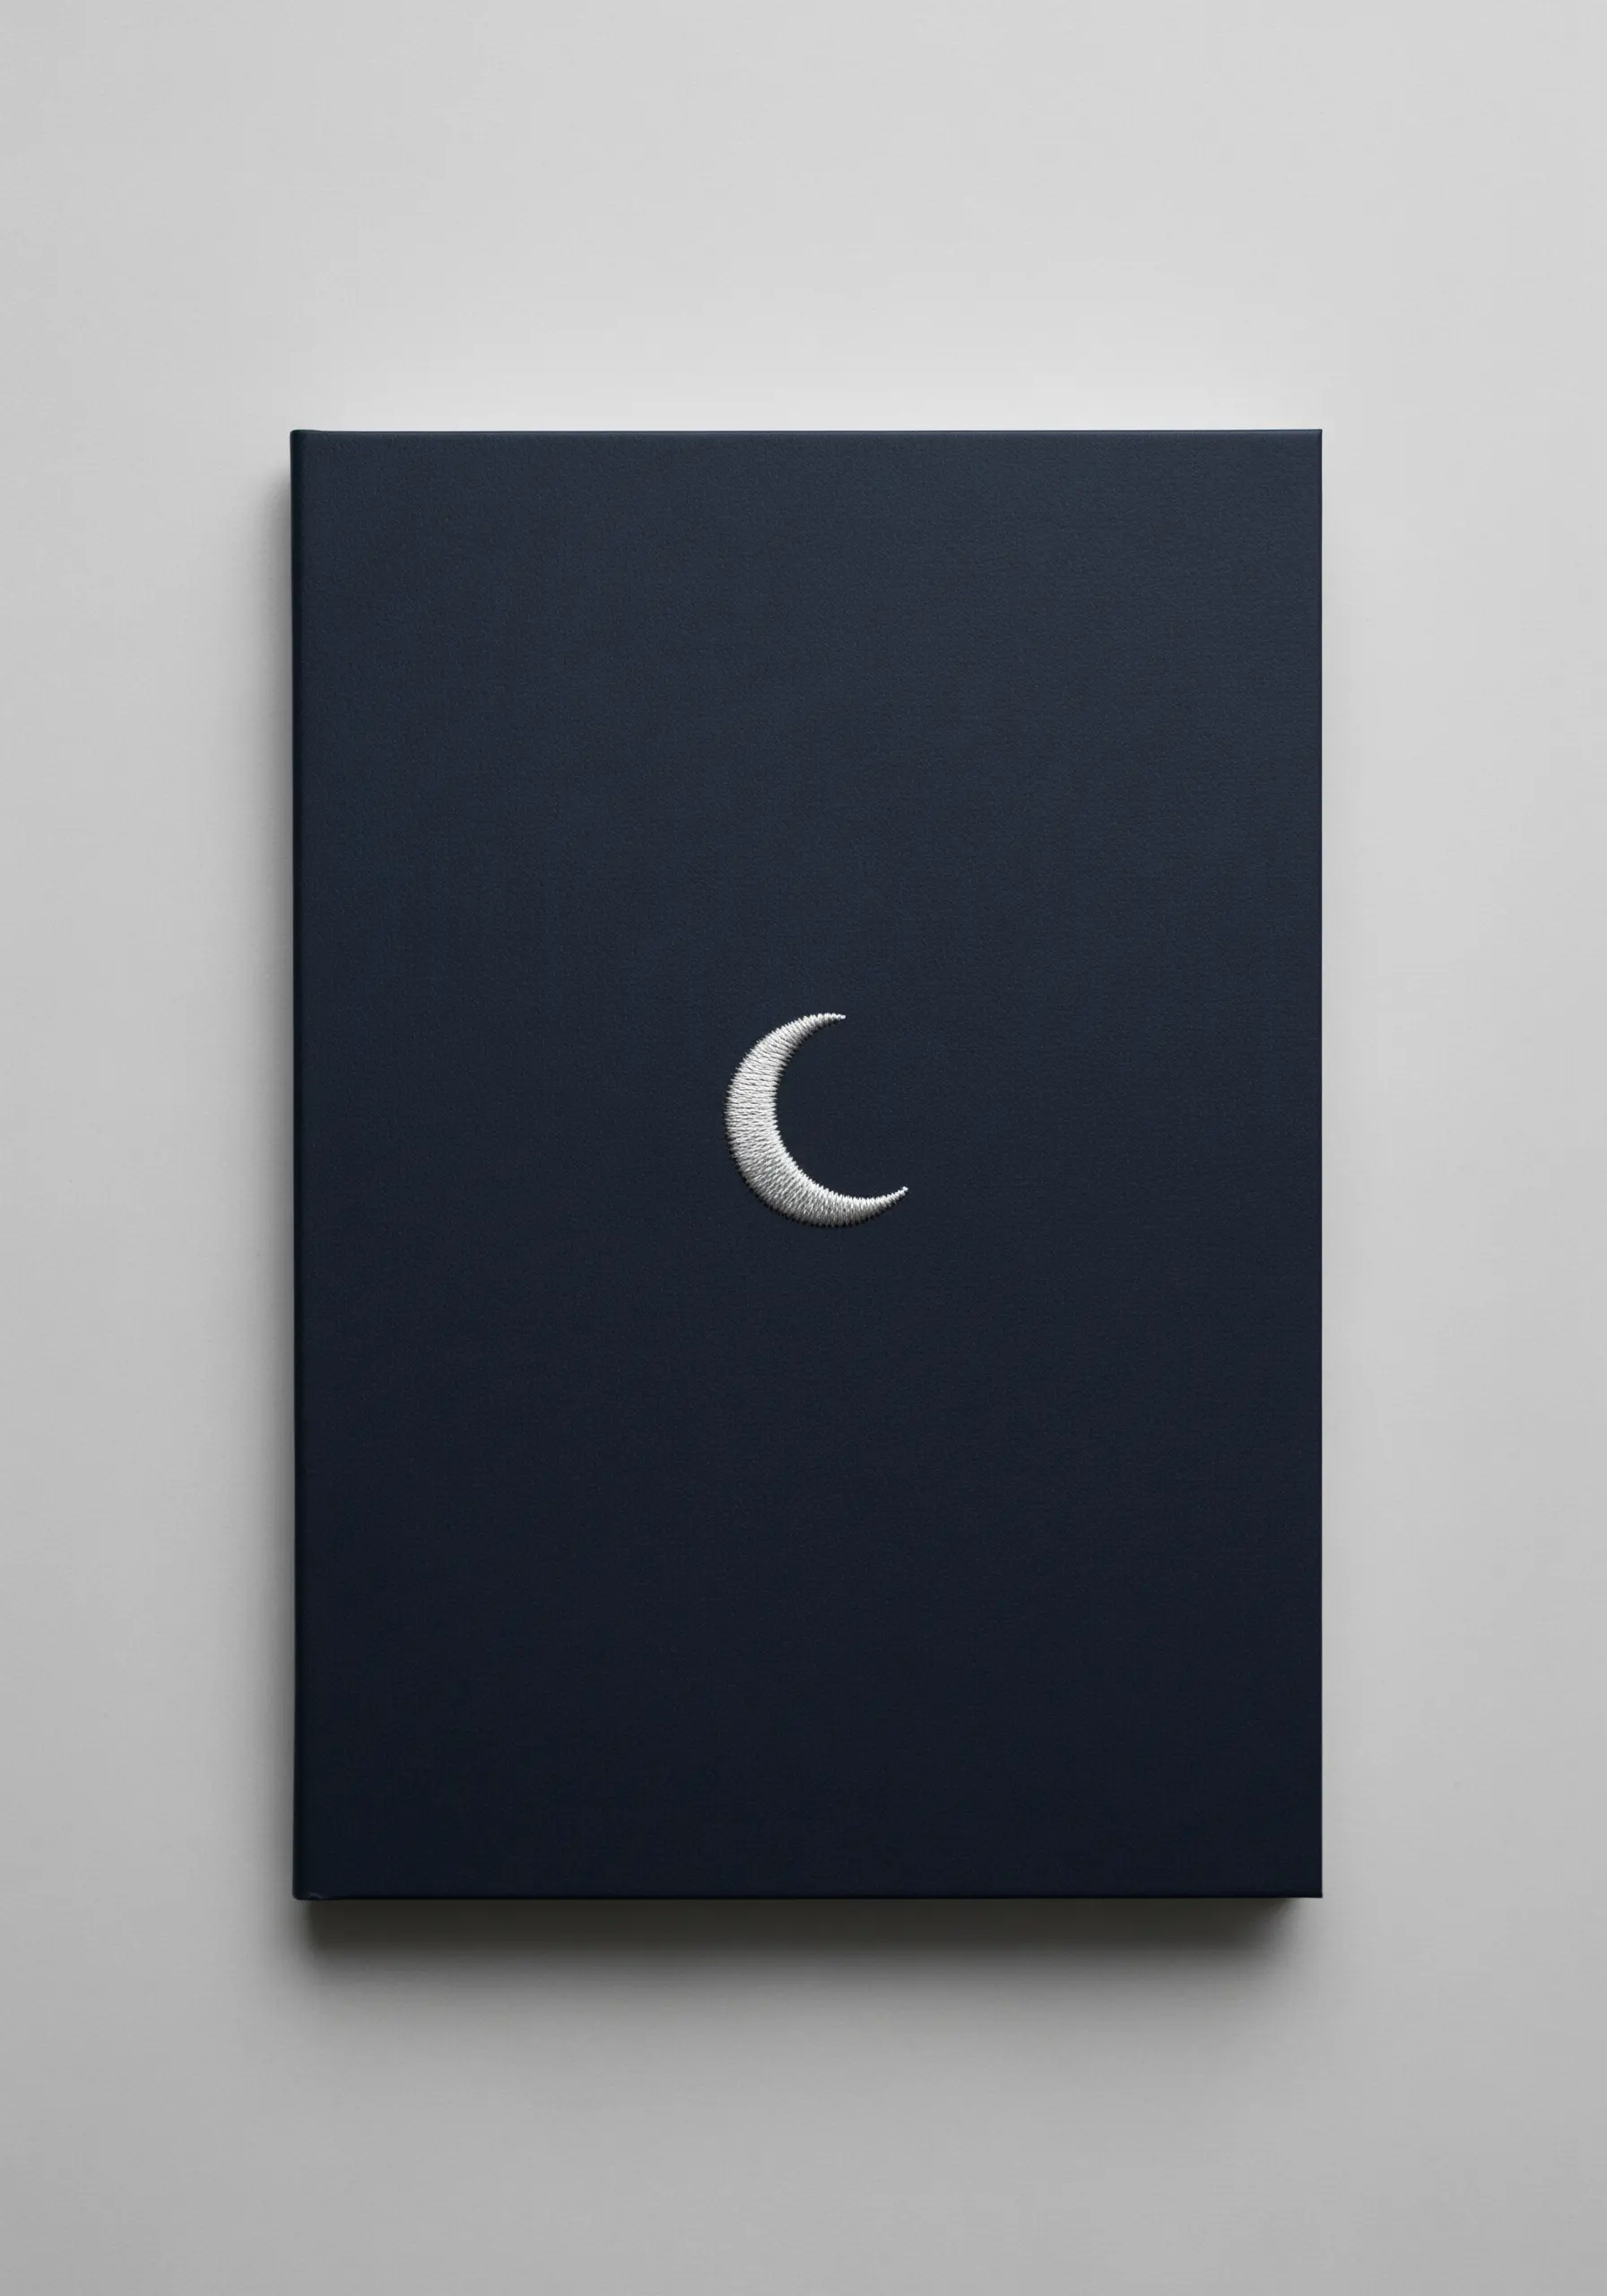
When a design is this simple, precision is everything.
Create an impeccably sharp edge on your crescent moon by first outlining the shape with a tiny split stitch.
Then, fill the interior with a dense, smooth satin stitch, using your split stitch outline as a raised guide to tuck your needle against.
Choose a thread with a high sheen, like silk or a quality satin floss, to catch the light and make the tiny motif stand out against the dark cover.
3. Create Graphic Landscapes with Bold Outlines

Turn a simple mountain range into a striking graphic illustration by emphasizing its outlines.
Use a heavier weight thread (like all six strands of floss) or a thicker stem stitch for the defining black lines.
Fill the sections with a simple long-and-short stitch using a lighter thread color, which keeps the focus on the powerful, illustrative linework.
This technique separates the planes of the landscape, creating depth and a modern, stylized feel.
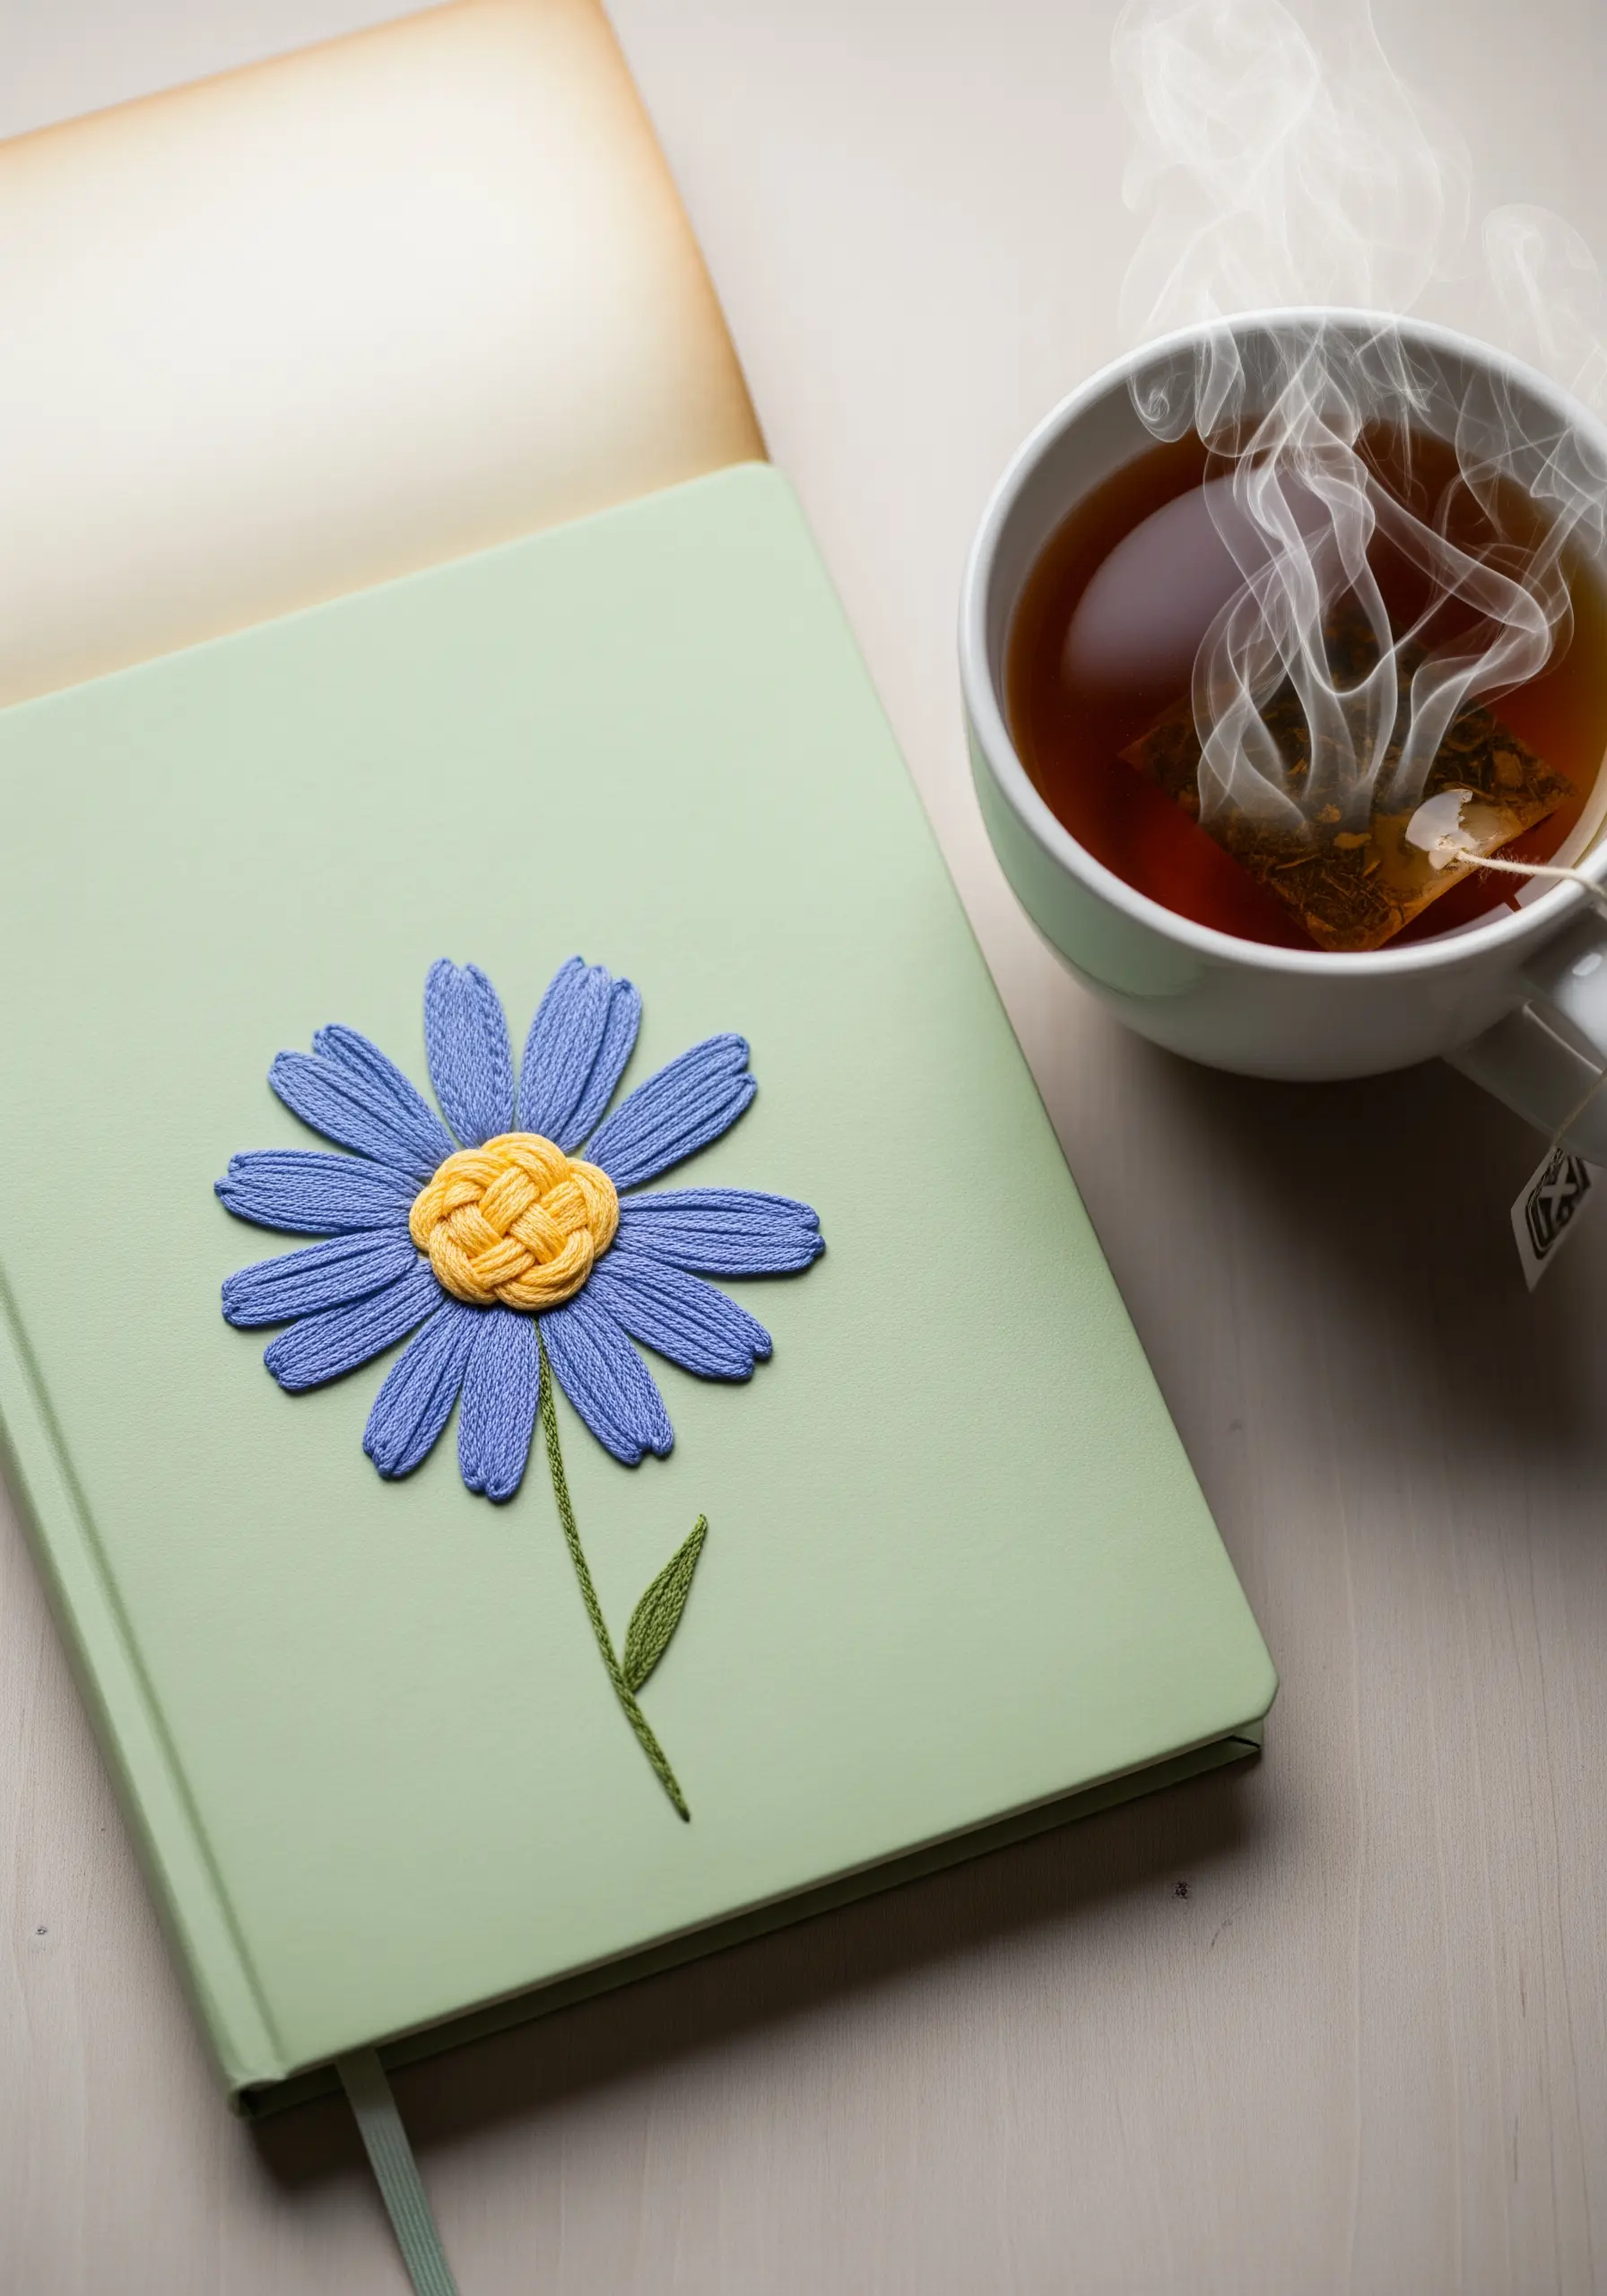
4. Imply Motion with Delicate Linework
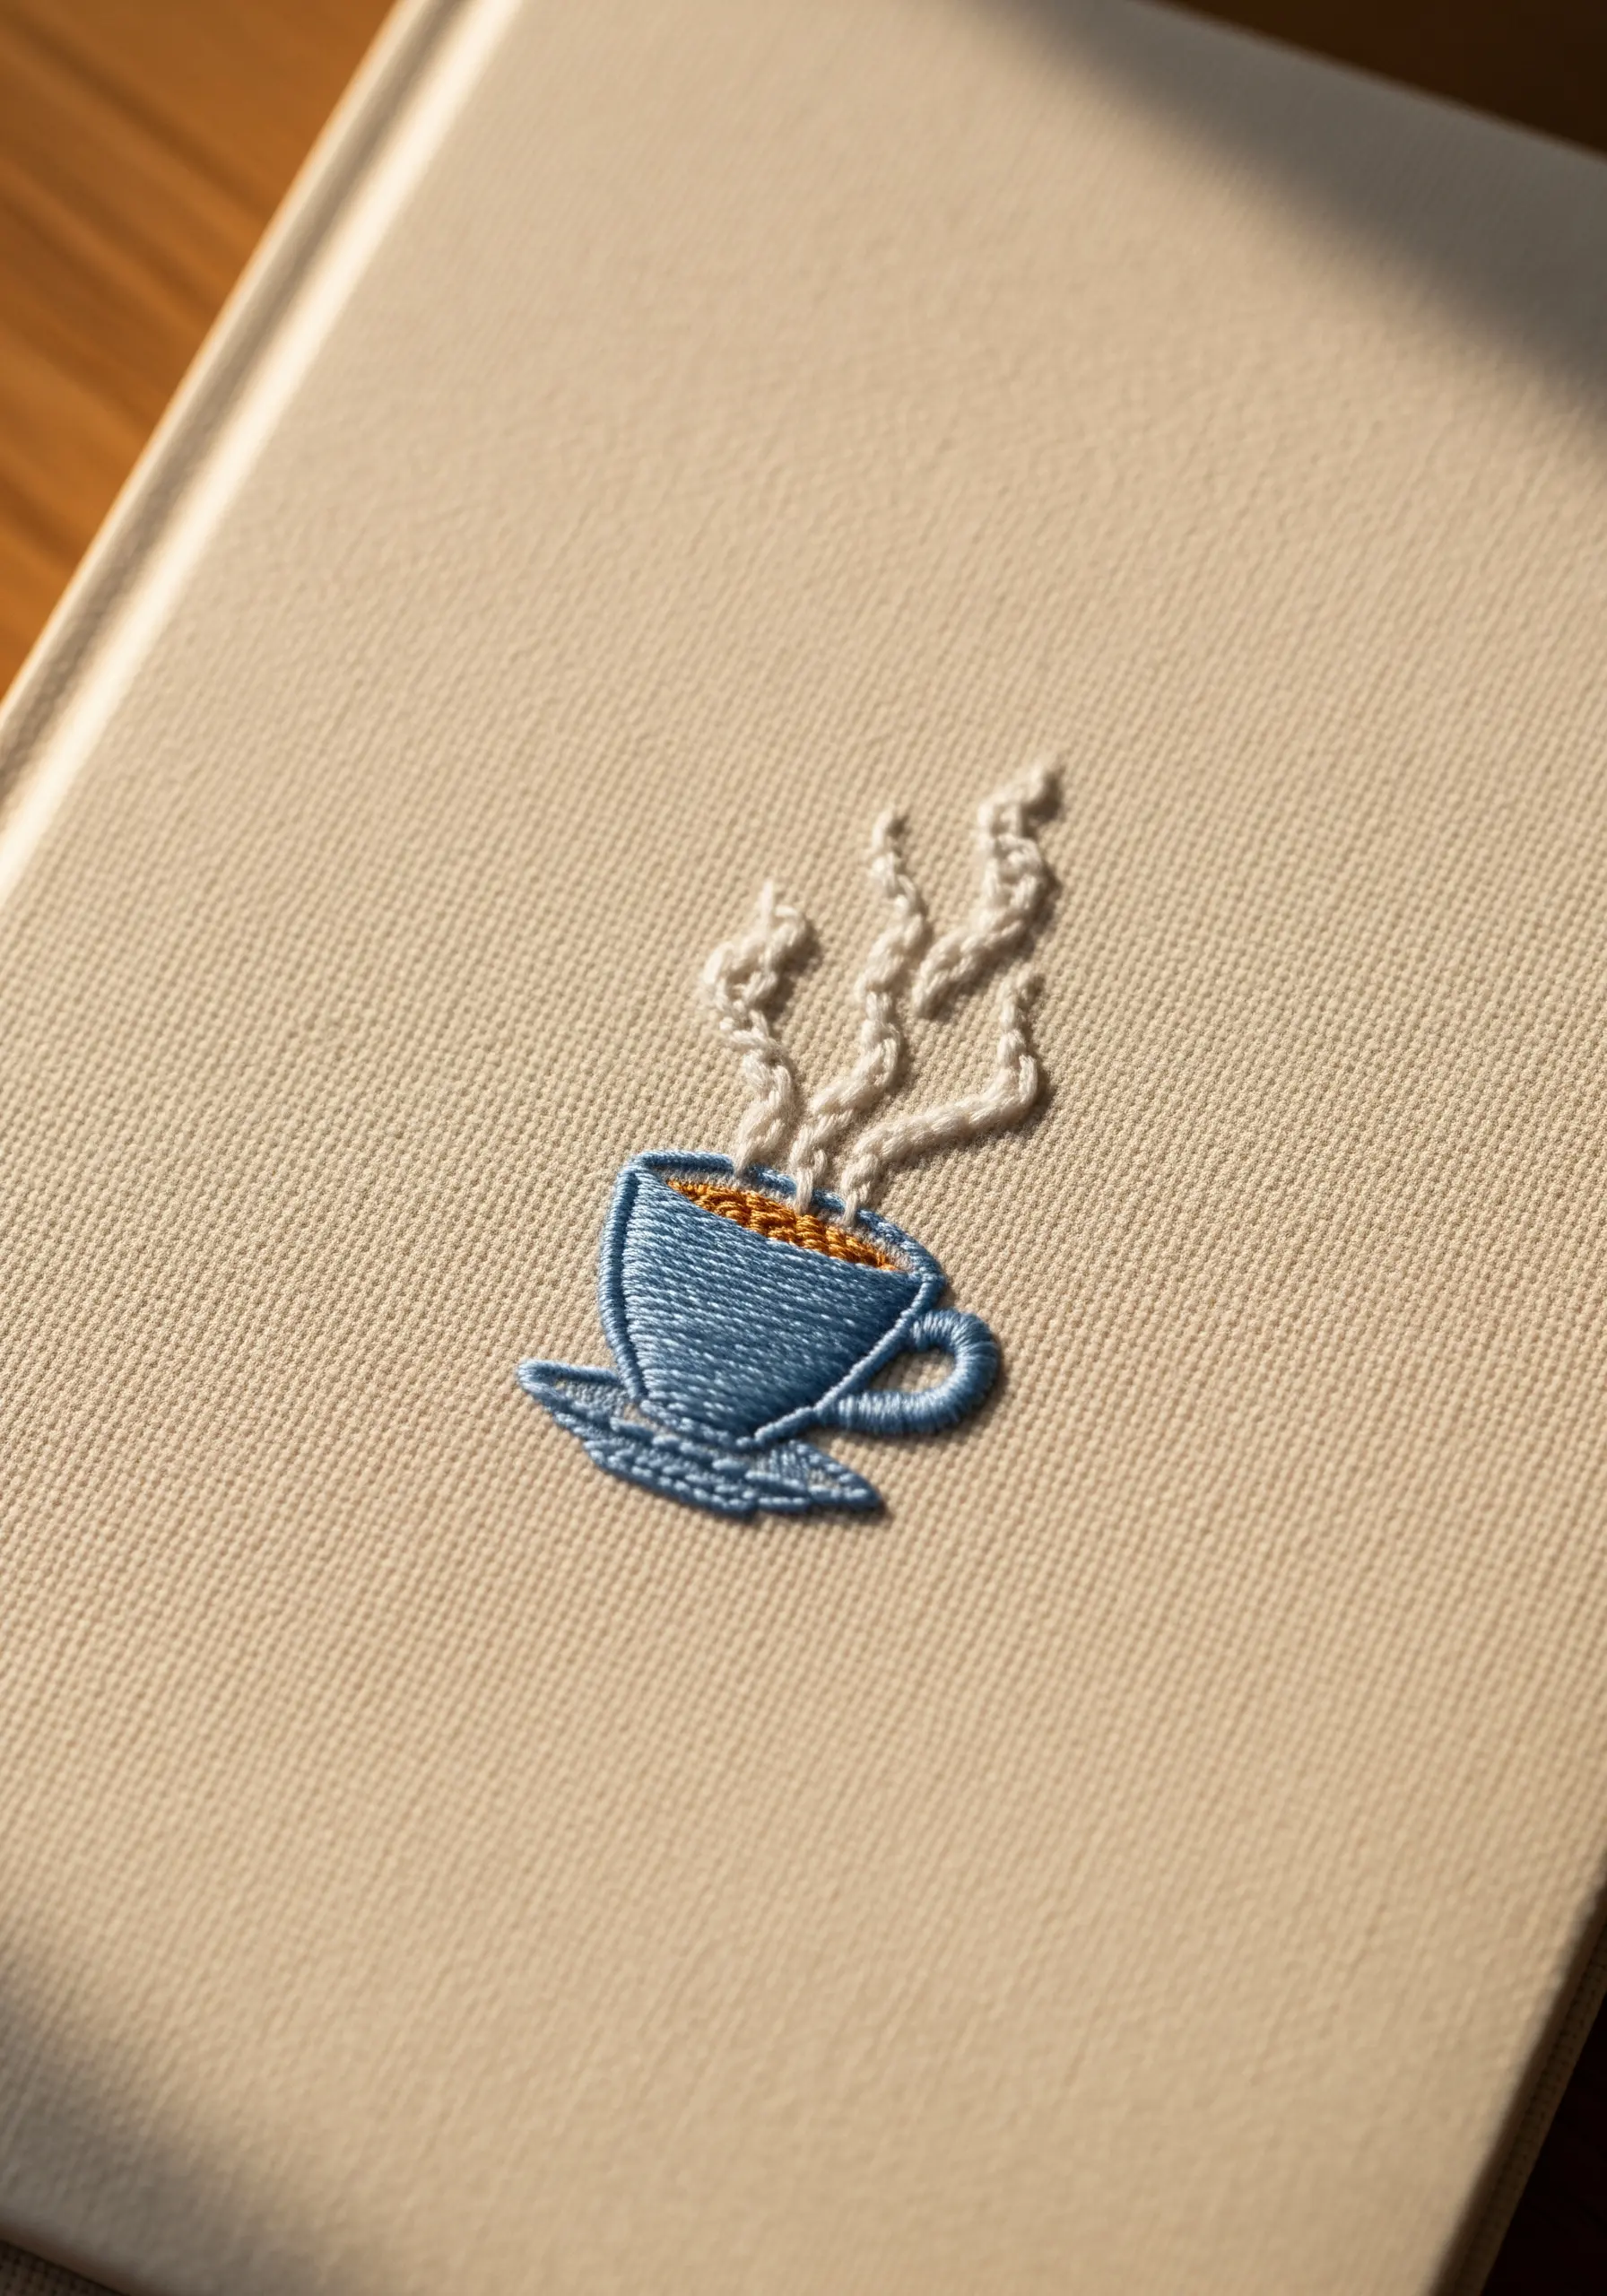
Suggest the gentle movement of steam with a few well-placed, delicate stitches.
Use a single strand of thread in an off-white or light grey color for subtlety.
Create the swirling effect with a whipped backstitch or a simple, curved running stitch, varying the length and spacing of the stitches to create a more organic, airy look.
For the coffee, add a few tiny French knots in a dark brown to suggest texture and depth within the cup.
5. Stitch a Clean and Modern Constellation
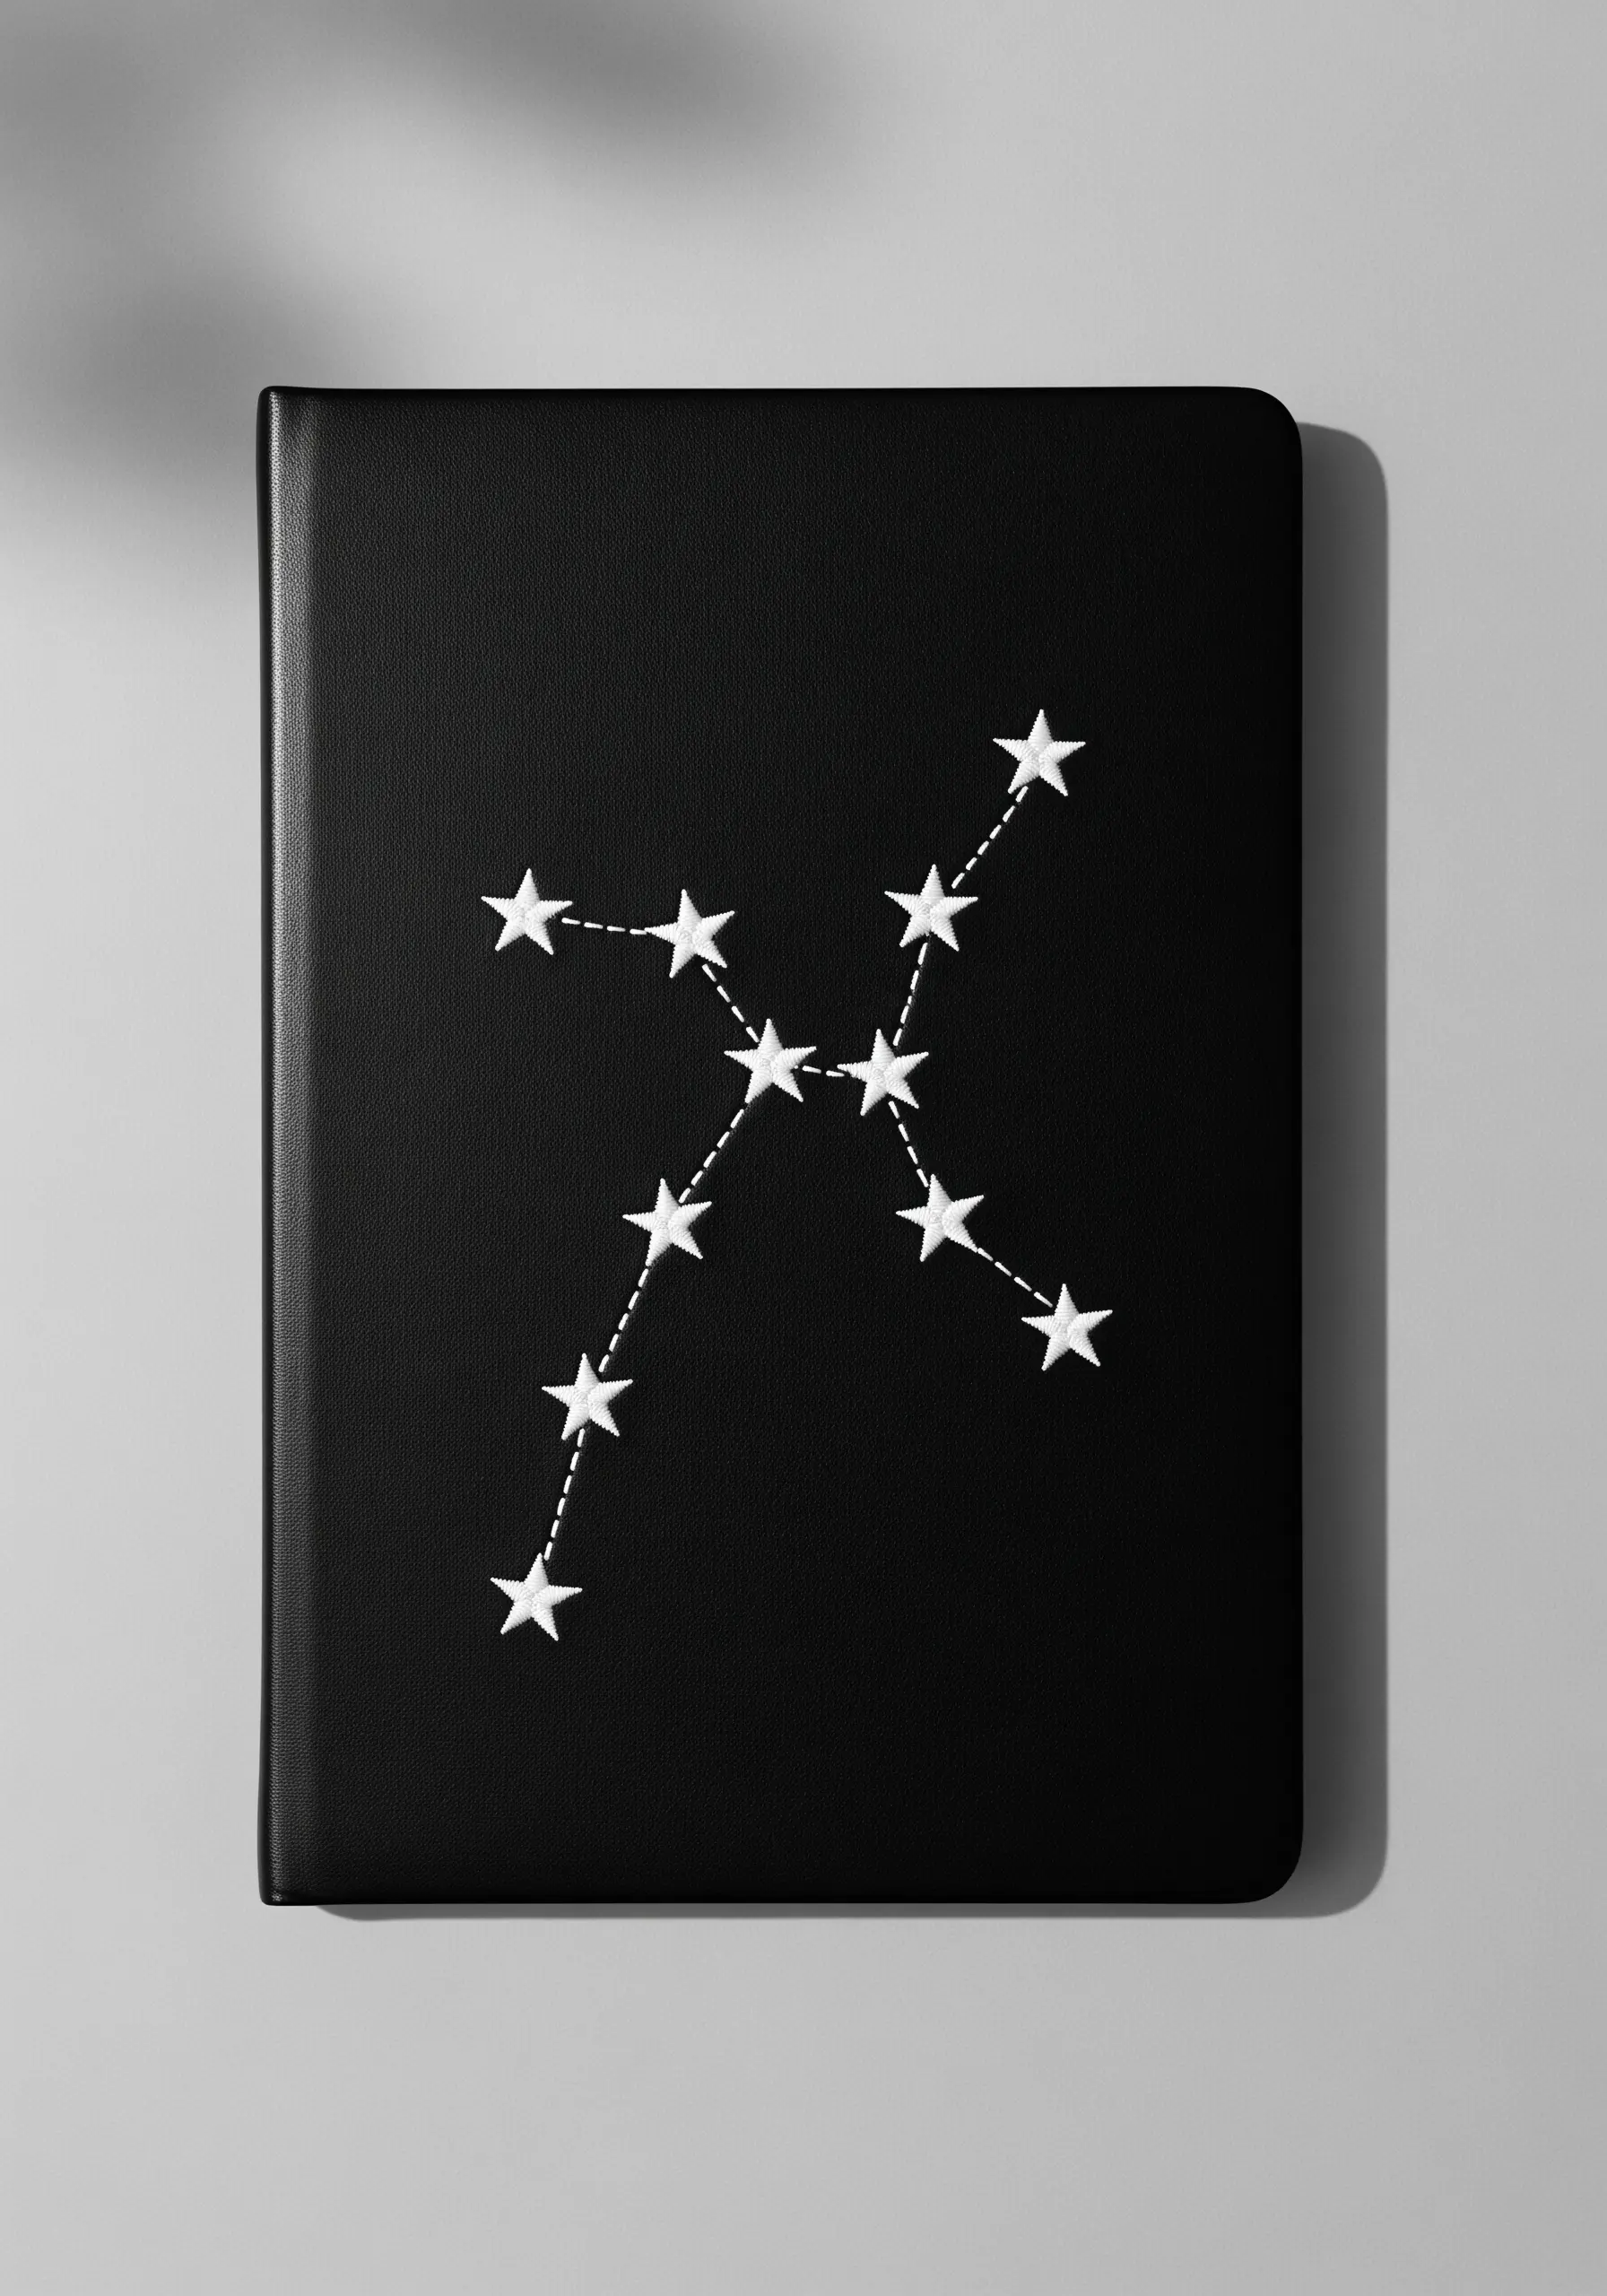
For a crisp, celestial design, focus on the precision of your stitches.
Form each star with five tiny straight stitches radiating from a central point, creating a clean, geometric asterisk shape that looks more refined than a simple knot.
Connect them with a neat, evenly spaced running stitch to create the dashed lines.
Using a bright white or silver metallic thread against a dark background makes the design pop with stellar contrast.
6. Paint with Thread Using French Knots
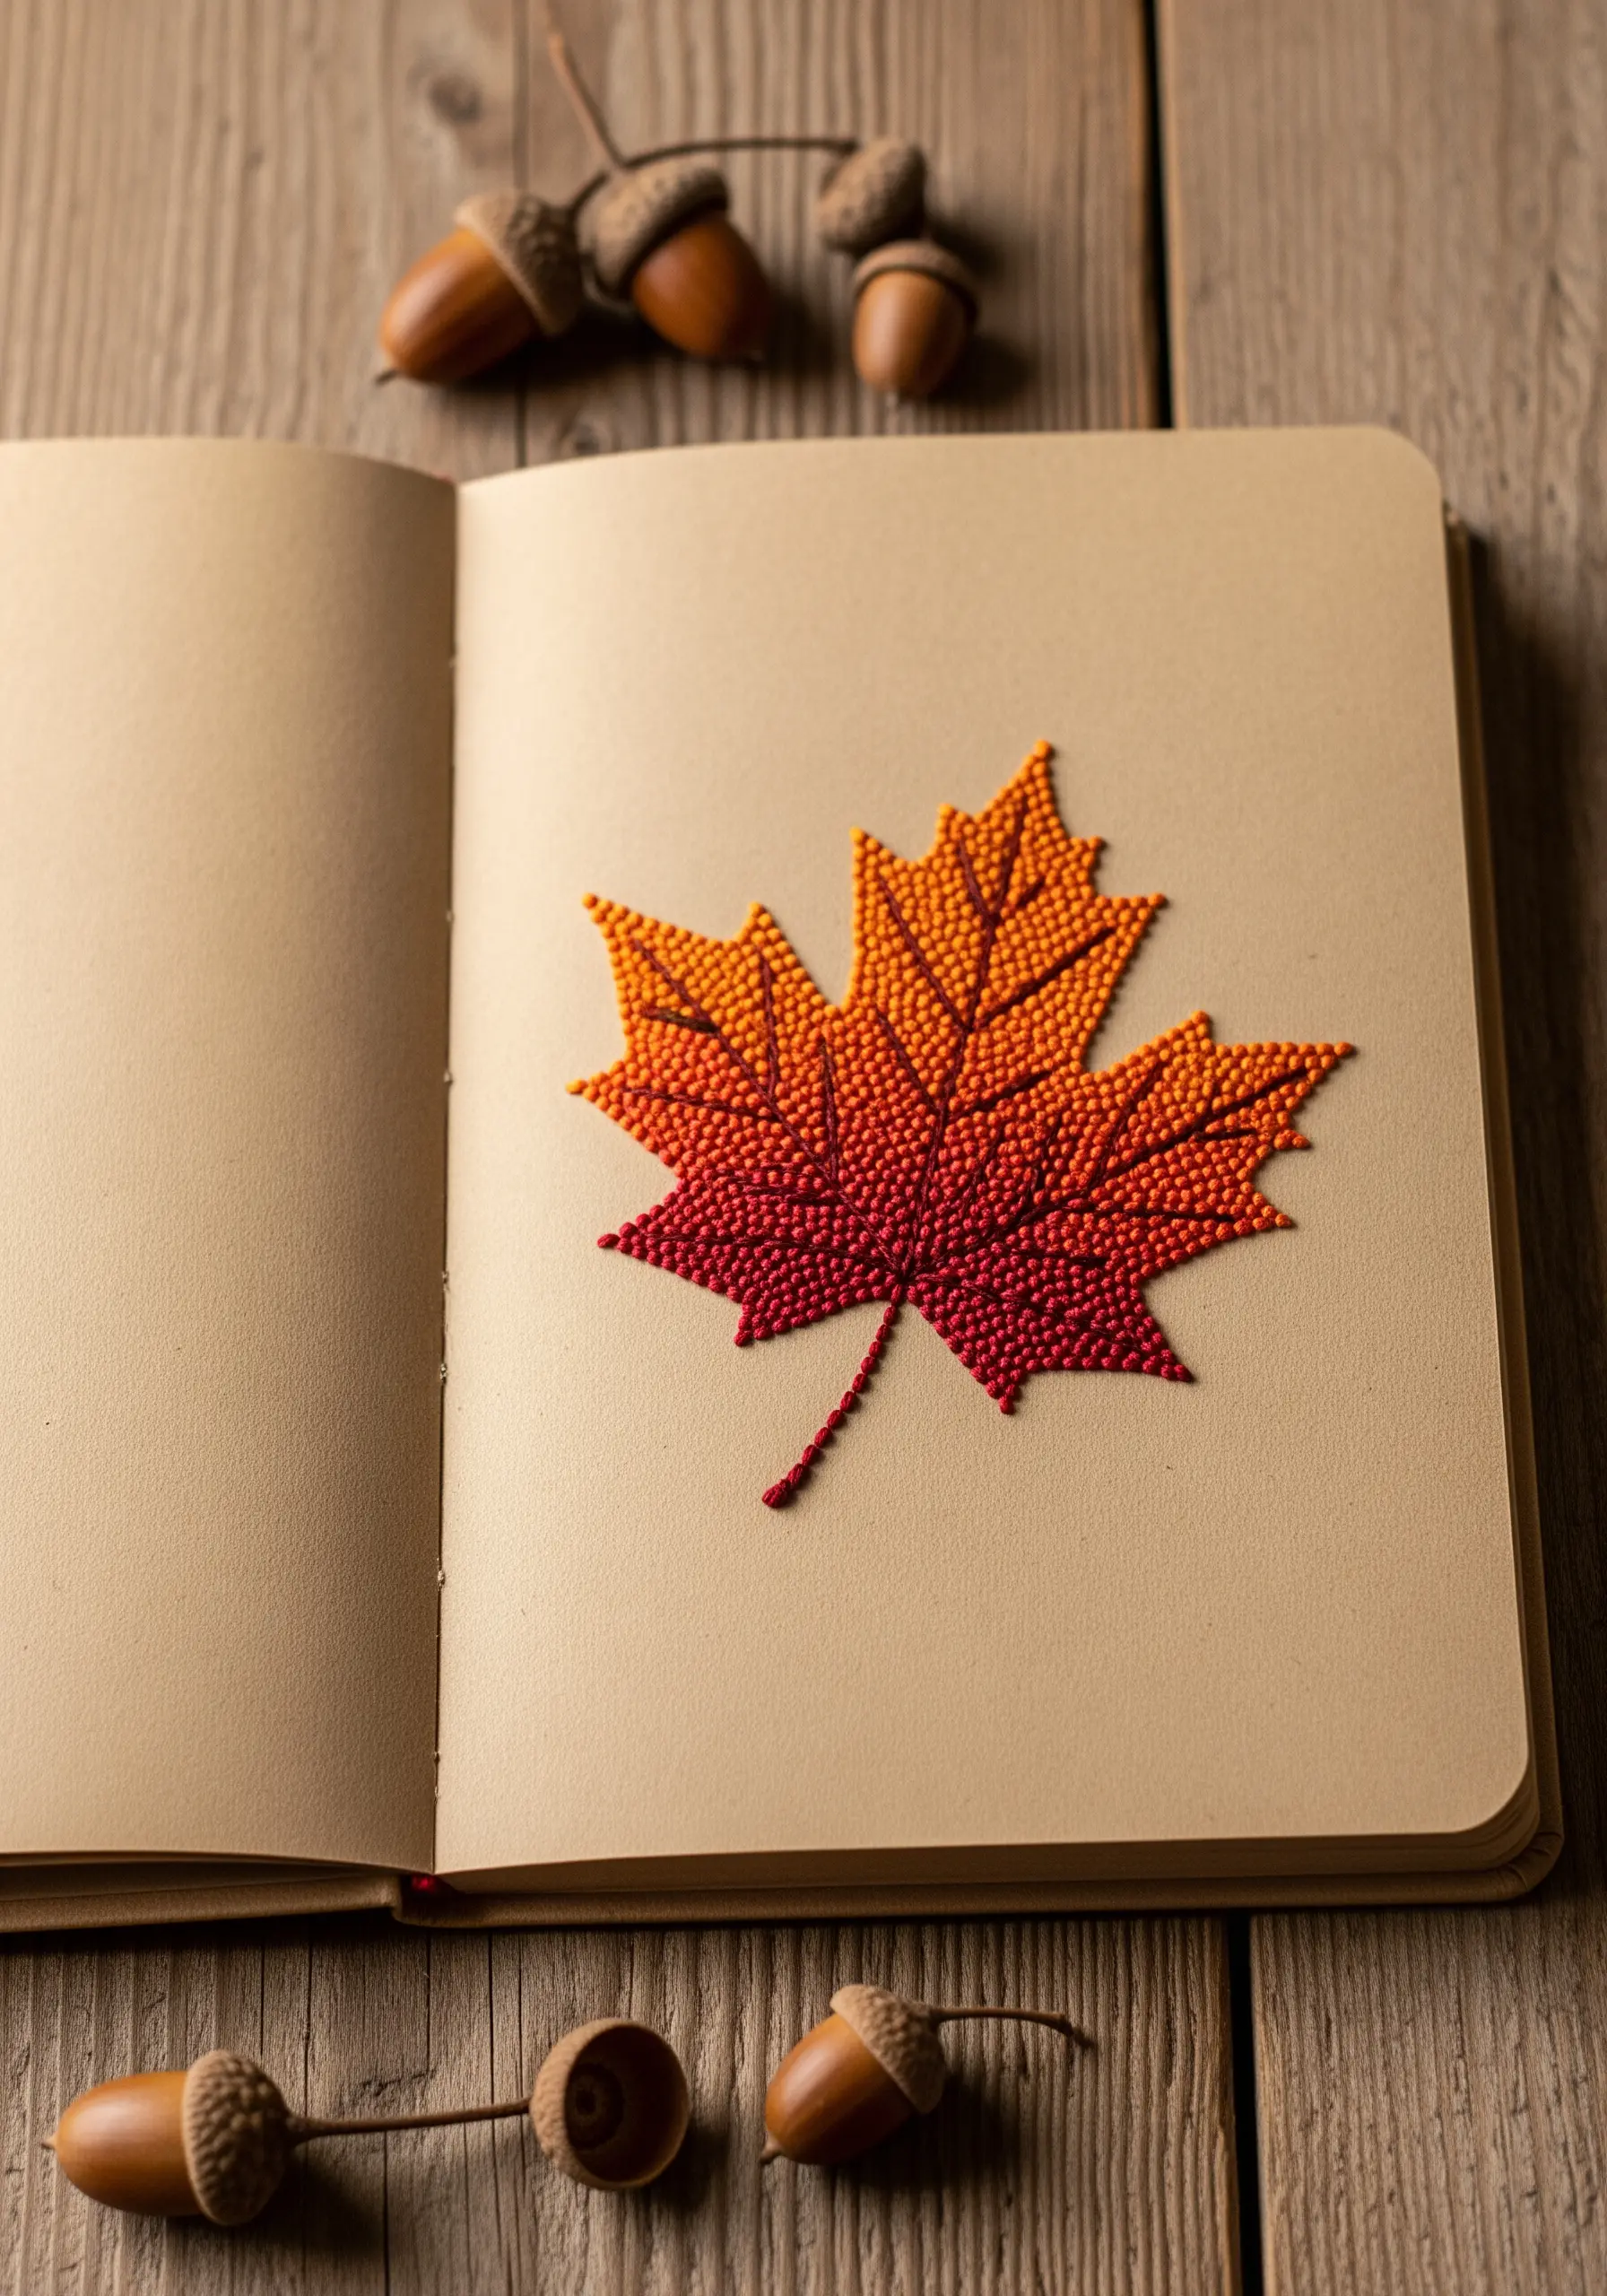
Create a stunning, pointillist-style gradient by filling a shape with dense French knots.
Lightly sketch your color zones onto the surface first—for this leaf, that would be red, orange, and yellow sections.
Fill each zone with tightly packed French knots, allowing the colors to mingle slightly at the borders for a soft, natural transition.
This technique builds incredible texture and allows for sophisticated color blending without complex stitching.
7. Add Realism to Wings with Open Fill Stitches
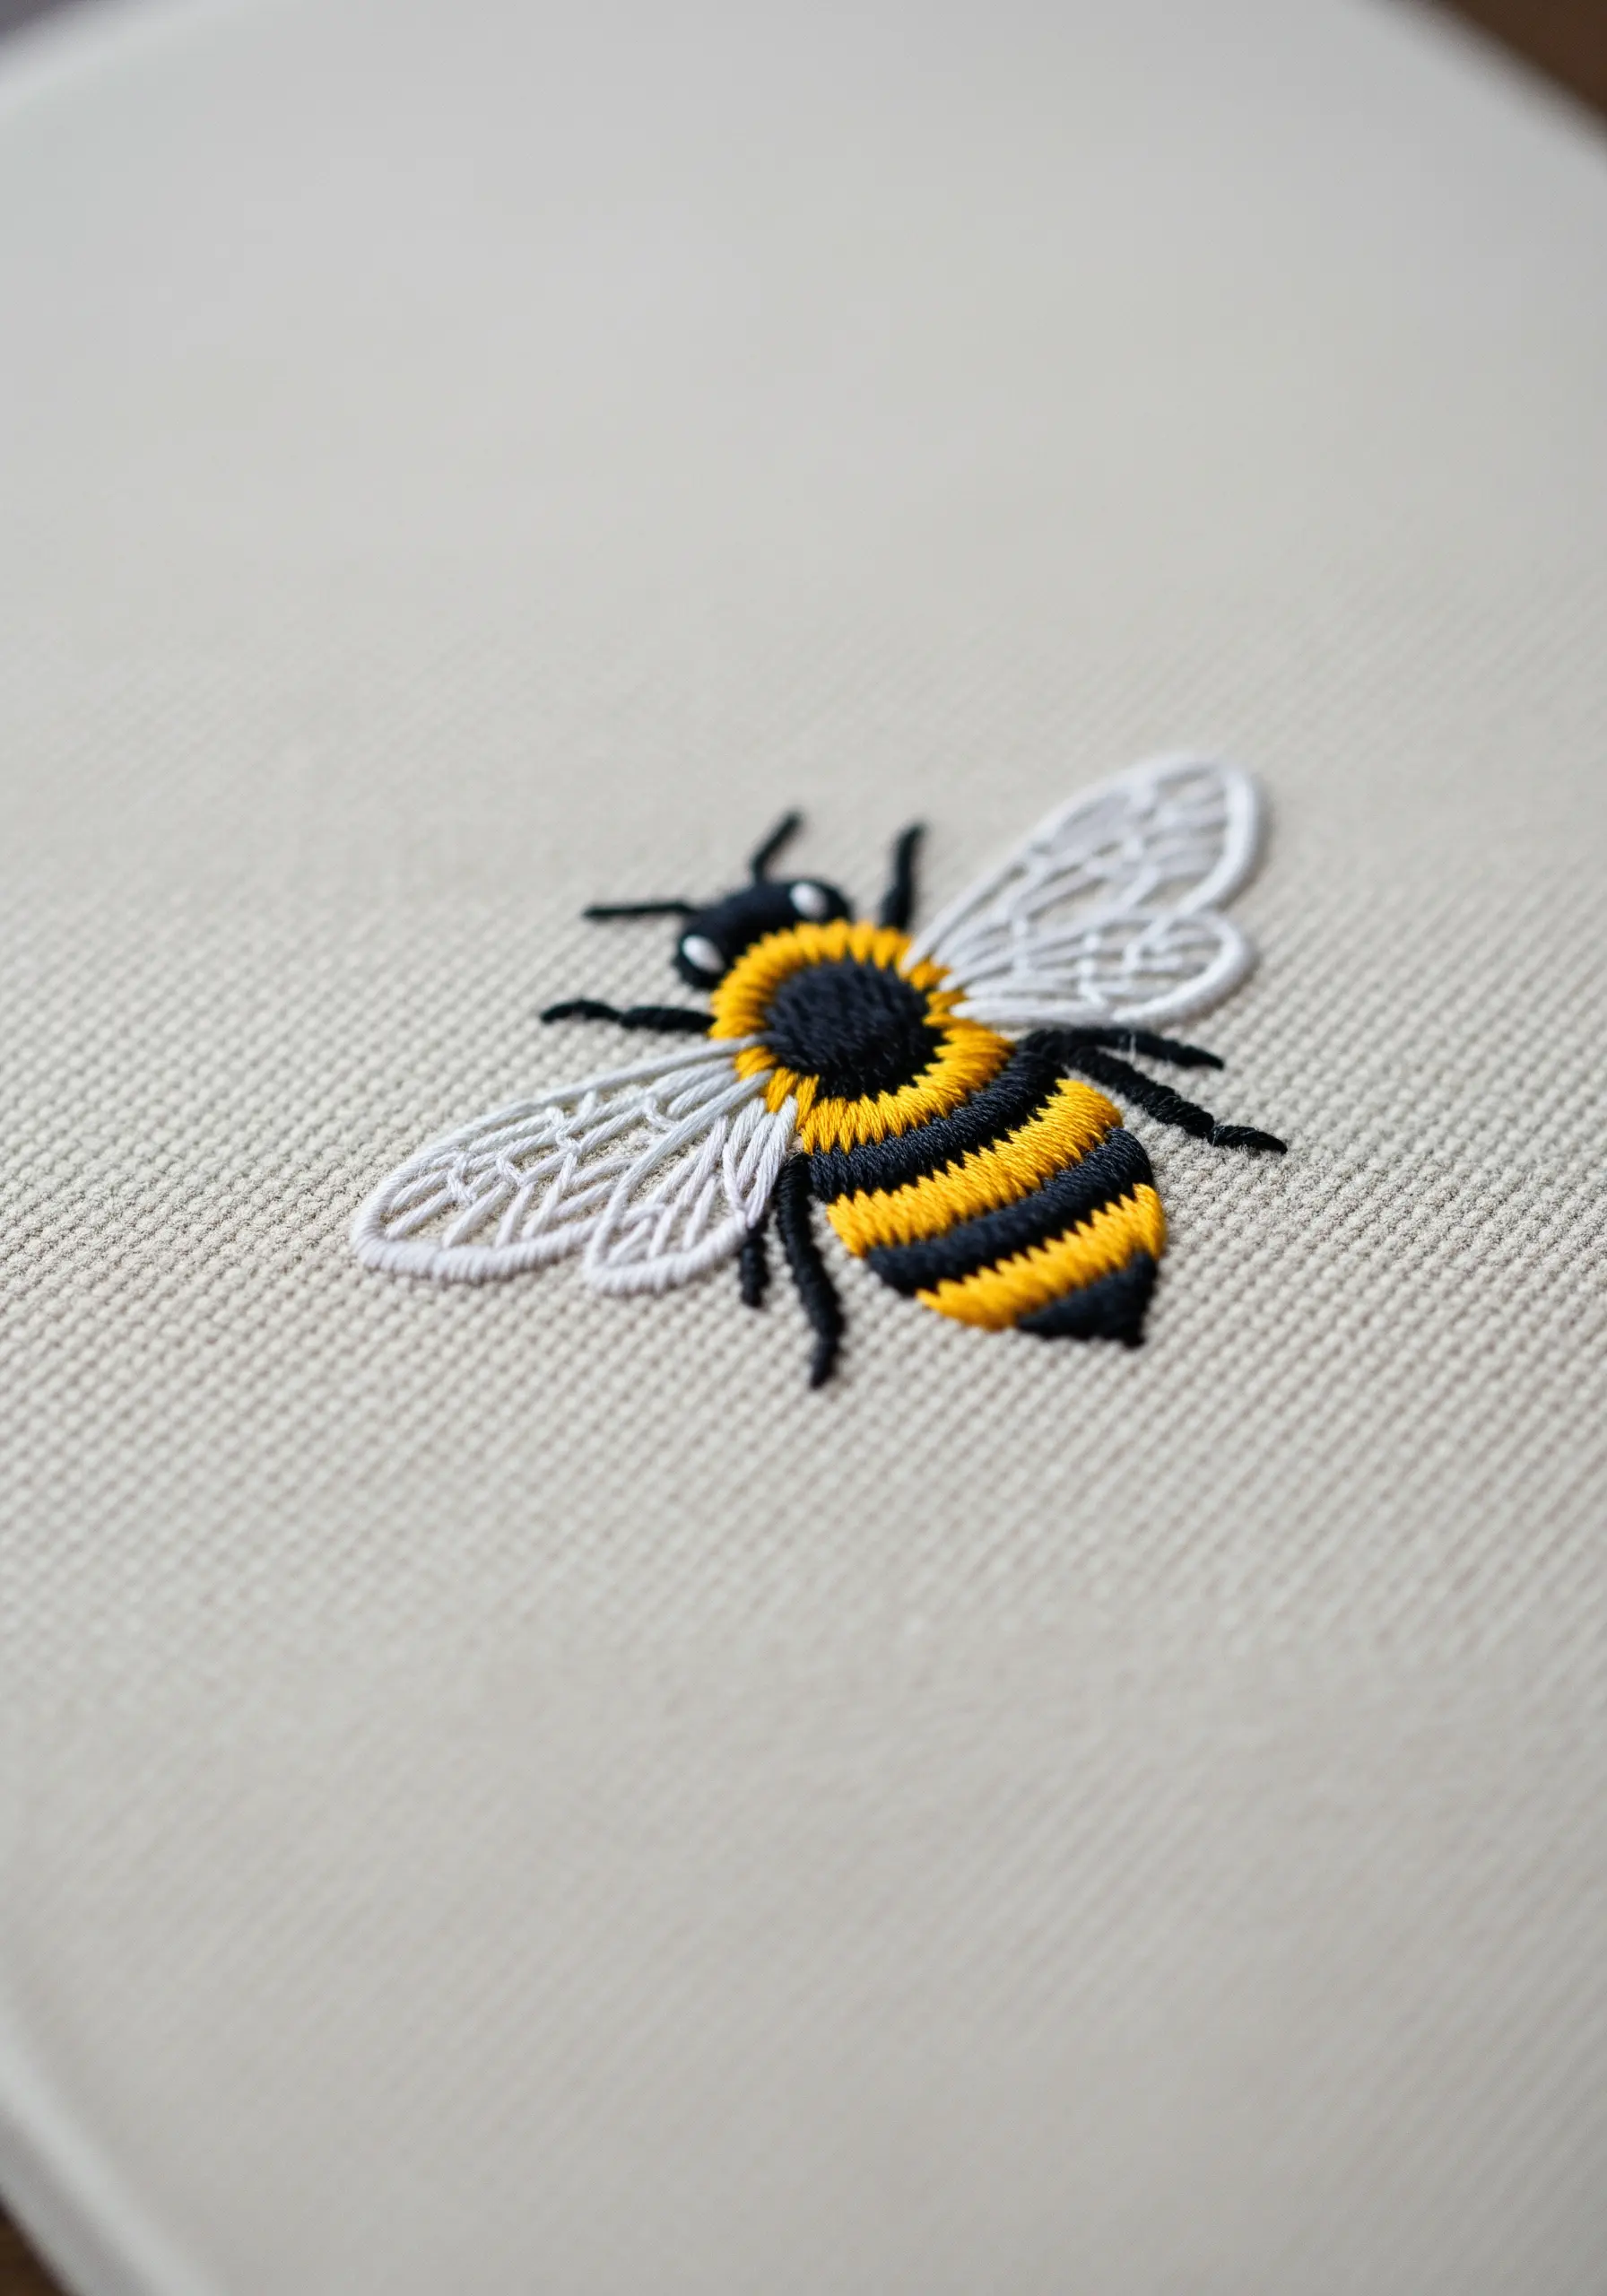
Capture the delicate, translucent quality of an insect’s wings without adding bulk.
Use a single strand of white, off-white, or even a sheer specialty thread for this detail.
Instead of a solid fill, use an open fishbone stitch or a series of detached chain stitches to create the veined pattern.
This technique suggests transparency and intricate detail, making the entire motif feel more lifelike and delicate.
8. Achieve Fluidity with Continuous Line Art
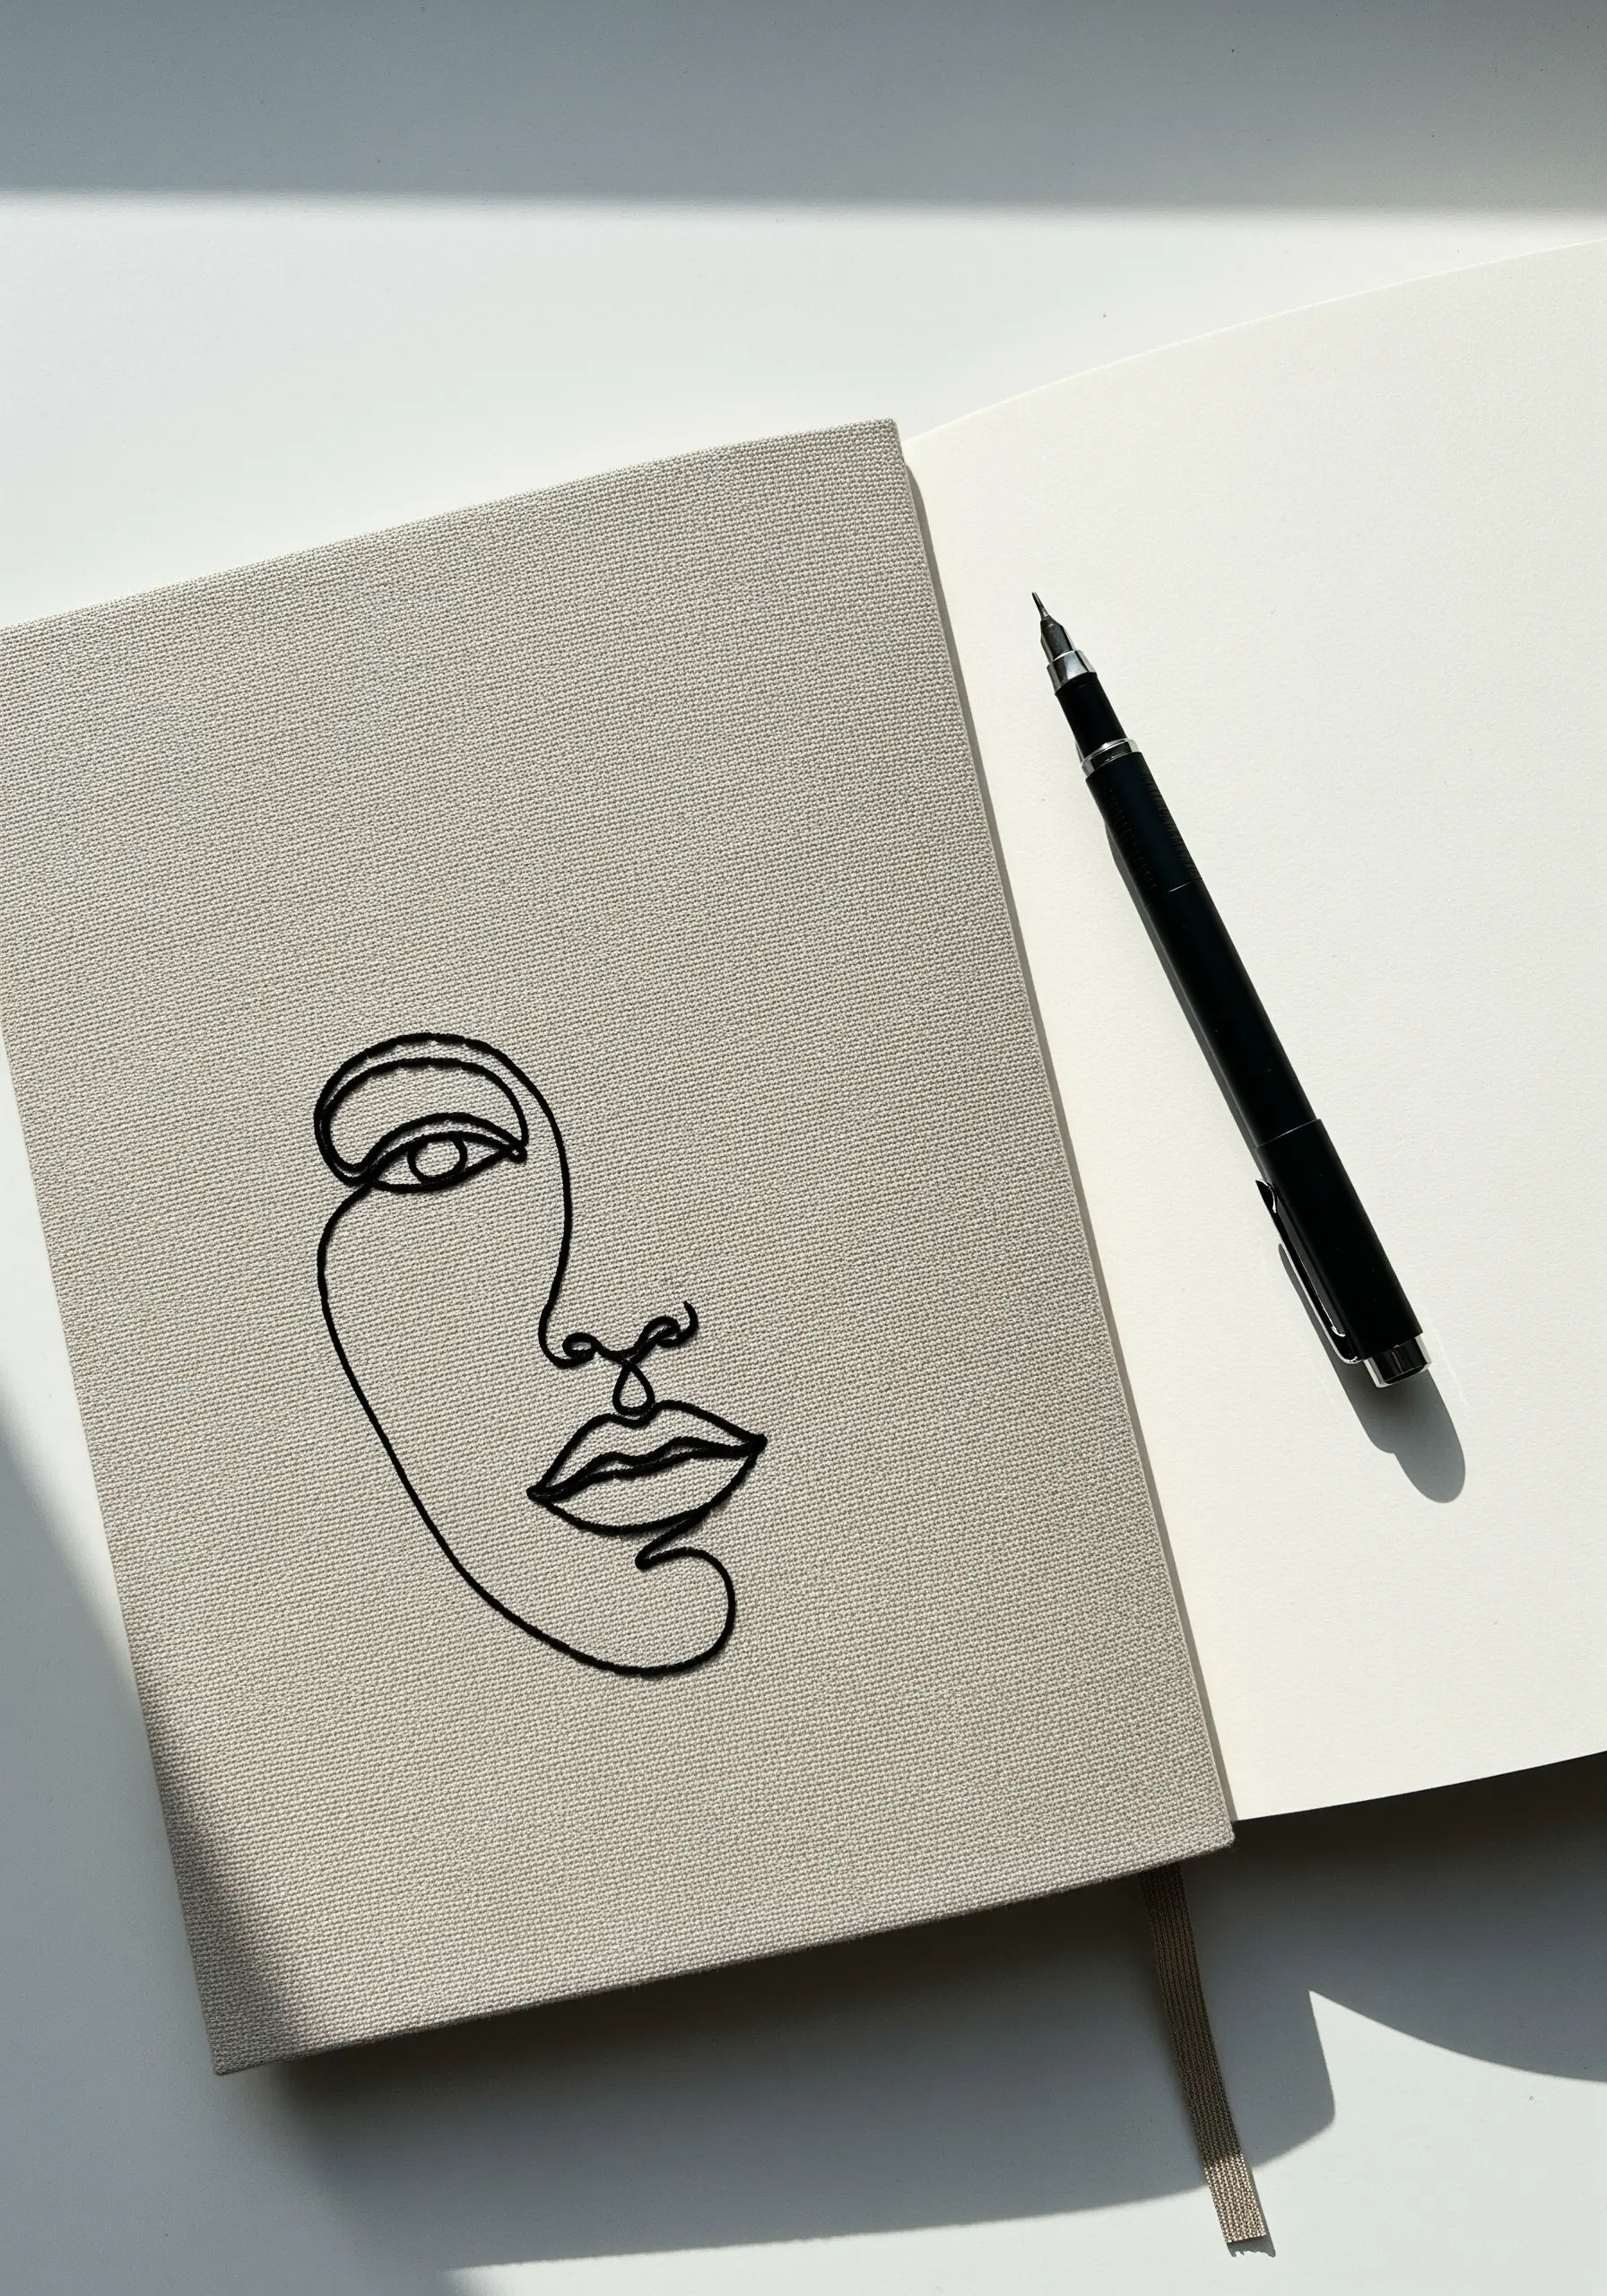
For a design that mimics a single stroke of an ink pen, your stitch choice is critical.
Use a whipped backstitch: first, lay down a standard backstitch along your design line, then whip the line with a second thread without piercing the fabric.
This technique completely smooths over the segmented look of a regular backstitch, creating a single, unbroken, and fluid line.
It’s the perfect way to translate minimalist line art embroidery onto fabric with elegance.
9. Use French Knots for Playful Dimension
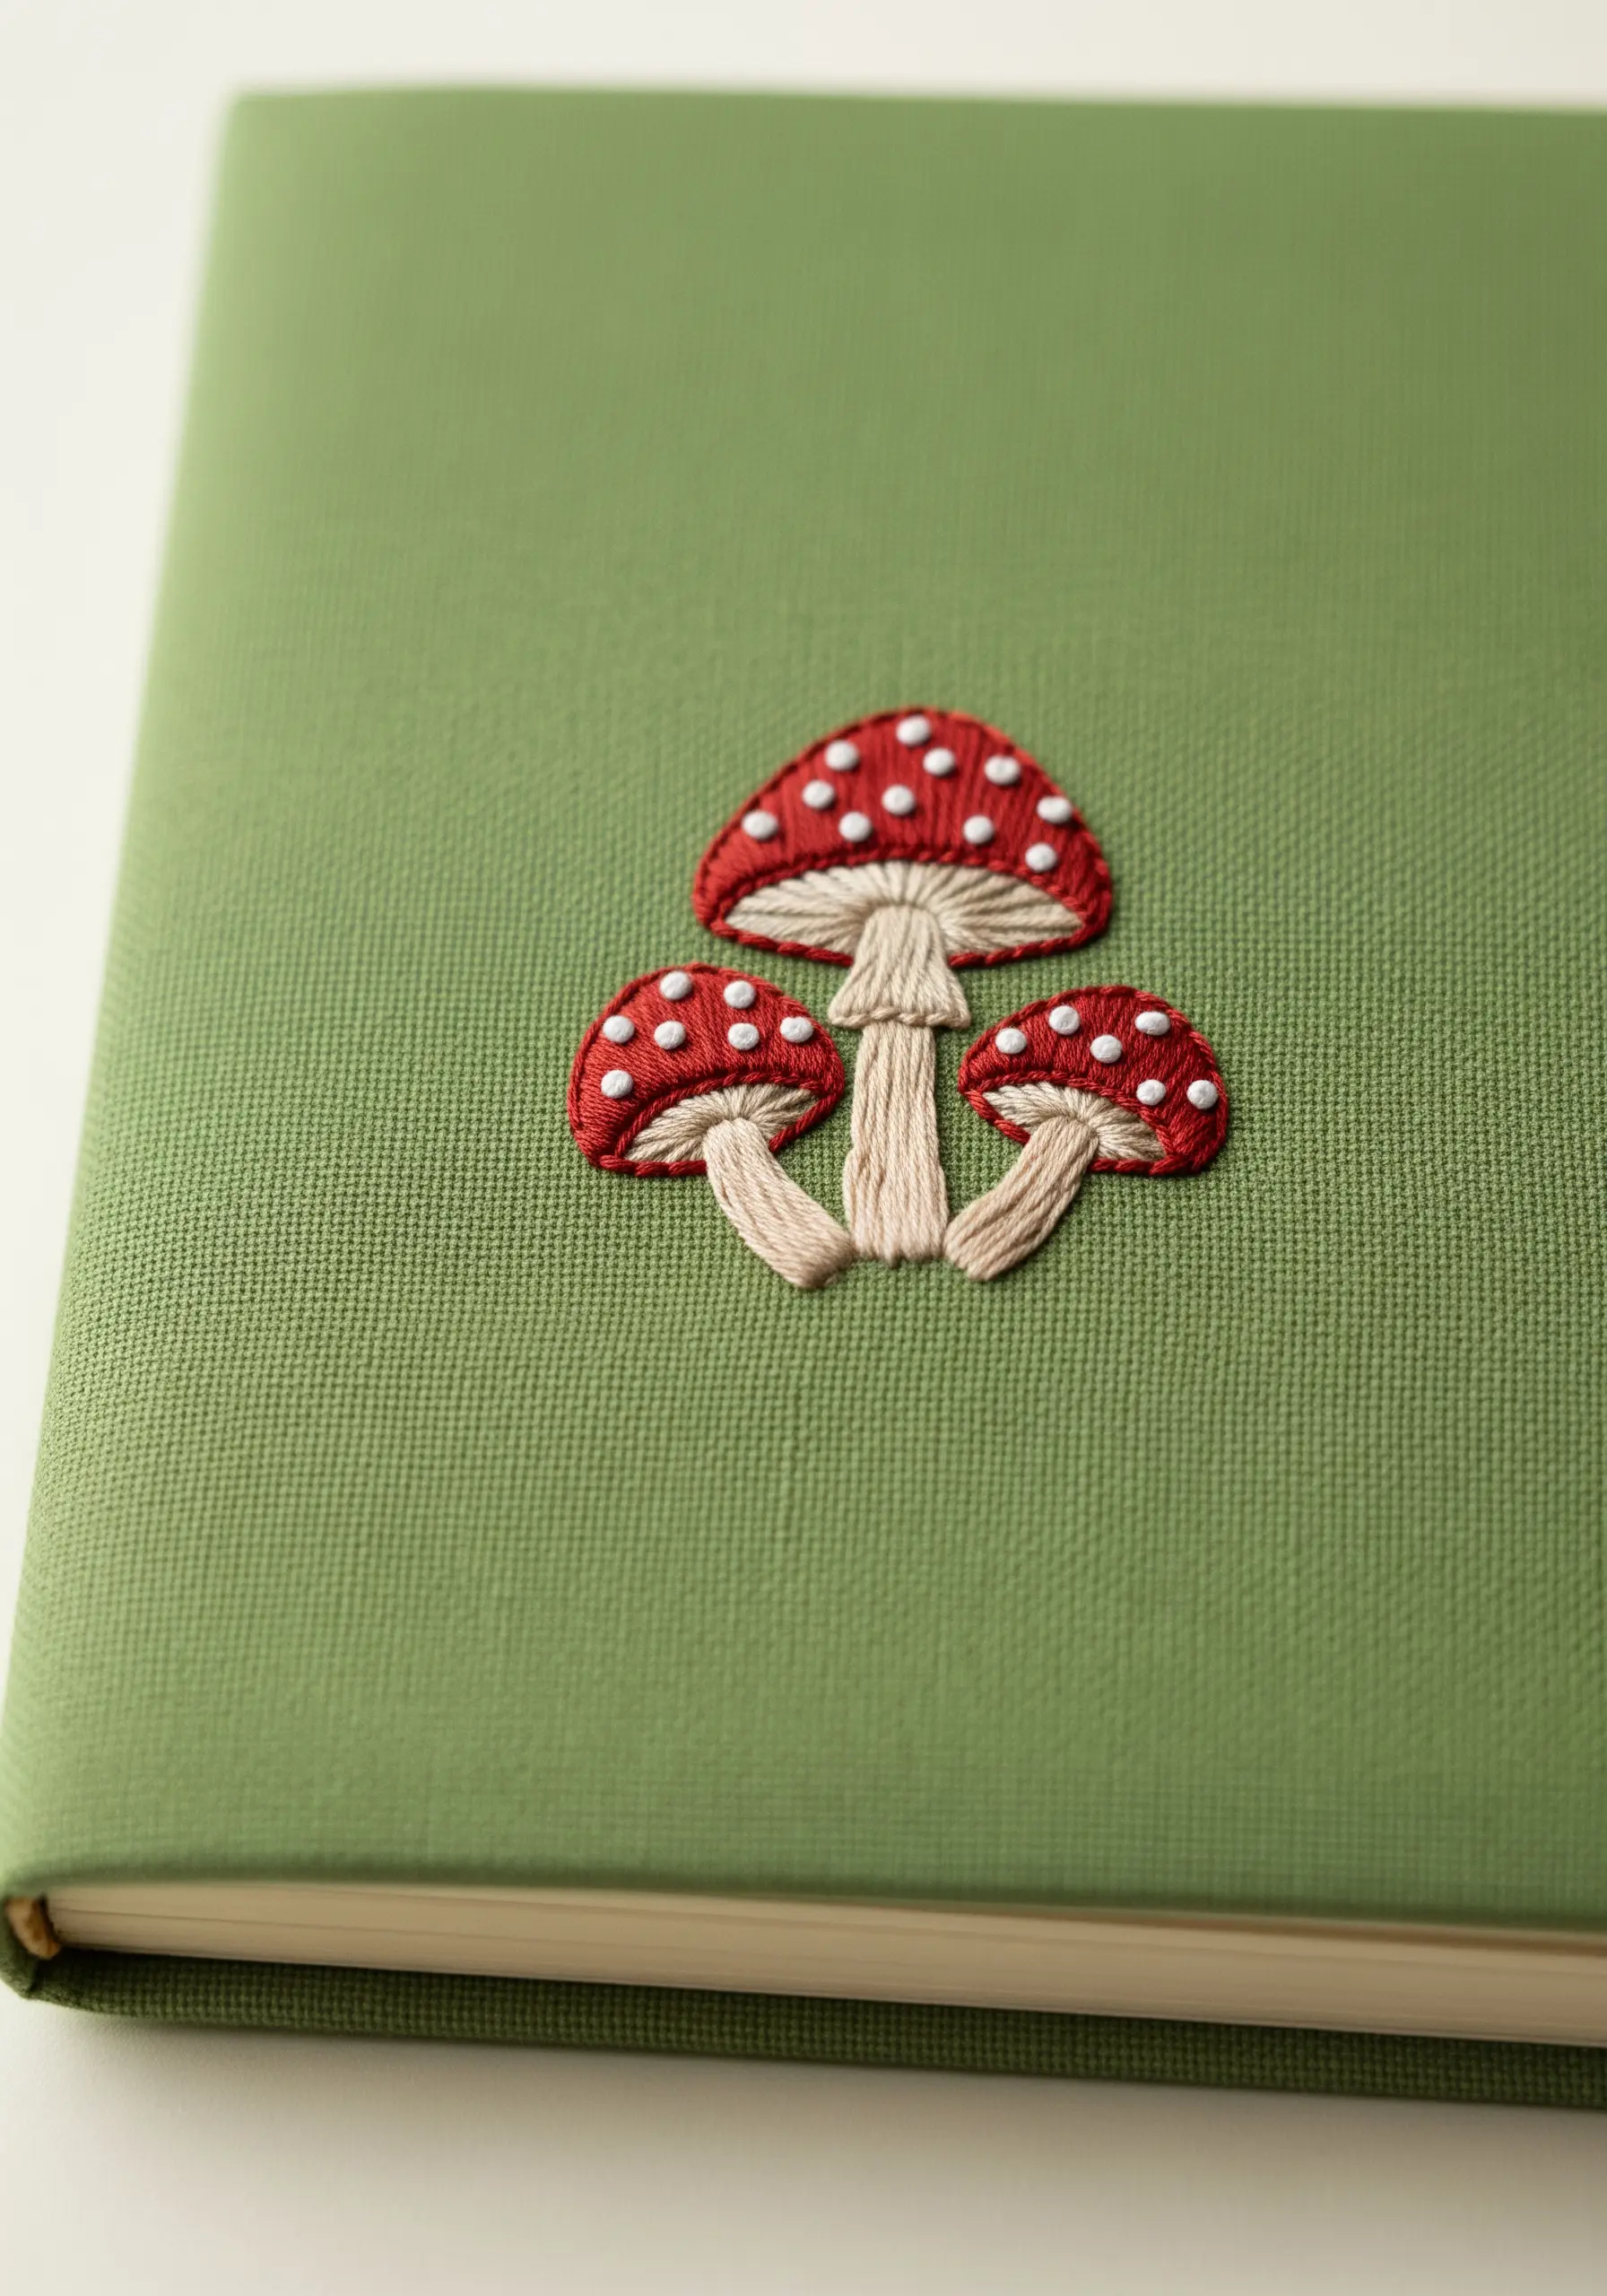
Give your motifs a fun, three-dimensional element by incorporating raised details.
The white spots on these mushroom caps are perfect candidates for French knots, as they instantly lift off the surface and add textural interest.
To create the illusion of gills underneath, use short, vertical straight stitches in a slightly darker shade than the stem.
This combination of flat and raised stitches adds depth and a charming, whimsical quality to the design.
10. Capture Whimsy with Outline and Motion
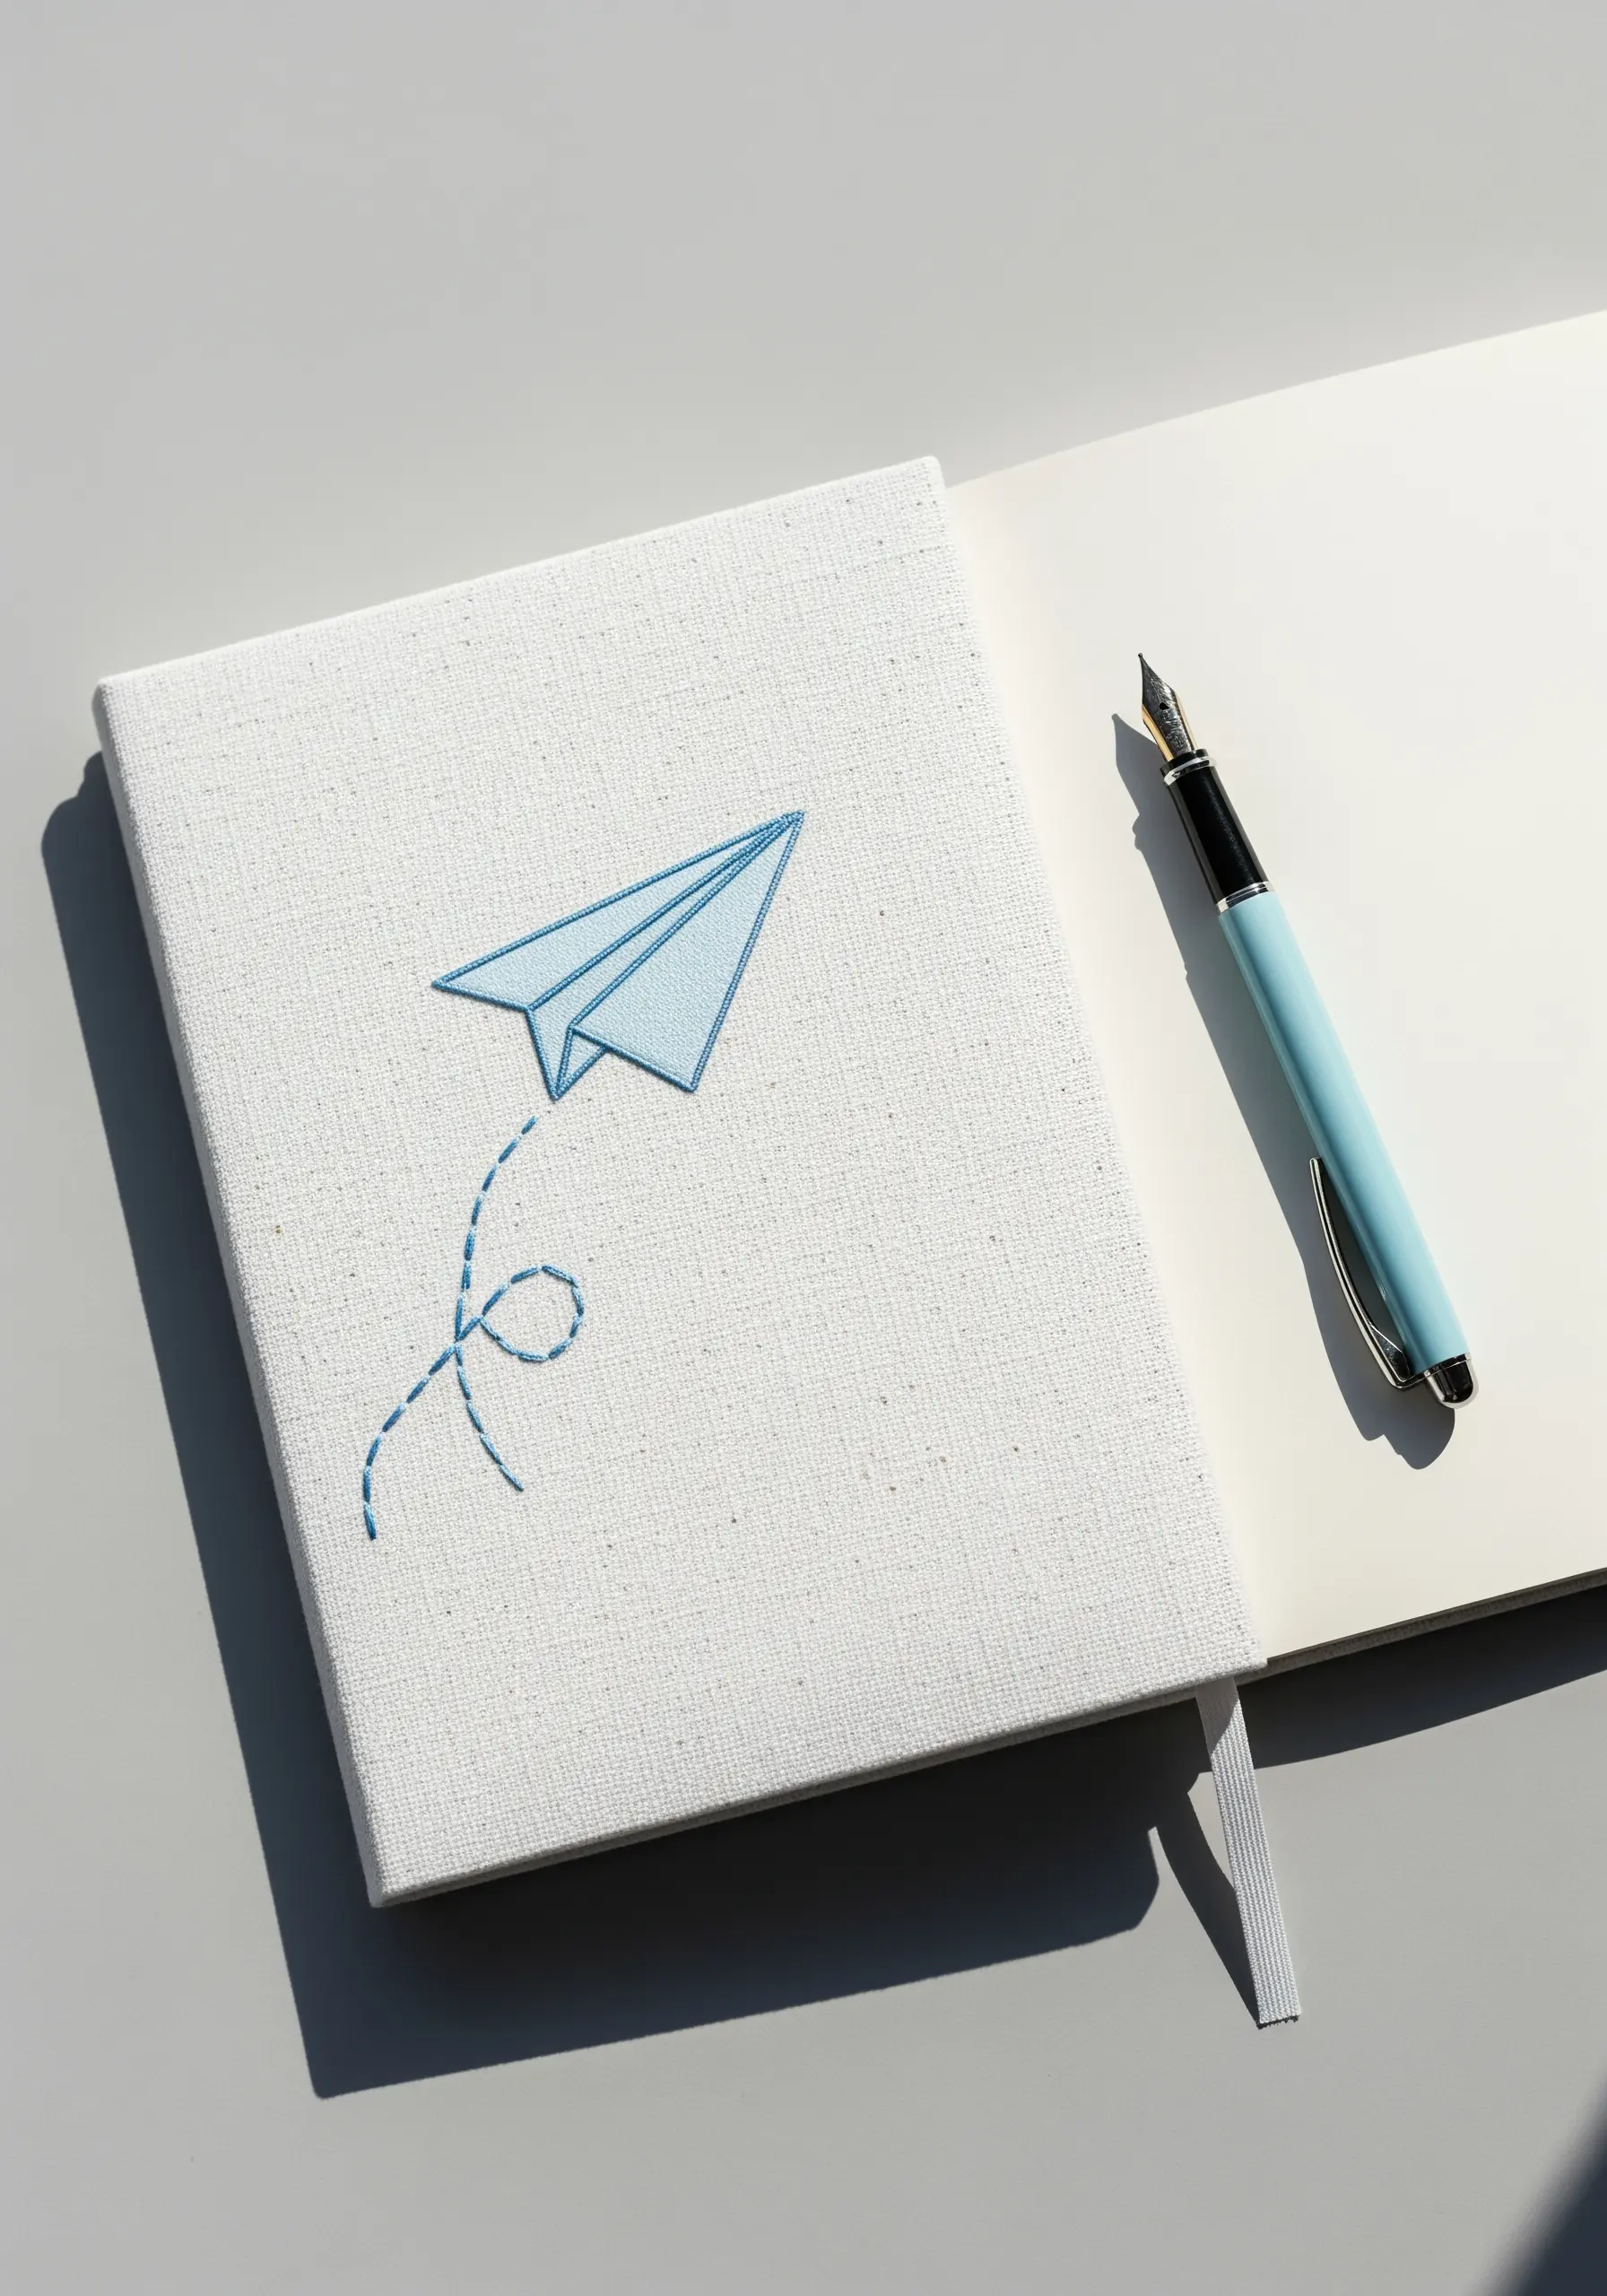
A simple outline stitch can convey both form and movement.
For the crisp, geometric folds of the paper plane, use a precise split stitch. This stitch creates a solid line that holds a sharp shape beautifully.
For the looping flight path, switch to a simple backstitch or even a decorative chain stitch to add a sense of playful motion.
The contrast between the structured plane and its free-flowing trail is what gives this design its charm.
11. Master Shading with Long-and-Short Stitch

Create the soft, realistic texture of a feather by blending colors seamlessly with thread painting.
Use the long-and-short stitch, working in rows with two or three closely related shades of grey, black, and white.
Angle your stitches to follow the natural direction of the feather’s barbs, sweeping outward from the central stem.
This technique turns thread into a painterly medium, perfect for all kinds of nature texture embroidery projects.
12. Suggest Detail with Simple Marks
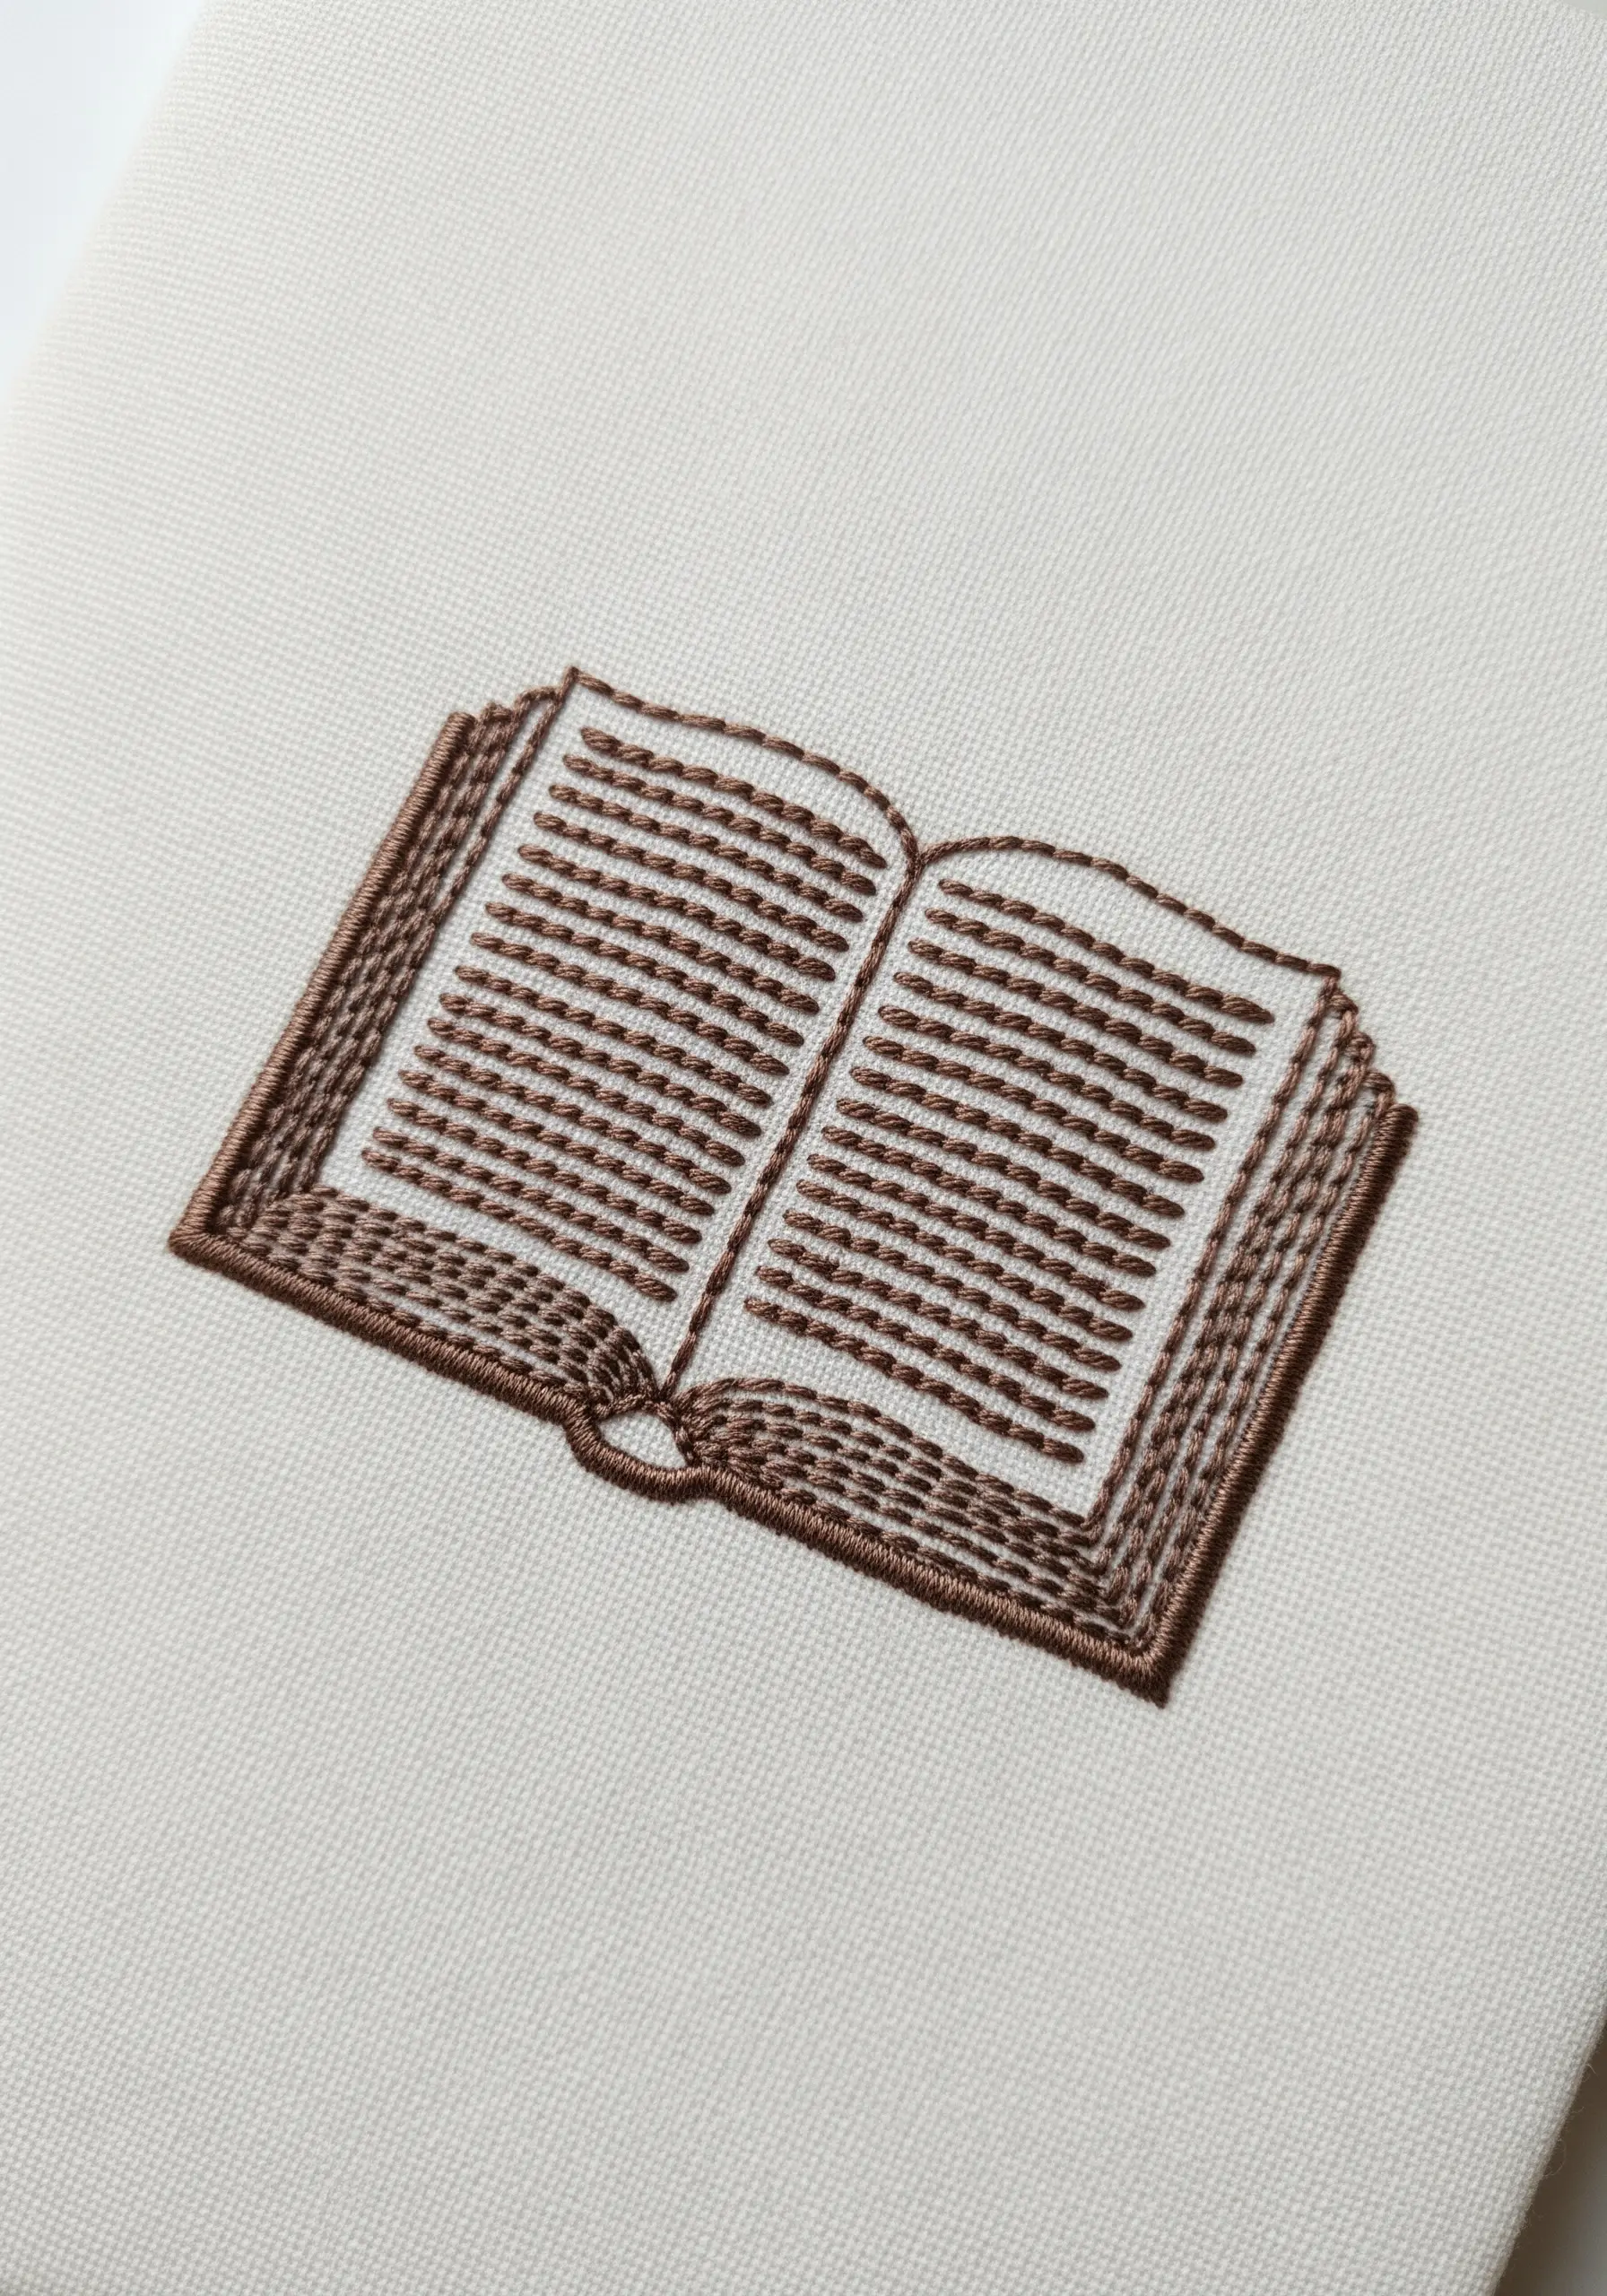
You don’t need to stitch every word to represent a page of text.
Create the illusion of writing by filling the pages with neat, horizontal rows of tiny running stitches or seed stitches.
This technique is faster than attempting tiny letters and achieves a cleaner, more graphic effect from a distance.
Ensure your outline is crisp and defined with a backstitch to give the book a solid, structured form.
13. Add a Highlight for a Glossy Finish
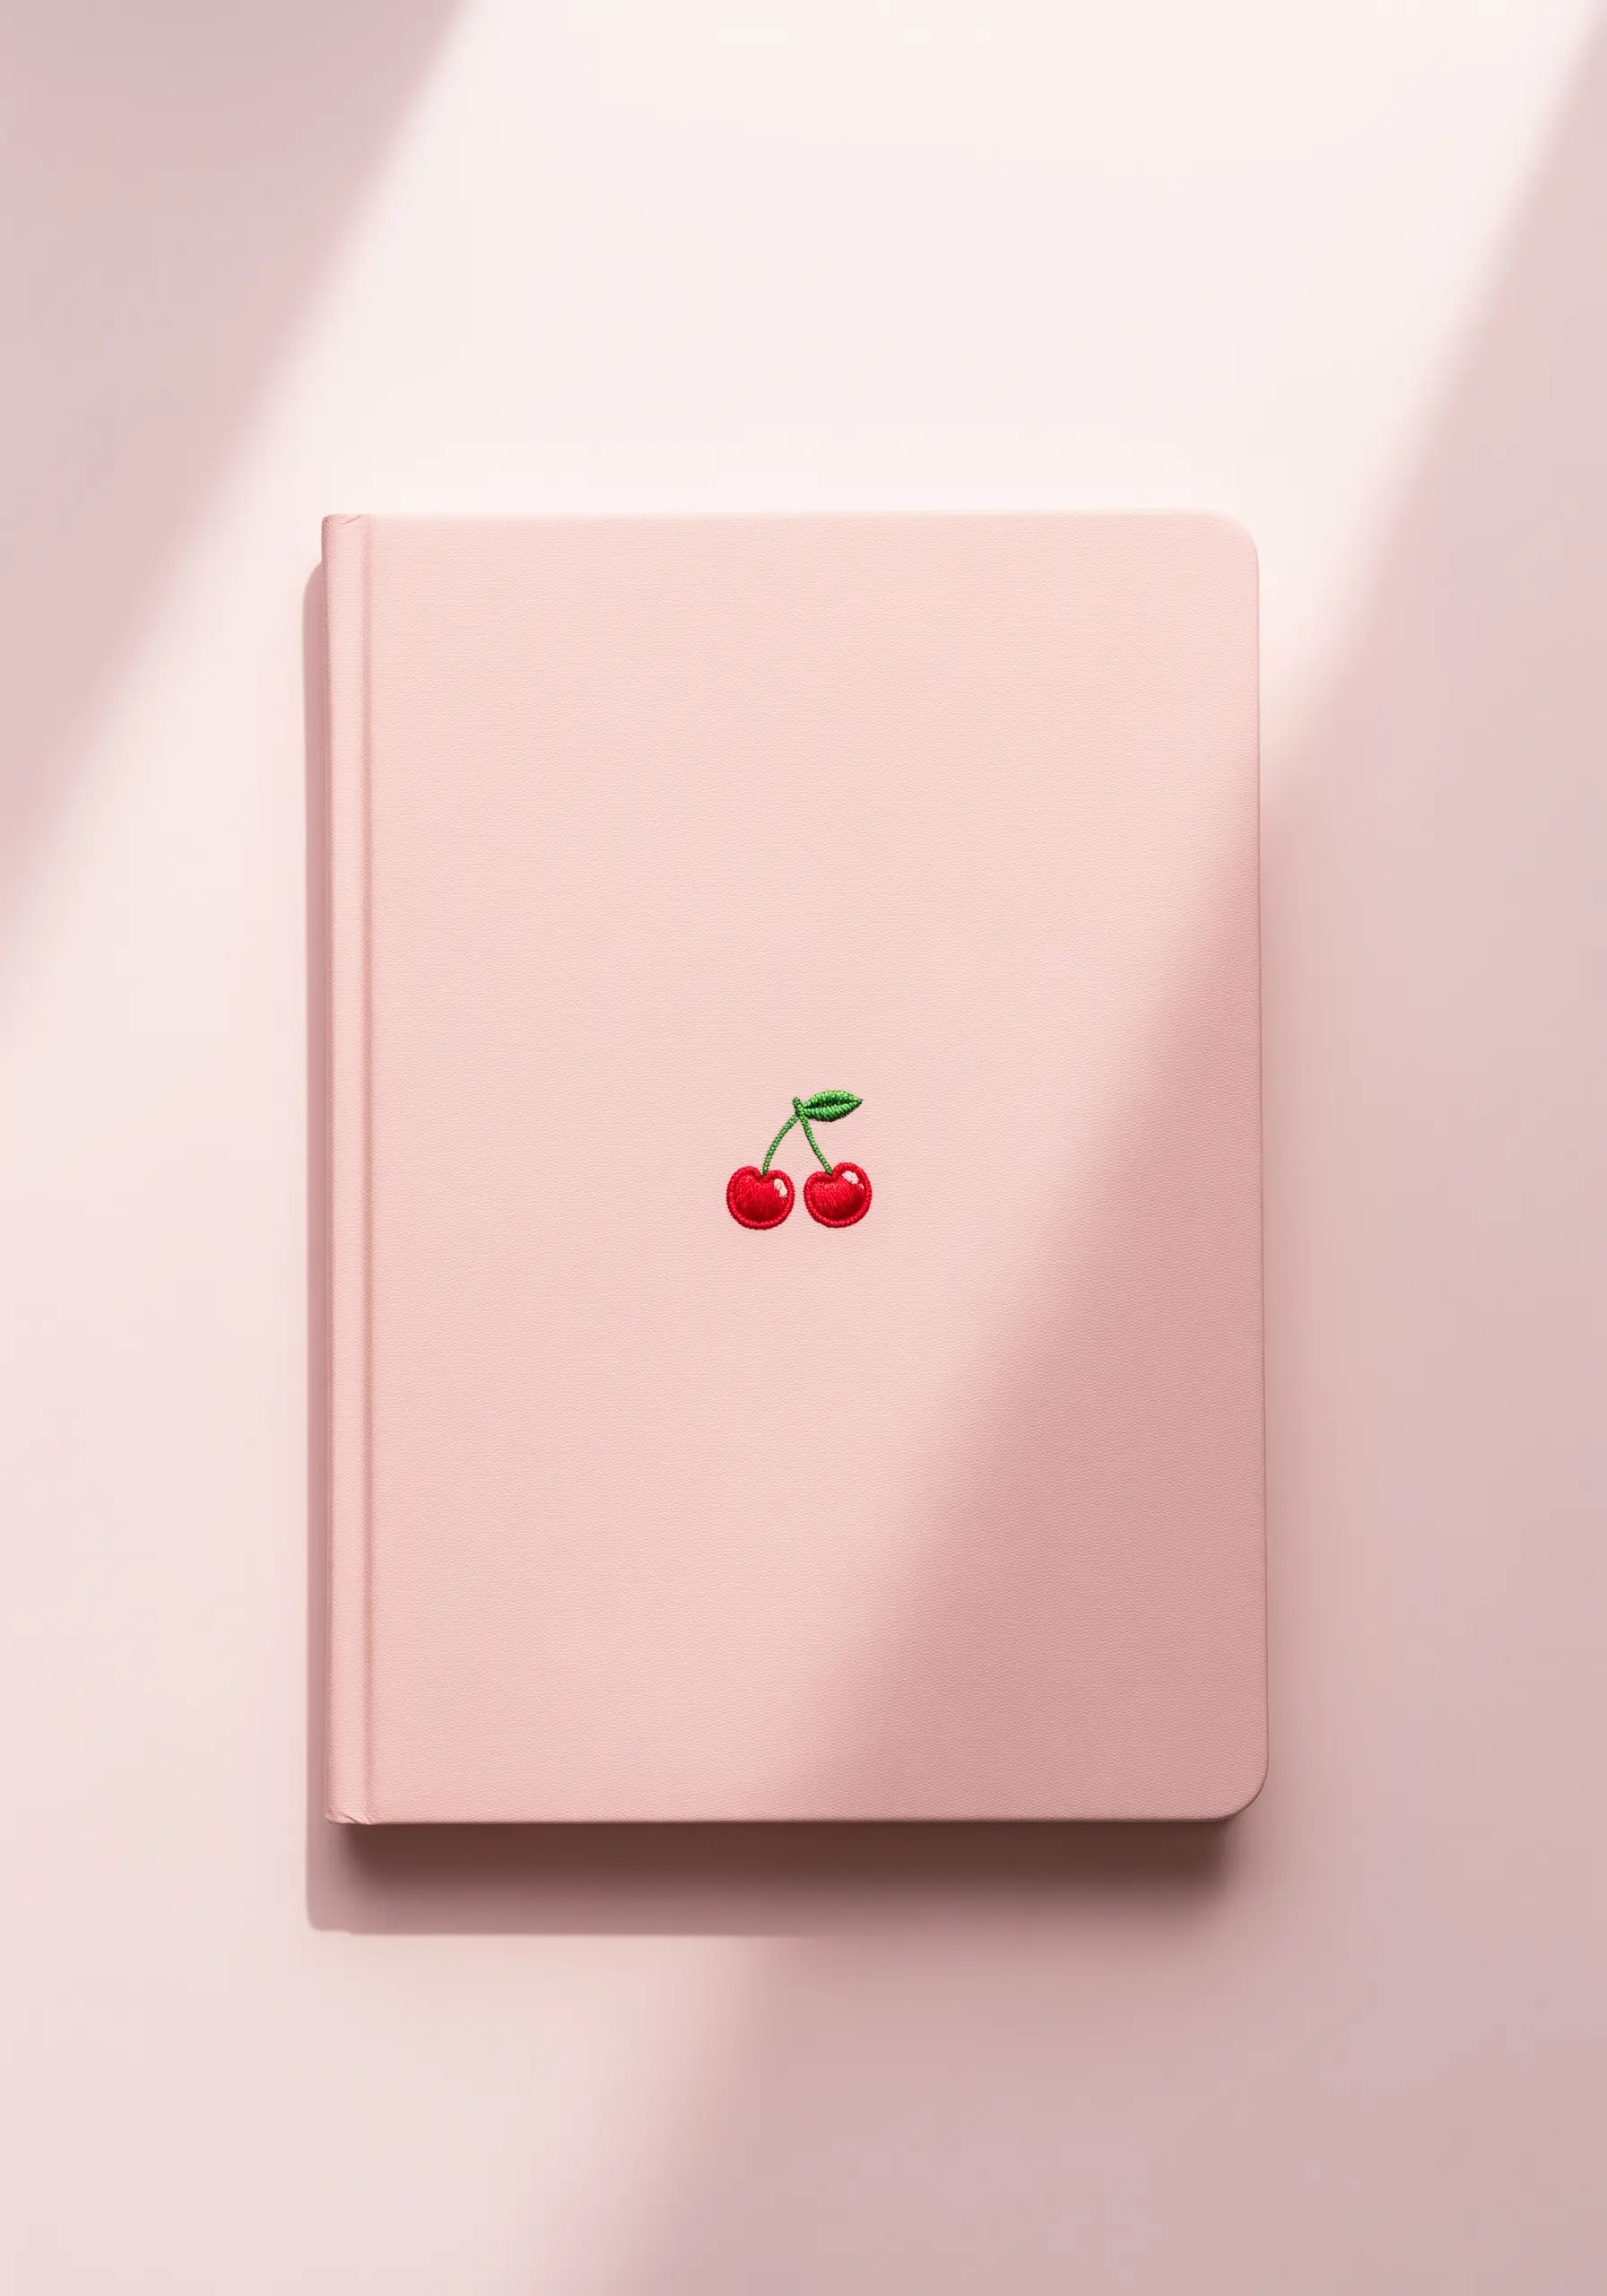
Make a tiny motif pop by giving it the illusion of a glossy, reflective surface.
After filling your cherries with a smooth satin stitch, add a single, tiny straight stitch in pure white at the upper curve.
This one small detail instantly mimics a light reflection, making the fruit appear round, shiny, and three-dimensional.
It’s one of the most effective tiny stitching ideas for adding polish and realism.
14. Anchor Radiating Lines for Sharpness
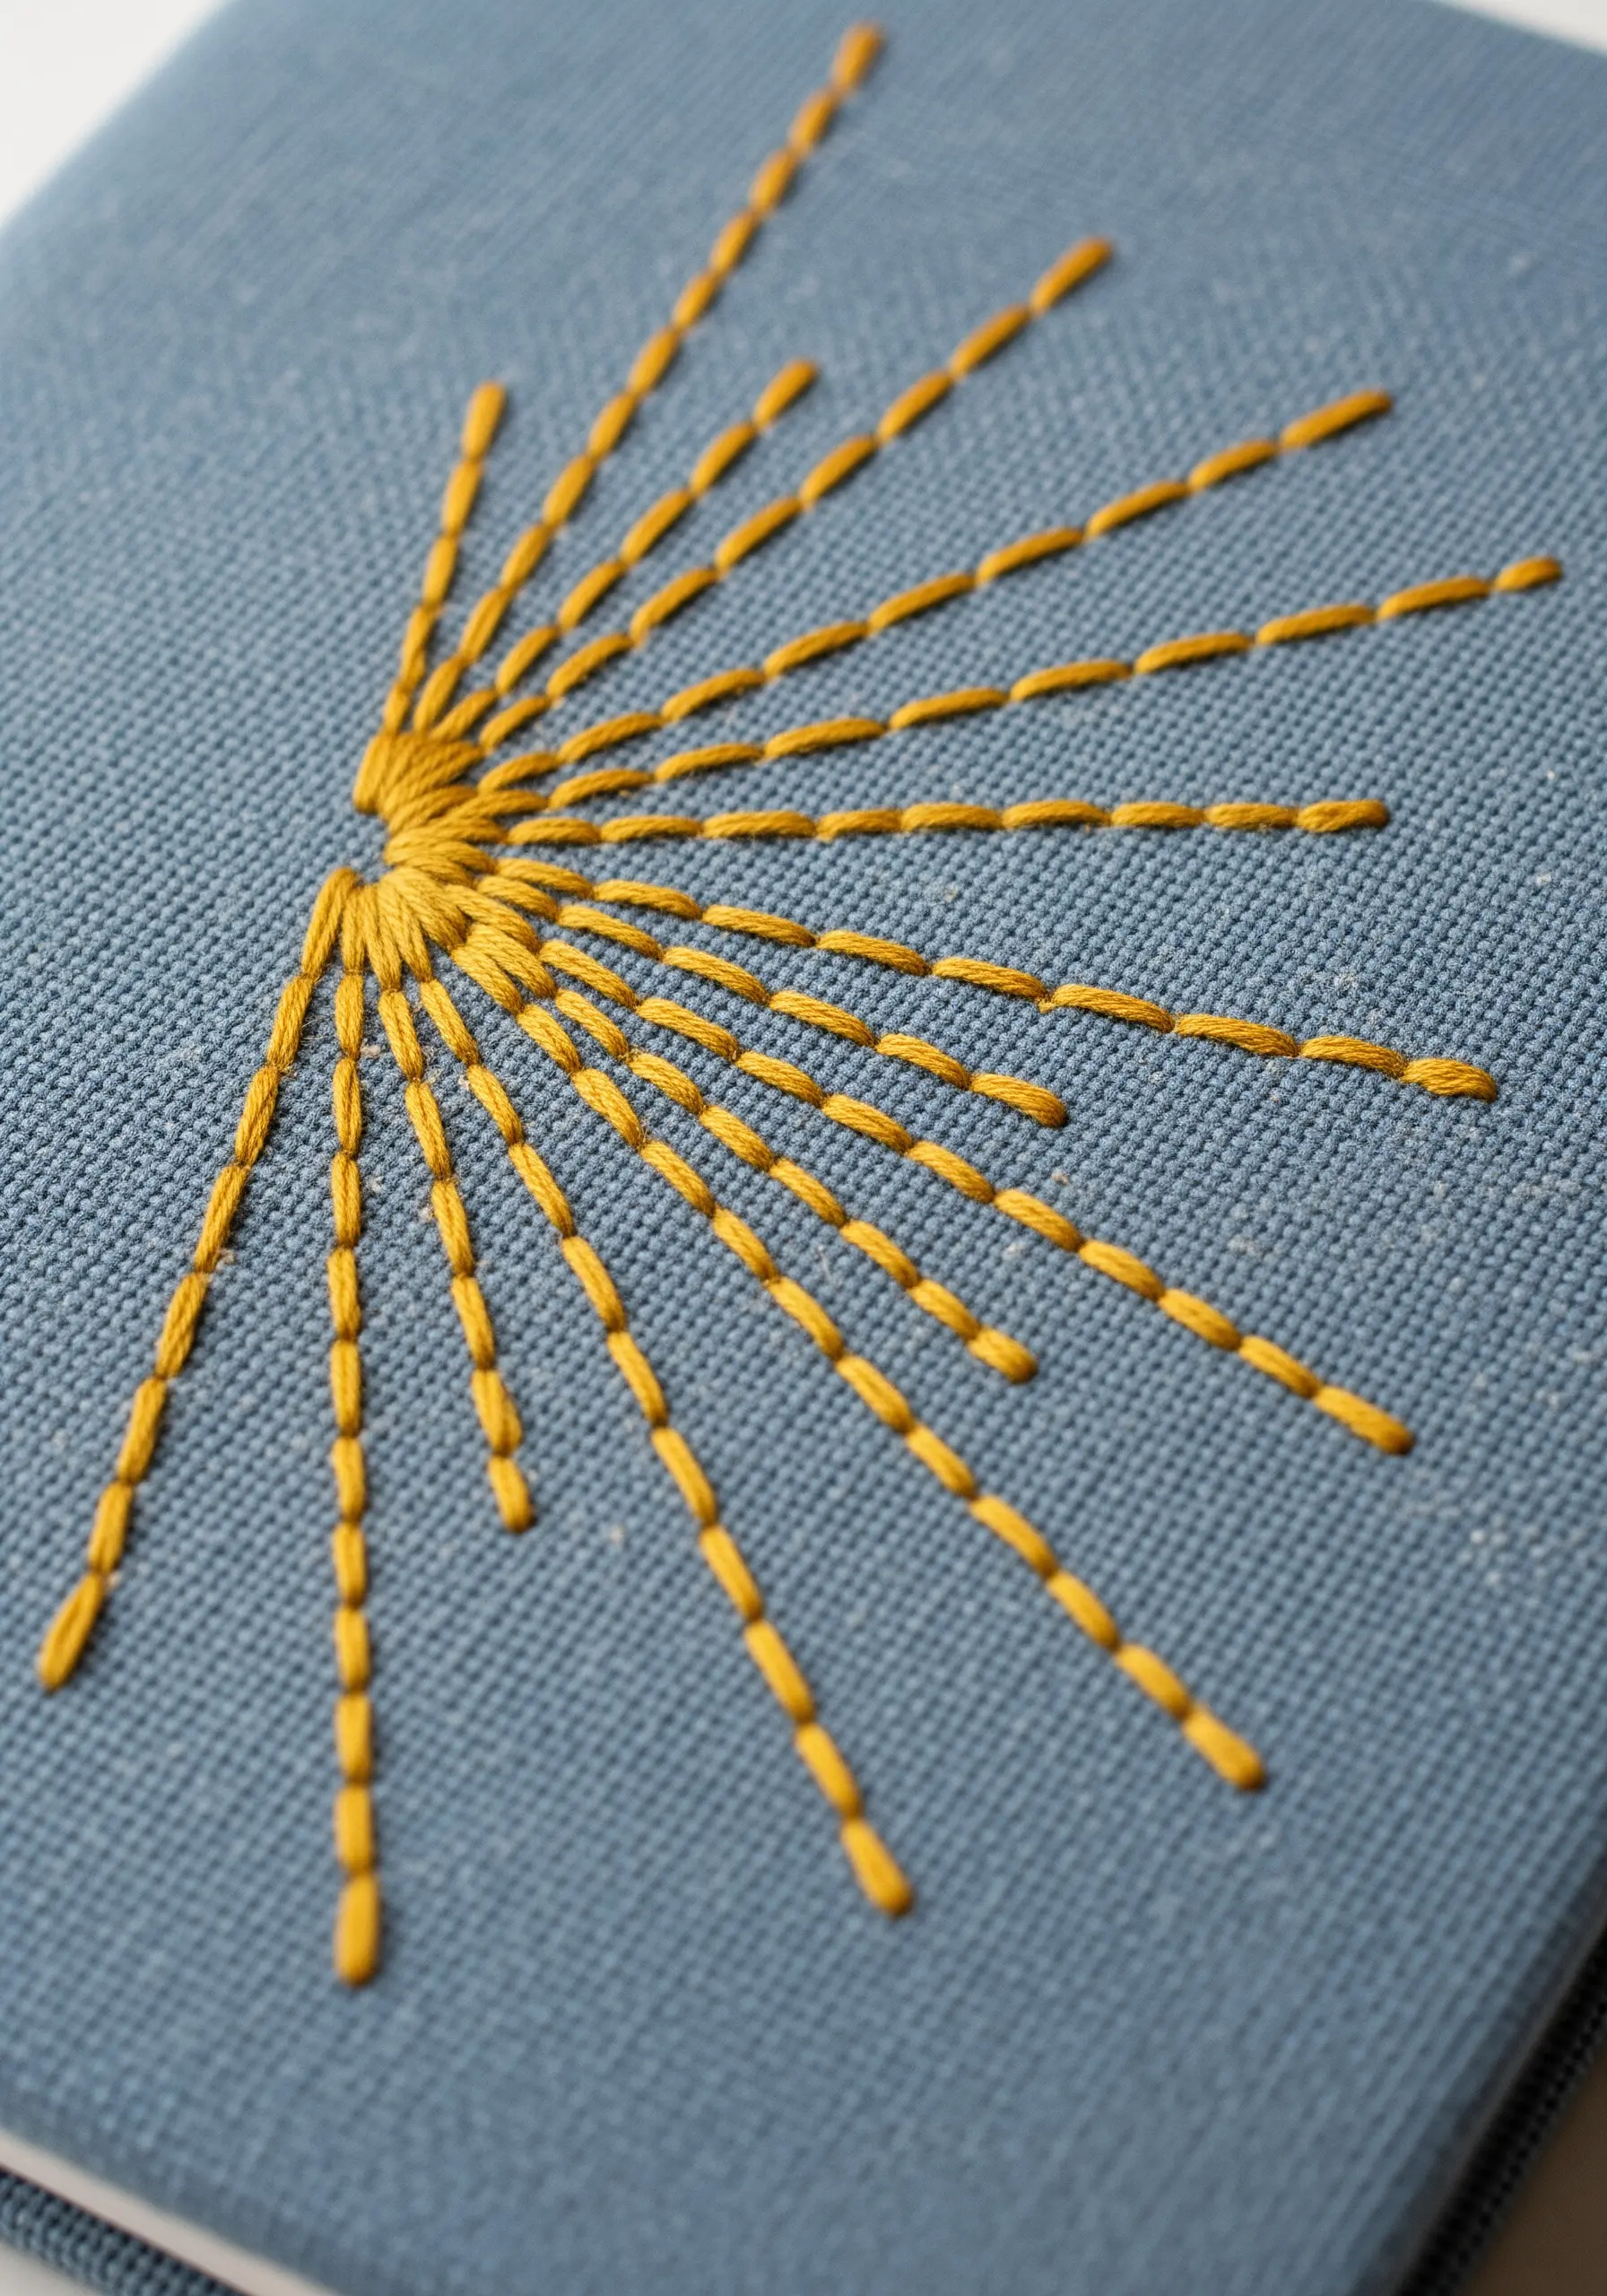
When stitching a sunburst or any radiating design, the central anchor point is key to a clean finish.
Create a dense, solid center using satin stitch or a cluster of French knots before you begin the rays.
Stitch each ray as a long straight stitch, bringing your needle up at the outer tip and down into the dense center.
This method prevents the long stitches from pulling or distorting the fabric, ensuring each ray remains taut and straight.
15. Create Flow with Parallel Lines
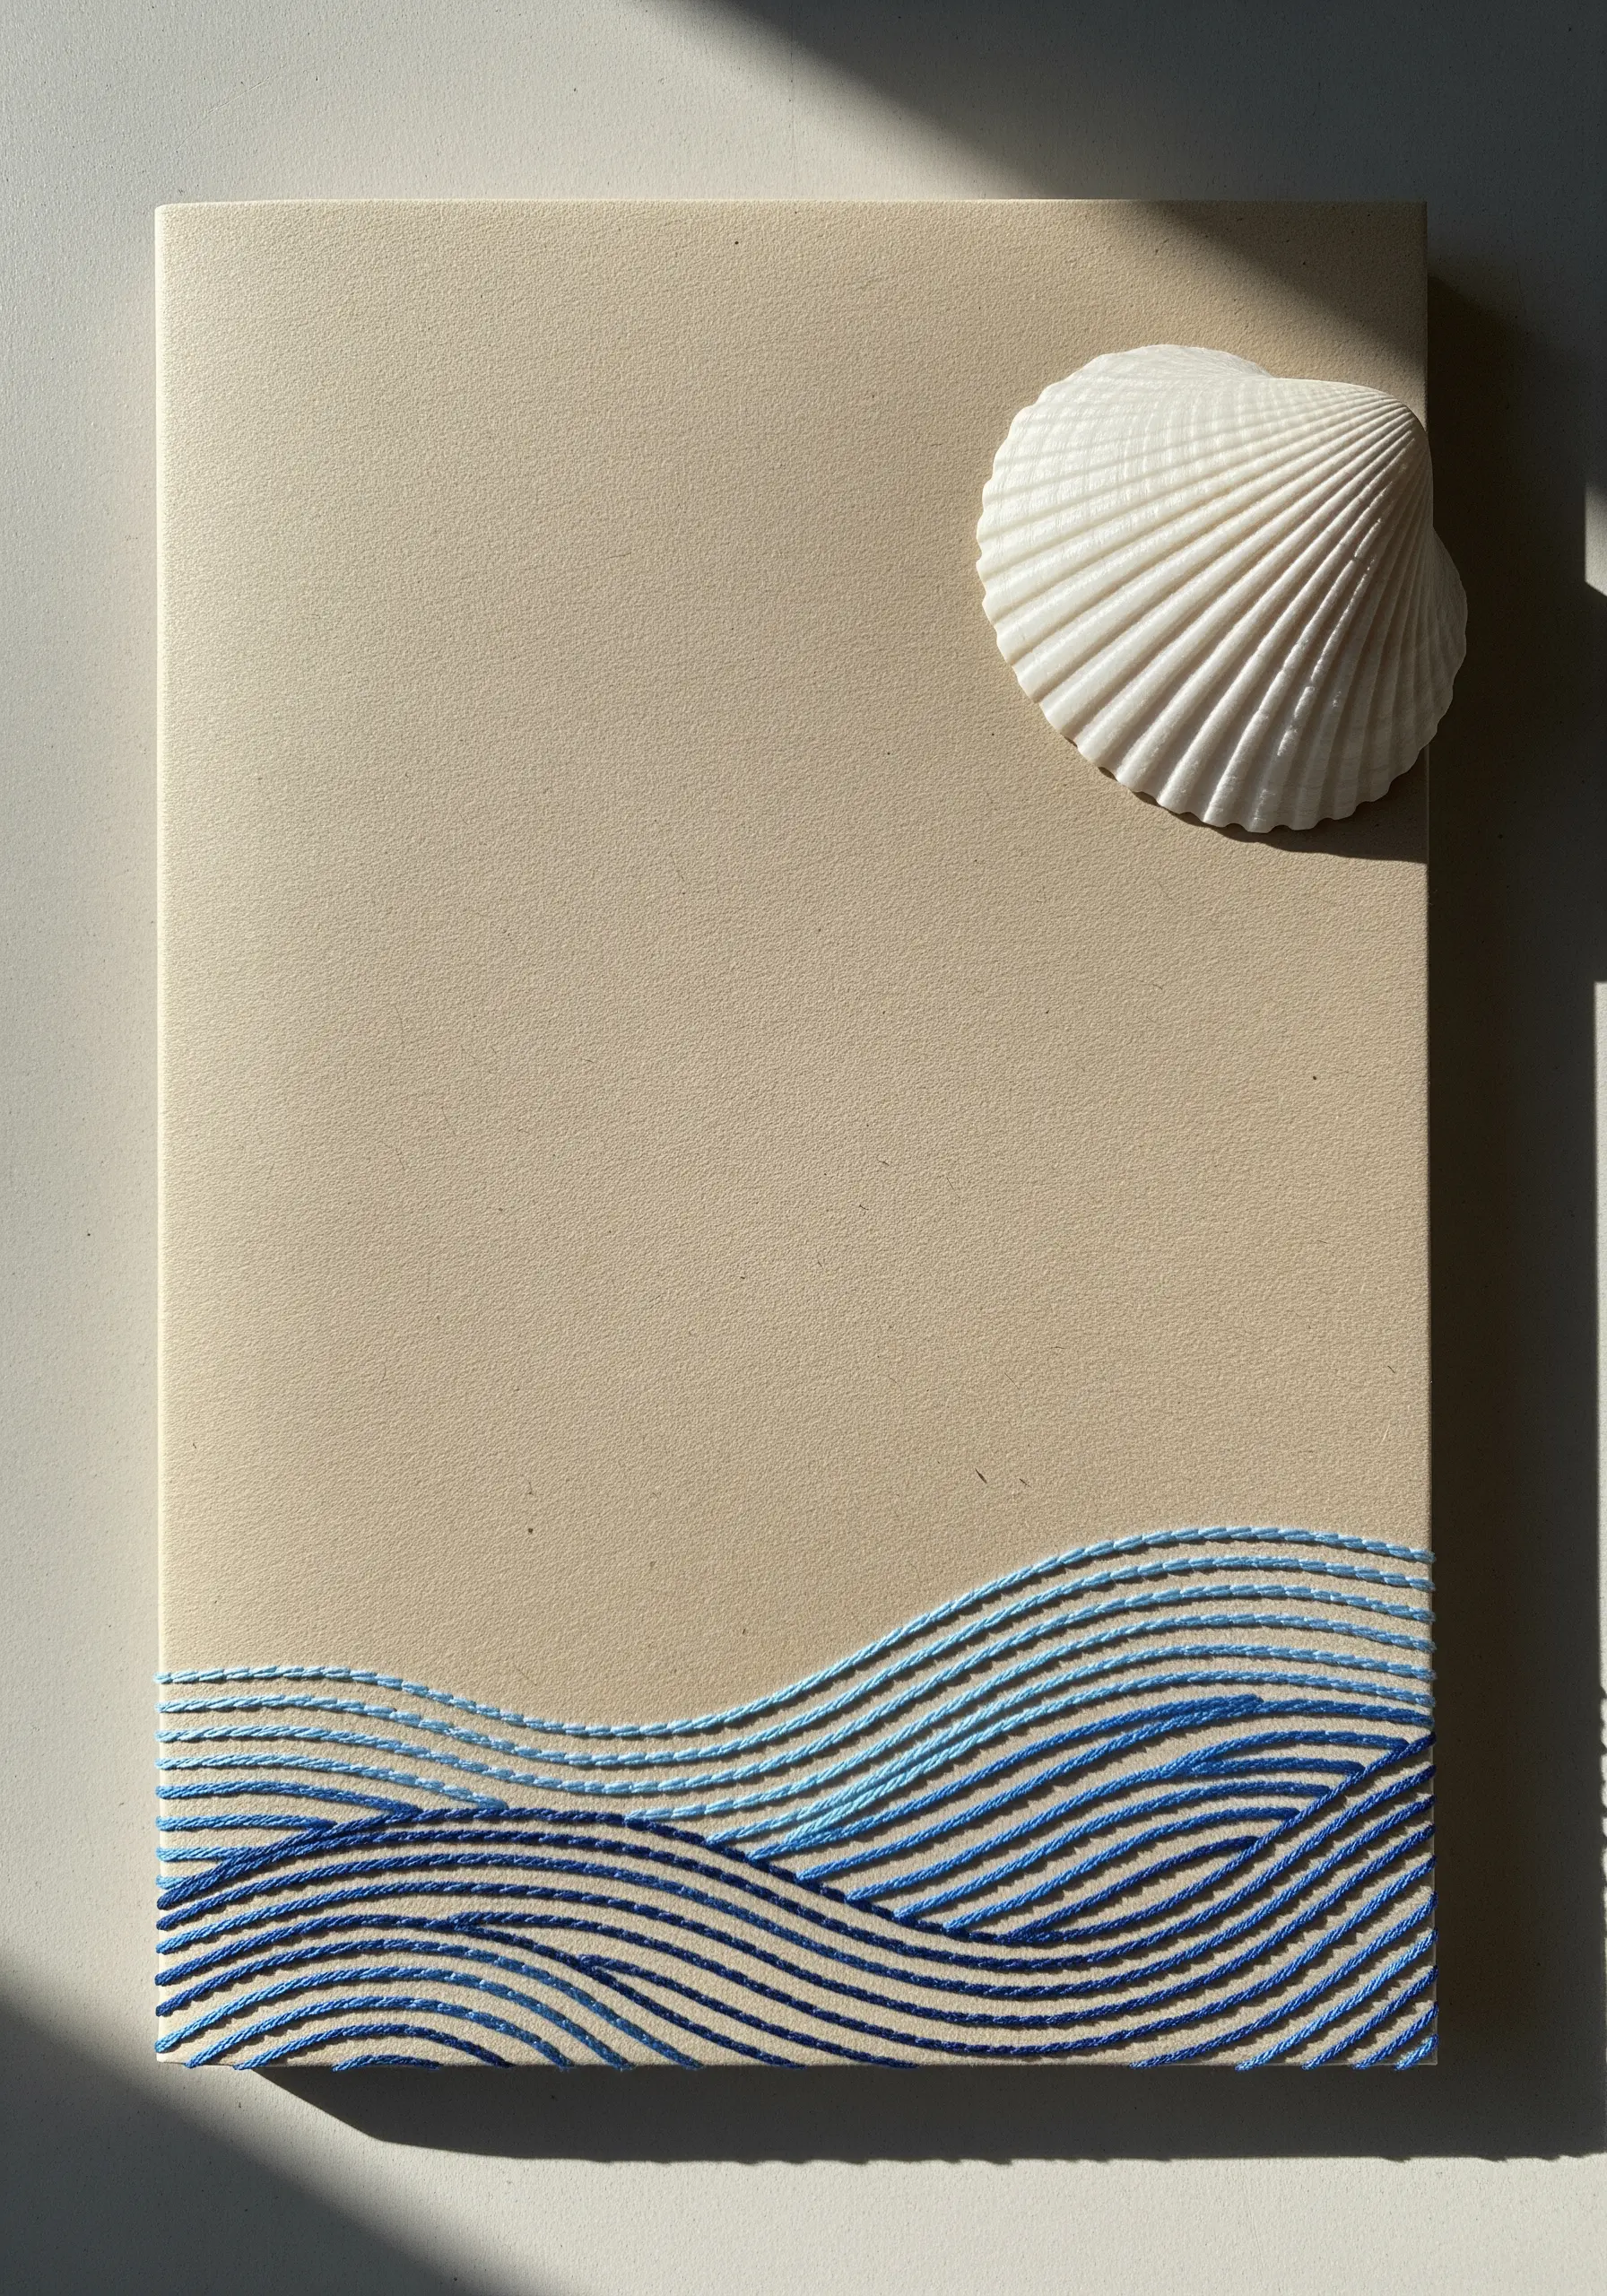
Capture the rhythmic movement of water with rows of simple, flowing stitches.
Use three to four shades of blue, from light to dark, to create depth.
Stitch parallel, wavy lines using a backstitch or stem stitch, alternating colors to mimic the ocean’s gradients.
The key is to maintain a consistent space between each line while allowing the curves to feel organic and fluid, perfectly capturing a coastal vibe.
16. Elevate Shapes with Padded Satin Stitch
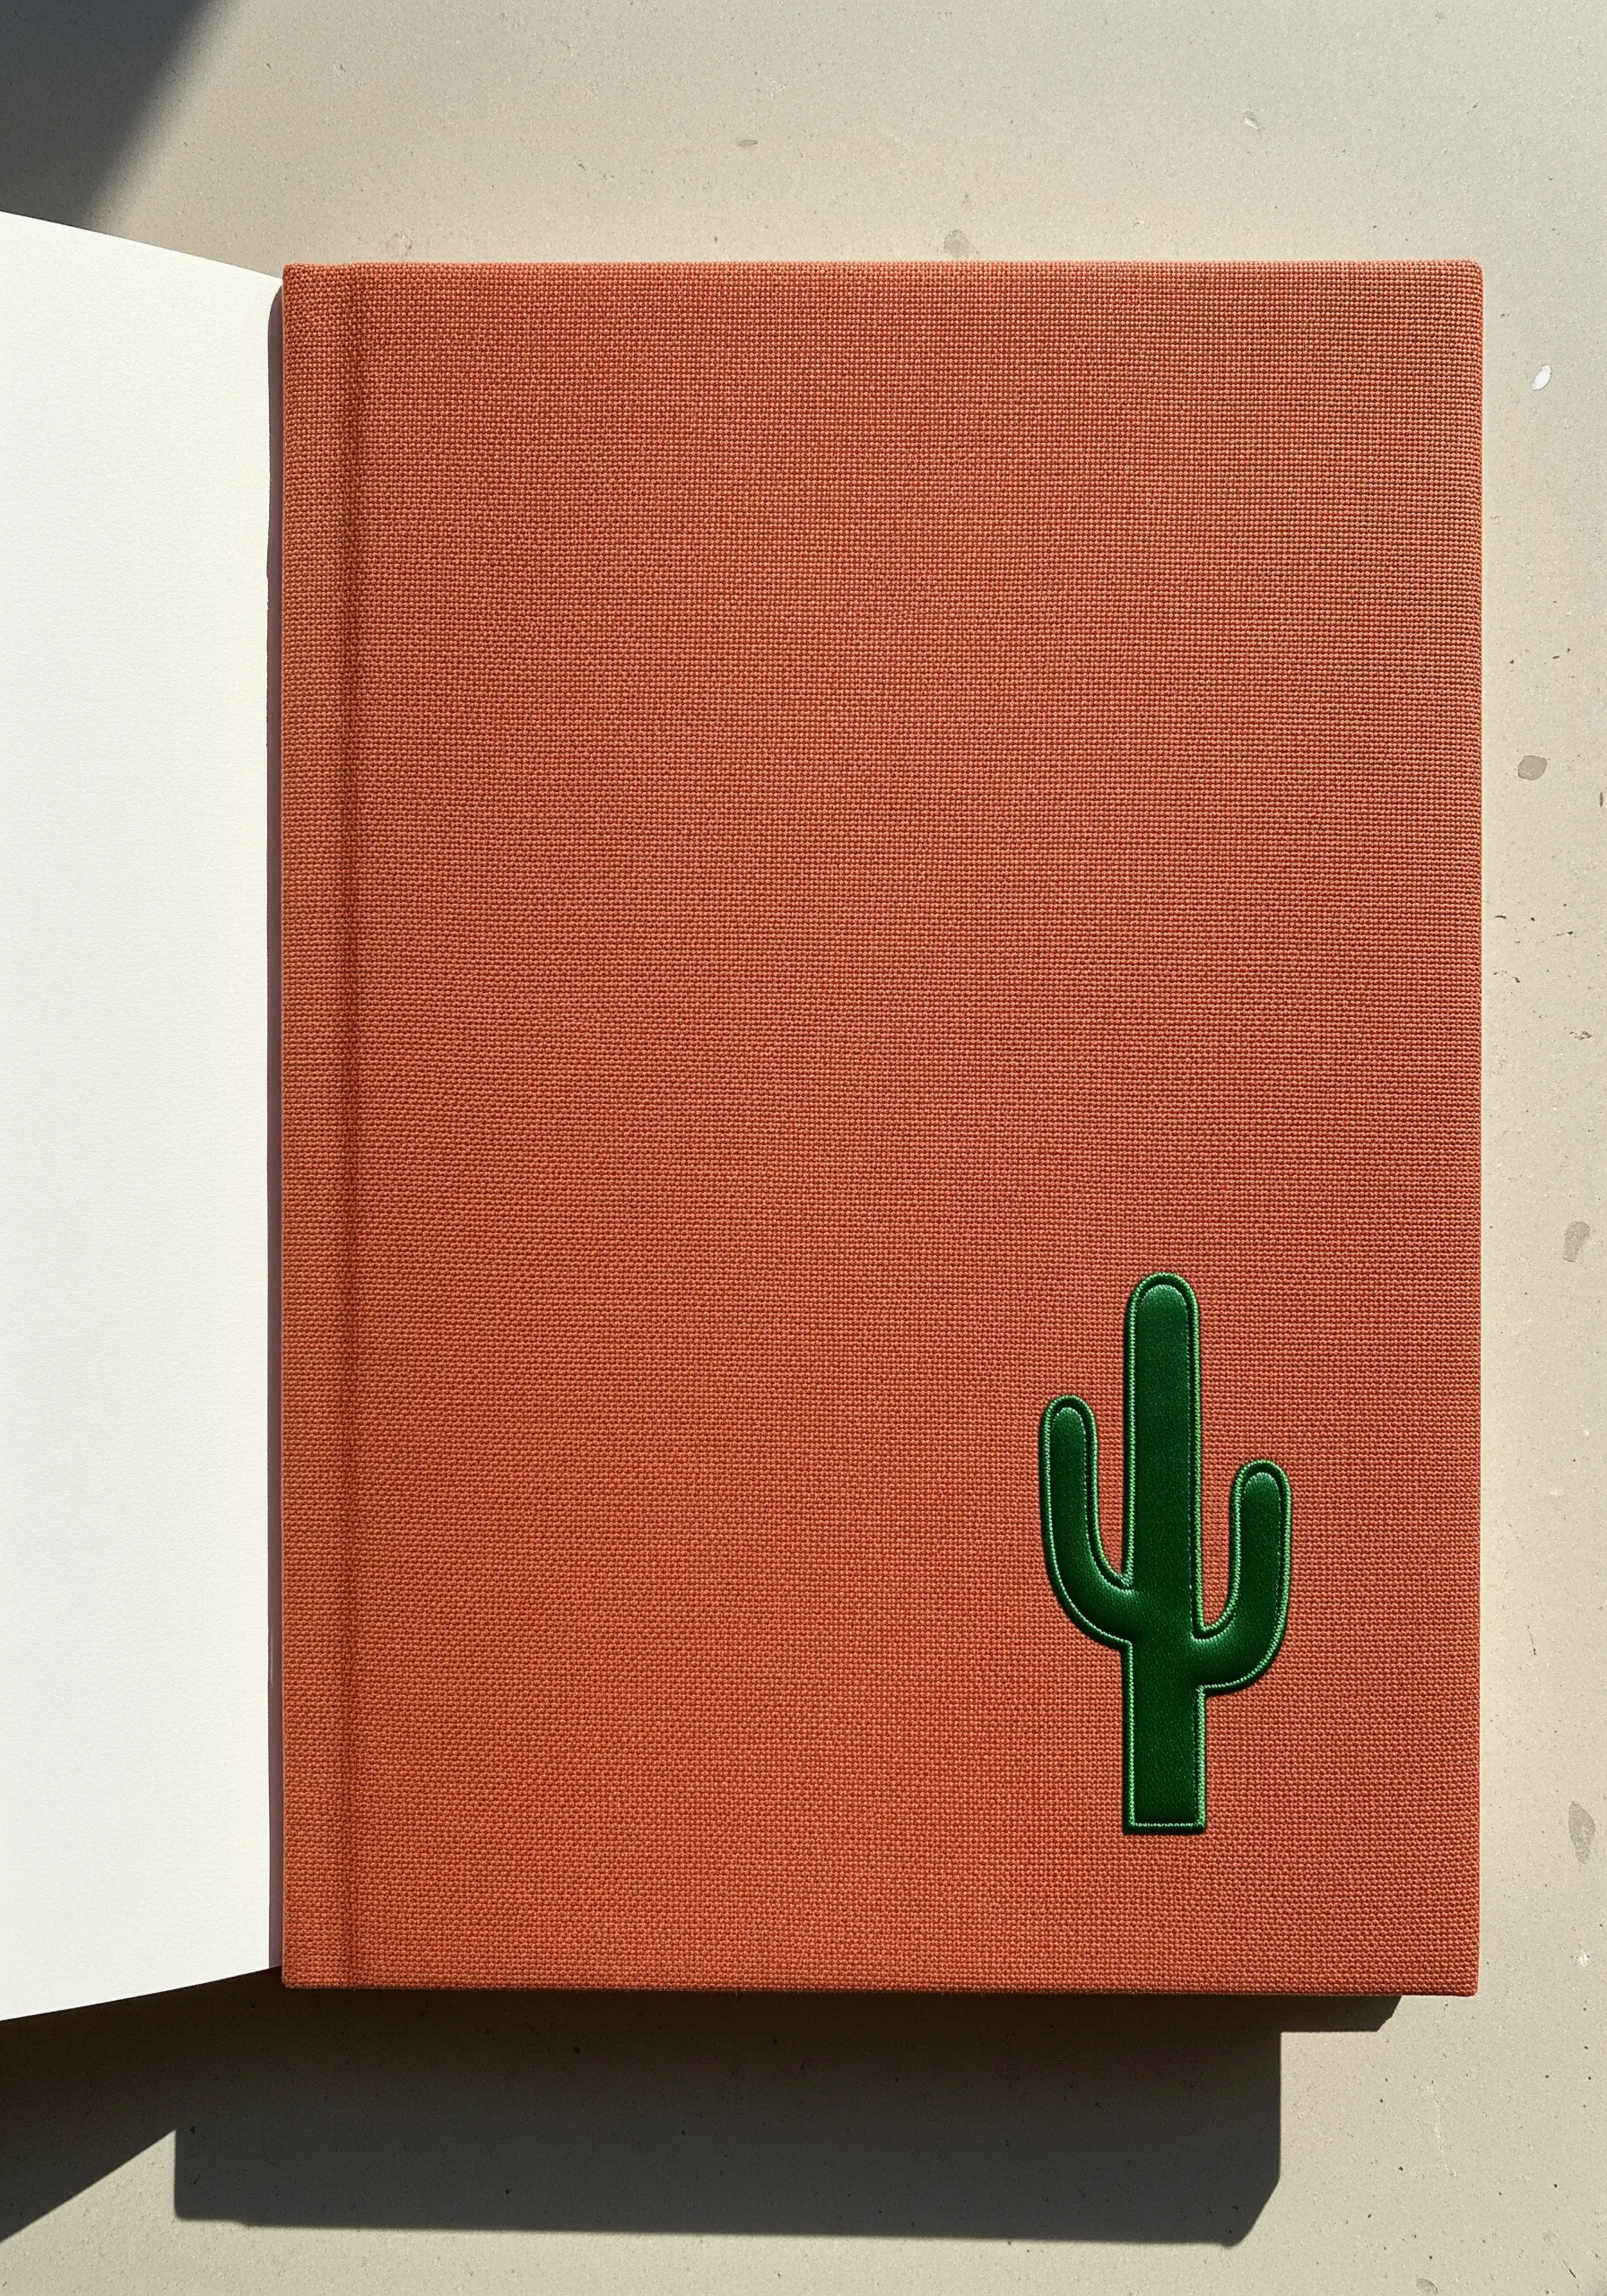
Give a simple, graphic motif a raised, almost three-dimensional quality using padding.
Before you begin your top layer, fill the entire shape with a foundation of horizontal straight stitches. This is your padding.
Then, work your final vertical satin stitch directly over this foundation.
The extra layer underneath pushes the top stitches upward, creating a smooth, beveled effect that makes the design physically pop from the surface.
17. Achieve Luxe Lettering with Satin Stitch
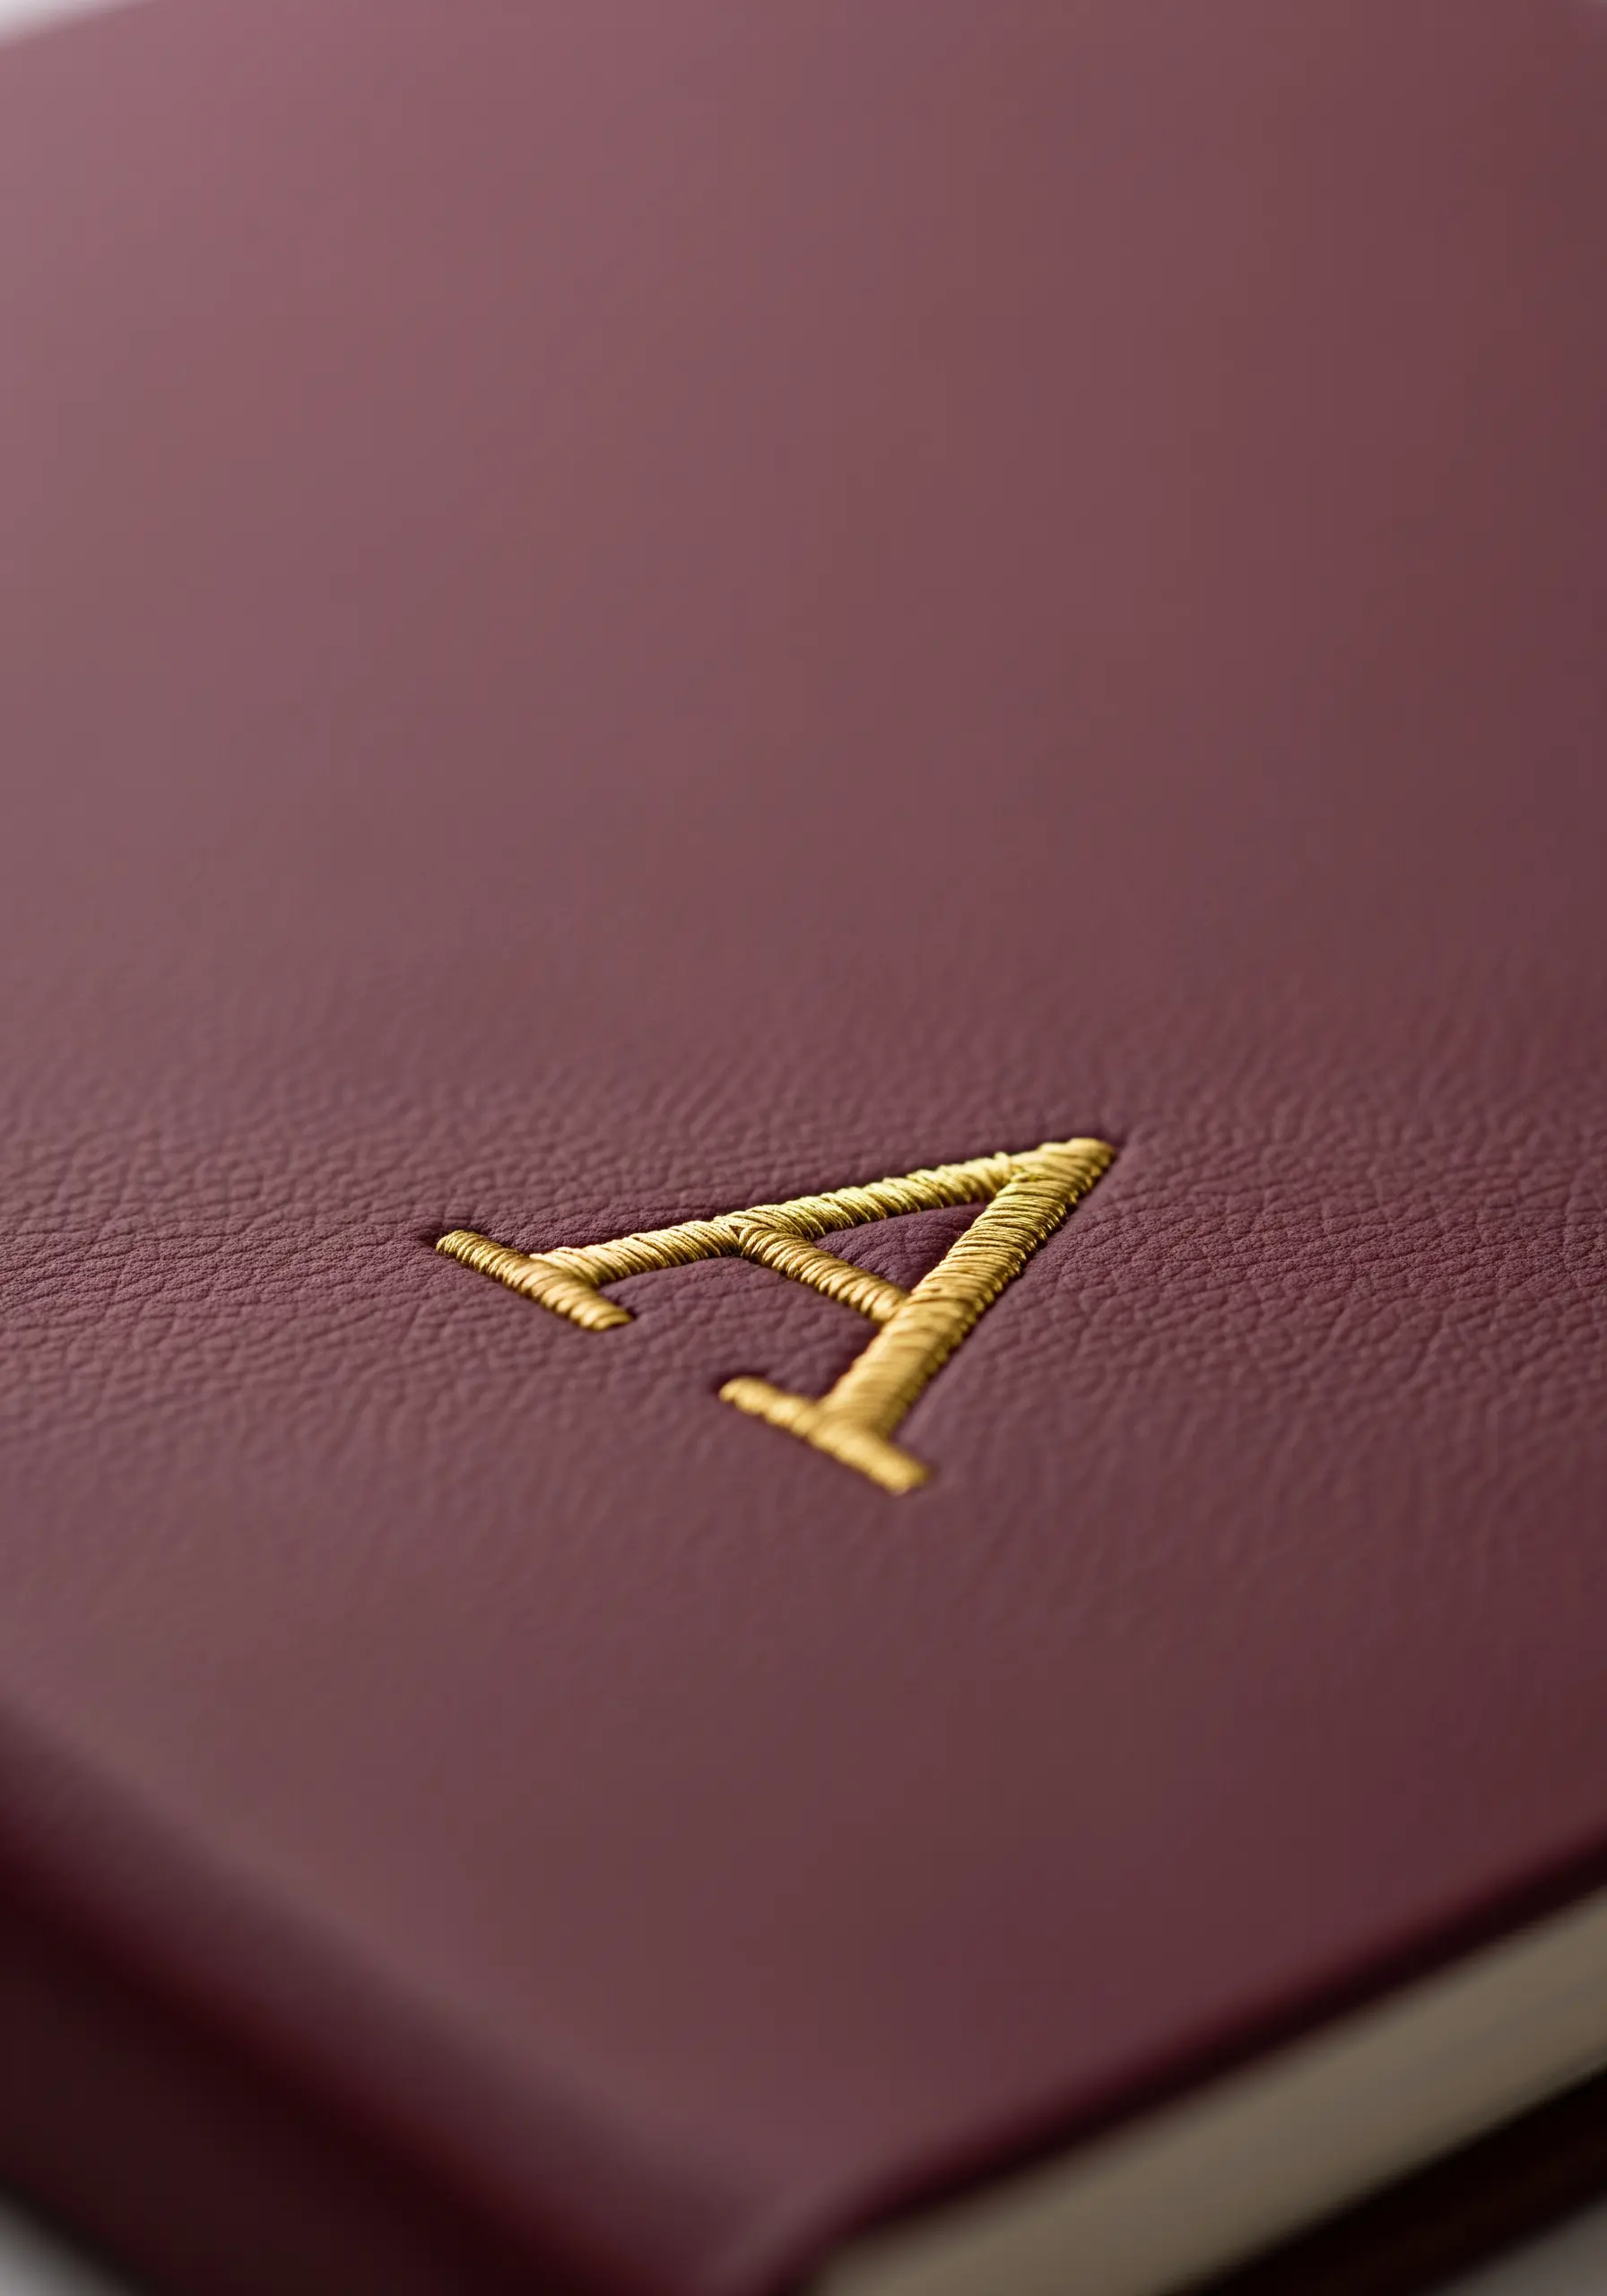
Transform a simple initial into an elegant, high-end monogram with the right technique and thread.
For a raised, embossed look, use a padded satin stitch. First, outline the letter with split stitch, then fill the interior with seed stitches before covering it all with your final satin stitch.
Using a silk or metallic gold thread enhances the effect, creating a surface that looks and feels luxurious.
This approach turns basic personalization into one of those minimal monogram styles with maximum impact.
18. Use Thread Weight to Define Details

Create a balanced design by varying the number of strands you use for different elements.
For the delicate, intricate veins of the dragonfly’s wings, use only a single strand of a light, iridescent thread.
For the solid body, switch to two or three strands to give it more weight and presence.
This subtle shift in thread thickness adds visual hierarchy and realism, making the wings appear lighter and more delicate than the body.
19. Design with Spontaneous, Scattered Stitches
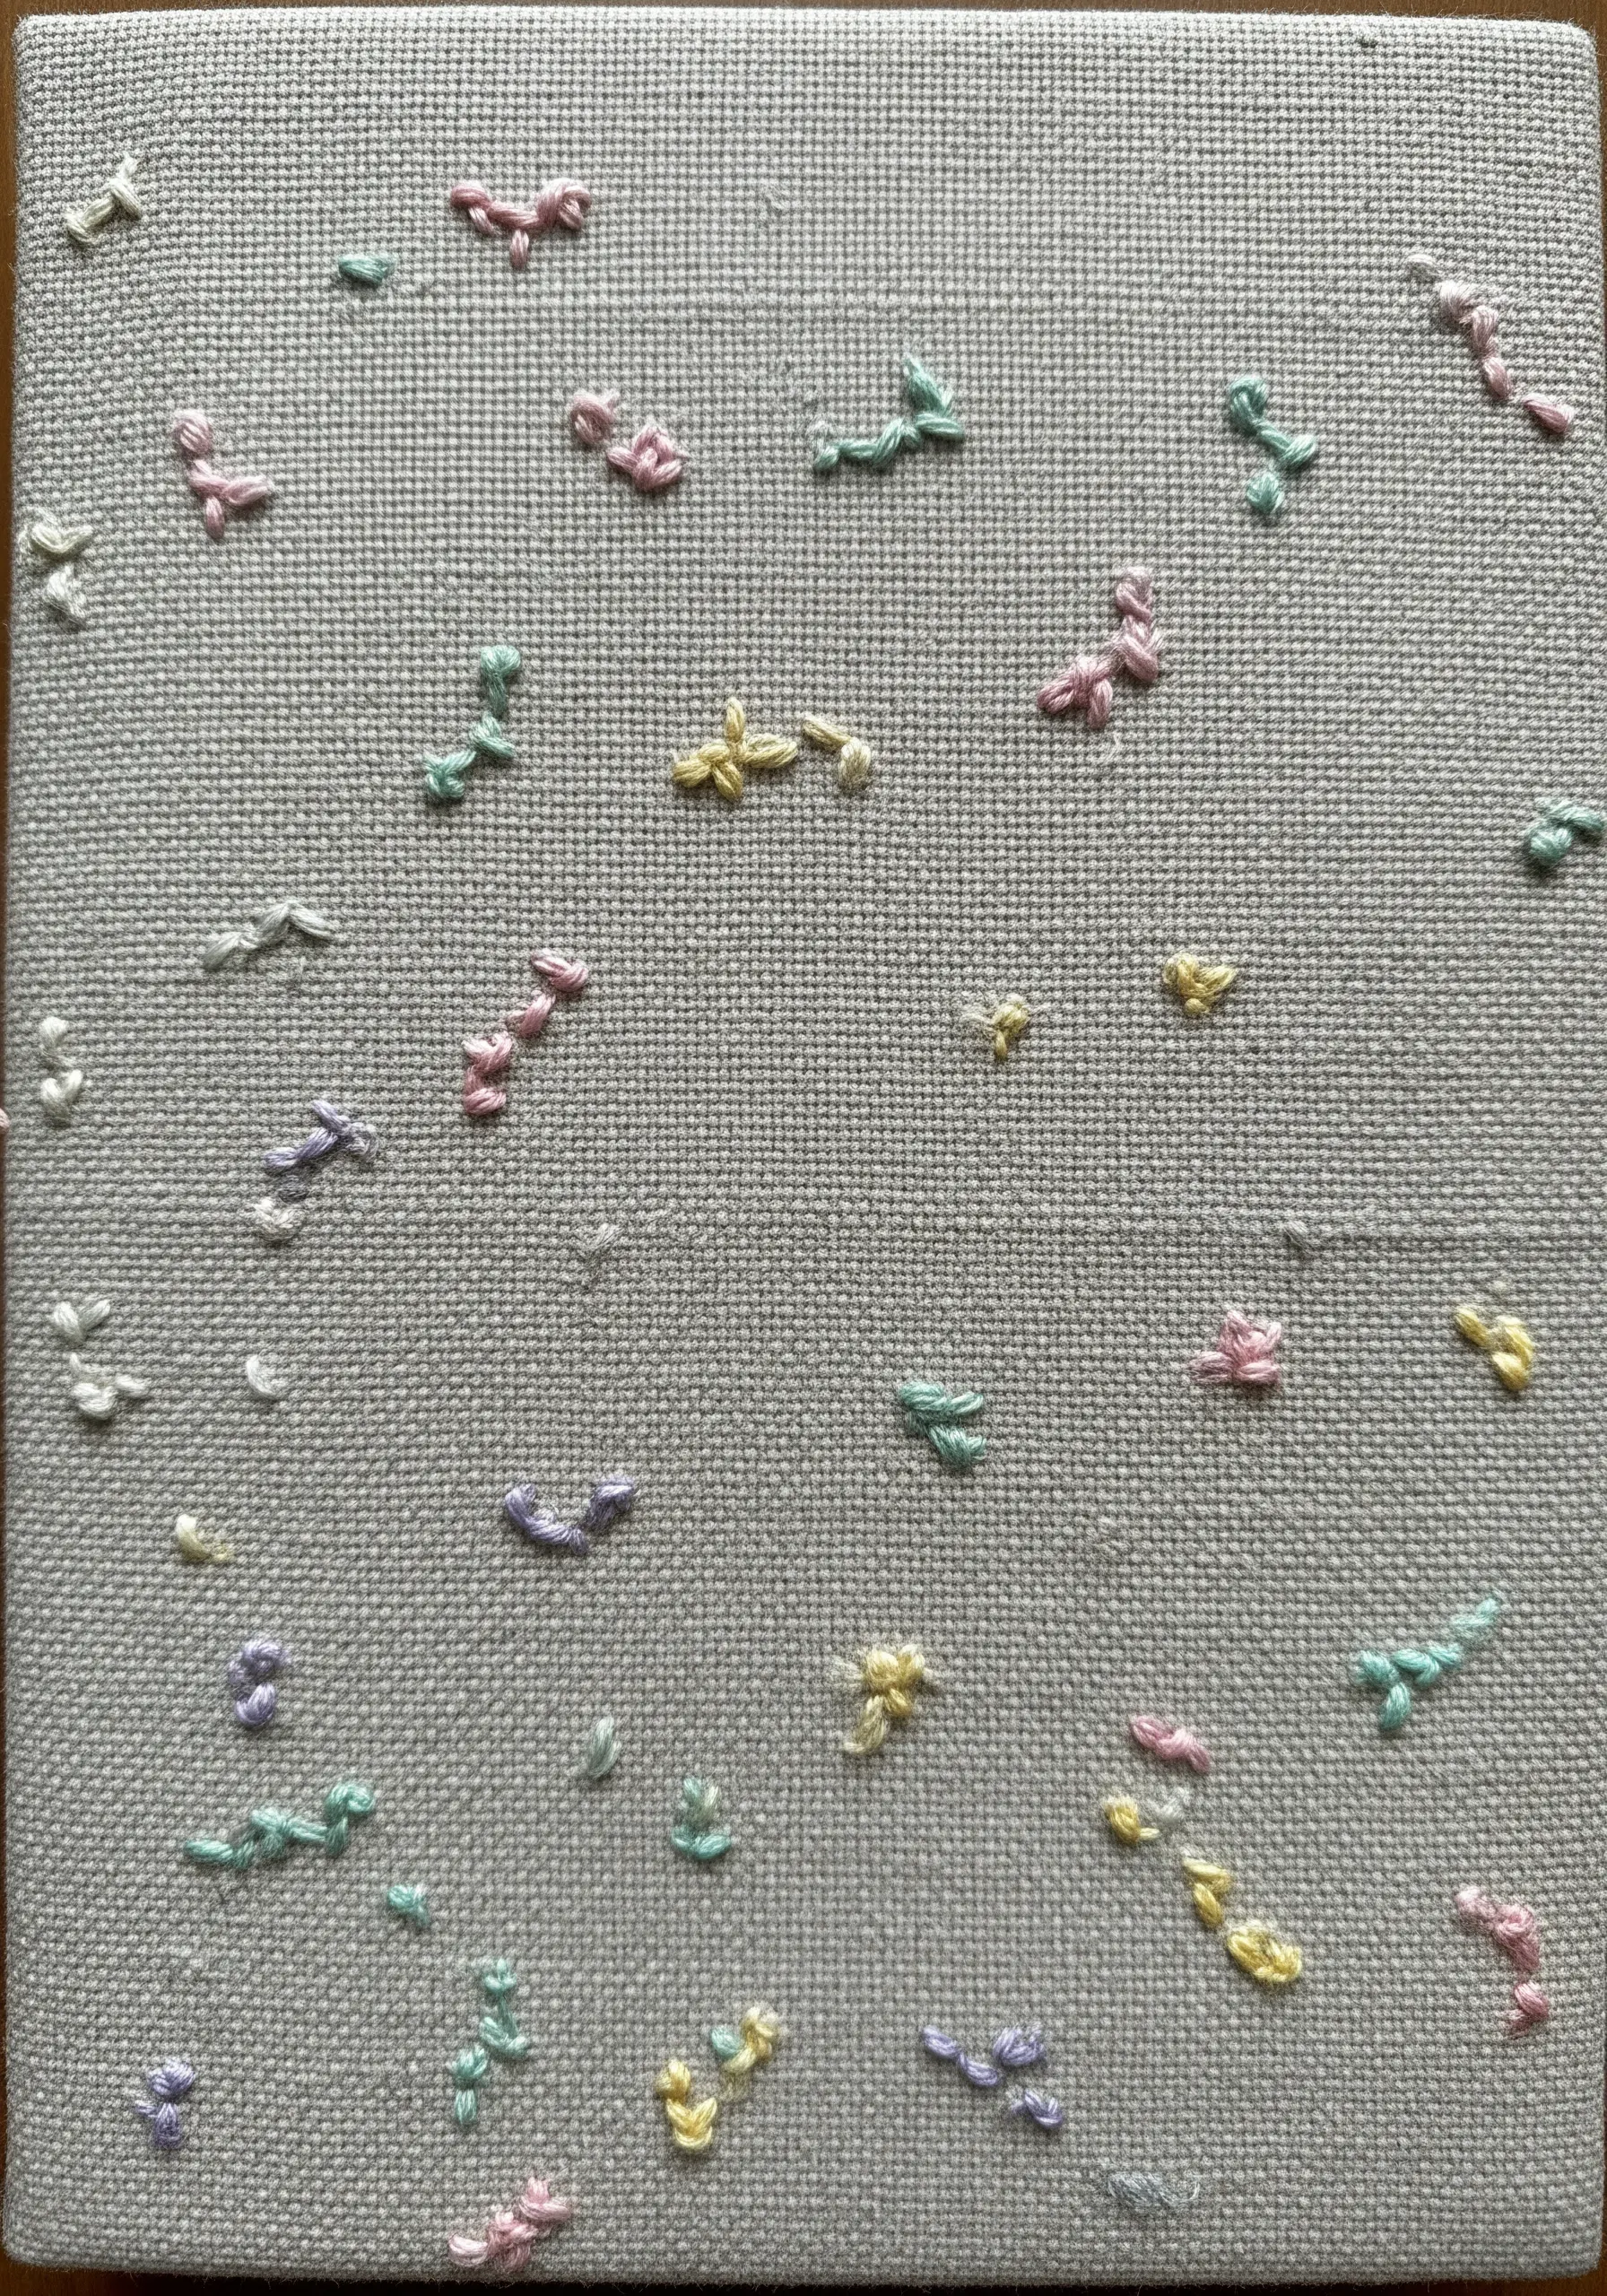
Create an abstract, confetti-like texture by scattering small, simple stitches across your notebook cover.
Use a mix of single straight stitches, tiny seed stitches, and French knots in a soft, harmonious color palette.
Vary the direction, size, and placement of each stitch to achieve a truly random, organic feel.
This is a wonderfully forgiving technique and one of the best DIY art pieces that capture the magic of imperfection while using up leftover thread.
20. Build a Fern with Repetitive Fly Stitches

The elegant structure of a fern frond is perfectly suited to a simple, repetitive stitch.
First, create the central stem using a stem stitch or a backstitch.
Then, work your way up the stem, adding a single fly stitch on each side to create a pair of leaflets.
Maintaining a consistent size and angle in your fly stitches is what builds the fern’s recognizable, symmetrical beauty. Explore other fern foliage stitch variations to create a whole garden.
21. Weave a Dimensional Flower Center
Make your floral motifs stand out by giving them a highly textured, woven center.
Create a woven wheel stitch (also called a spider web rose stitch) by first making a small star of straight stitches as a foundation.
Then, weave your working thread over and under these spokes without piercing the fabric until the center is filled.
This technique produces a beautiful, raised spiral that provides a stunning contrast to simple, flat petals.
22. Define Form with a Simple Outline
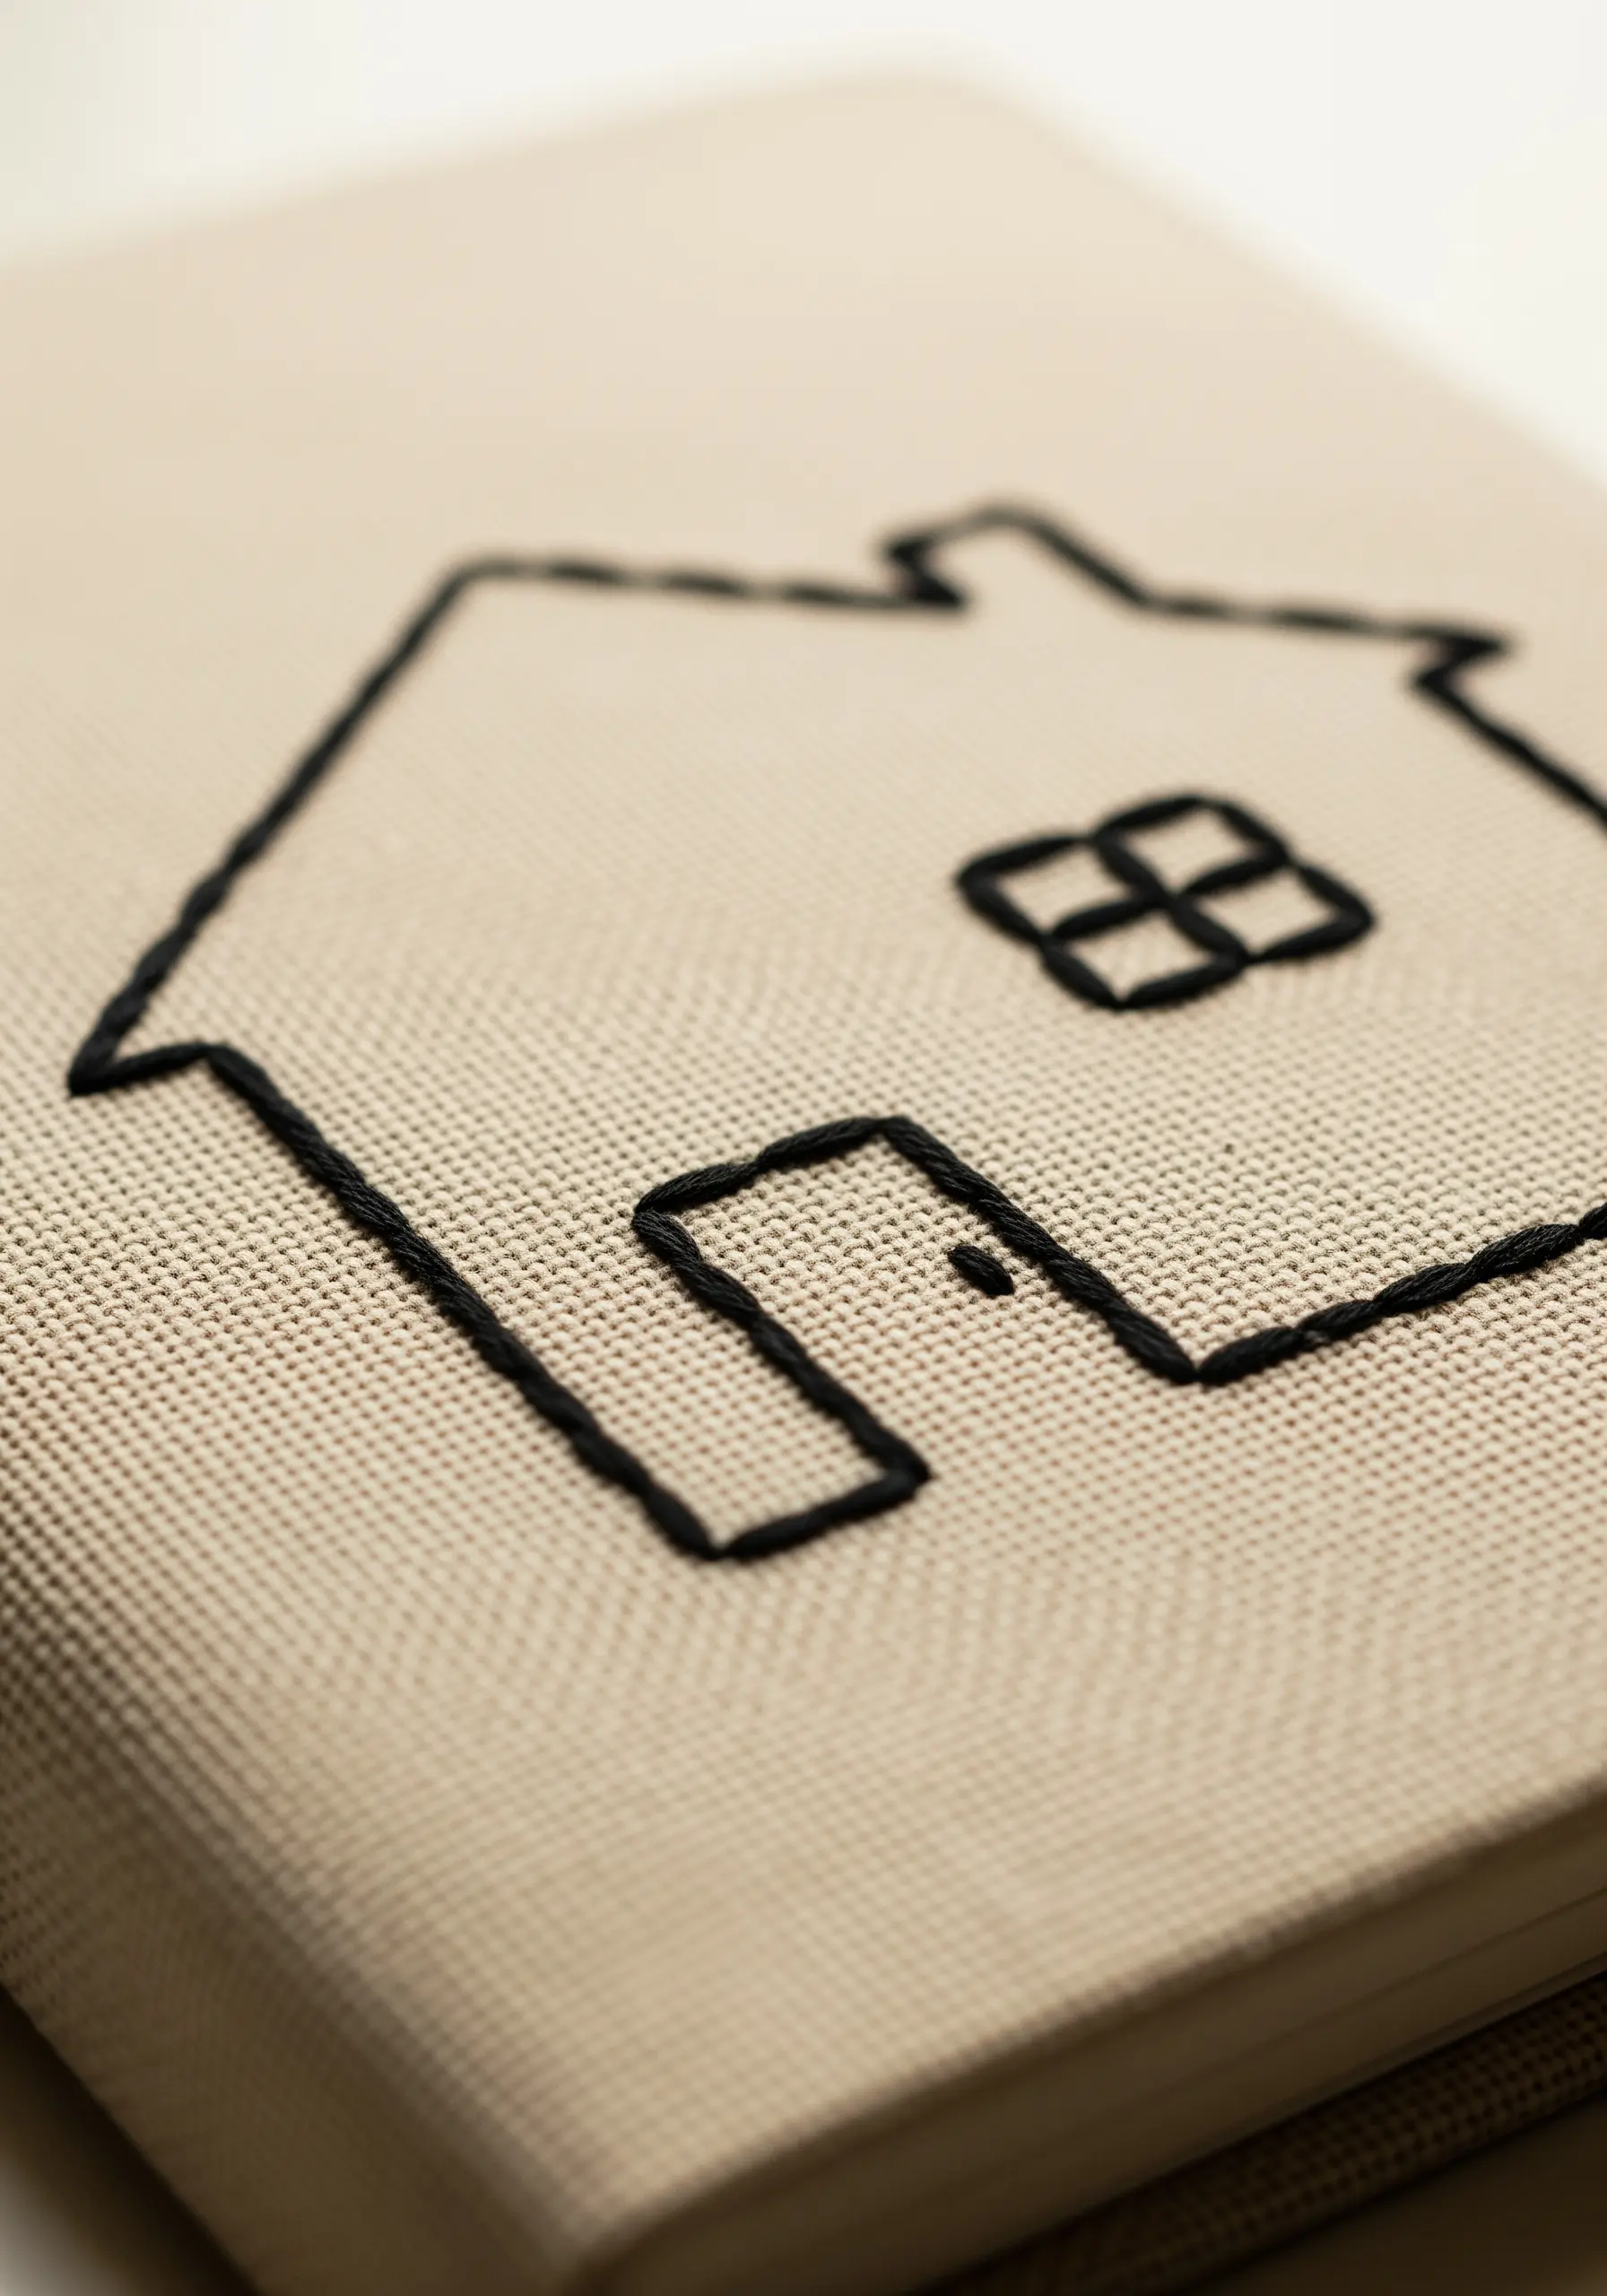
Sometimes, the most impactful design is the simplest. A clean, single-line drawing can be incredibly expressive.
Use a backstitch to create this minimalist house shape, focusing on keeping your stitch length consistent for a neat, uniform line.
To create sharp corners, ensure you end your final stitch precisely at the turning point before beginning the new line.
This method keeps the geometric shape crisp and intentional, preventing rounded or soft edges.
23. Combine Fill and Line for Cosmic Details
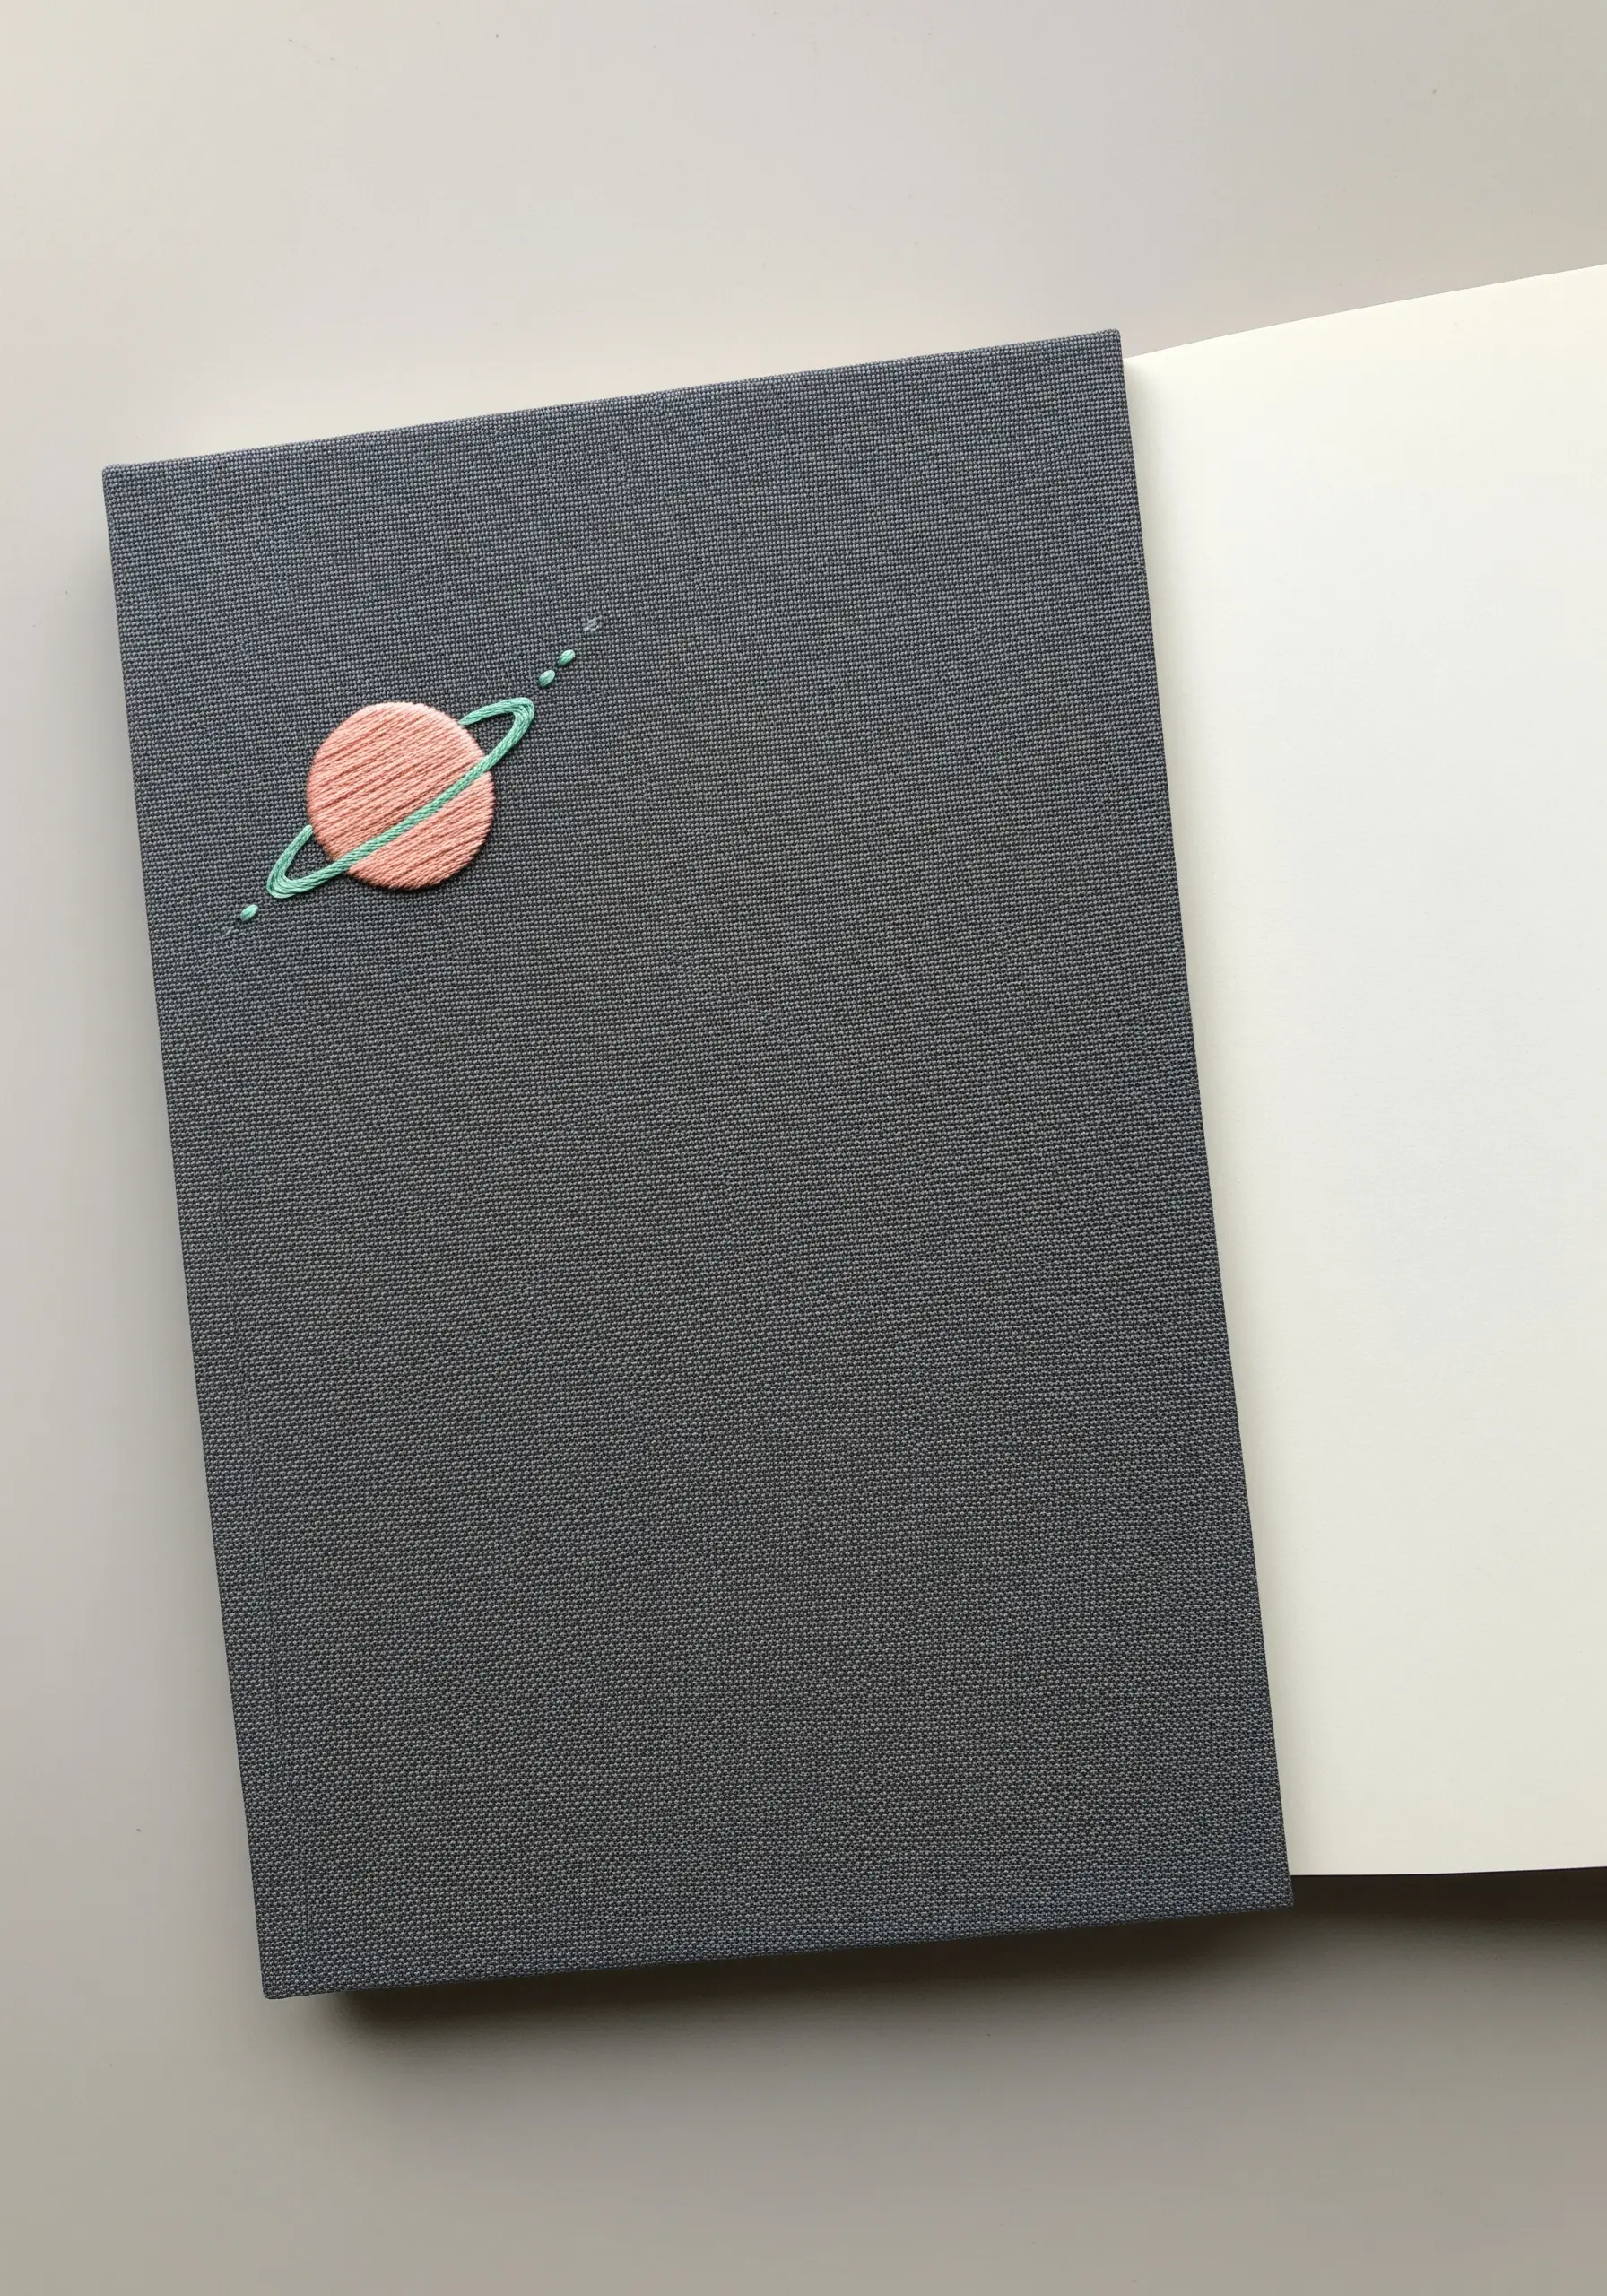
Create a charming celestial motif by pairing a smooth fill stitch with delicate linework.
Fill the planet with a circular satin stitch, working in wedge-like sections to keep the stitches lying flat and smooth against the curve.
Use a simple, fine backstitch in a contrasting color for the rings, ensuring the line is crisp and clean.
A few scattered French knots or single straight stitches complete the scene as tiny, distant stars.


