

Framing your embroidery does more than just protect it; it declares your work is complete, intentional, and ready to transform a space. But choosing the right design for a rustic interior isn’t about replicating old-fashioned samplers. It’s about finding the perfect balance between handmade texture and clean, modern intention.
Here, you won’t find generic advice. Instead, I want you to look at your needle and thread as tools for creating atmosphere. We’ll explore how adjusting a stitch direction can mimic a landscape’s depth, how choosing a textured fabric can ground a simple design, and how the right frame can turn a small piece into a powerful focal point.
Consider this your guide to creating embroidered art that feels both timeless and personal. Each piece is an opportunity to connect with the quiet, tactile beauty of your craft and make your home feel a little more like you.
1. The Modern Botanical Triptych

Create a cohesive set of nature-themed embroidery samplers by choosing a single fabric, like a neutral linen, for all three hoops.
Vary your stitches to give each herb its unique personality: use French knots for lavender buds, detached chain stitches for rosemary needles, and smooth satin stitch for broad sage leaves.
This variation in texture adds depth and realism, while the consistent background and simple wood hoops tie the collection together perfectly for a rustic kitchen.
2. The Thread-Painted Landscape
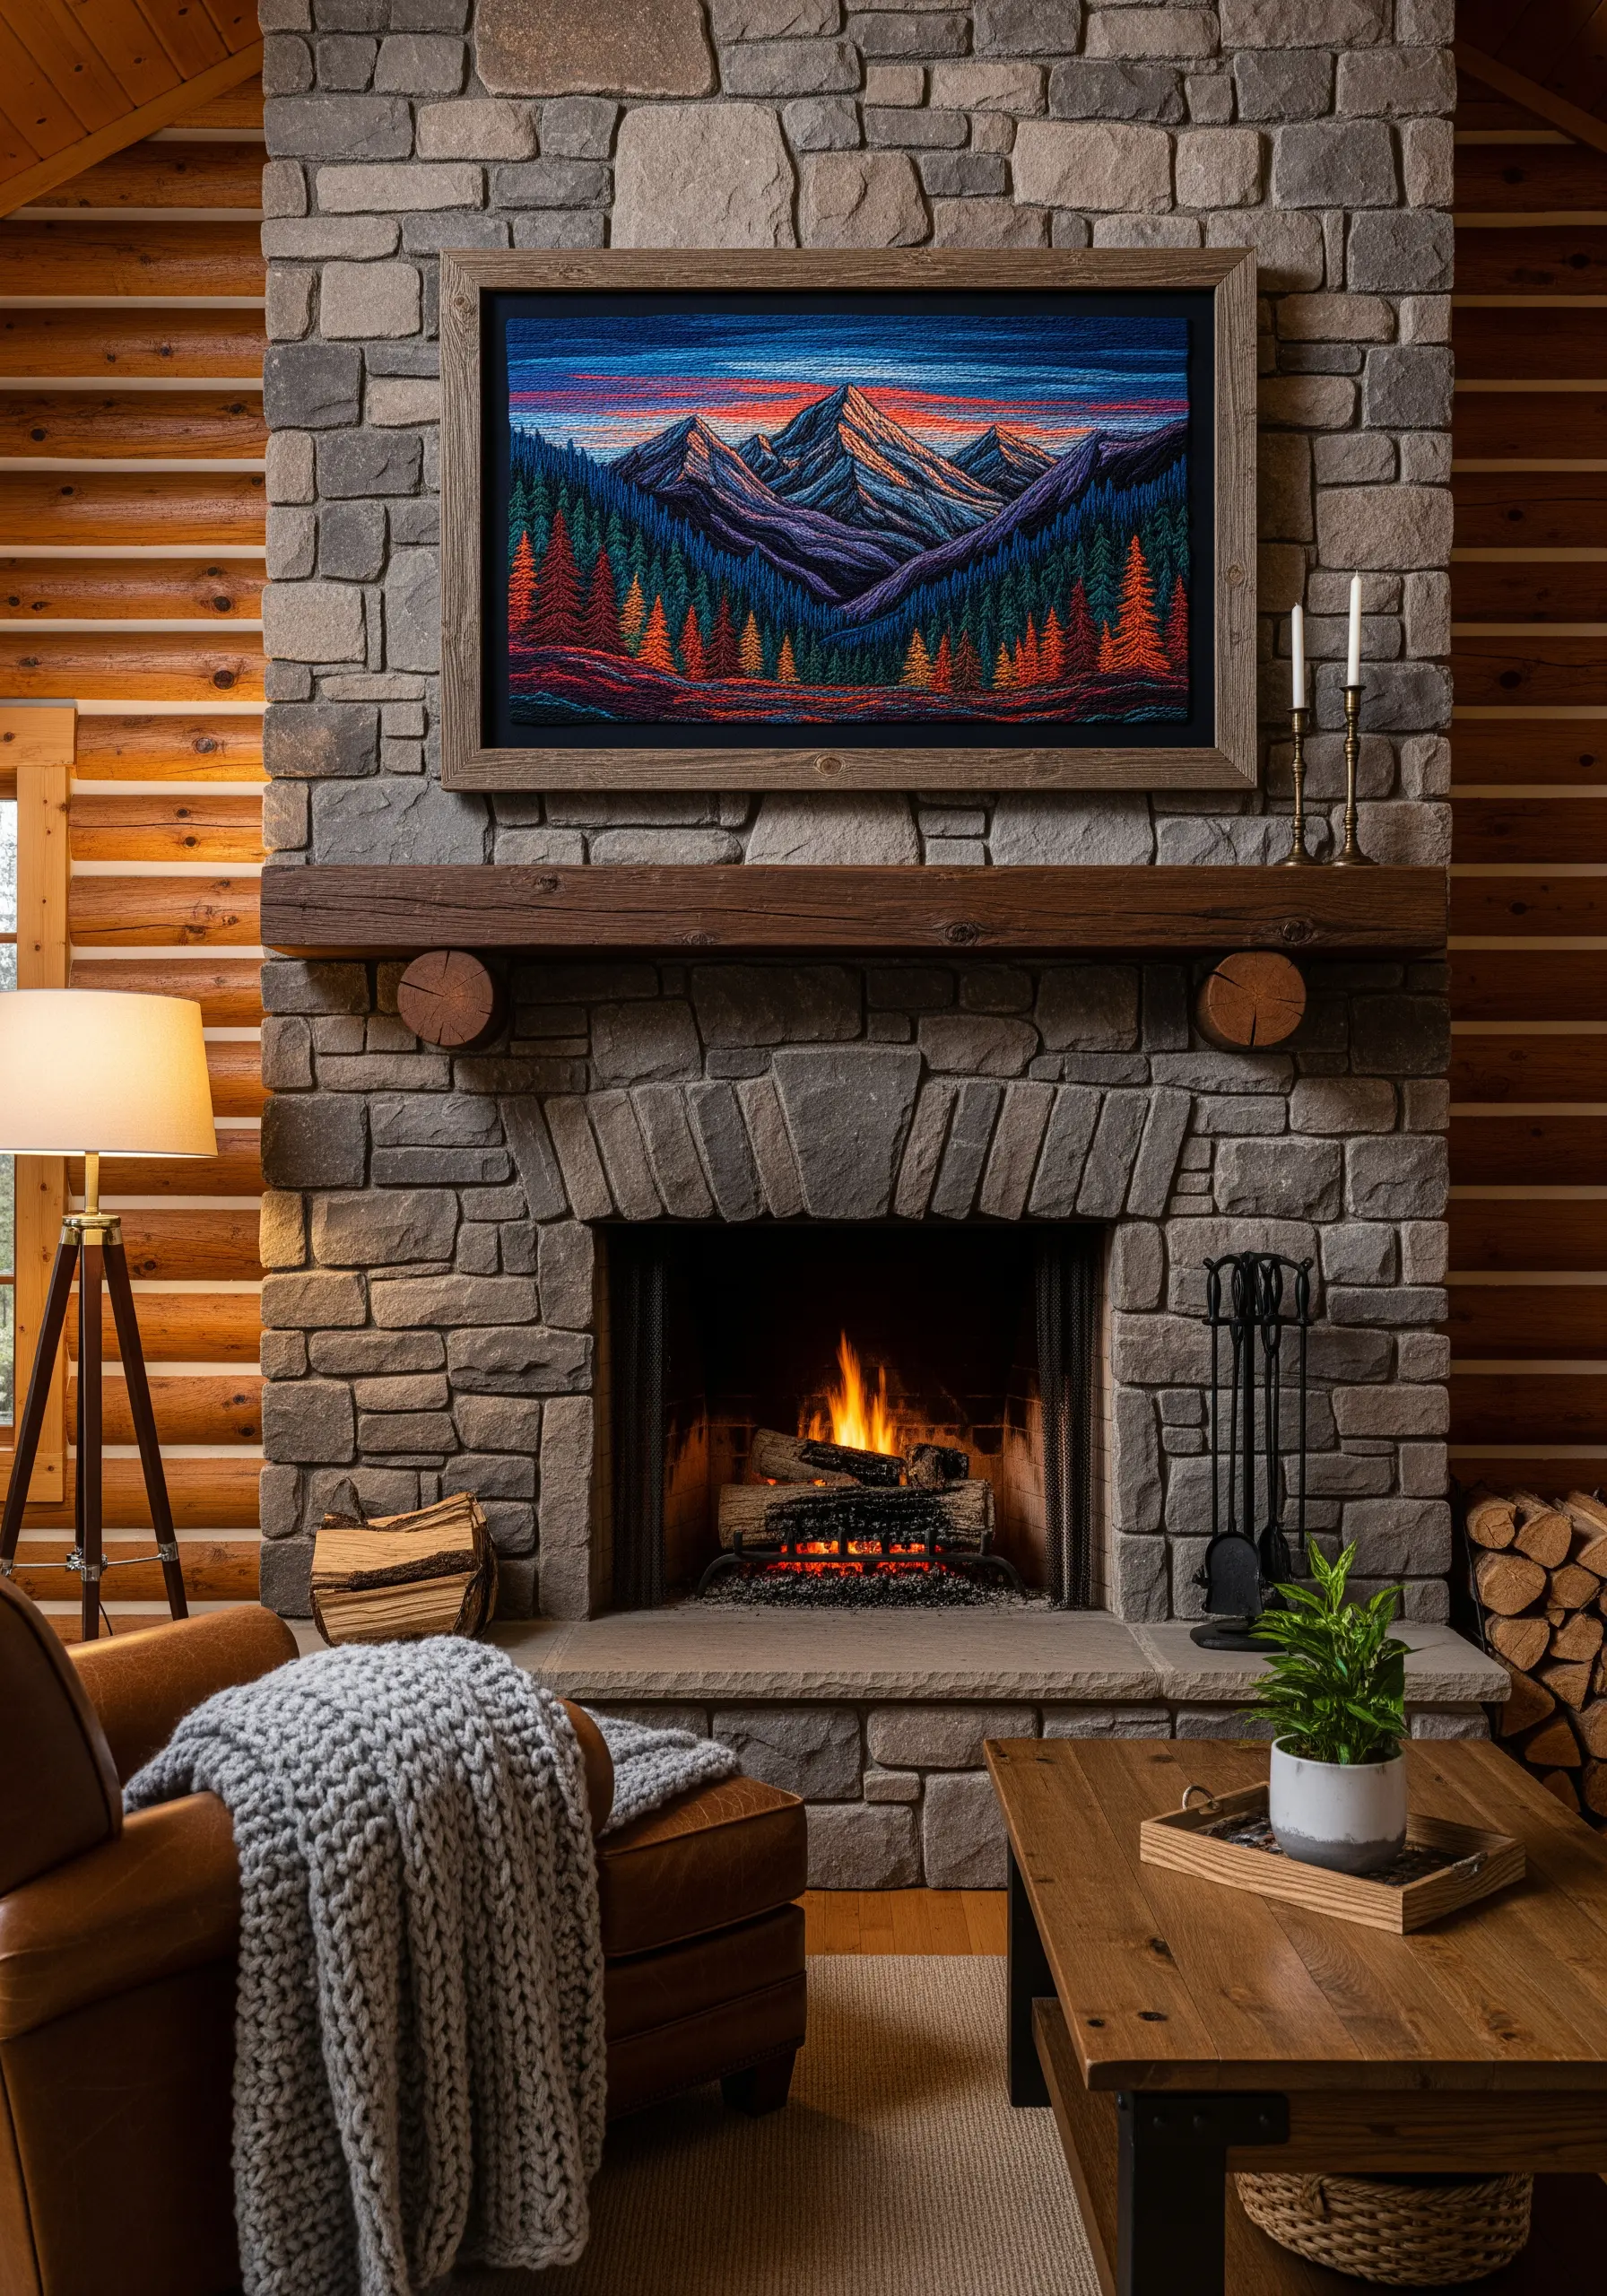
Elevate a landscape from a simple sketch to a powerful statement piece using thread painting.
Use long-and-short stitch to blend colors seamlessly in the sky and on the mountain faces, creating gradients that mimic dusk.
Vary the direction of your stitches to suggest texture—vertical for trees, diagonal for slopes—to give the scene dynamic energy.
These stunning framed embroidery pieces become focal points when given the visual weight of a traditional painting.
3. Elevated Script on Raw Canvas
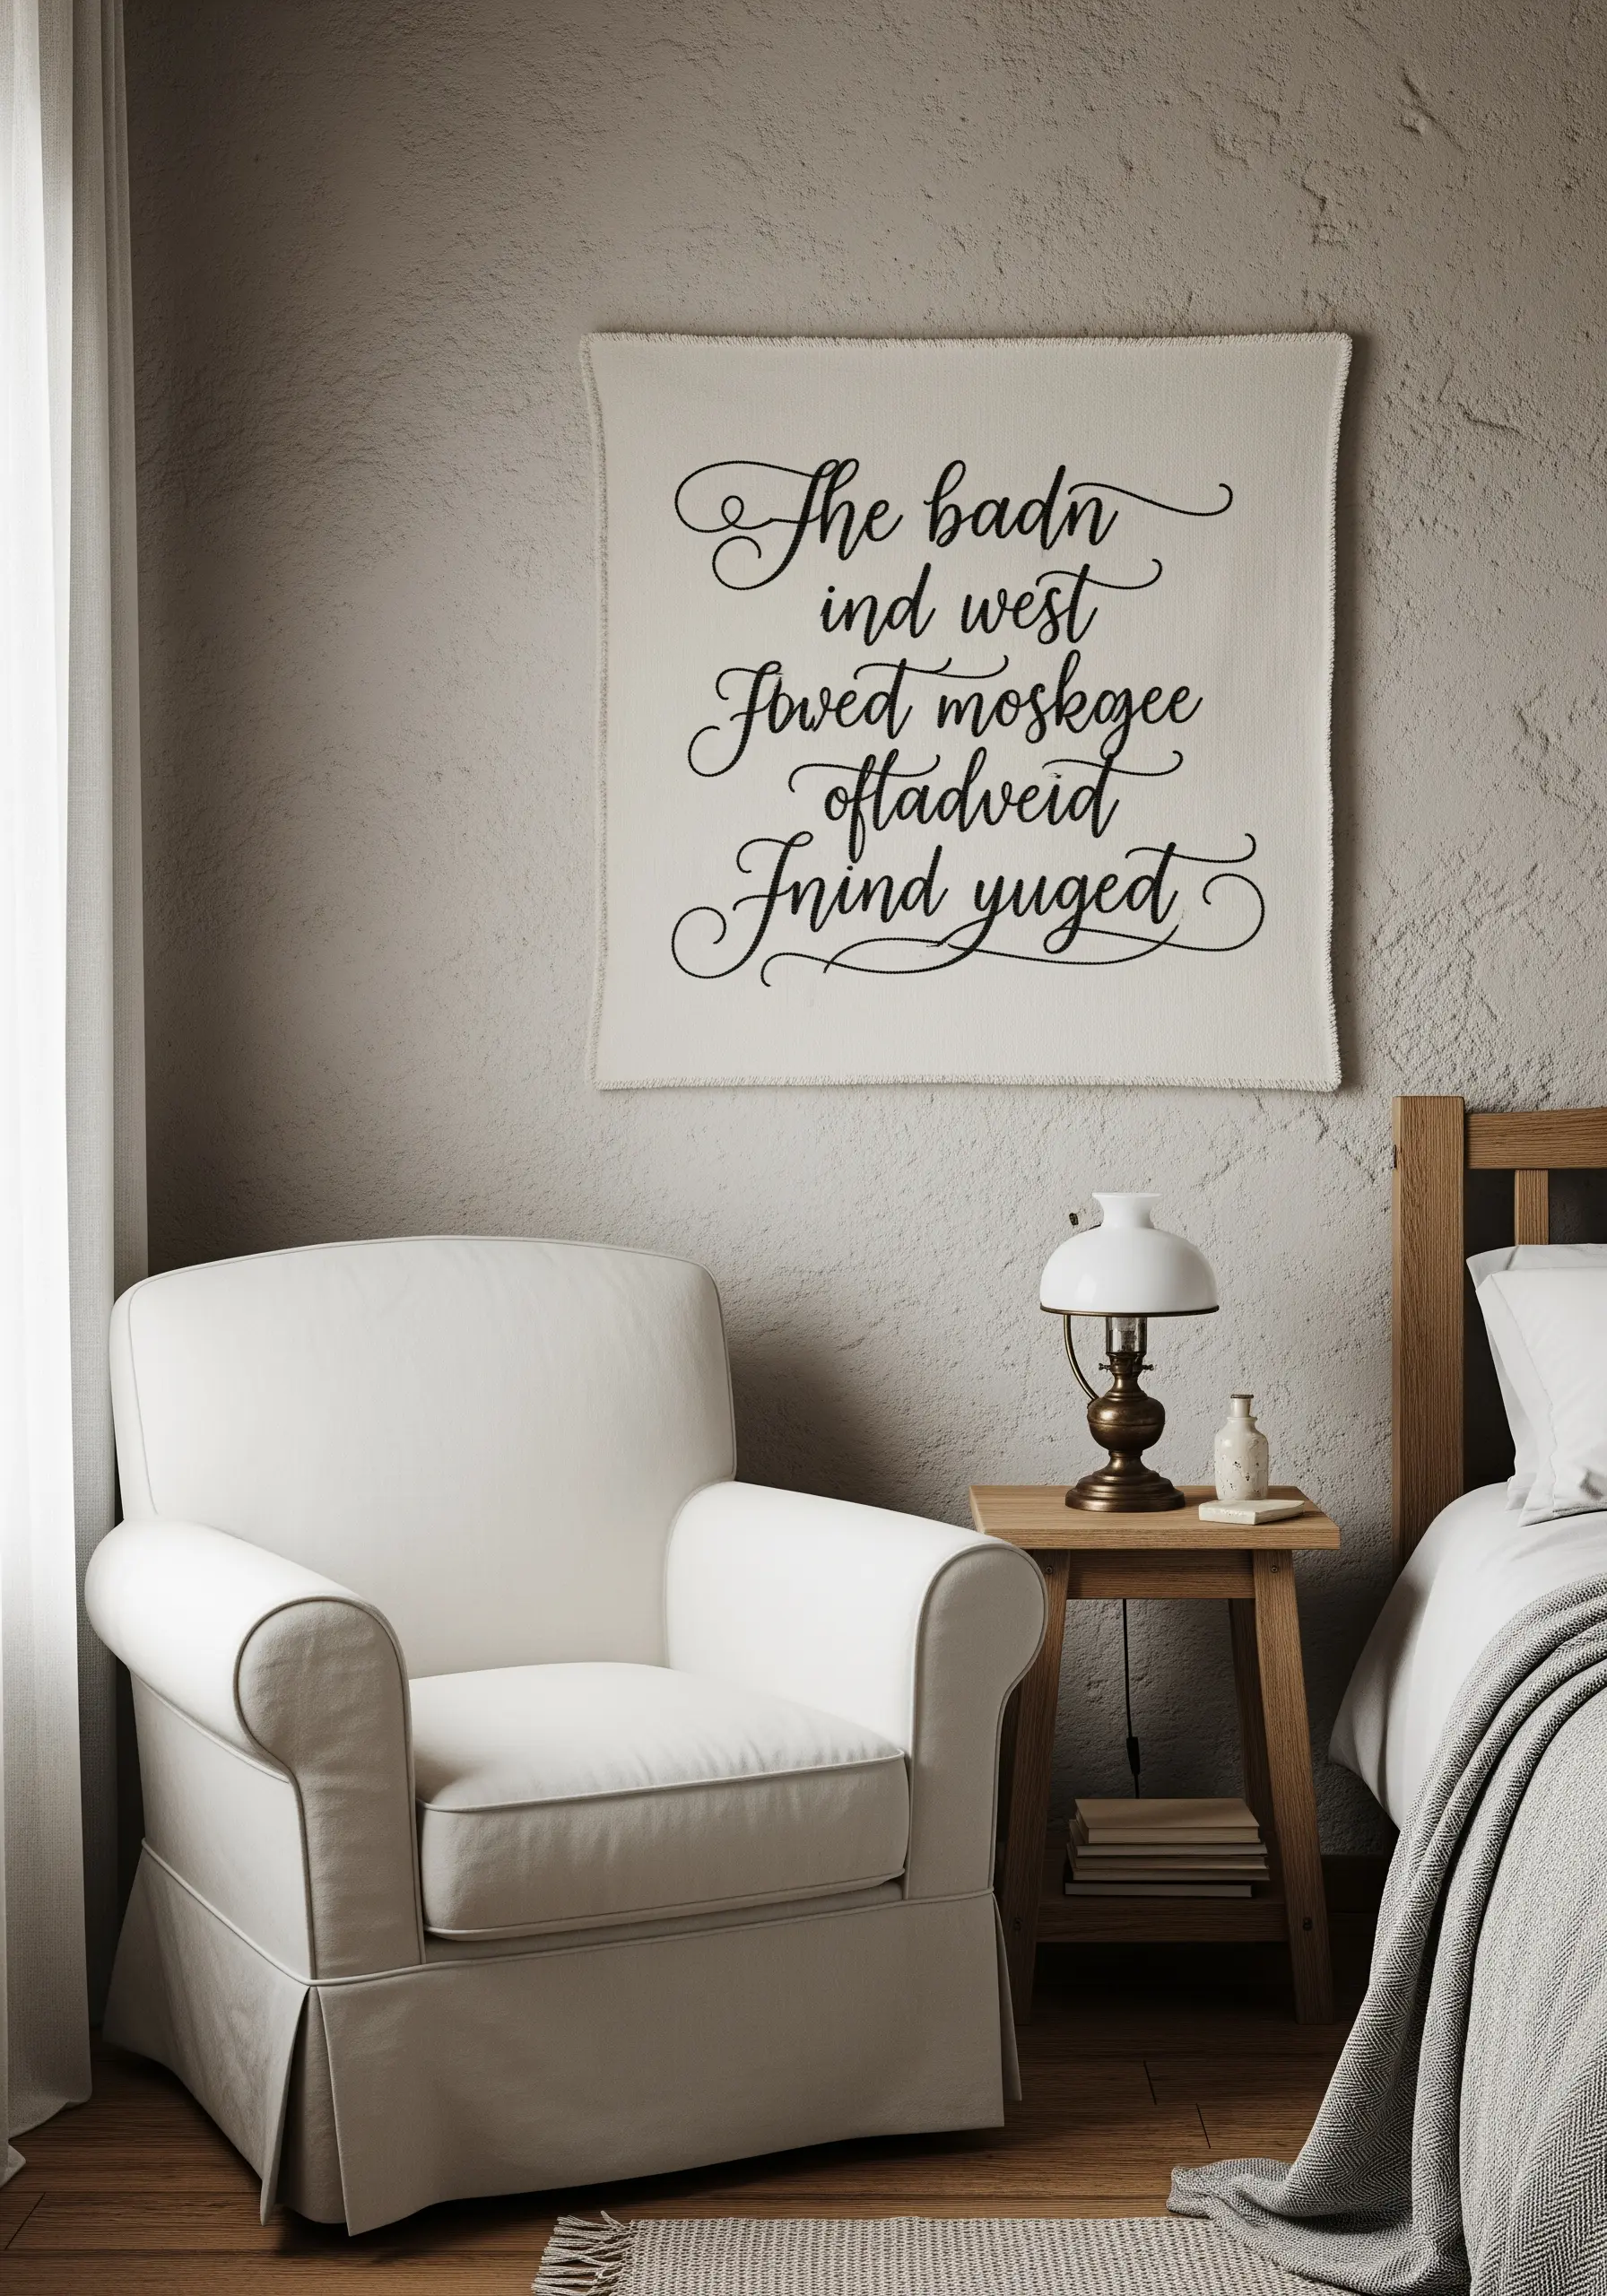
To achieve crisp, elegant lettering, use a whipped backstitch for a smooth, rope-like line that stands out against textured fabric.
For the thicker downstrokes in the script, outline the shape first and then fill it with satin stitches laid closely together.
Let the canvas edges remain raw and slightly frayed; this contrast between the refined stitching and the rustic material is what gives the piece its modern character.
4. The Curated Woodland Gallery Wall
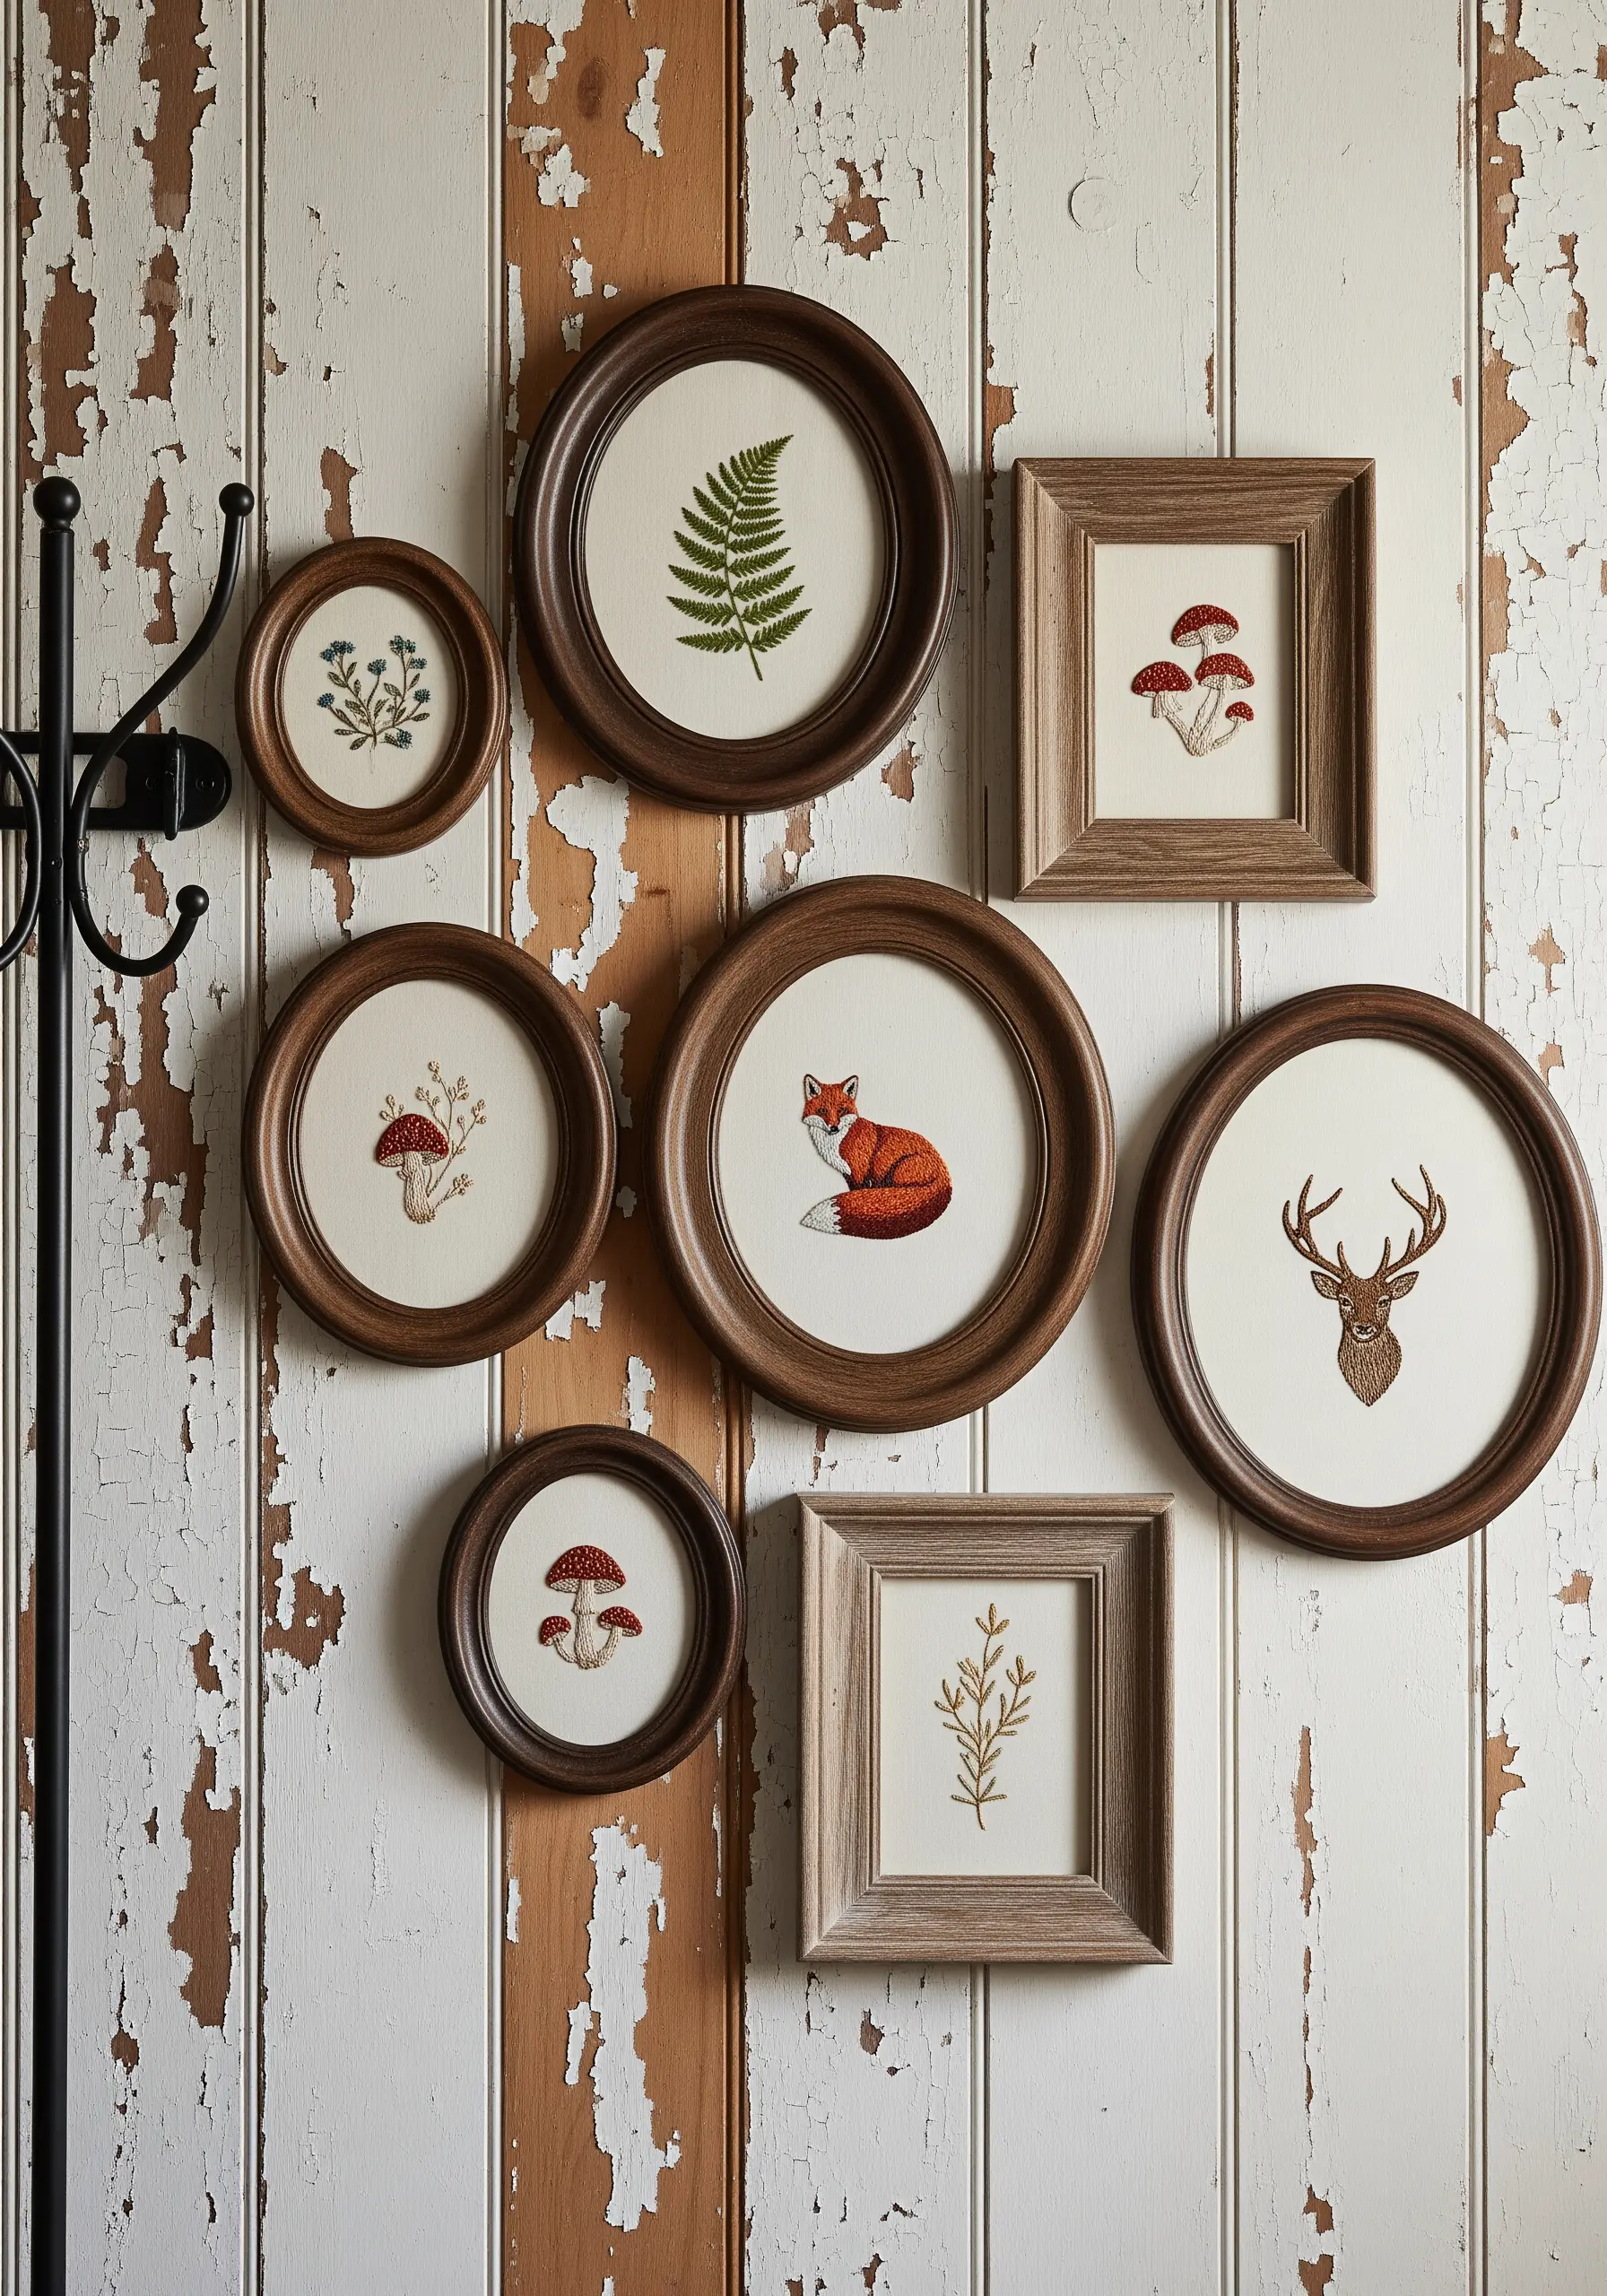
To create a gallery wall that feels cohesive, choose a limited color palette and use it across all your pieces.
Vary the frame shapes and sizes—mixing ovals, circles, and squares—but keep the wood tone consistent to create a unified look.
This simple strategy allows you to display diverse motifs, like a fern, fox, and deer, while ensuring the entire collection feels intentional and harmonious.
These are the kind of handmade embroidery touches that make every room feel natural and curated.
5. The Abstract Punch Needle Diptych

Move beyond thread and embrace yarn to create bold, high-texture abstract art.
Use a punch needle to fill large shapes with dense loops, creating a plush, satisfying surface that invites touch.
Contrast these high-pile areas with flat-stitched outlines or sections of simple straight stitches to add definition and visual interest.
These high-texture fabric collage embroidery projects are perfect for making a modern statement in a rustic space.
6. The Serene Botanical Study

To capture the unique character of each plant, you need to select the right stitch for the job.
Use a fishbone stitch for the eucalyptus leaves to create a central vein and shape the leaf in one fluid motion.
For the cotton bolls, create a base of padding stitches before covering them with satin stitch—this gives them a plush, three-dimensional quality.
This thoughtful approach turns simple botanicals into projects perfect for mindful stitching and calm weekend projects.
7. The Detailed Botanical Portrait

To achieve a realistic, three-dimensional look on a subject like a pinecone, you must think in layers.
Stitch the scales in the background first using darker threads, then stitch the foreground scales on top, slightly overlapping them with lighter threads.
Use a single strand of your lightest color to add a fine outline to the edge of each foreground scale; this tiny detail creates sharp definition and makes the subject pop.
This is one of the most effective ways to embroider realistic shadows under leaves for depth and dimension.
8. The Graphic Floral Staircase Gallery

Embrace simplicity with bold, graphic botanical line art.
Use three or four strands of black floss with a basic backstitch or stem stitch to create a line that is strong and confident.
The magic is in the contrast: the clean, dark lines against a highly textured, neutral fabric like linen or burlap create a look that feels both rustic and modern.
Arranging the pieces along a staircase creates a dynamic visual journey upwards.
9. The Impressionistic Sunflower Field
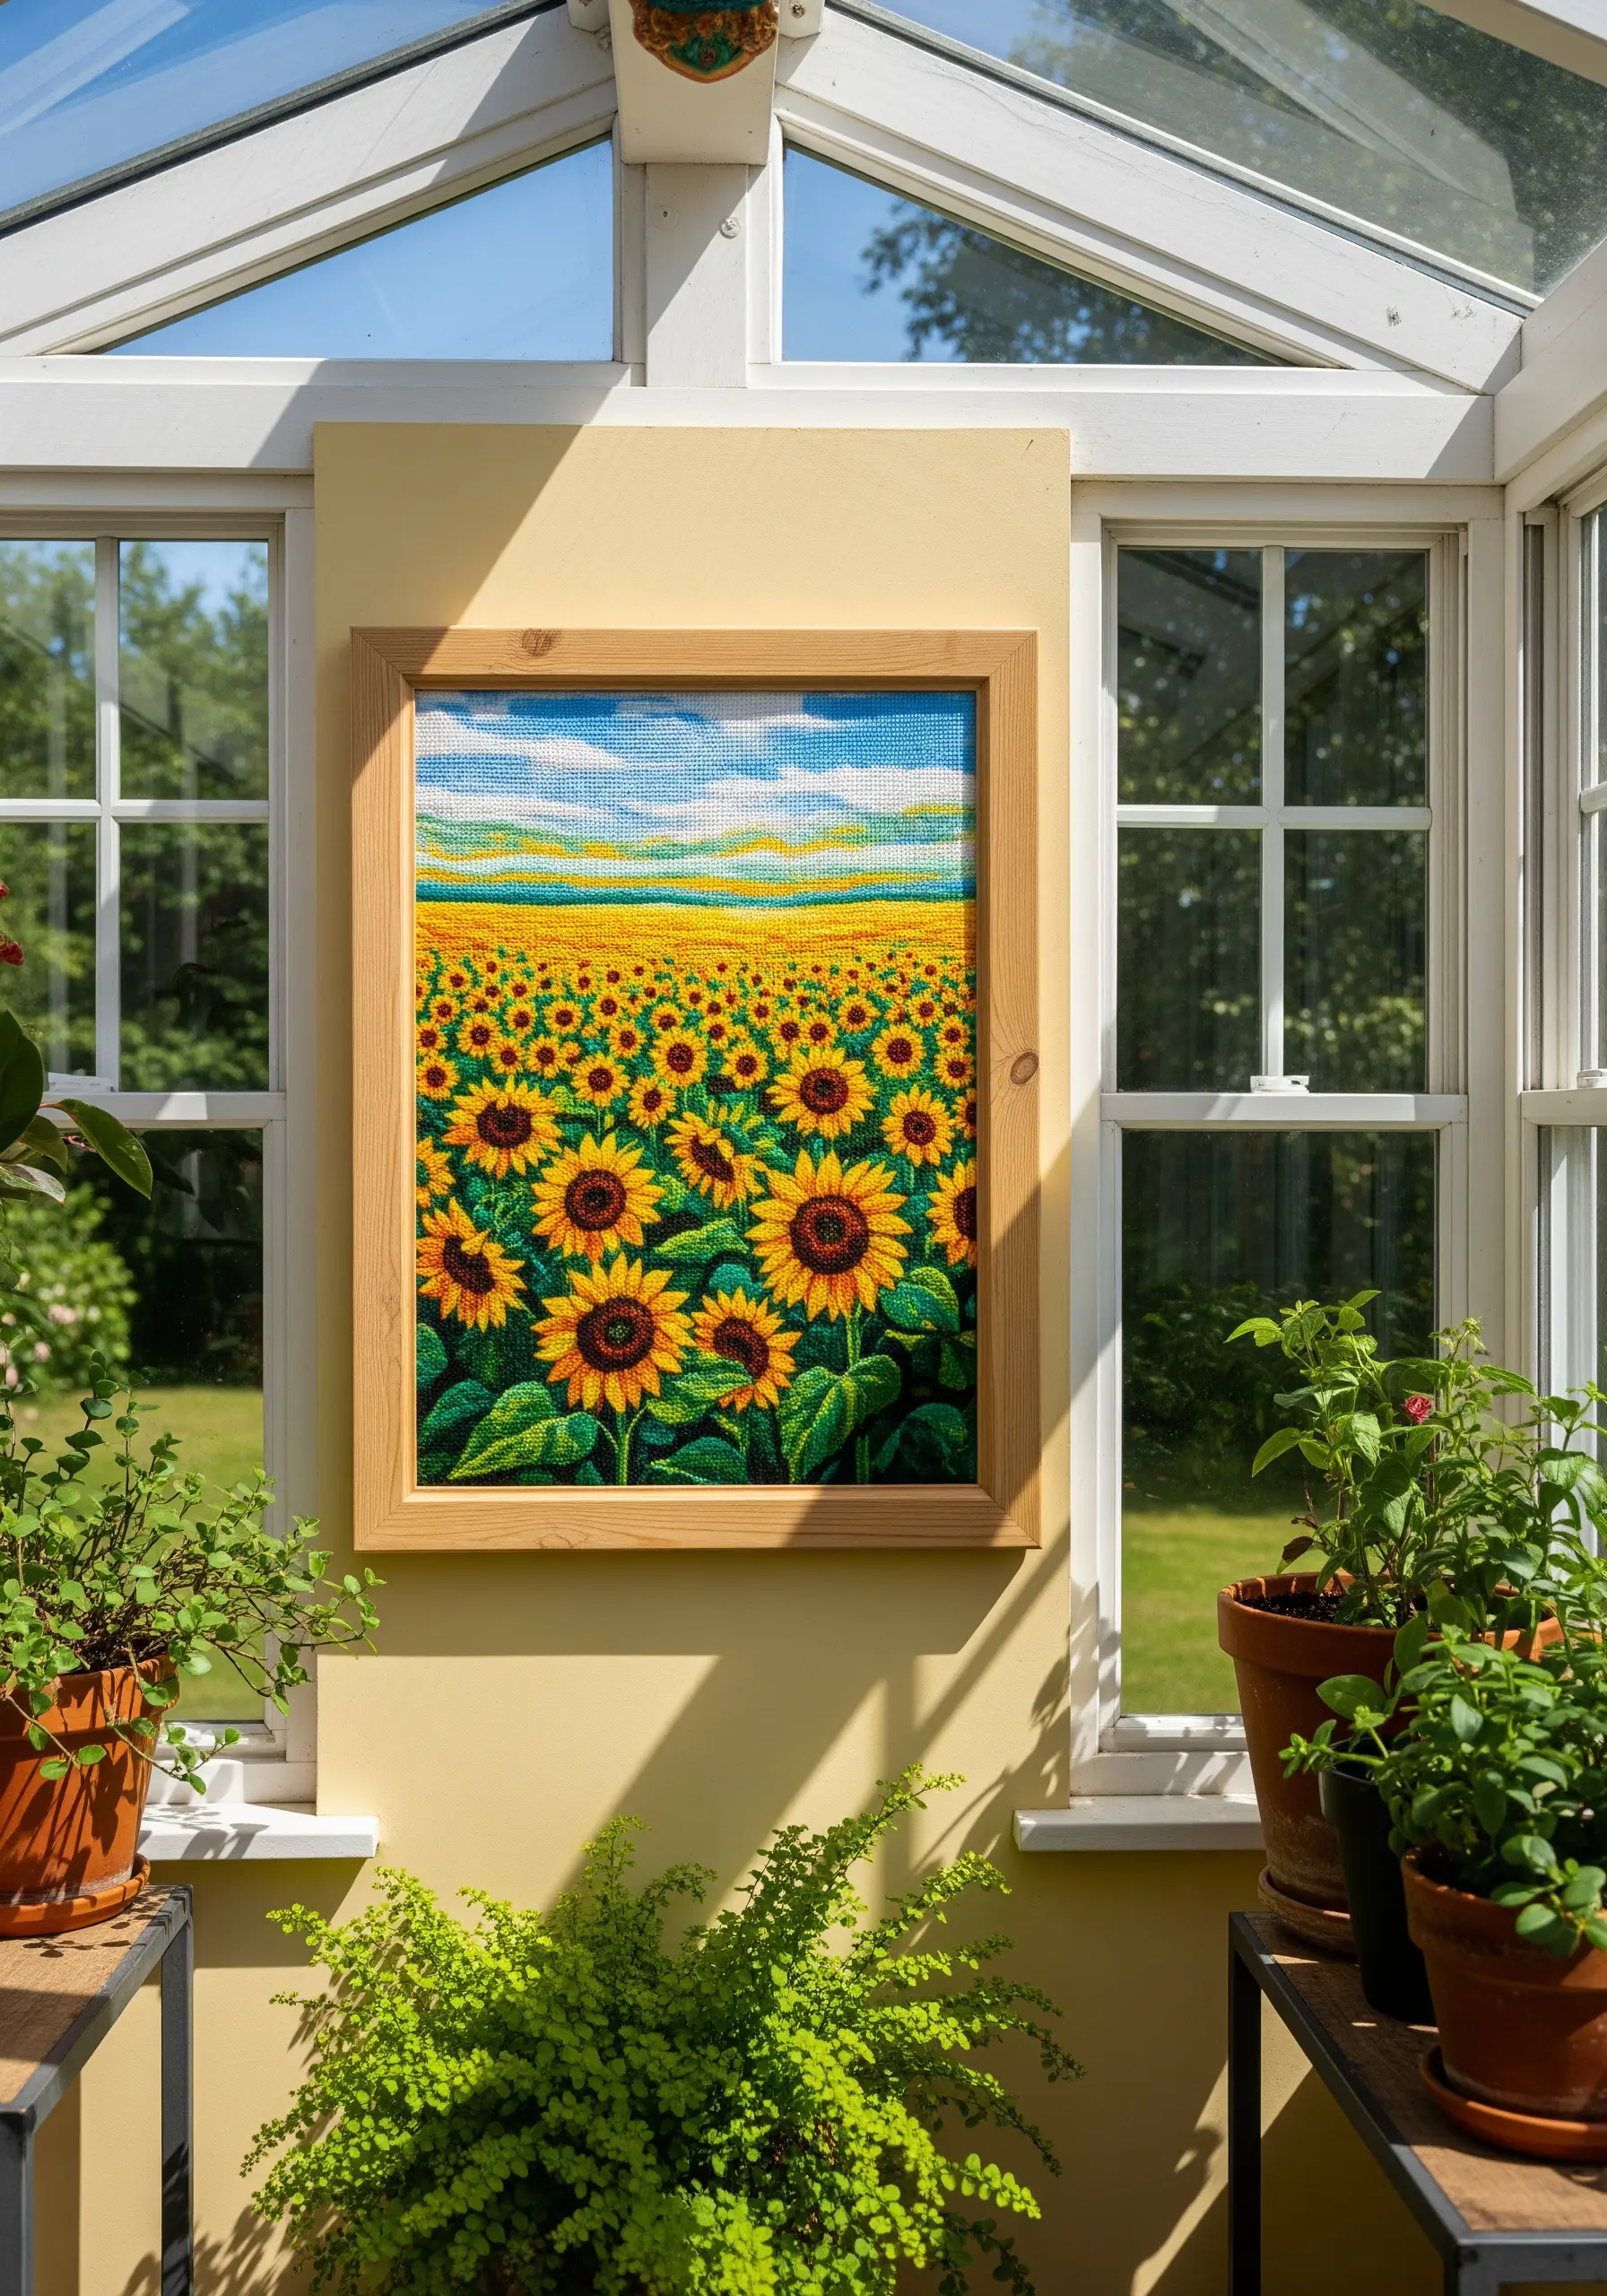
Create a vibrant, painterly effect by filling large areas with textural stitches.
Use a dense field of French knots and seed stitches for the sunflower centers and the distant landscape to build rich, touchable texture.
For the petals, don’t just use one color; master subtle gradient color floral embroidery ideas by blending two or three shades of yellow with a long-and-short stitch to give them lifelike dimension.
10. The Playful Welcome Motif
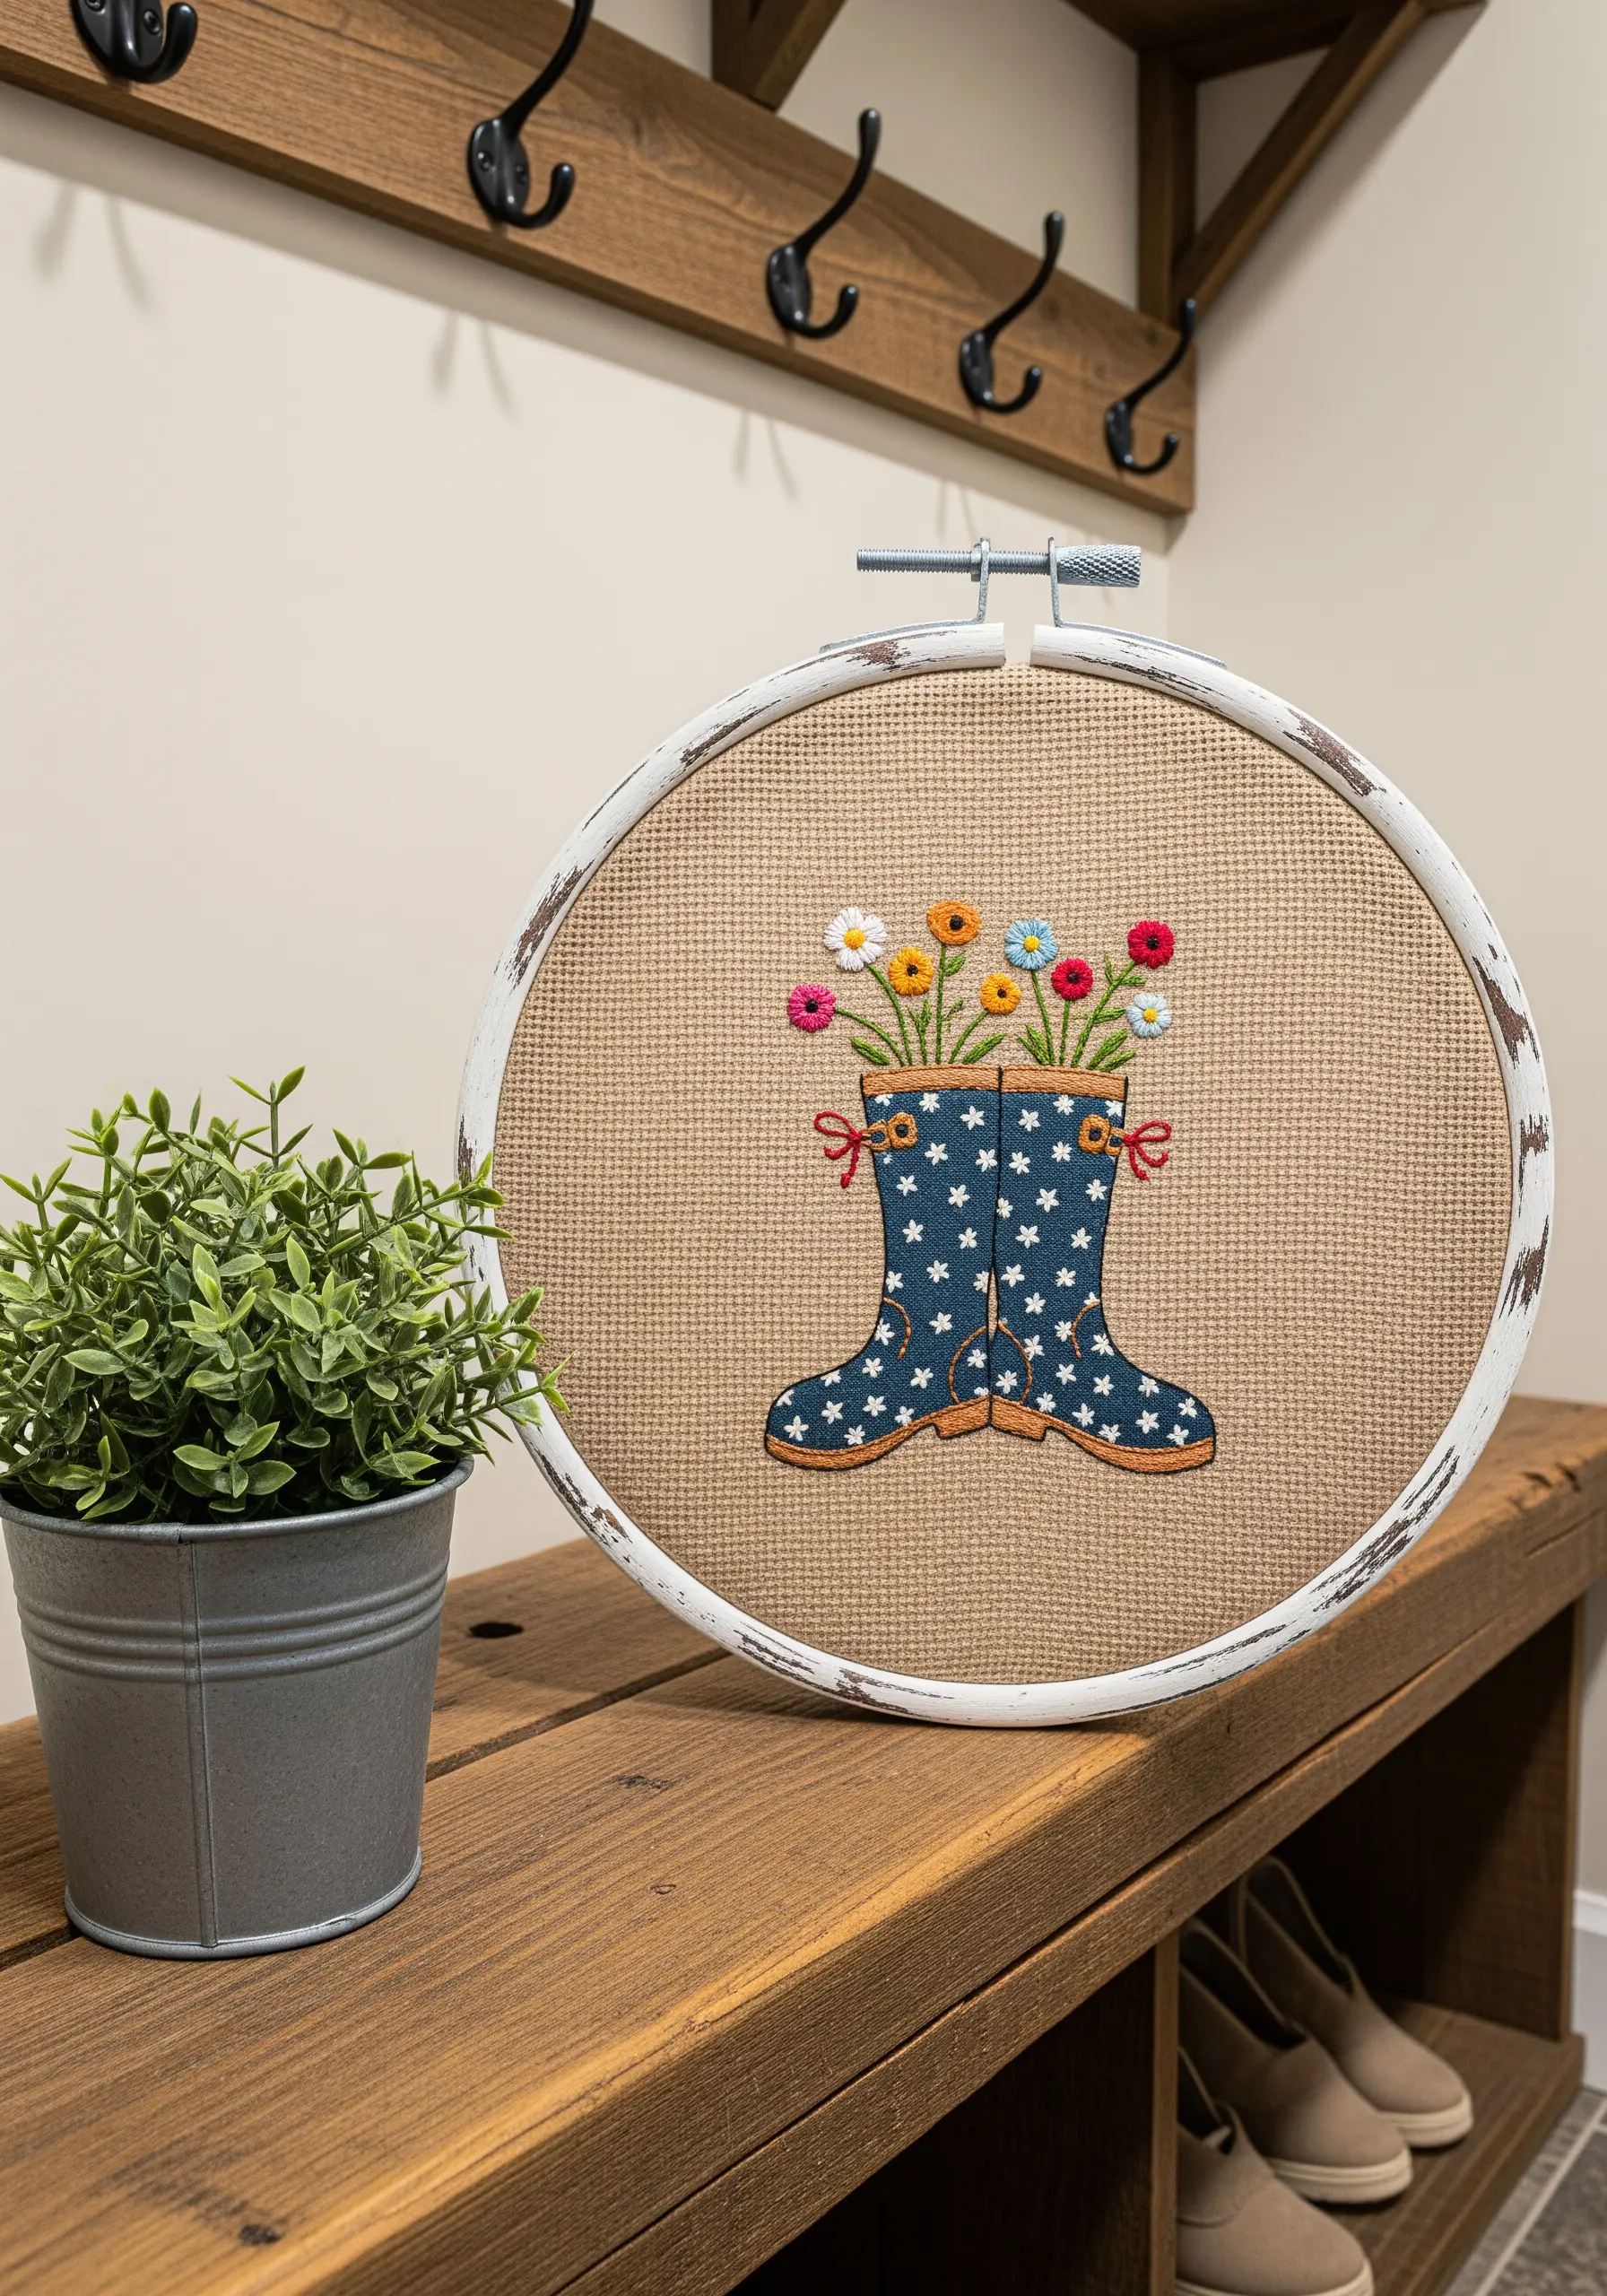
Give your project an instant rustic finish by distressing the embroidery hoop itself.
Start with a standard wooden hoop, and apply a thin layer of white or cream chalk paint.
Once it’s dry, gently sand the edges and high points with fine-grit sandpaper to let the natural wood show through.
This simple technique beautifully frames even the most minimal festive motifs and connects them to a rustic aesthetic.
11. The Framed Welcome Banner
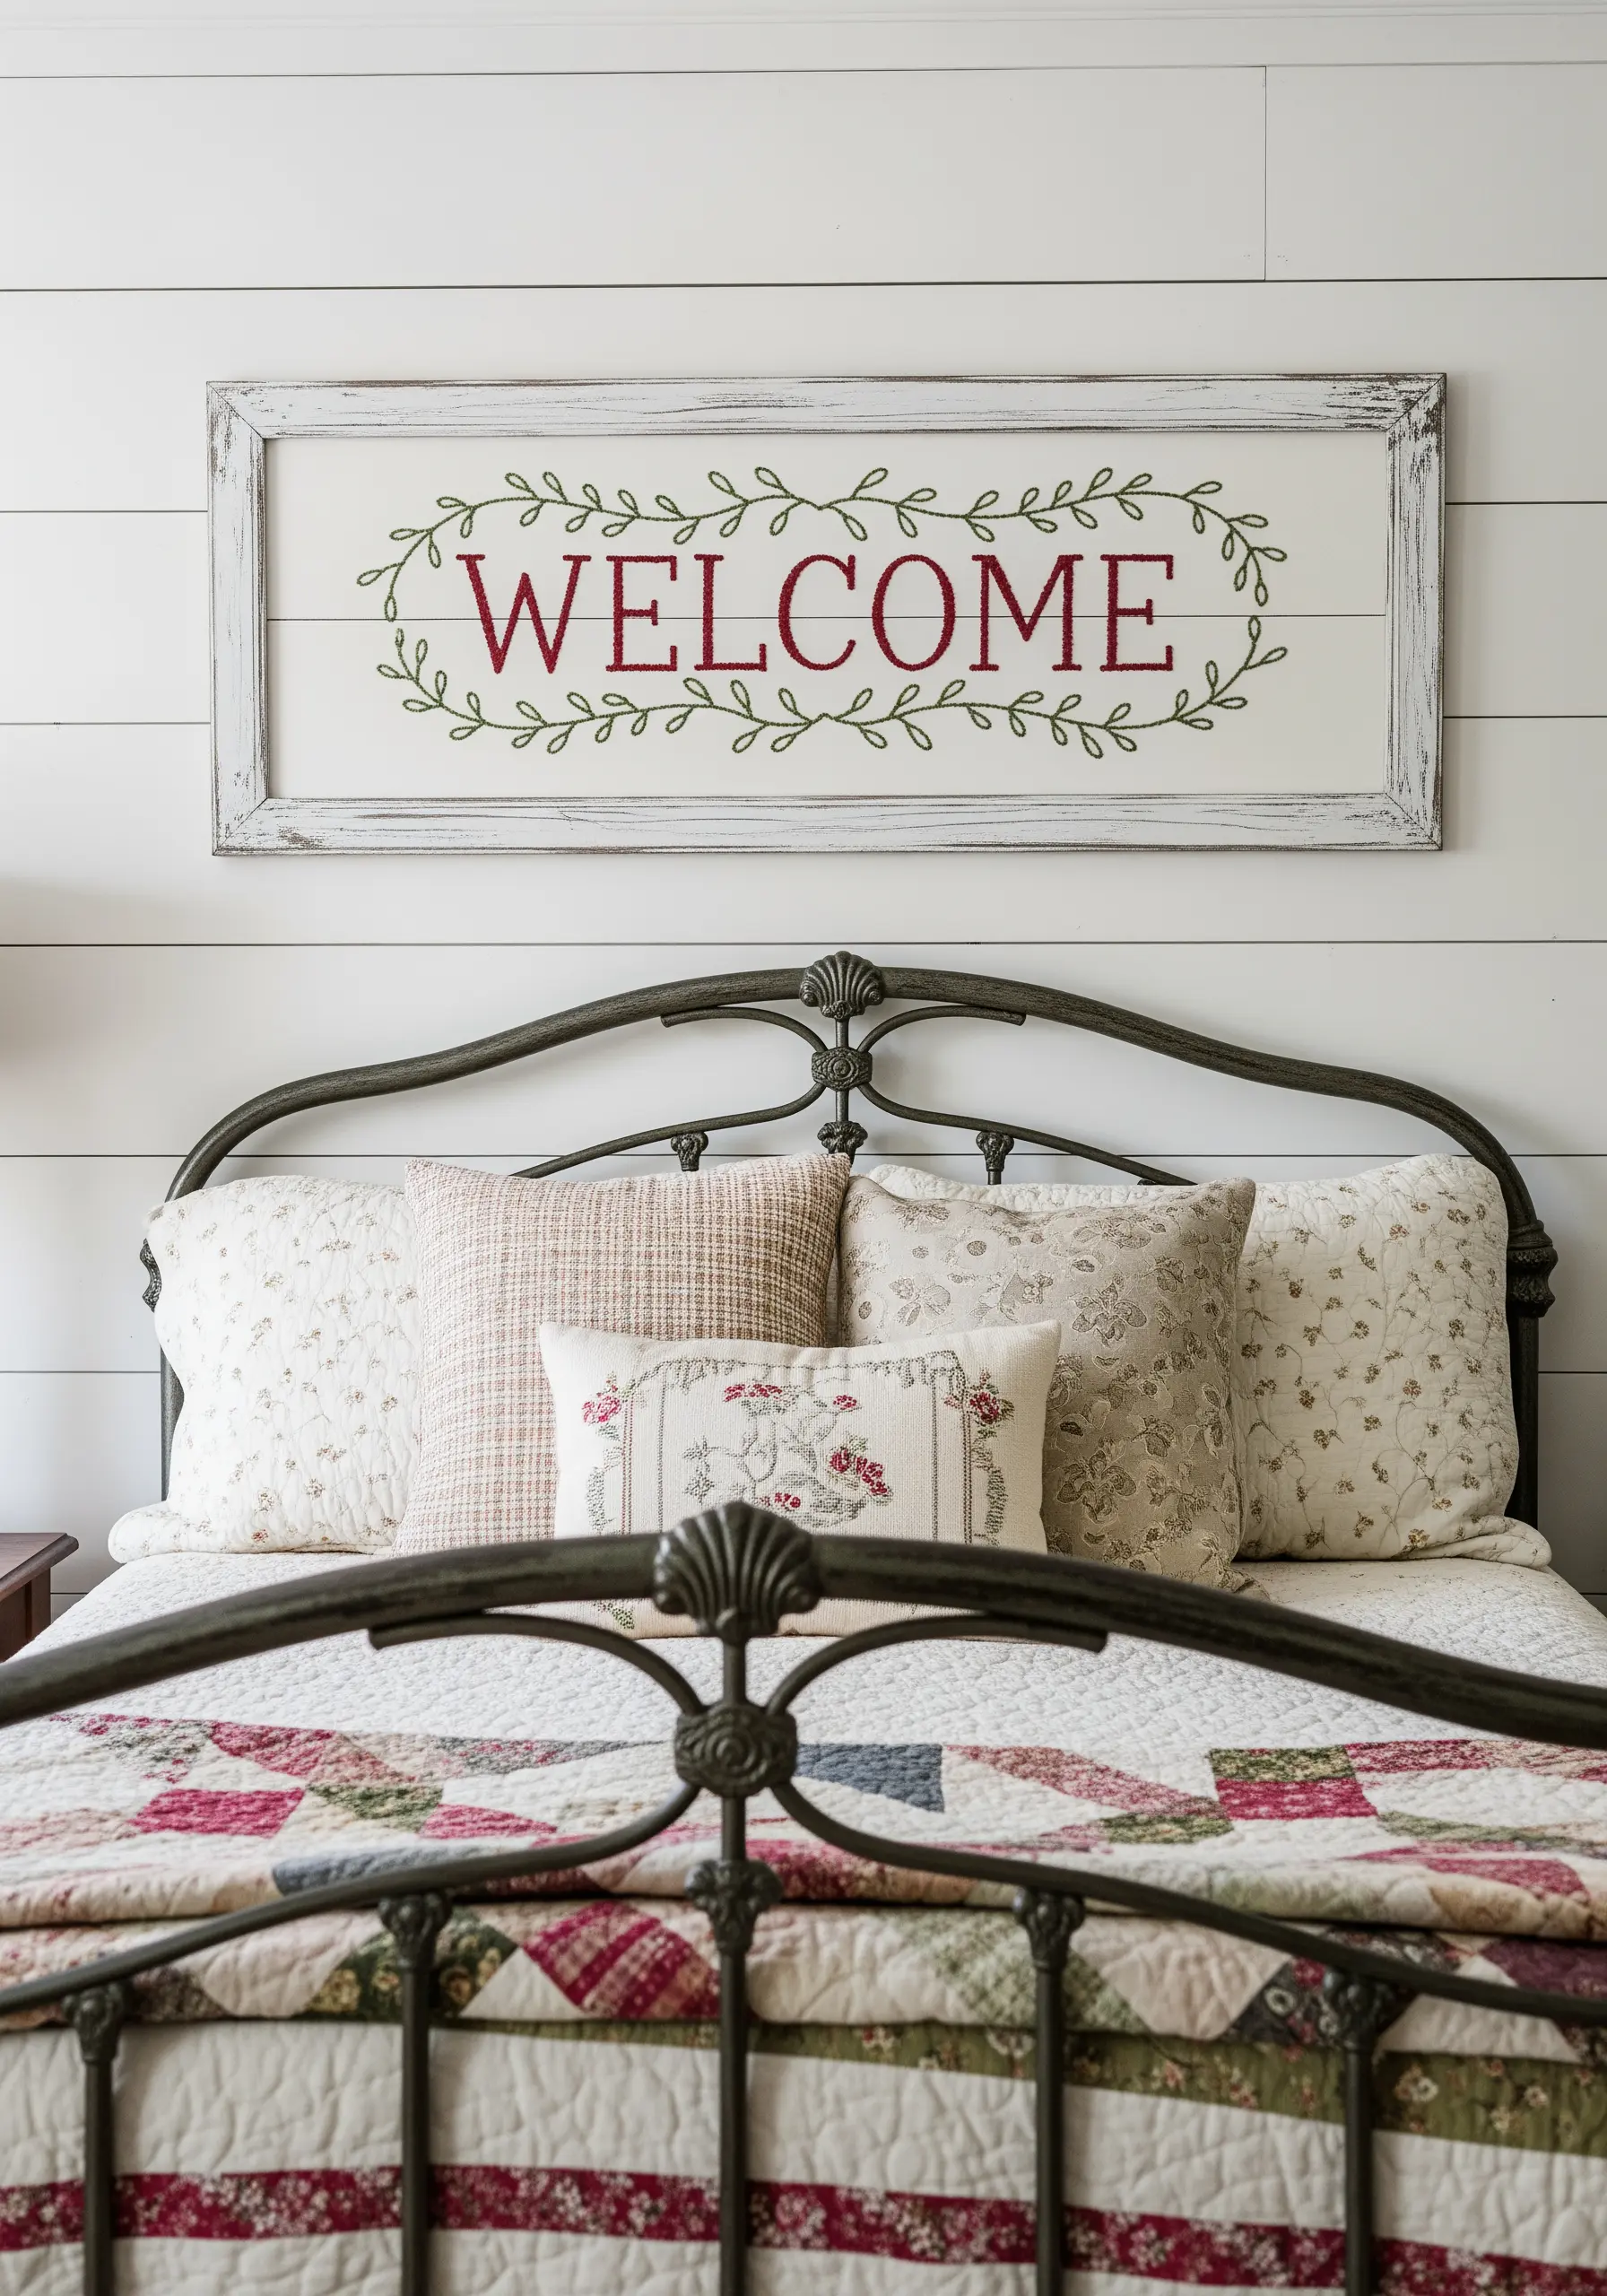
A long, panoramic frame is an unexpected choice that turns a simple embroidered greeting into a significant piece of wall art.
For delicate, sprawling vines, use a feather stitch or fly stitch; their open structure creates a more natural, organic look than a simple backstitch.
Pair the delicate stitching with a distressed wooden frame to create a beautiful balance between elegance and rustic charm.
12. The Woven Color Block Composition

Incorporate weaving techniques into your embroidery for unparalleled texture.
Create a grid of long straight stitches, then weave chunky yarn over and under them to fill in the geometric blocks.
Vary the texture in each block by alternating between weaving, punch needle loops, and dense satin stitches.
These are the kinds of abstract mixed media embroidery ideas that transform fiber art into sophisticated decor.
13. The Minimalist Leaf Contours

In minimalist embroidery, the negative space is your most powerful tool.
Use a single, continuous line to trace the leaf shapes, relying on a smooth stem stitch or whipped backstitch to eliminate any visible gaps between stitches.
A simple, thin wooden frame doesn’t compete with the design; it simply contains it, allowing the elegant line art garden motifs to breathe.
14. The Classic Strawberry on Gingham

Let your fabric do some of the design work for you by choosing a classic pattern like gingham.
To ensure your stitched motif stands out against the busy background, give it dimension with a padded satin stitch.
Simply add a small layer of underlying stitches before covering the shape with your final satin stitch—this physically raises the embroidery from the fabric surface.
You can use this technique for tiny embroidery patterns that make your clothes look custom-made, too.
15. The Perspective Landscape
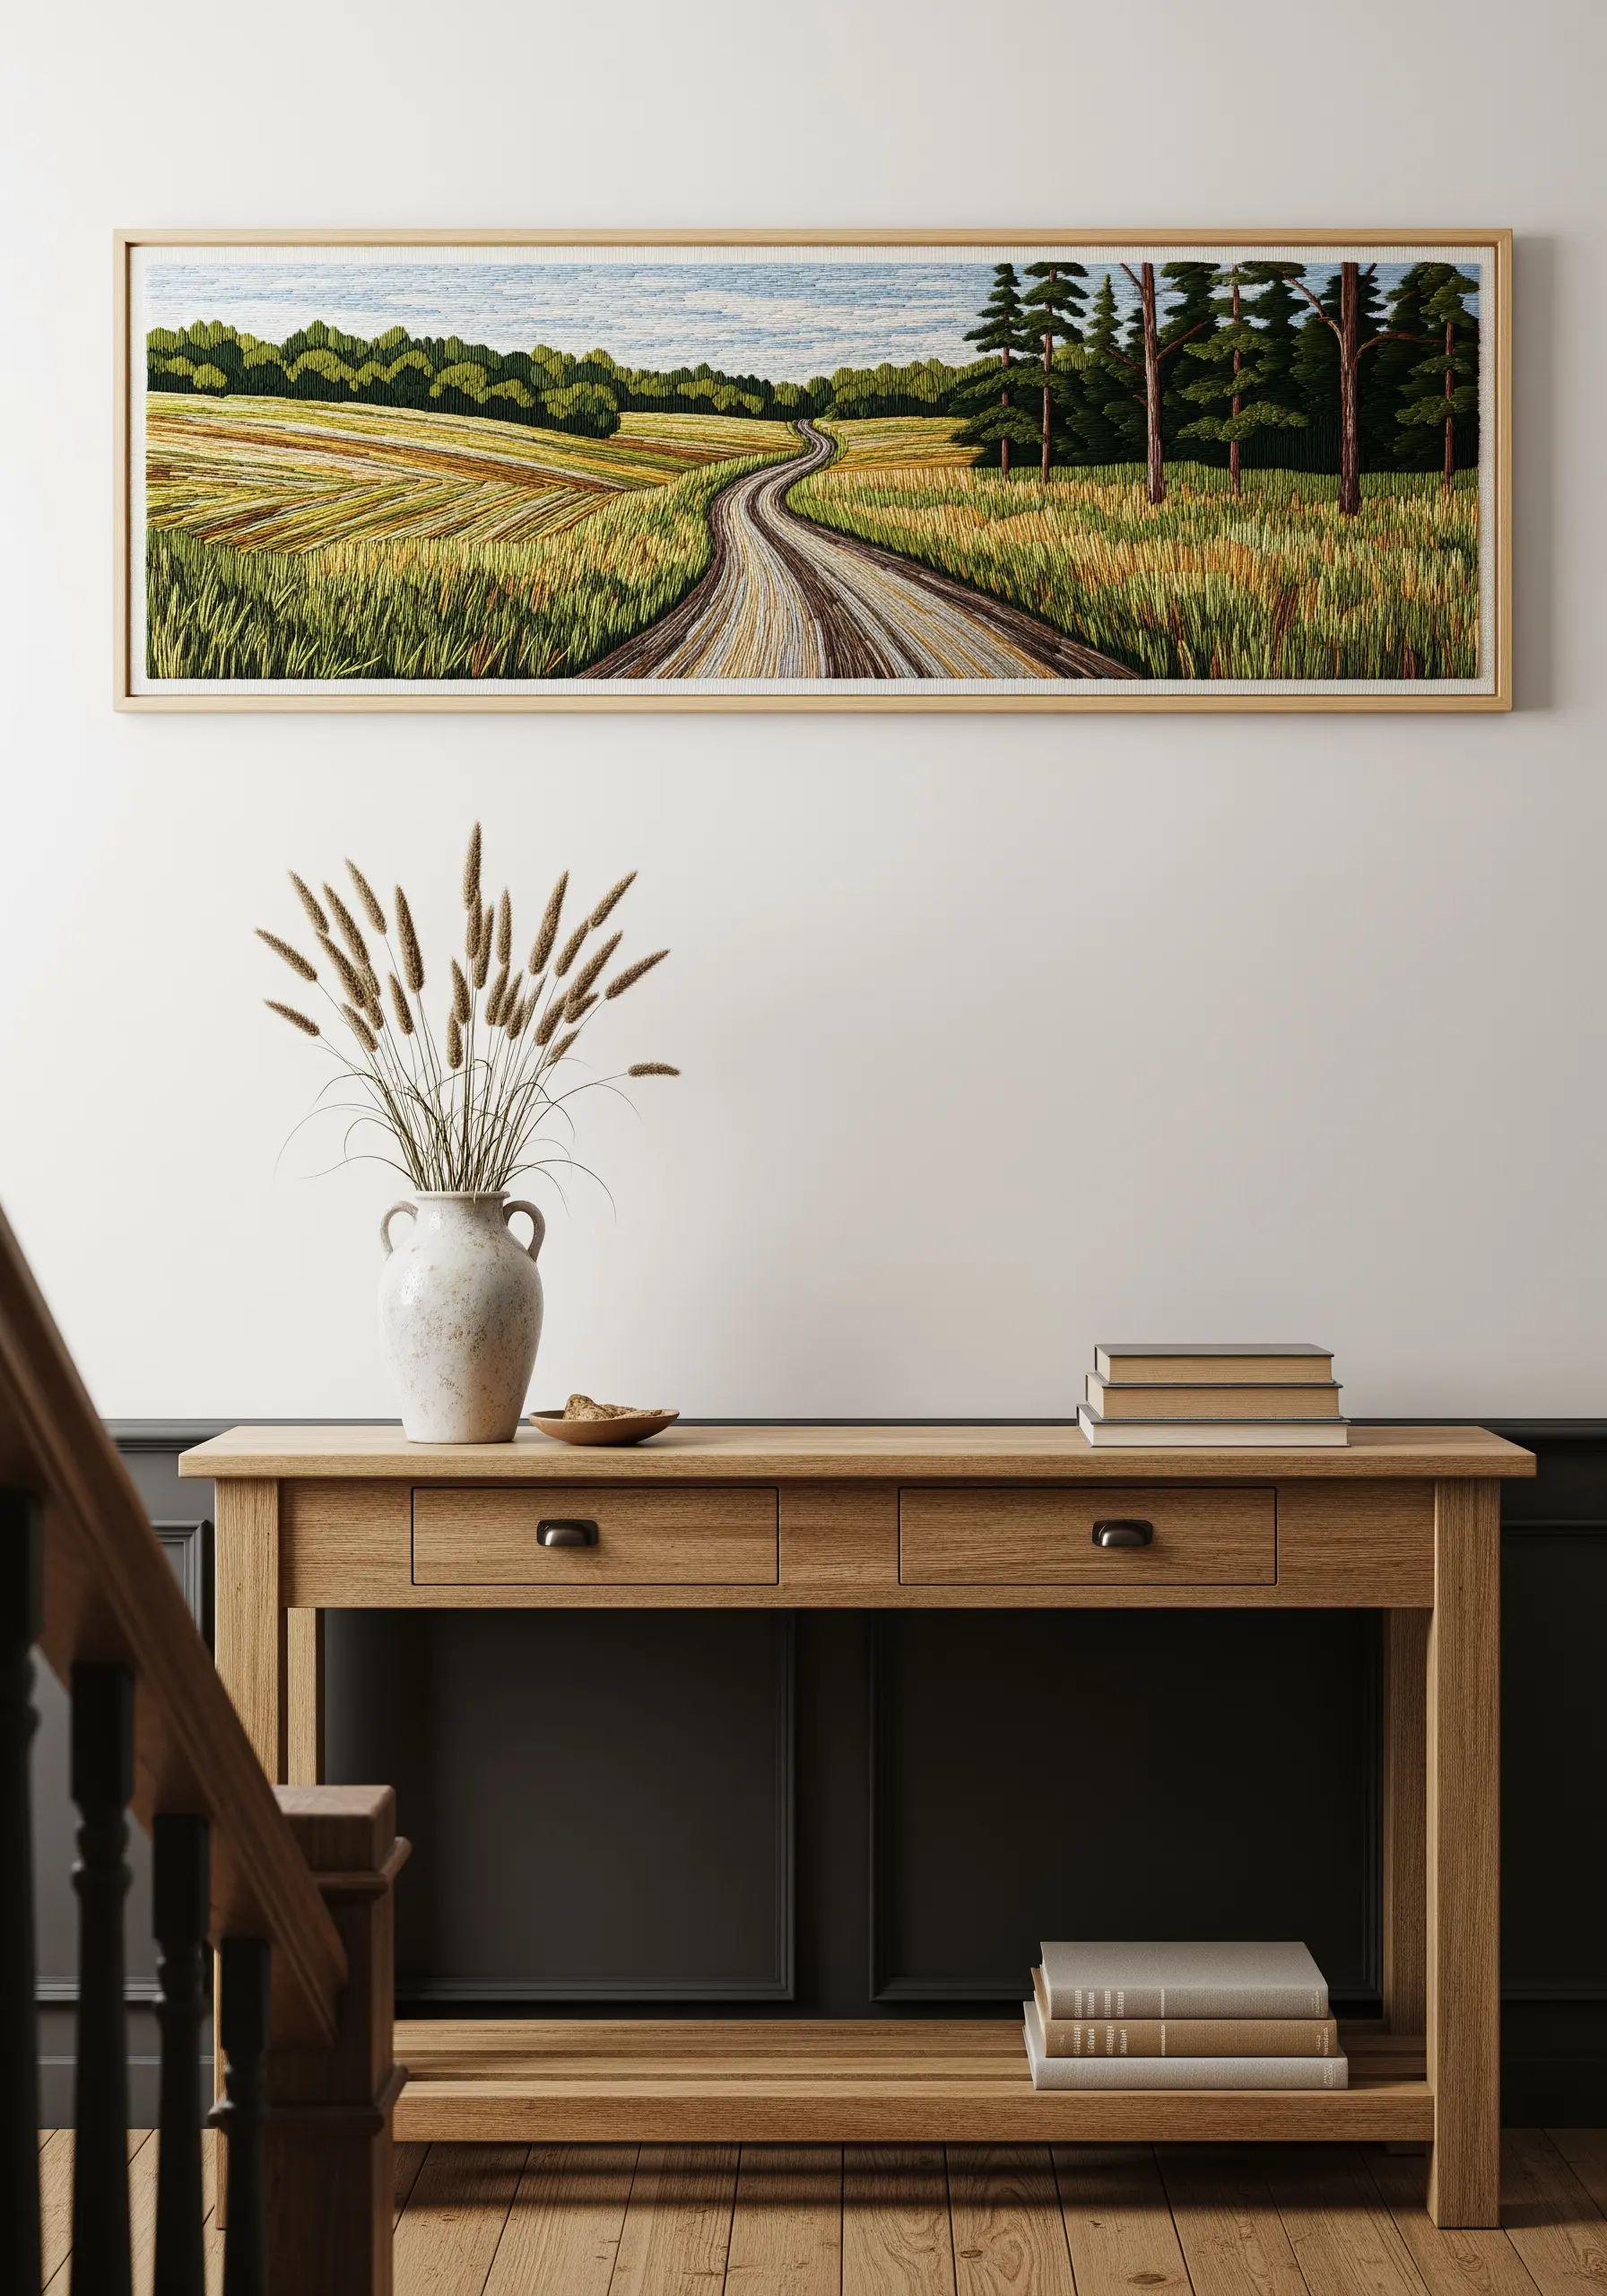
You can create a powerful illusion of depth just by controlling the direction and length of your stitches.
For the road, use long straight stitches that converge and become shorter as they recede into the distance.
Stitch the foreground grasses with varied, energetic seed stitches, and use smoother, blended long-and-short stitches for the distant fields.
This technique tricks the eye into seeing a vast, open space.
16. The Garden Vegetable Trio
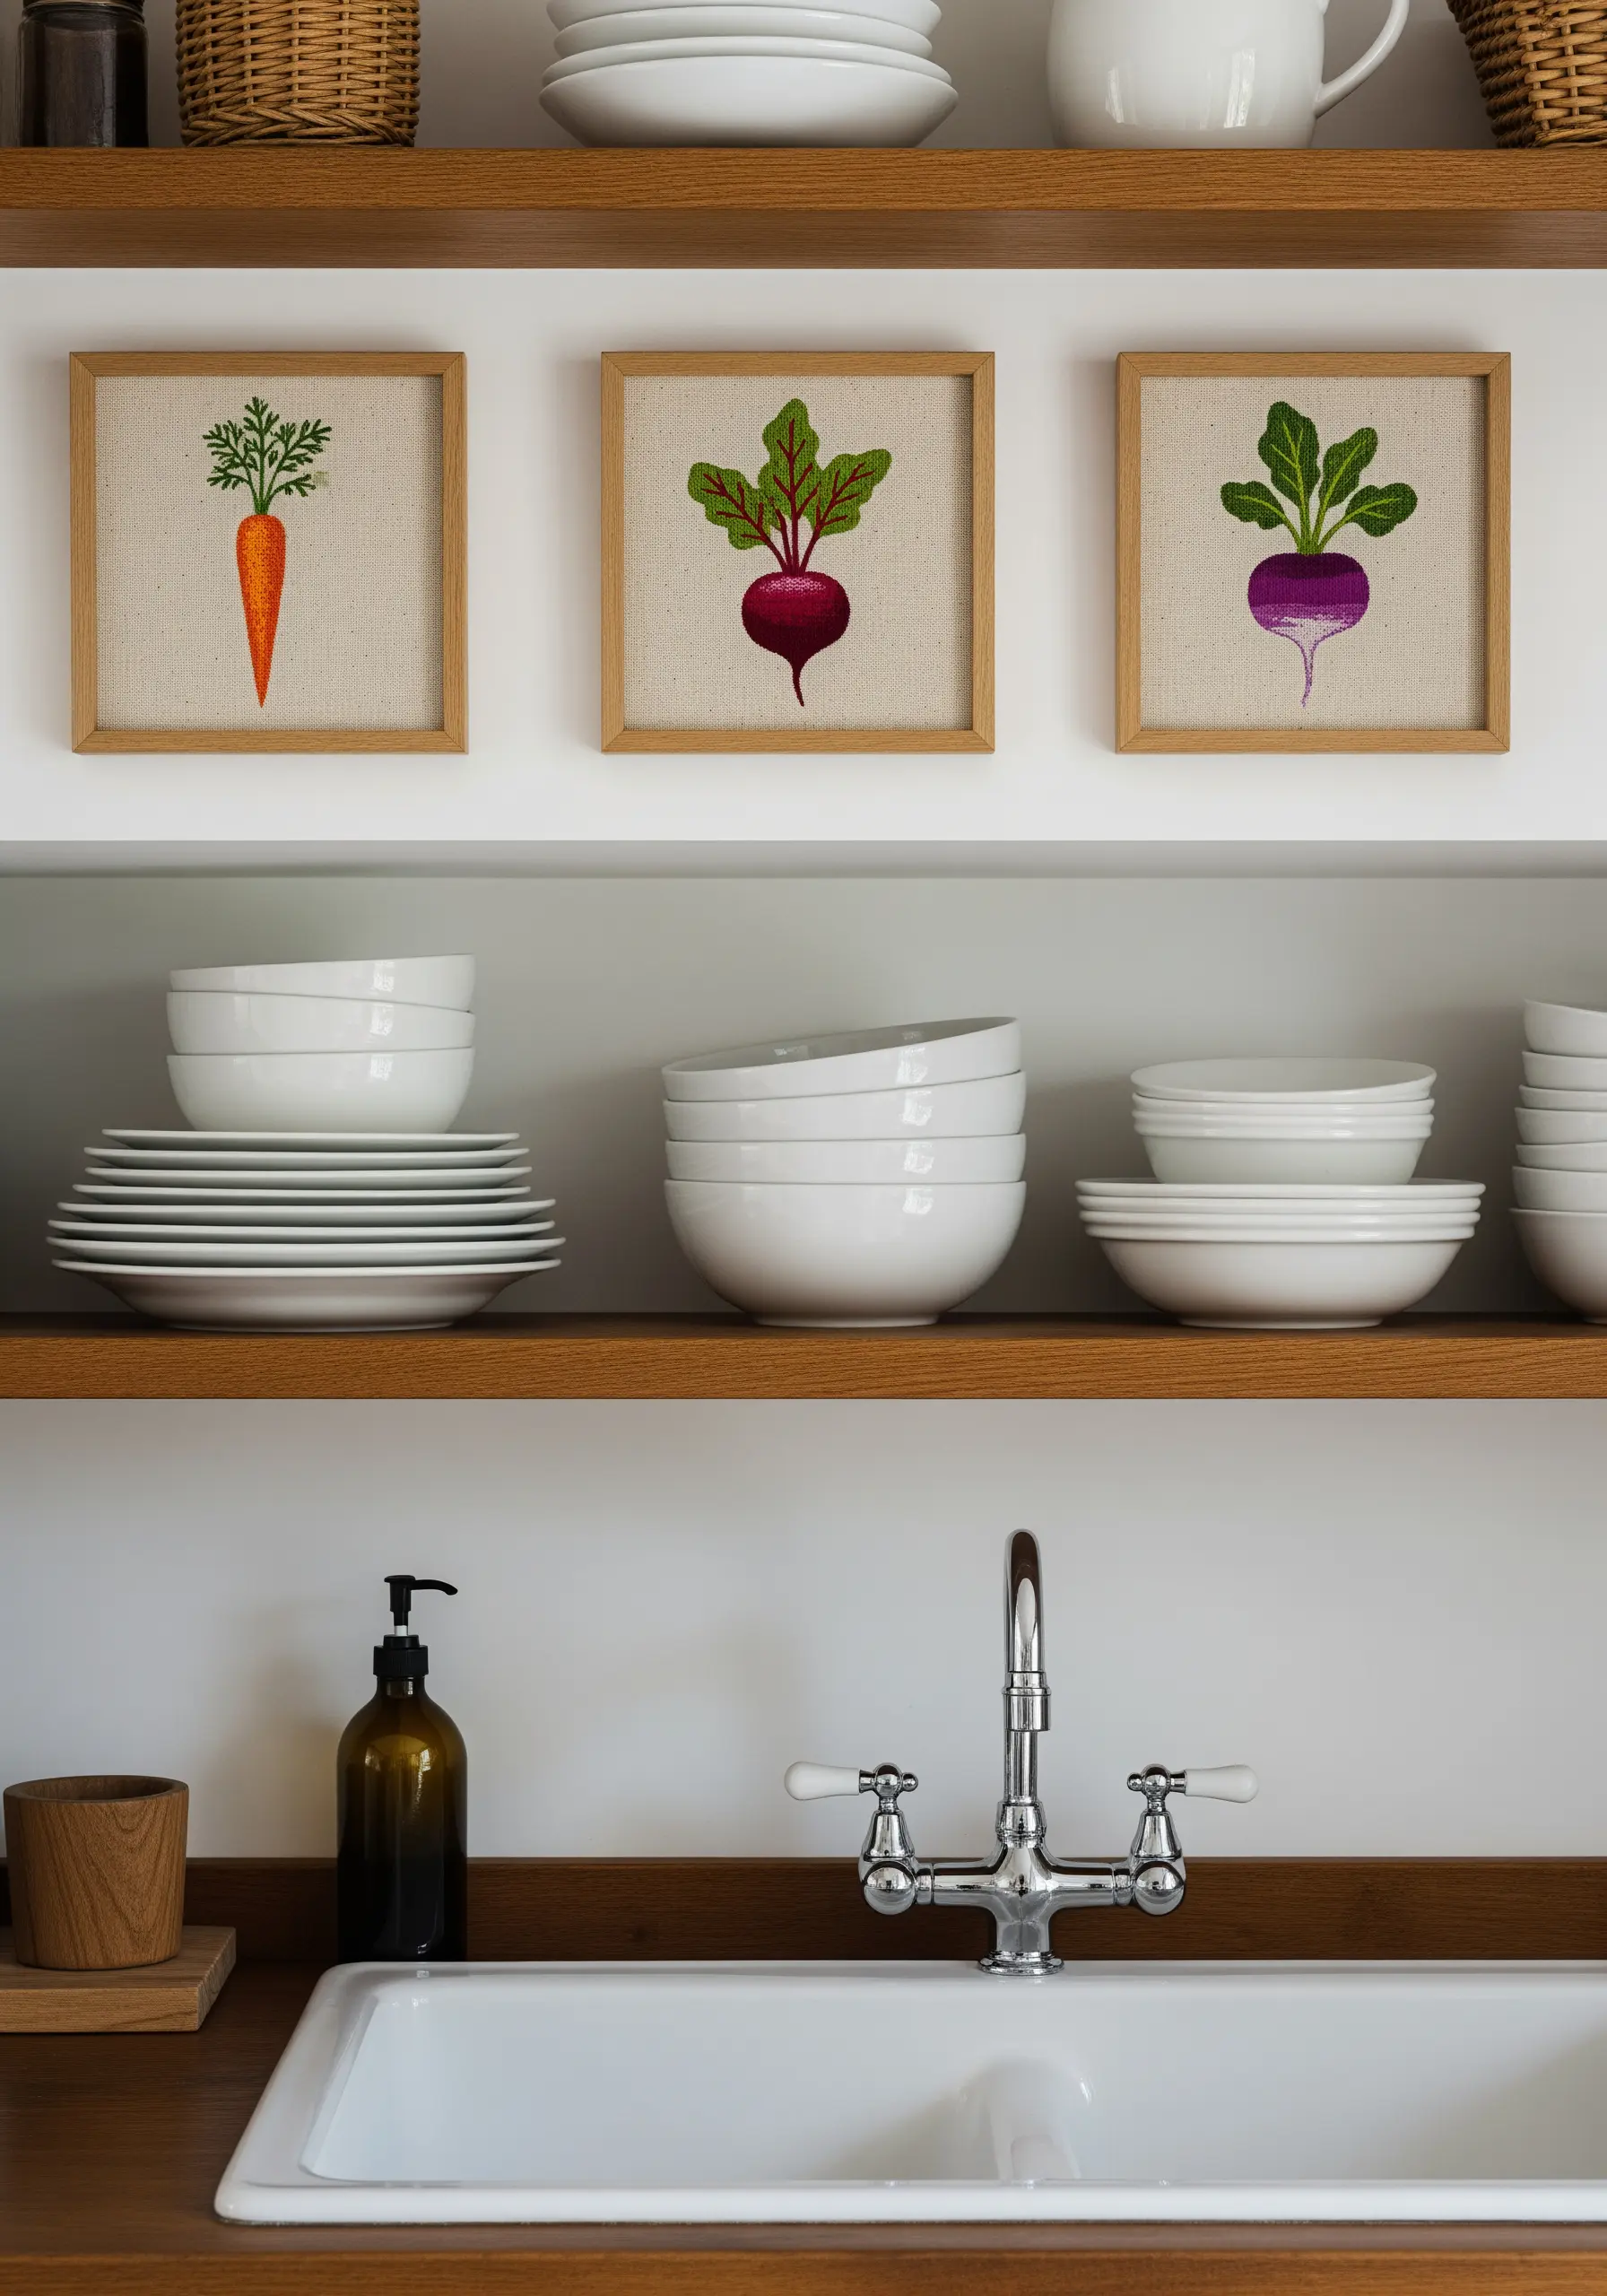
Bring simple subjects to life with strategic color blending.
Even with a basic satin stitch, you can create a rounded, 3D effect by using three distinct shades for each vegetable: a mid-tone for the base, a darker shade for the shadow, and a lighter shade for the highlight.
This simple color theory trick elevates tiny embroidery designs inspired by everyday life into charming works of art.
17. The Immersive Forest Hoop
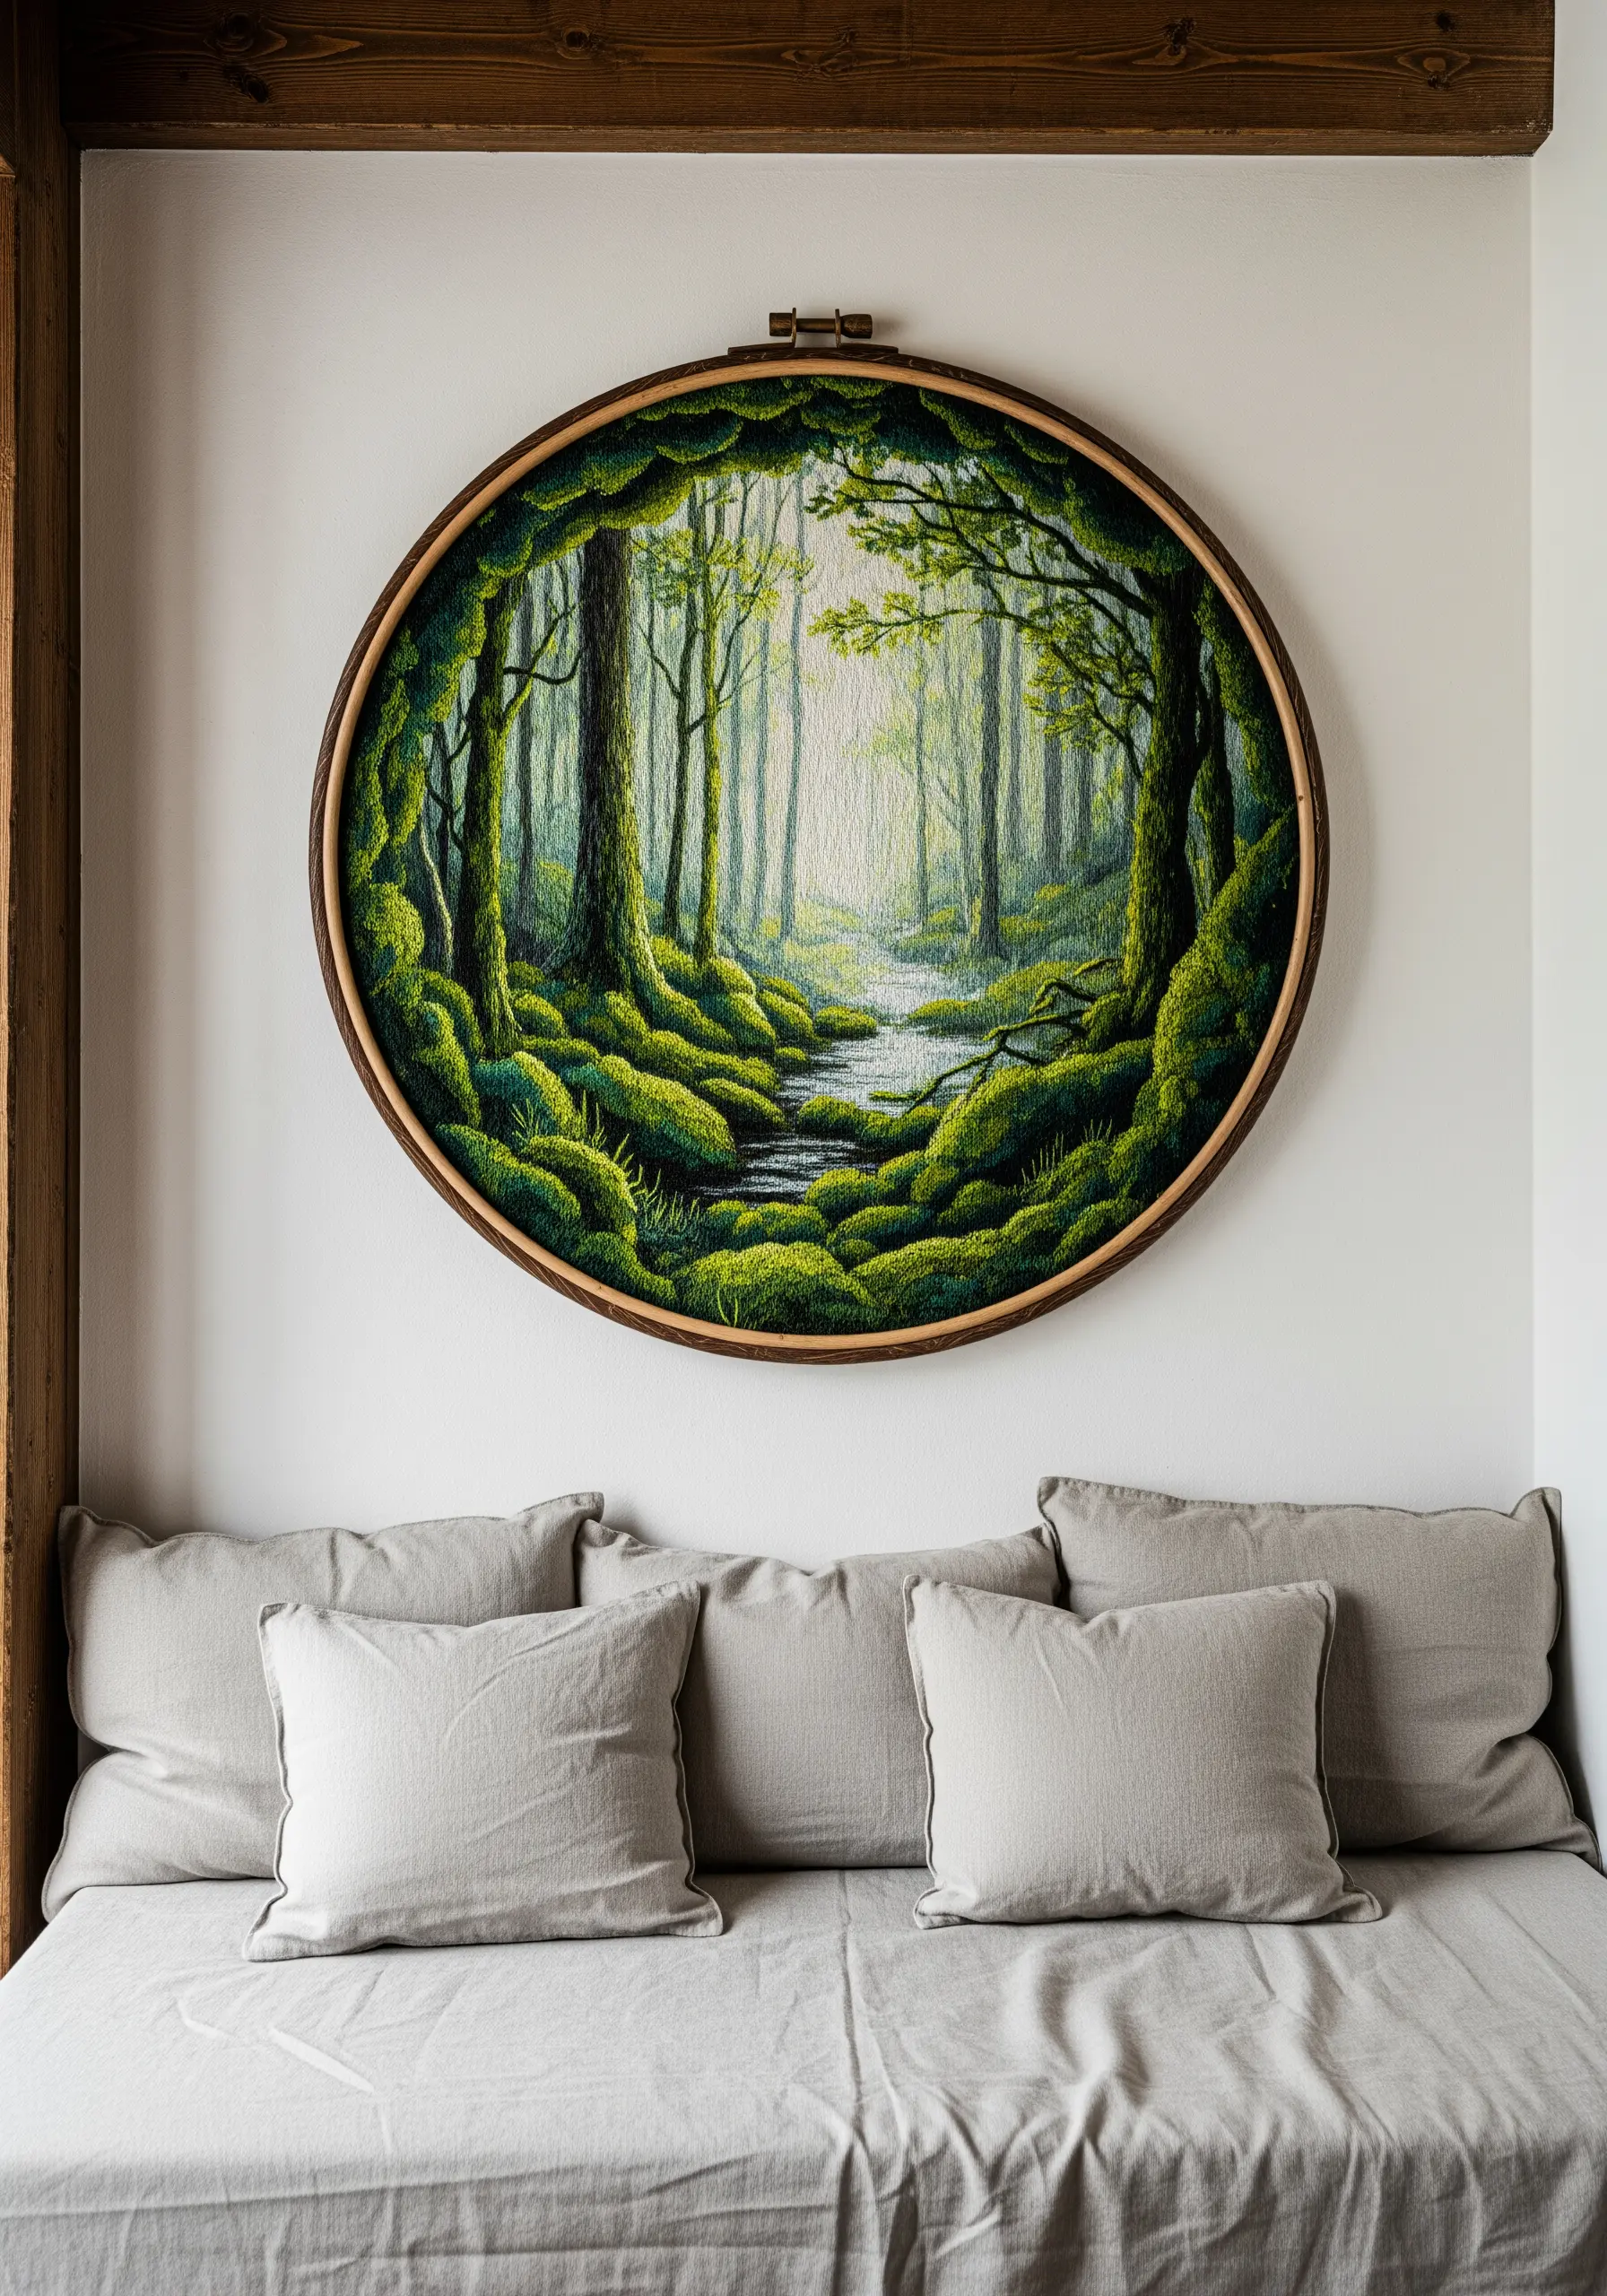
To create the deep, plush texture of a mossy forest floor, you need to build up layers of textural stitches.
Combine dense French knots with turkey work (also called gimp stitch), using several shades of green floss to create natural variation.
Once you’ve completed the turkey work, trim the loops to different heights to create a wonderfully uneven, tactile surface.
These are the embroidery projects inspired by textures you’d find on a nature walk.
18. The High-Contrast Insect Study
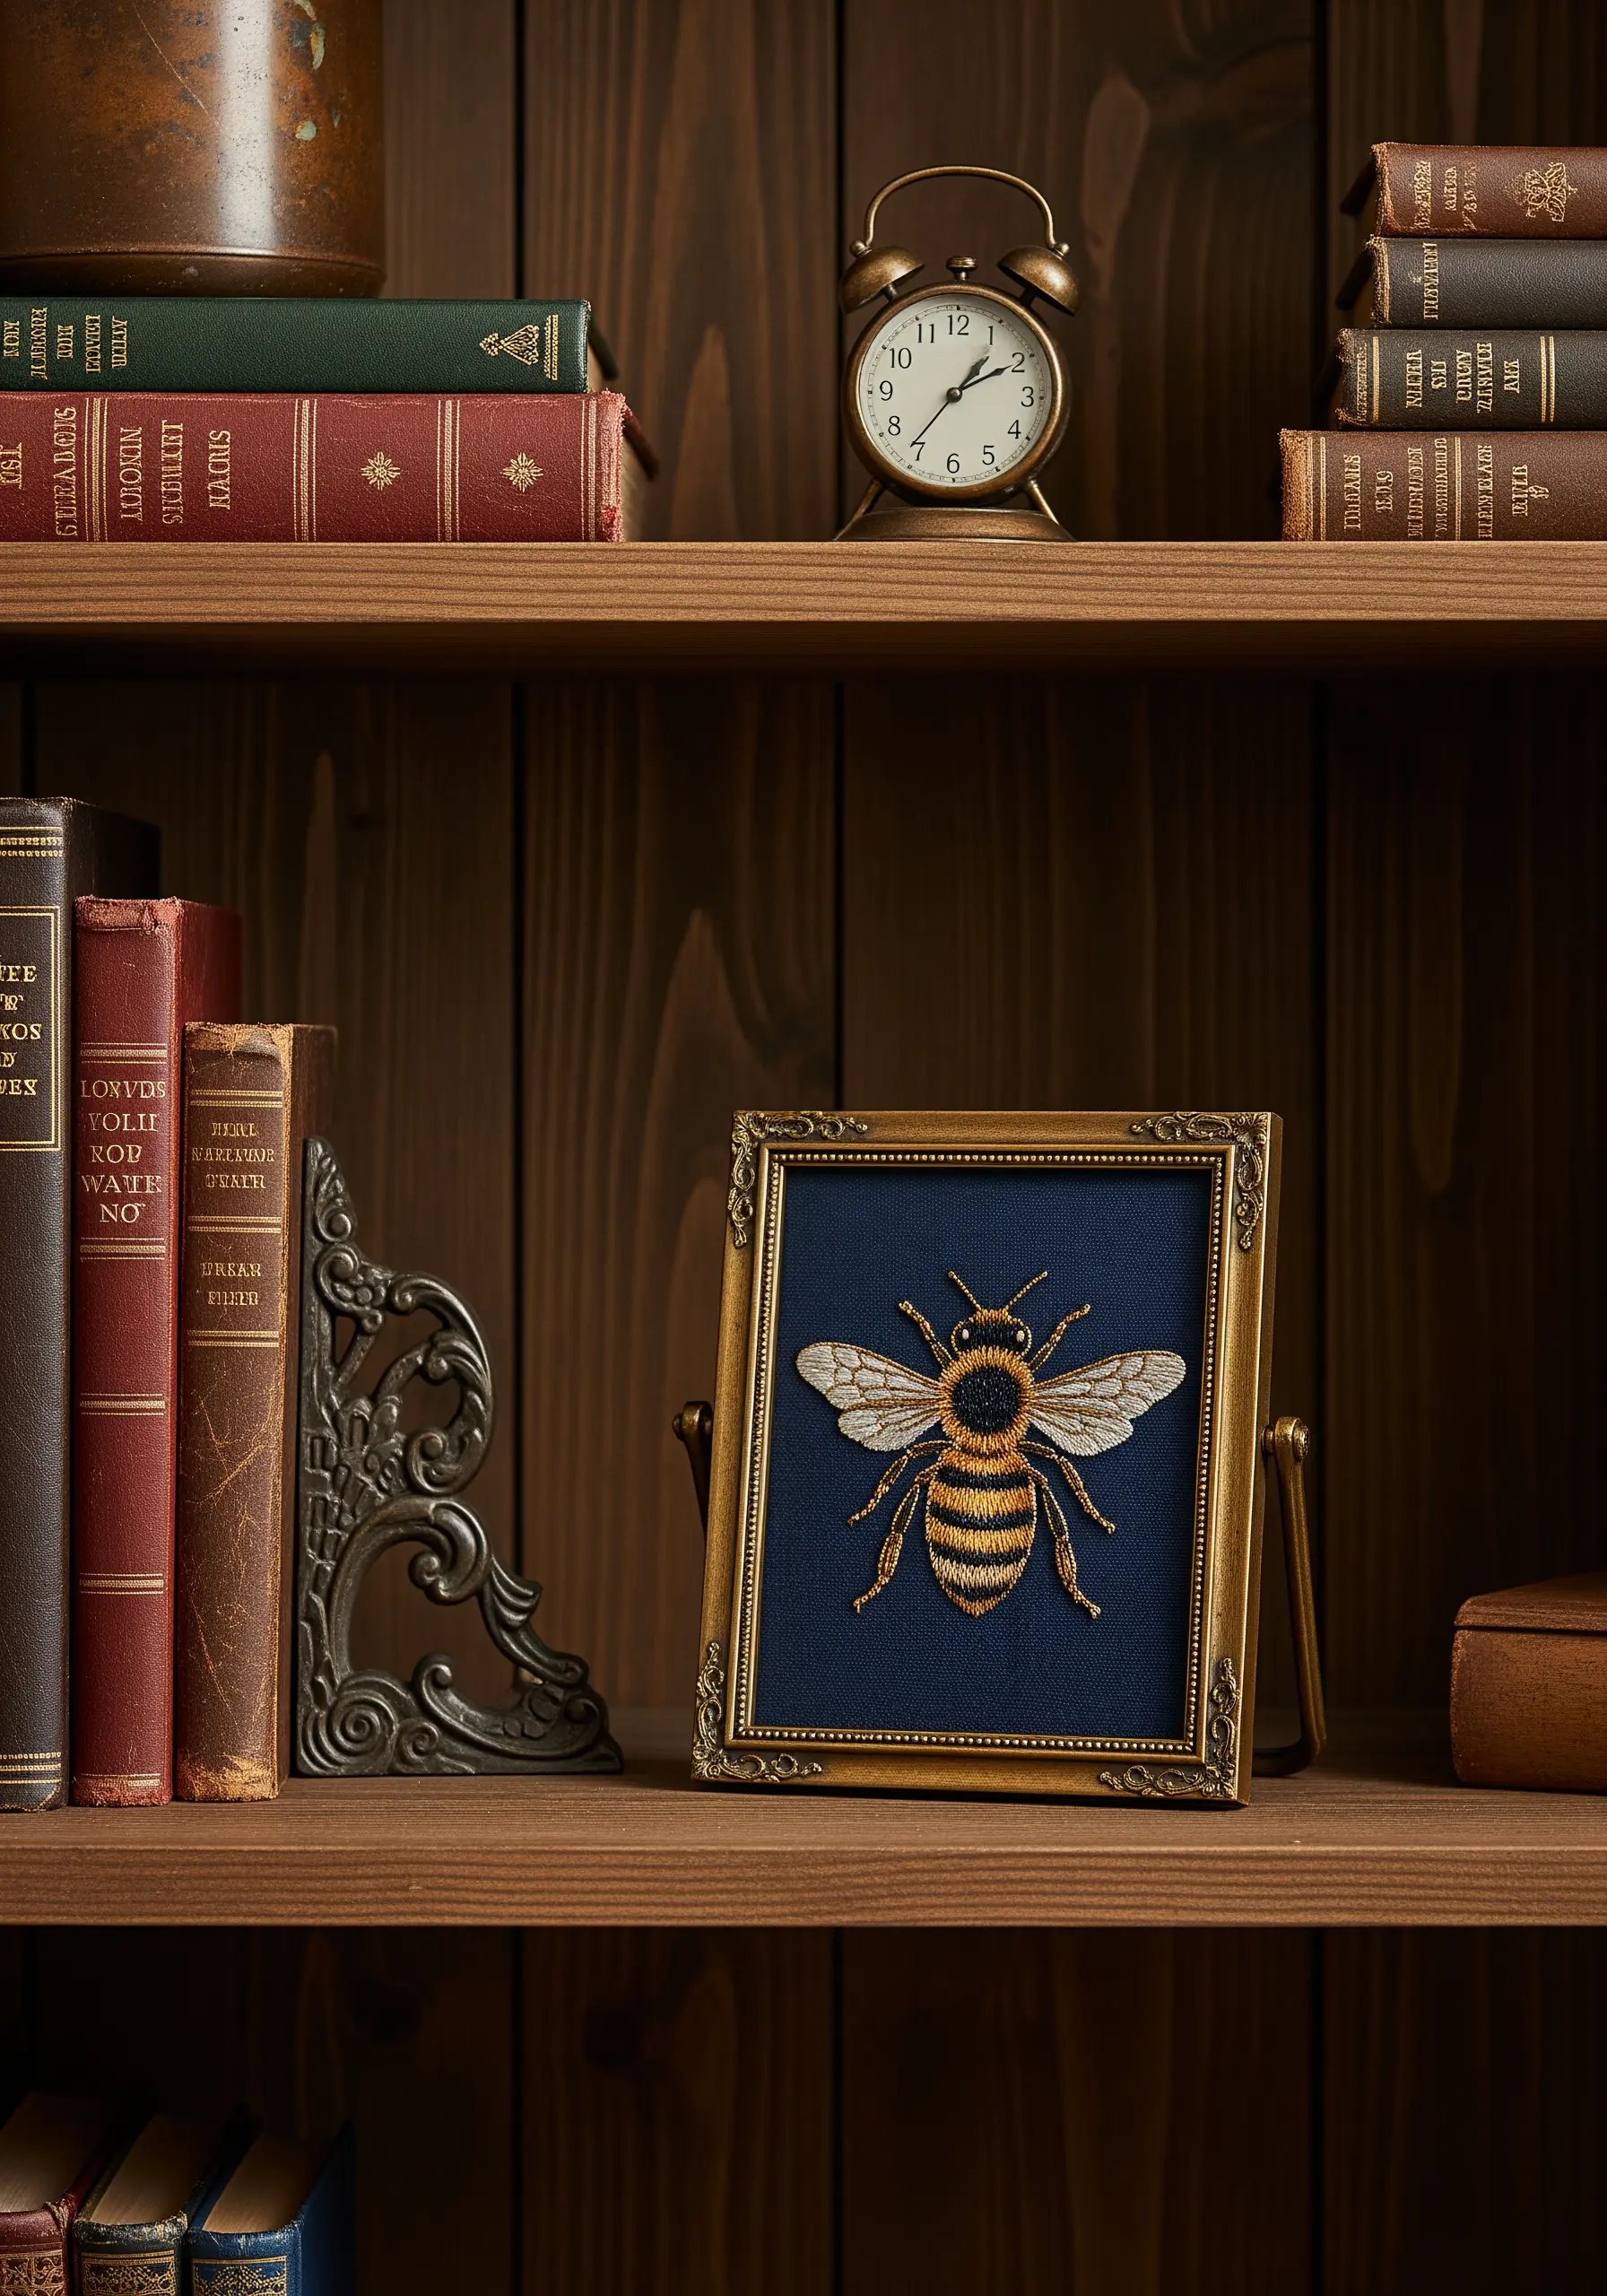
Stitching with light colors on dark fabric can be frustrating when the background shows through.
The solution is to first stitch the entire shape with a base layer of white thread.
Then, stitch your final colors directly on top of the white base. This underpainting technique makes your yellows, whites, and golds intensely vibrant and opaque against a dark background.
19. The Floating Dandelion Screen
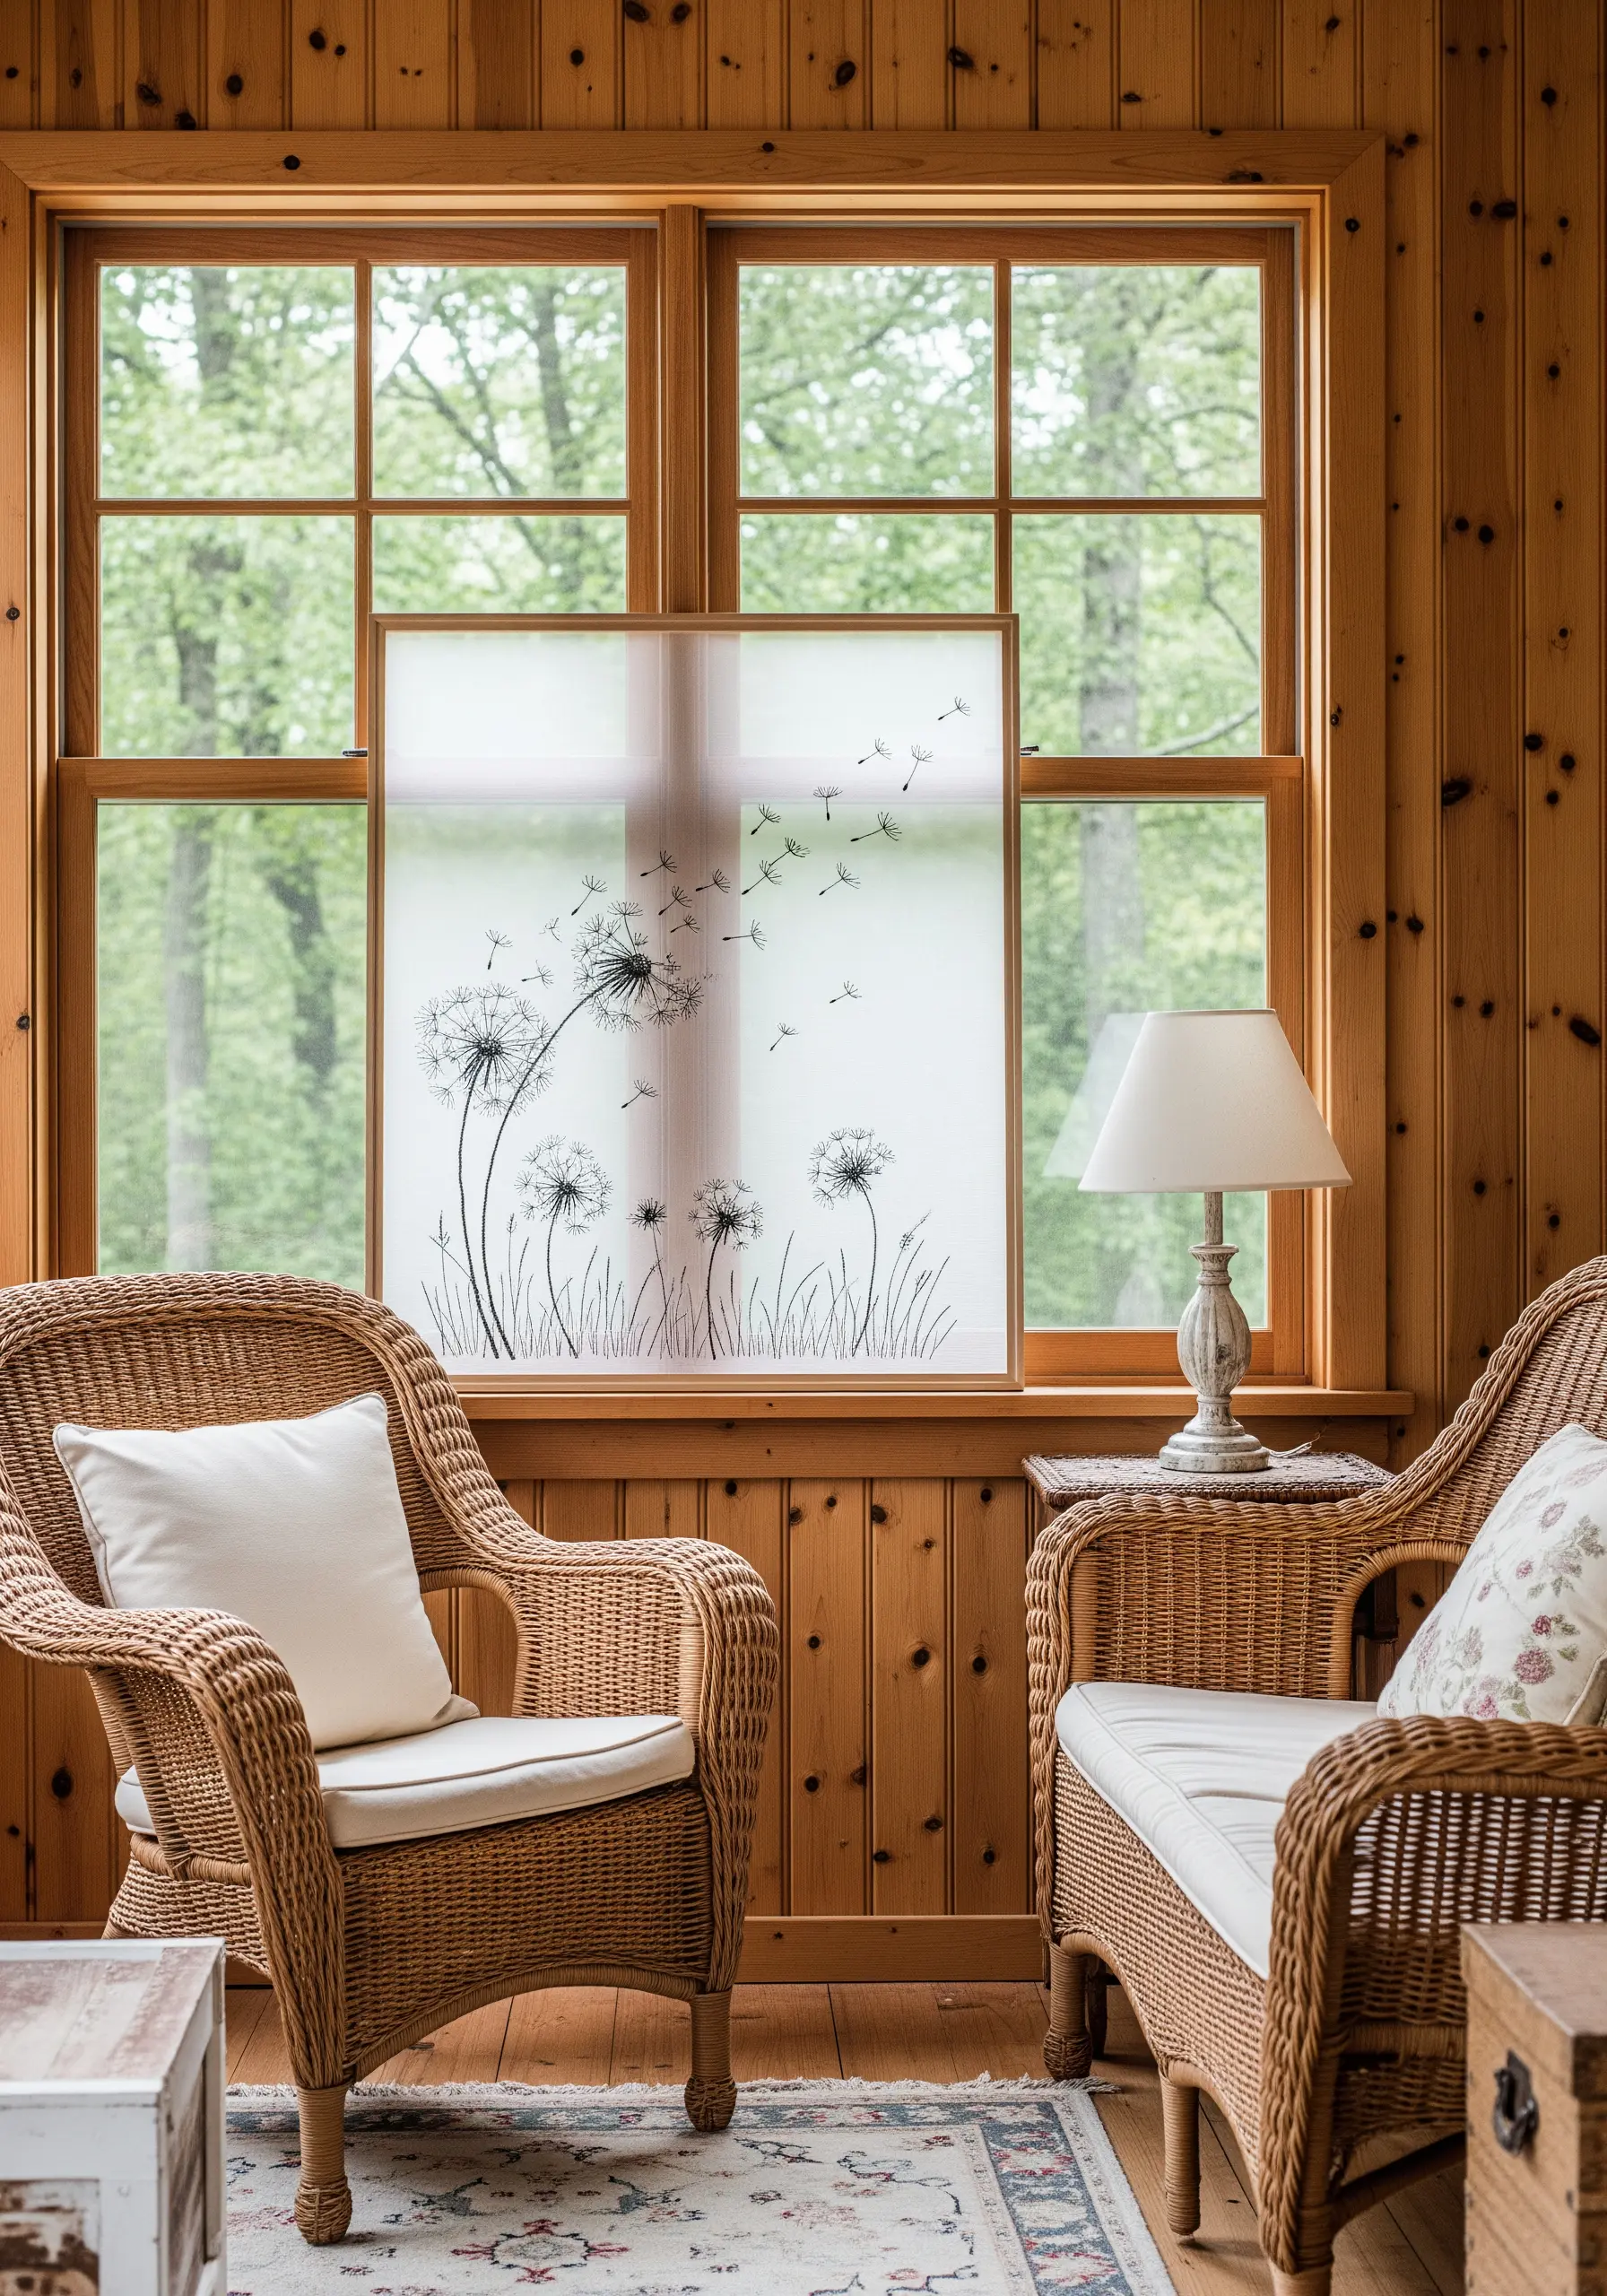
To embroider on sheer, delicate fabric like organza, you need to use a stabilizer.
Hoop your sheer fabric with a layer of water-soluble stabilizer on top; it will provide the tension you need to make clean stitches.
Once you’re finished stitching, simply trim the excess stabilizer and soak the piece in water to dissolve the rest, leaving behind a magical, floating design.


