

Working with gold thread can feel like a promise of instant luxury, but it often comes with its own challenges—it can snag, untwist, or simply fail to deliver that polished look you envisioned. The secret isn’t in buying more expensive thread; it’s in refining your technique to make every stitch intentional.
True regal style isn’t born from complexity, but from control and thoughtful execution. A single, perfectly straight line on rich velvet can command more attention than a dozen messy stitches. It’s about understanding how thread, fabric, and stitch choice work in harmony to create an effect that feels both opulent and effortless.
Here, you’ll discover how to master that harmony. These designs are more than just inspiration; they are practical lessons in texture, dimension, and composition. You will learn not just what to stitch, but how to stitch it with precision and confidence, transforming a simple cushion into a piece of art that looks and feels truly luxurious.
1. Art Deco Radiance with Precise Line Work
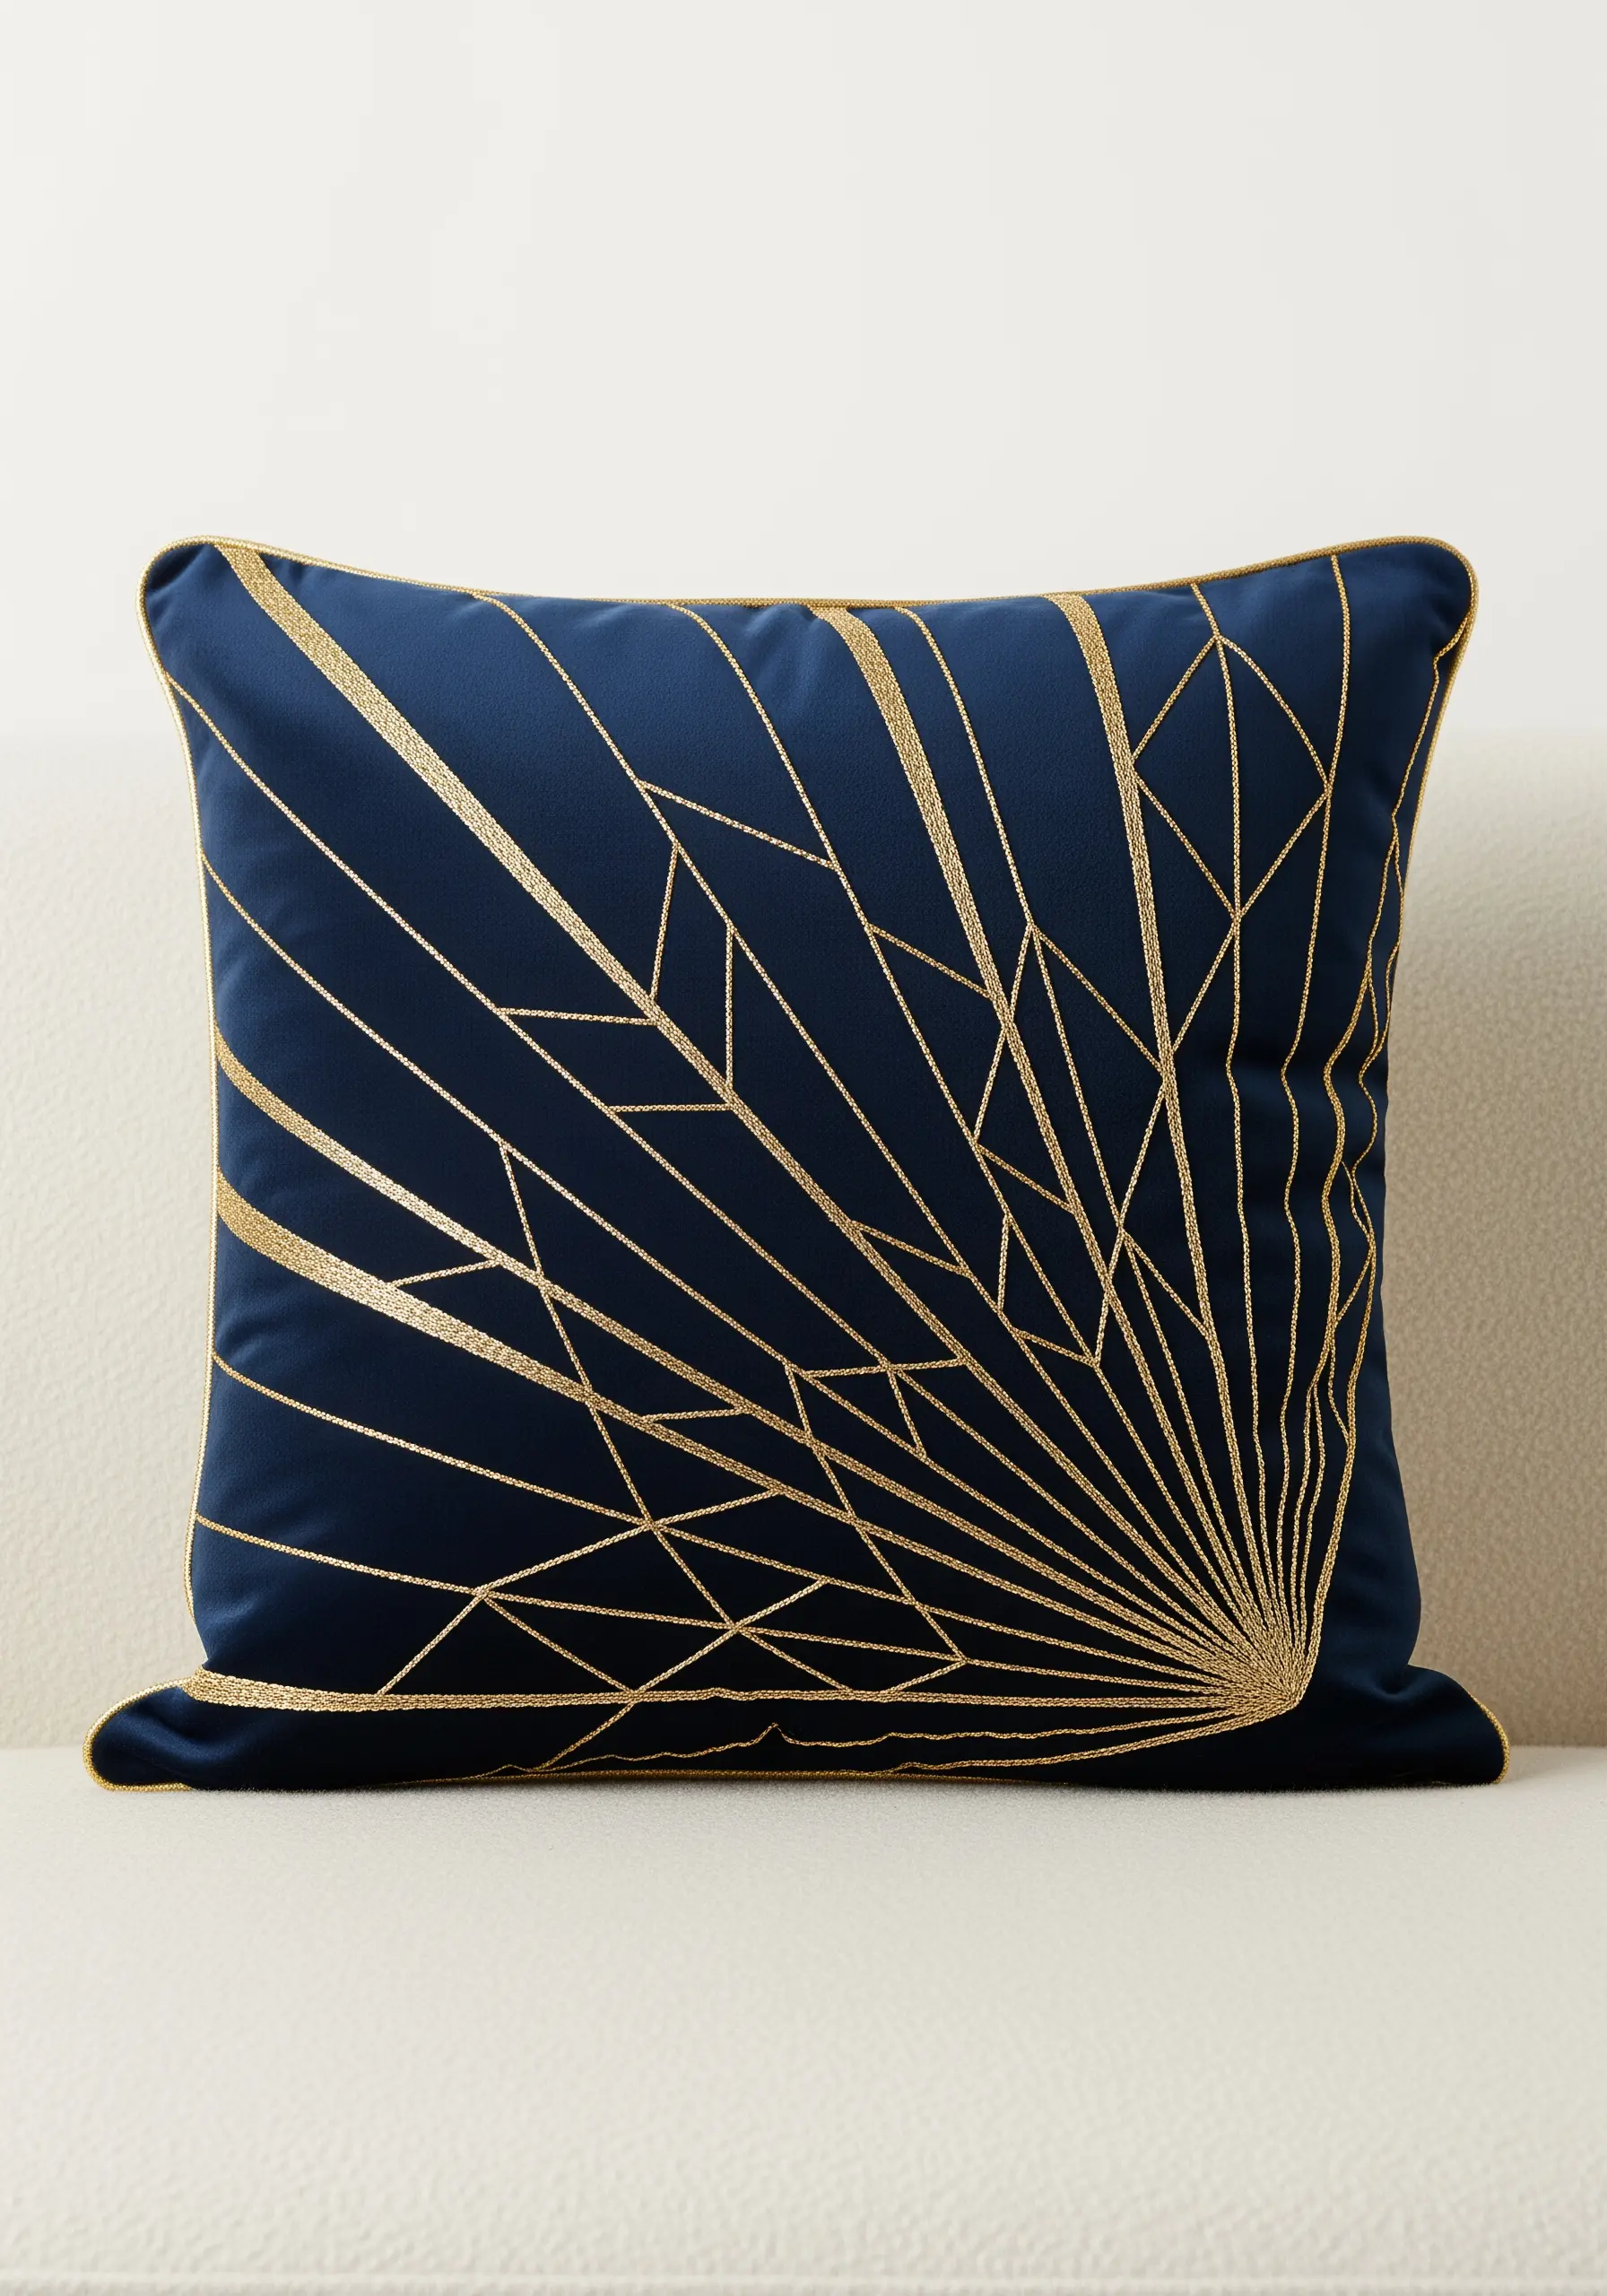
To achieve the clean, sharp geometry of Art Deco, your stitch consistency is paramount.
Use a single strand of metallic thread with a sharp needle and work a meticulous backstitch for unparalleled precision.
On a plush fabric like velvet, the high contrast between the smooth, reflective gold and the deep, matte navy creates a dramatic visual tension that defines the style.
A tear-away stabilizer on the back will prevent the fabric from puckering and keep your lines perfectly straight.
2. Layered Textures for Lifelike Botanical Motifs

Combine appliqué with thread painting to give your embroidery a stunning, three-dimensional quality.
For the bee’s wings, stitch over a delicate piece of organza or fine lace that you’ve first appliquéd onto the cushion.
This creates a translucent, layered effect that mimics nature.
Use directional satin stitch for the body, angling your stitches to follow the insect’s natural contours, which adds realism and movement.
3. Sculptural Couching for Celestial Accents
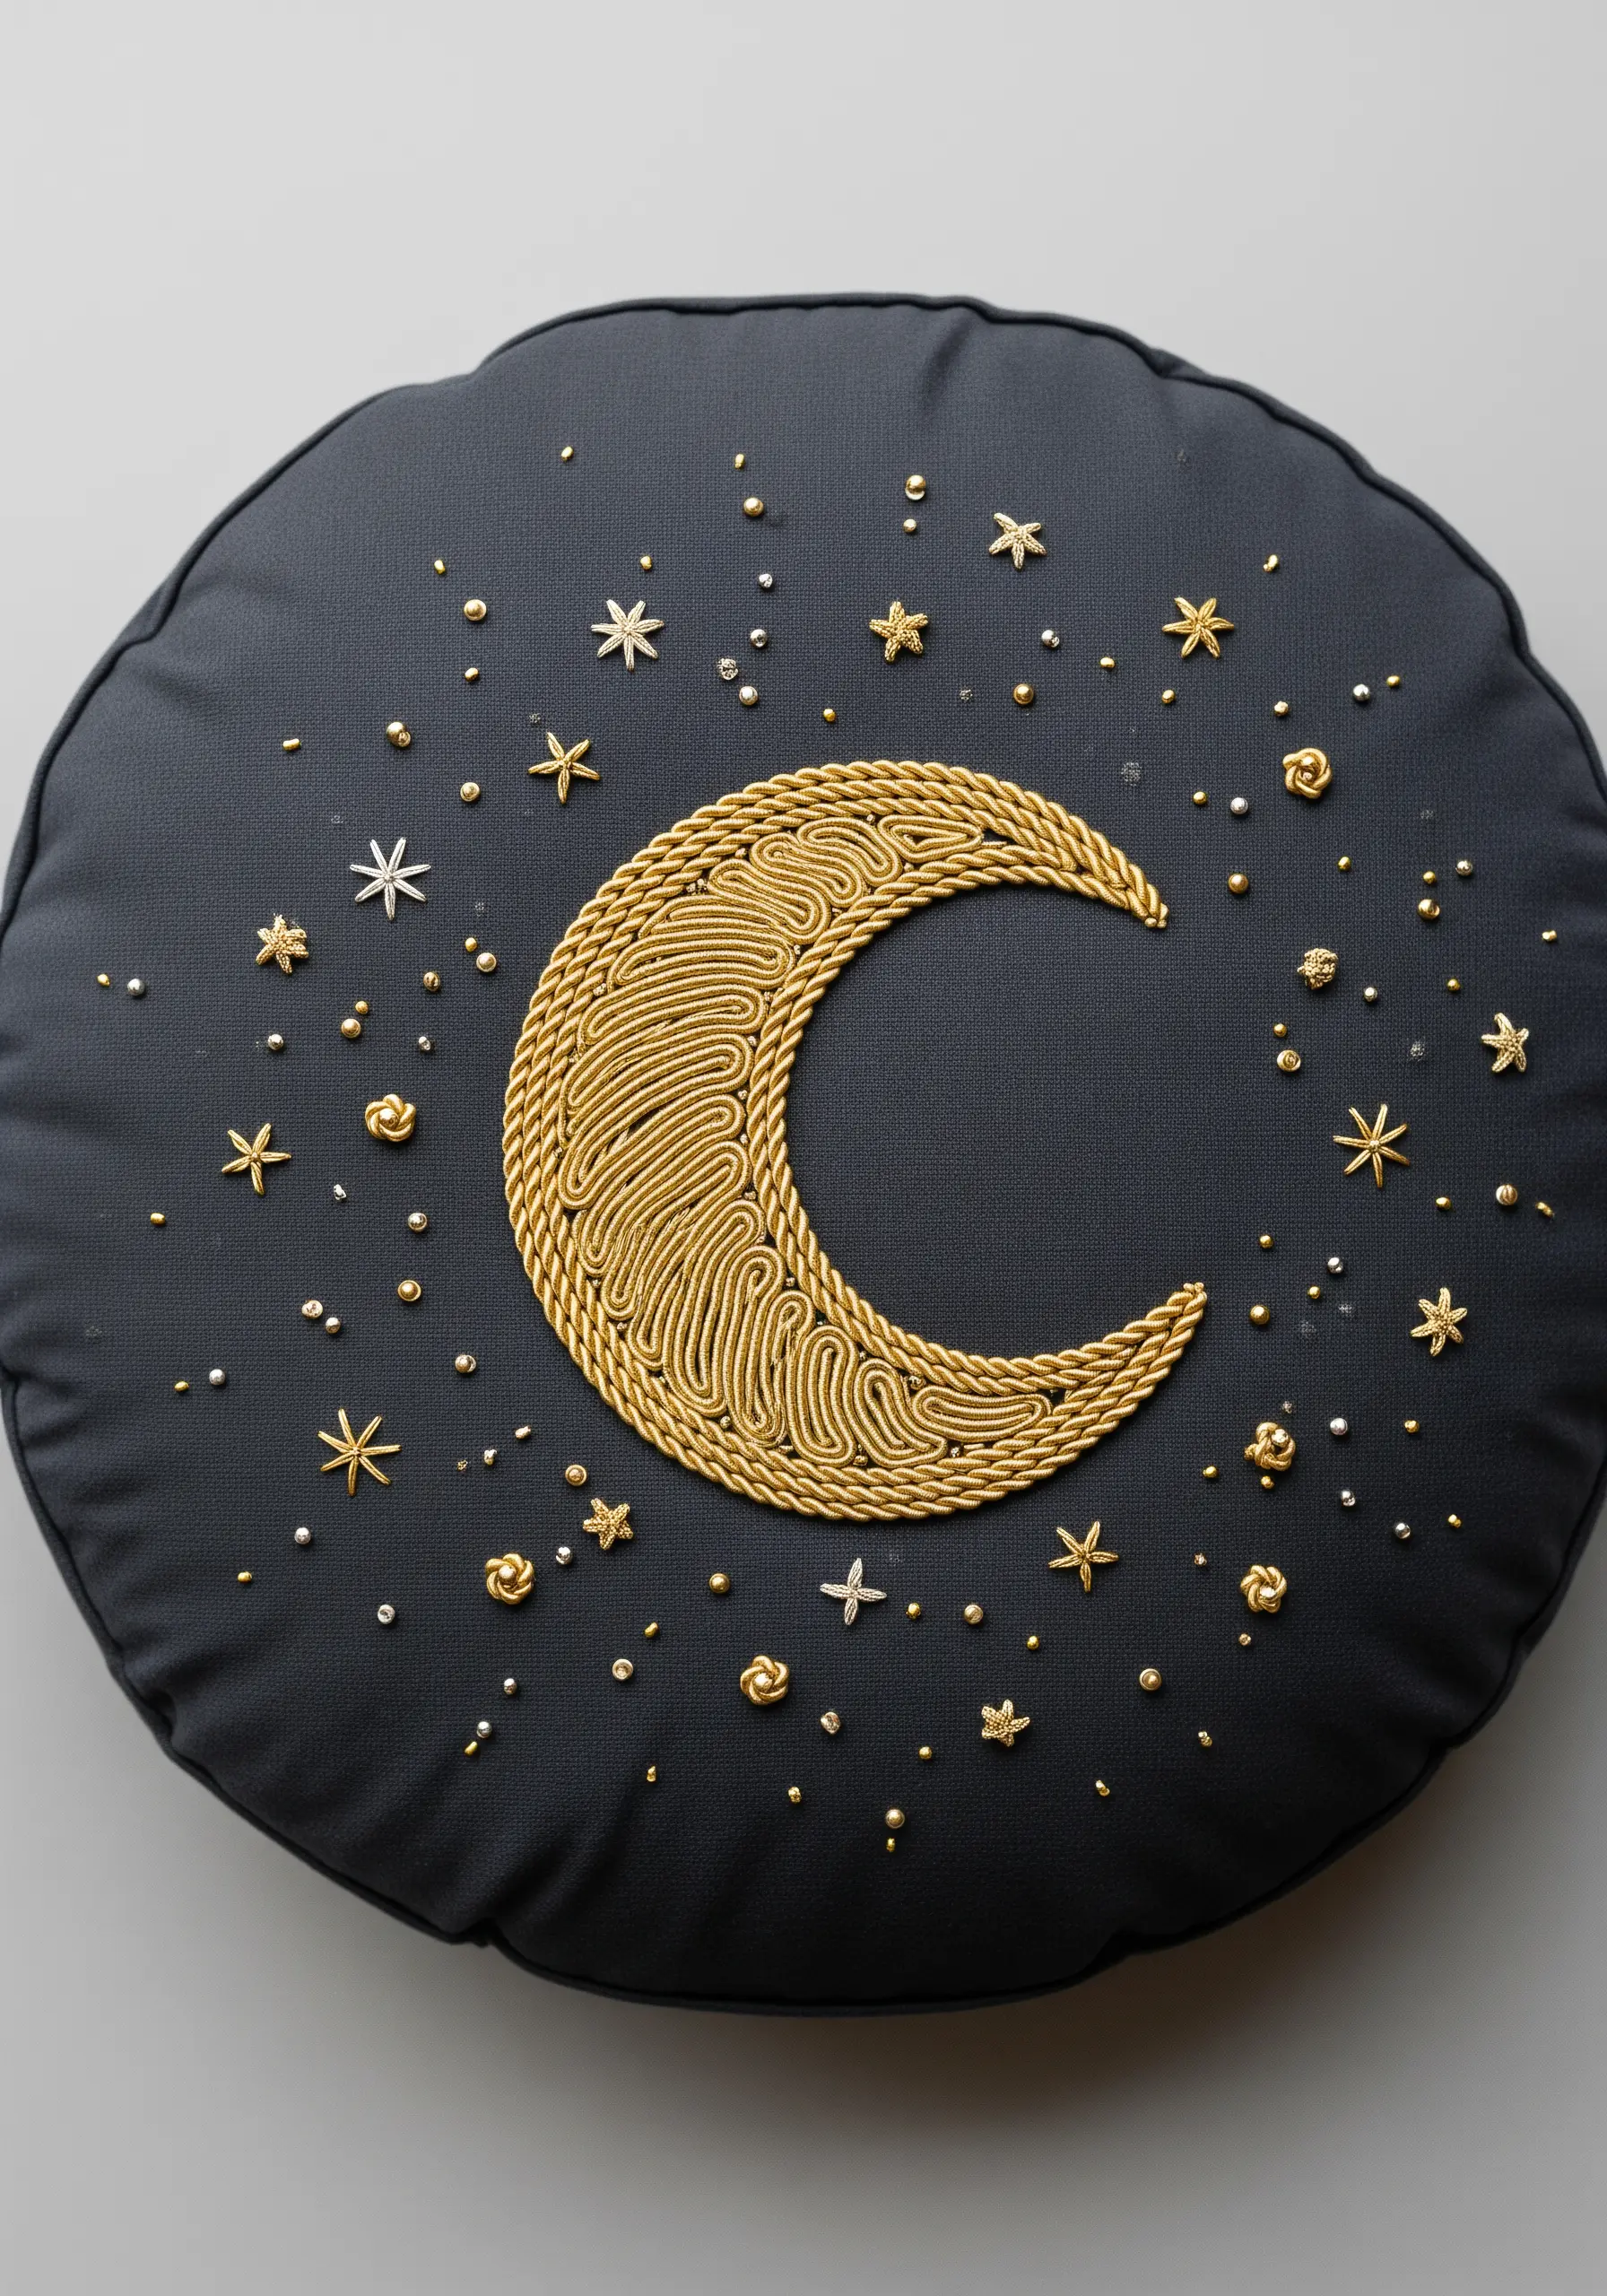
For bold, raised lines that standard stitches can’t achieve, couch a thick gold cord onto your fabric.
Lay the cord along your design line and use a fine, matching metallic thread to tack it down with tiny, evenly spaced stitches.
This technique creates a sculptural, high-end look with minimal effort.
Contrast the bold moon with delicate, scattered French knots and single straight stitches to represent a shimmering starfield.
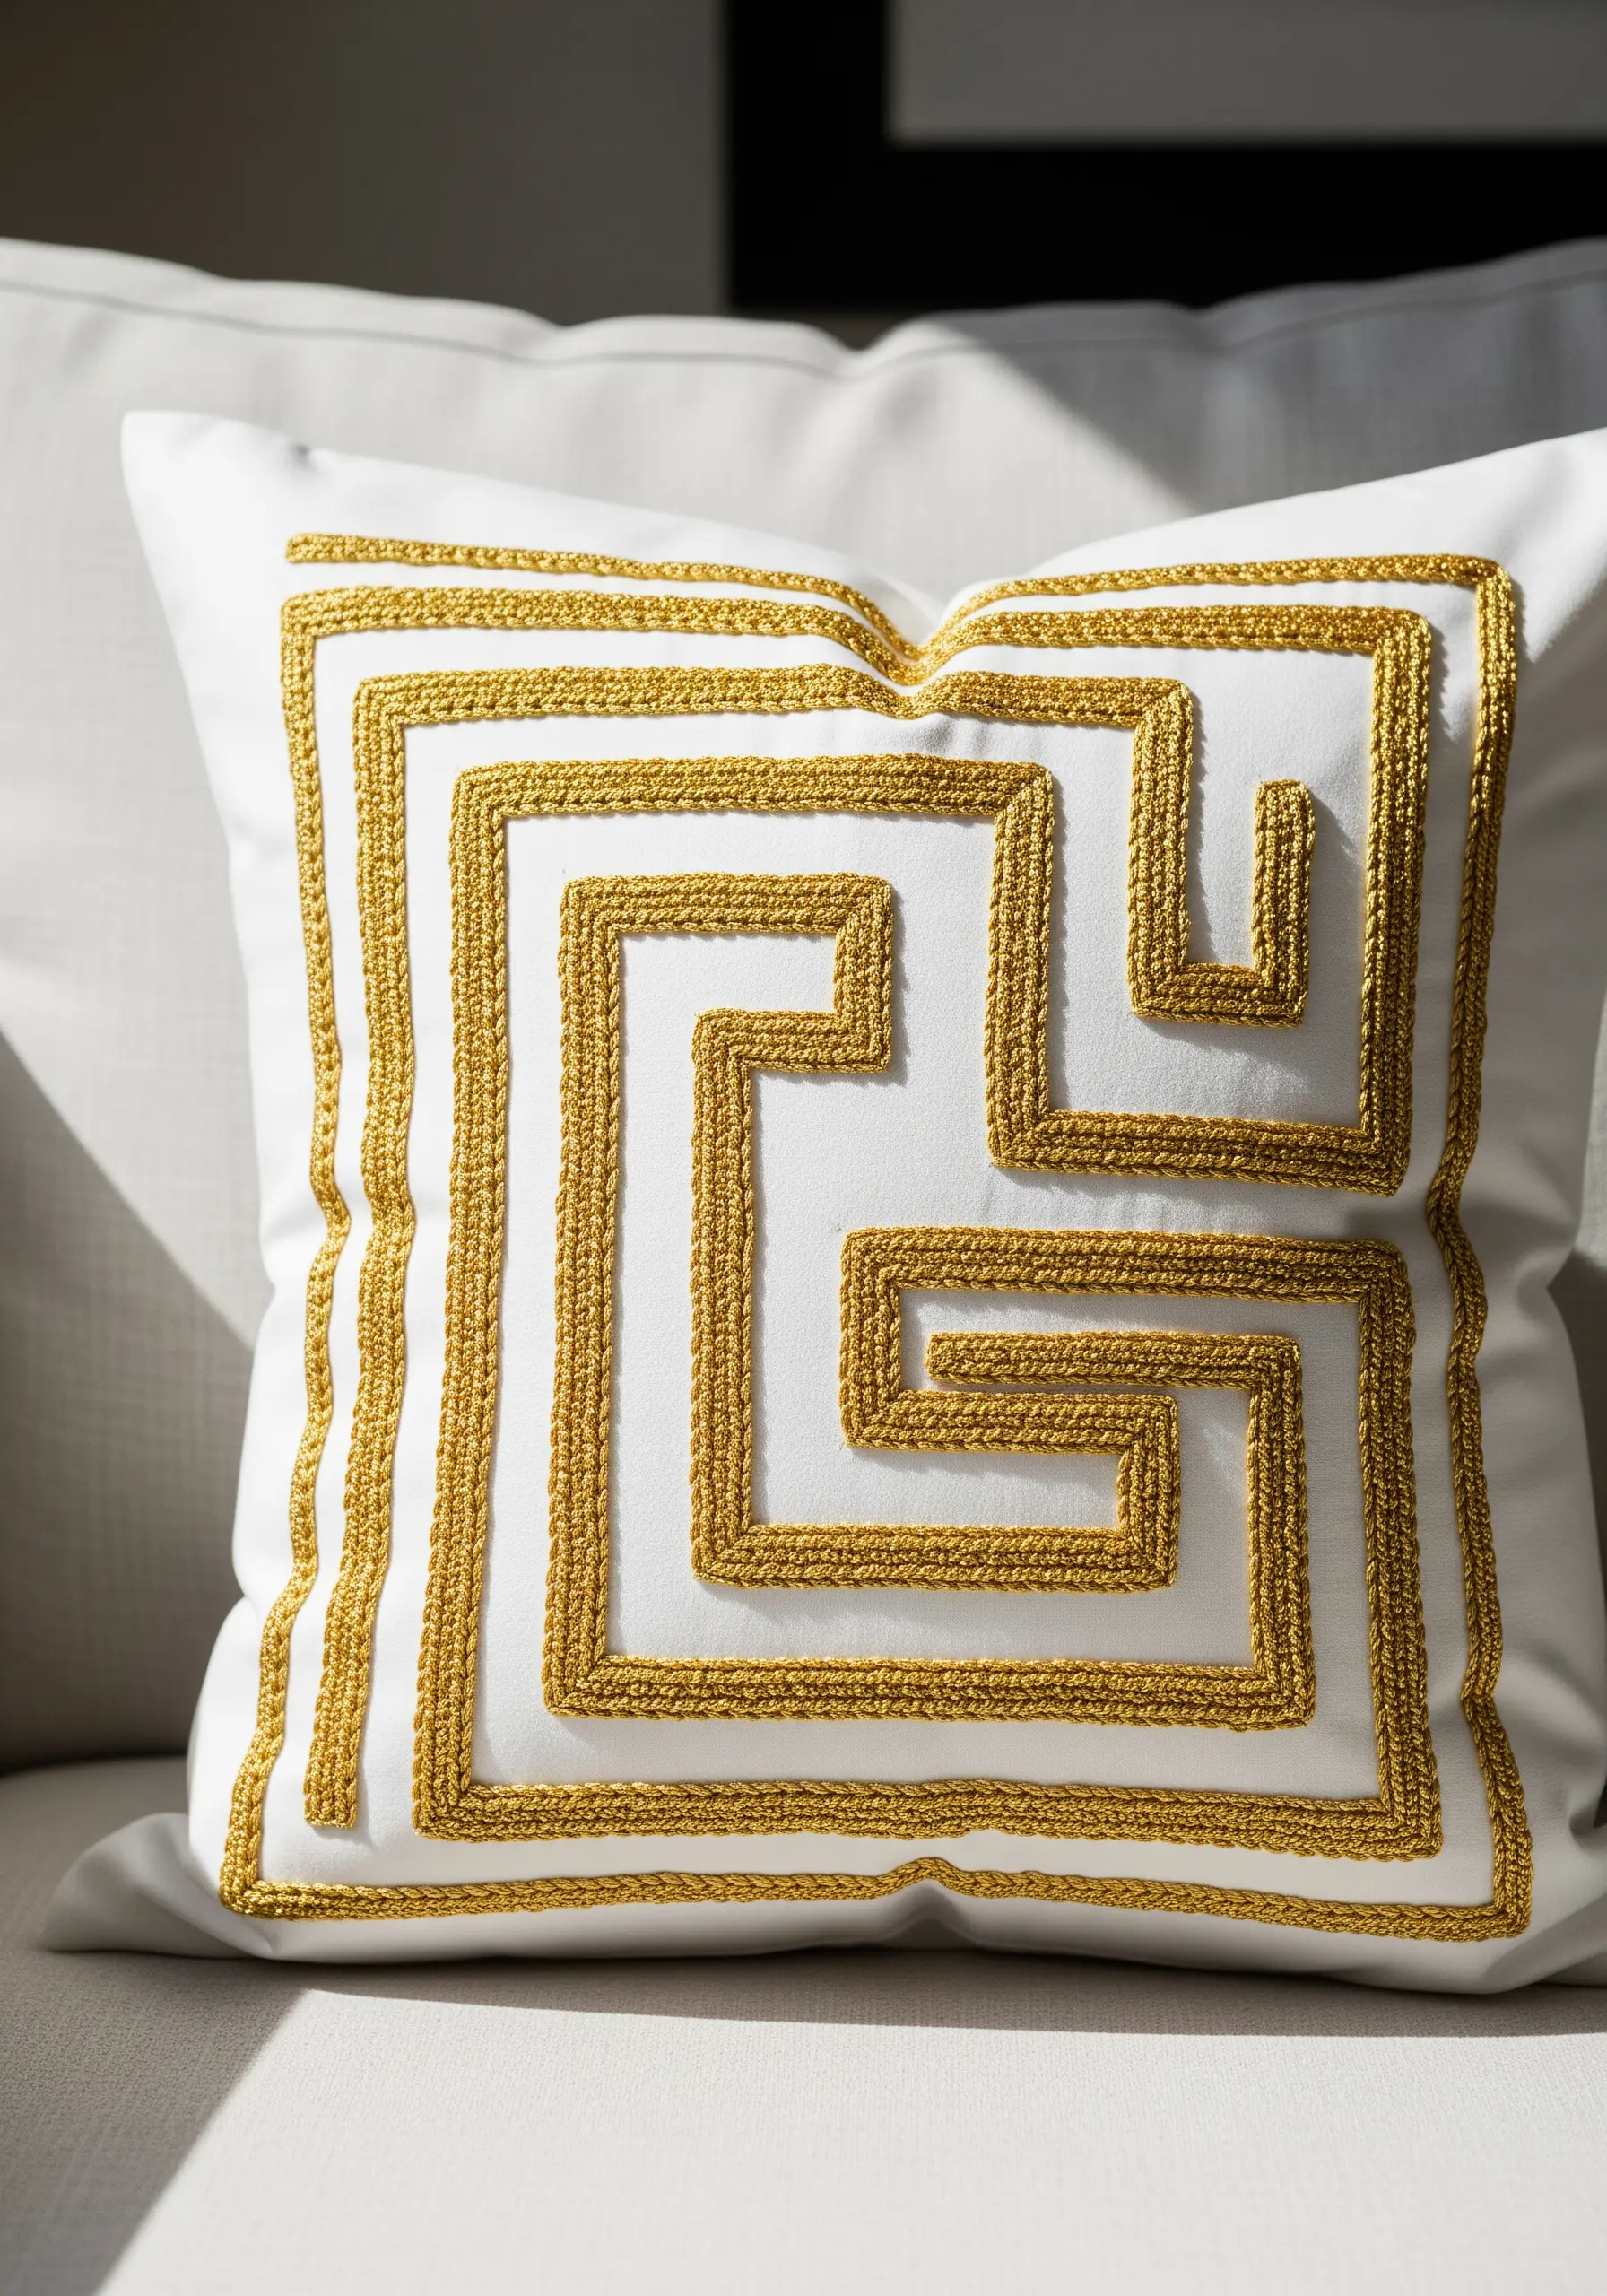
4. Geometric Precision with Chain Stitch Borders
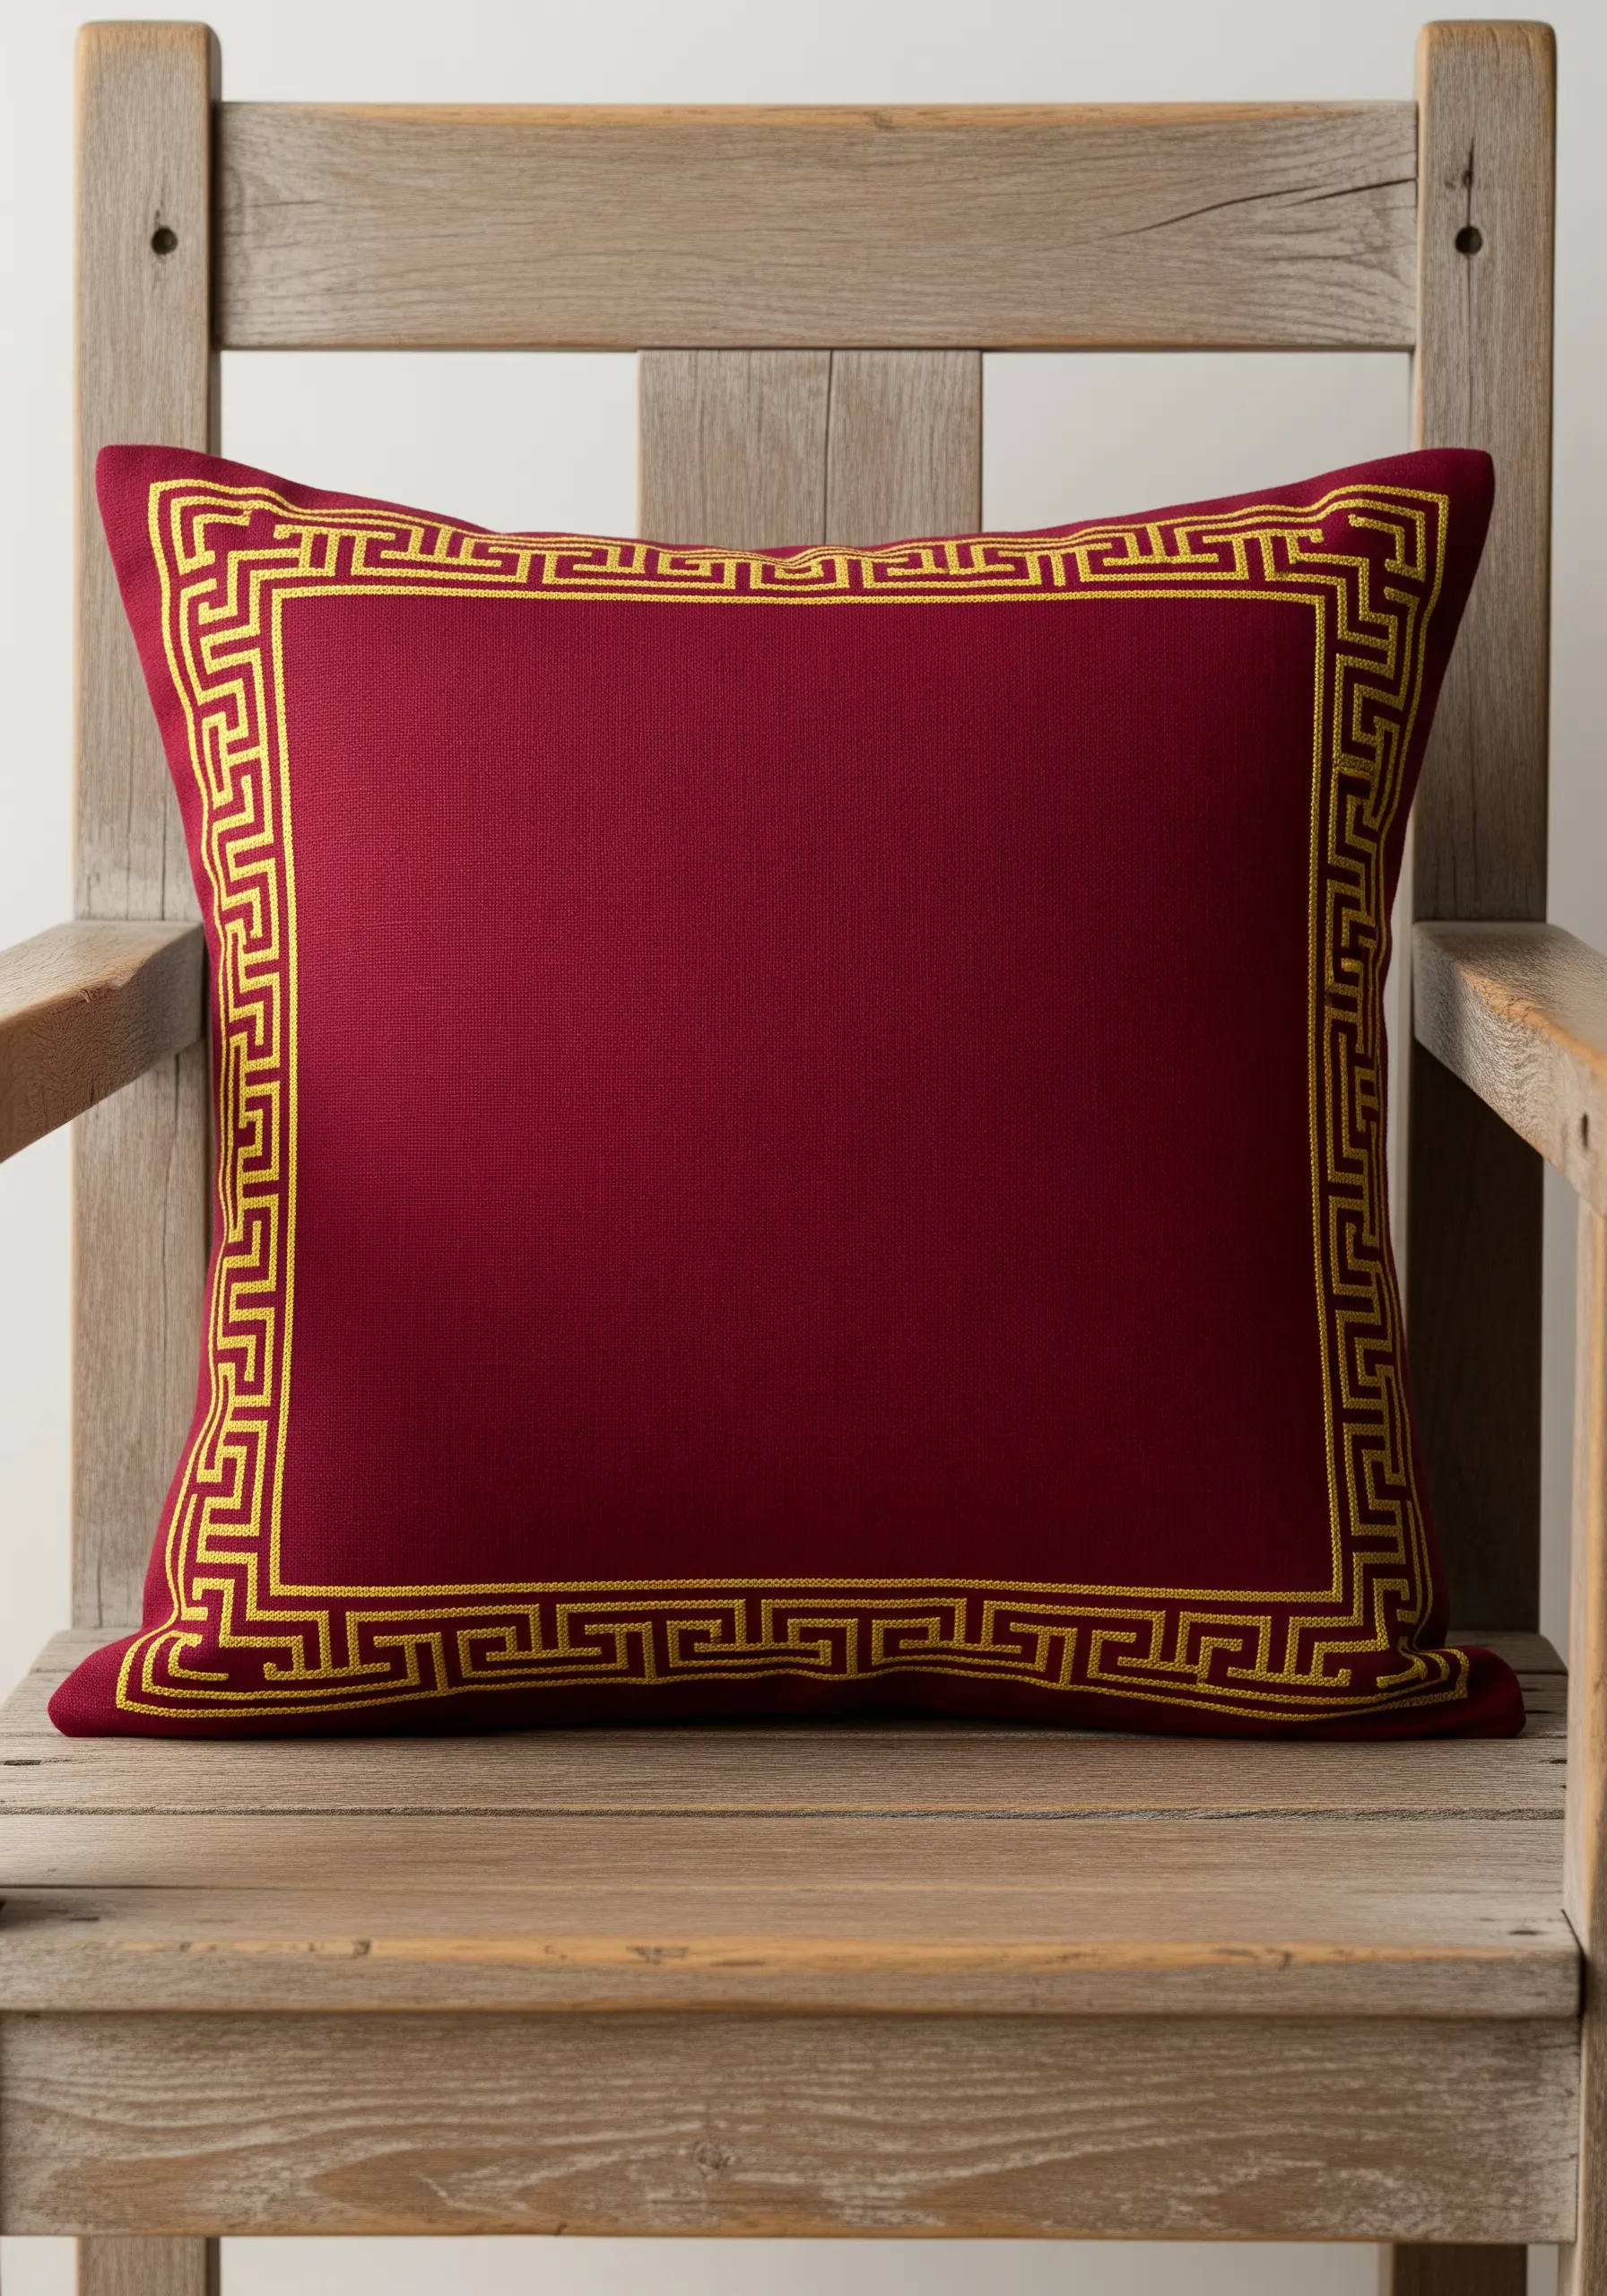
A chain stitch is your best choice for creating a uniform, rope-like texture in geometric borders.
To master the sharp 90-degree angles of a Greek key pattern, complete your final chain link right at the corner, then anchor it with a tiny stitch before starting the new direction.
Using a stabilizer is non-negotiable here; it prevents the fabric from warping and ensures your frame remains perfectly square.
5. Satin Stitch Shading on Textured Fabric
When embroidering on a heavily textured fabric like bouclé or raw linen, you need your stitches to stand out, not sink in.
Use a smooth, high-sheen metallic thread and work your satin stitches long and close together, following the natural direction of the motif.
The contrast between the sleek, reflective embroidery and the matte, nubby fabric creates a rich tactile and visual experience.
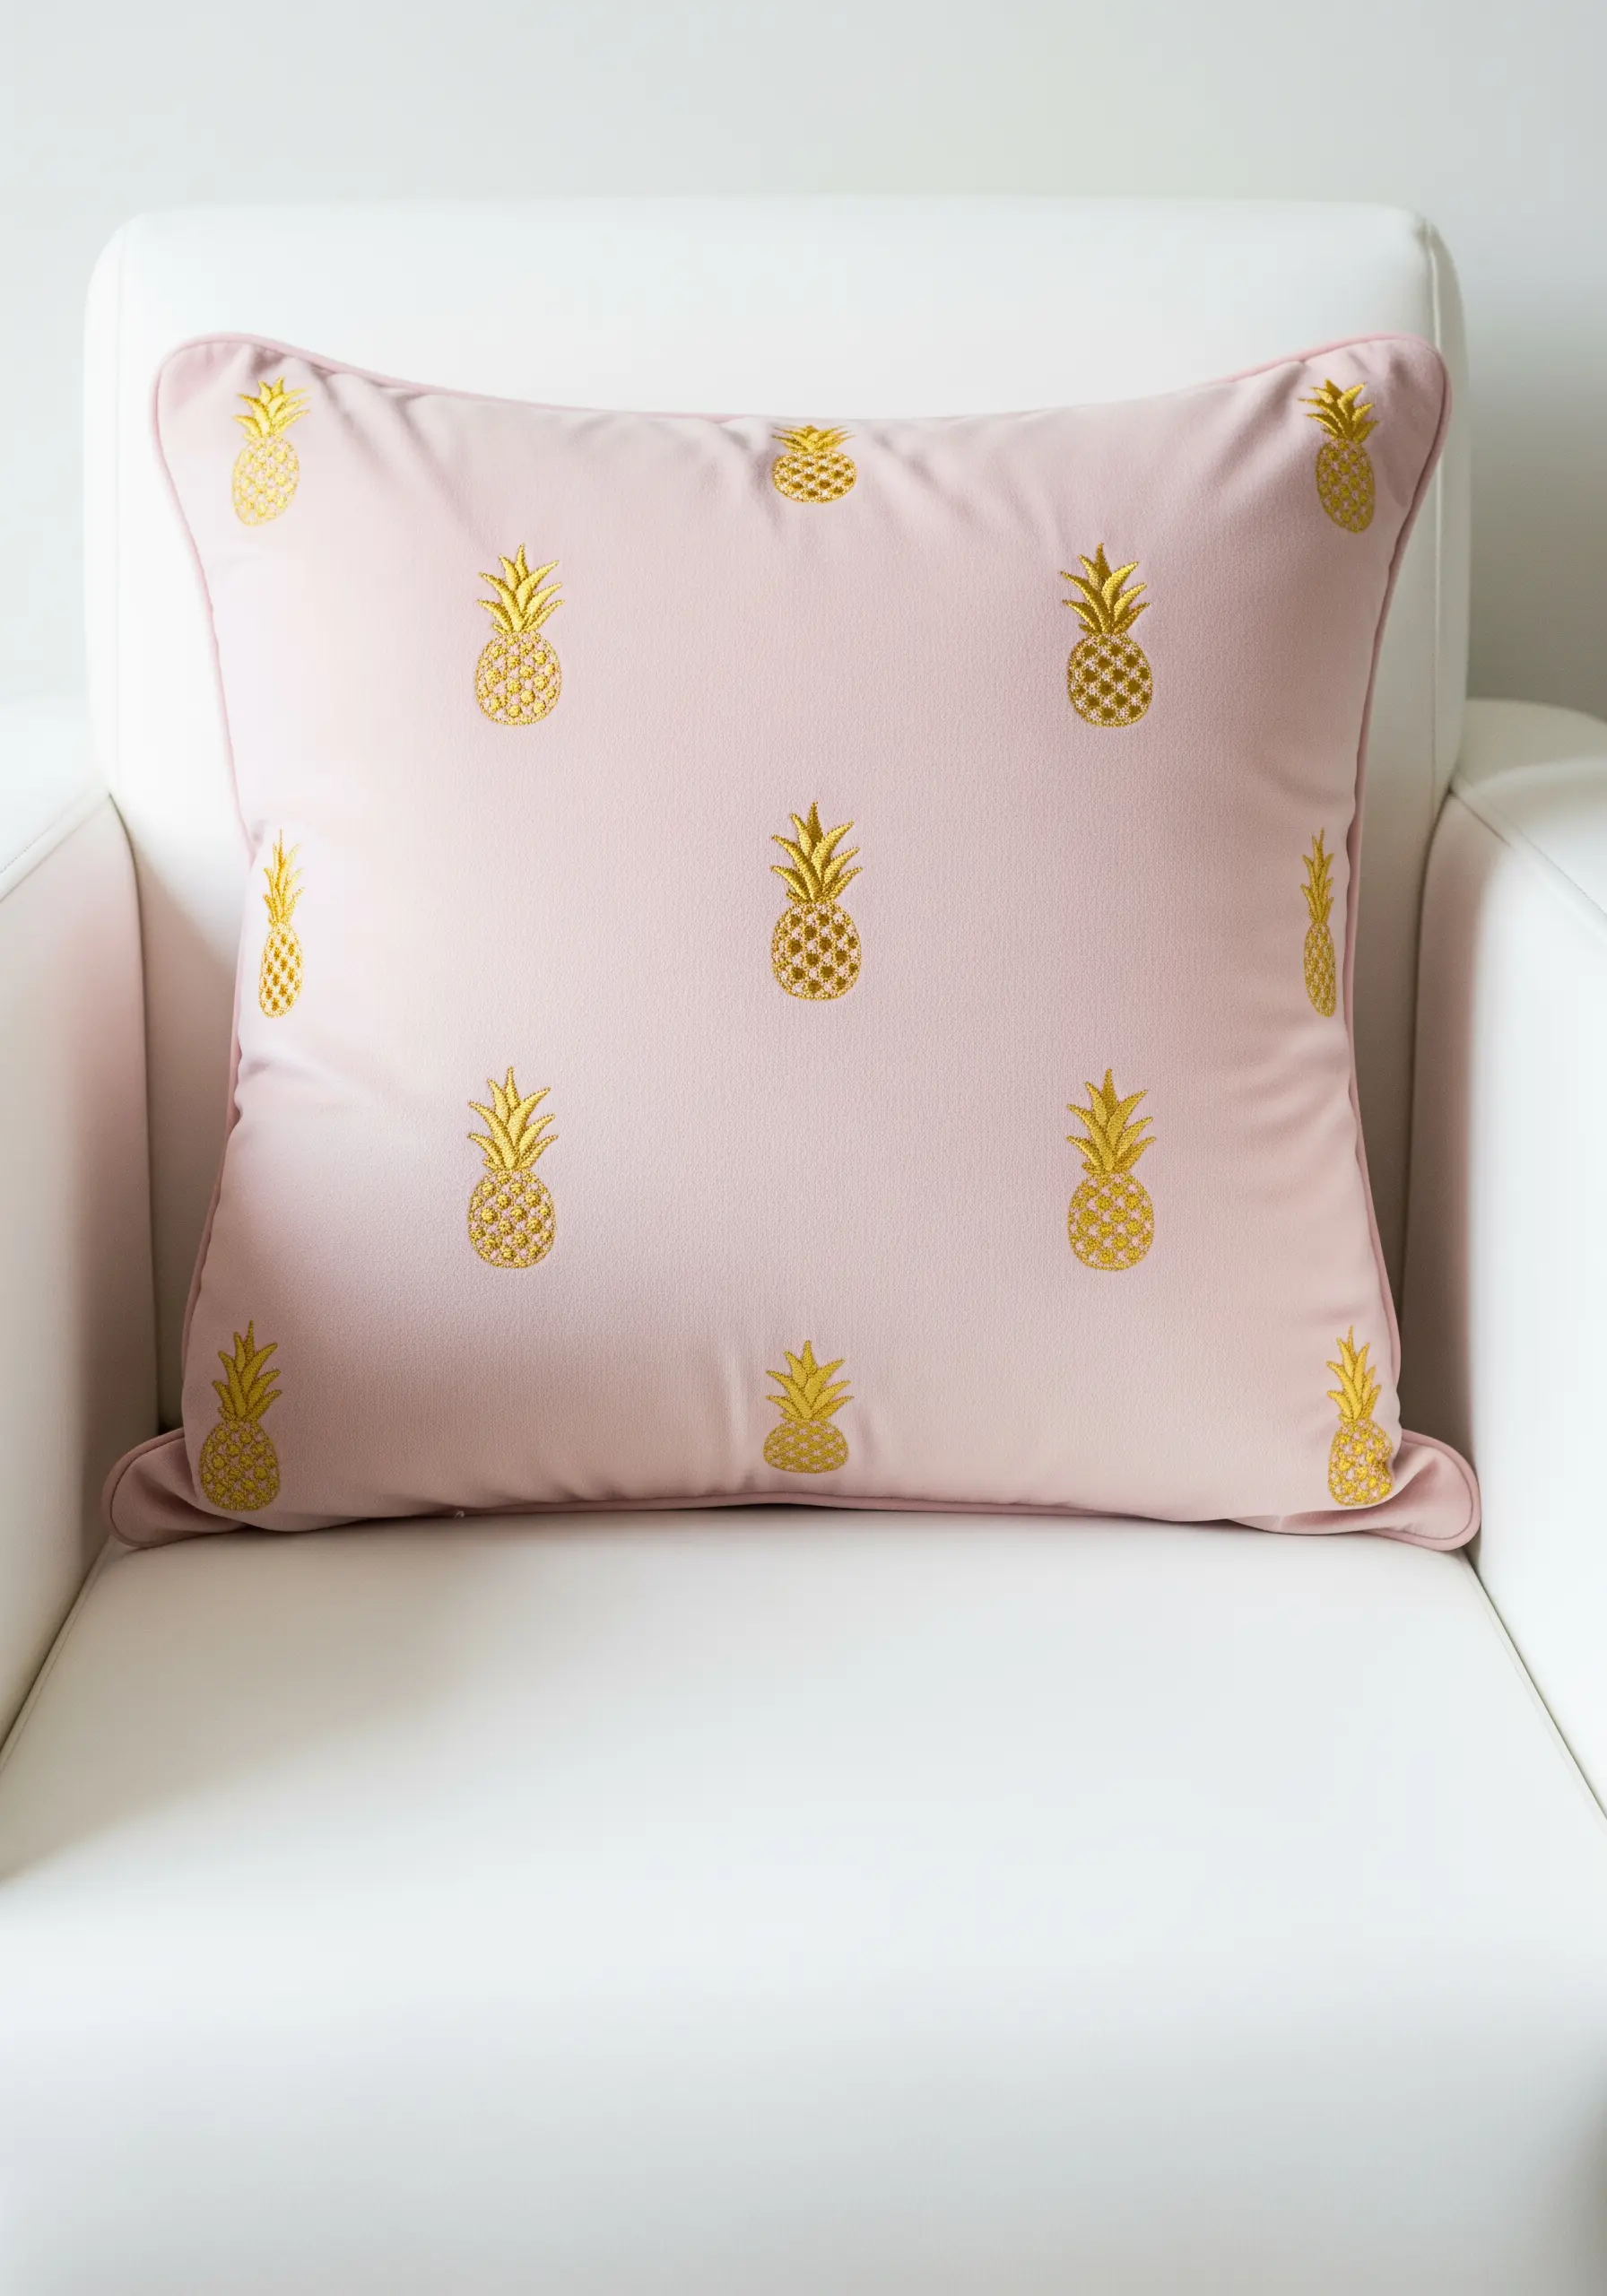
6. Elegant Repetition for a Faux-Damask Effect

You can create the illusion of luxurious woven damask by embroidering a repeating motif on a satin or sateen fabric.
The key to success is flawless pattern placement; use a disappearing ink pen and a stencil to ensure perfect symmetry across the surface.
The way the gold thread catches the light against the sheen of the fabric gives it a jacquard-like depth that looks far more complex than it is to stitch.
7. Dynamic Line Art with Seed Stitch Fill
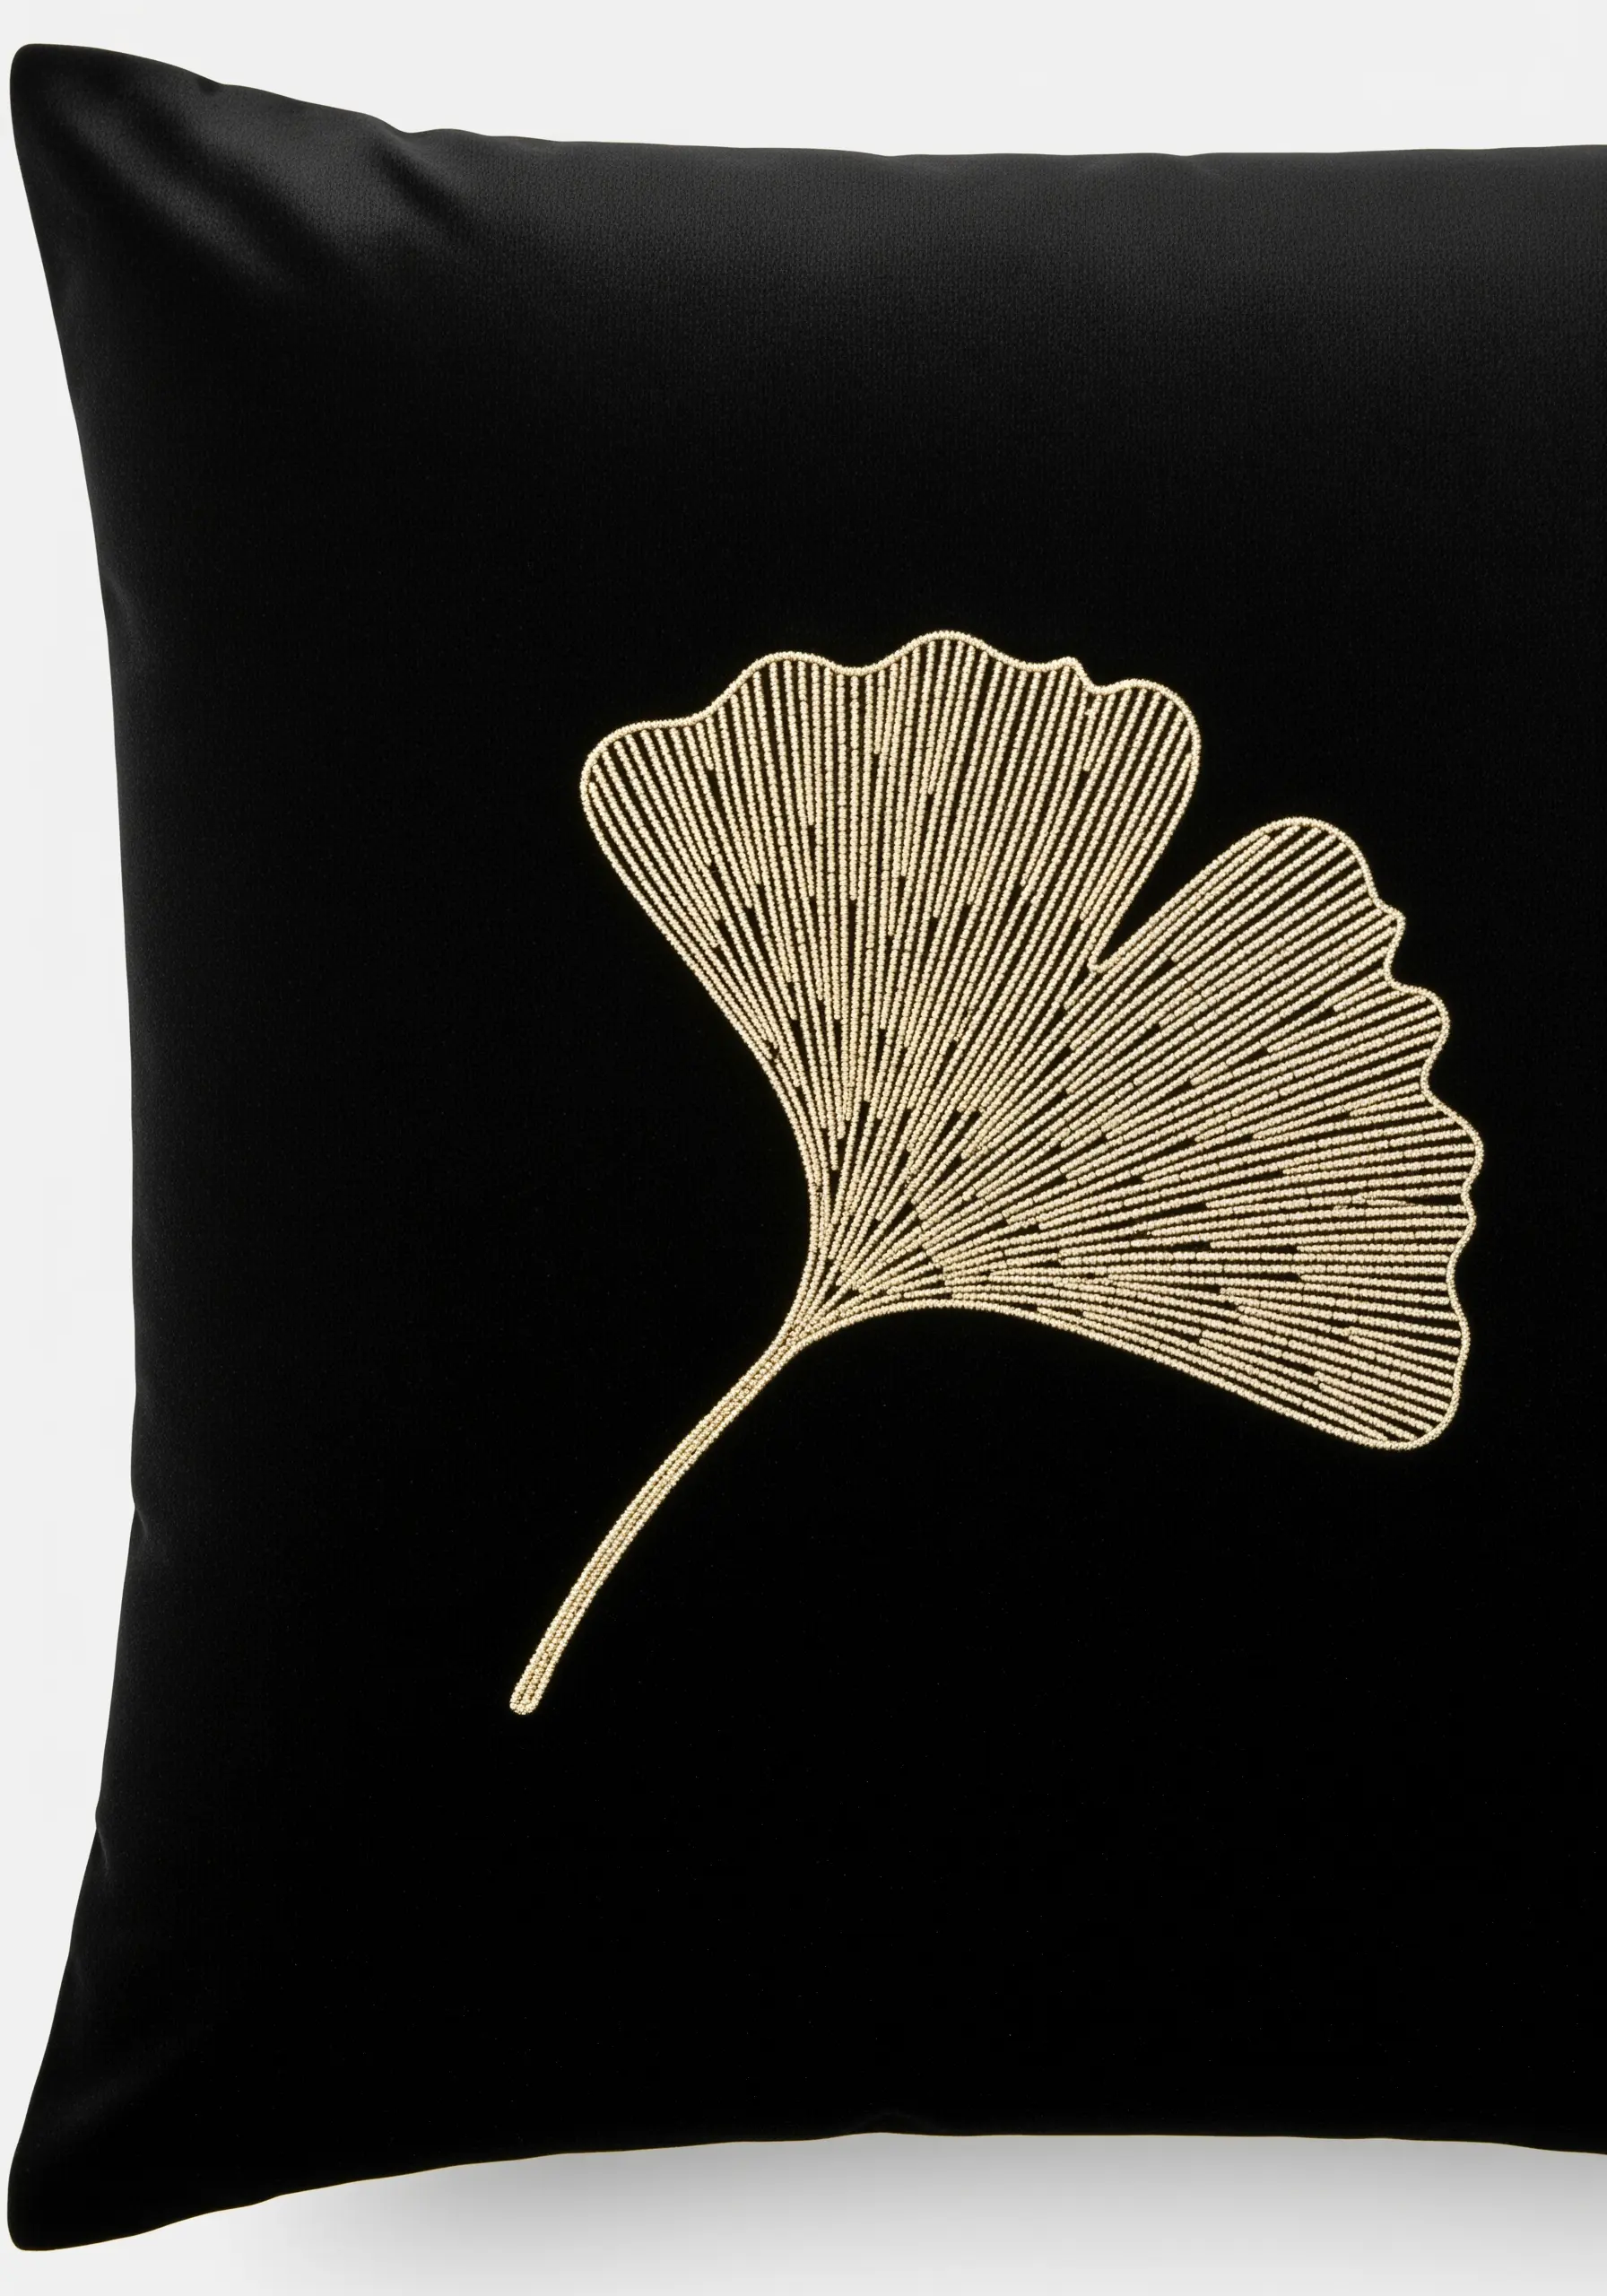
Instead of a solid satin stitch, fill delicate shapes with a dense scattering of tiny seed stitches.
This creates a shimmering, pointillist texture that feels lighter and more contemporary.
First, outline your ginkgo leaf with a crisp split stitch to define the edges, then fill the interior with random seed stitches.
This technique allows hints of the dark background fabric to show through, adding sophisticated depth.
8. Integrating Sequins for a Radiant Finish
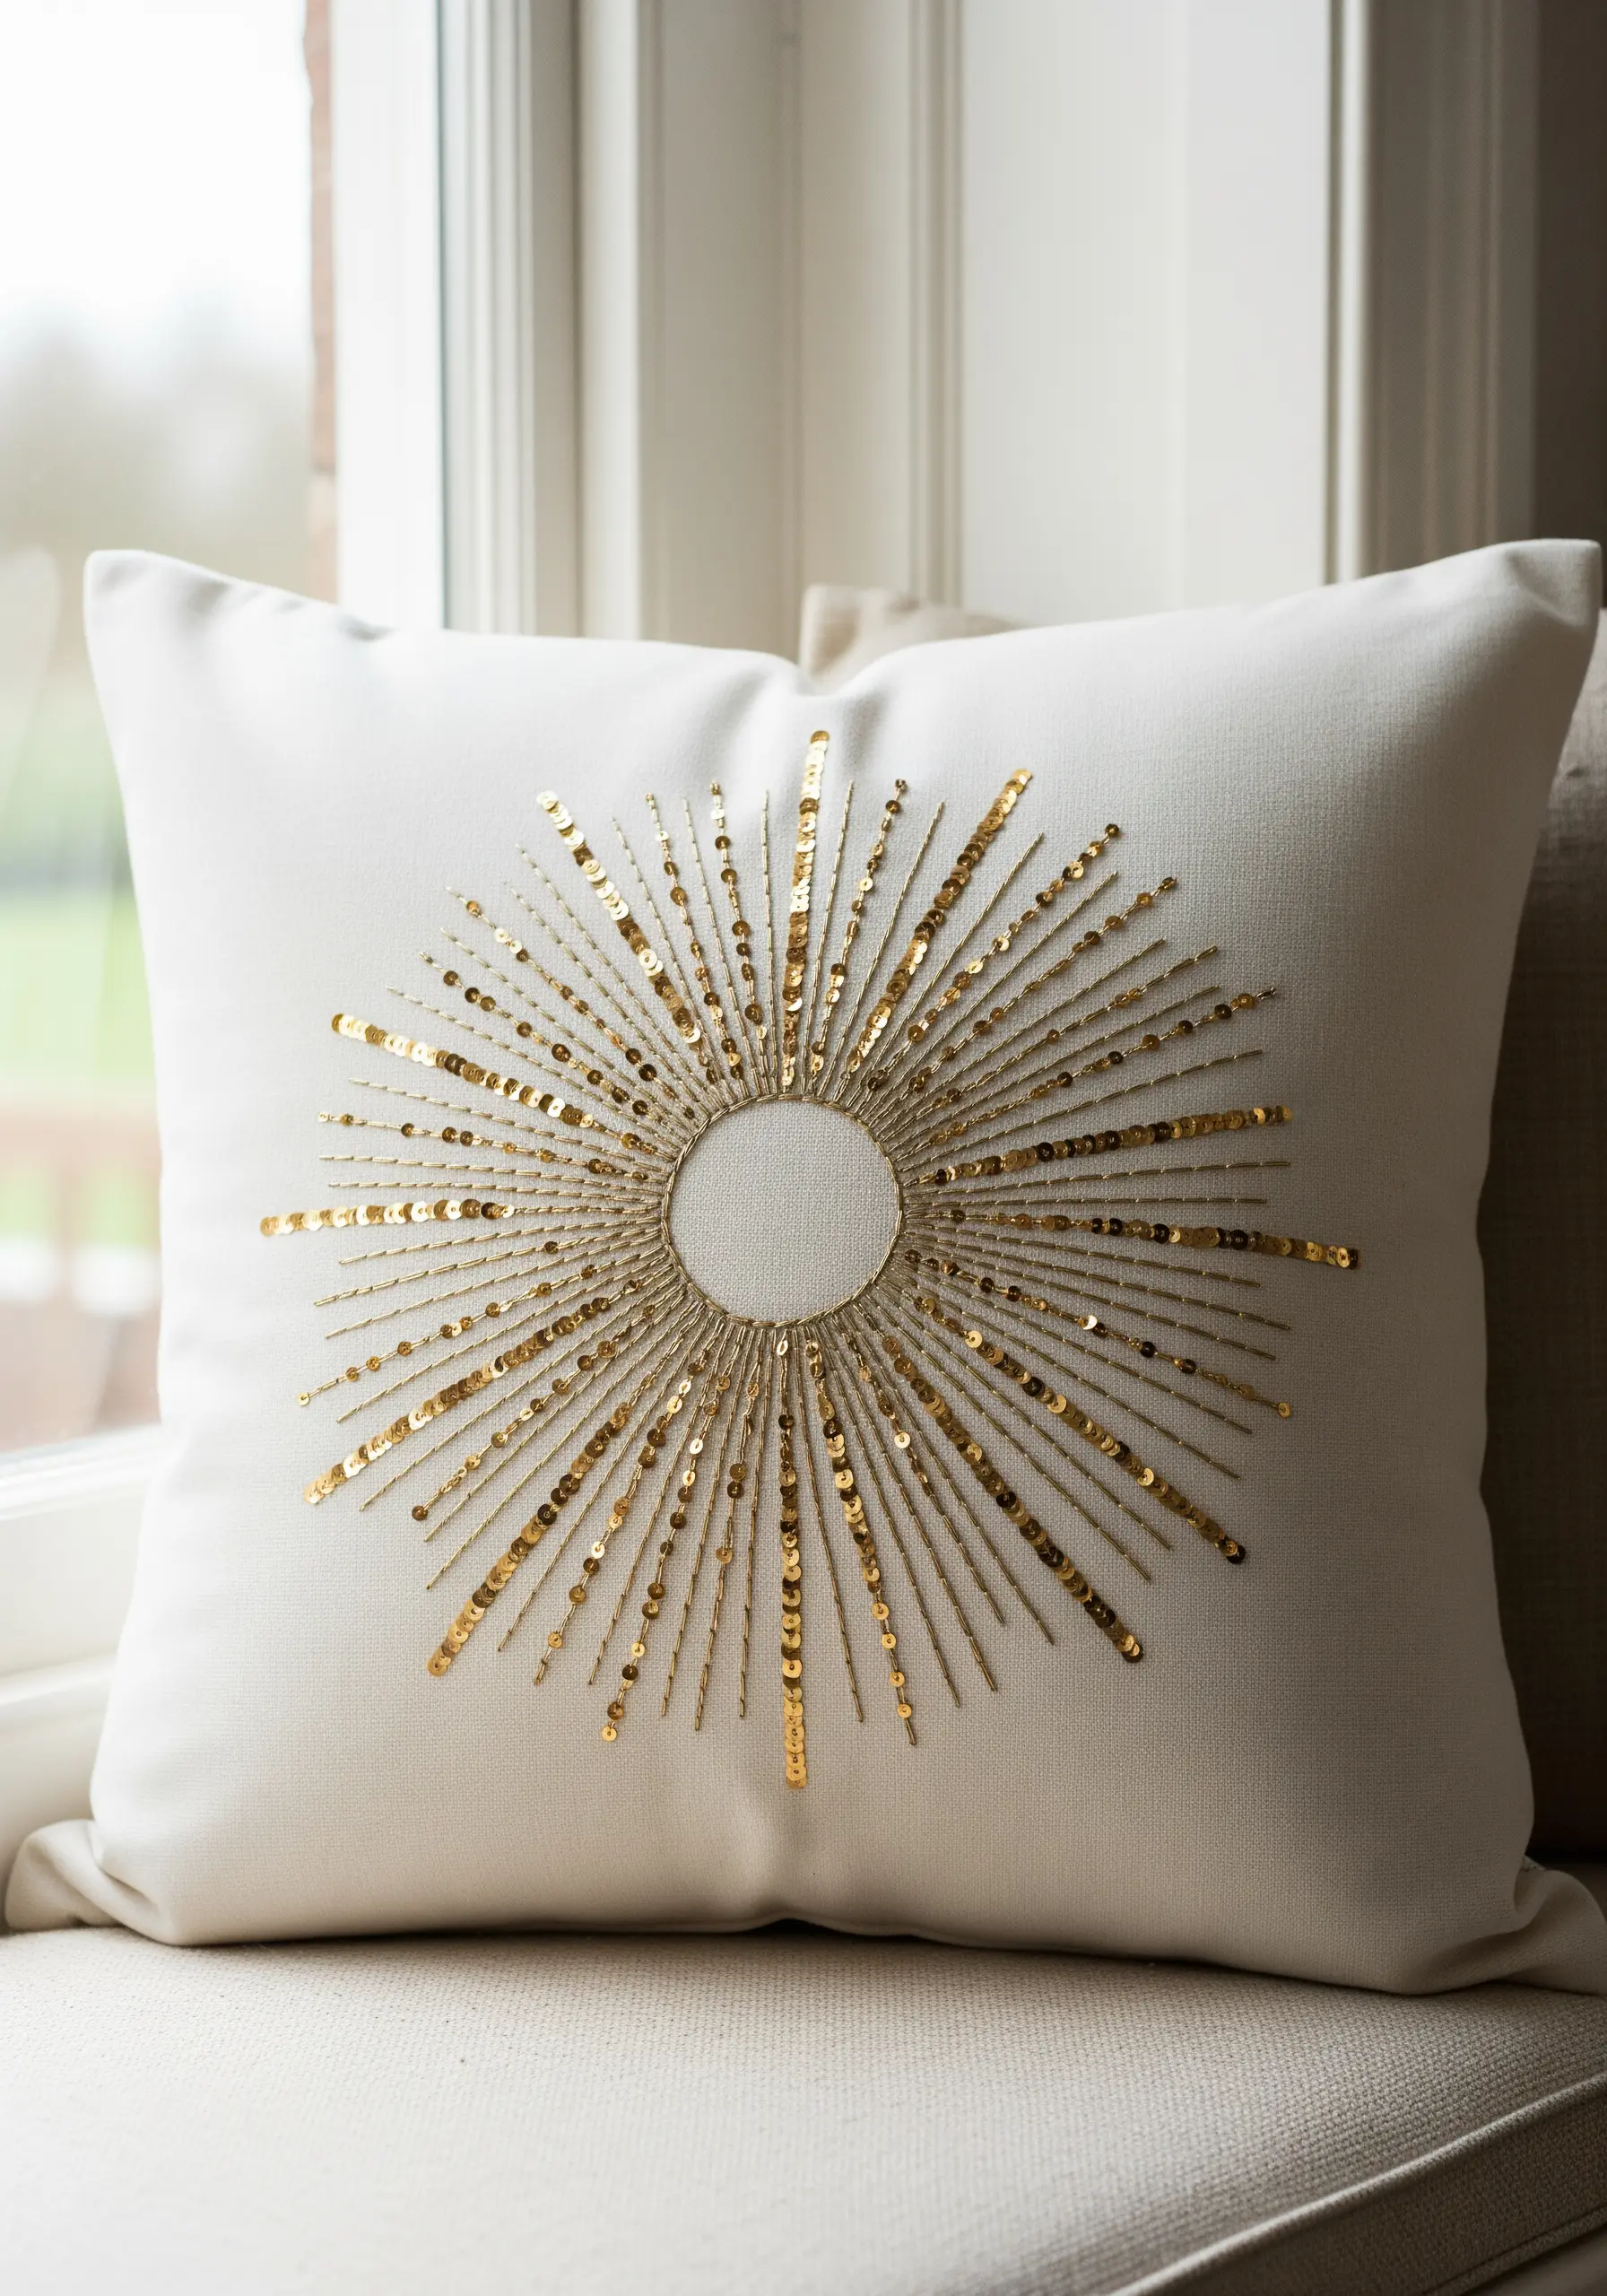
Instantly elevate simple line work by incorporating sequins for texture and sparkle.
After stitching the radiating lines of your sunburst, go back and secure individual gold sequins along each ray.
Use a single strand of matching thread and a tiny seed bead in the center of each sequin to hold it securely in place and add another layer of detail.
This transforms the design from flat to fabulously dynamic.
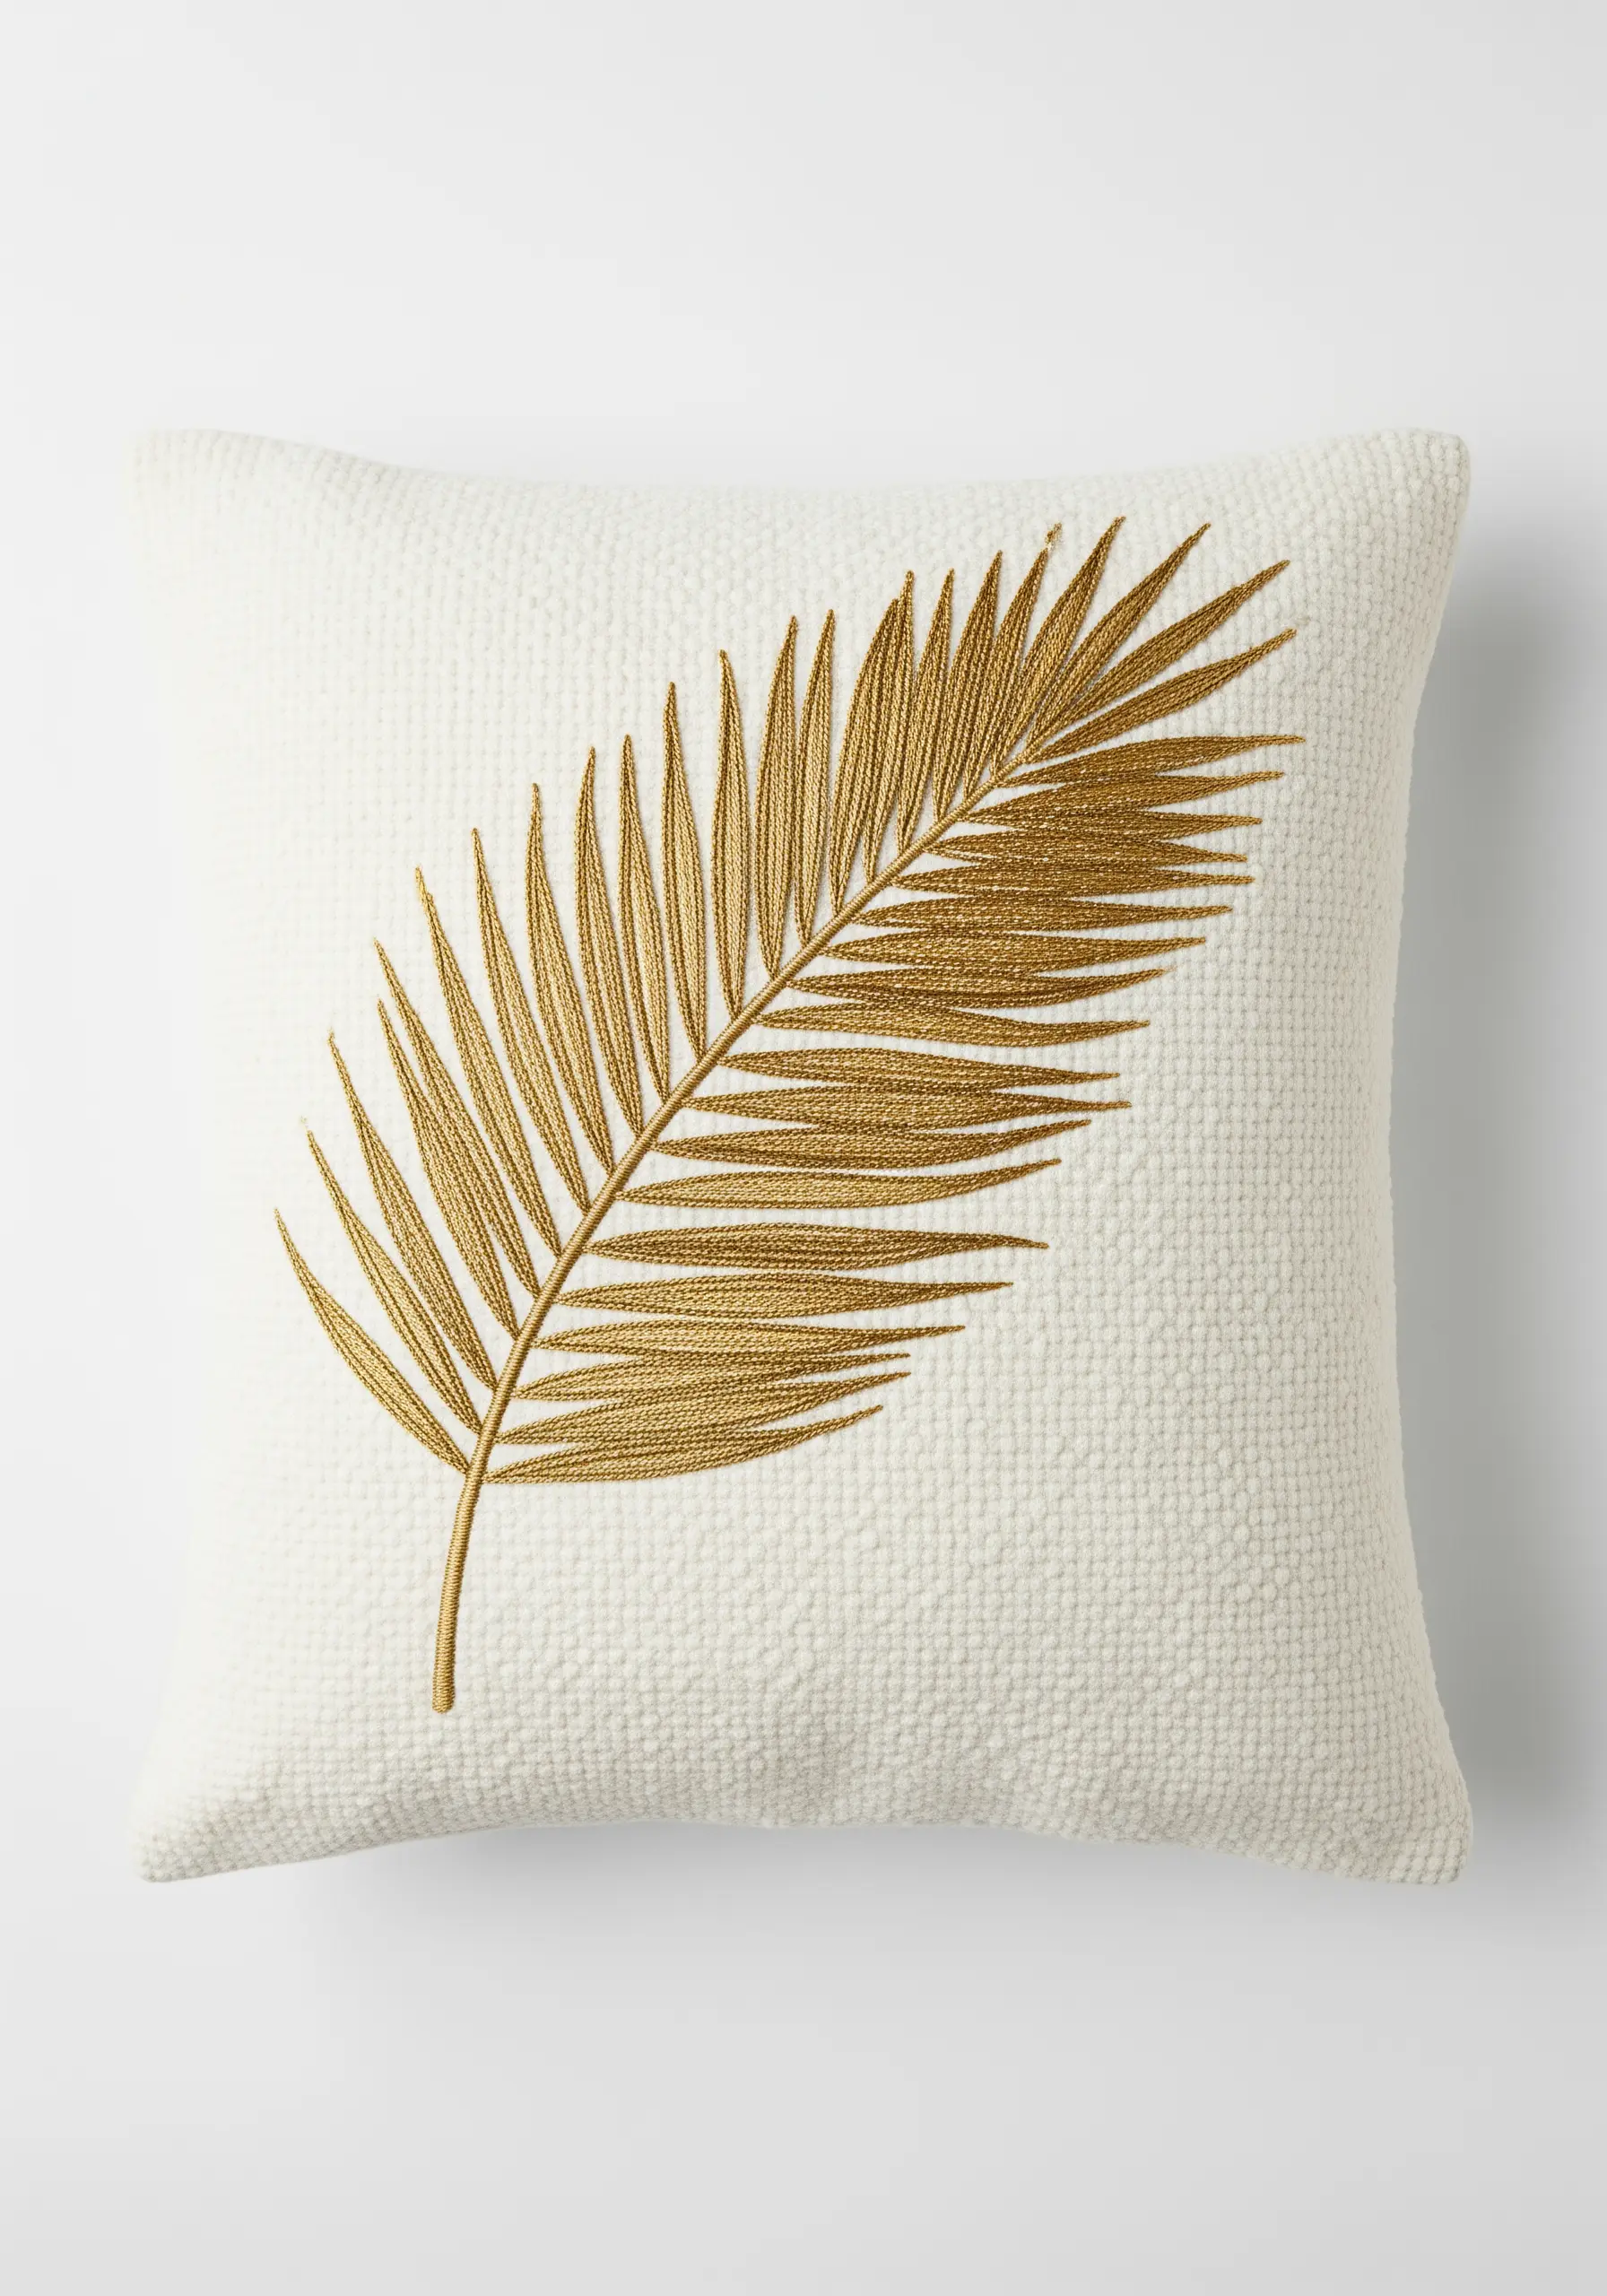
9. Delicate Botanicals with Fishbone Stitch
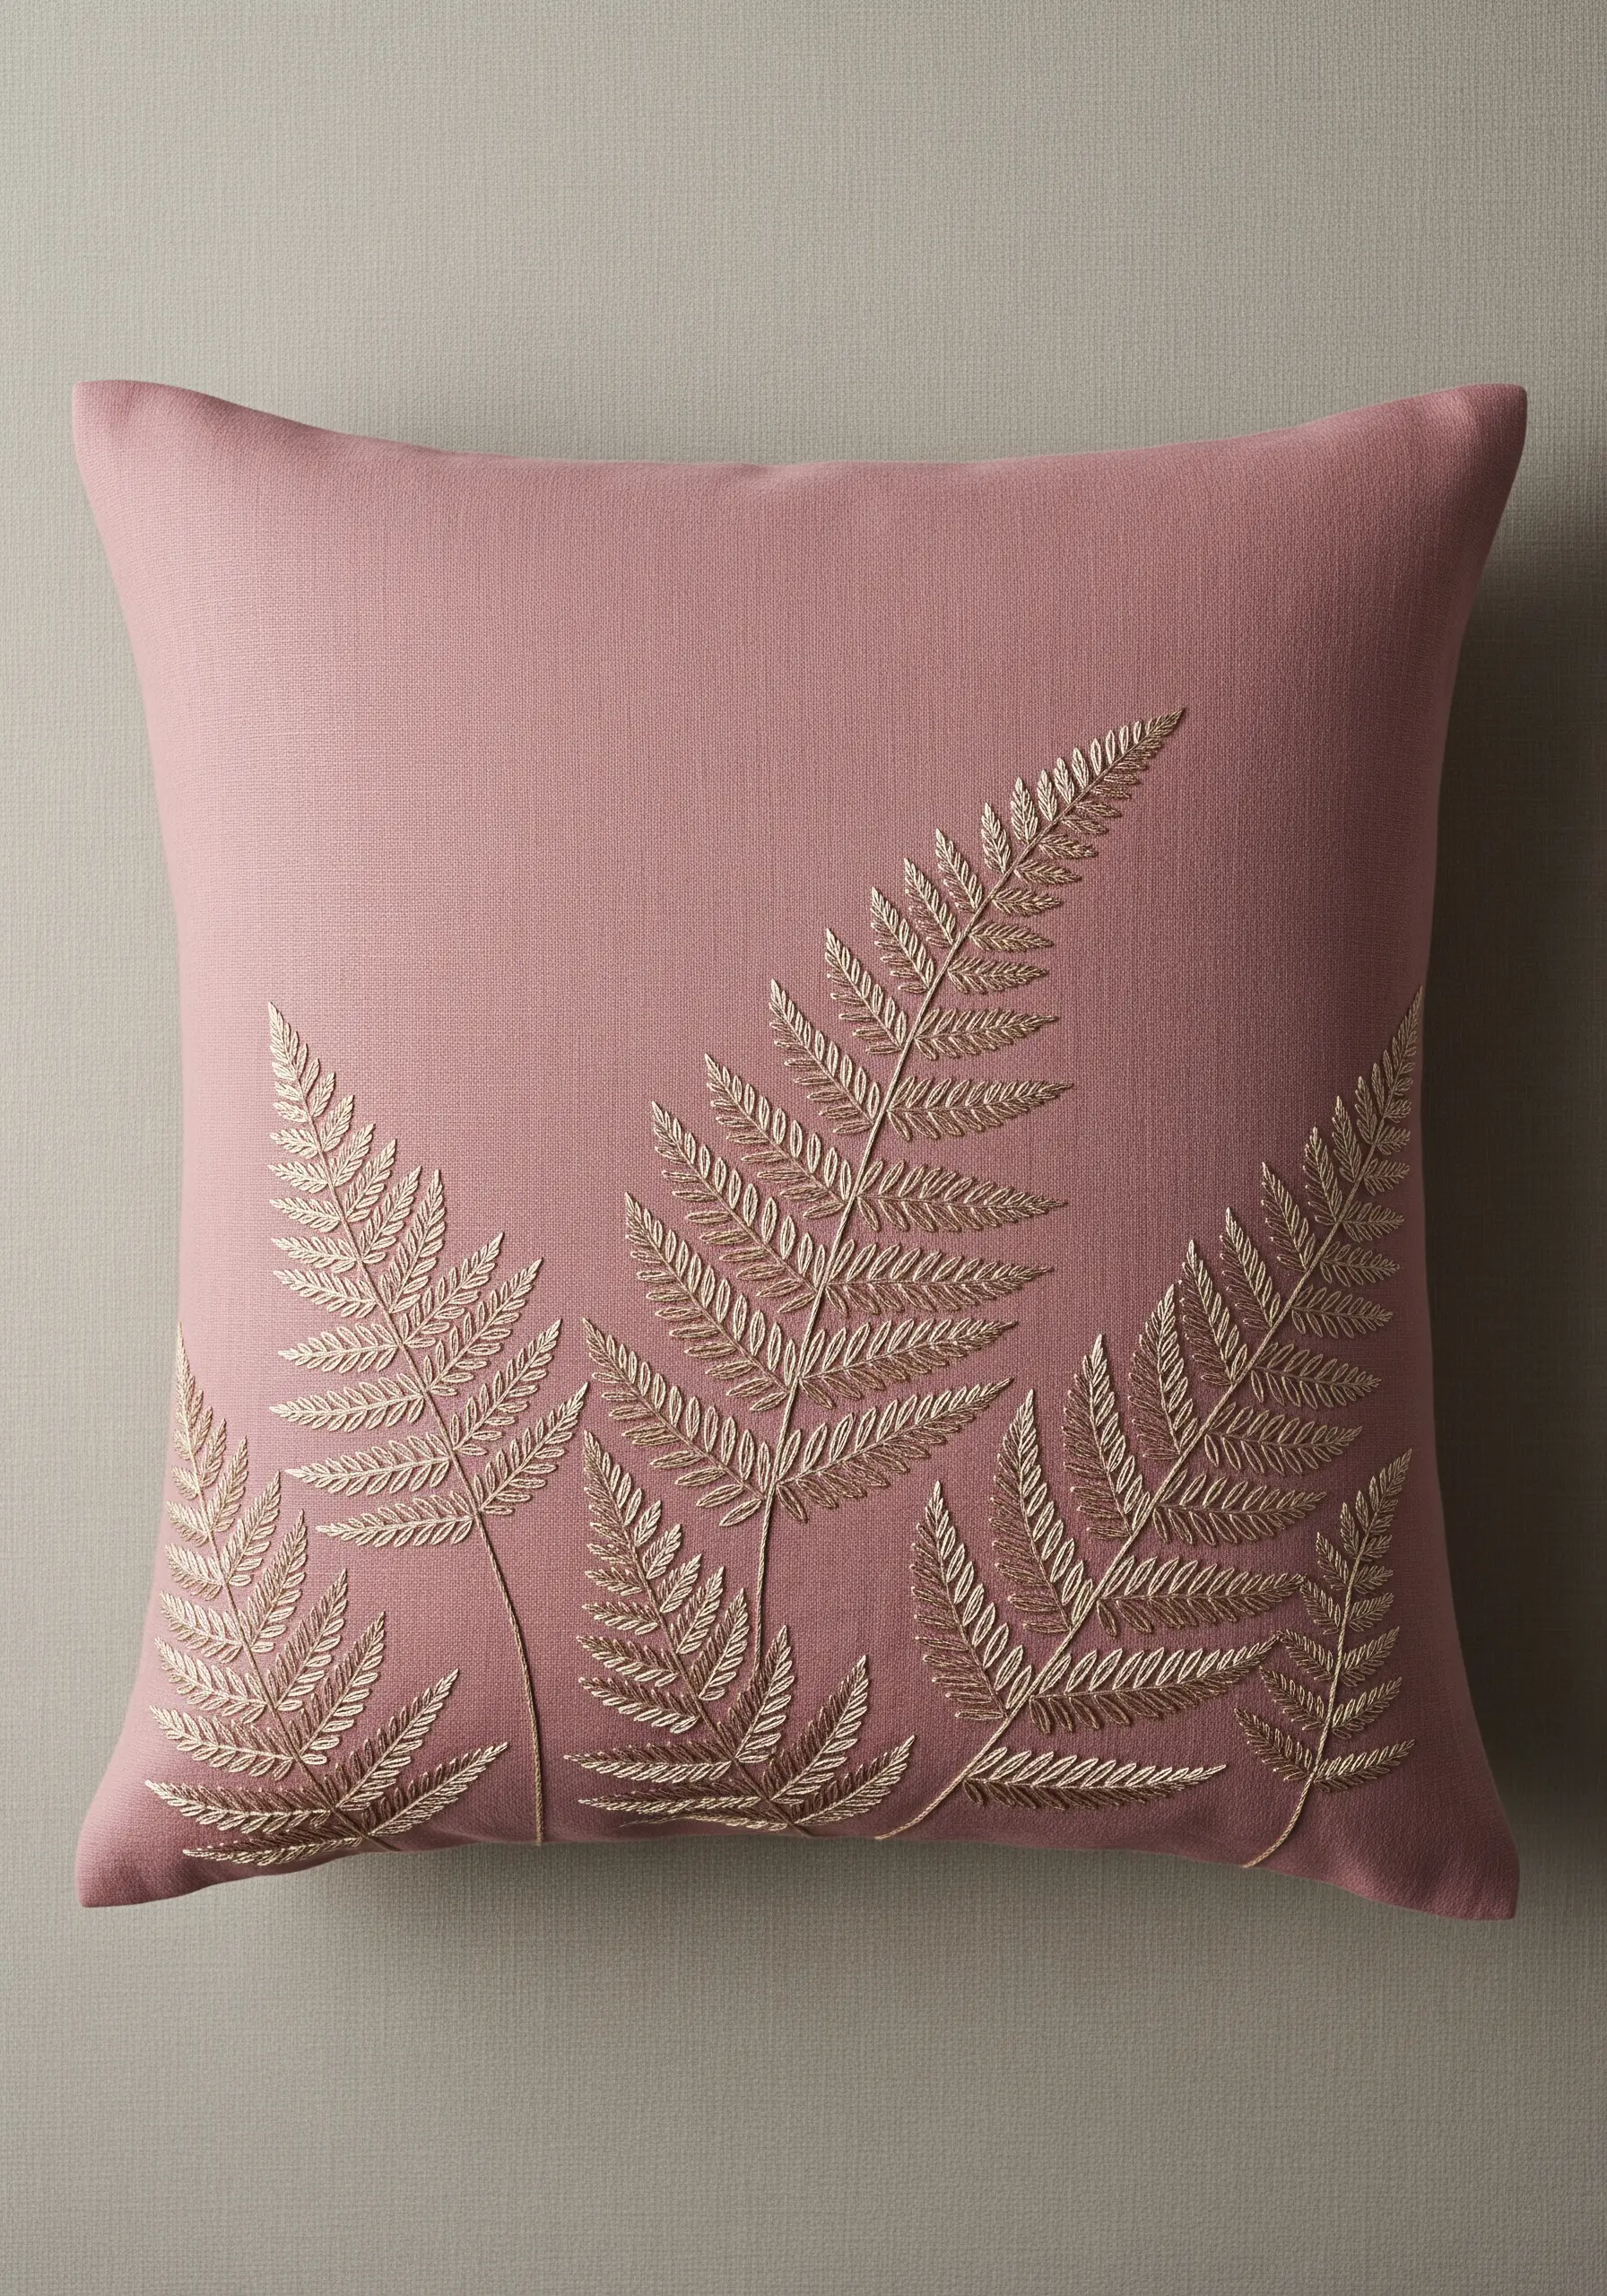
The fishbone stitch is the ideal choice for creating leaves with a defined central vein, like these elegant ferns.
You create the spine and the angled leaflets all in one fluid motion, resulting in a beautifully organic and realistic shape.
Use a thread with a softer metallic sheen, rather than a high-shine one, to give the botanicals a more subtle and sophisticated finish on a linen background.
10. Mastering Bold Outlines with Padded Satin Stitch

To give a simple outline a commanding, three-dimensional presence, you must build it up from within.
First, fill the shape of your crown with a foundation of small running stitches or a split stitch outline.
Then, work your final satin stitches over this padding at a 90-degree angle.
This simple preparation lifts the embroidery off the fabric, creating a professional, embossed effect that looks incredibly luxe.
11. Tone-on-Tone Texture for Understated Elegance
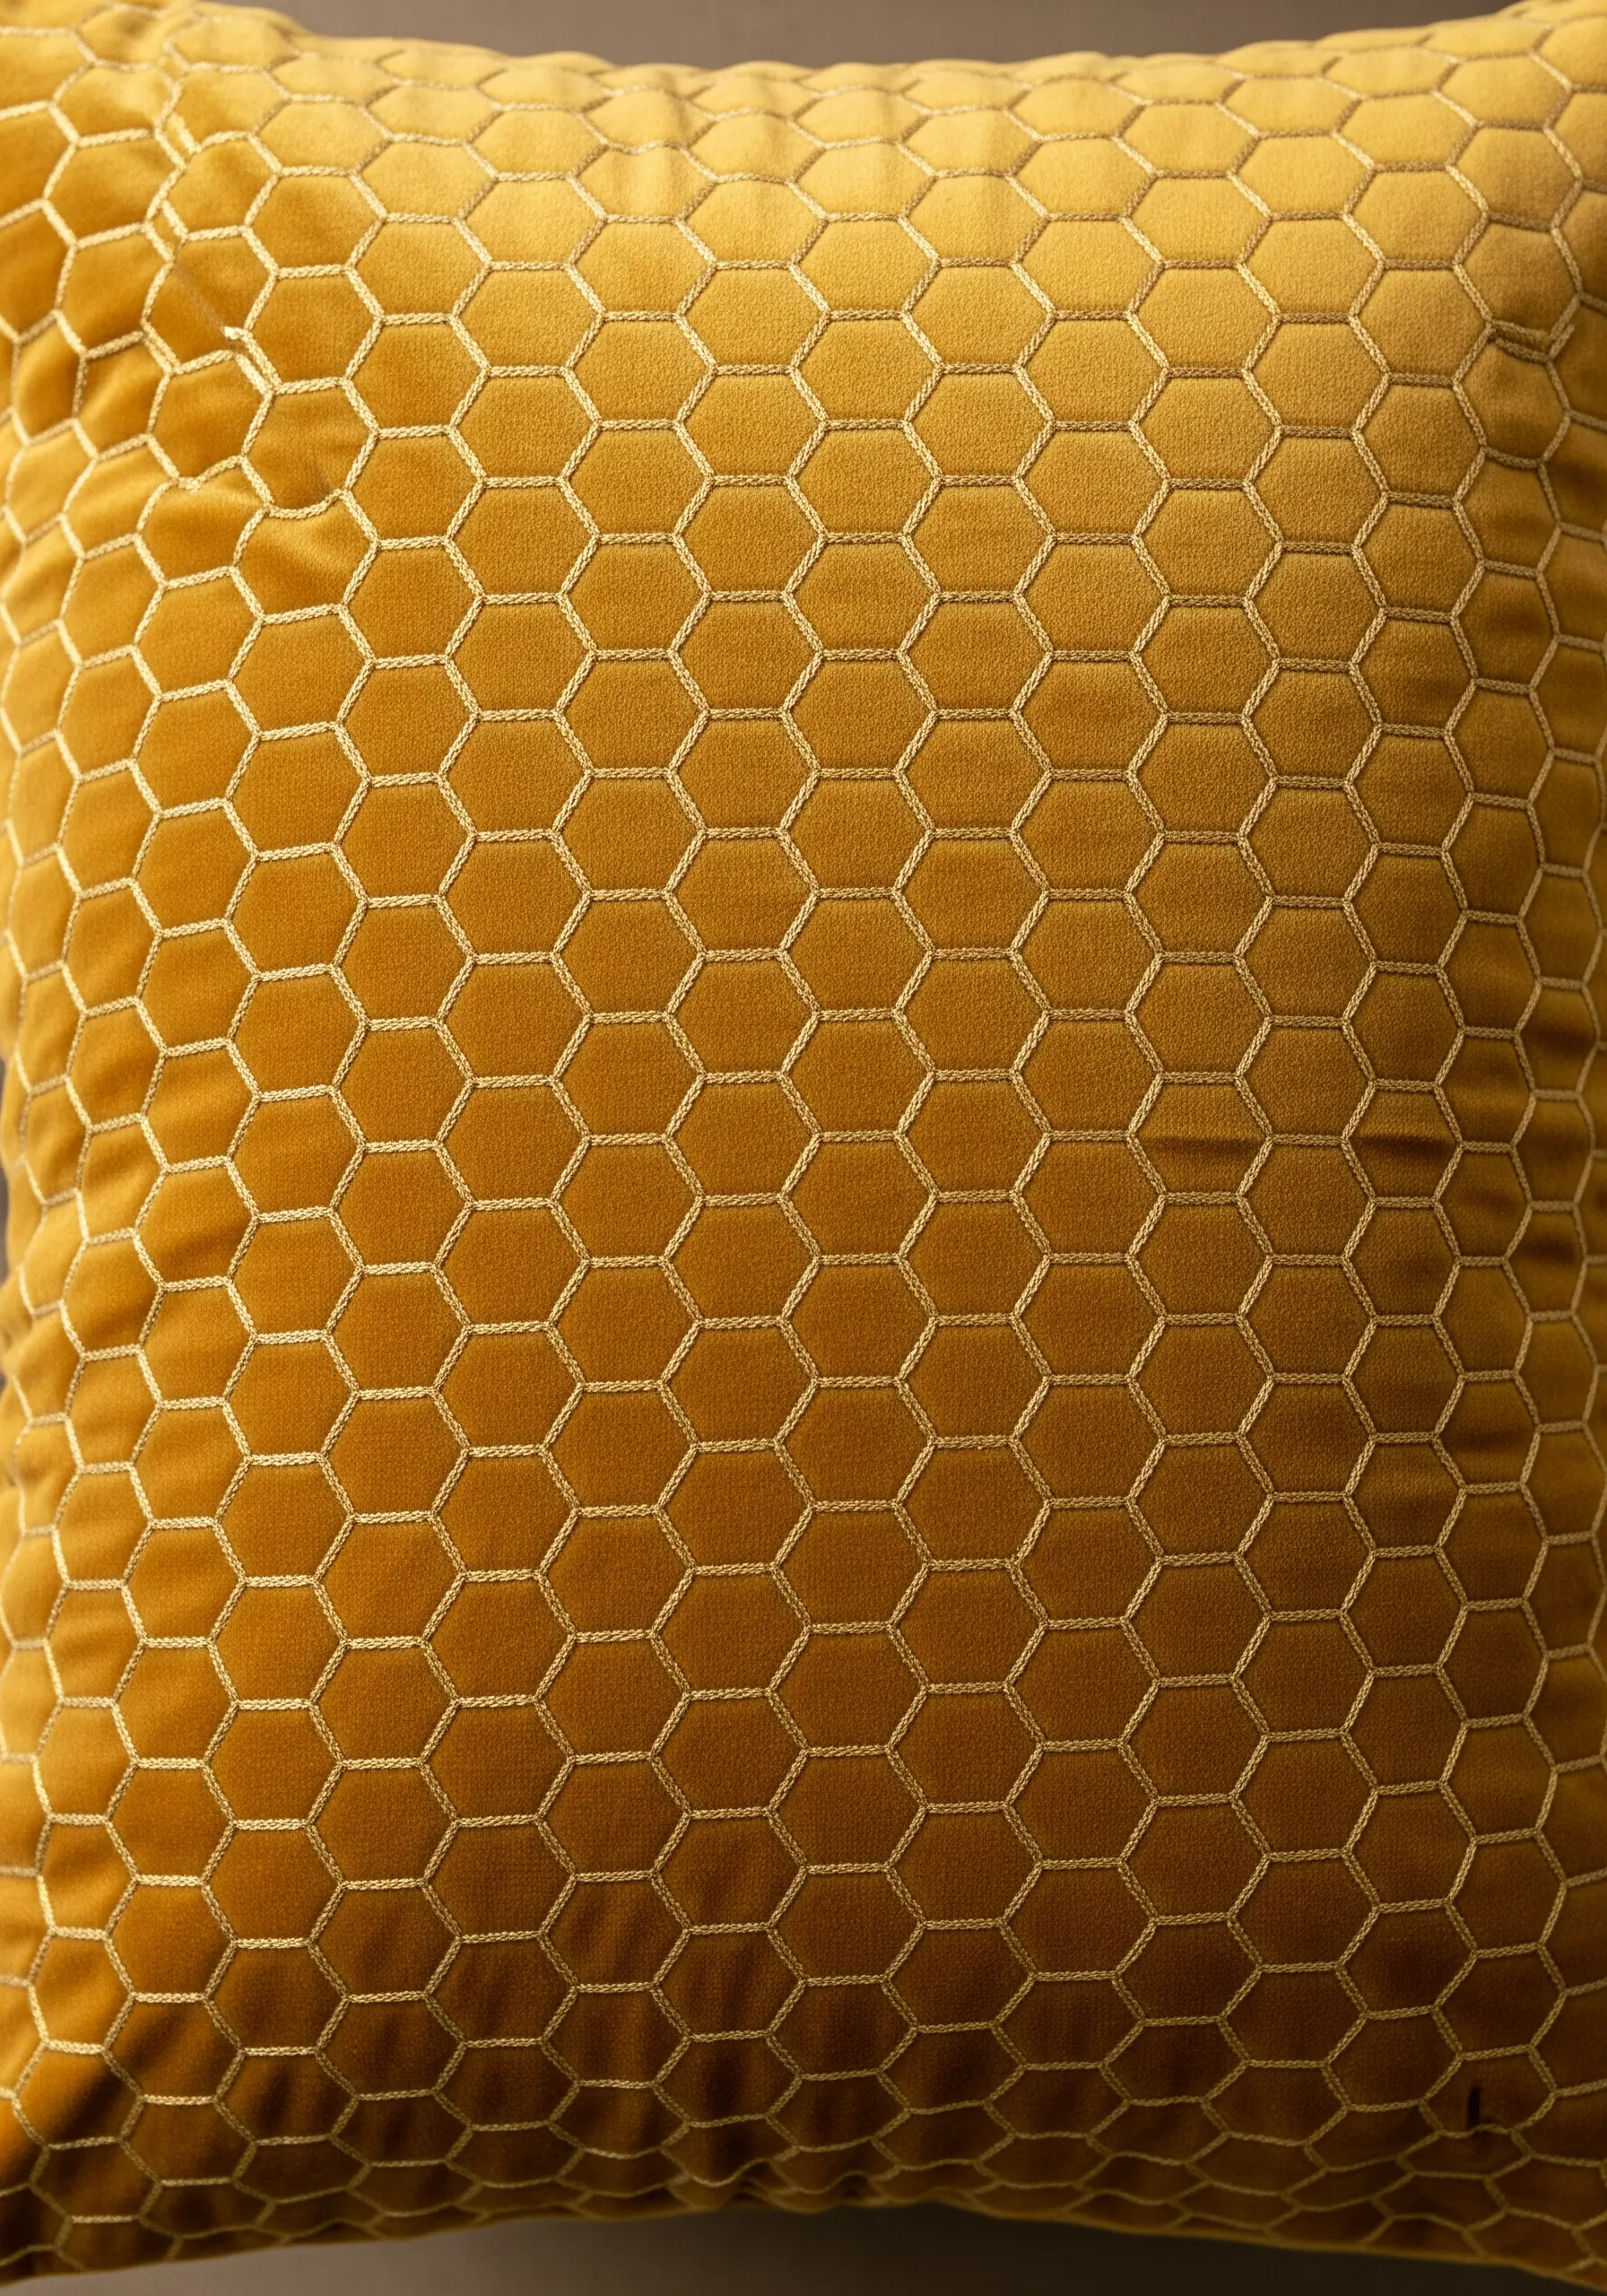
For a truly high-end look, focus on texture over color contrast.
This design works because the gold thread is only slightly lighter and more reflective than the velvet base fabric.
A simple backstitch is all that’s needed to create the honeycomb pattern.
The result is a subtle, quilted effect where the design emerges as the light shifts, a hallmark of sophisticated tone-on-tone embroidery.
12. Thread Painting with Metallic Accents
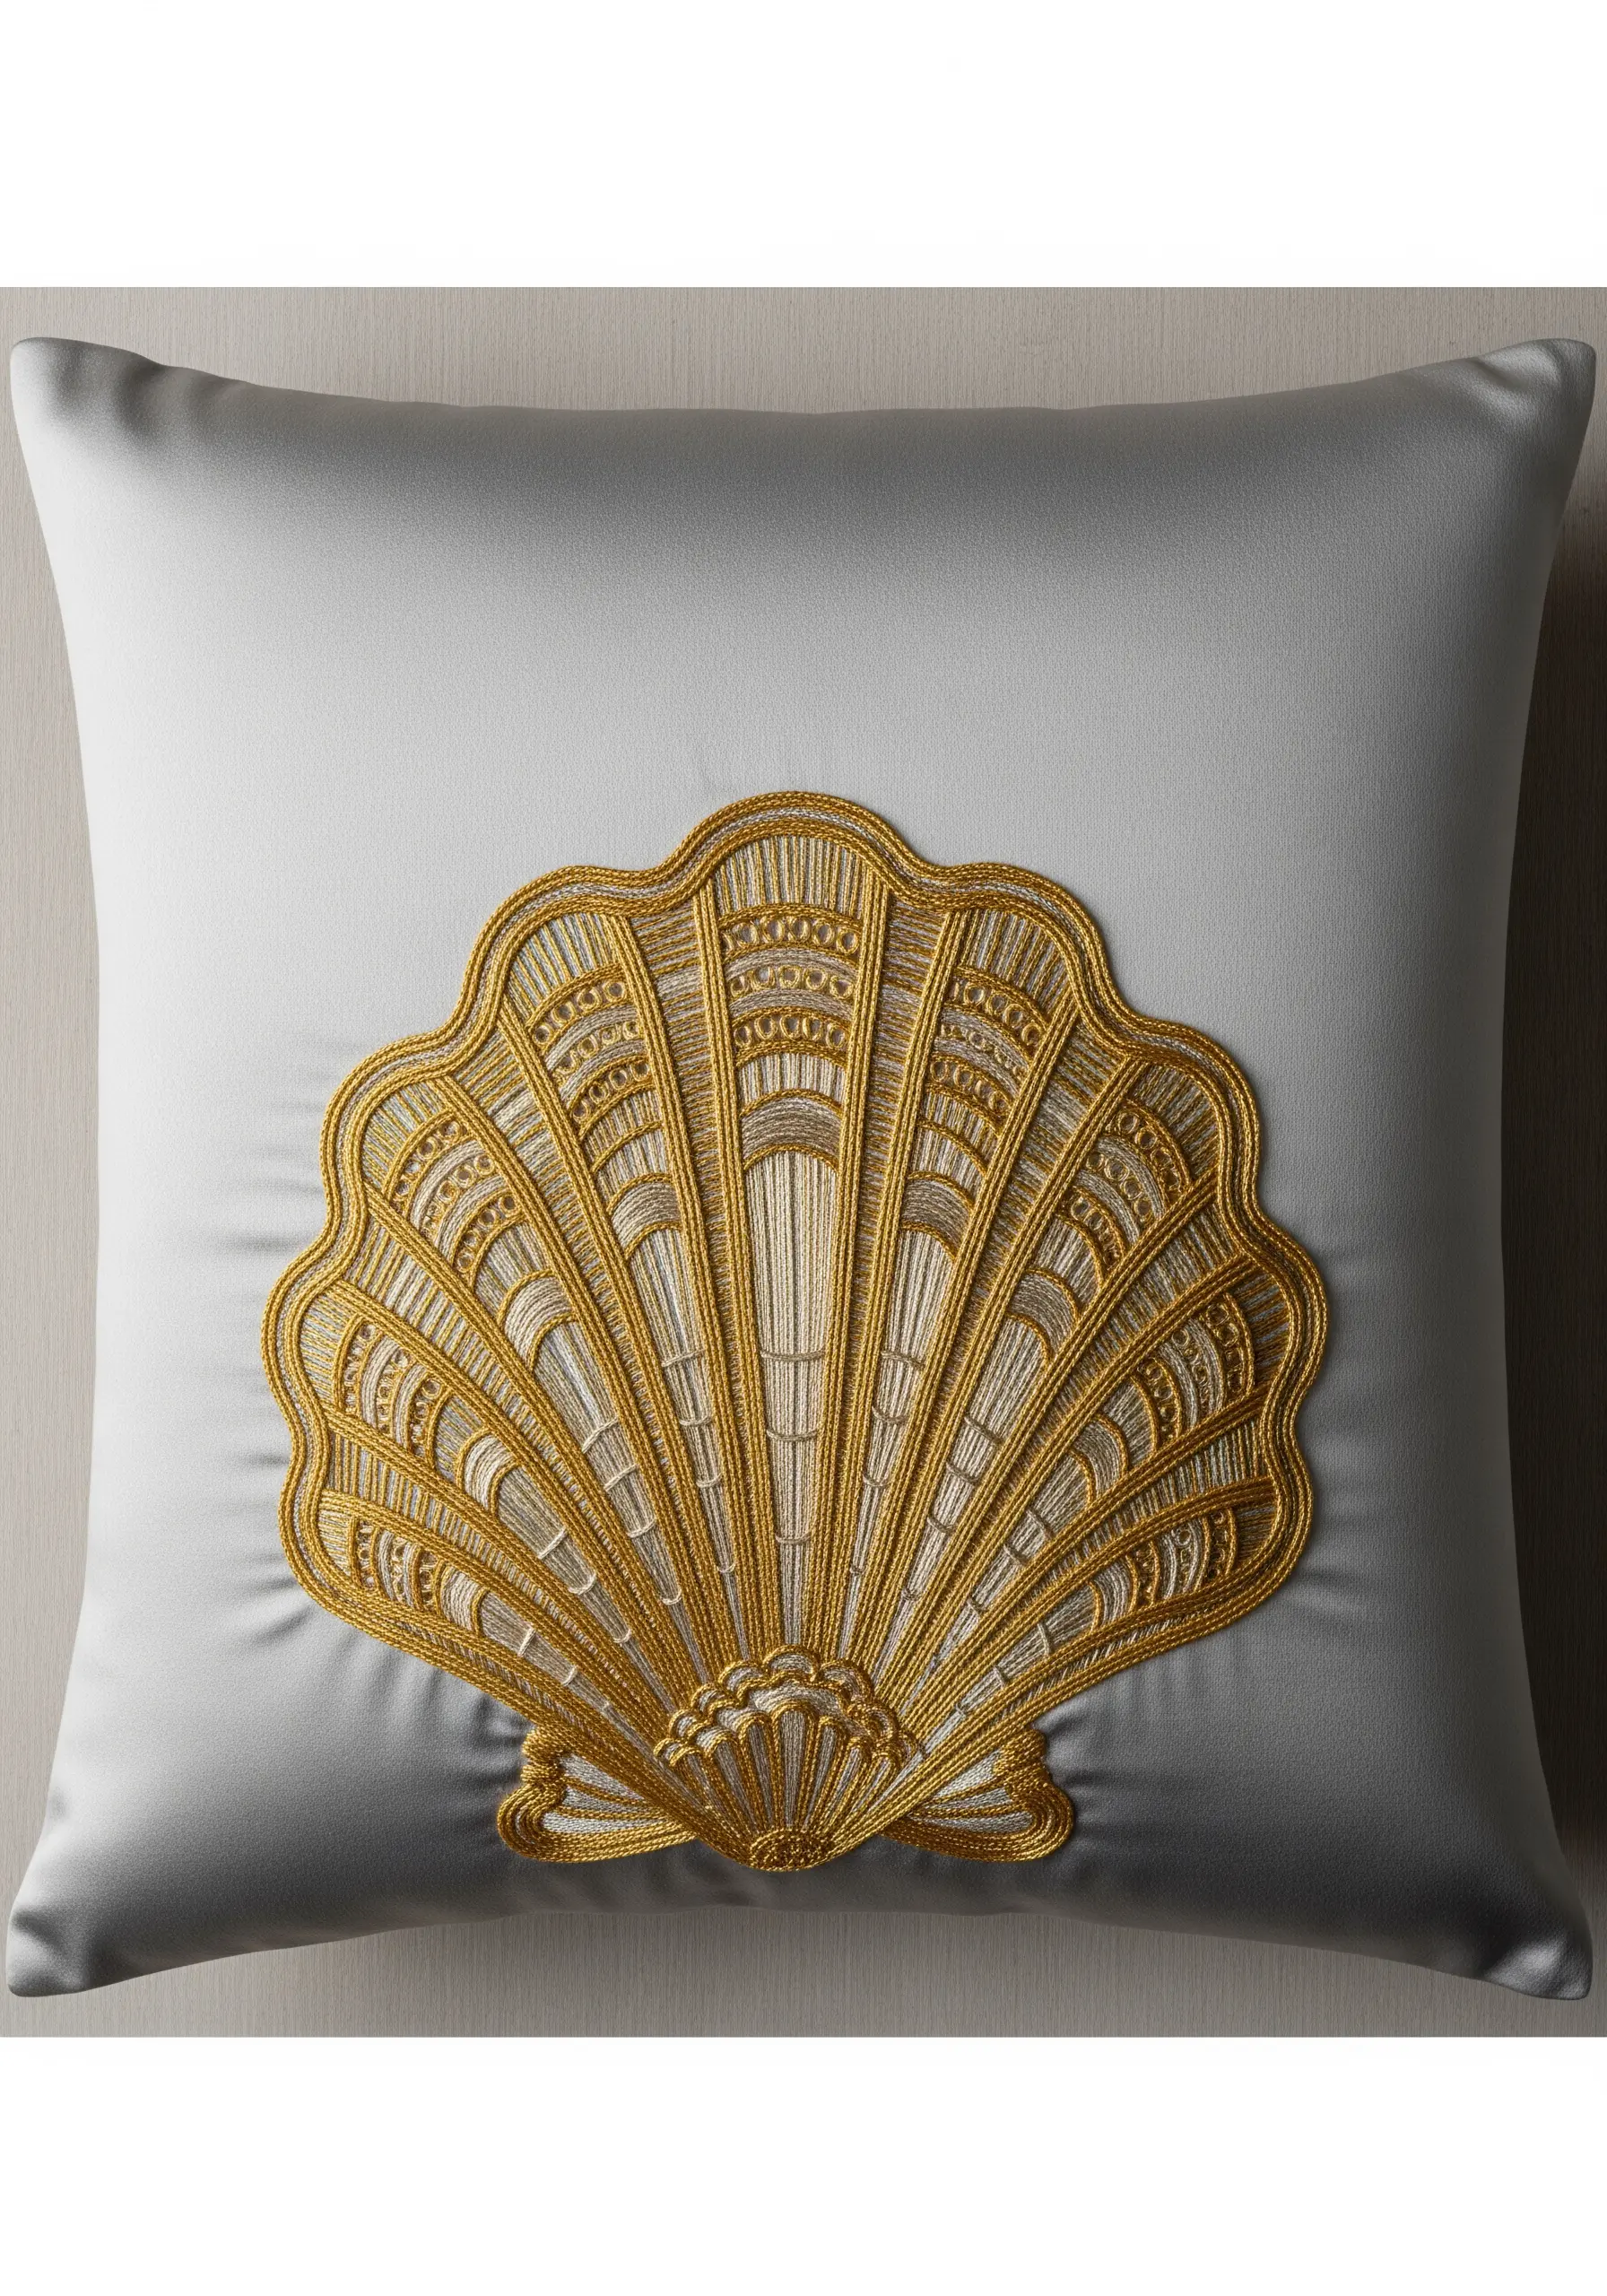
Create depth and shimmer by blending standard cotton floss with metallic thread in the same design.
Use white and cream cotton floss with long-and-short stitch to form the soft, matte body of the seashell.
Then, use a fine gold metallic thread to outline each segment and add sharp, reflective highlights.
This approach to abstract thread painting provides both gentle shading and crisp definition.
13. Creating Painterly Textures with Thread
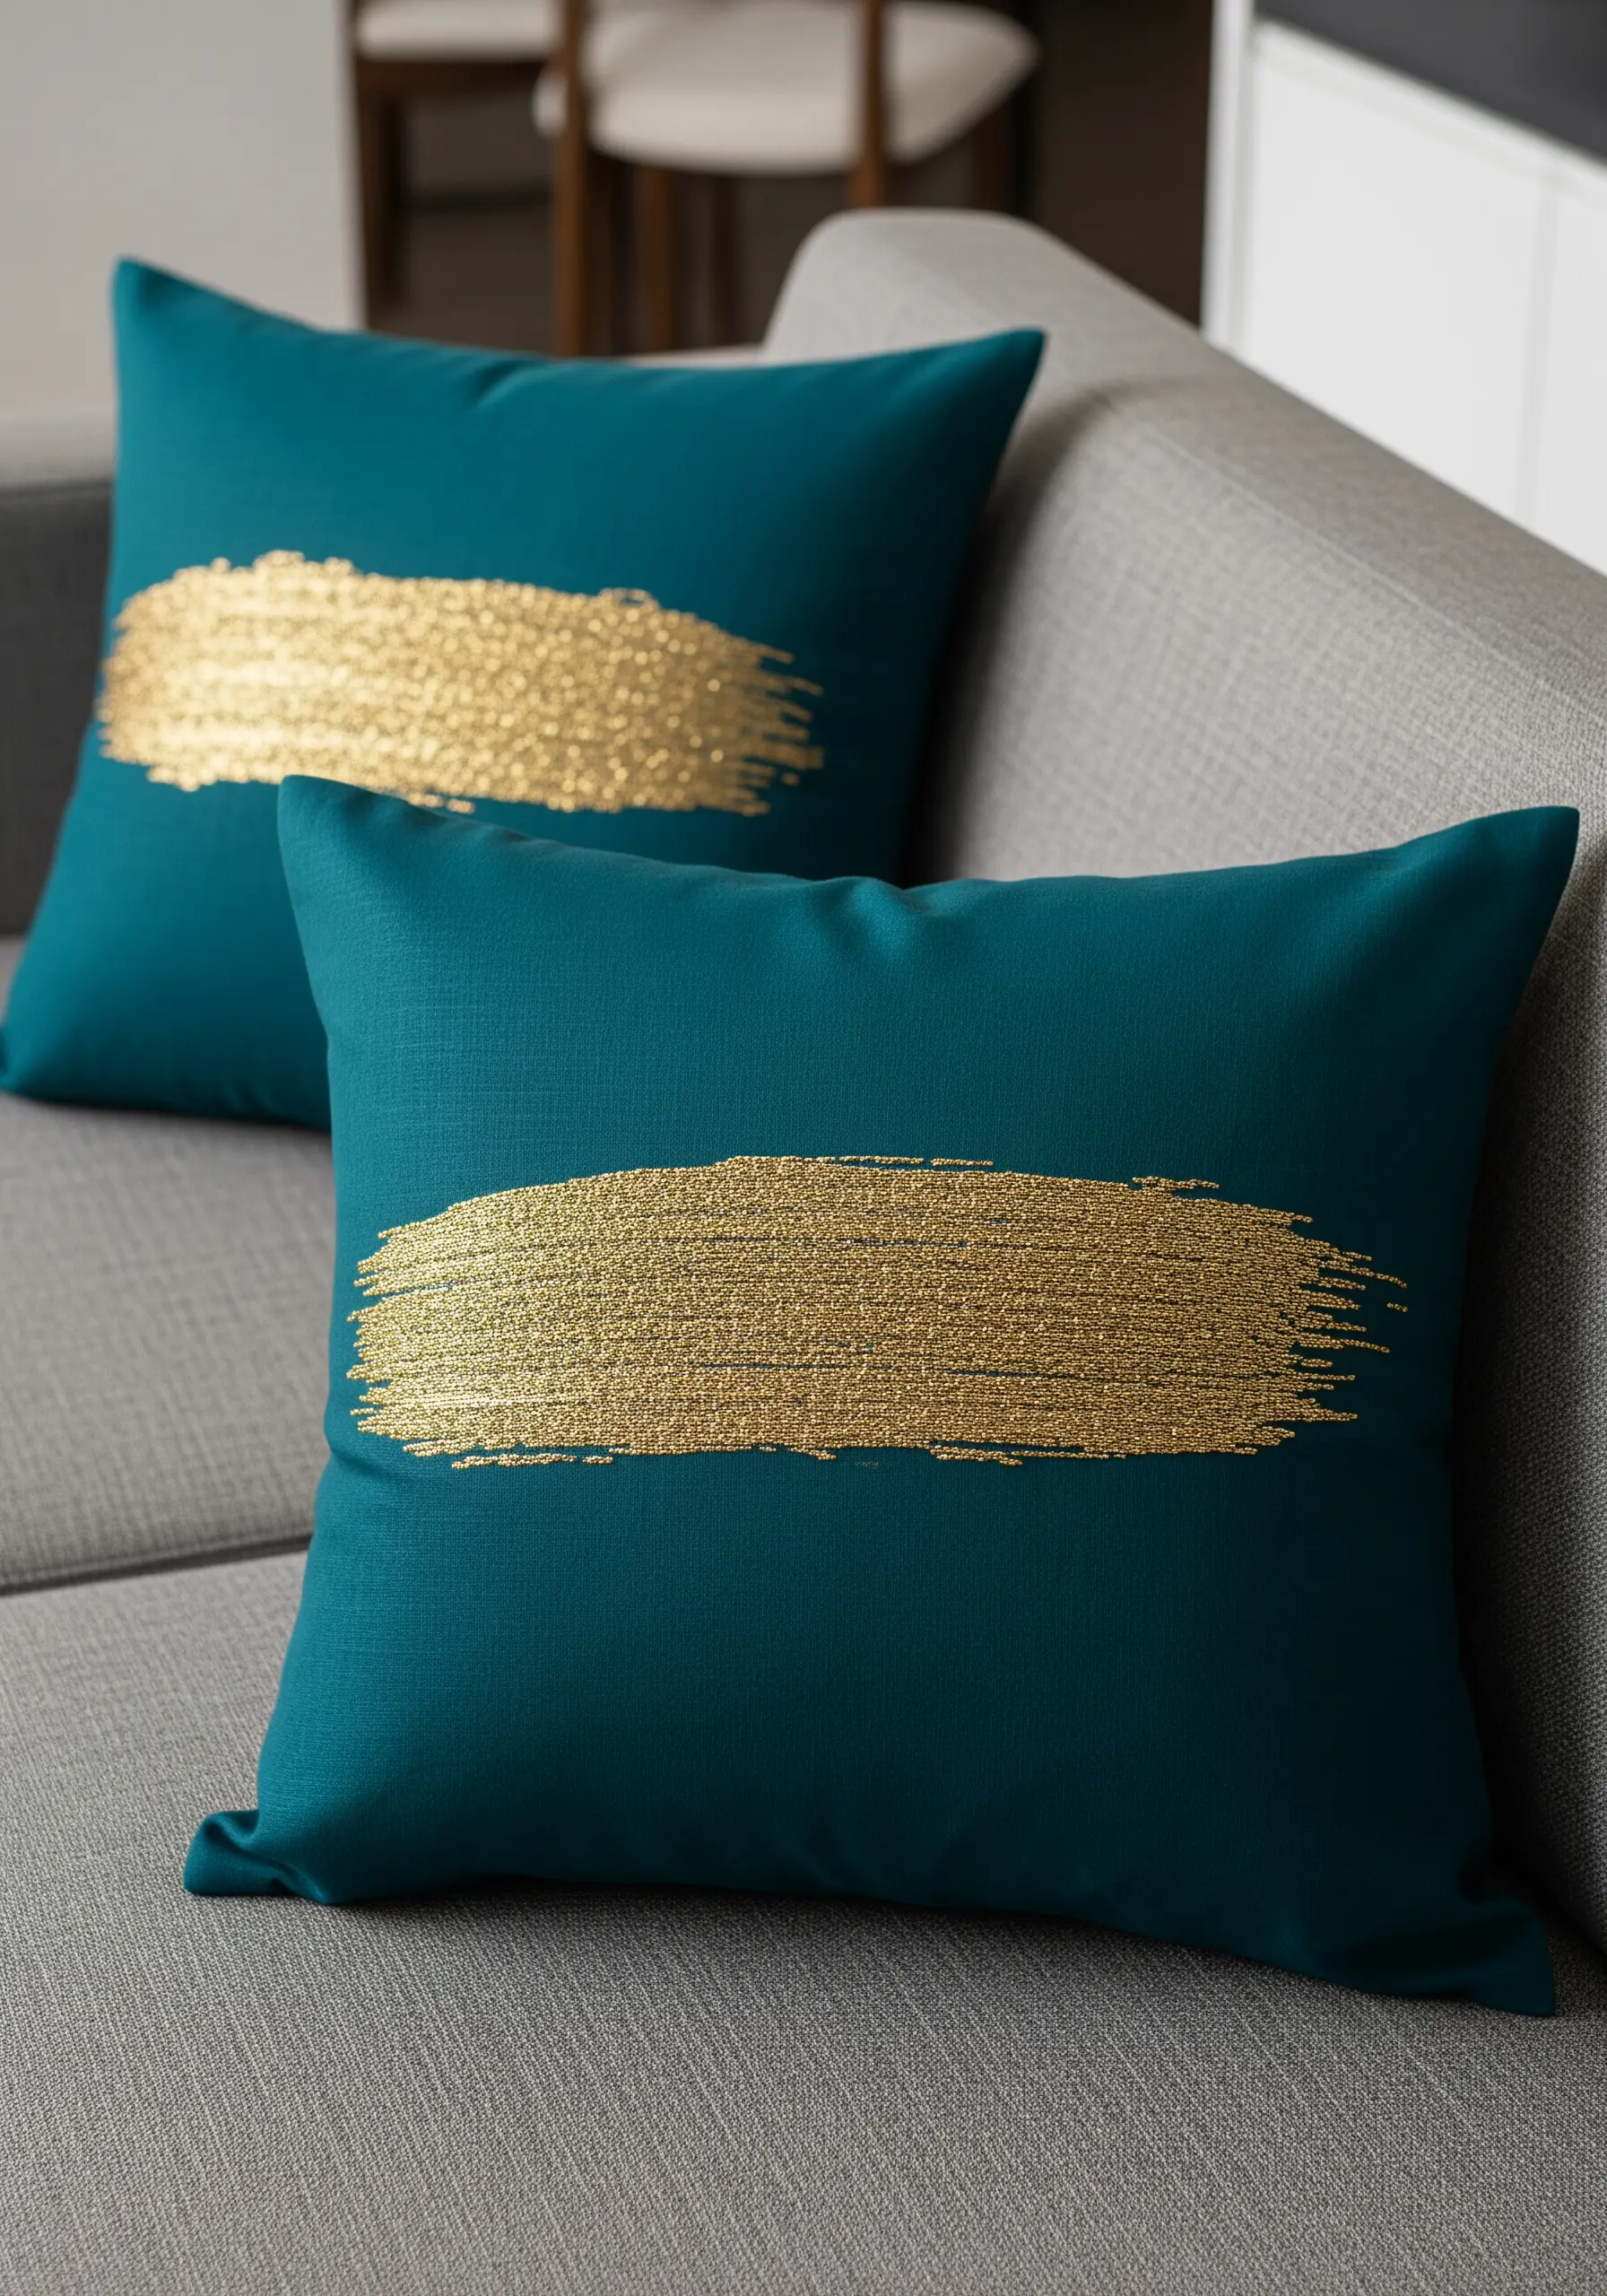
To replicate the spontaneous energy of an abstract brushstroke, fill a loose, organic shape with dense, randomly-angled seed stitches.
Use a highly reflective metallic thread and pack the stitches tightly together to create a solid mass of sparkle.
The key is to avoid uniformity; the varied stitch direction and uneven edges are what give the final piece its dynamic, painterly quality.
14. Celestial Details with French Knots and Straight Stitch
Bring a constellation to life by varying the size of your French knots to represent the brightness of each star.
For smaller, distant stars, wrap the thread around the needle just once.
For the brighter, focal stars, wrap it two or even three times to create a larger, more prominent knot.
Connect them with clean, single straight stitches on a dark satin background for a truly celestial effect.
15. High-Texture Fills with Woven Stitches
When you want a bold, touchable texture, move beyond satin stitch.
For a geometric fill like this, a woven stitch creates a raised, almost braided effect that stands proudly off the fabric.
You create a foundation of straight stitches and then weave your thread through them without piercing the fabric.
It’s a fantastic way to add sculptural interest to minimalist patterns.
16. Flowing Art Nouveau Lines with Whipped Backstitch
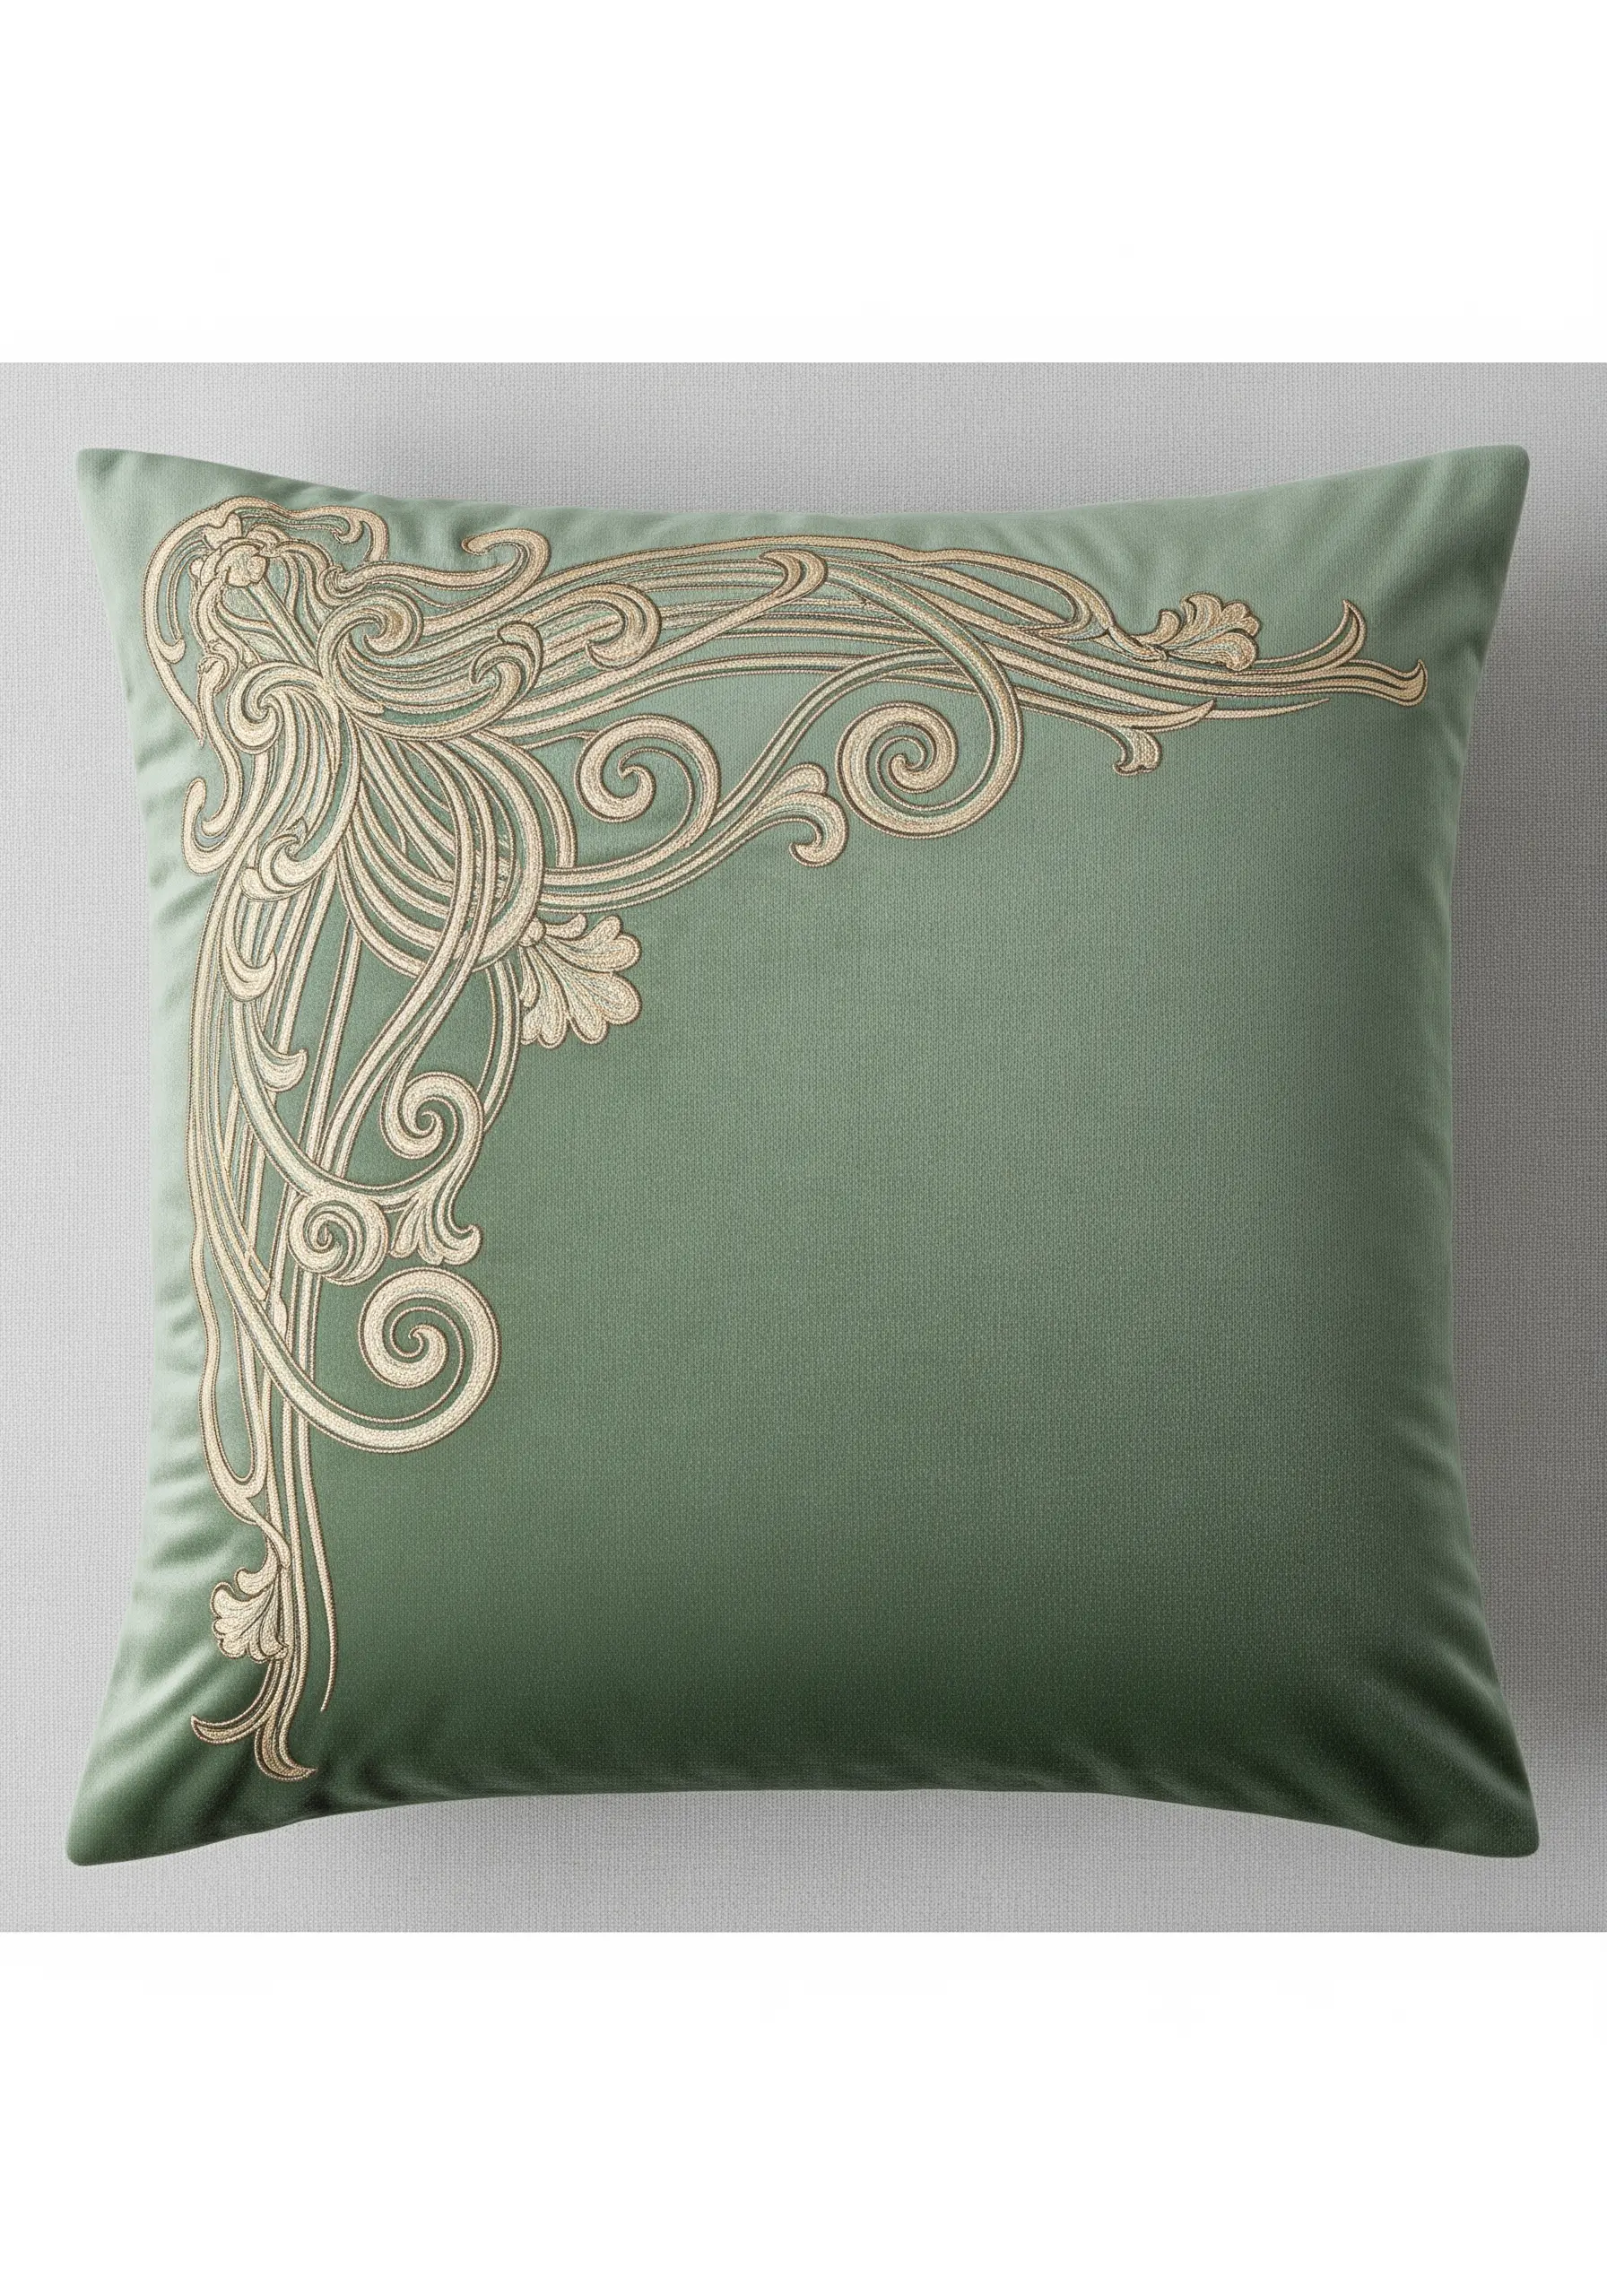
The signature of Art Nouveau is its long, elegant, uninterrupted curves.
A standard backstitch can appear choppy, but a whipped backstitch solves this problem beautifully.
First, create your line with a simple backstitch, then take a second strand and wrap it around each stitch on the surface.
This conceals the gaps between stitches, resulting in a single, smooth, and flowing line.
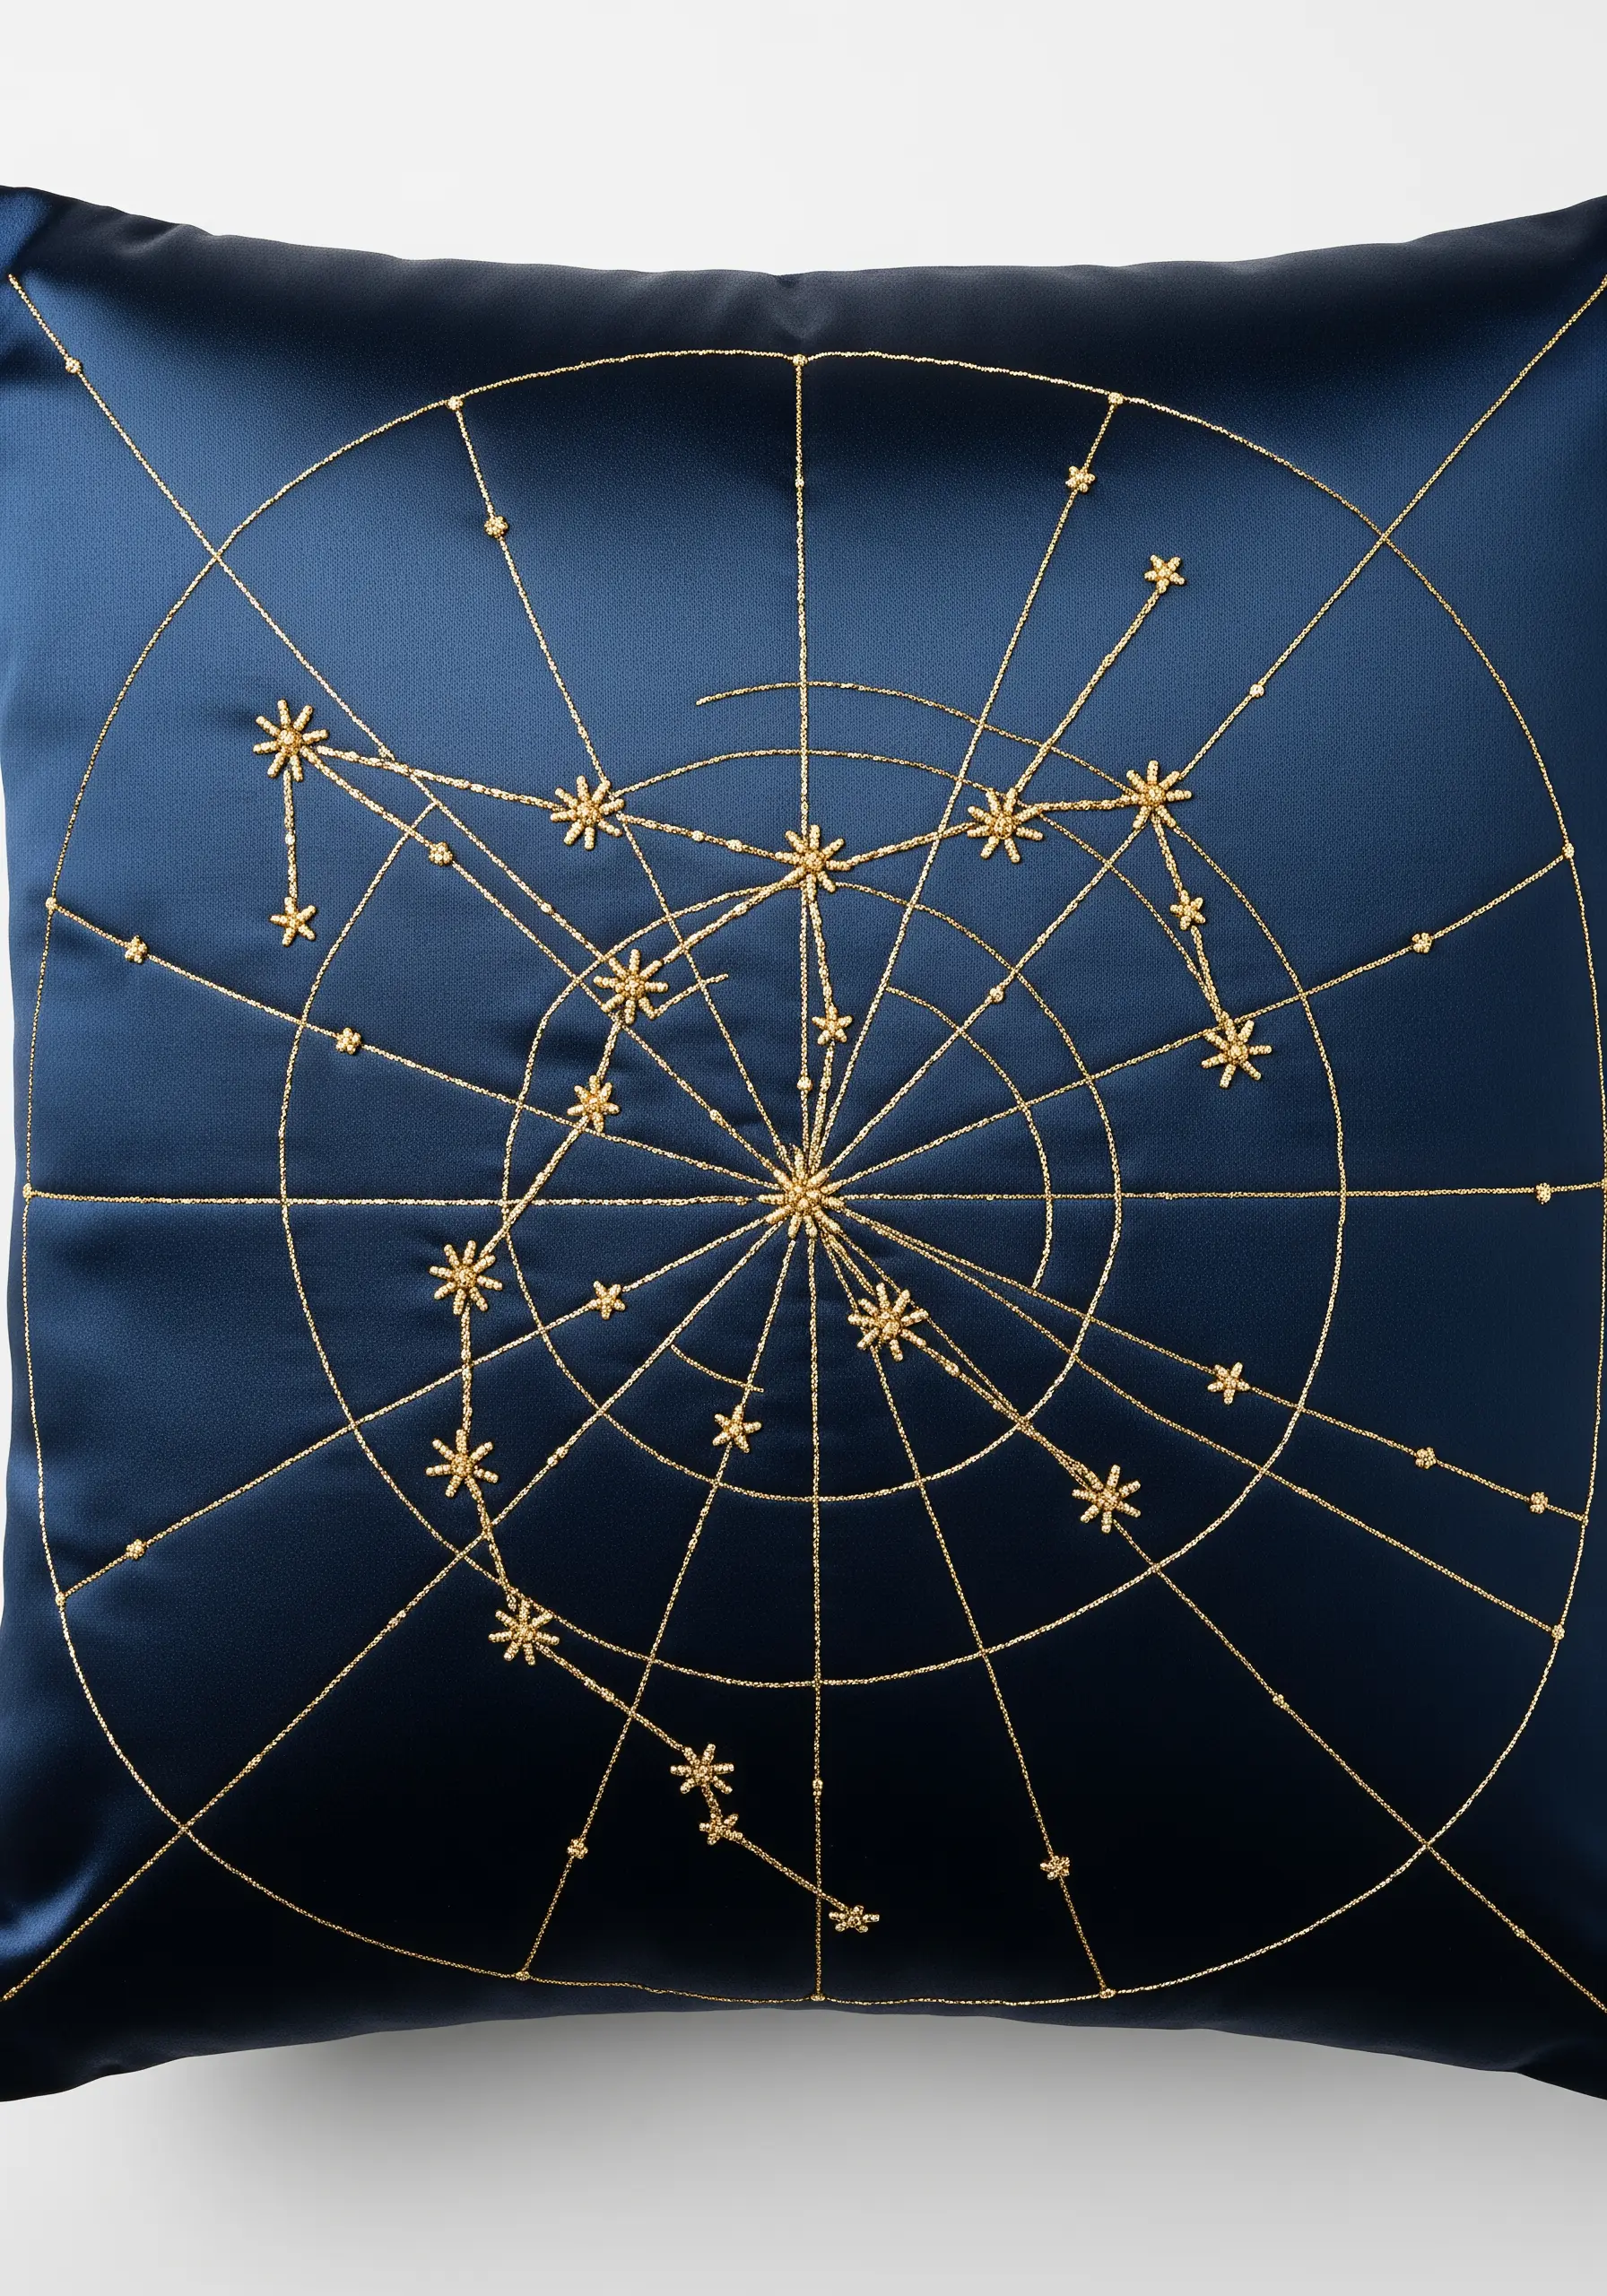
17. Symmetrical Mandalas with a Mix of Stitches
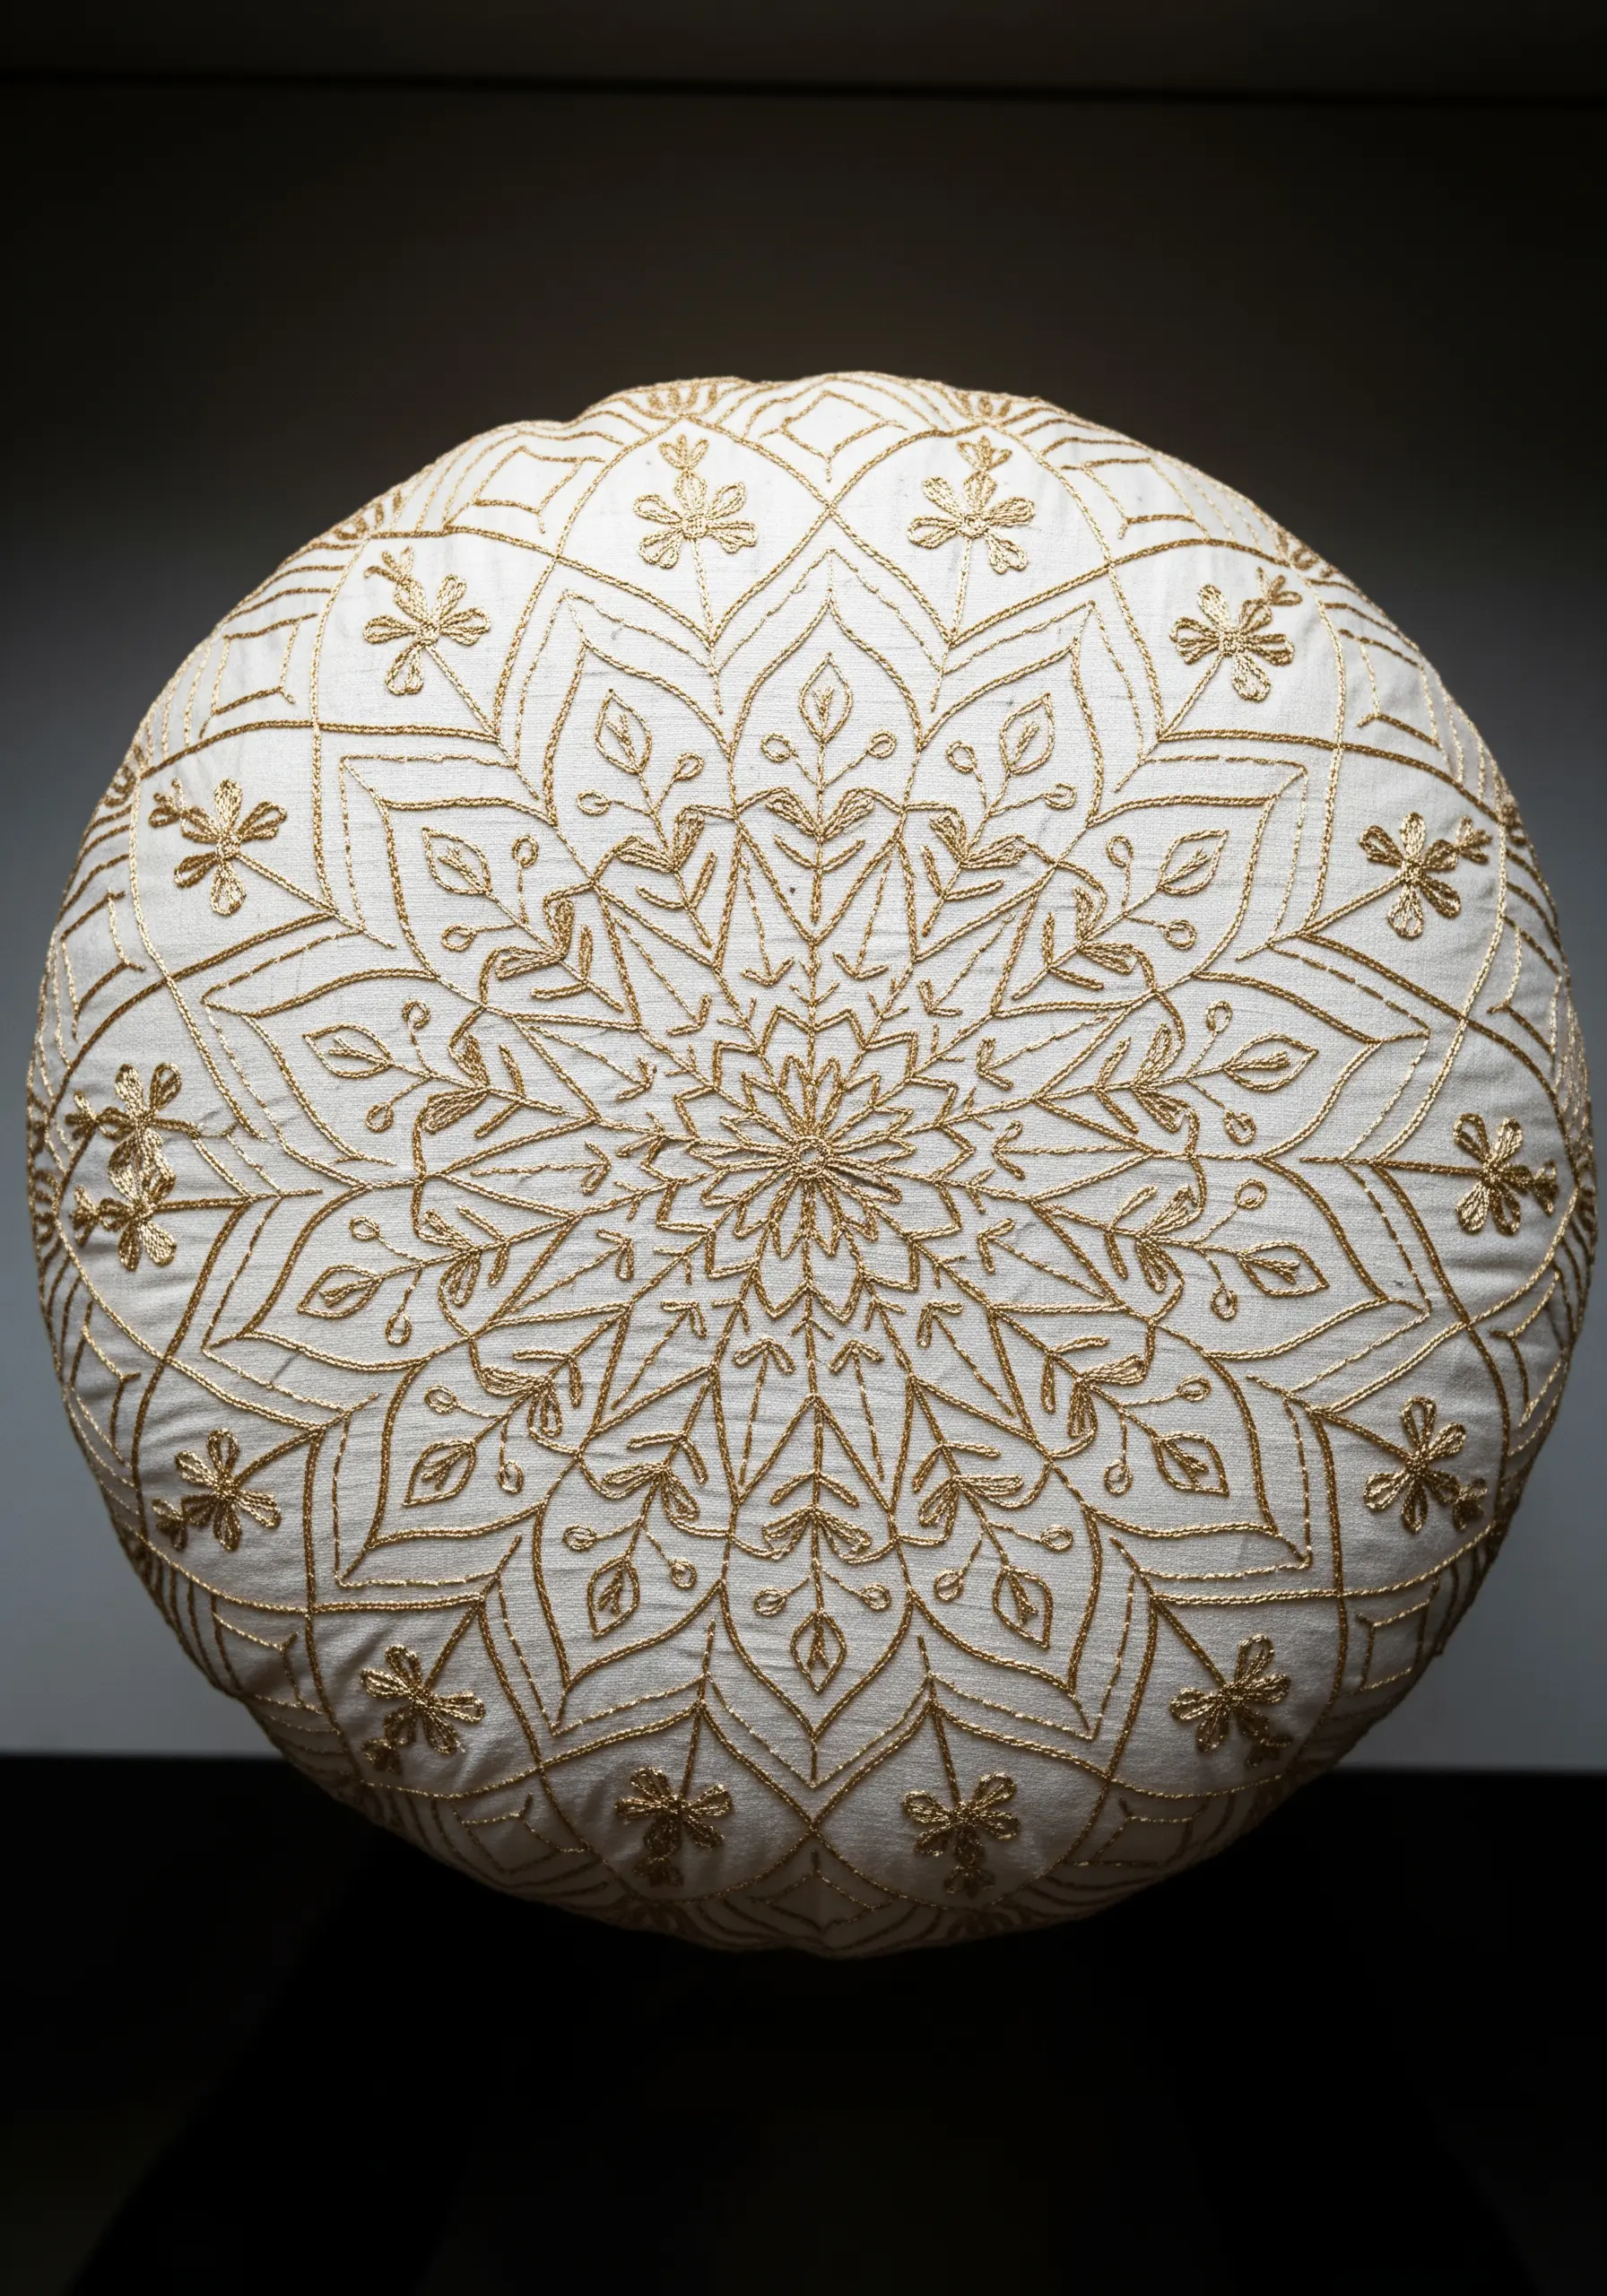
The meditative beauty of a mandala comes from its perfect symmetry and varied textures.
You can build a complex-looking design by combining several basic stitches.
Use backstitch for the foundational lines, lazy daisy stitches for repeating petals, small satin stitch blocks for solid fills, and French knots for central points and accents.
This variety is what makes the final piece so visually engaging.
18. The Impact of Minimalist Embellishment
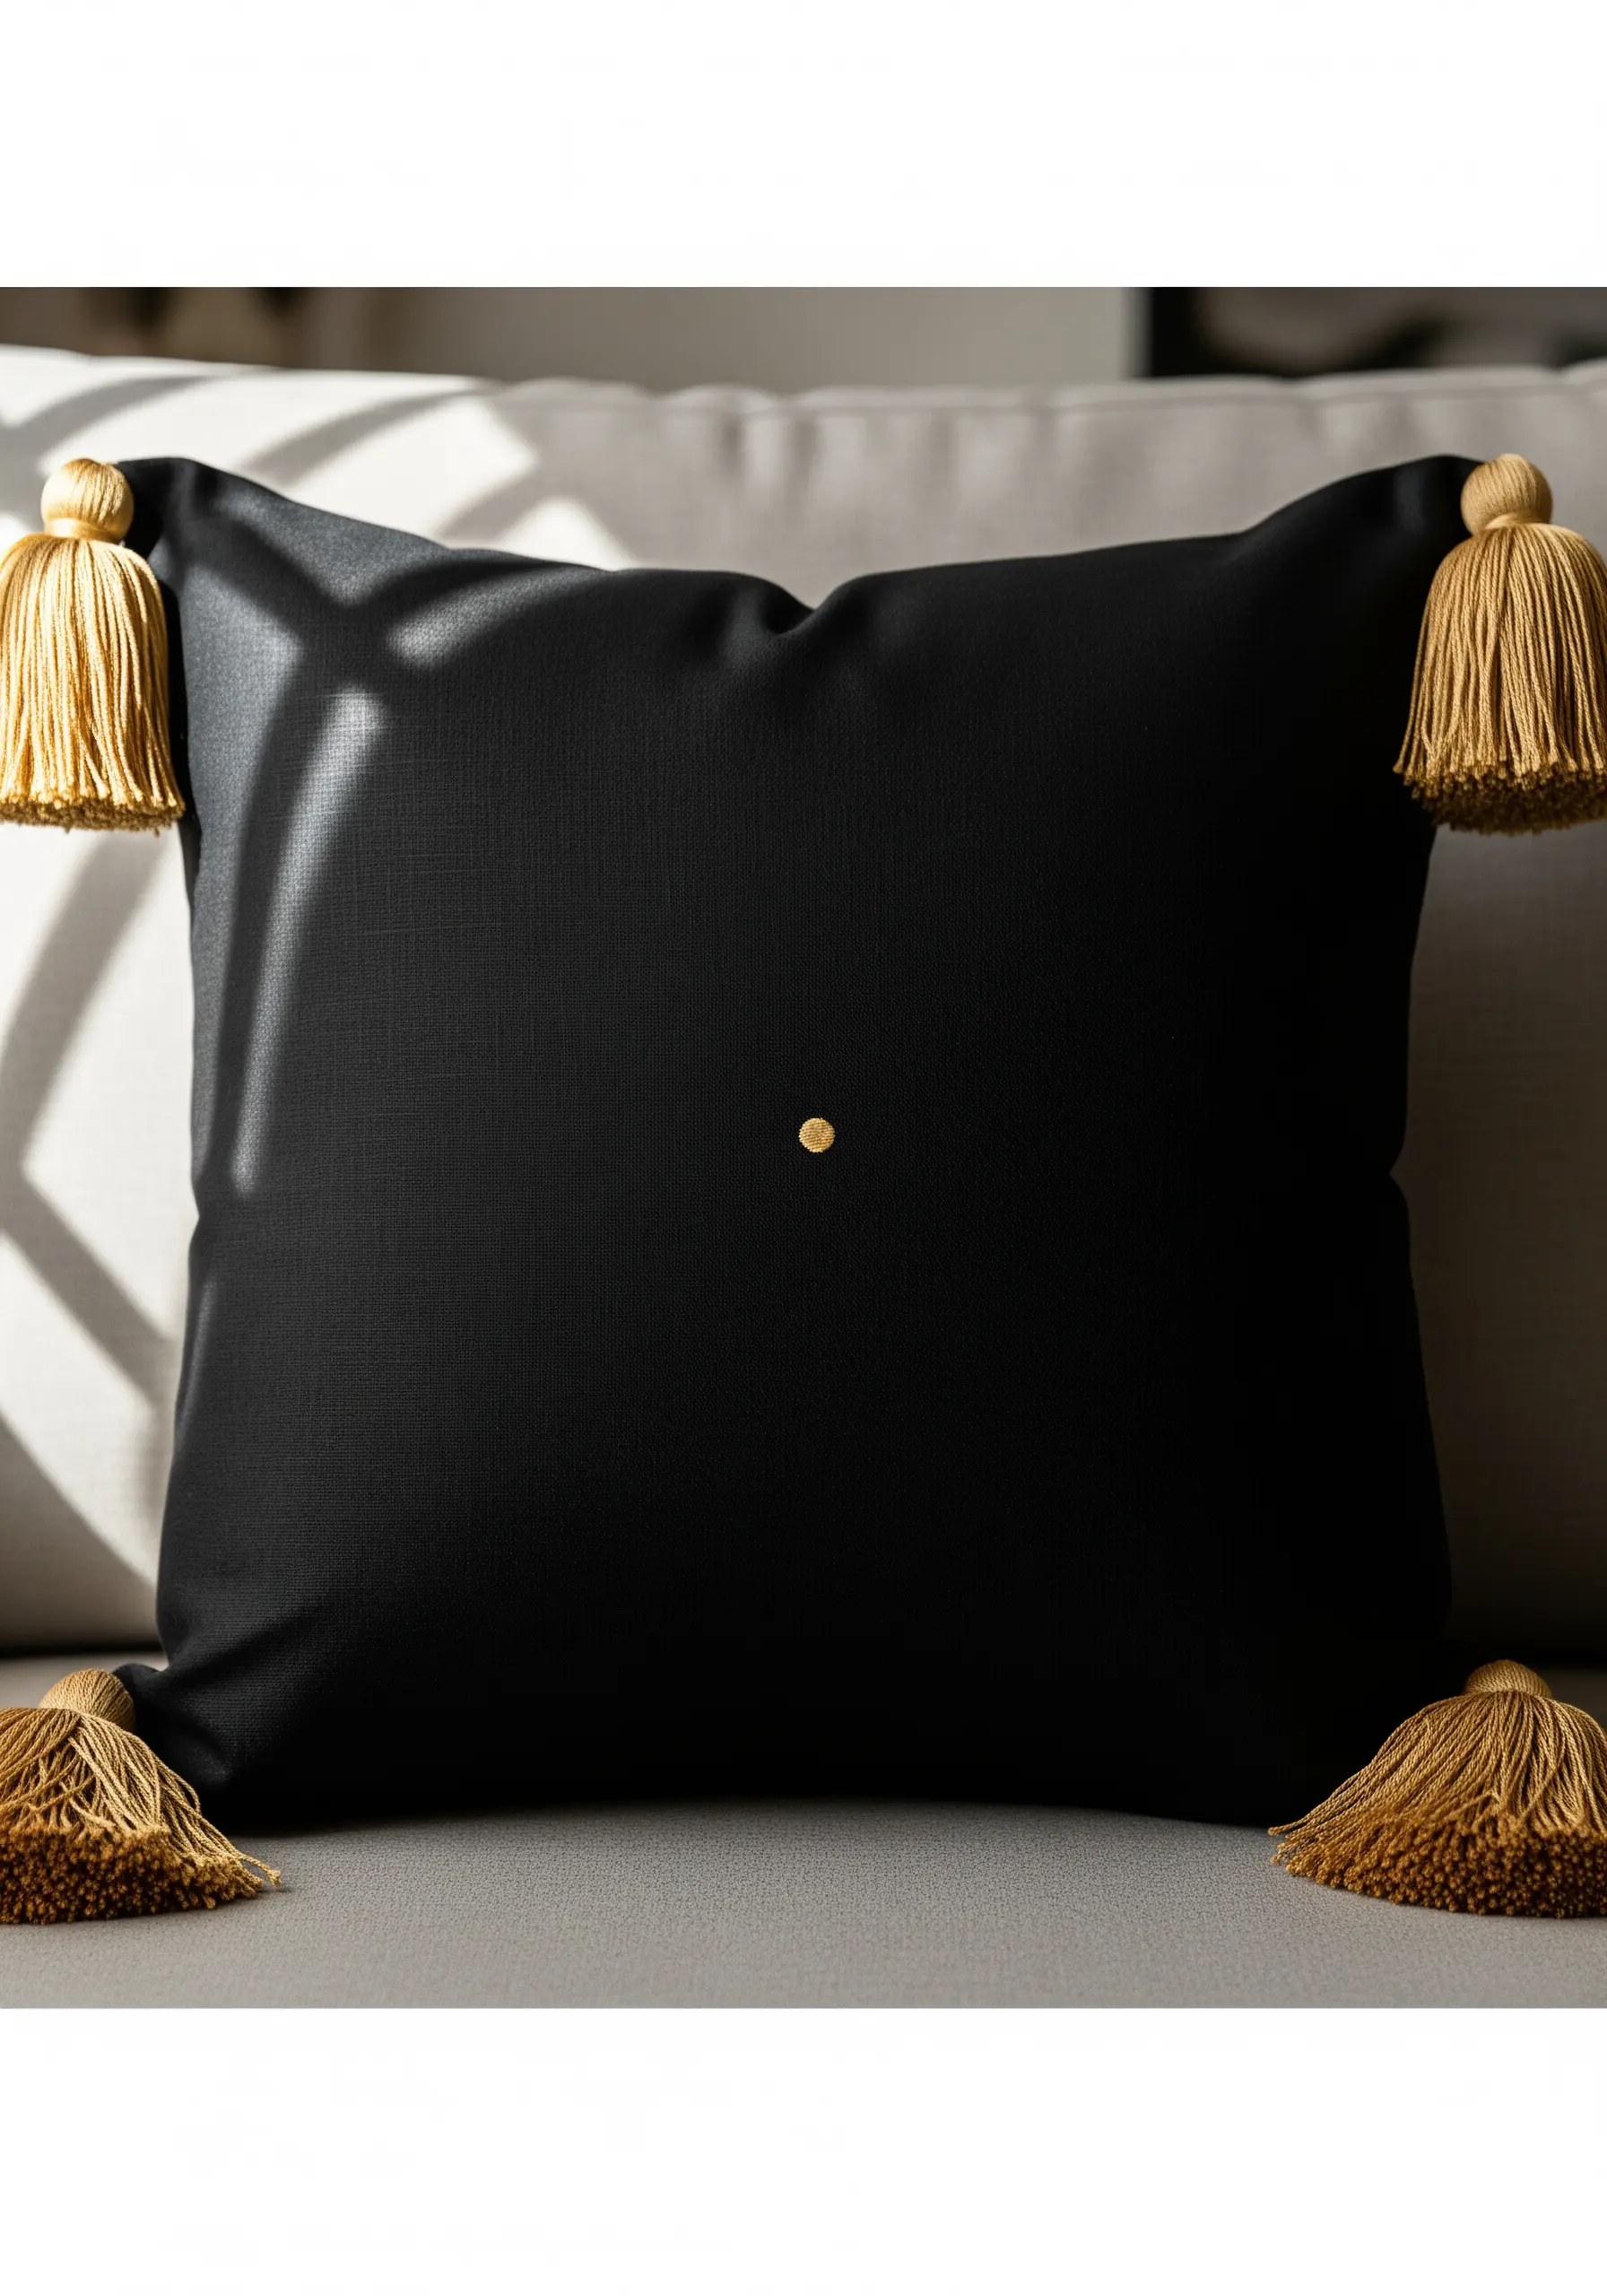
Never underestimate the power of a single, perfectly executed detail.
A lone gold dot can feel more luxurious than an overwrought pattern, but only if its execution is flawless.
Use a padded satin stitch to create a raised, button-like circle, ensuring every stitch is smooth and even.
The sophistication of this minimalist embroidery lies in its confident simplicity and perfect finish.
19. Appliqué on Corduroy for Crisp Definition
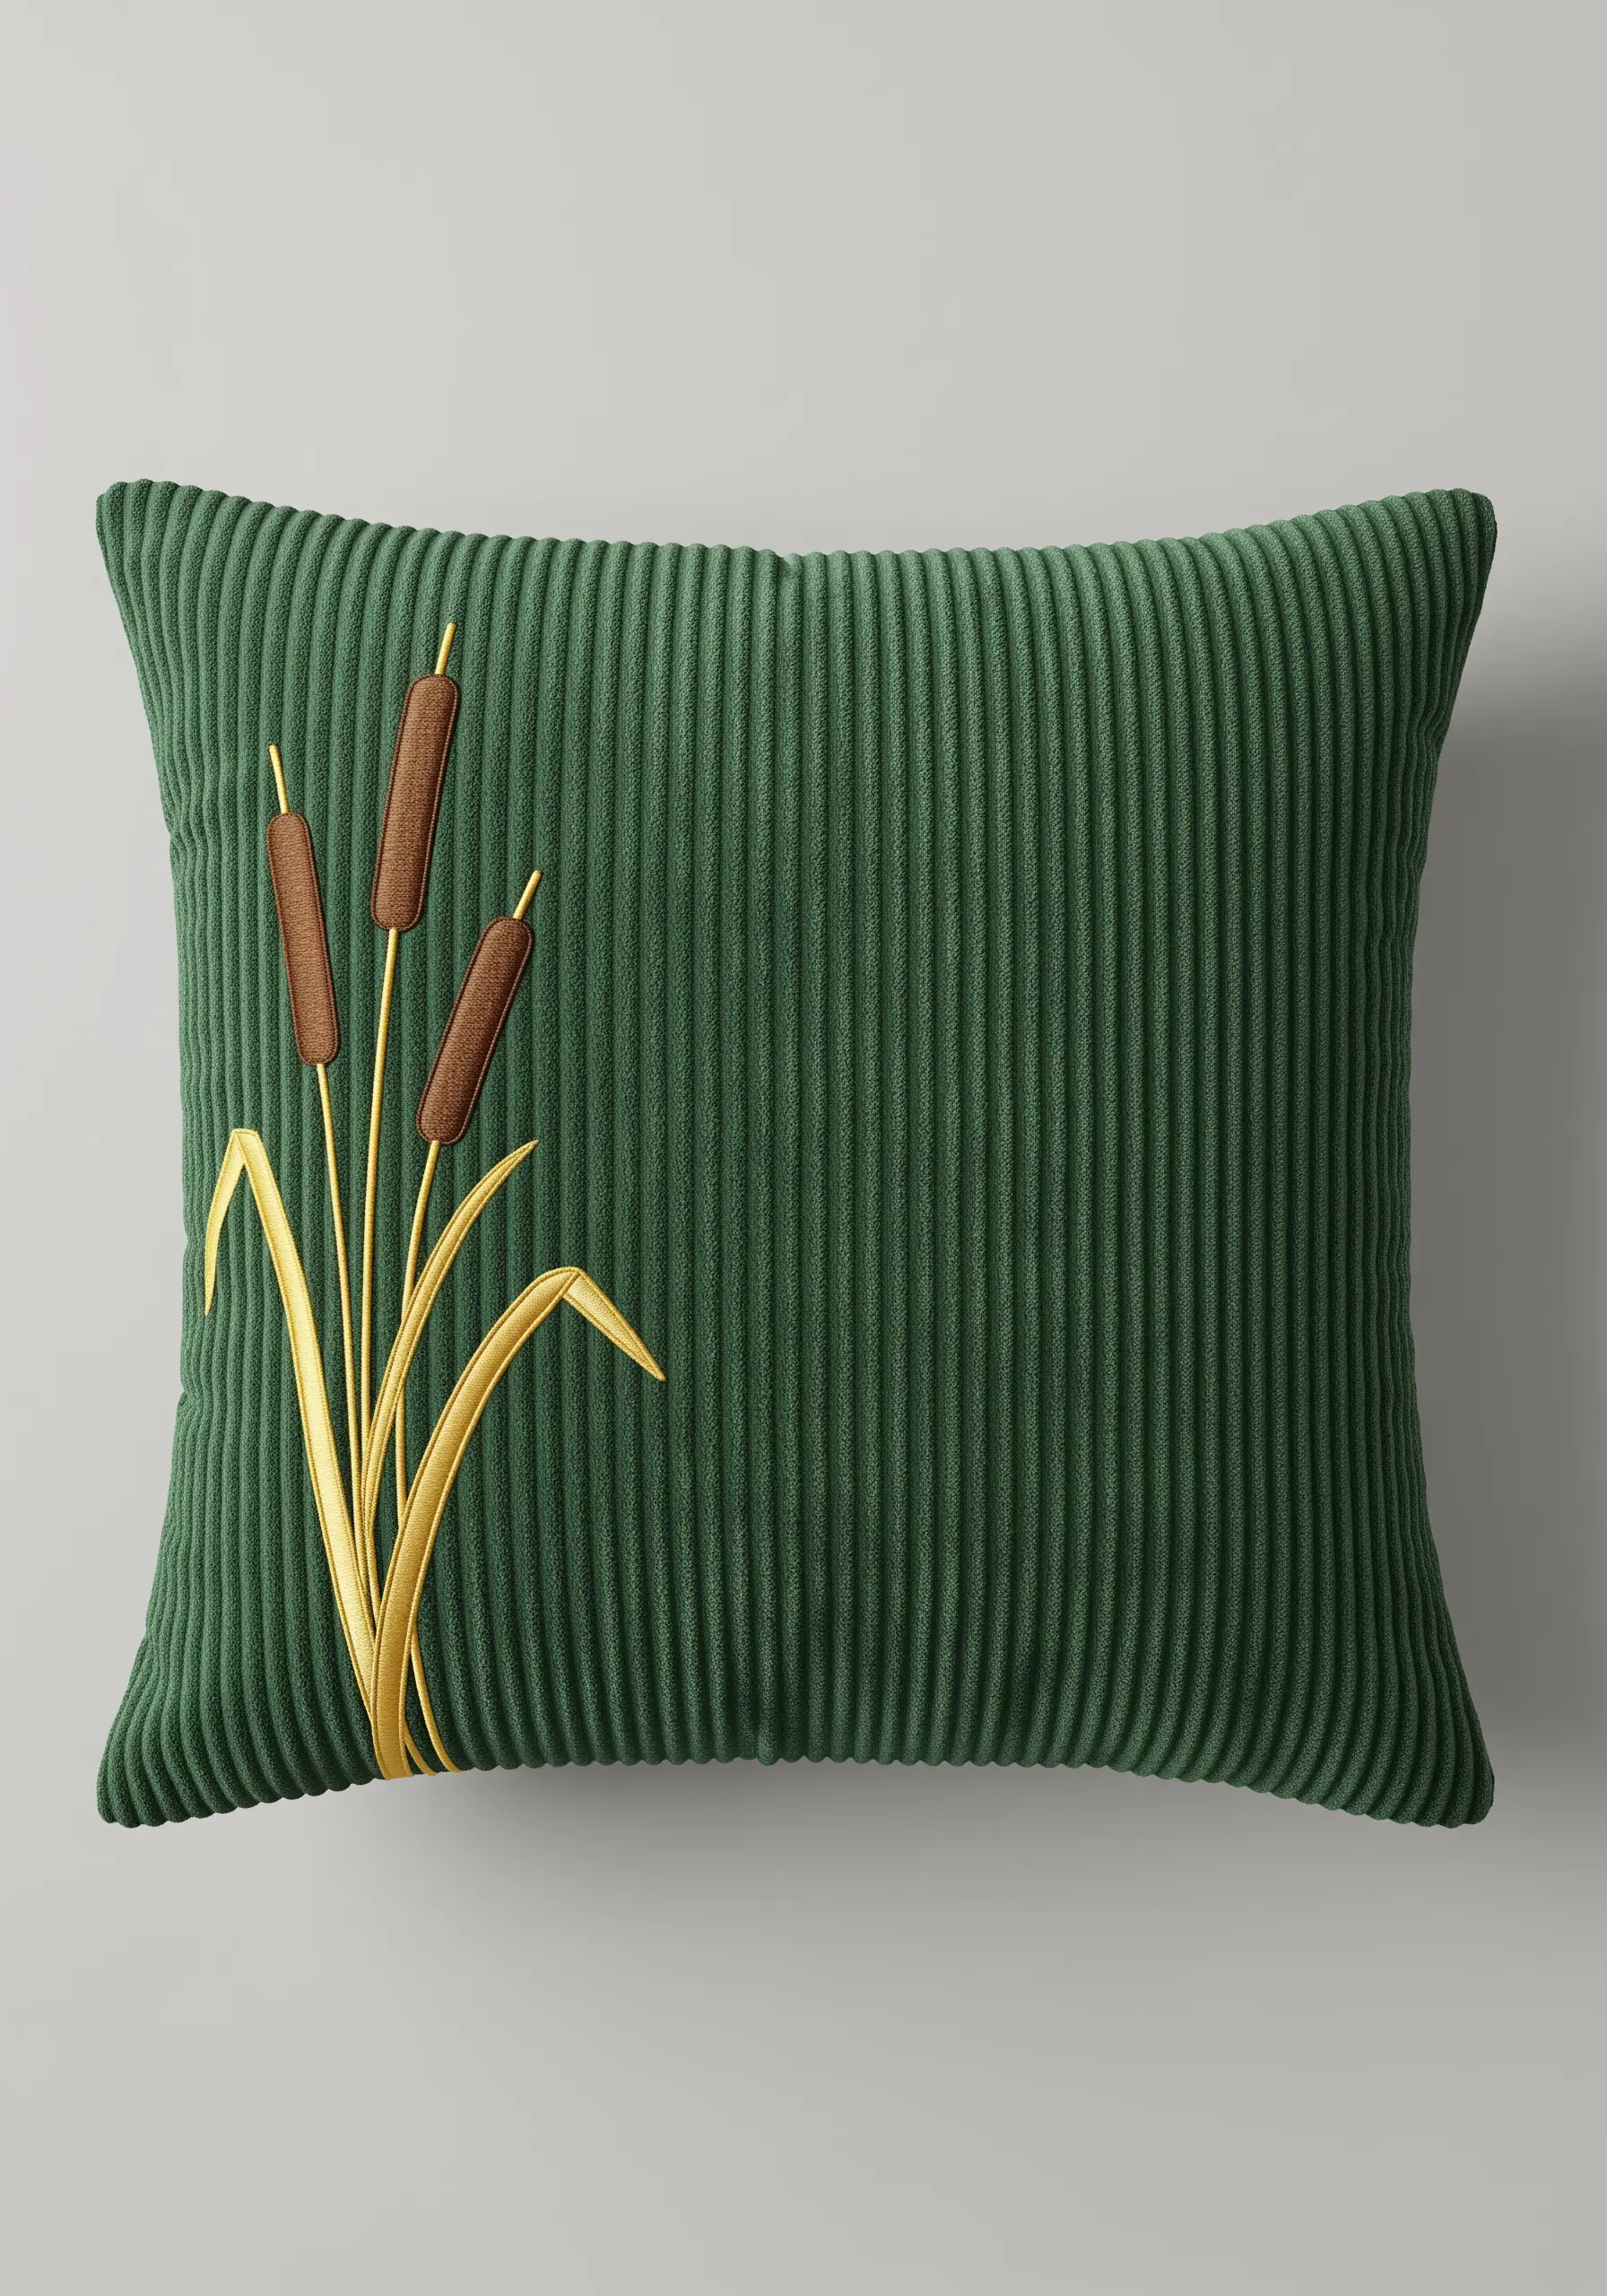
When working on a fabric with a deep texture like corduroy, fine embroidery can get lost.
For bold, clean shapes like the leaves, use appliqué instead.
Cut the shapes from a non-fraying material like gold faux leather or felt and stitch them down with a neat blanket stitch.
You can then add the smaller embroidered details, like the satin-stitched cattails, on top for a crisp, layered look.
20. Crisp Calligraphy with a Couched Outline

To capture the sharp, intentional strokes of calligraphy, you must first create a perfect boundary.
Outline the entire character by couching a fine gold cord along its edges.
This raised border acts as a container for your fill stitches.
You can then fill the shape with a dense satin stitch, and the couched outline will guarantee your edges remain impeccably clean and defined.
21. Realistic Gradients with Thread Blending
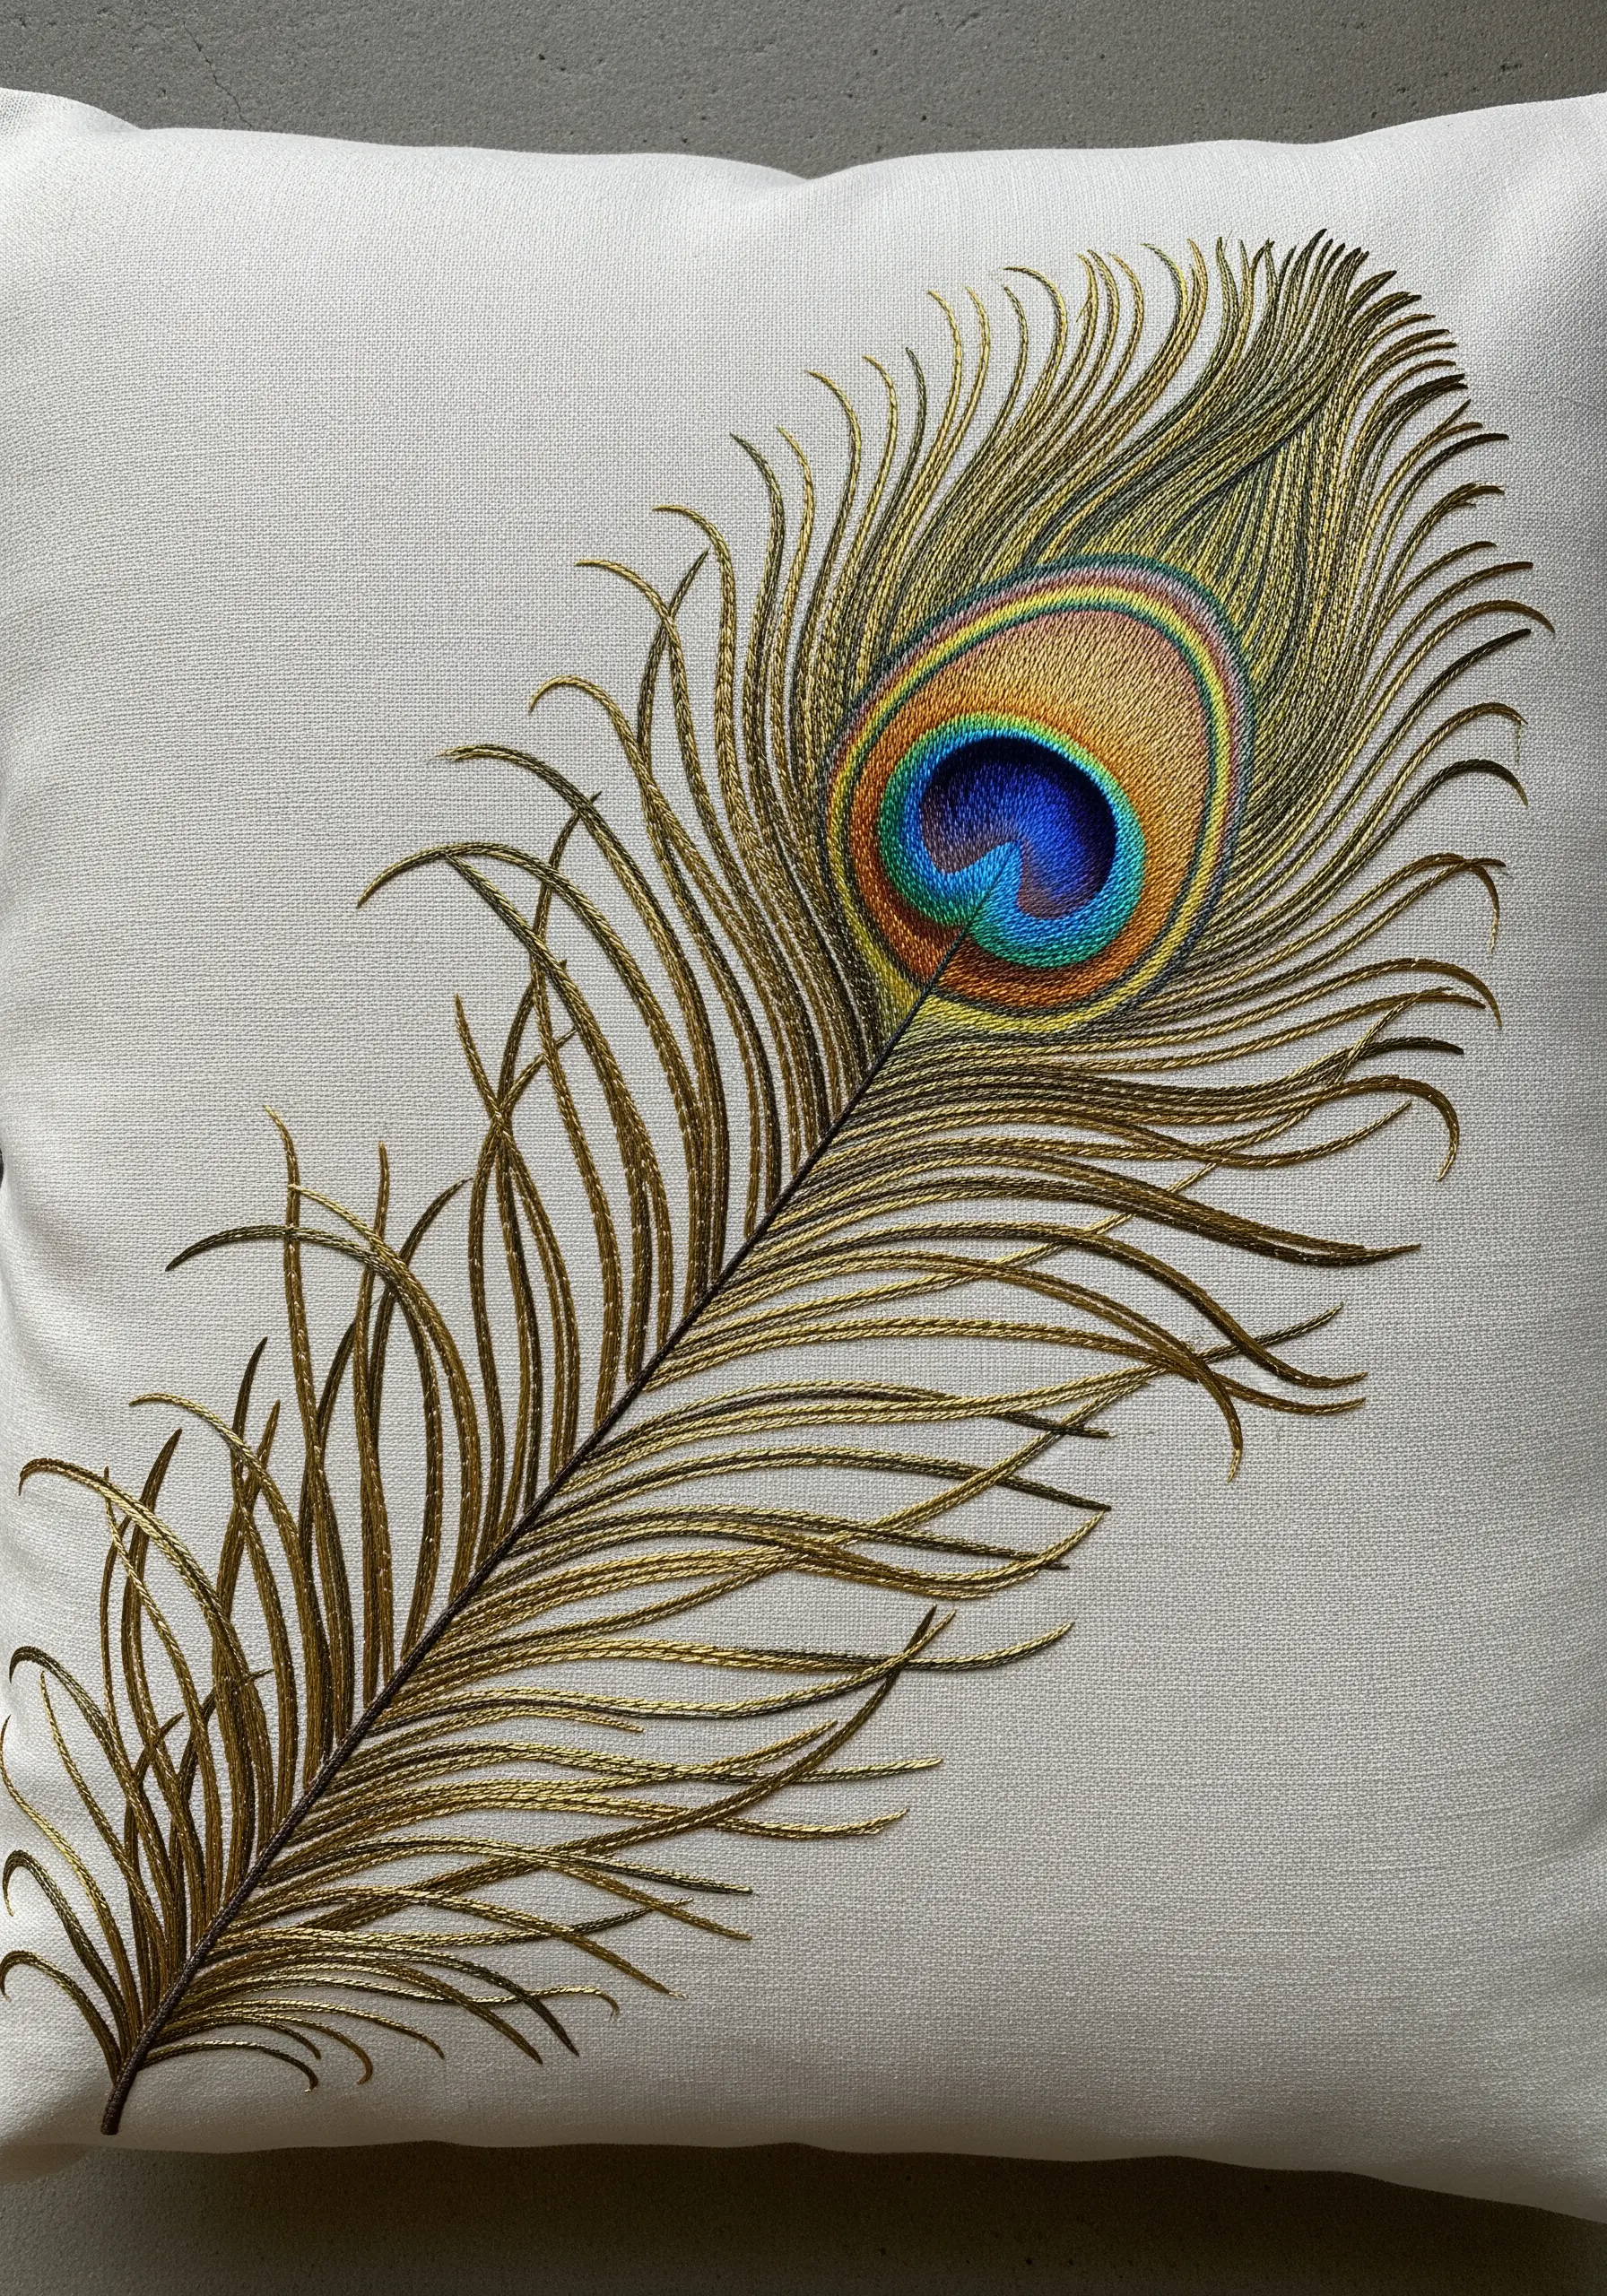
The magic of a peacock feather is its iridescence, which you can replicate by blending several colors of thread.
In the eye of the feather, use the long-and-short stitch technique with single strands of blue, green, and gold floss, allowing them to mix naturally.
For the long, flowing barbs, use a lustrous gold rayon thread and a split stitch to create soft, feathery lines that catch the light beautifully.
22. Creating Depth with Overlapping Line Work

You can create a convincing illusion of depth using only simple outlines.
To make one ring appear as if it’s in front of another, you must stitch its outline as a complete, unbroken circle.
For the circle that is ‘behind,’ you will stop your stitches where they would intersect the first circle, and start again on the other side.
This simple trick of continuity is what makes the composition feel intentionally layered.
23. Sculptural Drips with Raised Stitches
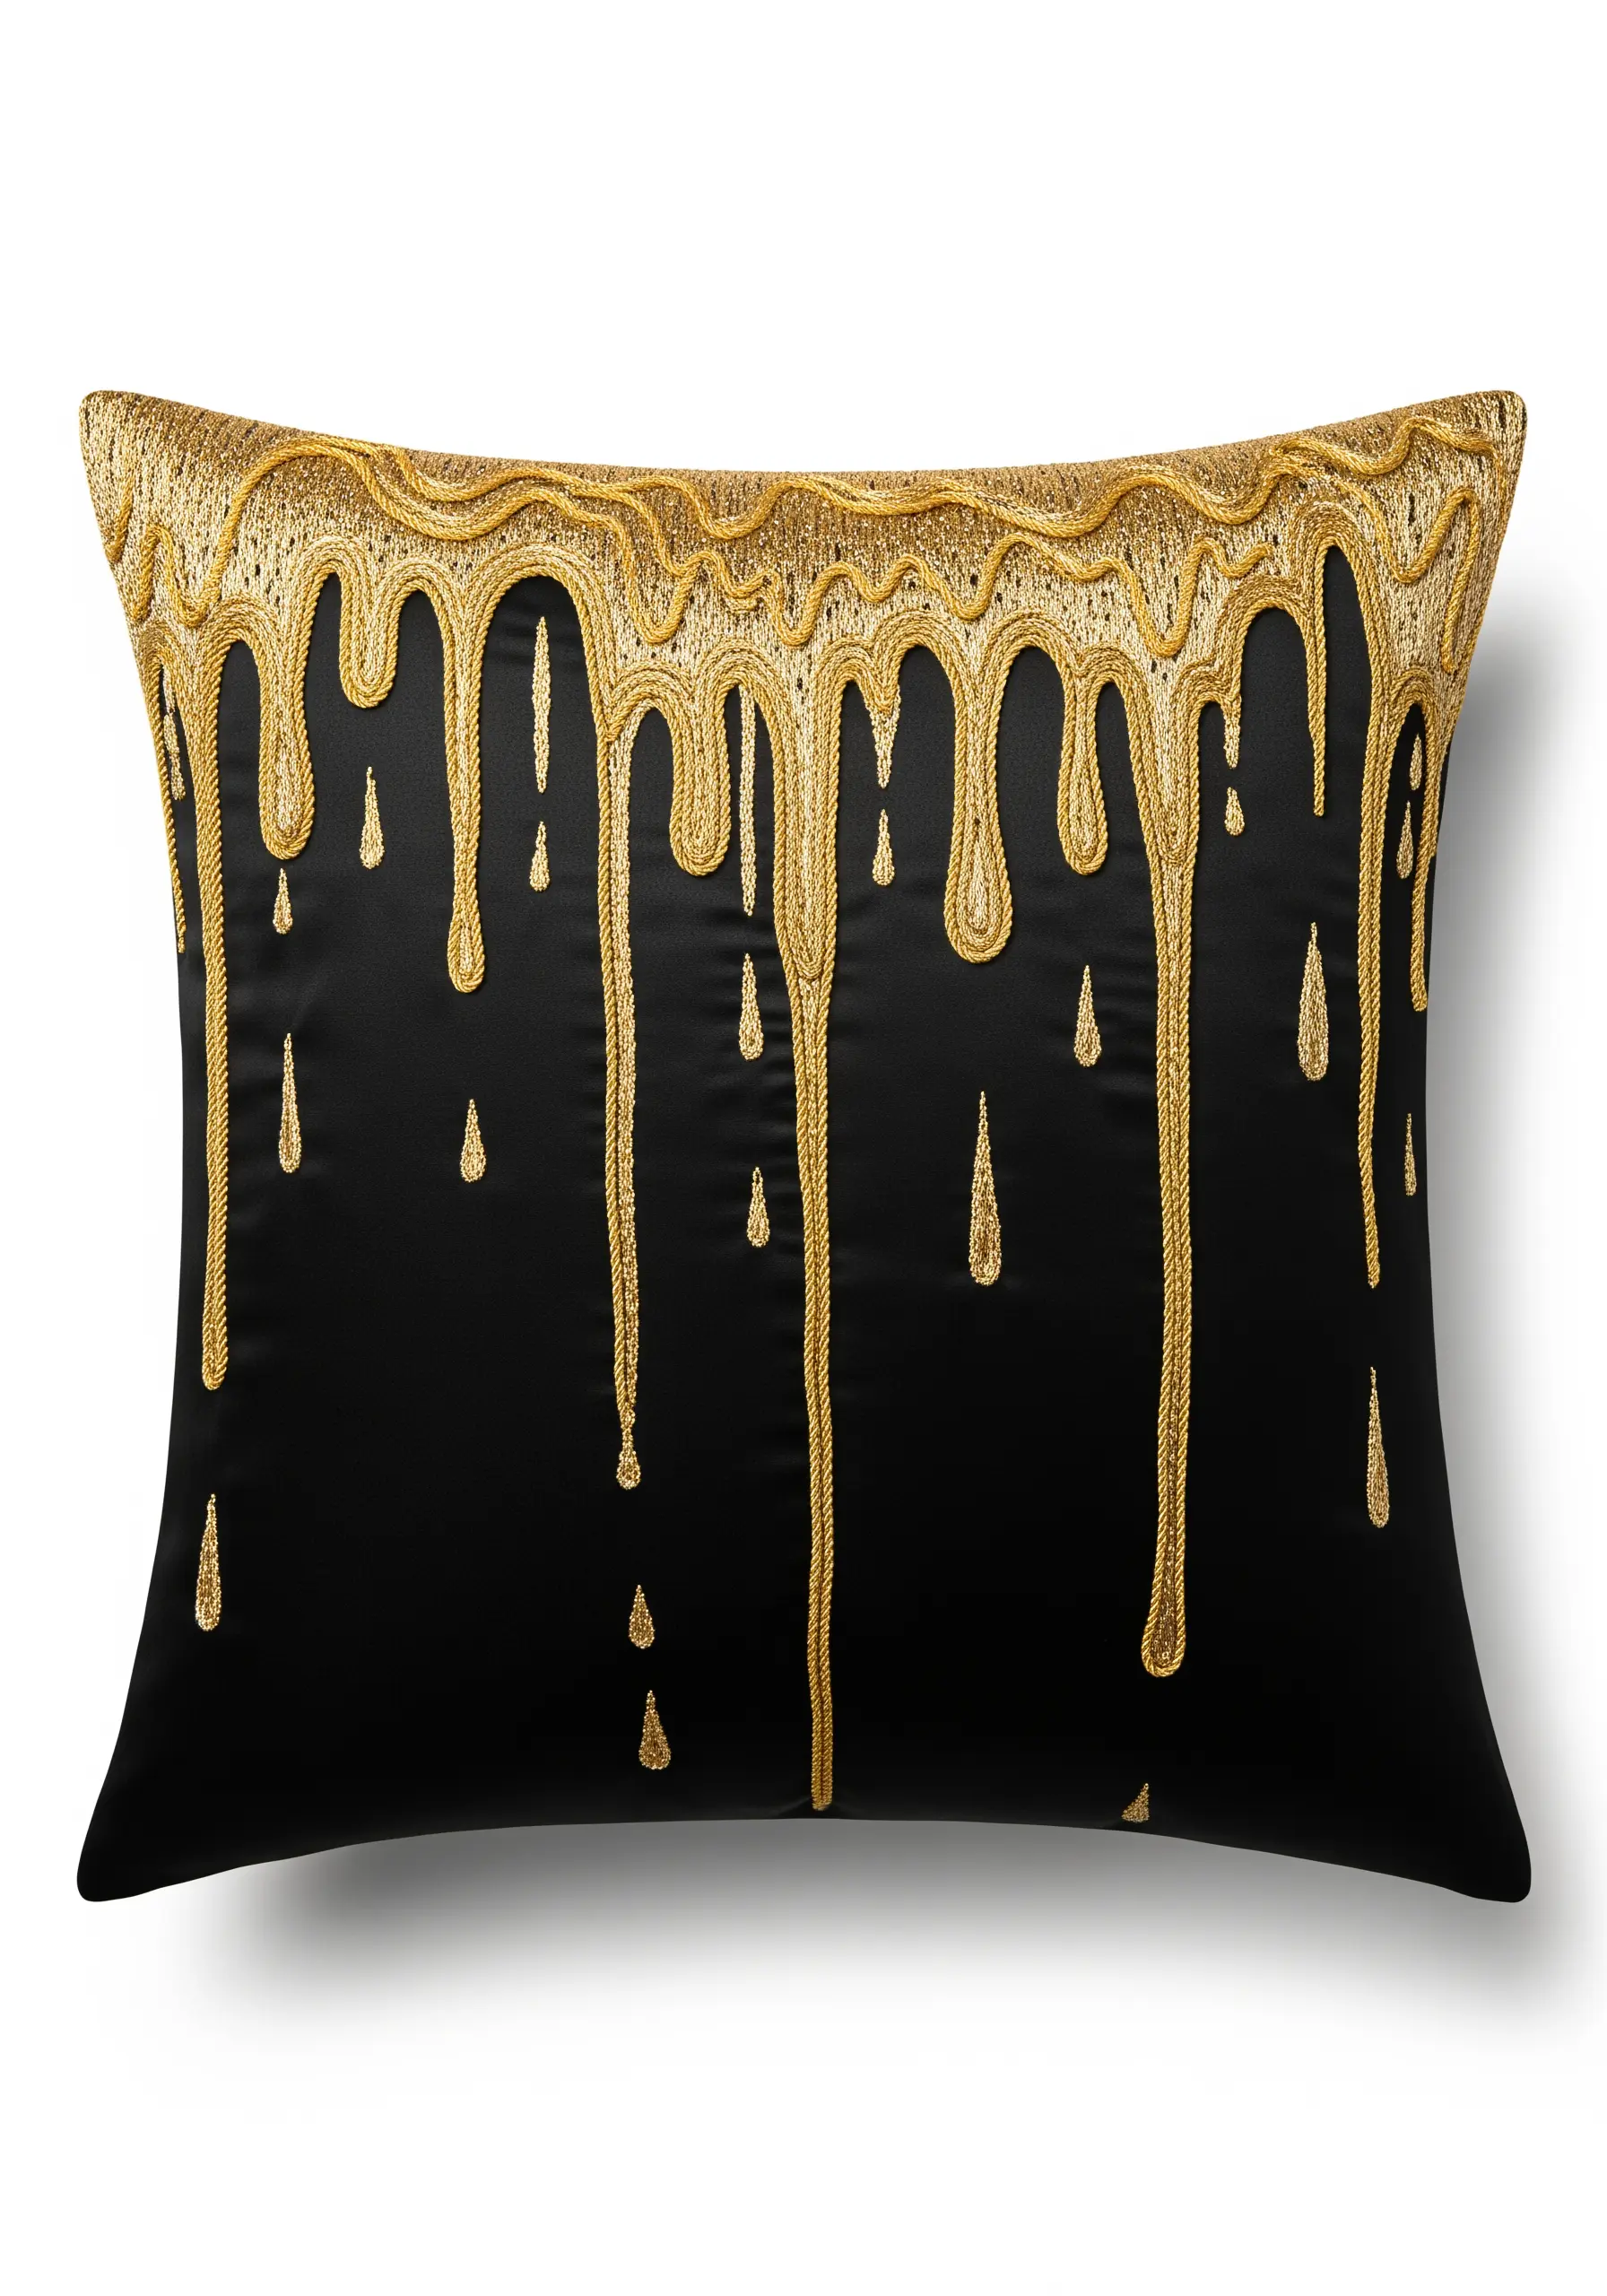
To create a tangible, three-dimensional dripping effect, you need to combine several techniques.
Use a couched gold cord for the main outlines of the drips to give them a rounded, raised edge.
Fill the larger areas with a flat satin stitch, but for the smaller, individual droplets at the bottom, use a padded satin stitch or a dense cluster of French knots.
This variation in height is what makes the effect so realistic.
24. Natural Textures with Fly and Satin Stitch
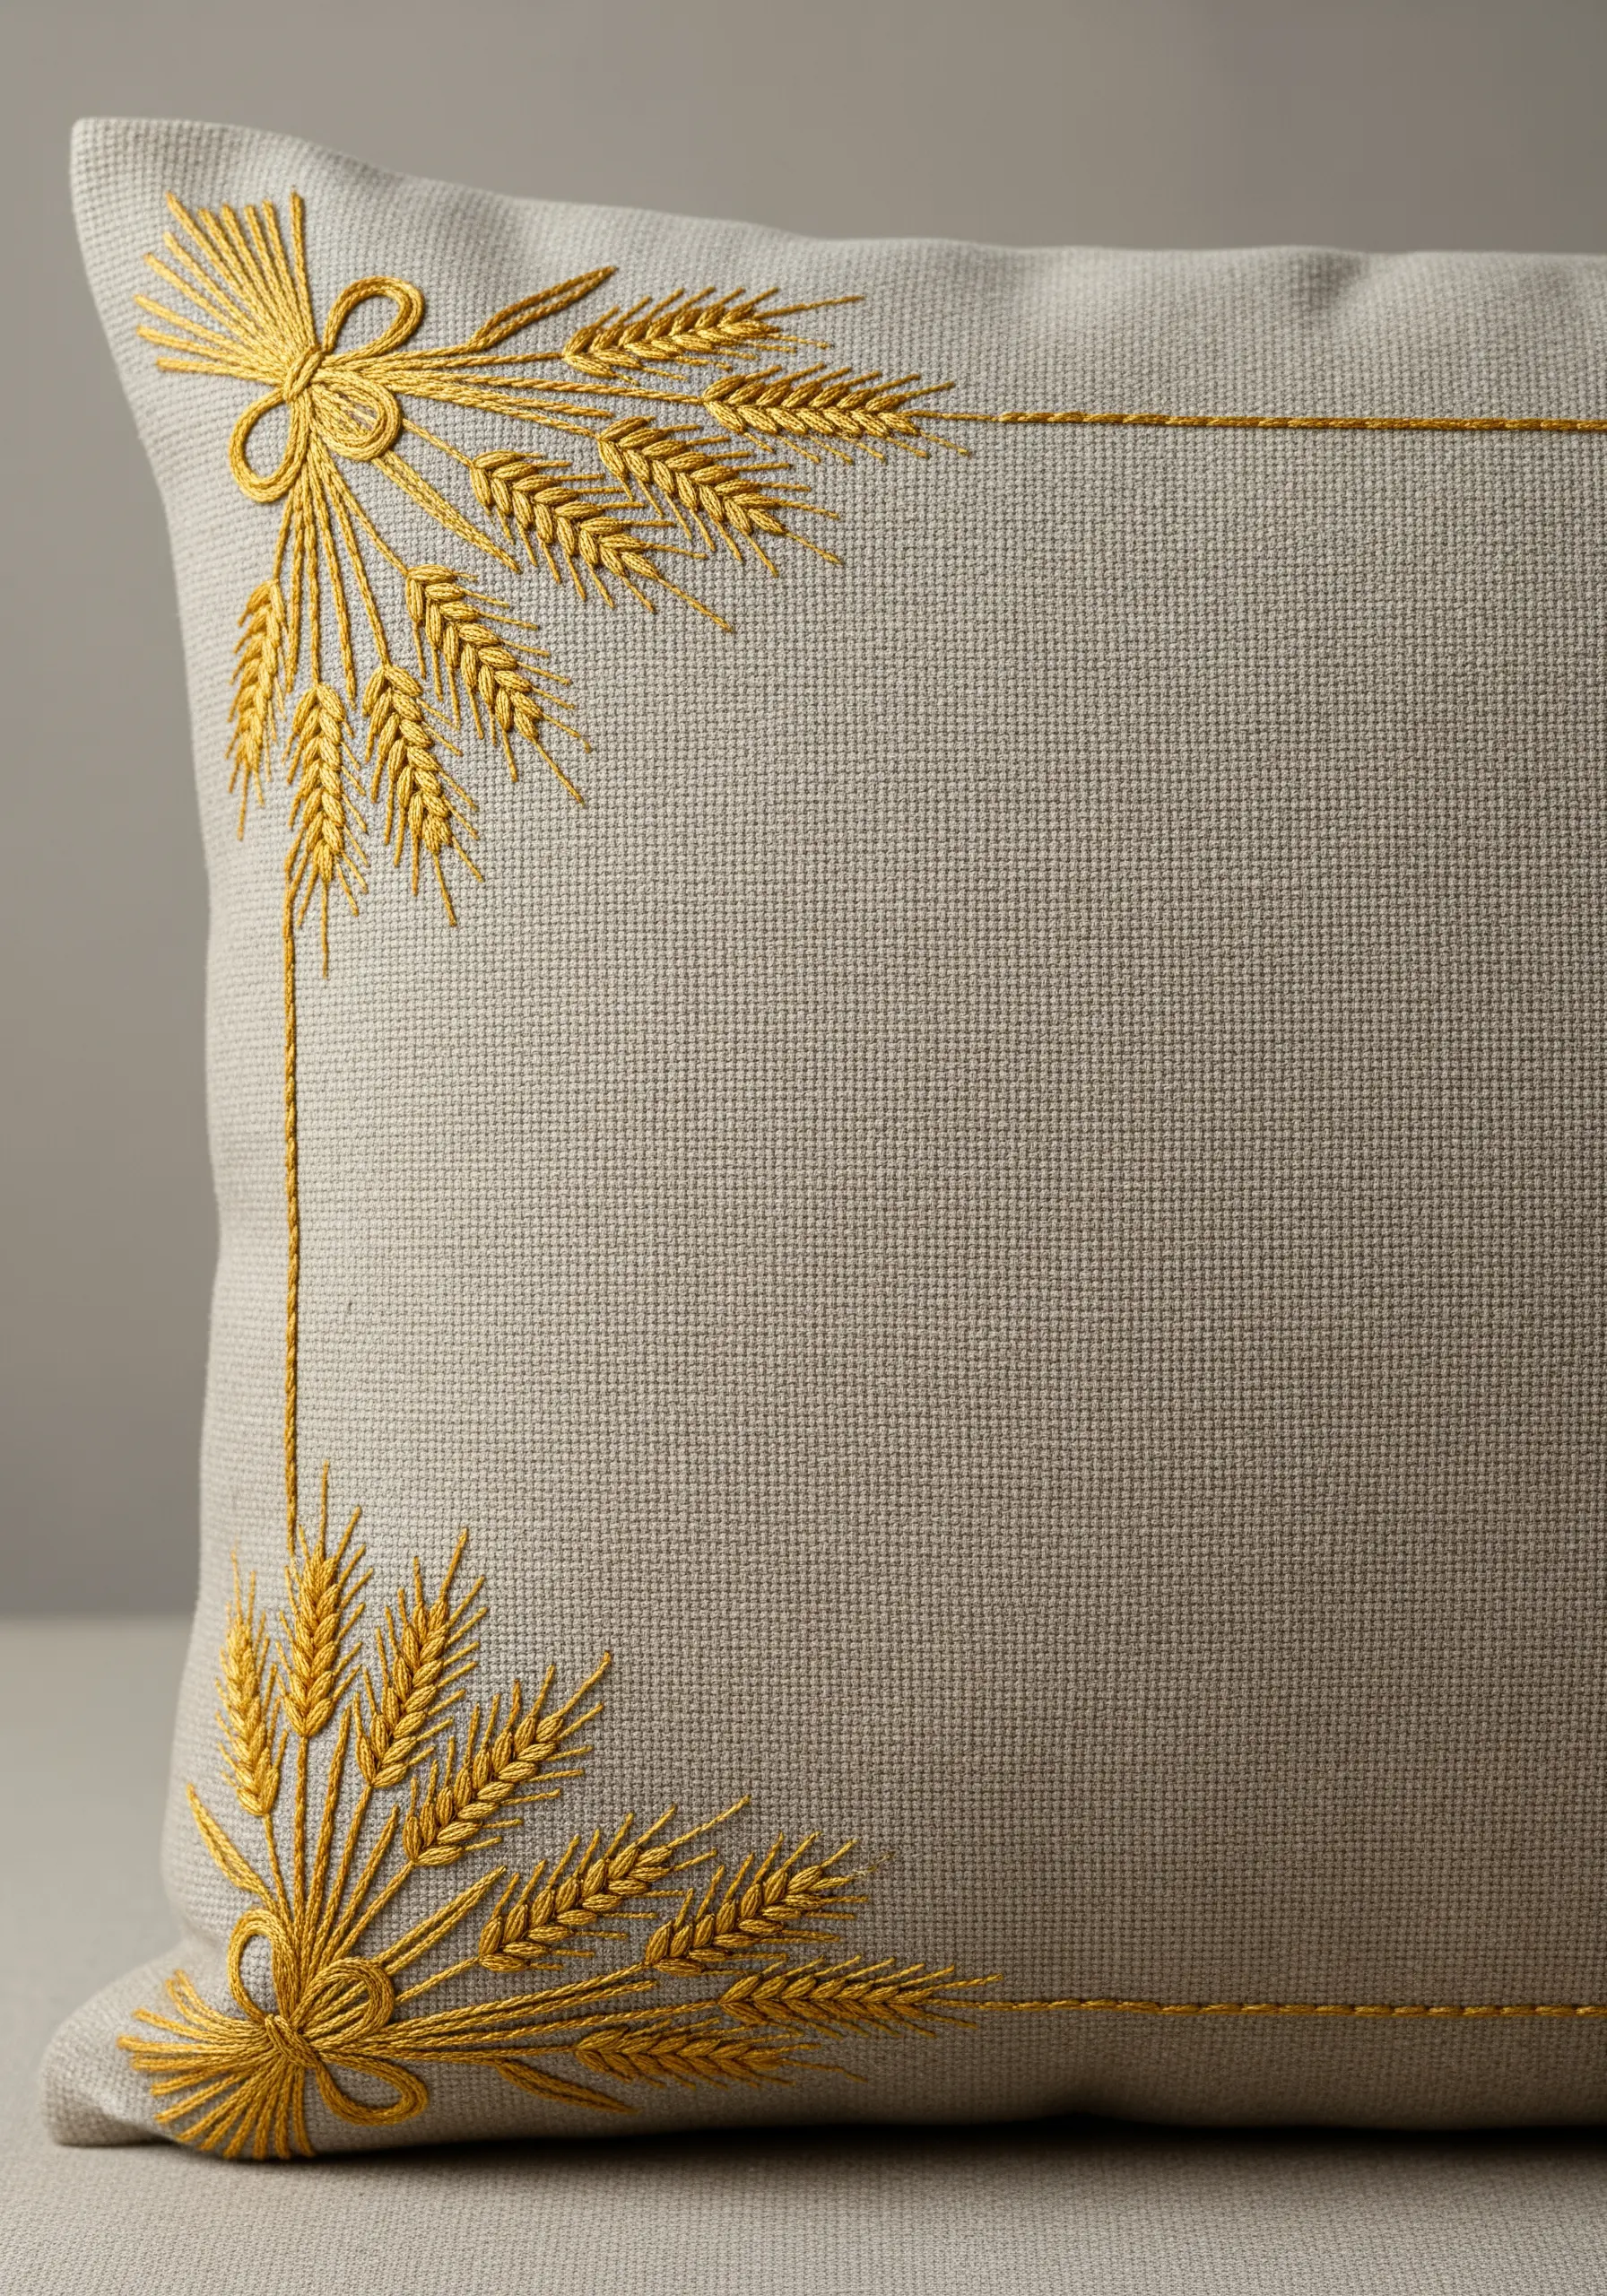
Successfully recreating botanical textures relies on choosing the right stitch for each part of the plant.
For the plump grains on a head of wheat, use a short, angled satin stitch.
For the delicate, wispy awns that extend from them, an elongated fly stitch is perfect.
This combination of solid and airy stitches captures the true character of the motif.
25. Dimensional Trellis with Couching and Beads
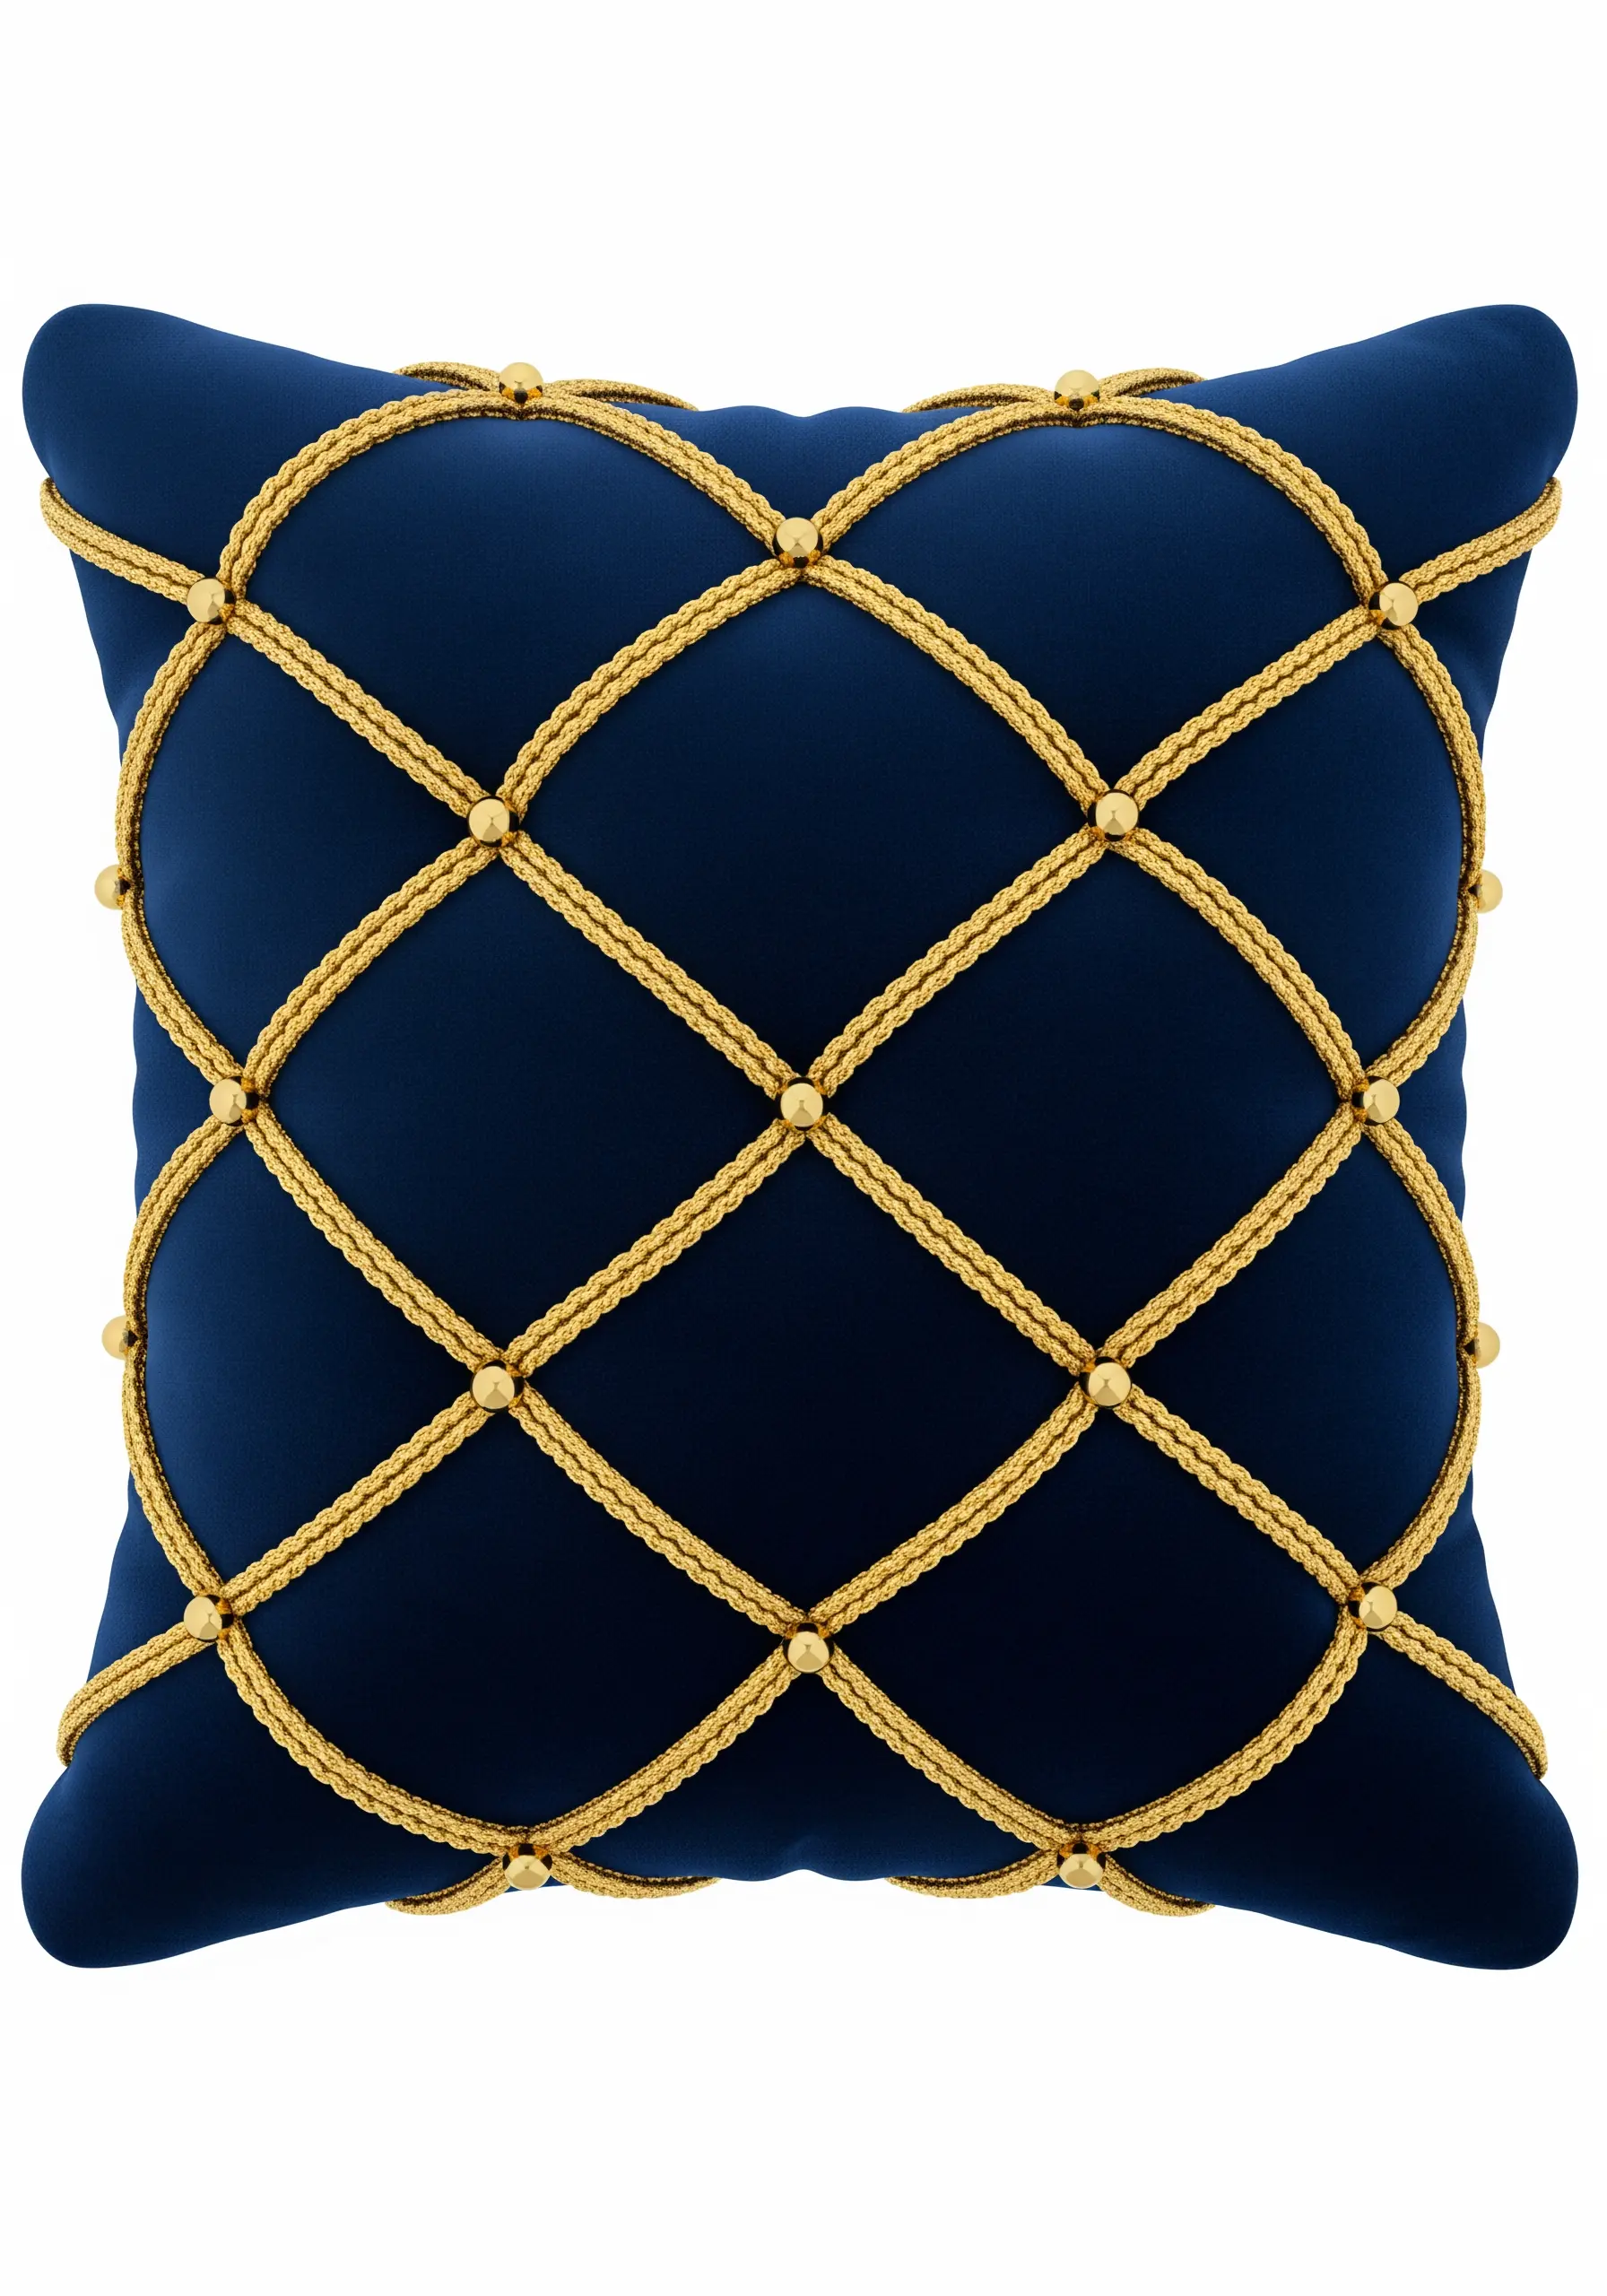
This luxurious, tufted look is achieved by creating a trellis with a thick, twisted gold cord.
Lay the cord in a diagonal grid across your fabric and couch it down with an invisible tacking stitch.
The crucial finishing touch is to add a small gold bead at each intersection.
This not only hides your tacking stitches but adds a point of refined detail that elevates the entire cushion.
26. Motif Fills with French Knots
Instead of a flat satin stitch, give small, repeating motifs a wonderfully bumpy and sparkling texture by filling them with French knots.
First, create a containing outline with a simple backstitch to keep your knots neat.
This filling technique is not only visually interesting but also catches the light from hundreds of tiny, different angles, creating a unique shimmer that satin stitch cannot replicate.


