
It’s easy to feel that creating something truly beautiful requires endless hours. But what if a single weekend was enough to make something you’ll love forever? The secret isn’t speed; it’s intention.
Here, you won’t find shortcuts that compromise quality. Instead, you’ll discover how small, deliberate choices—like using a stabilizer for crisp appliqué, adding piping for a clean edge, or choosing the right stitch for a textured fabric—can transform a simple project into a polished, lasting piece.
Think of this as your guide to making with purpose. Each of these projects is an invitation to slow down just enough to appreciate the details, creating something both useful and beautiful that reflects your skill and care.
1. Create a Delicate Botanical Bookmark
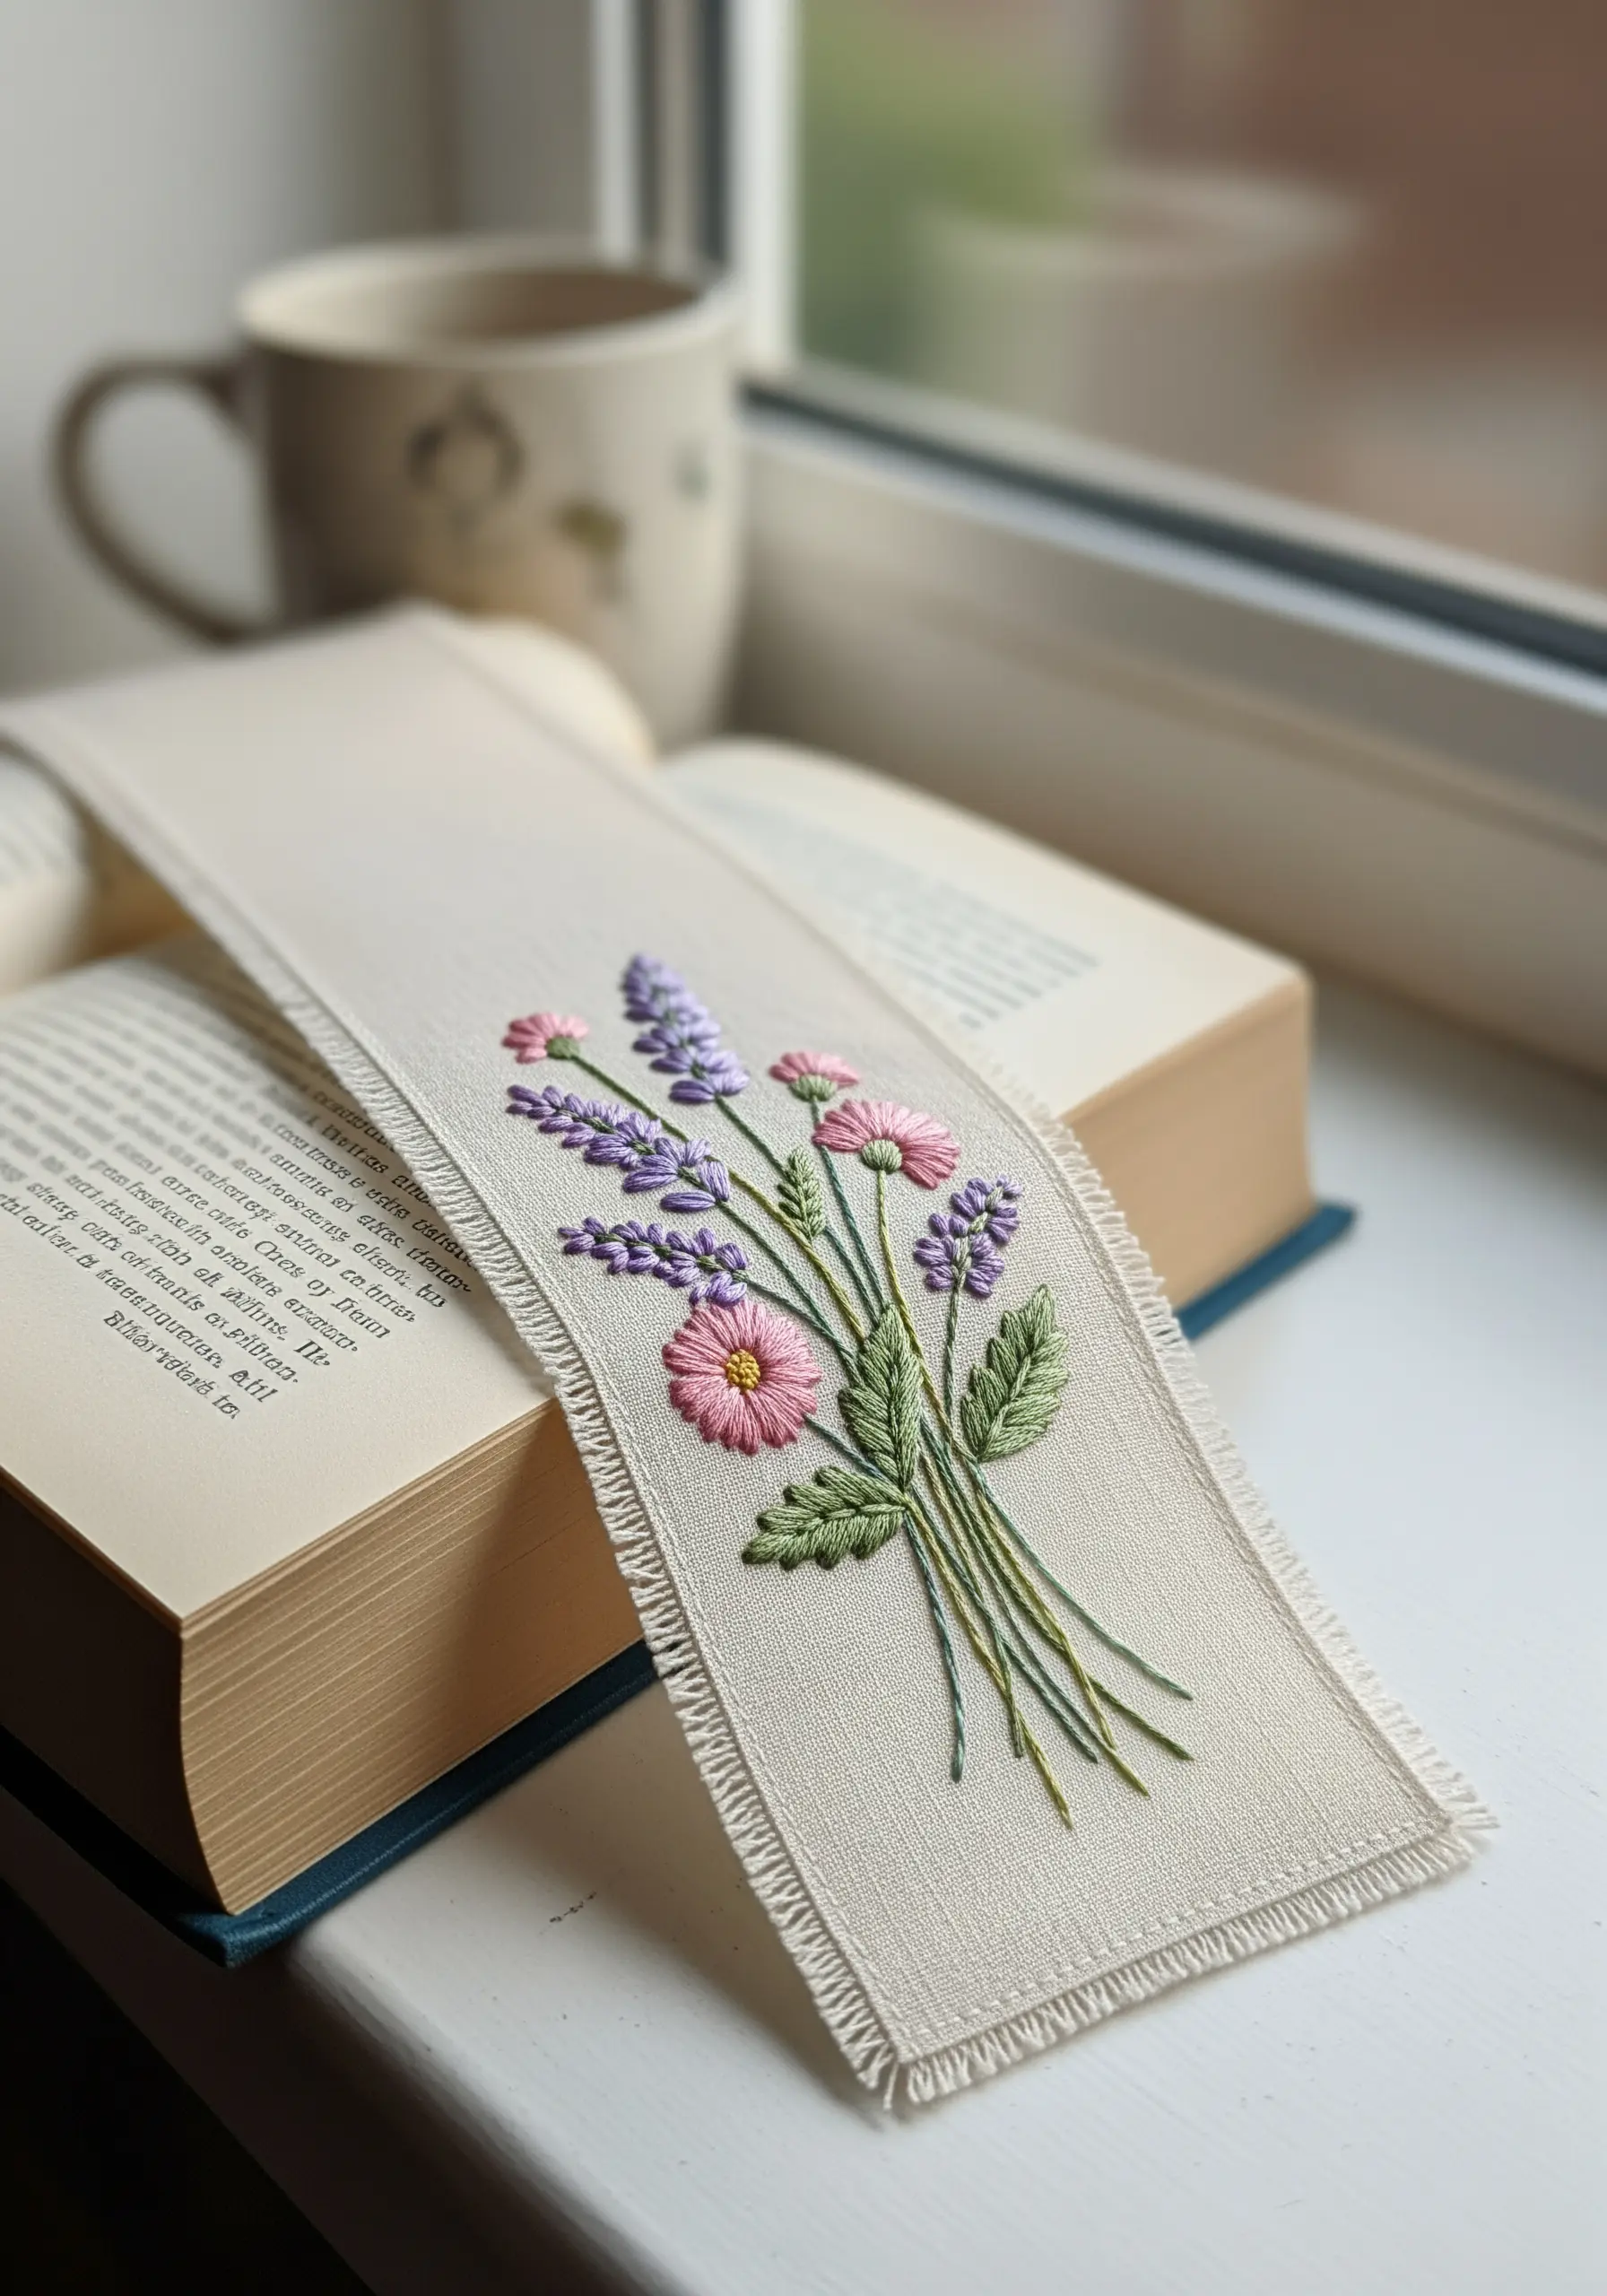
To achieve this level of fine detail on a small scale, switch to a single strand of six-strand embroidery floss.
Use a tight satin stitch for the daisy petals, ensuring your entry and exit points are precise to create sharp edges.
For the lavender, small lazy daisy stitches clustered together give a convincing floral texture without adding bulk.
Finish the bookmark by carefully pulling threads from the fabric edges to create a soft, even fringe, which adds a professional, tactile quality to the piece.
2. Master Bold Appliqué on a Pillow Cover
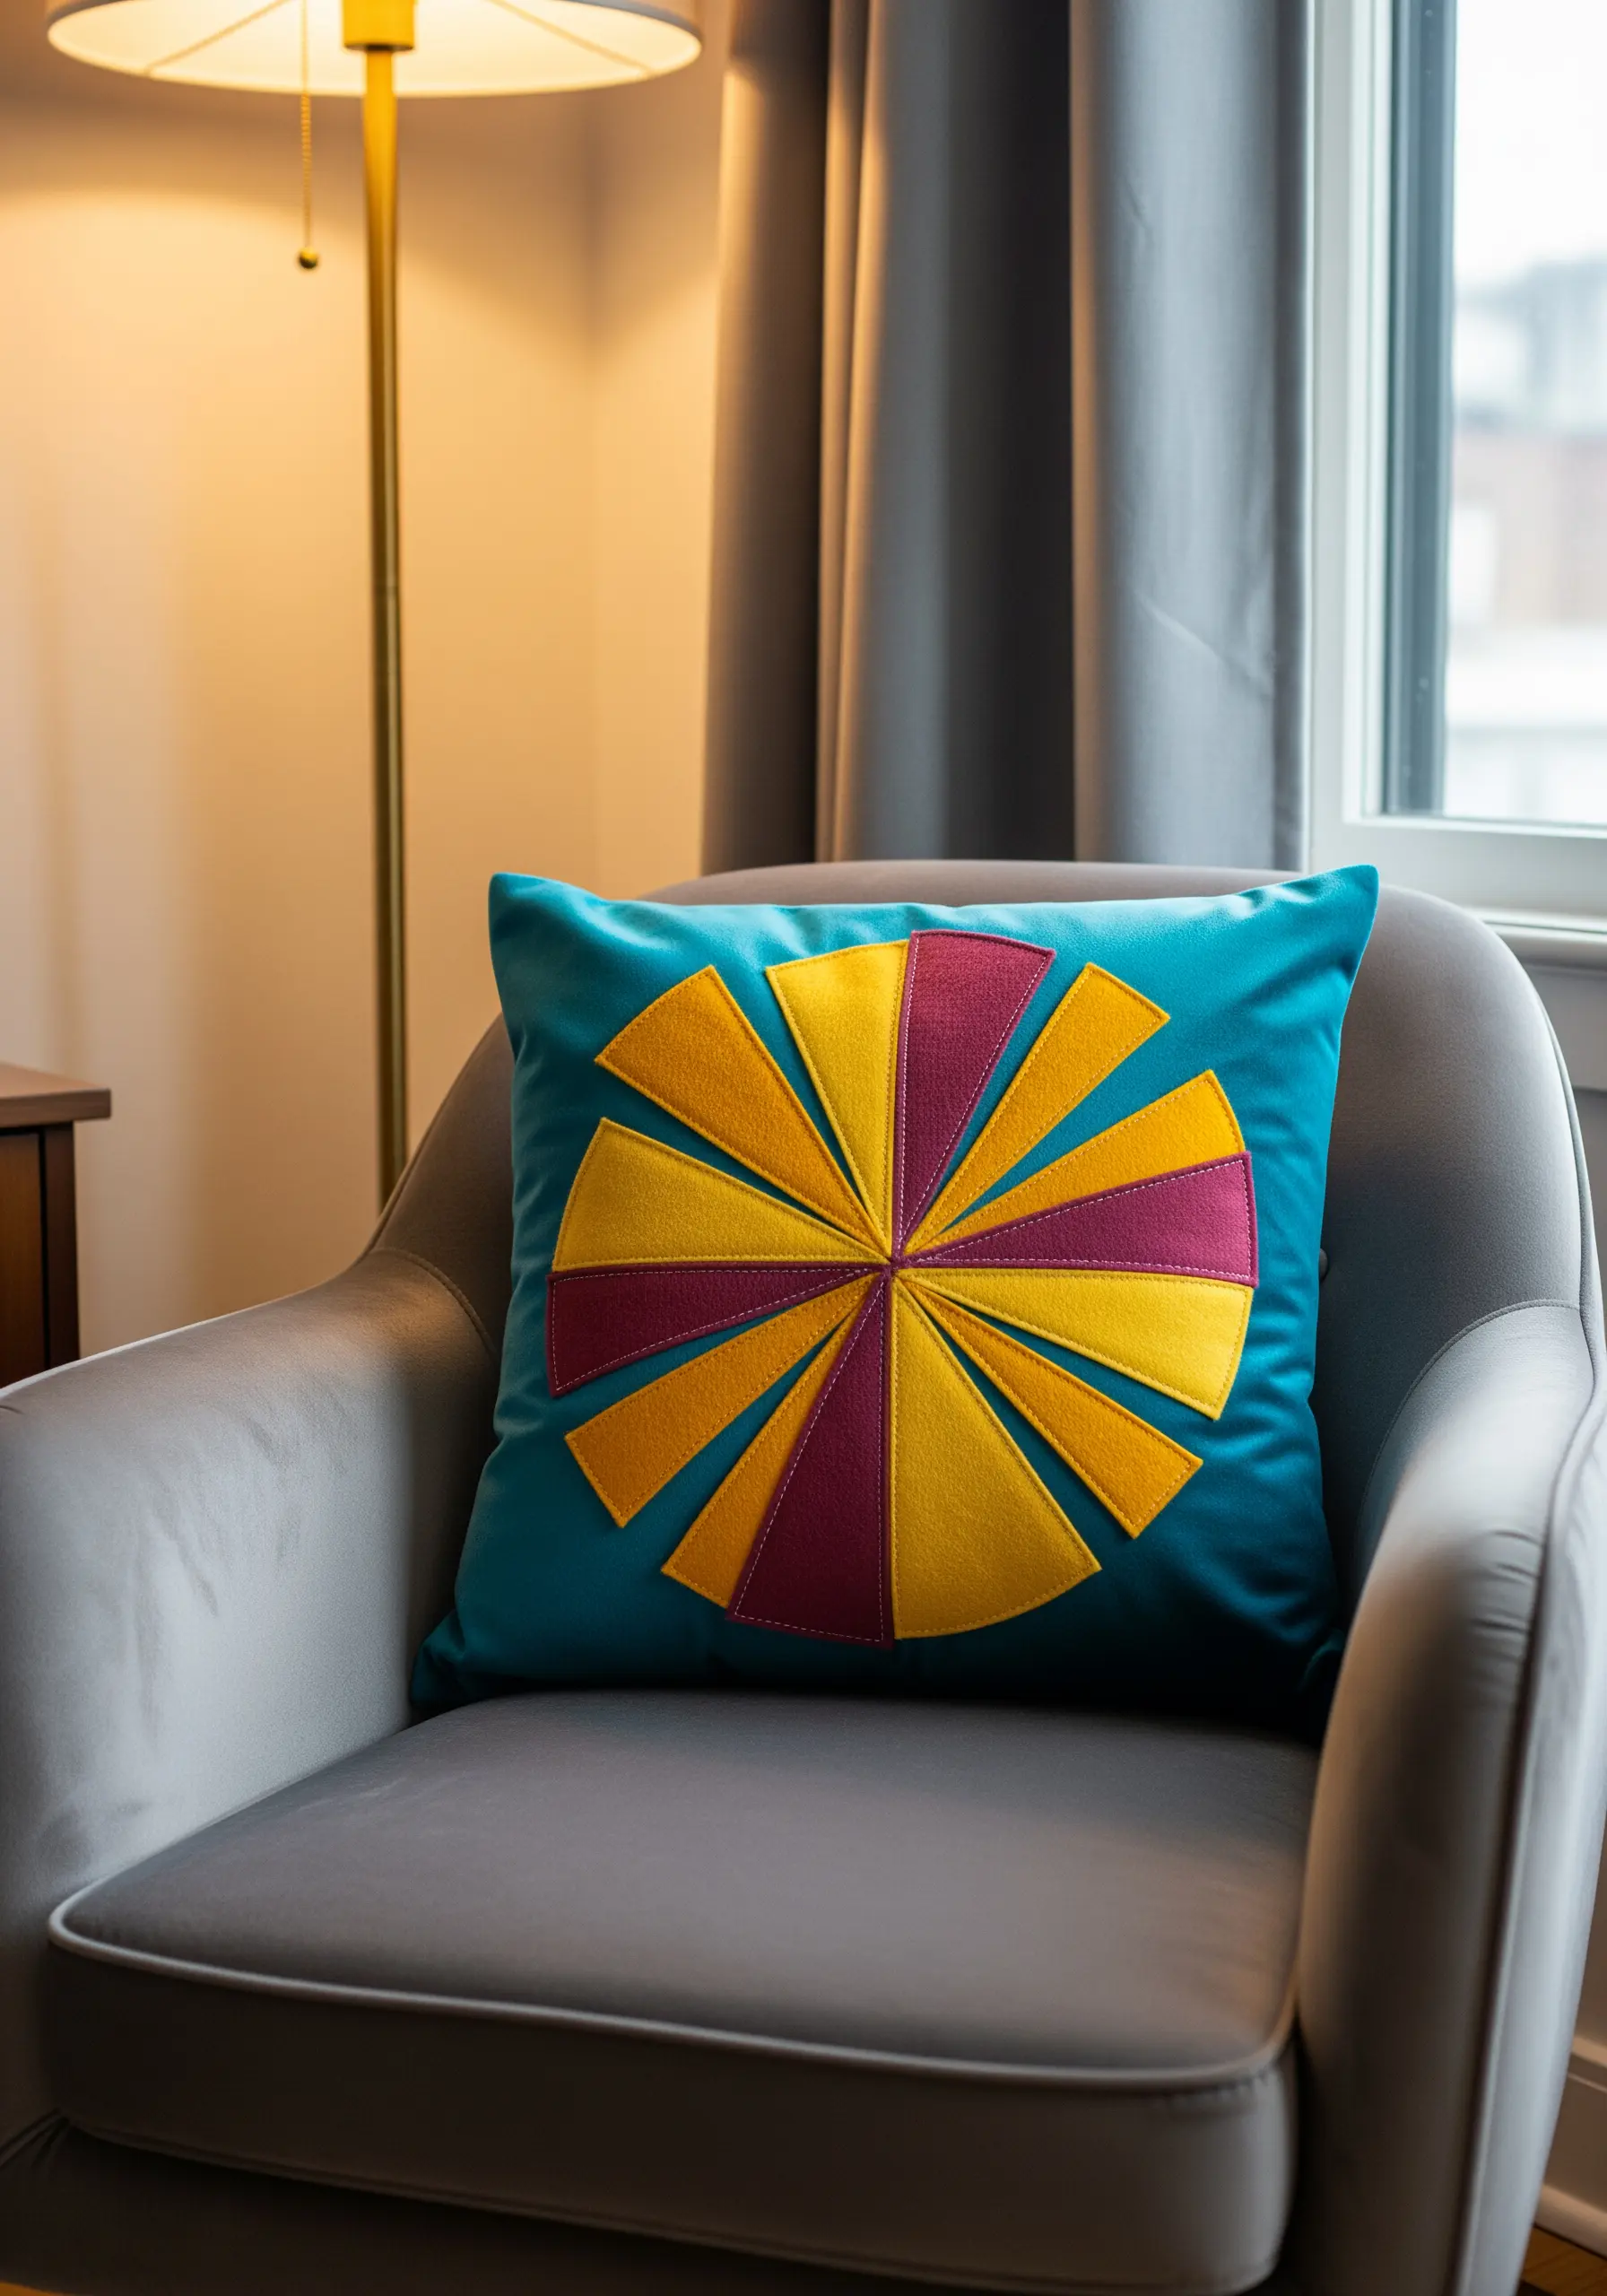
For crisp, clean shapes like these, use a lightweight fusible web to adhere your fabric pieces to the pillow front before stitching.
This simple step prevents any shifting or puckering and ensures your geometric lines are perfectly sharp.
Outline each appliqué piece with a tight, machine-sewn zig-zag stitch or a hand-sewn blanket stitch for a durable and decorative edge.
The contrast between the smooth appliqué and the plush pillow creates a satisfying textural and visual pop that elevates your home décor.
3. Craft a Set of Modern Quilted Coasters
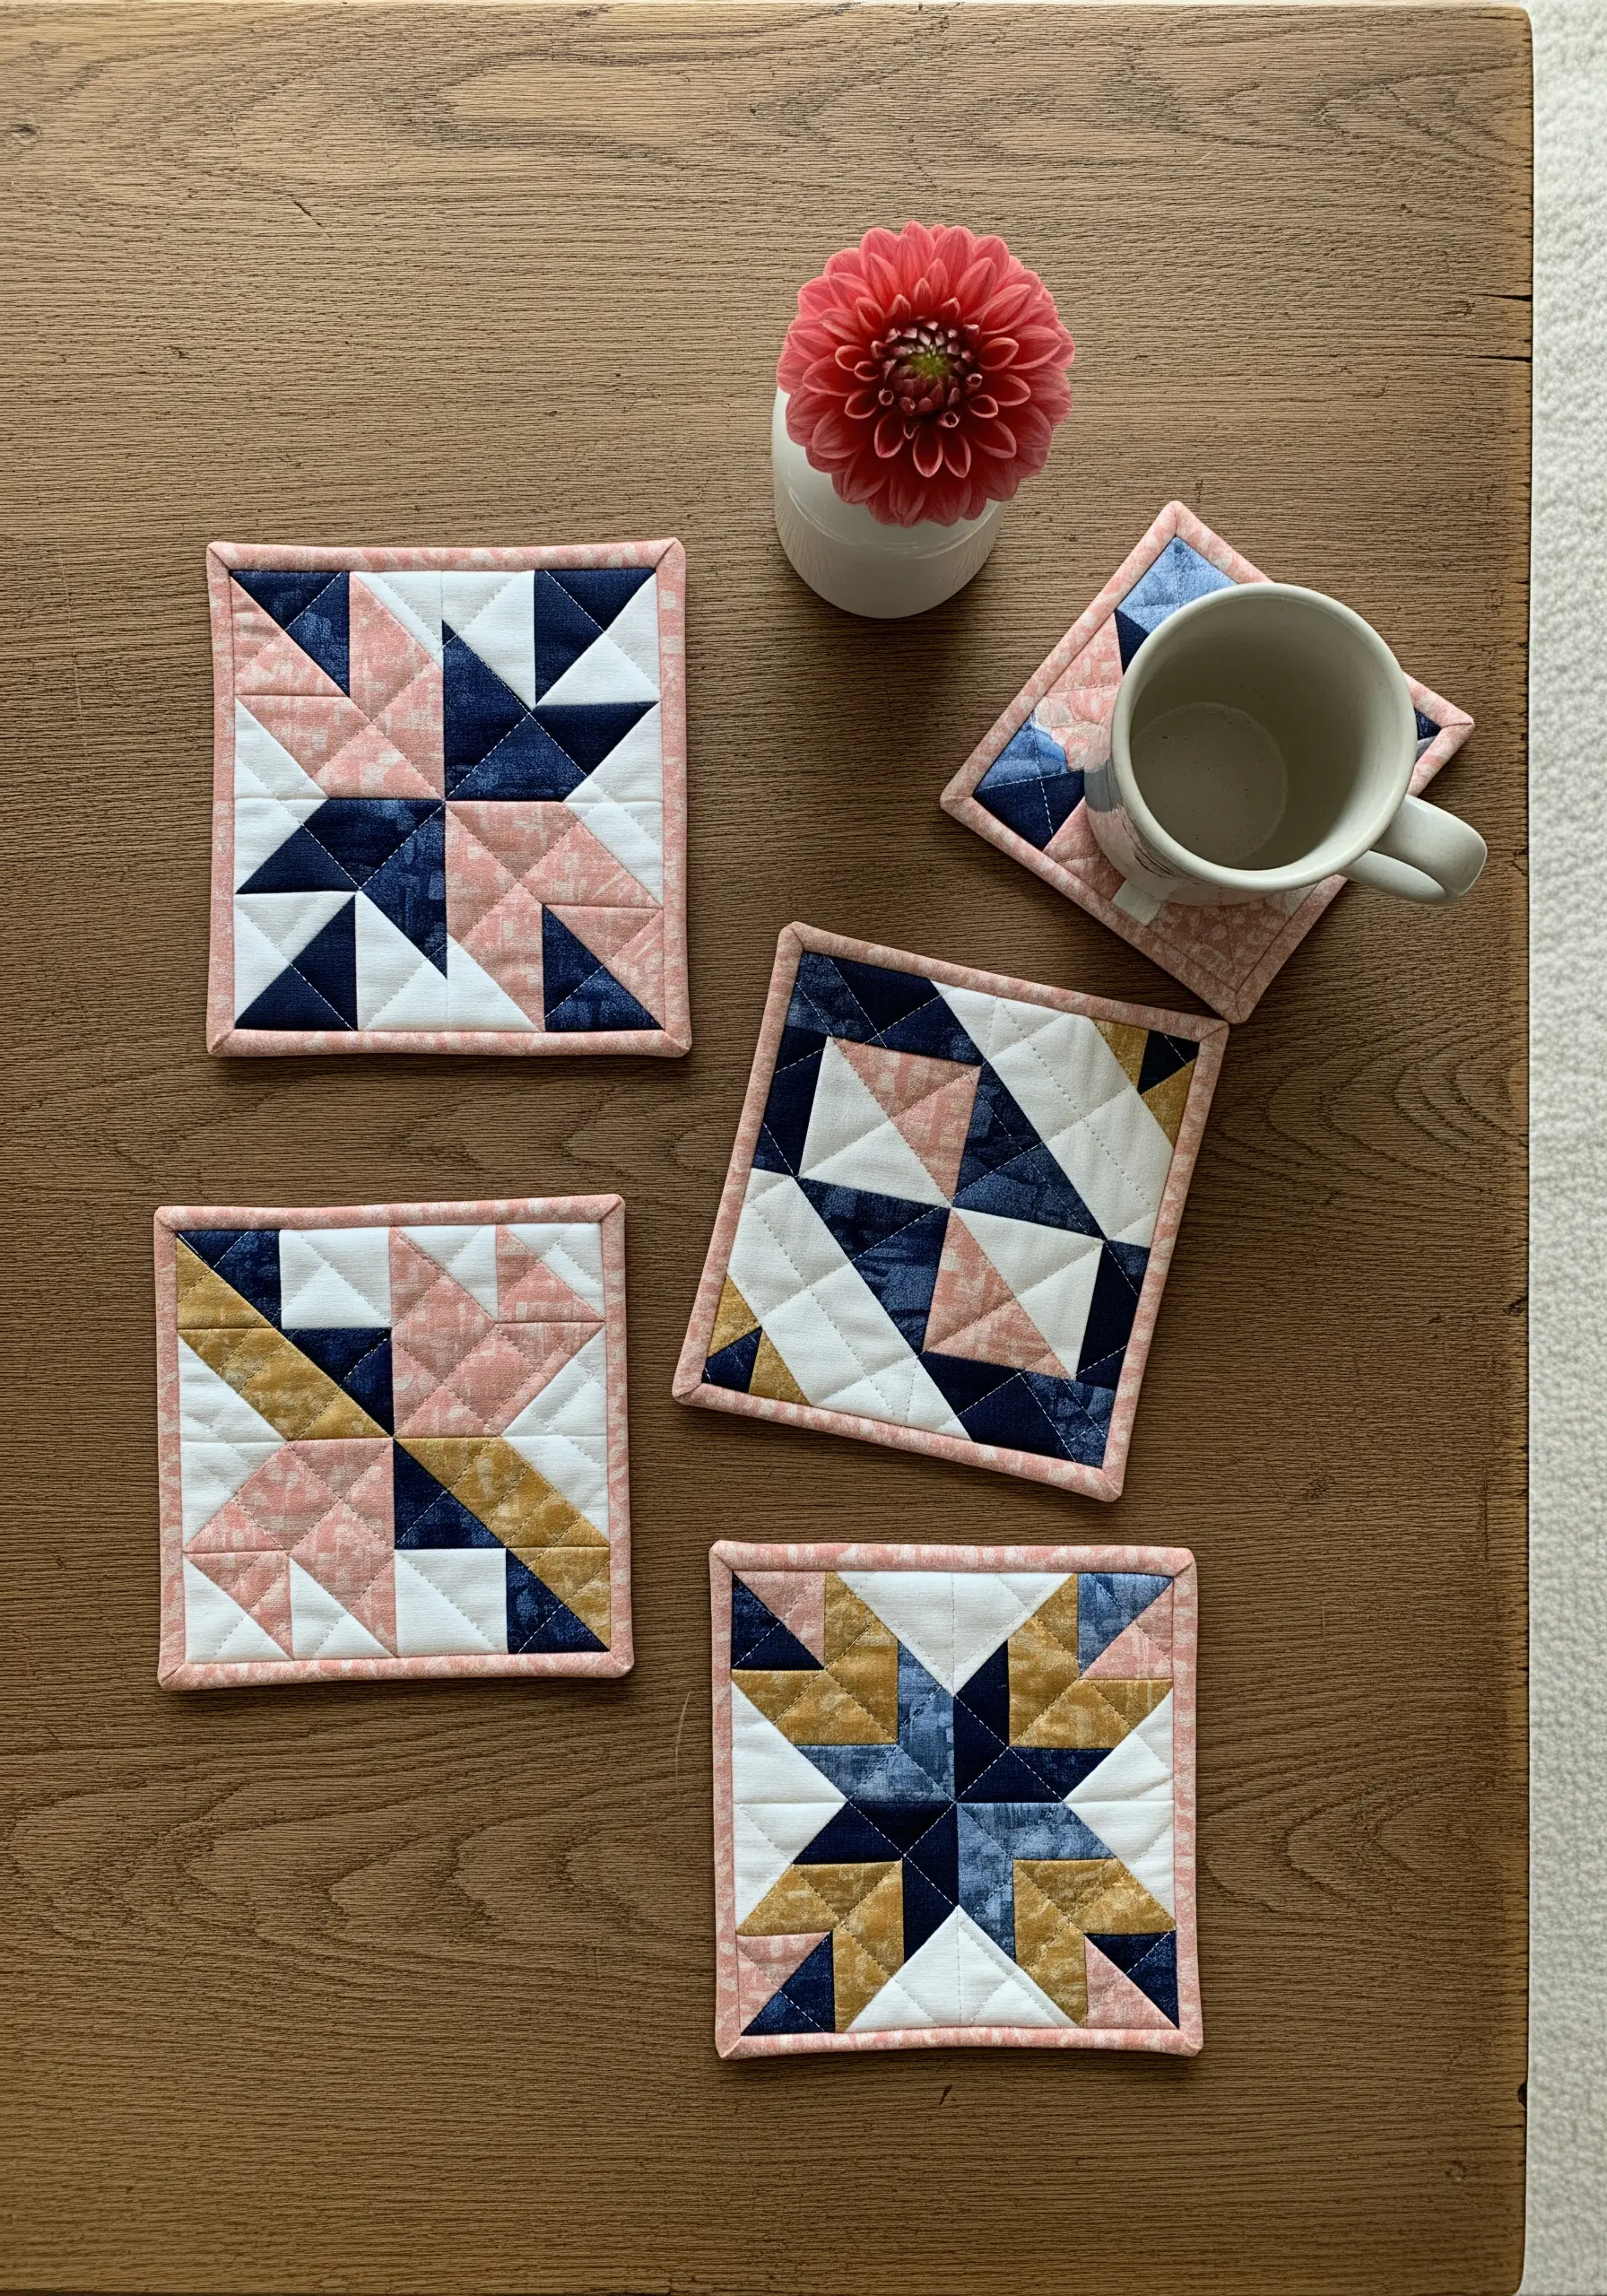
The key to polished quilted coasters is precision in your fabric piecing and a consistent seam allowance, typically a quarter-inch.
Press your seams open as you work to ensure the coaster lies perfectly flat before you begin quilting.
Use a walking foot on your sewing machine to stitch straight diagonal lines across the top; this prevents the layers of fabric and batting from shifting.
Finishing with a neatly mitered binding not only seals the raw edges but also frames your work, giving it a gallery-worthy finish.
4. Stitch a Minimalist Quilted Wall Hanging
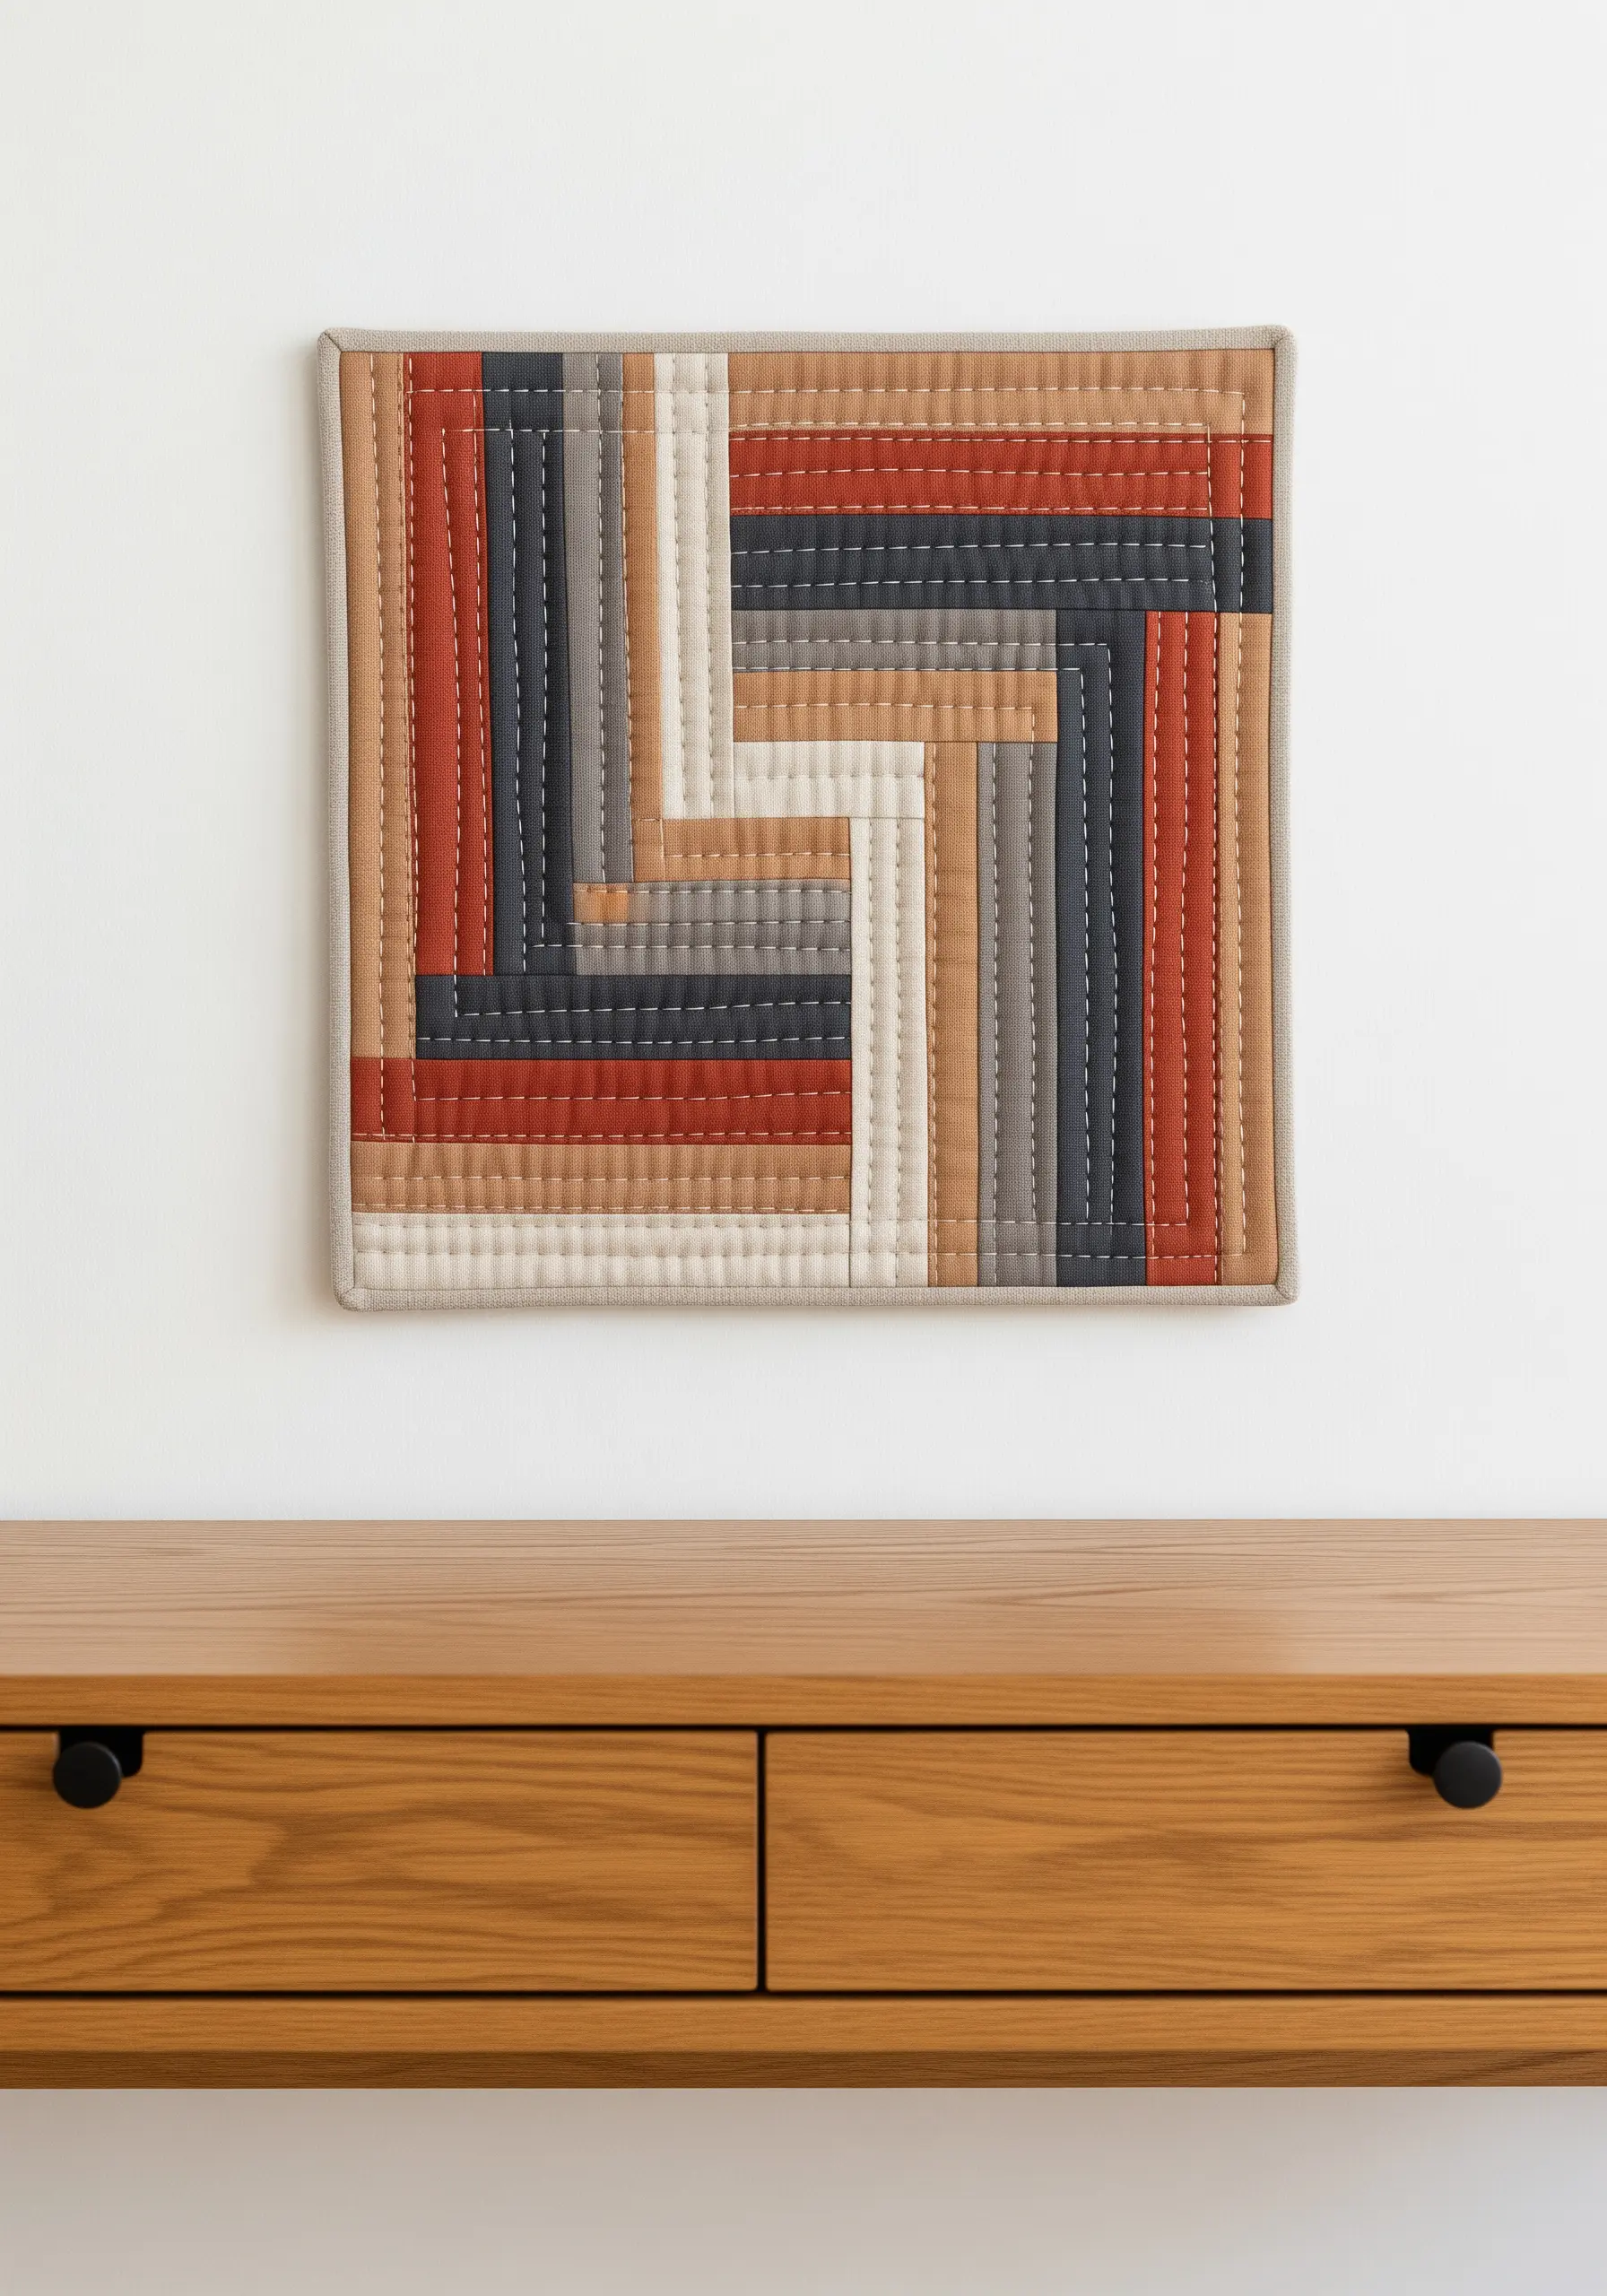
Turn fabric scraps into intentional art with a log cabin quilt block pattern.
Arrange your fabric strips from light to dark to create a beautiful gradient that draws the eye across the piece.
Instead of elaborate quilting, use simple, straight running stitches that echo the lines of the fabric strips.
This technique, known as channel quilting, adds subtle texture and a modern, graphic quality that feels both handmade and highly designed.
5. Design a Custom Fabric-Covered Journal
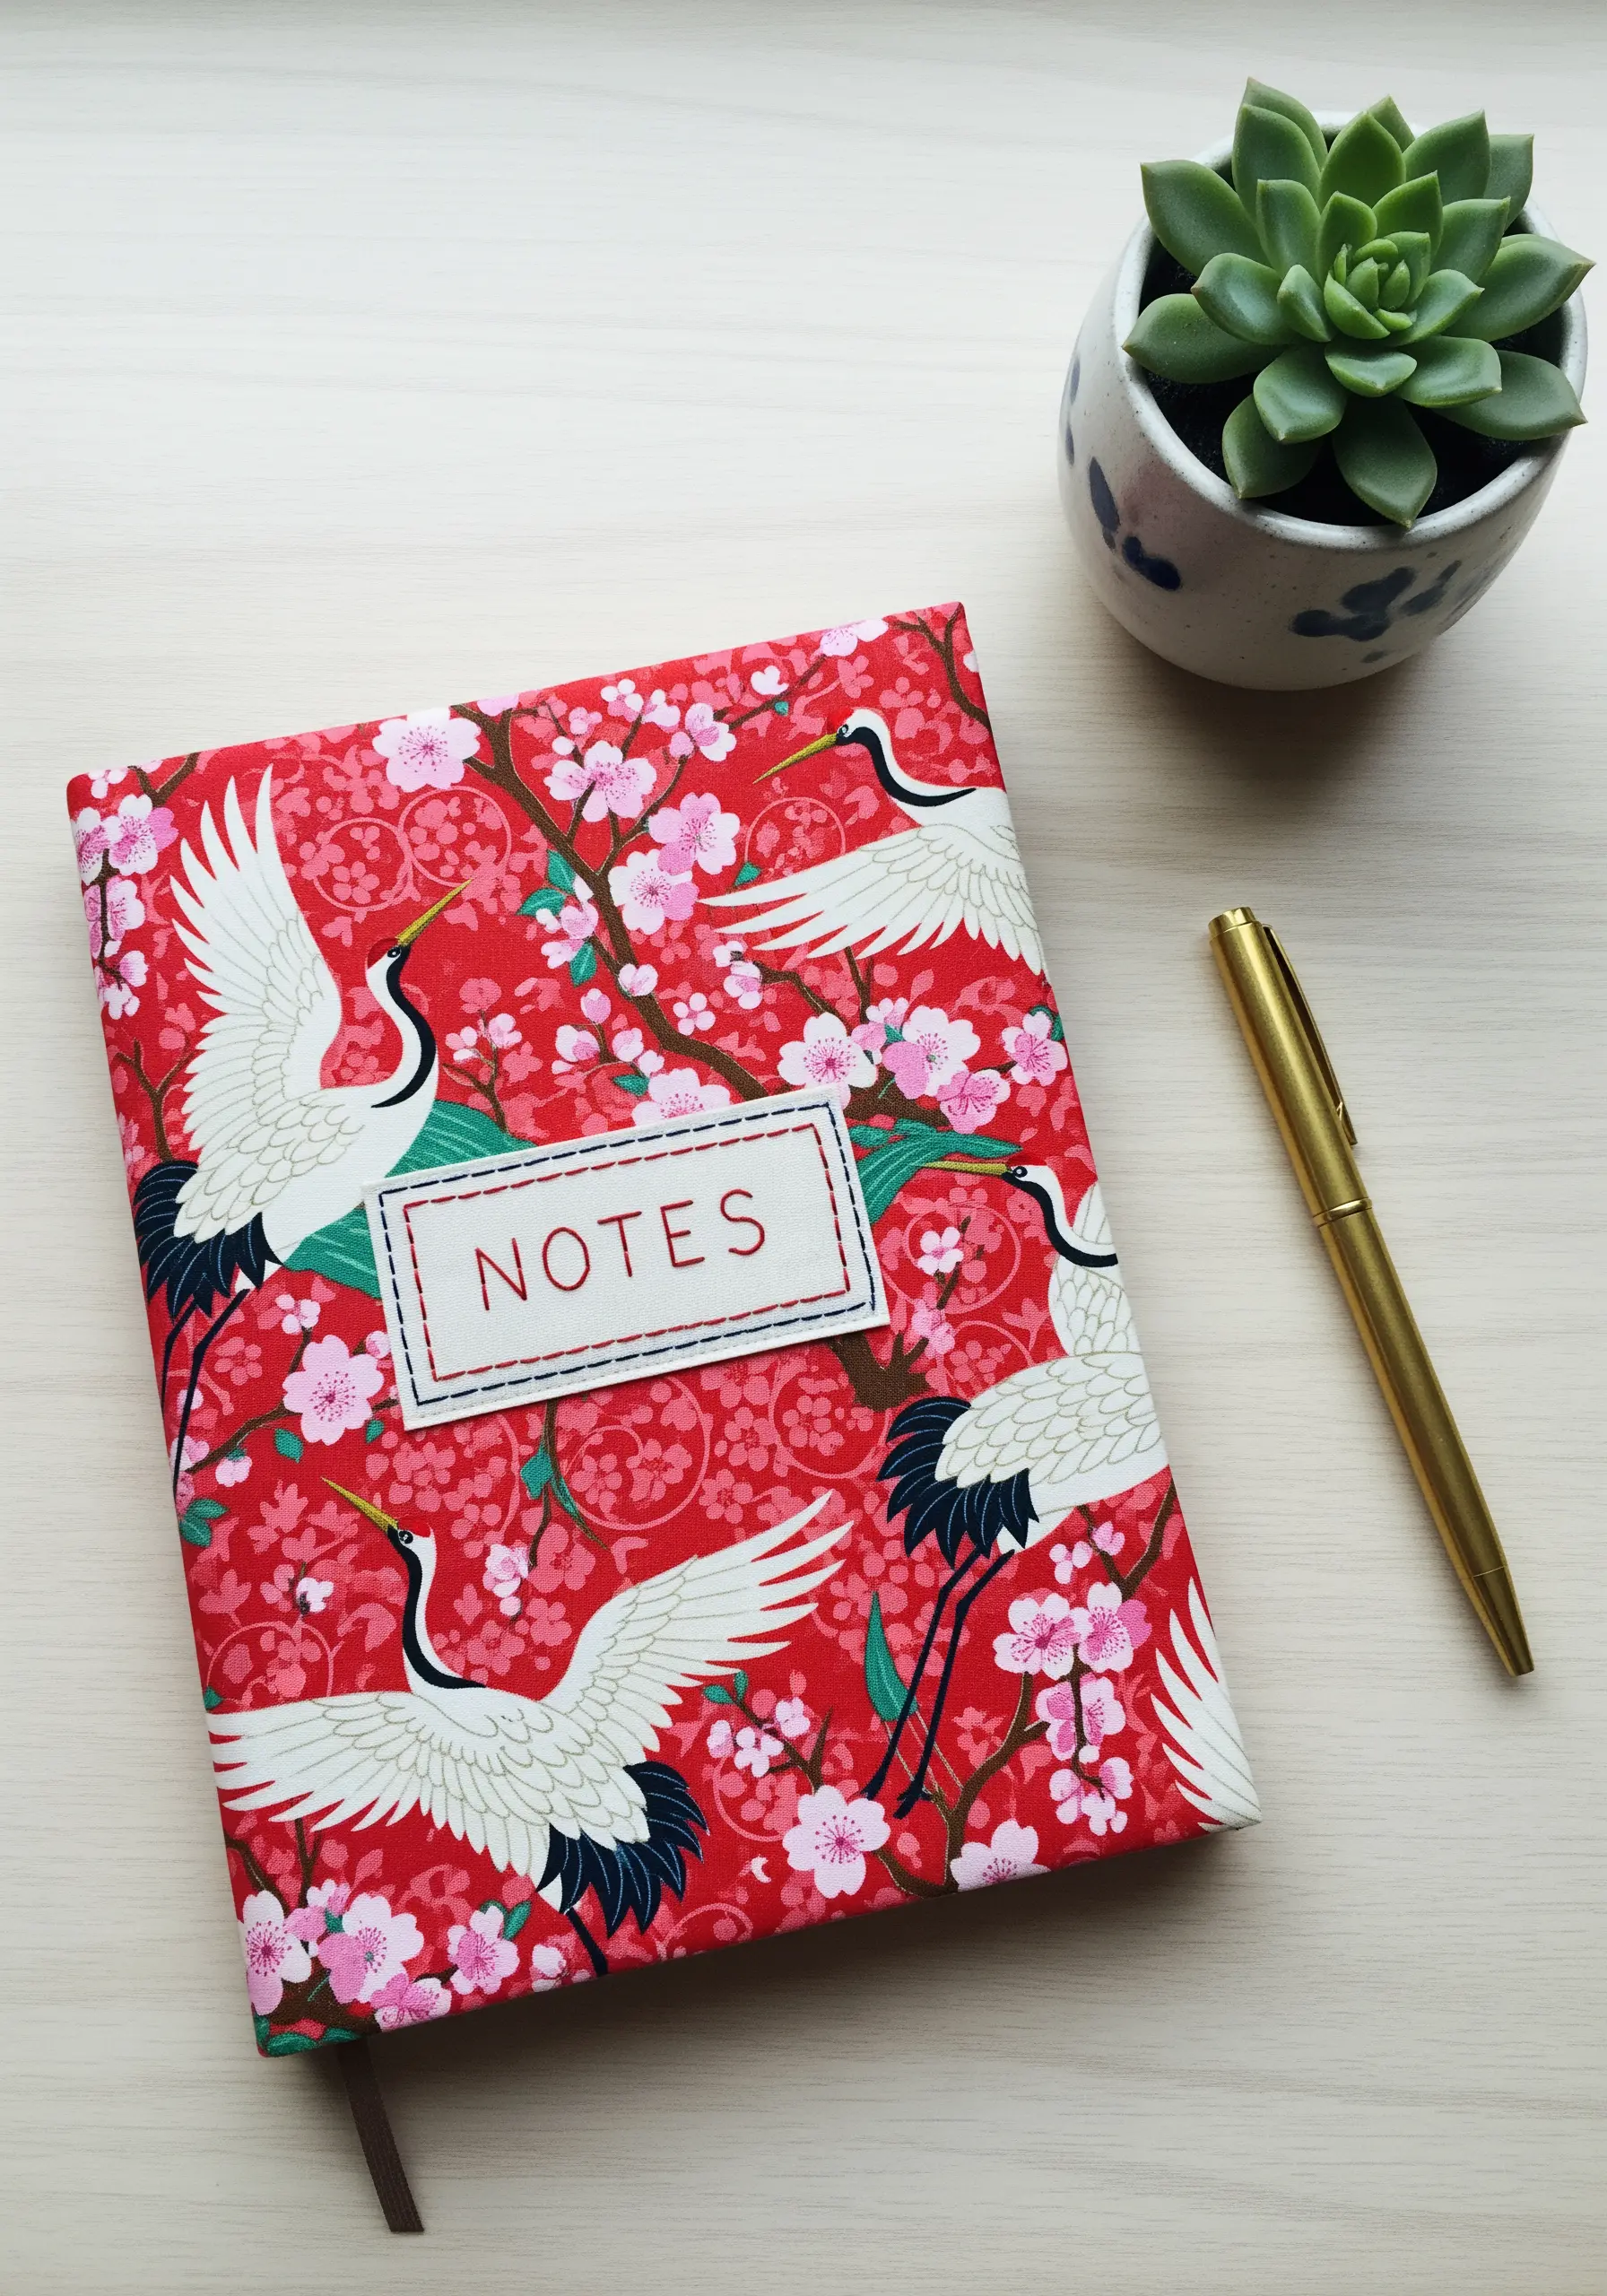
Elevate a simple notebook by creating a custom fabric cover that feels both personal and luxurious.
Use a strong spray adhesive or fabric glue for a smooth, bubble-free application, carefully wrapping the fabric around the cover’s edges.
For flawlessly neat corners, miter them as you would when wrapping a gift before gluing the final edges down inside the cover.
Embroider a small label separately on a piece of felt or linen and affix it to the front—this allows you to perfect the stitching without working directly on the bulky journal.
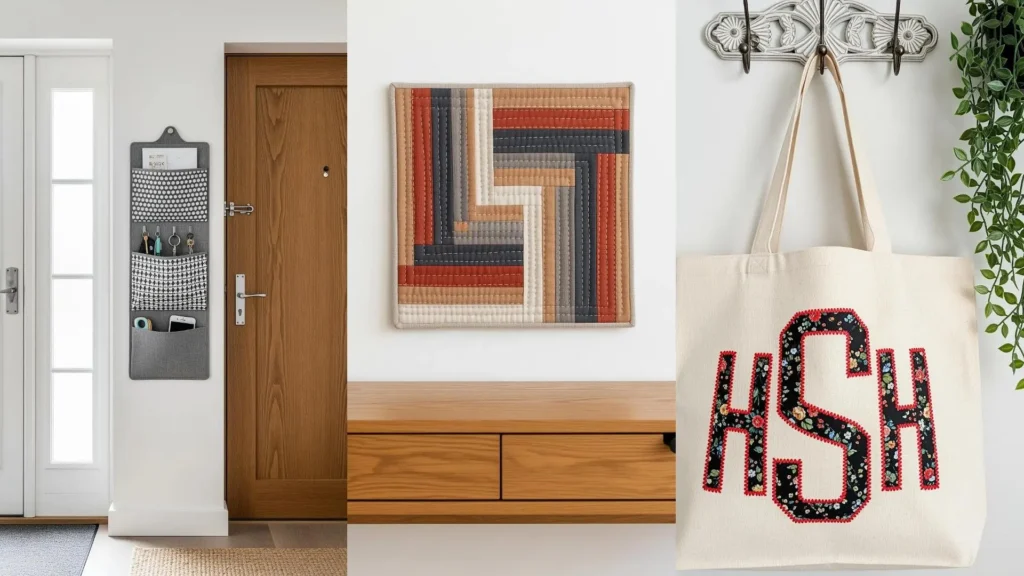
6. Appliqué a Bold Monogram Tote Bag
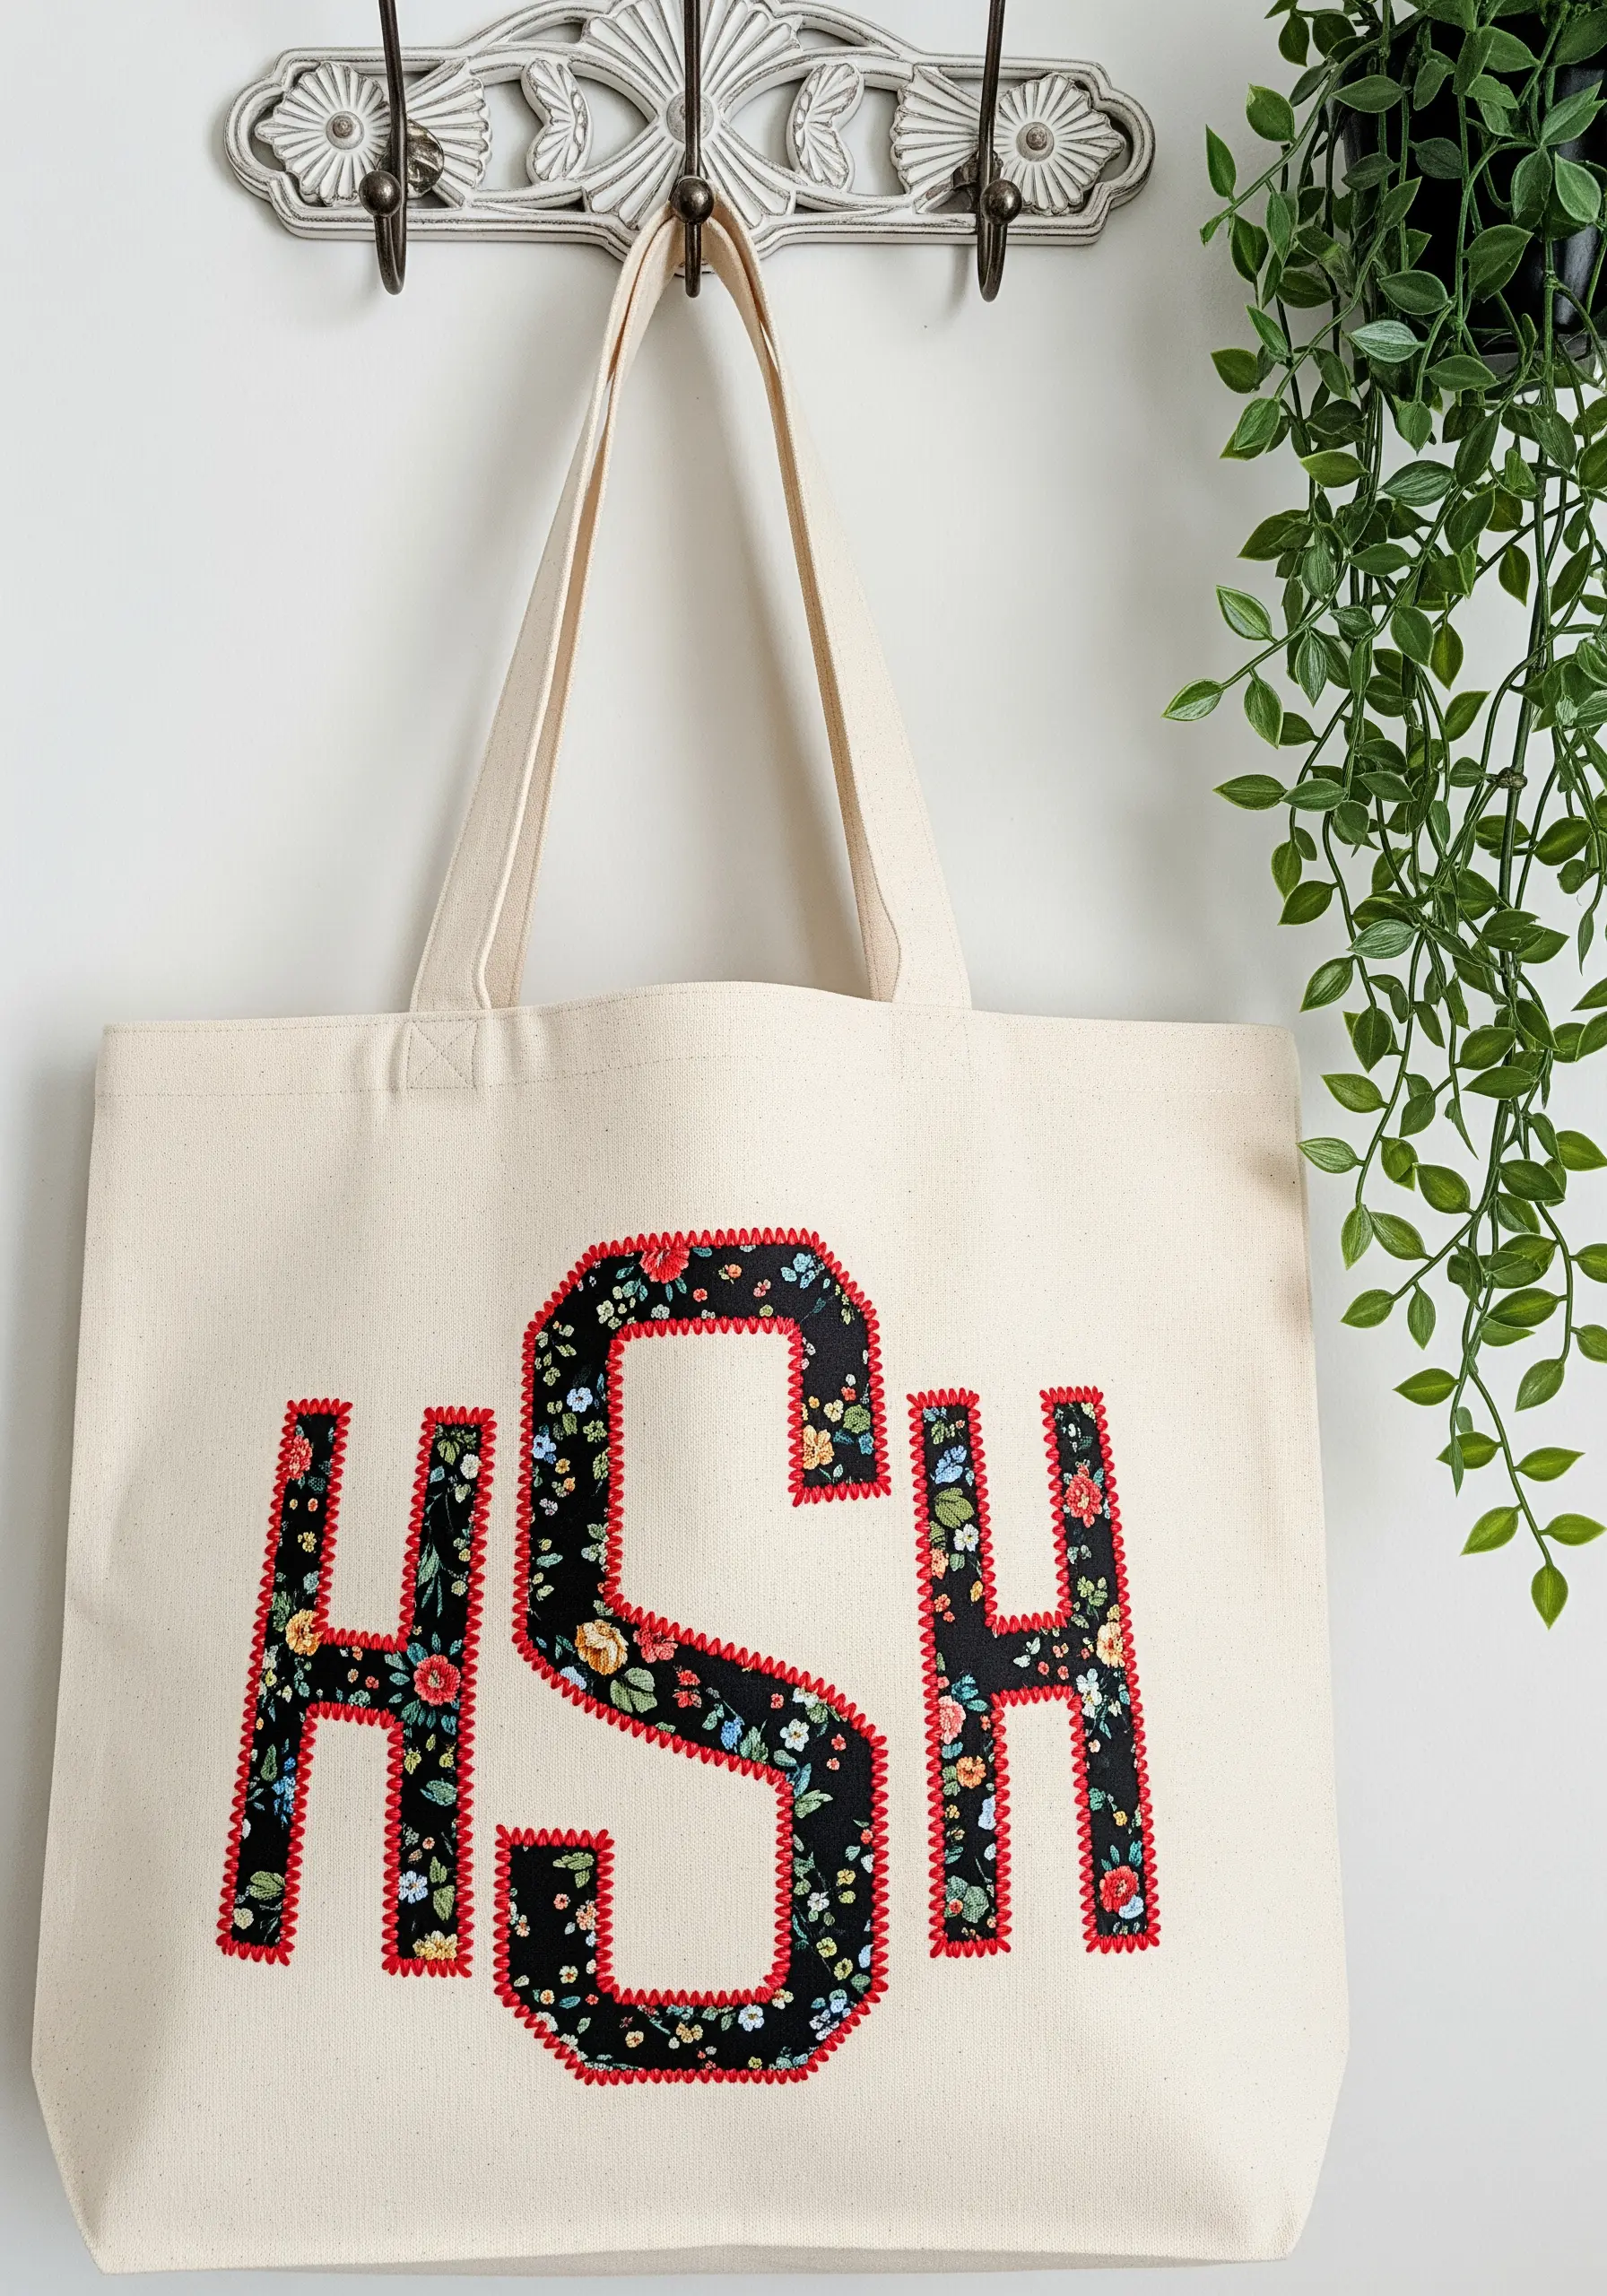
To prevent a canvas tote from stretching or puckering during appliqué, always use a cut-away stabilizer on the inside of the bag.
This provides a firm foundation for your stitches, resulting in a flat, professional-looking monogram that won’t warp over time.
Trace your letters onto a fusible web, iron it to your chosen fabric, and then cut them out for perfectly crisp edges.
Frame your floral fabric with a contrasting blanket stitch in a solid color; this simple border makes the entire design pop and defines the letterforms clearly.
7. Weave a Coiled Fabric Scrap Bowl
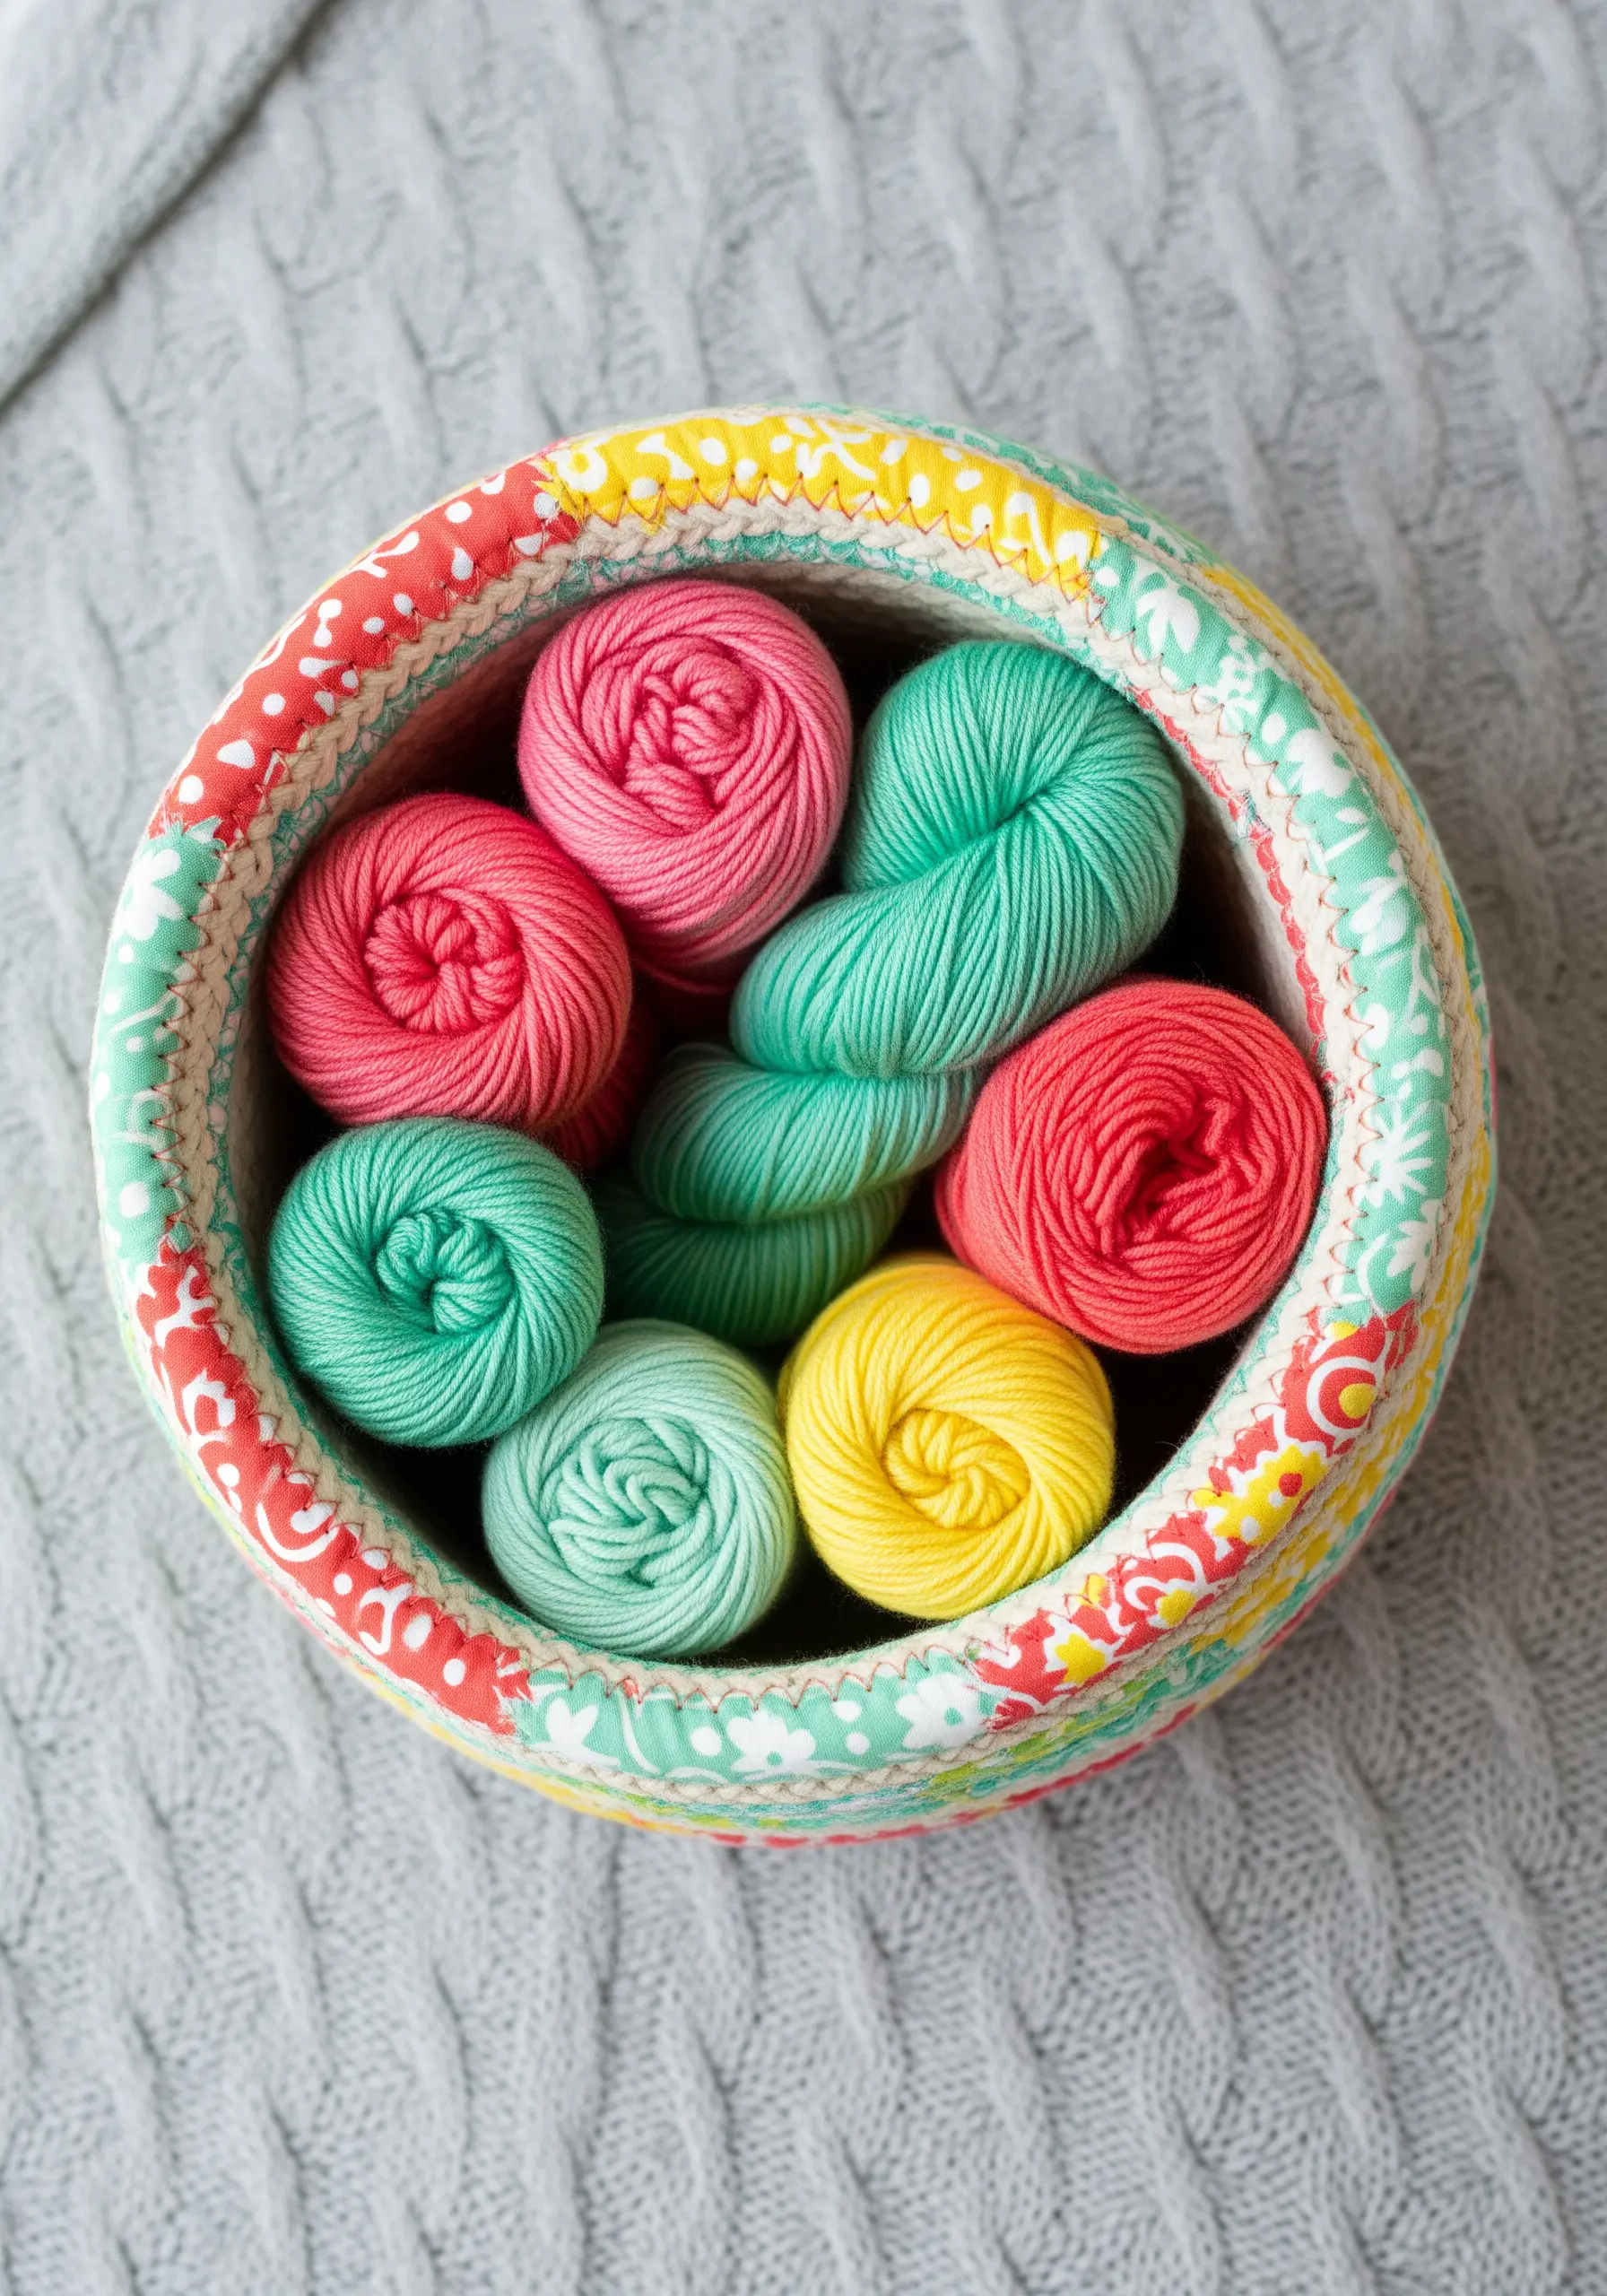
This project is a perfect way to transform leftover fabric strips into a beautiful and functional object.
Wrap cotton clothesline rope tightly with your fabric strips, ensuring a slight overlap to prevent the rope from showing through.
As you coil the rope to build the bowl’s shape, use a wide zig-zag stitch on your sewing machine to connect the coils securely.
Maintain consistent tension as you wrap and sew; this is the secret to a sturdy bowl with smooth, even sides.
8. Embellish a Celestial Hoop with Beading
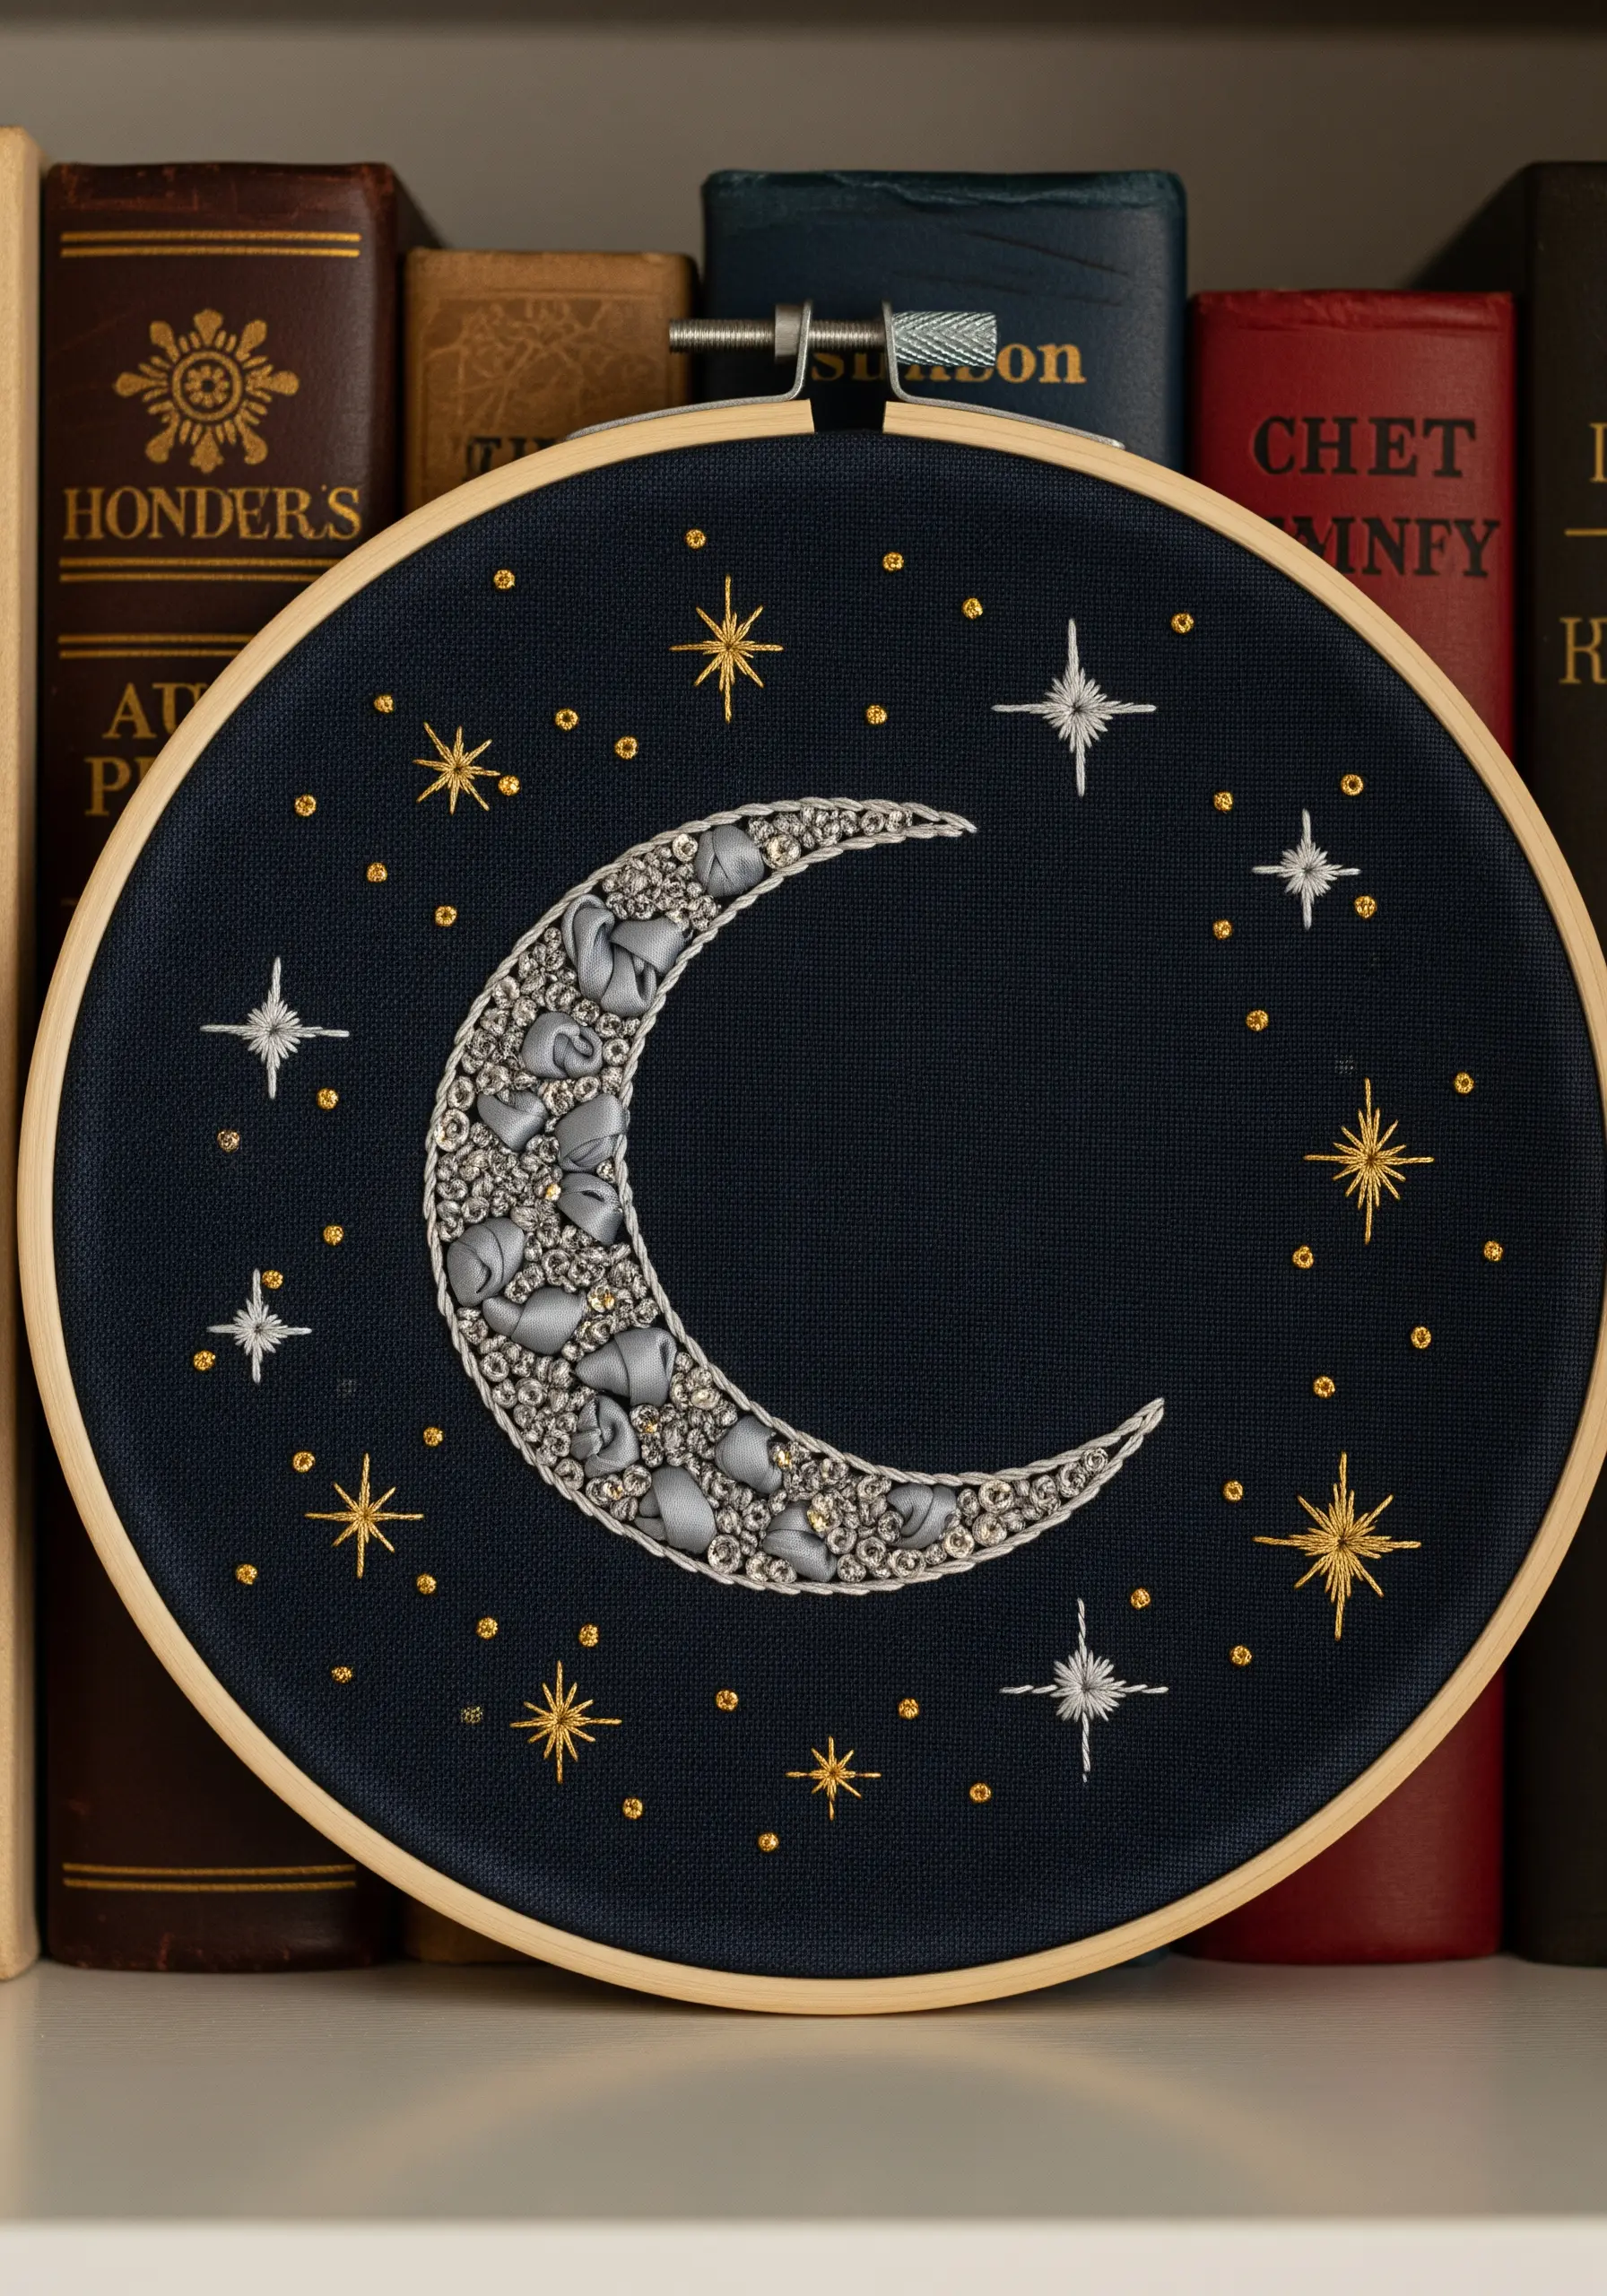
Create extraordinary texture by combining simple stitches with beadwork.
First, stitch the metallic starbursts and outlines using a simple backstitch or stem stitch to establish the composition.
For the moon’s rich texture, fill the shape with a dense layer of seed beads and bugle beads, attaching them with a thread that matches the bead color for an almost invisible finish.
This mixed-media technique works best on a dark, high-contrast fabric like navy or black linen, which makes the metallic and glass elements truly shine.
9. Add Delicate Embroidery to a Corduroy Pouch
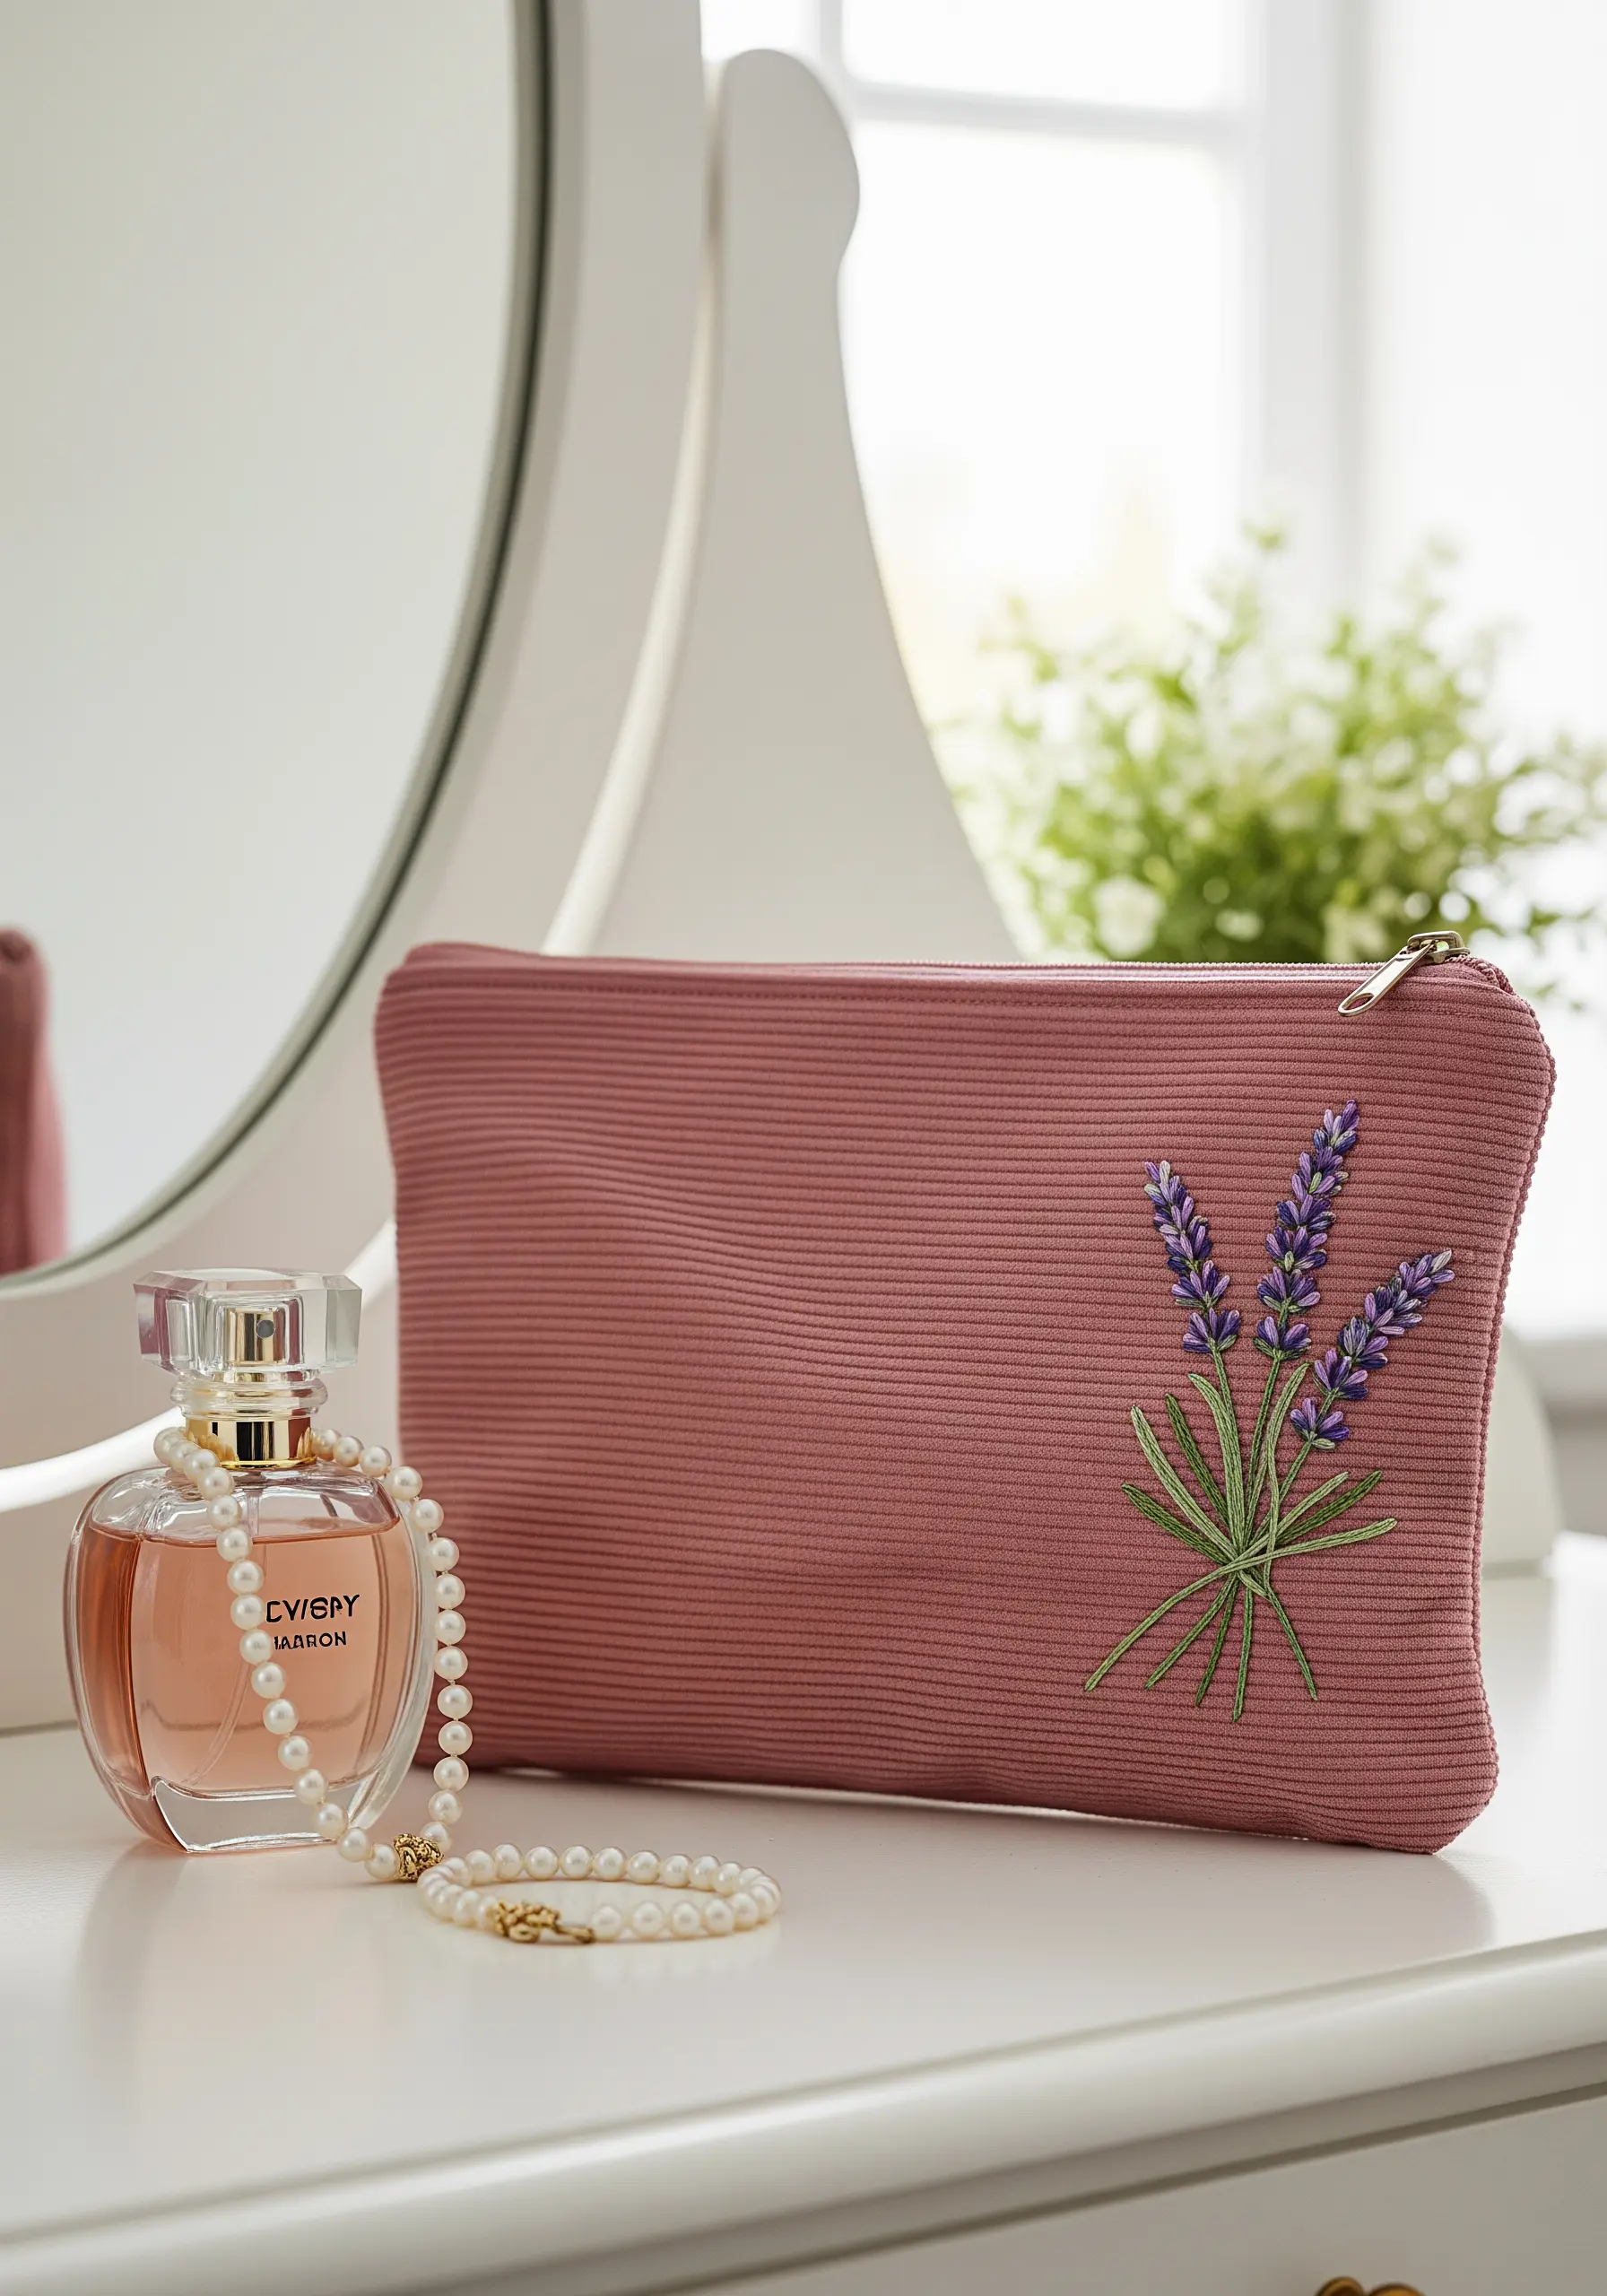
When embroidering on a textured fabric like corduroy, your stitch choice is key to a clean result.
Use an iron-on stabilizer on the inside of the pouch; this prevents your stitches from sinking into the fabric’s ribbed channels and keeps them looking sharp.
For the lavender sprigs, opt for simple stitches that sit on top of the fabric’s surface, like lazy daisy stitches for the buds and straight stitches for the stems.
Using a slightly heavier thread, like all six strands of floss, will also help your design stand out against the fabric’s texture.
10. Stitch a Set of Minimalist Linen Napkins
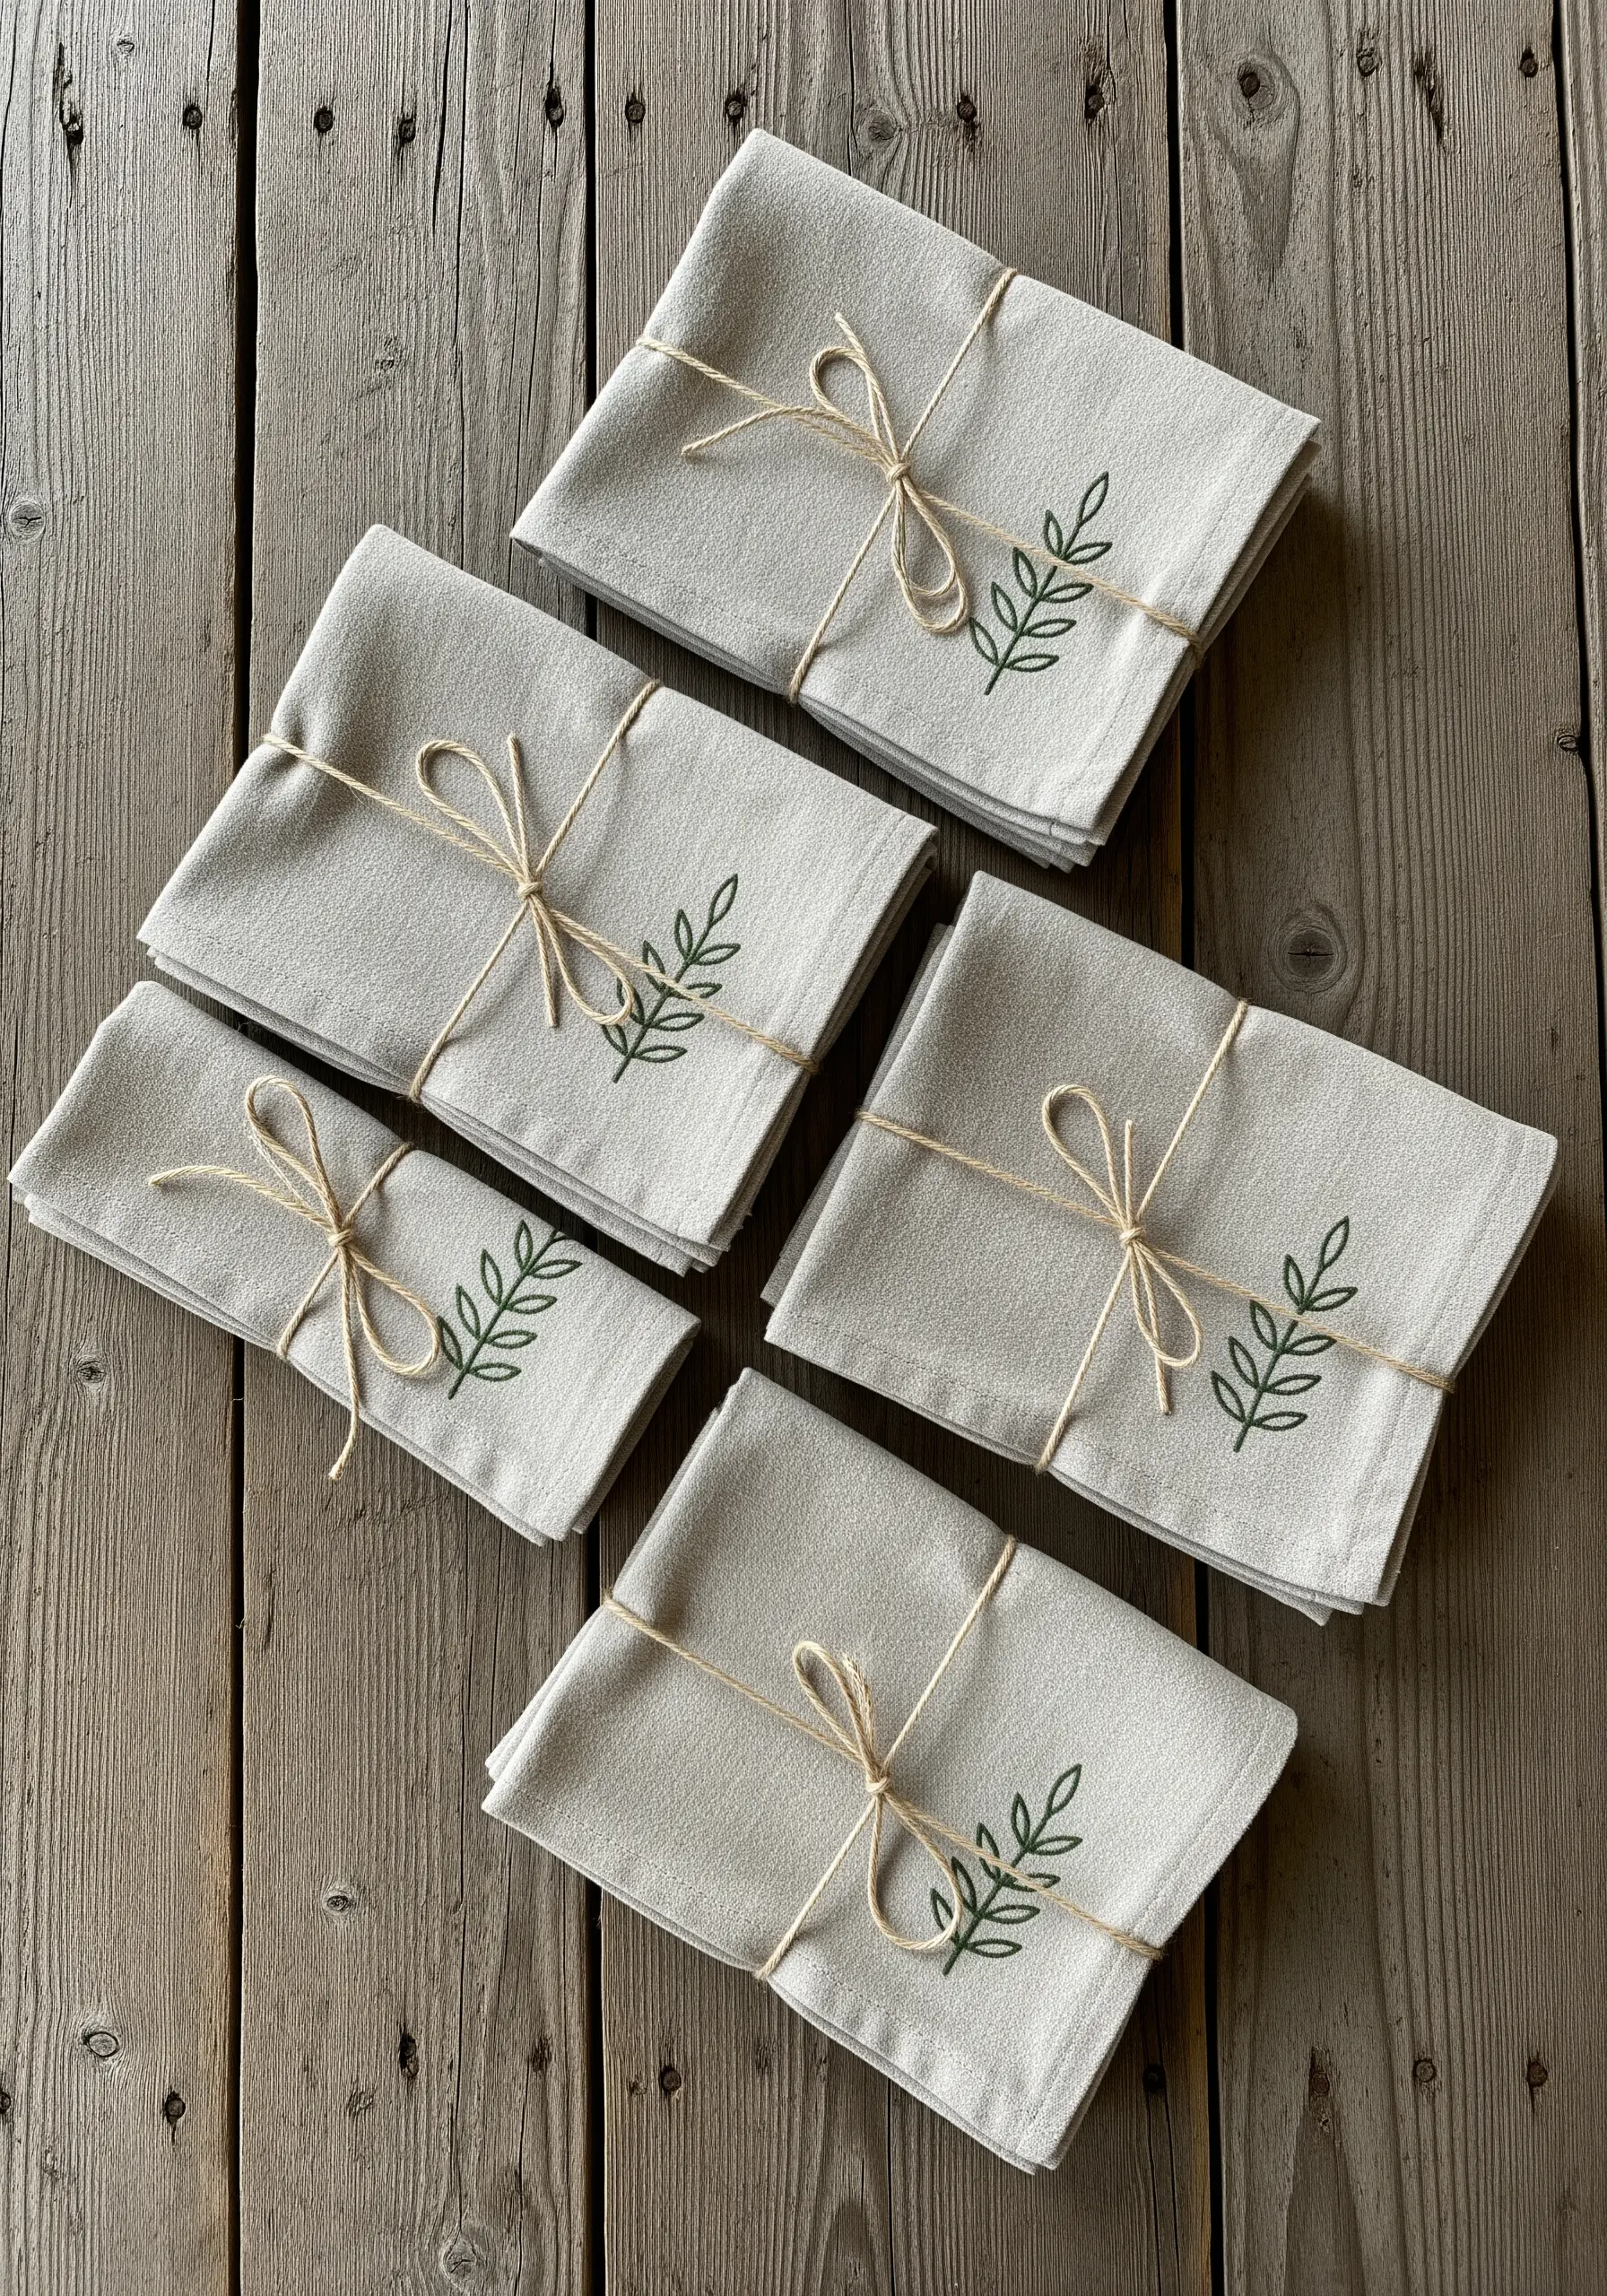
For a touch of understated elegance, embroider a simple botanical motif on the corner of linen napkins.
Choose a single, sophisticated color, like a deep forest green, and use only two or three strands of floss to keep the design delicate and refined.
A stem stitch is perfect for creating the smooth, curved lines of branches, while detached chain stitches (lazy daisies) make excellent leaves.
The beauty of this project lies in its restraint; the minimal embroidery enhances the natural texture of the linen without overwhelming it.
11. Sew a Classic Tomato Pincushion
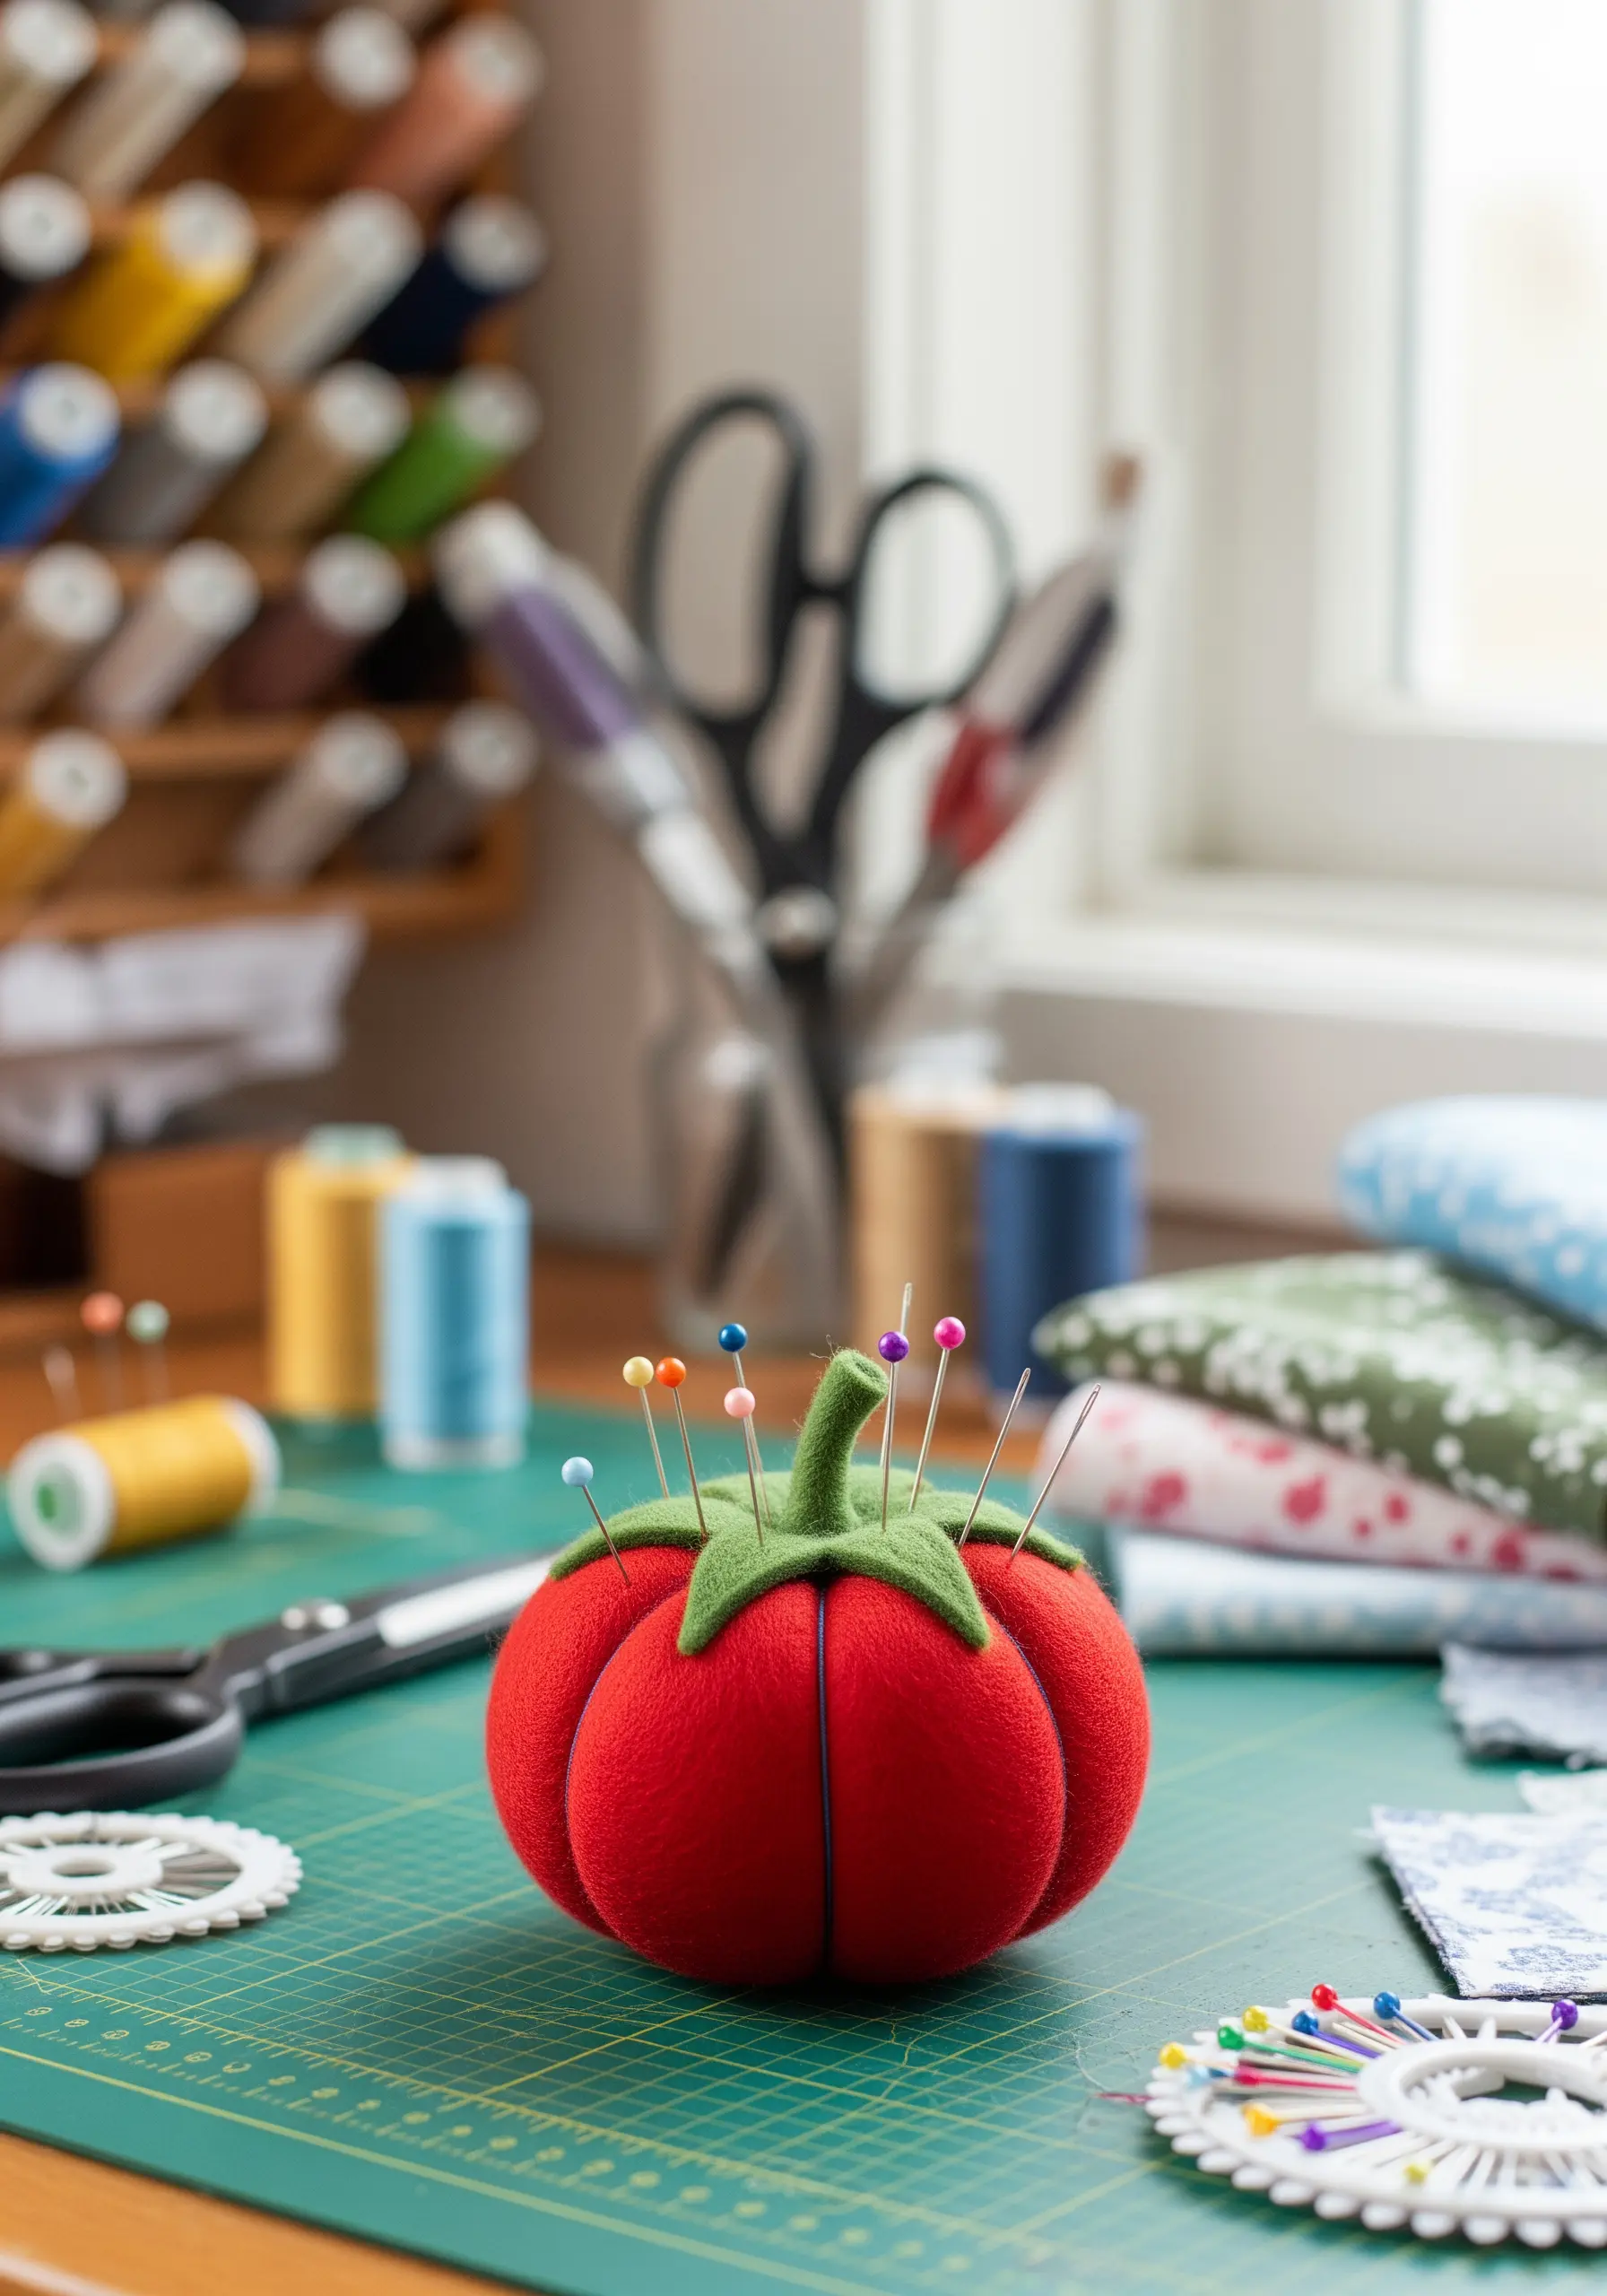
The secret to the iconic shape of a tomato pincushion lies in the construction, not just the stuffing.
After sewing and stuffing your red fabric sphere, use a long needle and strong thread to pass through the center from top to bottom multiple times, pulling tightly to create the indented segments.
Stuff it firmly with a mix of polyester fiberfill and emery sand (in a small inner pouch) to help keep your pins sharp and clean.
The felt leaf topper isn’t just decorative—it’s stitched on last to hide the thread work that creates the tomato’s classic shape.
12. Create Cheerful Fabric Bunting
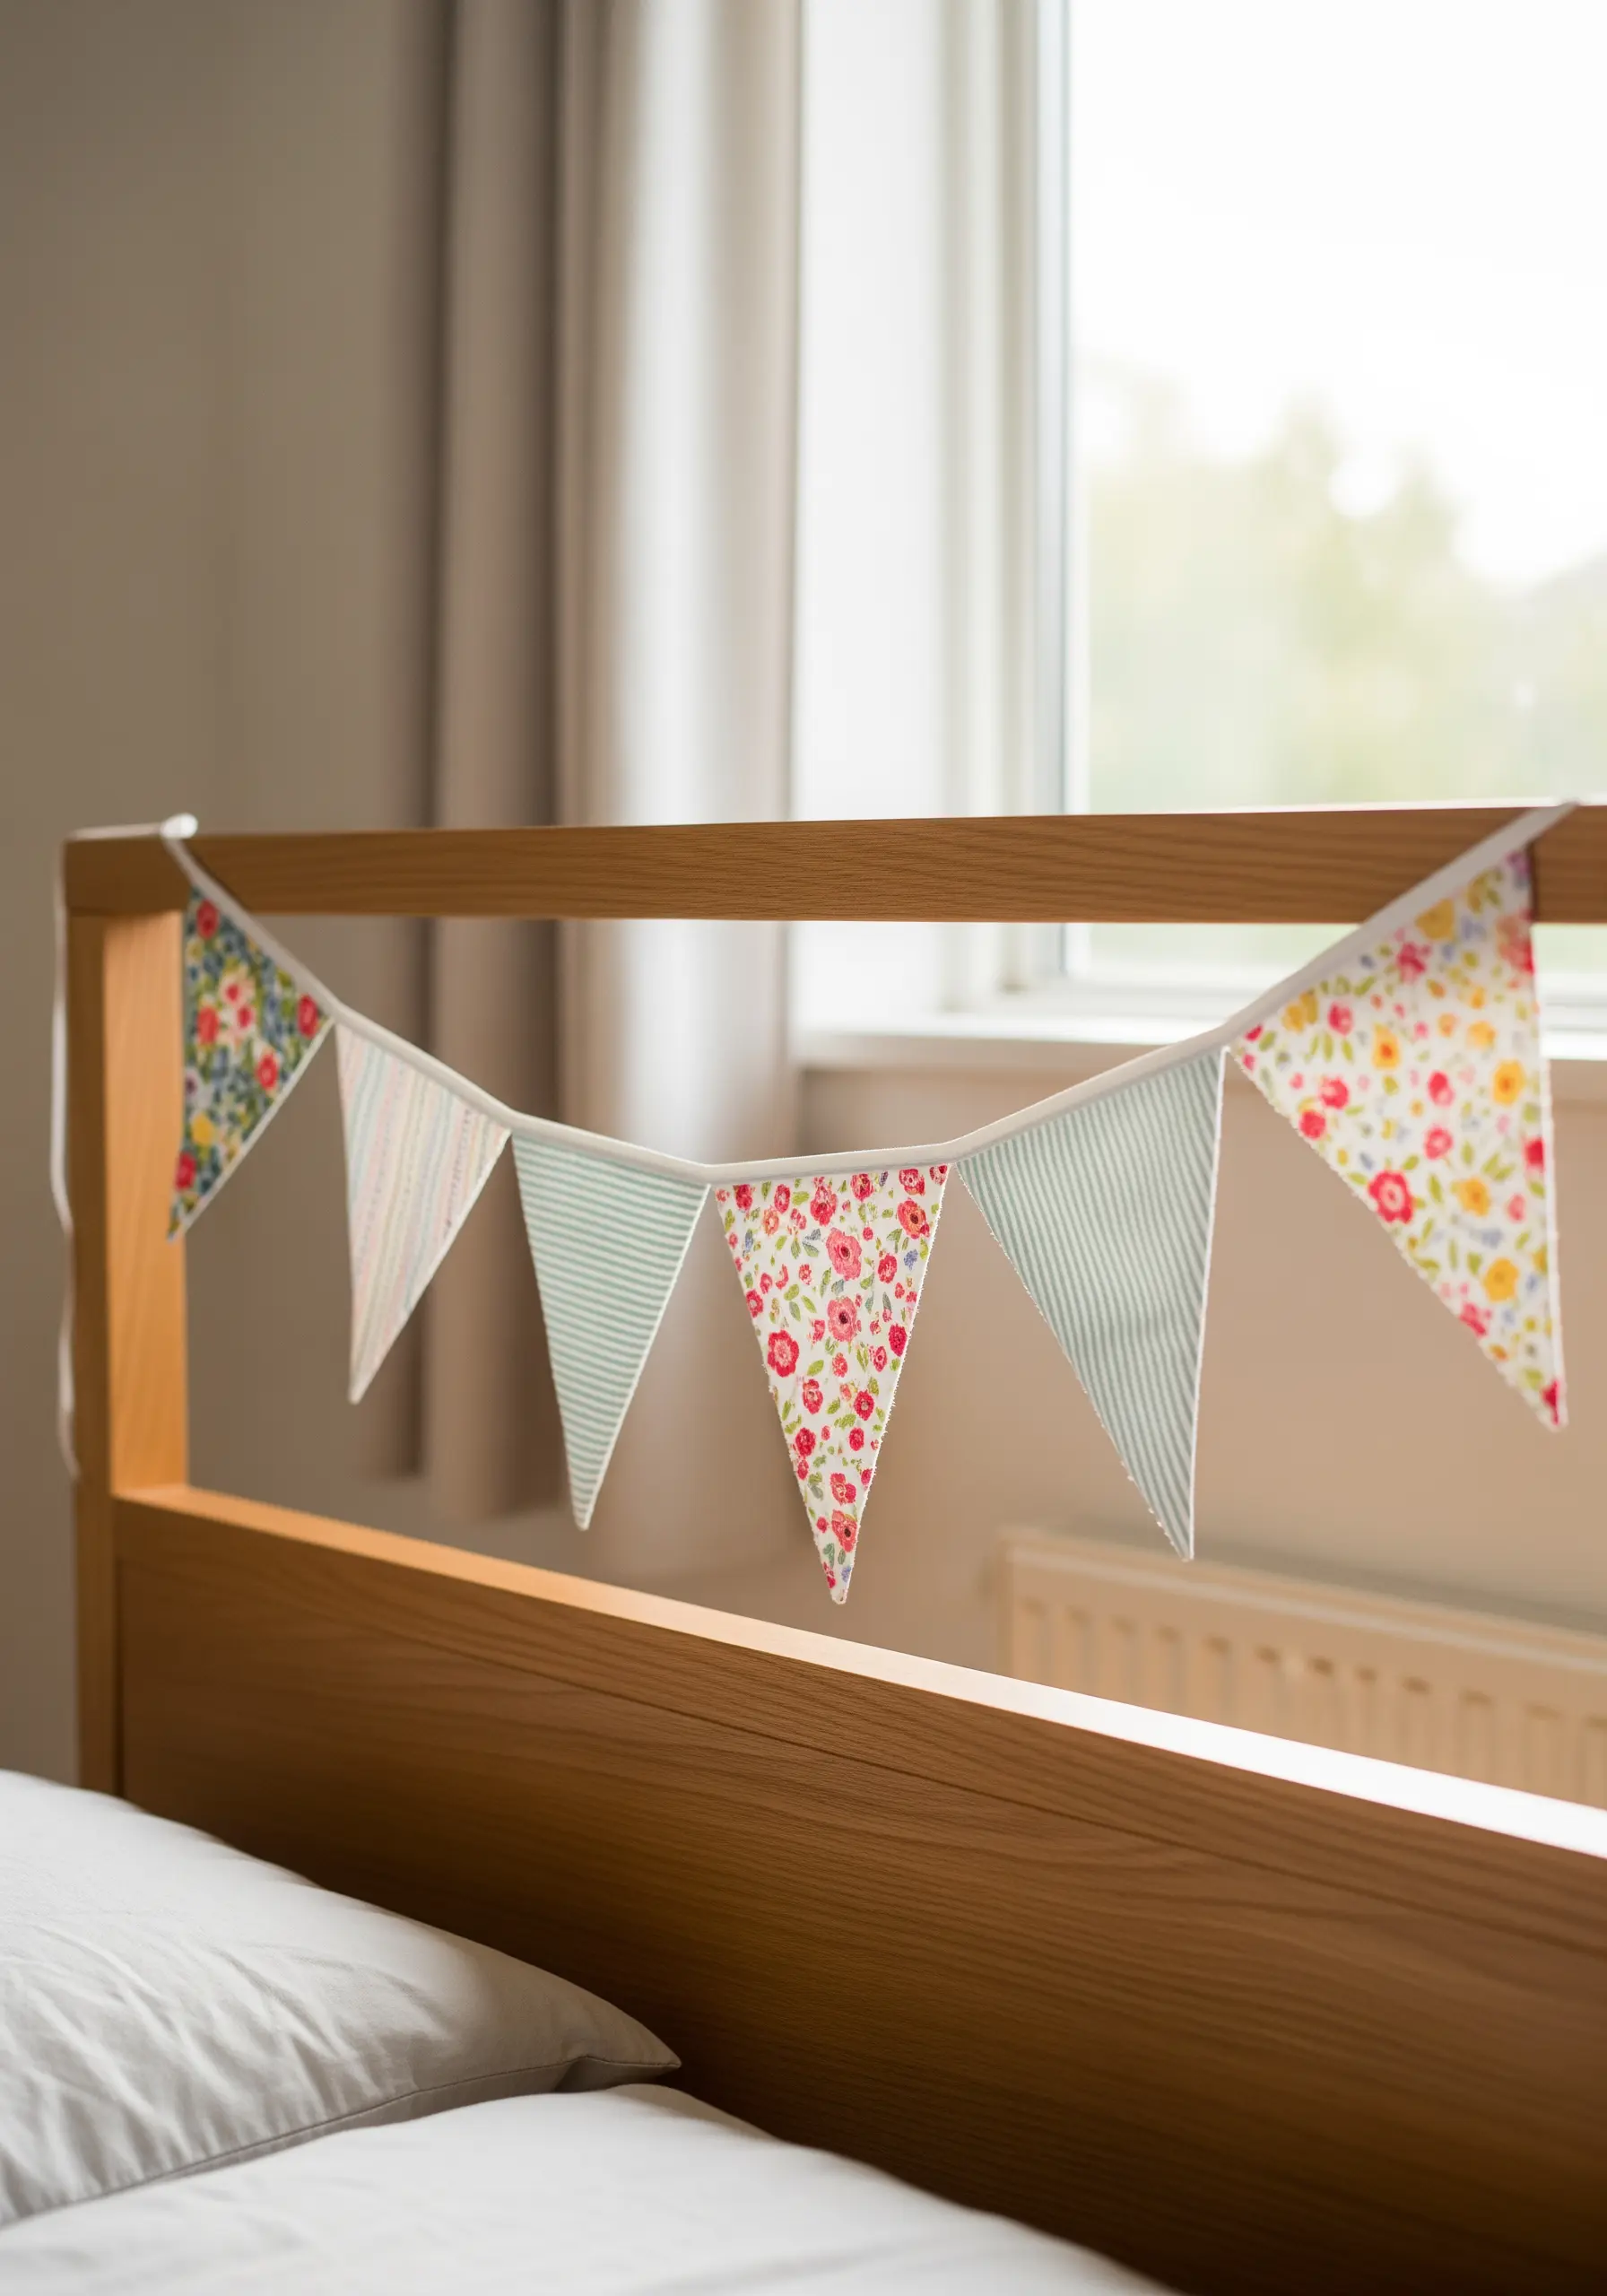
A string of fabric bunting is a quick project that instantly adds personality to any room.
For a cohesive yet playful look, select three to five coordinating fabrics—a mix of small florals, stripes, and polka dots works beautifully.
To construct, place two fabric triangles right-sides together, sew along the two long sides, then turn right-side out and press for crisp points.
Finally, encase the raw top edges of all your triangles within a folded strip of wide twill tape or bias binding and topstitch it closed for a clean, durable finish.
13. Add a Geometric Border to a Kitchen Towel
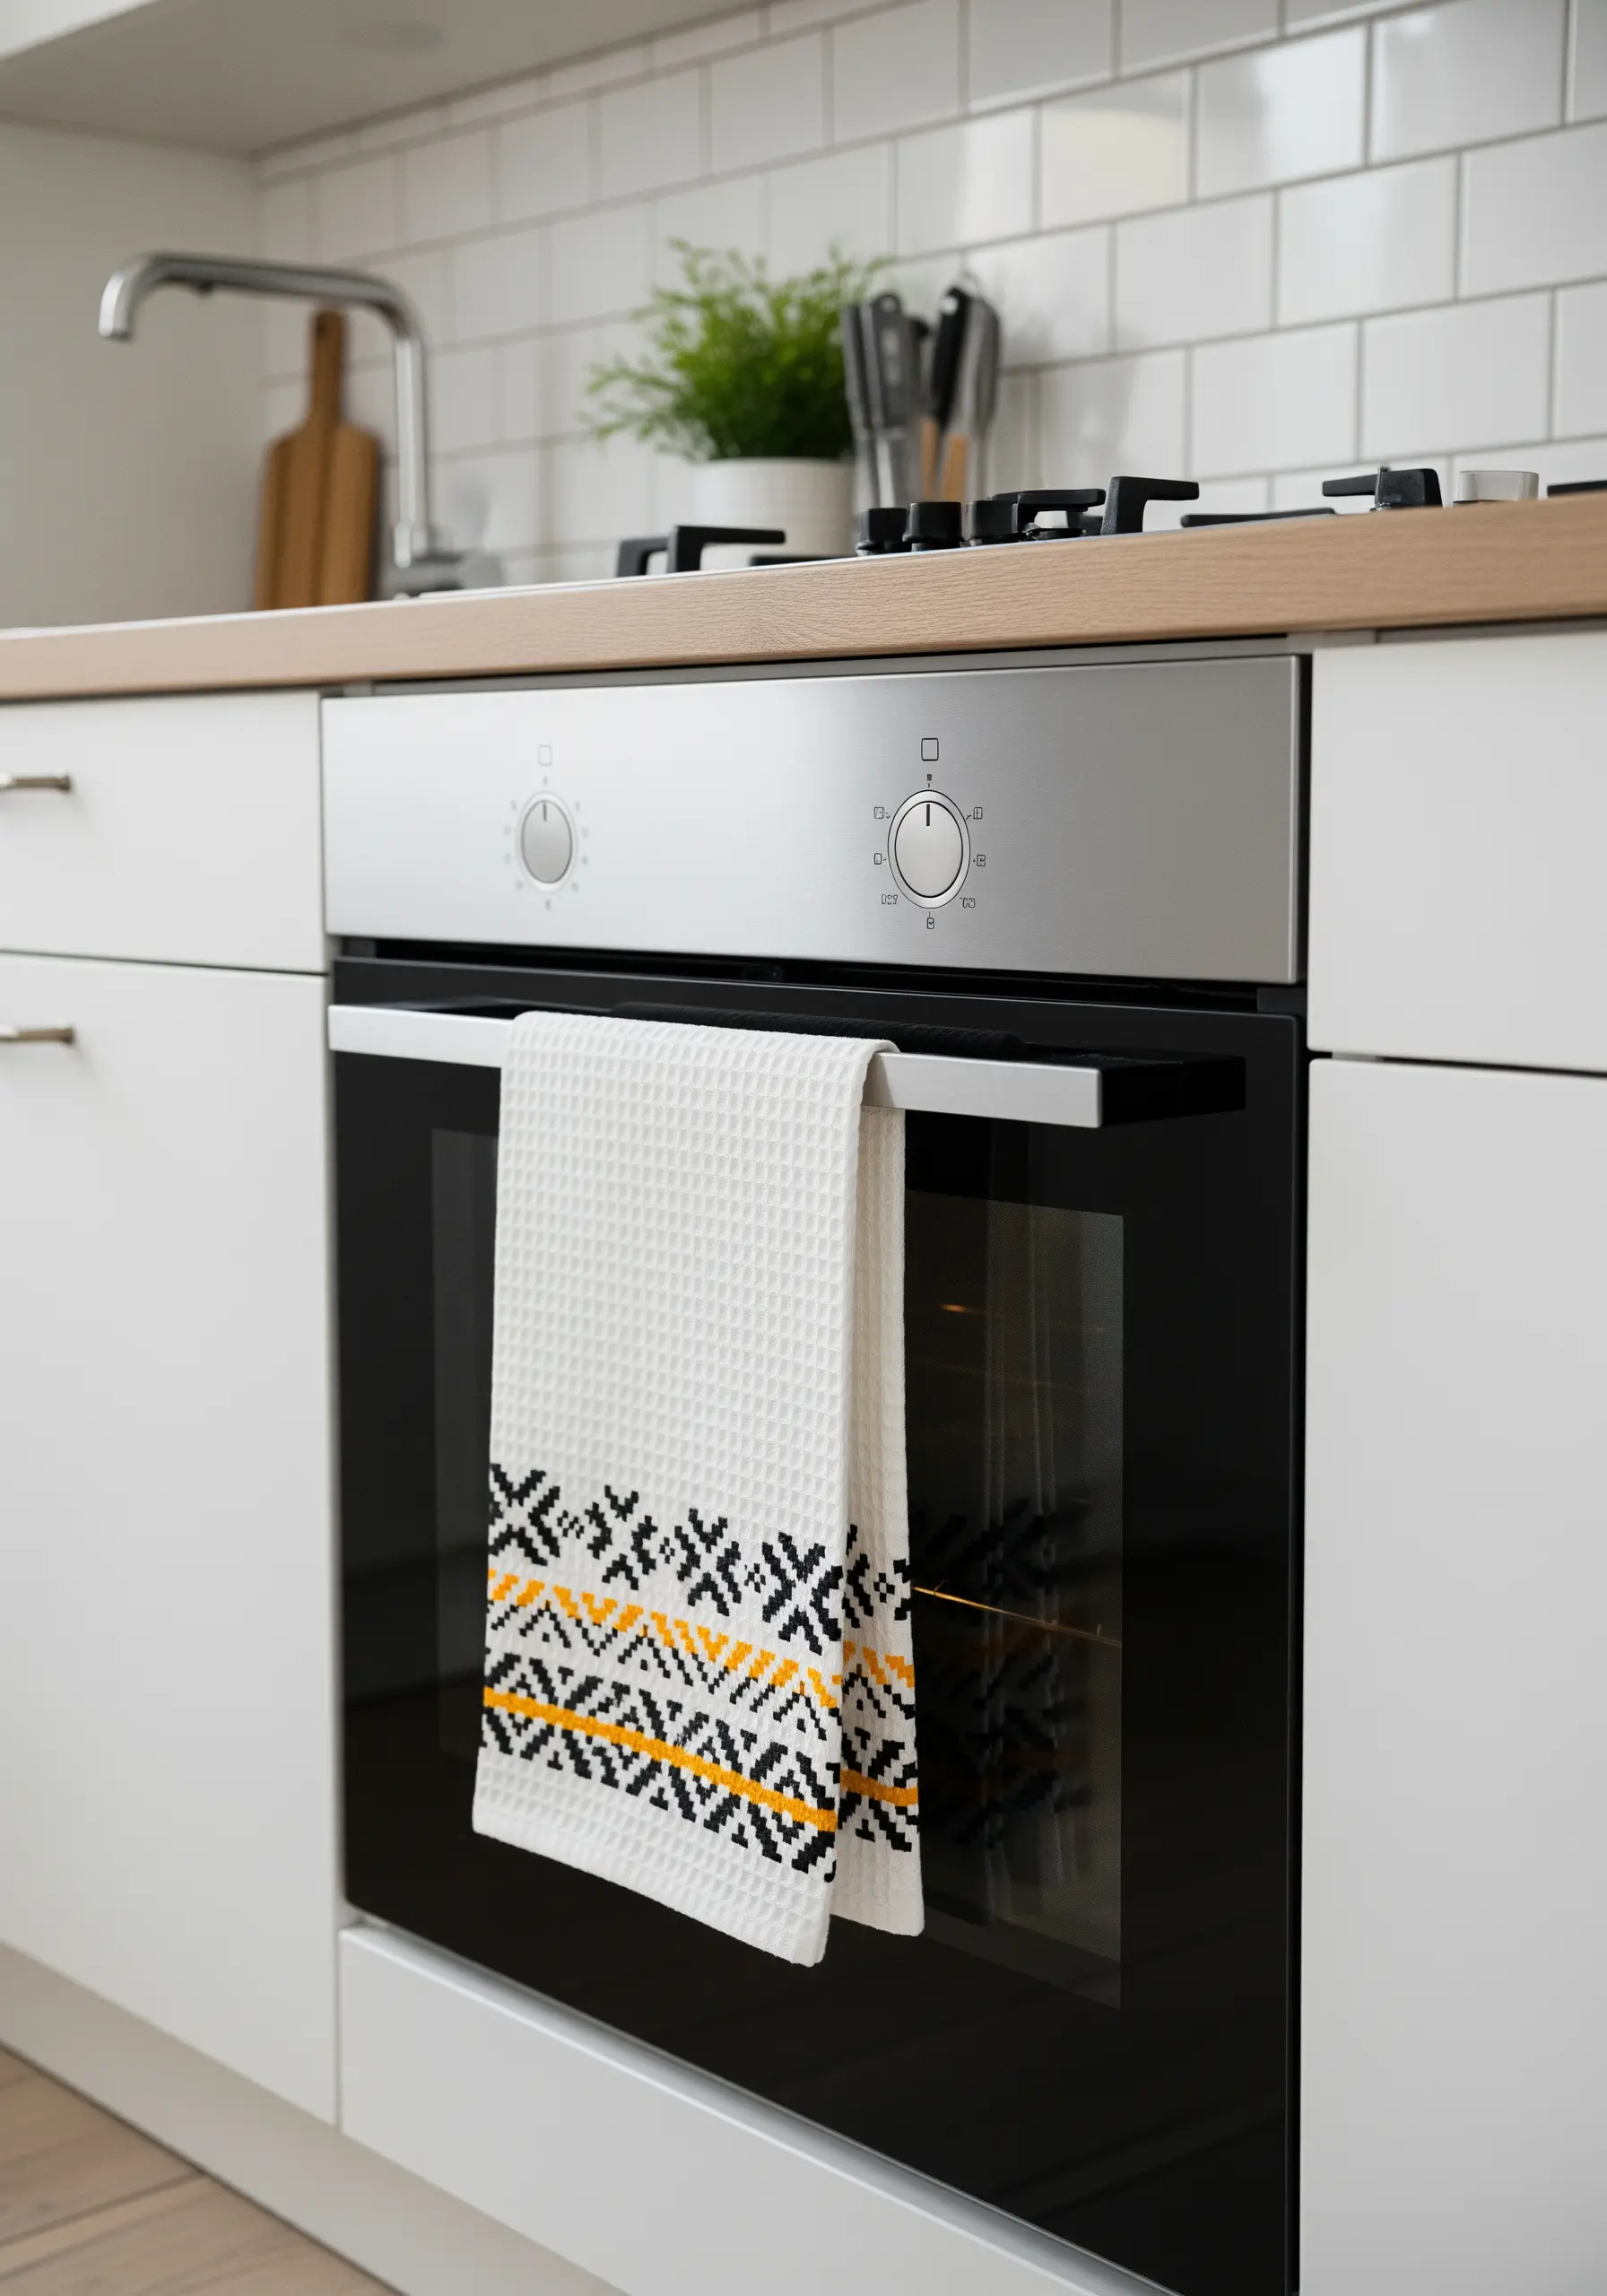
Embroidering a precise geometric pattern on a textured waffle-weave towel requires a grid.
Use a water-soluble or tear-away canvas stabilizer over the area you plan to stitch. It provides a perfect grid to guide your cross-stitches and dissolves or tears away completely when you’re done.
This ensures your pattern remains symmetrical and sharp, rather than getting distorted by the towel’s uneven surface.
A bold, high-contrast color palette, like black and yellow on white, gives the traditional pattern a modern, graphic feel.
14. Sew Aromatic Lavender Sachets
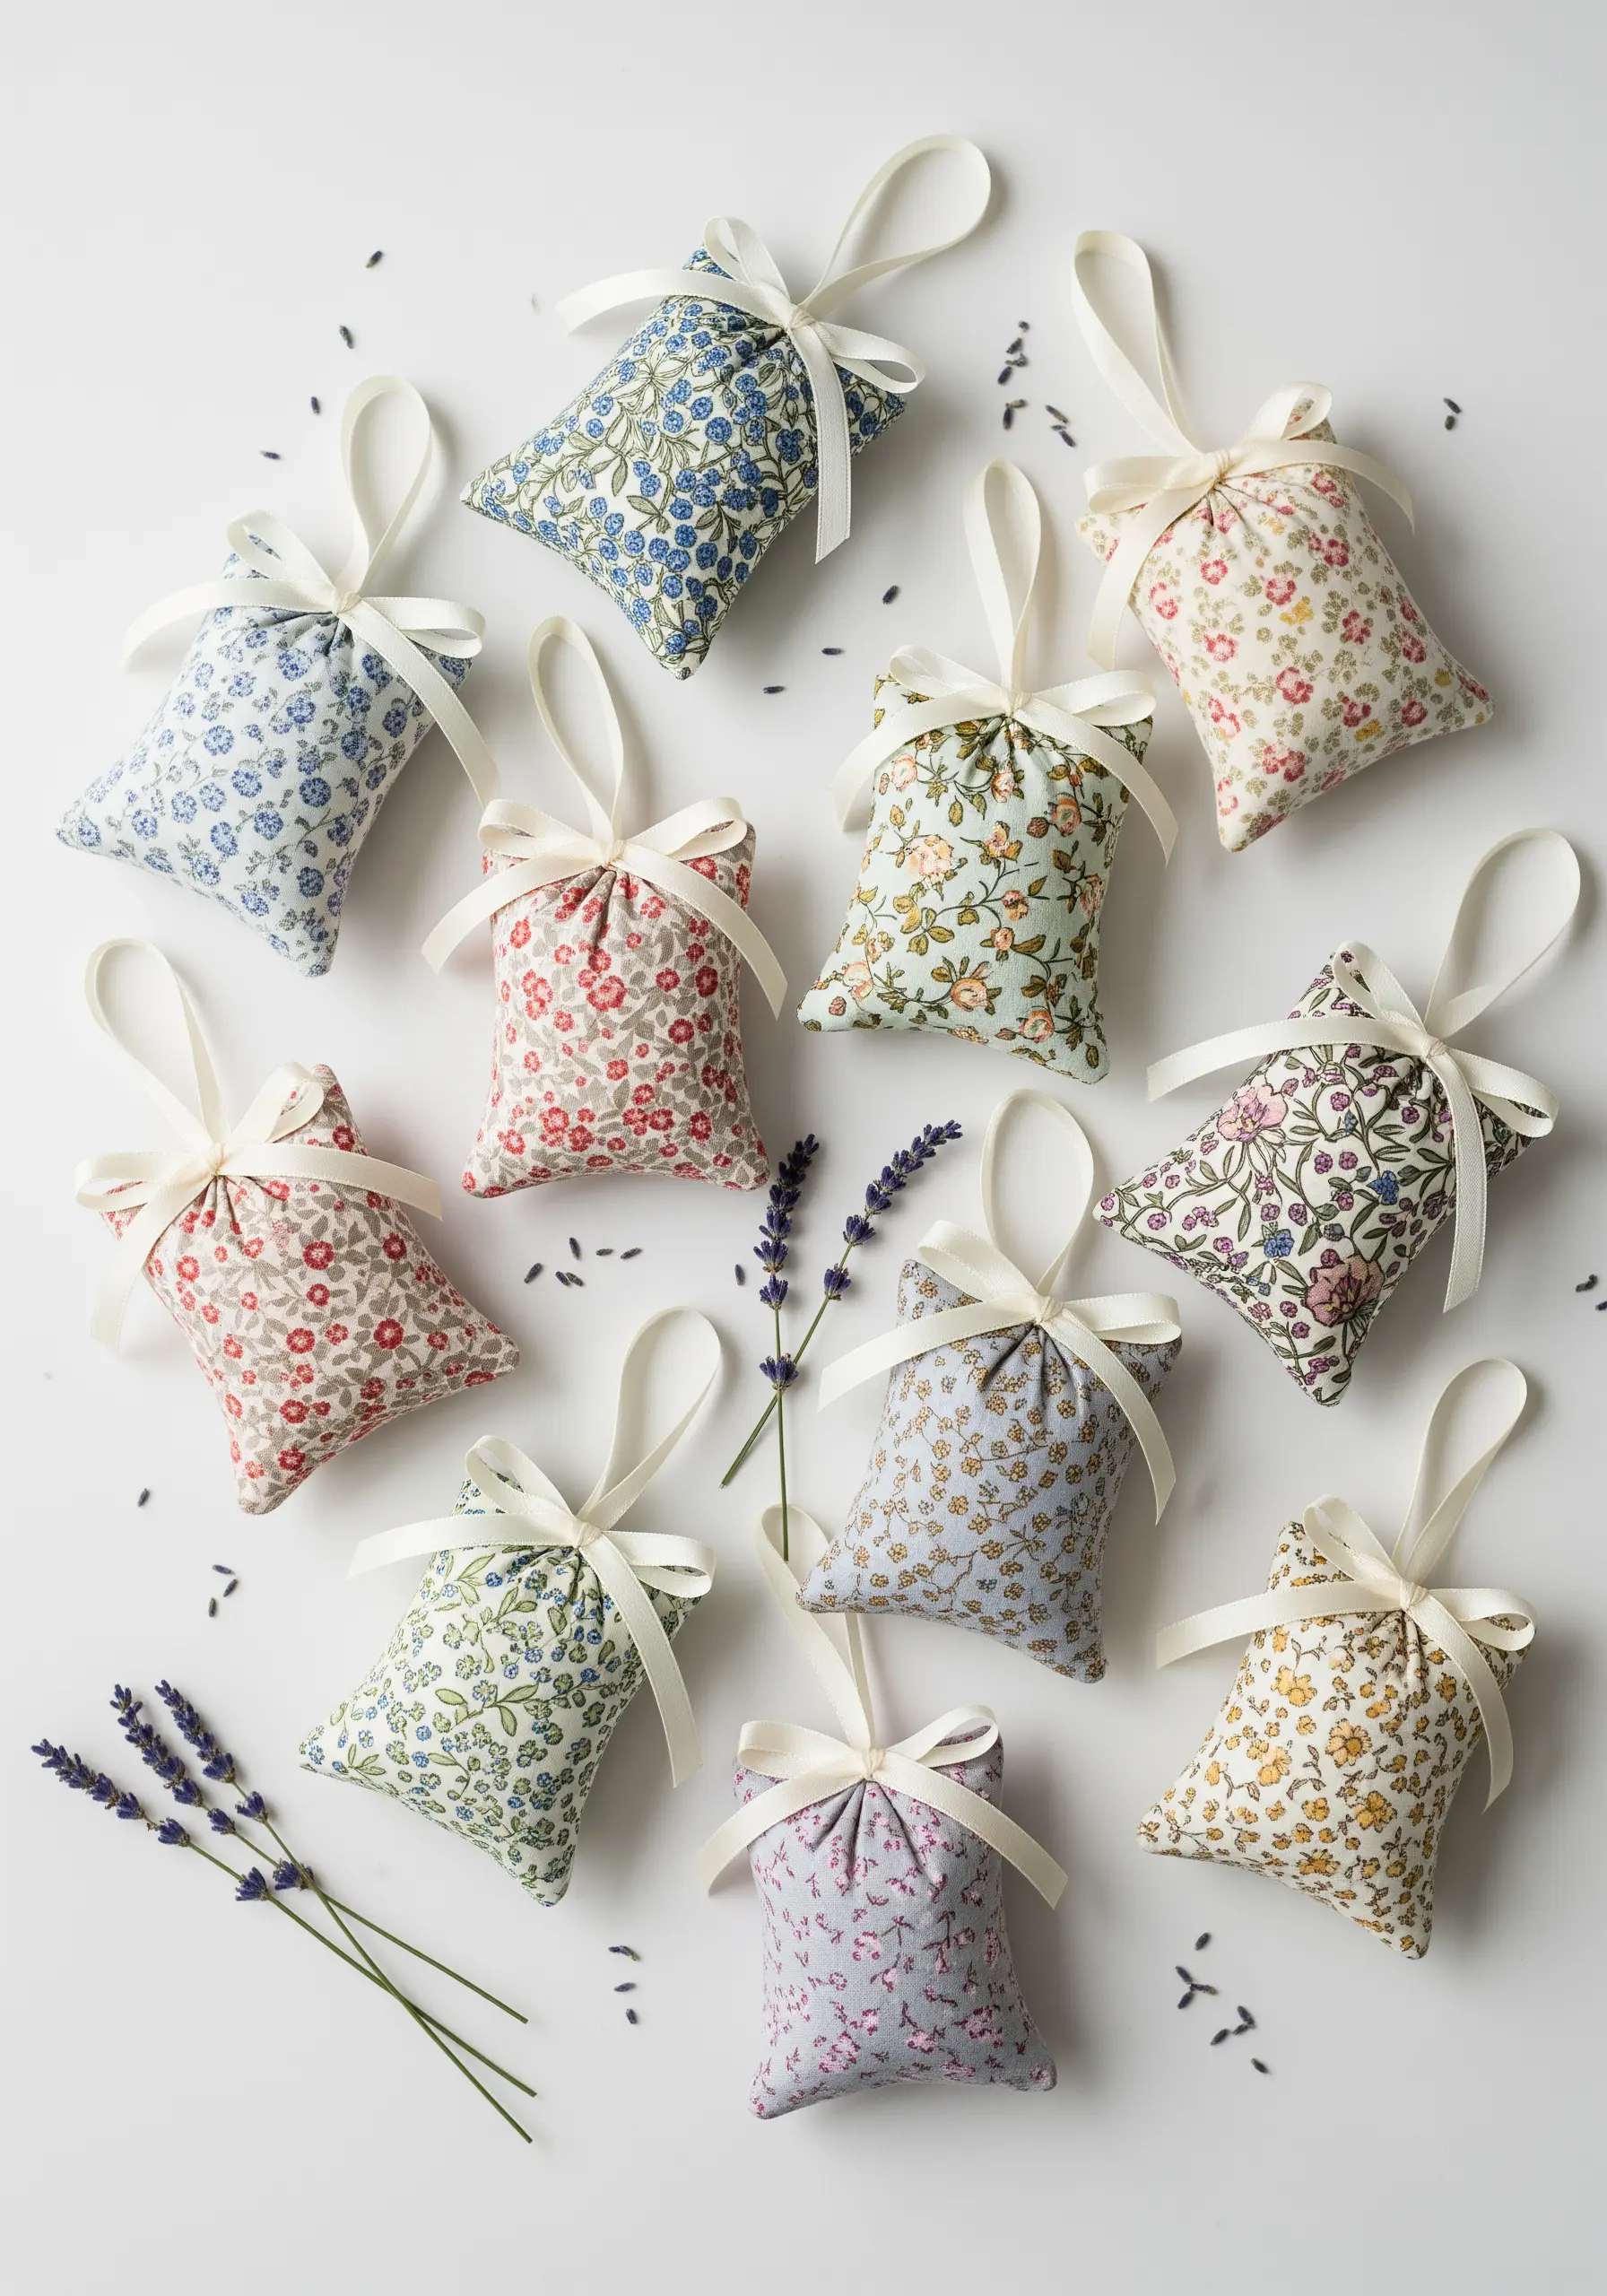
These tiny sachets are an ideal project for using up precious fabric scraps from your collection.
Choose a lightweight, tightly woven cotton, which holds the lavender buds securely without letting dust escape.
Before you sew the final seam, tuck a small loop of satin ribbon into the corner. This simple addition makes the sachet easy to hang in a closet or on a doorknob.
Fill the sachet about two-thirds full with dried lavender to ensure it remains soft and pliable, not stiff or over-packed.
15. Construct a Quilted and Piped Glasses Case

The professional look of this glasses case comes from two key details: interior padding and exterior piping.
Sandwich a thin layer of cotton batting between your outer fabric and the lining. This not only protects your glasses but also gives the case a satisfying structure and feel.
Before sewing the flap to the main body, create and attach piping along its curved edge. This tiny detail defines the shape and gives it a high-end, finished look.
A simple, decorative running stitch adds a touch of handmade charm and also quilts the layers together for stability.
16. Organize Your Entryway with a Fabric Wall Caddy
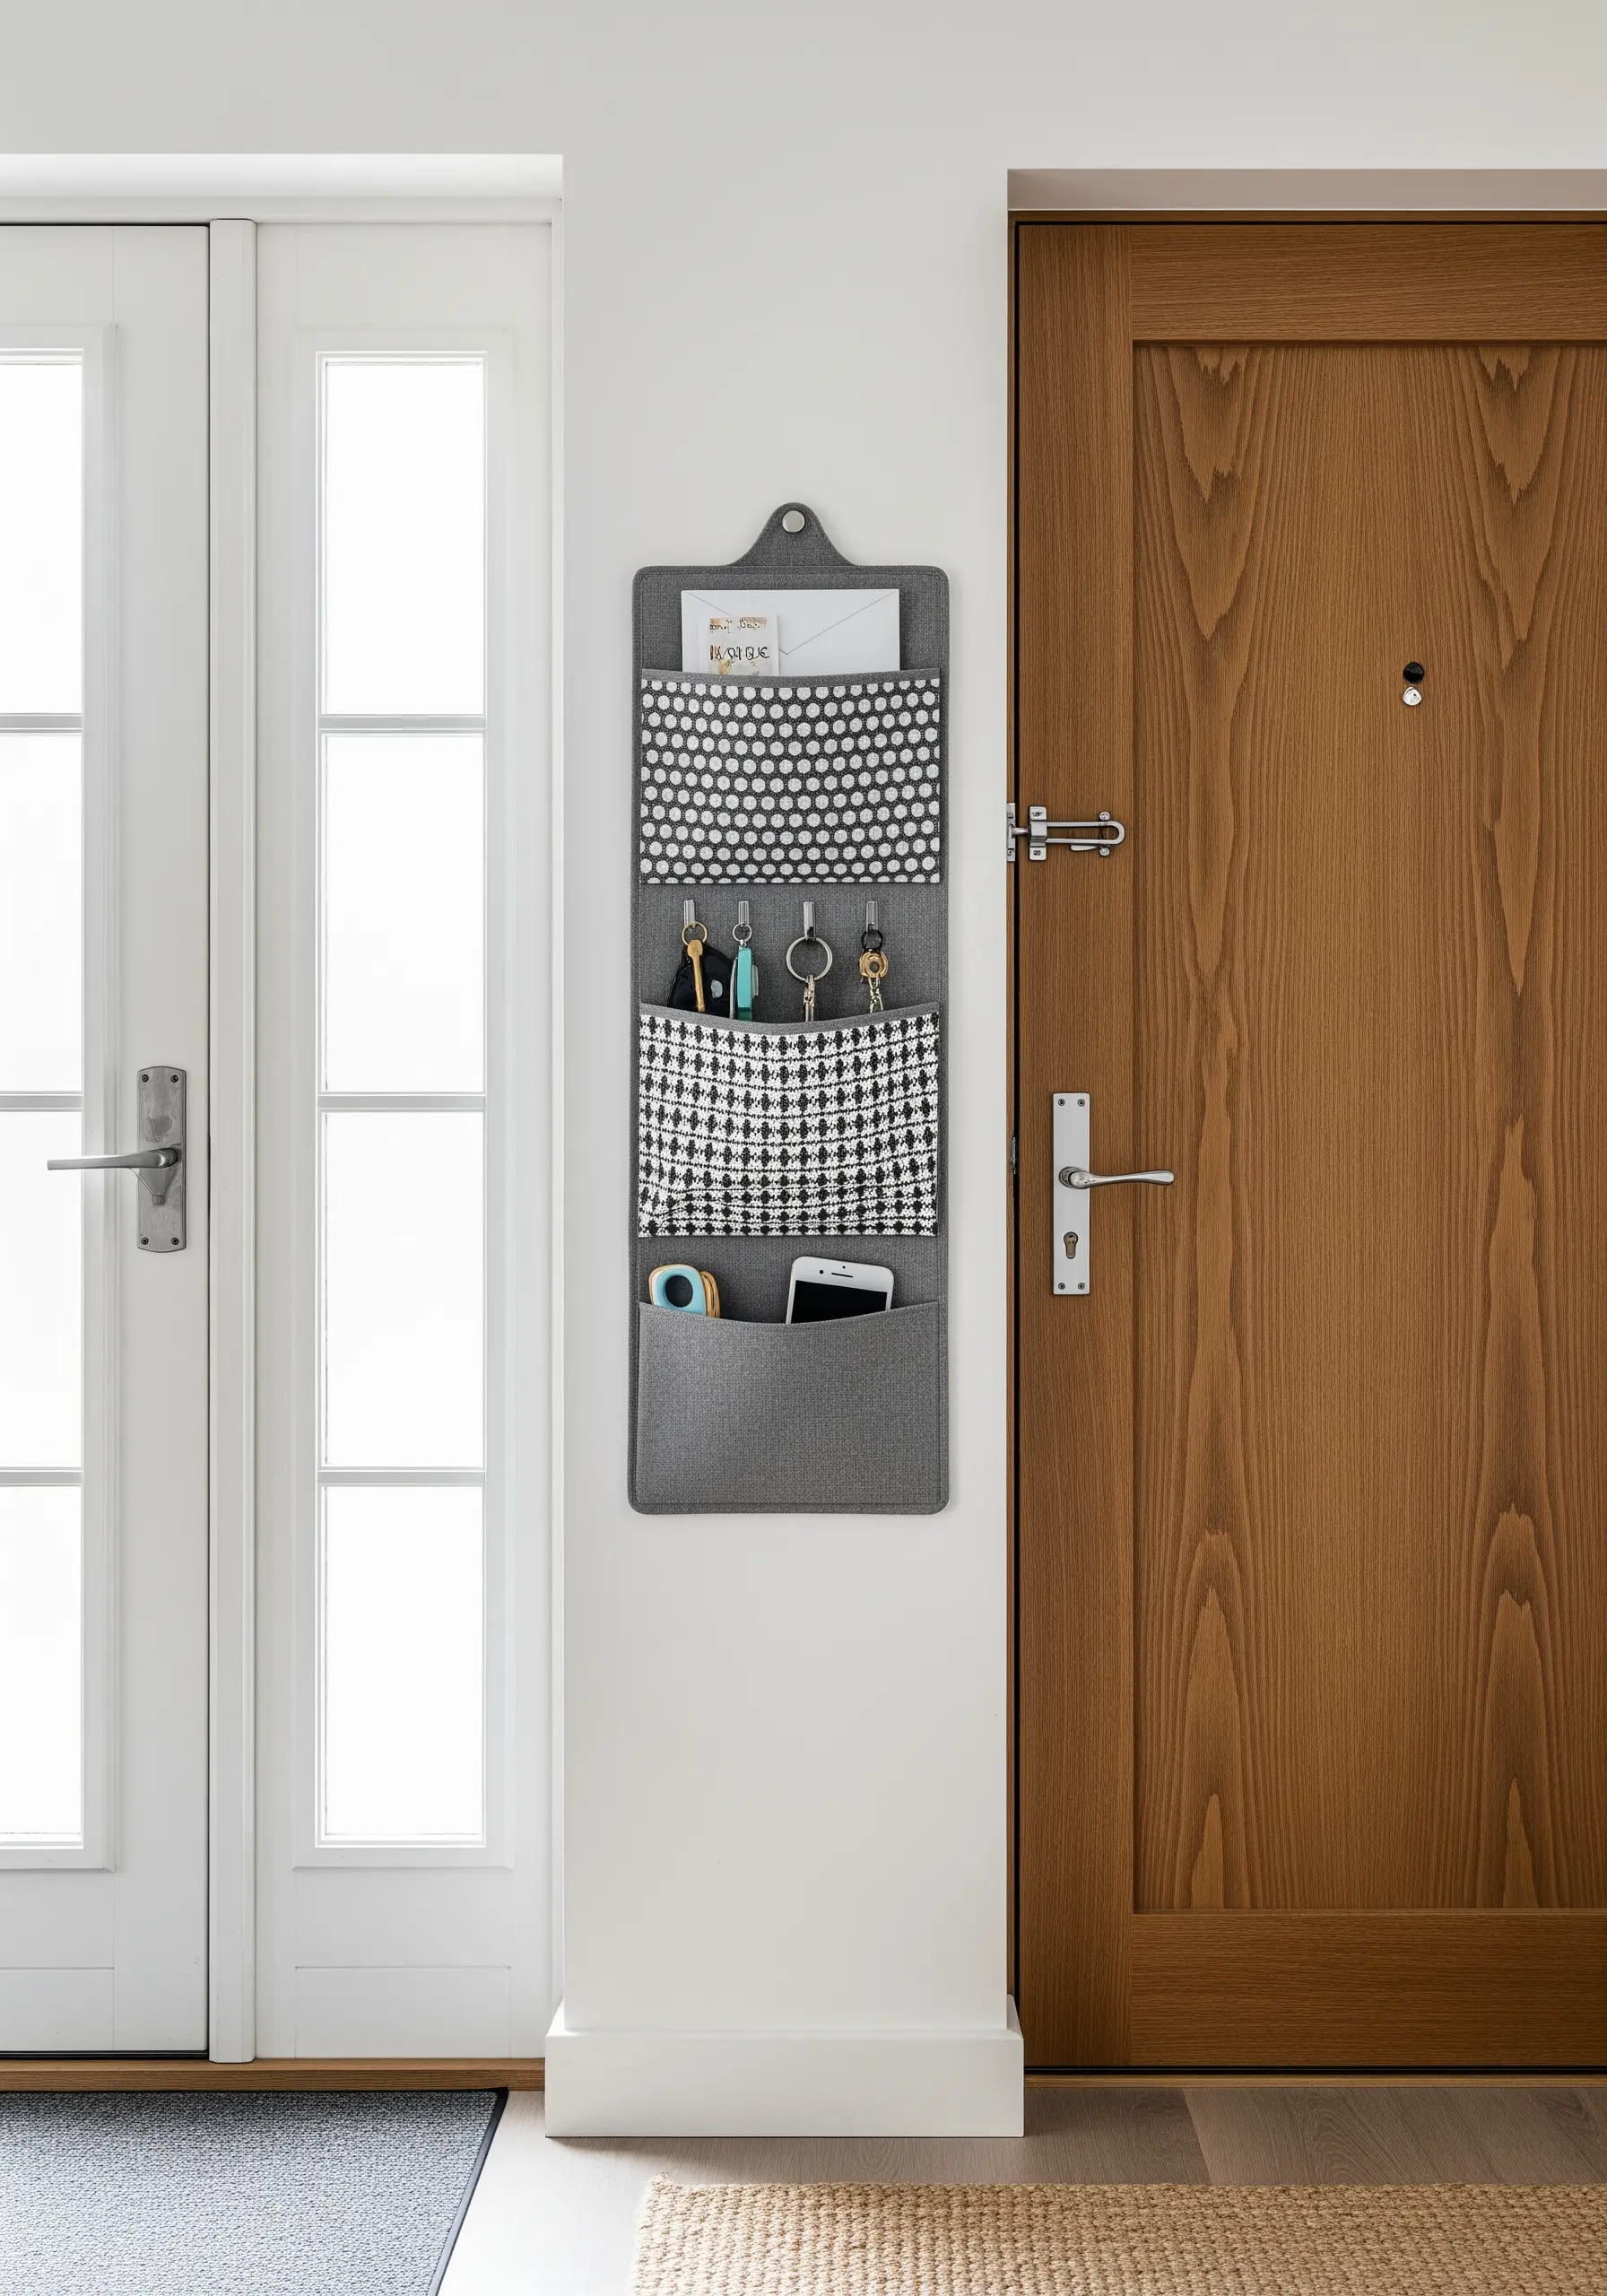
For a wall organizer that holds its shape and doesn’t sag, choose a sturdy base fabric like thick felt, canvas, or denim.
When attaching the pockets, reinforce the top corners with a few extra back-and-forth stitches. This is where the most stress occurs, and reinforcement will prevent tearing.
Add visual interest by using contrasting fabrics for the pockets, playing with patterns and solids to create a piece that is as decorative as it is functional.
A simple tab at the top, reinforced with a grommet or heavy-duty stitching, provides a durable point for hanging.
17. Stitch a Sunset Landscape Patch
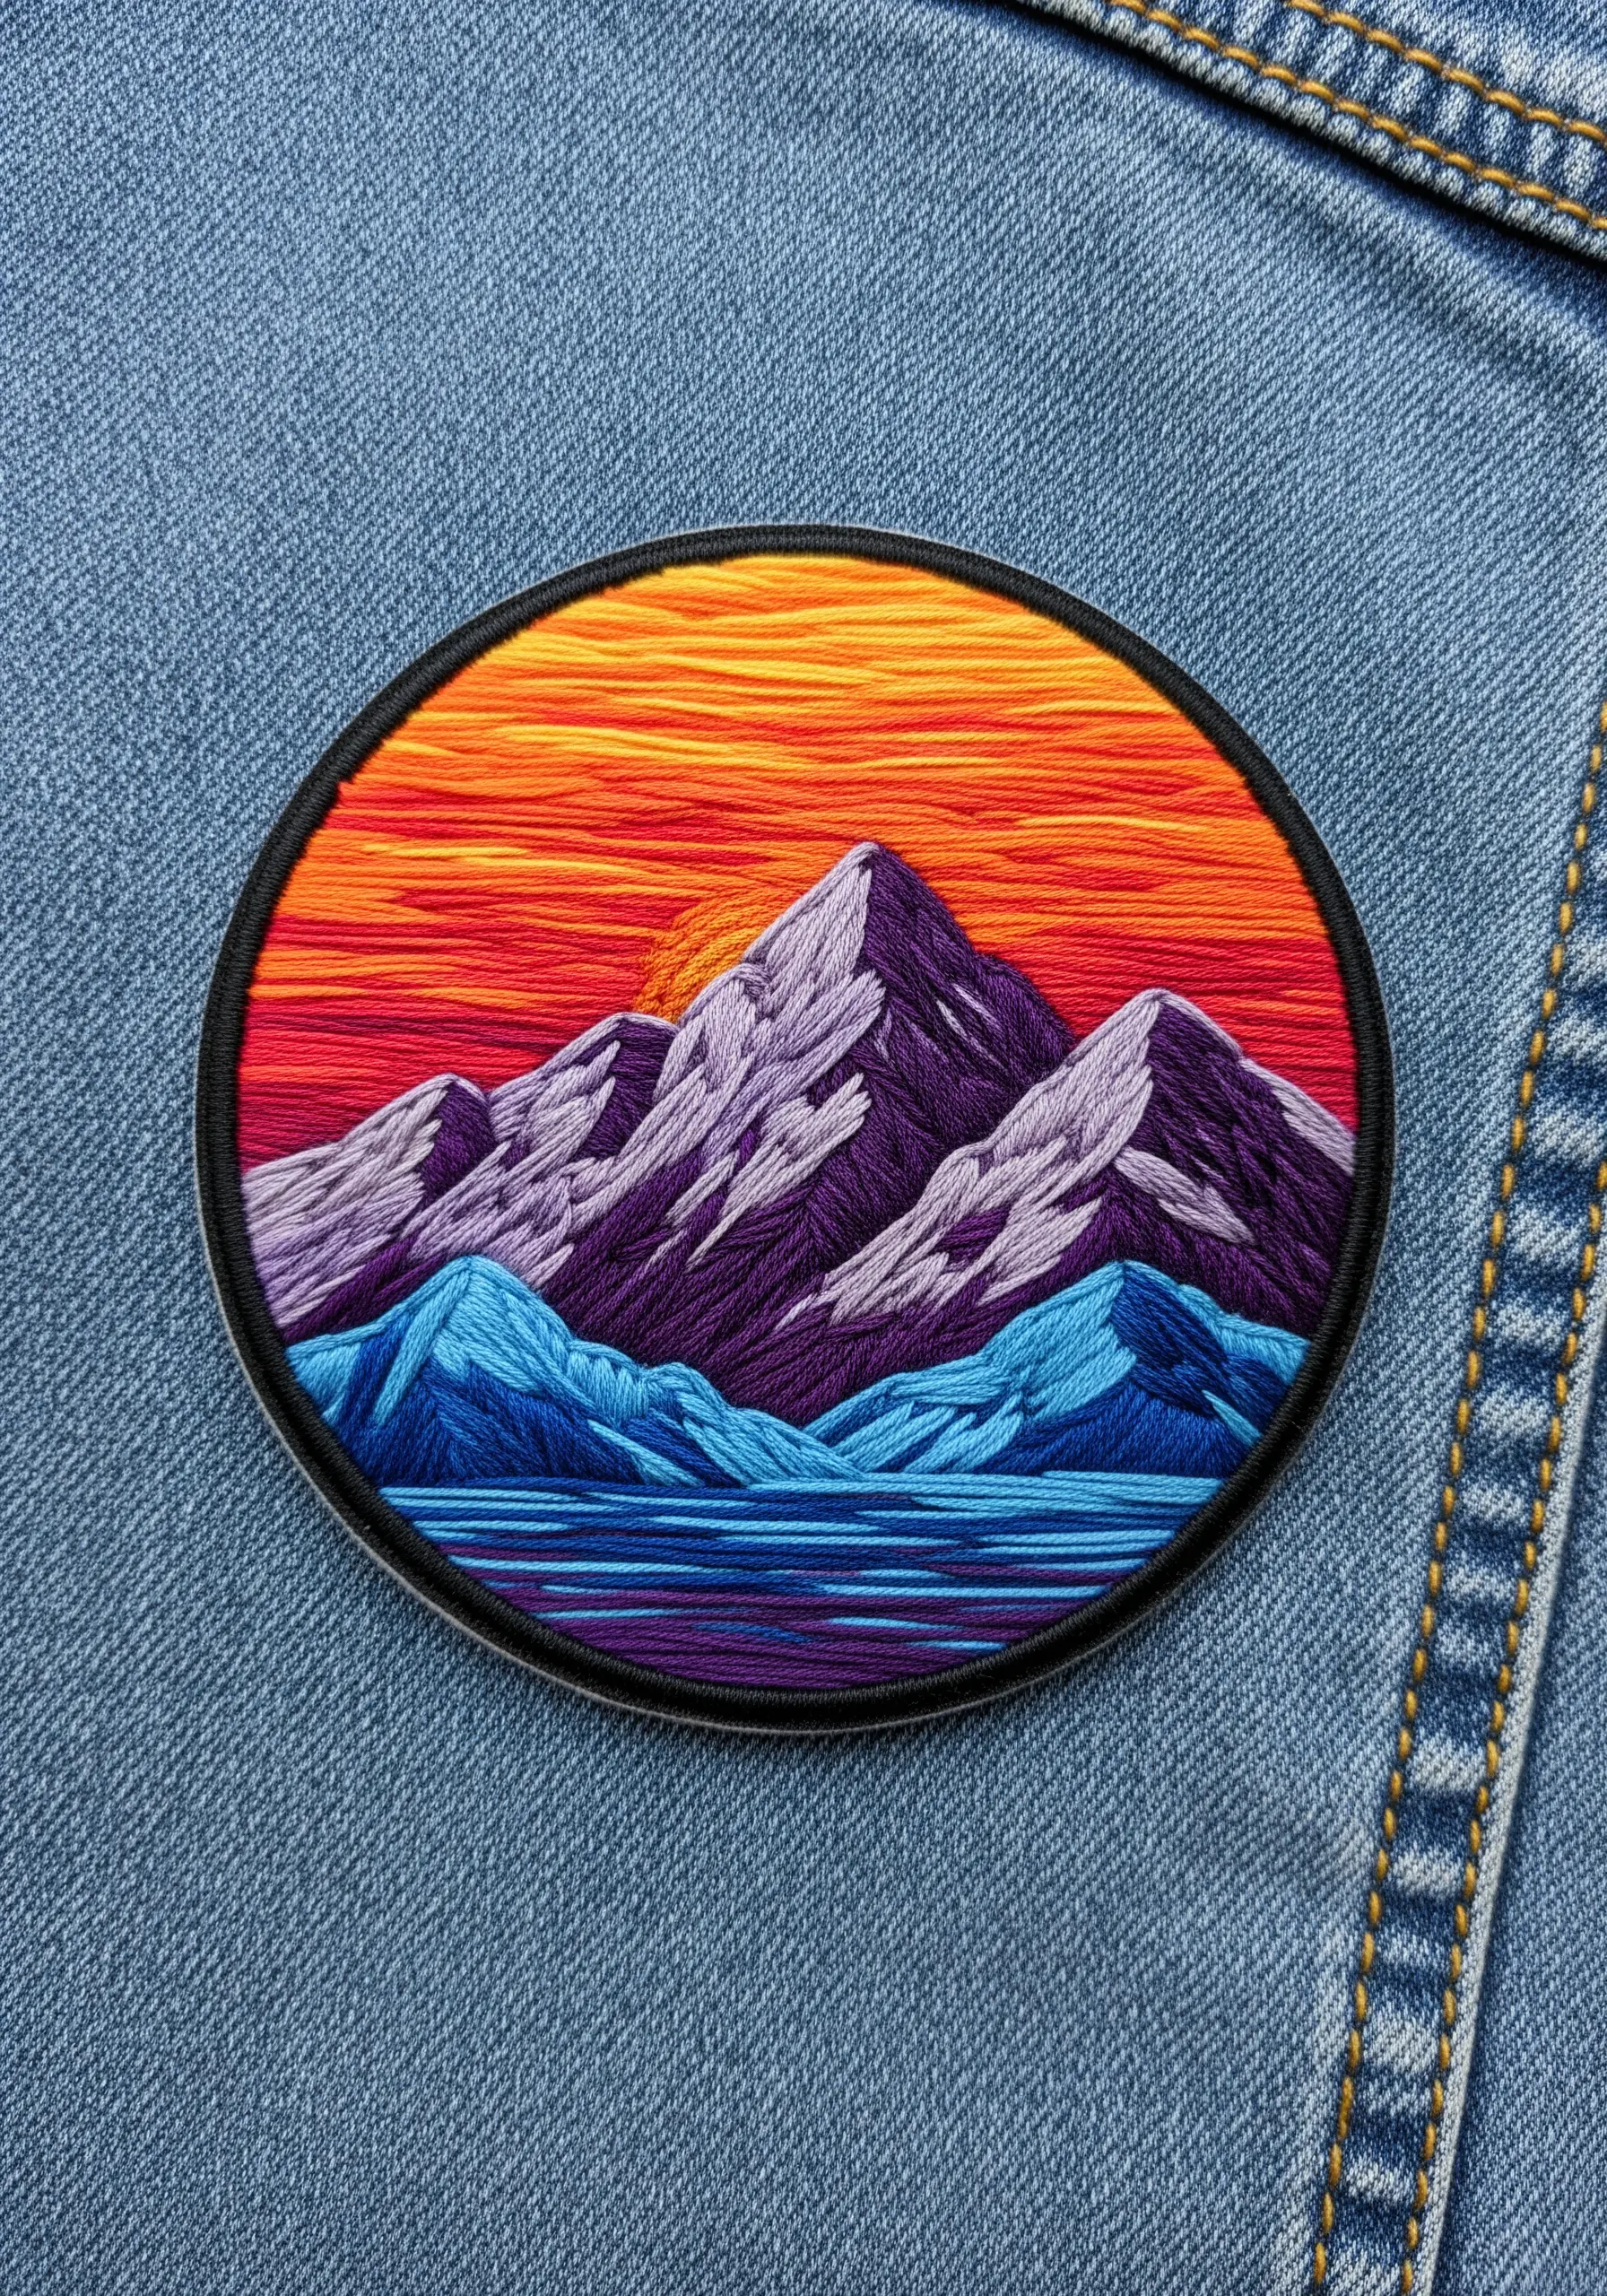
You can achieve the smooth, painted look of this patch with the long-and-short stitch, a technique often called thread painting.
Work with a single strand of embroidery floss to allow for subtle color blending and fine detail.
Create the vibrant sunset by laying rows of long-and-short stitches, slightly overlapping shades of red, orange, and yellow to create a seamless gradient.
To get the clean, durable edge, either work a dense satin stitch around the border before cutting it out, or use an iron-on adhesive to attach it to a stiff felt backing for a no-sew finish.
18. Sew a Modern Pyramidal Doorstop
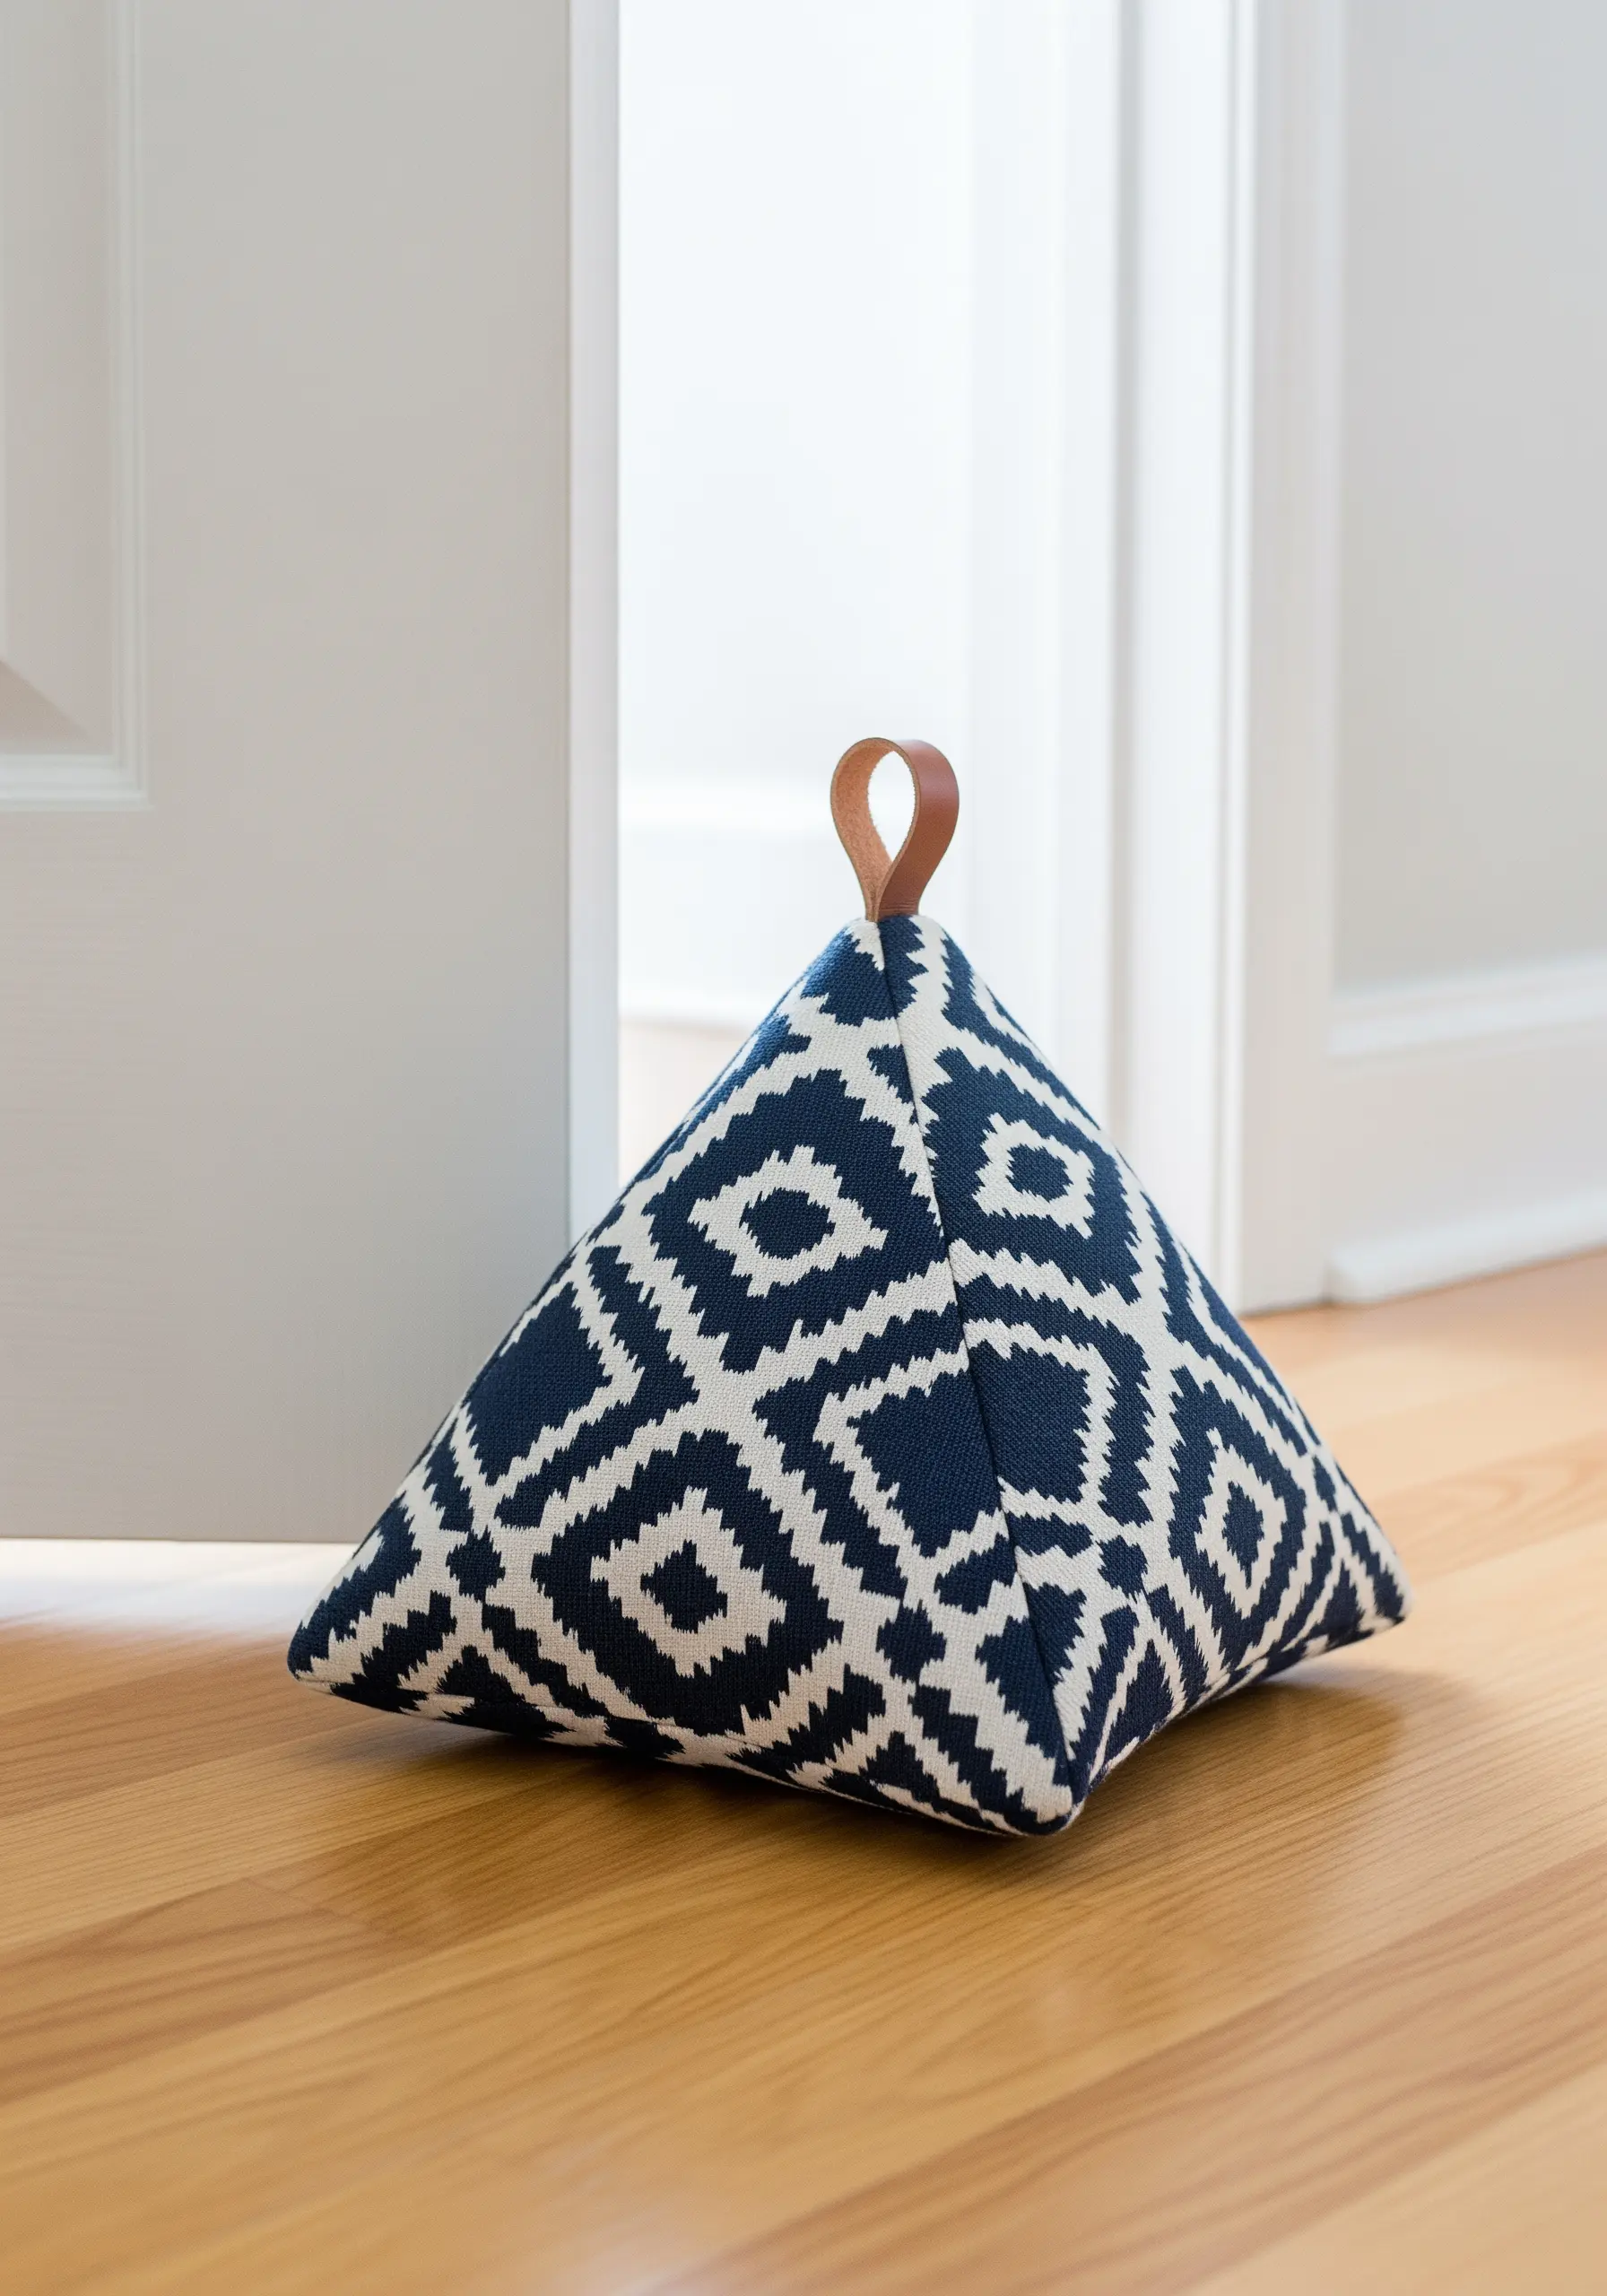
This stylish doorstop is a simple project where the fabric choice does all the work.
Opt for a durable, heavyweight upholstery or canvas fabric that can withstand being on the floor.
For the filling, create a sealed inner pouch of scrap fabric and fill it with rice, sand, or dried beans for weight. Surround this inner pouch with softer polyester filling to give the pyramid its full, sharp shape.
A small loop of leather or thick twill tape, tucked into one of the top seams before sewing, makes it easy to pick up and move.


