

Have you ever looked at the crisp folds of paper art or the rich layers of a collage and wished you could capture that same feeling with a needle and thread? You absolutely can. The bridge between paper and fabric is built on texture, shape, and dimension—principles your hands already understand.
This isn’t about perfectly replicating papercraft. It’s about borrowing its bold confidence and translating it into stitches. It’s seeing how a torn paper edge can inspire raw-edge appliqué, how a coiled paper strip can become a cluster of French knots, and how layered paper can teach us new ways to think about thread painting.
Think of this as a new lens for your embroidery. Let these ideas help you move beyond filling in the lines and start building surfaces with intention and tactile artistry. Your scrap threads, fabrics, and creative instincts are all you need to begin.
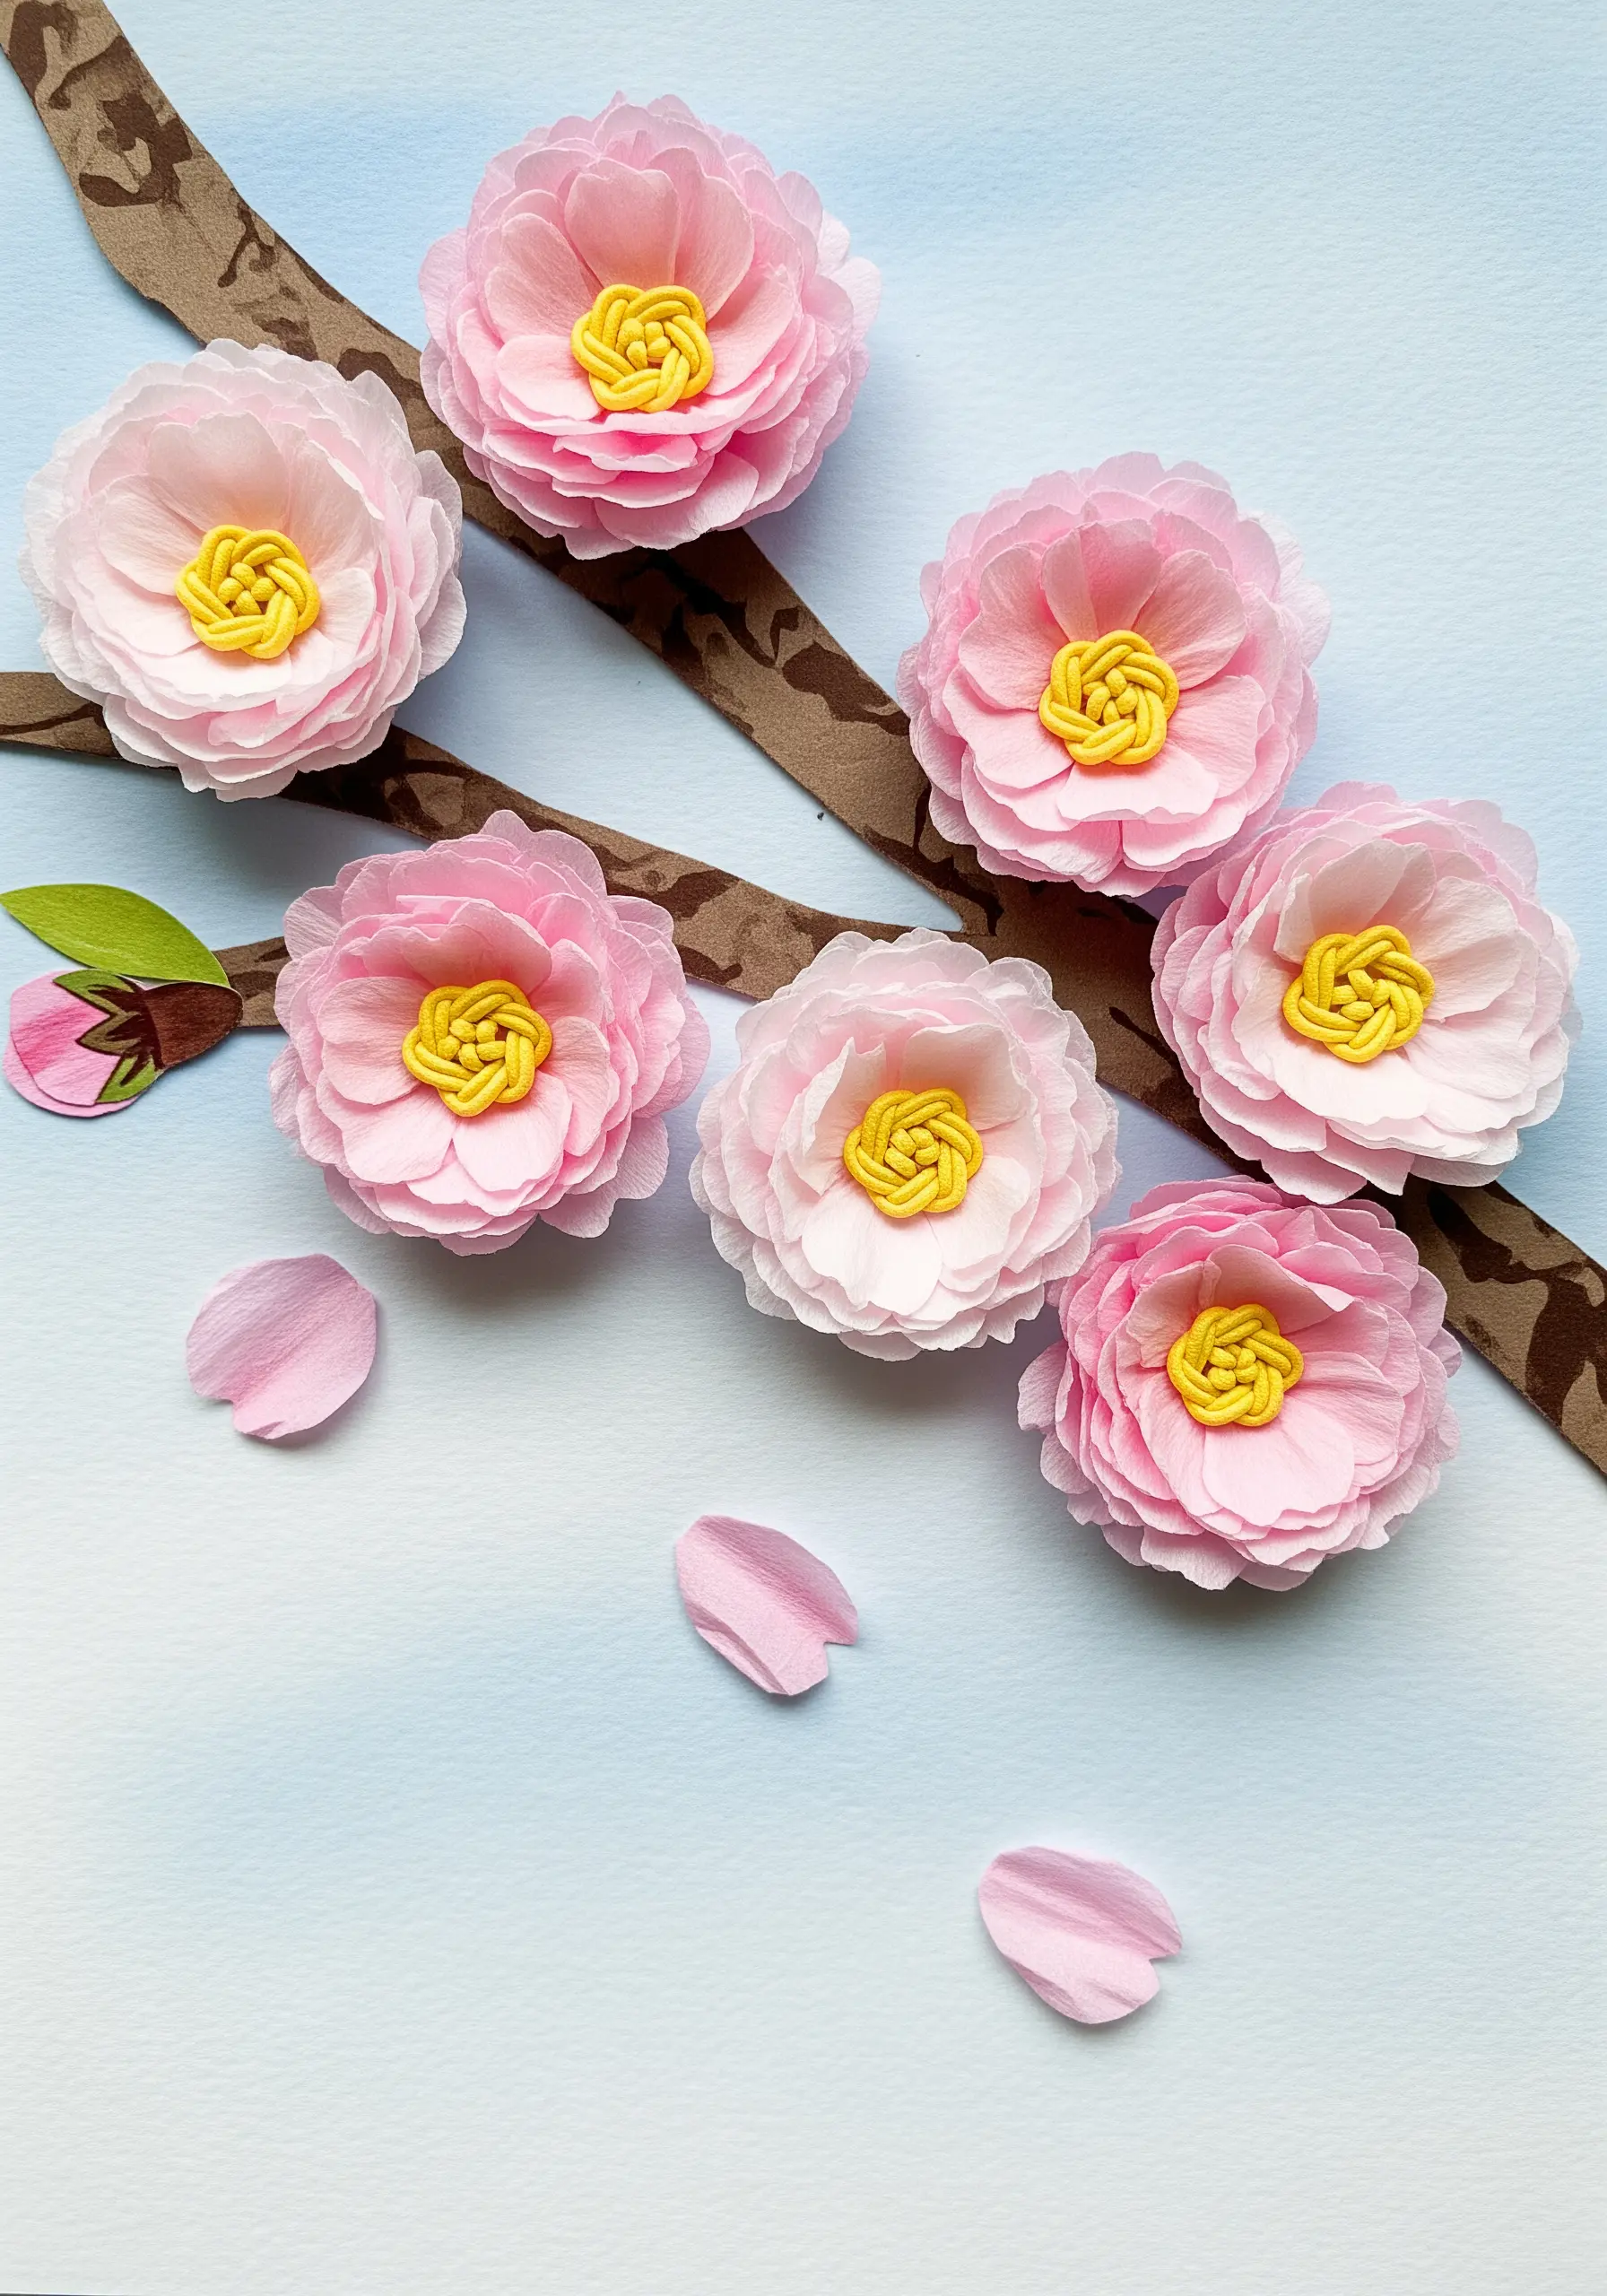
1. Build Botanical Forms with Laid Work
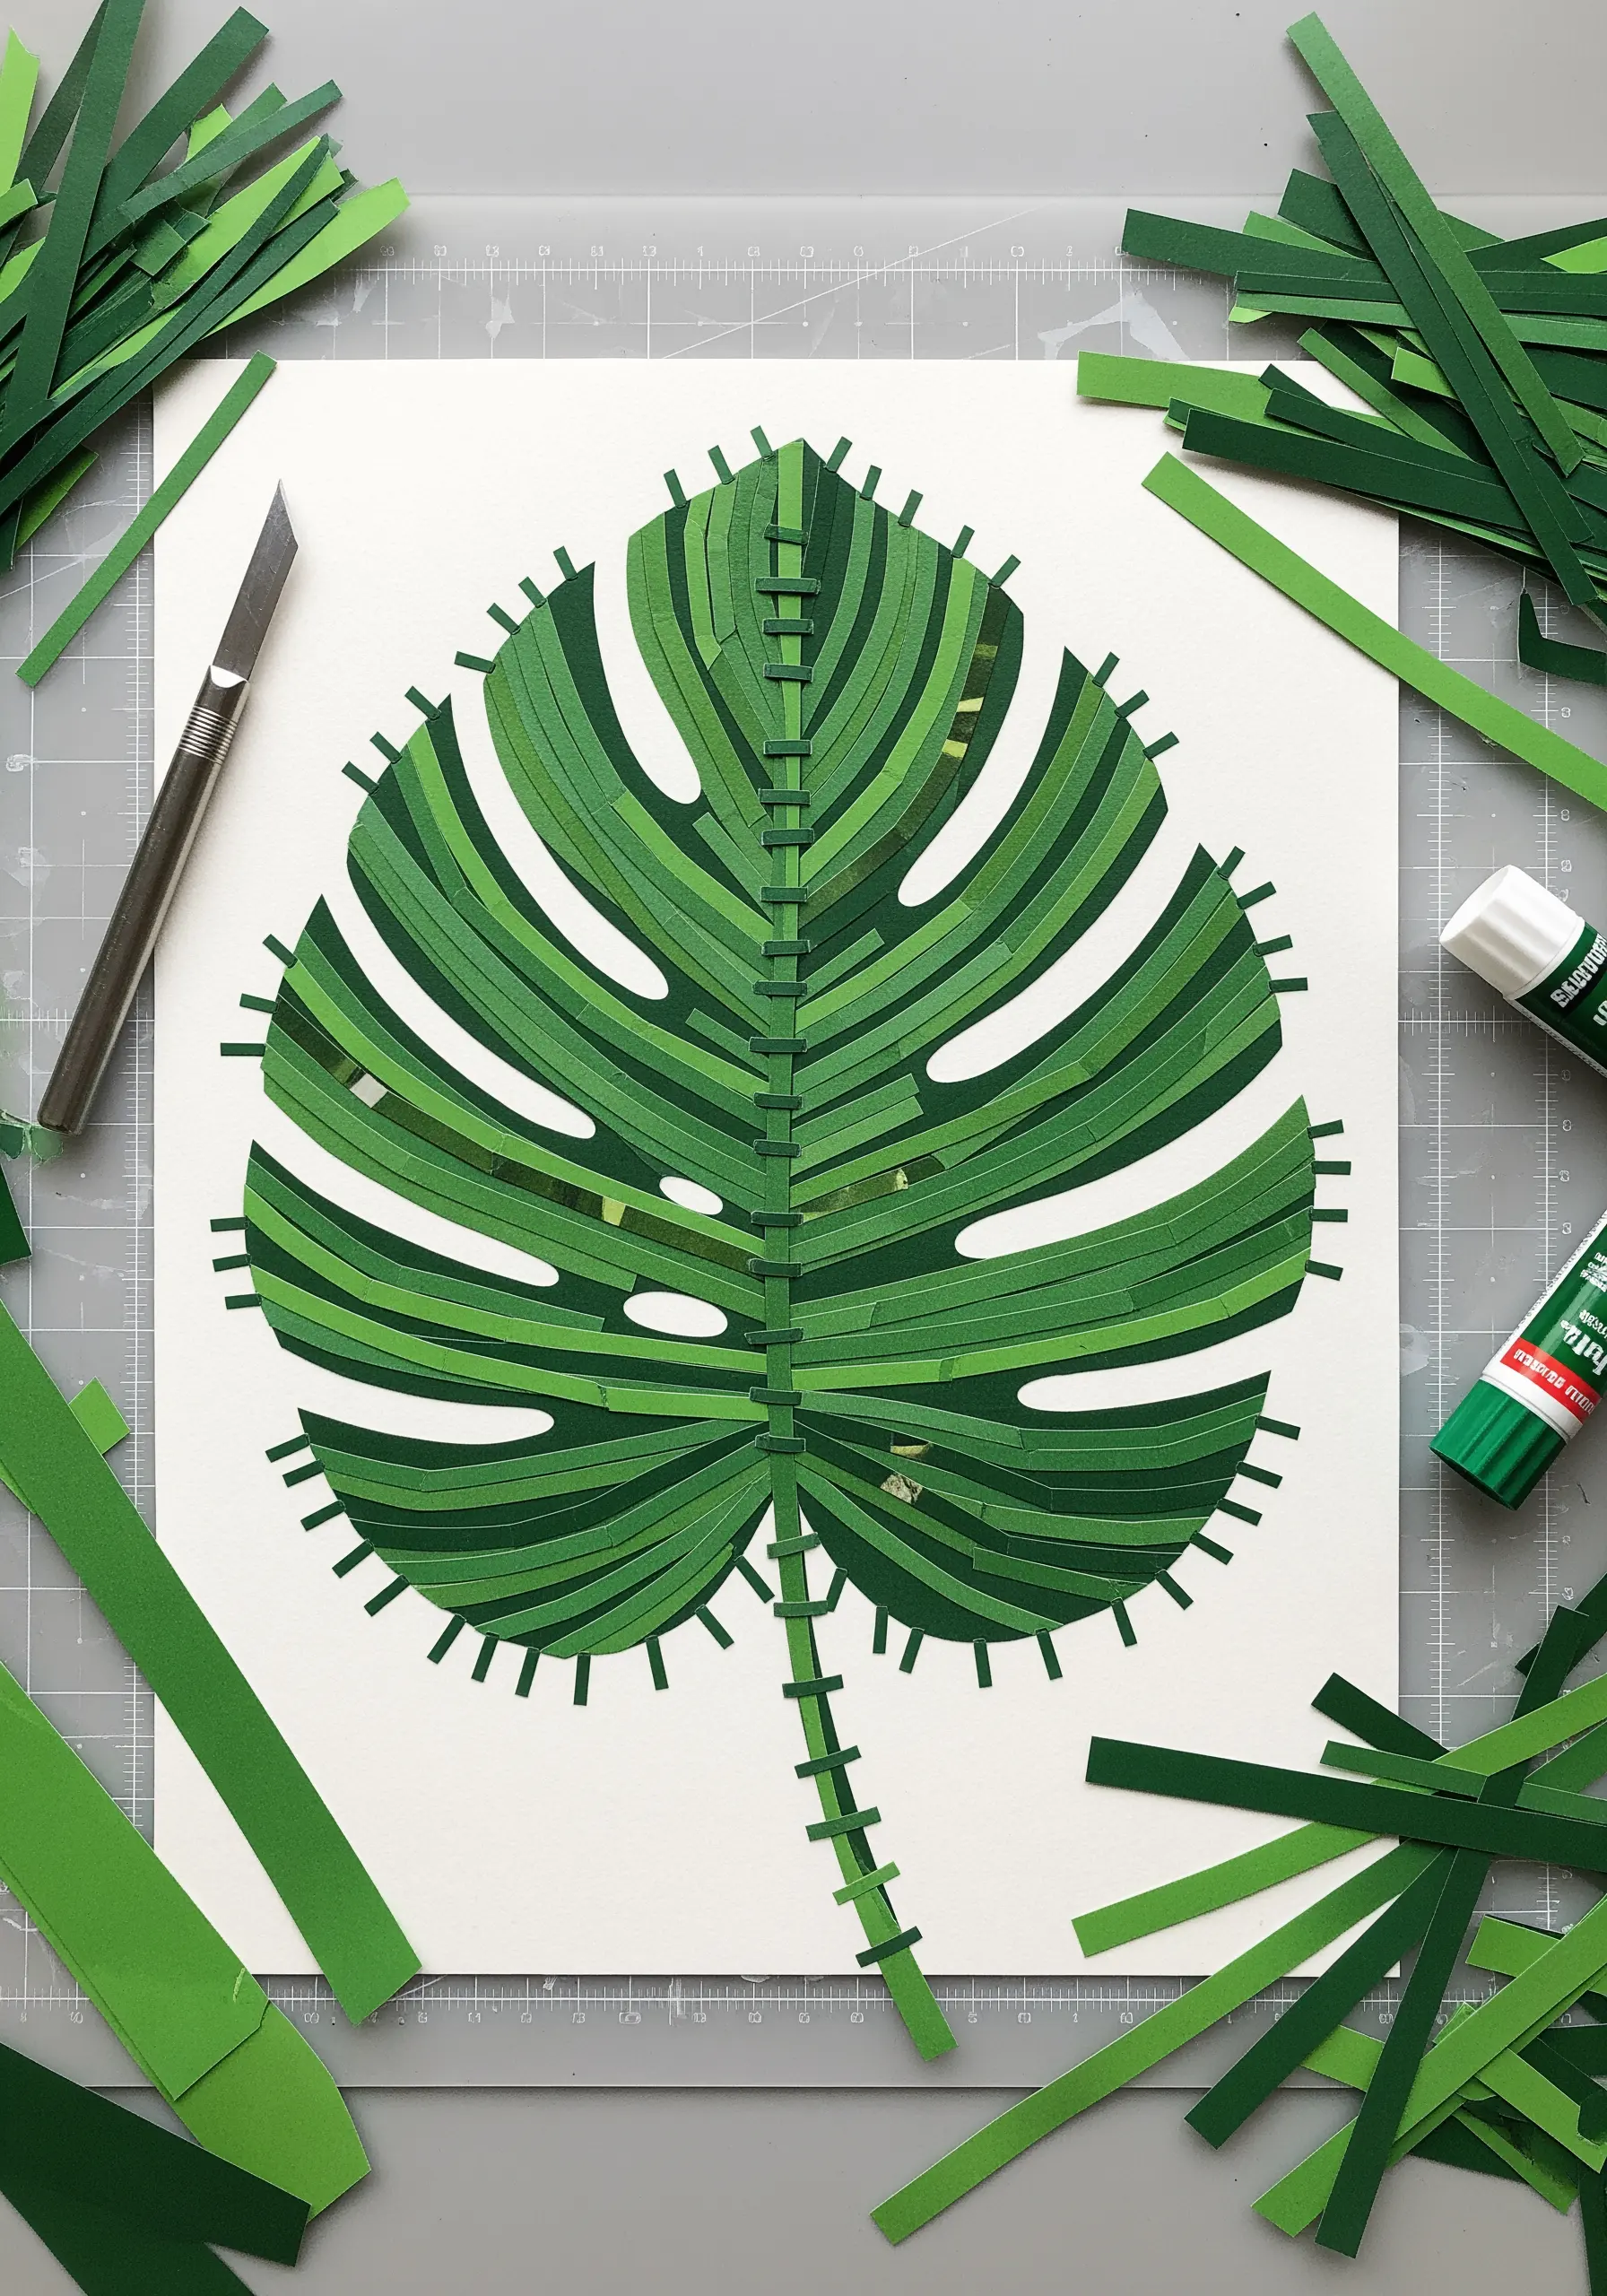
Translate the effect of layered paper strips into thread by using laid work or long satin stitches.
Lay down long, parallel stitches to fill a shape, then use tiny couching stitches to tack them down where needed.
This technique is faster than traditional satin stitch for large areas and creates a smooth, graphic texture ideal for stylized leaves and botanicals.
For the central vein, use a heavier-weight thread or couch down a piece of yarn to create a dominant, raised line that adds structure to your design.
2. Recreate Quilling with Dimensional Knots
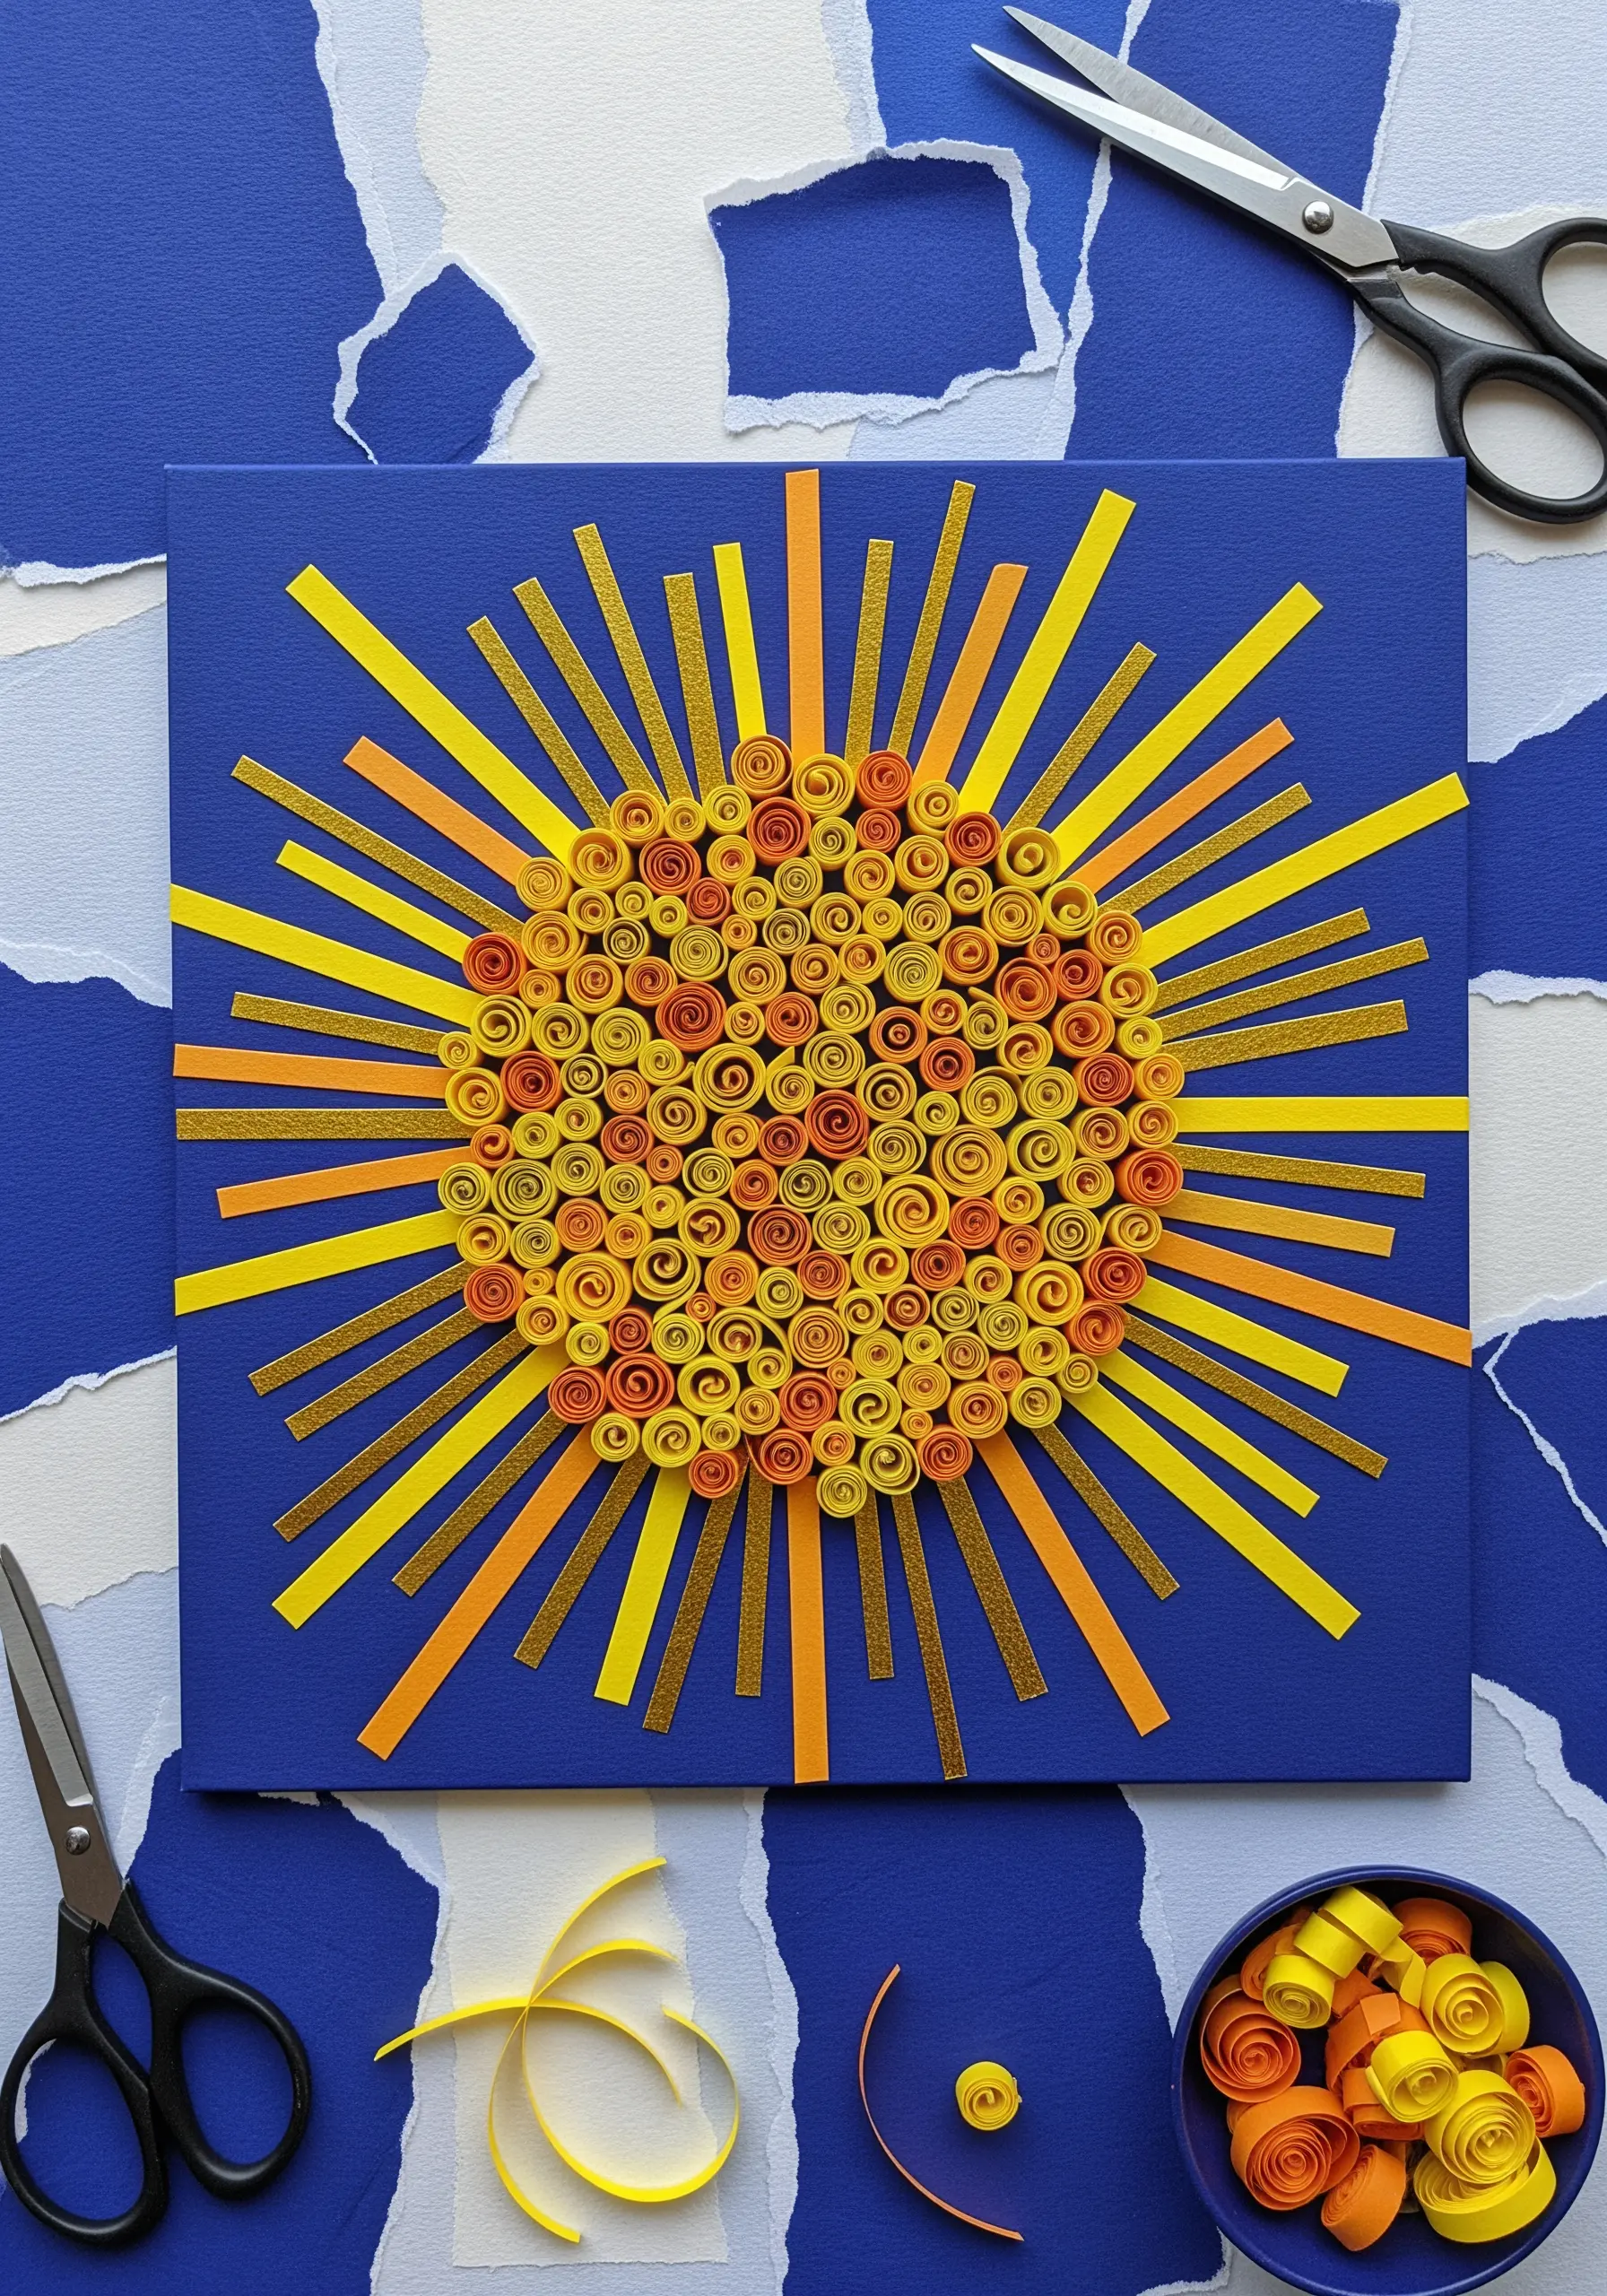
The tight coils of quilled paper find their perfect match in embroidery with French knots and bullion knots.
Cluster these knots tightly in the center of a motif, varying the number of thread wraps and strands to create different sizes and densities.
This builds a rich, tactile surface that contrasts beautifully with the clean lines of simple straight stitches, which you can use for radiating elements like sun rays.
Incorporate a single strand of metallic floss into your knot clusters for a subtle glimmer that catches the light.
3. Stitch a Mosaic Sky with Seed Stitch
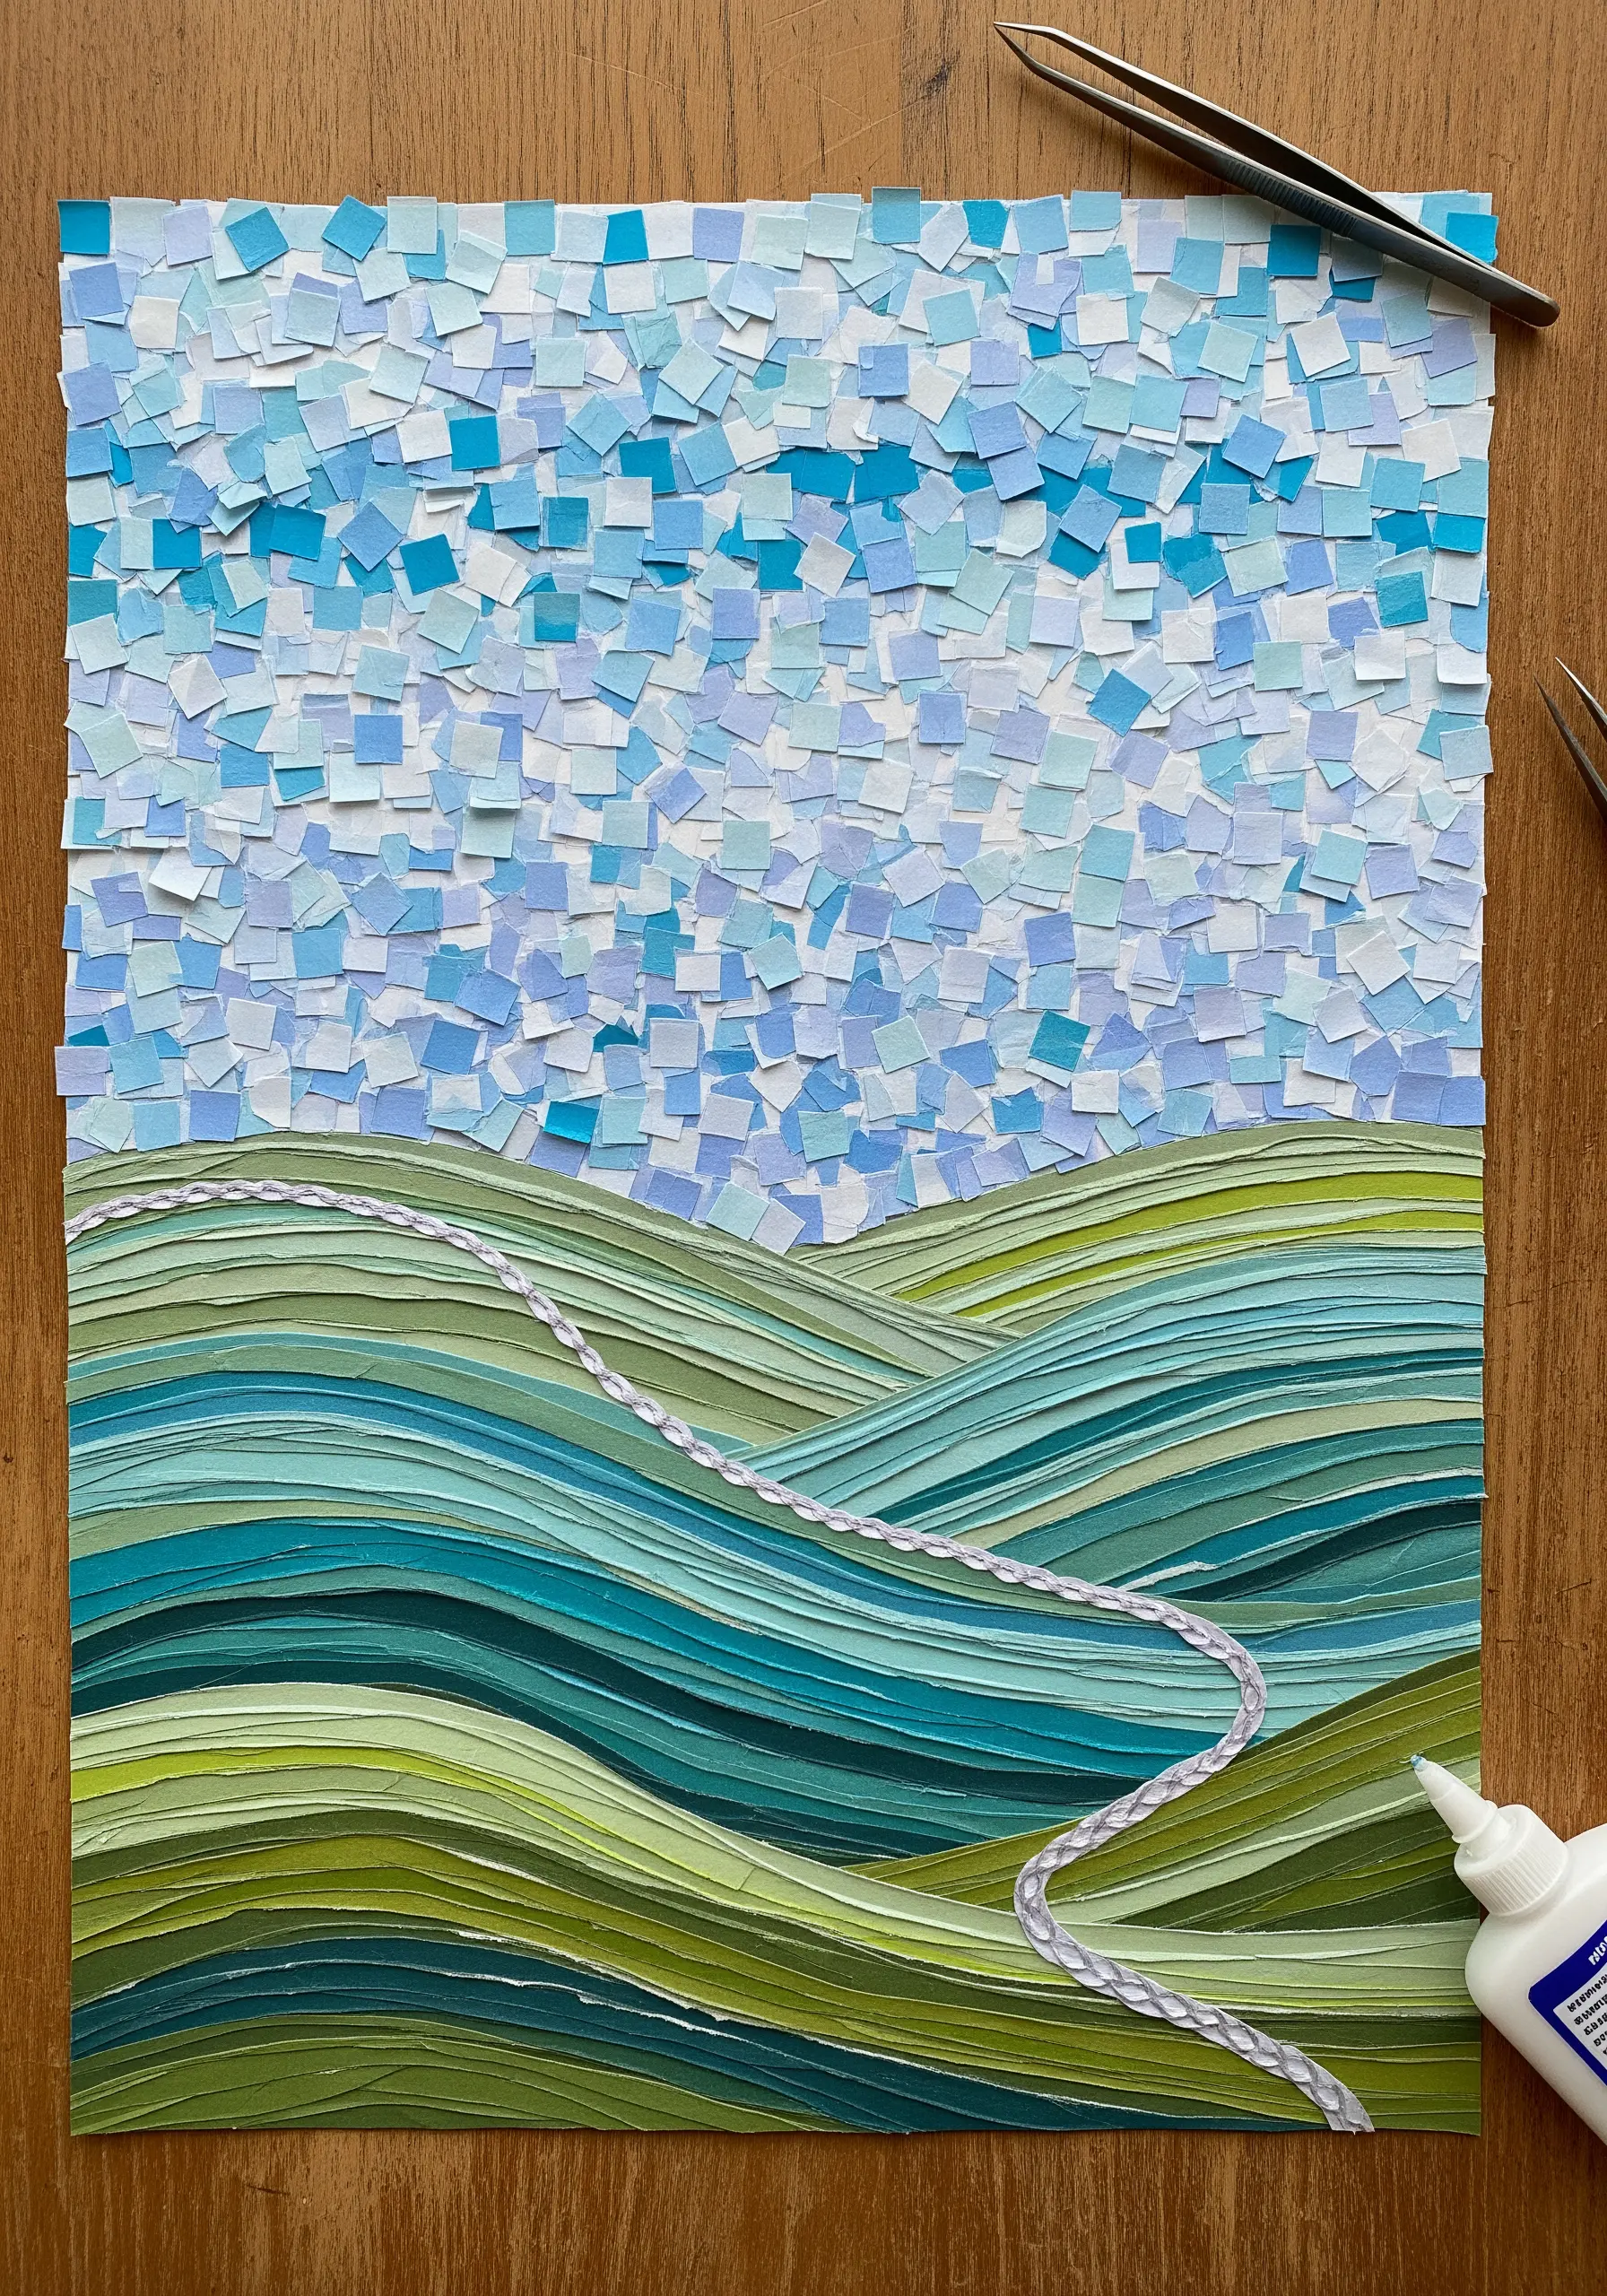
Instead of filling a sky with uniform satin stitch, mimic the texture of paper mosaic with a dense field of seed stitches.
Use several similar shades of thread and scatter tiny, randomized straight stitches across the area.
This approach creates a soft, impressionistic feel that looks more natural than a solid block of color.
For the rolling hills, use long-and-short stitch following the curves of the landscape to create a smooth, flowing gradient that contrasts with the sky’s texture.
4. Re-Imagine Cross-Stitch with Appliqué

Elevate the humble cross-stitch by translating it into a mixed-media technique.
Instead of stitching every ‘X’, cut small crosses from felt or textured fabric and apply them to your background.
Secure each appliqué shape with a single French knot or a simple tacking stitch in the center, using a contrasting color thread for a pop of detail.
This method allows you to create large-scale, graphic patterns quickly while introducing the tactile softness of fabric collage.
5. Couch Braids and Ribbons for High-Relief Texture
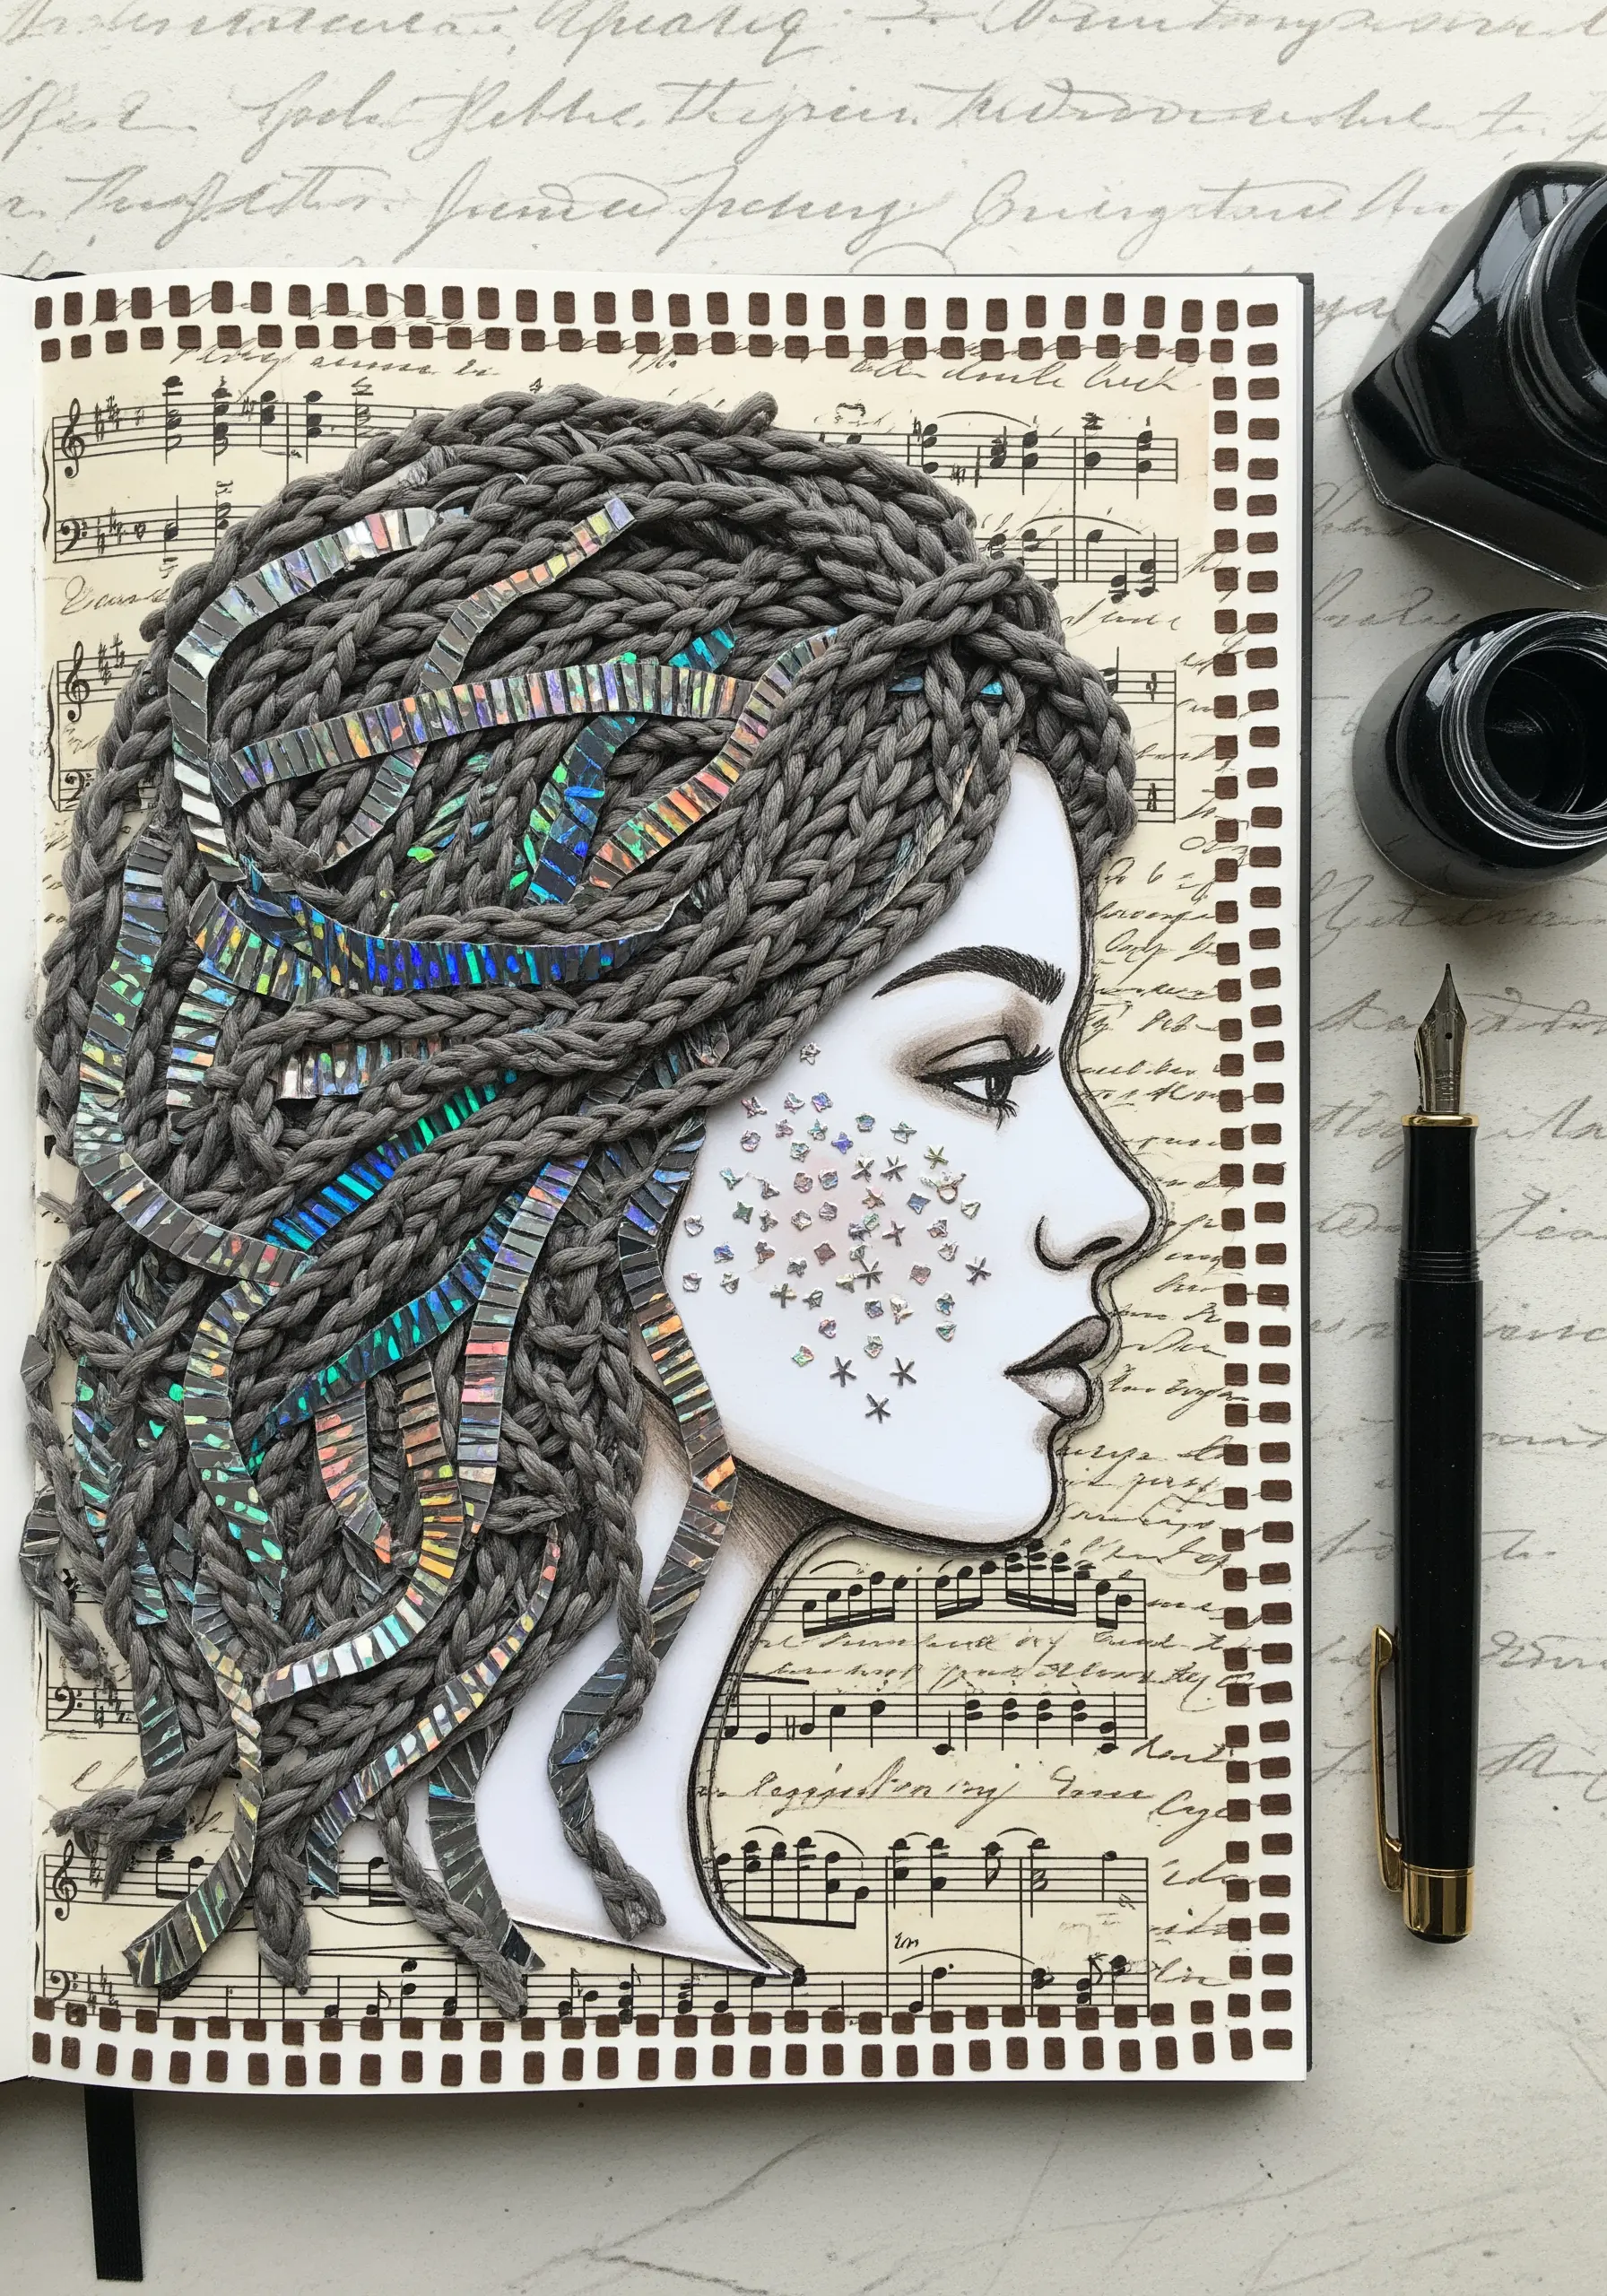
For hair, vines, or any element that requires bold, rope-like texture, turn to couching.
Braid thick yarn or multiple strands of embroidery floss together, lay the braid onto your fabric, and use a thinner, matching thread to tack it down with small, evenly spaced stitches.
Weave iridescent ribbon or metallic thread into your braids before couching to introduce sparkle and light.
This is a foundational technique in mixed-media contemporary embroidery, letting you add sculptural elements to your work.
6. Capture Sea Foam with Turkey Work
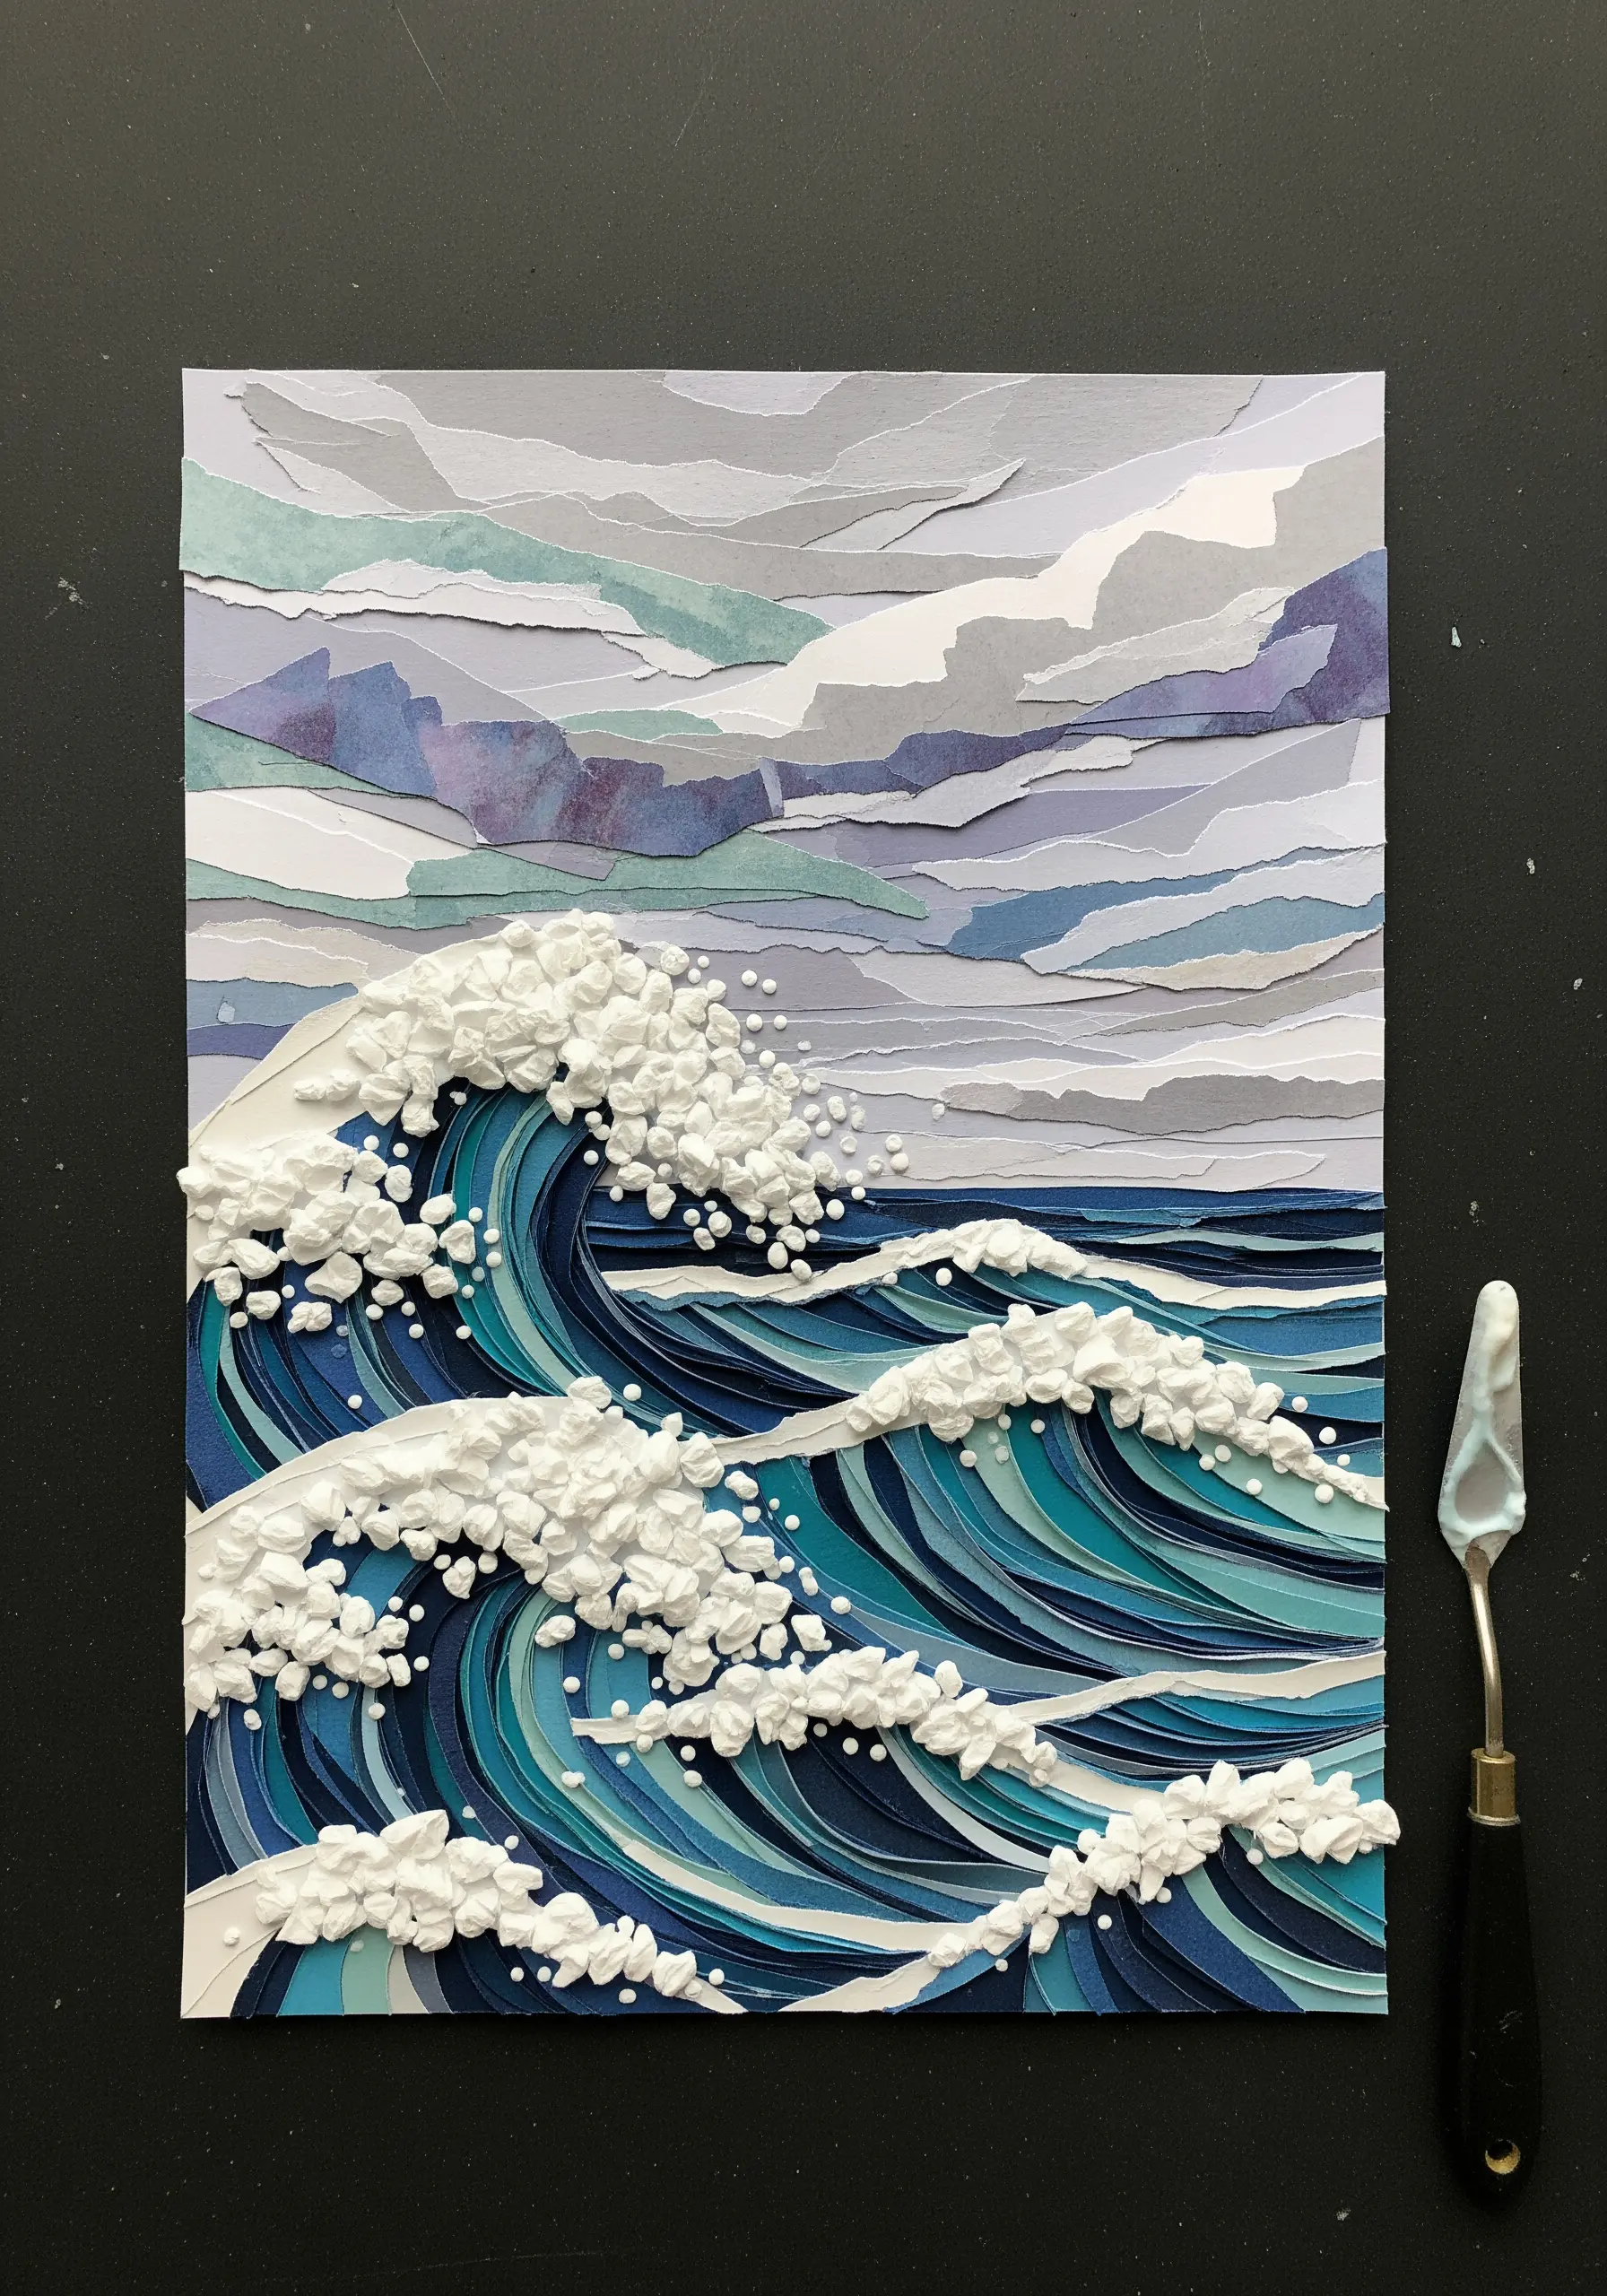
To create the frothy, chaotic texture of sea foam, the Turkey work stitch is your greatest asset.
Create loops of thread and snip them open, trimming the resulting pile to varying heights to mimic the unpredictable surface of breaking waves.
Contrast this high-texture element with smooth, directional satin stitches for the body of the waves, using shades of blue and teal to suggest depth and movement.
This juxtaposition of smooth and rough textures is what gives the piece its dynamic energy.
7. Define Mandalas with Whipped Stitches
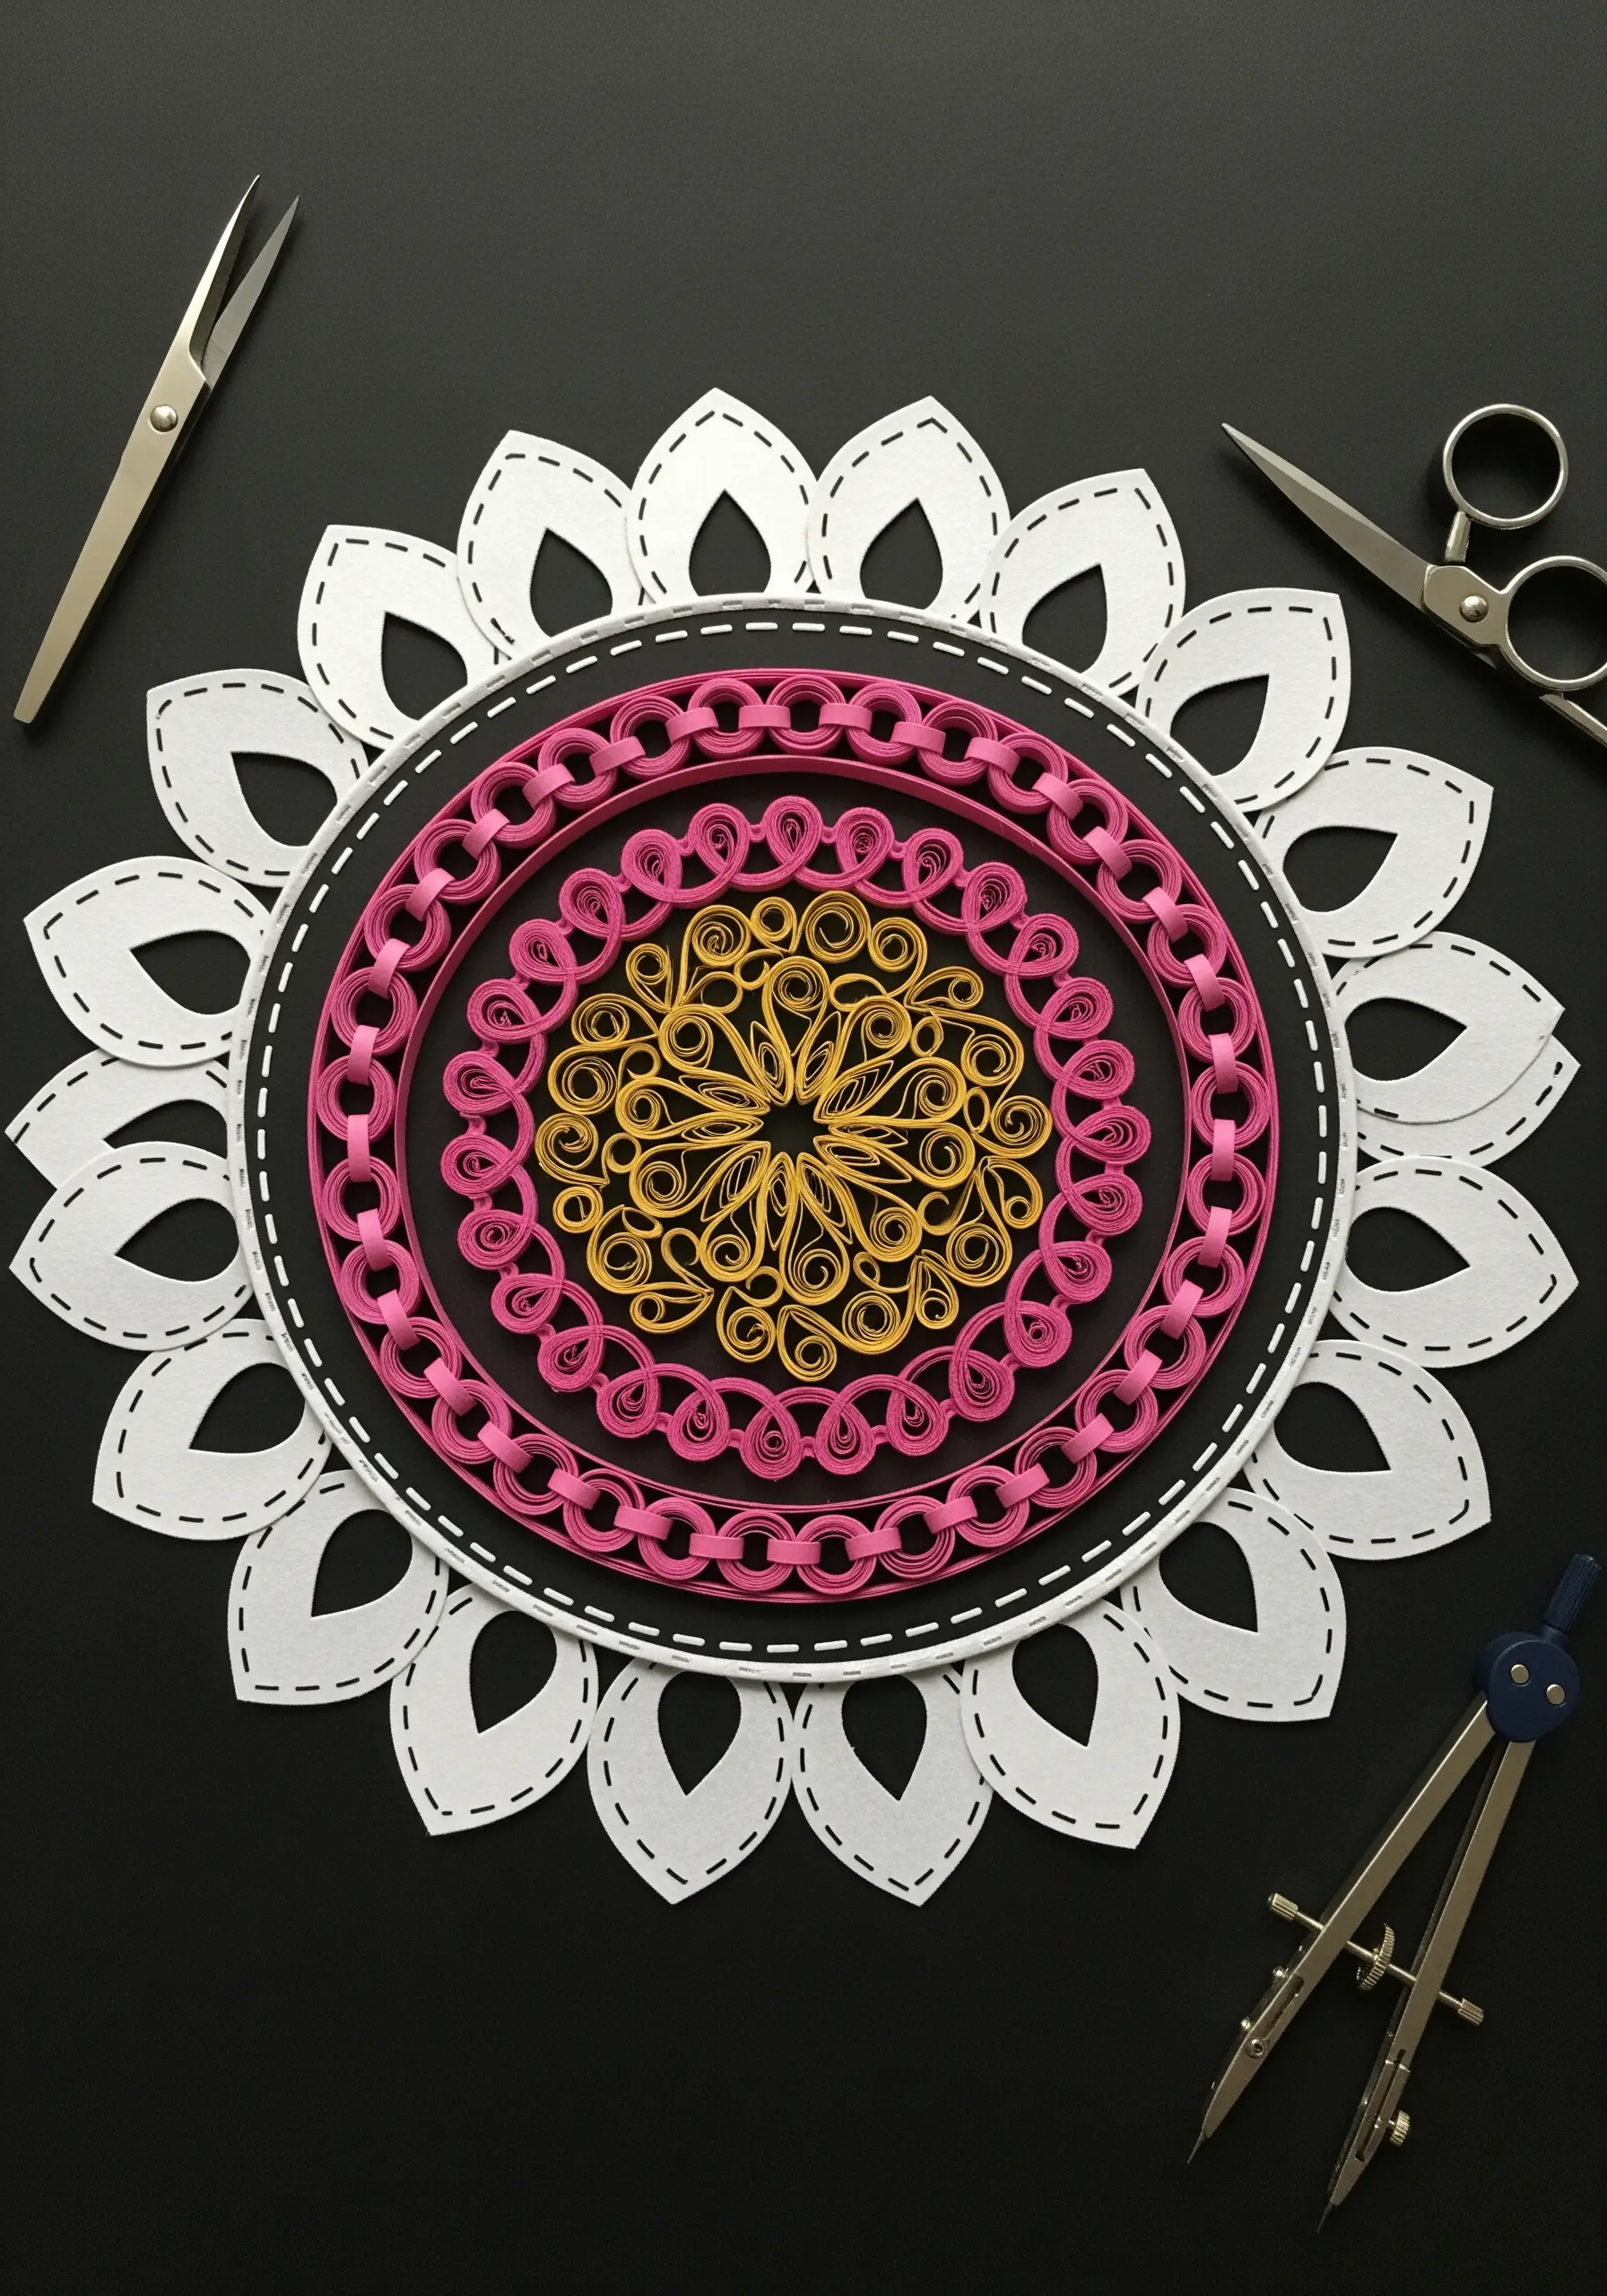
Mimic the clean, looped lines of paper quilling by using whipped stitches to create your mandala outlines.
First, lay down a foundation of backstitch or running stitch, then whip it with a contrasting color or a metallic thread for a raised, cord-like effect.
This technique creates sharp, defined circles and curves that stand out against the fabric.
For the cut-out petal shapes, use appliqué and outline them with a simple split stitch to maintain the graphic quality.
8. Tell a Story with Fabric Collage Appliqué
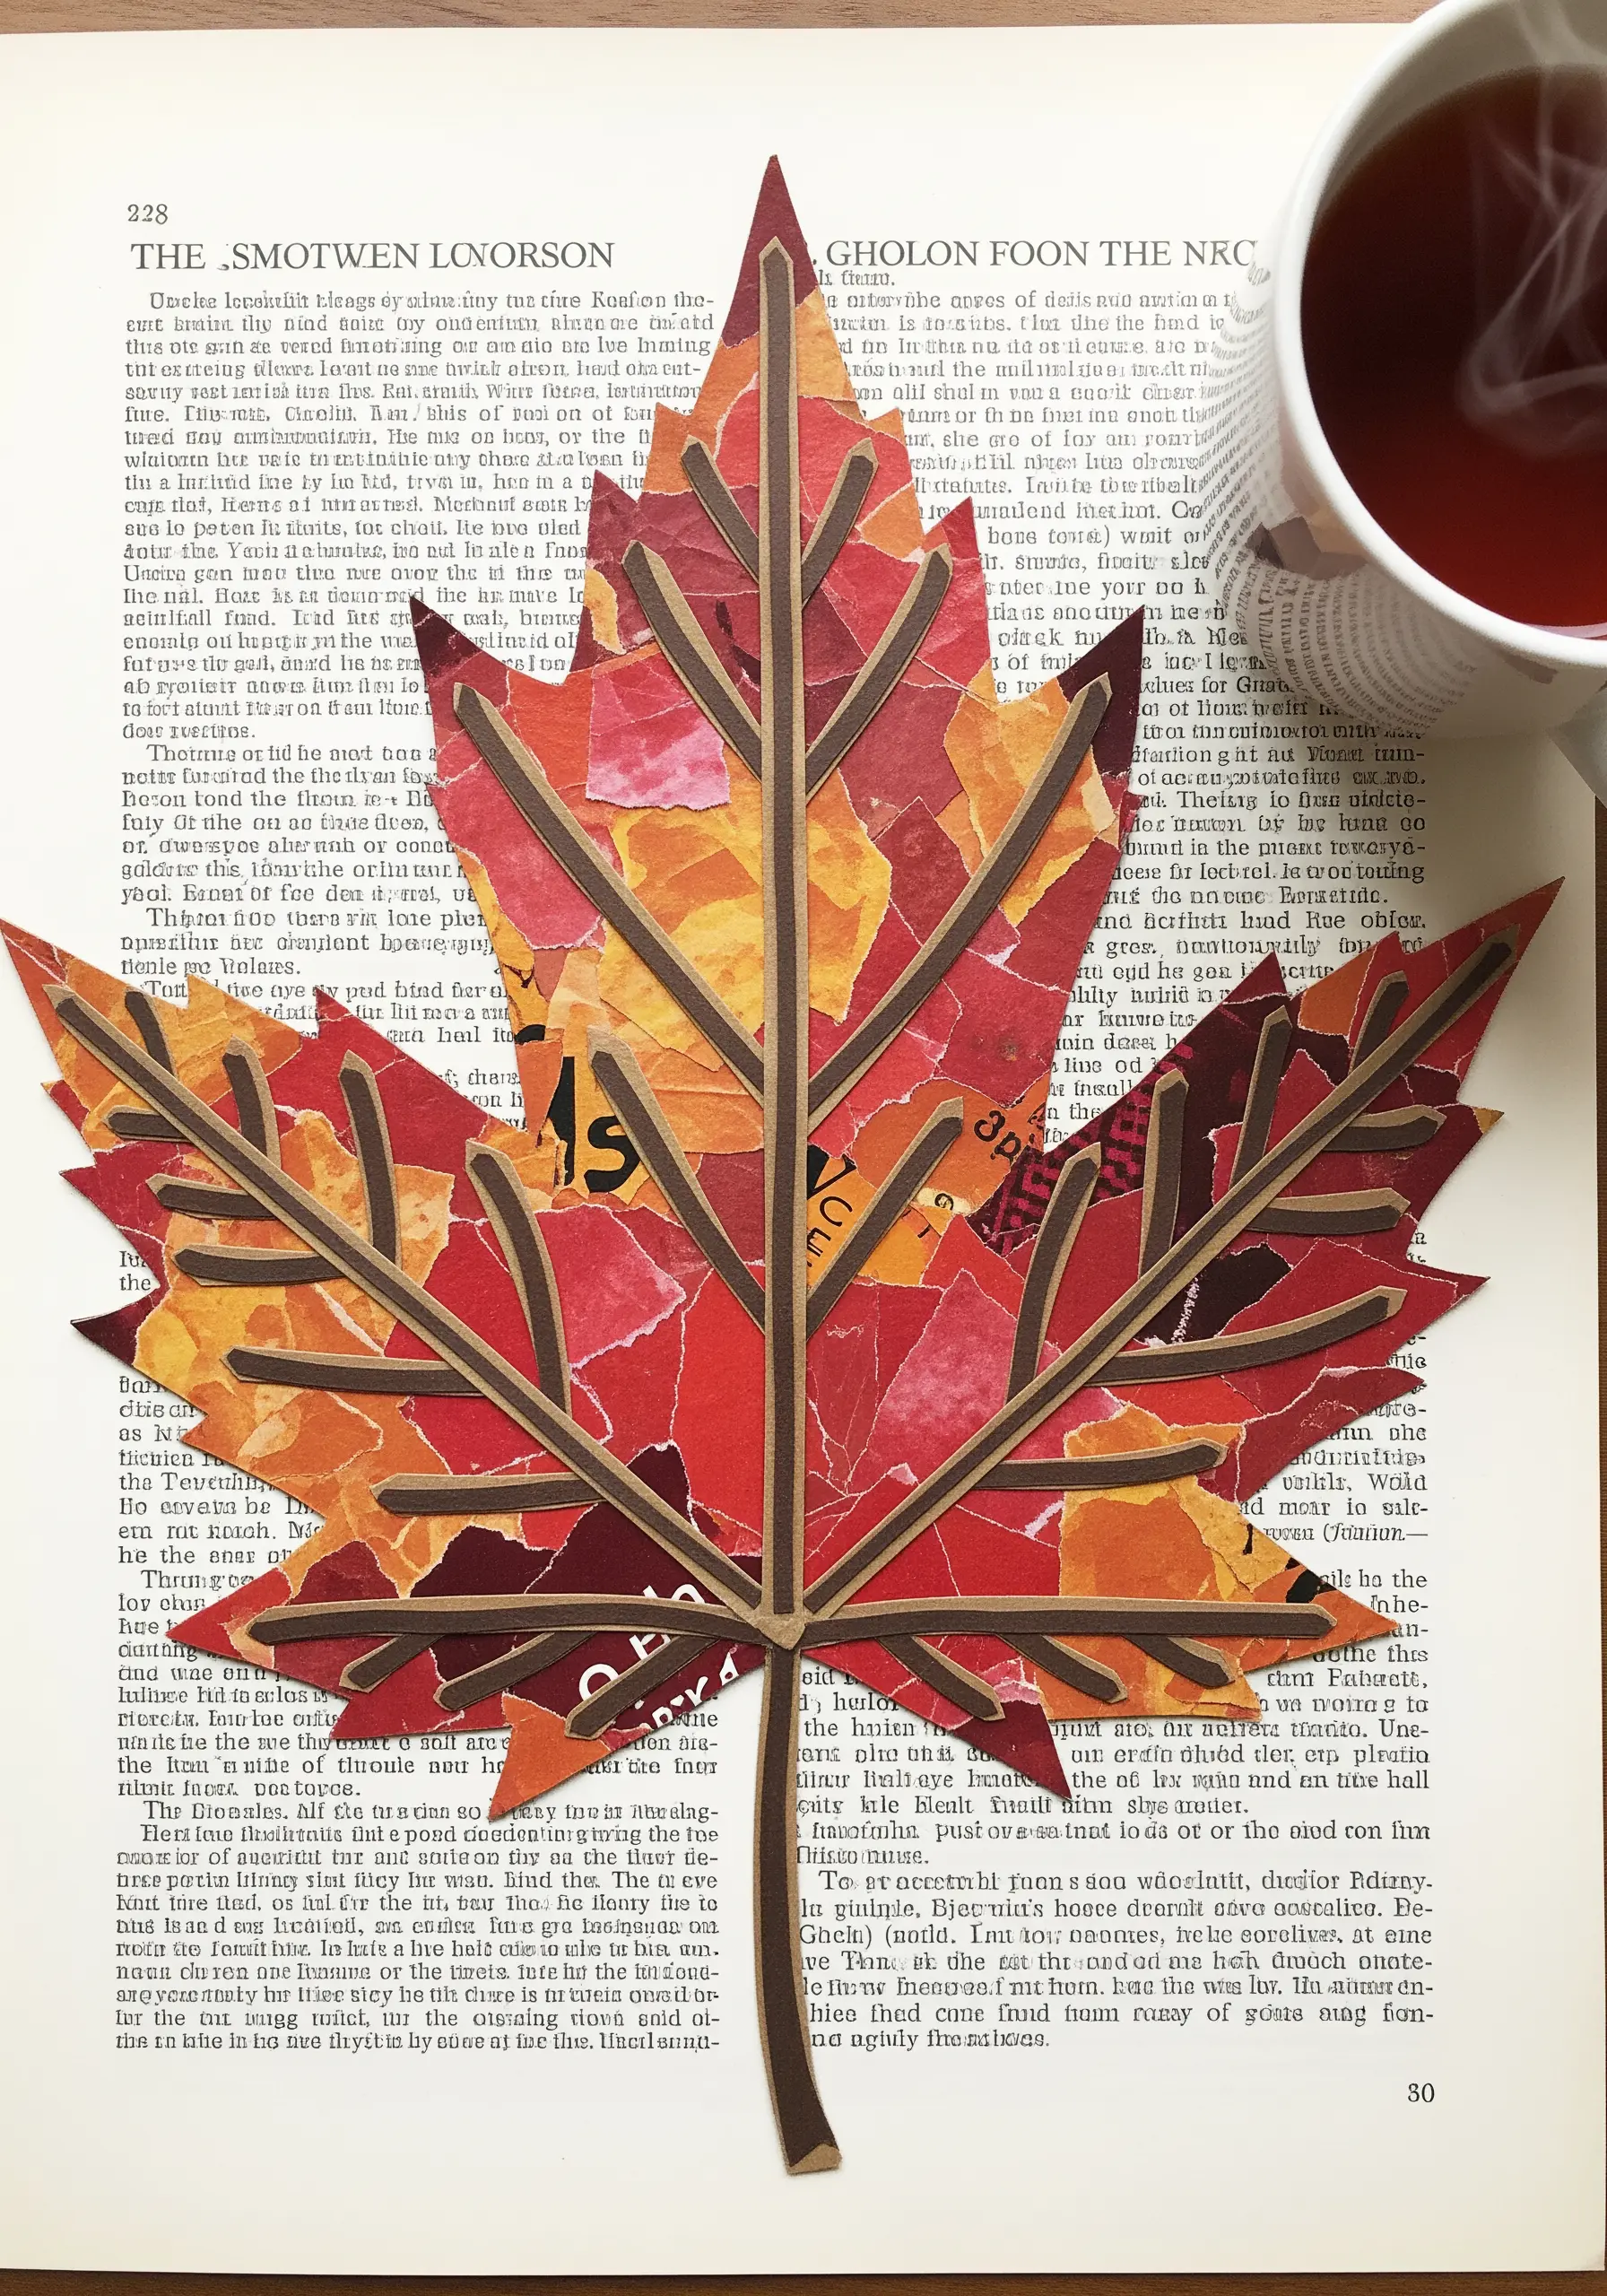
Borrow from the art of collage to create rich, narrative surfaces in your embroidery.
Cut shapes from patterned fabrics—think florals, text, or abstracts—and arrange them within a larger outline, like a leaf or silhouette.
Secure the pieces with a simple running stitch, then add bold backstitched veins or outlines to unify the composition.
This method of fabric collage embroidery turns simple shapes into intricate fields of color and pattern.
9. Layer Appliqué for Feathered Wings
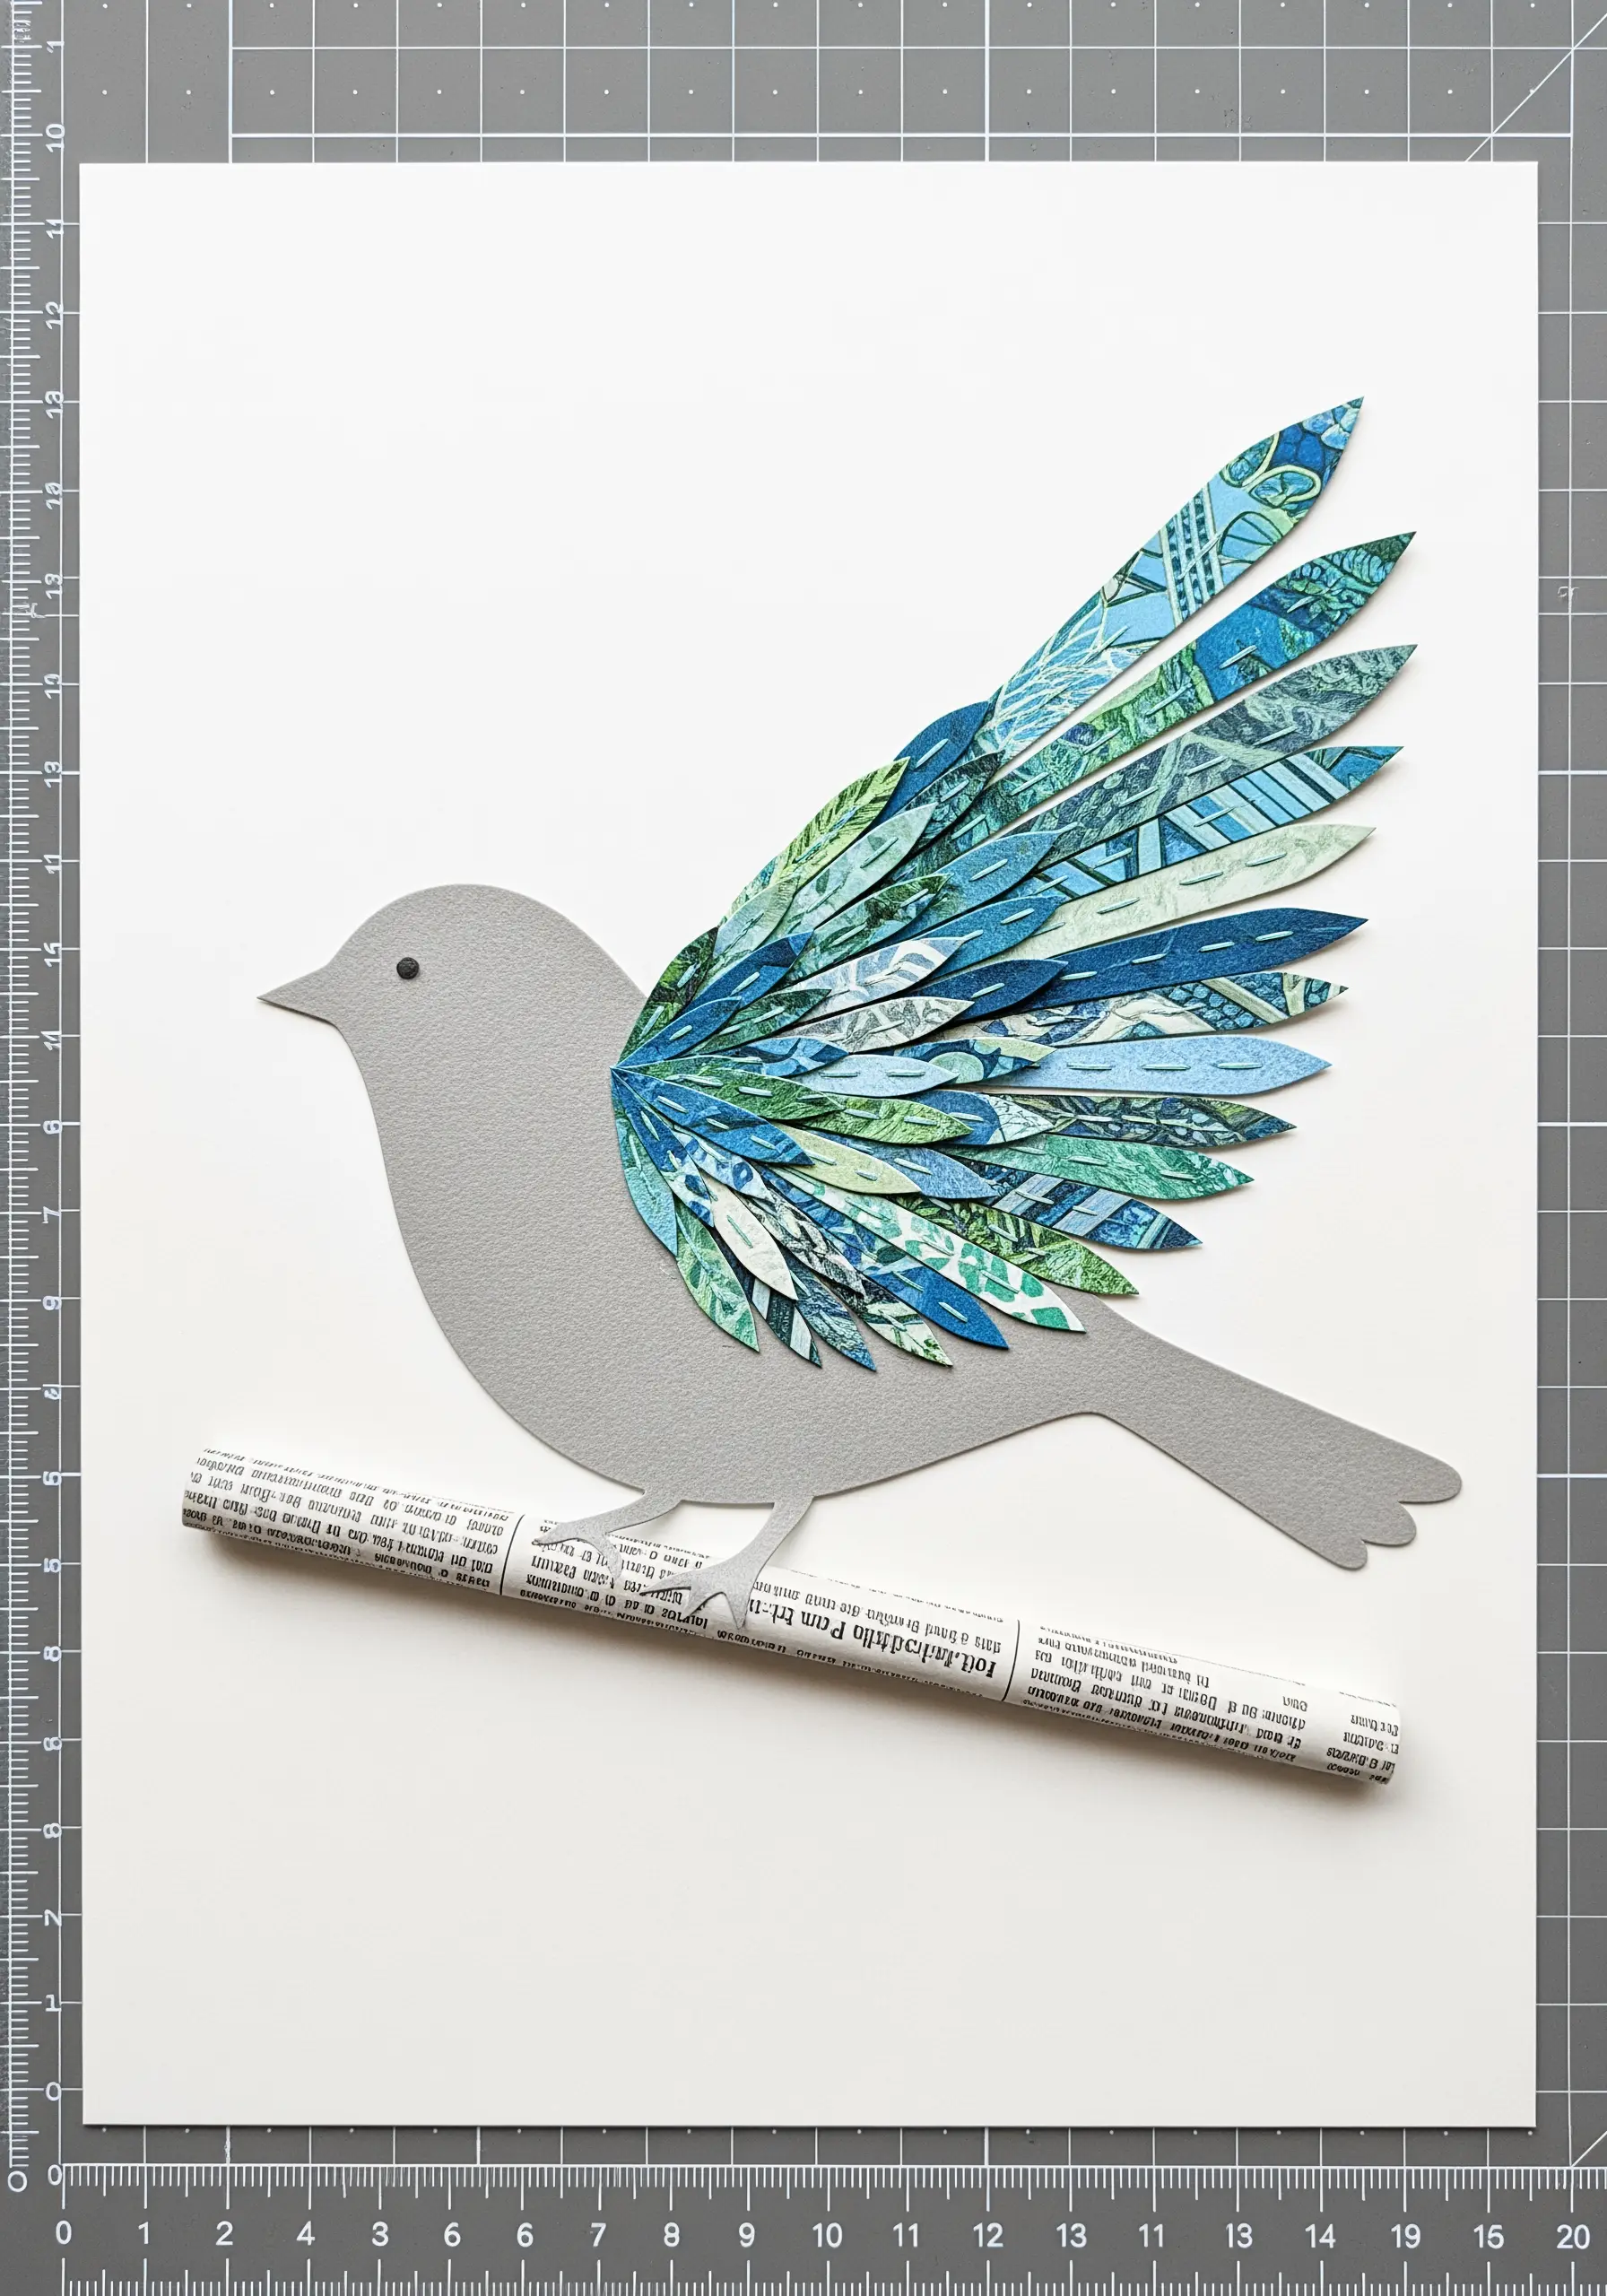
Create realistic, dimensional wings by layering individual appliqué ‘feathers’ cut from fabric scraps.
Start from the bottom layer and work your way up, overlapping each piece slightly.
A single line of backstitch down the center of each feather is enough to secure it, allowing the edges to lift and create natural shadow and depth.
Vary the fabric patterns and colors to give the wing a dynamic, shimmering quality, just as you would with thread.
10. Create an Abstract Confetti Effect

For a joyful explosion of texture and color, combine French knots, colonial knots, and single straight stitches.
Use a wide palette of bright and neon threads, scattering the stitches densely in the center and more sparsely toward the edges.
Incorporate metallic thread for some of your straight stitches to mimic the reflective quality of glitter or holographic paper.
This technique is perfect for celebrating controlled chaos and using up tiny scraps of leftover thread in a dynamic abstract thread splatter composition.
11. Texture a Moon Surface with Seed Stitch and Appliqué

Build a luminous moon by layering circles of white and grey felt or cotton fabric.
Use a dense application of seed stitch and tiny French knots in white, cream, and light grey thread to create the mottled, textured surface.
The craters can be defined with a simple circle of split stitch, adding just enough detail to be recognizable.
Against a dark fabric background, this tactile moon becomes a stunning focal point, making it ideal for minimal sky moon designs.
12. Design a Flowing Skirt with Unplied Thread
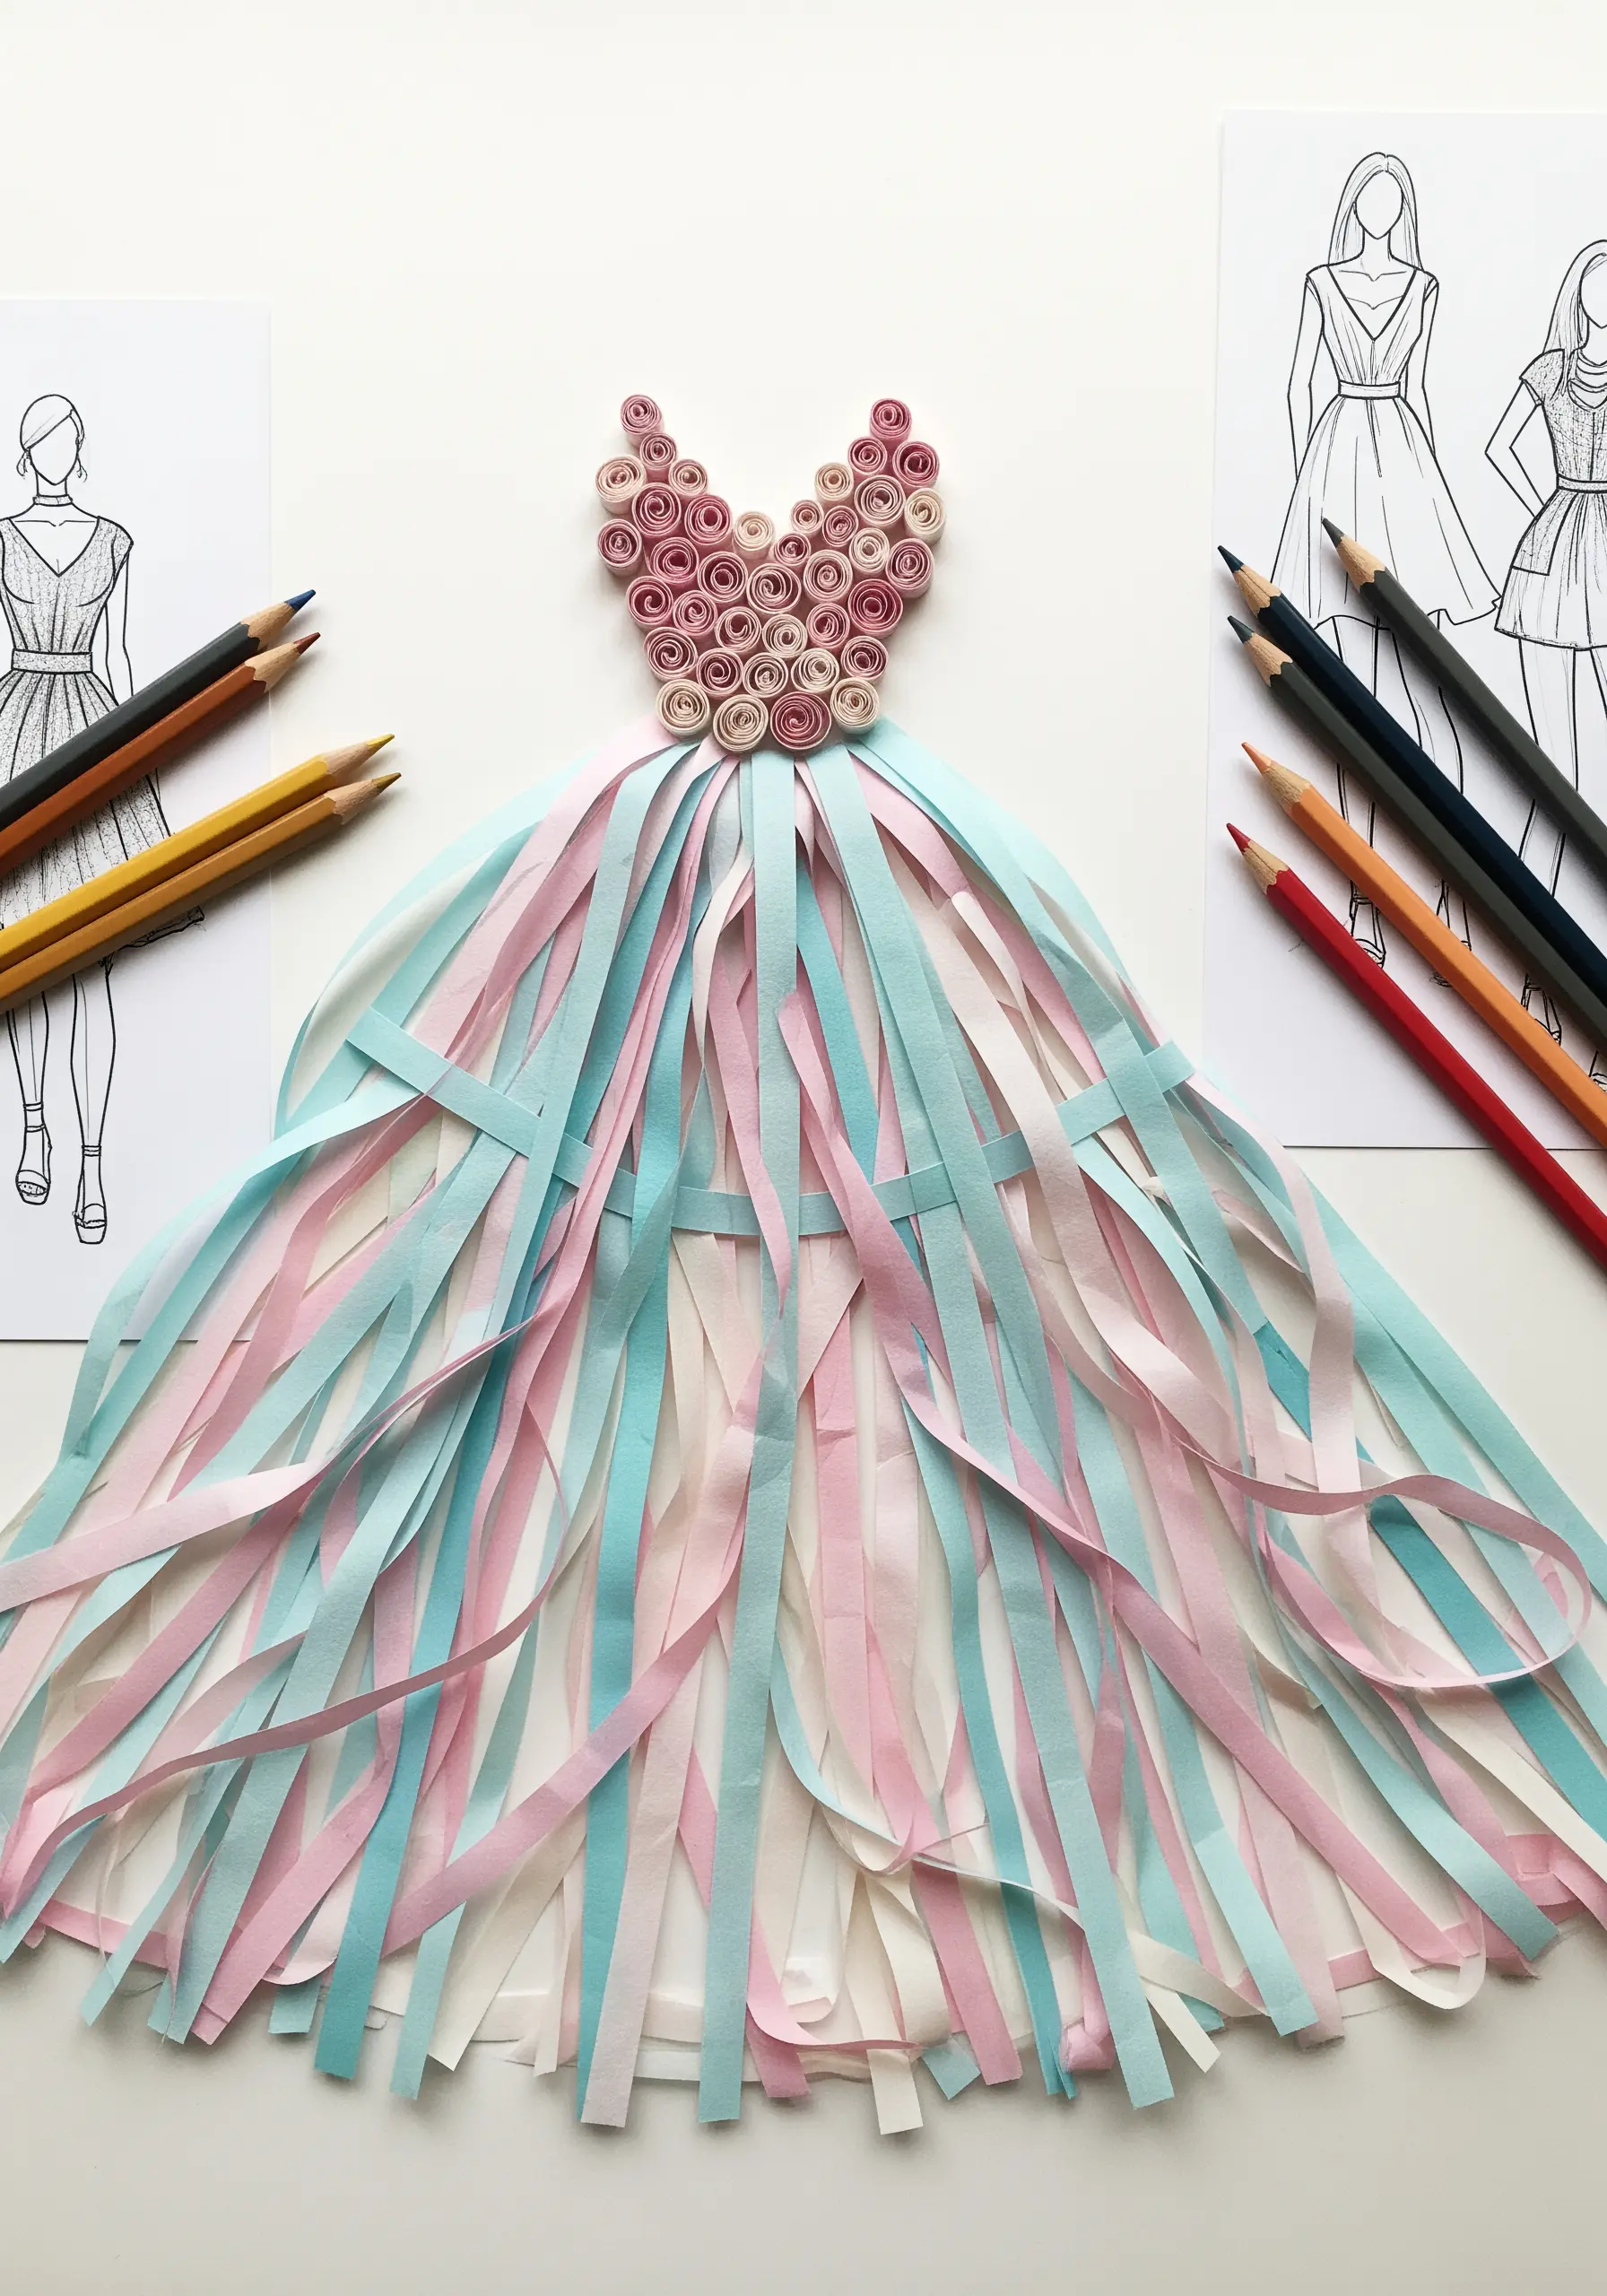
To achieve the light, airy feel of a flowing skirt or cascading waterfall, use thread in an unconventional way.
Separate a full six-strand skein of floss into its individual strands, or use fine ribbons or yarn.
Secure a bundle of these threads at one point (like the waistline of a dress) and let them hang loose, creating dramatic movement and texture.
You can trim them to shape or tack them down in a few places to guide their flow.
13. Weave Threads Directly on Fabric
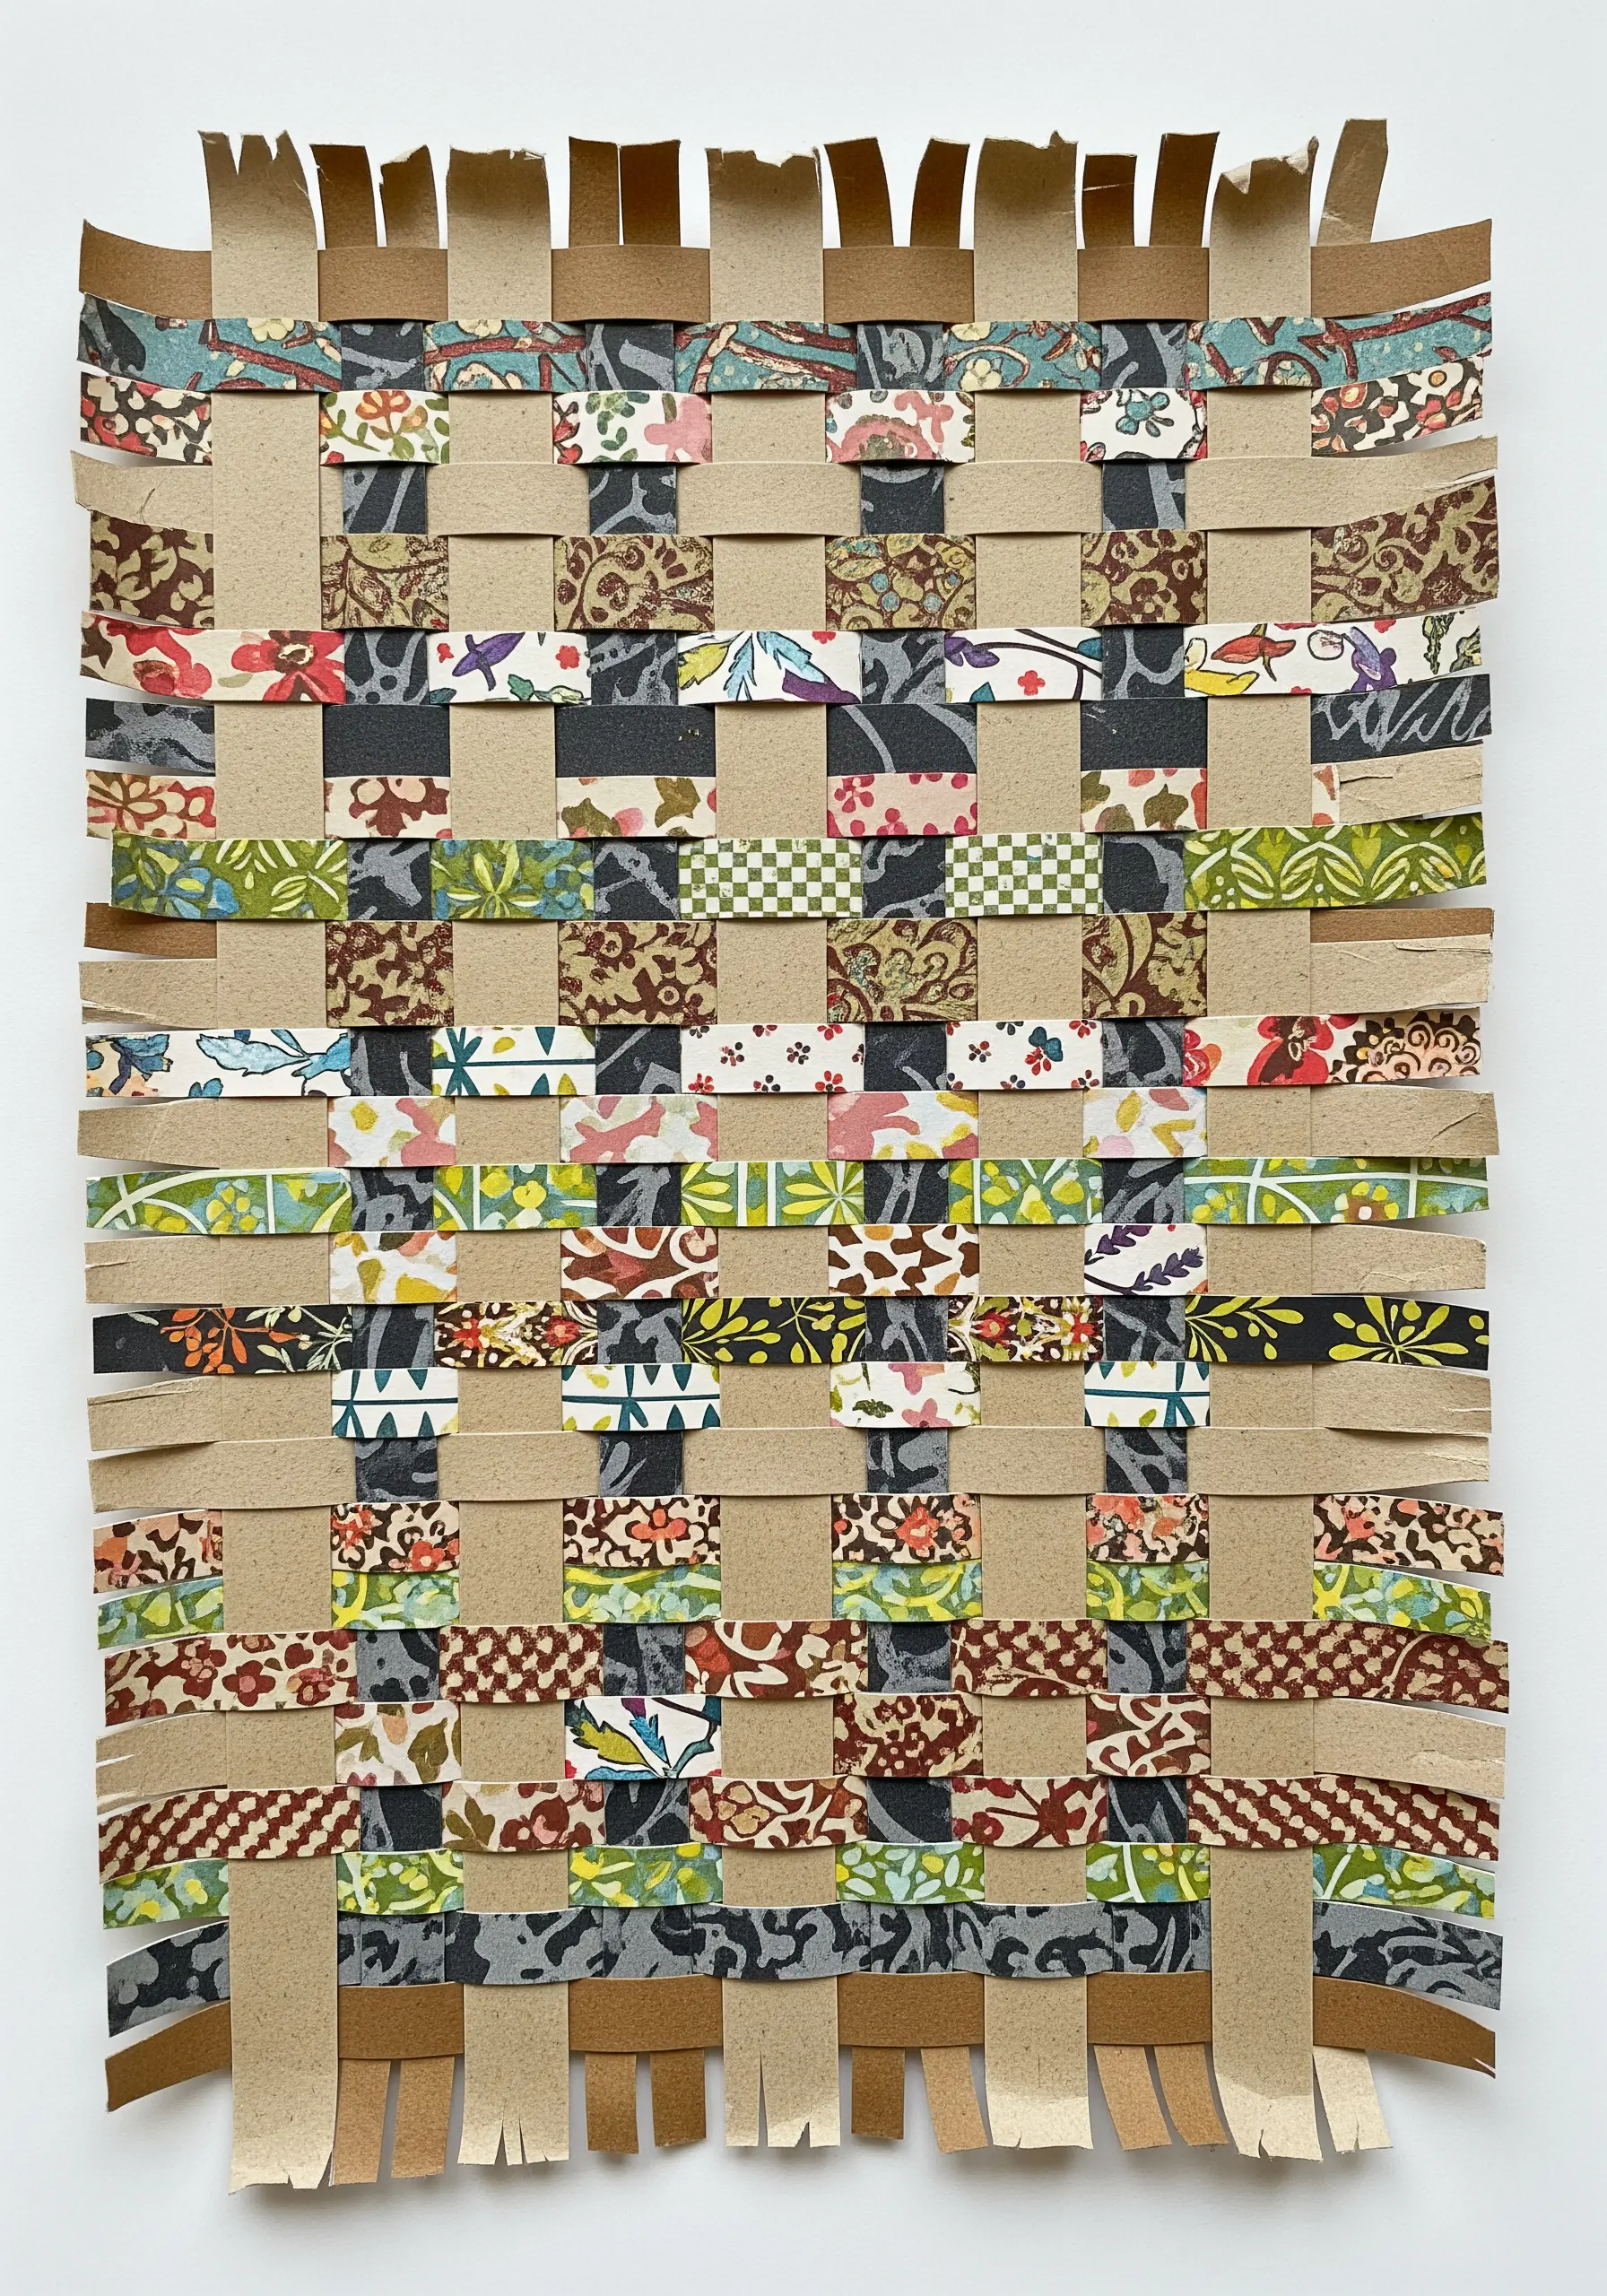
Translate paper weaving into a textural embroidery pattern using woven filling stitches.
Create a grid of foundation stitches (the warp) across your shape, then use a blunt tapestry needle to weave your working thread (the weft) over and under these stitches.
Experiment by mixing different thread textures and weights—like matte cotton floss with shiny rayon—to create a surface rich with visual interest.
This technique is perfect for filling geometric shapes or creating patterns that mimic basketry or textiles.
14. Combine Appliqué and Stitch for Clean Botanicals
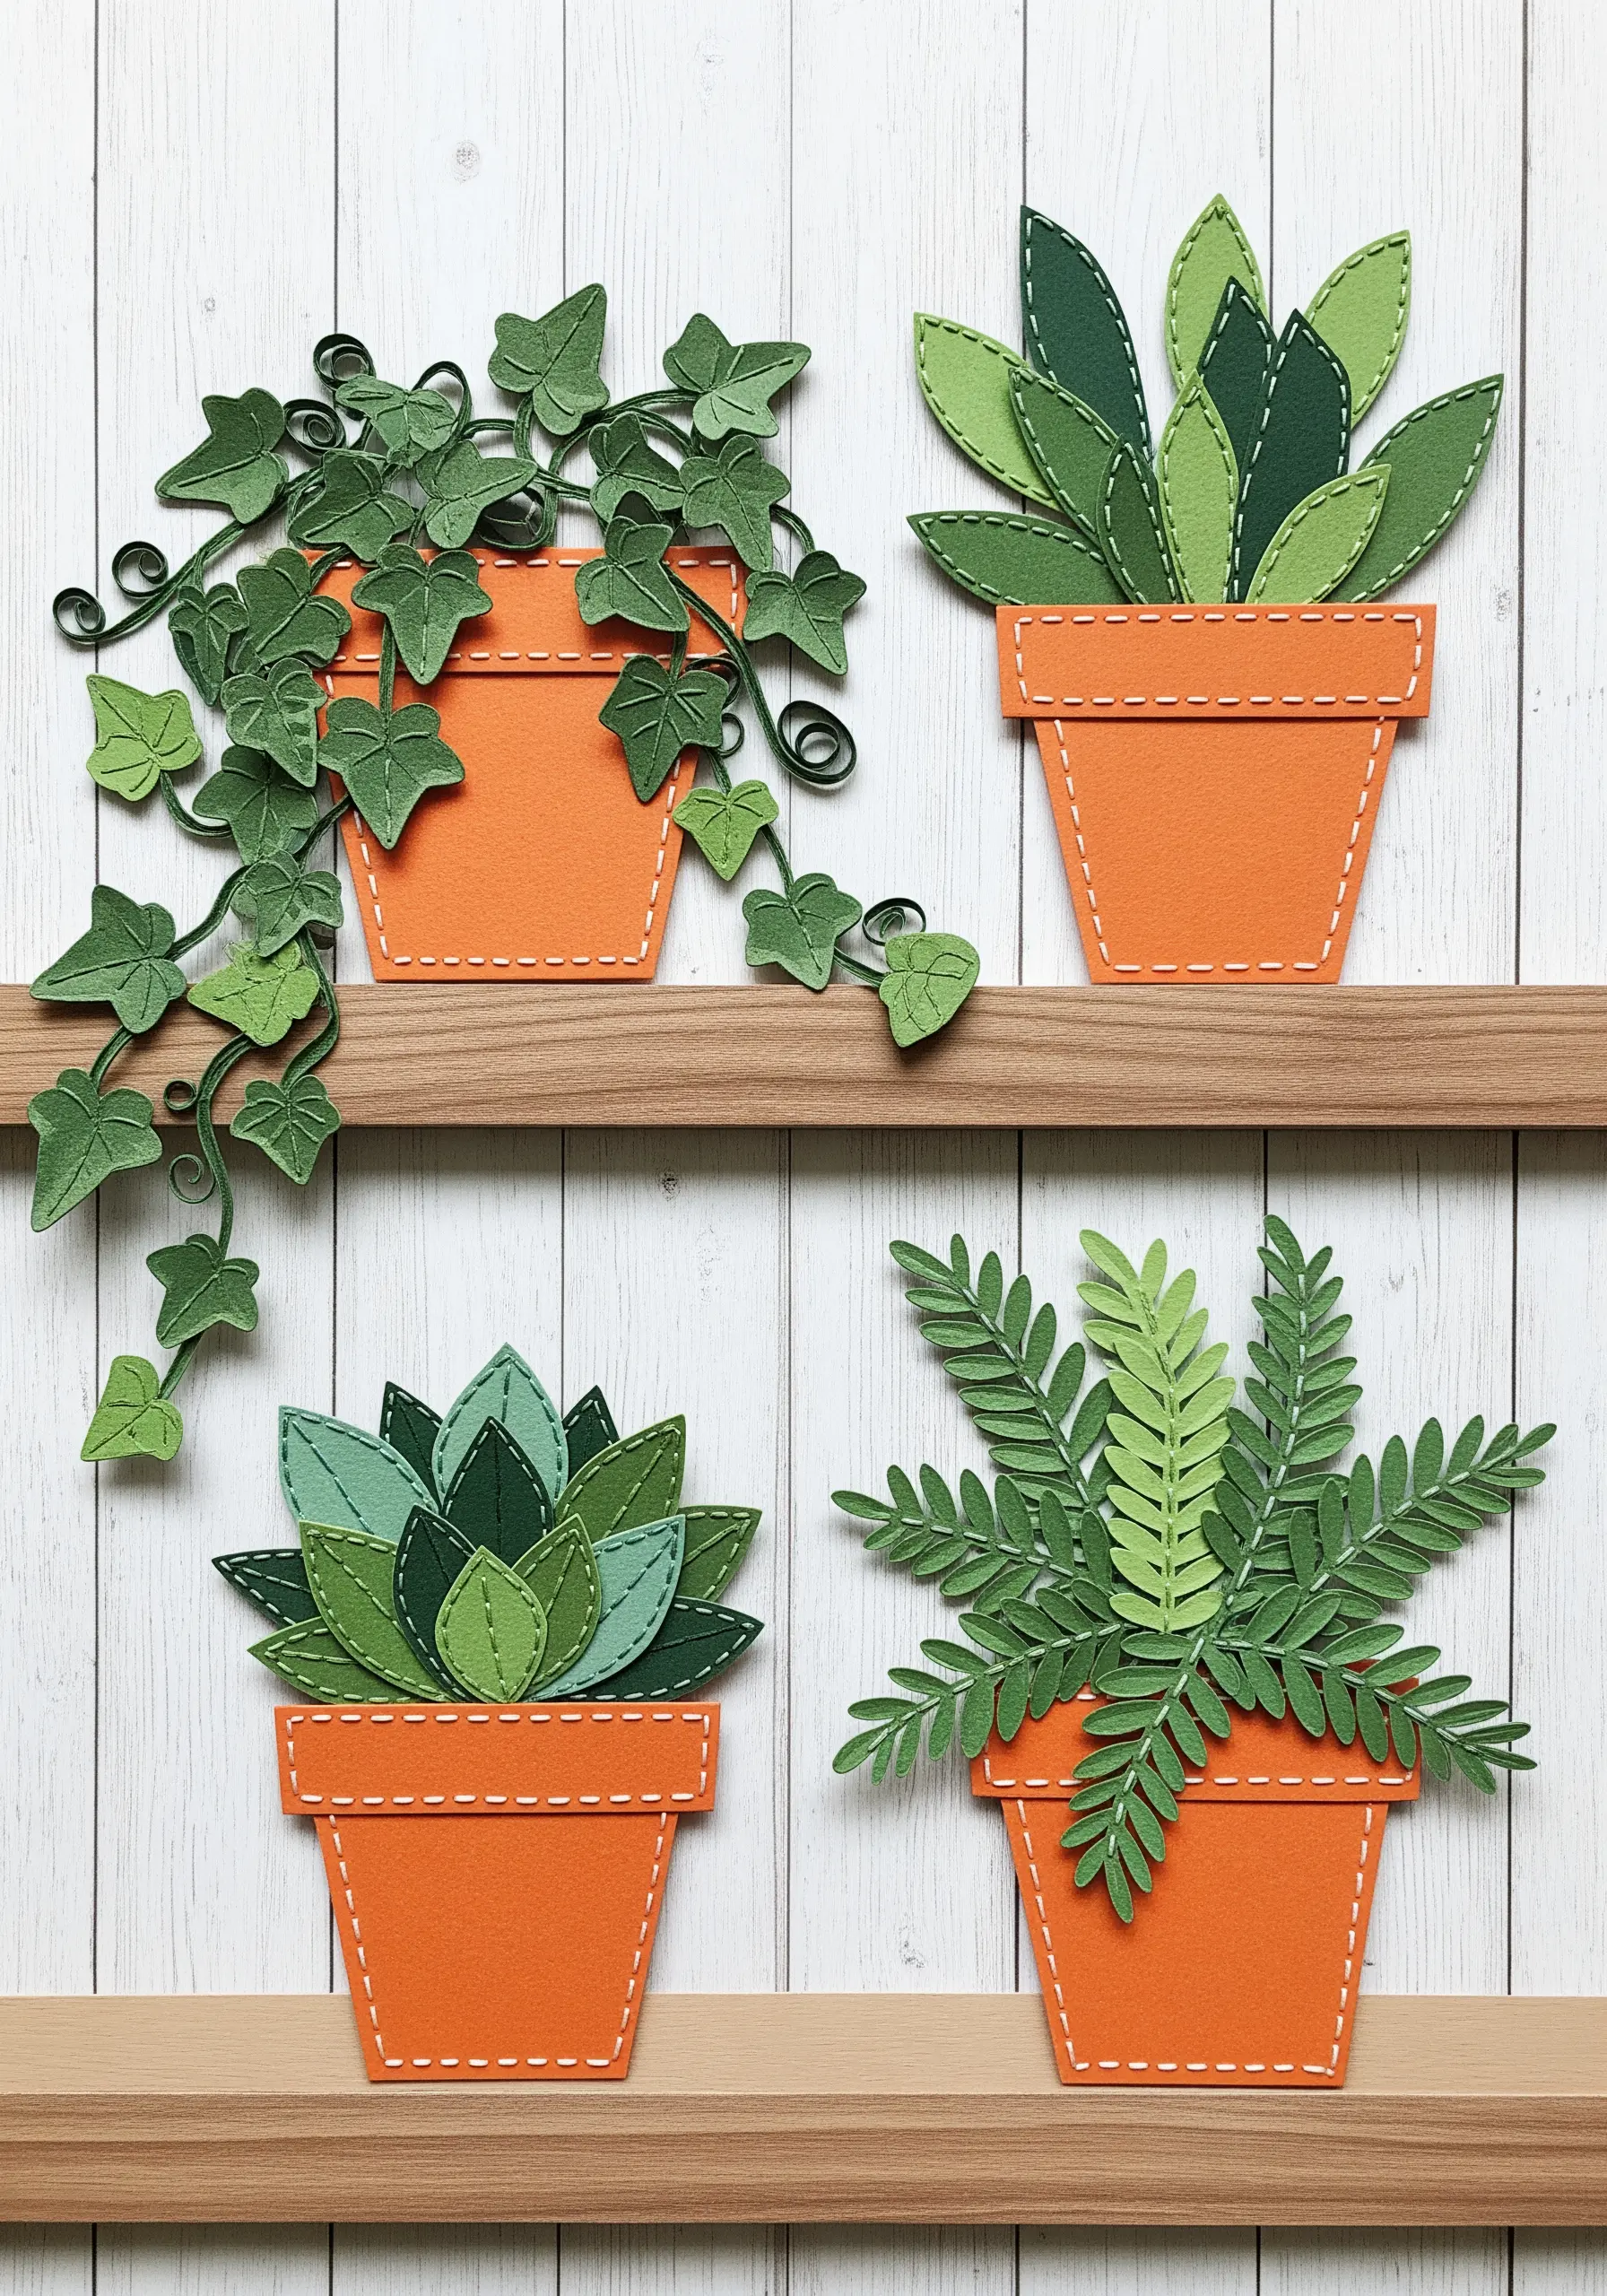
For charming, stylized plants, combine the clean shapes of felt appliqué with the delicate detail of hand stitching.
Cut the pots and leaves from felt in various shades of green and terracotta, then use a simple running stitch or backstitch in a contrasting color to add outlines and veins.
This method is wonderfully efficient, allowing you to build a complex scene that feels both graphic and handmade.
It’s an easy way to create beautiful botanical art you’ll want to show off, even as a beginner.
15. Create Iridescent Scales with Overlapping Stitches

To simulate shimmering fish scales, use overlapping detached chain stitches (lazy daisies) or fishbone stitches.
Work in rows from the tail forward, slightly overlapping each row to create a scale-like pattern.
Use variegated, silk, or metallic threads that will catch the light from different angles, enhancing the iridescent effect.
For an even bolder look, stitch down tiny, overlapping sequins with a single seed bead in the center of each one.
16. Achieve a Fringe Effect with Turkey Work

The fringed texture seen in some paper art is easily replicated with the Turkey work stitch.
Create rows of loops and then cut them to create a plush, fringed pile.
You can trim the fringe precisely for a clean, graphic look, or leave it shaggier for a more organic feel.
This high-texture stitch is perfect for adding a tactile, 3D element to abstract or geometric compositions, contrasting beautifully with flat satin-stitched areas.
17. Design a Typographic Stitch Sampler
Use typography as a framework for practicing a variety of textural stitches.
Assign a different stitch or technique to each letter of a word, turning your practice piece into a work of art.
Try filling one letter with French knots, another with woven bars, a third with couched yarn, and a fourth with satin stitch.
This approach allows you to explore how different textures interact while creating a meaningful and visually dynamic piece.
18. Sculpt 3D Florals with Stumpwork Techniques
Bring your embroidered flowers off the fabric surface using stumpwork, a form of raised embroidery.
Create detached petals by working buttonhole stitches over a thin wire frame, which you can then cut out and shape into three-dimensional forms.
The flower’s center can be a dense cluster of French knots or wrapped beads.
Mastering 3D floral embroidery techniques adds a breathtaking, sculptural quality to your botanical art.
19. Use Raw-Edge Appliqué for a Textured Look

Instead of neatly turning the edges of your appliqué pieces, embrace the slightly frayed, organic quality of a raw edge.
Cut your fabric shapes for elements like cake layers or clouds, and secure them with a simple running stitch just inside the edge.
This allows the fabric to fray slightly over time, adding a soft, rustic texture that mimics the look of torn paper.
The sprinkles on top are easily rendered with single, colorful straight stitches.
20. Define Geometric Patterns with Metallic Thread
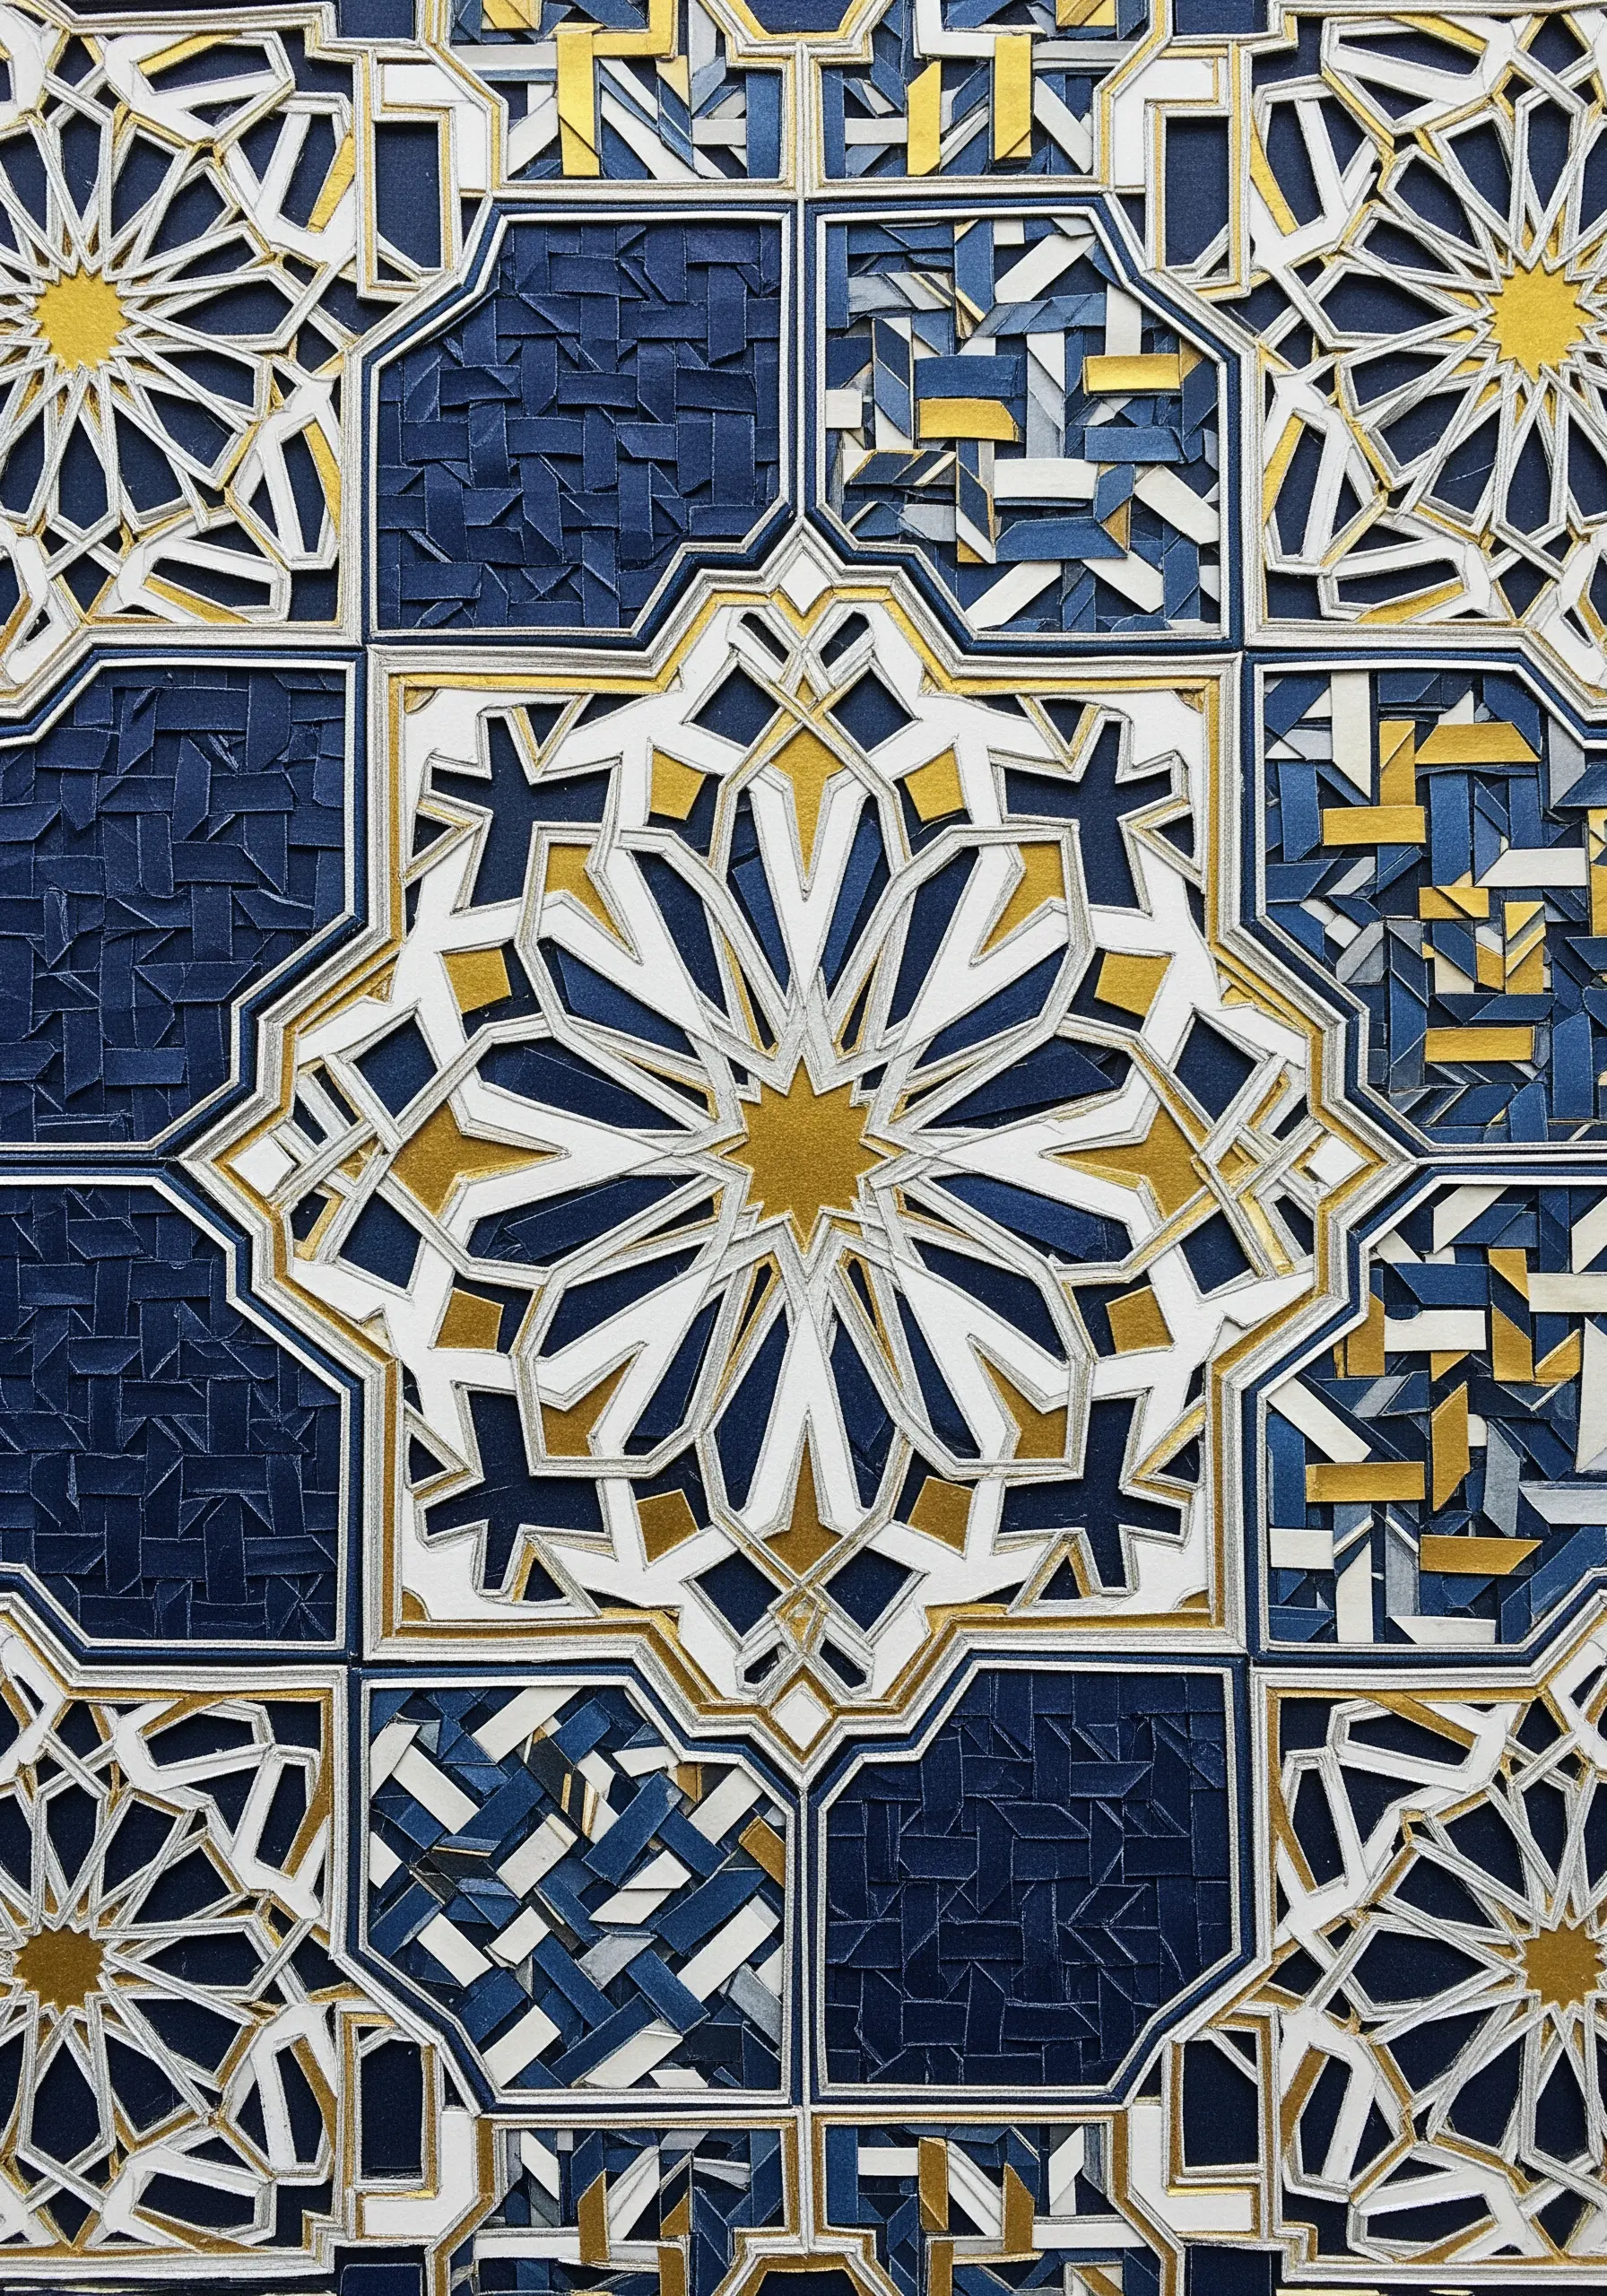
When recreating intricate tilework or geometric patterns, the outlines are just as important as the fills.
Use a fine metallic thread, like a gold or silver Kreinik braid, to outline your shapes with a precise split stitch or backstitch.
This creates a clean, light-catching framework that makes the filled sections pop.
Fill the shapes with dense satin stitch, varying the stitch direction to enhance the mosaic effect, creating stunning cultural embroidery motifs.
21. Create a Brick Texture with Long-and-Short Stitch

Simulate a brick wall by using long-and-short stitch in a running bond pattern.
Choose two or three closely related shades of terracotta or red thread to give the bricks subtle color variation and realism.
Keep your stitches relatively uniform in length and direction within each brick.
For the trailing ivy, use a delicate stem stitch for the vines and small detached chain stitches for the leaves to create a sense of organic growth over the structured wall.
22. Imply Translucence with Sheer Appliqué

Capture the ethereal quality of a jellyfish or insect wings by using sheer fabric for appliqué.
Layer pieces of organza, chiffon, or fine tulle, securing them with a few tiny, discreet stitches.
Because the background fabric shows through, you create a sense of depth and translucence.
Enhance the effect by couching down iridescent ribbons or adding a few scattered seed beads to mimic light reflecting through the form.
23. Fill Shapes with a Pointillist Knot Technique
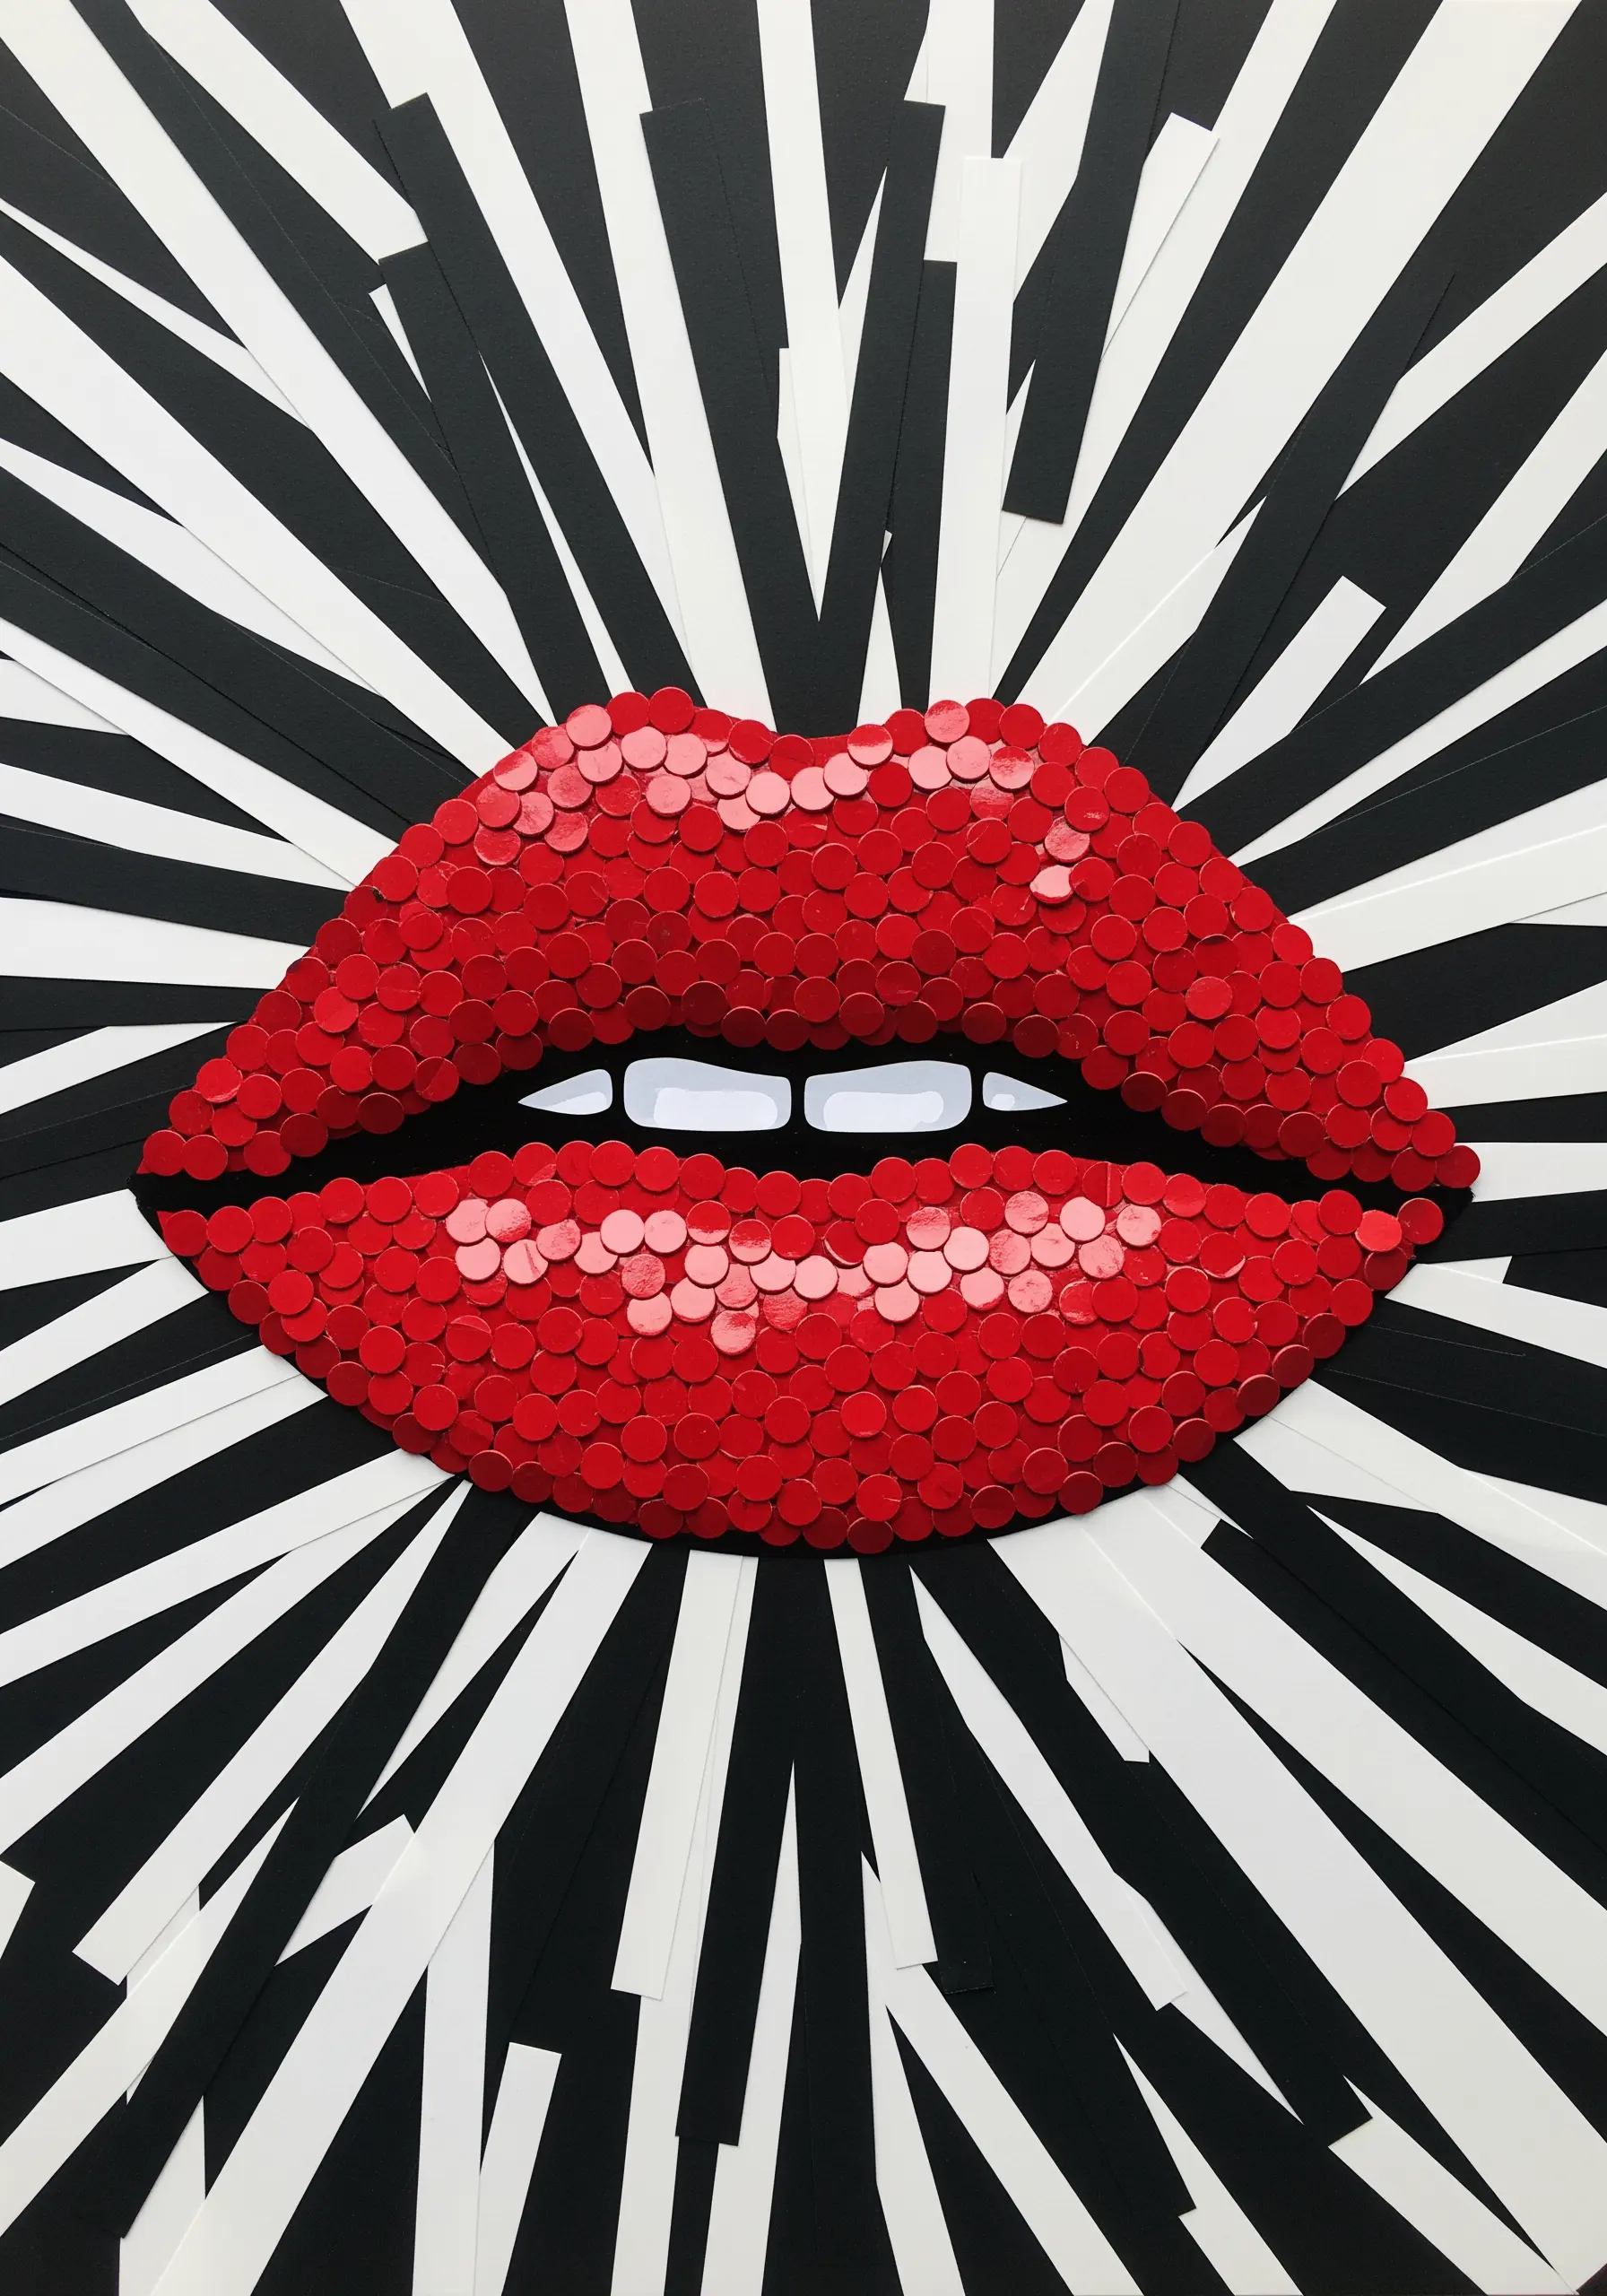
To create a bold, graphic fill with a unique texture, use a dense field of French knots.
By placing the knots right next to each other, you build a bumpy, plush surface that resembles the texture of chenille or the dots in Pop Art.
This technique is highly effective for solid shapes like lips or hearts, turning a simple silhouette into a tactile statement piece.
Use a single, vibrant color for maximum impact against a high-contrast background.
24. Build Fluffy Clouds with Unspun Wool Roving
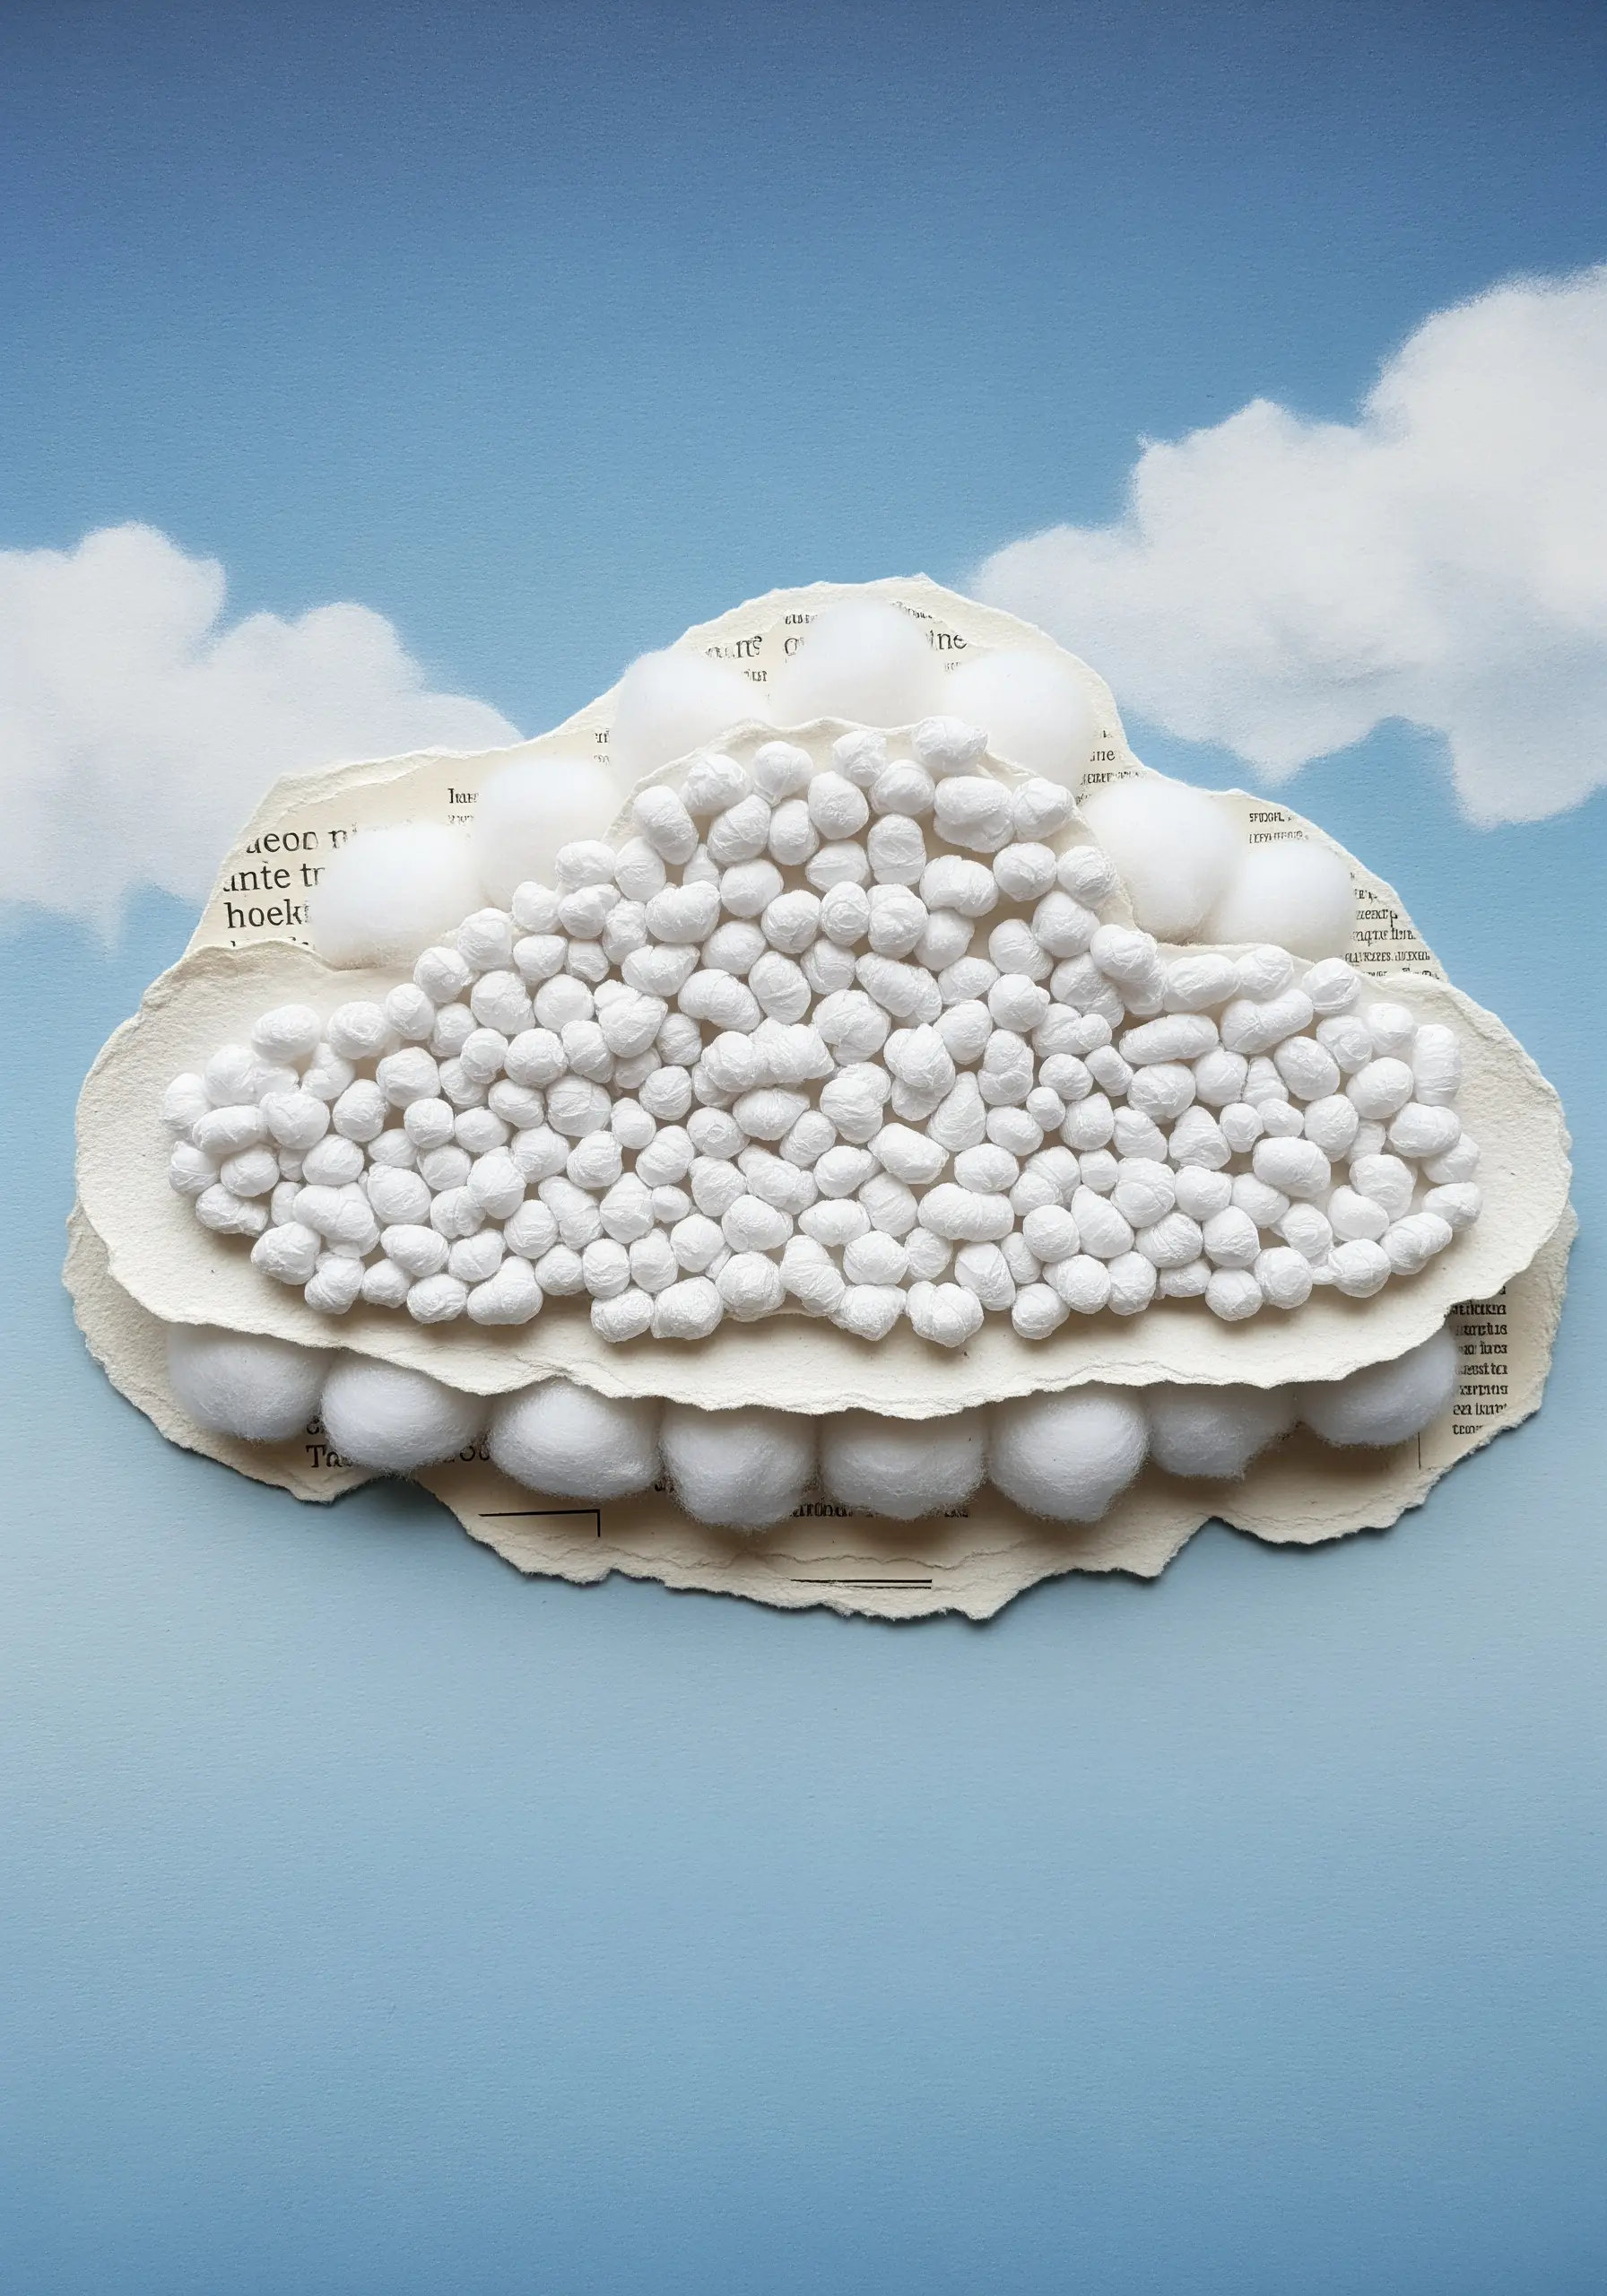
For the ultimate fluffy cloud texture, look beyond thread to wool roving or unspun cotton.
Gently pull apart tufts of the fiber, arrange them on your fabric, and use a matching thread to couch them down with nearly invisible stitches.
This creates unparalleled loft and softness that you can’t achieve with thread alone.
It’s one of the most satisfying high-texture fabric collage embroidery projects for creating a truly three-dimensional effect.
25. Achieve a Crosshatch Texture with Lattice Work
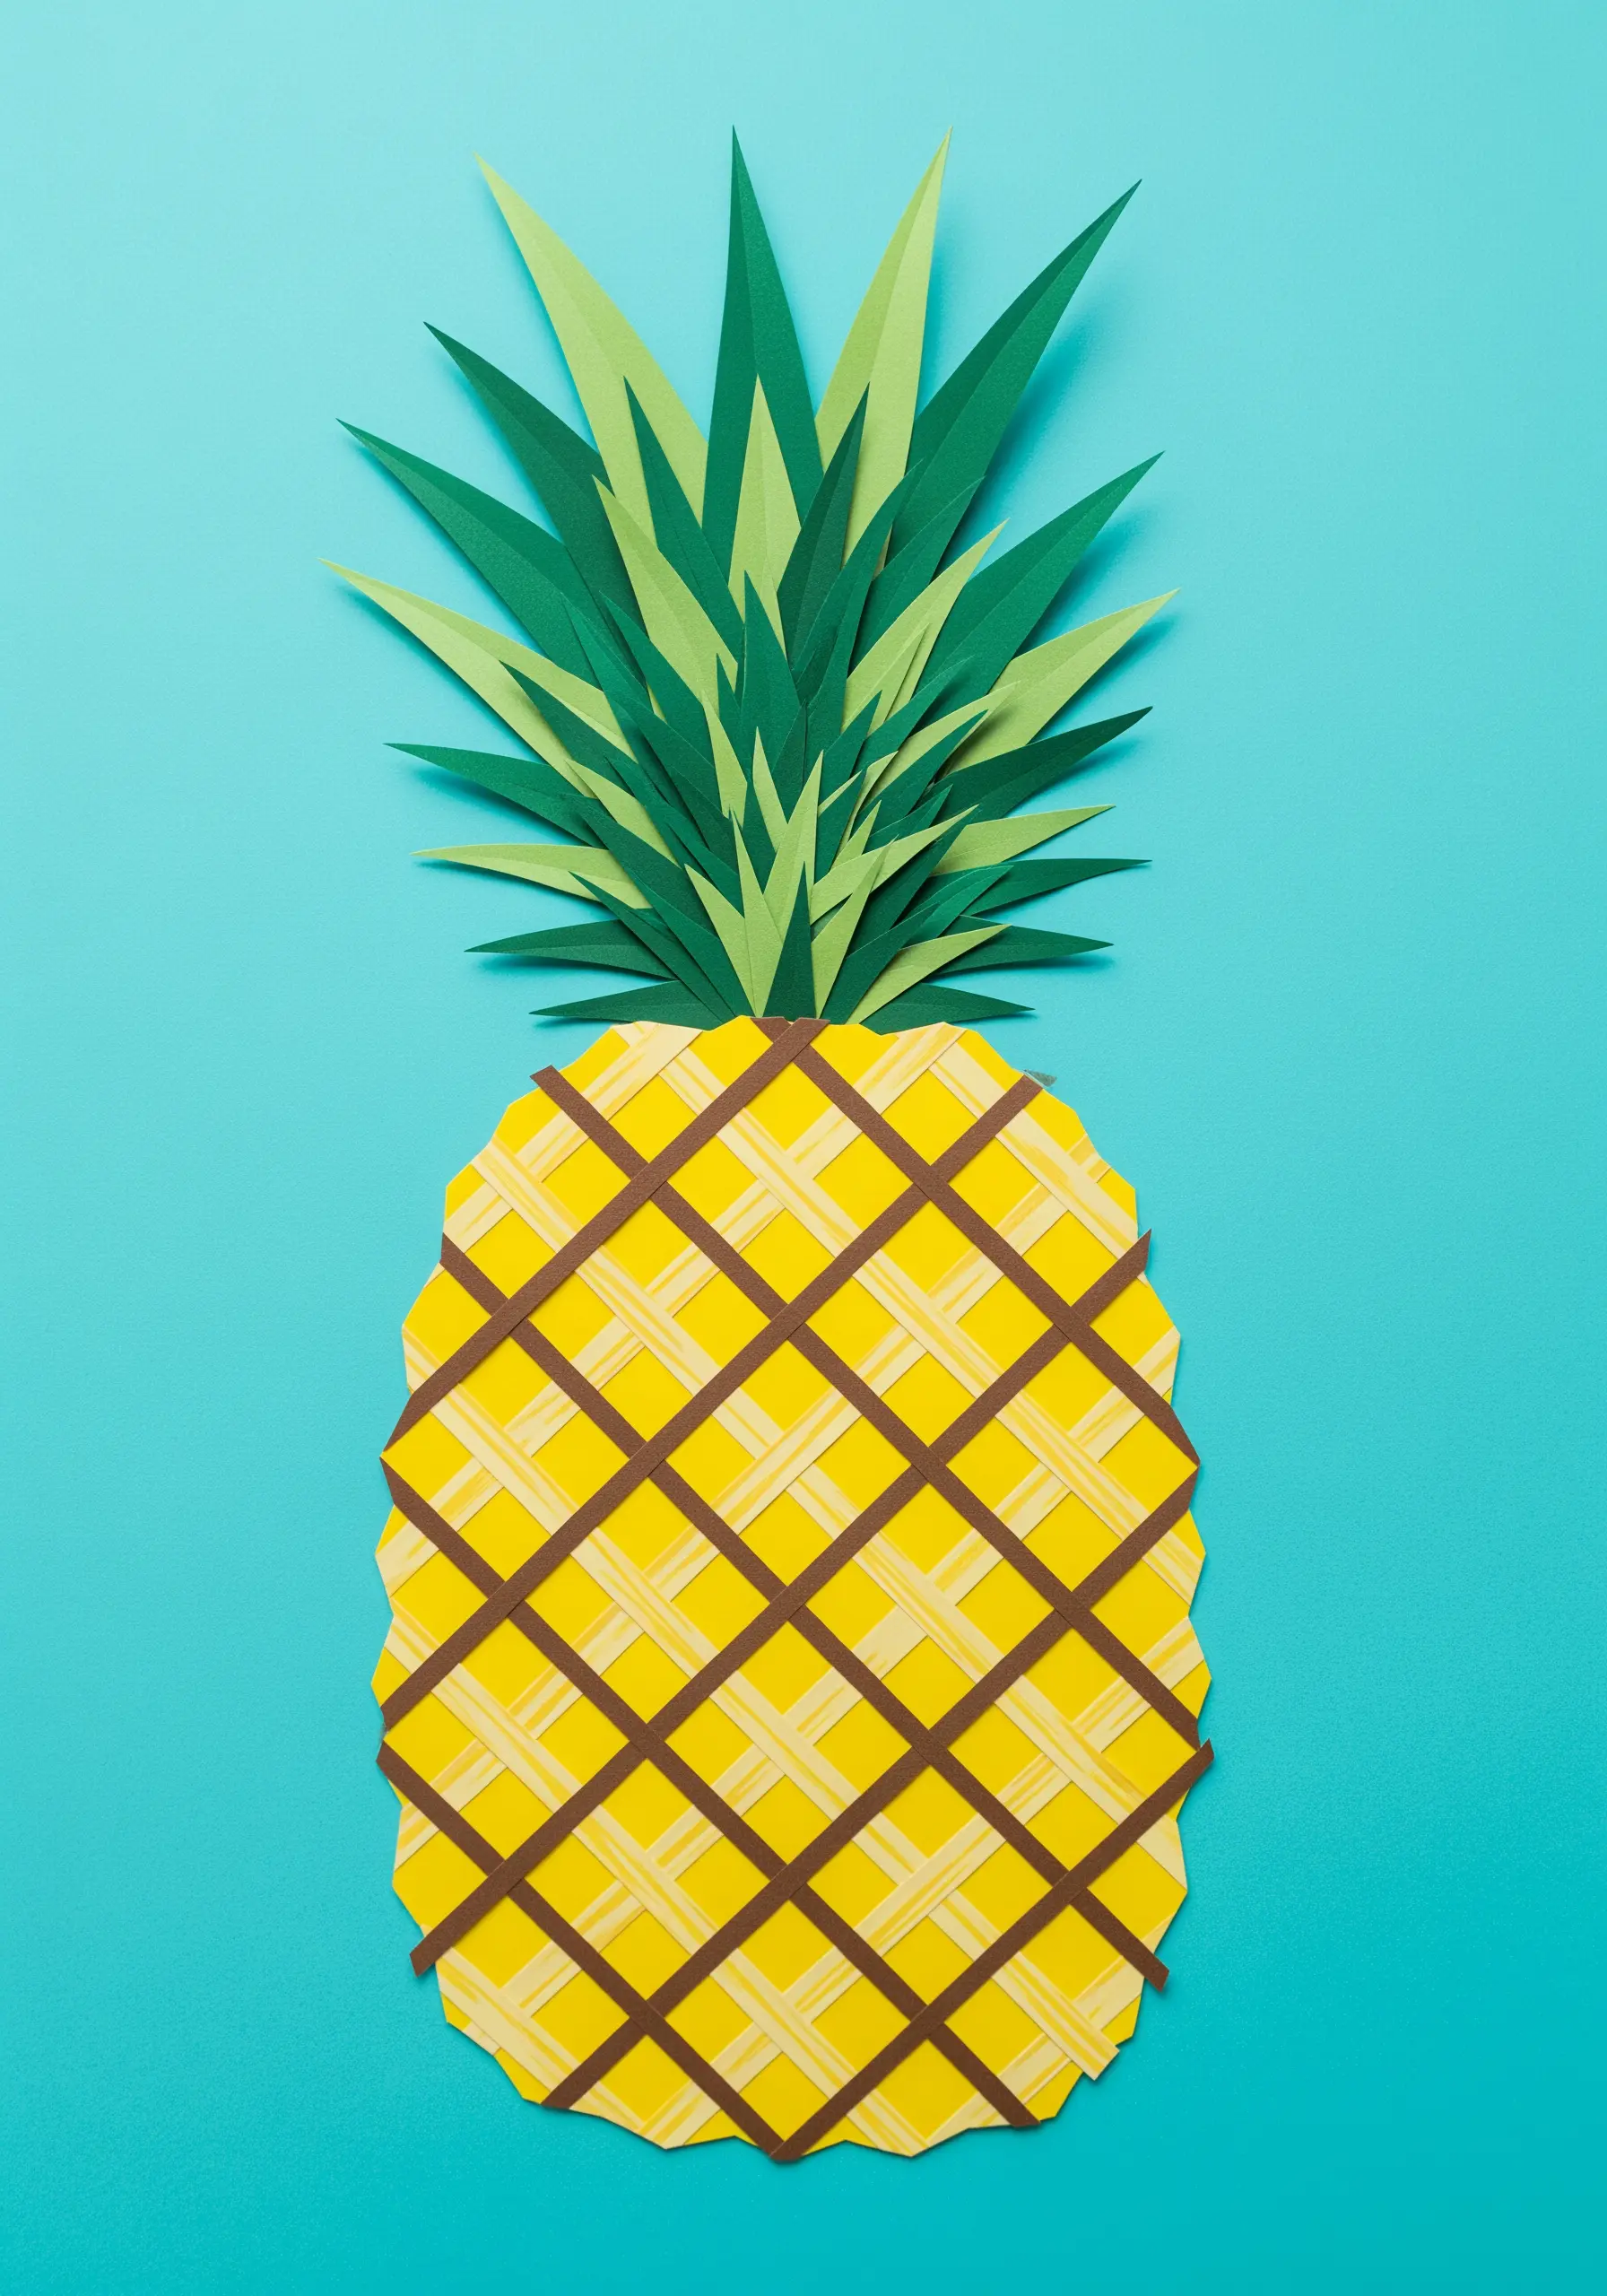
The crisscross pattern of a pineapple’s skin is a perfect candidate for woven filling stitches like lattice work.
First, create a grid of evenly spaced long stitches in one direction, then add a second layer of stitches perpendicular to the first.
Finally, secure each intersection with a tiny tacking stitch, which can be done in a contrasting color to add another layer of detail.
The sharp, pointy leaves can be rendered with directional fishbone stitches for contrast.
26. Design a Sampler to Master Textural Fills

Create a reference library of textures by making a sampler dedicated to different filling techniques.
Divide your fabric into a grid and fill each square with a different stitch: satin stitch, French knots, woven bars, seed stitch, Turkey work, and more.
This not only builds your muscle memory but also provides a visual guide for future projects, helping you choose the perfect texture for any element.
It’s the most intentional way to expand your creative vocabulary and elevate your work.
27. Create a Stained-Glass Effect with Bold Outlines

To make your embroidered motifs resemble stained glass, use a thick, bold outline.
A heavy black thread, like a Perle cotton or all six strands of floss, worked in a chain stitch or a padded satin stitch, will mimic the lead lines.
Fill the resulting segments with smooth, jewel-toned satin stitches.
To enhance the illusion of light passing through glass, make sure the stitch direction varies slightly from one segment to the next.
28. Evoke Warmth with a Layered Fireside Scene
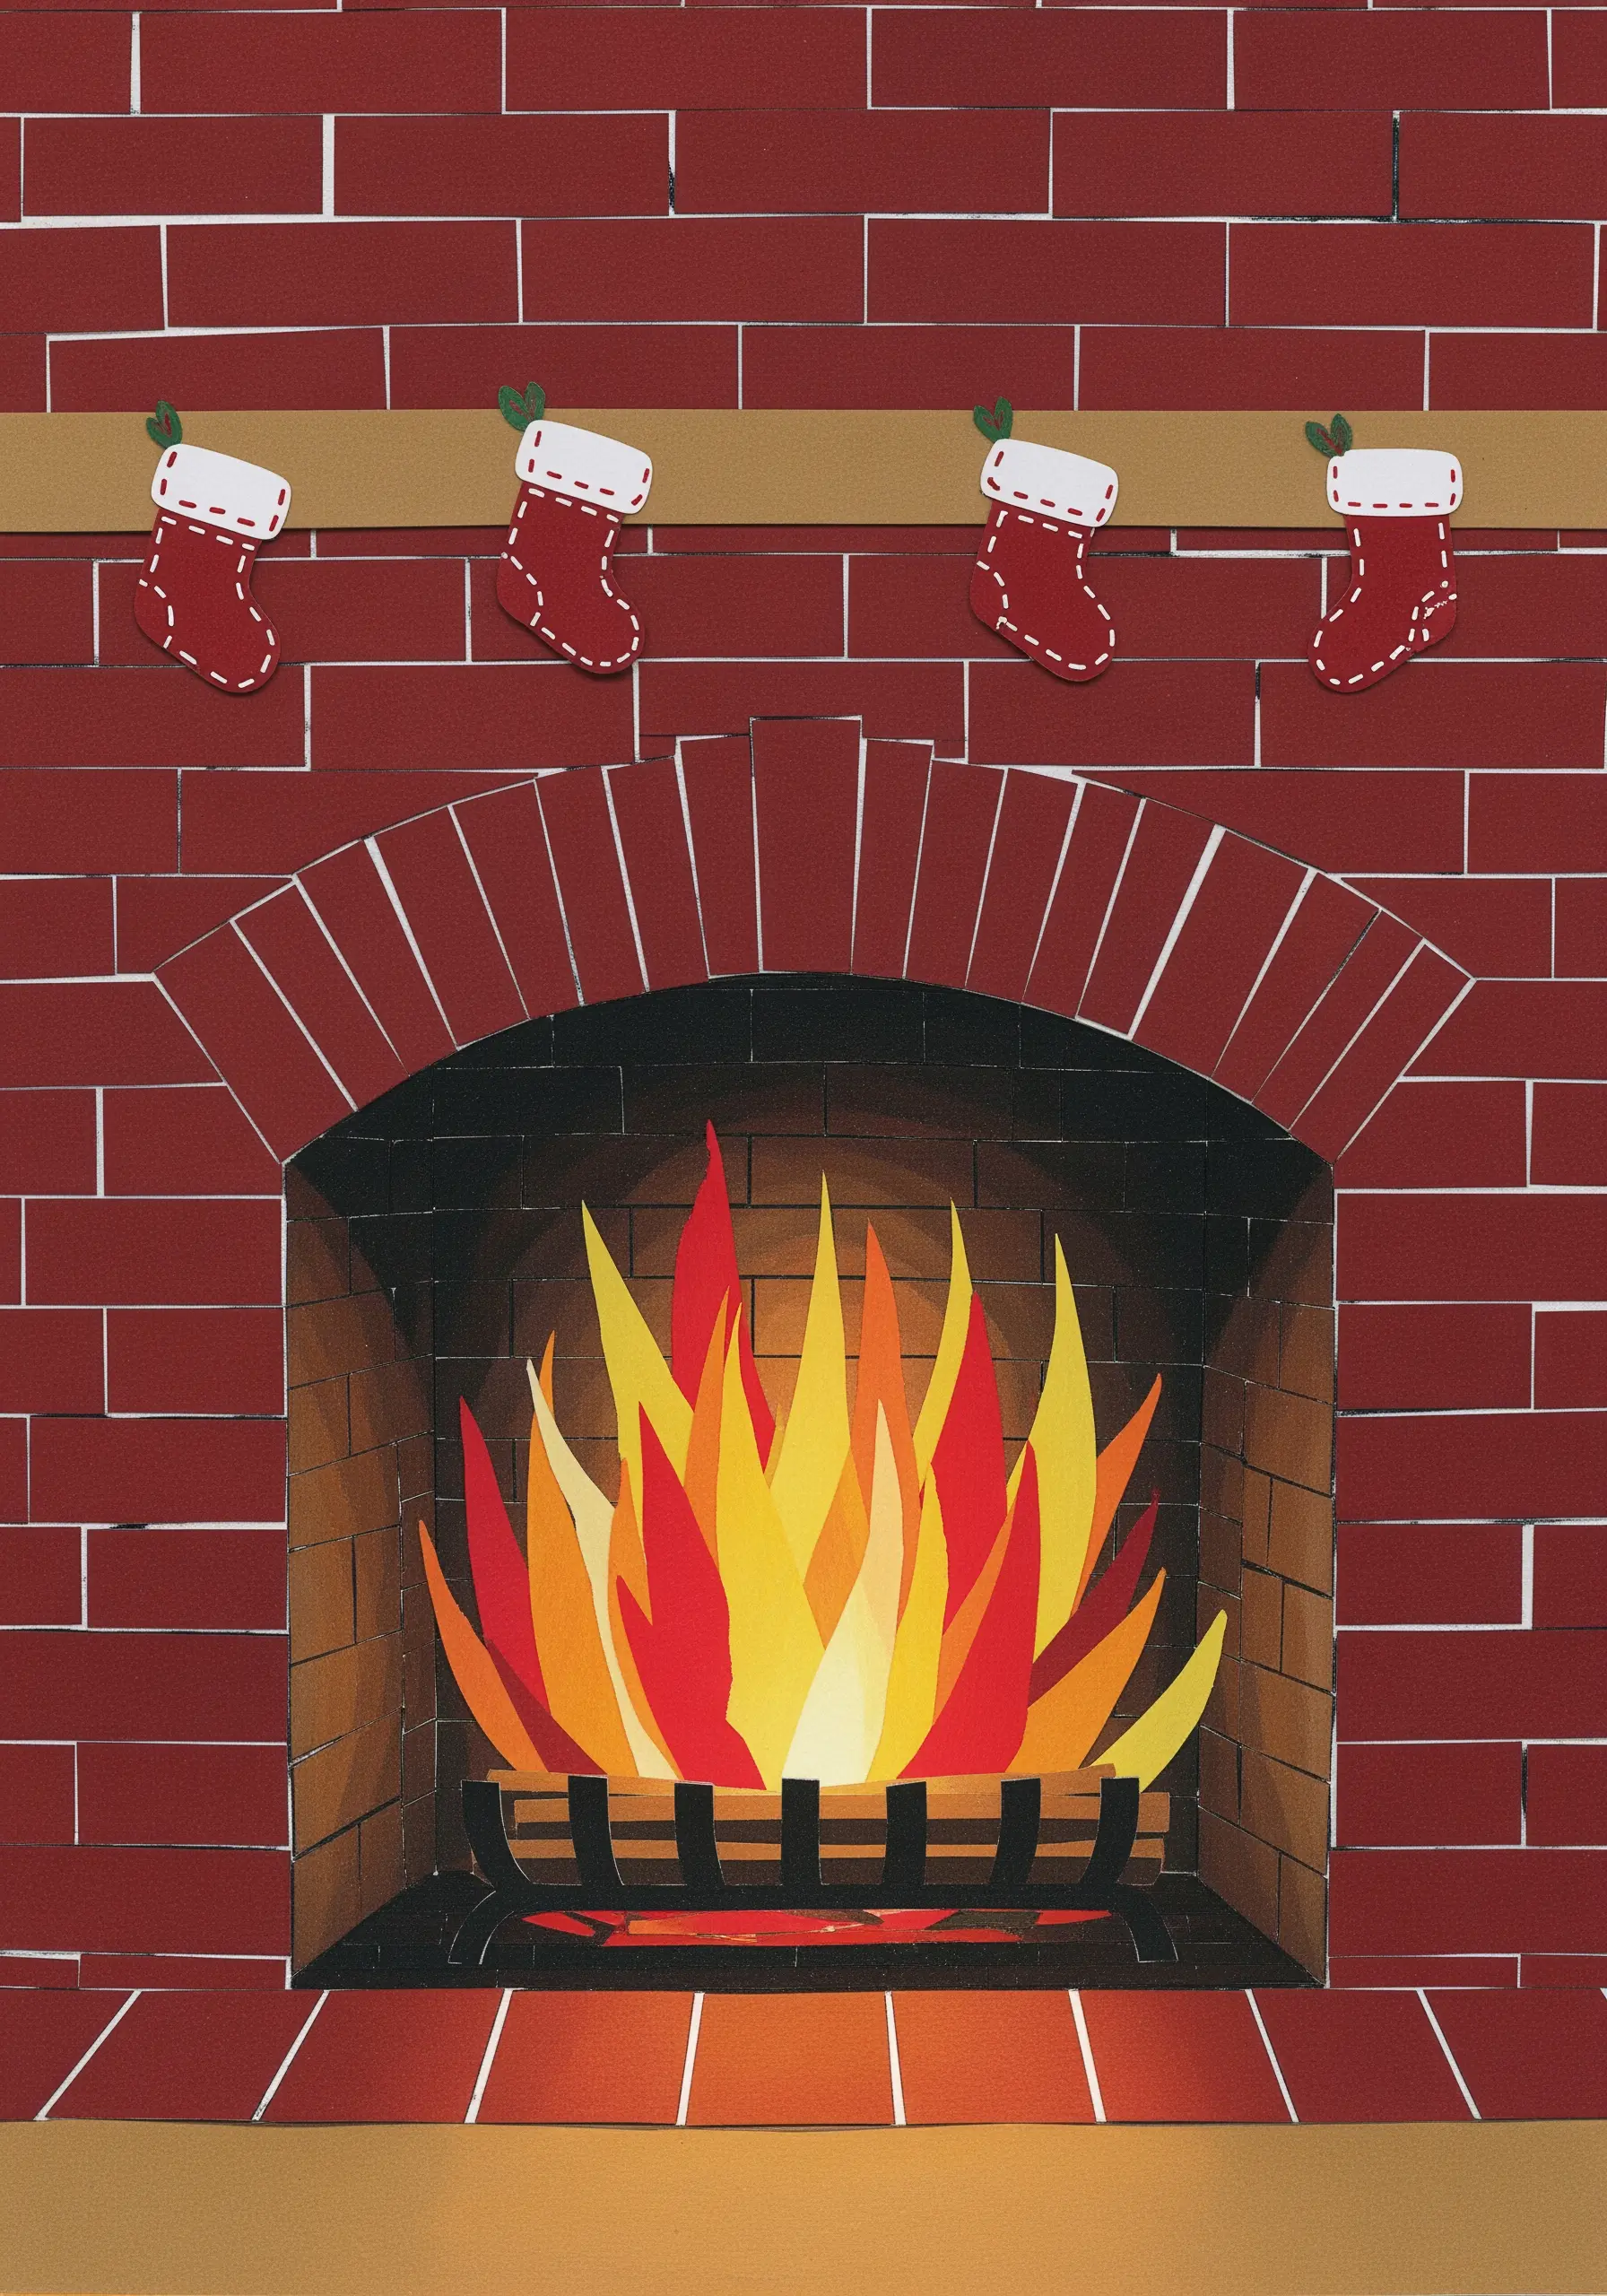
Build a cozy scene by layering different stitches and textures to create depth.
Use a structured stitch like brick stitch for the fireplace, a dynamic long-and-short stitch blend for the flickering flames, and tiny appliqué felt shapes for the stockings.
Adding a few white French knots to the stocking cuffs gives them a fluffy, tactile finish.
This composition of textures makes the scene feel warm and inviting, perfect for minimal festive motifs that tell a story.
29. Stitch a Sound Wave with Raised Satin Stitch
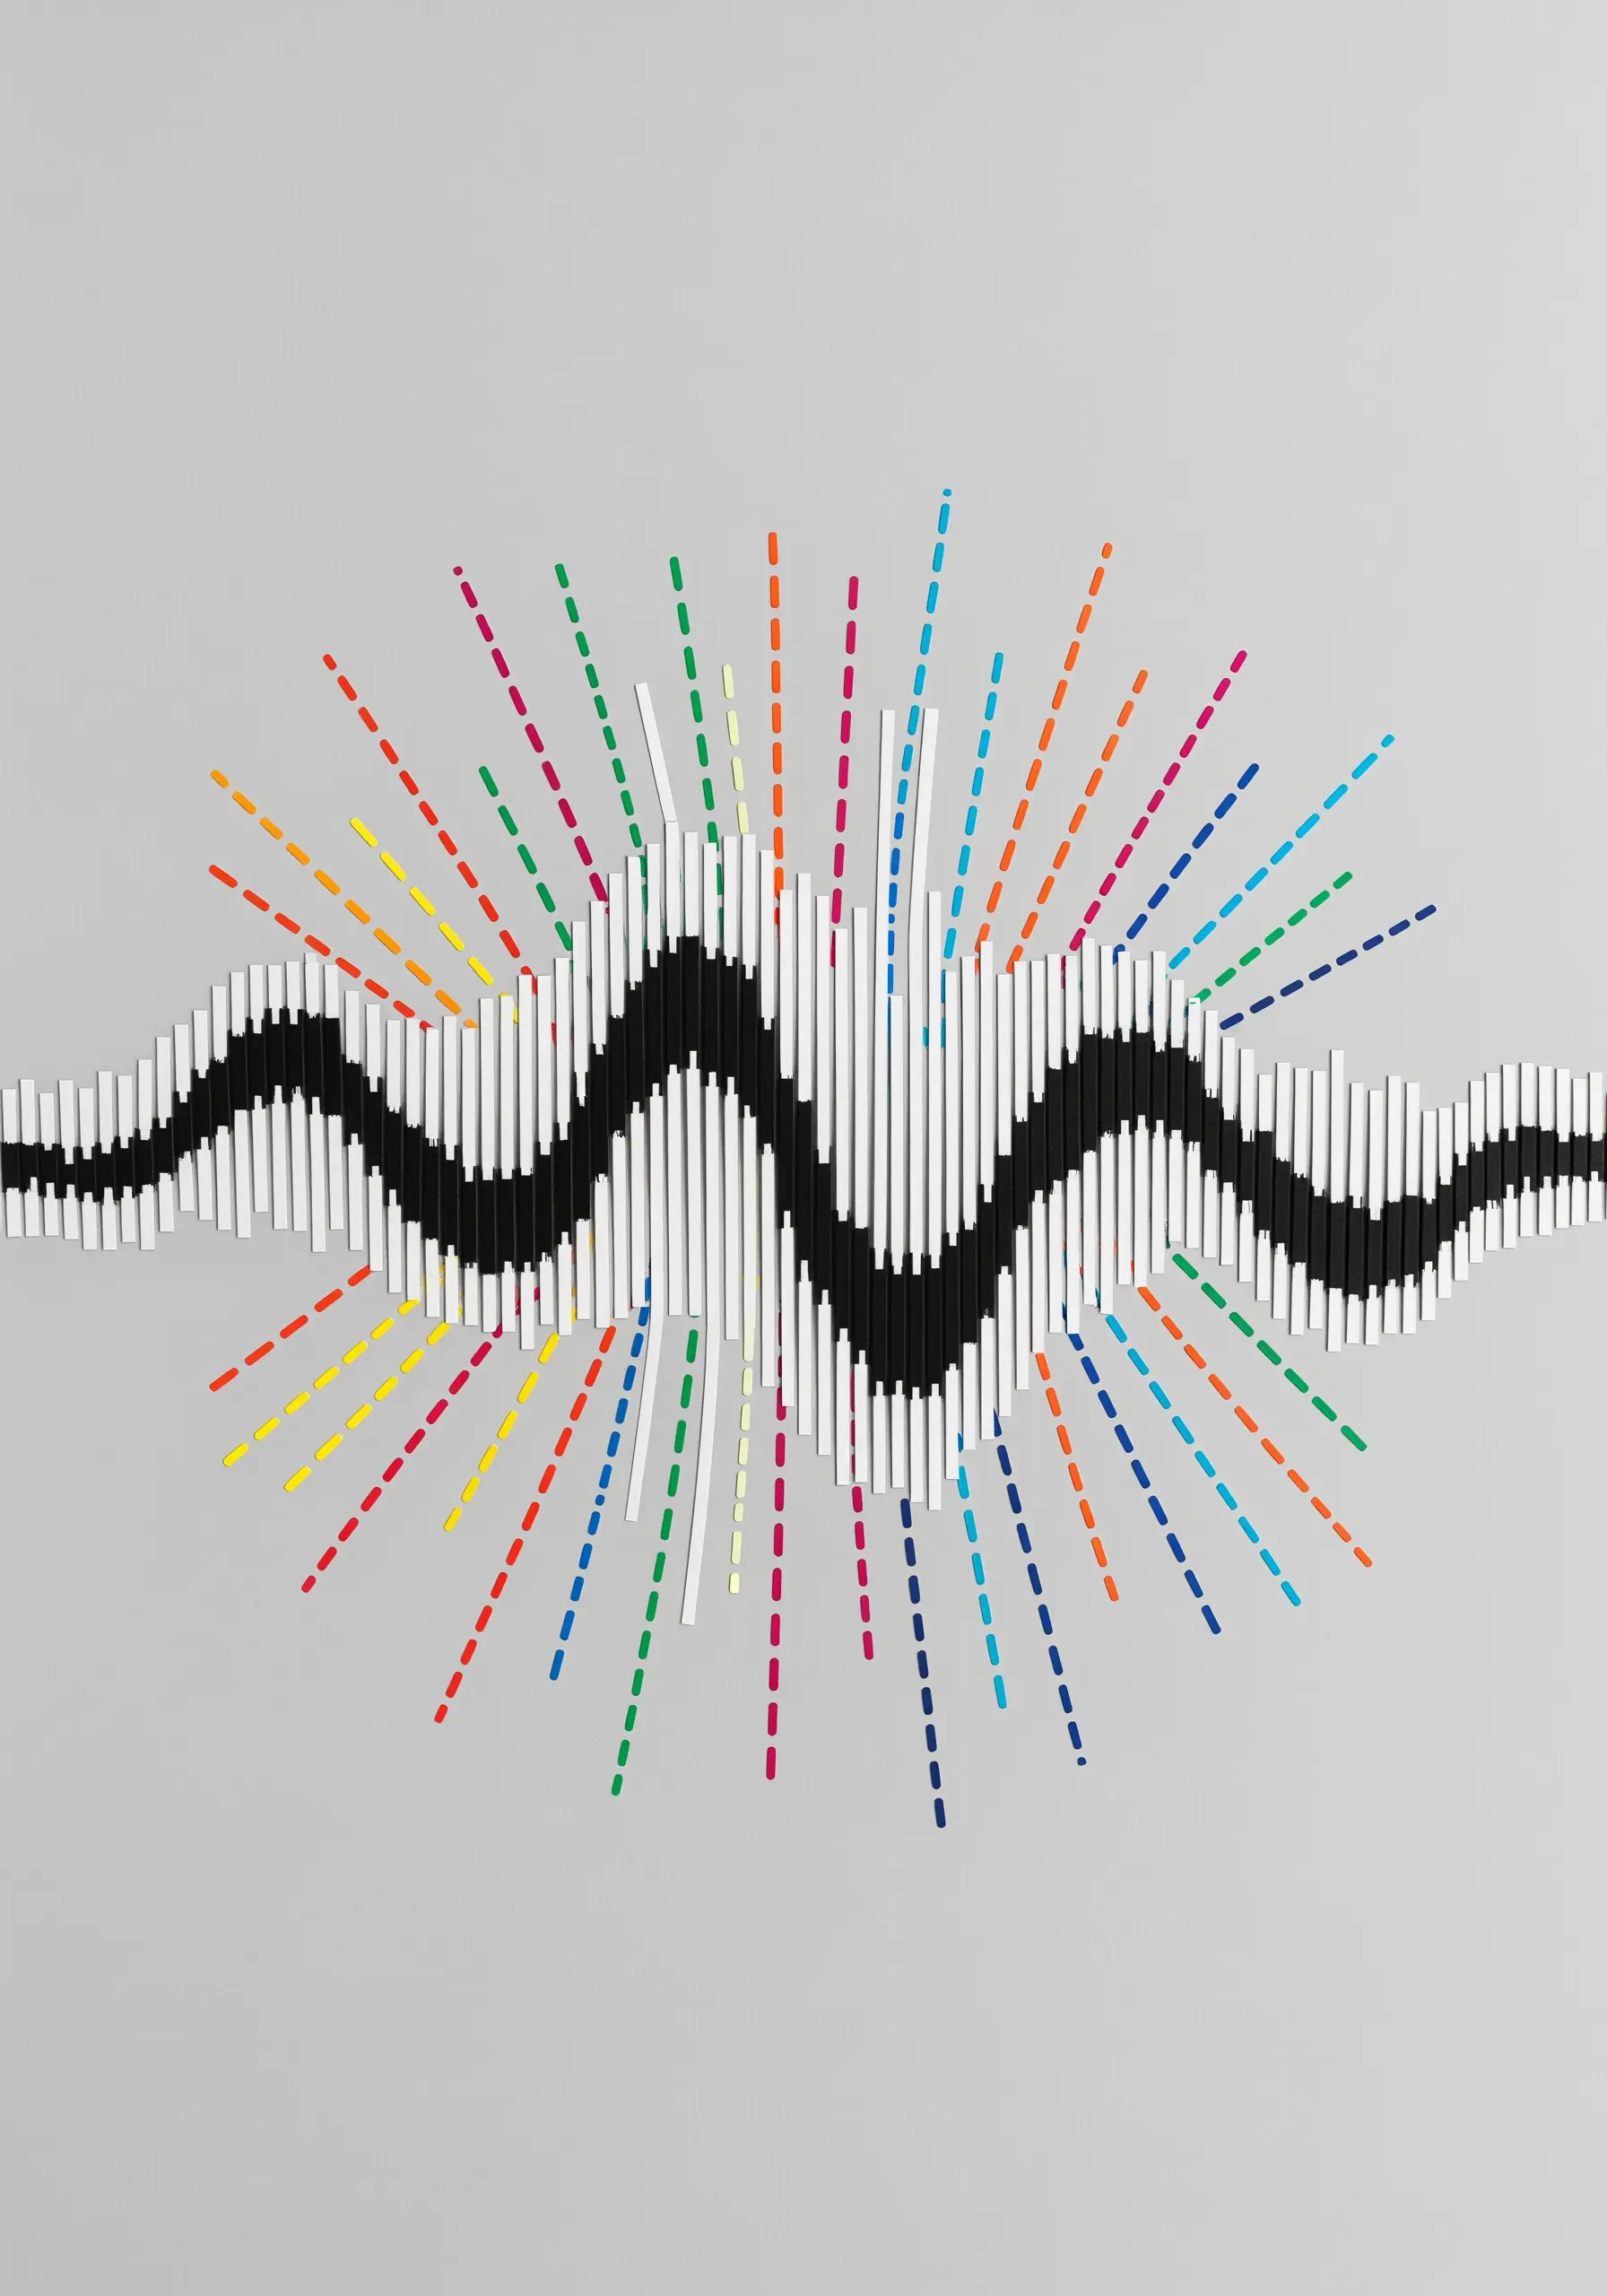
Capture the dynamic form of a sound wave using padded satin stitch to create a raised, sculptural line.
First, create a foundation of padding stitches (using a thicker thread) within your wave shape, then cover it completely with smooth, tight satin stitches perpendicular to the shape’s direction.
This lifts the stitch off the fabric, creating a 3D effect.
The radiating lines can be stitched with simple backstitch, adding color and a sense of energetic vibration.


