

Have you ever finished an embroidery piece and felt it was missing a certain polish? You followed the pattern, used the right colors, but it doesn’t have that intentional, artful quality you were hoping for. The secret to elevating your work isn’t about learning dozens of complex new stitches—it’s about mastering the ones you already know.
Line art and lettering are the perfect places to practice this refinement. The way you handle a simple backstitch—its tension, its length, its interaction with the fabric—can completely change the character of a design. It’s about choosing two strands of floss instead of three, or opting for a whipped backstitch to create a line as smooth as ink.
Consider these 20 designs not just as inspiration, but as technical studies. Notice how a change in thread weight adds depth, or how the direction of a satin stitch creates movement. By focusing on these small, deliberate adjustments, you will transform your embroidery from a simple craft into a thoughtful, expressive art form.
1. Botanical Lettering with Watercolor Depth
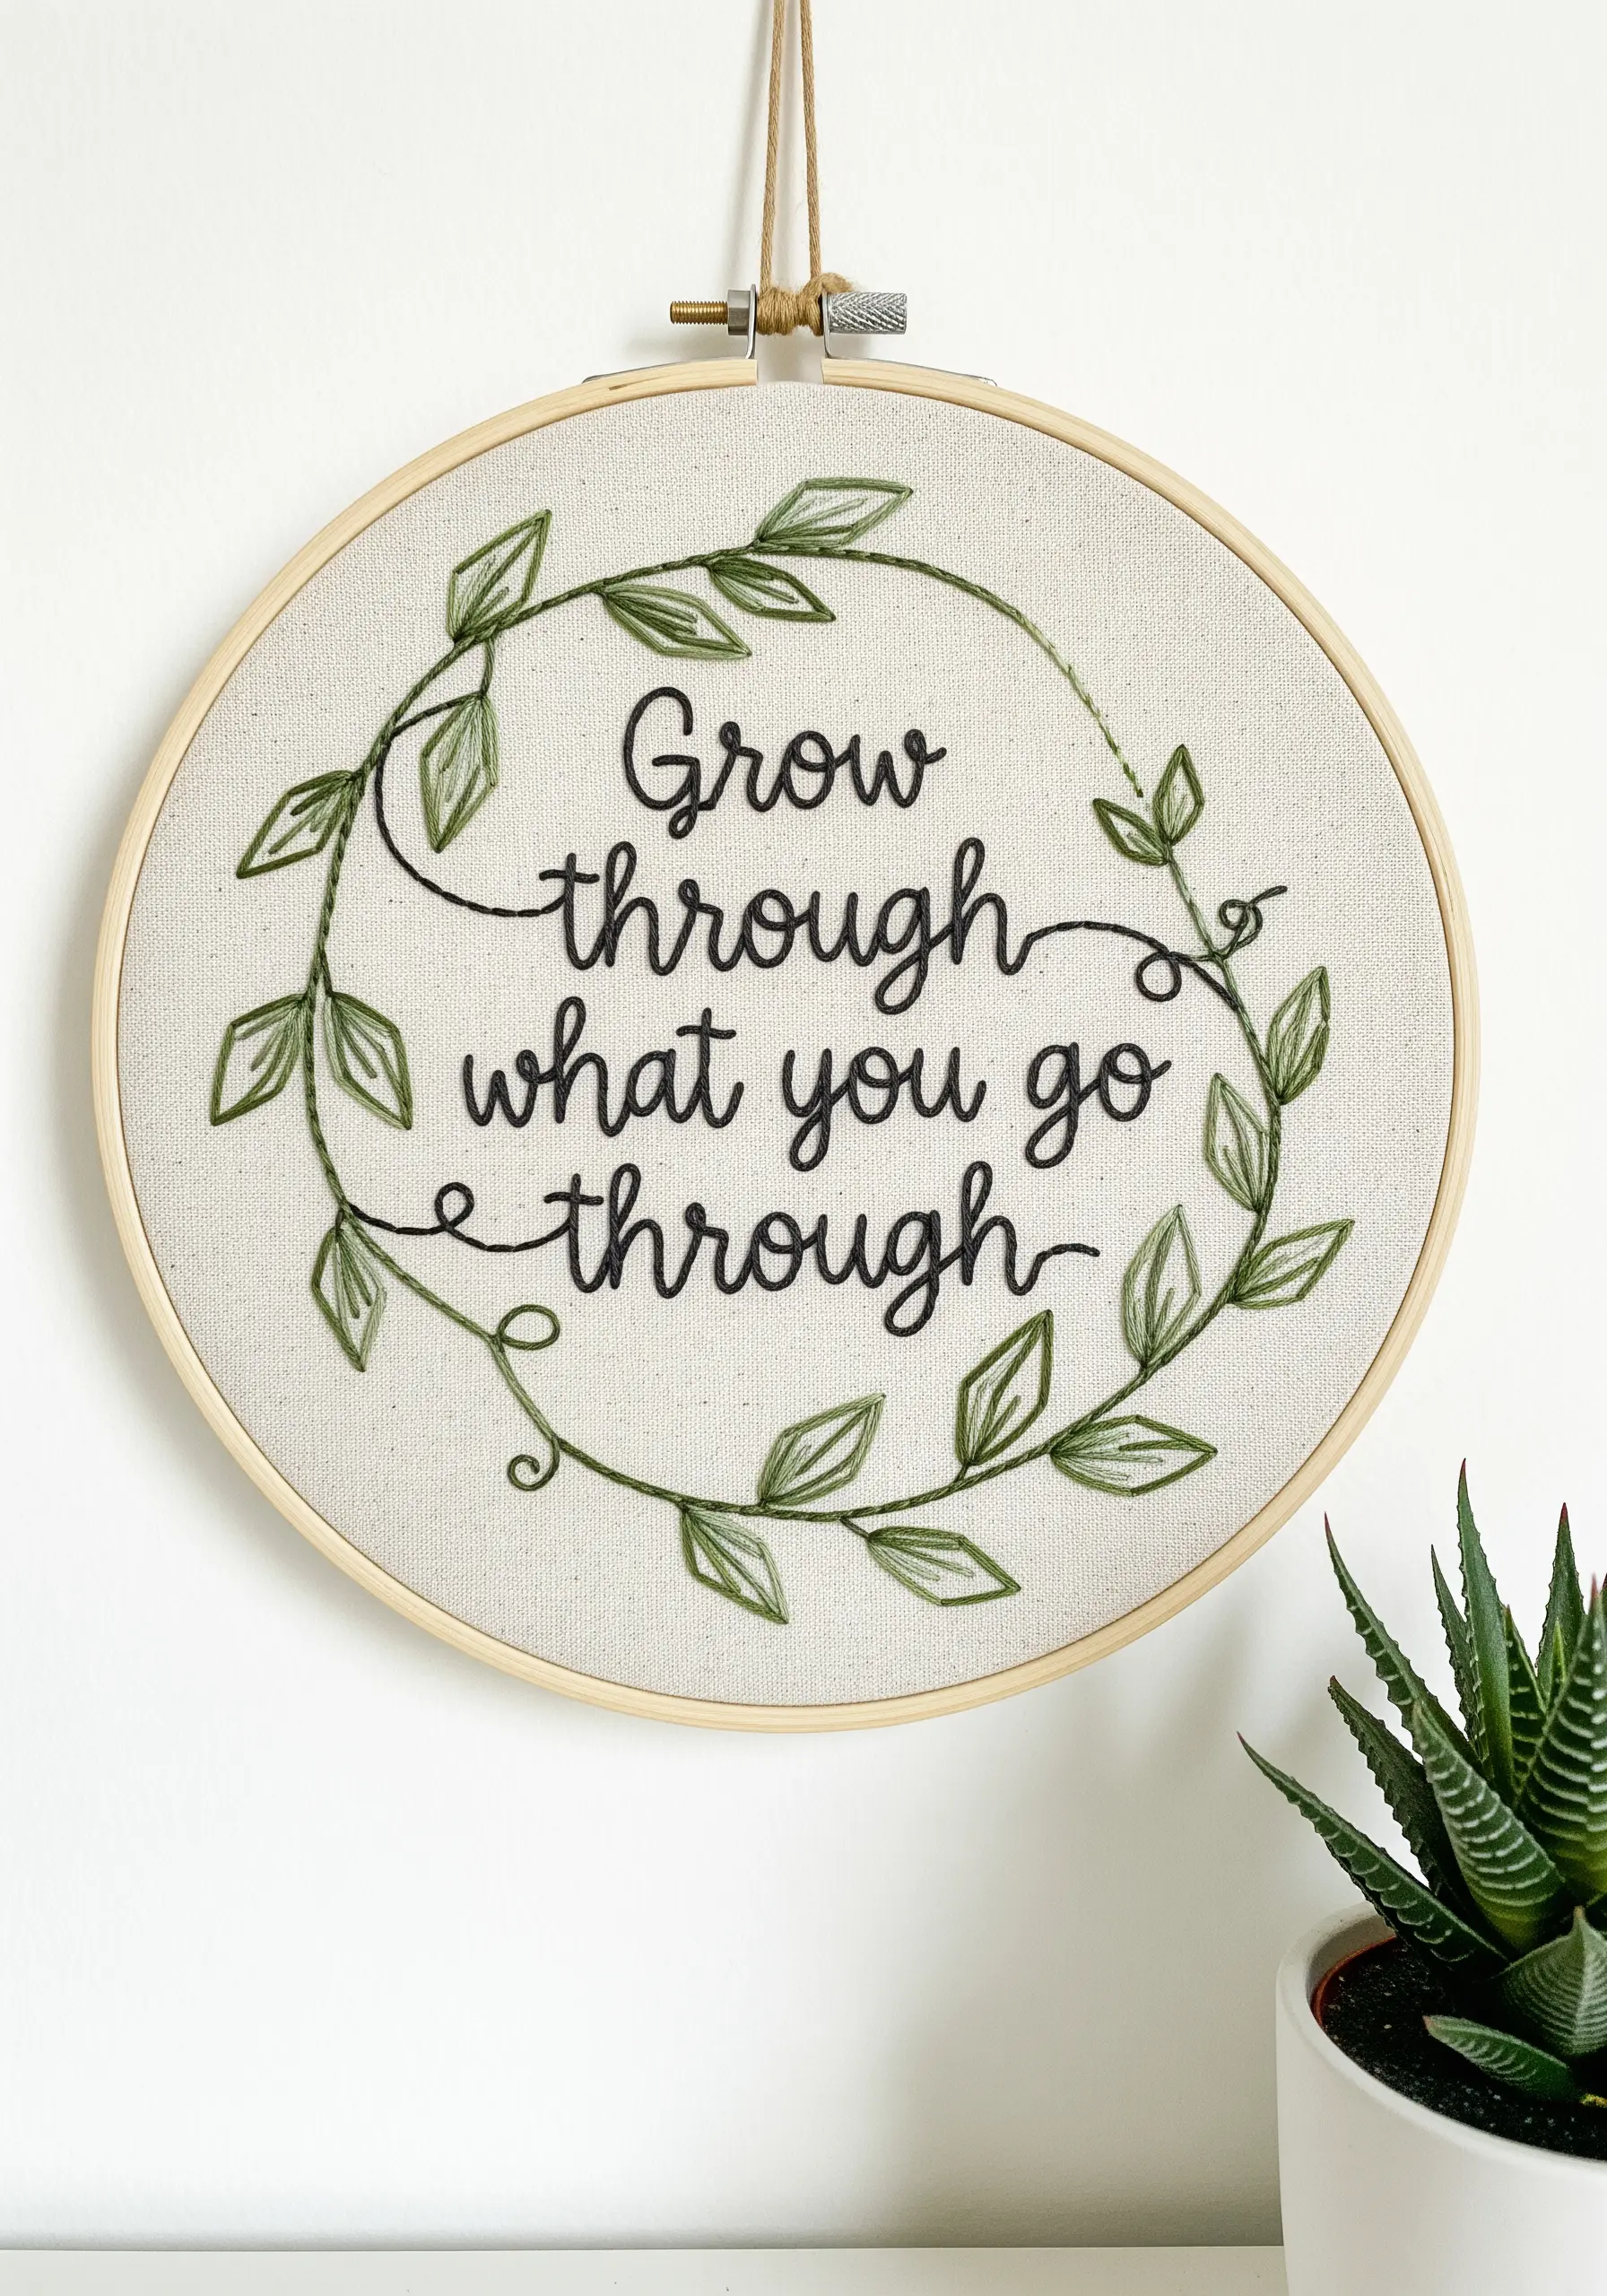
To give leaves a soft, painterly quality, blend two similar shades of green using a fishbone stitch.
Use just a single strand of each color on your needle at the same time—this creates subtle, unpredictable color shifts that mimic watercolor.
For the script, use a whipped backstitch with three strands of black floss to create a smooth, raised line that stands out against the delicate foliage.
This contrast in texture and weight is what makes the composition feel balanced and professional.
2. High-Contrast Cosmic Lettering
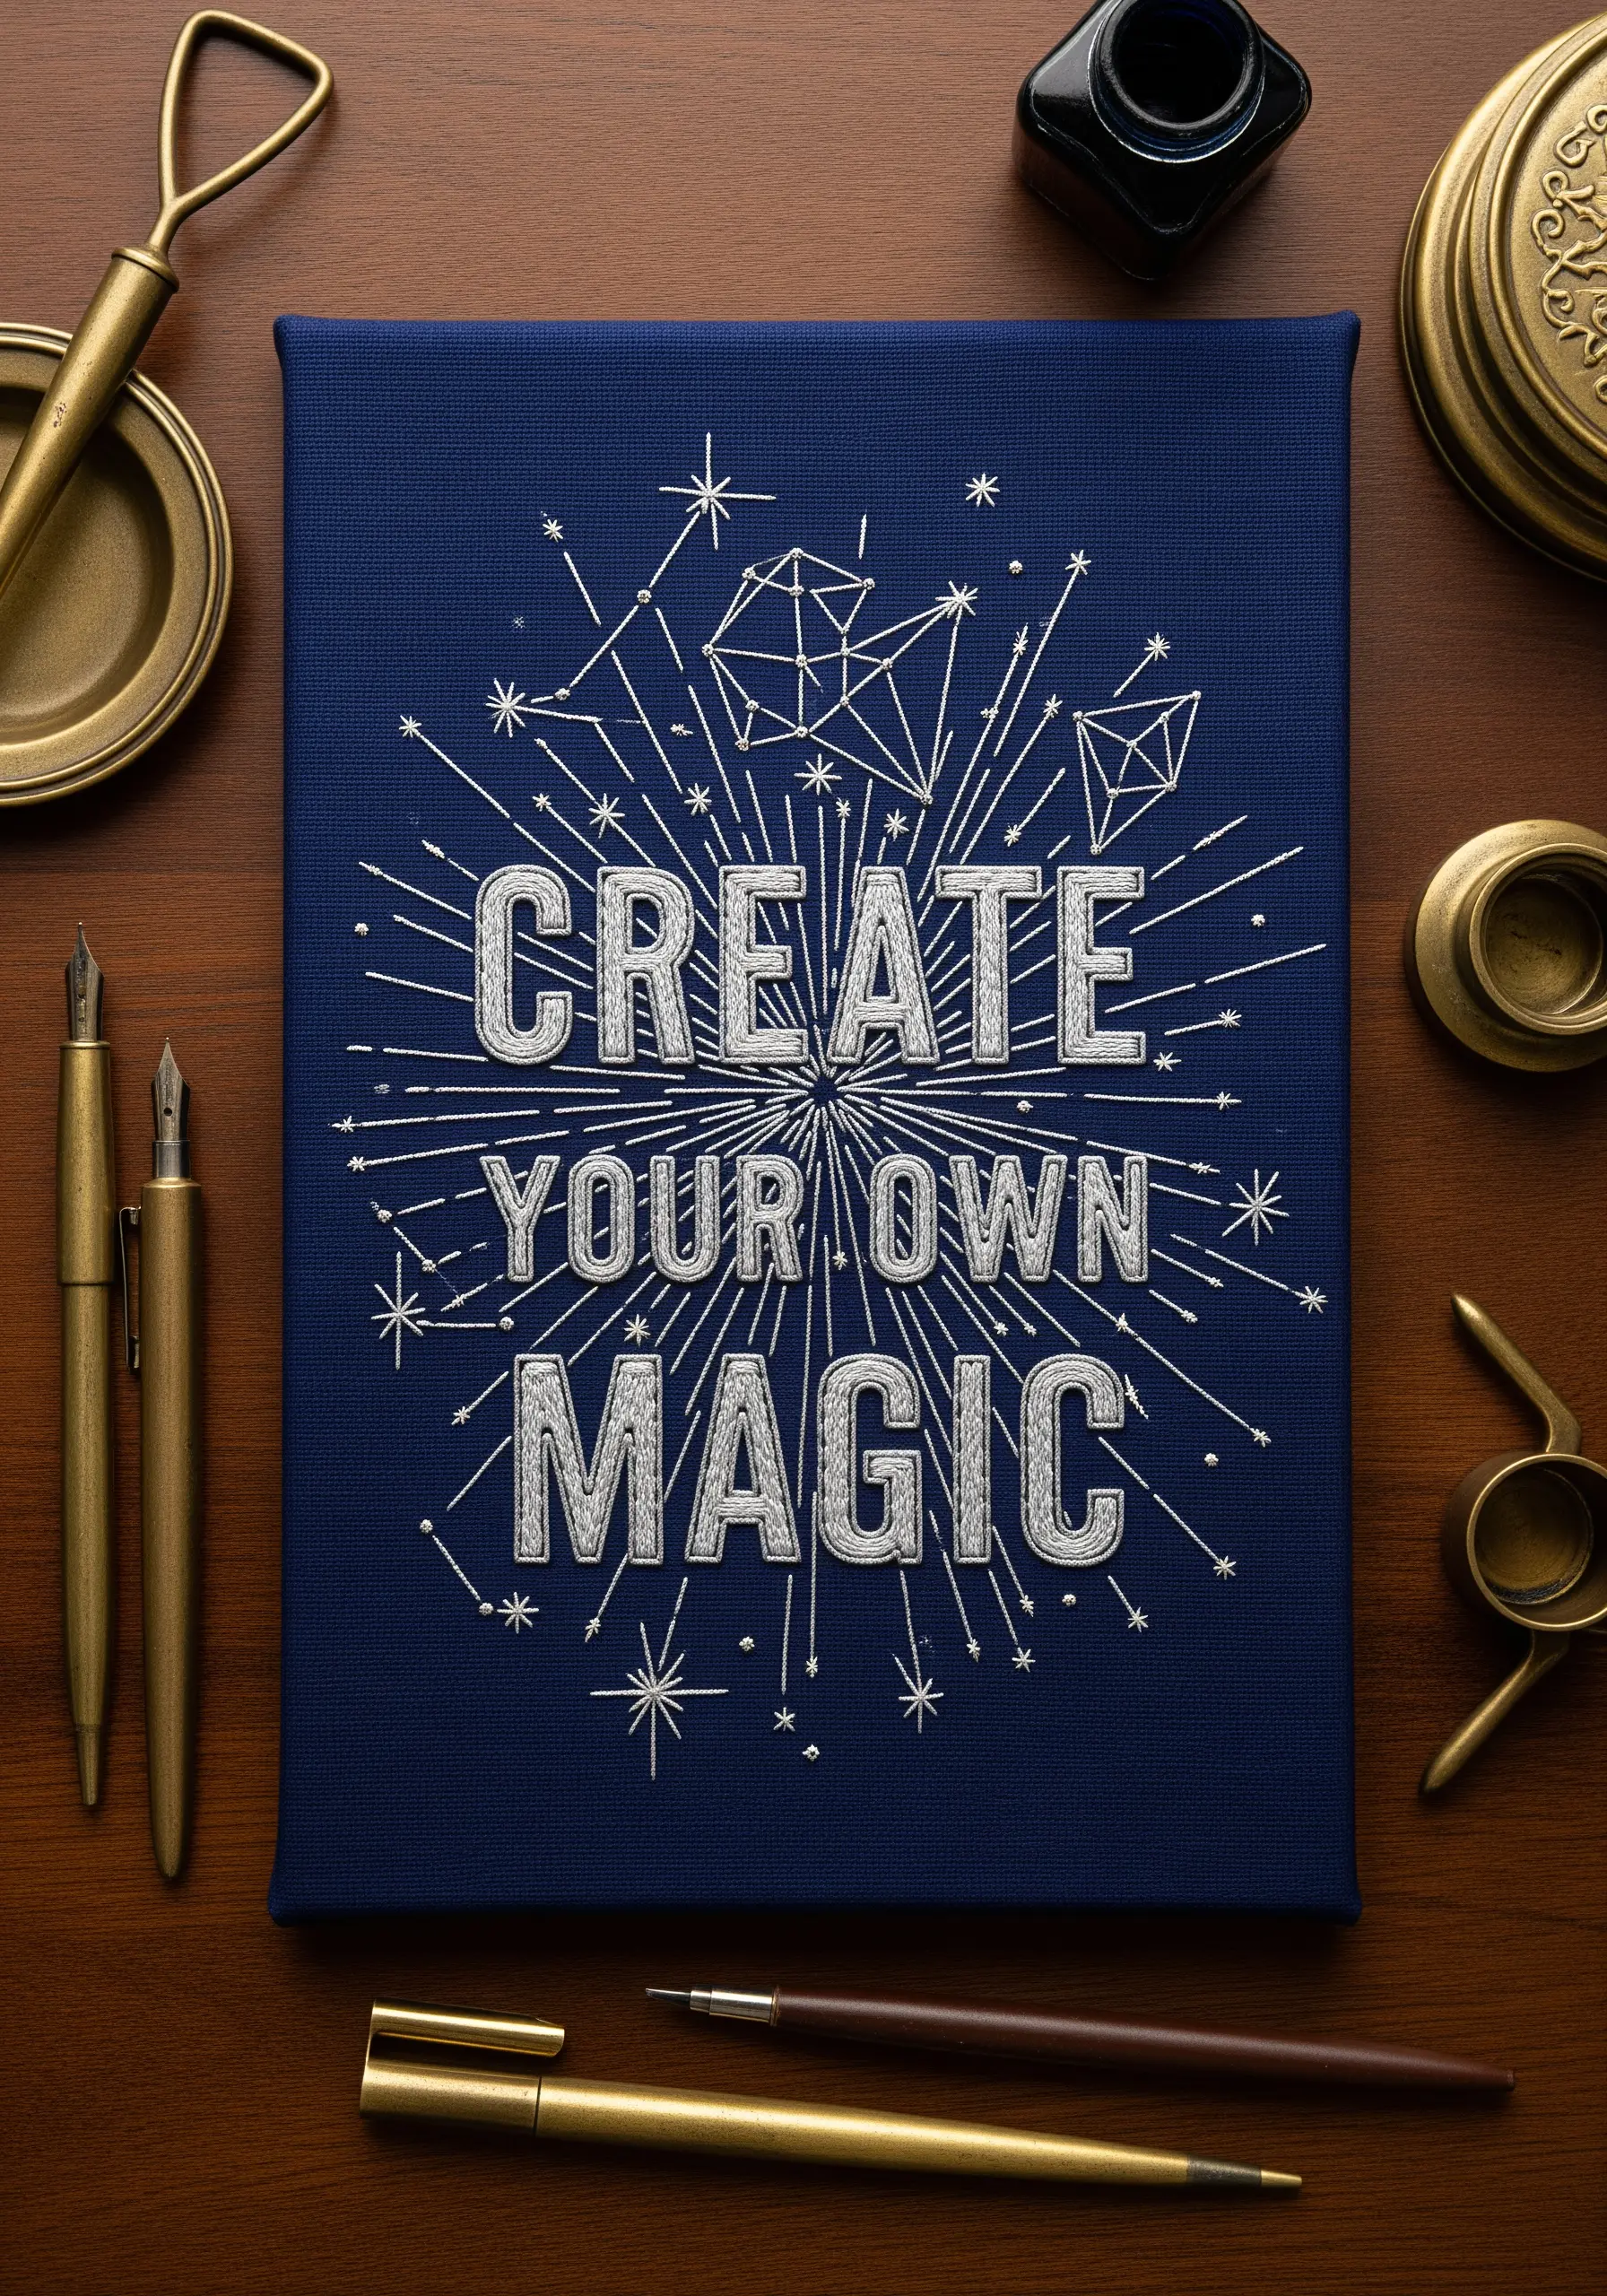
Create maximum visual impact by stitching with a high-sheen white or silver thread on a dark, tightly woven canvas.
Use a simple backstitch for the lettering outlines and geometric shapes to maintain their crispness.
Fill the block letters with tiny, scattered seed stitches instead of a heavy satin stitch; this creates a stippled texture that looks like stardust.
For the radiating lines, use single straight stitches of varying lengths to convey a burst of energy.
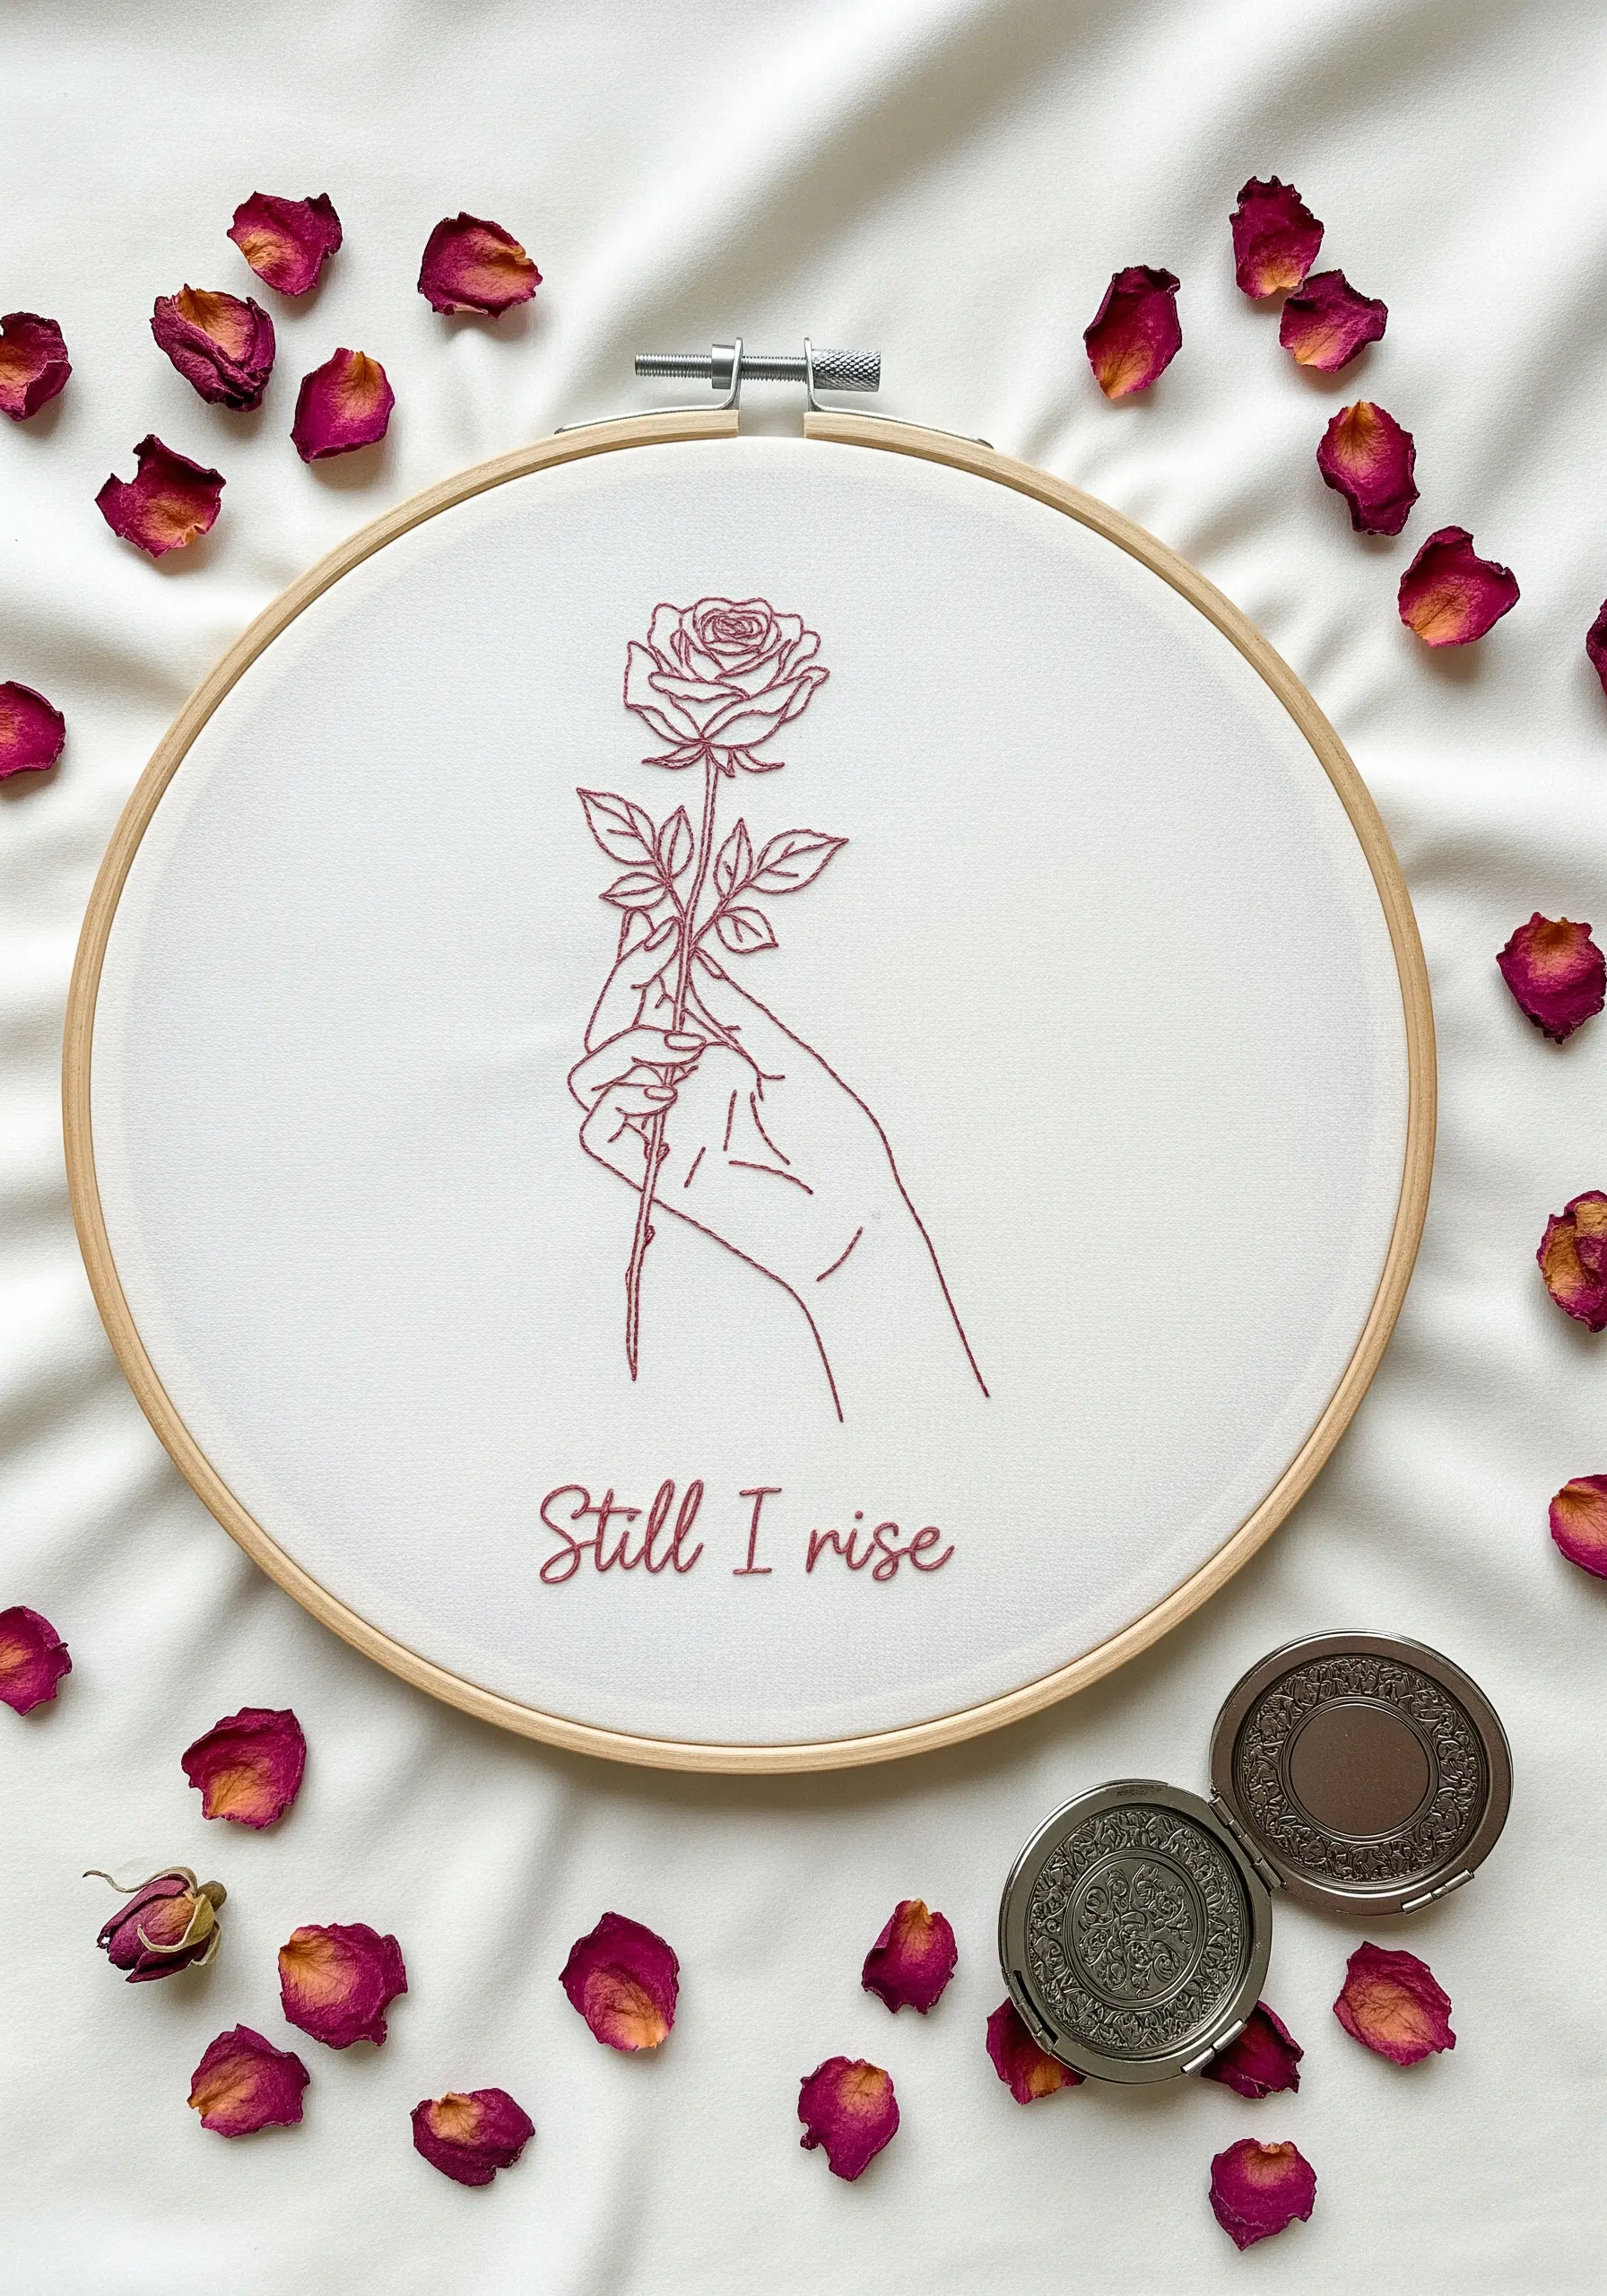
3. Fluidity in Single-Line Portraits

Achieve the clean look of a continuous-line drawing by using a stem stitch, which creates a rope-like, flowing line with no visible gaps.
Use three to four strands of floss to give the line substantial weight and presence against the fabric.
The key to success is maintaining perfectly consistent thread tension, especially around curves, to avoid any puckering and ensure the line flows as smoothly as ink.
This technique elevates modern line art by focusing purely on the quality of the line itself.
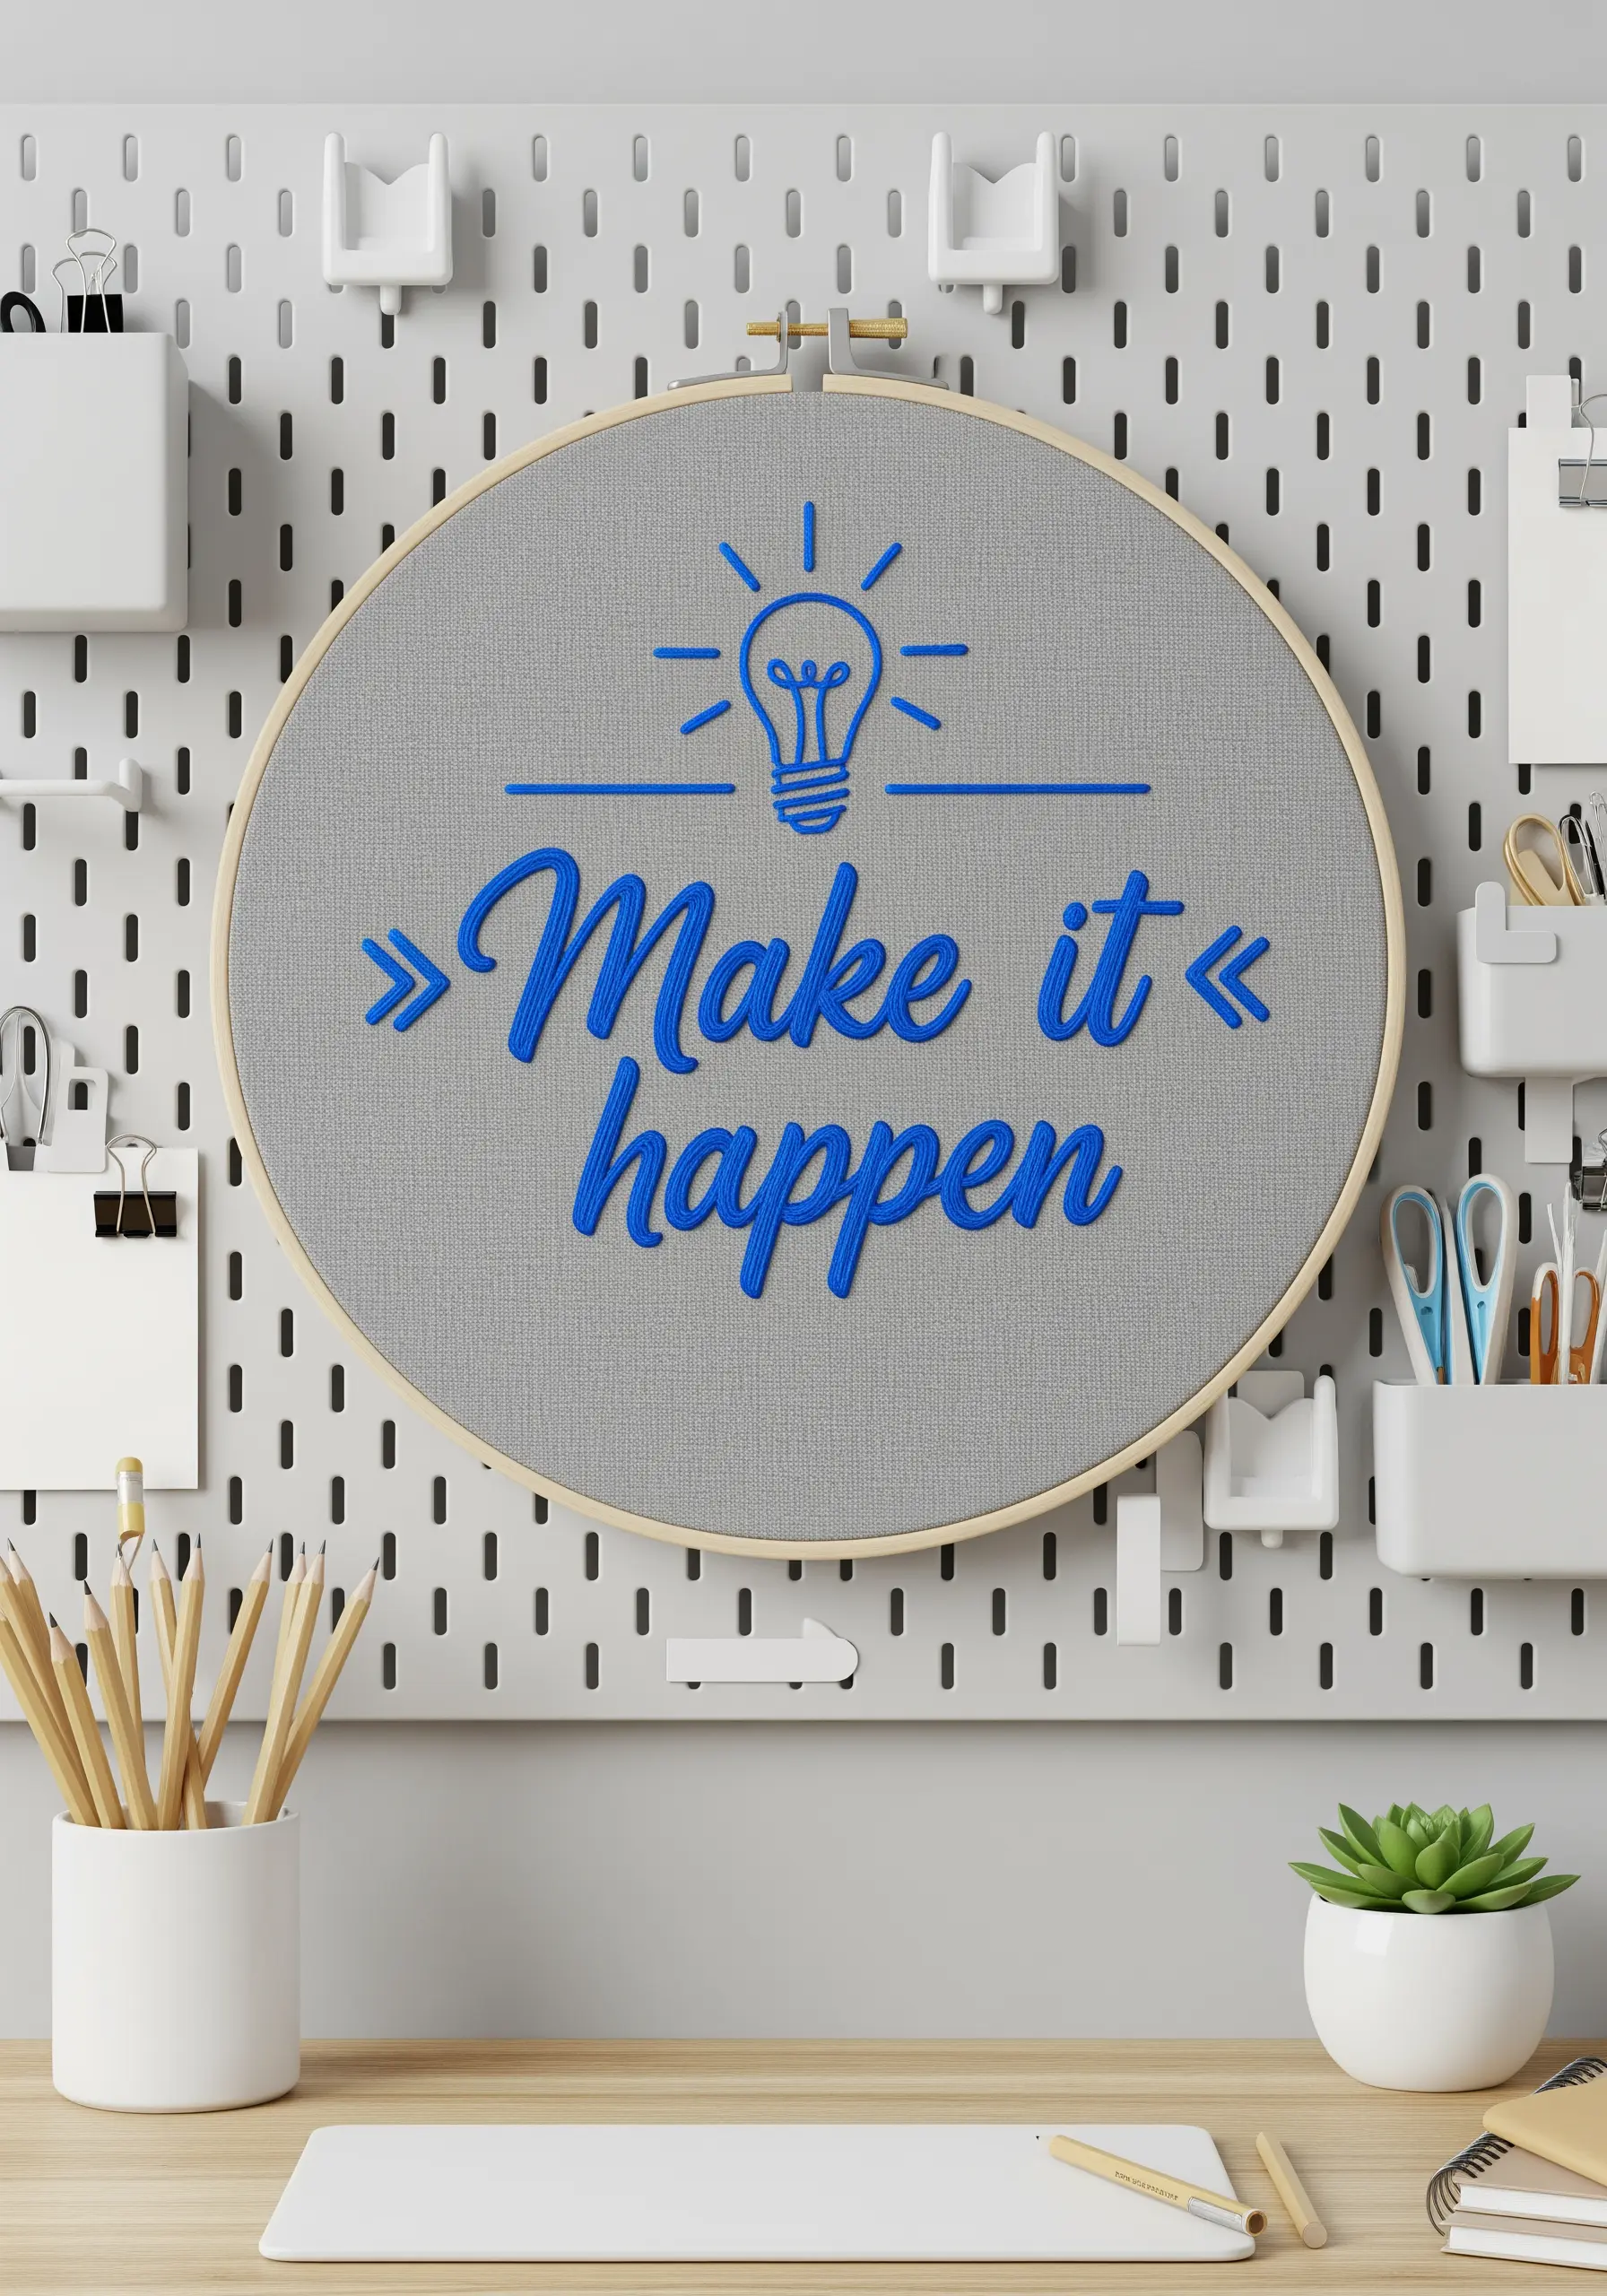
4. Crafting Bold, Padded Lettering
For sans-serif letters that truly pop, use a padded satin stitch to give them a raised, three-dimensional profile.
First, outline each letter with a split stitch to create a firm edge.
Next, fill the inside of the shape with a foundation of horizontal straight stitches.
Finally, cover the padding with your final satin stitch layer, working vertically—perpendicular to the base stitches—for a smooth, lofty finish.
5. Using Thread Weight for Visual Depth
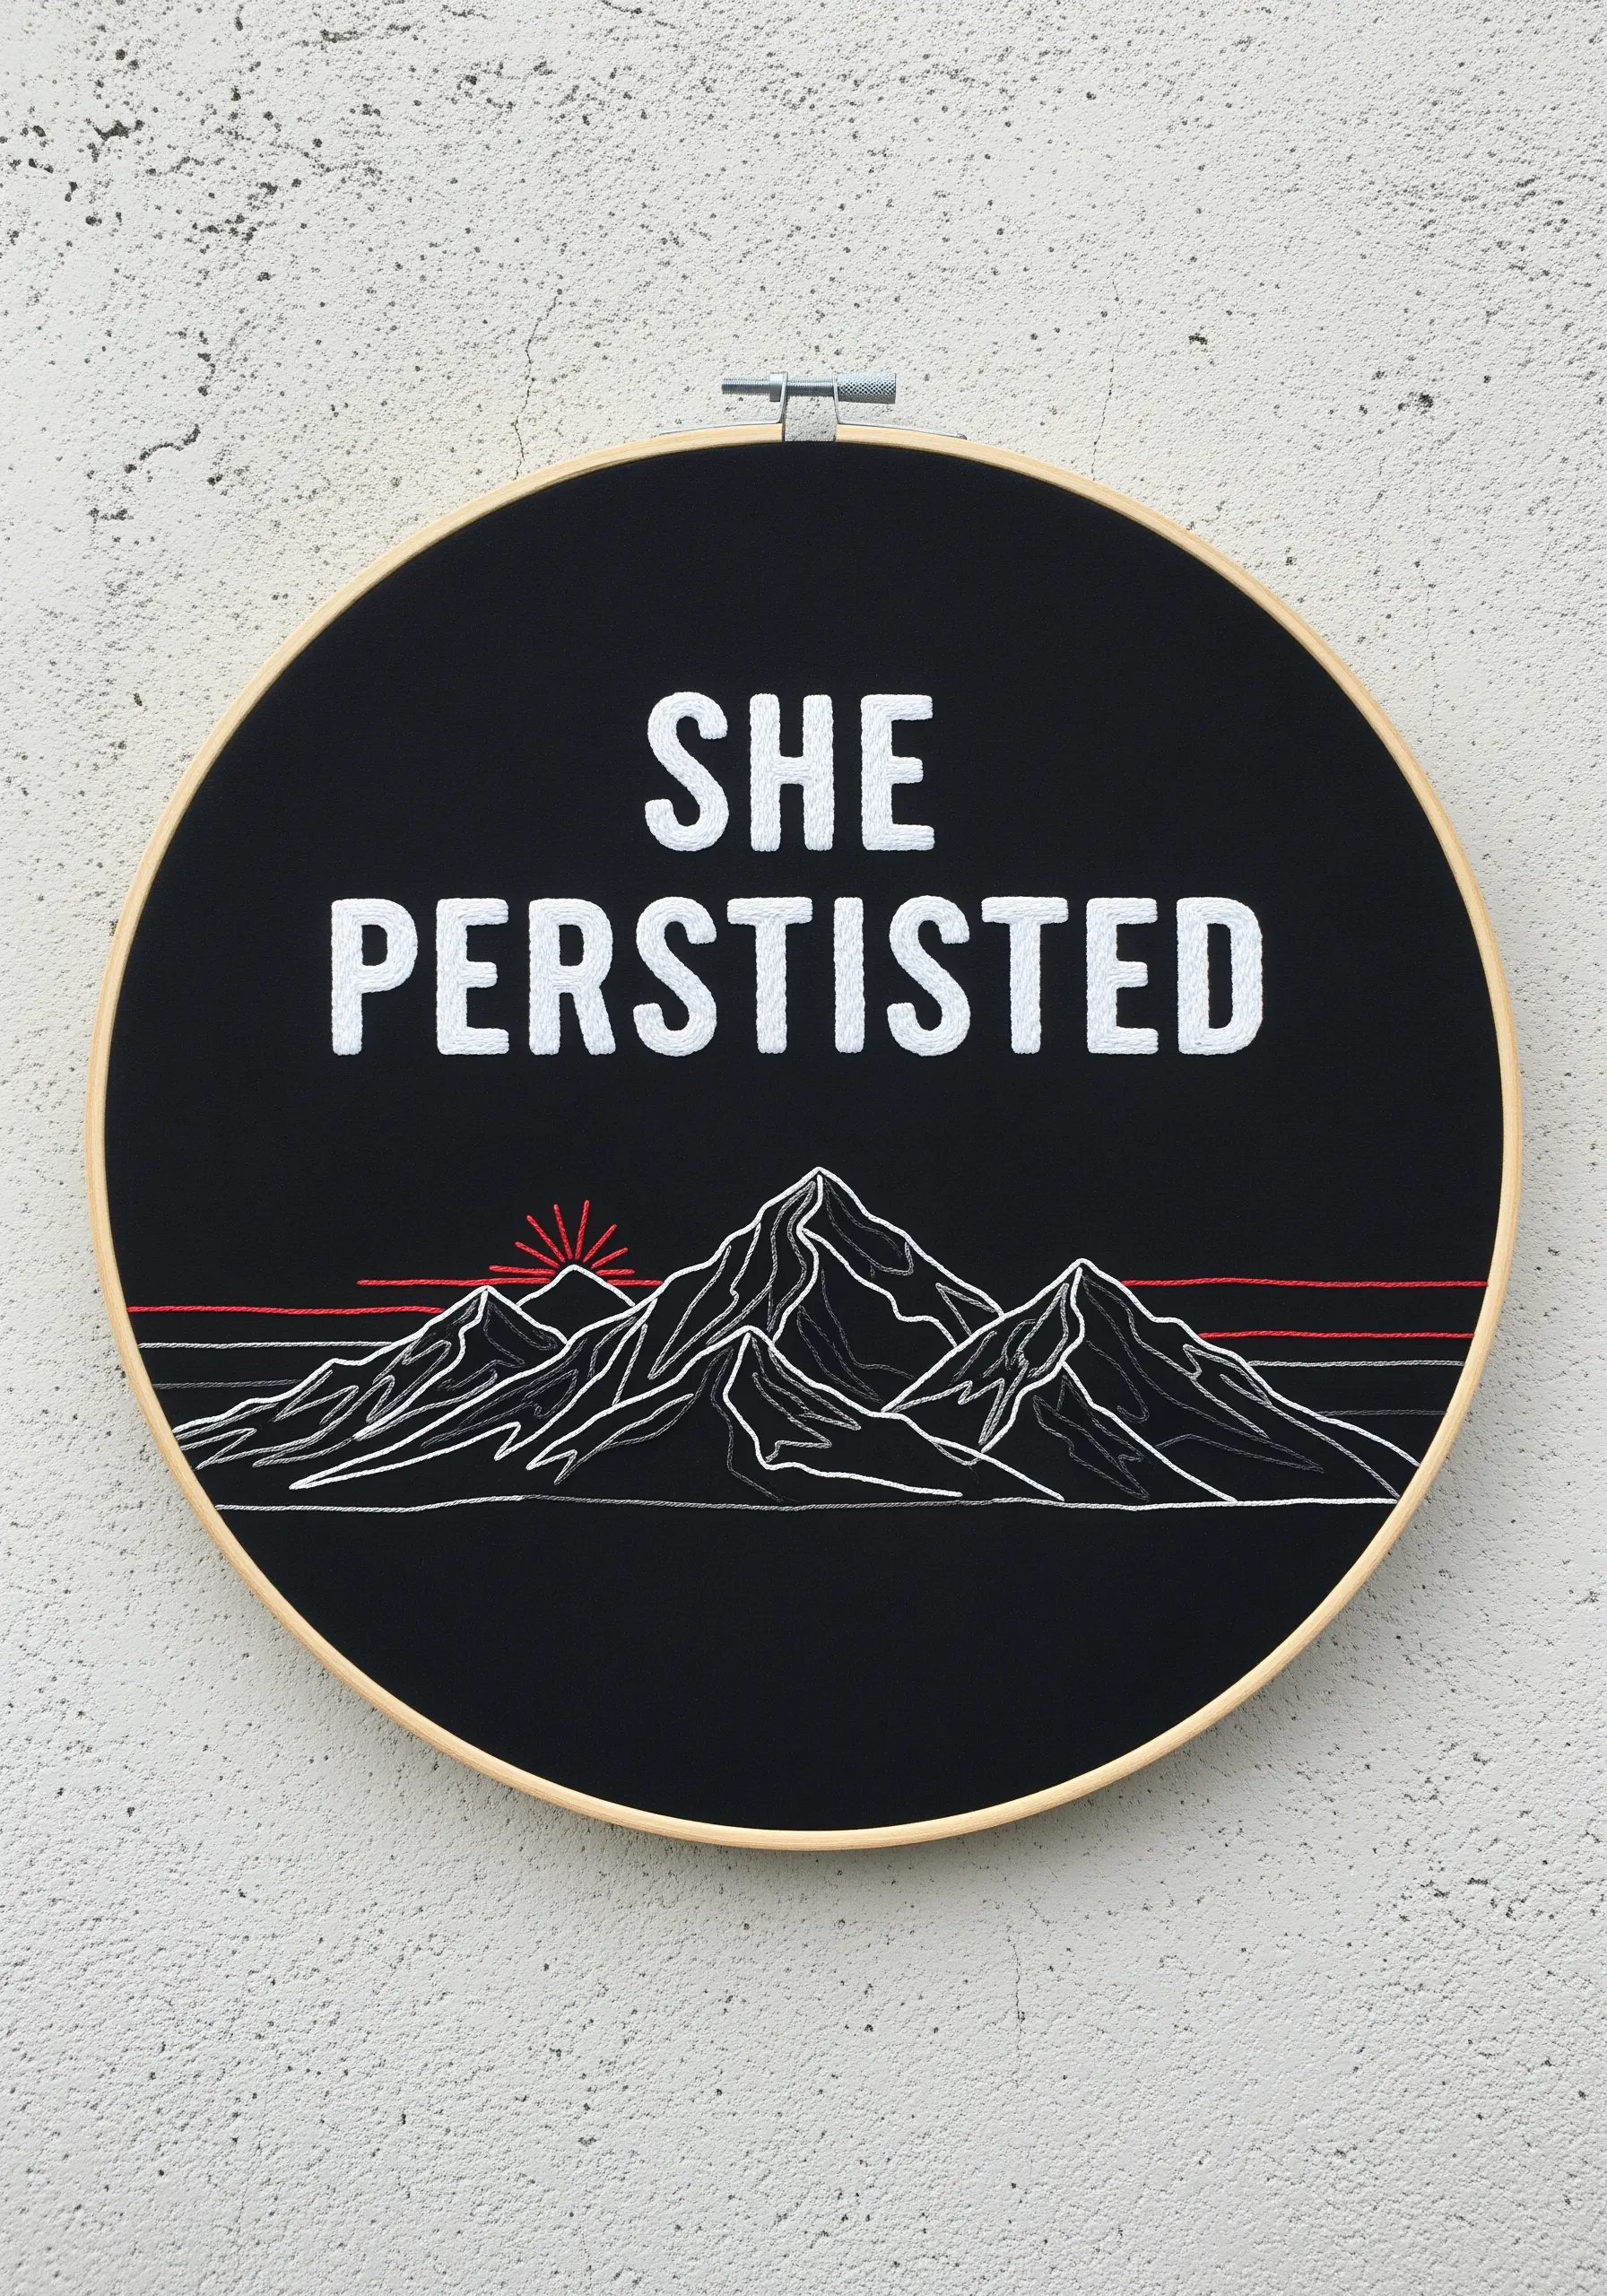
Create a clear visual hierarchy in your design by strategically varying the number of floss strands you use.
For the fine, delicate shading on the mountains, use a single strand of white thread and a simple backstitch.
Switch to a bolder three-strand thread for the main outlines, making them the primary focal point.
The single pop of red is most effective as a clean, crisp line—use a two-strand backstitch to give it presence without overwhelming the composition.
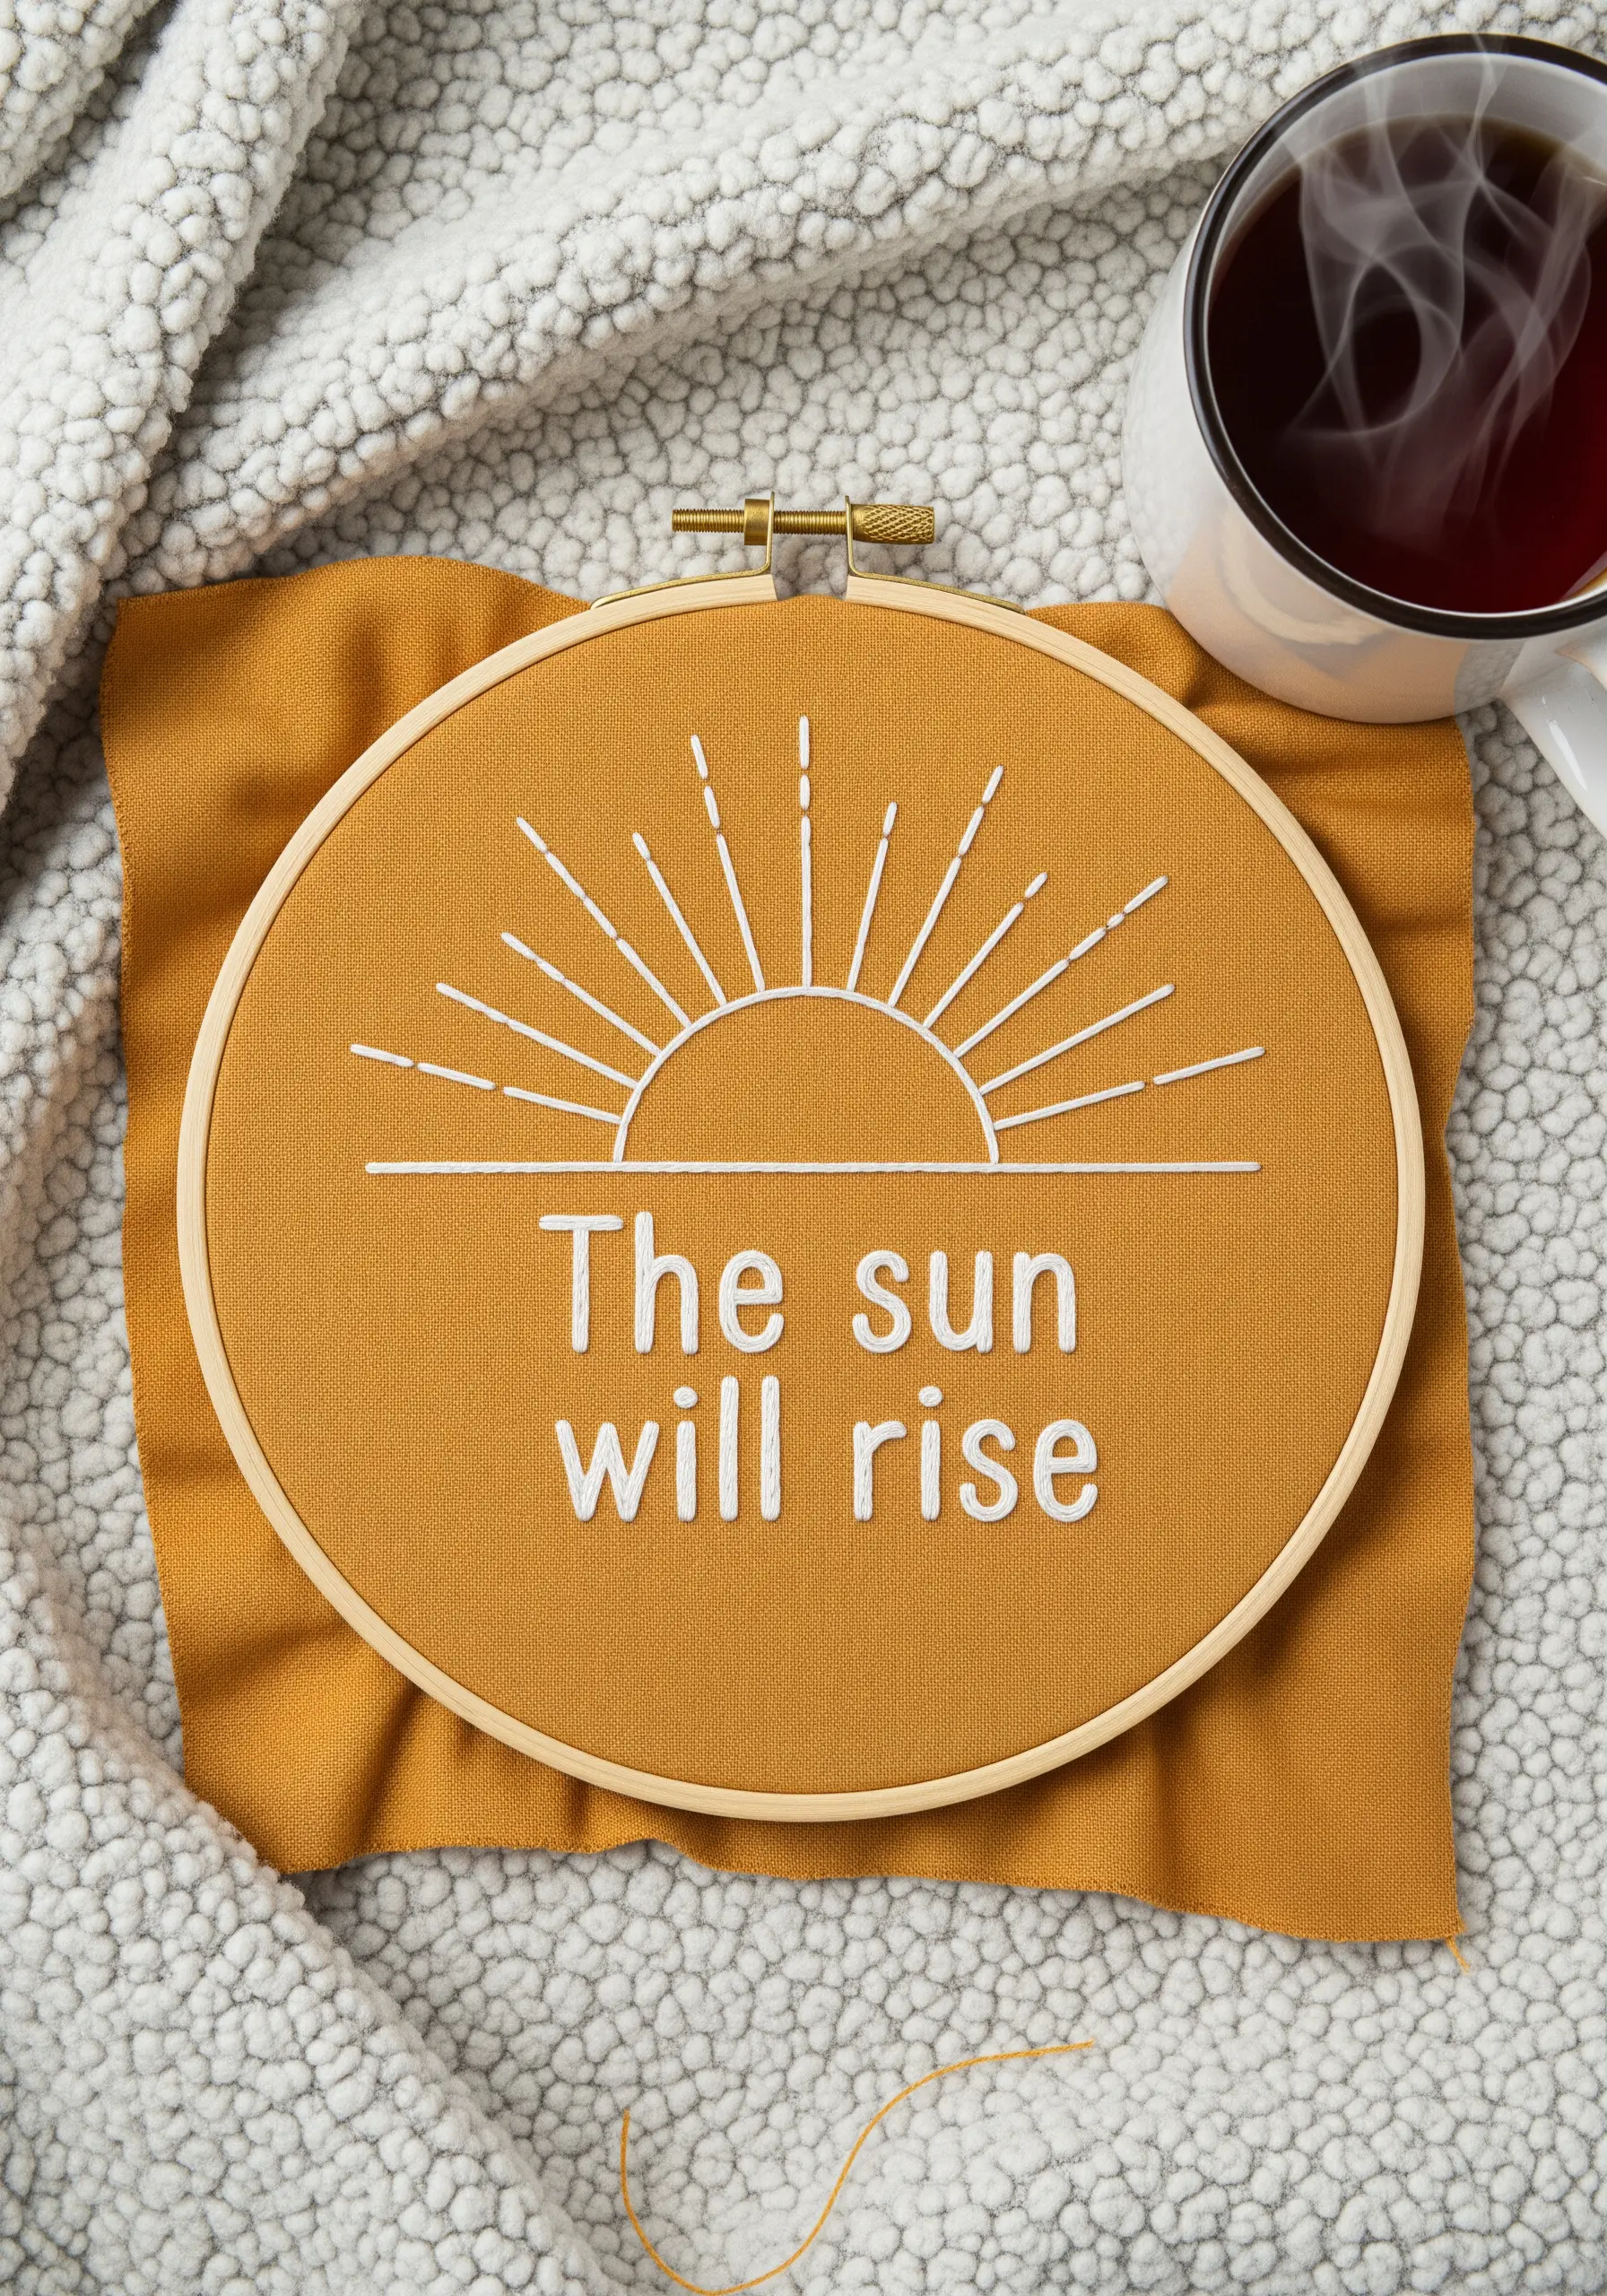
6. Achieving Crispness in Small Motifs
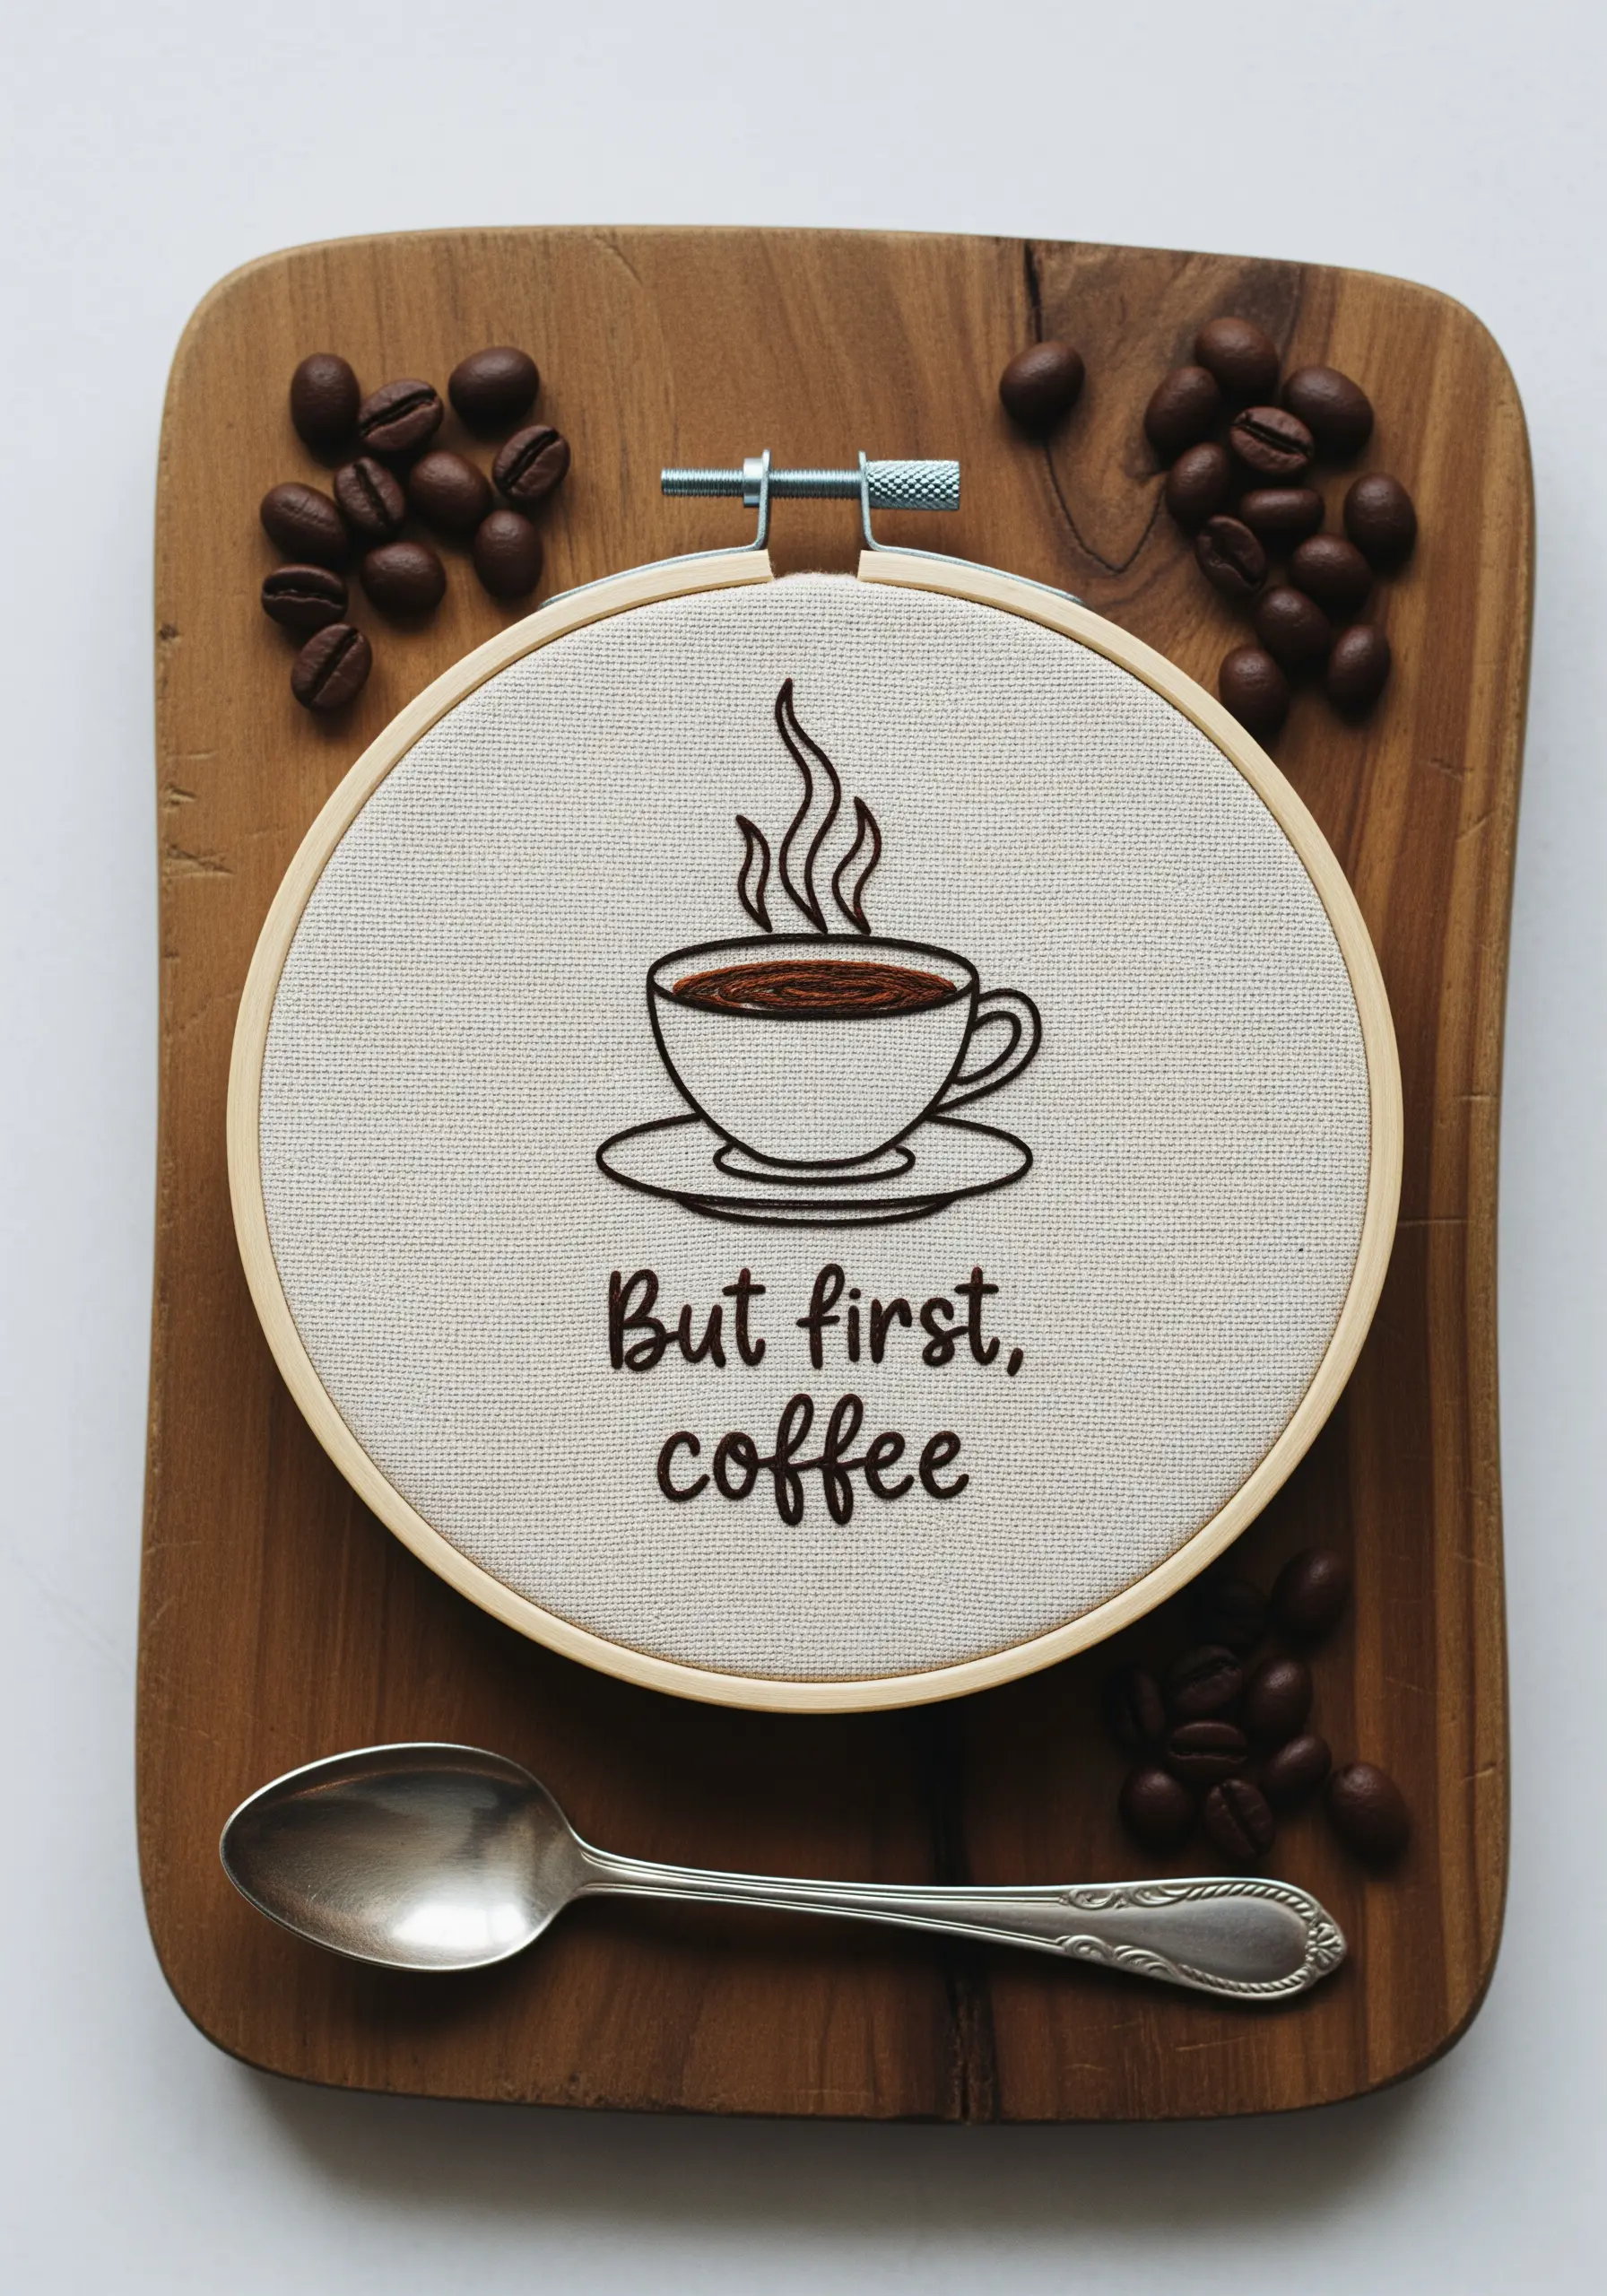
To keep the outlines of small icons sharp, use a two-strand backstitch and focus on keeping your stitch length consistent.
For the coffee fill, avoid a full satin stitch, which can warp small shapes or leave gaps on a coarse-weave fabric.
Instead, fill the area with a series of tightly packed, parallel straight stitches. This technique maintains the integrity of the shape while adding a subtle, refined texture.
7. Mastering Gradient Lettering
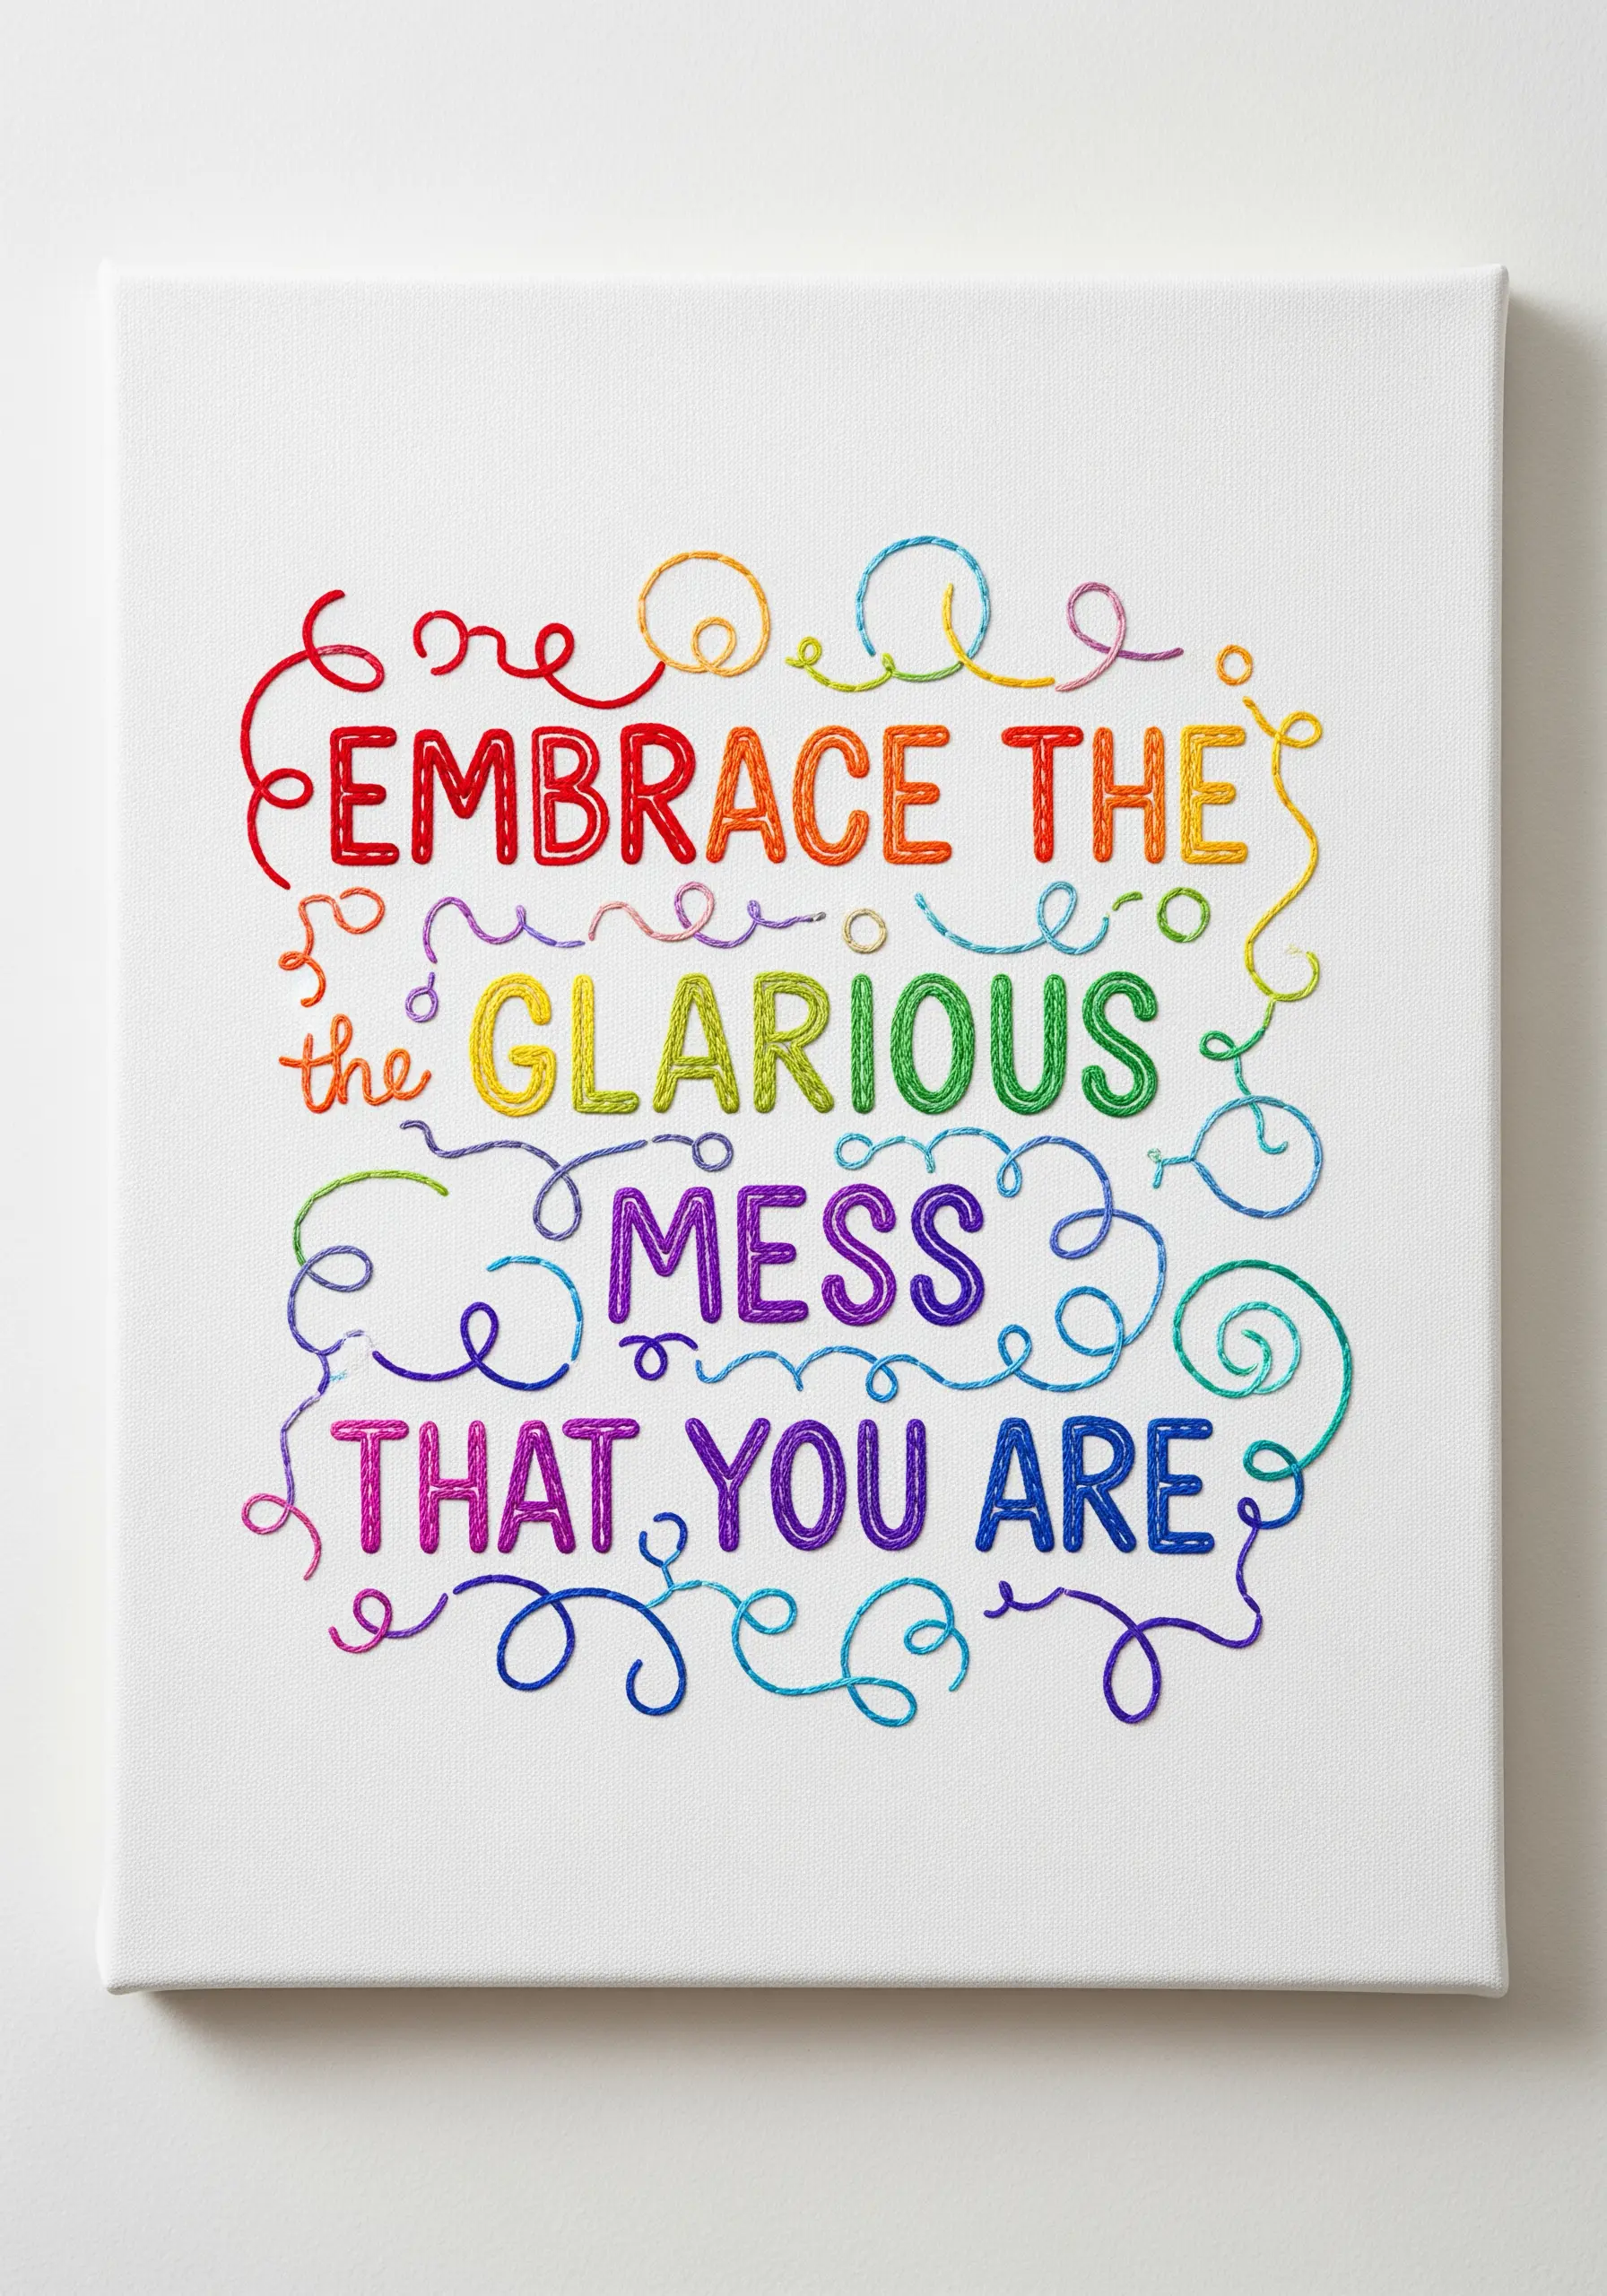
For a seamless rainbow effect in your lettering, a high-quality variegated floss is your most effective tool.
Choose a whipped backstitch or a stem stitch to best display the gradual color shifts.
These stitches create a solid, rope-like line that minimizes the visual breaks between colors, resulting in a smooth, professional gradient that looks intentional, not random.
Let the thread do the complex work of color blending for you.
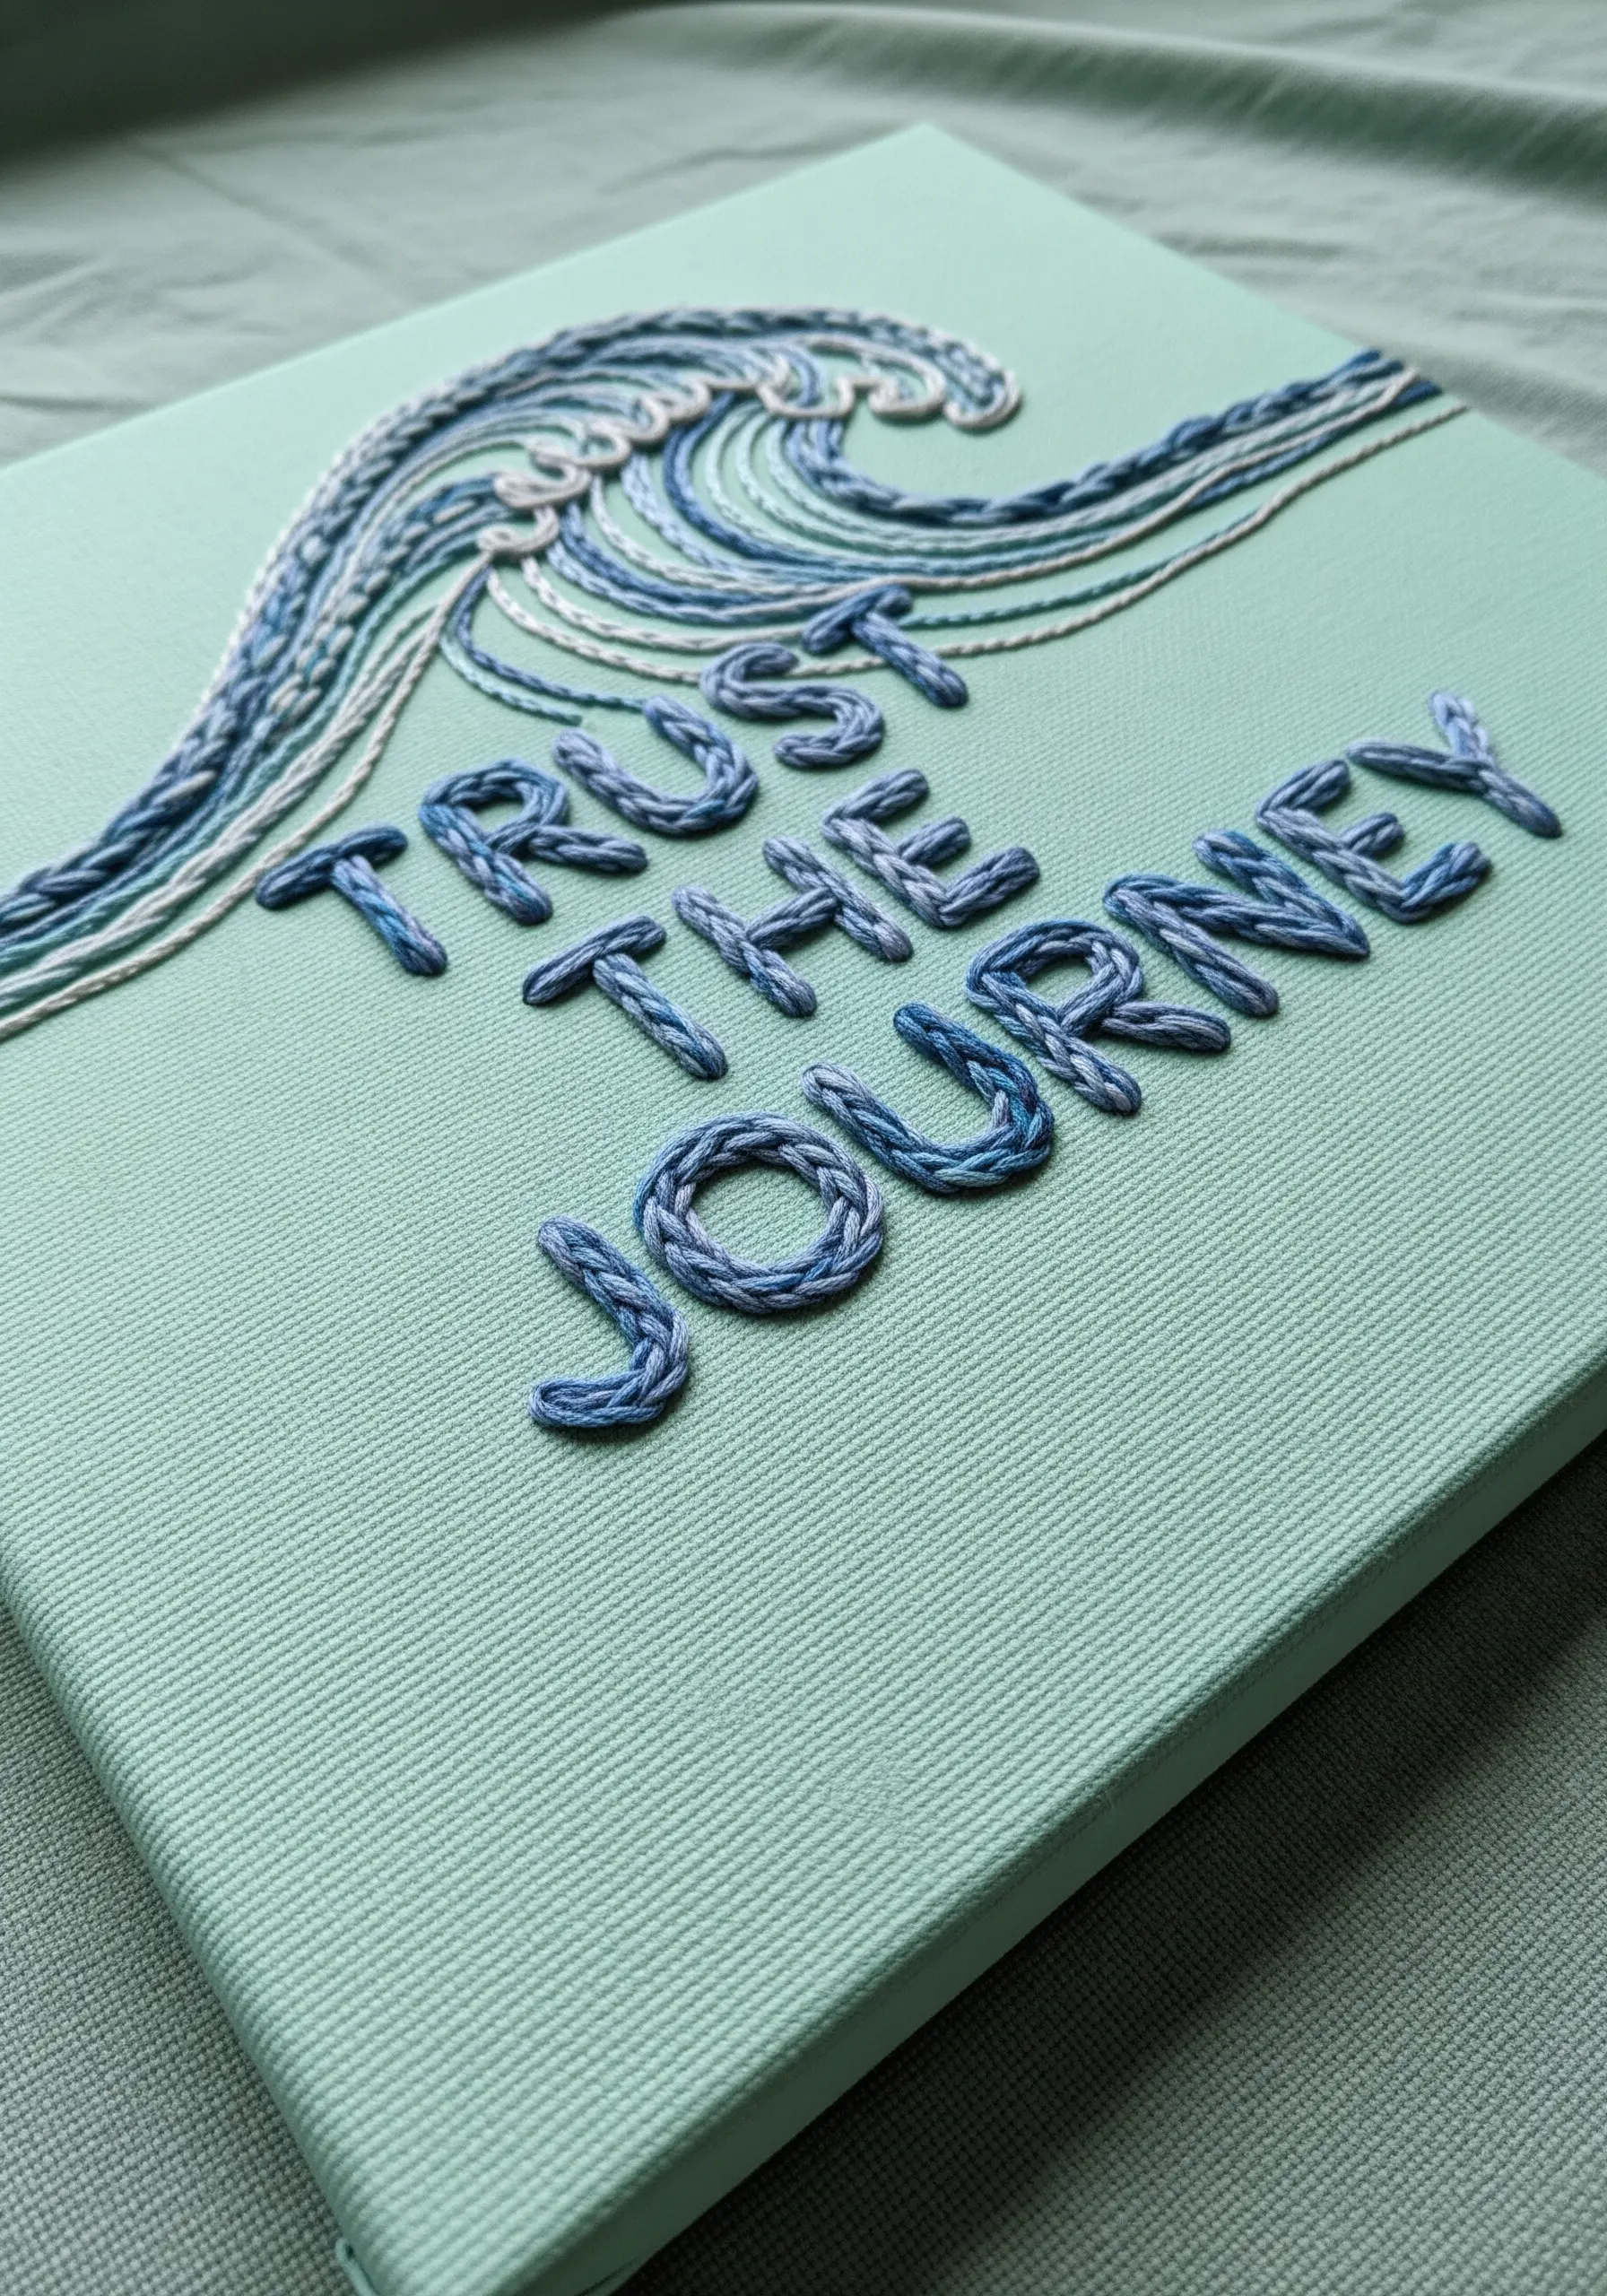
8. Stitching Direction to Create Motion
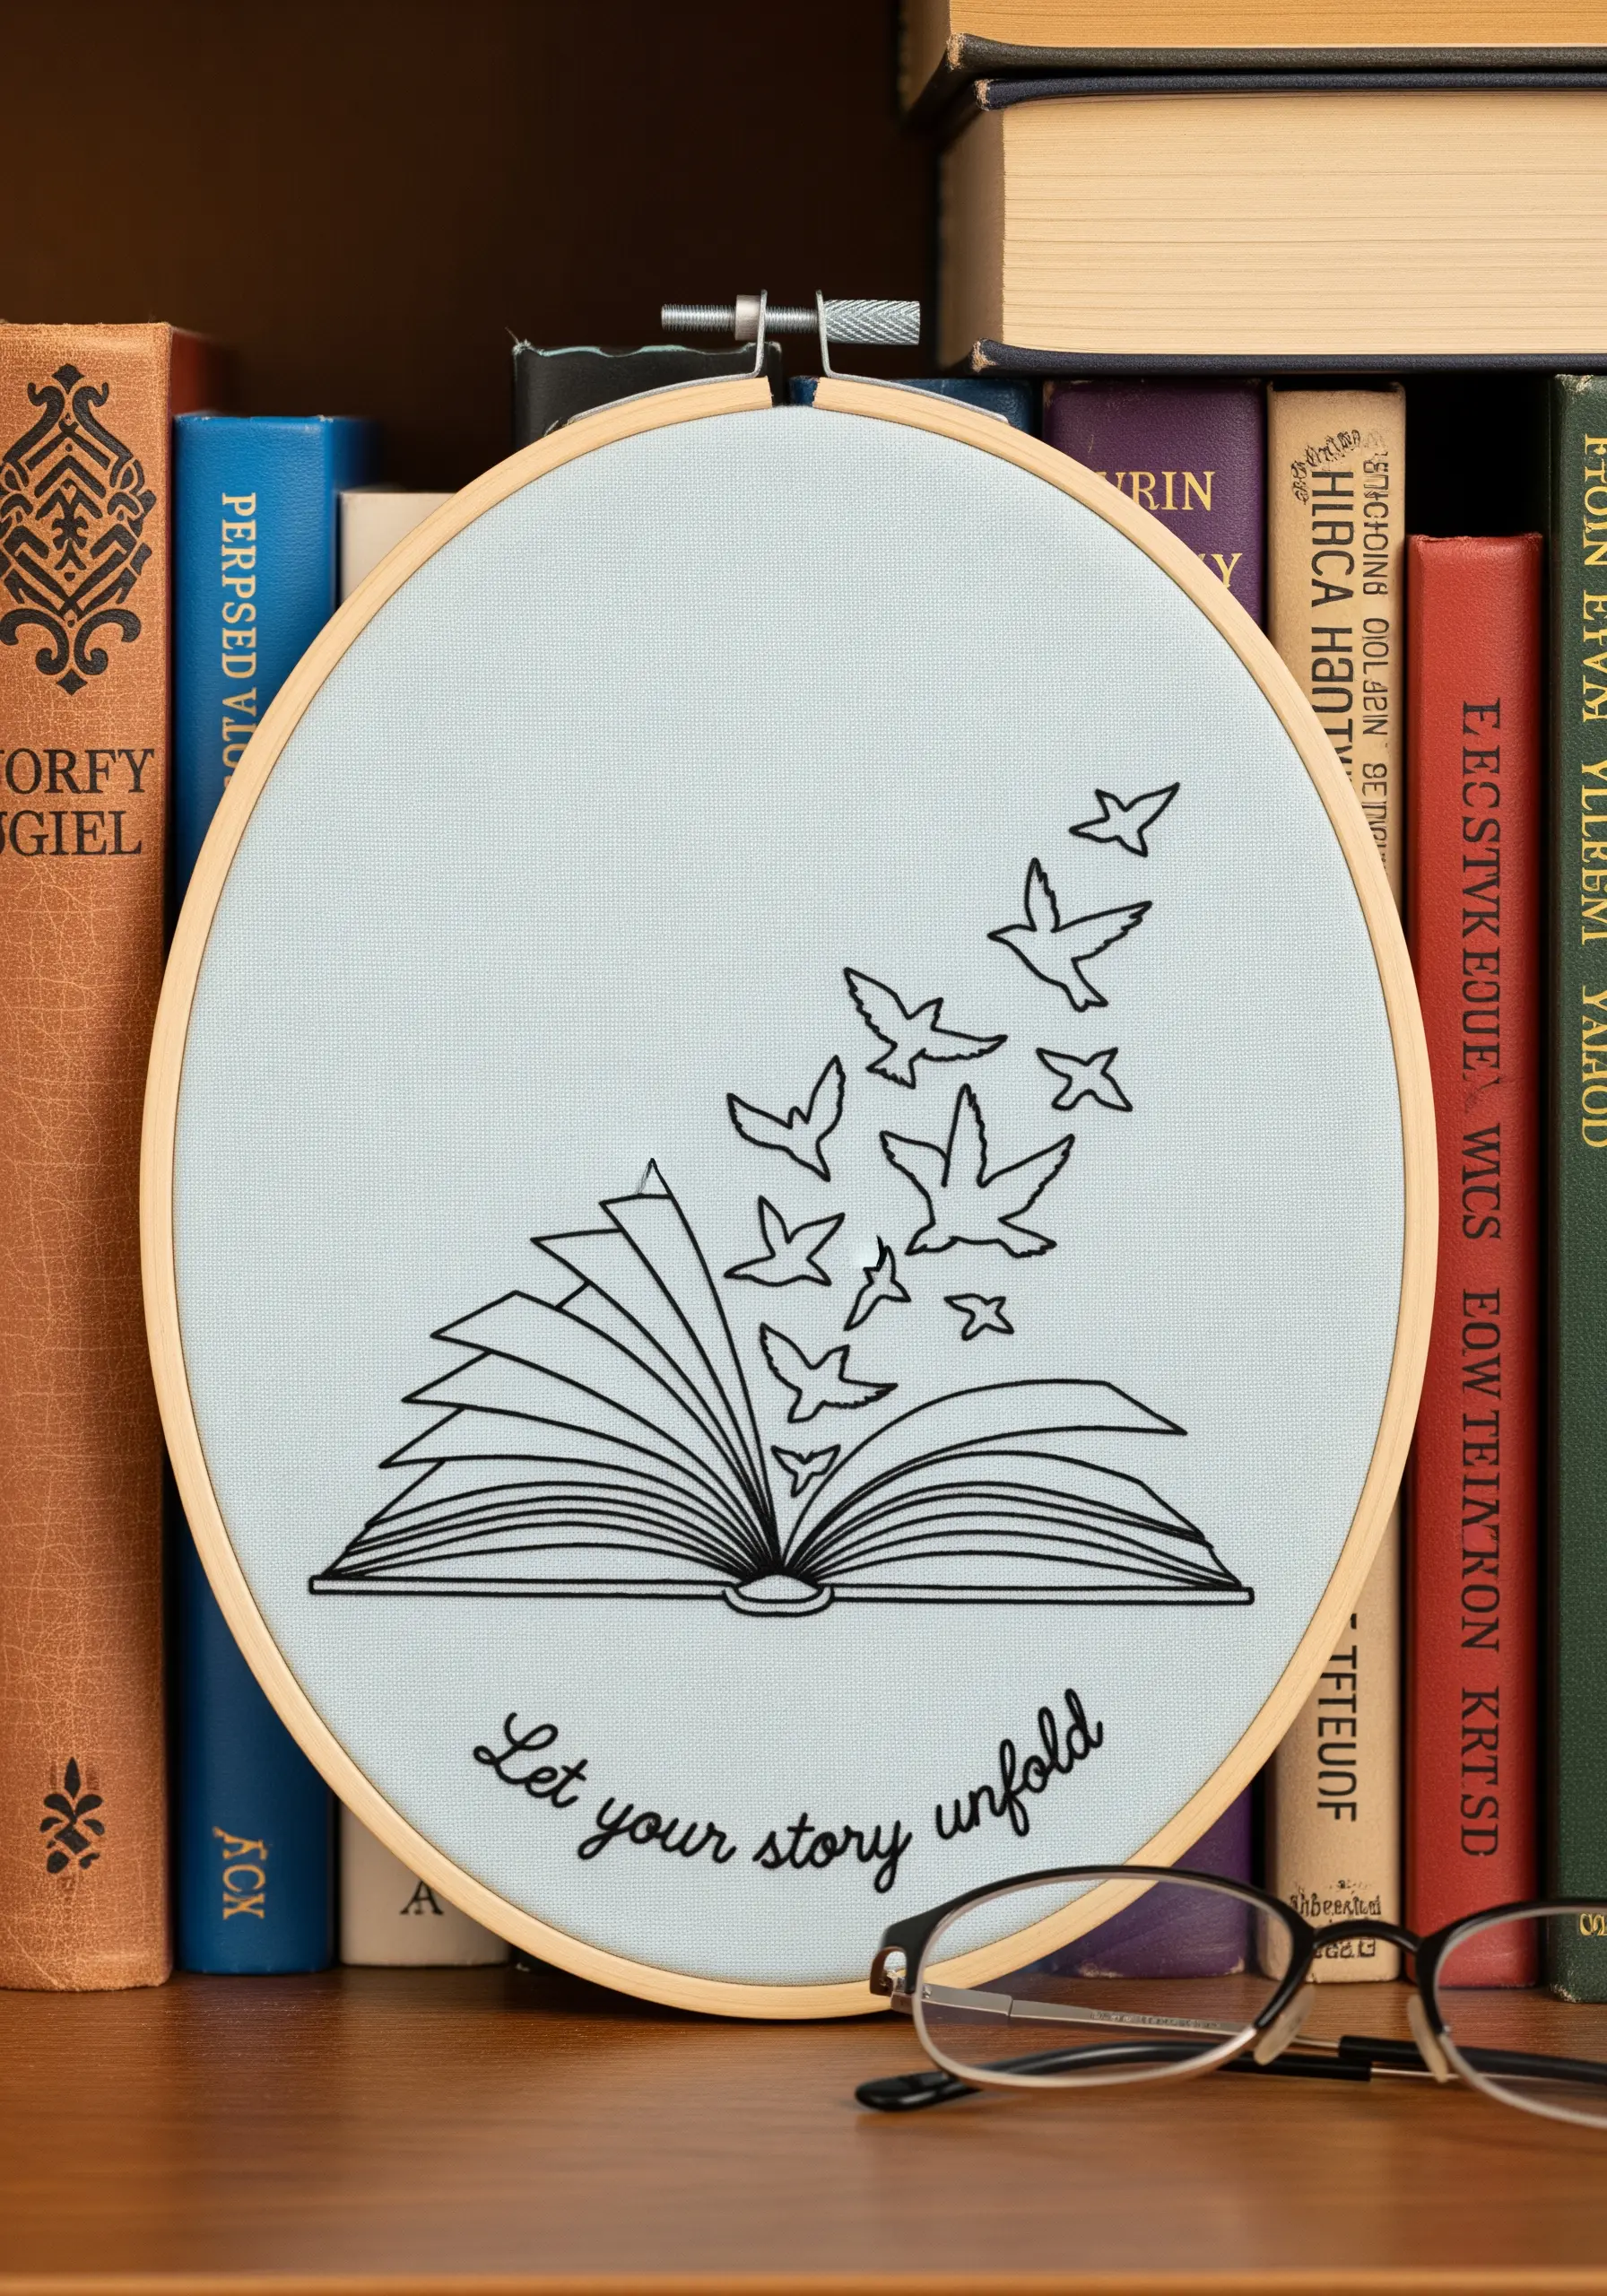
You can imply movement in static motifs simply by controlling the direction of your stitches.
For the birds, use a satin stitch, but angle every stitch to follow the direction of flight—up and away from the book.
This subtle adjustment guides the viewer’s eye and transforms simple silhouettes into dynamic elements, making the entire composition feel more narrative and alive.
9. Building Botanical Texture with Varied Stitches

Move beyond a single stitch type to give your floral wreaths dimension and character.
Use lazy daisy stitches for delicate, open petals and switch to a denser satin stitch for fuller blossoms.
Incorporate French knots for flower centers and tiny buds, and use a whipped backstitch for sturdy stems.
This combination creates a rich, organic texture that makes each botanical element feel distinct and thoughtfully rendered.
10. Contrasting Threads for Typographic Impact
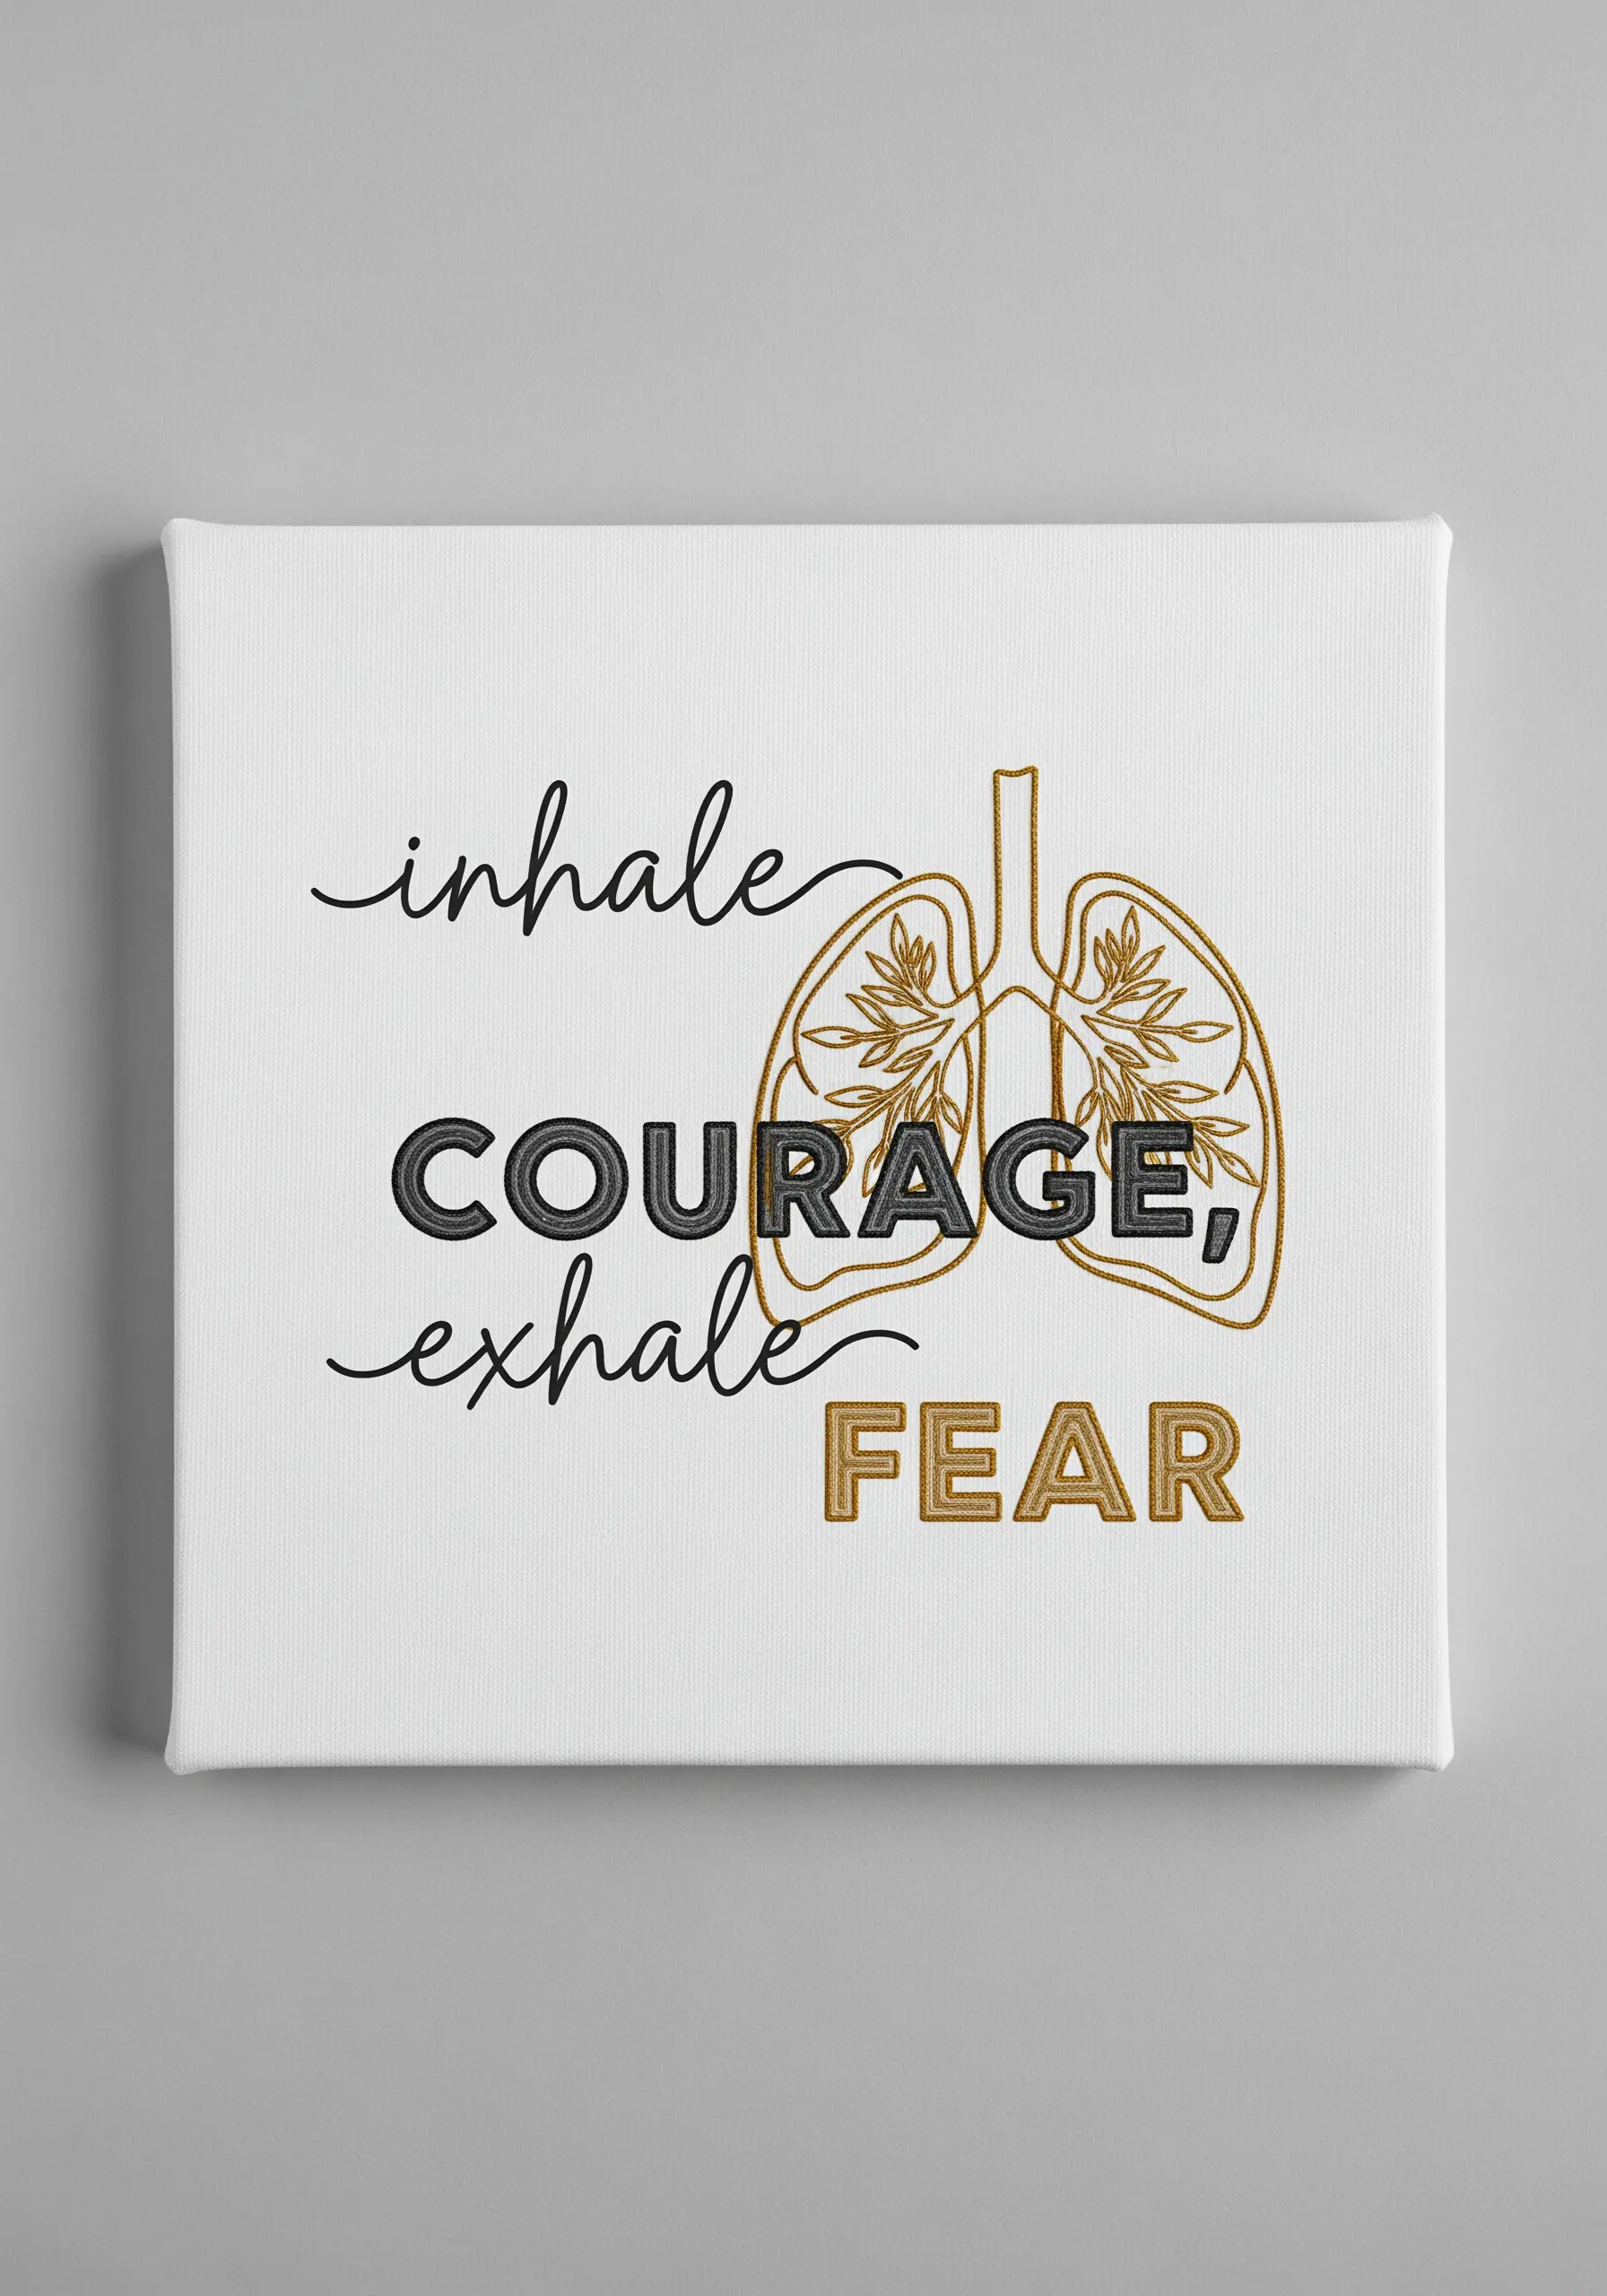
Create emphasis not just with size, but with thread texture and finish.
Use a standard matte cotton floss (all six strands) for the bold, satin-stitched words like “COURAGE” to give them a solid, grounded appearance.
For the delicate lung illustration and fine script, switch to a single strand of a silk-finish floss or a metallic blending filament.
This juxtaposition of matte and sheen draws the eye and communicates the design’s meaning with greater sophistication.
11. Creating a 3D Shadow Effect with Thread
You don’t need complex stitches to make your lettering look three-dimensional. A simple shadow technique is all it takes.
First, stitch your main text in a bright color using a stem stitch or split stitch for a solid line.
Then, using a slightly darker shade of the same color, stitch a parallel line just below and to one side of each original letter.
This simple color play tricks the eye into seeing depth, making the letters pop off the fabric.
12. Adding Dimensional Lines with Couching
When you want to create a bold, textural line that sits on top of the fabric, couching is the ideal technique.
First, lay down your primary threads—you can use multiple strands of floss, thick pearl cotton, or even fine yarn—along your design line.
Then, using a single, contrasting strand of floss, come up from the back of the fabric and make a small, perpendicular stitch over the laid threads to tack them down.
Repeat this along the entire length to secure the shape and add a secondary layer of detail.
13. The Art of the Seamless Line
For elegant, continuous line art, a whipped backstitch is superior to a standard backstitch.
First, complete your design using a basic backstitch with consistent stitch lengths.
Then, using the same thread, pass your needle under each backstitch (without piercing the fabric) to wrap the joins.
This simple finishing step conceals the segmented look of the backstitch, creating a single, fluid line that elevates the entire piece.
14. Precision Stitching for Geometric Designs
When embroidering sharp, geometric patterns, your technique must be flawless to achieve a professional result.
Always use the “stabbing” method: bring the needle straight up through the fabric, then pull it all the way through before going straight back down in the next hole.
Avoid the flowing “sewing” motion, which can pull the fabric on the bias and distort your lines.
For ultimate crispness, use a single strand of floss and a fresh, sharp needle.
15. Playful Dimension with Padded Satin Stitch

To give chunky letters a soft, raised appearance, build a foundation of padding before you begin your top layer of stitches.
After outlining your letters with a split stitch, you can fill them with a layer of horizontal straight stitches or even a small piece of felt cut to shape and tacked down.
Then, work your final satin stitch layer vertically over the padding. This technique provides loft and dimension, making the letters delightfully tactile.
16. Embroidering on Printed and Paper Surfaces
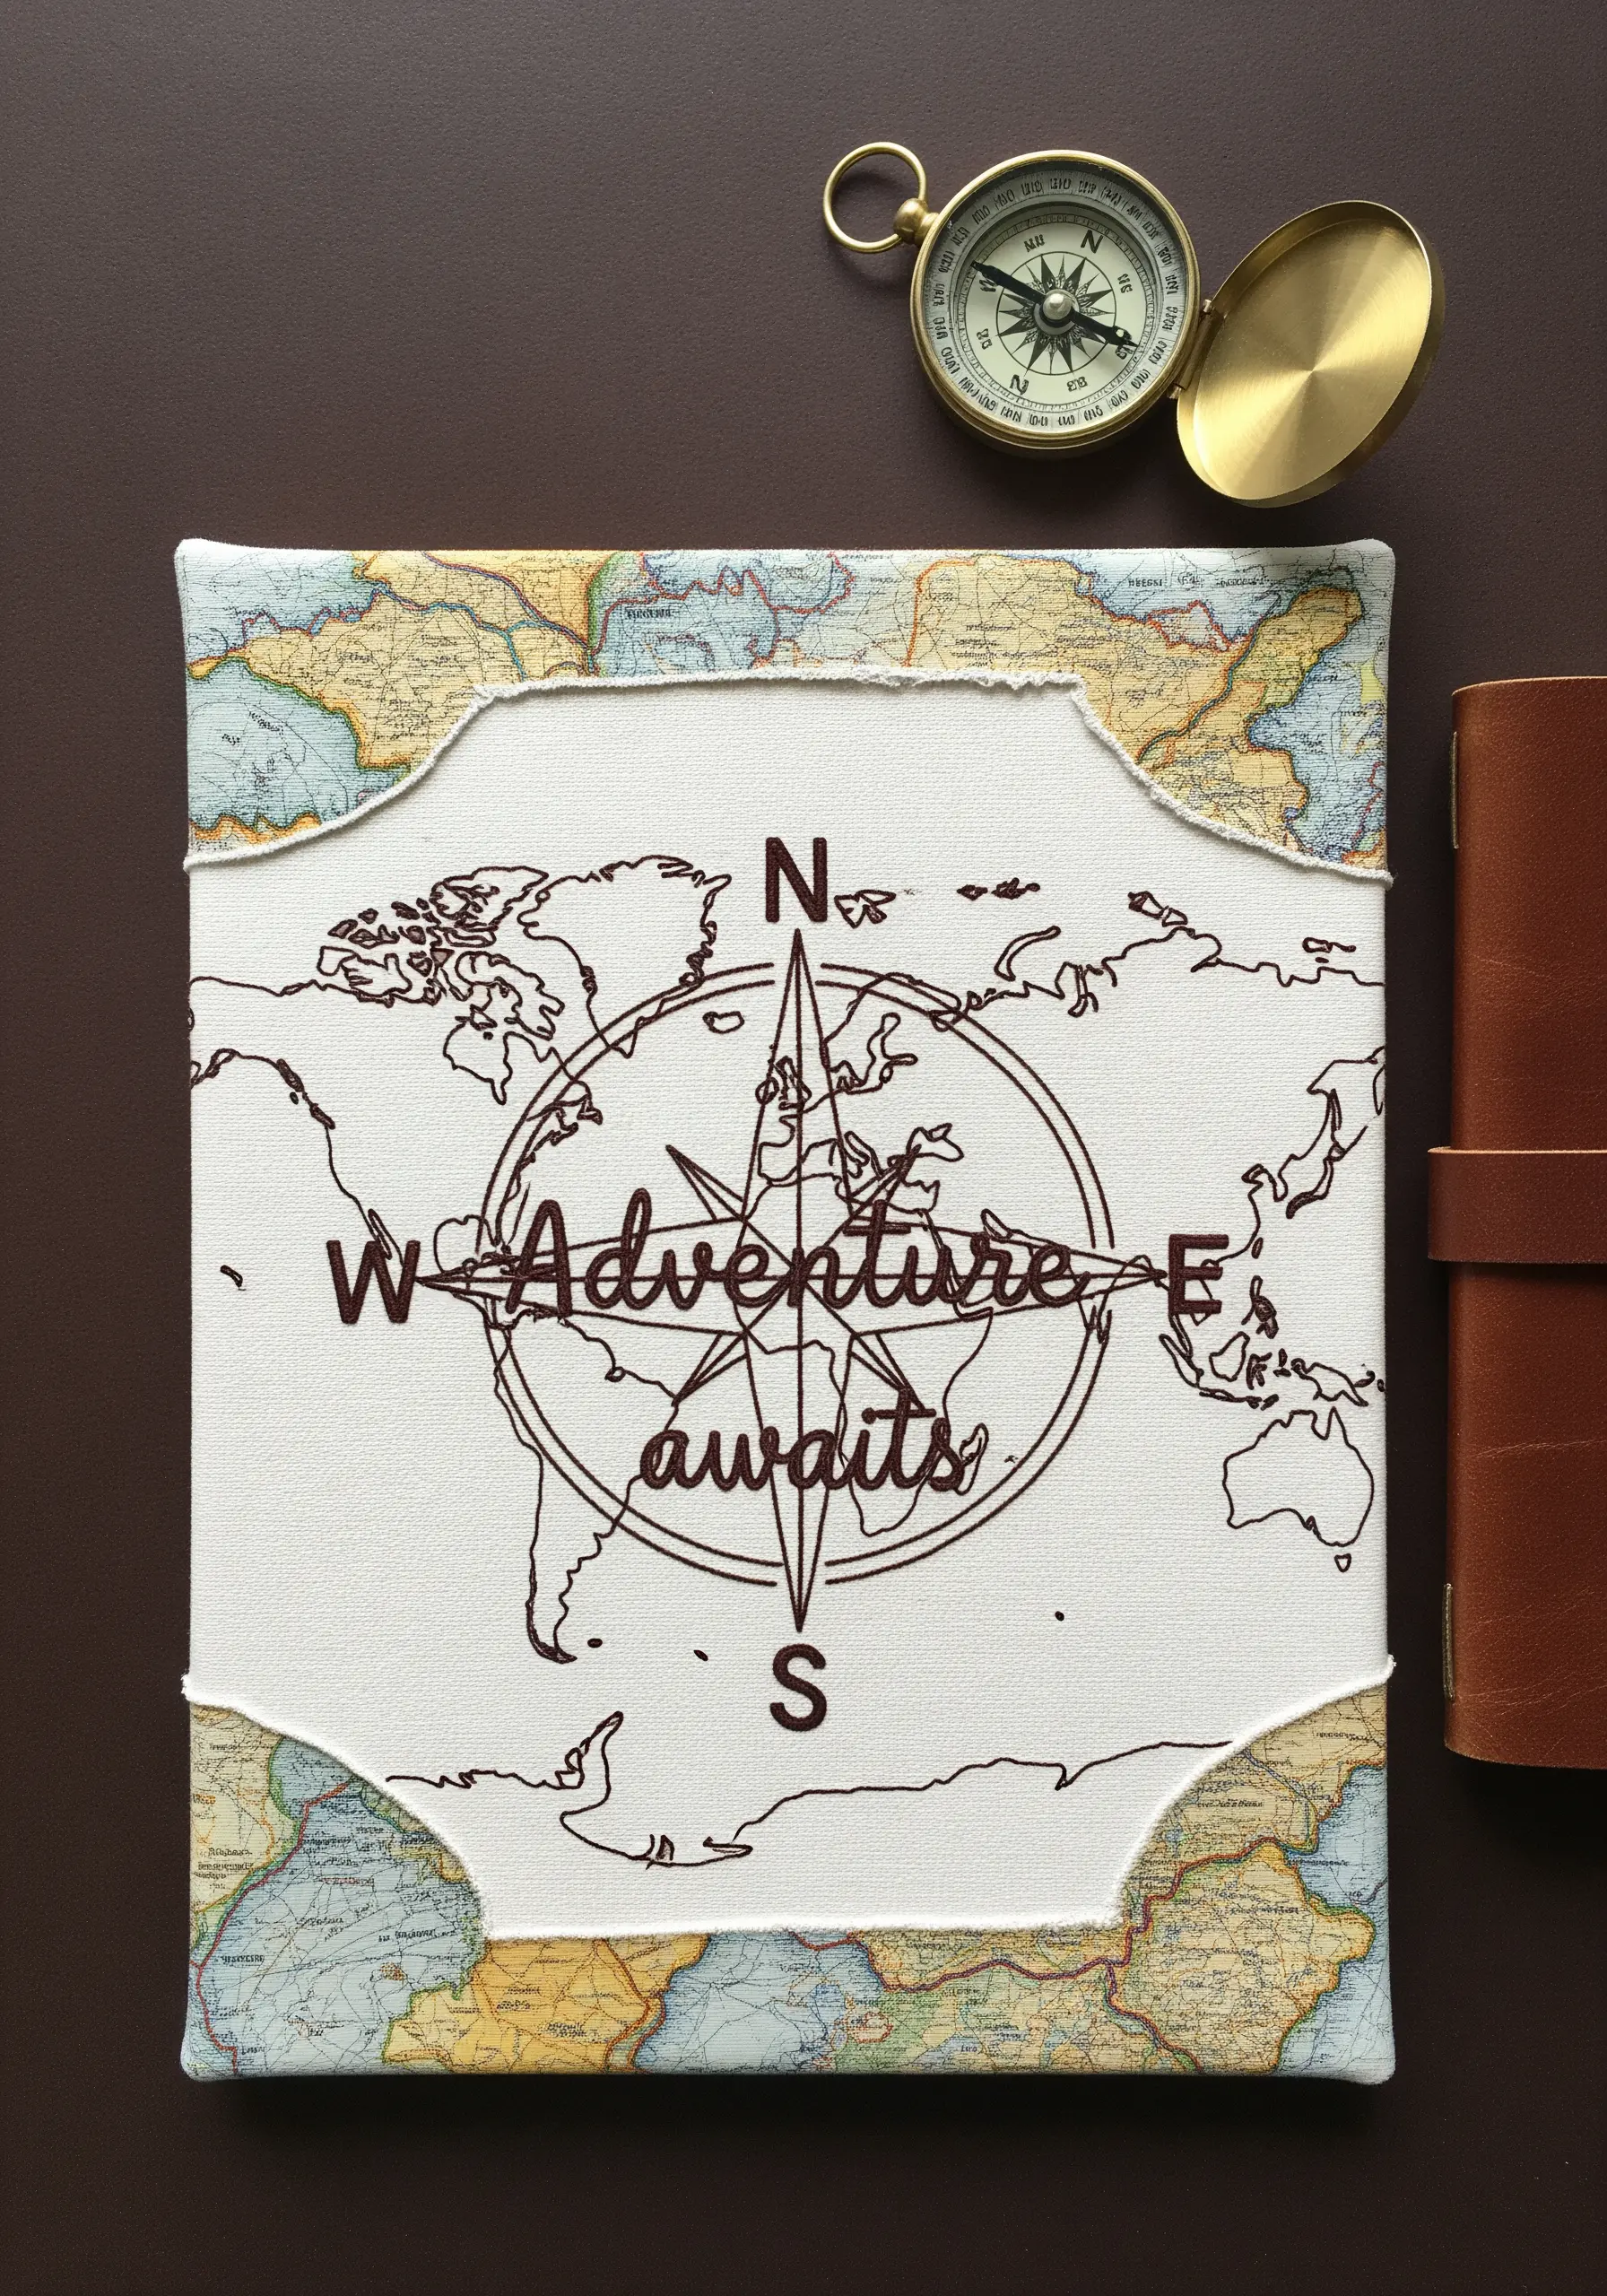
Stitching on a non-traditional base like a paper map adds instant narrative depth to your work.
To prepare the surface, fuse the paper to a fabric backing with a lightweight, iron-on adhesive like Stitch Witchery.
Use a thin, sharp needle (a size 9 or 10) and keep your stitches relatively short to prevent tearing the paper.
A simple backstitch is often most effective, as it minimizes stress on the surface while providing a clean, graphic line.
17. Creating Depth with Varied French Knots
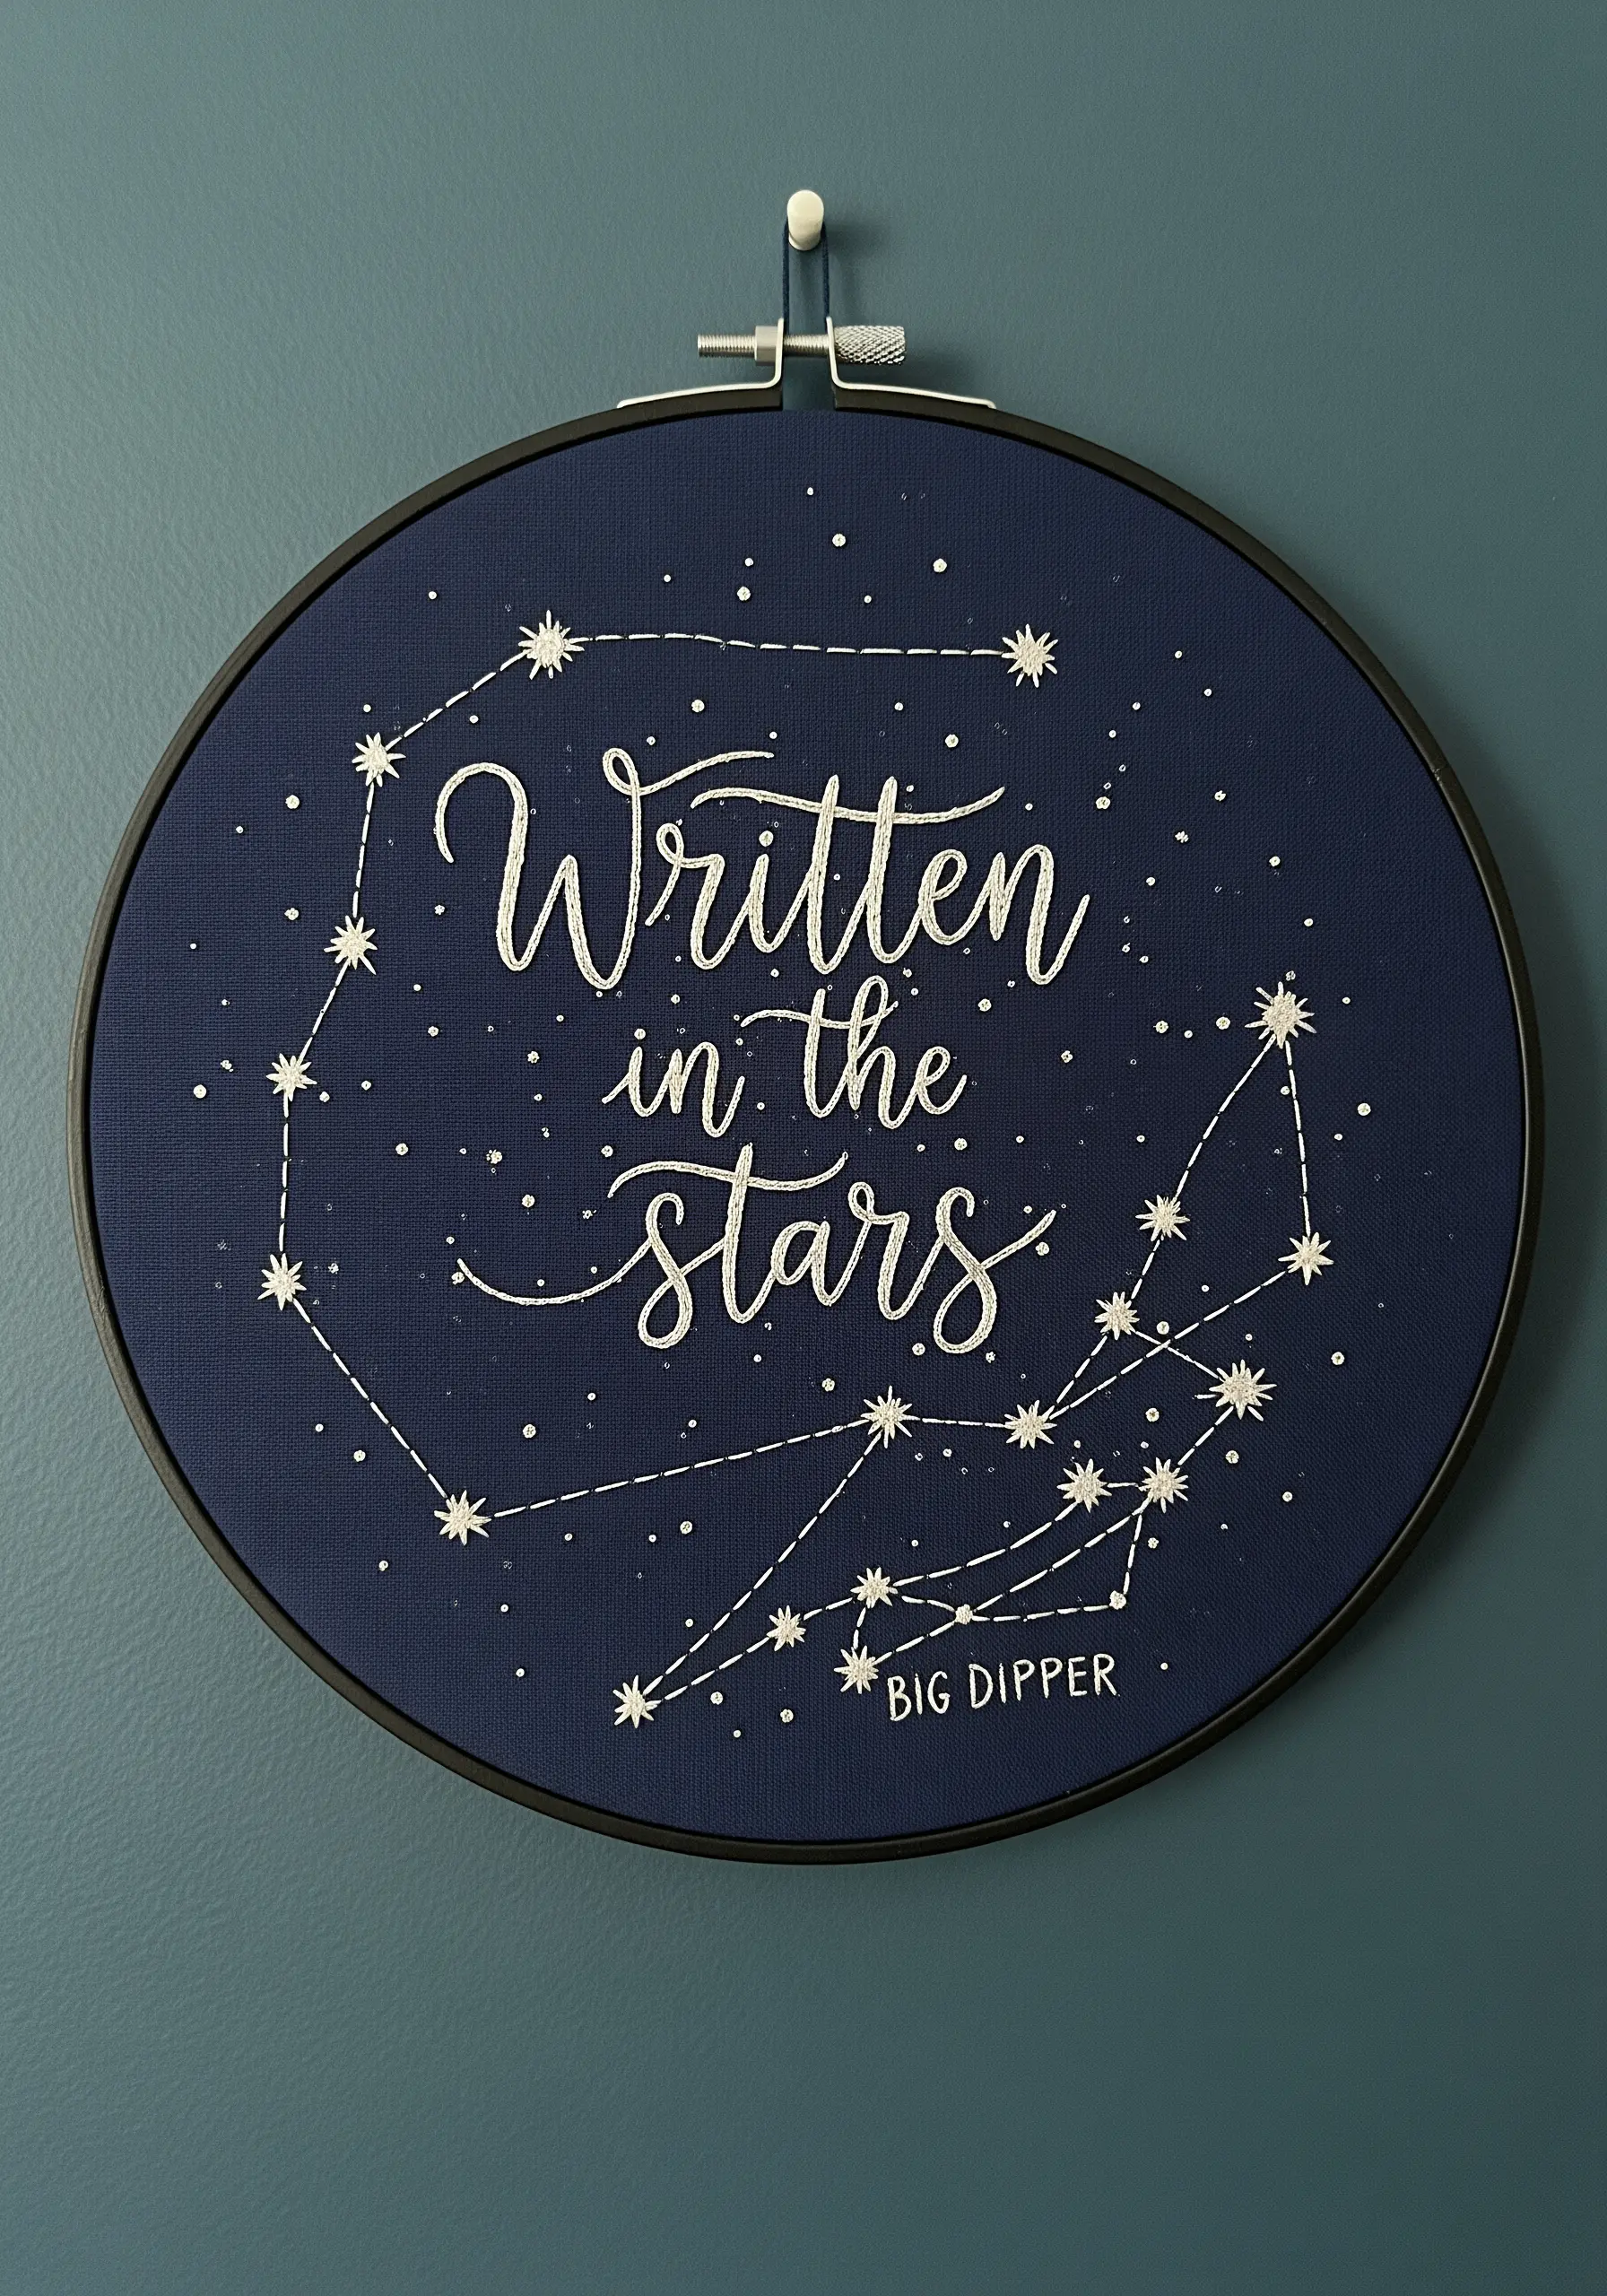
To make an embroidered night sky feel dynamic rather than flat, use French knots of varying sizes to represent stars.
For small, distant stars, use a single strand of floss and wrap the needle just once.
For brighter, closer stars, switch to two strands and wrap the needle twice.
This simple variation creates a convincing illusion of depth and makes the celestial design sparkle with realism.
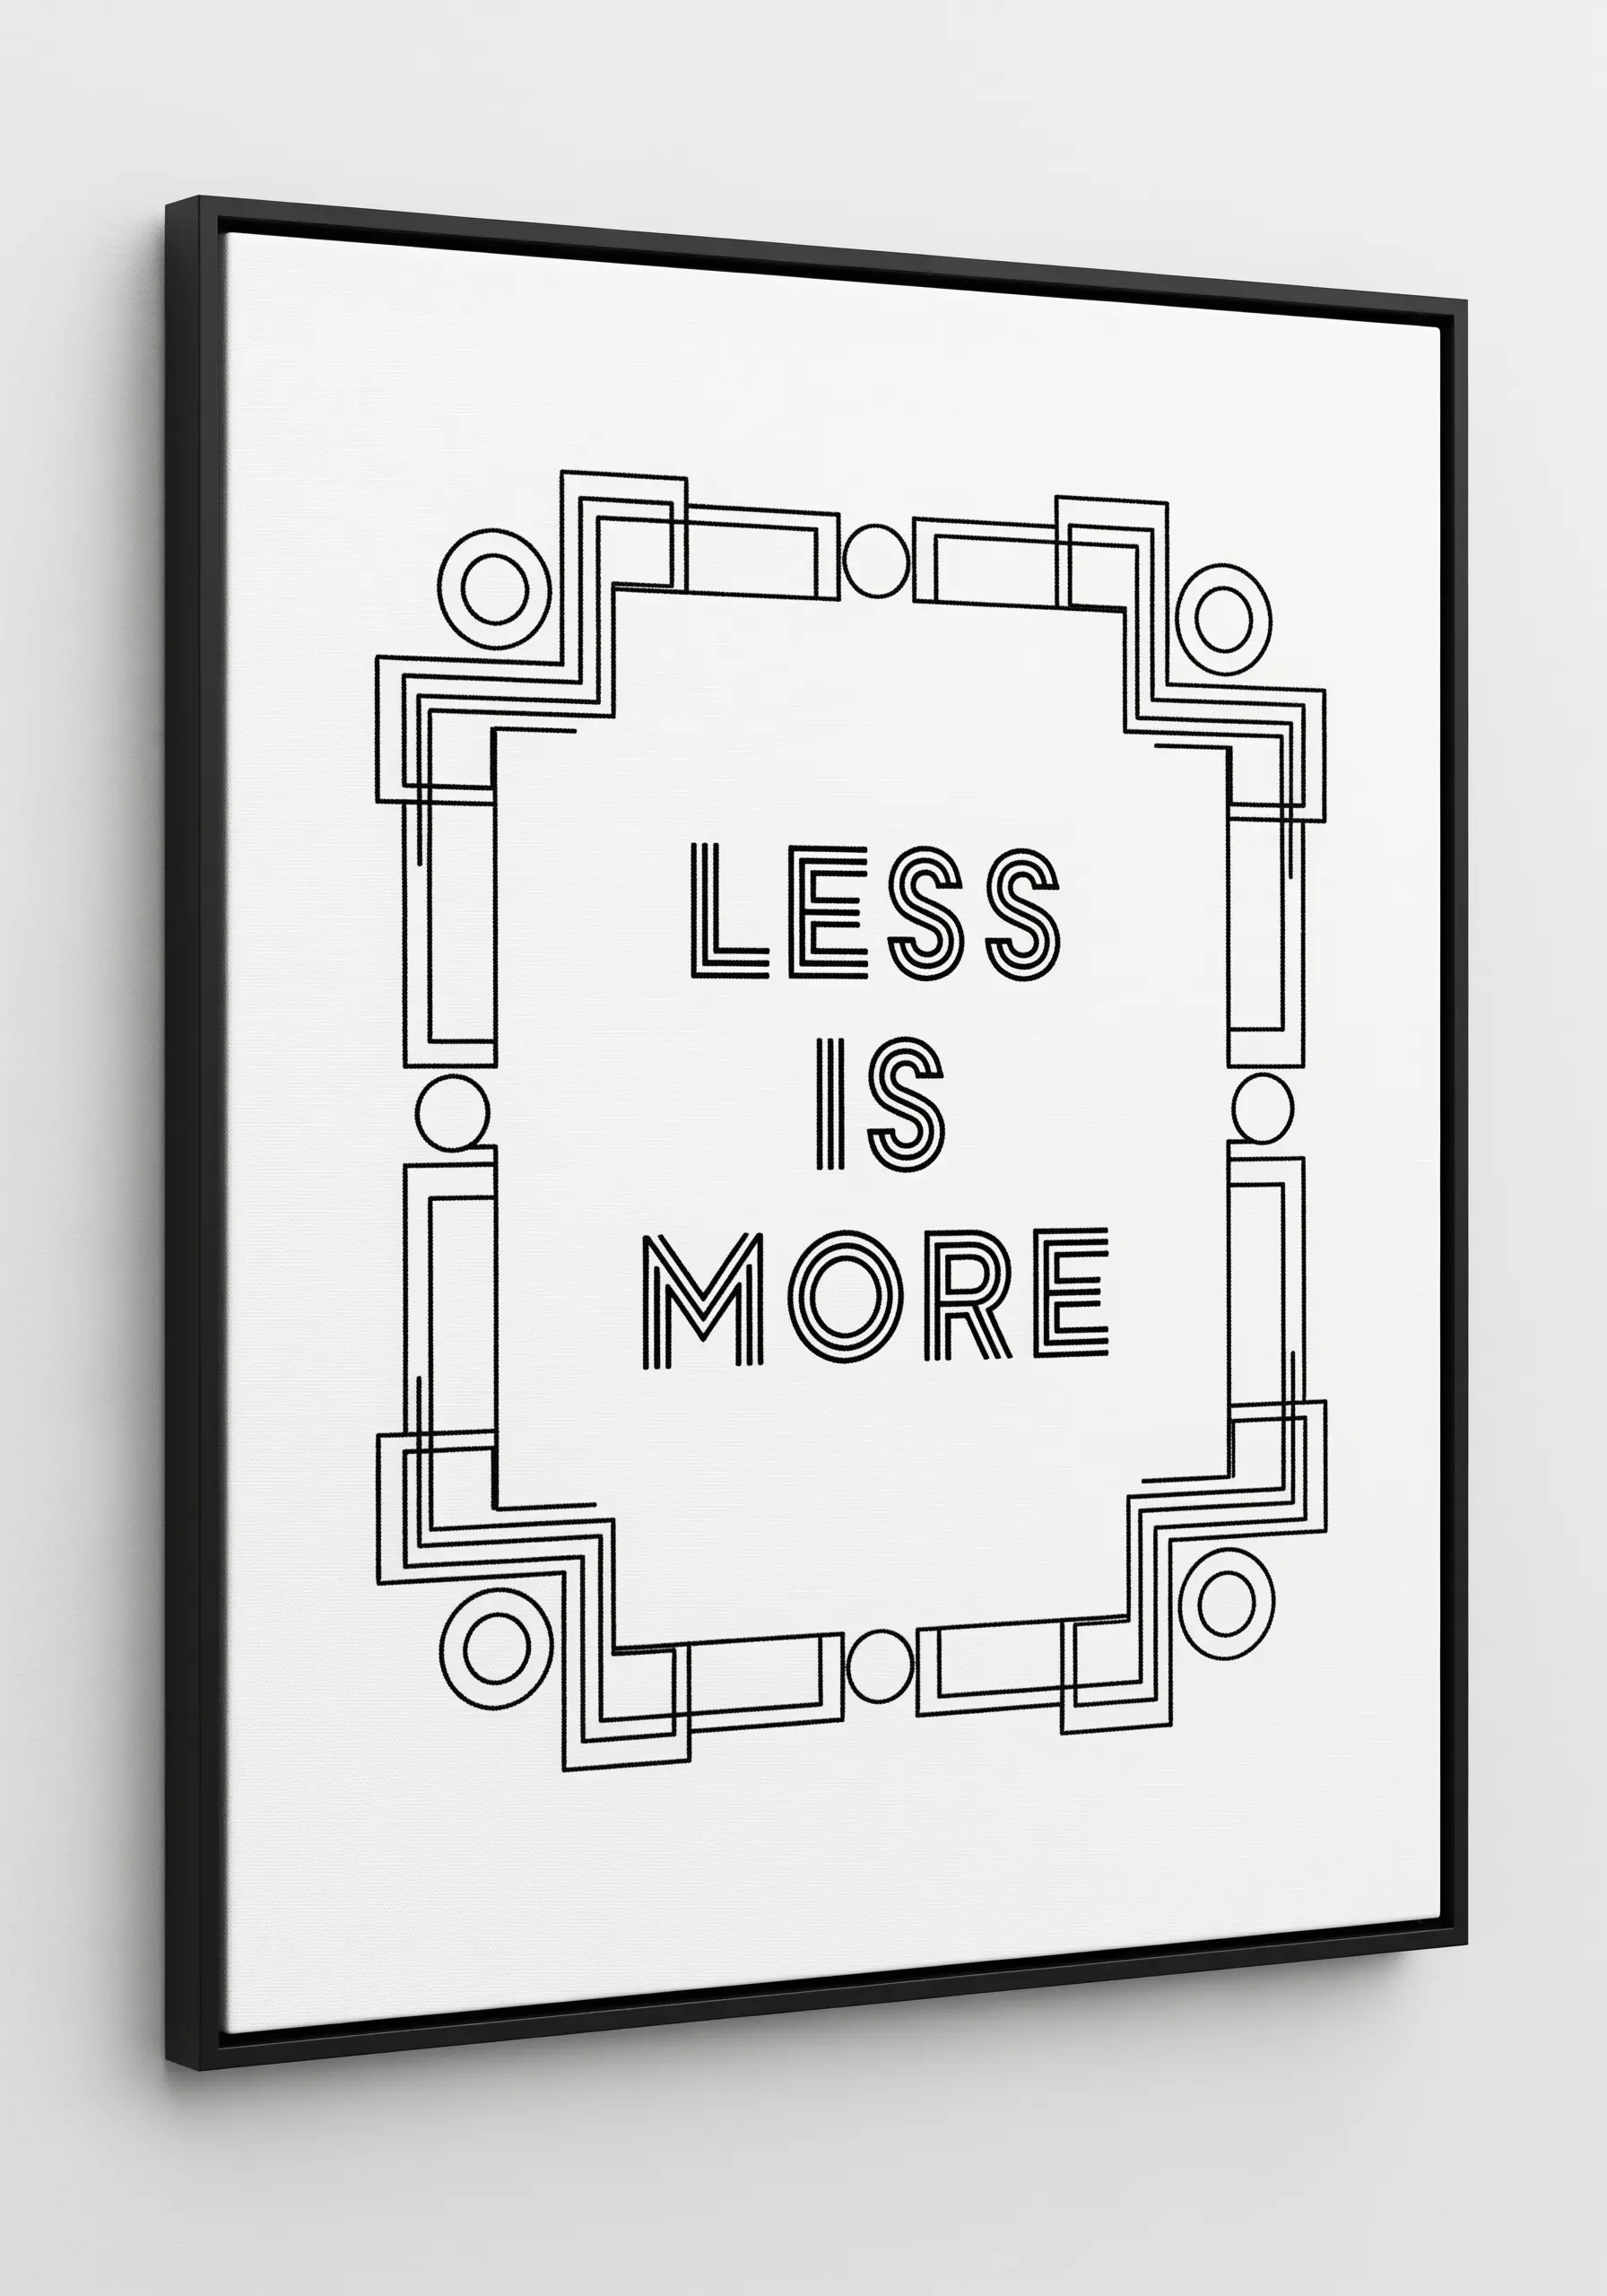
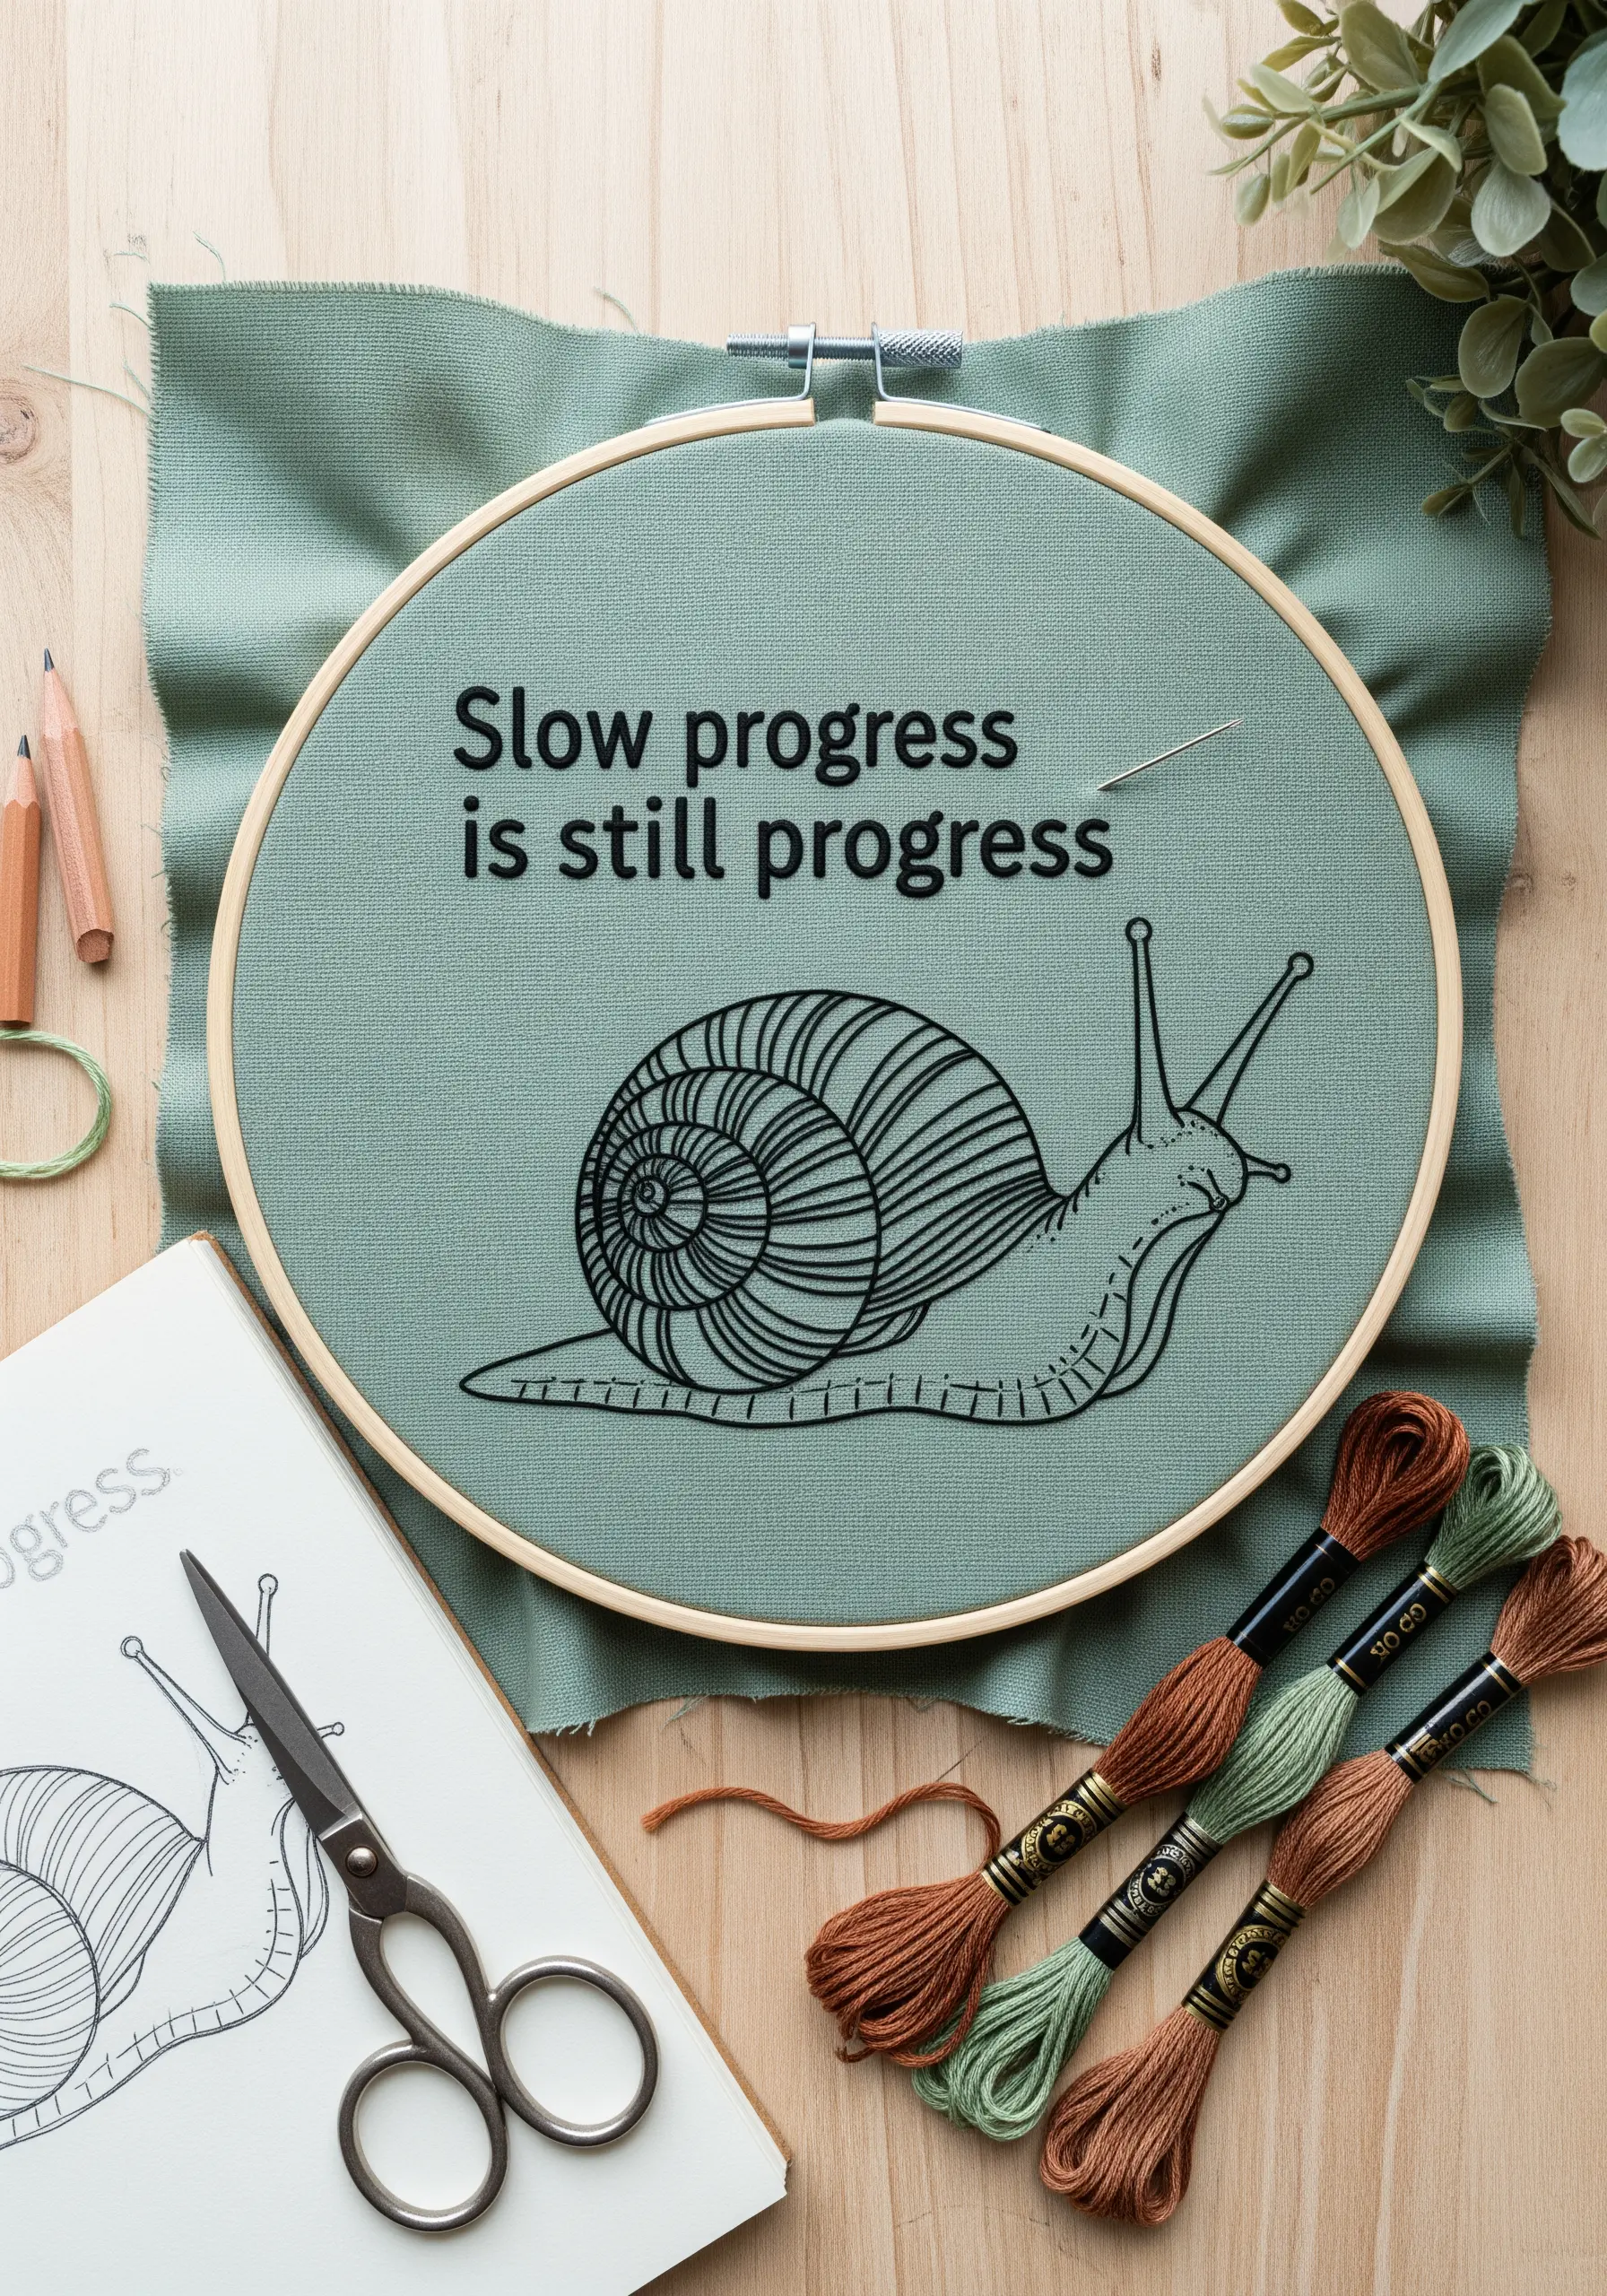
18. The Power of Flawless Minimalist Stitching

In minimalist embroidery, the empty space is just as important as the stitches themselves.
The success of a design like this hinges on perfect execution. The satin stitch in the word must be perfectly smooth and dense, with clean, sharp edges.
The lines of the circular motif must be stitched with a perfectly even backstitch, maintaining consistent spacing.
It is this technical precision that gives the composition its intentional, calming quality.
19. The Art of the Uniform Outline
When stitching over a pre-printed design, your goal is to add texture and definition with perfectly executed linework.
Use a two-strand backstitch for a line that is substantial but not bulky.
The key to a professional finish is maintaining an absolutely consistent stitch length throughout the entire piece.
This uniformity shows control and intention, transforming a simple outline into a polished work of art.
20. Defining Color Blocks with a Split-Stitch Border
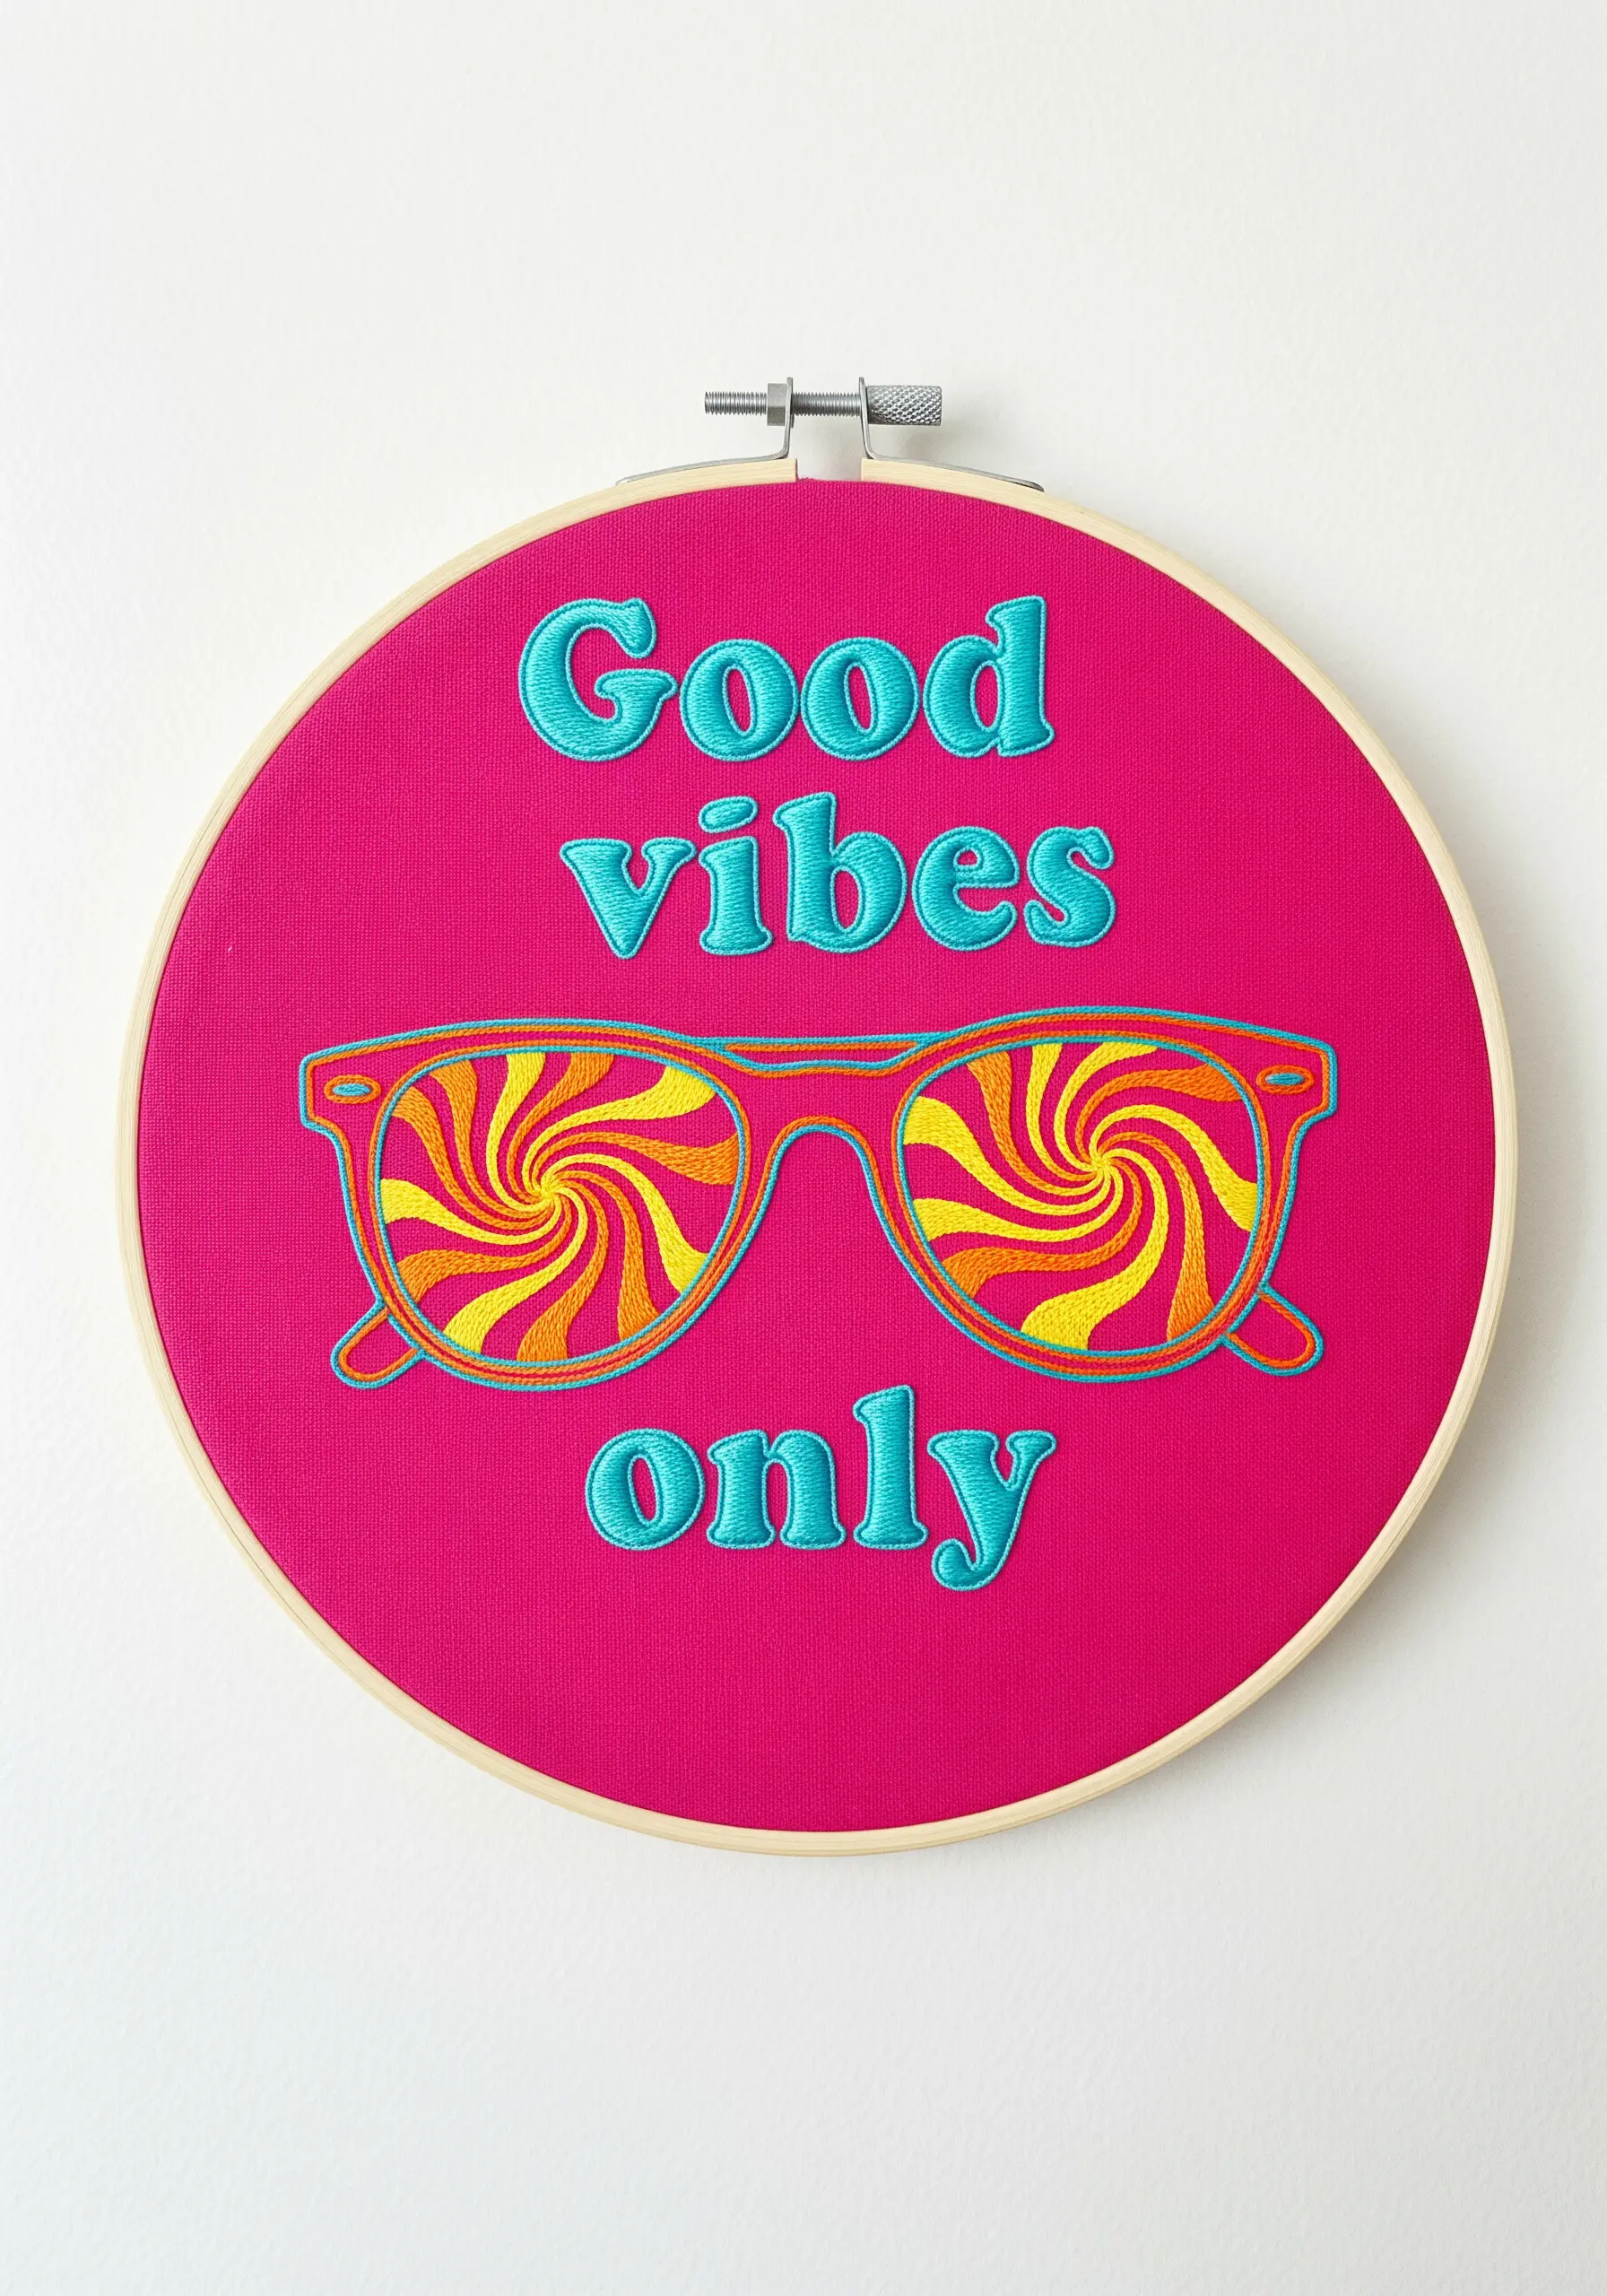
To achieve the crisp, graphic look of the sunglasses, you must prevent the adjacent colors from blending together.
Before filling any section with satin stitch, first outline it carefully with a split stitch using the same color floss.
This outline acts as a raised ‘dam,’ giving you a firm edge to bring your satin stitches up against. It ensures your shapes remain distinct and your color blocks are perfectly clean.


