

You don’t need complex stitches or a thousand colors to make an impact. Often, the most profound statement comes from a single, well-placed line—a quiet detail that transforms an everyday object into something personal and cherished.
Think of your table linens not just as functional items, but as a canvas for quiet expression. A simple embroidered motif can set the mood for a meal, spark a conversation, or simply bring a small moment of beauty into your day. It’s about elevating the ordinary with intention.
Here, you’ll find ideas that rely on the purity of line art. We’ll explore how stitch choice, thread weight, and thoughtful placement can create texture, movement, and personality. This is your invitation to create home decor that feels less decorated and more thoughtfully curated—one stitch at a time.
1. The Single-Line Portrait Napkin
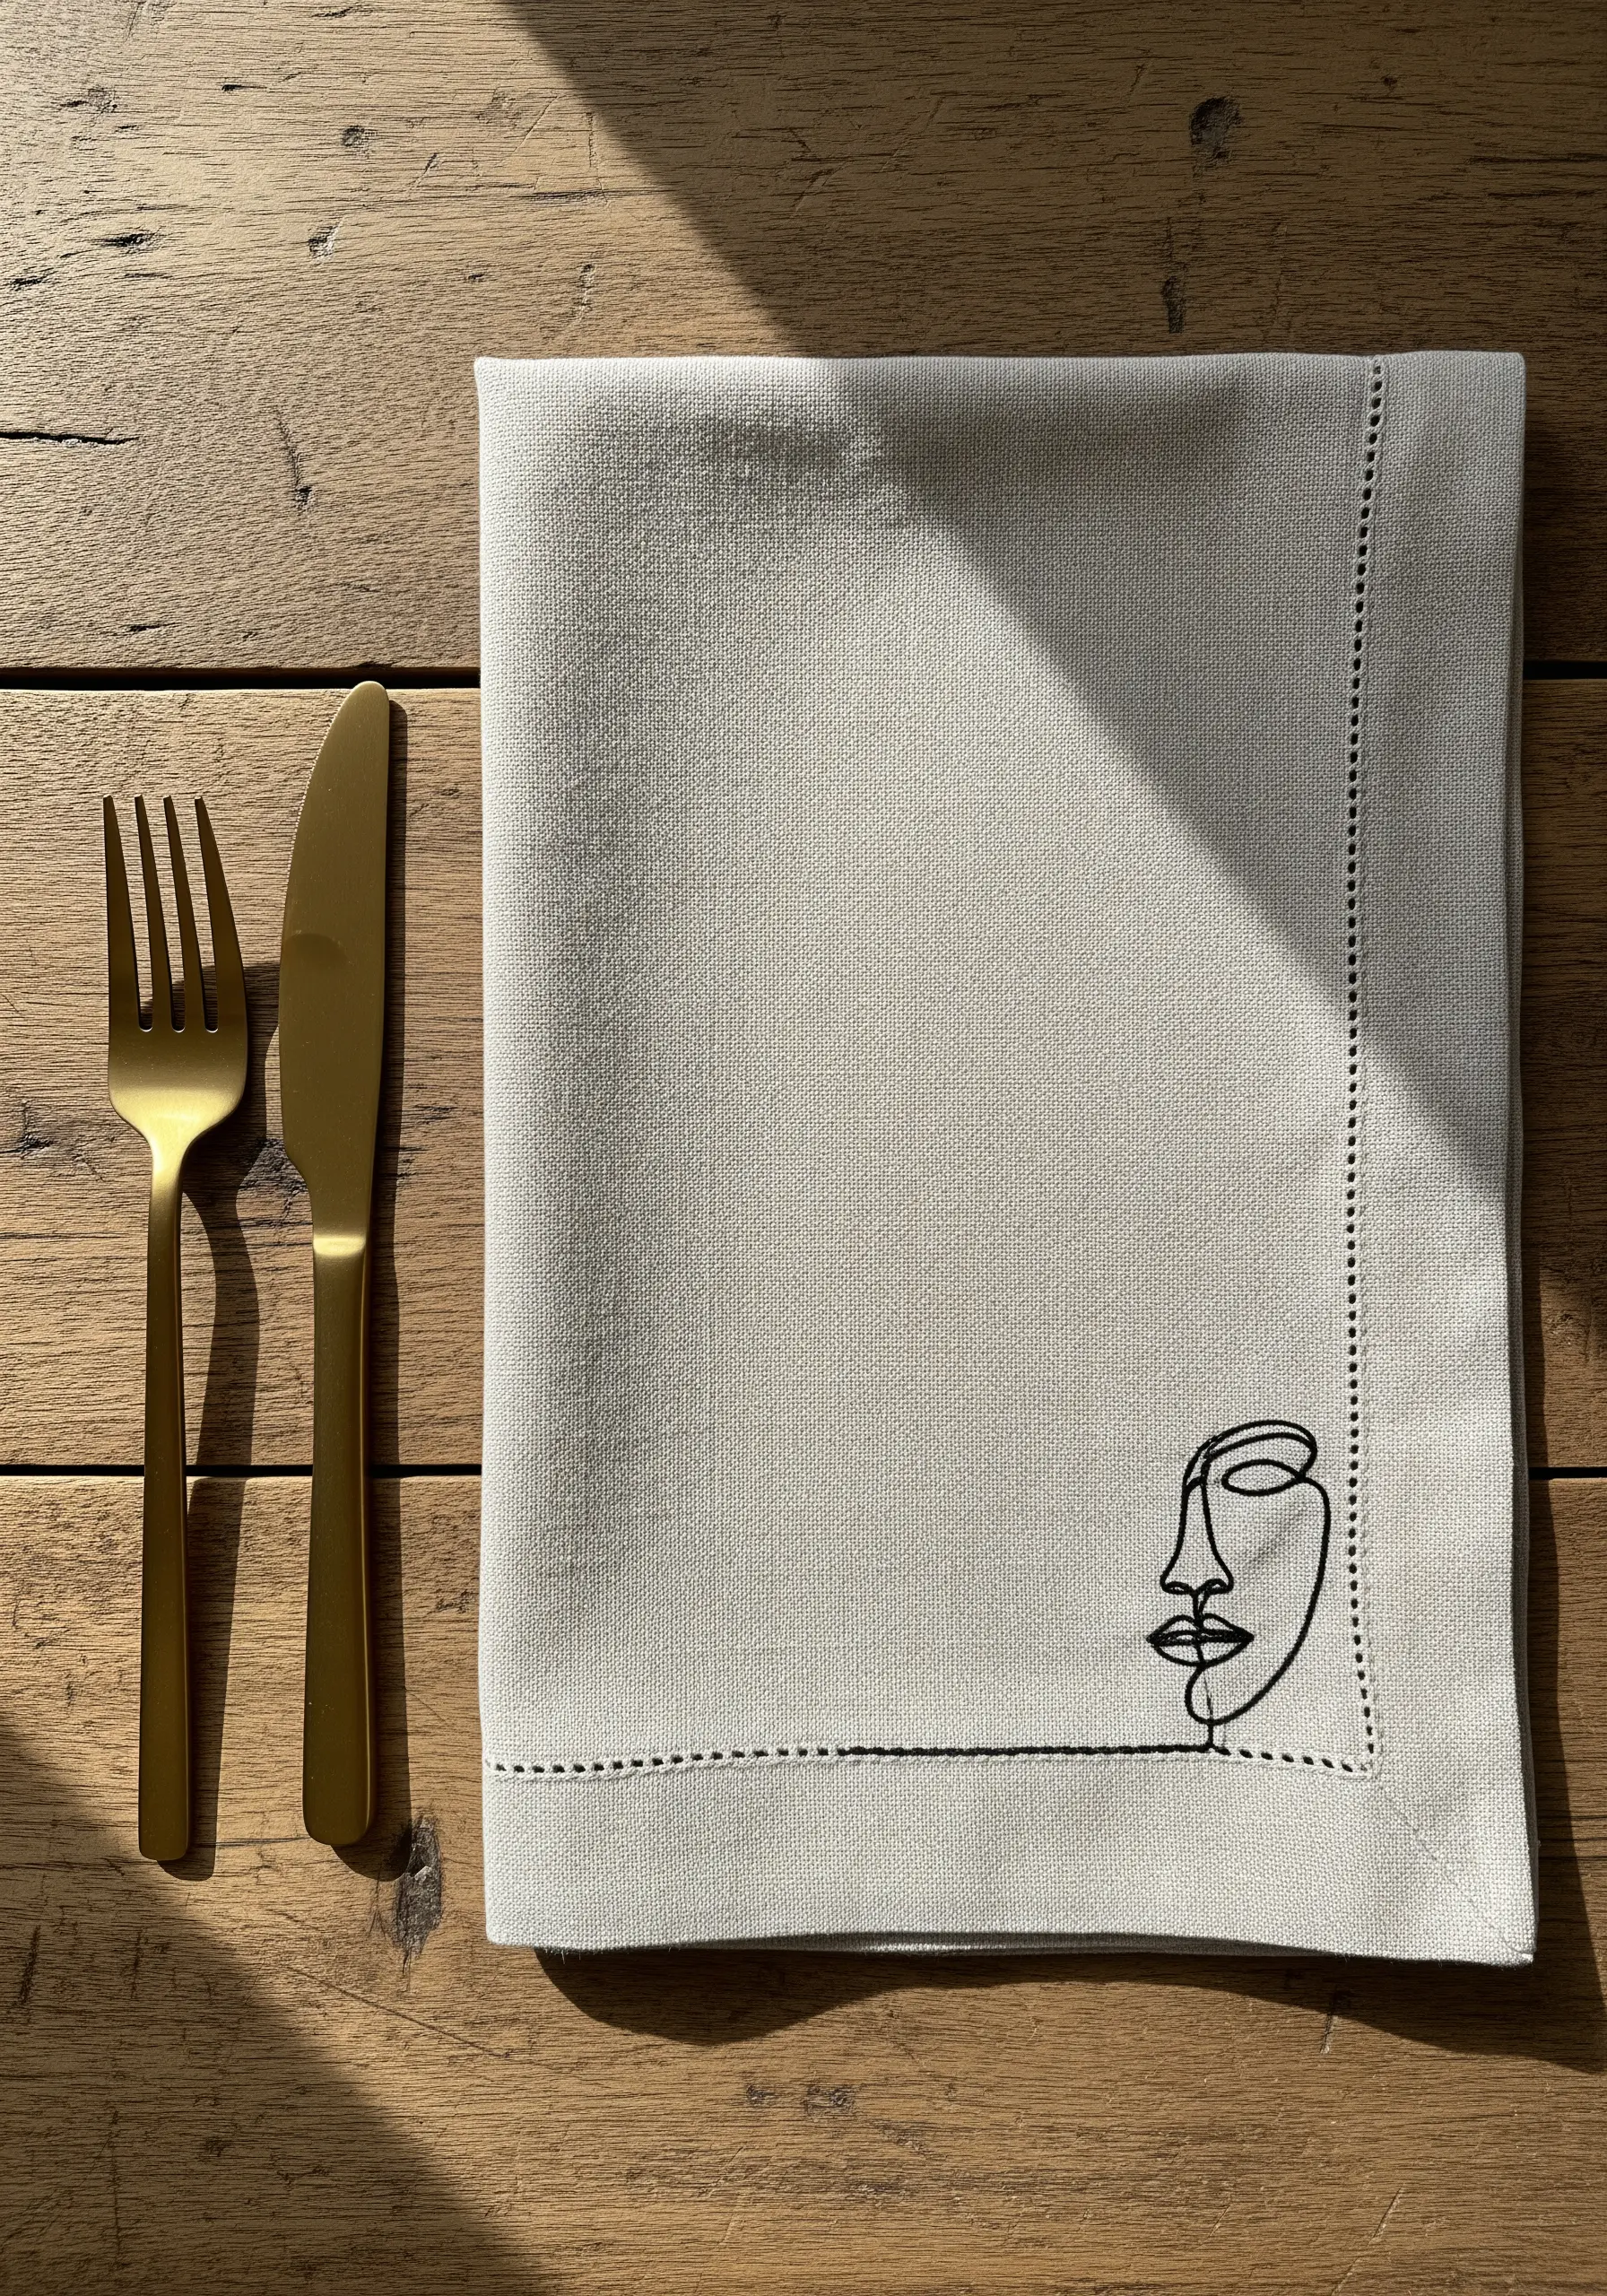
Capture the essence of modern art by stitching a portrait with what appears to be a single, unbroken line.
Use a three-strand whipped backstitch to create a smooth, raised line that mimics the confident flow of an ink pen.
For sharp corners and overlapping lines, end your stitch on the underside of the fabric and begin a new one precisely at the intersection to maintain the illusion of a continuous stroke.
This technique turns a simple napkin into a piece of functional art, making it an immediate conversation starter at the dinner table.
2. Flowing Ginkgo Leaf Table Runner
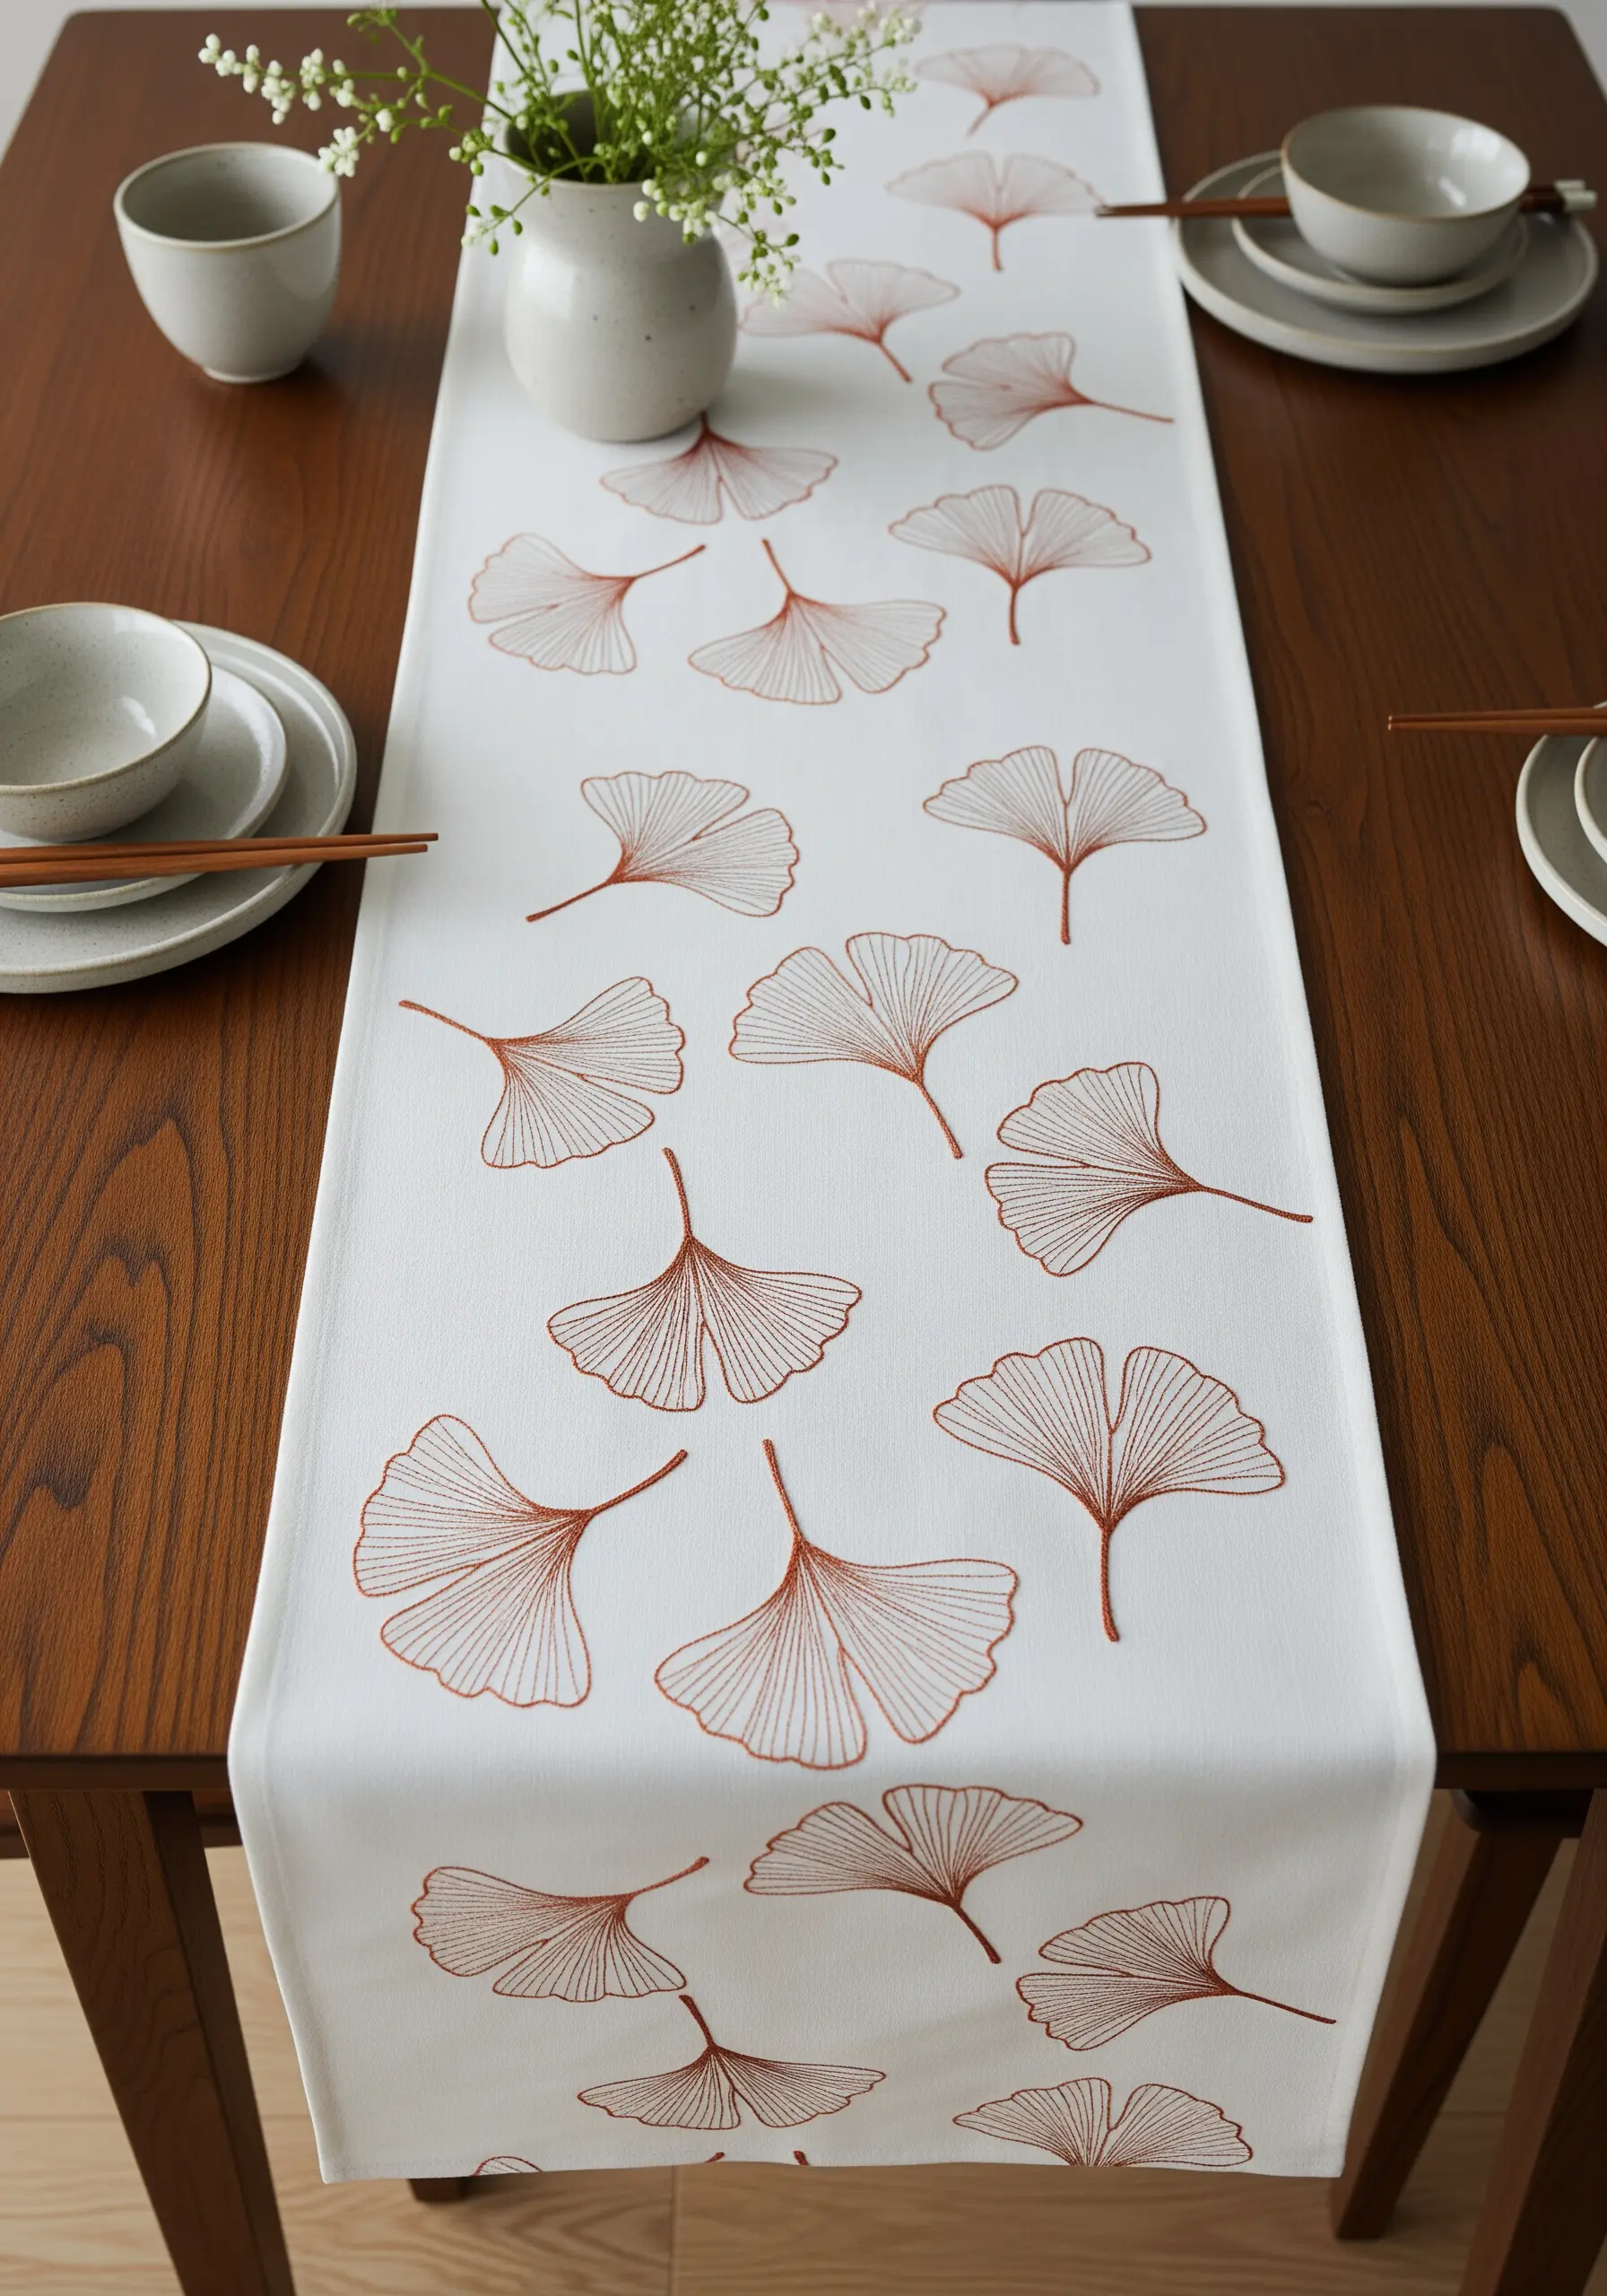
Create a sense of gentle movement down the length of your table runner by scattering motifs as if they were carried by a breeze.
Vary the orientation and spacing of each ginkgo leaf, avoiding a rigid, grid-like pattern to make the layout feel more organic and natural.
Use a single color of thread, like this warm terracotta, to unify the design and ensure it complements your tableware without overwhelming it.
Stitch the delicate veins with a simple backstitch using a single strand of floss for a fine, elegant finish.
3. Cohesive Botanical Placemat Set
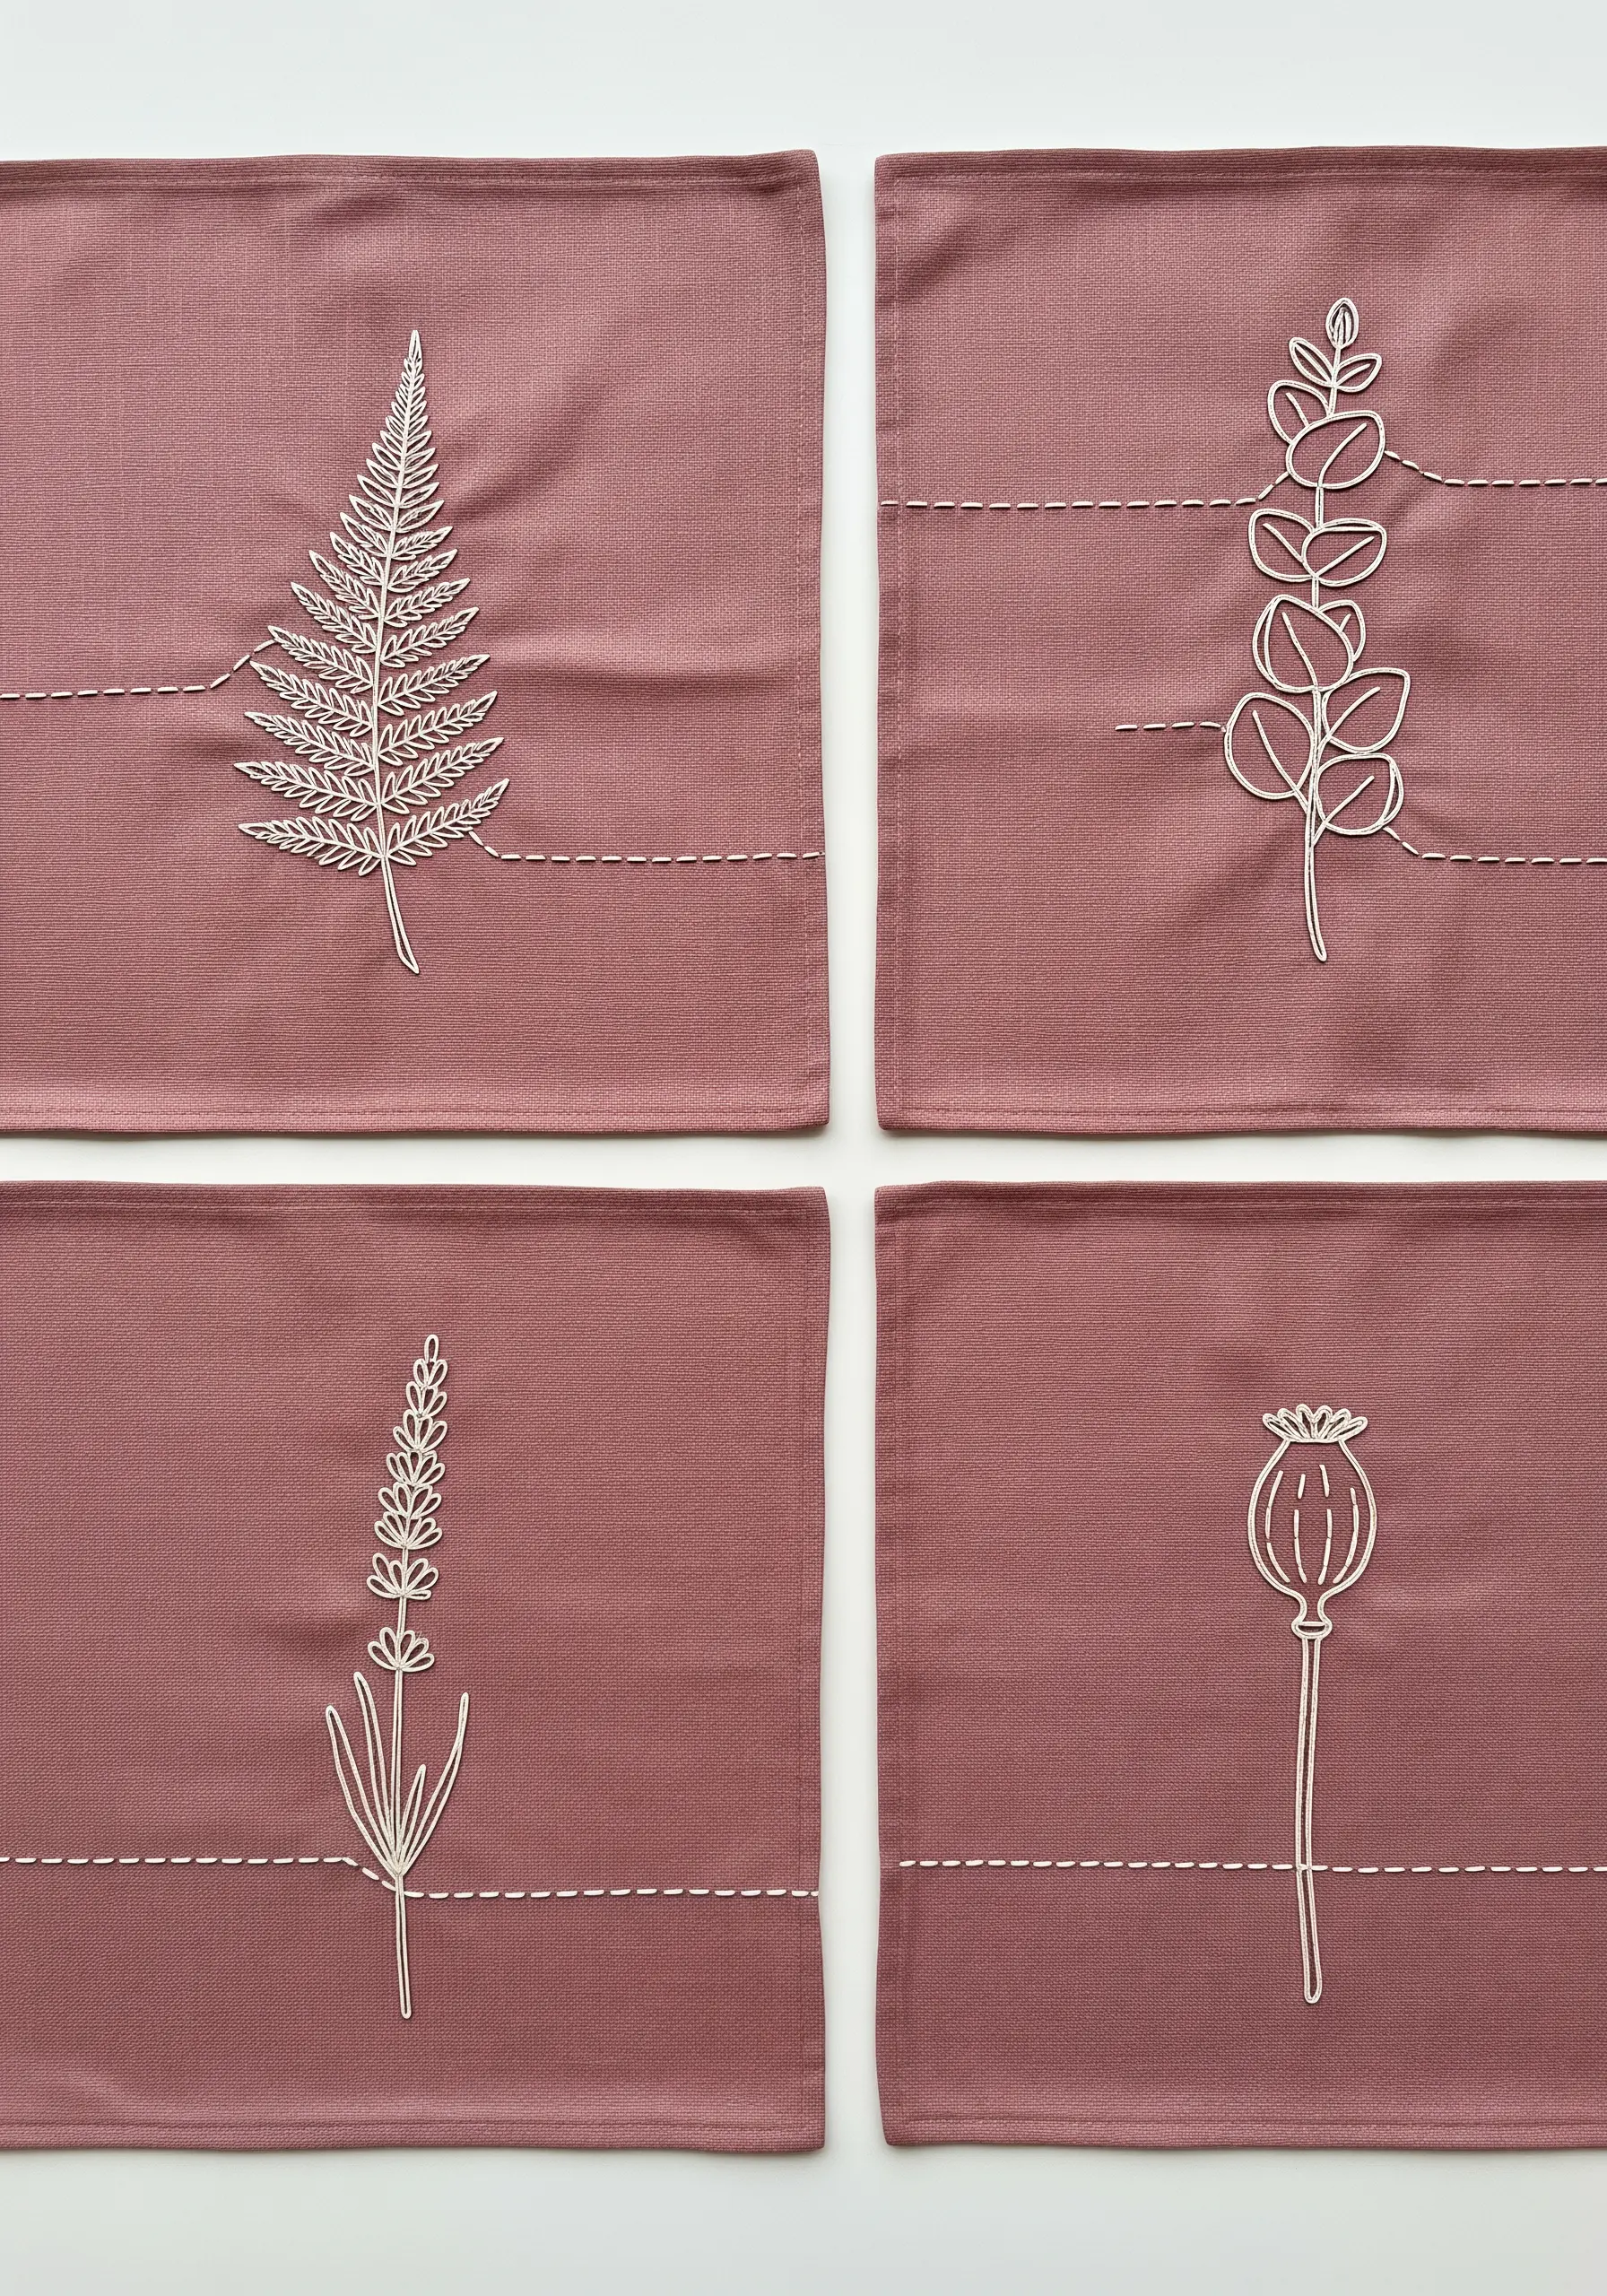
To create a curated set of placemats, choose different botanical motifs but unify them with a strict color palette and consistent stitch style.
Use a crisp, high-contrast thread—like off-white on this dusty rose linen—to make the delicate line art pop.
A simple running stitch border frames each design, adding a subtle handmade detail that ties the collection together visually.
For the intricate fern, use a fishbone stitch for the leaves to add texture and dimension while keeping the overall aesthetic minimal.
4. Textured Mountainscape with Couching

Give your line art physical presence and texture by using a couching technique for these mountain ridges.
Lay down a thick cord or several strands of embroidery floss (6 or more) along your design line.
Then, use a single, contrasting strand to tack the thick cord to the fabric with small, perpendicular stitches.
This method creates a bold, sculptural line that stands out beautifully on textured fabrics like linen or cotton canvas, adding depth to a minimal design.
5. The Contained Circle Motif
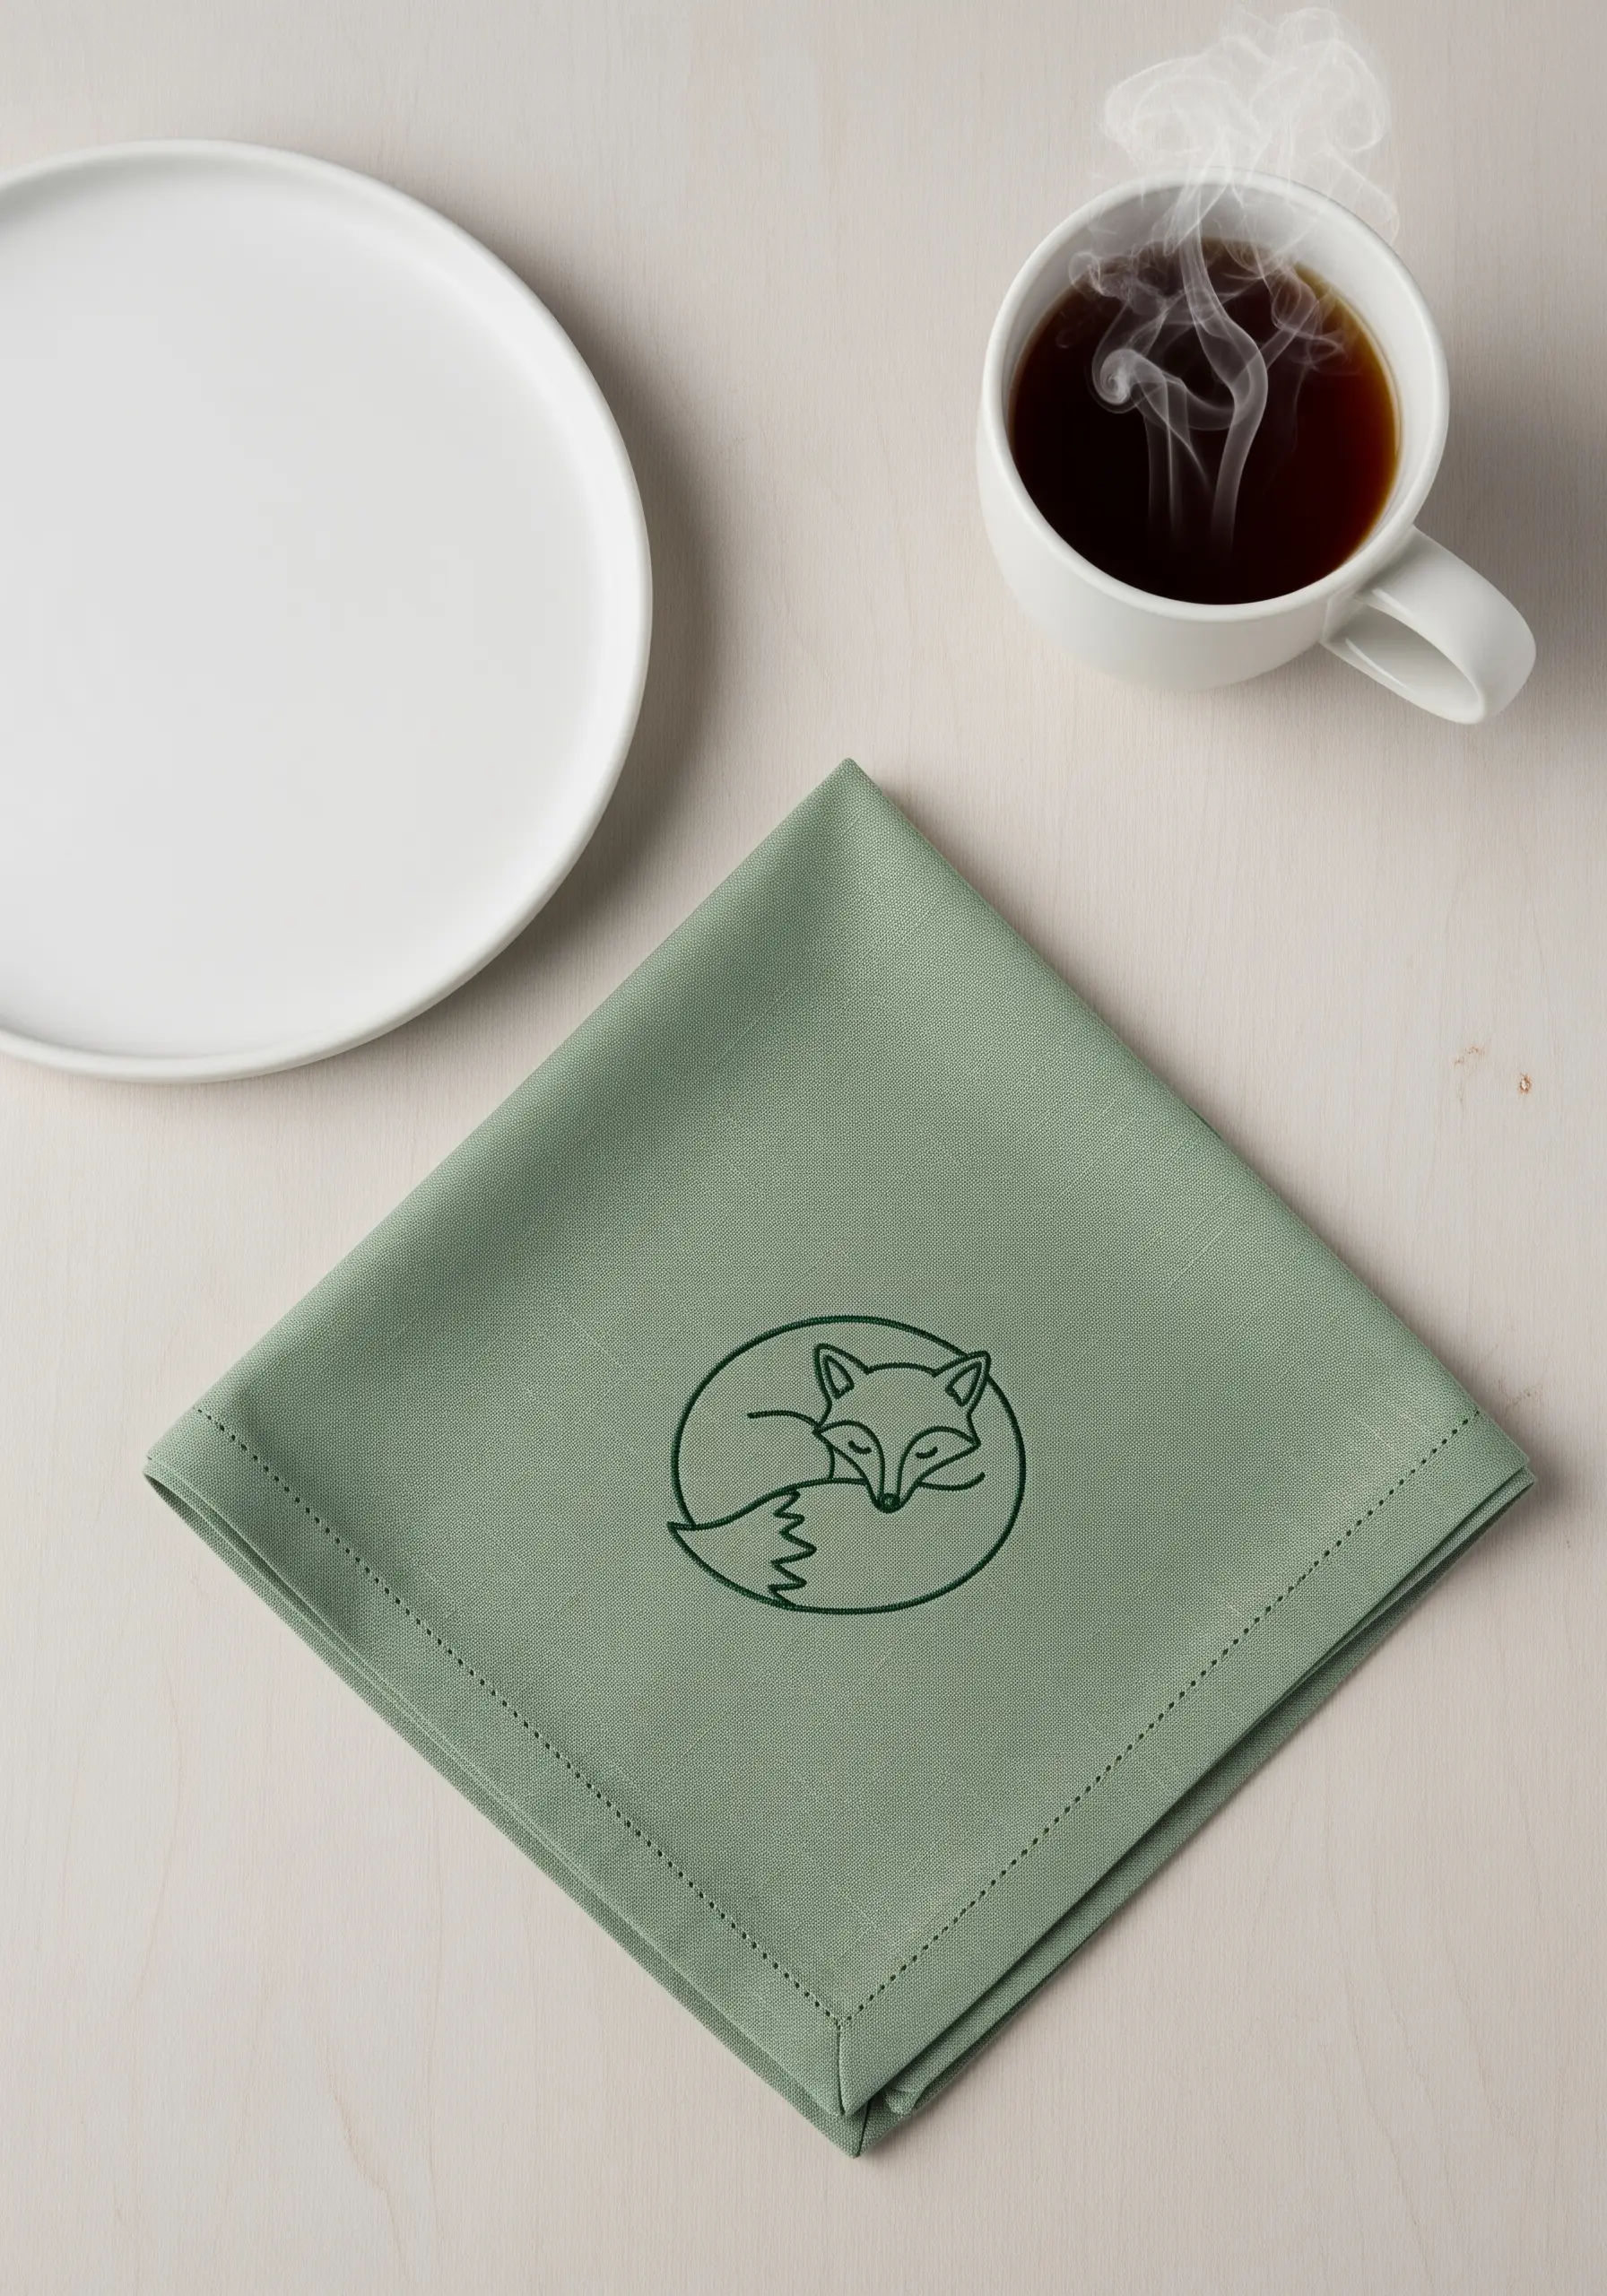
A circular border acts as a perfect frame for a simple motif, making it feel intentional and complete.
Embroider the sleeping fox using a two-strand split stitch to achieve clean, sharp lines that are ideal for tight curves and small details like the ears and tail.
Placing the contained design in a corner rather than the center of the napkin adds a touch of modern asymmetry.
The tonal color scheme—a dark green thread on a sage napkin—creates a sophisticated, low-contrast look.
6. Architectural Geometry on Linen
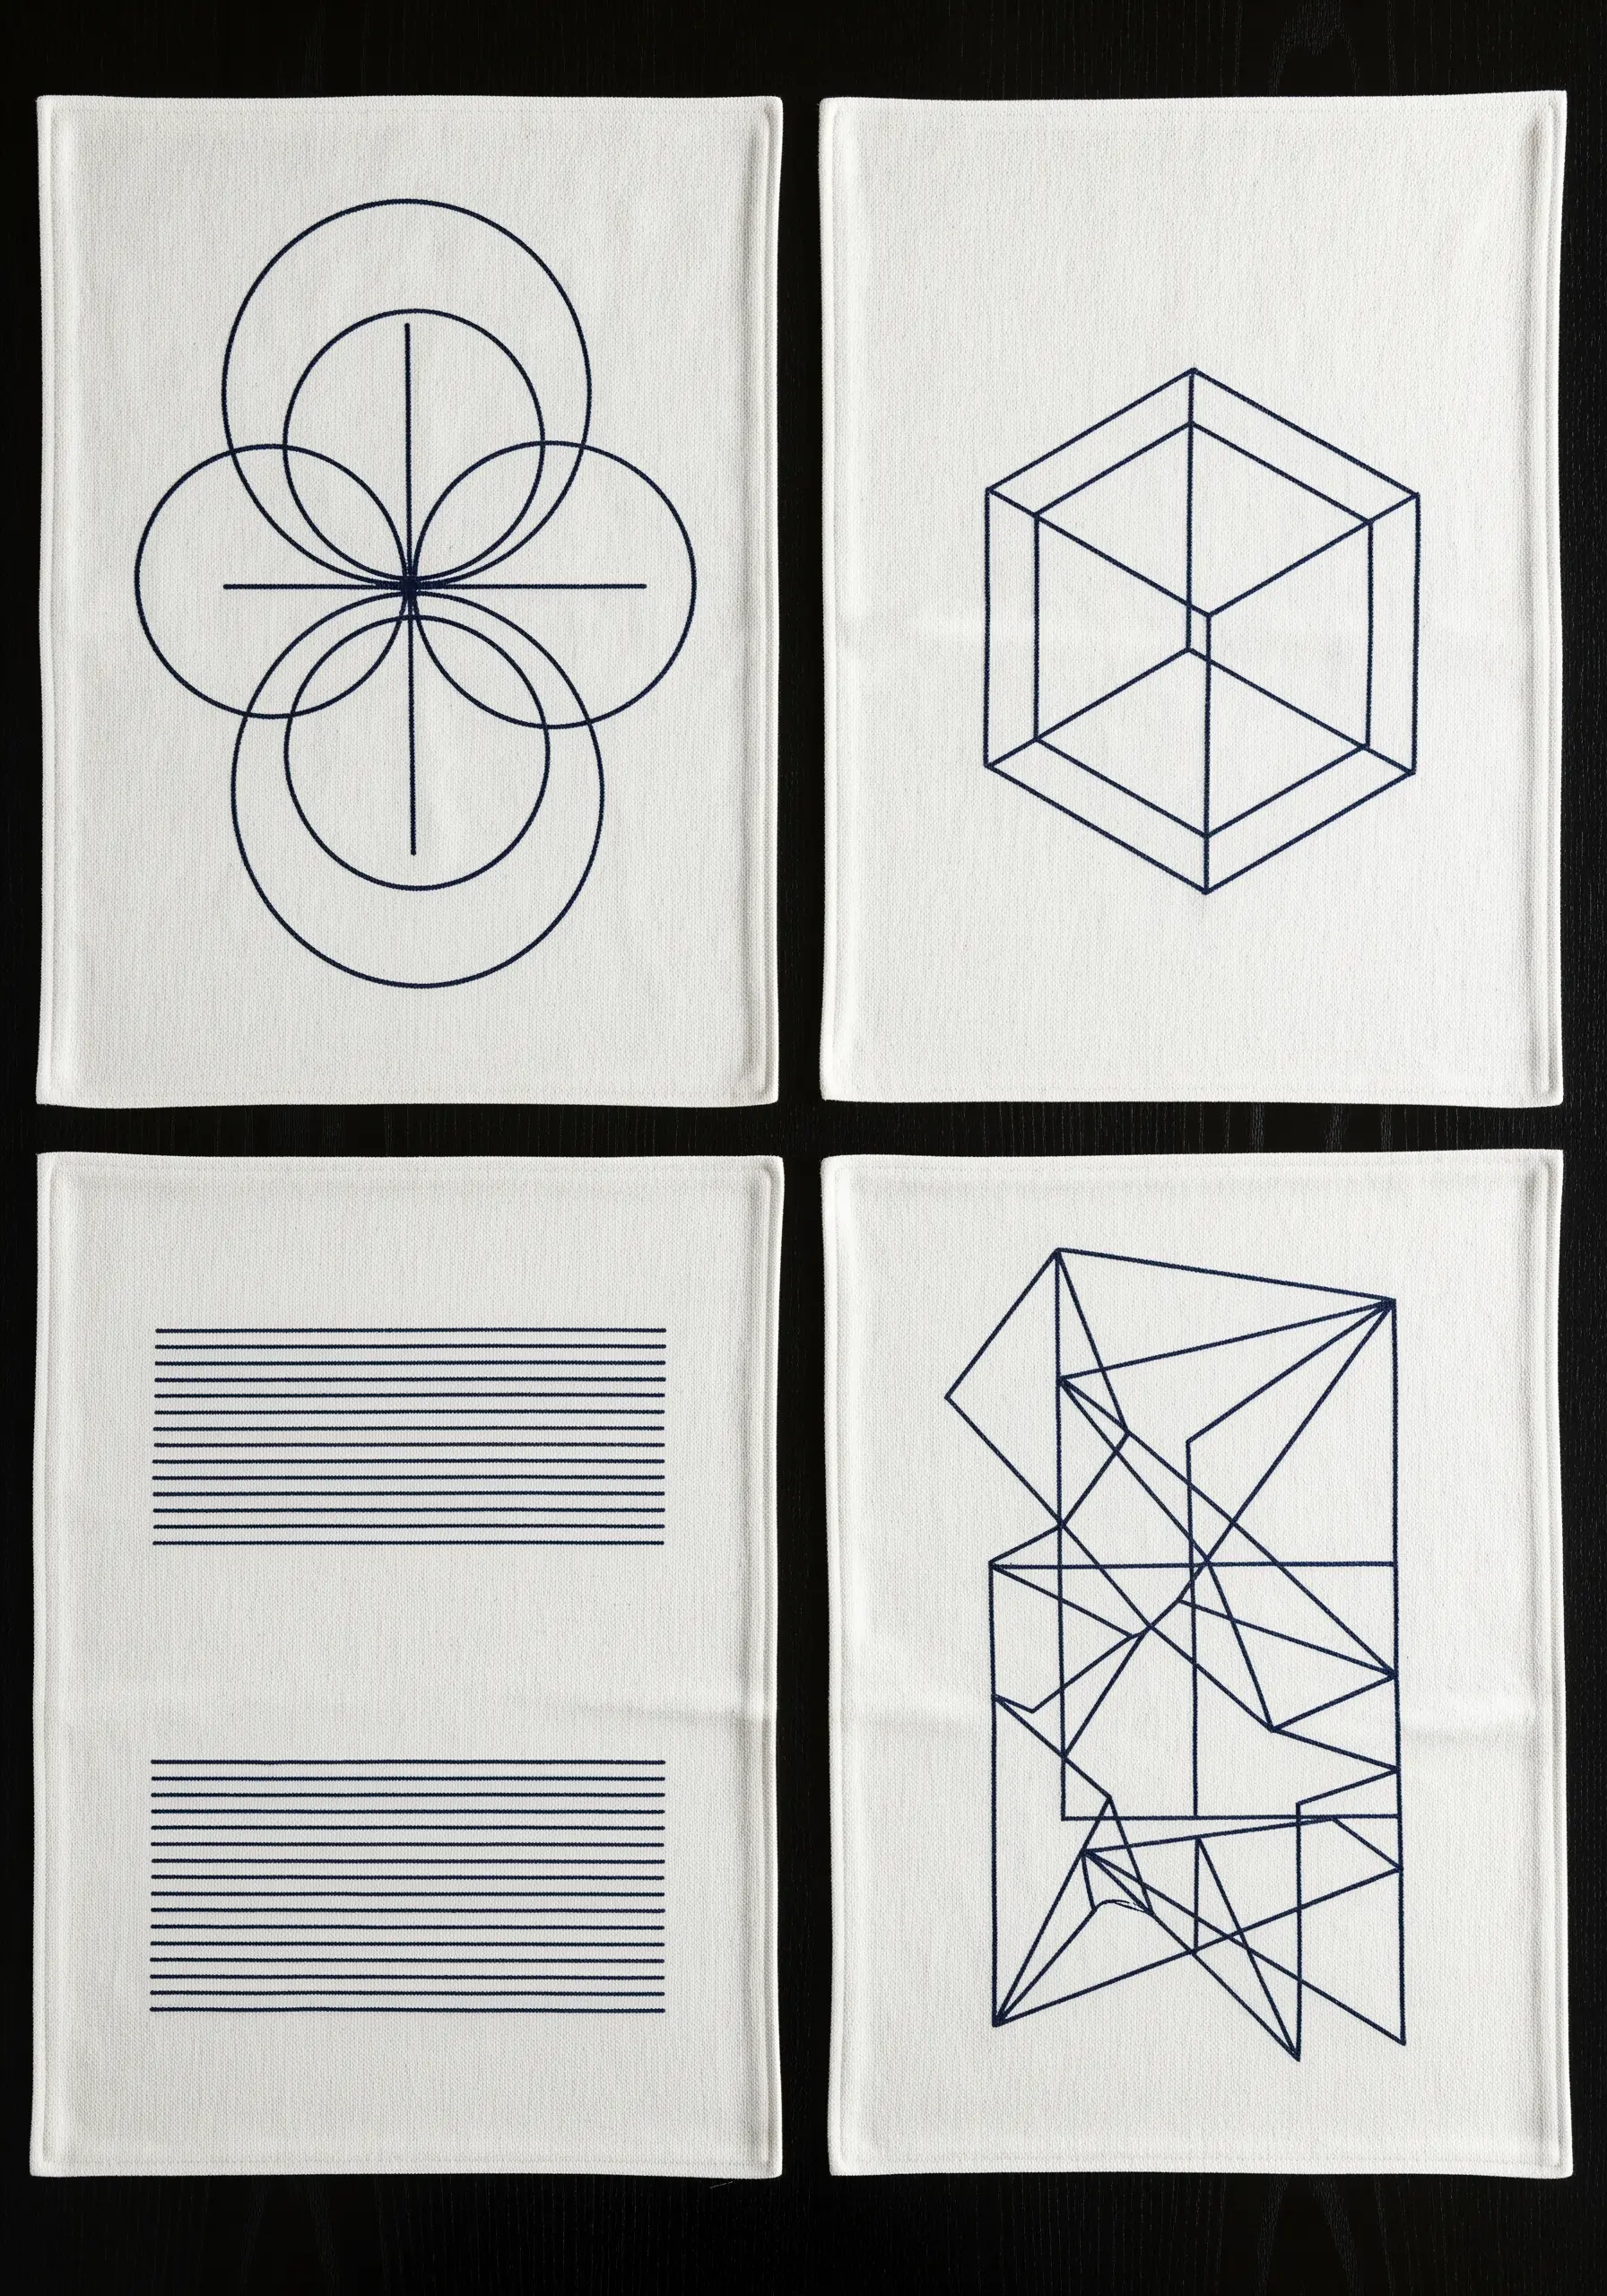
For crisp, precise geometric designs, precision is paramount.
Always use a stick-on, water-soluble stabilizer to transfer your pattern; it prevents fabric stretching and ensures your lines remain perfectly straight.
Use a single strand of floss with a sharp needle to execute flawless intersections and sharp angles.
A collection of different geometric stitch patterns, all in the same thread color, creates a modern, gallery-like set of napkins or placemats.
7. Narrative Motion on a Table Runner
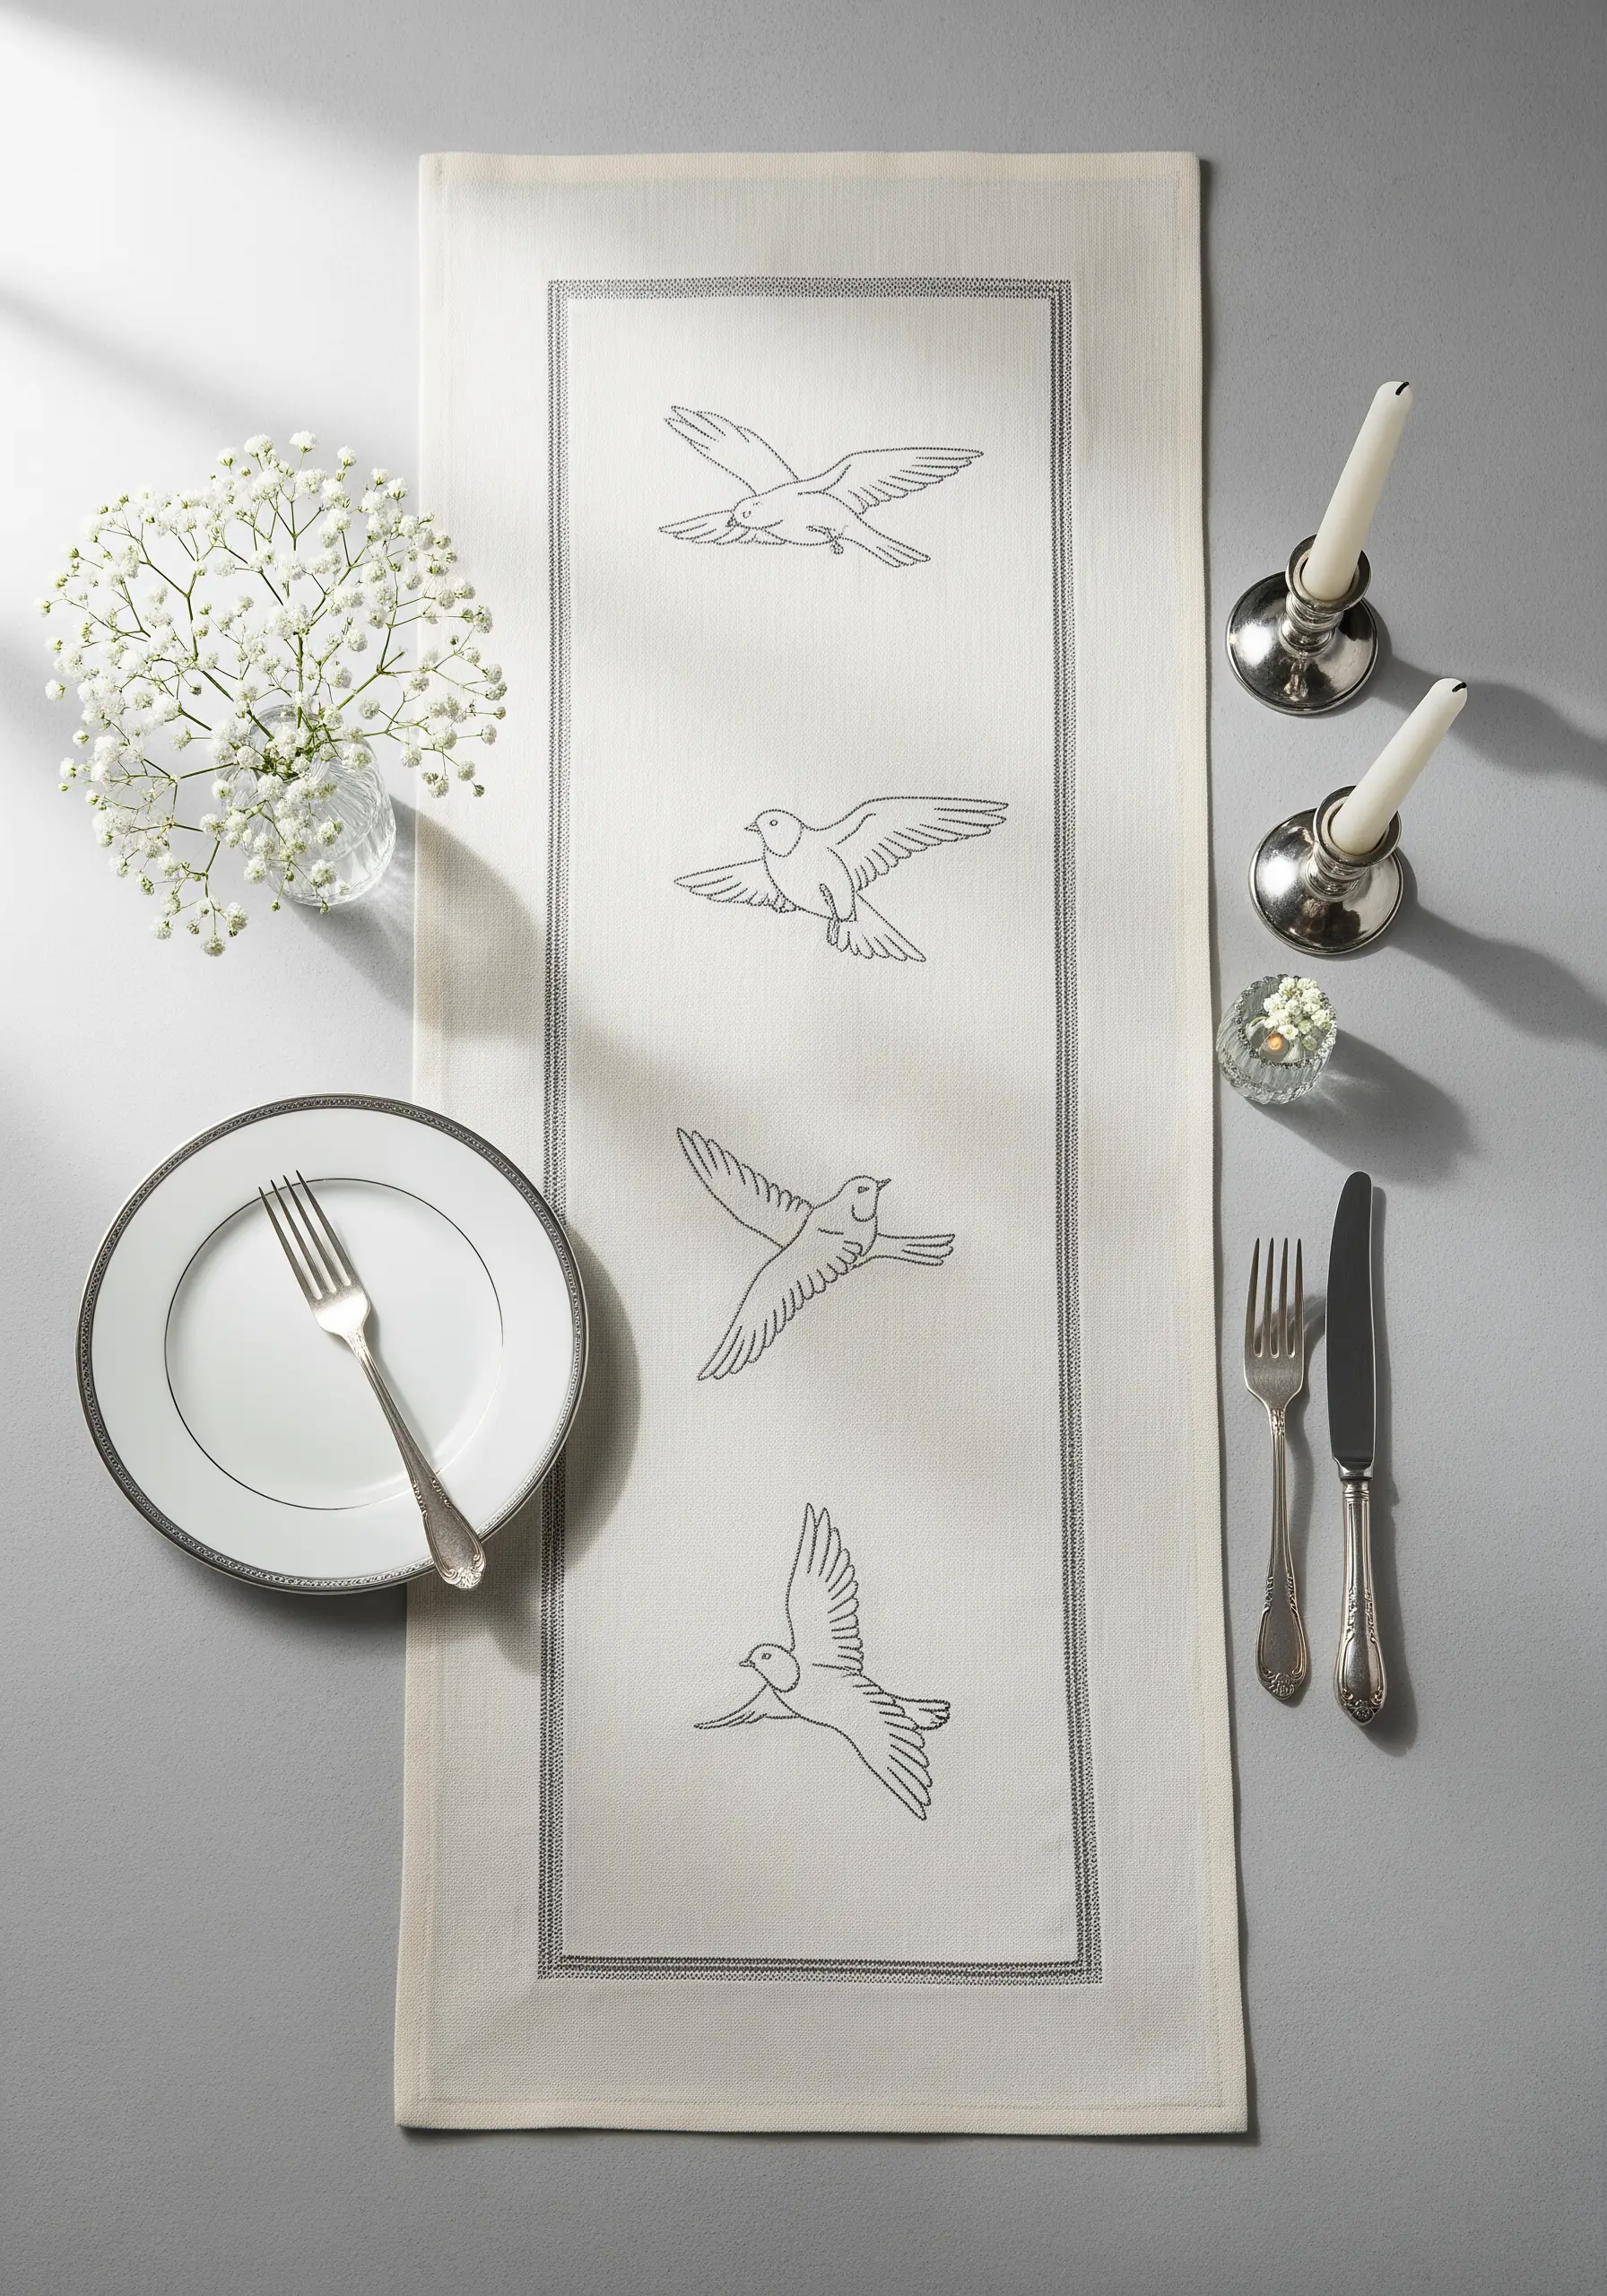
Tell a story along the length of your runner by arranging your motifs in a sequence that implies movement or progression.
These birds appear to fly up the table, creating a dynamic visual path for the eye to follow during a meal.
To add subtle detail, use a split stitch for the outlines and fill small areas like the wing tips with tiny, dense straight stitches to suggest feather texture.
The double backstitch border provides a clean, classic frame that contains the graceful motion of the birds.
8. The Power of a Micro-Motif
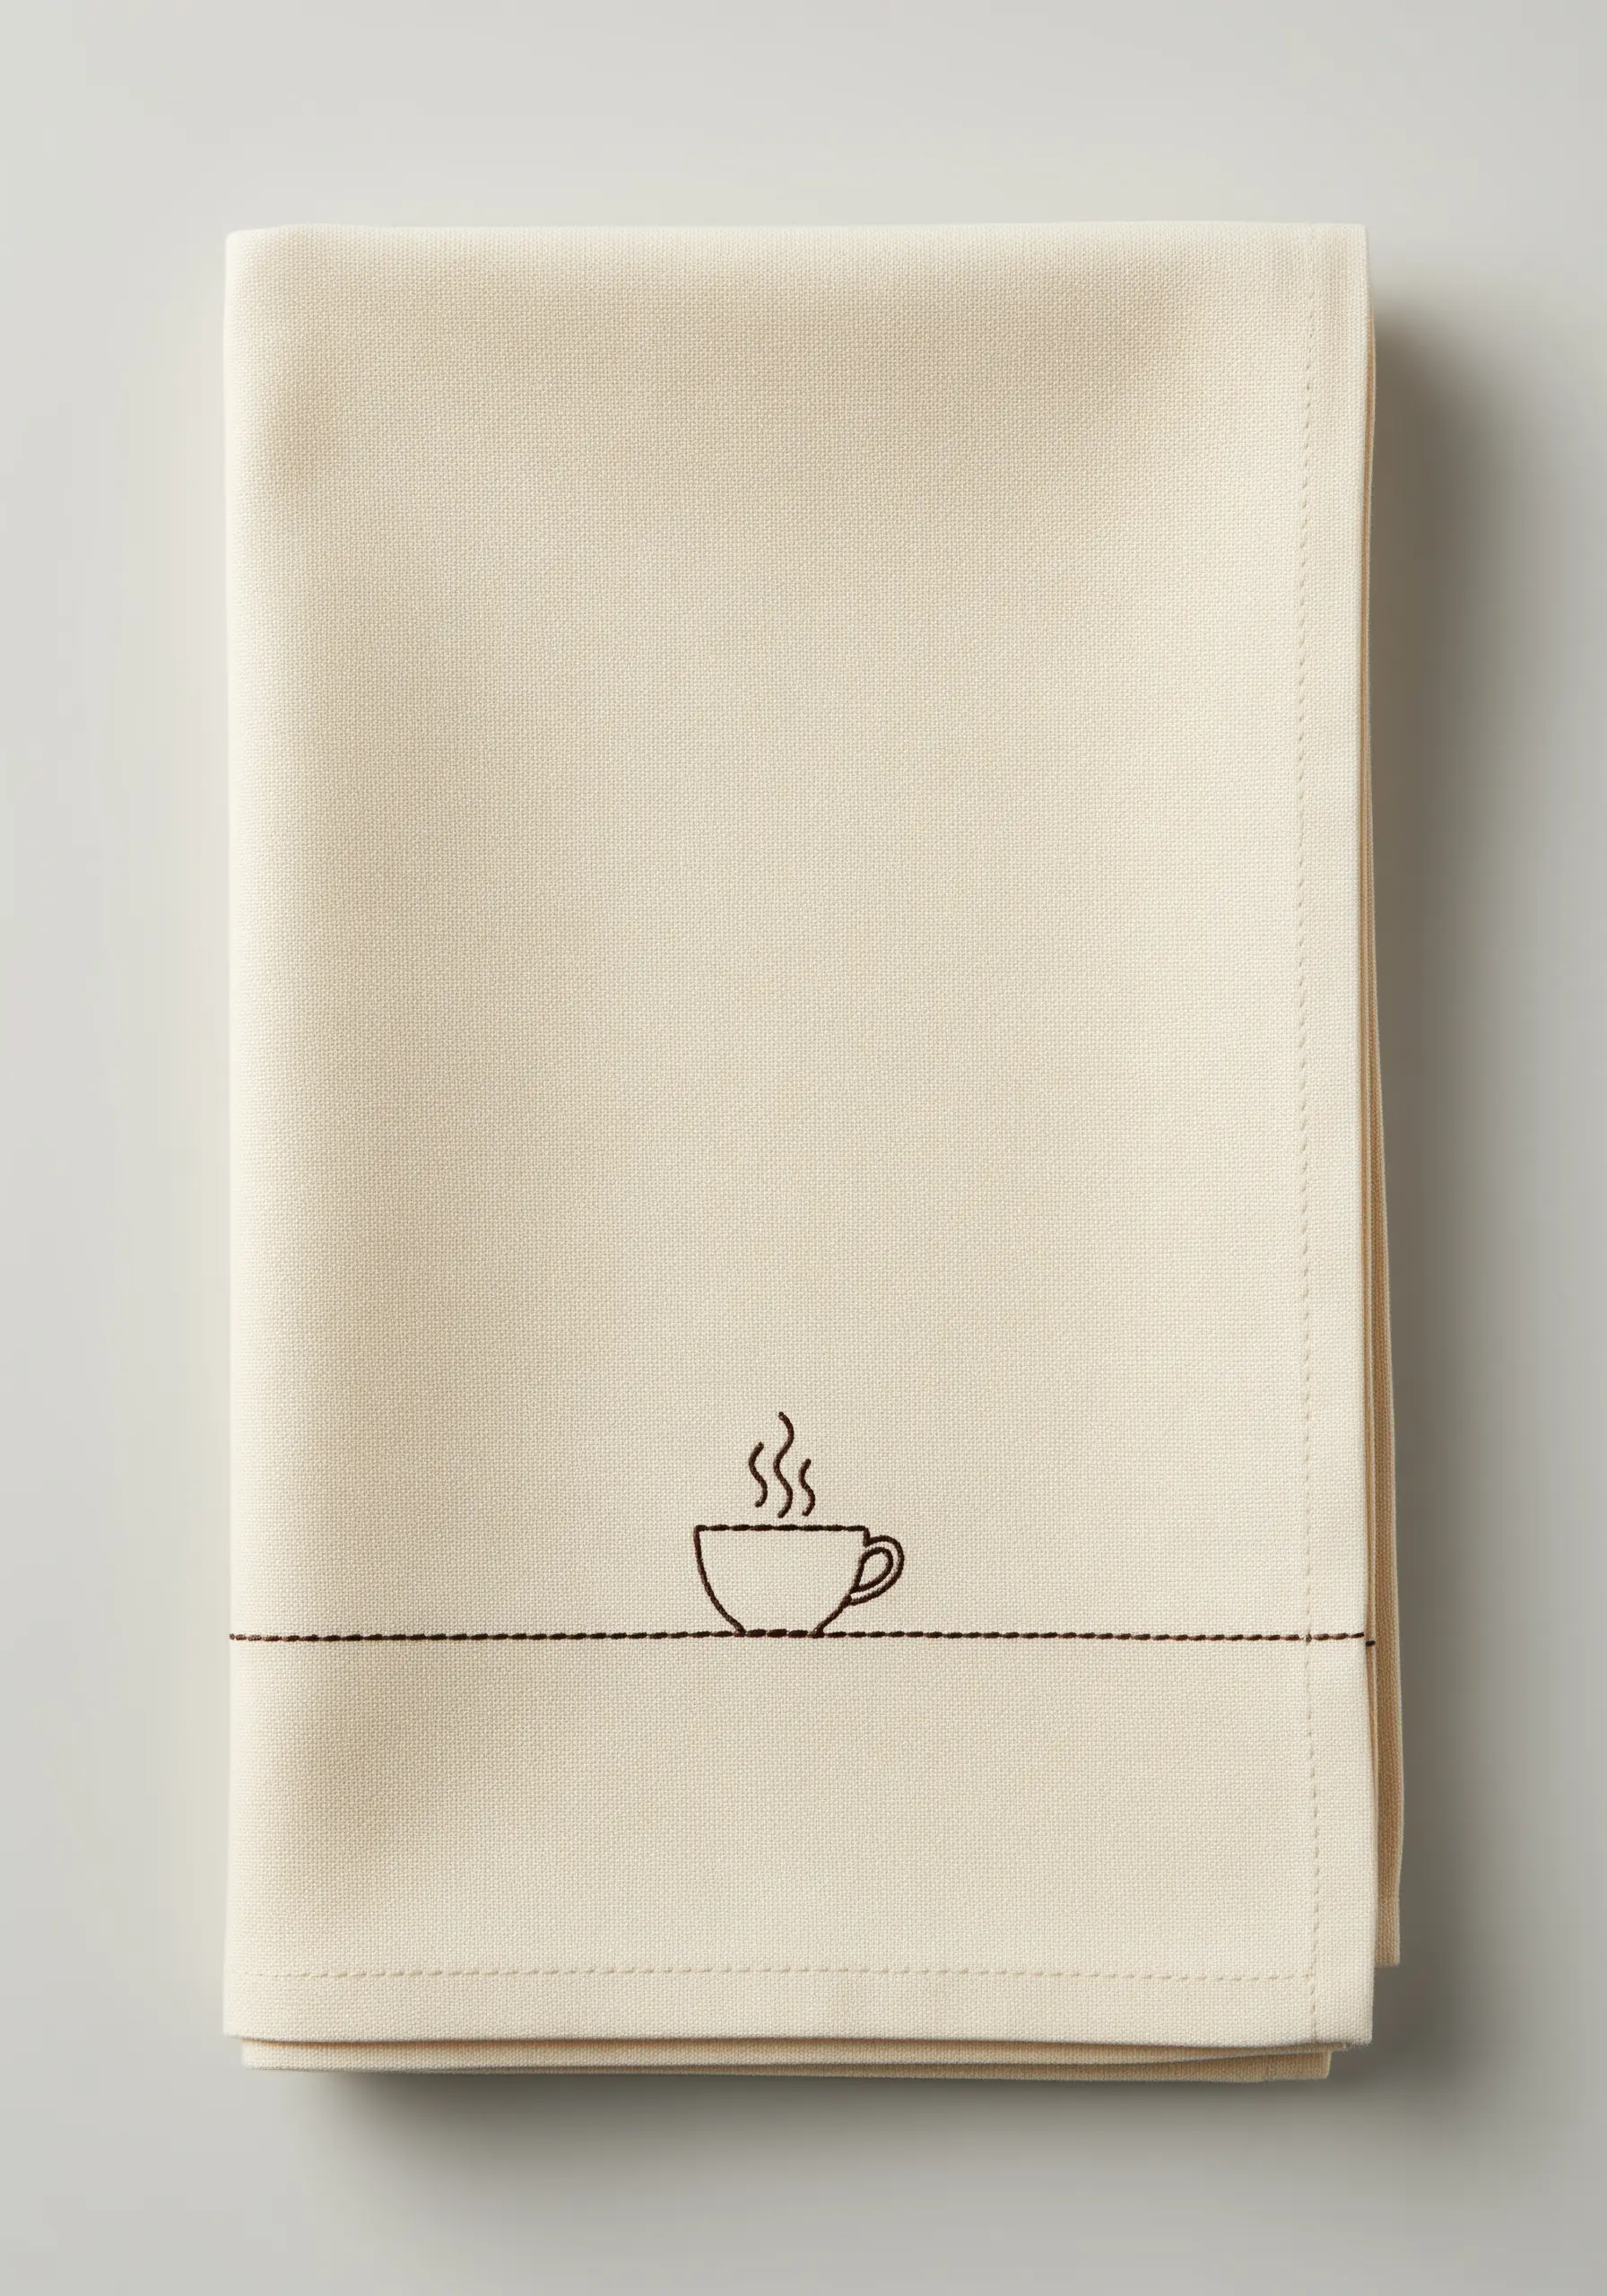
Prove that less is more with a single, tiny motif that makes a significant impact through thoughtful placement.
The simple running stitch line grounds the coffee cup, elevating it from a random icon to a deliberate design element.
Use just one or two strands of thread to keep the lines exceptionally fine and crisp, which is crucial for the legibility of micro-scale embroidery.
This minimalist approach is perfect for adding a touch of personality to guest towels or napkins without disturbing their elegant simplicity.
9. Radiant Sun with a Fringed Edge
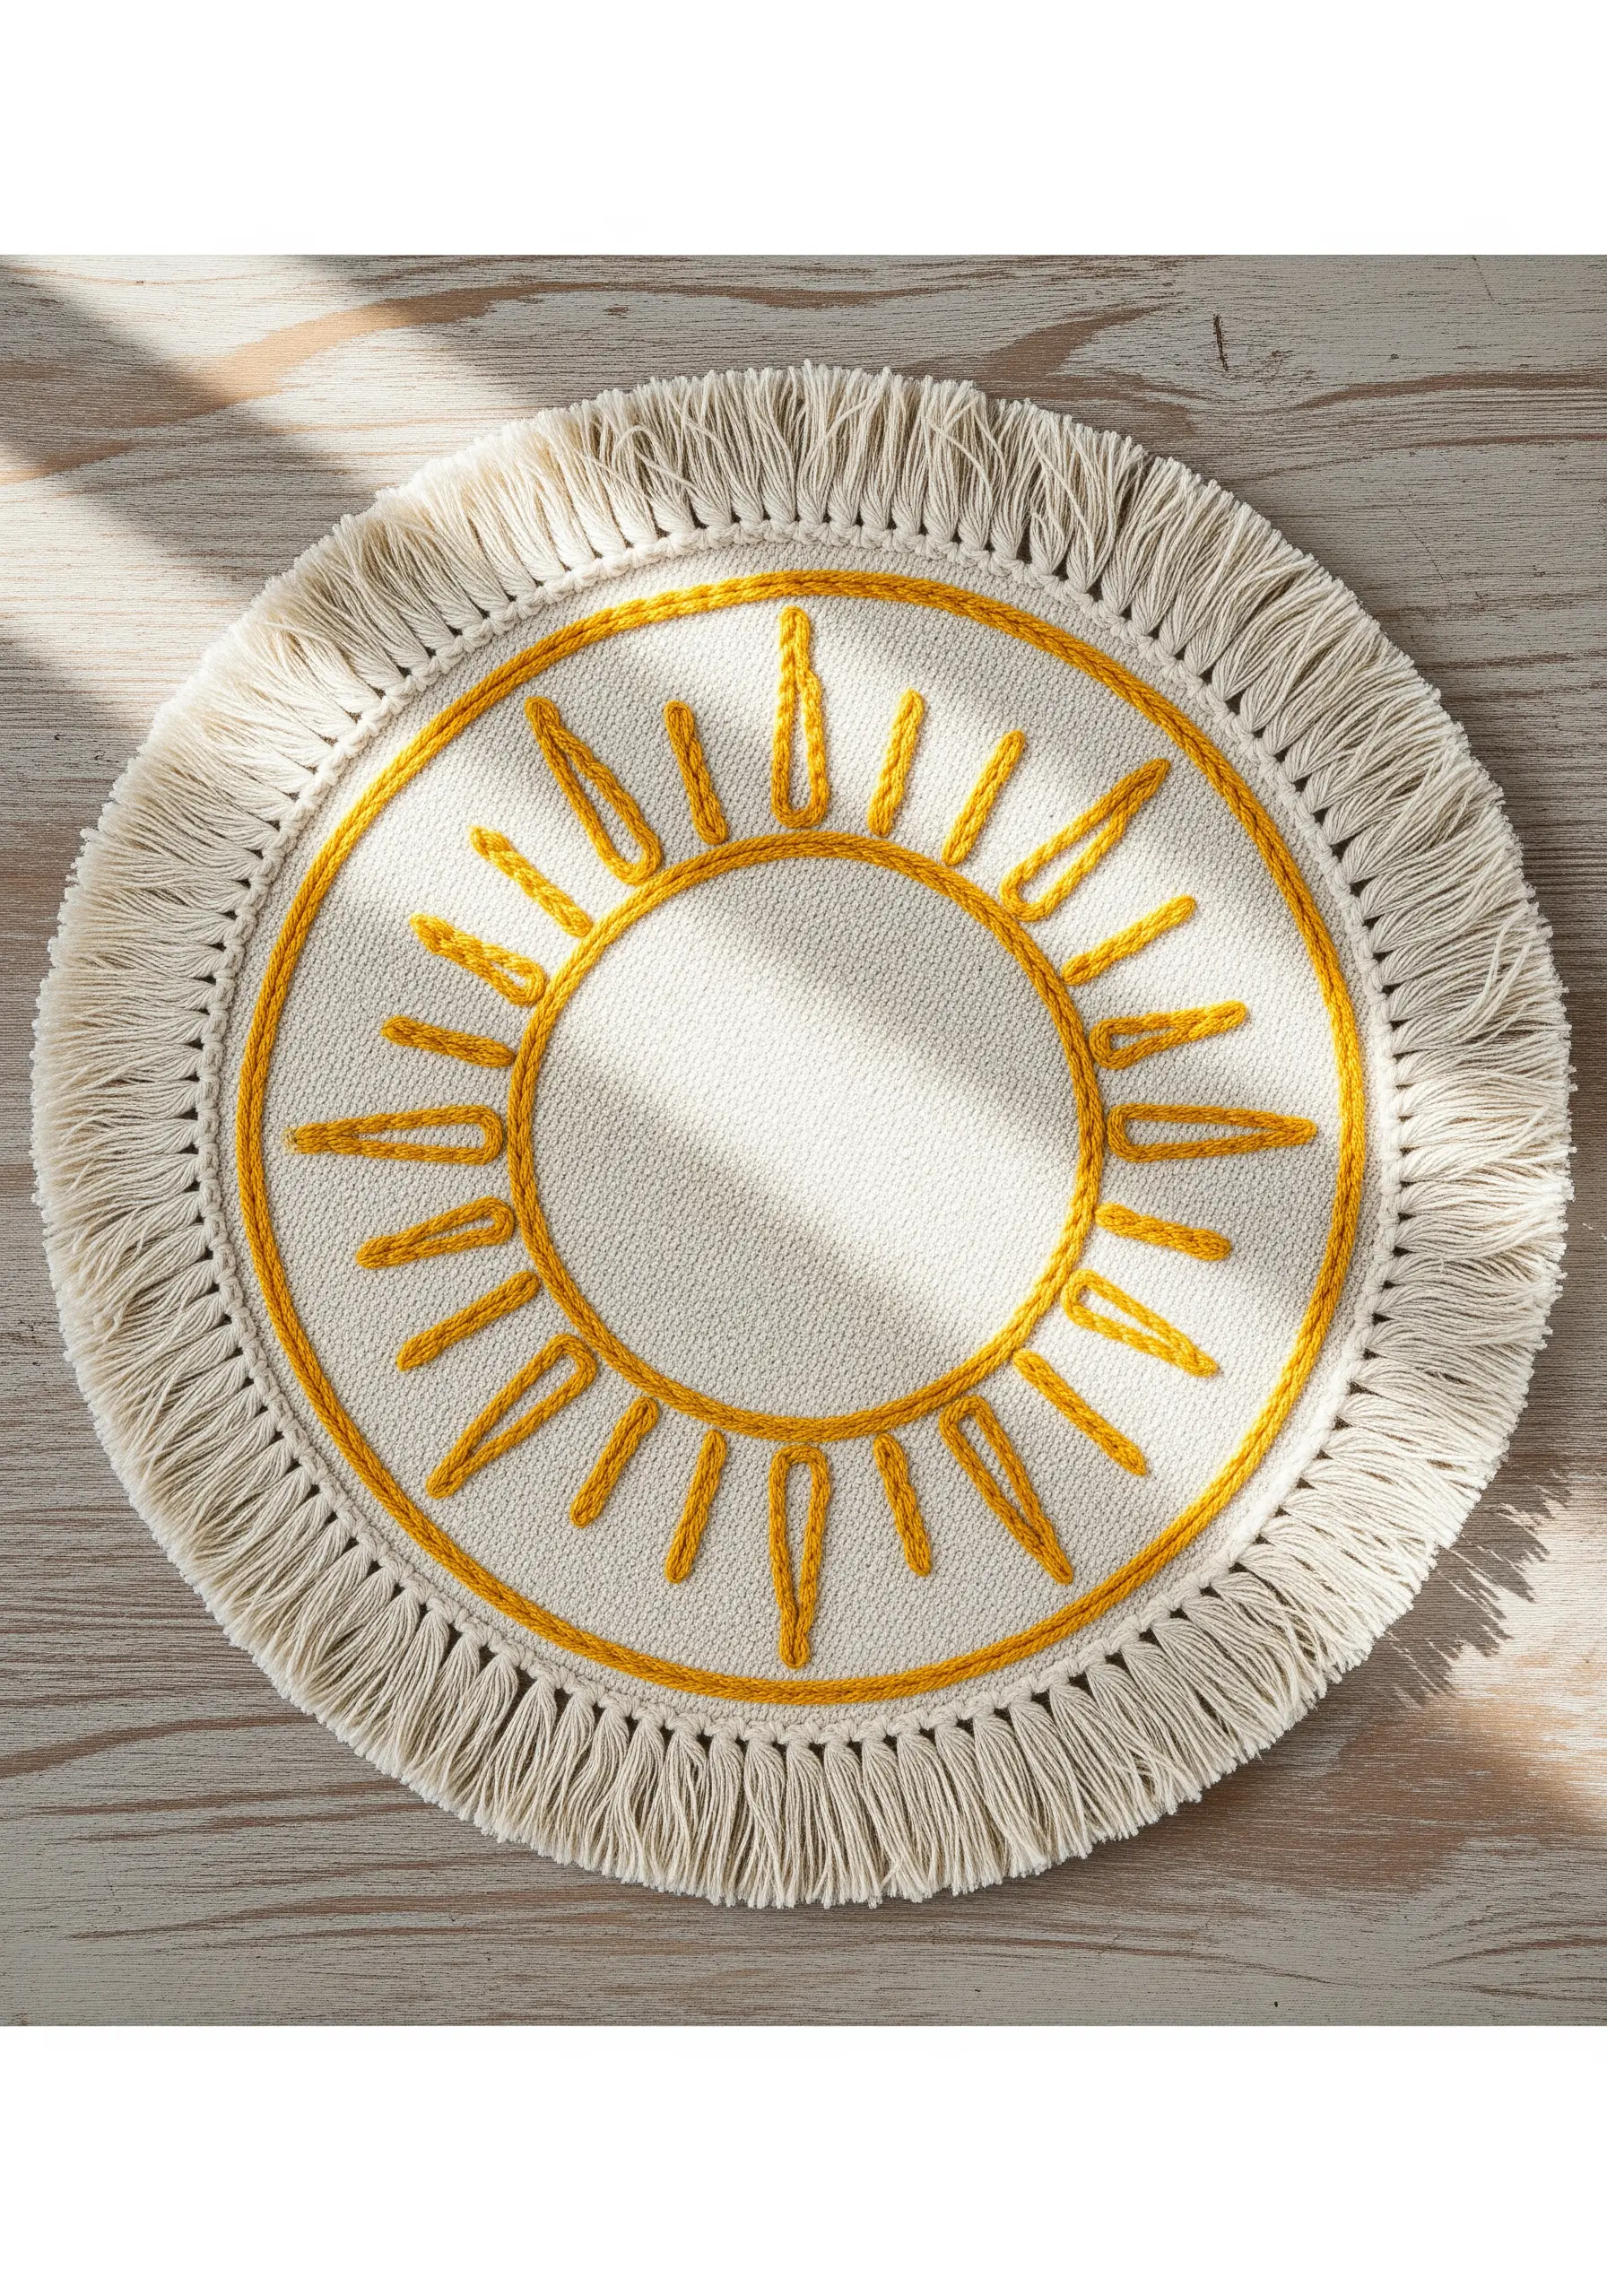
Combine bold stitching with a tactile finish for a placemat that radiates warmth and texture.
Use a thick, six-strand floss and a satin stitch for the sun’s rays to give them weight and a smooth sheen.
Outline the central circle with a chain stitch to add a contrasting texture that defines the shape.
Before creating the fringe, machine-stitch a line about an inch from the edge to prevent the entire piece from unraveling. This secures your work and results in a clean, durable finish.
10. Balanced Scatter Pattern

To create a scattered pattern that feels effortless and balanced, avoid placing motifs in straight lines or obvious clusters.
Lightly sketch your layout with a water-soluble pen, then step back to check the visual weight and flow before you begin stitching.
A crisp white thread on a deep blue or gray fabric provides a classic coastal feel and makes the delicate lines of the shells and starfish stand out.
This approach transforms a plain tablecloth into a canvas of sea-inspired art.
11. Expressive Hand Gestures in Thread
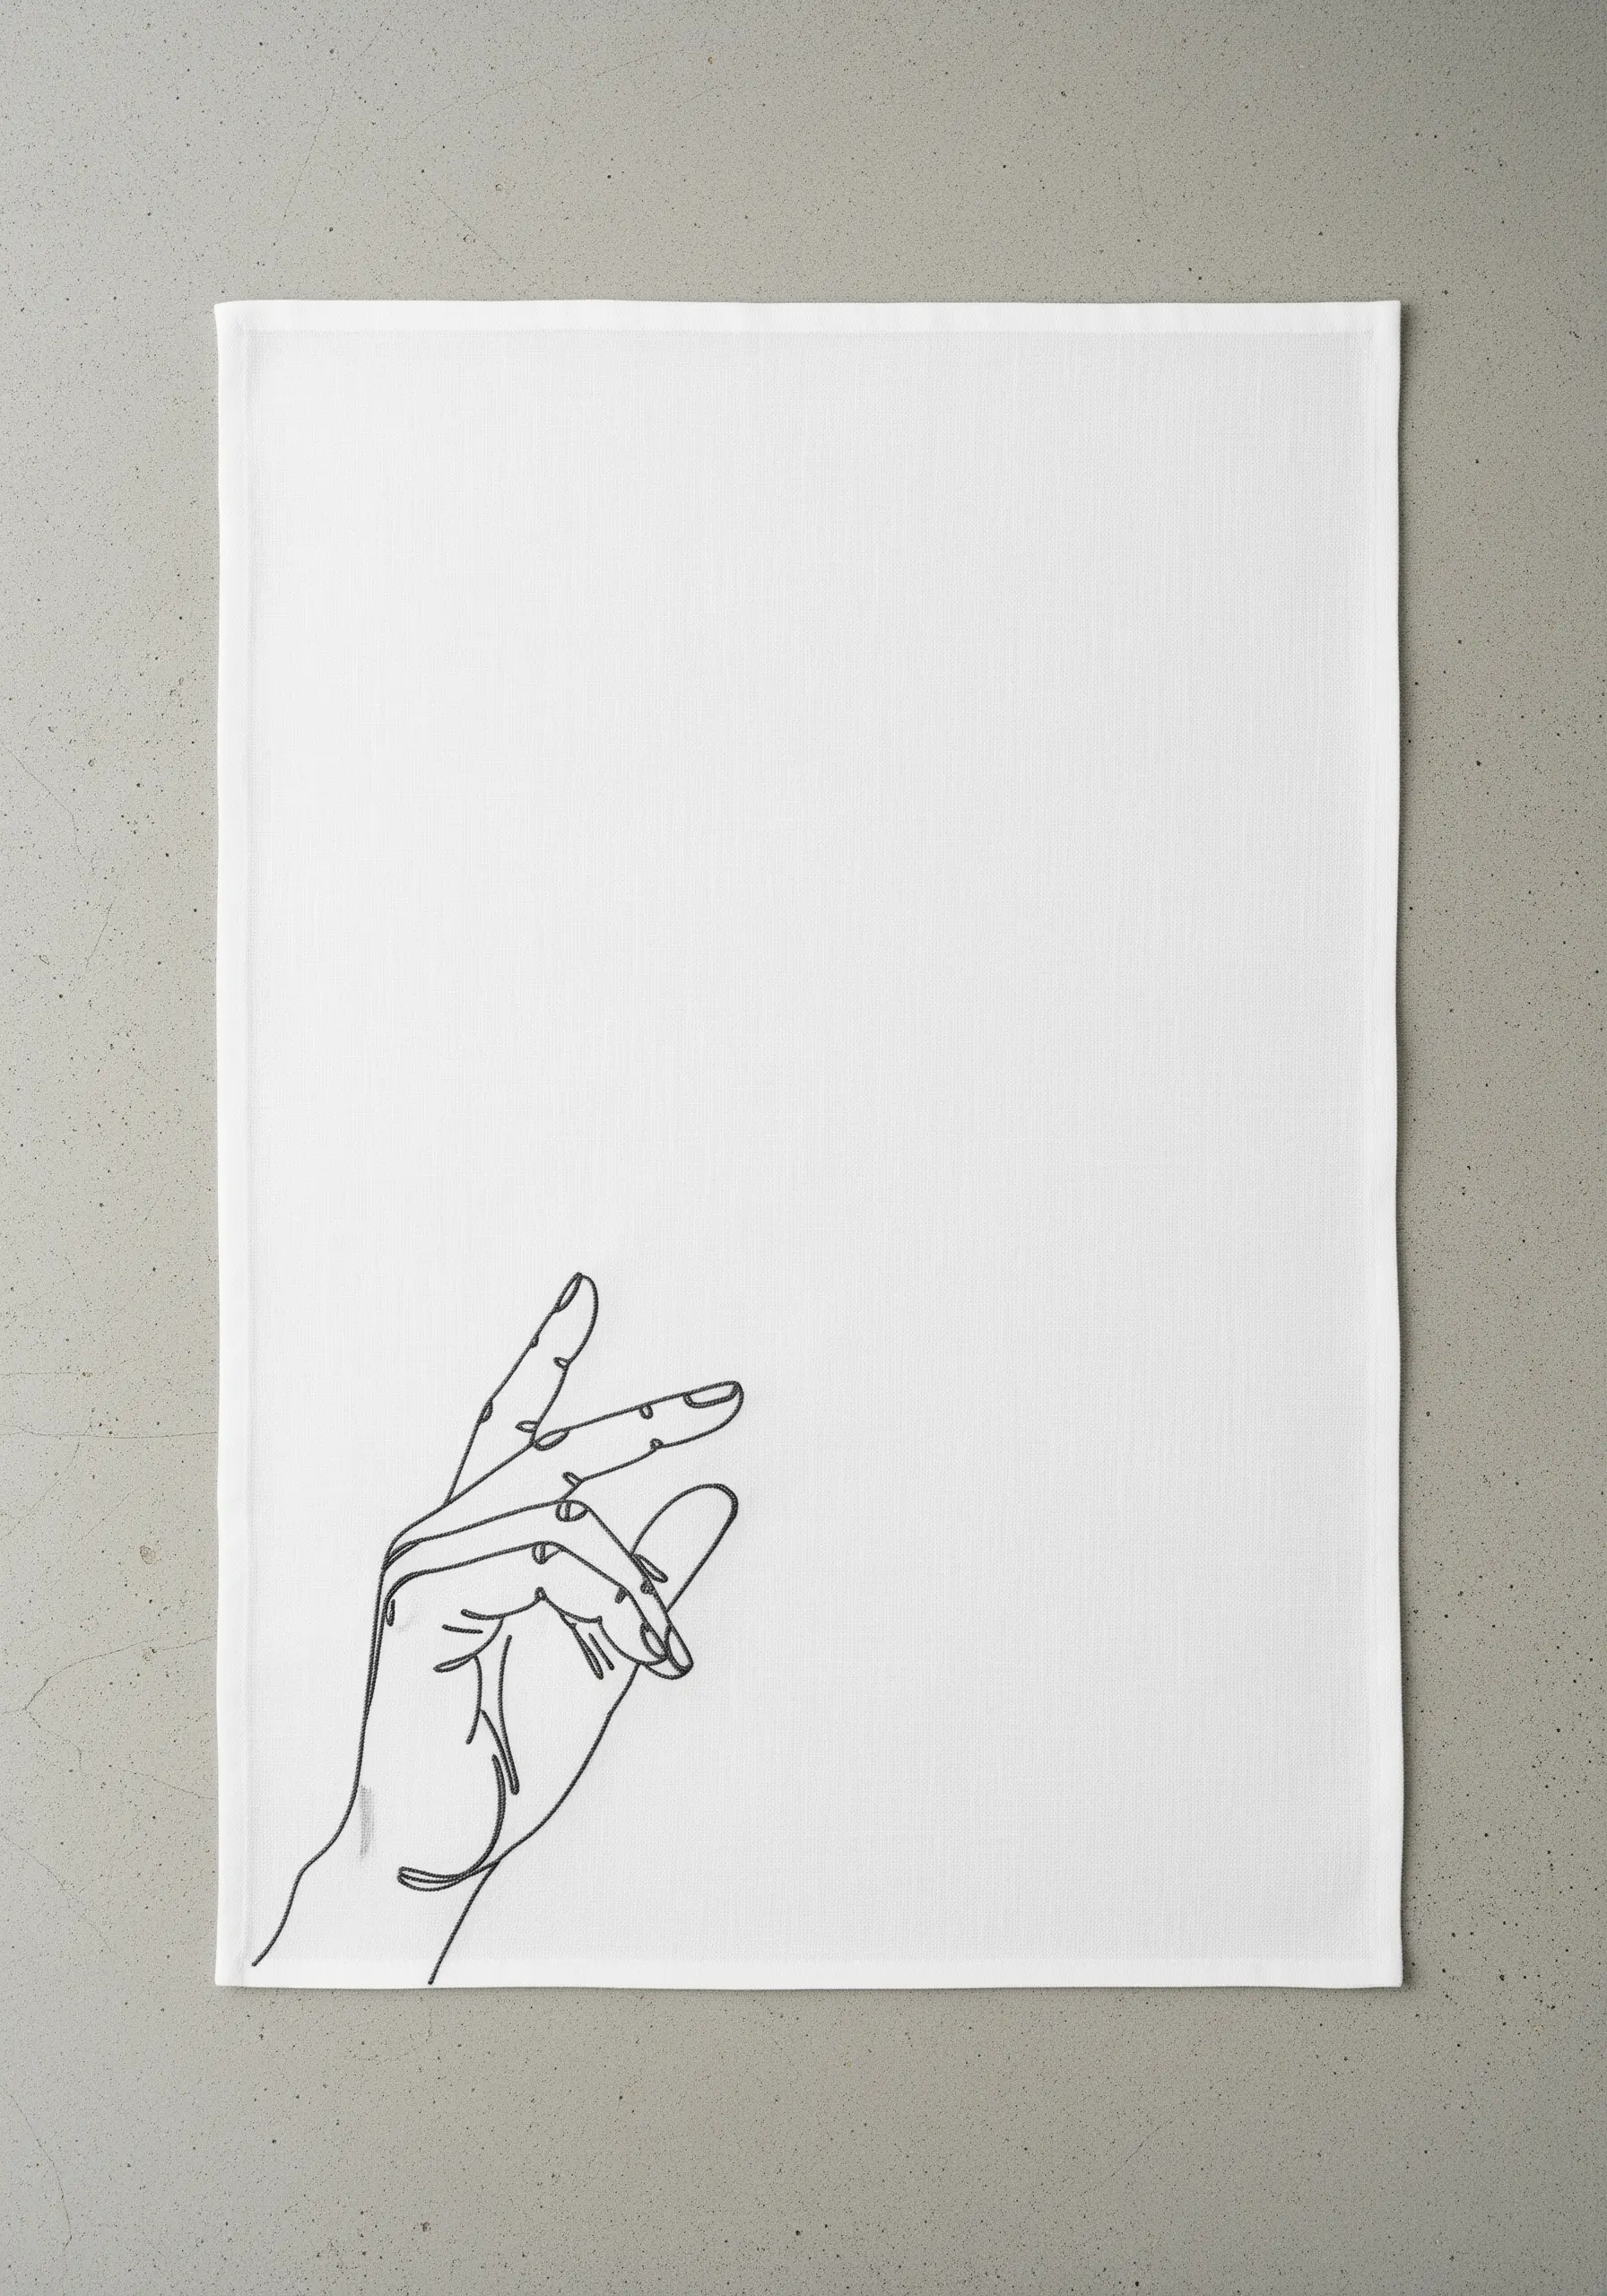
Capture the elegance of a hand gesture by focusing on the quality of your line.
Use a two-strand backstitch, but vary your stitch length: use longer stitches for the smooth lines of the fingers and shorter, tighter stitches for the sharp curves around the knuckles and nails.
This subtle adjustment adds realism and fluidity to your line art, making it feel more like a sketch drawn directly onto the fabric.
Place the design in a lower corner to leave ample negative space, which enhances its artistic impact.
12. The Sculptural Looped Border
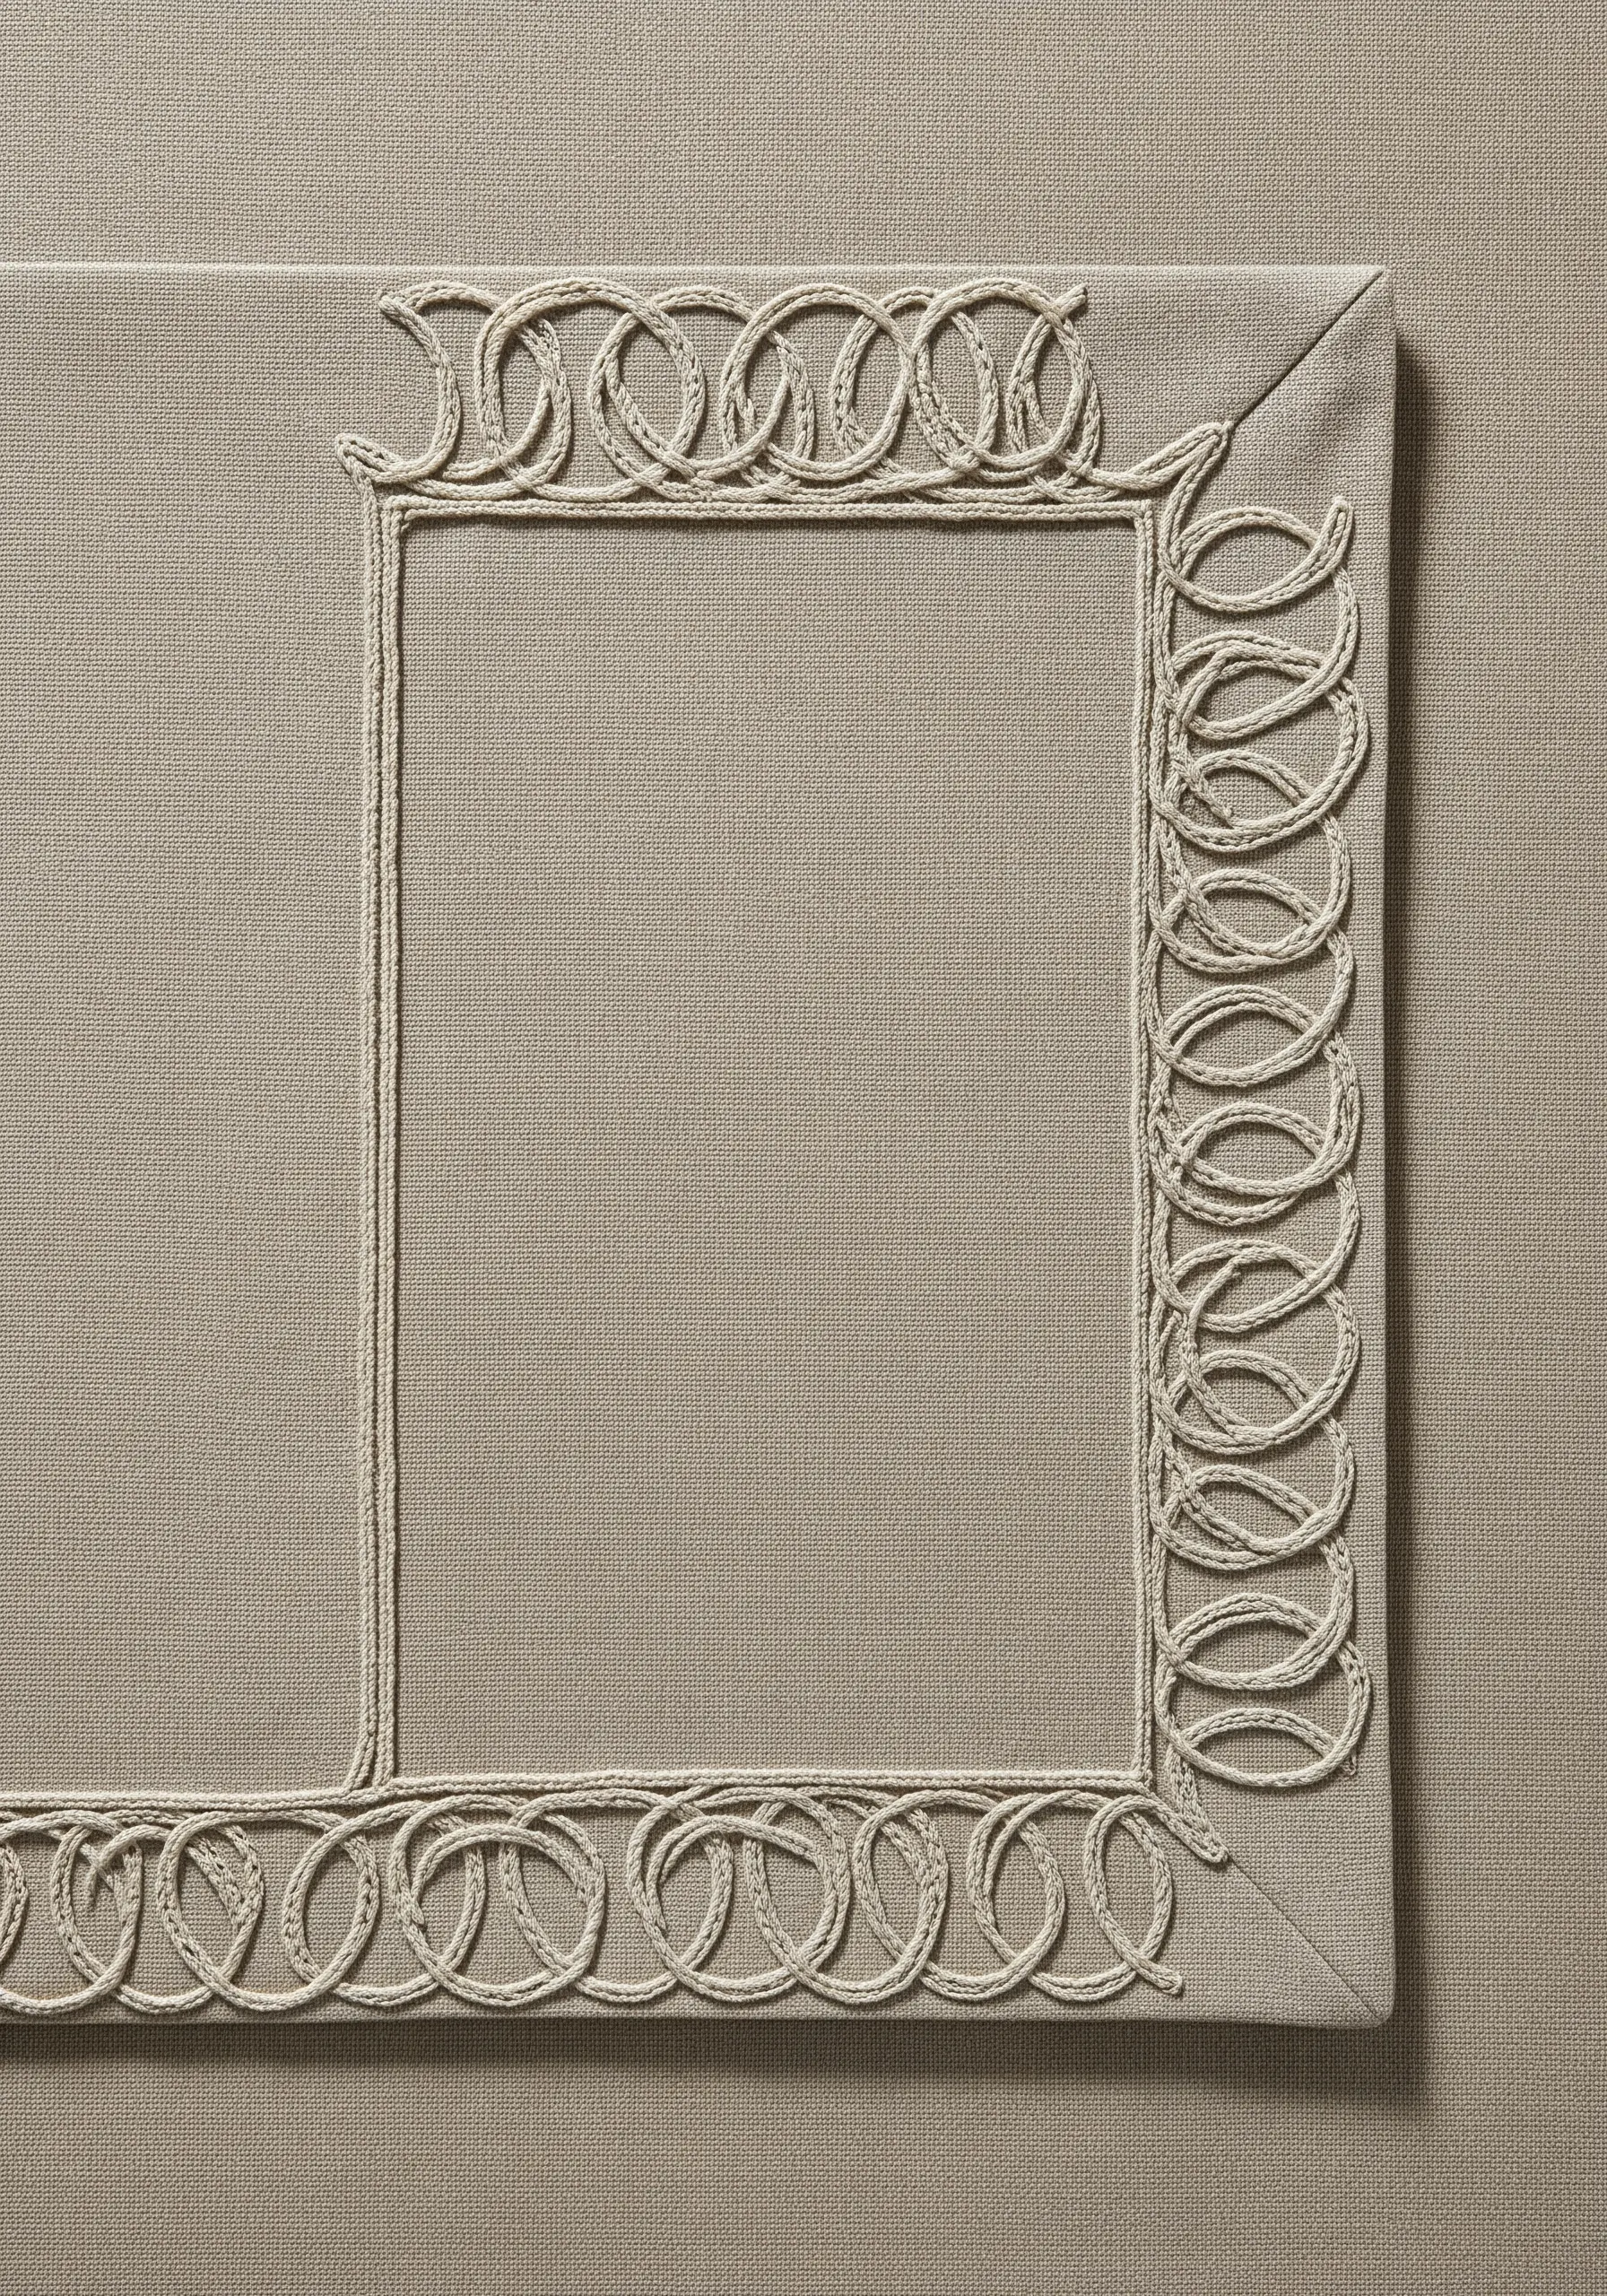
Elevate a simple placemat with a highly textured border using a couching technique with a twist.
First, lay down a thick cord or yarn in a looped pattern around the edge, pinning it in place.
Then, use a matching, finer thread to tack down the cord at each intersection and along the curves, making your stitches invisible.
This creates a stunning, three-dimensional frame that adds a luxurious, bespoke feel to your table linens.
13. High-Contrast Kitchen Utensil Set

Make simple outlines pop by maximizing the contrast between your thread and fabric.
A bright white thread on a deep teal or charcoal fabric creates a bold, graphic effect that is both modern and timeless.
Use a whipped backstitch with three strands of floss to produce a solid, rope-like line that has a subtle sheen and stands up to daily use.
This is a perfect way to create stylish and personalized embroidered kitchen towel designs.
14. Braided Yarn Couching on Felt
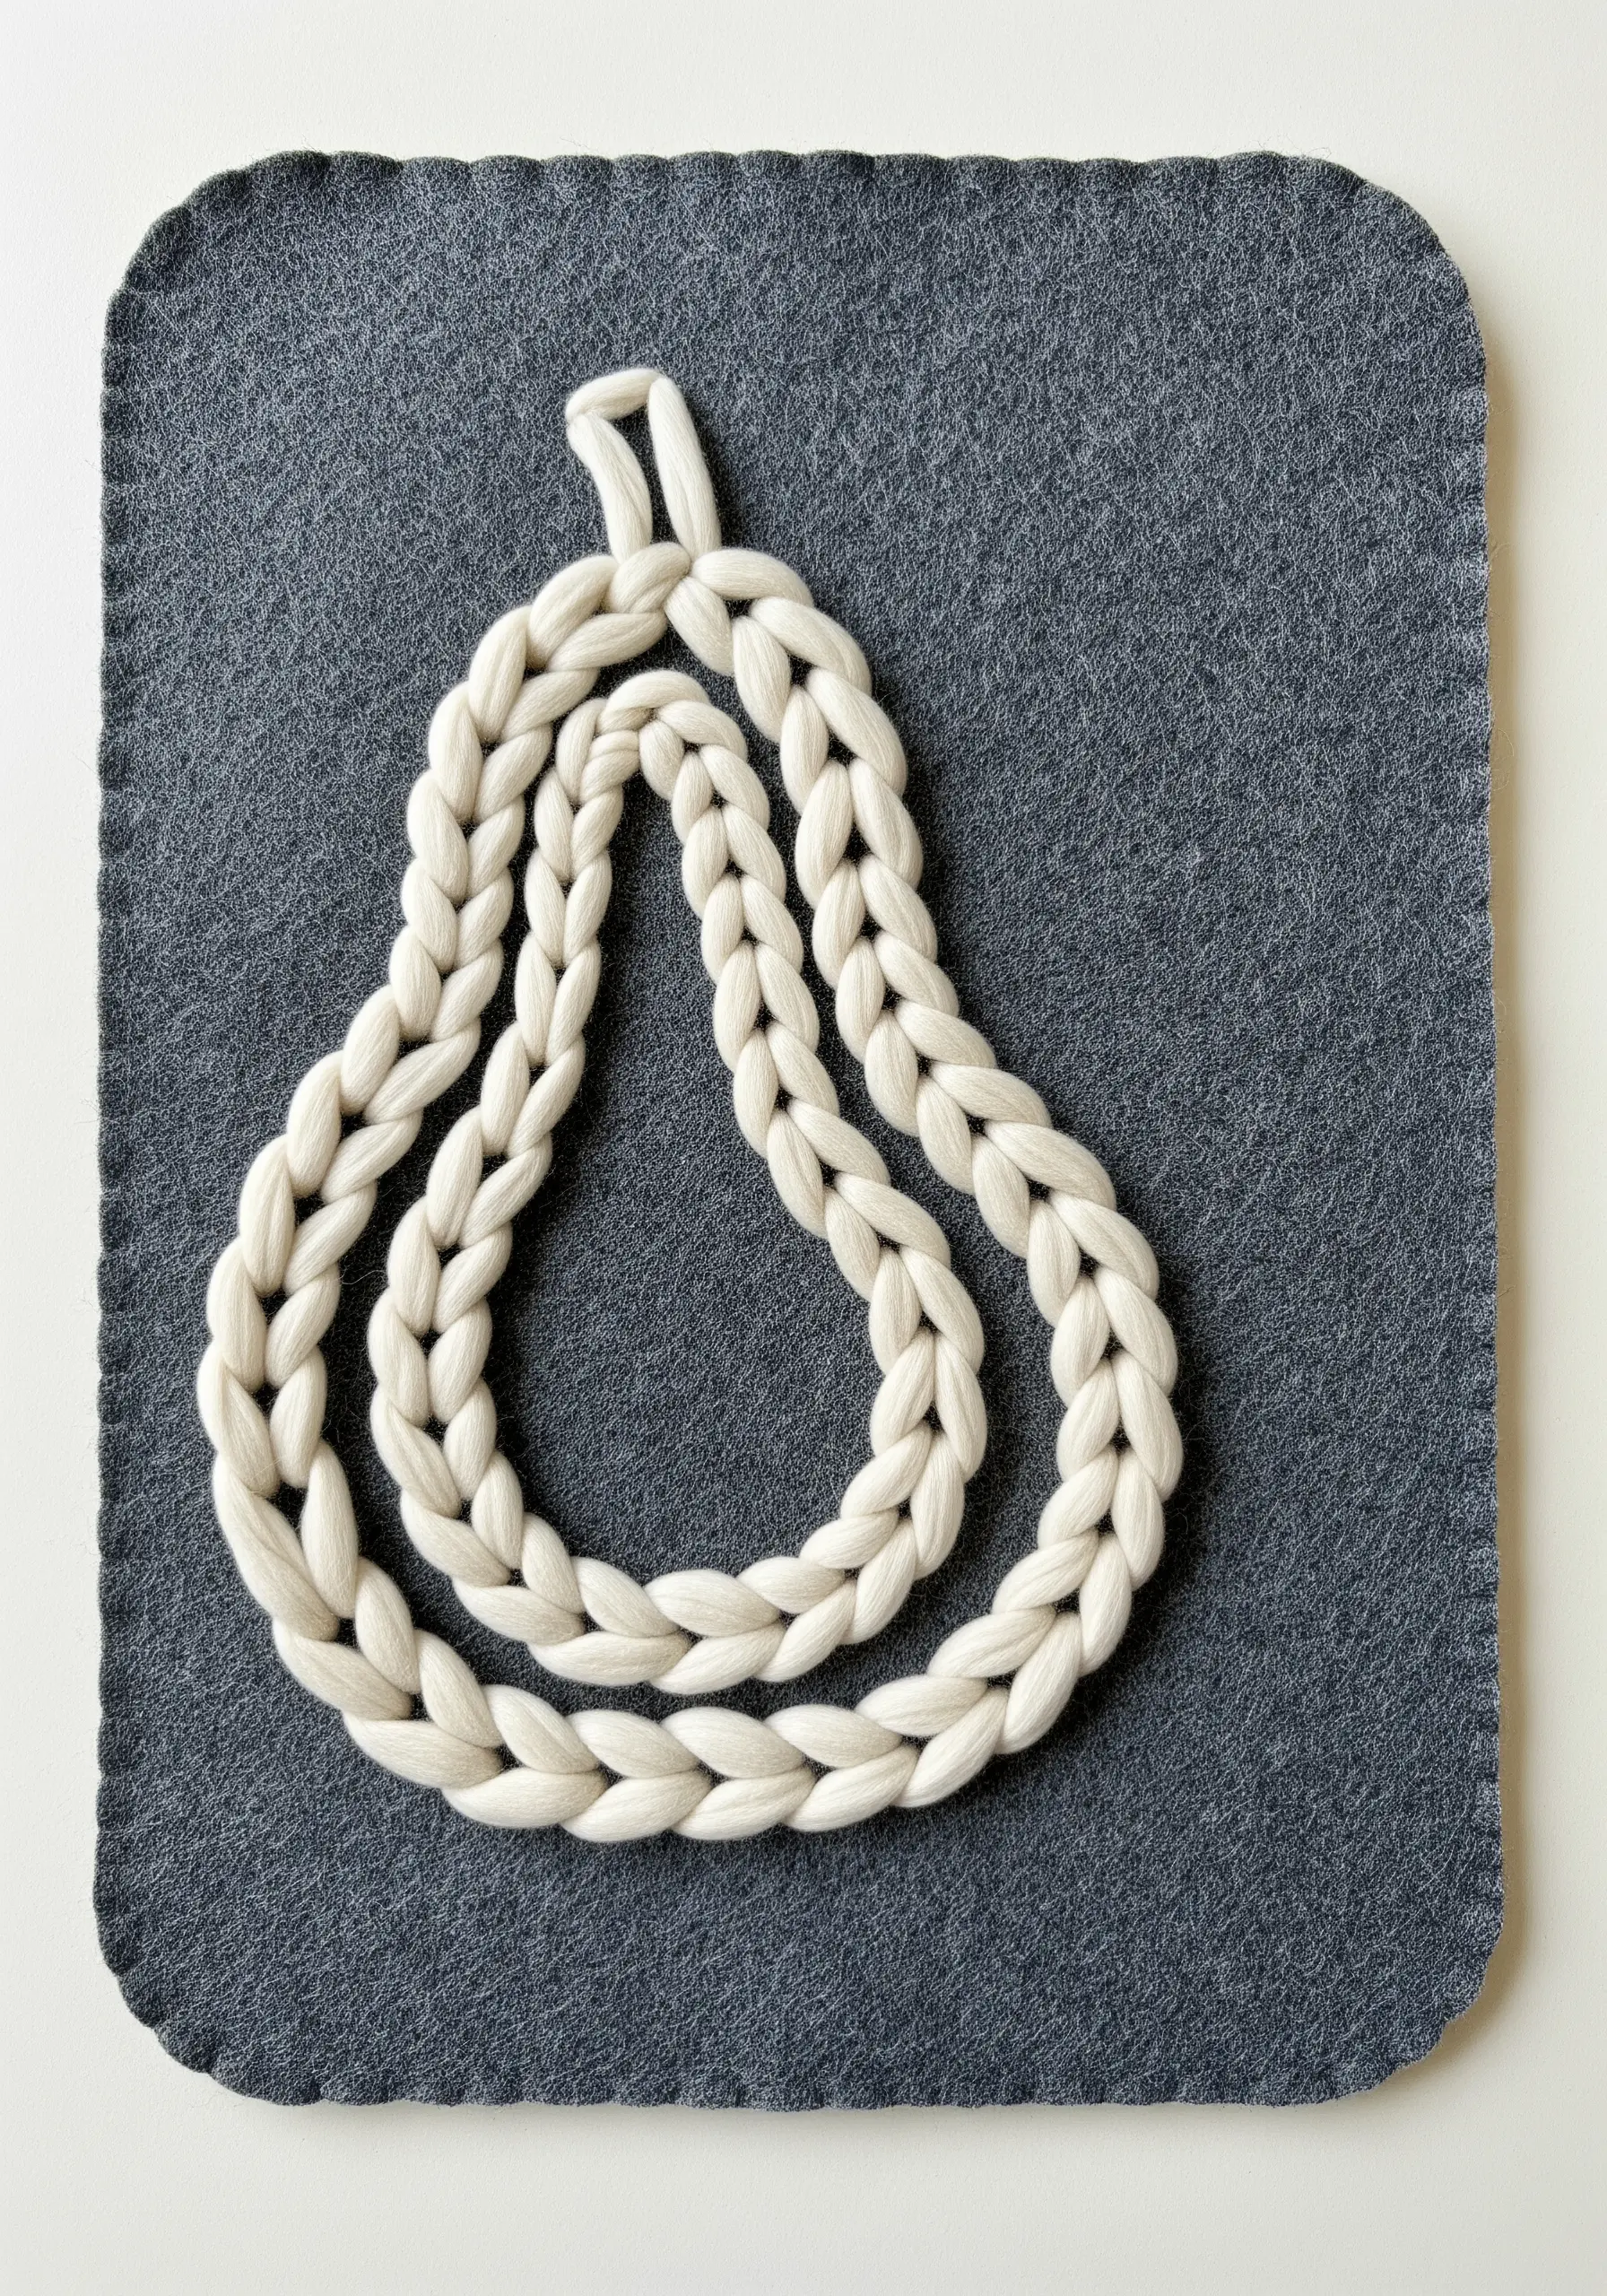
Move beyond thread and experiment with thicker fibers like braided yarn for a dramatic, sculptural effect.
Arrange your pre-braided yarn on a sturdy, non-stretch fabric like felt, which can support its weight without puckering.
Couch the braid in place using a strong, matching thread, hiding your tacking stitches between the twists of the braid.
This technique transforms a simple placemat or trivet into a piece of functional fiber art.
15. Intricate Mechanical Line Art
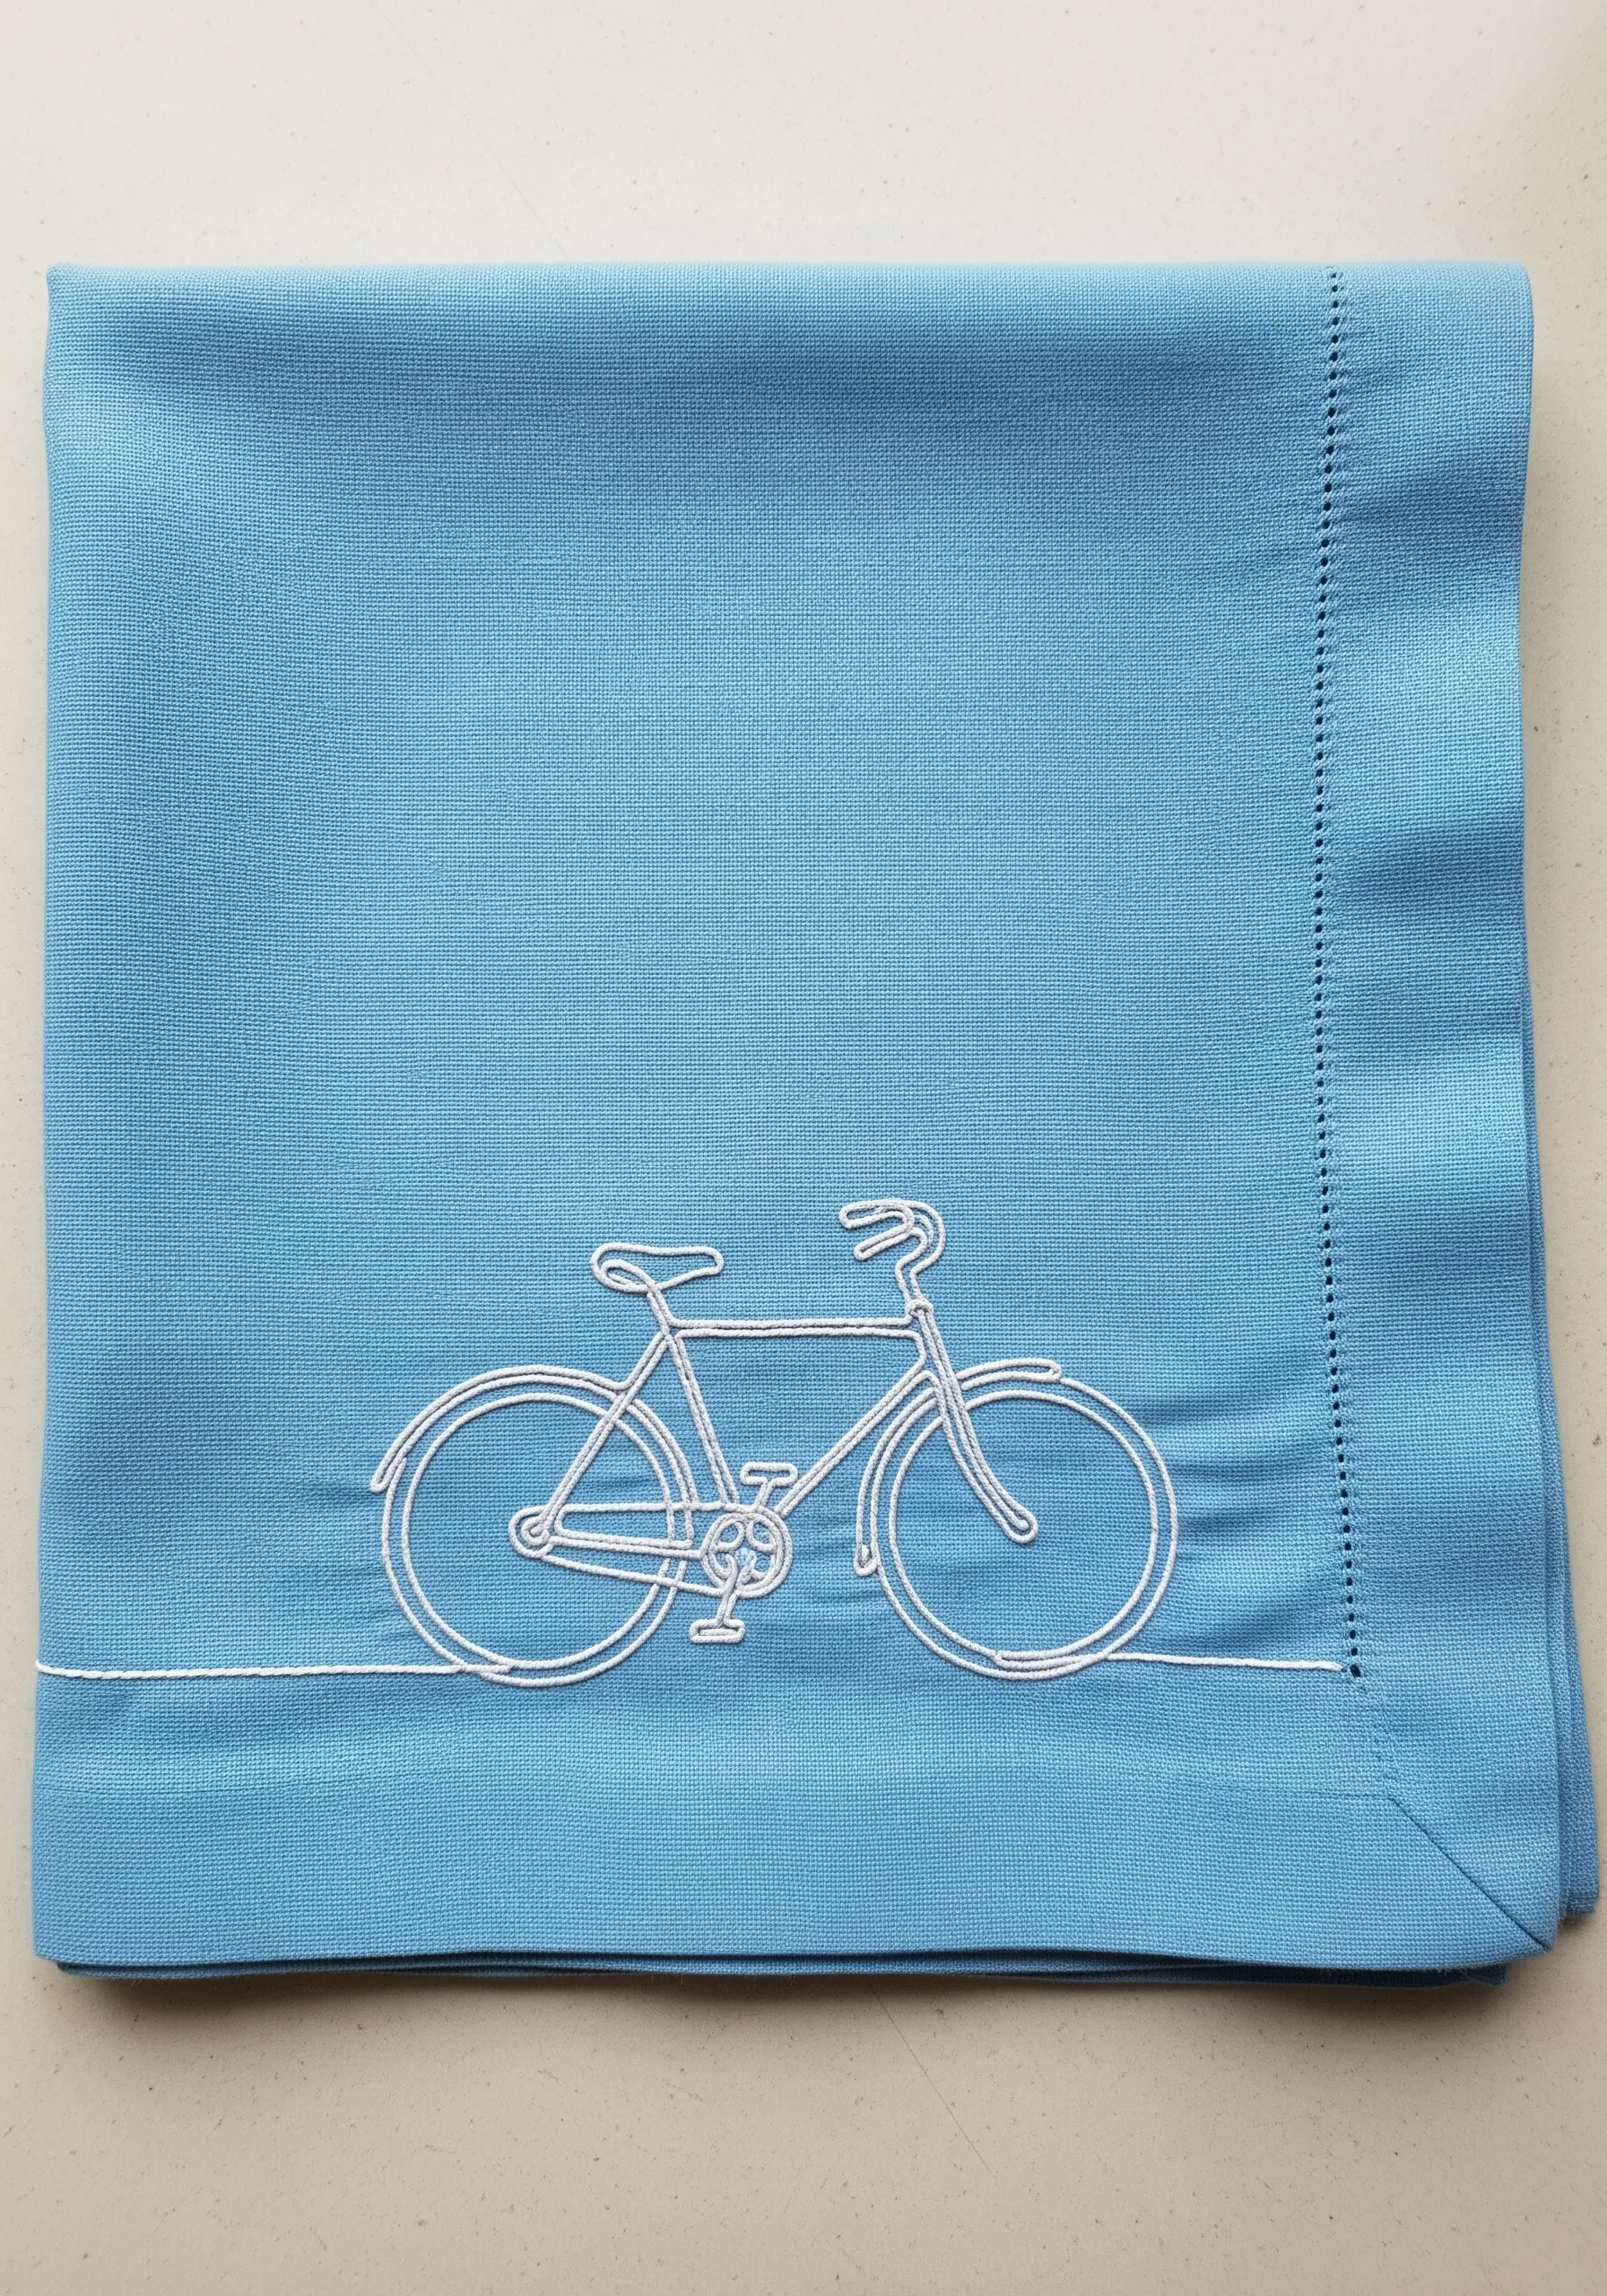
When embroidering designs with fine mechanical details, clarity is everything.
Switch to a single strand of embroidery floss and a size 10 needle to ensure every line is crisp and distinct.
Use a small, consistent backstitch throughout the entire piece to maintain a uniform line weight, which is essential for rendering the delicate frame, spokes, and gears of the bicycle accurately.
The horizontal running stitch line grounds the object, making it feel thoughtfully placed.
16. Subtle Herbal Accents for Place Settings

For an elegant dining experience, embroider subtle motifs that complement, rather than compete with, your tableware.
Place small herbal sprigs where they will peek out from under the plate, creating a delightful discovery for your guests.
Use a soft, muted green thread that harmonizes with fresh florals and white porcelain.
This thoughtful placement of garden herb embroidery patterns adds a layer of bespoke charm to any meal.
17. Dynamic Lines with Tonal Threads
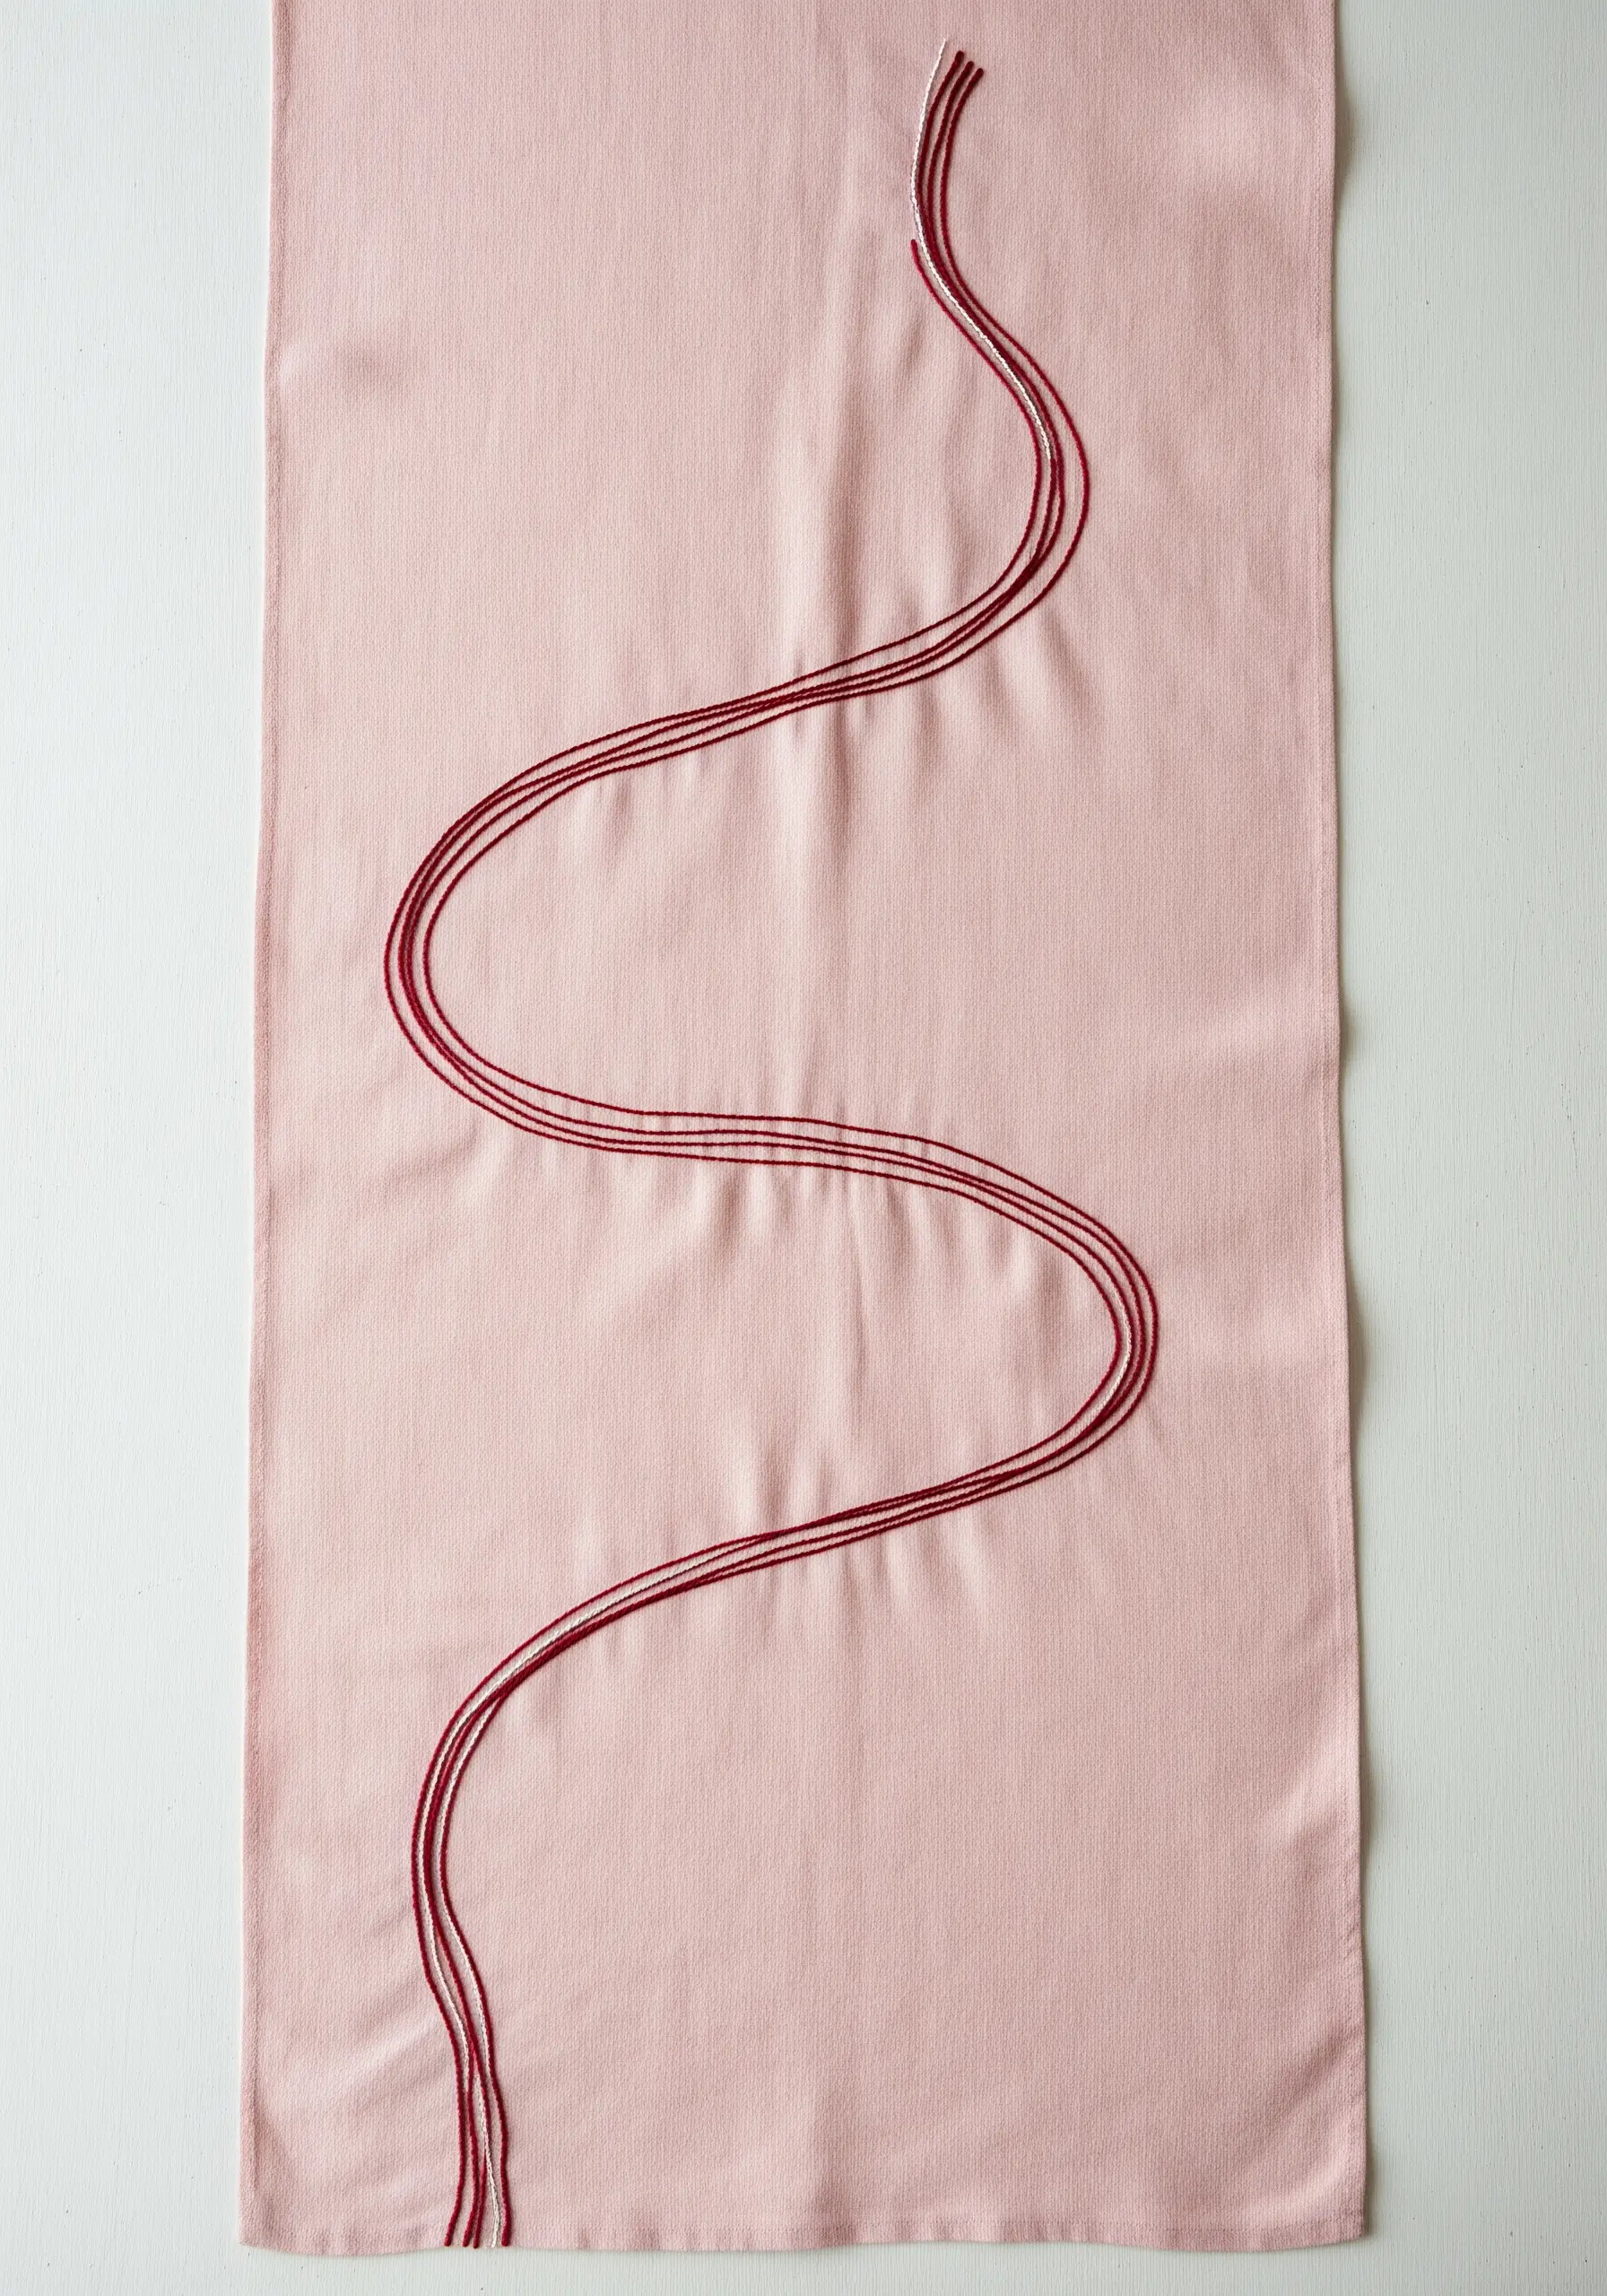
Add subtle depth to a simple flowing line by stitching with multiple threads in slightly different shades of the same color.
Combine two strands of a deep red with one strand of a slightly lighter, brighter red in the same needle.
As you stitch, the colors will twist and blend naturally, creating a line with vibrant, nuanced color variation.
Use a stem stitch to follow the curves smoothly, enhancing the sense of fluid motion across the fabric.
18. Implying Form with Stitch Direction

Bring a static line-art drawing to life by using the direction of your stitches to suggest form and dimension.
For this open book, stitch the page lines in arcs that radiate from the spine, mimicking the natural curl of paper.
Use a simple backstitch, but allow the lines to overlap and intersect freely to create a sense of dynamic, fluttering pages.
This transforms a flat outline into a design with perceived volume and energy.
19. Celestial Chart on Indigo Linen
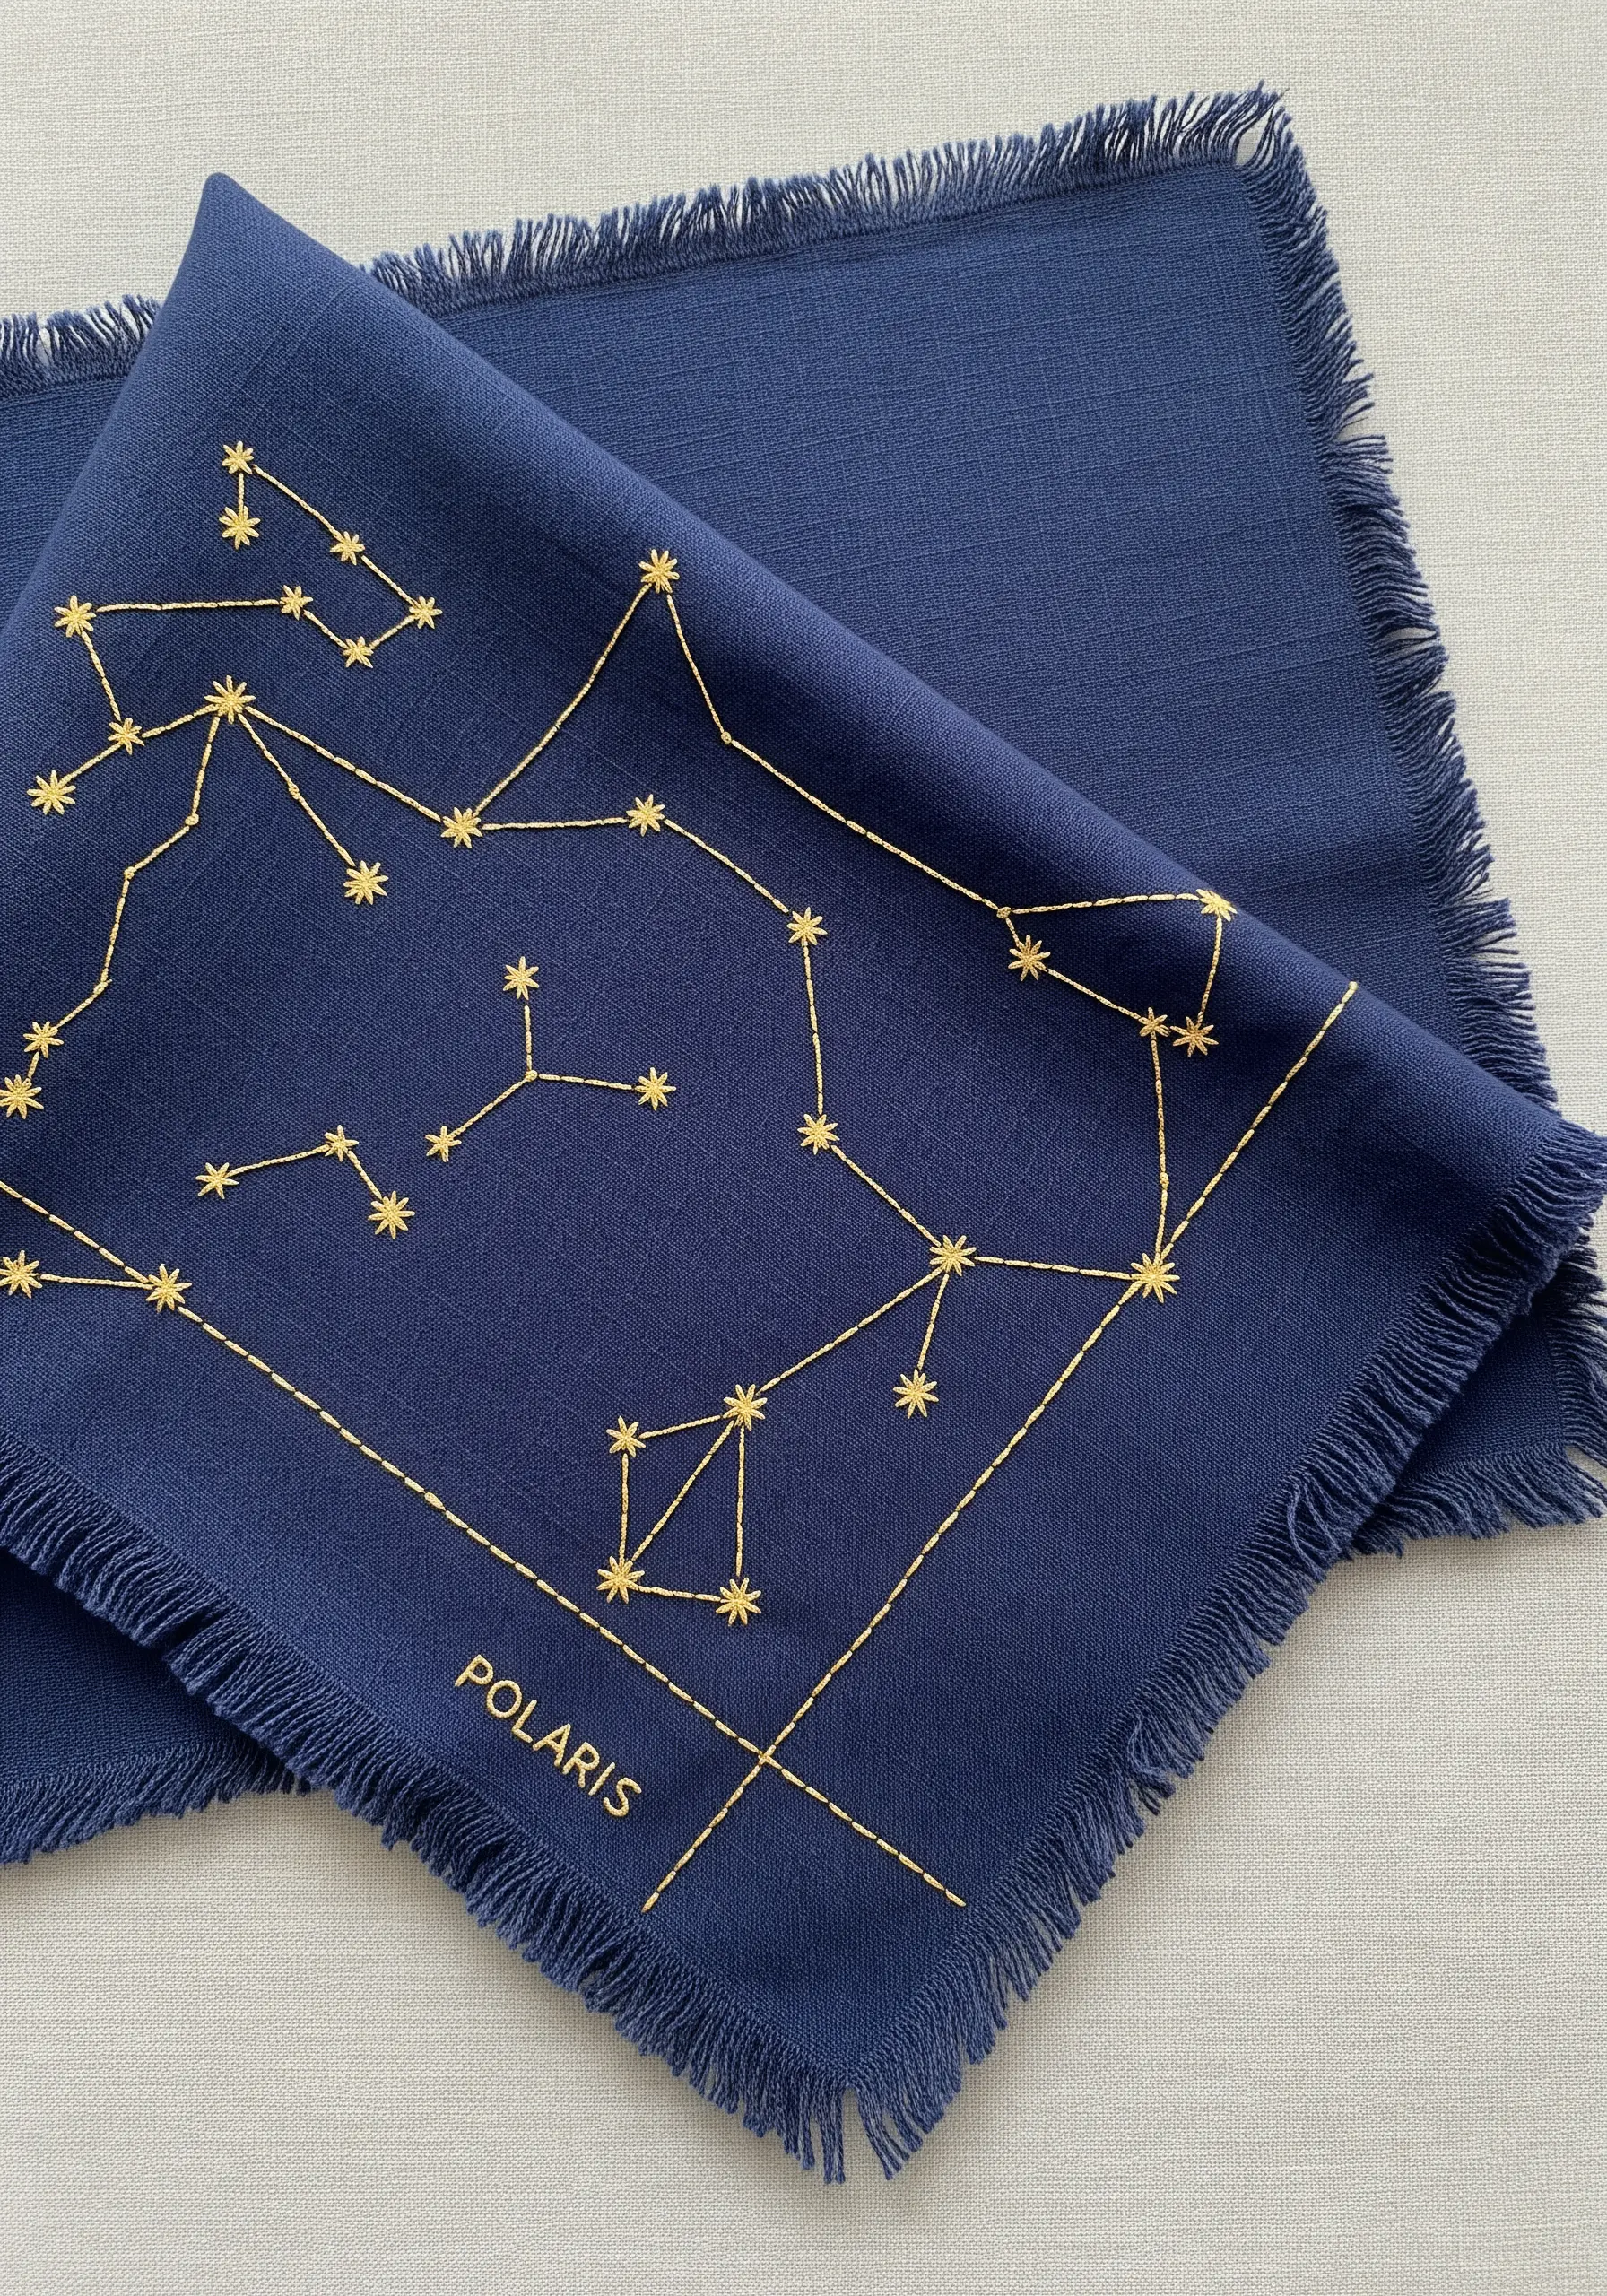
Create a stunning celestial map by pairing gold metallic thread with a deep navy blue linen.
To make working with metallic floss easier, use a thread conditioner (like beeswax) and a needle with a larger eye to reduce friction and fraying.
Use a crisp backstitch for the connecting lines and tiny, tight French knots or single straight stitches for the stars to add a change in texture and catch the light beautifully.
A frayed edge adds a soft, rustic contrast to the celestial elegance of the design.
20. Rhythmic Pattern with Alternating Motifs
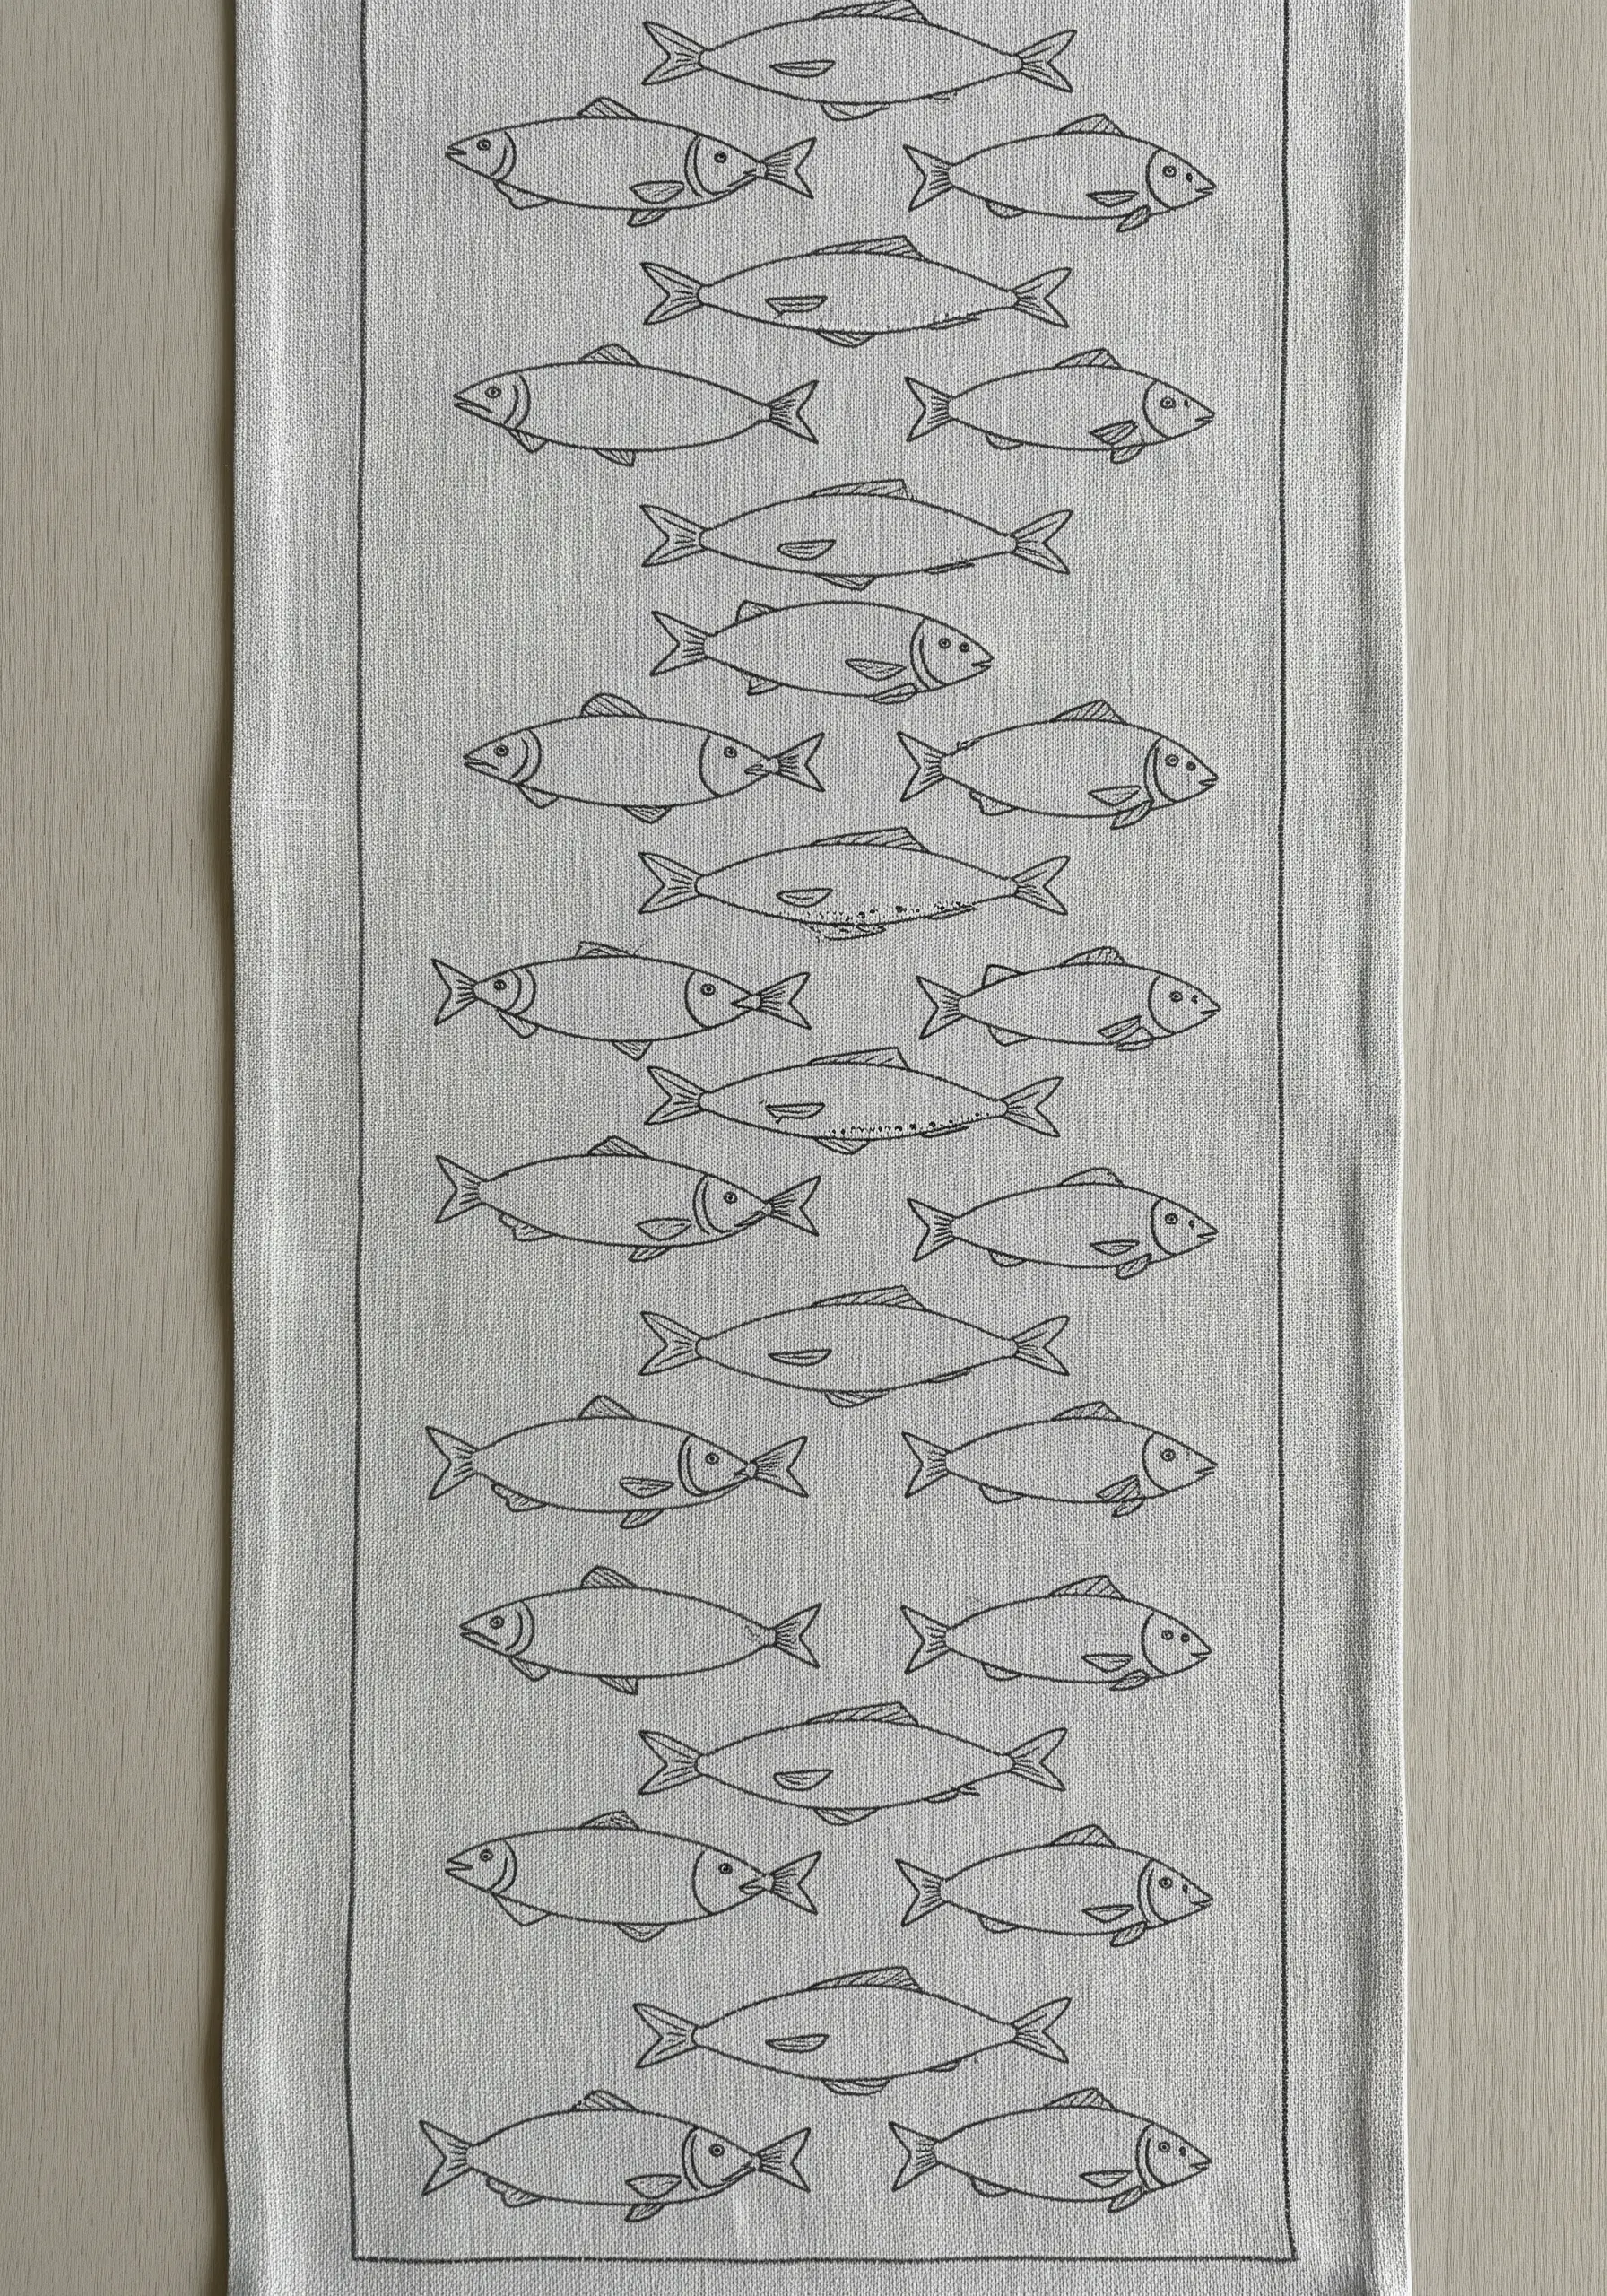
When creating a repeating pattern with a directional motif, like these fish, alternate their orientation to build a visual rhythm.
By having the fish swim in opposing directions in each row, you create a dynamic tessellation that feels balanced and engaging.
Keep the stitching simple—a clean backstitch is sufficient—as the power of this design lies in the composition, not the complexity of the stitches.
Frame the entire pattern with a simple border to contain the energy of the design.
21. The Understated Corner Accent

A single, well-placed motif in the corner of a napkin demonstrates restraint and sophisticated design sense.
The key to this look is negative space; the unstitched area makes the small embroidered detail feel more significant and precious.
Choose an iconic, easily recognizable shape like a maple leaf and stitch it with a simple whipped backstitch for a clean, solid outline.
This is a perfect entry point for personalizing a set of store-bought linens with a touch of seasonal charm.
22. The Meditative Labyrinth Stitch

For a design that requires uniform, solid lines, skip the simple backstitch and opt for a filled stitch instead.
Trace your labyrinth pattern onto the fabric, then outline the entire shape with a split stitch.
Finally, fill the space between the outlines with long, dense satin stitches, keeping your thread tension perfectly even for a smooth, woven appearance.
This technique creates a bold, graphic coaster or placemat that feels substantial and meticulously crafted.
23. Sketch-Style Vegetable Patch
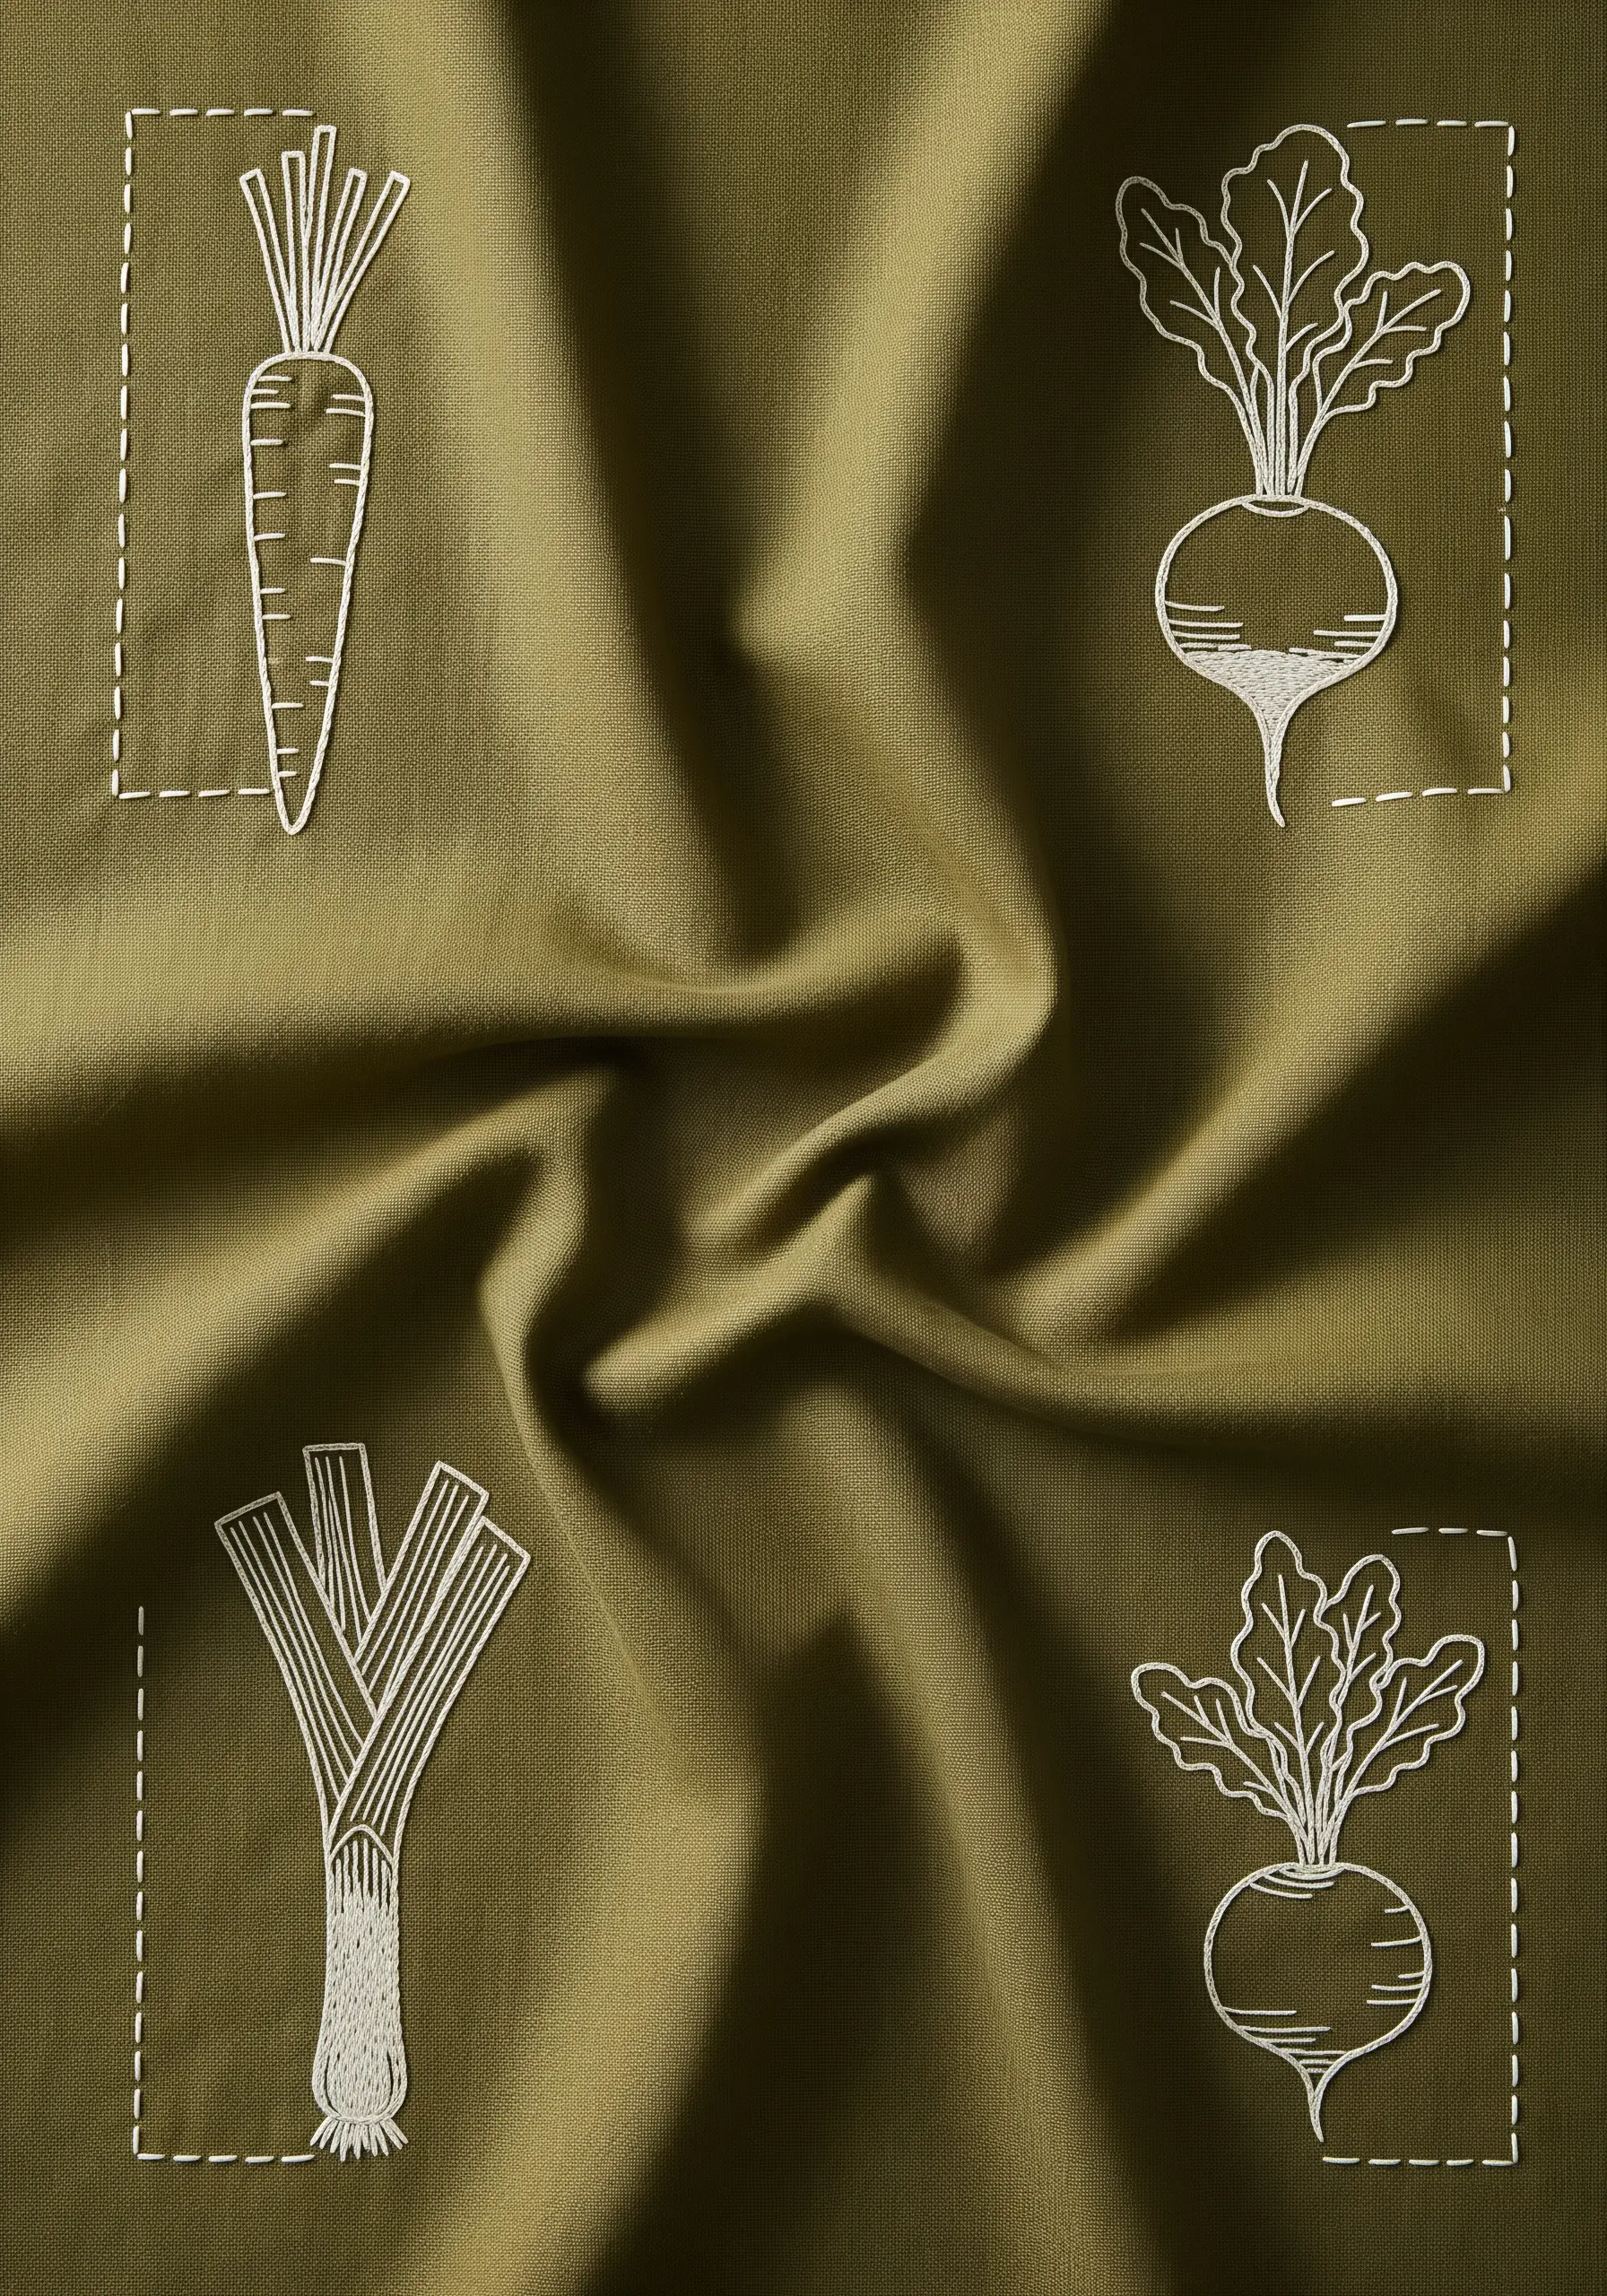
Embrace a charming, illustrative aesthetic by combining clean outlines with whimsical, sketch-like details.
The root vegetables are stitched with a clean whipped backstitch, while the dashed frames are done in a simple running stitch to create a delightful contrast in texture and style.
Add small areas of seed stitch fill at the base of the beet or leek to provide a touch of shading and texture.
This playful approach is perfect for personalizing aprons, tea towels, or reusable produce bags.
24. Deconstructed Butterfly with Trailing Threads
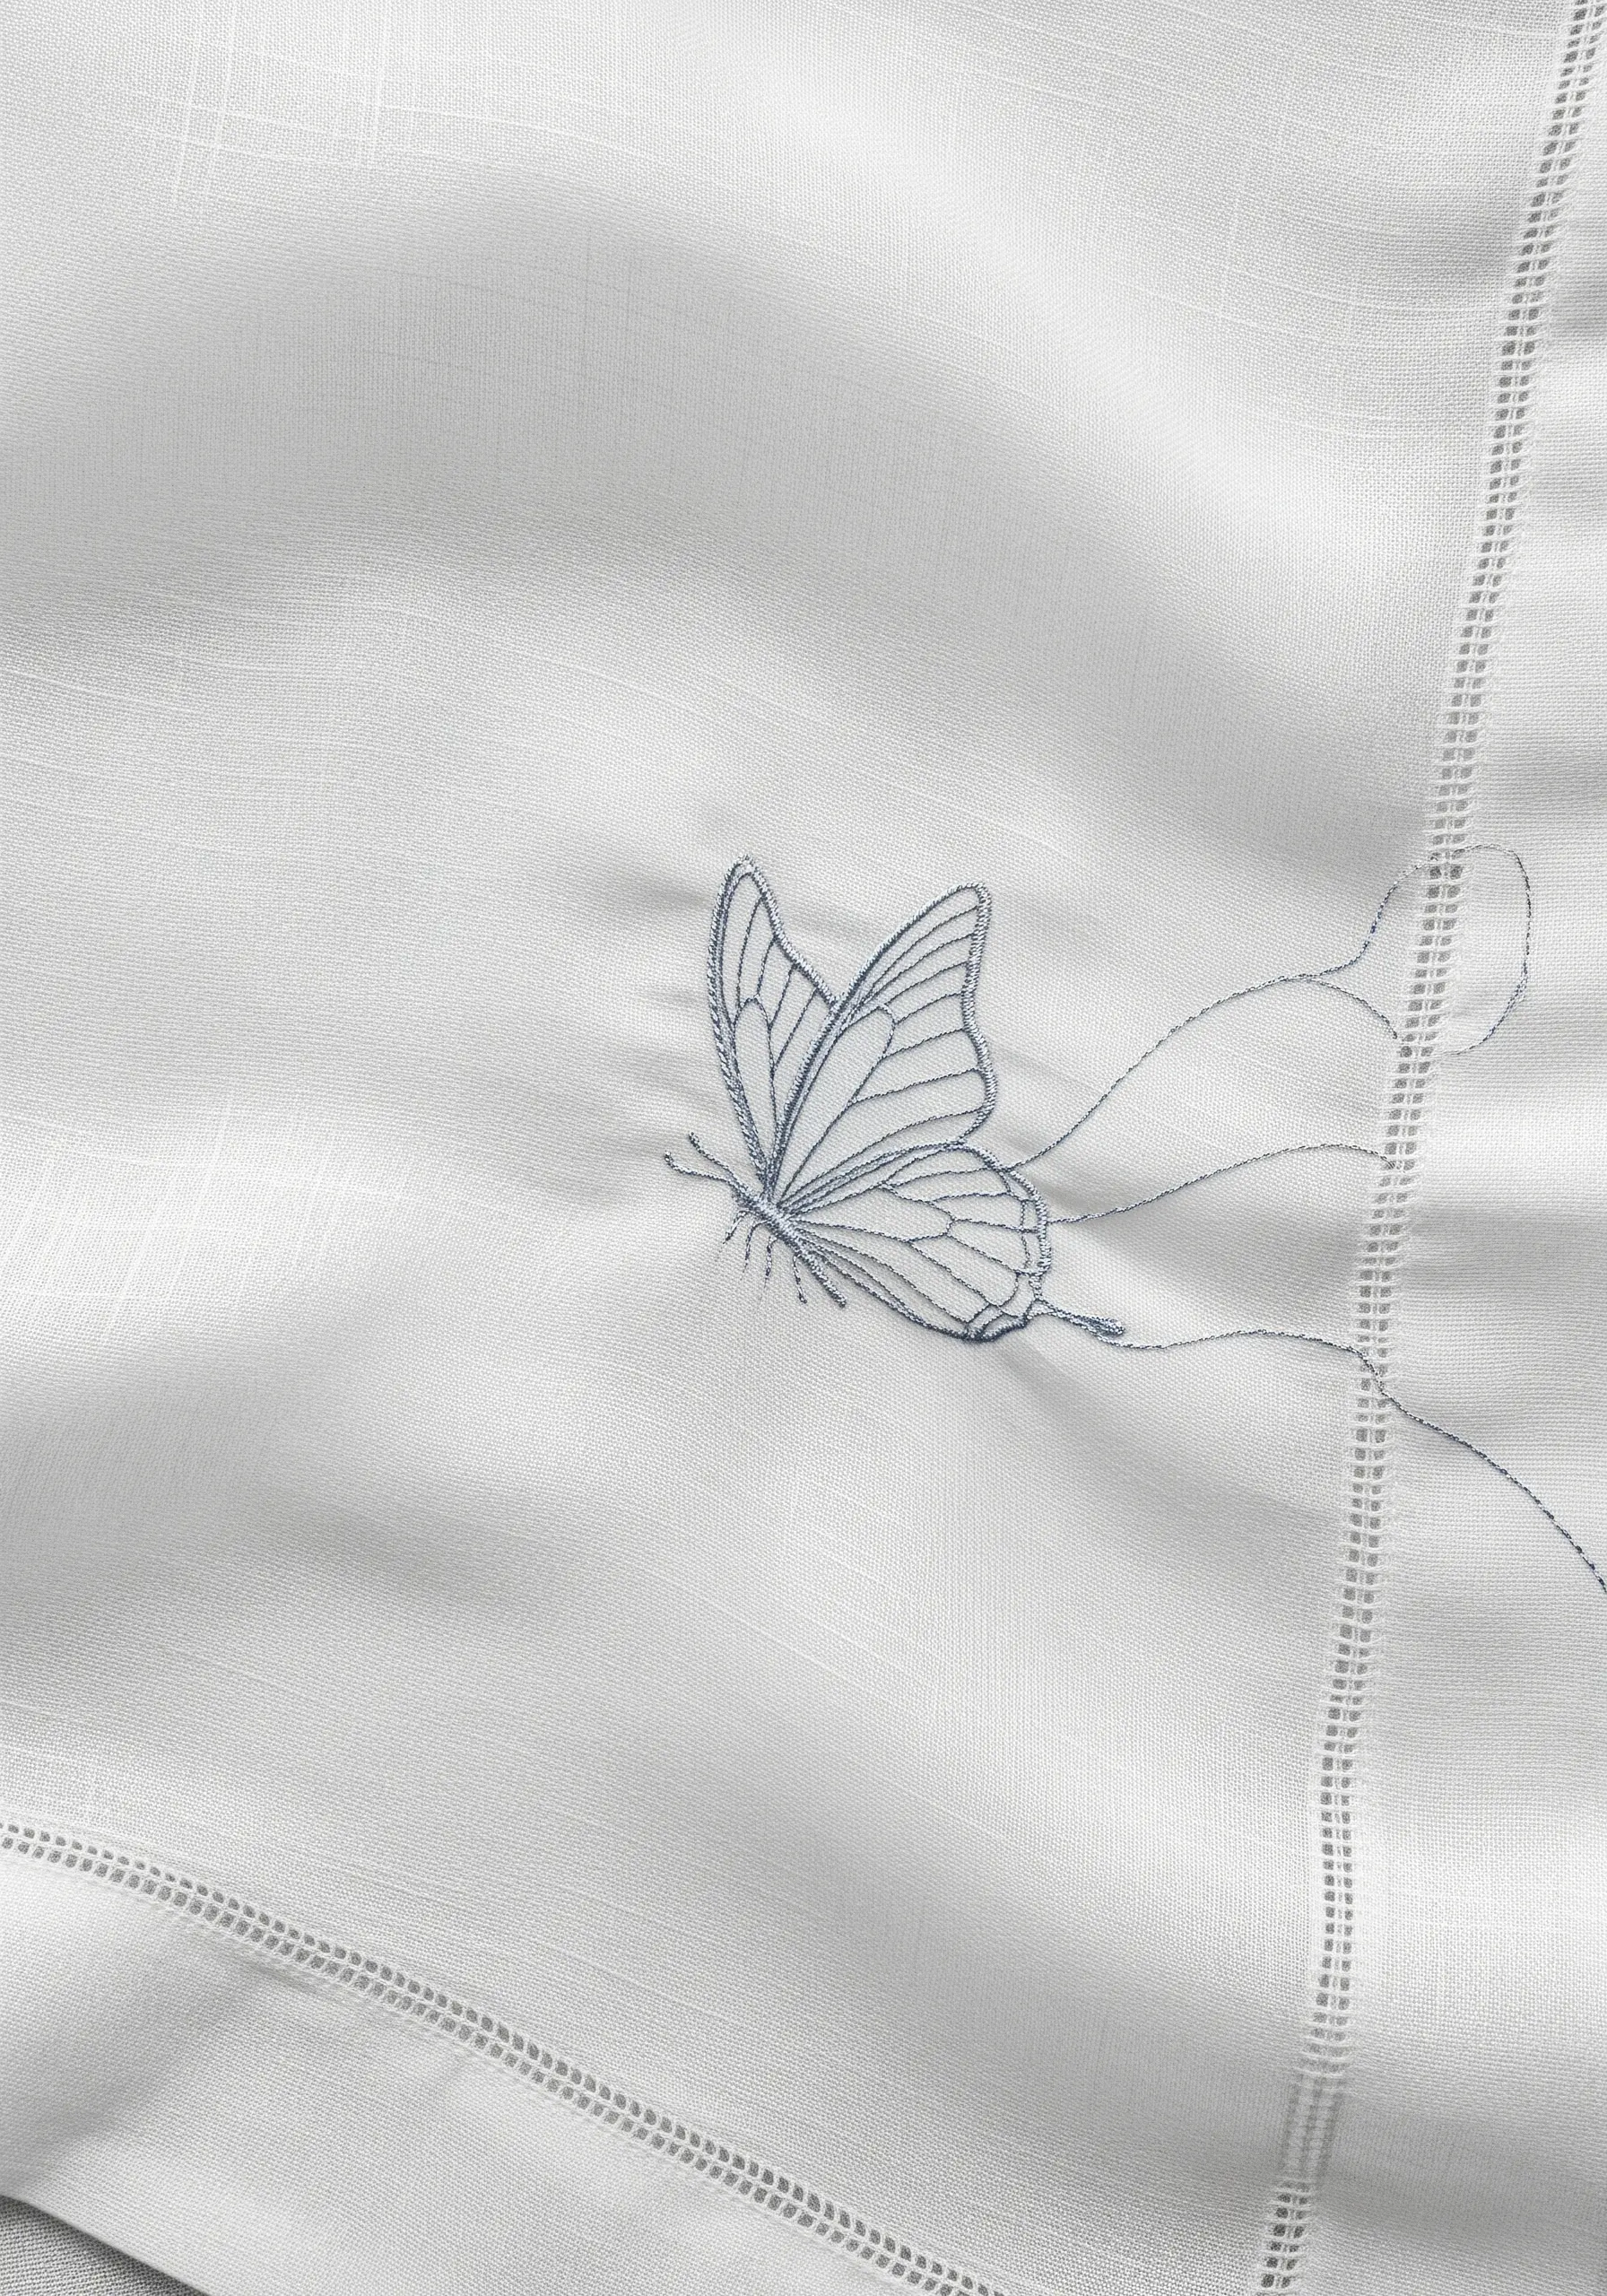
Add an element of avant-garde artistry to your embroidery by intentionally leaving threads loose.
First, stitch the butterfly motif completely using a fine, single-strand backstitch for the intricate wing details.
Then, add the trailing threads by bringing your needle up from the back, leaving a long tail, and making a single tiny tacking stitch to secure it before trimming.
This technique creates a beautiful illusion of movement, as if the butterfly is unraveling as it flies away.
25. Bold Celestial Shapes on Black
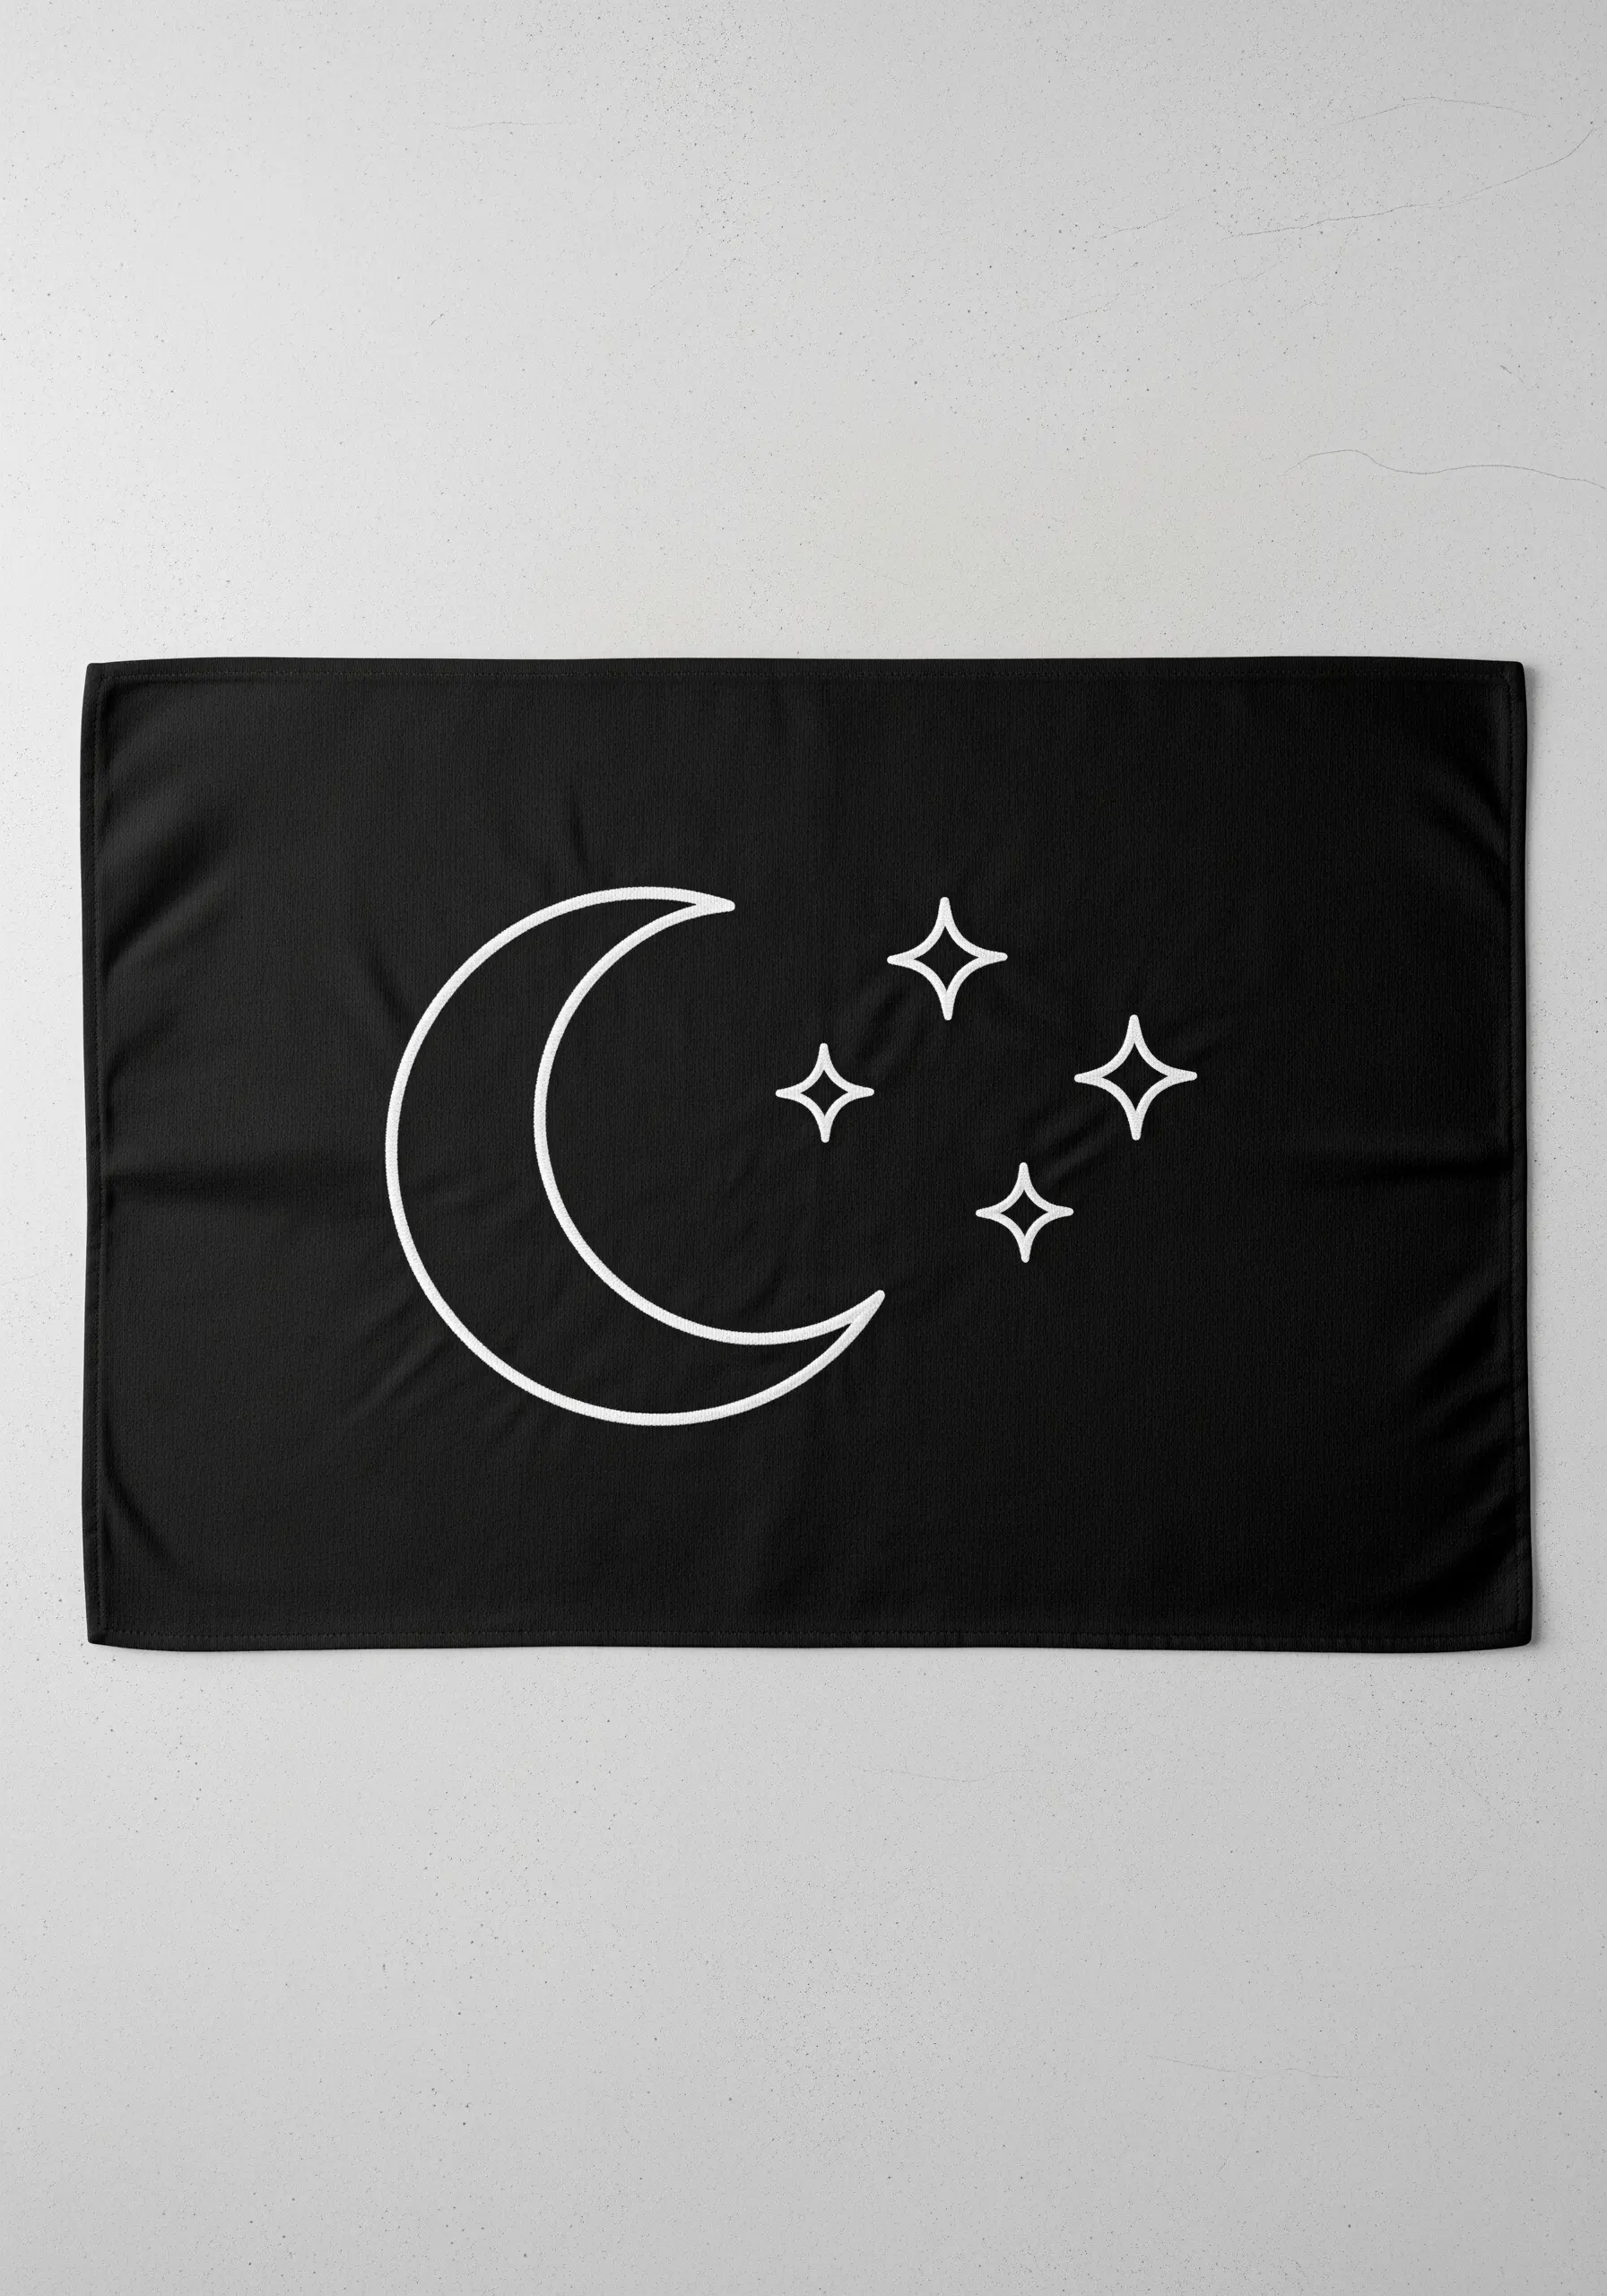
When working with simple, iconic shapes, amplify their impact with maximum contrast and a confident line.
Use at least four strands of white floss in your needle to create a thick, bold line that stands out sharply against the black fabric.
A stem stitch is an excellent choice for the crescent moon, as it naturally creates smooth, graceful curves without any pulling or puckering.
The four-point stars are simply two intersecting straight stitches, proving that the most effective designs are often the simplest.
26. Organic Arches and Meandering Lines
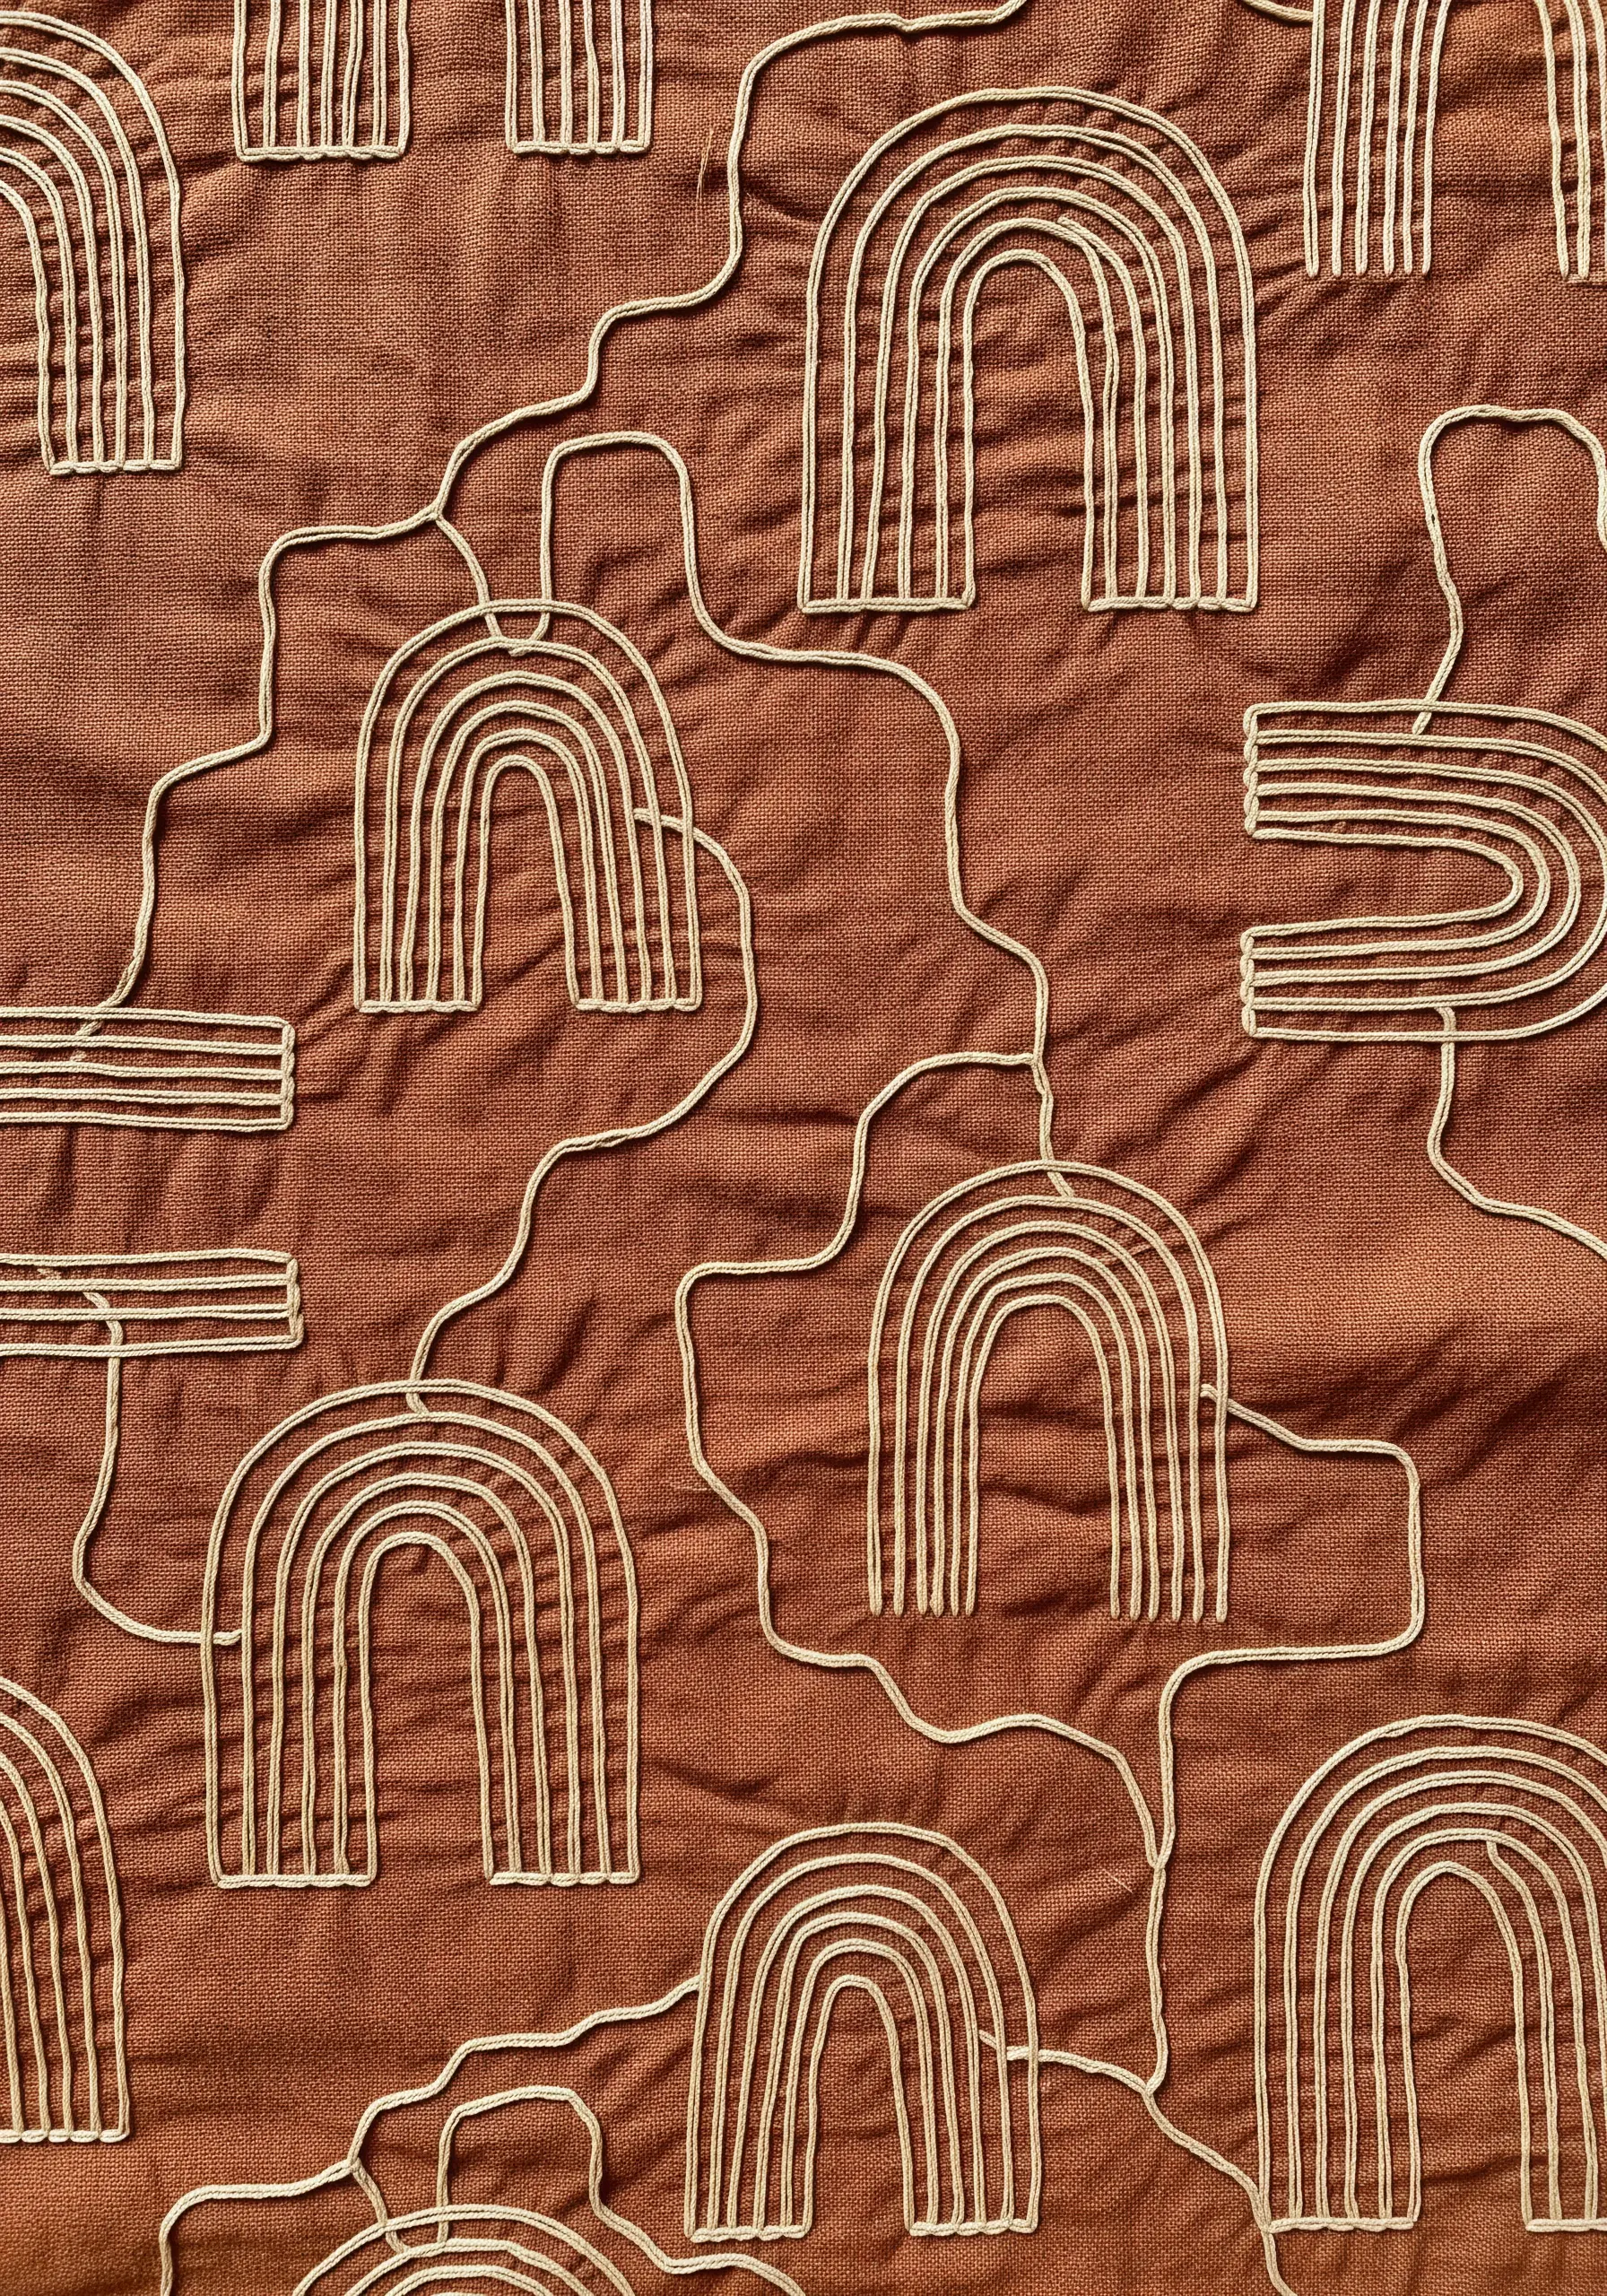
Combine structured, repeating motifs with free-flowing connecting lines to create a pattern that feels both organized and organic.
Stitch the geometric arches first, using a chain stitch to give them a beautiful, rope-like texture.
Then, connect them with a wandering stem stitch, allowing the line to meander naturally across the fabric without a pre-drawn plan.
This contrast between structure and freedom results in dynamic, visually fascinating organic embroidery designs.
27. Color Study with a Single Motif
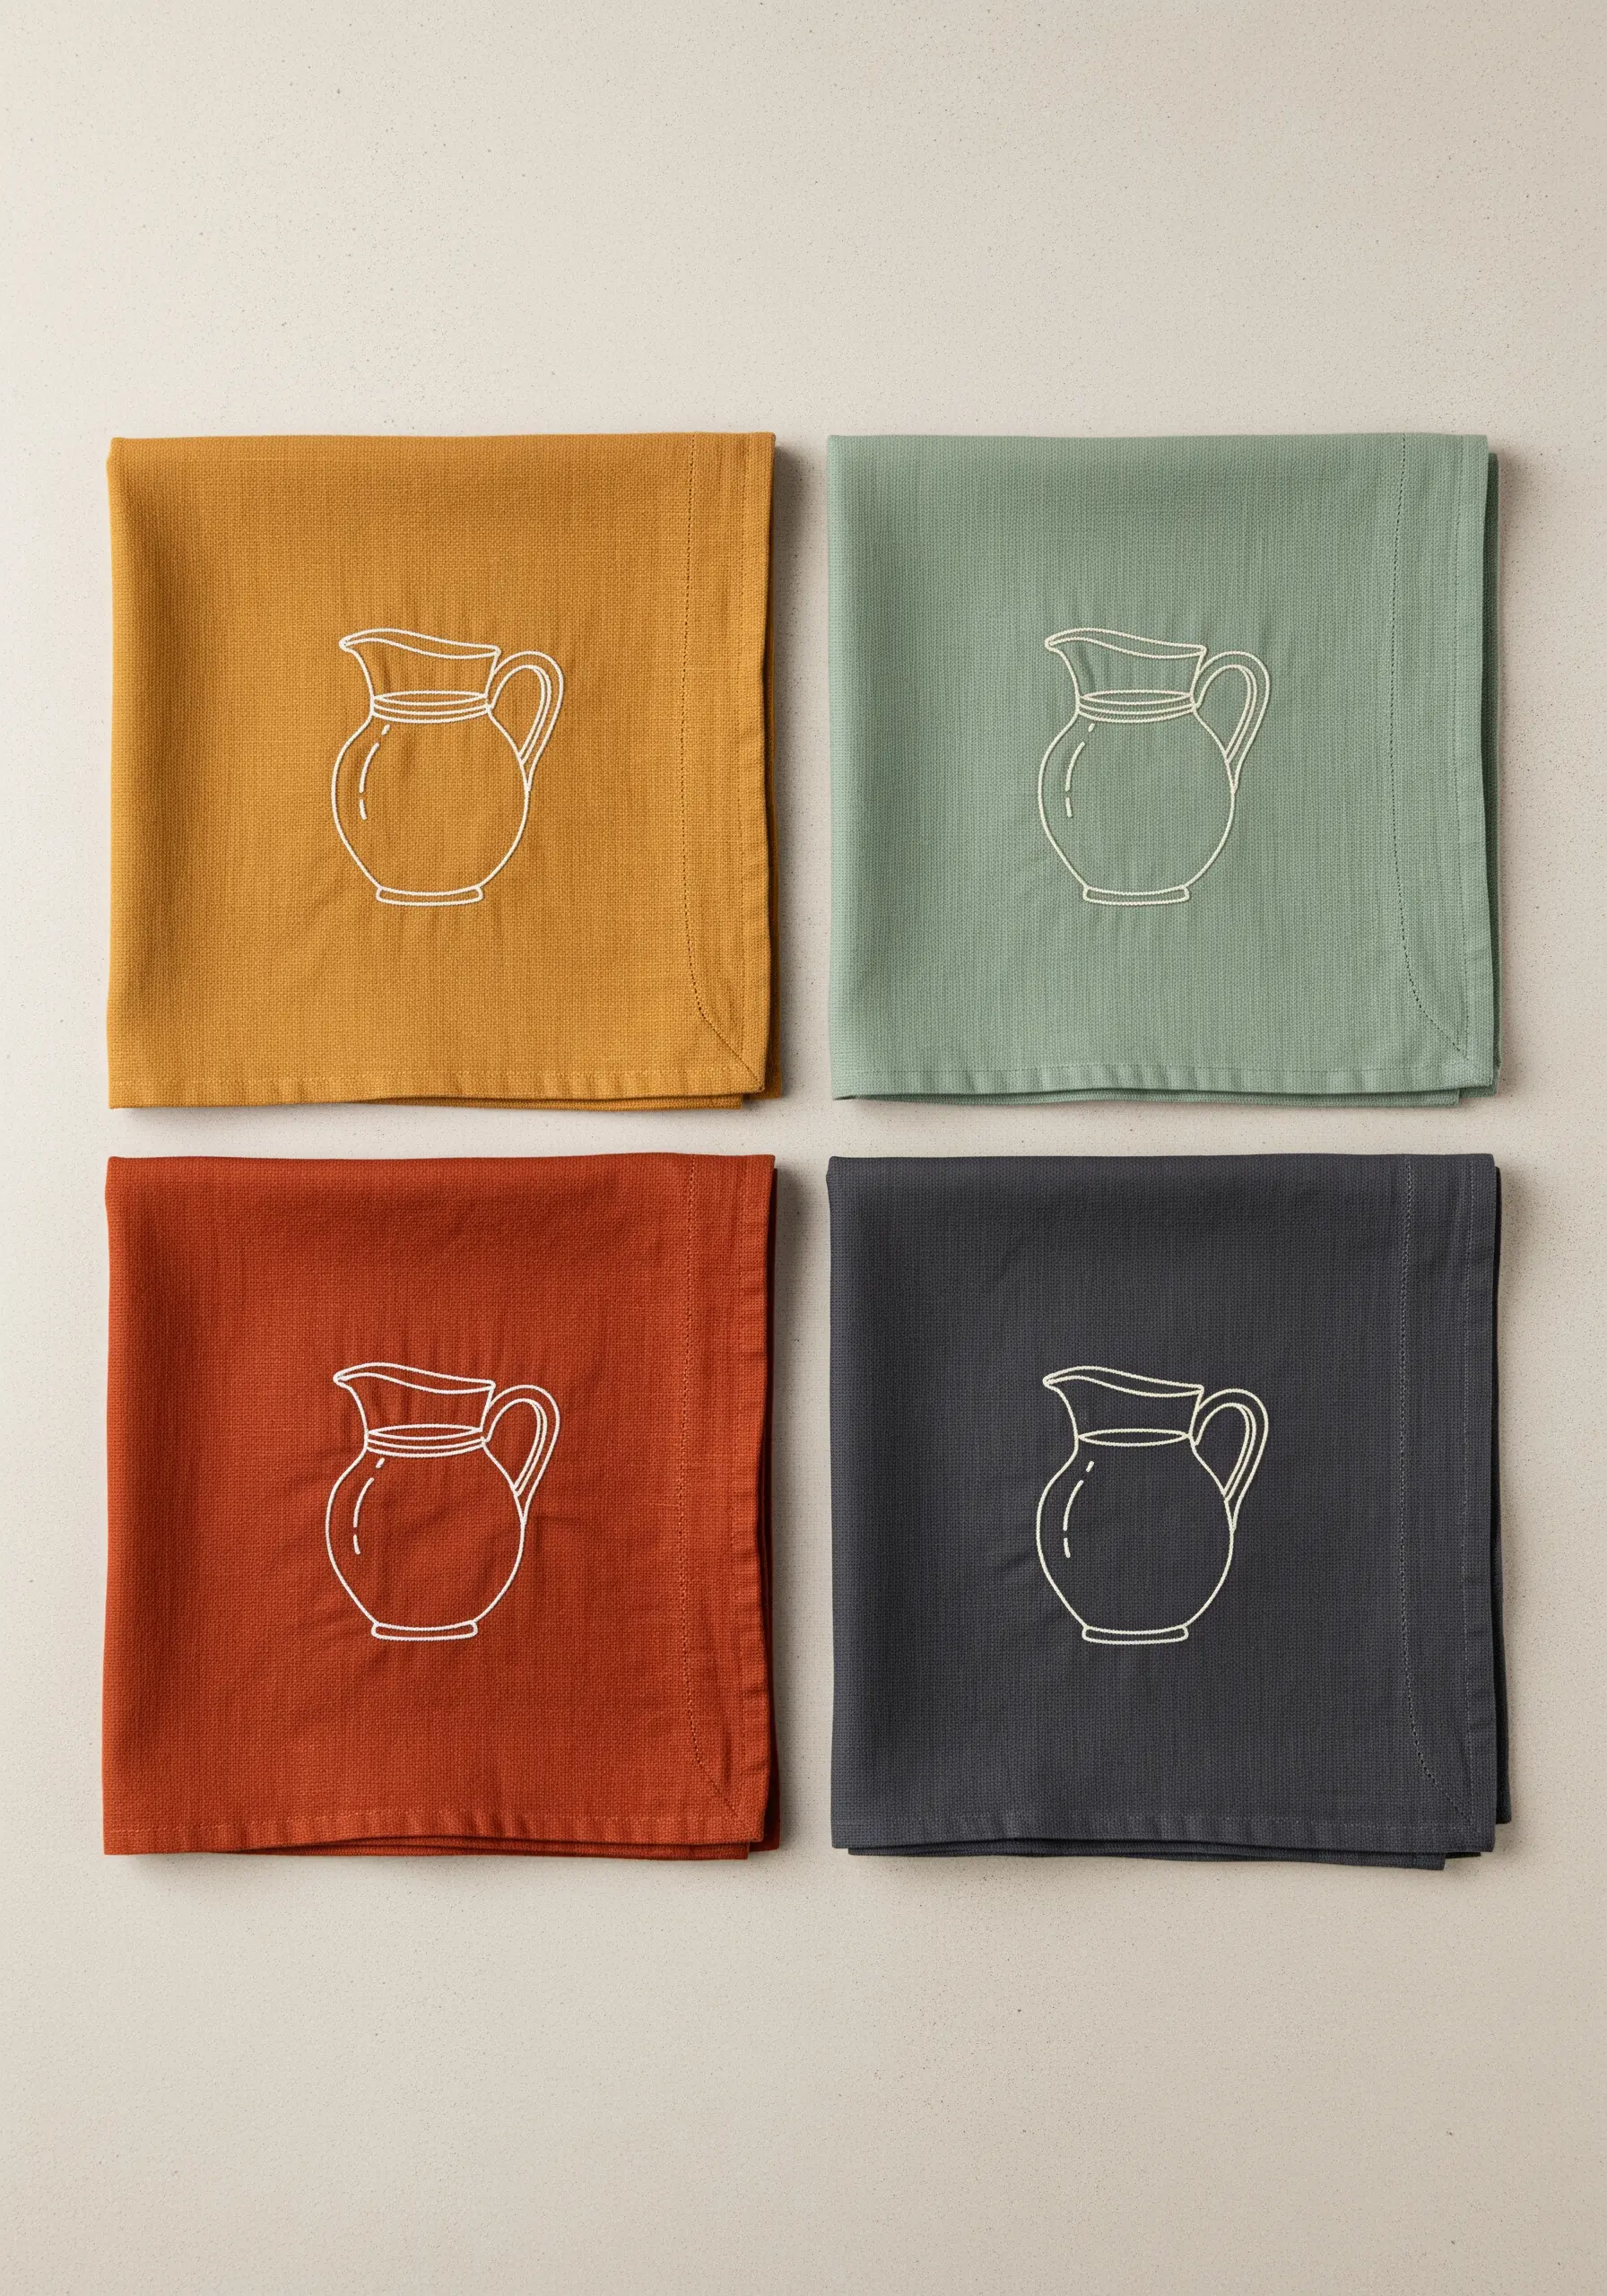
Explore the impact of color by embroidering the exact same motif on a set of napkins in different, complementary hues.
By keeping the thread color and stitch style consistent (a simple, clean backstitch in white), the fabric color becomes the star.
This is an incredibly effective way to create a cohesive yet varied set of table linens that can be mixed and matched.
It also demonstrates how a background color can completely change the mood of a design, from earthy and warm to cool and serene.
28. Dainty Teacup Scatter
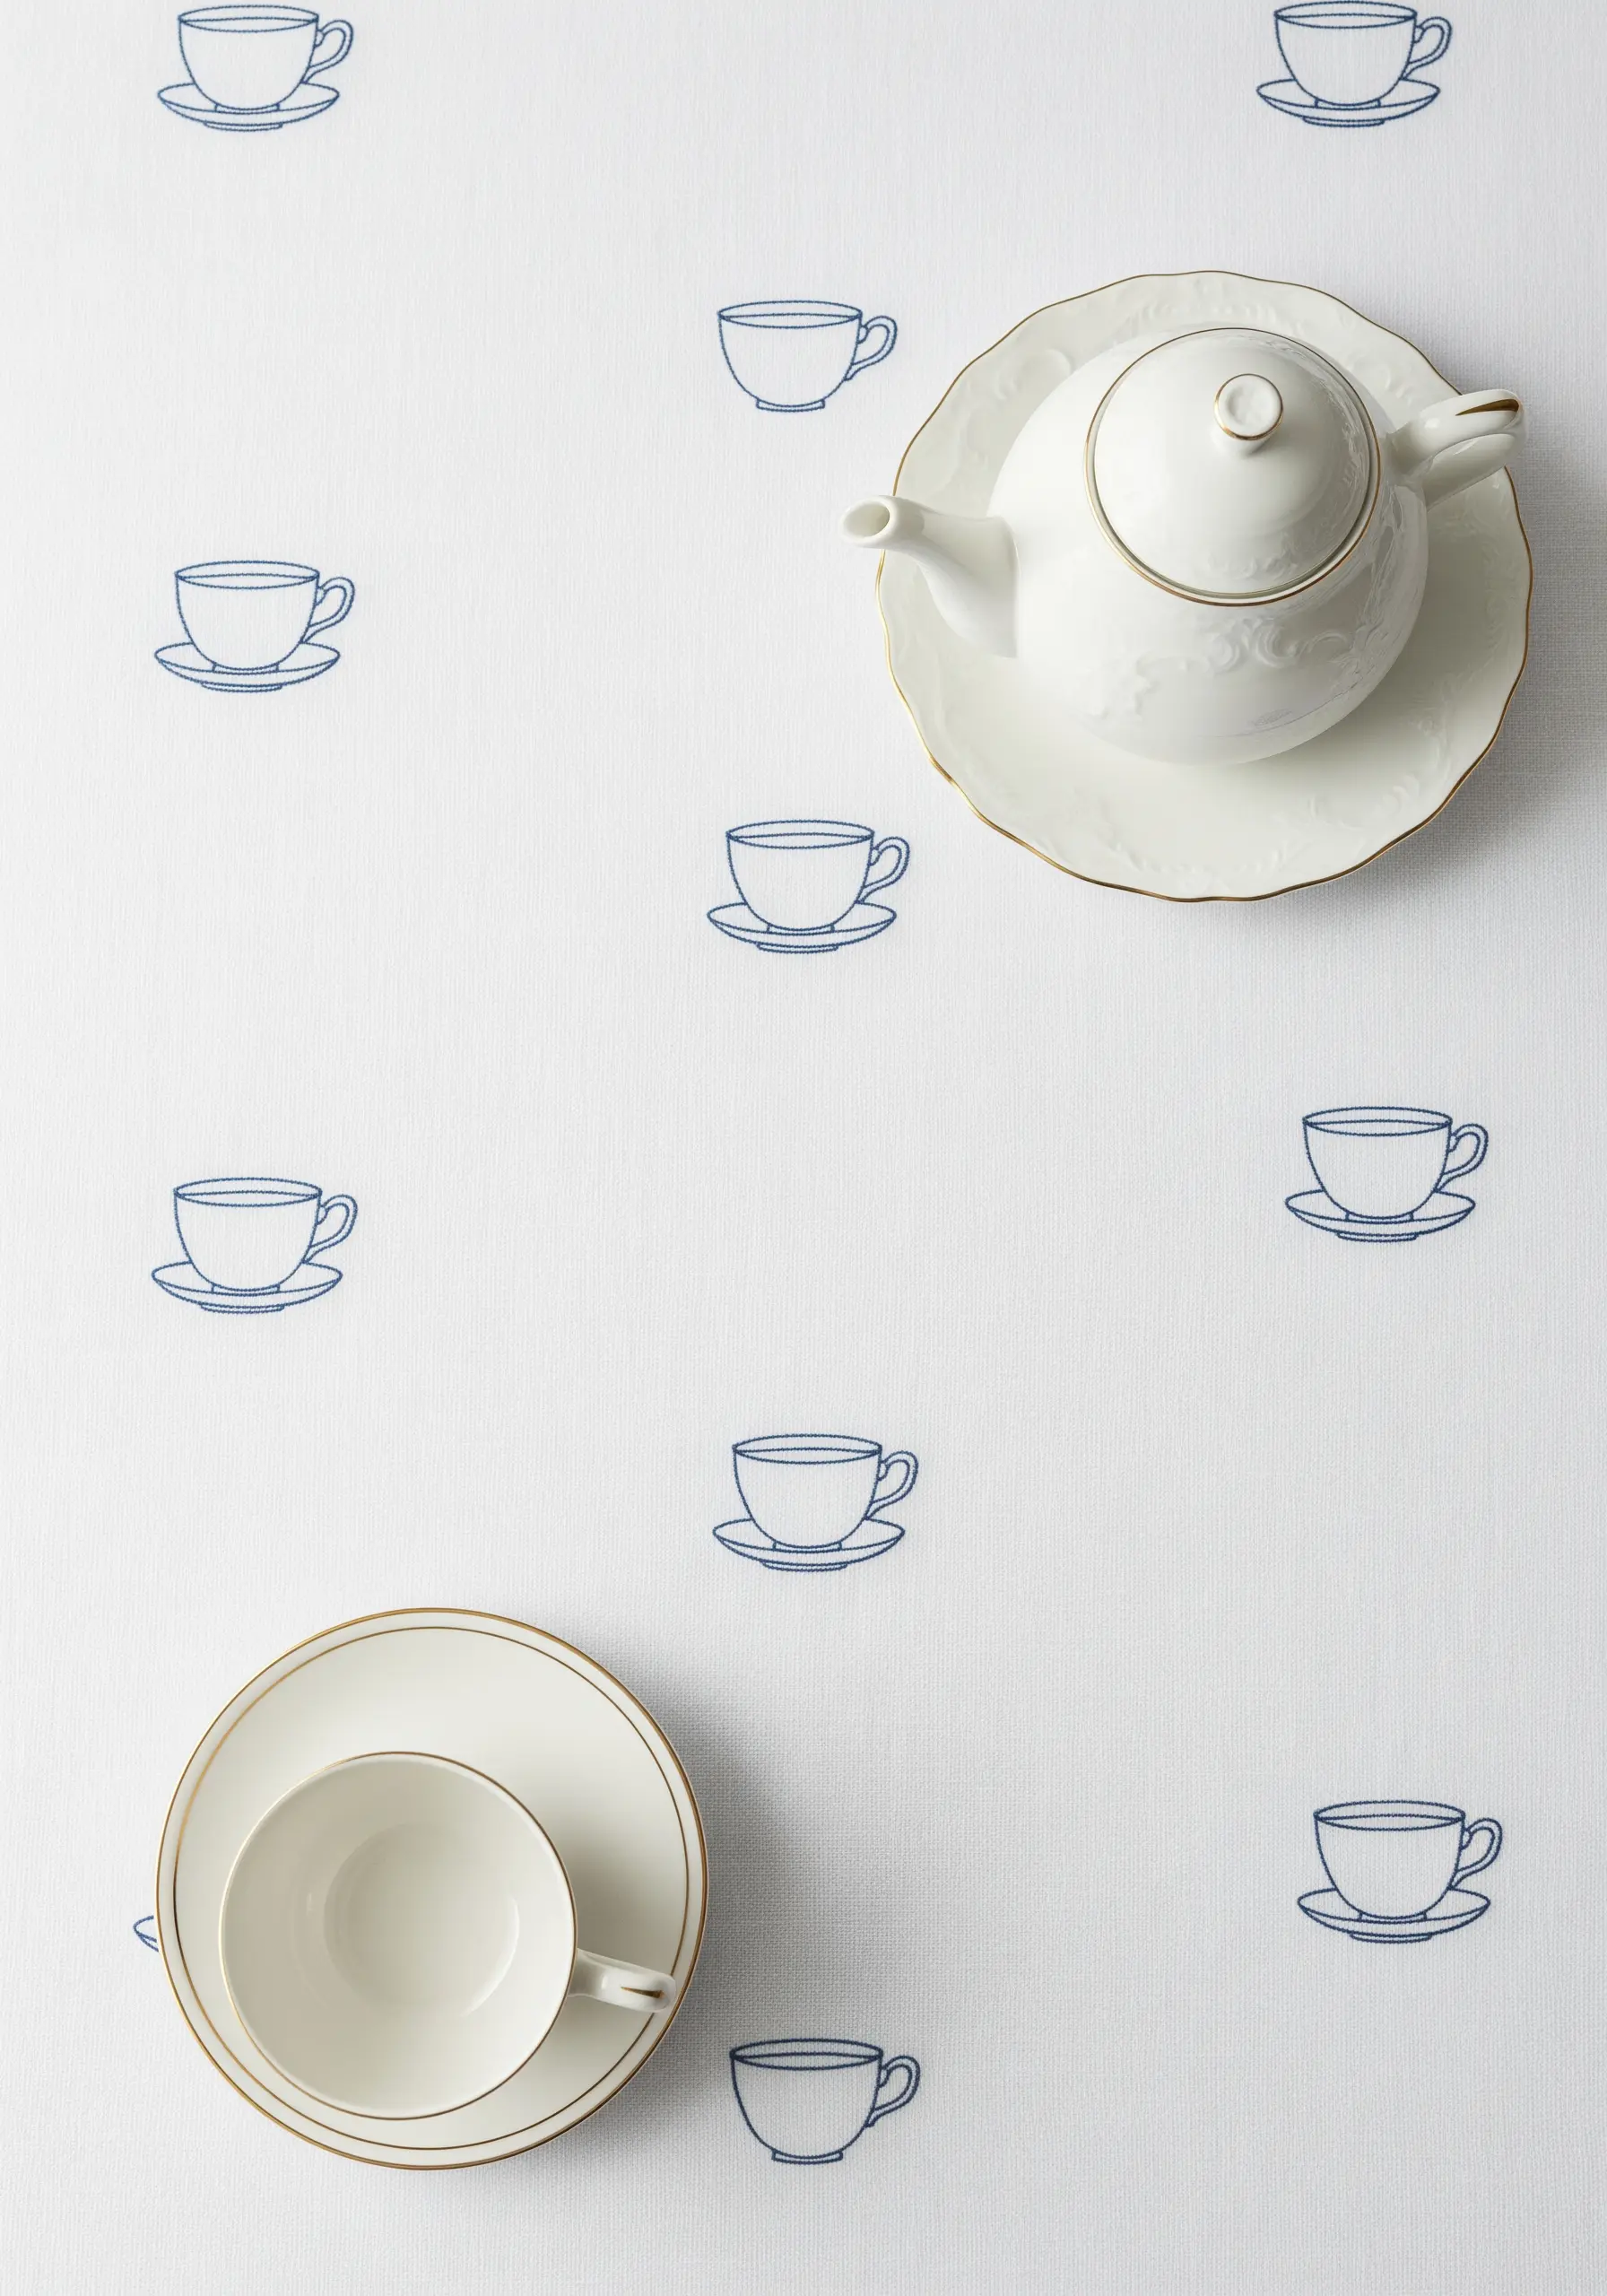
For an all-over pattern that feels light and airy, keep your motifs small and your thread fine.
Use a single strand of floss to stitch these tiny teacups, ensuring the design remains delicate and doesn’t feel heavy or cluttered.
Plan your placement to create a balanced, random scatter, leaving plenty of negative space to let the tablecloth breathe.
This subtle approach creates an elegant, bespoke fabric perfect for afternoon tea or a special brunch.
29. The Sculptural Monogram
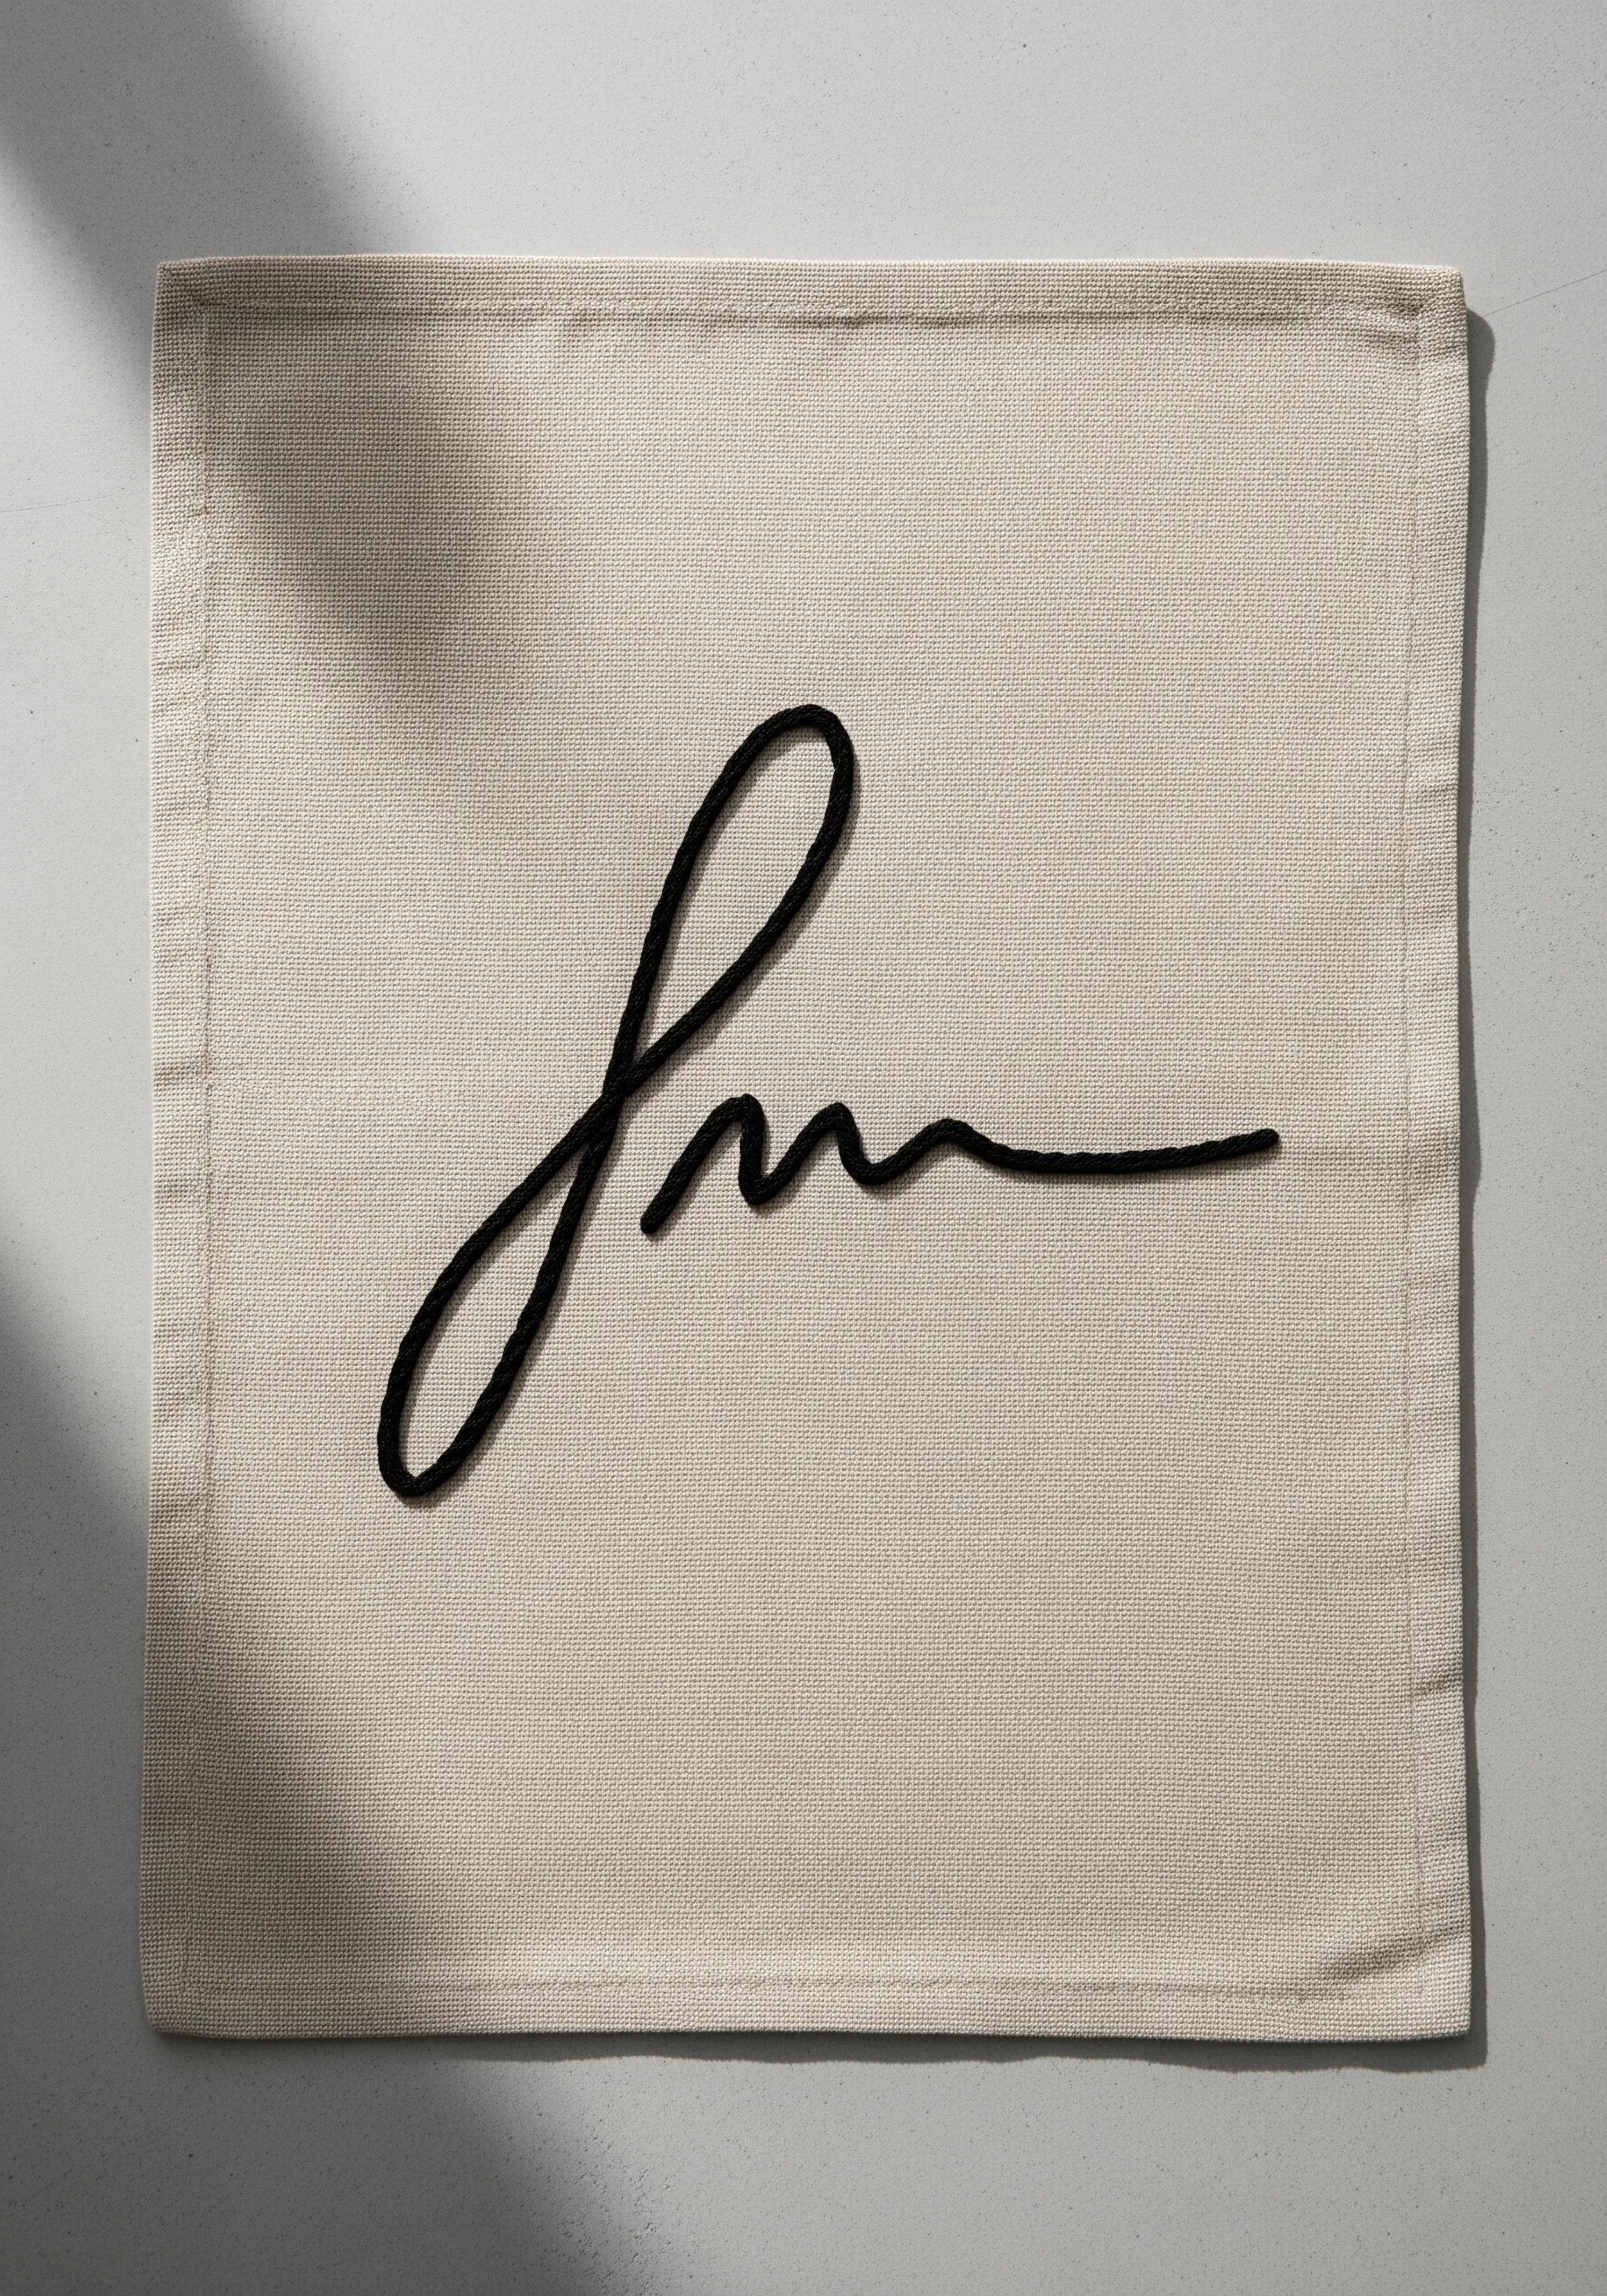
Transform a simple monogram or signature into a bold, textural statement piece.
Instead of stitching the letters, use a very thick yarn and couch it onto the fabric surface.
This technique allows you to create thick, fluid lines that would be impossible with traditional stitches.
Choose a high-contrast yarn to make the initial stand out, turning a simple placemat into a personalized piece of art.
30. Gilded Ivy on Velvet
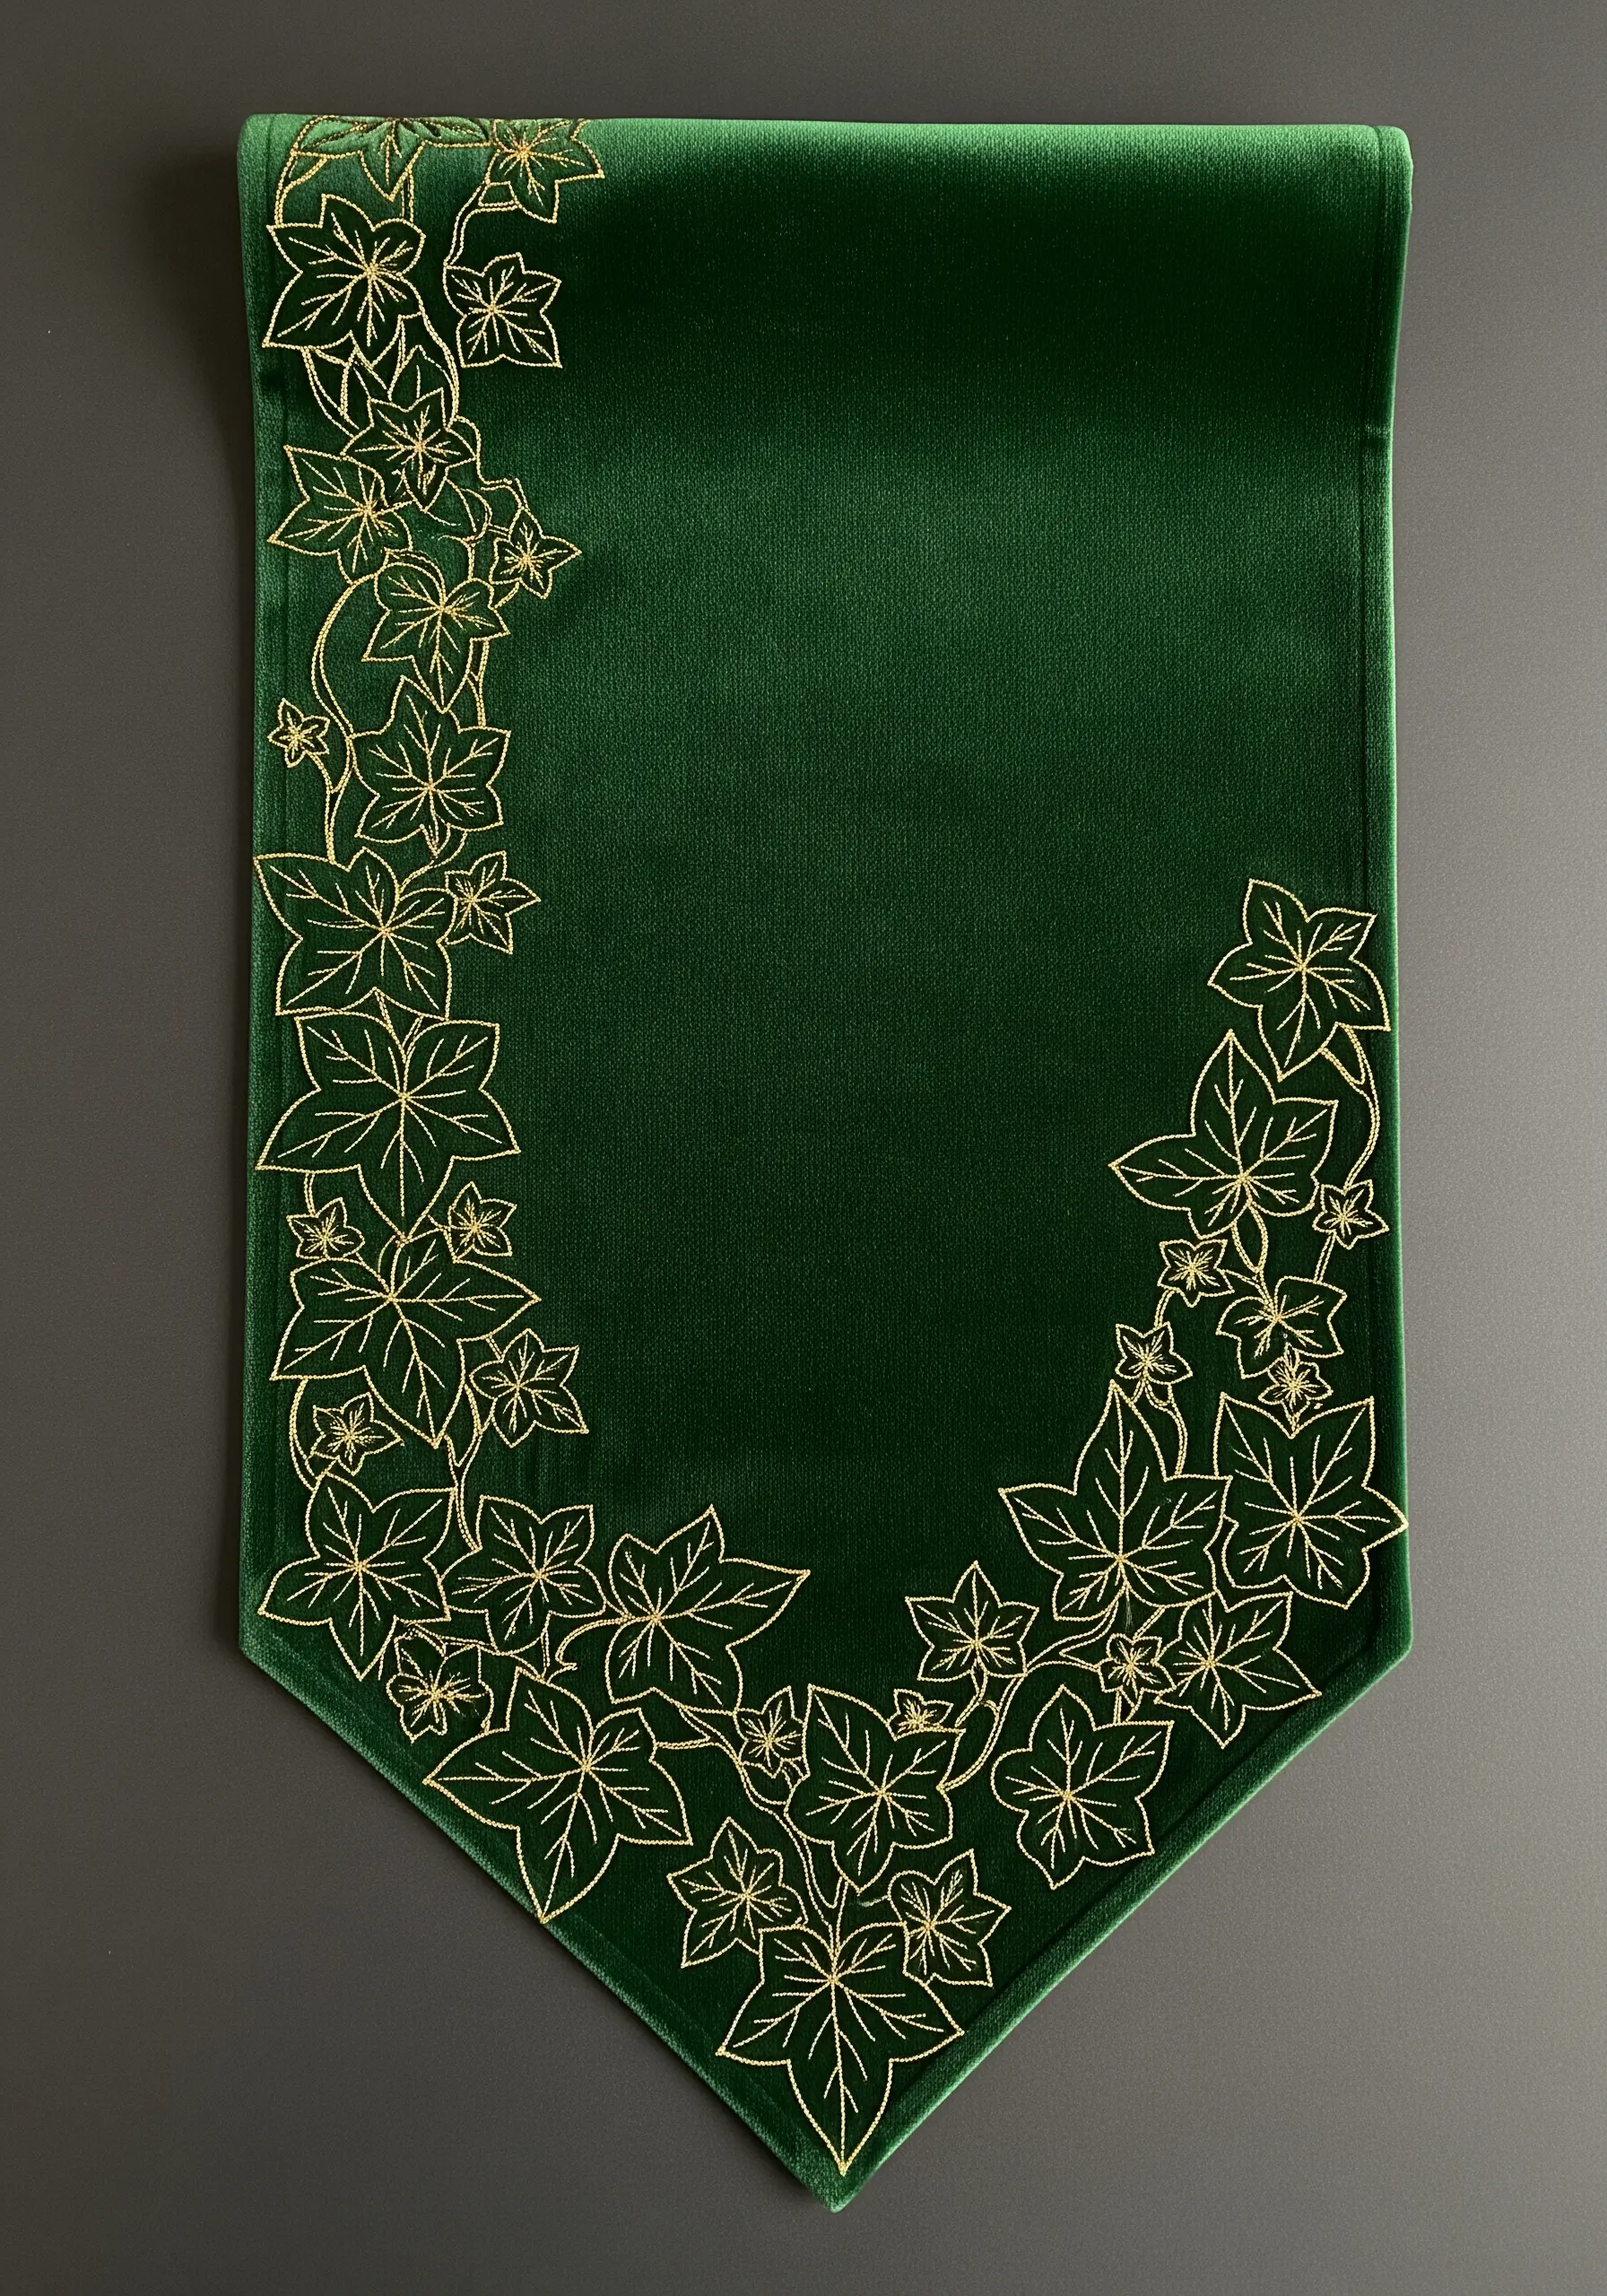
Create an atmosphere of pure luxury by combining the shimmer of metallic thread with the plushness of velvet.
When embroidering on velvet, avoid using a standard hoop, which can crush the pile. Instead, use a clip-on frame or stabilize the back and stitch with the fabric held taut in your hand.
A simple backstitch is all that’s needed, as the richness of the materials themselves provides the drama.
This is perfect for a show-stopping holiday table runner or special occasion placemats.
31. Minimalist Weather Scene
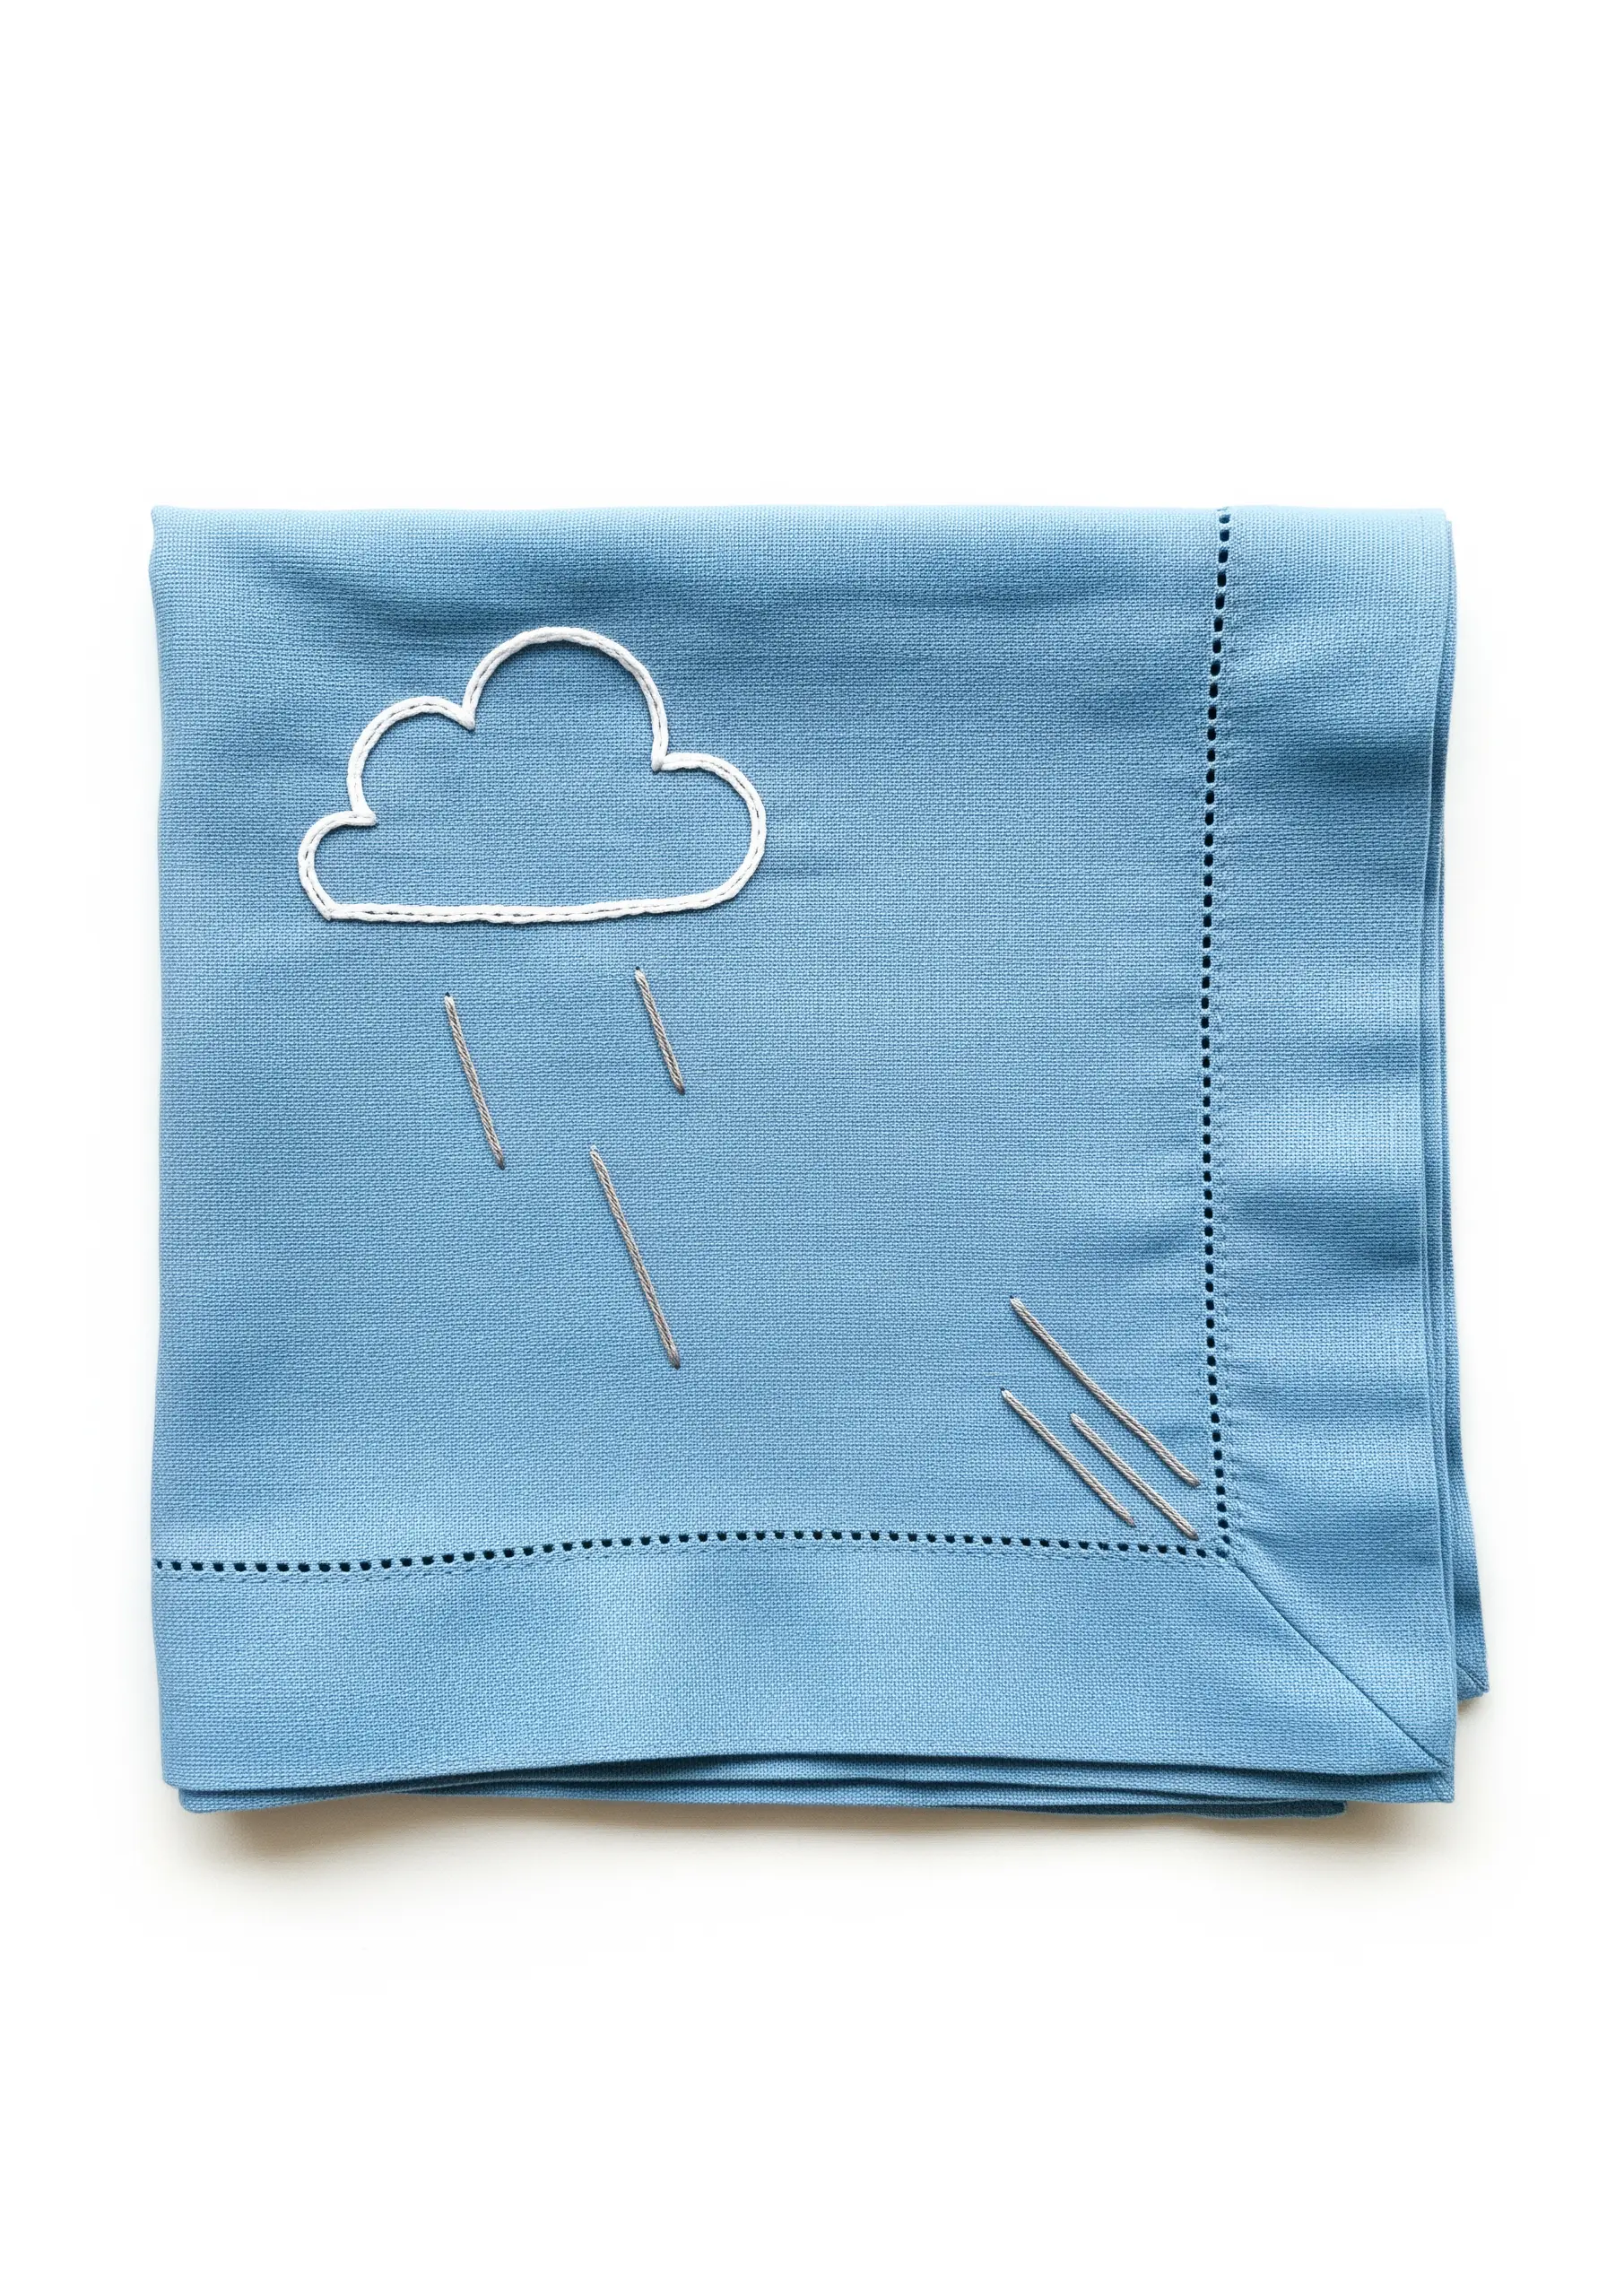
Convey a concept using the most essential lines and a thoughtful mix of stitches.
The cloud is outlined with a whipped backstitch to give it a smooth, puffy appearance.
In contrast, the raindrops are simple, disconnected straight stitches, which gives them a sense of motion and lightness.
Angling some of the raindrops slightly adds a subtle hint of wind, bringing the minimalist scene to life.
32. Vibrant Monstera Outline

Even with a single color, you can create a design that feels lush and vibrant.
Choose a bold, saturated thread color that contrasts sharply with your neutral fabric base.
The key to a successful monstera is capturing the iconic leaf splits with sharp, clean corners. Use a precise backstitch and pivot carefully at each point.
This design is a perfect way to bring a touch of botanical energy to your home decor, making it one of the most beloved plant-inspired embroidery patterns.
33. The Graceful Swan Motif
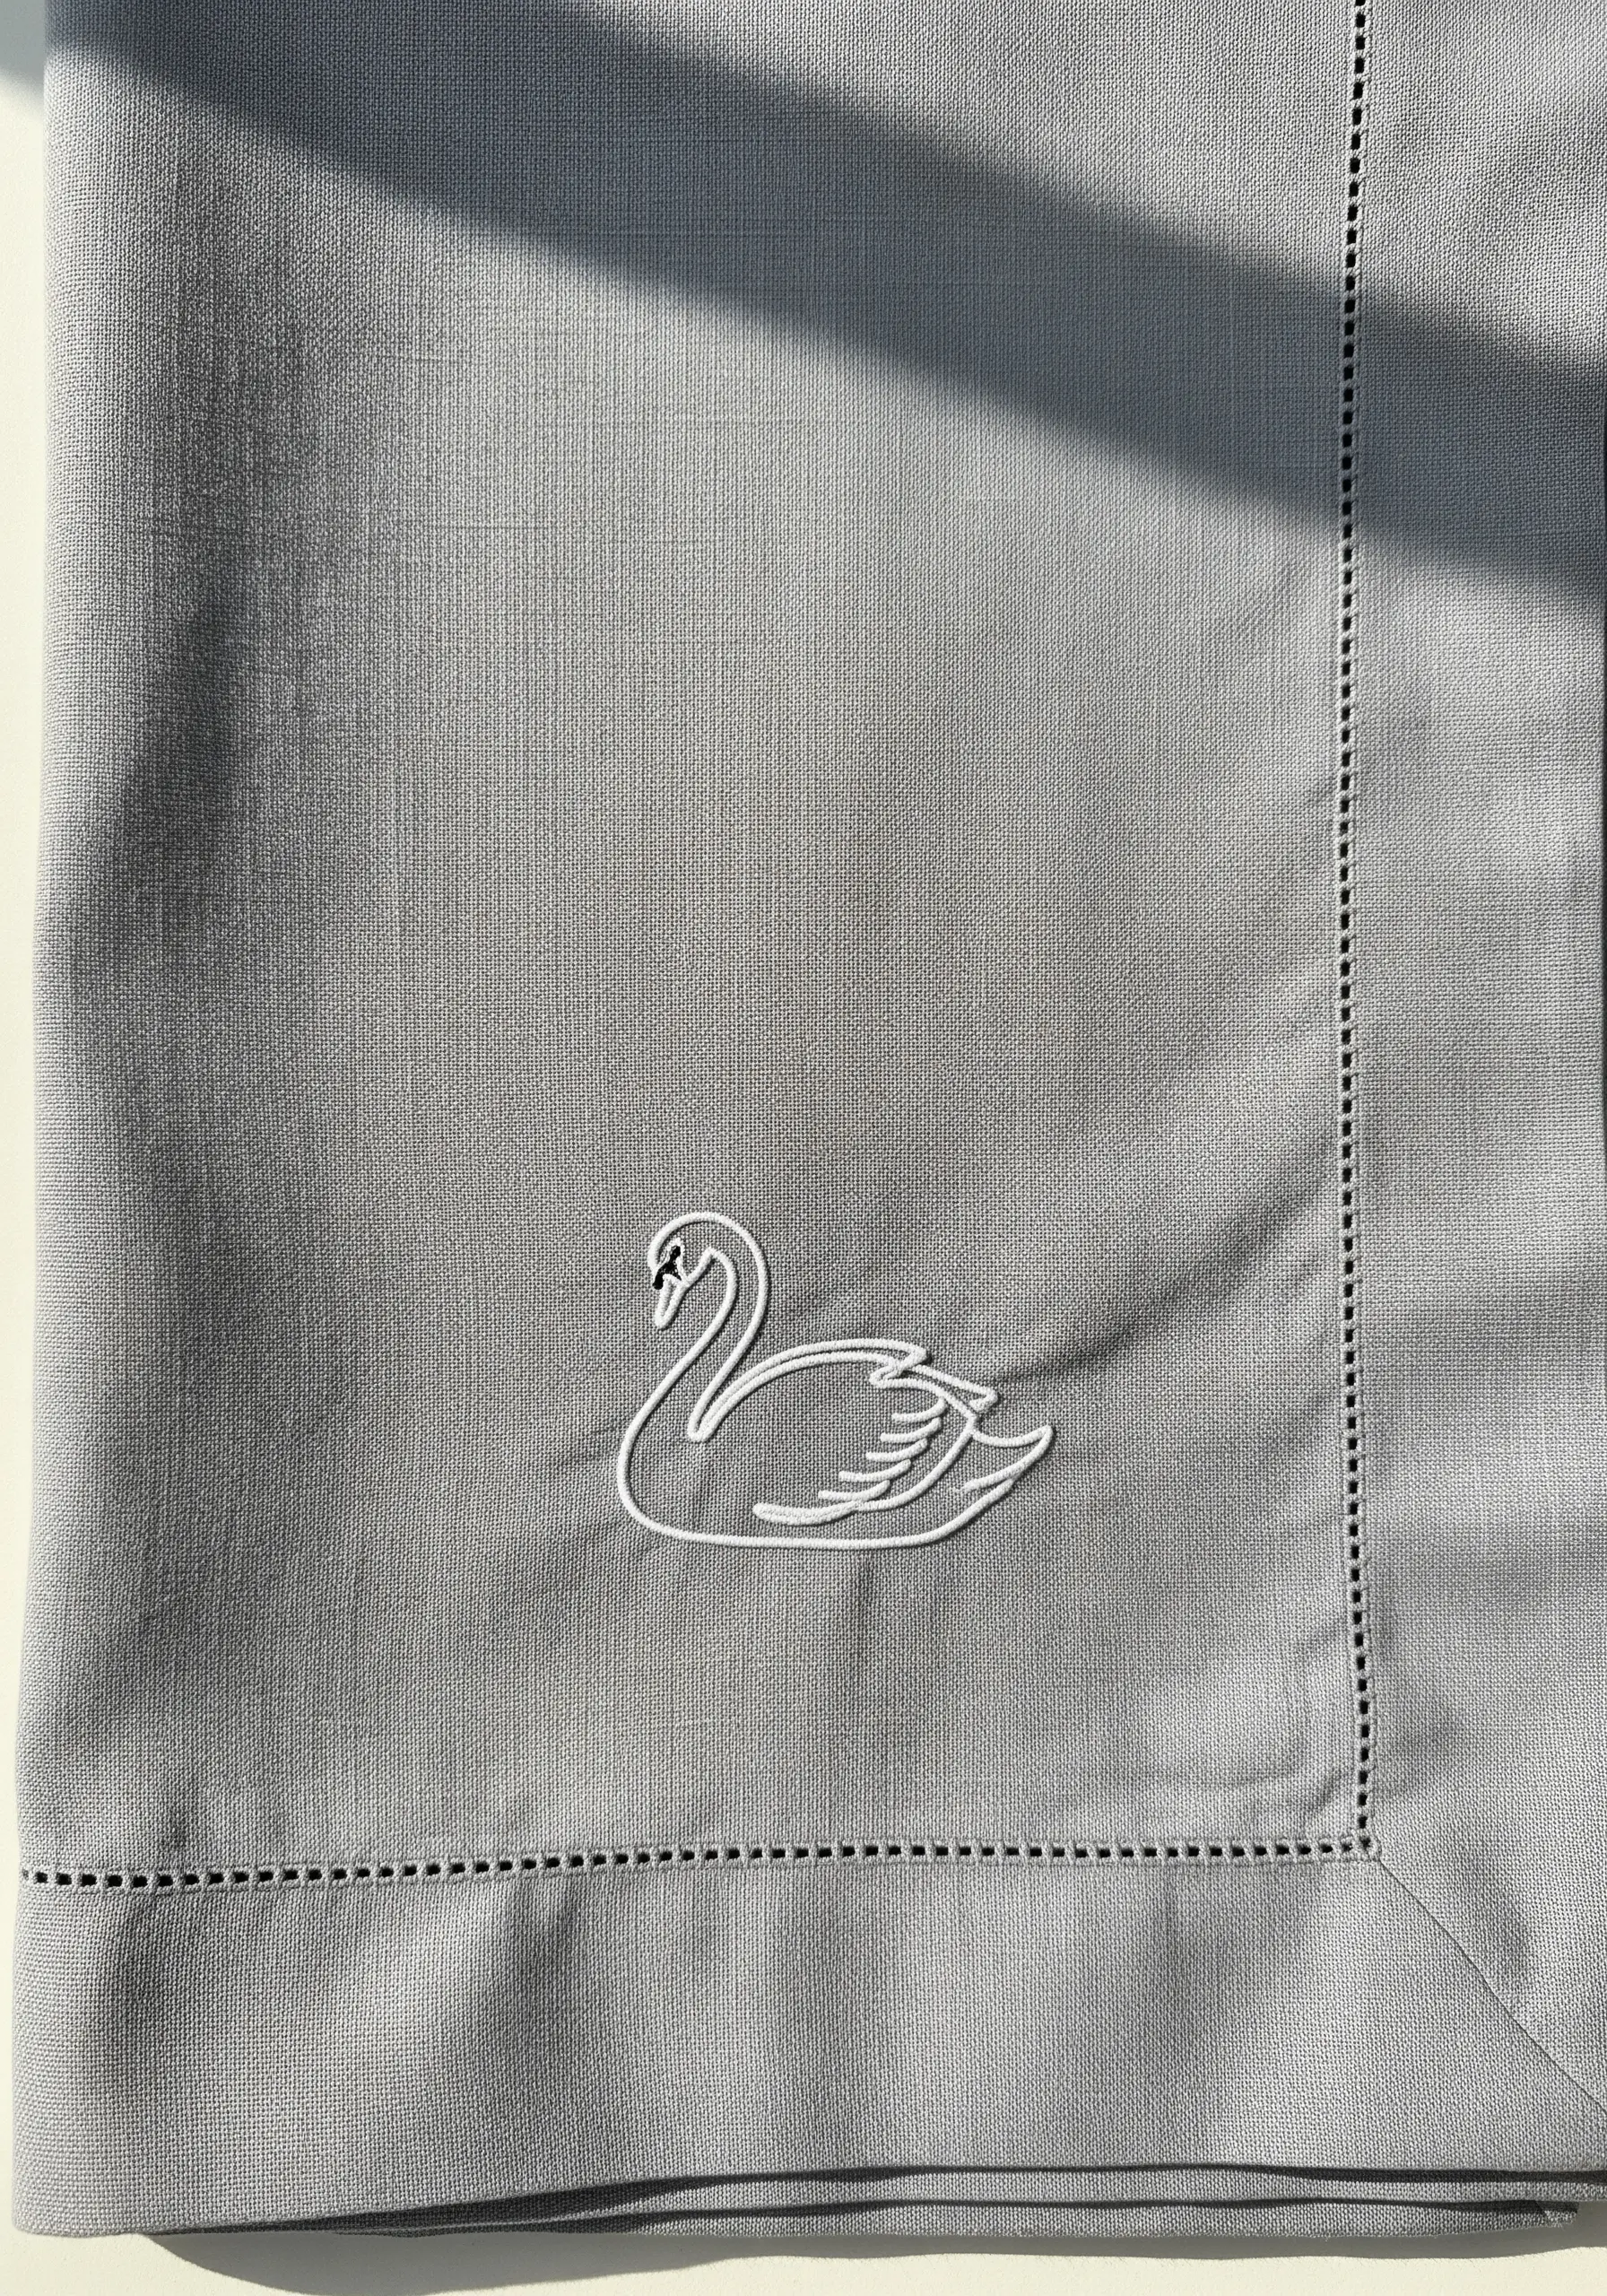
Capture the elegance of a swan by choosing stitches that enhance its natural curves.
Use a stem stitch for the neck and body outline; this stitch naturally creates smooth, flowing curves that are perfect for this motif.
For the delicate feathers on the wing, switch to tiny, evenly spaced straight stitches. This textural shift adds a layer of subtle detail without adding complexity.
A high-contrast white thread on a cool gray fabric gives the design a classic, serene quality.
34. The Honeycomb Geometric Frame
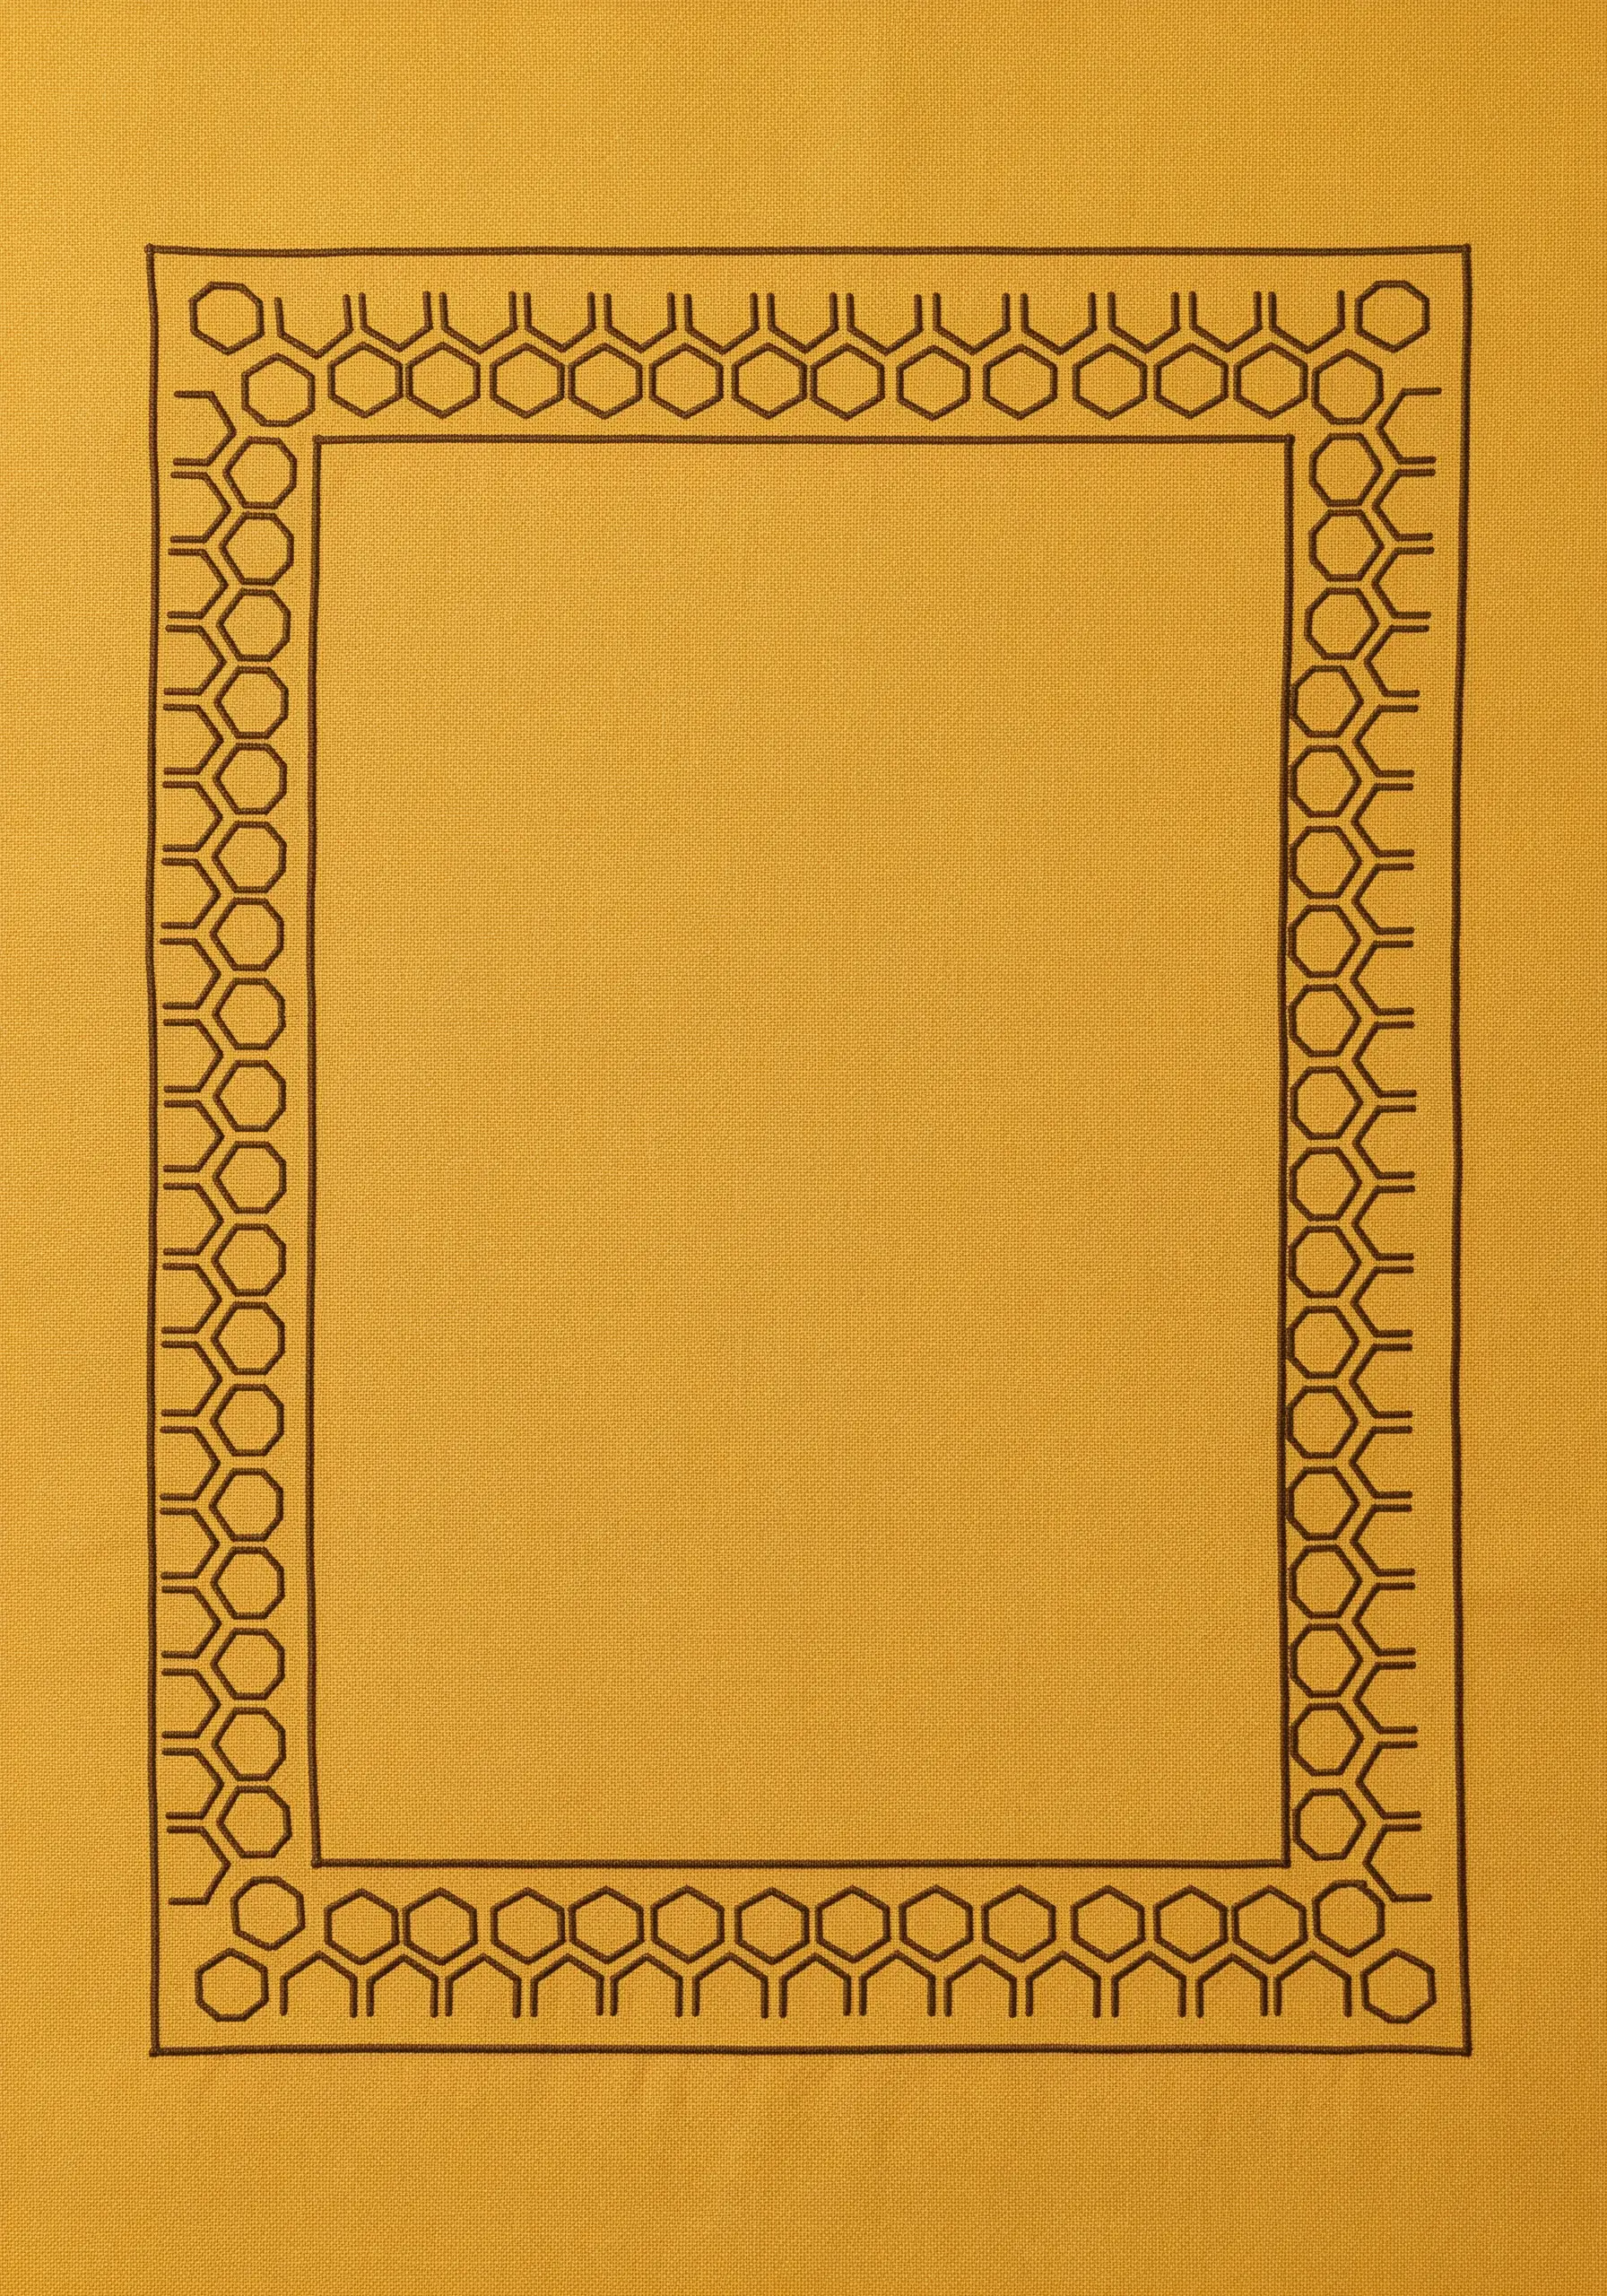
Use a repeating geometric pattern to create a sophisticated and modern border for a placemat or napkin.
To ensure perfect symmetry, print your honeycomb pattern on a water-soluble stabilizer. This eliminates the need for tedious measuring and marking.
A simple, clean backstitch in a contrasting color is all that’s required to let the complexity of the pattern take center stage.
This technique turns a plain piece of fabric into a structured, architectural design piece.


