

You have the threads, the fabric, and the desire to create something beautiful. But perhaps you find yourself hesitating, wondering how to move beyond simple stitches into work that feels truly intentional and polished. You’re not looking for another fleeting trend, but for a way to make your embroidery speak with quiet confidence.
Let’s shift the focus from merely following a pattern to understanding why certain choices work. We’ll explore how adjusting a single stitch can add depth, how choosing the right thread can transform a texture, and how simple compositions can create powerful emotional resonance. This isn’t about complexity; it’s about clarity.
Think of this as a conversation about artistry. Here, you’ll find techniques that offer visible, tangible improvements, helping you create pieces that are not just stitched, but thoughtfully composed. Your hands already know the work; it’s time to give them a new language of expression.
1. Add Dimension to Botanical Stitches

To give your lavender a realistic, plump texture, move beyond simple straight stitches for the buds.
Instead, use tiny, tightly packed French knots at the top of each stalk, gradually transitioning to single straight stitches or lazy daisies at the base.
This technique mimics how lavender florets cluster densely at the tip and become sparser below, creating an immediate sense of depth and realism.
For the stems, use a whipped backstitch to create a smoother, more rounded line than a standard backstitch, which adds a subtle, polished finish to the overall composition.
2. Master Thread Painting on Denim
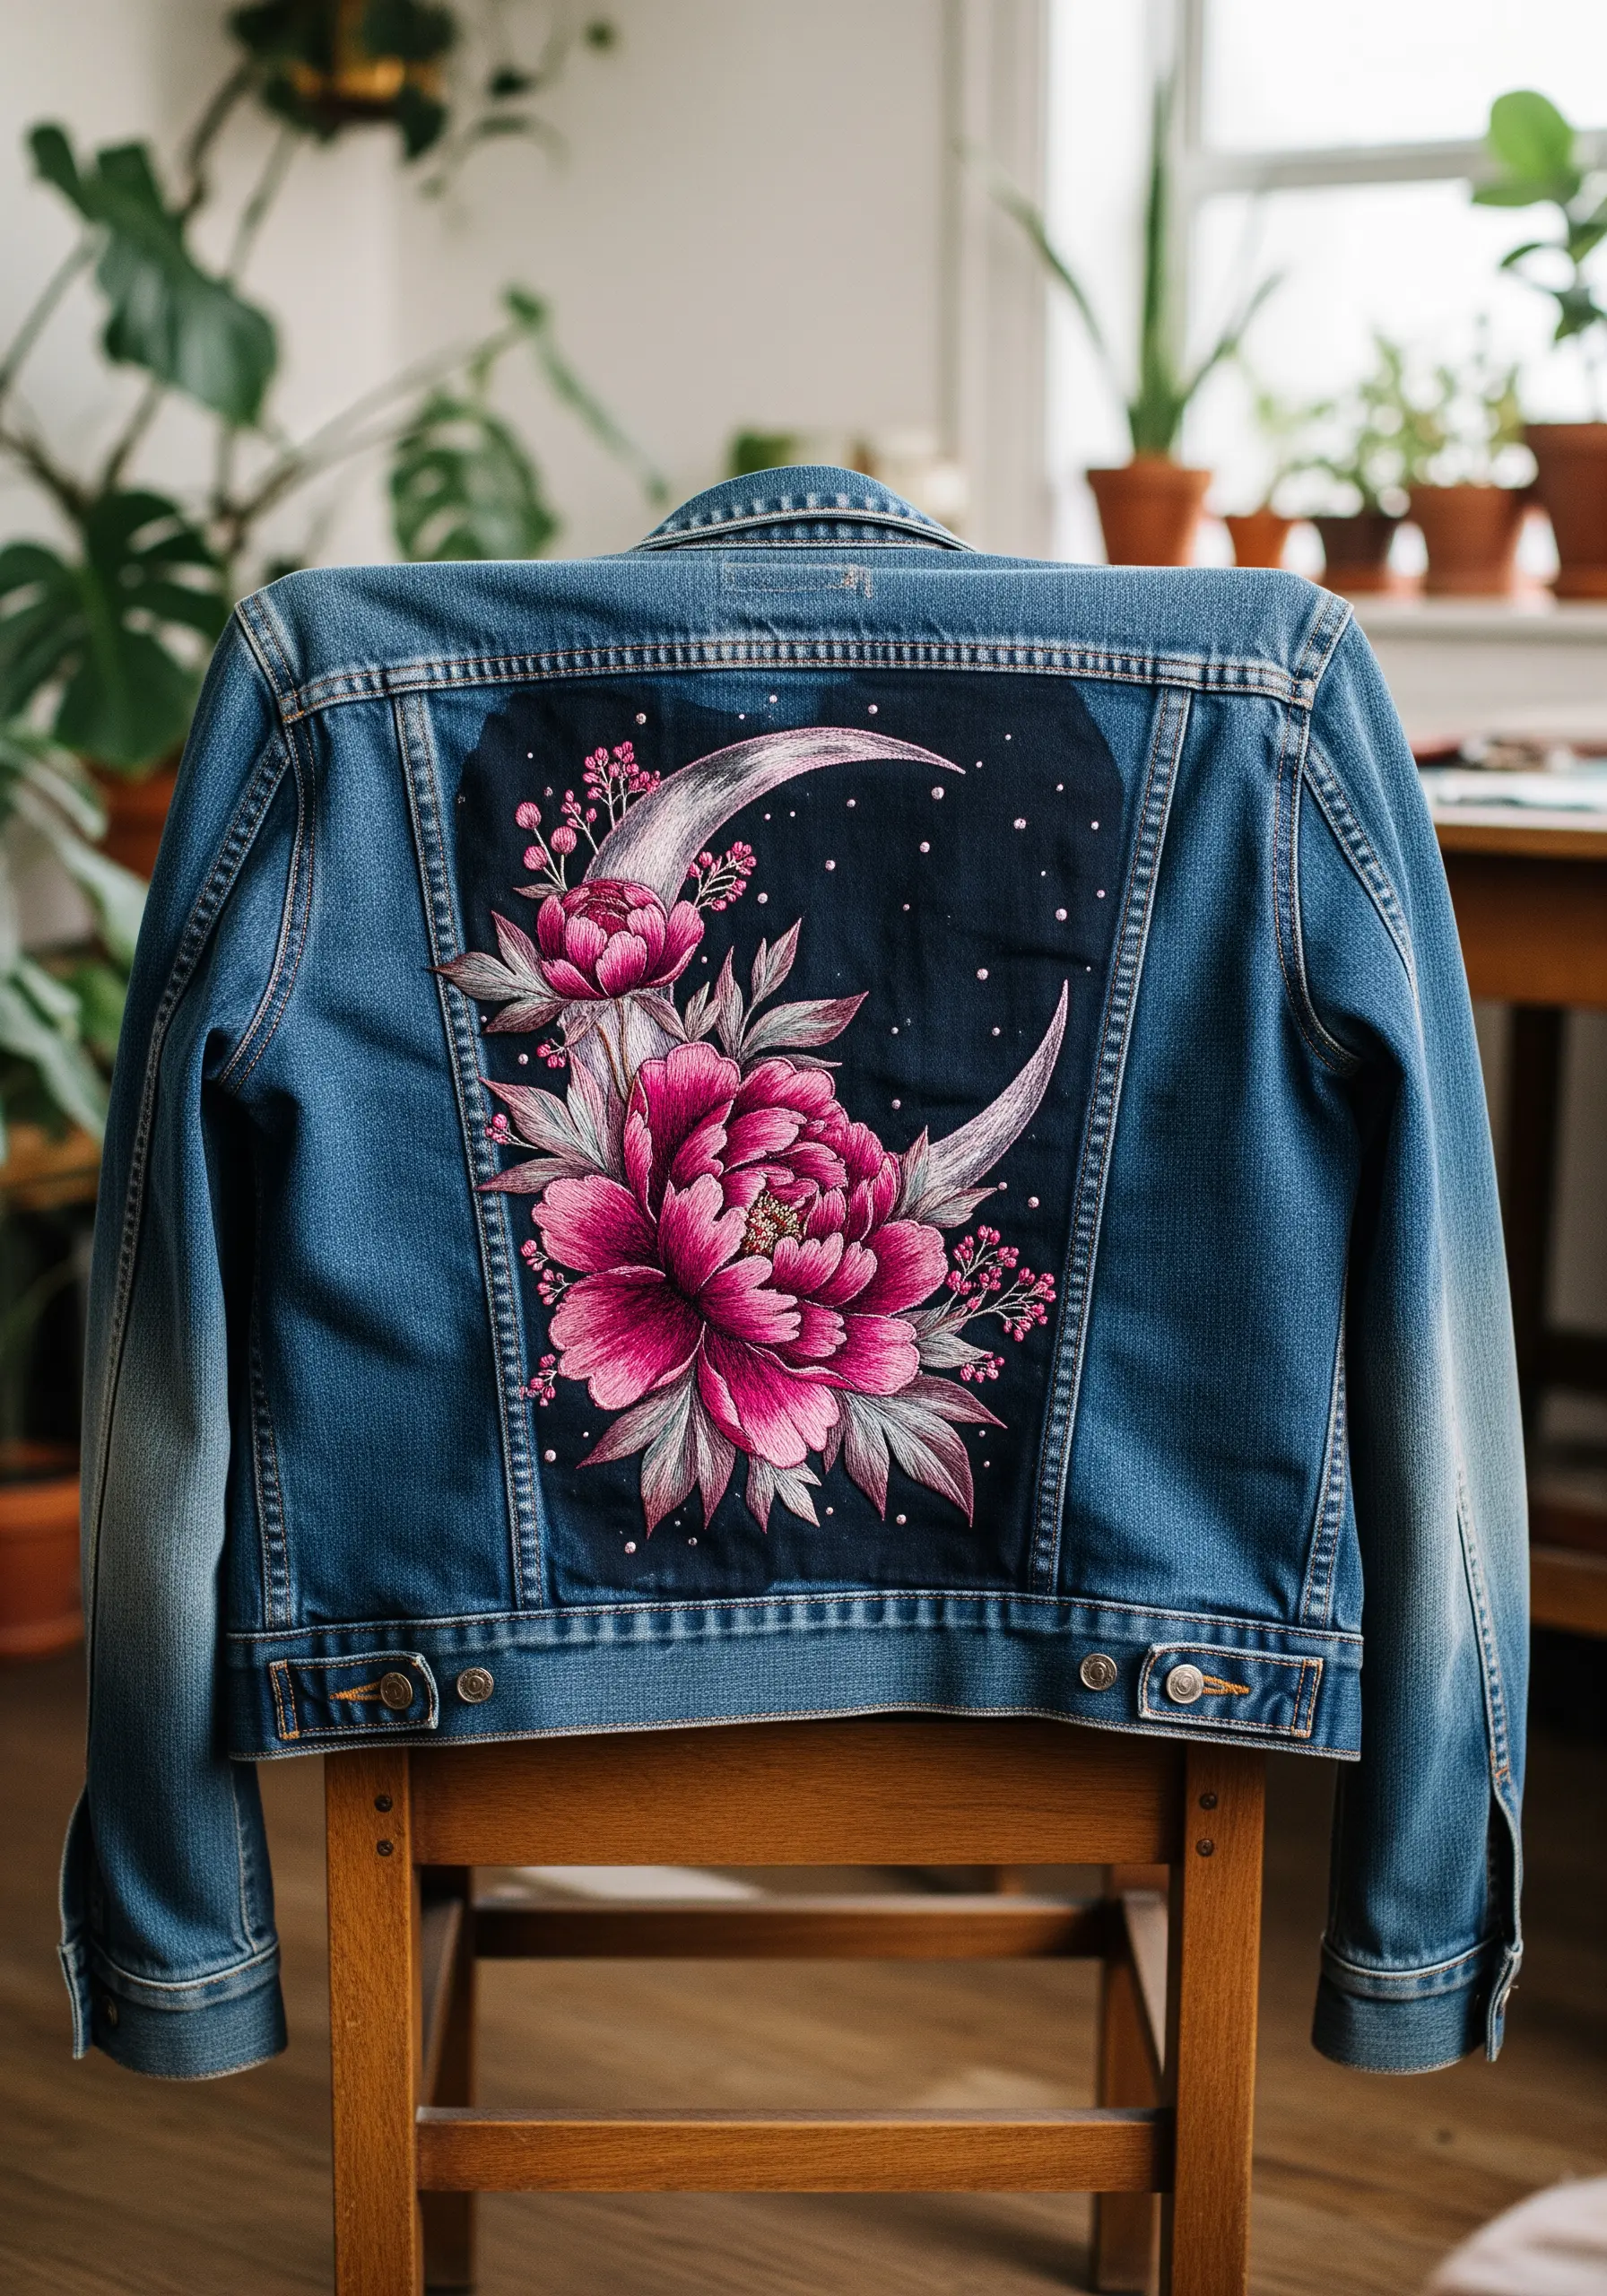
Stitching on heavy fabric like denim requires preparation for a smooth, professional result. Always use a tear-away stabilizer on the inside of the jacket to prevent the fabric from puckering under dense satin stitches.
Use a sharp, strong needle (a size 9 or 10 embroidery needle works well) to penetrate the thick weave without excessive force.
To achieve the luminous, blended effect on these peonies, use the long-and-short stitch with single strands of floss. Work in sections, blending shades of pink from dark to light to create gradients that follow the curve of each petal.
This method allows for bold, fashion-forward floral designs that look painted on, transforming a simple garment into wearable art.
3. Create Sculptural Lines with Couching
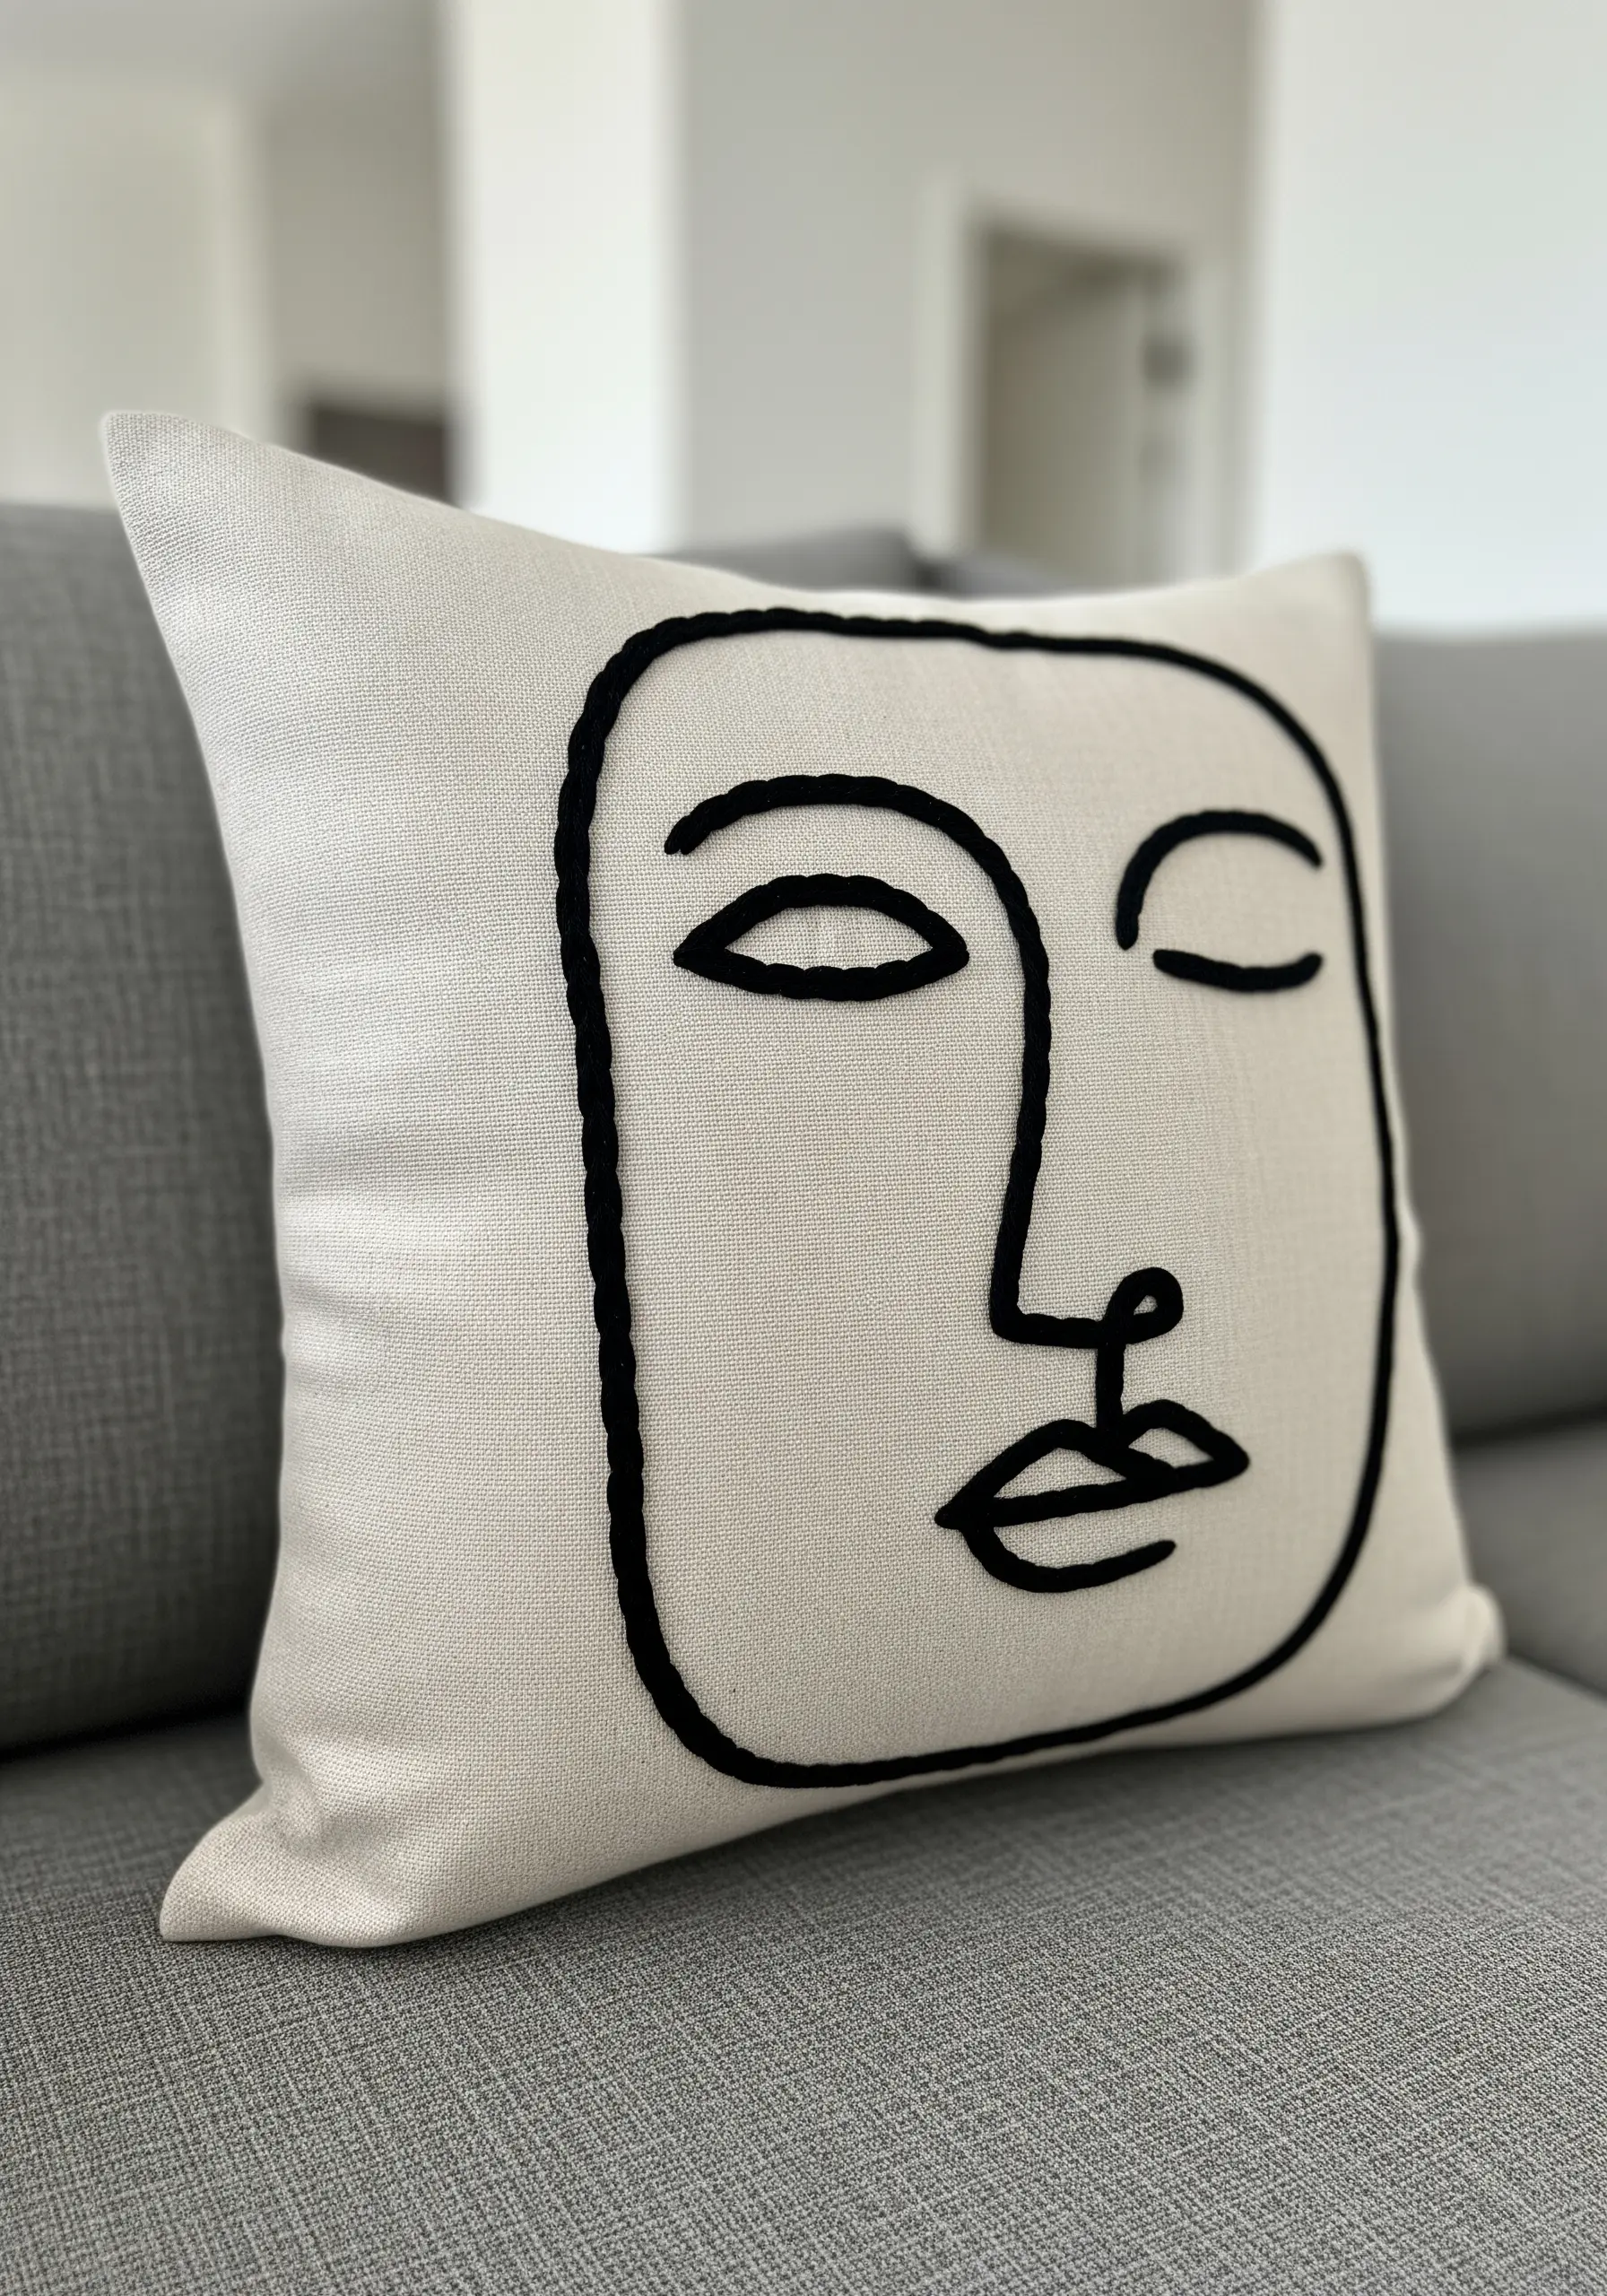
For minimalist line art that makes a statement, standard outline stitches can sometimes look flat.
To achieve this bold, raised effect, use the couching technique. Lay down a thick yarn or multiple strands of embroidery floss along your design line, then use a second, finer thread to tack it down with small, perpendicular stitches.
This method creates a clean, sculptural line that stands out from the fabric, adding texture and dimension that a simple backstitch cannot.
It’s an ideal way to turn abstract line art silhouettes into tactile, high-impact home décor pieces like this cushion cover.
4. Embrace the Art of Visible Mending
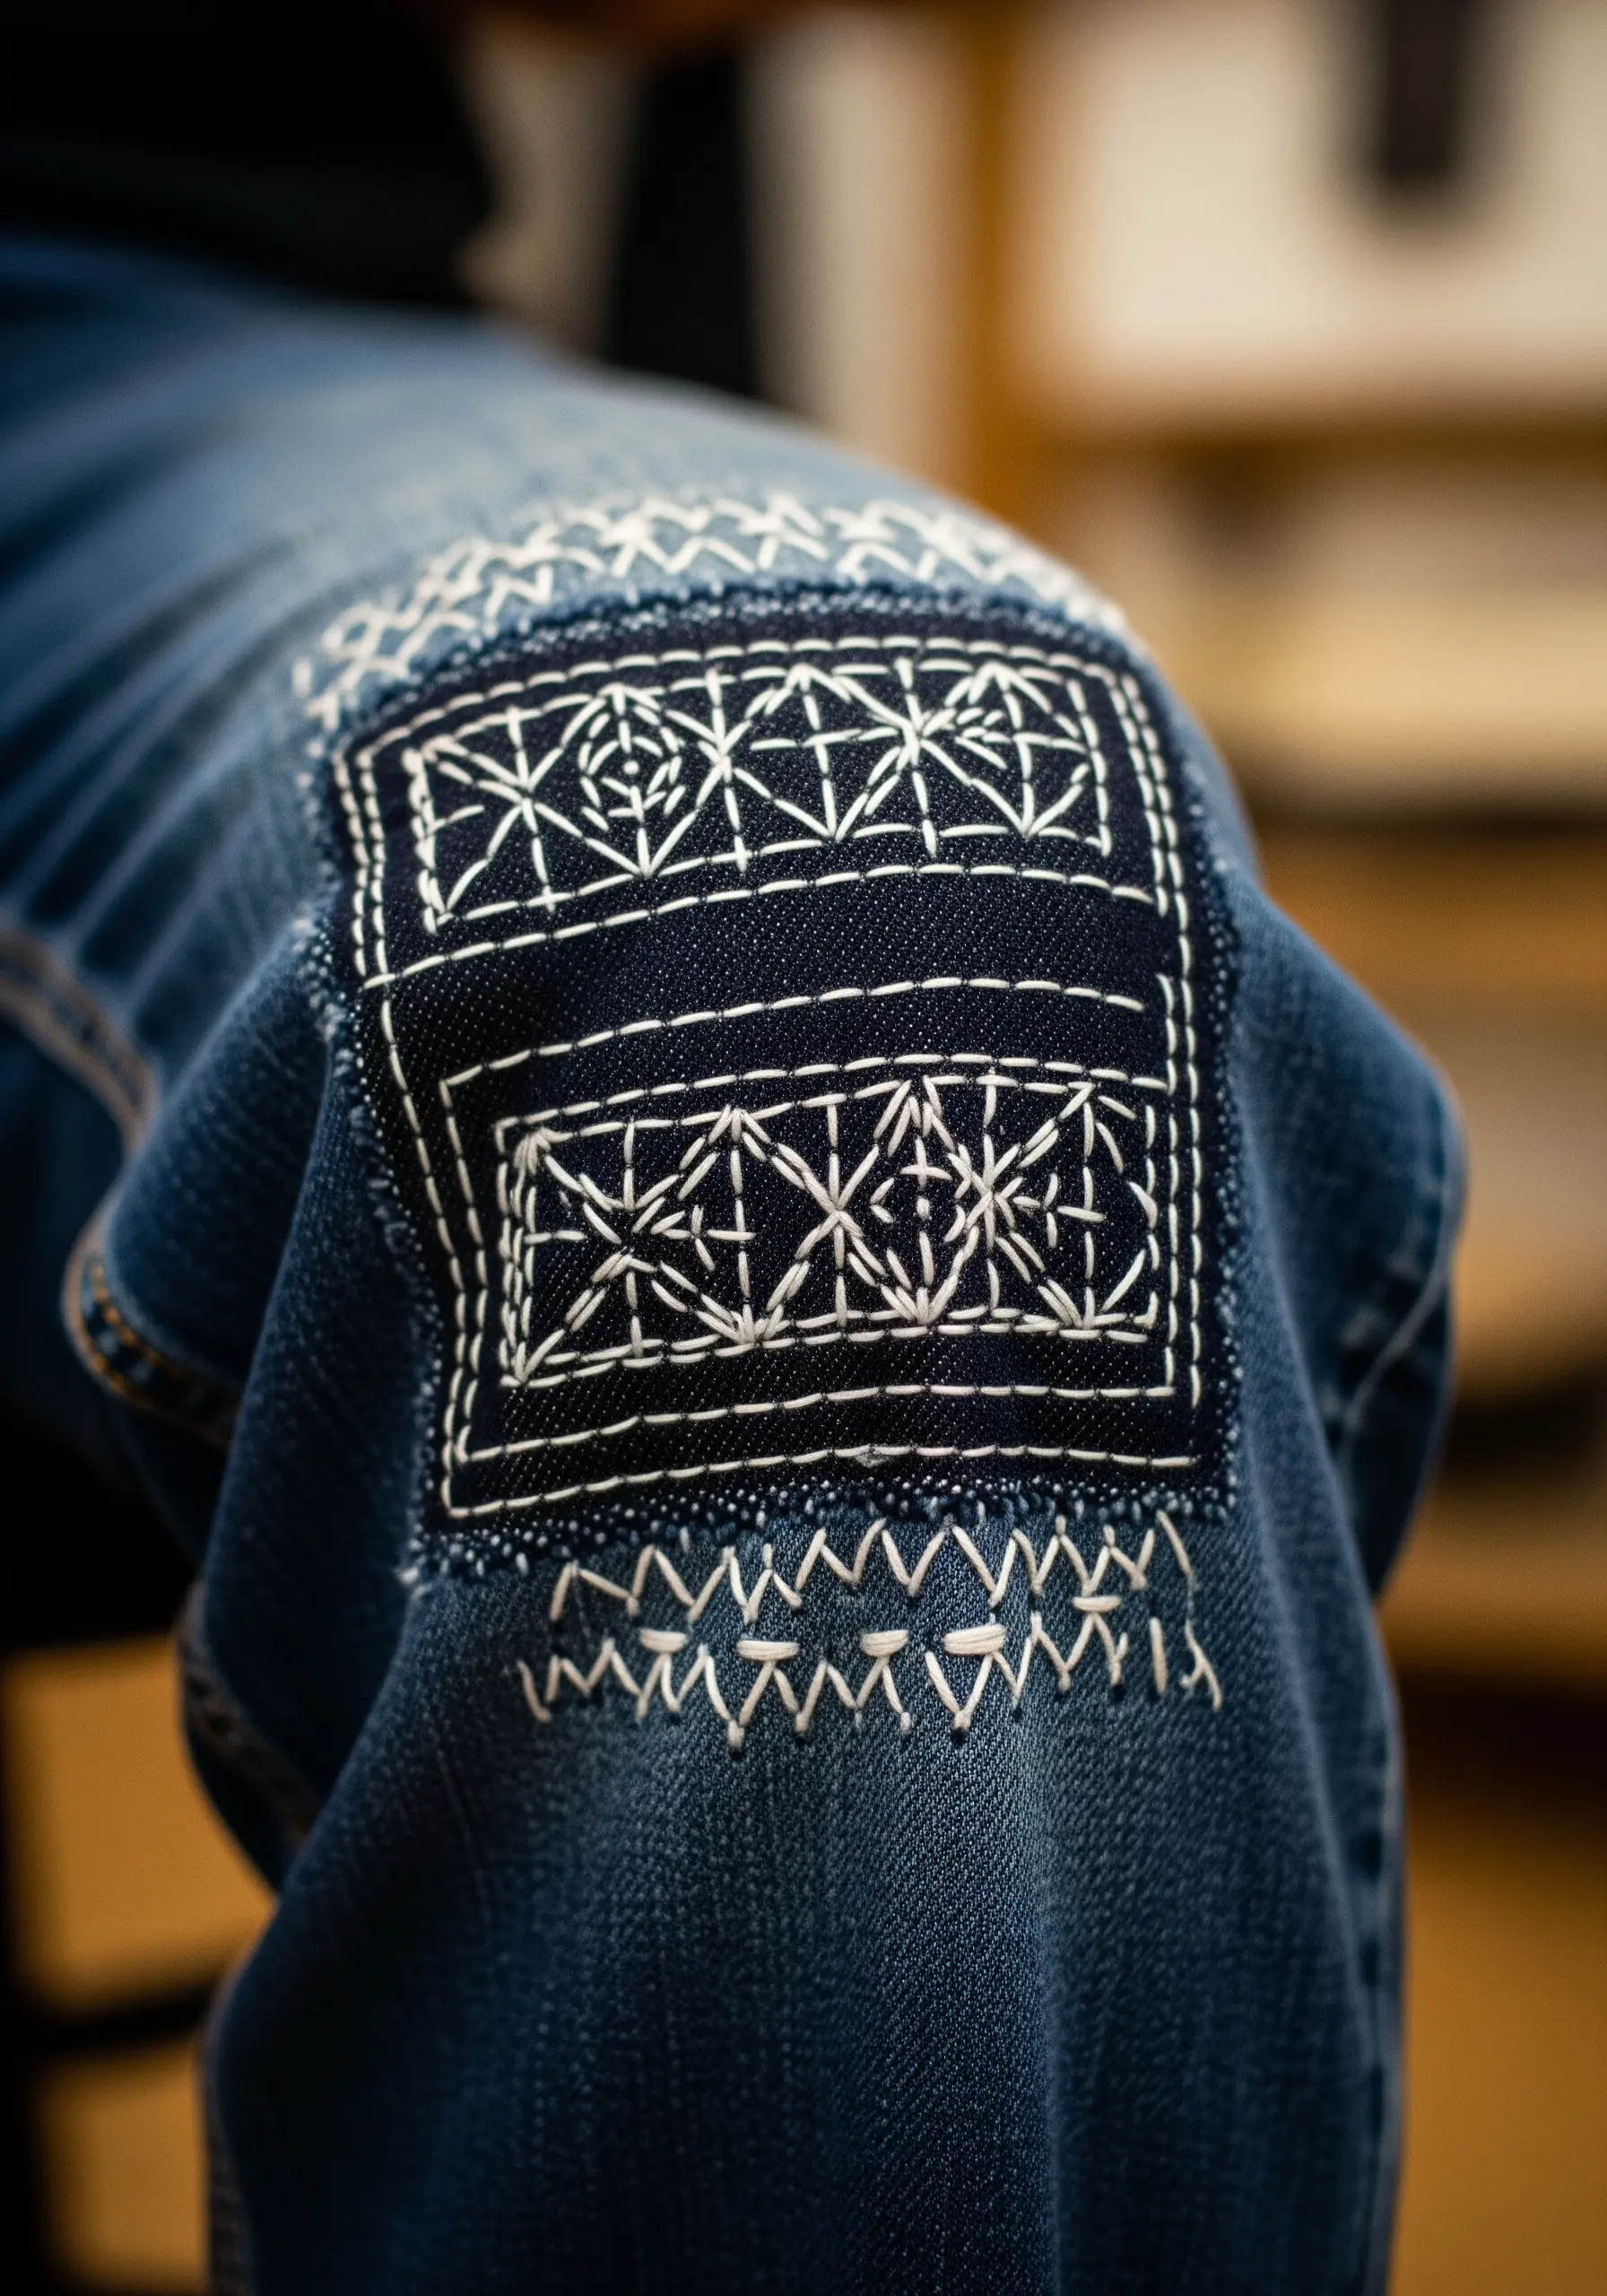
Turn a repair into a design feature with Sashiko-inspired stitching. This traditional Japanese technique reinforces fabric with geometric patterns, celebrating the act of mending rather than hiding it.
To start, use a strong thread like sashiko thread or cotton perle in a contrasting color for visibility. The key to the aesthetic is consistent, evenly spaced running stitches.
Don’t pull your stitches too tight, as this will cause the denim to pucker; leave a little slack on the back of the fabric, especially on corners.
This transforms a simple patch into a thoughtful detail, adding character and durability to well-loved clothing.
5. Weave Light with Beads and Metallics
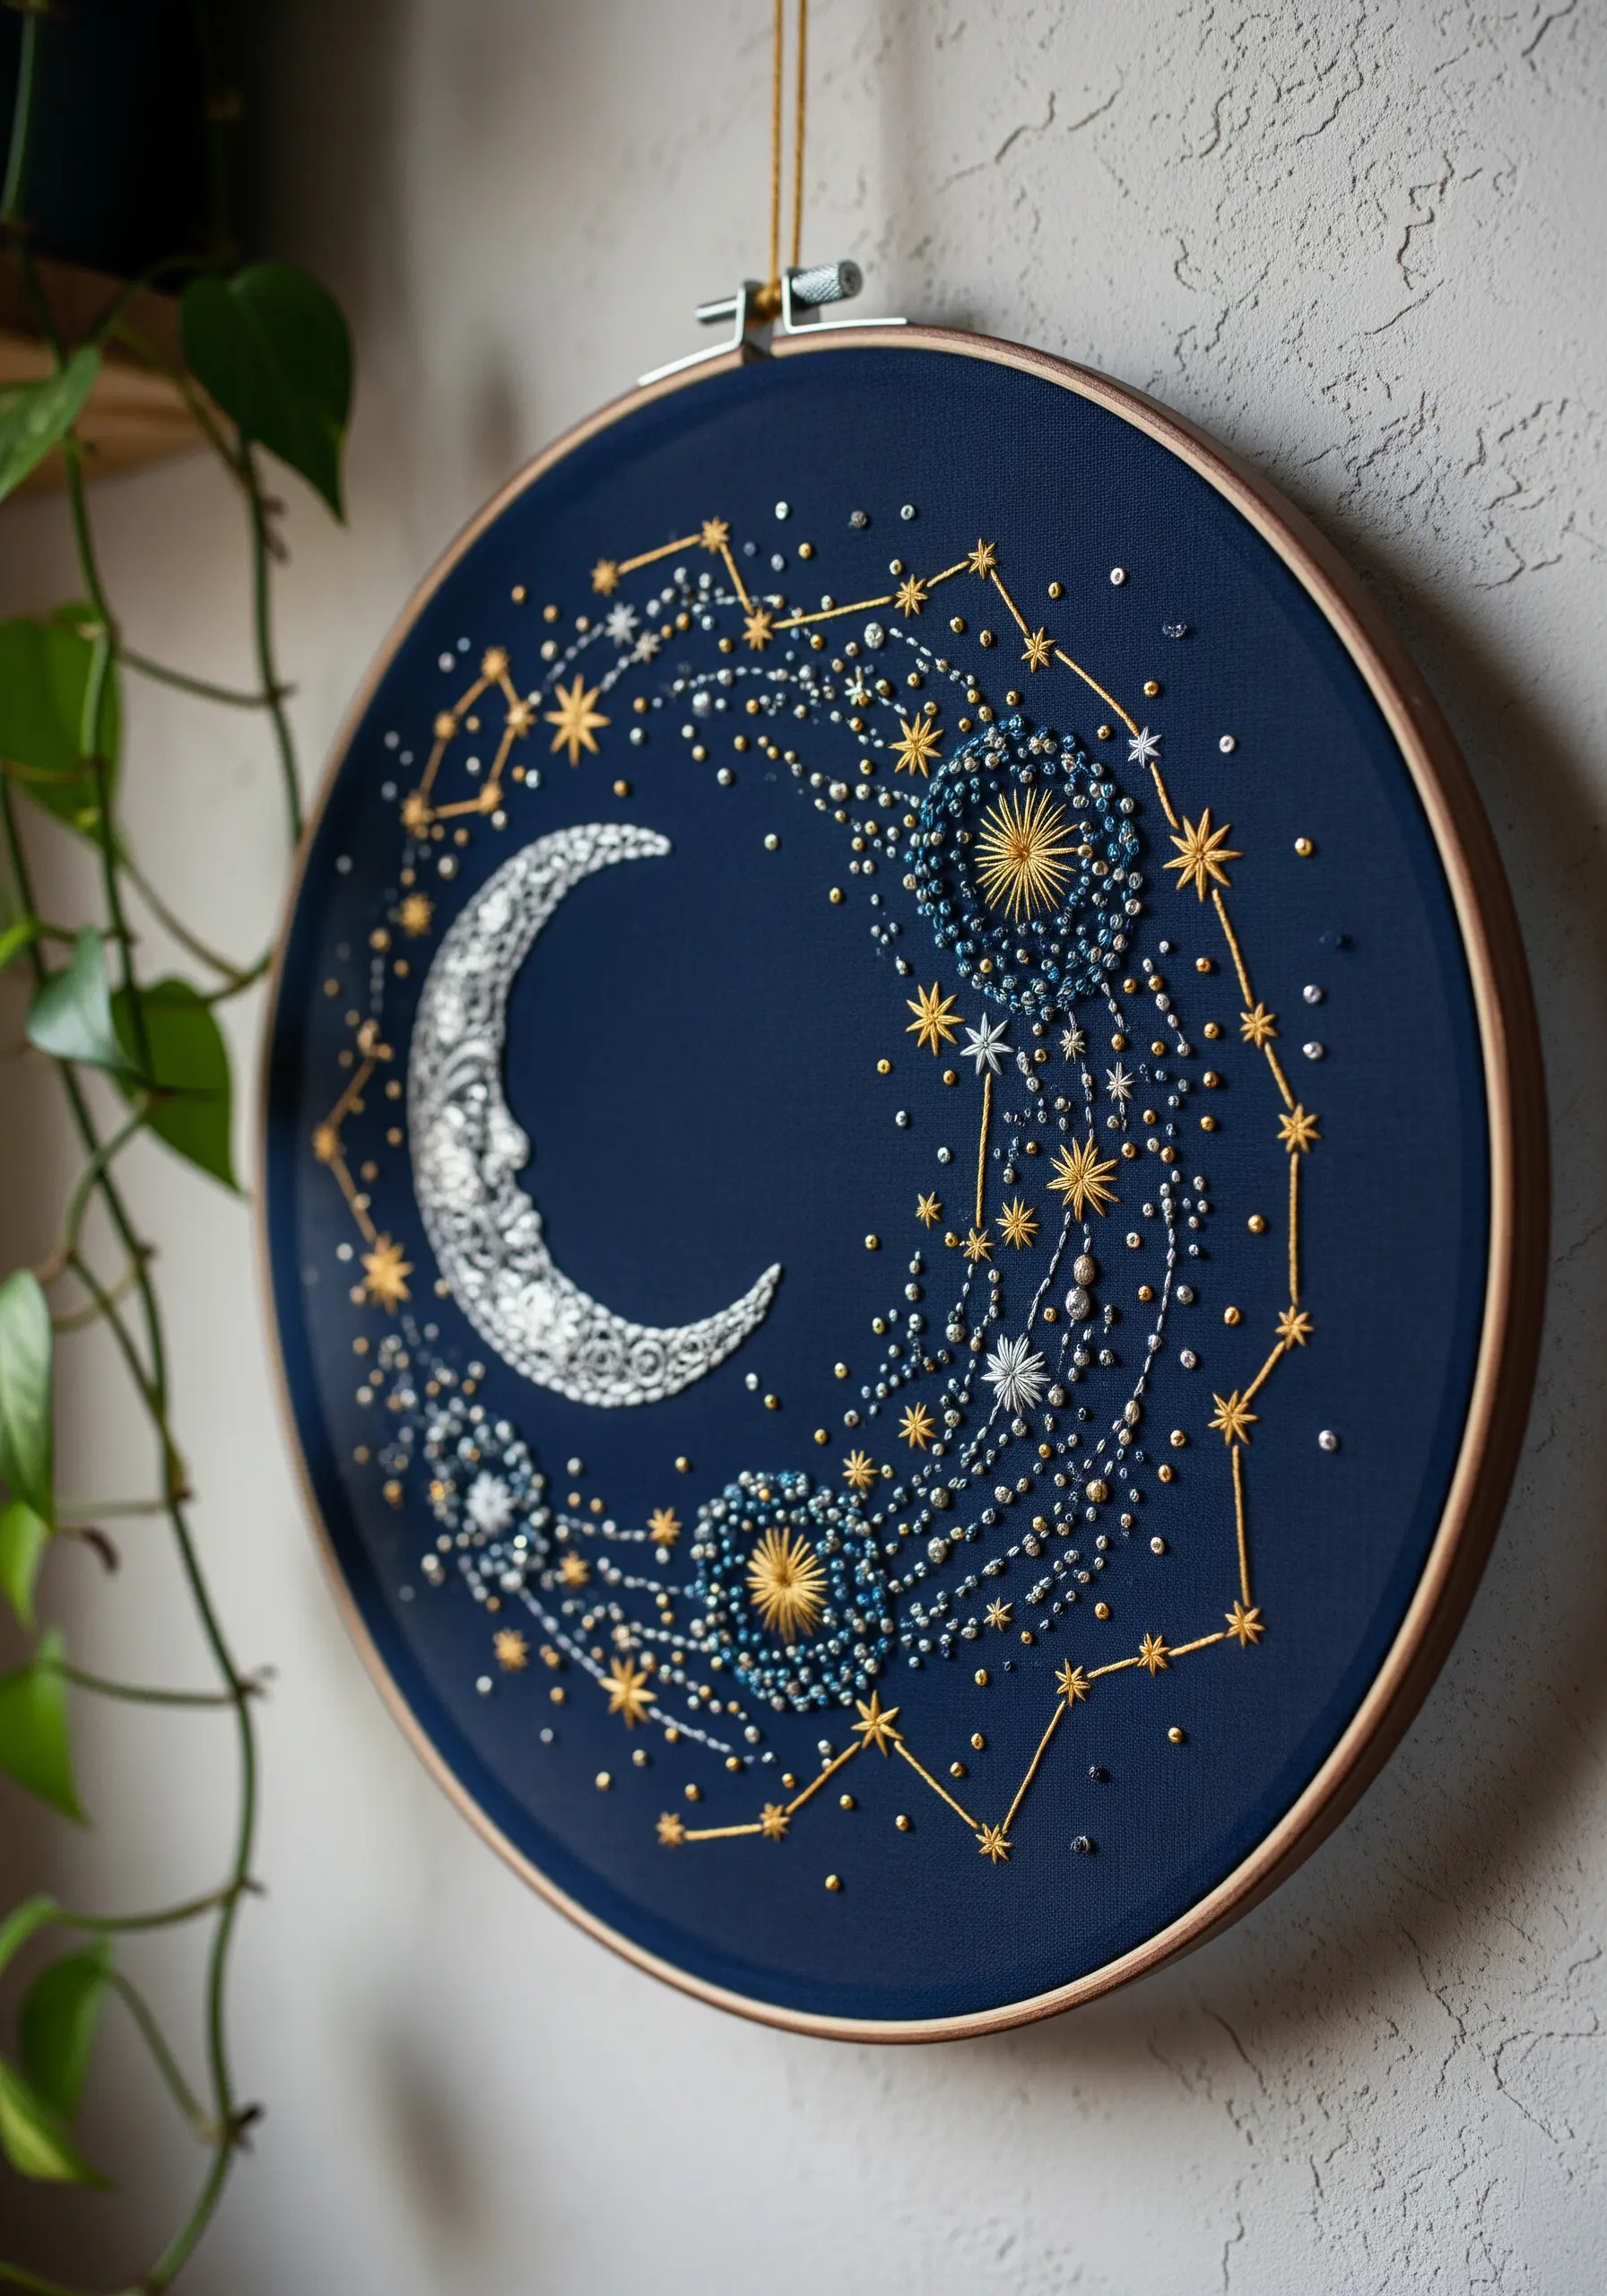
Elevate a celestial design by incorporating reflective materials that catch the light. Combine metallic threads with tiny seed beads and sequins to map out constellations and galactic swirls.
When using metallic floss, stitch with shorter lengths to prevent fraying and tangling. For the beads, use a single strand of thread in a matching color and anchor each one with two small stitches for security.
This mixed-media approach transforms a flat embroidery into a dynamic piece. The way it shimmers under light adds a layer of magic that thread alone cannot achieve, making your artwork feel truly alive.
6. Achieve a Flawless Satin Stitch Fill
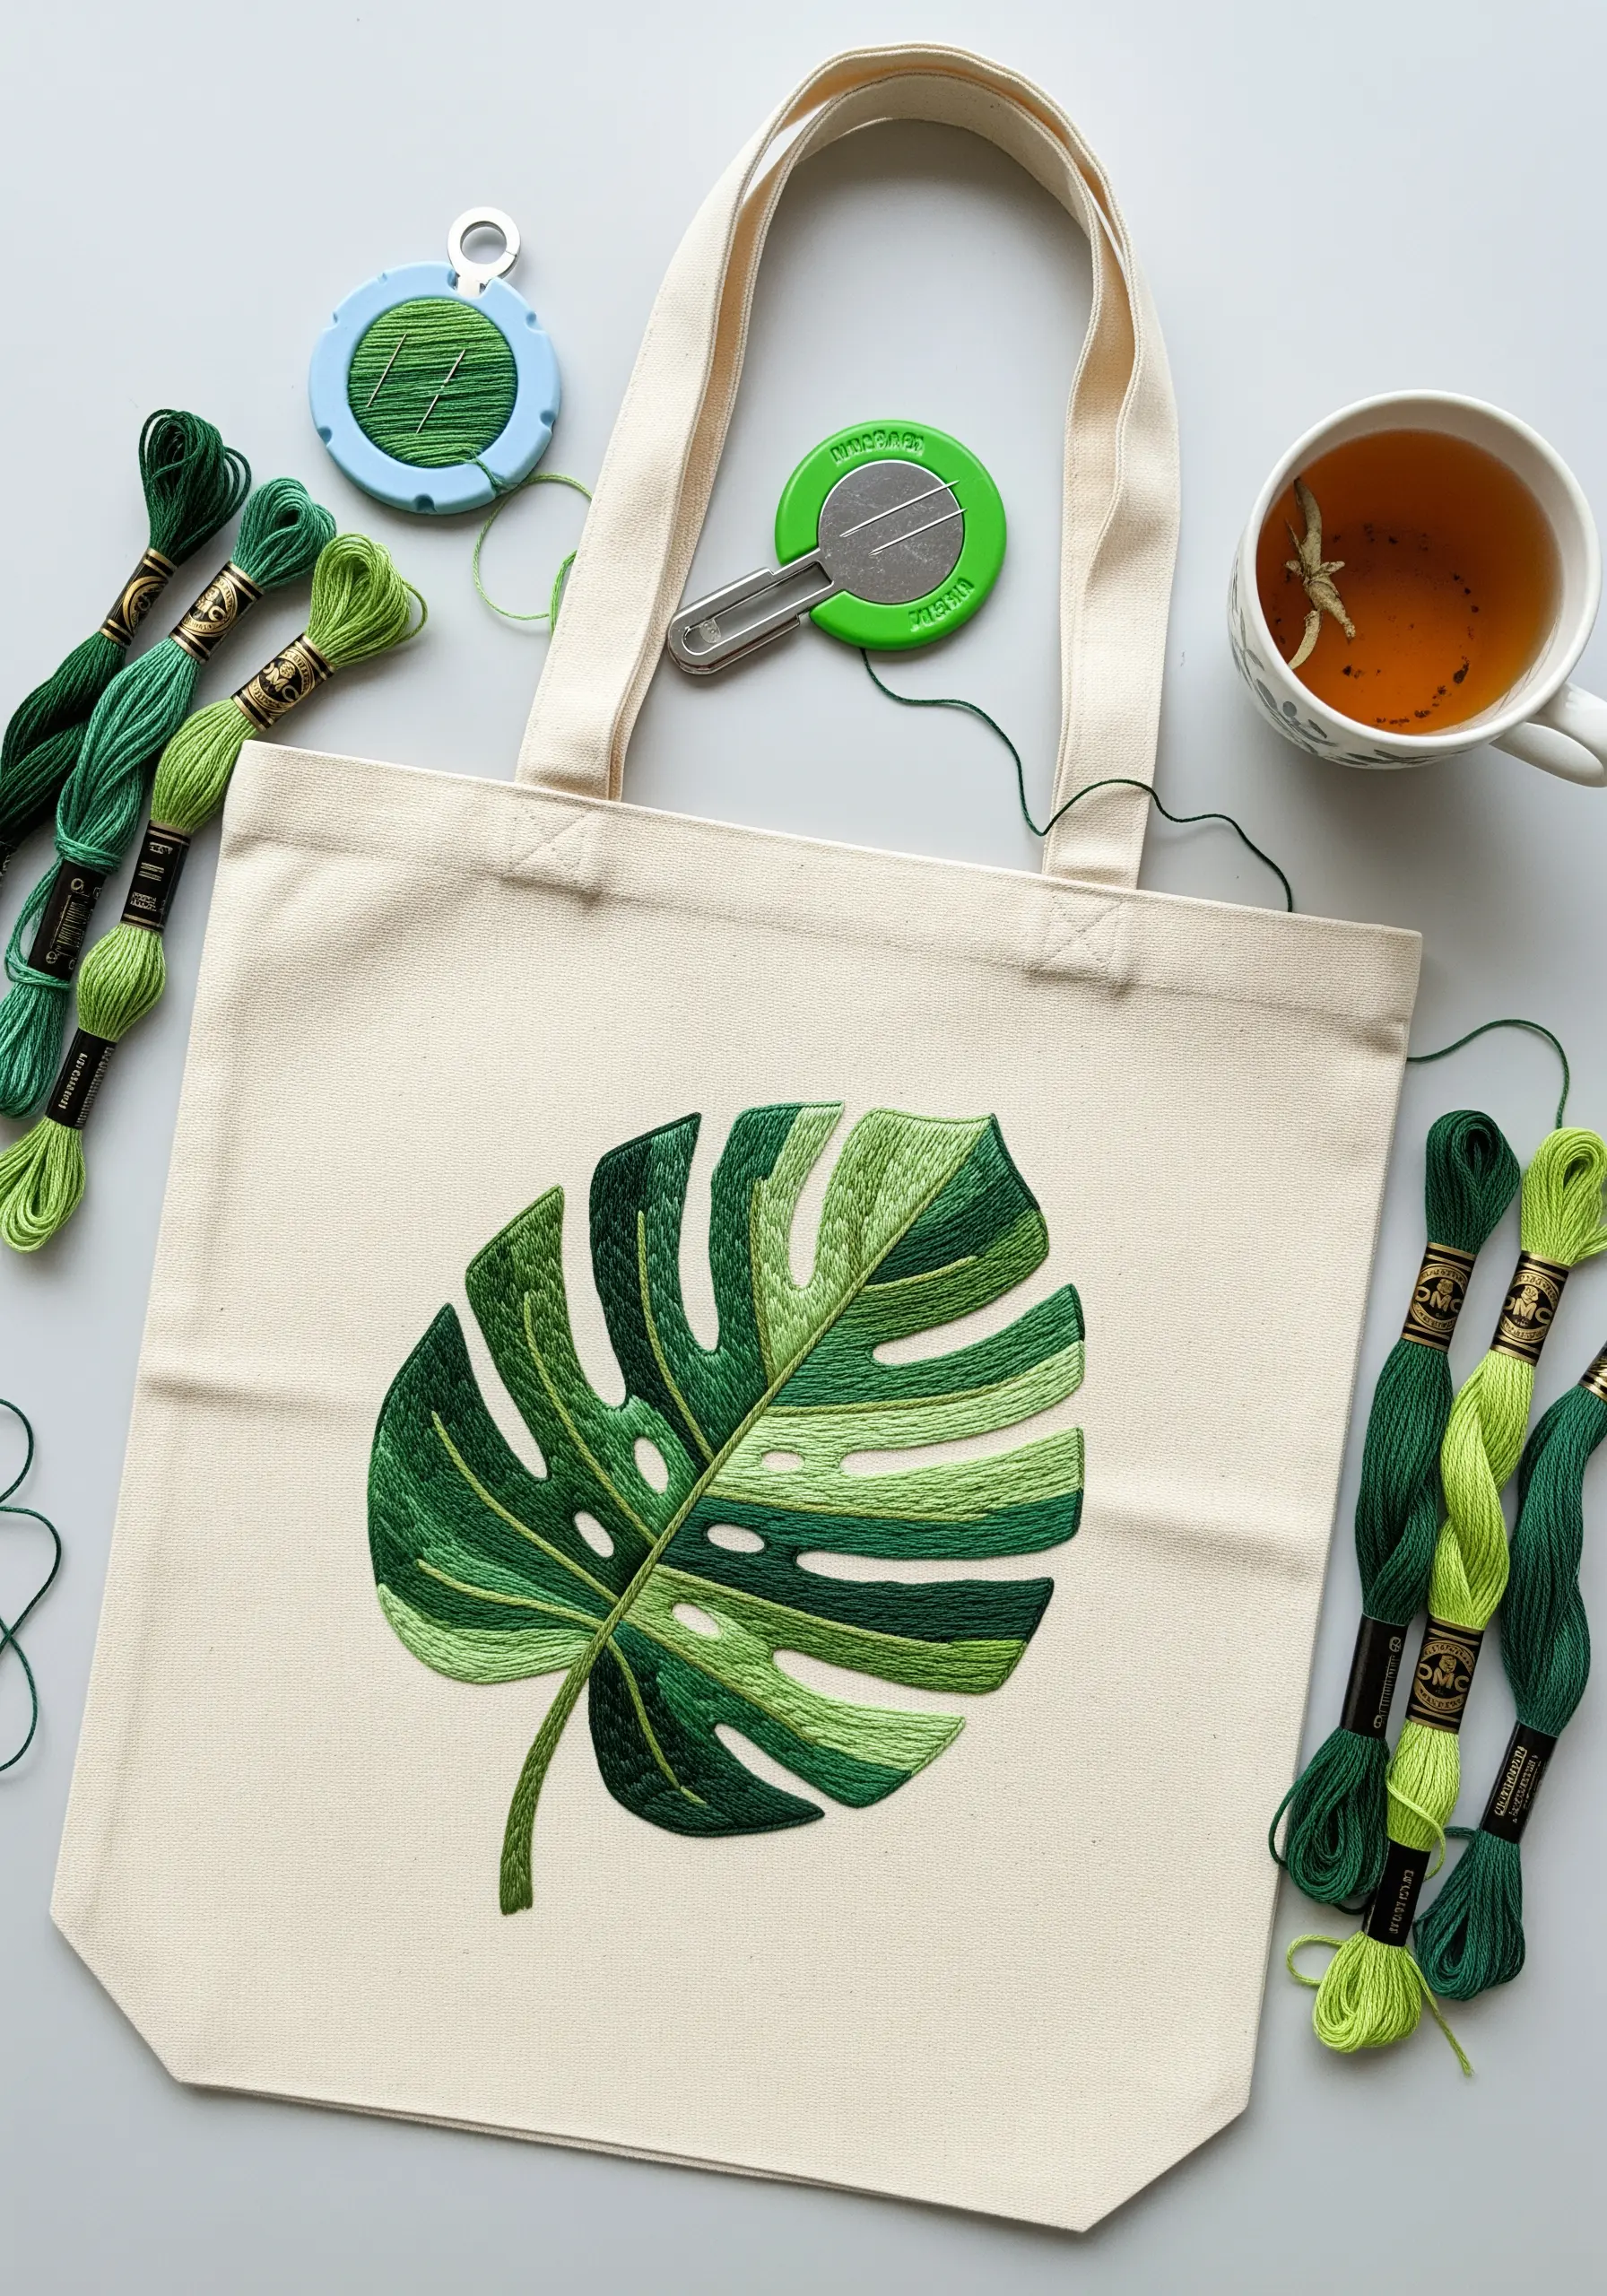
For large, smooth-filled areas like this Monstera leaf, preventing gaps and maintaining even tension is crucial. Before you begin filling, outline the entire shape with a split stitch.
This raised edge acts as a guide and gives your satin stitches a clean, sharp boundary to press against, resulting in a much neater finish.
Work the satin stitches in sections, angling them to follow the natural direction of the leaf’s veins. This not only looks more organic but also helps break up the large area, making it easier to keep your stitches parallel and uniform.
This technique is perfect for turning plain tote bags into garden-inspired masterpieces.
7. Capture Realism in Pet Portraits
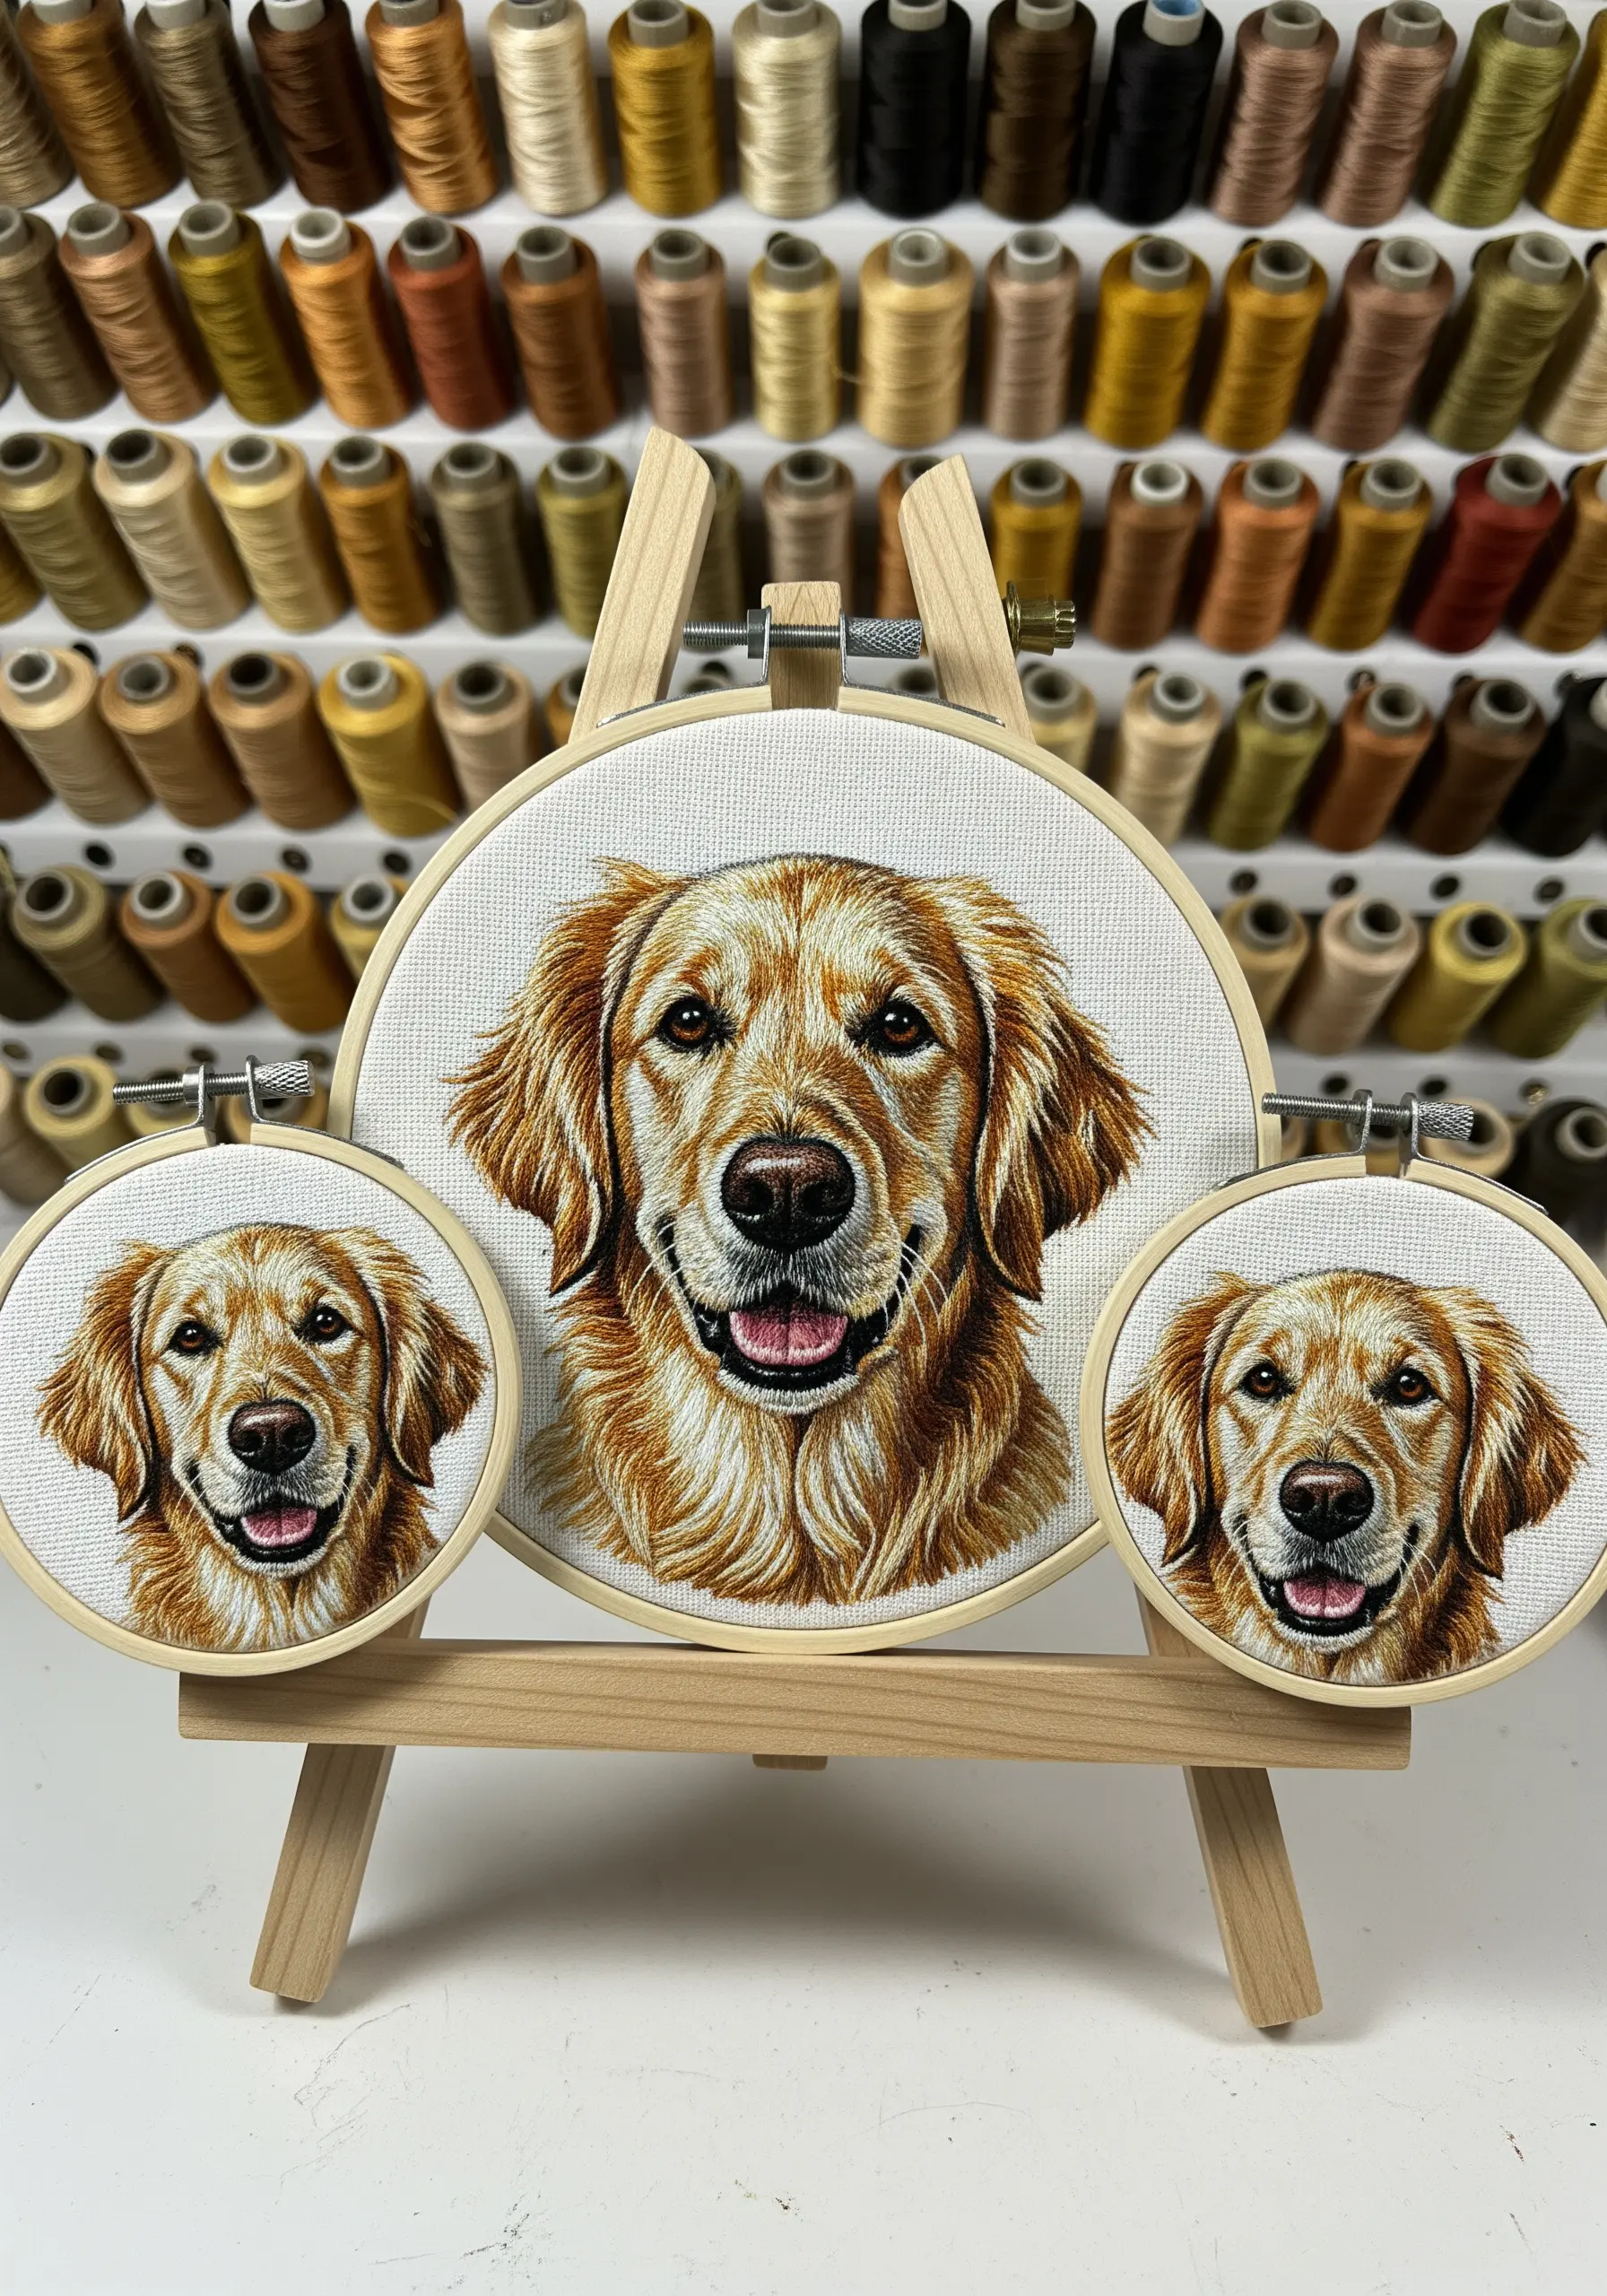
The key to a lifelike pet portrait is capturing the texture and direction of the fur. Use a single strand of six-strand floss to allow for subtle color blending and fine detail.
Employ the long-and-short stitch, paying close attention to the way the fur grows on the animal. Your stitches should follow this natural direction—sweeping down the nose, fanning out from the eyes, and layering over each other like real fur.
Map out the darkest and lightest areas first to create a foundation of shadow and highlight, then fill in the mid-tones. This approach builds depth and dimension, turning a simple sketch into a treasured keepsake.
8. Construct 3D Beaded Brooches
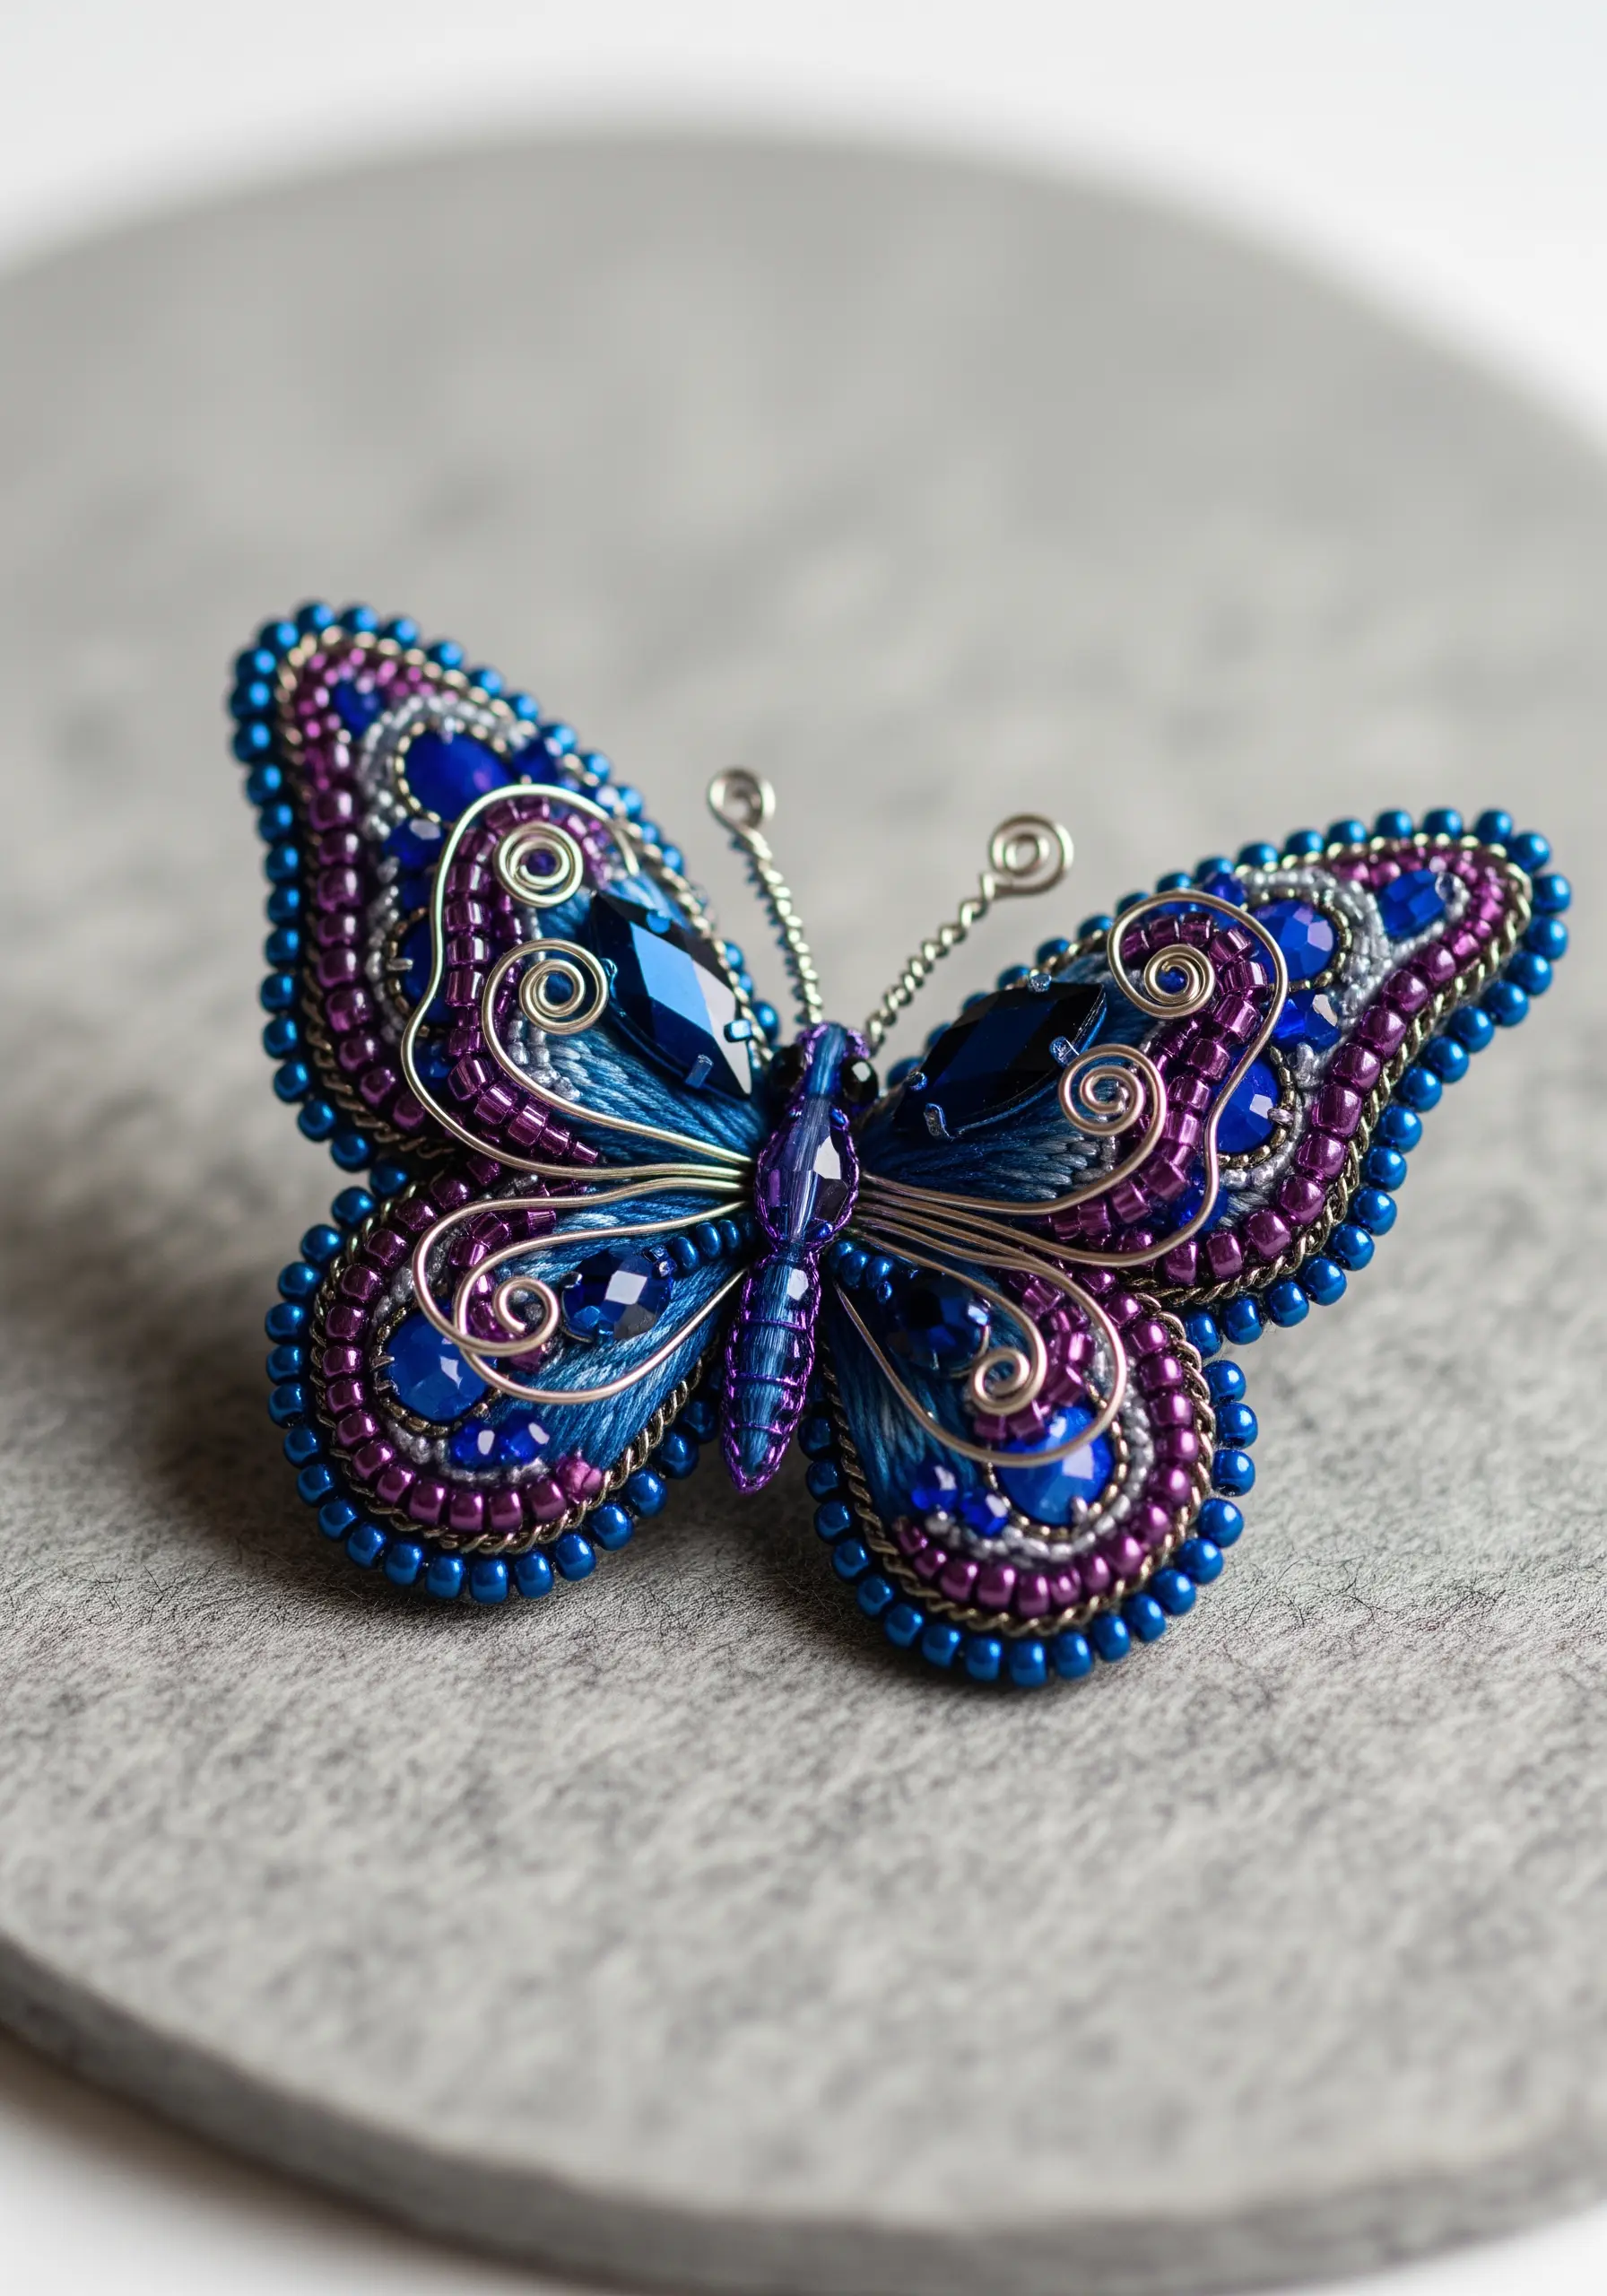
Move your embroidery off the hoop and into wearable art by combining beadwork, wire, and thread. To create a sturdy base for a brooch, stitch your design onto a piece of stiff felt or beading foundation.
For structural elements like the antennae, wrap fine-gauge wire with thread and then shape it. Secure it firmly to the back of your piece before adding the final backing.
Build up layers of beads to create texture and dimension, using smaller beads for outlines and larger or faceted beads for focal points. This transforms embroidery into a sculptural object, perfect for handmade jewelry and accessories.
9. Stitch Atmospheric Perspective in Landscapes
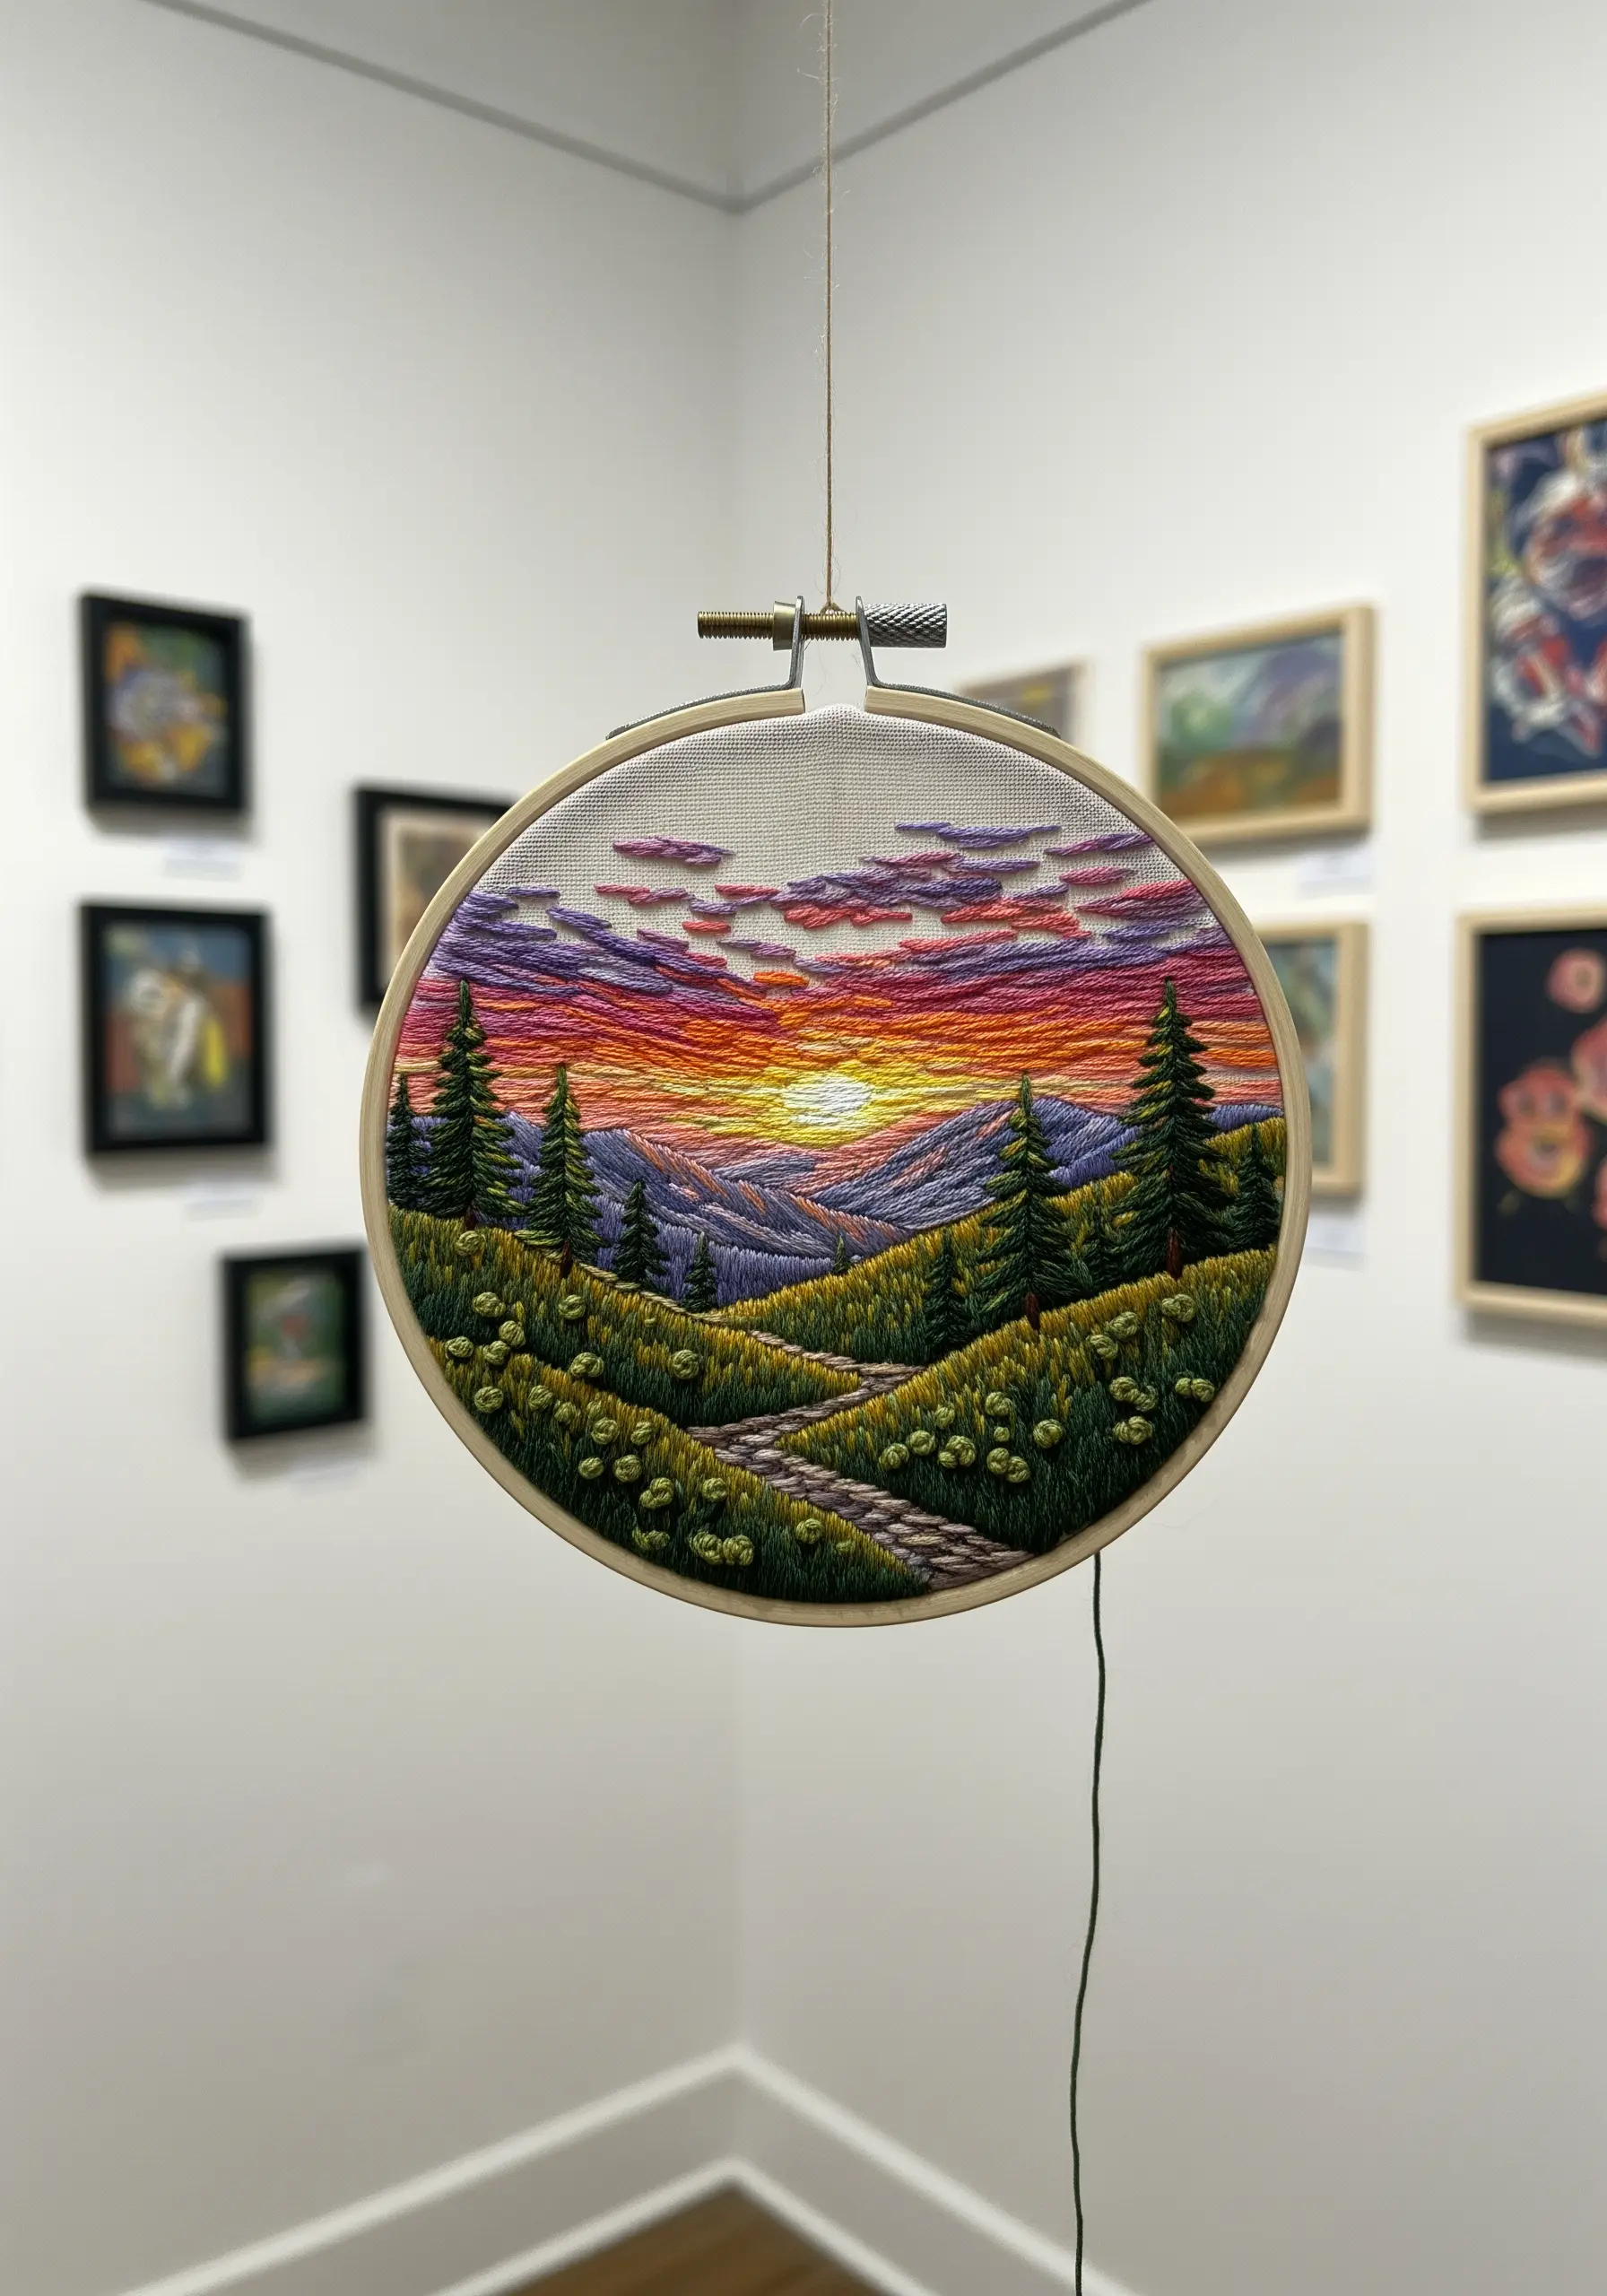
To create a convincing sense of distance in an embroidered landscape, you need to manipulate color, texture, and detail.
For the mountains in the background, use fewer strands of floss (one or two) and a muted, cooler color palette. Keep the stitches simple and sparse to suggest atmospheric haze.
As you move to the foreground, increase the number of thread strands (three to four) and use warmer, more saturated colors. Introduce more textural stitches like French knots and lazy daisies for the flowers and grasses.
This gradual shift in detail and color intensity is what draws the viewer in, creating beautiful depth in nature scene embroidery.
10. Refine Your Linens with Delicate Herbs
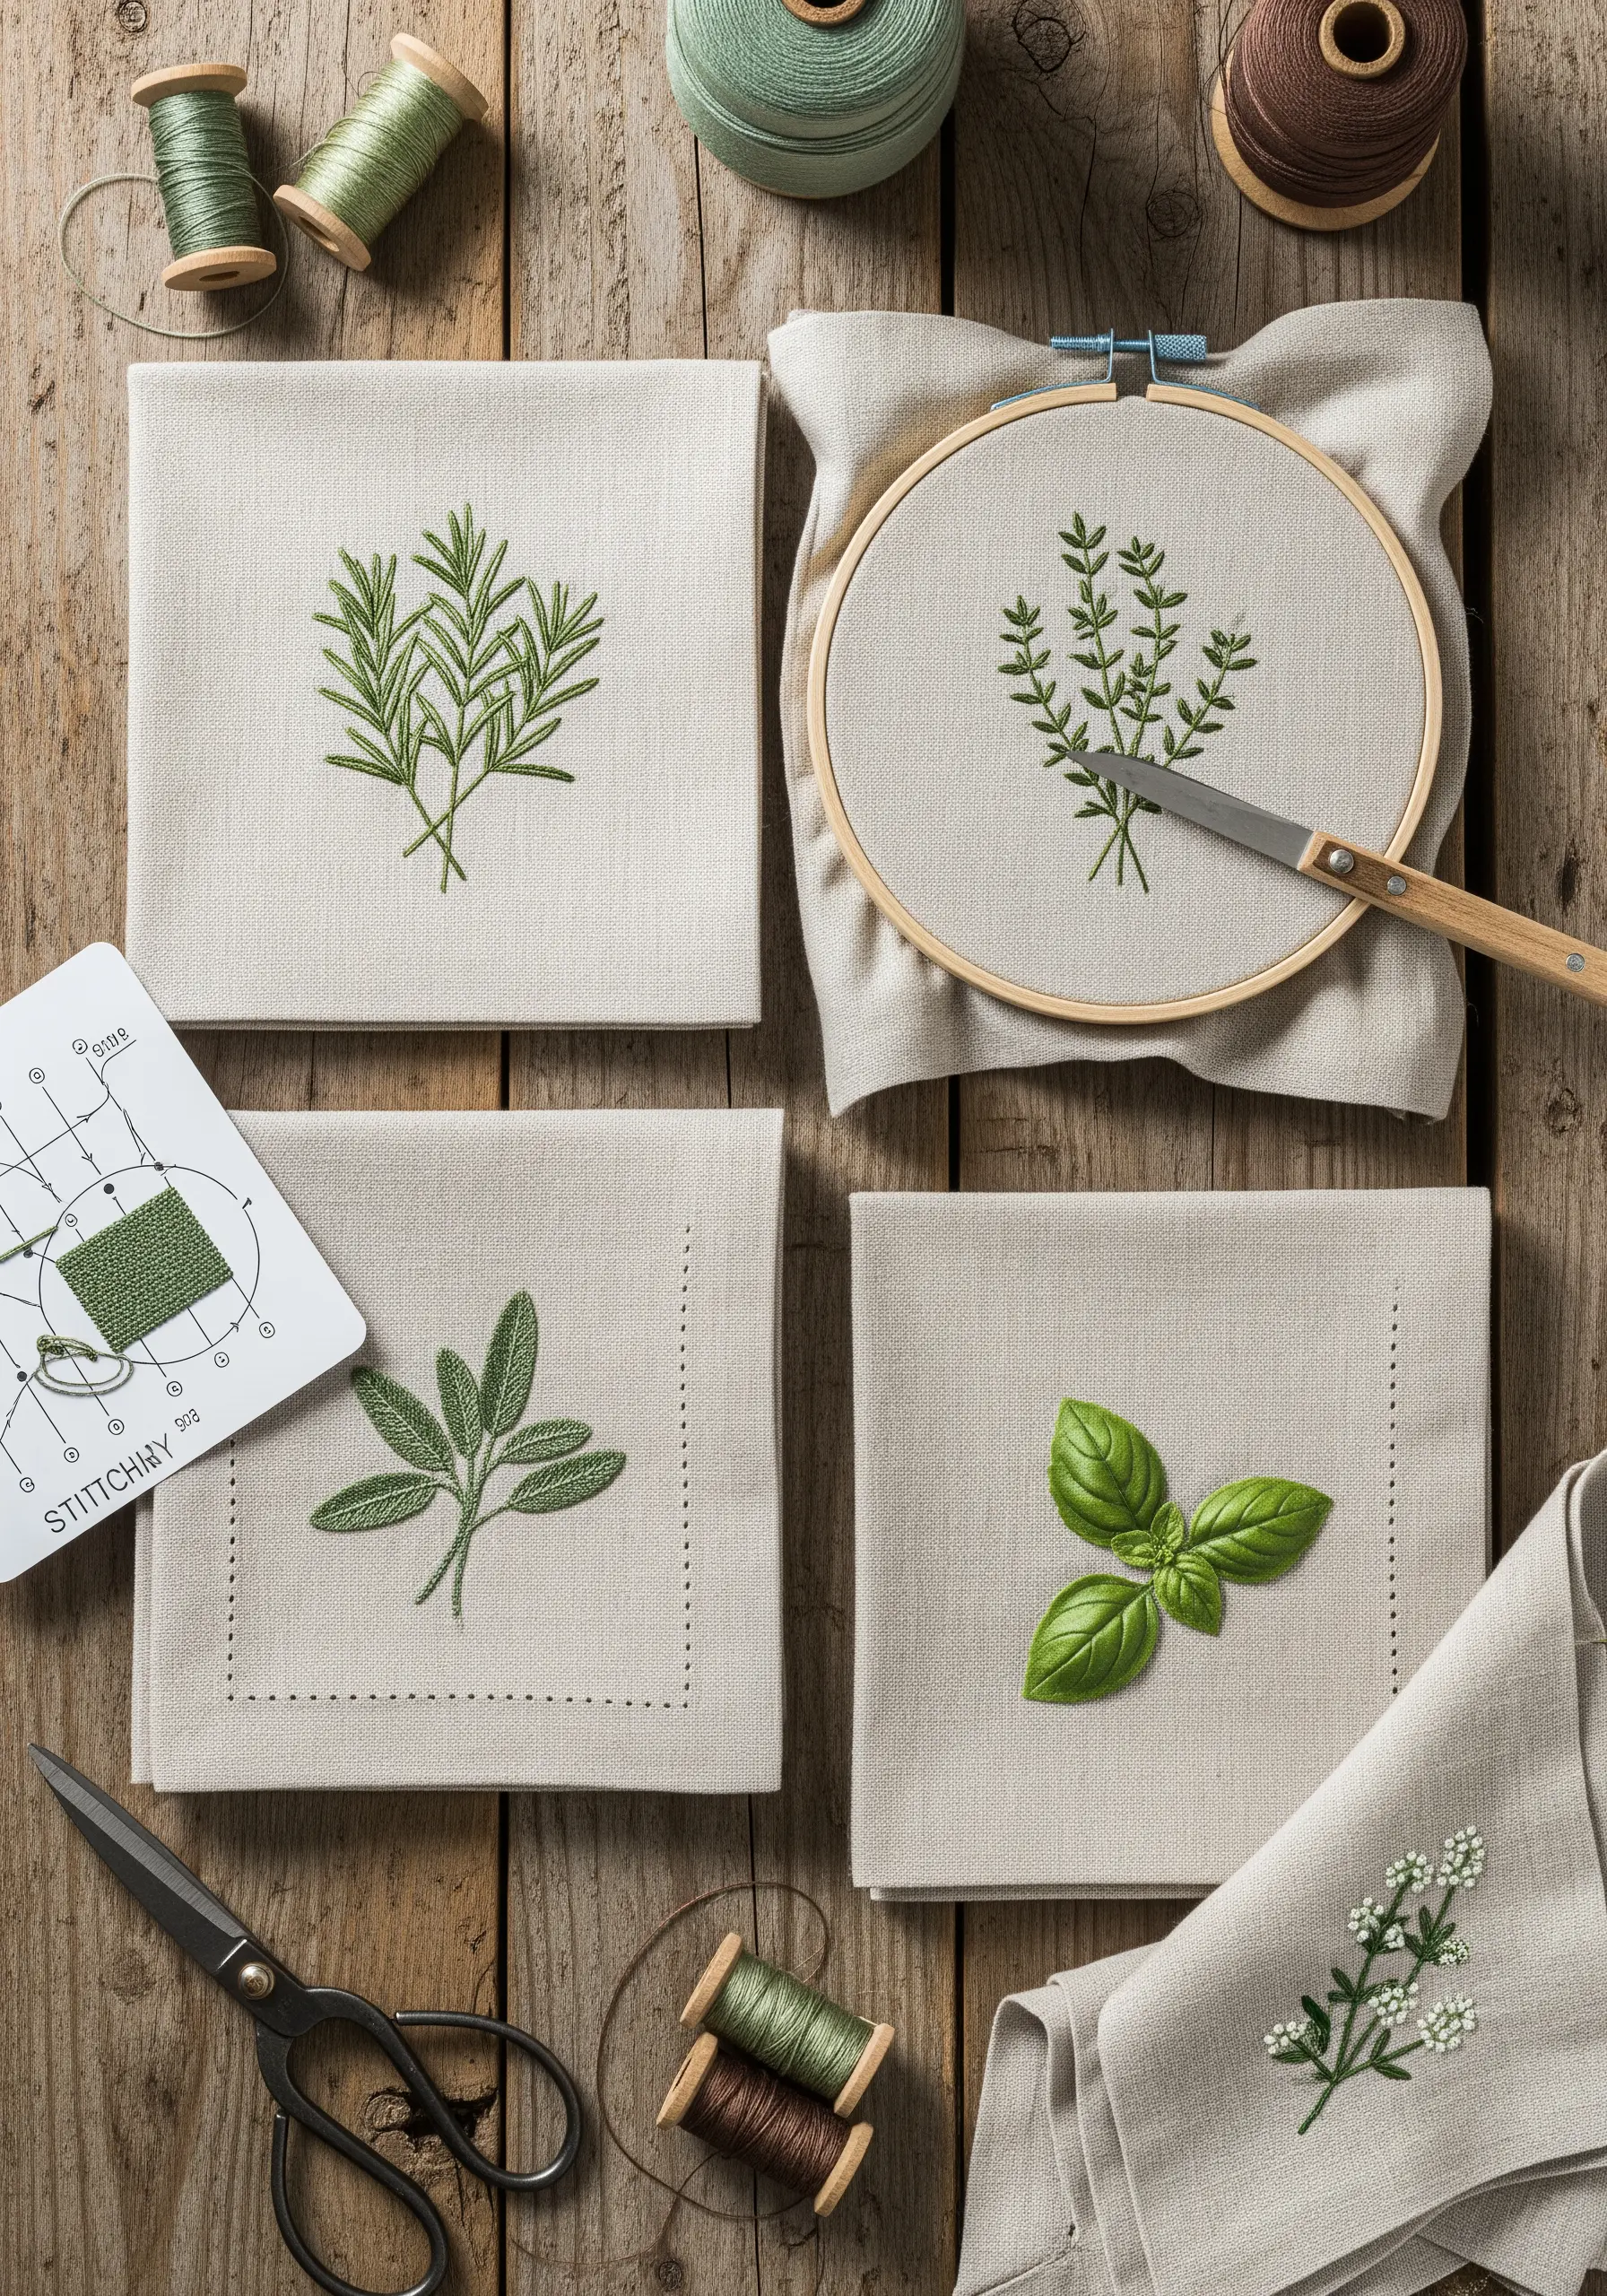
When embroidering on fine fabrics like linen napkins, subtlety is key. Use just one or two strands of floss to keep the design delicate and prevent it from feeling stiff or bulky.
For slender leaves like rosemary, a simple straight stitch or fishbone stitch works beautifully. For broader leaves like sage, use a satin stitch, but keep it light and airy.
Choosing a slightly darker shade of thread than the plant’s natural color creates a sophisticated, illustrative look. These small details ensure your minimalist botanical stitches elevate the everyday object rather than overwhelm it.
11. Stitch on Unconventional Materials Like Leather
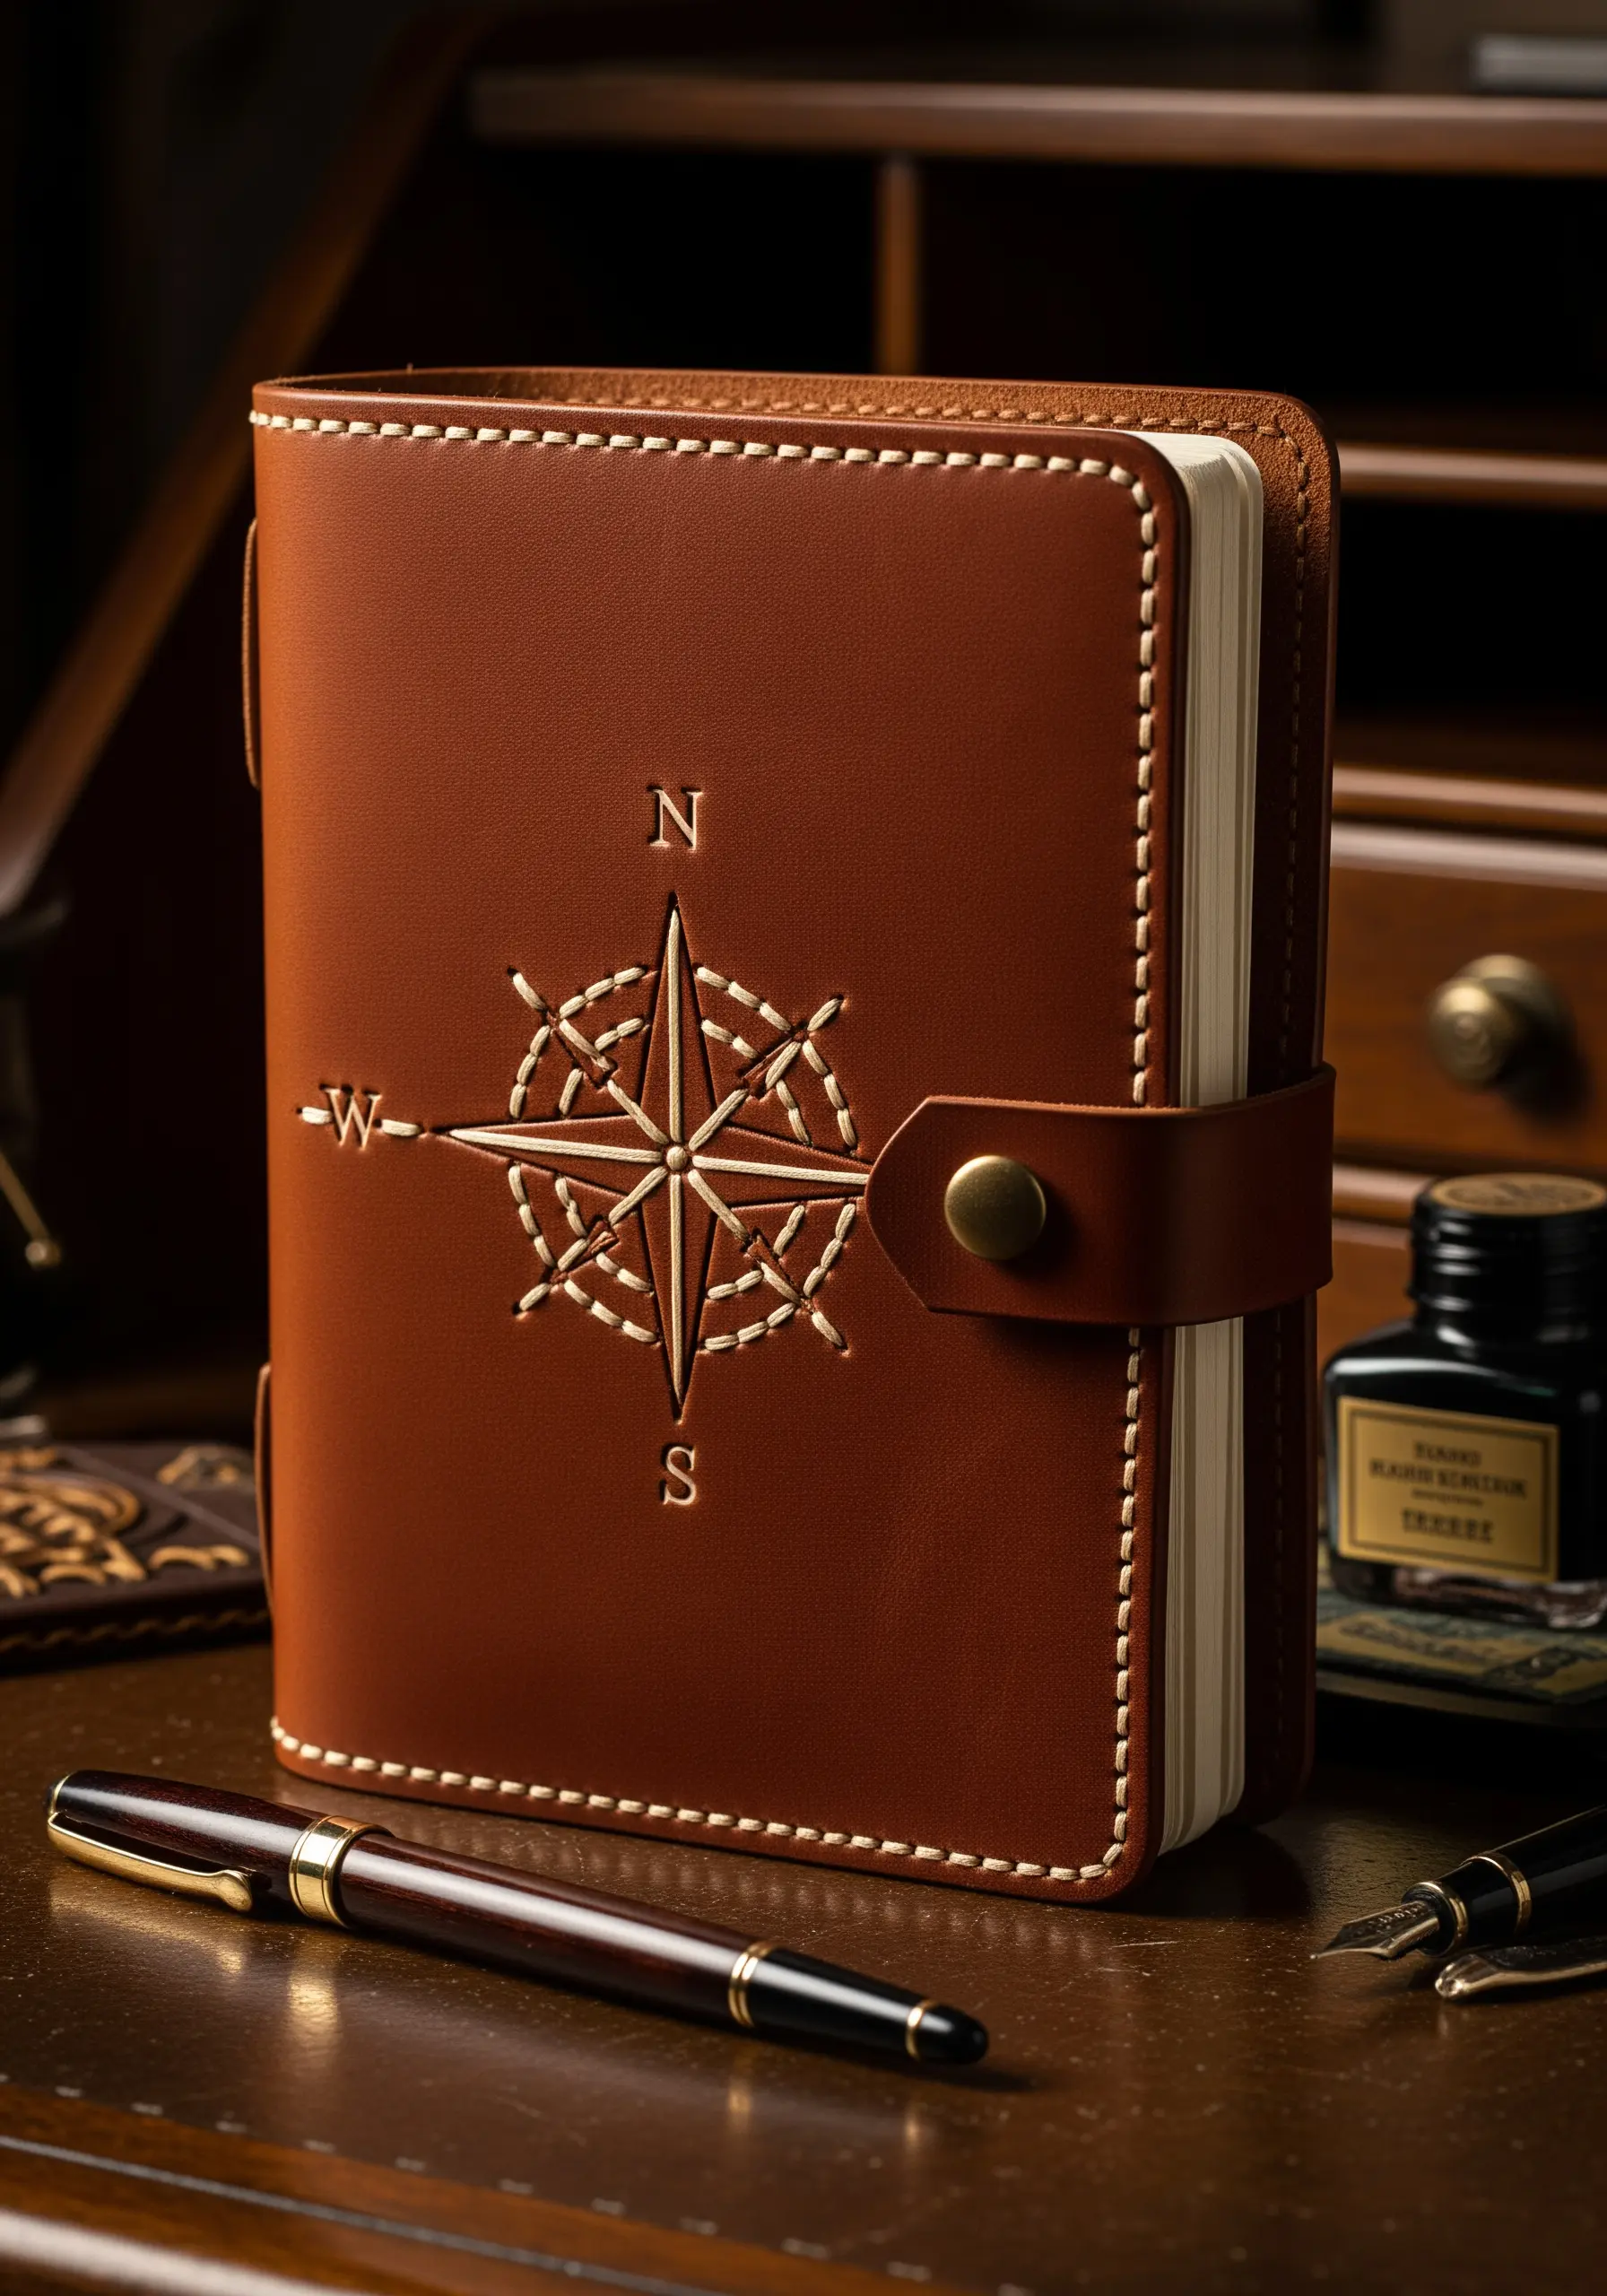
Embroidering on leather or vegan leather requires a different approach than fabric. You cannot pre-draw your design with a heat-erasable pen, so use a transfer paper that can be peeled away or gently rubbed off.
Use a specialized leather needle with a triangular point designed to pierce the material cleanly. Since every hole is permanent, stitch with precision.
Instead of knotting your thread at the back, which creates bulk, leave a tail and secure it under your first few stitches on the reverse side. This creates a flatter finish, ideal for a journal cover.
12. Explore Sculptural Fiber Art
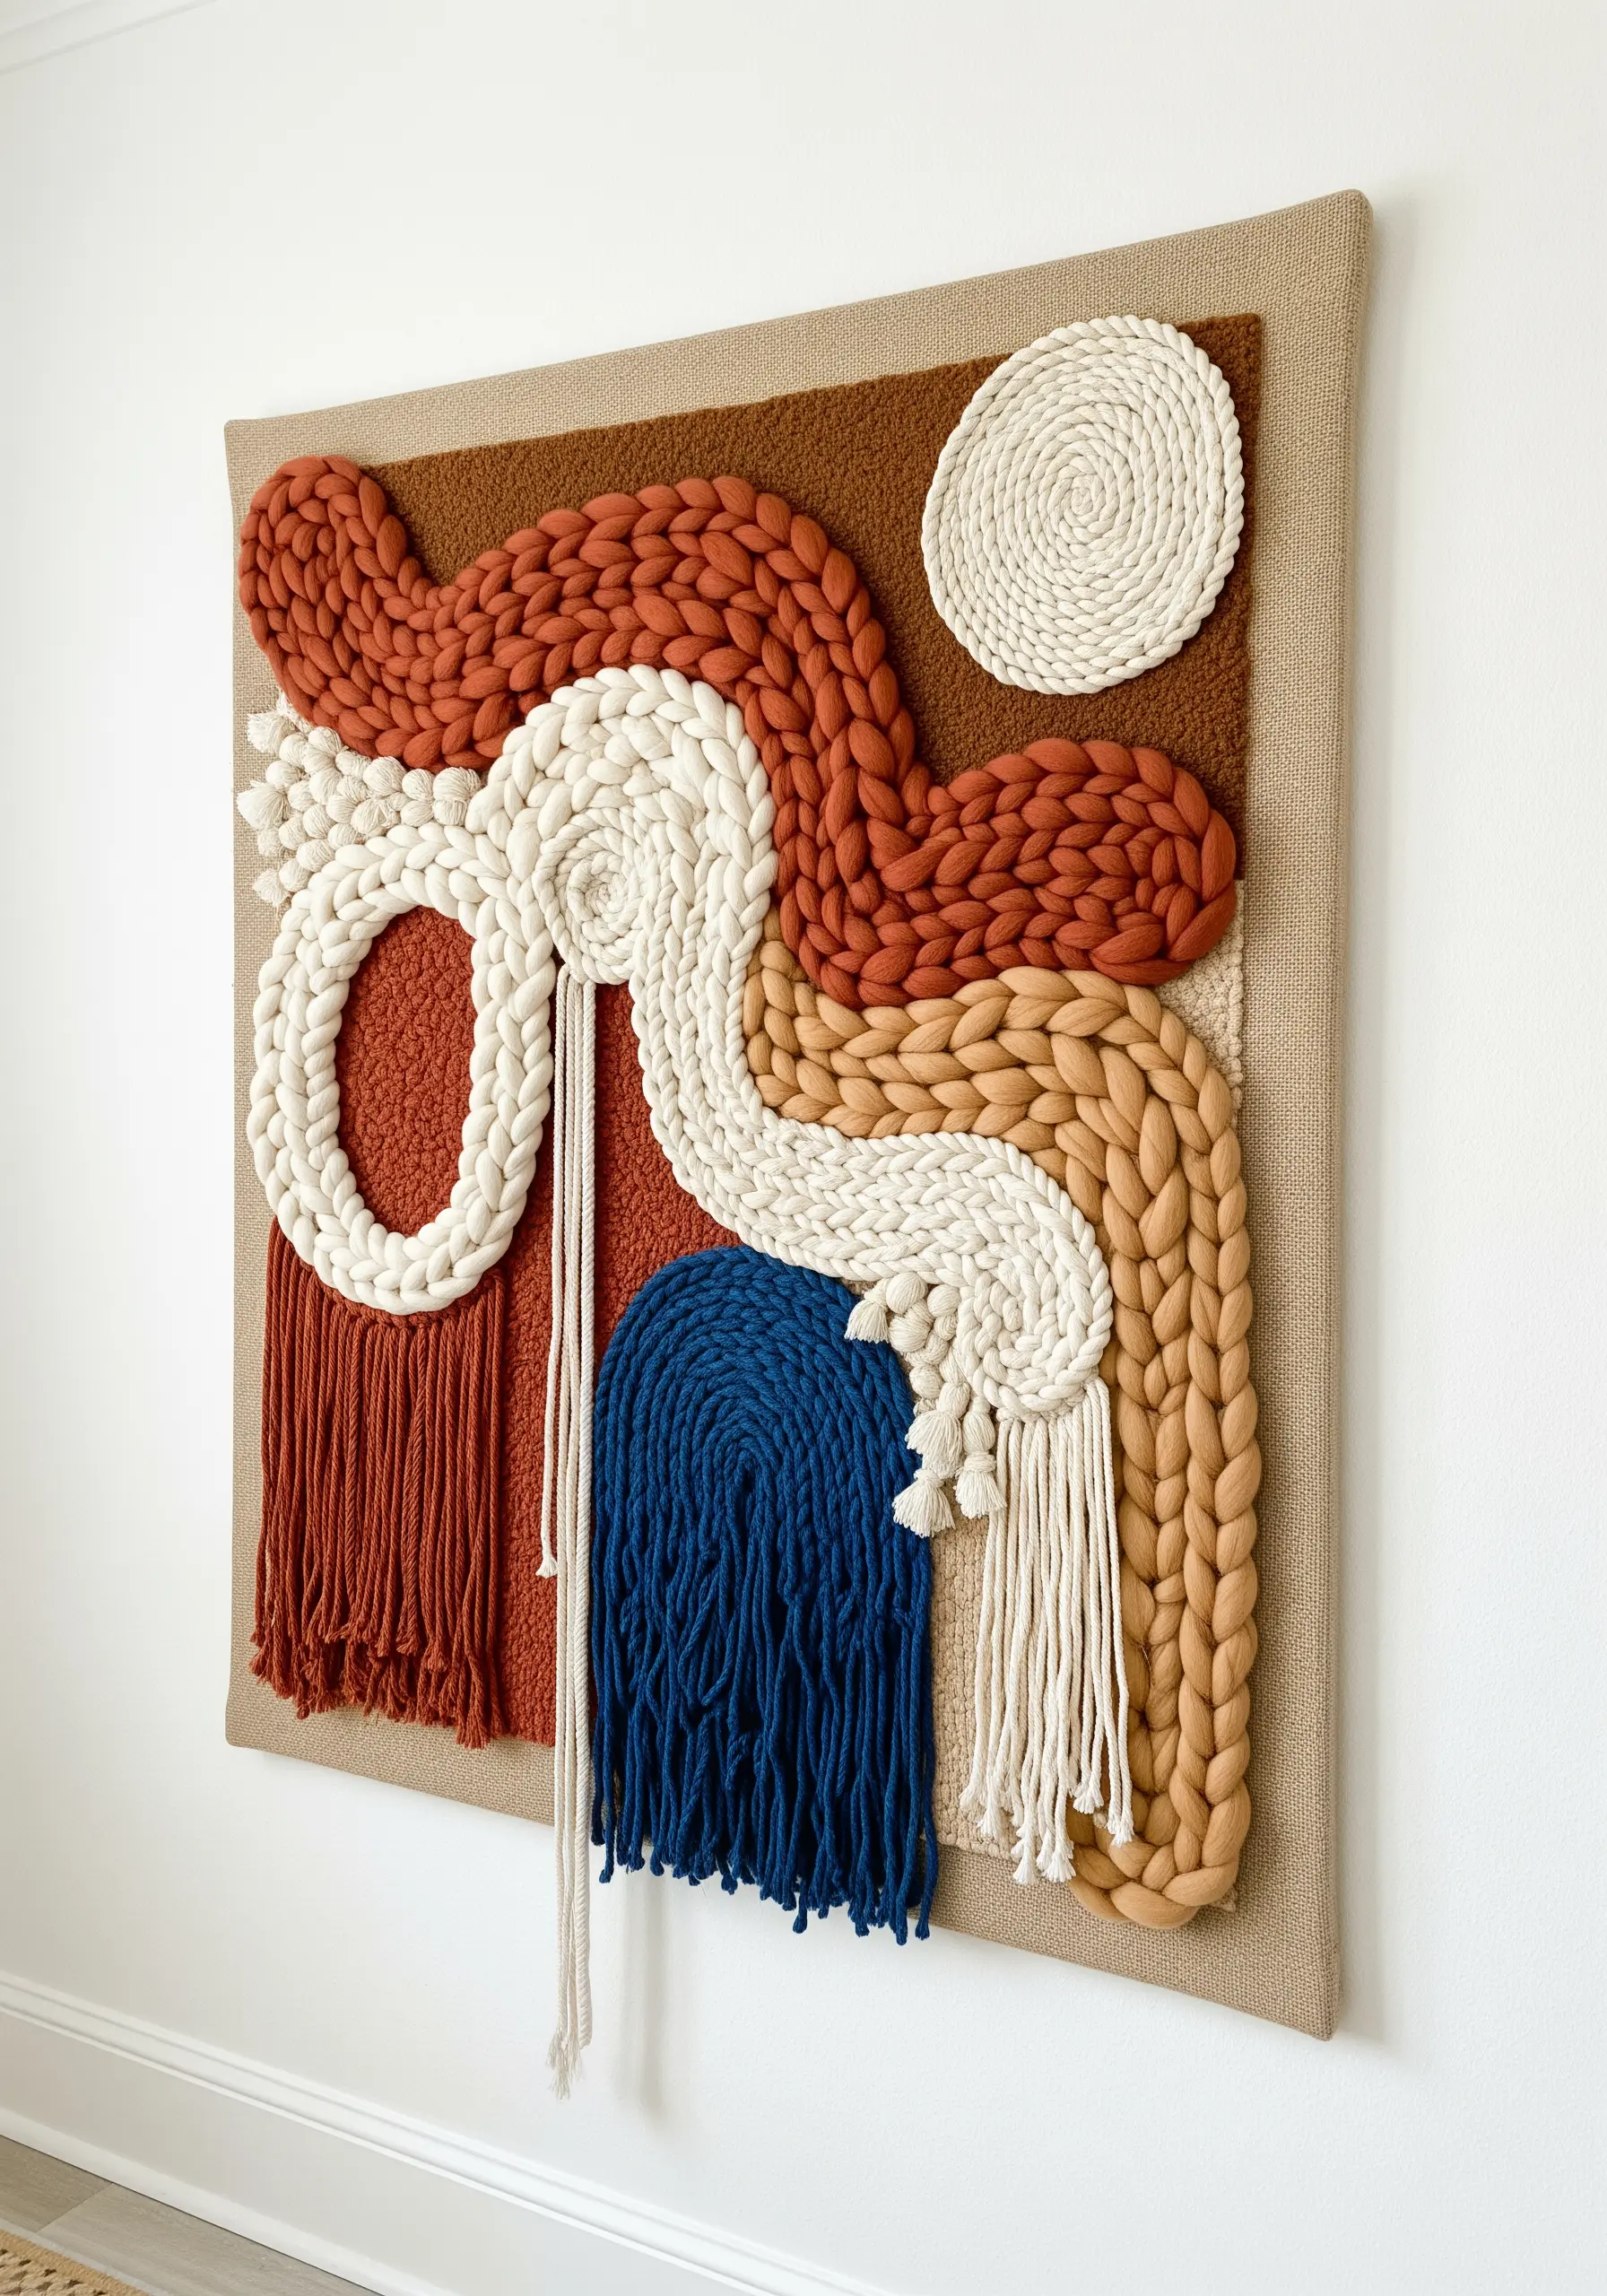
Break free from the hoop by creating high-texture wall art with chunky yarns and roving. This technique blends elements of weaving, macrame, and embroidery on a large scale.
To create the thick, braided forms, couch down chunky yarn or pre-made cotton cord onto a stretched canvas base, using a strong, corresponding thread to anchor it.
For the coiled elements, wrap yarn tightly around a central cord and stitch it into a spiral. The contrast between looped textures, smooth braids, and loose fringe is what gives these pieces their dynamic, modern appeal, making them perfect for modern yarn wall art designs.
13. Add a Delicate Floral Collar

When embellishing clothing, especially on a crisp white collar, neatness is paramount. Use a water-soluble stabilizer on top of the fabric to ensure your stitches are perfectly even and your pattern is precise.
Trace your design onto the stabilizer, stitch through both layers, and then simply wash it away to reveal a clean design with no stray marks.
Choose small, durable stitches. Lazy daisy stitches for the petals, French knots for the centers, and stem stitch for the vines will hold up well to washing and wear.
This thoughtful approach turns a simple garment into a bespoke piece with tiny floral motifs that feel both delicate and lasting.
14. Craft Felt Ornaments with a Polished Edge
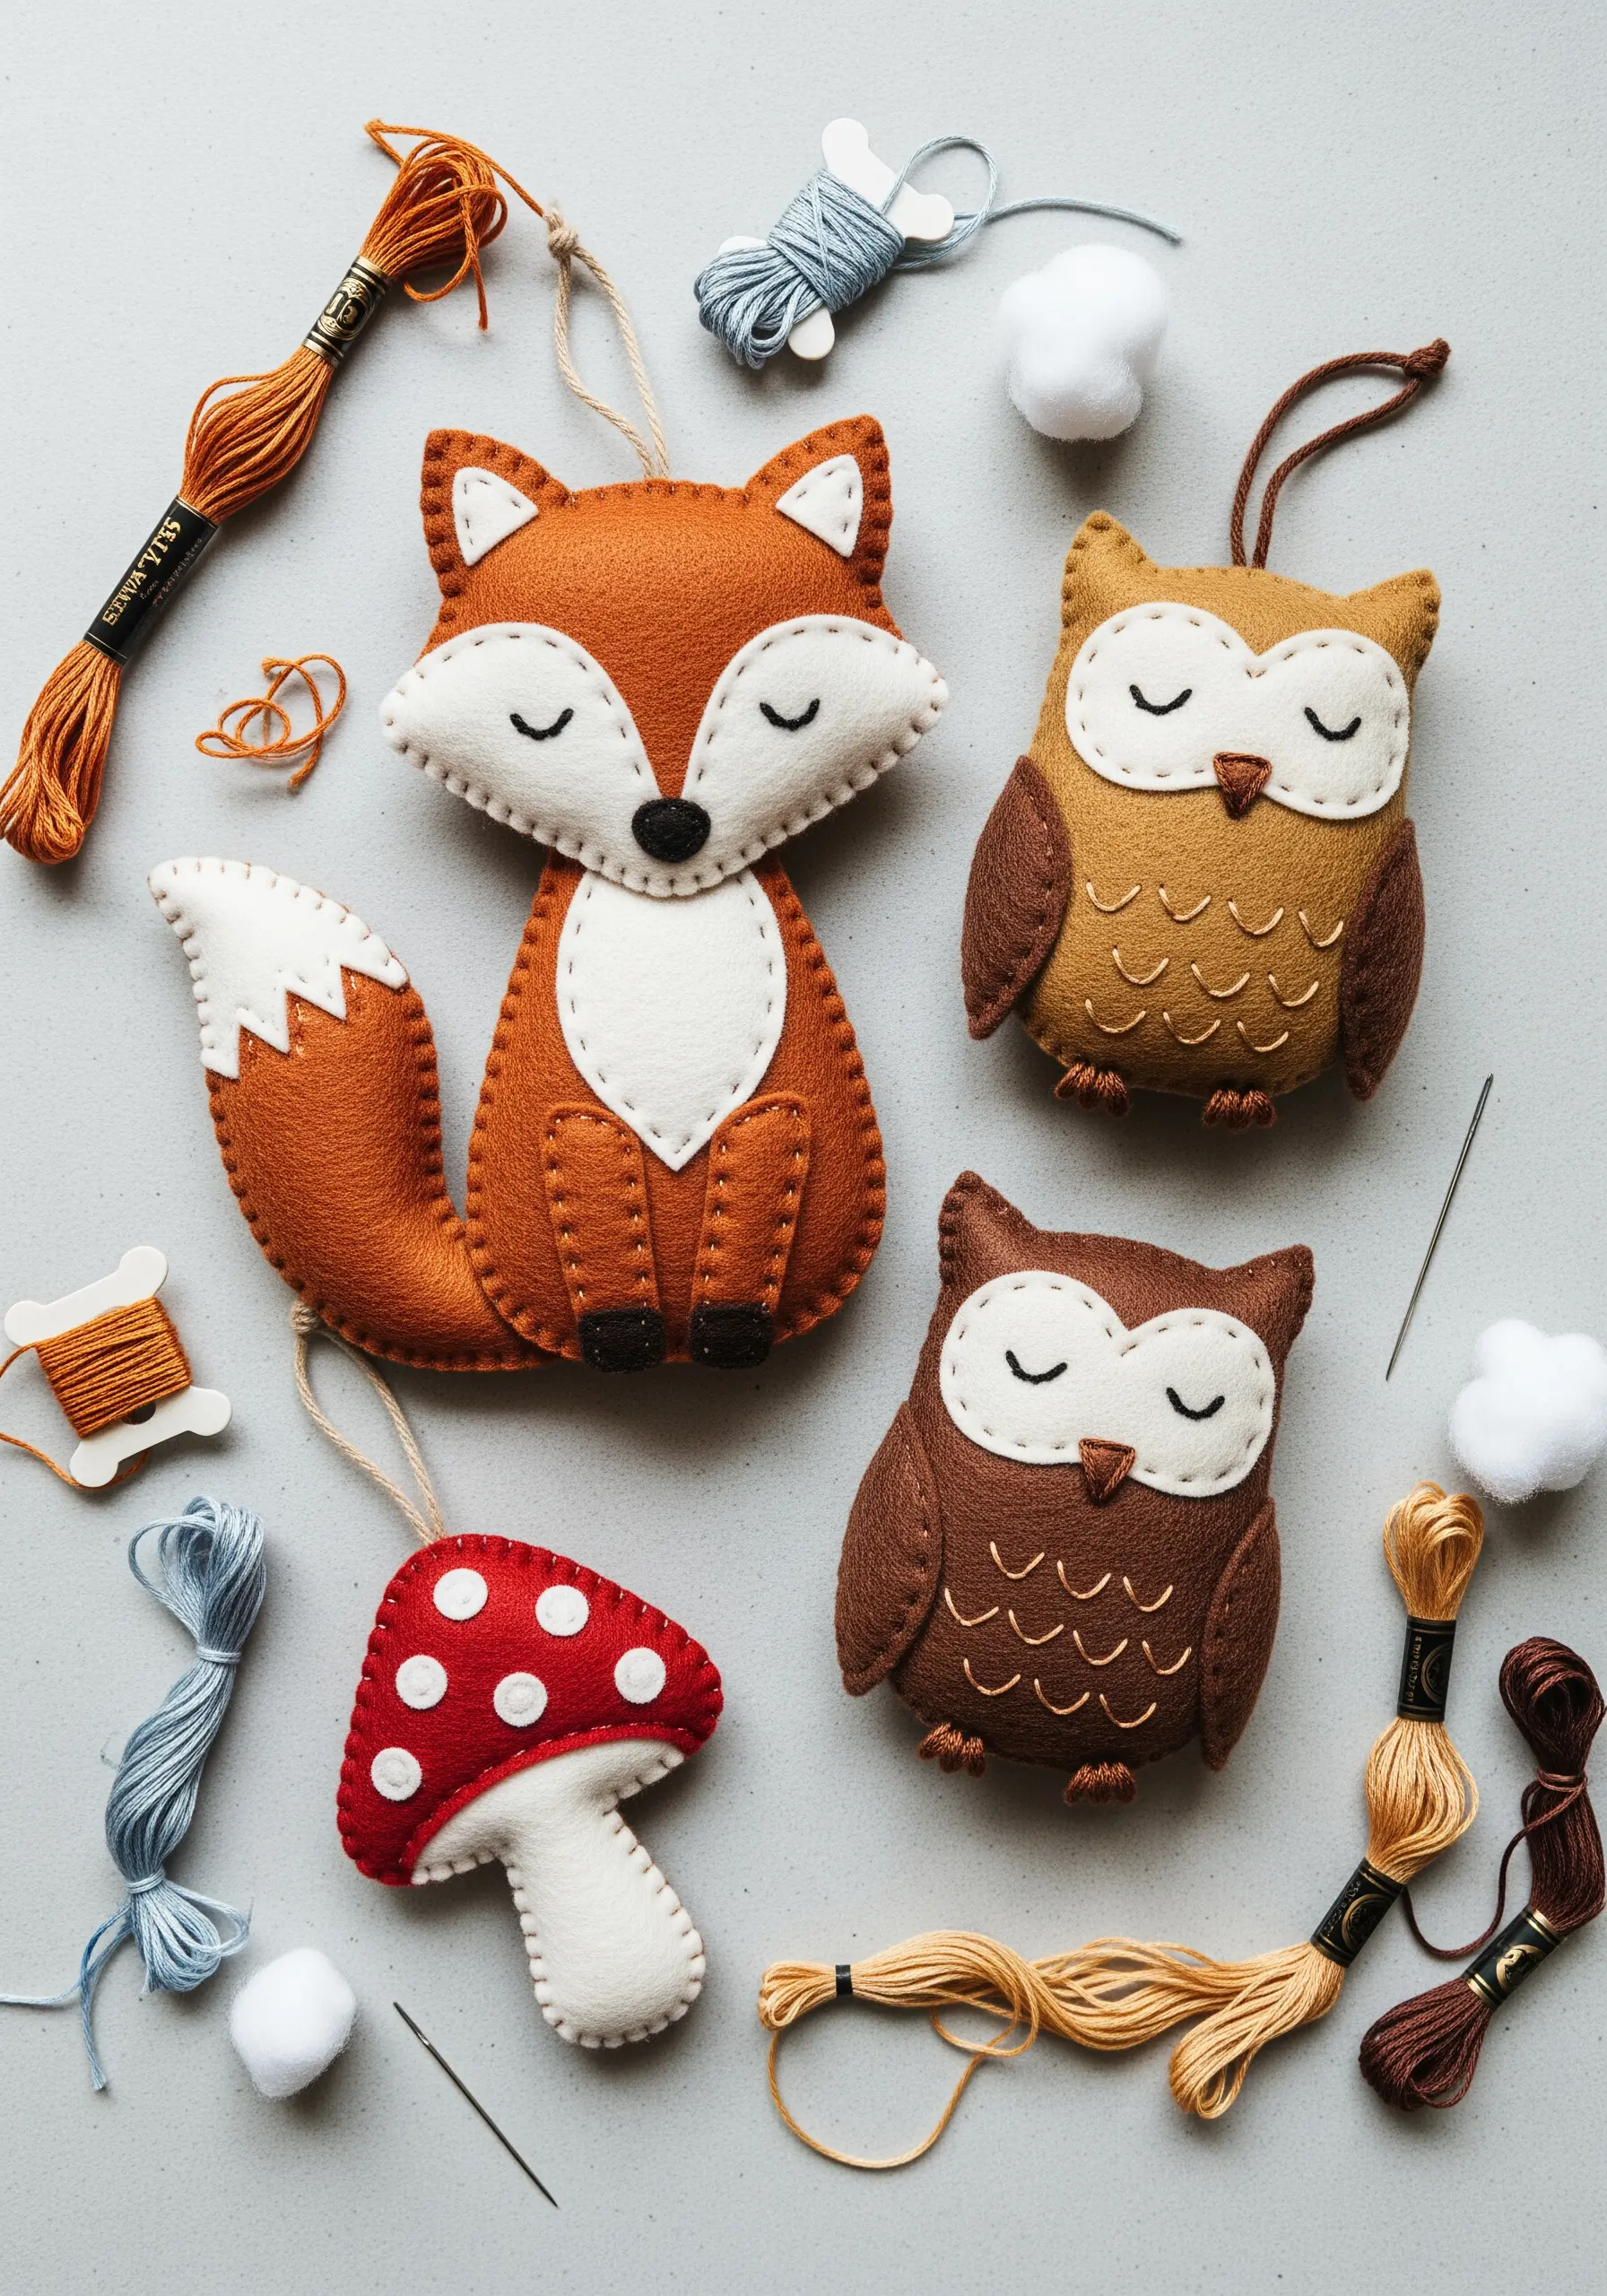
For handmade felt creations, the finishing stitch makes all the difference. To join your felt pieces with a decorative, secure edge, use the blanket stitch.
Use a contrasting color of thread to make the stitch a design element in itself. The key is to keep your stitch height and spacing consistent all the way around the shape.
Before you stitch it completely closed, stuff the ornament lightly with Poly-fil to give it a soft, three-dimensional form. This simple technique results in a charming, handcrafted look, perfect for crafting with kids.
15. Modernize Typography with Cross-Stitch
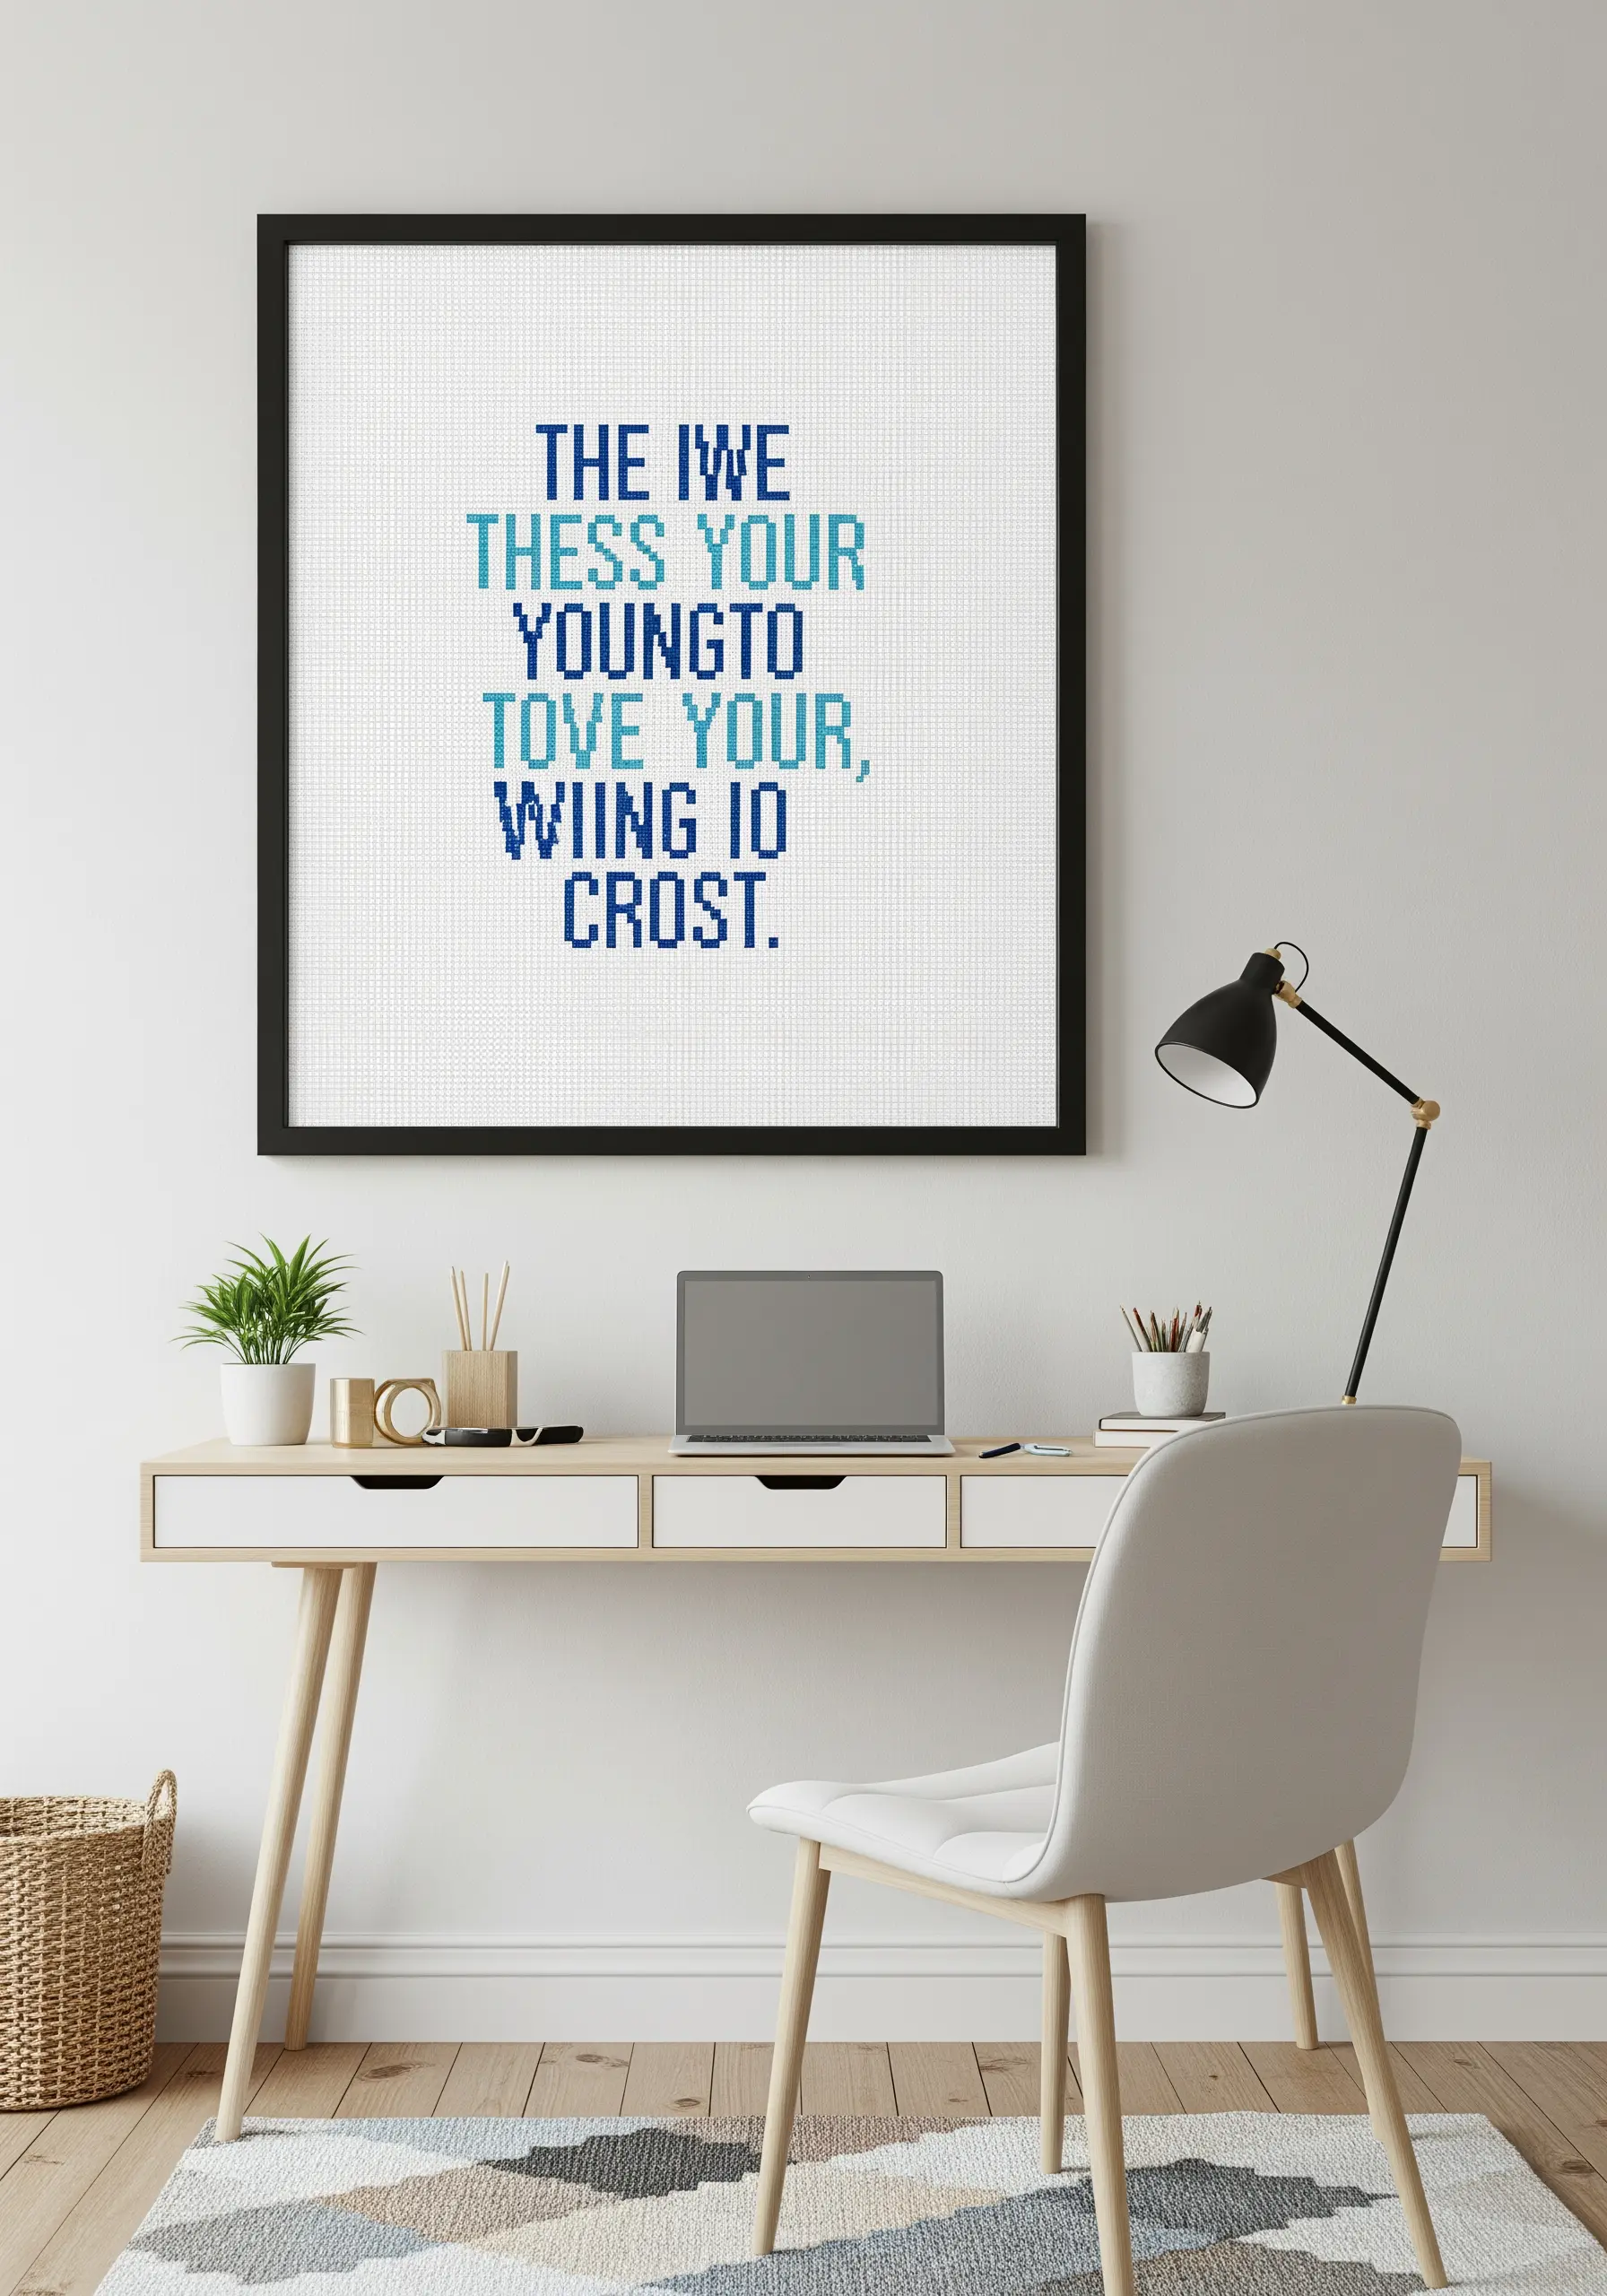
To make cross-stitched text feel contemporary, focus on font and layout. Choose a clean, sans-serif font and give the letters ample negative space to breathe.
Instead of a single color, use a simple gradient with two or three shades of the same color family. This adds visual interest and a touch of modern graphic design to a traditional craft.
Stitching on a high-count Aida cloth (16 or 18-count) will result in smaller, more defined stitches, giving the final piece a crisp, almost pixelated look that feels fresh and intentional.
16. Illuminate Your Stitches on a Lampshade

Embroidering a lampshade creates a unique piece of functional art. Choose a fabric shade with a simple weave, like linen or cotton, that allows a needle to pass through easily.
Select a simple, open design with continuous lines, as intricate details can be lost when the lamp is lit. A backstitch or stem stitch works perfectly.
Remember that the light will shine through your stitches, so keep the back of your work as tidy as possible. Secure thread tails by weaving them under existing stitches rather than tying bulky knots.
This project is one of many easy embroidery DIYs that can transform your space with a personal touch.
17. Create Vibrant Fruit Motifs for Kitchen Linens
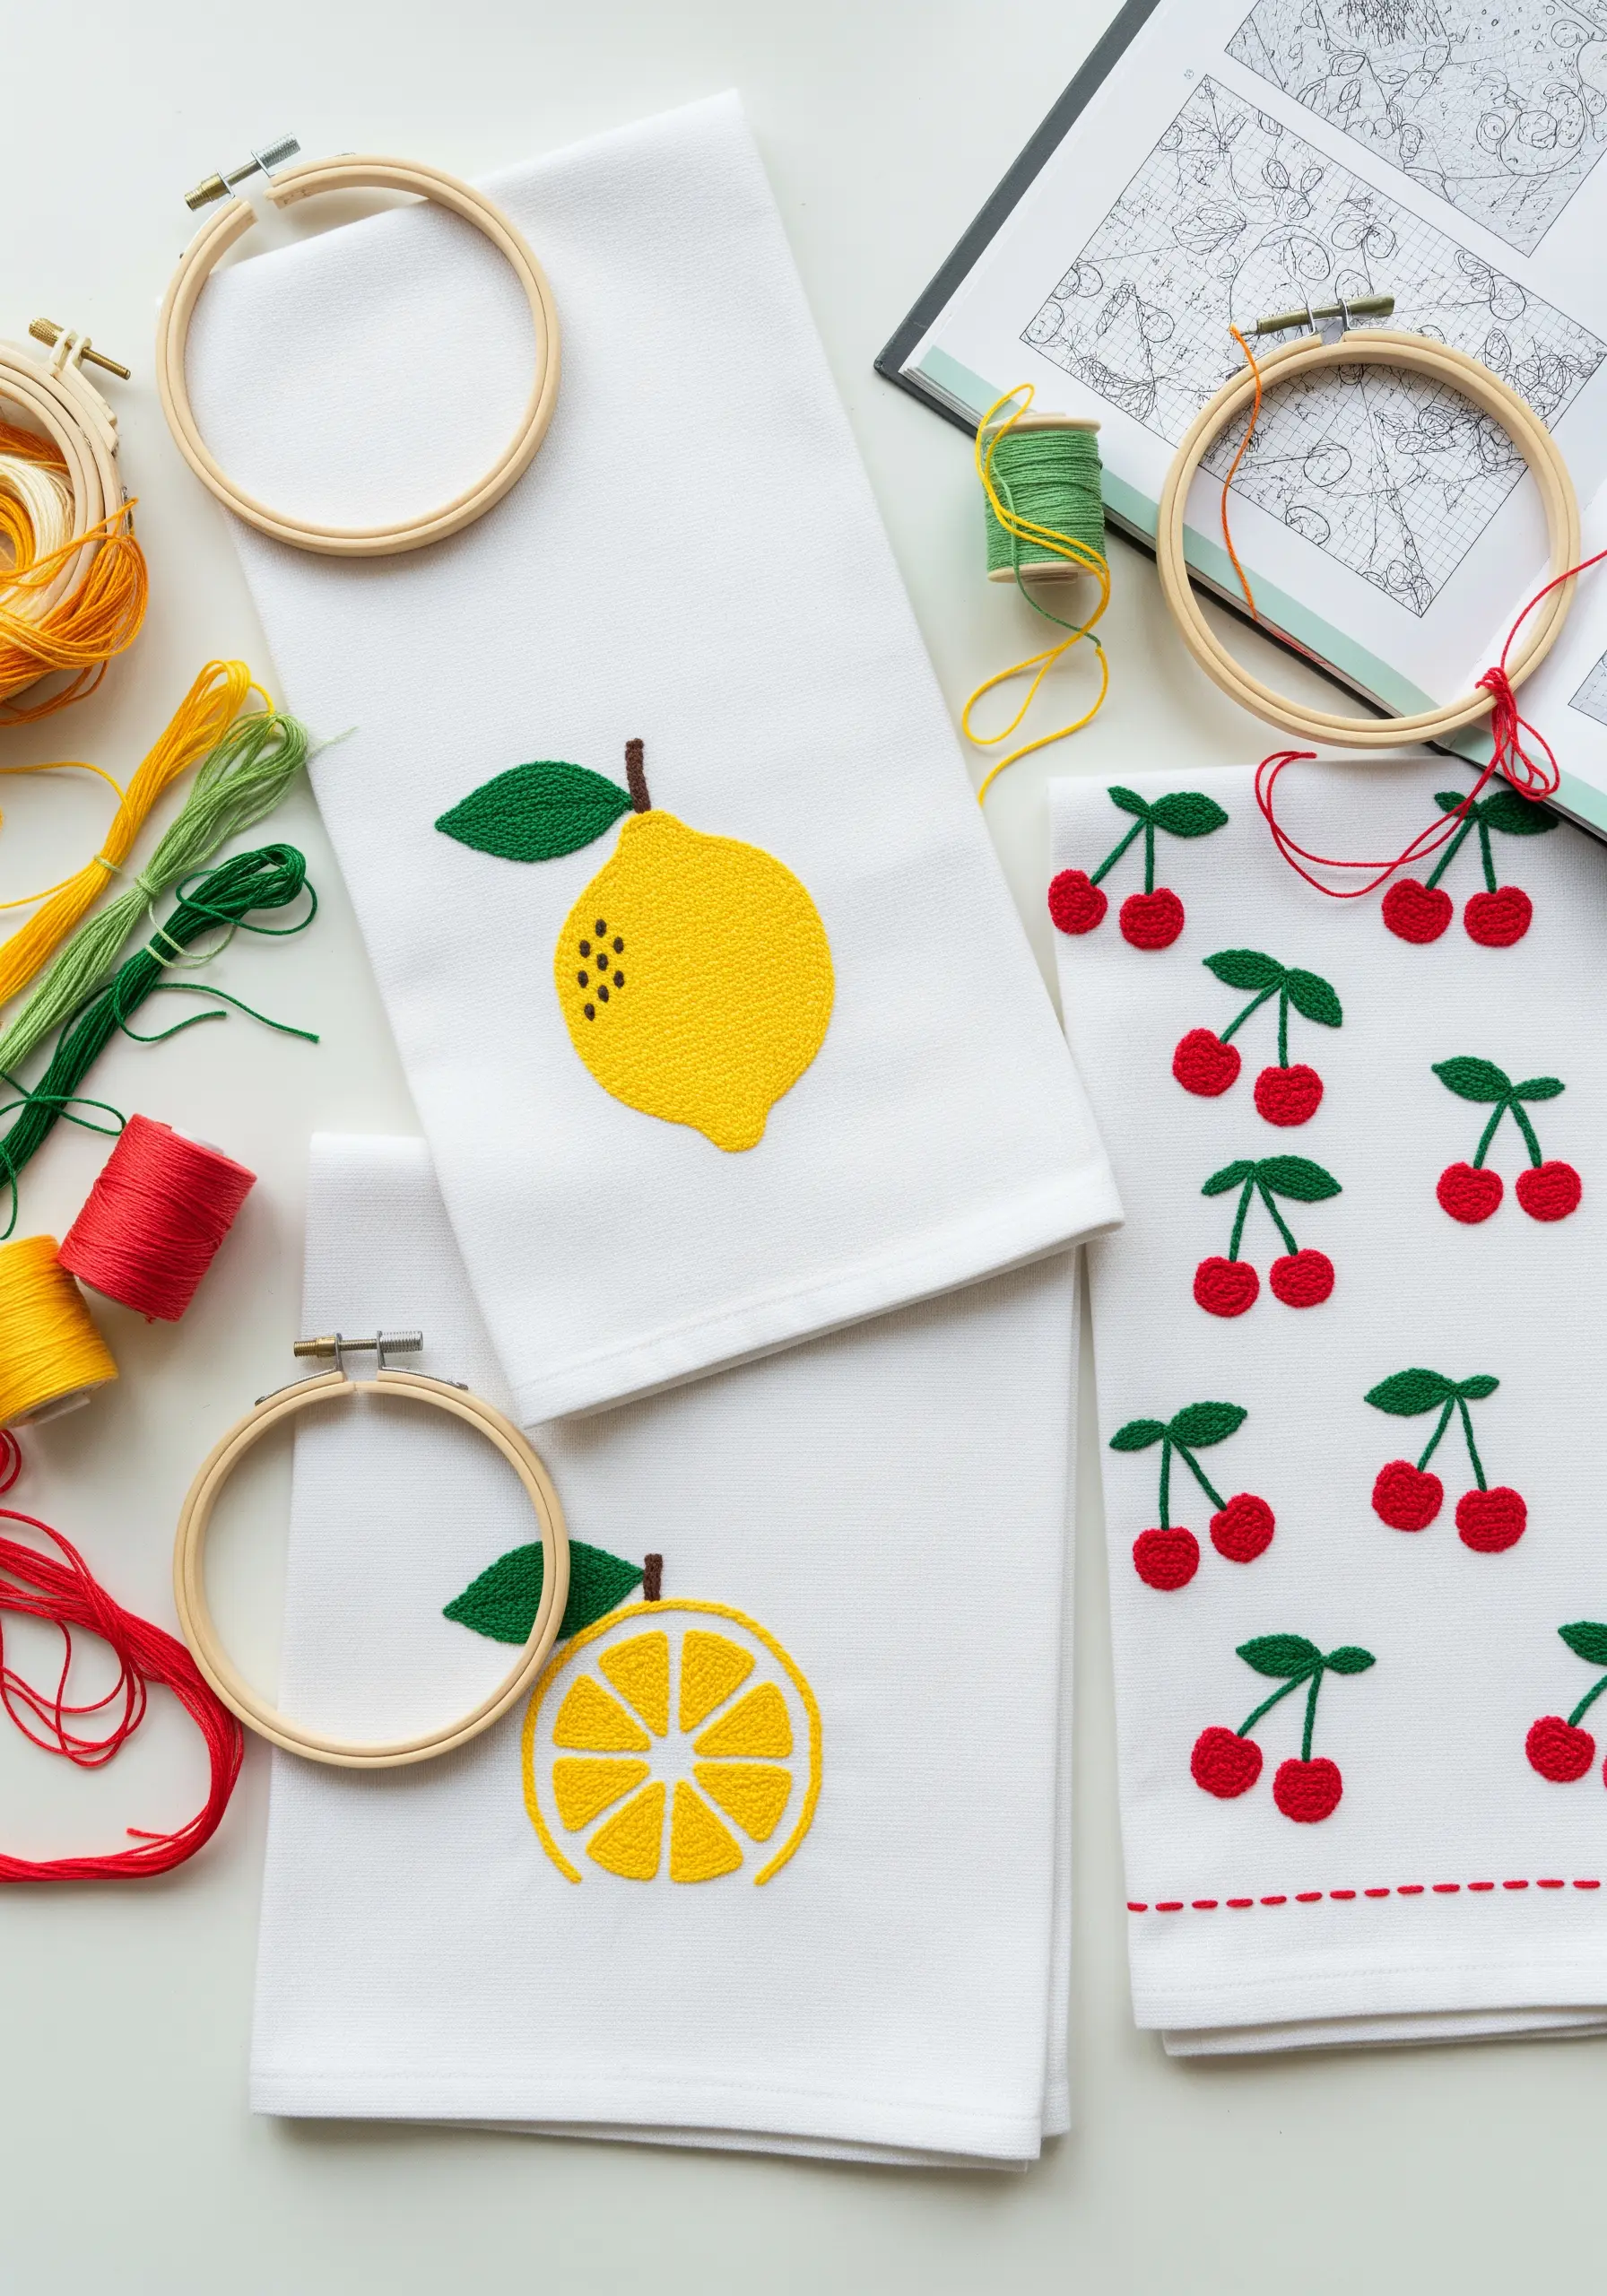
To make embroidered fruit look bold and appetizing, focus on achieving a dense, even fill. For a plush texture, use all six strands of embroidery floss for your satin stitch.
To avoid the fabric showing through, ensure your stitches lie closely together without overlapping. A lay-flat tool can help guide the floss into perfect position.
On absorbent kitchen towels, using a lightweight cut-away stabilizer on the back will prevent the design from distorting during stitching and washing, keeping your cheerful motifs bright and crisp.
18. Capture Architectural Details with Precision
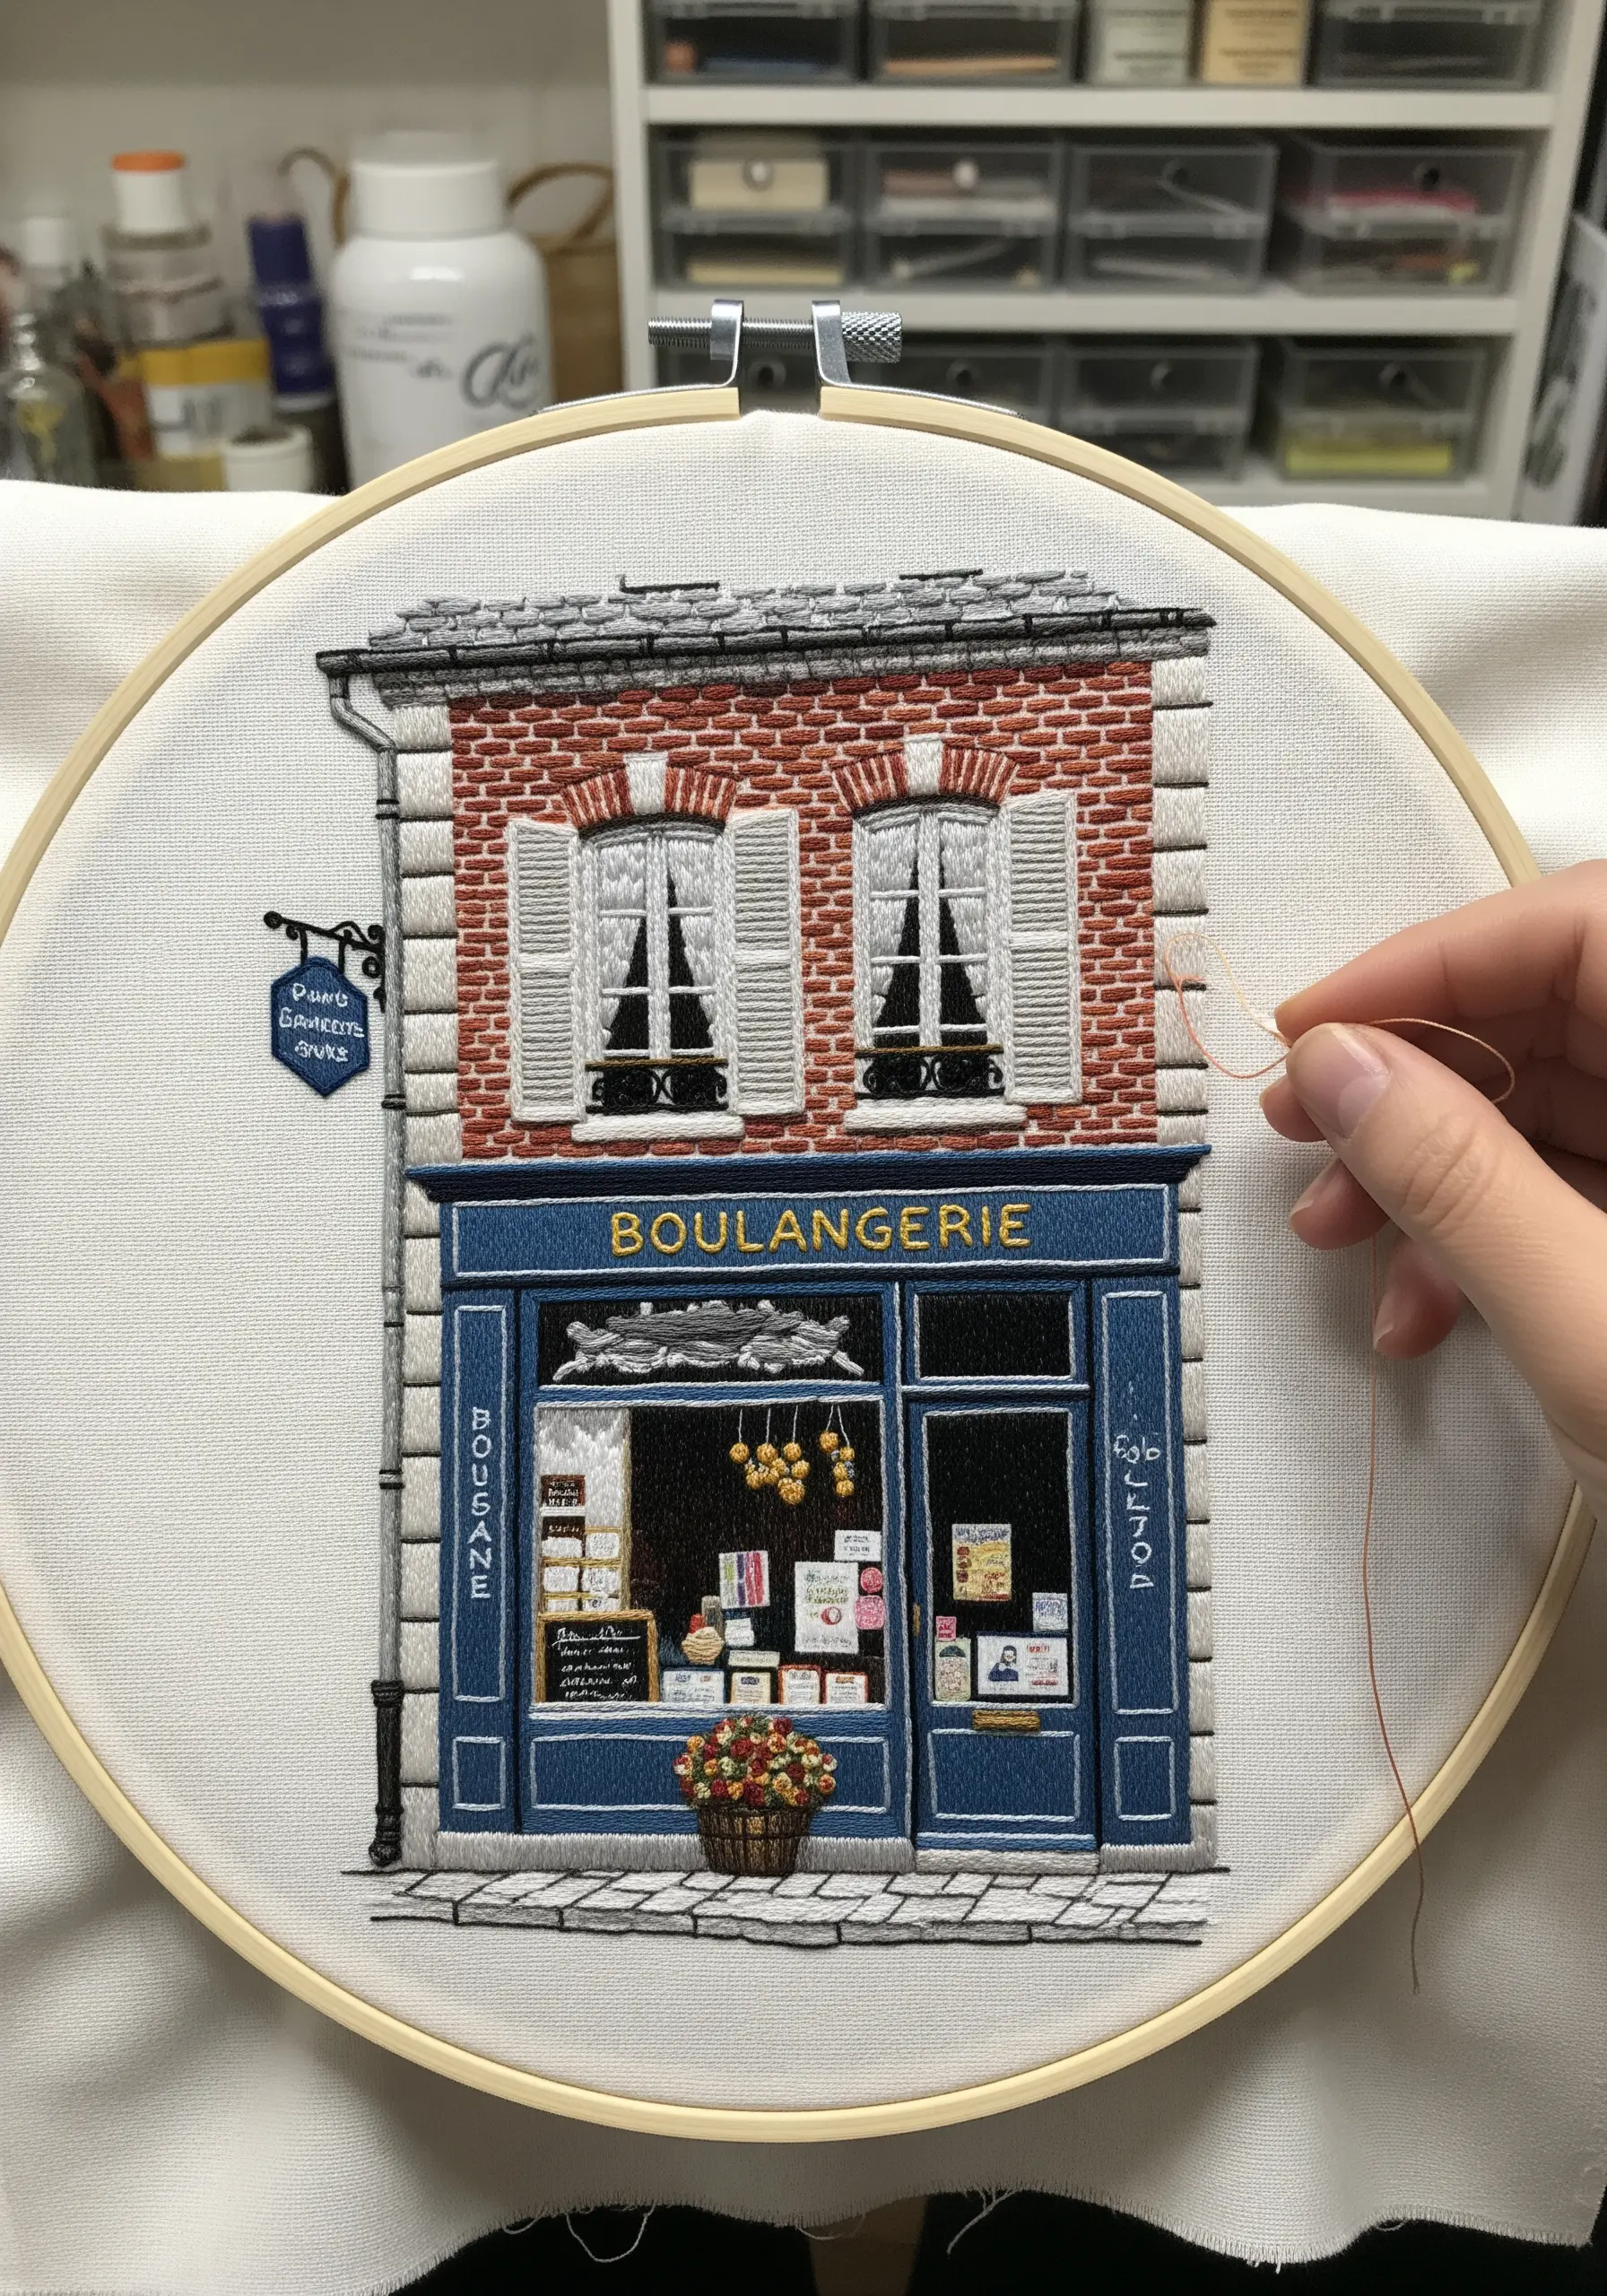
Recreating buildings in thread requires a focus on straight lines and texture. For crisp elements like window panes and signage, use a single strand of floss and a simple backstitch.
To create the texture of a brick wall without stitching every single brick, use offset rows of straight stitches in a slightly darker thread color. This gives the impression of brickwork with minimal effort.
Pay attention to perspective; elements that are further away should be stitched with less detail to create a sense of depth. This turns a flat image into a miniature world of texture.
19. Embellish a Cap with a Subtle Accent
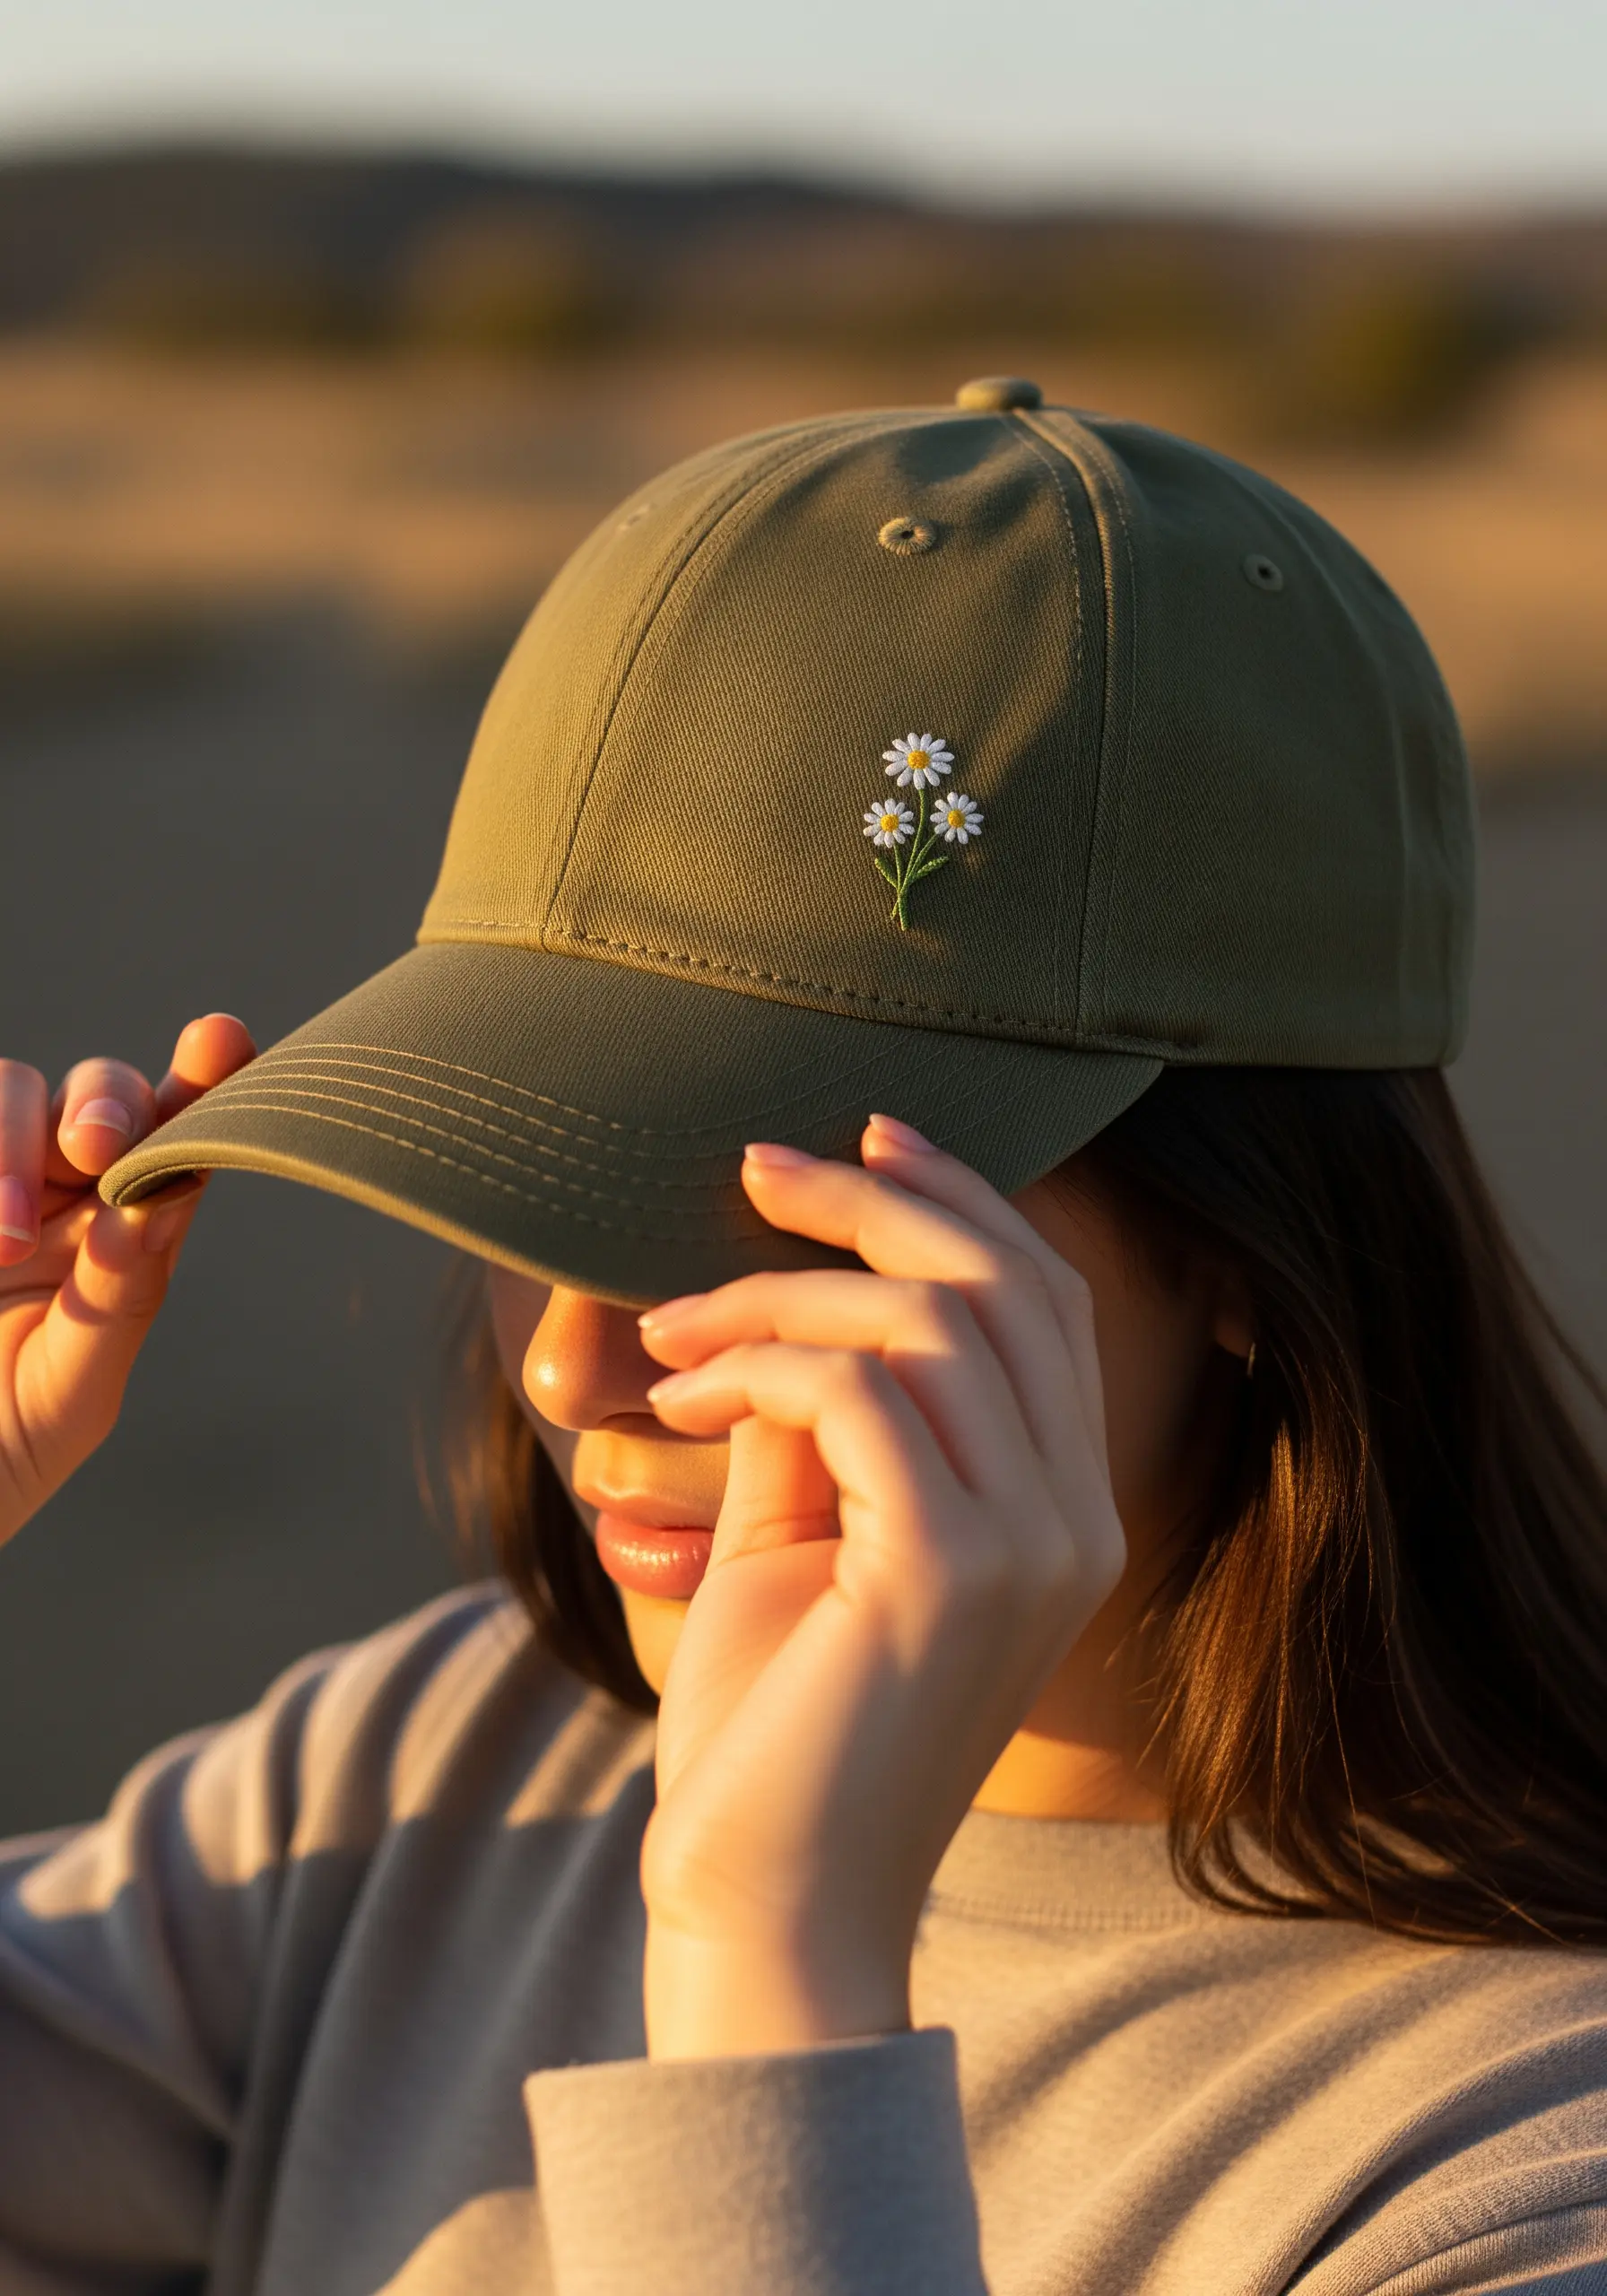
Stitching on a curved, stiff surface like a baseball cap is a challenge best met with simplicity. Choose a small, simple design that can be stitched by hand without a hoop.
Use a sharp, strong needle and a thimble to help you push it through the thick fabric. A pair of pliers can be useful for pulling the needle through from the other side.
Keep your stitches small and secure. A few well-placed lazy daisies and French knots are enough to add a personal, stylish touch without wrestling with a complex pattern, making for perfect small floral embroidery inspirations.
20. Construct Durable and Elegant Bookmarks
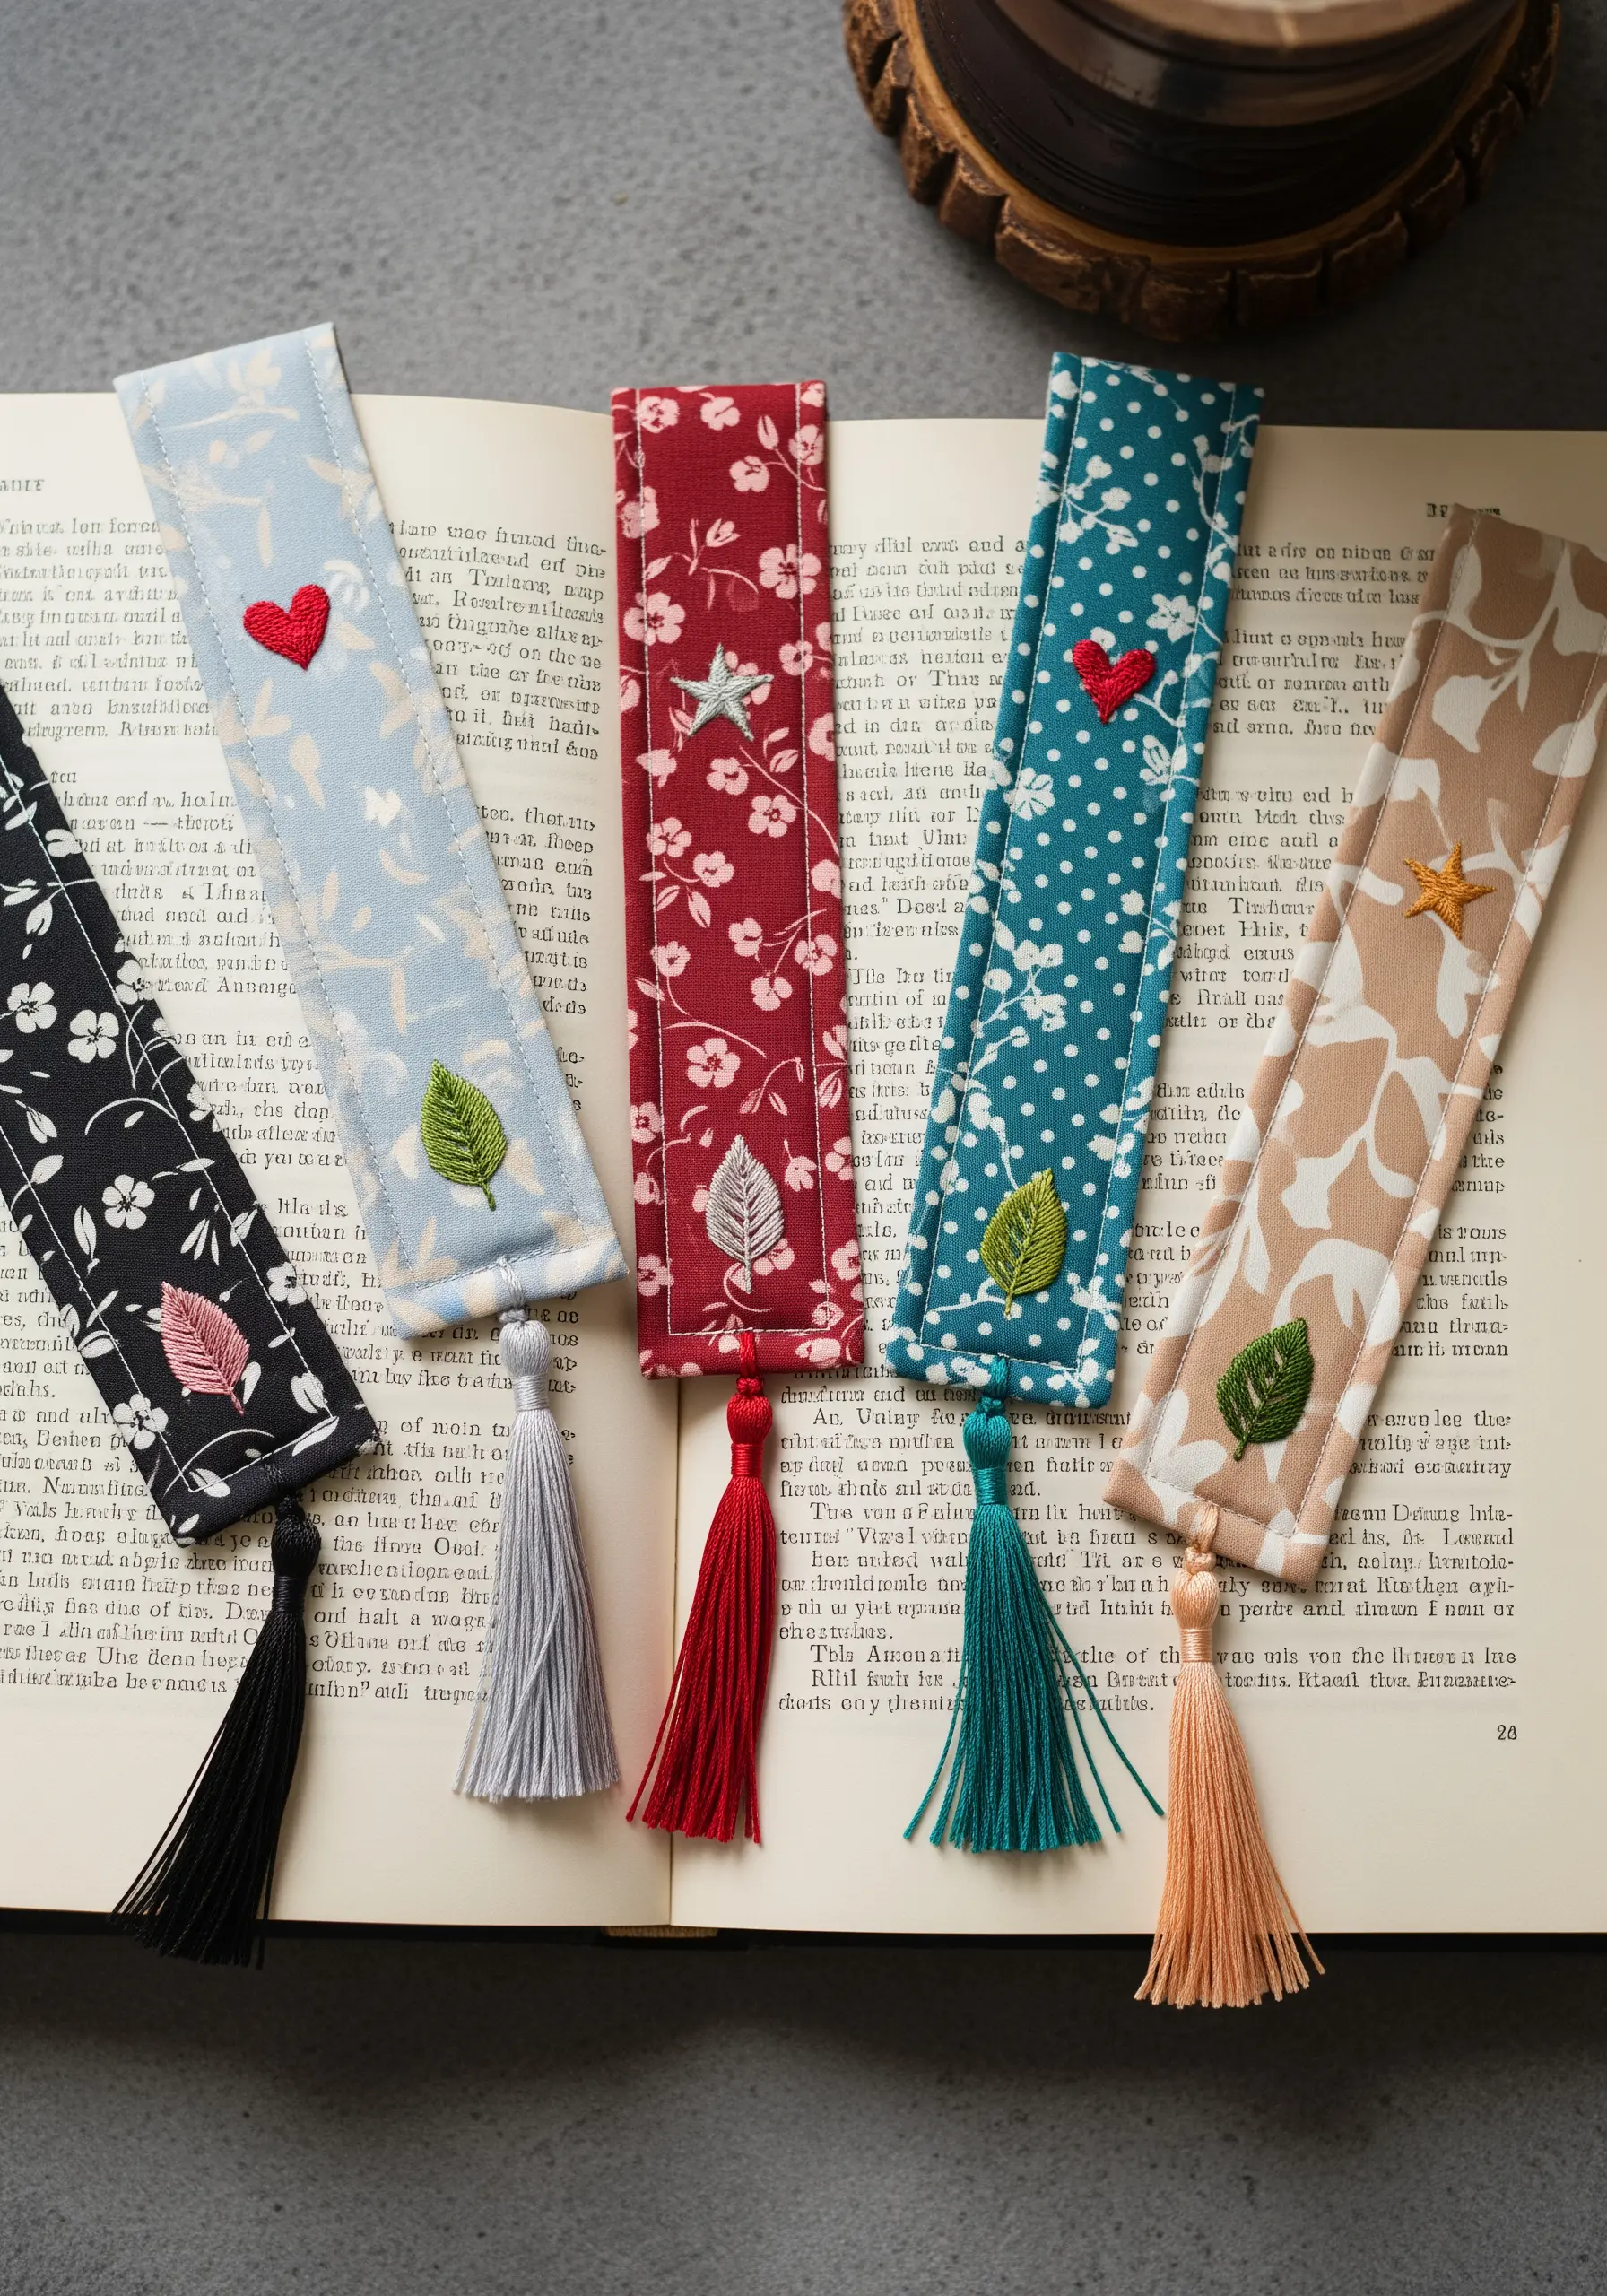
A beautiful bookmark needs to be as sturdy as it is stylish. Create your embroidered design on your chosen fabric, then iron on a layer of medium-weight fusible interfacing to the back.
Place another piece of fabric (the backing) on top, right sides together, and stitch around the perimeter, leaving a small opening for turning.
Clip the corners, turn it right-side out, press it flat, and topstitch the opening closed. This method creates a durable, double-sided bookmark with a clean, professional finish, making for DIY cozy embroidery bookmarks.
21. Stitch the Stars with Glow-in-the-Dark Thread
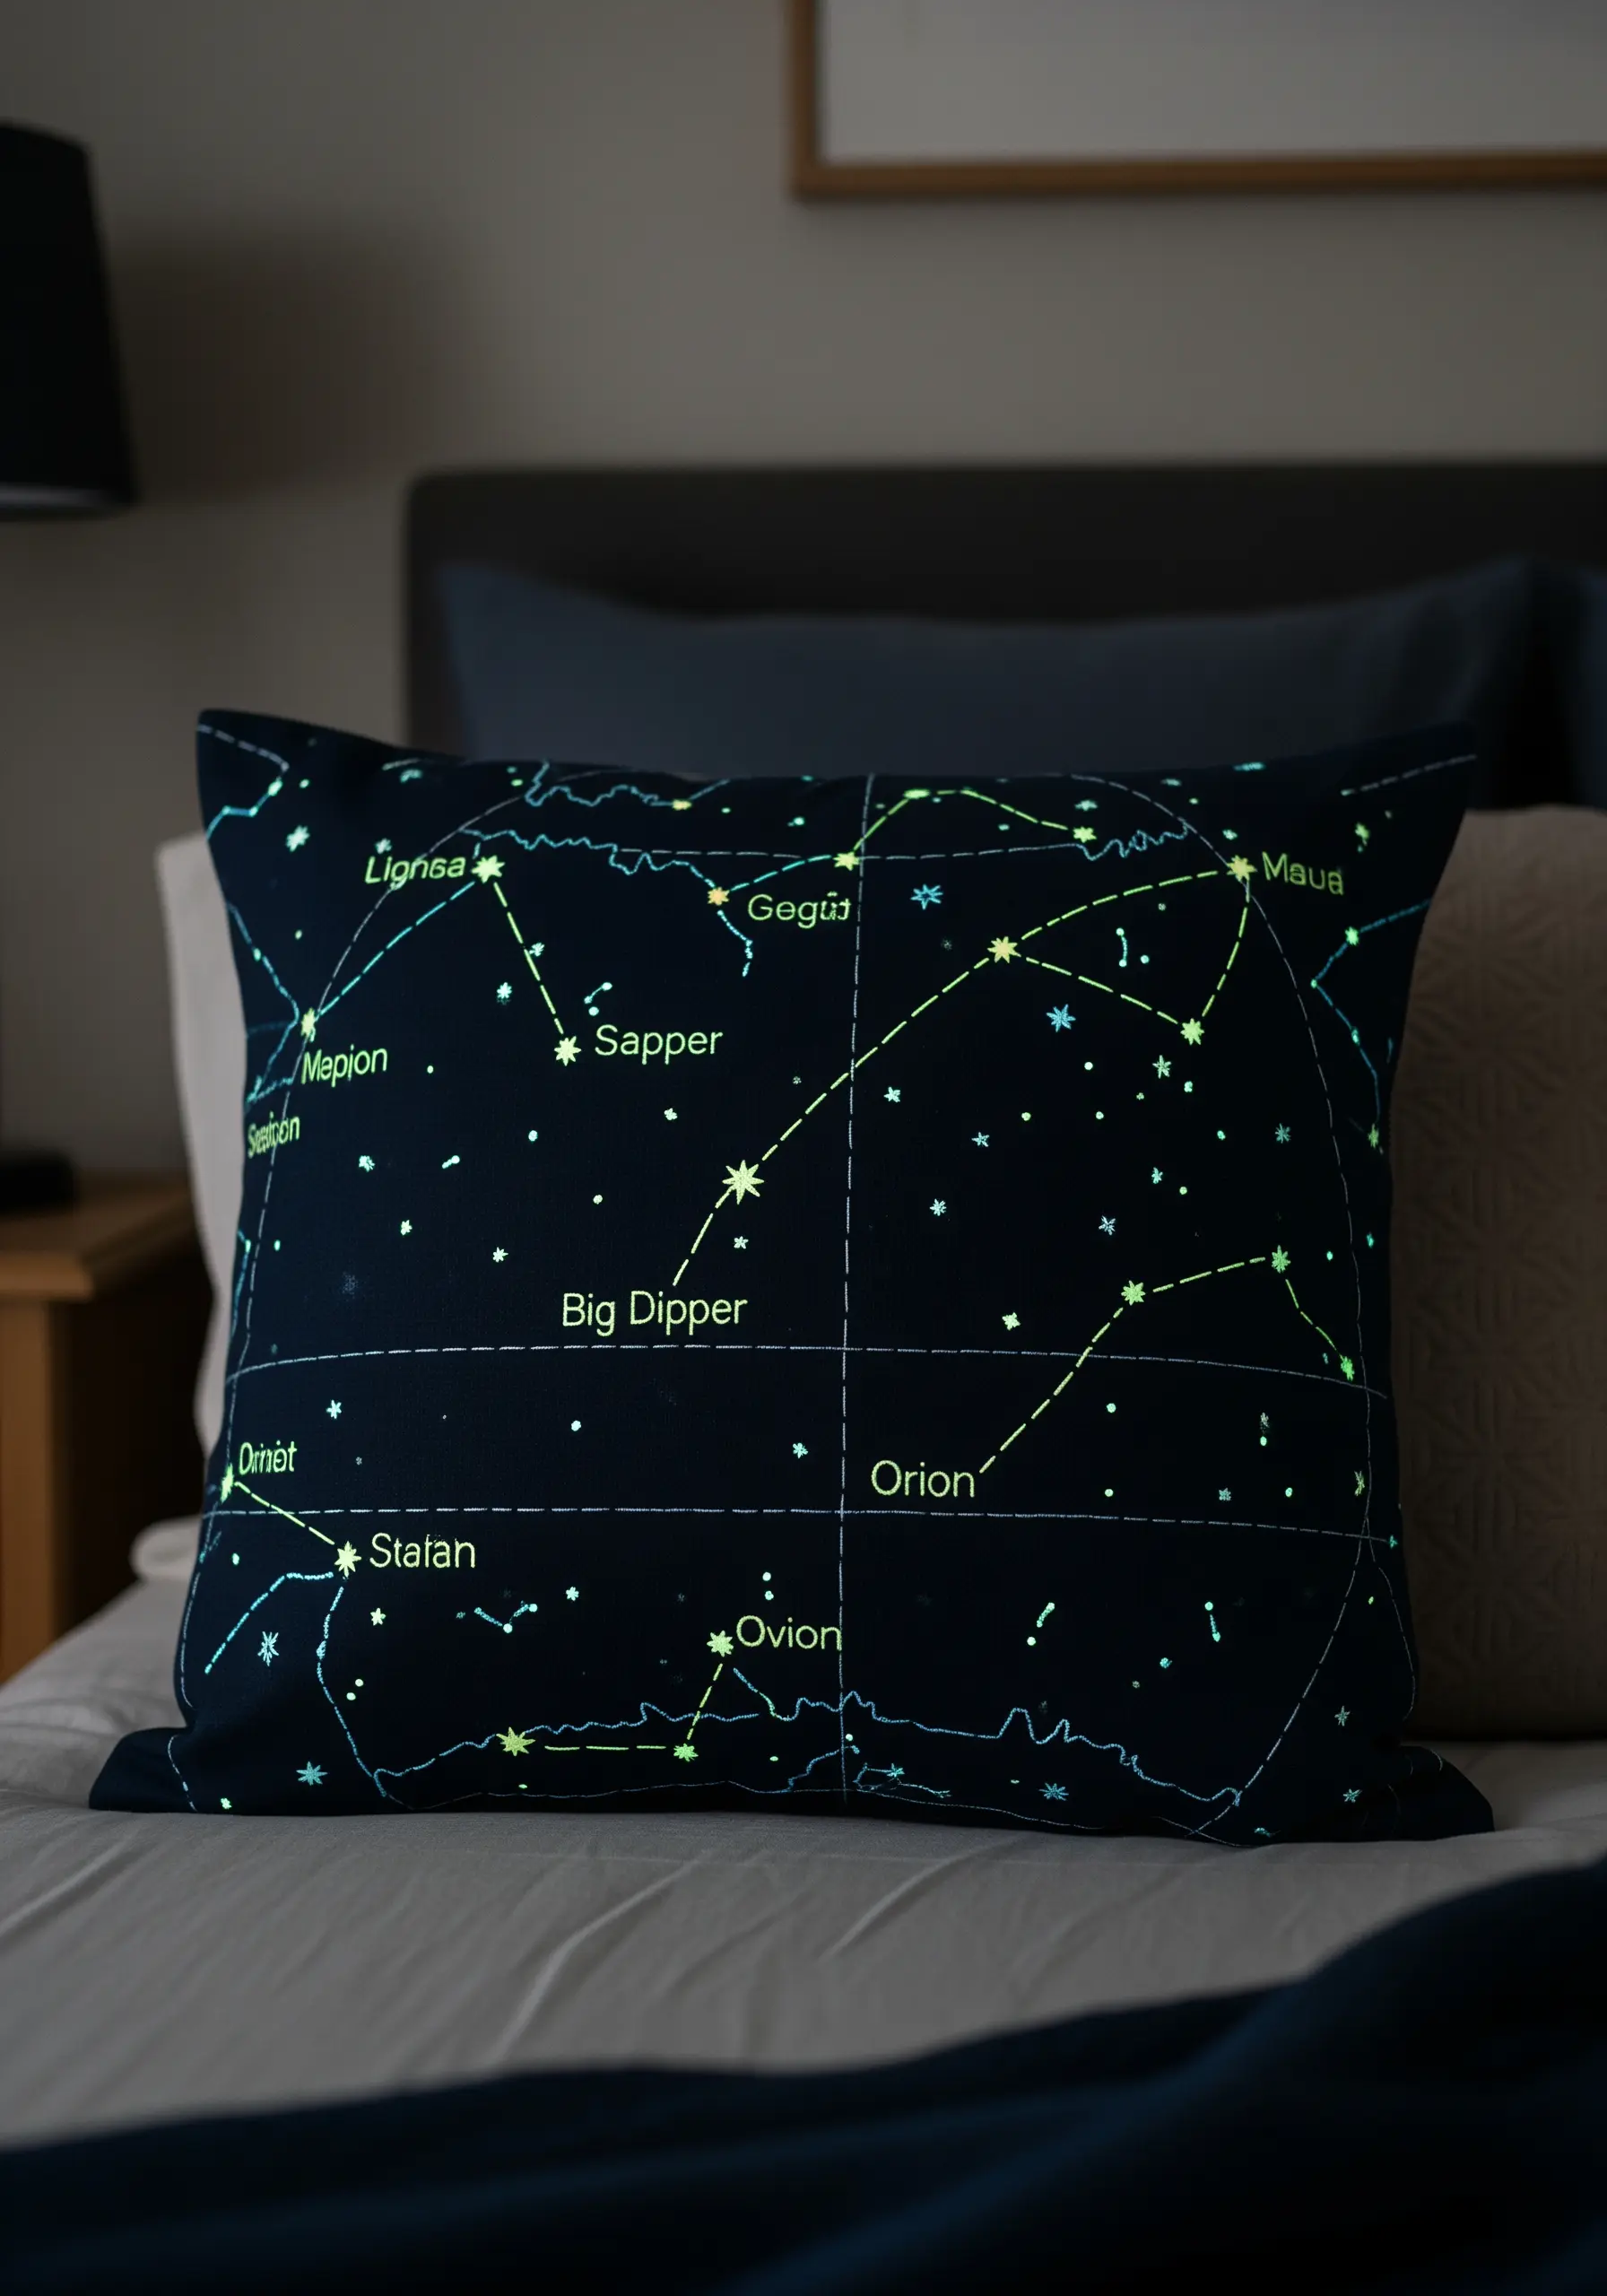
Create a piece of decor that comes to life after dark by using glow-in-the-dark embroidery floss. This specialty thread absorbs light and then emits a soft glow, perfect for celestial designs.
To get the brightest effect, use dense stitches like satin stitch or French knots, as a greater concentration of thread will produce a stronger glow.
Before you go to bed, “charge” the pillow by exposing it to a bright light source for a few minutes. This is a magical way to make embroidery for a bedroom both beautiful and interactive.
22. Customize Canvas Sneakers with a Floral Vine
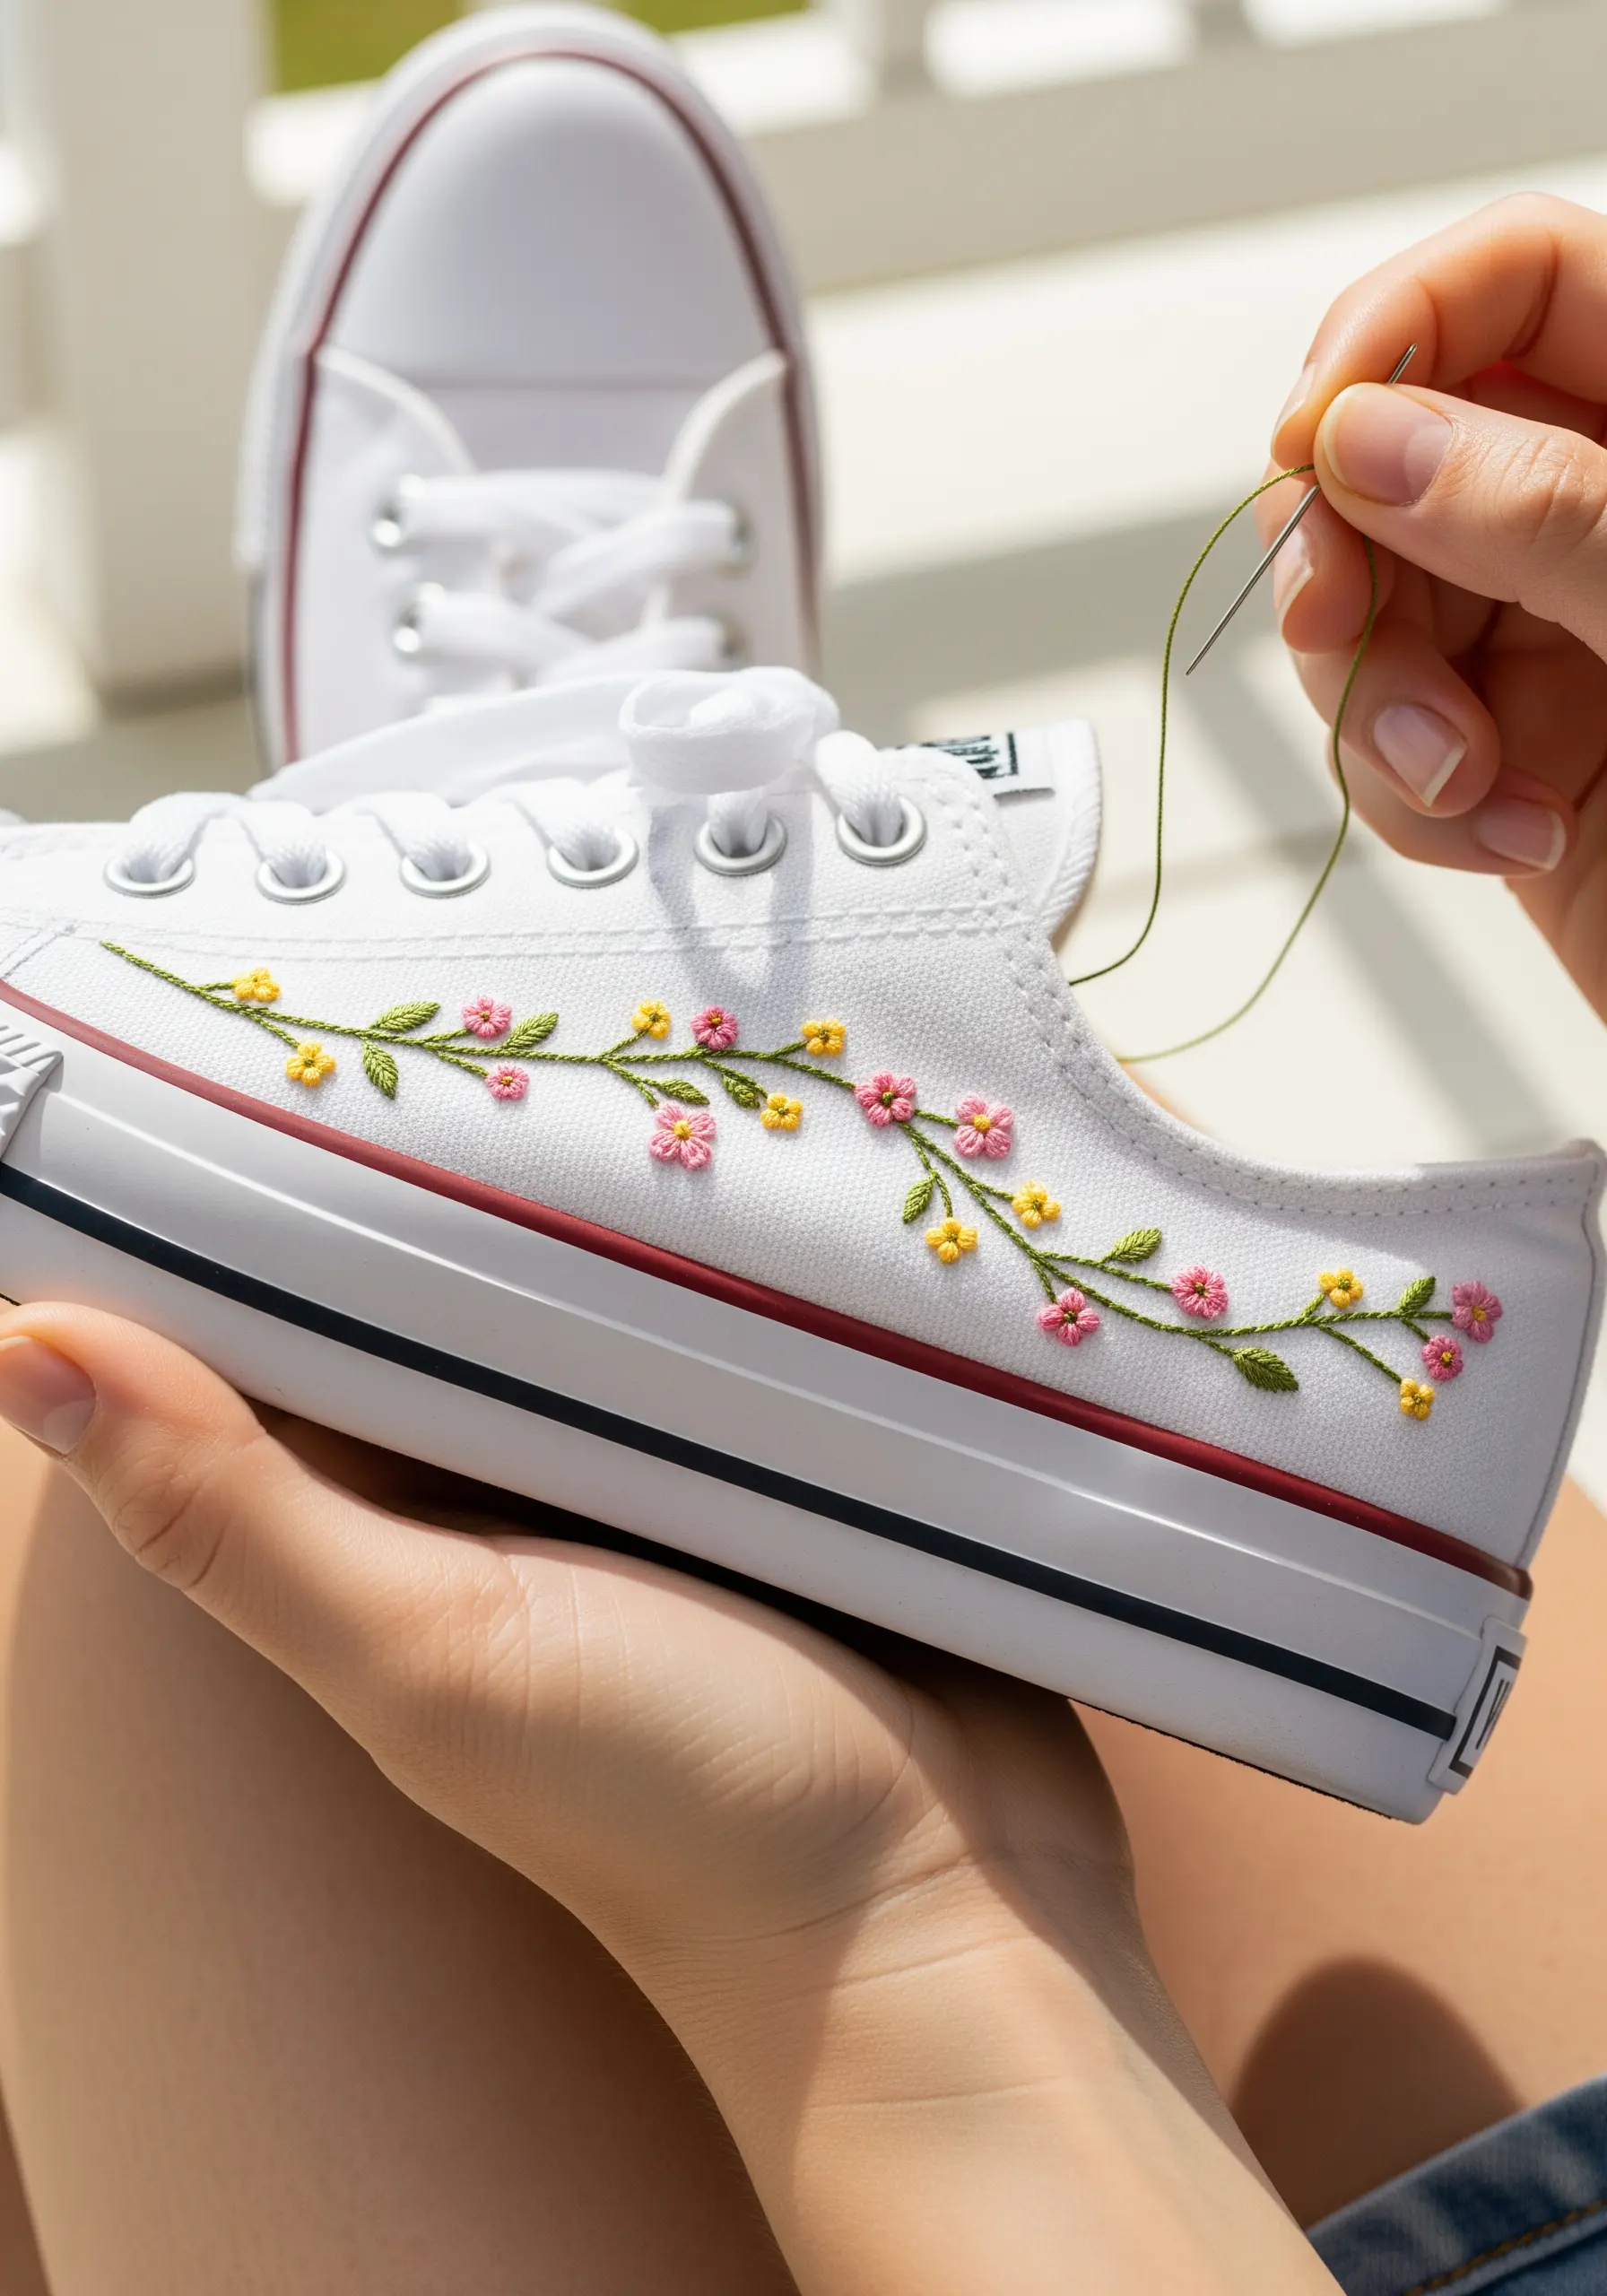
Adding embroidery to canvas shoes is an easy way to personalize your footwear. Because the canvas is sturdy, you’ll need a strong needle and a thimble to protect your fingers.
Consider using a thread conditioner or beeswax on your floss. This will help it glide through the tough canvas more easily and reduce tangling and fraying.
A simple, winding pattern like a floral vine is ideal because it’s flexible and can be easily adapted to the shape of the shoe. It’s one of the easiest ways to bring your plain accessories to life.
23. Compose a Balanced Wildflower Bouquet
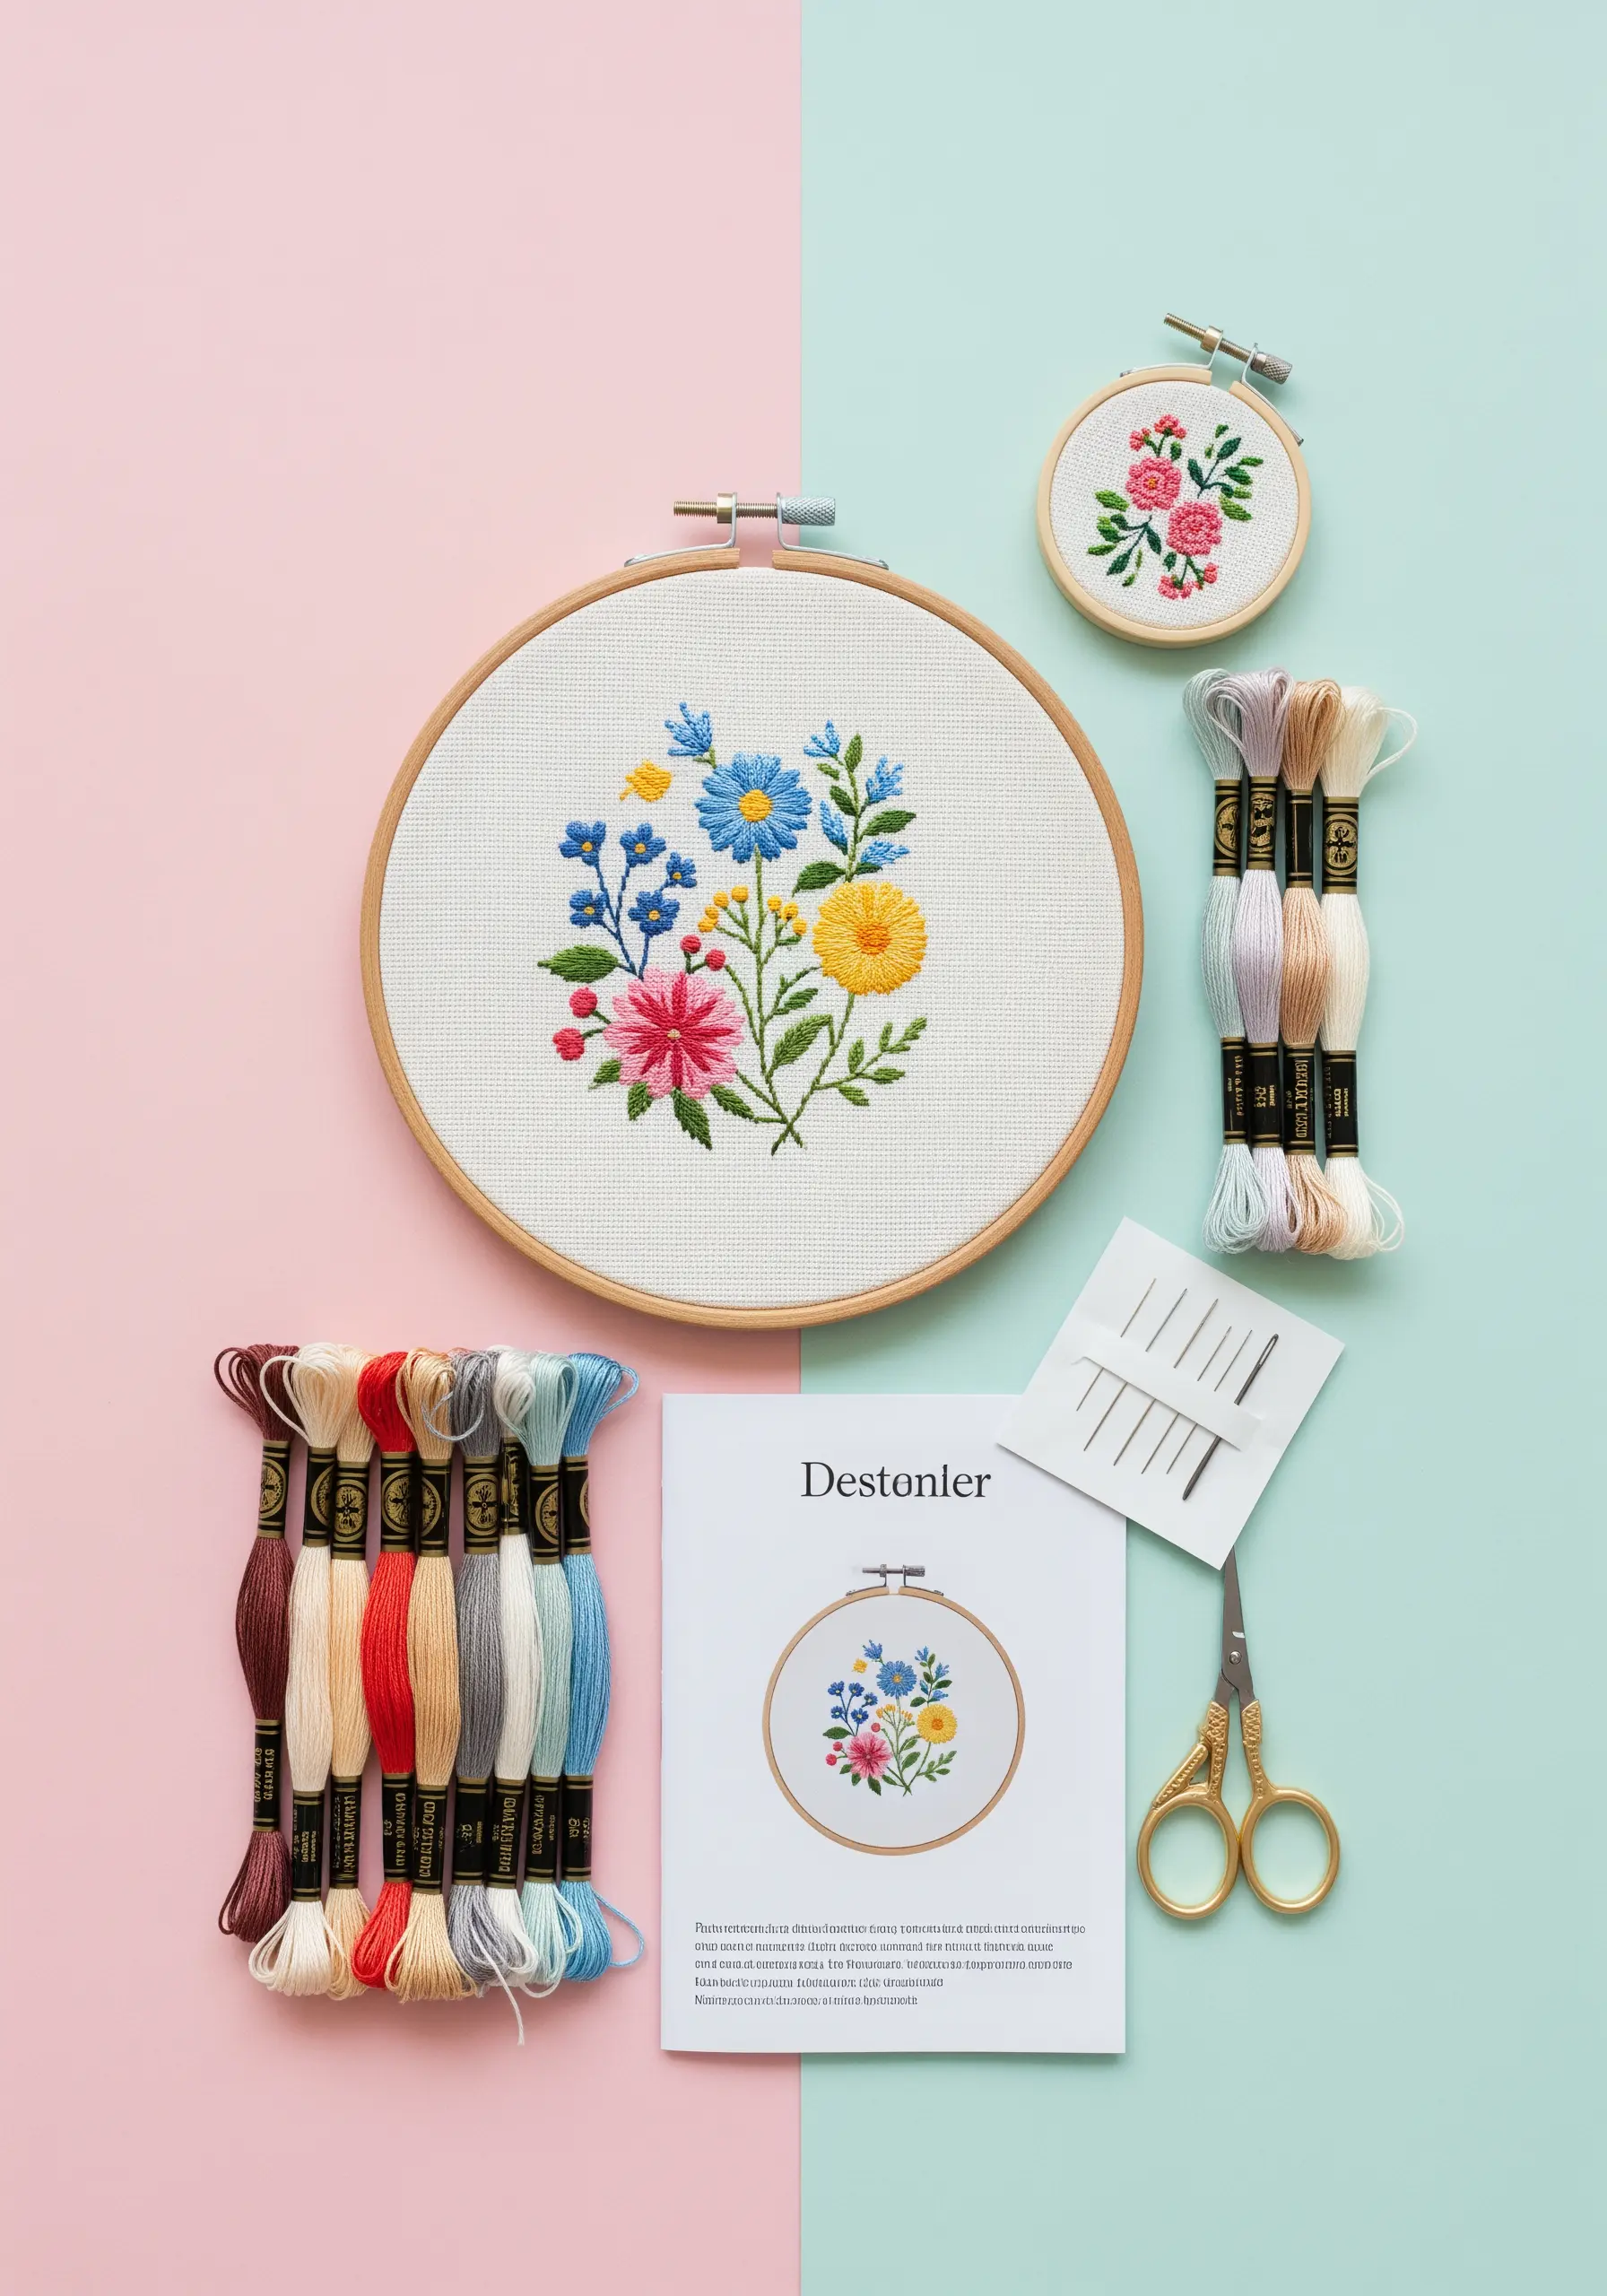
To create a floral arrangement that feels natural and visually pleasing, apply principles of composition. Start with three or five larger “hero” flowers as your focal points, stitched in the brightest colors.
Next, add medium-sized secondary flowers around them, varying their height and direction.
Finally, fill in the gaps with smaller filler flowers and greenery, like tiny French knots and delicate fern stitches. This layering of scale and texture creates a bouquet with rhythm and balance, making it one of the most effective meadow bloom stitch projects for beginners.
24. Blend Macrame and Embroidery for Textural Art
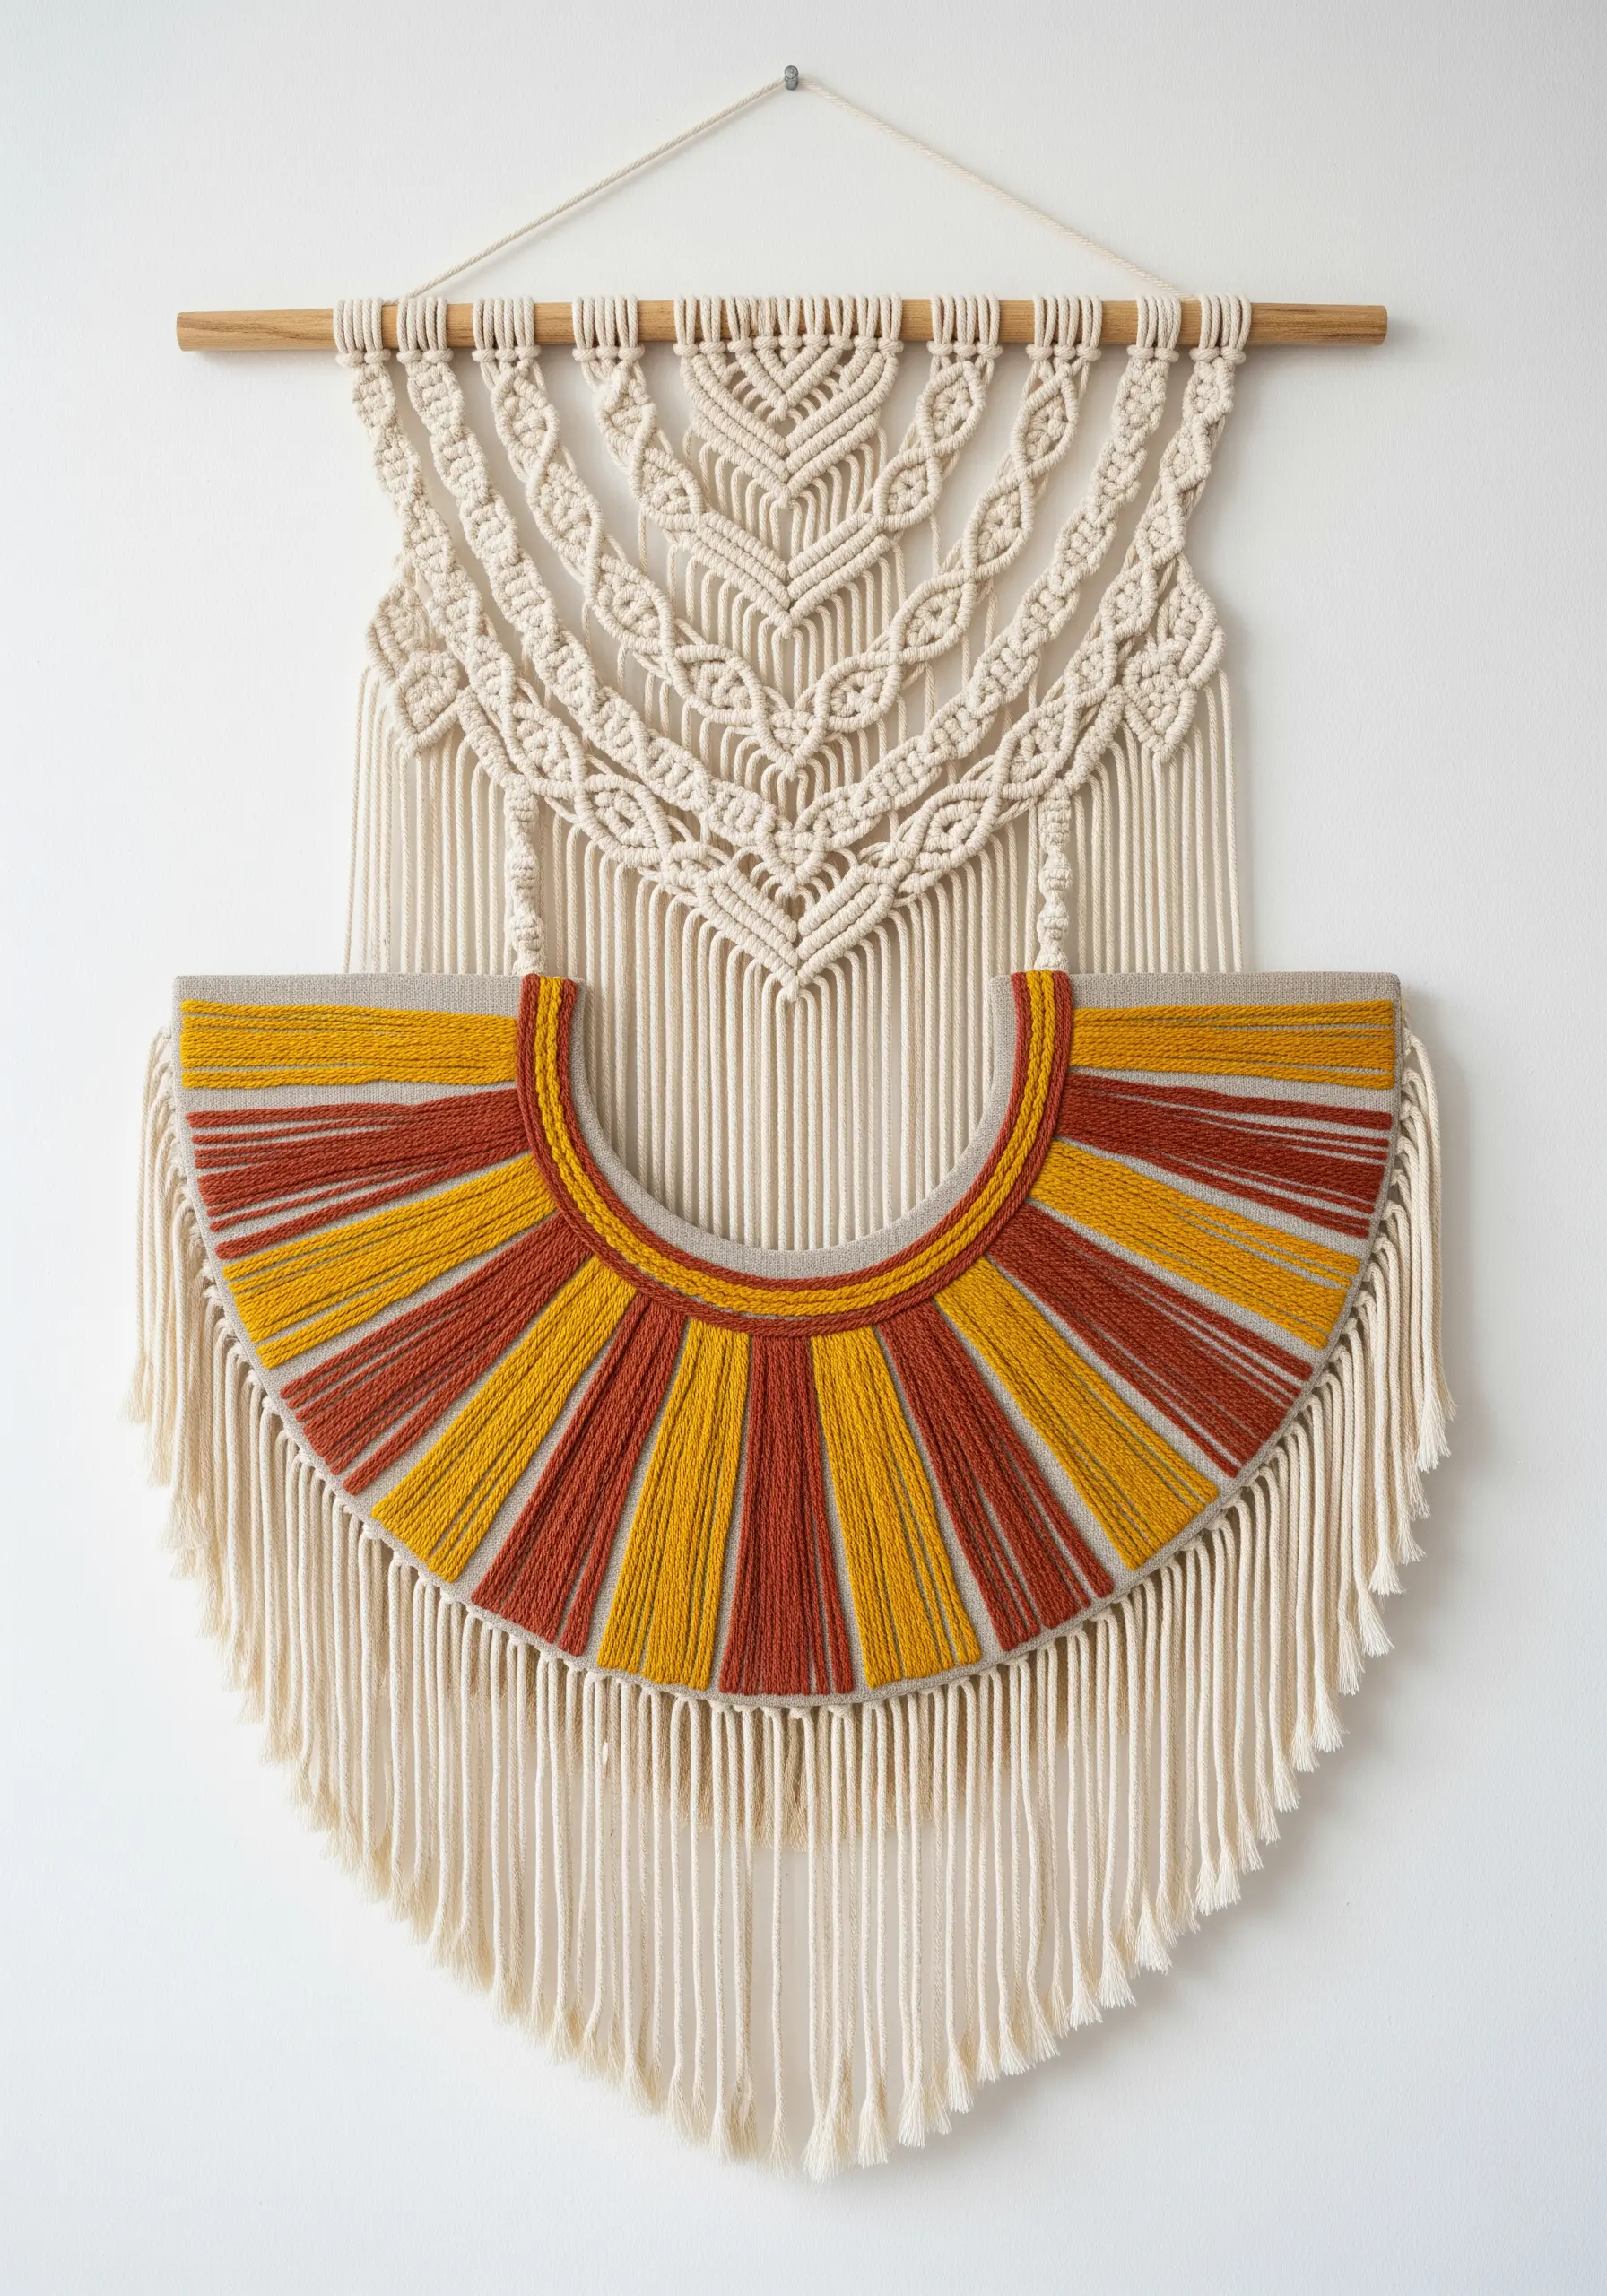
Combine two distinct fiber arts into one cohesive piece for a stunning textural statement. Create your macrame base first, using knots like the square knot and half-hitch to build a structural foundation.
Then, use the linen-covered half-moon as your canvas. Stretch long stitches of yarn across the canvas in a sunburst pattern, using the macrame hanger as an integrated frame.
This fusion of knotting and stitching allows you to play with tension, line, and texture in a way that neither craft can achieve on its own, resulting in eye-catching mixed-fiber wall hangings.
25. Add a Tactile Dimension to Photographs
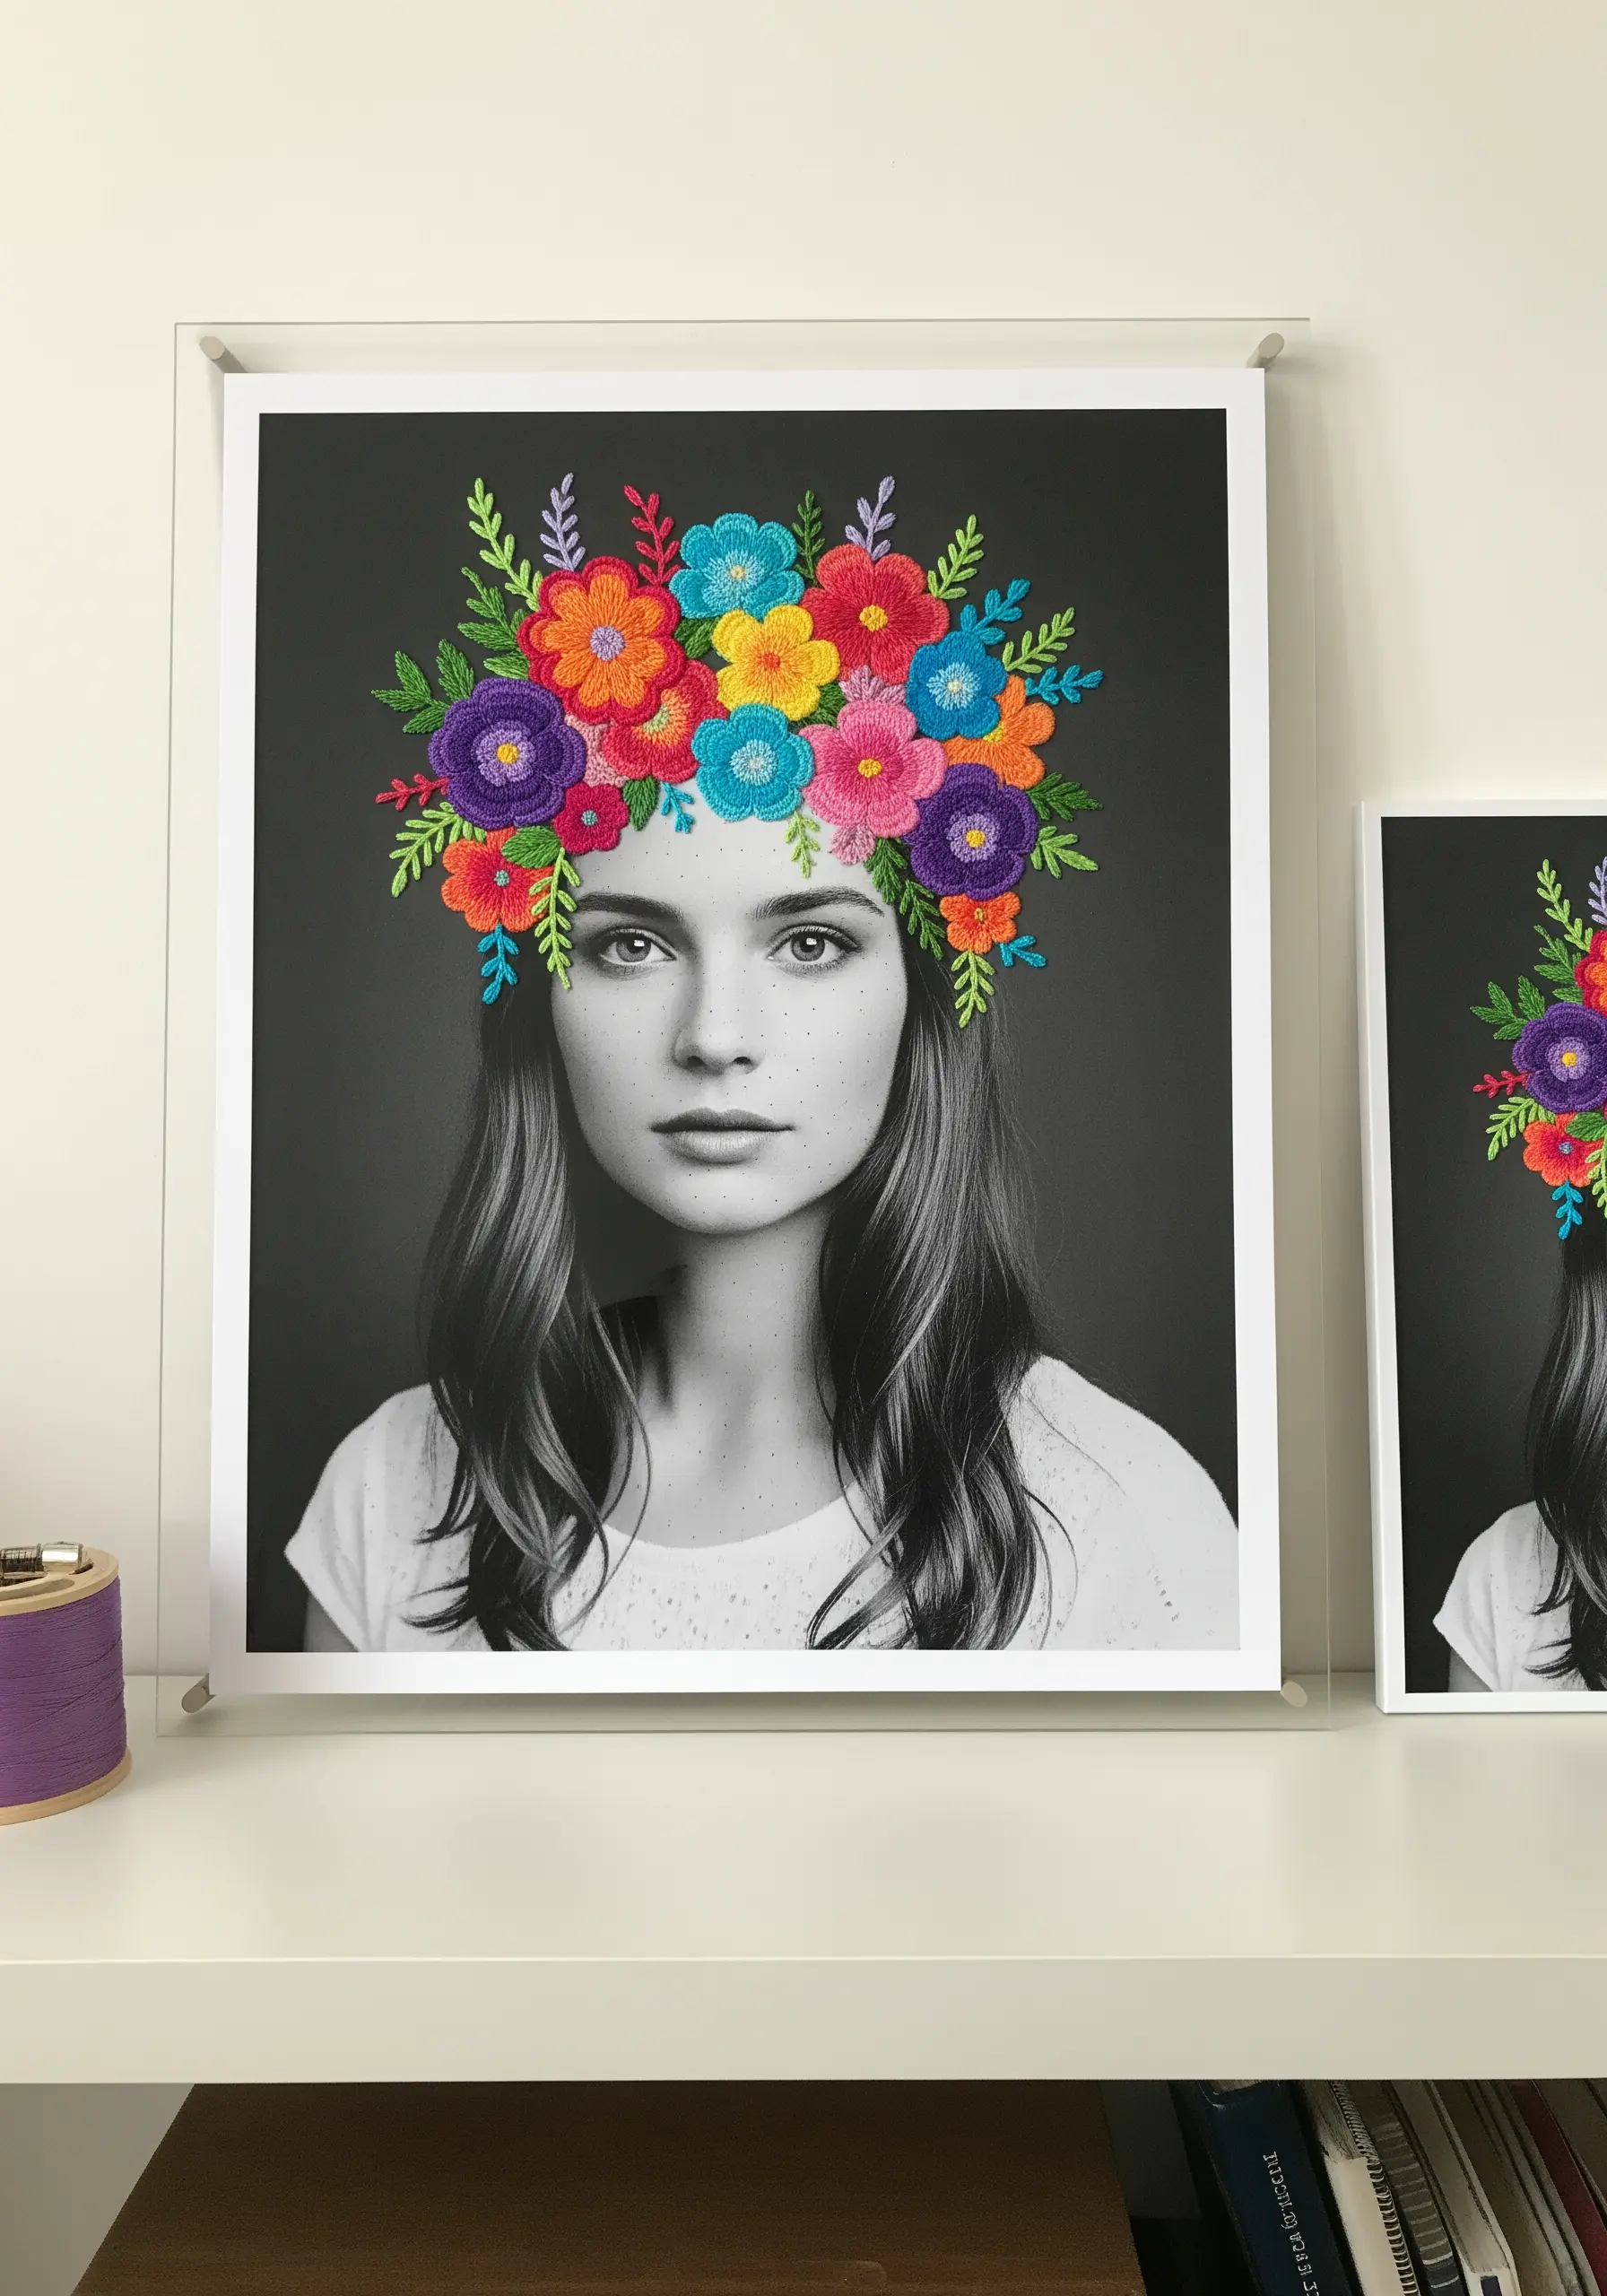
Stitching directly onto a photograph transforms a two-dimensional image into a multi-sensory piece of art. Choose a high-quality print on matte, heavyweight paper that can withstand being pierced.
Use a pin or awl to pre-punch your stitching holes along the design lines before you begin. This prevents the paper from tearing and allows your needle to pass through smoothly.
Use simple, bold stitches like satin stitch and French knots that add vibrant color and texture, creating a beautiful contrast between the flat photograph and the raised threads. This is one of the most compelling mixed-media crafts you can try.
26. Construct a Serene Nursery Mobile
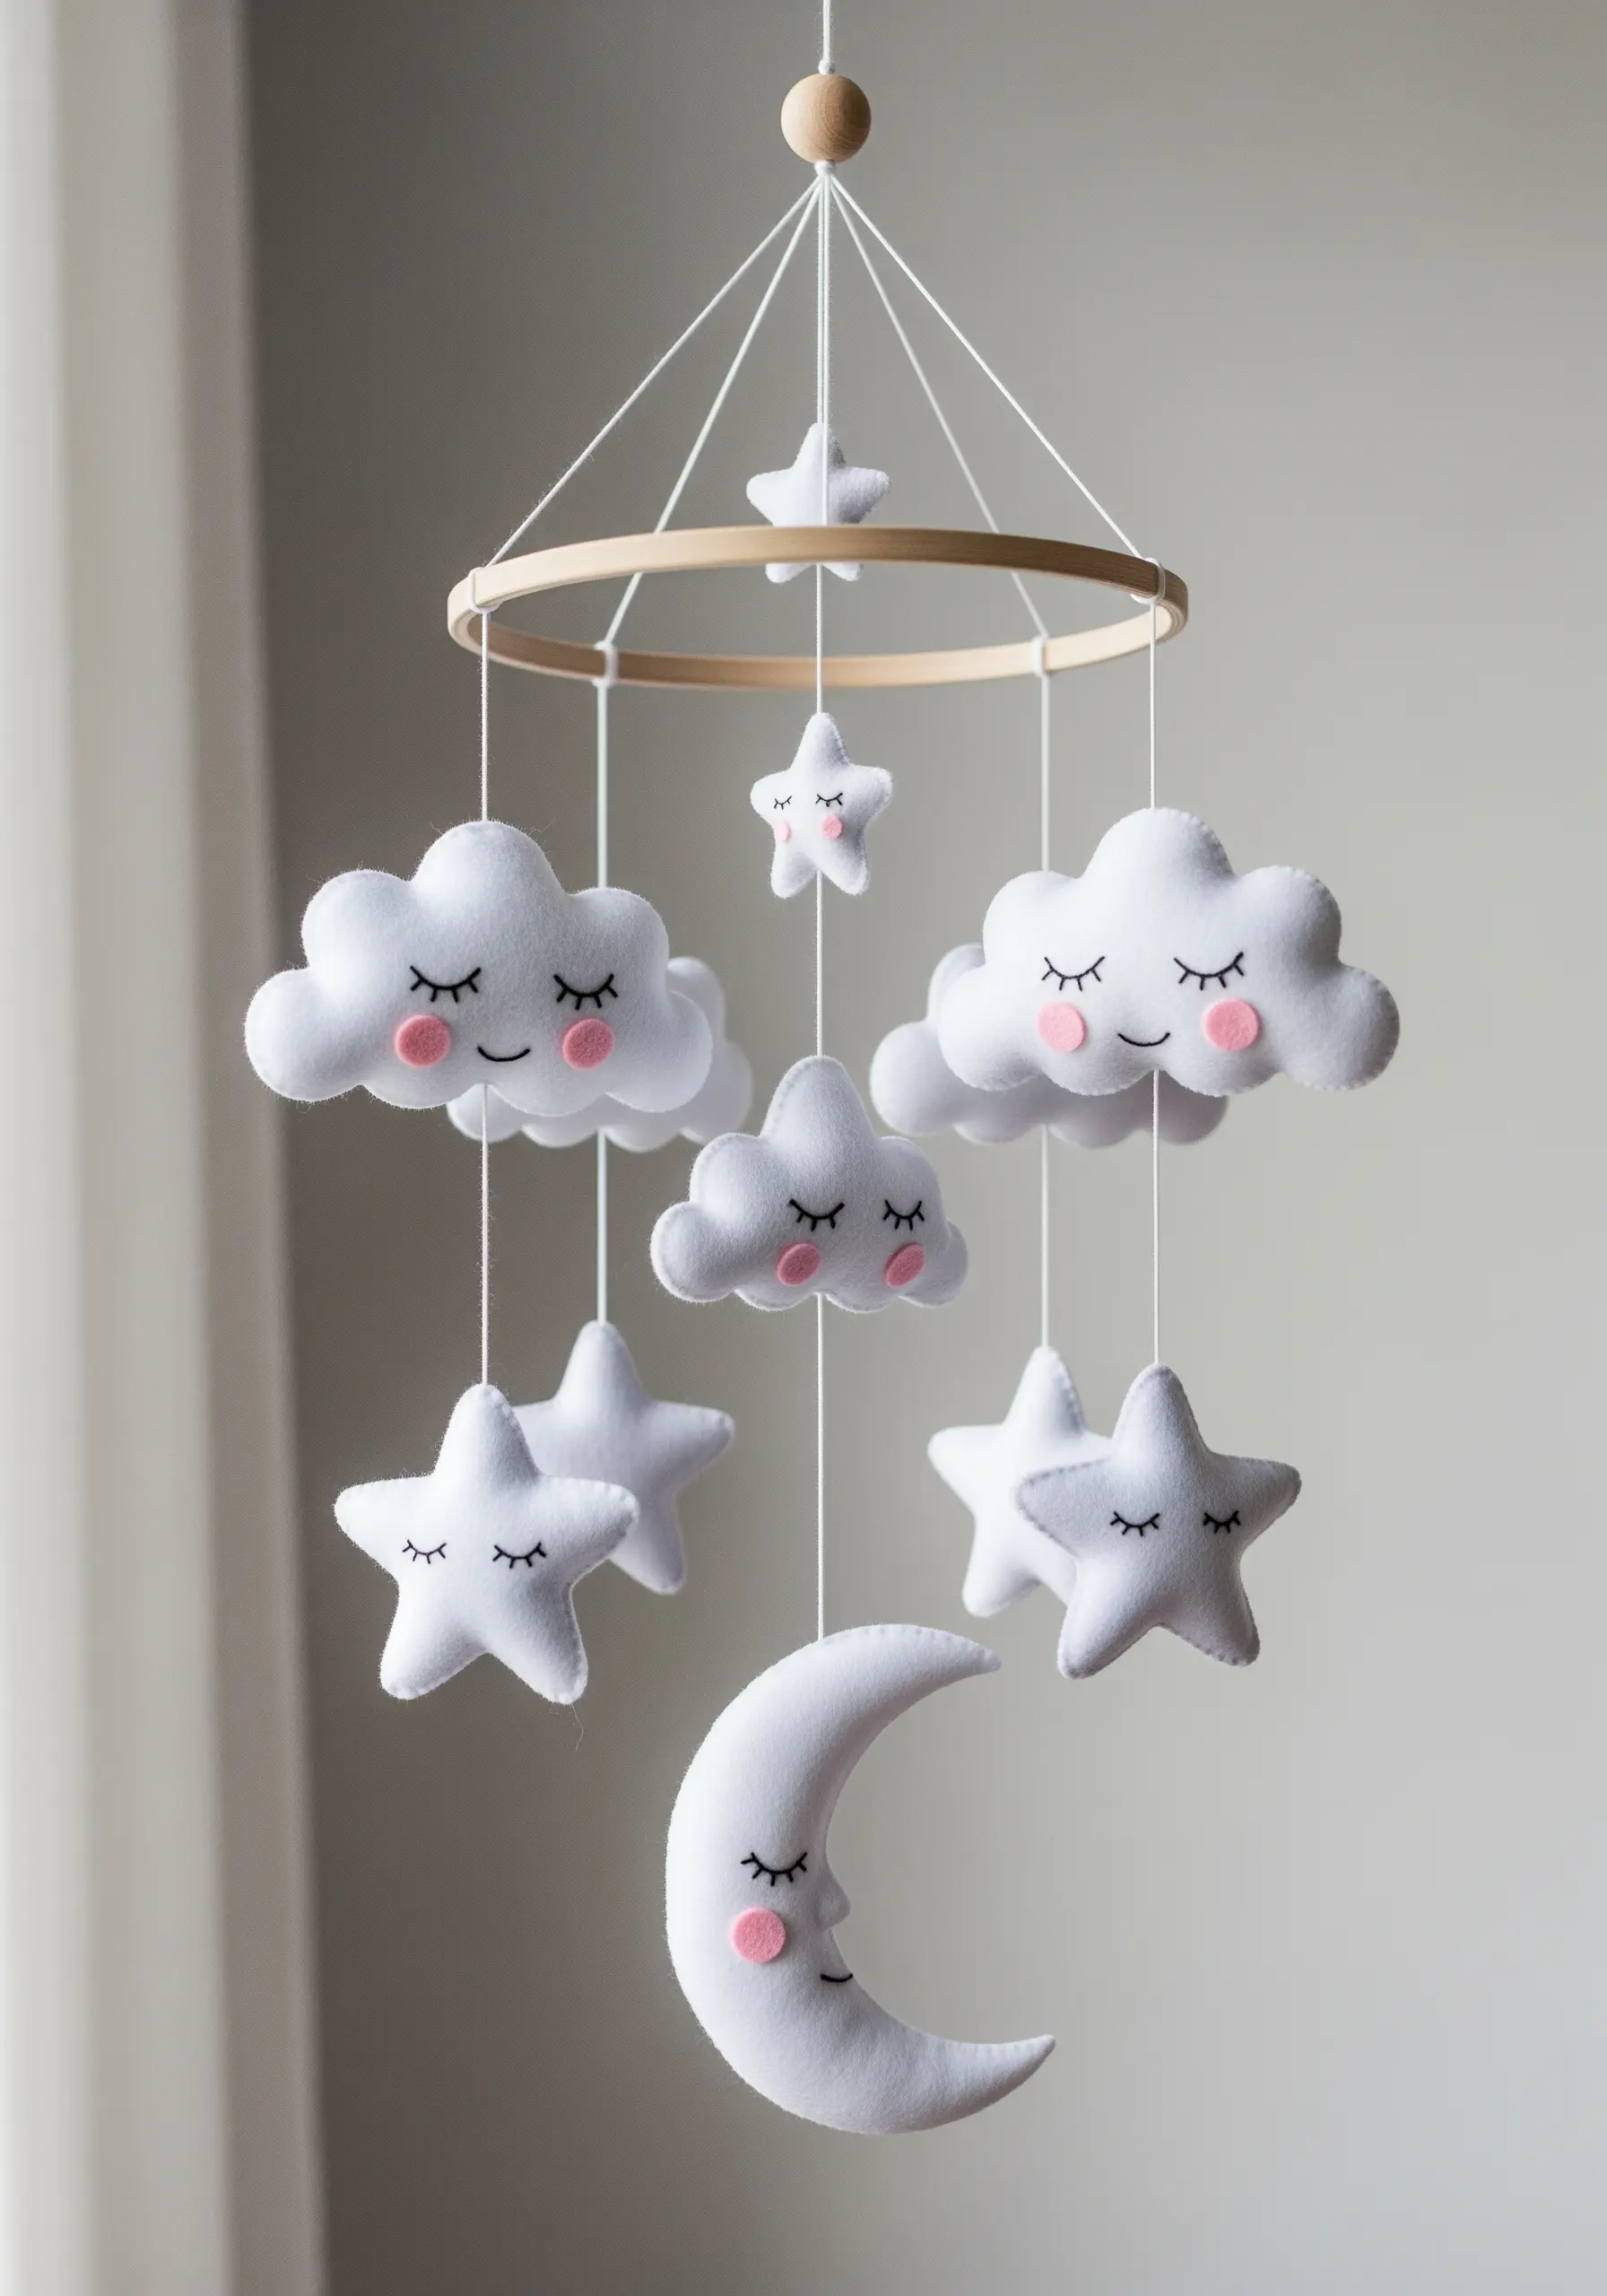
Create a gentle, floating world for a nursery with hand-stitched felt shapes. The key to a polished mobile is consistency in both shape and stitching.
Use a simple whipstitch or blanket stitch to join the felt pieces, keeping your stitches small and even. Stuff each cloud and star with just enough filling to give it a soft, pillowy shape without being rigid.
To create a balanced mobile that hangs correctly, use a lightweight wooden hoop and arrange the shapes at varying heights, ensuring the weight is distributed evenly on all sides. It’s a perfect project for cloud-soft embroidery hoops and decor.
27. Perfect the Padded Satin Stitch for Monograms
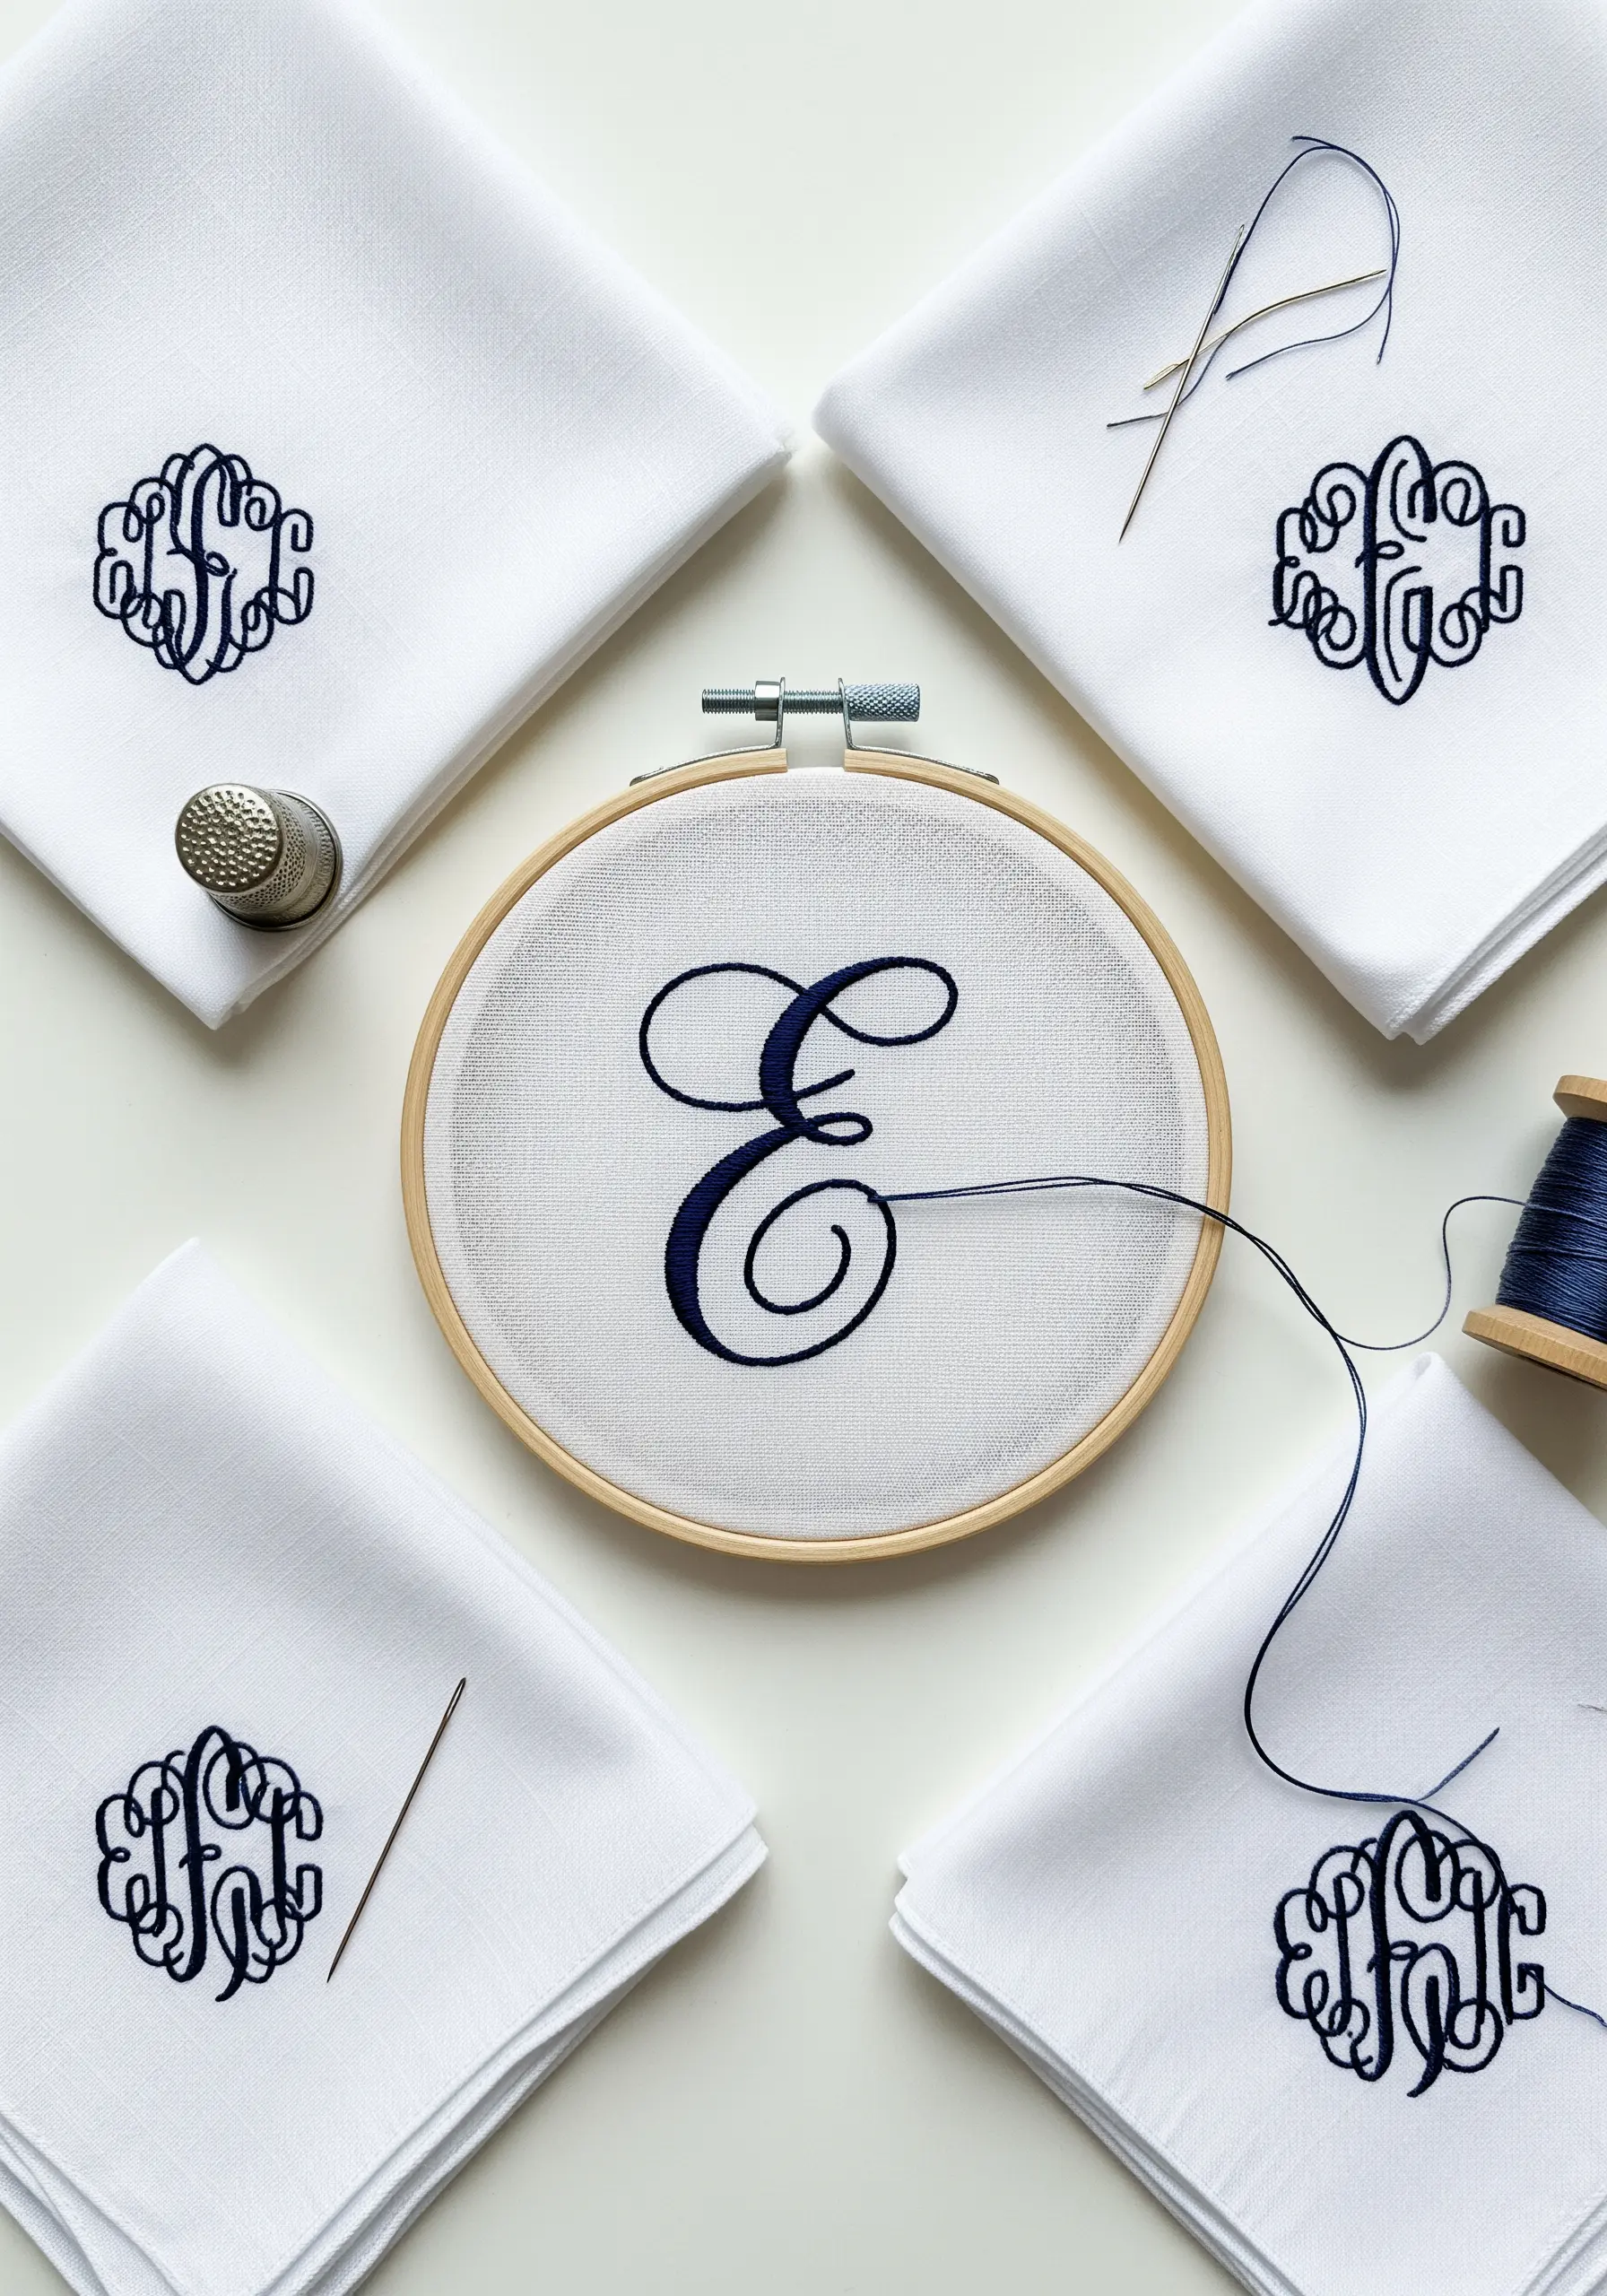
To give your monograms a raised, luxurious, and professional finish, use a technique called padded satin stitch.
First, outline your letter with a backstitch. Then, fill the inside of the letter with rows of small seed stitches or straight stitches. This underlay creates the padding.
Finally, cover the entire shape with satin stitches, working perpendicular to the direction of the padding stitches. This simple extra step lifts the monogram off the fabric, giving it a beautiful, dimensional quality that’s perfect for heirloom linens.
28. Design a Removable Embroidered Hat Band
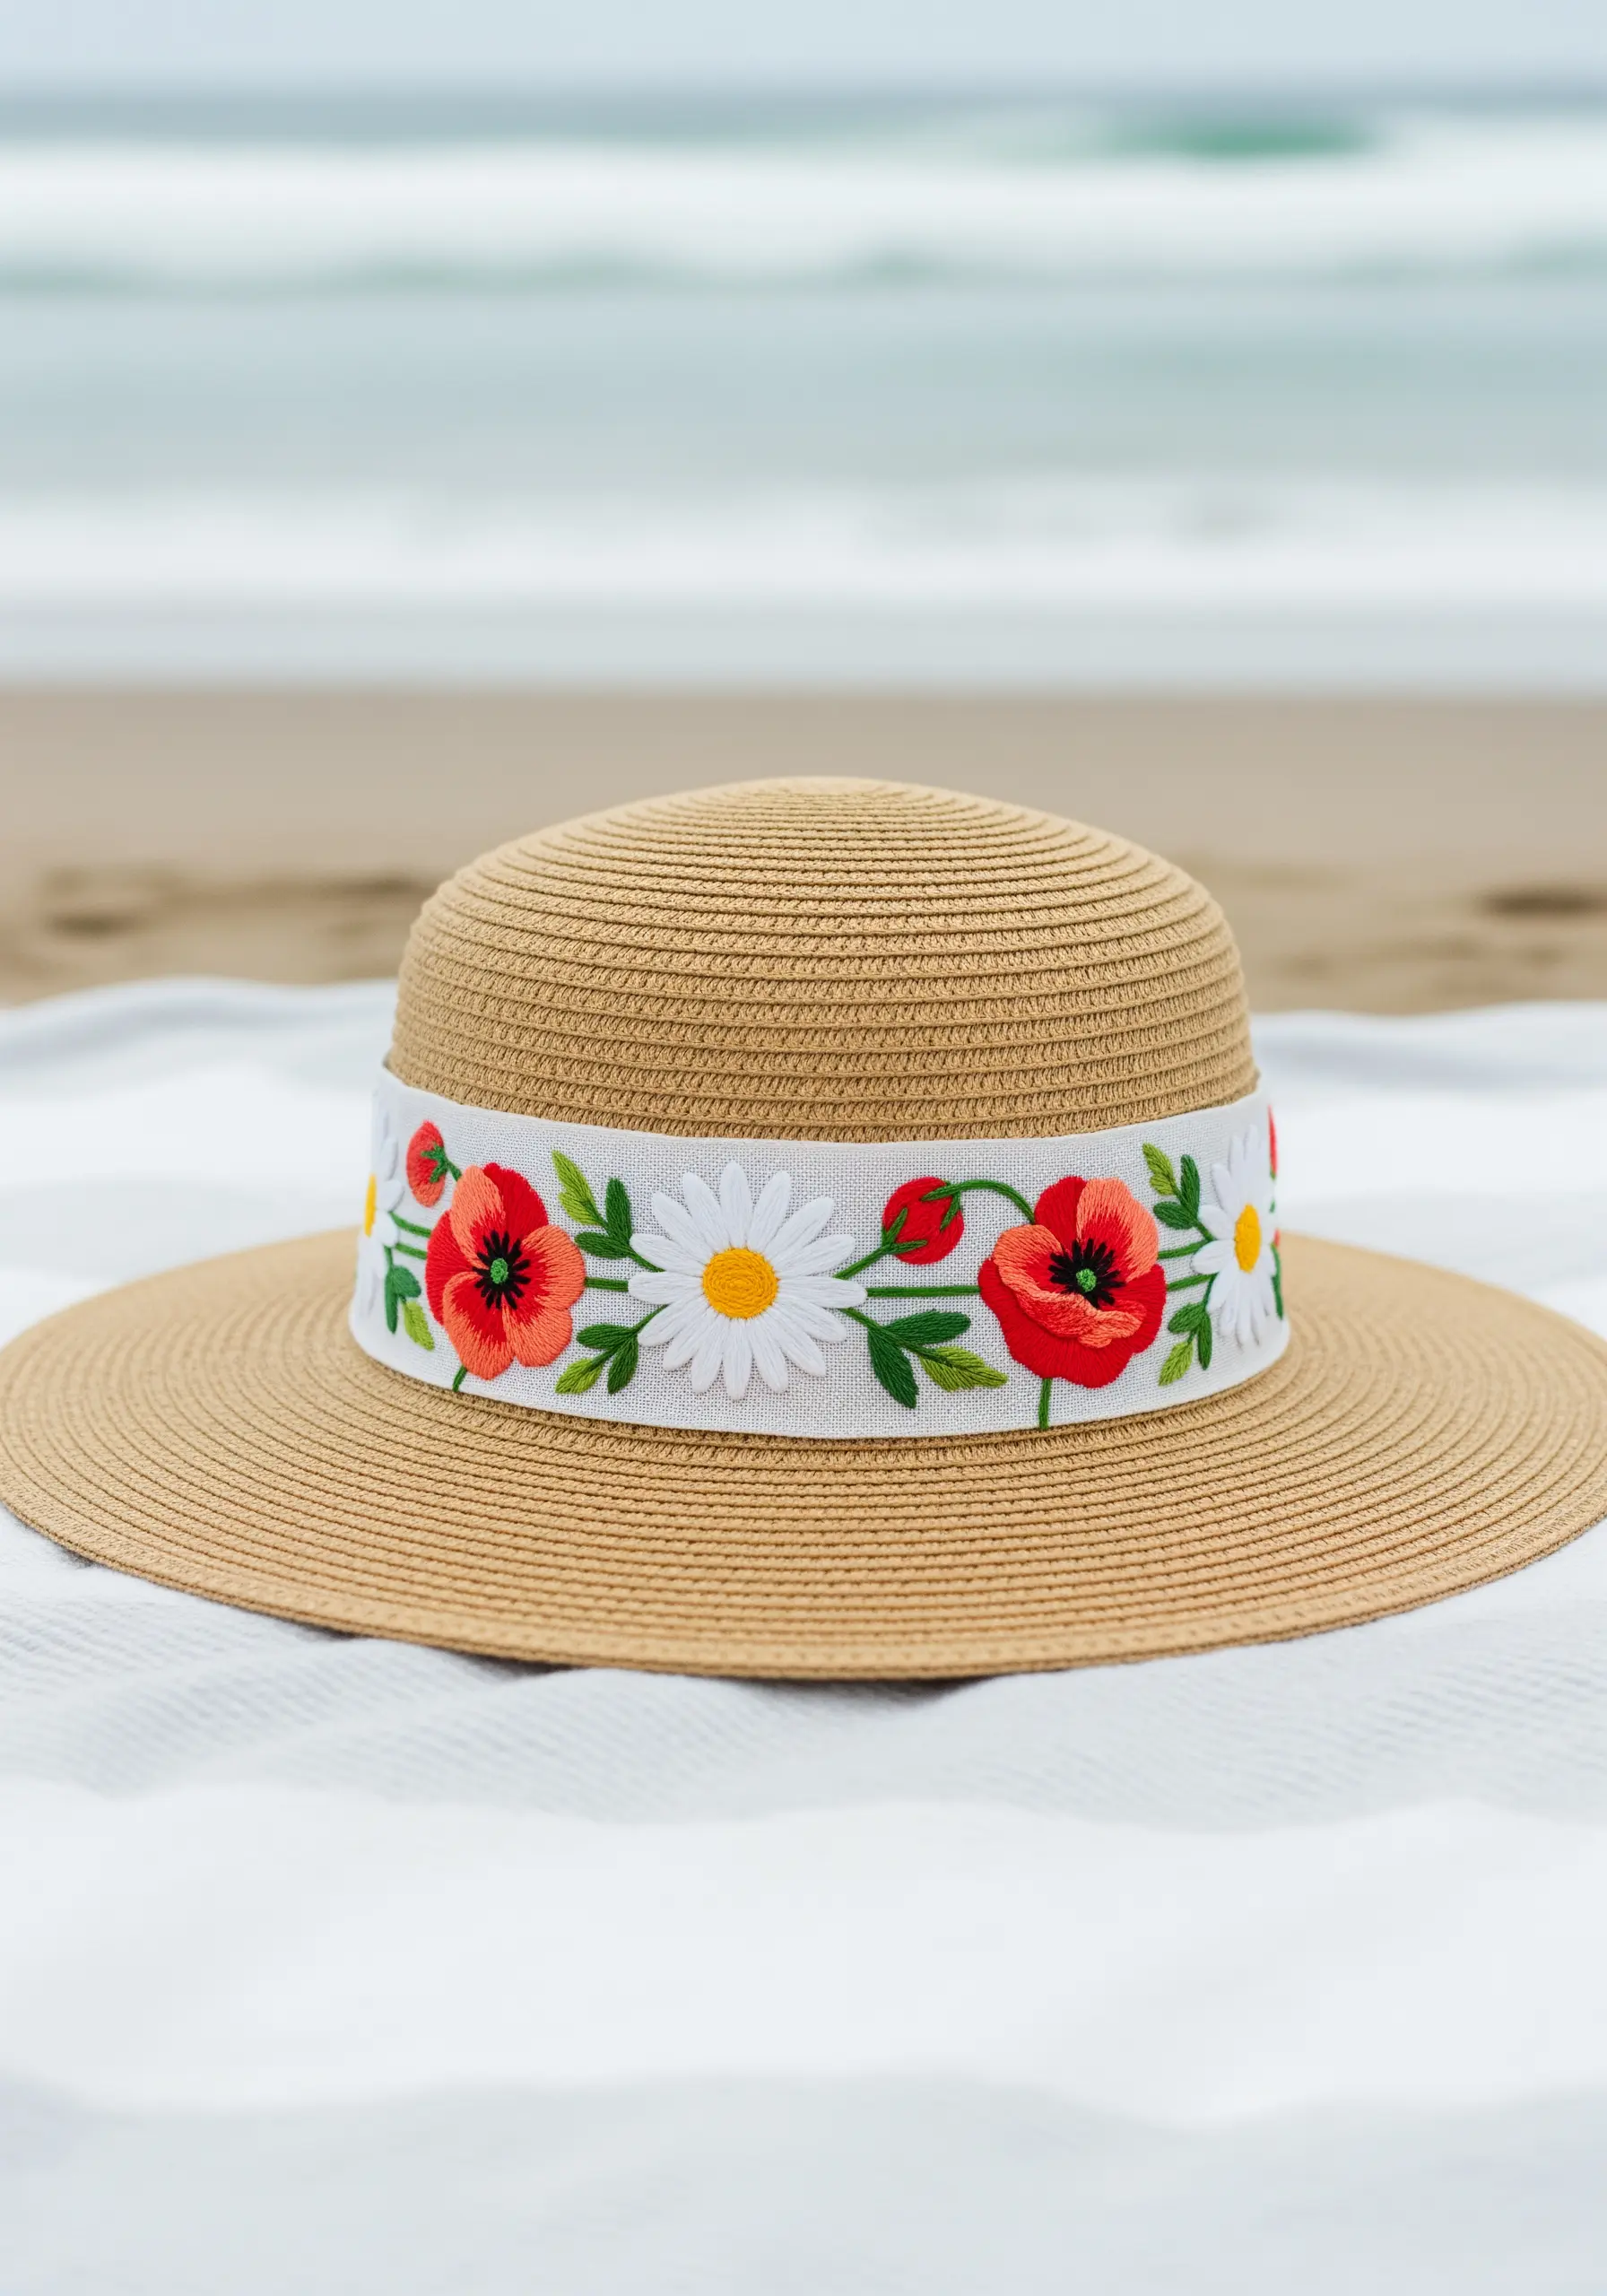
Why commit to embroidering one hat when you can create a versatile accessory for many? Stitch your floral design onto a strip of sturdy fabric, like felt or heavy cotton twill, rather than directly onto the hat.
Once your embroidery is complete, finish the edges of the band neatly. You can leave the ends long to tie in a bow, or finish them with a hook-and-eye closure for a seamless look.
This approach allows you to create interchangeable bands for different seasons or outfits, instantly refreshing your look.
29. Create Intricate Fills with Chain Stitch
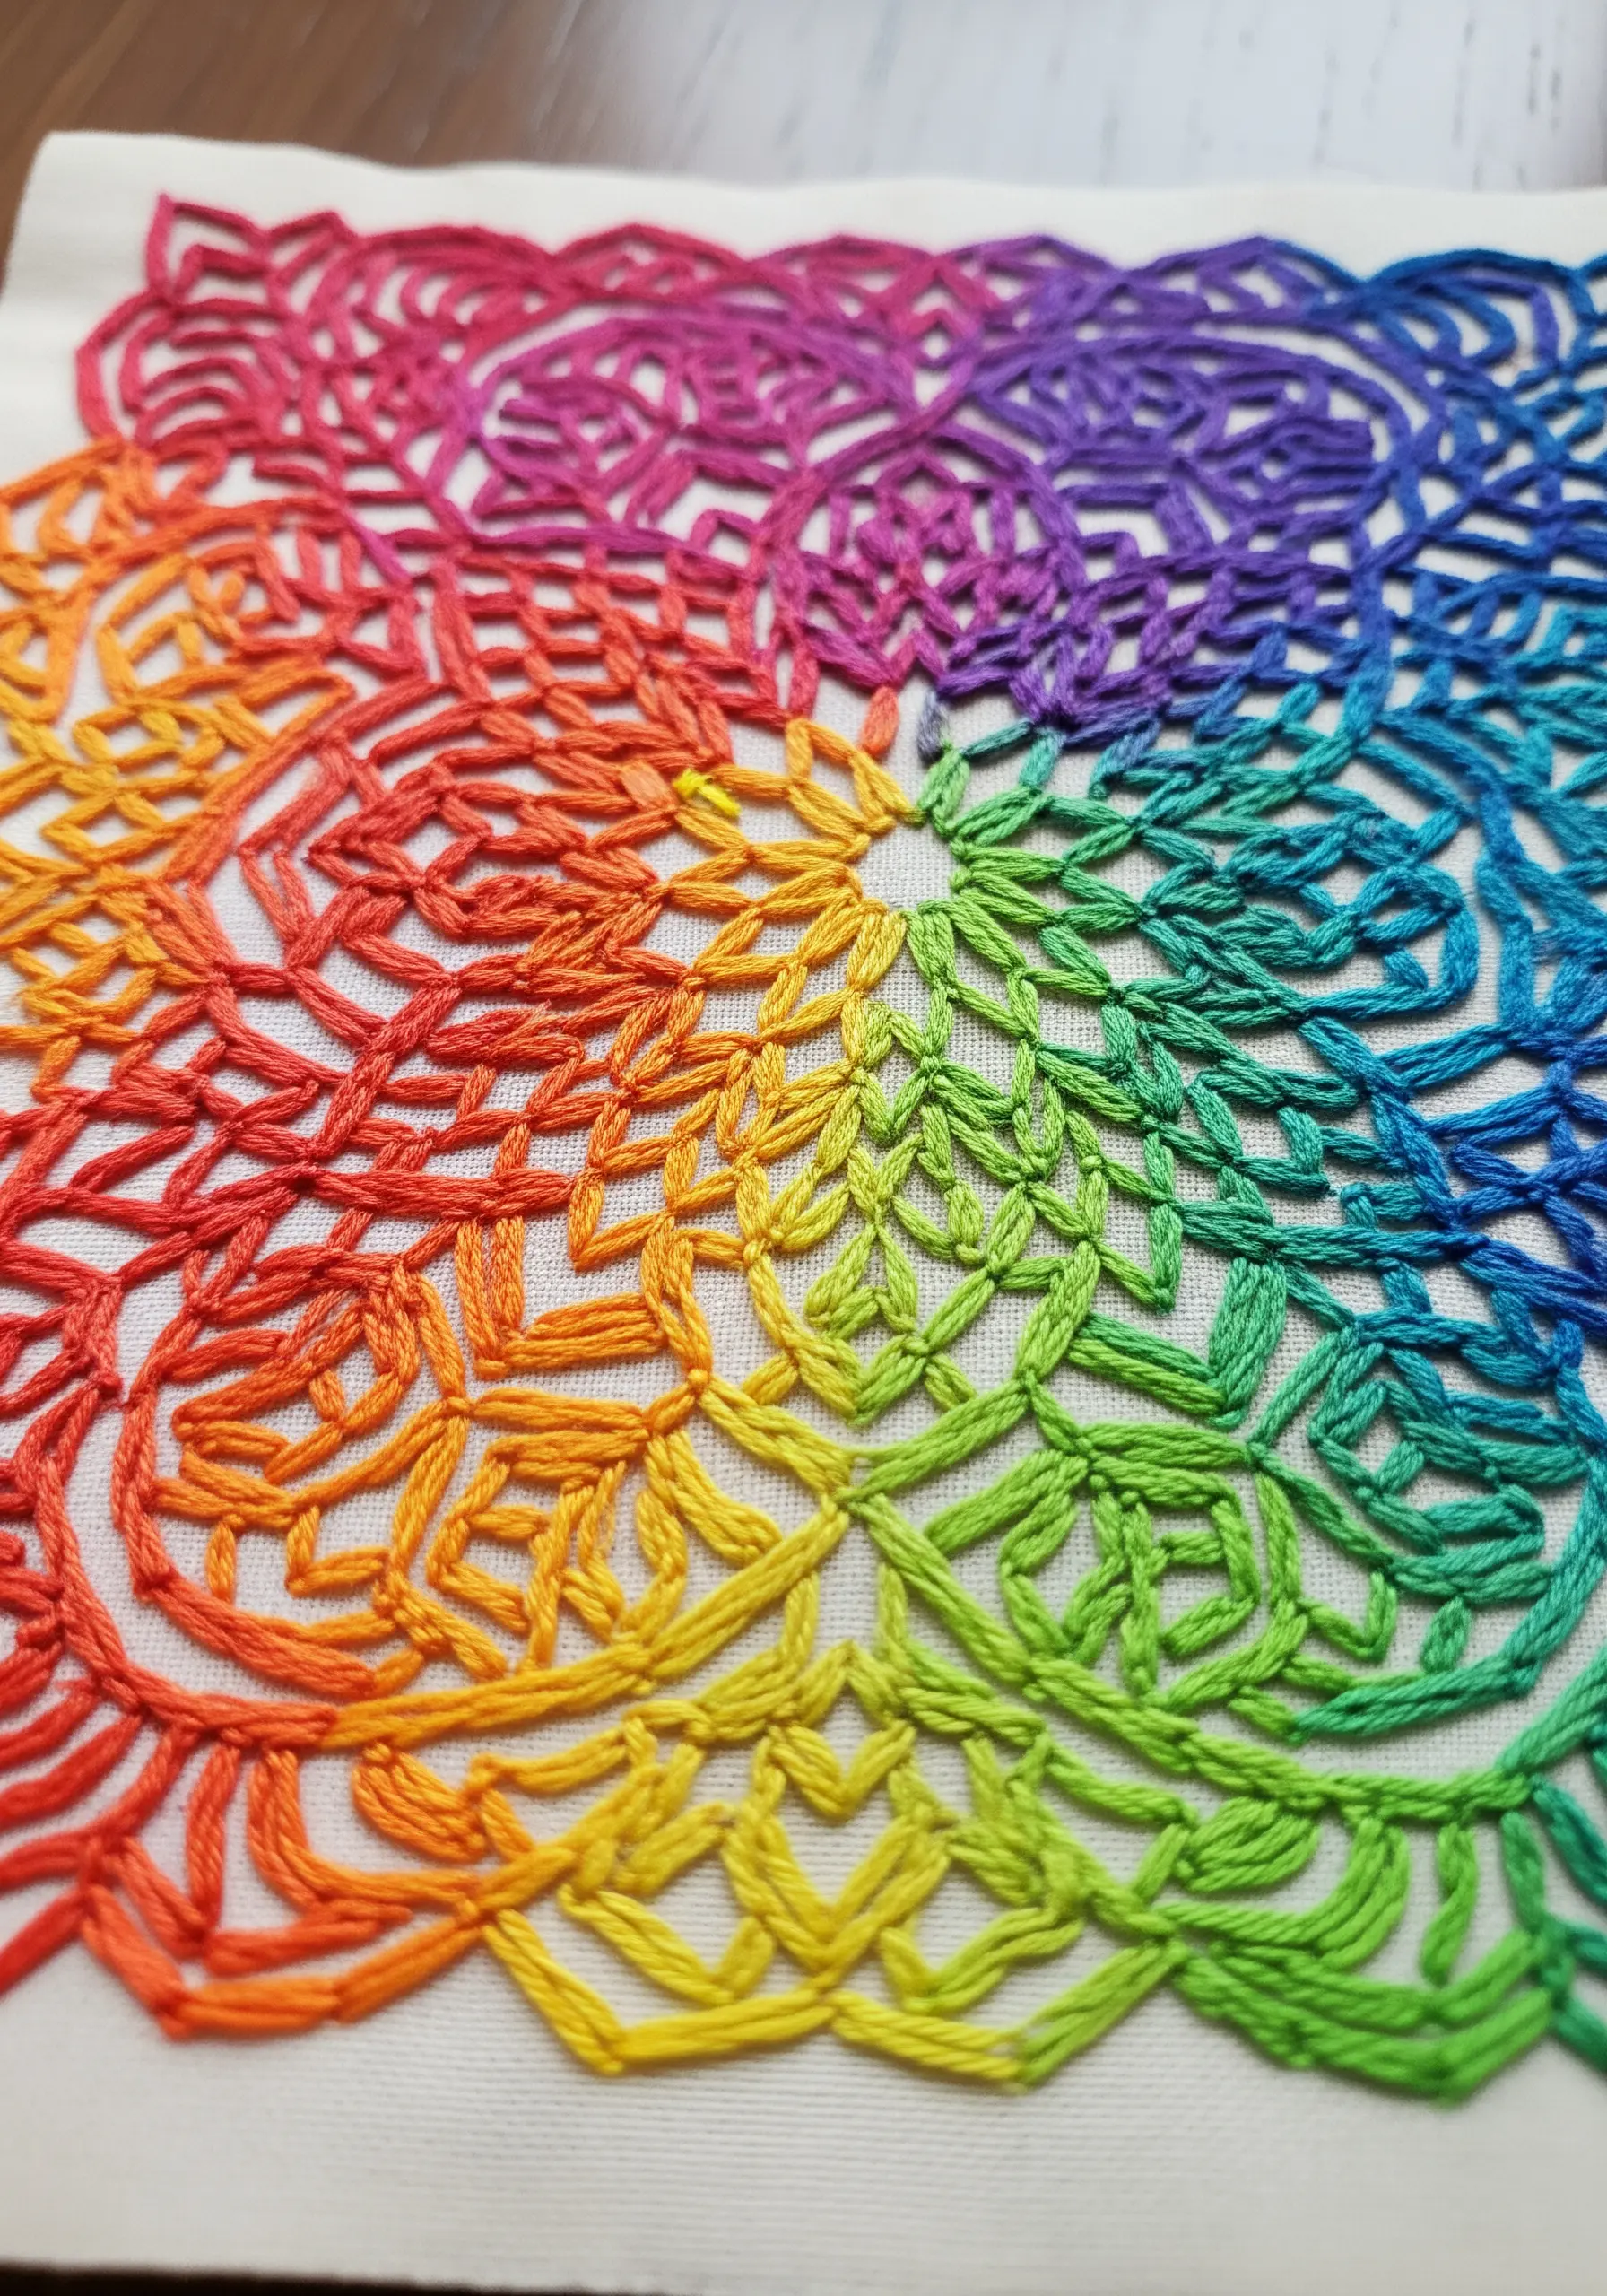
For a design with dense, textural color, move beyond satin stitch and explore the possibilities of the chain stitch fill.
Work in concentric rows, following the contours of your shape. The looped texture of the chain stitch creates a woven, almost braided effect that adds incredible surface dimension.
This stitch is particularly effective for showcasing color-blending thread patterns. As you transition from one color to the next, the interlocking loops help the shades merge seamlessly, creating a fluid and vibrant gradient.
30. Craft Micro-Embroidery for Pendants

To achieve crisp detail in a piece of jewelry, you need to scale down your materials. Use a high-count fabric, such as 28-count linen or evenweave, which provides a tighter grid for your stitches.
Work with a single strand of embroidery floss and a fine, short needle (a size 10 or 12). For blending colors in a tiny space, the long-and-short stitch is still your best tool, but your stitches will be just a few millimeters long.
This level of detail transforms a small piece of fabric into a precious work of art, perfect for creating tiny embroidered pieces that make a big impact.


