

There is a unique stillness in pressed flowers—a moment of natural beauty preserved in time. But how do you take that delicate memory and give it a new voice? This is where your needle and thread come in, not to replicate nature, but to collaborate with it.
Think of your stitches as more than just decoration. They can be a delicate anchor holding a stem in place, a graphic frame that elevates a simple leaf into art, or a textural accent that adds depth and story. It’s a quiet conversation between the organic and the handmade, where your role is to enhance, support, and complete the composition.
These projects are designed to be finished in a day, offering you a moment of creative calm. Here, you’ll discover how the simplest stitch, when placed with intention, can transform a fragile petal into a polished, personal work of art. Let’s begin.
1. The Minimalist Botanical Anchor
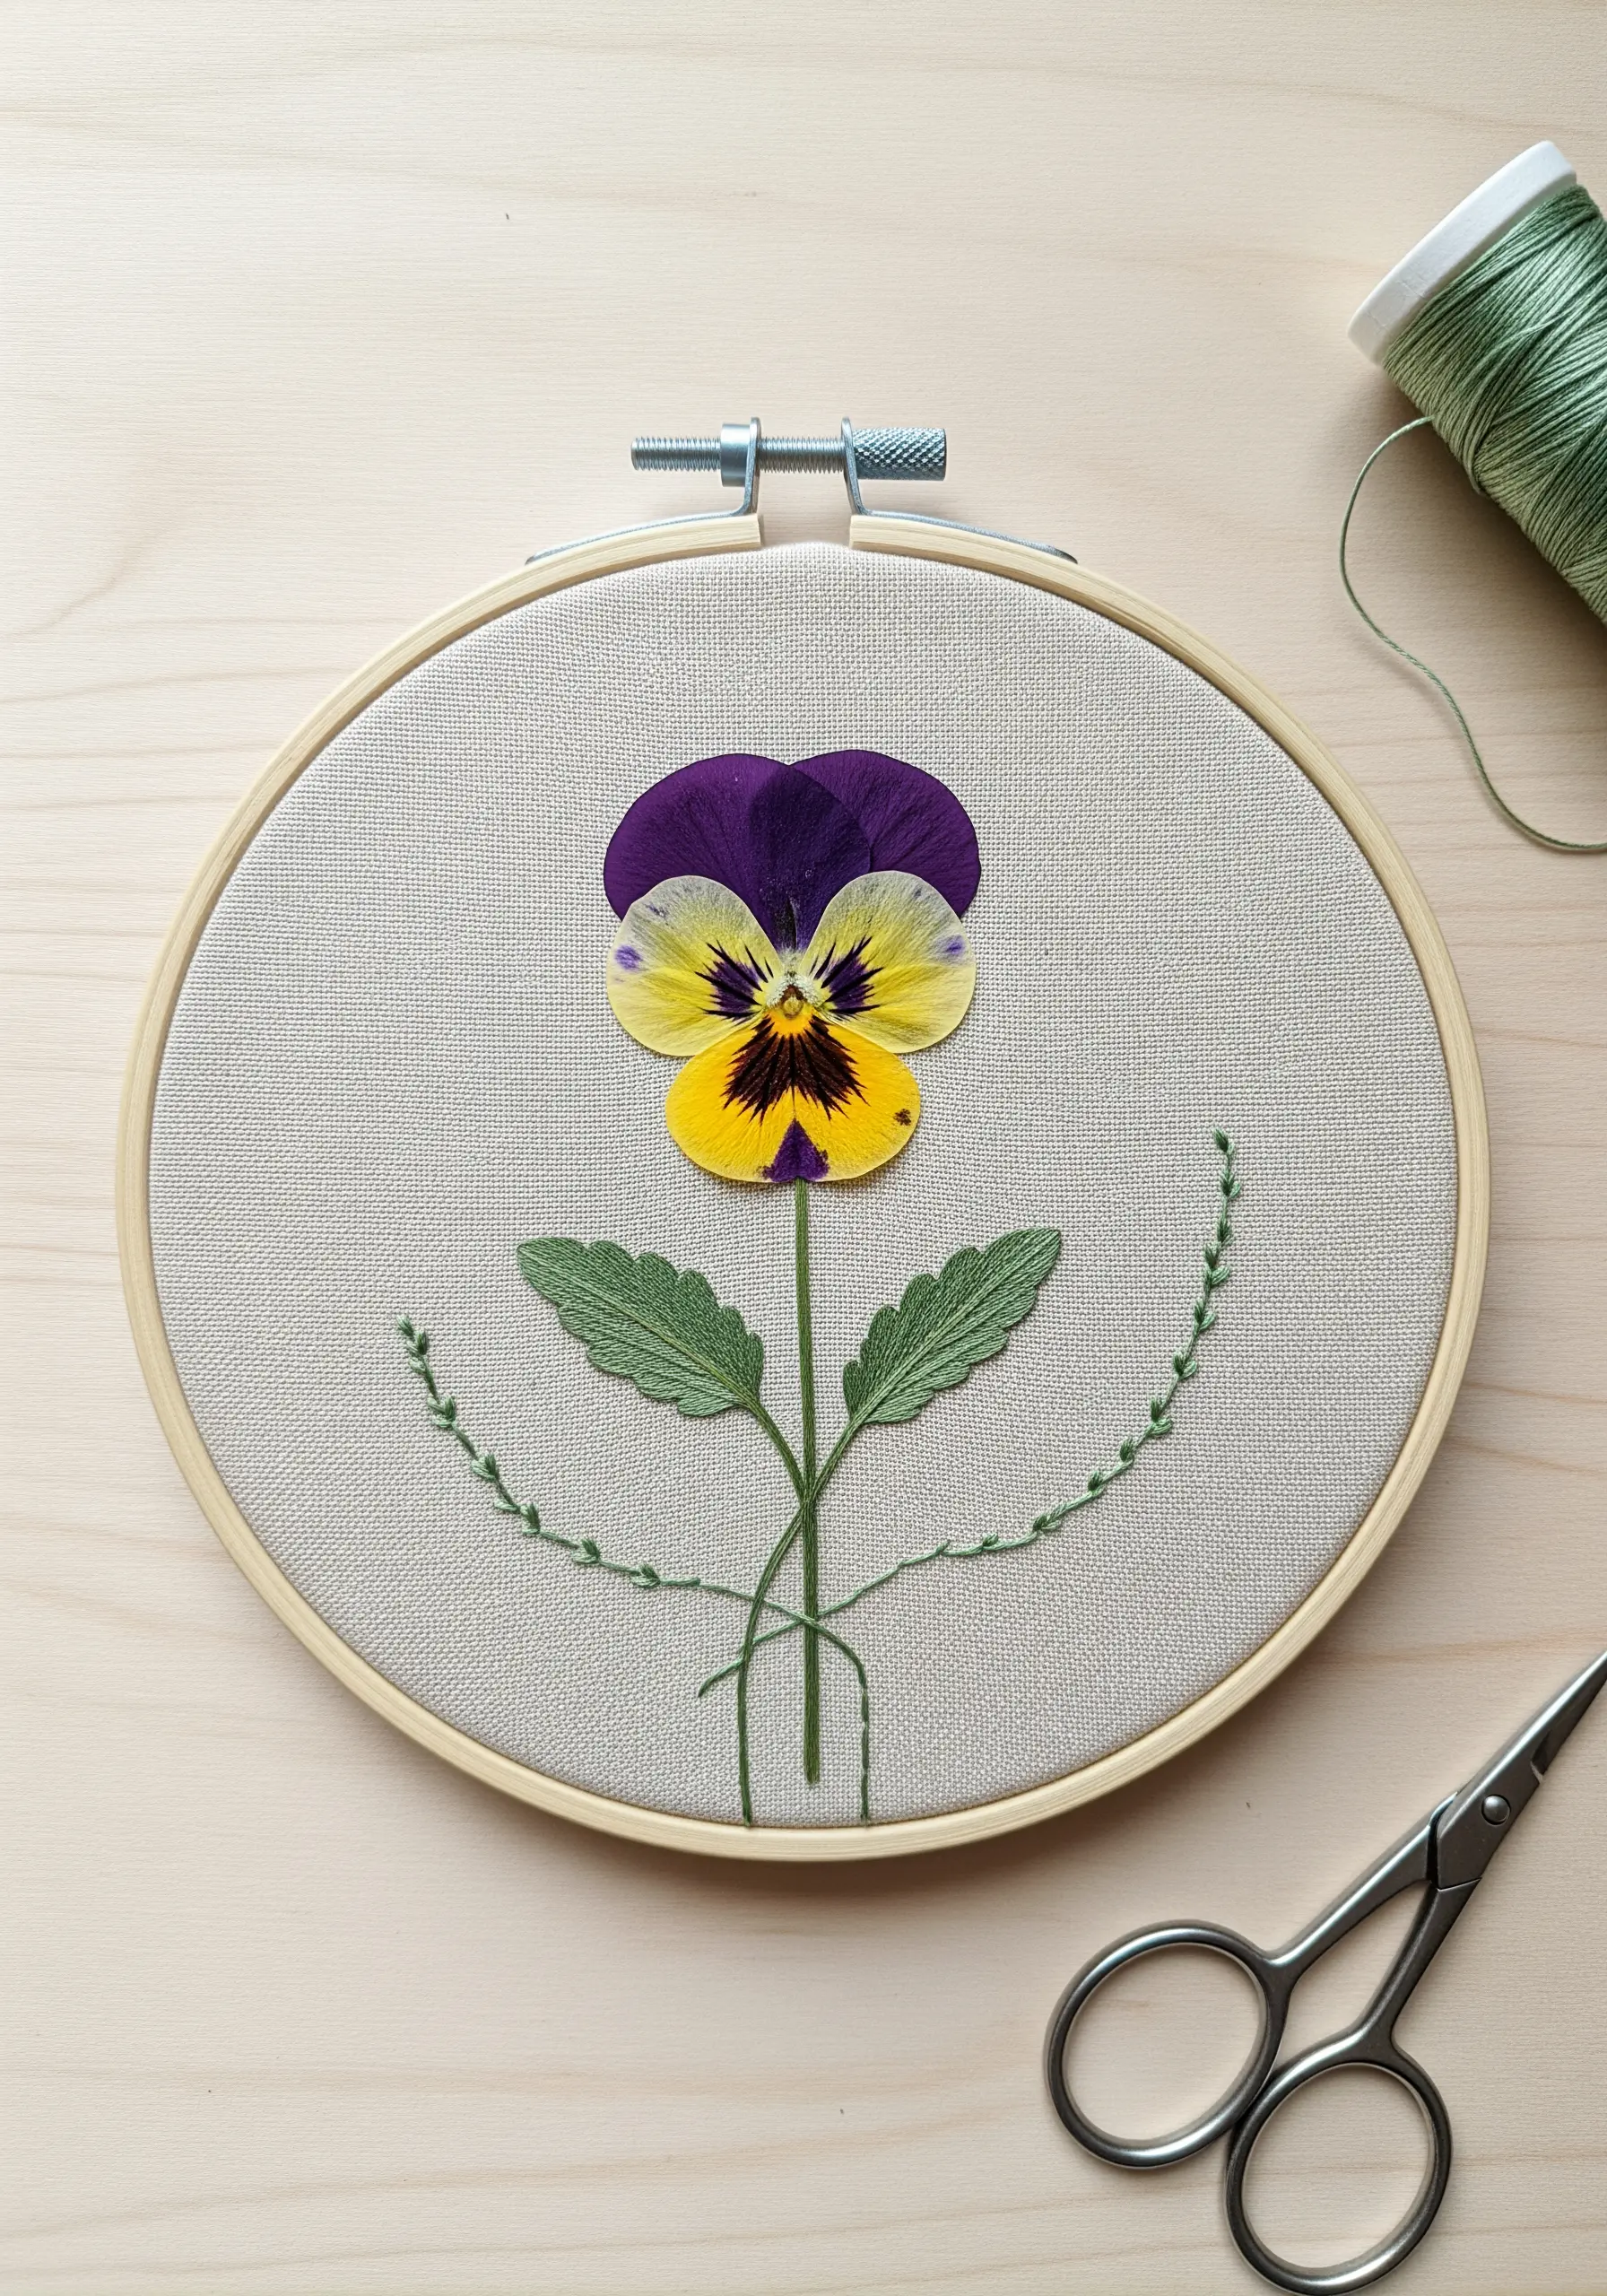
Instead of embroidering the entire flower, let a real pressed pansy be the centerpiece.
Use a single, delicate couching stitch across the stem to secure it to the fabric, making the thread almost invisible.
For the embroidered leaves, opt for a light, open stitch like the fly stitch or detached chain stitch to suggest foliage without overpowering the main bloom.
This technique emphasizes the flower’s natural texture and color, creating a beautiful balance between real and rendered elements.
2. Stitching Frames on Paper
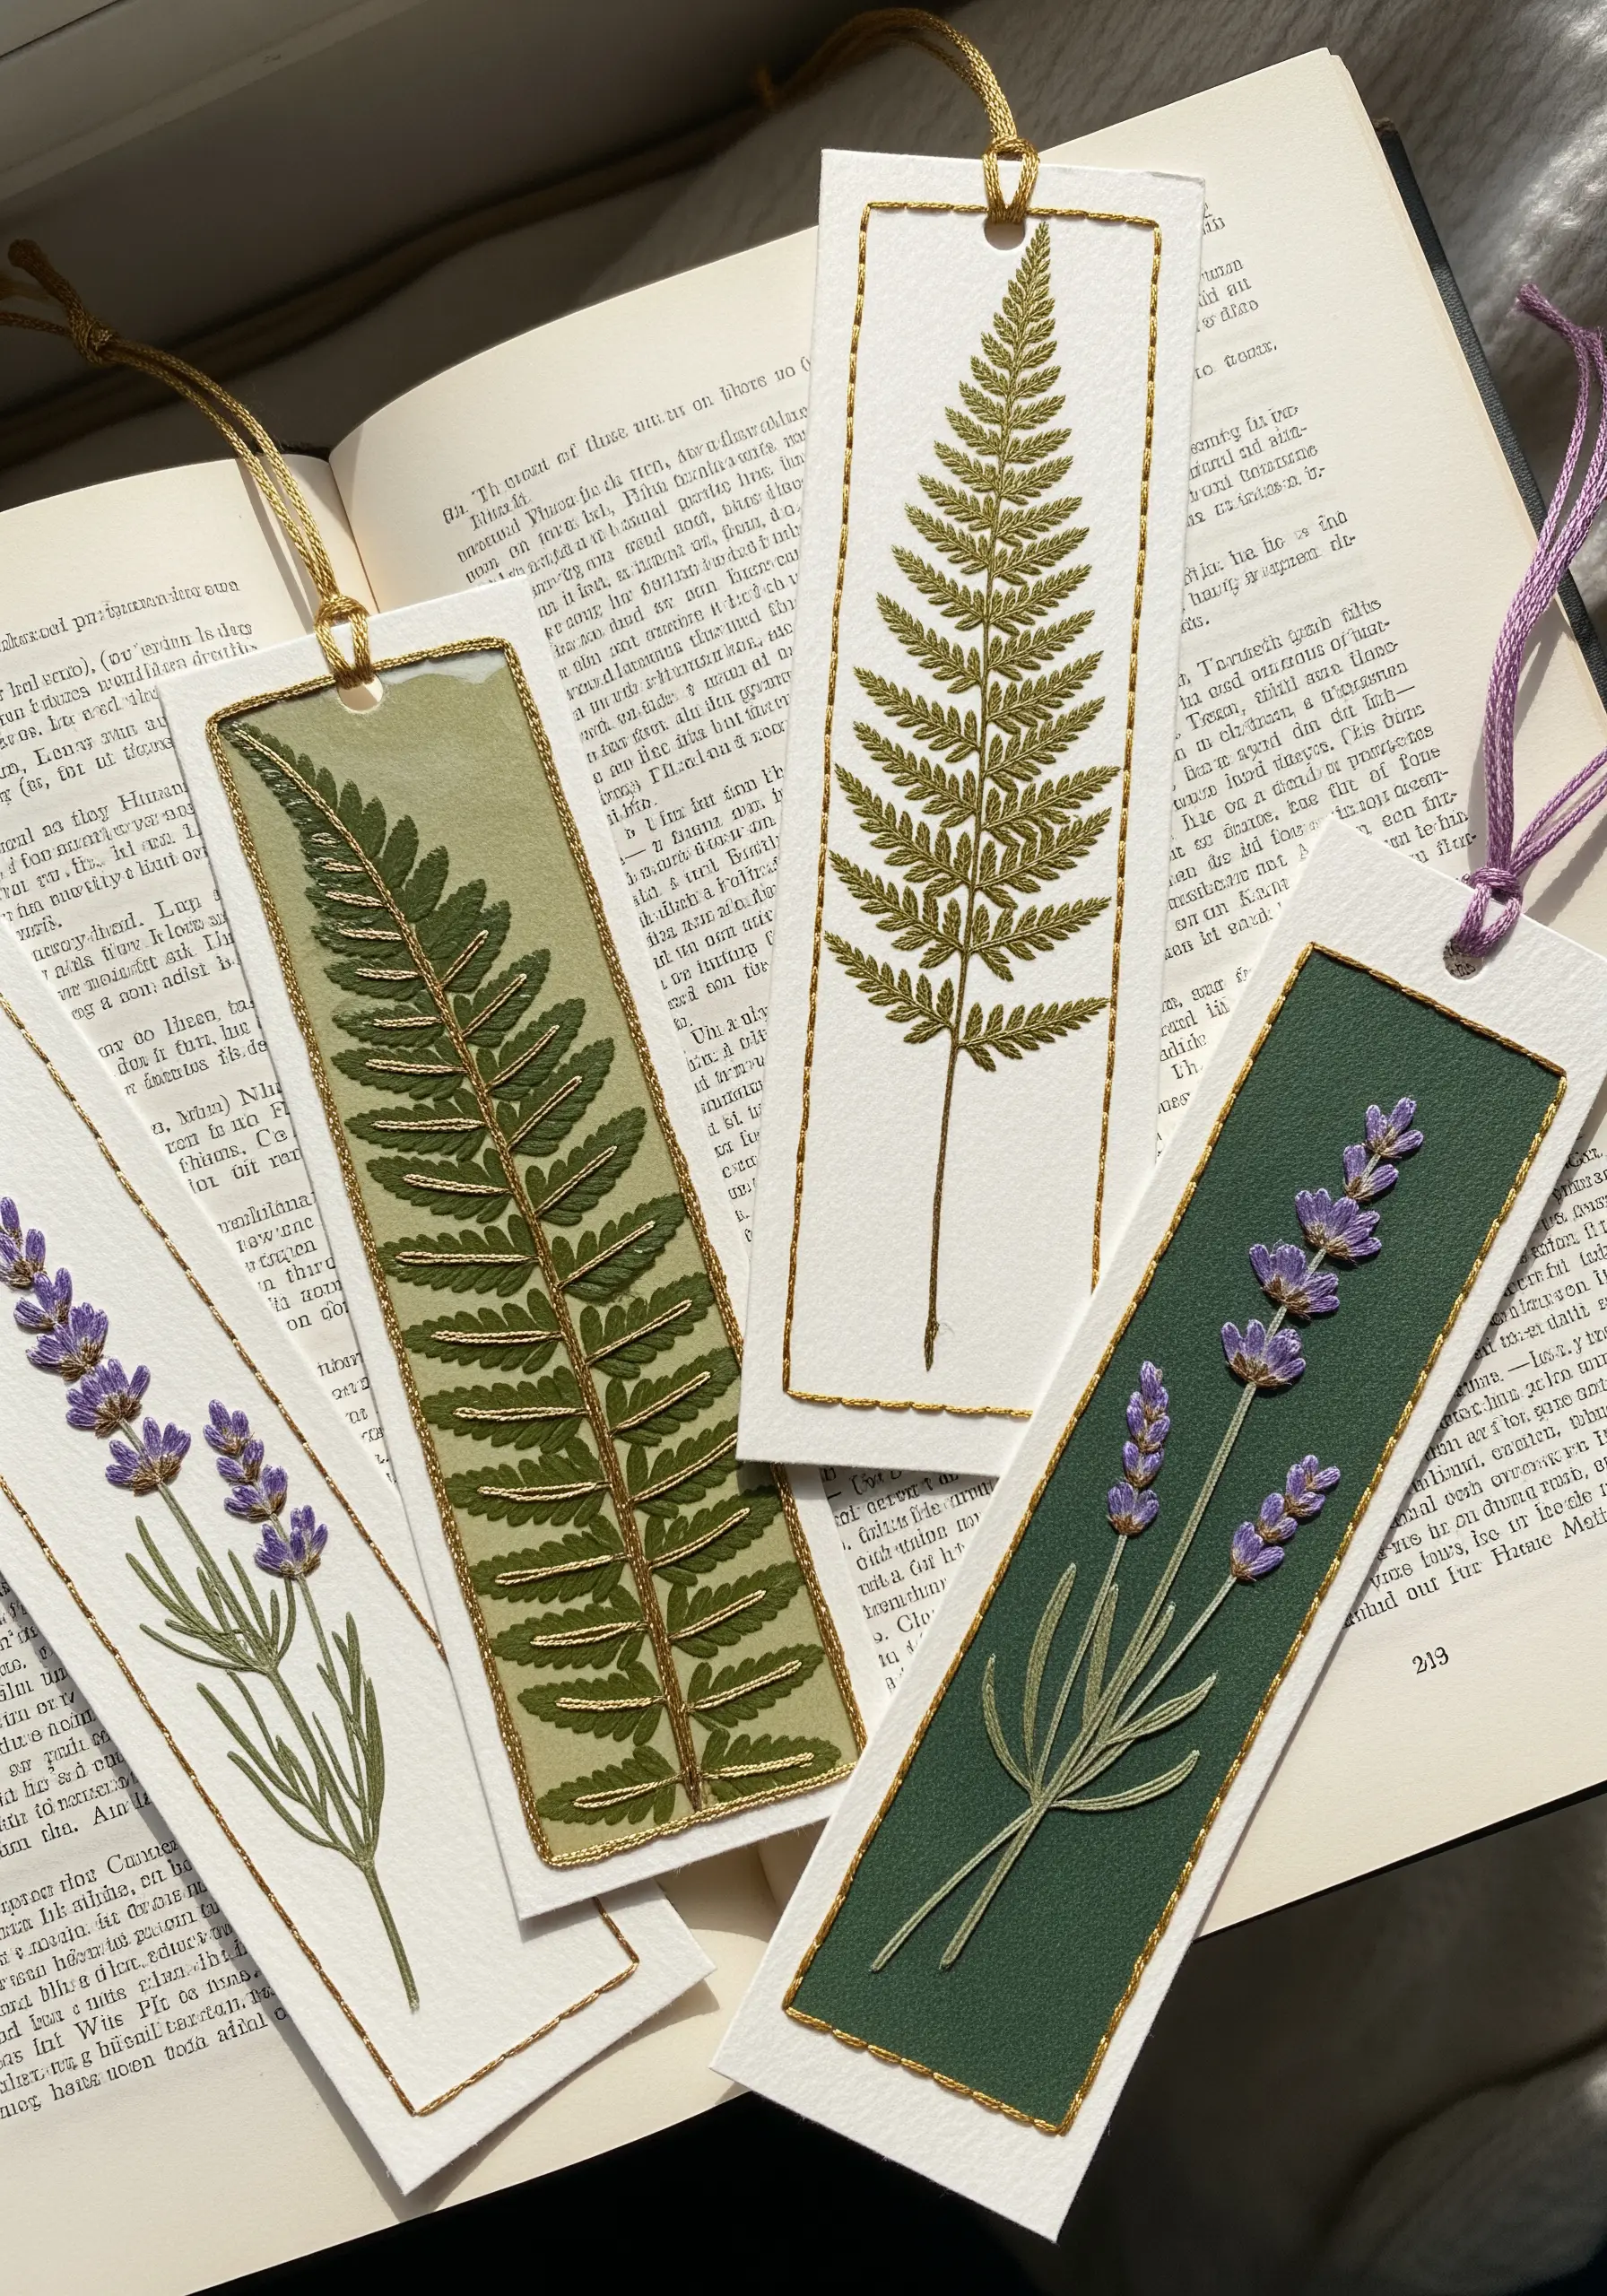
Elevate a simple pressed fern by stitching a frame directly onto sturdy cardstock.
Use a single strand of metallic thread for a subtle glint that catches the light.
To prevent the paper from tearing, first pierce your stitching holes with a pin or a small awl before you begin sewing.
A simple backstitch or running stitch creates a clean, graphic border that transforms the bookmark into a small, treasured artwork.
This method offers creative collage inspirations for combining paper layers with subtle embroidery.
3. Layered Botanicals on Sheer Fabric
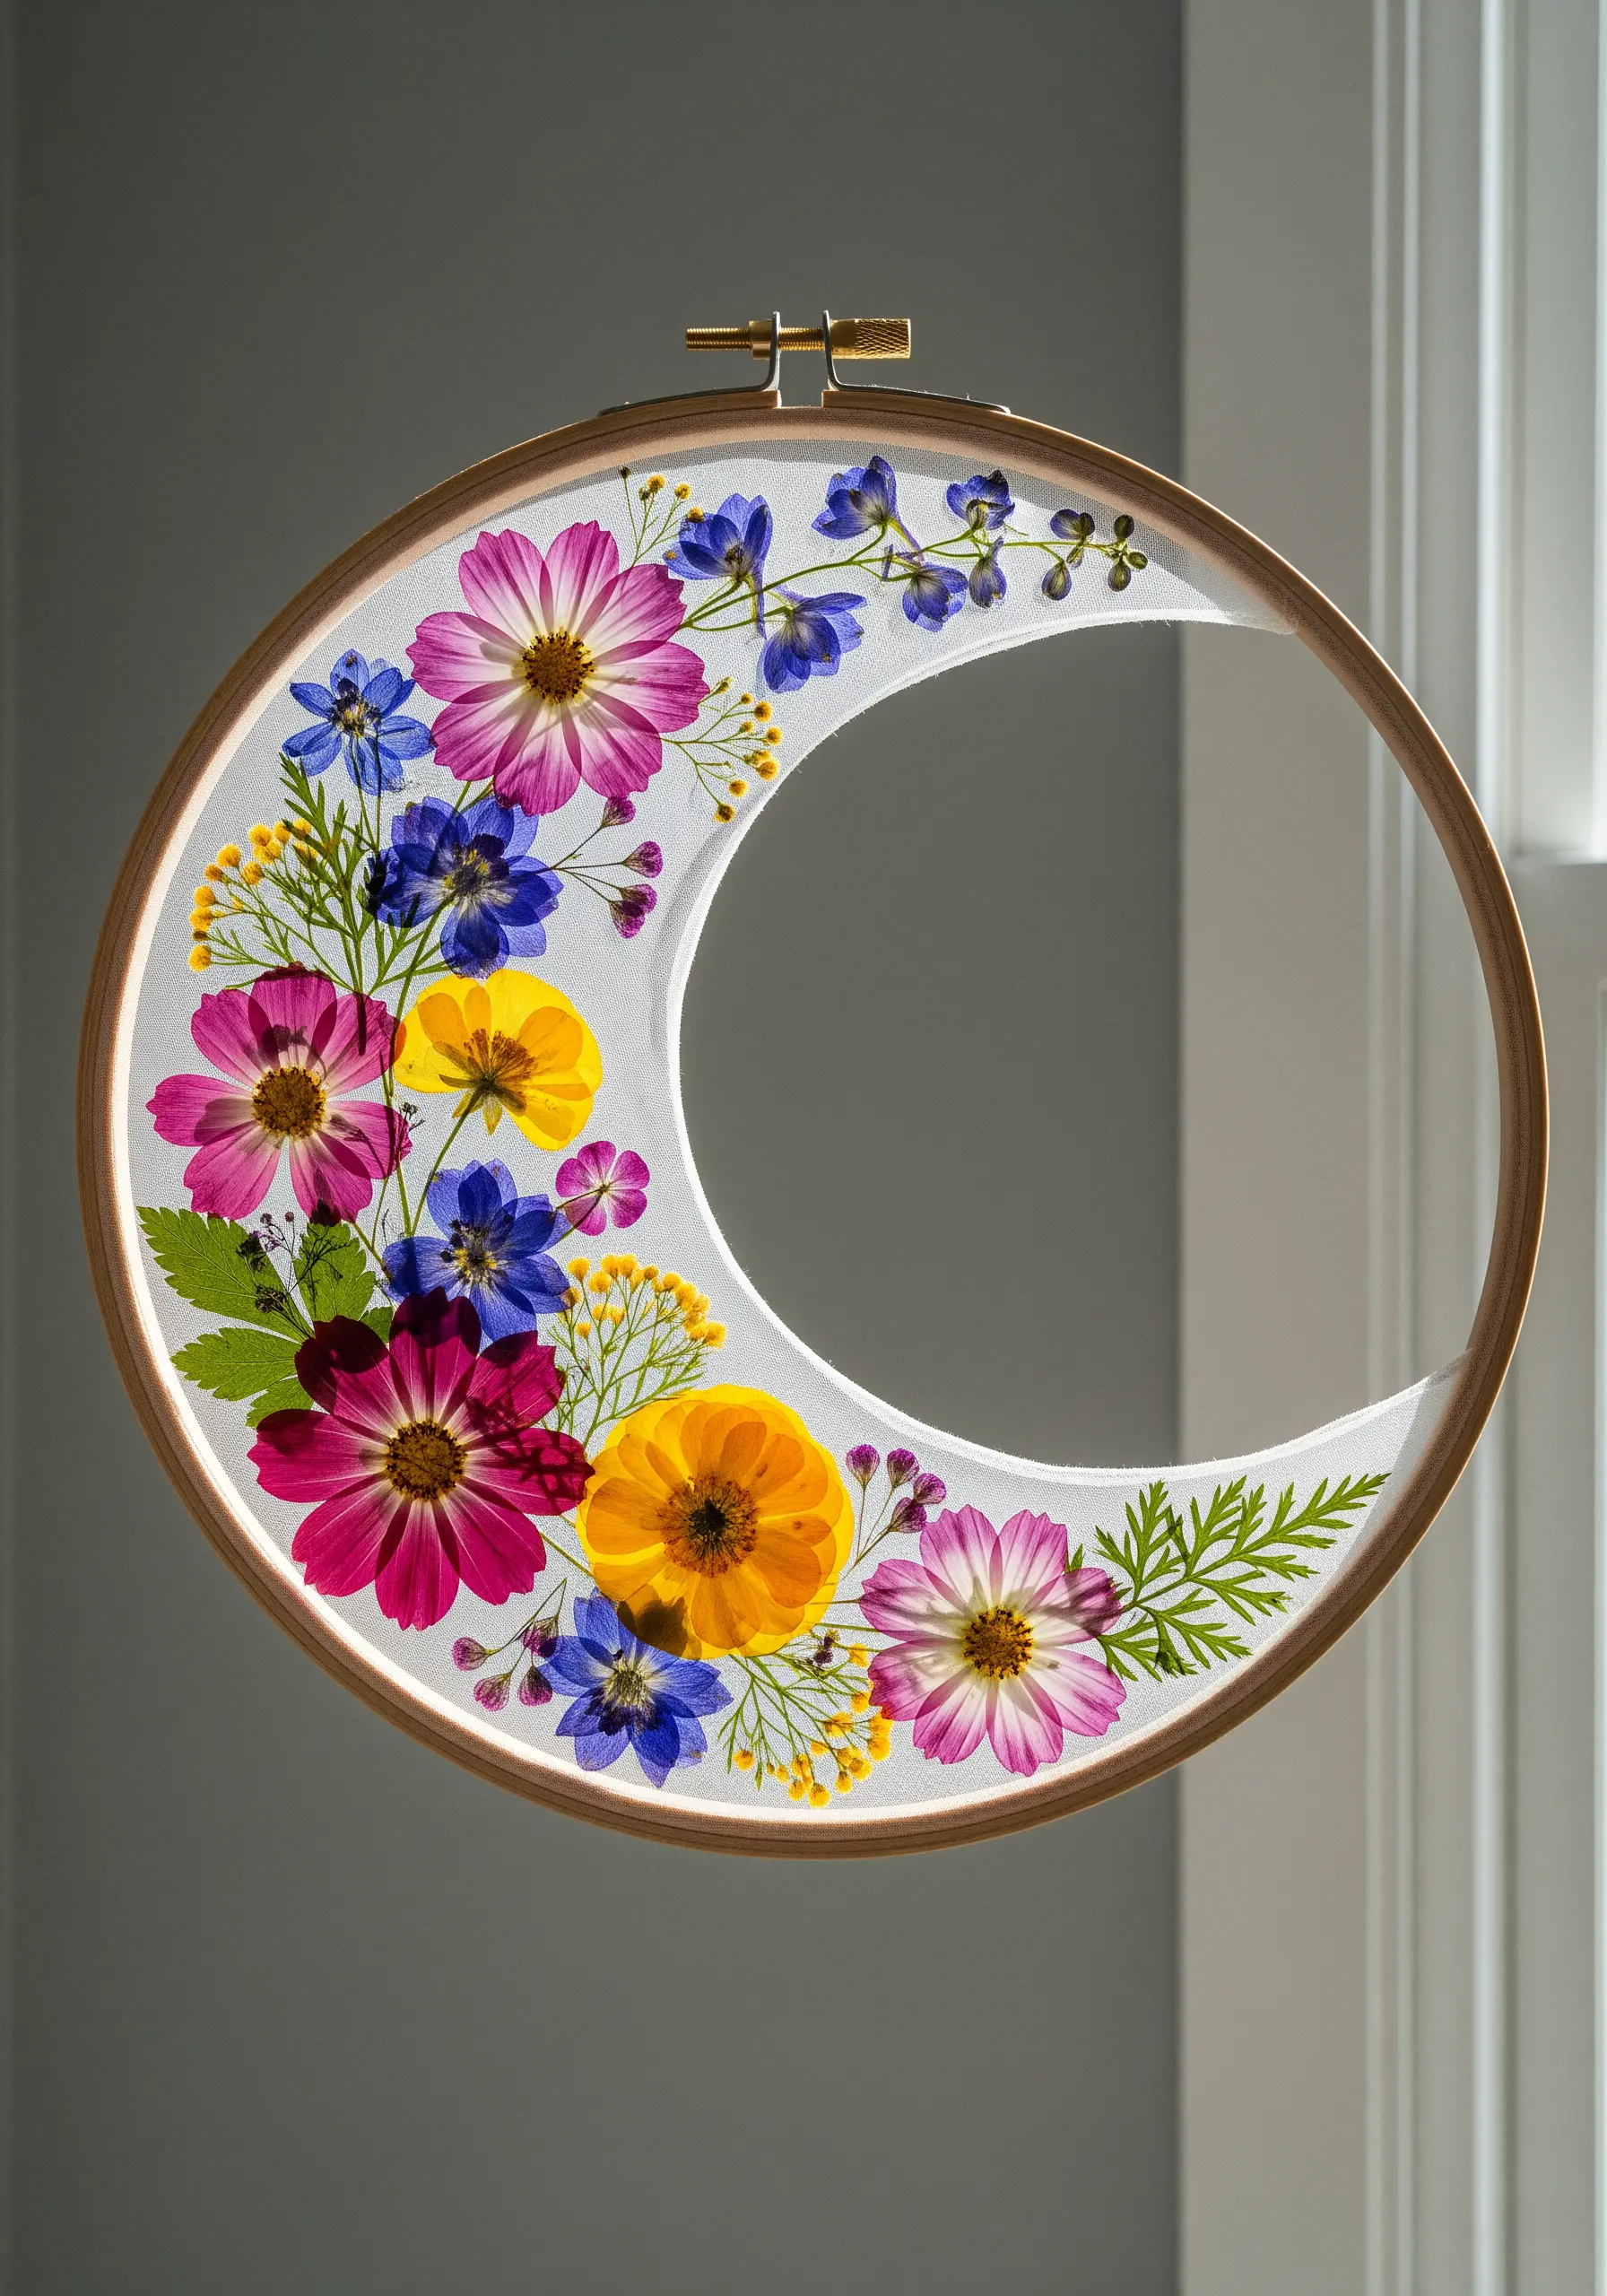
Create a stunning suncatcher by using tulle or organza as your canvas.
This transparent base allows light to pass through the pressed flowers, creating a luminous, stained-glass effect.
Secure the flowers with tiny, discreet stitches or a clear-drying fabric glue applied with a toothpick.
Arrange your blooms in a dense, overlapping cluster along the crescent shape to build vibrant color and depth.
The negative space becomes just as important as the floral design, making these perfect stunning framed embroidery pieces to make your walls pop this year.
4. A Simple Stitch to Ground Your Design
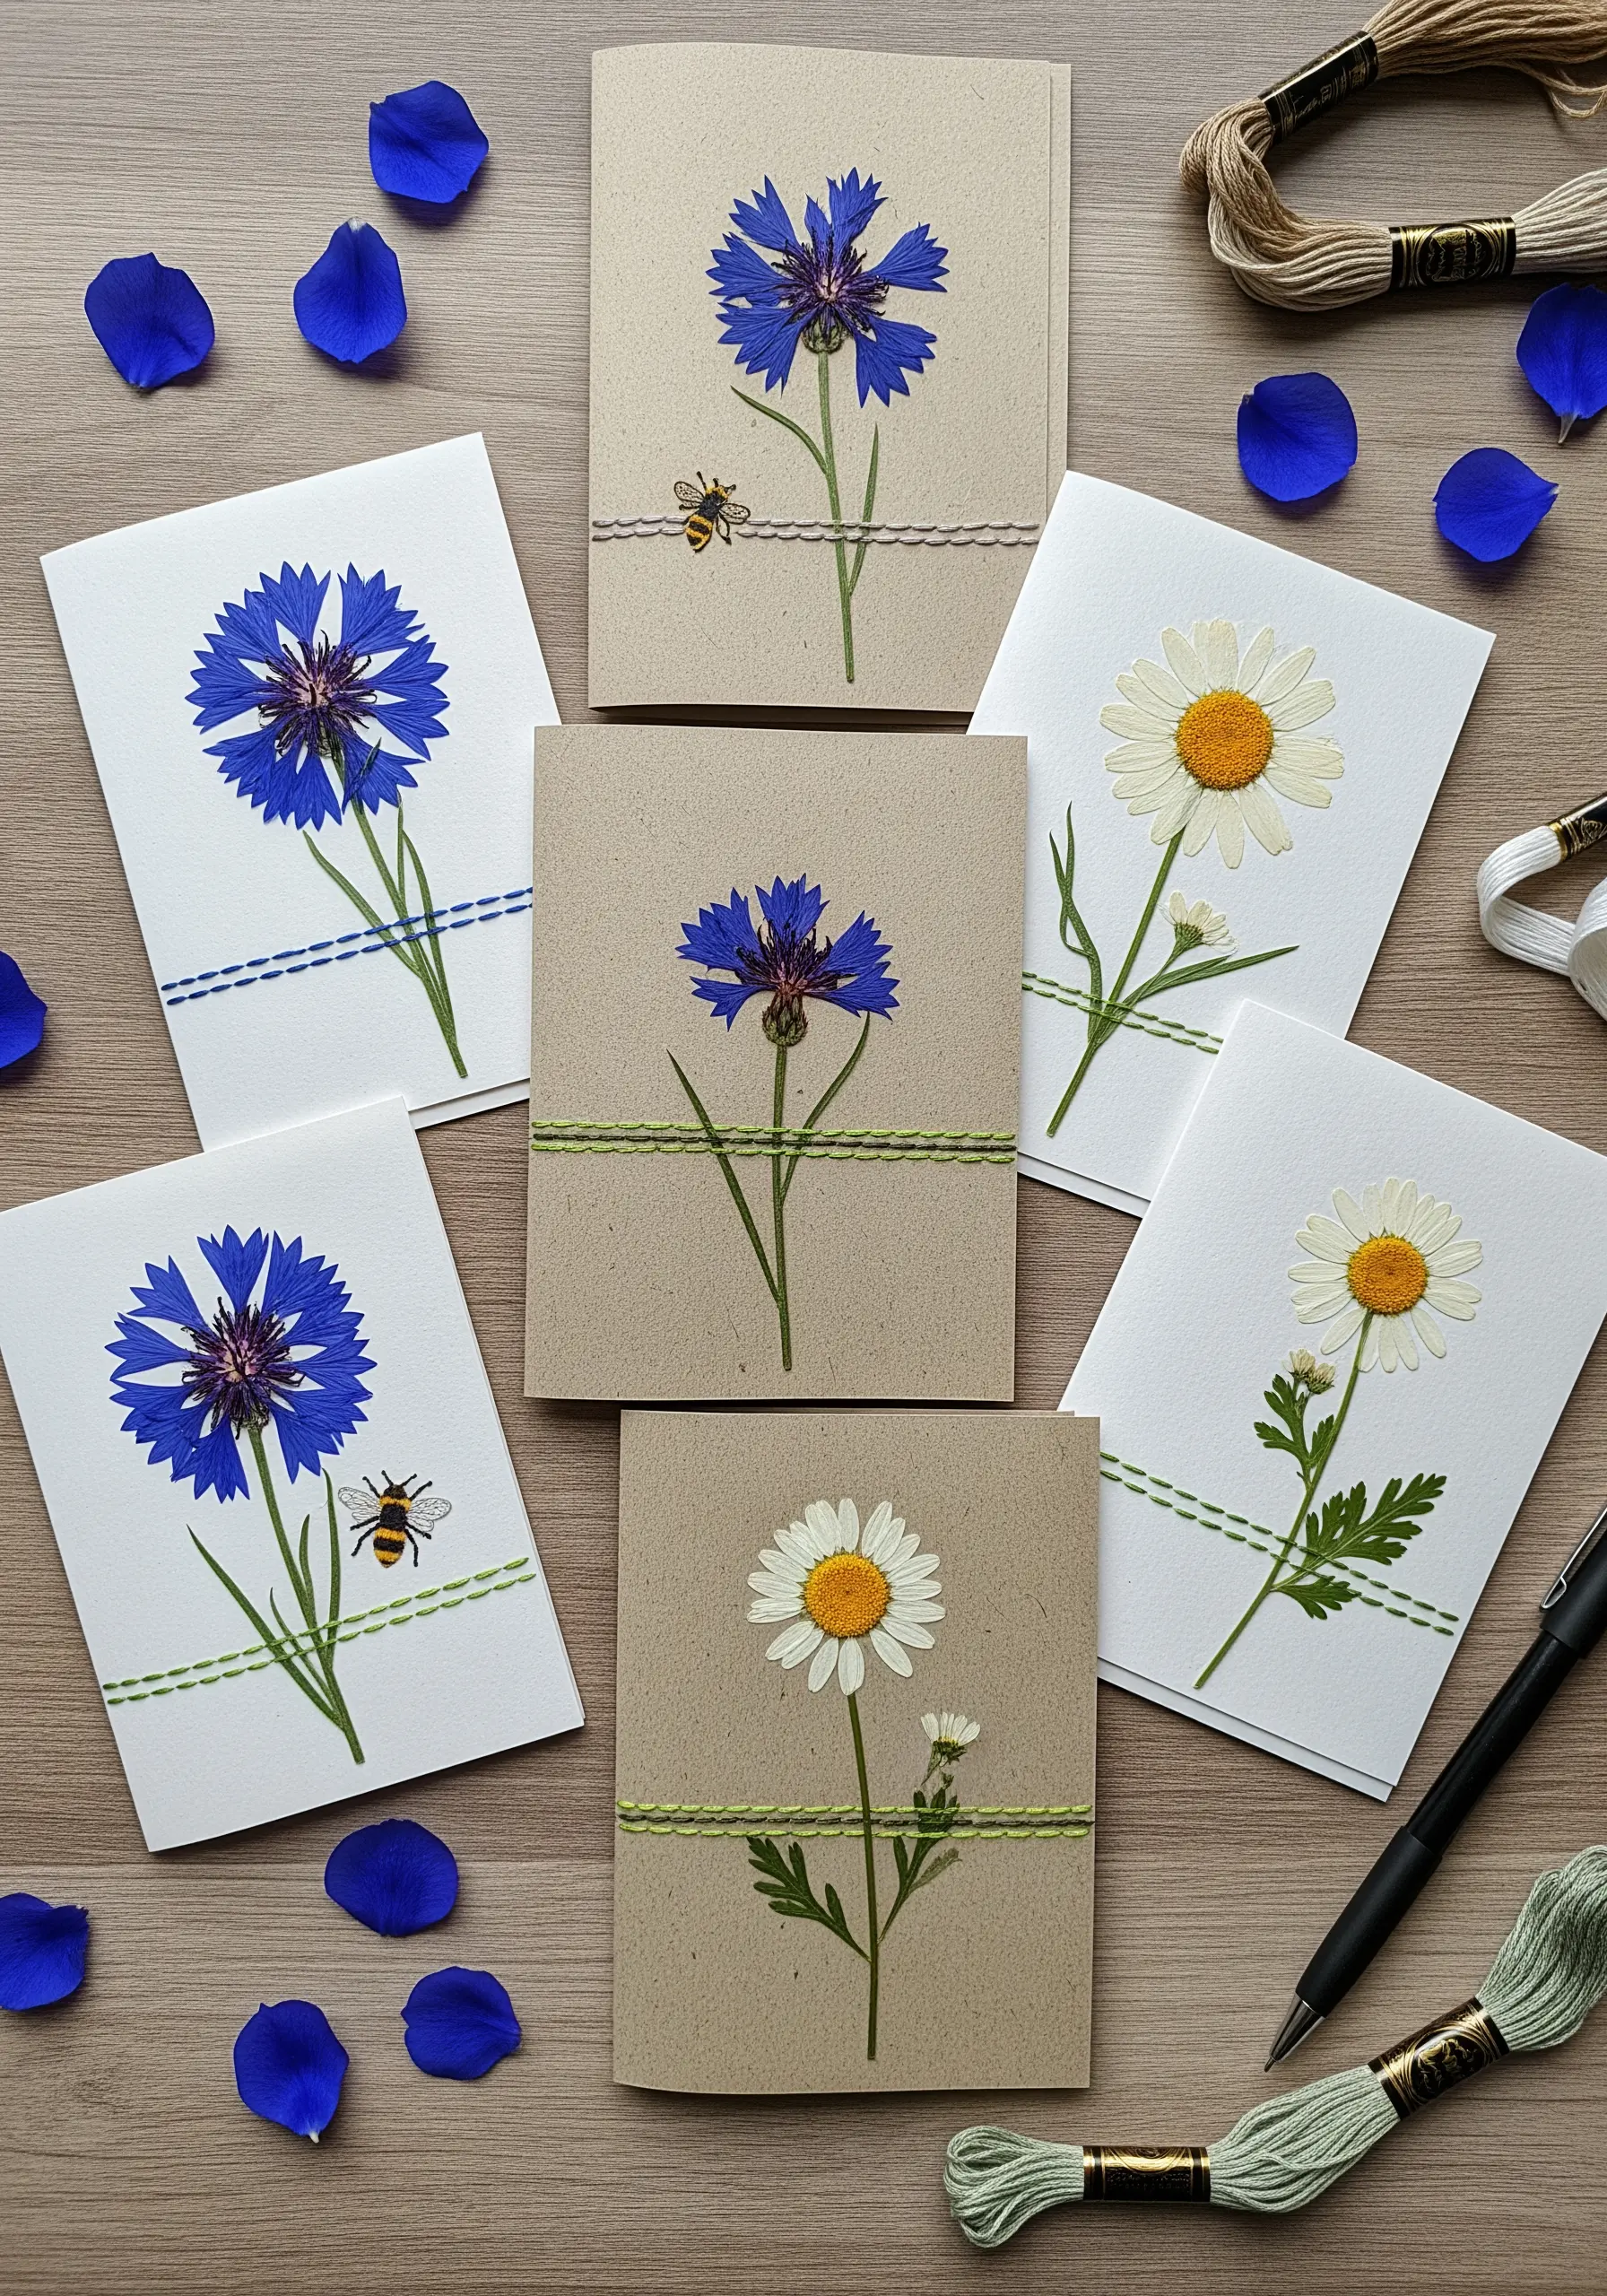
Add a touch of handmade warmth to greeting cards by incorporating a simple line of embroidery.
A band of running stitches or seed stitches in a complementary color grounds the pressed flower, preventing it from looking like it’s floating on the page.
This single detail adds texture and intention, making the card feel complete and thoughtfully designed.
Use two strands of floss for a visible but not overpowering line; it’s one of those minimal festive motifs that make holiday gifts look elegant without glitter.
5. Cross-Stitched Napkin Rings
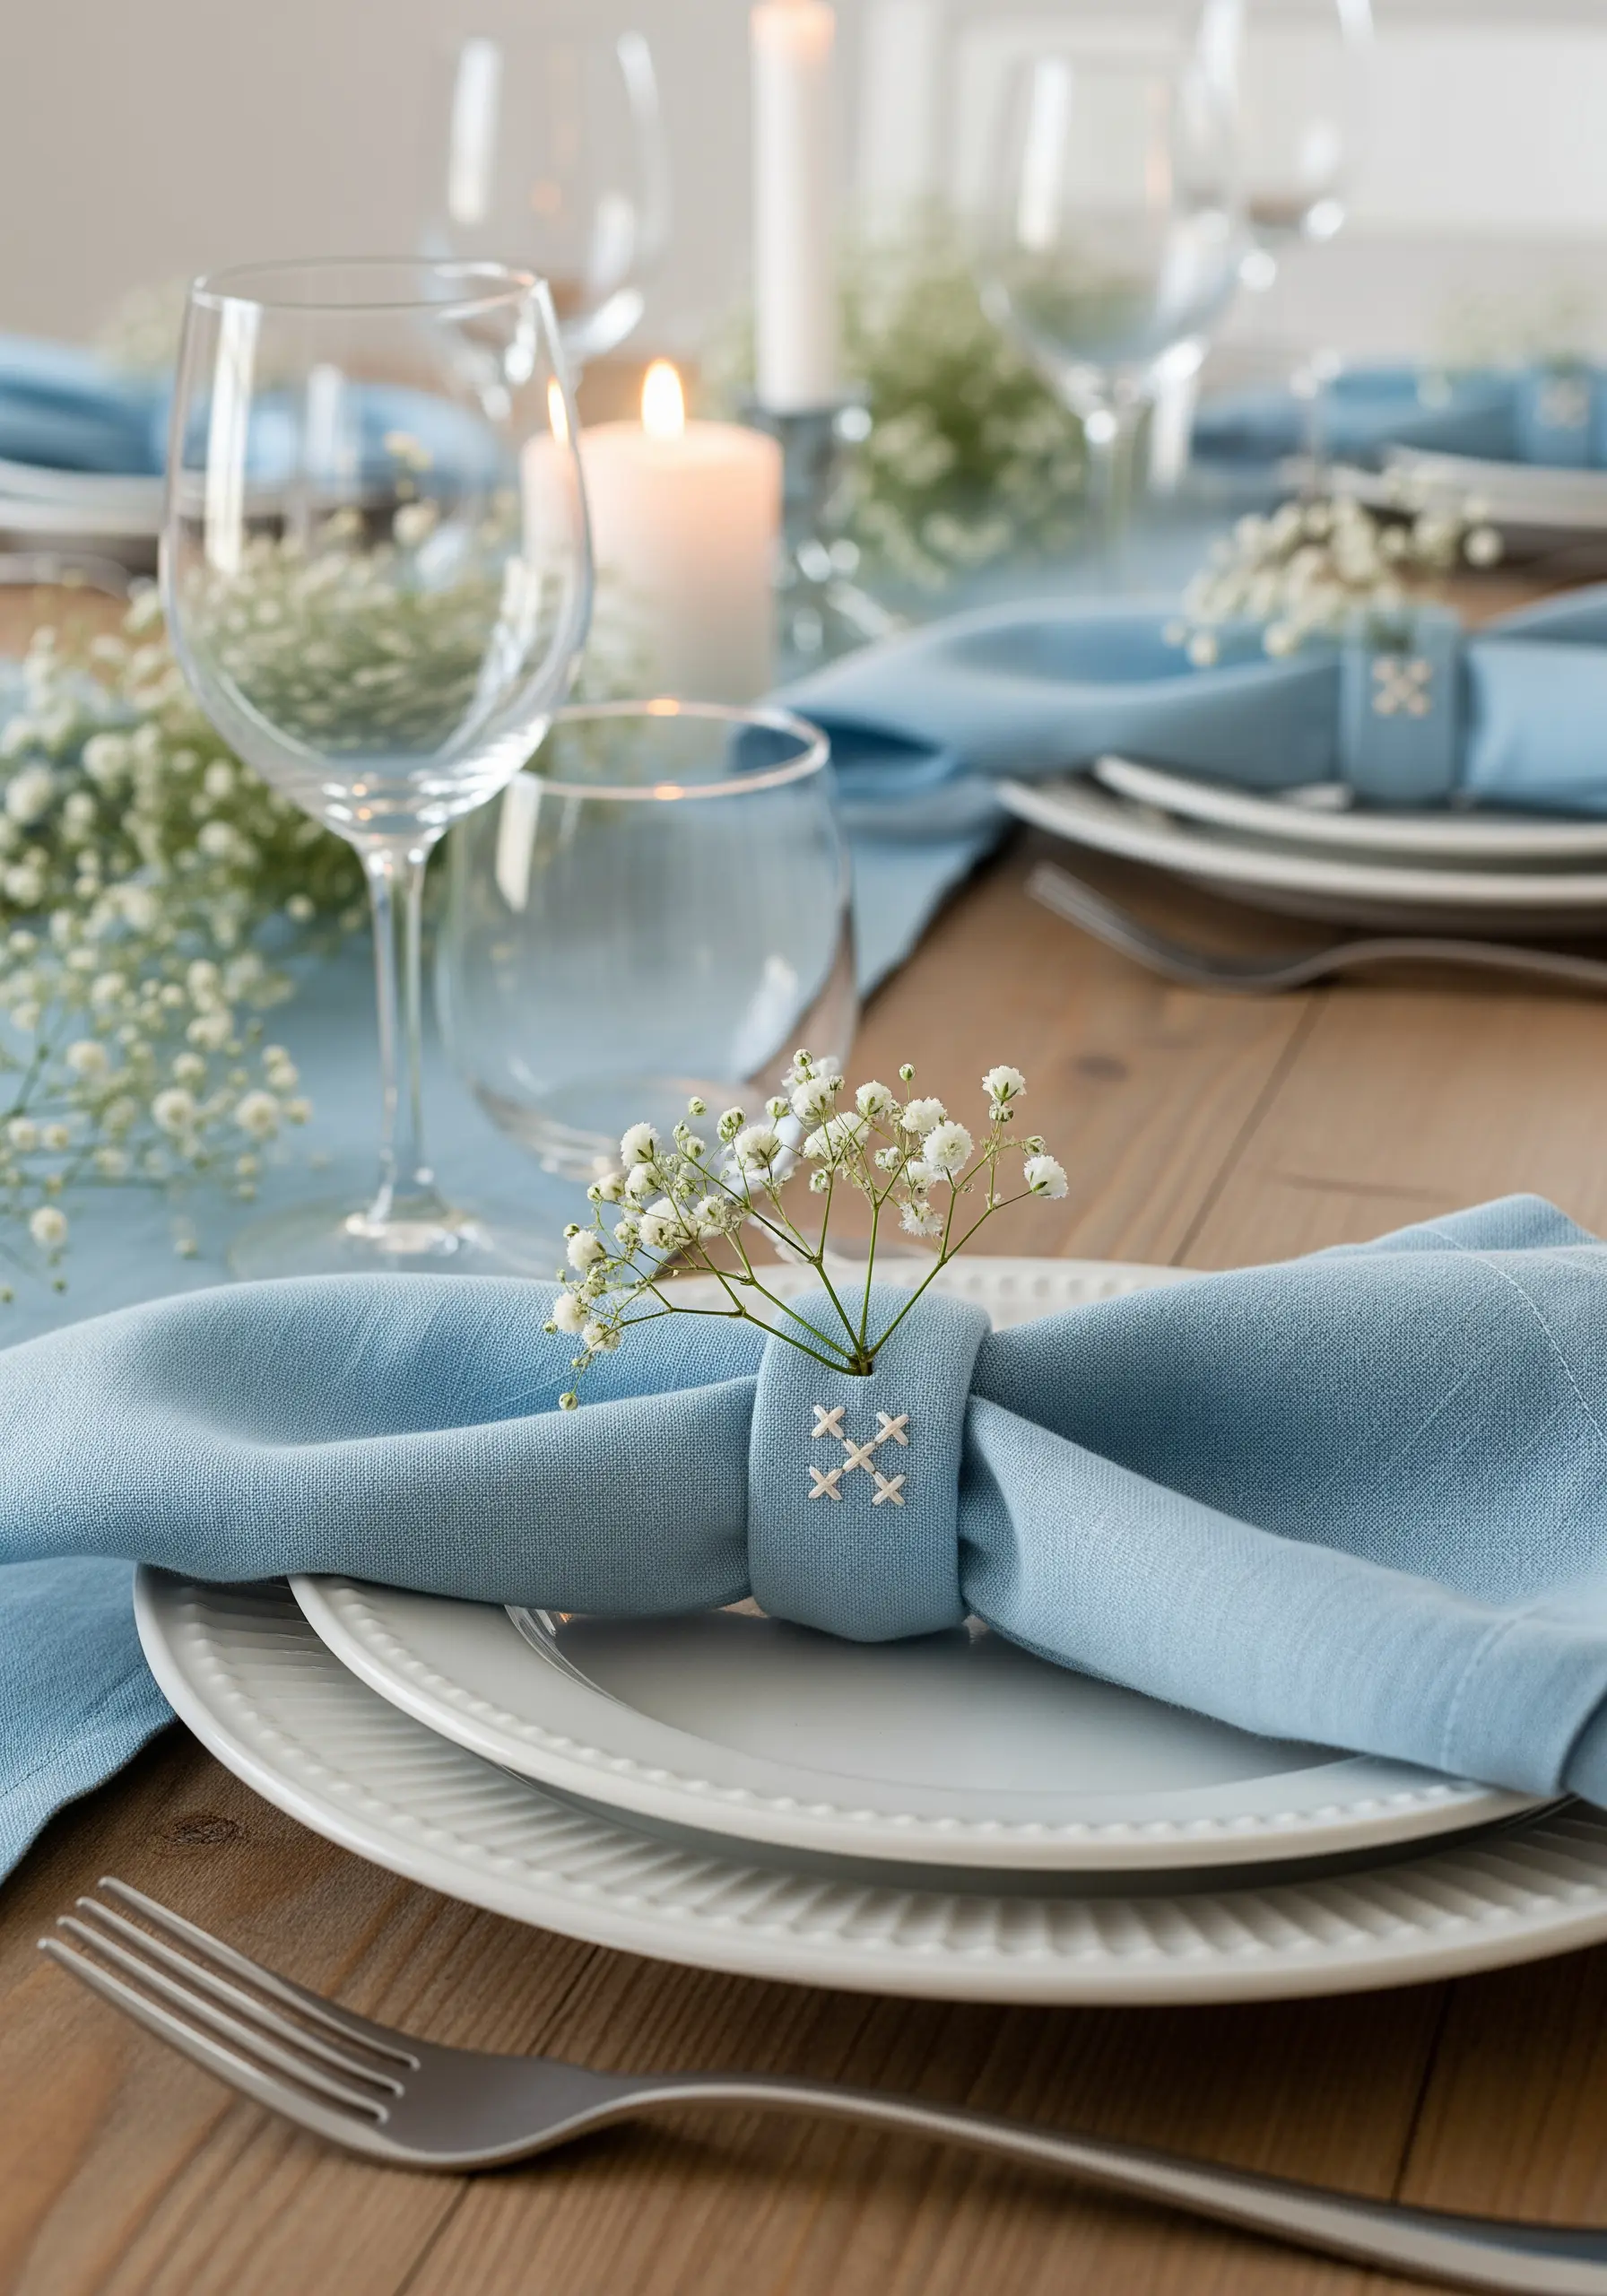
For functional items like napkin rings, choose a sturdy, geometric stitch that can withstand use.
A simple pattern of three cross-stitches adds a modern, almost quilt-like detail that feels both rustic and refined.
Stitch this directly onto the fabric band before securing a small sprig of fresh or dried baby’s breath.
The contrast between the structured stitches and the delicate flowers creates a beautiful focal point for your table setting.
6. Embellished Journal Cover
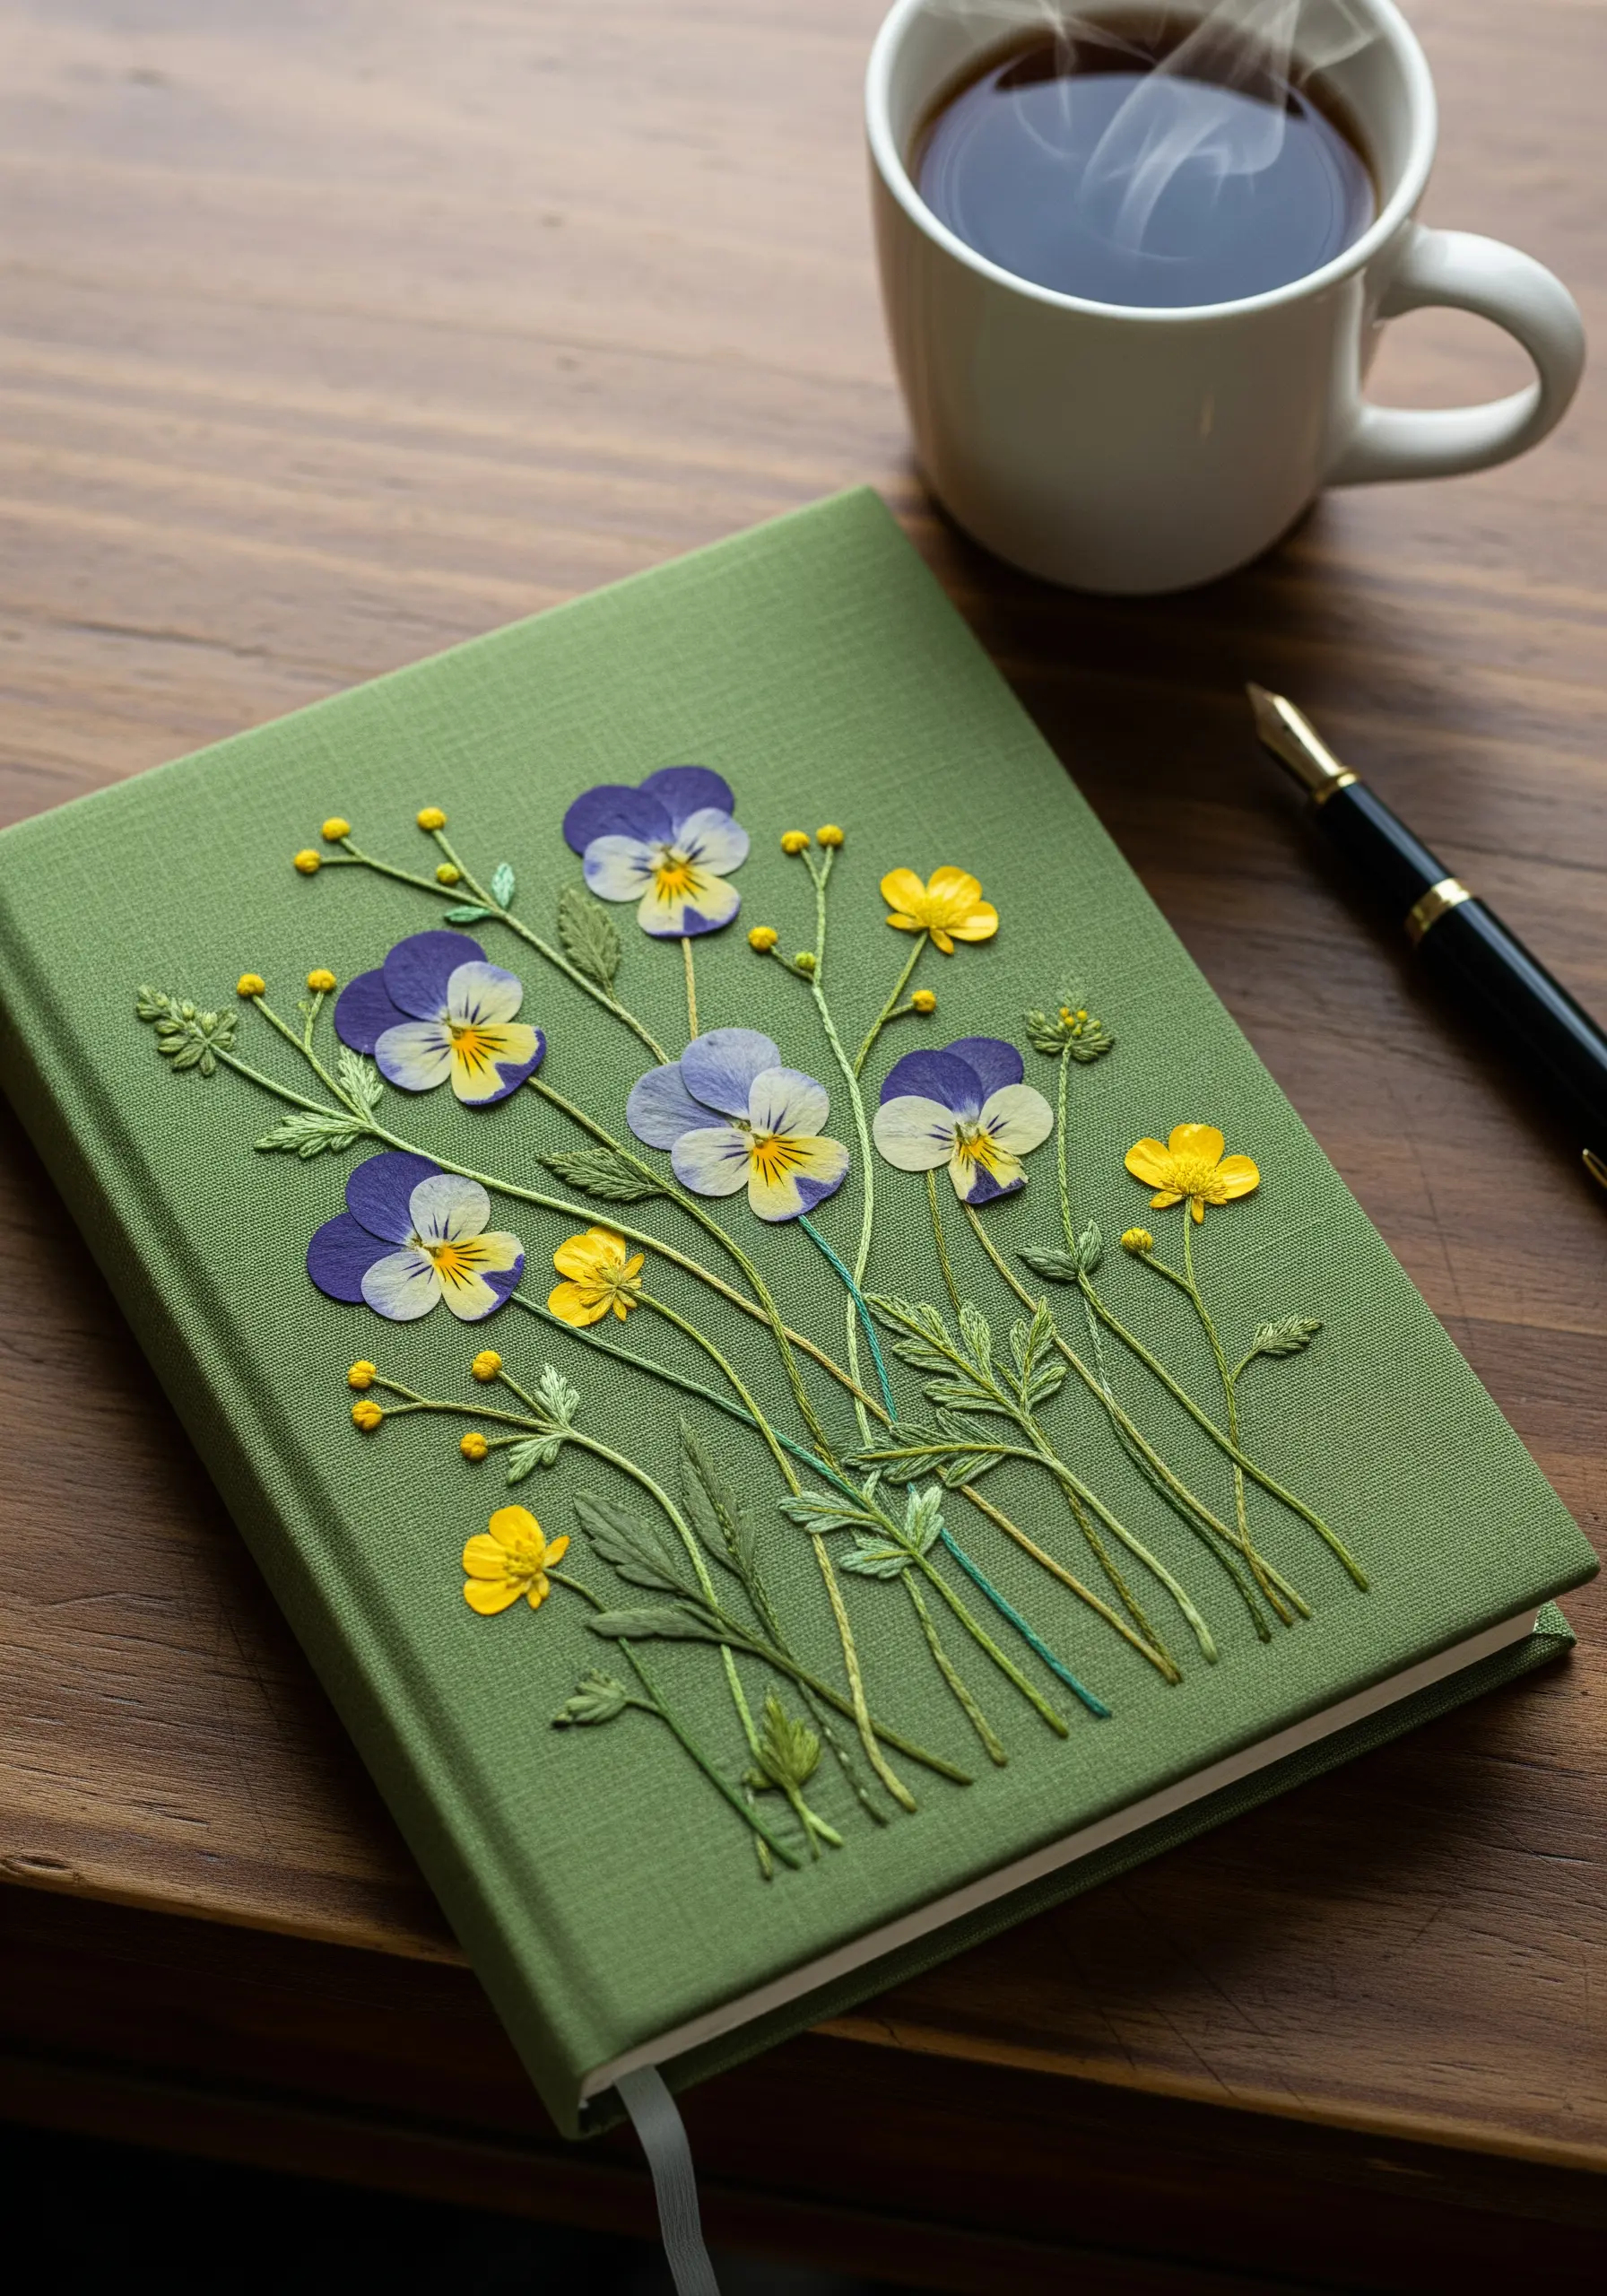
Transform a plain journal cover into a botanical study by combining pressed flowers with embroidery.
Secure the blooms first, then use a fine stem stitch in varying shades of green to create an illusion of overlapping stems.
This technique adds depth and movement, making the composition feel like a living pressed garden.
The combination of flat petals and raised stitches creates wonderful, high texture fabric collage embroidery projects for people who love tactile art.
7. Autumn Leaf Suncatcher
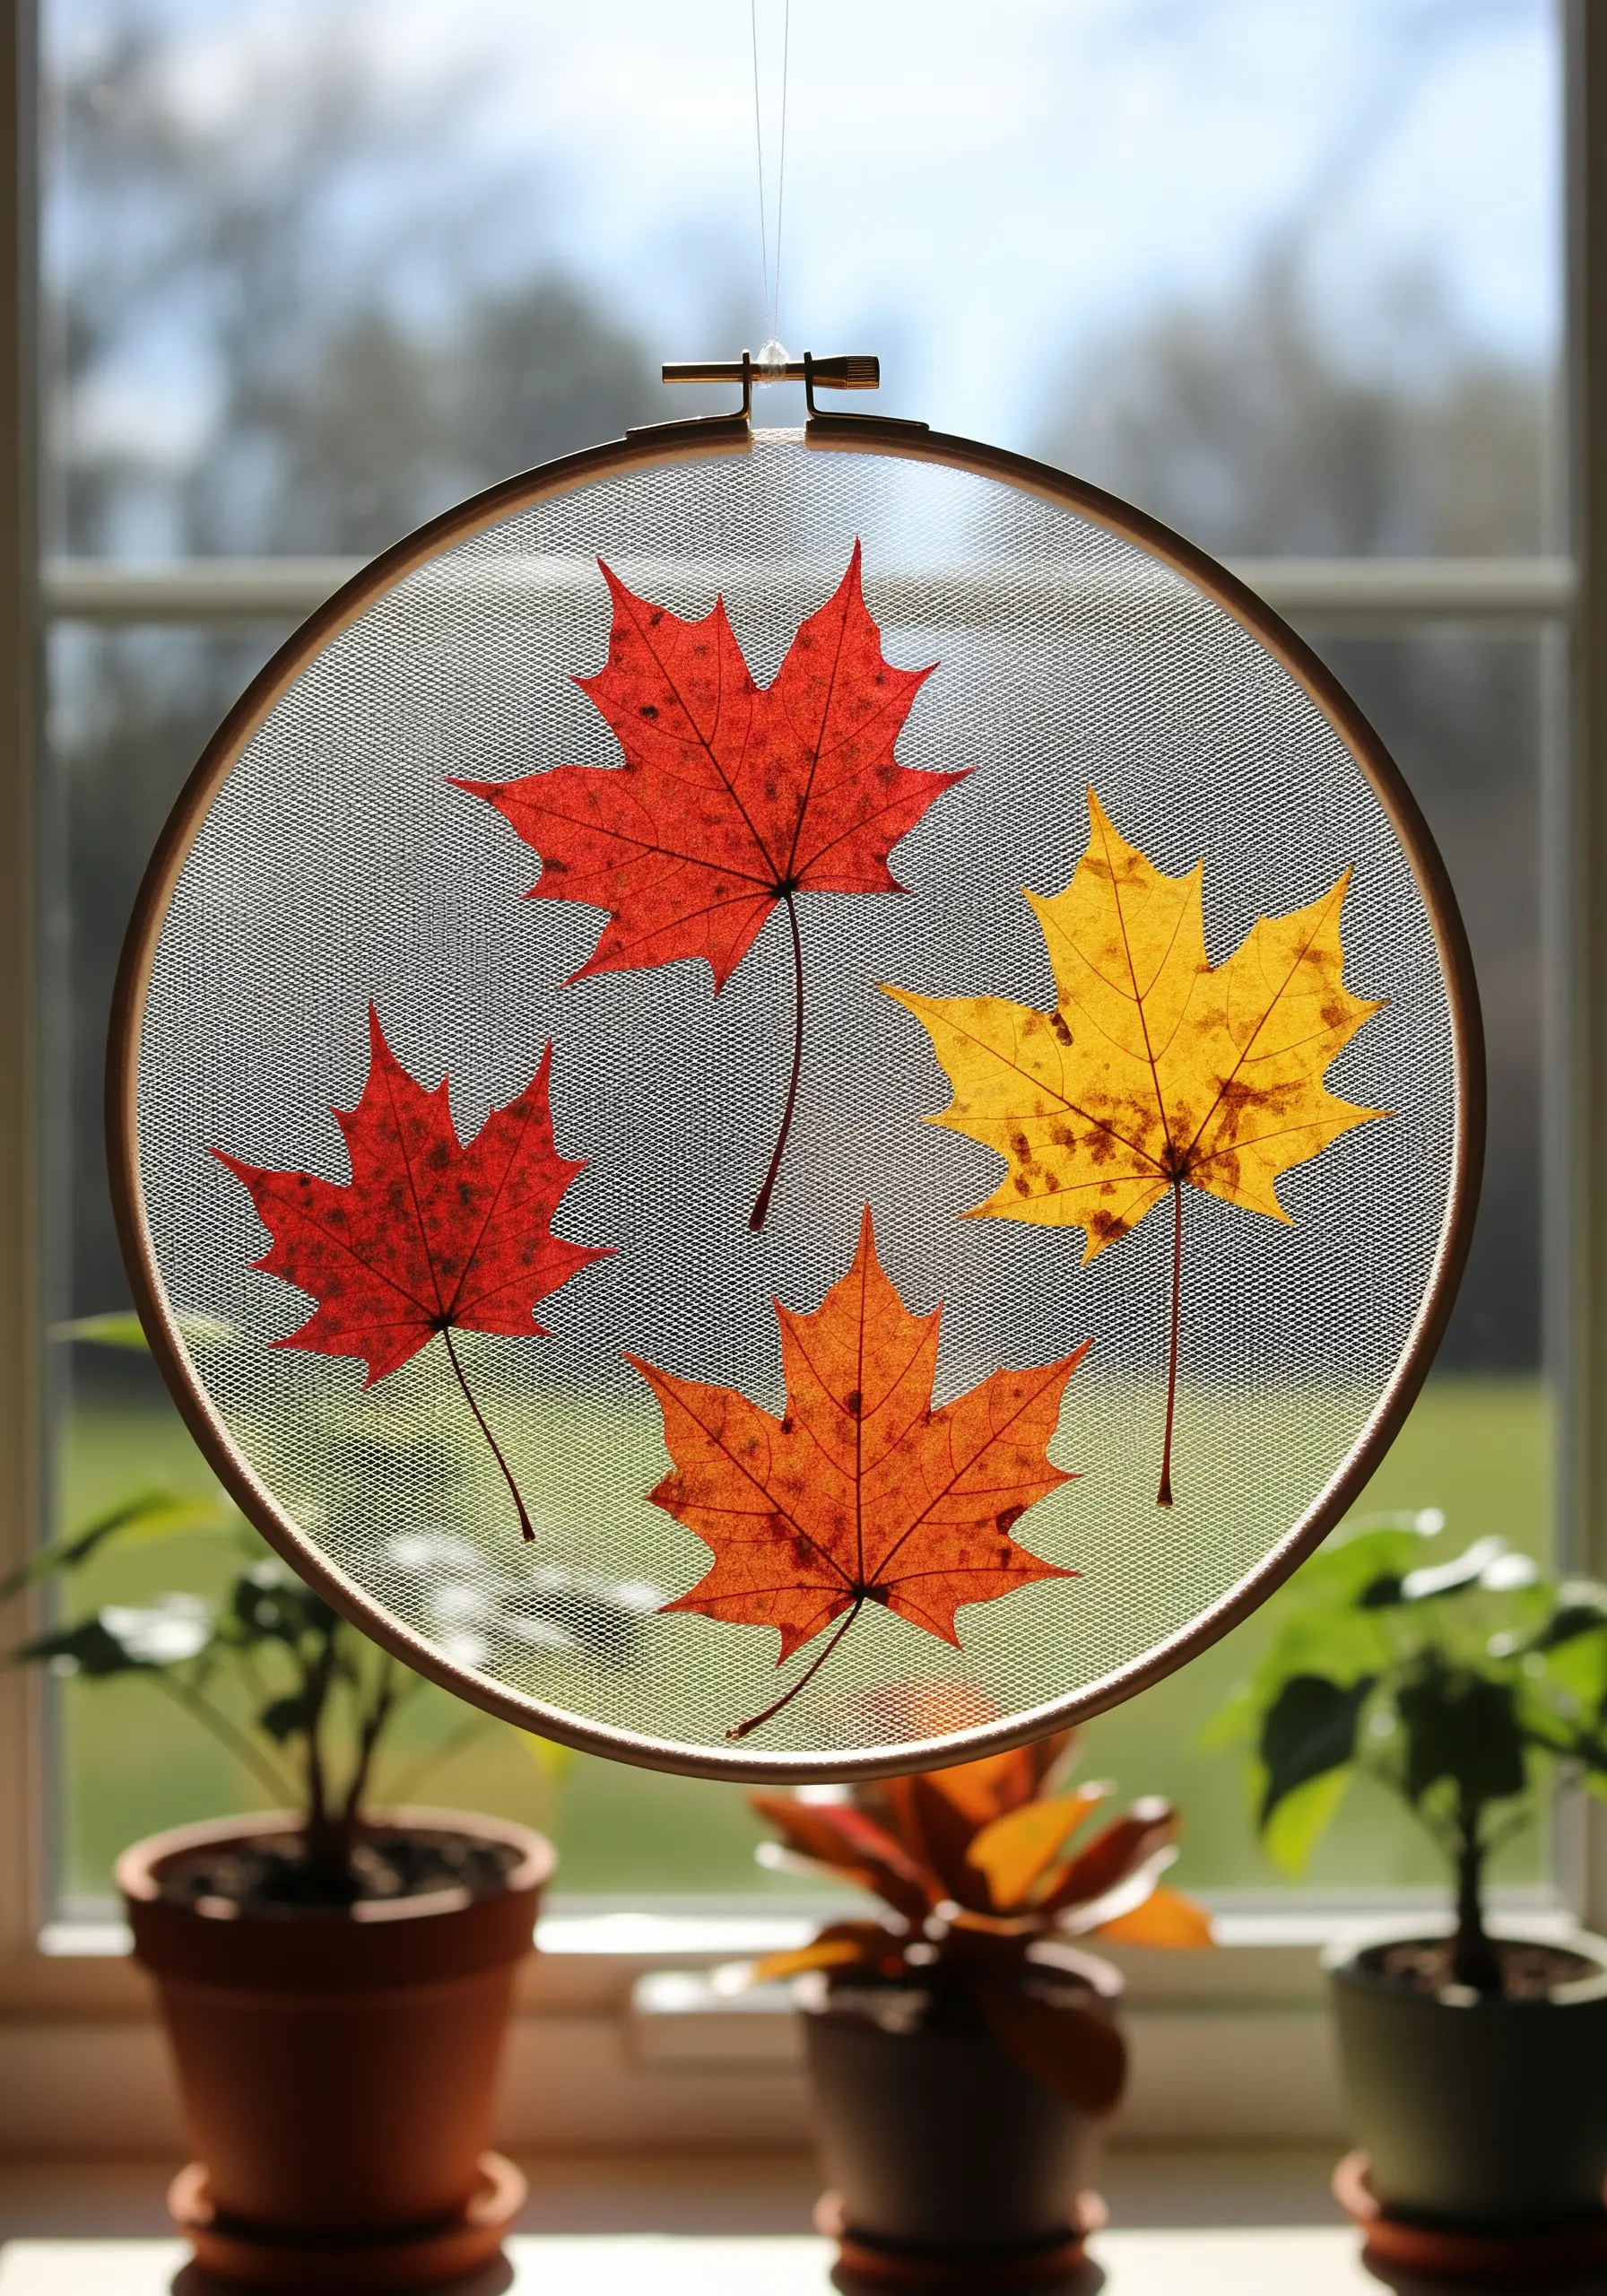
Use a fine mesh or screen material in your hoop to create a suncatcher that feels impossibly light.
This material provides just enough structure to hold pressed autumn leaves while disappearing into the background, letting them appear as if they are floating.
Secure each leaf with a few tiny, color-matched stitches at the stem and tips.
The focus here is entirely on the natural color and silhouette of the leaves against the light.
8. A Framed View with Sheer Fabric
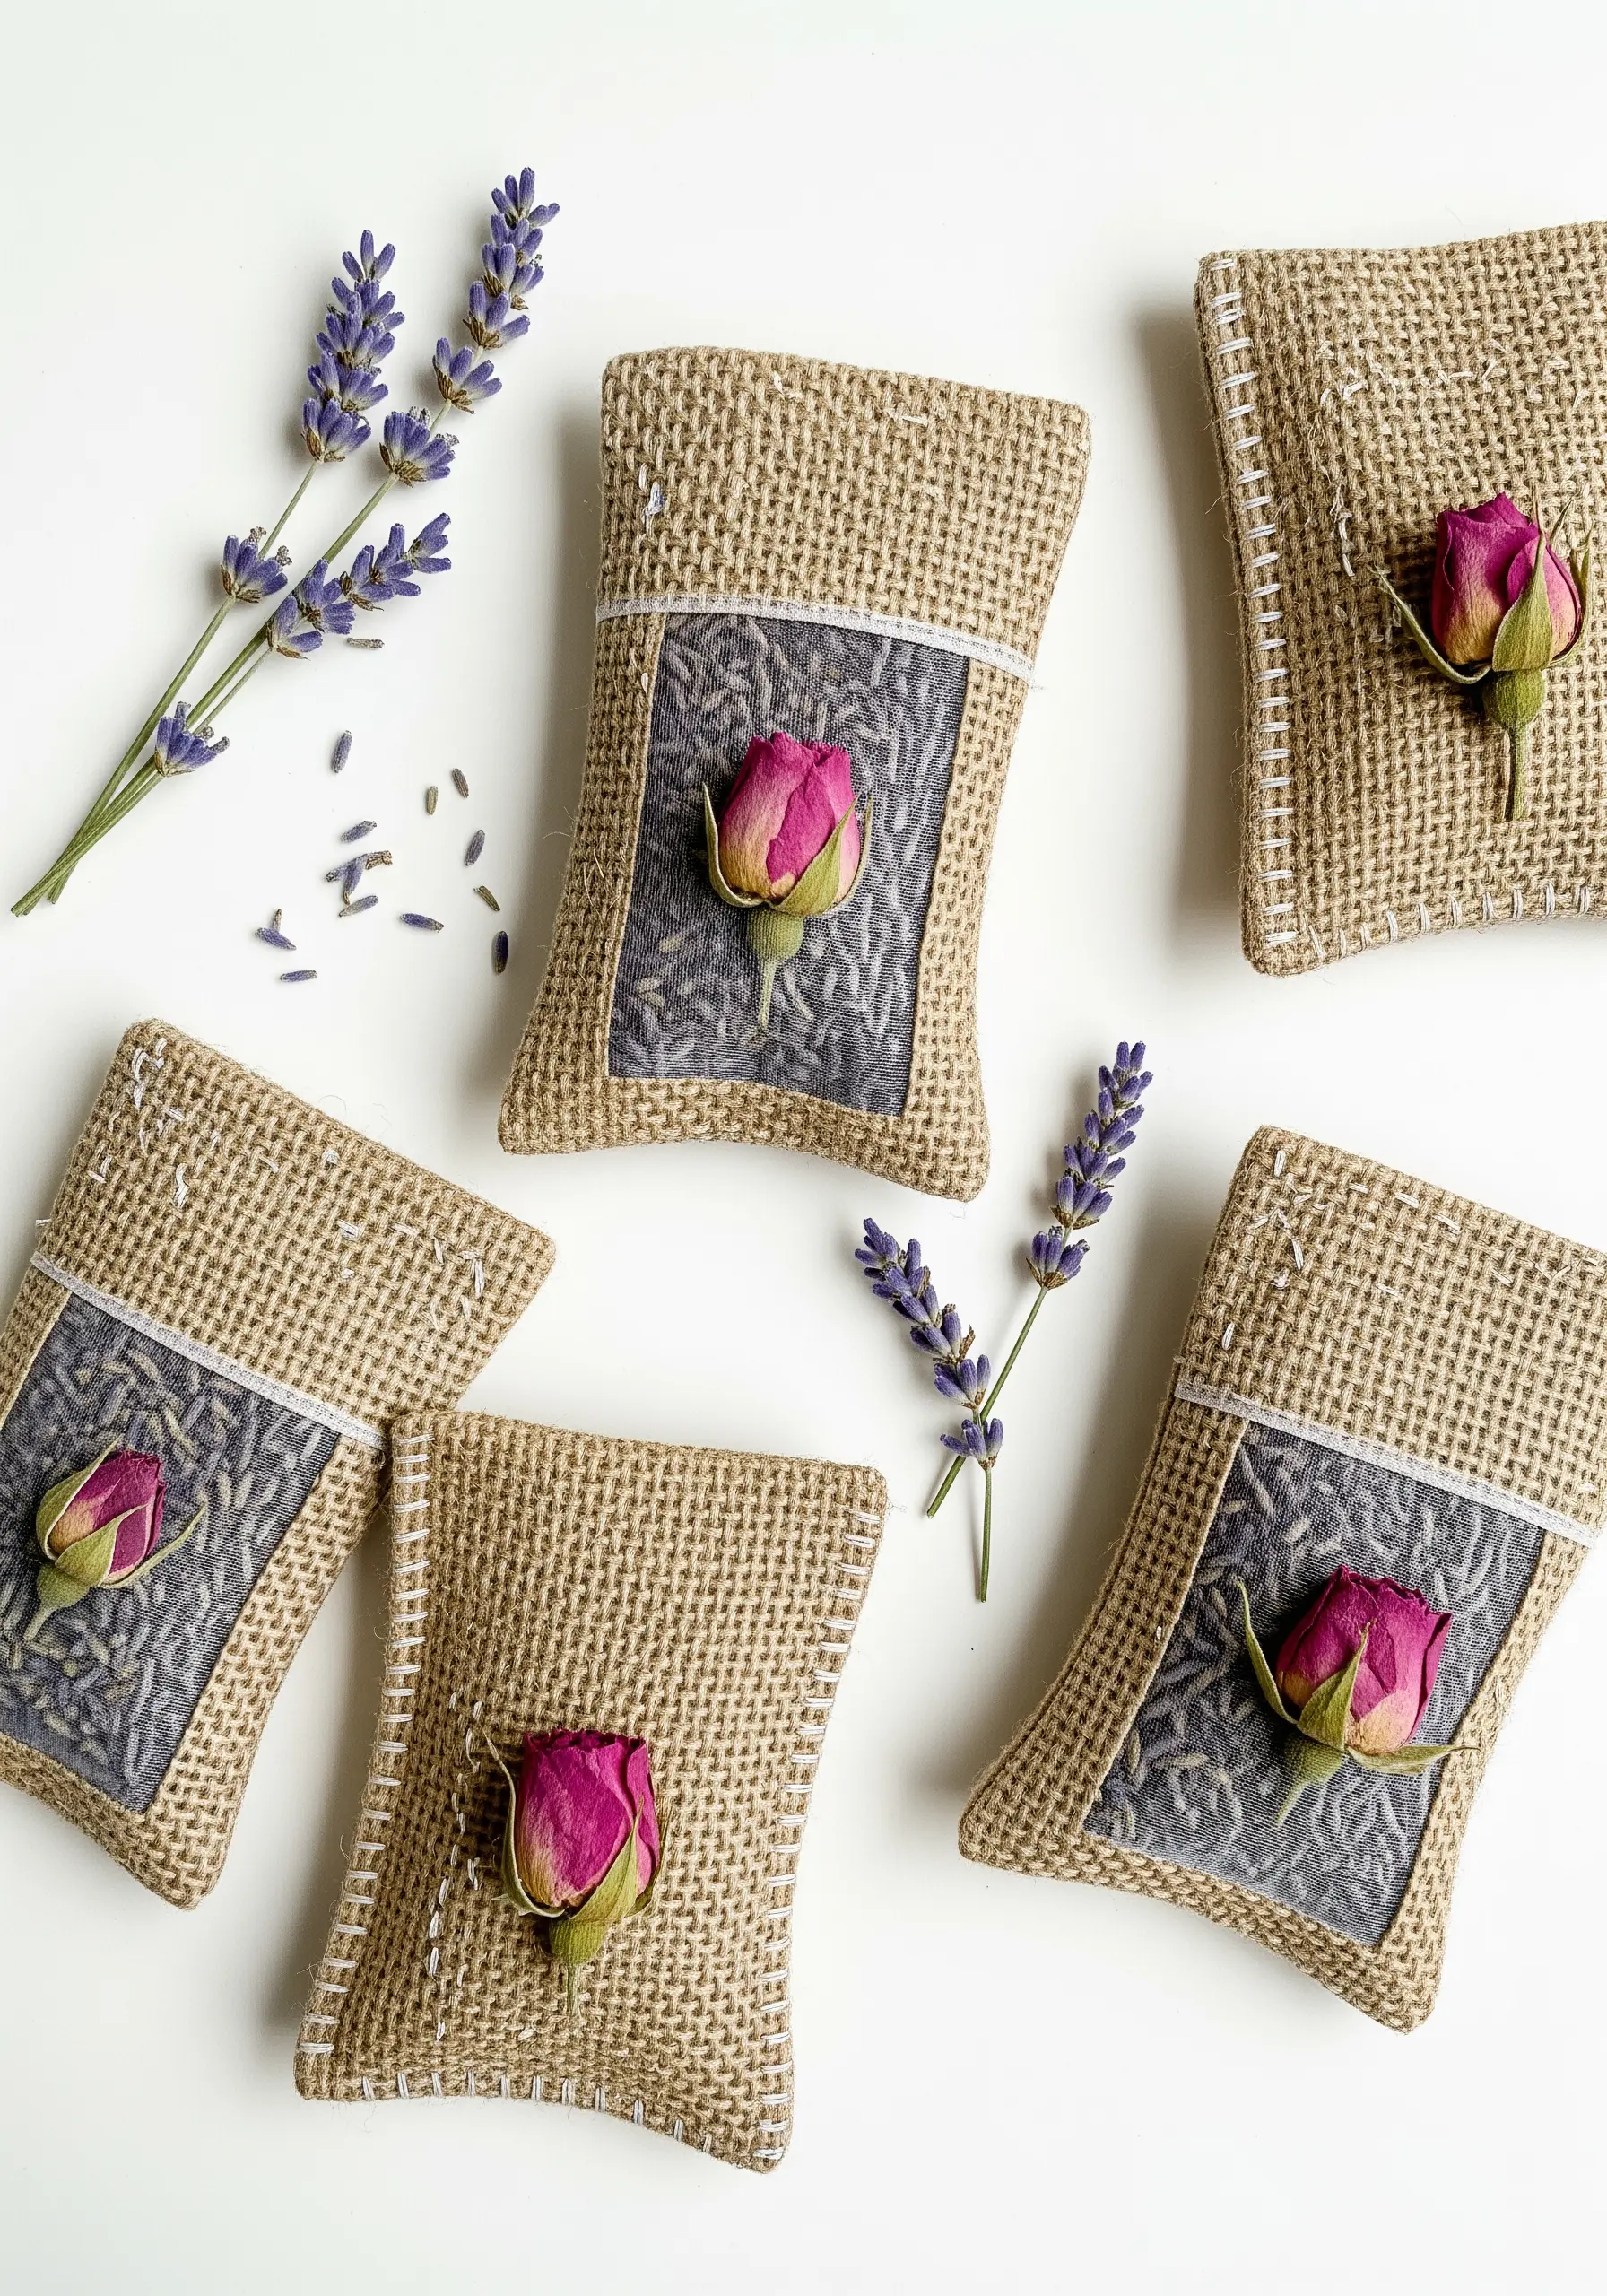
Incorporate a window of sheer fabric to offer a glimpse of the contents within your sachets.
Cut a small opening in the burlap and stitch a piece of tulle or organza behind it before sewing the sachet together.
Use a simple, sturdy running stitch in a contrasting color like white to frame the window and add a rustic, handcrafted finish.
A single pressed rosebud secured inside the window becomes a beautiful focal point.
9. Stitching on Light
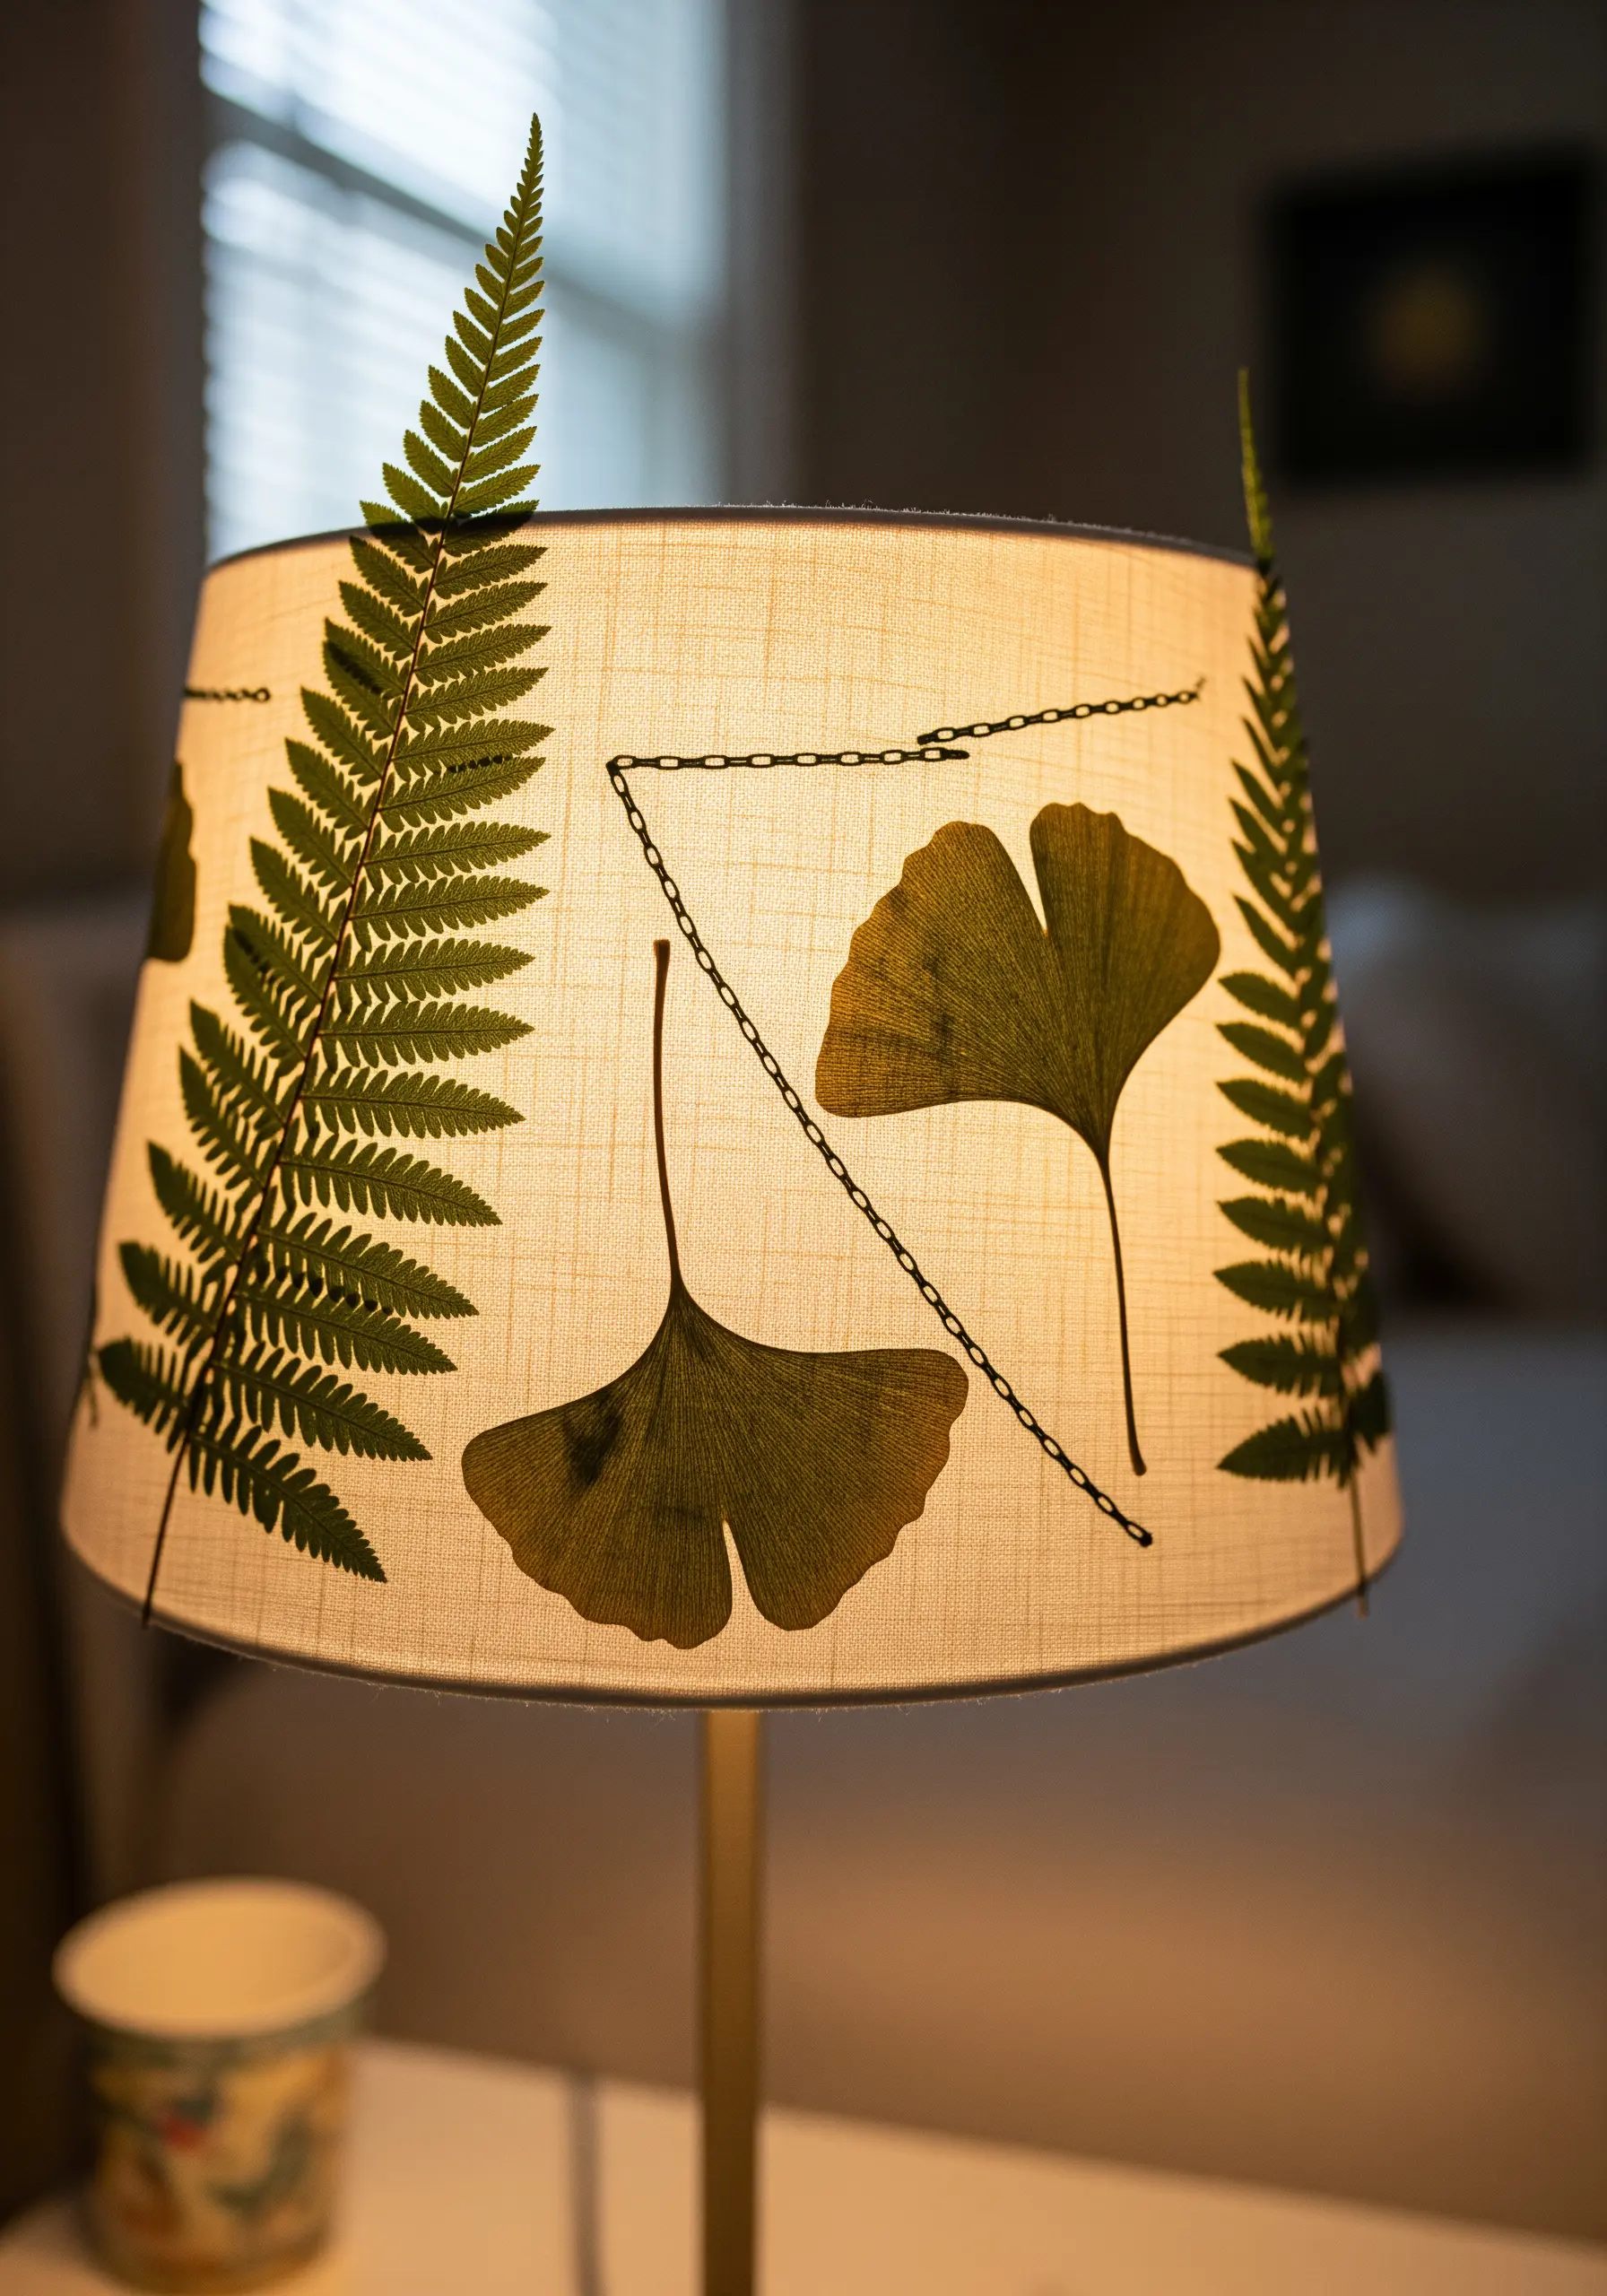
Add a subtle botanical touch to a plain lampshade by stitching pressed leaves directly onto the surface.
Use a delicate chain stitch to create a decorative line that connects the botanicals, adding a graphic element to the organic shapes.
Choose thin leaves like ferns and ginkgo that will become beautifully silhouetted when the lamp is turned on.
To avoid puckering, use a sharp, fine needle and keep your stitch tension loose.
10. The Hand-Stitched Border
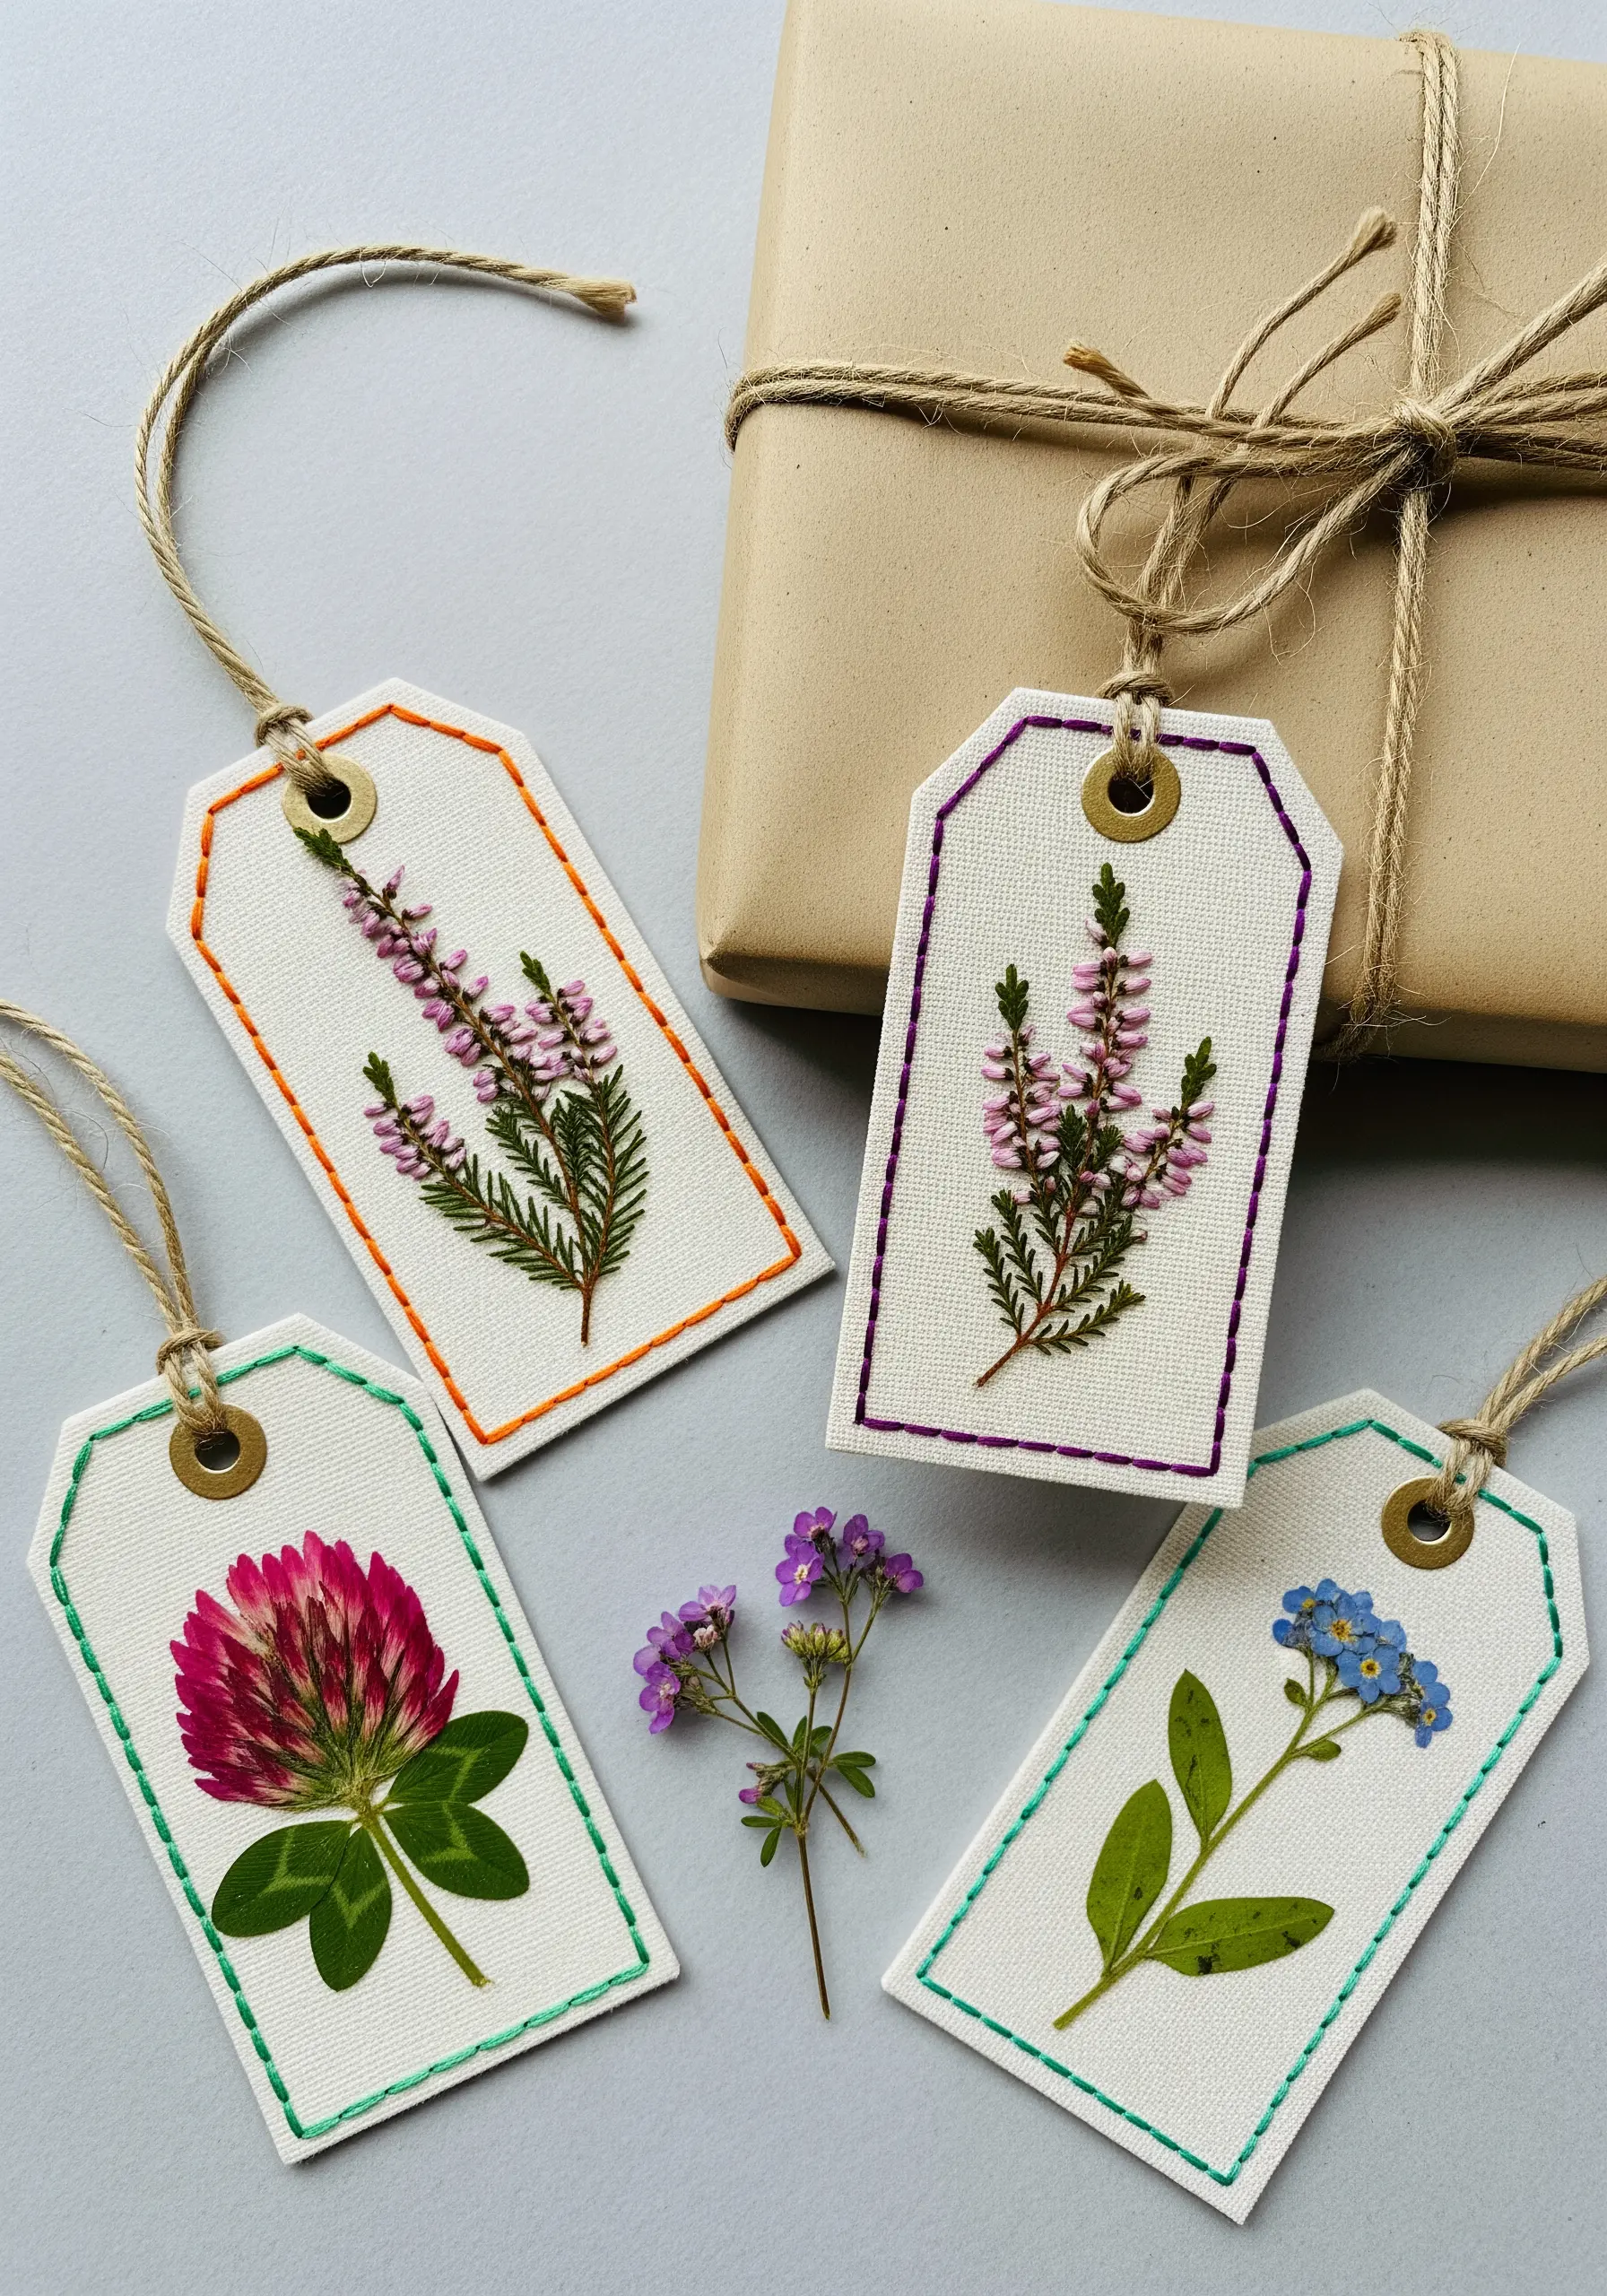
Transform simple cardstock tags into miniature works of art with a stitched border.
A basic running stitch in a contrasting color is all you need to create a clean, finished frame for your pressed wildflower.
Pierce the holes beforehand with a needle to ensure even spacing and prevent the paper from bending.
This thoughtful detail elevates a simple gift tag into a keepsake.
11. A Garland of Botanical Moments
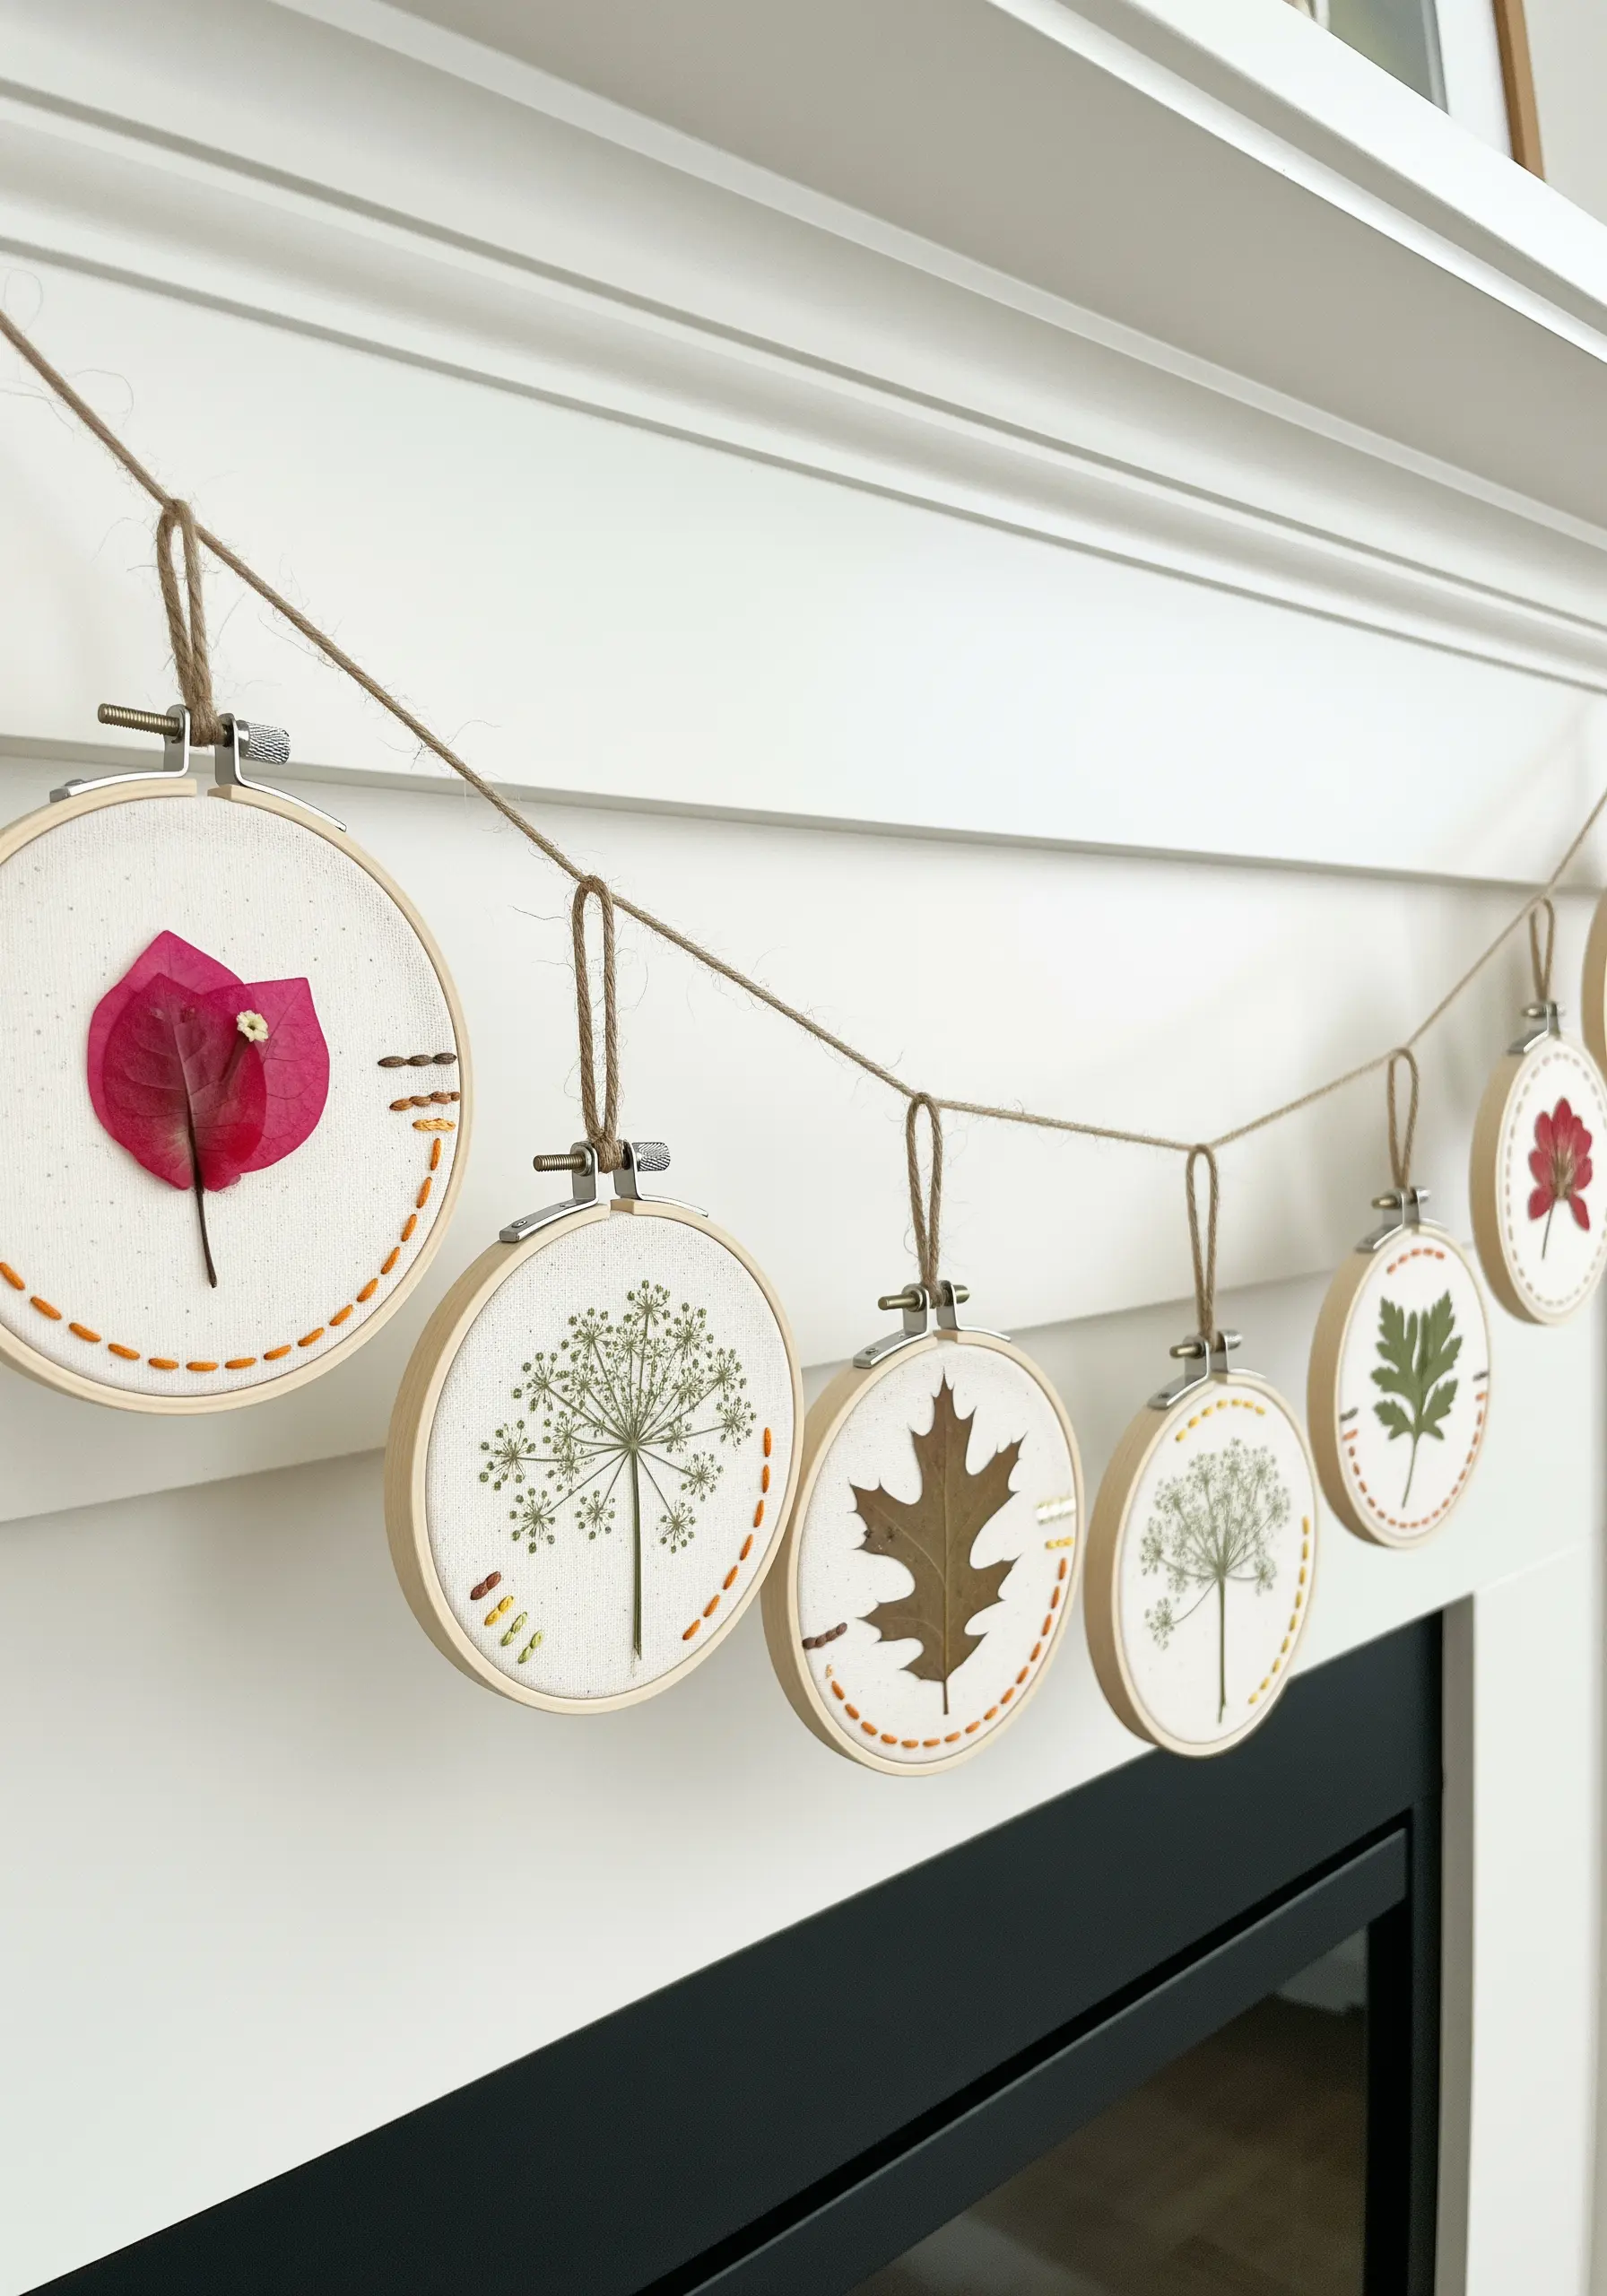
Create a cohesive garland by focusing on a single botanical element in each mini-hoop.
Unify the collection with a consistent, minimalist embroidery motif, like the simple running stitch accents seen here.
This repetition creates a calming visual rhythm and allows the unique shape of each leaf and flower to stand out.
It’s a beautiful way to create holiday-themed string art patterns to embroider for Christmas, Easter, & fall decor using natural elements.
12. Sculpting with Thread
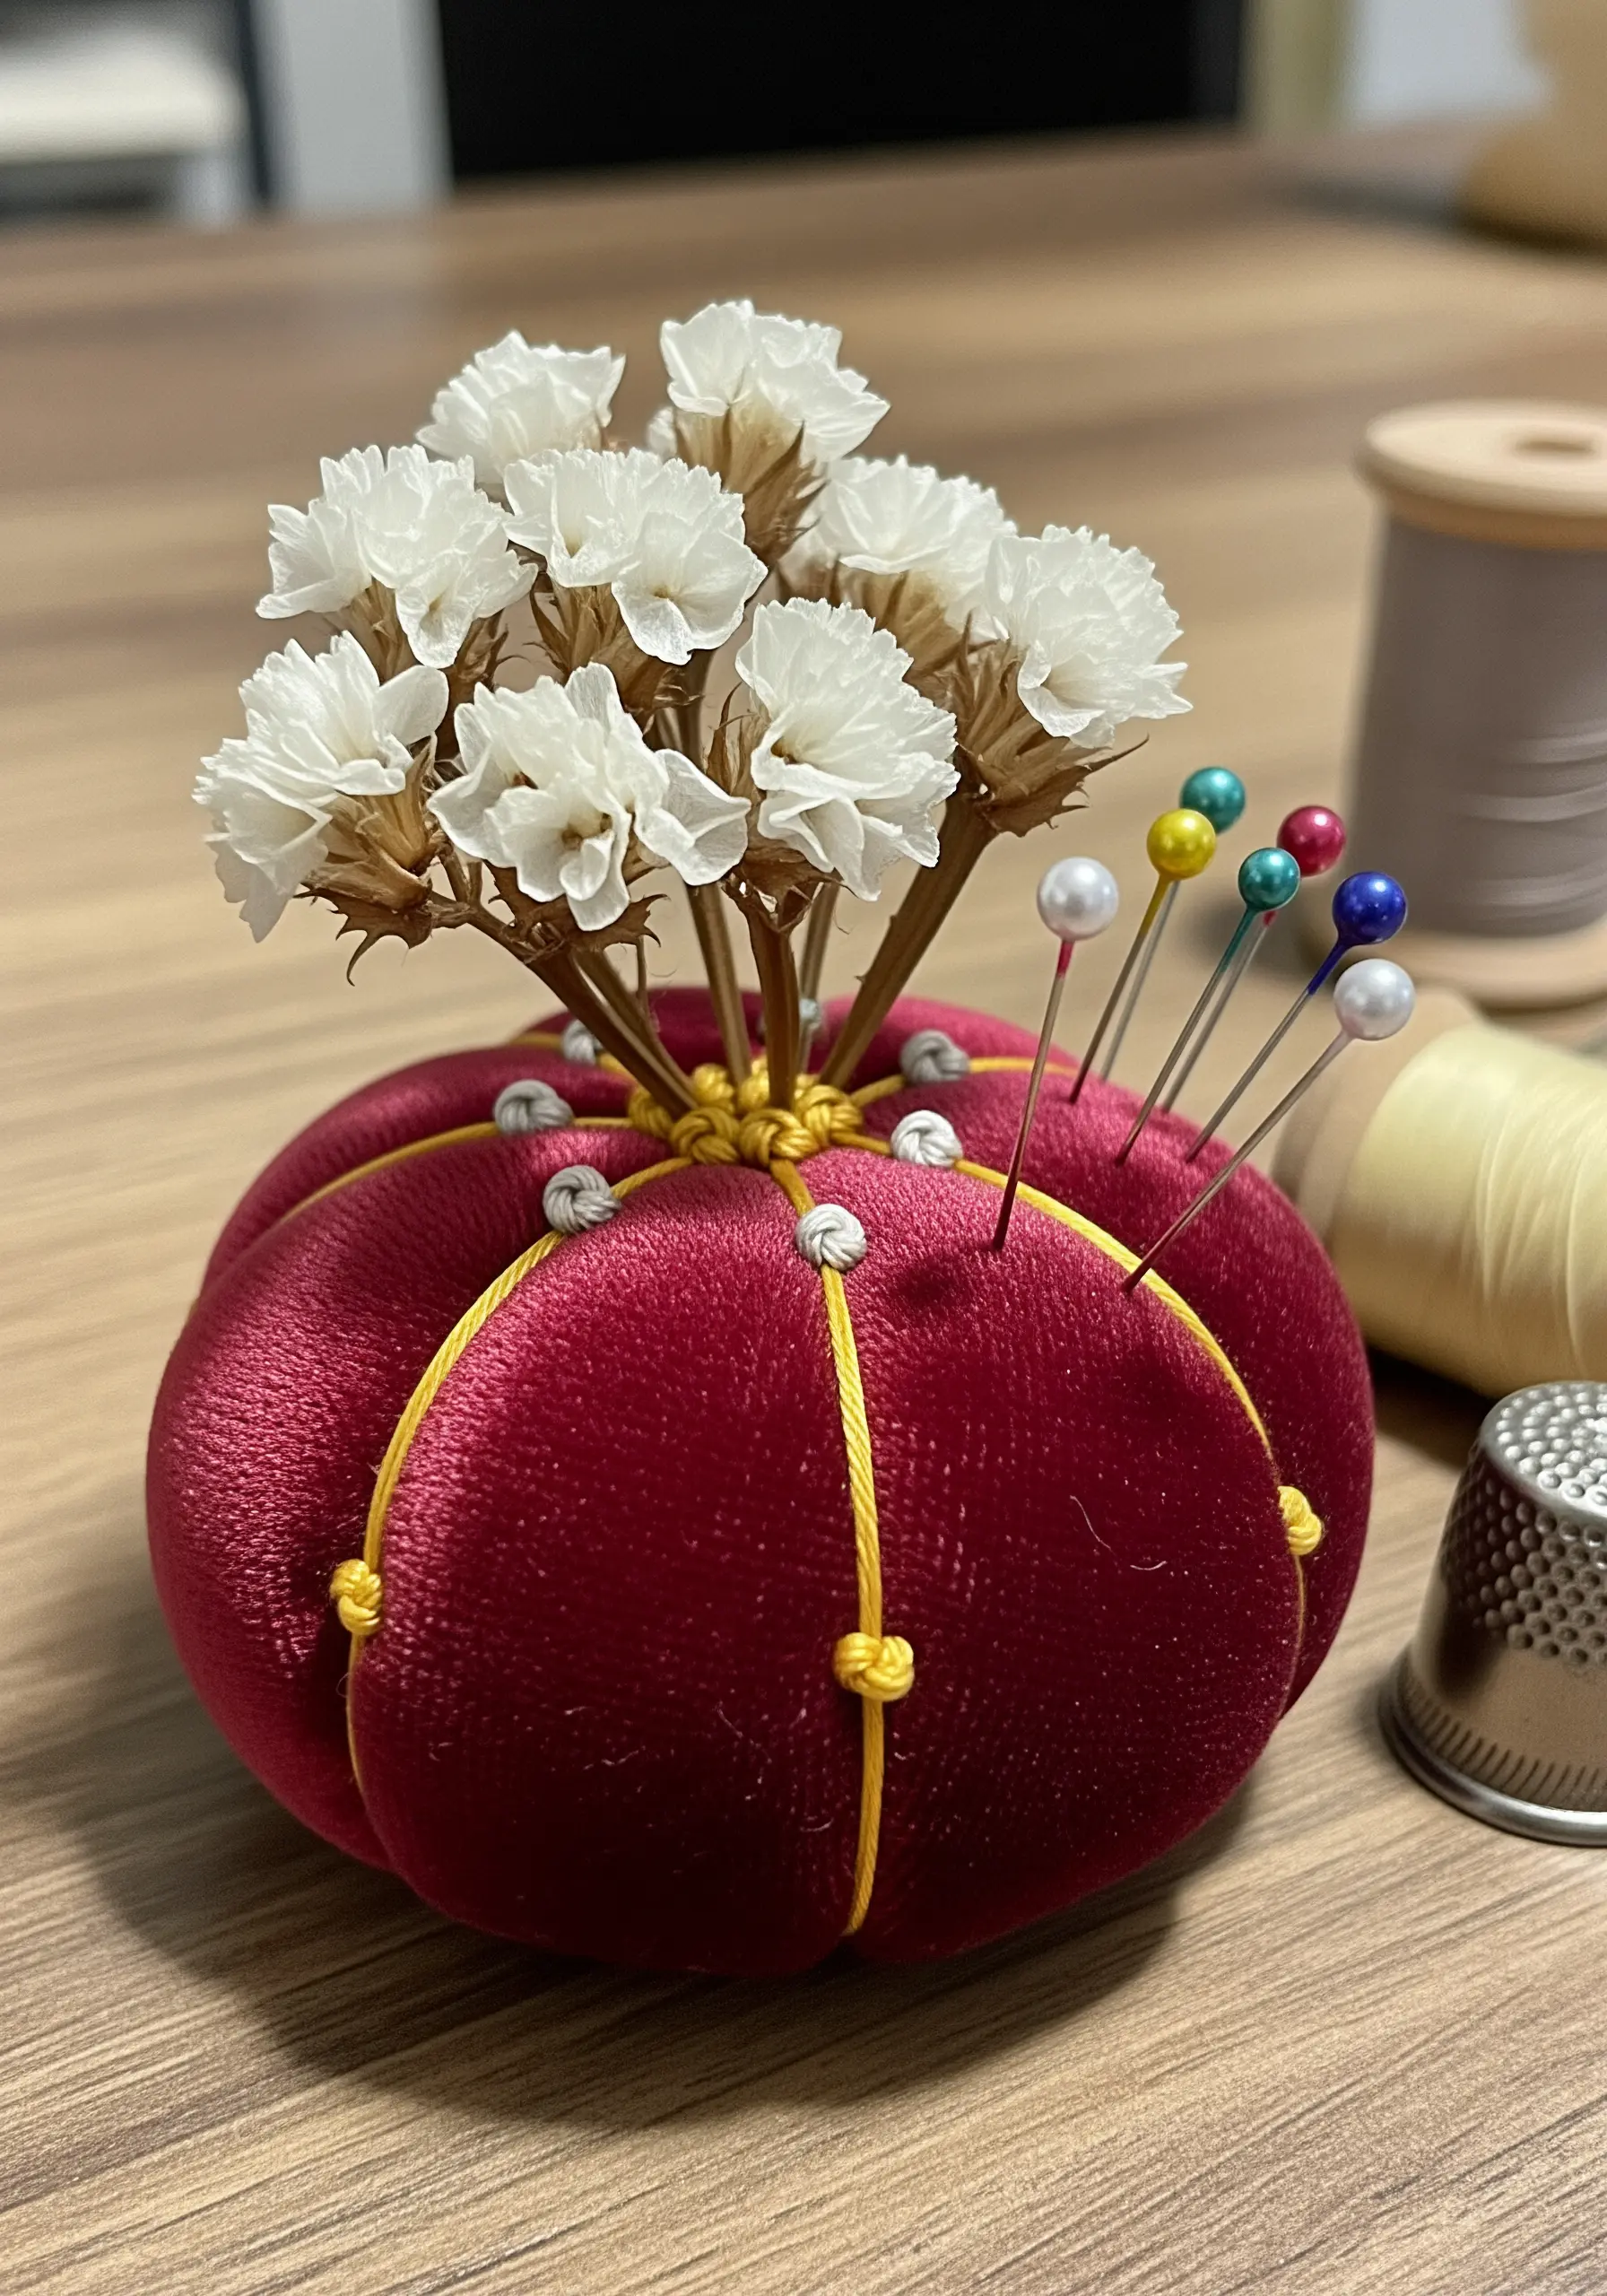
Evoke the image of a flower without using a real one by sculpting fabric with thread.
This pincushion uses strong thread pulled through the center and wrapped around the outside to create “petal” segments from the plush velvet.
The contrasting yellow thread also mimics the stamen of a flower, with French knots at each intersection adding detail.
This is a wonderful exercise in using thread as a structural, rather than purely decorative, element.
13. Illuminated Petals
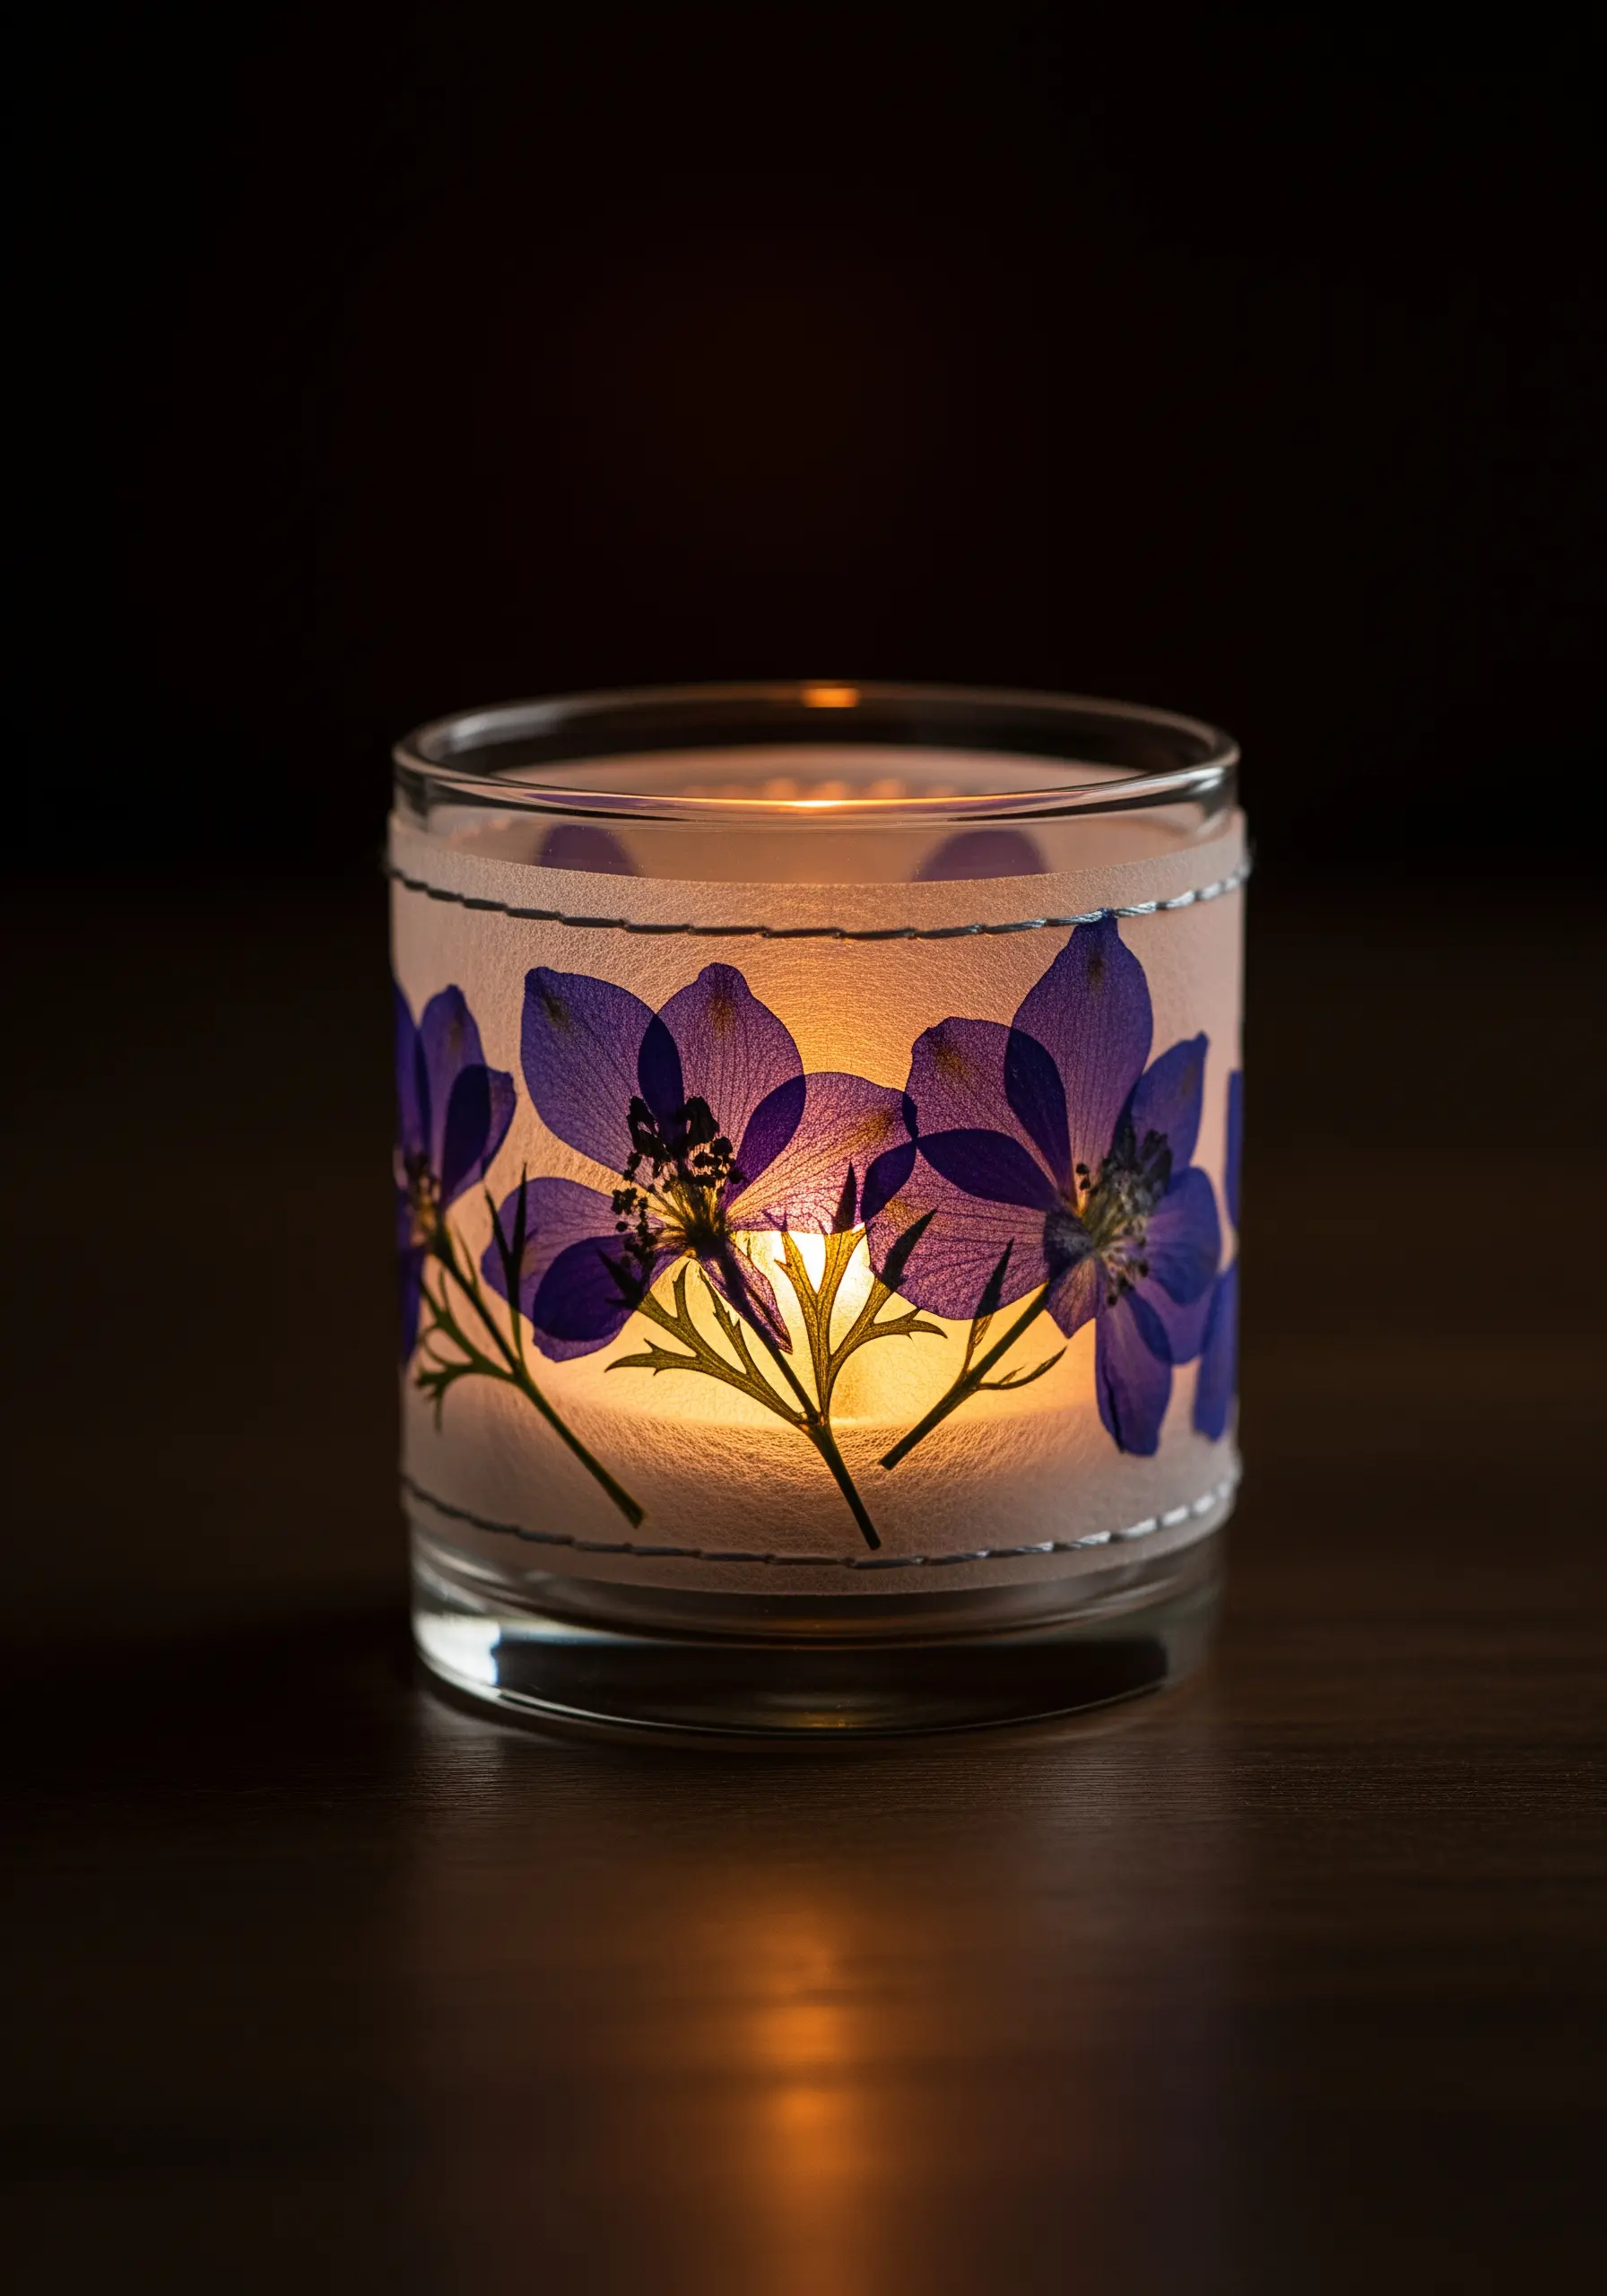
Wrap a simple glass candle holder with vellum paper to create a soft, diffused glow.
Secure your pressed flowers to the vellum, then join the ends with a simple whipstitch using a neutral-colored thread.
The thread adds a subtle handmade detail while the vellum protects the flowers from the flame.
When lit, the candle illuminates the delicate, paper-thin structure of the petals beautifully.
14. Adding Texture to Printed Botanicals
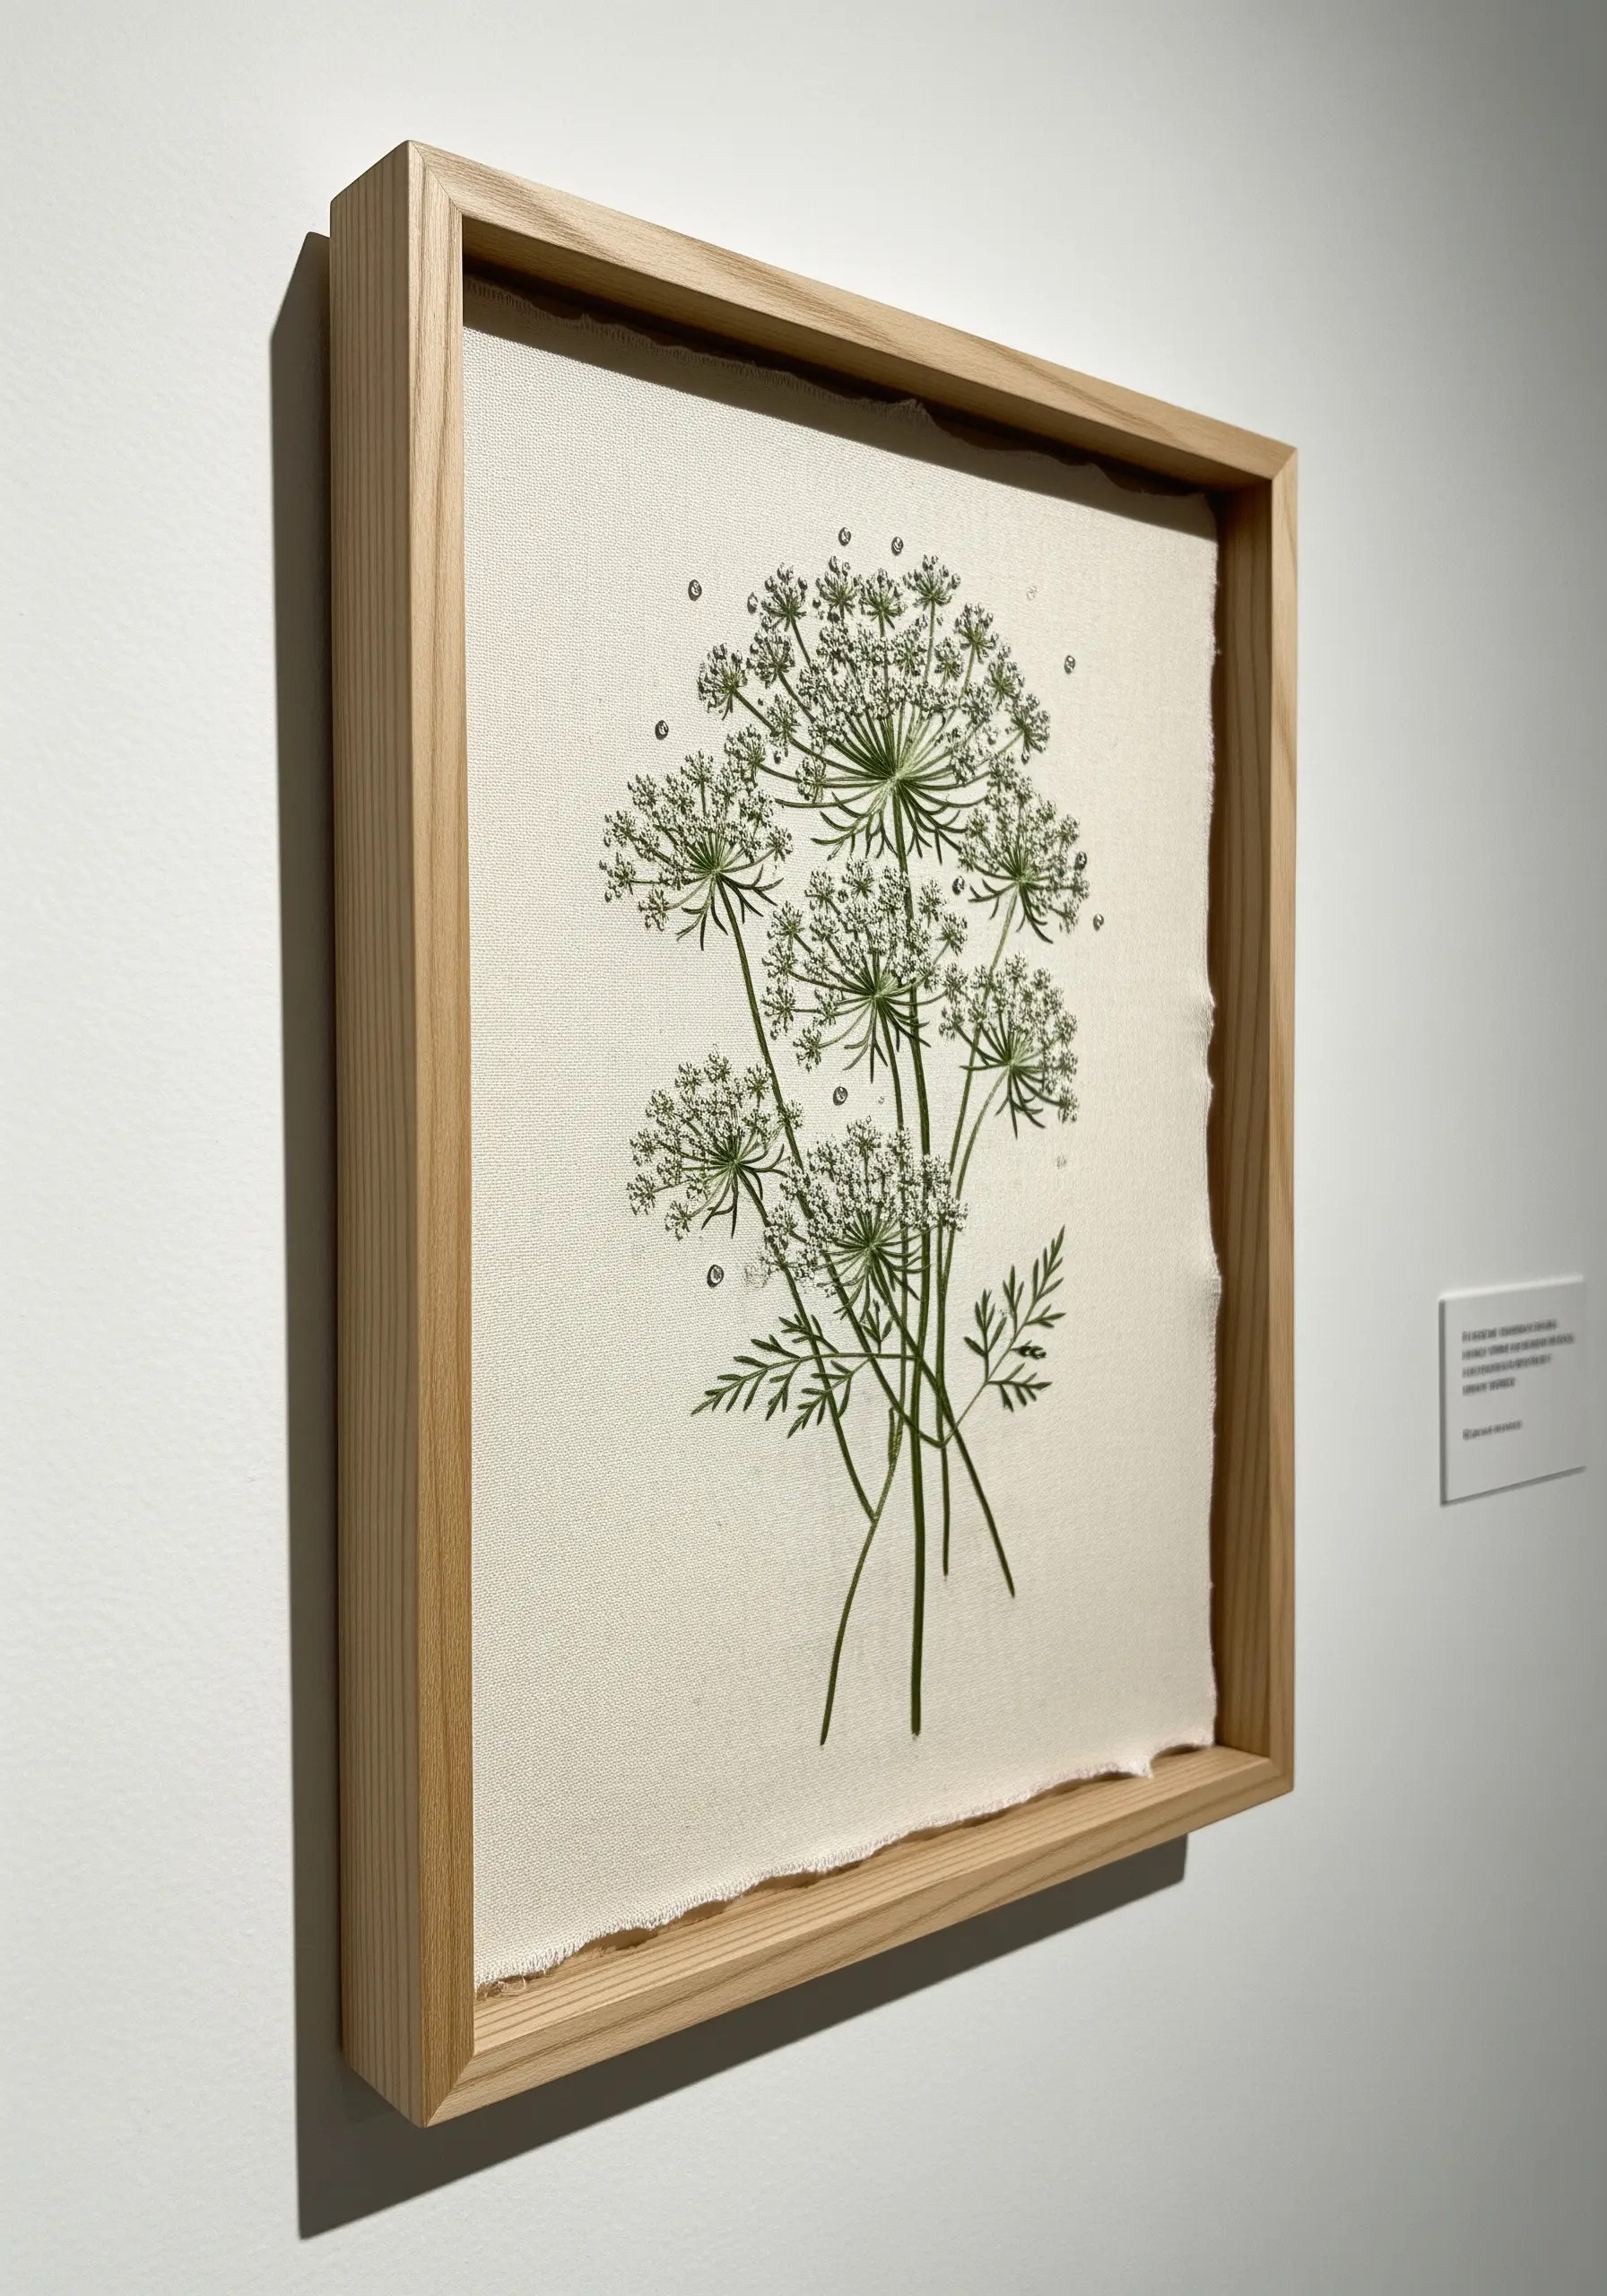
Add dimension to a botanical print by embroidering tiny details directly onto the fabric.
Here, small white French knots are scattered across the Queen Anne’s Lace print, mimicking the tiny florets and adding a subtle, tactile texture.
This technique draws the viewer closer and blends the line between printed and stitched art.
It’s an easy way to personalize existing artwork and make it uniquely yours.
15. Delicate Stitching on a Small Scale
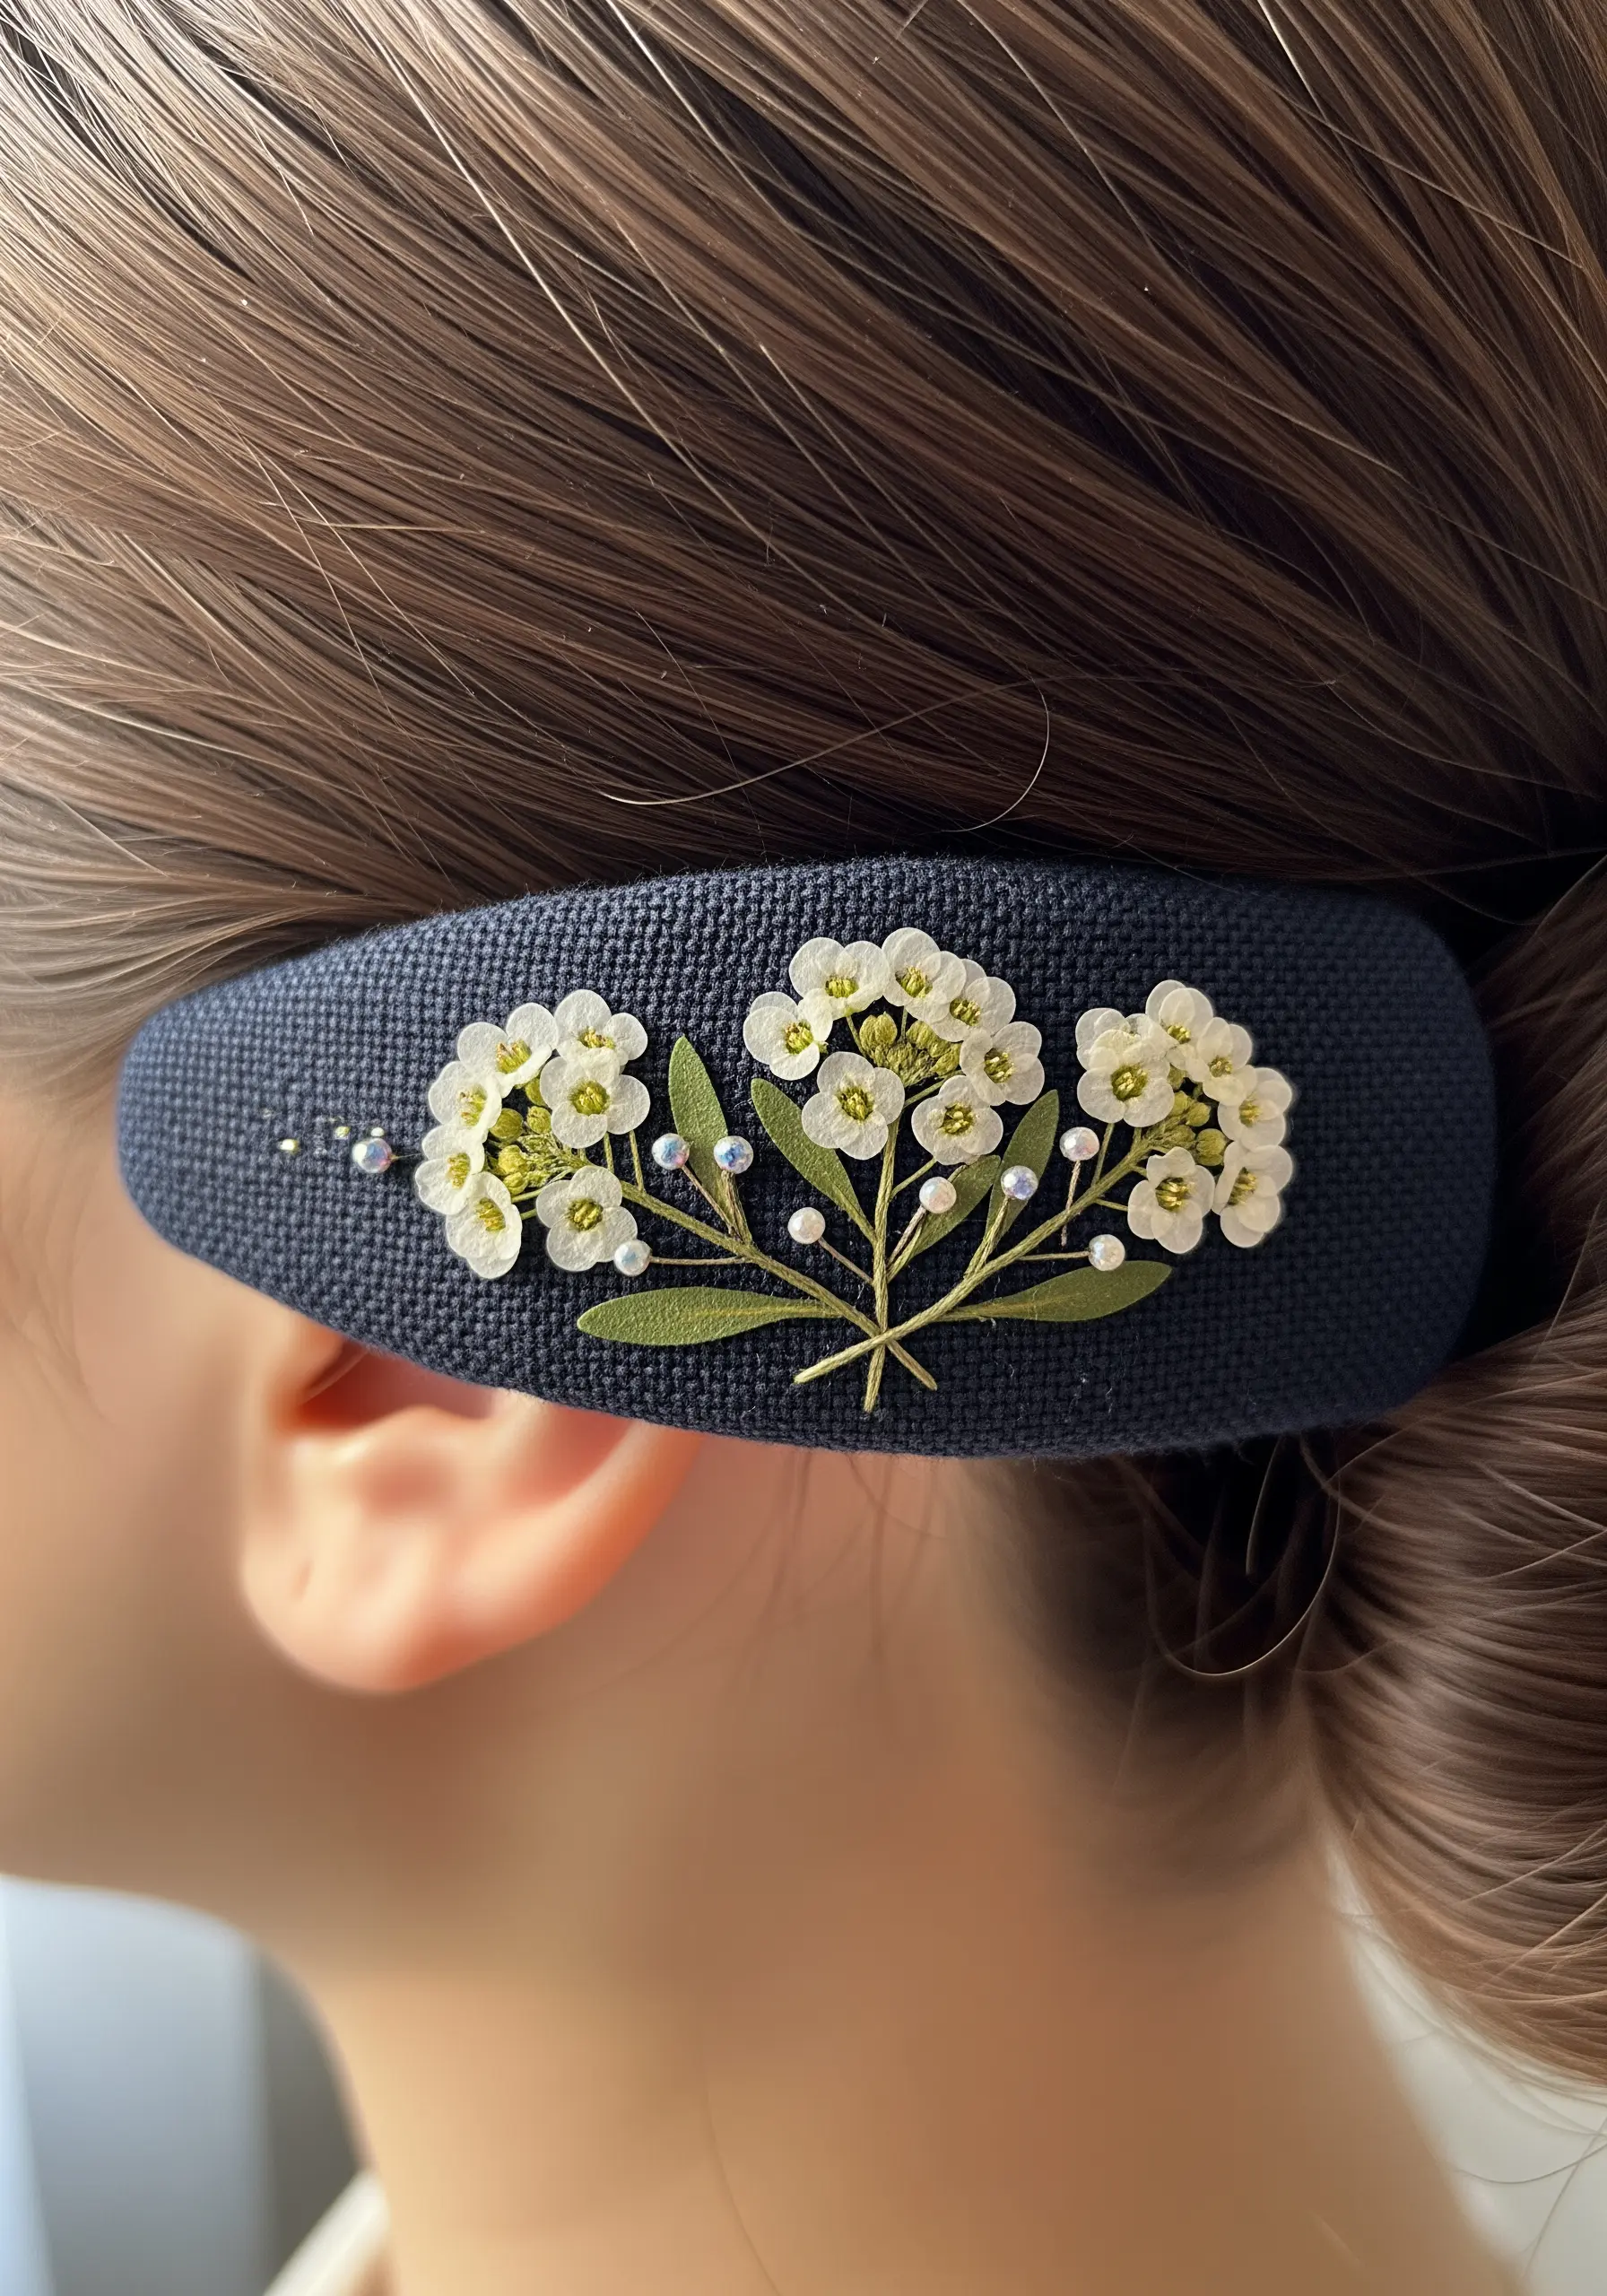
To create detailed work on a small scale, like this hair barrette, choose tiny flowers and even tinier stitches.
Secure the pressed Alyssum with discreet couching stitches over the stems, using a single strand of matching green thread.
Add a few strategically placed seed beads or French knots to simulate baby’s breath and add a touch of sparkle.
These tiny embroidery patterns that make your clothes look custom-made are perfect for wearable art.
16. A Petal-Filled Appliqué
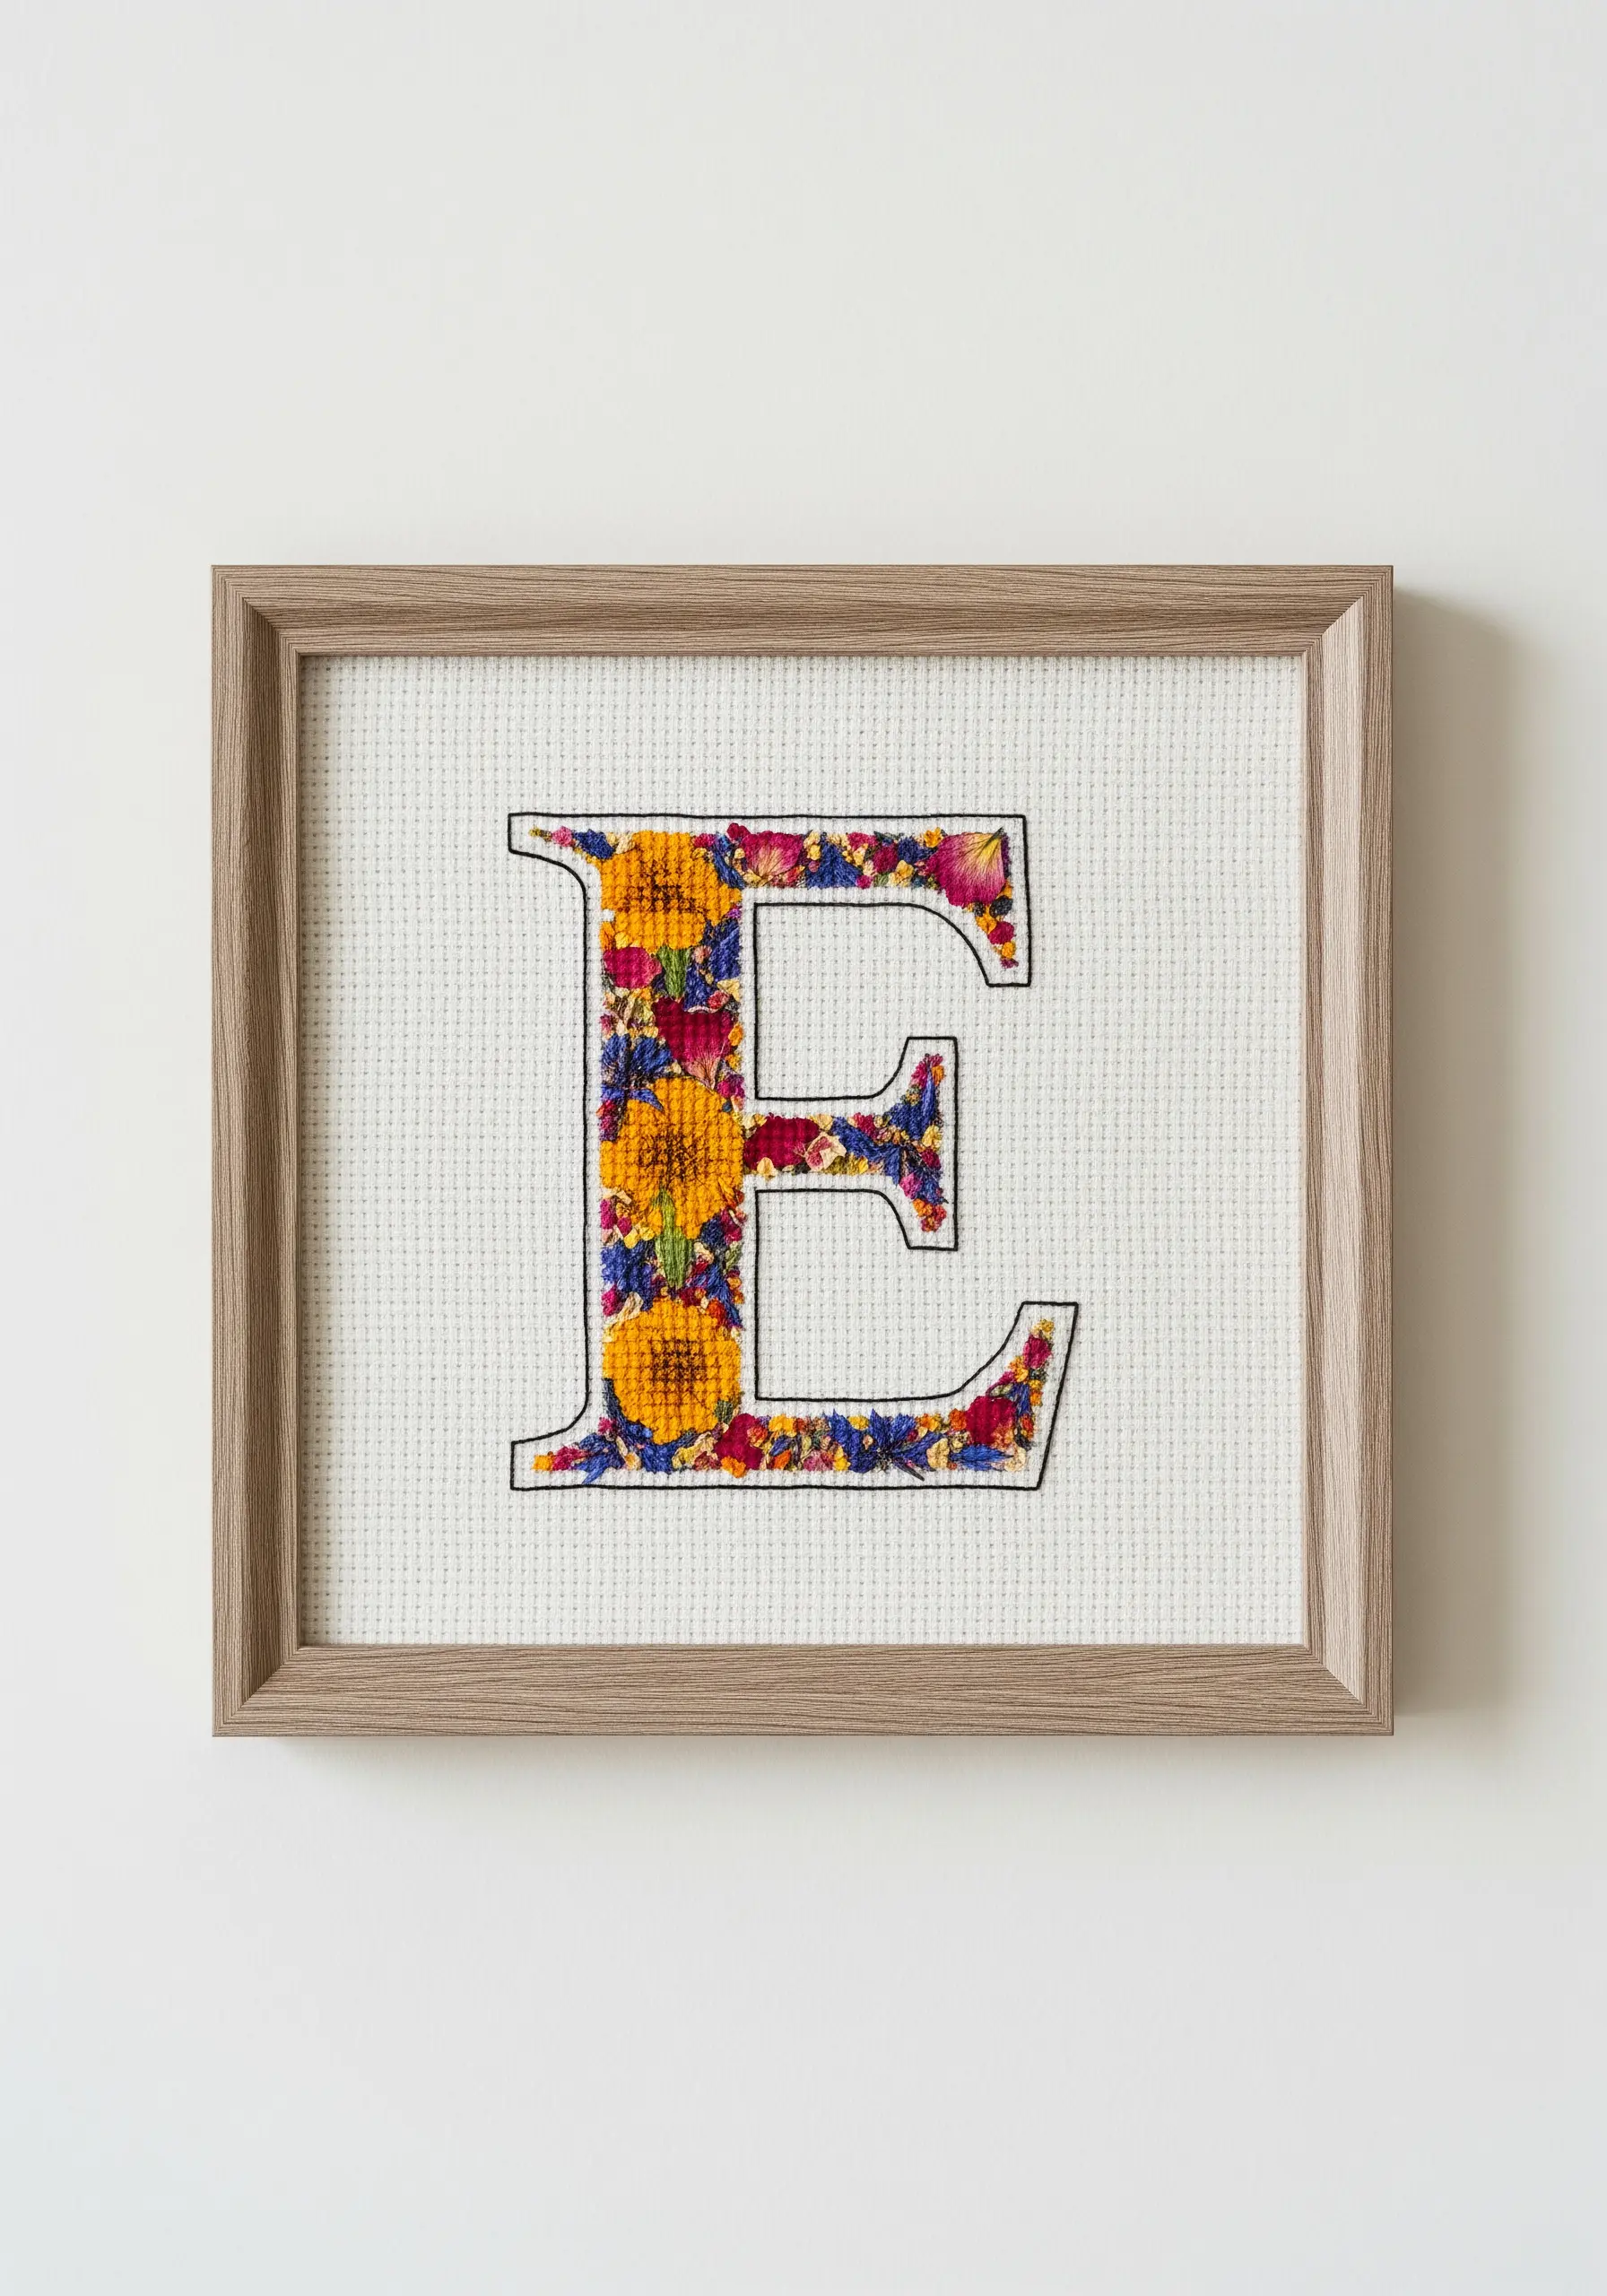
Create a stunning monogram by using pressed flower petals as a colorful fill.
Lightly trace your letter onto Aida cloth or even-weave fabric, fill the shape with a collage of colorful petals secured with a clear adhesive, then outline it with a bold backstitch in black thread.
The crisp, graphic outline provides a strong contrast to the soft, organic texture of the petals inside.
17. The Gentle Couching Stitch
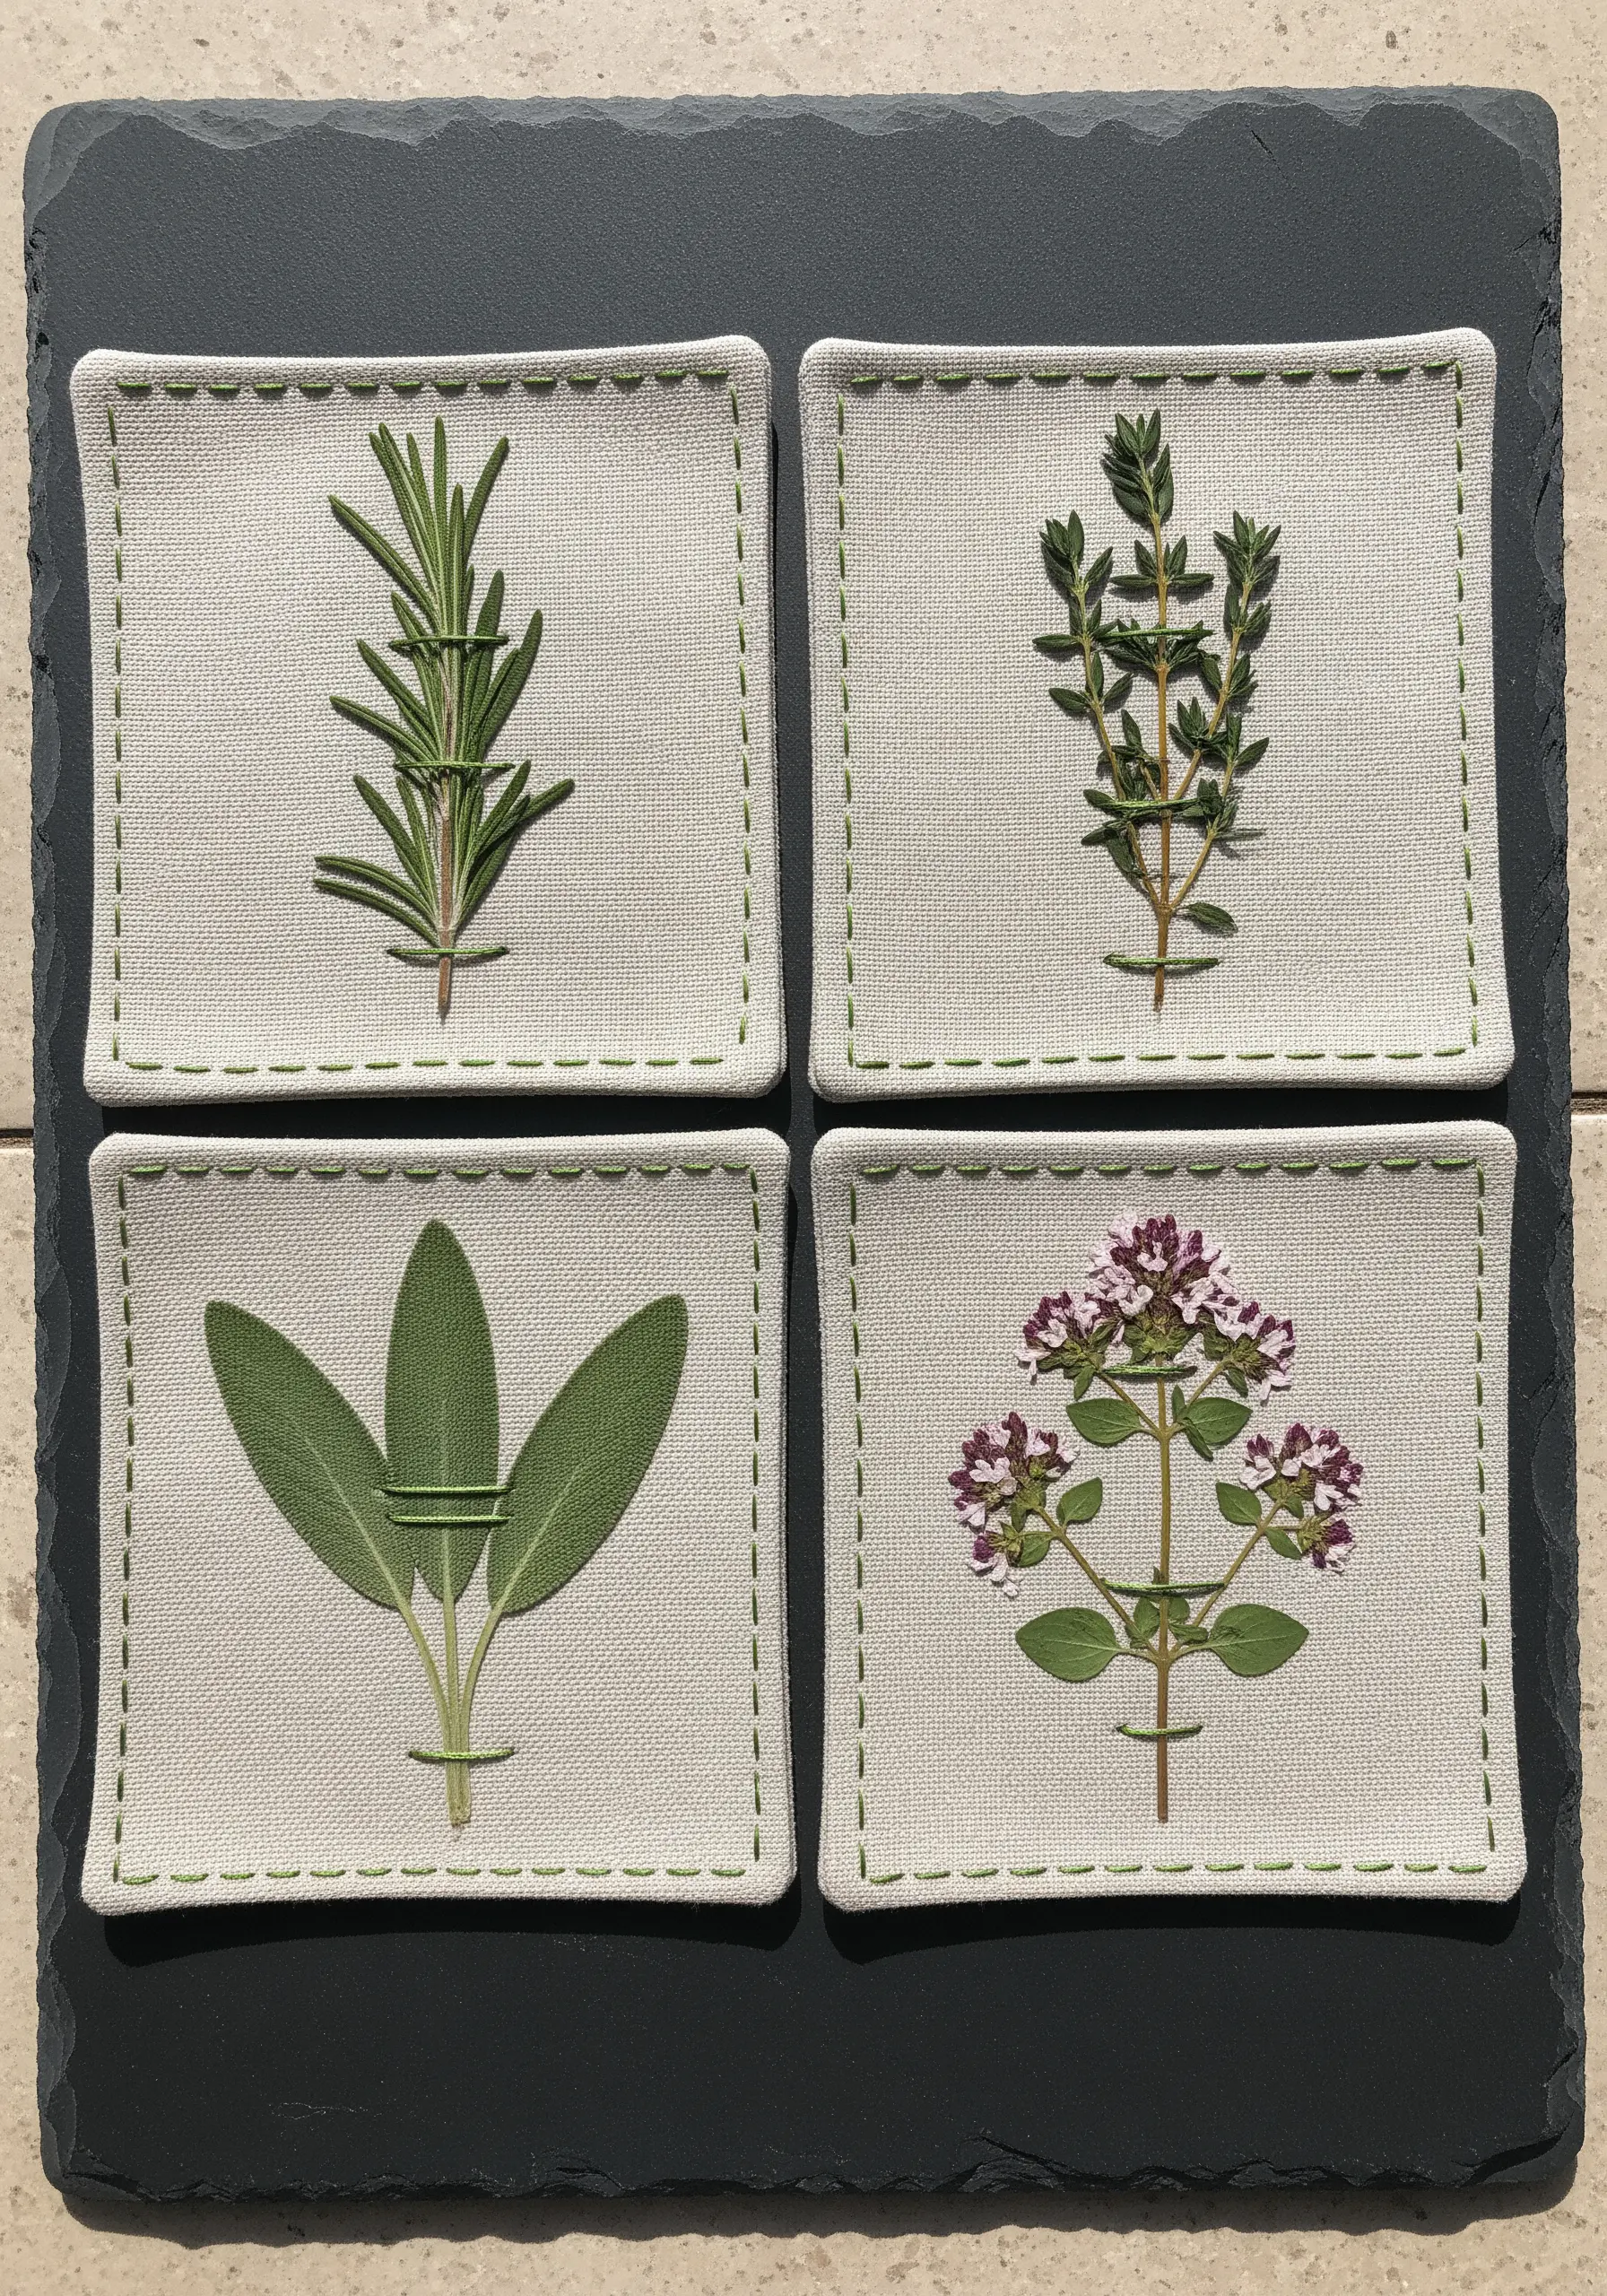
When attaching delicate herbs to functional items like coasters, use a securing stitch that is both gentle and effective.
Lay the pressed herb on the fabric and use a few wide, open couching stitches in a matching thread to hold the main stem in place.
This method secures the botanical without crushing its delicate leaves.
Finish the coaster with a simple running stitch border for a clean, utilitarian look.
18. Sketching with Needle and Thread
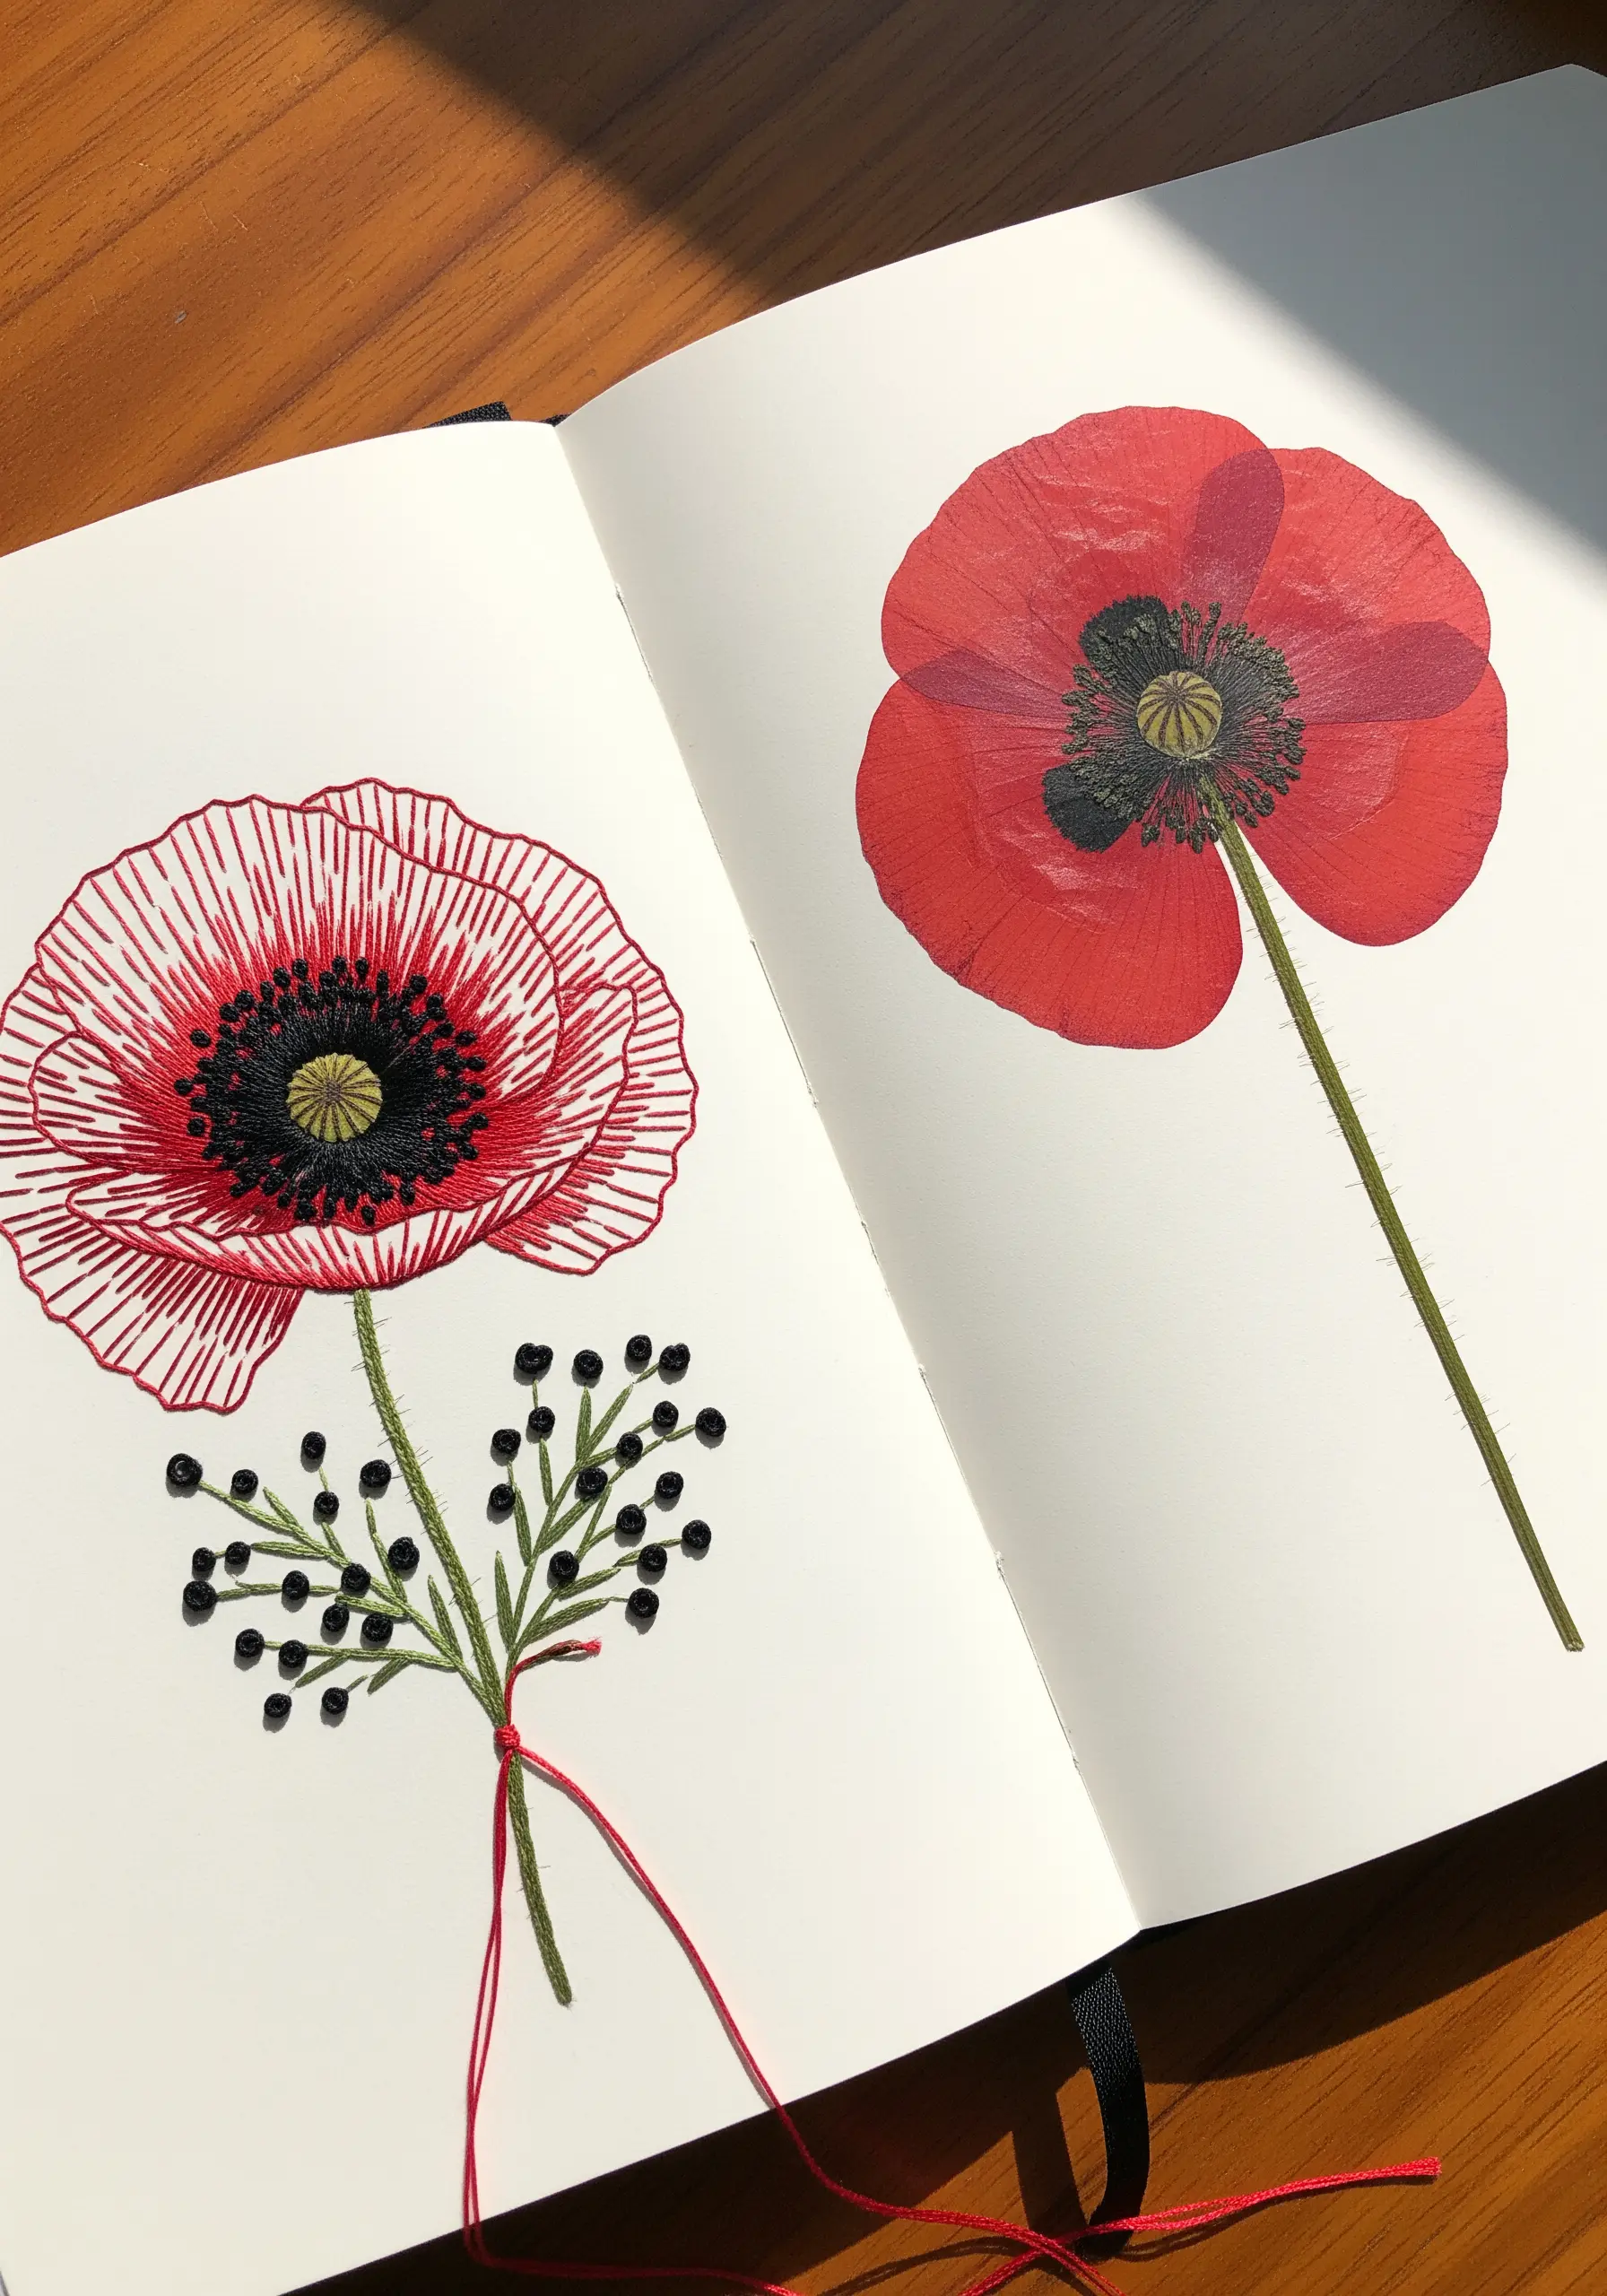
Use a real pressed flower as a direct reference for an embroidered interpretation.
Study the poppy’s delicate petal lines and replicate them with long, straight stitches radiating from a densely filled satin stitch center.
This side-by-side approach in a sketchbook is a fantastic exercise in observation, helping you translate natural forms into authentic botanical line art embroidery patterns.
19. Ethereal Window Silhouettes
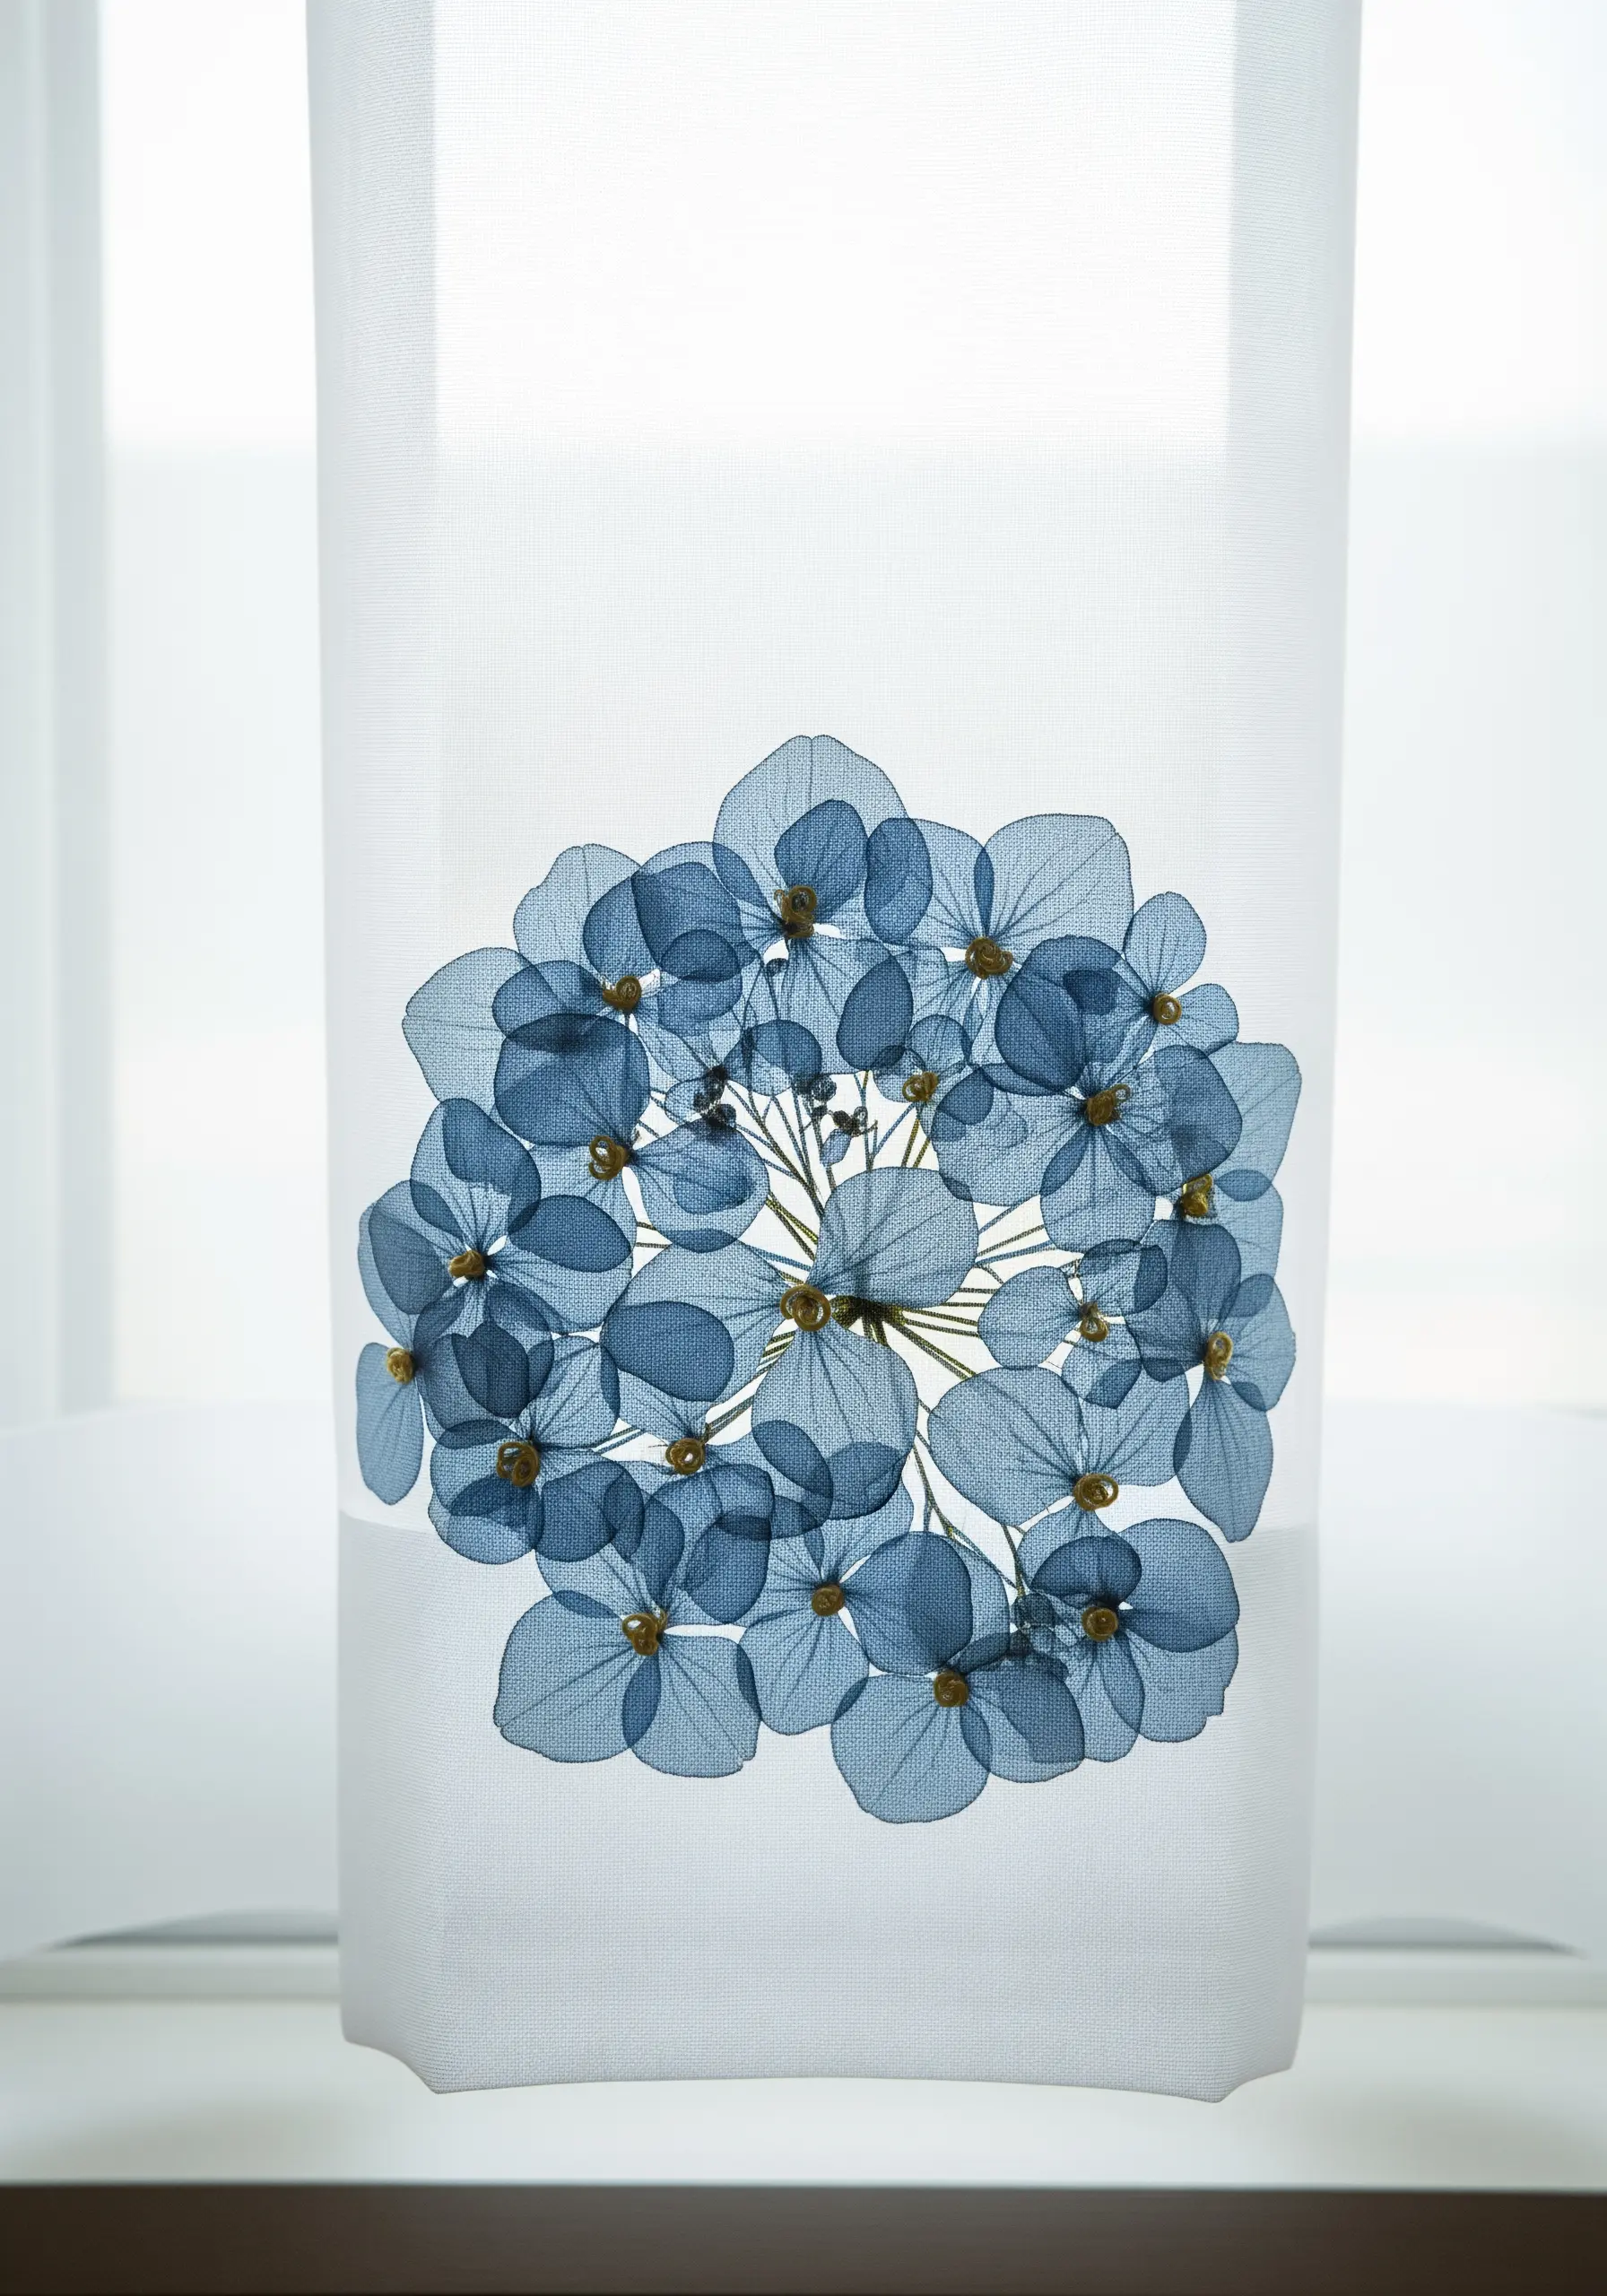
Make a dramatic statement by applying a large-scale pressed flower arrangement to a sheer curtain panel.
Here, translucent hydrangea petals are arranged to form a complete bloom, creating a magnificent focal point.
Secure each petal with a tiny, nearly invisible stitch or a dab of clear fabric glue.
The backlighting from the window enhances the delicate, layered quality of the petals, creating a stunning piece of ethereal art.
20. A Cosmic Background for Flora
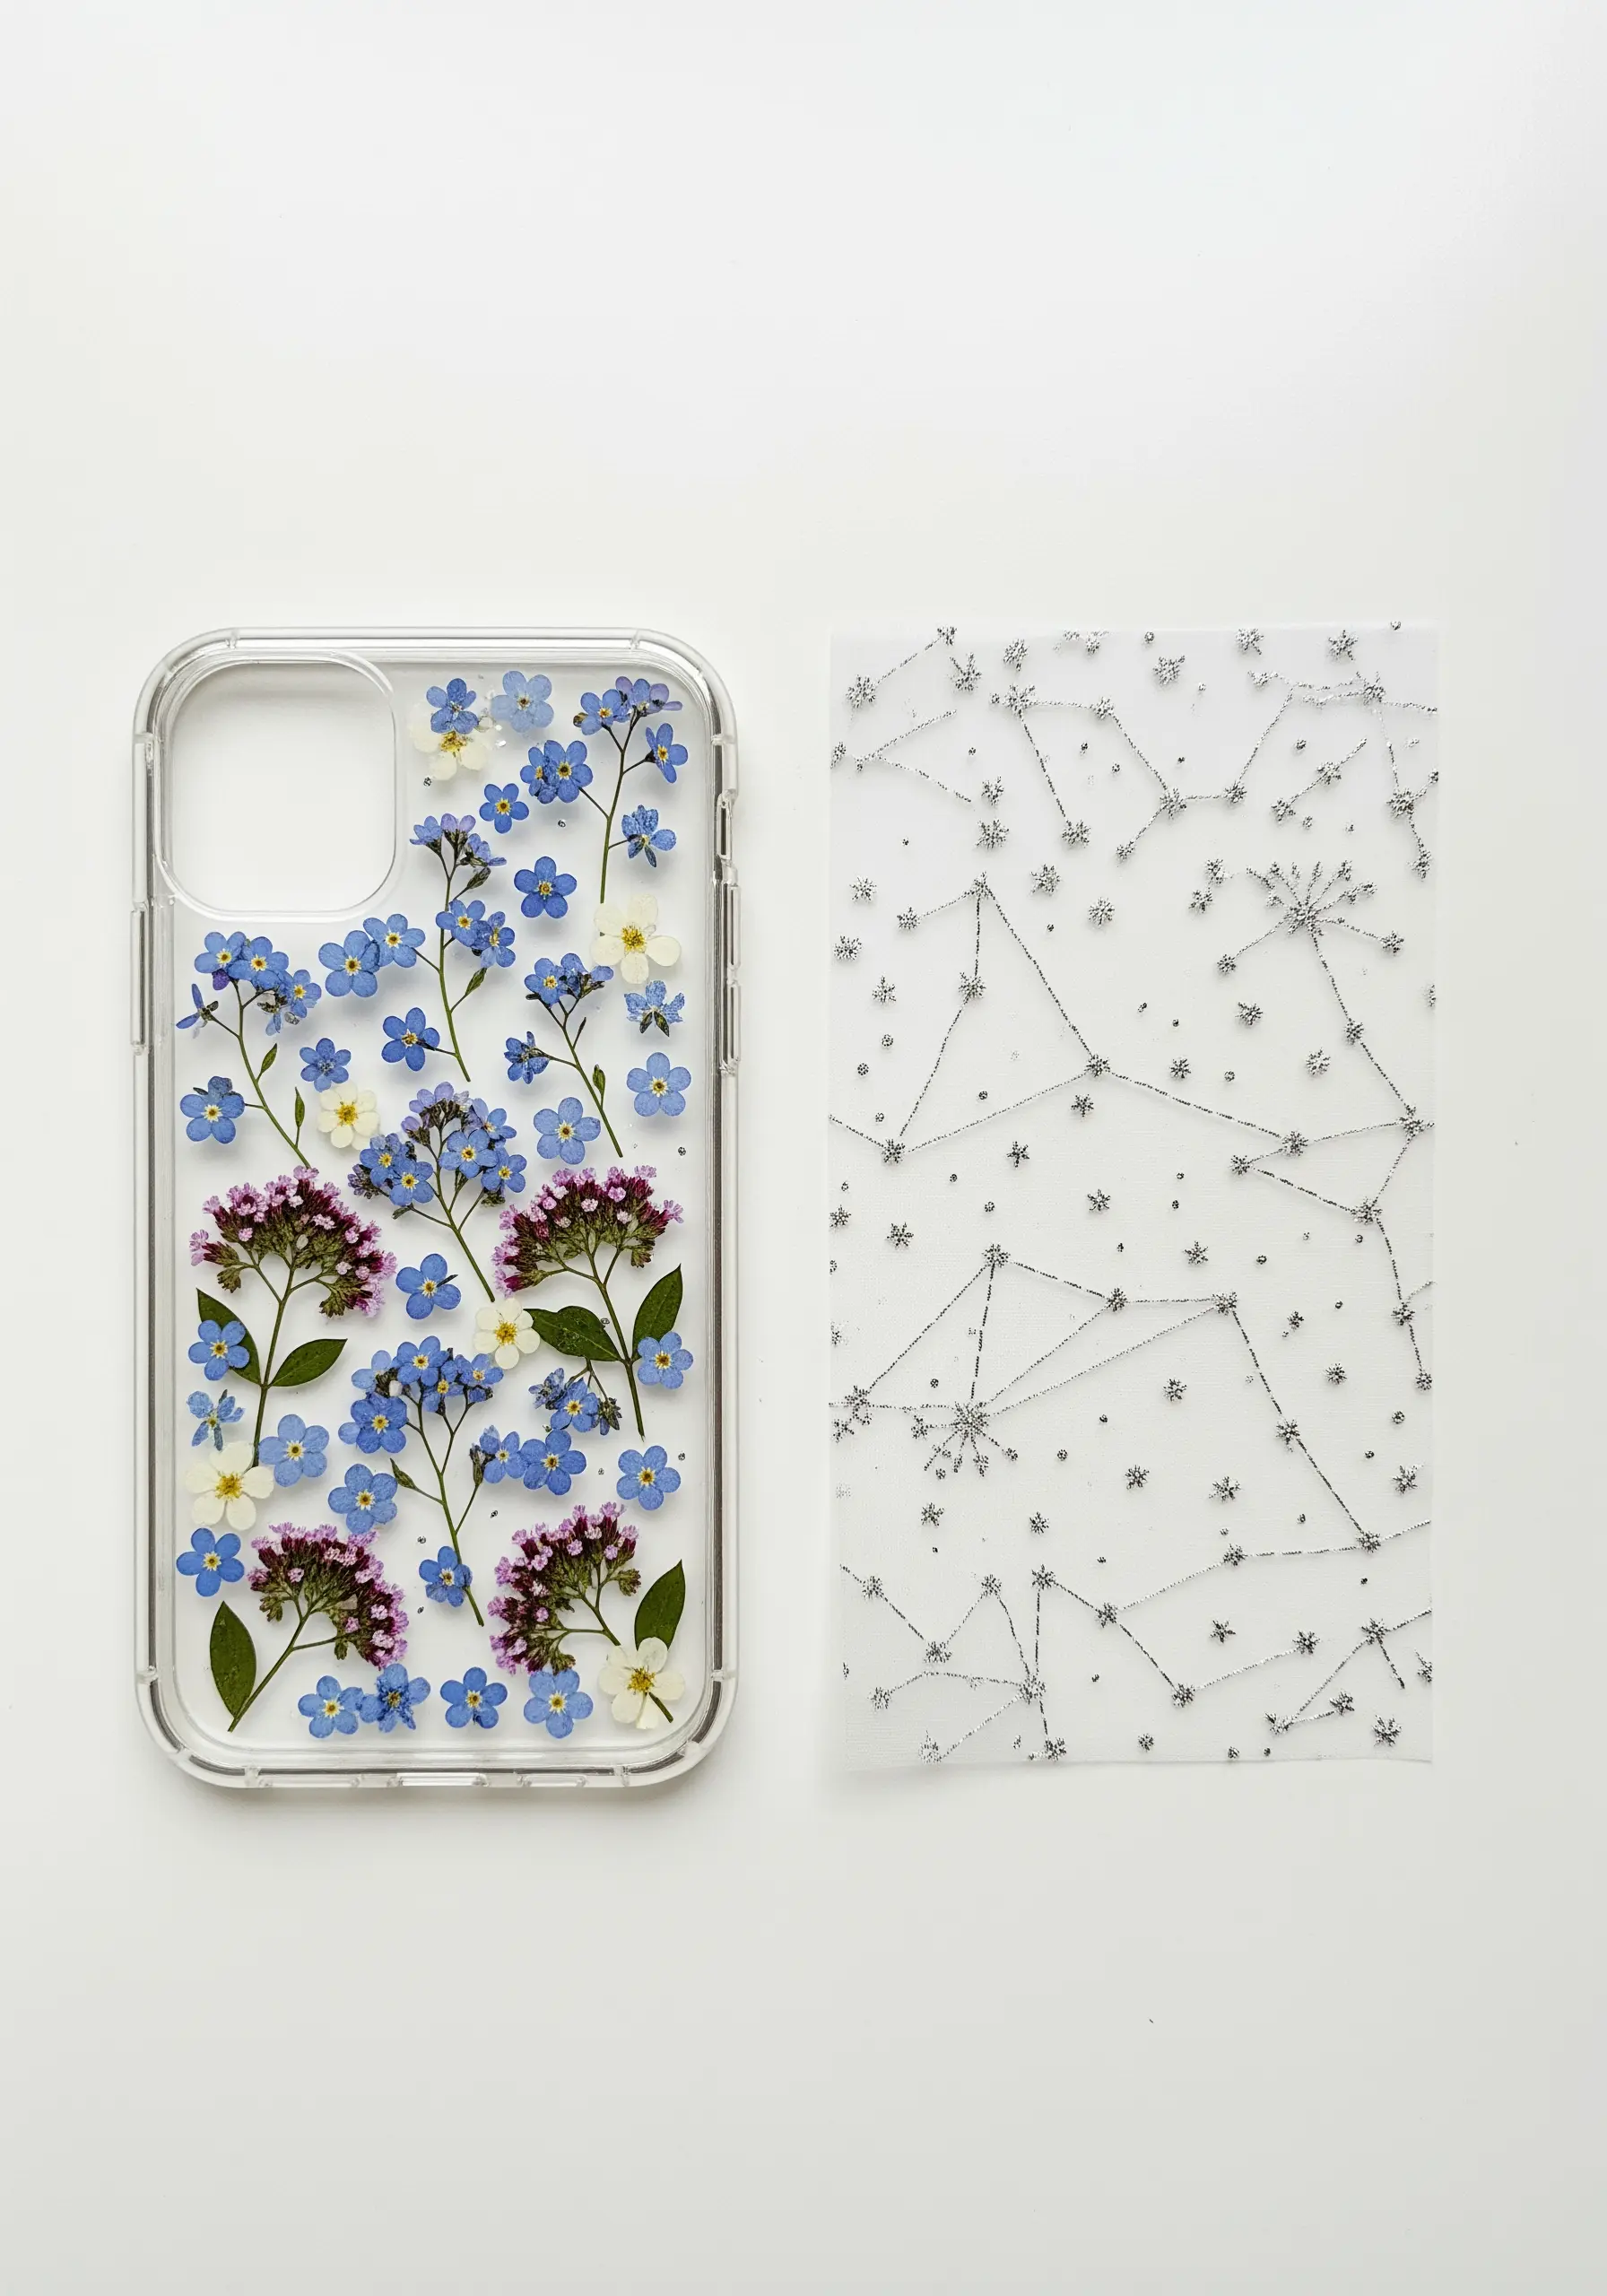
Create an embroidered insert to place behind pressed flowers in a clear phone case for a layered, mixed-media effect.
Stitch a constellation pattern onto a piece of sturdy vellum or cardstock using silver metallic thread.
The sparkle of the thread provides a magical backdrop for the flowers, combining the beauty of the natural world with the wonder of the cosmos.
21. Geometric Thread Rays
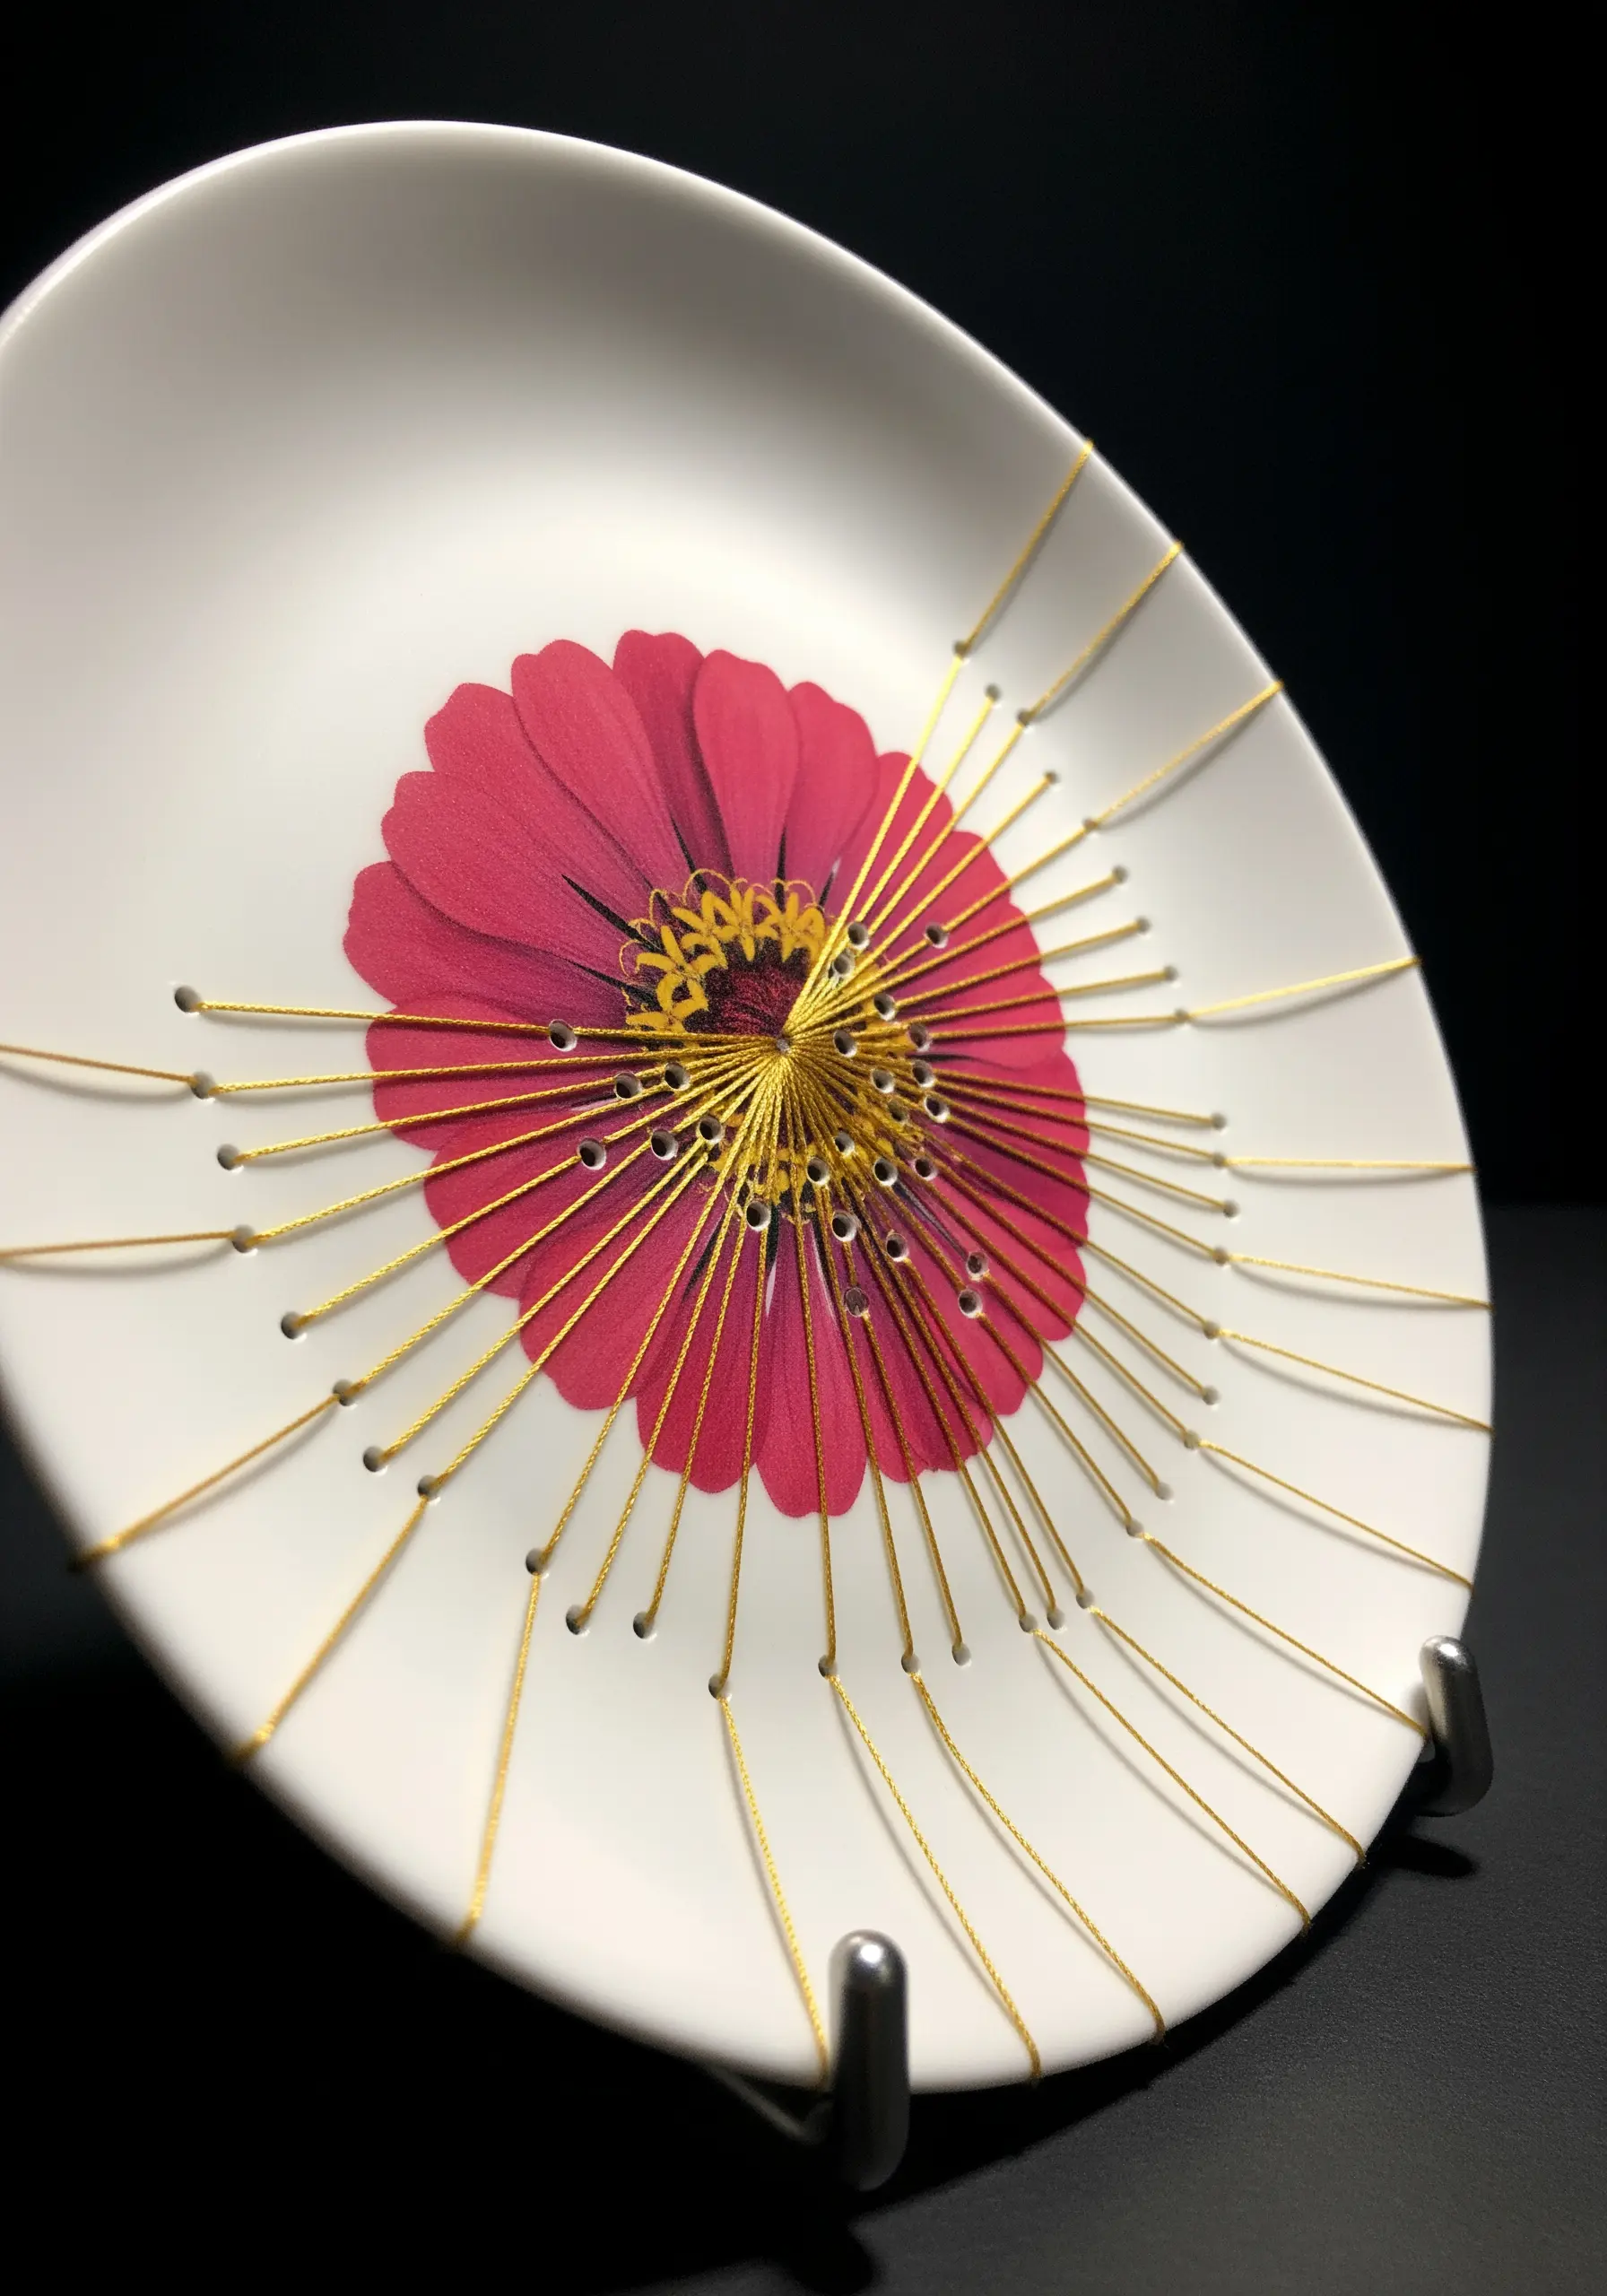
Explore embroidery on unconventional surfaces by creating string art on a ceramic plate.
Use a plate with pre-drilled holes, or carefully drill them yourself with a fine bit.
Weave metallic thread between the holes to create a radiant, sunburst pattern that frames a central pressed flower.
This technique is all about maintaining even tension to create sharp, geometric lines that contrast with the organic bloom, much like some yarn wall art projects inspired by geometric patterns.


