
Before you thread your next needle, I want you to pause and think about intention. So often, we rush into a project, excited by a pattern or a color, but the real magic in handmade gifts comes from the quiet, thoughtful details that transform a simple craft into a personal work of art.
This isn’t about mastering dozens of complex stitches. It’s about understanding why a single, perfectly executed line of backstitch can have more impact than a chaotic field of French knots. It’s about choosing a fabric whose texture complements your thread, or knowing when to add a tiny, almost hidden detail that makes the recipient feel truly seen.
Here, you’ll find ideas that invite you to slow down and consider the choices that elevate your work. From the tension of a quilt stitch to the clean edge of an appliqué, these are the techniques that will give your fabric crafts the polished, heartfelt quality they deserve.
1. Master Precision with Quilted Coasters
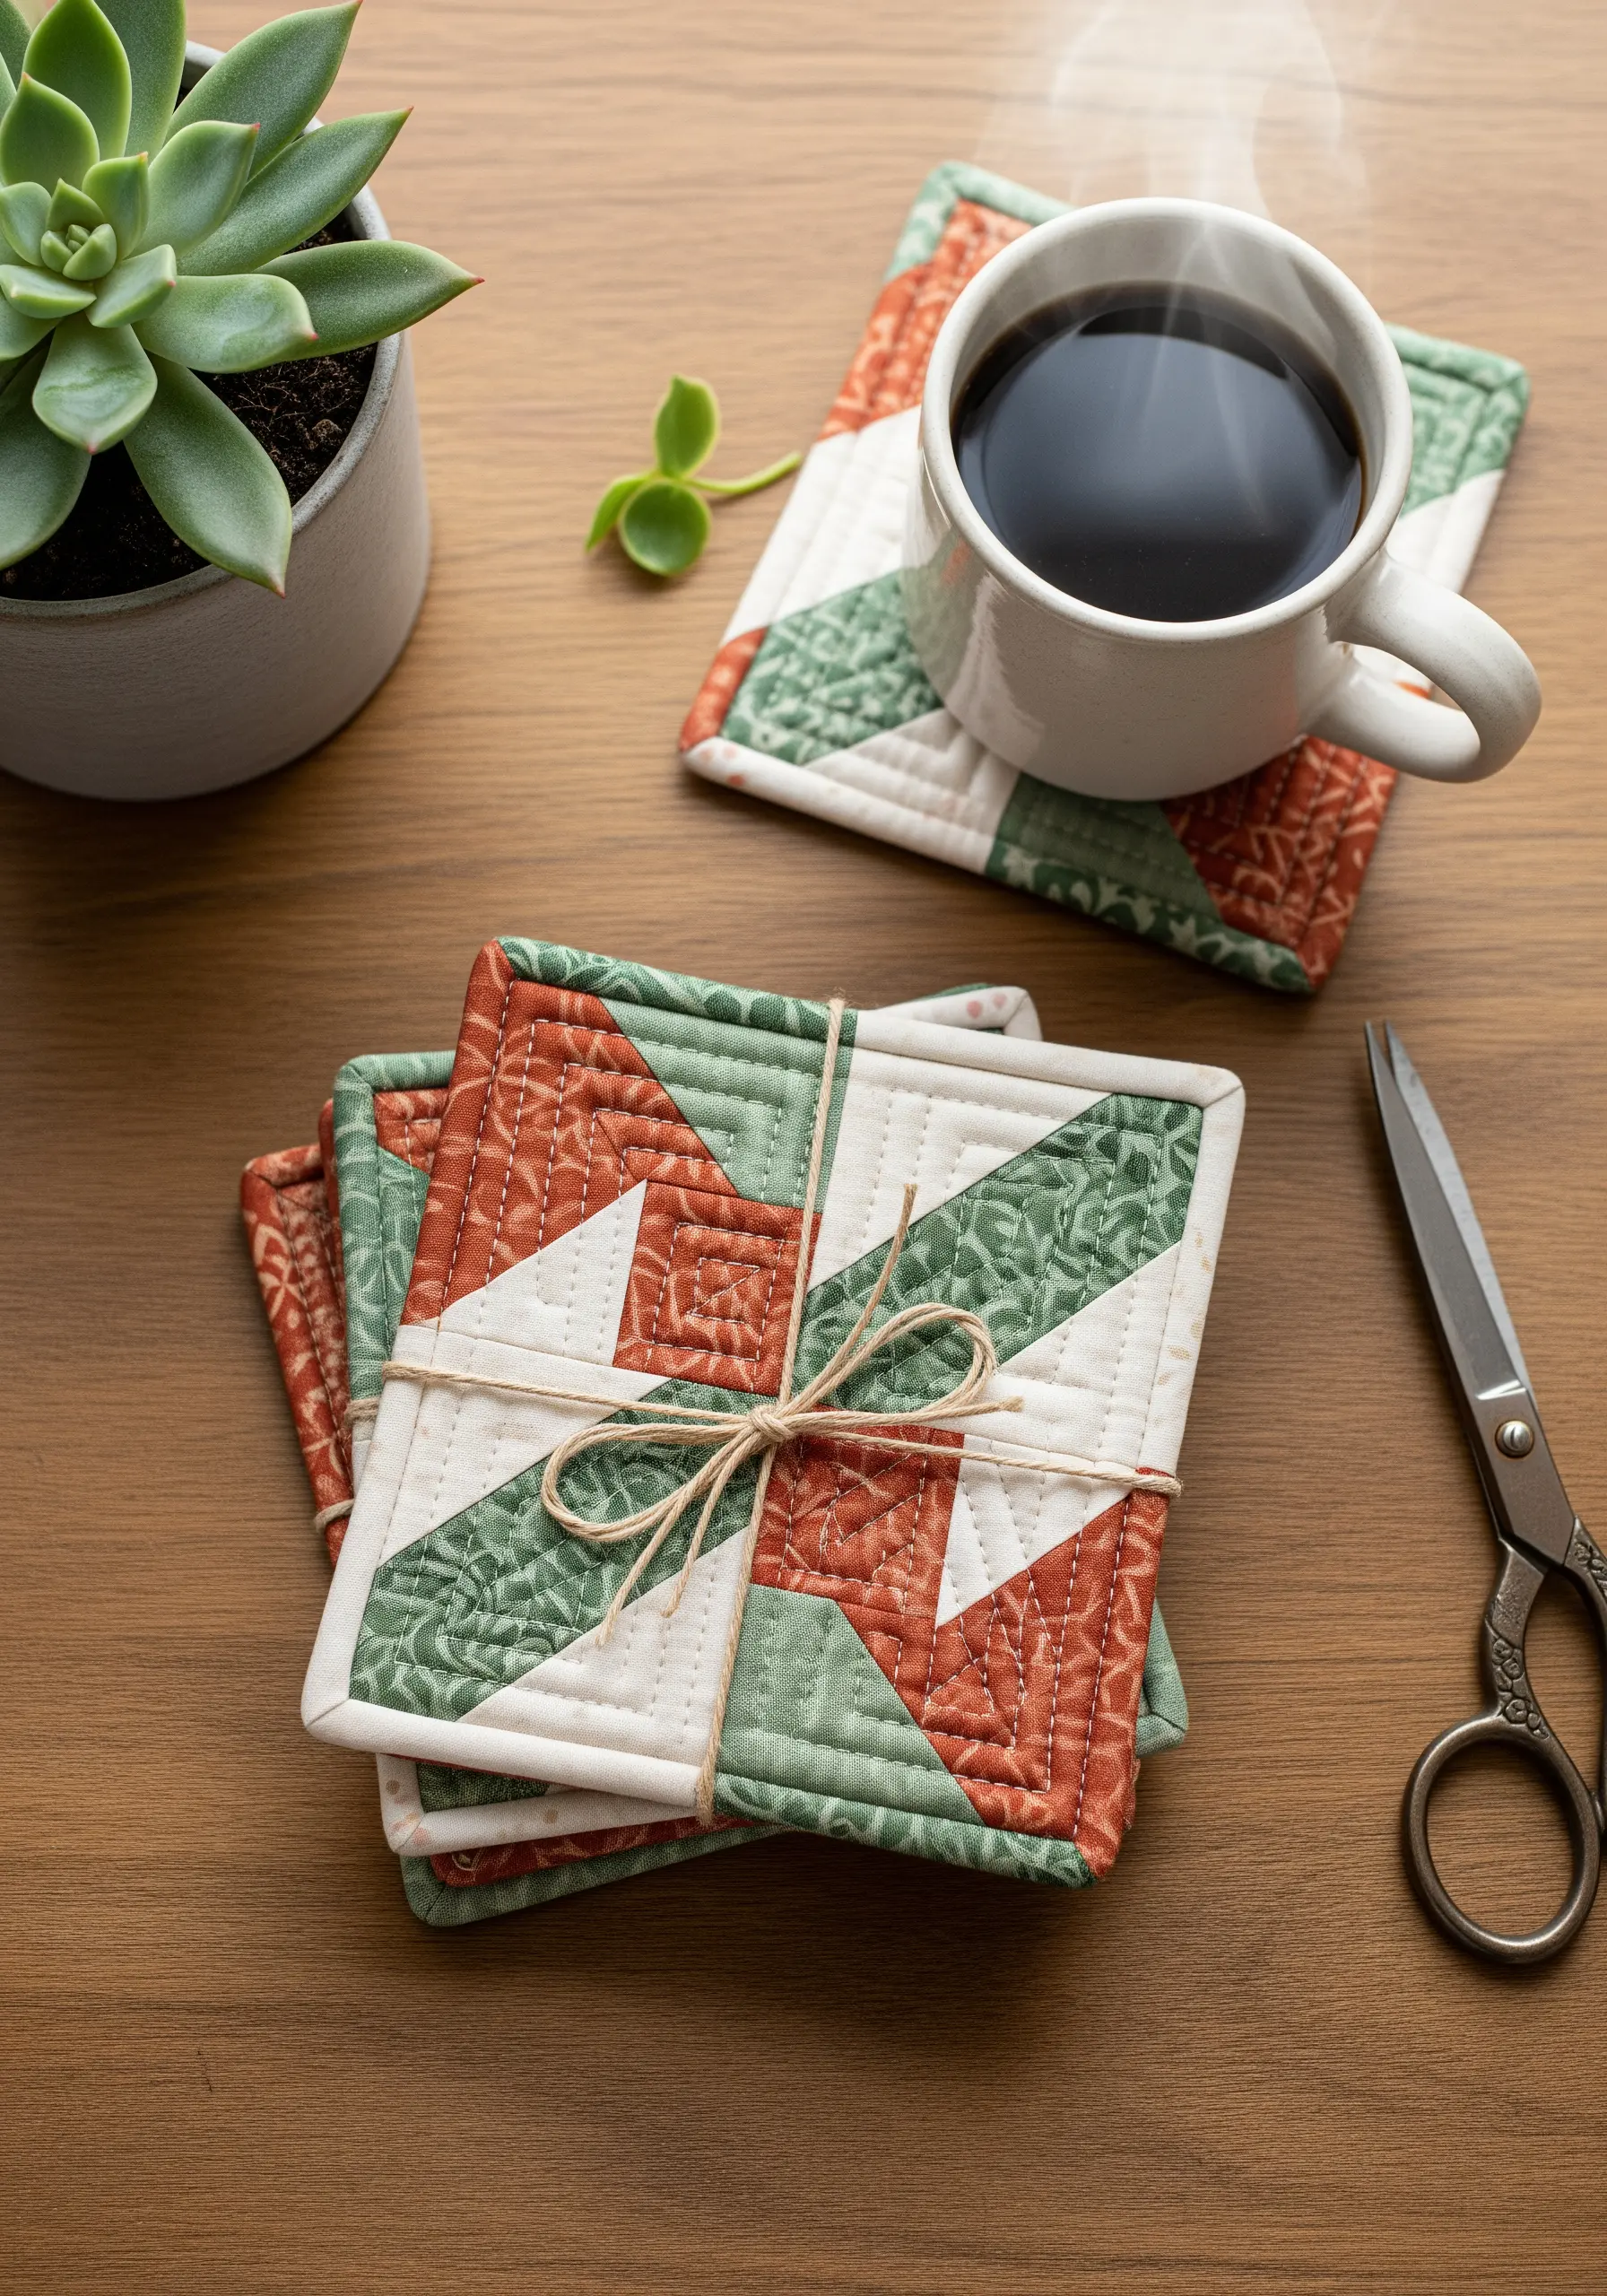
Transform simple fabric squares into a polished gift by focusing on the quilting itself.
Instead of just stitching across, use a ‘stitch-in-the-ditch’ technique—stitching directly in the seams where your fabric pieces meet.
This method hides the quilting thread while making the geometric pattern pop with clean, sharp dimension.
For a truly professional finish, ensure your binding is perfectly even, with mitered corners that lie completely flat.
2. Combine Appliqué and Couching for a Textured Pillow
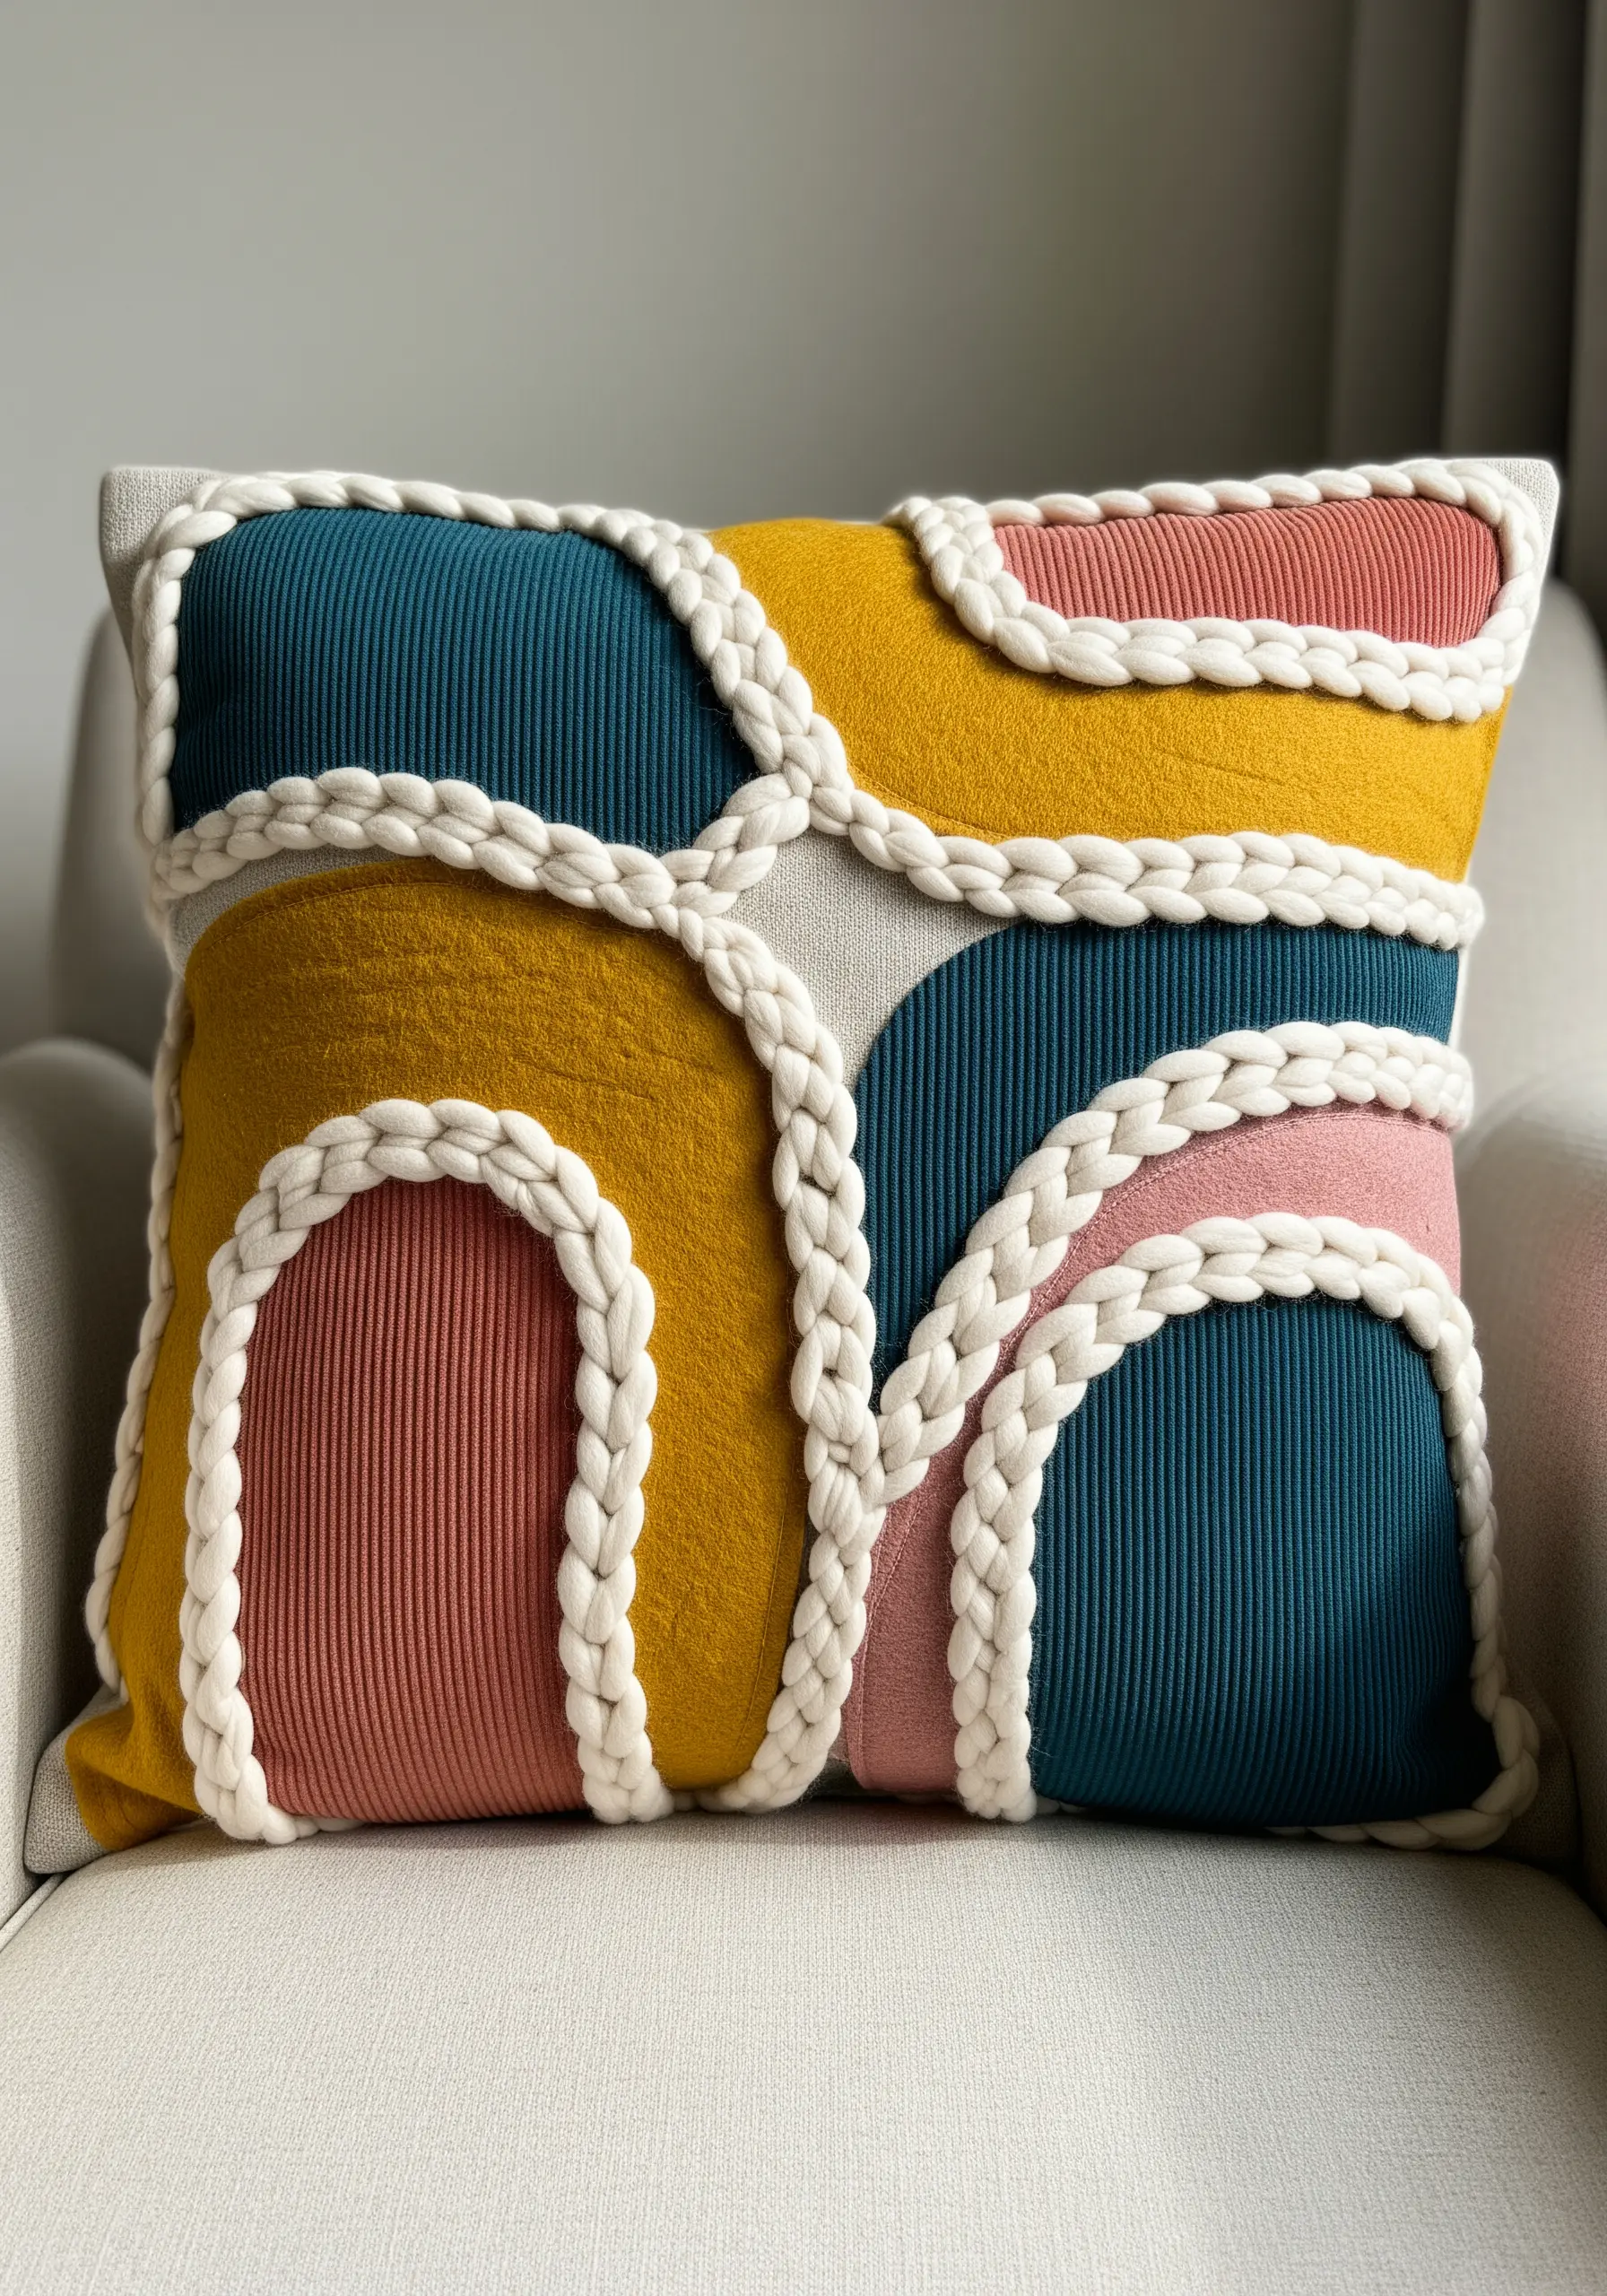
Create a pillow with compelling tactile depth by layering different textures.
Start by applying shapes cut from corduroy or another ribbed fabric onto a plain linen base—this immediately creates a contrast in surfaces.
Then, outline these shapes by couching a thick, braided yarn or cotton rope along the edges.
Couching involves laying the thick yarn on the surface and securing it with small, evenly spaced stitches in a matching, thinner thread.
This technique adds a bold, sculptural line that defines the composition and feels incredibly luxurious.
3. Elevate a Journal with a Flawless Monogram
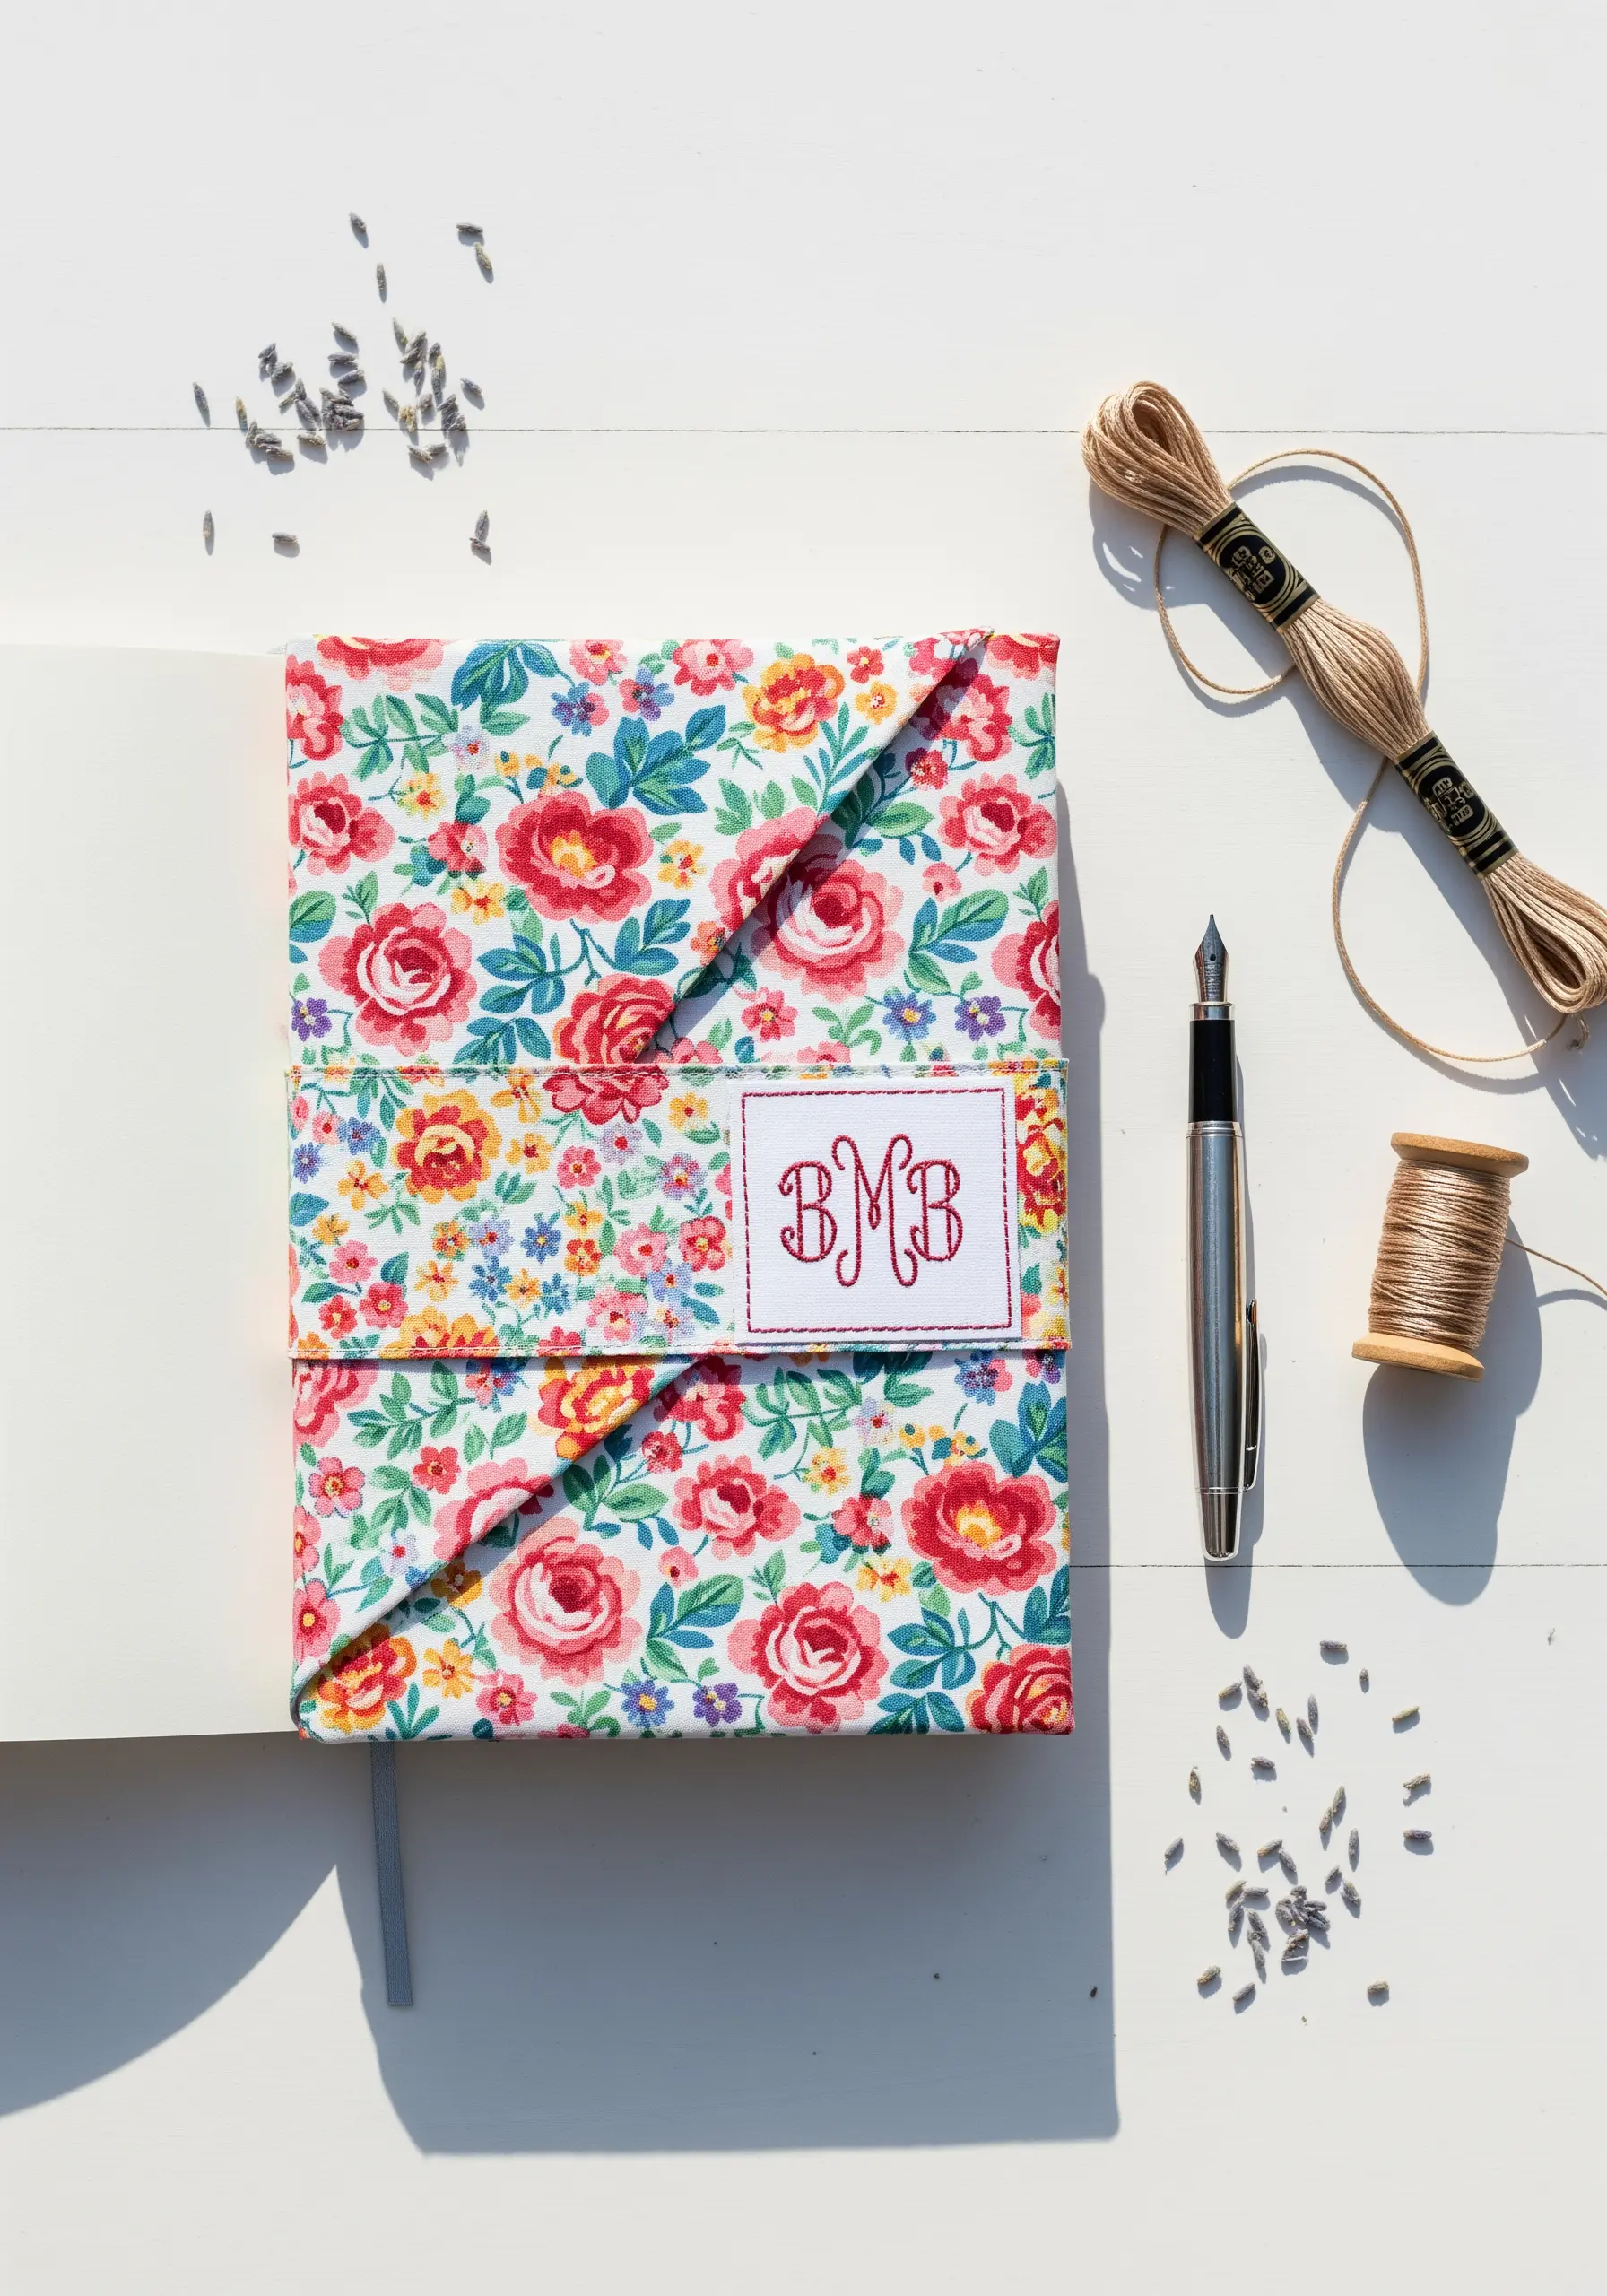
Personalize a fabric-covered journal by focusing on a perfectly executed embroidered monogram.
To prevent the stitches from sinking or puckering on a busy floral print, always use a cut-away stabilizer on the back of your fabric.
Use a sharp needle and two strands of floss for your satin stitch, keeping your stitches close together and angled uniformly for a smooth, cohesive fill.
A simple backstitch outline in a slightly darker shade will make the letters stand out with crisp definition.
4. Create a Balanced Botanical Wreath Tote
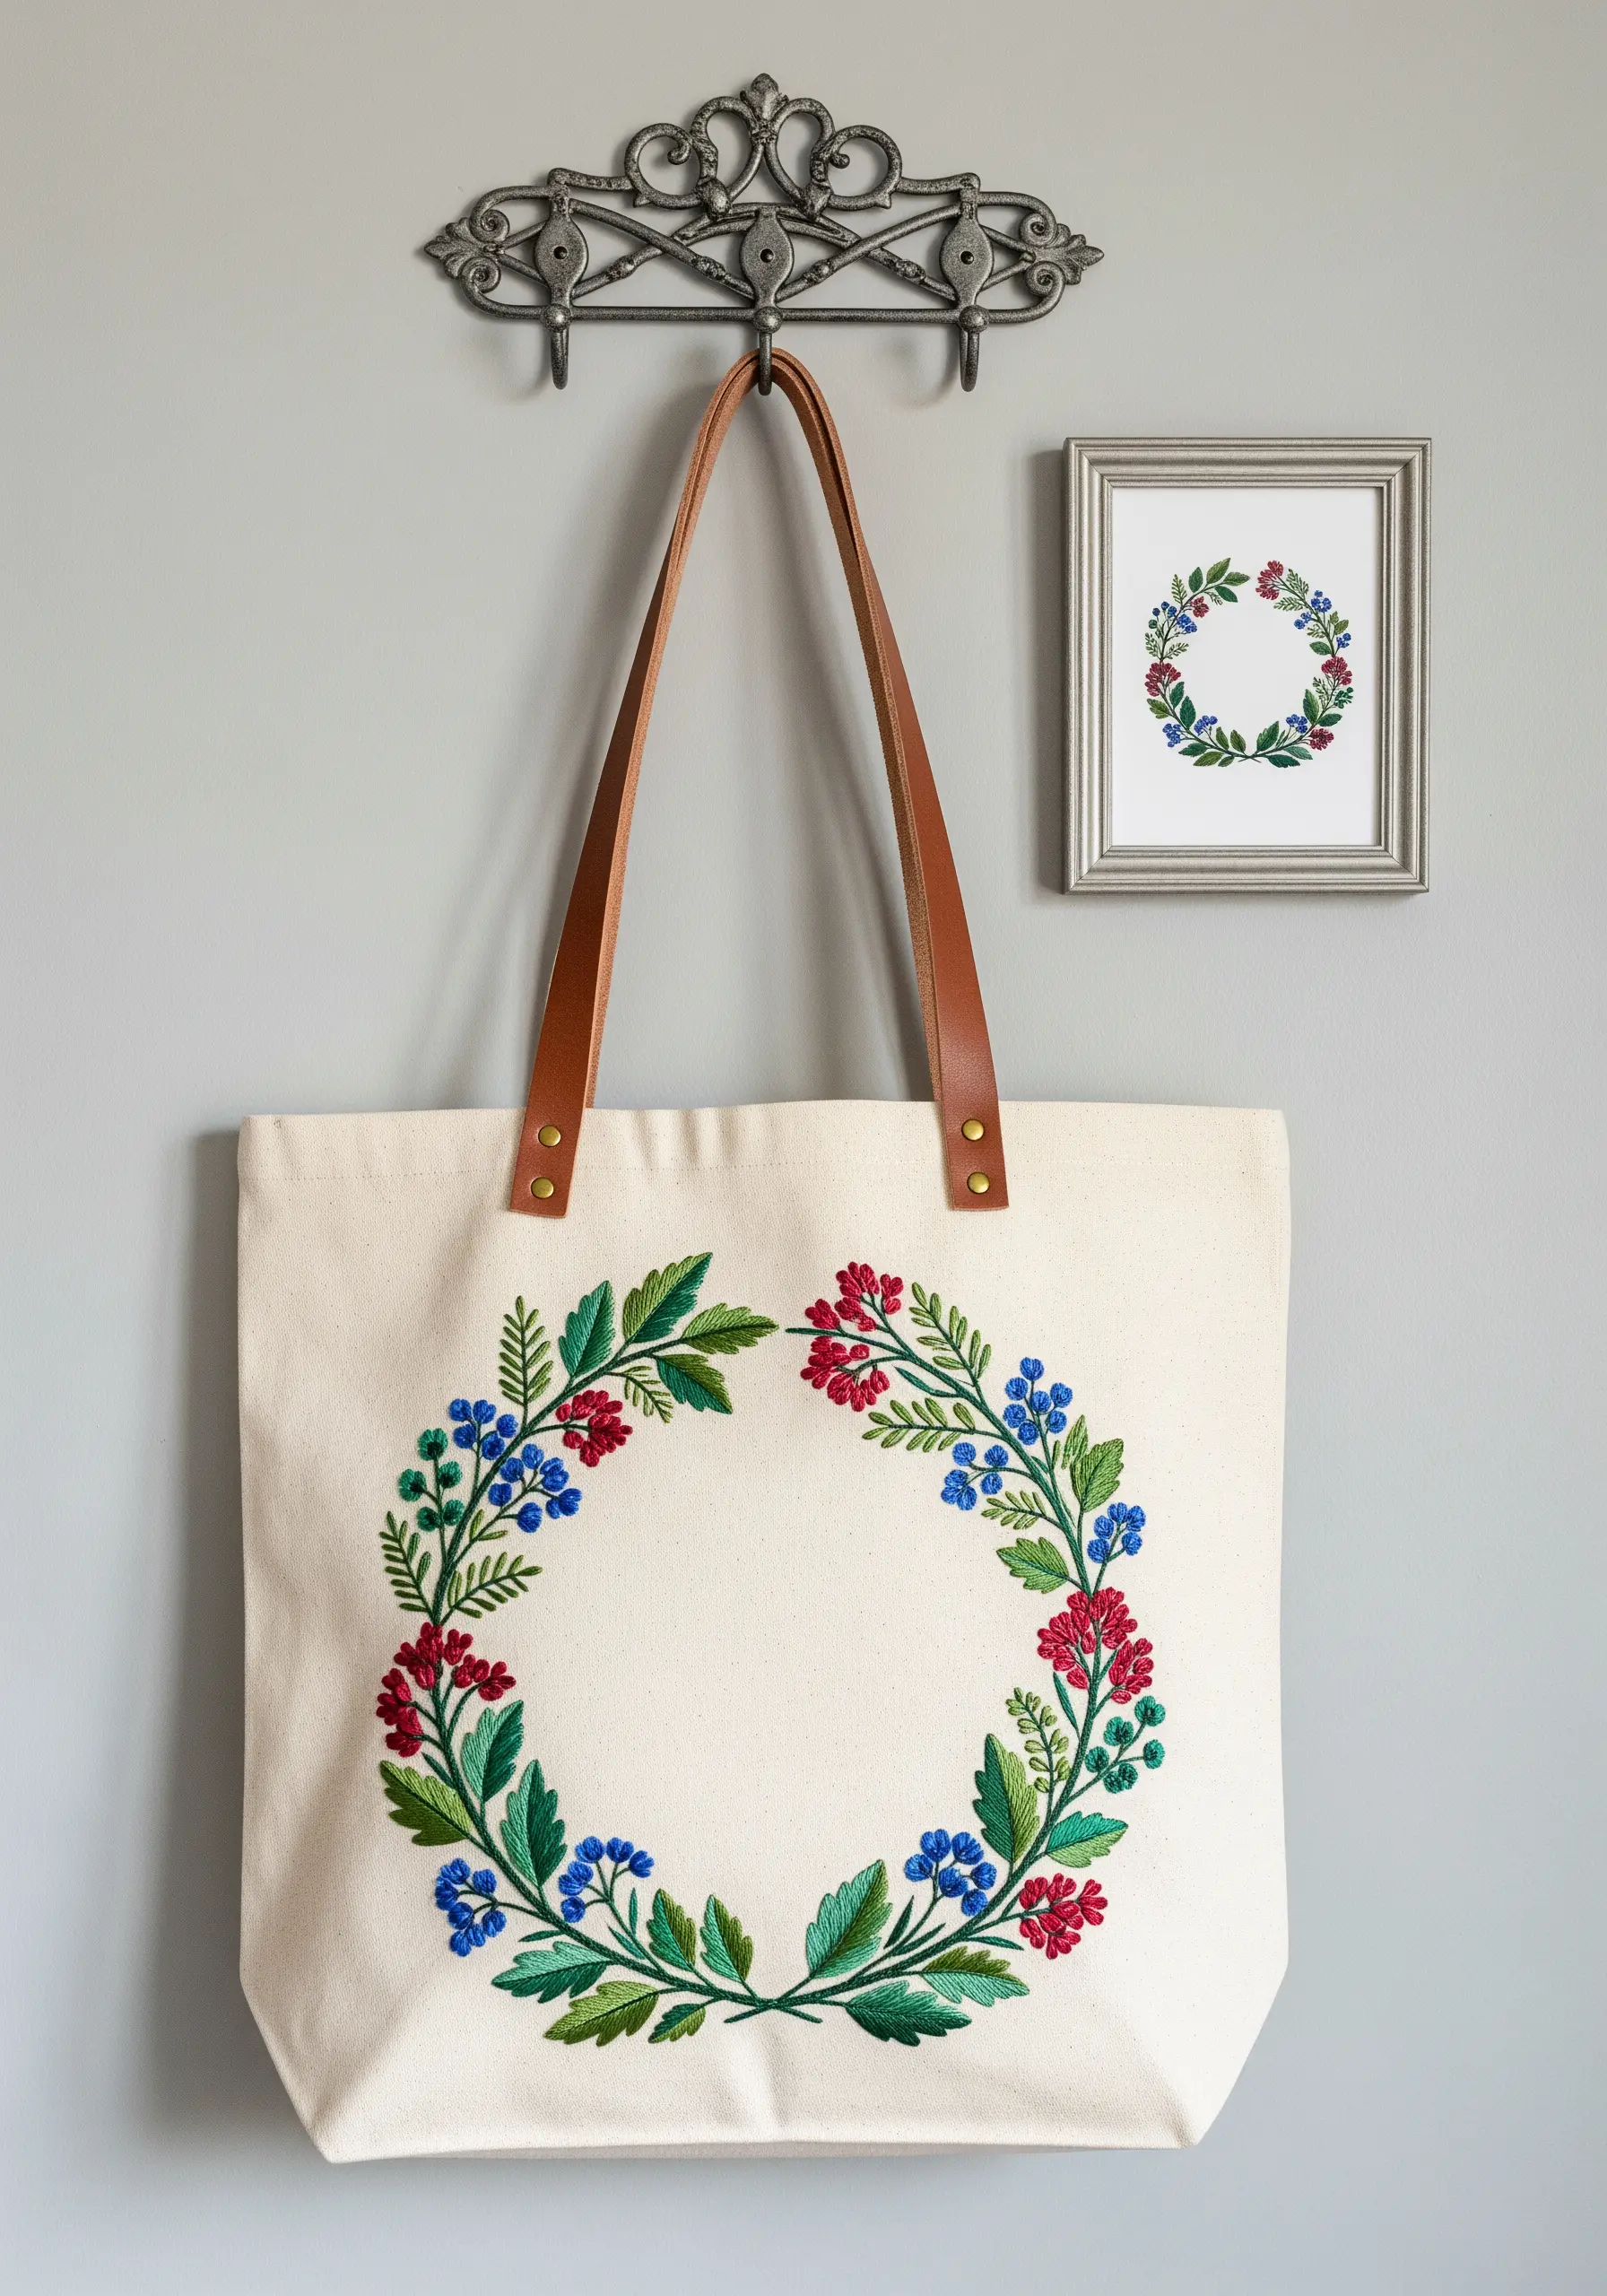
Design a sophisticated floral embroidery wreath by varying your stitch textures for realism and depth.
Use a fishbone stitch for the leaves to create a central vein and a smooth, directional fill that mimics nature.
For the berries or small buds, fill them with dense French knots or satin stitches to give them a raised, rounded appearance that contrasts with the flatter leaves.
This interplay of textures makes the design visually dynamic and prevents it from looking flat on the durable canvas.
5. Add Personality to Felt Creatures with Tiny Stitches
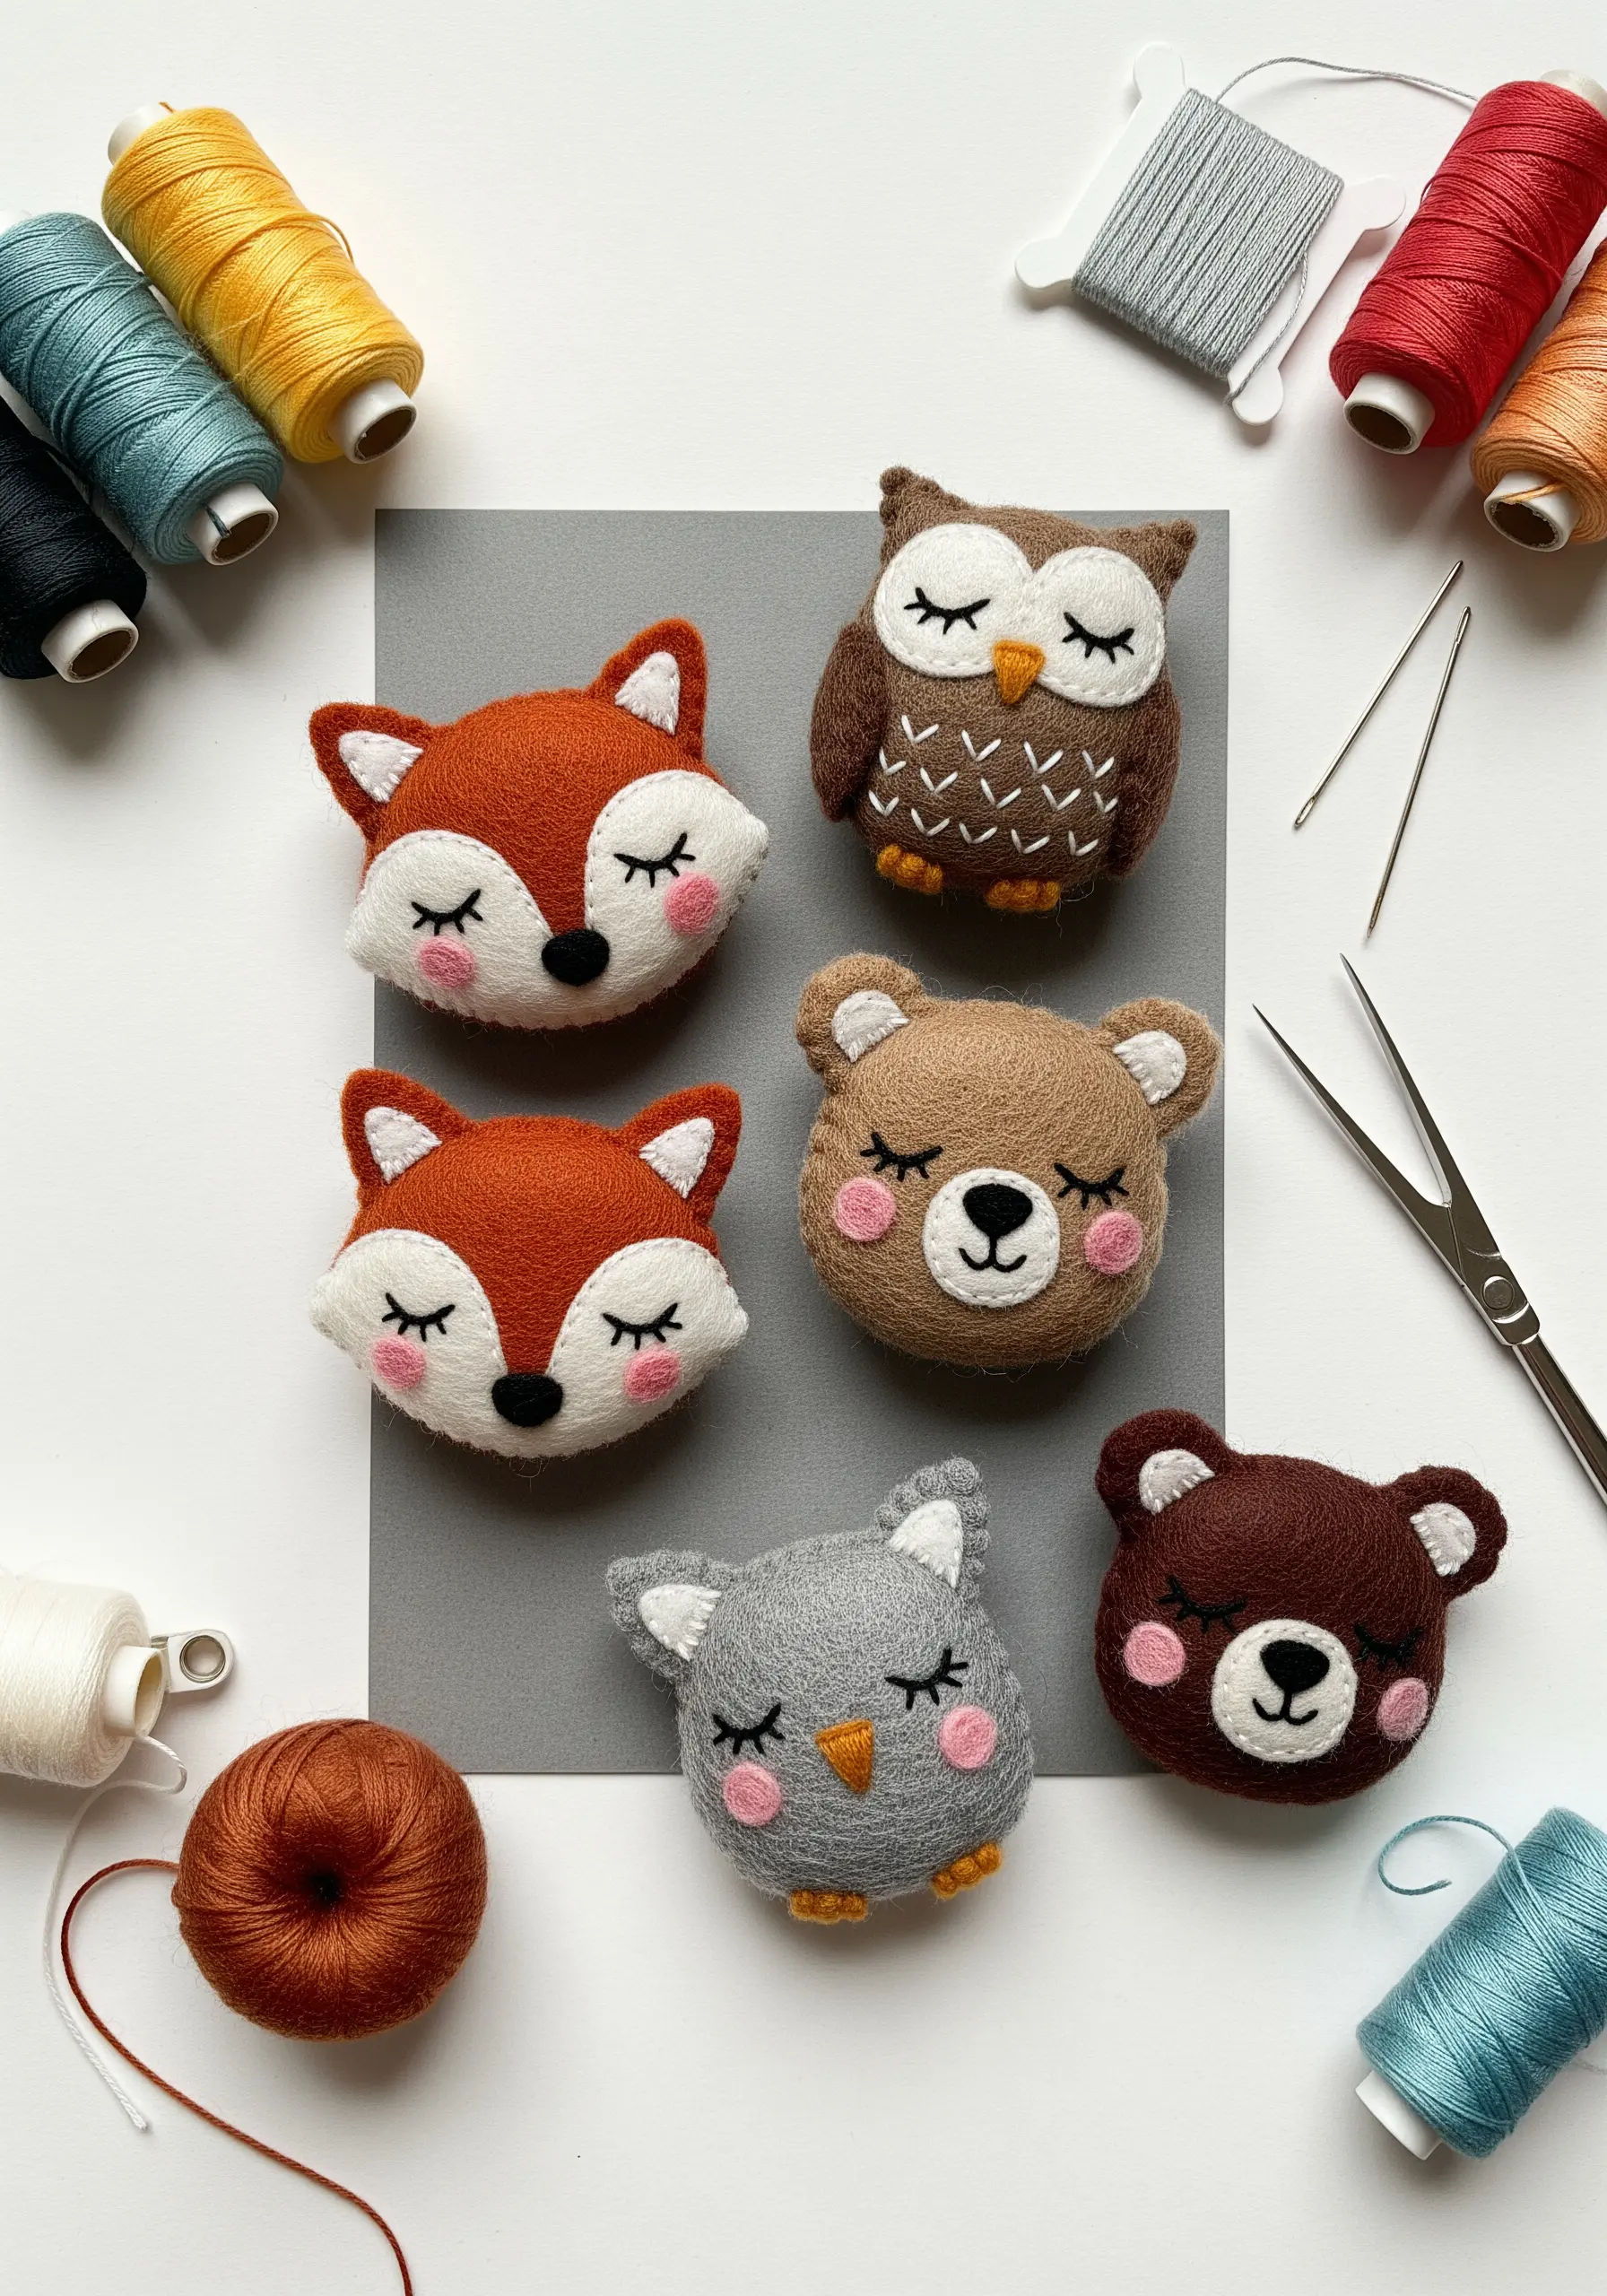
Bring felt animal brooches to life with a few strategically placed stitches that convey personality.
Use a single, curved backstitch for sleeping eyes, ensuring the arc is gentle and calm.
A few straight stitches in a contrasting color create subtle details like whiskers or chest feathers without overwhelming the small design.
Finish the edges with a neat, evenly spaced blanket stitch; this not only secures the pieces but also frames the character for a clean, professional look.
6. Refine Fabric Sachets with a Decorative Edge
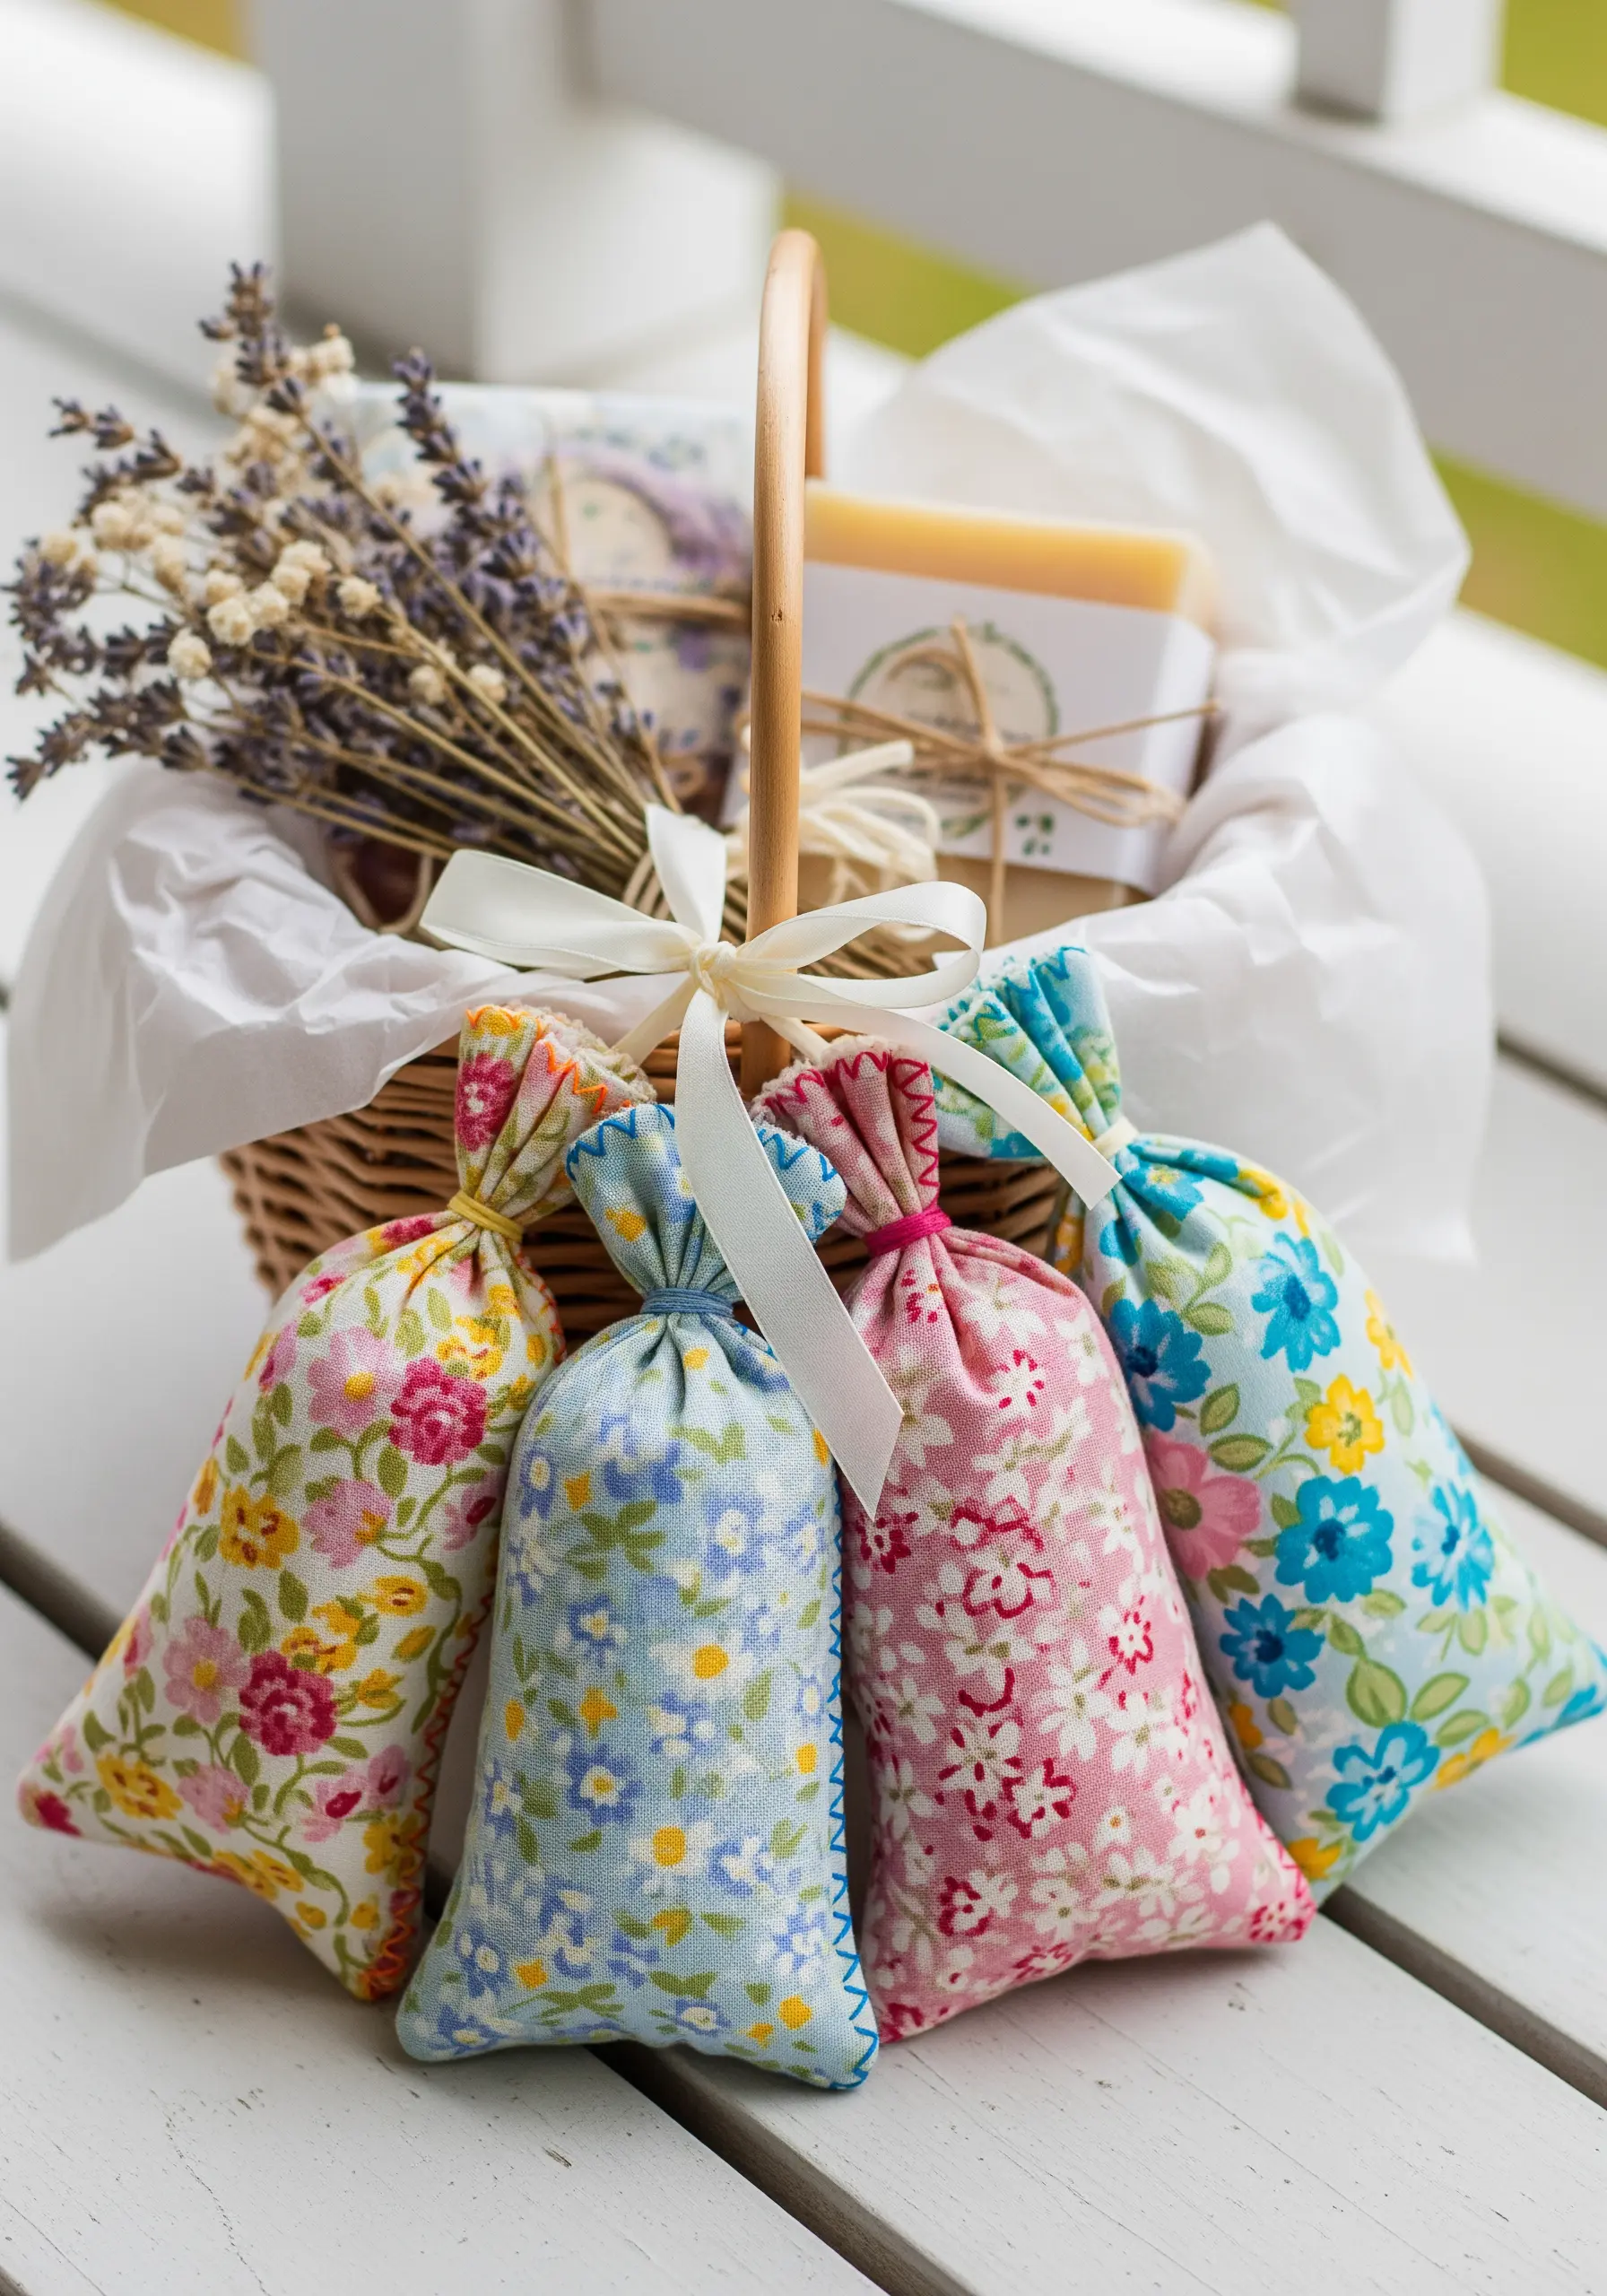
Elevate simple lavender sachets from a basic sewing project to a thoughtful gift with one small detail: a hand-stitched seam.
After sewing your fabric pouches, turn them right-side out and add a decorative running stitch or blanket stitch along the side seams using a contrasting color of embroidery floss.
This visible stitch adds a layer of intentional craftsmanship, signaling that the piece was made with care and attention.
It’s a simple touch that transforms the entire feel of the finished object.
7. Design Polished Appliqué Bunting
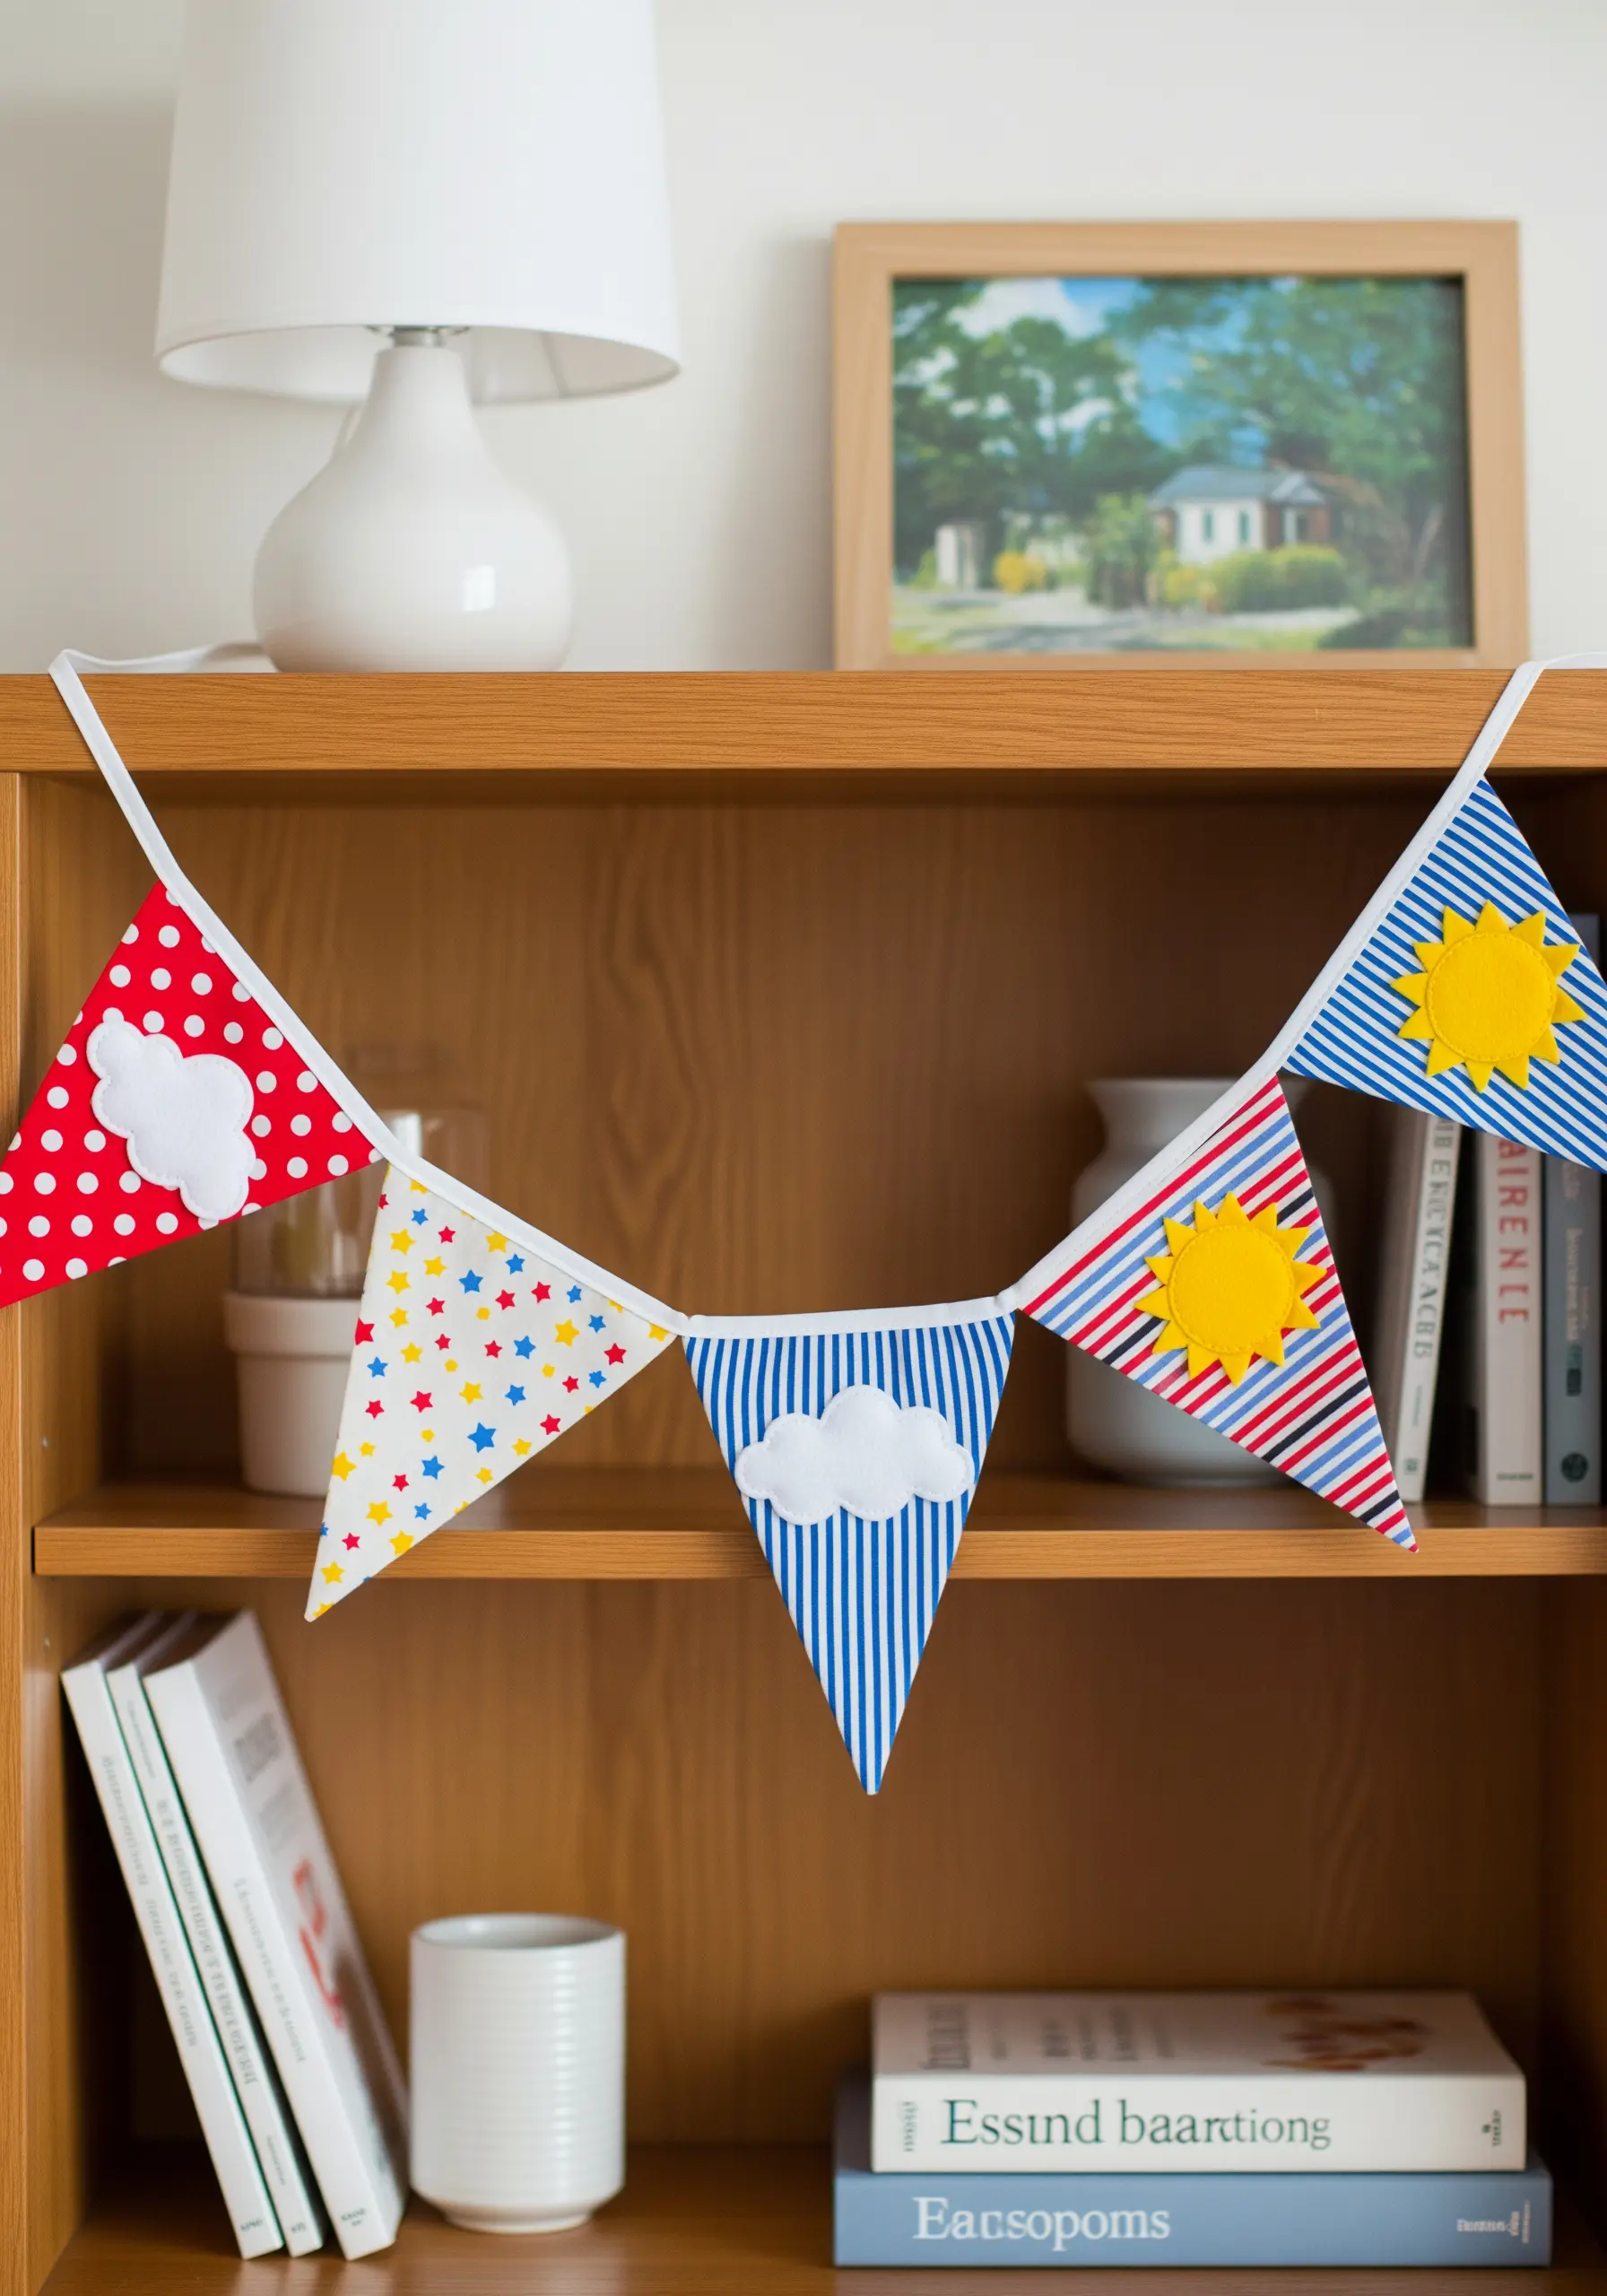
Create playful yet polished fabric bunting by focusing on clean appliqué and smart fabric pairings.
To ensure your appliqué shapes (like clouds or suns) stand out, place them on a contrasting background—a solid on a stripe, or a simple pattern on a polka dot.
Secure the shapes with an iron-on fusible web first to prevent shifting, then stitch the edges with a tight, neat whipstitch or a small blanket stitch.
This two-step process guarantees crisp, fray-free edges and a durable finish.
8. Craft a Statement Celestial Jacket Patch
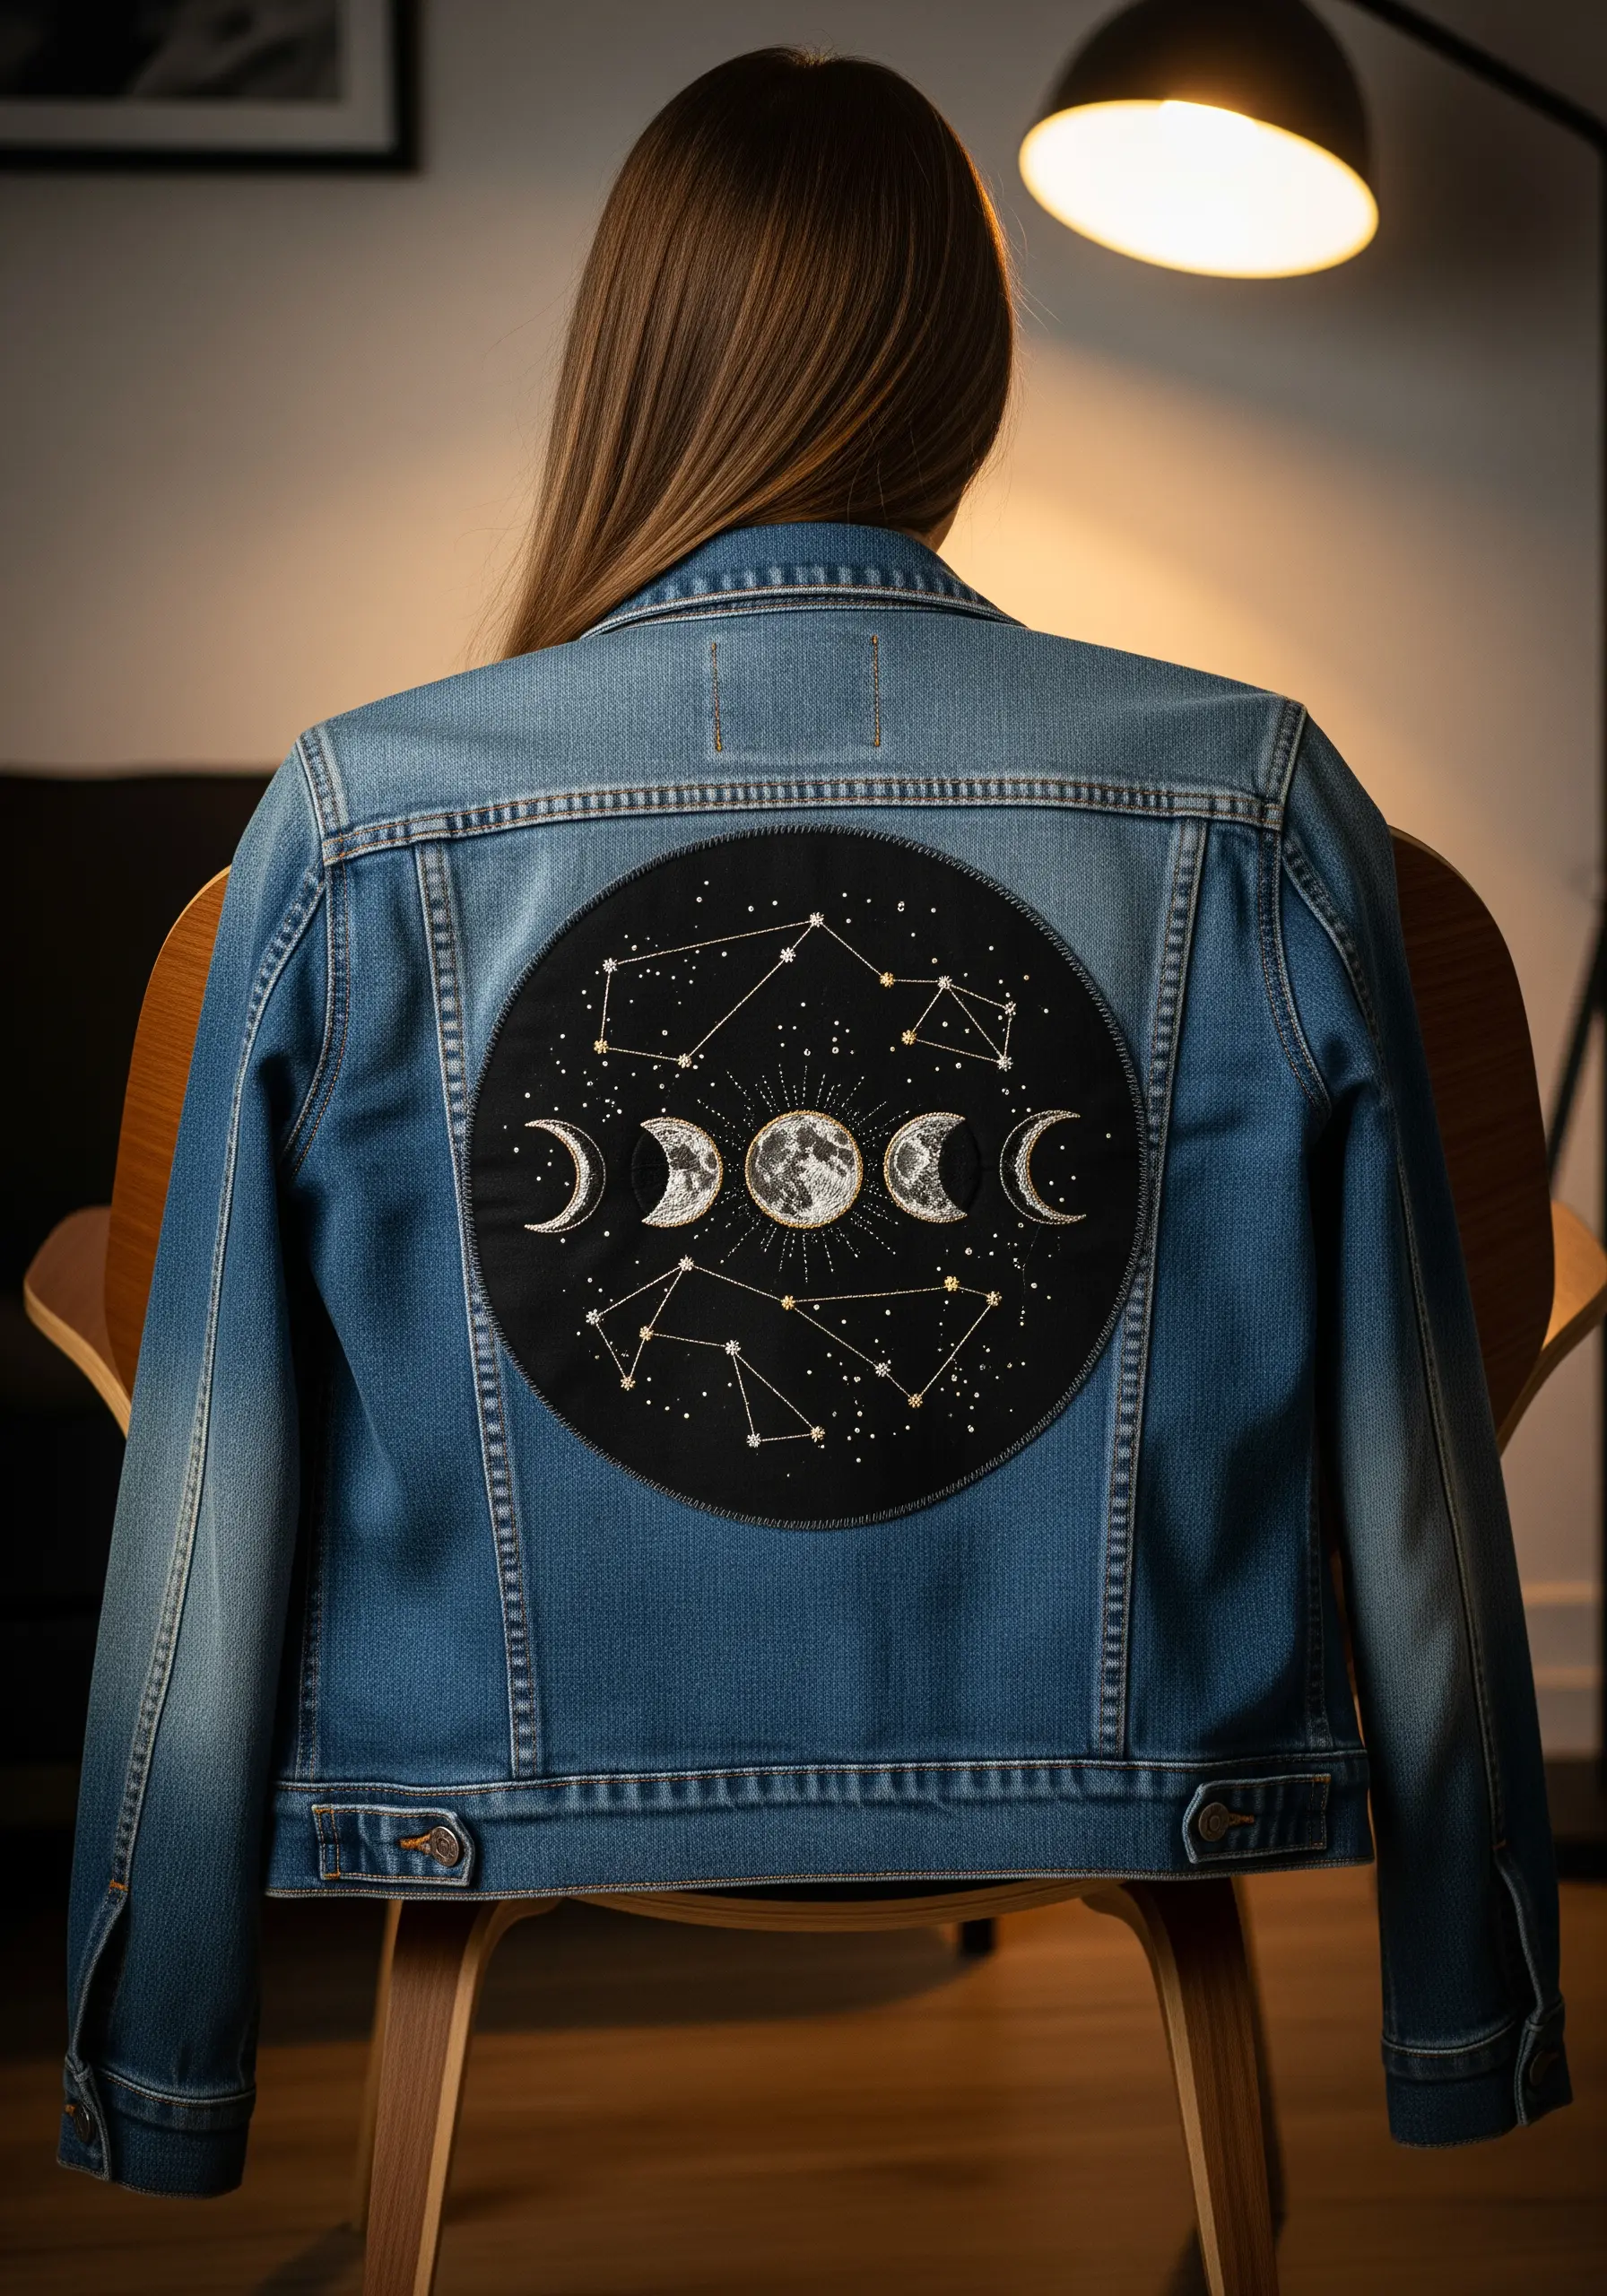
Design a removable statement patch that feels like a piece of wearable art.
On a sturdy black cotton or felt base, use a single strand of metallic thread for the constellation lines to achieve a delicate, shimmering effect that isn’t bulky.
For the moon phases, apply thread painting techniques—using shades of grey, white, and silver—to create realistic craters and highlights.
Sewing this onto a denim jacket as a patch, rather than stitching directly, allows for more detail and can be removed later.
9. Use Free-Motion Quilting to Accentuate Appliqué
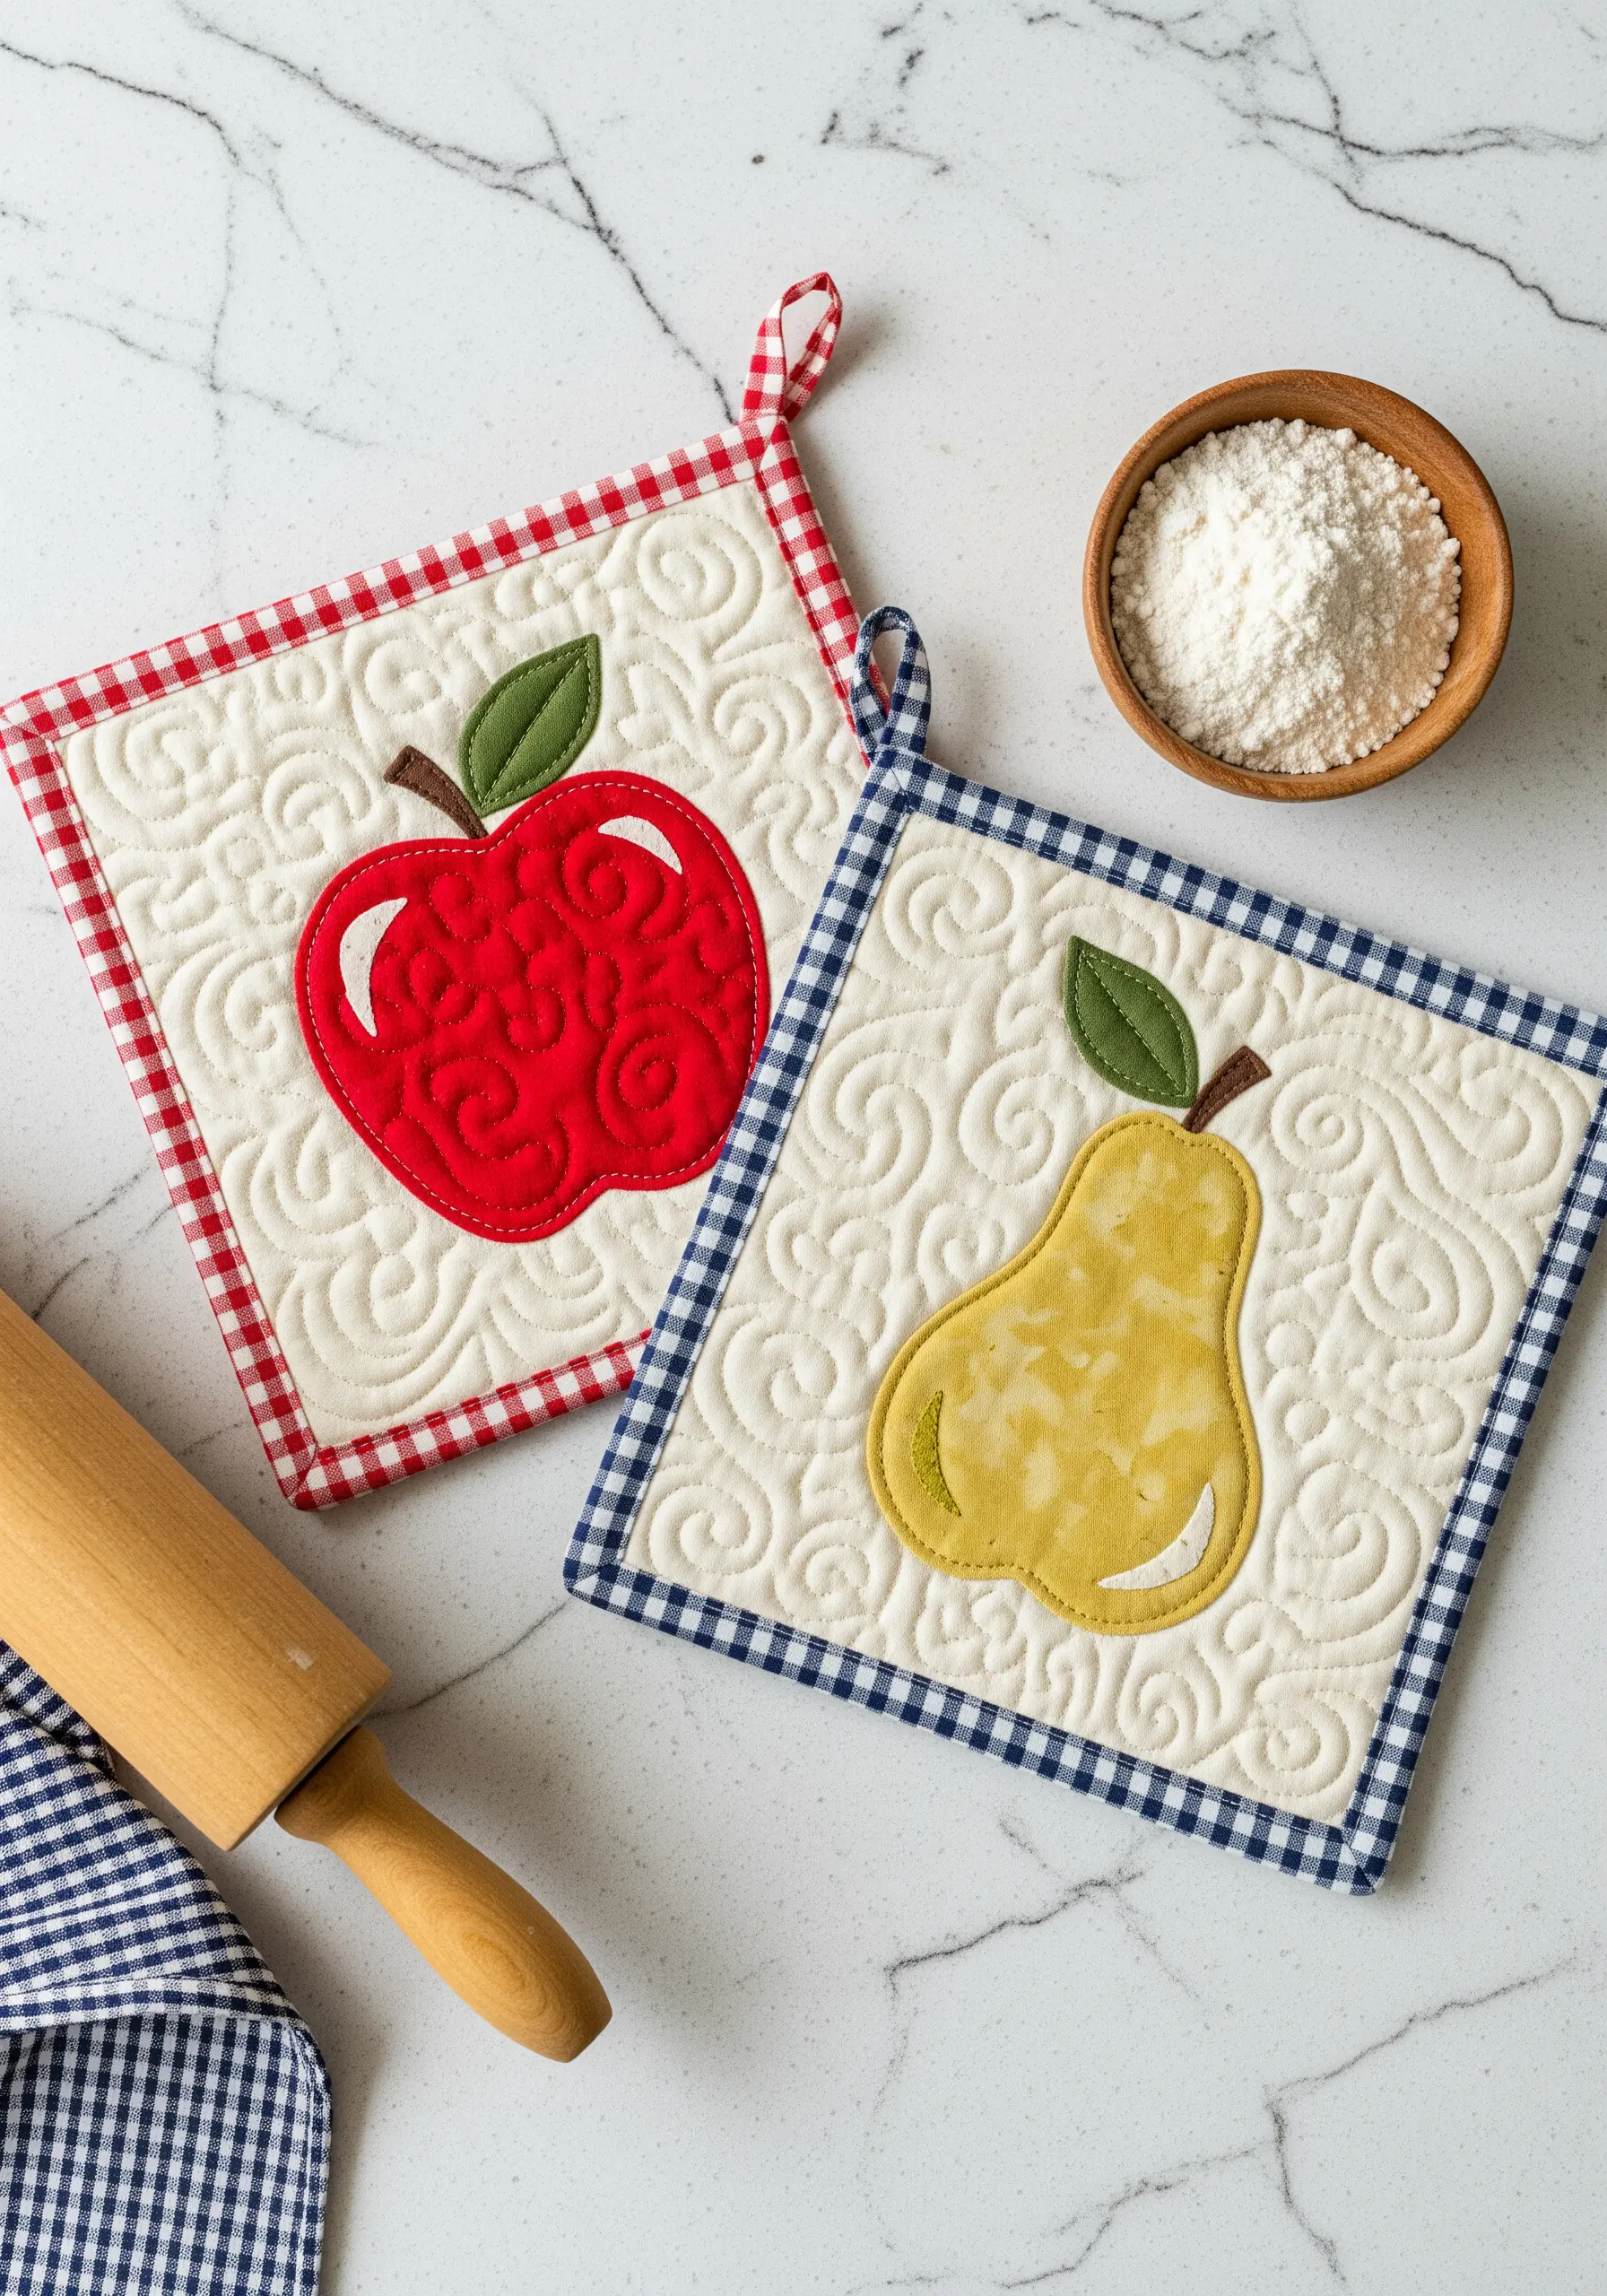
Make your appliqué motifs the star of the show by using free-motion quilting on the background fabric.
After attaching your main shape—like the apple or pear—use a sewing machine to stitch a dense, swirling pattern (stippling) all around it.
This quilting technique compacts the background fabric slightly, causing the un-quilted appliqué to puff up and stand out with a subtle 3D effect.
It adds texture and visual interest while highlighting your central design.
10. Compose a Wall Hanging with Mixed Fibers
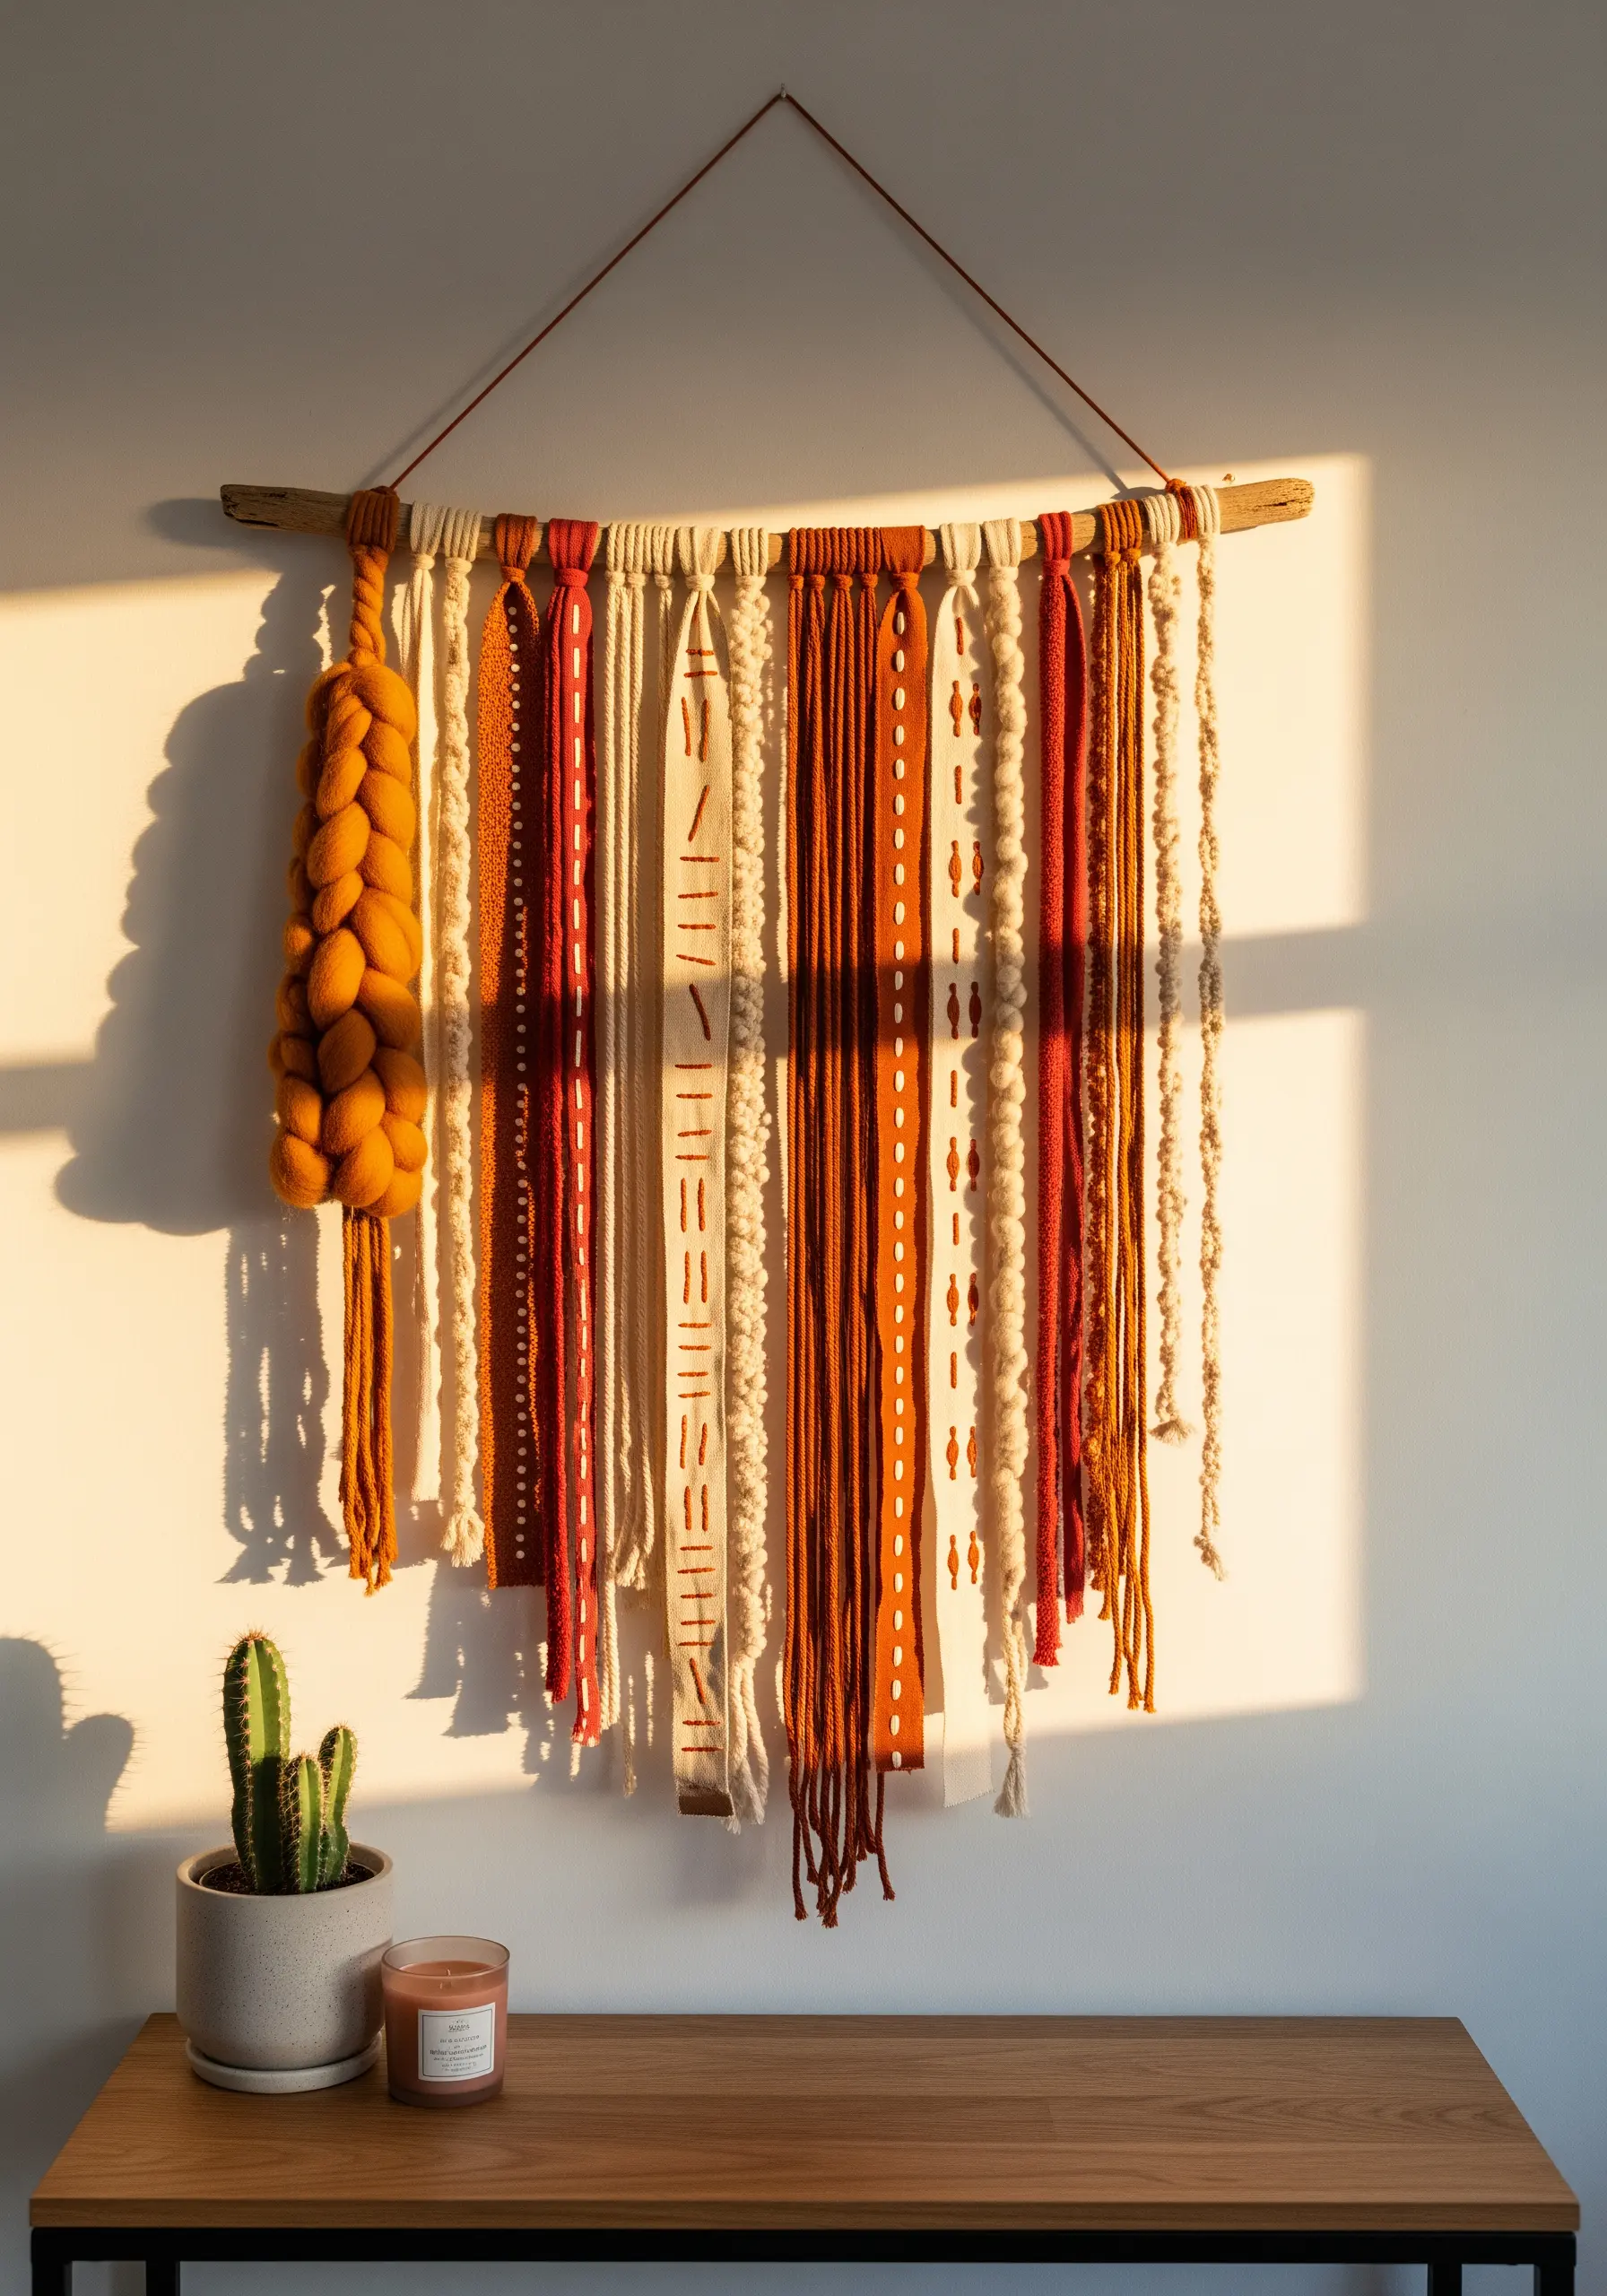
Create a dynamic yarn wall art piece by treating it as a composition of textures, not just colors.
Combine different elements: thick, chunky knitted chains, thin fabric strips embellished with simple running stitches, and tightly wrapped threads.
Arrange these vertical elements with varying lengths and textures to guide the eye through the piece.
The key is contrast—pairing a smooth, flat ribbon next to a bulky, knotted yarn creates immediate visual and tactile interest.
11. Add Dimension to Felt Ornaments

Give handmade felt ornaments a touch of refined sparkle and dimension with beads and French knots.
Instead of drawing on details, use tiny seed beads for eyes or as decorative sprinkles on a gingerbread man—they catch the light and add a subtle glimmer.
For buttons or holly berries, a cluster of French knots provides a raised, textural detail that is more sophisticated than simple stitches.
These small, three-dimensional additions elevate the ornaments from simple cutouts to cherished keepsakes.
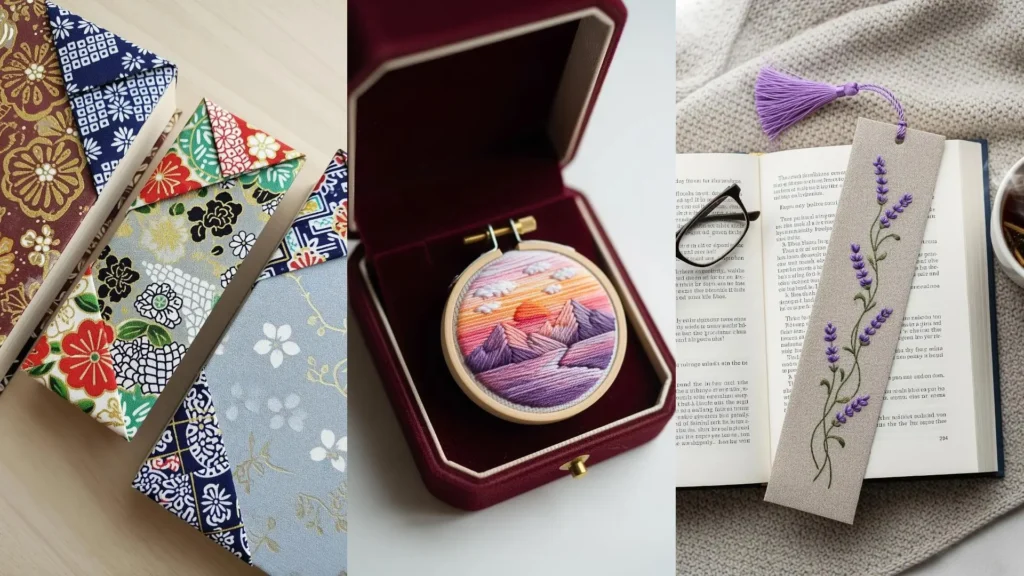
12. Stitch a Delicate Botanical Bookmark
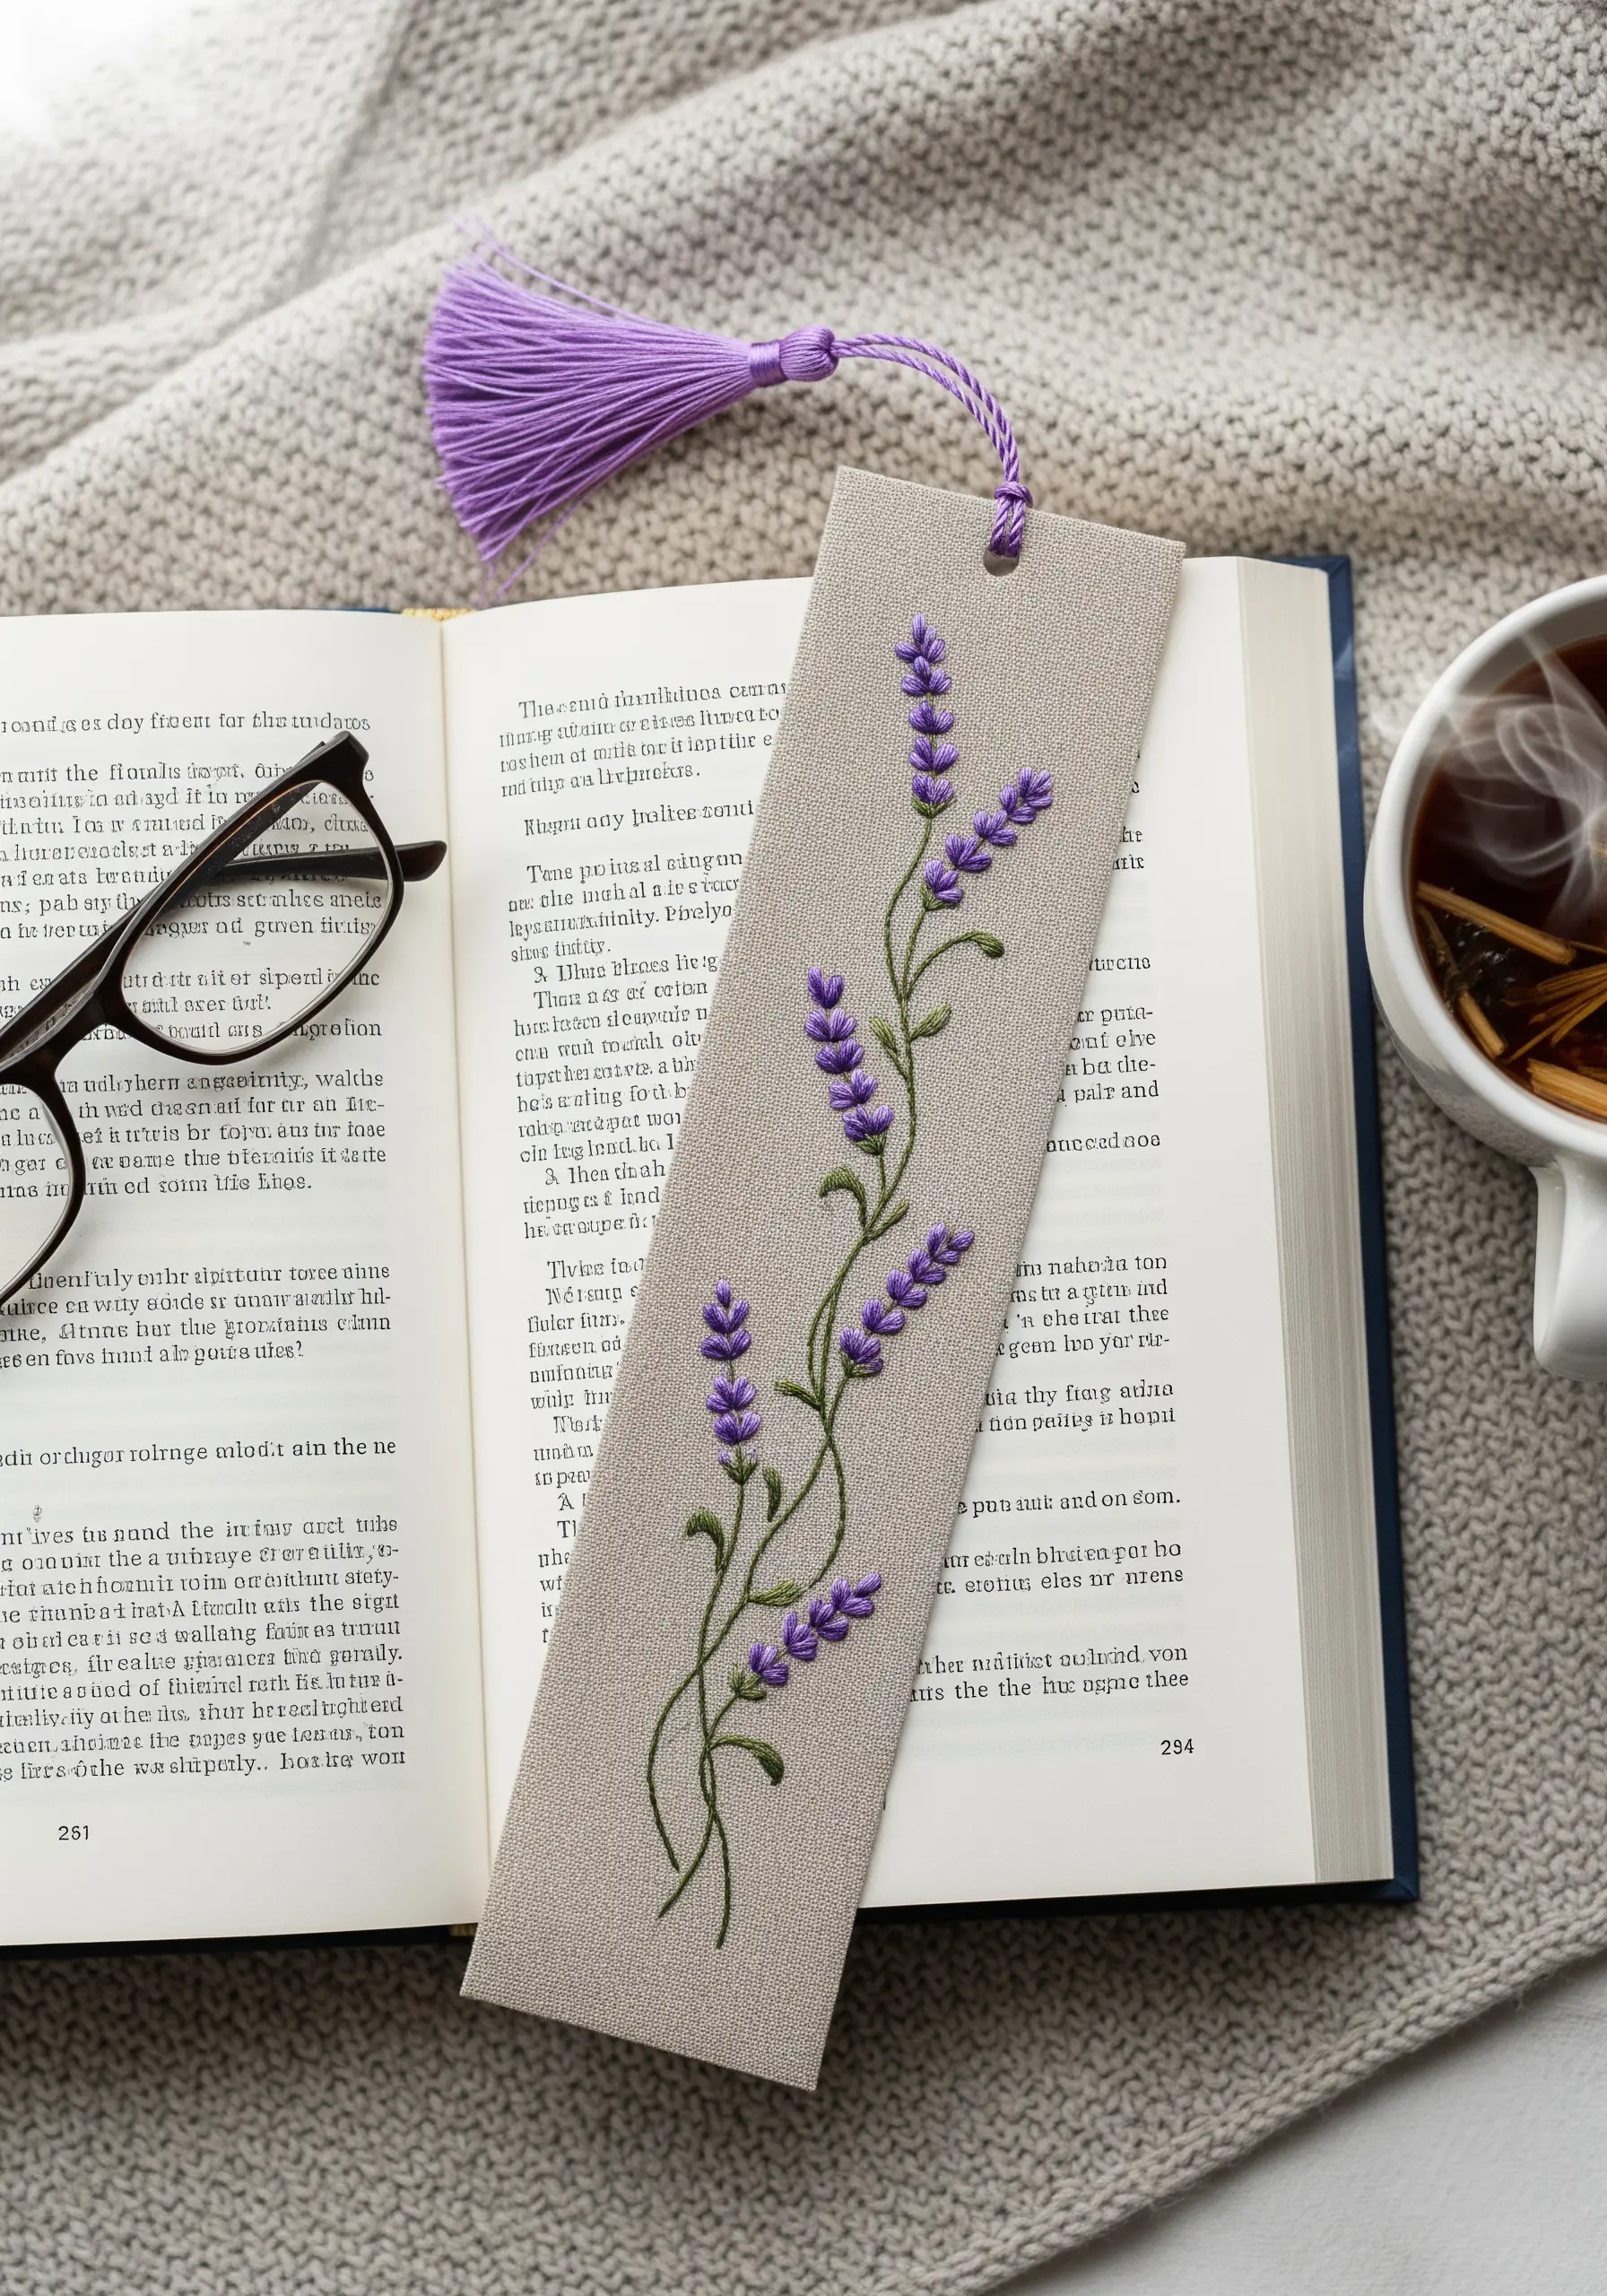
For an elegant embroidered bookmark, the key is delicate precision.
Work on a tightly woven linen or cotton canvas that can support fine stitches without puckering.
Use only one or two strands of embroidery floss for the lavender stems and leaves to keep the lines graceful and refined.
For the blossoms, use tiny, separated satin stitches or French knots to suggest texture without adding bulk.
A matching handmade tassel provides the perfect finishing touch, adding weight and function.
13. Braid Fabric Scraps into Chic Keychains
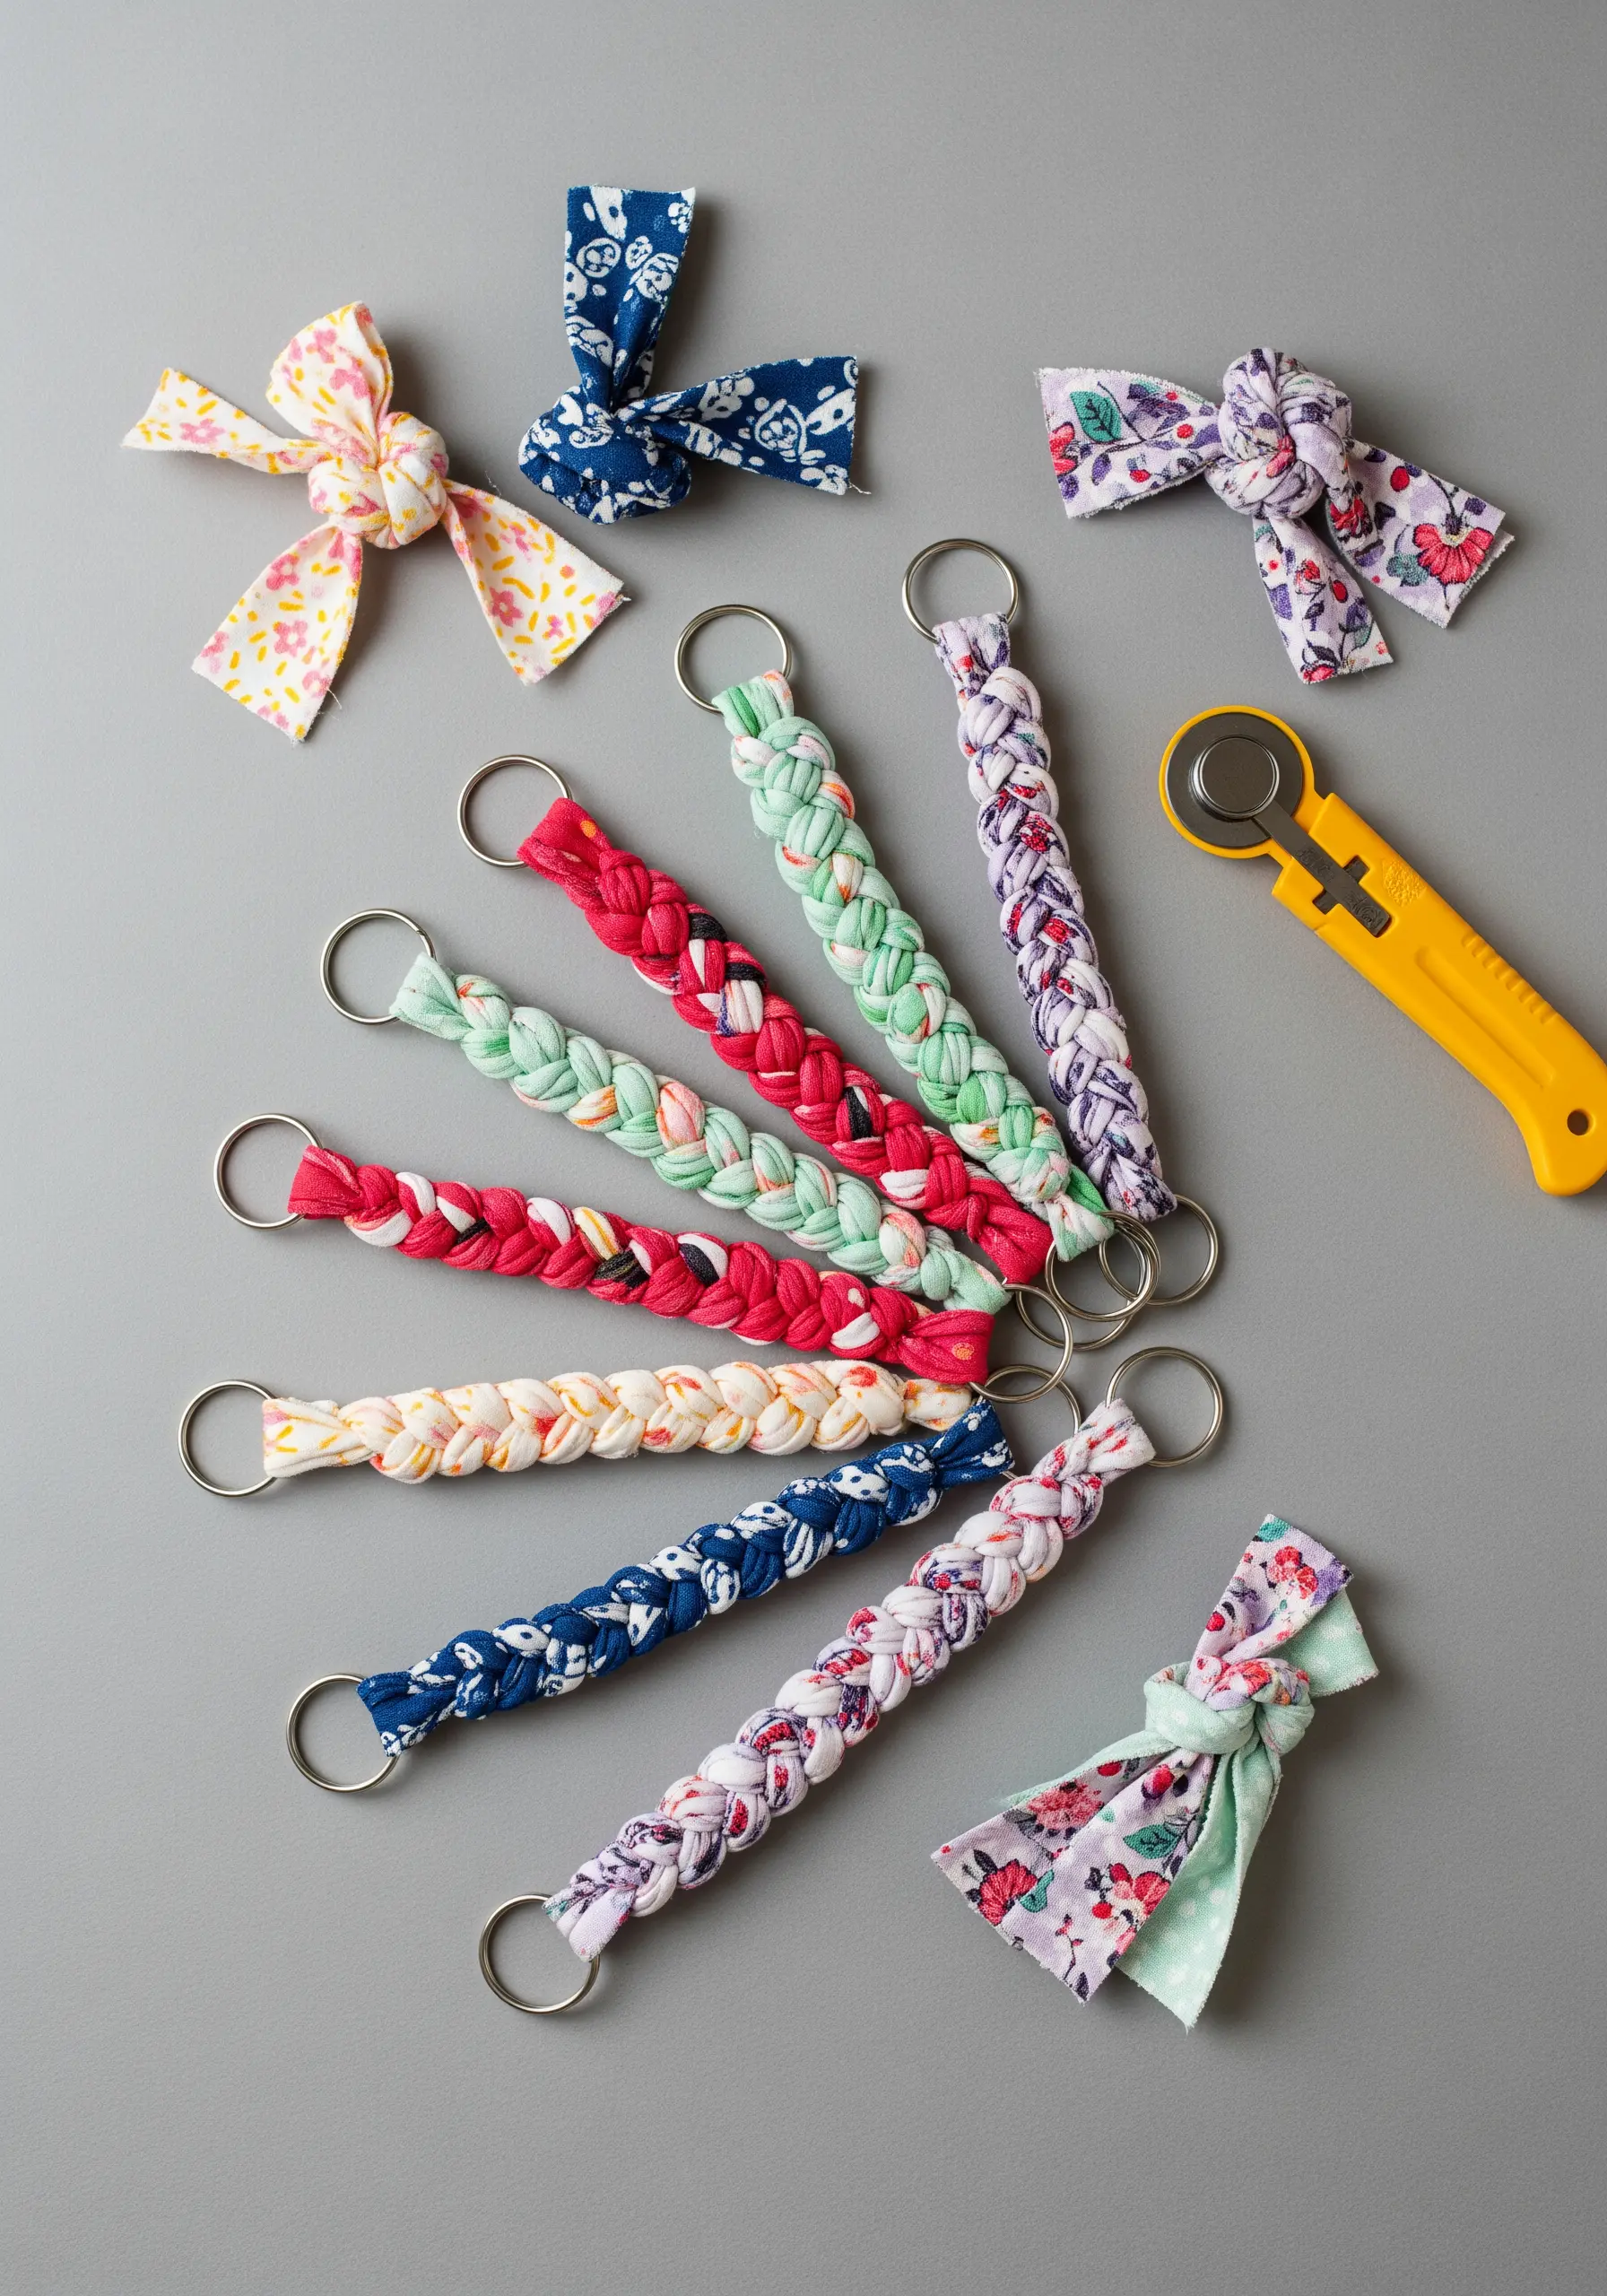
Turn leftover fabric scraps into stylish and sturdy keychains by focusing on the quality of your braid.
Choose fabrics with small-scale patterns, as large prints will be lost in the narrow strips.
Press your fabric strips in half, then in half again to hide the raw edges before you begin braiding.
Maintain a firm, consistent tension as you braid to create a dense, durable fob that feels substantial and looks professionally made.
14. Define Felt with Minimalist Line Art
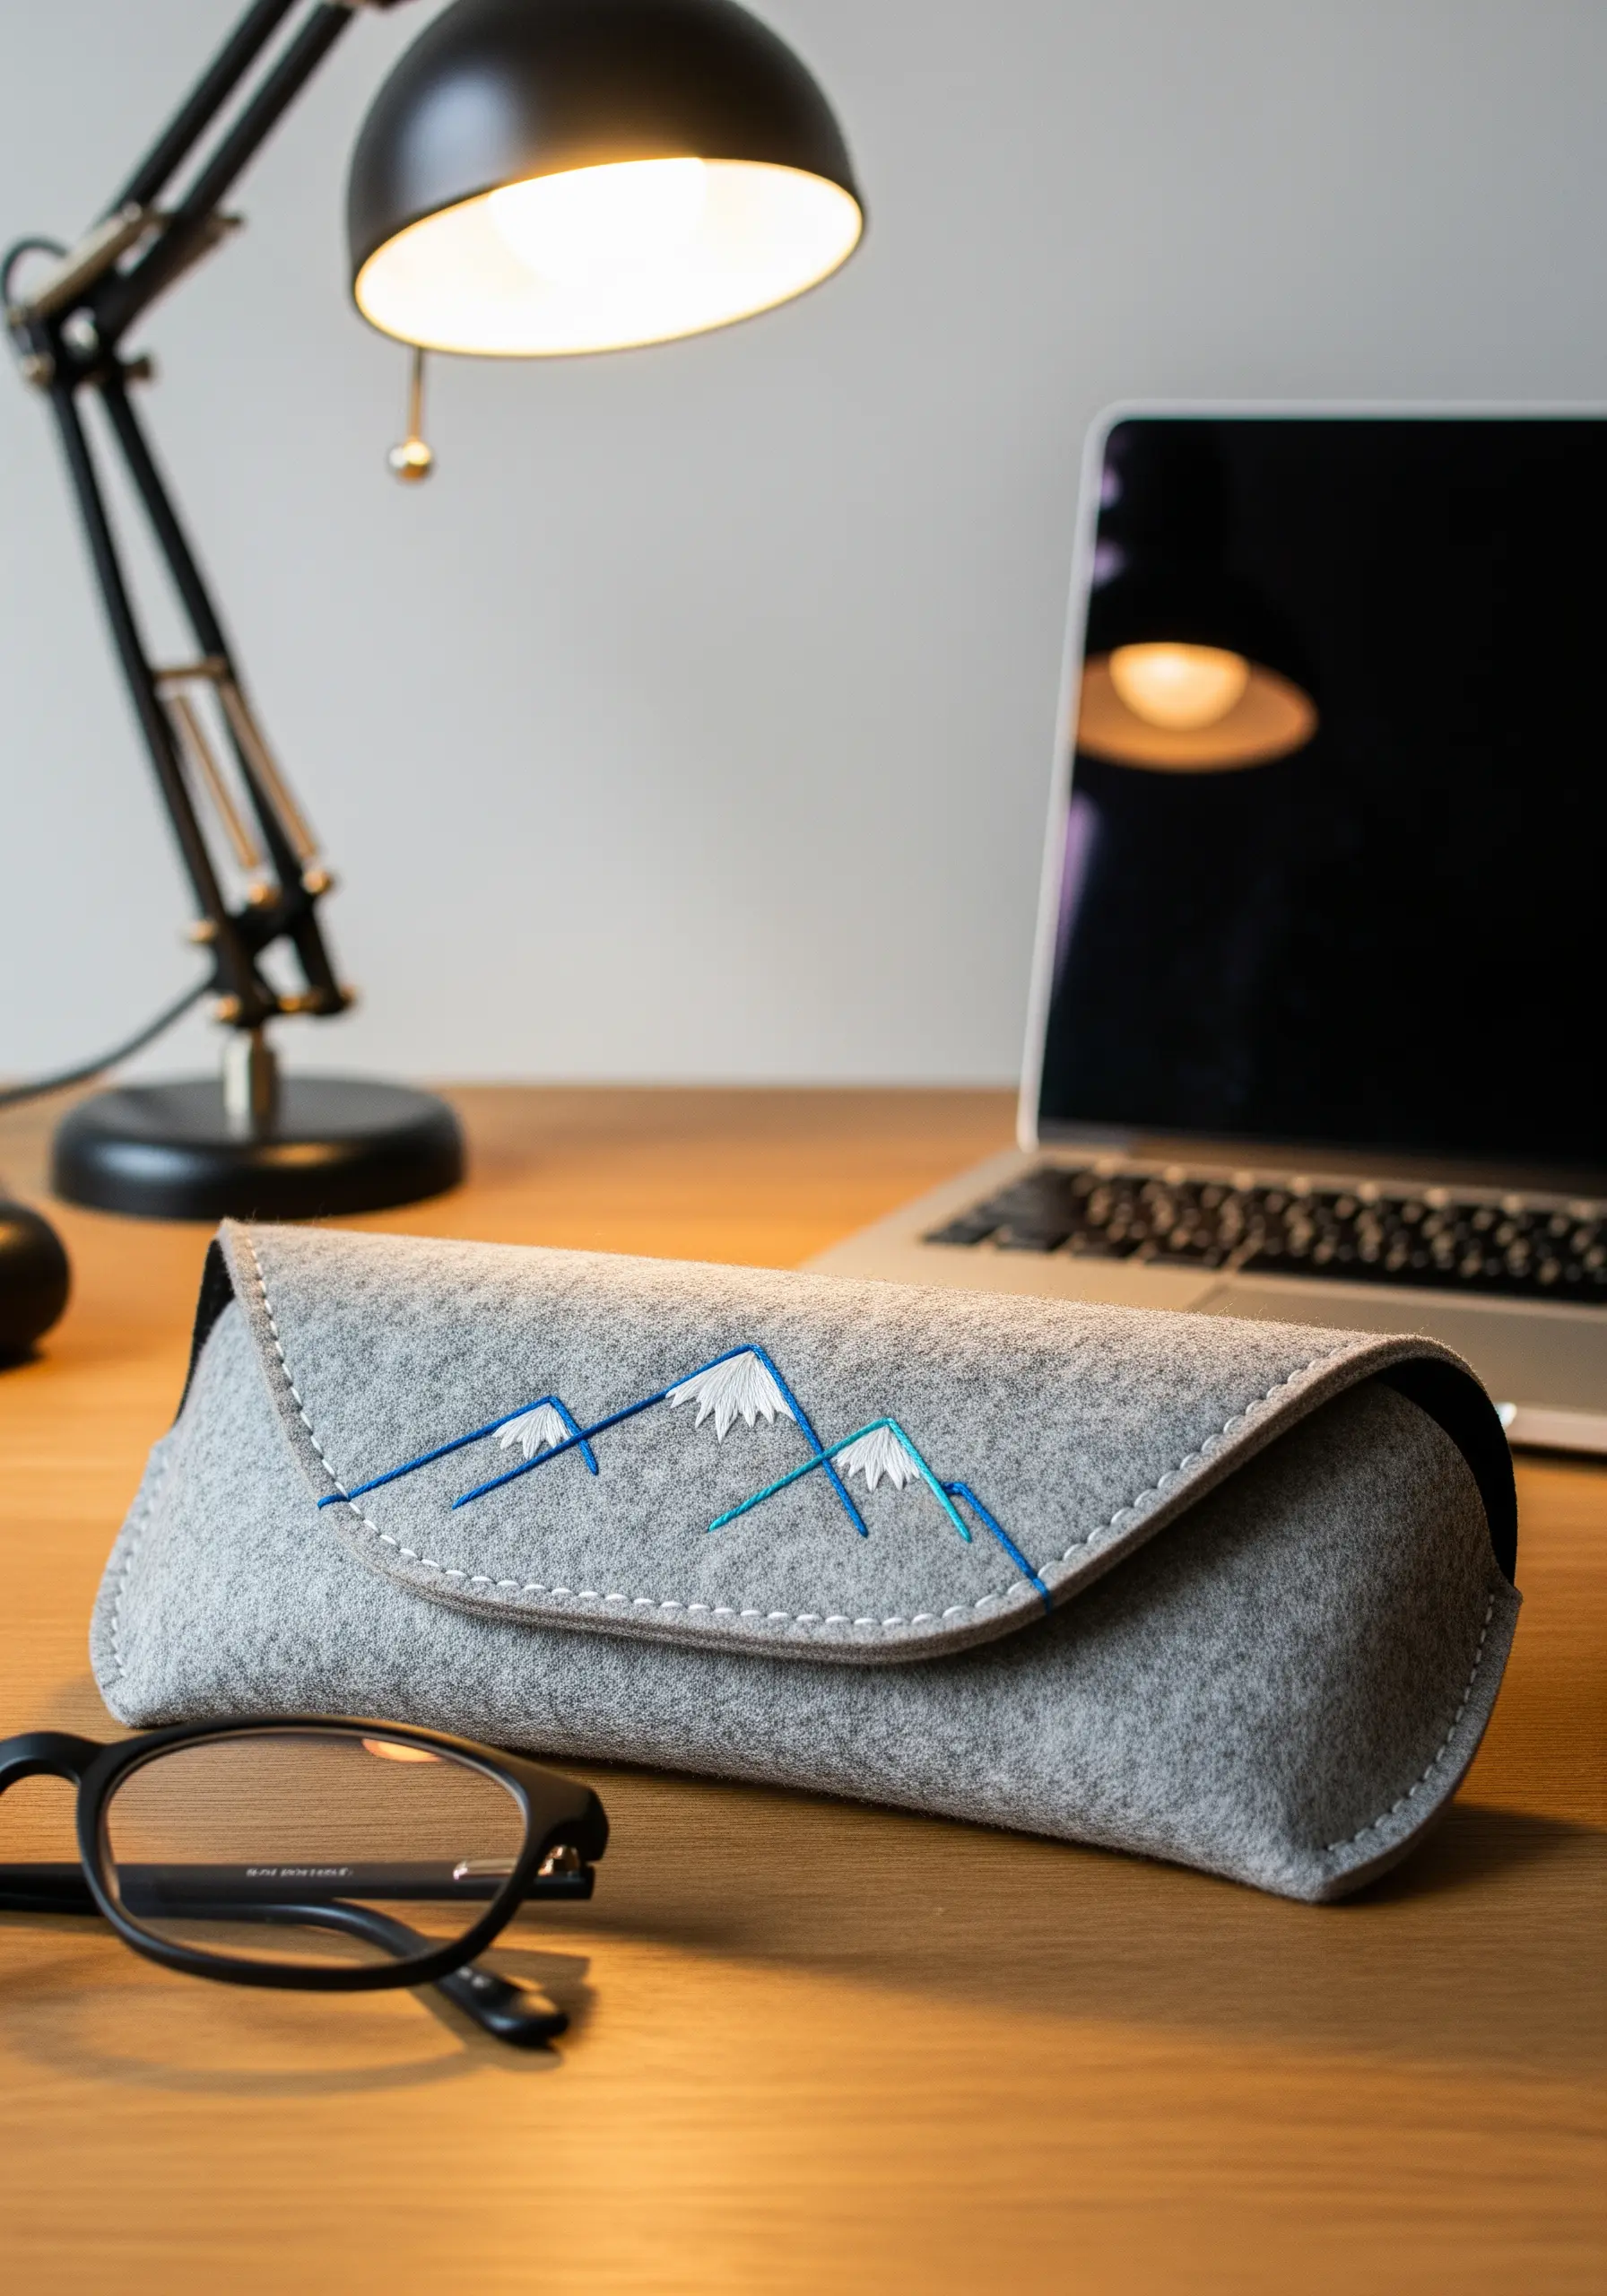
Create a strikingly modern eyeglass case by pairing soft felt with crisp, geometric line art.
Use a simple backstitch to create a minimal mountain range, focusing on clean lines and sharp angles.
Choose a high-contrast thread—like bright blue on grey felt—to make the design graphic and intentional.
Frame the entire piece with a neat whipstitch or running stitch along the edge in a complementary color, which unifies the design and adds a final handmade detail.
15. Achieve Perfect Appliqué with a Clean Border
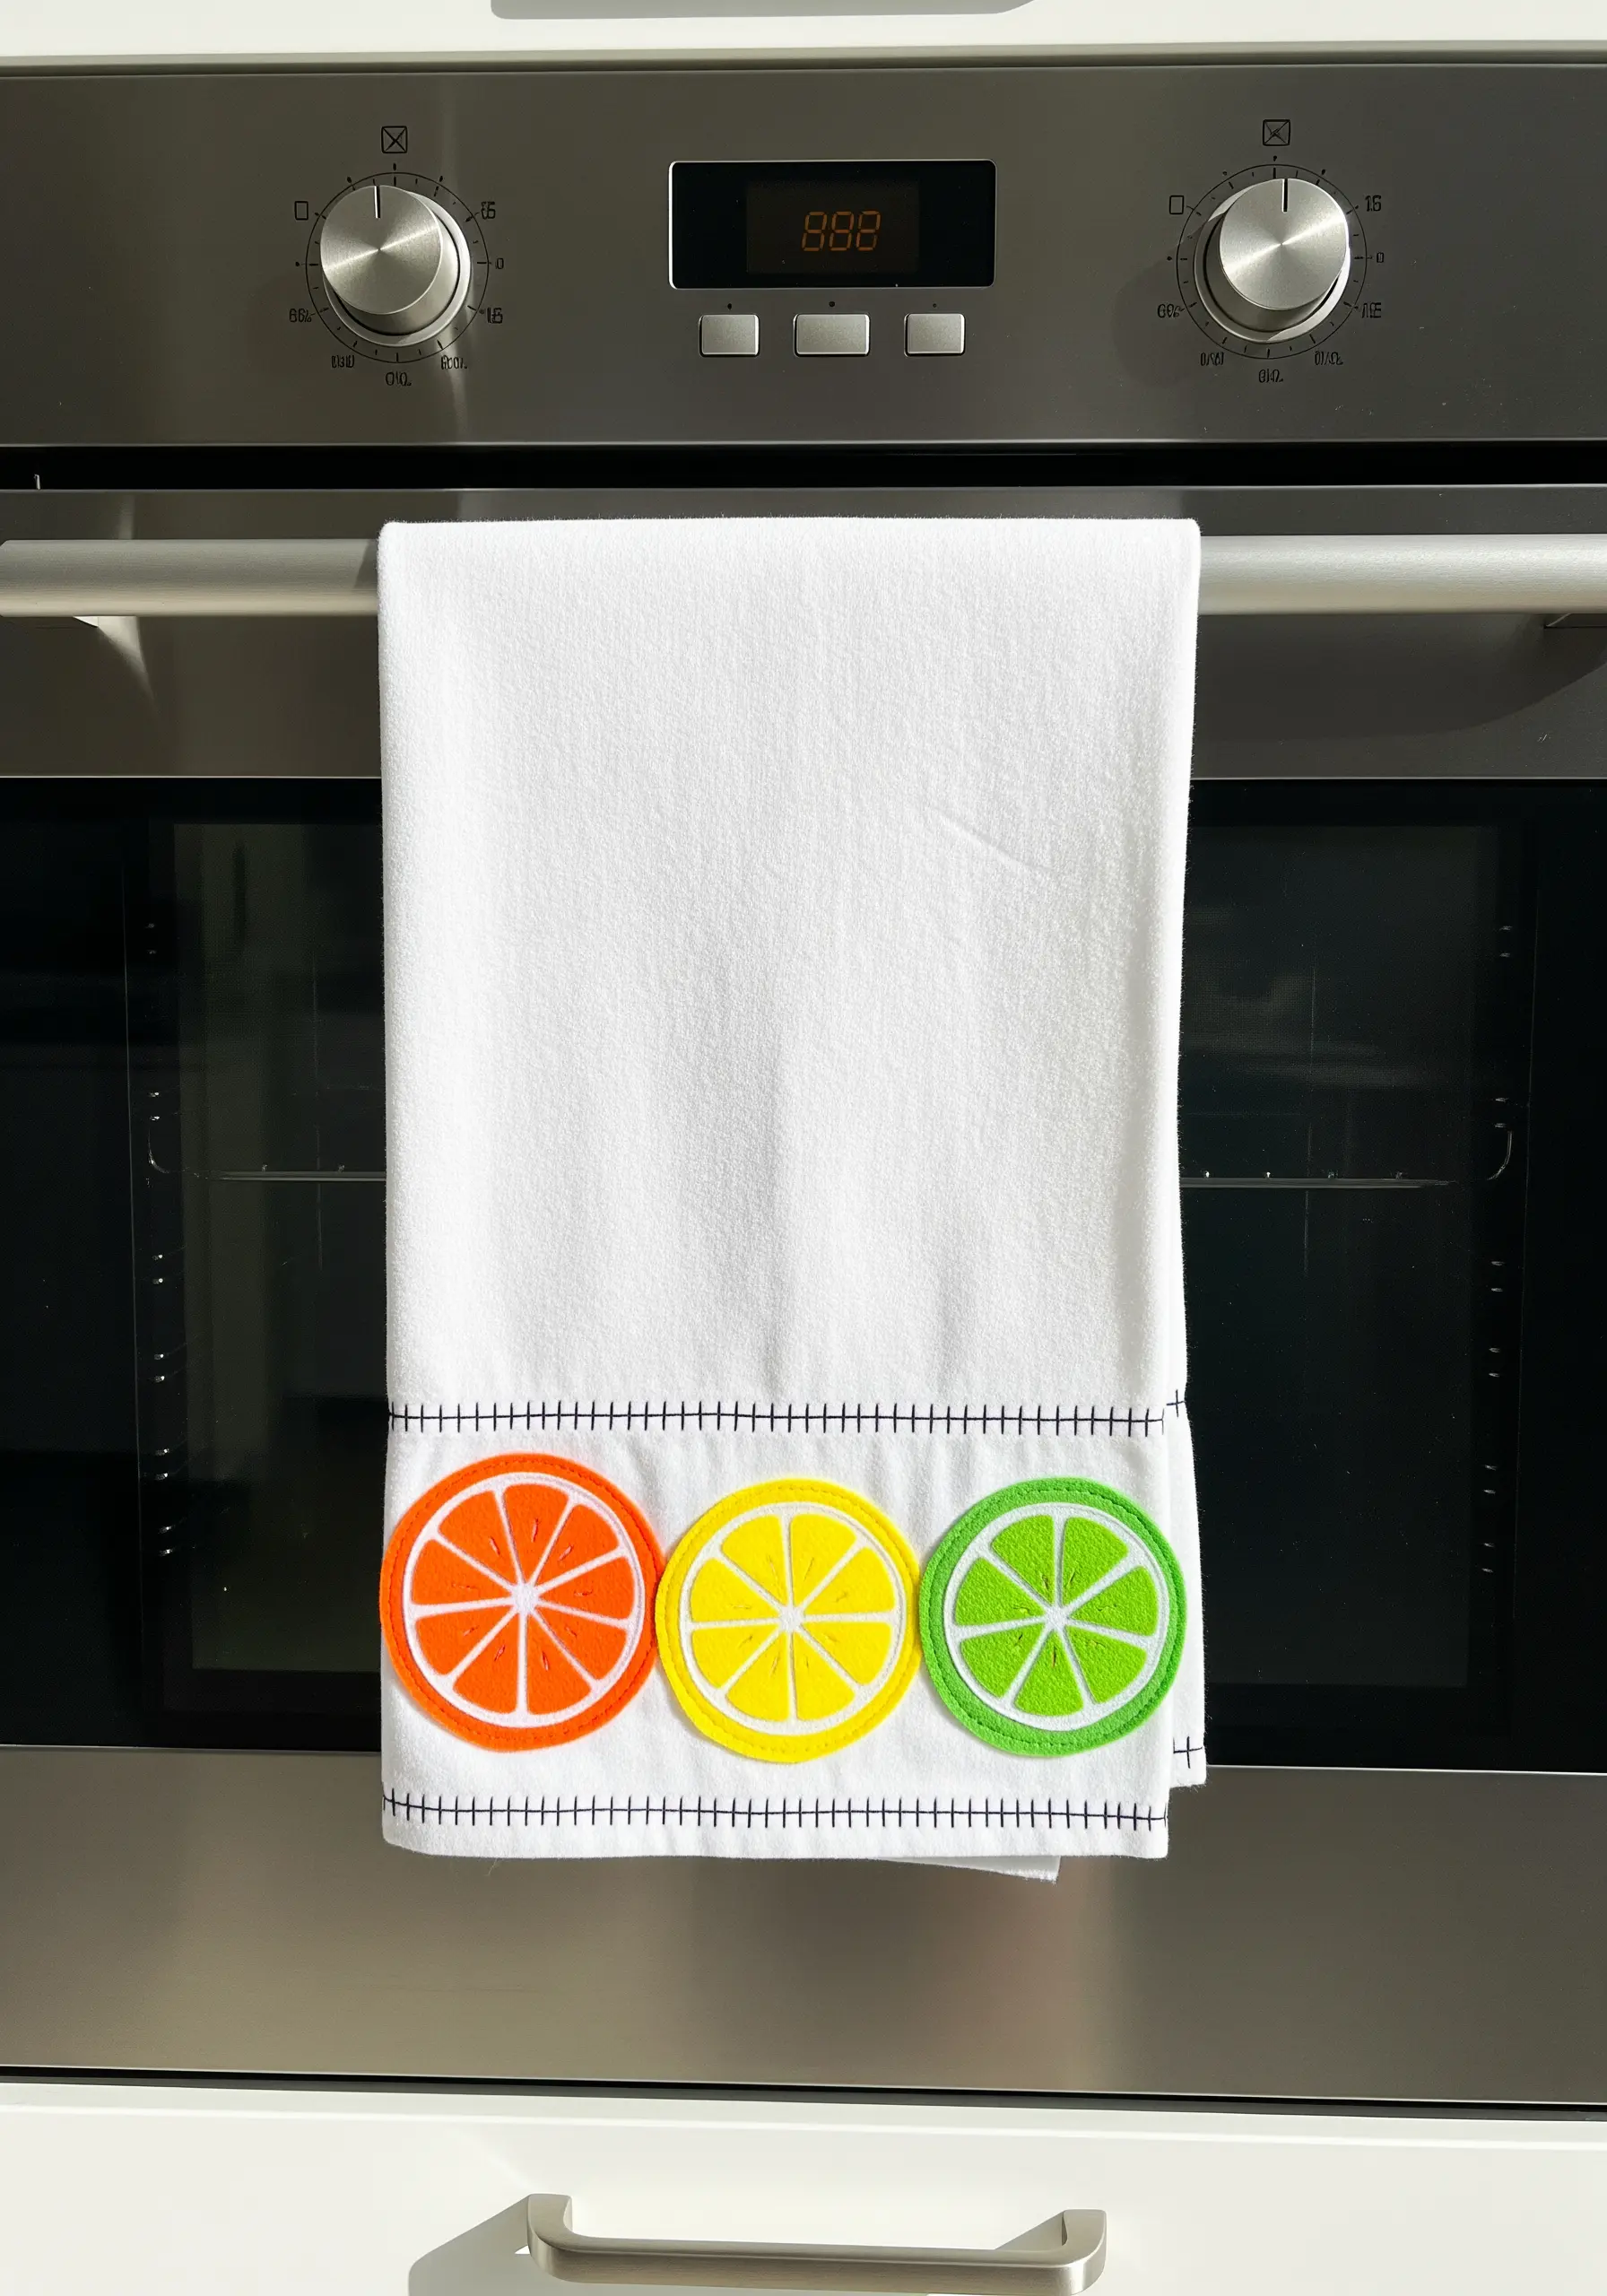
For bold, graphic appliqué like these citrus slices, the secret to a professional finish is a flawless edge.
First, secure your fabric shapes to the towel using a lightweight fusible webbing—this prevents any slipping or puckering as you stitch.
Then, use a tight, dense satin stitch to cover the raw edge completely.
Practice on a scrap piece first to get your stitch width and density just right for a smooth, solid border that makes the colors pop.
16. Master Rhythmic Stitching with Sashiko
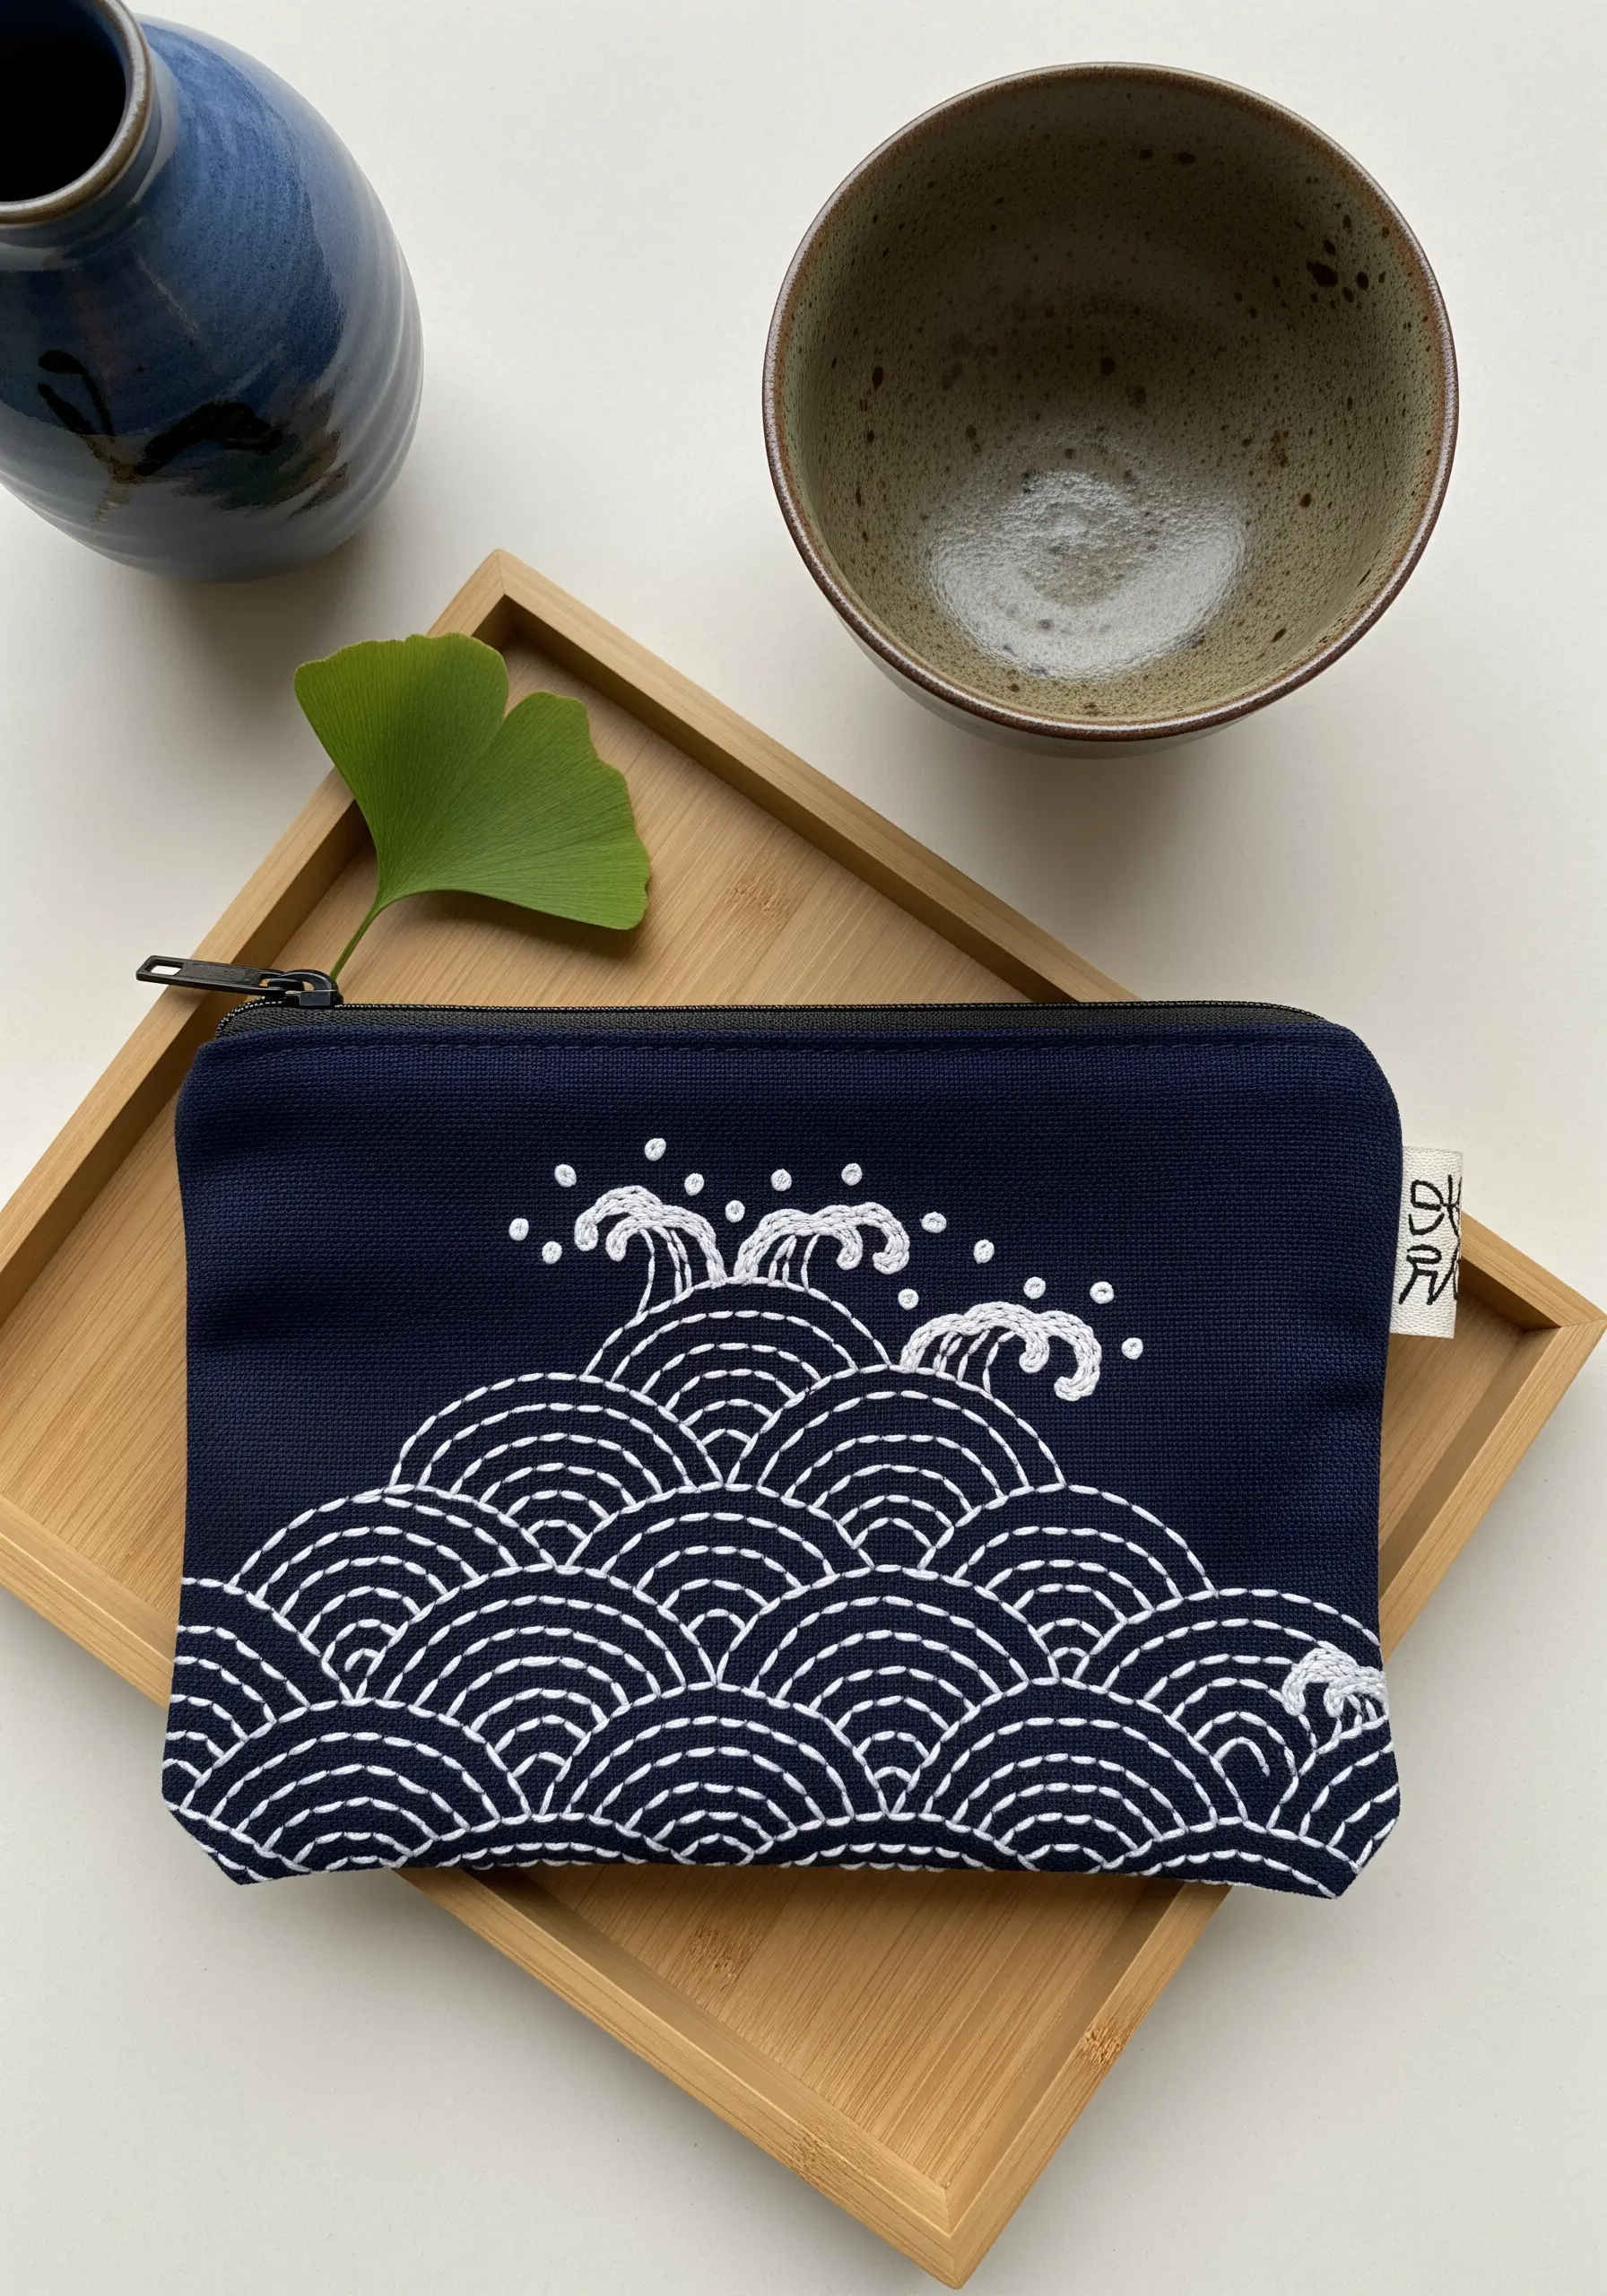
Embellish a simple pouch with a Sashiko-inspired wave pattern, where the beauty lies in consistency.
The goal is not speed, but rhythm—each running stitch should be the same length, and the gaps between them should be uniform (traditionally, about one-third the length of a stitch).
Use a long Sashiko needle to load several stitches at once, which helps maintain an even line.
This meditative technique turns a simple running stitch into a powerful, graphic pattern.
17. Fold with Precision for Origami Fabric Covers
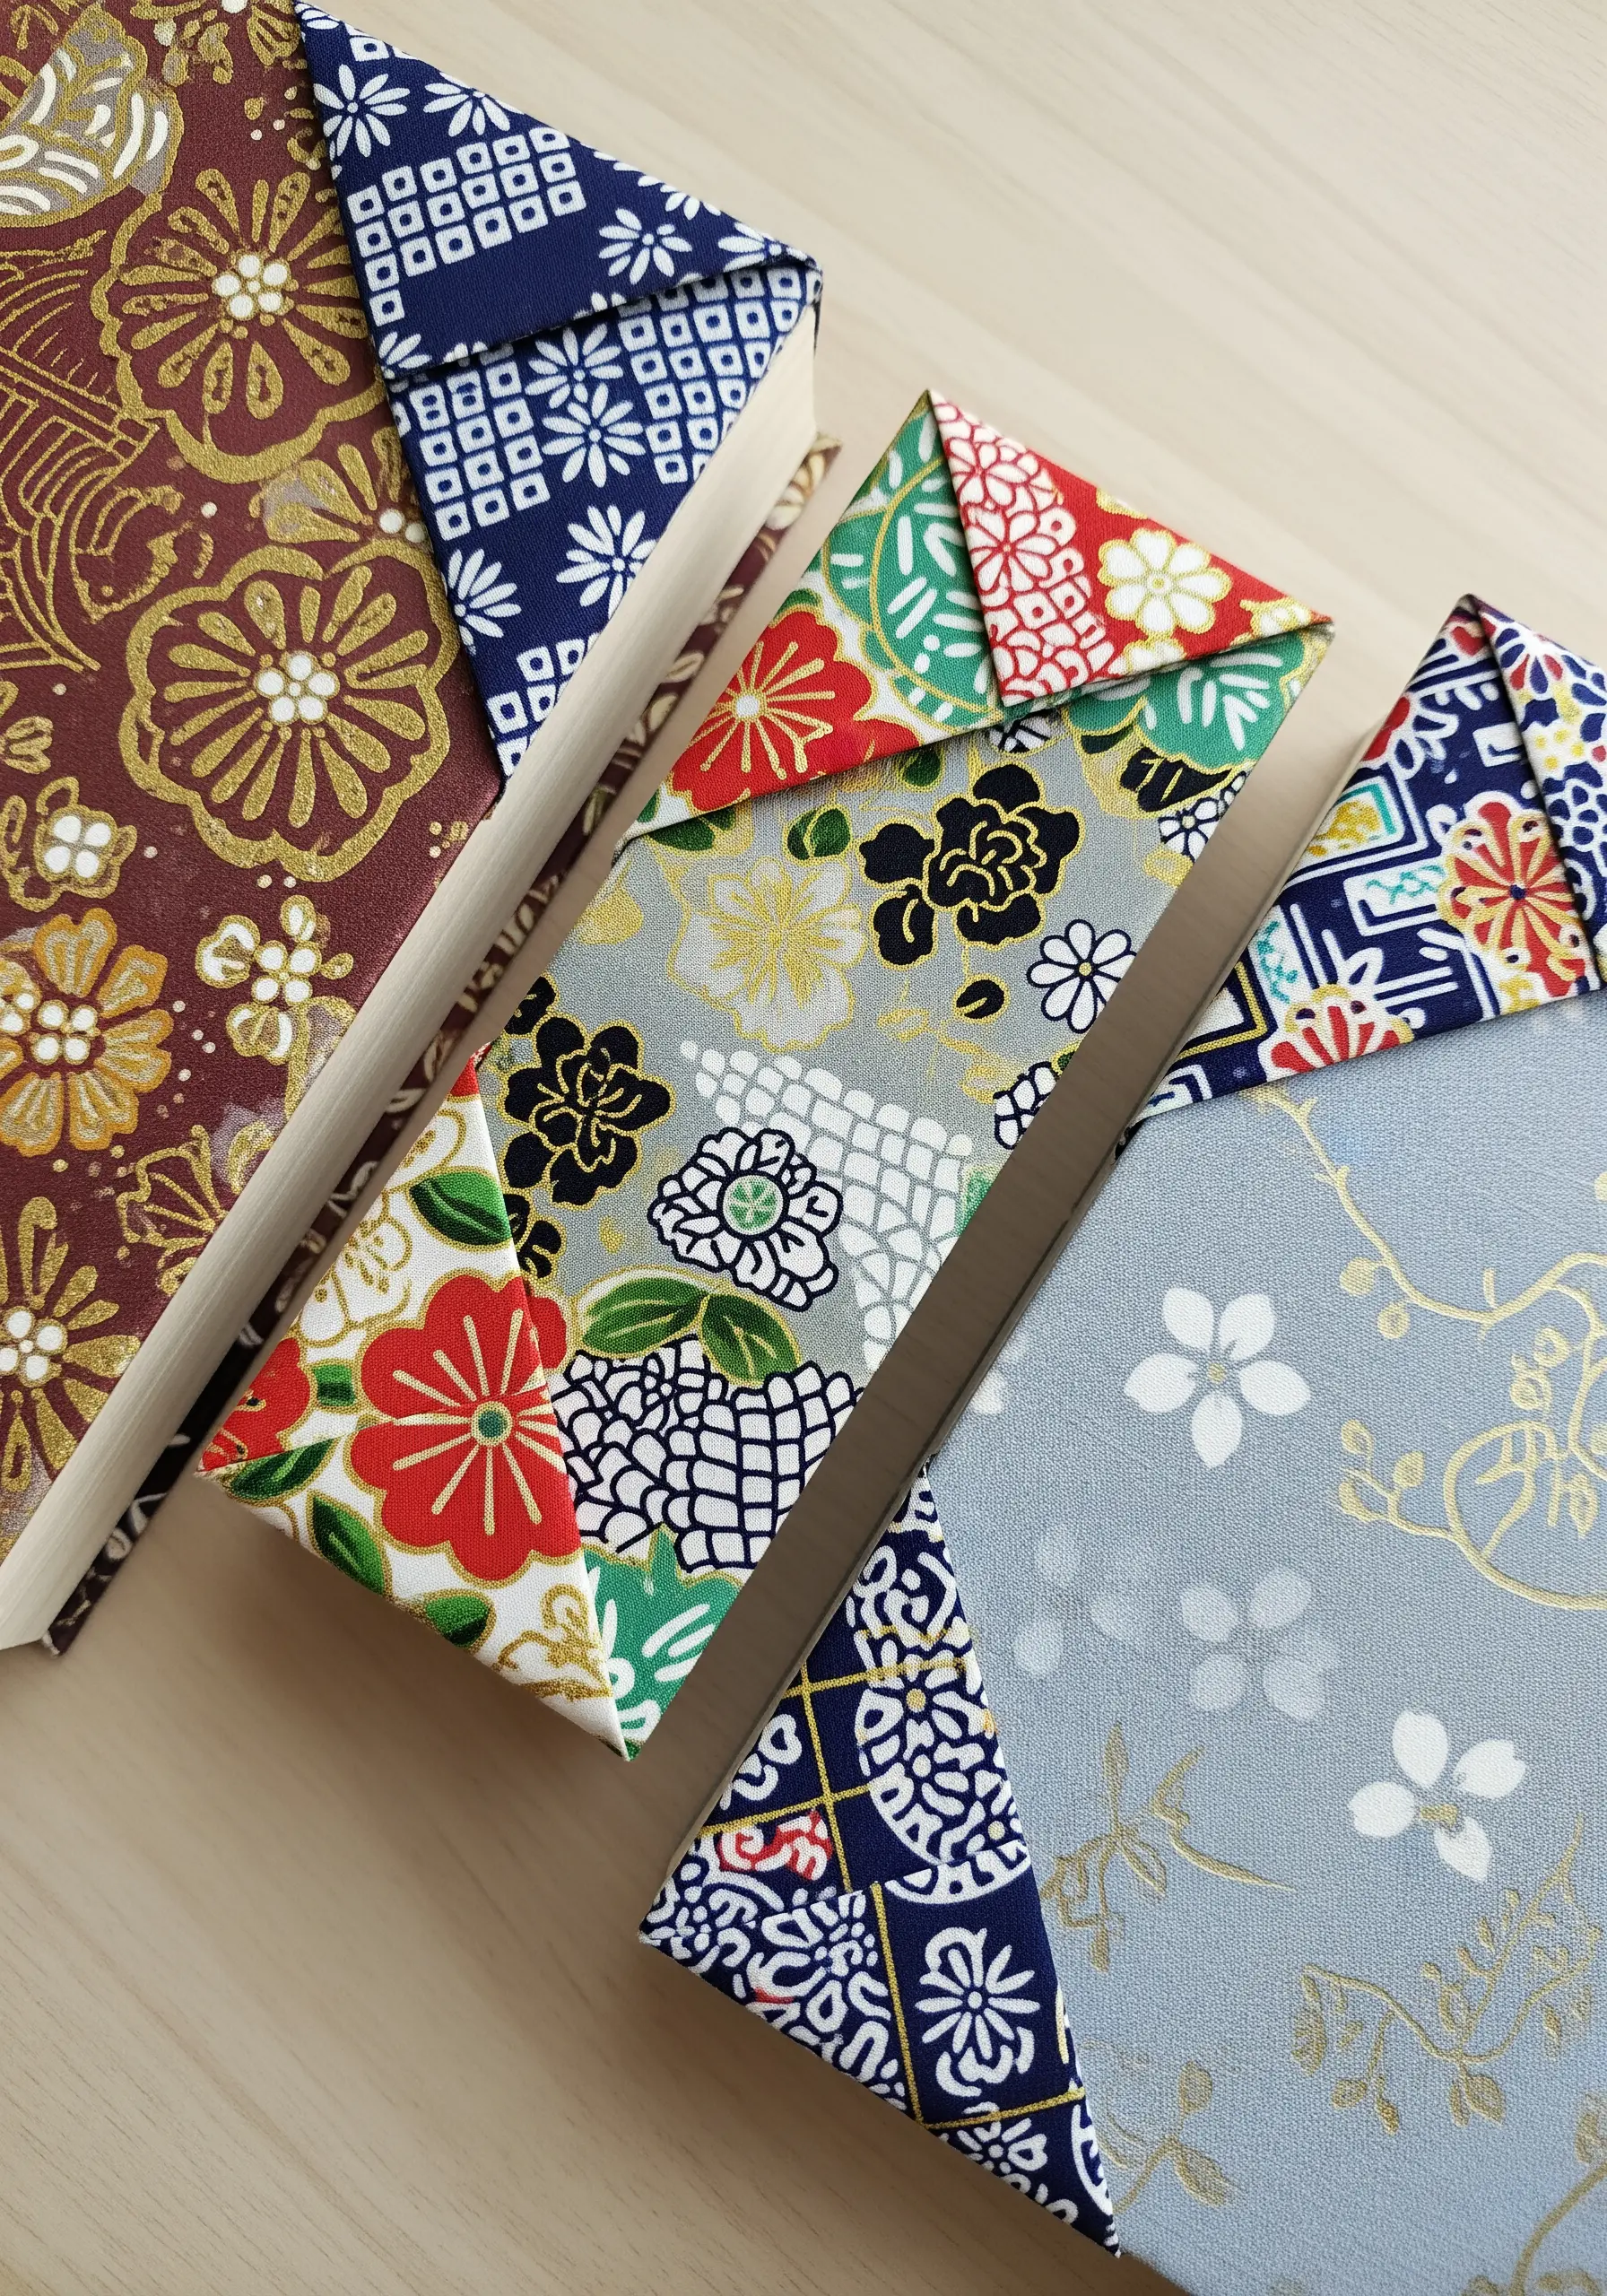
While not embroidery, creating origami-style fabric gift envelopes or book covers requires a similar attention to detail.
Choose high-quality cotton with a crisp hand, like quilting cotton or poplin, as it holds a crease beautifully.
Iron each fold as you go to ensure your lines are sharp and your corners are perfectly pointed.
A well-pressed, precisely folded piece showcases the fabric pattern and transforms it into a structured, elegant object.
18. Paint a Landscape with Directional Stitches
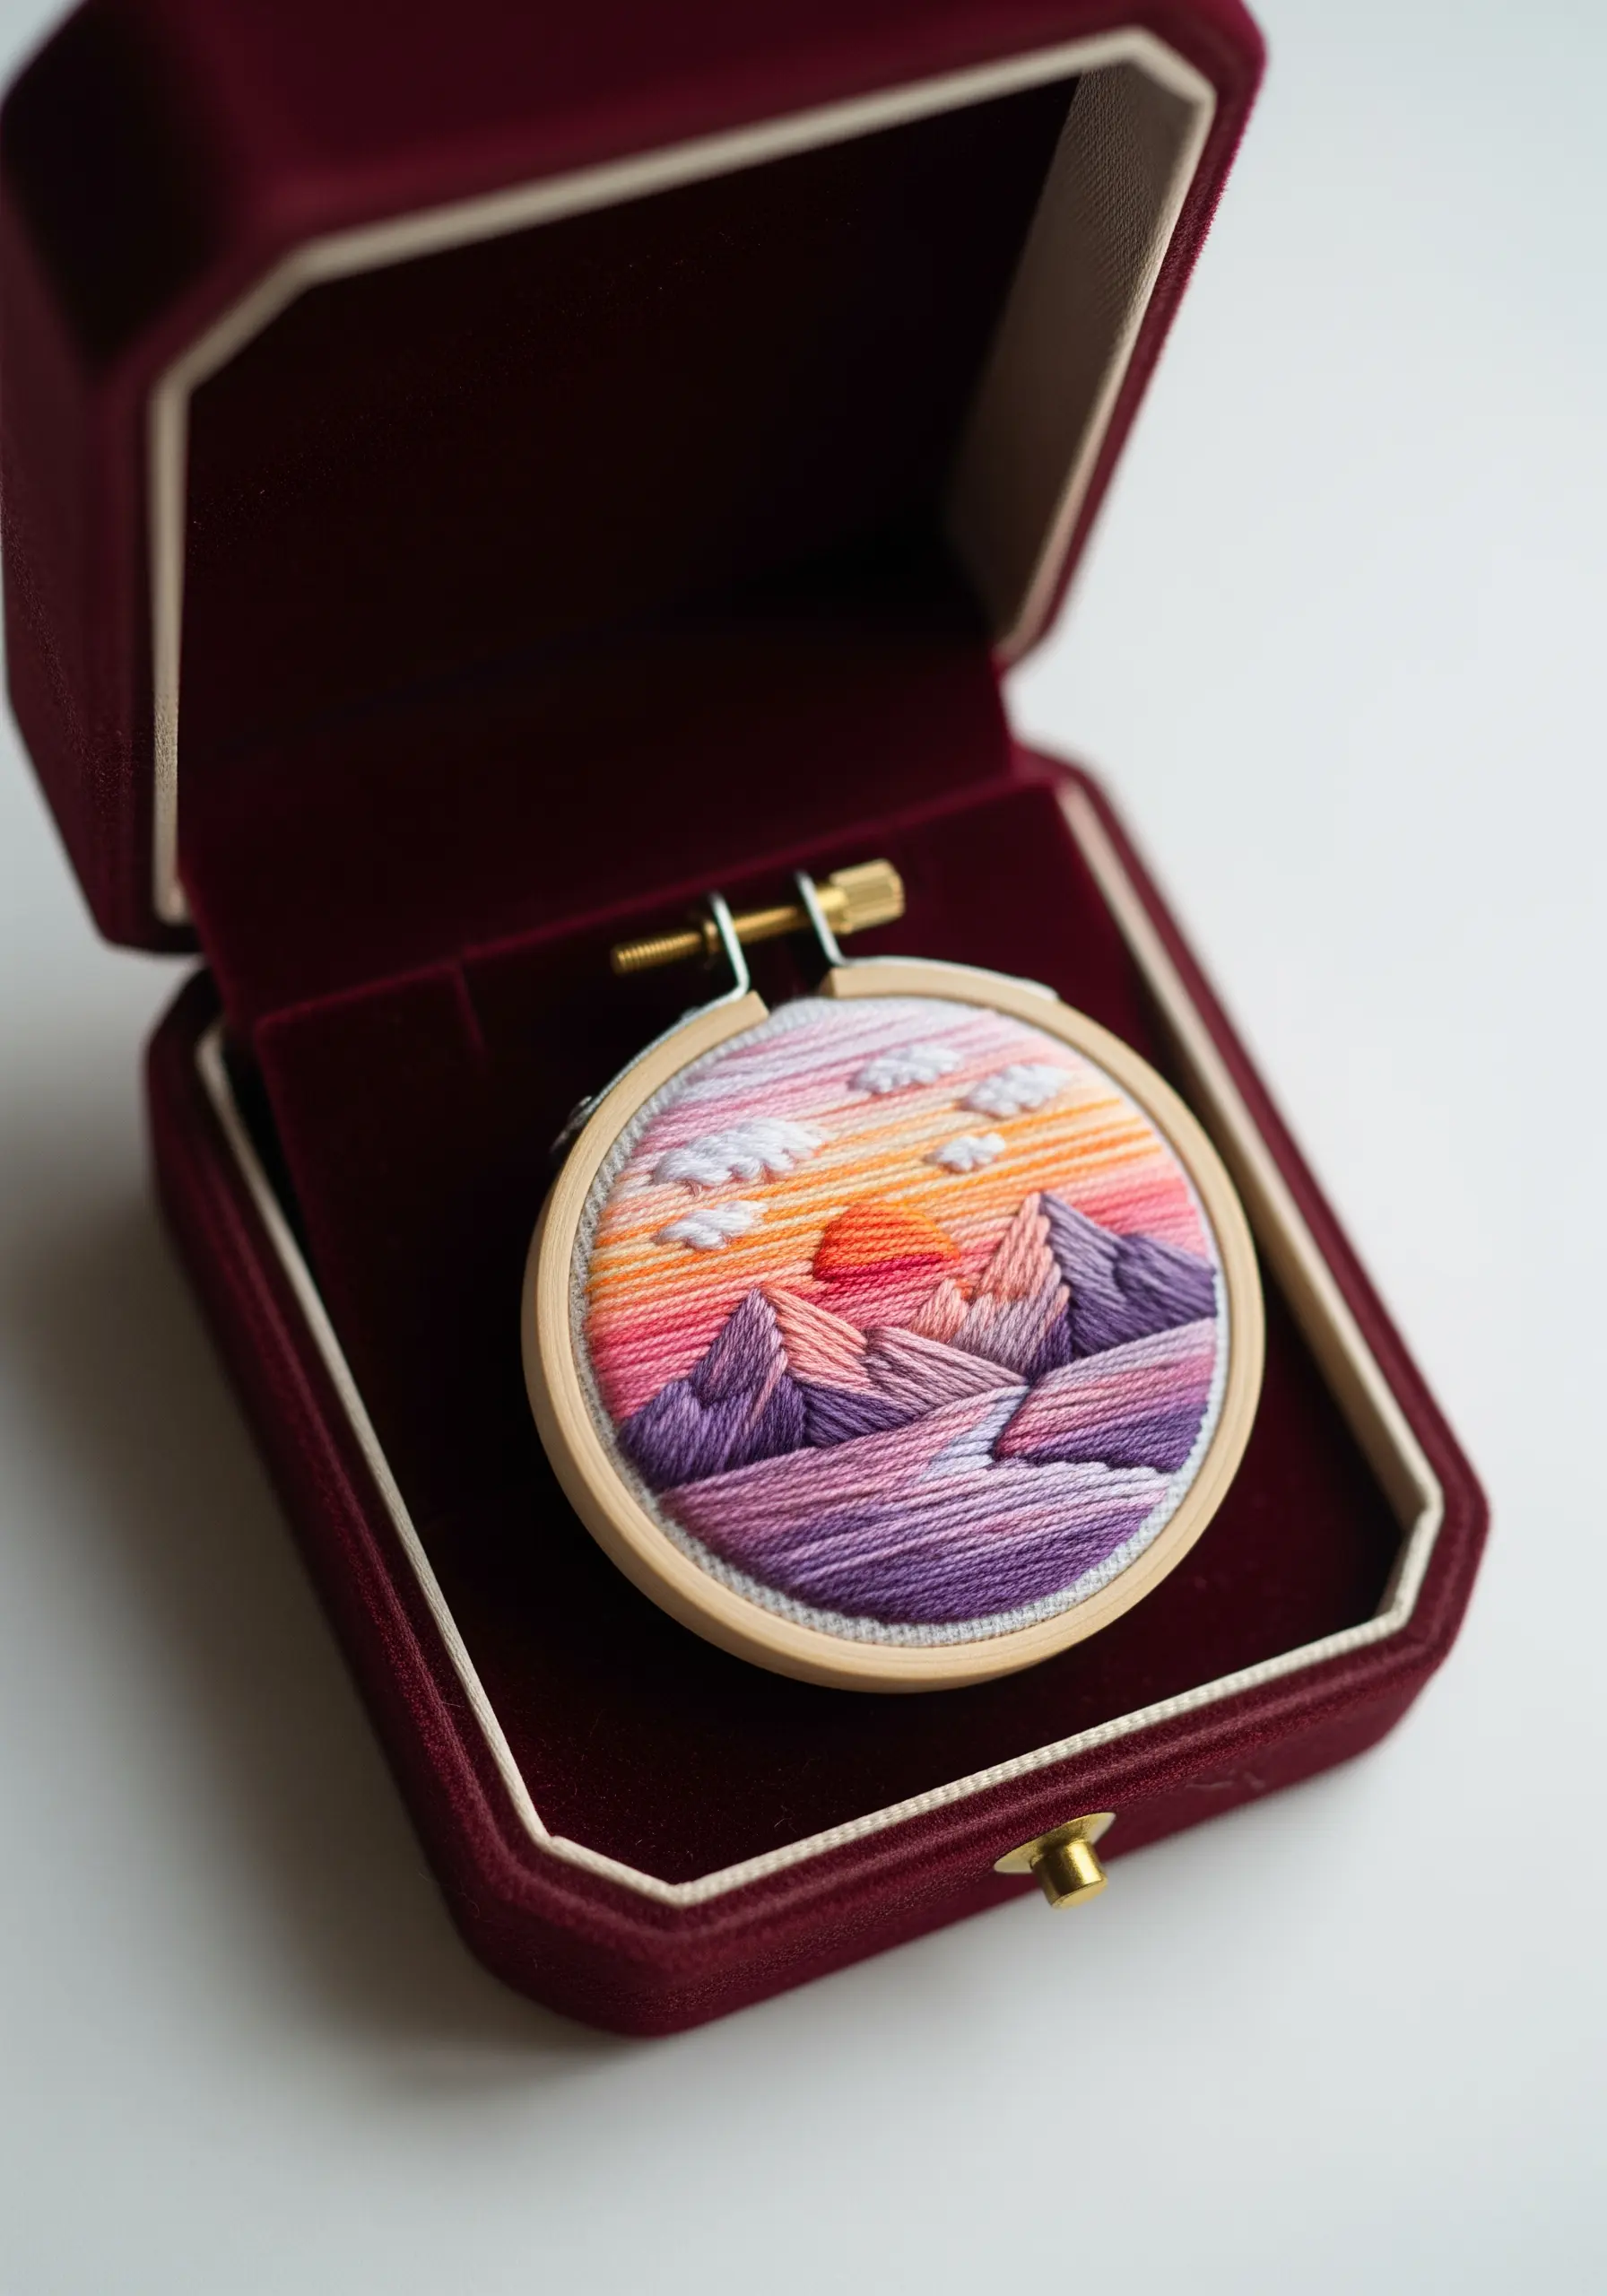
Create a miniature thread-painted landscape by using the direction of your stitches to define form and light.
Use long-and-short stitches for the sky and mountains, angling them to follow the contours of the landscape.
For example, stitch the mountain slopes diagonally and the clouds horizontally to create a sense of perspective and separation.
Blending colors within these directional stitches is what creates the soft, painterly effect of a sunset. Treat your needle like a paintbrush loaded with a single strand of floss.
19. Construct a Reversible Fabric Planter Cover
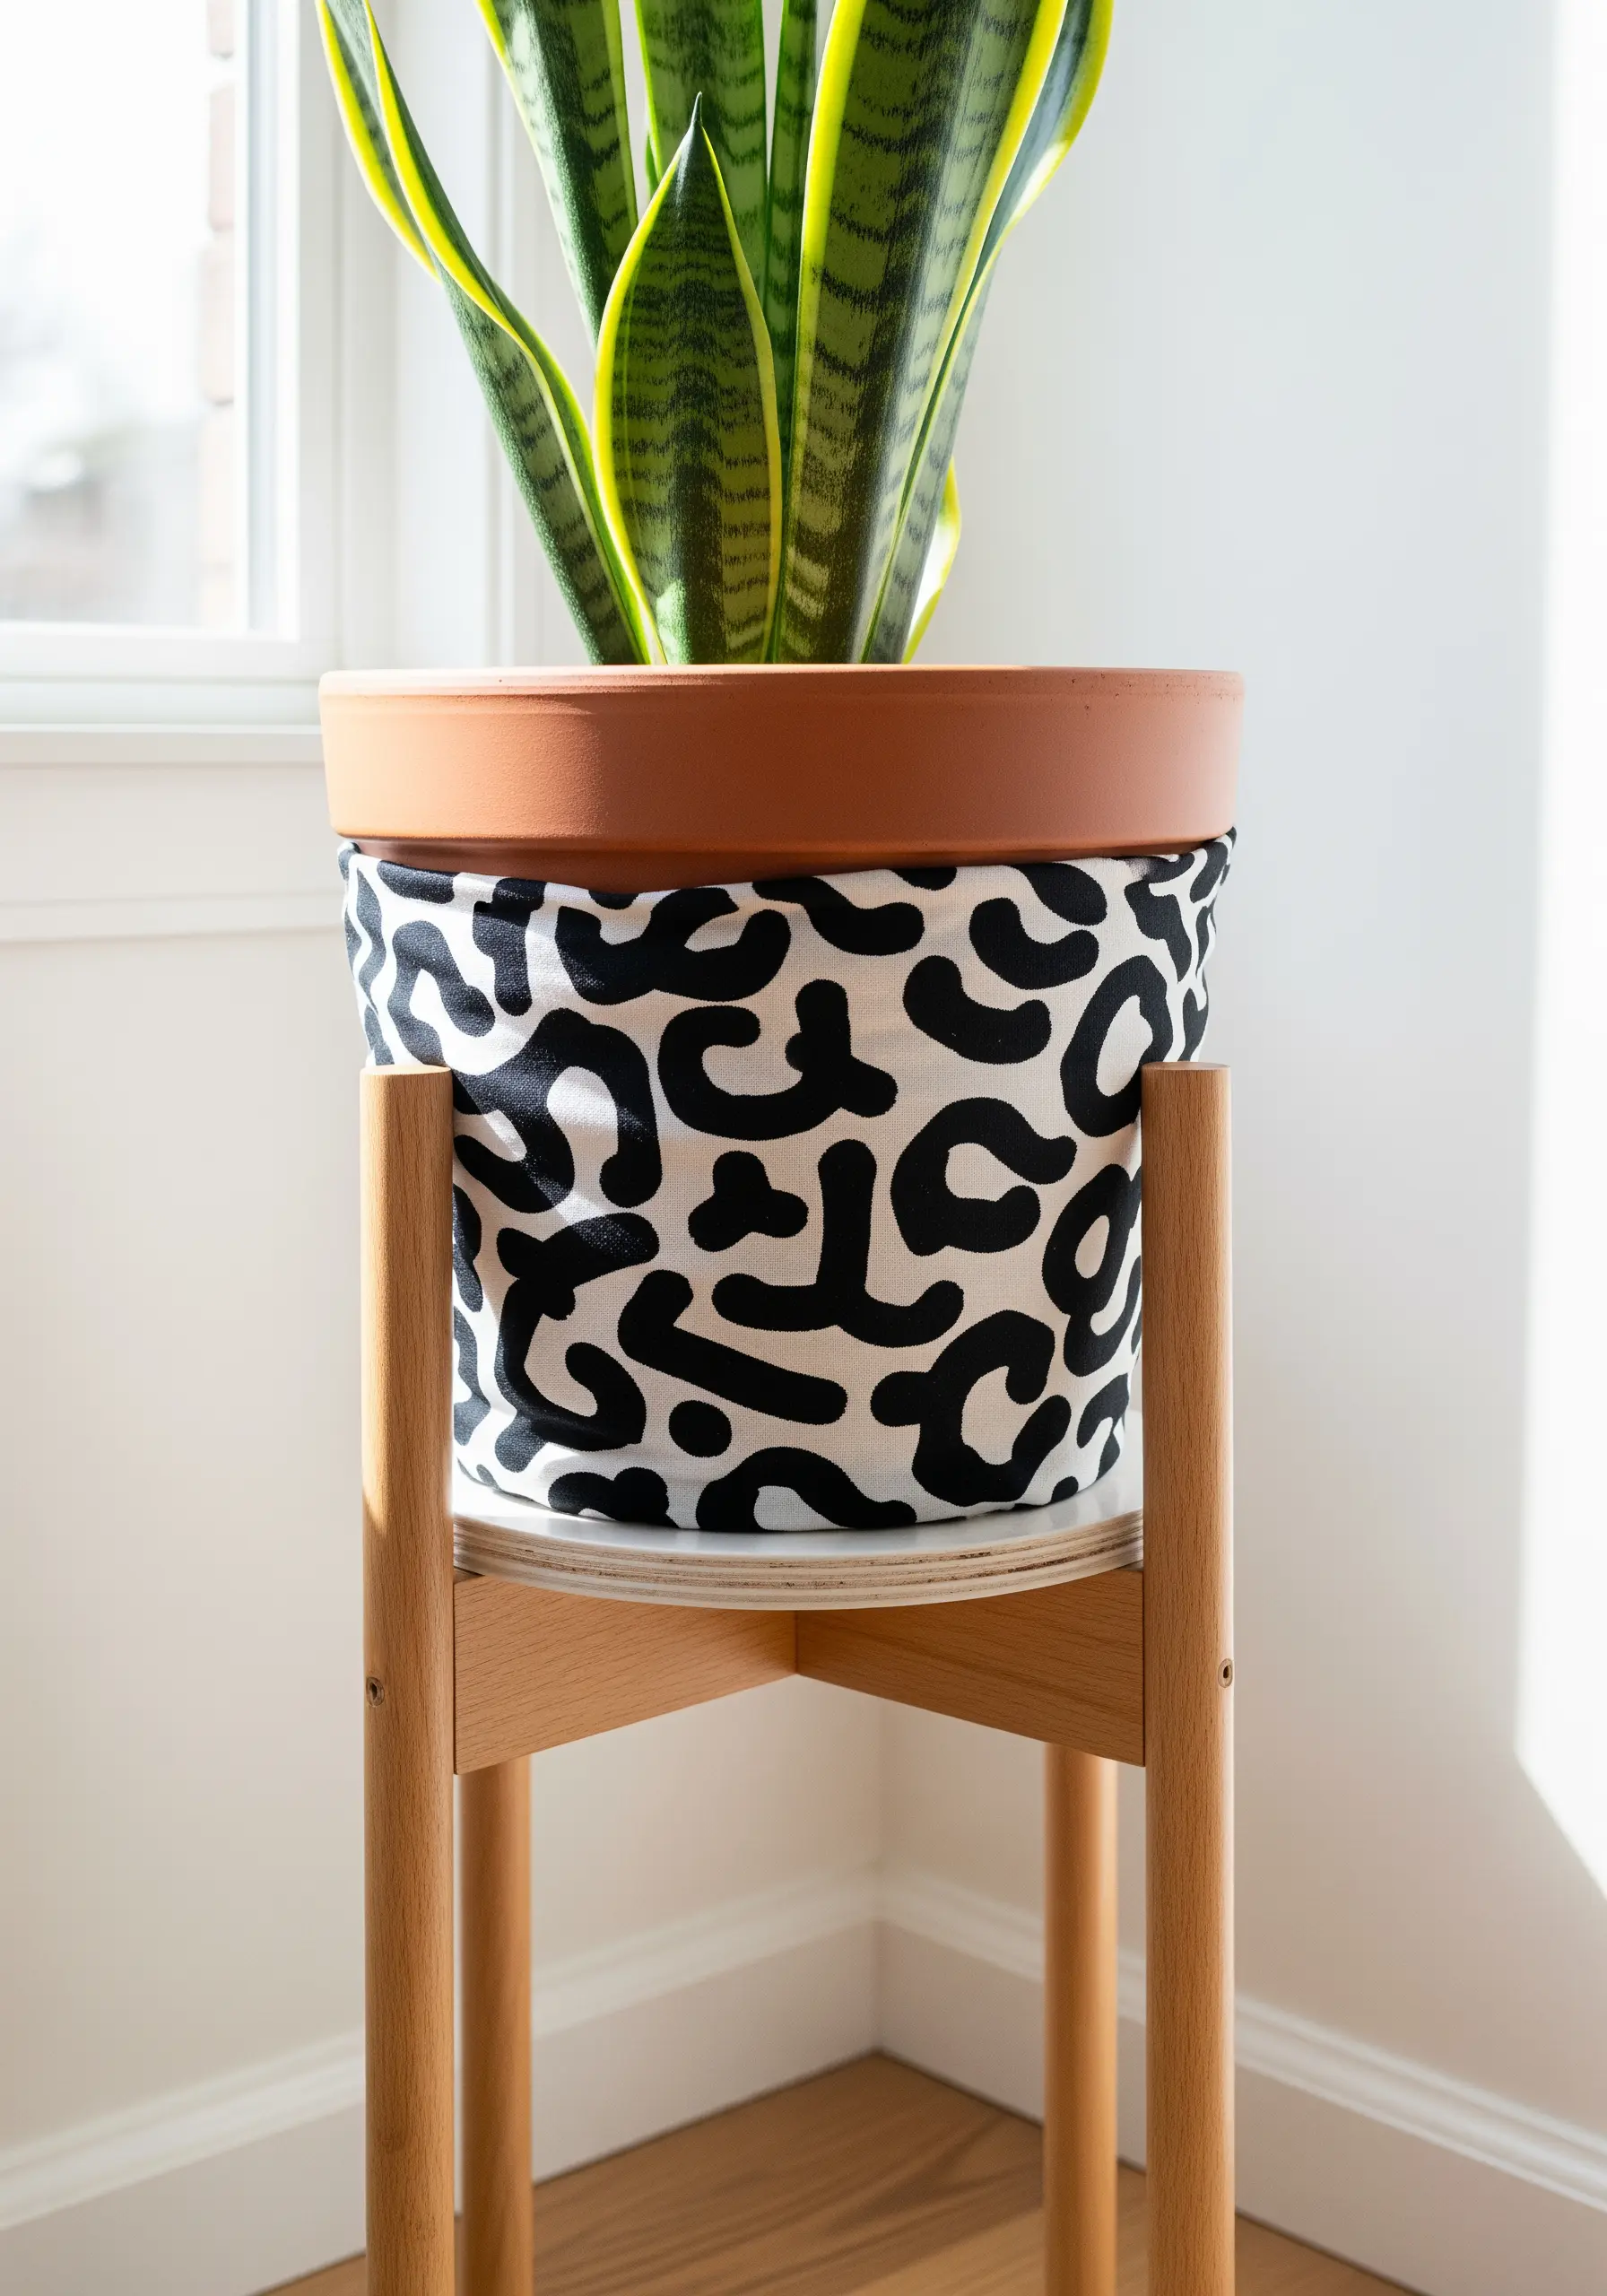
Sew a stylish and practical fabric cover for a planter pot that looks just as good on the inside.
Choose two complementary fabrics—perhaps a bold pattern for the outside and a solid color for the inside—and construct the cover so it is fully lined.
This not only hides all raw seams for a clean finish but also makes the cover reversible, offering two looks in one.
Use a medium-weight canvas or denim to ensure the cover has enough structure to stand up on its own.
20. Give Plush Toys Character with Fabric Choice
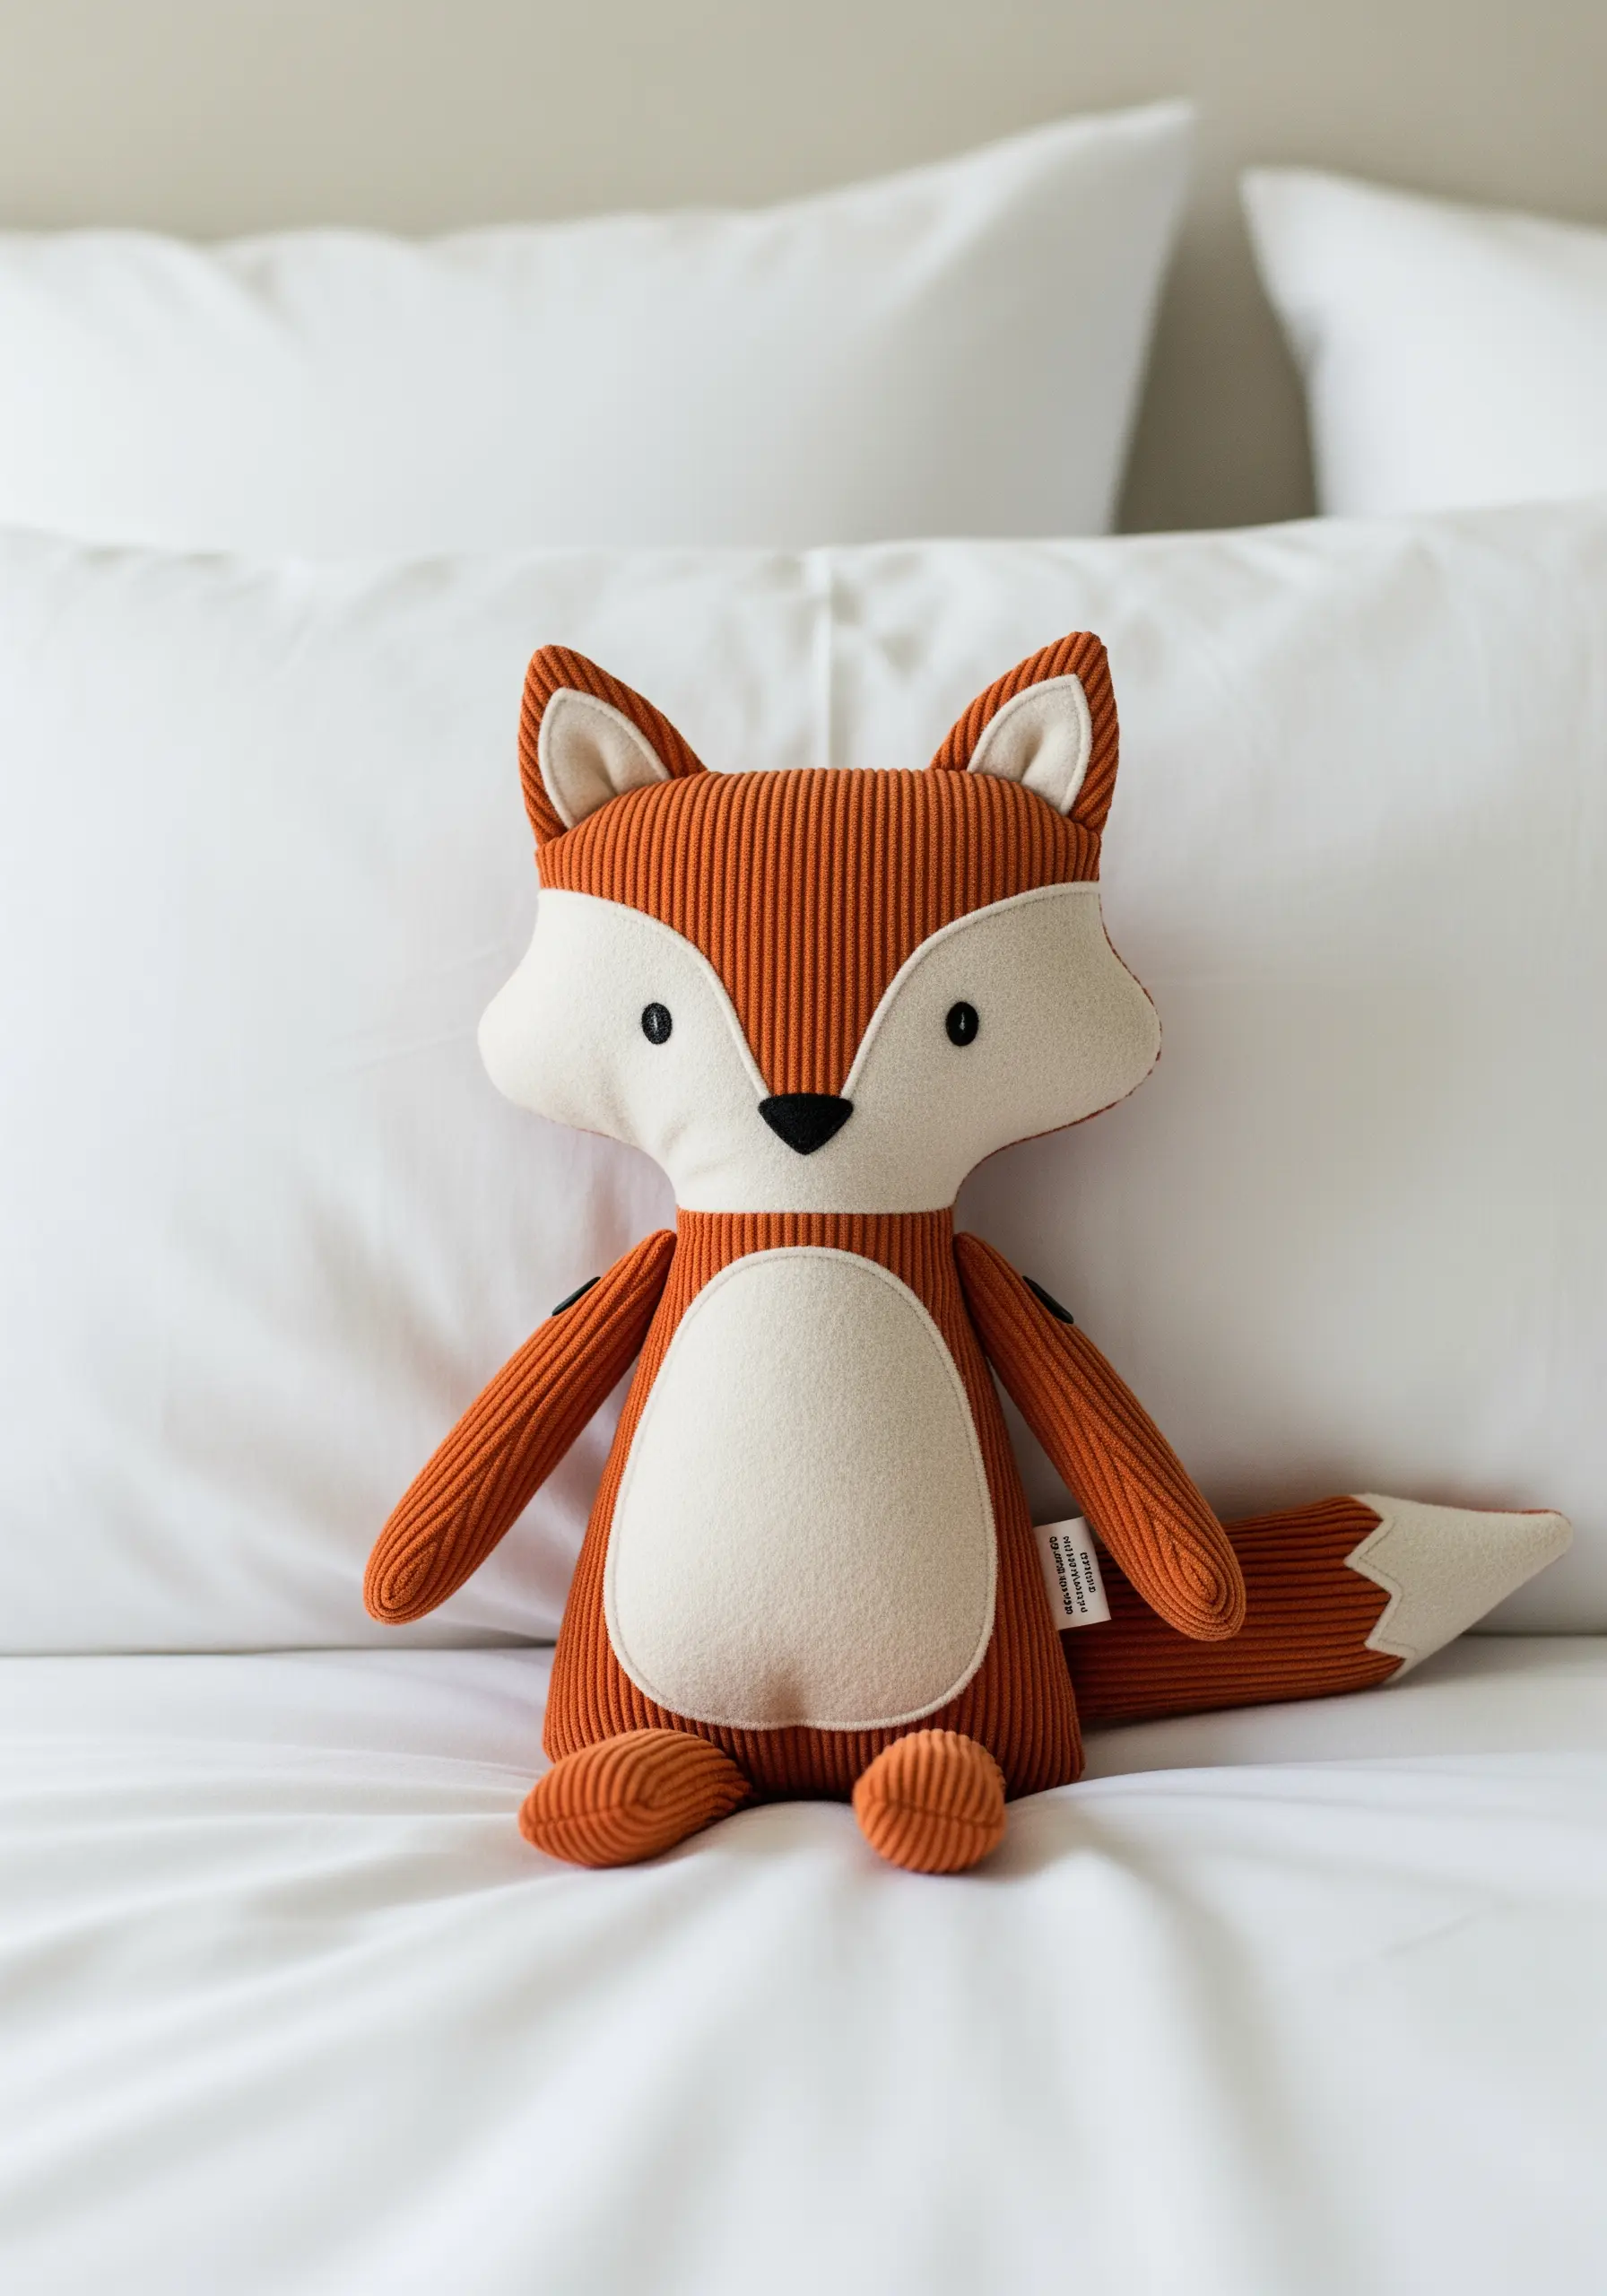
When making a stuffed animal, thoughtfully combining different fabric textures adds a delightful sensory element.
Pair a soft, ribbed corduroy for the body with a smooth, flat cotton for the face and tail tip.
This contrast not only looks visually interesting but also provides a varied tactile experience.
For the facial features, use felt appliqués or simple, dark embroidery stitches to create a gentle and endearing expression against the lighter fabric.
21. Finish a DIY Scarf with a Refined Rolled Hem
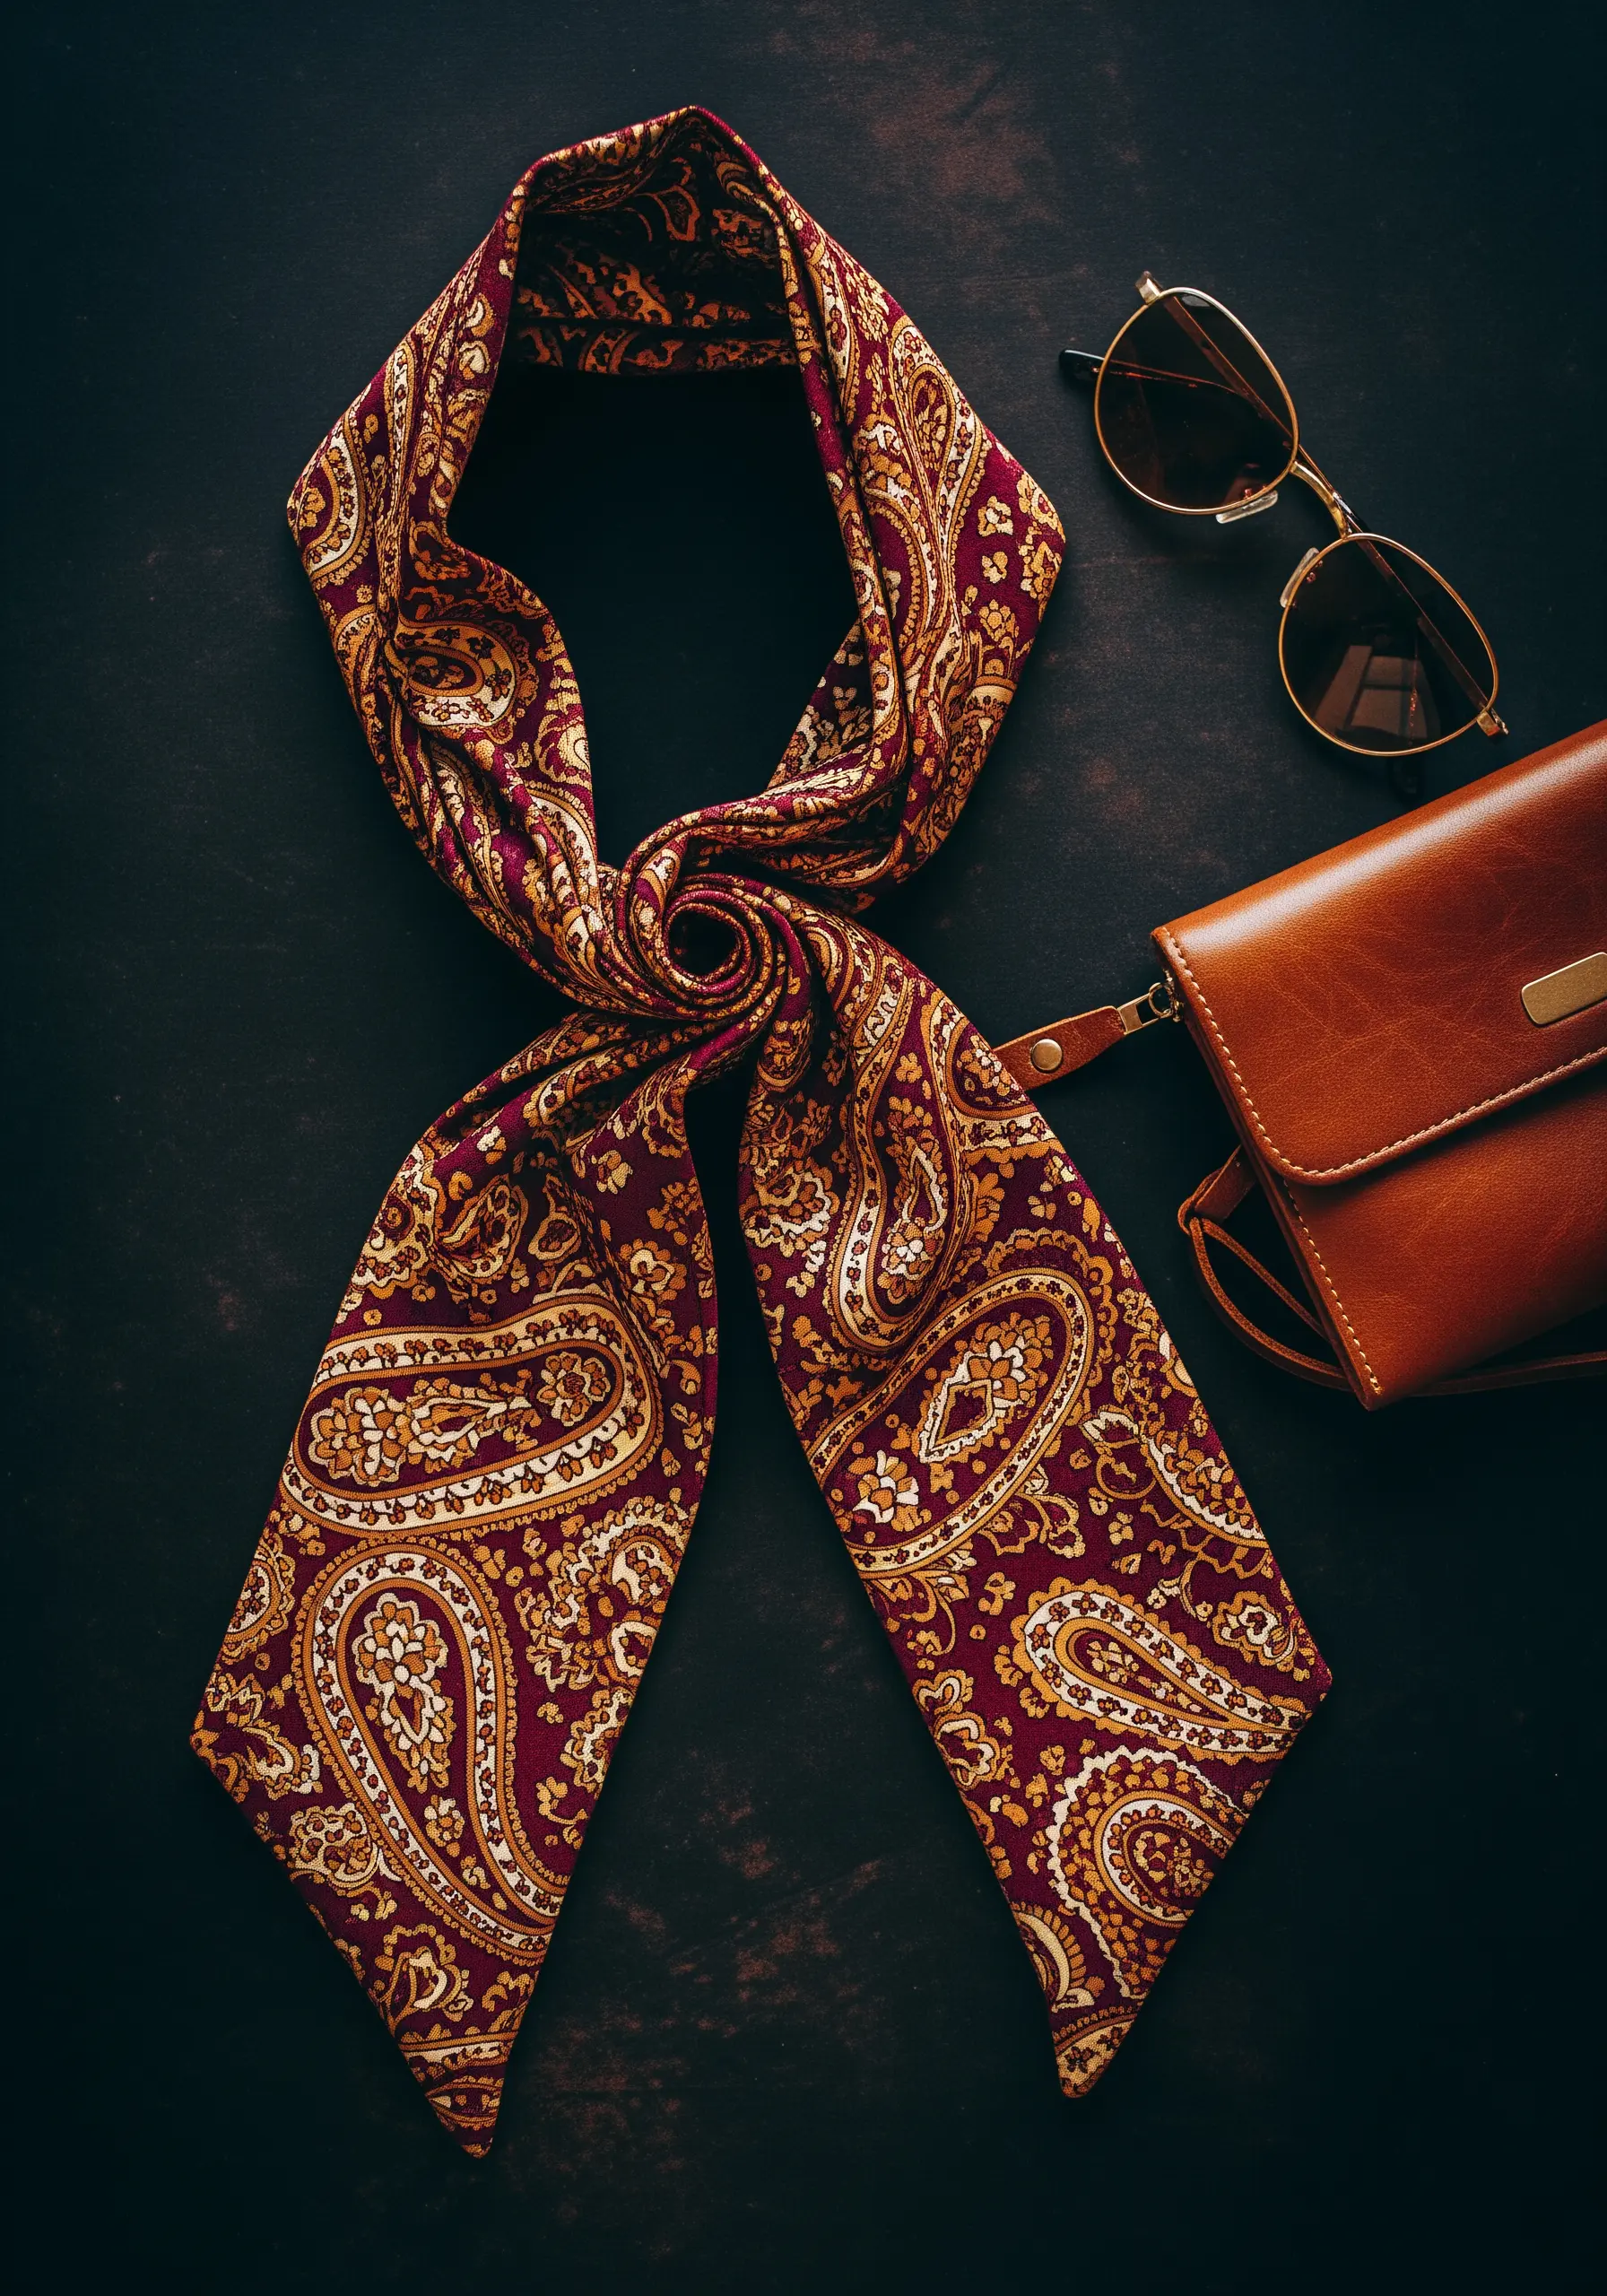
If you’re making a scarf from a beautiful piece of silk or lightweight cotton, the finishing makes all the difference.
Instead of a standard hem, use a hand-rolled hem for a delicate, high-end finish you would find in a luxury boutique.
This technique involves folding the raw edge over twice very narrowly, then securing it with tiny, almost invisible slip stitches.
It creates a soft, rounded edge that drapes beautifully and never feels bulky.
22. Create Depth with Echo Quilting
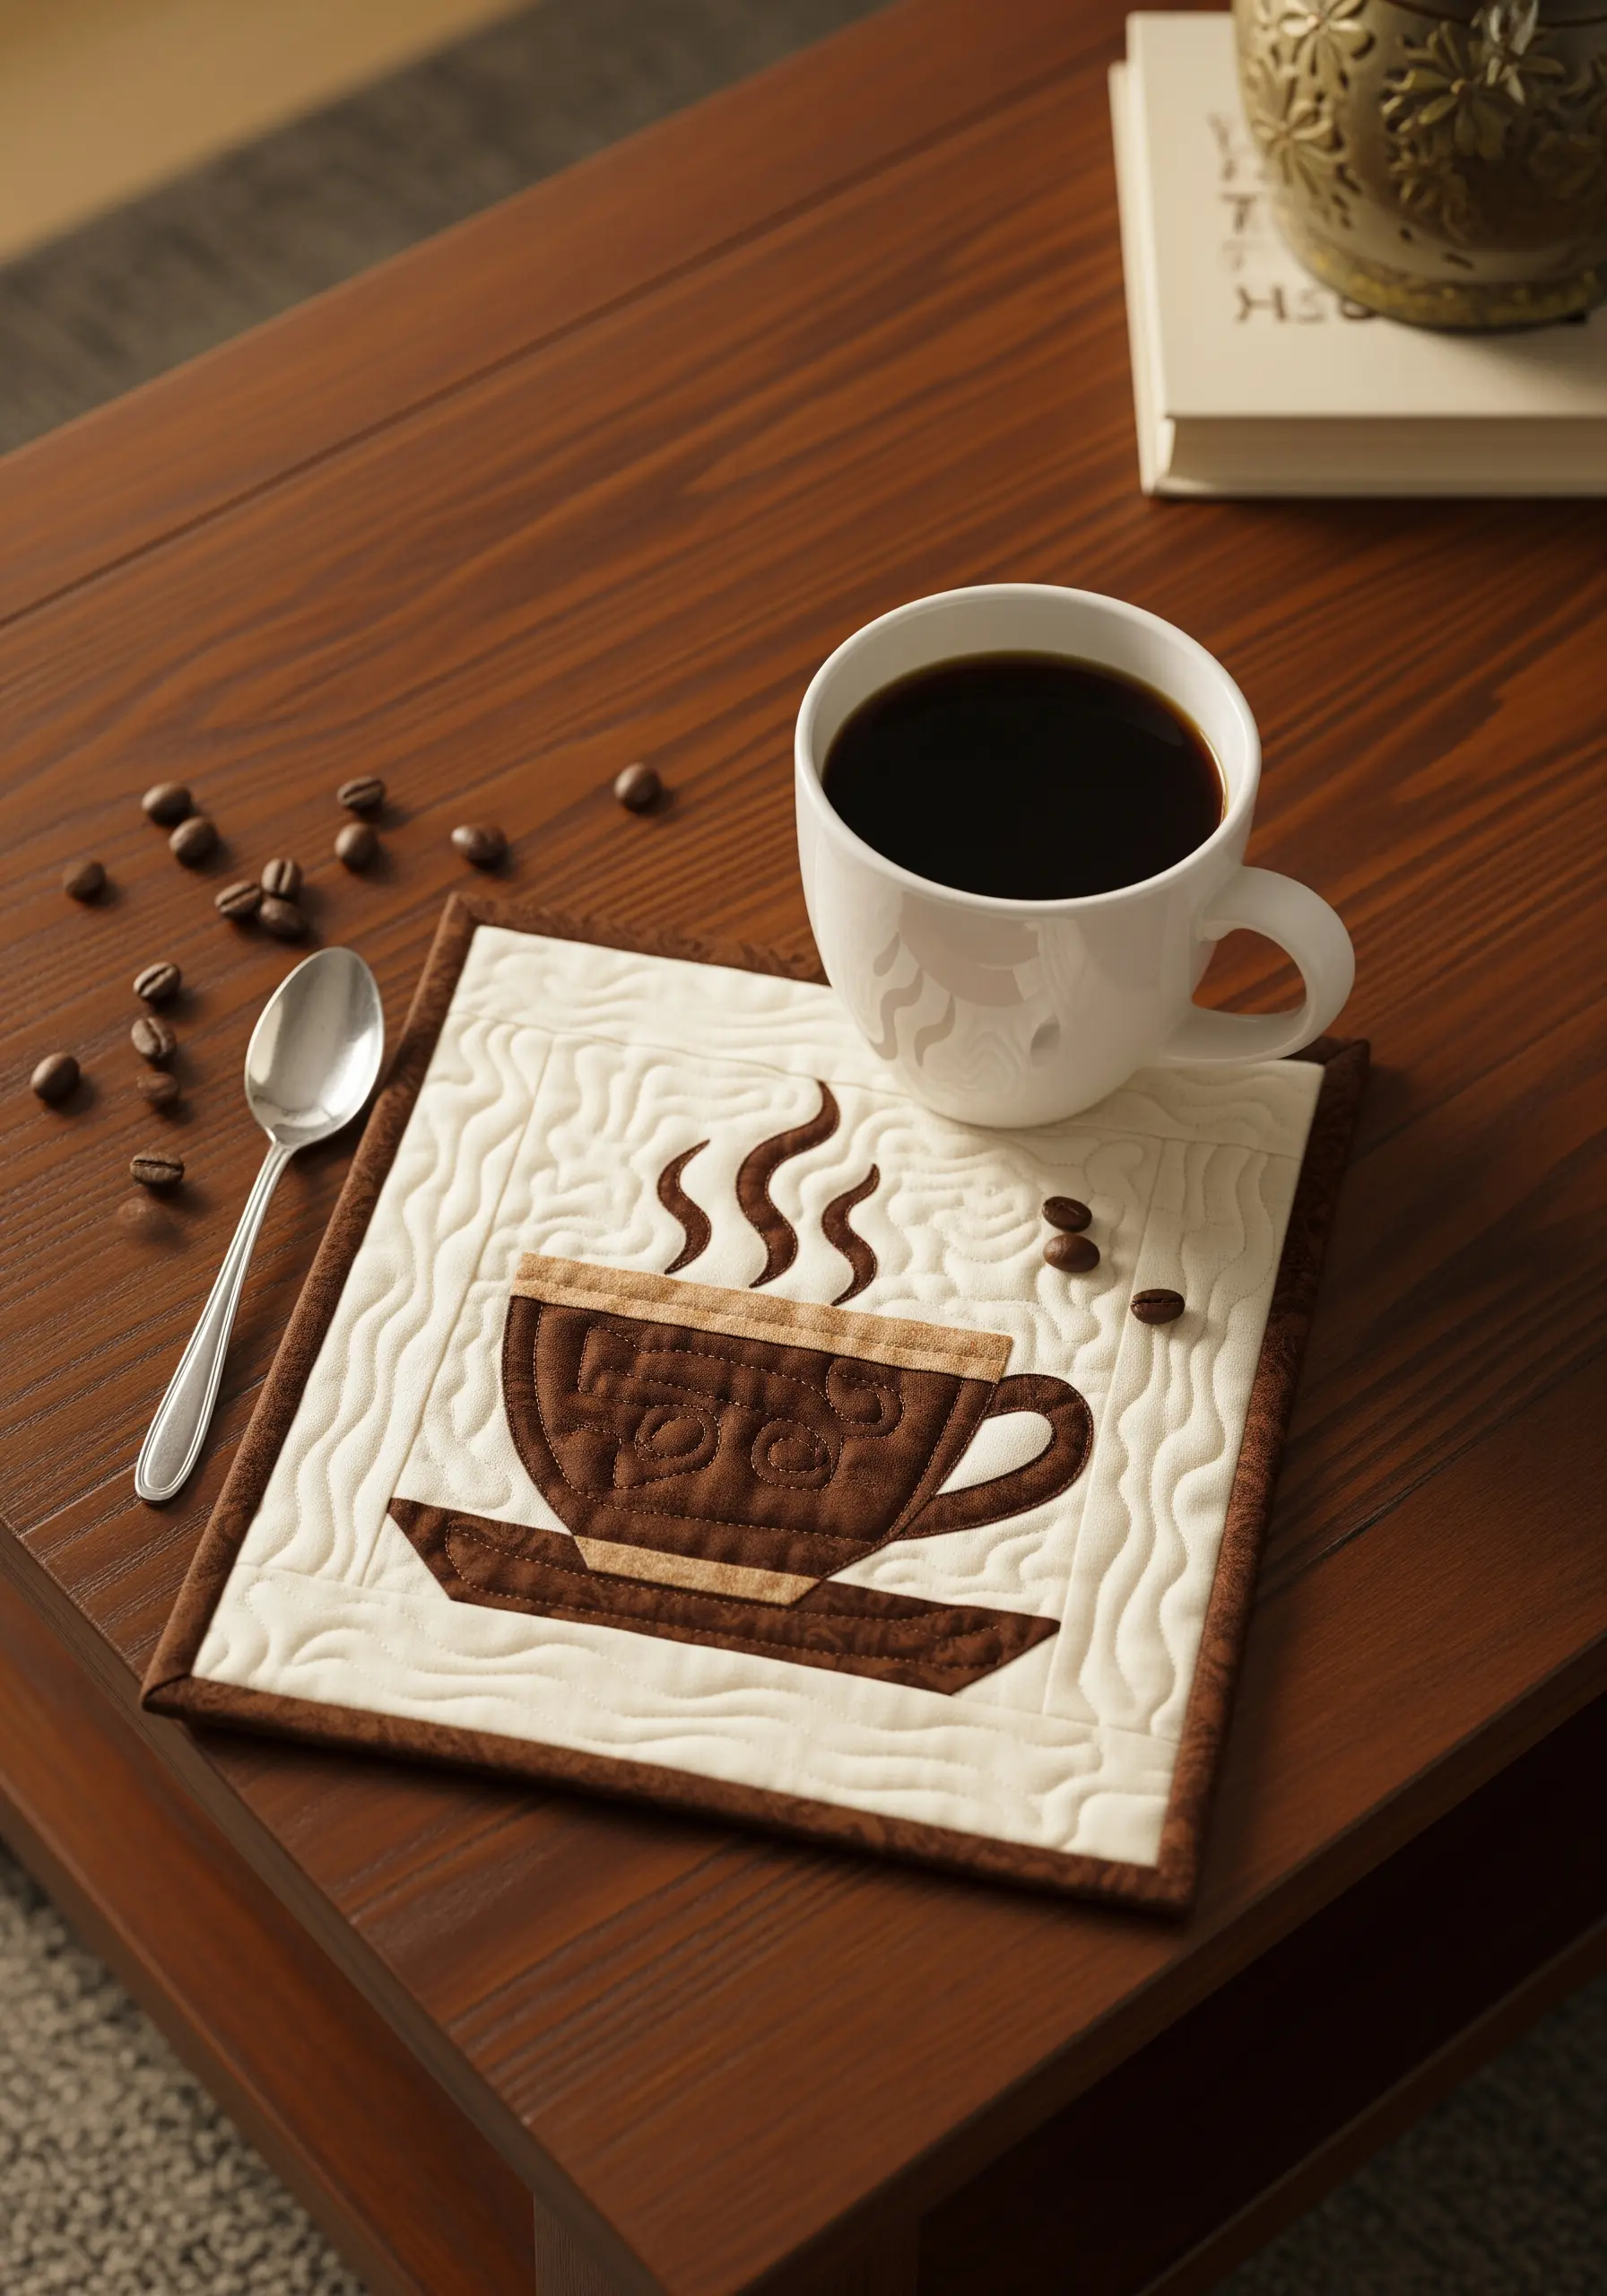
Make your central appliqué design on a mug rug or potholder the undeniable focal point with echo quilting.
After securing your coffee cup appliqué, stitch a line of quilting around it, about a quarter-inch from the edge.
Continue stitching concentric lines that echo the shape of your appliqué, moving outwards.
This technique creates a ripple effect that draws the eye directly to the center and adds a beautiful, uniform texture to the entire piece.
23. Achieve Flawless Fabric-Wrapped Frames
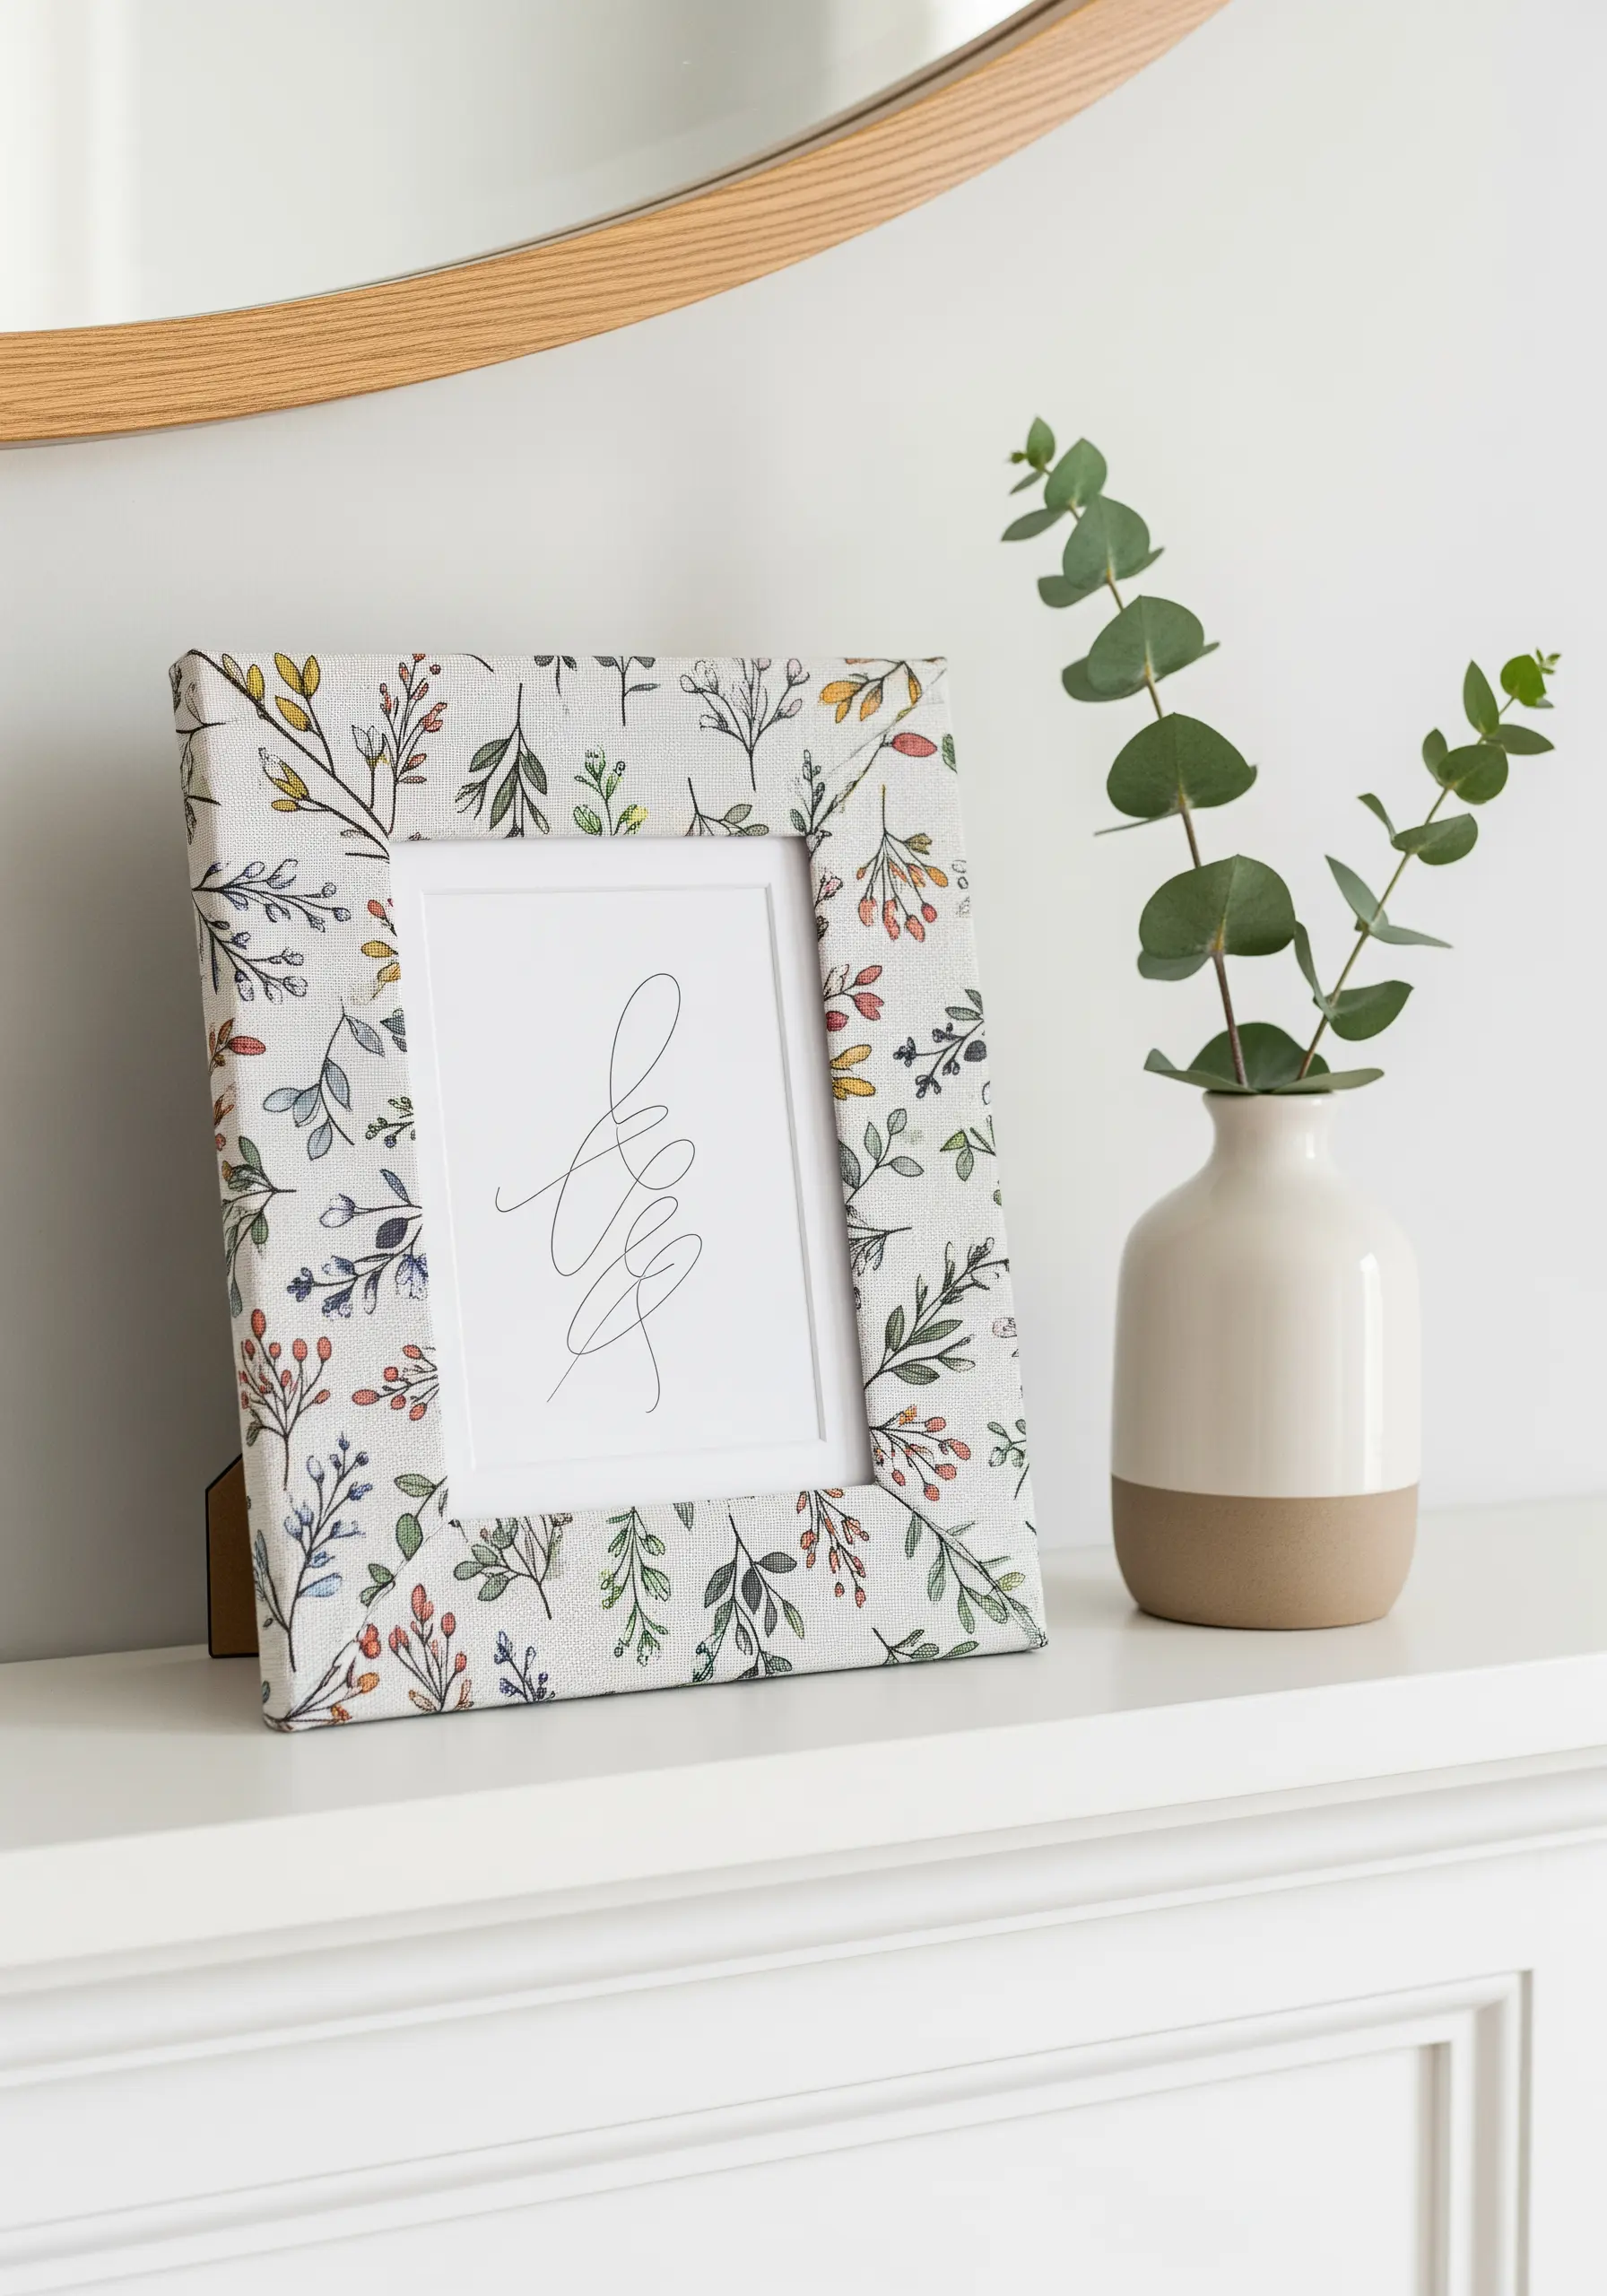
To create a perfectly smooth, bubble-free fabric-covered frame, the key is in the corners and the adhesive.
Use a thin, even layer of acid-free fabric glue to prevent bleed-through, applying it with a small brush.
When you reach the corners, don’t just fold the fabric over; miter them by cutting a 45-degree angle to remove the bulk.
This allows the fabric to lie perfectly flat, creating sharp, professional corners without any lumps or bumps.


