

You’ve curated a library of books and ideas, so why shouldn’t your home reflect that same intellectual depth? Dark Academia is more than an aesthetic; it’s a celebration of knowledge, history, and the beauty found in moody, thoughtful details. Embroidery is the perfect medium to translate that feeling into something tangible and personal.
Forget generic patterns. Think of your cushion covers as a canvas for anatomical studies, literary quotes, and scientific illustrations. Each of these projects invites you to slow down and engage with a subject, transforming thread and fabric into an object with history and meaning.
Here, you won’t find overly complex instructions. Instead, you’ll discover how specific techniques—like using metallic thread for dimension, thread painting for realism, or monochrome stitches for sculptural effects—can elevate your work from a simple craft to a piece of textile art. It’s time to stitch a story into your space.
1. Render an Anatomical Heart with Metallic Threads
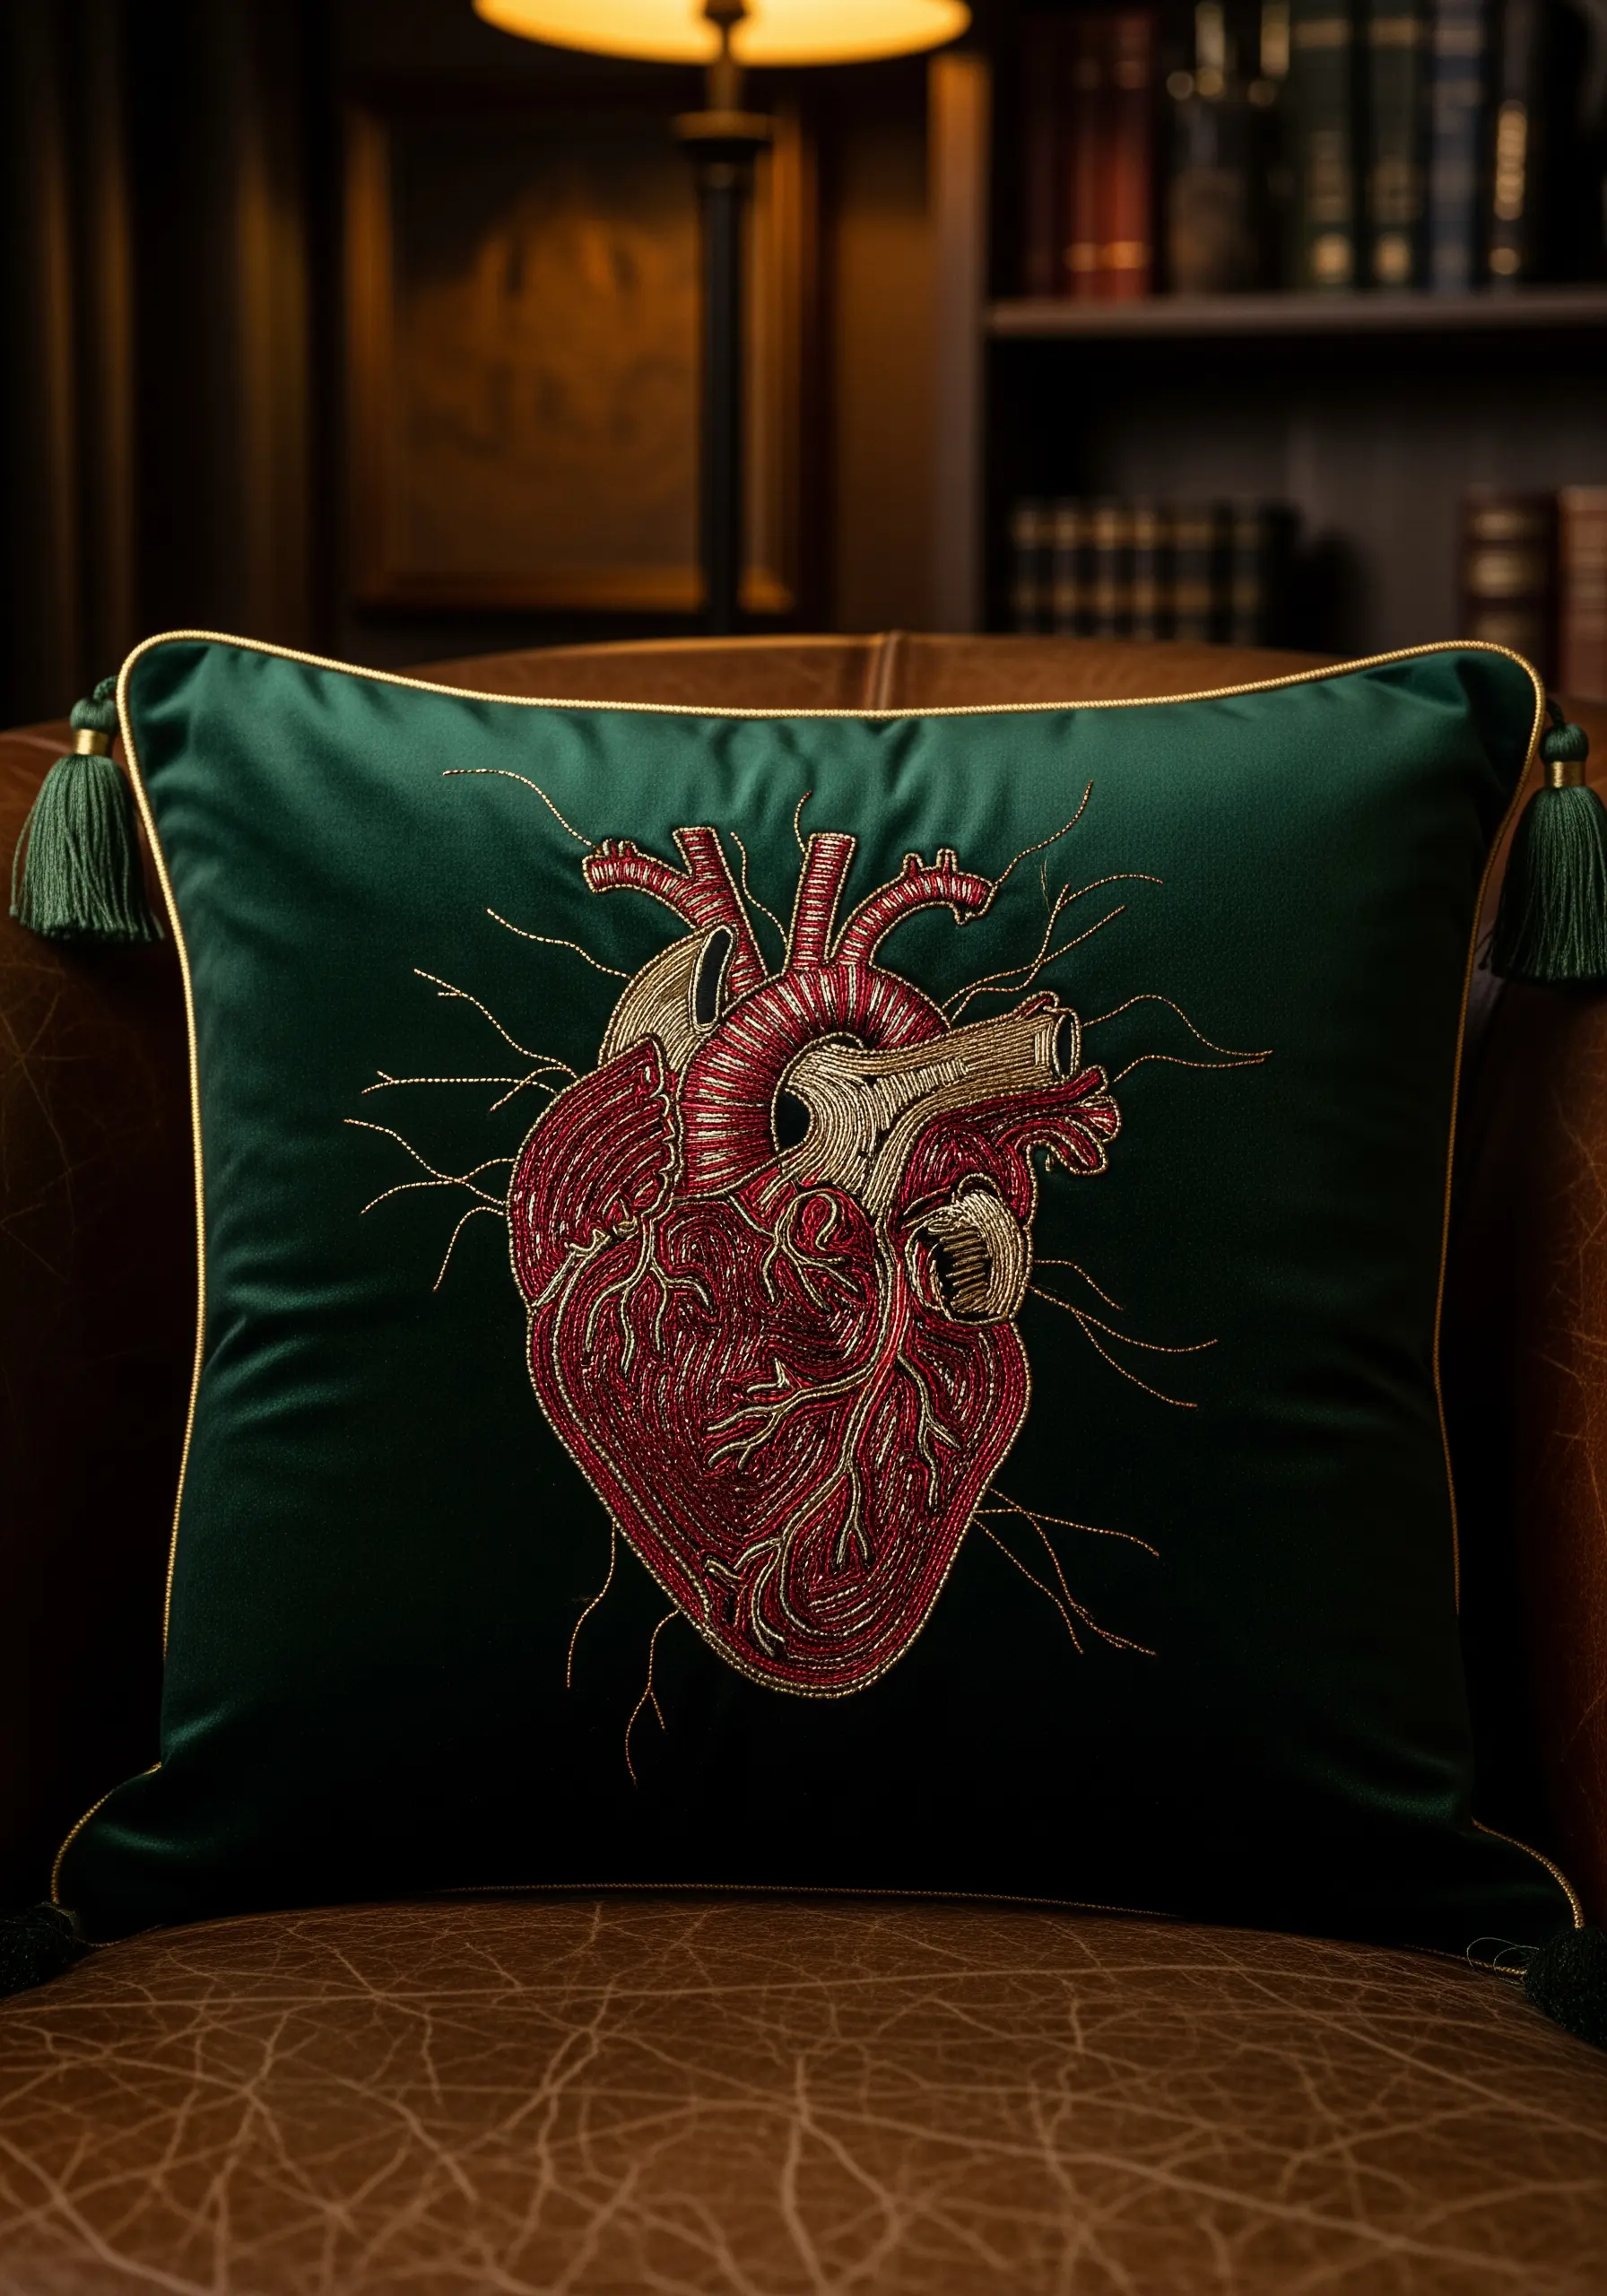
Create a stunning focal point by combining matte and metallic threads on a dark, luxurious fabric like velvet.
Use a deep red cotton floss for the heart muscle, employing a dense split stitch or short satin stitches that follow the muscle’s natural contours.
For the gold arteries and veins, couch a thicker metallic cord onto the surface for bold, raised lines that catch the light.
This technique adds sculptural dimension and prevents the frustration of stitching directly with delicate metallic threads, which often fray.
The contrast between the soft velvet, the flat red stitches, and the shimmering gold creates a dramatic, tactile piece of art.
2. Capture a Moth’s Texture with Thread Painting
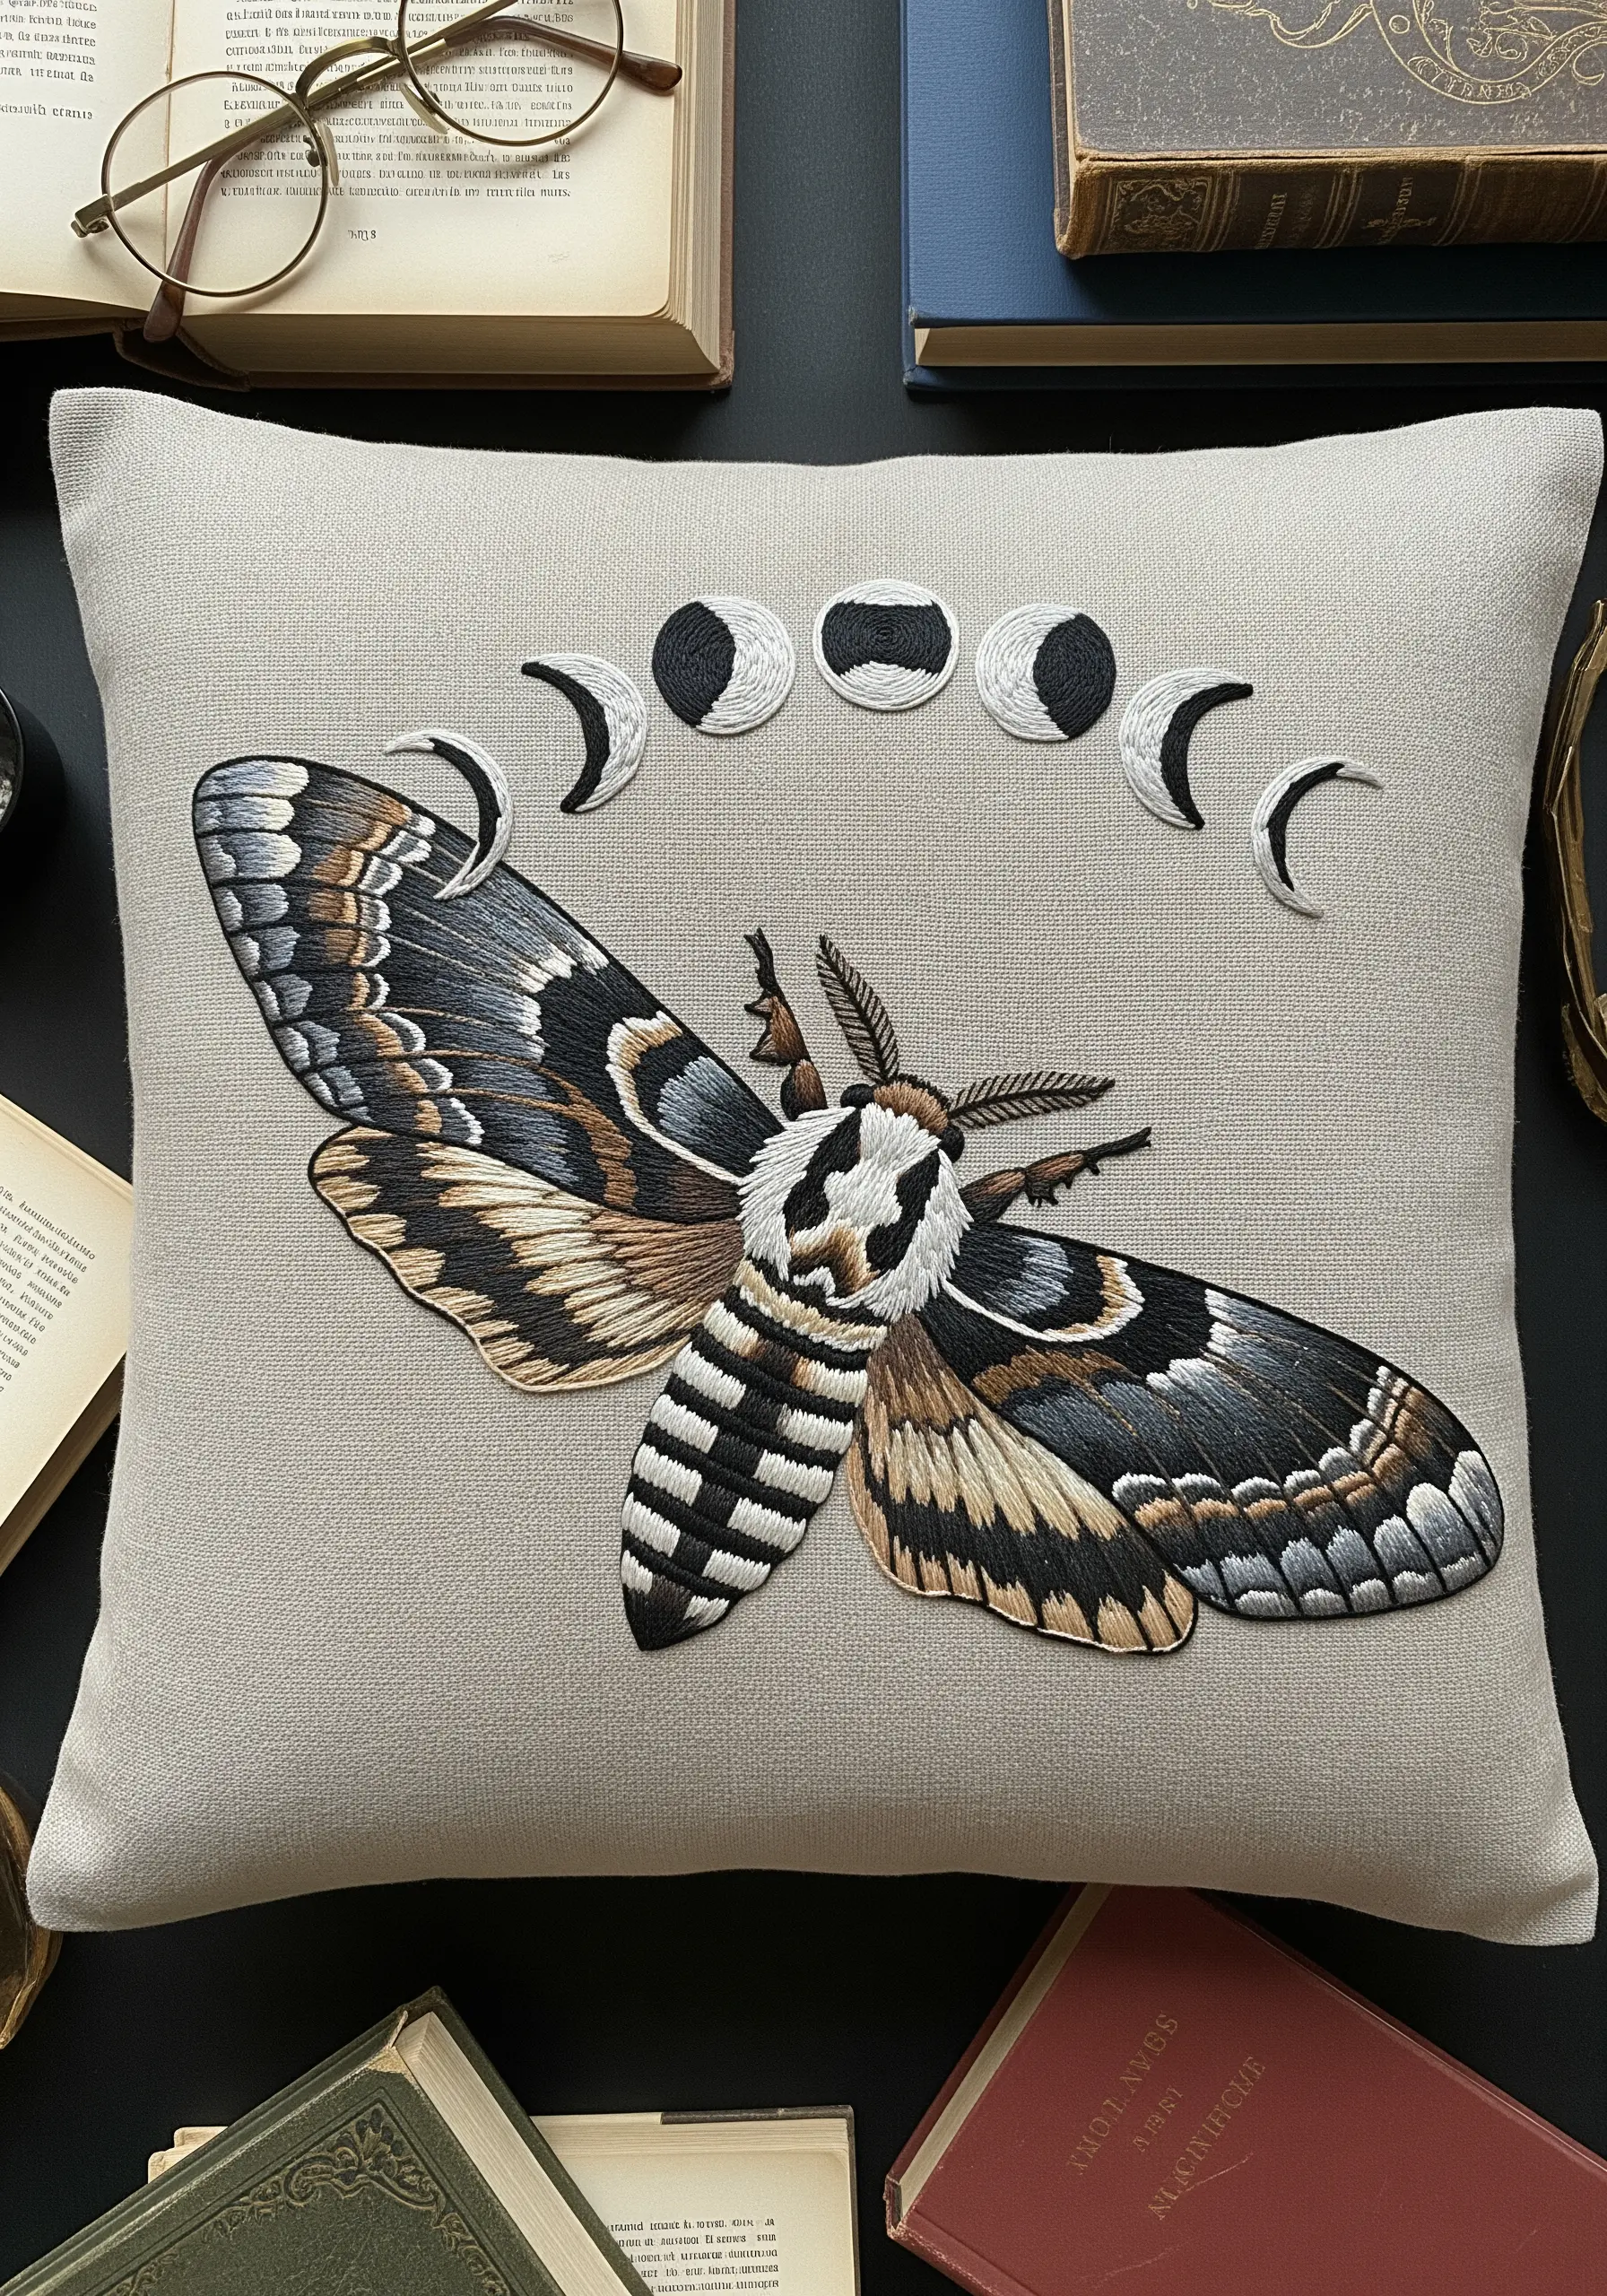
Move beyond simple outlines and fill your moth’s wings with sophisticated color blending using the long-and-short stitch.
Work with a single strand of thread to achieve subtle gradients, layering shades of off-white, grey, and ochre to mimic the dusty, fragile texture of real wings.
For the dark, graphic moon phases, switch to a crisp, dense satin stitch with a three-strand floss to create a bold contrast against the organic detail of the moth.
Choosing a neutral, textured linen fabric provides the perfect canvas, allowing the intricate stitching to remain the focus.
3. Sculpt a Classical Bust with Monochrome Shading
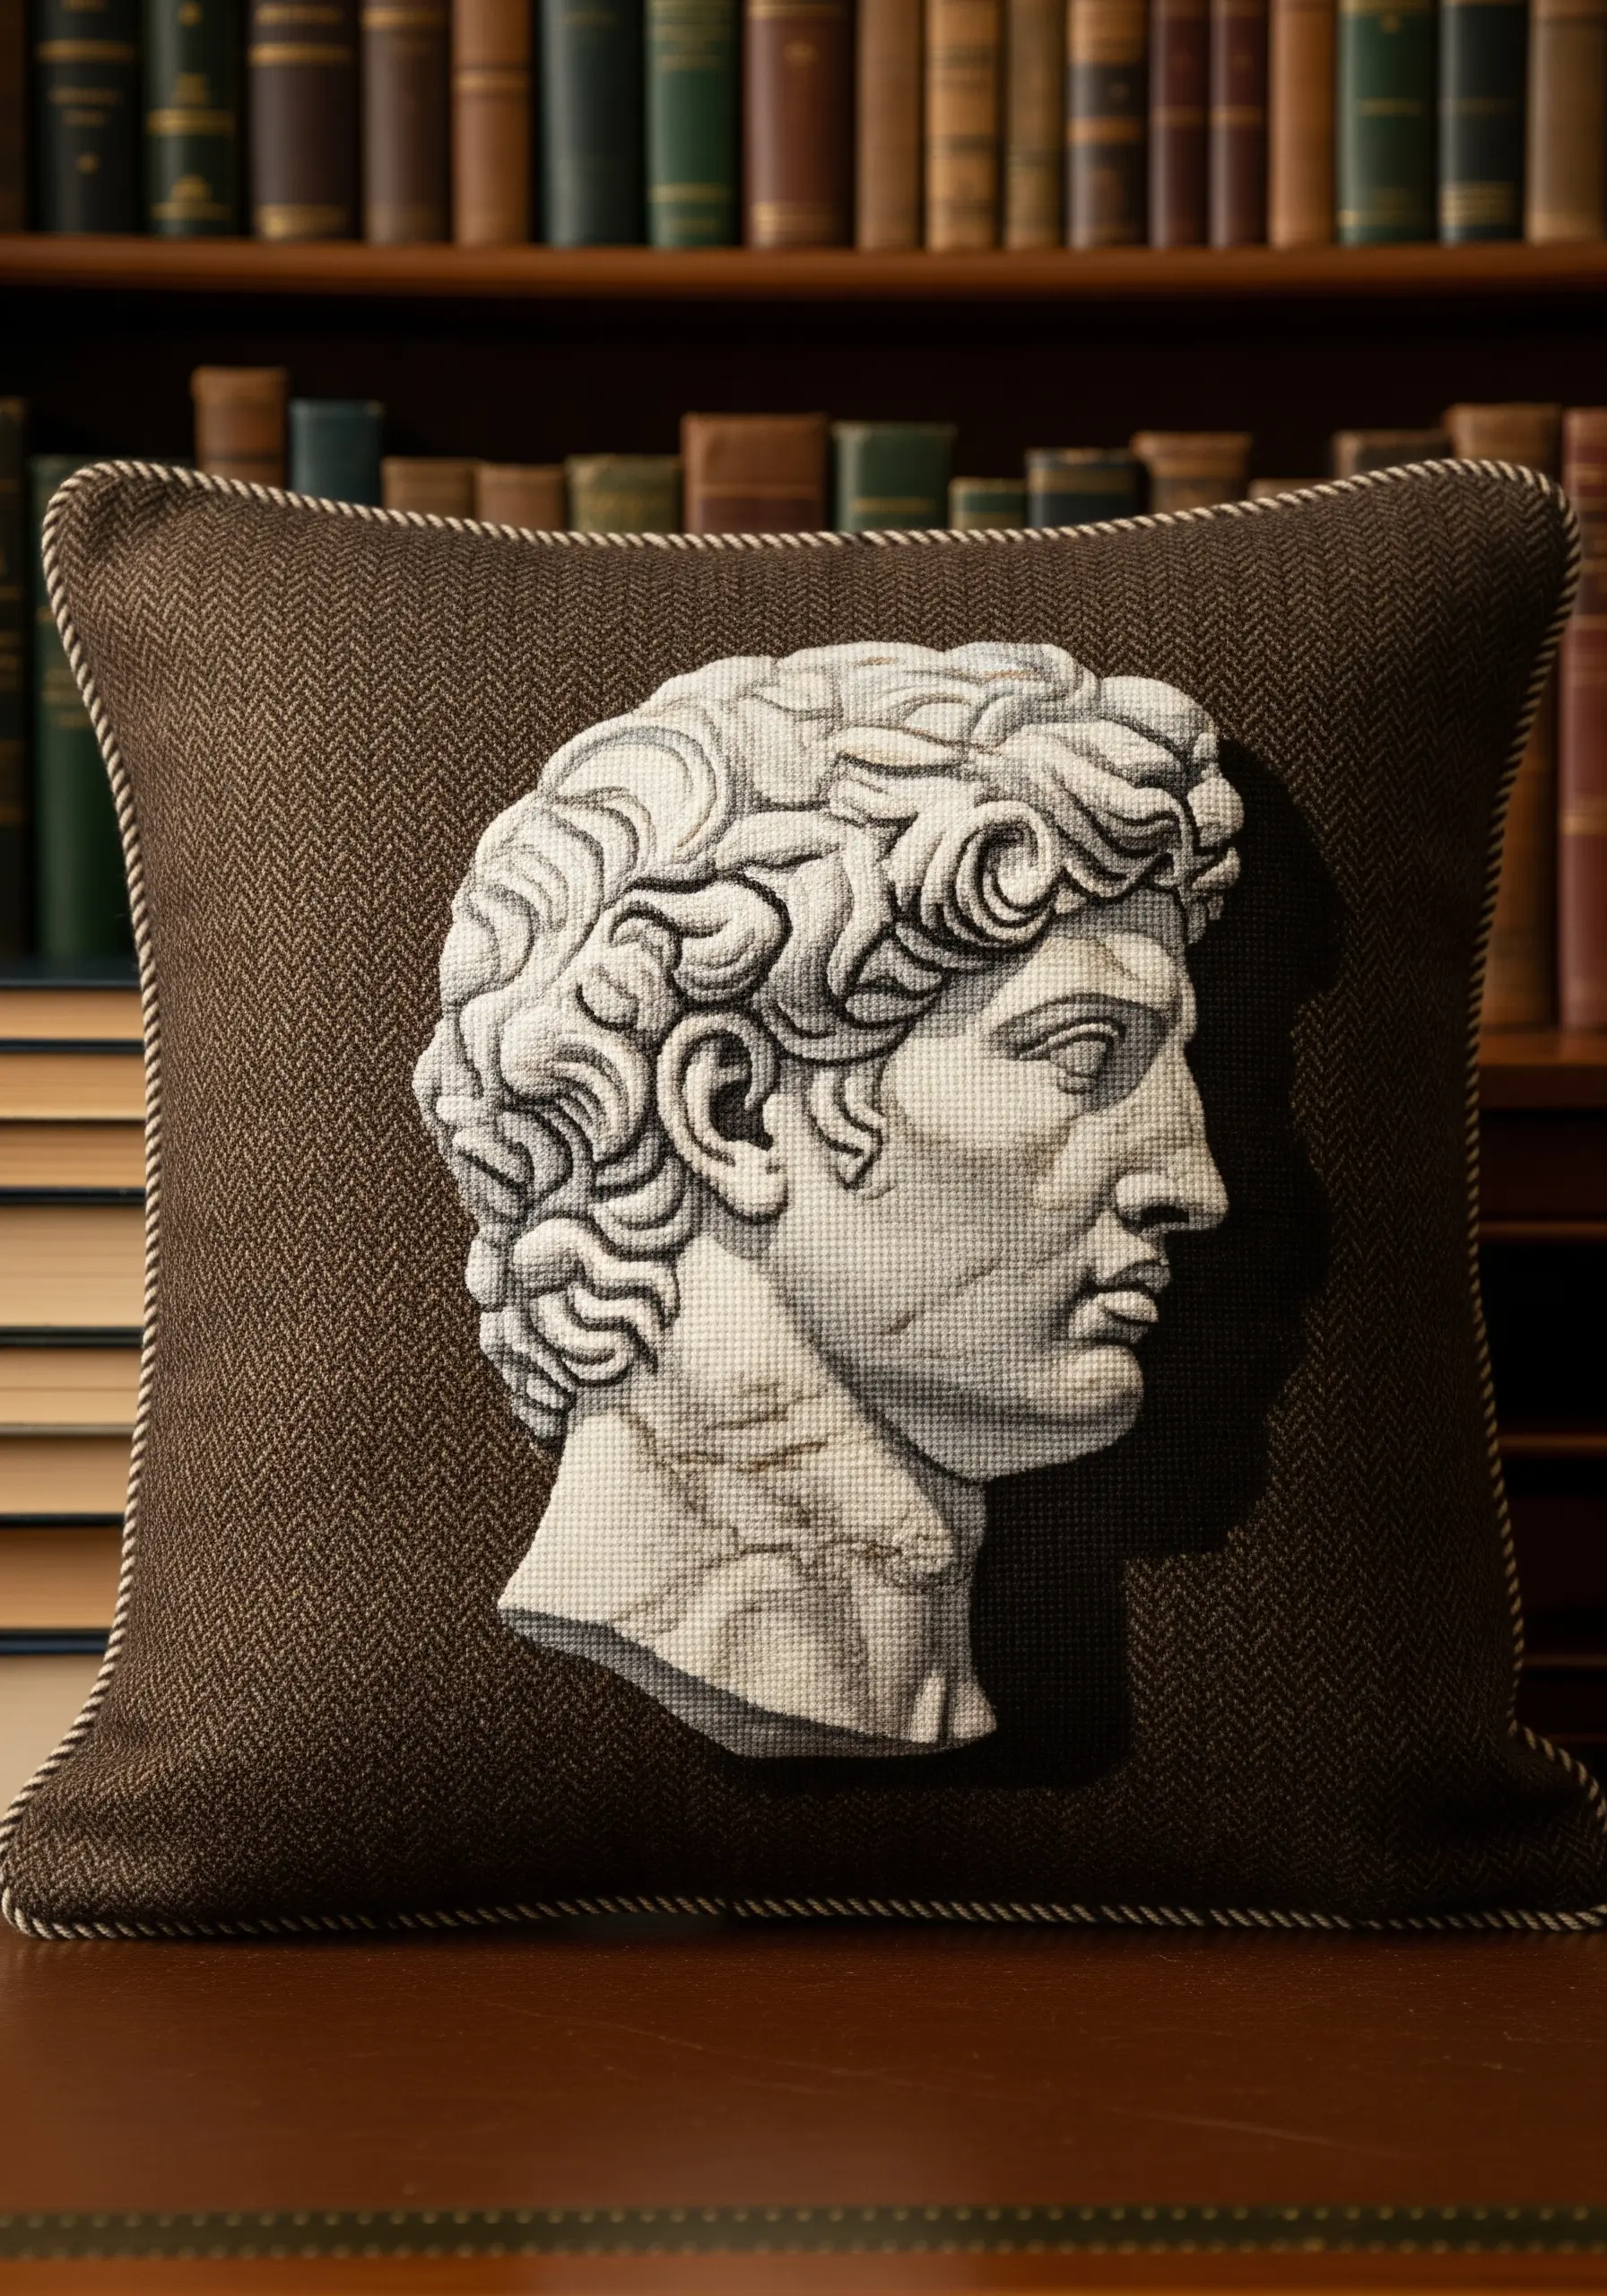
Recreate the look of carved marble by using directional stitching to imply light and shadow.
On a dark, textured fabric like tweed or herringbone, use single strands of off-white and light grey thread.
Fill the design with tiny seed stitches or short straight stitches, changing the angle of your stitches to follow the planes of the face, curls of hair, and curve of the neck.
This technique creates a chiaroscuro effect, making the flat embroidery appear three-dimensional and sculptural without complex color changes.
It’s a masterclass in using monochrome embroidery to build form.
4. Stitch Gilded Book Spines with Precision
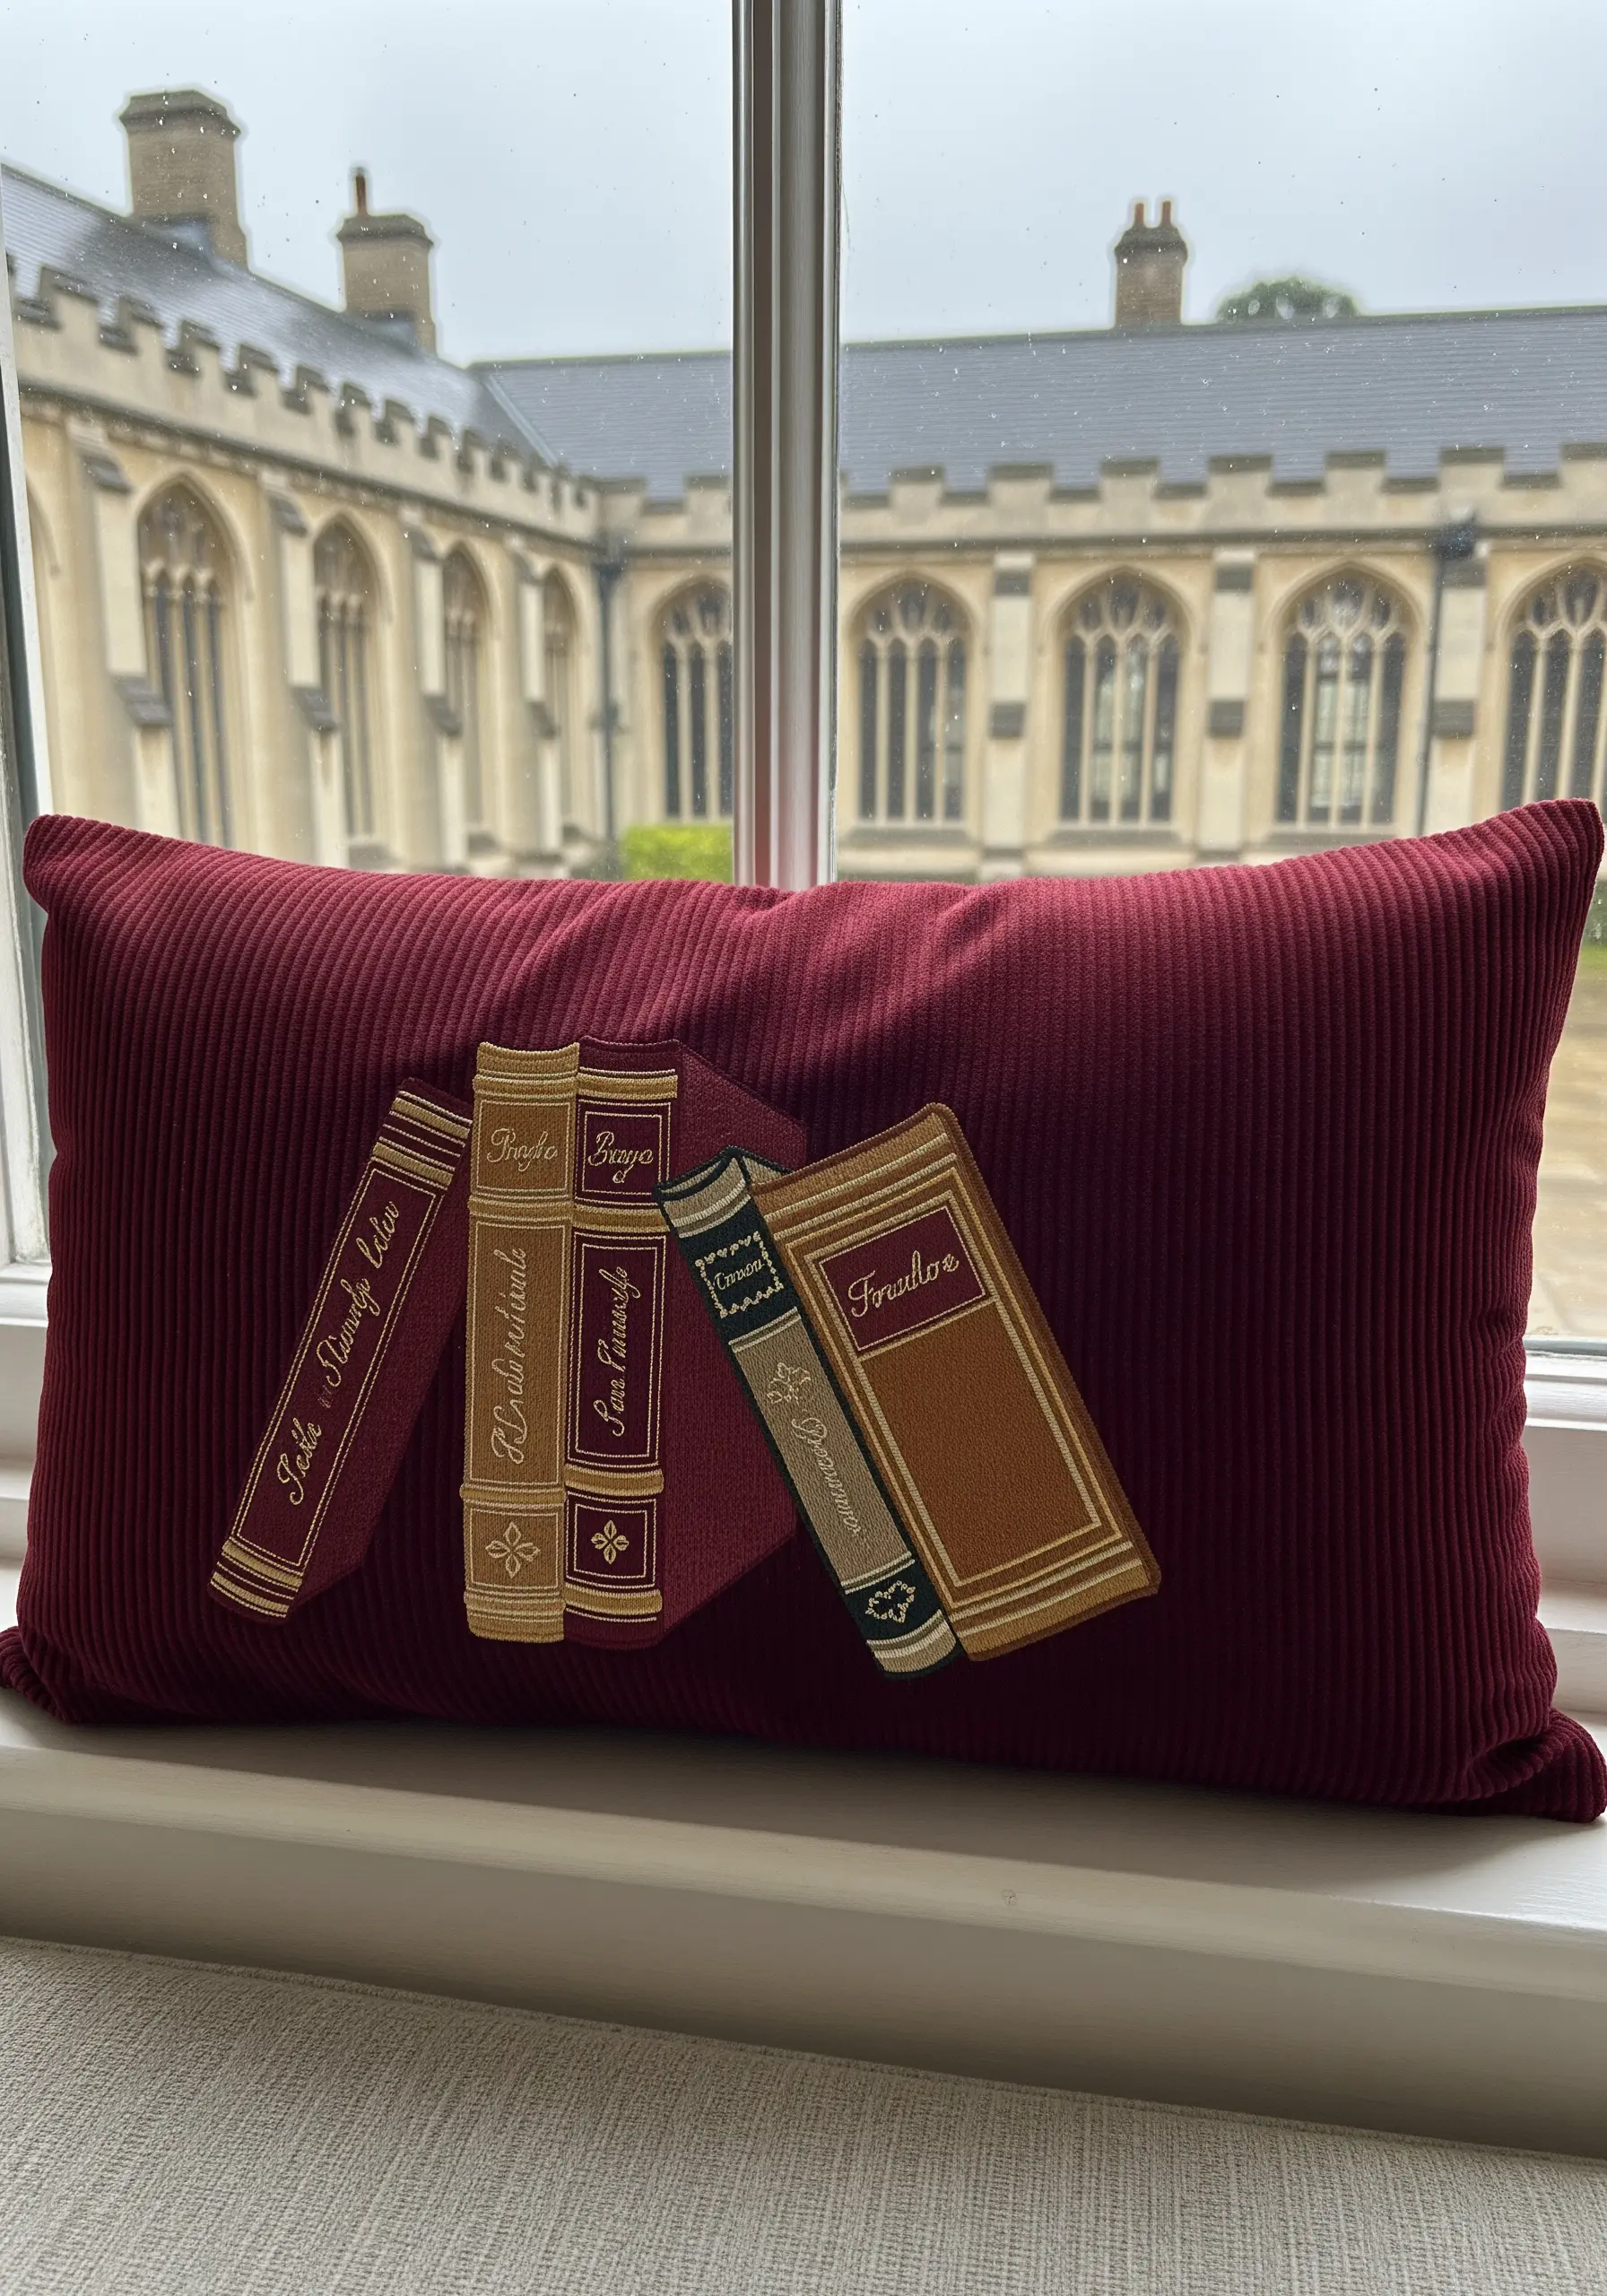
Evoke the feeling of a rare book library by focusing on clean lines and elegant details.
Choose a rich, tactile fabric like corduroy or wool to enhance the cozy, academic feel.
Use a single strand of thread and a sharp needle to execute the tiny lettering with a whipped backstitch, which creates a smooth, raised line perfect for calligraphy.
For the gilded filigree, a satin stitch with a fine metallic gold thread will give a realistic, embossed appearance.
The key here is precision—smaller stitches and controlled tension will make the design look refined and expensive.
5. Master Clean Typography with a Gothic Quote
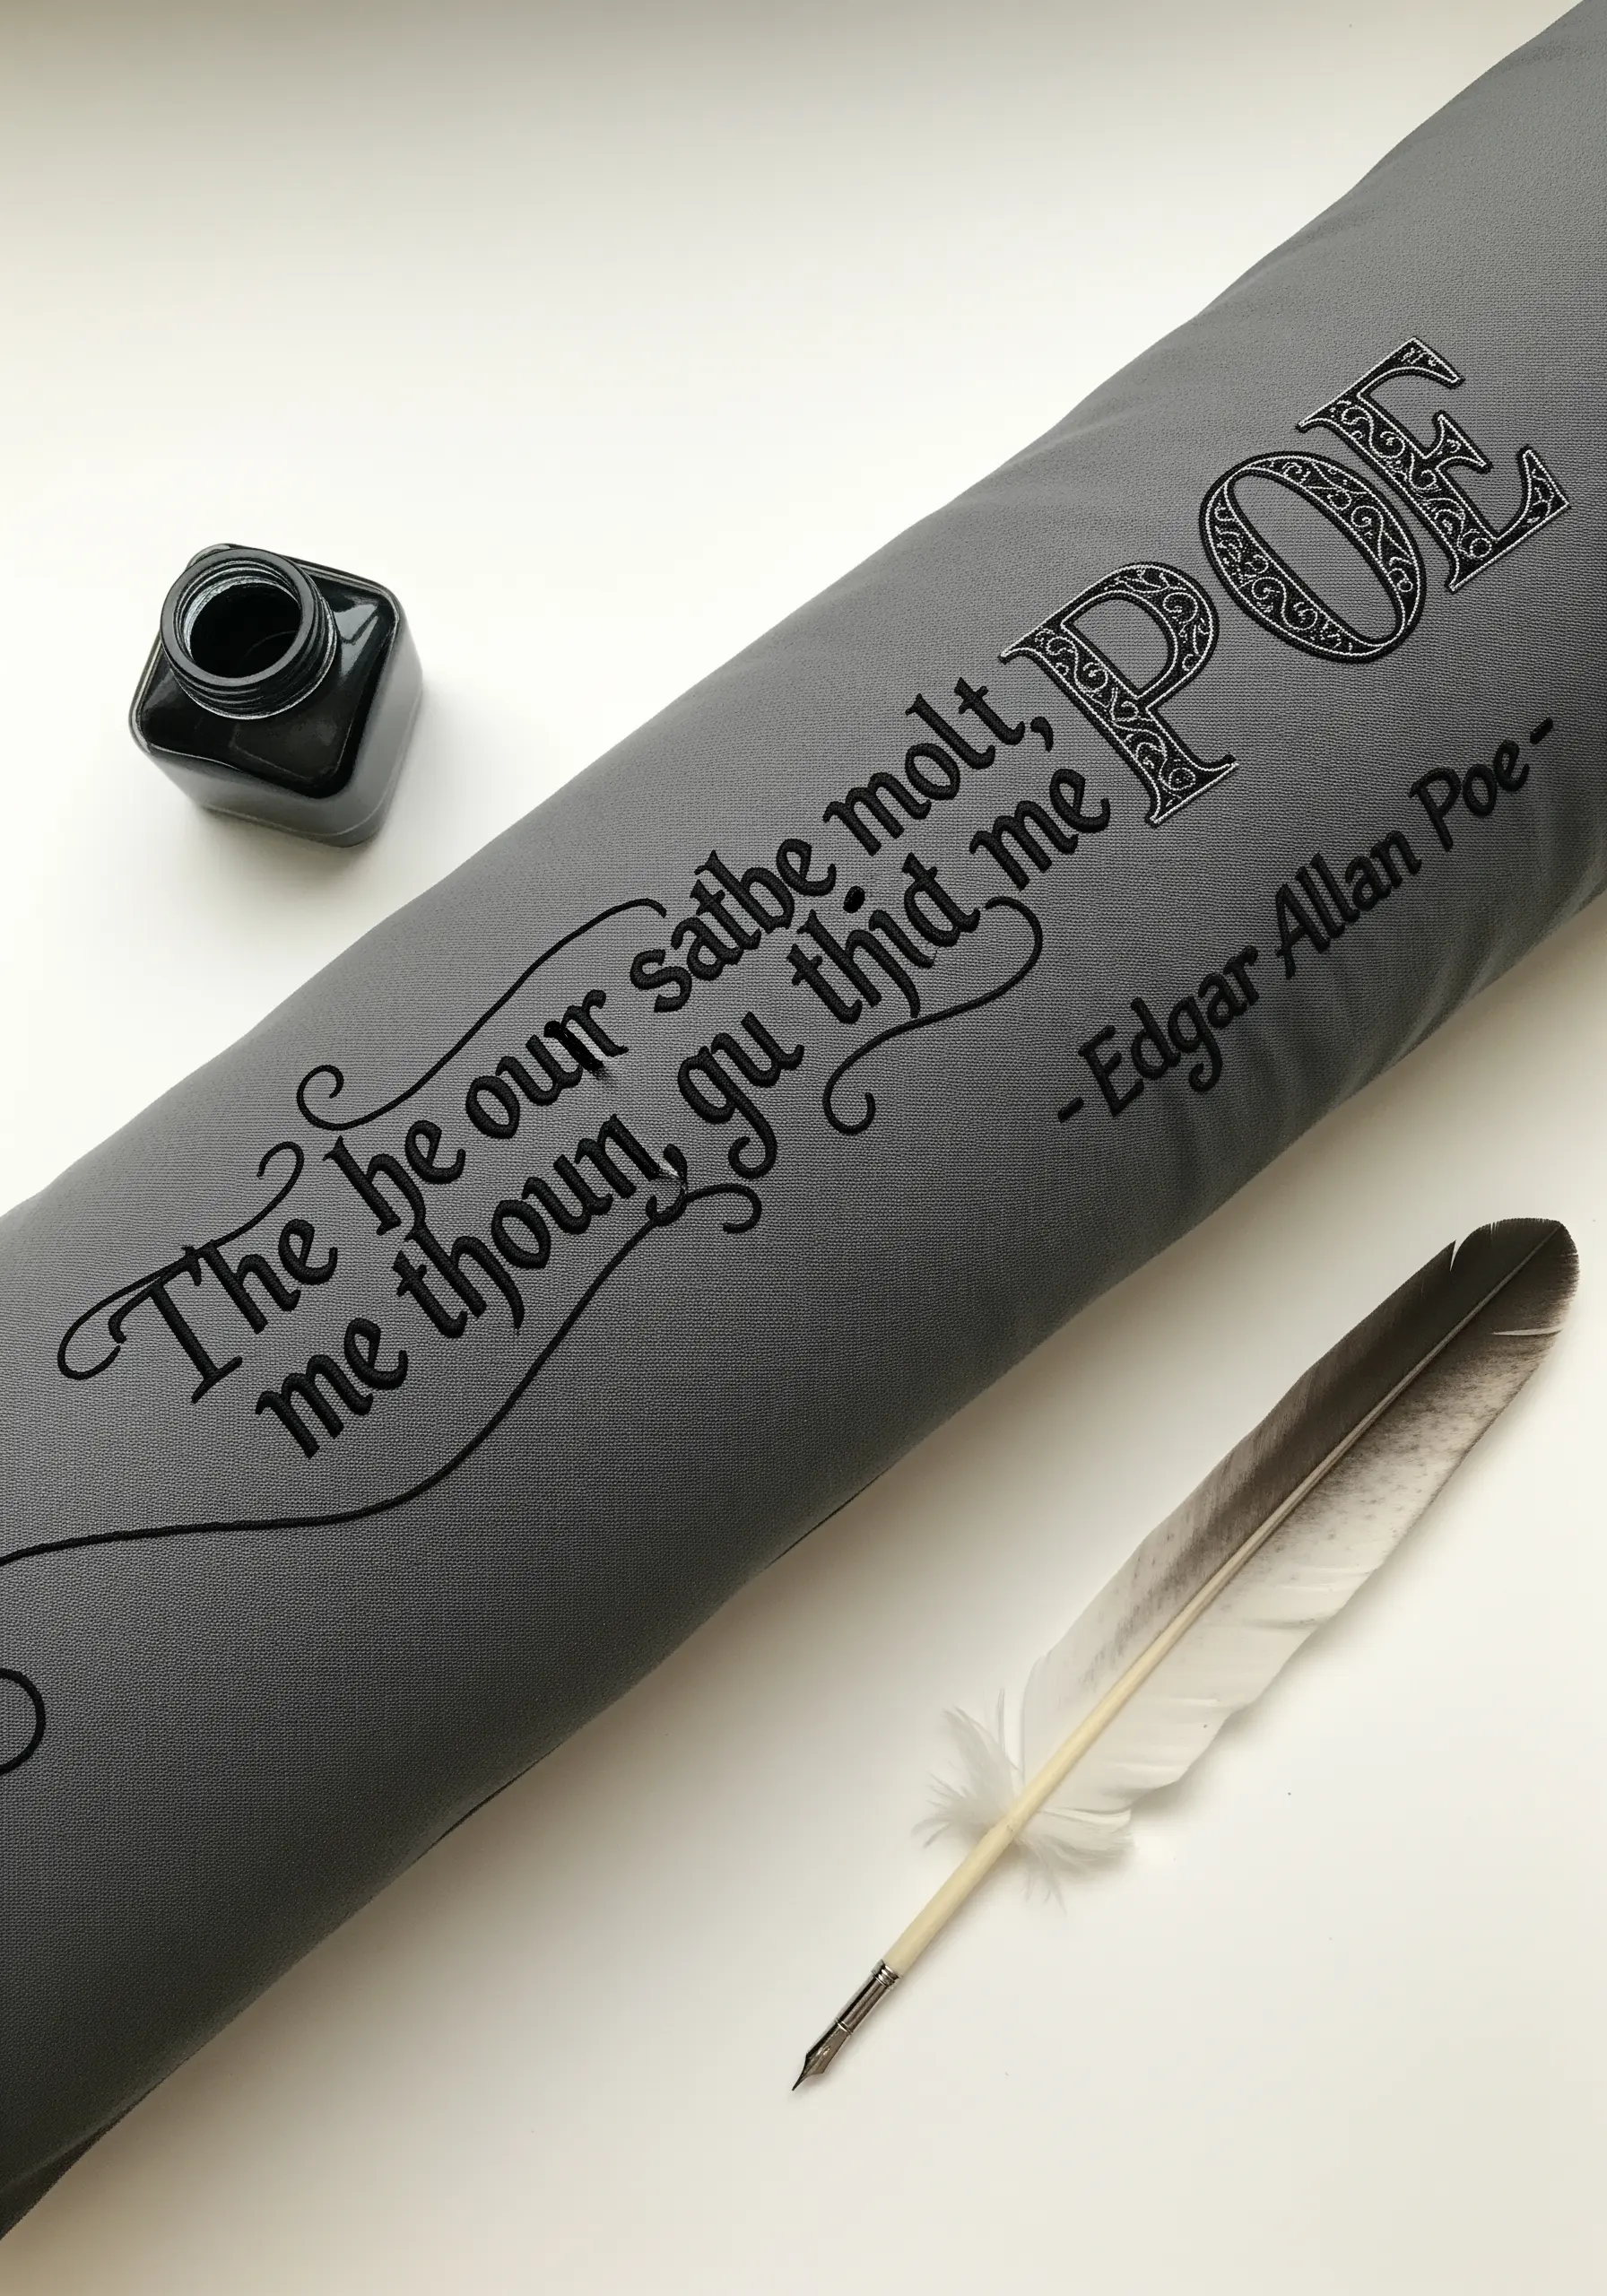
For literary quotes, legibility and style are paramount. Select a simple, high-contrast palette, like black thread on grey linen.
Use a two-strand split stitch for all outlines to create a foundation that is sharp and solid, preventing the wobbliness that can occur with a simple backstitch.
Fill the letters with a neat satin stitch, ensuring your stitches lie flat and parallel.
For long, flowing script, stabilize your fabric with a lightweight, iron-on backing before you begin; this prevents puckering and ensures your lines remain fluid and graceful.
6. Create a Stained Glass Effect with Thread
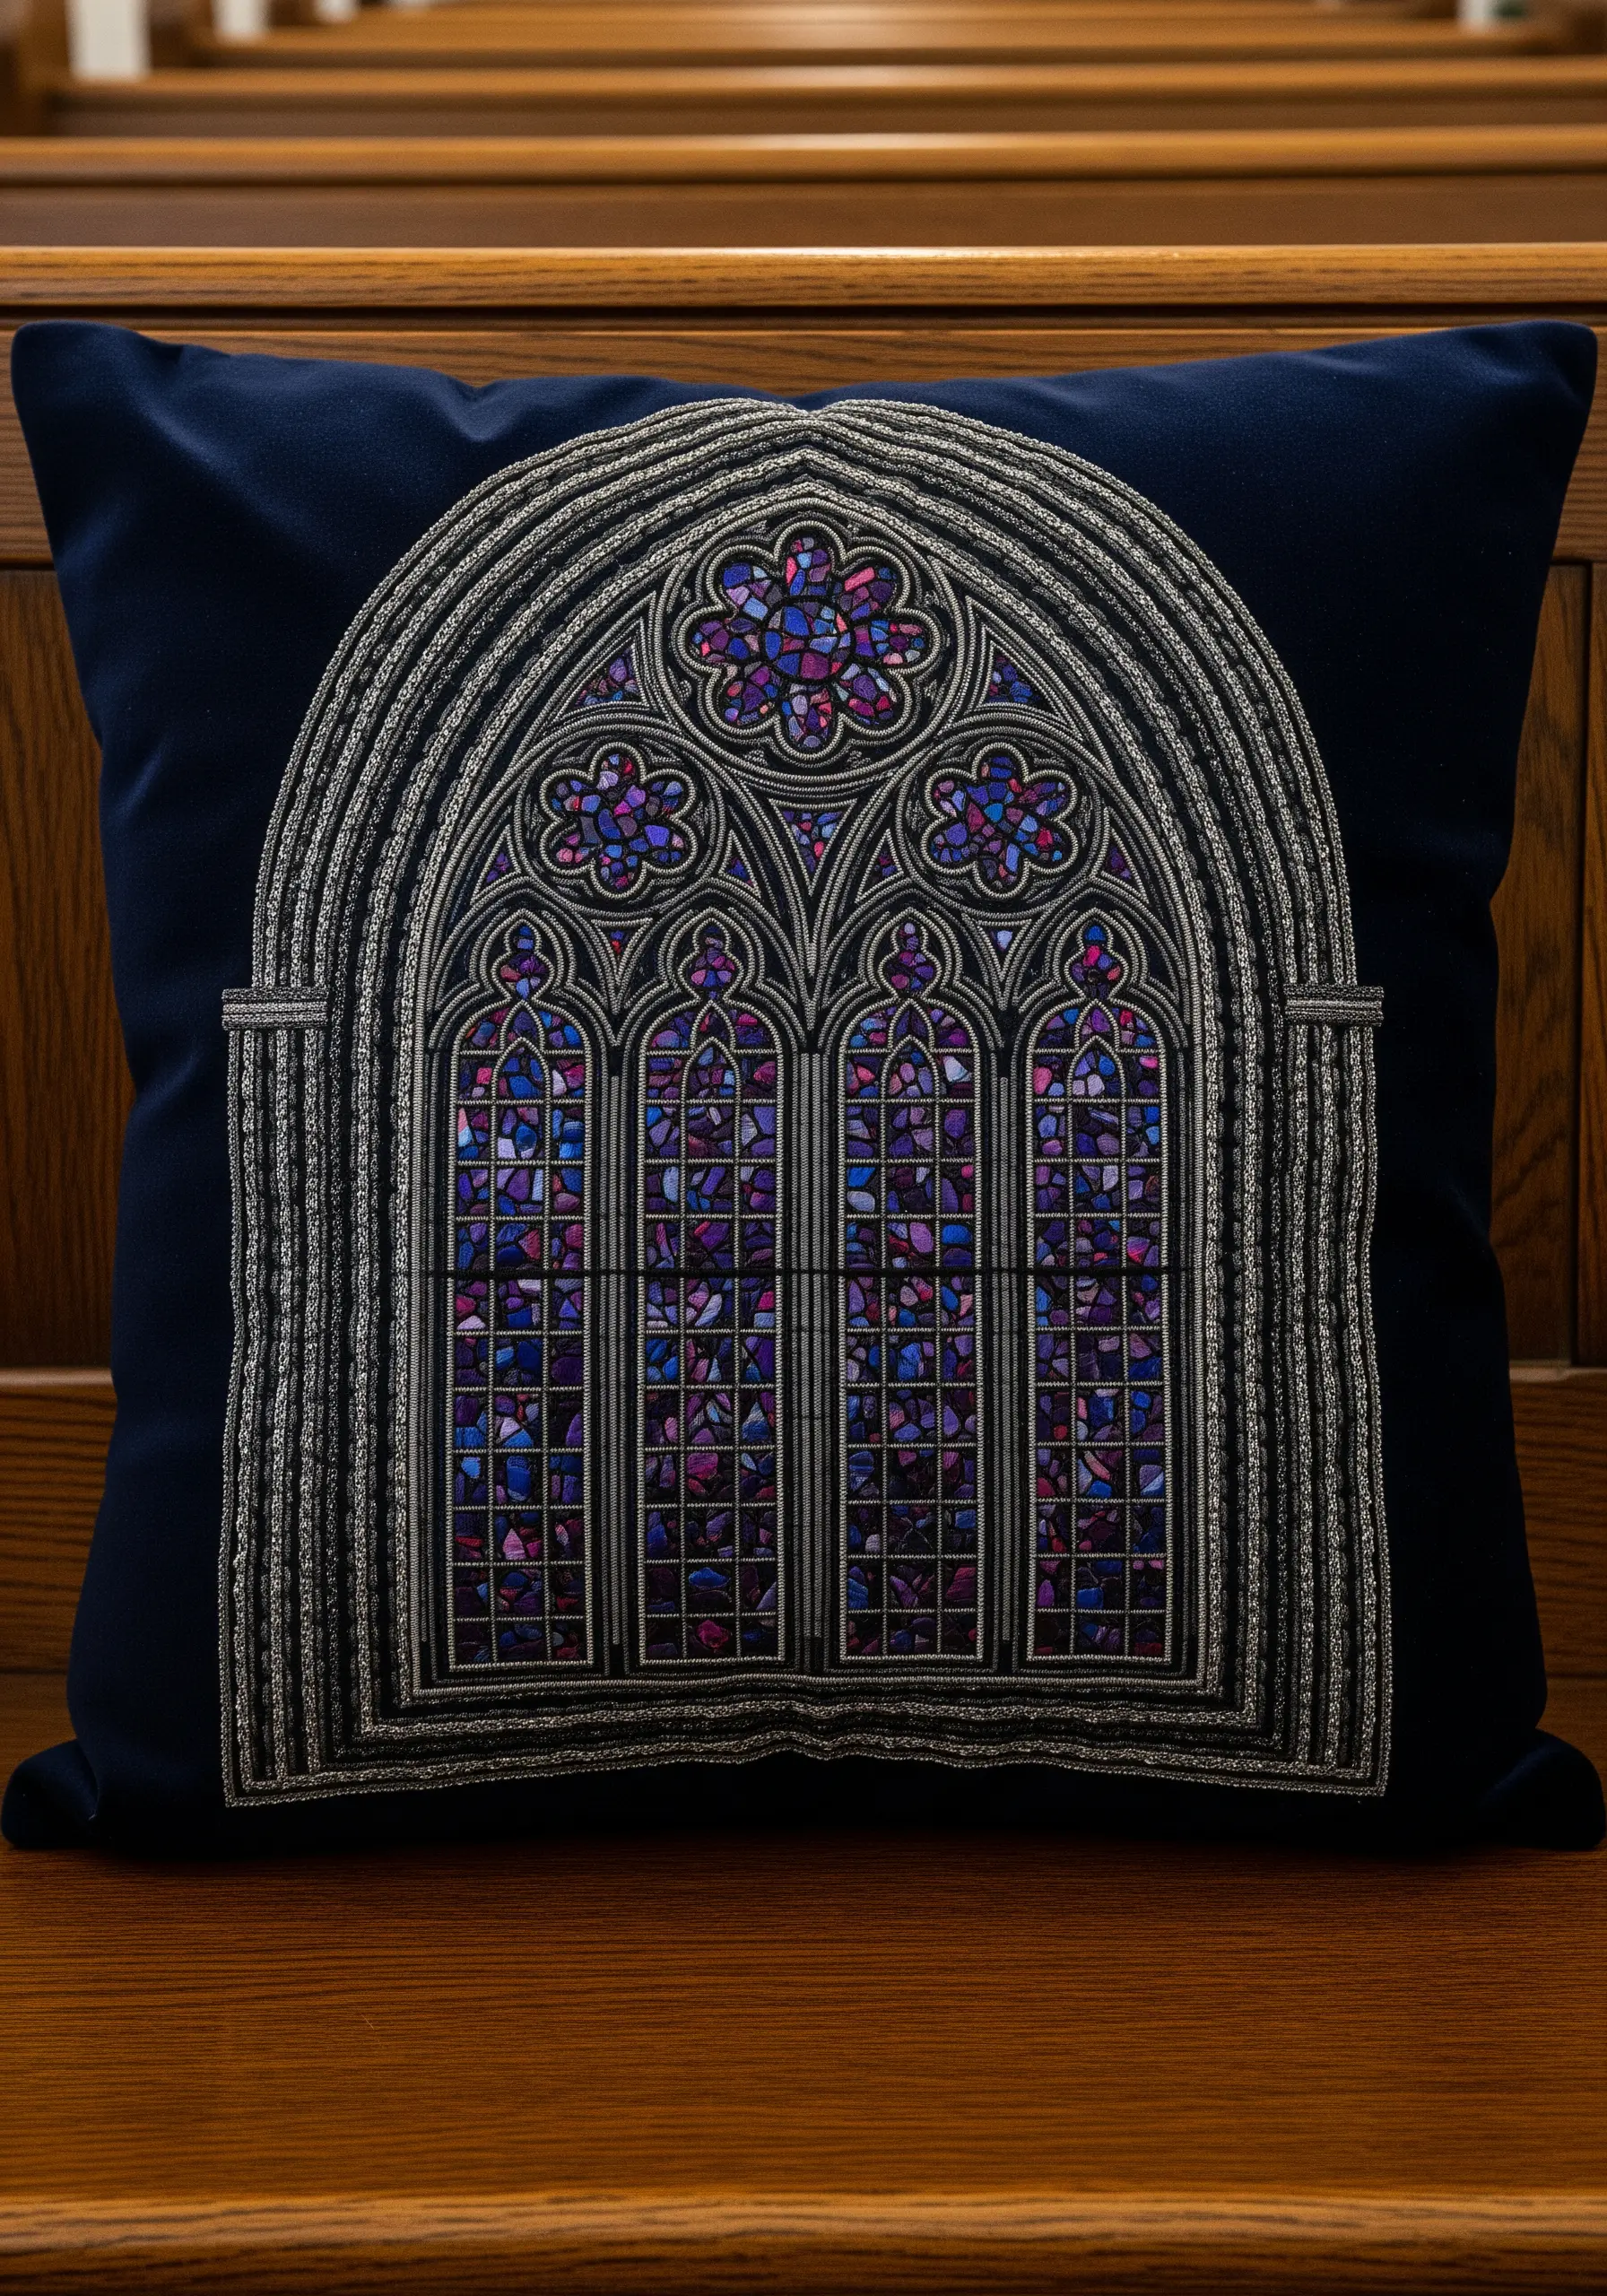
Mimic the luminosity of a gothic window by combining bold outlines with jewel-toned color blocking.
Use a silver metallic thread and a thick, raised stitch like a whipped chain stitch or couching to define the window’s framework, replicating the lead lines.
Fill the small panes with blocks of satin stitch in rich purples, blues, and magentas. To enhance the ‘glass’ effect, slightly vary the direction of your satin stitches in adjacent panes.
This contrast between the reflective metallic frame and the dense, colorful fills creates an incredible sense of depth and light.
7. Detail a Botanical Specimen with Realistic Stitches
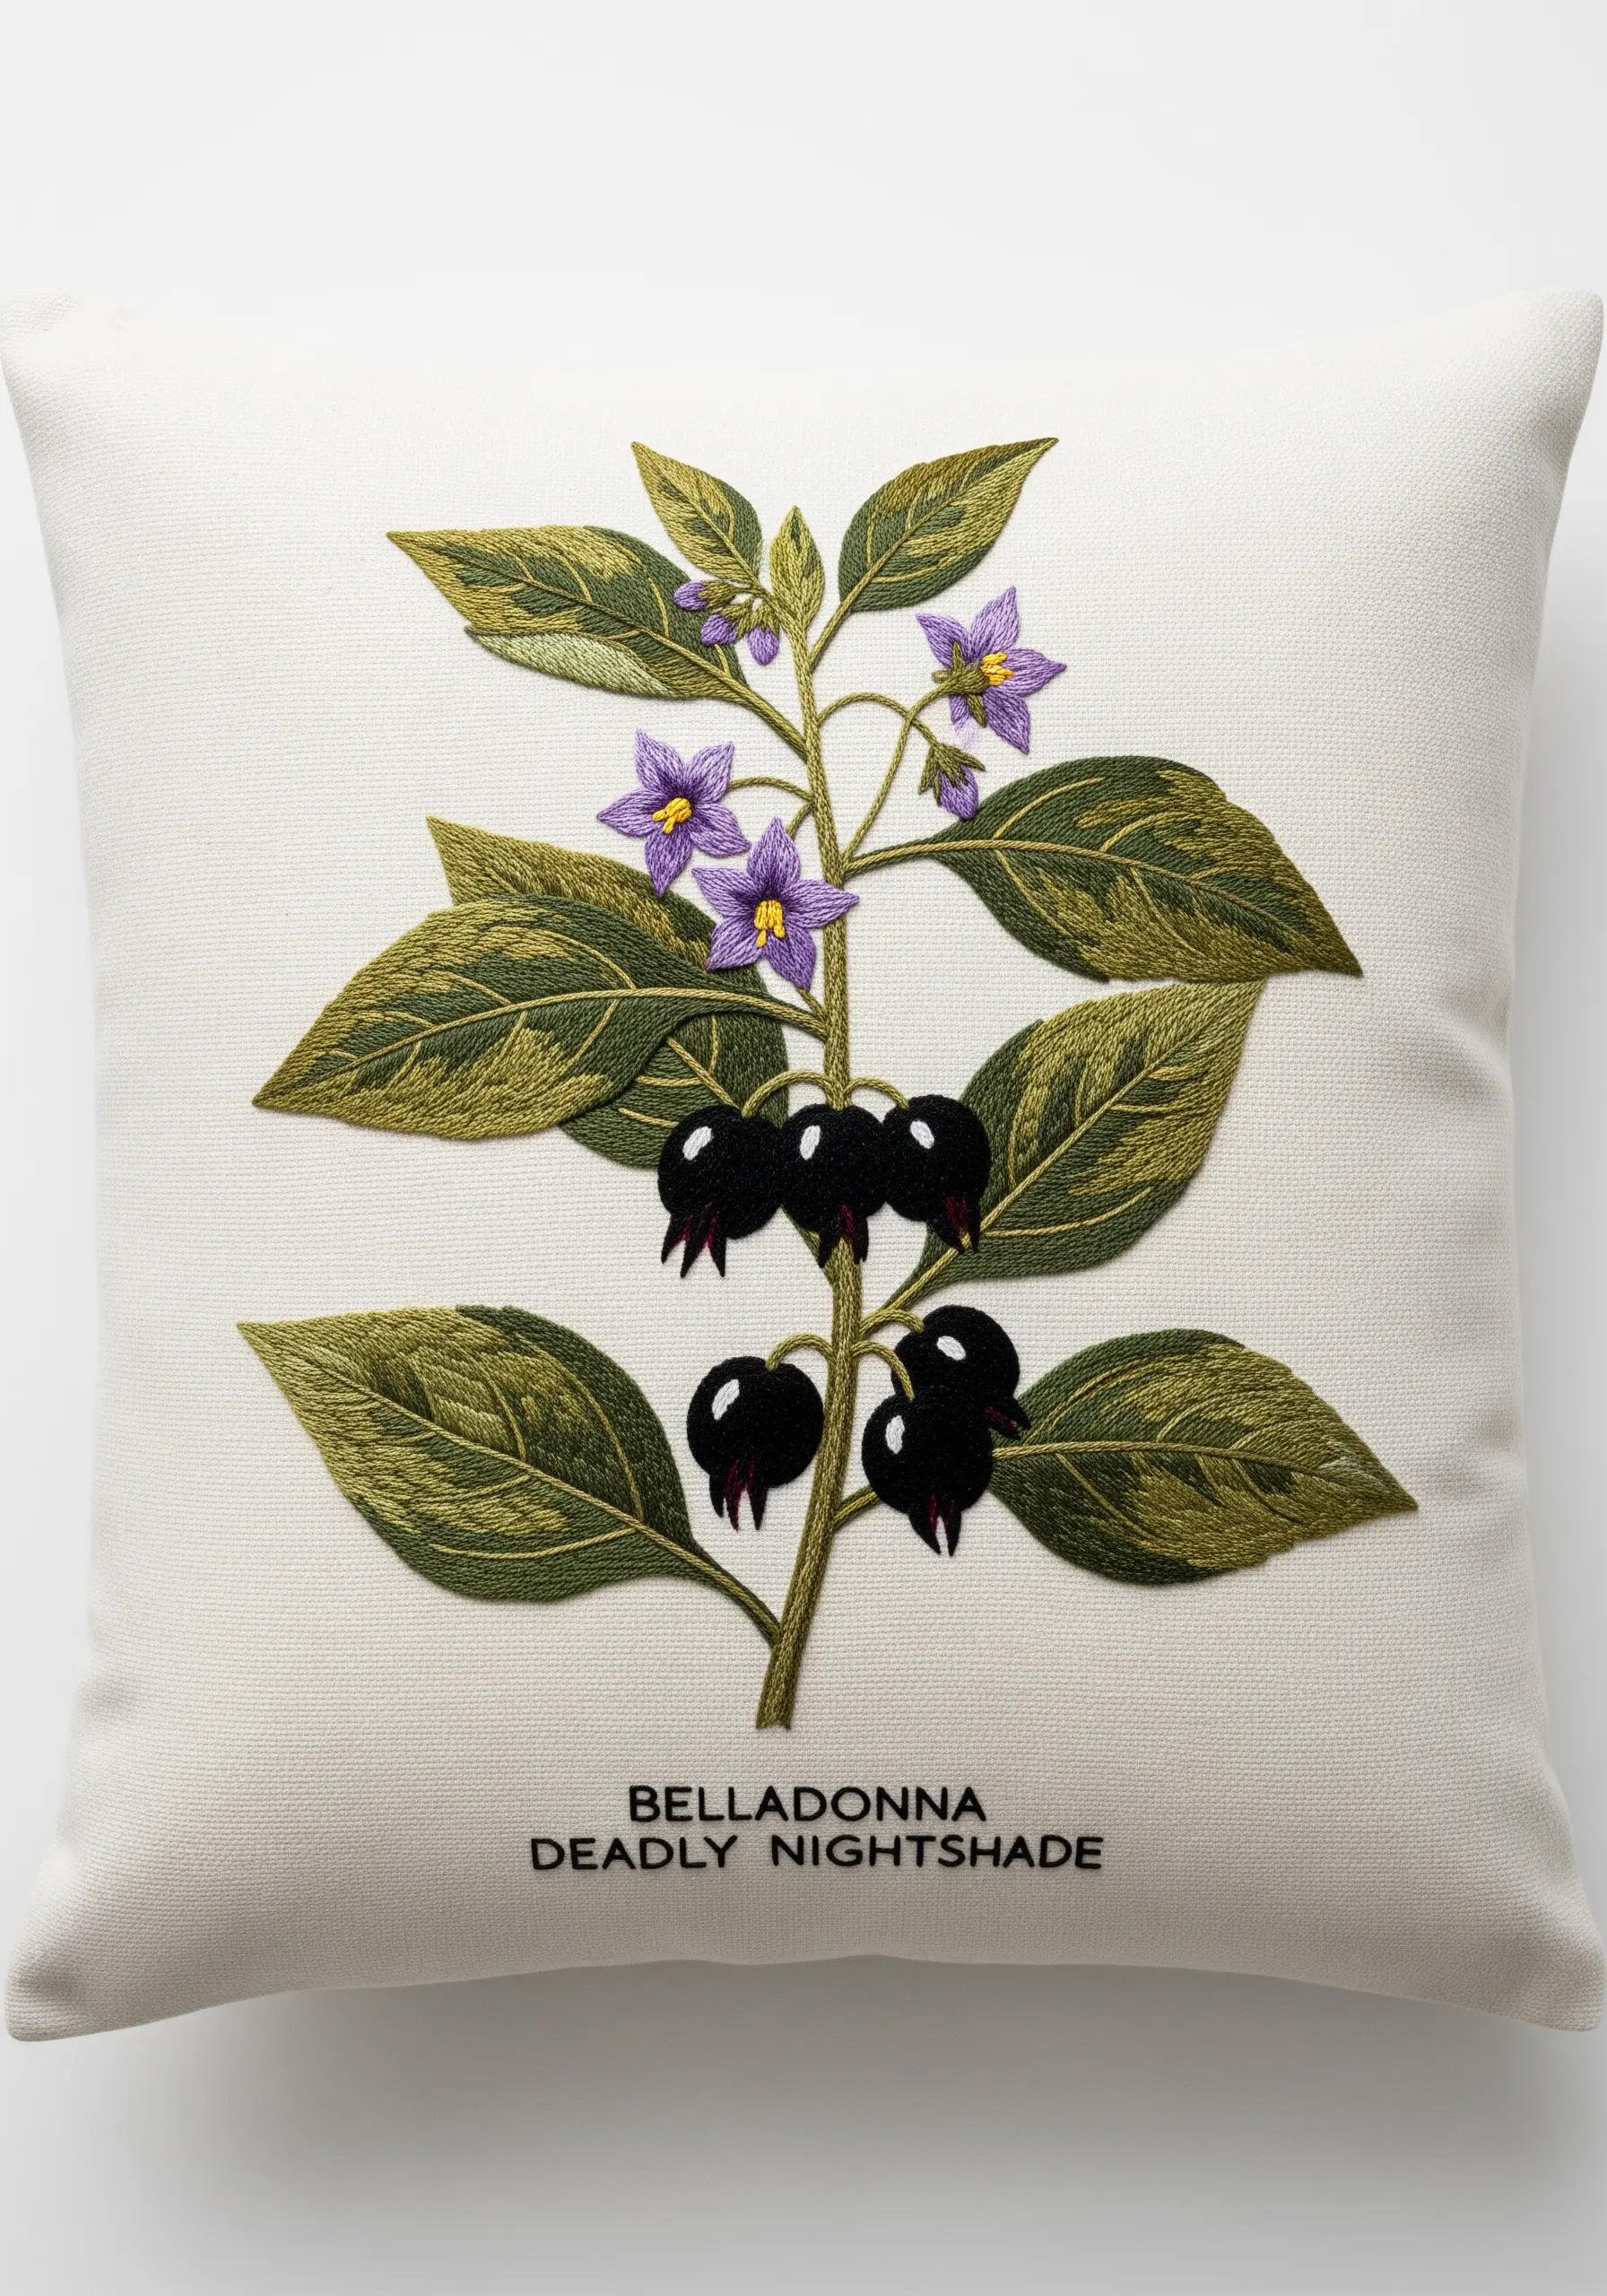
Capture the scientific elegance of a botanical illustration by focusing on texture and subtle color shifts.
For the leaves, use fishbone stitch to create a central vein and directional satin stitches that mimic natural growth.
Blend two slightly different shades of green in your needle to give the foliage a more organic, less uniform appearance.
Create plump, glossy berries with a padded satin stitch—a few small underlying stitches that lift the main stitch, giving it a 3D effect.
Finish with a clean, single-strand backstitch for the scientific label, keeping it understated and precise.
8. Build Feather and Bone Textures
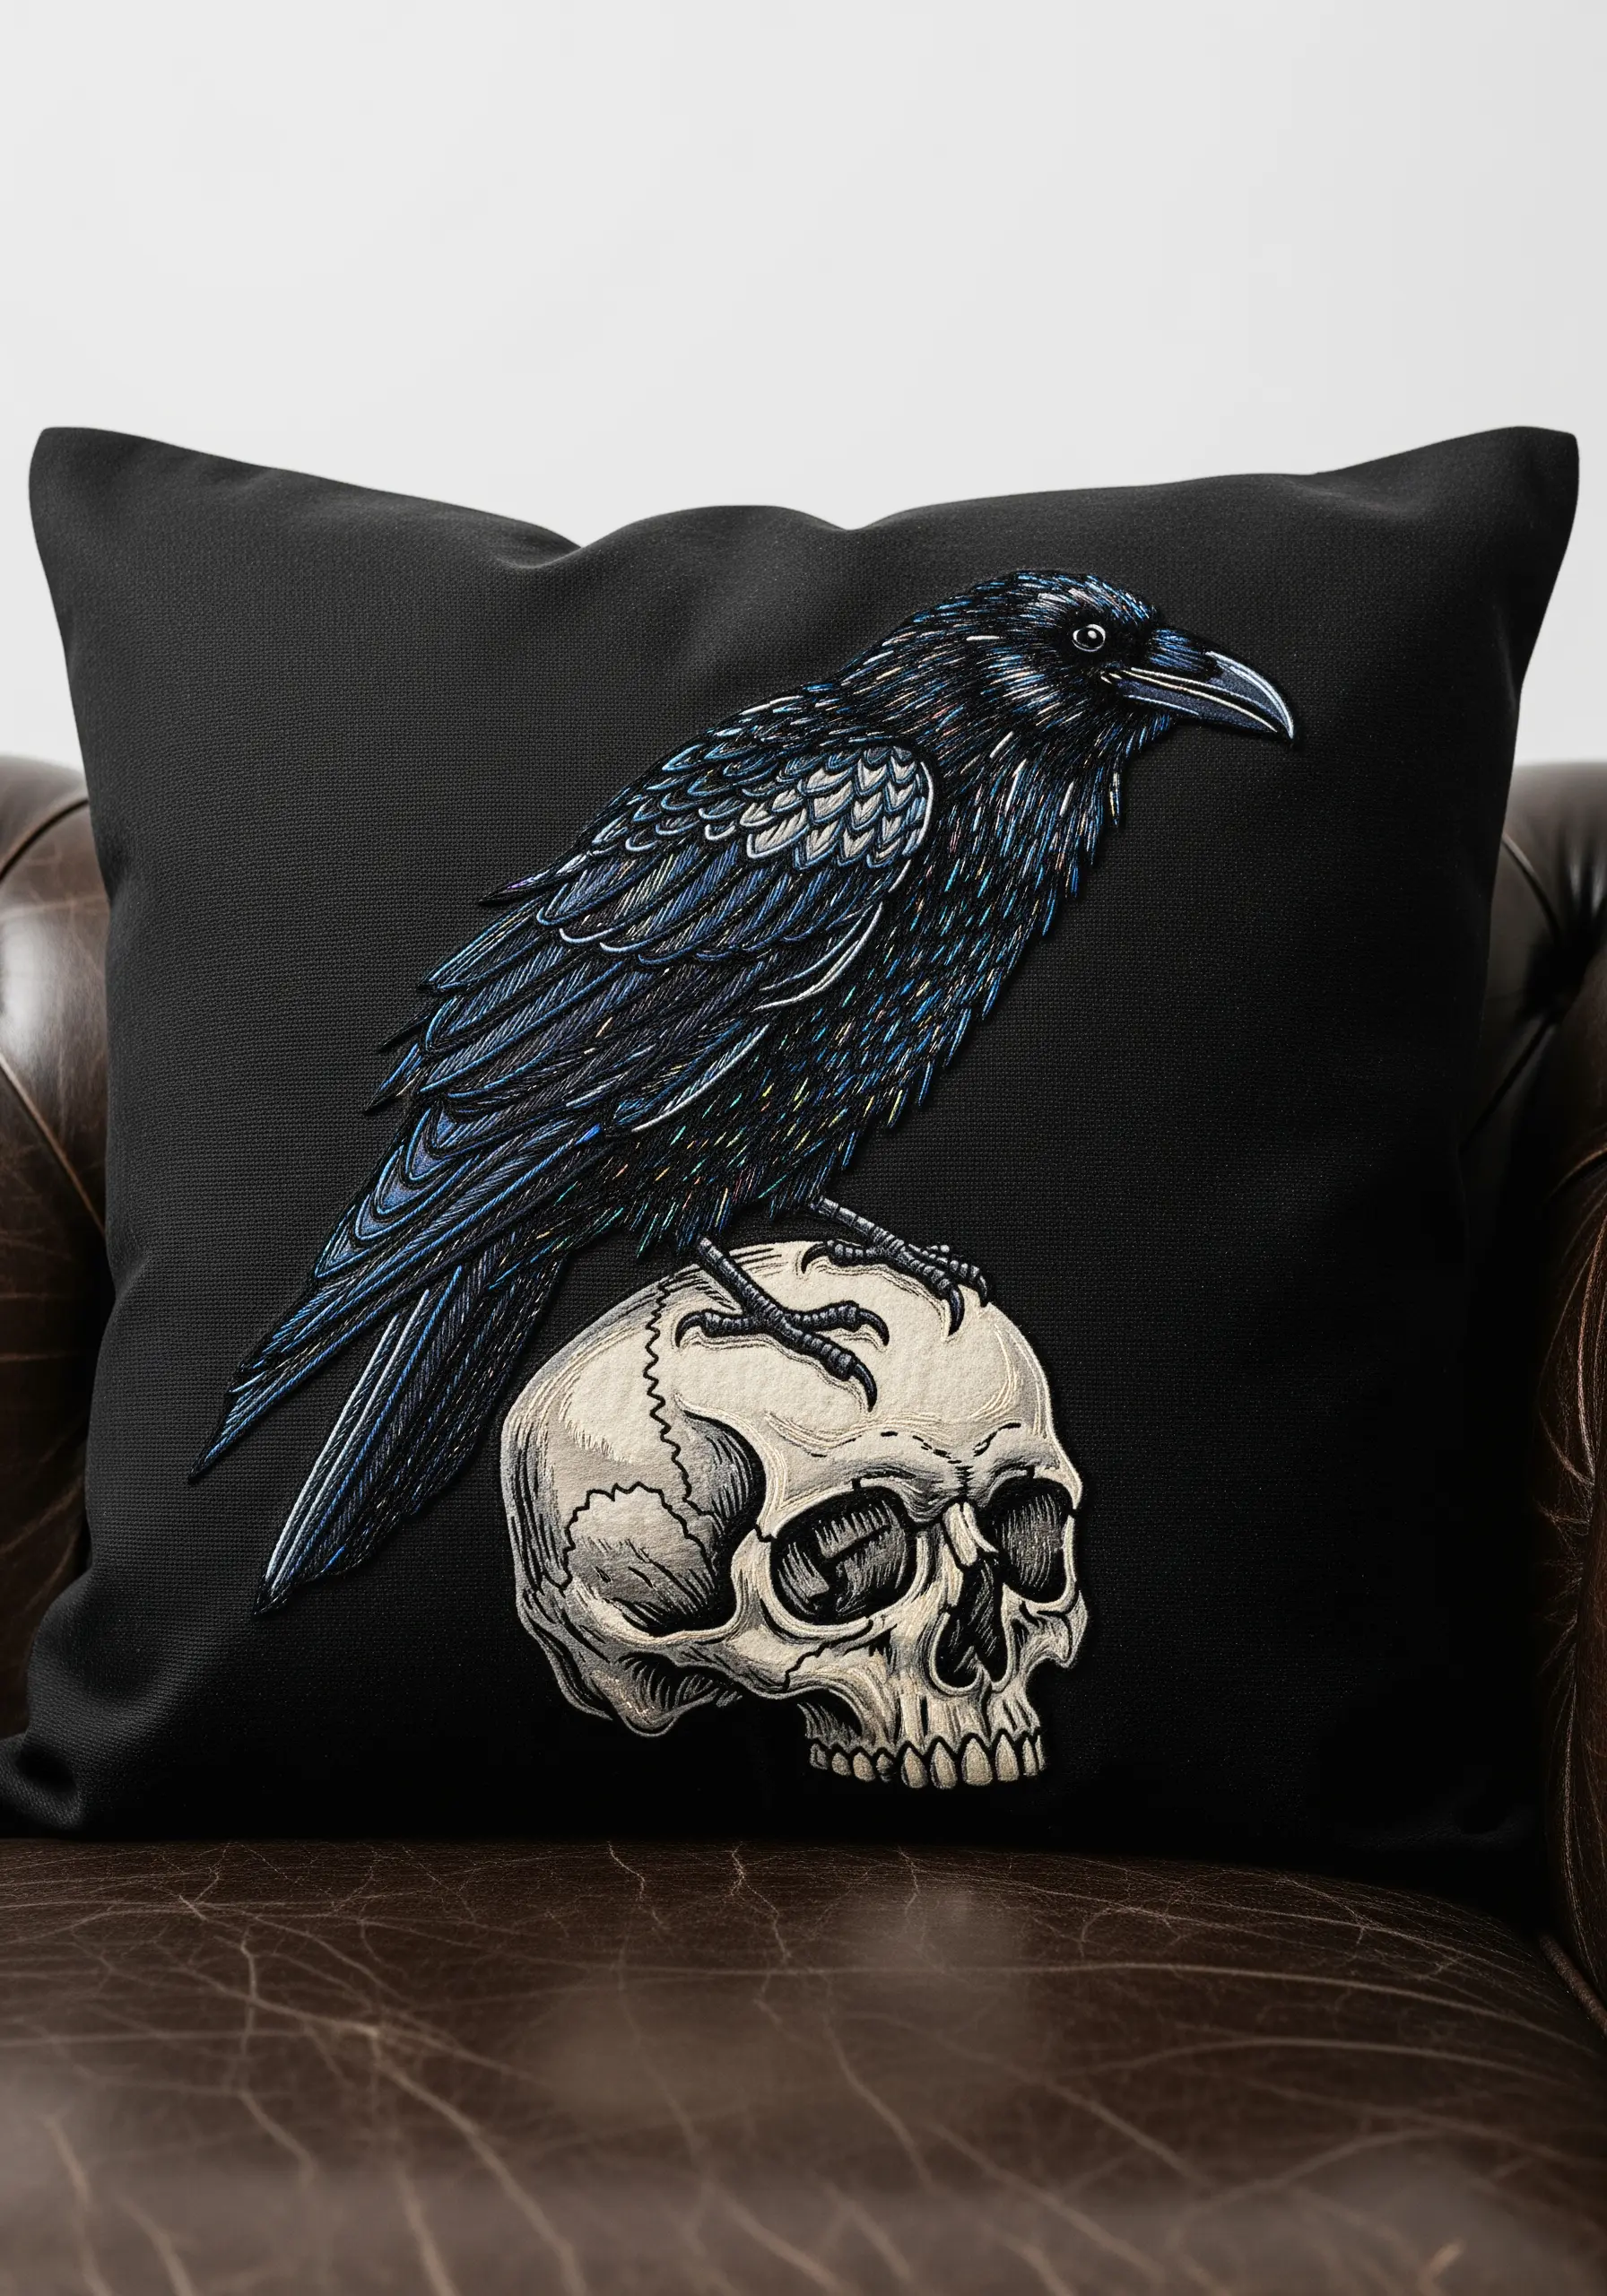
Create a powerful narrative by contrasting the textures of life and death within a single design.
For the raven’s feathers, use long-and-short stitches with a mix of black, dark blue, and deep purple threads to create an iridescent sheen.
Keep your stitches layered and angled in the direction of feather growth for realism.
In contrast, stitch the skull with short, dense seed stitches in off-white and grey, giving it a porous, aged bone texture.
A few fine lines in a darker grey using a single-strand backstitch will define the cracks and add a final touch of authenticity.
9. Define an Astrolabe with Intricate Linework

For complex mechanical designs, your success lies in clean lines and varied textures.
Use a fine, single strand of metallic thread with a simple backstitch for the delicate constellation lines and measurement marks.
To make the main structural elements pop, switch to a two-strand whipped backstitch or couch a fine metallic cord along the primary circles.
Incorporate tiny French knots or seed beads to represent rivets and gears, adding a tactile, three-dimensional quality that brings the instrument to life.
Choose a dark blue cotton fabric to make the gold and silver elements appear to glow.
10. Illustrate a Feather’s Delicacy and Ink’s Fluidity
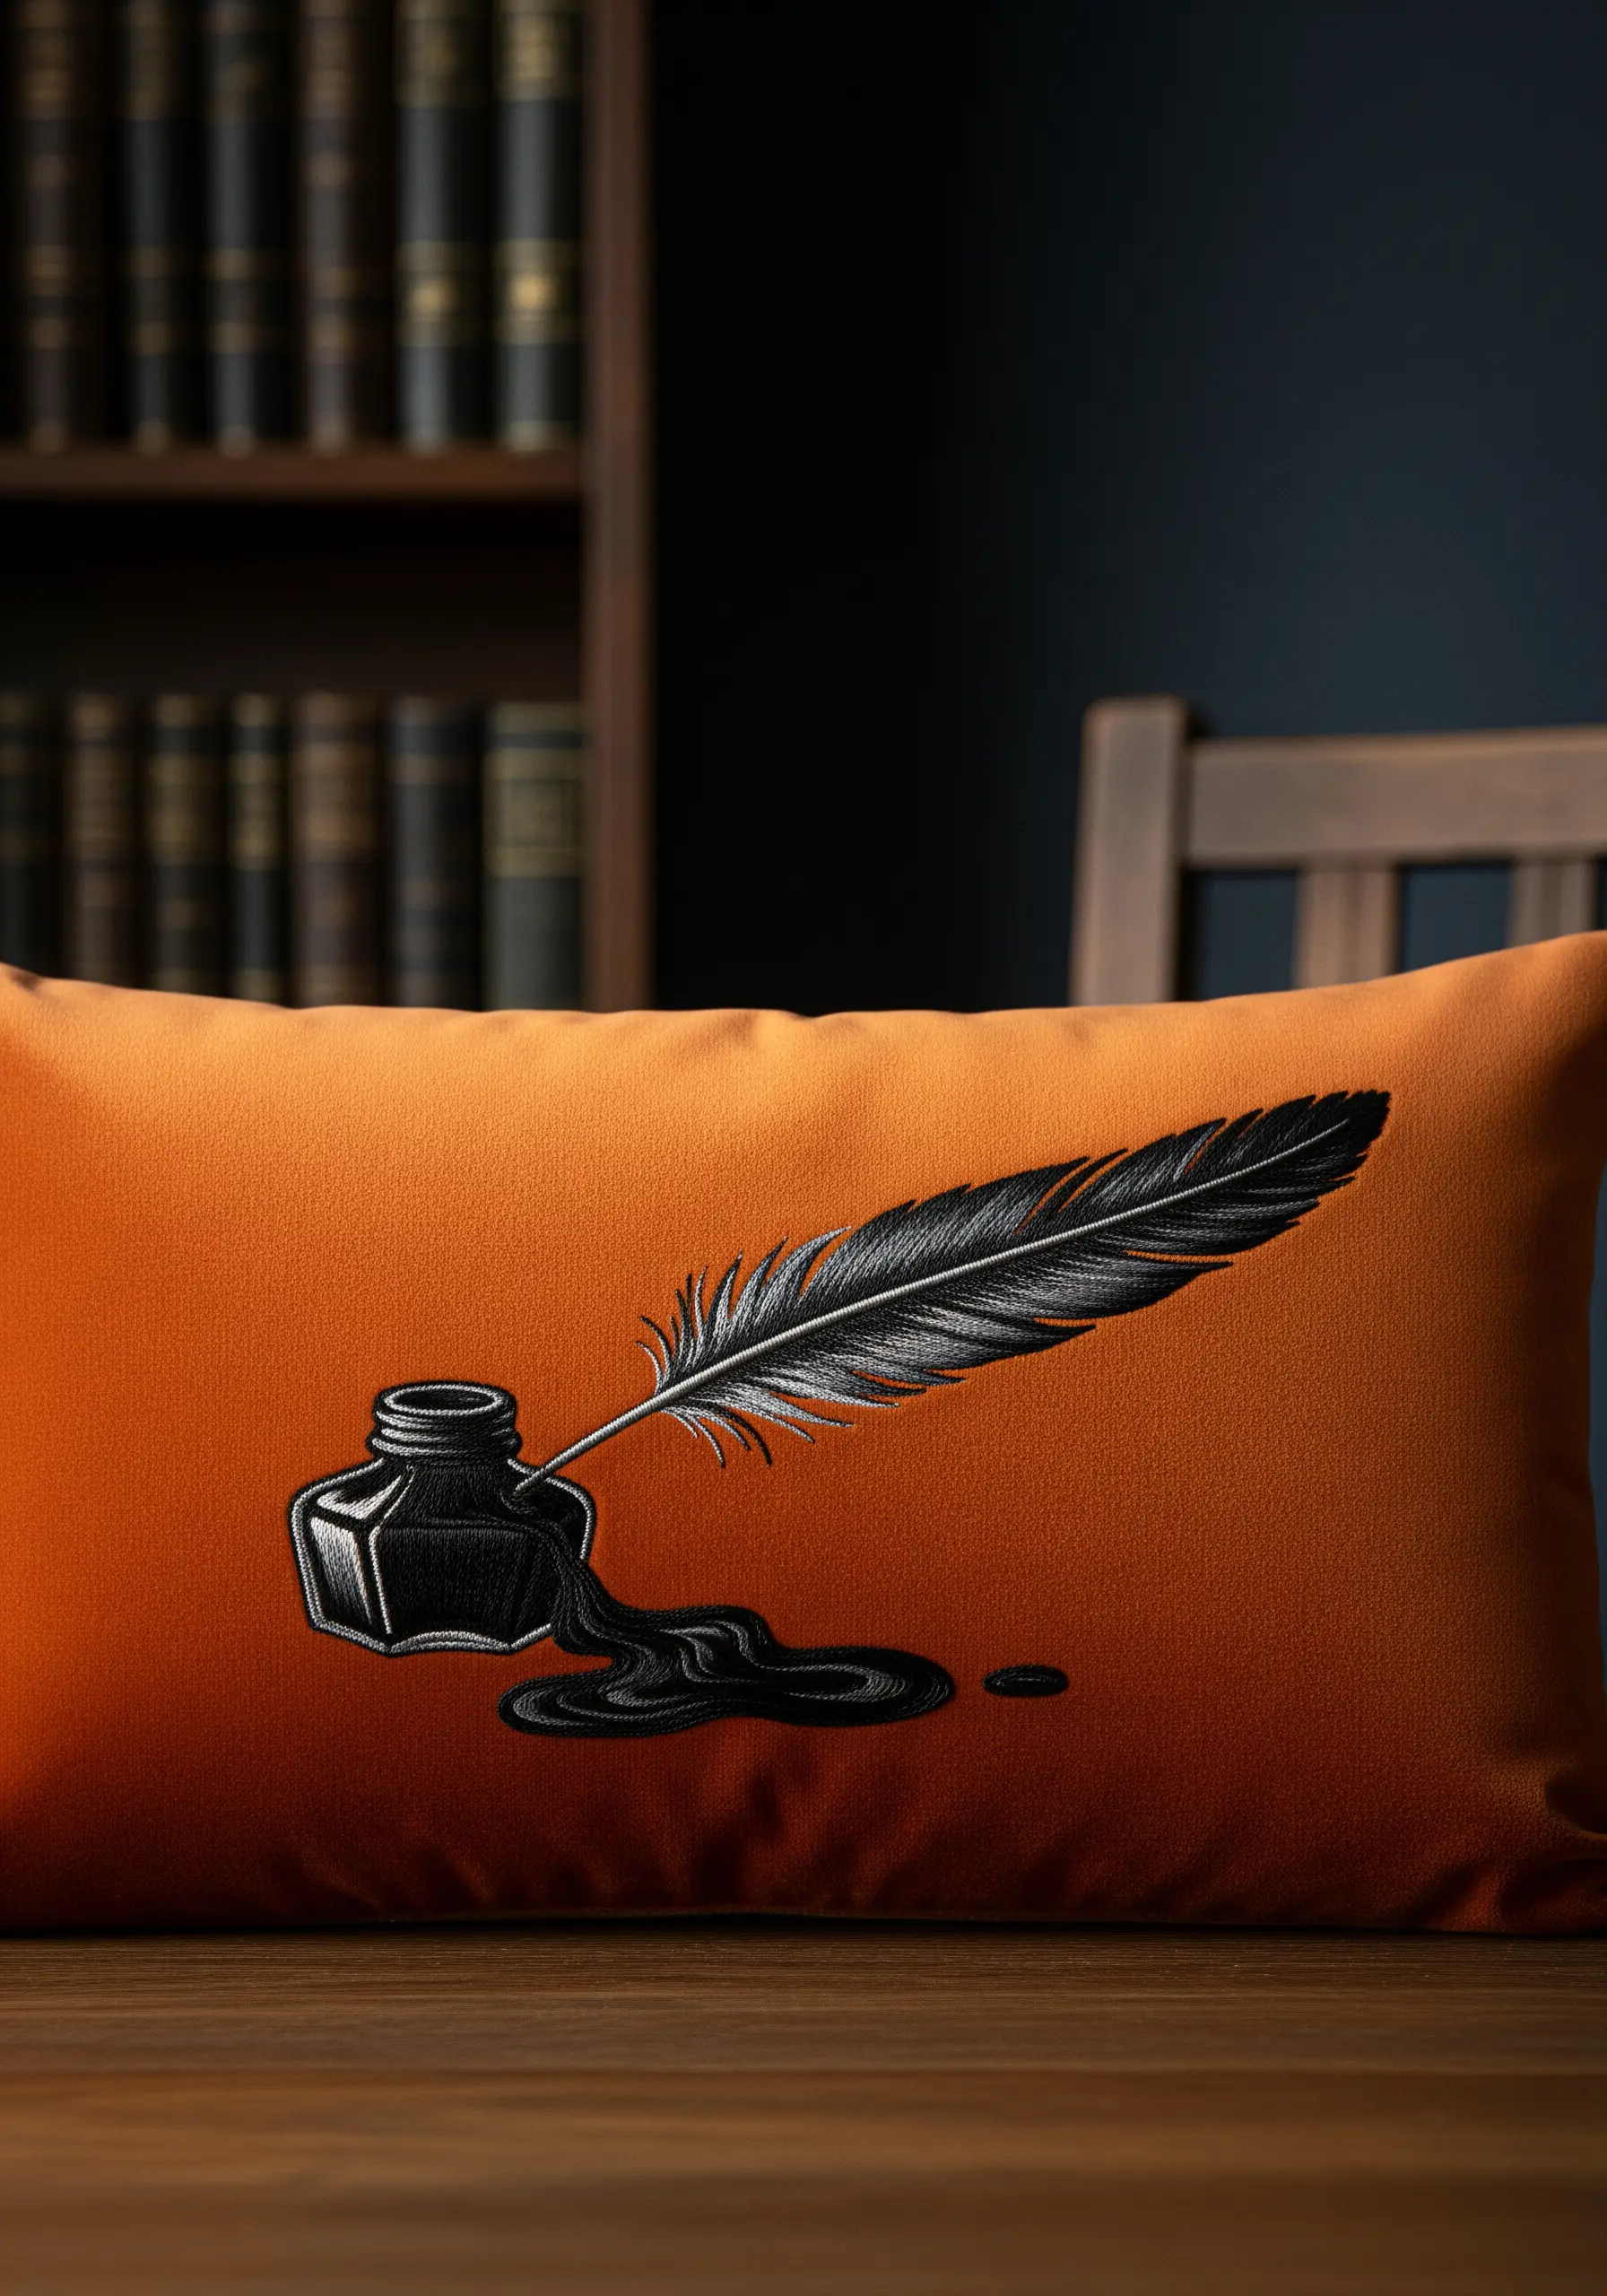
This design is a study in contrasting textures: one airy, the other liquid.
Create the quill by using a central stem stitch for the shaft, then branching off with long, single straight stitches (or detached chain stitches) for the barbs.
Use fewer strands and space them slightly to give the feather a light, delicate feel.
For the spilled ink, use a dense, smooth satin stitch with a high-sheen rayon or silk thread.
Stitch in a swirling pattern to create the illusion of movement and reflection, capturing the moment the ink pools and flows.
11. Achieve an Antique Metal Effect on an Ornate Key
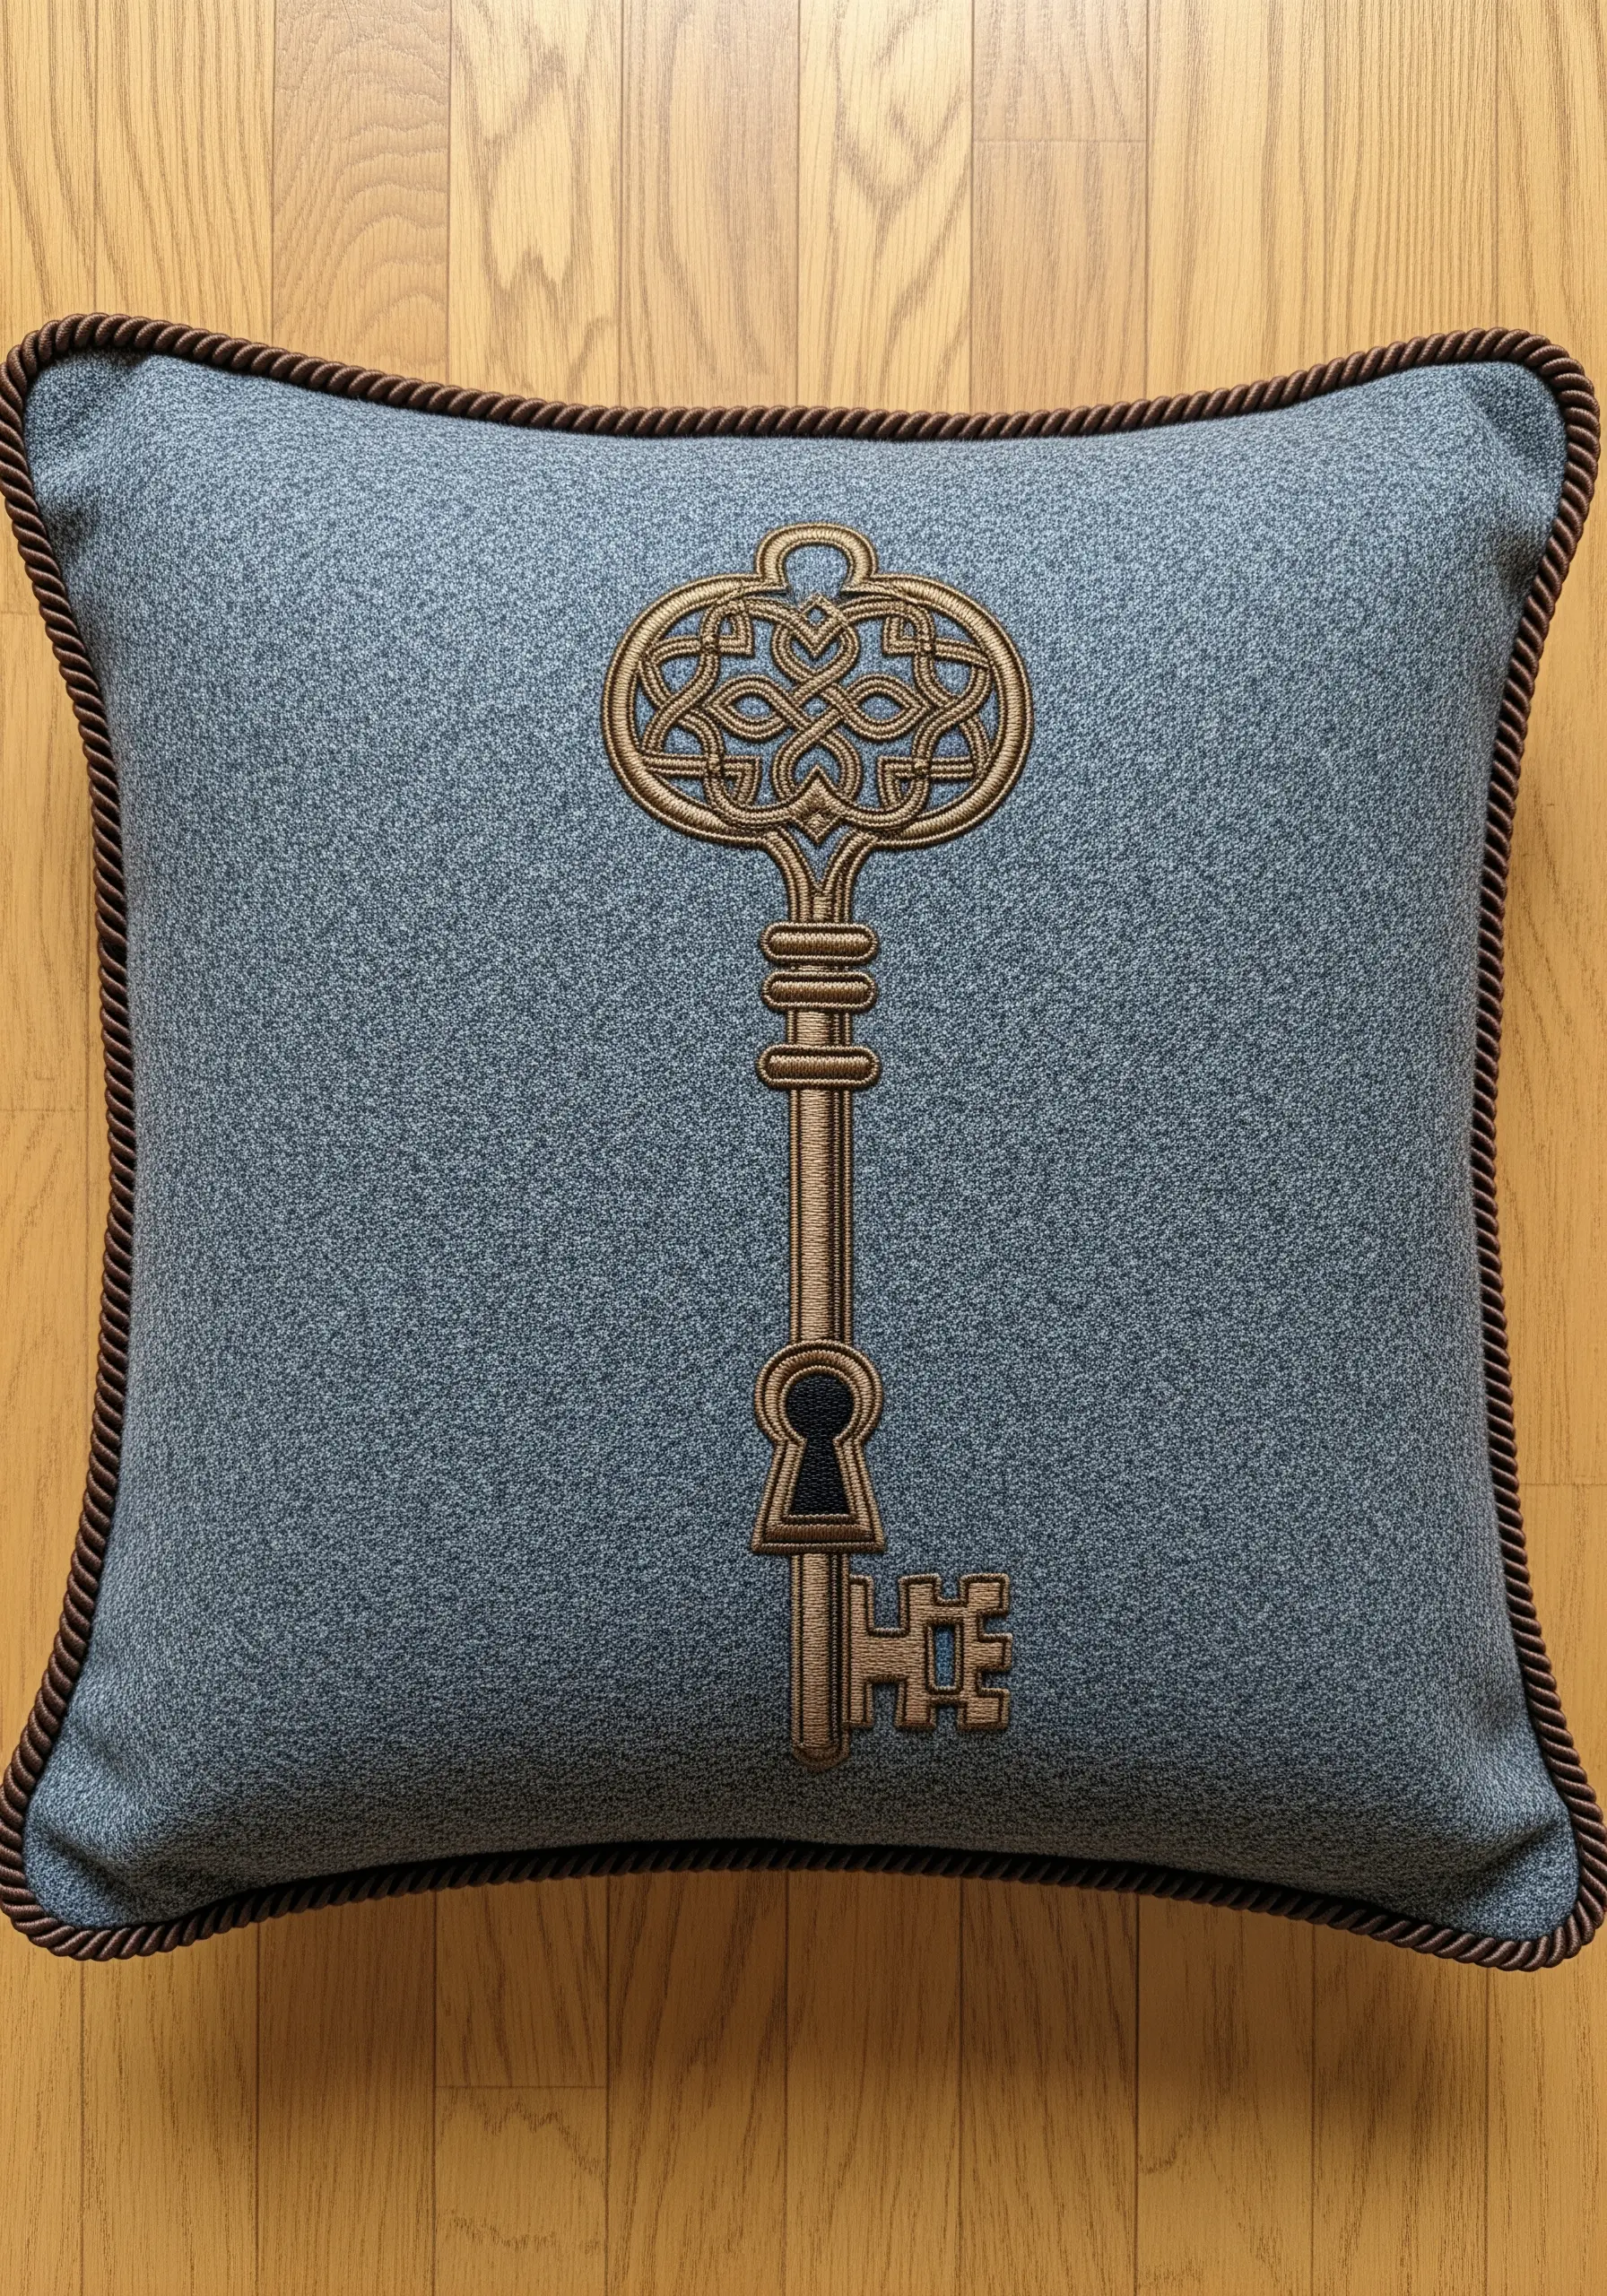
Give an object the weight and patina of aged metal through clever shading and outlining.
Fill the main body of the key with a vertical satin stitch using a bronze or muted gold thread.
Then, outline the entire design with a single strand of a much darker brown, using a split stitch. This simple step creates a shadow effect that instantly gives the key dimension and depth.
For the intricate pattern at the top, a precise stem stitch is perfect for navigating the tight curves while maintaining a clean, defined line.
12. Add Dimension with Strategic Beading

Integrate beading to create texture and realism that thread alone cannot achieve.
Stitch the wooden frame of the hourglass first, using long-and-short stitch in brown tones to simulate wood grain.
Outline the glass shape with a single strand of silver or white backstitch to create a subtle highlight.
Fill the ‘sand’ areas with tiny metallic seed beads, securing each one with a small stitch. Crowd them densely at the bottom and more sparsely in the falling stream to create a sense of movement.
This mixed-media approach adds a dynamic, shimmering quality.
13. Explore Geometric String Art Techniques
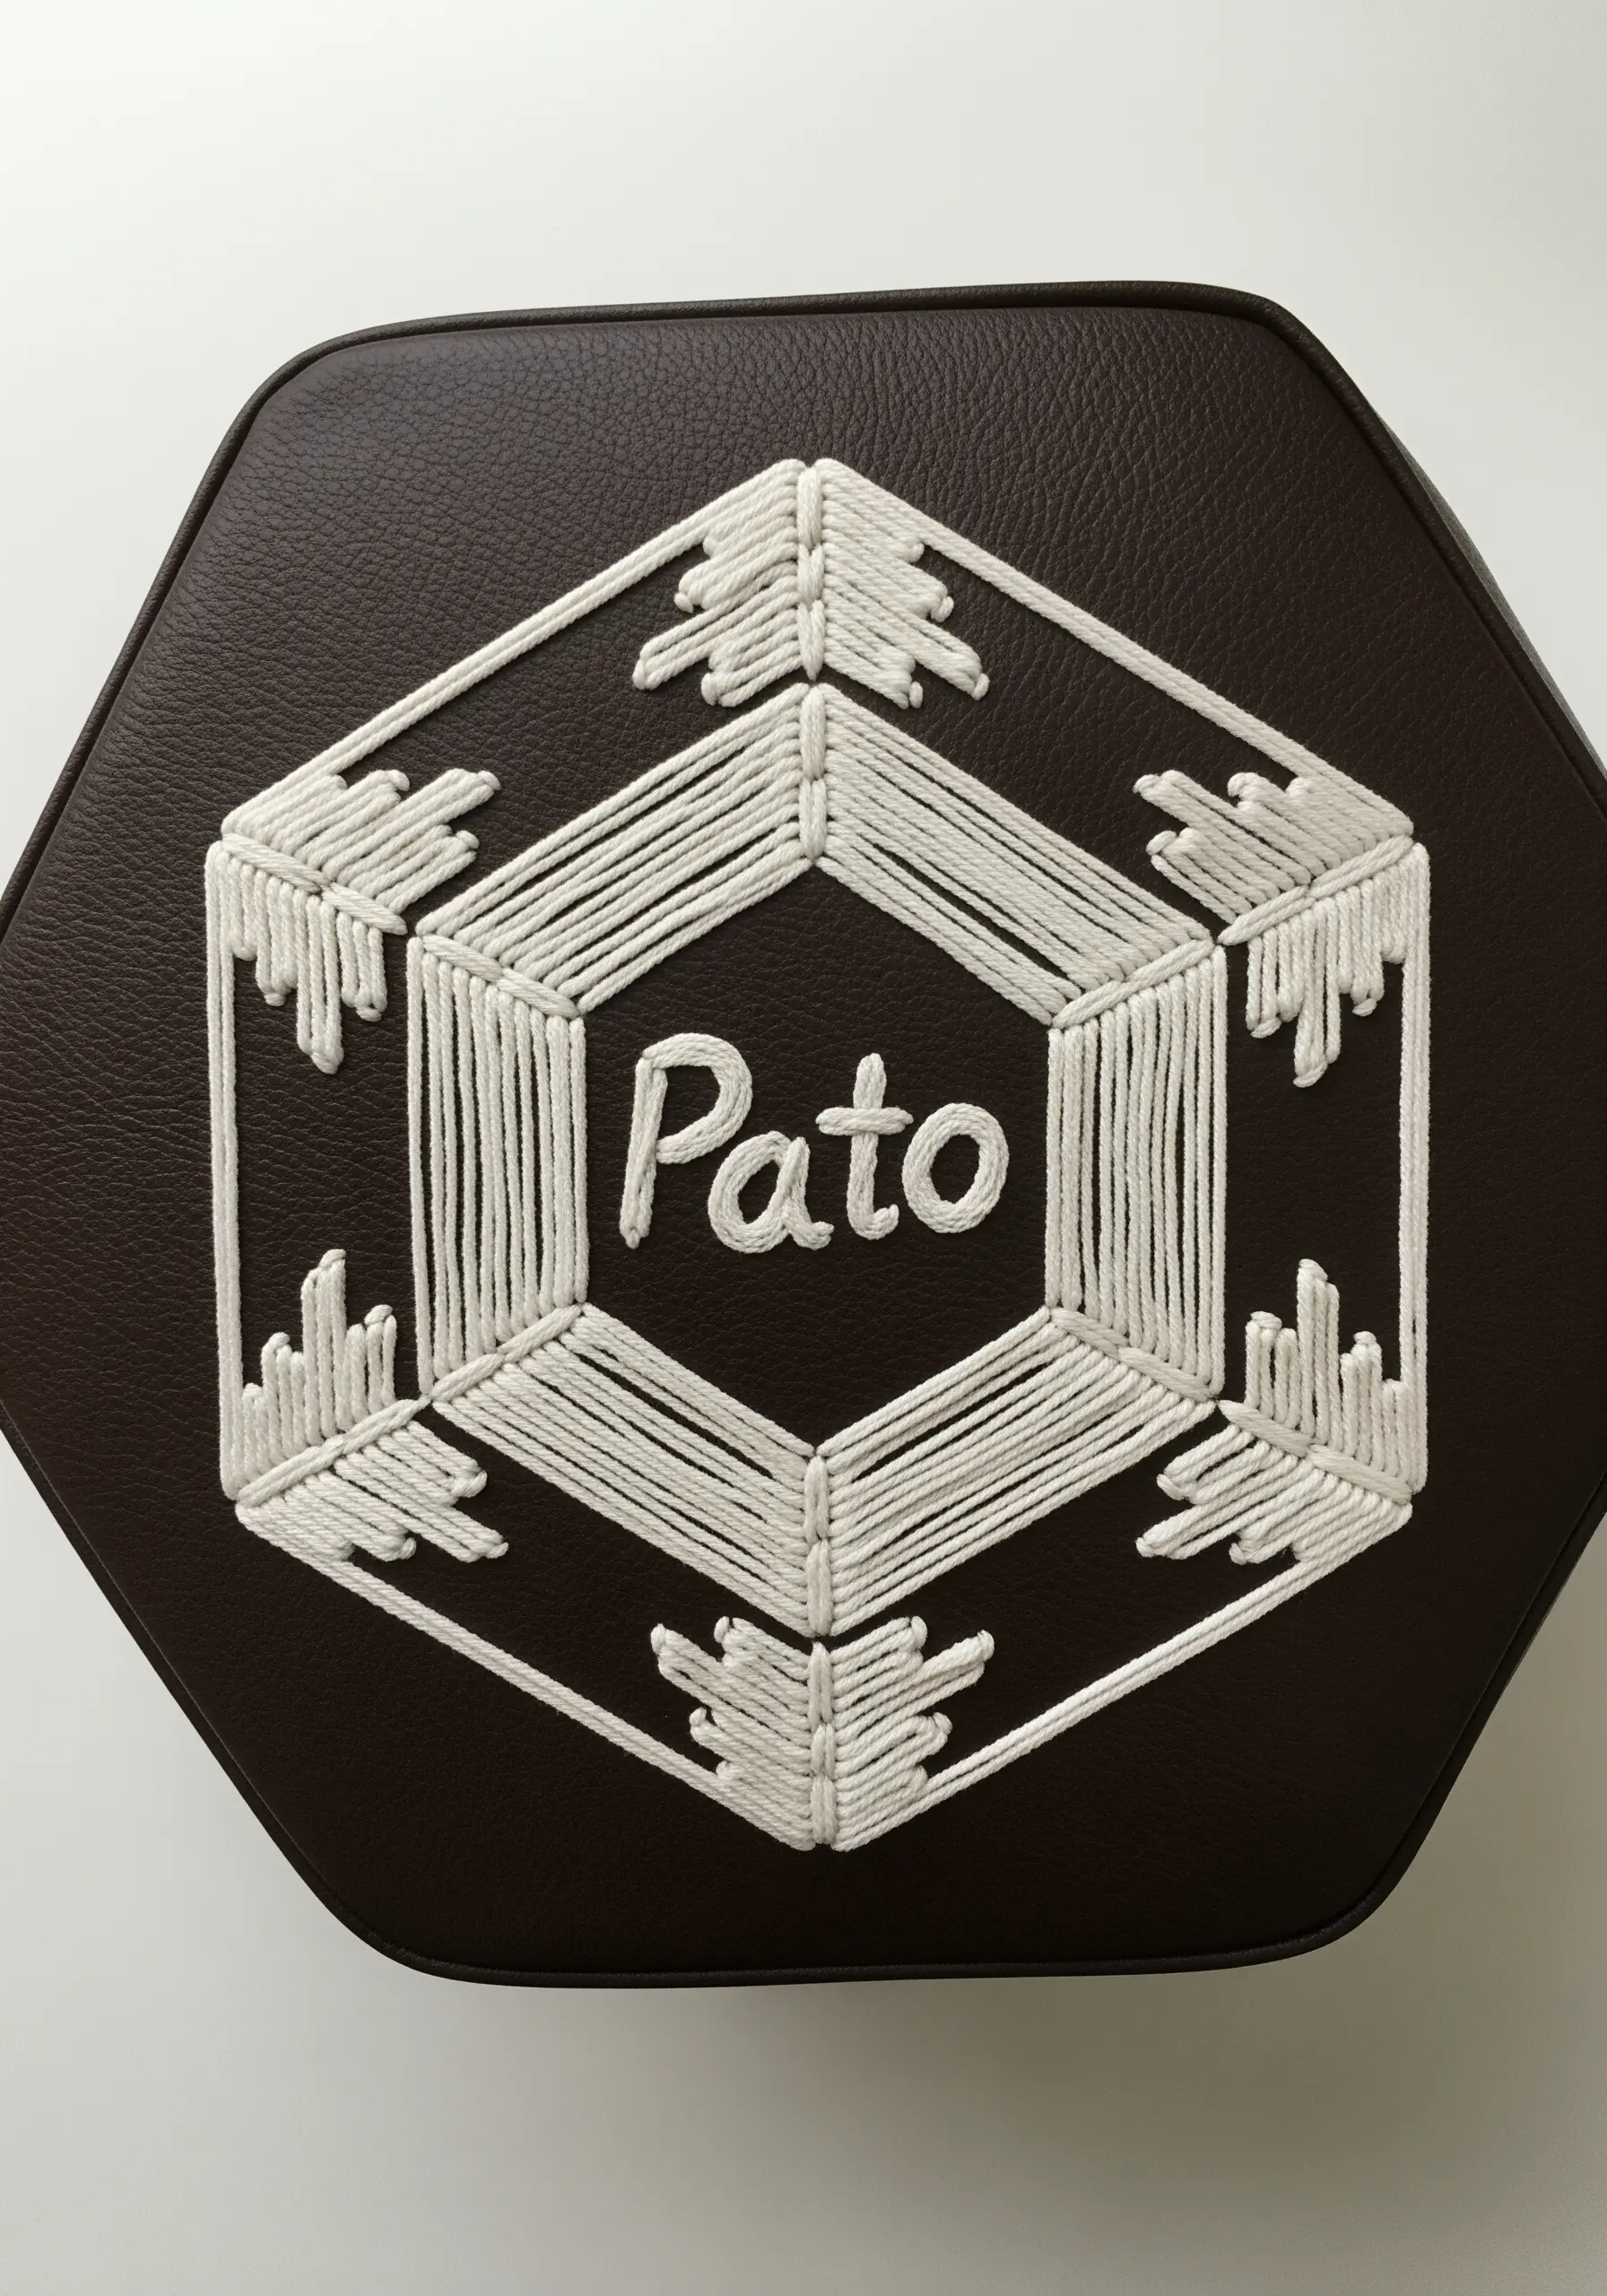
Translate the principles of string art into a bold, graphic embroidery style. This method is about tension and structure.
Instead of filling shapes, use a series of small, strong anchor stitches (like a loop stitch secured with a tiny tacking stitch) around the perimeter of your geometric design.
Use a thick, smooth thread like perle cotton or fine yarn. Wrap the thread back and forth between these anchor points to build up the dense, linear patterns.
This technique works best on a sturdy, non-stretch fabric like leatherette or canvas that can handle the thread tension without puckering.
14. Curate a Forest Floor Study in Texture
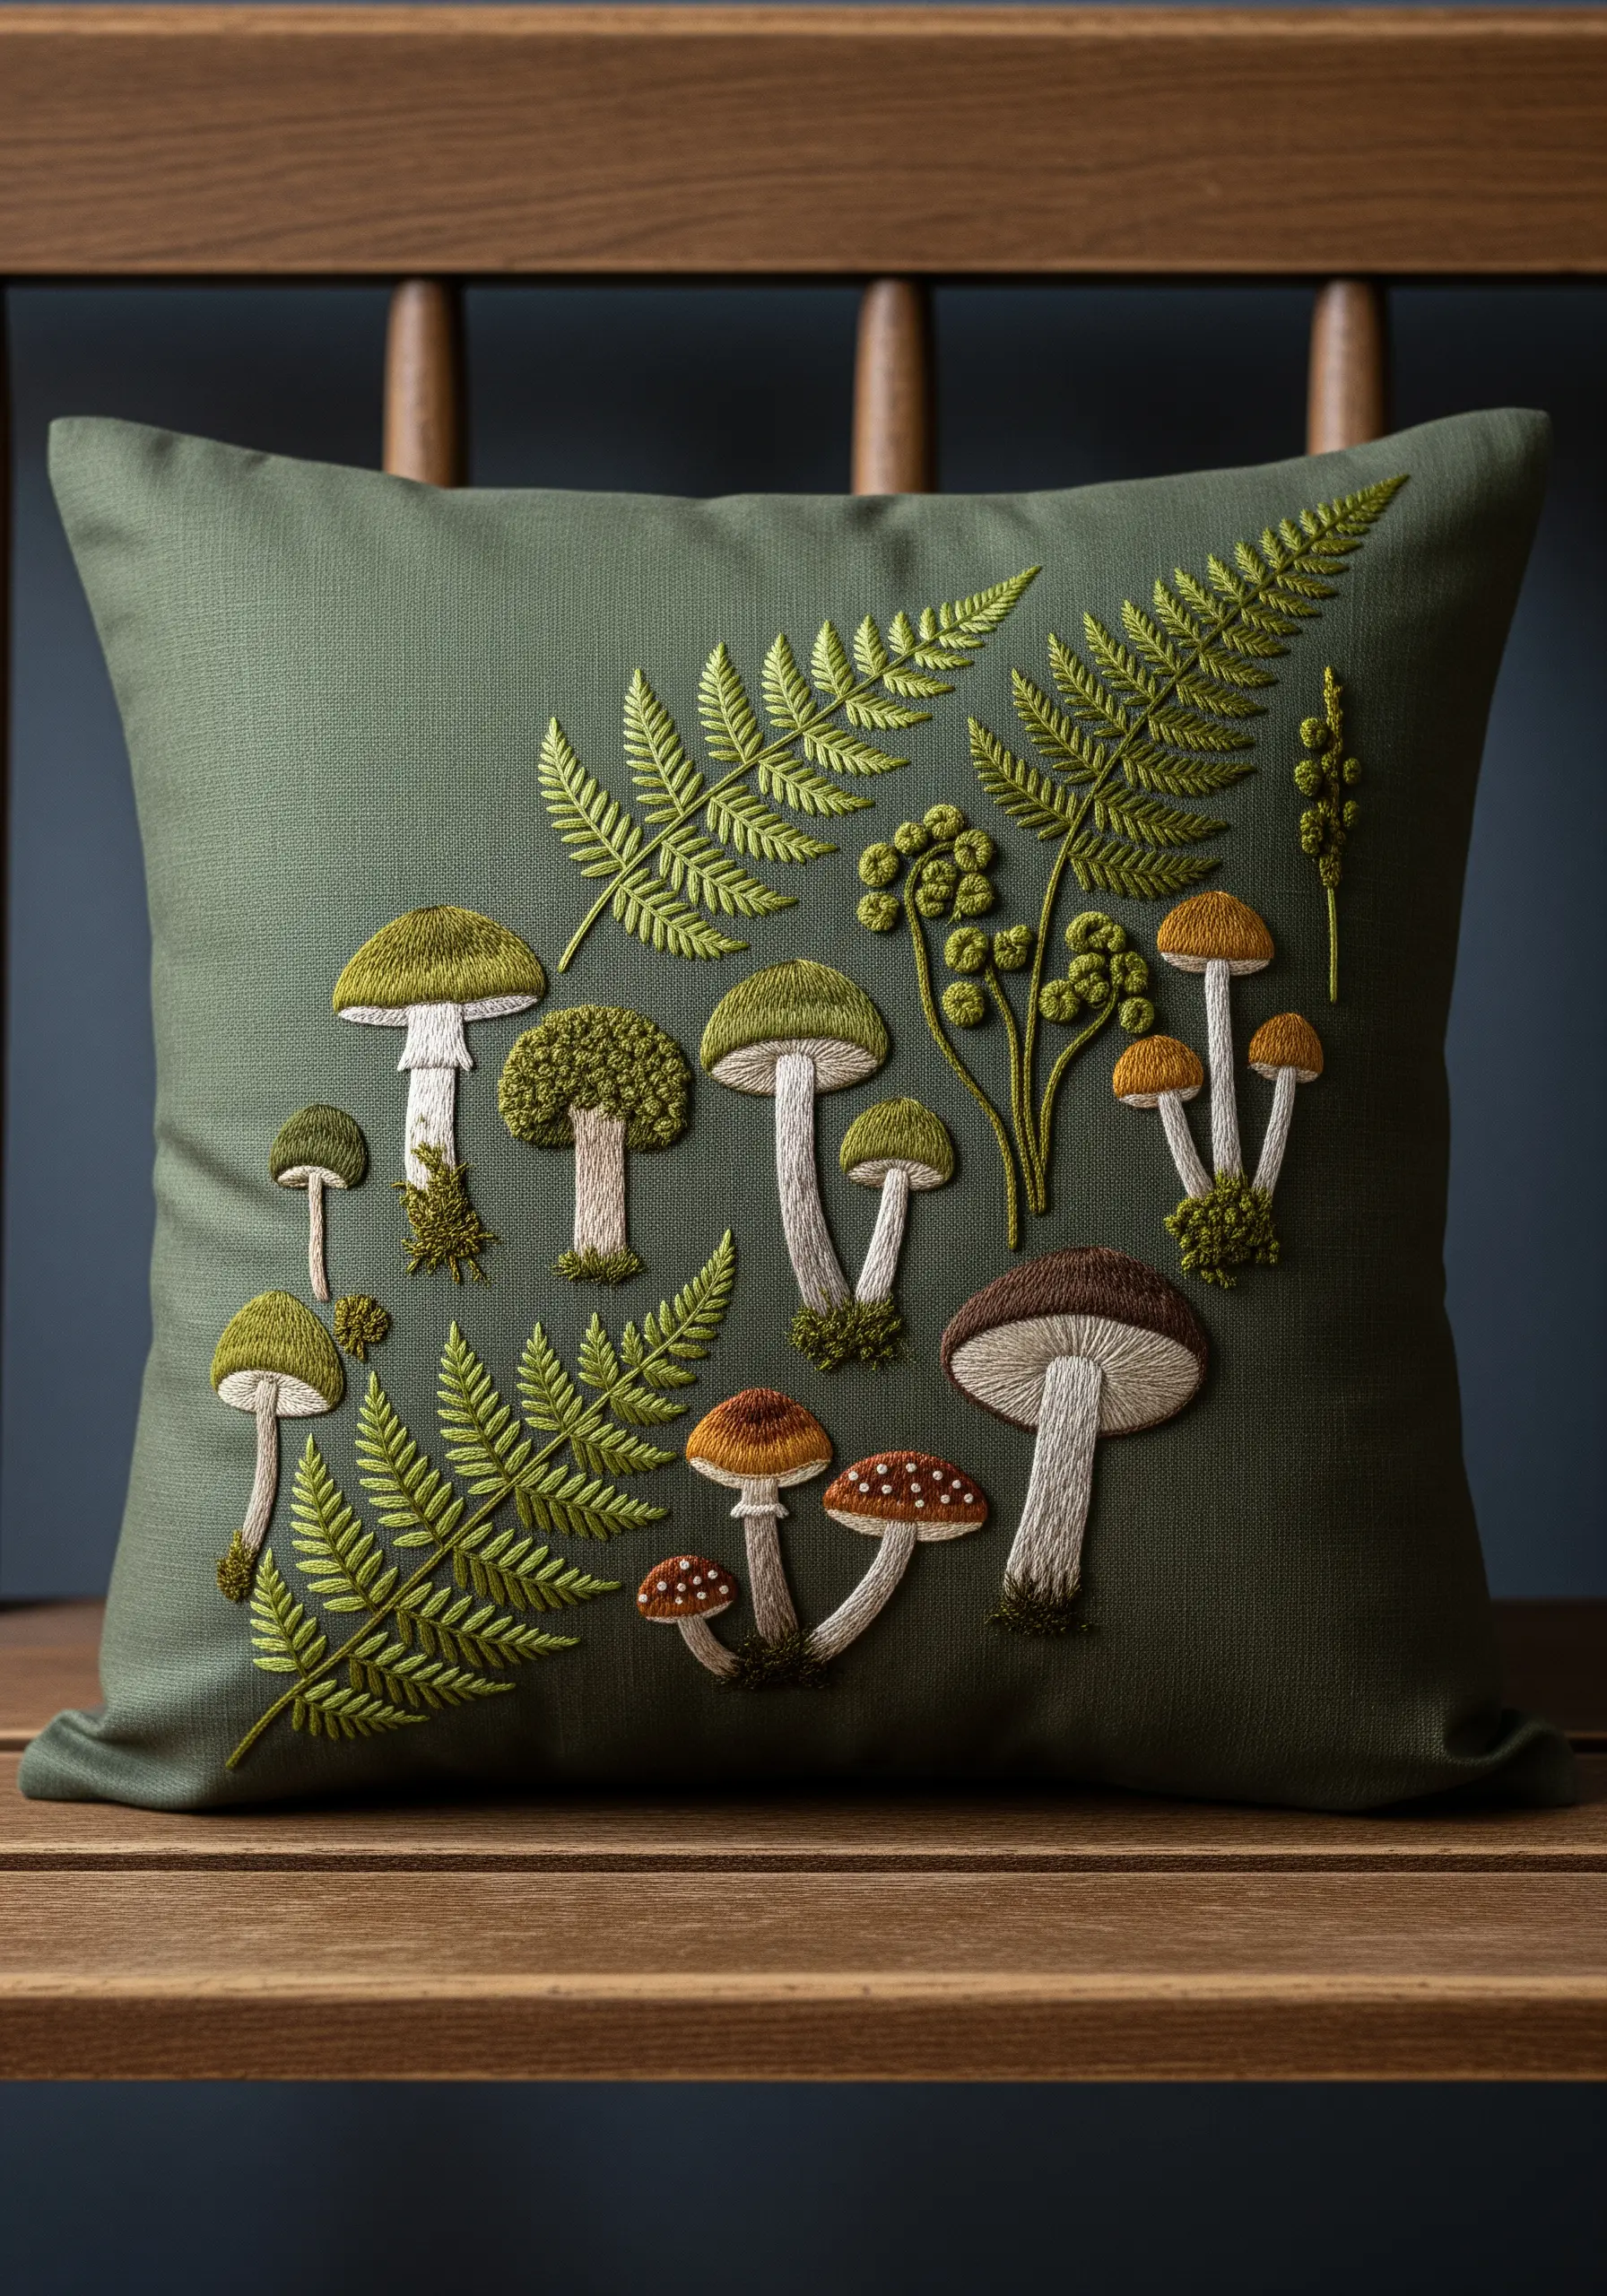
Capture the diverse textures of a woodland scene by assigning a specific stitch to each natural element.
Use dense French knots in mossy greens and browns for the spongy texture on mushroom stems.
Render the smooth caps of the mushrooms with satin stitch, and use tiny seed stitches for the gills underneath.
For the delicate fern fronds, a fly stitch or fishbone stitch creates the perfect leafy shape with a central vein.
This curated approach to stitch selection results in a rich, tactile composition that invites touch and exploration of natural texture embroidery patterns.
15. Replicate an Ink Sketch with Fine Linework
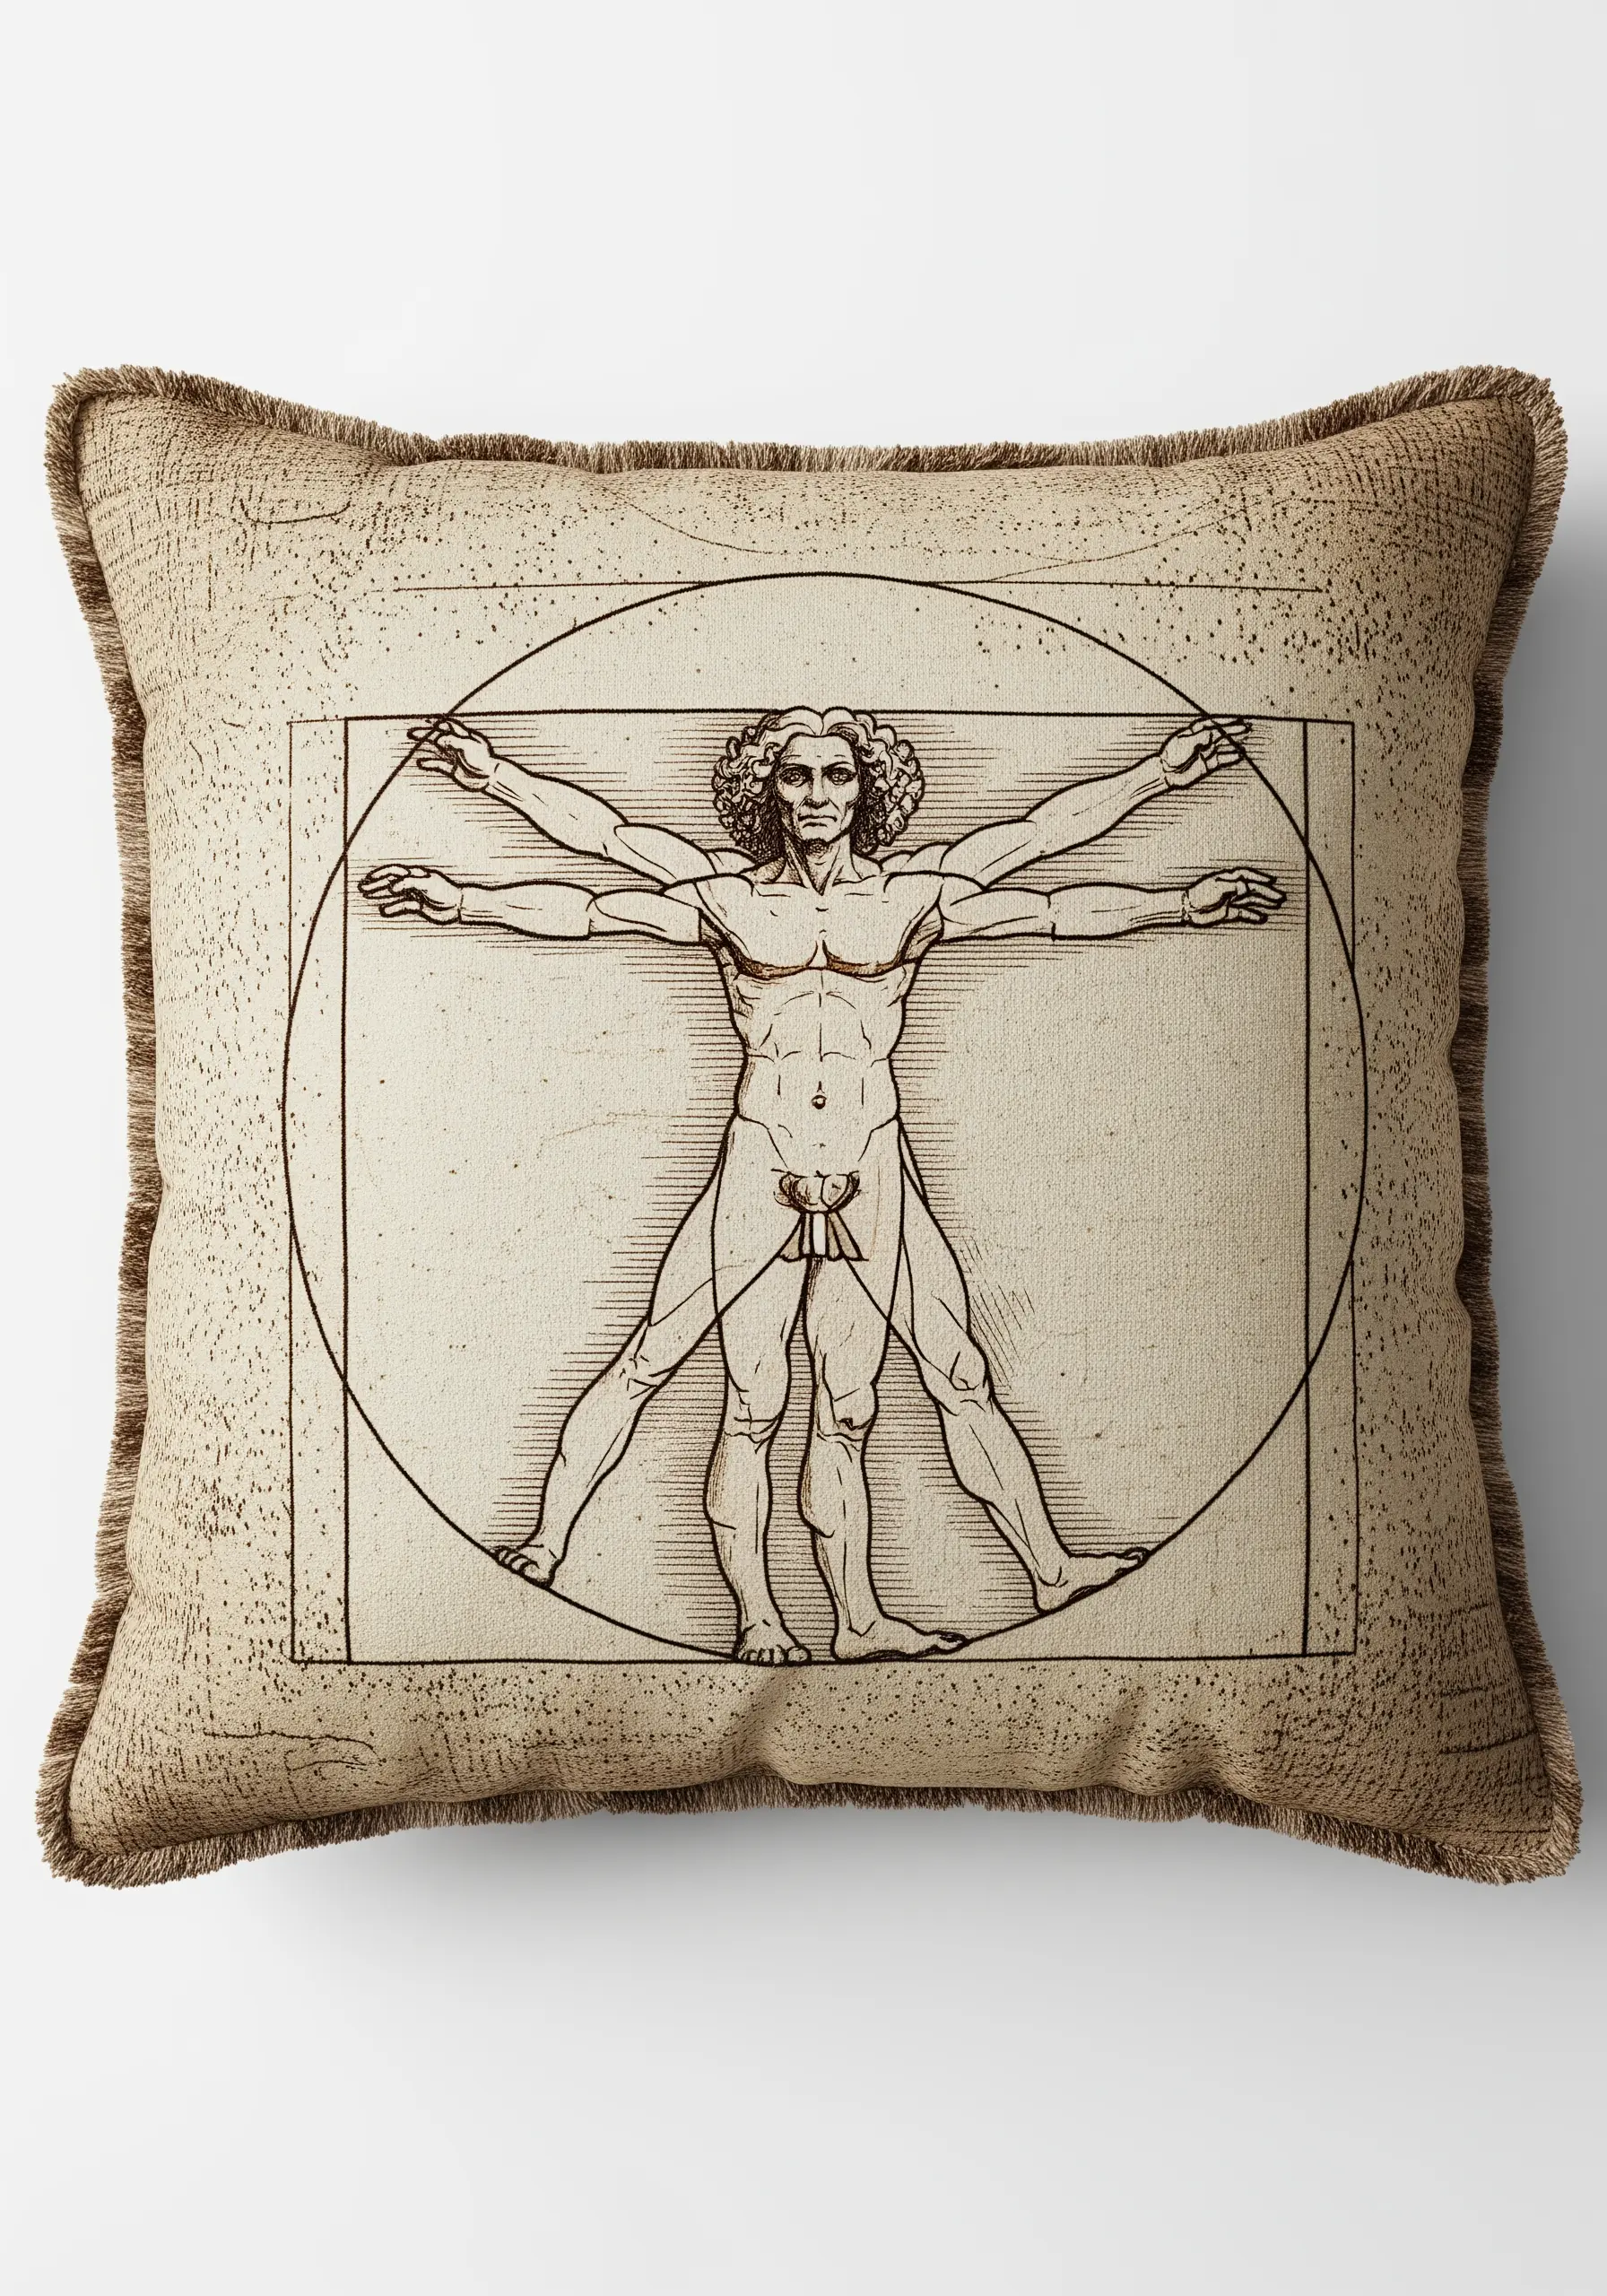
Emulate the look of a Da Vinci sketch by choosing the right thread, fabric, and stitch.
Work on a fabric with a natural, uneven texture, like a linen or burlap blend, to suggest aged parchment.
Use only a single strand of dark brown or sepia-toned cotton floss. This is crucial for achieving the fine, delicate lines of a pen-and-ink drawing.
A simple, slightly irregular backstitch or stem stitch will give the design a hand-drawn quality. Avoid perfect, machine-like precision; the goal is to capture the artistic energy of a sketch.
16. Build a Compass Rose with Raised Satin Stitch
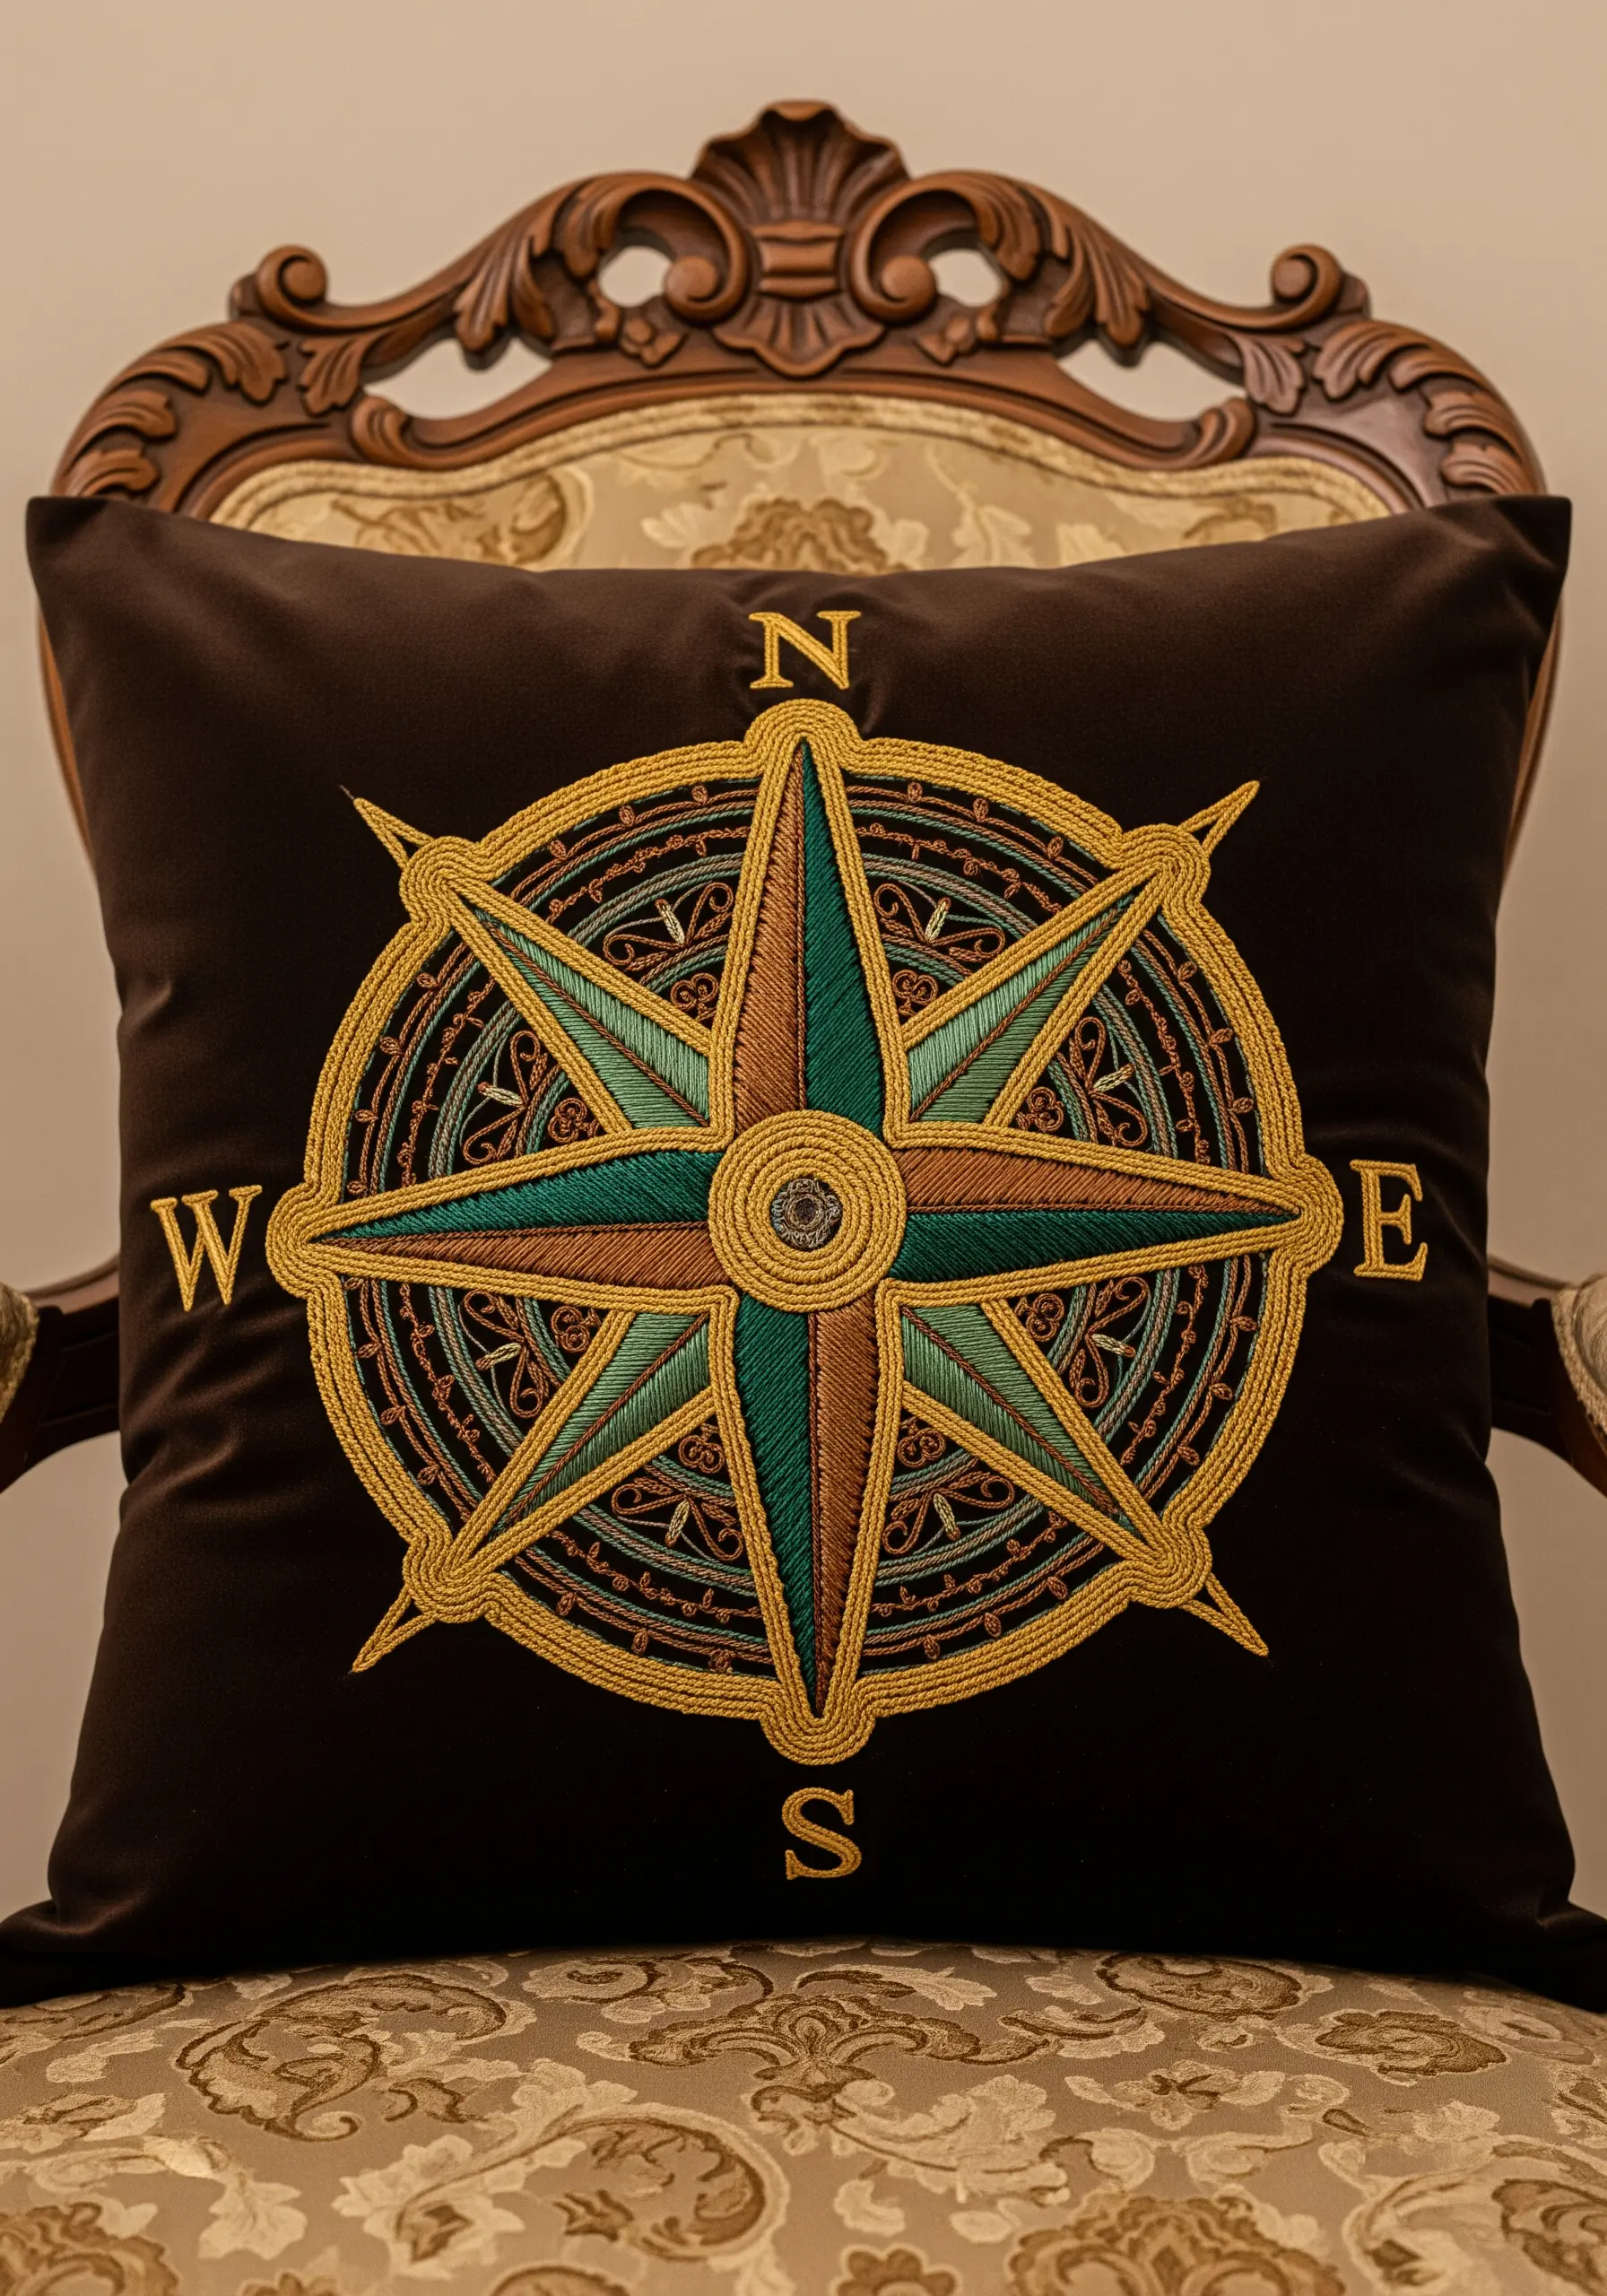
Create a design that feels like a functional, crafted object by building layers of texture and dimension.
For the triangular points of the compass, use a padded satin stitch. First, lay down a few small satin stitches in the center of the shape, then cover them with your final satin stitch. This raises the surface, making it look embossed.
Outline every colored section with a whipped backstitch in a contrasting color, like gold, to create a crisp, clean border that looks like fine metalwork.
This technique transforms a flat design into a rich, dimensional emblem.
17. Achieve Photorealism with Thread-Painted Eyes
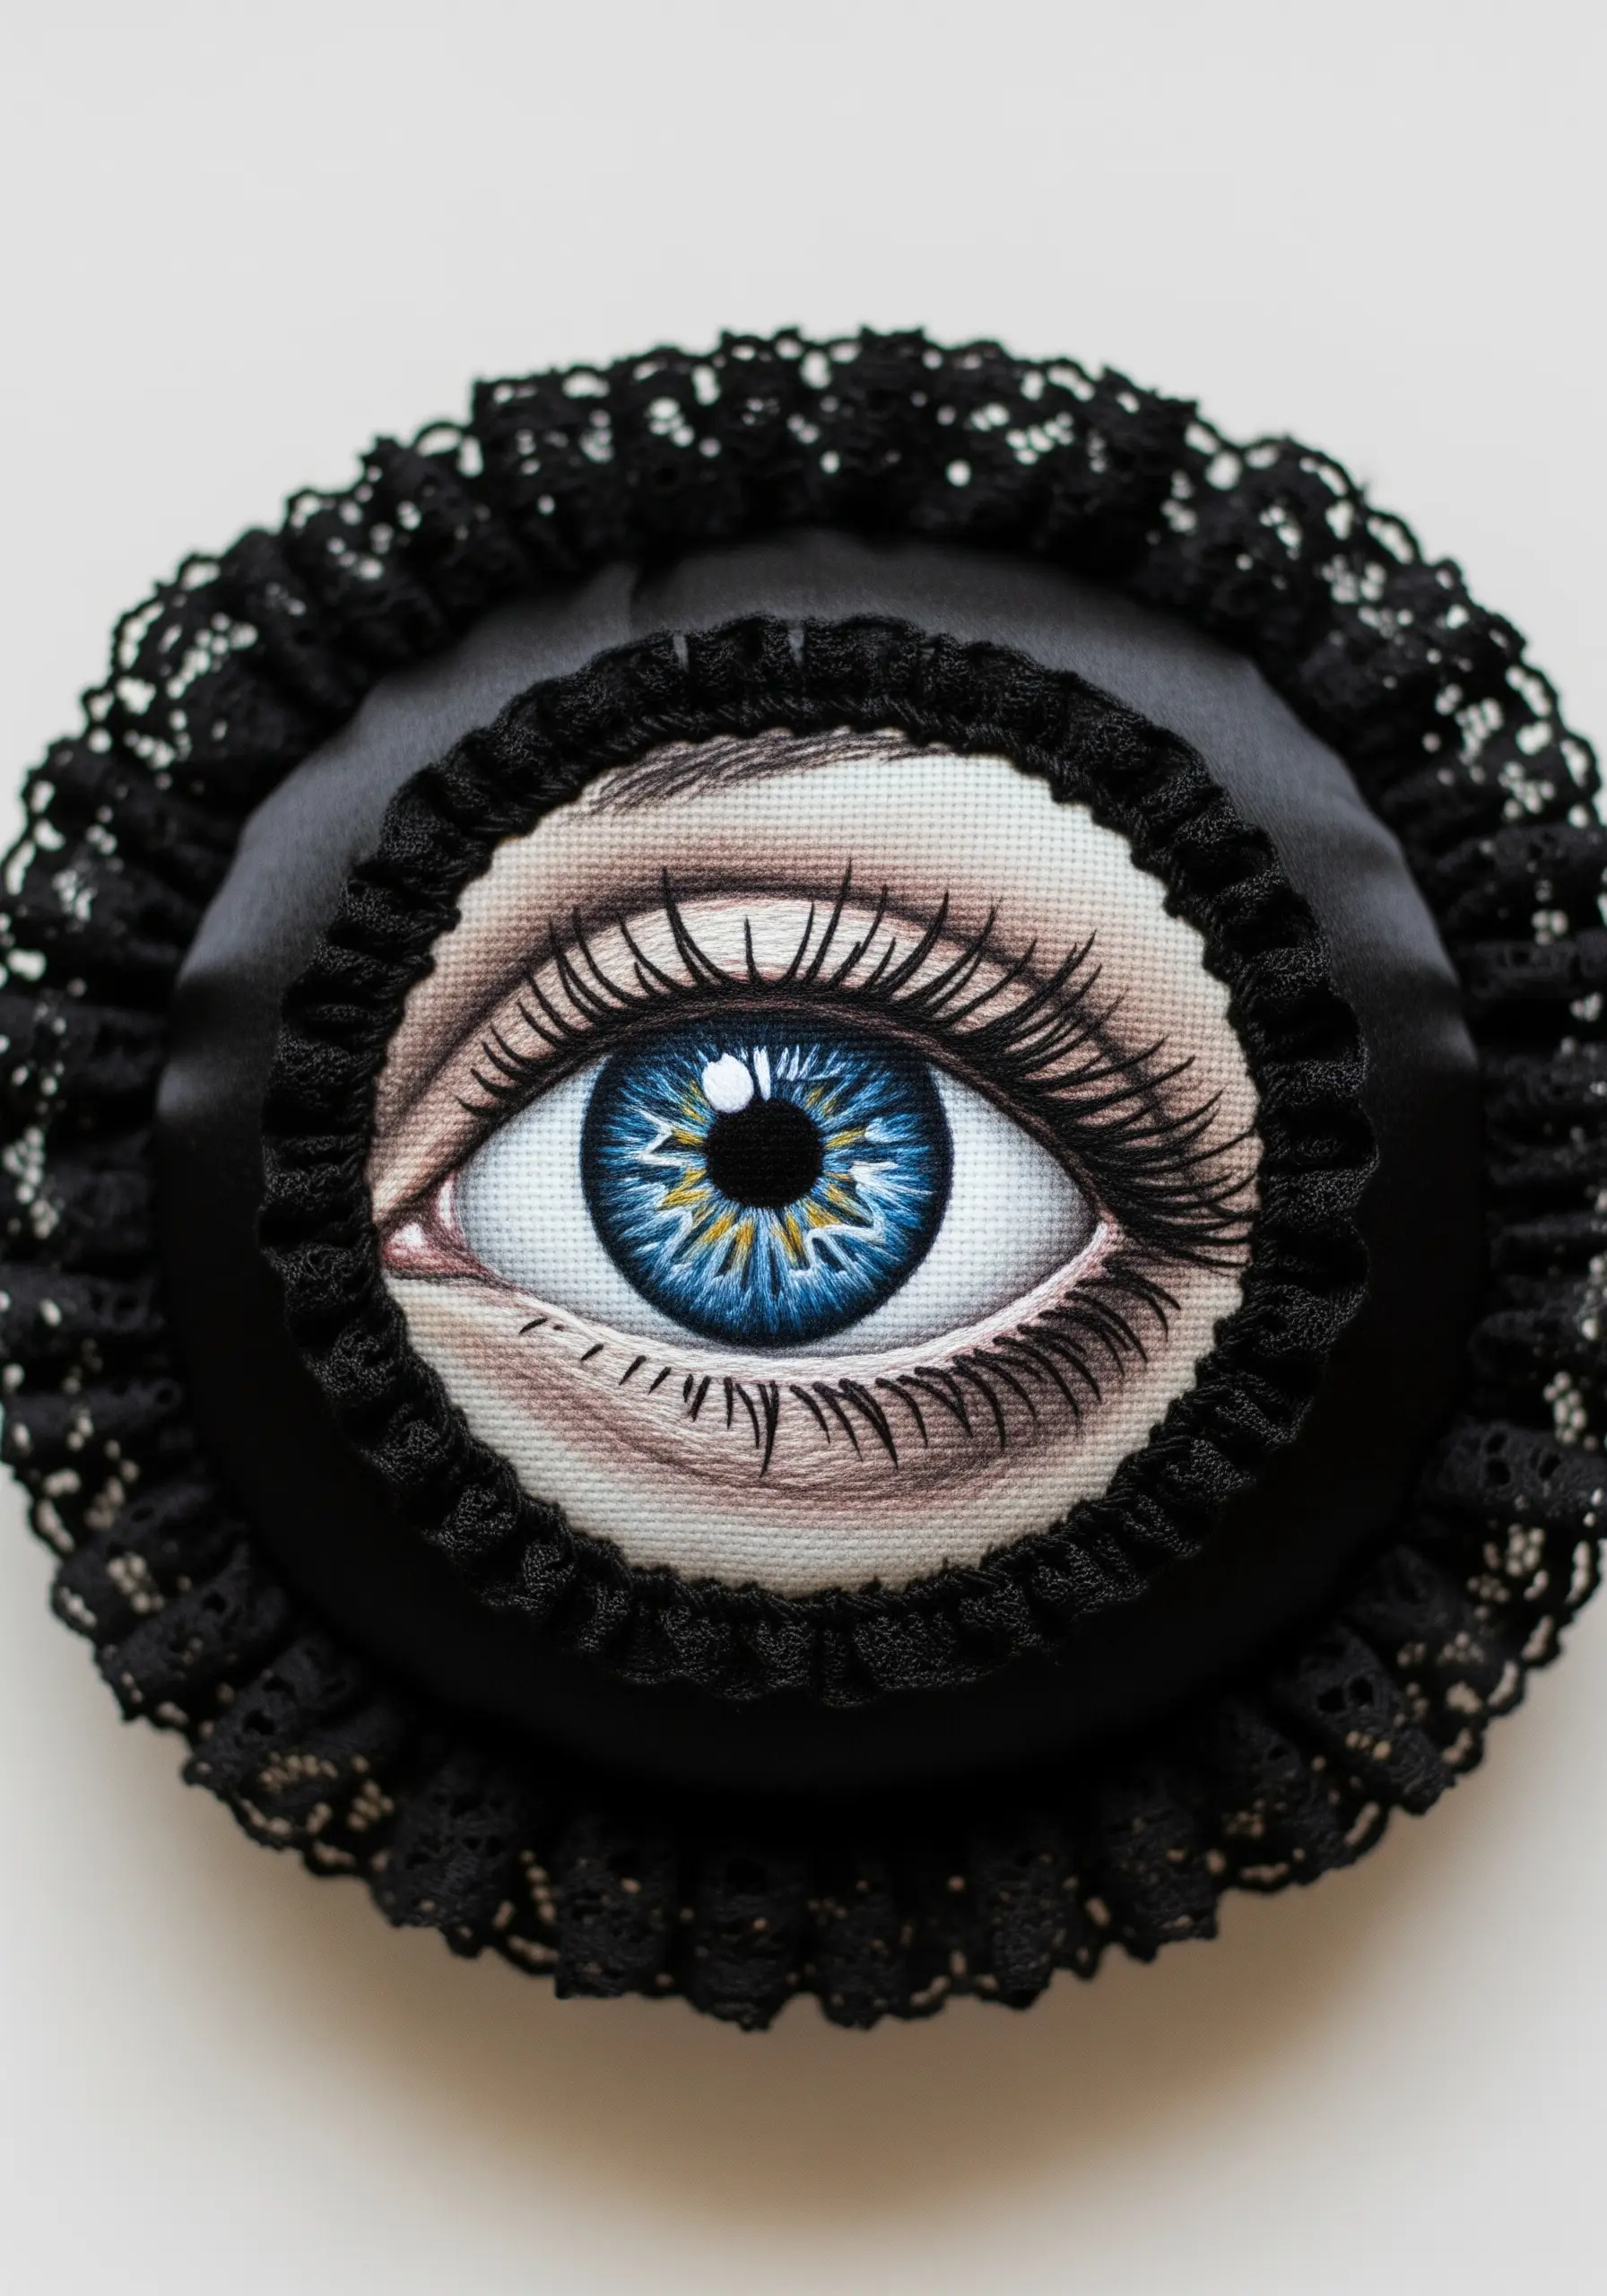
Capture the soul of your subject by treating your thread like paint and your needle like a brush.
For the iris, work with a single strand of floss and use tiny, directional long-and-short stitches that radiate from the pupil.
Blend multiple shades of blue, grey, and even yellow to create depth and light.
The key to realism is the reflection: a single, bright white French knot or satin stitch placed strategically on the pupil will instantly bring the eye to life.
For eyelashes, use long, sweeping straight stitches that curve and taper at the end.
18. Create a Subtle Damask with Tone-on-Tone Stitching
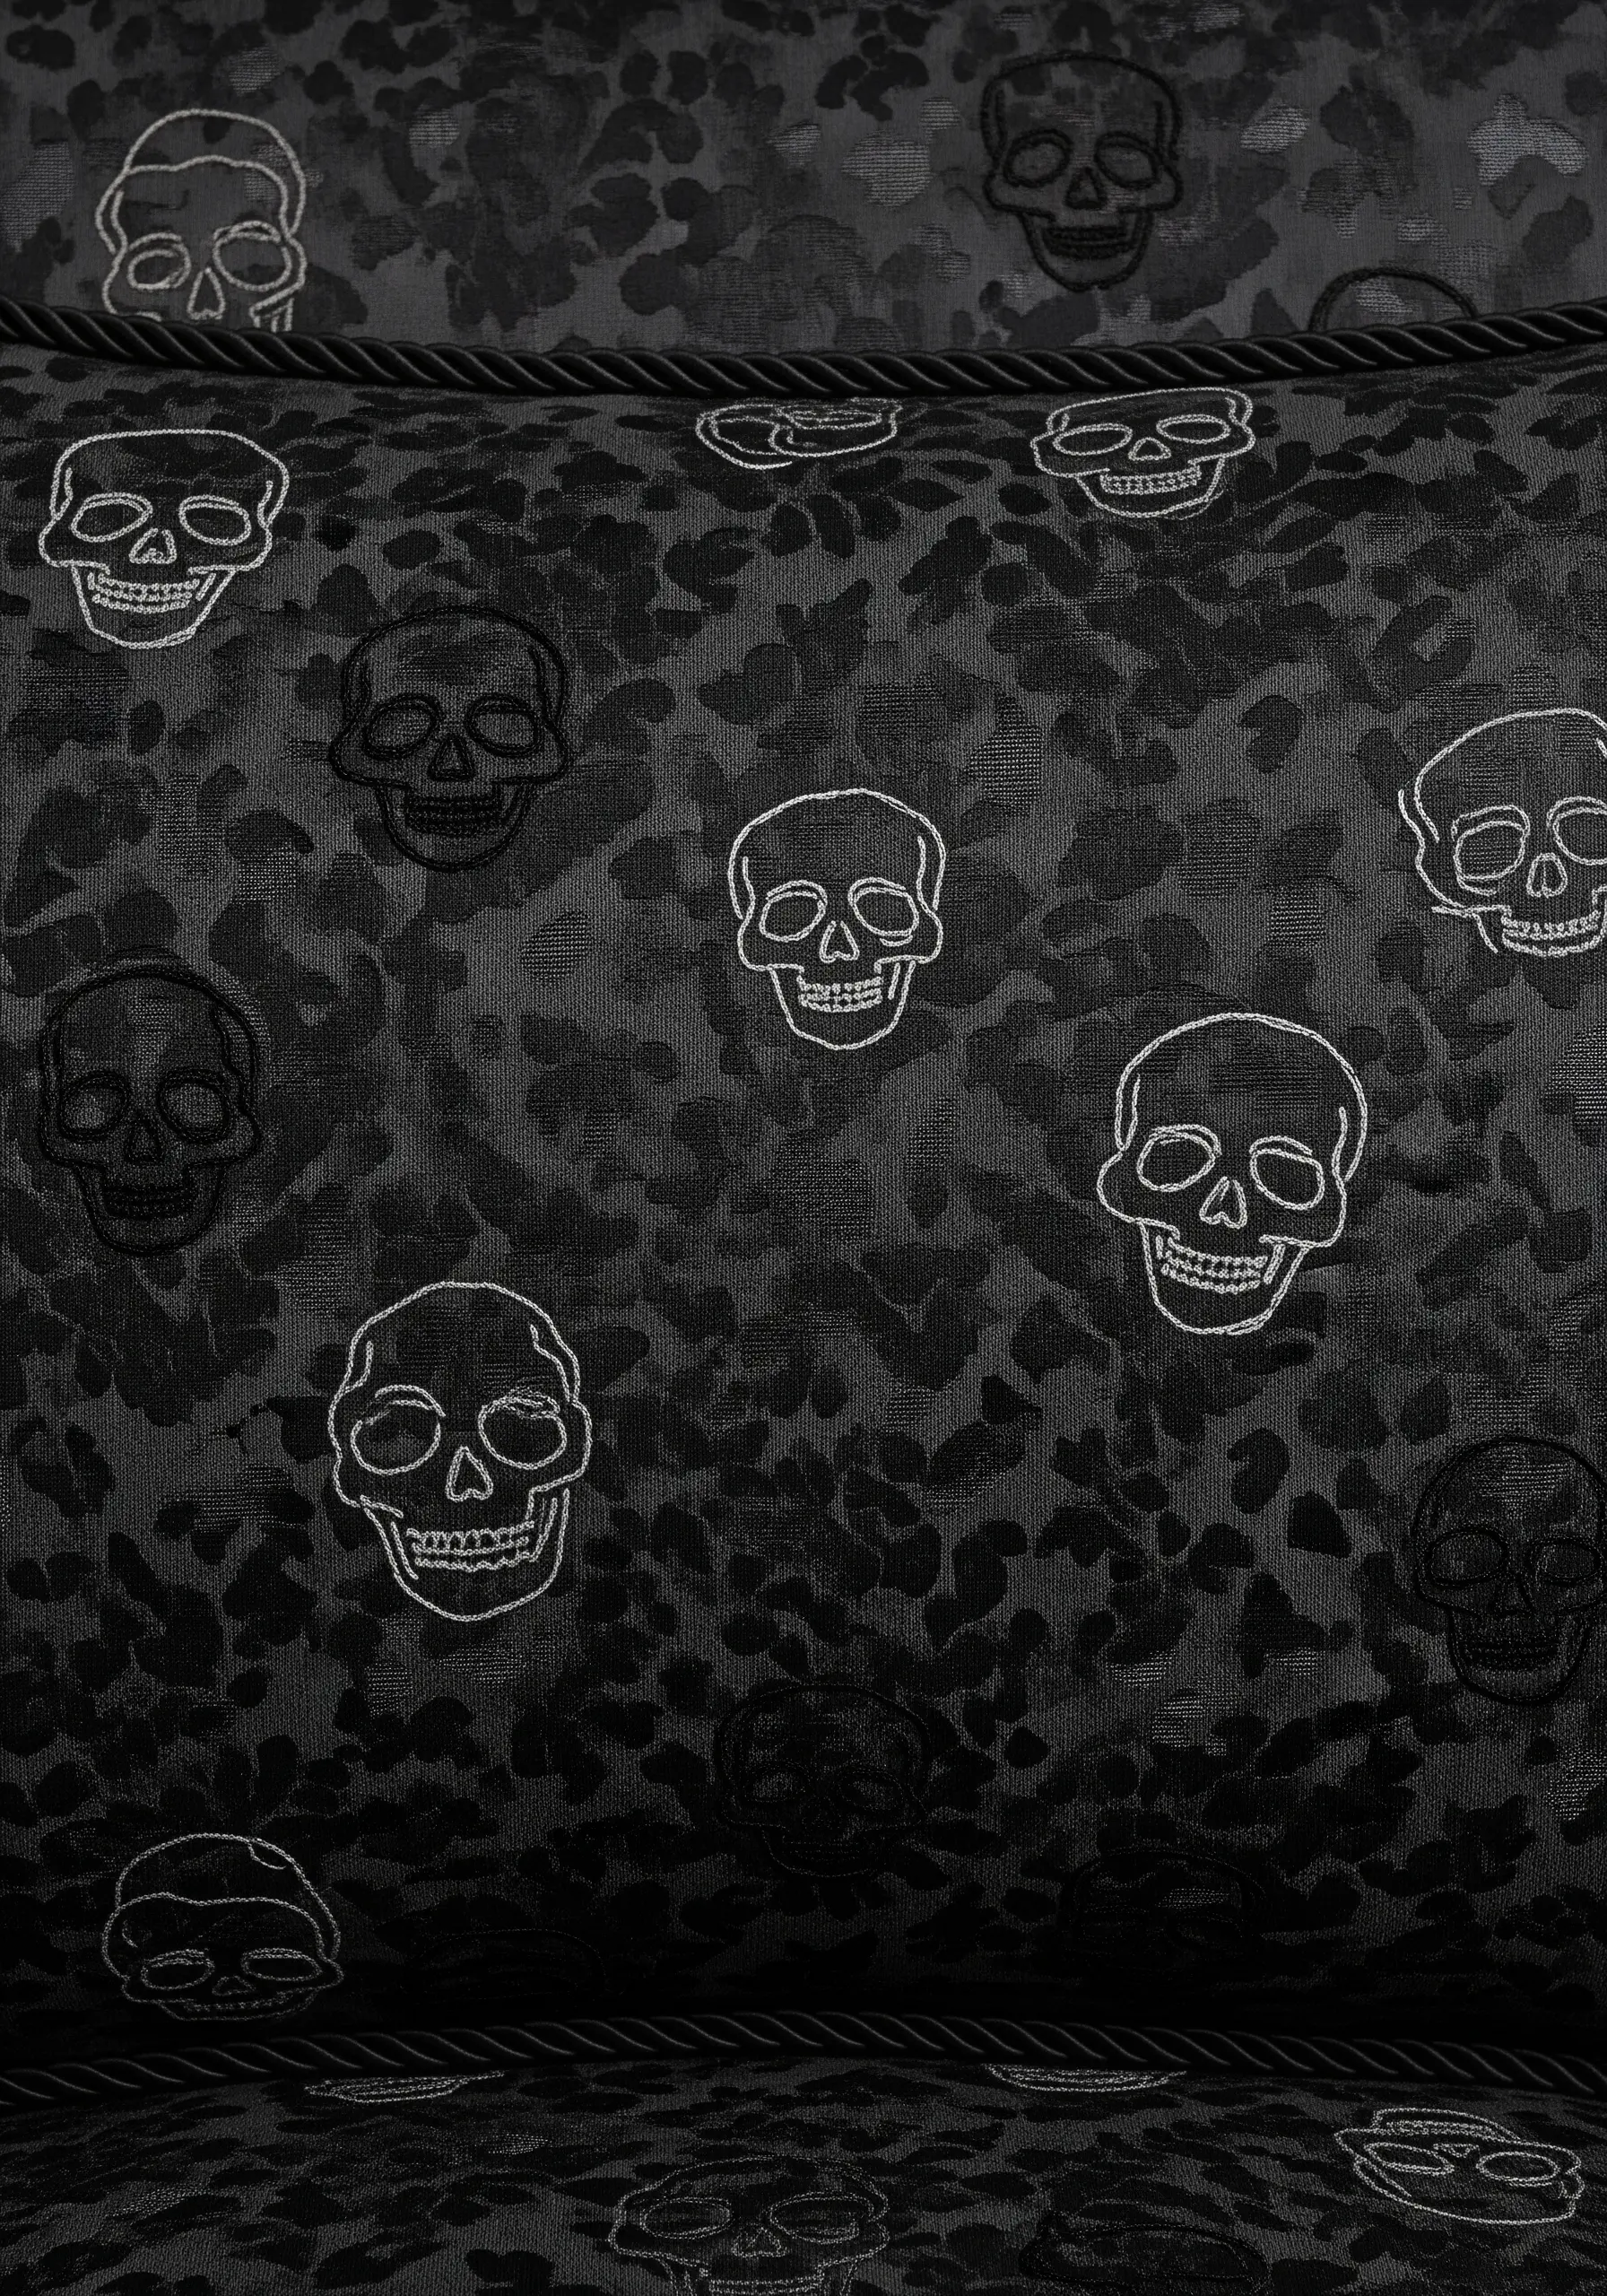
Achieve a sophisticated, high-end look by focusing on texture rather than color contrast.
On a dark, patterned fabric like jacquard or brocade, choose a thread that is only one or two shades lighter or has a different sheen (e.g., a silky rayon floss on a matte cotton fabric).
Use a simple backstitch or stem stitch to trace your repeating skull motif.
The design will appear and disappear as the light hits the cushion, creating a subtle, moody pattern that feels woven into the fabric itself. This is one of the most elegant tone-on-tone embroidery techniques.
19. Ensure Clarity in Text-Heavy Designs
When your embroidery involves fine lines and small text, your technique must be impeccable to ensure it remains legible.
Use a single strand of thread and a fine, sharp needle. This combination is non-negotiable for crisp results.
Stitch on a smooth, high-thread-count fabric like cotton twill; a loose weave will cause your stitches to become distorted.
For all curved lines and letters, use much smaller backstitches than you would on a straight line. This prevents the curves from looking jagged and angular, ensuring the final result is fluid and easy to read.


