

Embroidery is more than just thread on fabric; it’s a quiet language of texture, color, and intention. When you stitch for a little one, that language becomes even more meaningful. But how do you create something that feels special and modern, not just homemade or cluttered?
The secret isn’t in complex patterns or a massive collection of floss. It lies in small, deliberate choices: the way a stitch direction can mimic the softness of a feather, how a single pop of color can bring joy to a simple collar, or how leaving space around a tiny motif gives it room to breathe.
Think of these ideas not as strict rules, but as gentle invitations. Invitations to see your needle and thread as tools for adding quiet beauty and personality. Here, you’ll find simple techniques that offer polished, thoughtful results—helping you create cherished pieces that are as sweet and unique as the baby who will wear them.
1. Combine Textures for Soft Dimension
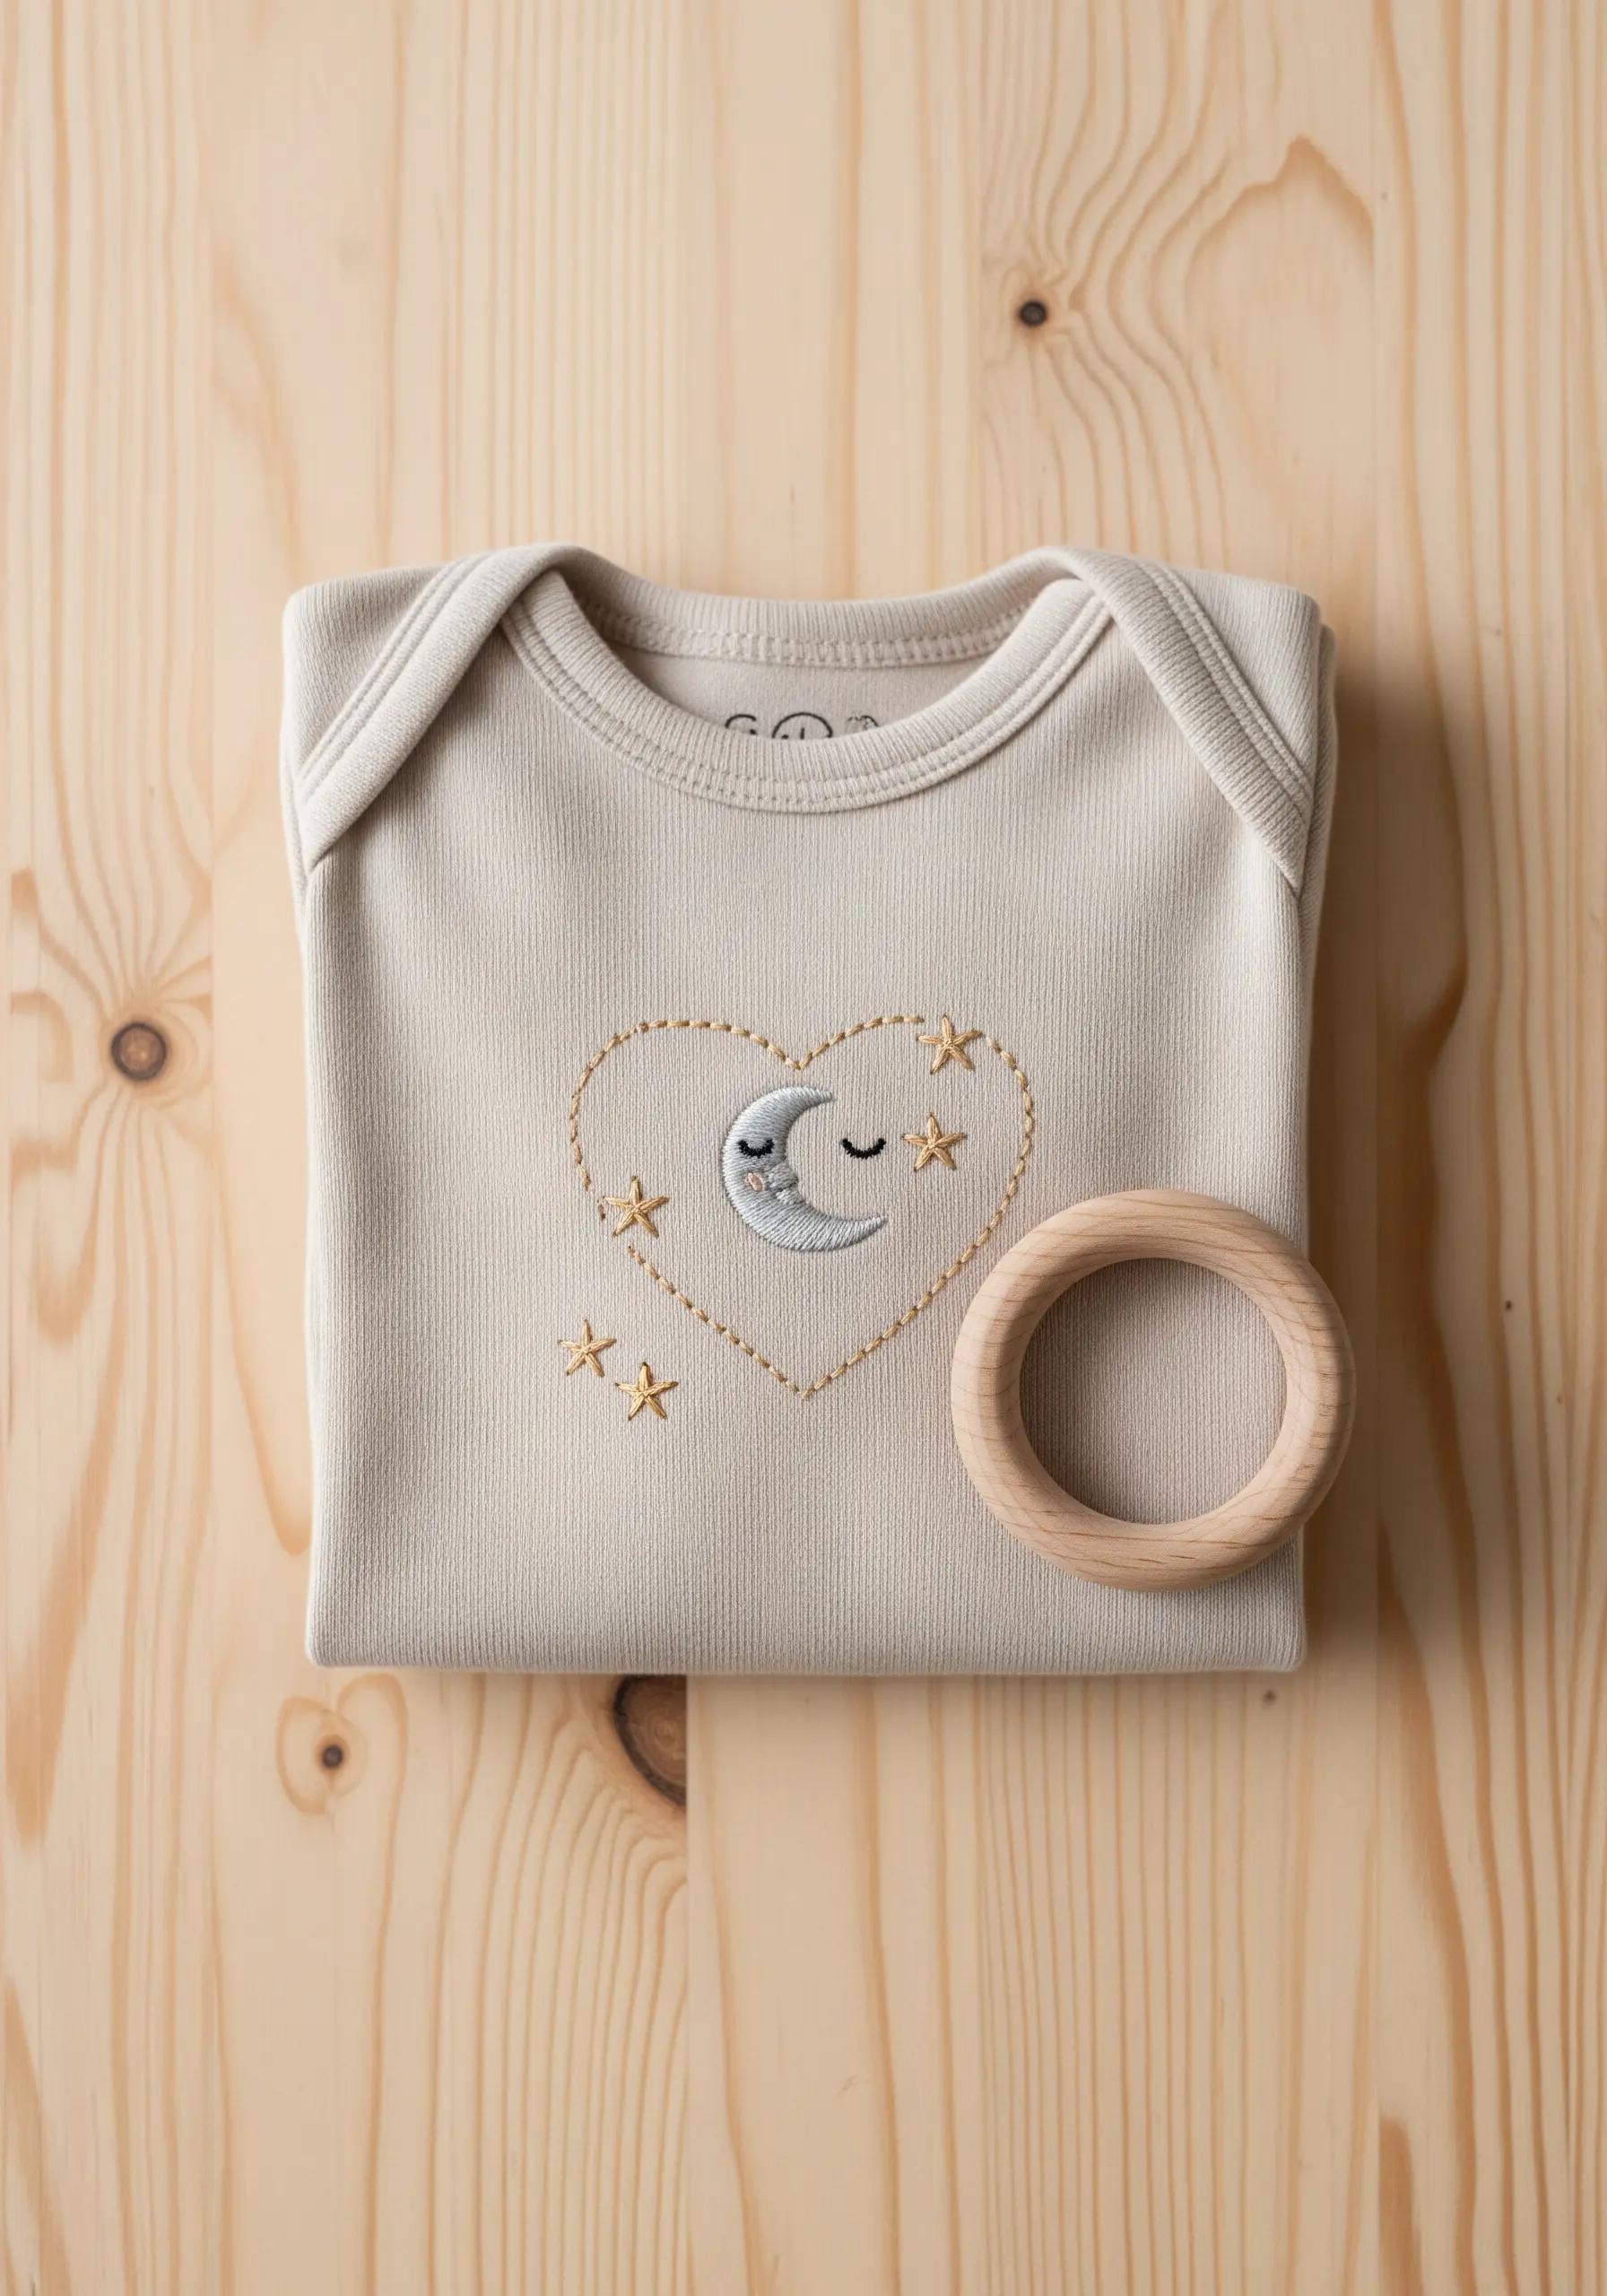
Create a gentle, layered effect by mixing stitch textures within a single motif.
Use a smooth satin stitch for the moon to give it a soft sheen, then frame it with a delicate backstitch or whipped backstitch for the heart outline.
This contrast between a filled element and a linear one adds depth without overwhelming the small space.
For the stars, simple straight stitches with just two strands of floss will keep them looking dainty and light.
2. The Elegance of a Single Pocket Motif
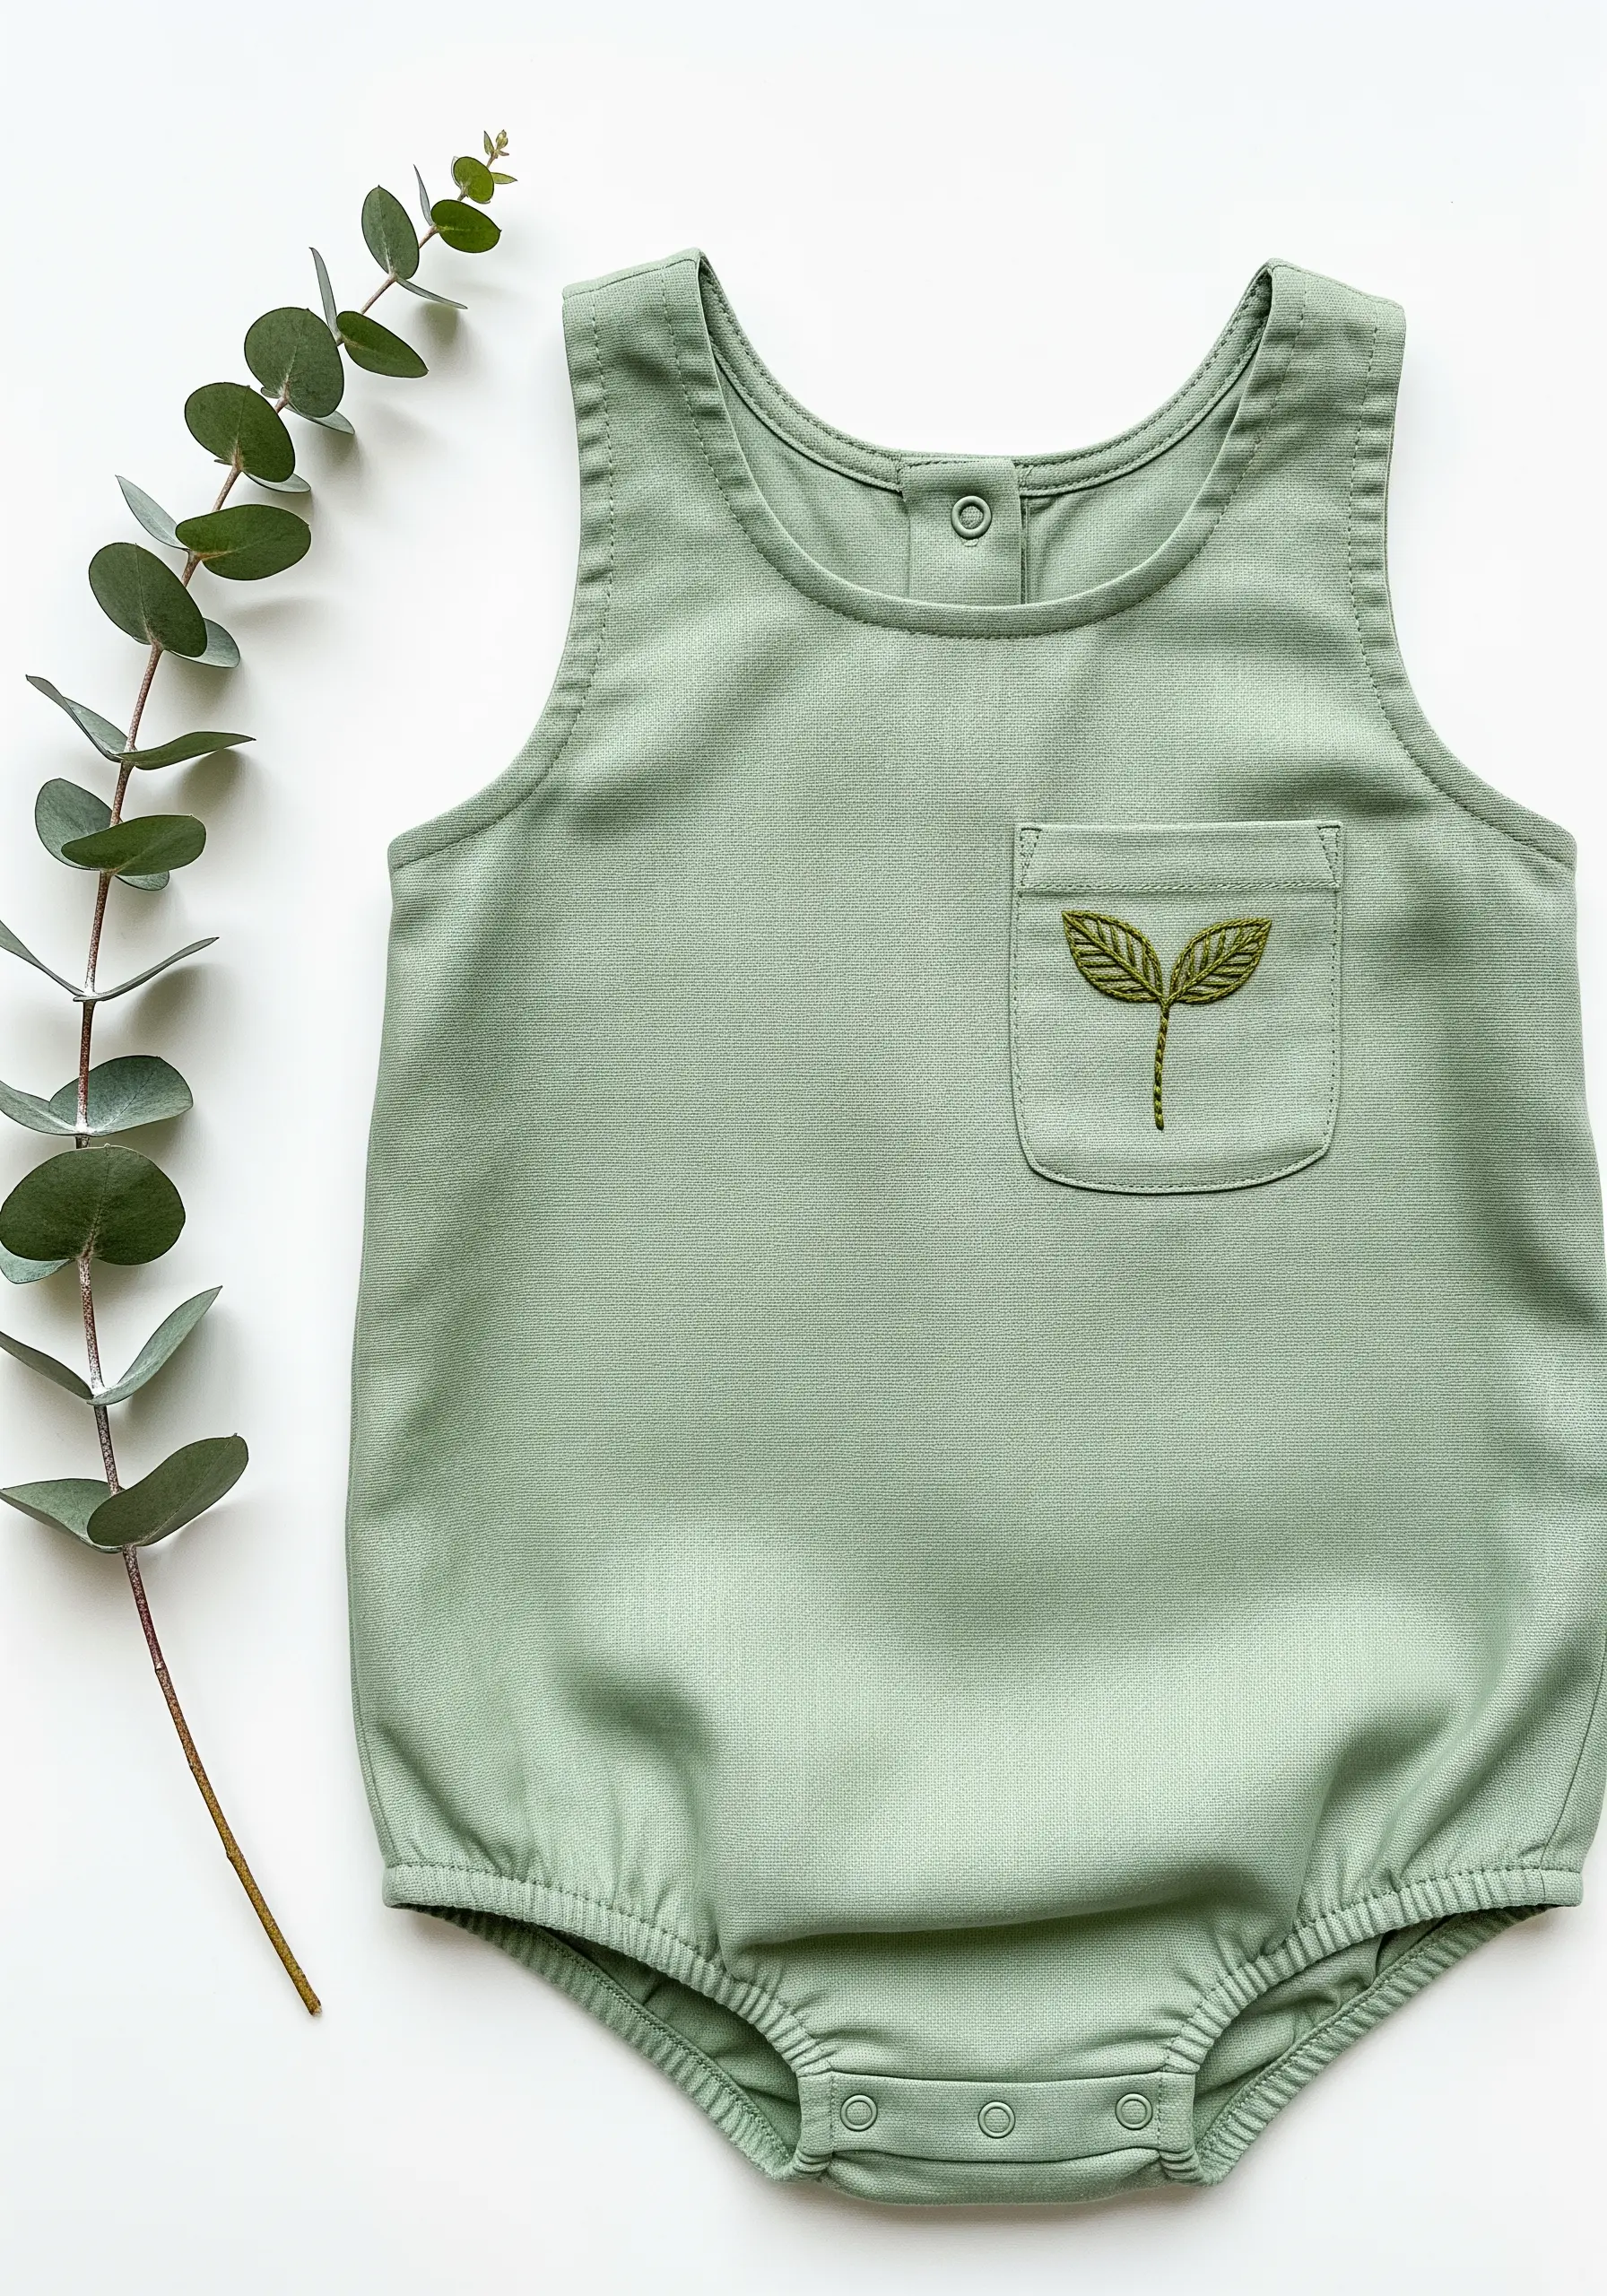
Elevate a simple garment by placing a single, perfectly executed motif on an unexpected area like a pocket.
Use a fishbone stitch for the leaves to create a beautiful, natural-looking vein down the center.
For the stem, a simple backstitch in a slightly darker shade provides structure and contrast.
This is one of those minimalist botanical stitch designs perfect for beginners, as its impact comes from placement, not complexity.
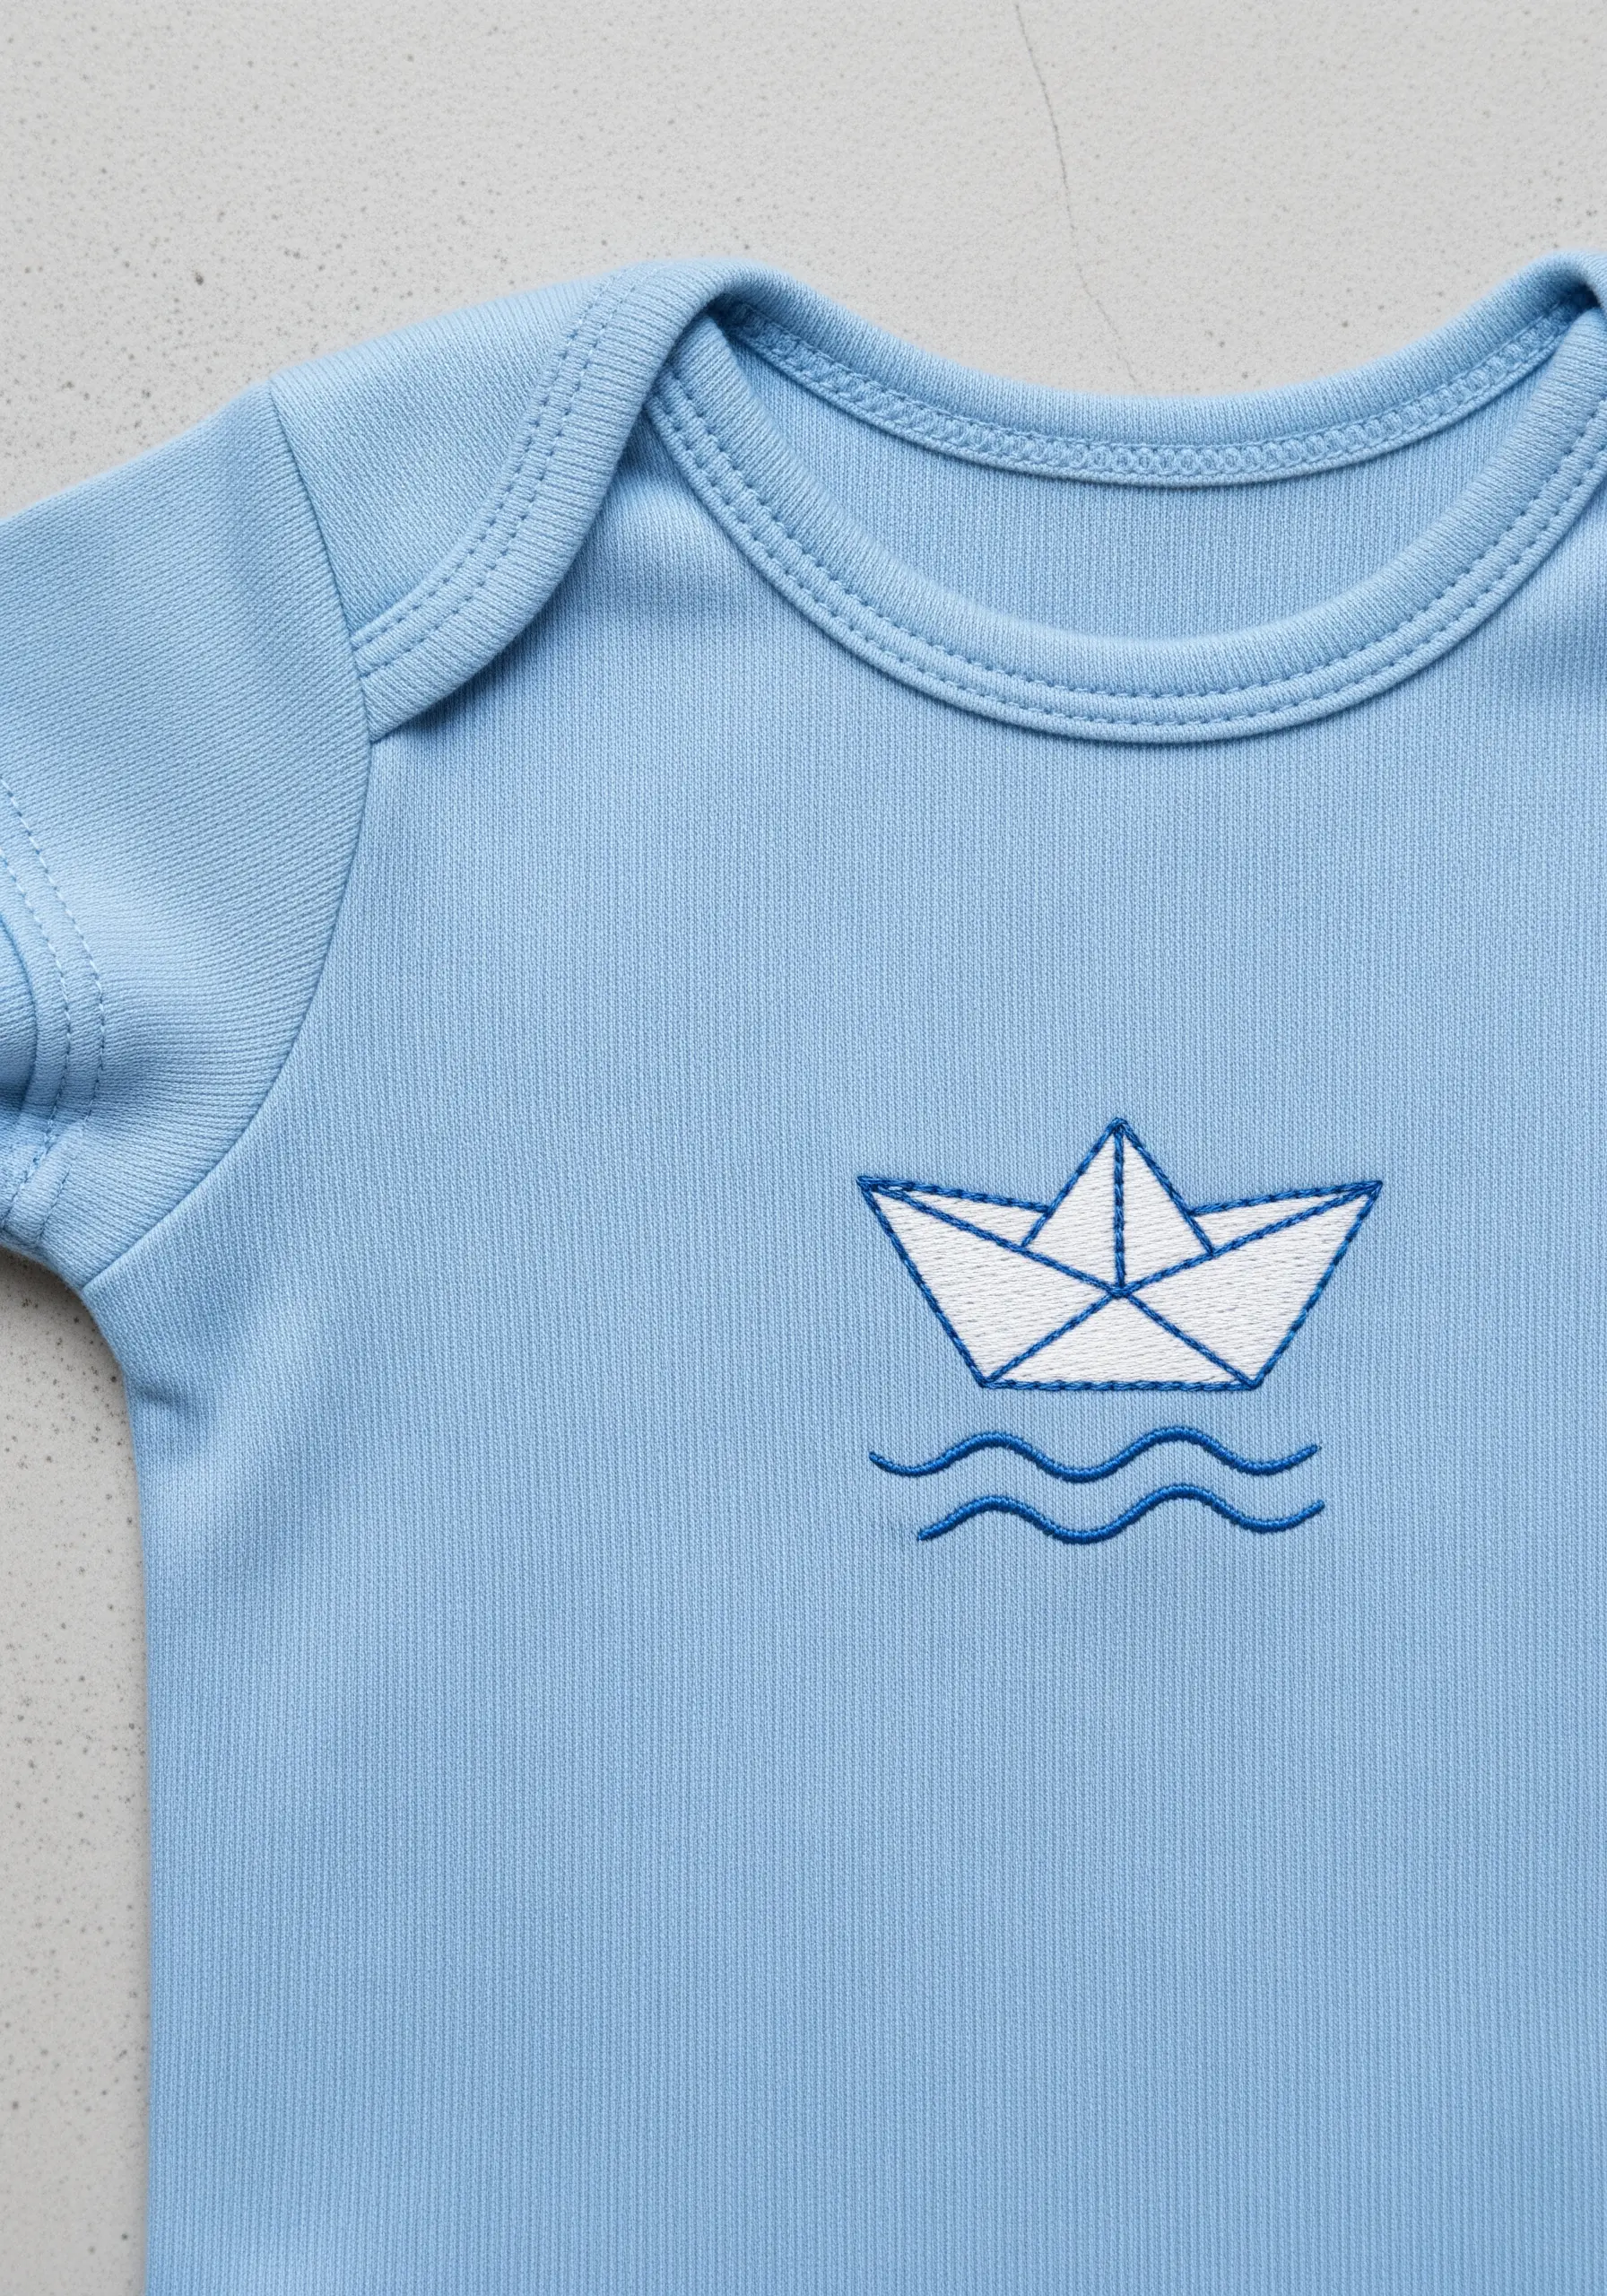
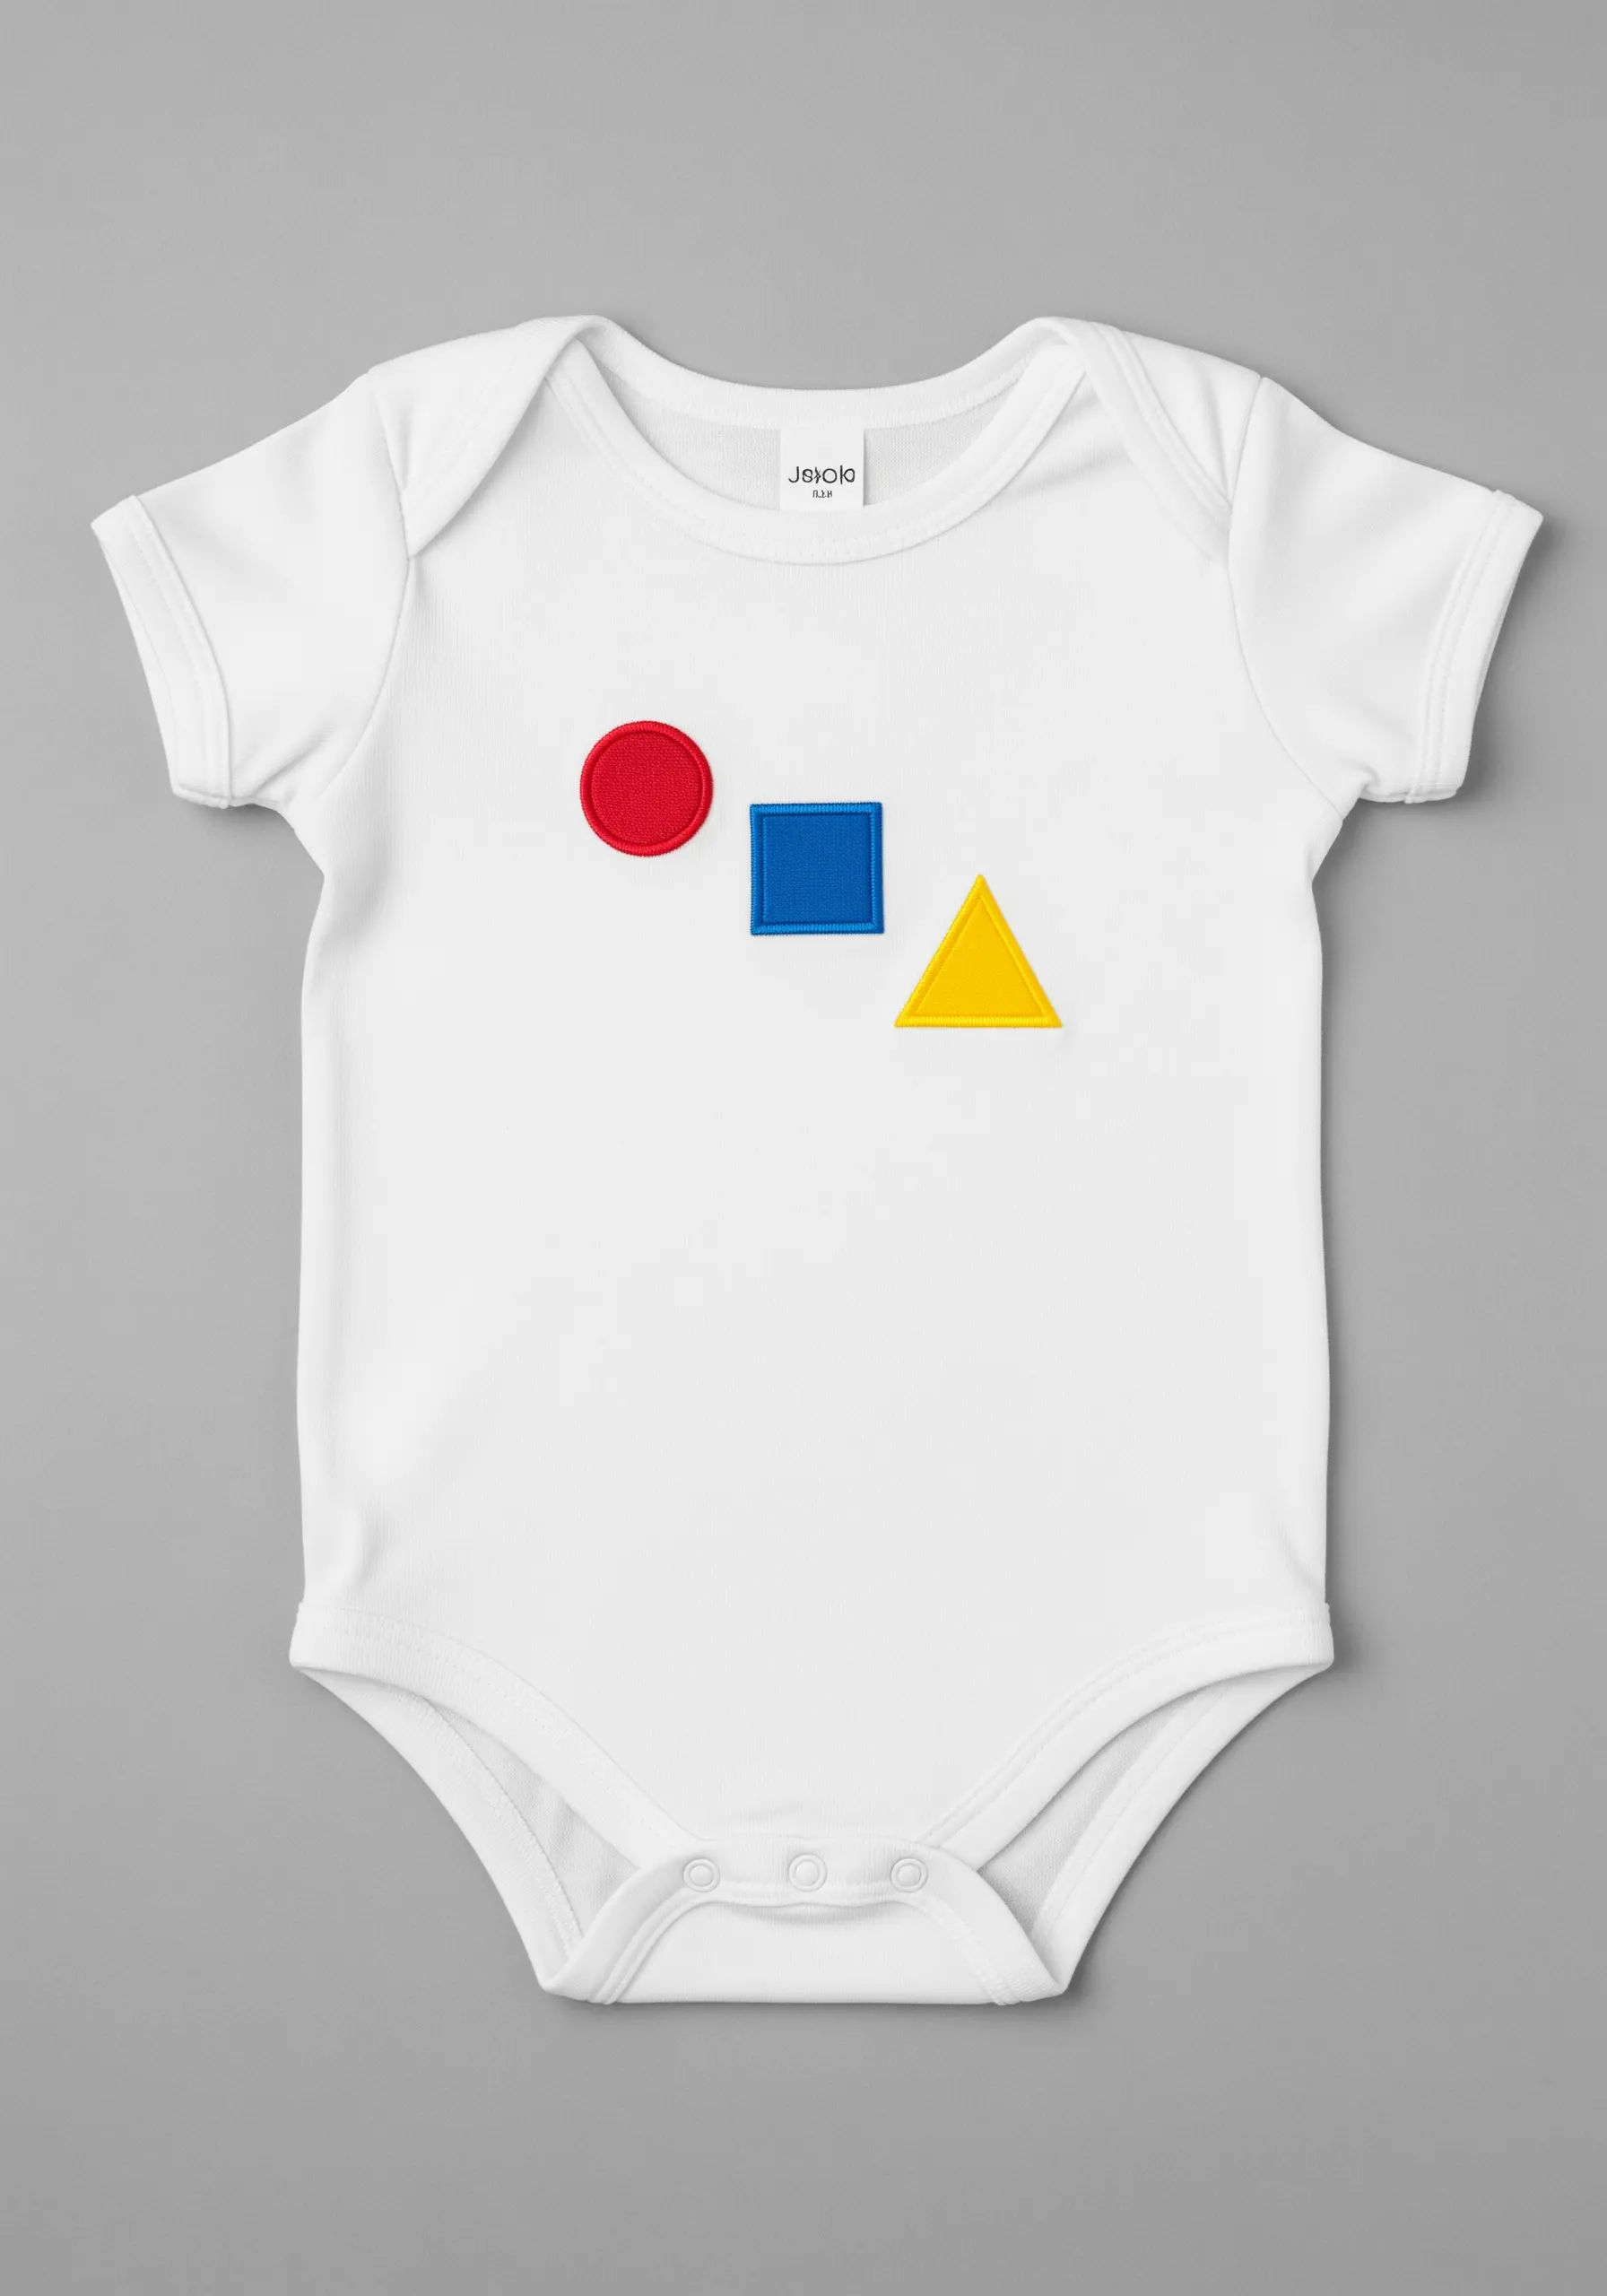
3. Achieve Crisp Geometric Lines
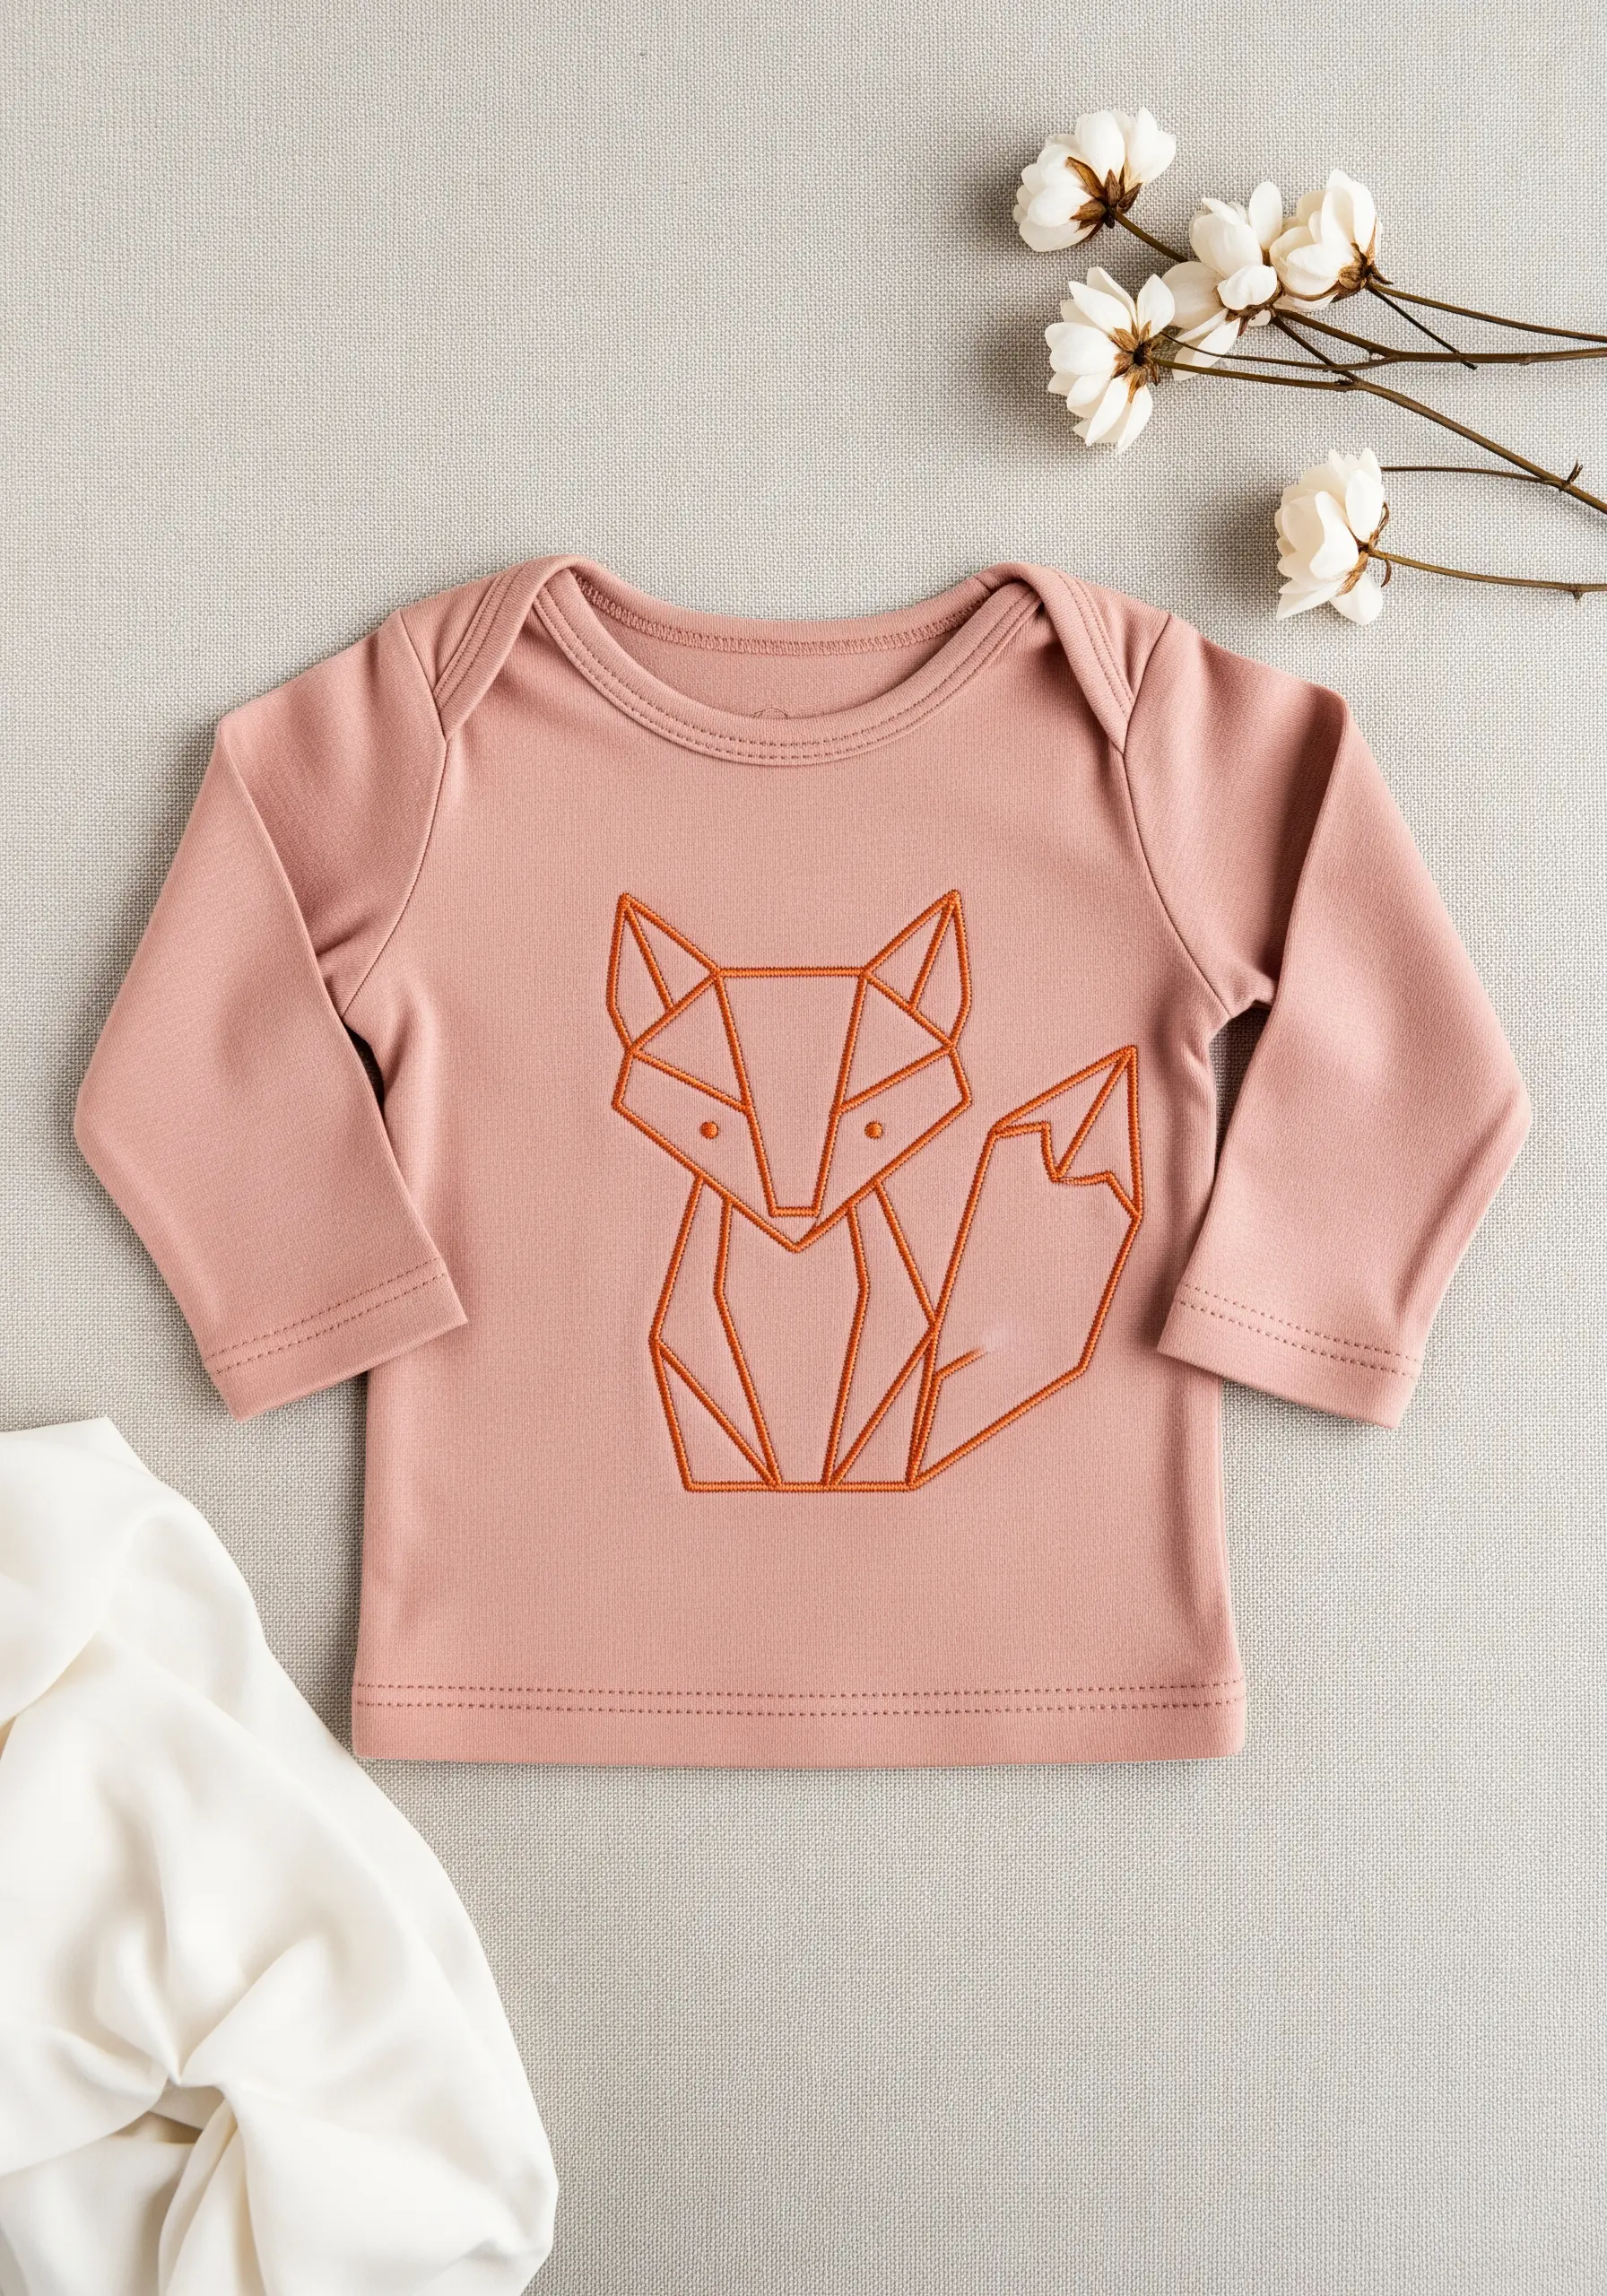
For clean, modern geometric designs, use a whipped backstitch to create a smooth, cord-like line.
First, lay down a foundation of standard backstitch.
Then, using the same thread, pass your needle under each backstitch without piercing the fabric, wrapping the foundational line.
This technique is ideal for minimalist line art animal designs, giving them a graphic, polished feel that stands out on soft jersey.
4. Capture Movement with Varied Stitches
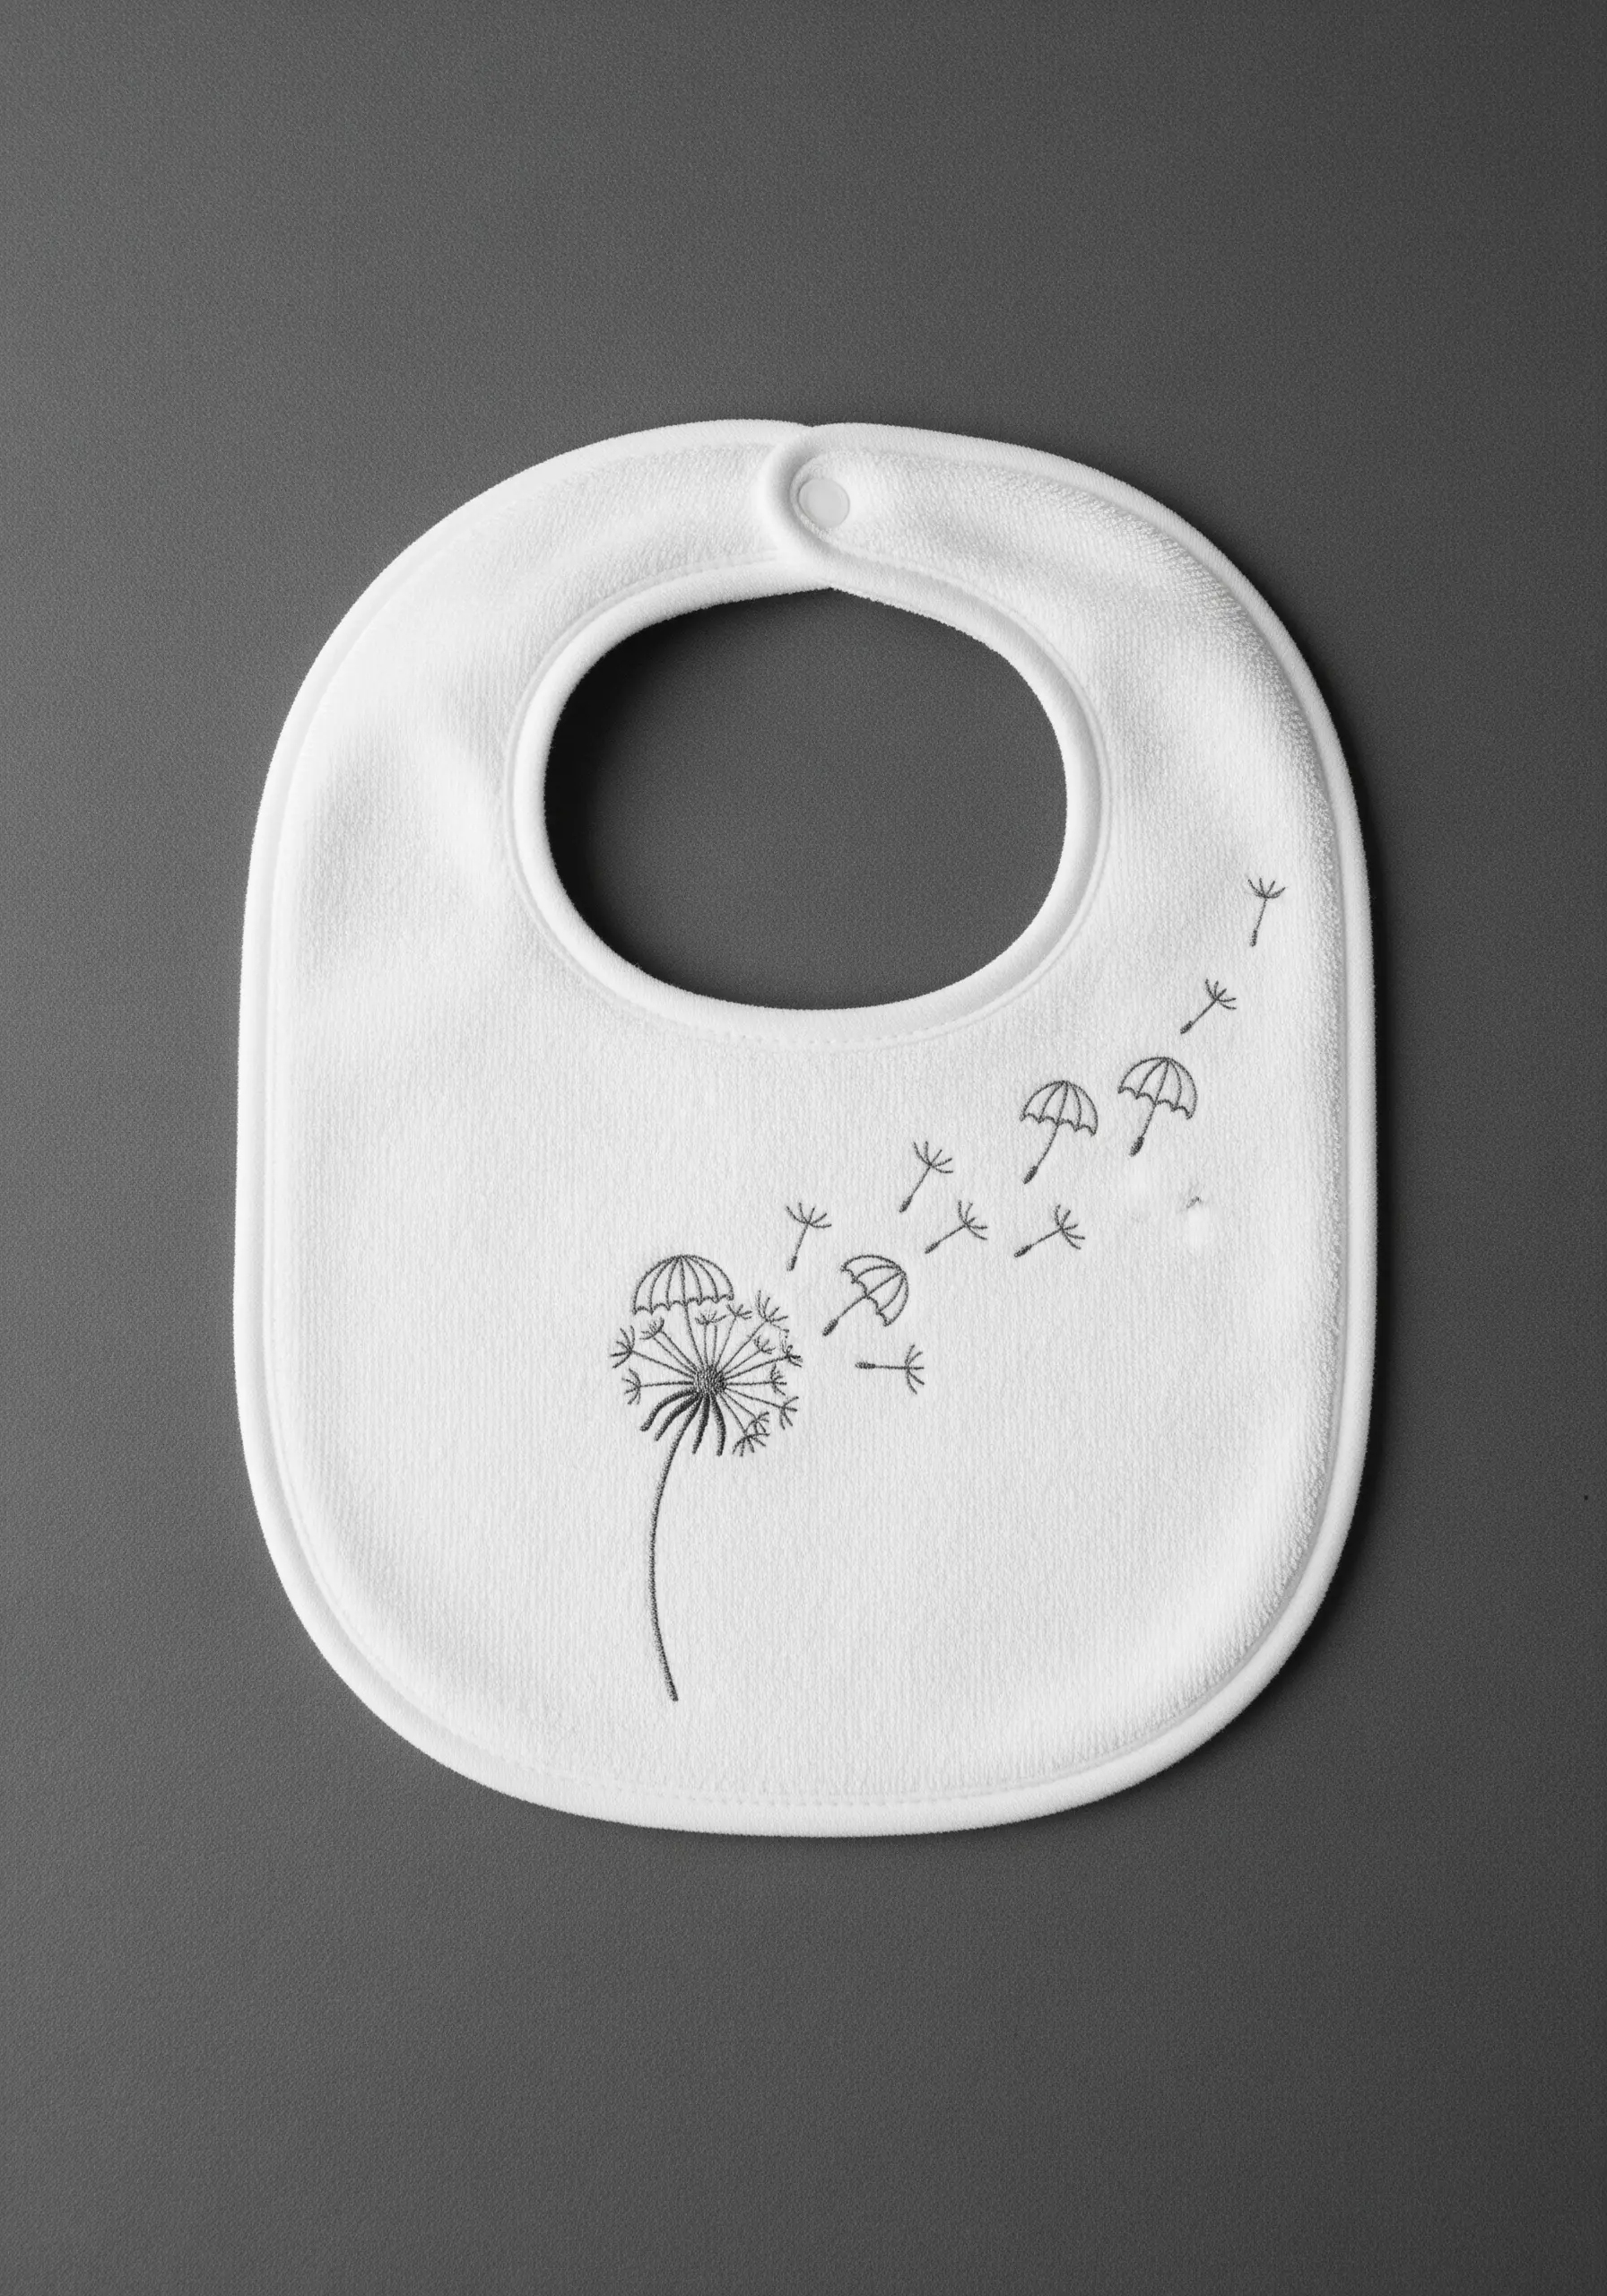
Create the illusion of movement by varying your stitch weight and style within the same design.
Use delicate French knots or seed stitches for the dandelion head, a fine backstitch for the stem, and tiny, scattered straight stitches for the floating seeds.
The combination of dense texture and open space makes the design feel light, airy, and dynamic.
Using a single color keeps the focus entirely on the textures you’ve built.
5. Frame the Neckline with Playful Stitches
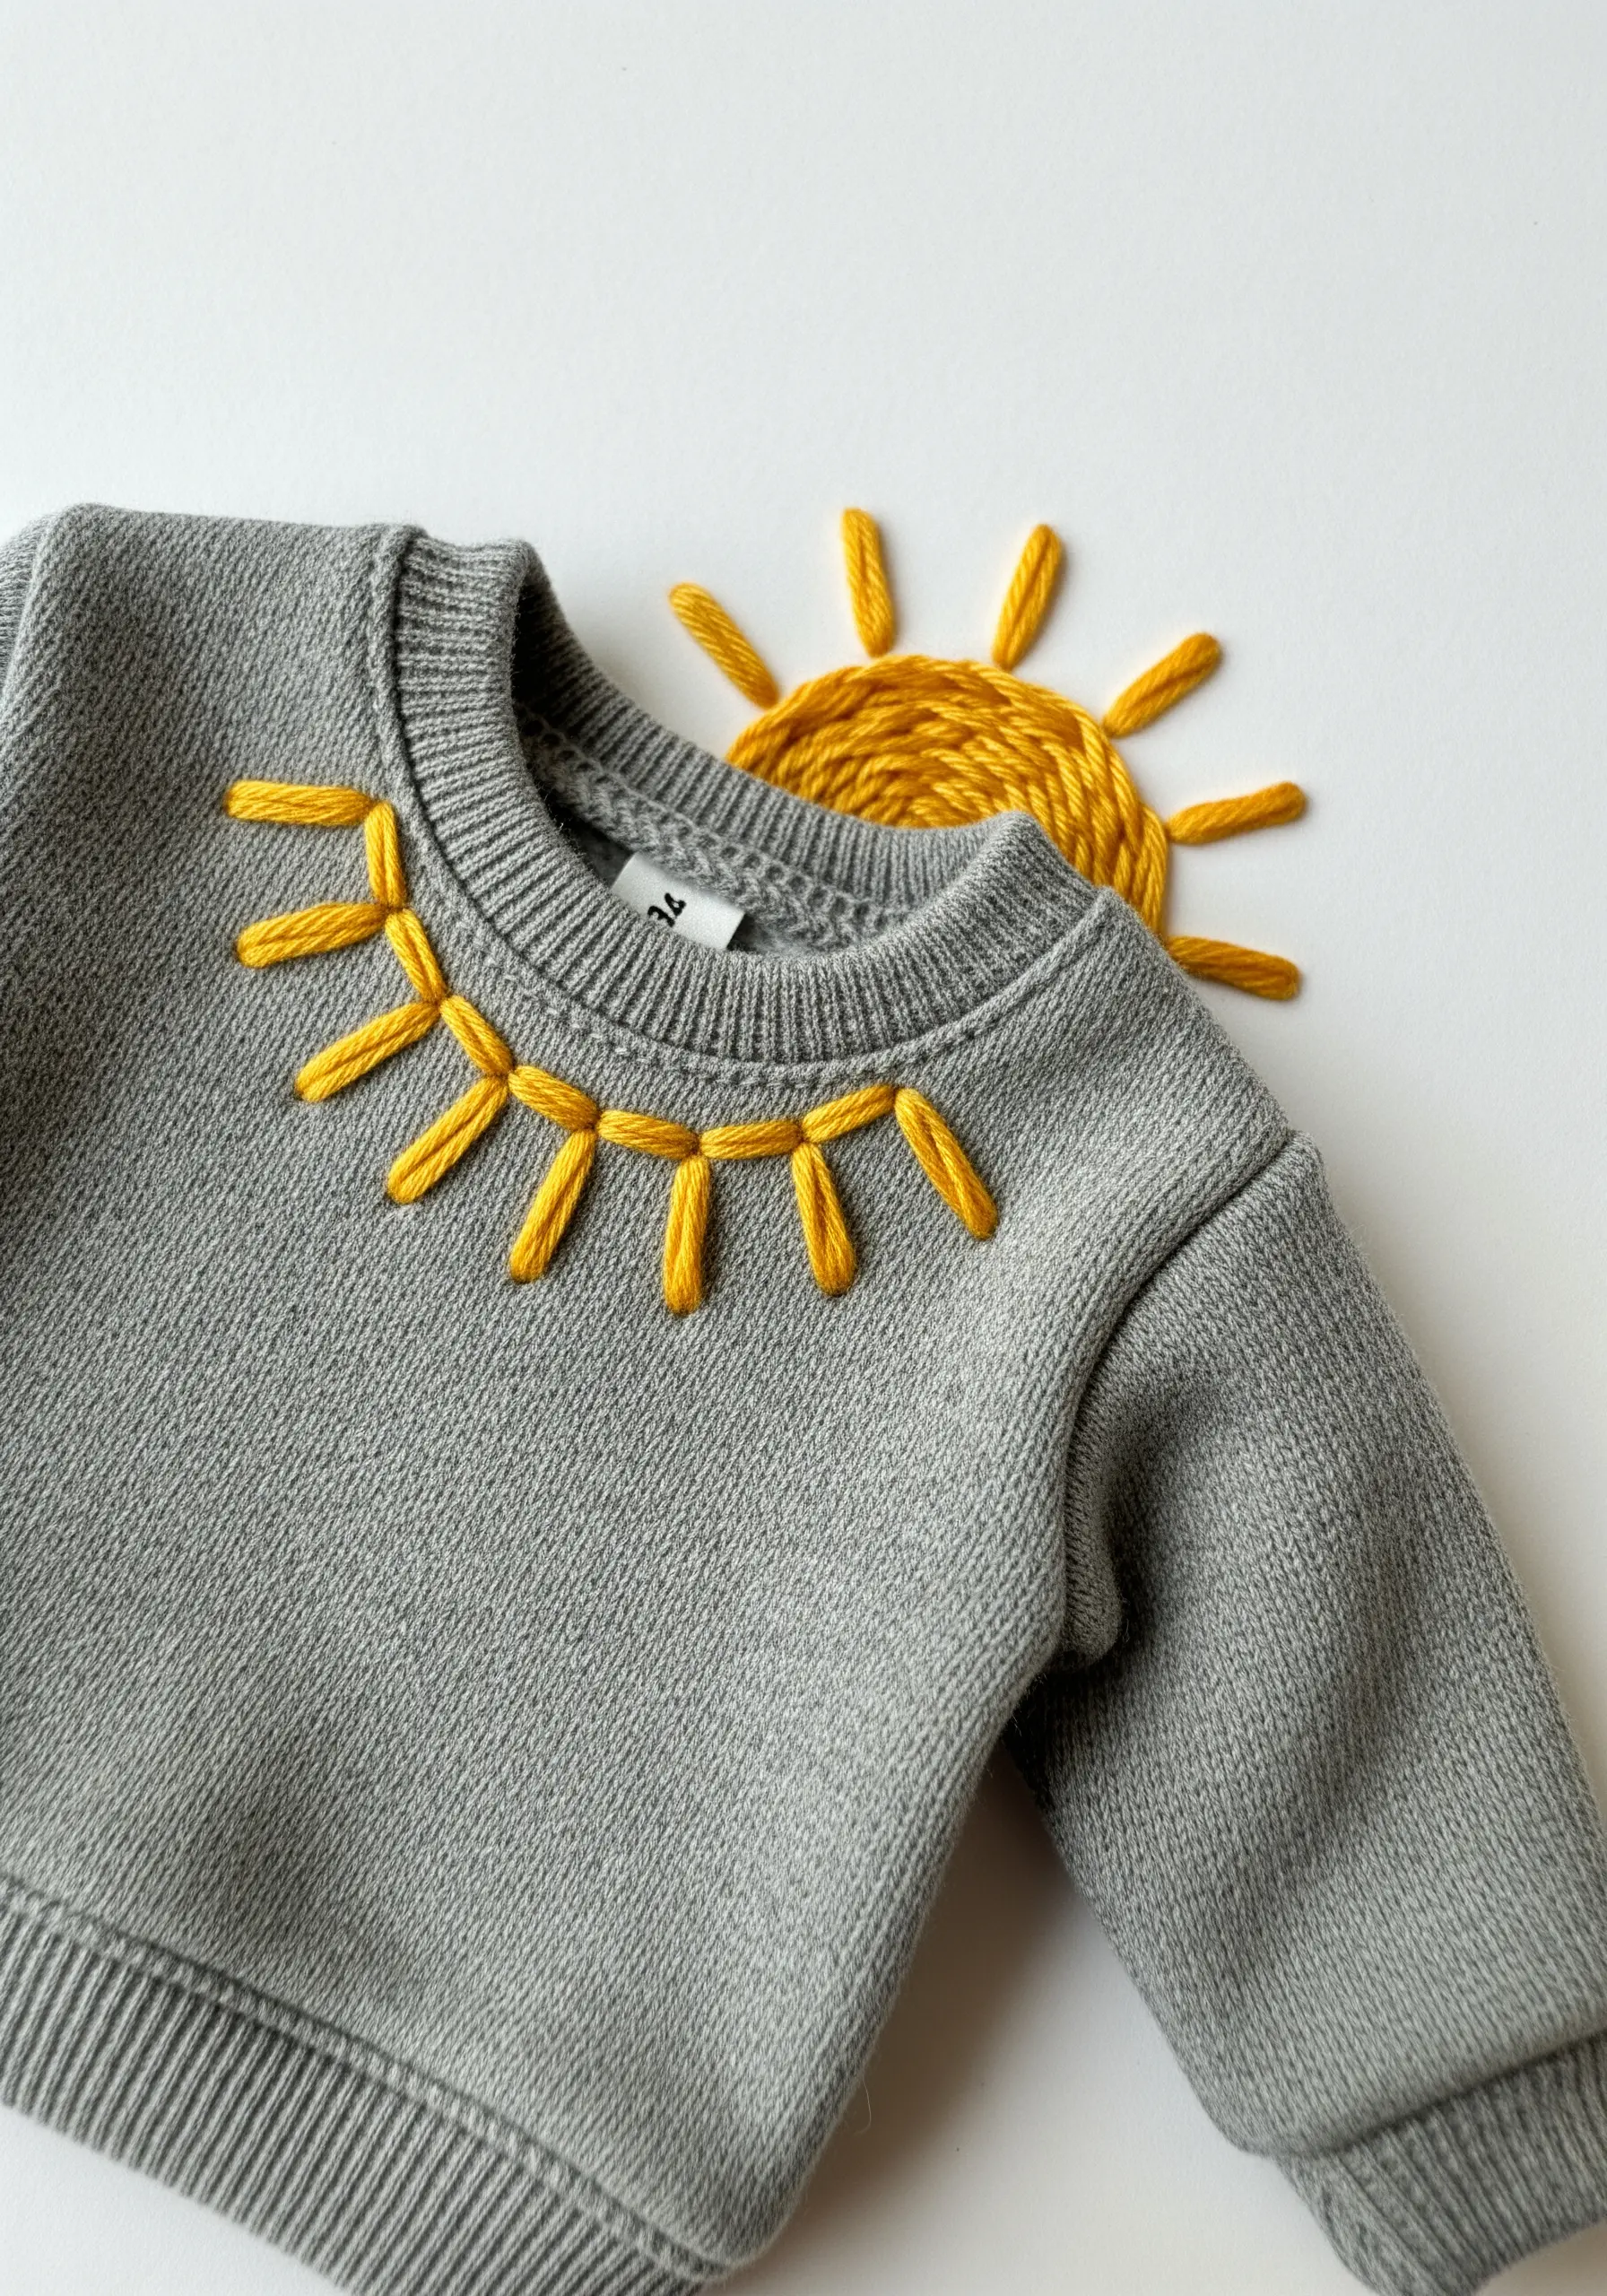
Turn a simple neckline into a design feature by framing it with embroidery.
Detached chain stitches (lazy daisies) are perfect for creating the sun’s rays, as they add a soft, looped texture that is comfortable against the skin.
To ensure symmetry, mark your stitch placement with a water-soluble pen before you start.
A bold, contrasting color turns this simple stitch into a joyful statement.
6. Master the Art of a Simple Gradient

Instead of filling a shape with one solid color, use a simple gradient to add sophisticated depth.
Choose three shades of a single color—light, medium, and dark—and use a long-and-short stitch to blend them seamlessly.
Start with the lightest shade at the tip and transition to the darkest at the base.
These are the kind of thread color blending tricks for modern abstract art that elevate simple shapes into miniature masterpieces.
7. Work with Textured Fabrics, Not Against Them
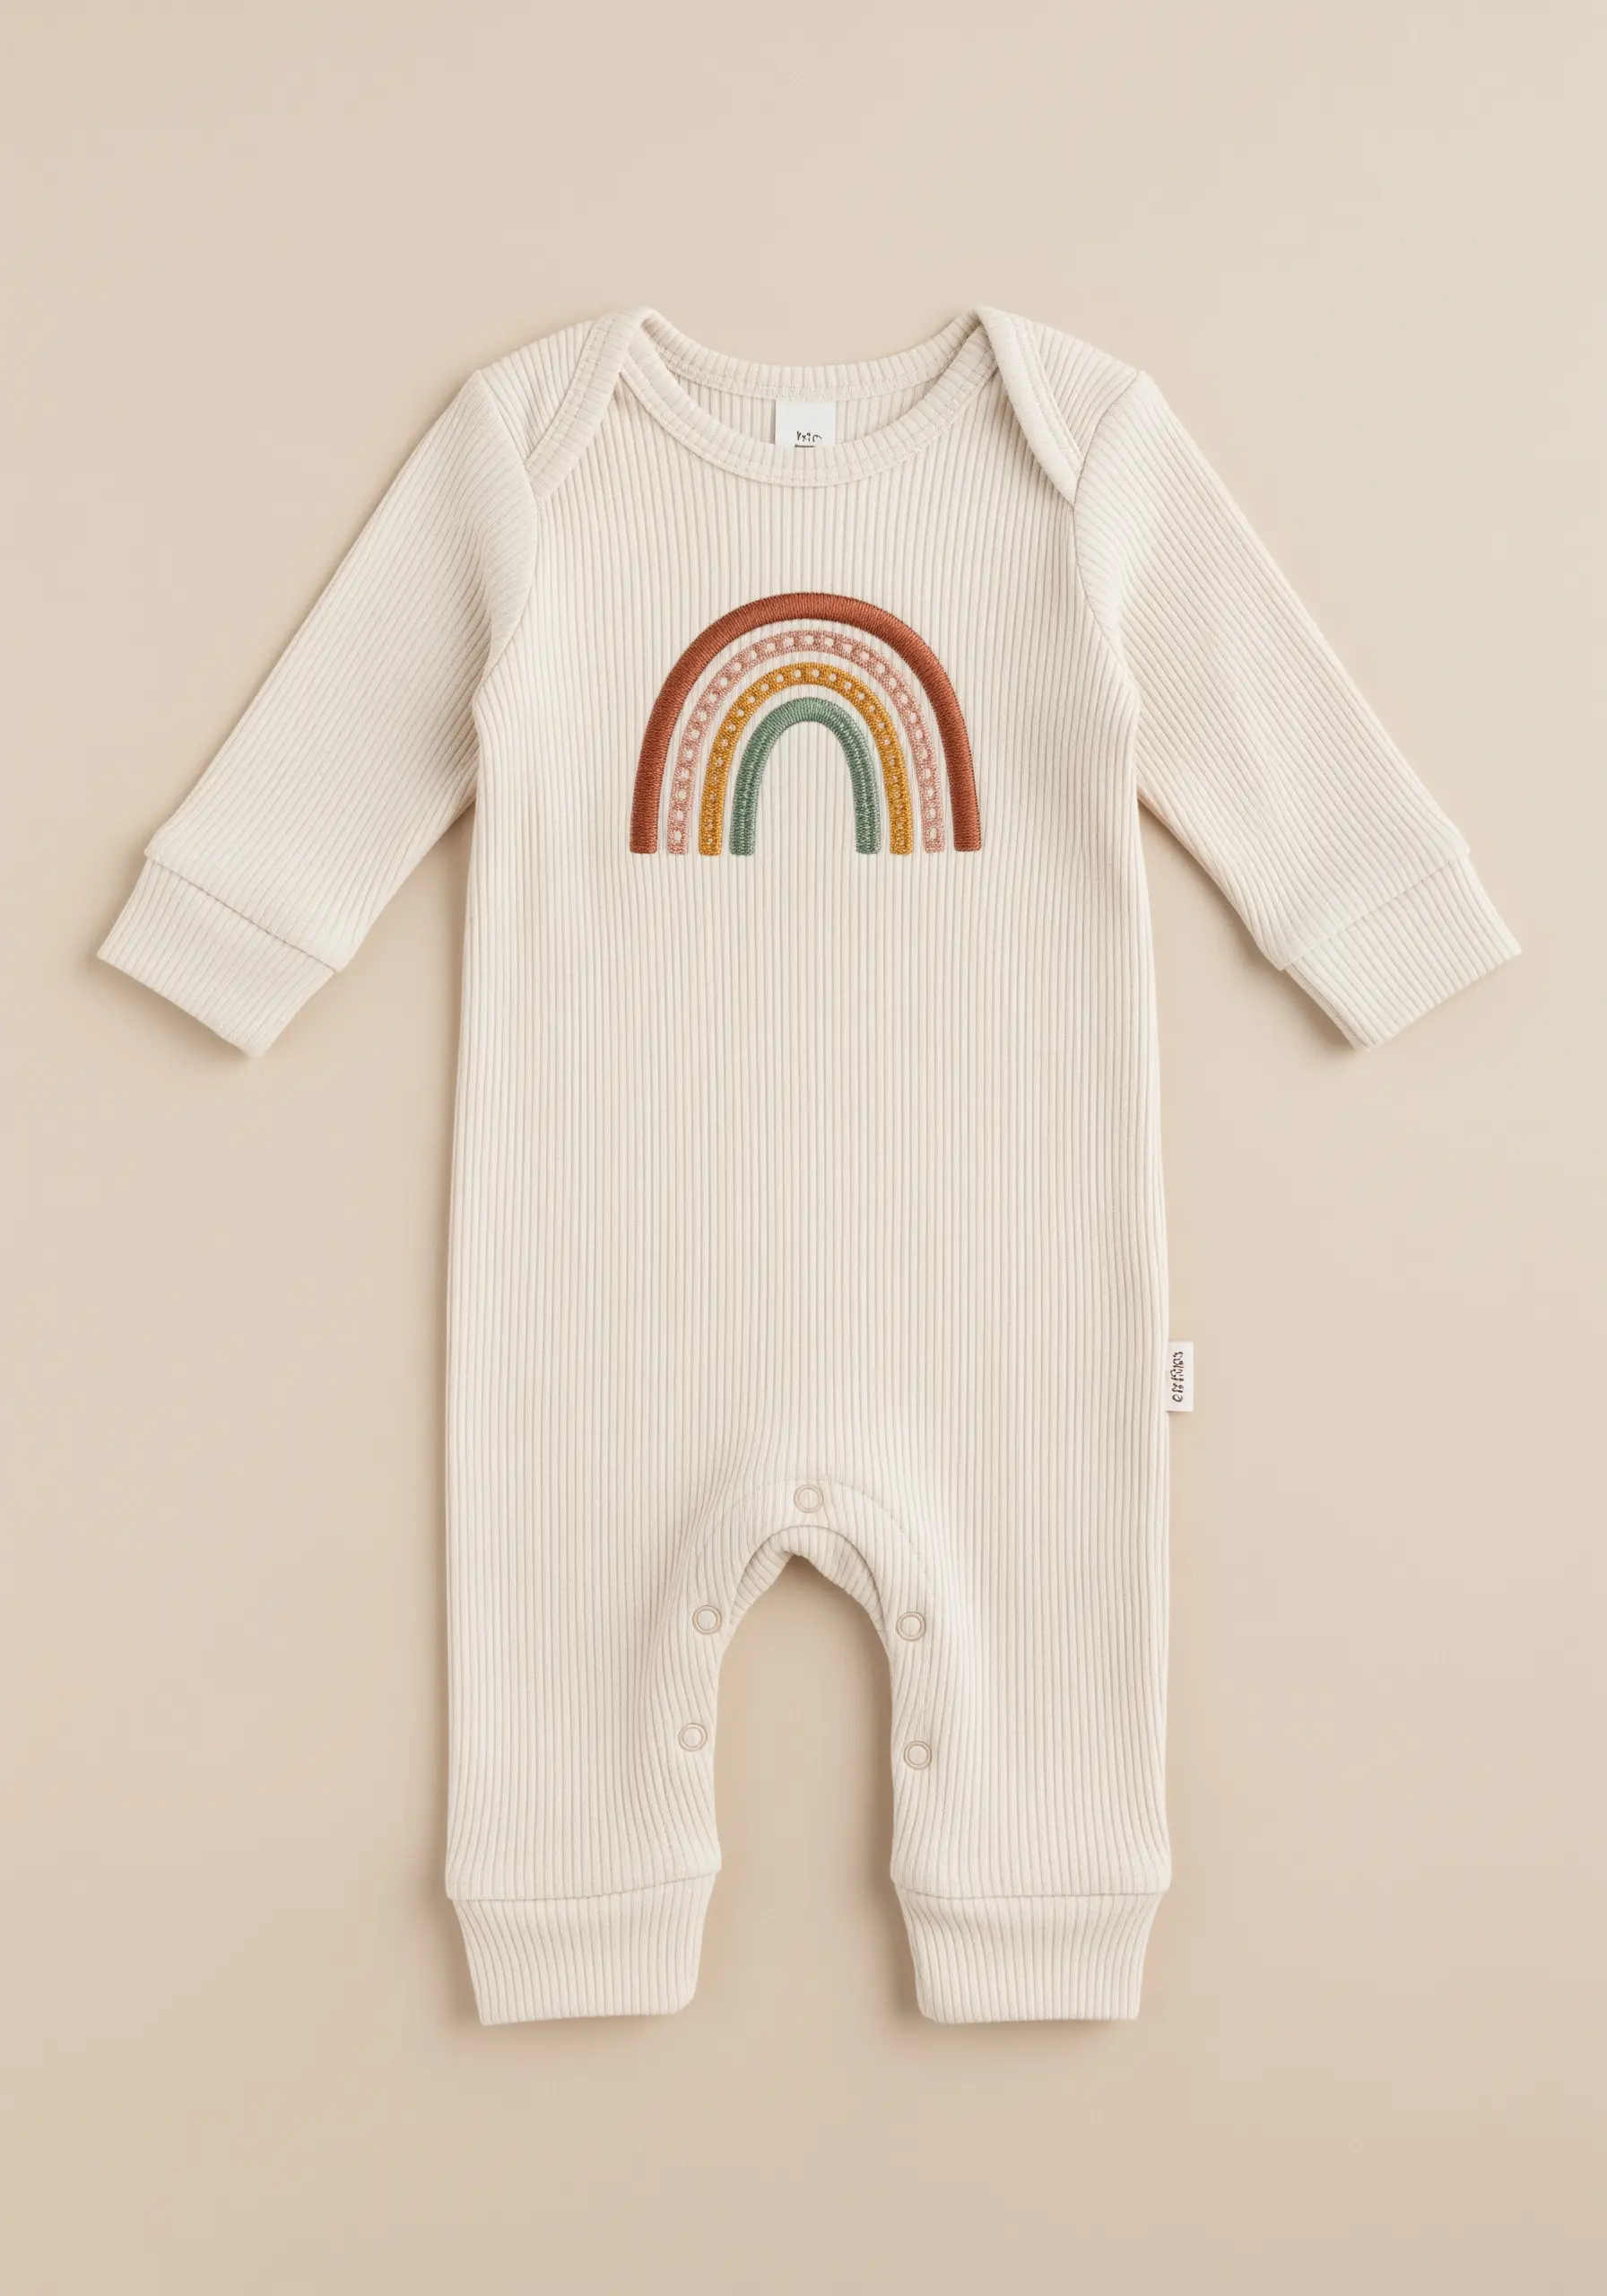
When embroidering on ribbed fabric, allow the garment’s texture to become part of your design.
Use a simple backstitch for each arch of the rainbow, maintaining even tension so your stitches sit neatly on top of the ribs.
A tear-away stabilizer on the back is essential to prevent the fabric from stretching and distorting your careful work.
A muted palette makes these kinds of earth-tone embroidery projects feel effortlessly chic and modern.
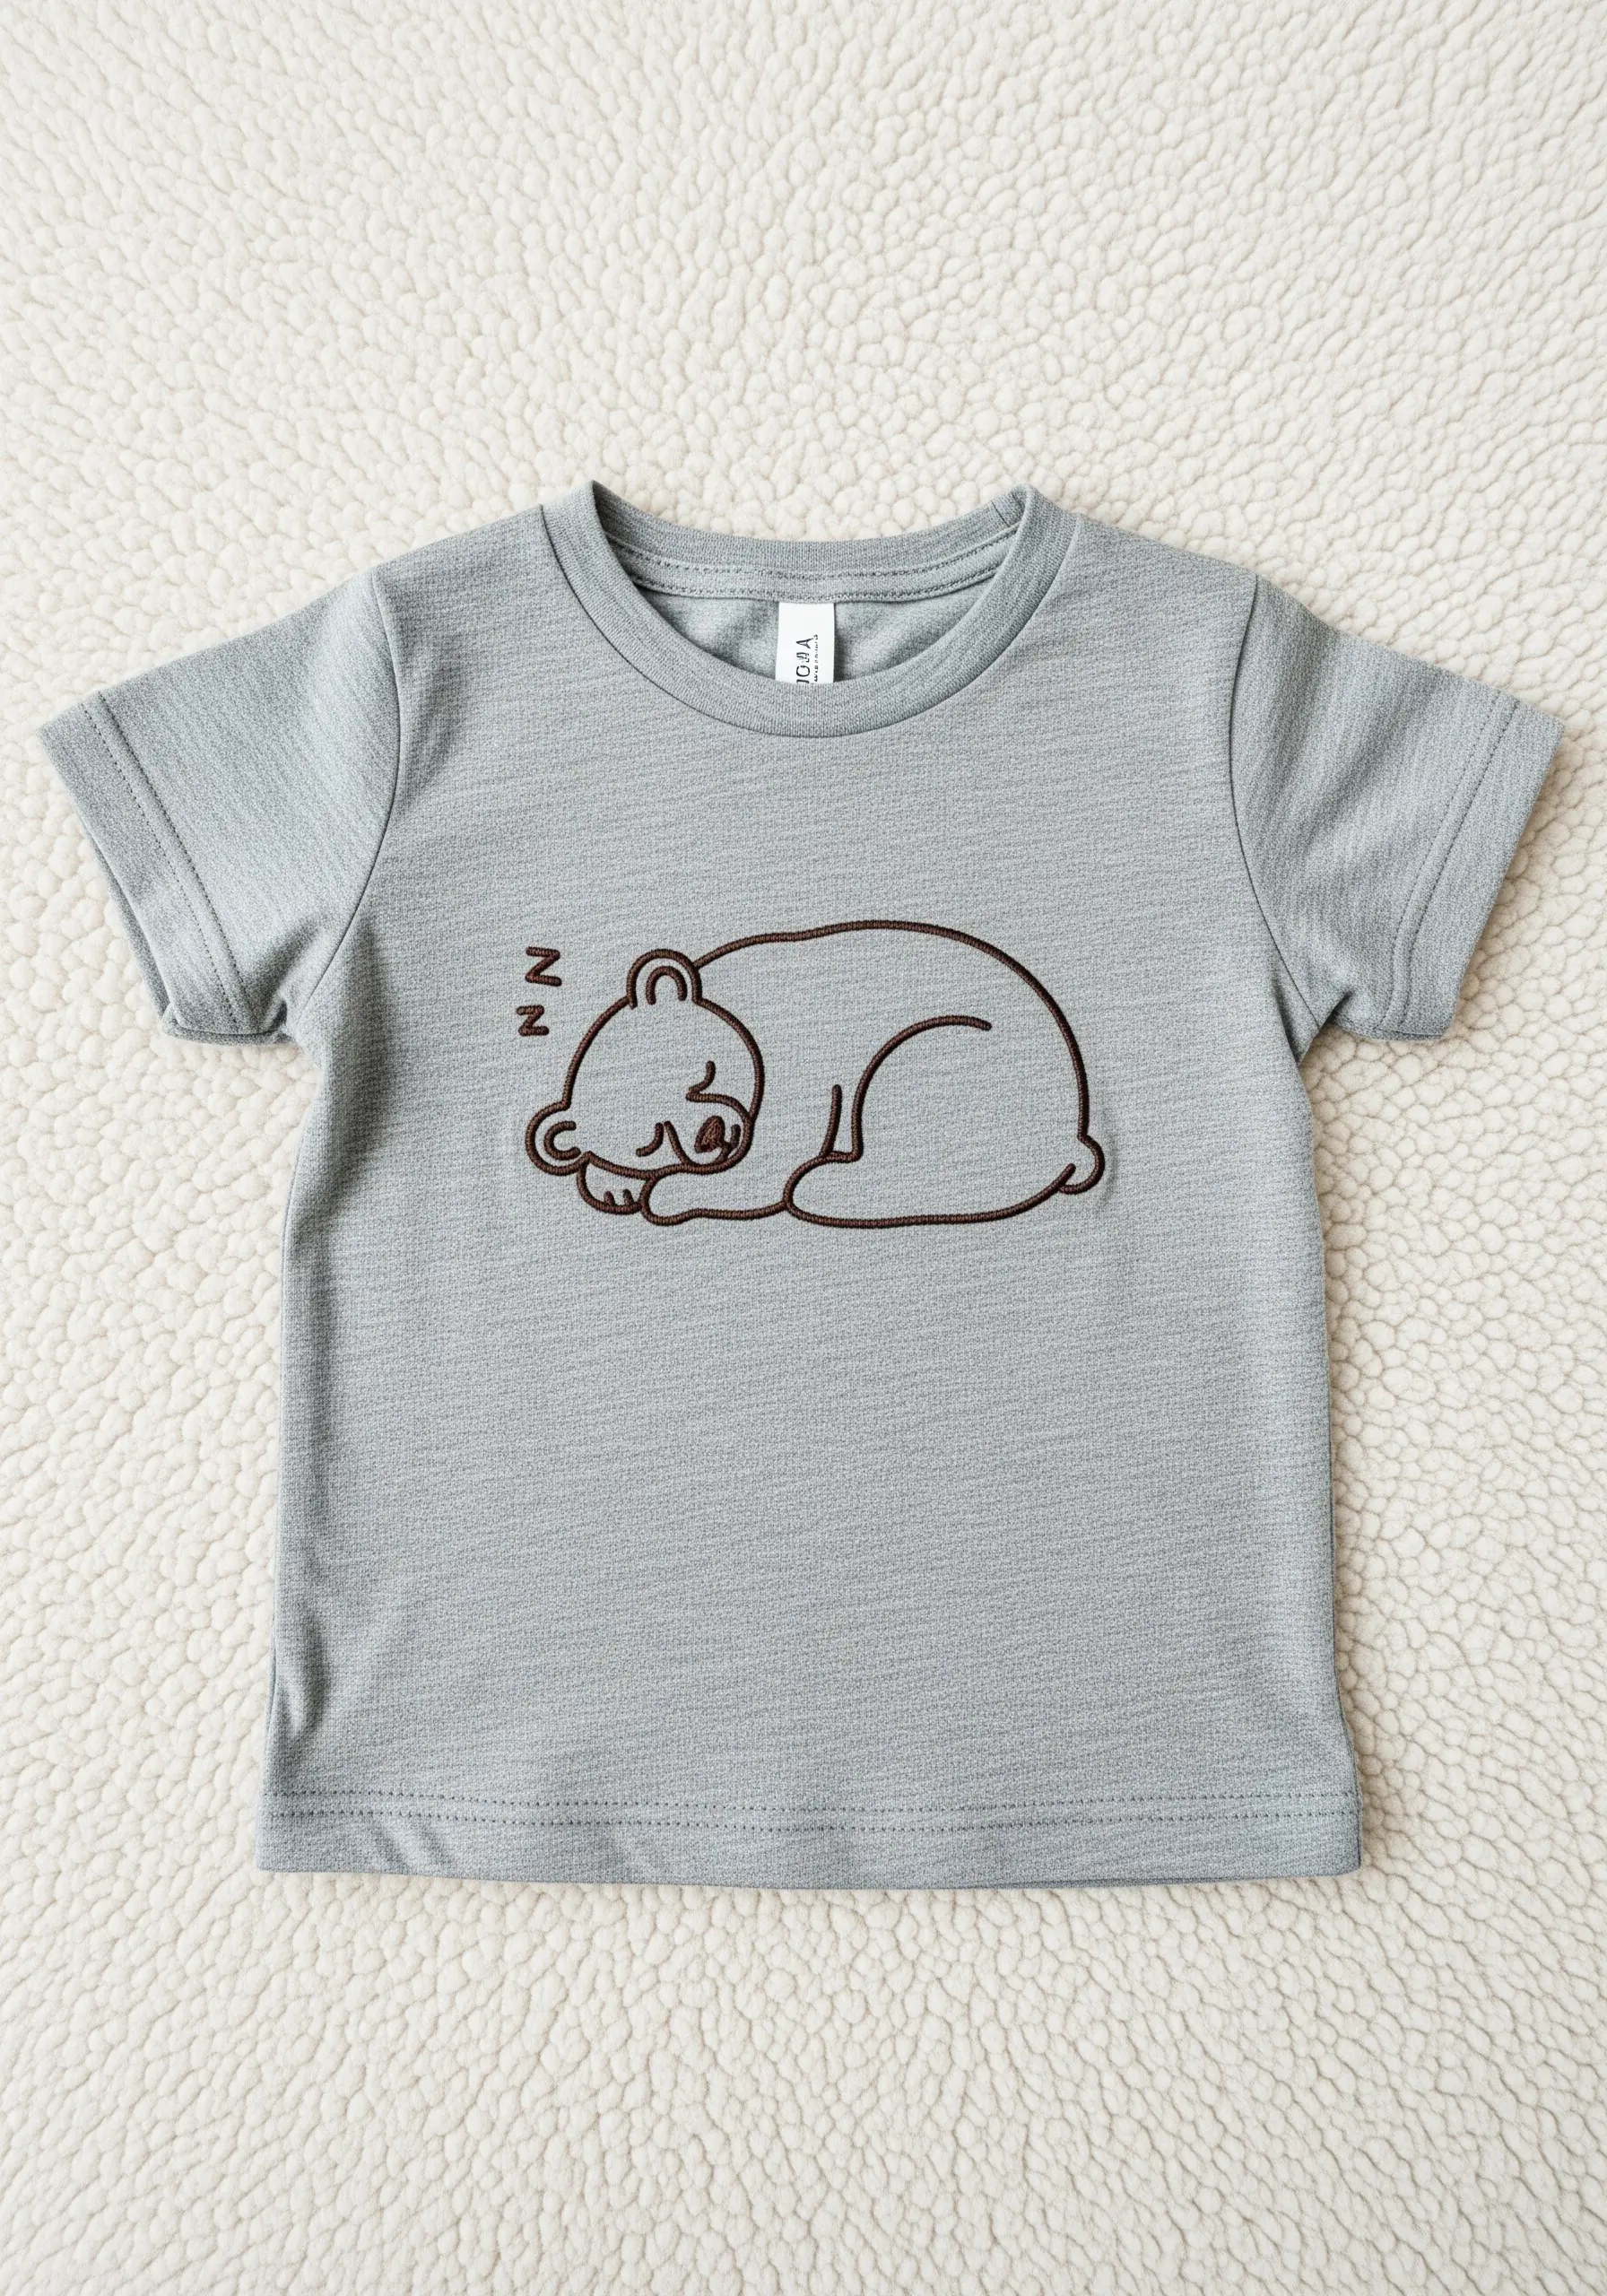
8. Define Clean Edges on Stretchy Knits
To achieve sharp, graphic designs on jersey, a split stitch outline is your most reliable tool.
It creates a solid, chain-like line that contains your fill stitches and resists stretching better than a backstitch.
Fill the interior with a smooth satin stitch, ensuring your stitches are parallel and dense for full coverage.
This two-step process—outline then fill—is the secret to a crisp, professional finish on tricky fabrics.
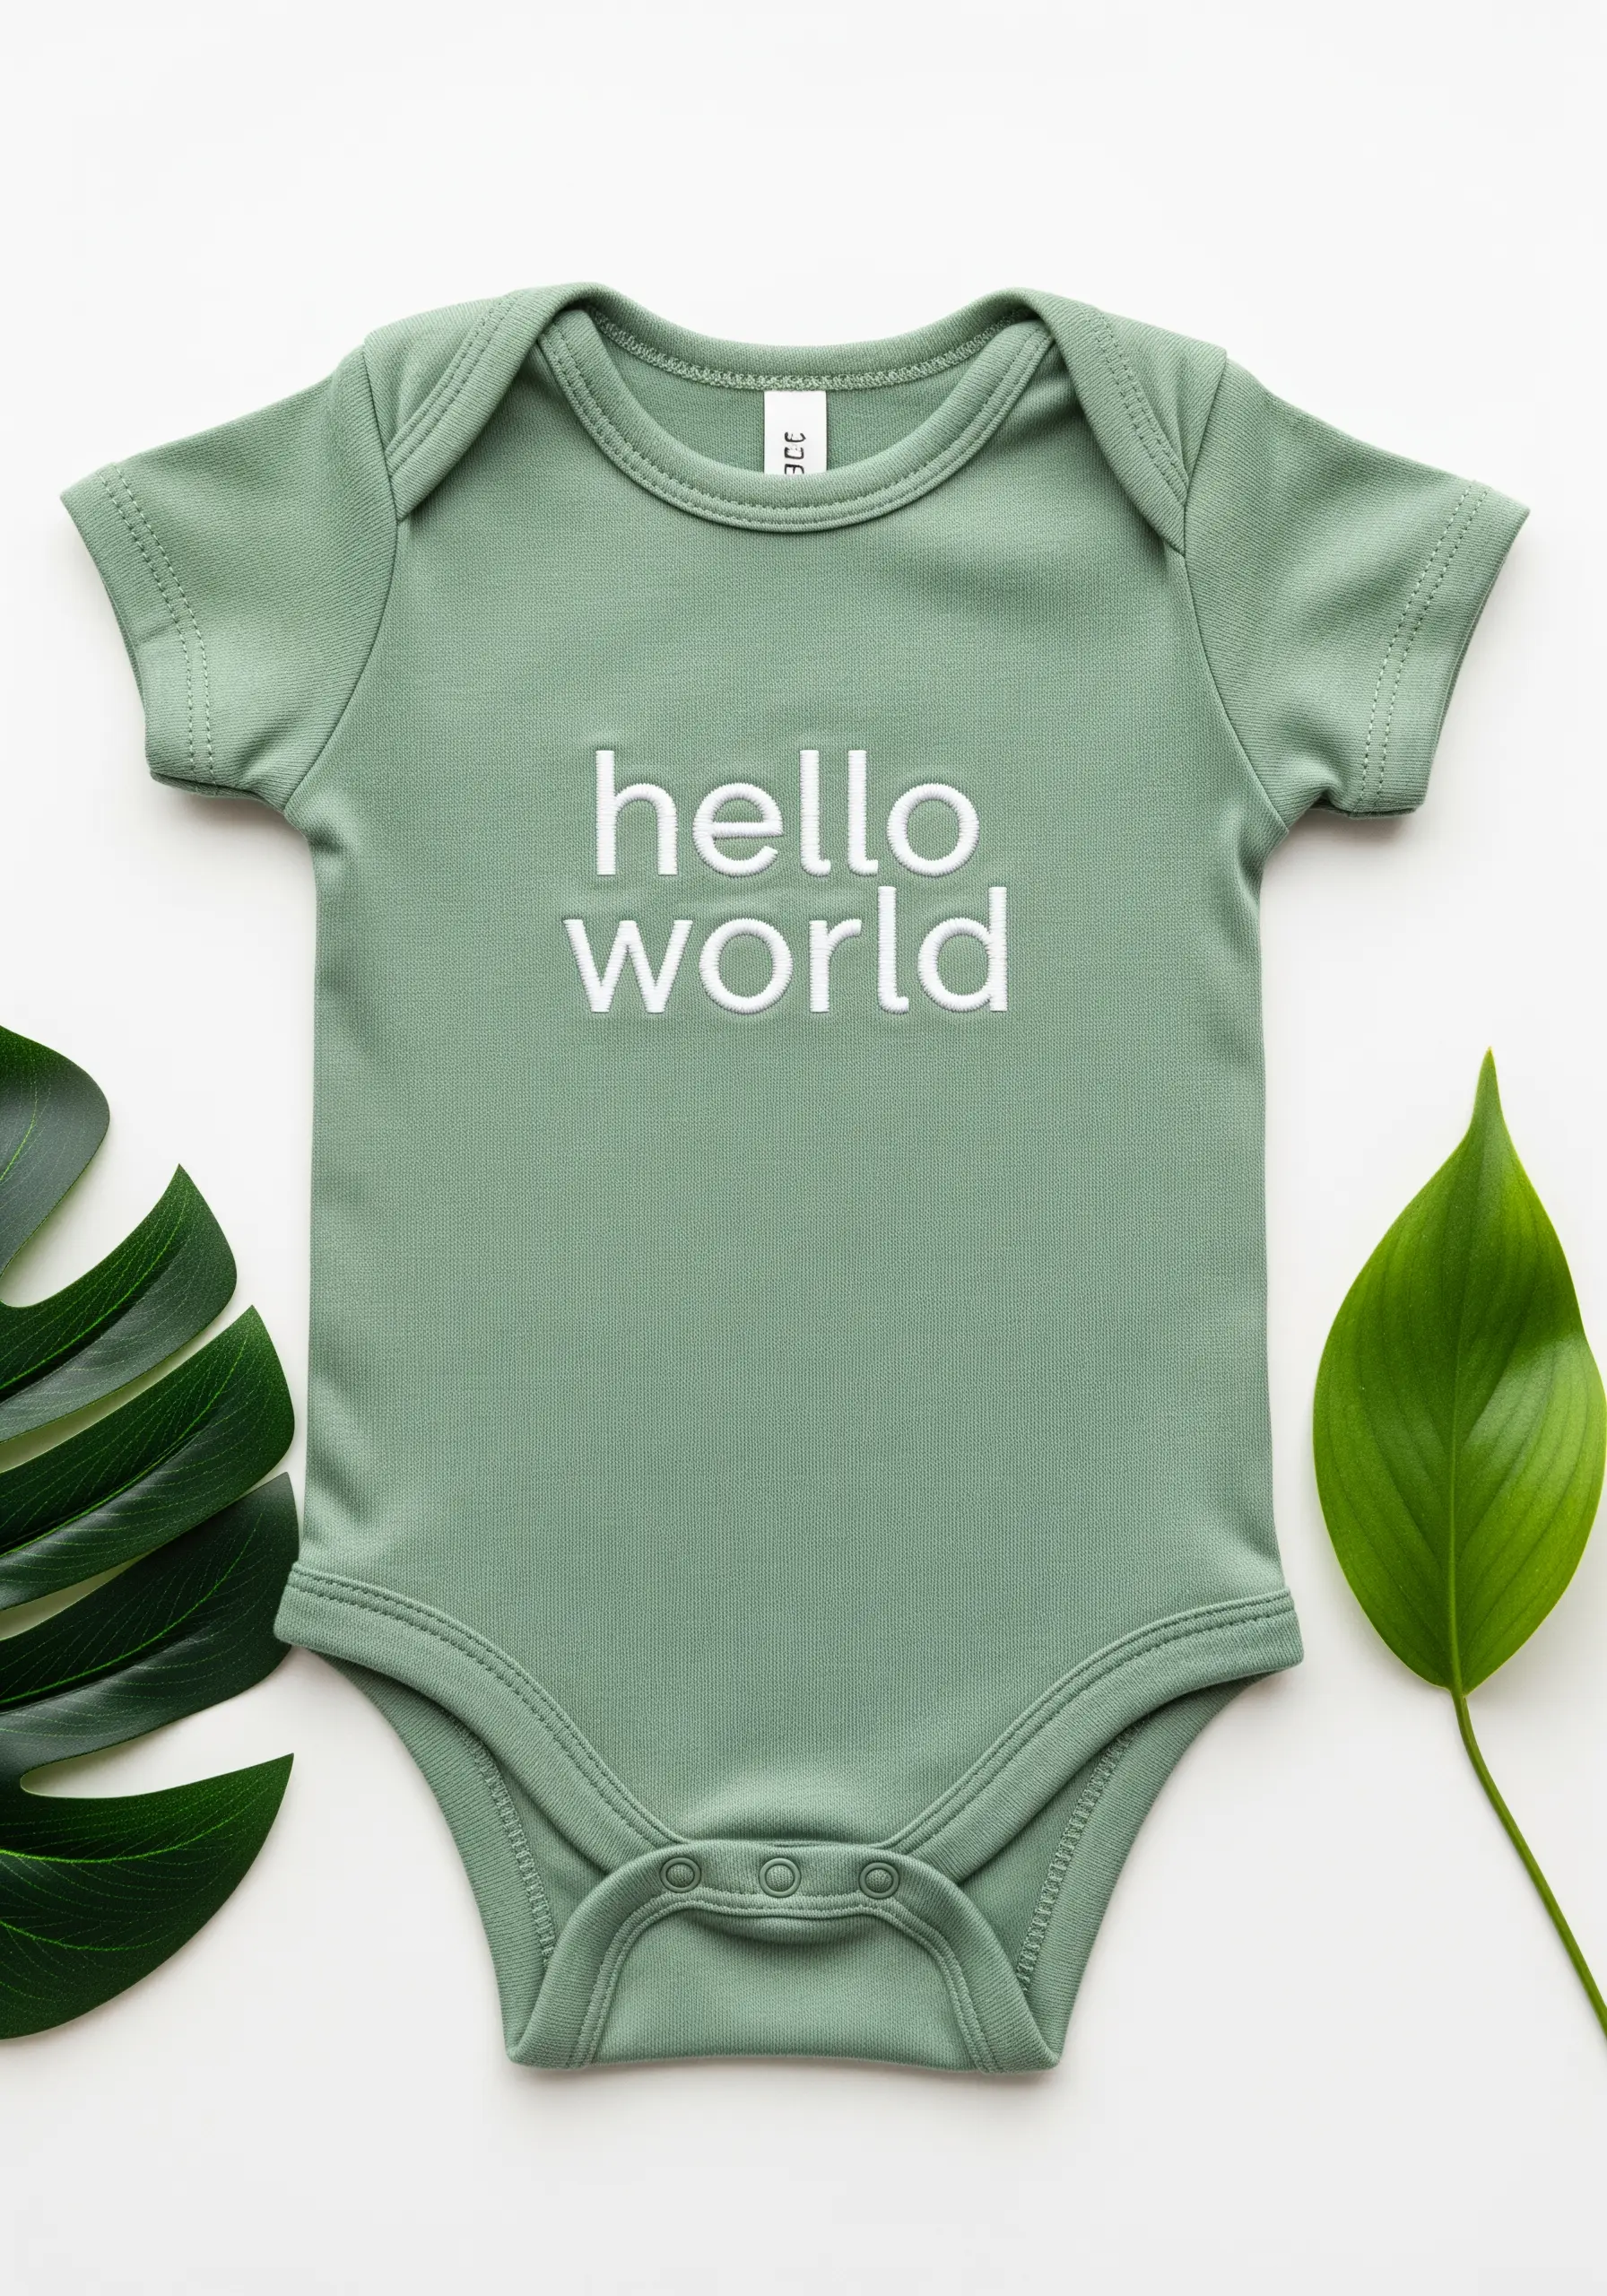
9. Stitch Elegant and Refined Typography
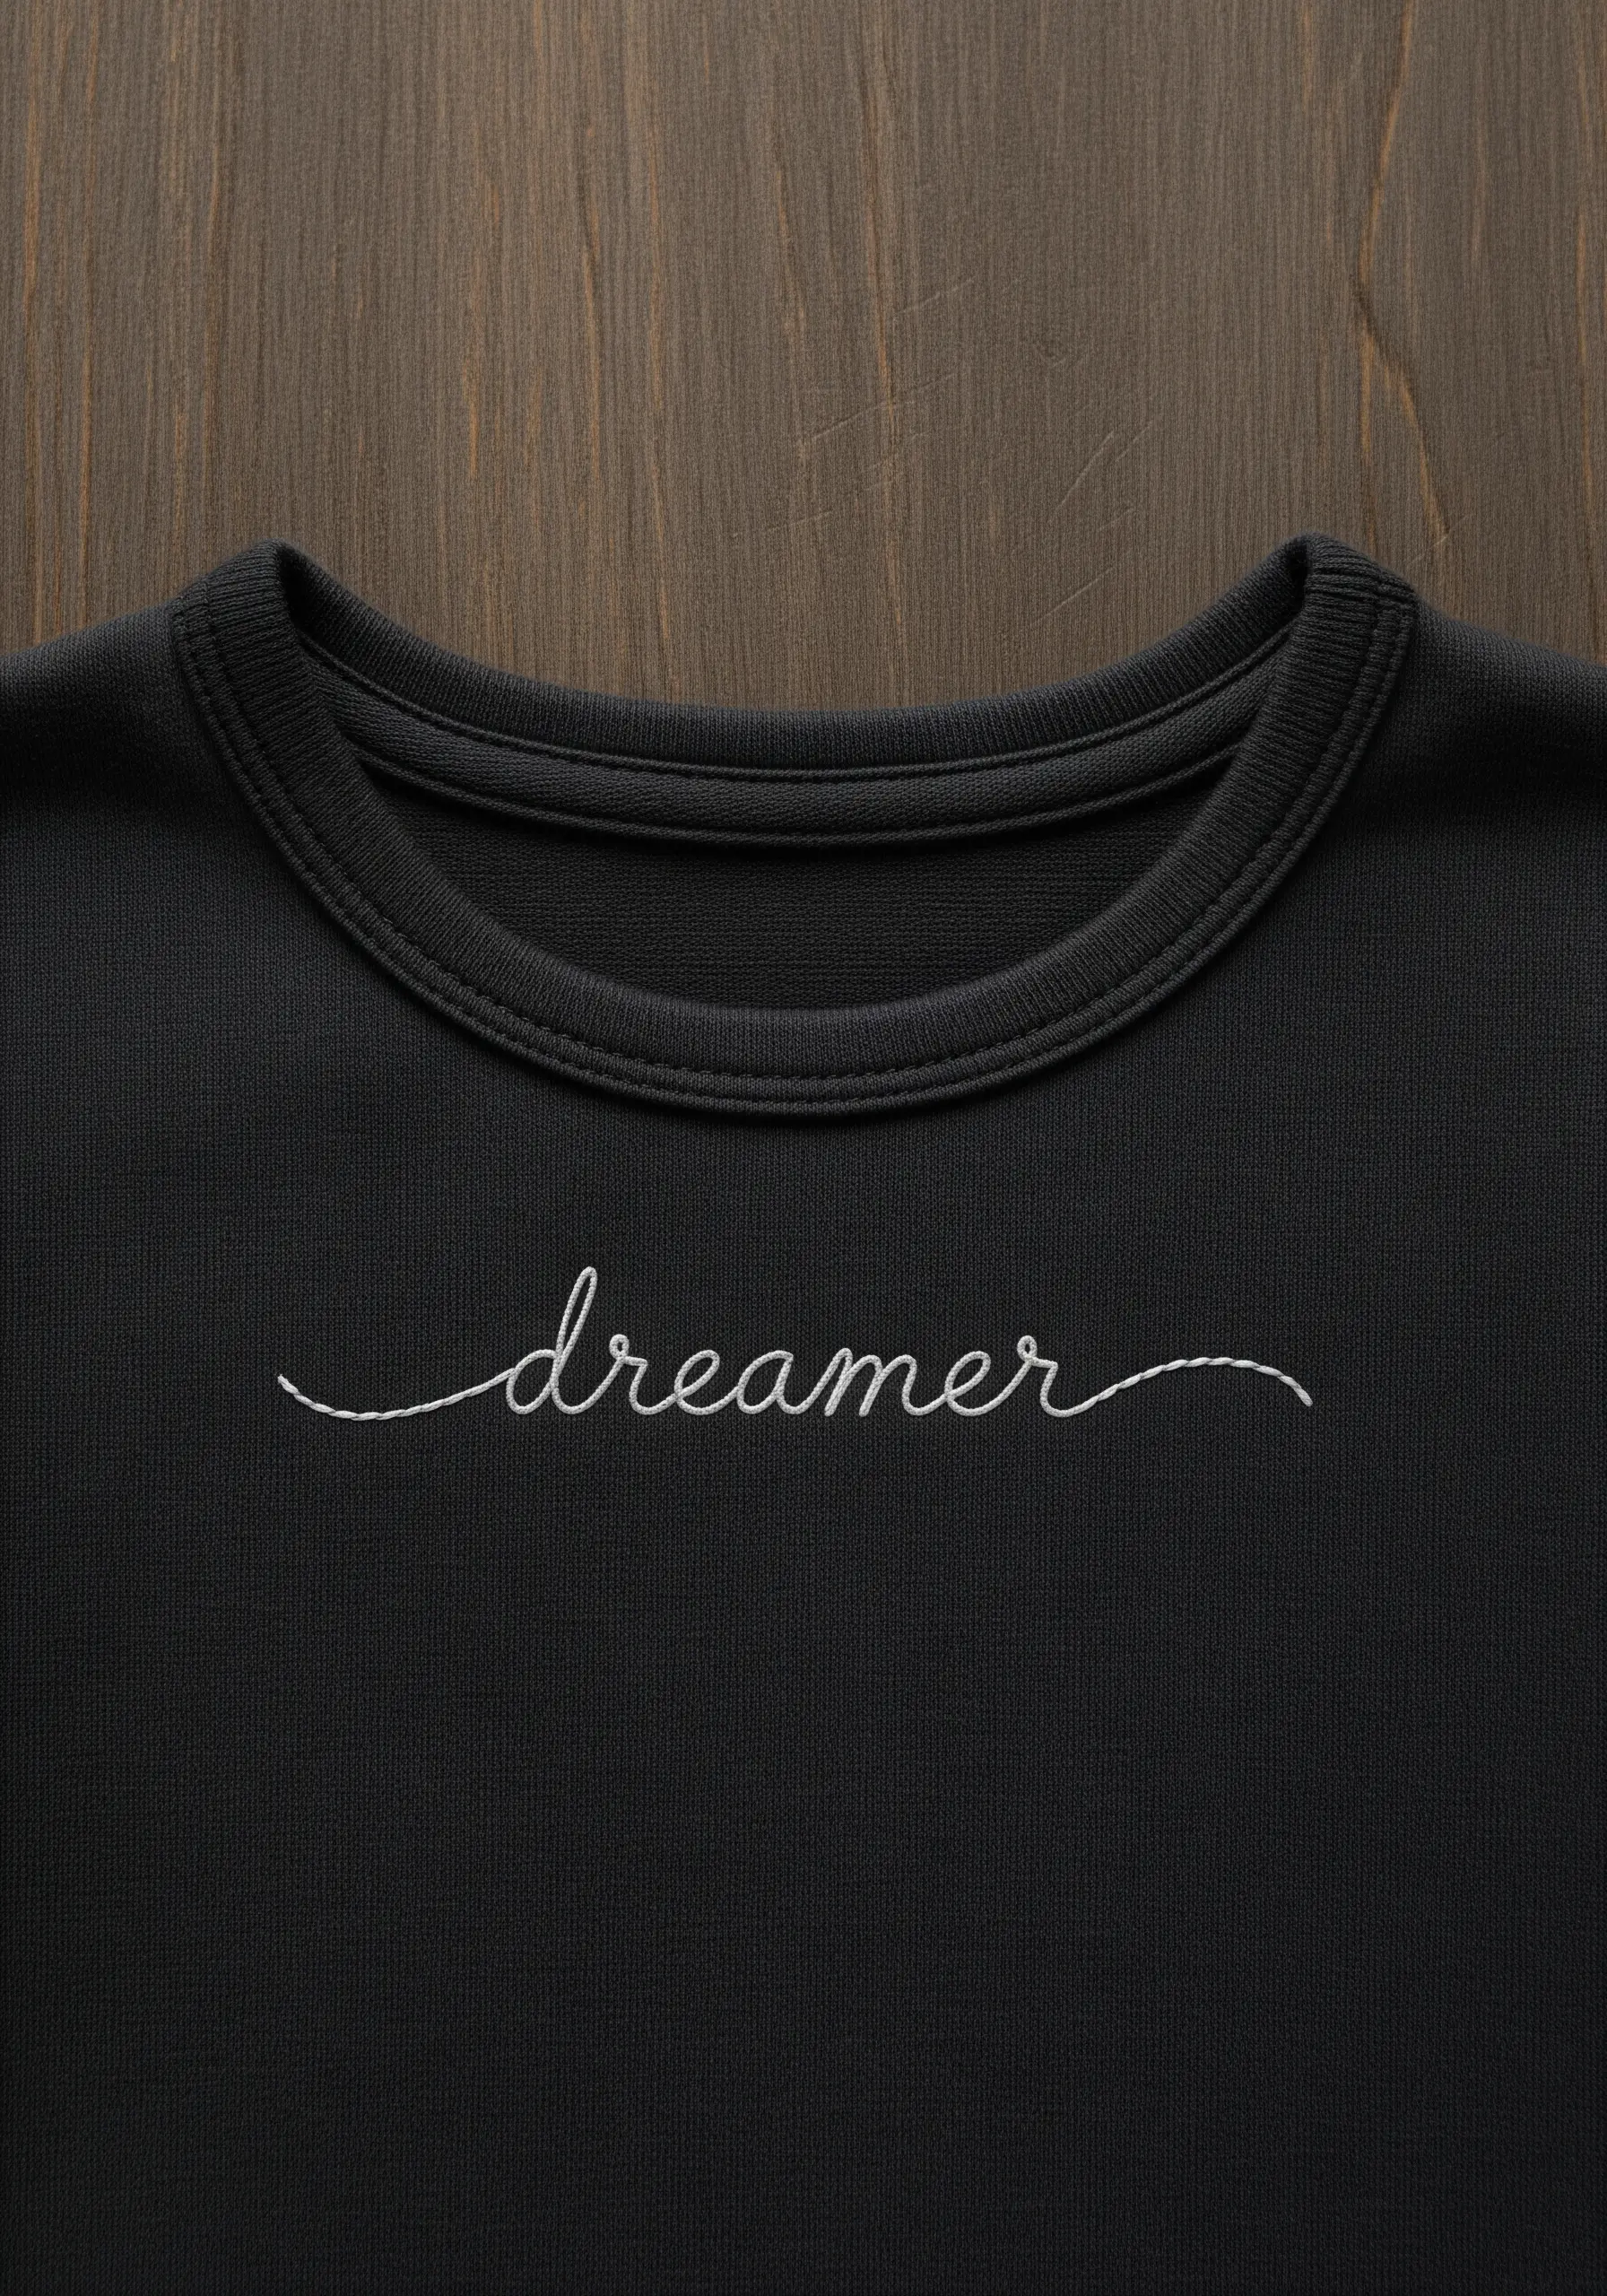
For delicate, flowing script, use a stem stitch with a short, consistent stitch length.
Using only two strands of embroidery floss keeps the lines from looking bulky, ensuring the text is both elegant and legible.
For high-contrast combinations like white on black, precision is paramount—trace your design with a chalk pencil for a clear guide.
This technique works beautifully for minimal typography quotes, ensuring they remain delicate and readable.
10. Add 3D Texture with Needle Felting
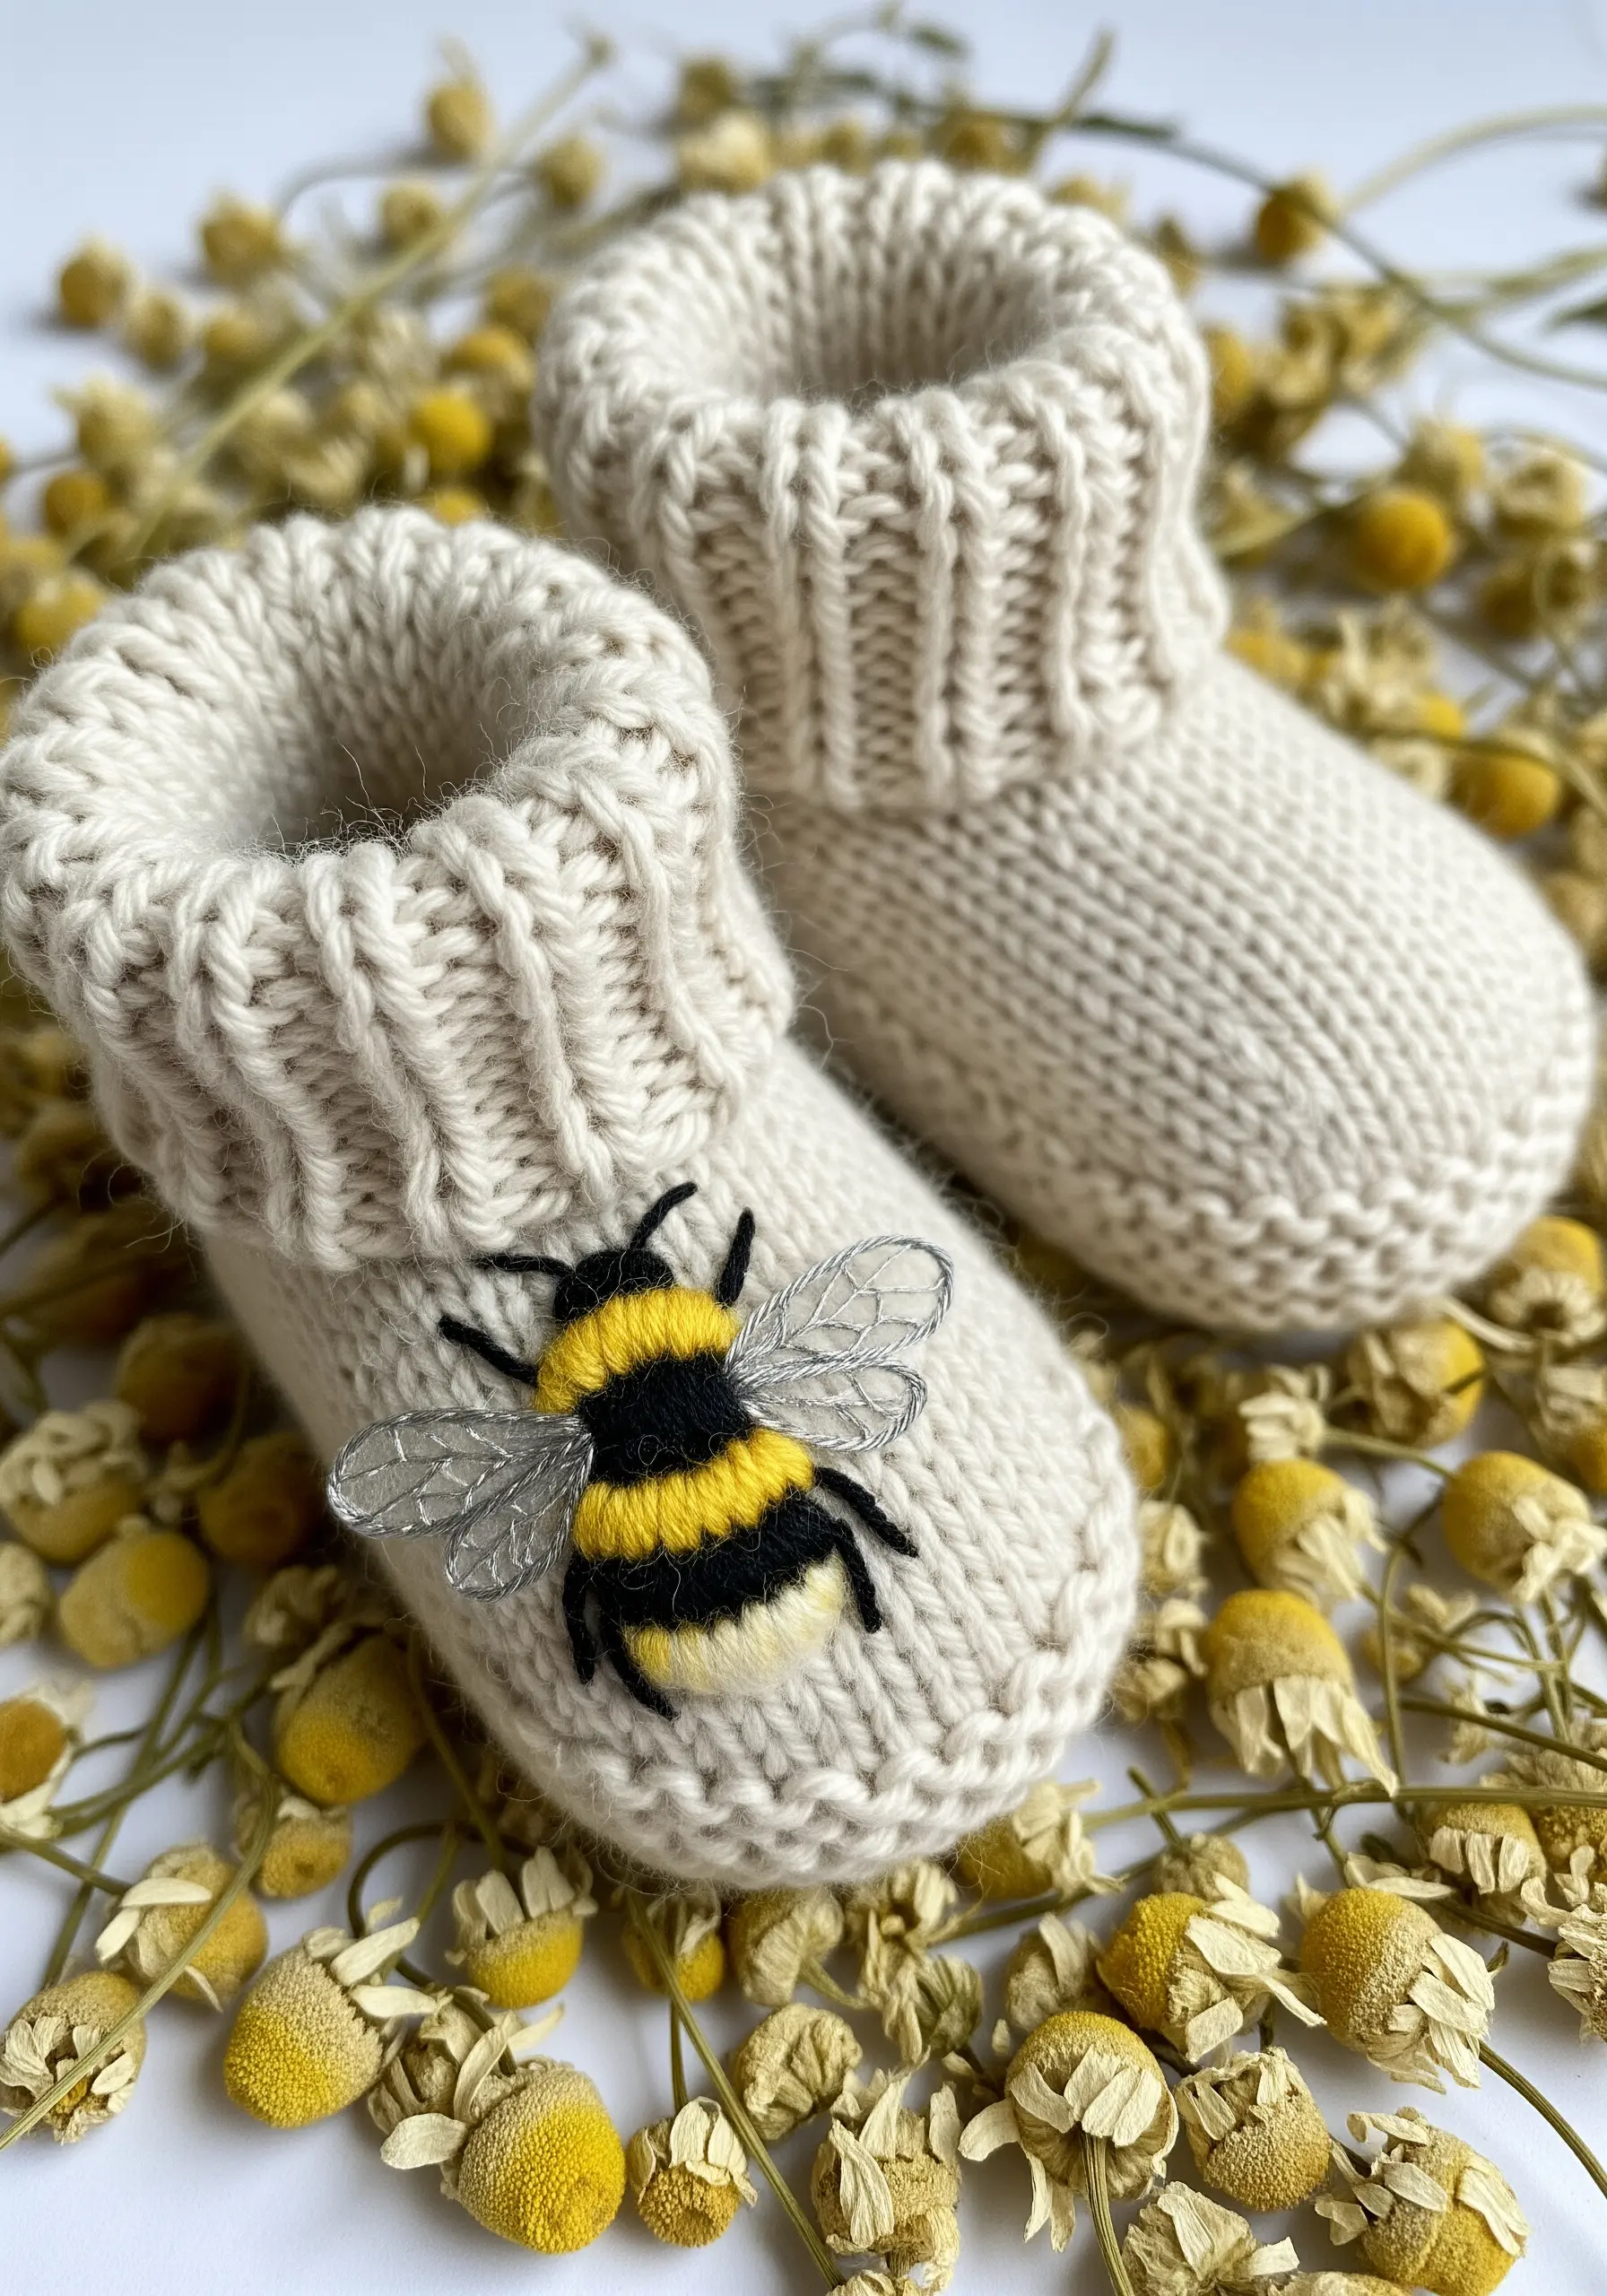
Combine embroidery with needle felting for stunning, three-dimensional results, especially on knitted items.
Create the bee’s fluffy body by needle-felting wool roving directly onto the bootie’s surface.
Then, use black embroidery floss to add the stripes and details with simple straight stitches.
The wings, crafted from sheer organza and stitched on separately, add a final touch of delicate realism.
11. Integrate Your Design with Garment Features
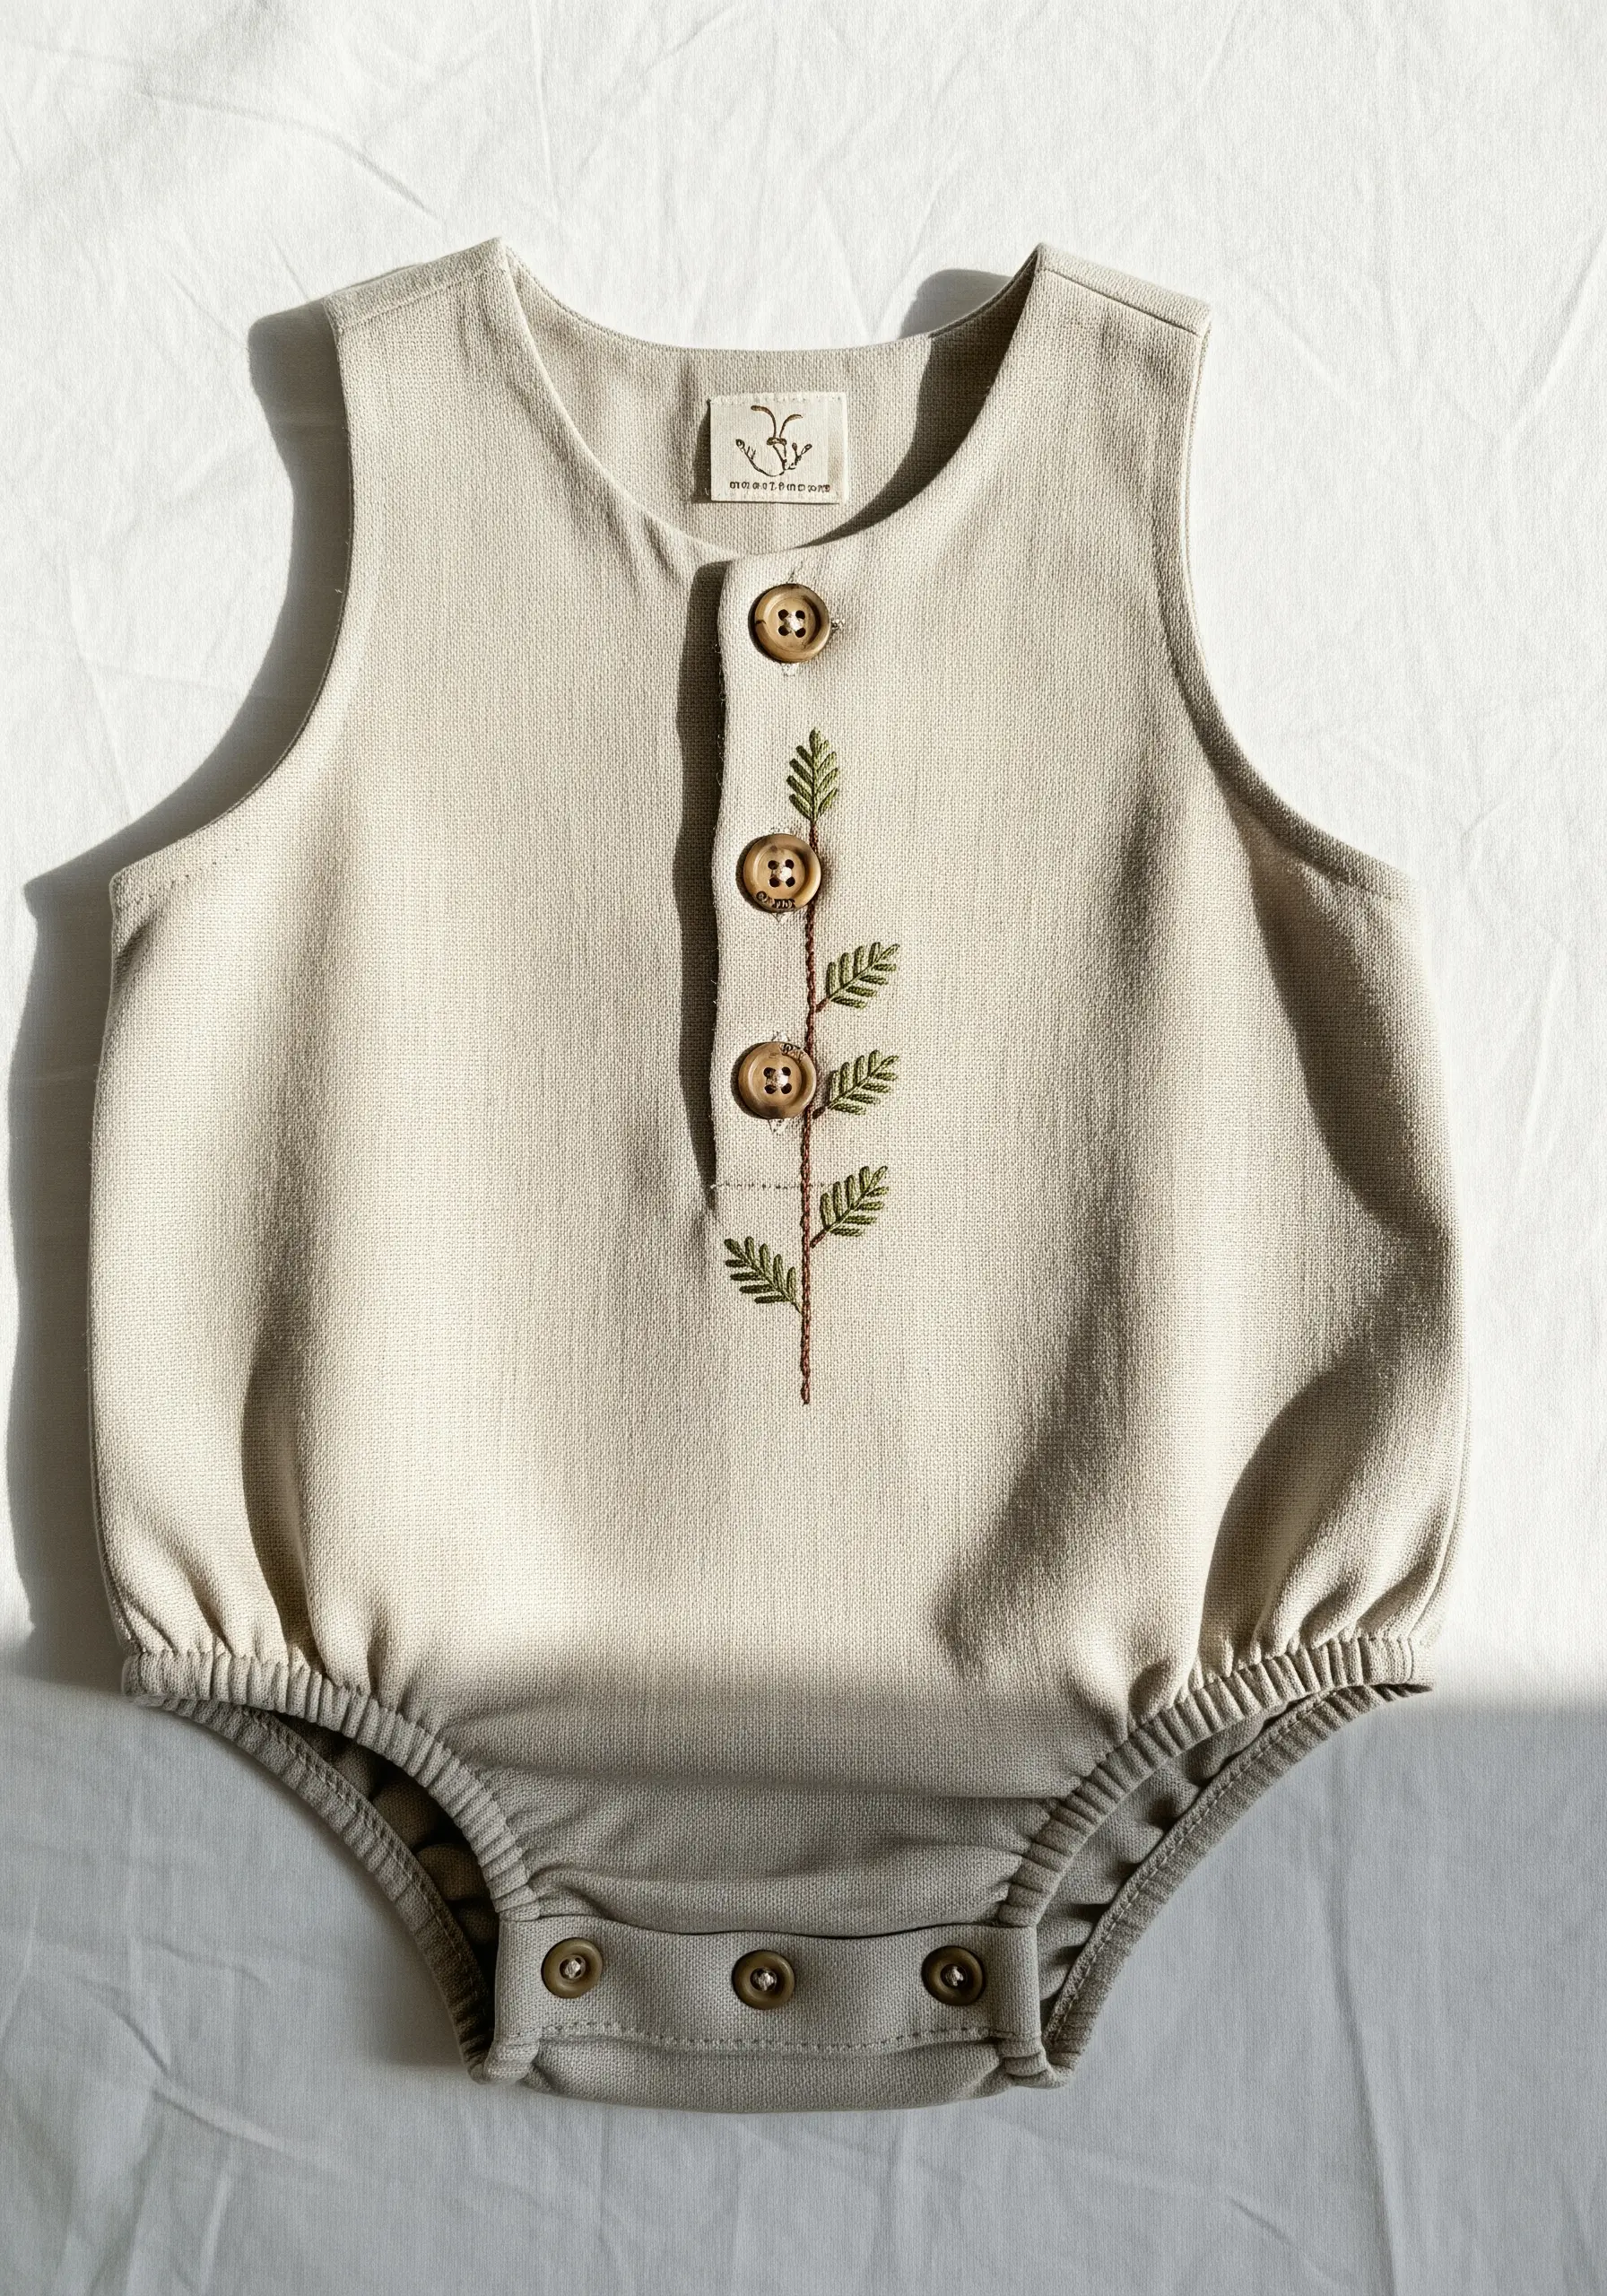
Make your embroidery feel intentional by designing it to interact with the garment’s construction.
A delicate vine stitched with stem stitch can elegantly wind its way up a button placket, with lazy daisy stitches for leaves peeking out between buttons.
This thoughtful placement makes the embroidery feel like an intrinsic part of the piece, not just an afterthought.
12. The Power of a Bold, Solid Fill
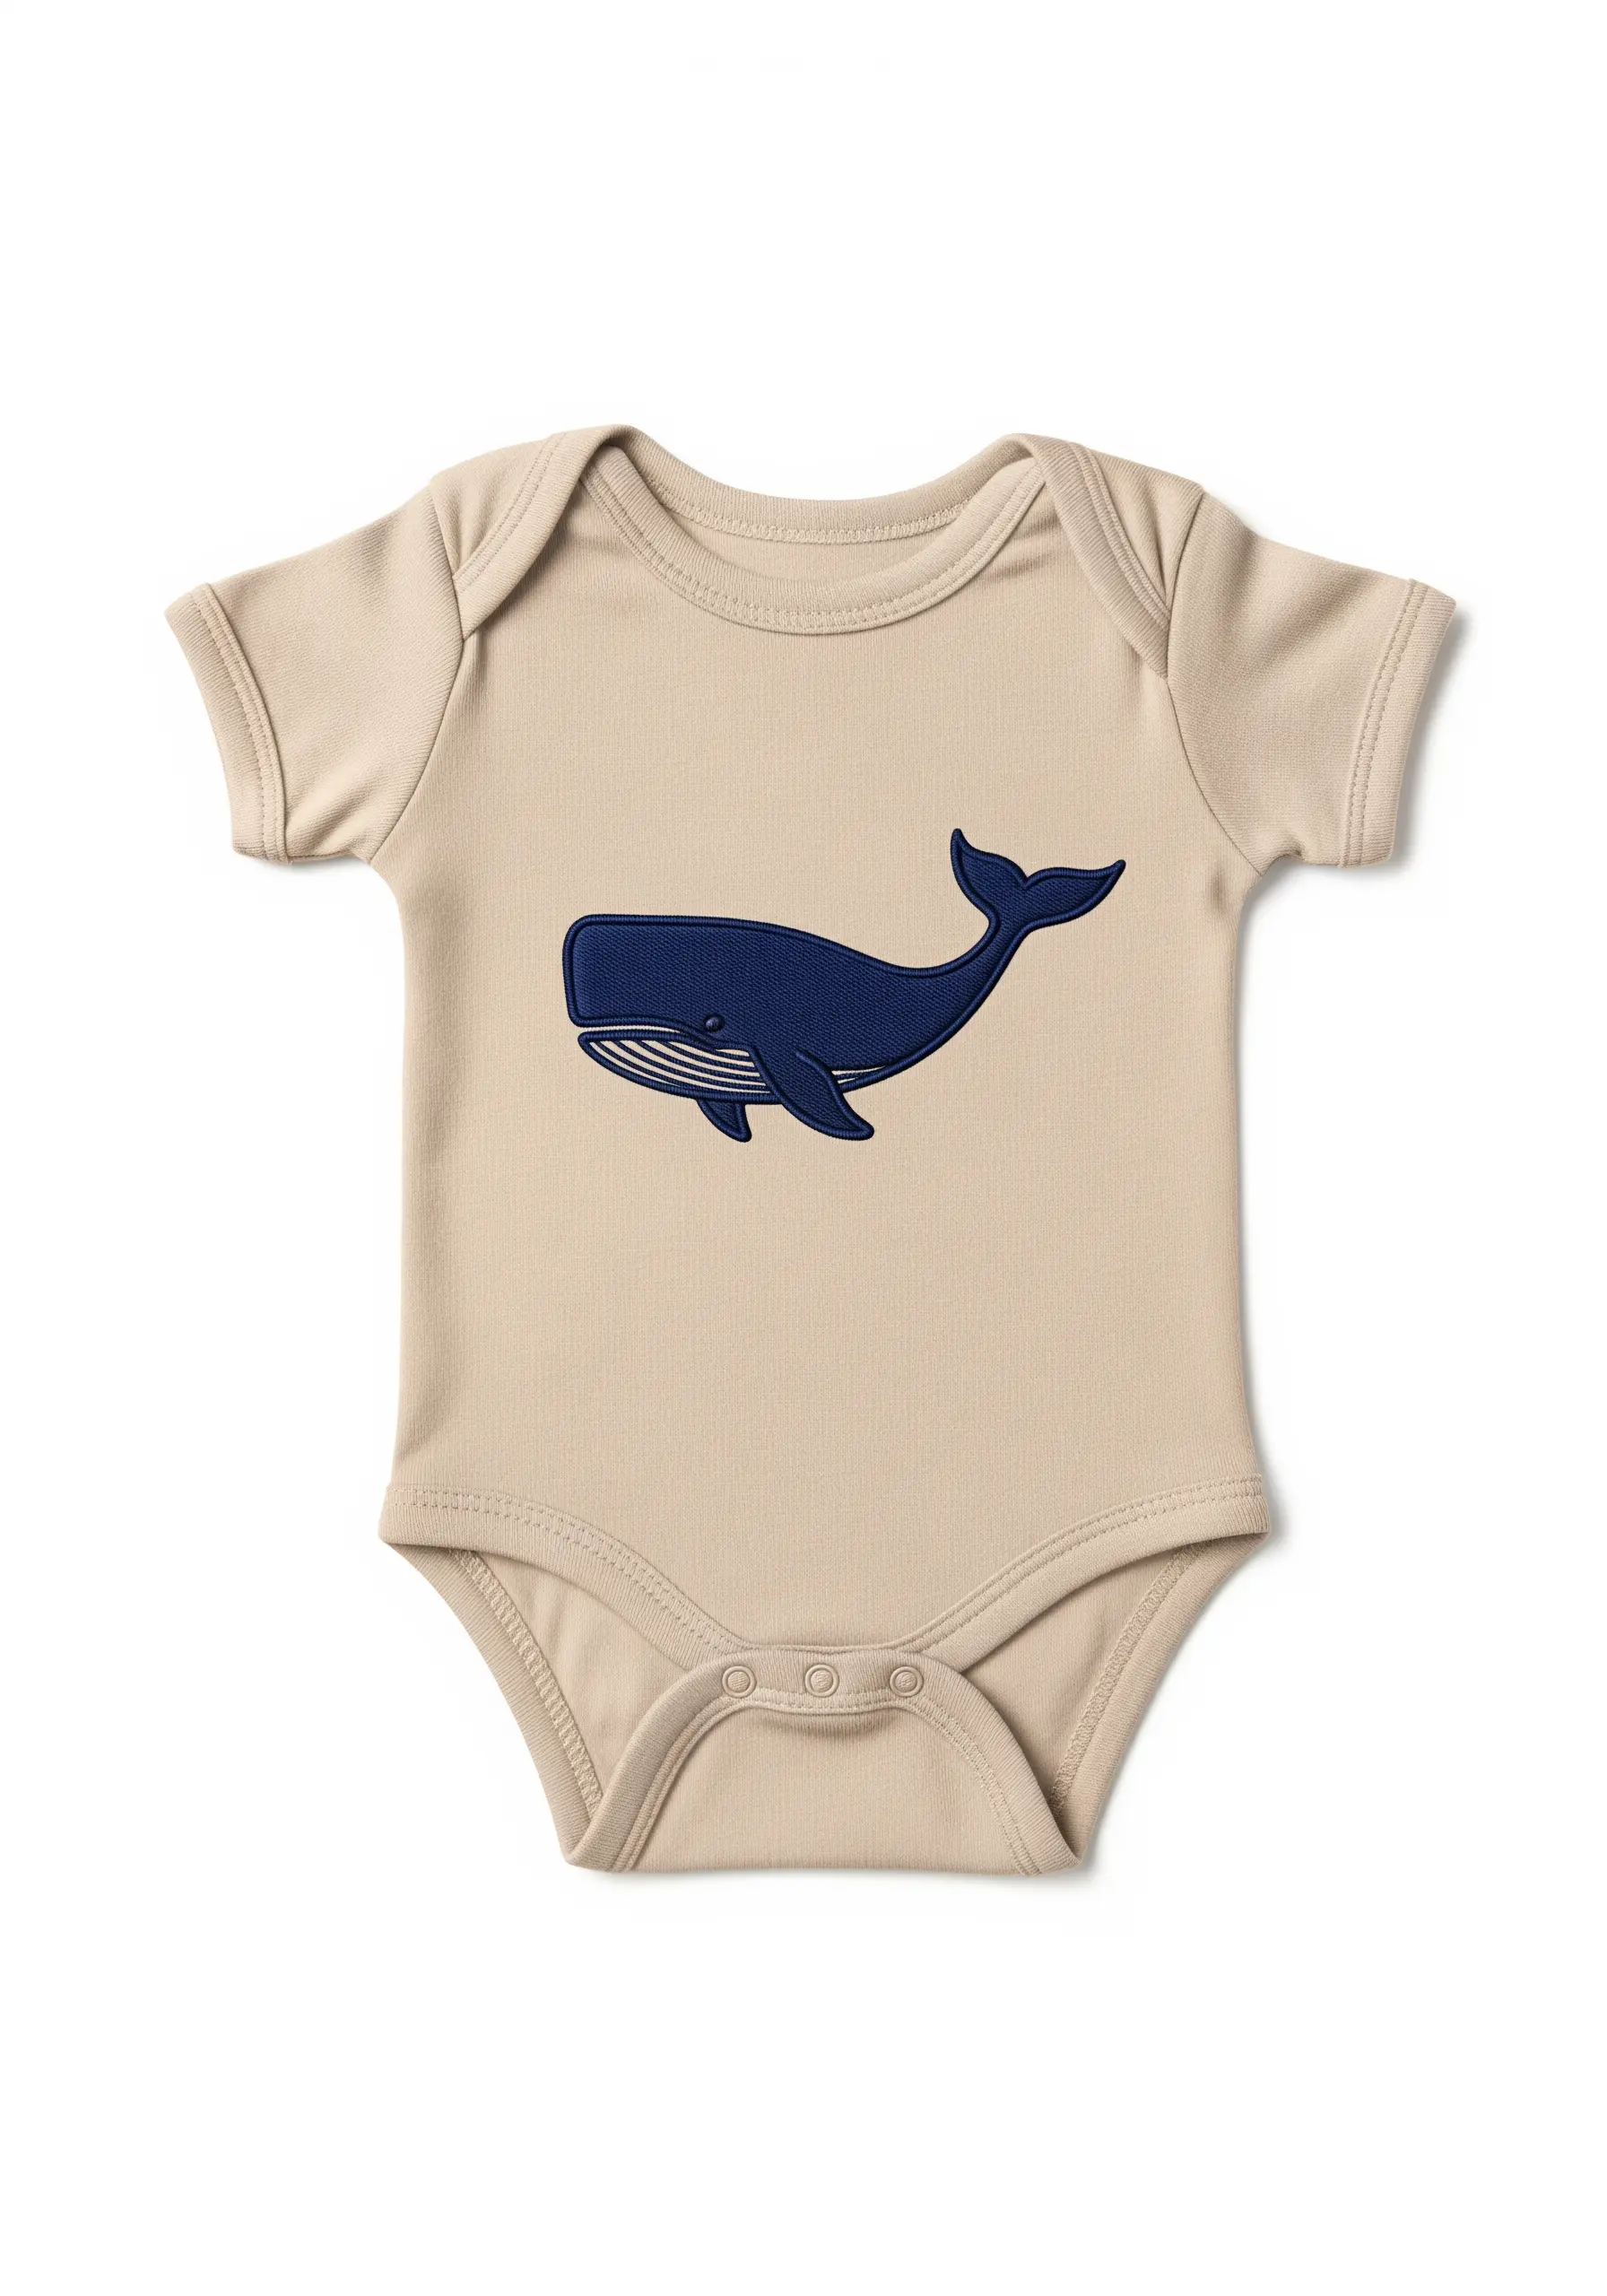
For a clean, graphic look, master the satin stitch fill.
The key to a perfectly smooth surface is stitch direction; follow the natural curves of the motif to create a subtle sense of form.
Using all six strands of floss helps fill the area quickly and creates a bold statement that feels both modern and playful.
This approach is perfect for stylized motifs, such as these whale & dolphin embroidery patterns that bring a calm aesthetic.
13. Create a Subtle Sheen with Satin Floss
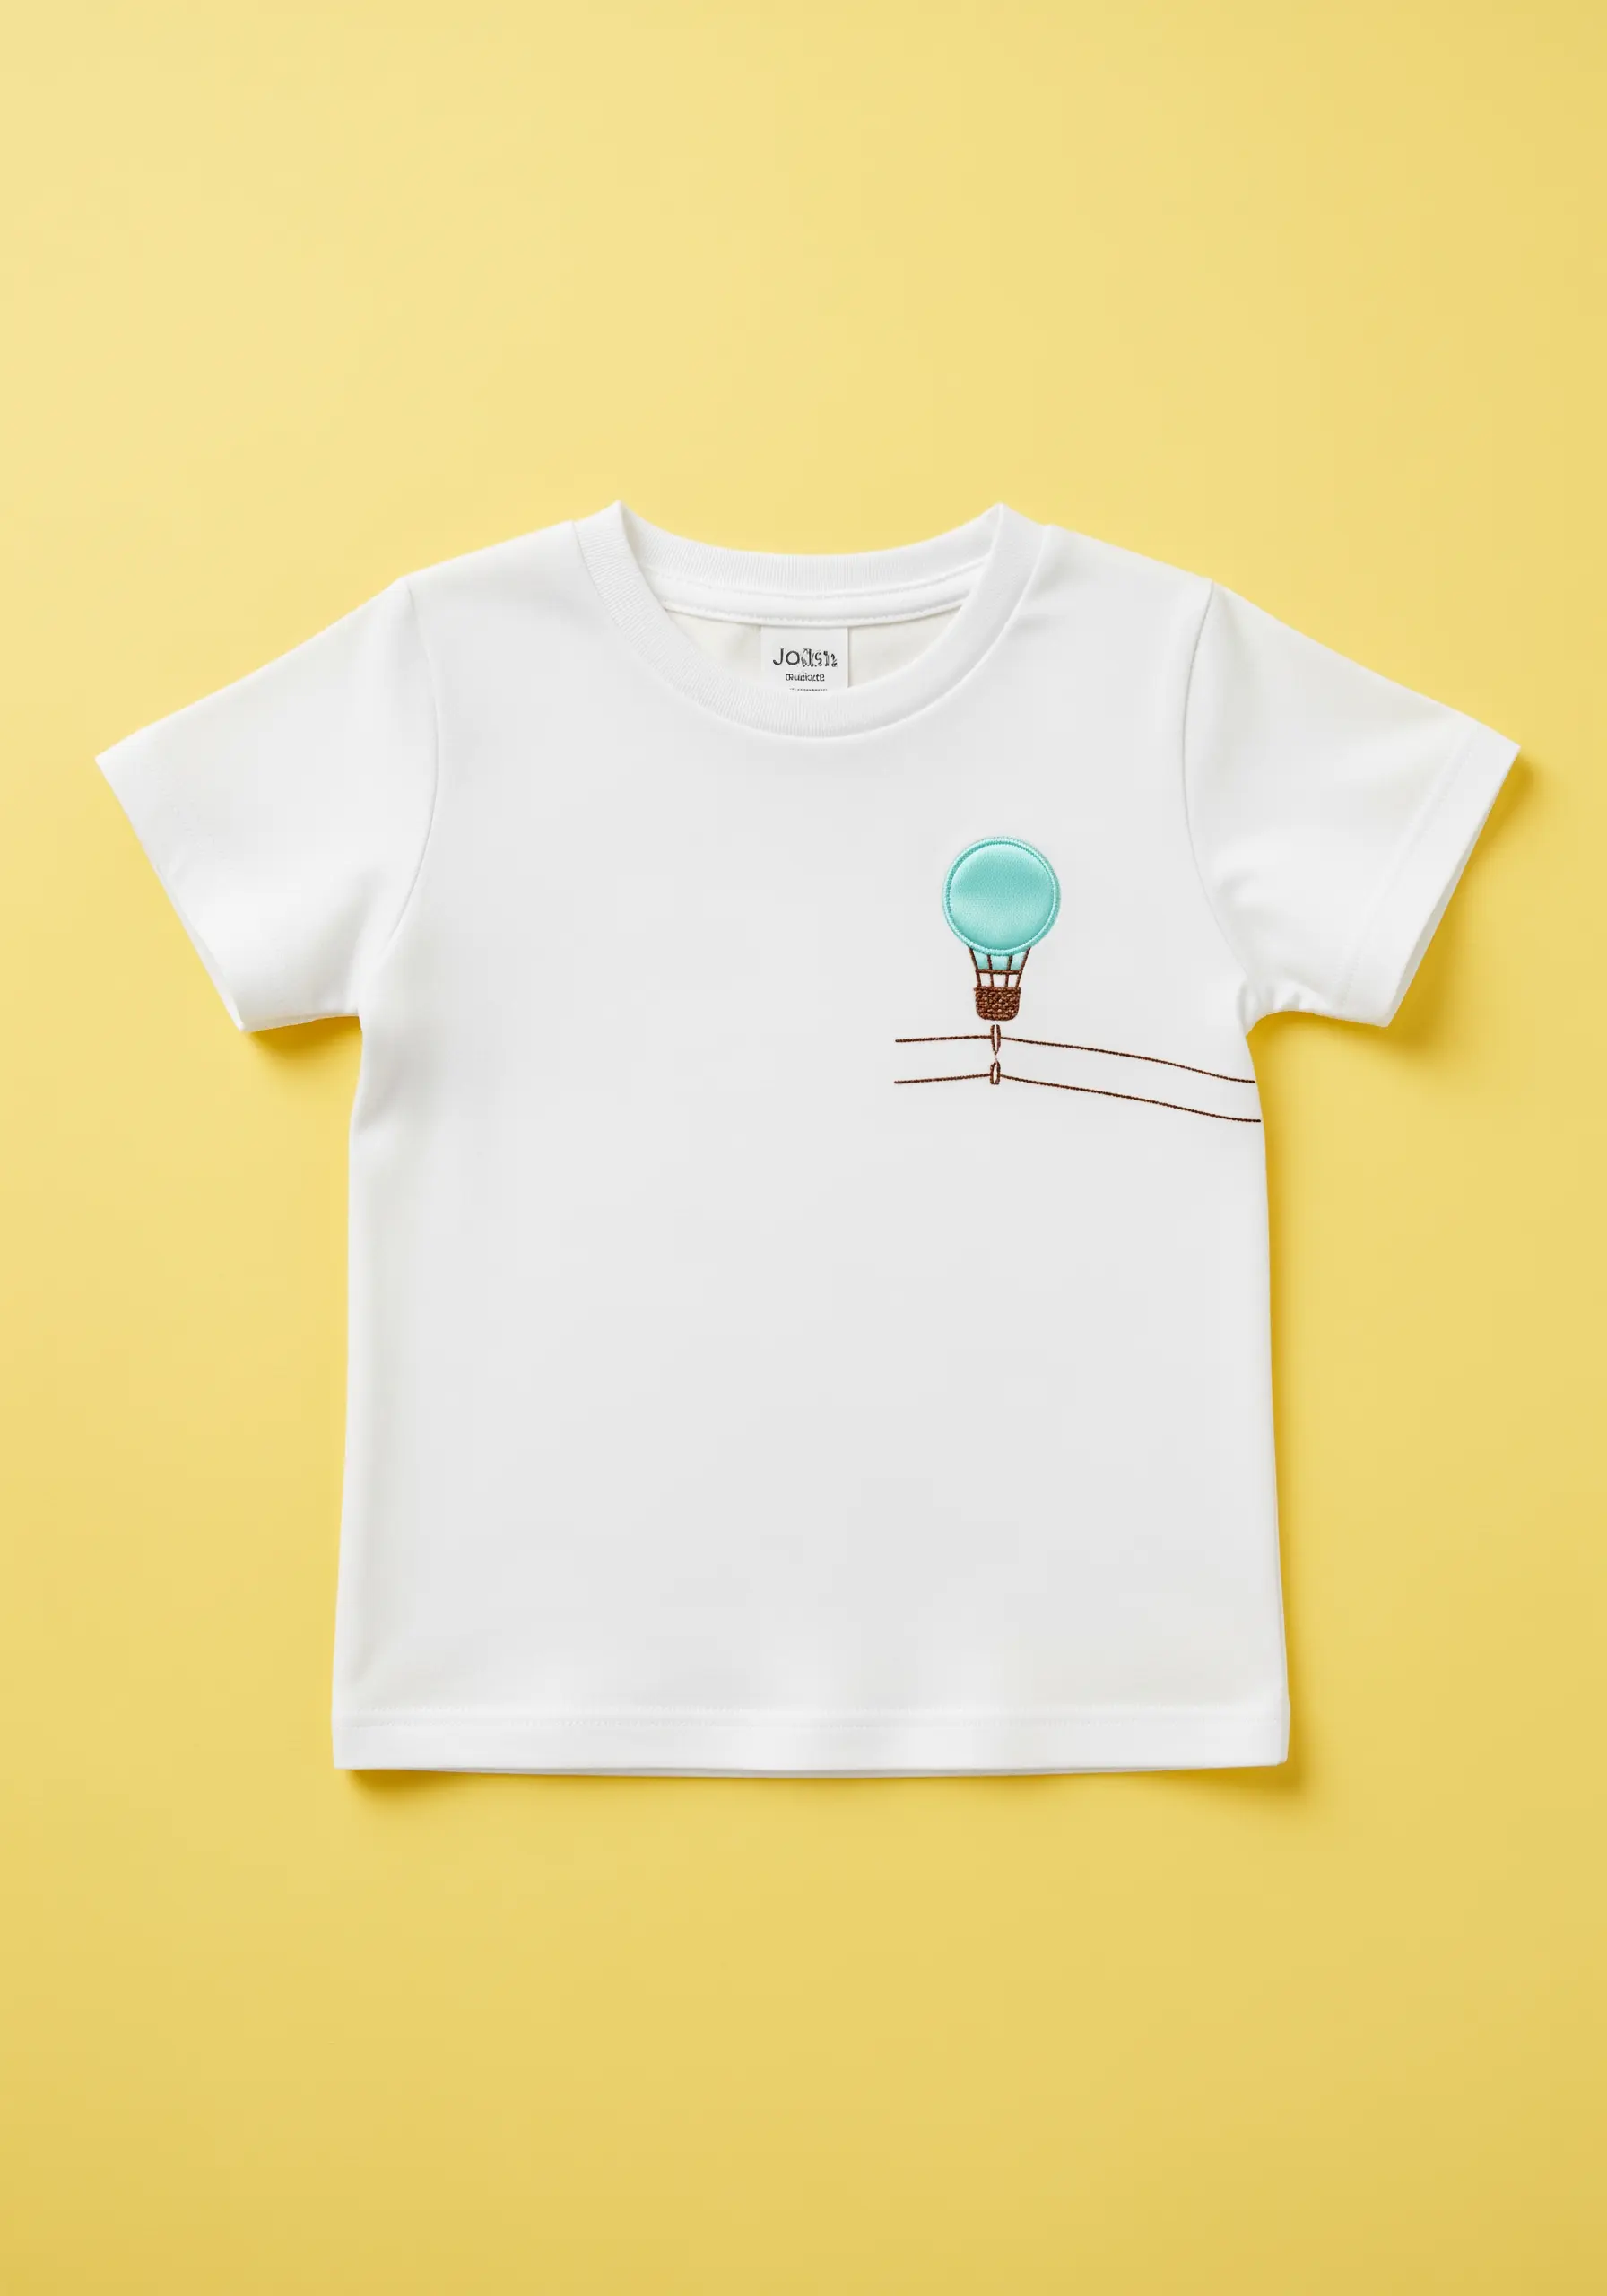
Give a simple motif a luminous quality by using satin floss or blending a single strand of metallic thread with your cotton.
Fill the balloon with a satin stitch, angling your stitches slightly to catch and reflect the light.
This subtle sheen creates a highlight effect that makes the simple shape pop without being overly sparkly.
It’s an easy way to add a touch of magic to an everyday t-shirt.
14. Stitch Meaningful Constellations
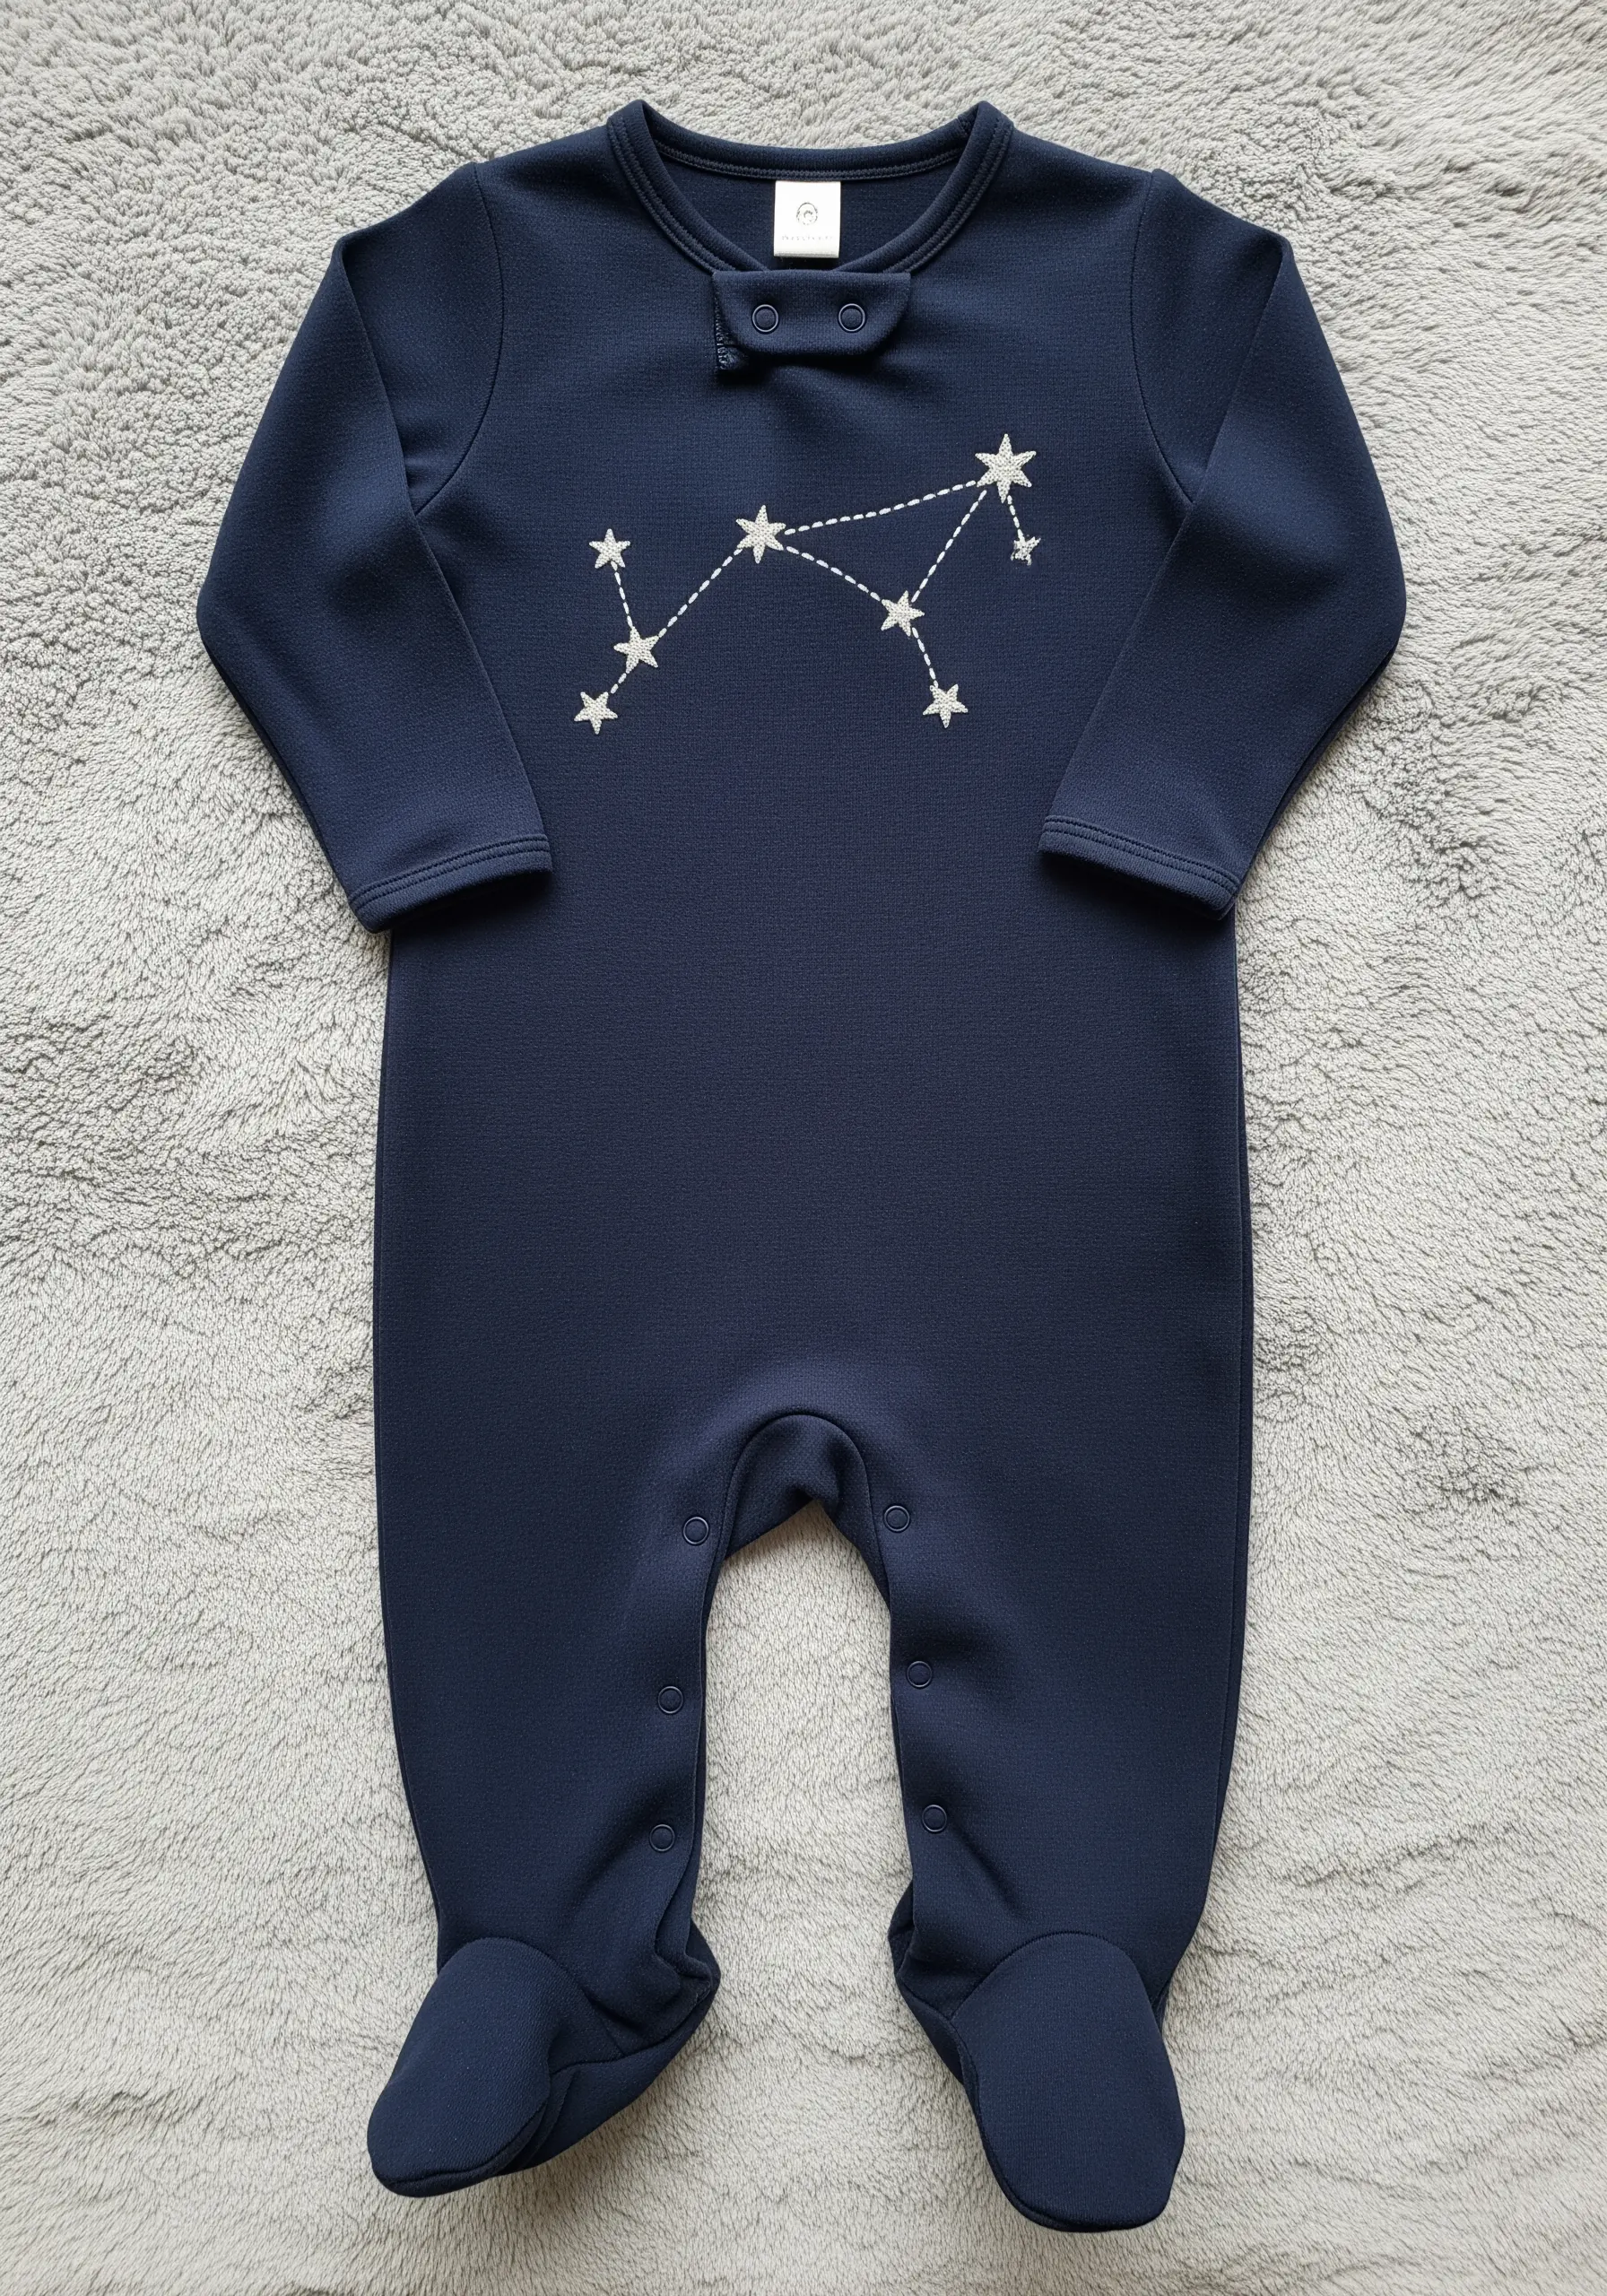
Embroider a personal touch, like a zodiac constellation, using the simplest of stitches.
Use French knots for the stars and connect them with delicate straight stitches.
A high-contrast thread, like silver metallic or bright white on a dark fabric, mimics a starry night sky beautifully.
This is one of those small embroidery ideas that look complex but are super easy to make, yet feel incredibly personal.
15. Use Directional Stitching for Texture

To create the realistic texture of a feather, the direction of your stitches is everything.
Start with a central split stitch for the quill, then work outwards with long, angled straight stitches for the barbs.
Slightly overlapping your stitches will create the softness and density of a real feather.
Sticking to a single color forces the eye to focus on the beautiful texture you’ve created.
16. Try a Simplified Thread Painting
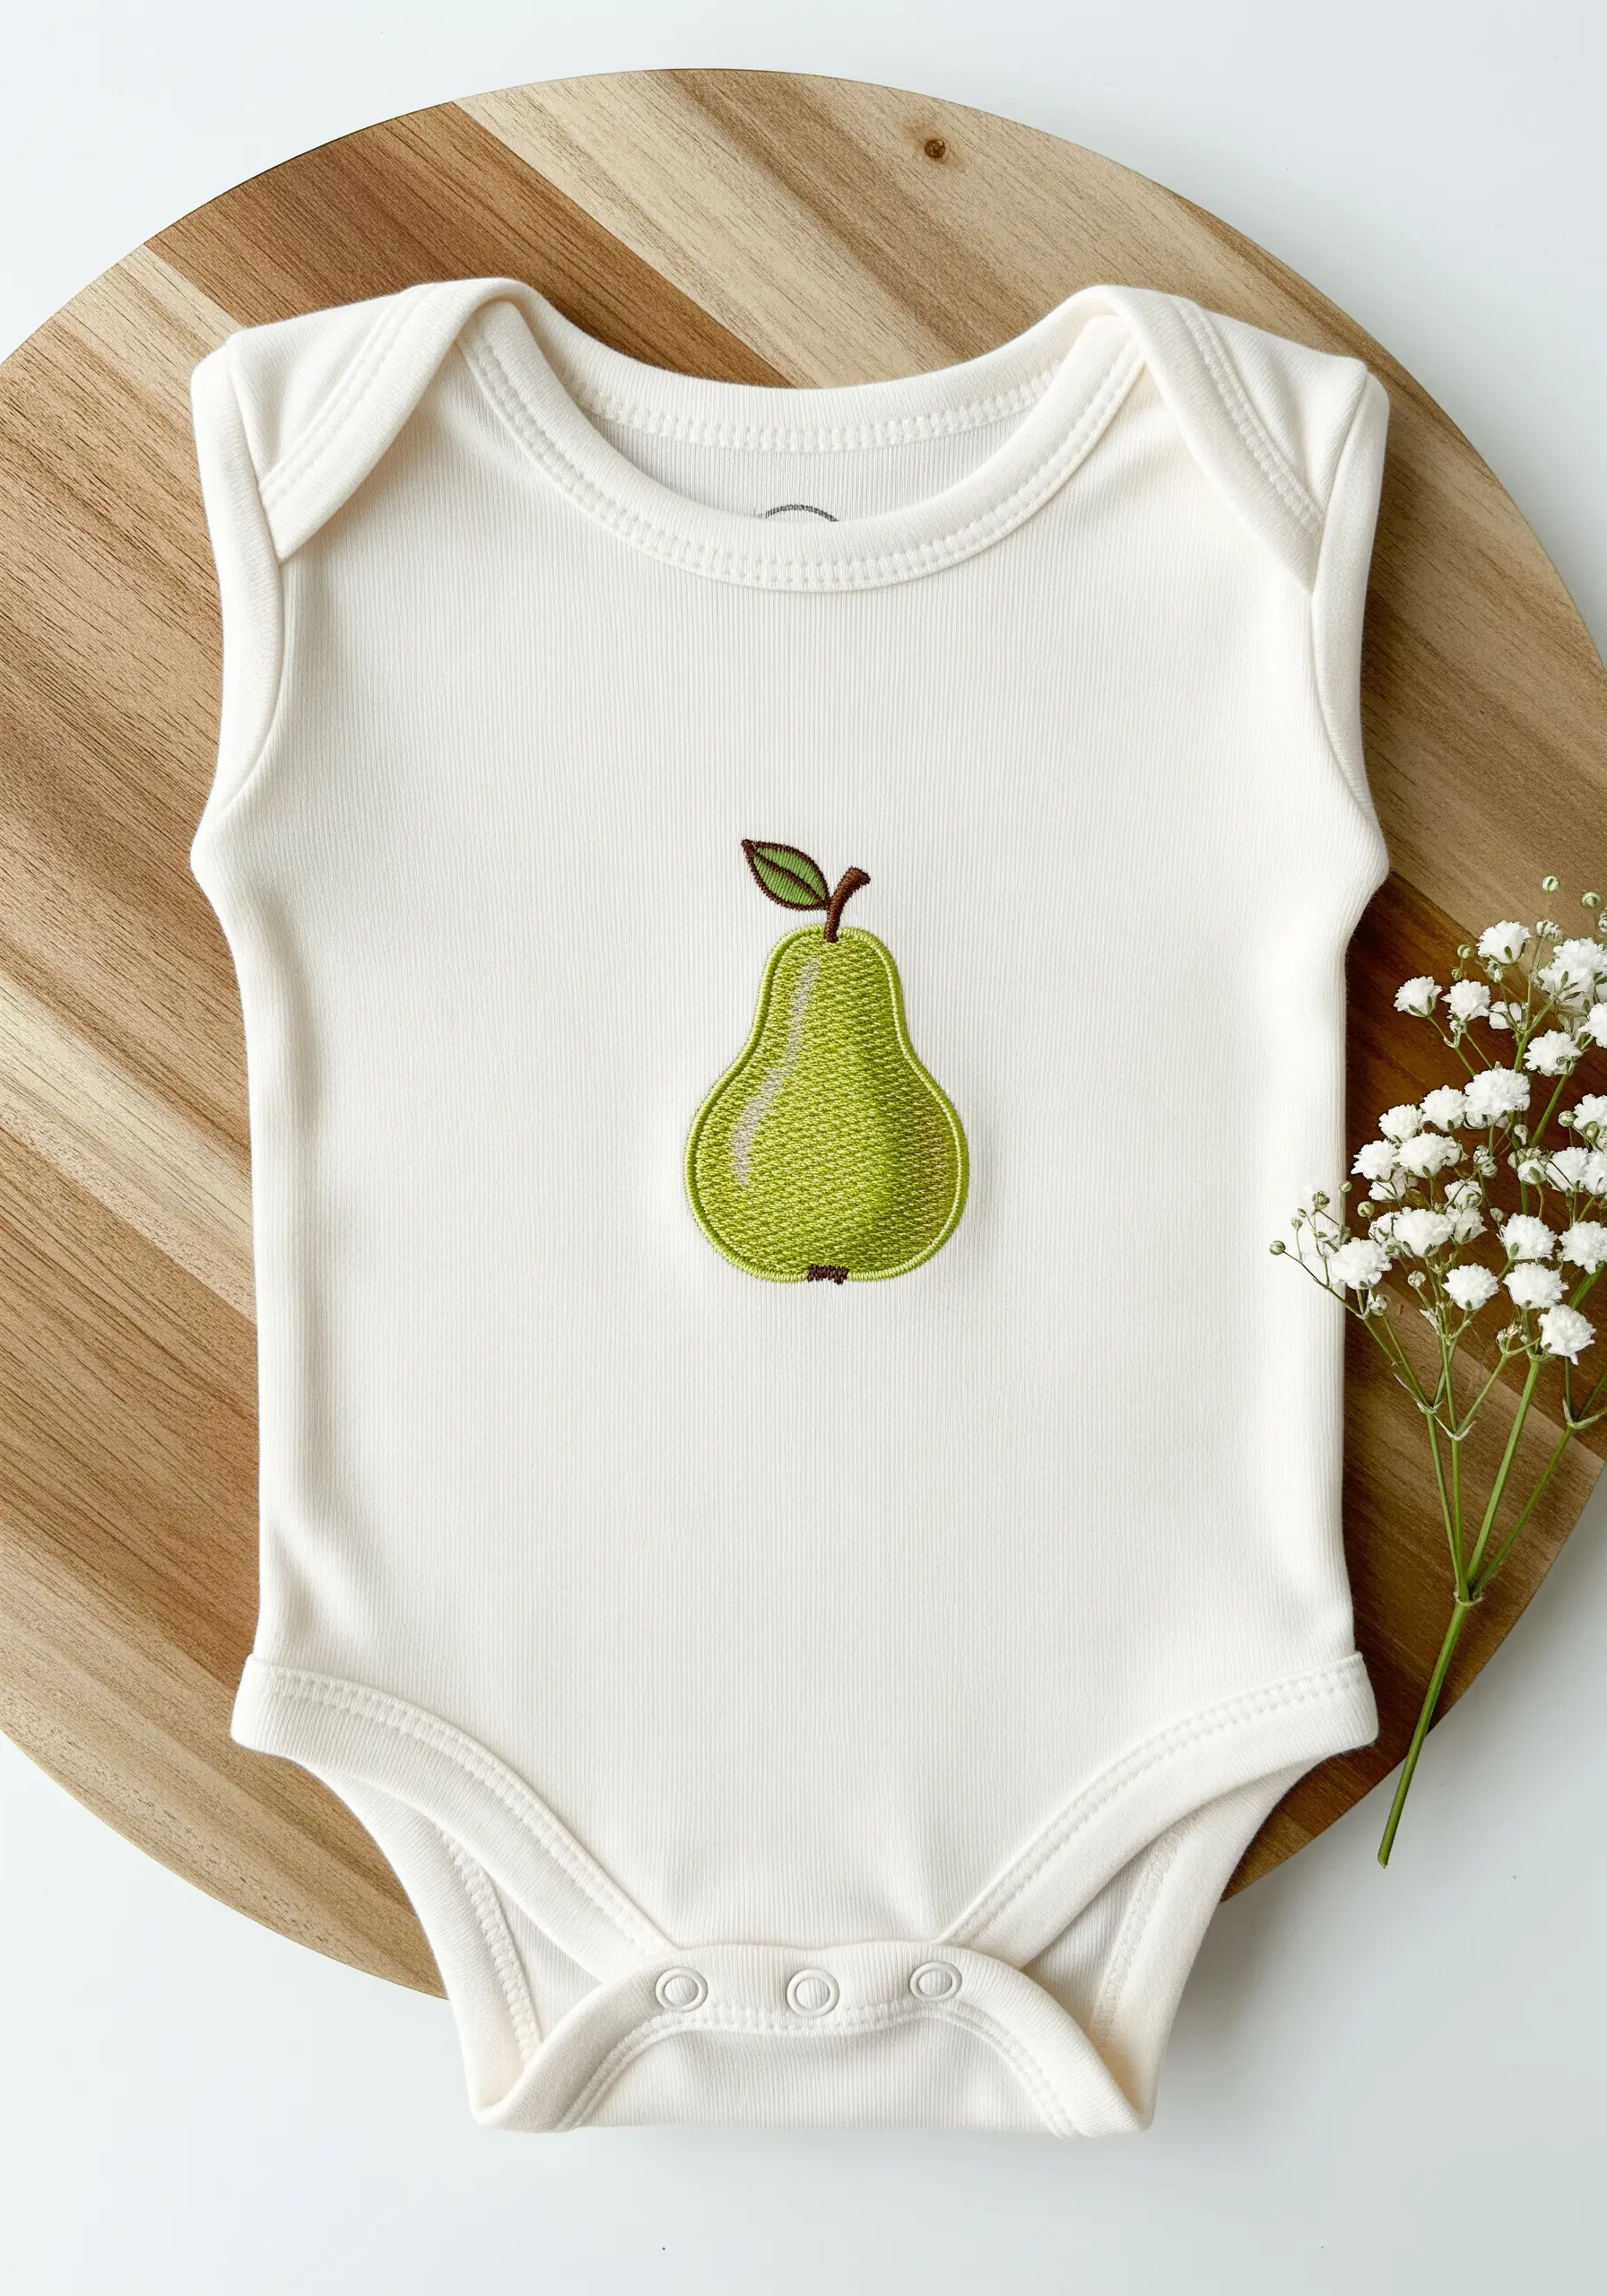
You can achieve a beautiful, painted effect with a simplified long-and-short stitch, even as a beginner.
Use just two or three shades of green to fill the pear, blending them softly where the colors meet.
Don’t strive for perfect blending; the subtle variations create natural-looking highlights and shadows.
A crisp backstitch outline in a darker shade will define the shape and make your colors pop.
17. Create Dimension with Padded Satin Stitch
To make simple shapes feel substantial and three-dimensional, use a padded satin stitch.
First, fill the inside of your shape with a layer of seed stitches or straight stitches. This is your padding.
Then, cover this padding with your final satin stitch, working in the opposite direction for the best coverage.
This technique physically raises the surface, giving the shapes a clean, tactile quality.
18. Add Character with Varied Line Weight
Give a simple outline a dynamic, hand-drawn look by varying the thickness of your line.
Use a stem stitch and adjust the number of floss strands you’re working with for different parts of the design.
For instance, use three strands for the main body outline, then drop to a single strand for finer details like the facial features.
This simple adjustment adds character and visual interest to basic line art.
19. Achieve Crisp Sans-Serif Lettering
For bold, modern typography, a satin stitch provides a clean, solid fill.
The secret to perfectly crisp edges is to first outline each letter with a tiny split stitch.
This raised edge acts as a perfect guide for your satin stitches and prevents them from shifting or becoming uneven.
Always use a stabilizer on the back of knit fabric to avoid puckering and ensure your letters lie flat.
20. Build Floral Texture with French Knots
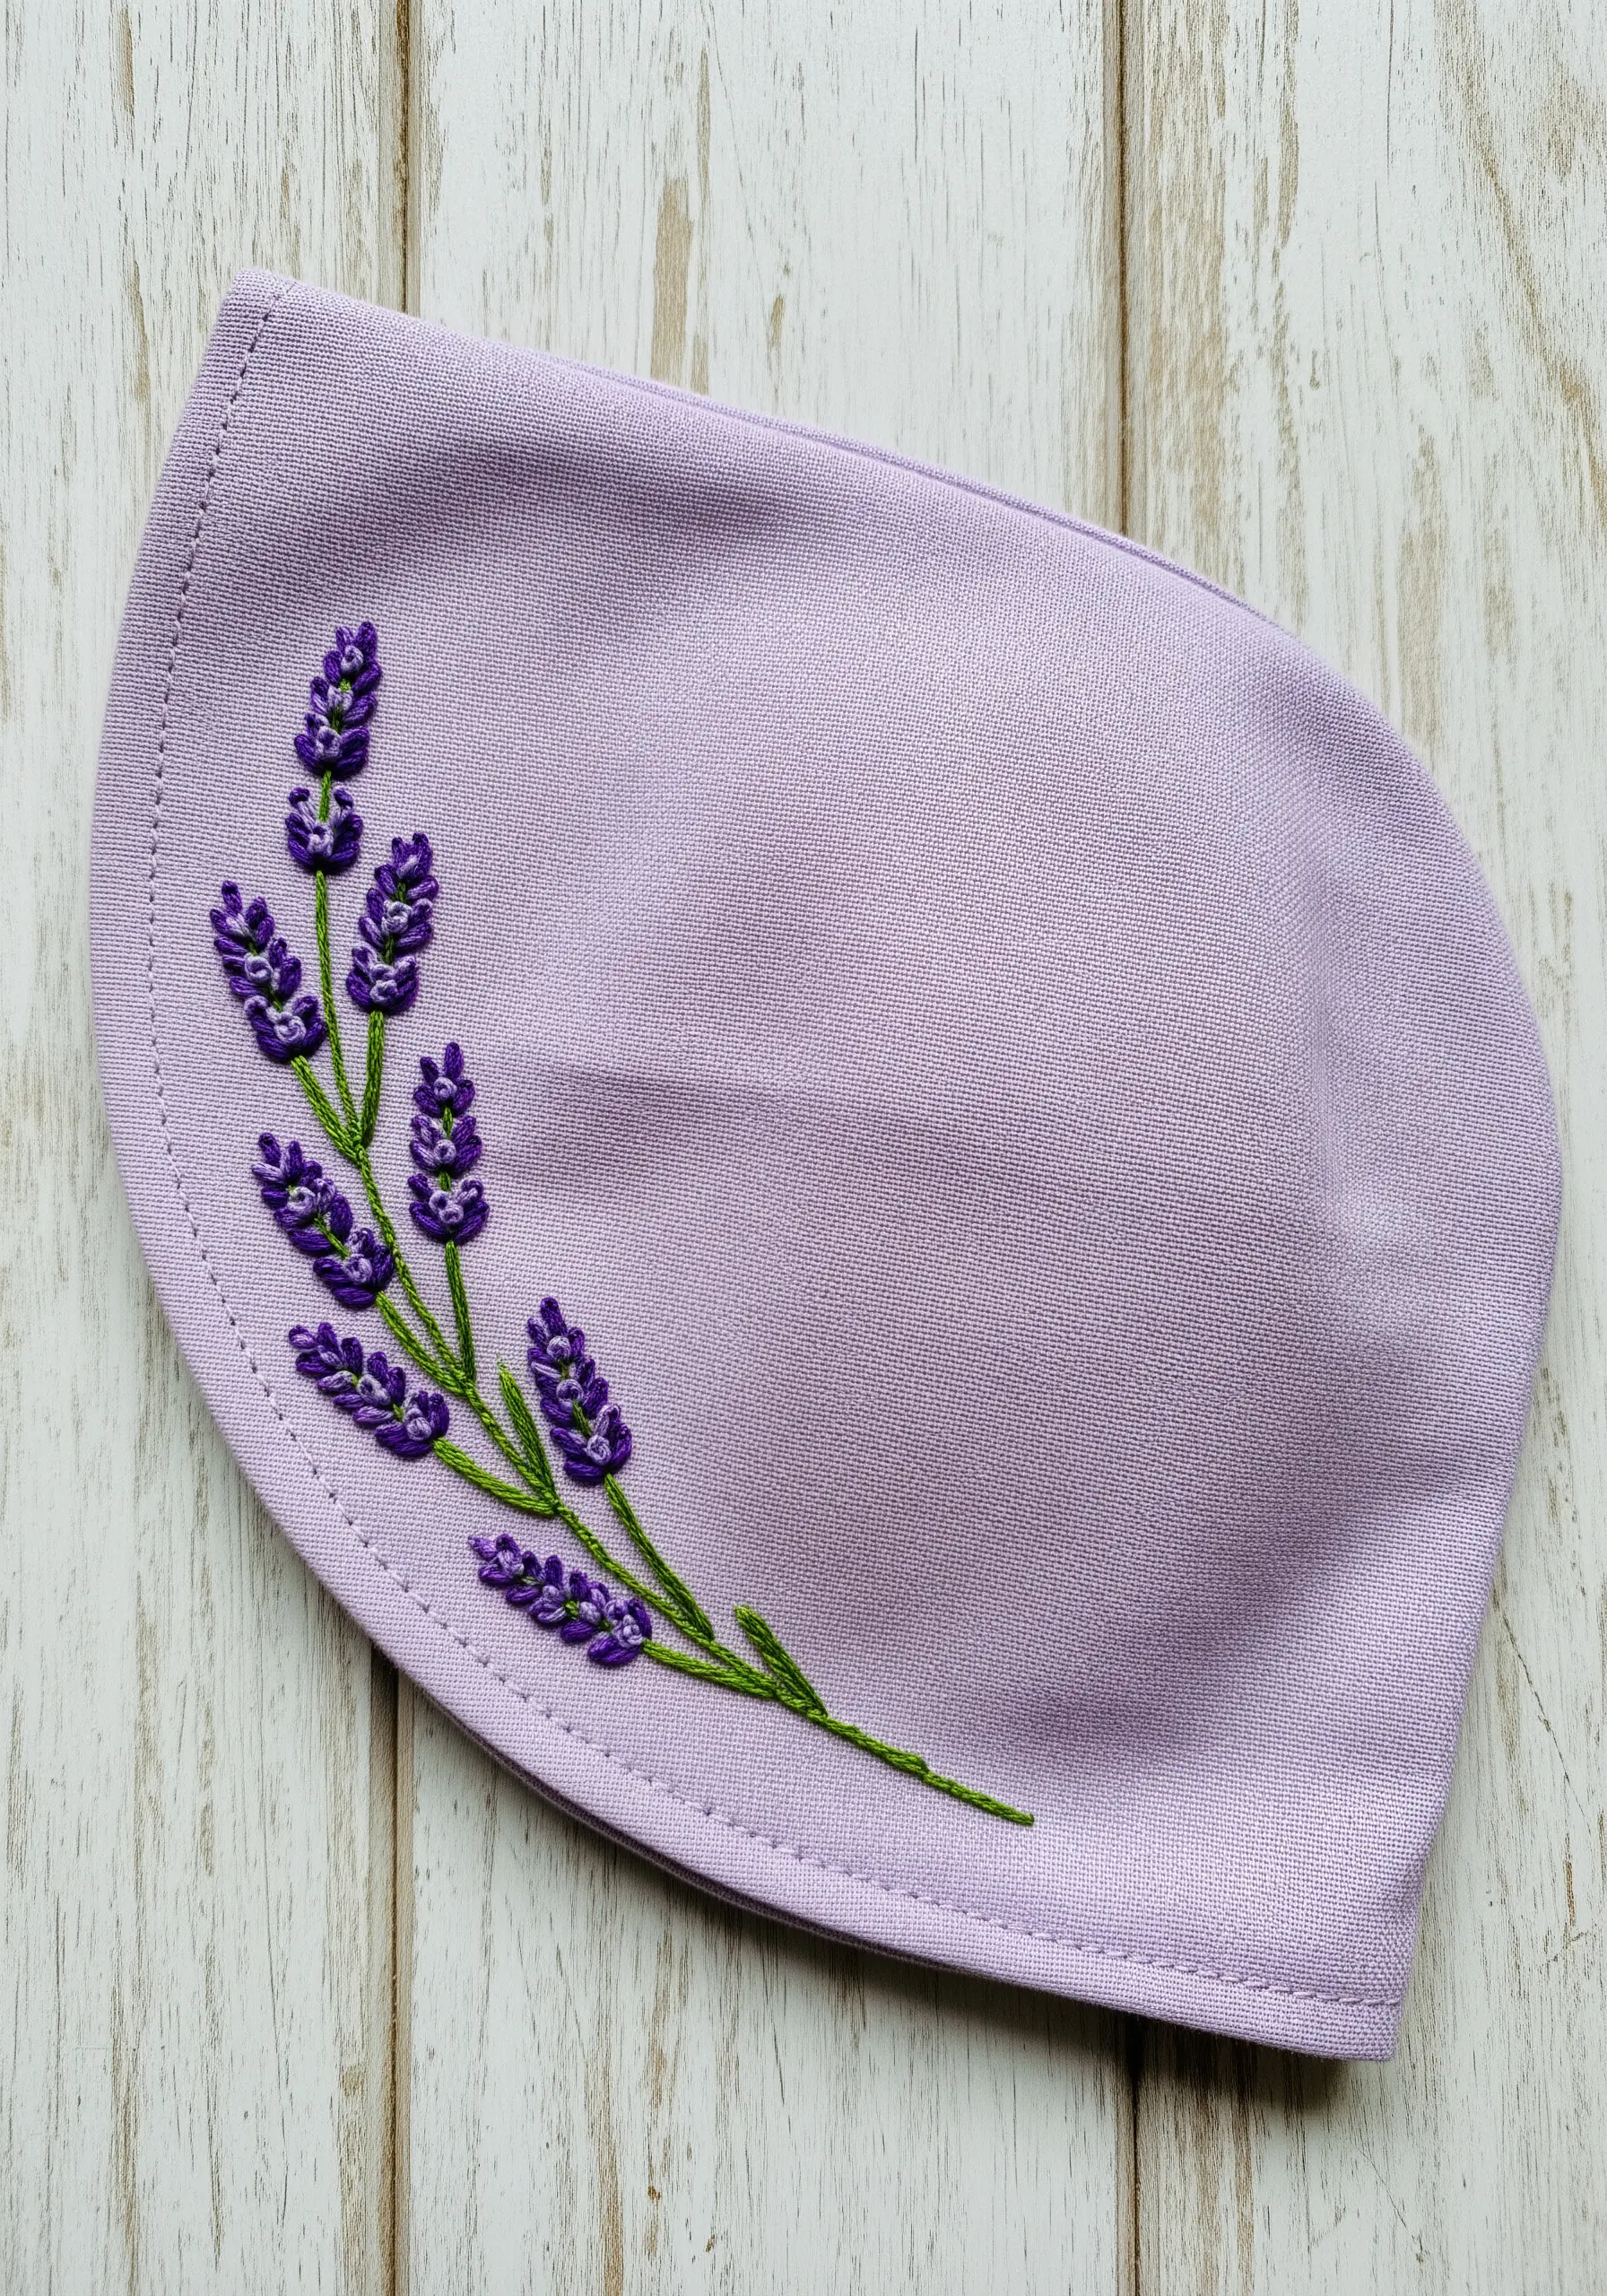
French knots are the perfect stitch for creating the dense, bumpy texture of lavender blossoms.
Use two or three shades of purple and scatter the knots organically along the stalk for a more natural, varied appearance.
A smooth stem stitch in green provides a clean line that contrasts beautifully with the textured flowers.
It’s one of those charming lavender field embroidery ideas that feels both classic and sweet.
21. Play with Asymmetrical Placement
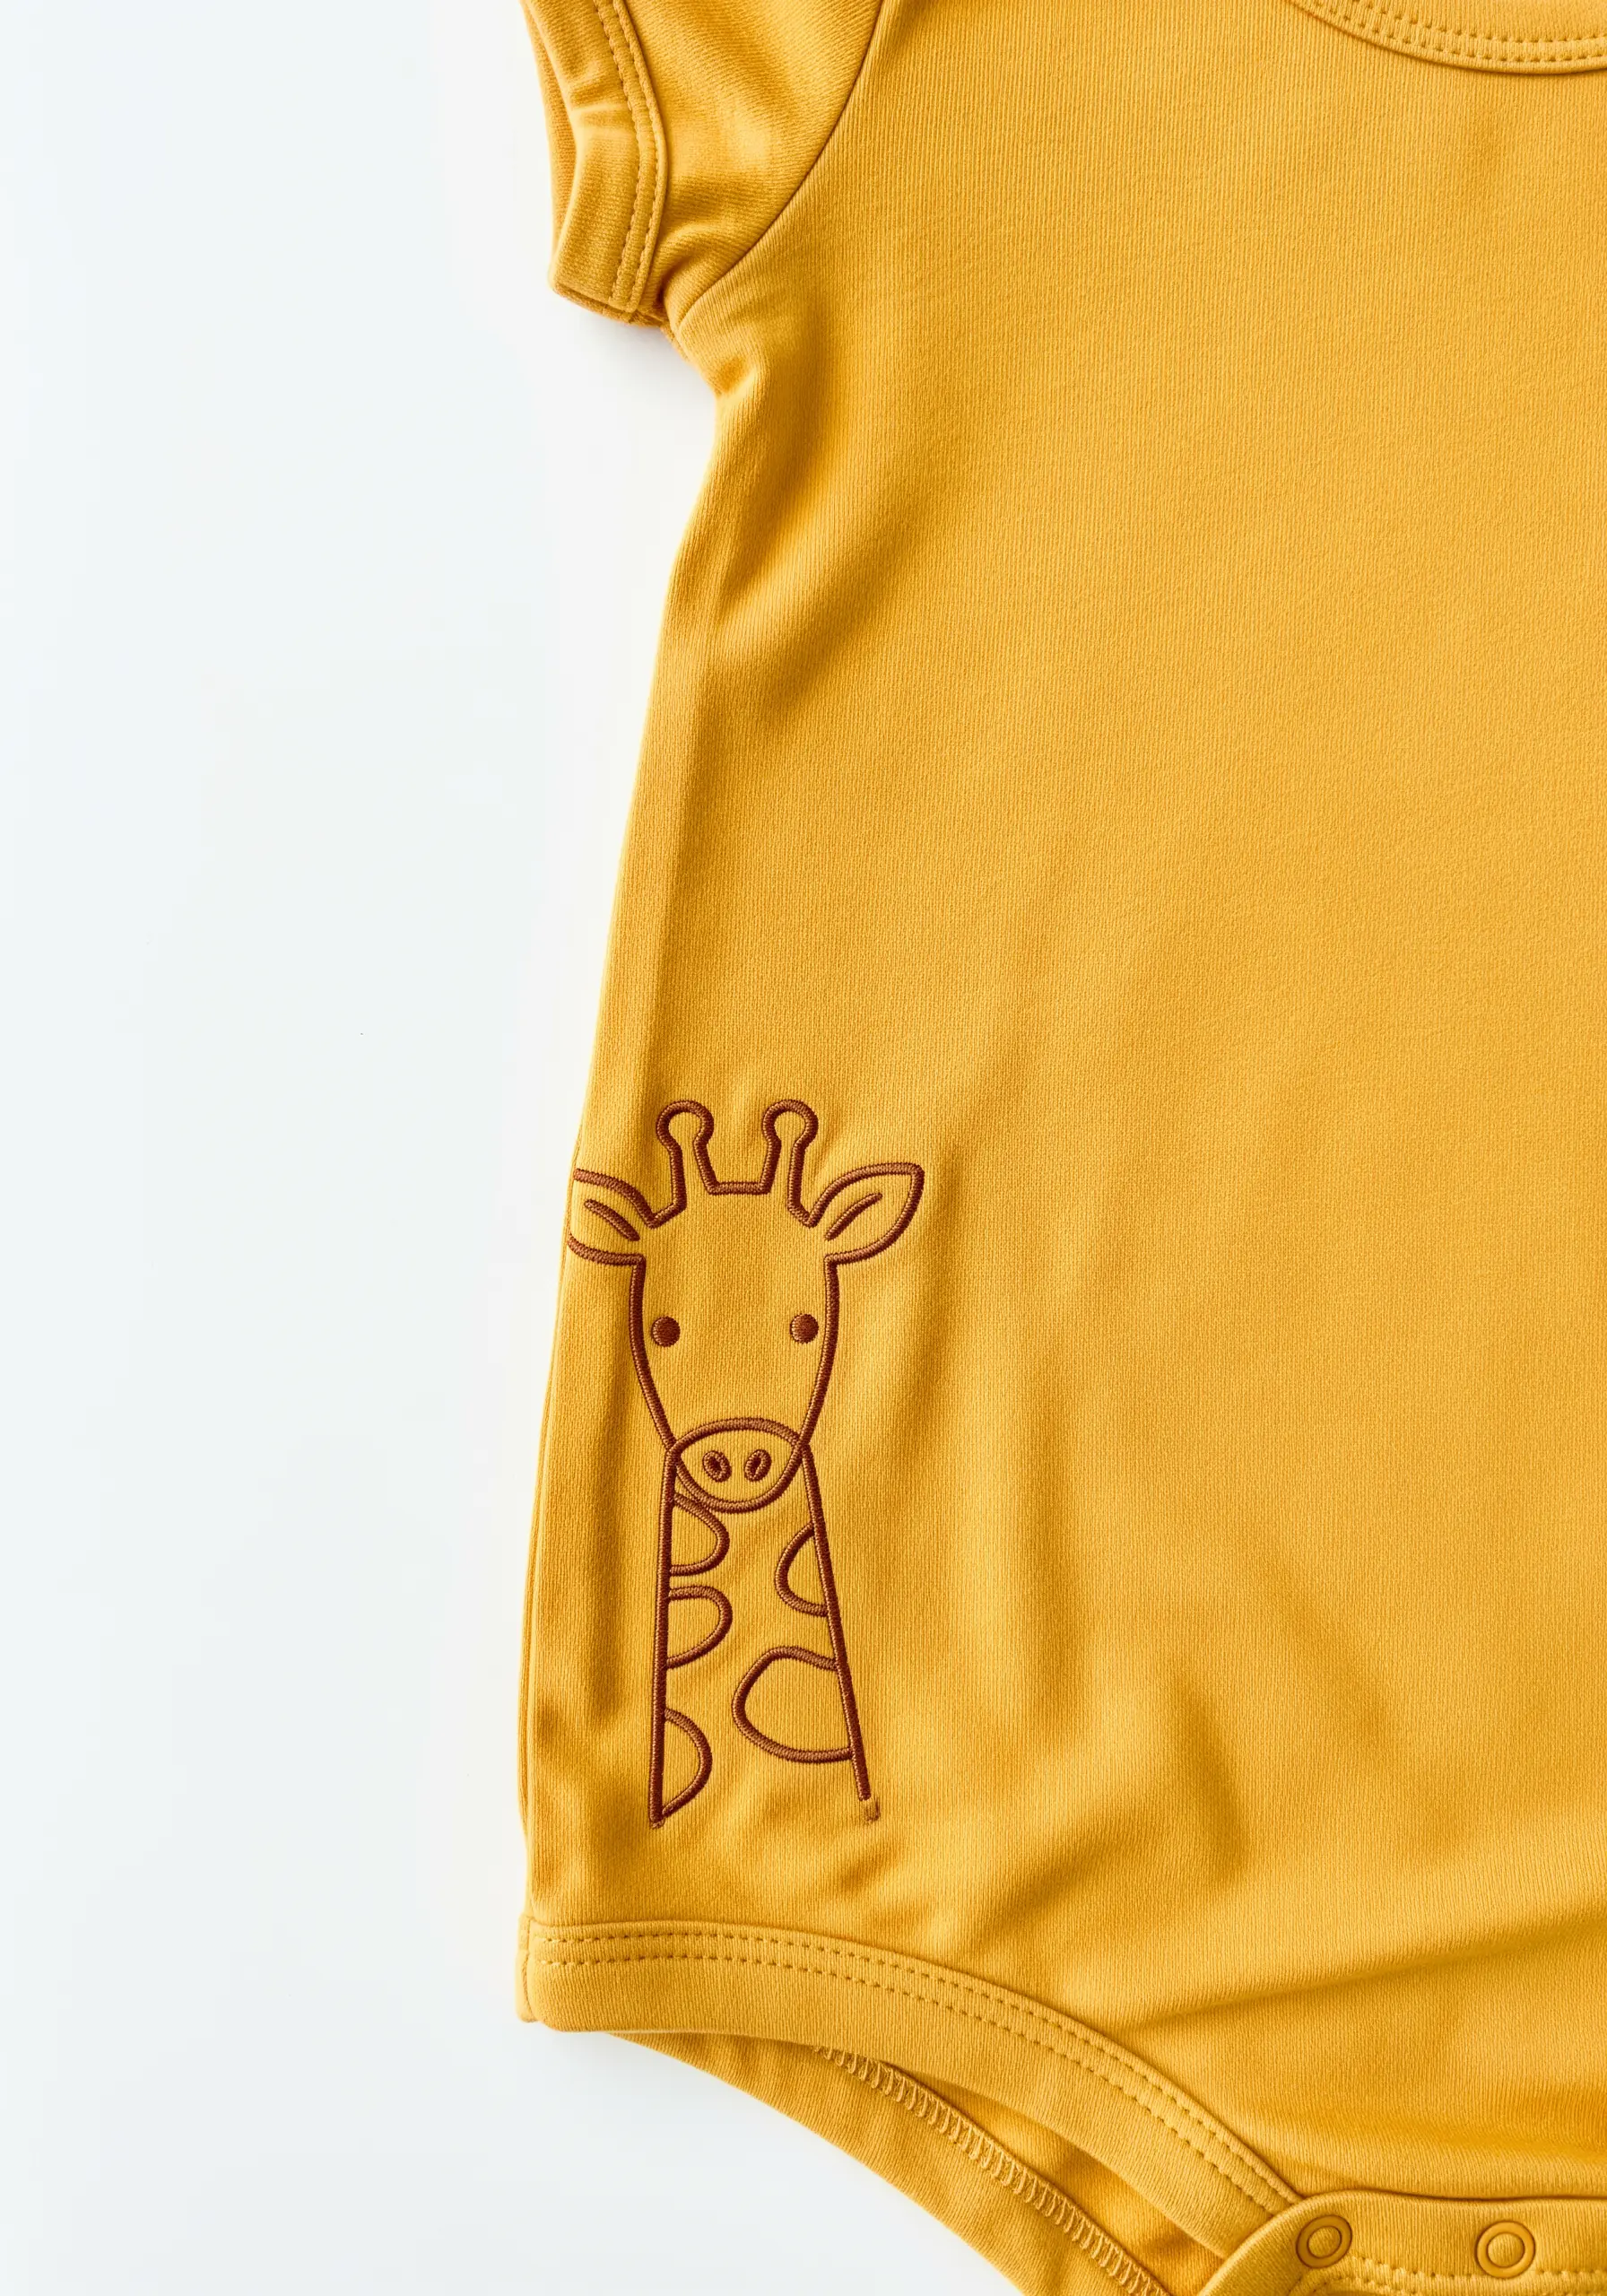
Create visual interest by breaking the rules of symmetry.
Placing a character so it’s peeking in from the side of a garment adds a surprising and playful quality.
Use a simple backstitch for this line-art style, keeping your stitches small and even to maintain a smooth line around curves.
It’s one of those tiny animal embroidery designs that make everyone smile, purely because of its clever placement.
22. Embroidering on High-Pile Fabrics like Fleece
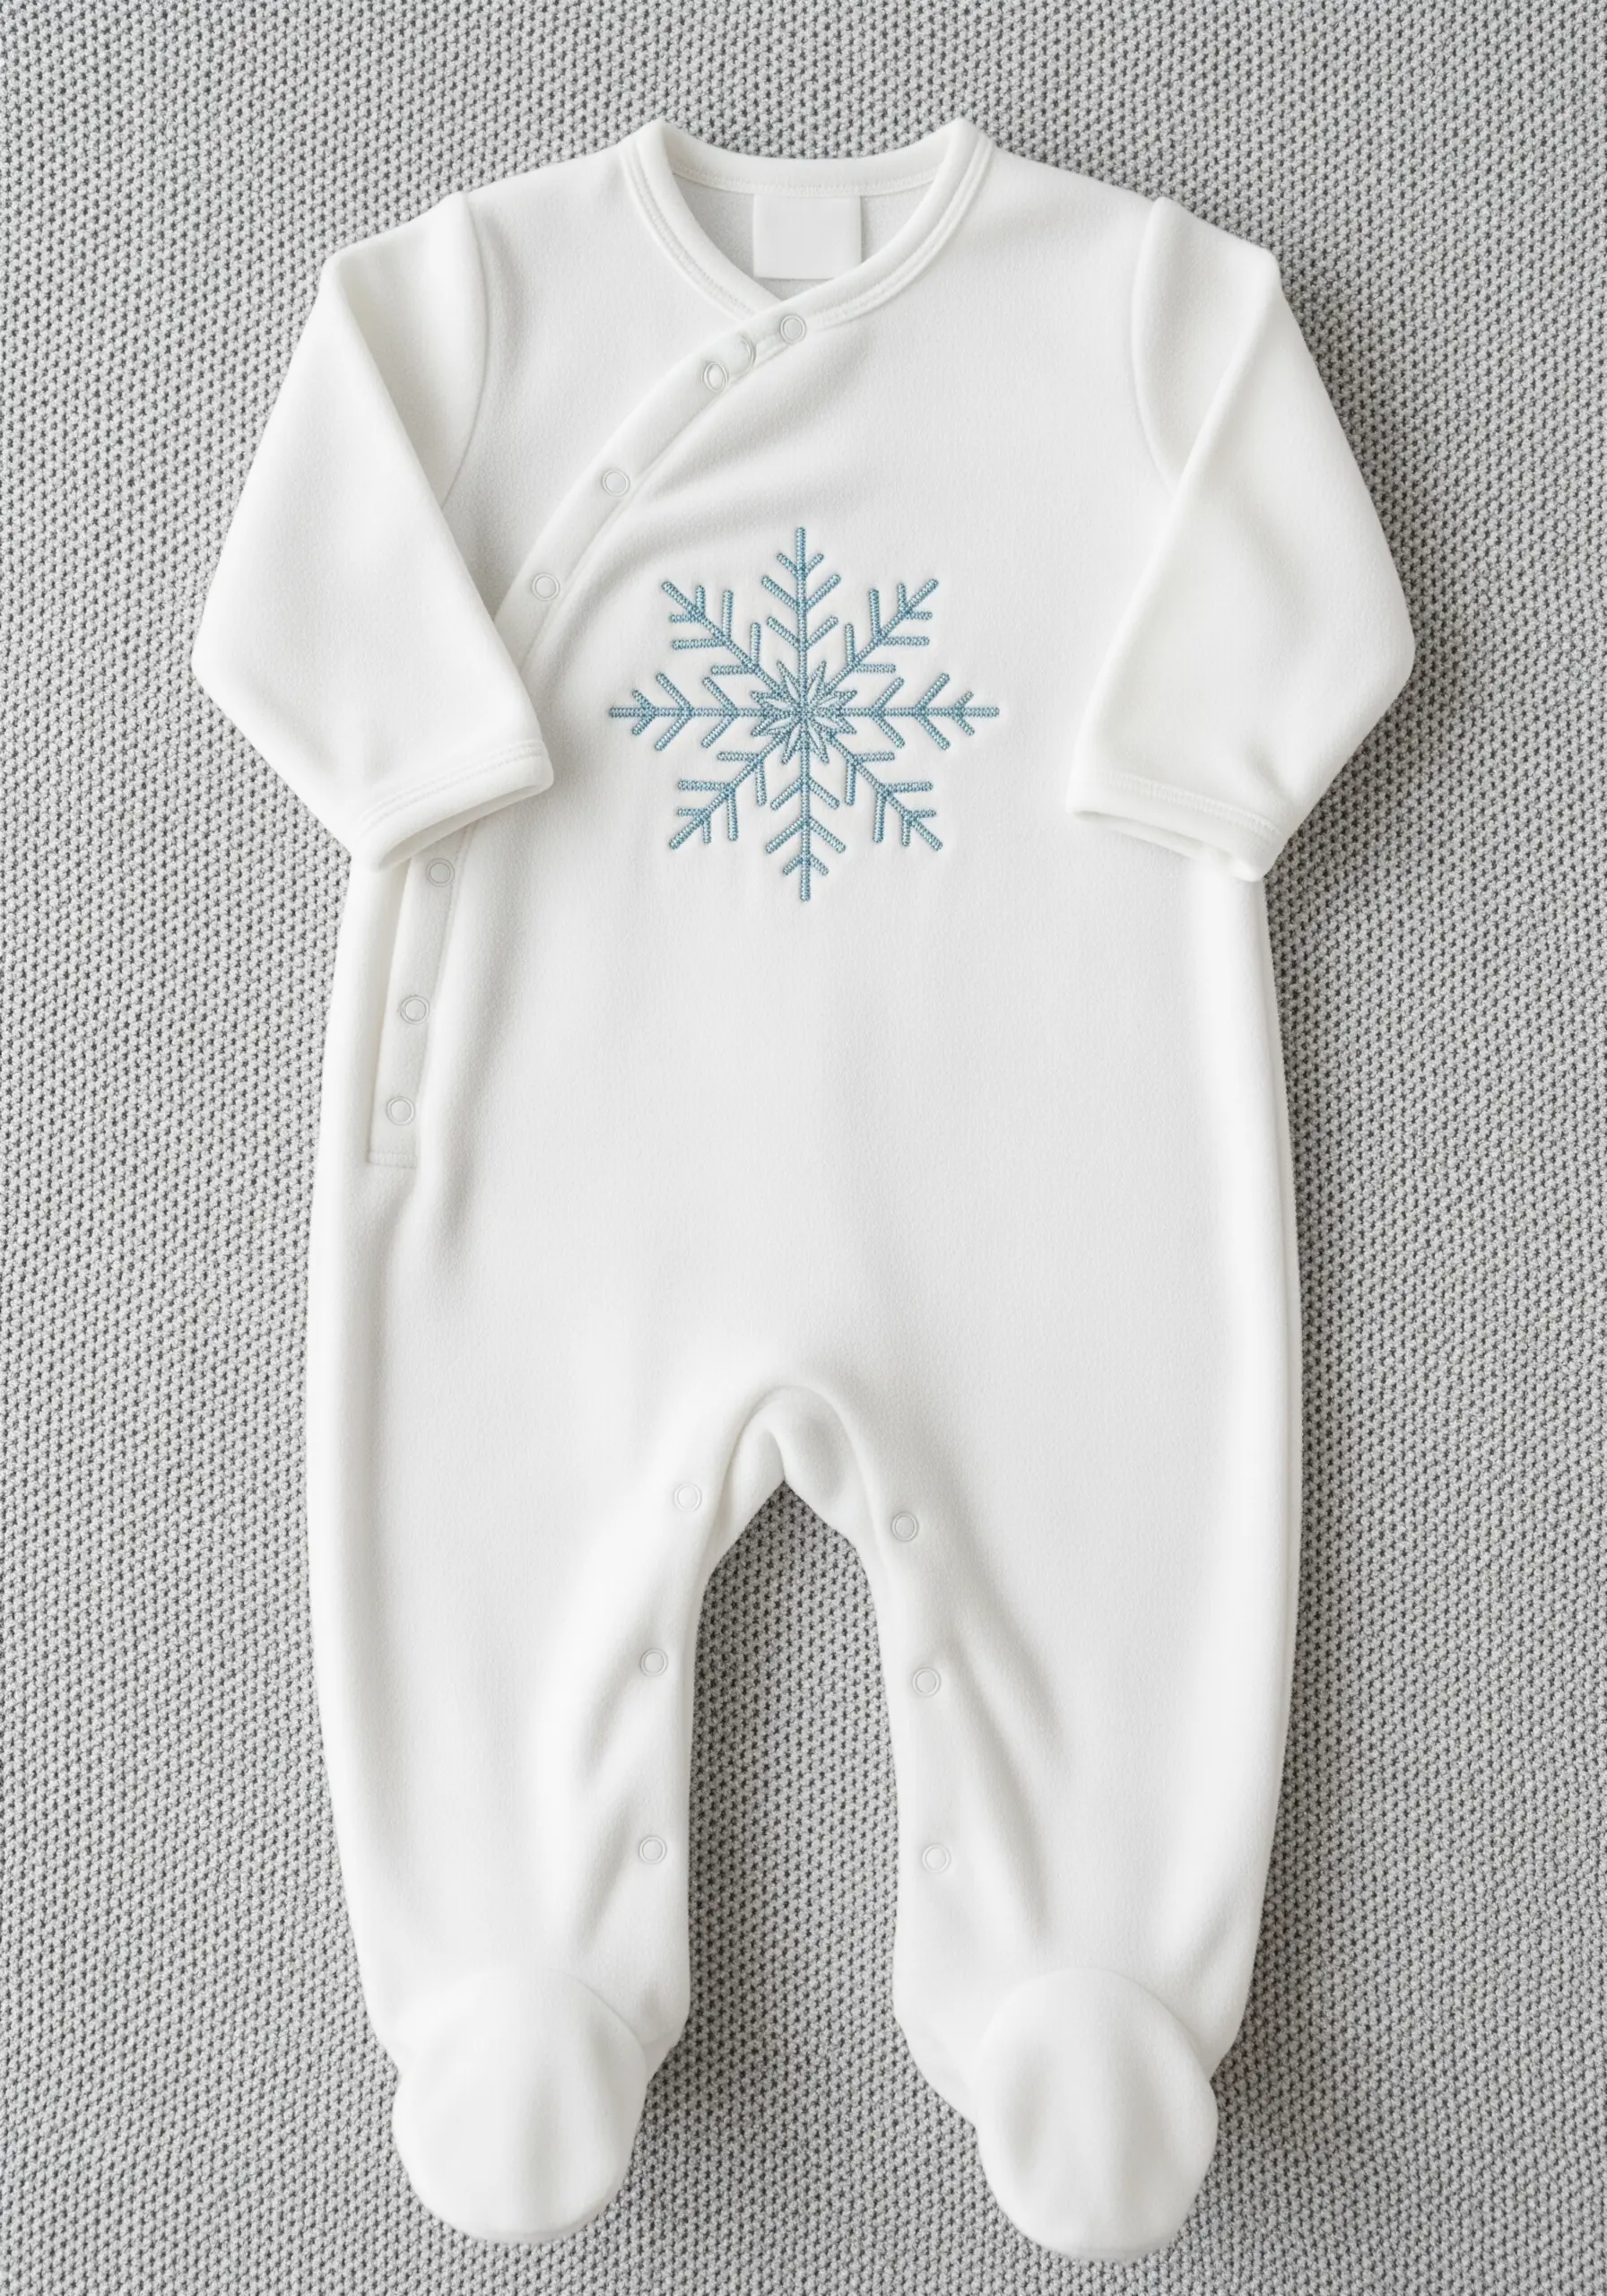
When stitching on fleece or other fluffy fabrics, a water-soluble stabilizer placed on top of your design is non-negotiable.
This clear film, often called a ‘topping,’ prevents your stitches from sinking into the fabric’s pile.
As a result, your stitches remain crisp, defined, and beautifully visible.
For a delicate snowflake, a metallic or variegated blue thread adds a subtle shimmer that mimics ice.
23. Combine Appliqué and Embroidery
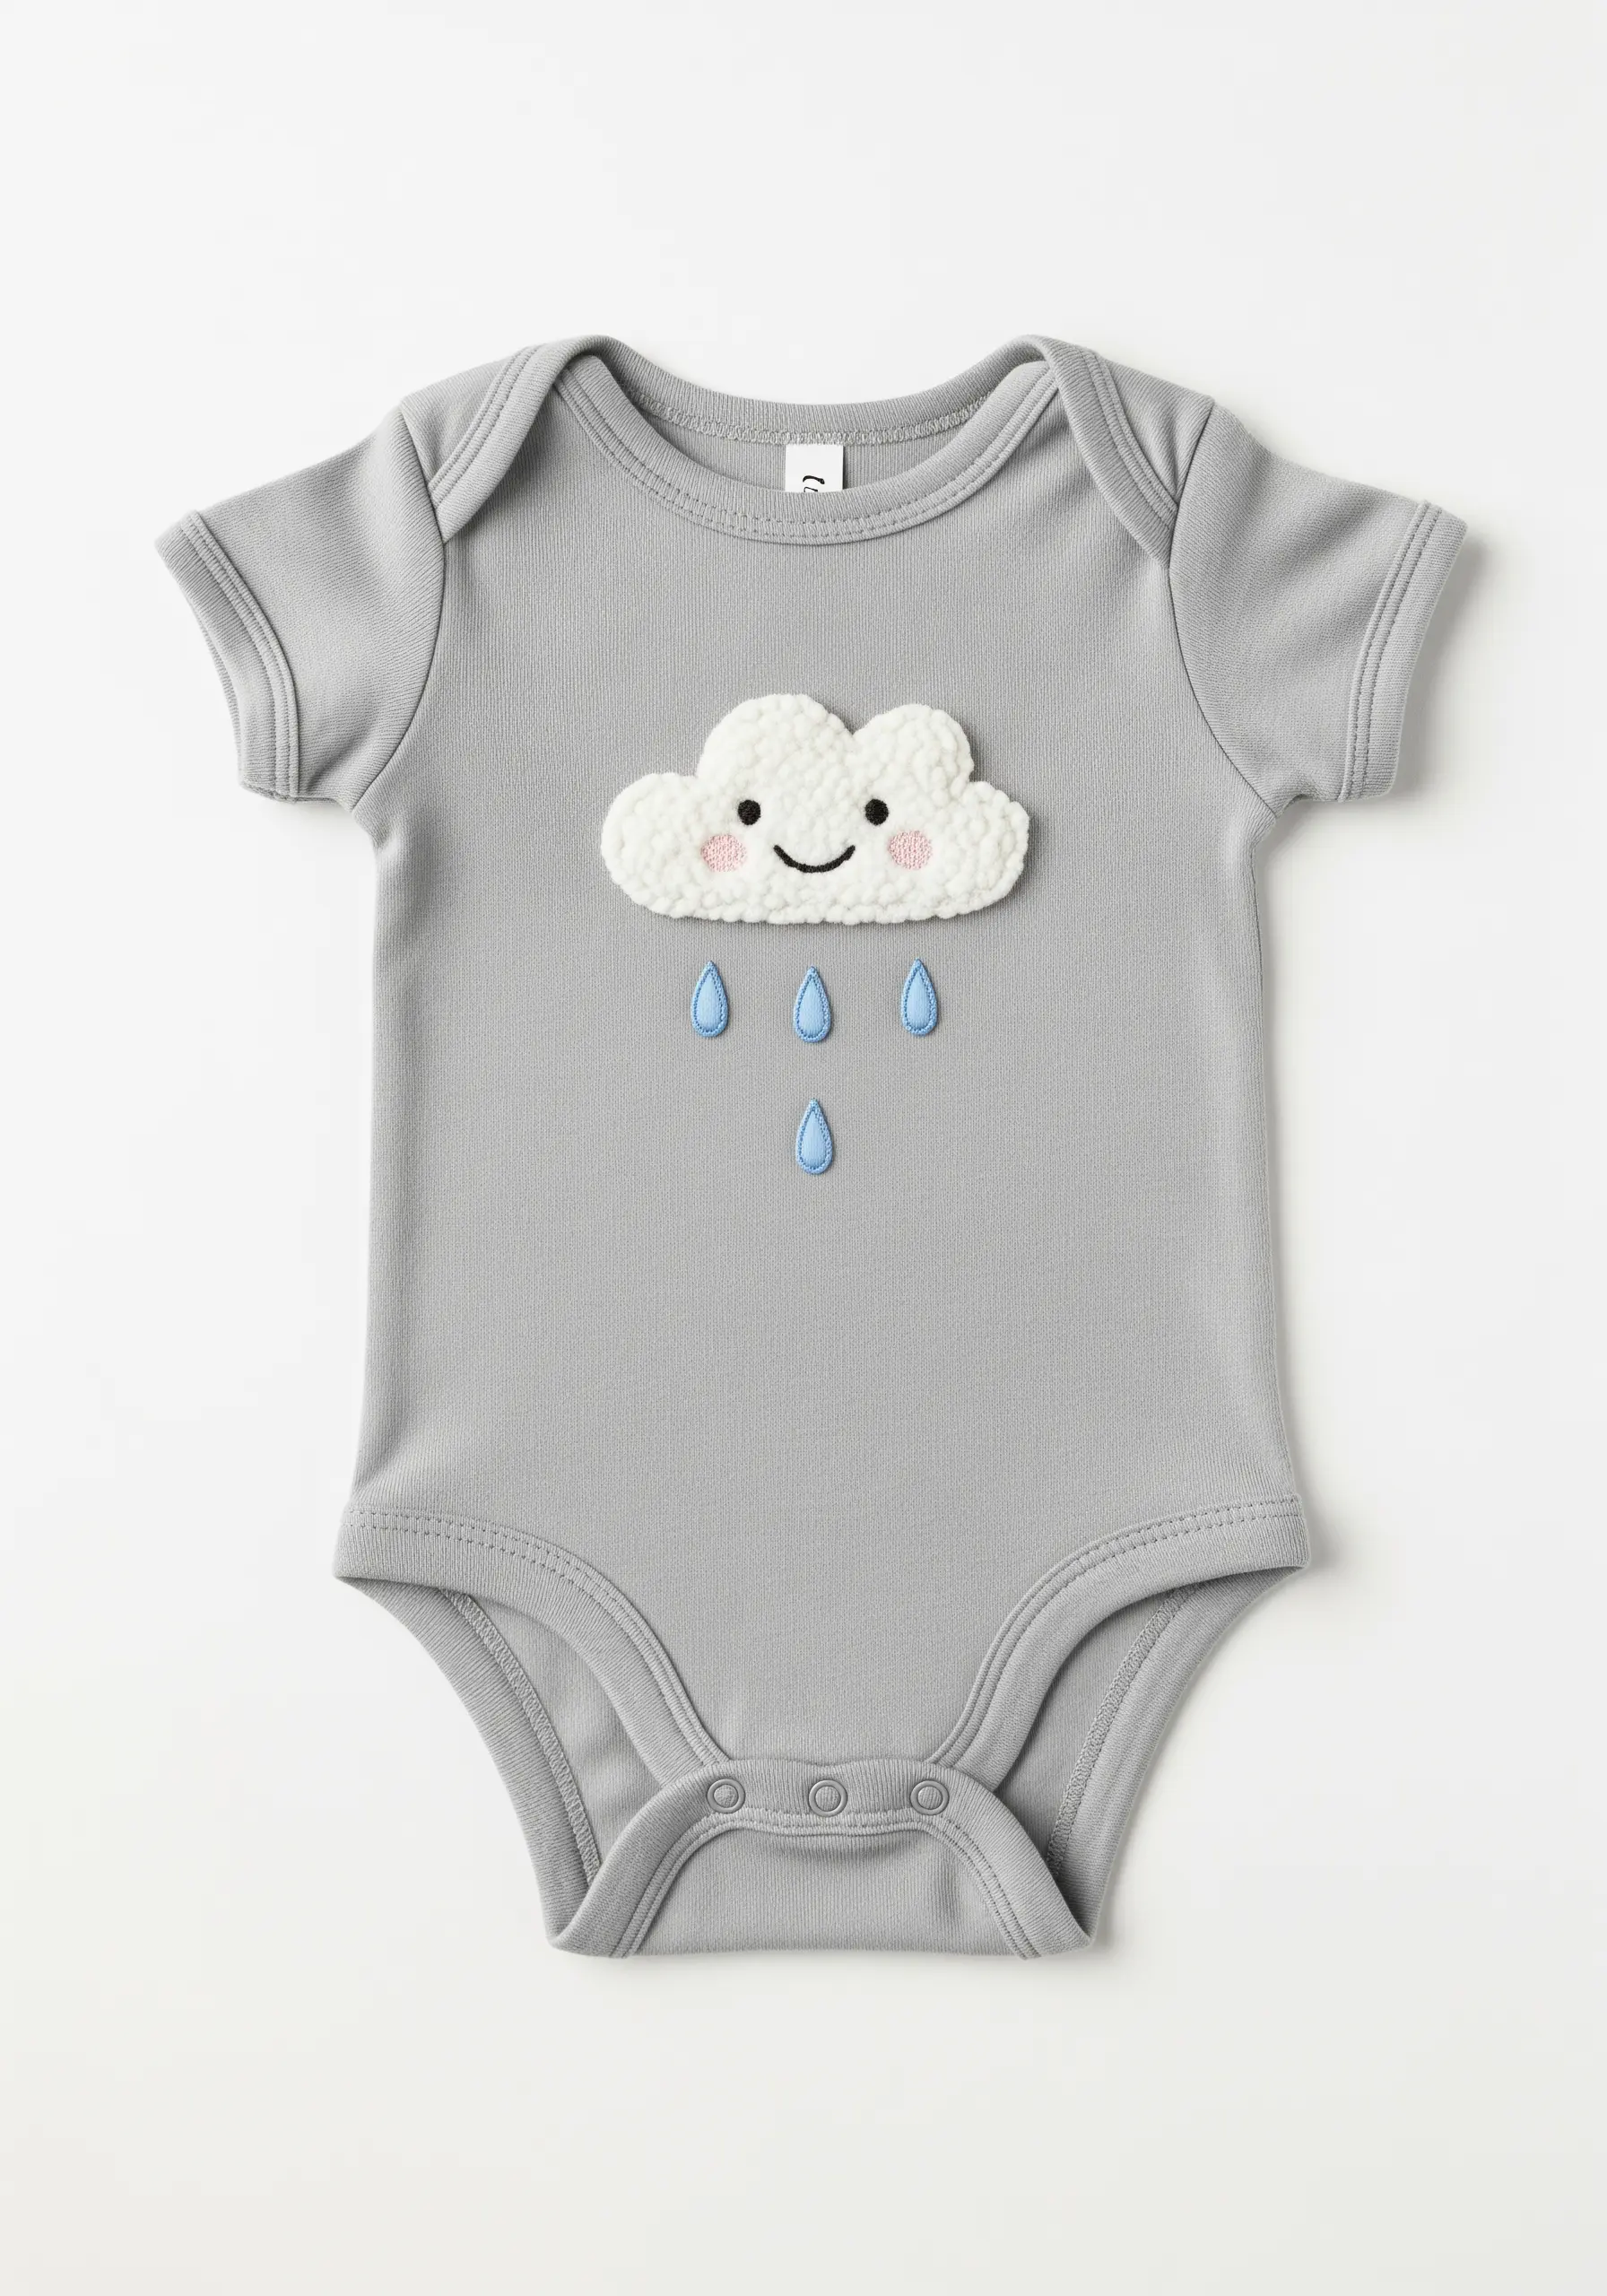
Create a design that is rich in texture by combining simple appliqué with embroidered details.
Cut the cloud shape from a soft fabric like fleece or felt and secure it with a neat blanket stitch around the edge.
This adds instant dimension and a wonderfully tactile element that little hands will love to touch.
This tactile combination is what makes cloud-soft embroidery hoops for nursery walls so appealing.
24. Make Motifs Pop on Patterned Fabric
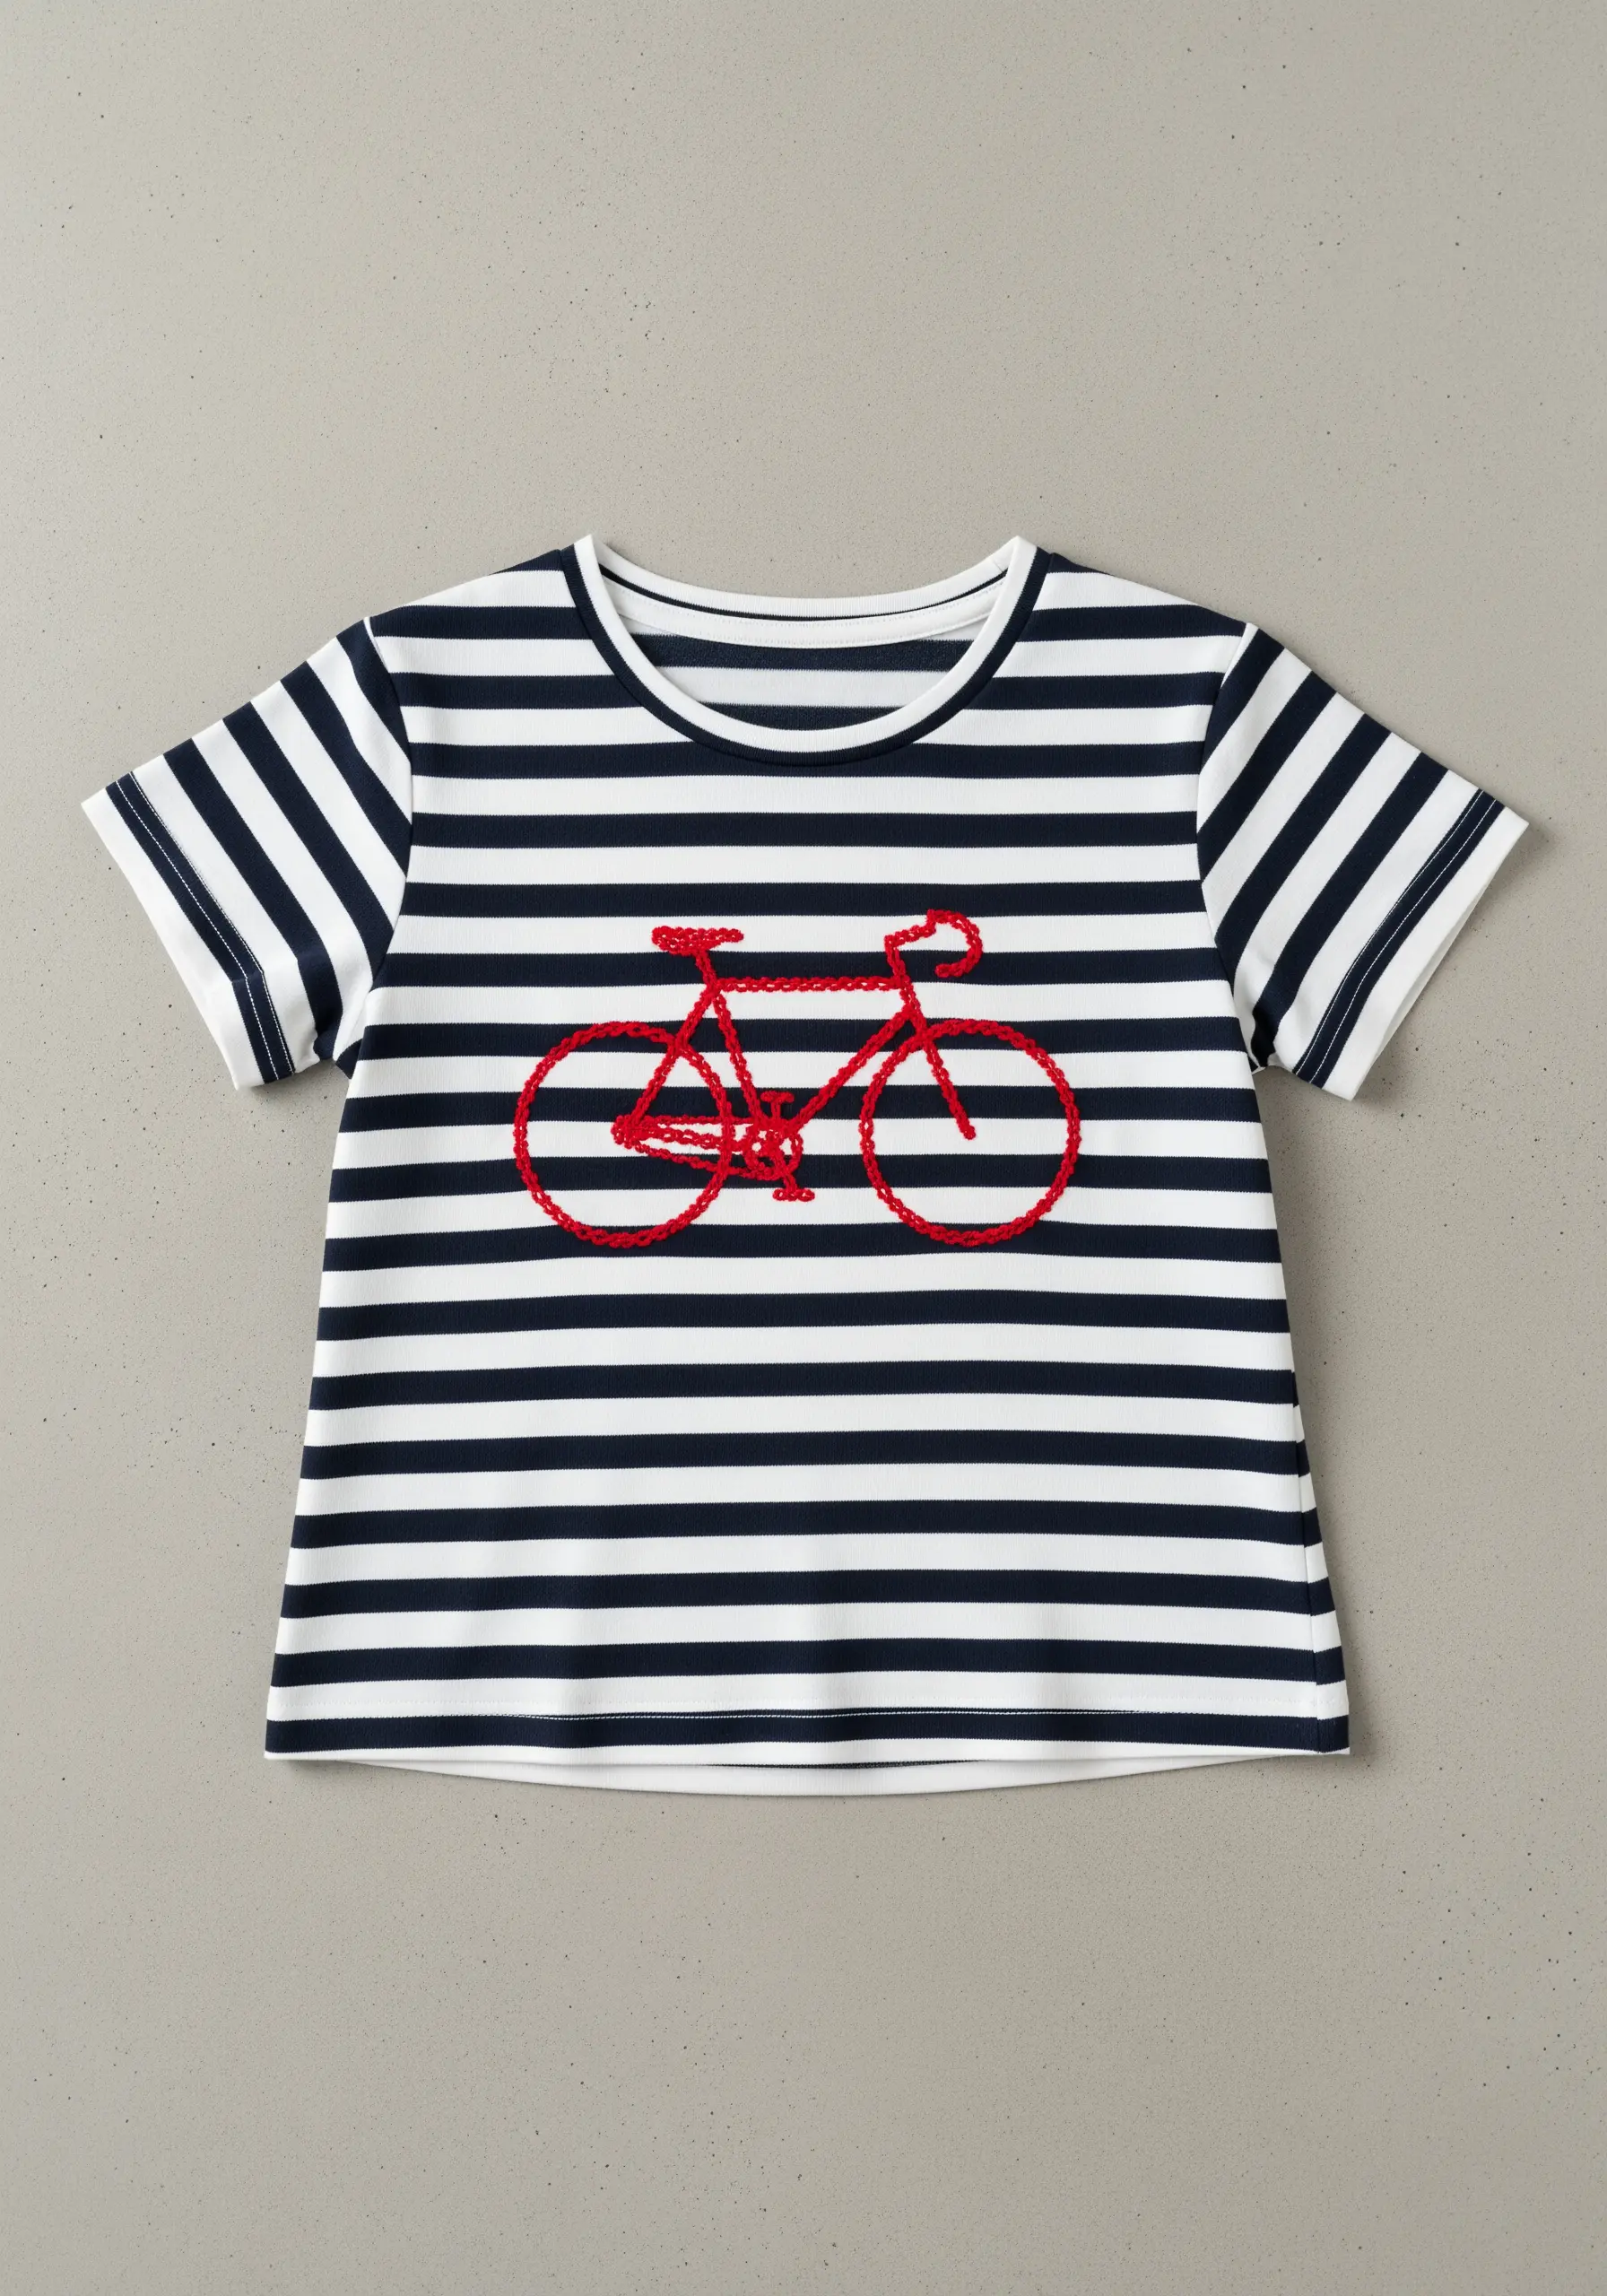
To ensure your embroidery stands out against a busy background like stripes, technique and color are key.
Choose a bold, contrasting color that doesn’t compete with the pattern’s palette.
Use a stitch that creates a thick, textured line, such as a chain stitch or a heavy backstitch using all six strands of floss.
This gives the design the visual weight it needs to hold its own against the pattern.


