

You already know the quiet joy of pulling a thread through fabric. But what if you could blend that timeless skill with the tangible beauty of your own garden? Imagine capturing the delicate transparency of a petal or the intricate pattern of a leaf—not just as inspiration, but as a central part of your work.
This is where pressed flower embroidery begins. It’s a way to move beyond merely imitating nature and start collaborating with it. By combining real botanicals with intentional stitches, you create art that holds a memory, a season, within its very fibers.
Here, you won’t find overly complex projects. Instead, you’ll discover refined techniques for anchoring, framing, and celebrating pressed flowers on fabric. Each idea is designed to give you a new way of seeing texture, composition, and the beautiful dialogue between a needle and a bloom.
1. The Living Wreath: Anchoring Botanicals with Thread

Combine real pressed pansies and ferns with nearly invisible stitches to create a wreath that feels alive.
Instead of glue, use a single strand of matching floss to couch the delicate flowers to the fabric.
Place tiny, anchoring stitches over stems and at the base of petals—this secures them durably while maintaining their natural, unstitched appearance.
This technique preserves the flower’s form and color, making your embroidery a true botanical keepsake.
2. Illustrative Stems: Creating a Framework for Florals
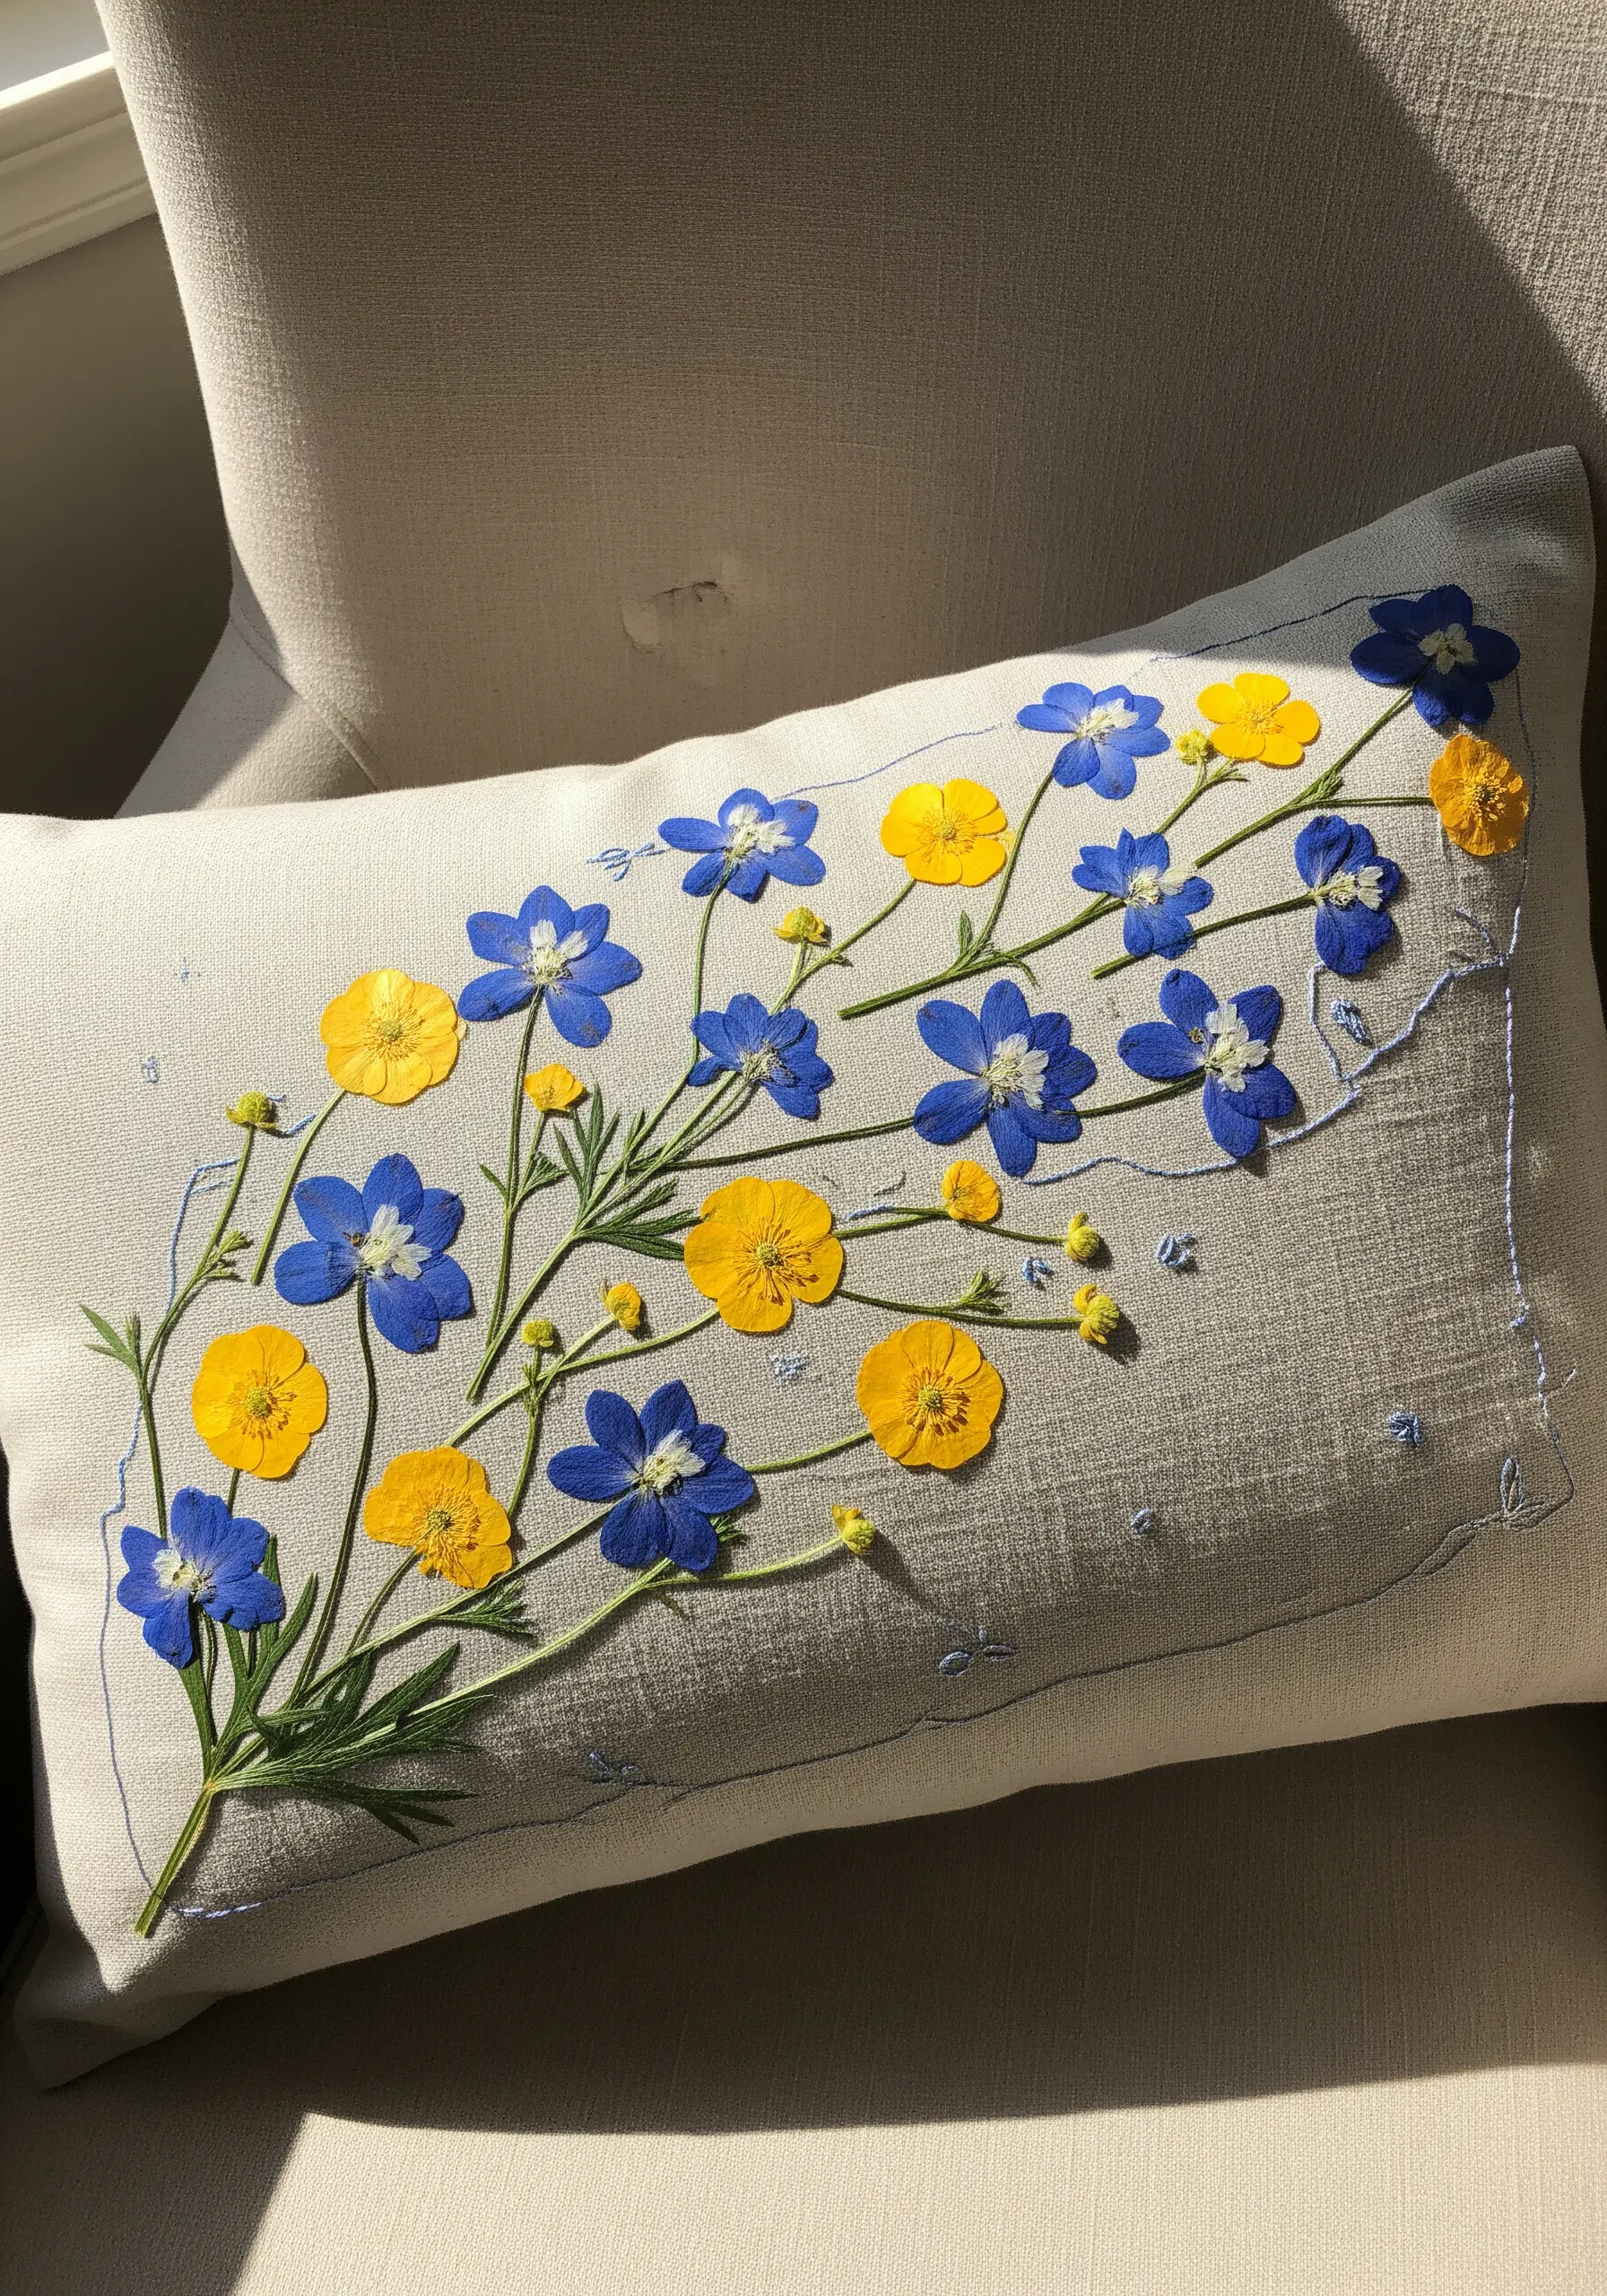
Give your pressed flower arrangement a defined, artistic structure by stitching the stems and outlines first.
Use a simple backstitch or stem stitch in a contrasting but complementary color to draw your botanical design directly onto the fabric.
This stitched ‘scaffolding’ acts as a perfect guide for placing your pressed flowers, ensuring a balanced and intentional composition.
The interplay between the flat, graphic stitches and the dimensional flowers adds a layer of modern sophistication.
3. Translating Nature: From Pressed Flower to Pure Stitch

Capture the delicate essence of pressed flowers using only thread and needle.
For airy blossoms like Queen Anne’s Lace, use single-strand floss and scattered French knots to replicate their light, seed-head texture.
Recreate the soft gradient of lavender with long-and-short stitches, blending two or three shades of purple for realism without complexity.
This approach transforms a simple table runner into a piece of refined botanical art.
4. The Meadow Canvas: Layering Stitches on Denim

Transform a denim jacket into a wearable wildflower meadow by building layers of texture.
Always use a tear-away stabilizer on the inside of the jacket to prevent the fabric from puckering under dense stitching.
Begin with the background elements—stitch long, vertical green straight stitches for grass and stems.
Layer your flowers on top, using satin stitch for bold petals like poppies and lazy daisies for smaller chamomile, creating a rich, dimensional field.
5. Sheer Elegance: Stitching on Delicate Curtains

Embroidering on sheer fabric requires a light touch to avoid puckering and tears.
Use a water-soluble stabilizer on top of your fabric; it provides a stable surface for stitching and washes away completely, leaving only your design.
Opt for a single strand of floss and a fine, sharp needle (size 9 or 10) to create delicate stitches that don’t pull the fabric.
Small lazy daisy stitches for petals and a simple backstitch for stems maintain the airy, translucent quality of the curtain.
6. The Minimalist Bookmark: A Single Perfect Bloom
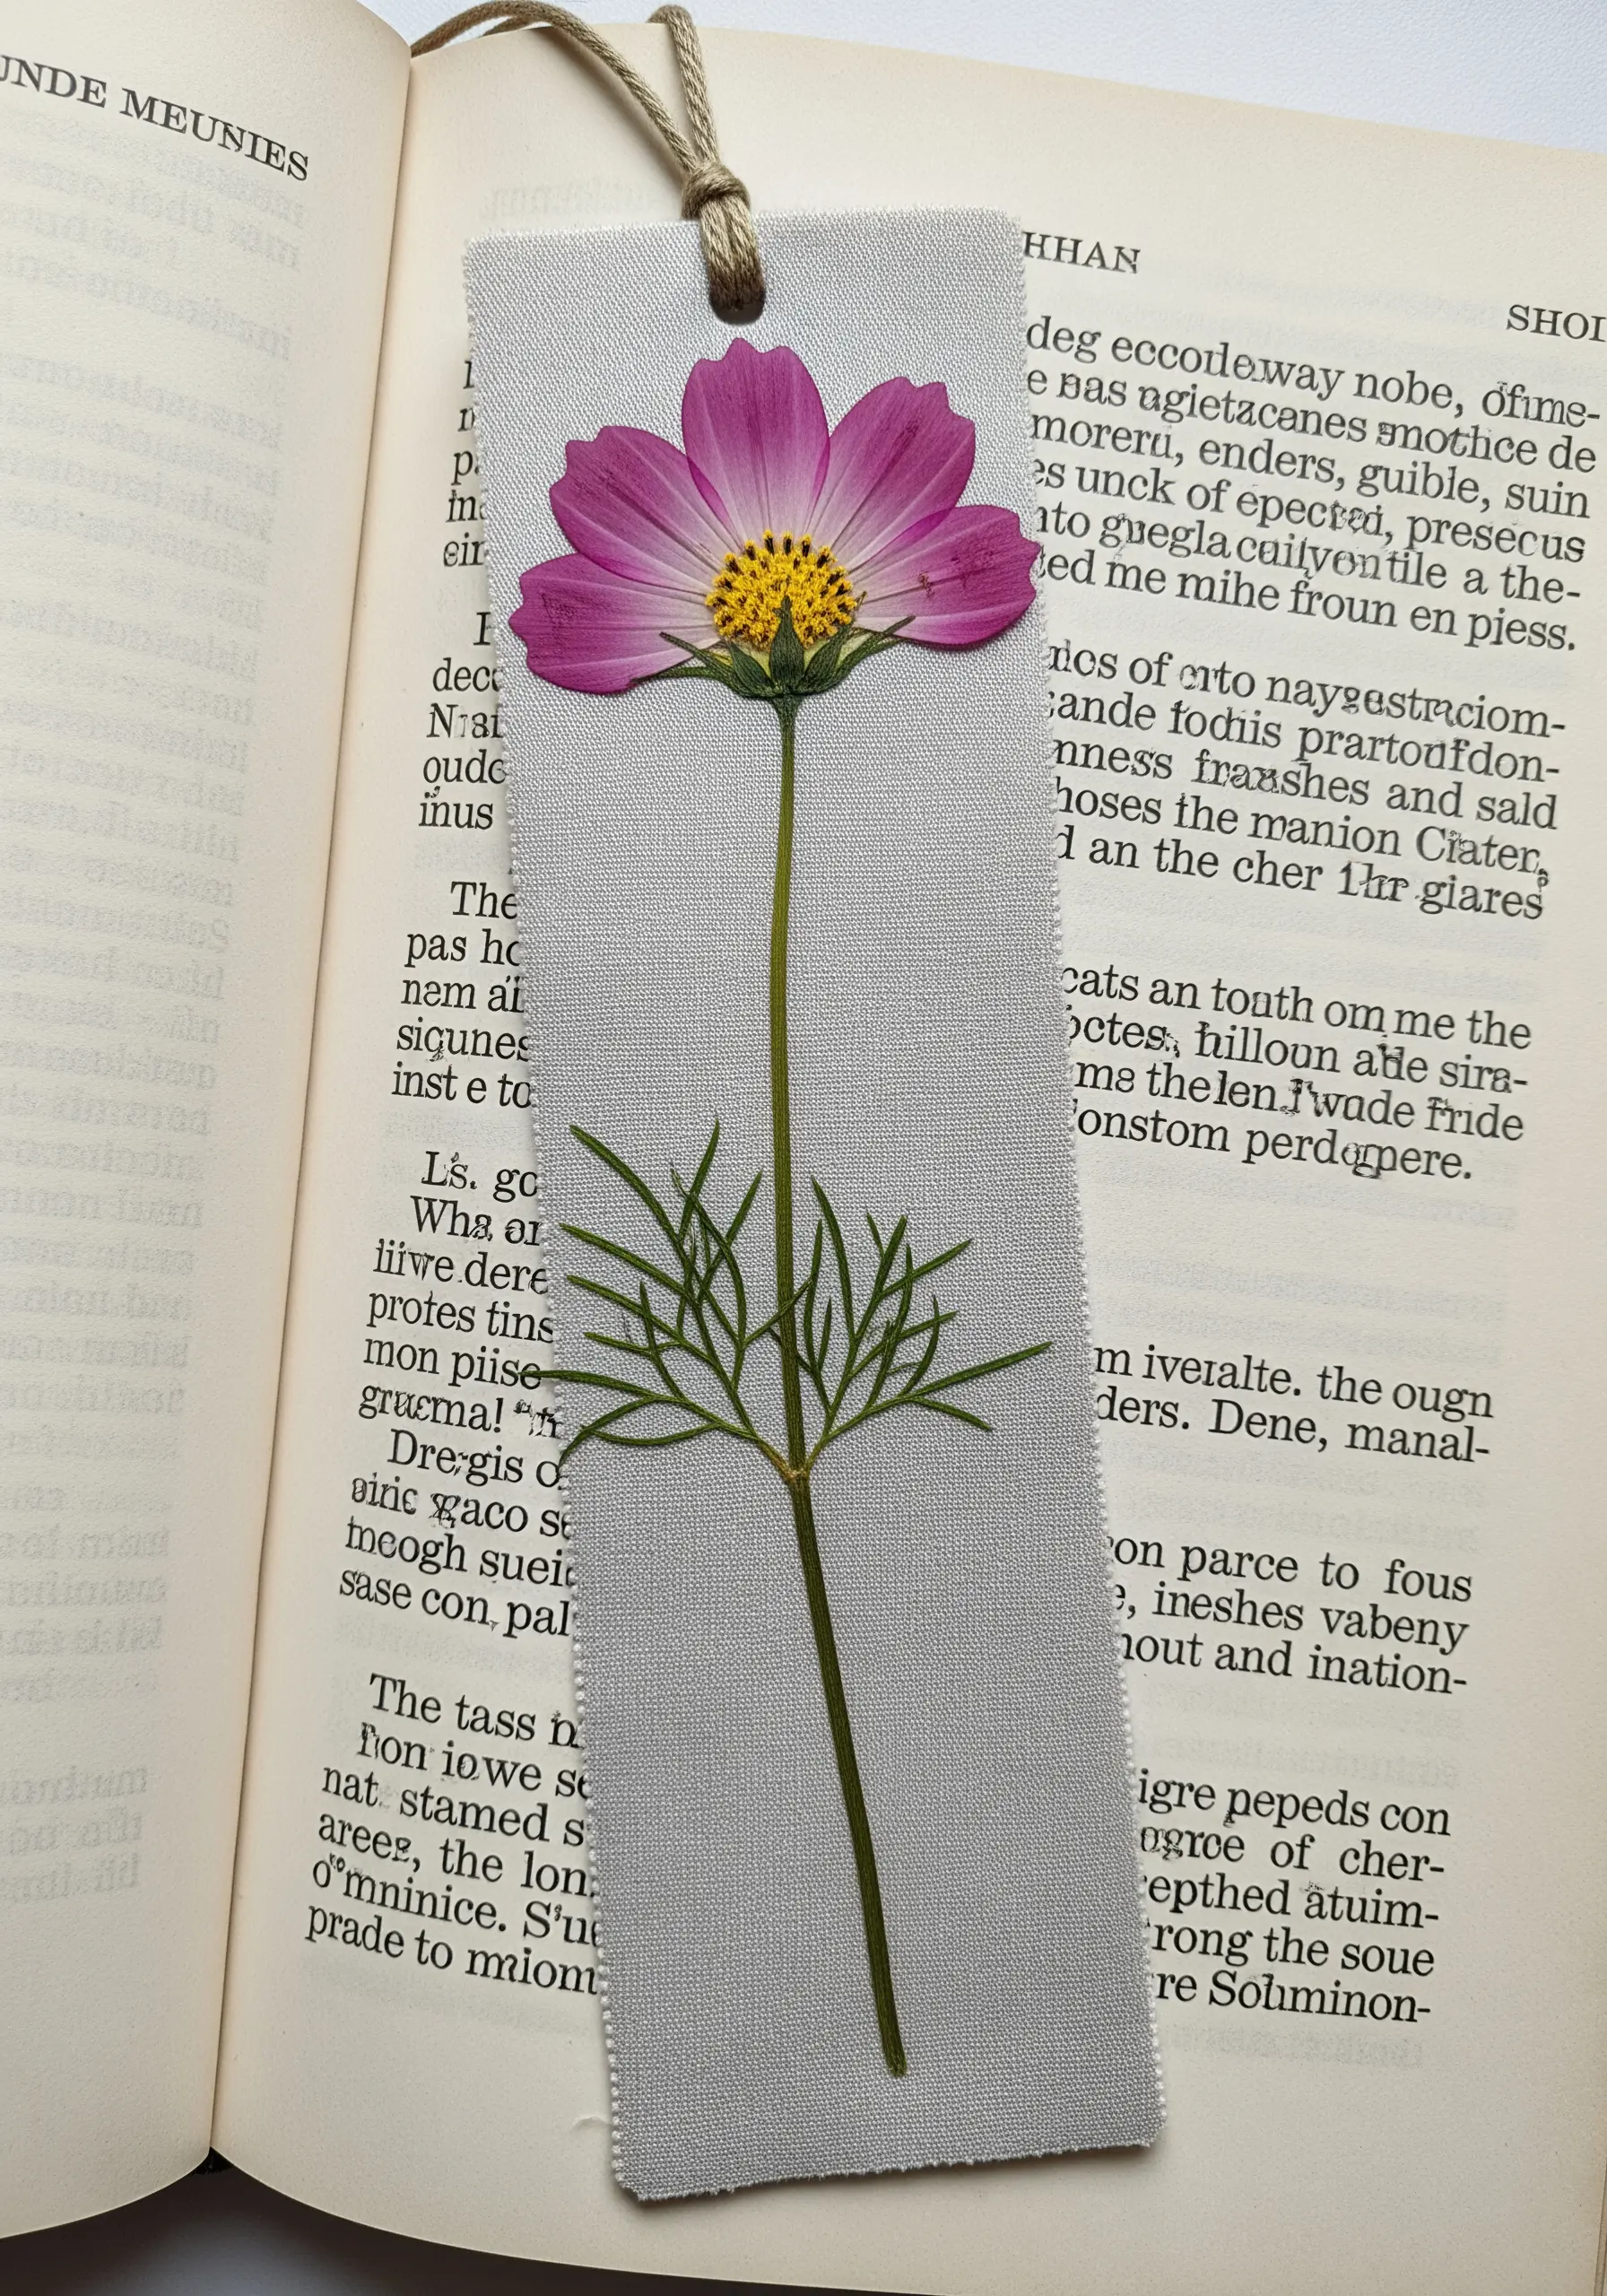
Elevate a simple bookmark by making a single pressed flower the hero.
Secure the bloom with a few tiny, discreet stitches at the center and along the stem using a single strand of matching thread.
For a clean, professional finish, back the fabric with a piece of stiff felt or cardstock, cut to size and attached with fabric glue.
This hides the back of your stitching and gives the bookmark the right weight and durability.
7. Embellished Botanicals: Framing Pressed Leaves with Thread
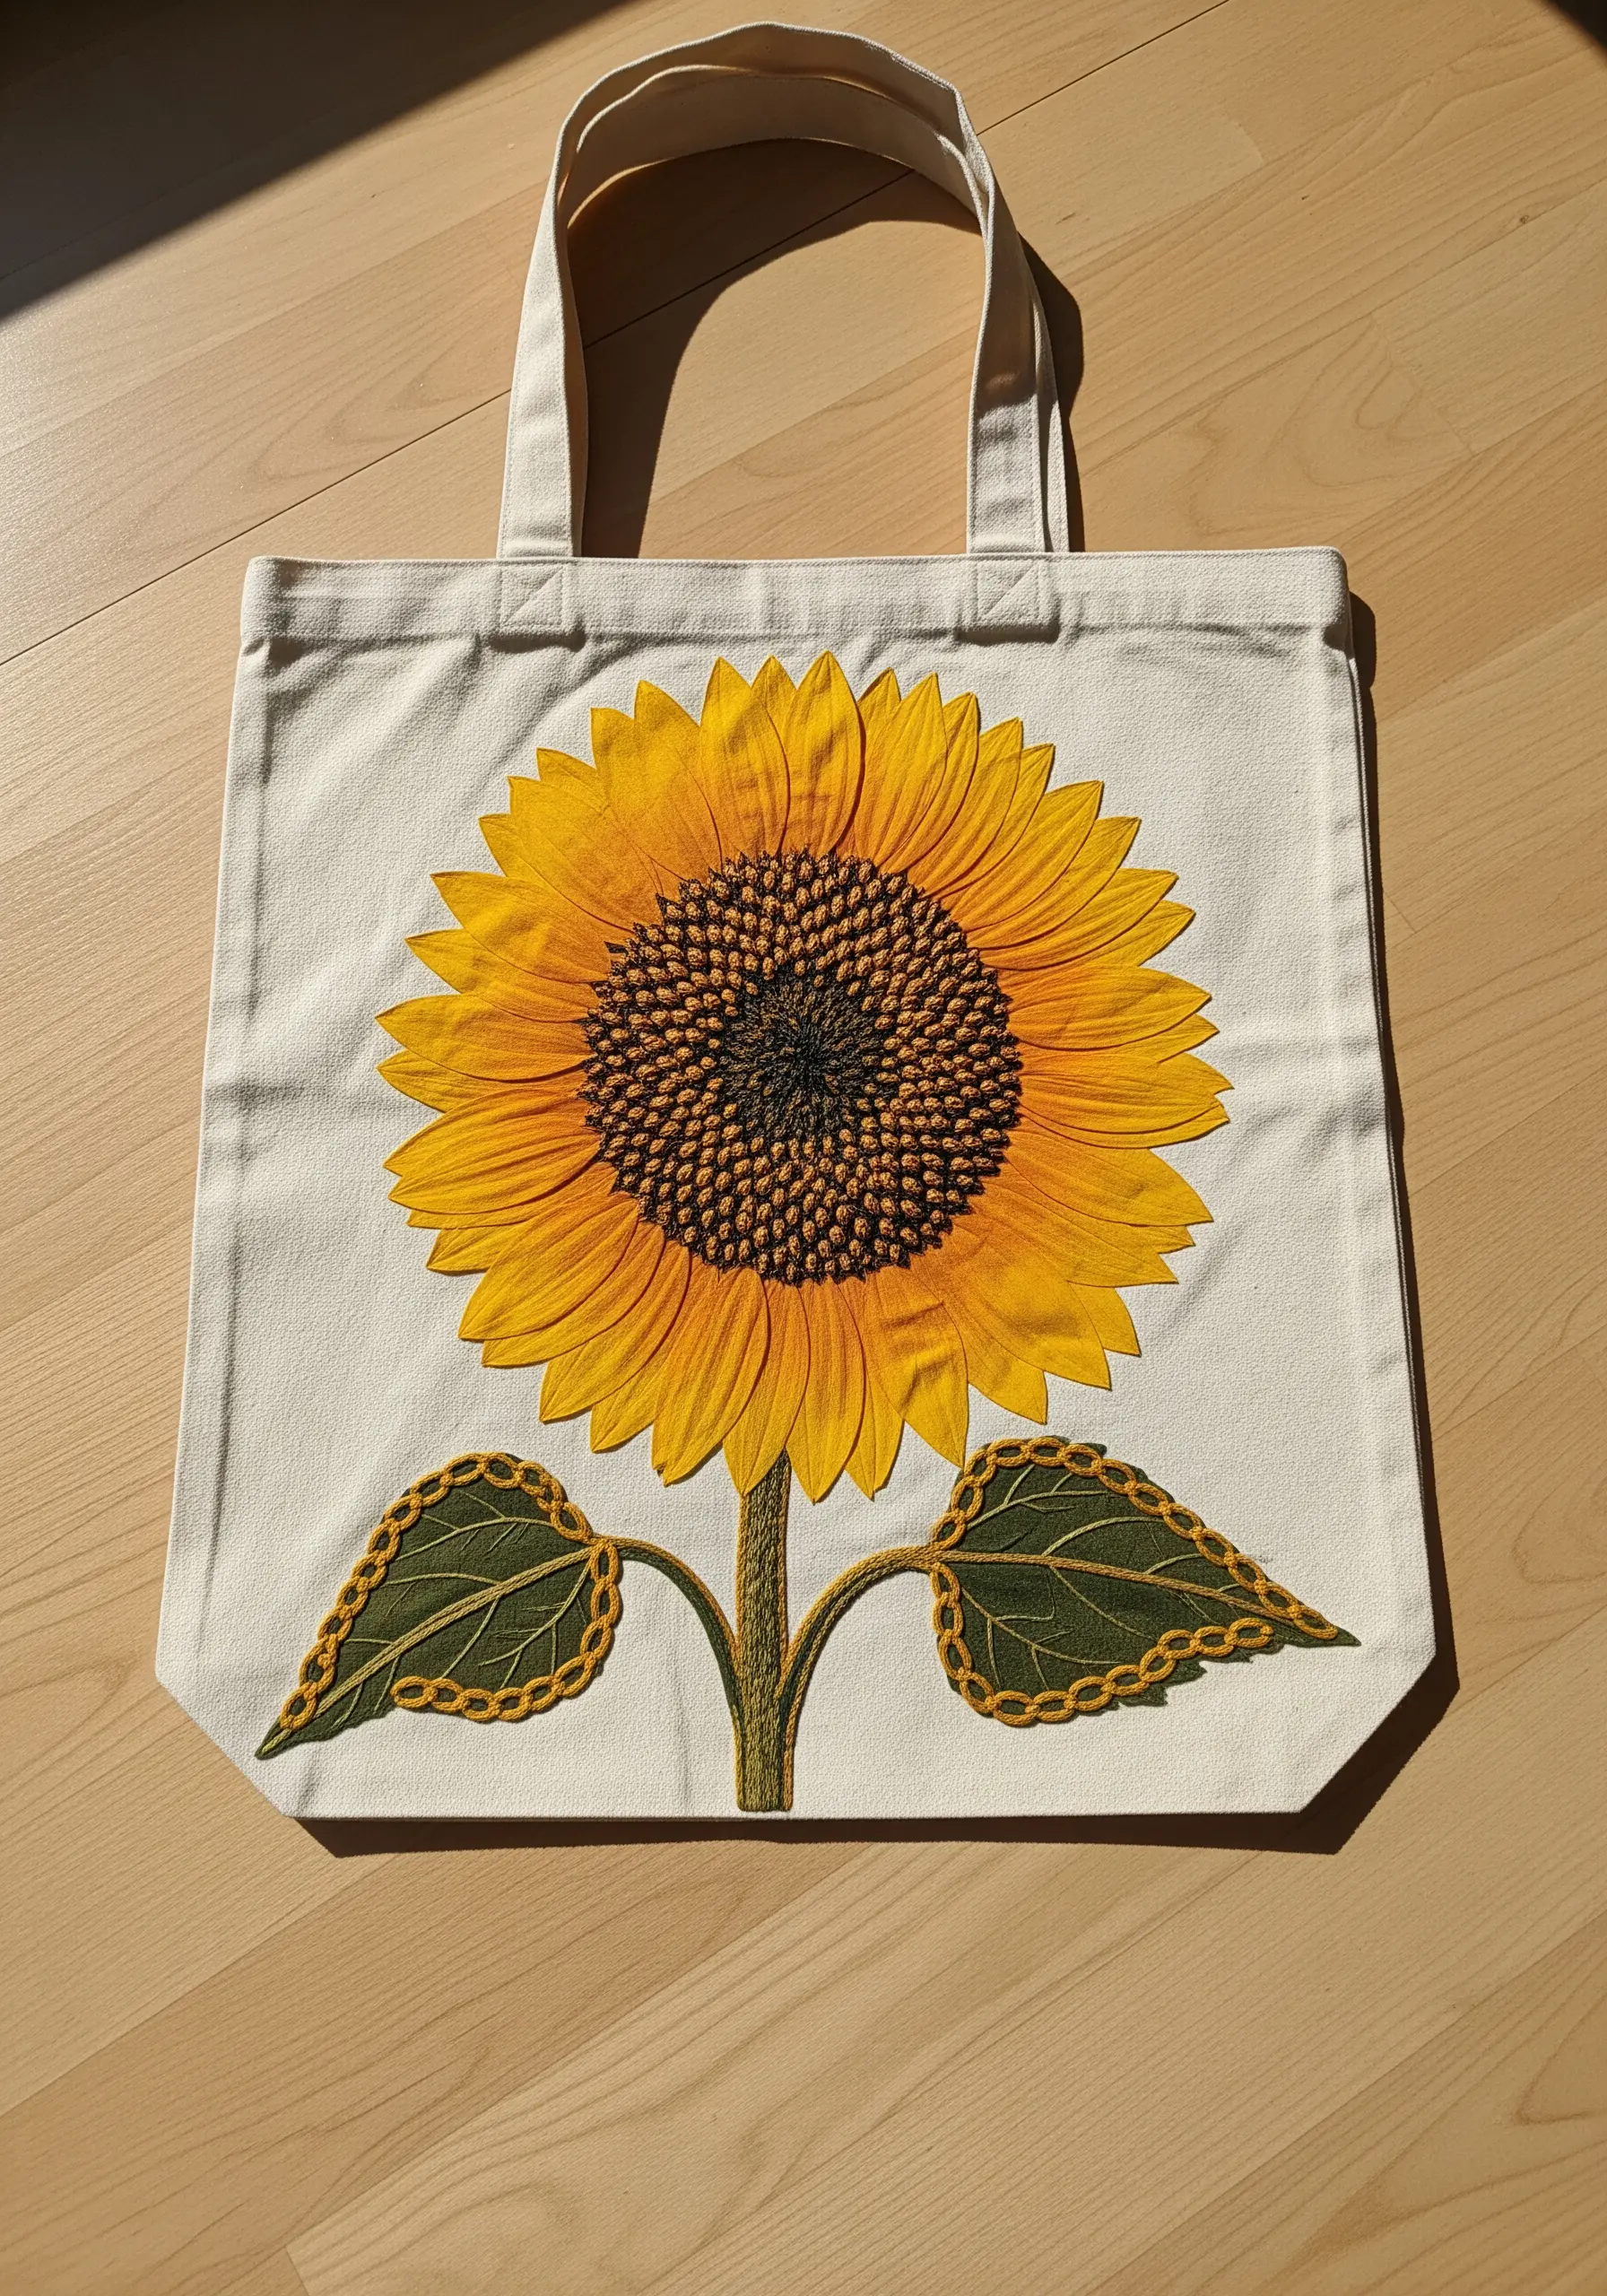
Add durability and texture to large pressed elements, like this sunflower, by framing them with decorative stitches.
After securing the leaves, outline them with a chain stitch or a whipped backstitch in a contrasting color.
This technique not only enhances the shape of the leaf but also provides an extra layer of security, making it perfect for functional items like tote bags.
The embroidery turns a simple pressed flower application into a cohesive, mixed-media design.
8. Illuminated Florals: Designing a Botanical Lampshade

Turn a plain lampshade into a botanical display by arranging pressed flowers and leaves on its surface.
Use a clear, heat-resistant craft adhesive to apply the flowers to a linen or cotton lampshade.
For an embroidered touch, add tiny seed stitches in a metallic thread to connect the flowers, creating a subtle constellation effect that will only be visible when the lamp is lit.
The light filters through the petals, highlighting their natural transparency and delicate structures.
9. The Framed Specimen: Achieving Gallery-Worthy Presentation
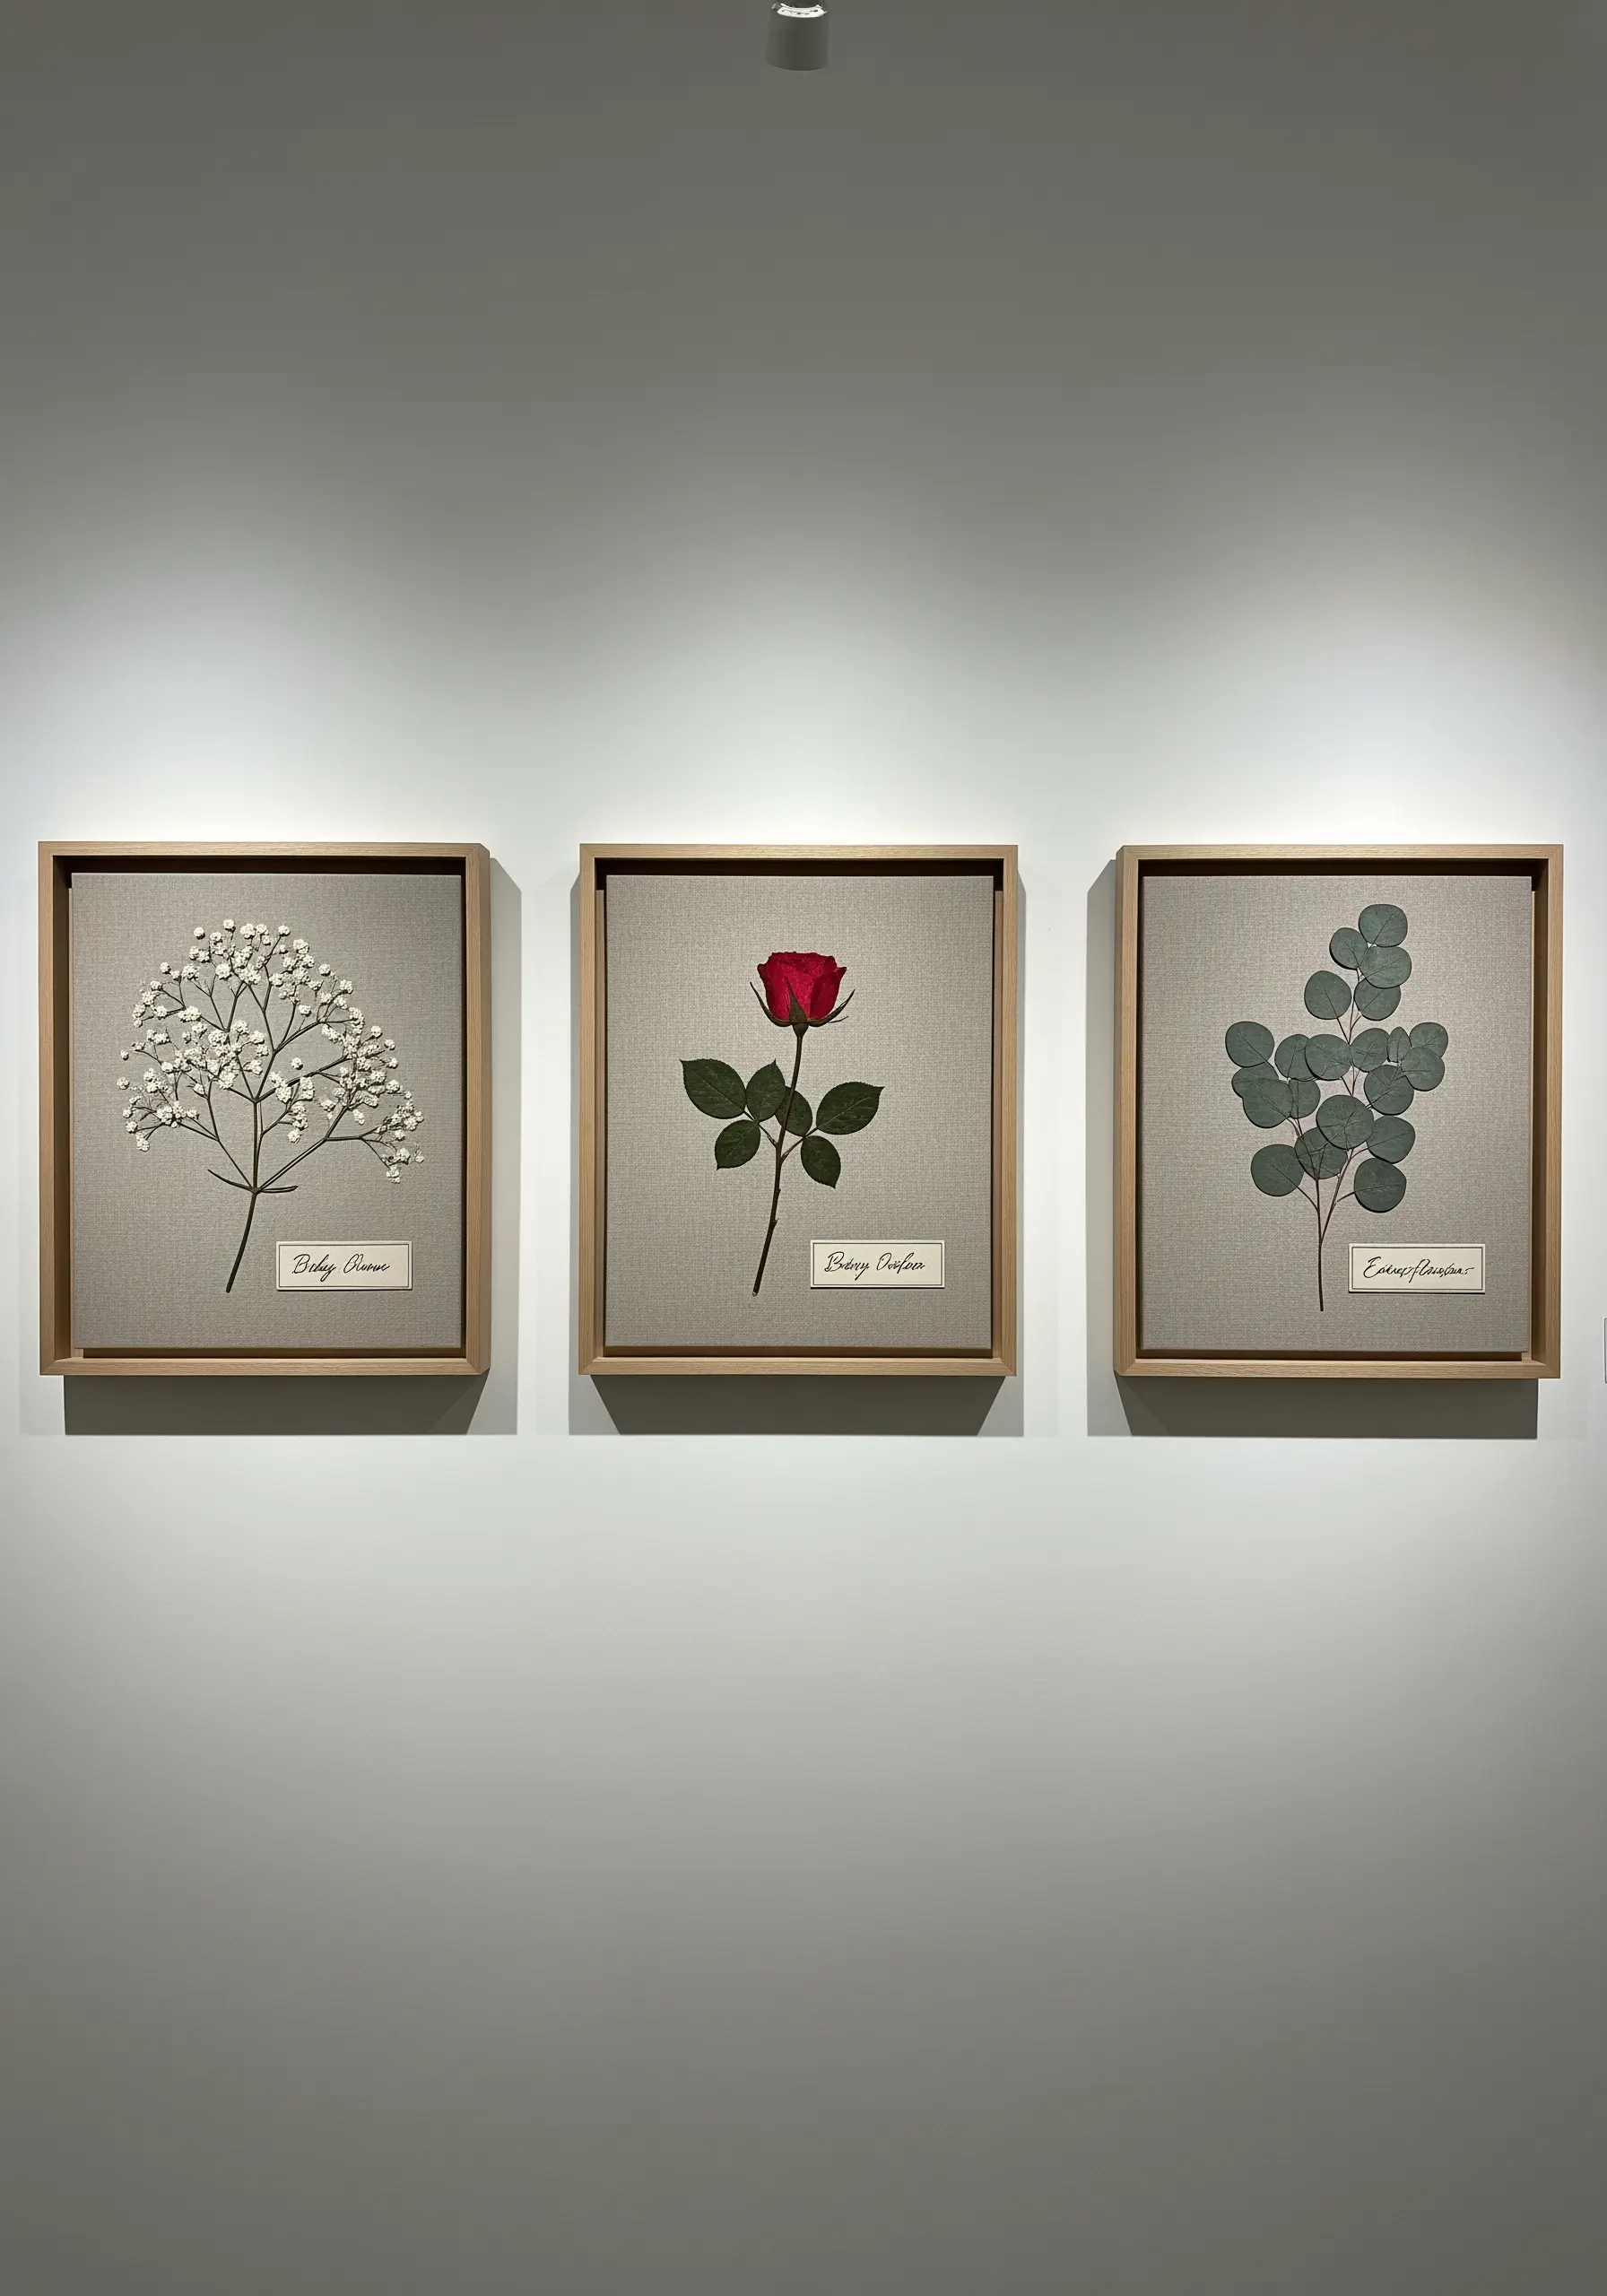
Display single pressed botanicals with the elegance of a museum exhibit by focusing on flawless mounting and labeling.
Stretch your linen fabric taut over an acid-free mount board, pulling evenly from the center out to prevent any wrinkles.
For the cursive label, use a single strand of black thread and a tiny split stitch or backstitch to achieve crisp, legible lettering.
This clean, minimalist approach turns a simple pressed flower into a sophisticated piece of wall art.
10. Layered Textures: A Journal Cover with a Floral Pocket
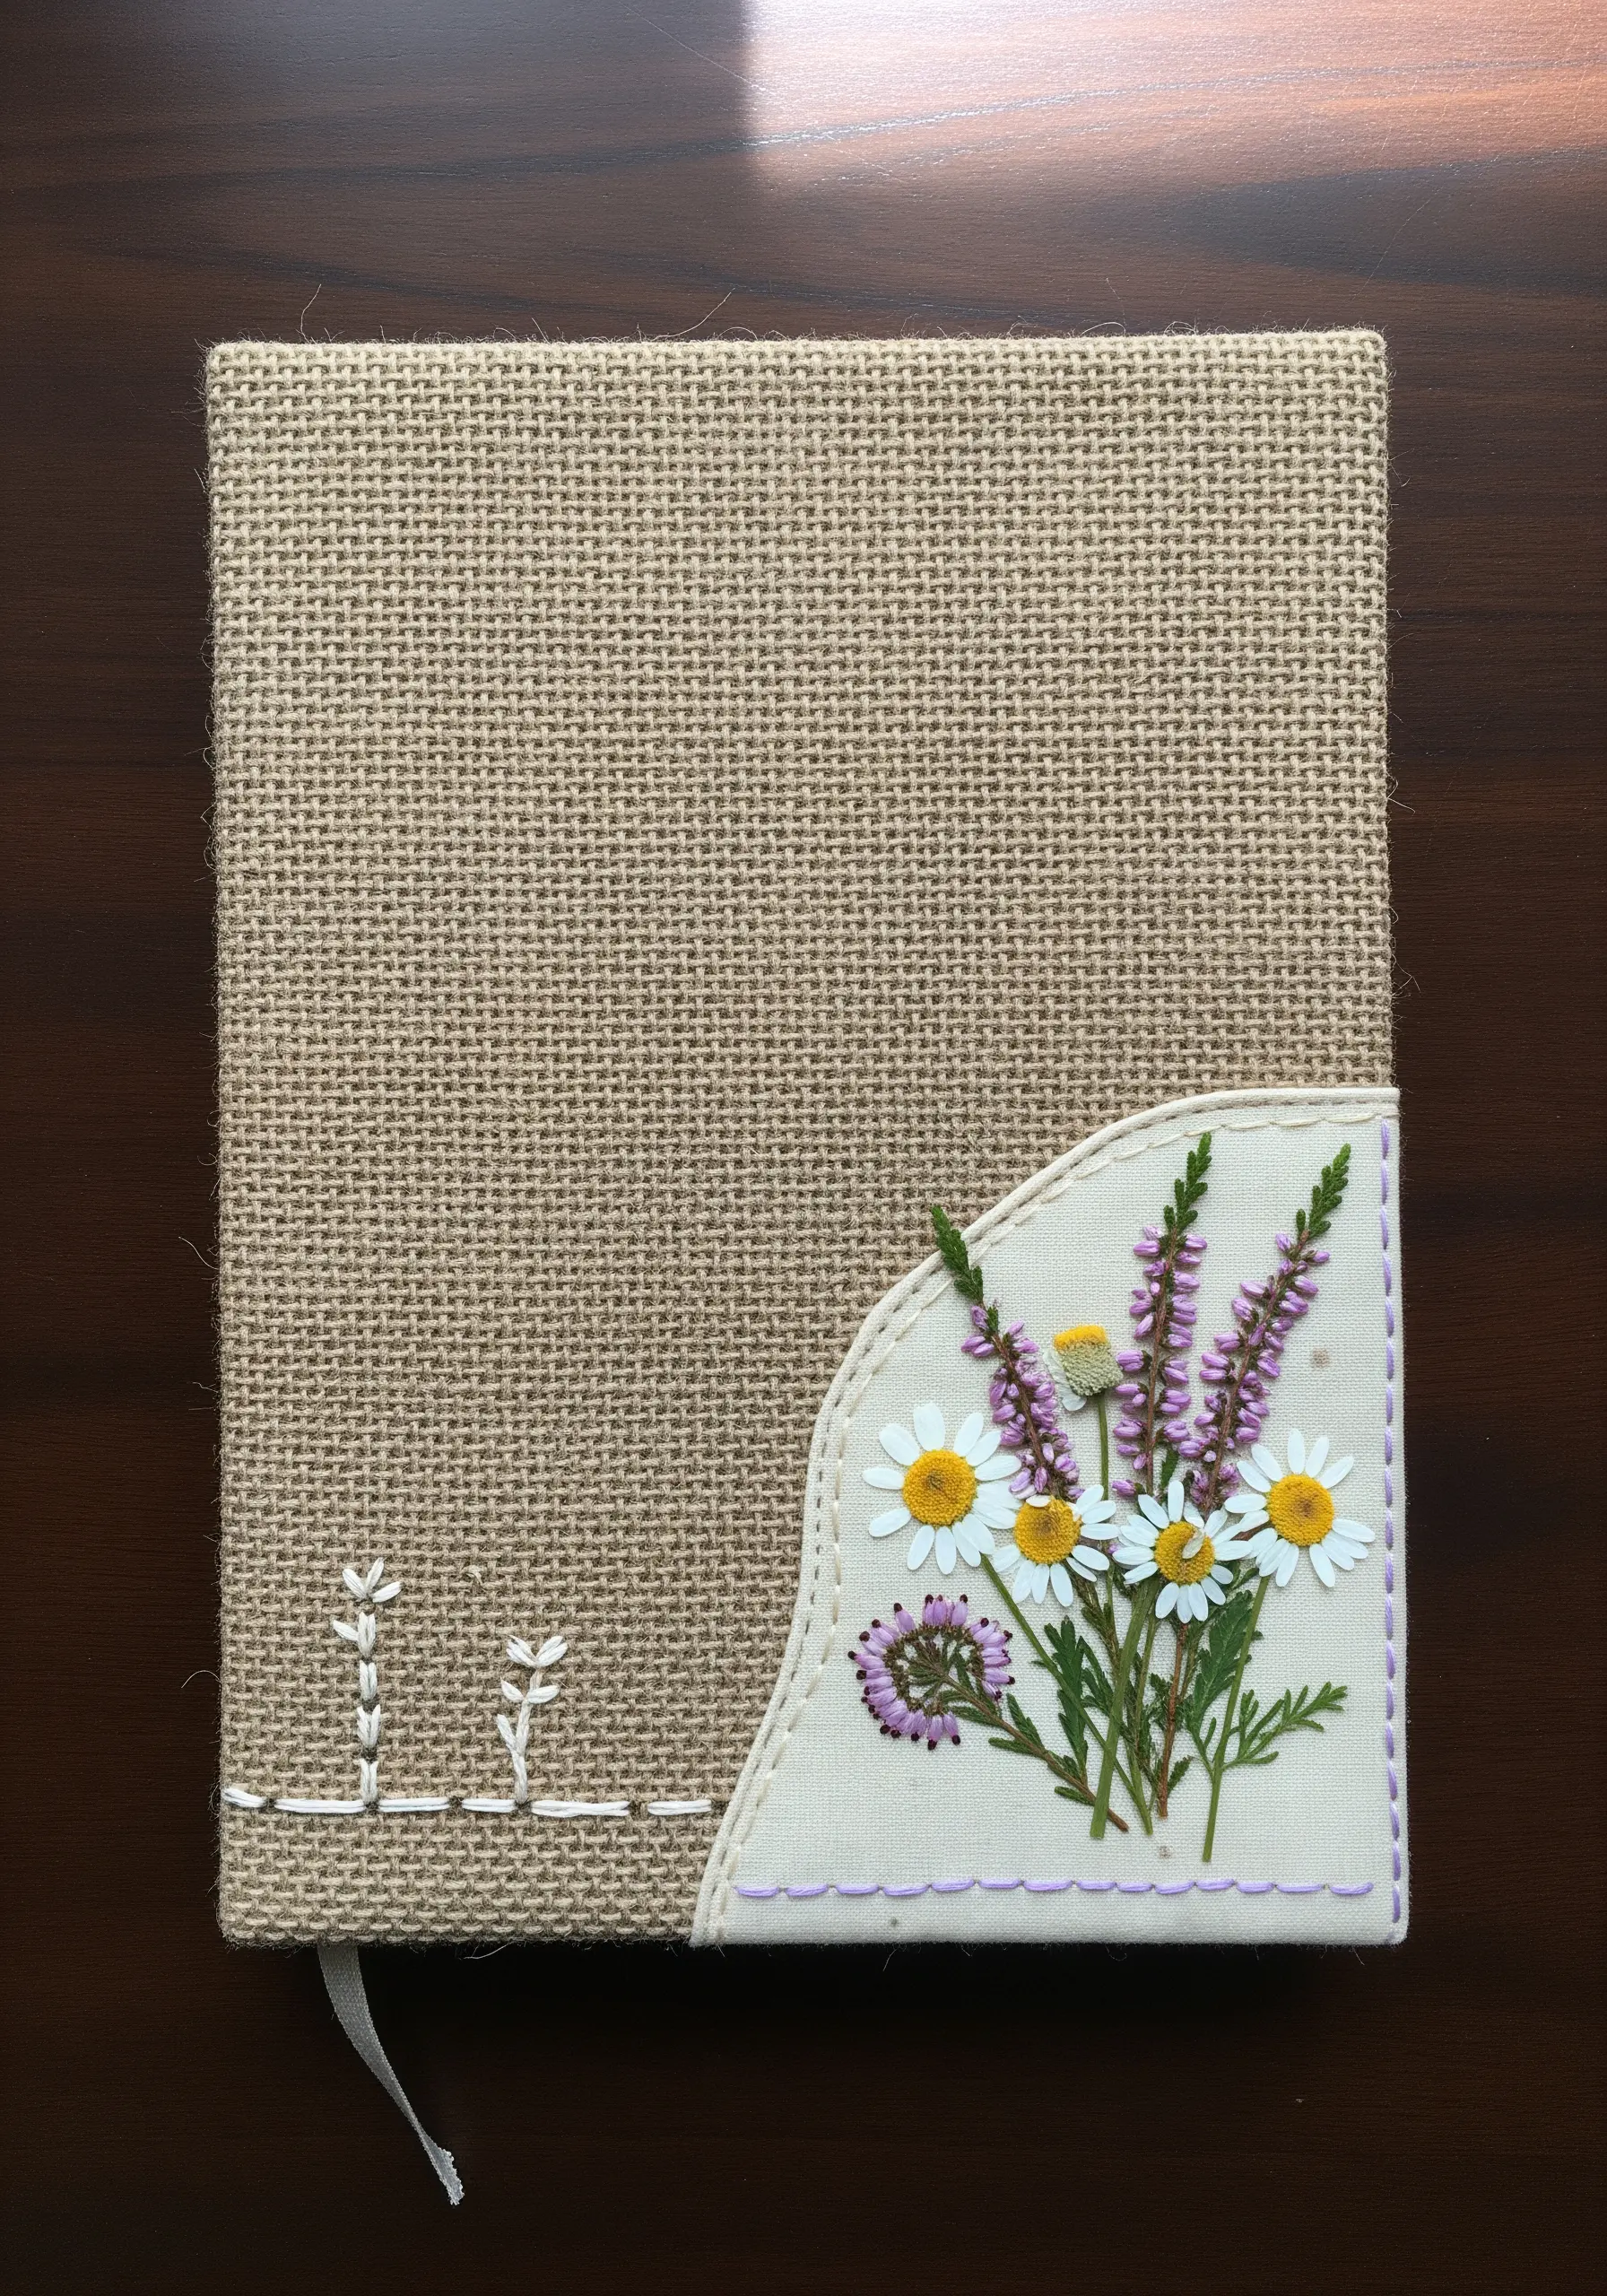
Combine different textiles like burlap and cotton to create a rich, tactile journal cover.
Create a small pocket from a contrasting fabric, like smooth cotton, and attach it to the burlap cover with a decorative blanket stitch.
This stitch not only secures the pocket but also adds a beautiful, handcrafted border that frames your pressed flower arrangement.
A few simple straight stitches on the burlap itself echo the floral stems, tying the whole composition together.
11. Towel Embellishment: Stitching on High-Pile Fabrics

To achieve clean, crisp stitches on absorbent fabrics like terry cloth, you need to create a smooth surface.
Place a sheet of water-soluble topper over the area you intend to stitch; this film prevents your stitches from sinking into the towel’s loops.
Use a combination of French knots and straight stitches to mimic the texture of heather, then gently wash the topper away with warm water.
The result is a sharp, professional-looking design that sits perfectly on top of the fabric.
12. Floral Constellations: Mapping the Night Sky
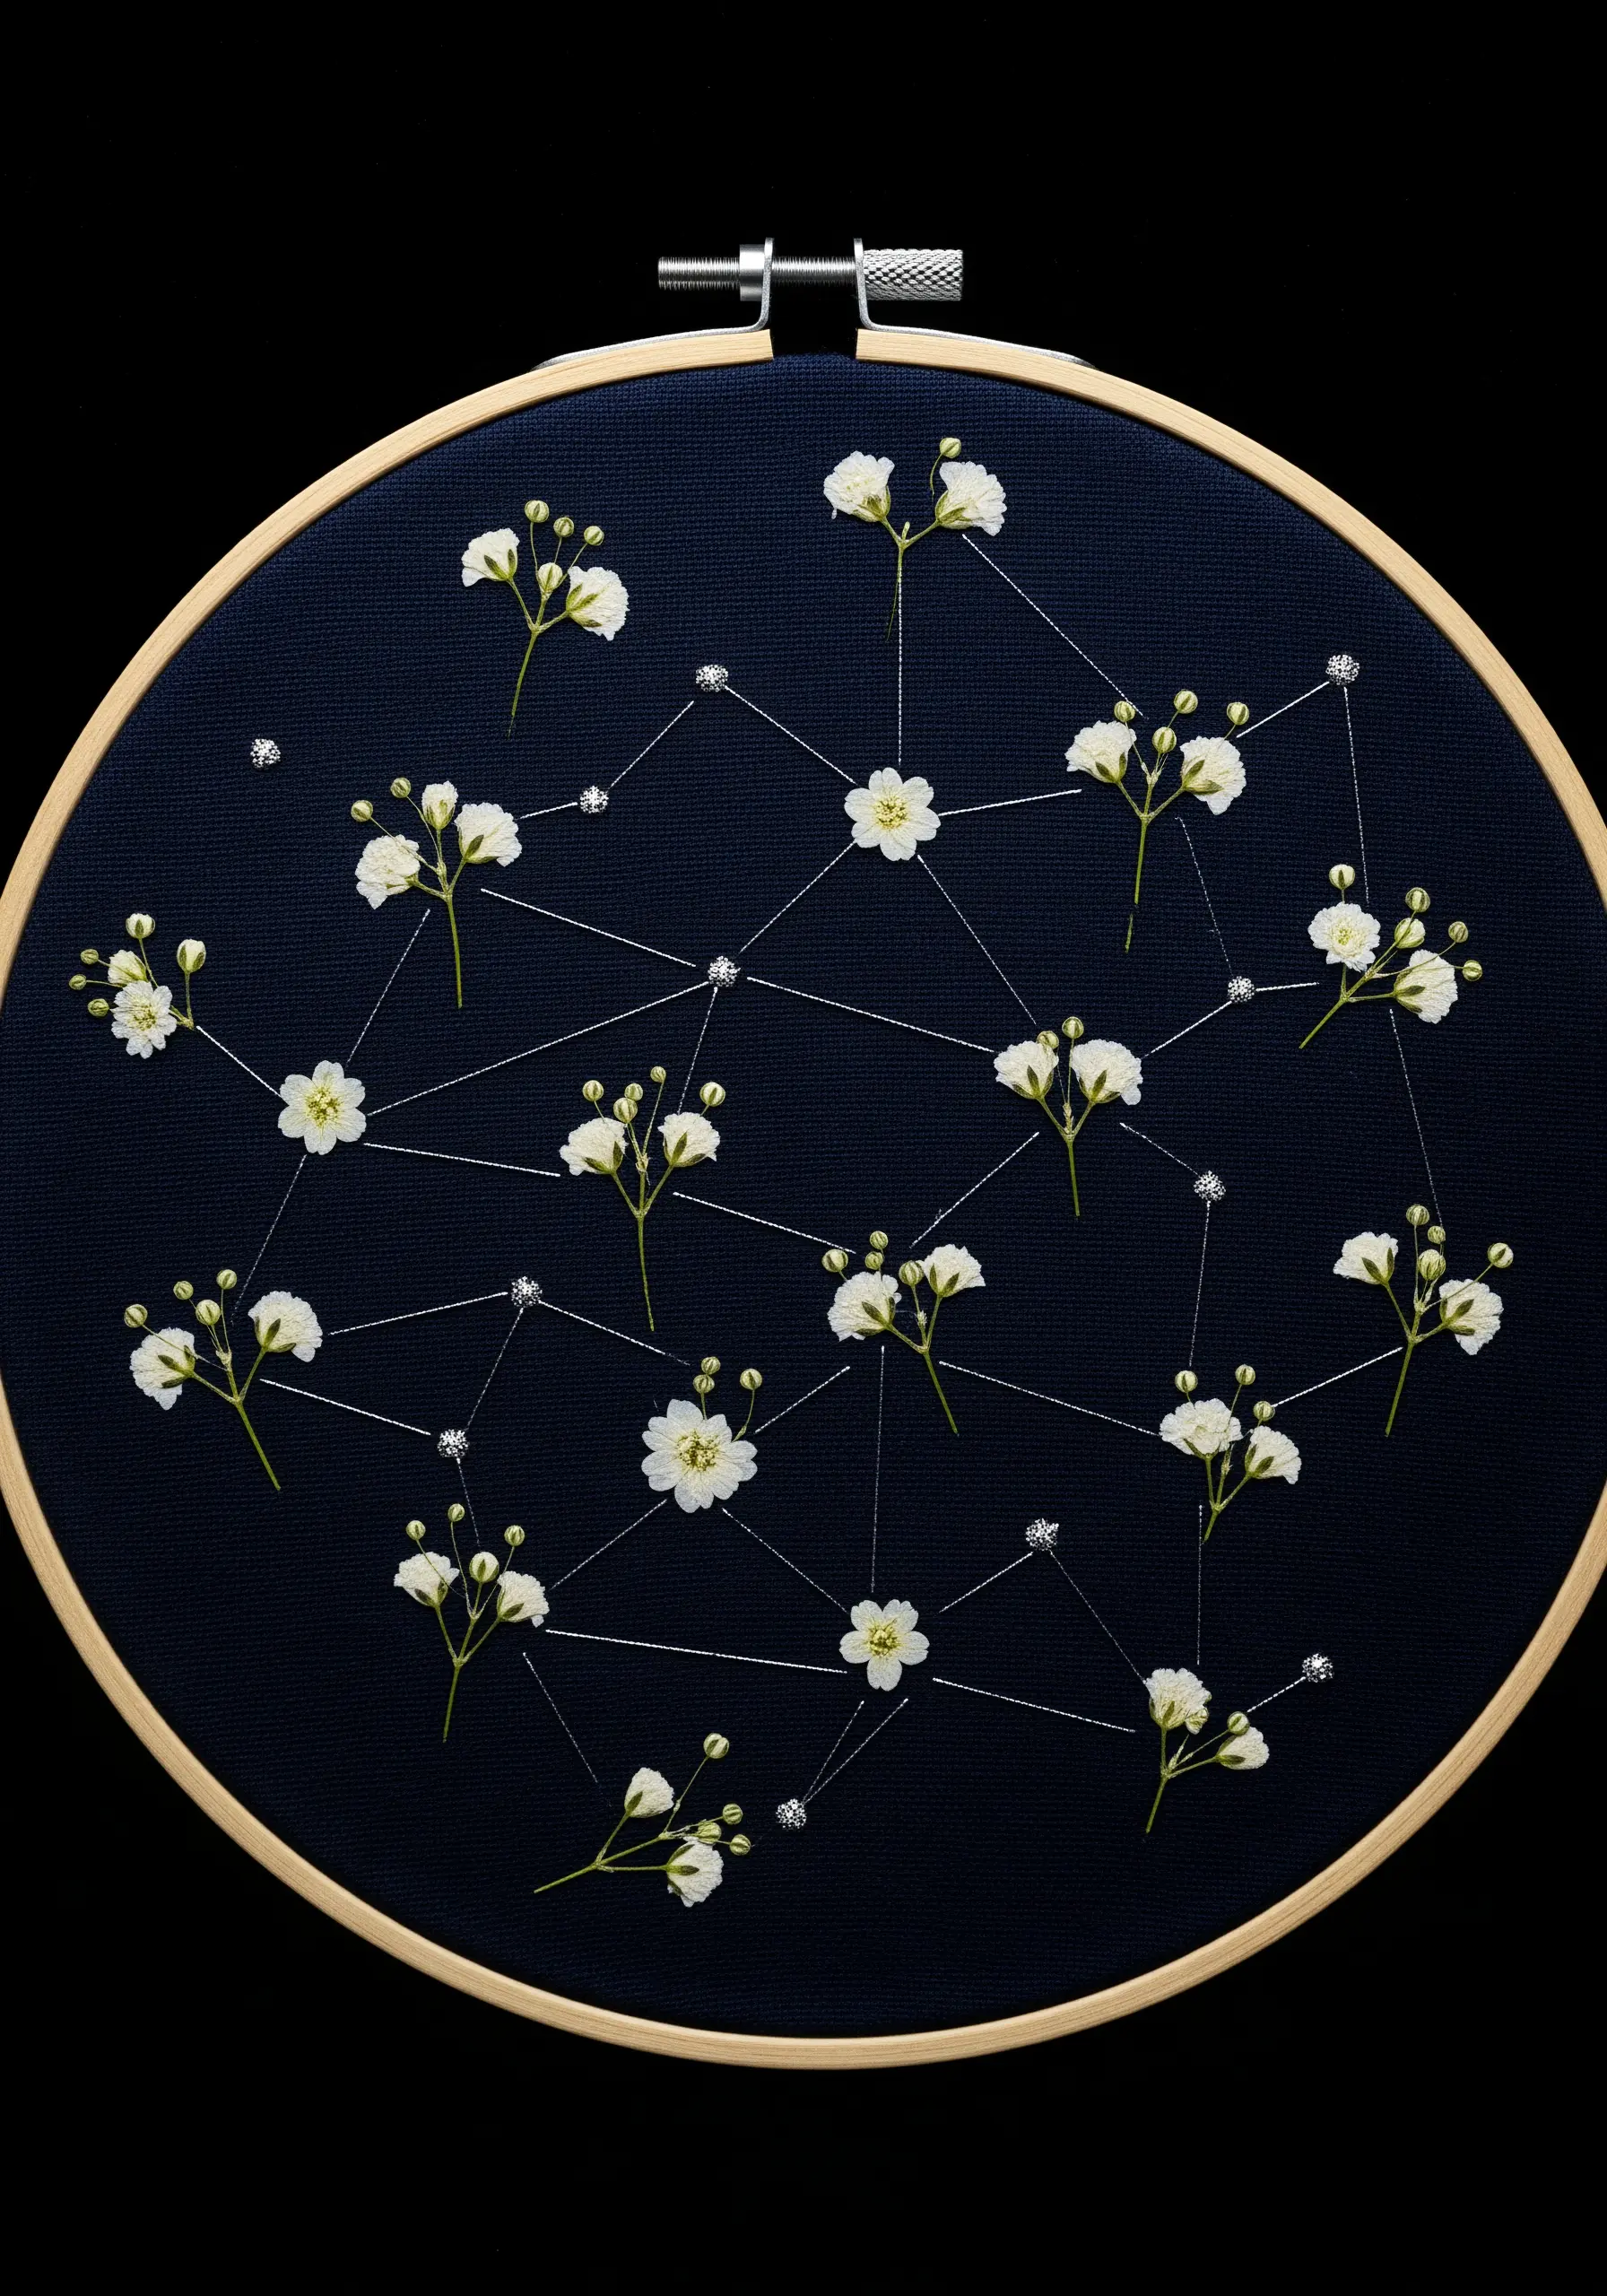
Create a celestial map by connecting pressed baby’s breath with fine metallic thread.
Choose a dark, tightly woven cotton fabric in navy or black to make the white blossoms and silver thread pop.
Use a simple backstitch for the connecting lines and add tiny silver beads or French knots at the intersections to represent stars.
This transforms simple flowers into a conceptual piece of art that feels both cosmic and organic.
13. Accentuating with Metallics: Highlighting Natural Forms
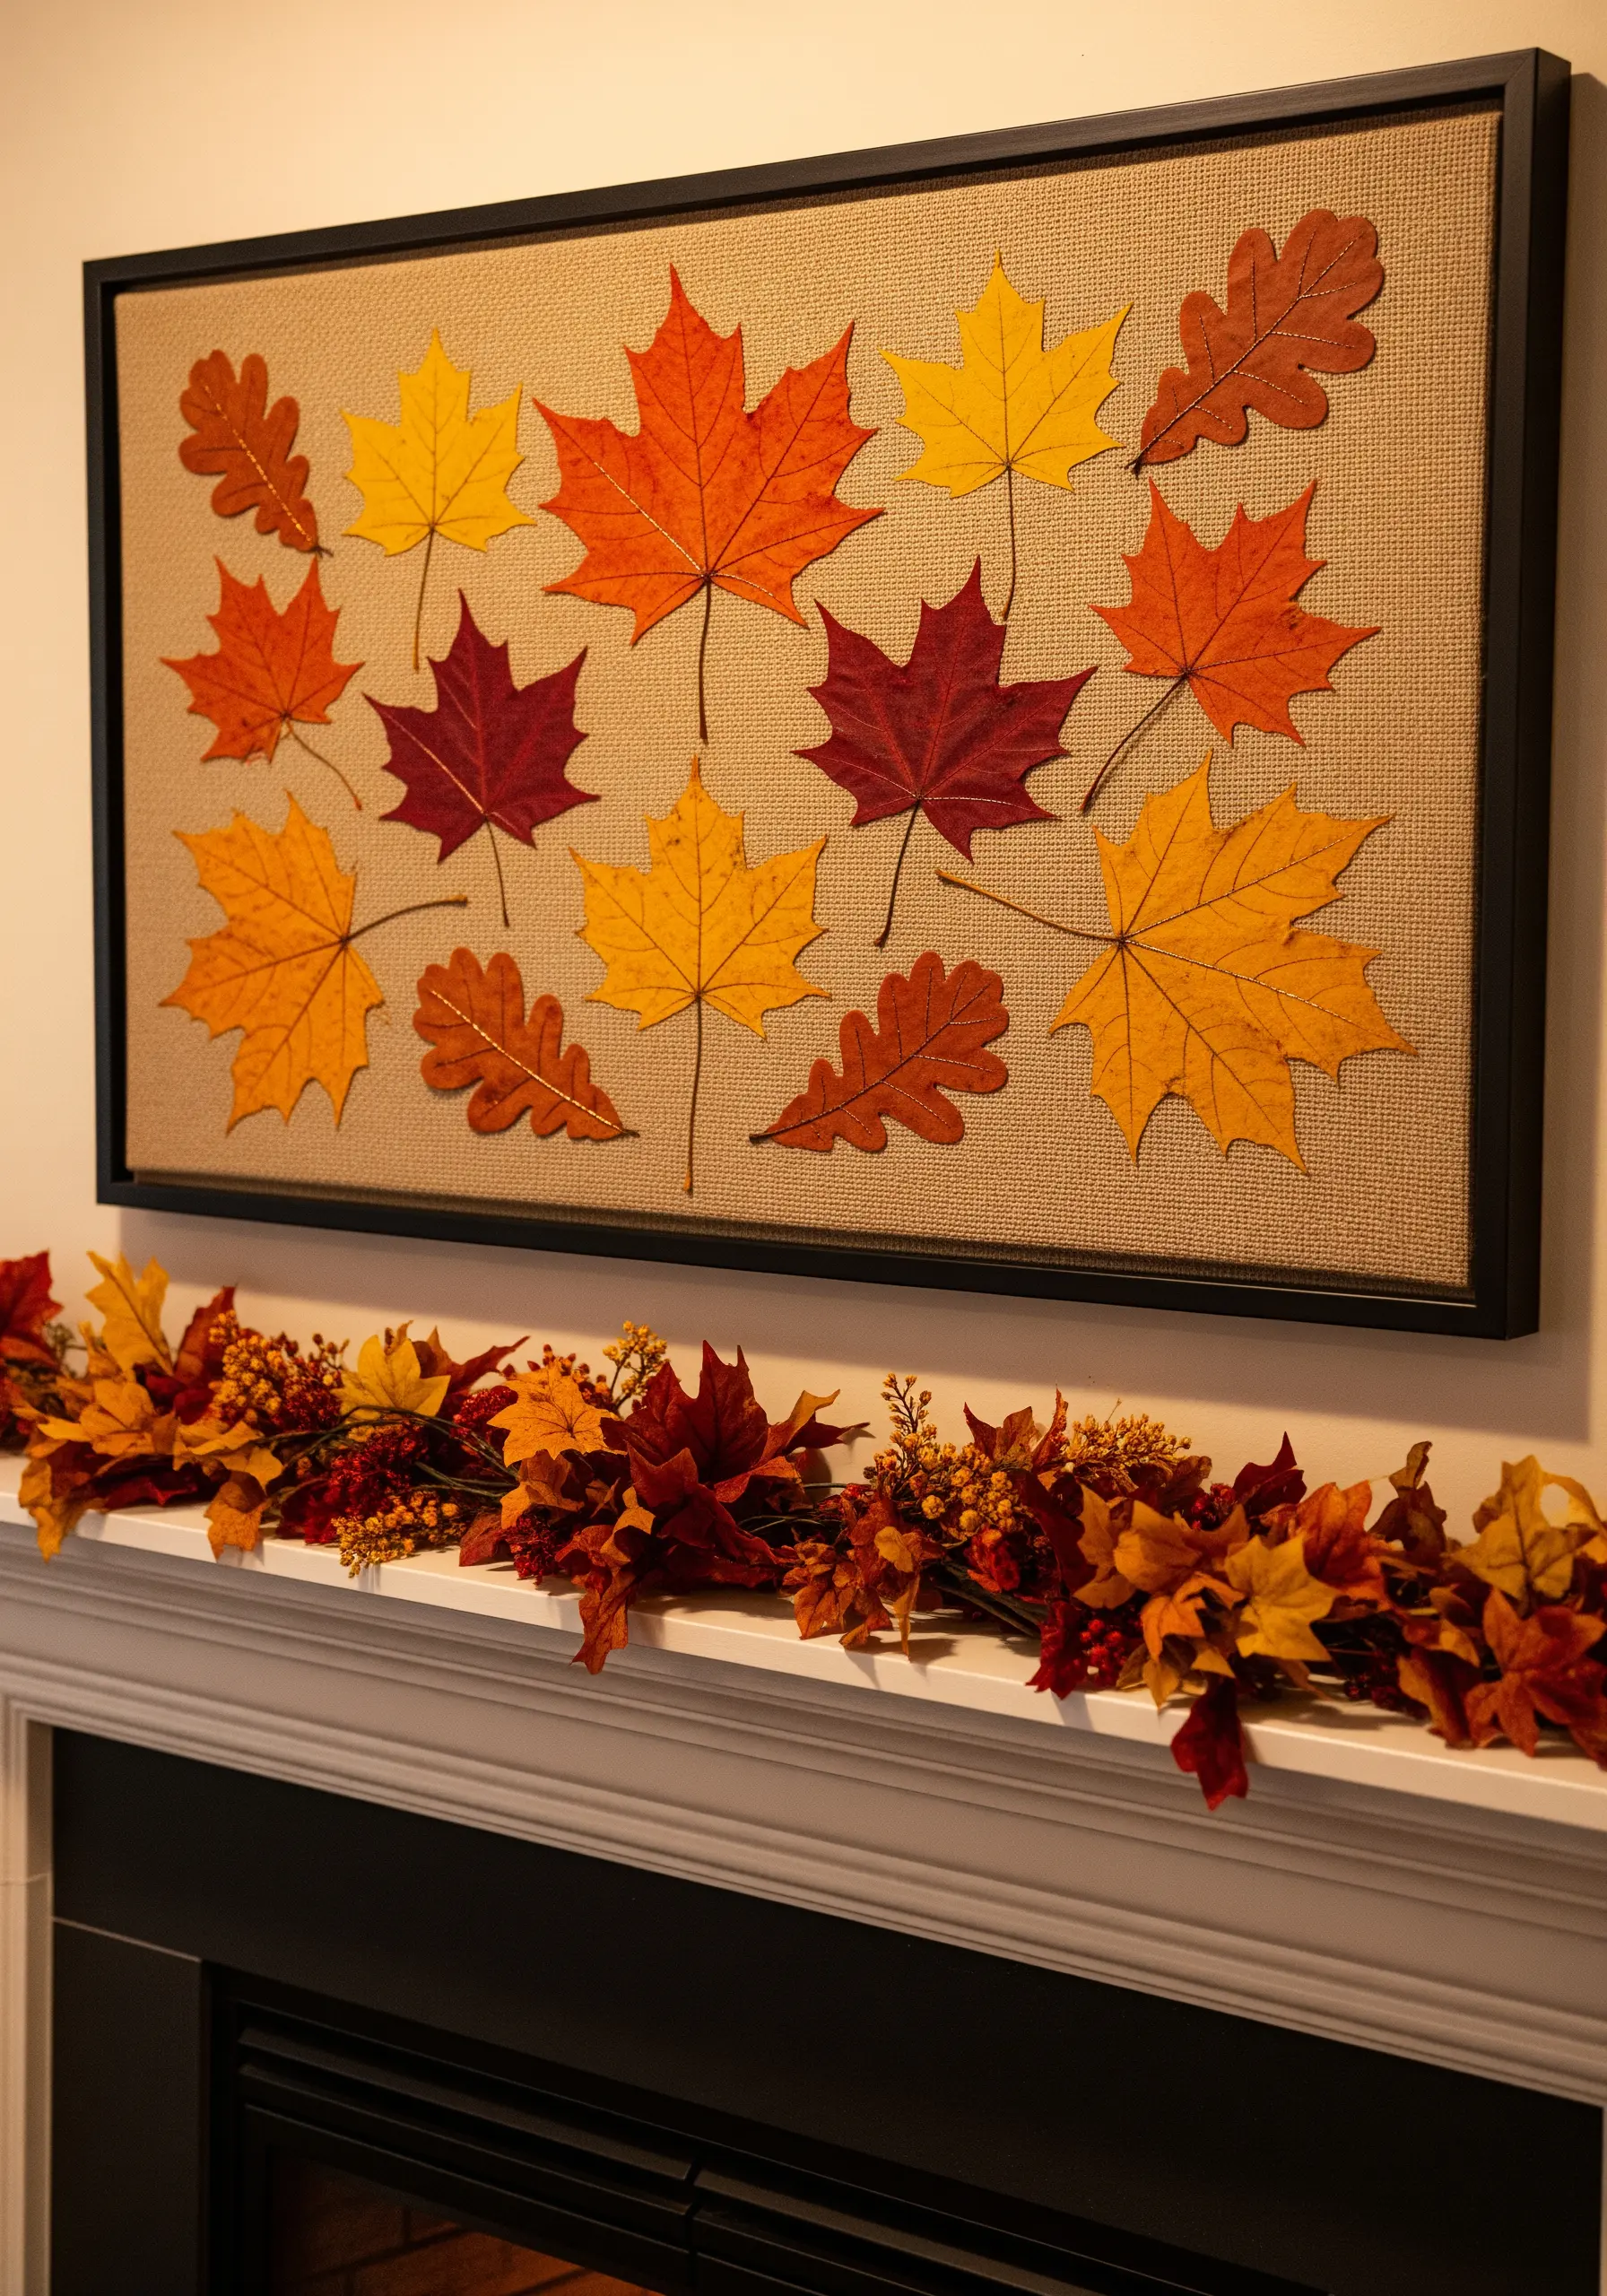
Allow pressed leaves to be the main attraction, using embroidery as a subtle, light-catching accent.
Select one or two leaves within your arrangement and carefully couch their outlines with a single strand of gold or copper metallic thread.
This technique adds a touch of warmth and luxury without overpowering the natural beauty of the autumn foliage.
Consider using pressed leaves as stencil guides for purely embroidered pieces as well.
14. The Botanical Study: Precision in Text and Form
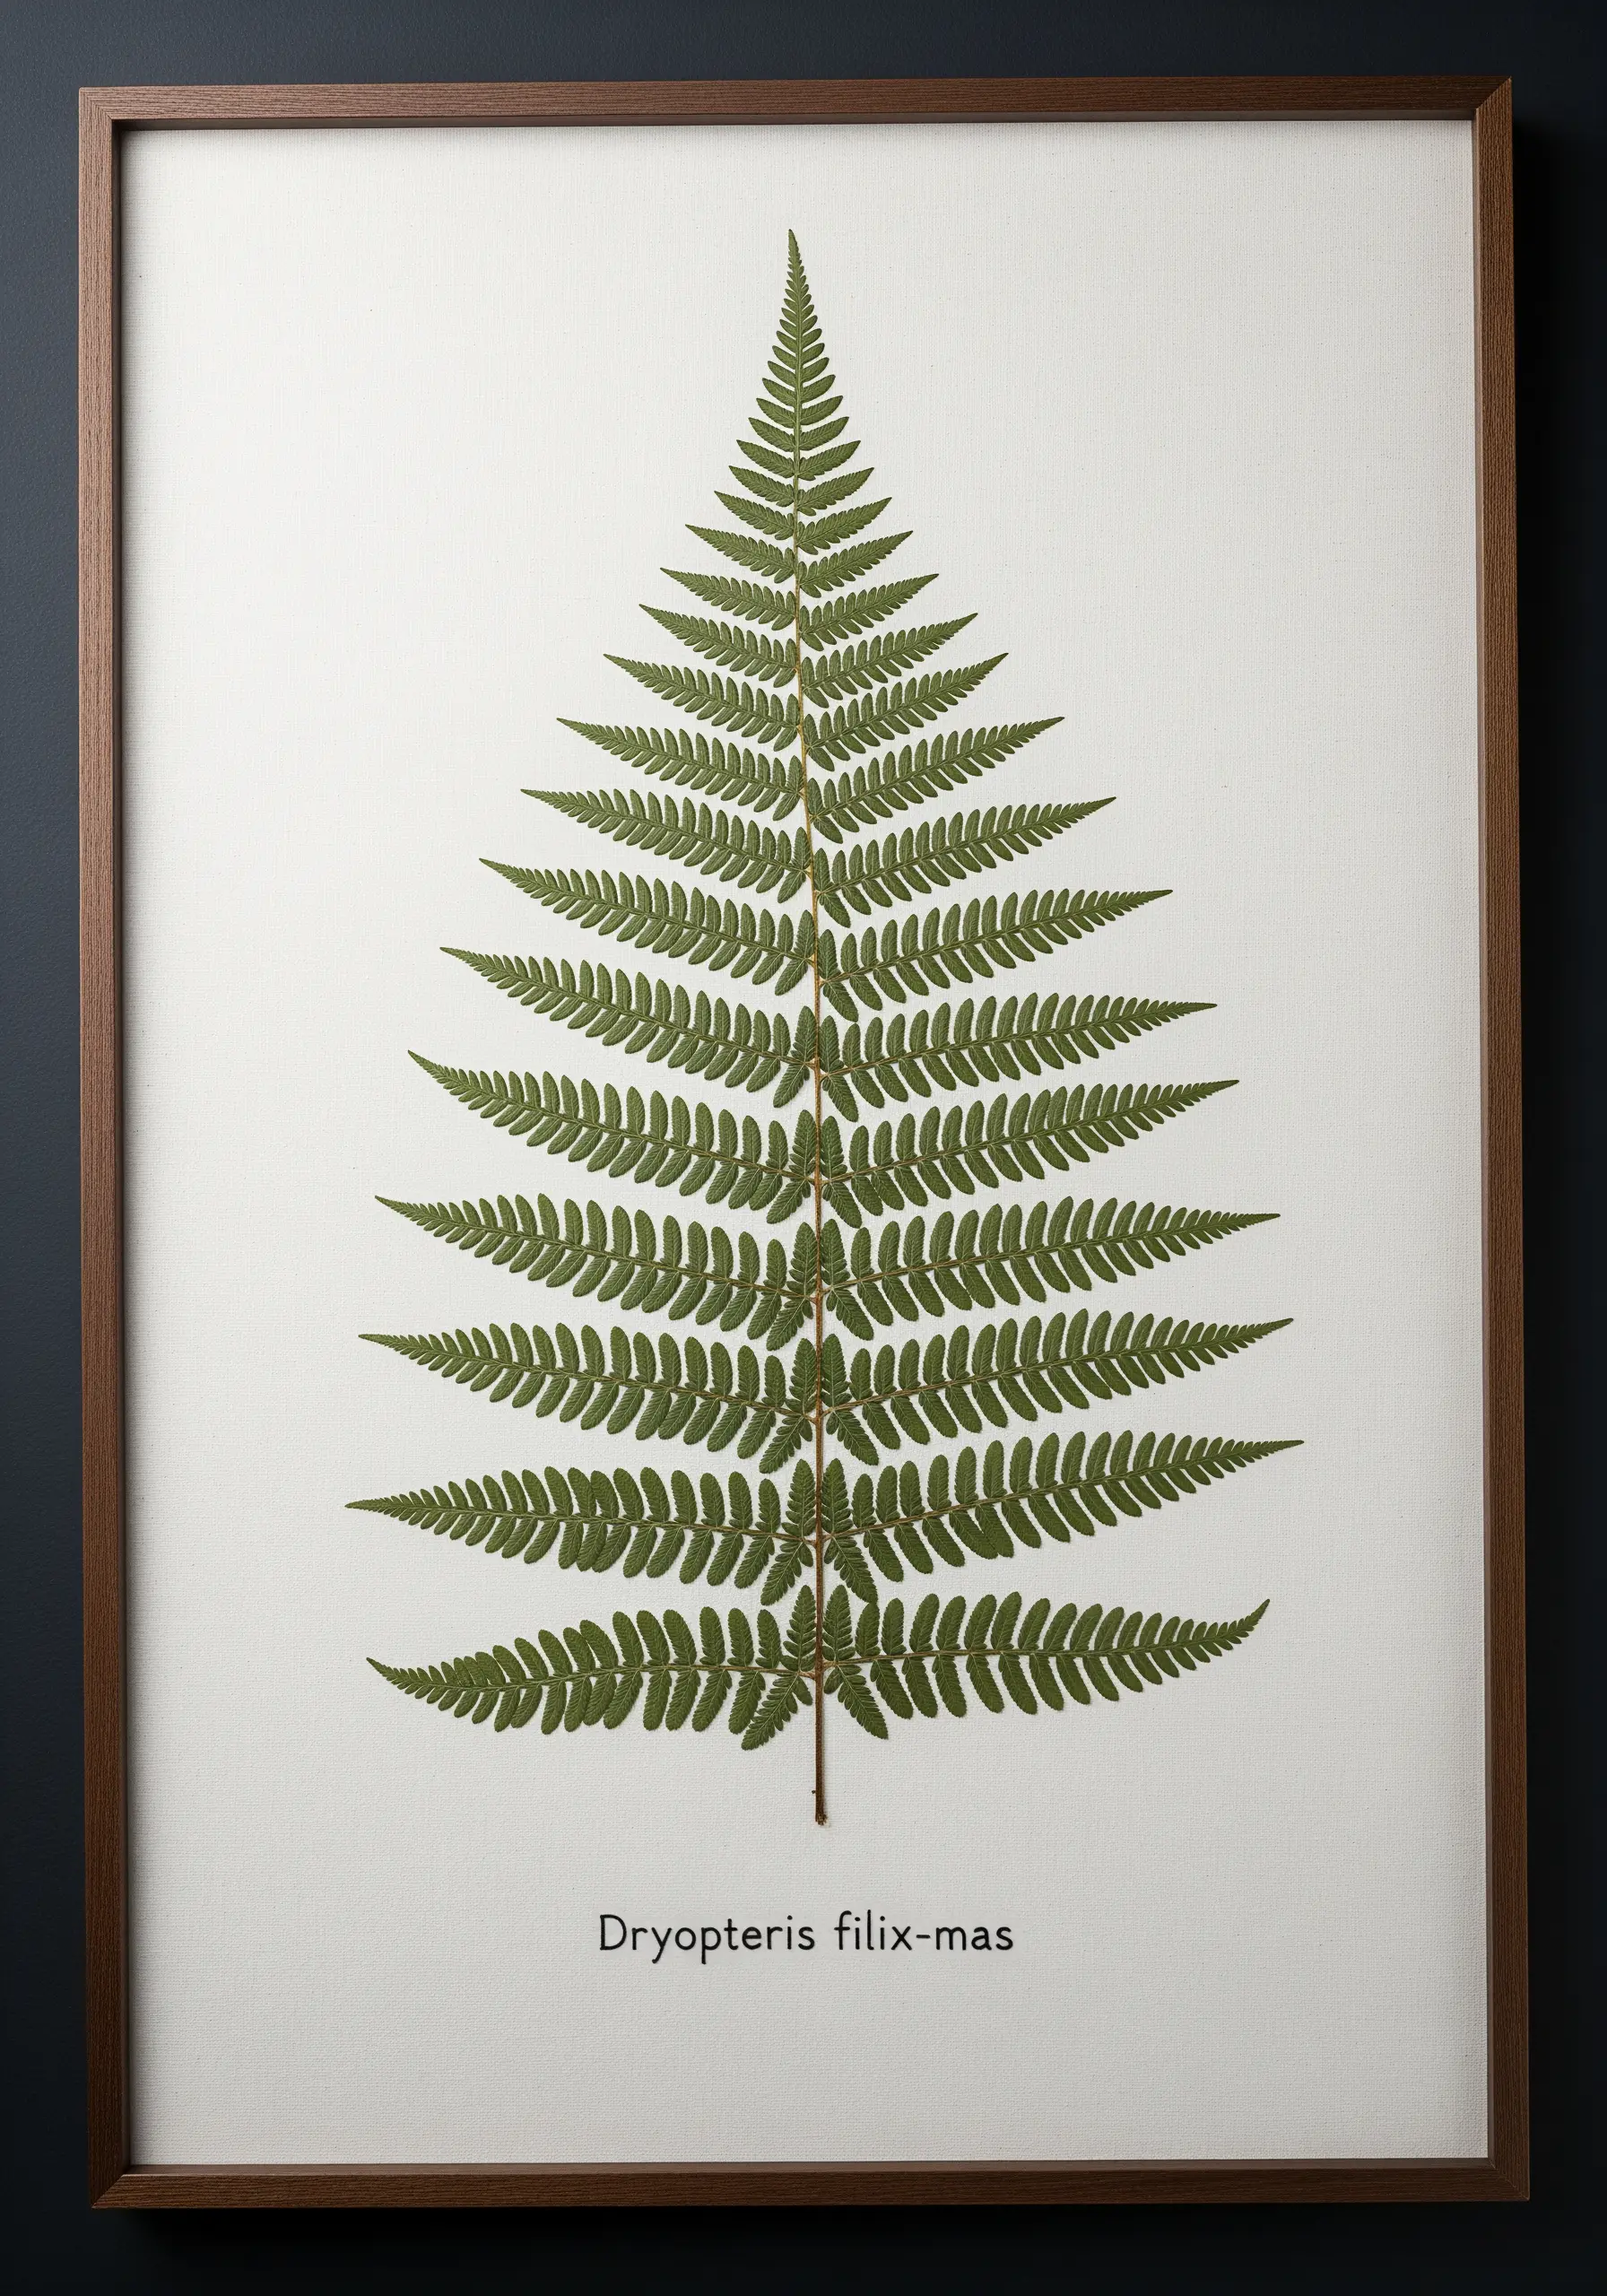
Present a single pressed fern with the precision of a botanical illustration by focusing on the details.
To create the perfect text label, print the name in your desired font onto a sticky, water-soluble stabilizer.
Adhere it to your fabric and stitch directly over the letters using a single-strand split stitch for sharp, clean lines.
Once finished, dissolve the stabilizer in water, leaving only your flawless, hand-stitched text.
15. Thread Highlighting: Adding Dimension to Printed Fabric

Enhance a floral-printed fabric to give it the look of a fully embroidered piece without the hours of work.
Choose a few key flowers in the print and add textural details with thread.
Outline a petal in backstitch, fill a flower’s center with French knots, or add a satin stitch highlight to a leaf.
This technique, known as thread highlighting, adds depth and a bespoke touch to any textile, perfect for cushion covers and upholstery.
16. Deconstructed Botanicals: A Triptych of a Peony’s Life

Tell a story across multiple hoops by showcasing a flower in different stages.
For the ‘falling petals’ design, use a sheer, water-soluble adhesive film to temporarily place the real petals on your fabric.
Secure each petal with just one or two tiny, invisible stitches at the base, allowing them to retain a delicate, almost floating appearance.
This method preserves their fragile shape while creating a dynamic sense of movement, perfect for peony embroidery ideas.
17. The Herbalist’s Pocket: Functional and Fragrant Embroidery

Embellish an apron pocket with real sprigs of rosemary, thyme, and sage for a design that is both beautiful and aromatic.
Secure the hardy stems to the fabric using a couching stitch with two strands of matching green thread for durability.
Add a few tiny tacking stitches to the leaves to prevent them from catching during use.
The decorative stitch bordering the pocket adds a final, rustic touch that reinforces its construction.
18. Suncatcher Hoops: Creating Stained-Glass Effects
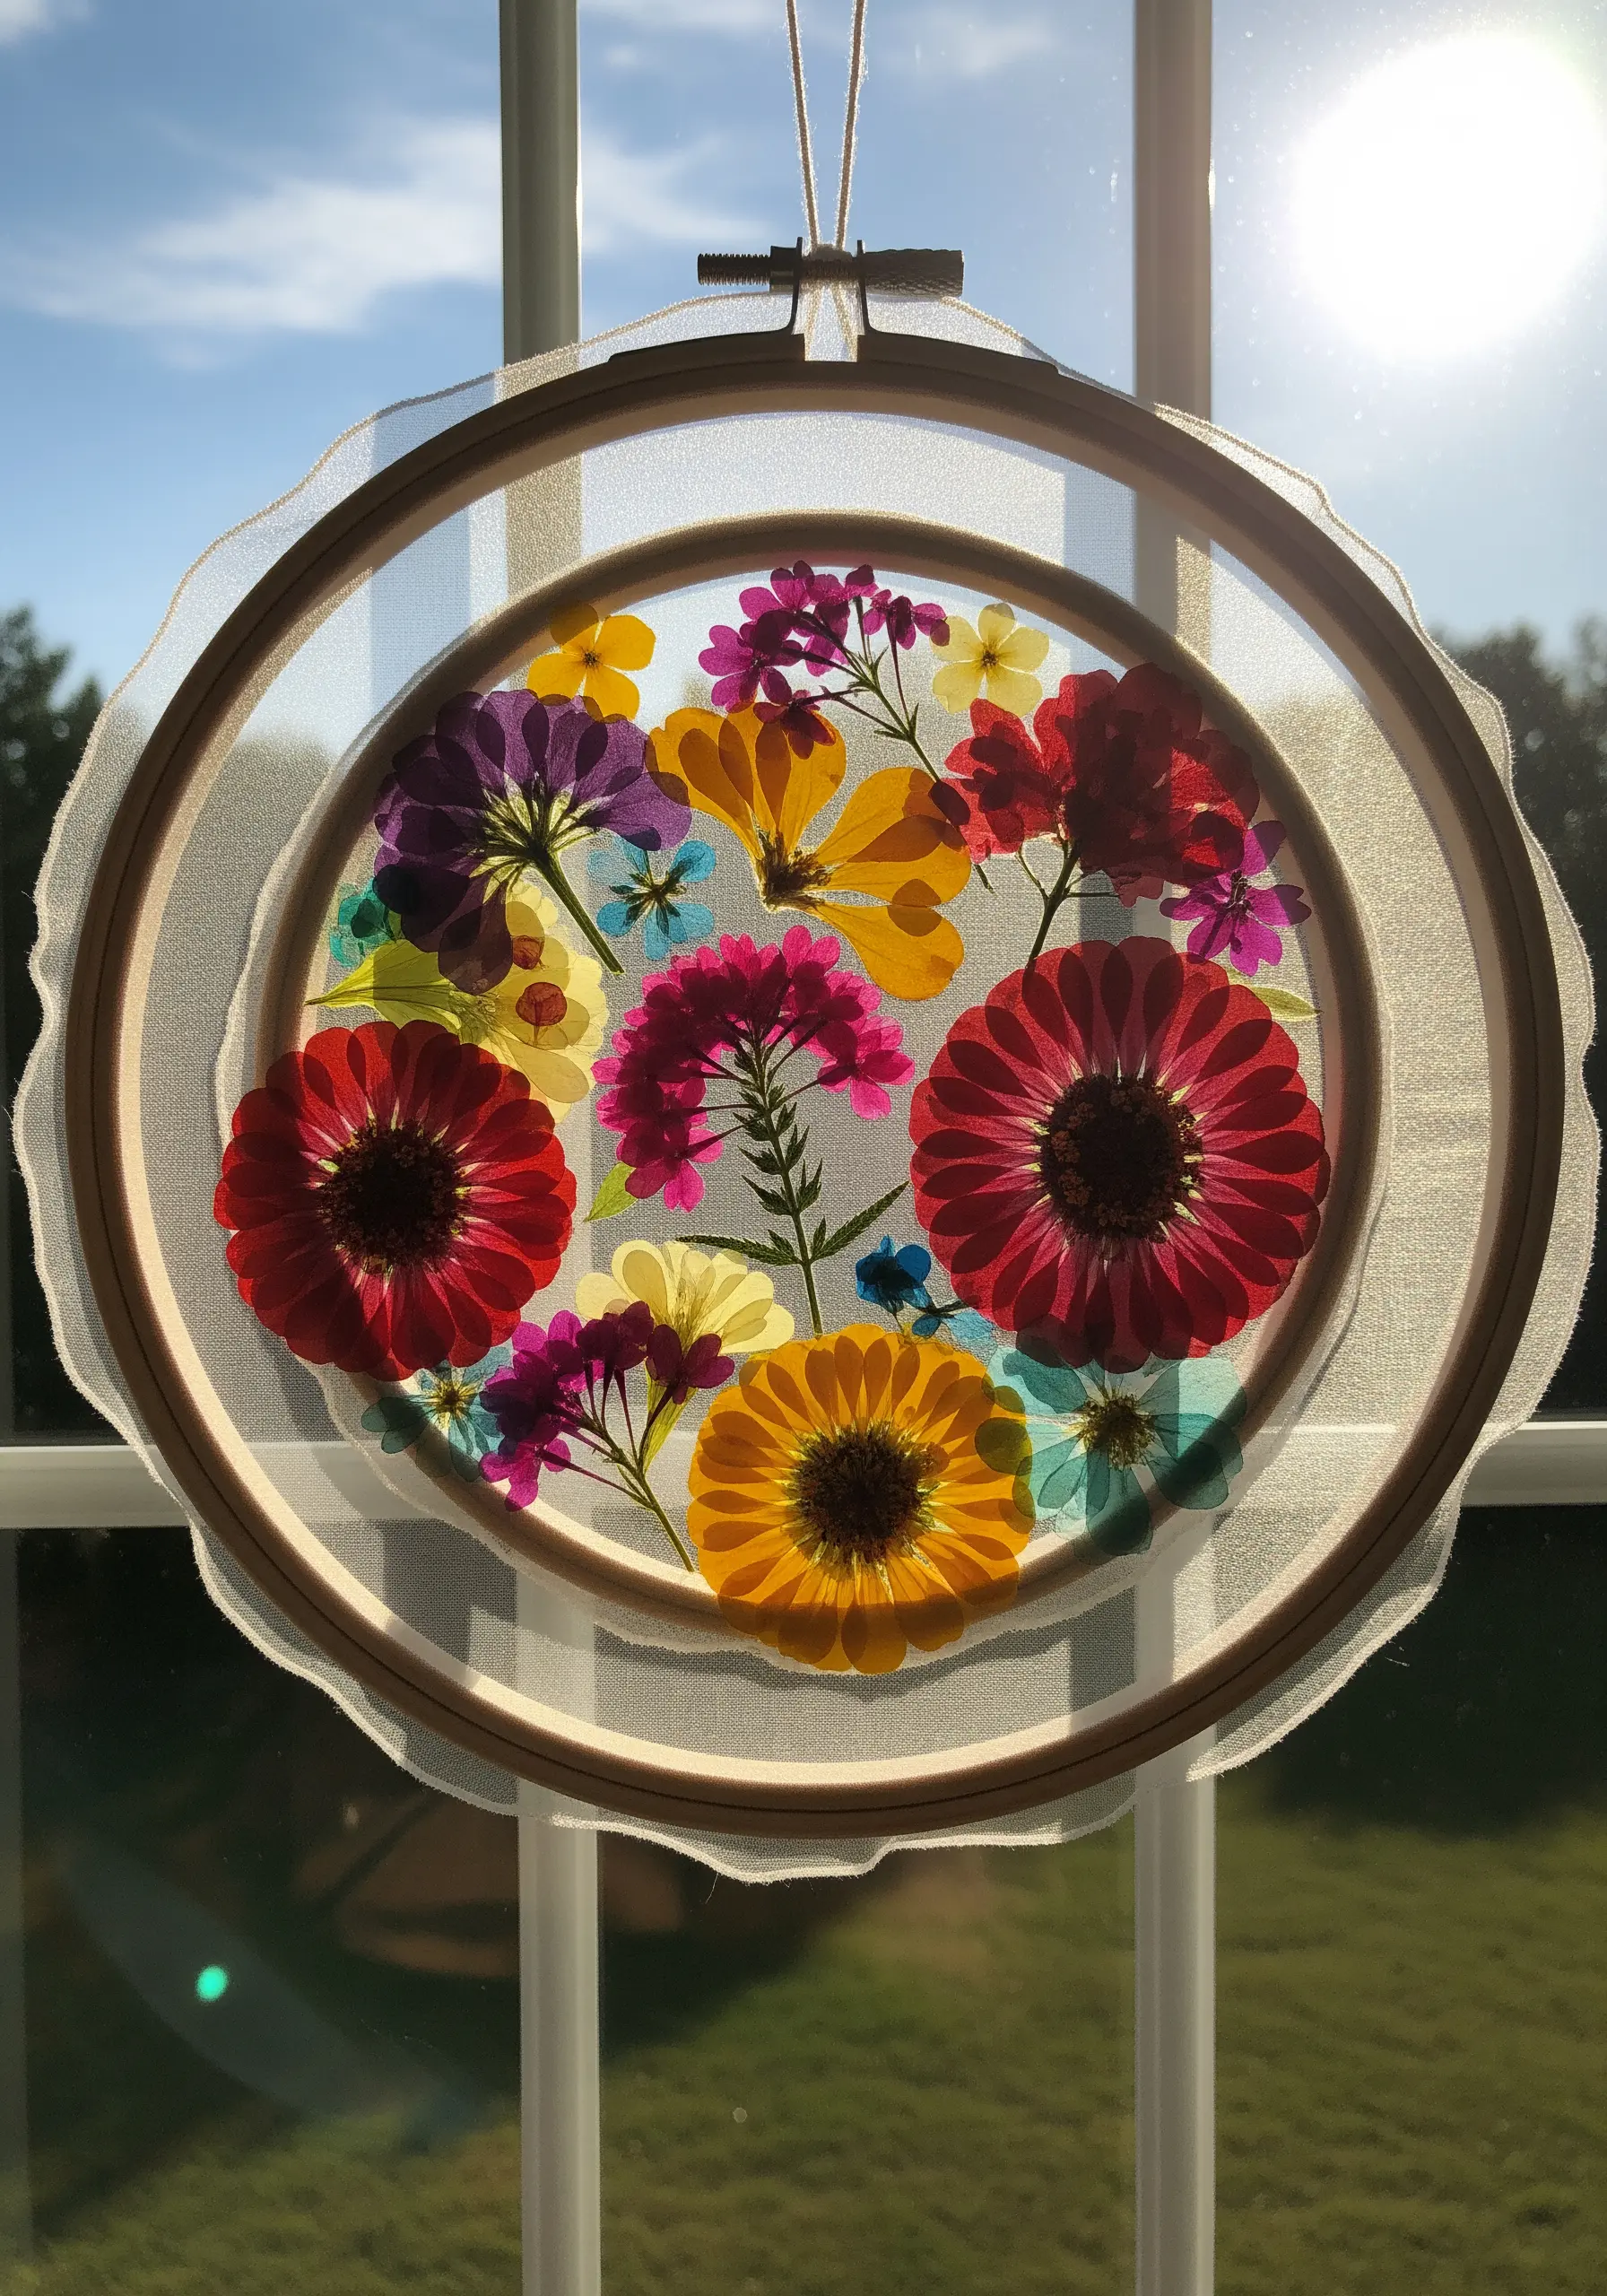
Capture sunlight by pressing vibrant flowers between two layers of sheer organza or tulle.
First, stretch one layer of fabric into the hoop. Arrange your pressed flowers, then place the second layer of fabric over the top and secure it with the outer hoop.
You can add a few minimal stitches through both layers to hold the composition in place permanently.
This technique creates a stunning, transparent effect, making it one of the most beautiful fabric collage embroidery projects to hang in a window.
19. Coordinated Linens: Corner Accents for Placemats

Design a cohesive set of table linens by repeating a corner motif on each piece.
To ensure consistency across all four placemats, create a simple paper template of your design to guide the placement of the largest flowers and stems.
Use a stem stitch for the delicate greenery and lazy daisy stitches for the chamomile petals.
This combination of real pressed flowers and light embroidery adds a touch of garden elegance to your tablescape.
20. The Thorny Frame: Contrasting Textures
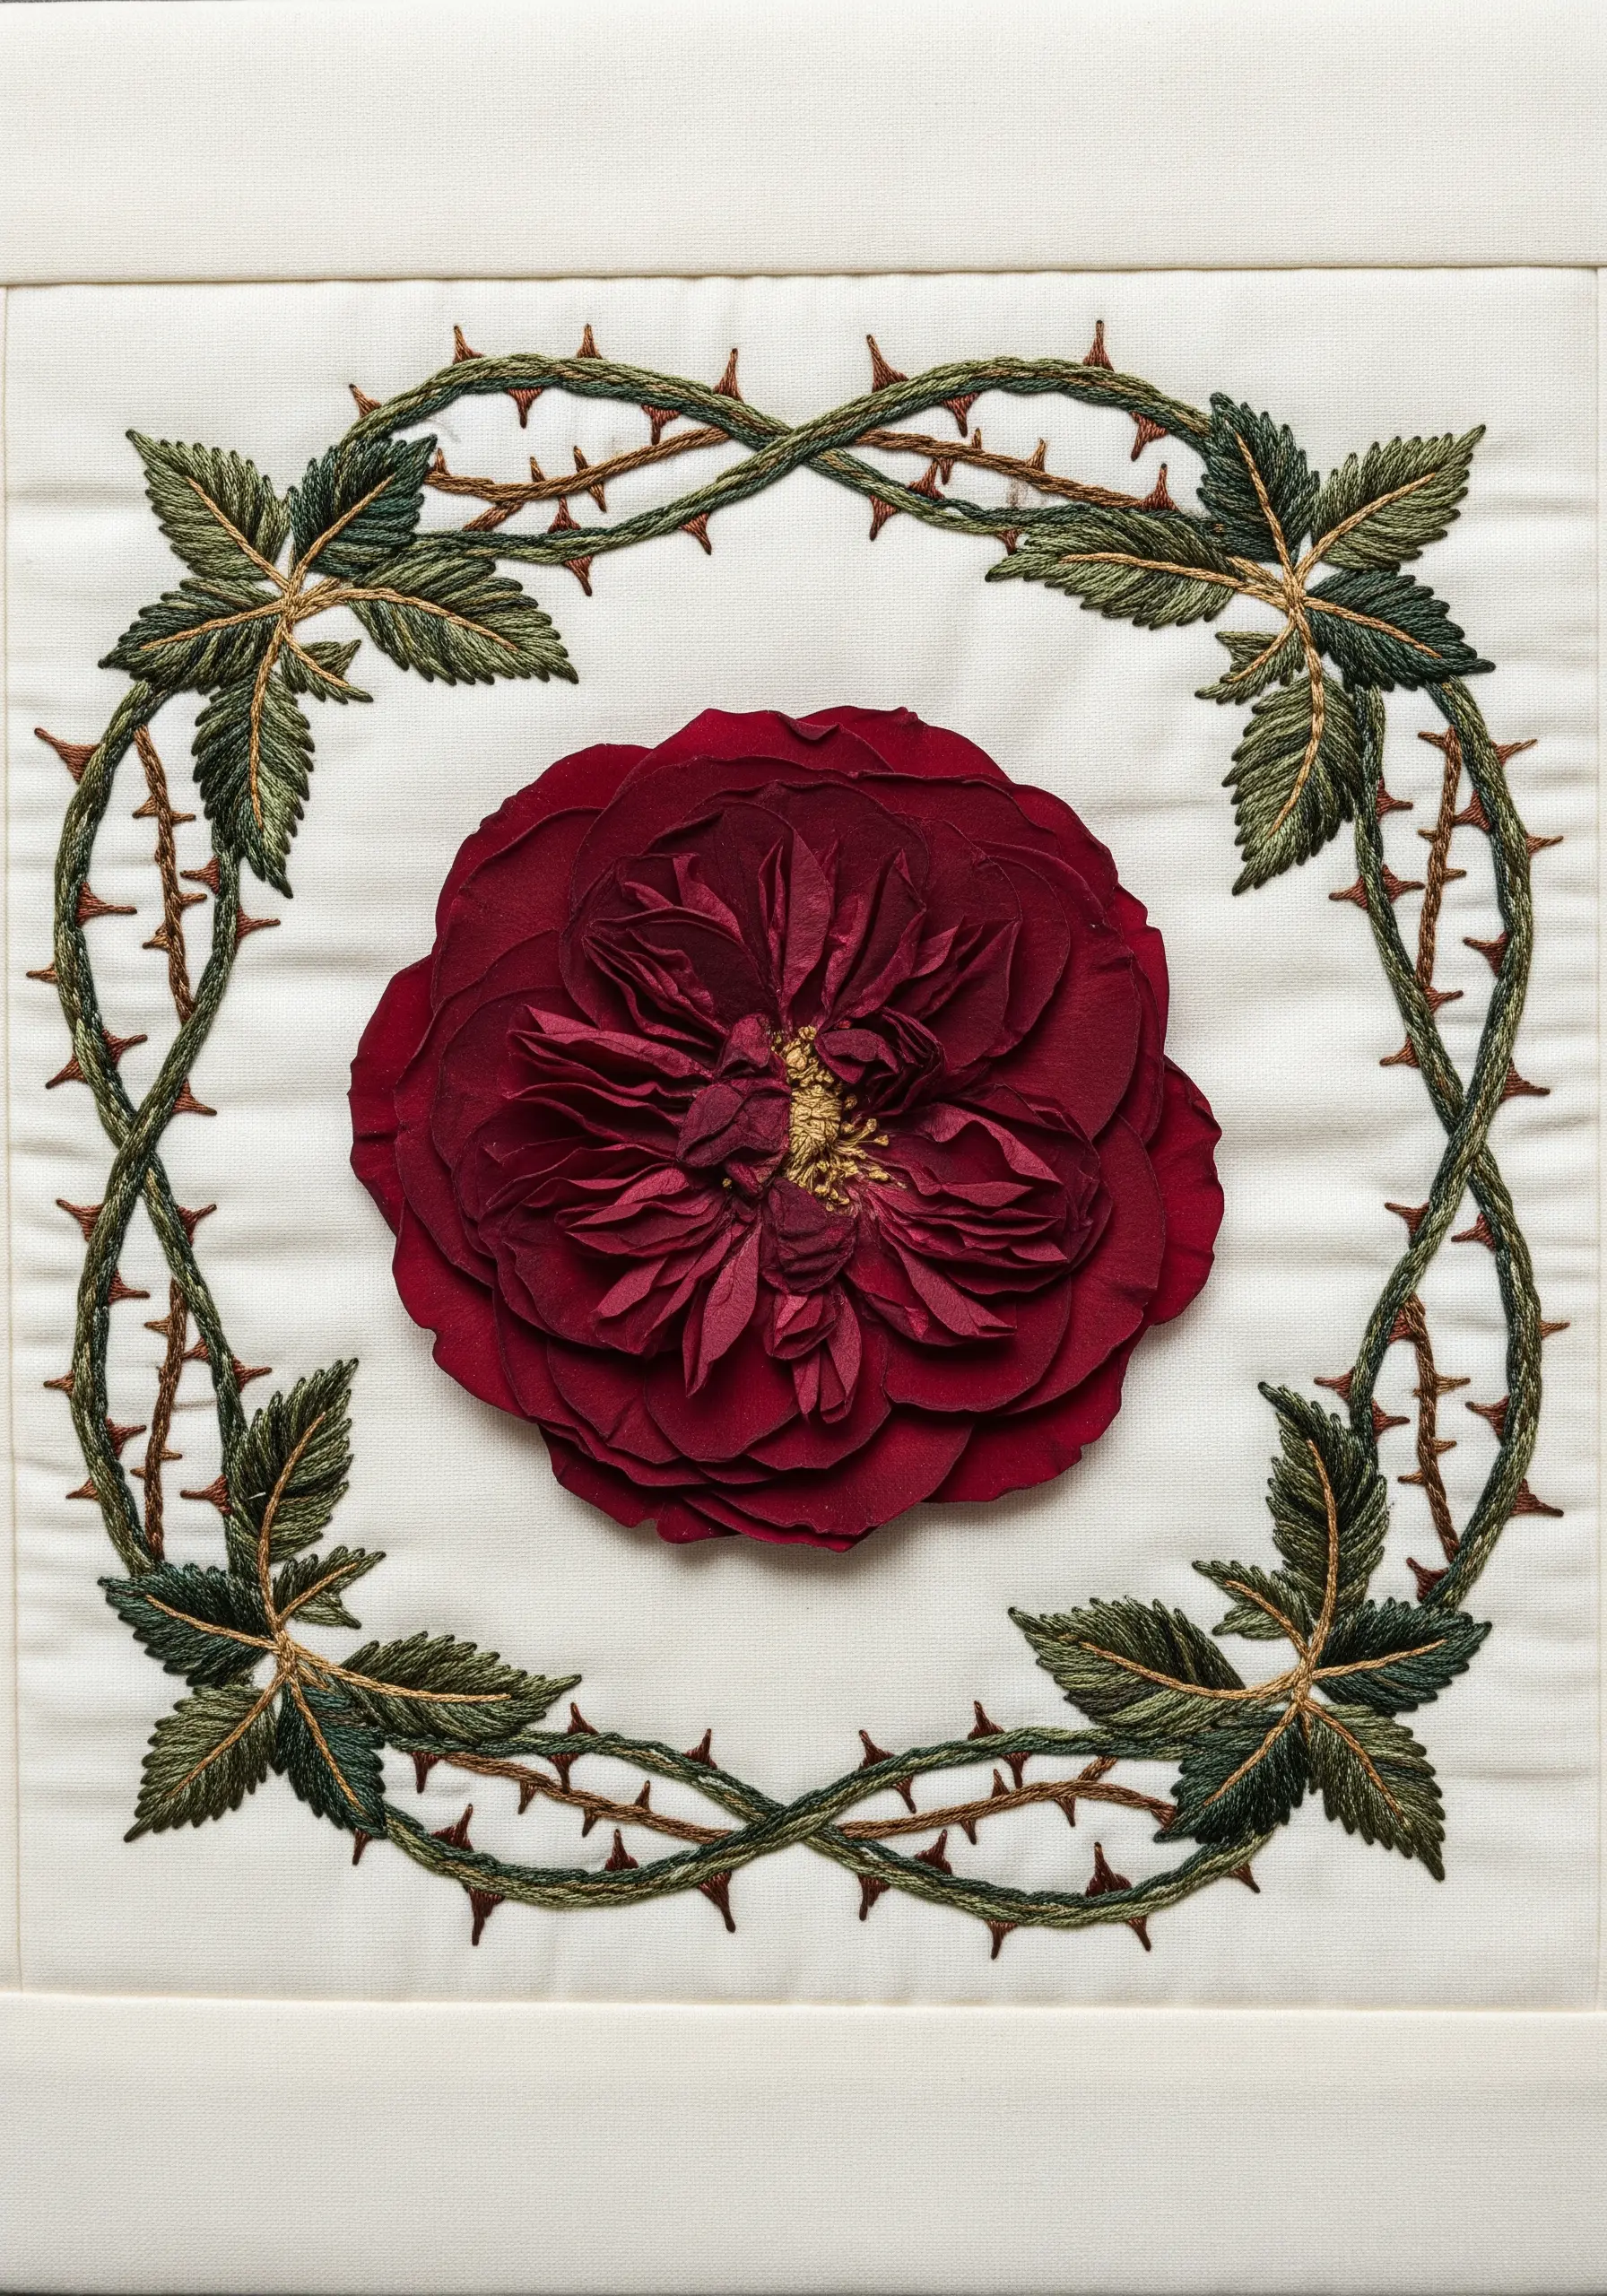
Create a powerful visual contrast by framing a soft, pressed rose with sharp, textured, embroidered thorns.
For the twisting vines, use a whipped backstitch with two shades of green to give them rounded dimension.
Create the thorns with single, sharp straight stitches pulled taut, or use a detached chain stitch for a slightly thicker thorn.
The tension between the delicate, preserved flower and the aggressive stitch-work is what makes this design so compelling.
21. Silk and Blossoms: Embroidering on Delicate Scarves
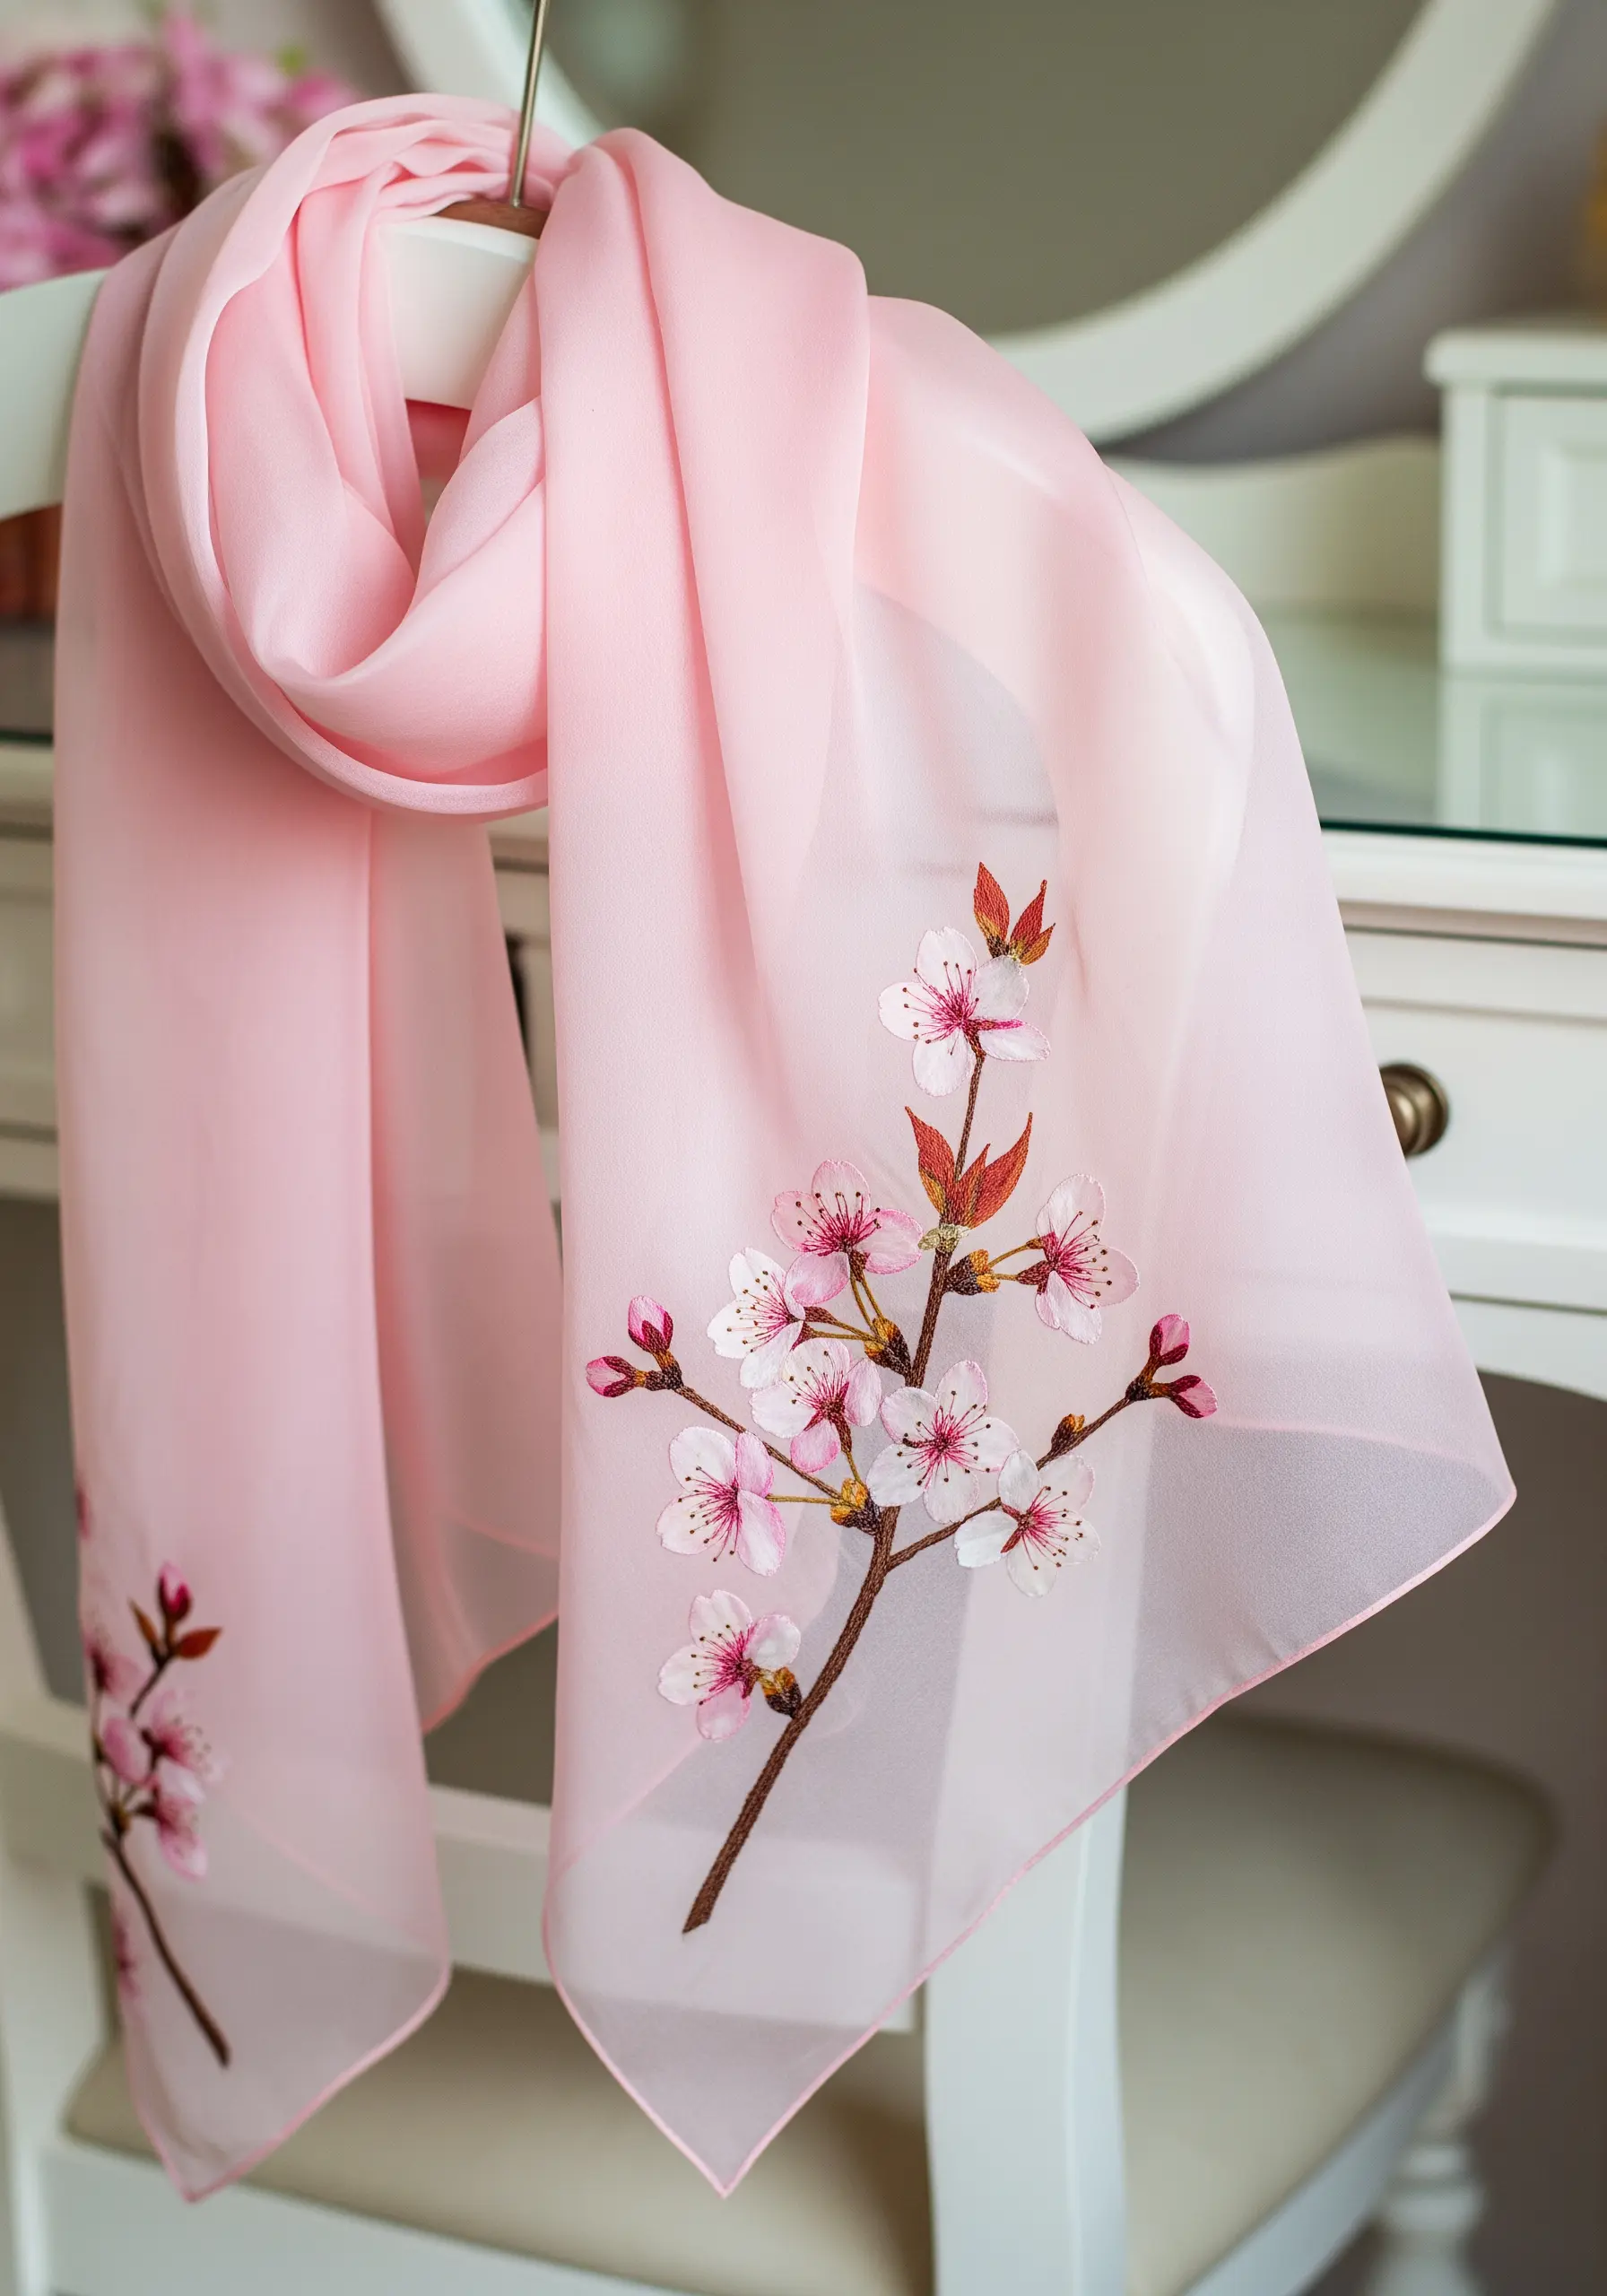
When stitching on fine, slippery fabrics like silk or chiffon, your tools and technique are everything.
Use a very fine embroidery needle (a size 10 or 12) and a single strand of silk floss, which has a similar sheen and weight to the scarf.
Keep your stitches small and light—tiny detached chain stitches for petals and a delicate split stitch for branches will add beauty without compromising the fabric’s natural drape.
A small, lightweight hoop will help maintain even tension without stretching the silk.


