
Your embroidery doesn’t need to be complicated to be beautiful, but it does need to be intentional. If you’ve ever felt your finished pieces lack that certain polish, the solution often lies in small, thoughtful adjustments to your technique—not in learning dozens of complex new stitches.
This is about choosing the right stitch for the job: knowing when a smooth satin stitch will shine and when a textured French knot will tell a better story. It’s understanding how changing the direction of your stitches can create the illusion of light, or how using a single strand of thread instead of two can be the difference between a clunky line and a delicate one.
Consider this your guide to making smarter, more artful choices. Let’s move beyond simply filling in shapes and start using thread to add dimension, texture, and personality to every piece of fabric you touch.
1. The High-Definition Emoji
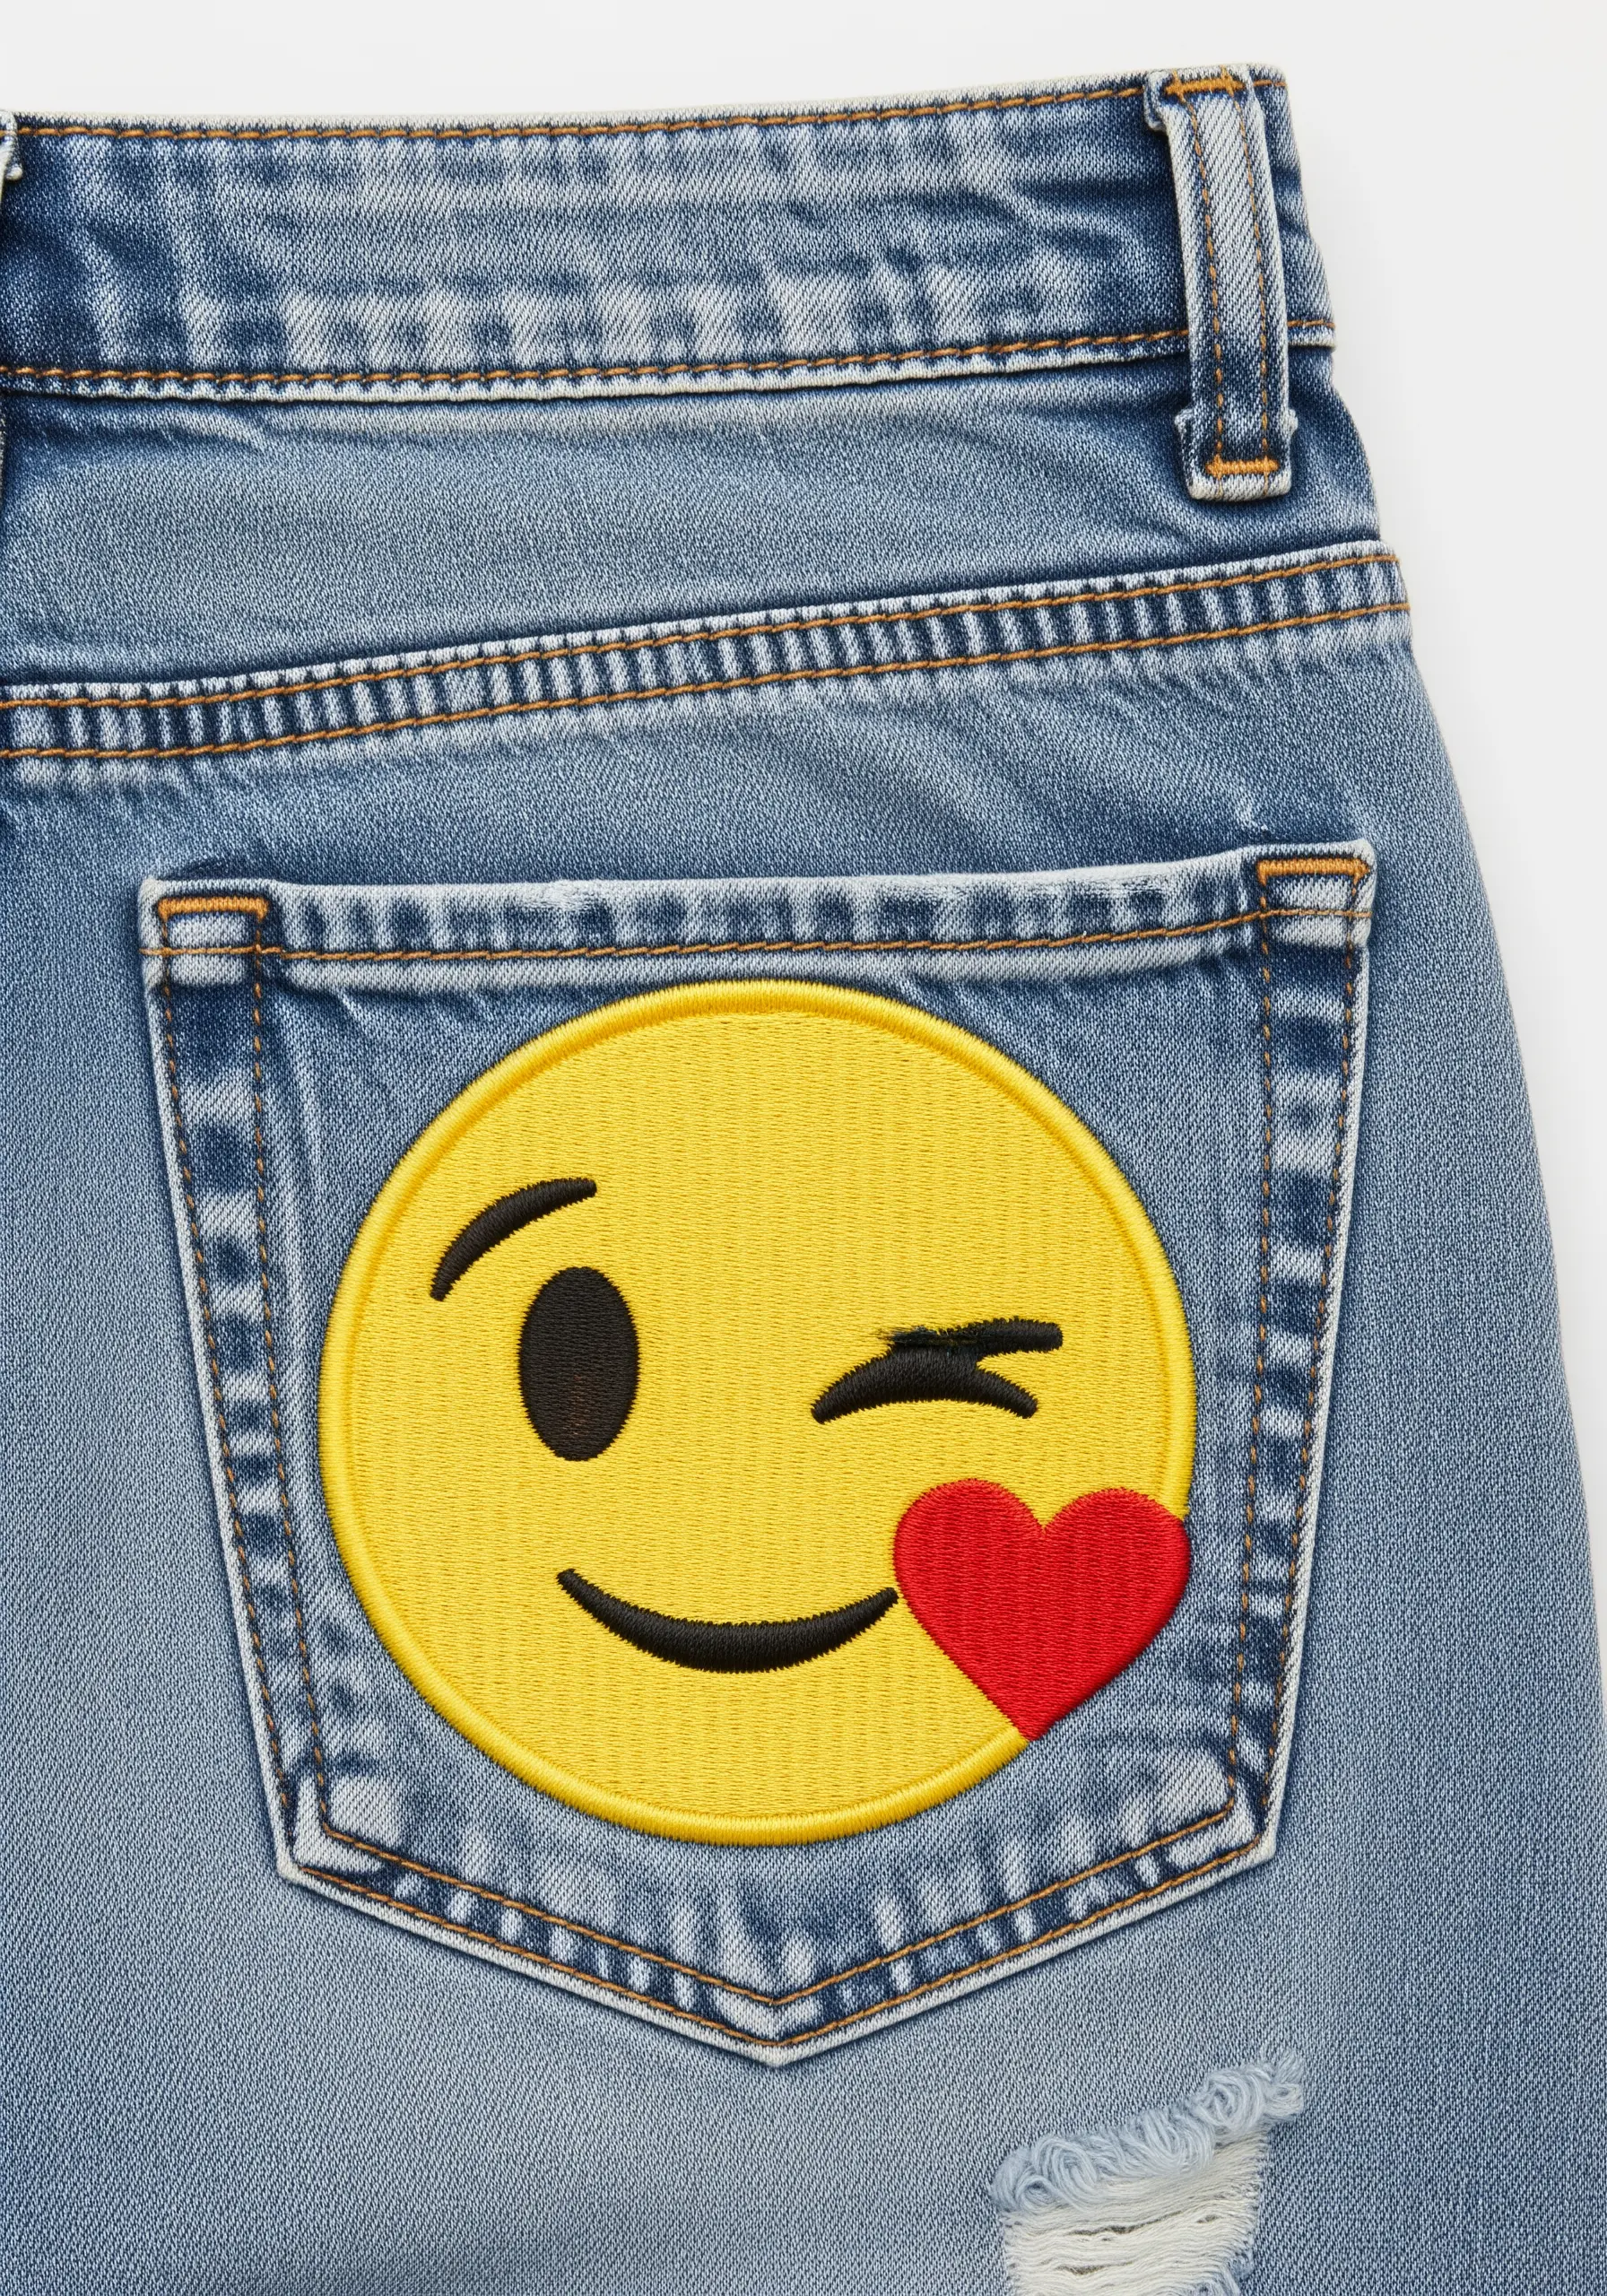
To achieve that perfectly smooth, graphic finish on a large emoji, outline the entire shape with a tight split stitch before you begin filling it.
This raised edge acts as a barrier, allowing your satin stitches to sit neatly against it for an exceptionally clean look.
Use a single strand of floss for the fill to eliminate gaps and create a dense, almost machine-embroidered surface.
When stitching the heart, orient your satin stitches diagonally; this catches the light differently from the yellow face, making the small detail pop.
2. The Luminous Planet

When working with metallic thread for Saturn’s rings, use a shorter length (no more than 12 inches) to prevent fraying and tangling.
A needle with a slightly larger eye will also reduce friction, preserving the thread’s shine.
For the planet’s body, use a light gray or silver thread and fill it with brick stitch instead of satin stitch.
This staggered technique creates a subtle texture that mimics a celestial surface, giving it more dimension than a flat fill.
3. The Curated Icon Scatter
When placing multiple small icons, think like a graphic designer and create visual balance rather than random placement.
Arrange your motifs in a gentle arc or a subtle zigzag to guide the eye across the fabric, making the composition feel intentional.
Use a consistent stitch for the black outlines—like a single-strand backstitch—across all patches to unify them, even if their internal colors and textures vary.
This creates a cohesive set of tiny stitching ideas that add a pop of color and personality.
4. The Three-Dimensional Bee
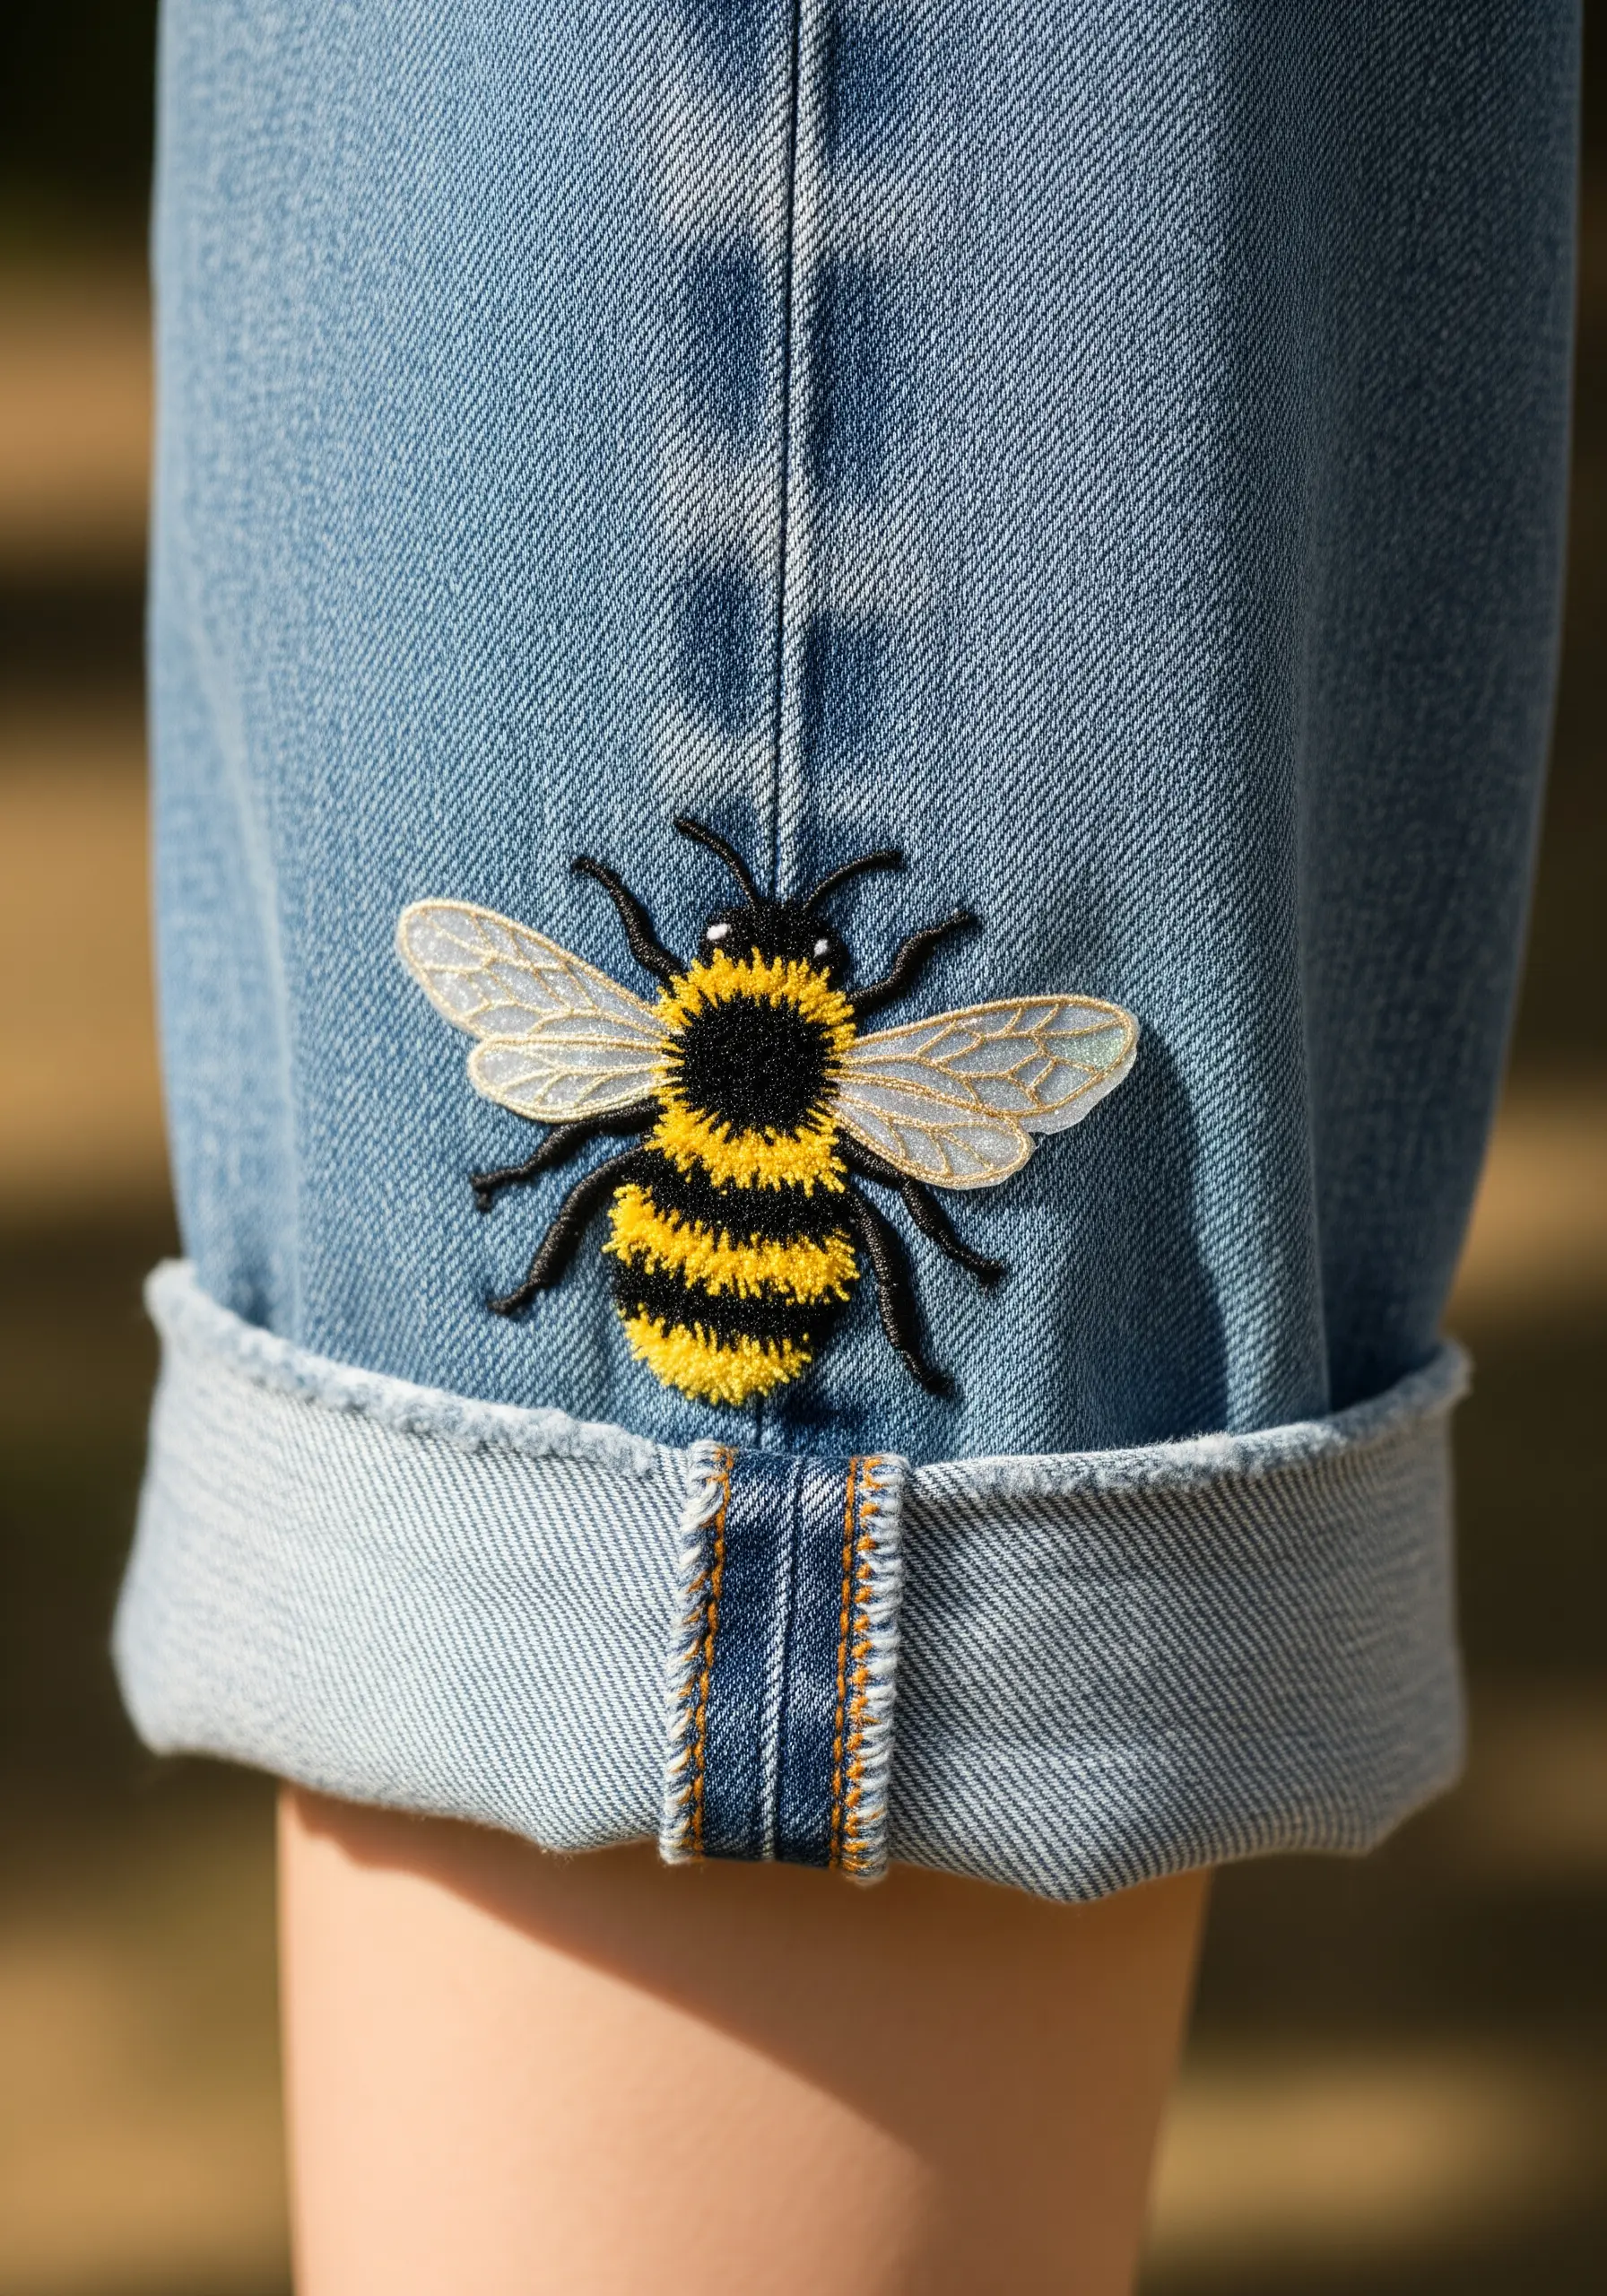
Create hyper-realistic, translucent wings by using an organza appliqué technique.
Embroider the vein details onto a small piece of sheer organza, place it on the denim, stitch the wing outline, and then carefully trim the excess organza close to the stitching.
For the fuzzy body, alternate the direction of your yellow and black satin stitches slightly to create a segmented, plush texture.
This small adjustment helps capture nature’s textures with surprising realism.
5. The Expressive Emoji Fill
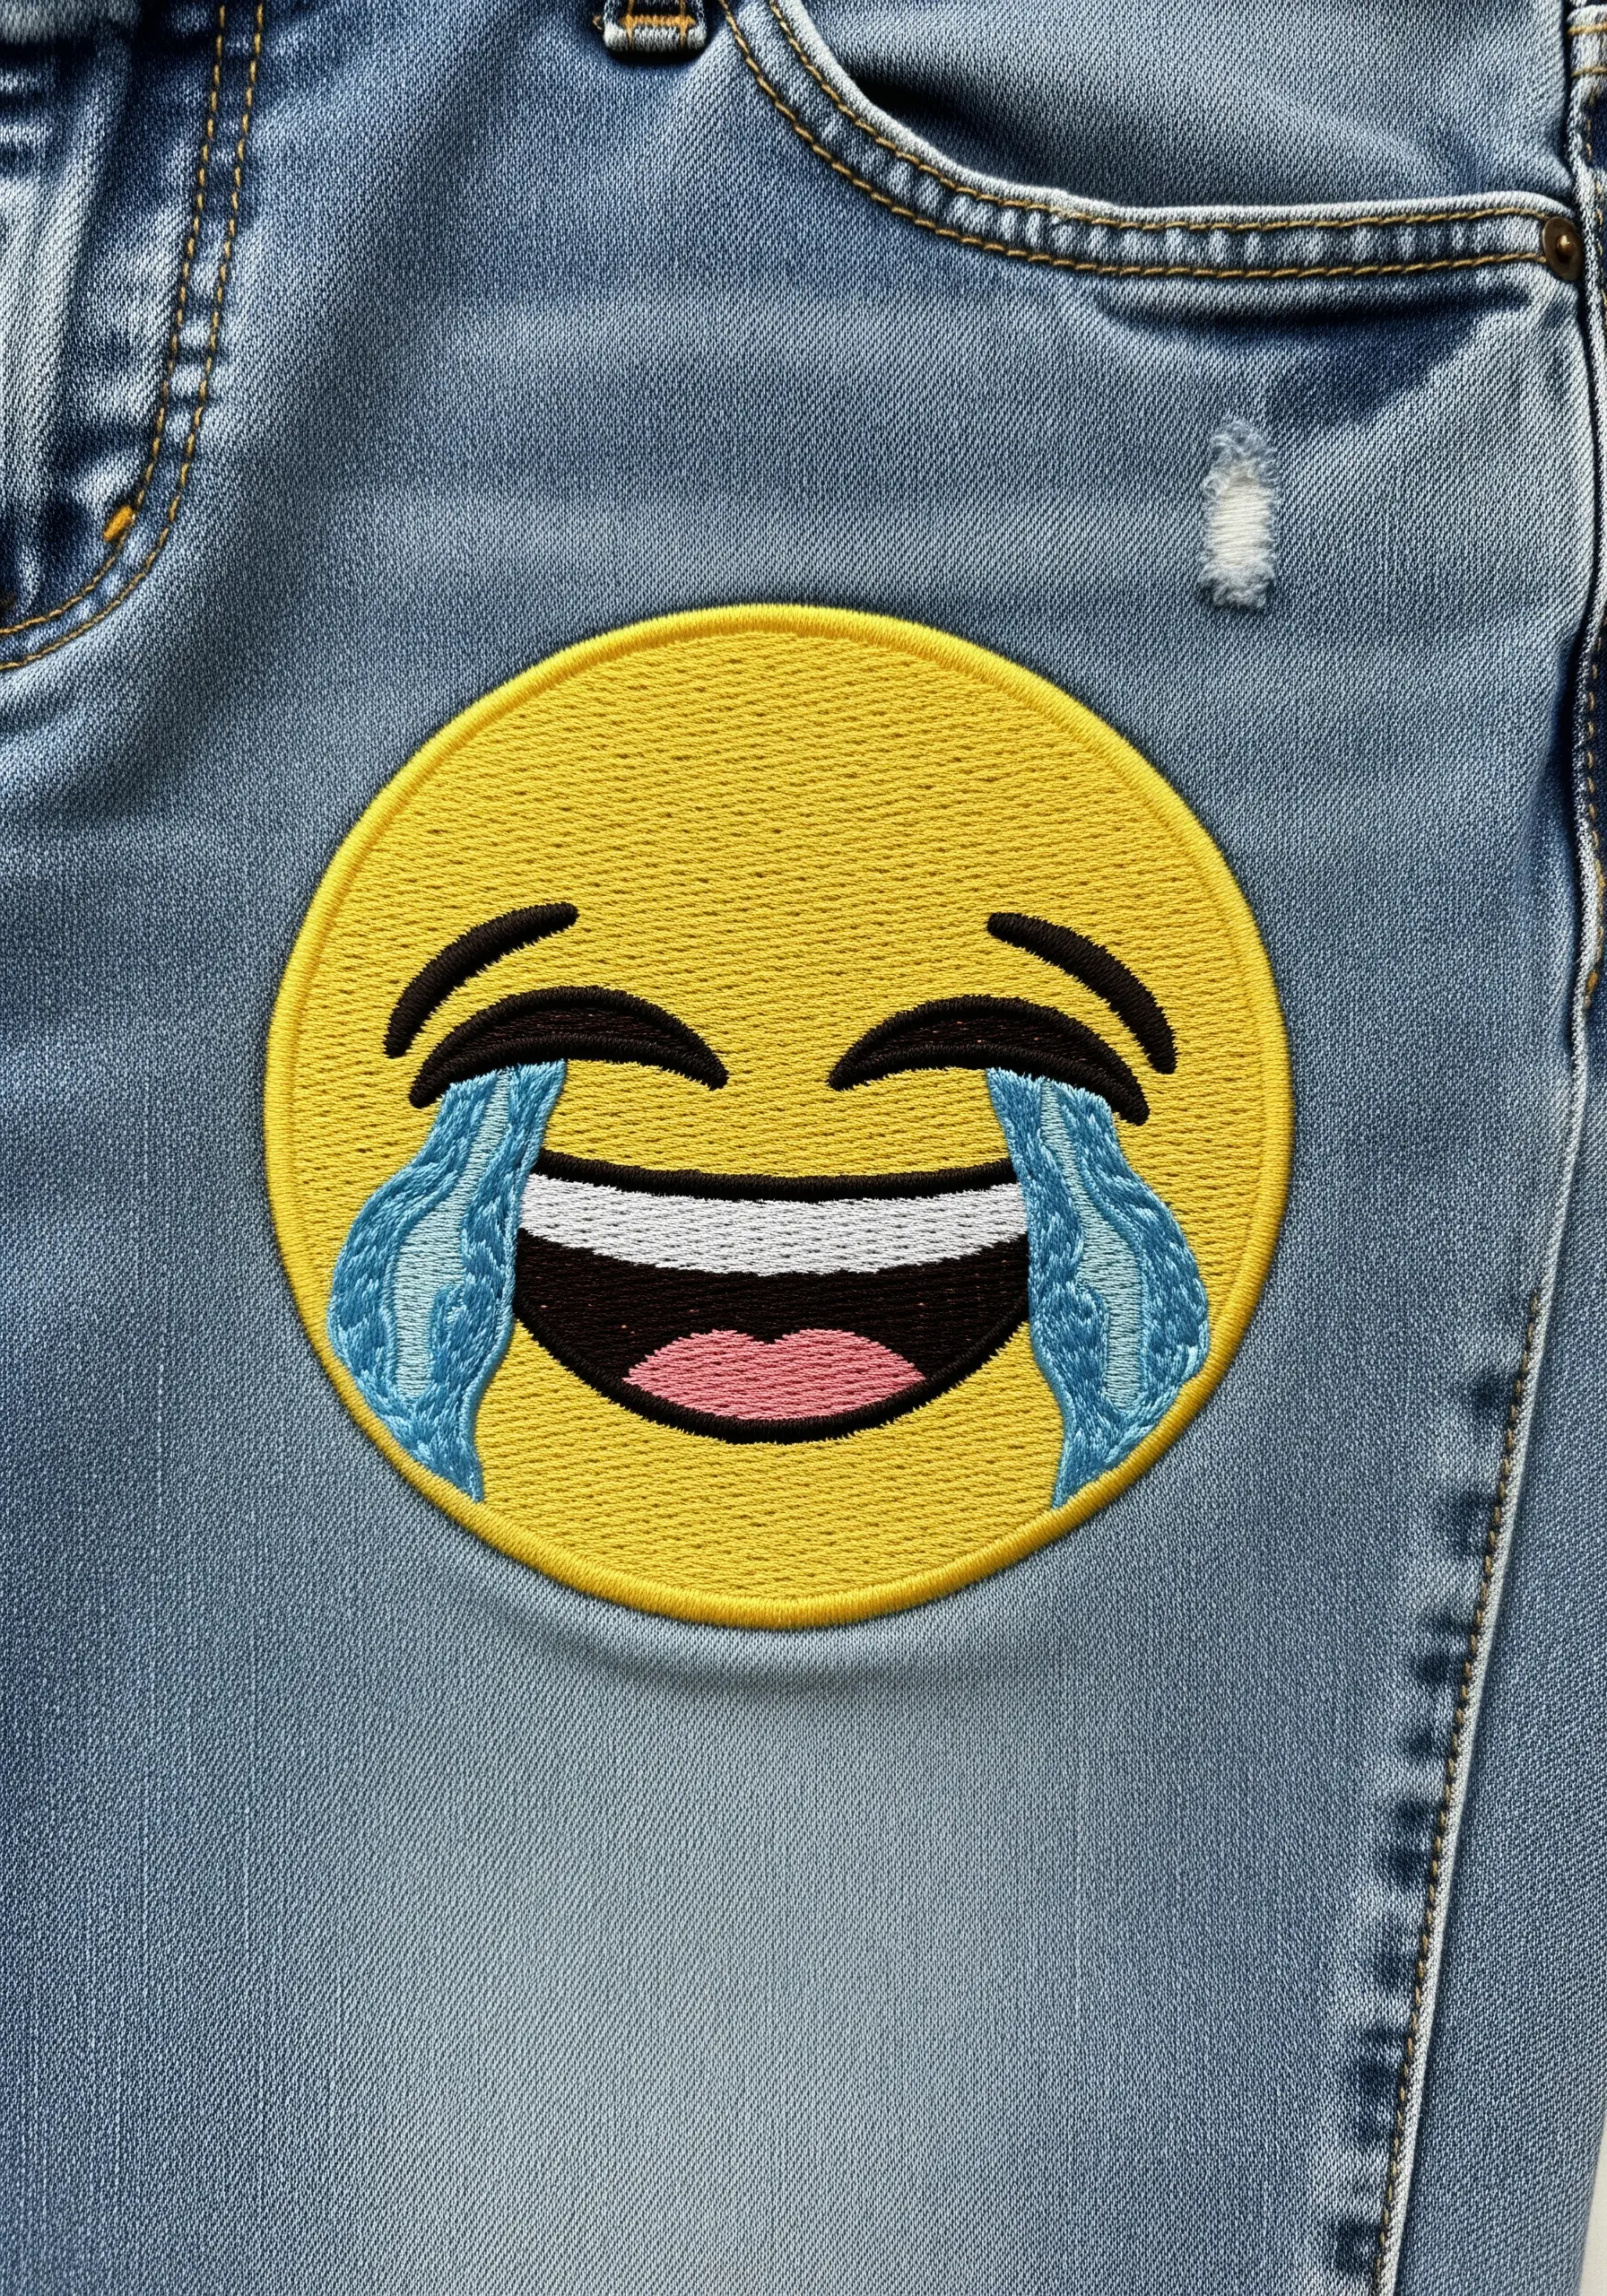
To make the tears on a laughing-crying emoji look like liquid, blend two shades of blue using a long-and-short stitch.
Use the lighter shade where the light would hit and the darker shade at the edges to create a sense of volume and movement.
For the main face, ensure your satin stitches all run in the same direction, vertically or horizontally, to create a uniform sheen that contrasts with the multi-directional tears.
6. The Integrated Rip & Repair
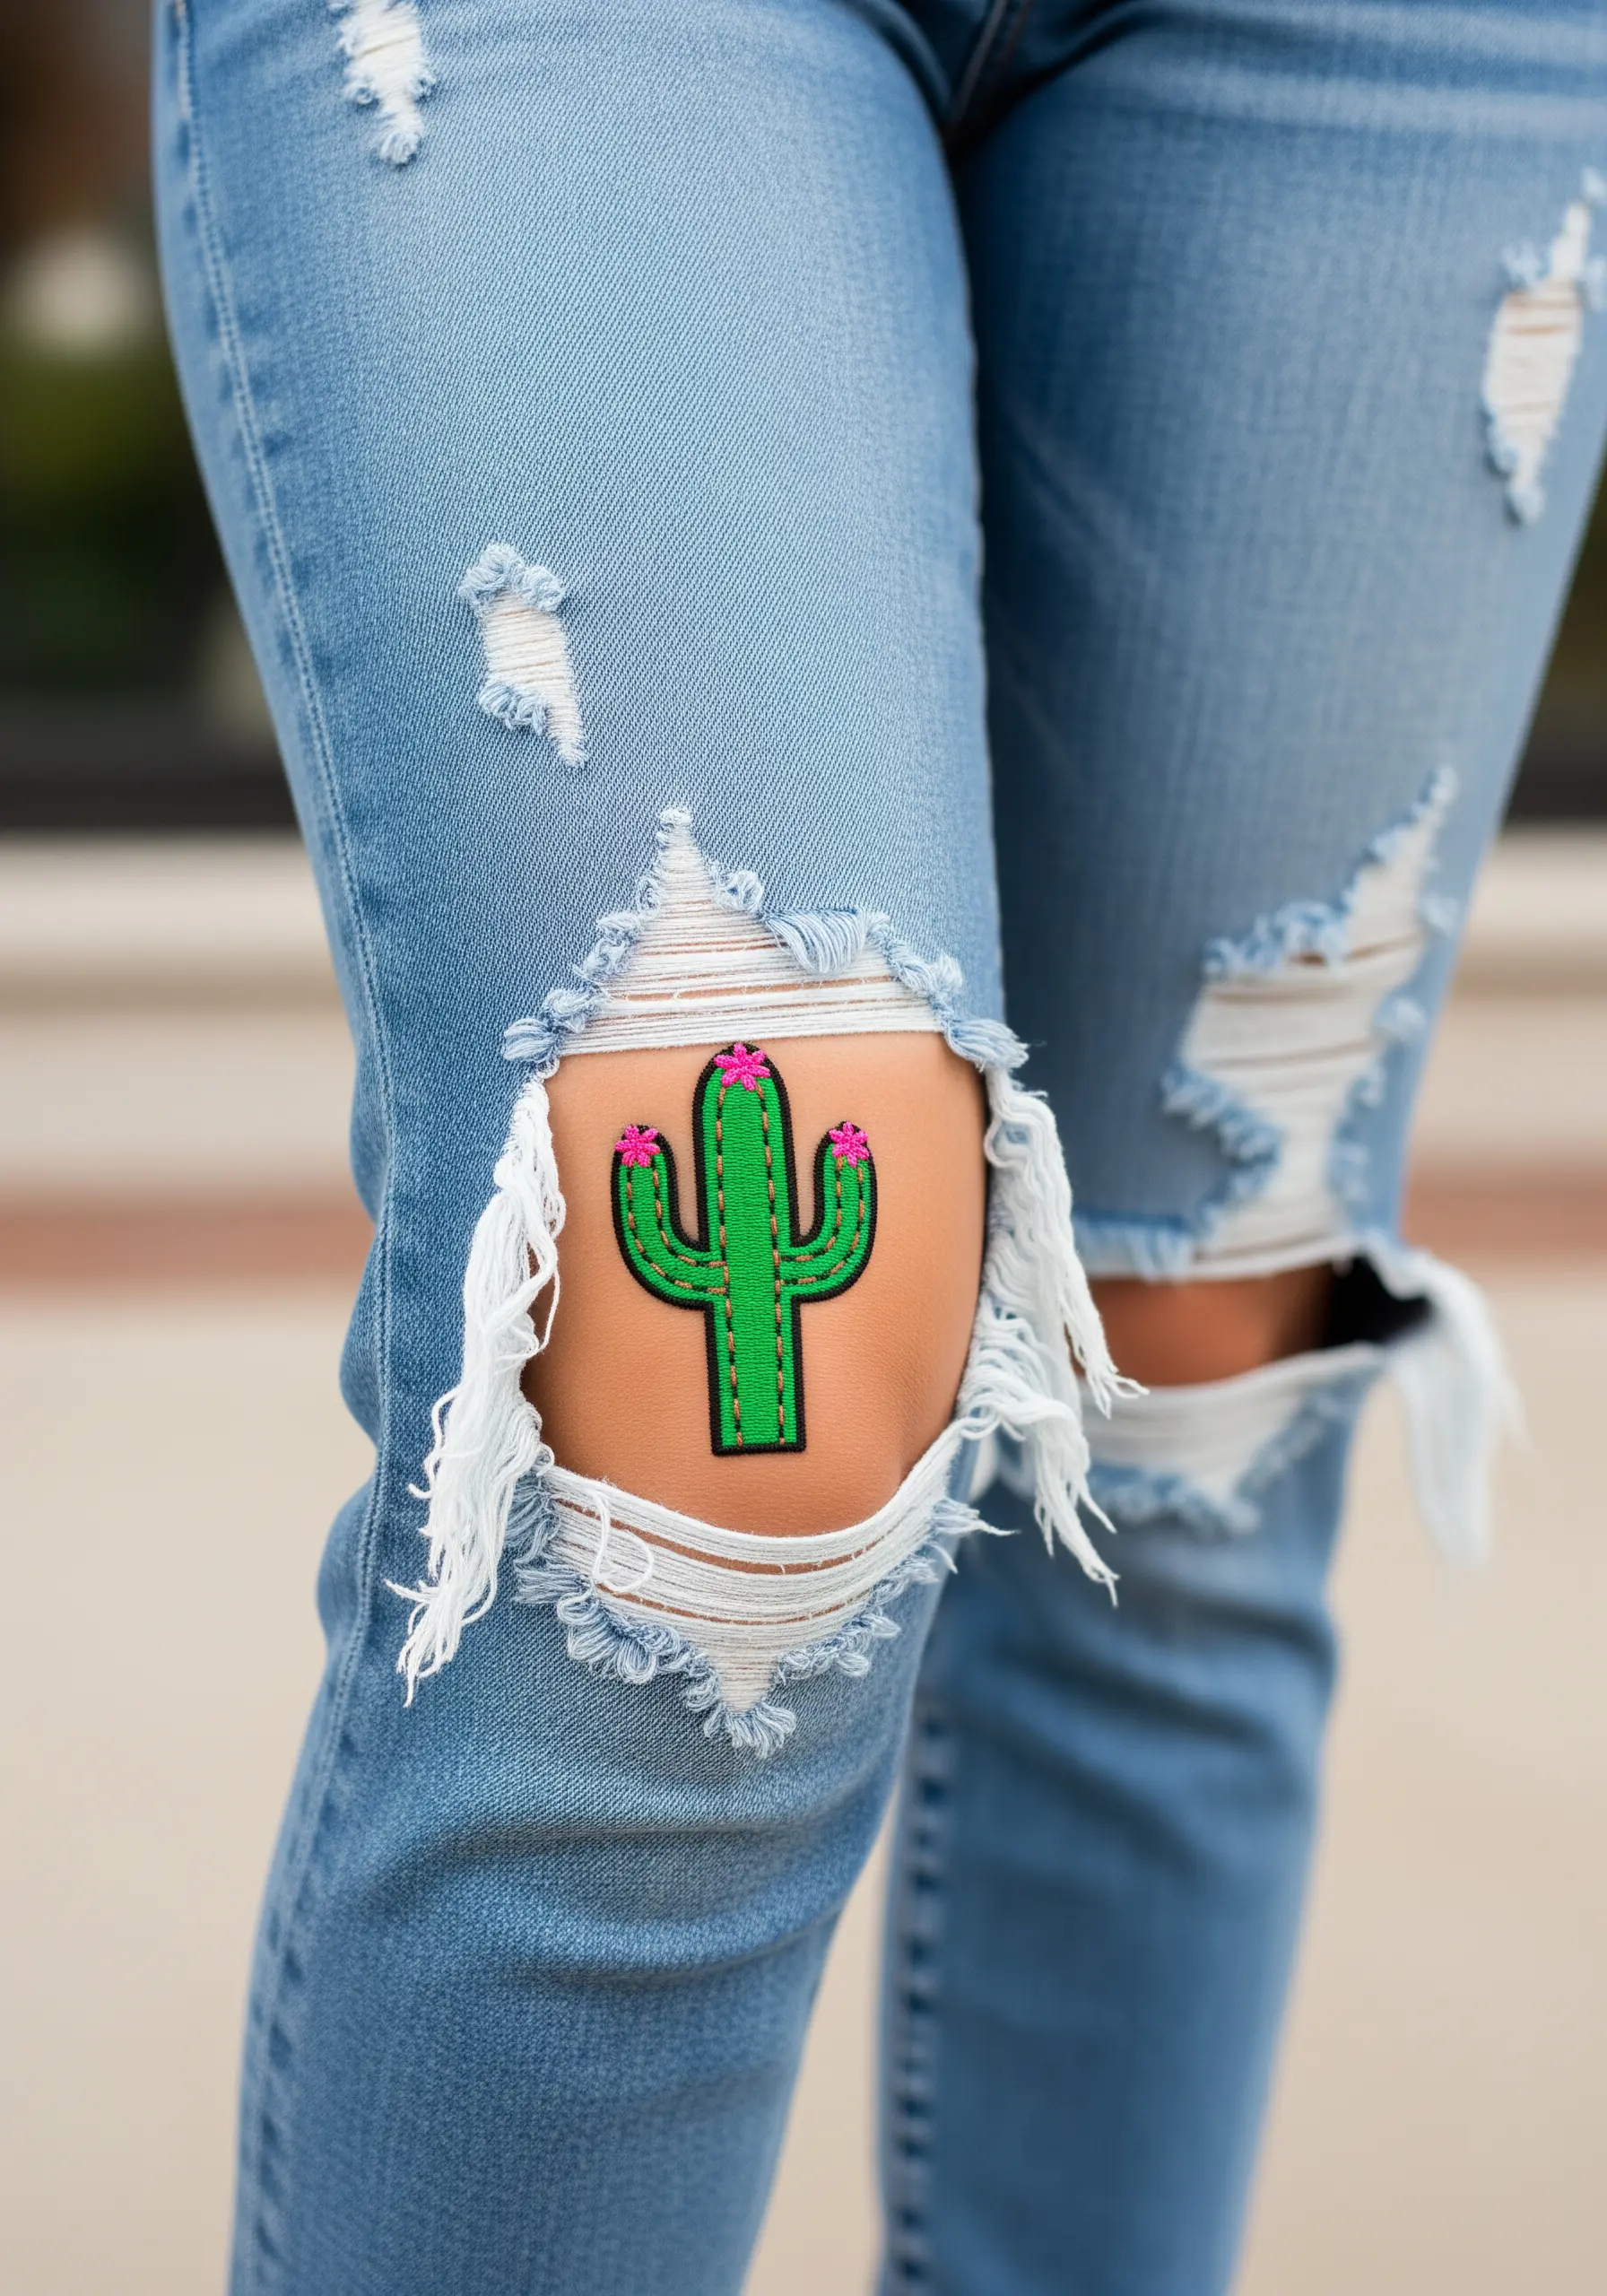
Turn a ripped knee into a design opportunity by stitching your motif on a separate piece of fabric and securing it behind the tear.
This creates a playful peek-a-boo effect that feels more integrated than a simple patch on top.
Choose a vibrant design, like this cactus, so the color contrast with the denim is sharp and intentional.
These botanical patch ideas to repair clothes transform mending into a statement.
7. The Gradient Loading Bar
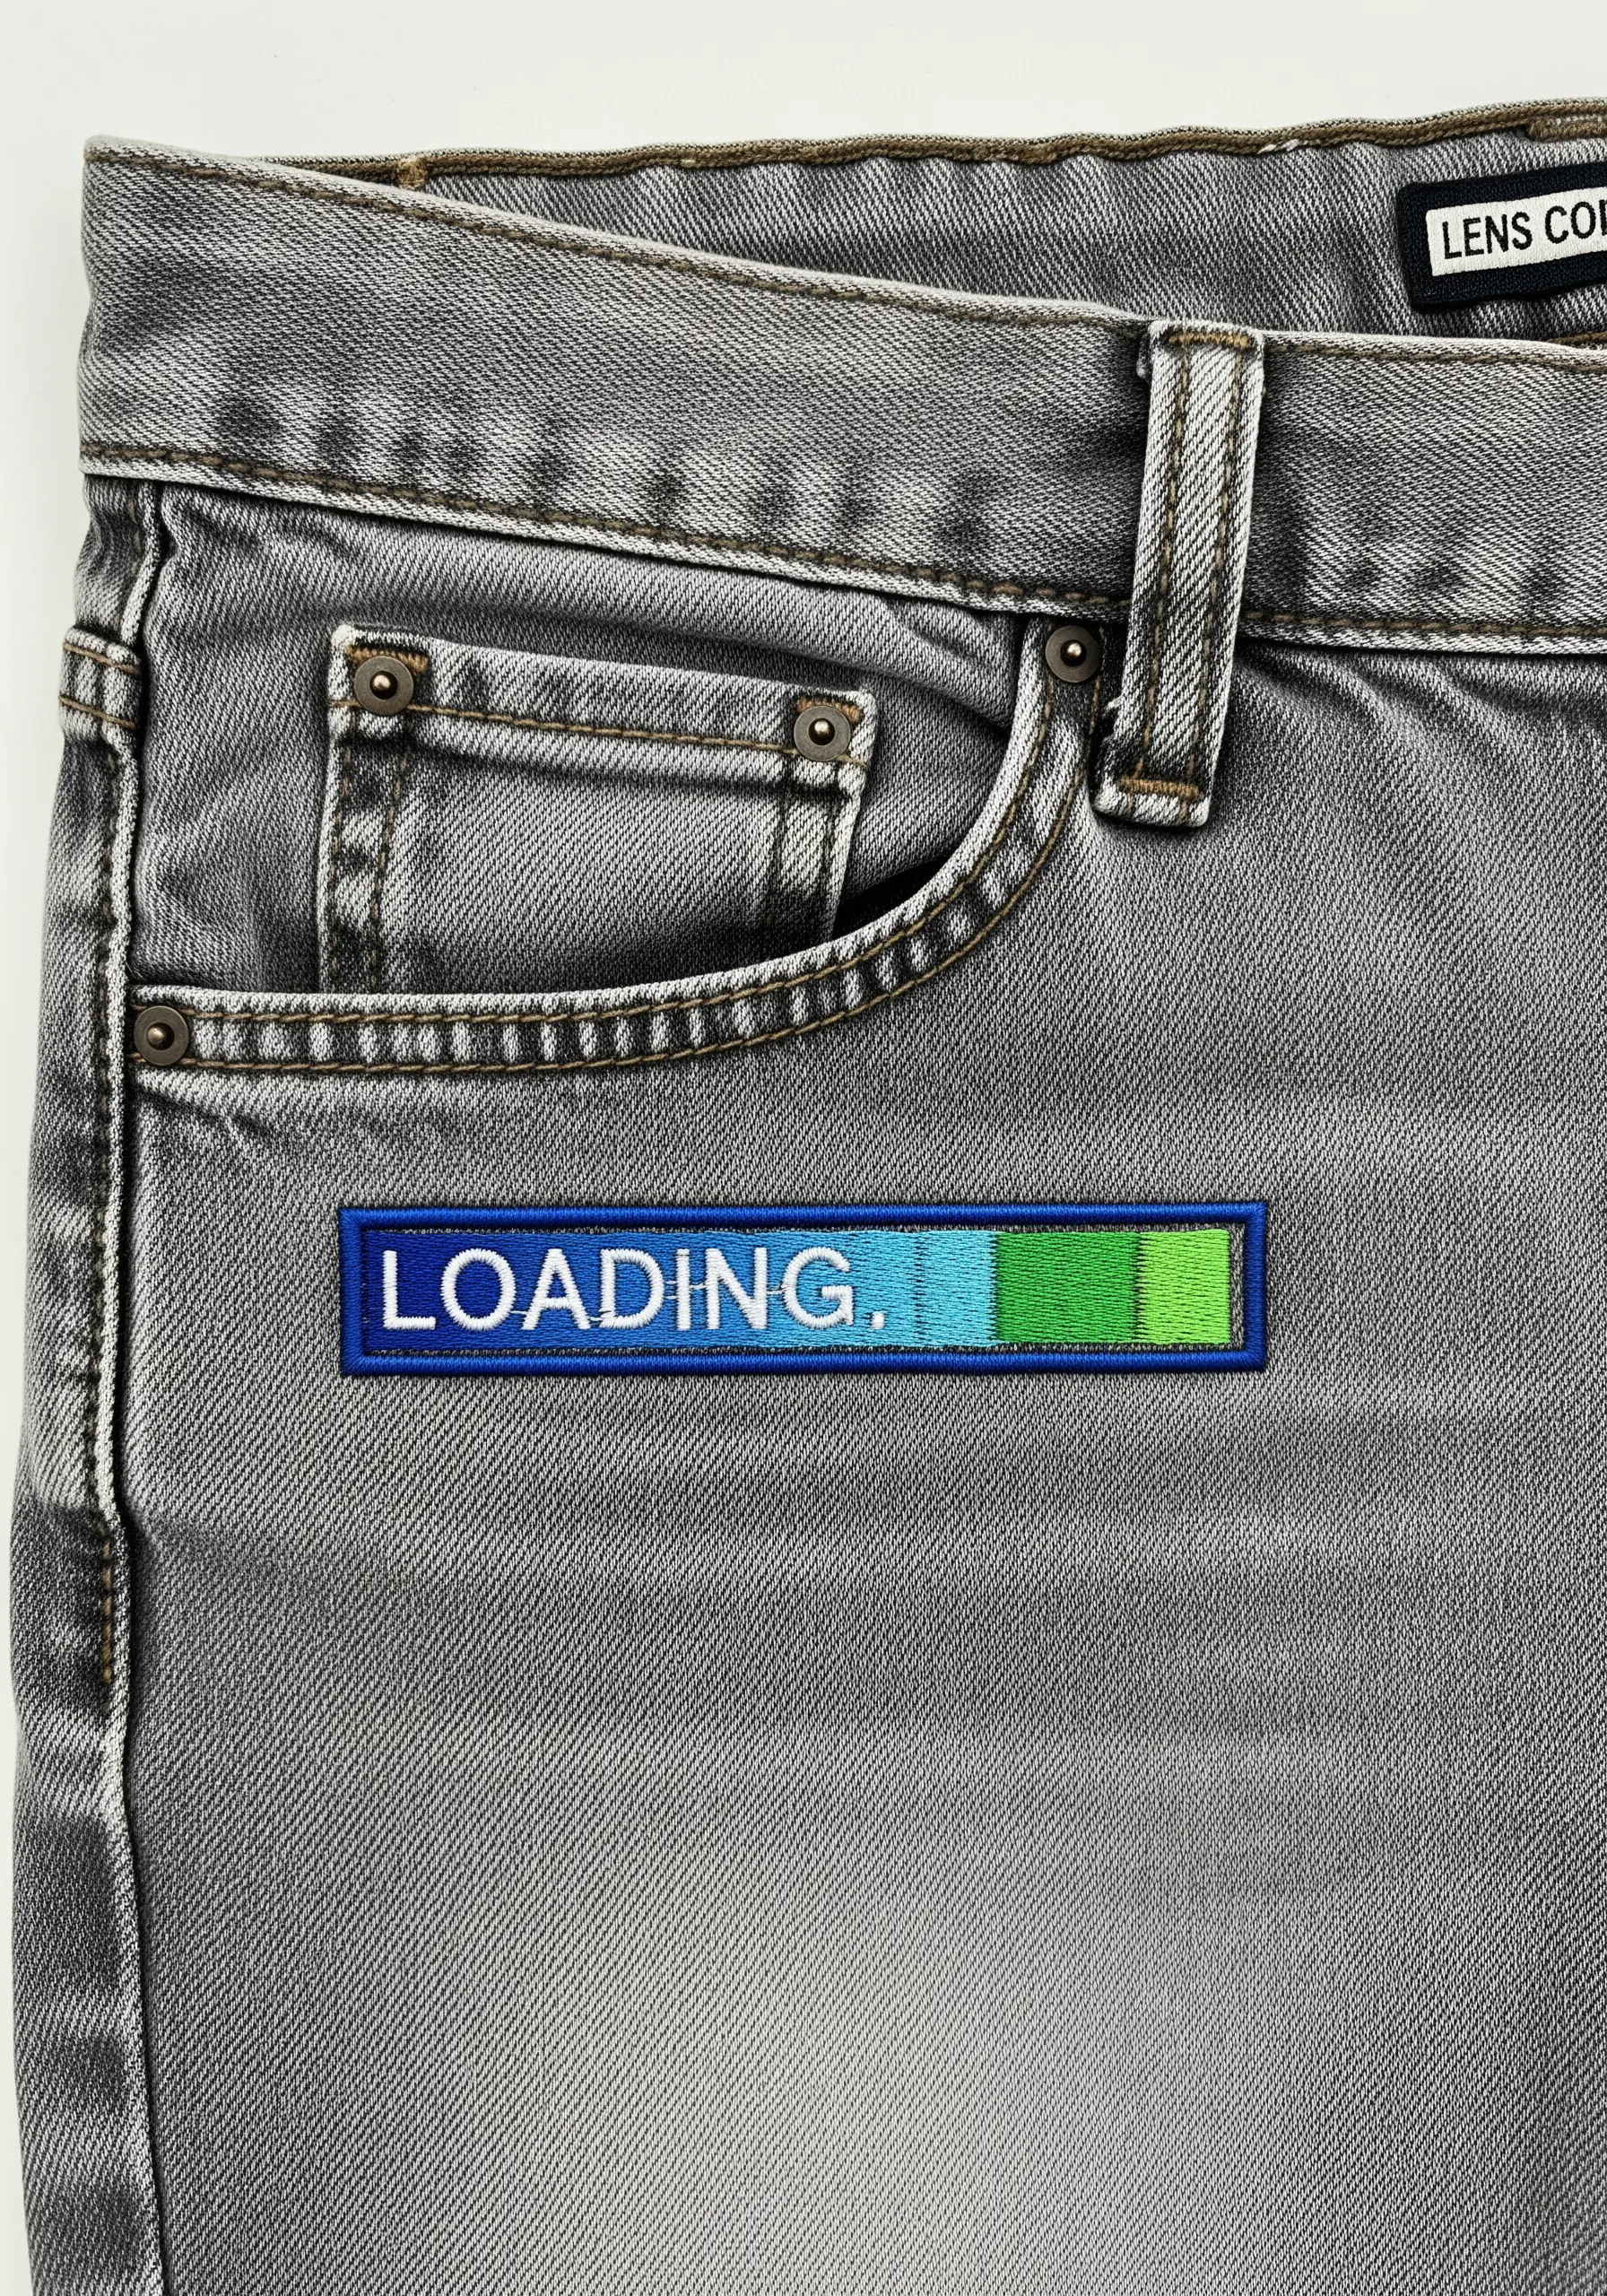
Replicate a digital gradient by dividing the bar into small, distinct blocks of color worked in vertical satin stitch.
Instead of trying to blend the threads, keep the color transitions sharp and clean to honor the pixelated, tech-inspired aesthetic.
For the lettering, use a crisp, single-thread backstitch to ensure readability.
This kind of tech-inspired textile art stands out because of its precision.
8. The Flowing Musical Staff
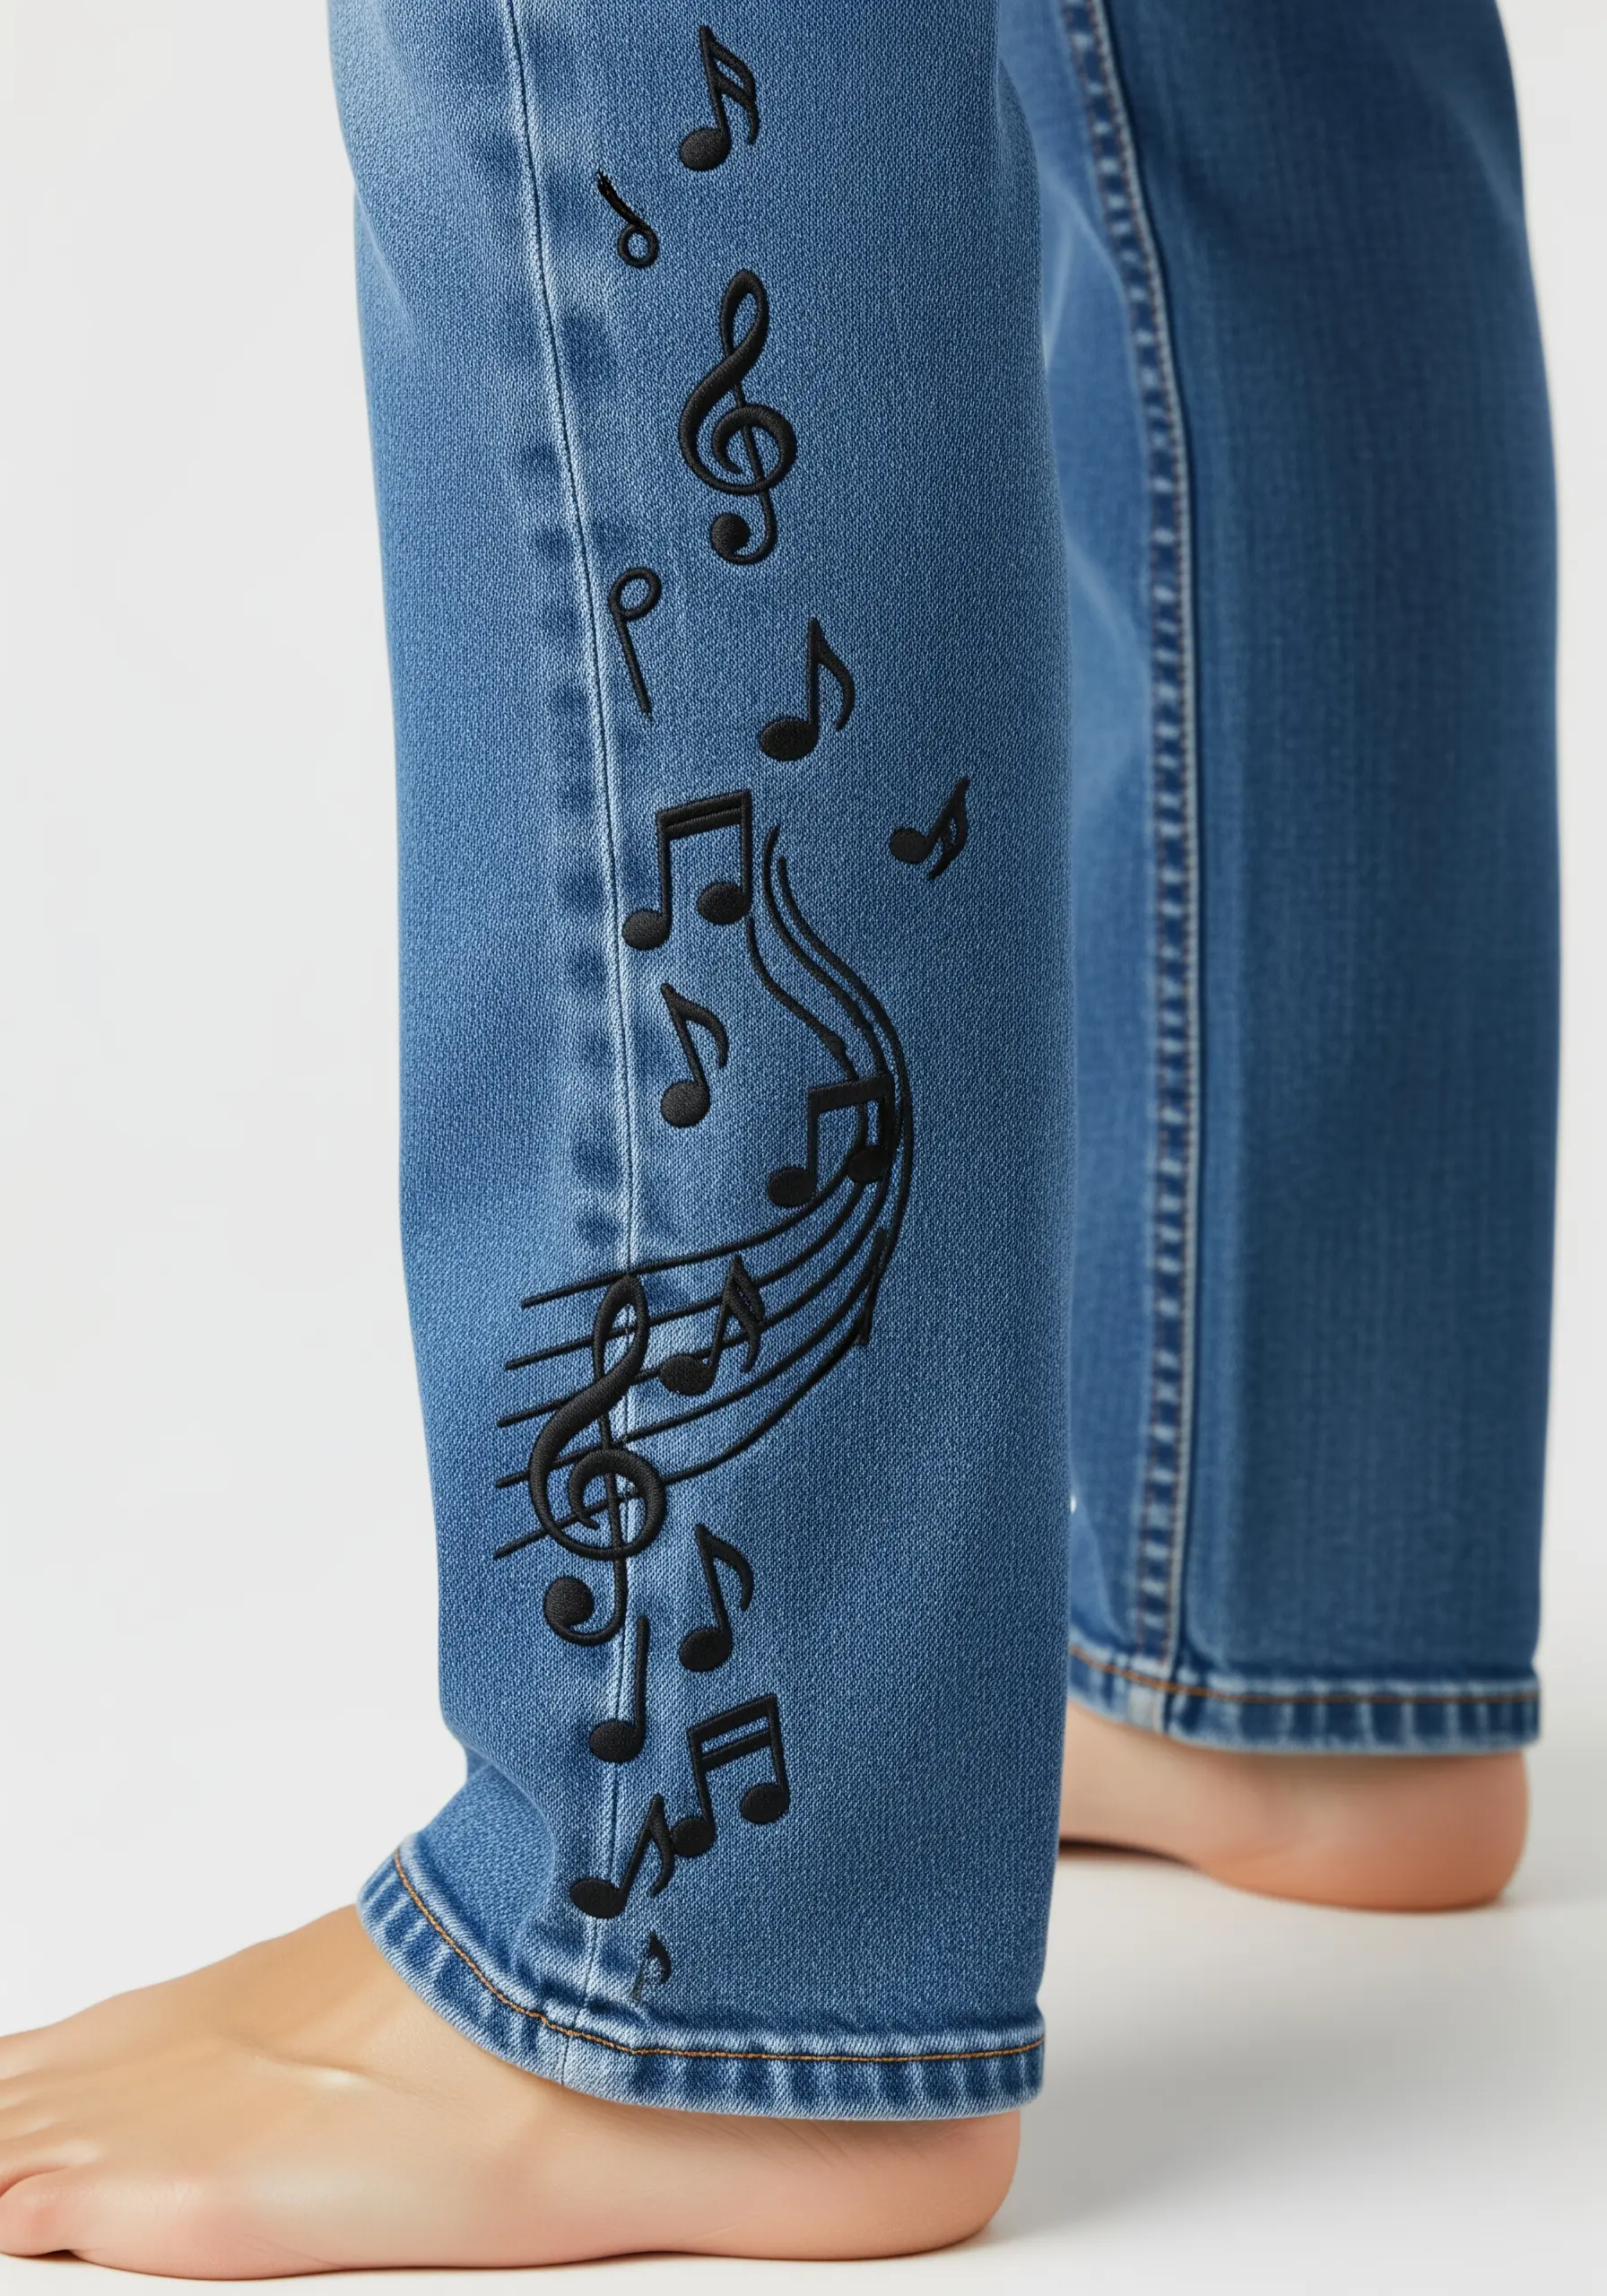
To give your flowing lines of music a raised, three-dimensional quality, use a padded satin stitch.
First, stitch the shapes with a foundation of running stitches, then cover that padding with satin stitches worked in the opposite direction.
This technique, often used in monogramming, gives the simple black thread a sculptural presence that makes the design physically pop off the denim.
These refined minimalist line art embroidery patterns gain sophistication through texture.
9. The Retro Pop-Art Skate
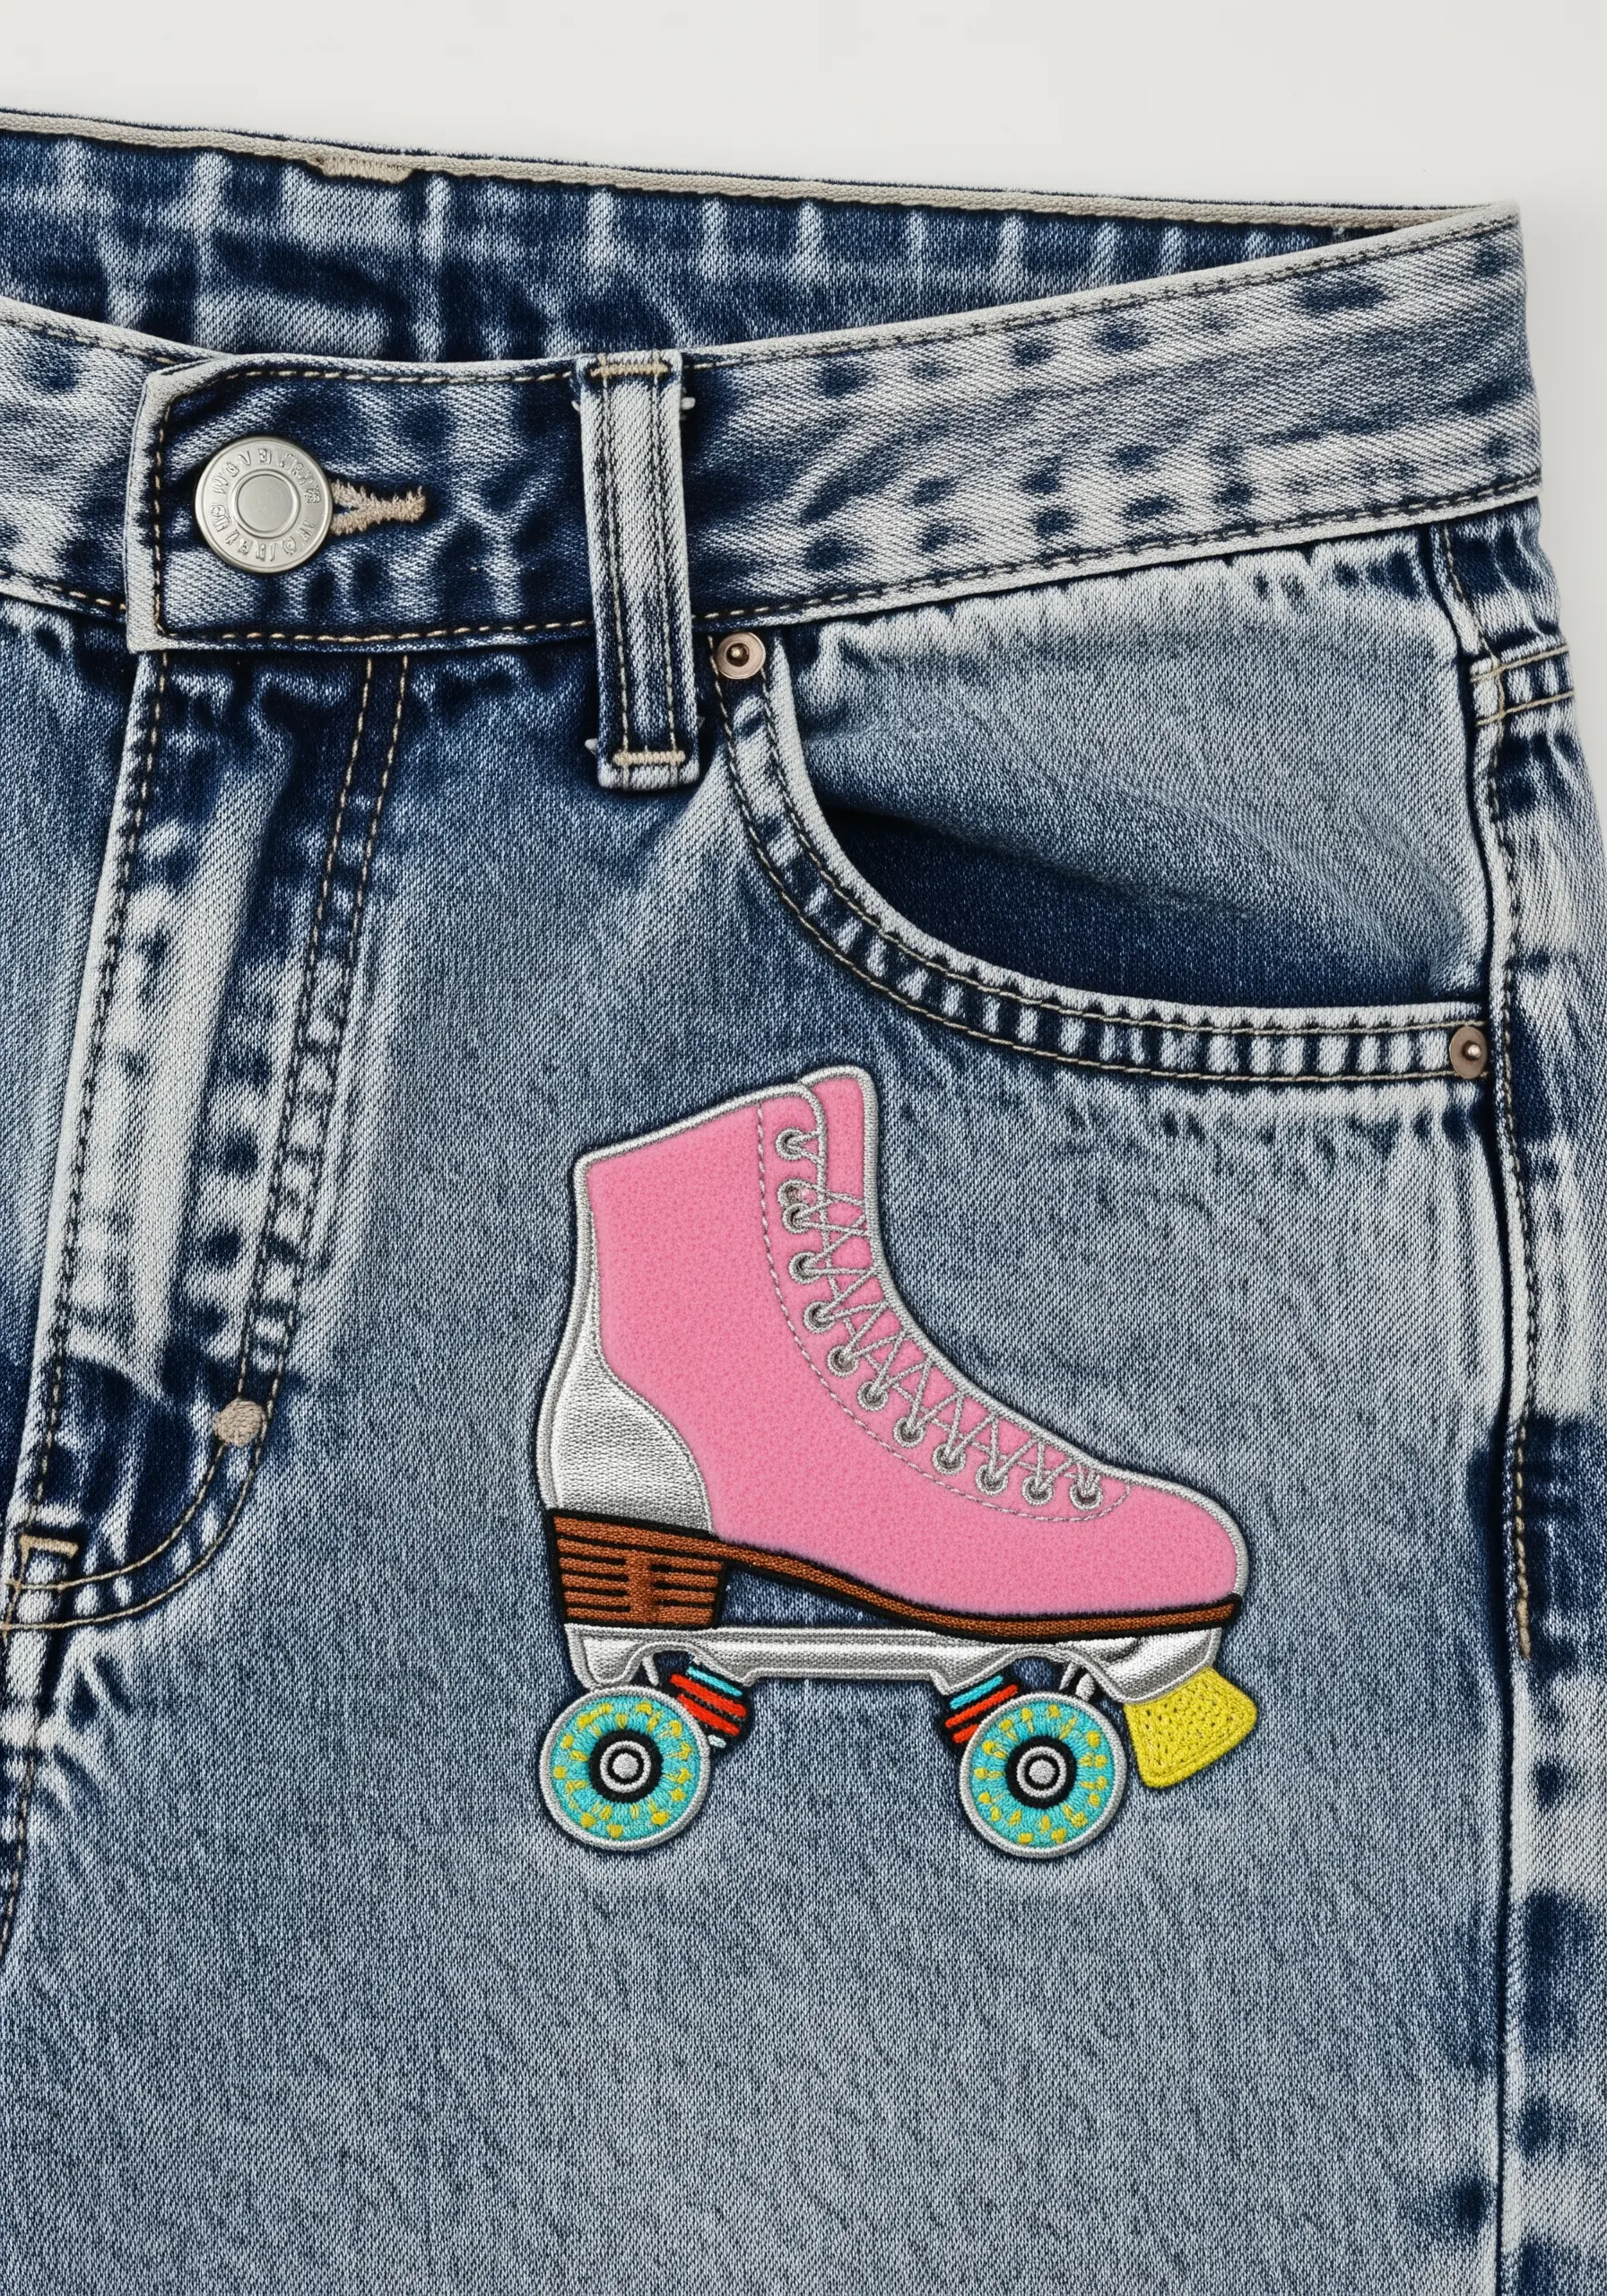
Capture a retro vibe by using a bold, black whipped backstitch for all your outlines.
This technique creates a thick, solid line reminiscent of cartoon or comic book art, making your colors appear more vibrant and contained.
For the metallic silver parts, use a satin stitch with silver metallic thread, but lay your stitches at a 45-degree angle to maximize light reflection and create a convincing metallic sheen.
Embroidering iconic pop art stitch motifs is all about bold lines and strategic shine.
10. The Bold Alien Portrait
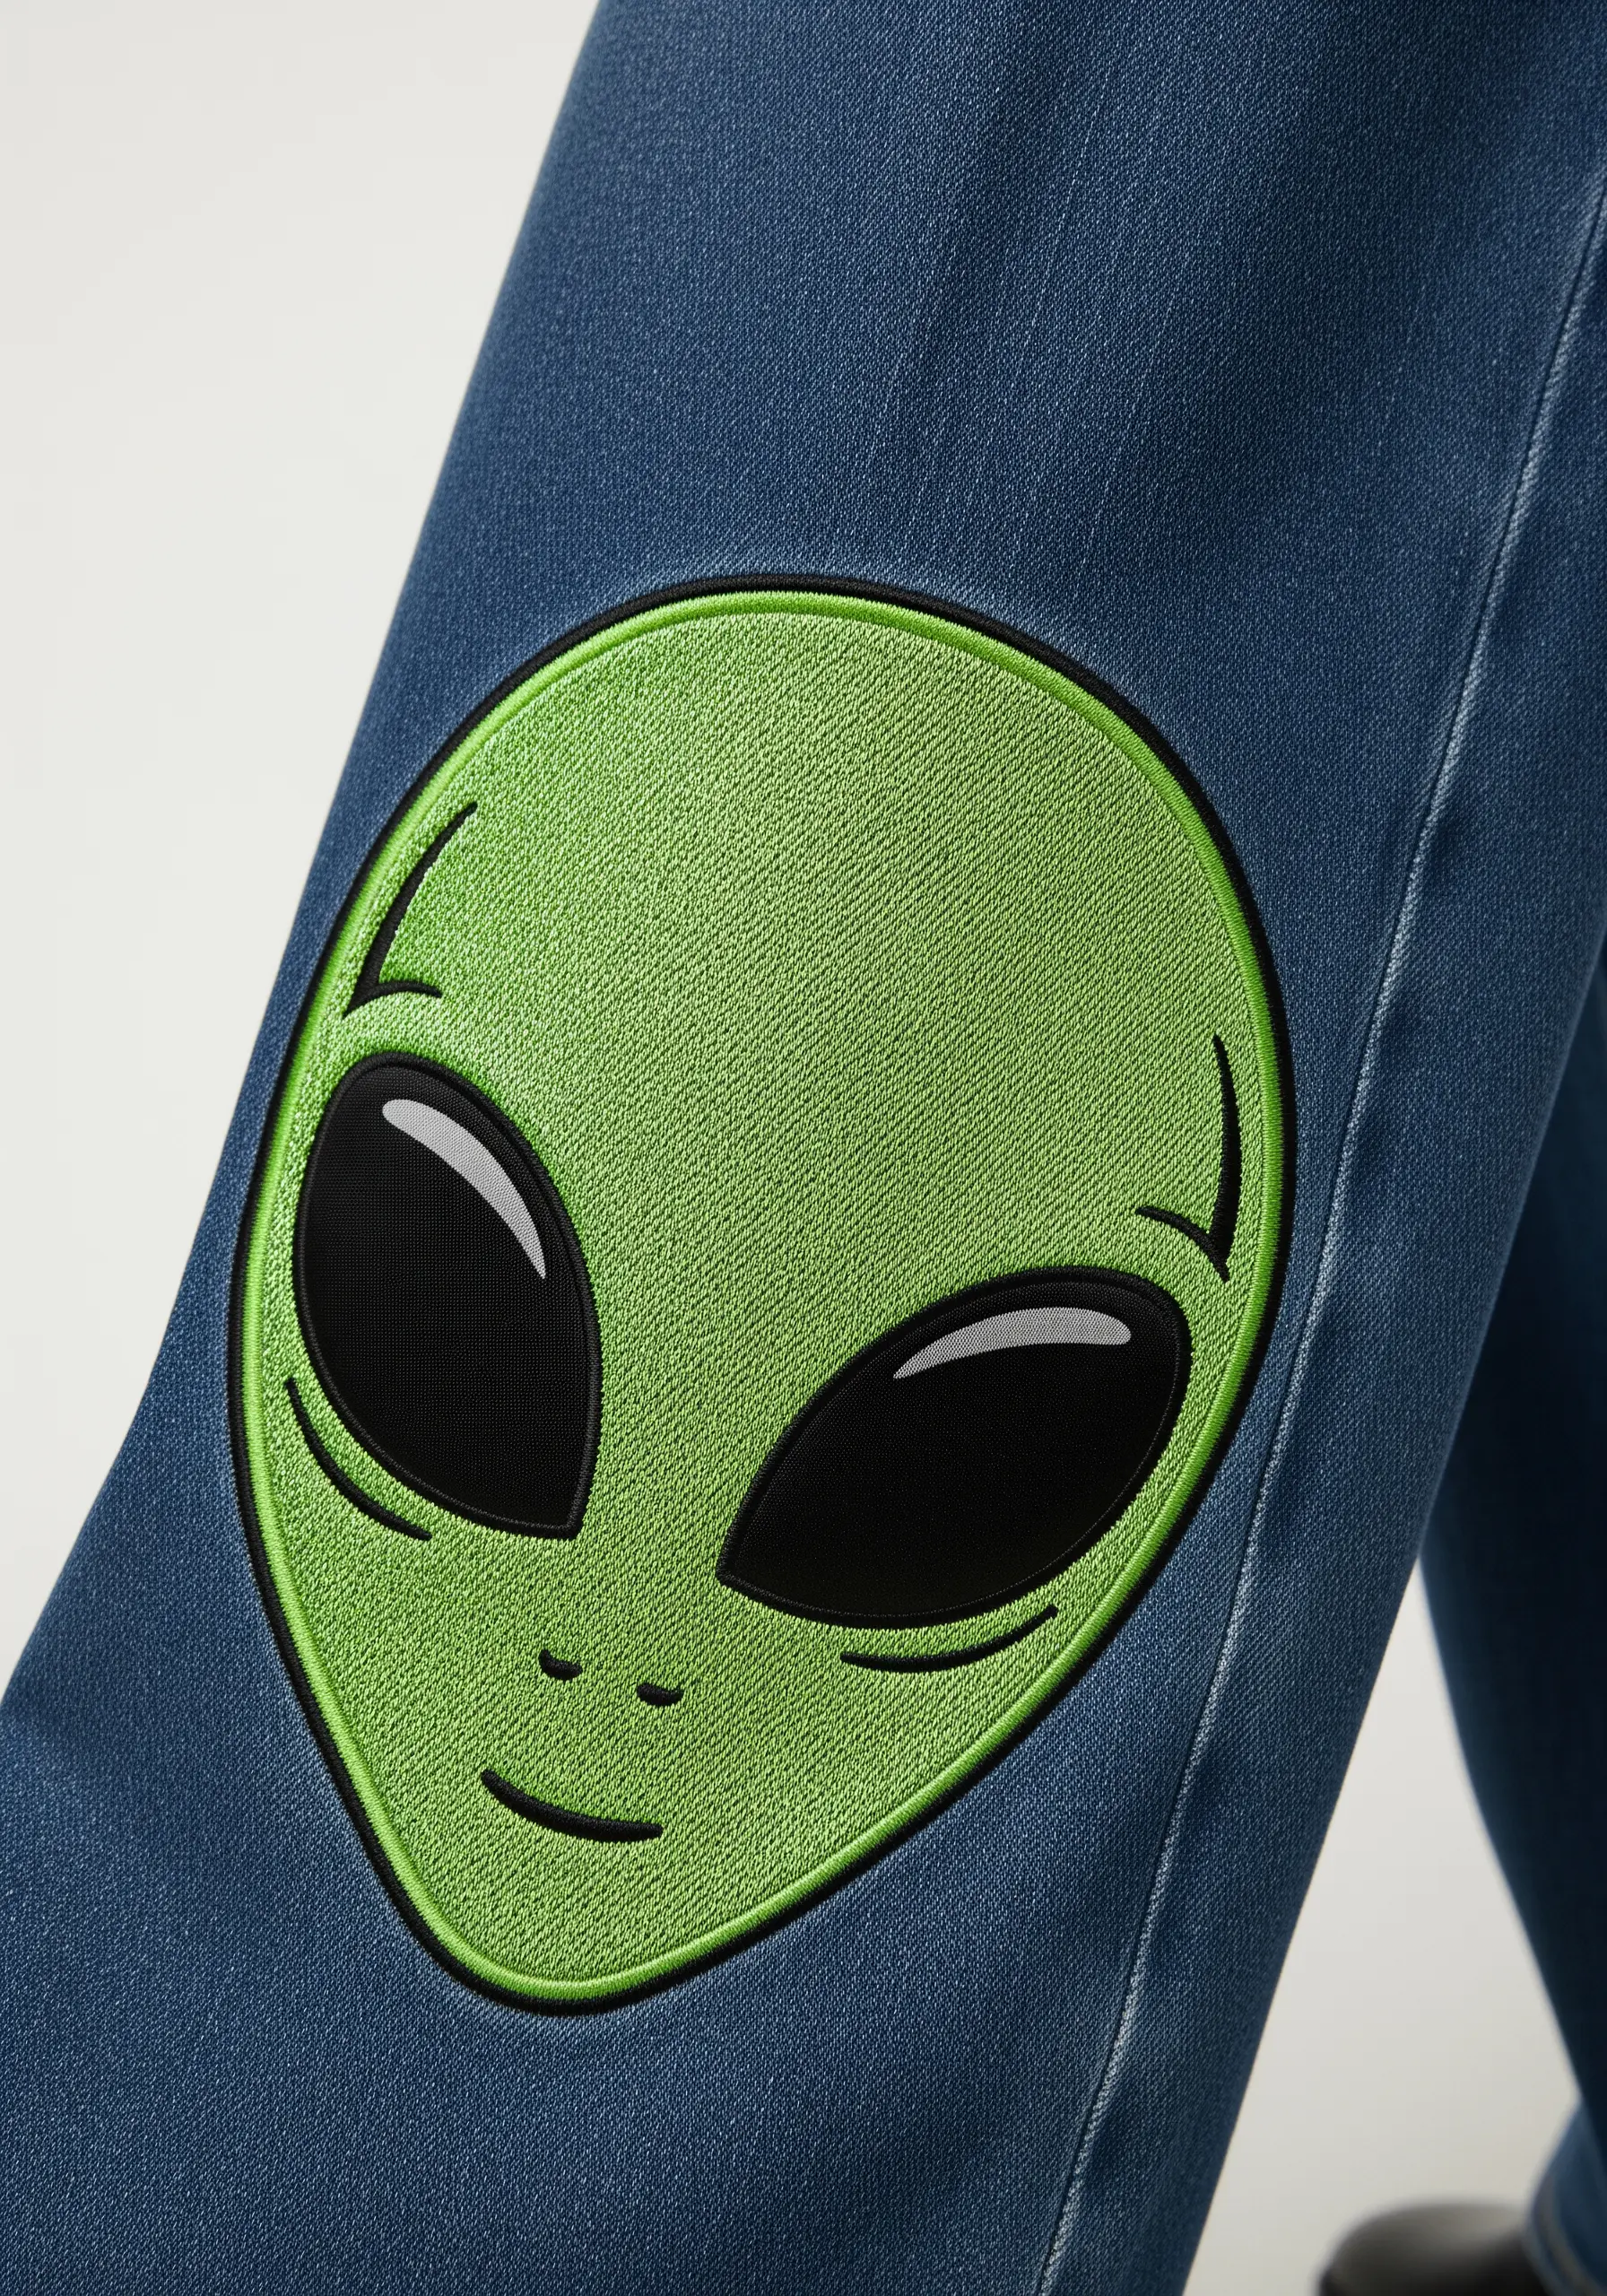
When filling a large, curved area like an alien’s head, use a split stitch to follow the contours of the shape rather than a standard satin stitch.
This allows you to create subtle curves within the fill, enhancing the shape’s roundness and preventing the long stitches from becoming loose.
For the eyes, use a dense, horizontal satin stitch with a high-sheen black thread to create a glossy, reflective surface that contrasts with the matte texture of the green face.
11. The Textured Pizza Slice
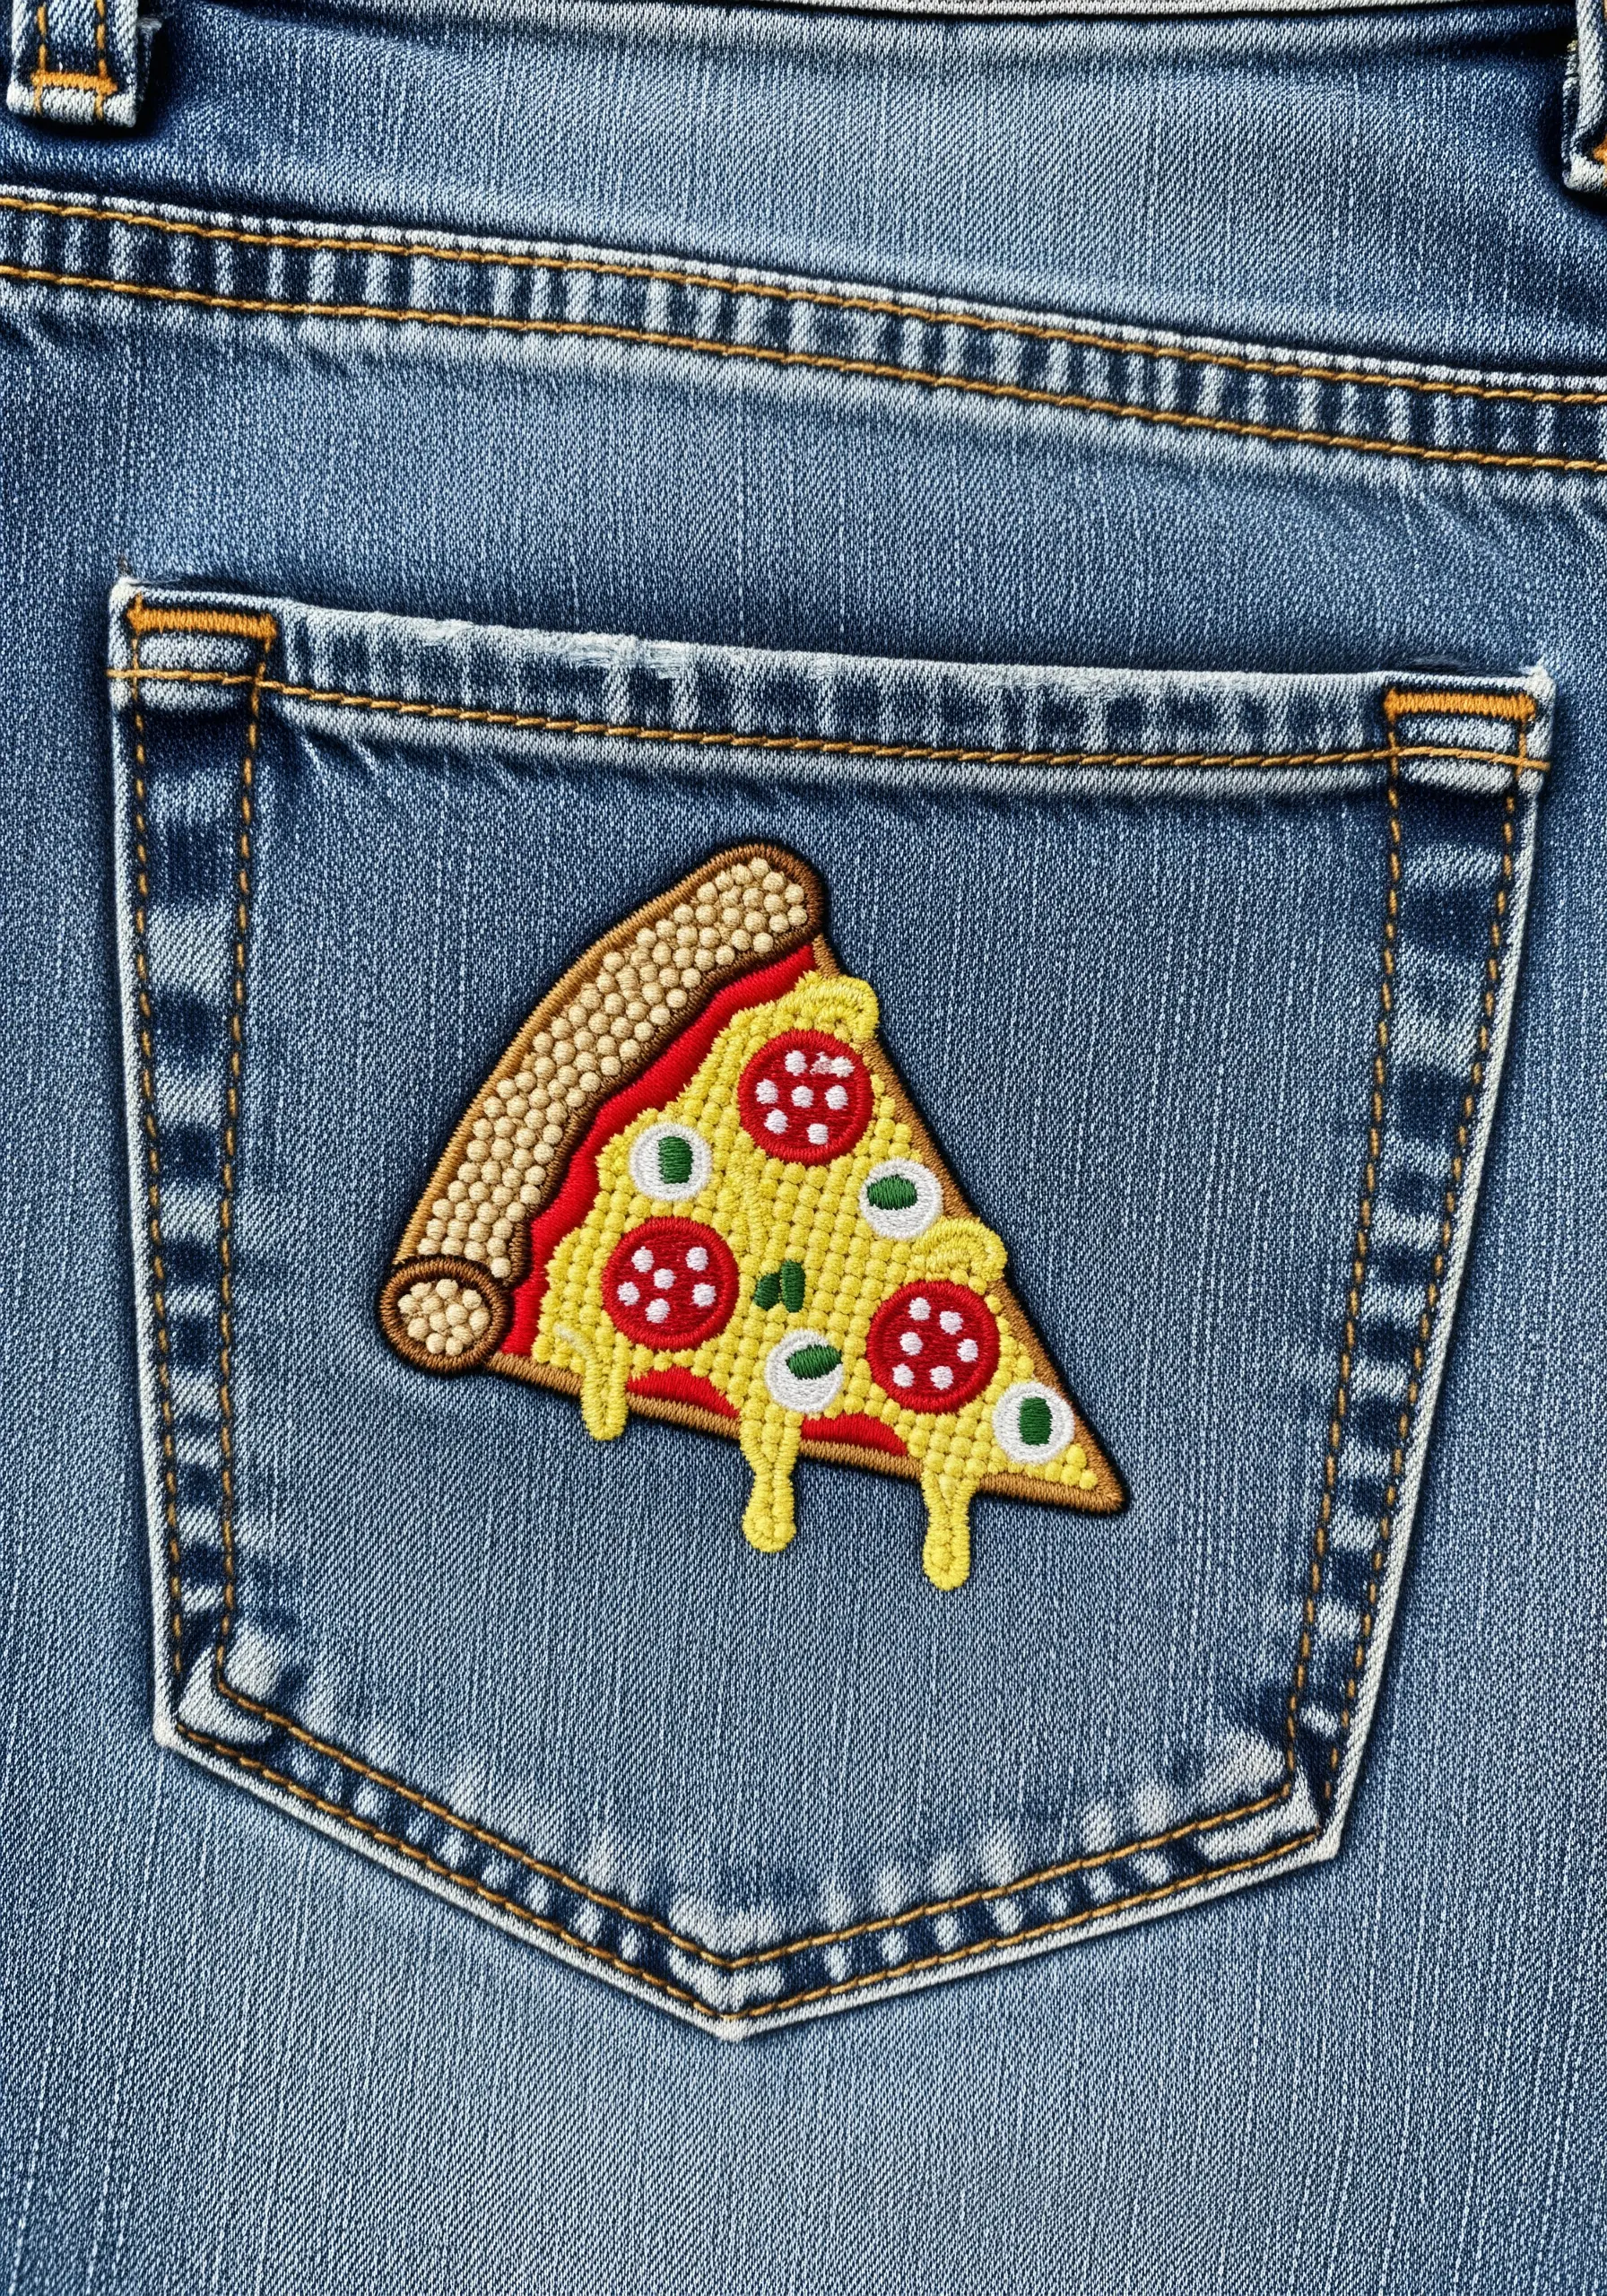
Incorporate mixed media to add realistic texture to your food embroidery.
Use tiny beige or gold seed beads for the crust to give it a bumpy, baked texture that thread alone cannot replicate.
For the cheese, use a series of long, slightly wavy satin stitches in pale yellow and off-white to mimic a gooey melt.
Finally, use French knots for the pepperoni and other toppings to make them stand out with a raised, dimensional dot.
12. The Layered Ocean Wave

Create a sense of depth and movement by layering different shades of blue and varying your thread count.
Use a whipped backstitch for the main outlines to create smooth, corded lines. For the inner details, use three strands for the darkest blues, two for the mid-tones, and a single strand for the lightest highlights and white seafoam.
This subtle shift in thread weight is what allows you to capture motion and flow in your embroidery with elegance.
13. The Celestial Constellation
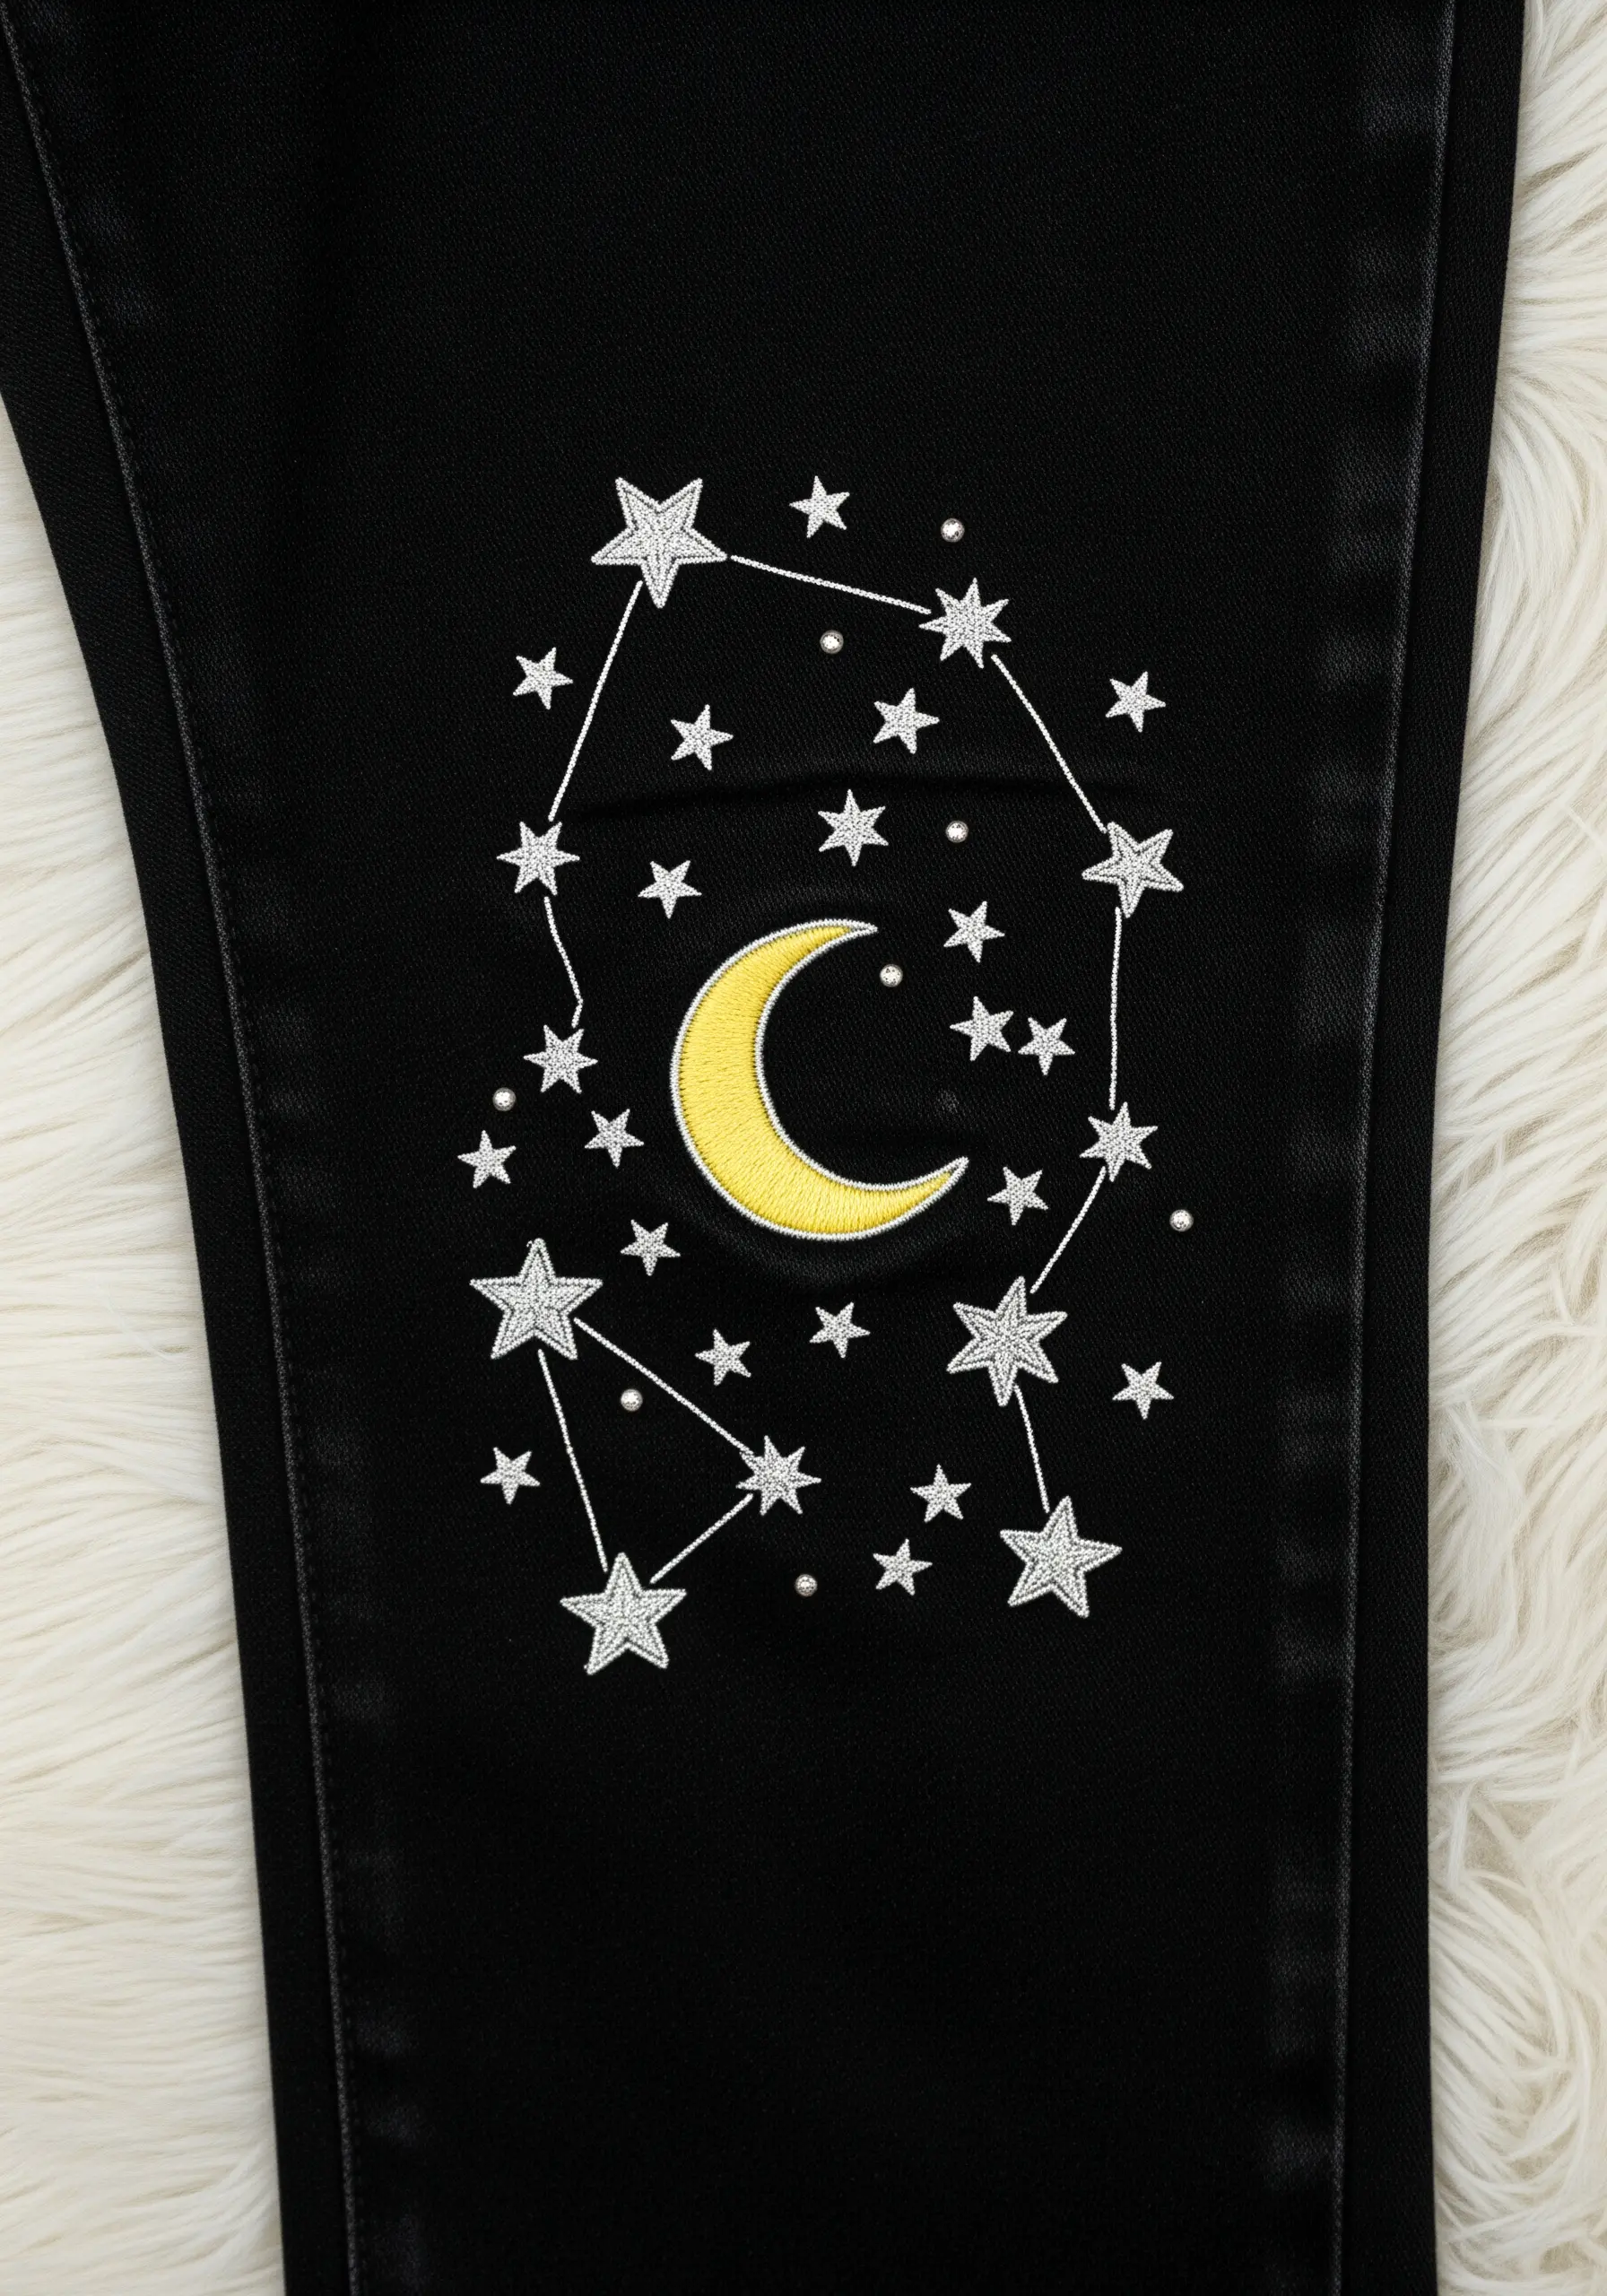
For delicate starbursts, use a single strand of metallic silver thread and stitch a simple Smyrna cross or an Algerian eye stitch.
These stitches create a small, sharp burst of texture that catches the light beautifully.
Connect them with a fine backstitch, and add tiny silver seed beads or French knots between the stars to represent distant stardust, adding another layer of texture.
These celestial micro-embroidery ideas feel richer with mixed textures.
14. The Smooth Avocado Fill
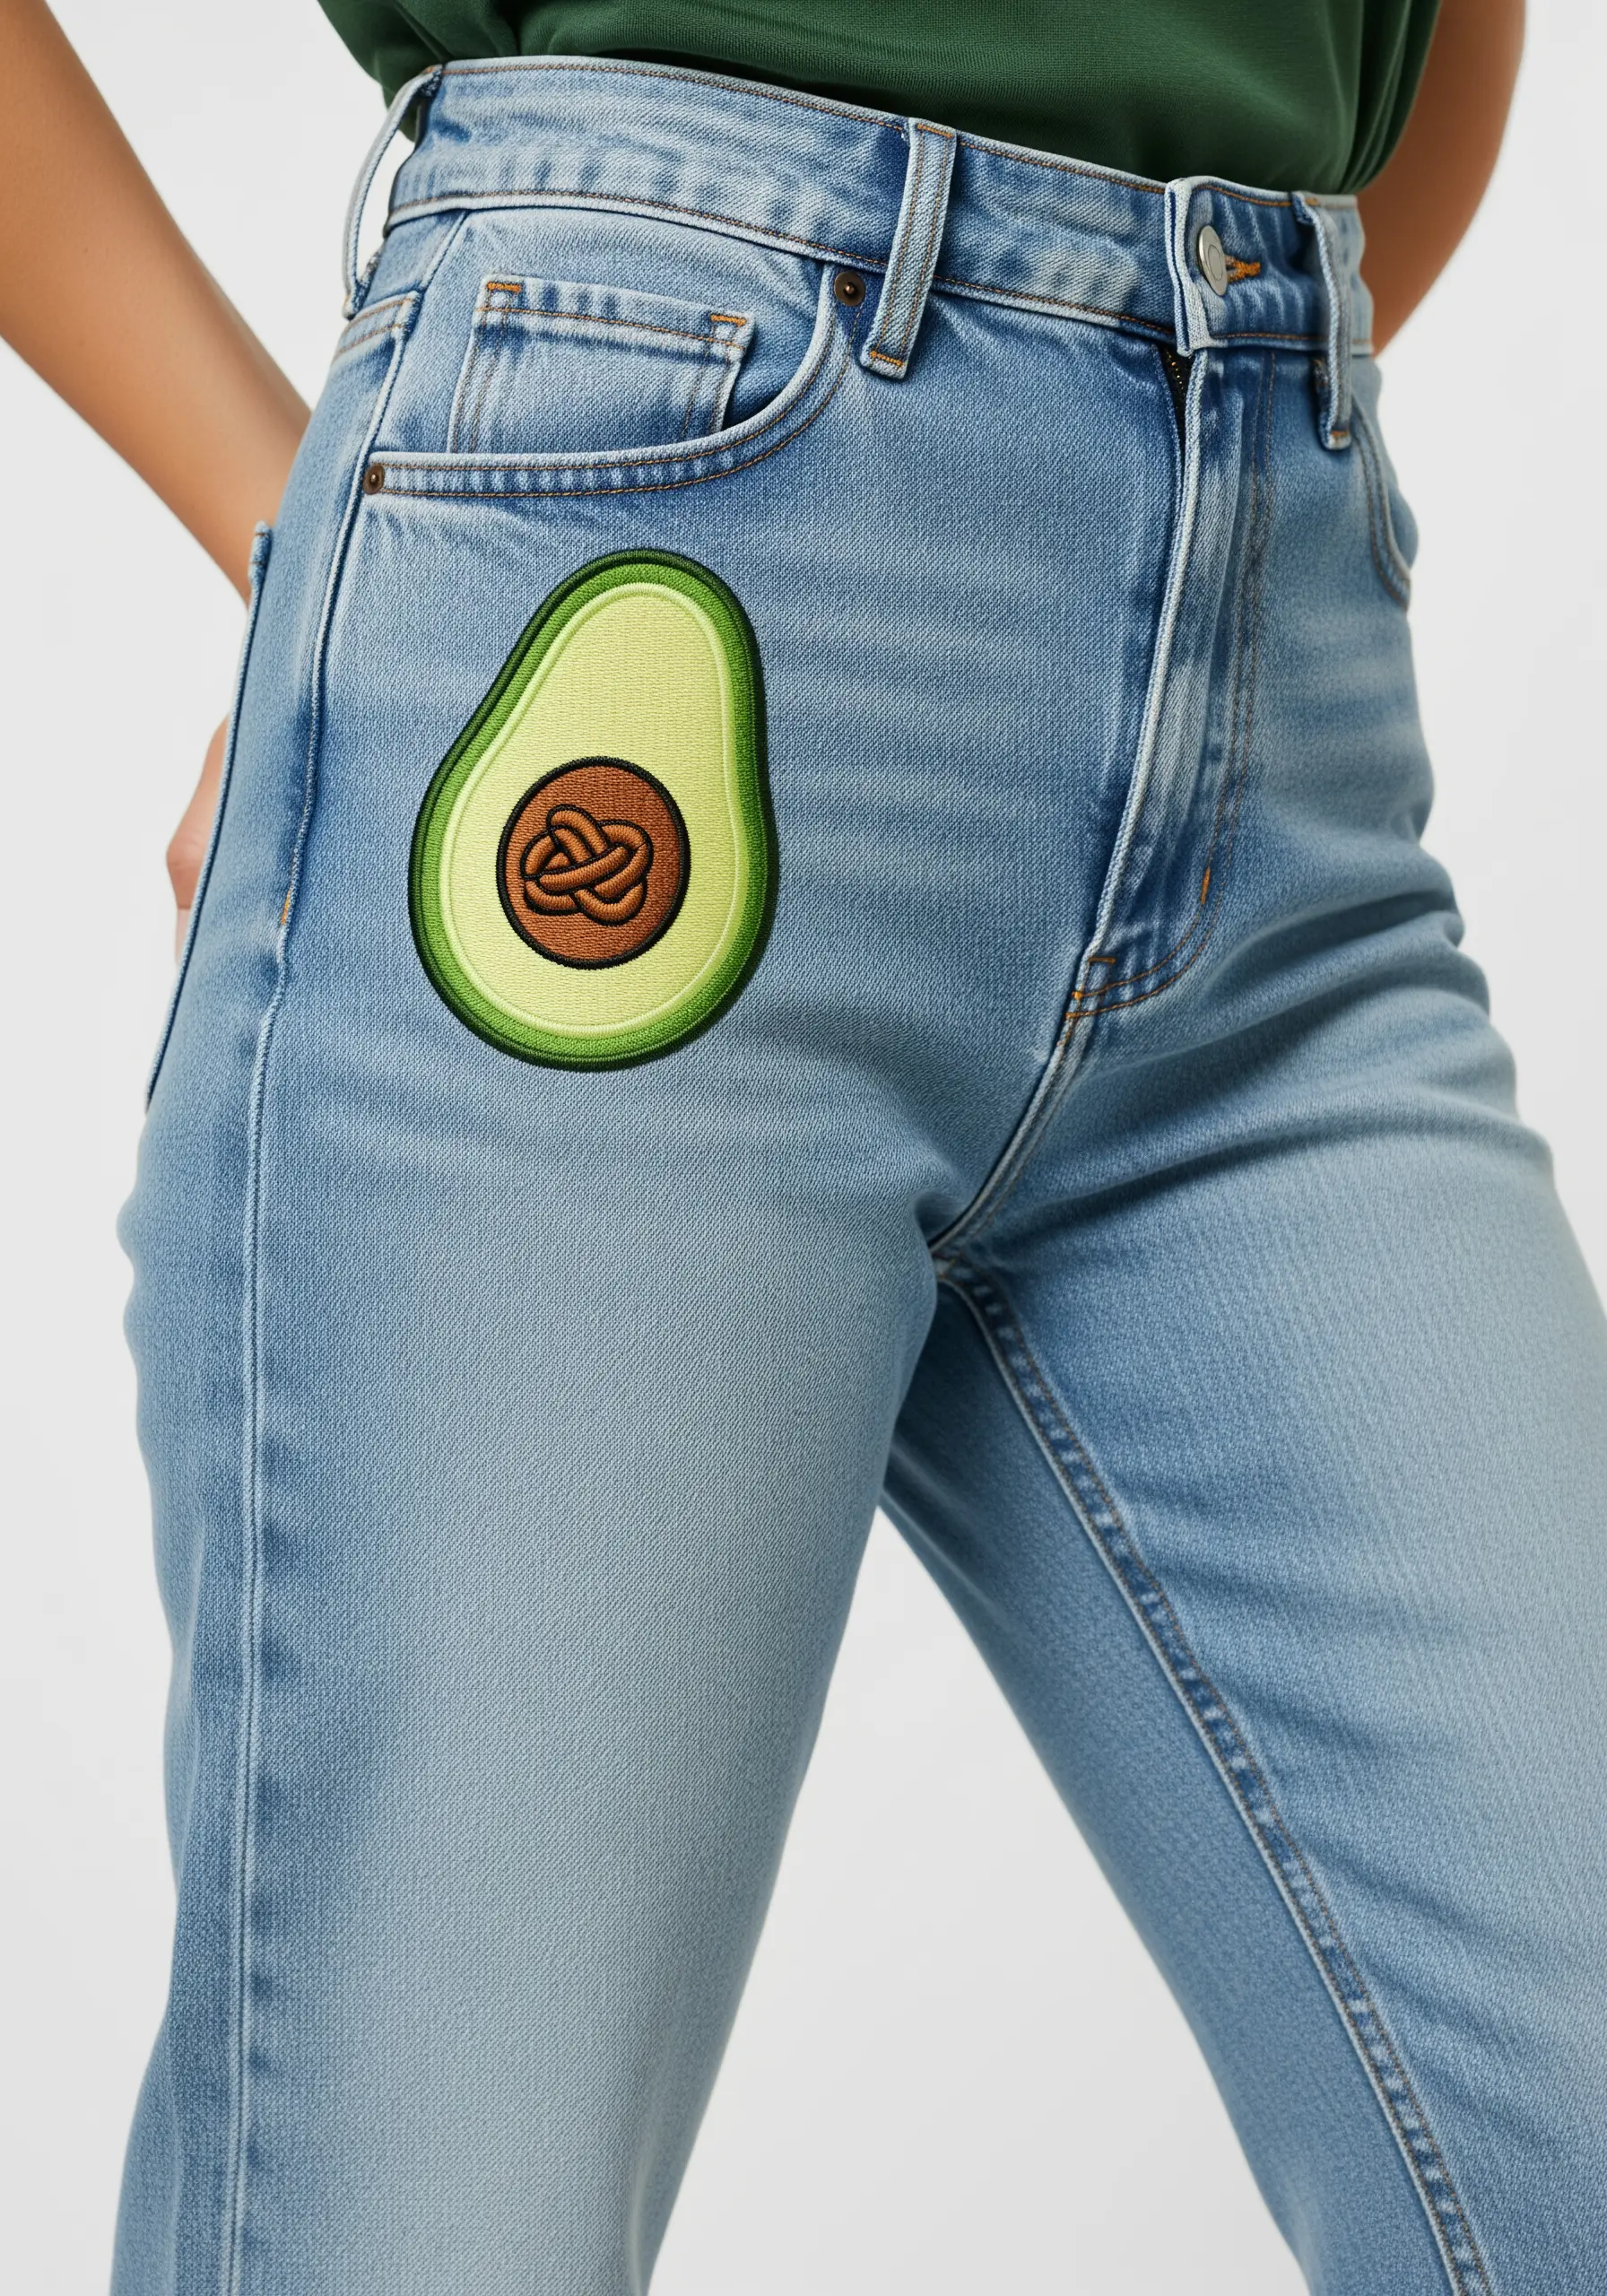
To achieve the smooth gradient in the avocado flesh, use a long-and-short stitch with three shades of green: dark green at the edge, a vibrant lime in the middle, and a pale yellow-green near the pit.
Keep your stitches directional, fanning out from the pit to enhance the fruit’s natural shape.
For the pit, use a woven wheel stitch to create a raised, textured center that contrasts with the smoothness of the flesh.
15. The Glossy Puffy Heart
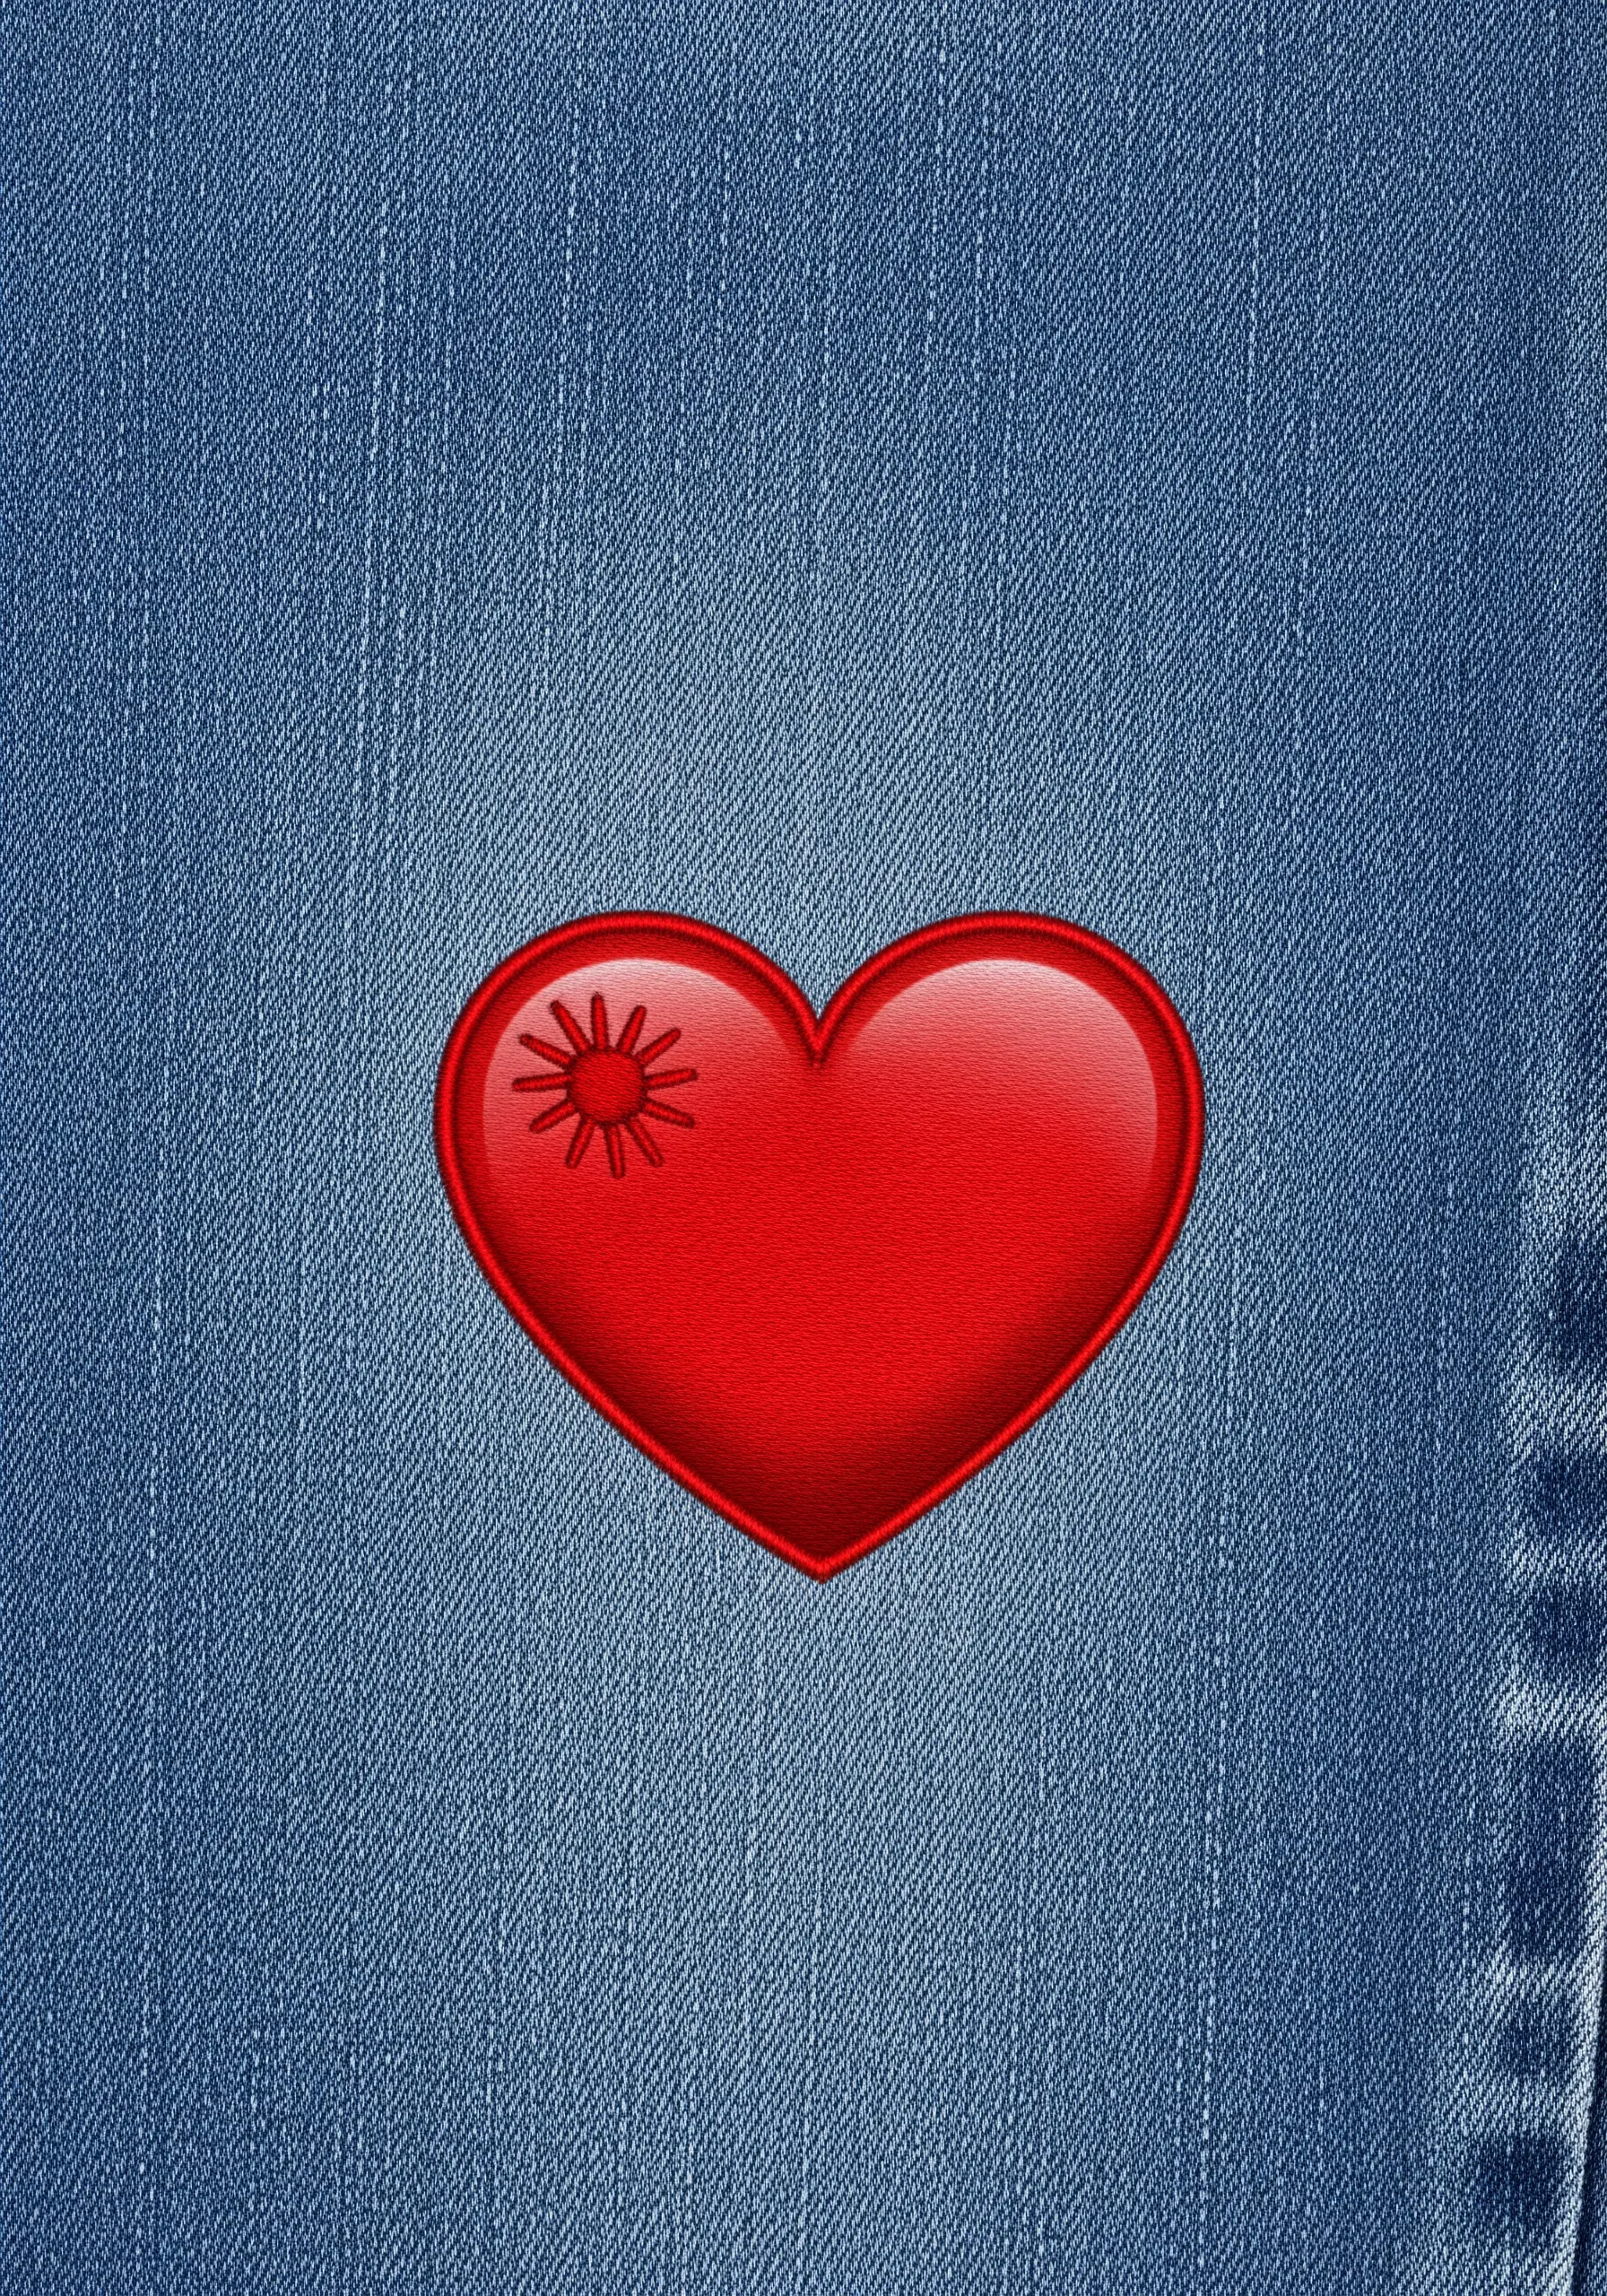
Recreate the look of a glossy, puffy icon by using a padded satin stitch with a high-sheen rayon or silk thread.
First, fill the heart shape with a layer of horizontal running stitches, then cover this padding with vertical satin stitches using a vibrant red thread.
The underlying padding lifts the satin stitch, creating a raised, 3D effect, while the high-sheen thread provides a candy-like gloss. It’s one of the most satisfyingly cute and tiny embroidery ideas to master.
16. The Color-Blended Butterfly
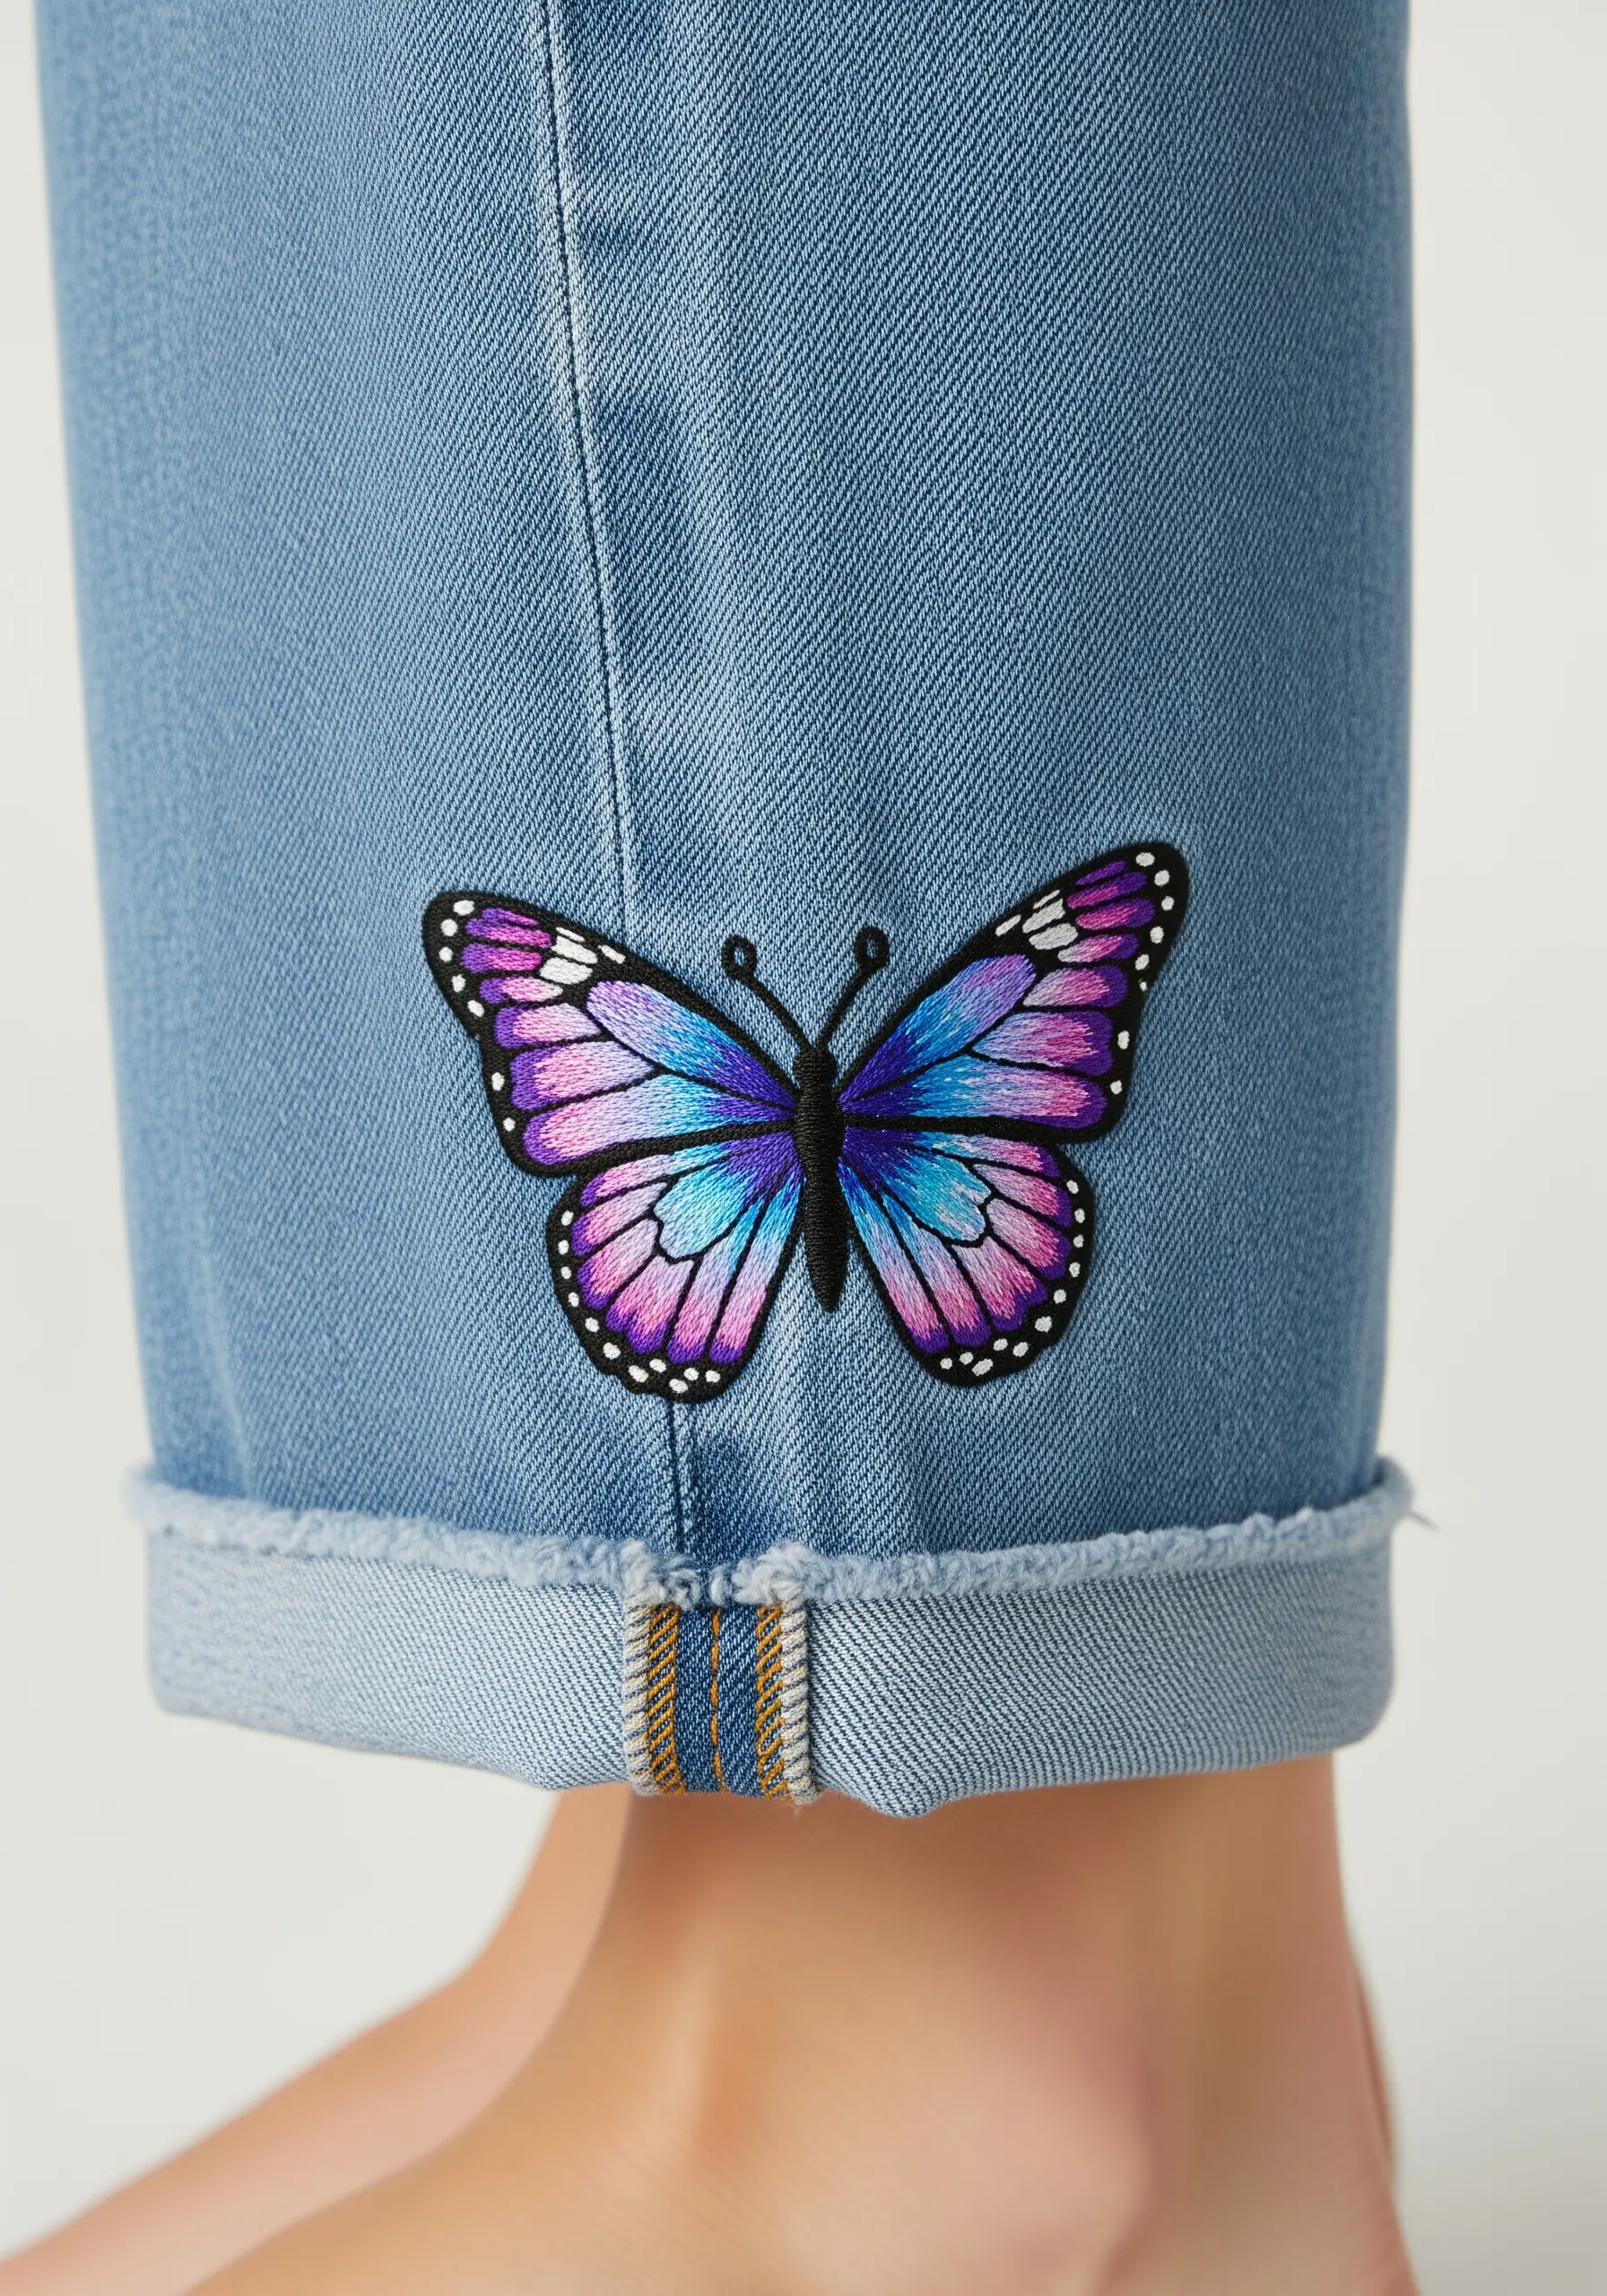
Master the art of thread painting to create the butterfly’s stunning gradient wings. Use a long-and-short stitch with single strands of floss.
Start with one color, making your stitches varied lengths. Then, bring your needle up through the middle of the previous stitches with the next color to create a seamless blend.
Work from the darkest color on the outside edge (purple/black) to the lightest in the center (blue/pink) to give the wings depth and iridescence.
Explore more butterfly garden embroidery ideas to perfect this beautiful technique.
17. The Minimalist Flight Path

Tell a story with simple shapes by combining solid fills with delicate line work.
Use a tight satin stitch for the paper airplanes, alternating colors to create a sense of rhythm and movement.
Connect them with a dashed backstitch to create the flight path. The negative space in the dashed line makes the design feel lighter and more dynamic than a solid line would.
These are the kind of minimalist embroidery ideas for modern crafters who love clean, graphic storytelling.
18. The Matte-Finish Game Controller
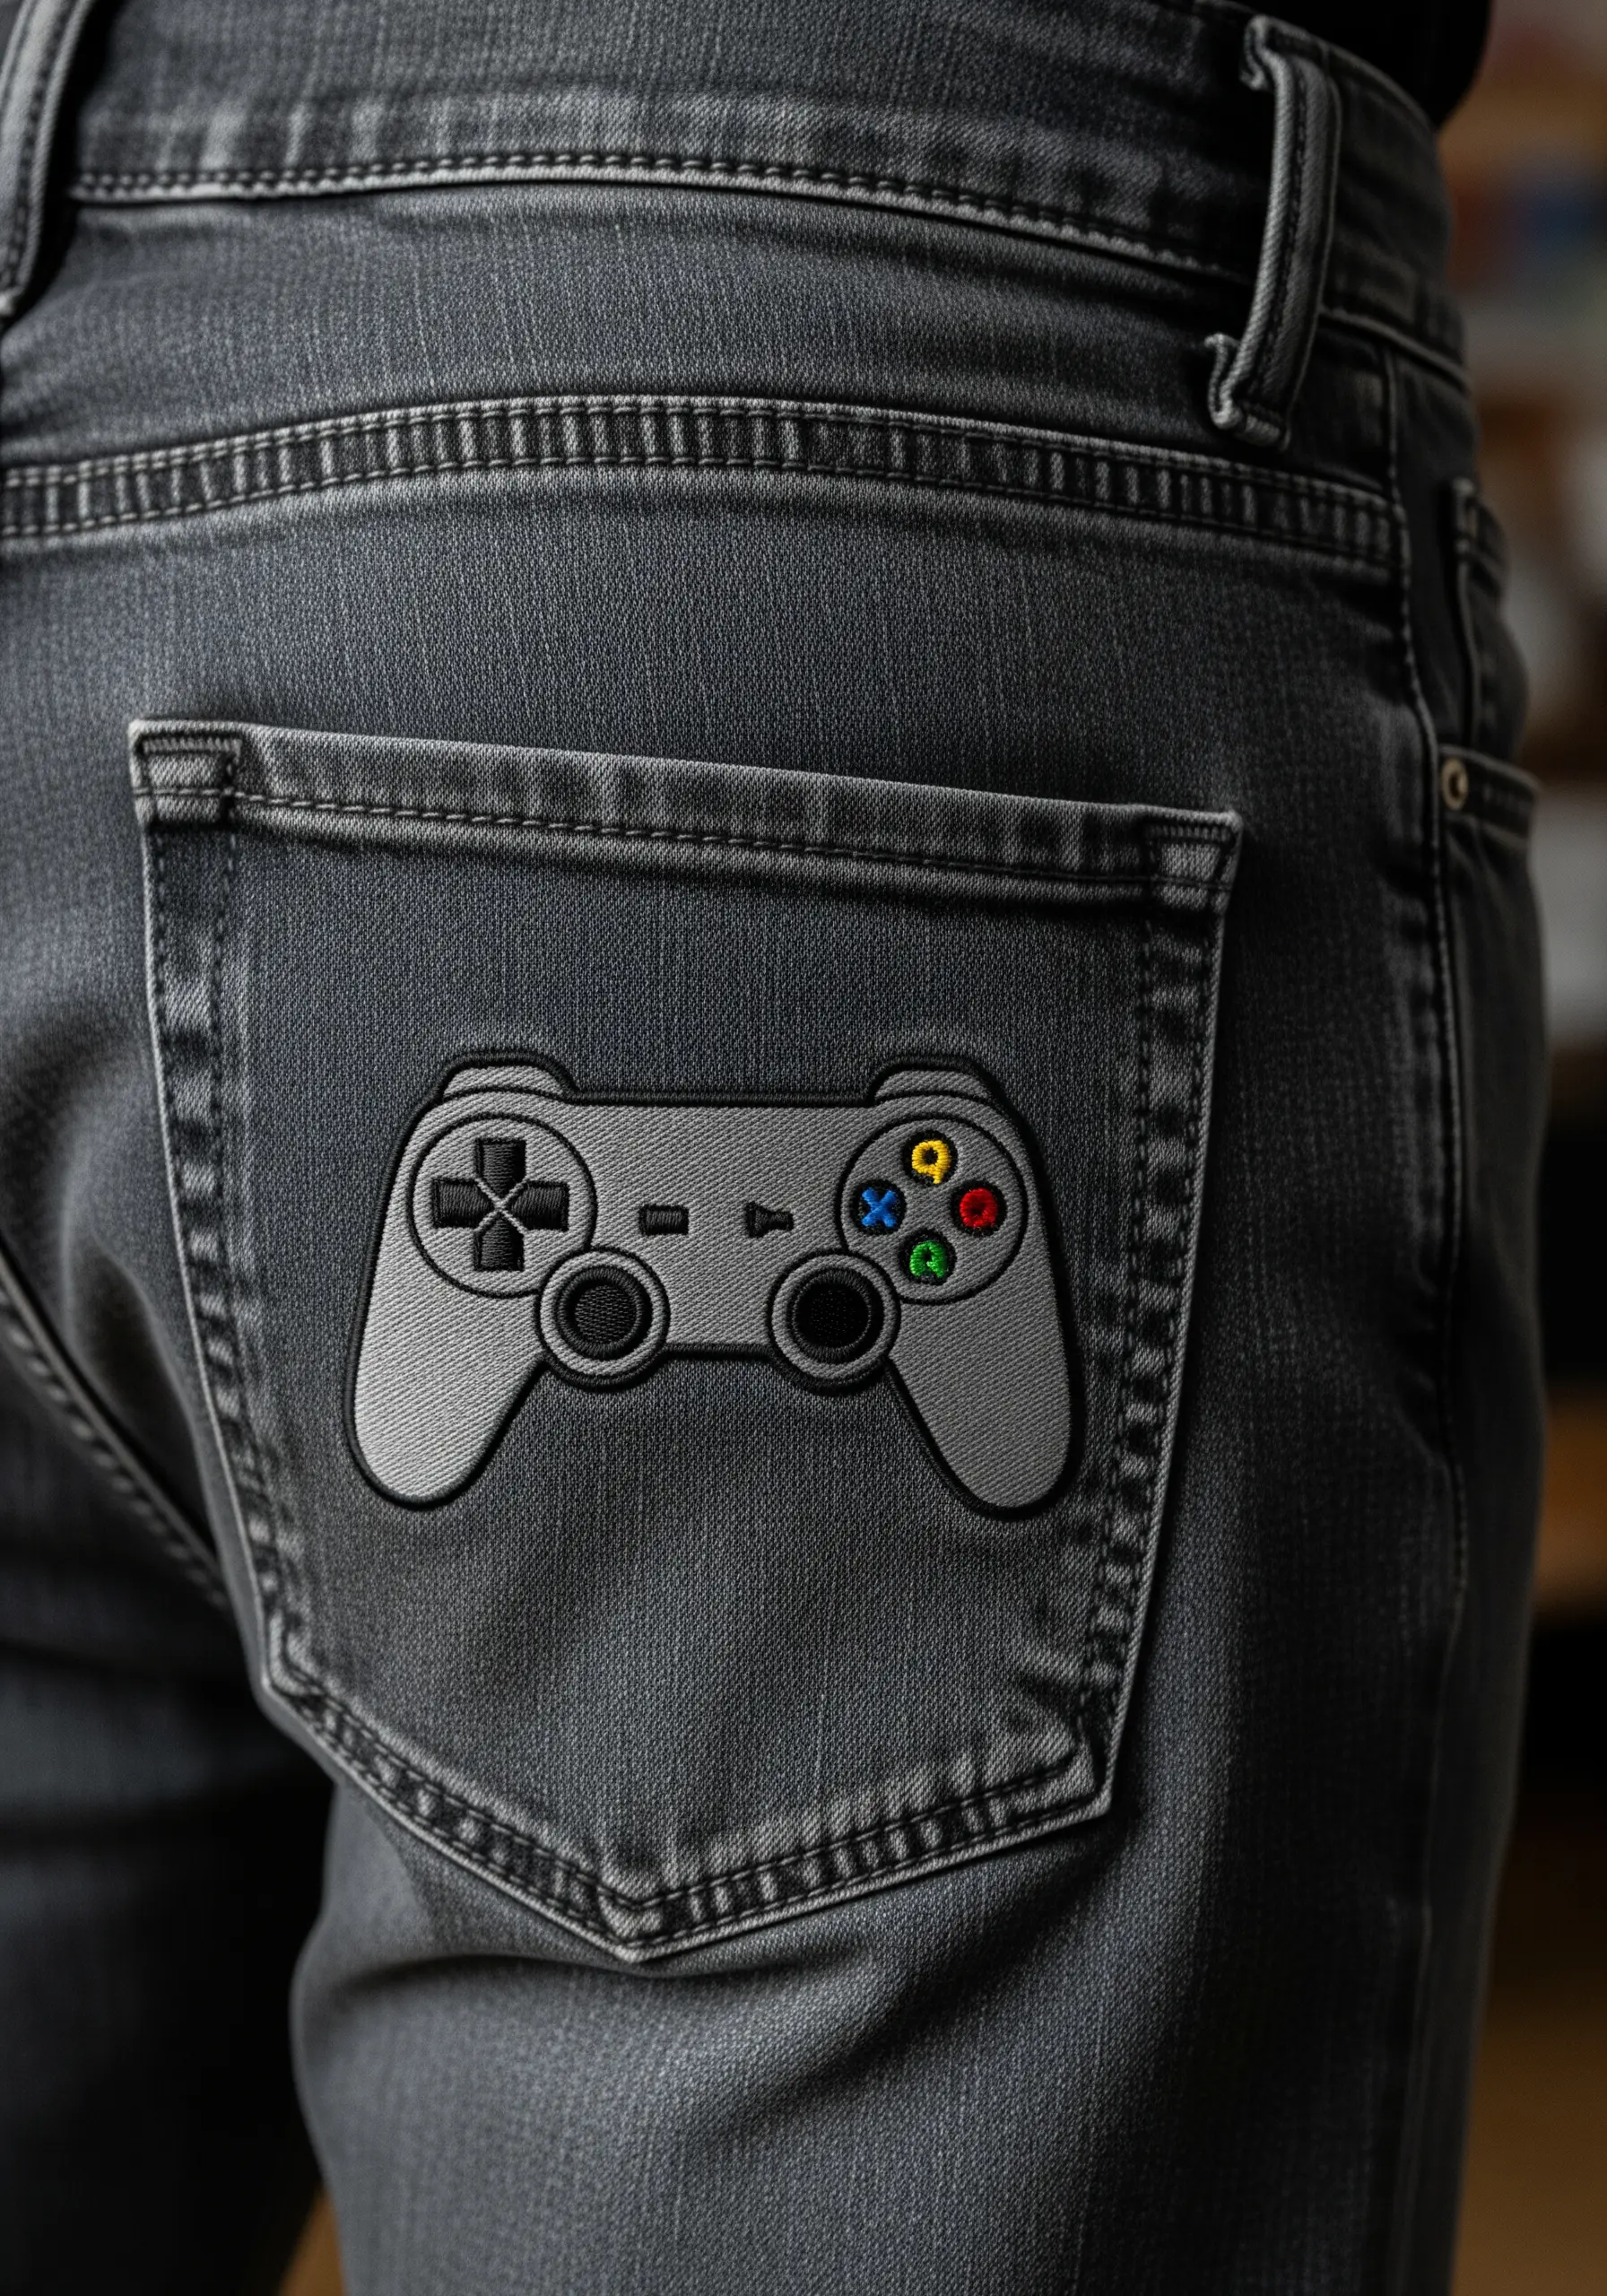
To achieve the matte, molded-plastic look of a game controller, use a cotton floss (like DMC) and a very dense split stitch fill.
Unlike satin stitch, which creates shine, a tight split stitch absorbs light, giving you a flat, non-reflective finish that looks modern and clean.
For the colorful buttons, switch to a high-sheen rayon thread and use a small circular satin stitch to make them pop with a glossy finish, contrasting with the matte body.
It’s a small way to add a personal touch to gifts for gamers.
19. The Graphic Shaka Hand

For a design with a distinct graphic texture, use a cross-hatch fill instead of a standard satin stitch.
Fill the hand shape with a series of evenly spaced diagonal stitches in one direction, then stitch another layer in the opposite direction to create a grid-like pattern.
This technique adds visual interest and a subtle texture, making the simple two-tone design feel more sophisticated.
20. The Sculptural Coiling Snake
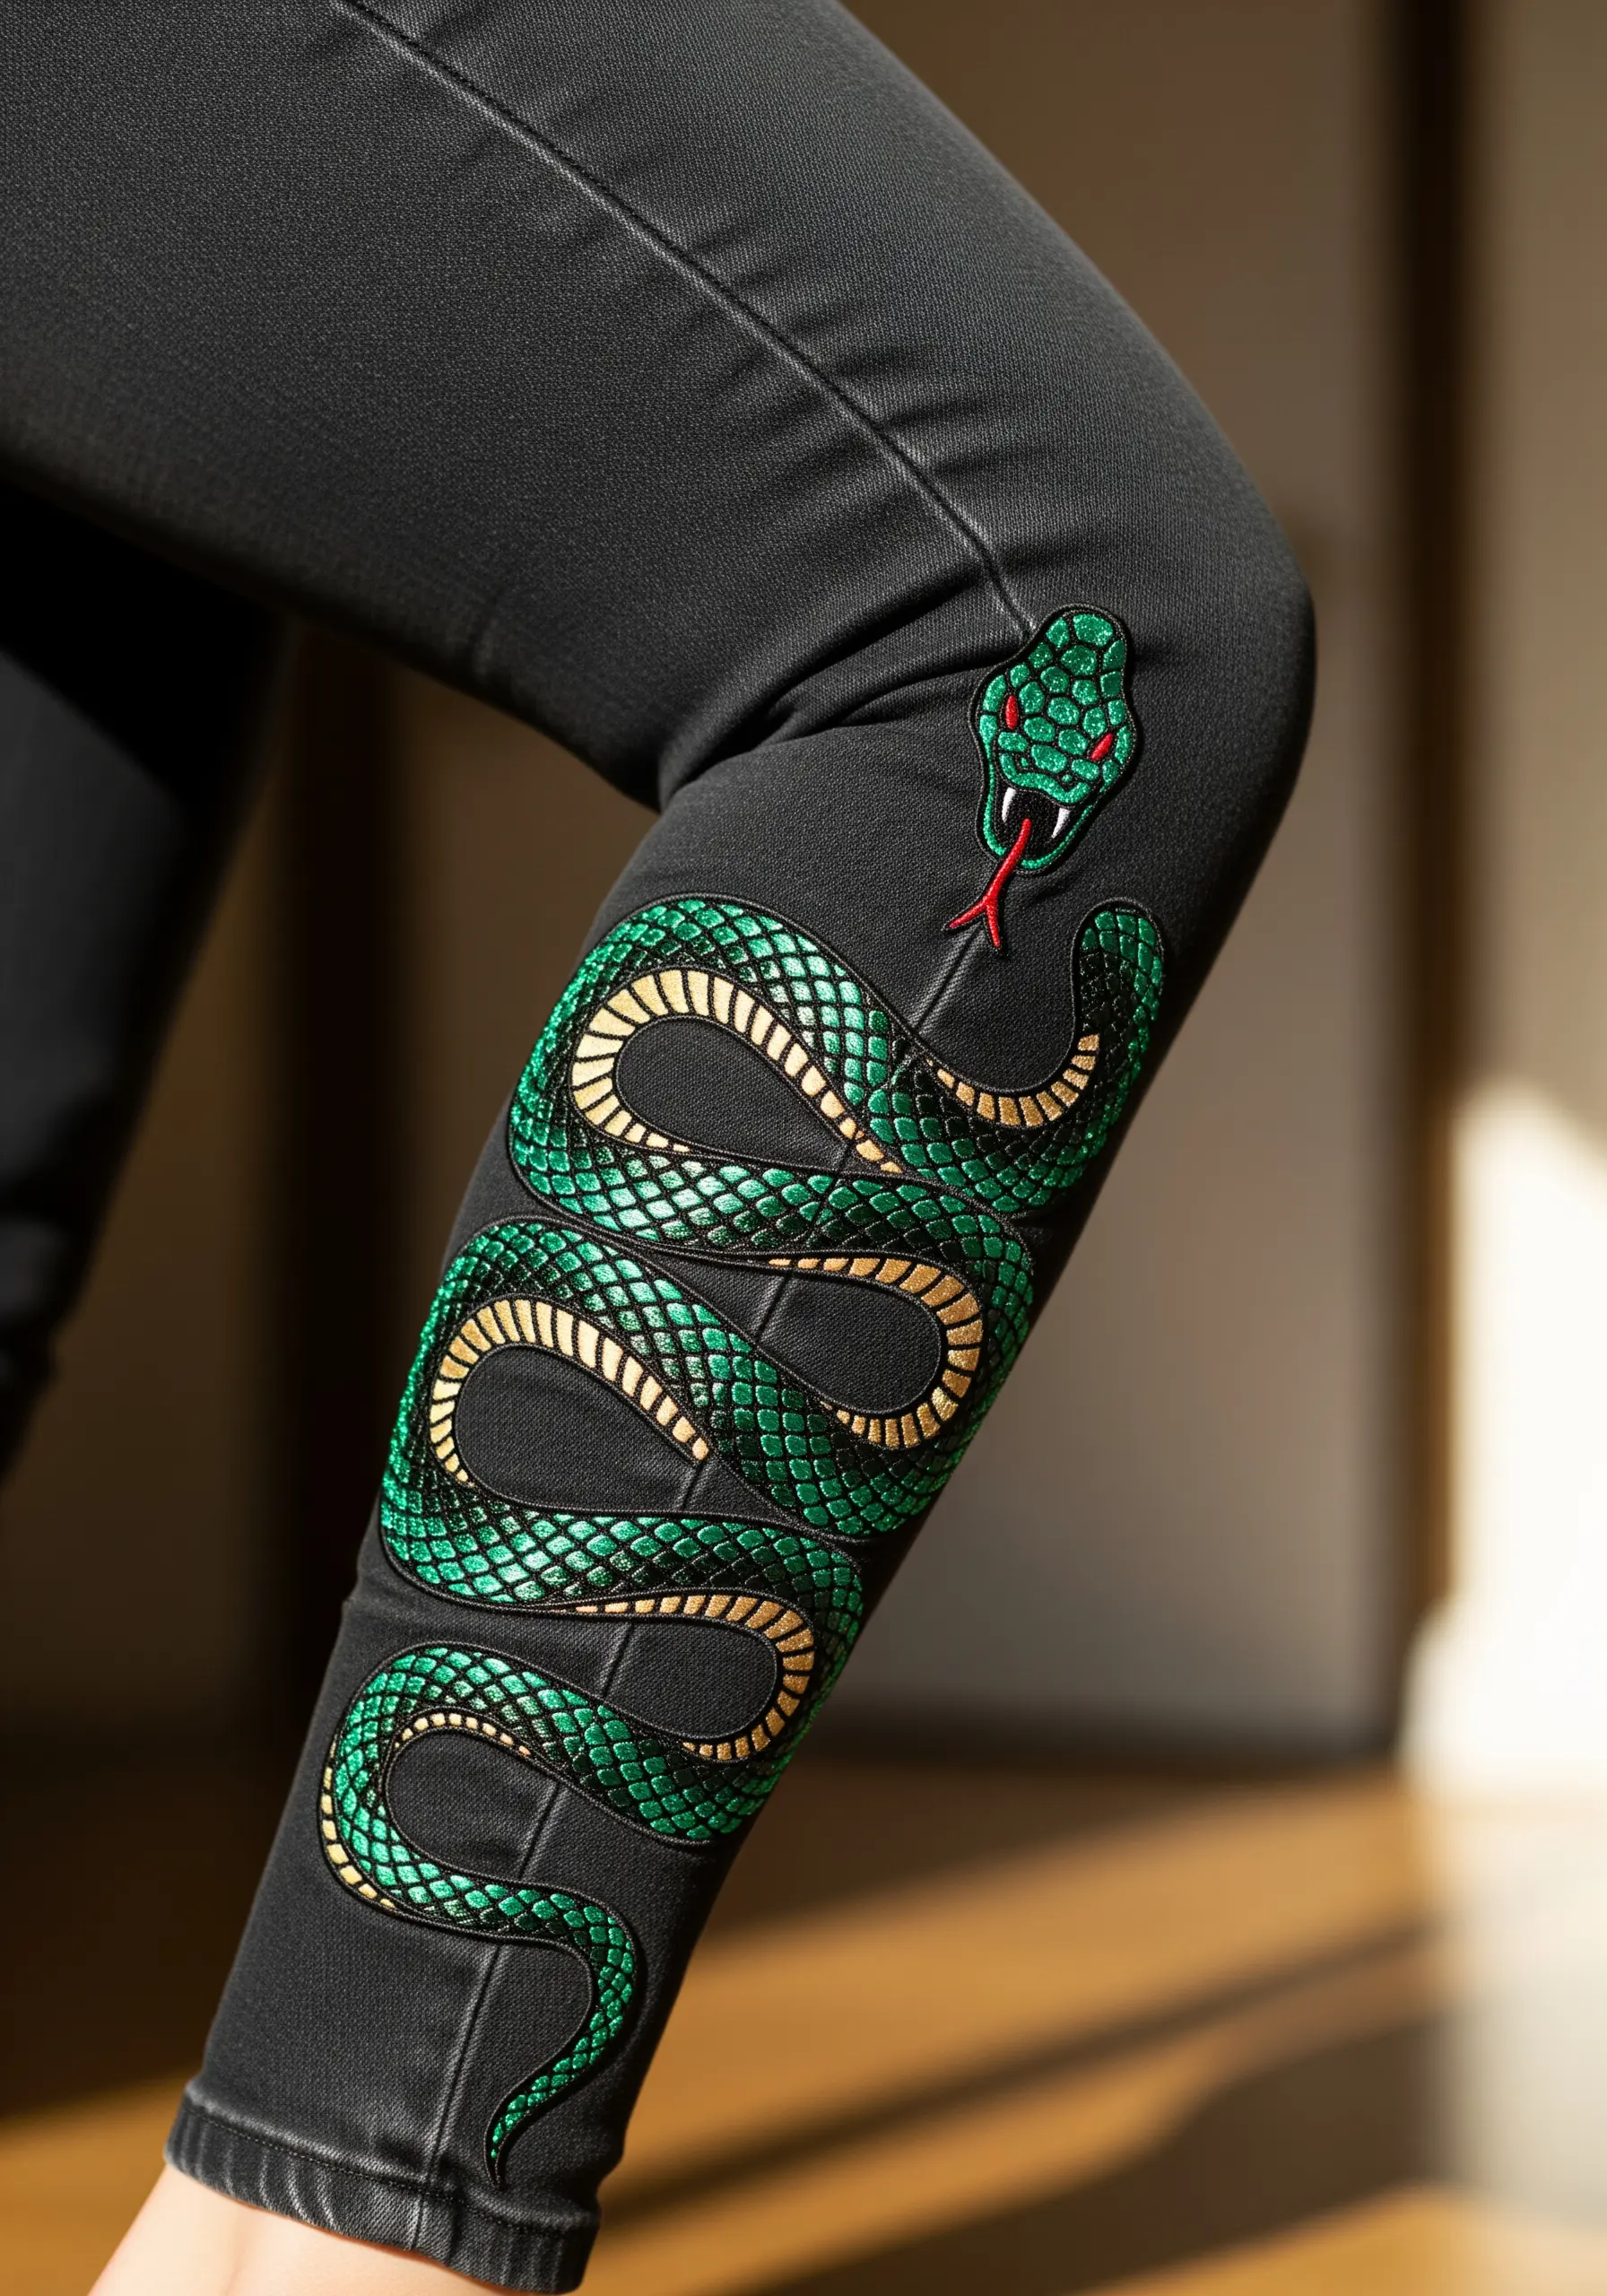
Give a winding snake a realistic, scaly texture by using a detached chain stitch or a fishbone stitch for the green sections.
Arrange the stitches in overlapping rows to mimic the look of scales.
For the golden underbelly and outline, switch to a whipped backstitch or a stem stitch using a metallic thread to create a smooth, defined line that contrasts sharply with the textured green body.
These nature texture embroidery projects come alive with the right stitch choice.
21. The Soft-Gradient Peace Sign

Create a soft, pastel rainbow effect by using a padded satin stitch with a single strand of thread for each color.
To get the woven, almost braided look around the edge, use a Palestrina knot stitch or a heavy chain stitch. This creates a thick, rope-like border that neatly frames the delicate colors inside.
These abstract color-blend stitch ideas are perfect for creating soft, dreamy textures.
22. The Polished Poop Emoji
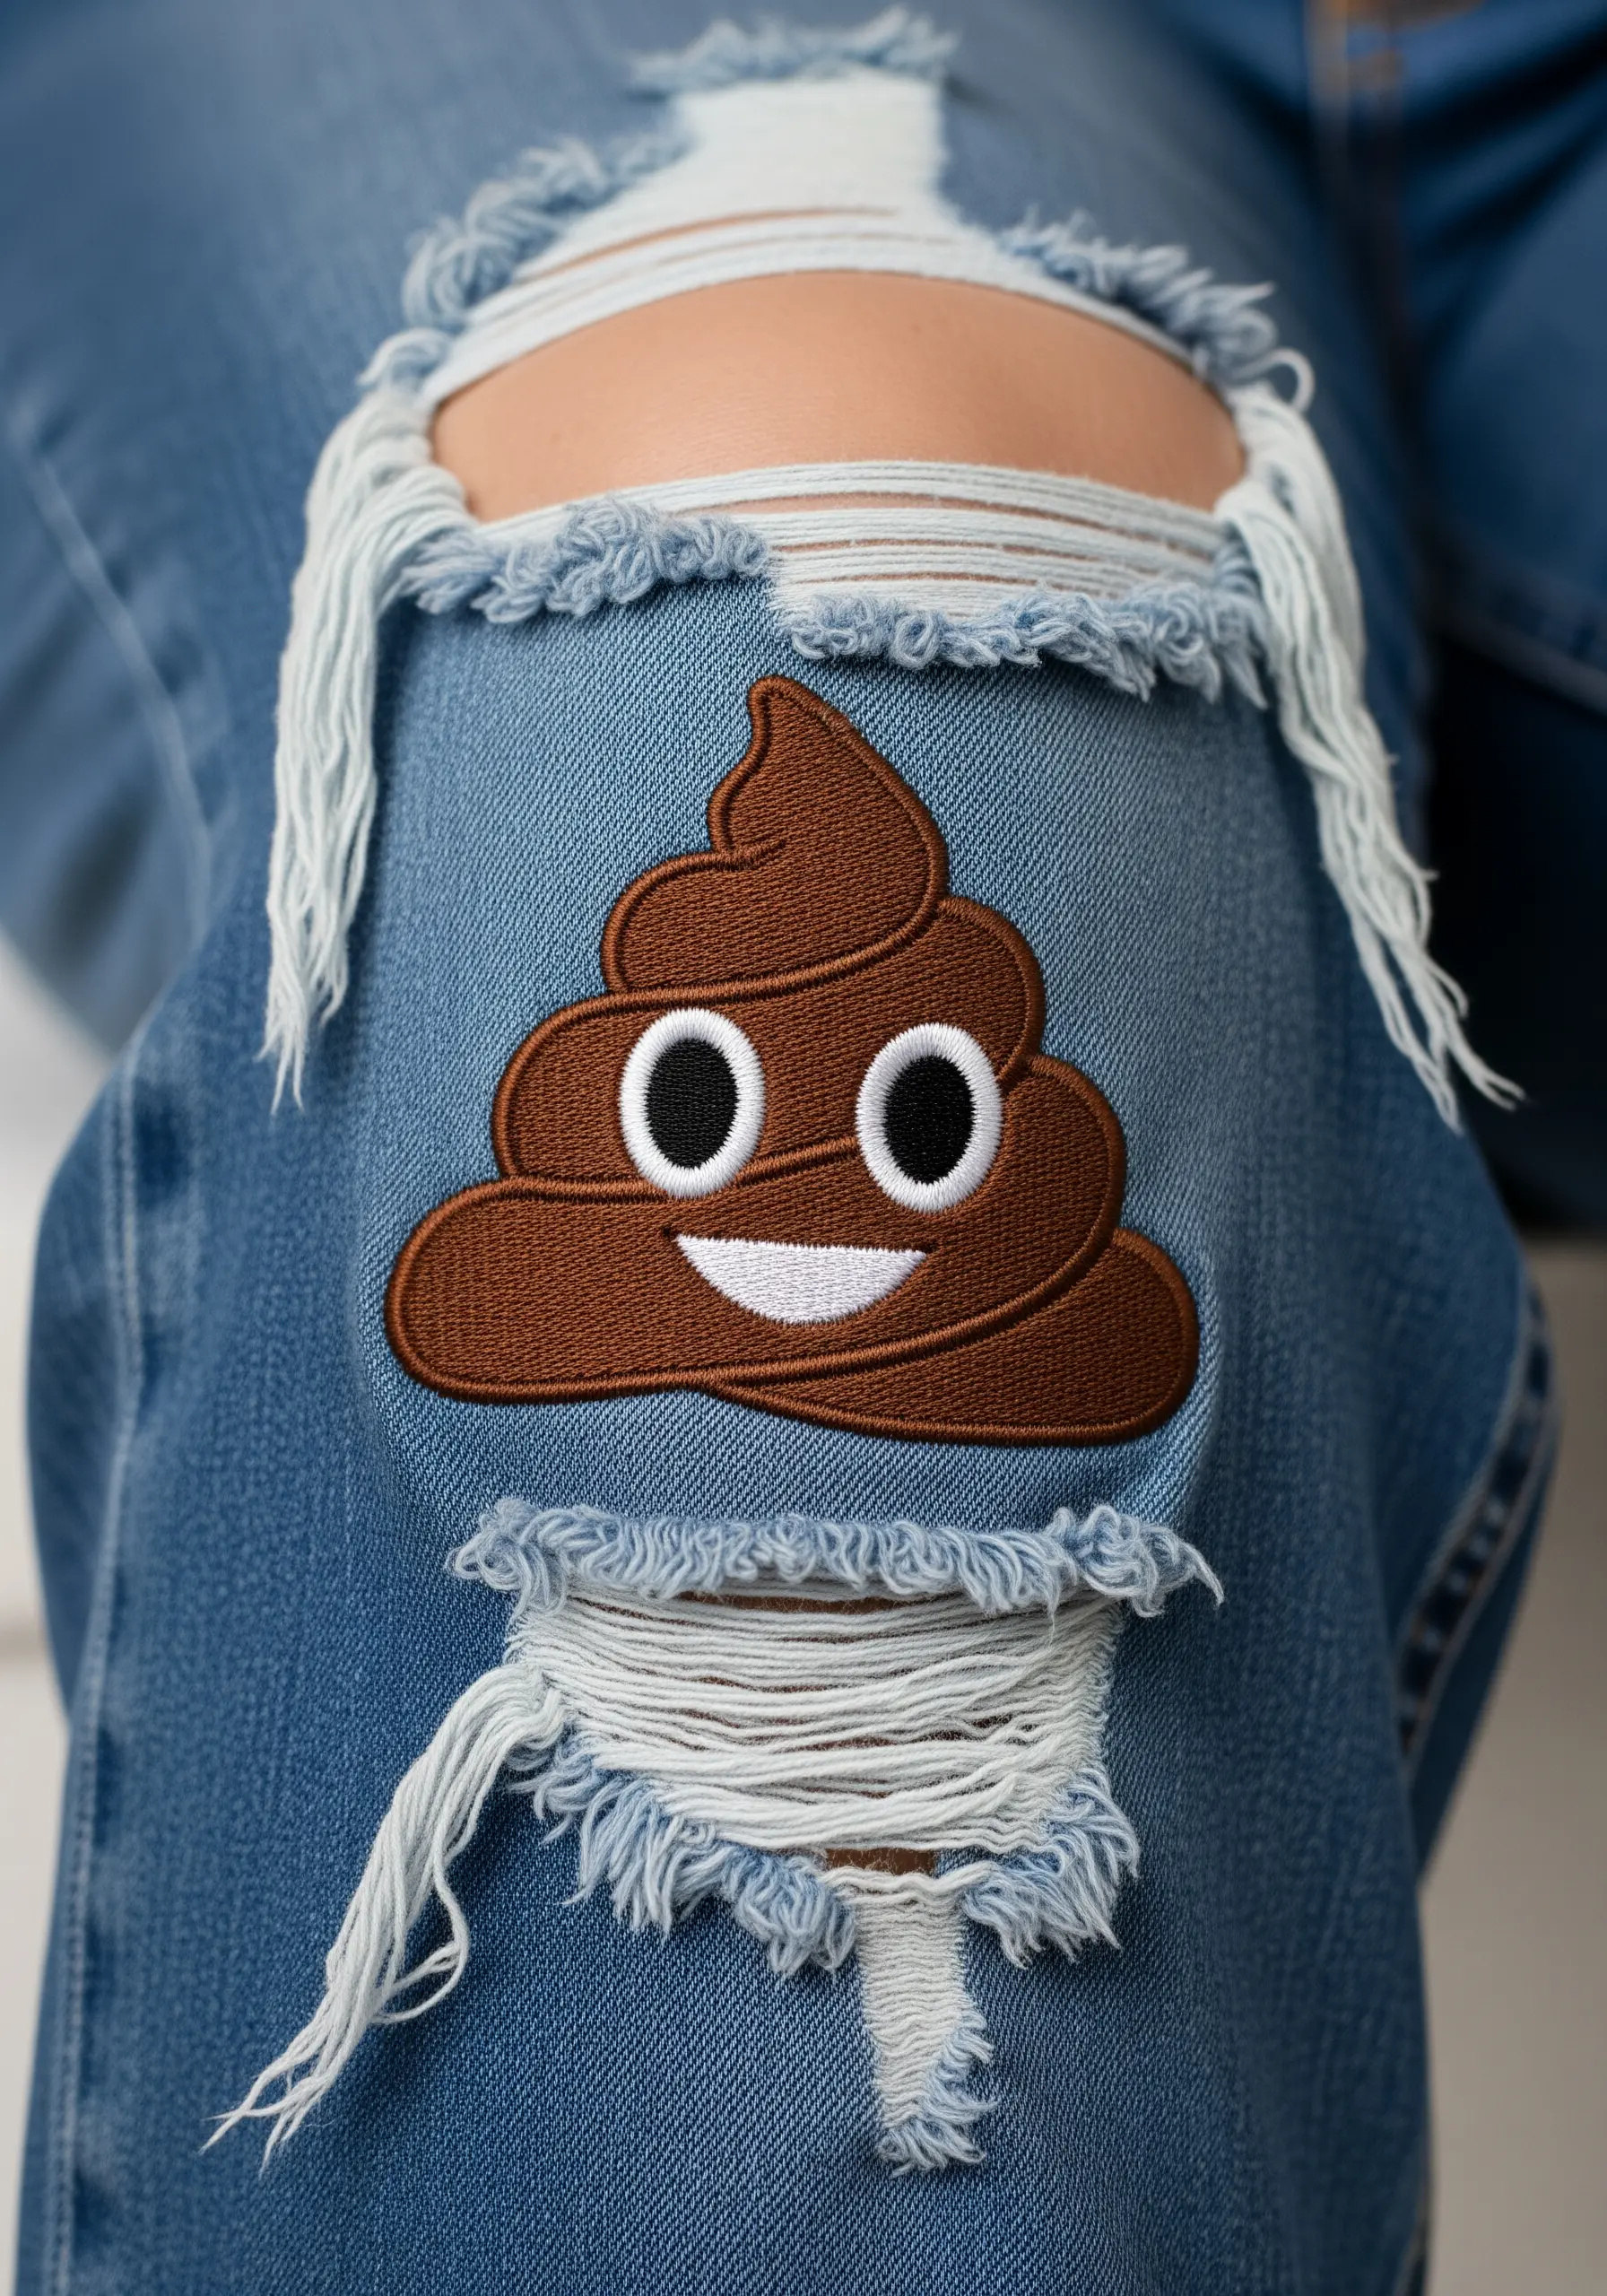
The key to making a silly emoji look well-crafted is the precision of your outlines and the direction of your fill.
Use a darker brown thread for a split stitch outline before filling with a lighter brown. This creates a subtle shadow effect and defines the shape.
For the fill, use a directional satin stitch that follows the curves of each swirl. This enhances the three-dimensional look and makes the simple shape feel more dynamic.
23. The Subtle Steaming Cup
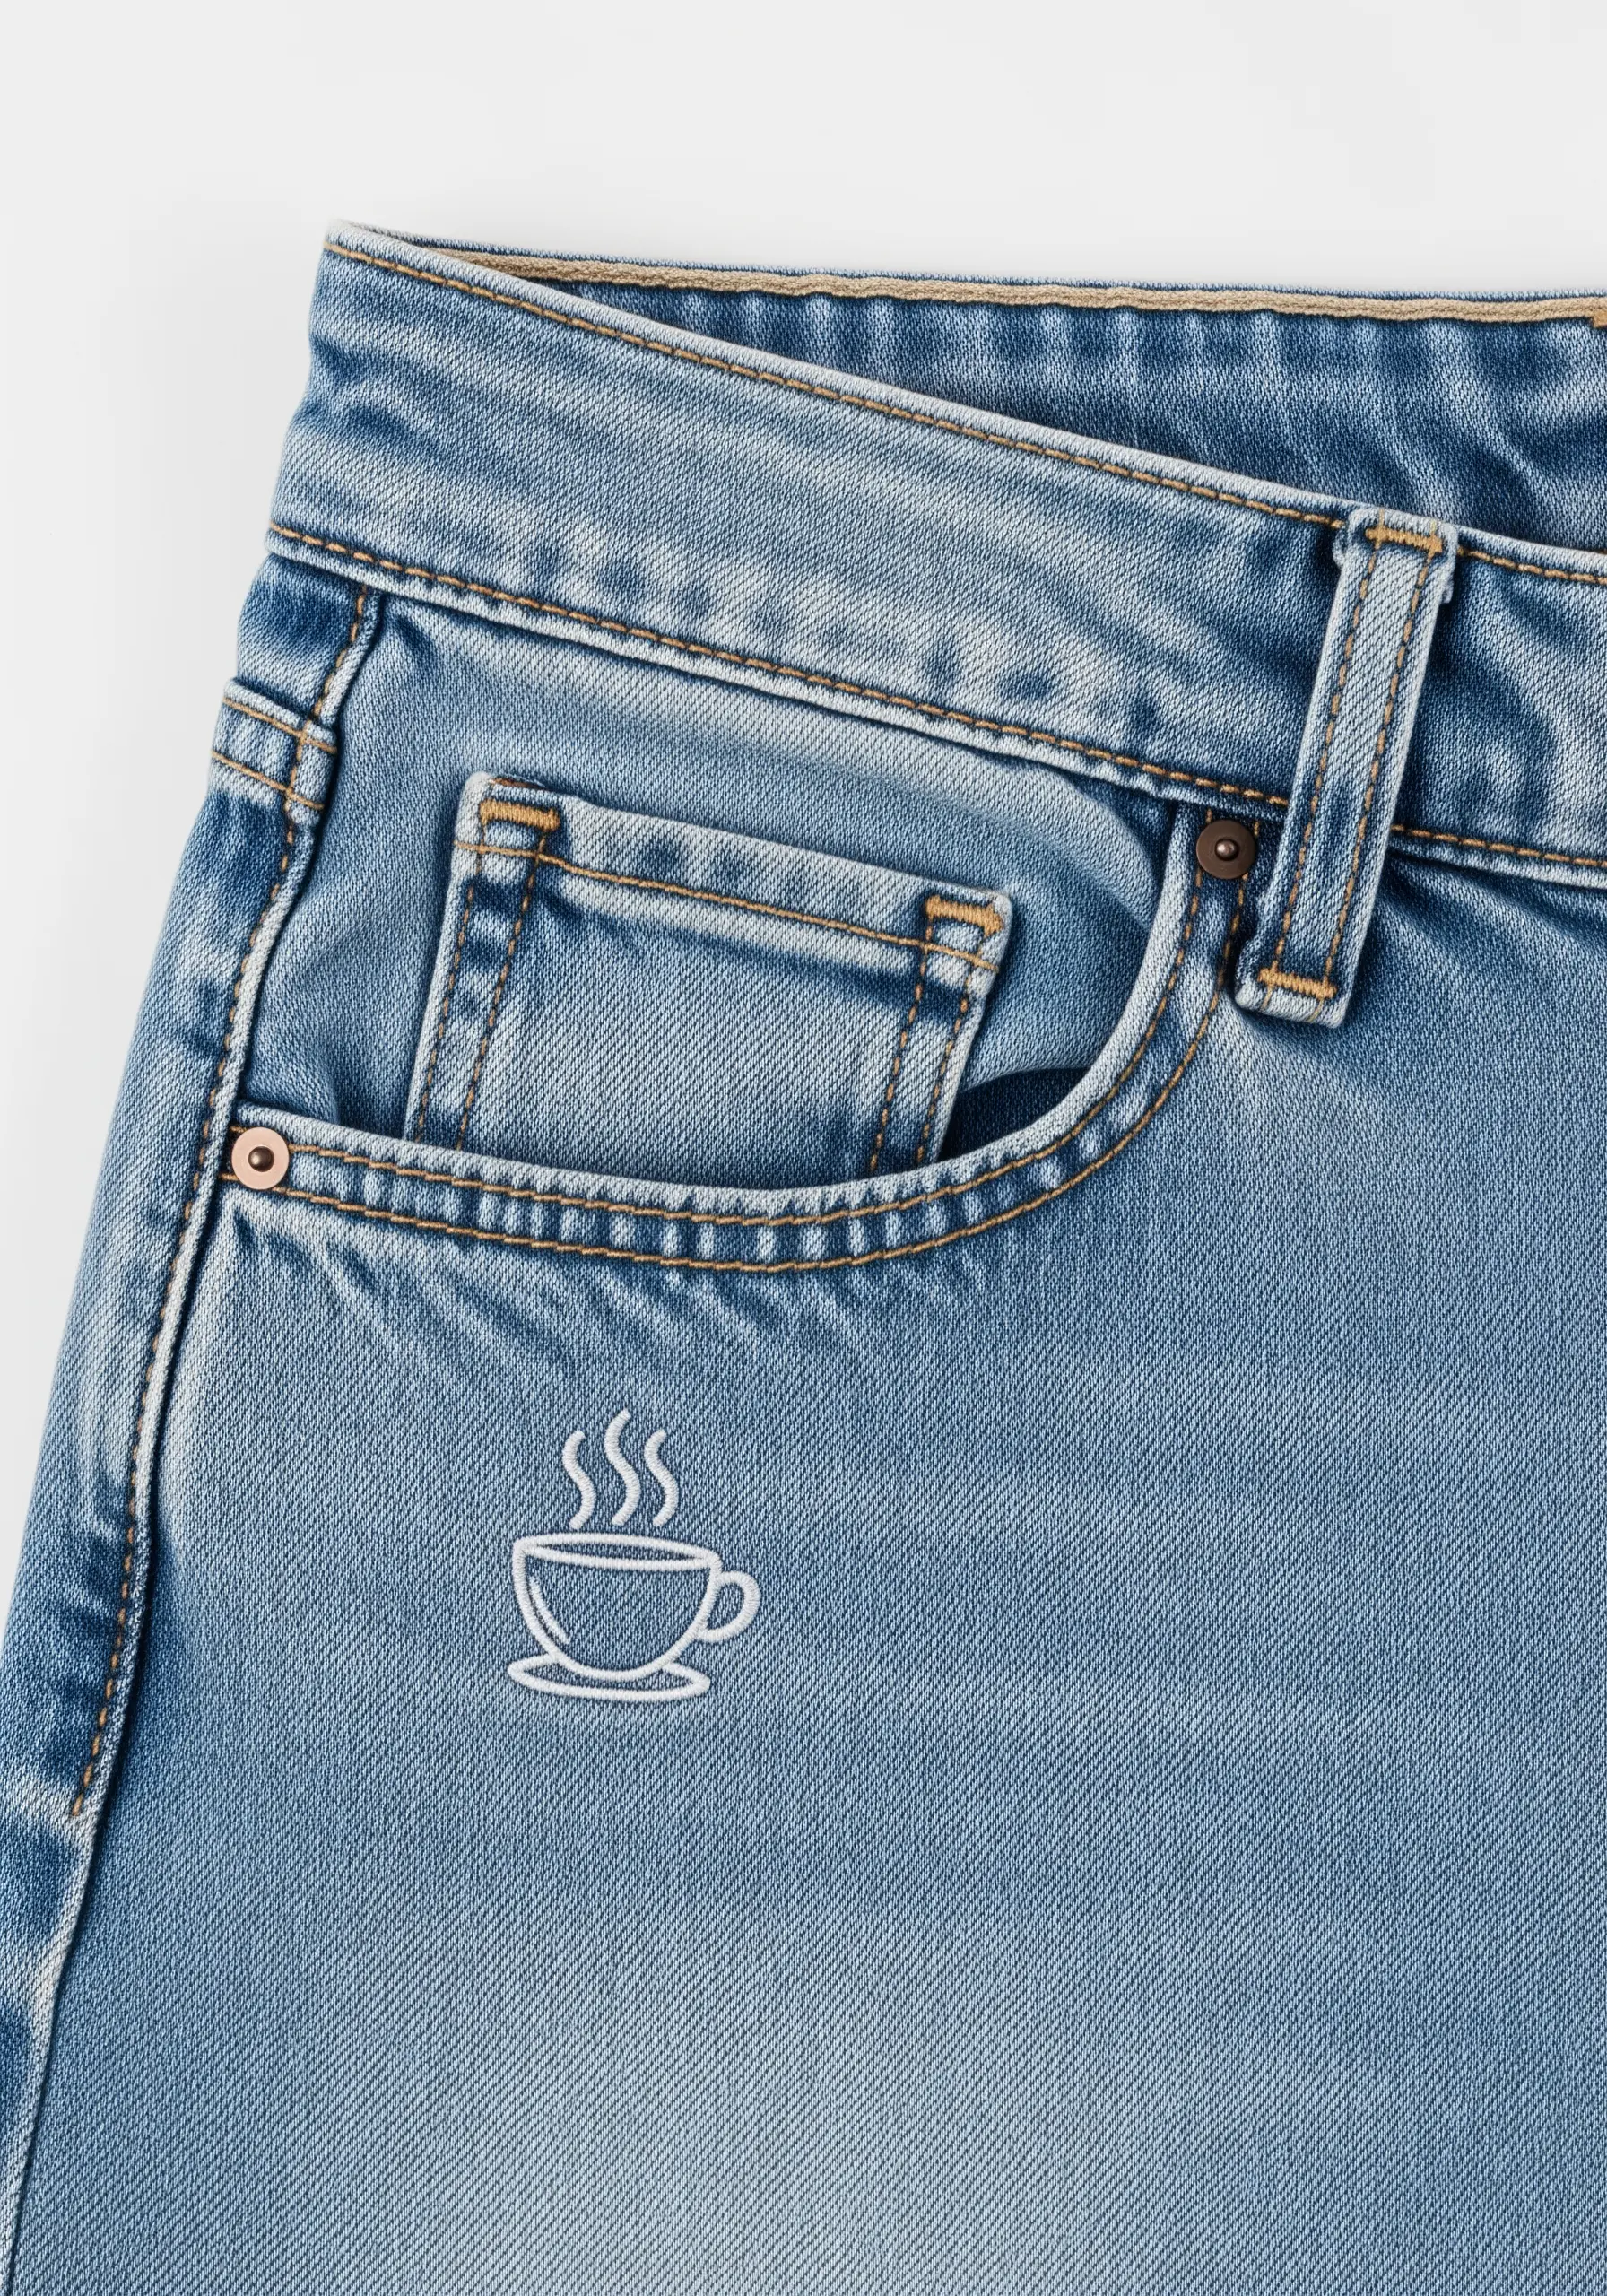
For a minimalist icon that feels elegant and understated, use only two strands of floss in a color just a few shades lighter than the denim.
A stem stitch is the perfect choice here, as it creates a slightly twisted, rope-like line that has more presence than a simple backstitch, without adding bulk.
This tiny detail transforms a simple pair of jeans with the quiet confidence of minimalist stitch designs that fit in the palm of your hand.
24. The Layered Angel Wings
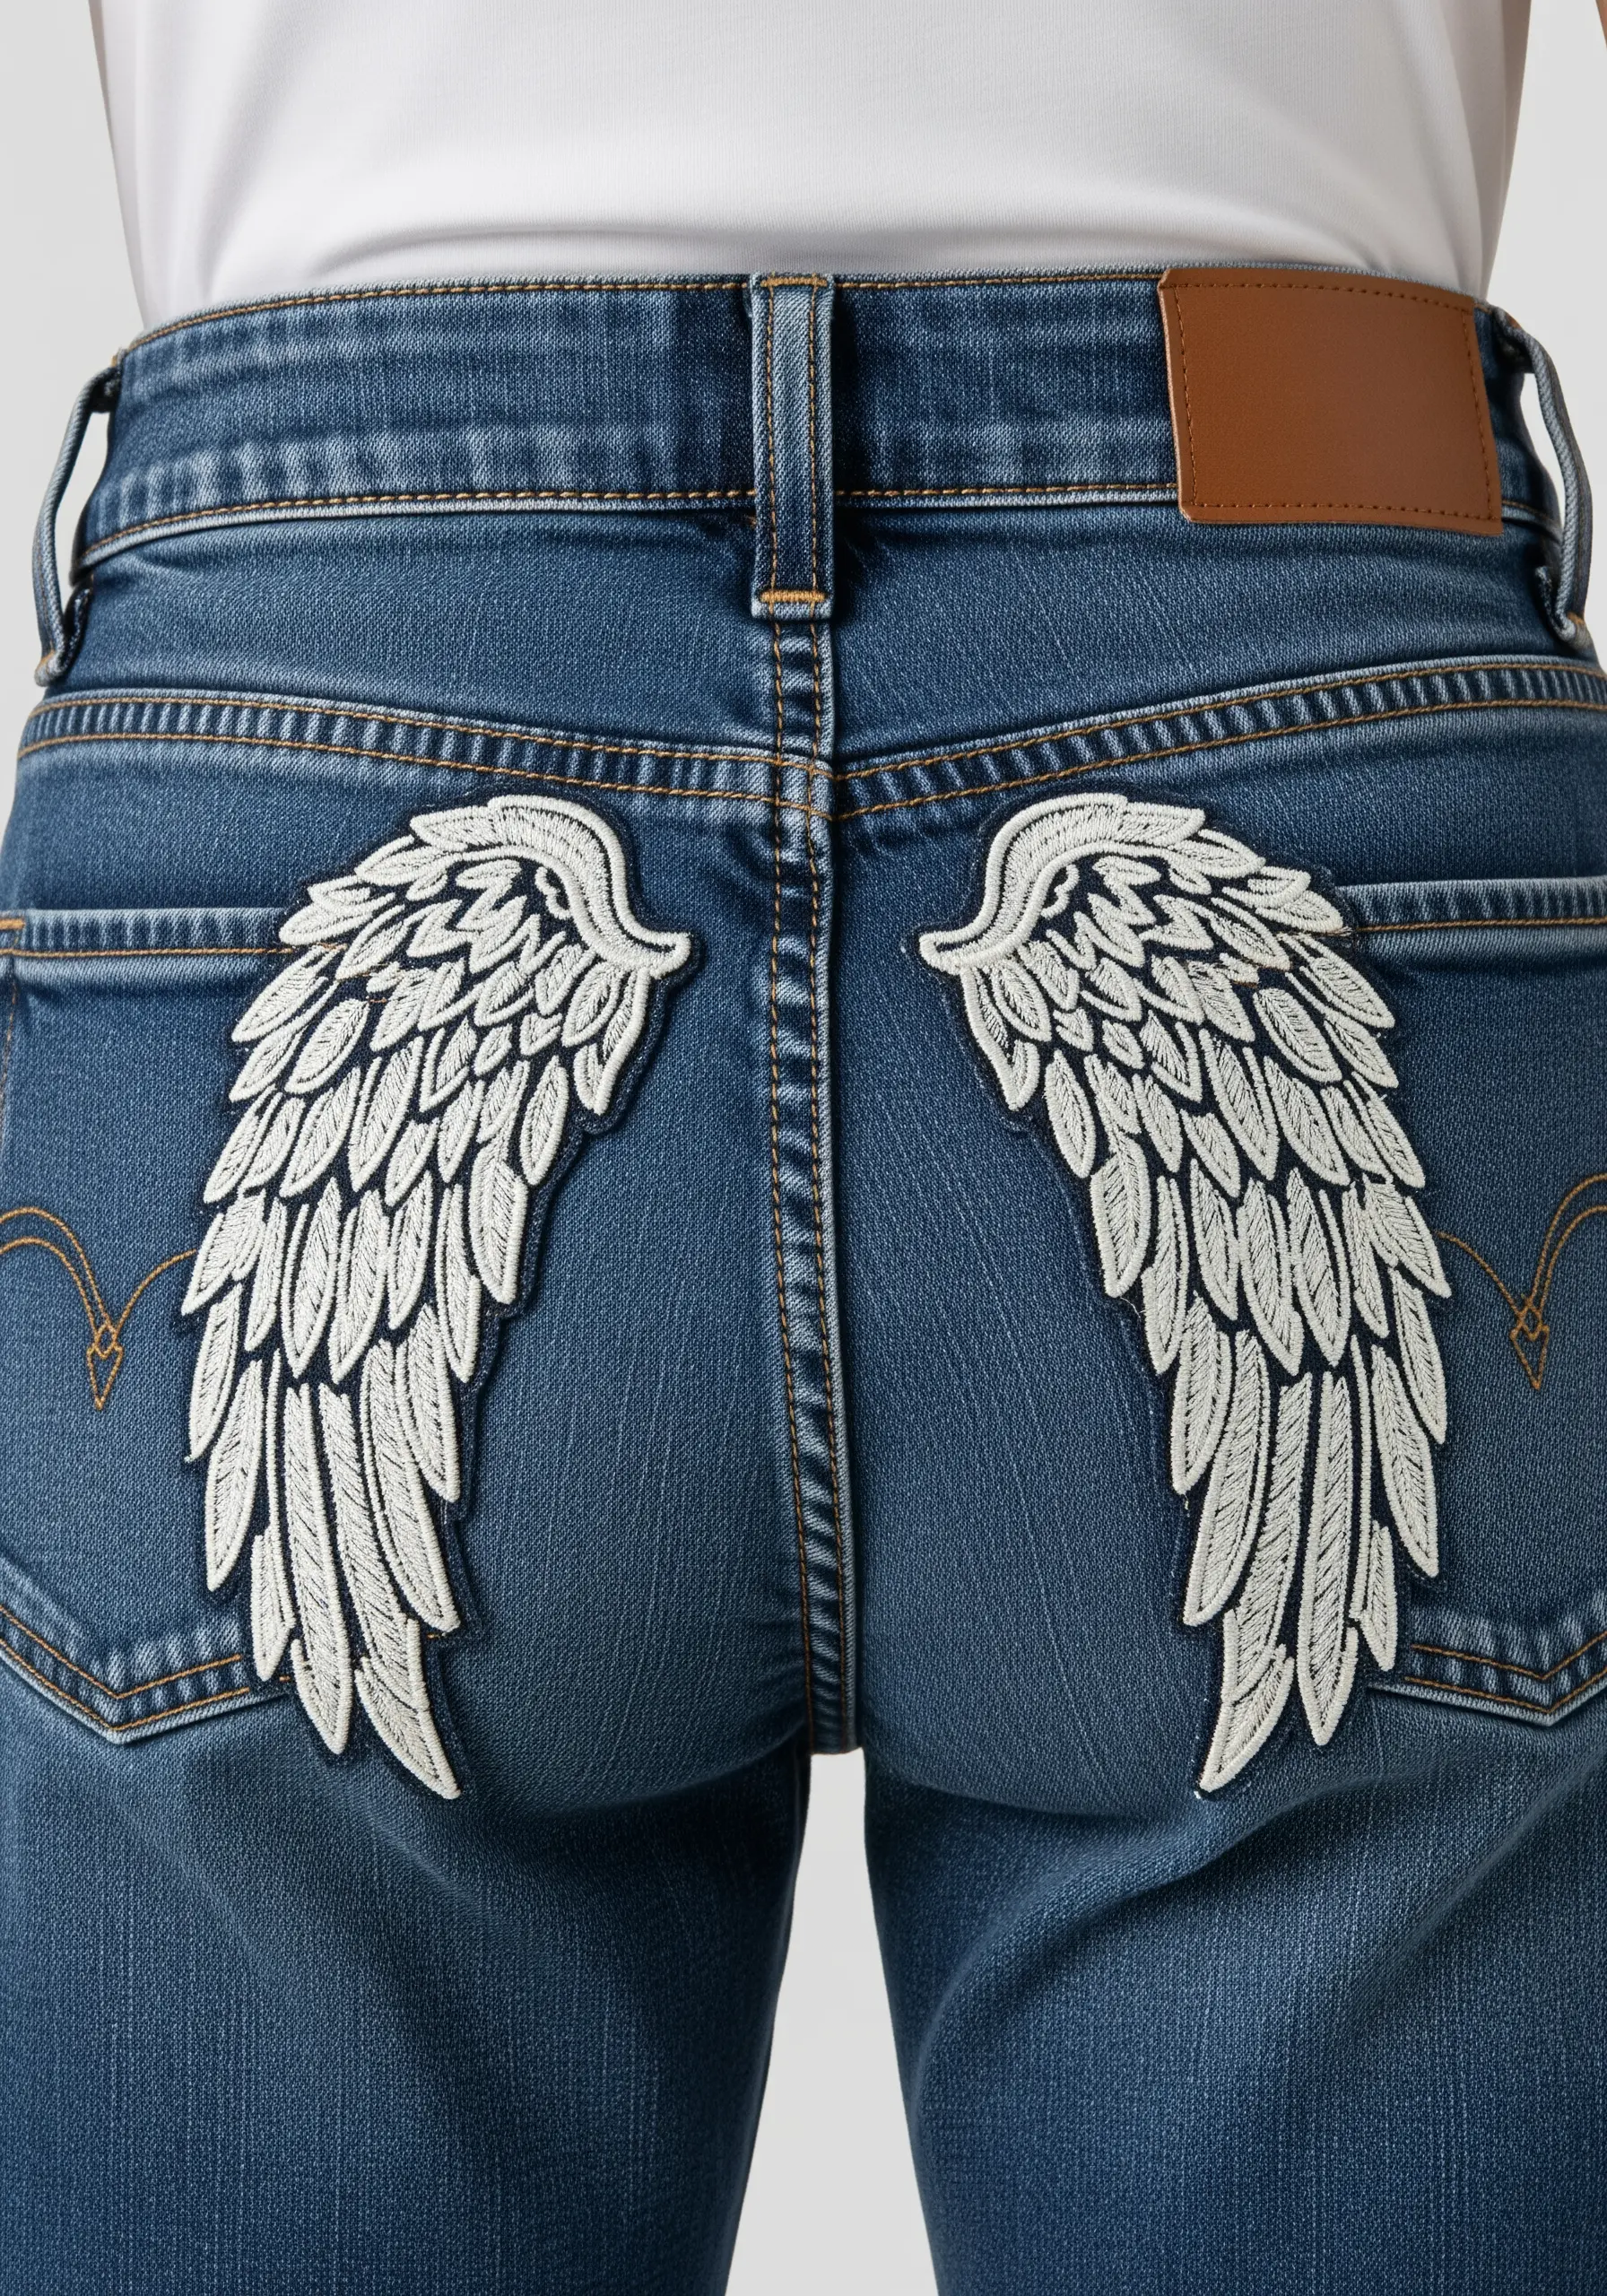
To create the layered, textured look of feathers, work from the bottom tip of the wing upwards.
Stitch the lowest row of feathers first using a satin stitch or detached chain stitch. Then, overlap the next row on top of it, slightly covering the tops of the previous stitches.
This layering technique builds dimension and makes the wings look full and realistic. Using an off-white or light grey thread instead of pure white adds a touch of softness and sophistication.
Mastering realistic feather embroidery techniques is all about strategic layering.
25. The Plush Rubber Ducky
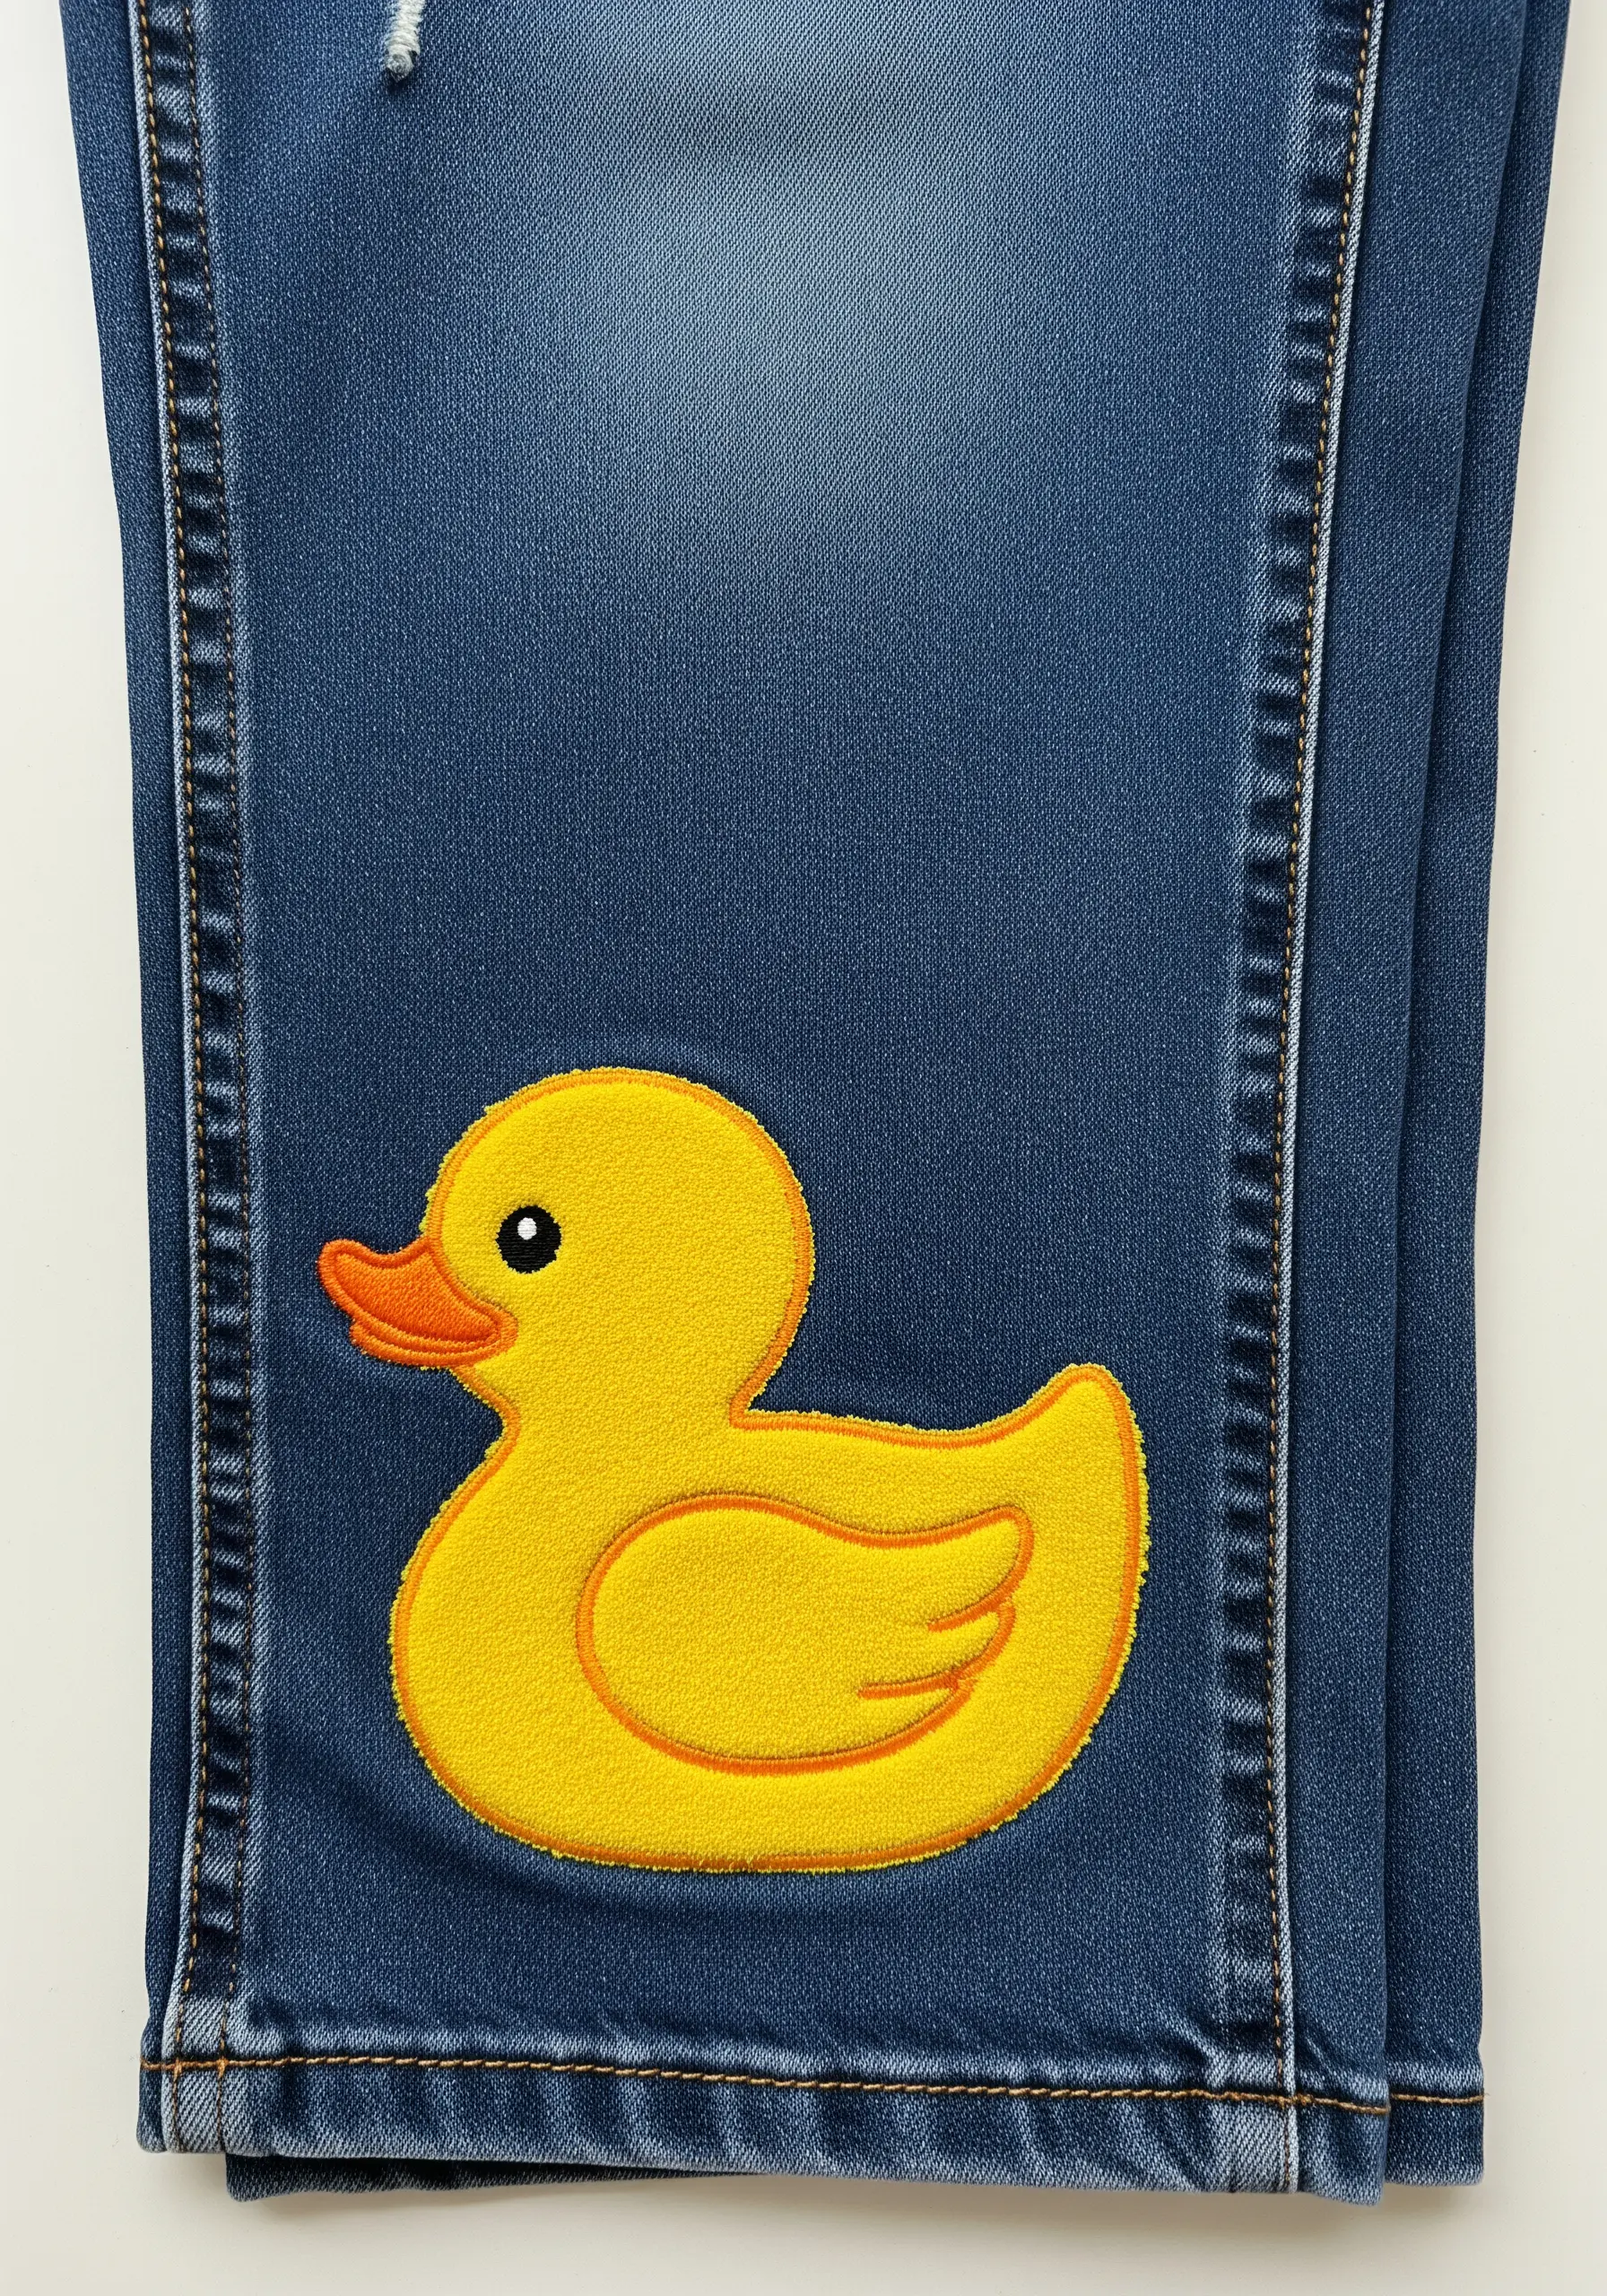
Give a simple shape a soft, plush appearance by using a chenille or velvet-effect thread for the fill.
If you’re using standard floss, achieve a similar effect with a very dense split stitch, which creates a matte, almost fuzzy texture.
Outline the entire design with a slightly darker shade of orange to create definition and make the bright yellow body appear even fuller.
These adorable mini embroidery ideas are elevated by thoughtful texture choices.
26. The Concentric Evil Eye
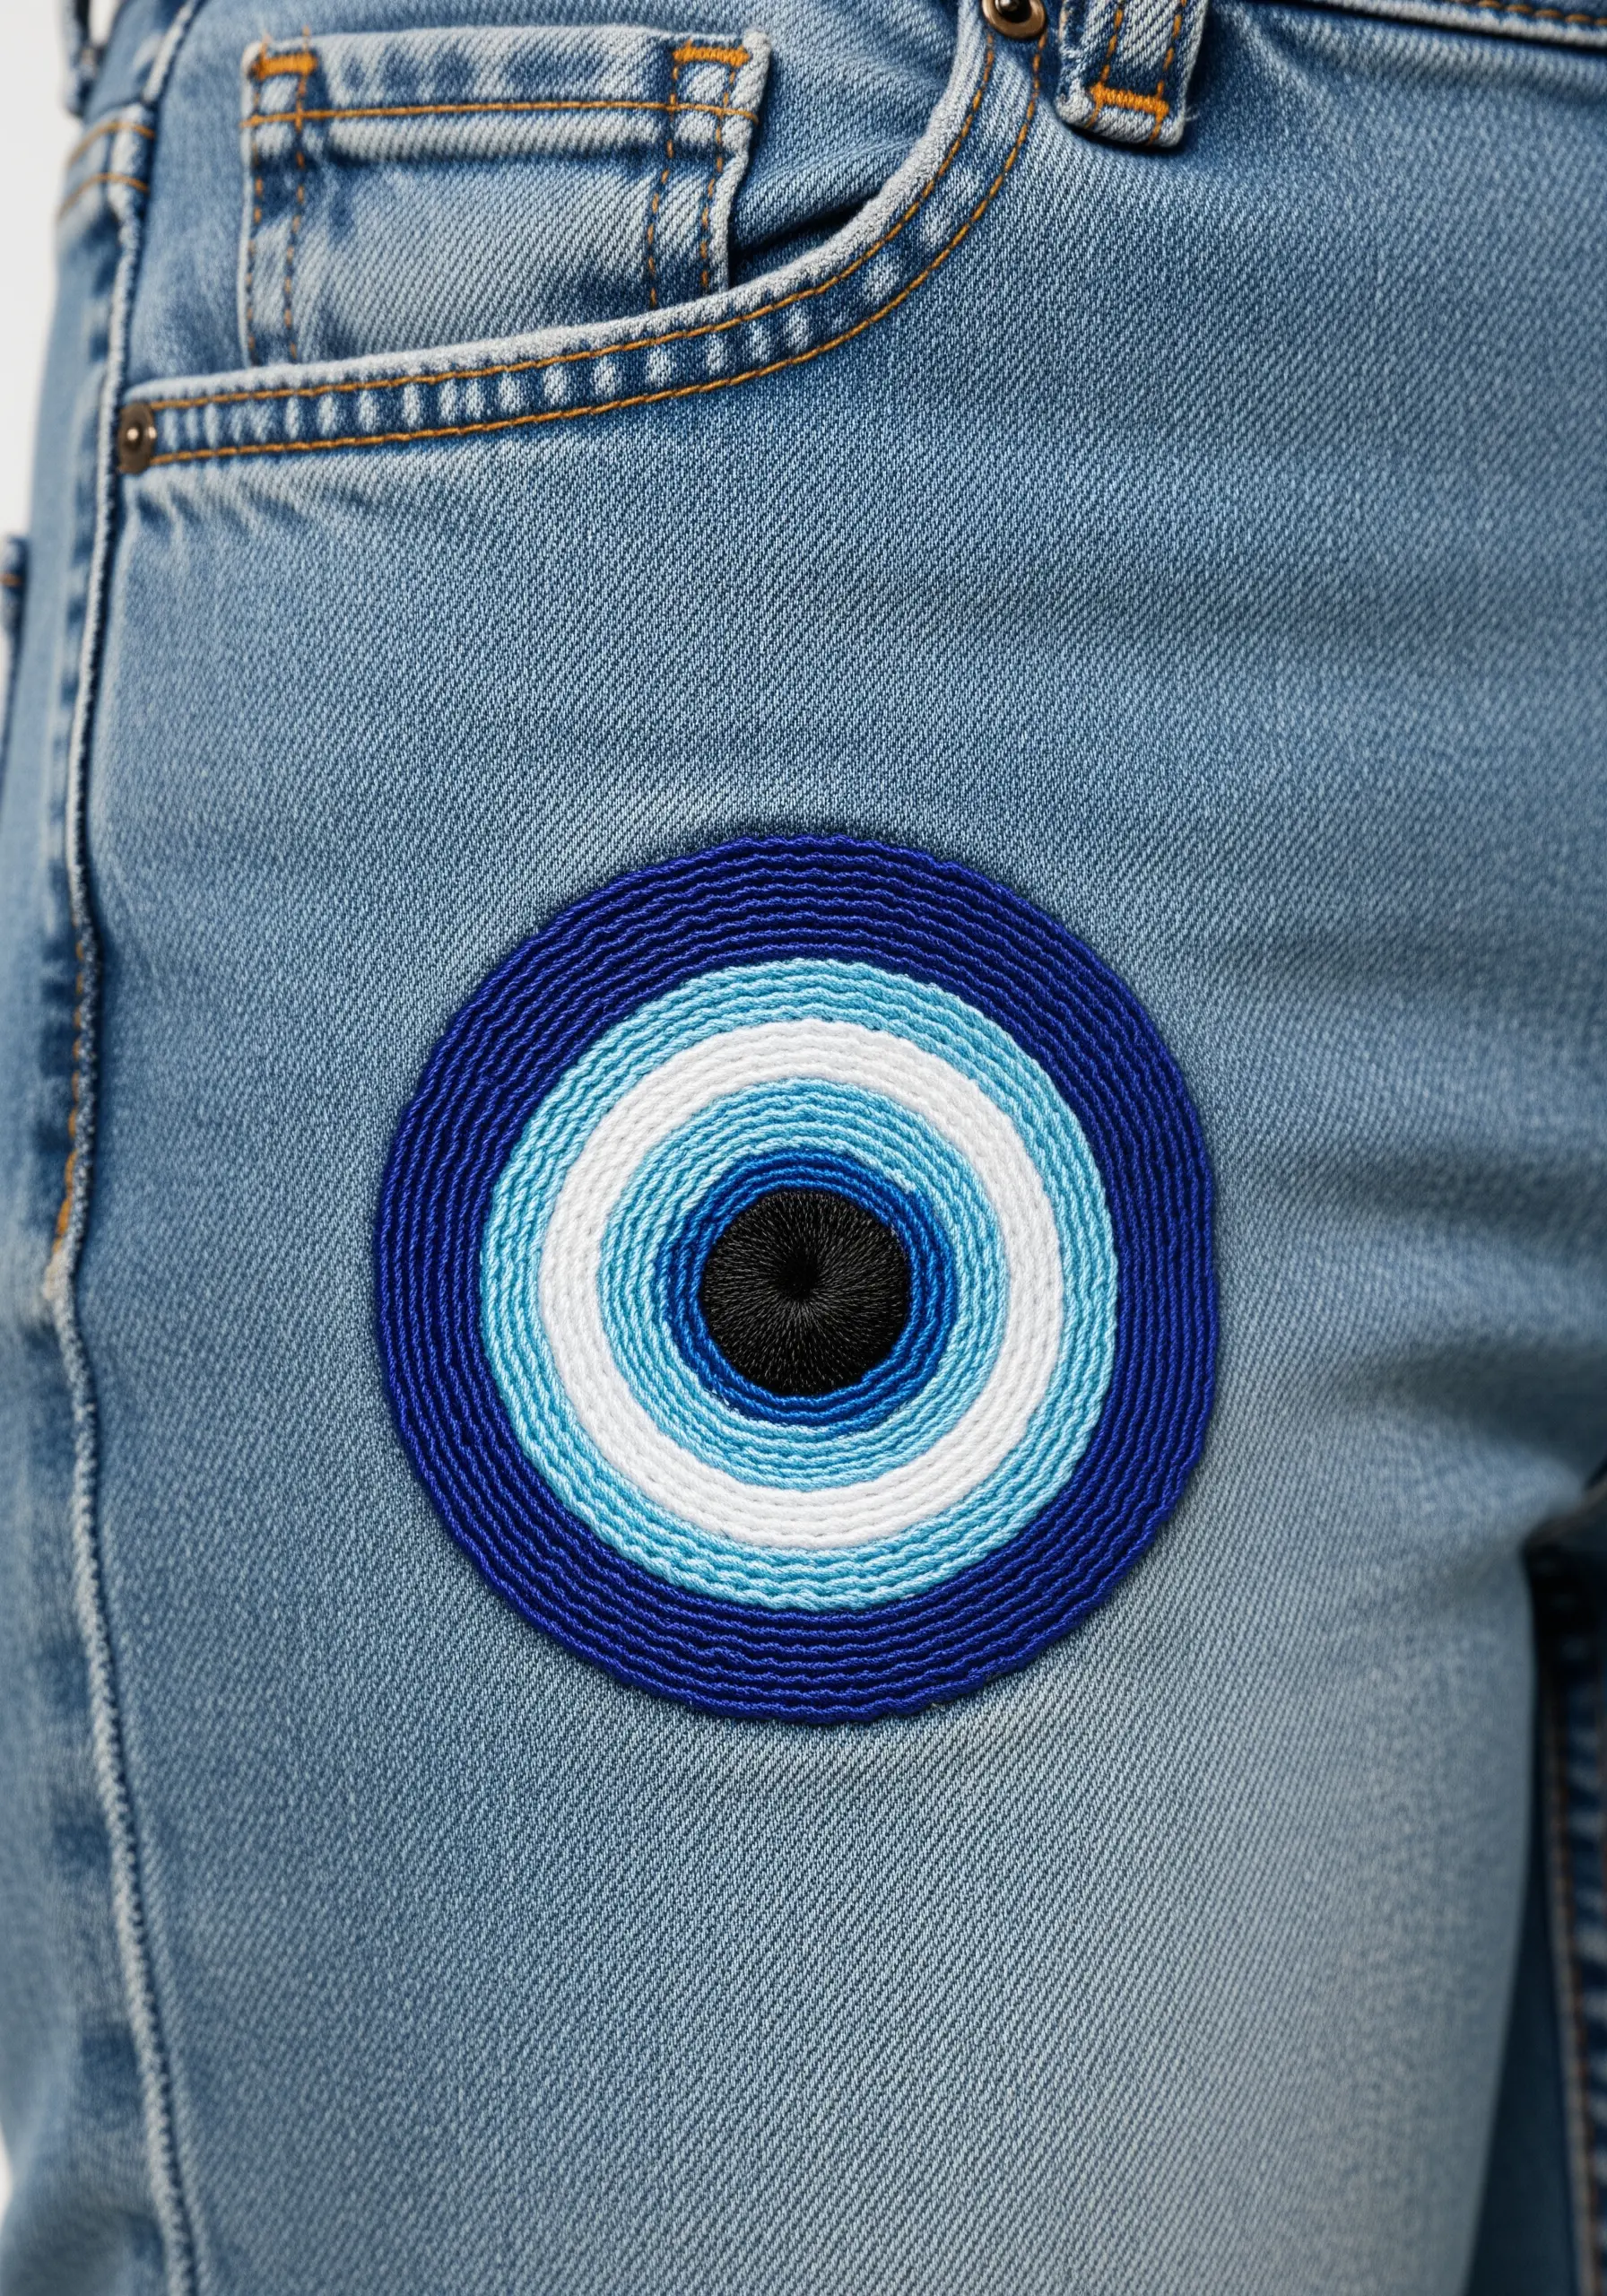
For a perfectly round and hypnotizing evil eye, work from the center outwards.
Start with a small, black satin-stitched circle. Then, work each subsequent ring in a circular split stitch or chain stitch, ensuring your stitches are tight and even.
Stitching in a circle, rather than filling with straight lines, reinforces the round shape and creates a mesmerizing, textured effect. This approach works well for all modern minimal mandala embroidery ideas.
27. The Bold Speech Bubble
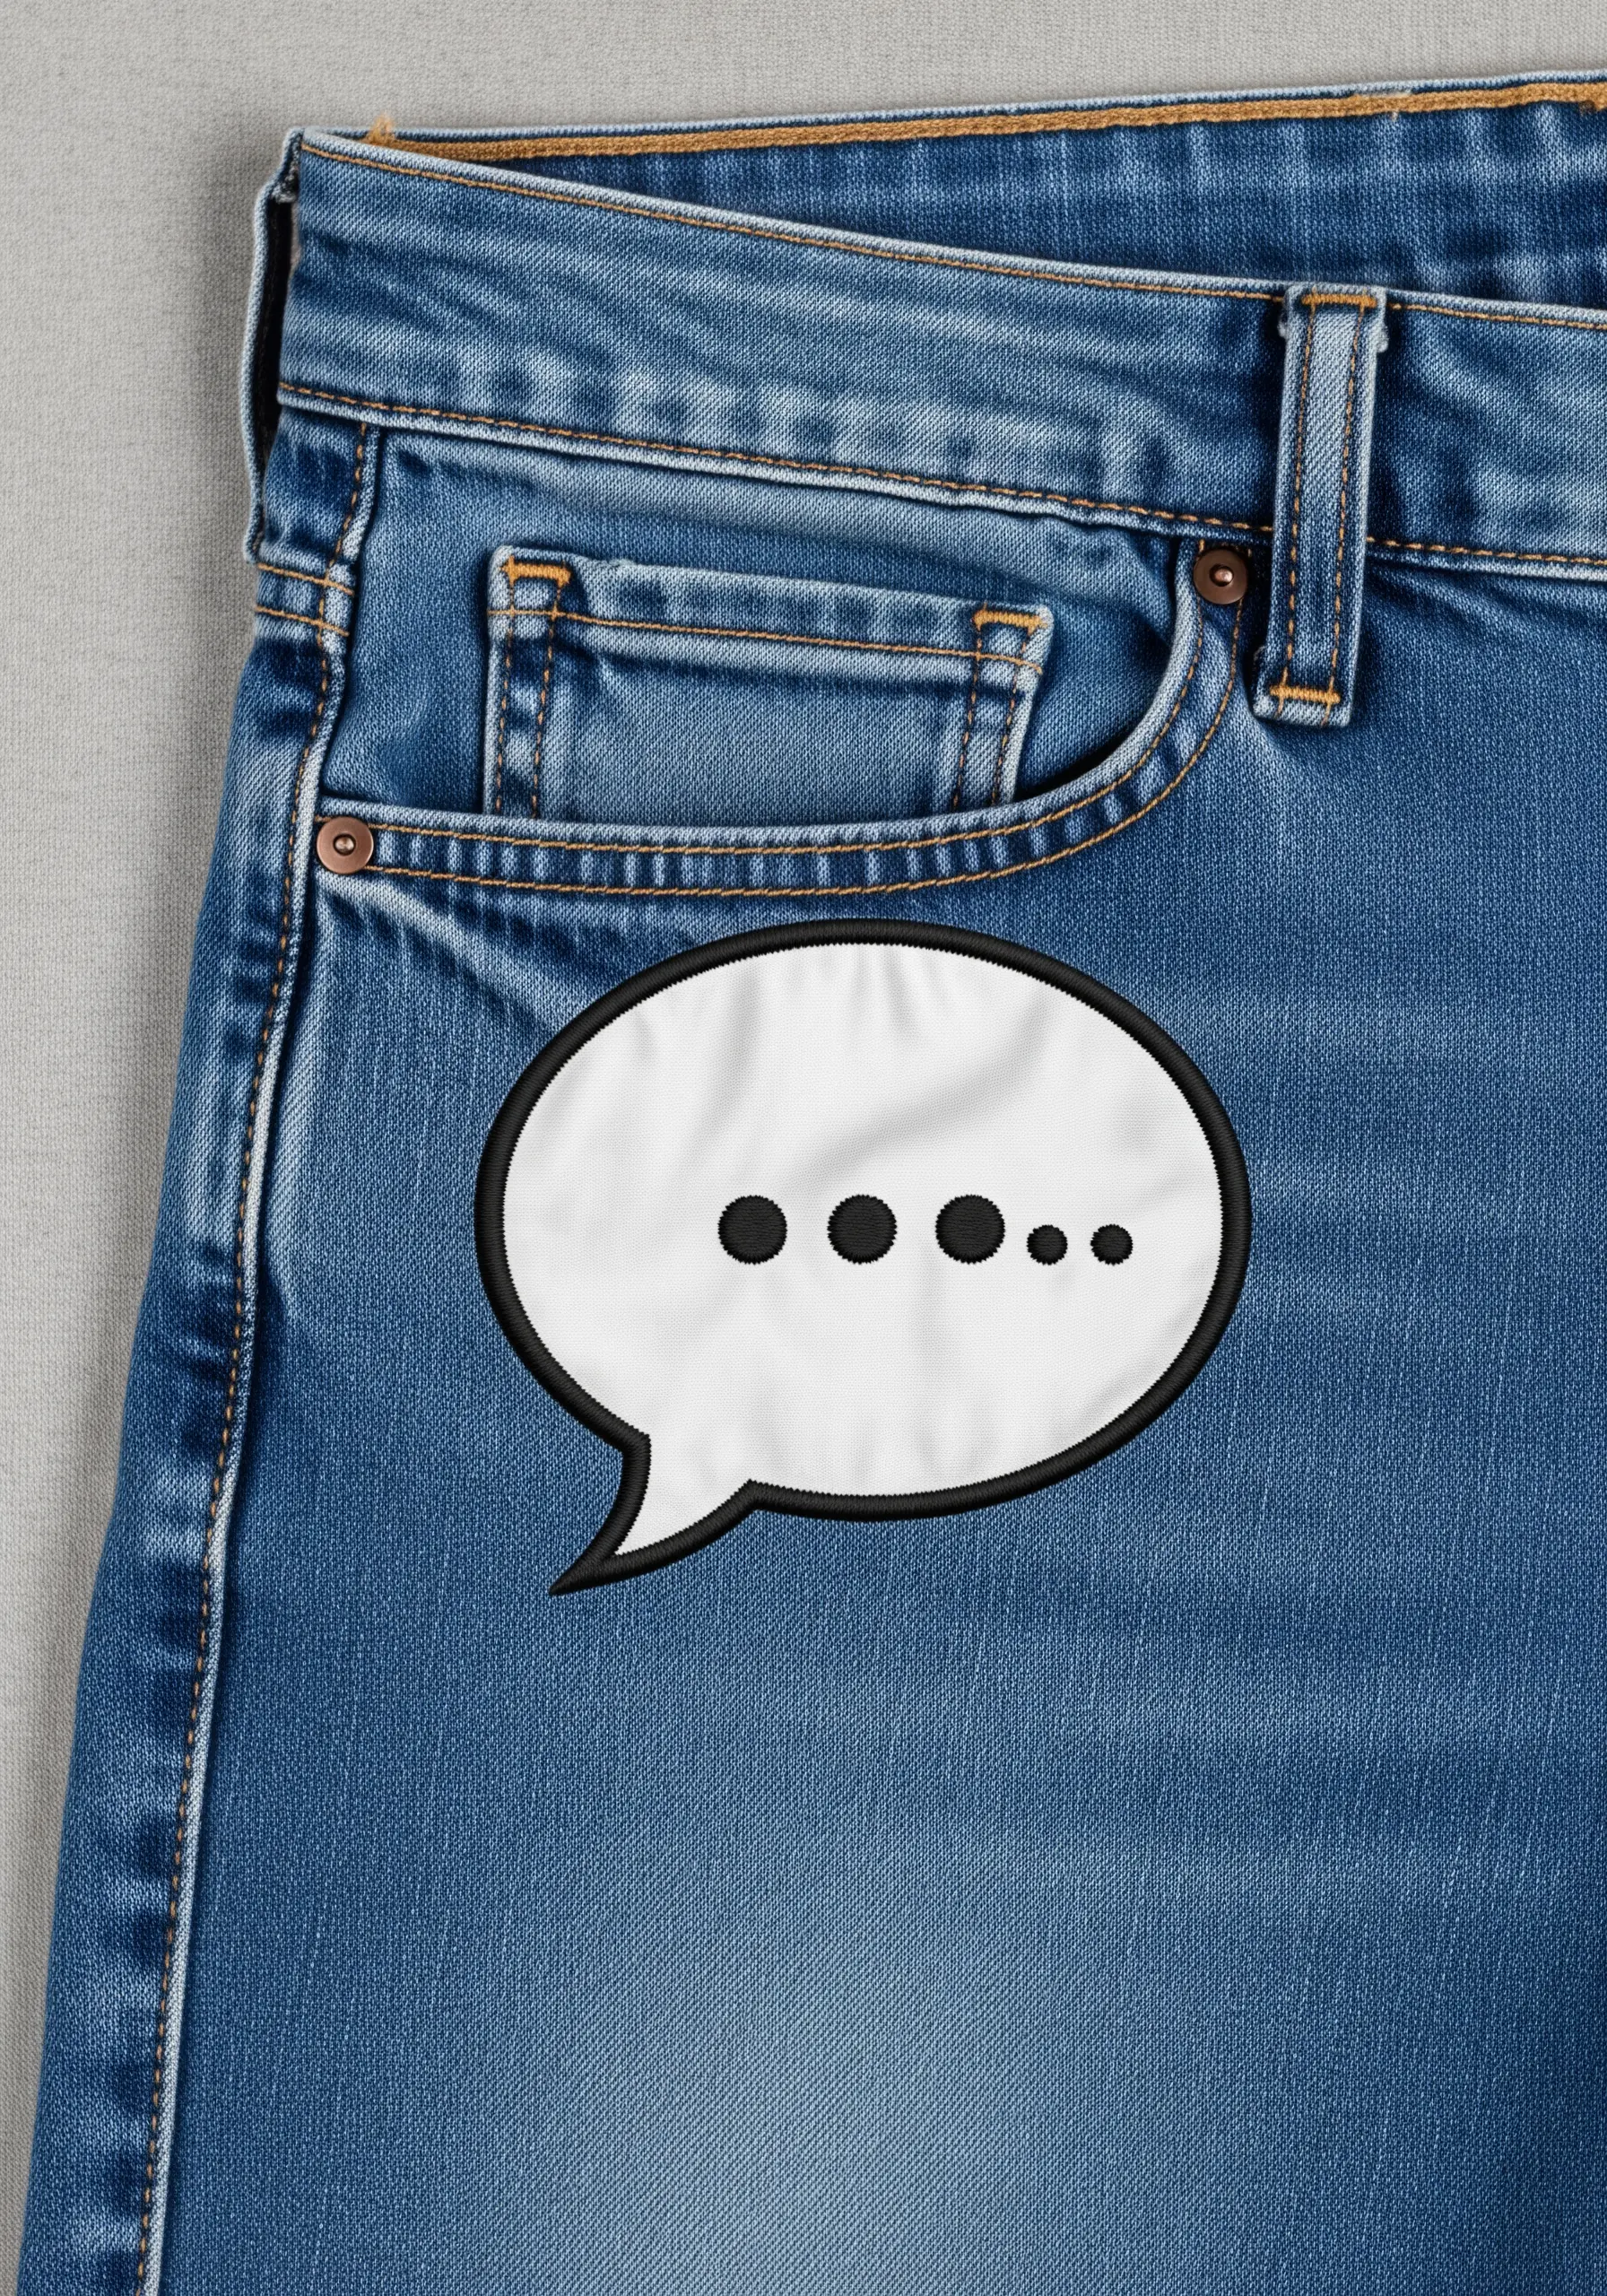
To create a powerful, graphic outline, use a heavy chain stitch with all six strands of black floss.
This stitch creates a thick, braided line that has significantly more impact than a backstitch, giving the speech bubble a bold, cartoon-panel presence.
Fill the interior with a smooth, horizontal satin stitch using a bright white thread to ensure a high-contrast, clean finish.
The power of monochrome black thread designs that make minimalist statements pop lies in the right stitch choice.
28. The Puffy Rainbow Clouds
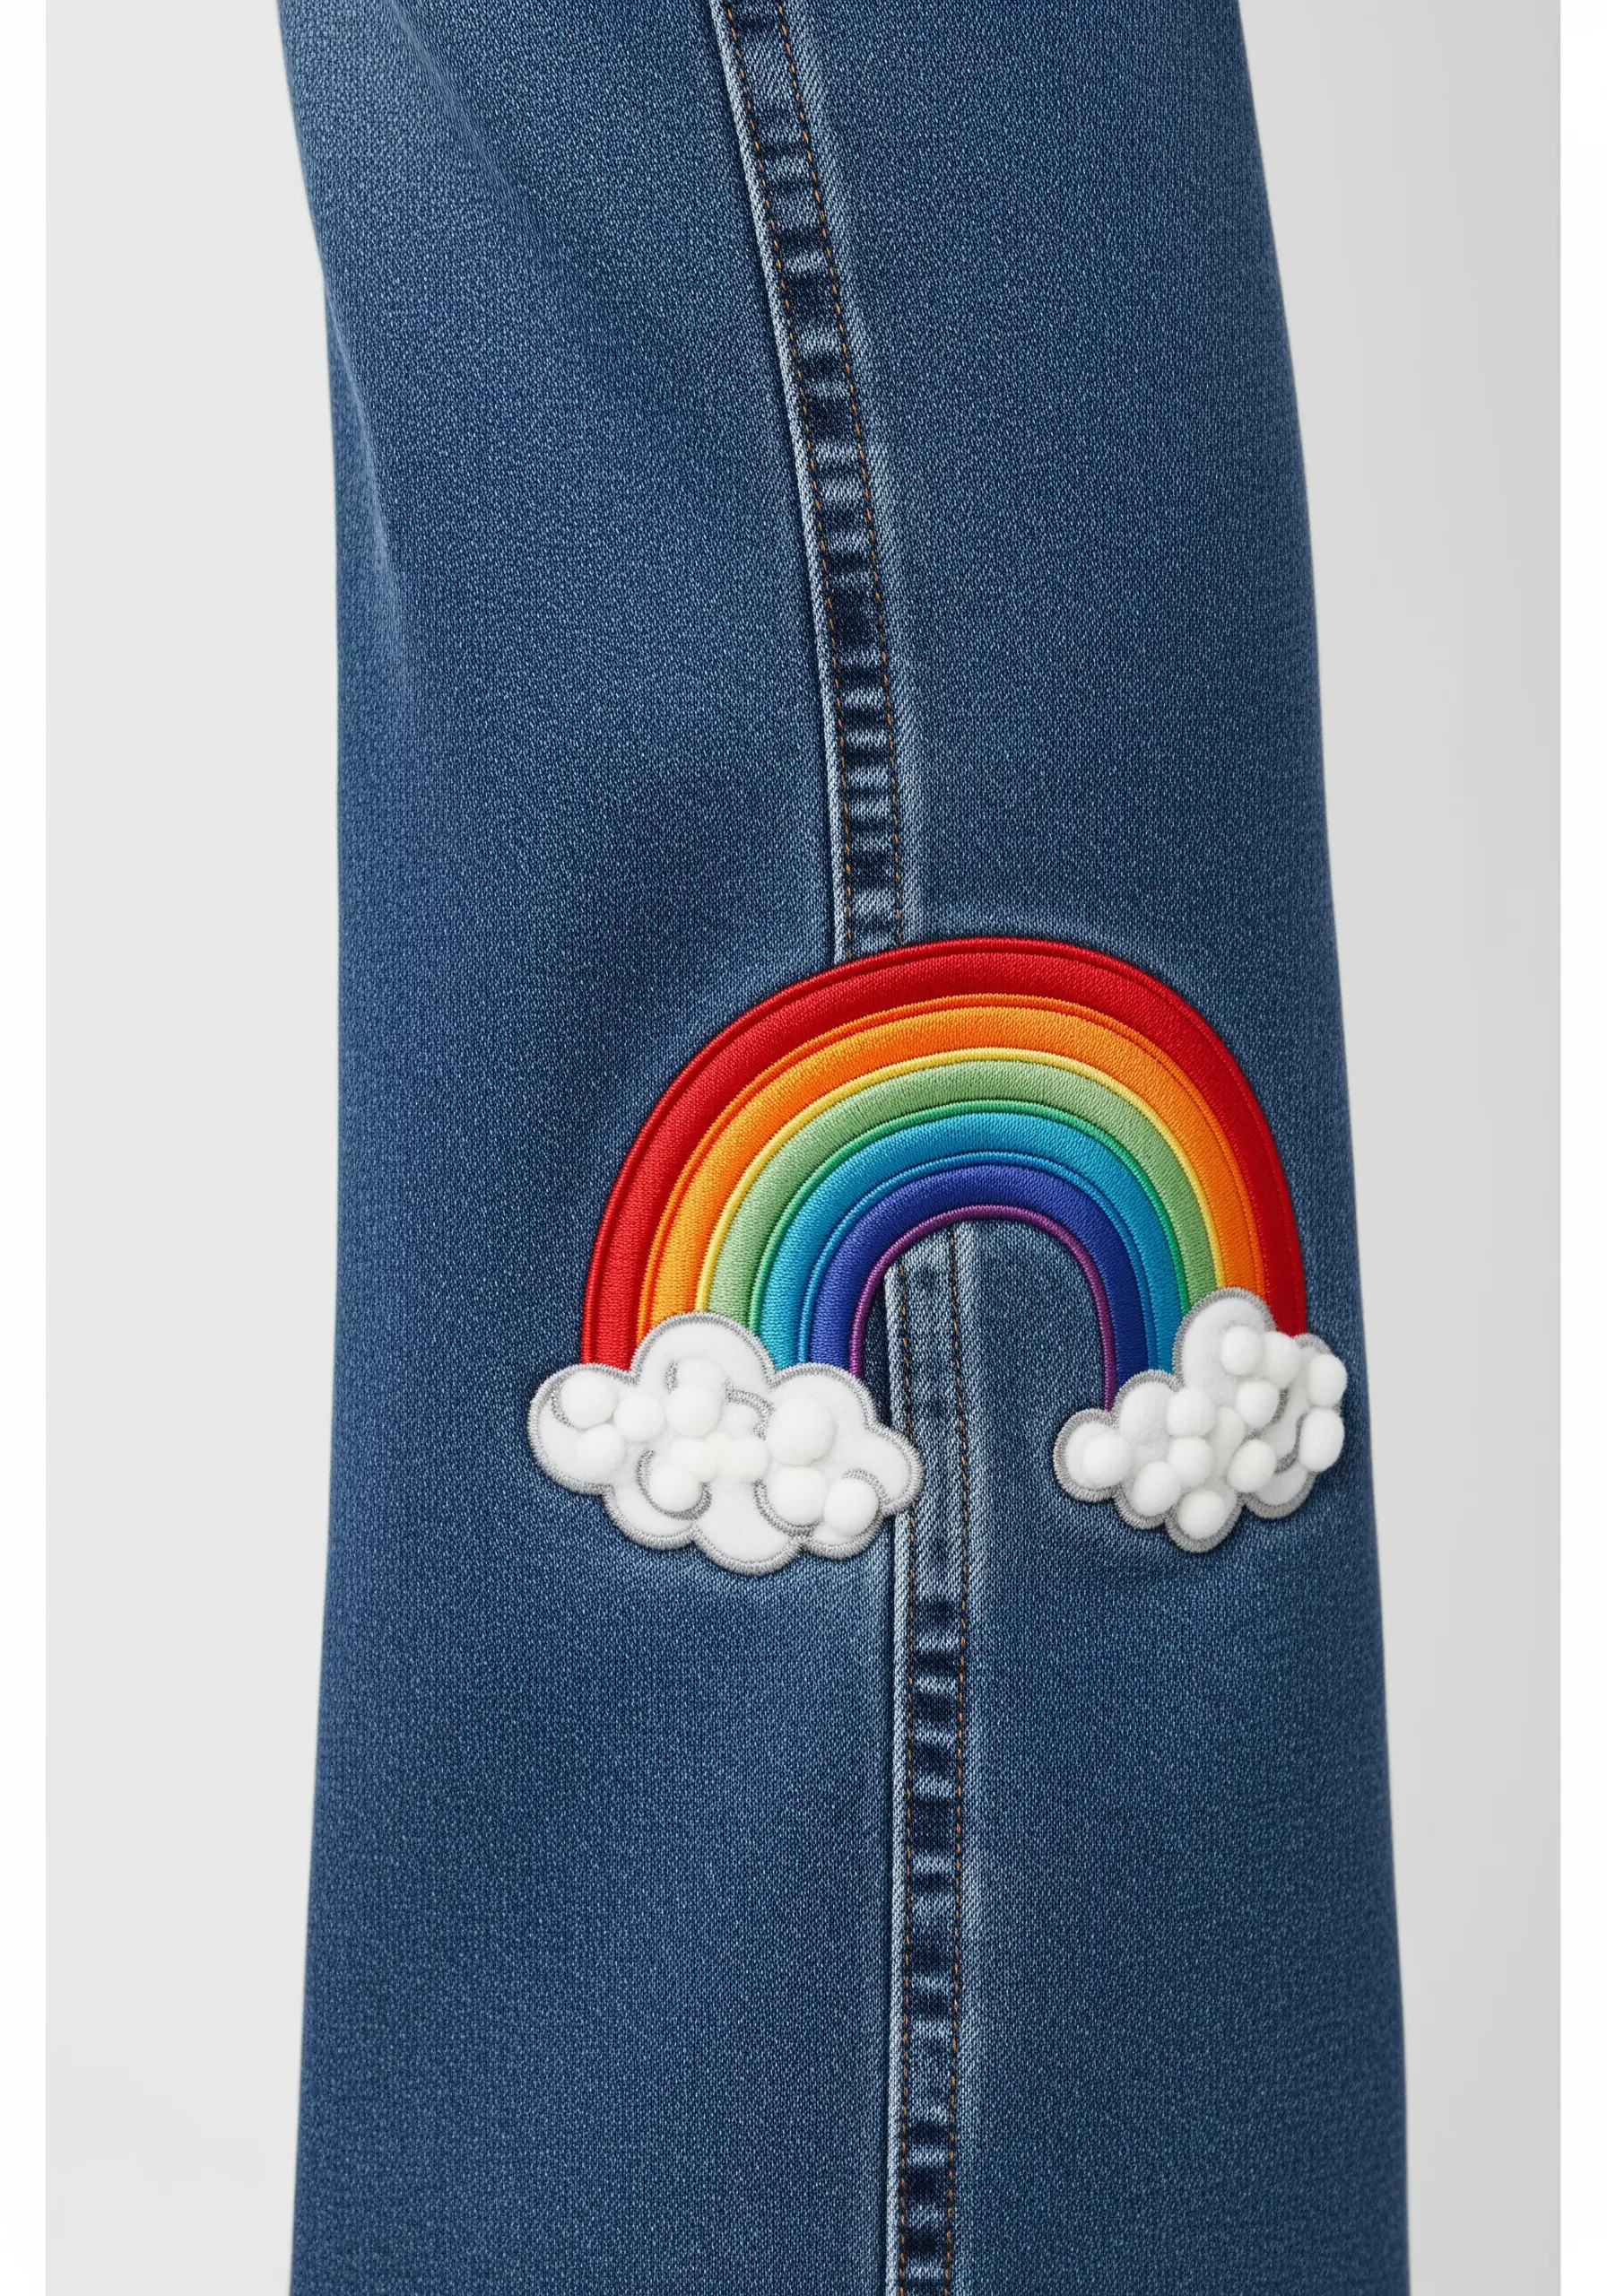
Create fluffy, three-dimensional clouds by filling the shapes with a dense pattern of French knots.
Use a white or off-white thread and vary the number of times you wrap the thread around the needle (once or twice) to create subtle variations in knot size and texture.
This technique provides a wonderful tactile contrast to the smooth, satin-stitched arches of the rainbow.
29. The Prismatic Diamond

To make the facets of a diamond truly sparkle, use different stitch directions for adjacent sections.
Fill one facet with vertical satin stitches, the next with horizontal, and another with diagonal stitches. This causes the light to reflect off the metallic and light blue threads at different angles, creating a shimmering, prismatic effect.
Using a mix of metallic silver and matte light blue threads also enhances the illusion of light and shadow, making these abstract metallic thread embroidery concepts shine.
30. The Beaded Yin & Yang
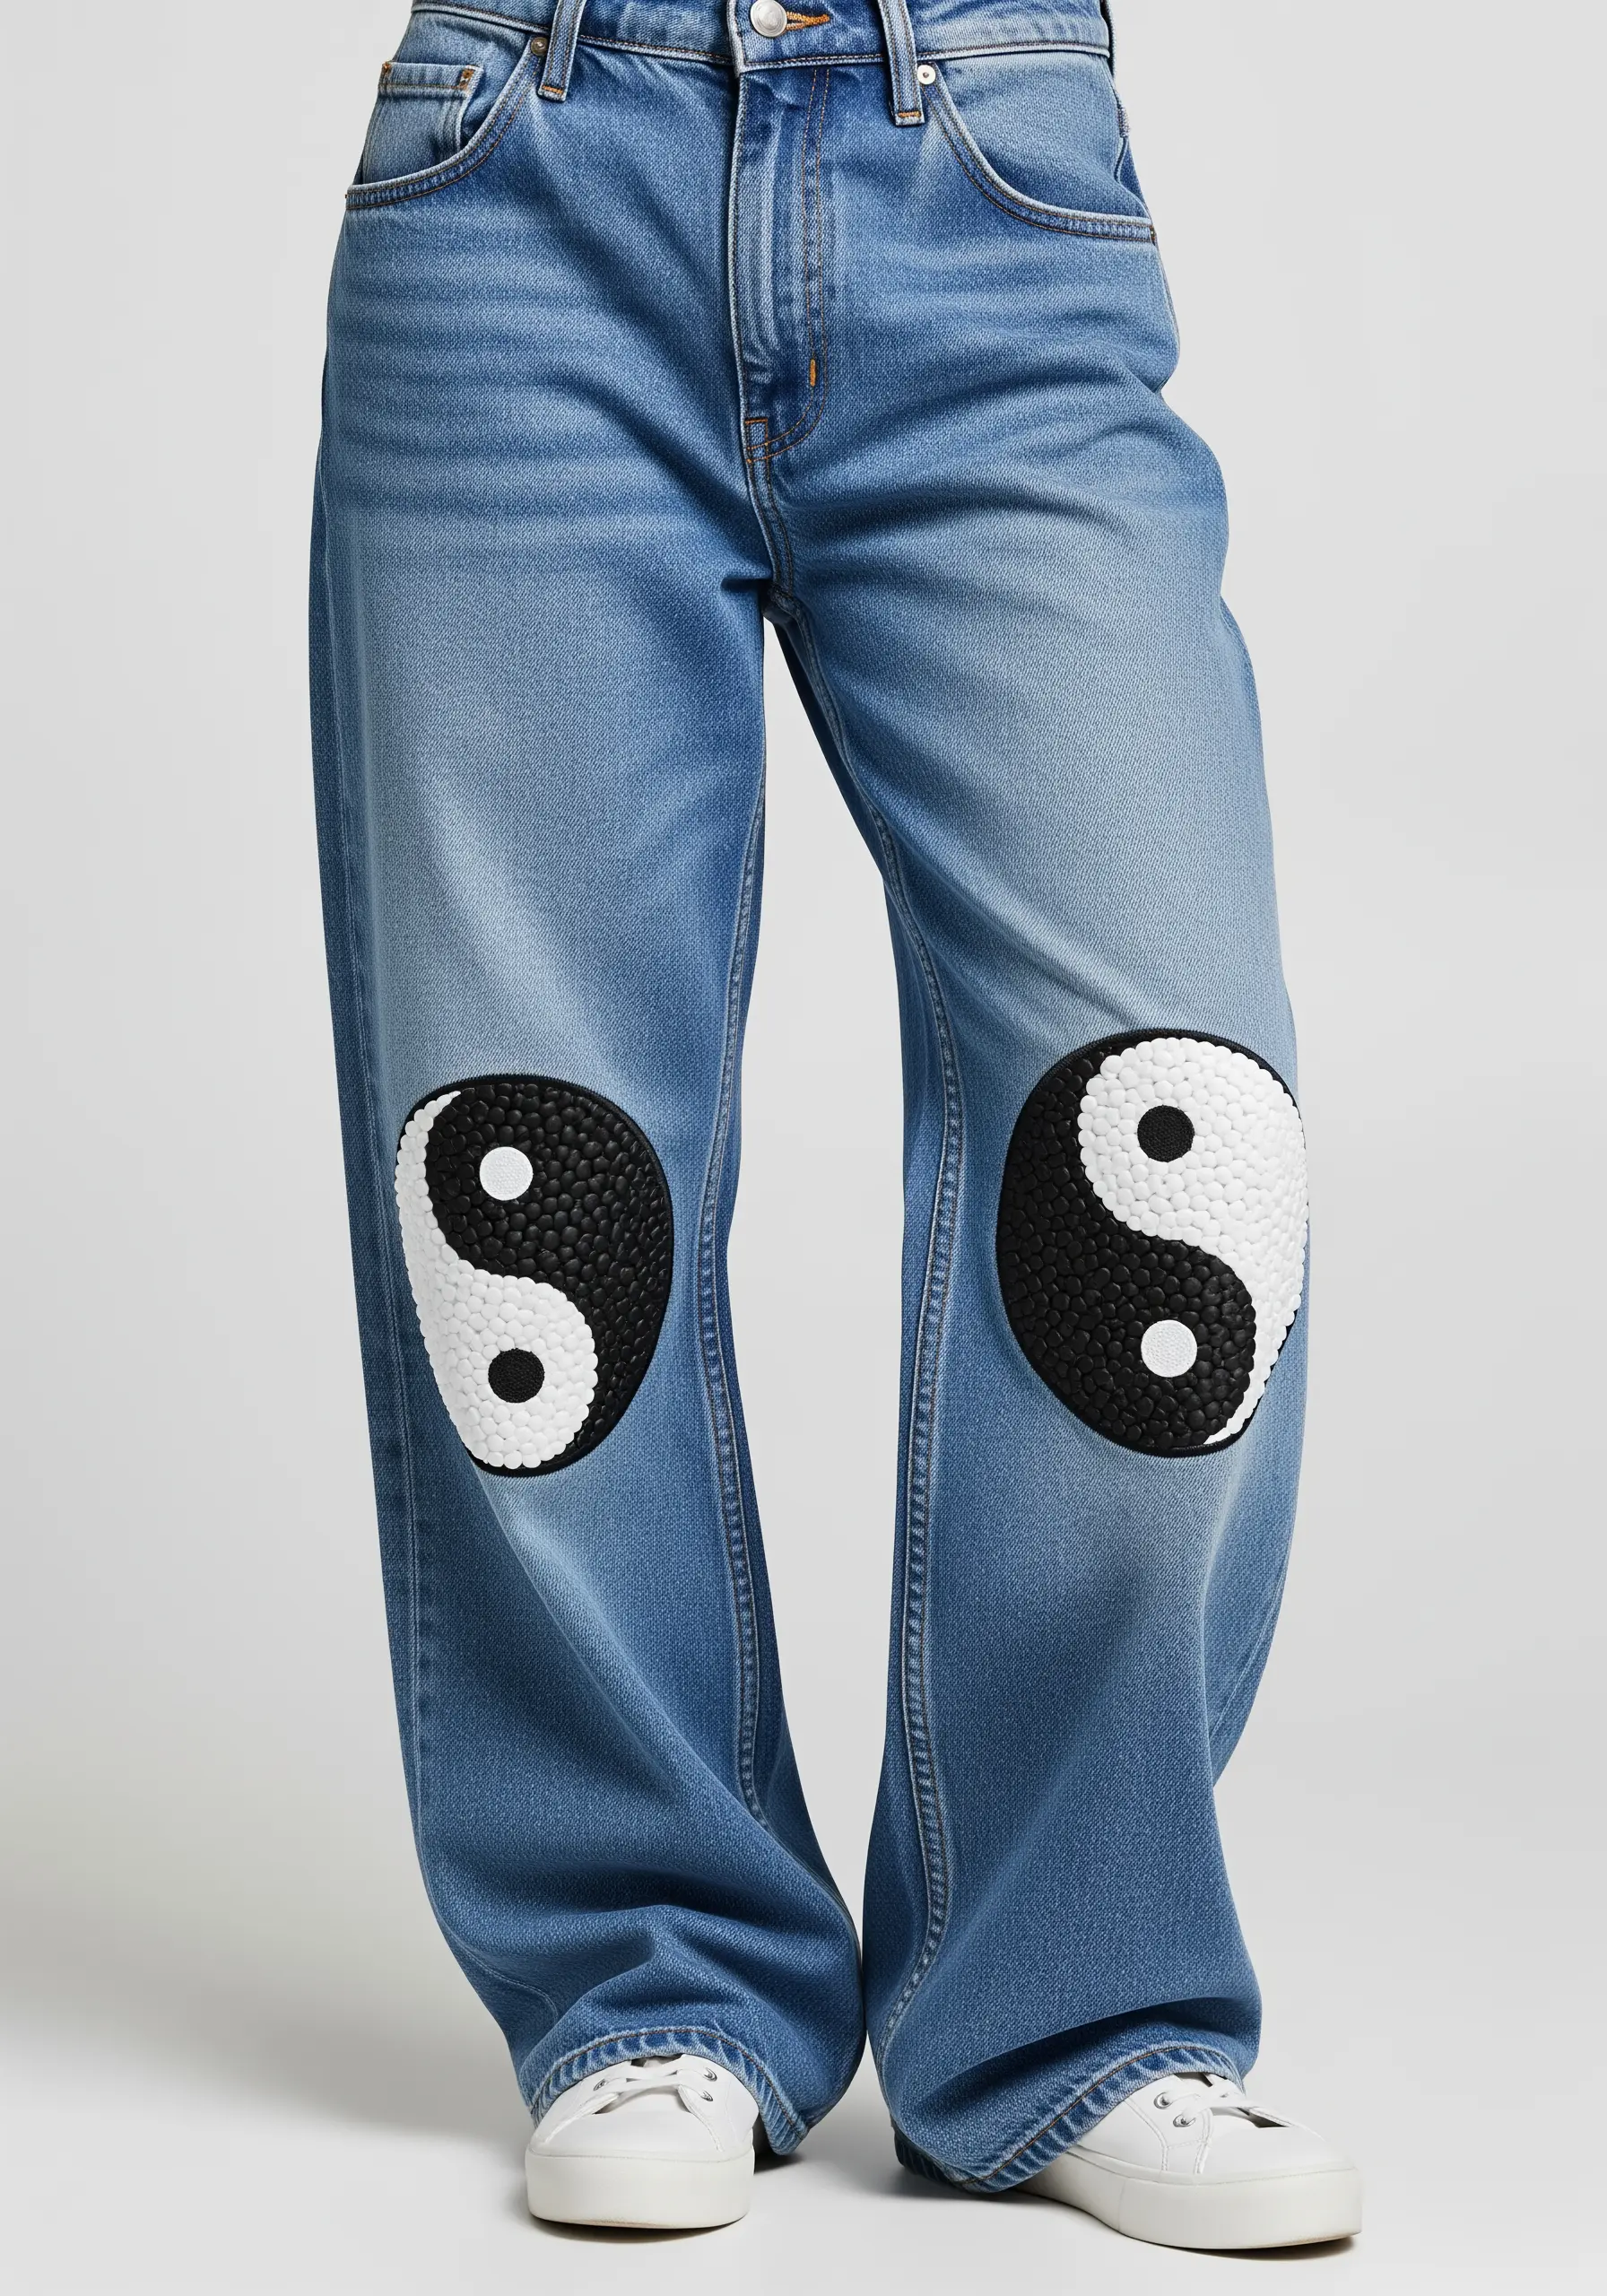
Elevate the classic yin-yang symbol by filling the entire shape with beads instead of thread.
Use a couching stitch to secure the black and white seed beads in tight, concentric circles. This creates a stunning, caviar-beaded texture that is both tactile and visually striking.
For the small dots, use a single larger, smooth bead in the contrasting color to create a focal point. It’s a perfect way to combine embroidery and mixed media for a high-impact finish.


