

A keychain is more than just a functional object; it’s a small canvas that travels with you, a tiny reflection of what you love. It’s the perfect place to explore a new stitch or color palette without the commitment of a large project.
Here, a single technique—chosen with intention—can transform a simple motif into something truly special. Consider how a change in stitch direction can mimic light, how a textured knot can create dimension, or how a sharp outline can make a color feel more vibrant.
Think of these ideas not as strict instructions, but as gentle invitations to experiment. Let this small, personal project be a space where you can build confidence, refine your technique, and create something that is beautifully, expressively yours.
1. Structured Satin Stitch for Monograms
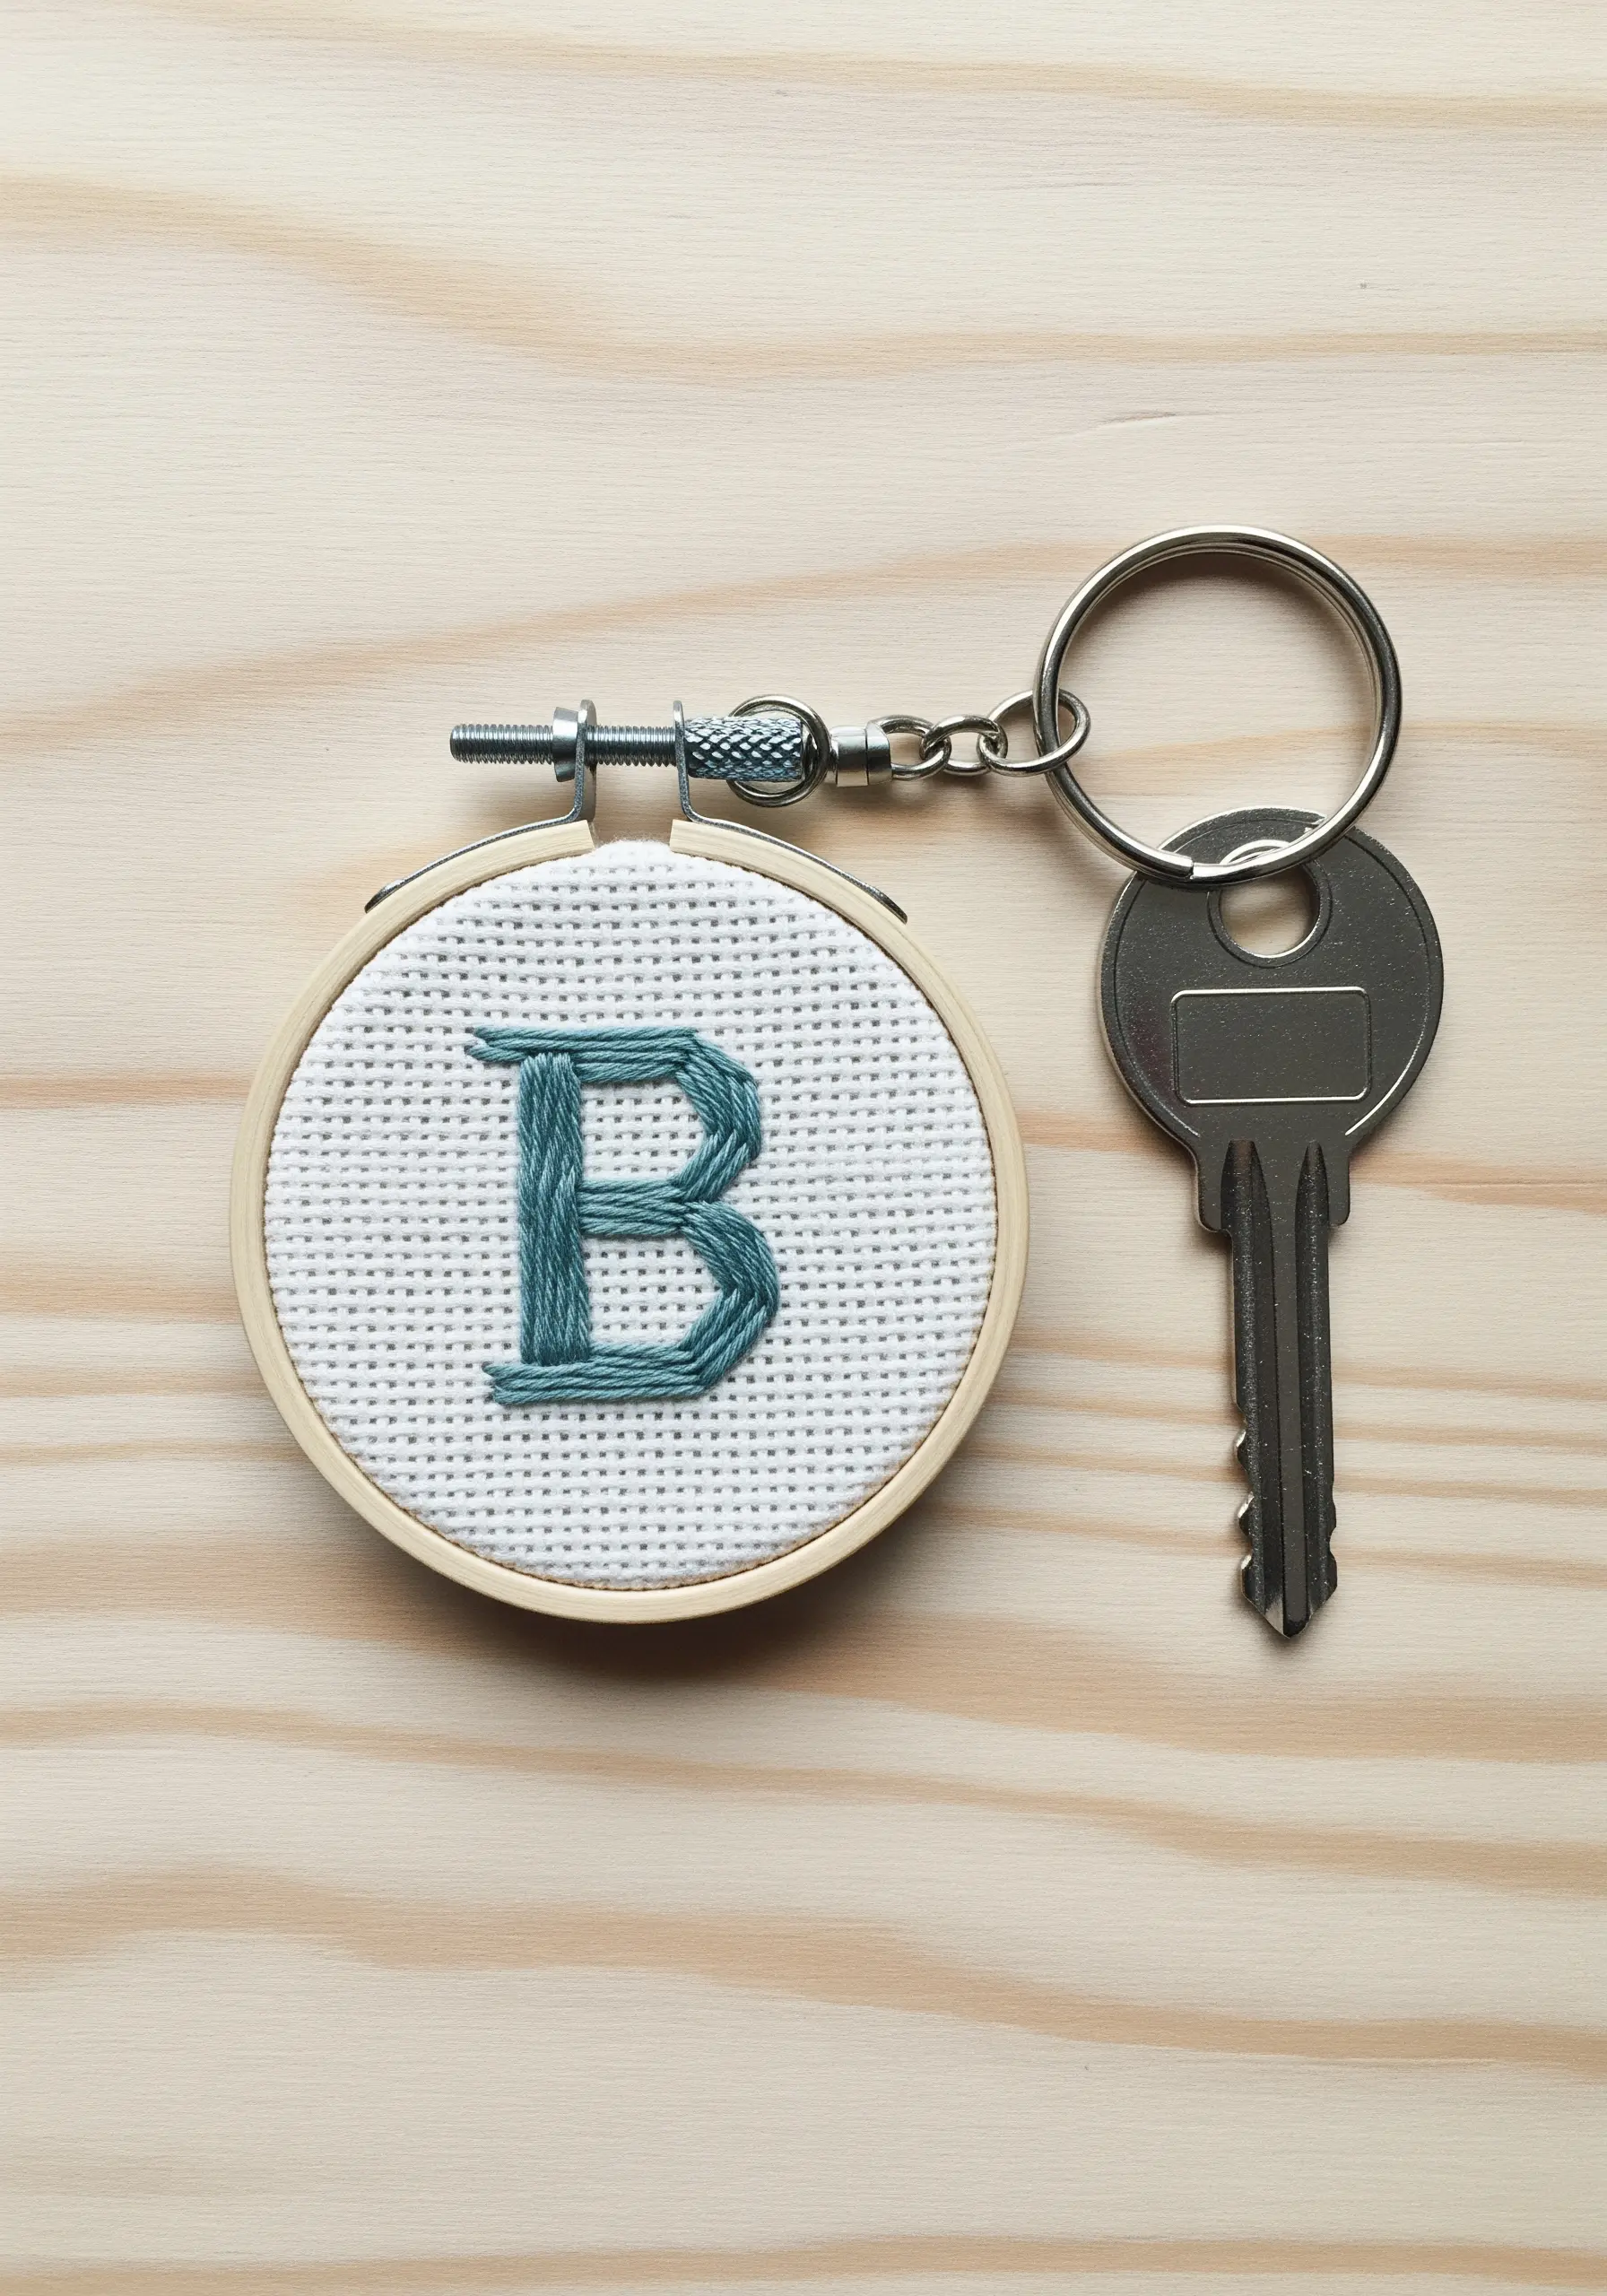
For crisp, perfectly formed letters, choose a grid-based fabric like Aida cloth.
Its woven structure acts as a natural guide, ensuring your satin stitches remain parallel and evenly spaced.
Use three strands of floss to achieve full coverage without creating bulk, allowing the clean lines of the typography to stand out.
This method transforms a simple initial into a sharp, geometric statement.
2. Gradient Shading with Chain Stitch
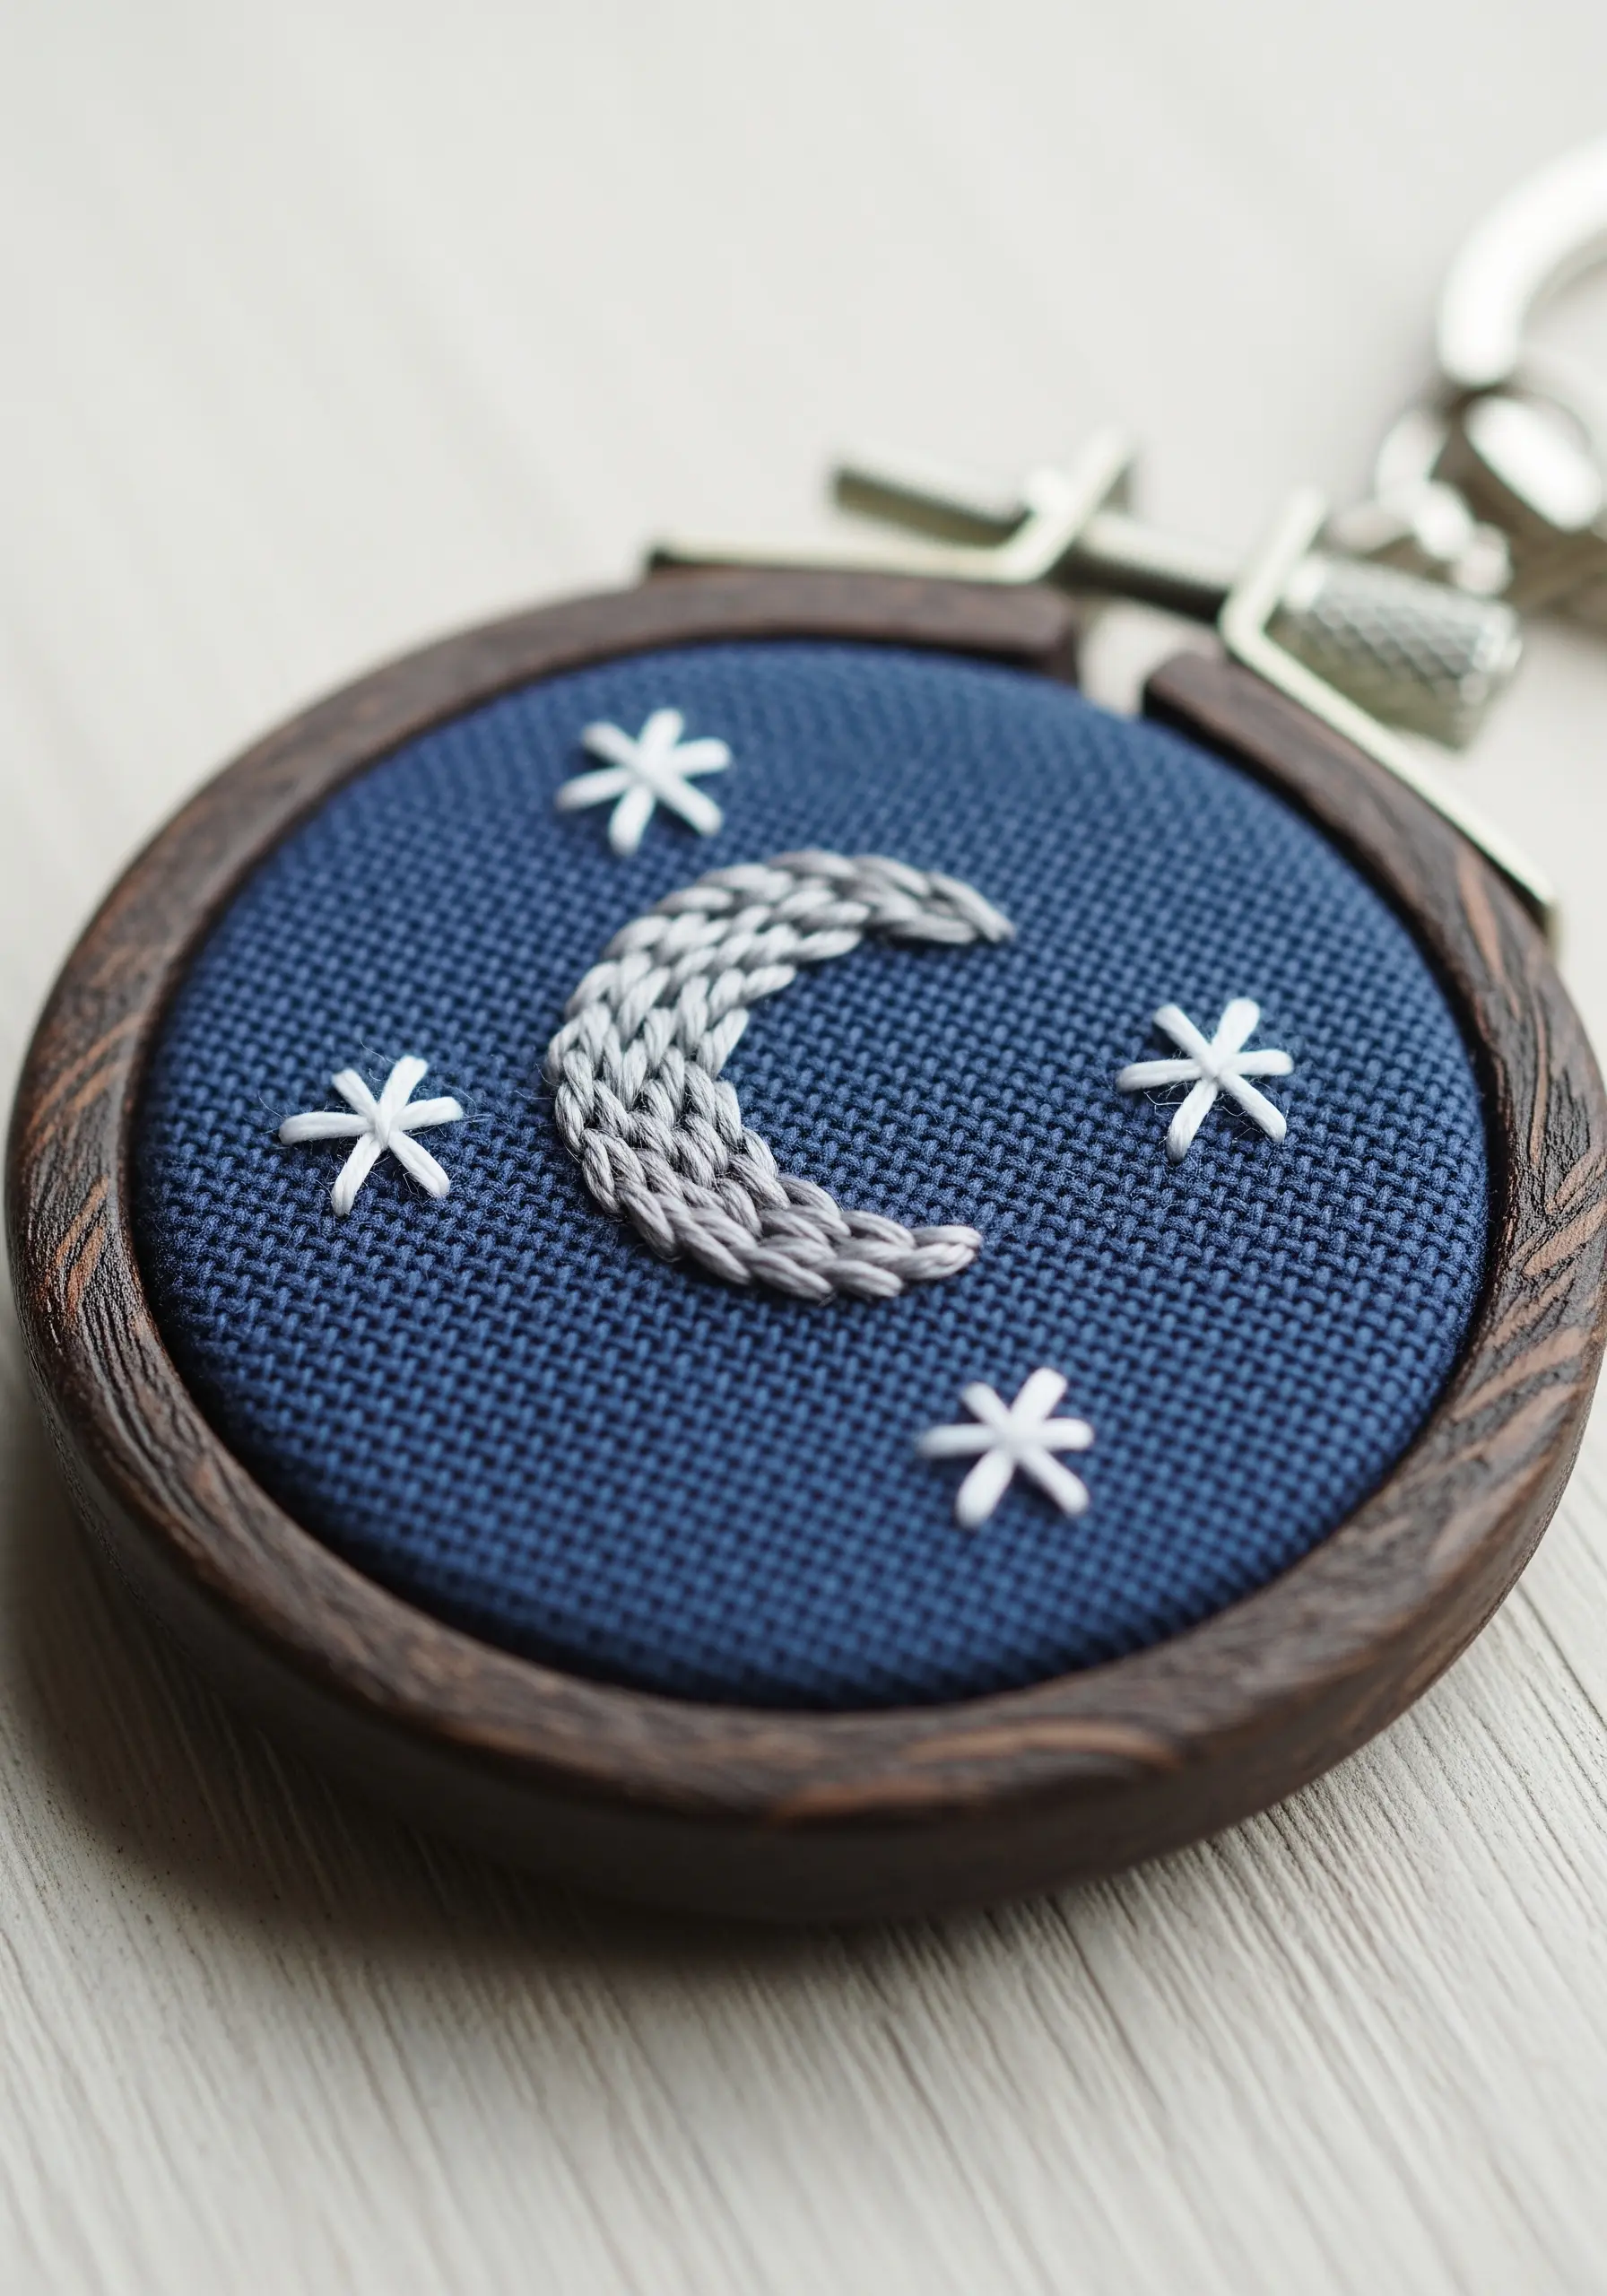
Create a luminous, textured moon by using a variegated gray thread with a simple chain stitch.
The stitch itself forms a raised, braided line that catches the light, while the subtle color shifts in the thread create an automatic gradient.
This technique adds depth and dimension effortlessly, making your motif pop against a dark fabric backdrop.
Pair it with simple straight stitches for stars to create a beautiful contrast in texture.
3. Layered Petals with Lazy Daisy Stitches
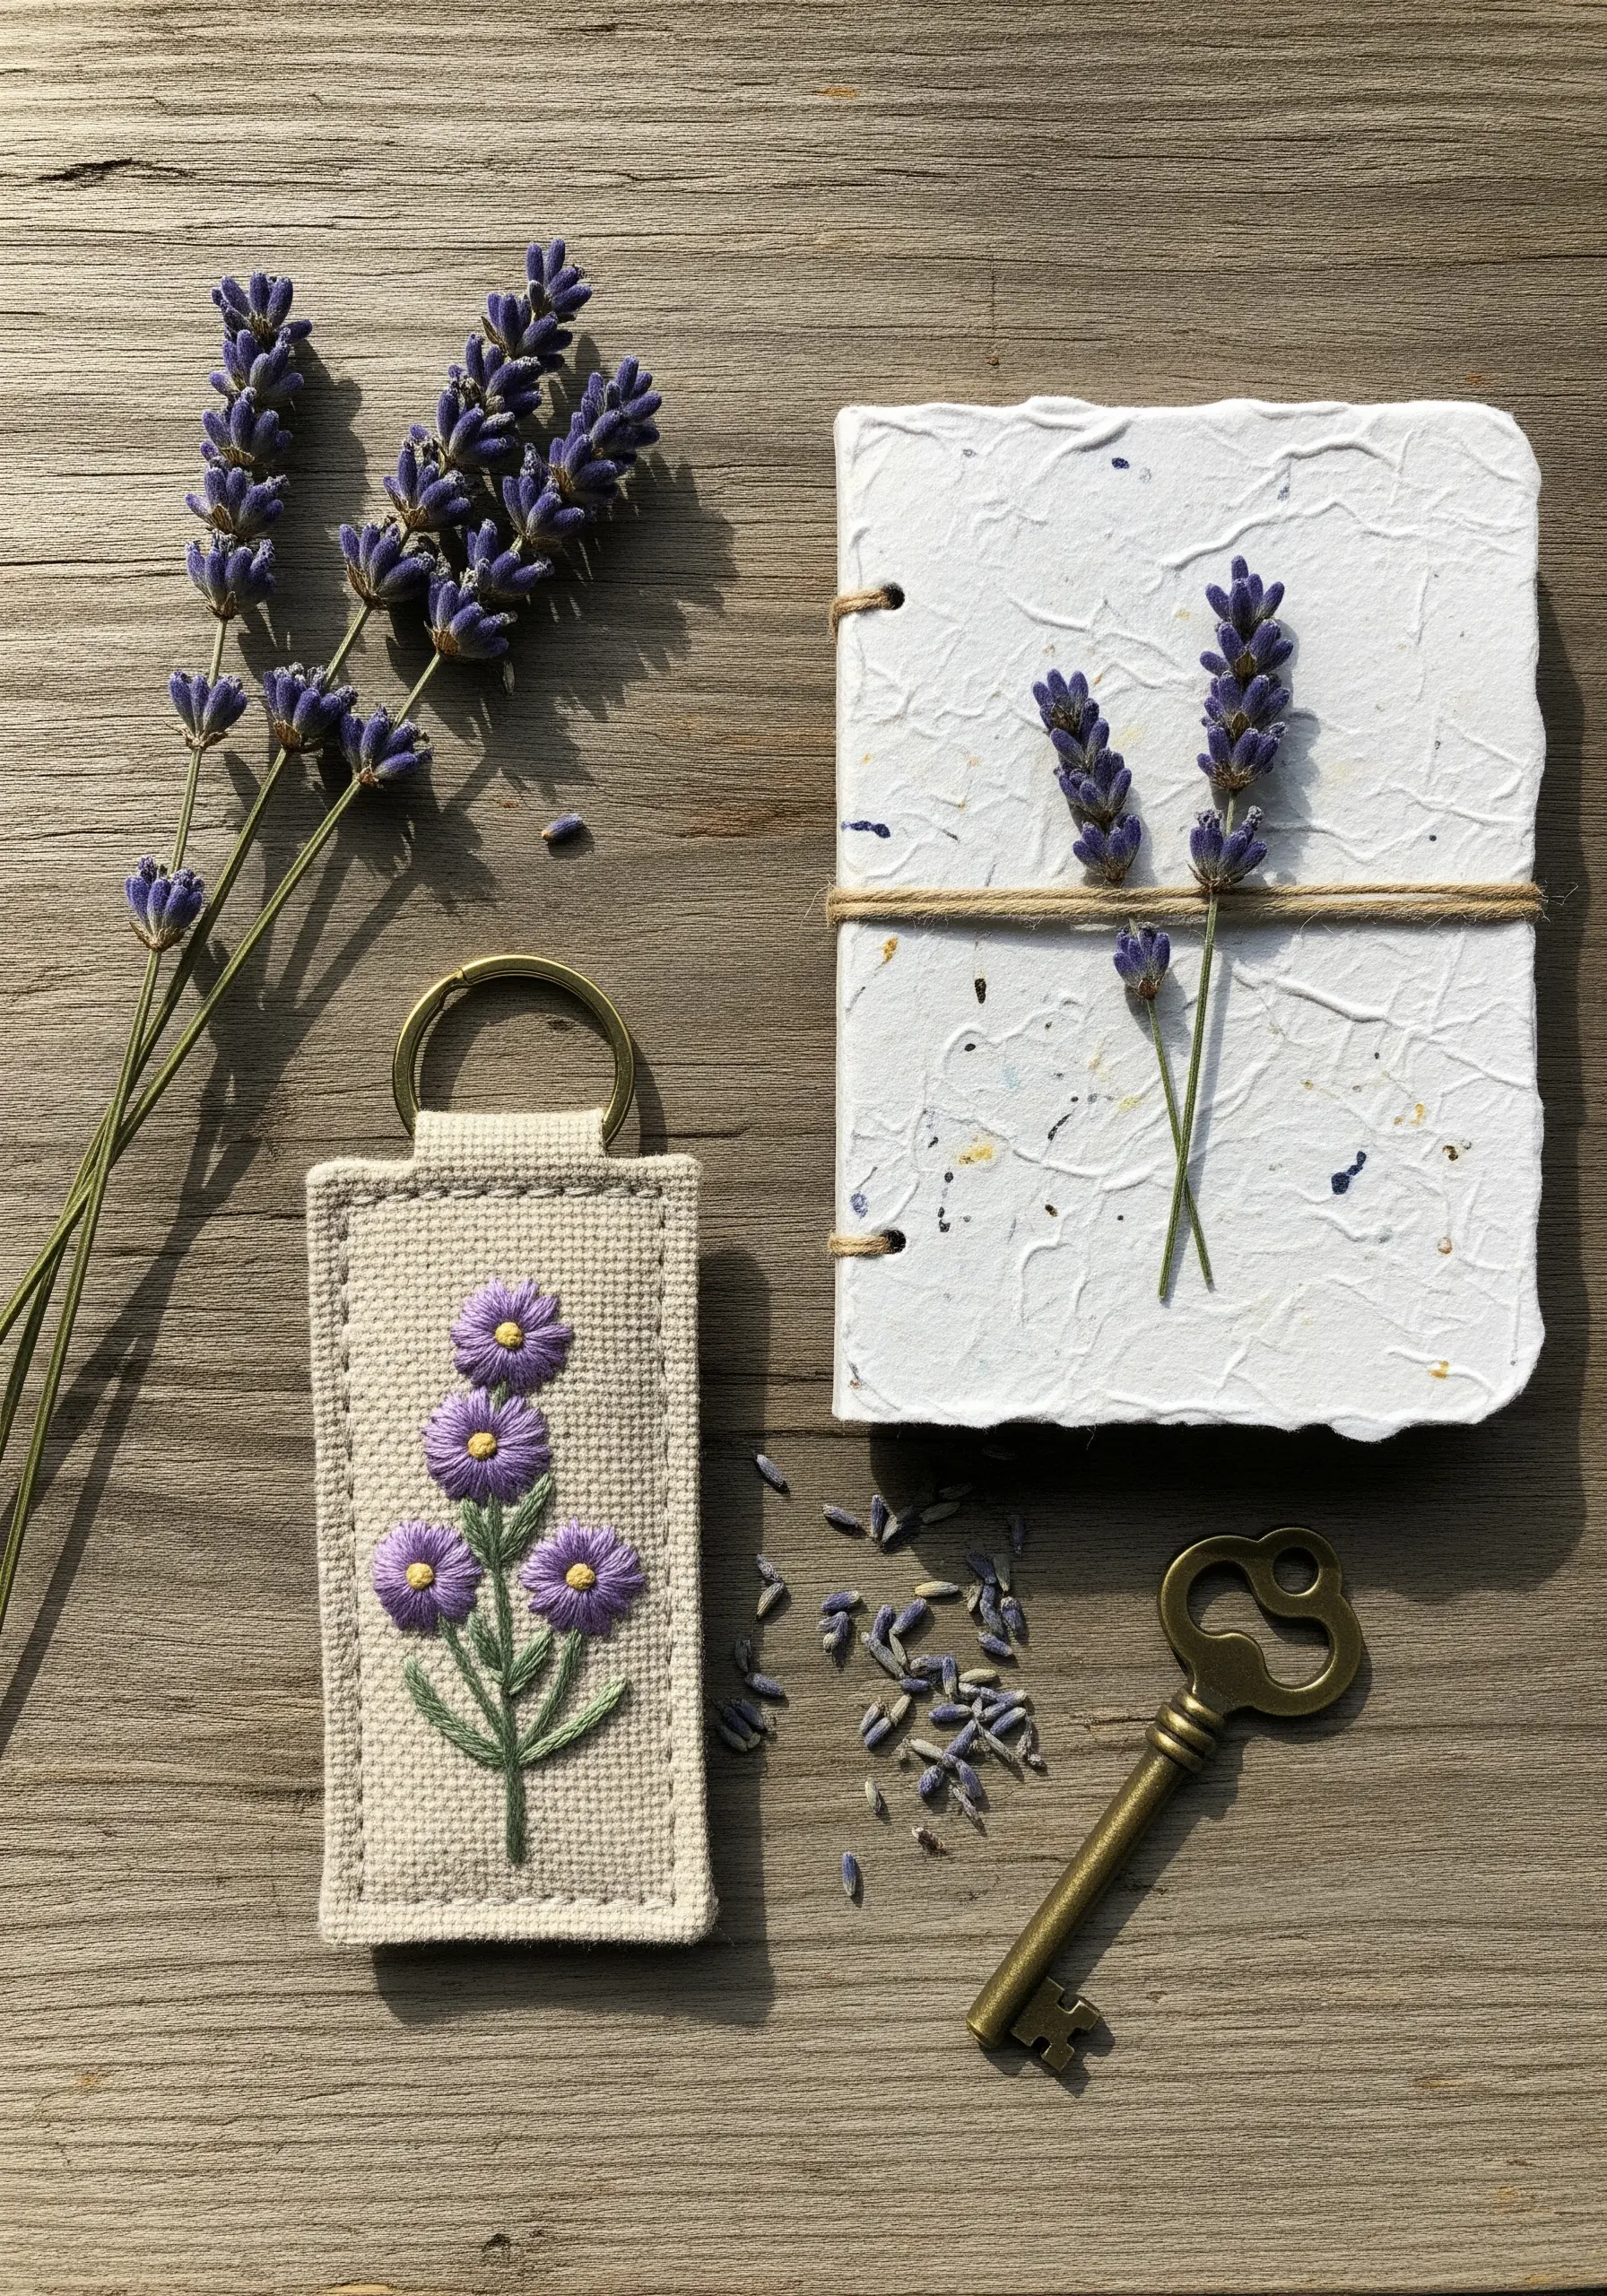
Give your florals a lush, three-dimensional feel by layering lazy daisy stitches.
Start with the back petals, then add another layer on top, slightly offsetting them to build fullness.
Using two slightly different shades of purple will create a subtle shadow effect, enhancing the depth.
Finish with yellow French knots in the center for a realistic, pollen-dusted texture.
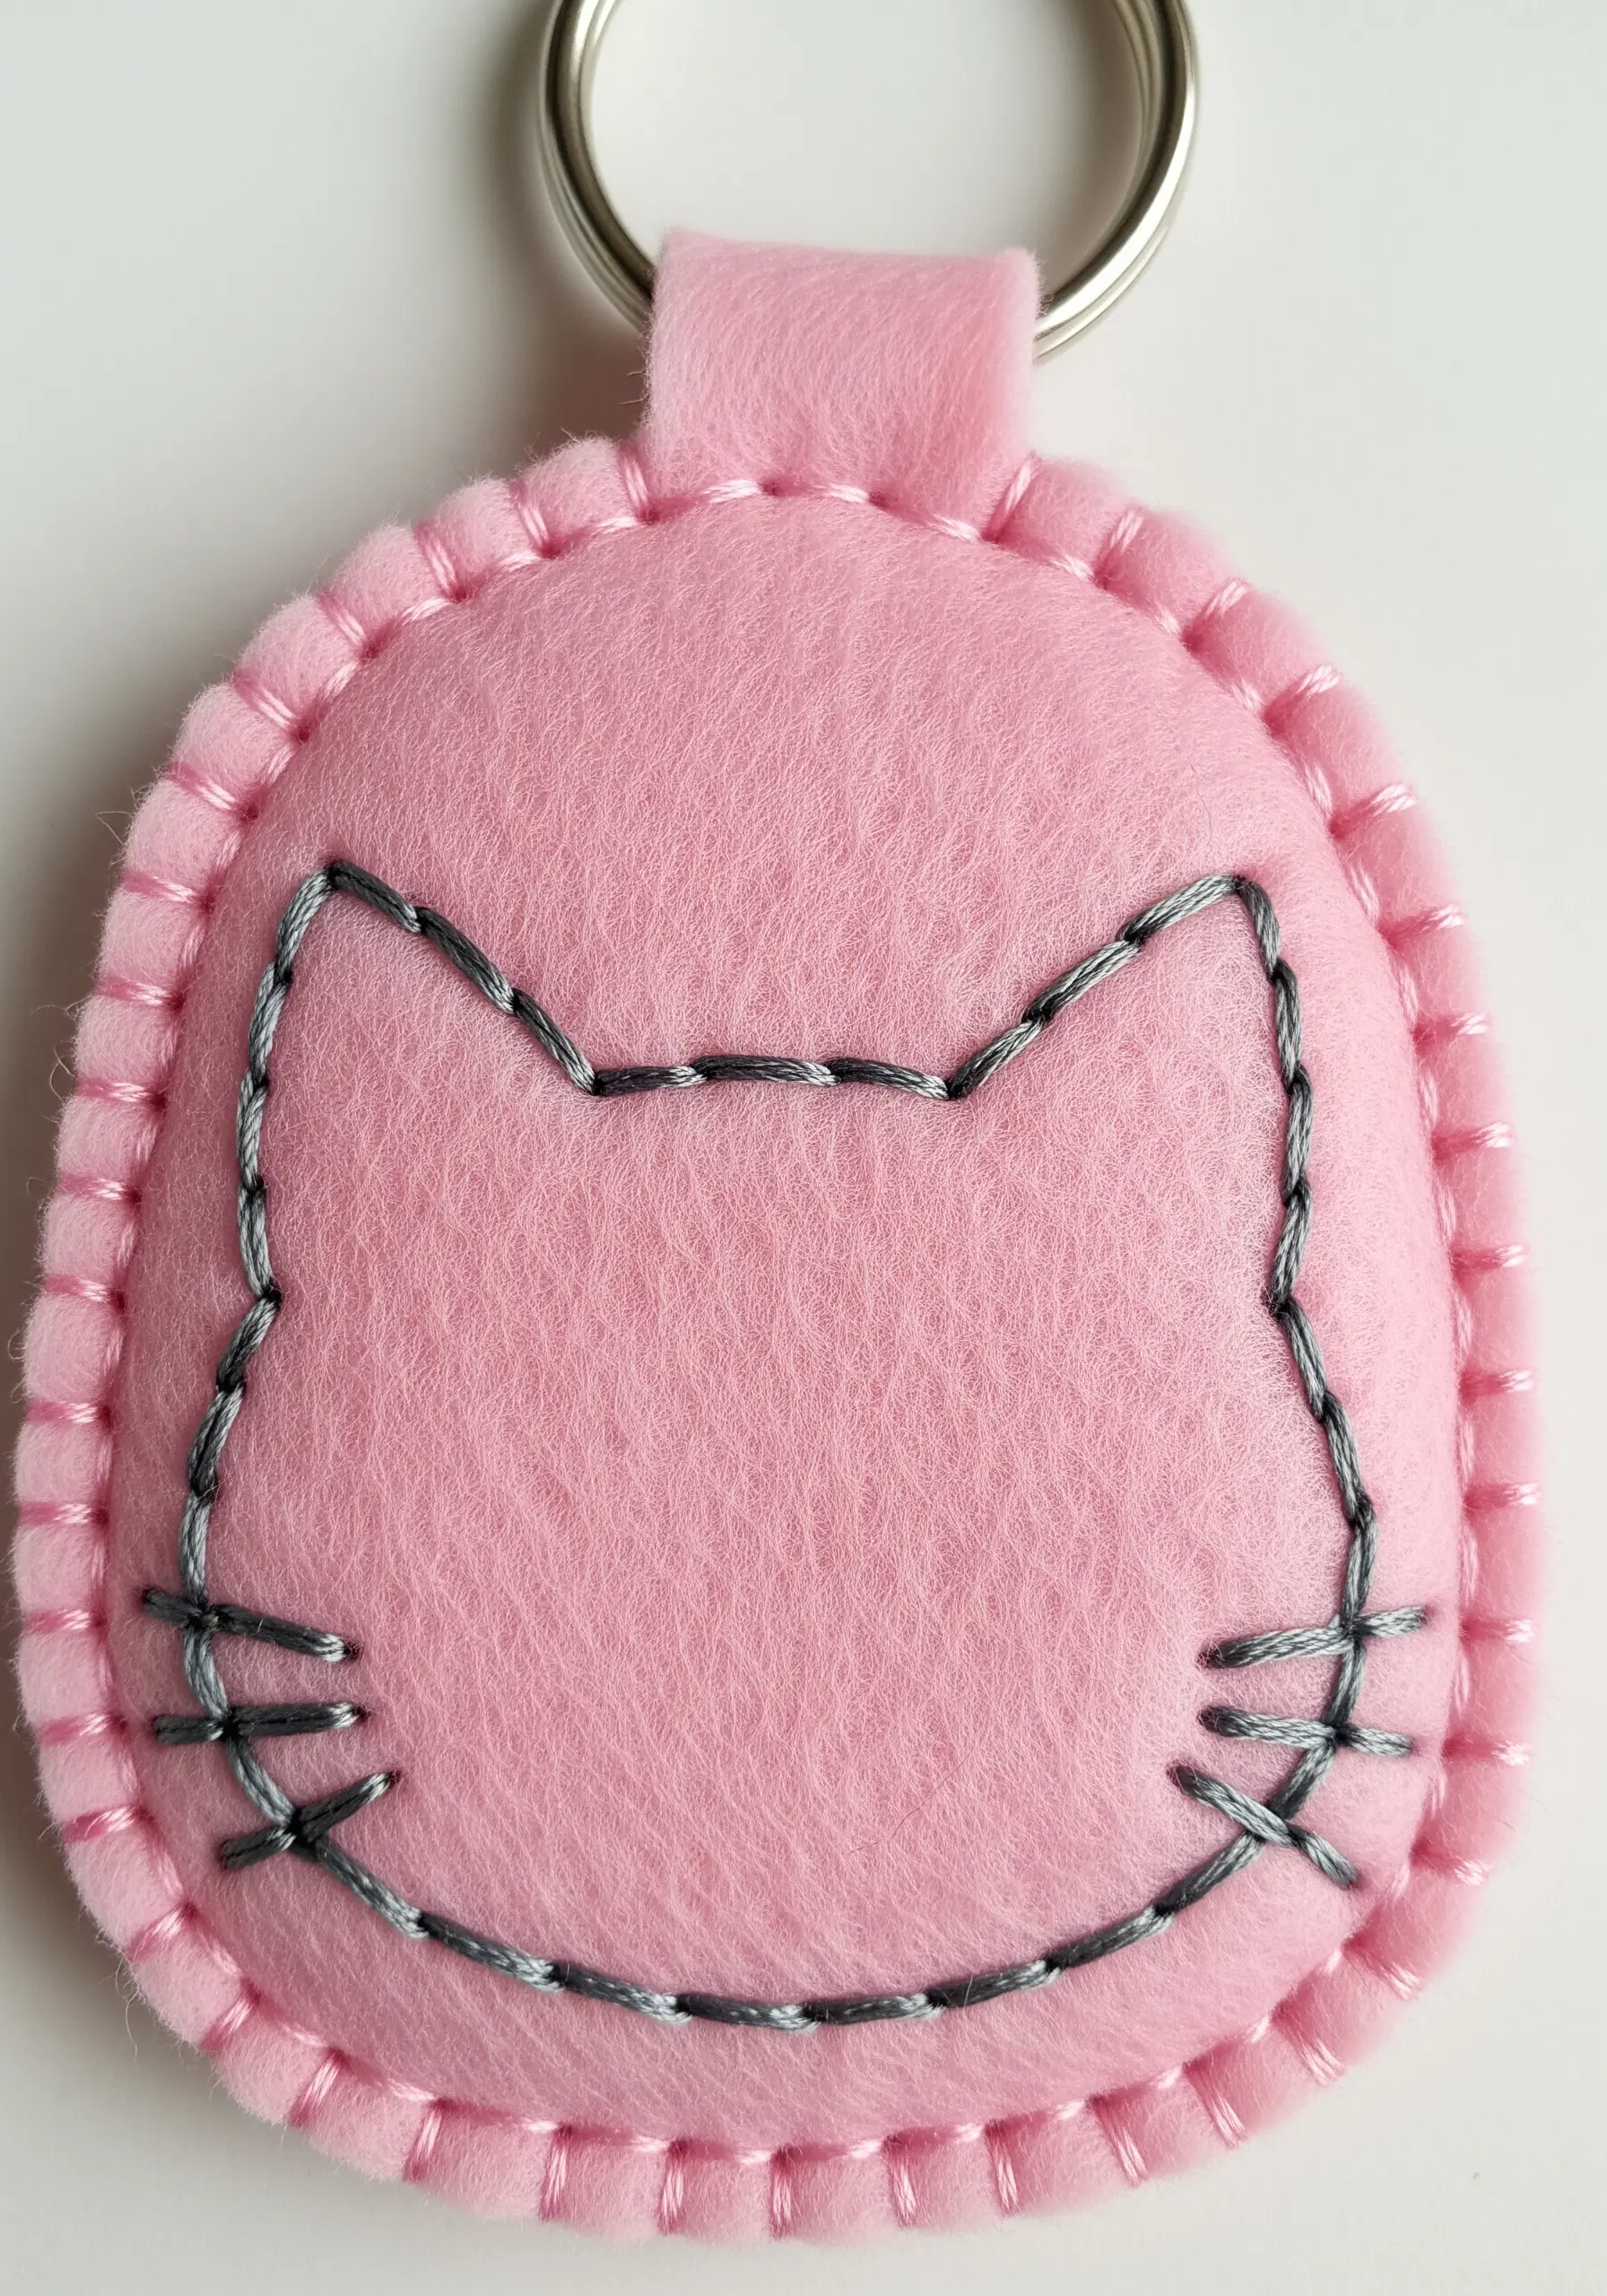
4. Sketch-Style Outlines on Felt
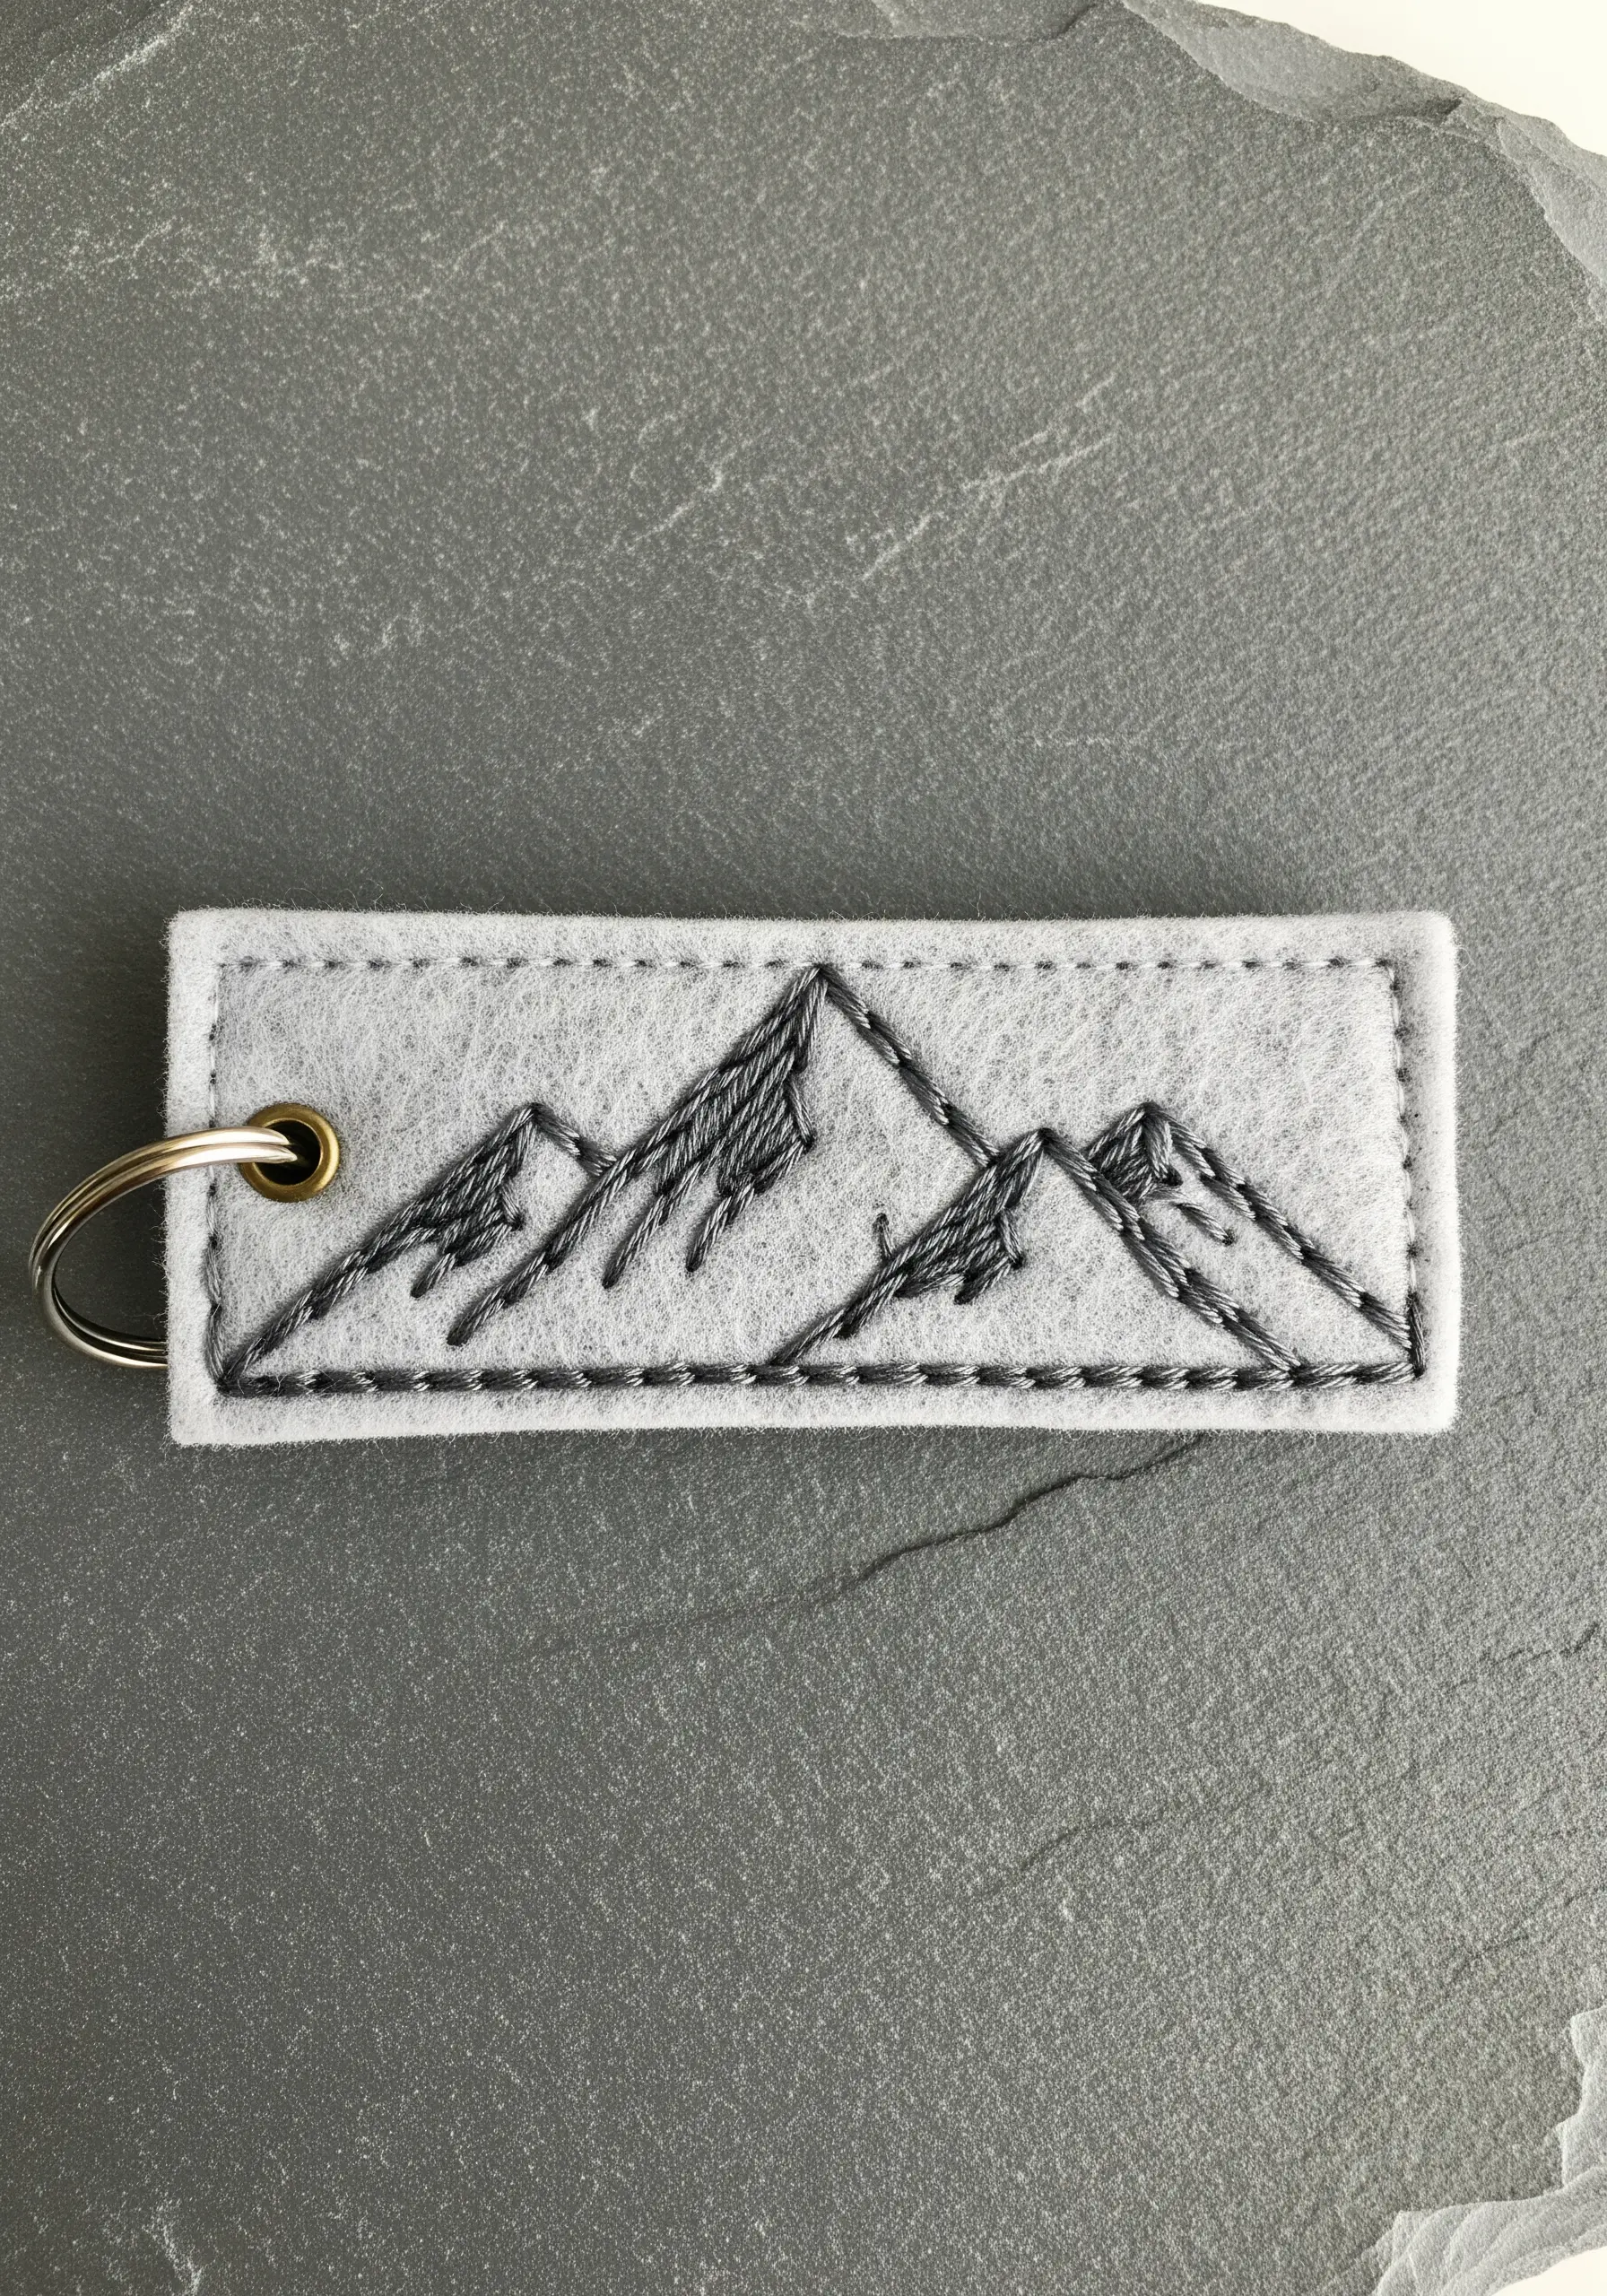
Use felt as a stable, no-fray canvas for creating expressive, sketch-like line art.
Instead of uniform stitches, vary the length of your backstitch to mimic the energetic lines of a pen-and-ink drawing.
Using a variegated gray or black thread adds instant shading and texture, giving your mountain landscape an artistic, hand-drawn quality.
This approach feels more organic and less rigid than perfect, measured stitches.
5. Combining Fills and Outlines for Bold Motifs
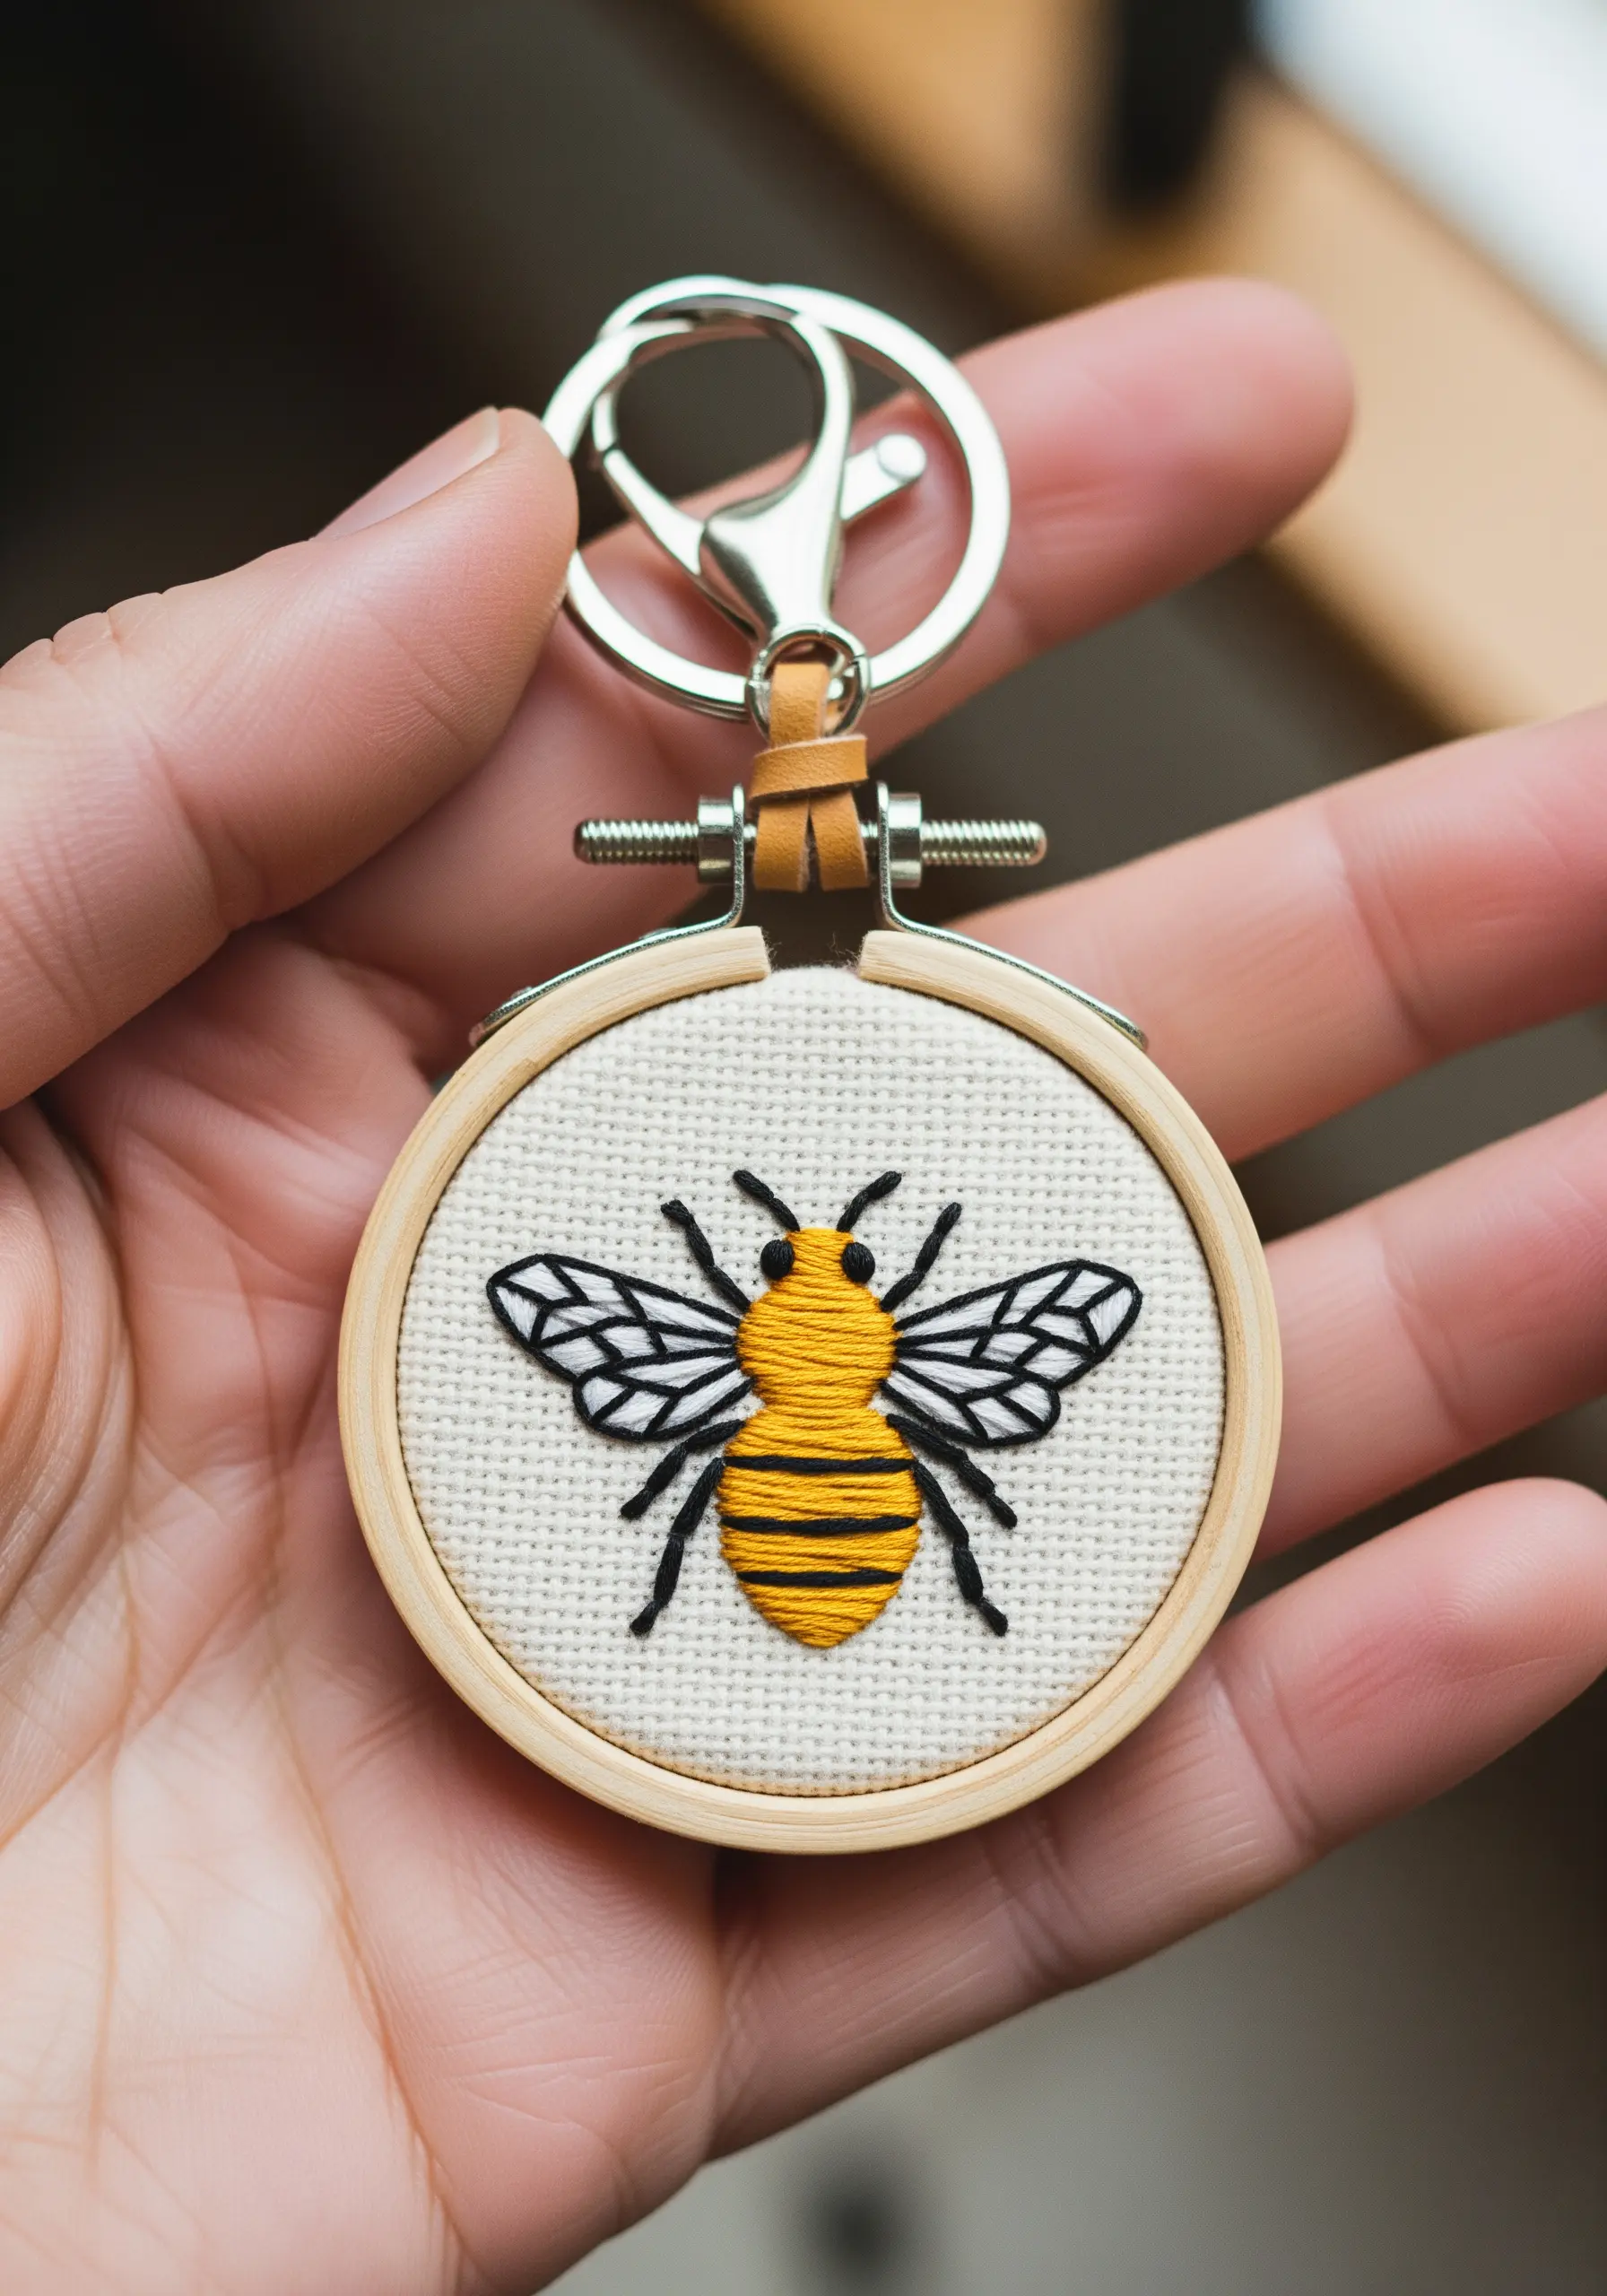
Make your motifs pop with graphic clarity by combining dense fills with sharp outlines.
First, fill the bee’s body with a smooth, vibrant satin stitch, ensuring your stitches lay flat and even.
Once filled, frame the shape with a crisp backstitch using black thread. This technique defines the edges, contains the color, and gives the entire design a clean, finished look.
6. Defining Edges with a Textured Chain Stitch
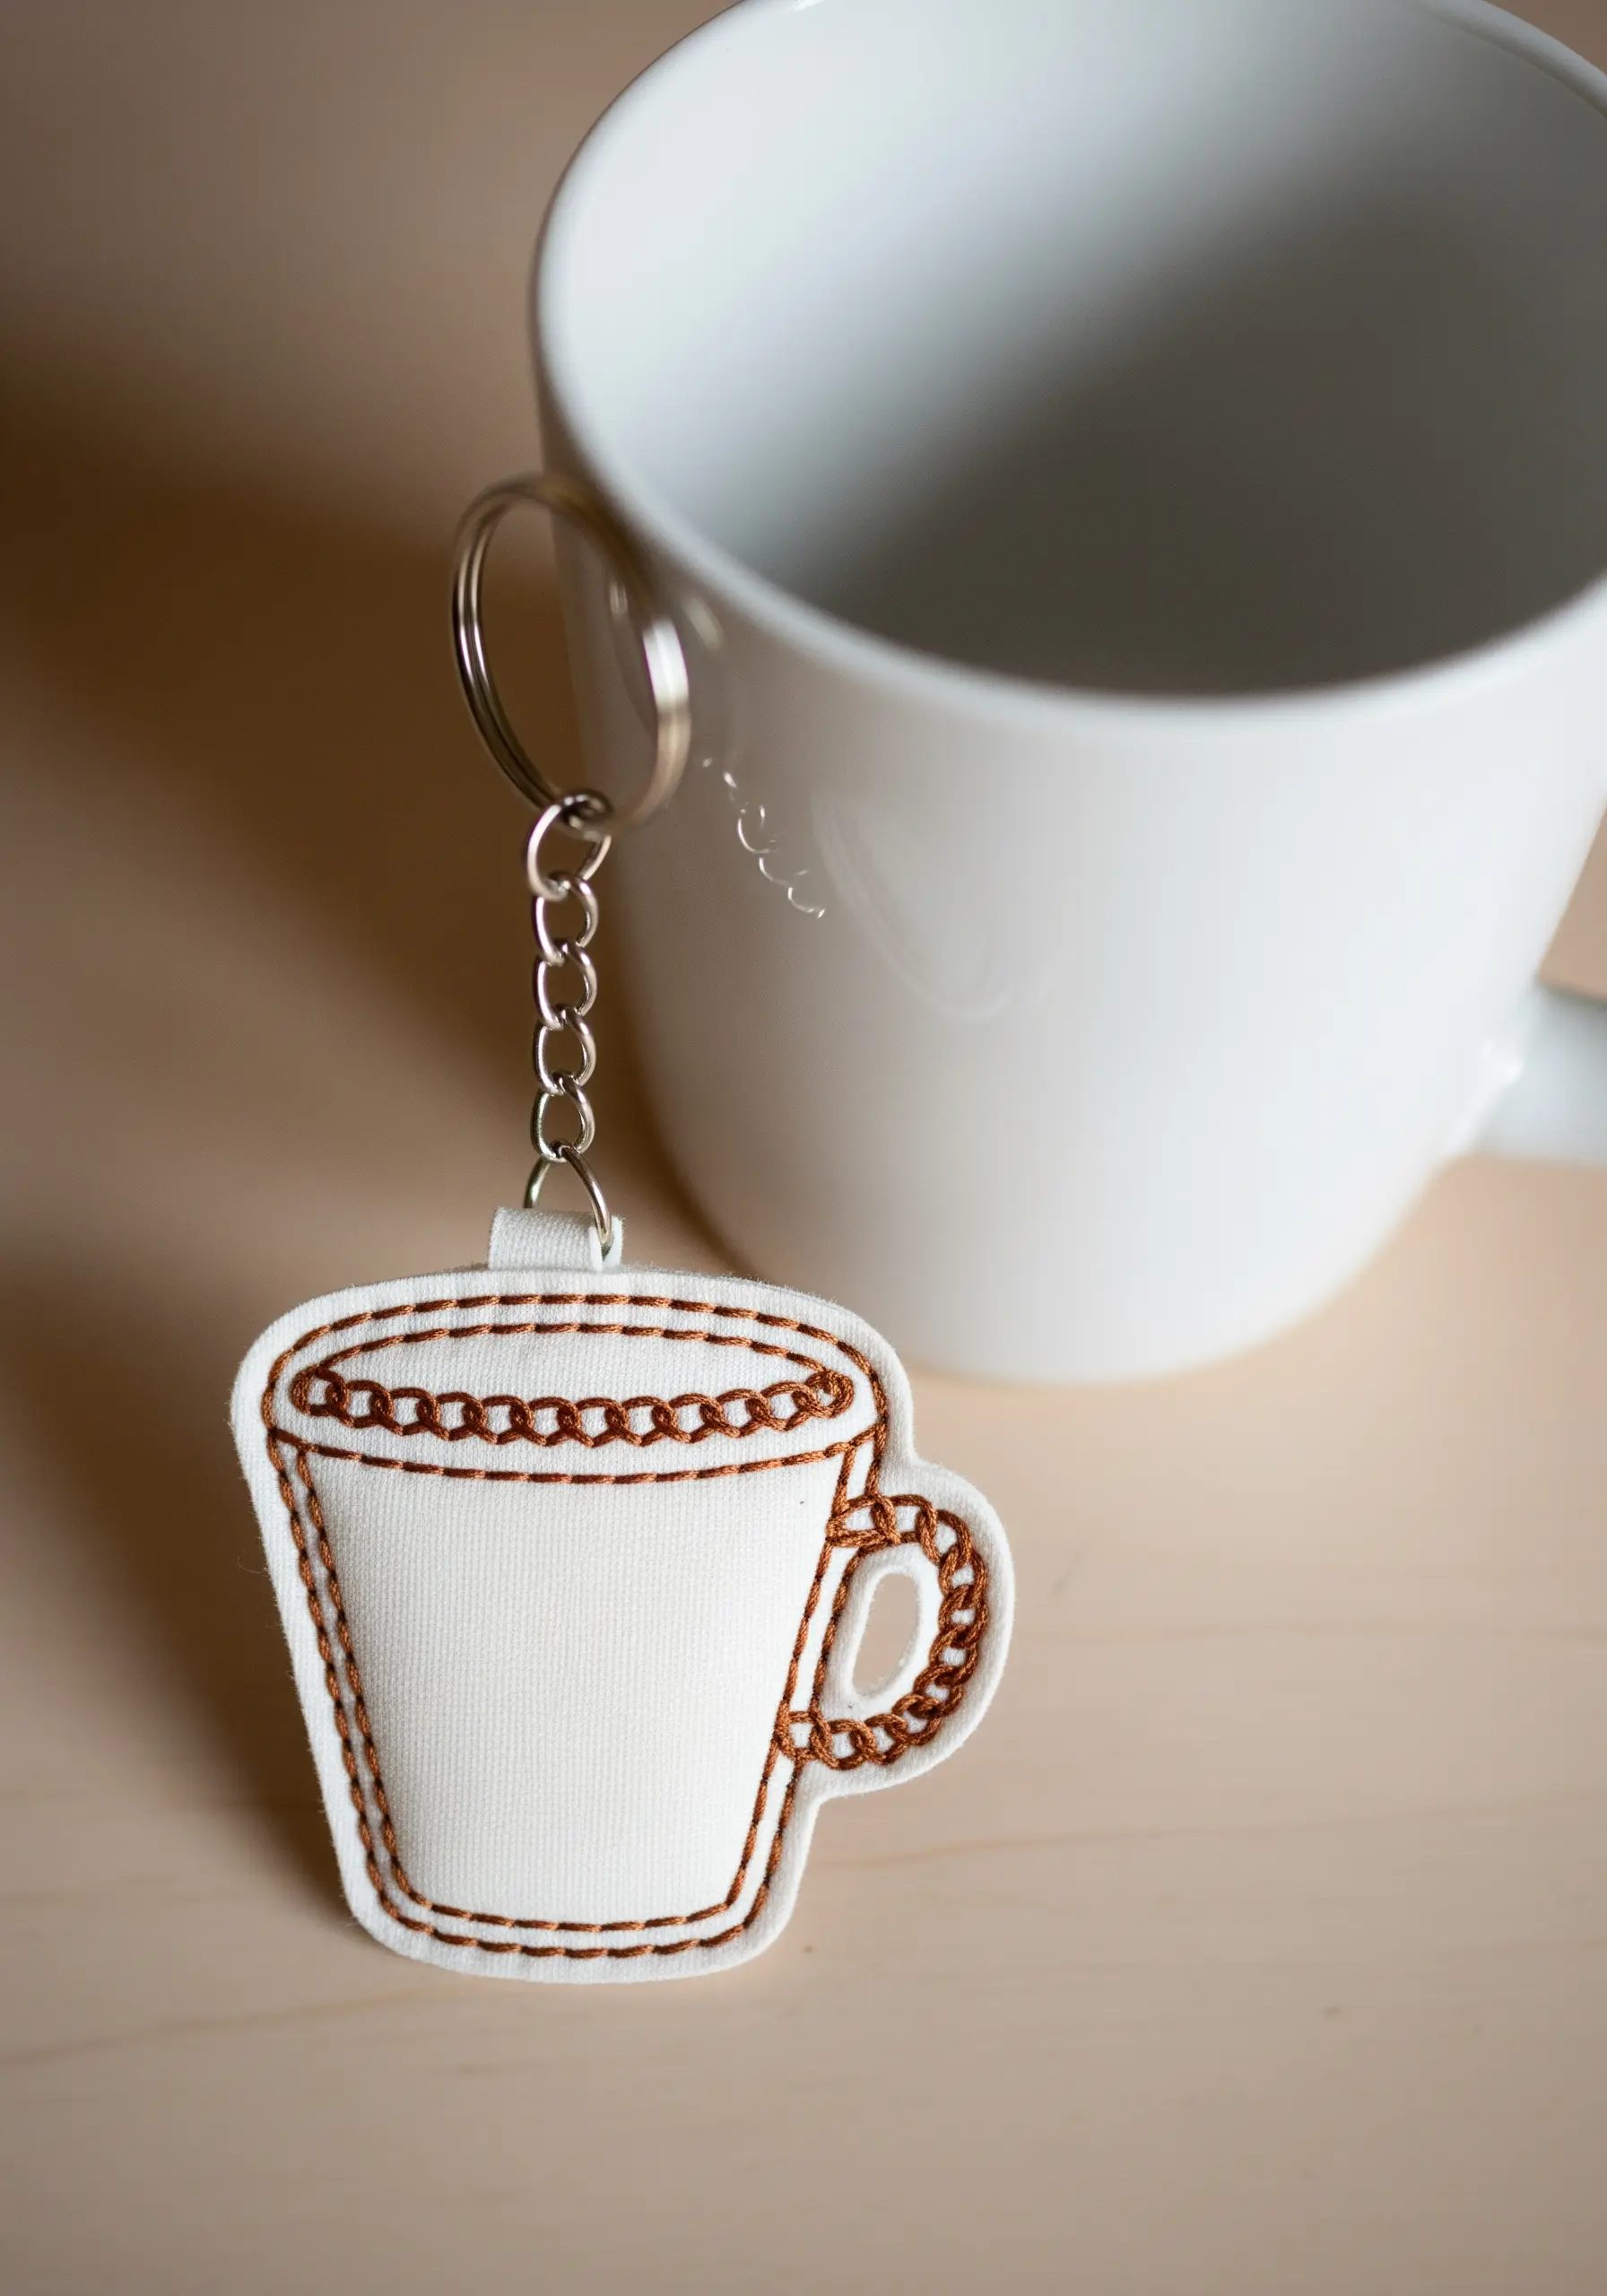
Elevate a simple outline by swapping a backstitch for a chain stitch.
The chain stitch creates a thicker, rope-like border that adds both texture and a decorative finish to your keychain.
It’s an excellent choice for framing shaped designs, giving them a substantial, polished edge that feels intentional and complete.
This is one of those small embroidery ideas you can finish in under an hour but that makes a big impact.
7. Sculptural Petals with Fishbone Stitch
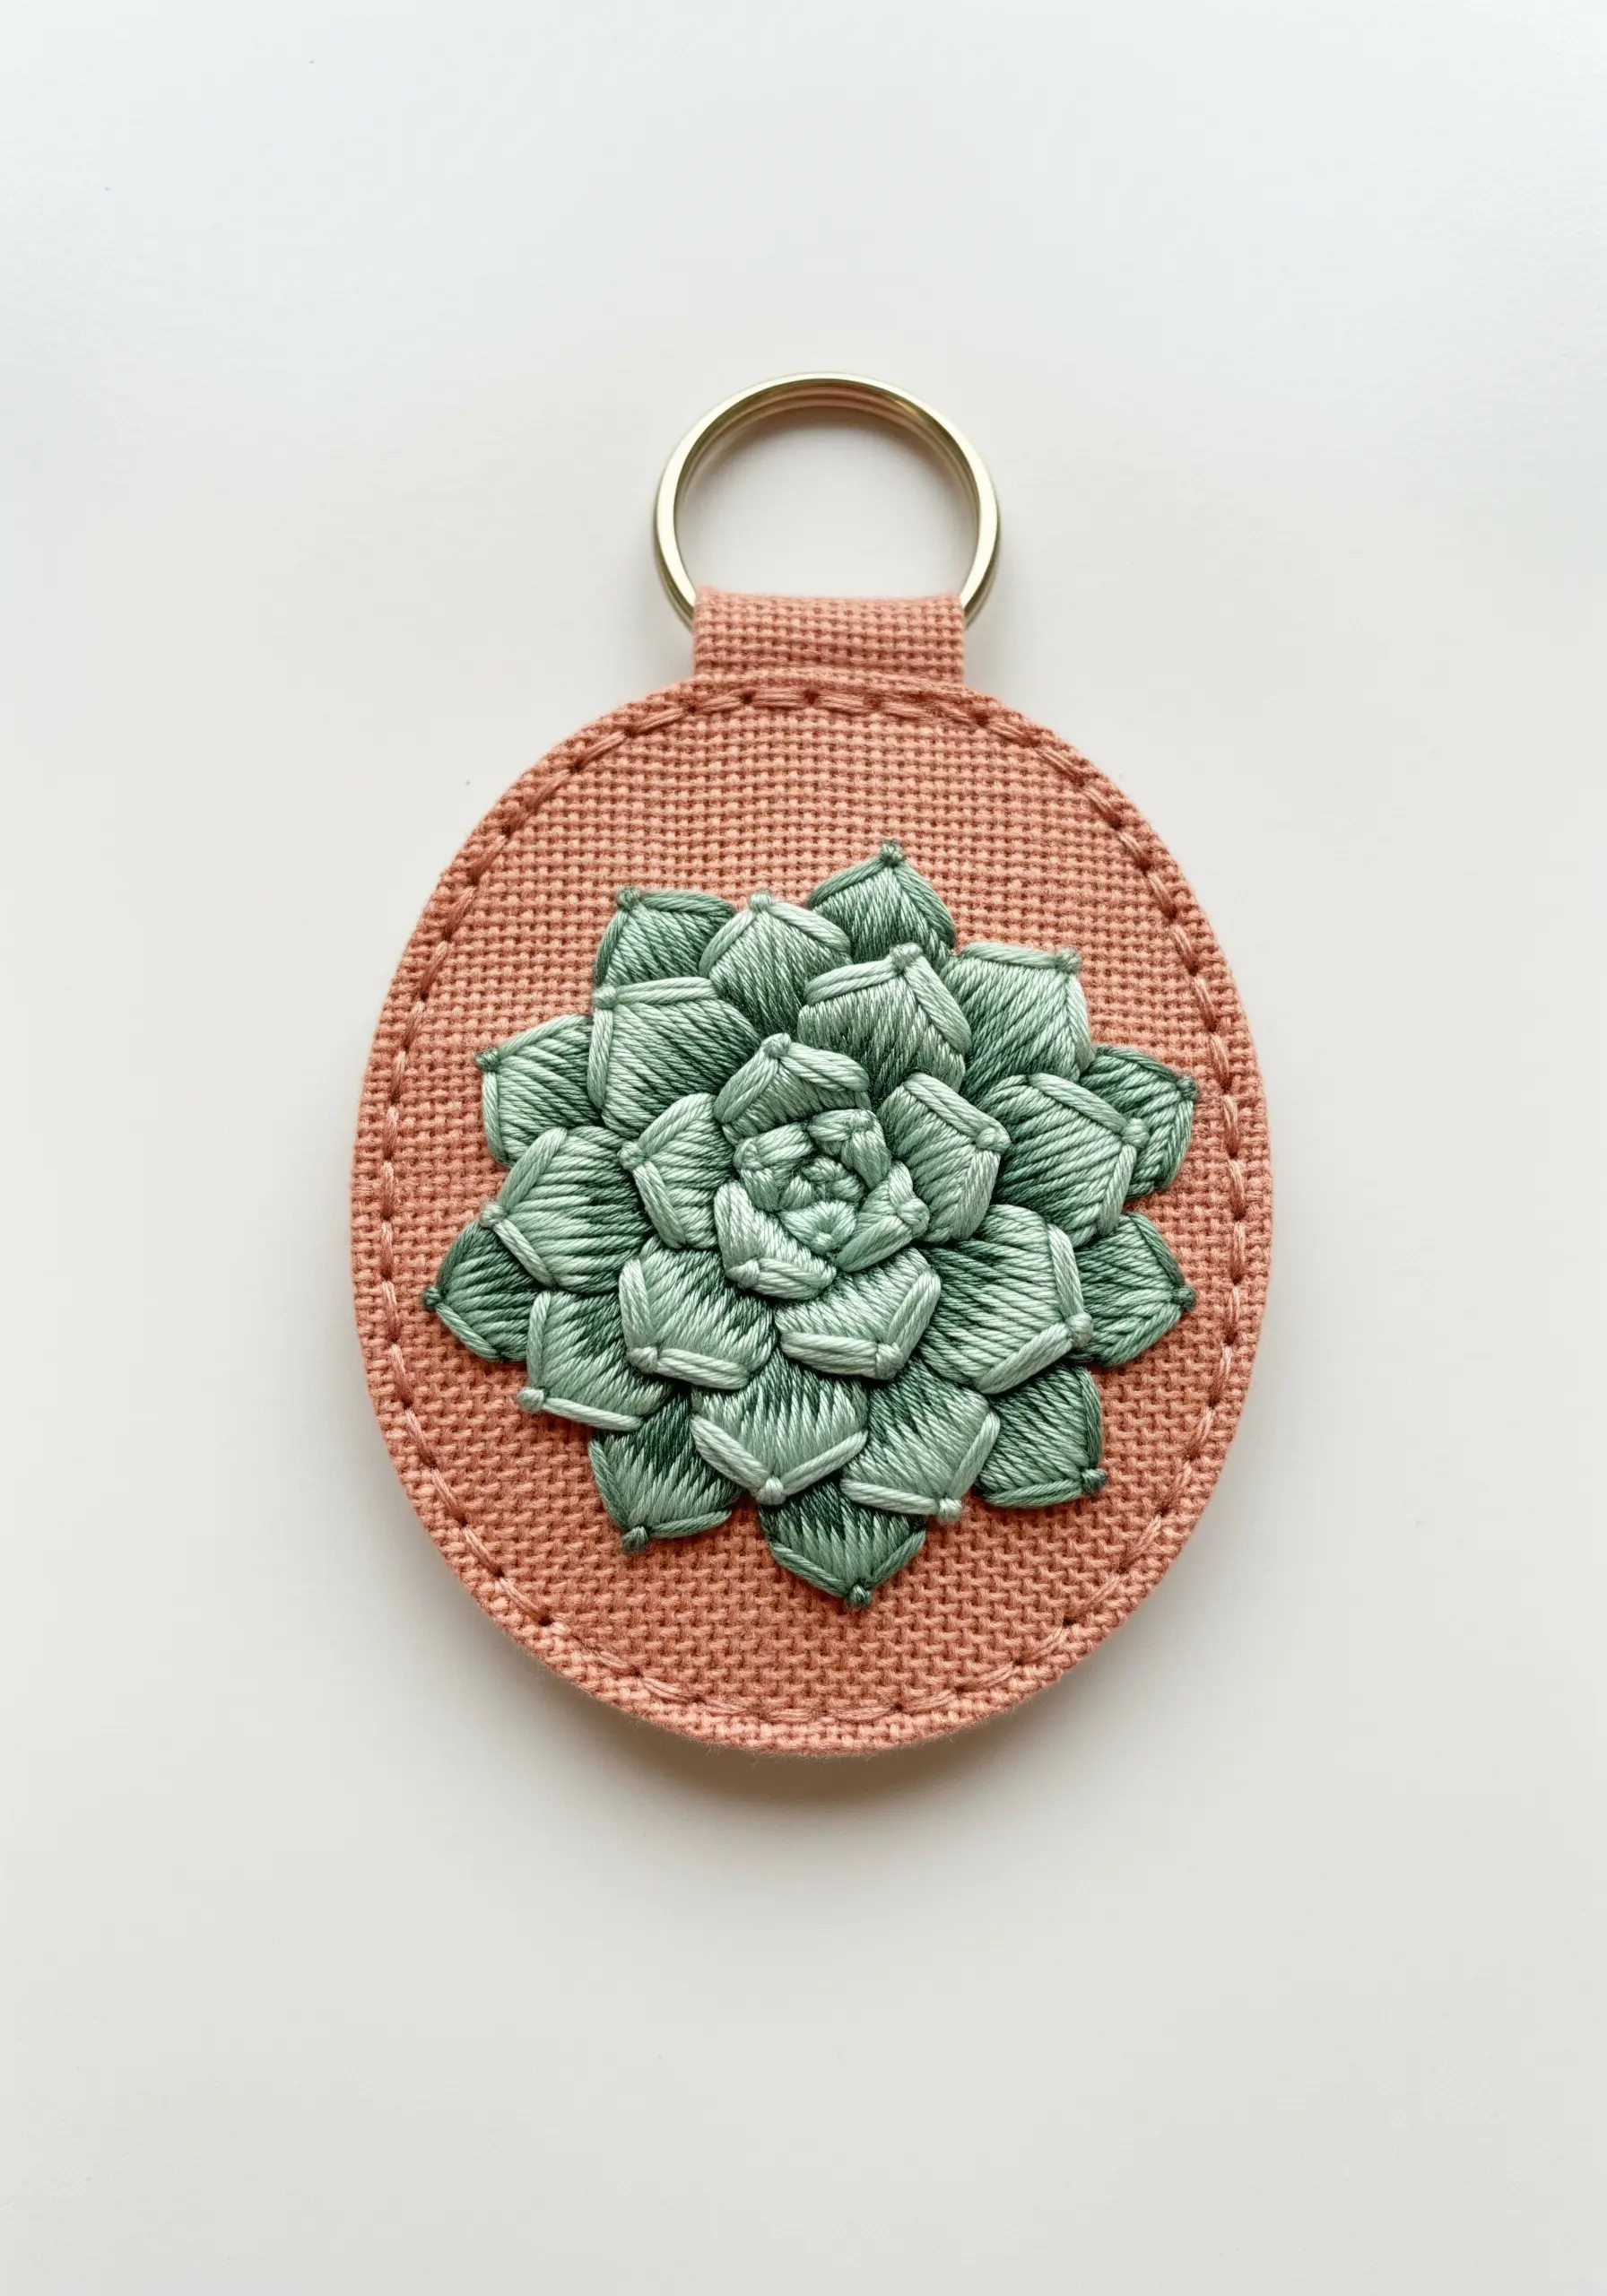
The fishbone stitch is your secret to creating the layered, sculptural petals of a succulent.
Each stitch overlaps at a central spine, building form and shadow with every pass of the needle.
Work from the outer petals inward, using progressively lighter shades of green to mimic the natural growth and highlight the center.
The result is a highly textured, realistic botanical that feels alive.
8. Geometric Blocking with Directional Satin Stitch
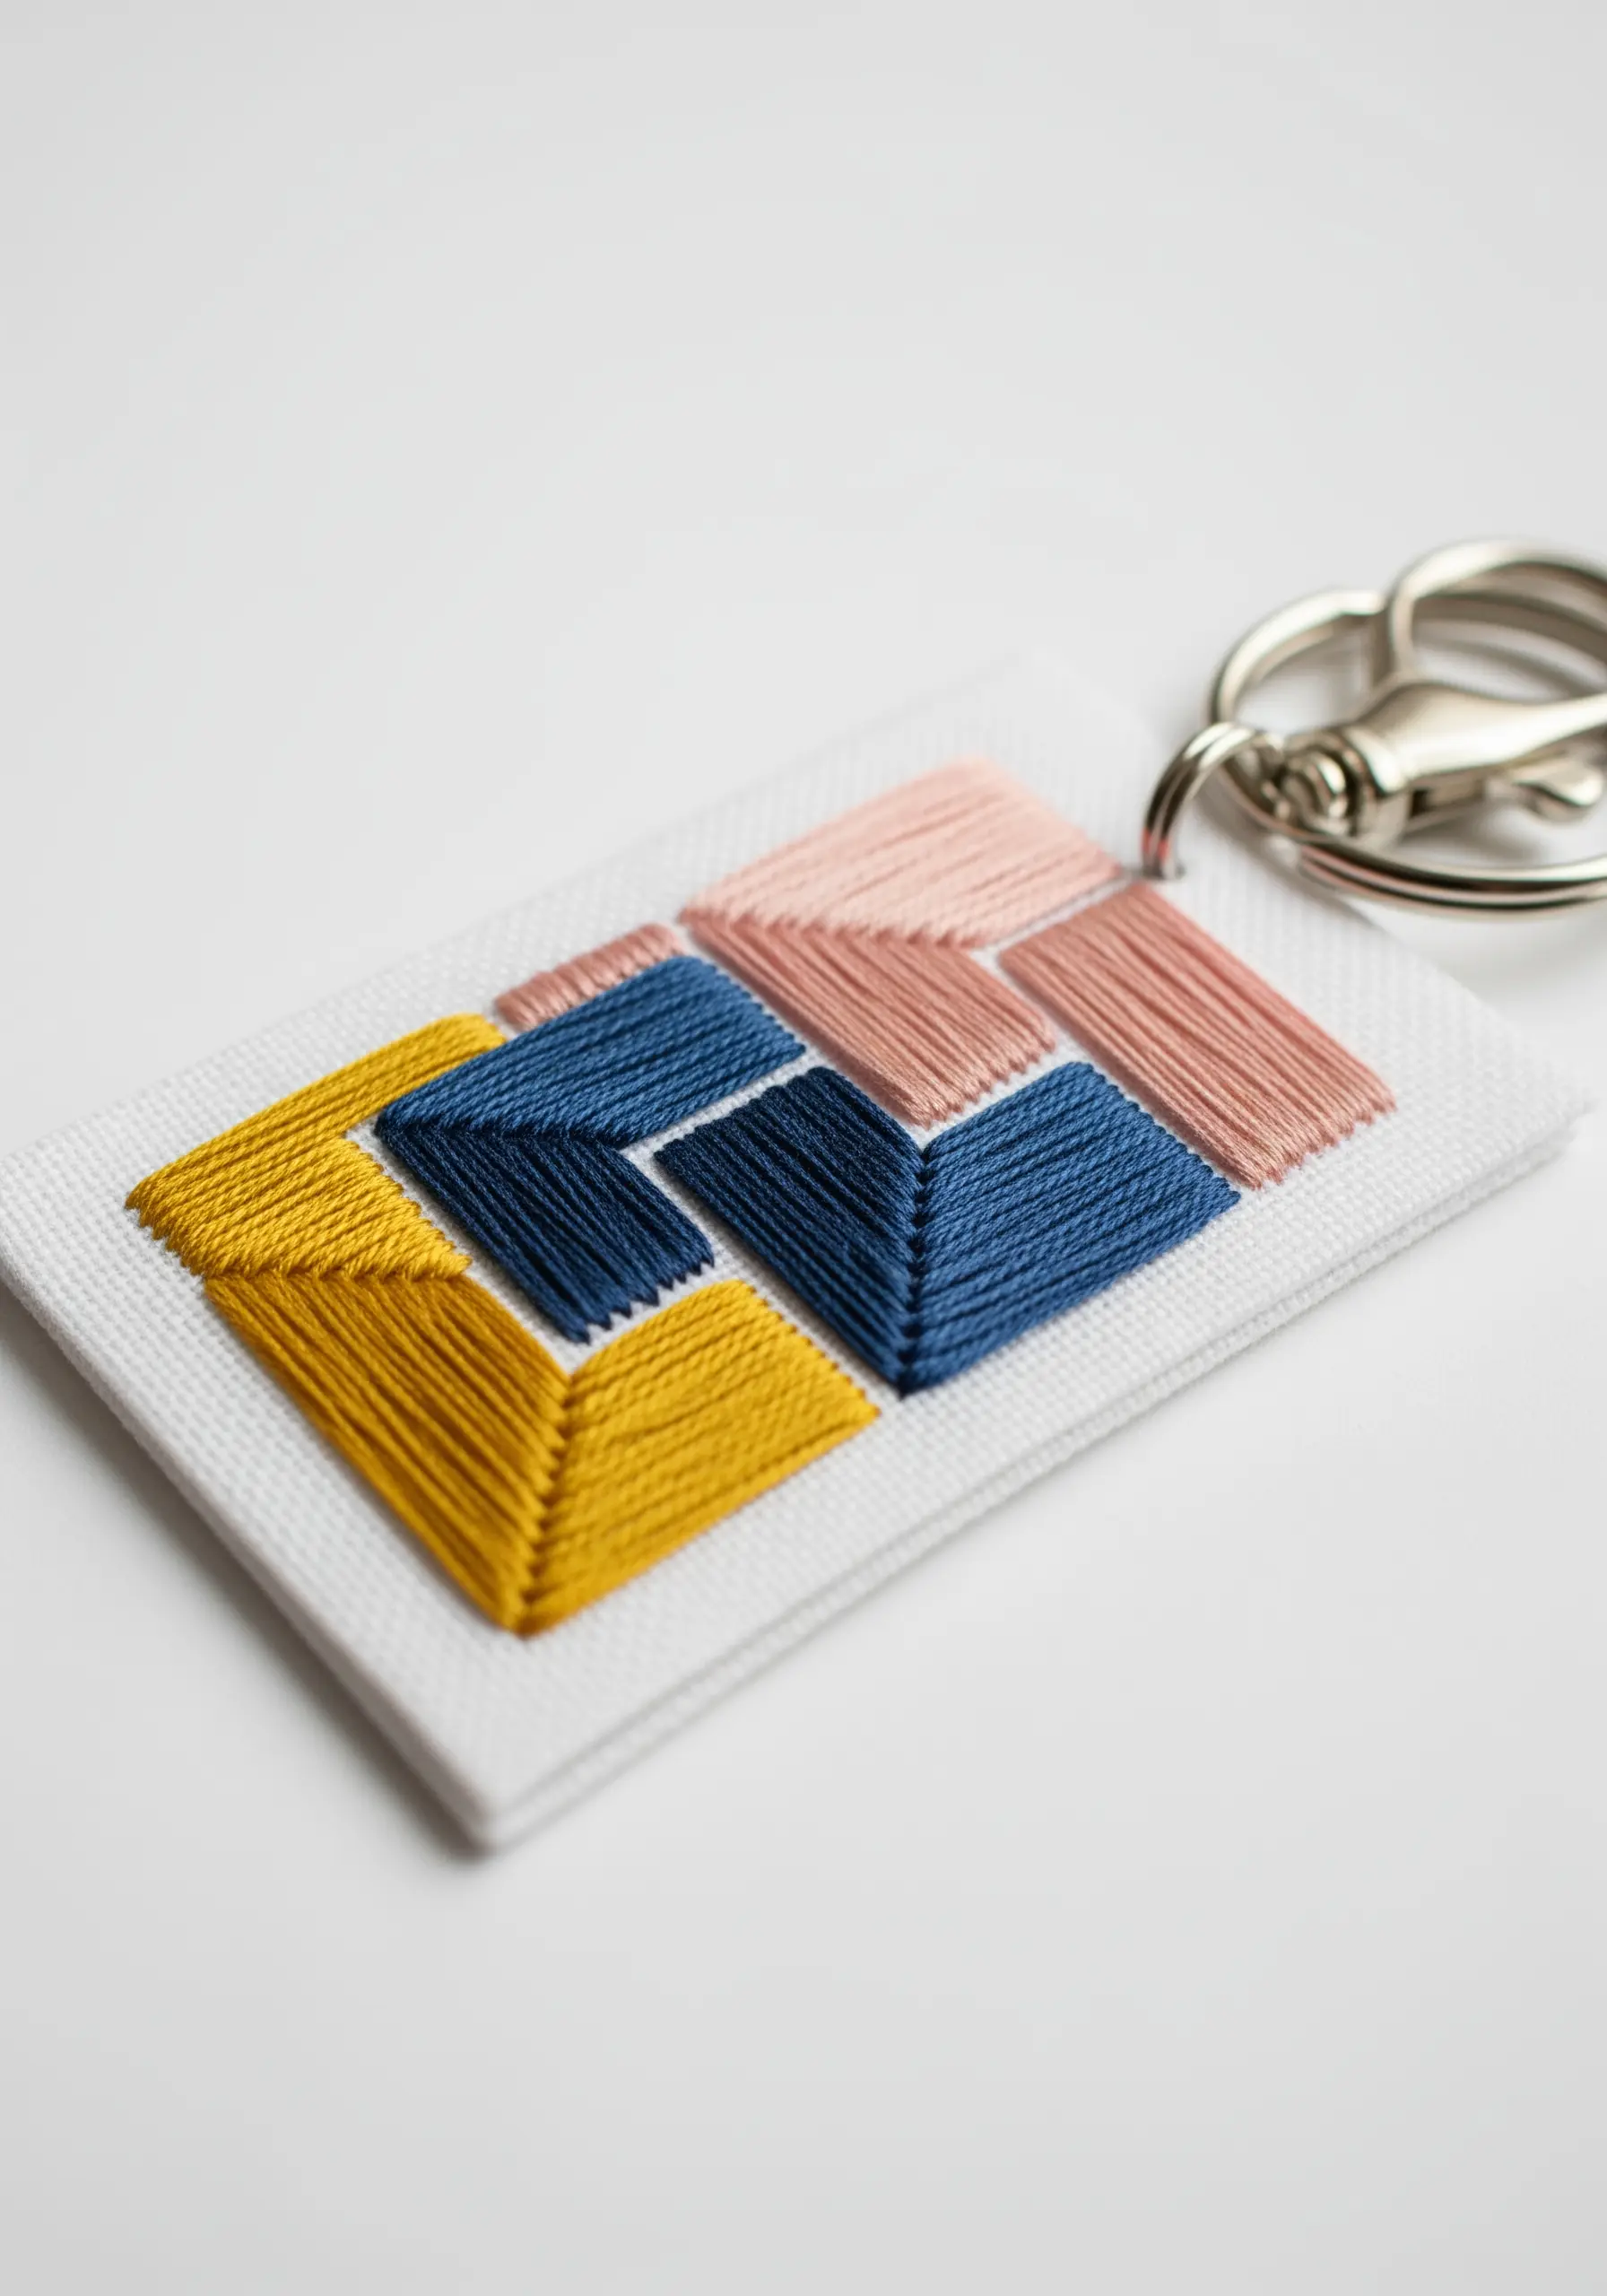
Create the illusion of woven, interlocking planes by paying attention to the direction of your satin stitch.
For each colored block in your pattern, change the angle of your stitches—horizontal, vertical, or diagonal.
This simple shift in direction causes the light to reflect differently off each section, adding dynamic texture and a sense of depth to flat geometric stitch patterns.
9. Capturing Movement with Varied Stitch Textures
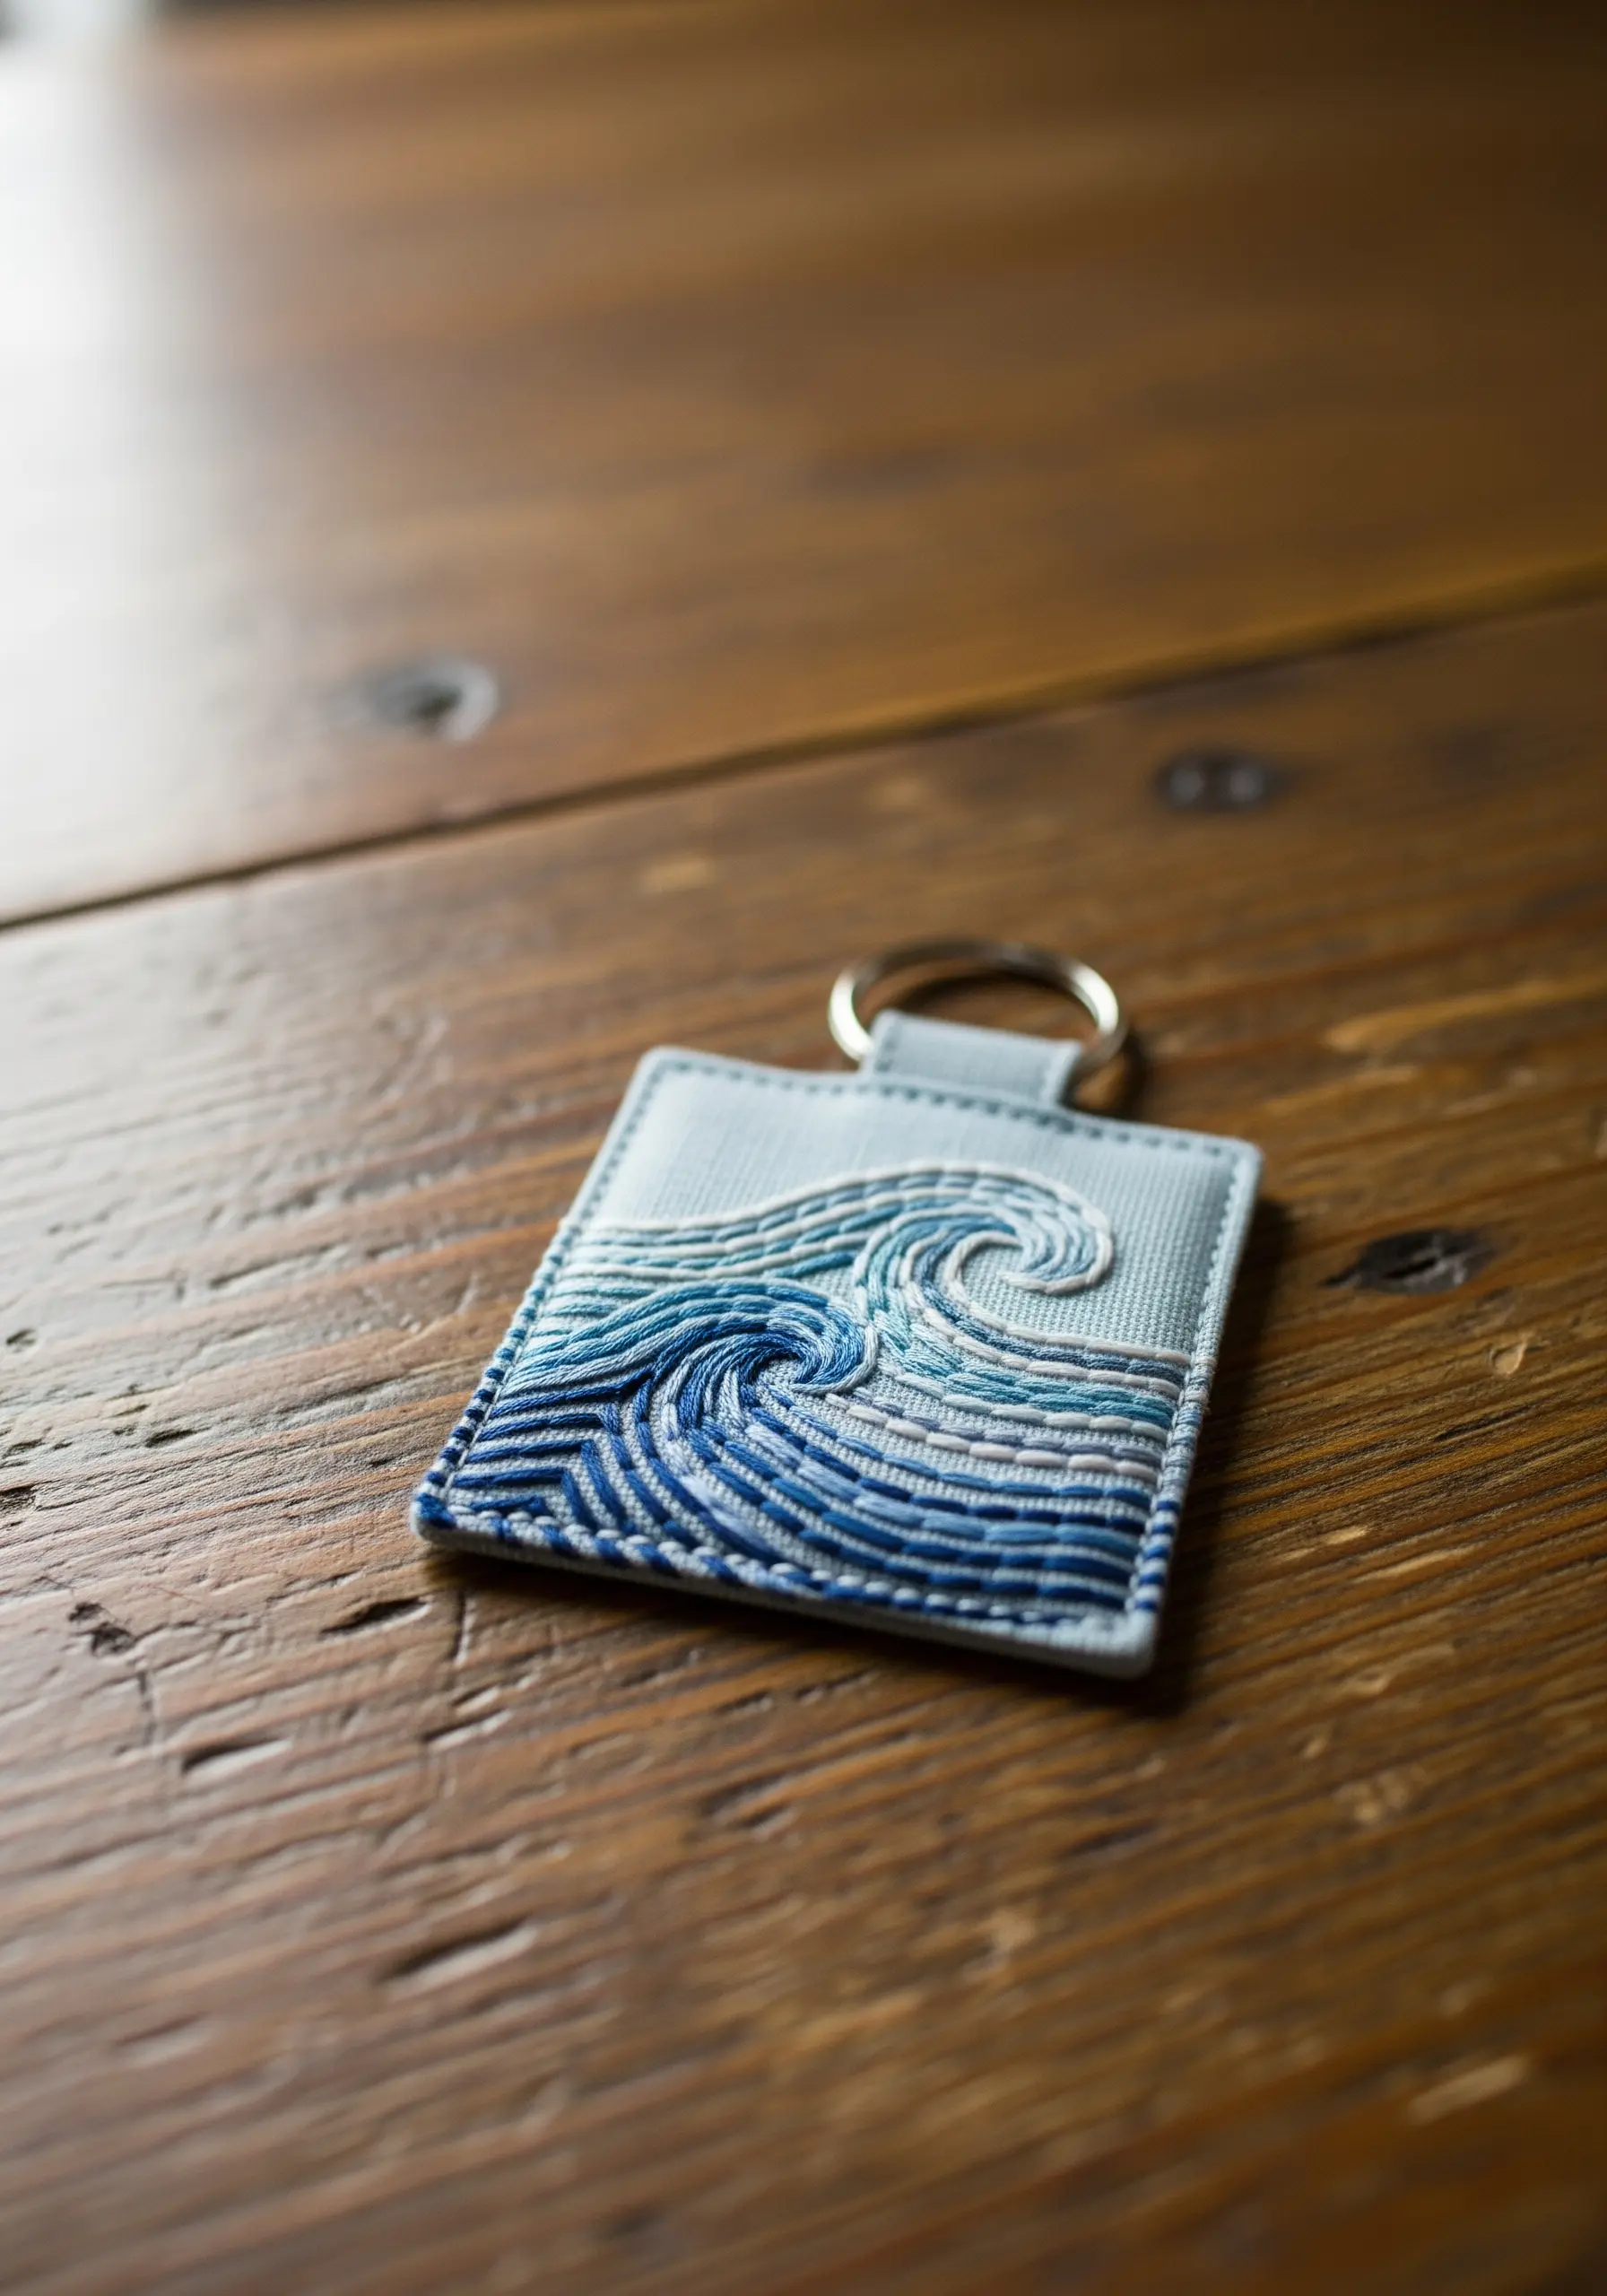
Bring an ocean-inspired hoop scene to life by combining different stitch textures to represent water in motion.
Use long, flowing straight stitches for the calm sea in the background.
For the cresting wave, switch to dense, curved chain stitches or French knots to build up a frothy, energetic texture.
This contrast between smooth and rough surfaces is what creates the sense of dynamic movement.
10. Creating Delicate Foliage with Fly Stitch
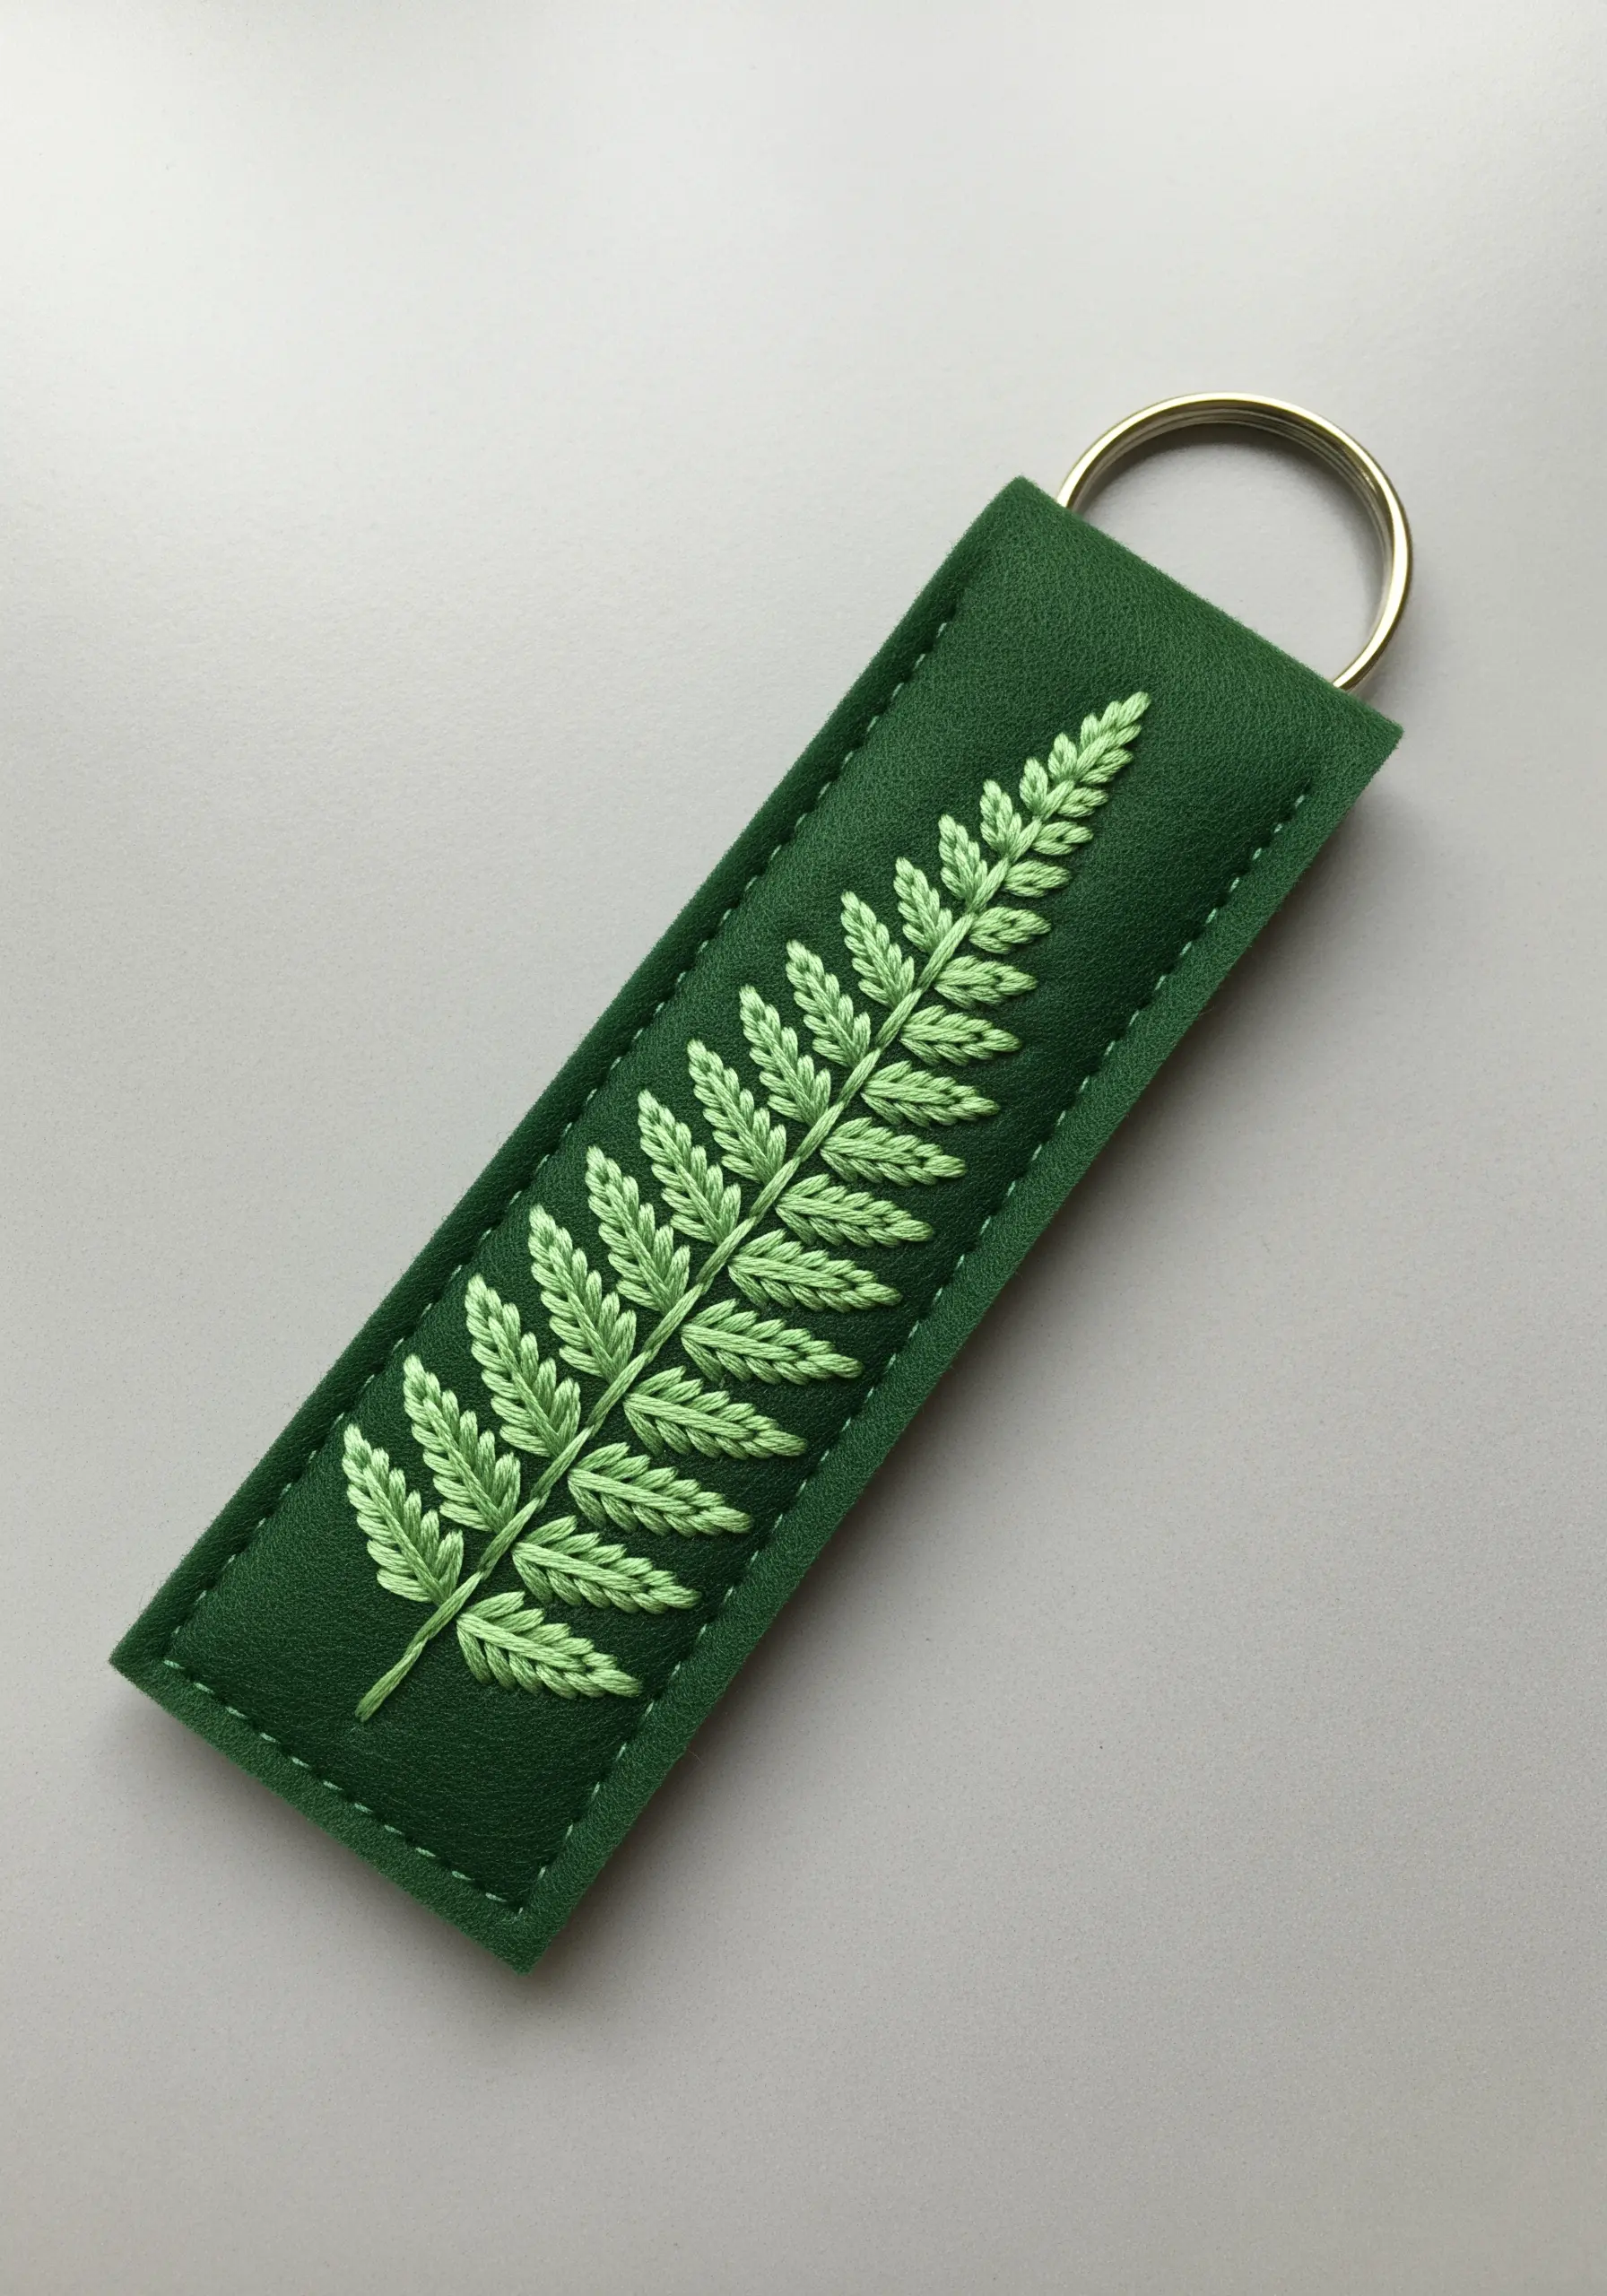
The fly stitch is perfectly suited for building delicate, airy foliage like a fern.
Create a central stem with a stem stitch, then work outwards, using a single fly stitch for each tiny leaflet.
This method keeps the design light and prevents it from becoming bulky.
For added realism, use a slightly lighter shade of green for the outermost leaflets to suggest new growth.
11. Elegant Constellations with Metallic Thread
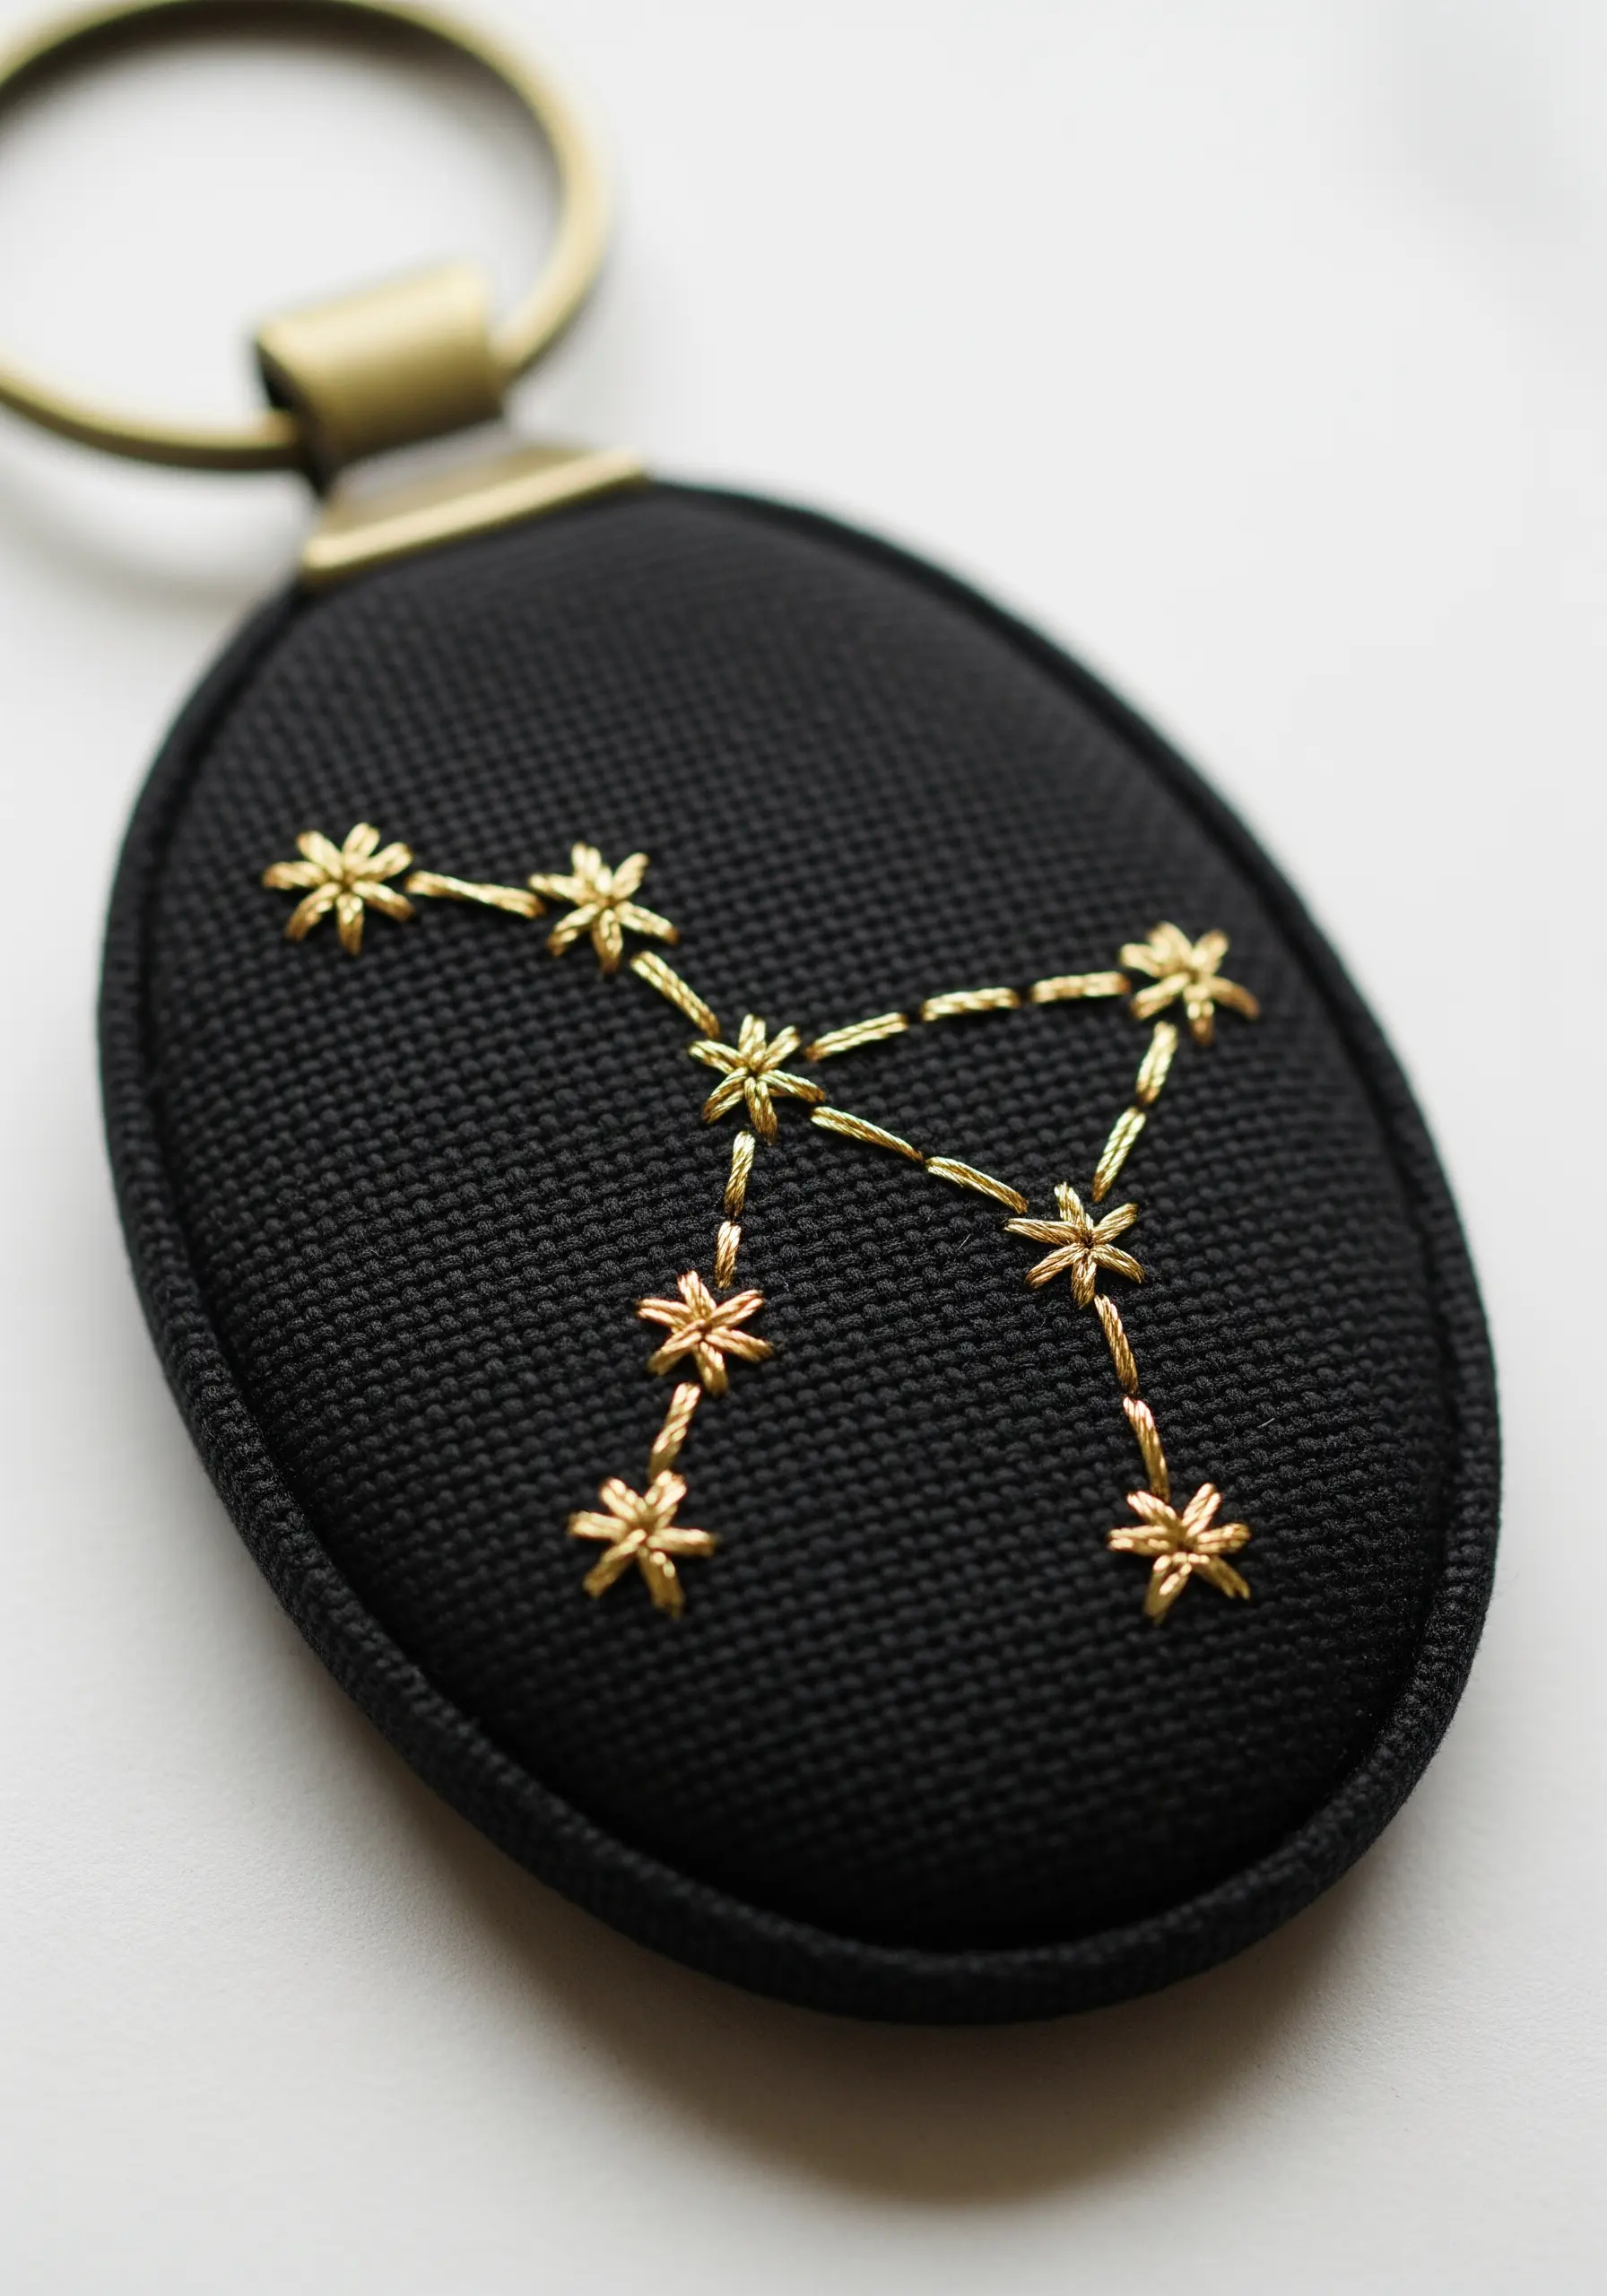
Let your design shine by stitching constellations with gold metallic thread on a dark fabric base.
Use a simple star stitch—or several overlapping straight stitches—for each star to maximize sparkle.
Connect them with a delicate backstitch.
Work with shorter lengths of metallic floss to prevent it from tangling and fraying, ensuring your abstract metallic thread embroidery concepts remain clean and bright.
12. Minimalist Line Art on Padded Forms
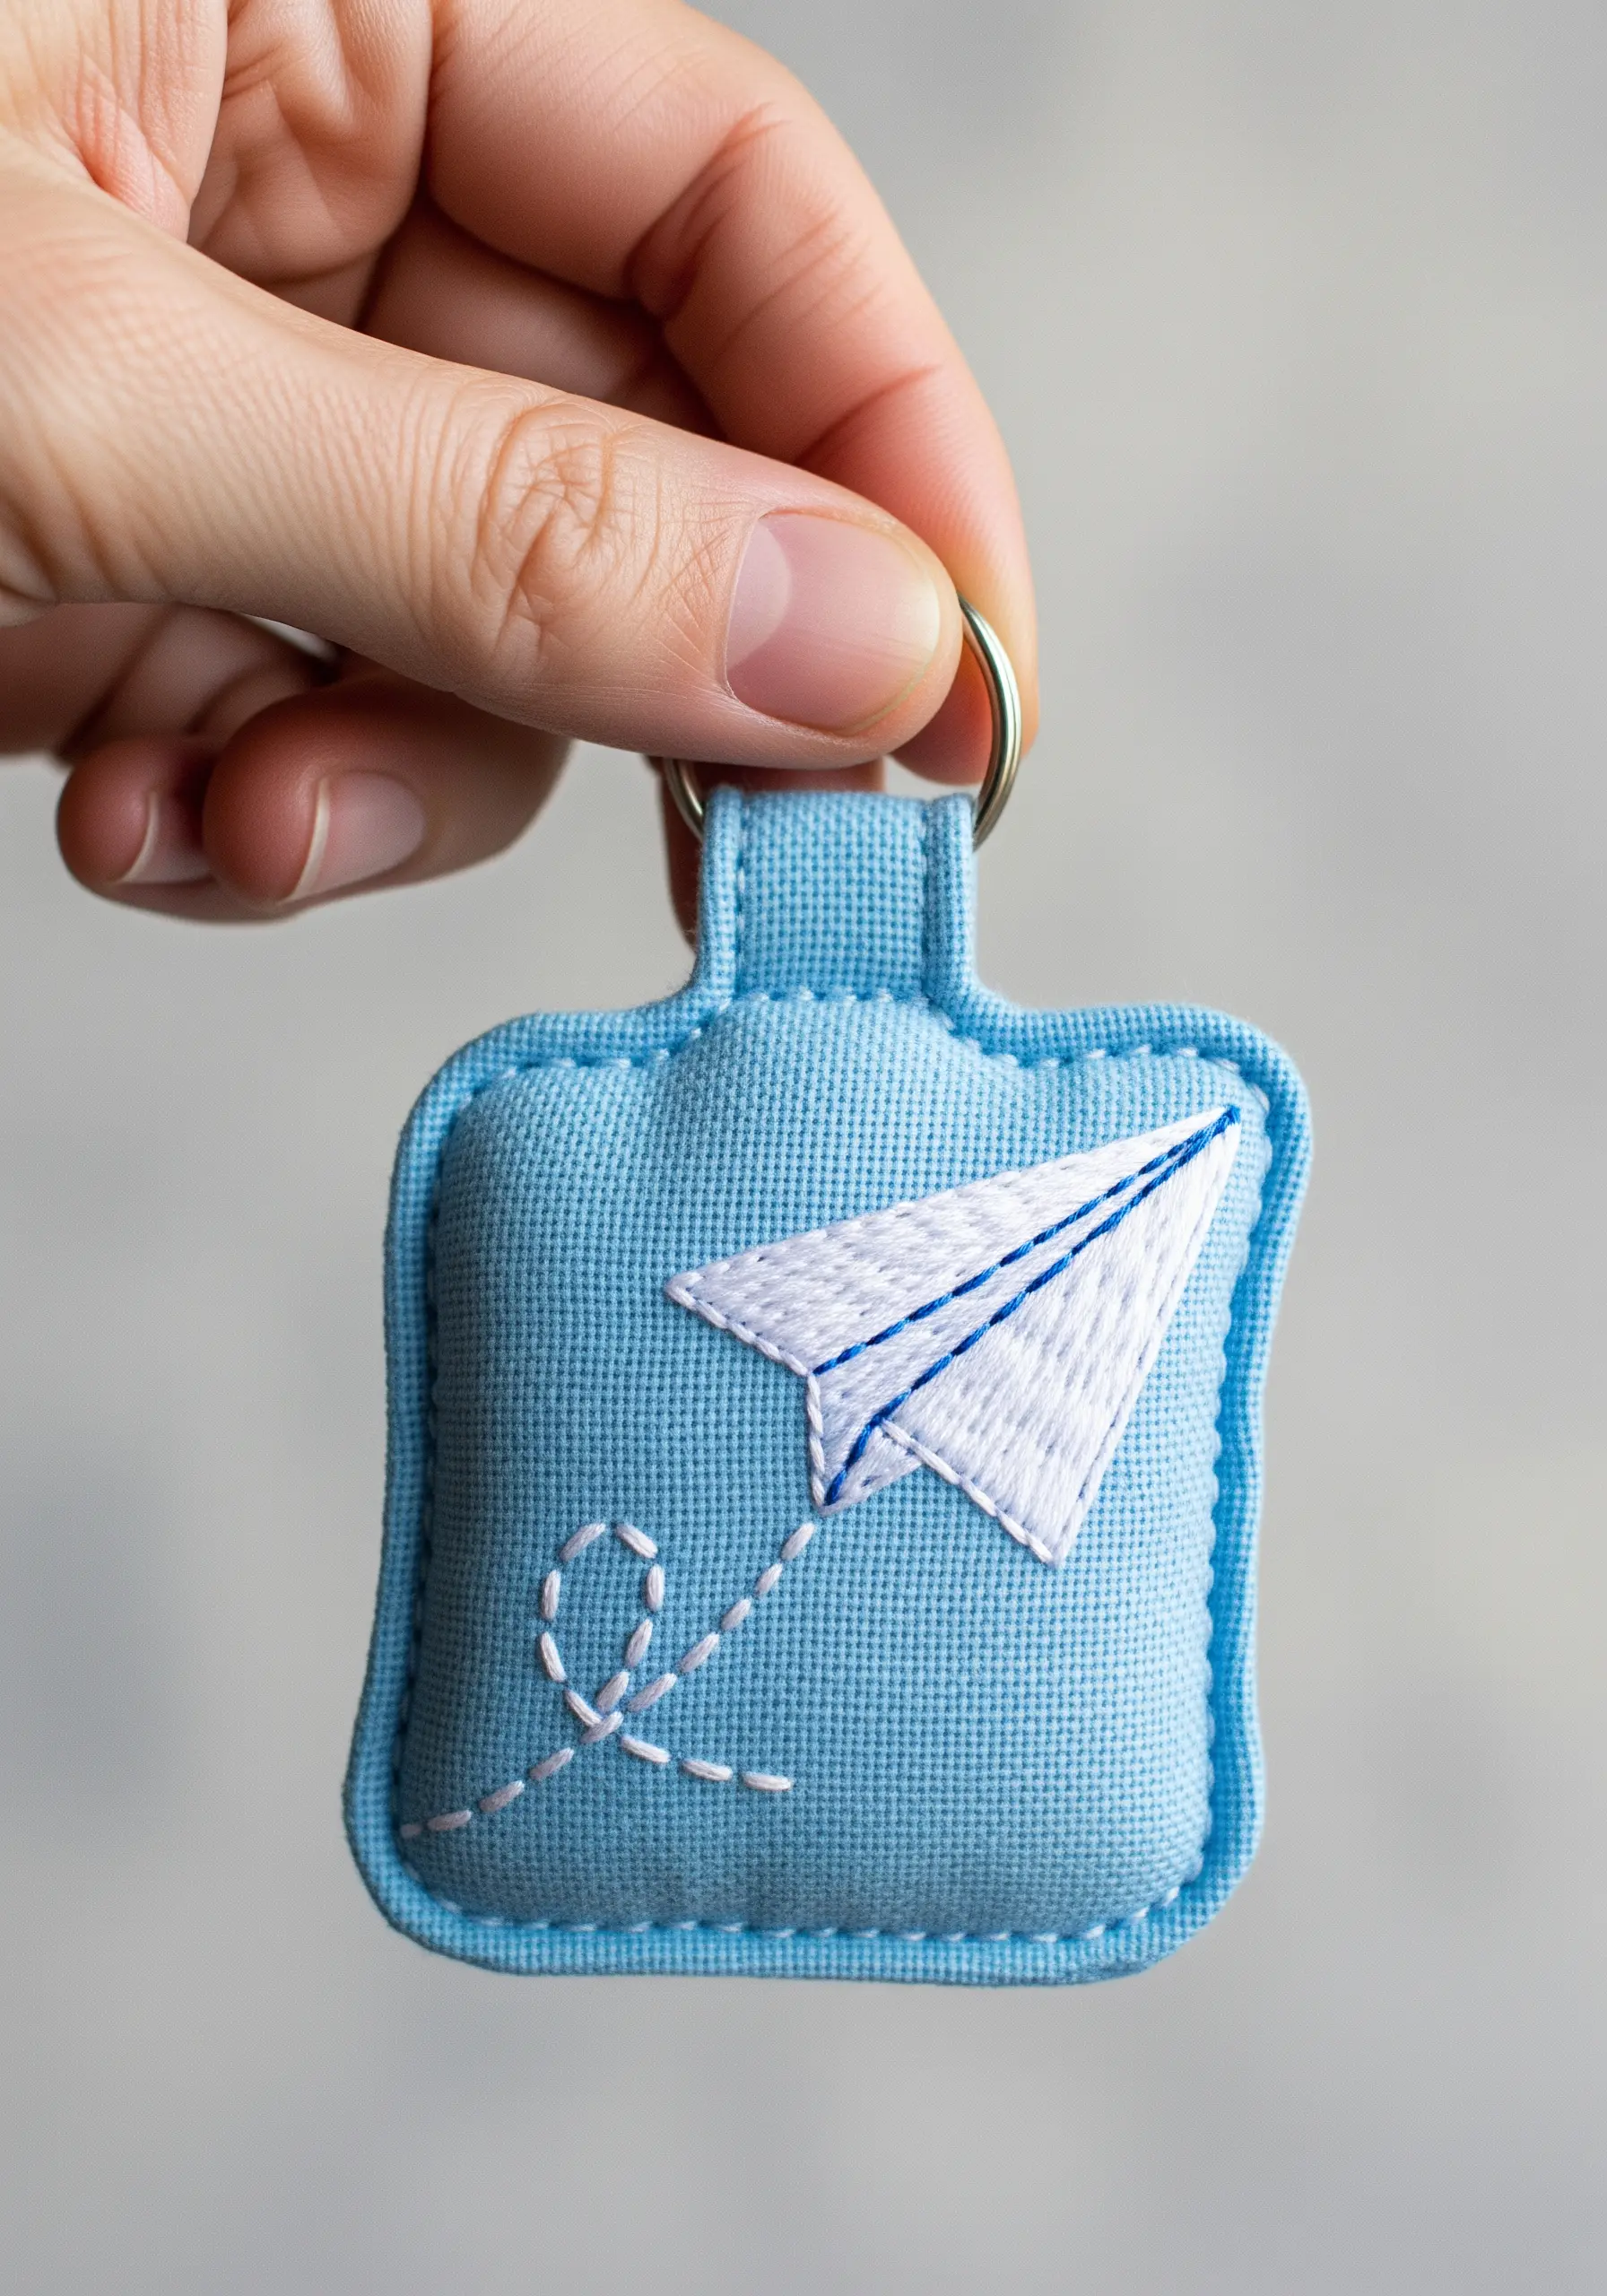
For clean and expressive abstract line art silhouettes, a simple backstitch or stem stitch is all you need.
The key to a successful minimalist design is the negative space you leave untouched.
Constructing the keychain with a layer of batting inside gives the simple line work a soft, tactile quality, transforming a flat drawing into a plush, touchable object.
13. Achieving Fruit Texture with Woven Picot Stitch

Move beyond flat fills and give your embroidered fruit a realistic, tactile surface.
The woven picot stitch creates a raised, bumpy texture that perfectly mimics the seeded skin of a strawberry.
This three-dimensional effect invites touch and makes the simple motif far more engaging than a standard satin stitch.
Add a few white French knots as final highlights.
14. Combining Embroidery with Resin Elements

Think beyond the thread by incorporating mixed-media elements into your design.
Here, delicately stitched dandelion seeds appear to float toward a resin charm containing a real dandelion head.
This thoughtful combination of soft textile and hard, glossy resin creates a stunning contrast in materials and tells a beautiful visual story.
It’s one of the best ways to combine embroidery and mixed media for home decor masterpieces.
15. Whipped Backstitch for Smooth, Bold Outlines
For a clean, cord-like outline that stands out, use a whipped backstitch.
First, create a foundation of simple backstitches along your design line.
Then, take a second thread and whip it around each stitch without piercing the fabric.
This technique smooths out the segmented look of a standard backstitch, resulting in a raised, continuous line perfect for graphic motifs on felt.
16. Creating Gradients with Thread Painting
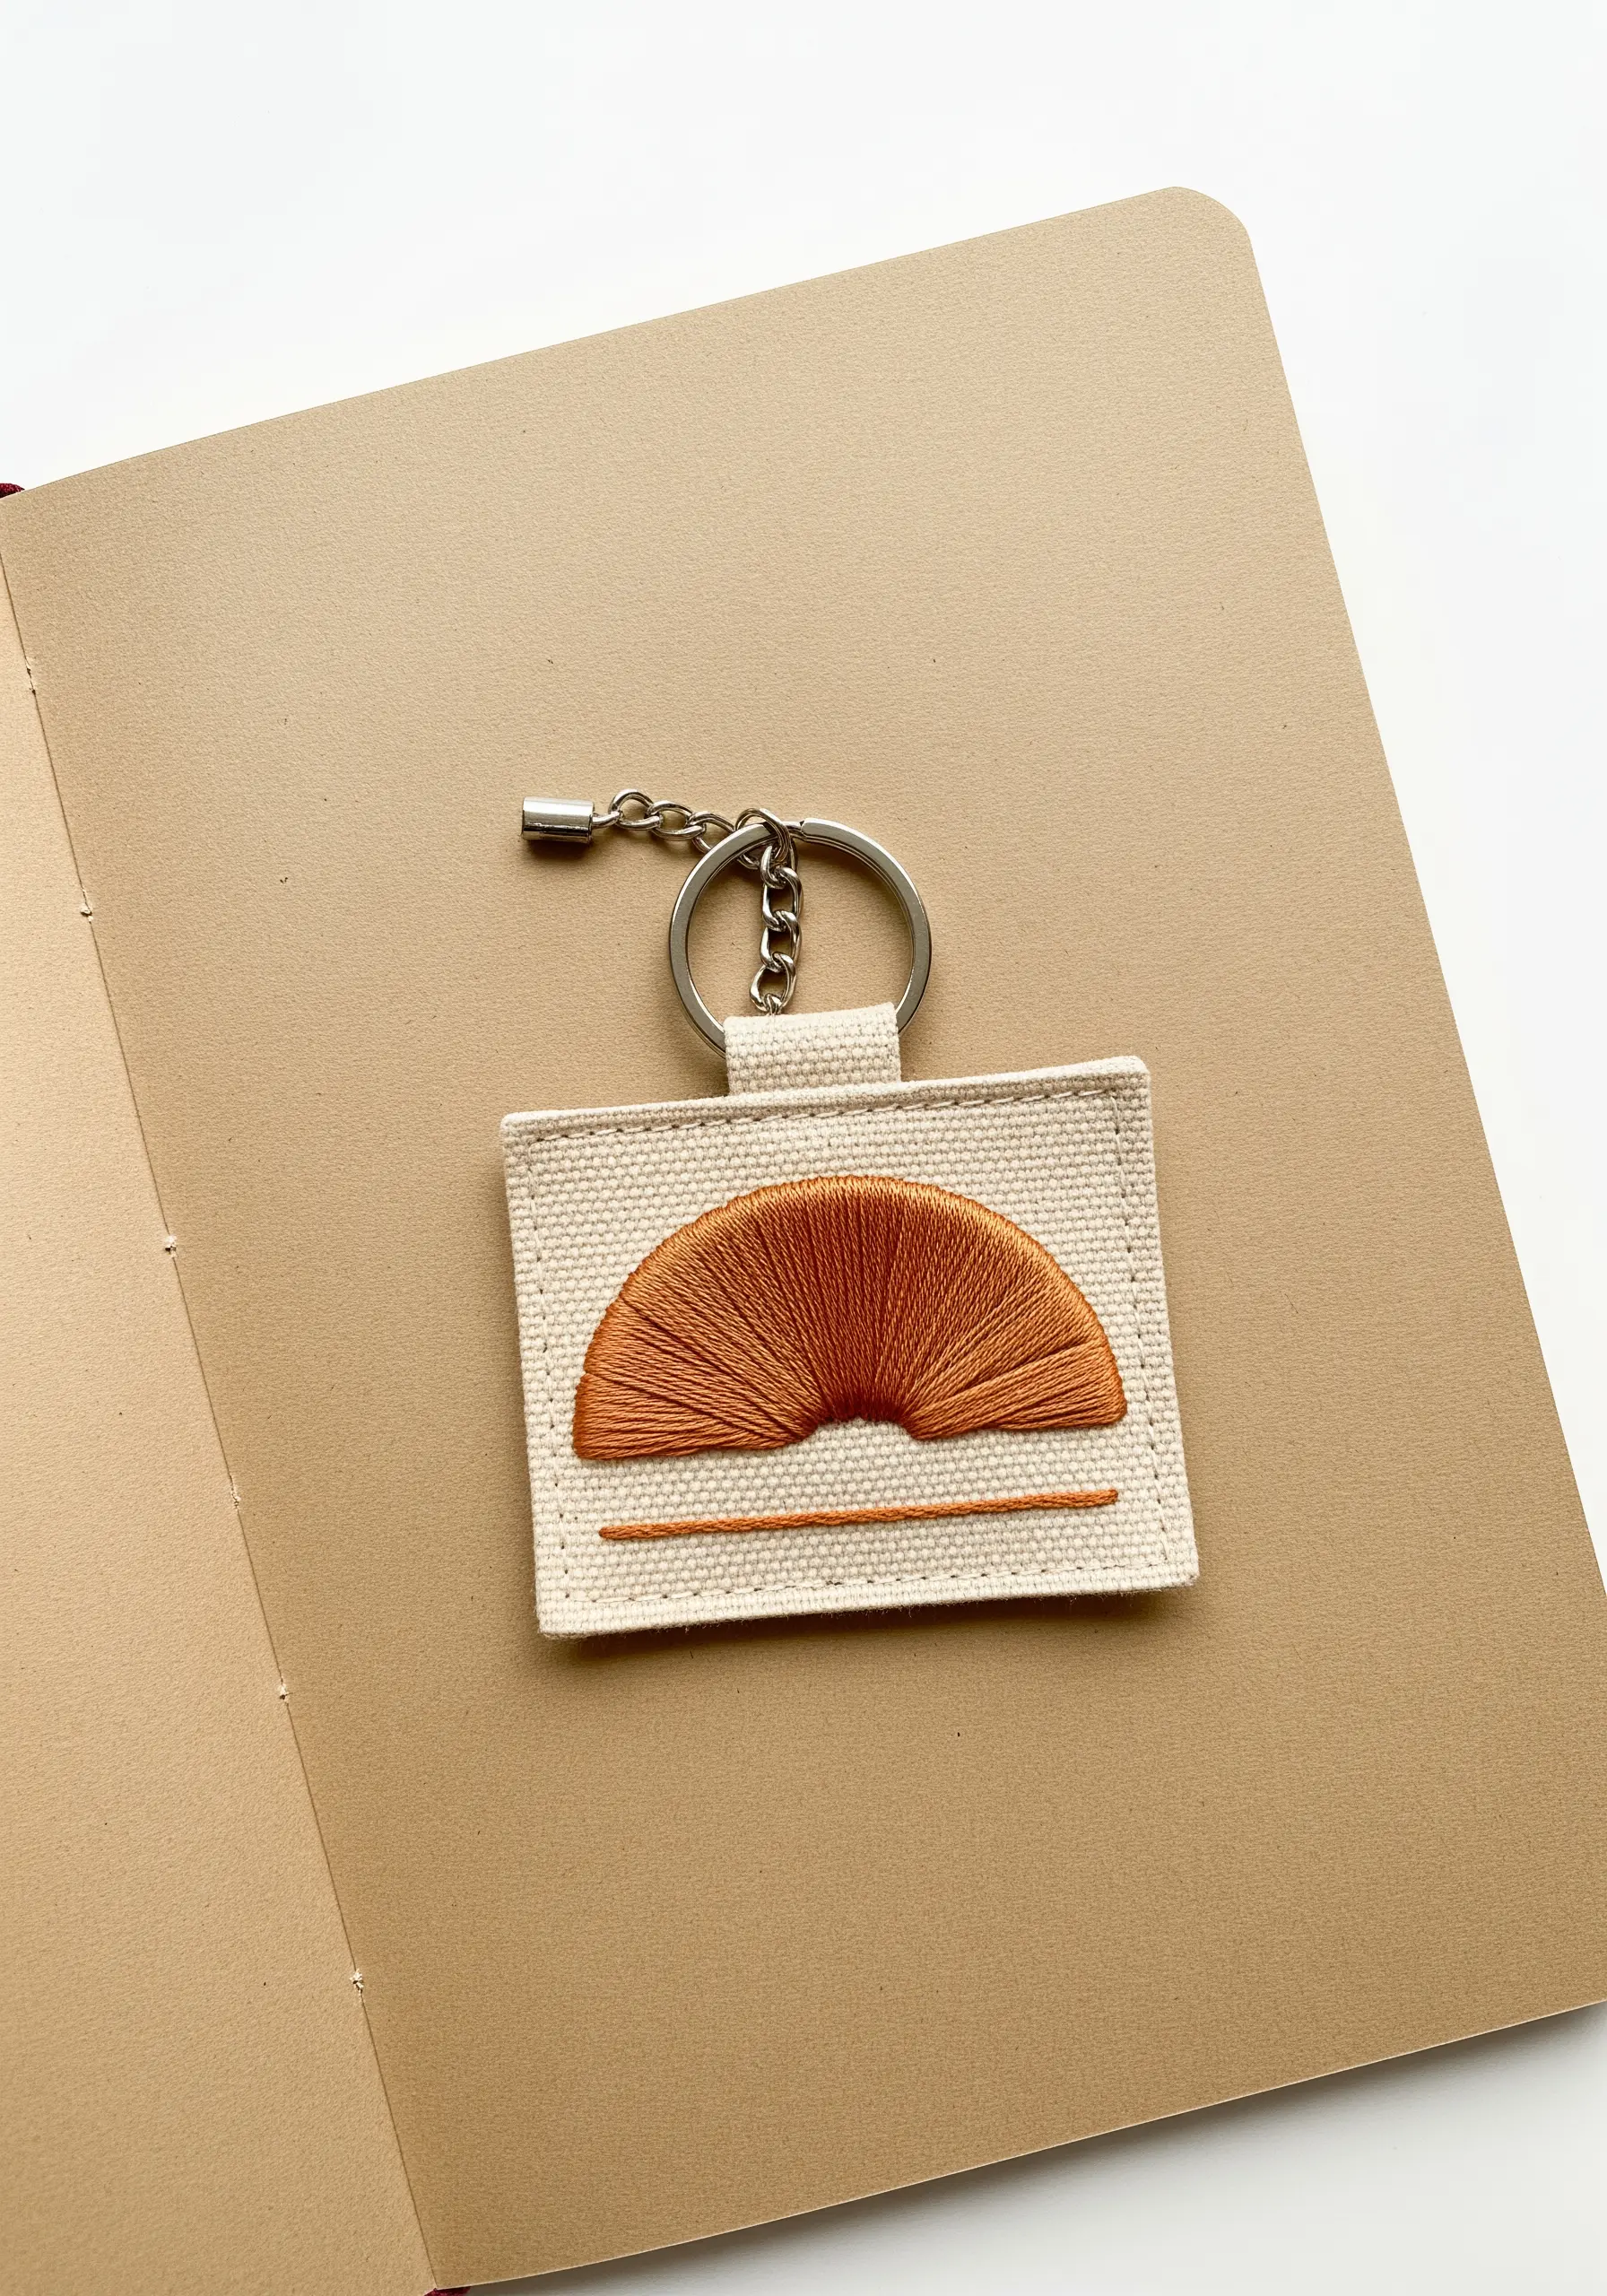
Achieve a smooth, painterly transition of color using the long-and-short stitch, also known as thread painting.
Begin with your darkest color at the base, then introduce the next shade with staggered stitches that blend into the first layer.
Continue this process to create a seamless gradient, perfect for capturing the gentle fade of a sunrise or sunset. This is one of the best abstract thread painting ideas to mix shades.
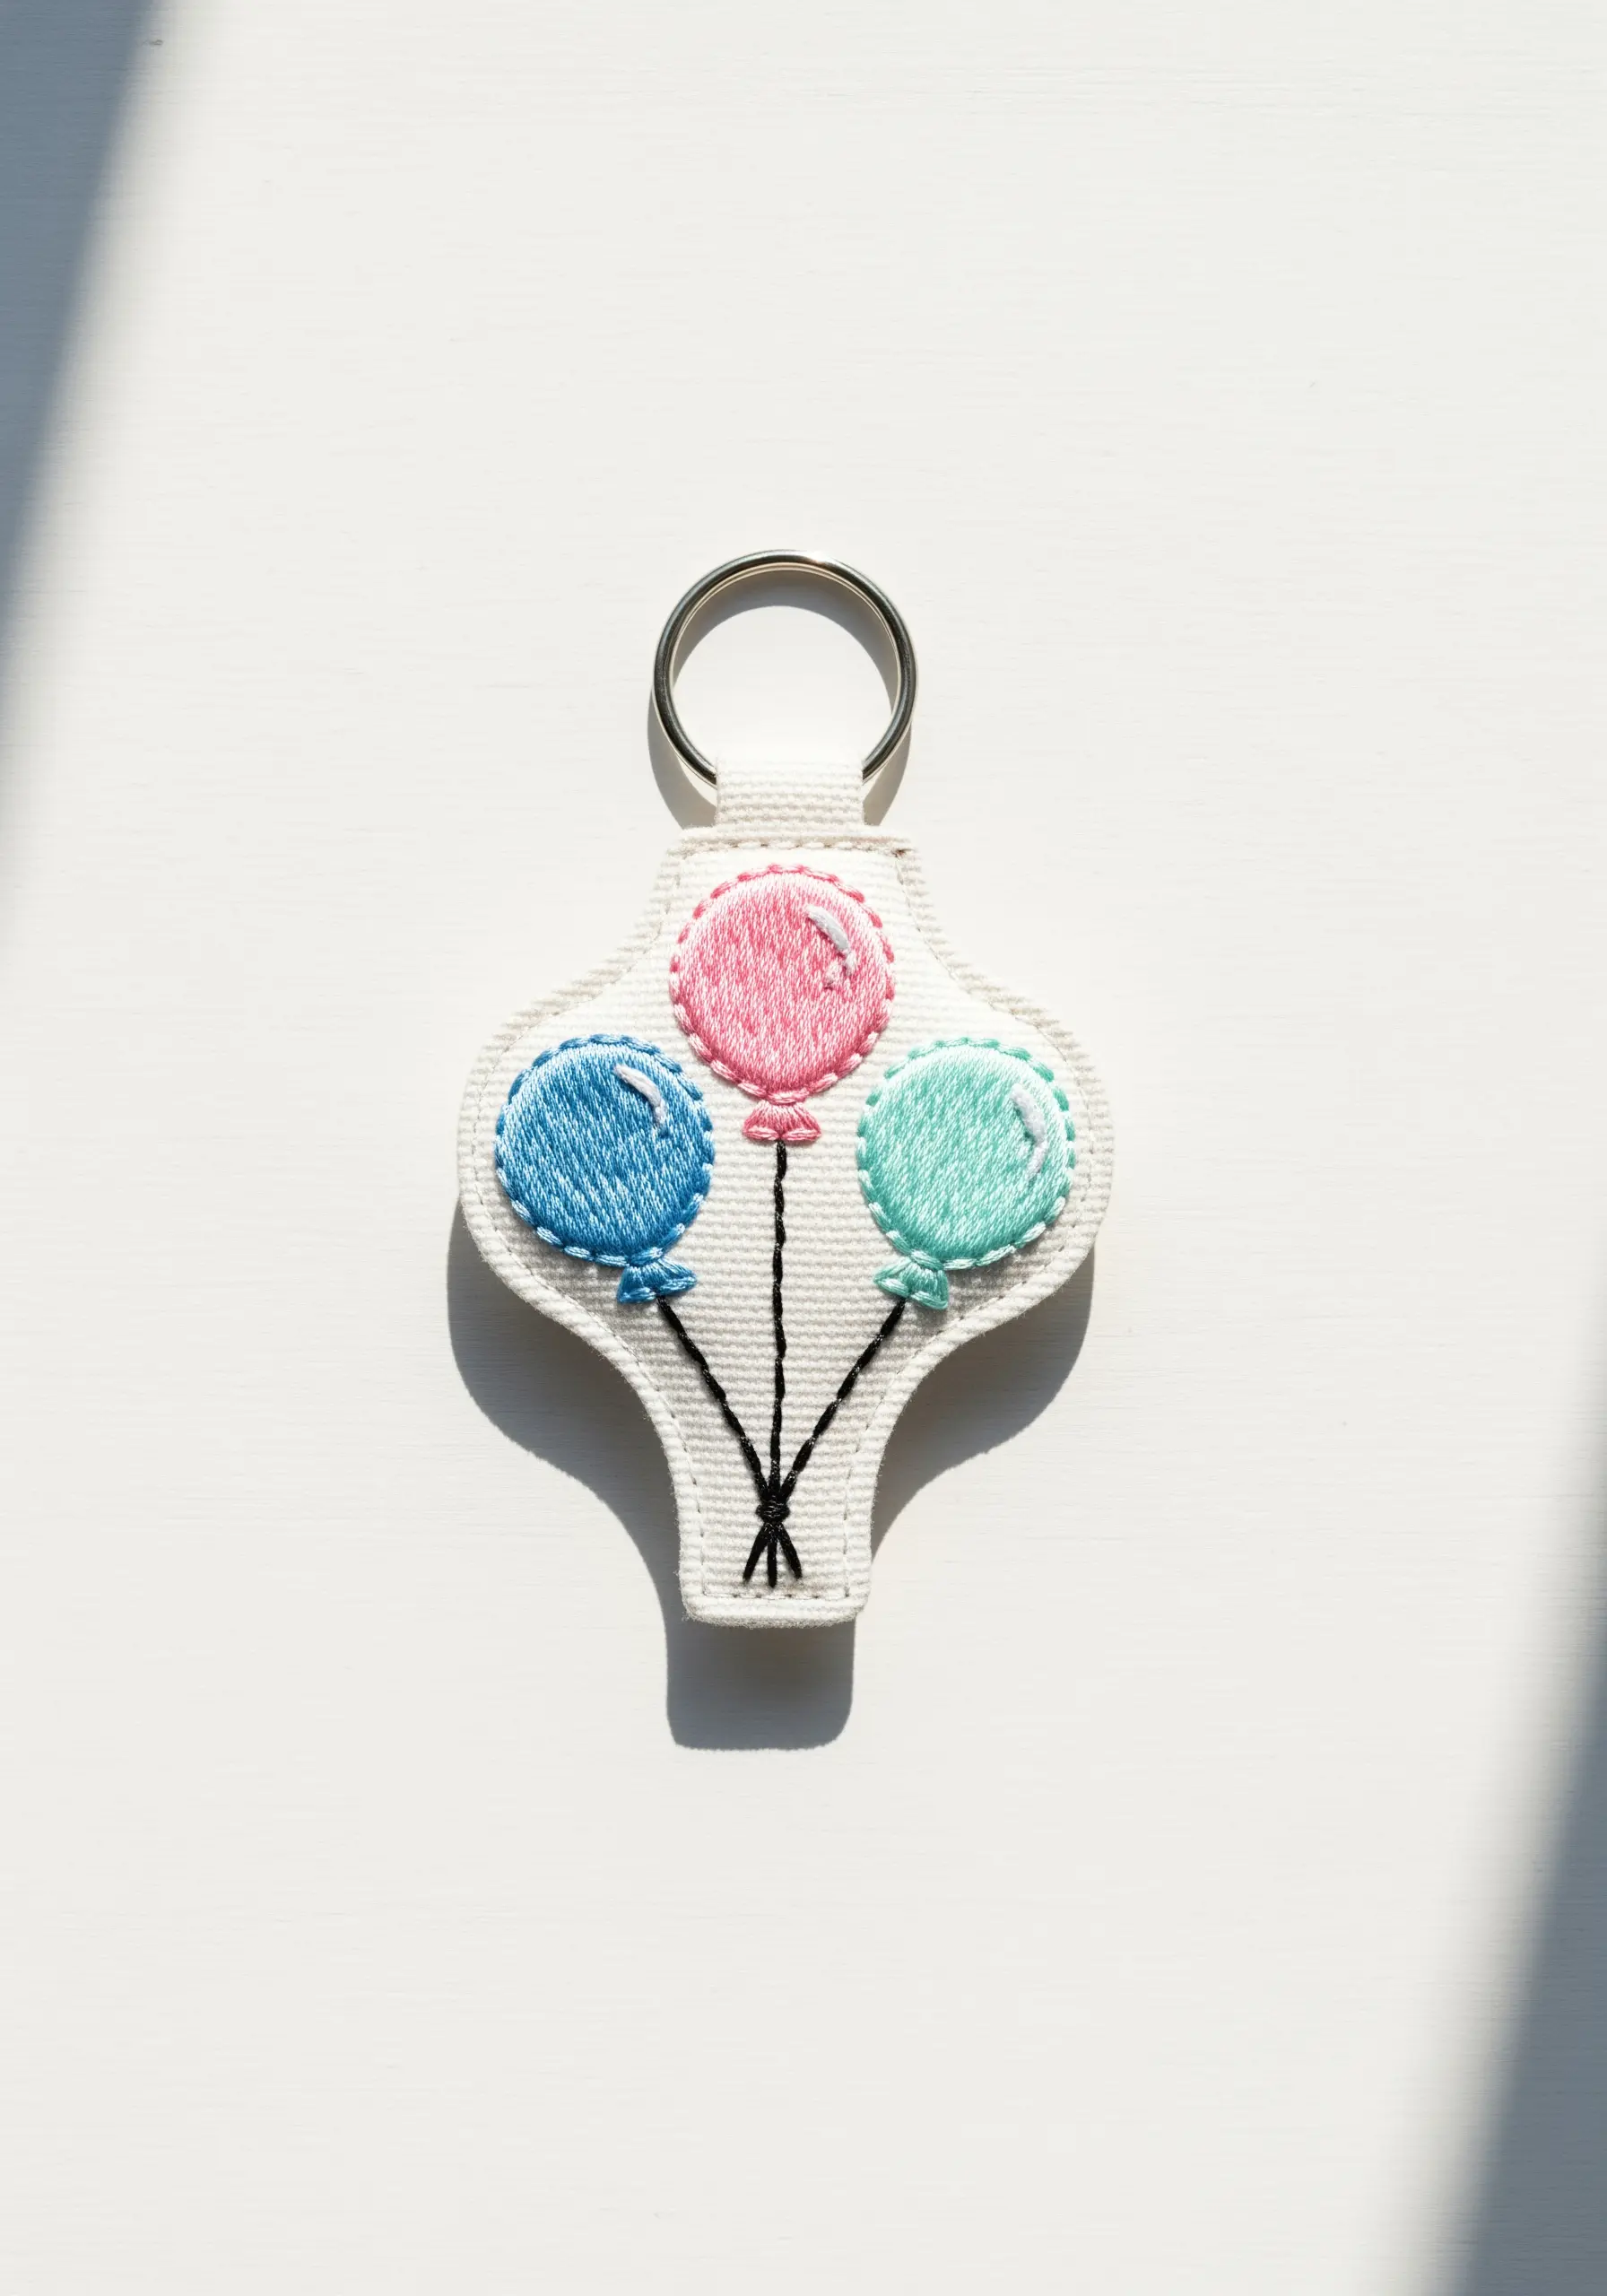
17. Simple Petals with Isolated Satin Stitches
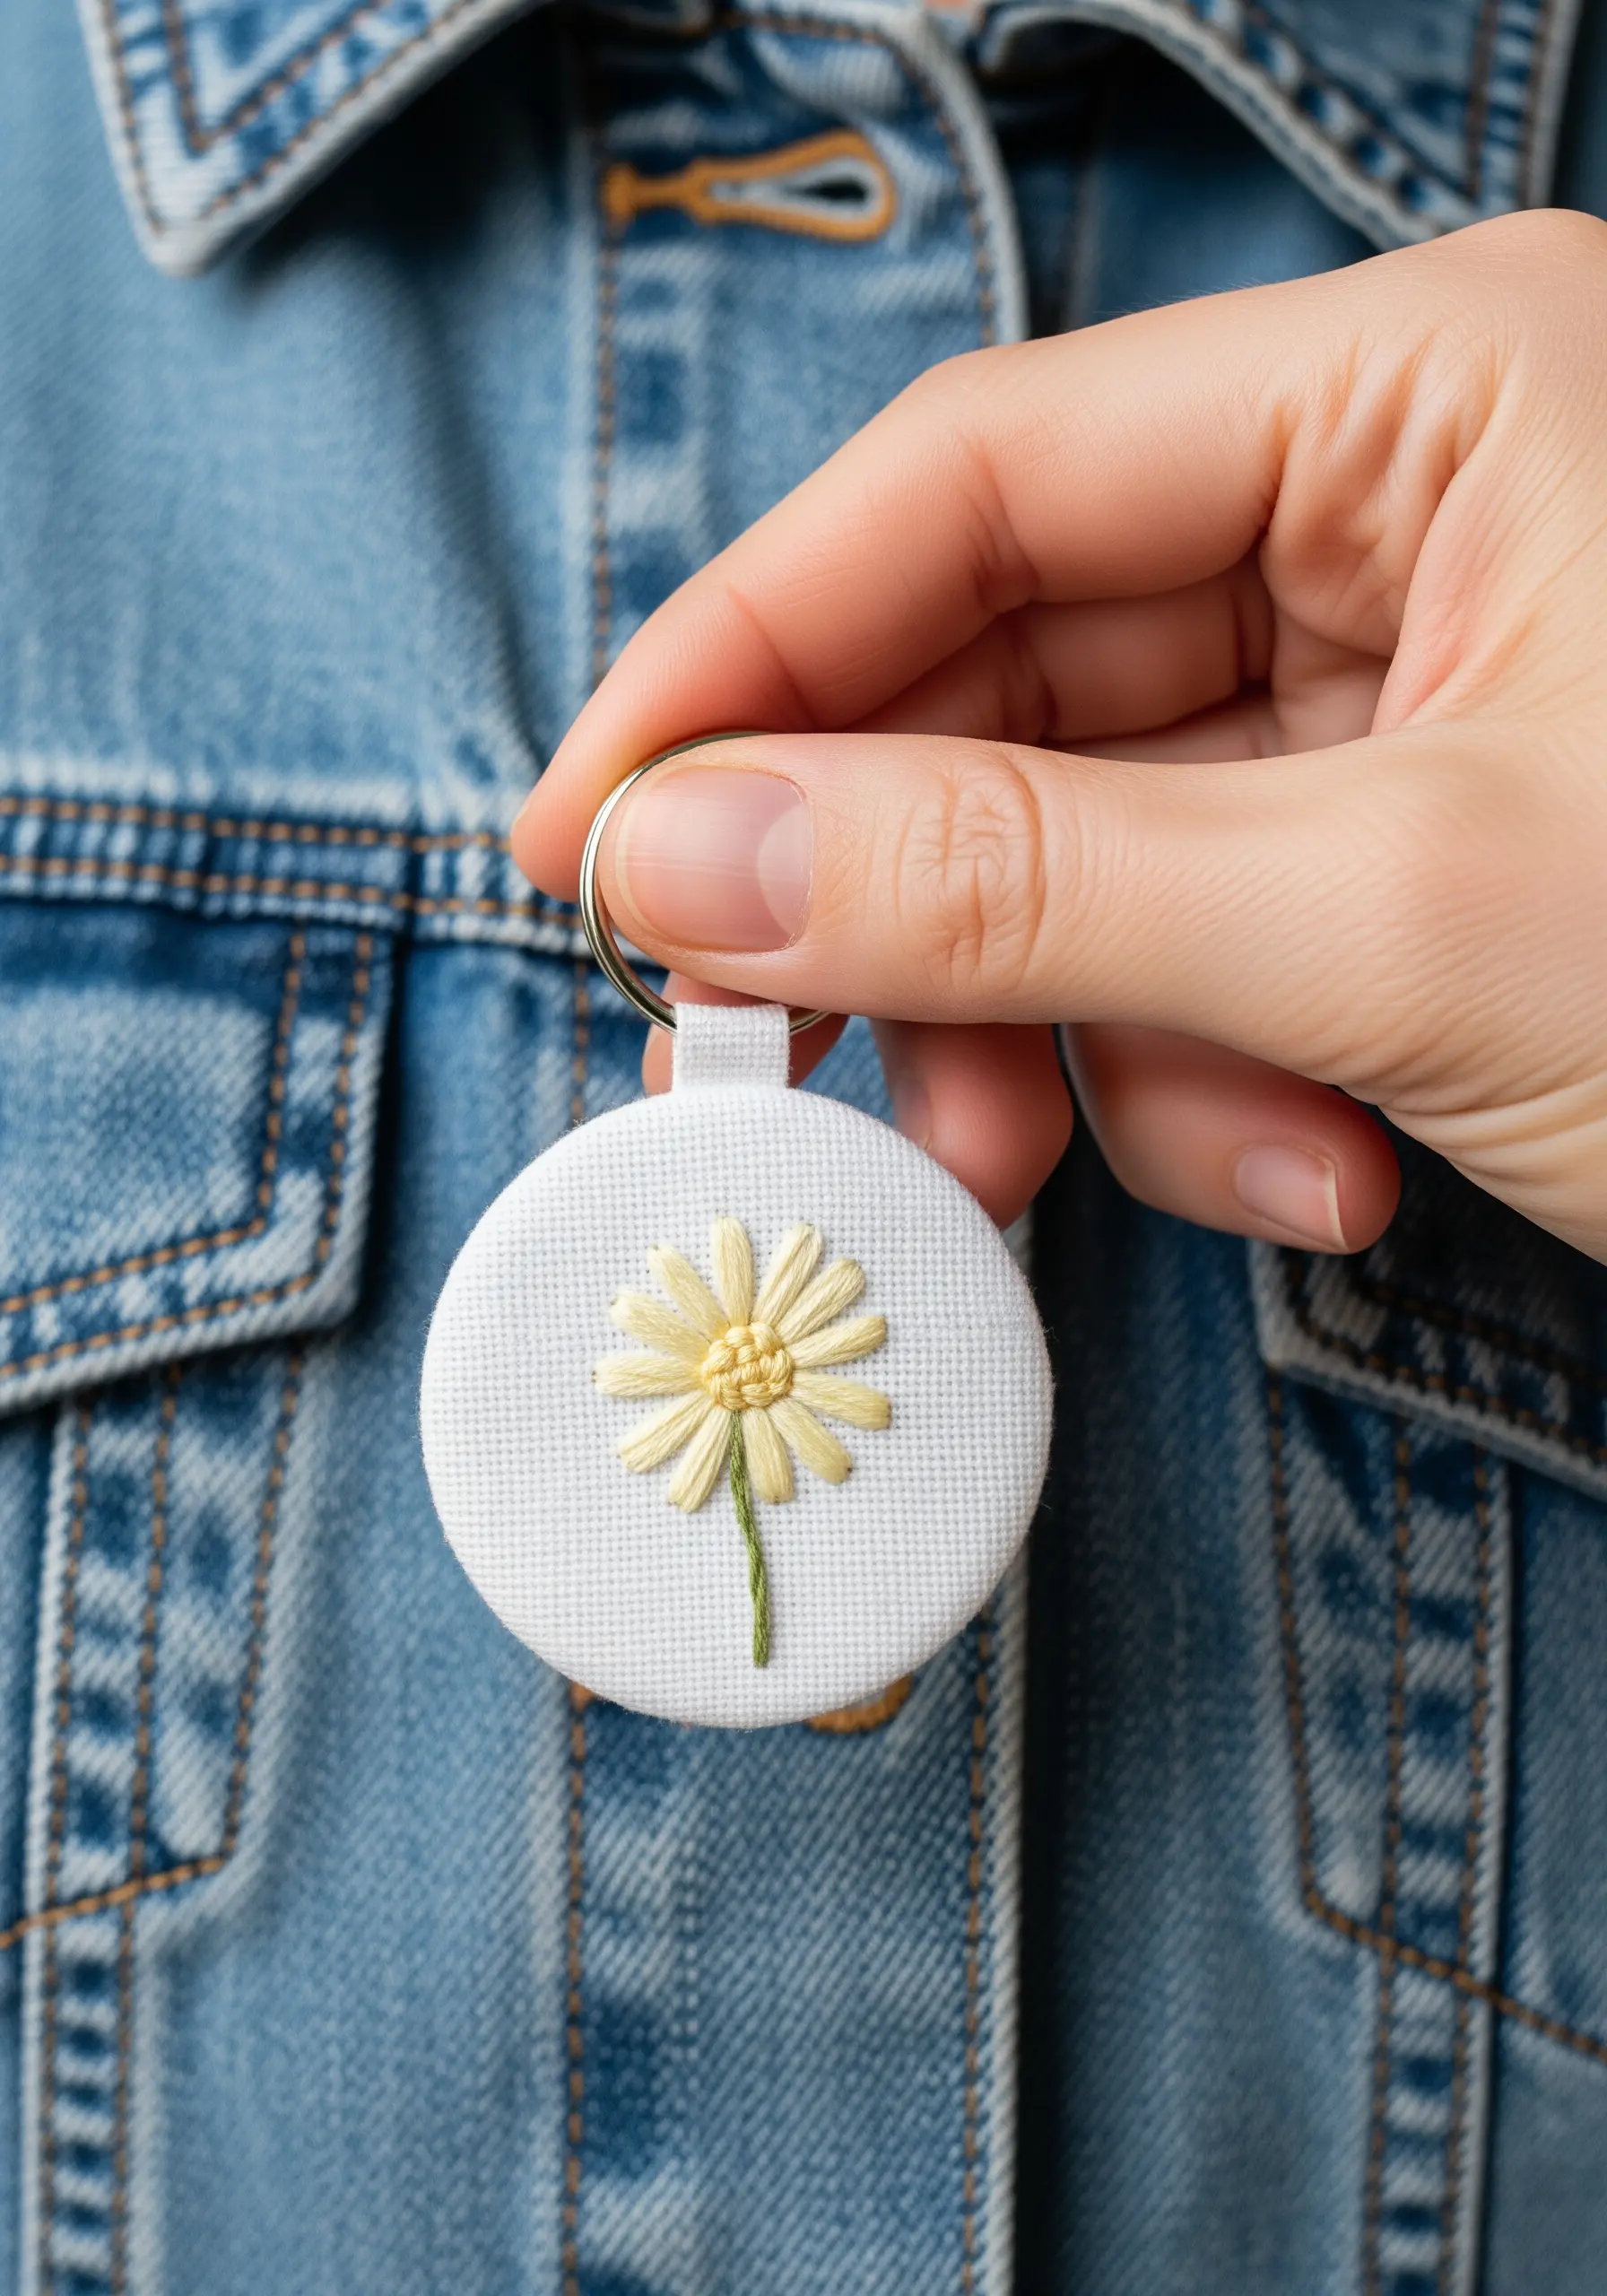
For a light, modern floral, you don’t need complex techniques.
Create each petal with a single, detached satin stitch (sometimes called a padded satin stitch or a long lazy daisy).
Arrange these stitches radiating from a central point, which you can then fill with a cluster of French knots for texture.
This minimalist approach keeps the daisy and buttercup projects feeling fresh and uncluttered.
18. Patterned Fills with Radiating Stitches
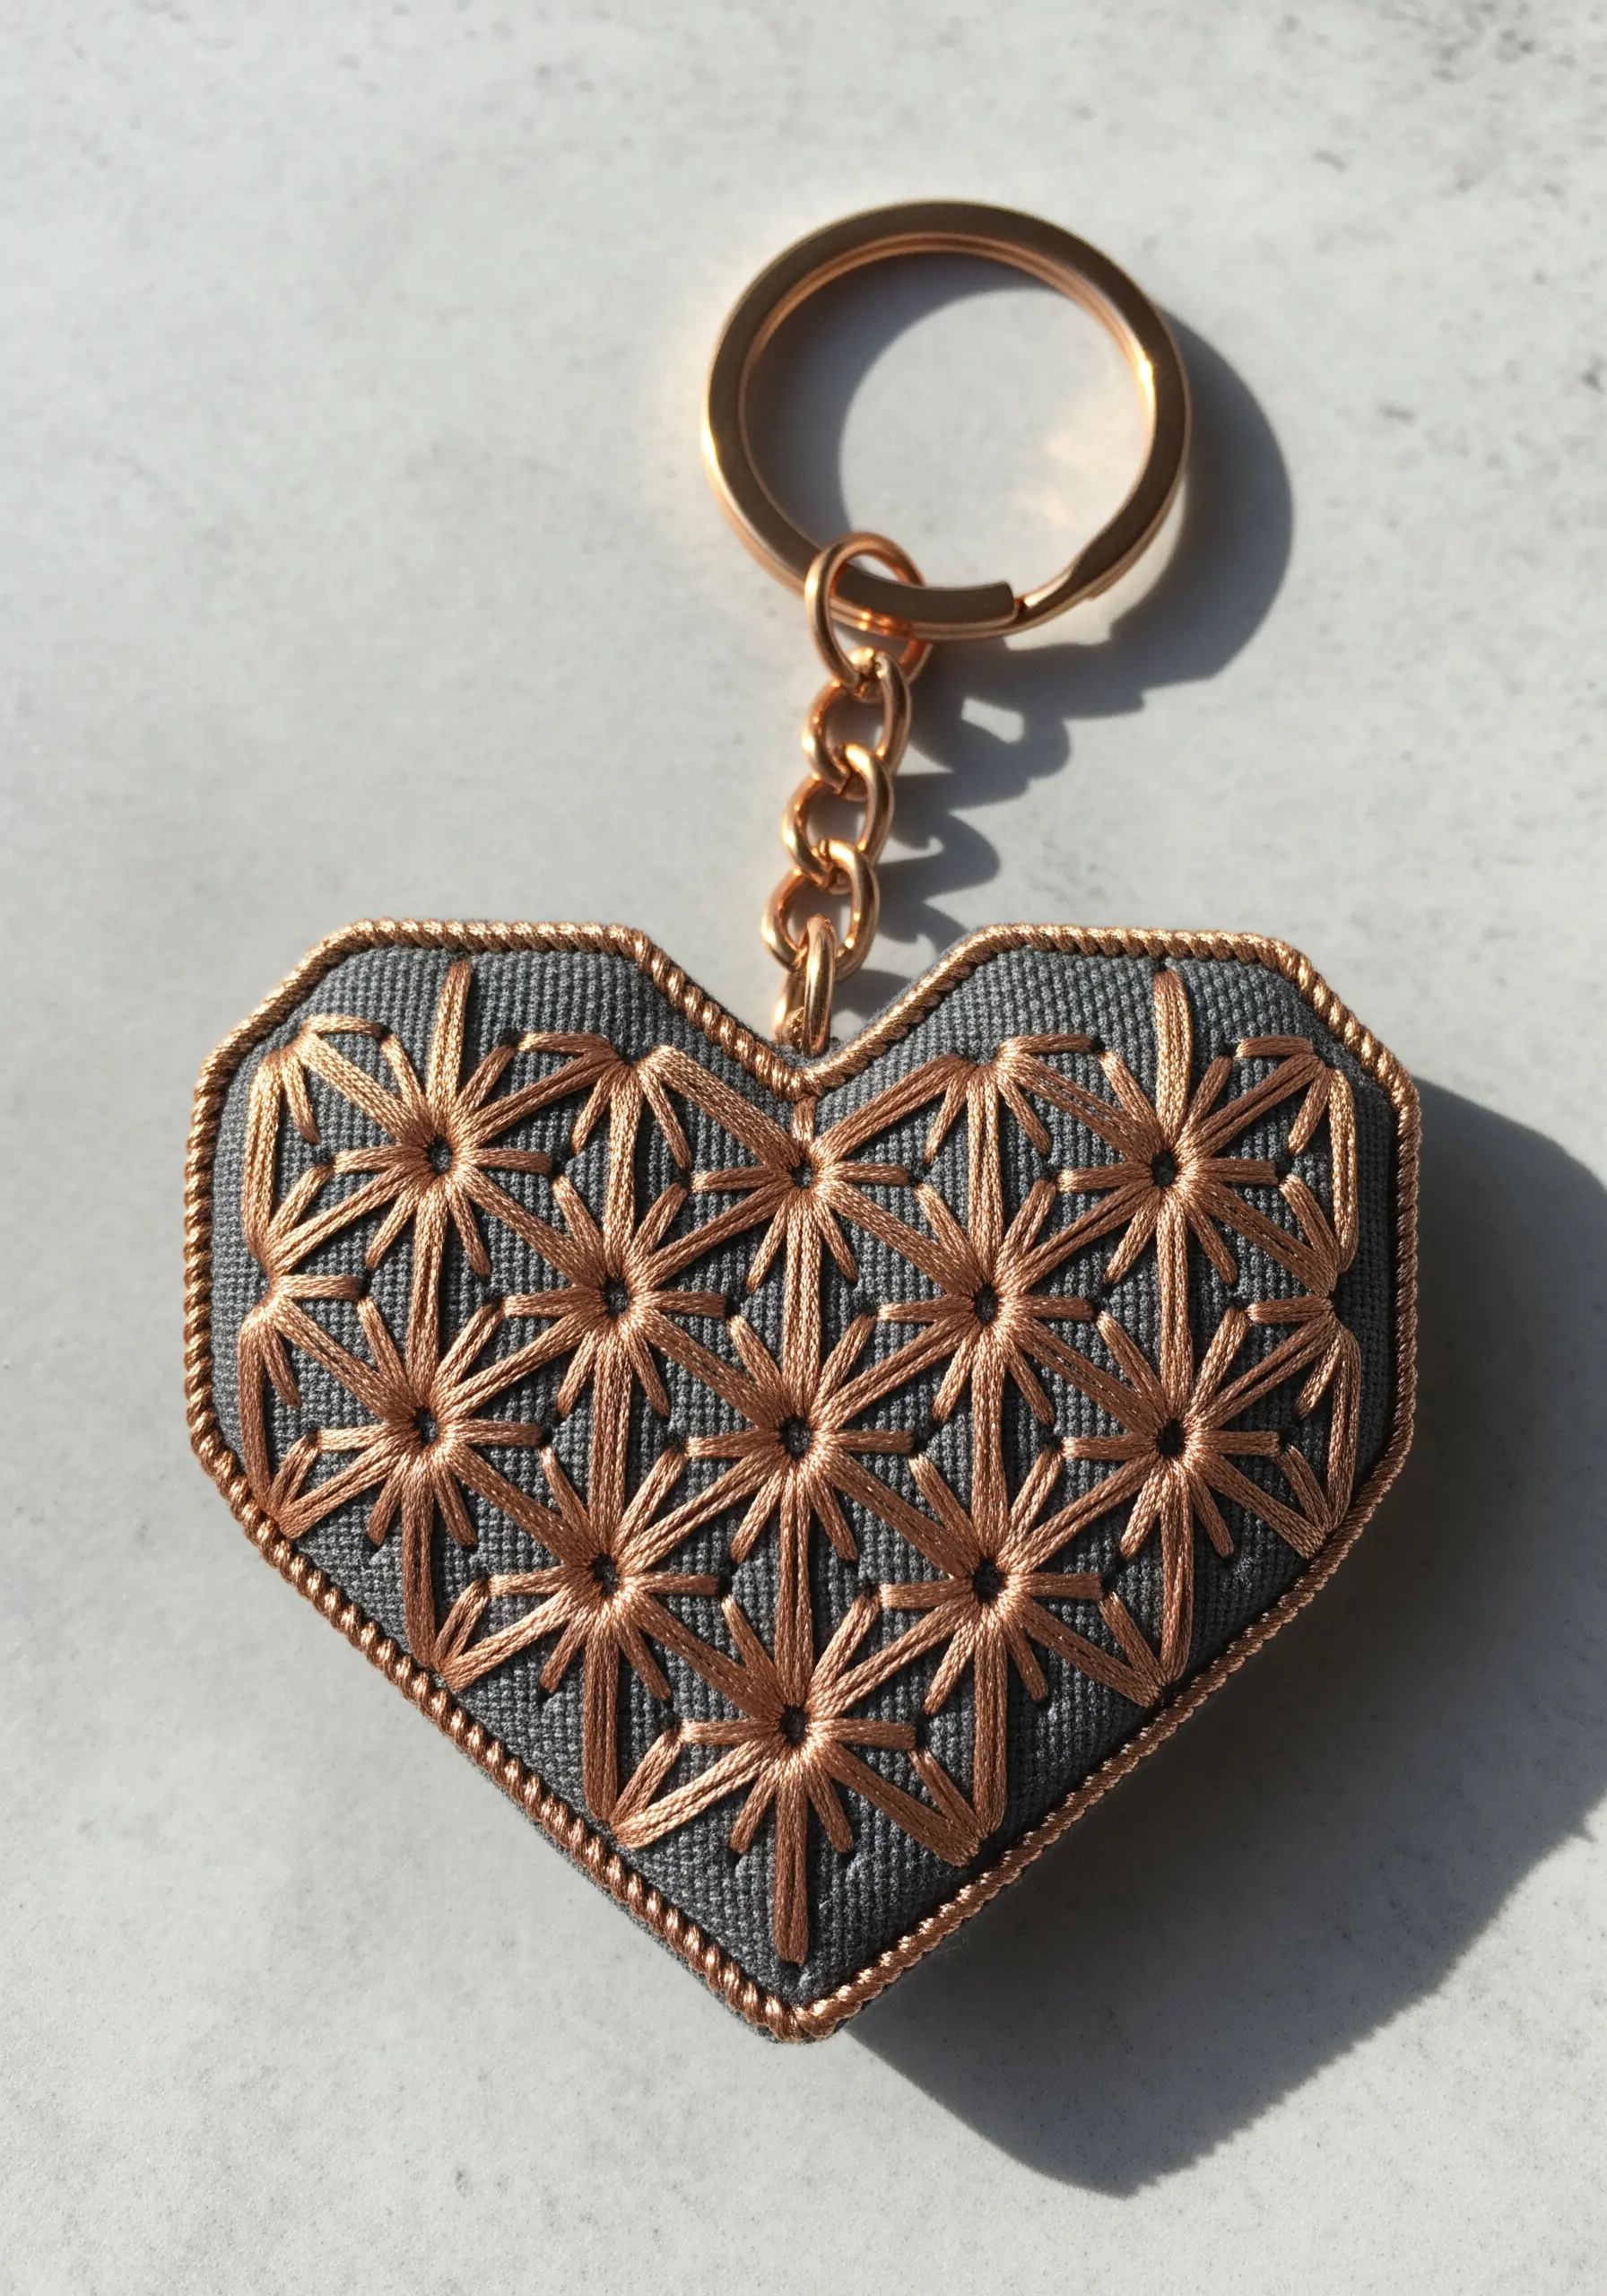
Instead of filling a shape with a solid color, create a more intricate surface with a repeating geometric pattern.
Work a series of radiating straight stitches from a central point to form starburst or eyelet motifs.
Arranging these in a grid creates a textured, lace-like effect that feels much more luxurious than a simple satin fill, especially when using contemporary metallic thread designs.
19. Adding Highlights with Couching
Give your satin-stitched shapes a subtle, realistic shine by adding a highlight with the couching technique.
After filling the main shape, lay a single strand of a lighter or metallic thread across the surface.
Then, use a second thread to tack it down with tiny, perpendicular stitches.
This method creates a crisp, clean highlight that sits neatly on top of your base stitches.
20. Minimalist Texture with Seed Stitch
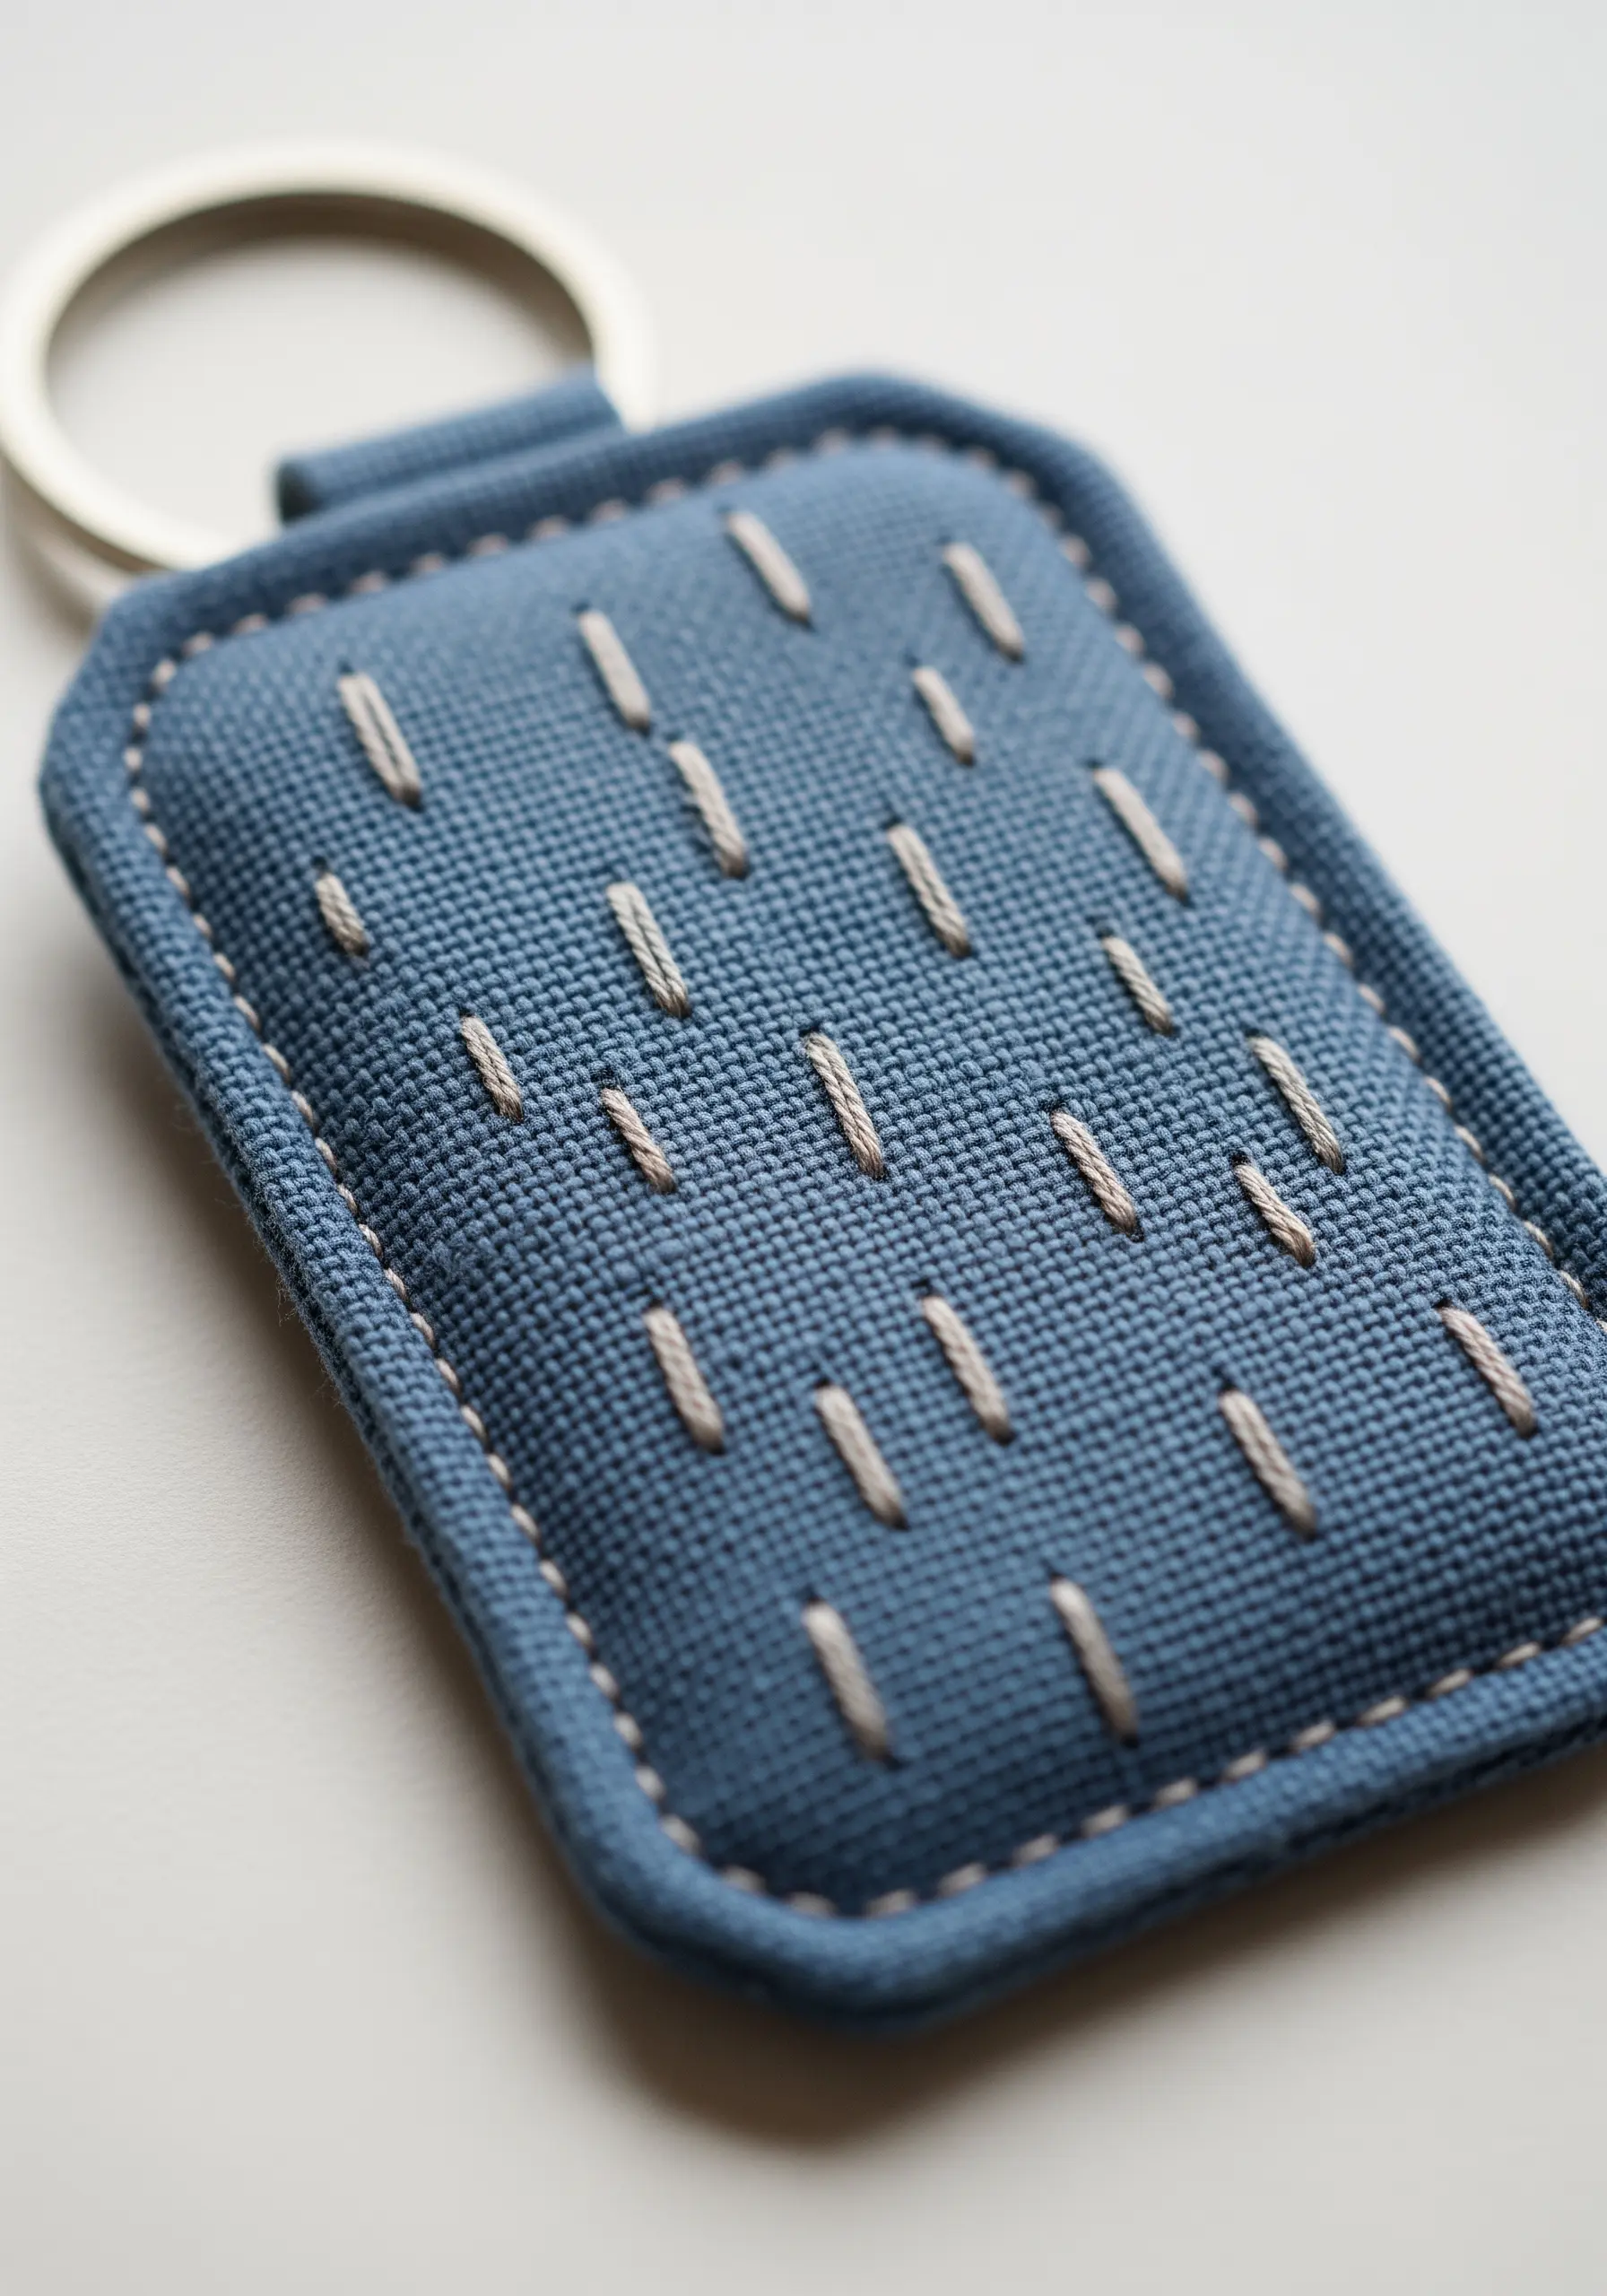
The seed stitch is an elegant way to add subtle texture to a plain fabric surface without overwhelming it.
Simply make small, straight stitches in random directions across the area you want to fill.
The result is a delicate, speckled pattern that adds a tactile quality and visual interest.
It’s one of the most effective minimalist embroidery ideas using texture instead of color for a sophisticated finish.
21. Intricate Details with Precision Backstitch
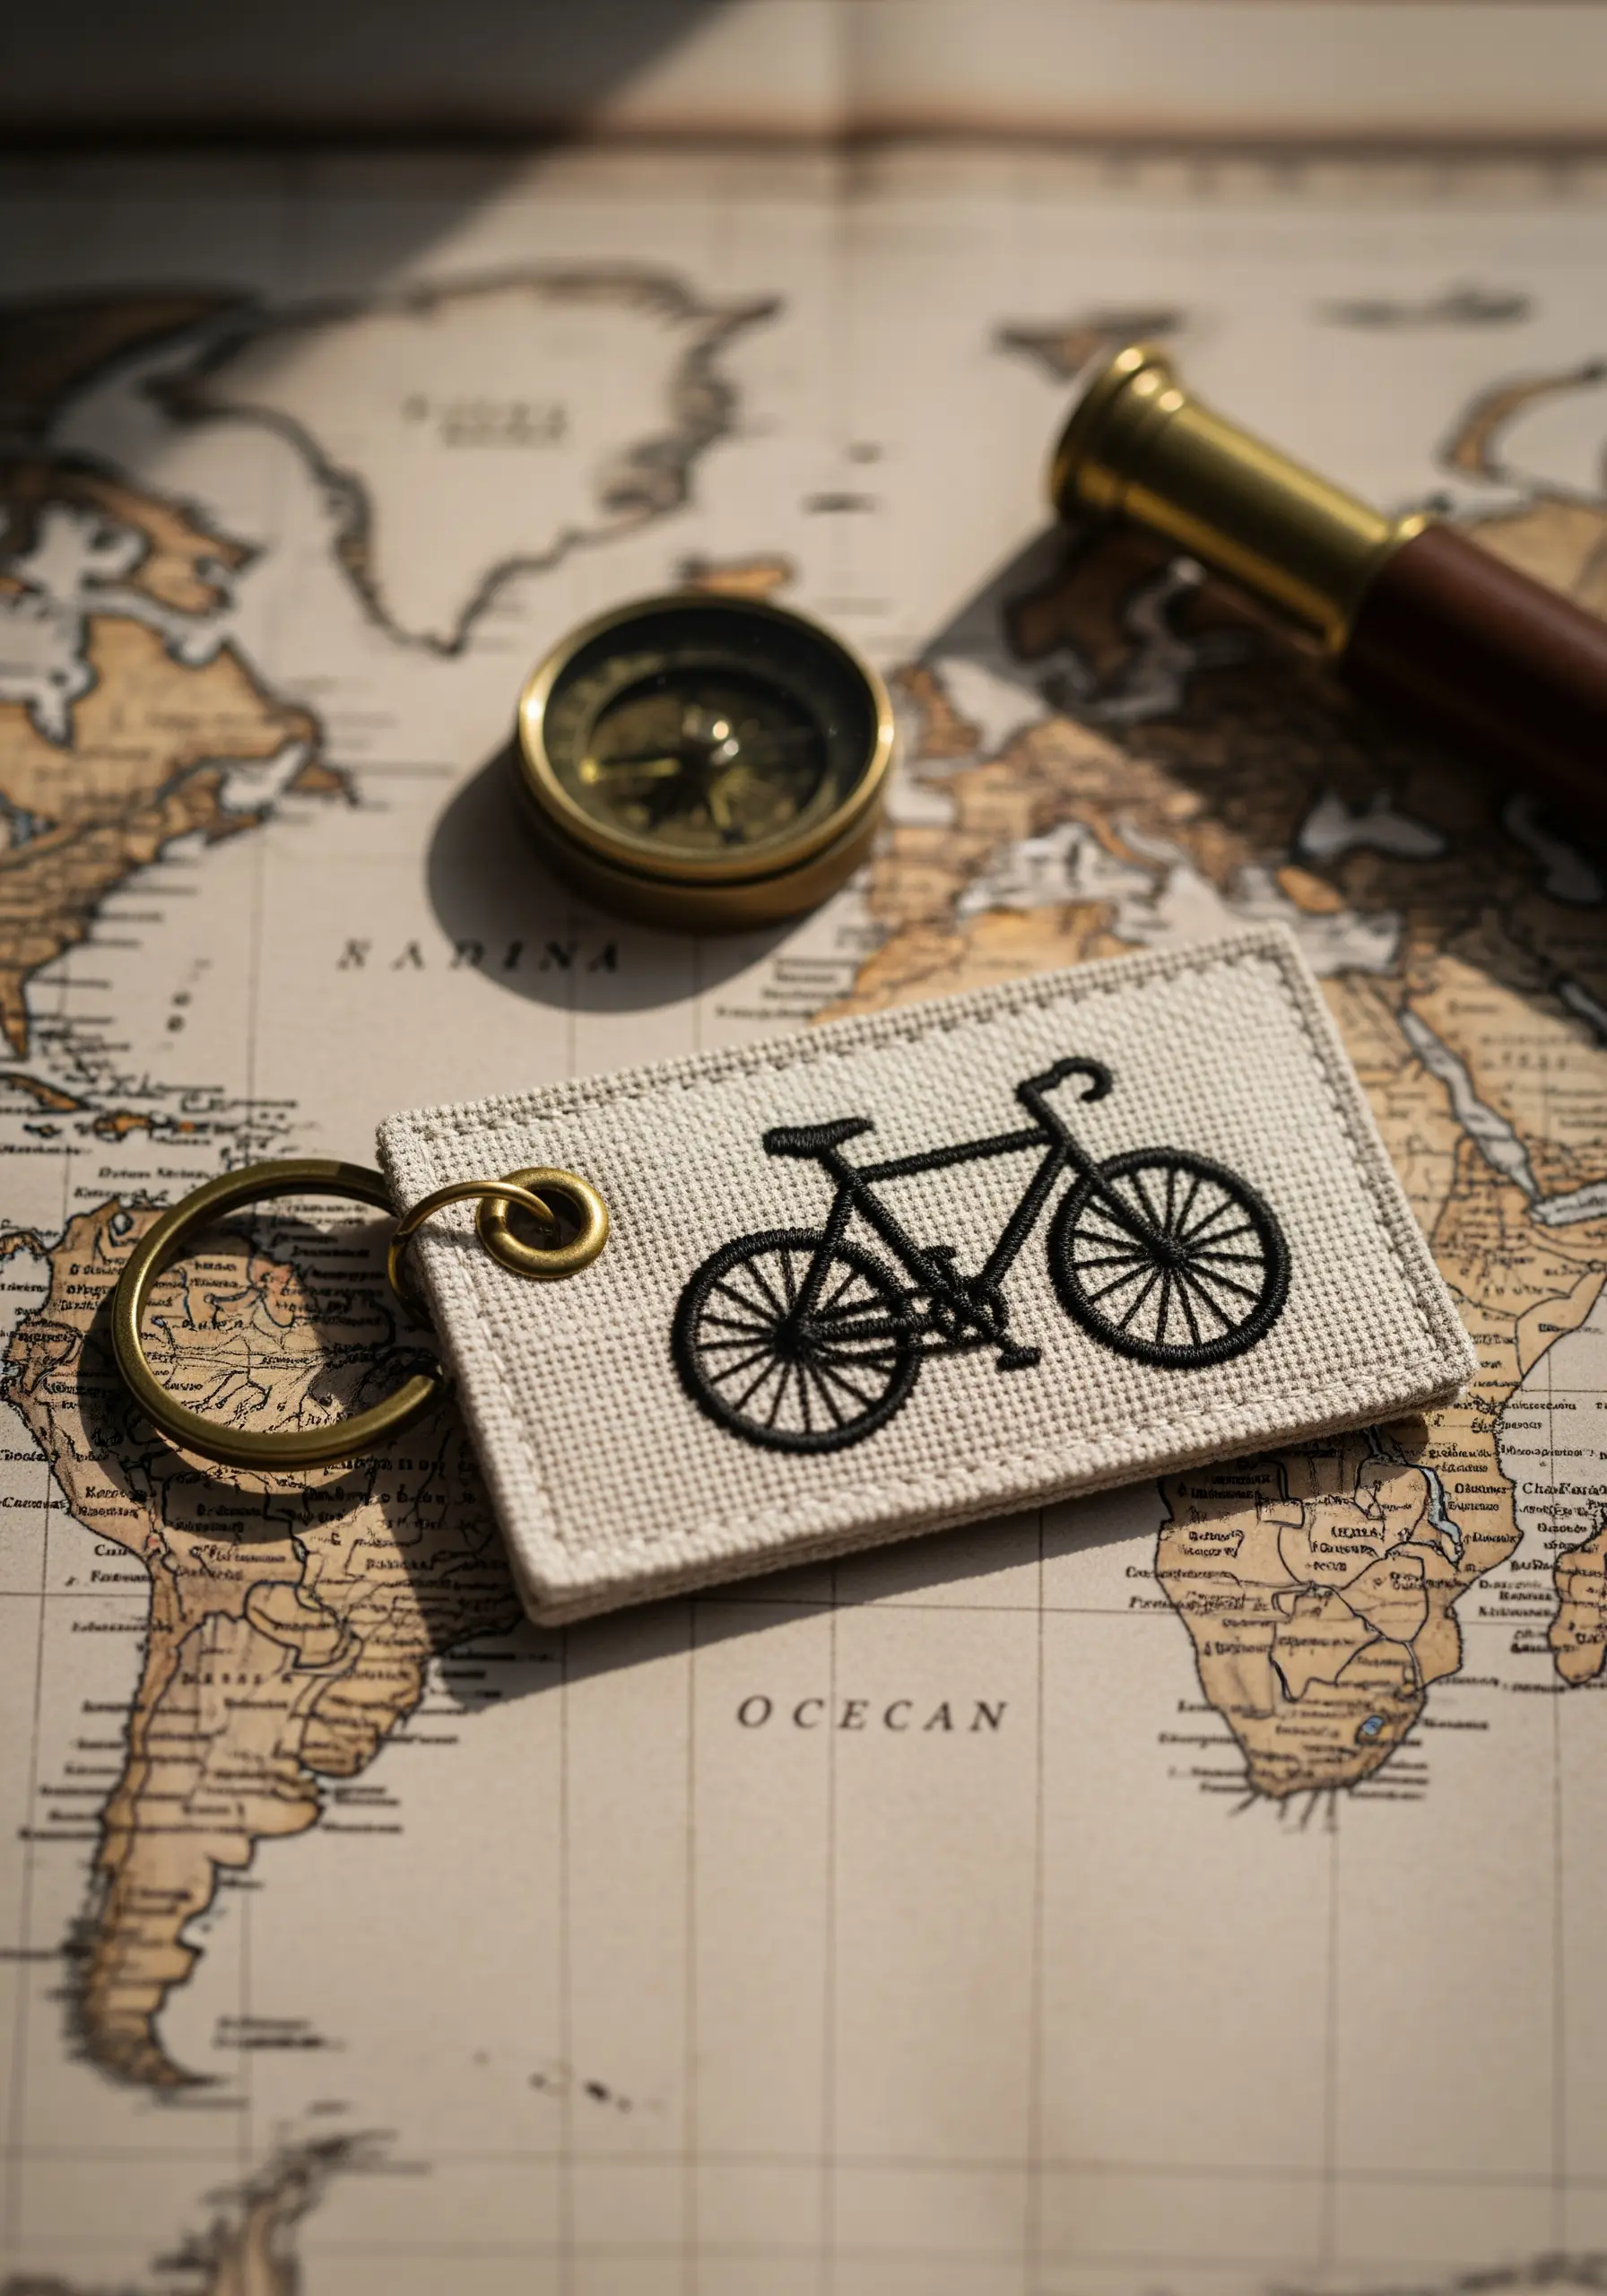
When your design requires fine lines and sharp details, precision is more important than complex stitches.
Opt for a single strand of embroidery floss and a sharp, fine needle to execute tiny, neat backstitches.
This control allows you to accurately render complex shapes like the spokes of a wheel or delicate curves, making it ideal for detailed illustrations and travel-inspired jacket embroidery ideas.


