

Before you pick up a needle, I want you to take a moment and set an intention. Instead of just stitching a flower, think about capturing its personality—the soft curl of a peony petal, the cheerful stance of a daffodil, the quiet grace of a lavender sprig.
Your needle and thread are more than just tools; they are instruments for translation. With a few simple adjustments in technique—using a single strand of floss instead of two, padding a satin stitch for extra dimension, or choosing a dark fabric to make your colors sing—you can elevate your work from a simple craft to a piece of personal art.
These ideas are here to guide you, not just as patterns to follow, but as starting points for your own creativity. See them as invitations to slow down, observe the details, and stitch something that feels truly thoughtful, polished, and full of life. This is where your embroidery becomes unforgettable.
1. Create Plump Tulips with Padded Satin Stitch
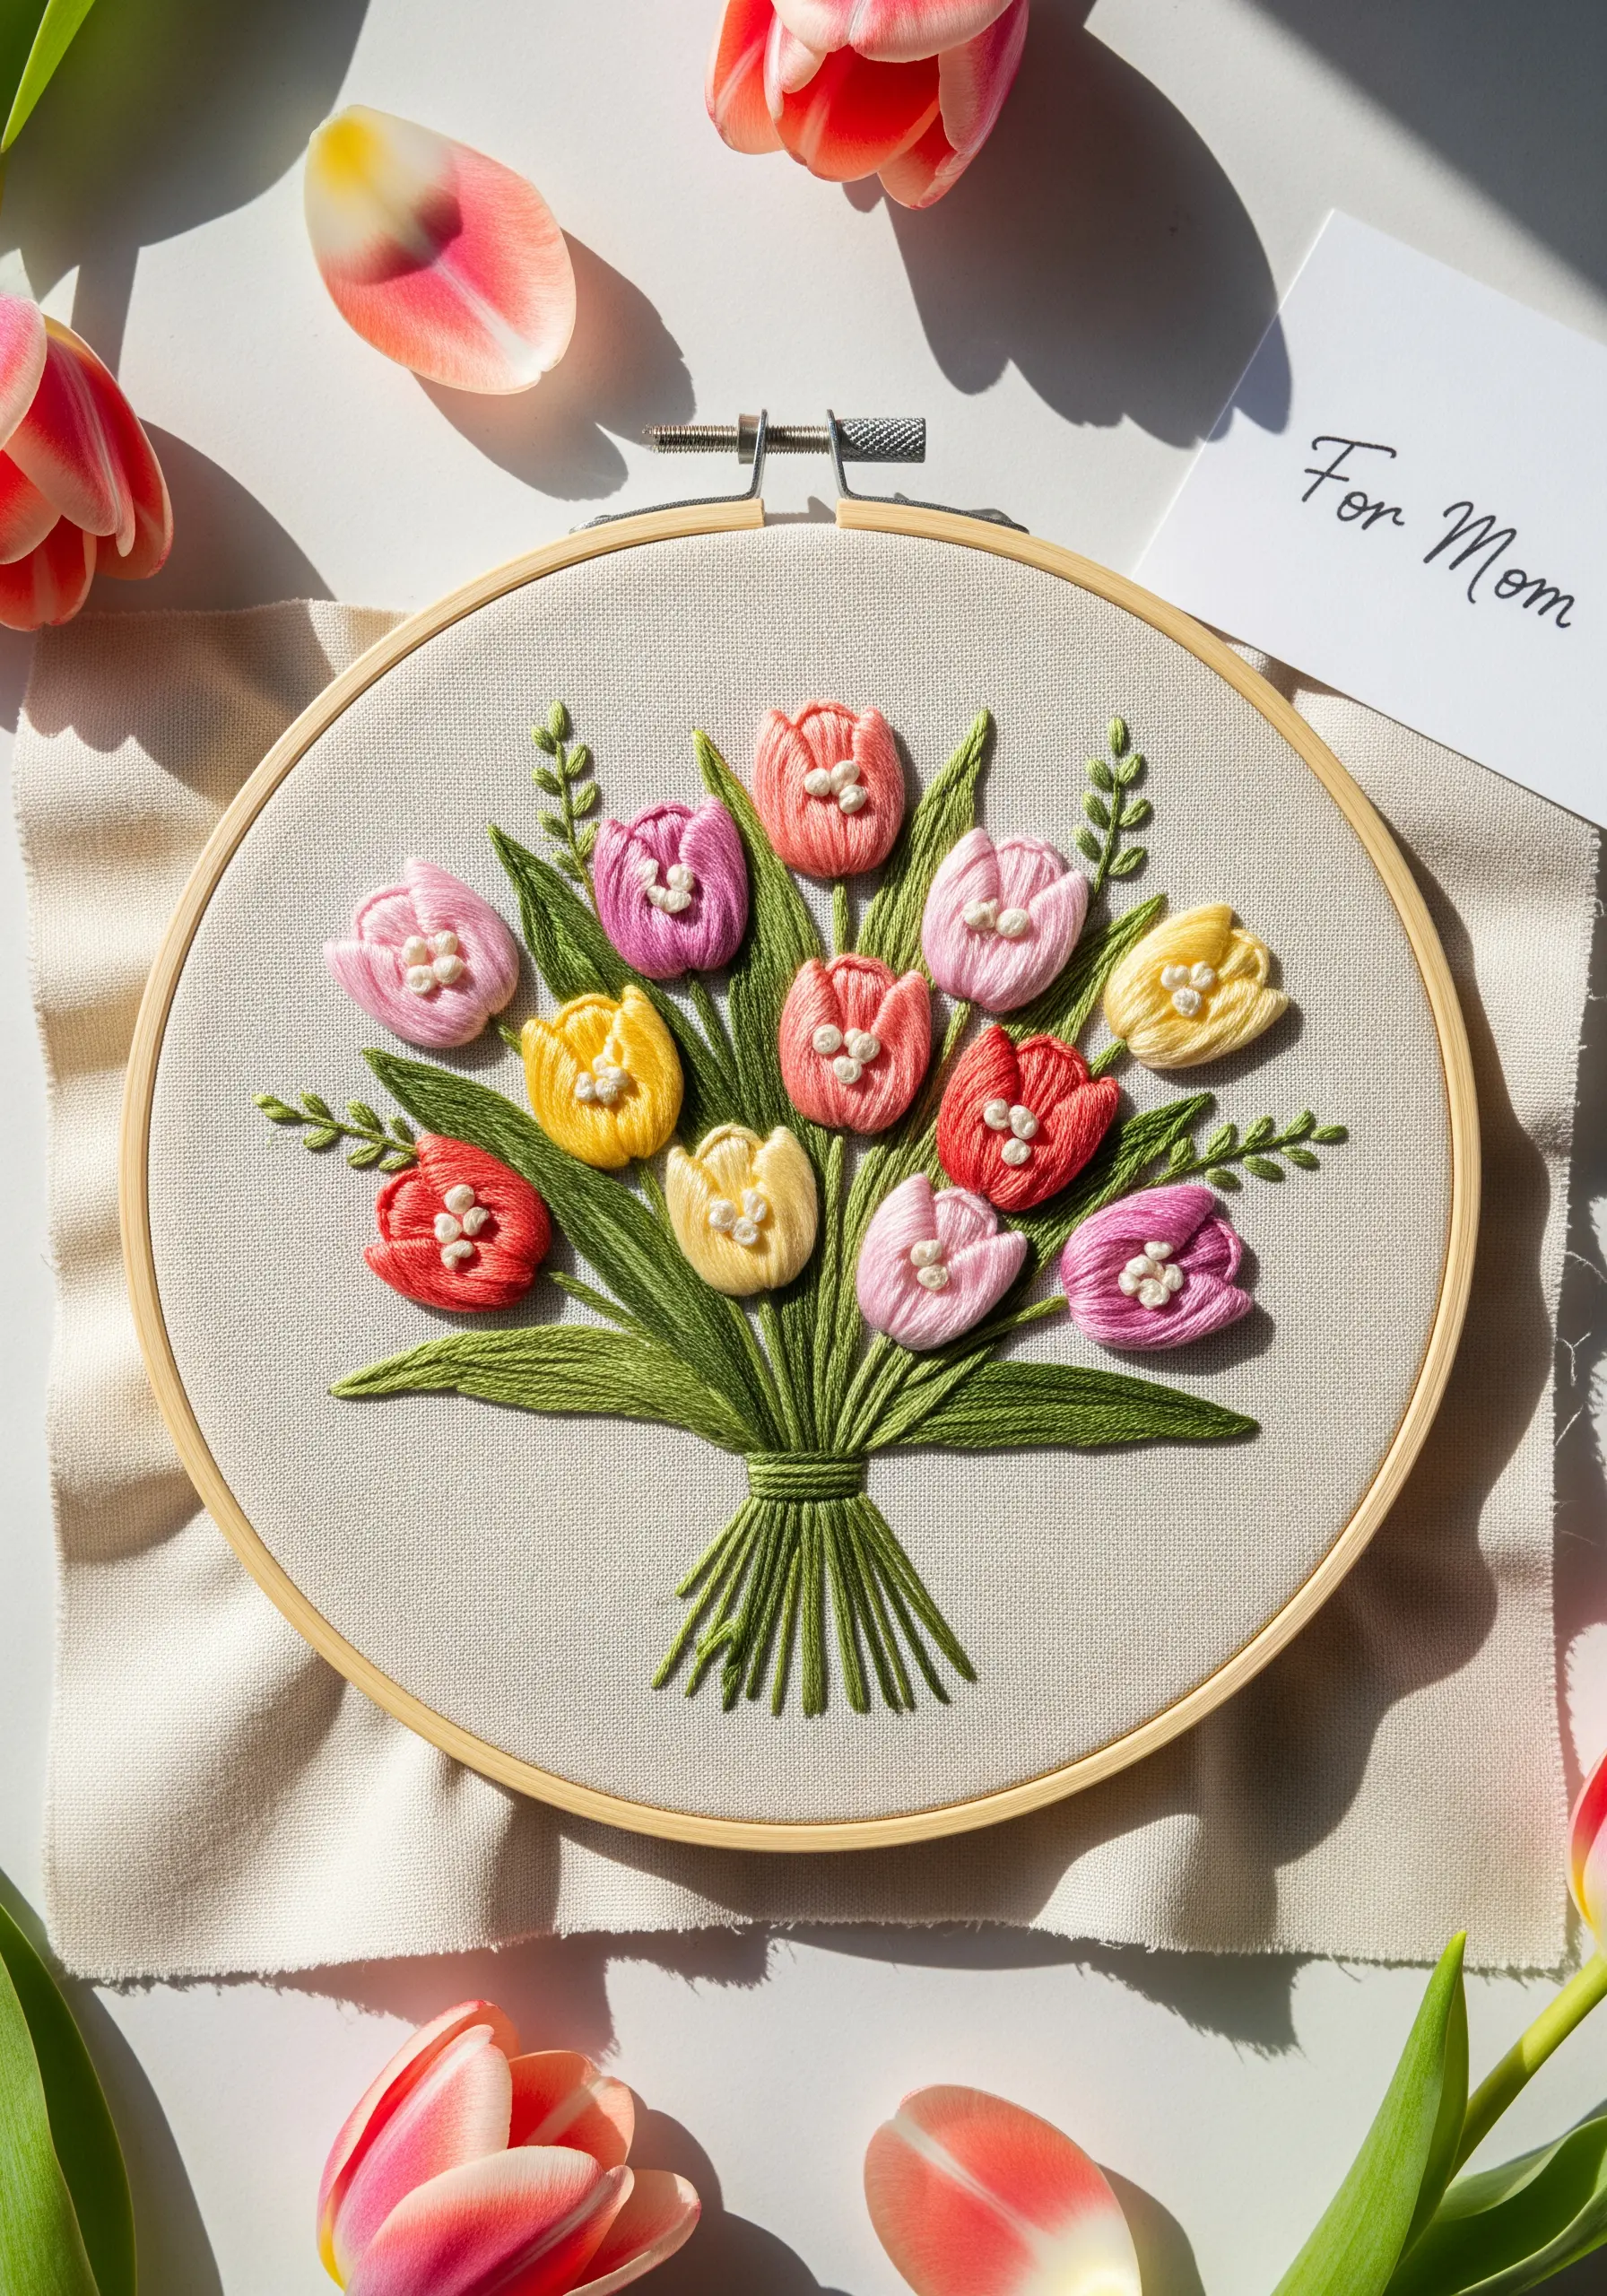
To give your tulips a soft, three-dimensional form, use a padded satin stitch.
First, fill the petal shape with a base of small, underlying straight stitches or seed stitches.
Then, cover this padding with smooth, even satin stitches using three to four strands of floss.
This technique lifts the stitches from the fabric, creating realistic volume and a gentle curve that catches the light.
A single pearl bead stitched in the center adds a touch of classic elegance and draws the eye.
2. Layer Petals for Realistic Daffodil Depth
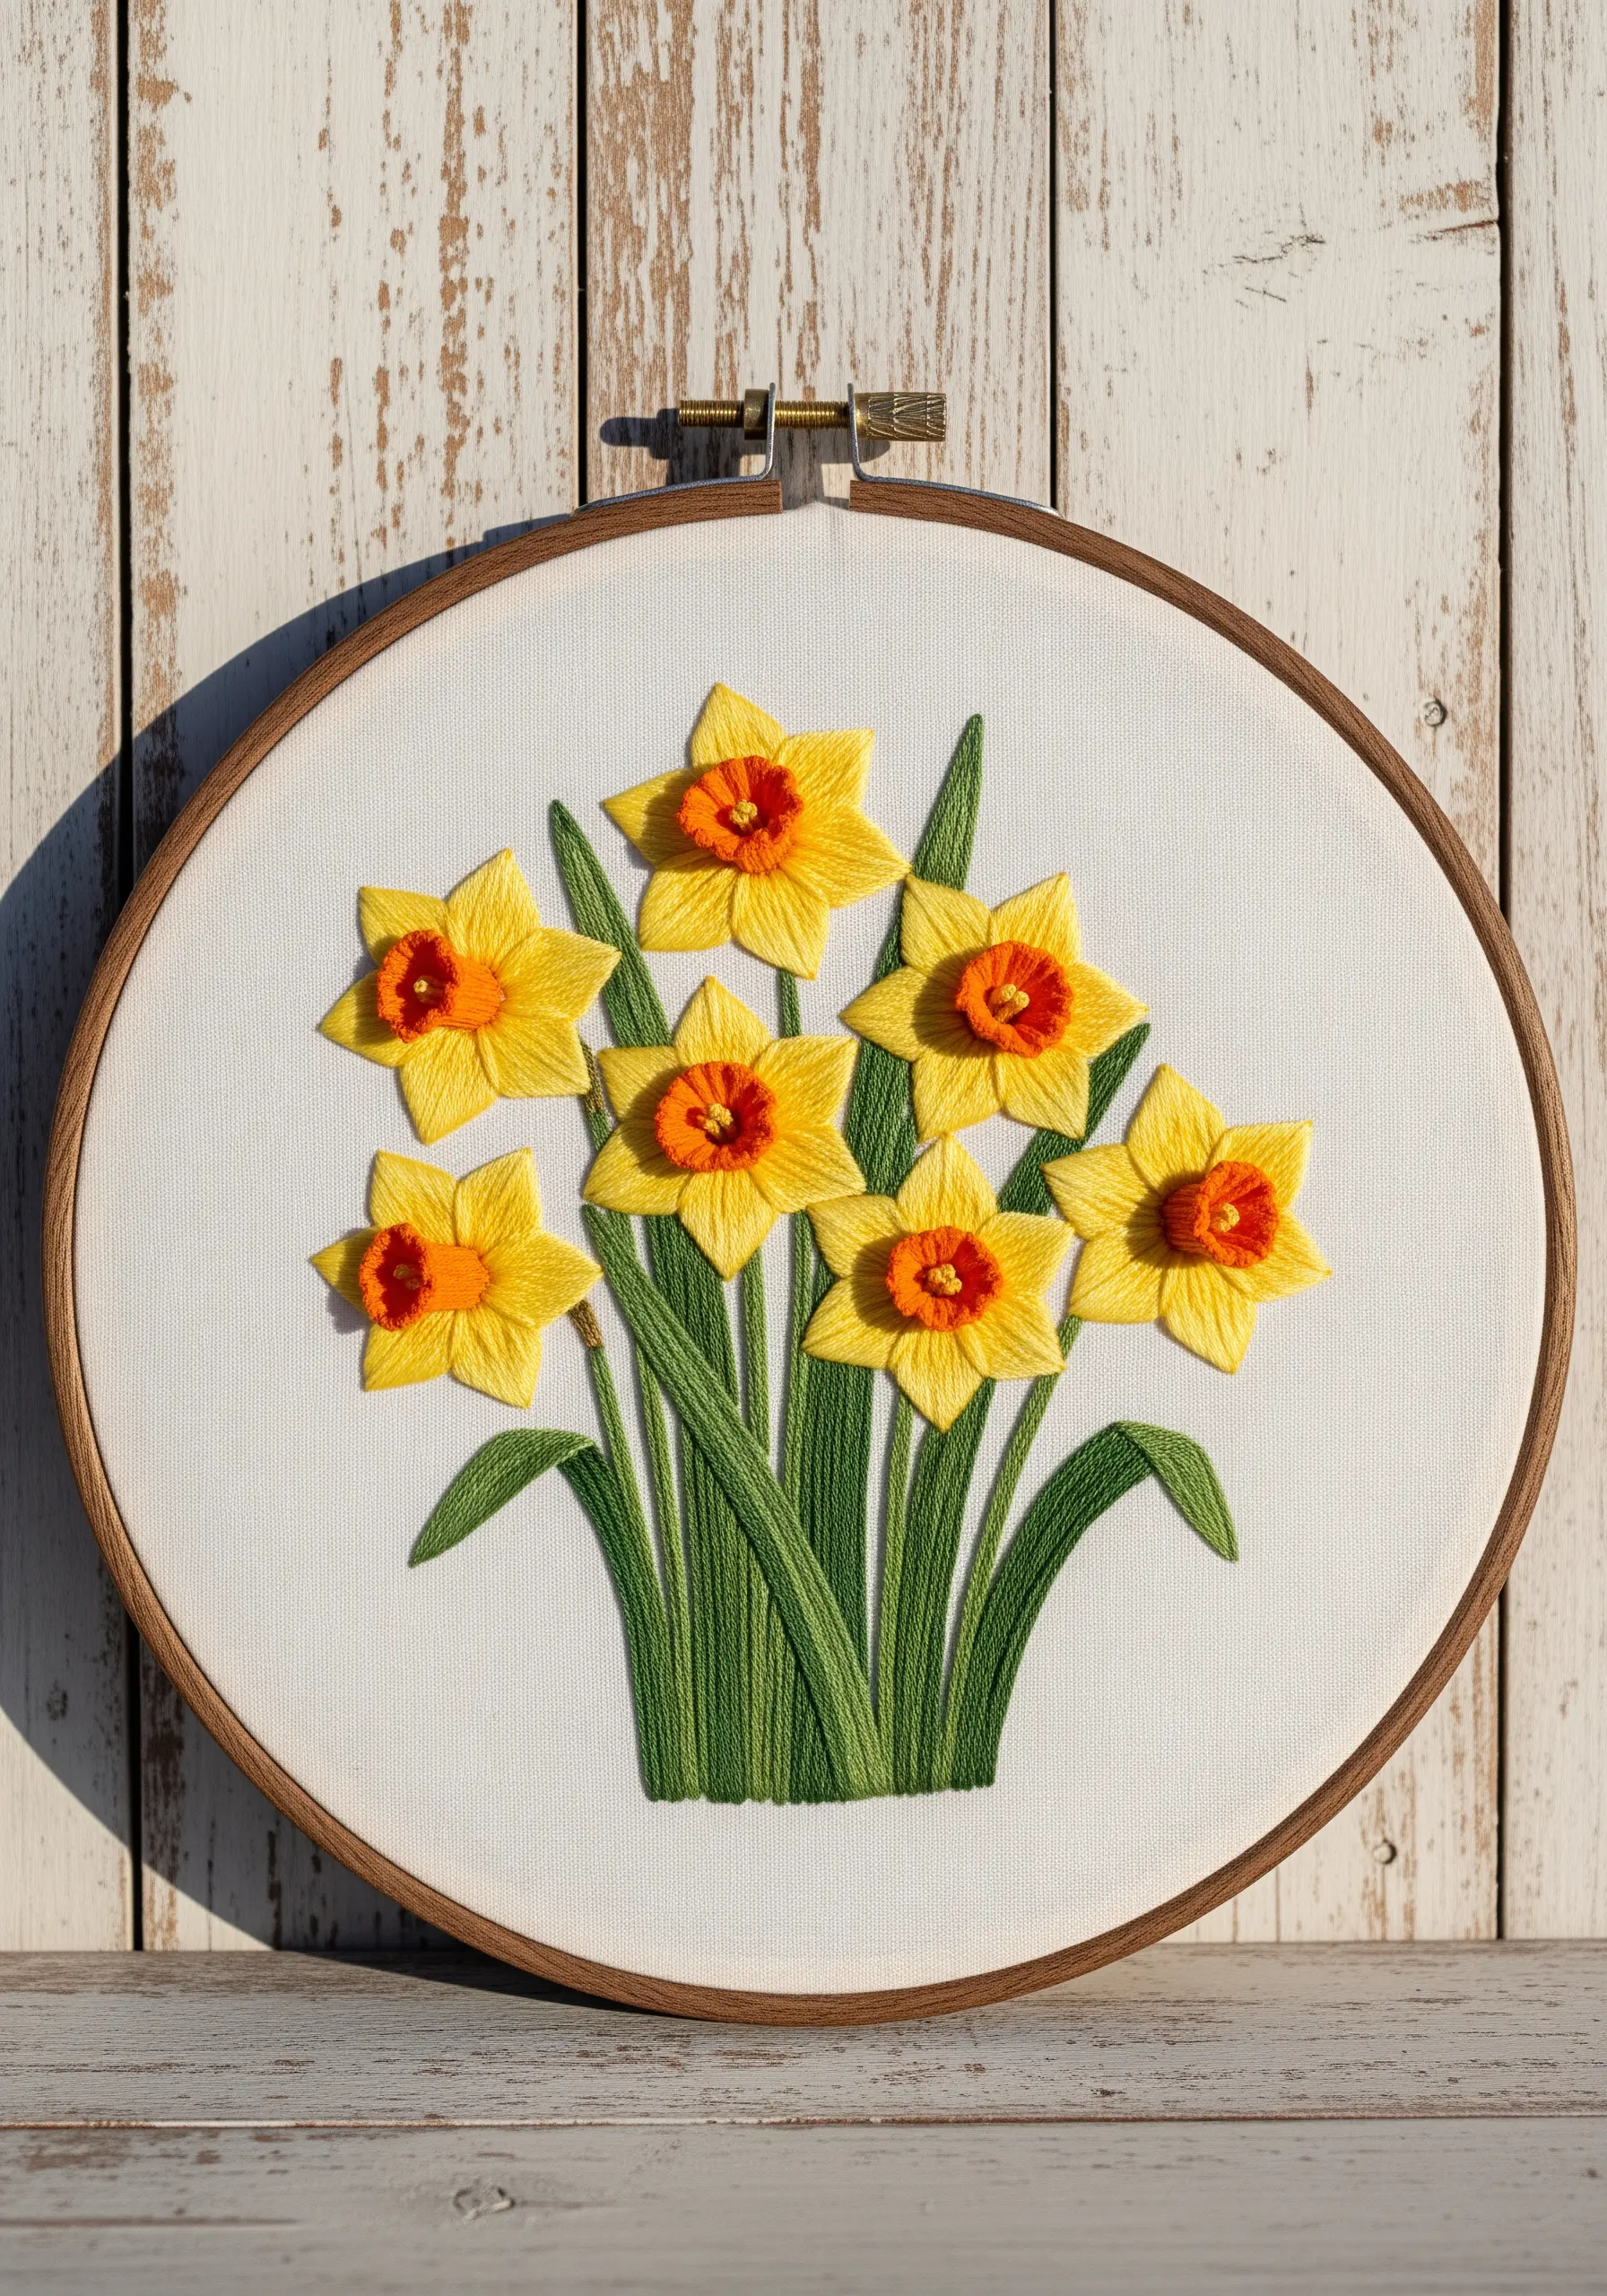
Achieve a true-to-life daffodil by stitching the outer petals and the central trumpet as separate, overlapping layers.
Use a long-and-short stitch for the yellow petals, angling your stitches toward the center to create natural movement.
For the trumpet, use a vibrant orange or red and stitch it with a dense satin stitch or a series of tight French knots.
This layering technique creates genuine depth, making the flower look like it’s blooming right off the fabric, transforming it into floral stitch wall art.
3. Balance Texture in a Lavender & Eucalyptus Wreath
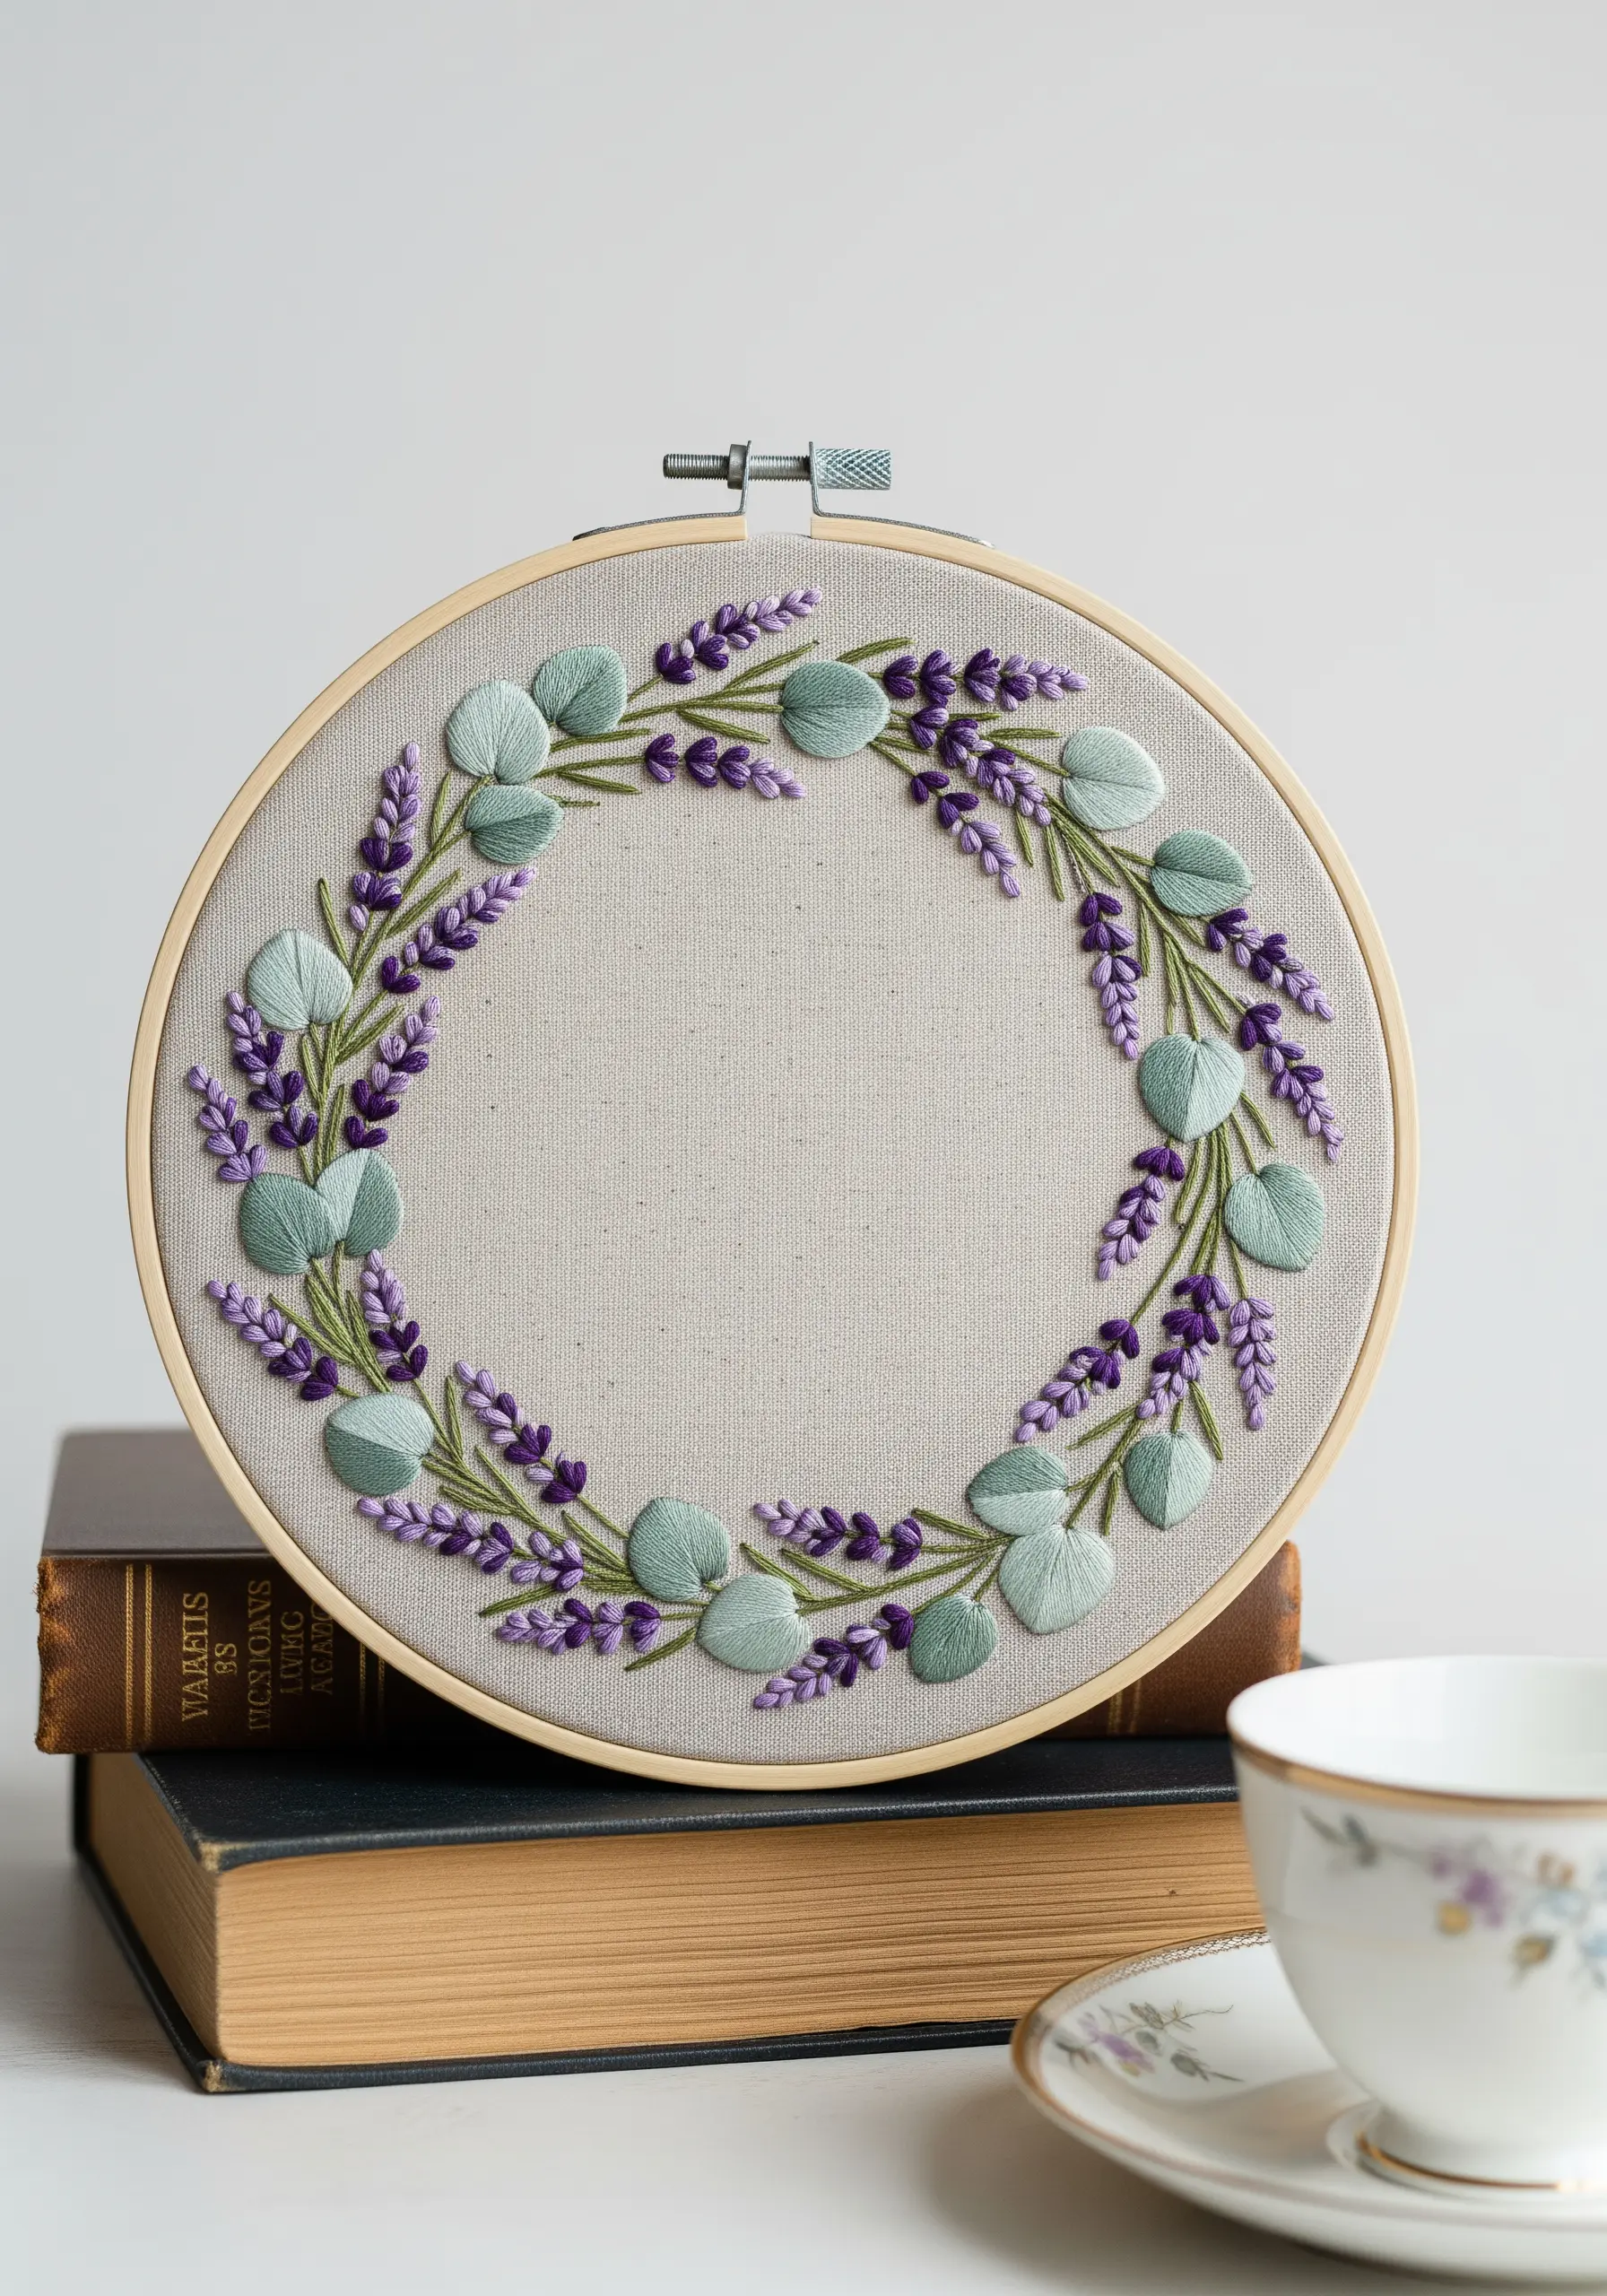
The elegance of this wreath comes from the contrast between the smooth eucalyptus leaves and the textured lavender sprigs.
Stitch the eucalyptus leaves with a wide satin stitch using a soft, sage-green thread; the smooth surface will create a calm visual anchor.
For the lavender, use bullion knots or clusters of French knots in shades of purple and violet to mimic the dense flower heads.
This balance of textures makes the design sophisticated and is one of those fun hoop art projects that feels both modern and timeless.
4. Master Peony Gradients with Thread Painting
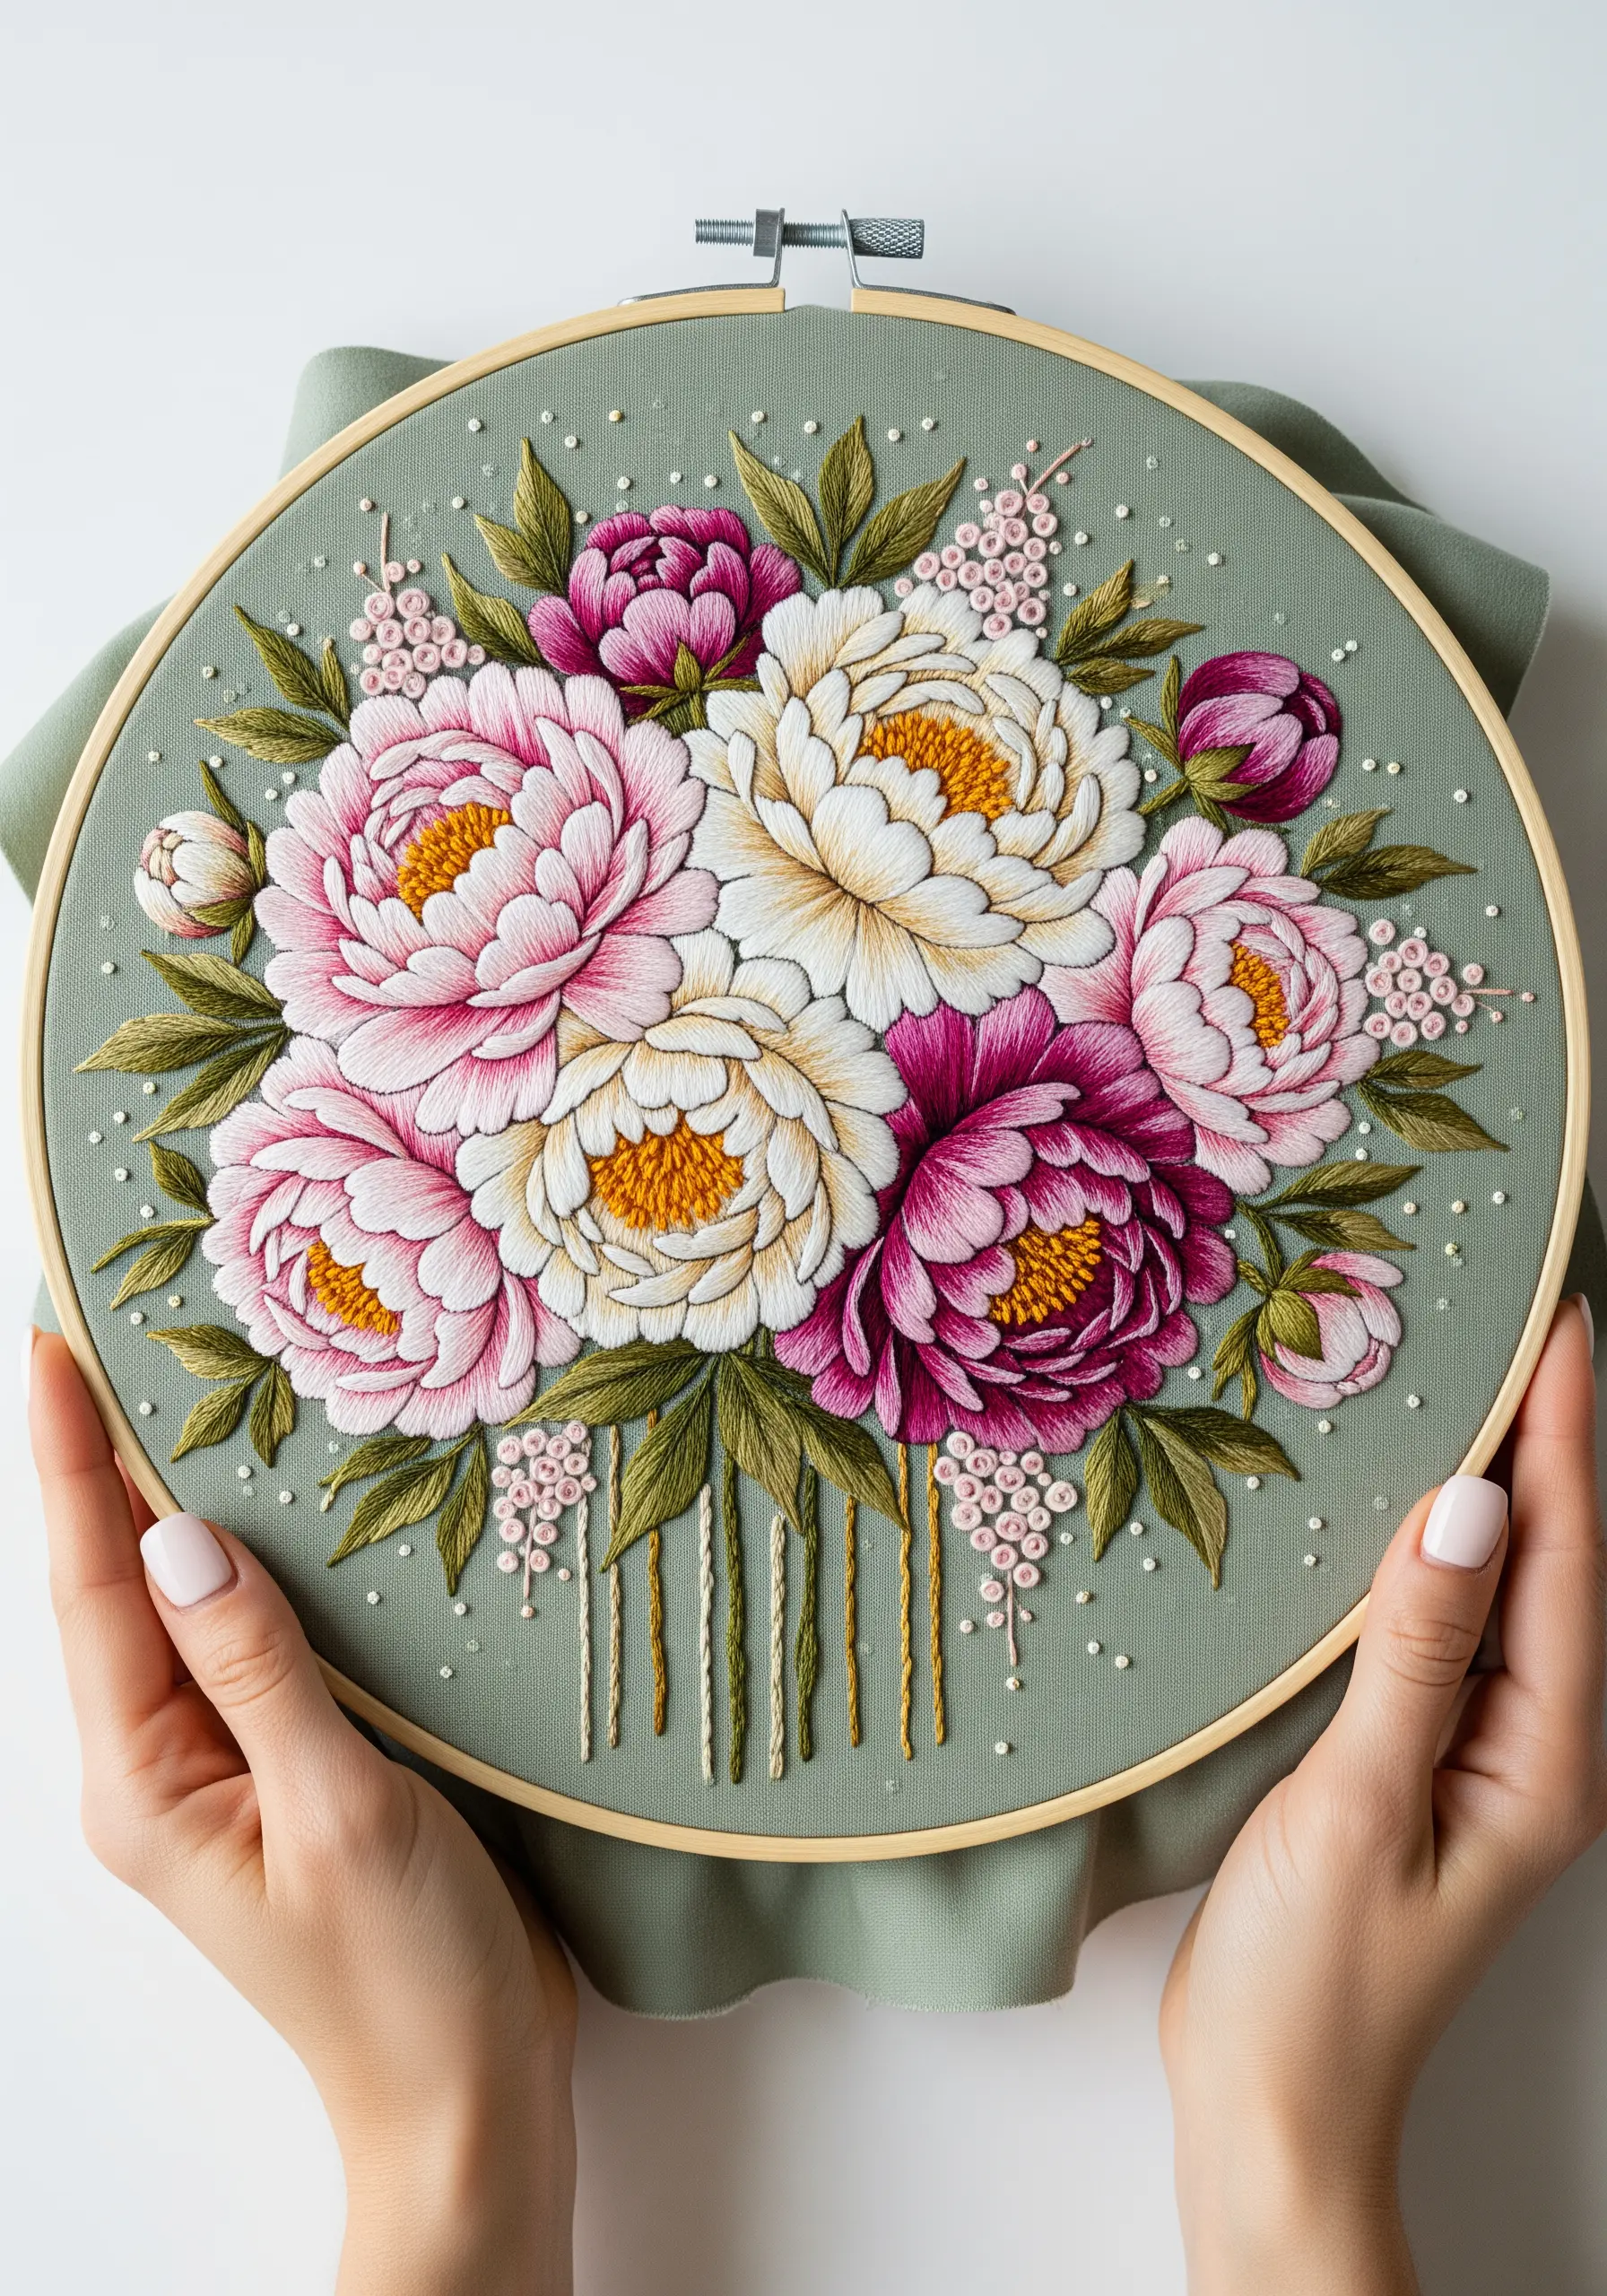
To capture the delicate, paper-thin quality of peony petals, embrace thread painting with a single strand of floss.
Use a long-and-short stitch, blending two or three shades of pink—from a deep magenta at the base to a soft blush at the edge.
Work in sections, following the natural curve of each petal to create realistic shadows and highlights.
This meticulous technique transforms simple stitches into creative aesthetic embroidery pieces that have the depth and subtlety of a watercolor painting.
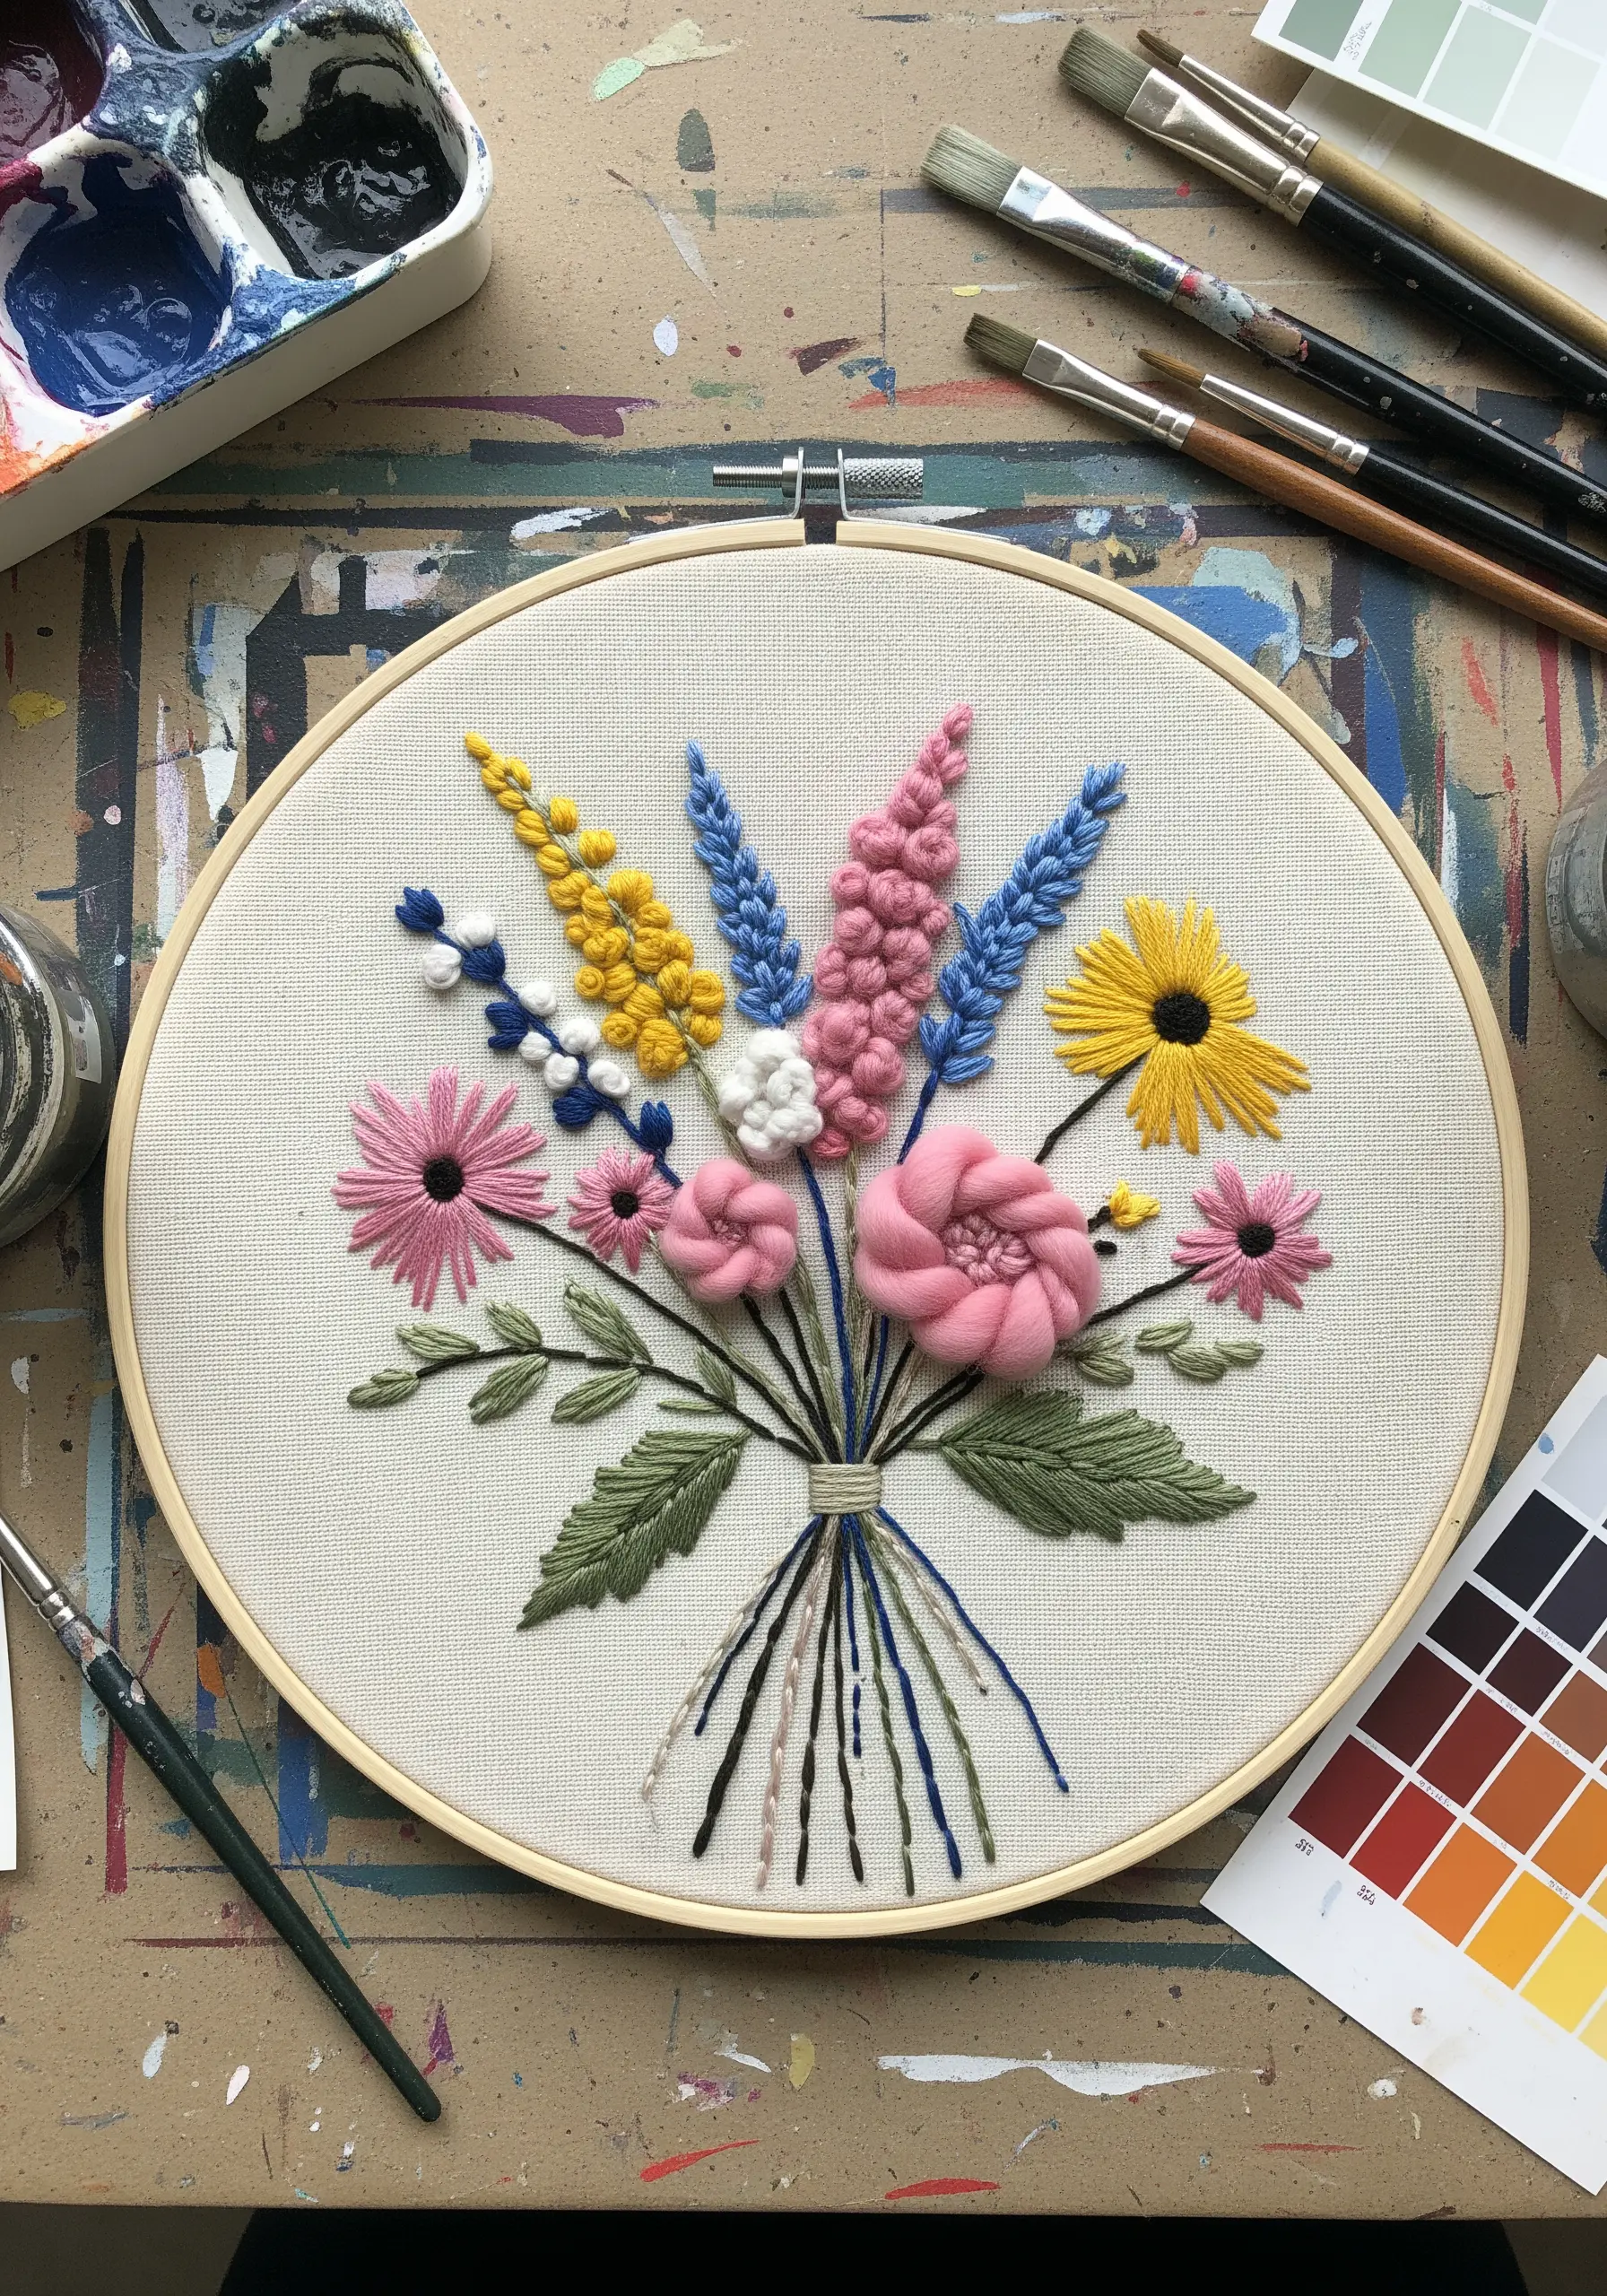
5. Combine Stitches for a Delicate Wildflower Bouquet
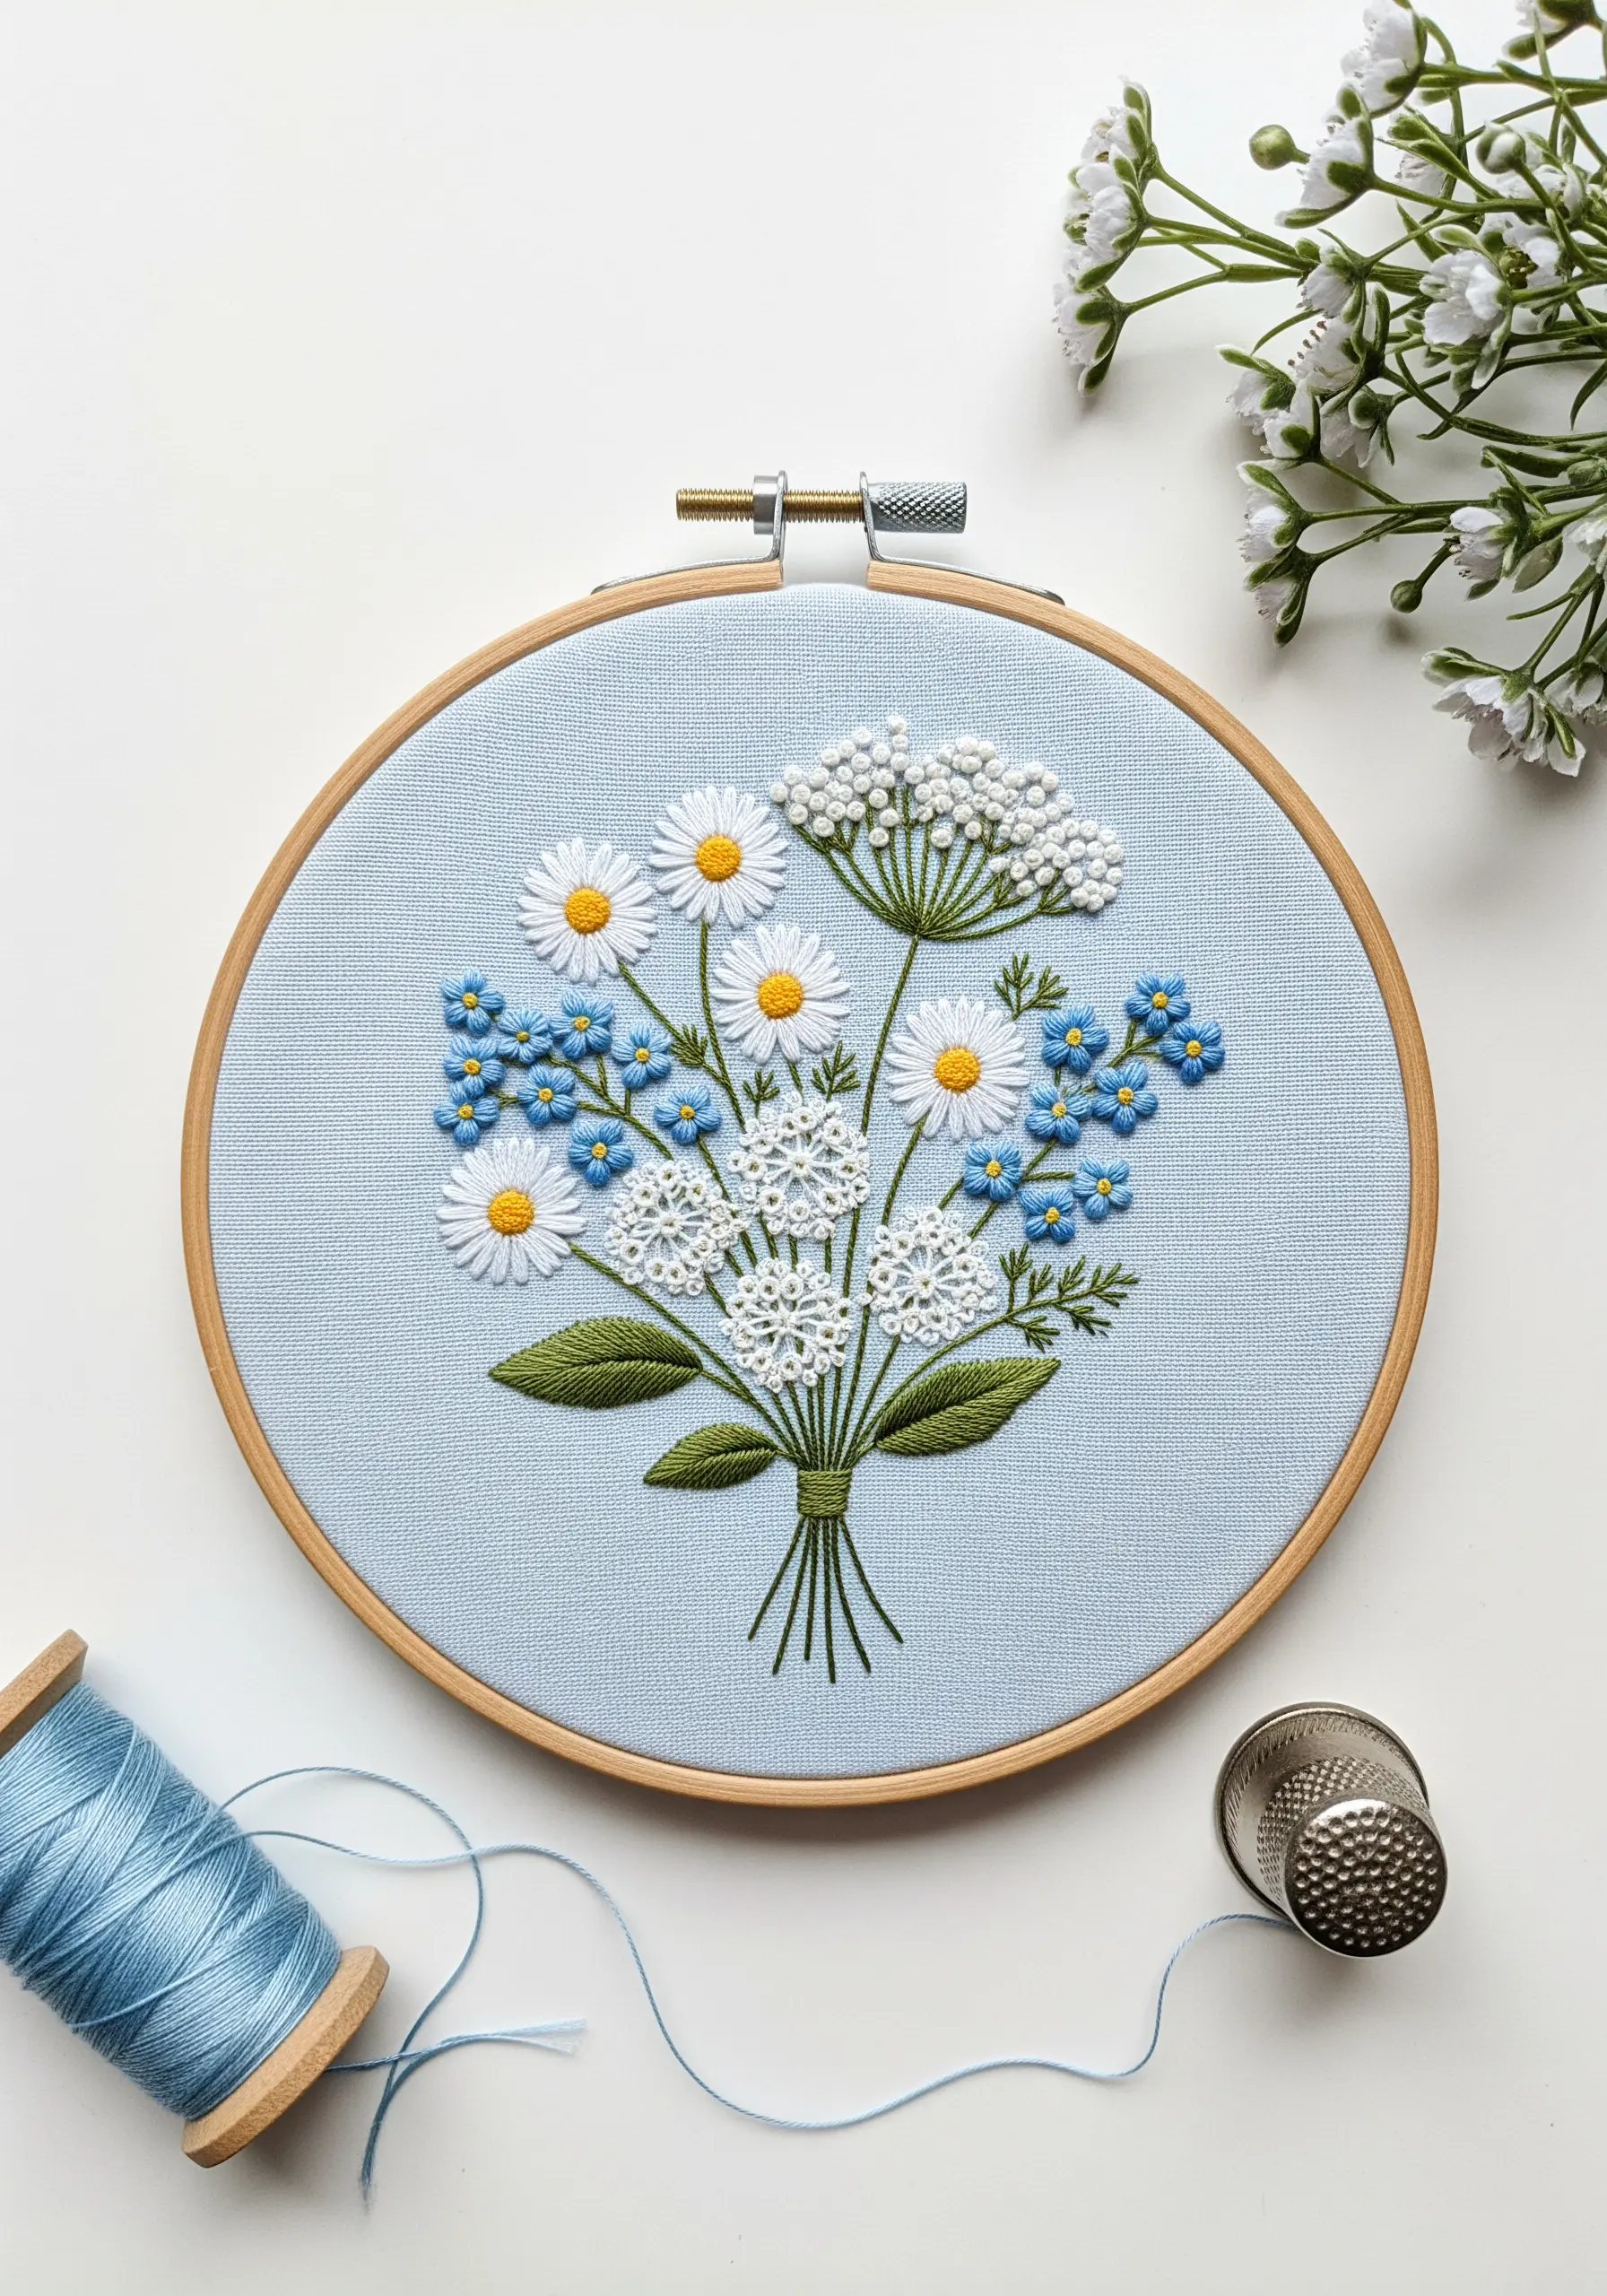
Create a visually interesting bouquet by assigning a unique stitch to each type of flower.
Use a simple detached chain stitch (lazy daisy) for the daisy petals and a dense cluster of white French knots for the Queen Anne’s lace.
This variety ensures each flower has its own distinct texture, preventing the composition from looking flat.
This approach turns simple motifs into dynamic DIY embroidery art projects that celebrate the diversity of a spring meadow.
6. Use Negative Space for Elegant Cherry Blossoms
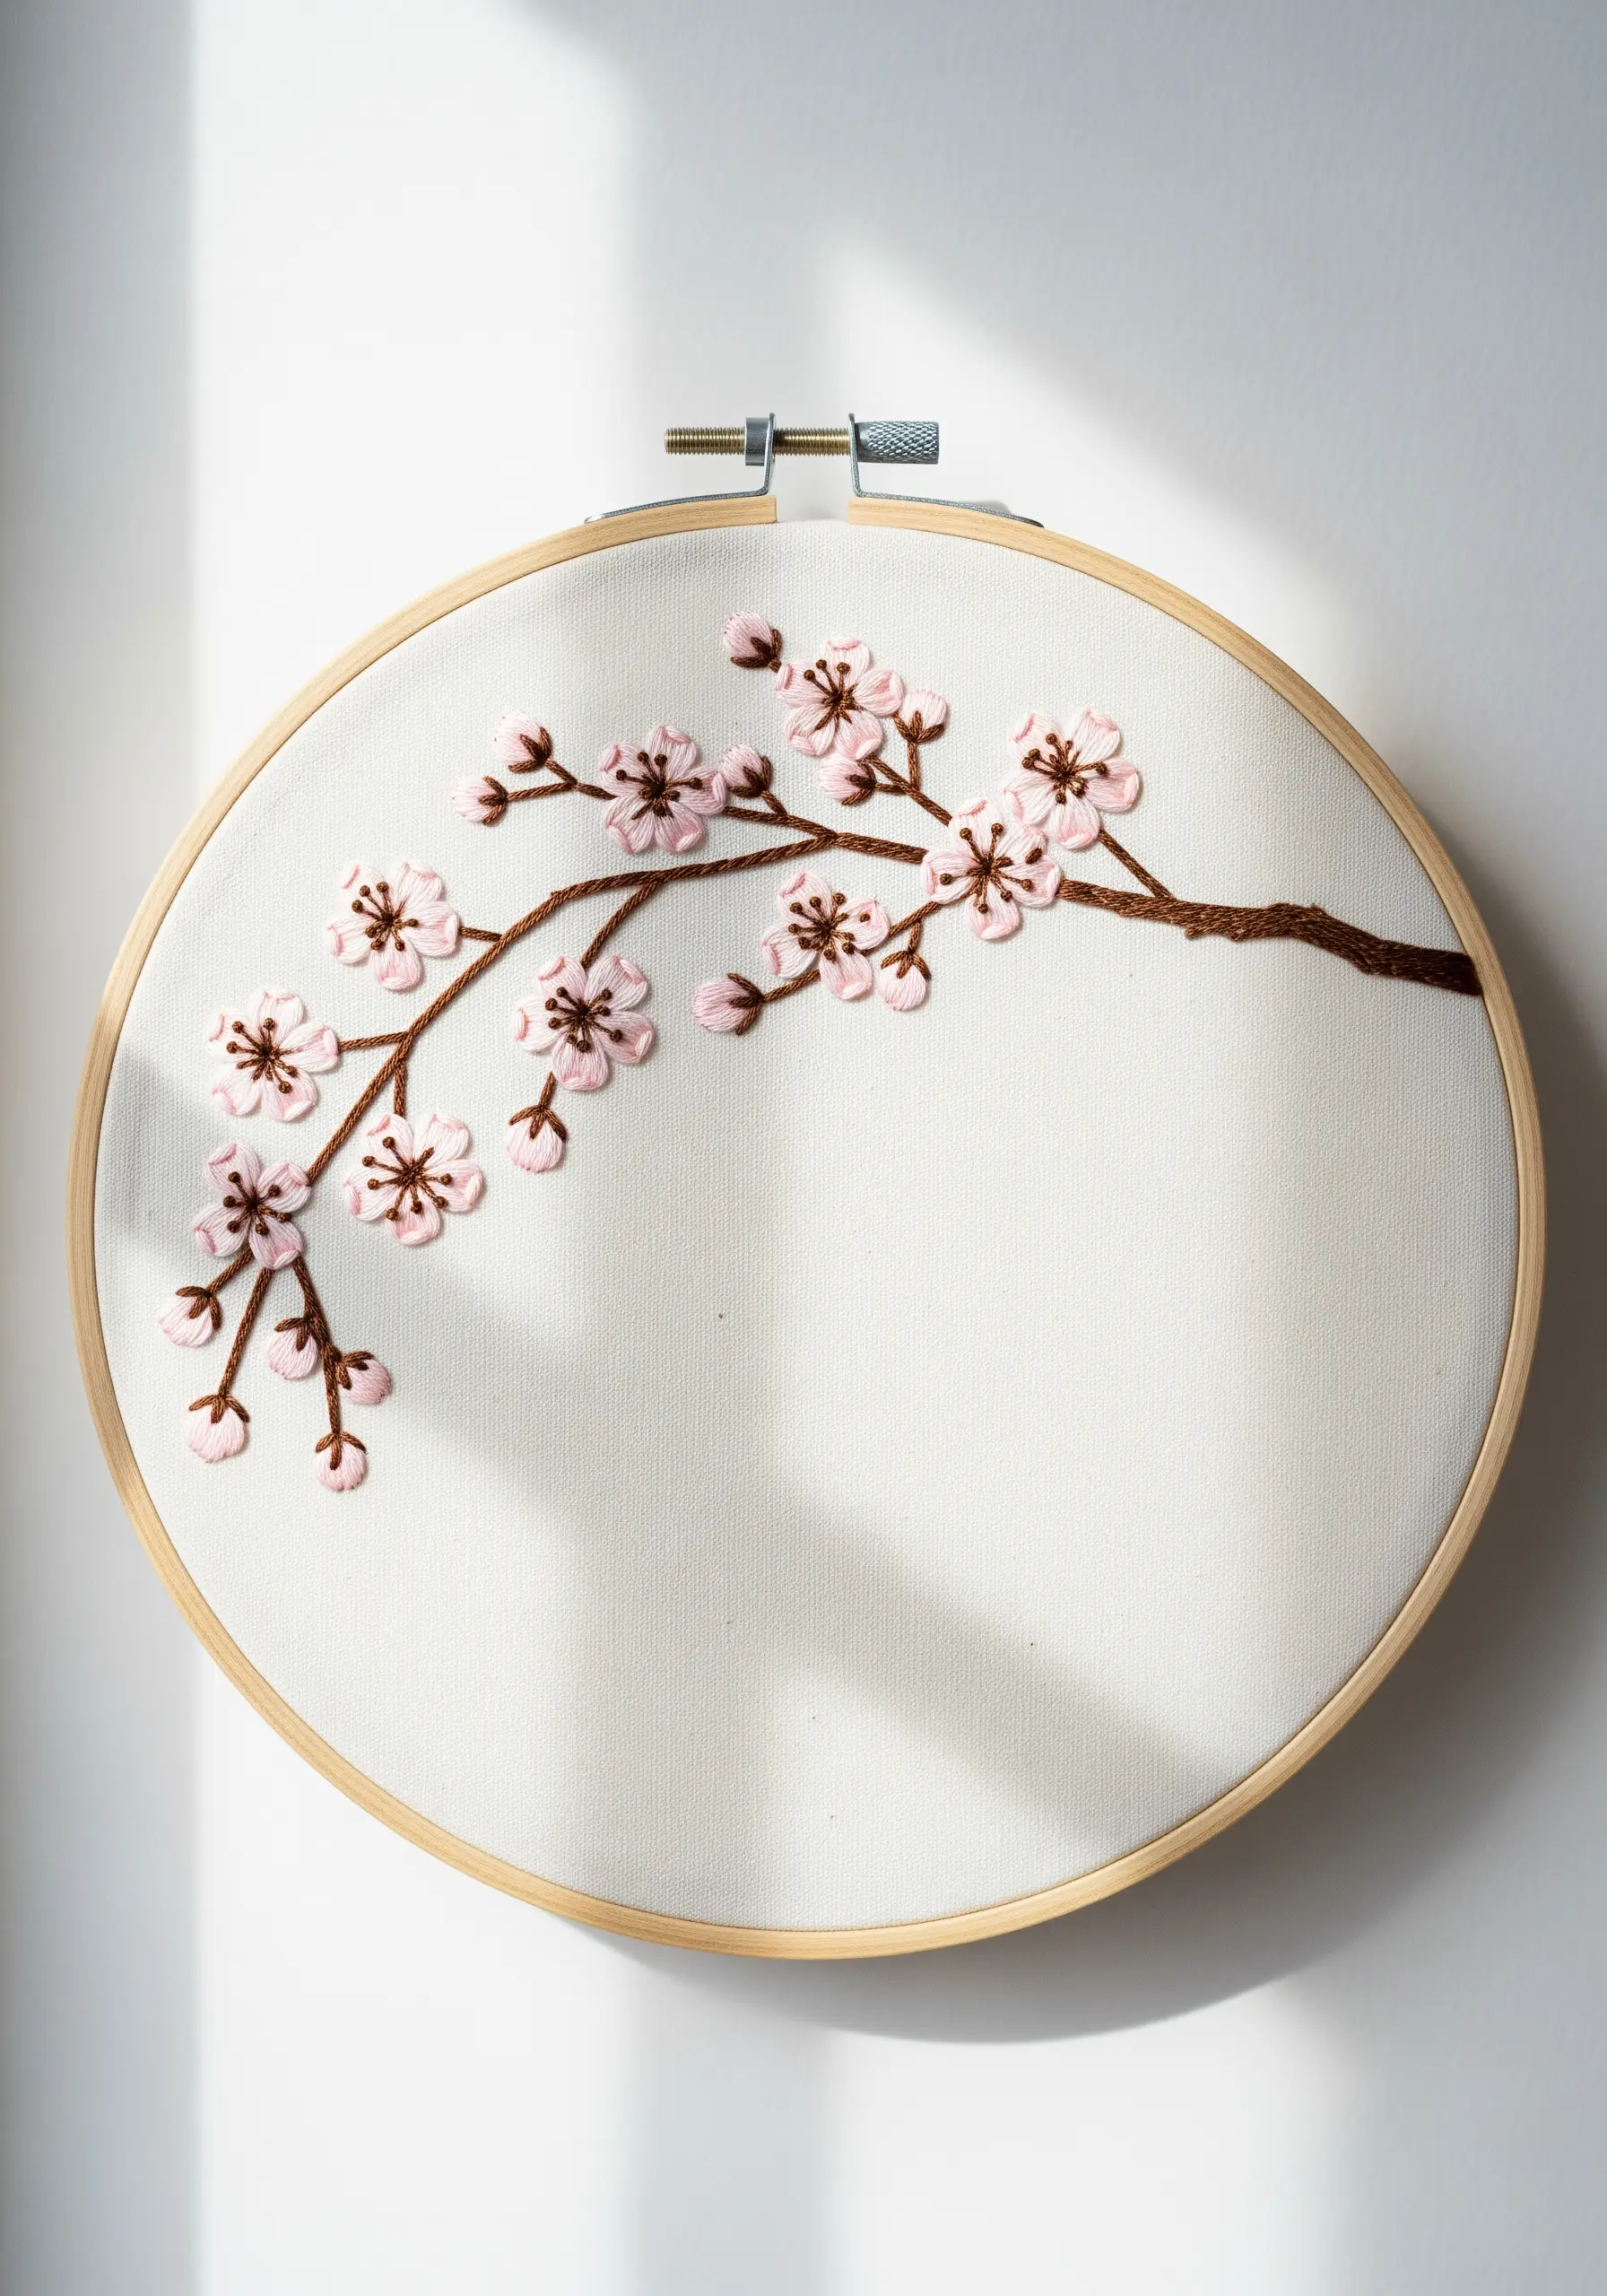
The beauty of a cherry blossom branch lies in its sparse, delicate arrangement.
Resist the urge to overfill the space. Instead, use a few carefully placed detached chain stitches for the petals and tiny French knots for the centers.
For the branch, a whipped backstitch adds a subtle, rope-like texture that contrasts beautifully with the soft blossoms.
This focus on minimalism is perfect for creating minimalist line art nature embroidery that feels calm and intentional.
7. Build Dense Hyacinth Texture with Bullion Knots

To recreate the tightly packed florets of a hyacinth, bullion knots are your best friend.
Vary the size and direction of each knot, clustering them tightly together to form the flower head.
Use at least three different shades of purple or blue within each bloom to create highlights and shadows, adding a convincing sense of volume.
This technique is a fantastic way of layering leaf stitching for three-dimensional botanical texture that pops right off the hoop.
8. Create Harmony with a Monochromatic Palette

Explore the power of a single color family to create a design that is both cohesive and striking.
Select four to five shades of blue, from a pale sky blue to a deep navy.
Assign different shades and stitch types to each flower—for example, satin stitch for the bellflowers and detached chain stitches for the forget-me-nots.
This approach proves you don’t need a rainbow of colors to create a visually rich bouquet, making it one of the best monochrome embroidery ideas for a sophisticated look.
9. Capture Ranunculus Swirls with Woven Wheels
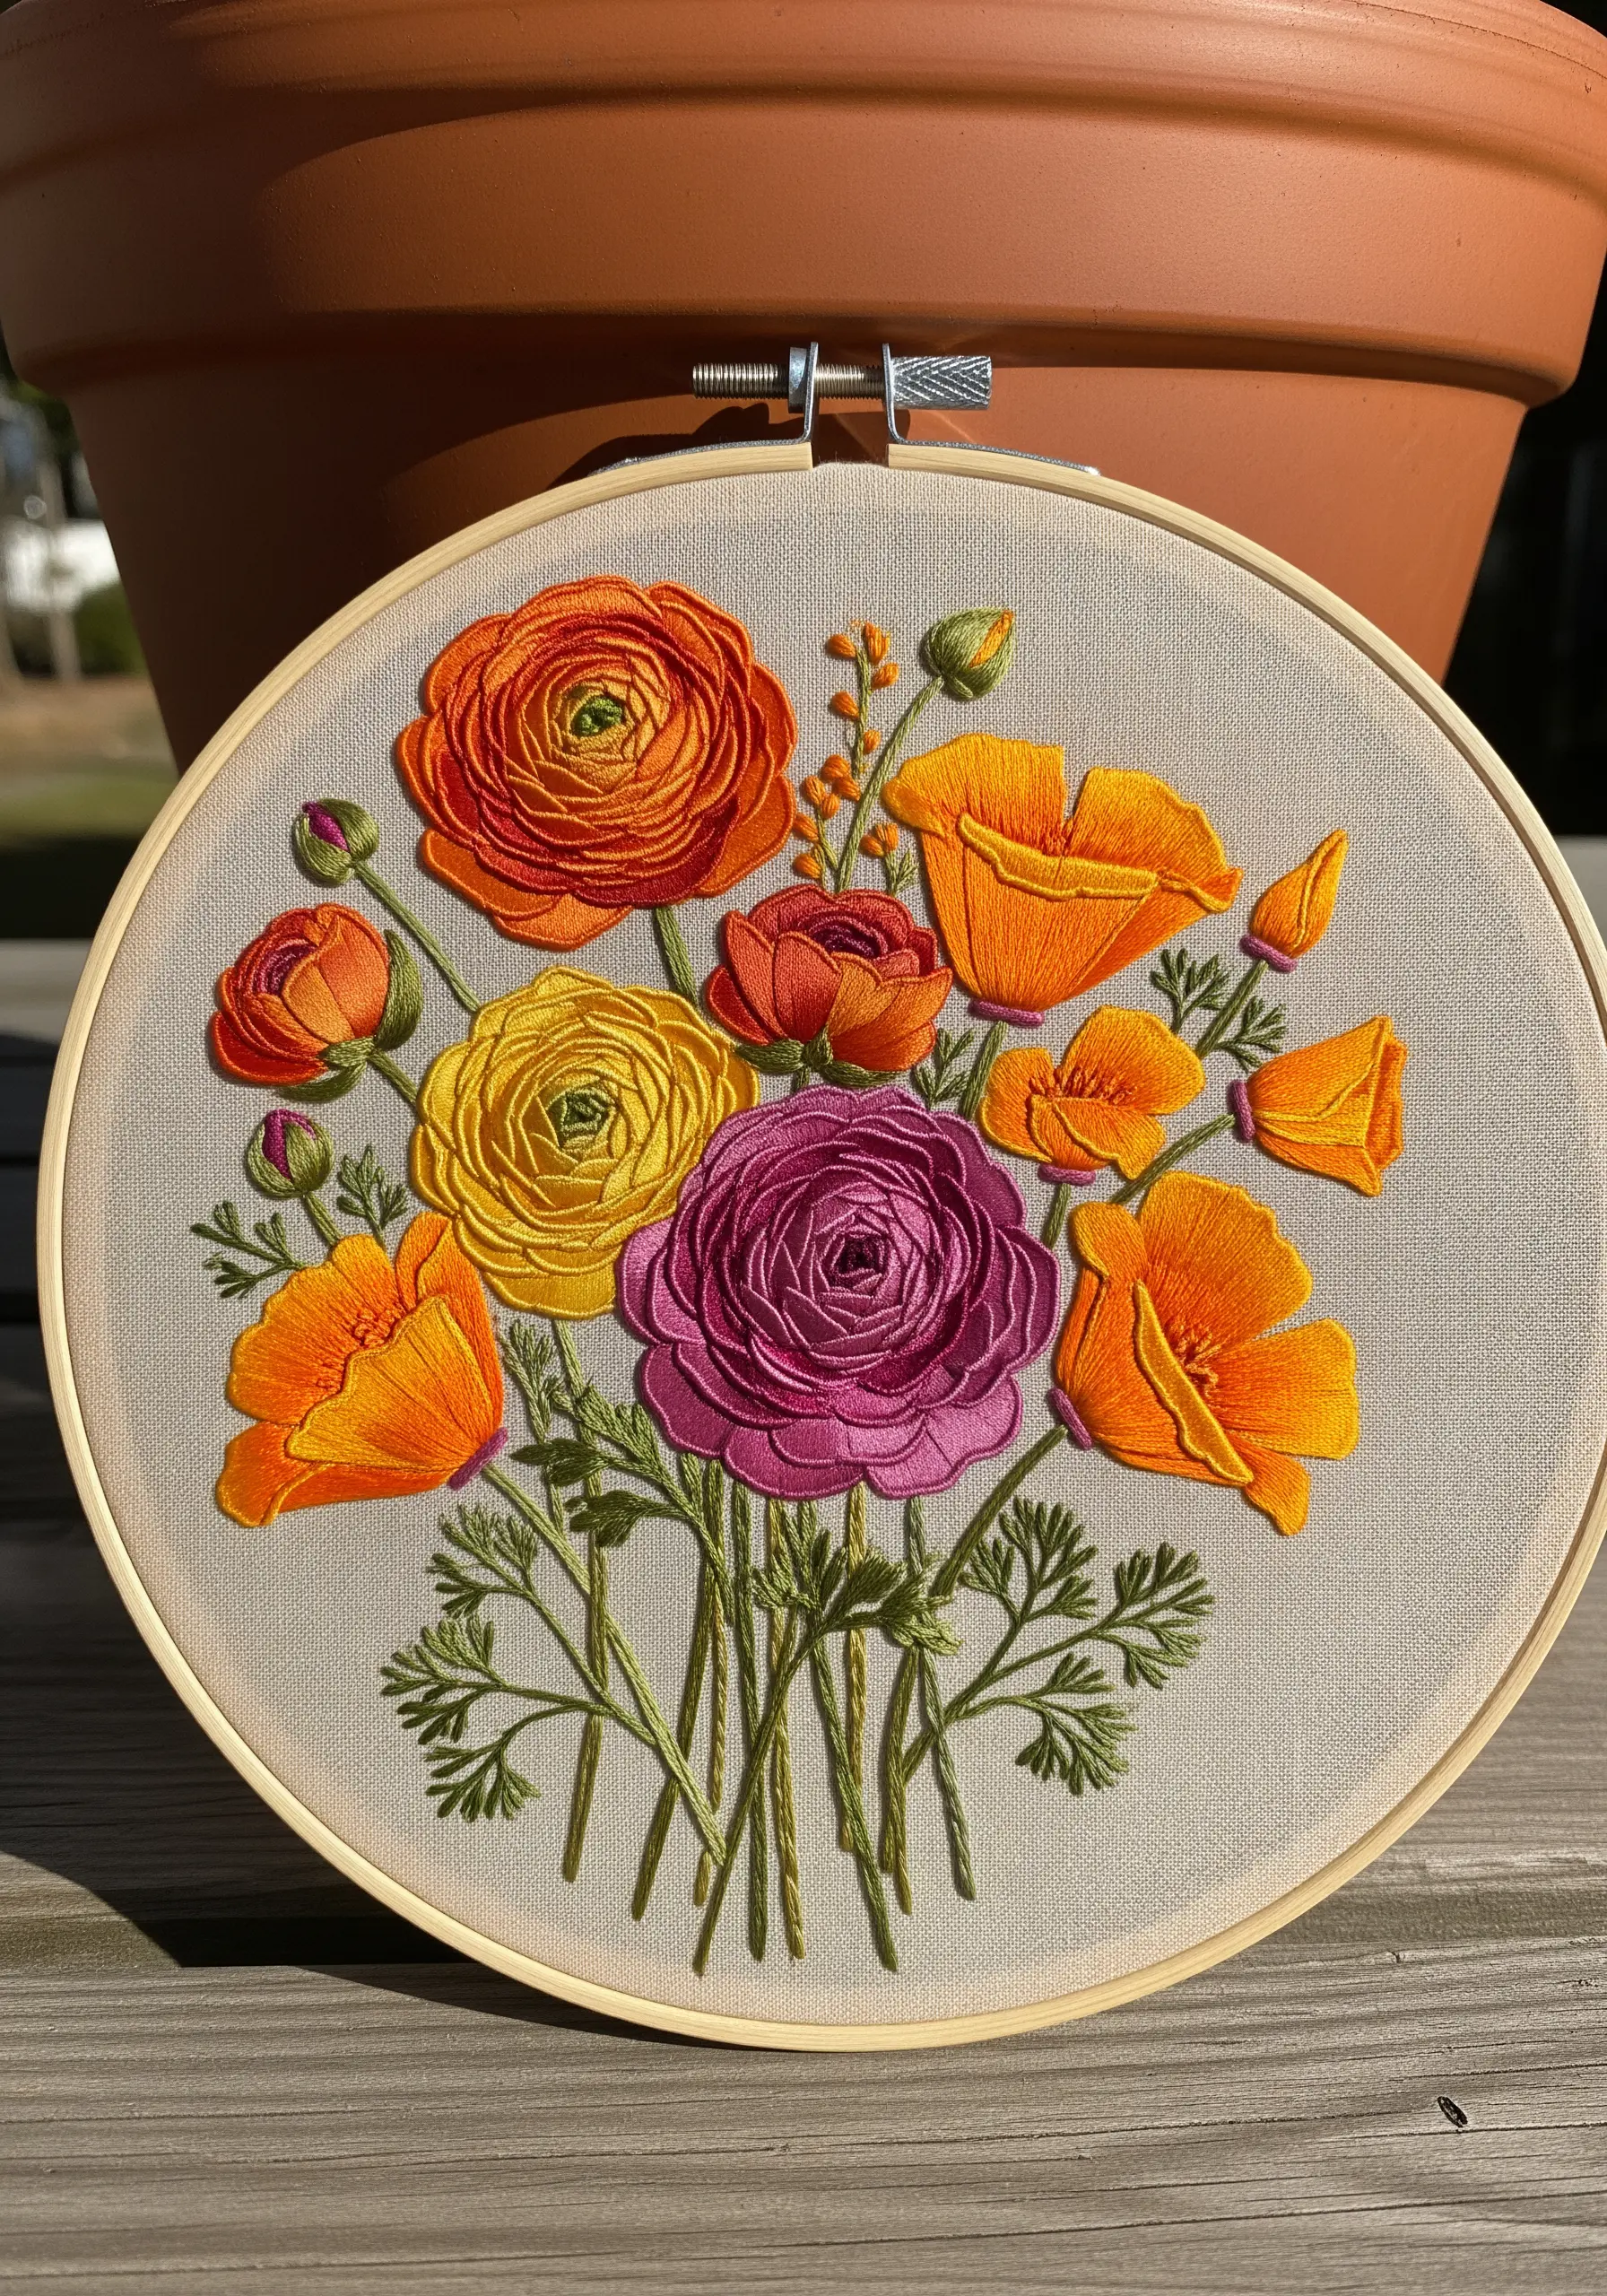
The woven wheel stitch is the perfect choice for capturing the signature spiral of a ranunculus bloom.
Create a base of five or seven straight stitches radiating from a central point, then weave your thread over and under these spokes without piercing the fabric.
For a realistic gradient, you can switch to a lighter or darker thread color halfway through weaving.
This stitch is one of the most satisfying and beginner-friendly embroidery patterns for creating lush, dimensional flowers.
10. Make Colors Pop on a Dark Background

Stitching on black or dark navy fabric instantly adds drama and makes your thread colors appear more vibrant.
For these lilac clusters, use bright whites and purples in French knots or small bullion stitches to create the tiny florets.
The high contrast between the thread and the fabric ensures that every stitch stands out, giving the piece a bold, modern feel.
This is a core principle behind some of the most dramatic dark thread embroidery designs.
11. Design a Personalized Floral Monogram
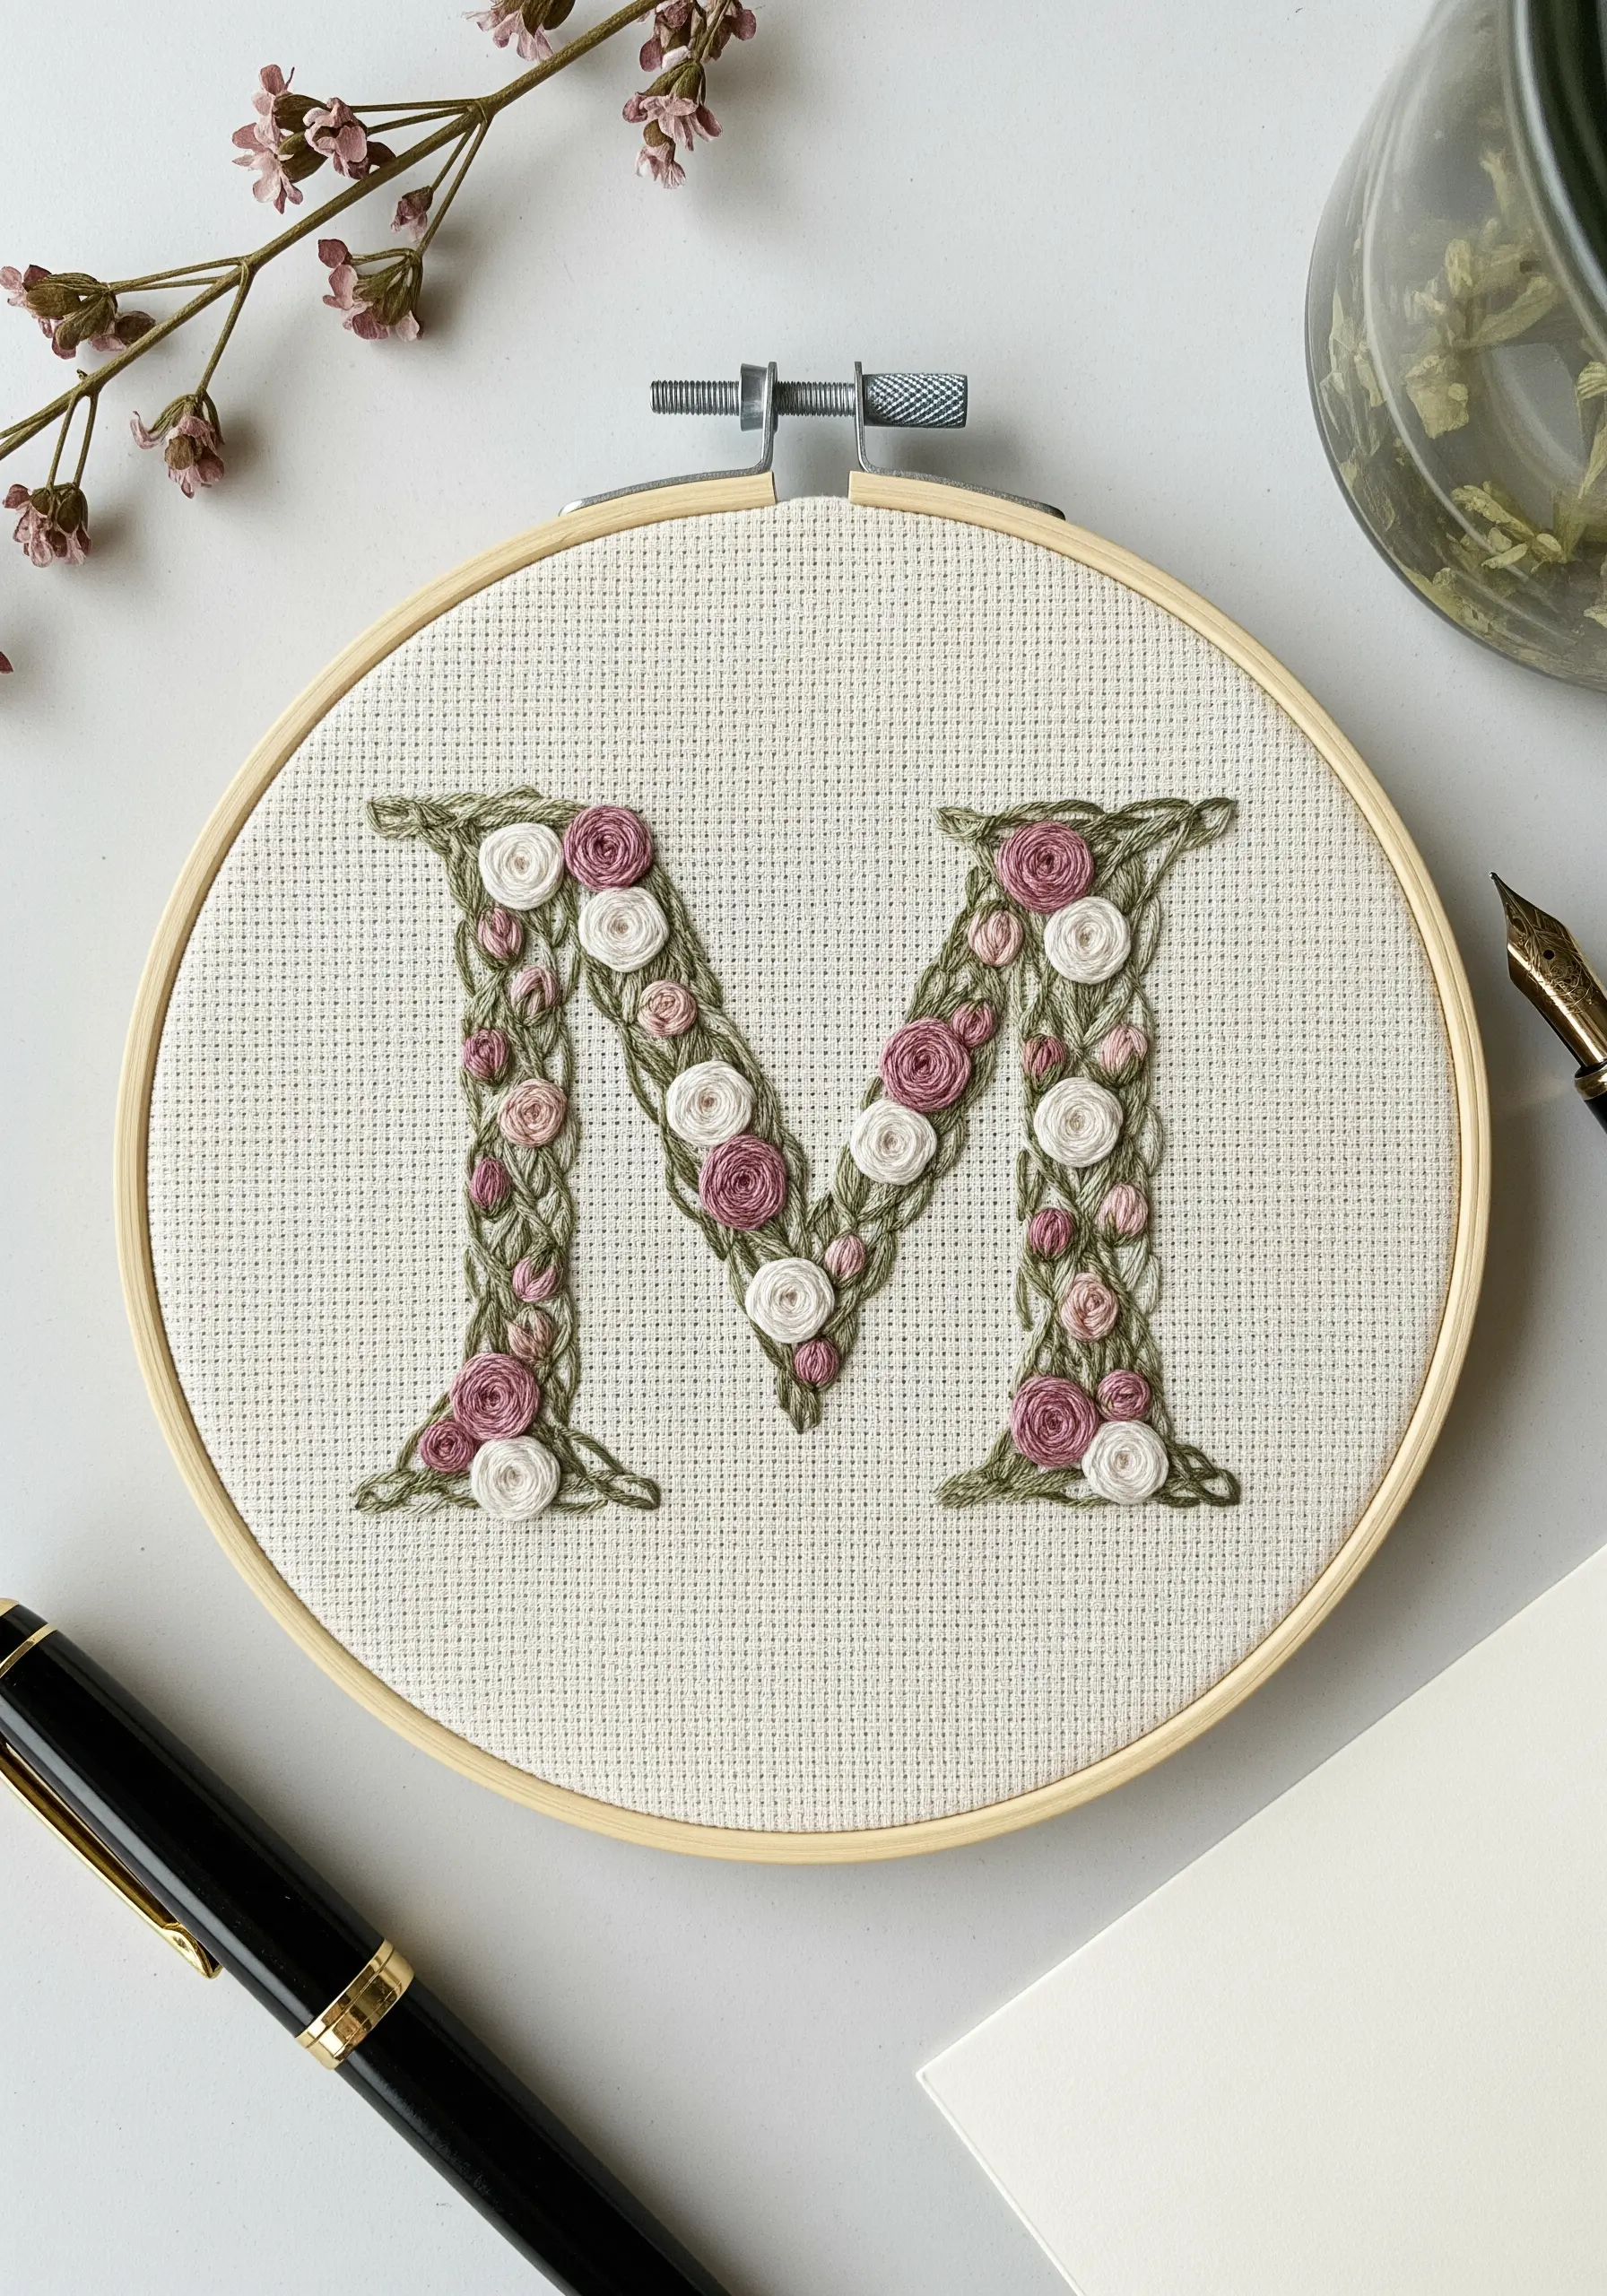
Transform a simple initial into a personal garden by filling its shape with miniature flowers.
Outline the letter with a stem stitch in a leafy green to create a defined structure.
Then, fill the interior with tiny woven wheel roses and single detached chain stitches for leaves.
Vary the size and color of the roses to create visual rhythm. This is one of the most cherished botanical monogram embroidery ideas for a truly unique gift.
12. Weave a Realistic Embroidered Basket
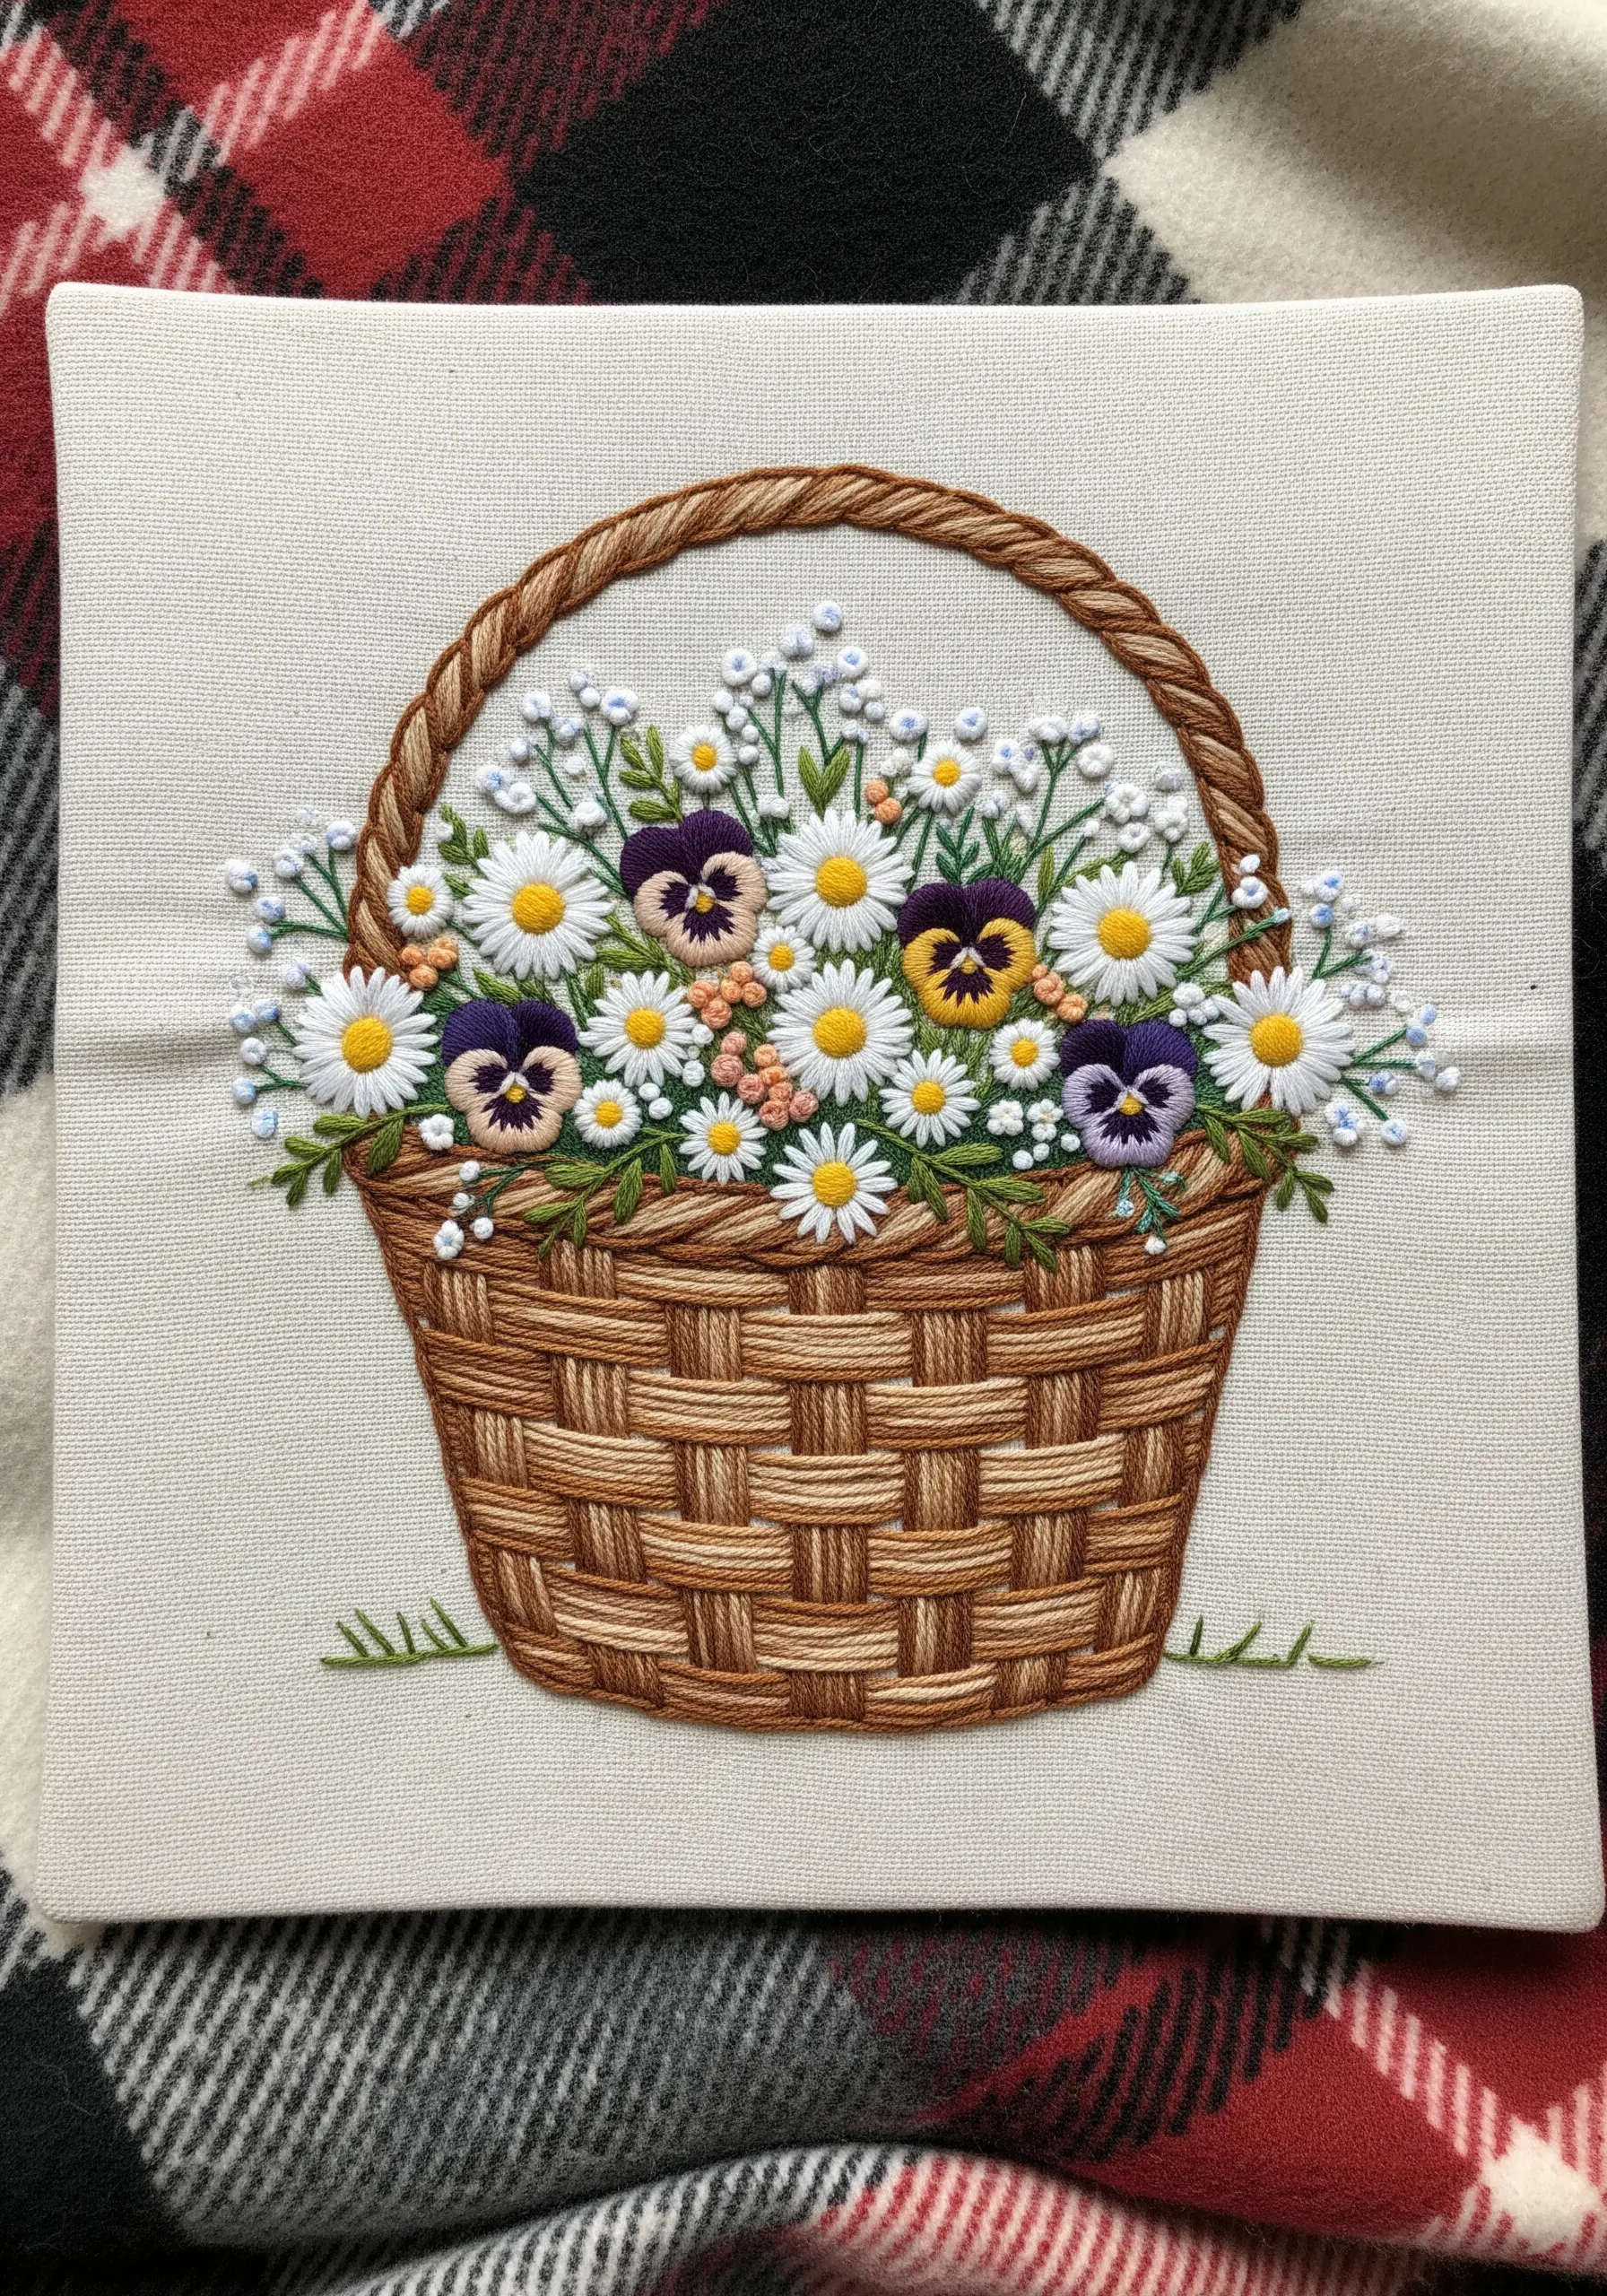
To give your basket a convincing woven texture, use a basketweave stitch or carefully placed long-and-short stitches.
Use two shades of brown—a medium tan and a darker espresso—and alternate them to mimic the look of real wicker.
Keep your stitches parallel and tightly packed for a neat finish.
This attention to detail in the container makes the floral arrangement on top feel even more special and is one of those charming DIY embroidery projects that shows off your skill.
13. Focus on Delicate Details for Miniature Florals
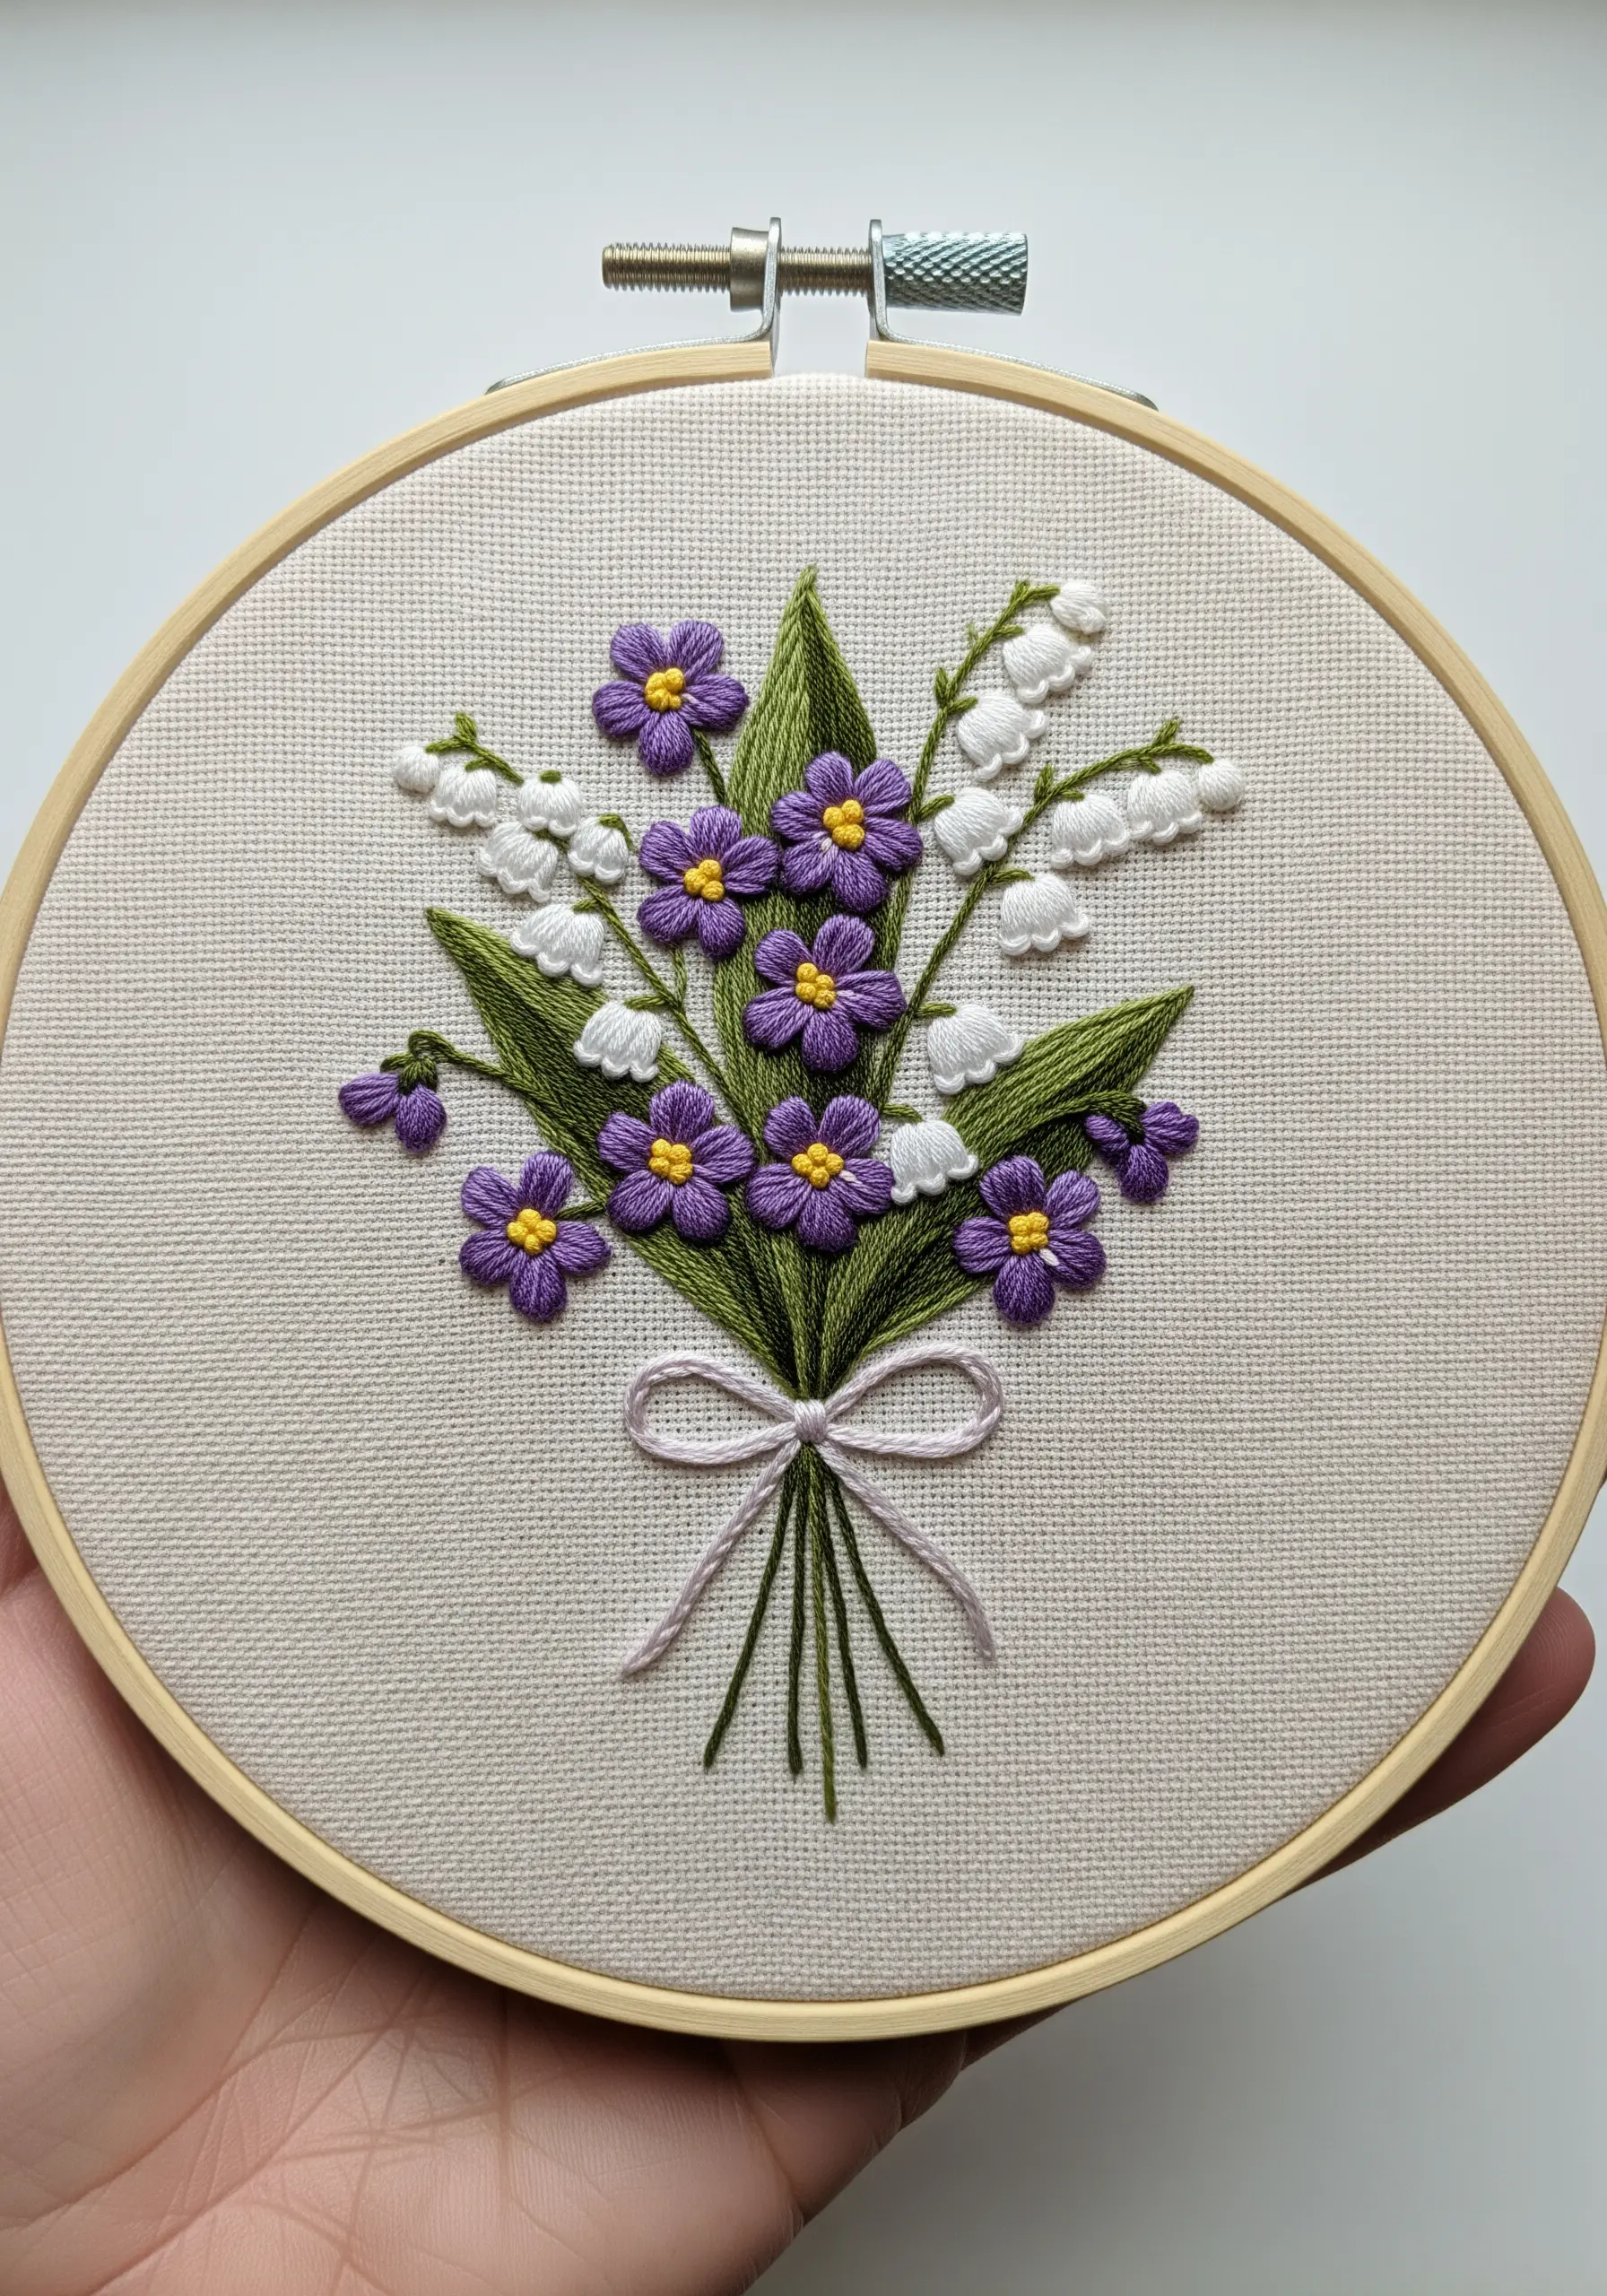
When stitching small bouquets, precision is everything. Use only one or two strands of floss for a refined look.
For the lily of the valley, create the bell shape with just three to five small satin stitches.
The violets can be made with five simple detached chain stitches arranged around a central French knot.
These small embroidery ideas prove that you don’t need large, complex stitches to create something beautiful.
14. Add a Touch of Magic with Metallic Thread
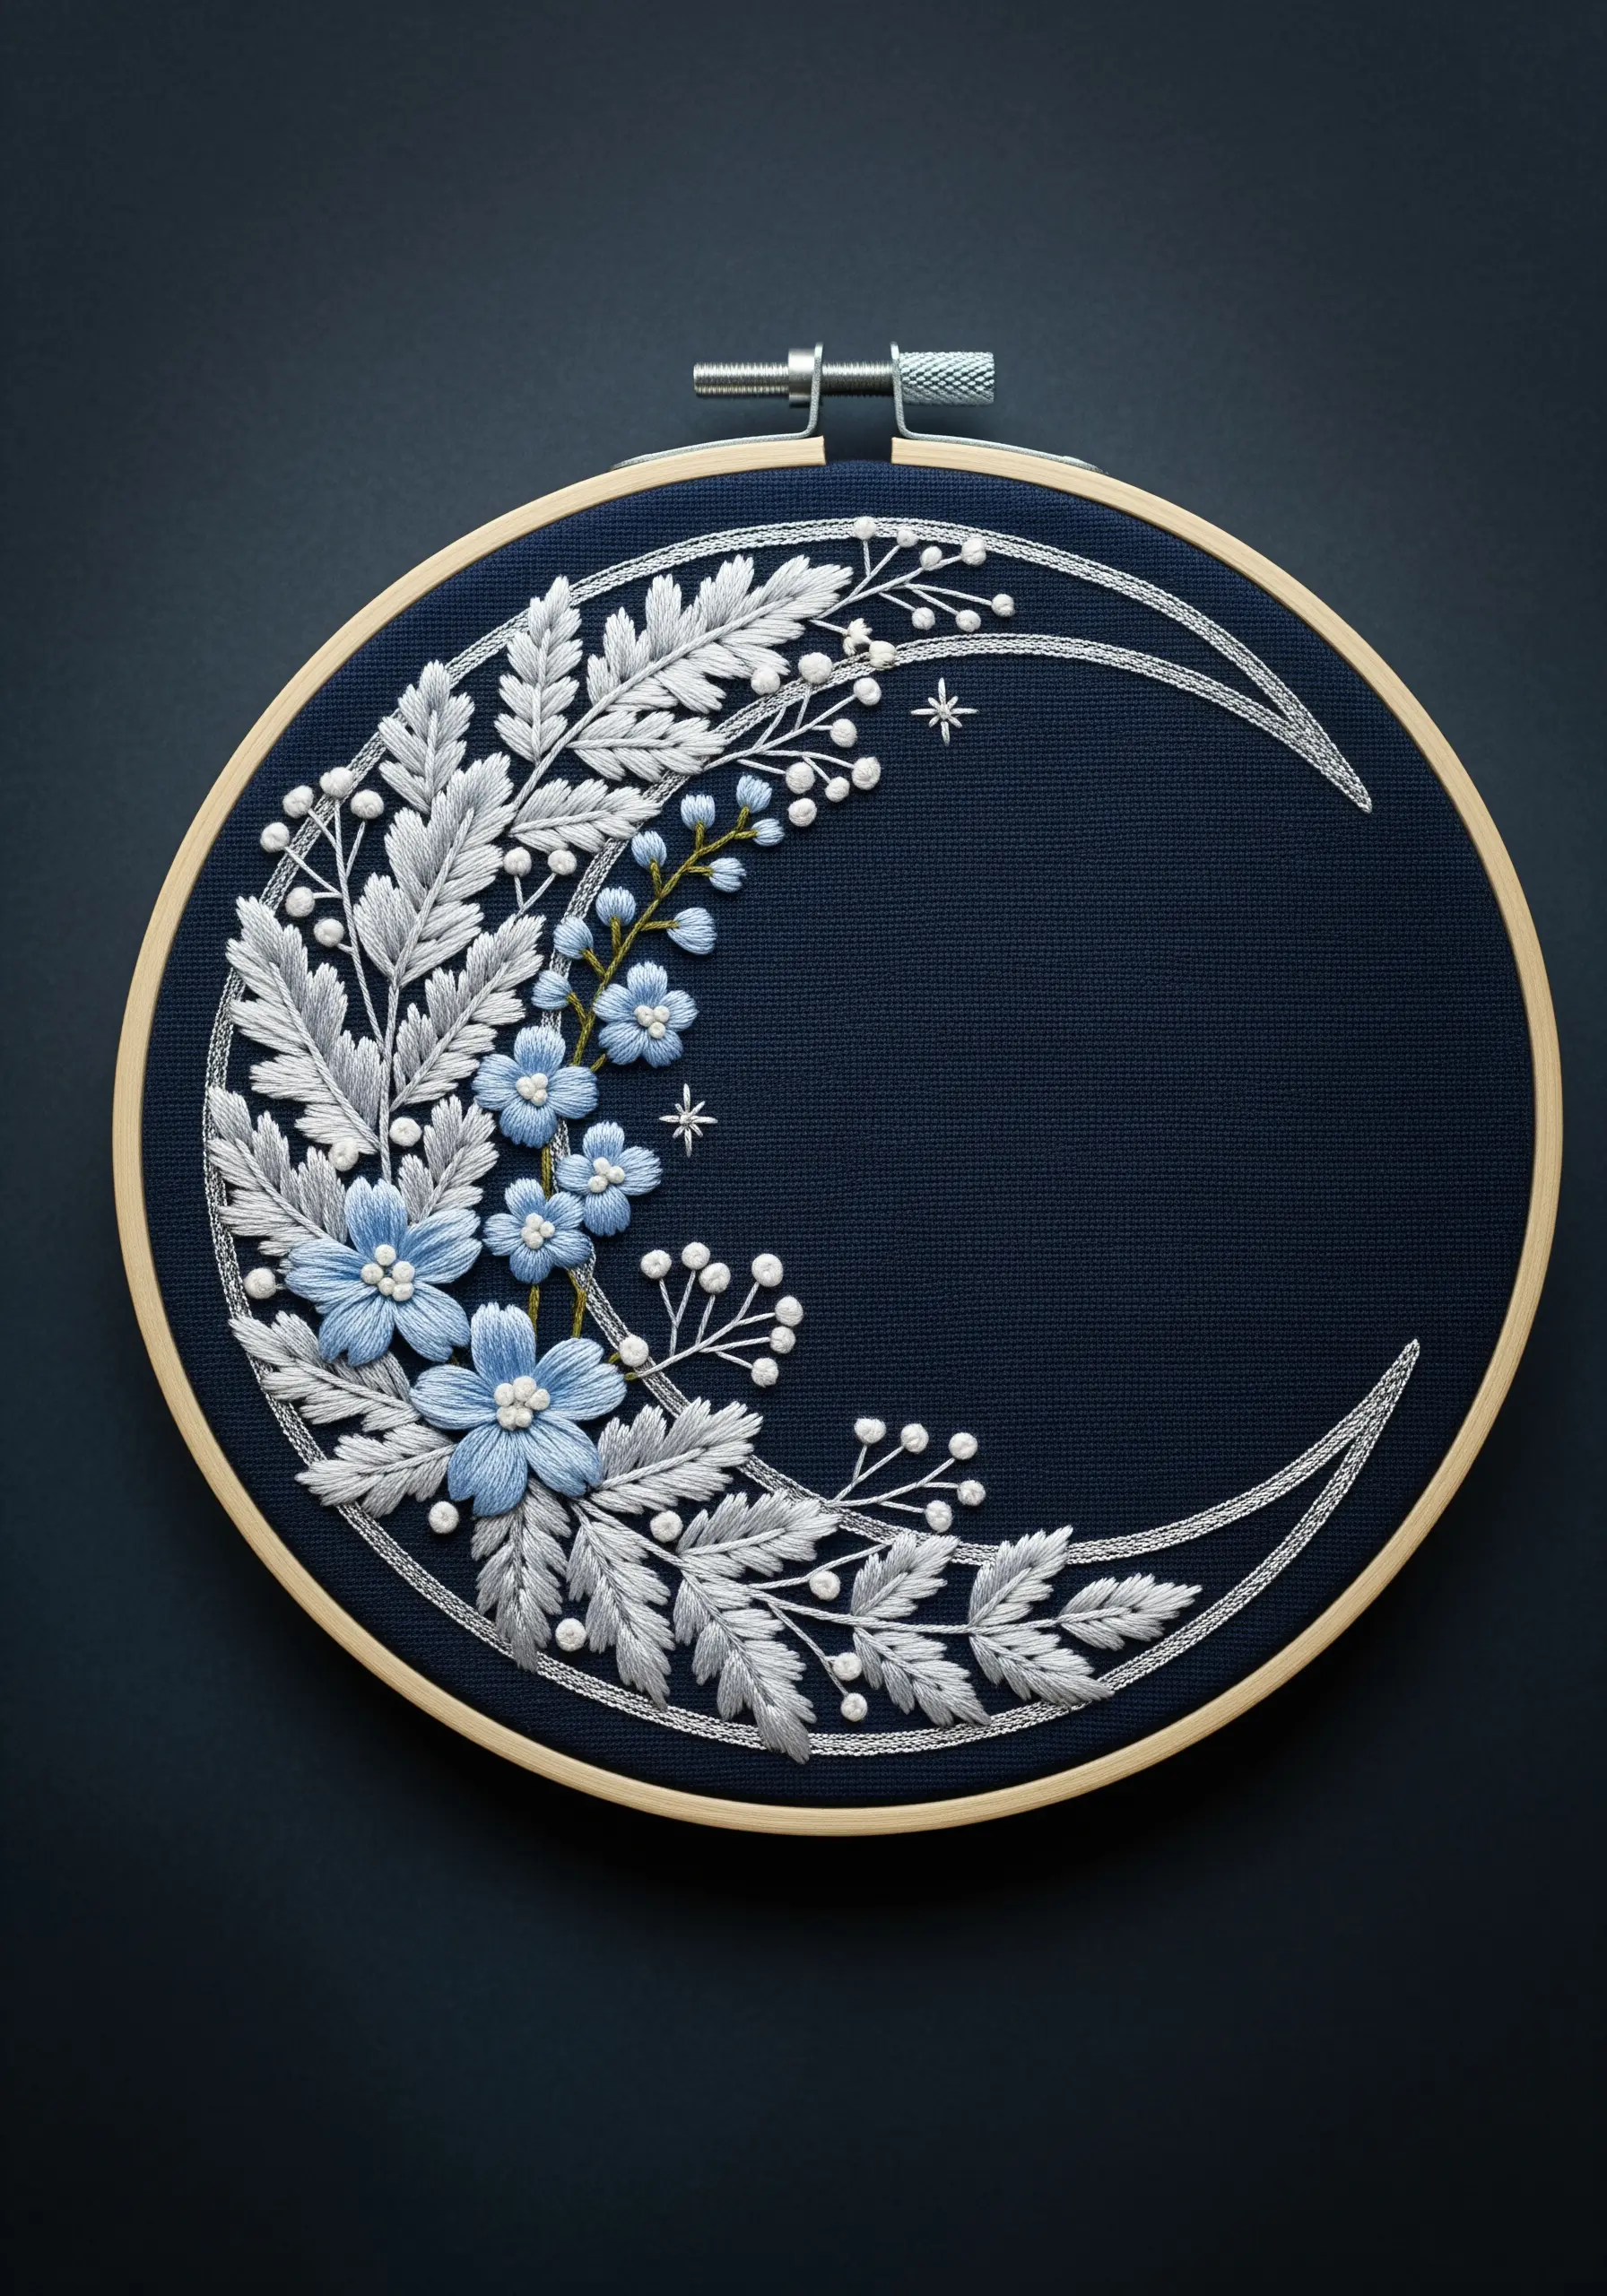
Elevate a simple floral design by incorporating metallic thread for celestial accents.
Outline the crescent moon shape with a silver or gold metallic thread using a couching stitch for a smooth, unbroken line.
Stitch the botanicals with standard cotton floss to create a contrast in sheen and texture.
This mix of matte and shimmer is a key technique in ways to use metallic thread for modern artwork that shimmers like real jewelry.
15. Unify a Rainbow Bouquet with a Color Story
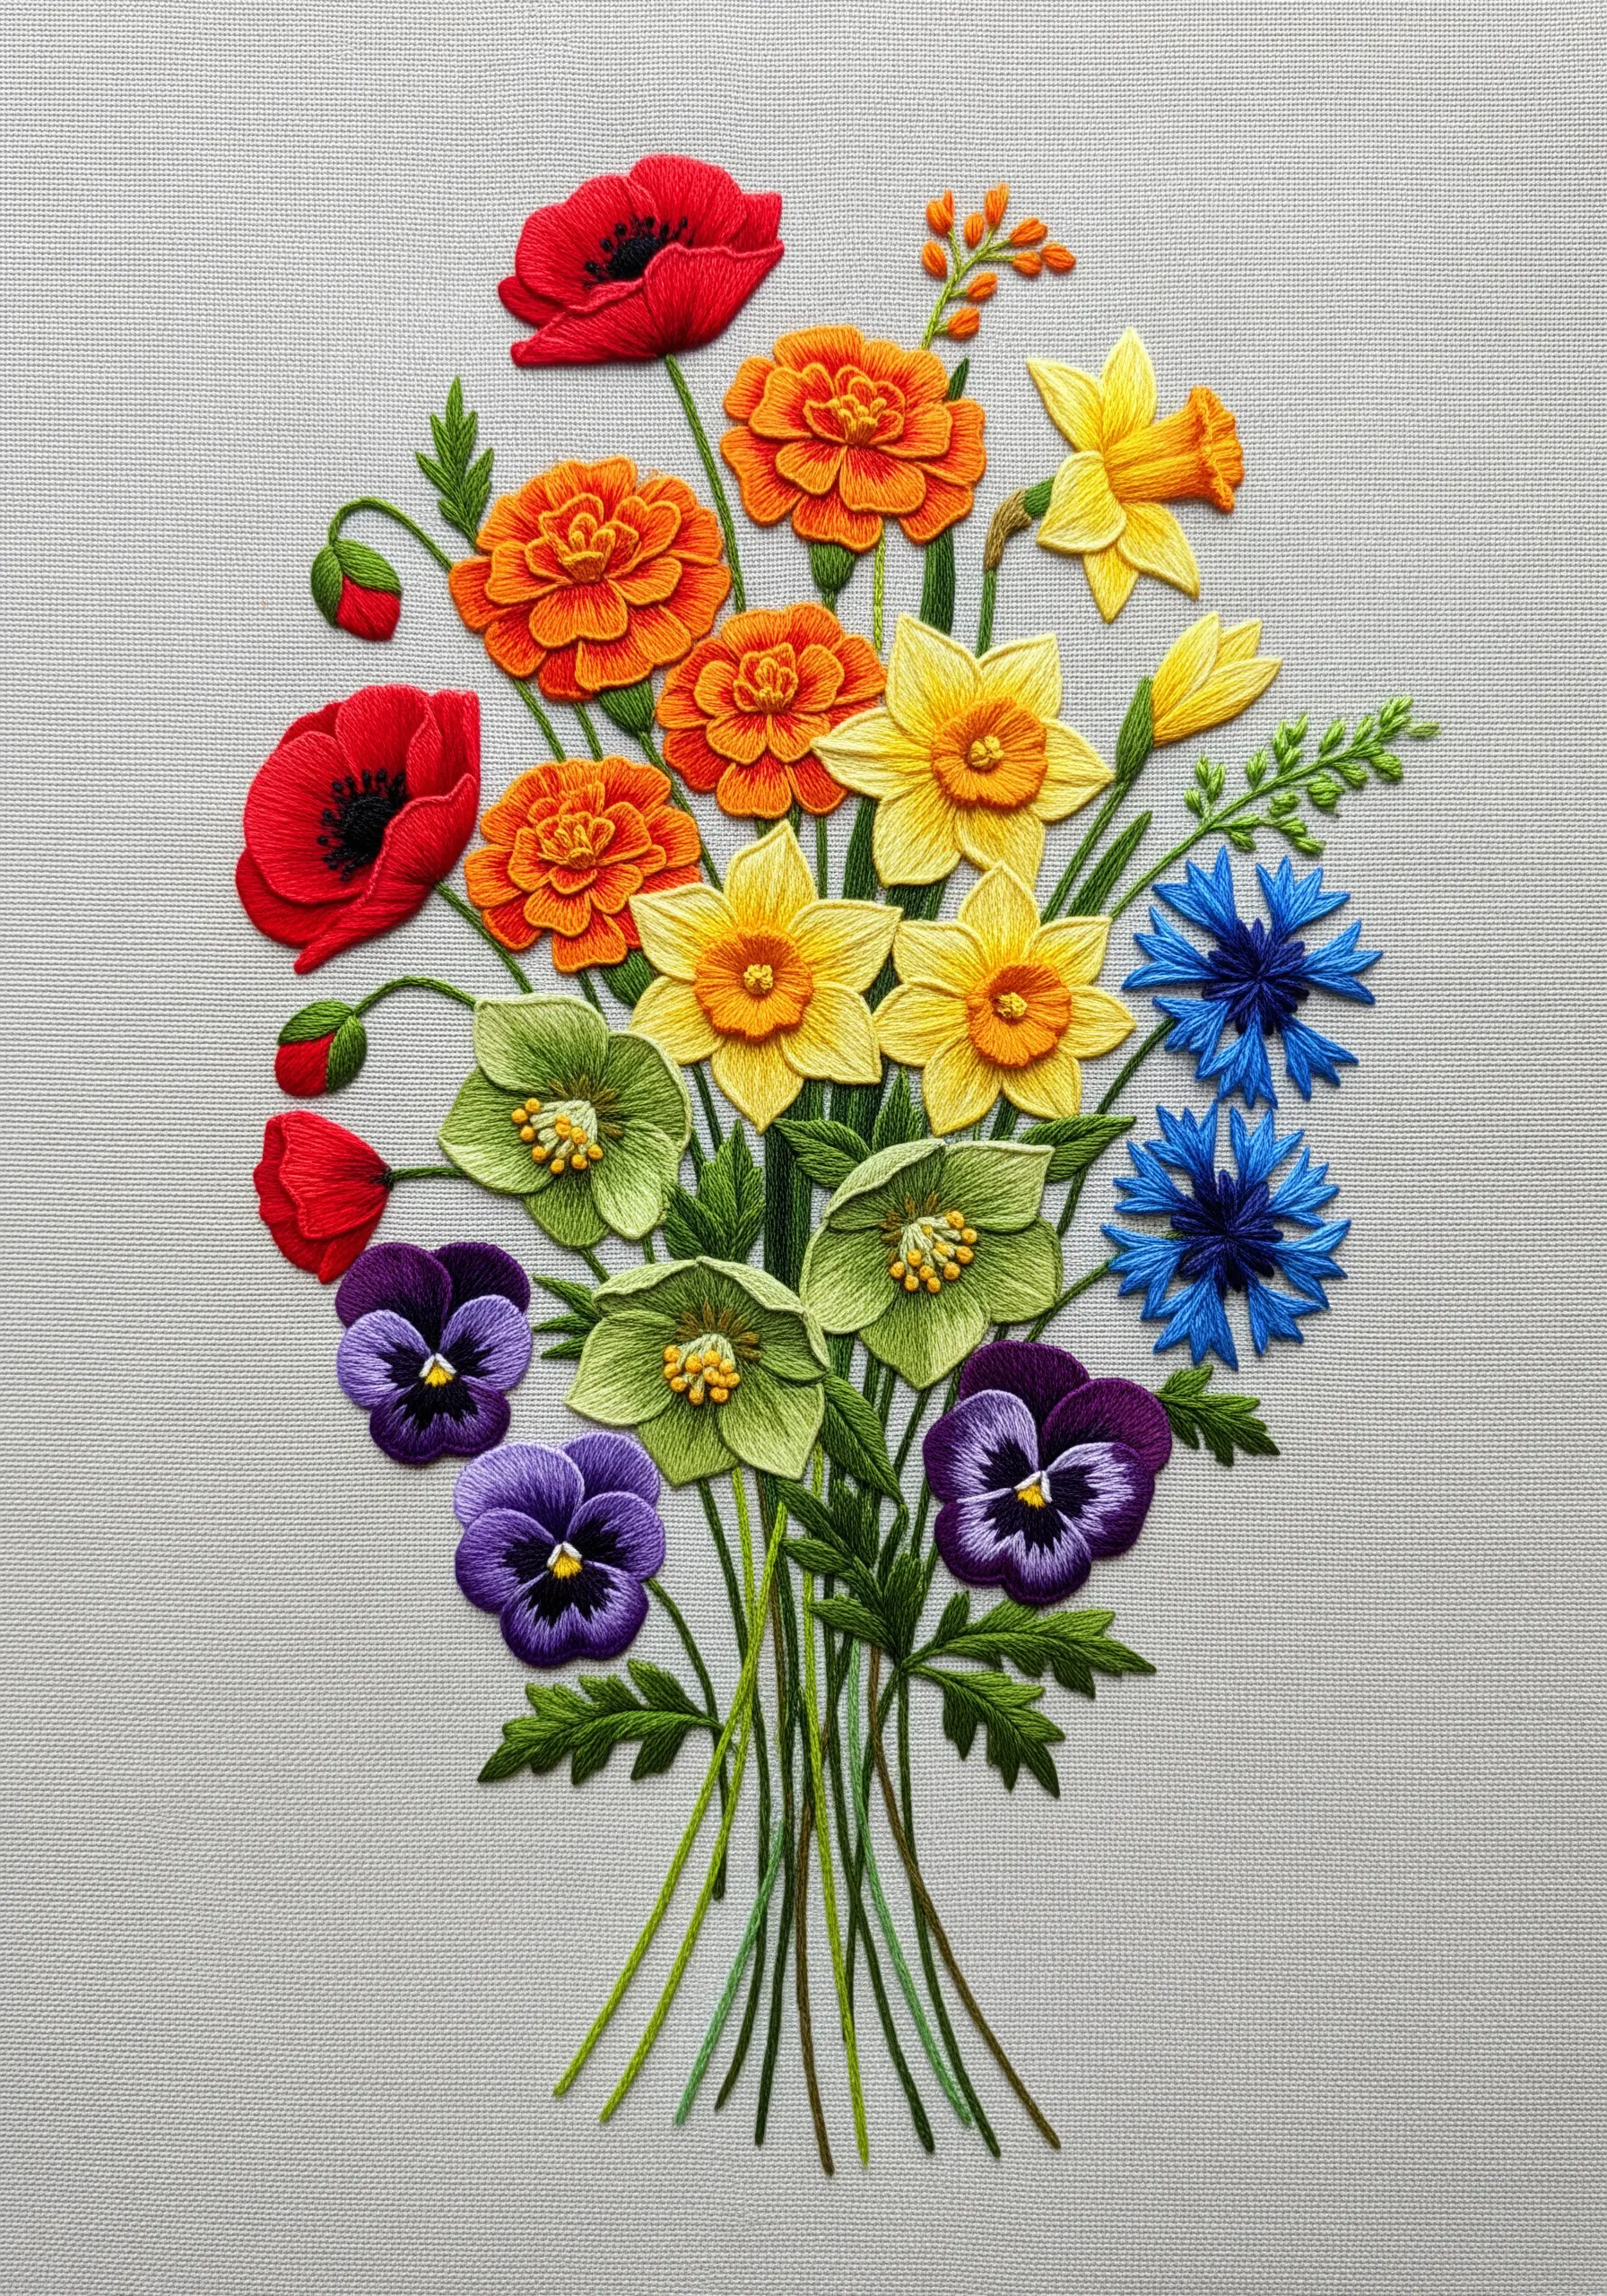
A bouquet with many colors can look chaotic without a plan. Arrange your flowers to create a gentle color gradient.
Start with reds and oranges at the top, transition through yellows and greens in the middle, and finish with blues and purples at the bottom.
This intentional color flow creates a harmonious composition that feels balanced rather than random.
Choosing one of these wildflower thread palettes can guide your design and make it feel professional.
16. Integrate a 3D Bow for a Finishing Touch

Add a charming, dimensional element by incorporating a real satin ribbon into your finished piece.
Embroider the bouquet first, leaving the stem area open. Once complete, tie a beautiful bow with a high-quality ribbon.
Secure the bow to the fabric with a few tiny, discreet stitches on the back of the knot, using a thread that matches the ribbon color.
This is one of the easiest embroidery mixed media DIY ideas for adding instant pop.
17. Play with Scale and Texture for a Folk Art Feel
Achieve a whimsical, folk-art style by fearlessly mixing textures and varying the scale of your stitches.
Use chunky bullion knots for rosebuds, woven wheels for larger blooms, and long straight stitches for spiky blue flowers.
Don’t be afraid to use all six strands of floss for some elements and just two for others.
This playful experimentation is at the heart of many fun mixed fiber art projects and gives your work a unique personality.
18. Capture Dogwood Petals with Directional Stitching
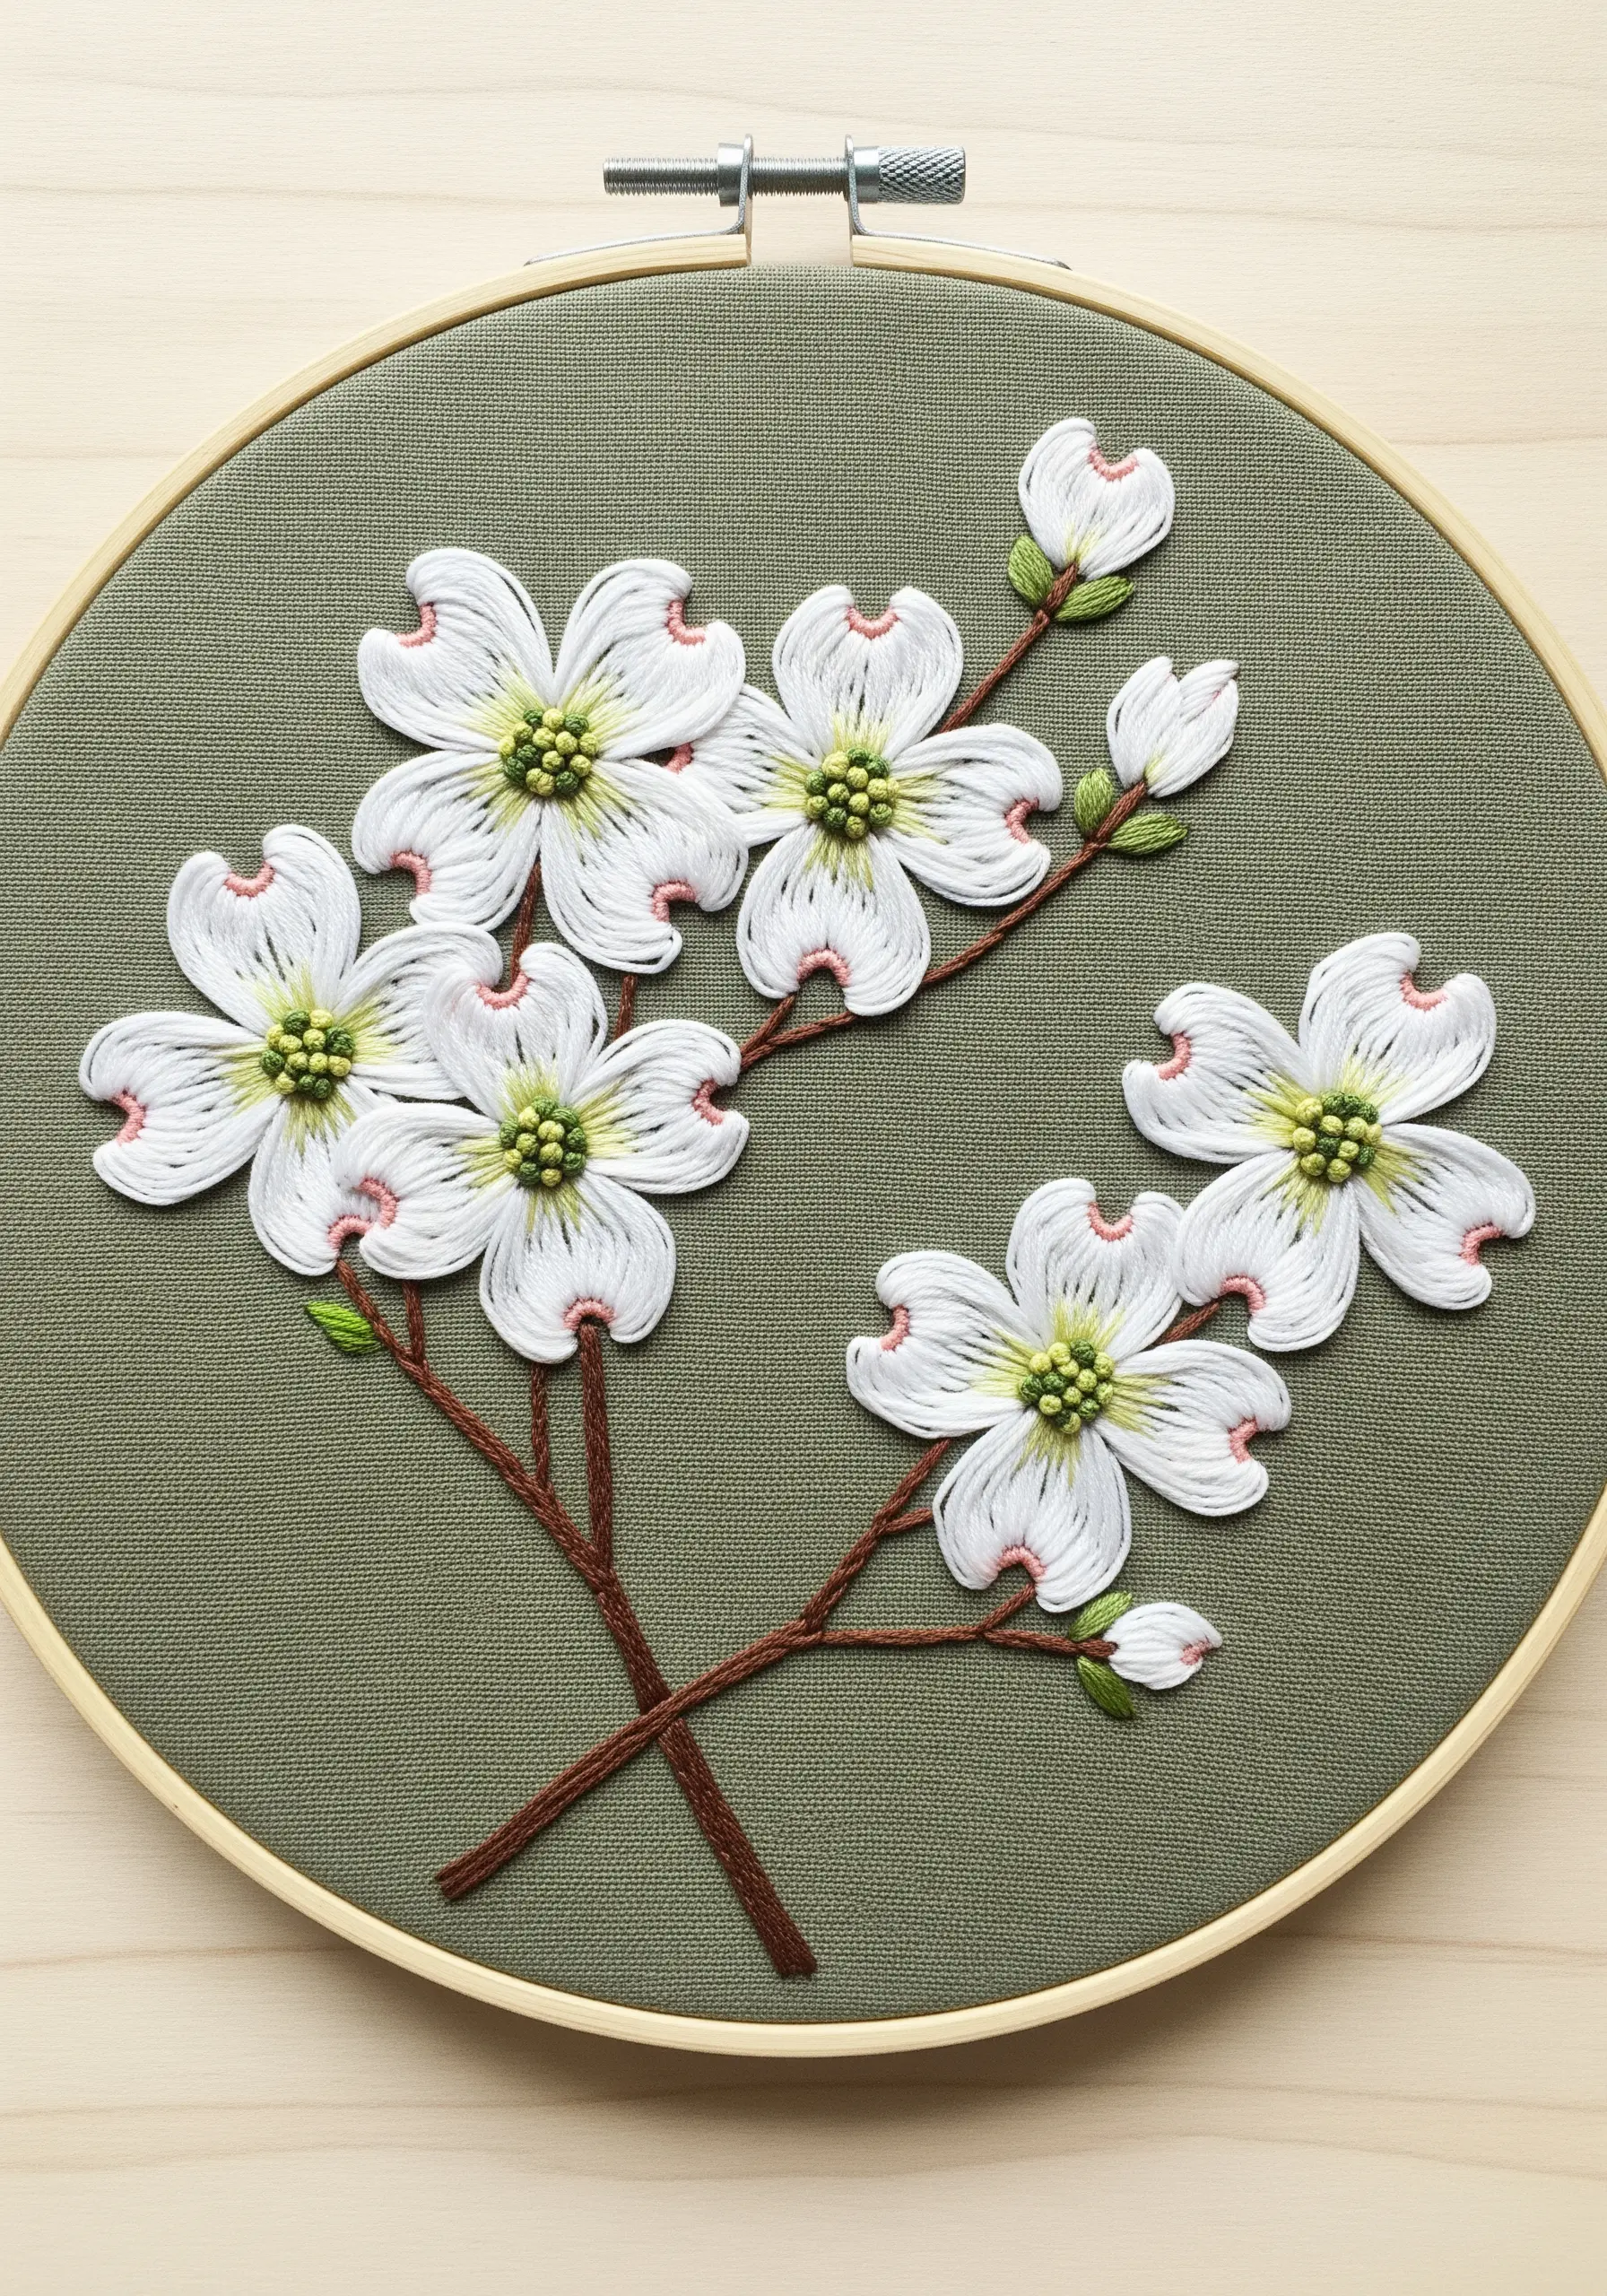
The unique shape of a dogwood blossom is defined by the direction of its stitches.
Work each of the four petals with long-and-short stitches that radiate from the green center outwards.
For the characteristic pink-tinged notch at the tip of each petal, add two or three tiny straight stitches in a soft pink.
This attention to detail is what separates good work from great work and is one of the modern embroidery stitches every beginner needs to master for realistic florals.
19. Create an Ethereal Effect on Sheer Tulle
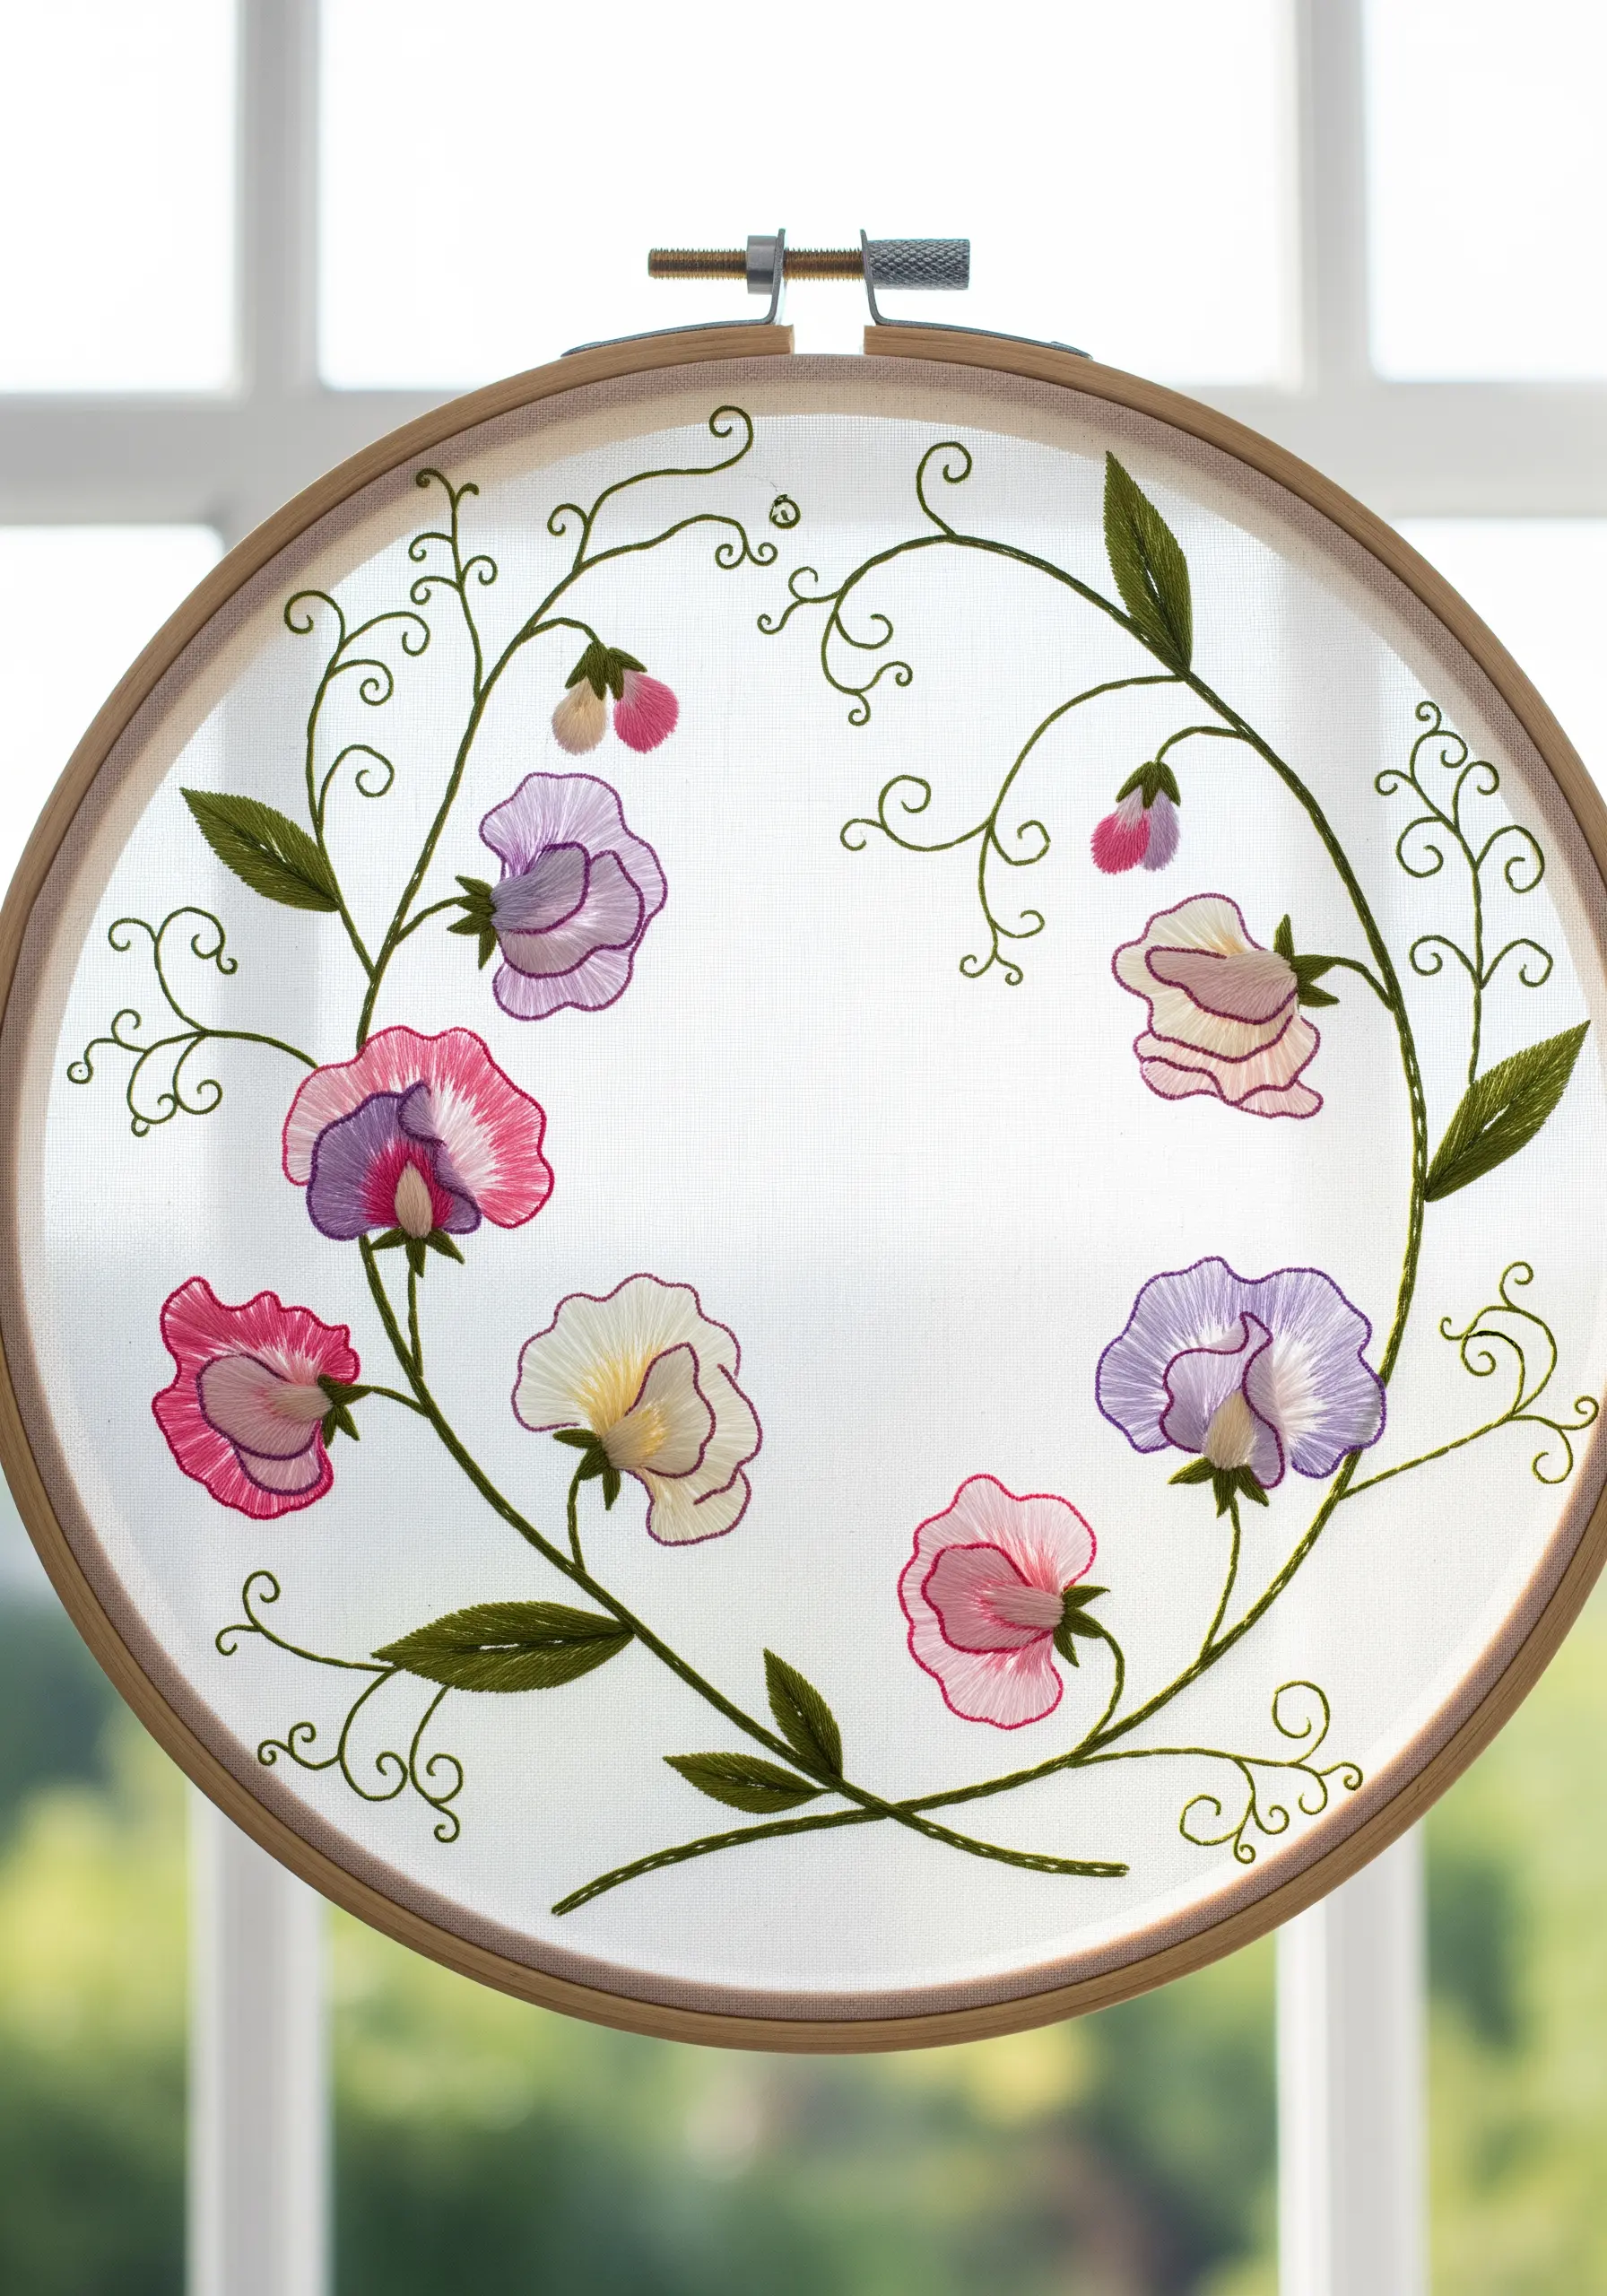
Stitching on tulle or organza gives your embroidery a delicate, floating appearance.
Use a water-soluble stabilizer on the back to support your stitches, which you’ll wash away upon completion.
You must be meticulous about hiding your thread tails by weaving them under existing stitches on the back, as they will be visible.
The result is one of the most romantic embroidery wall hangings imaginable, perfect for catching the light in a window.
20. Display Your Work on a Stretched Canvas
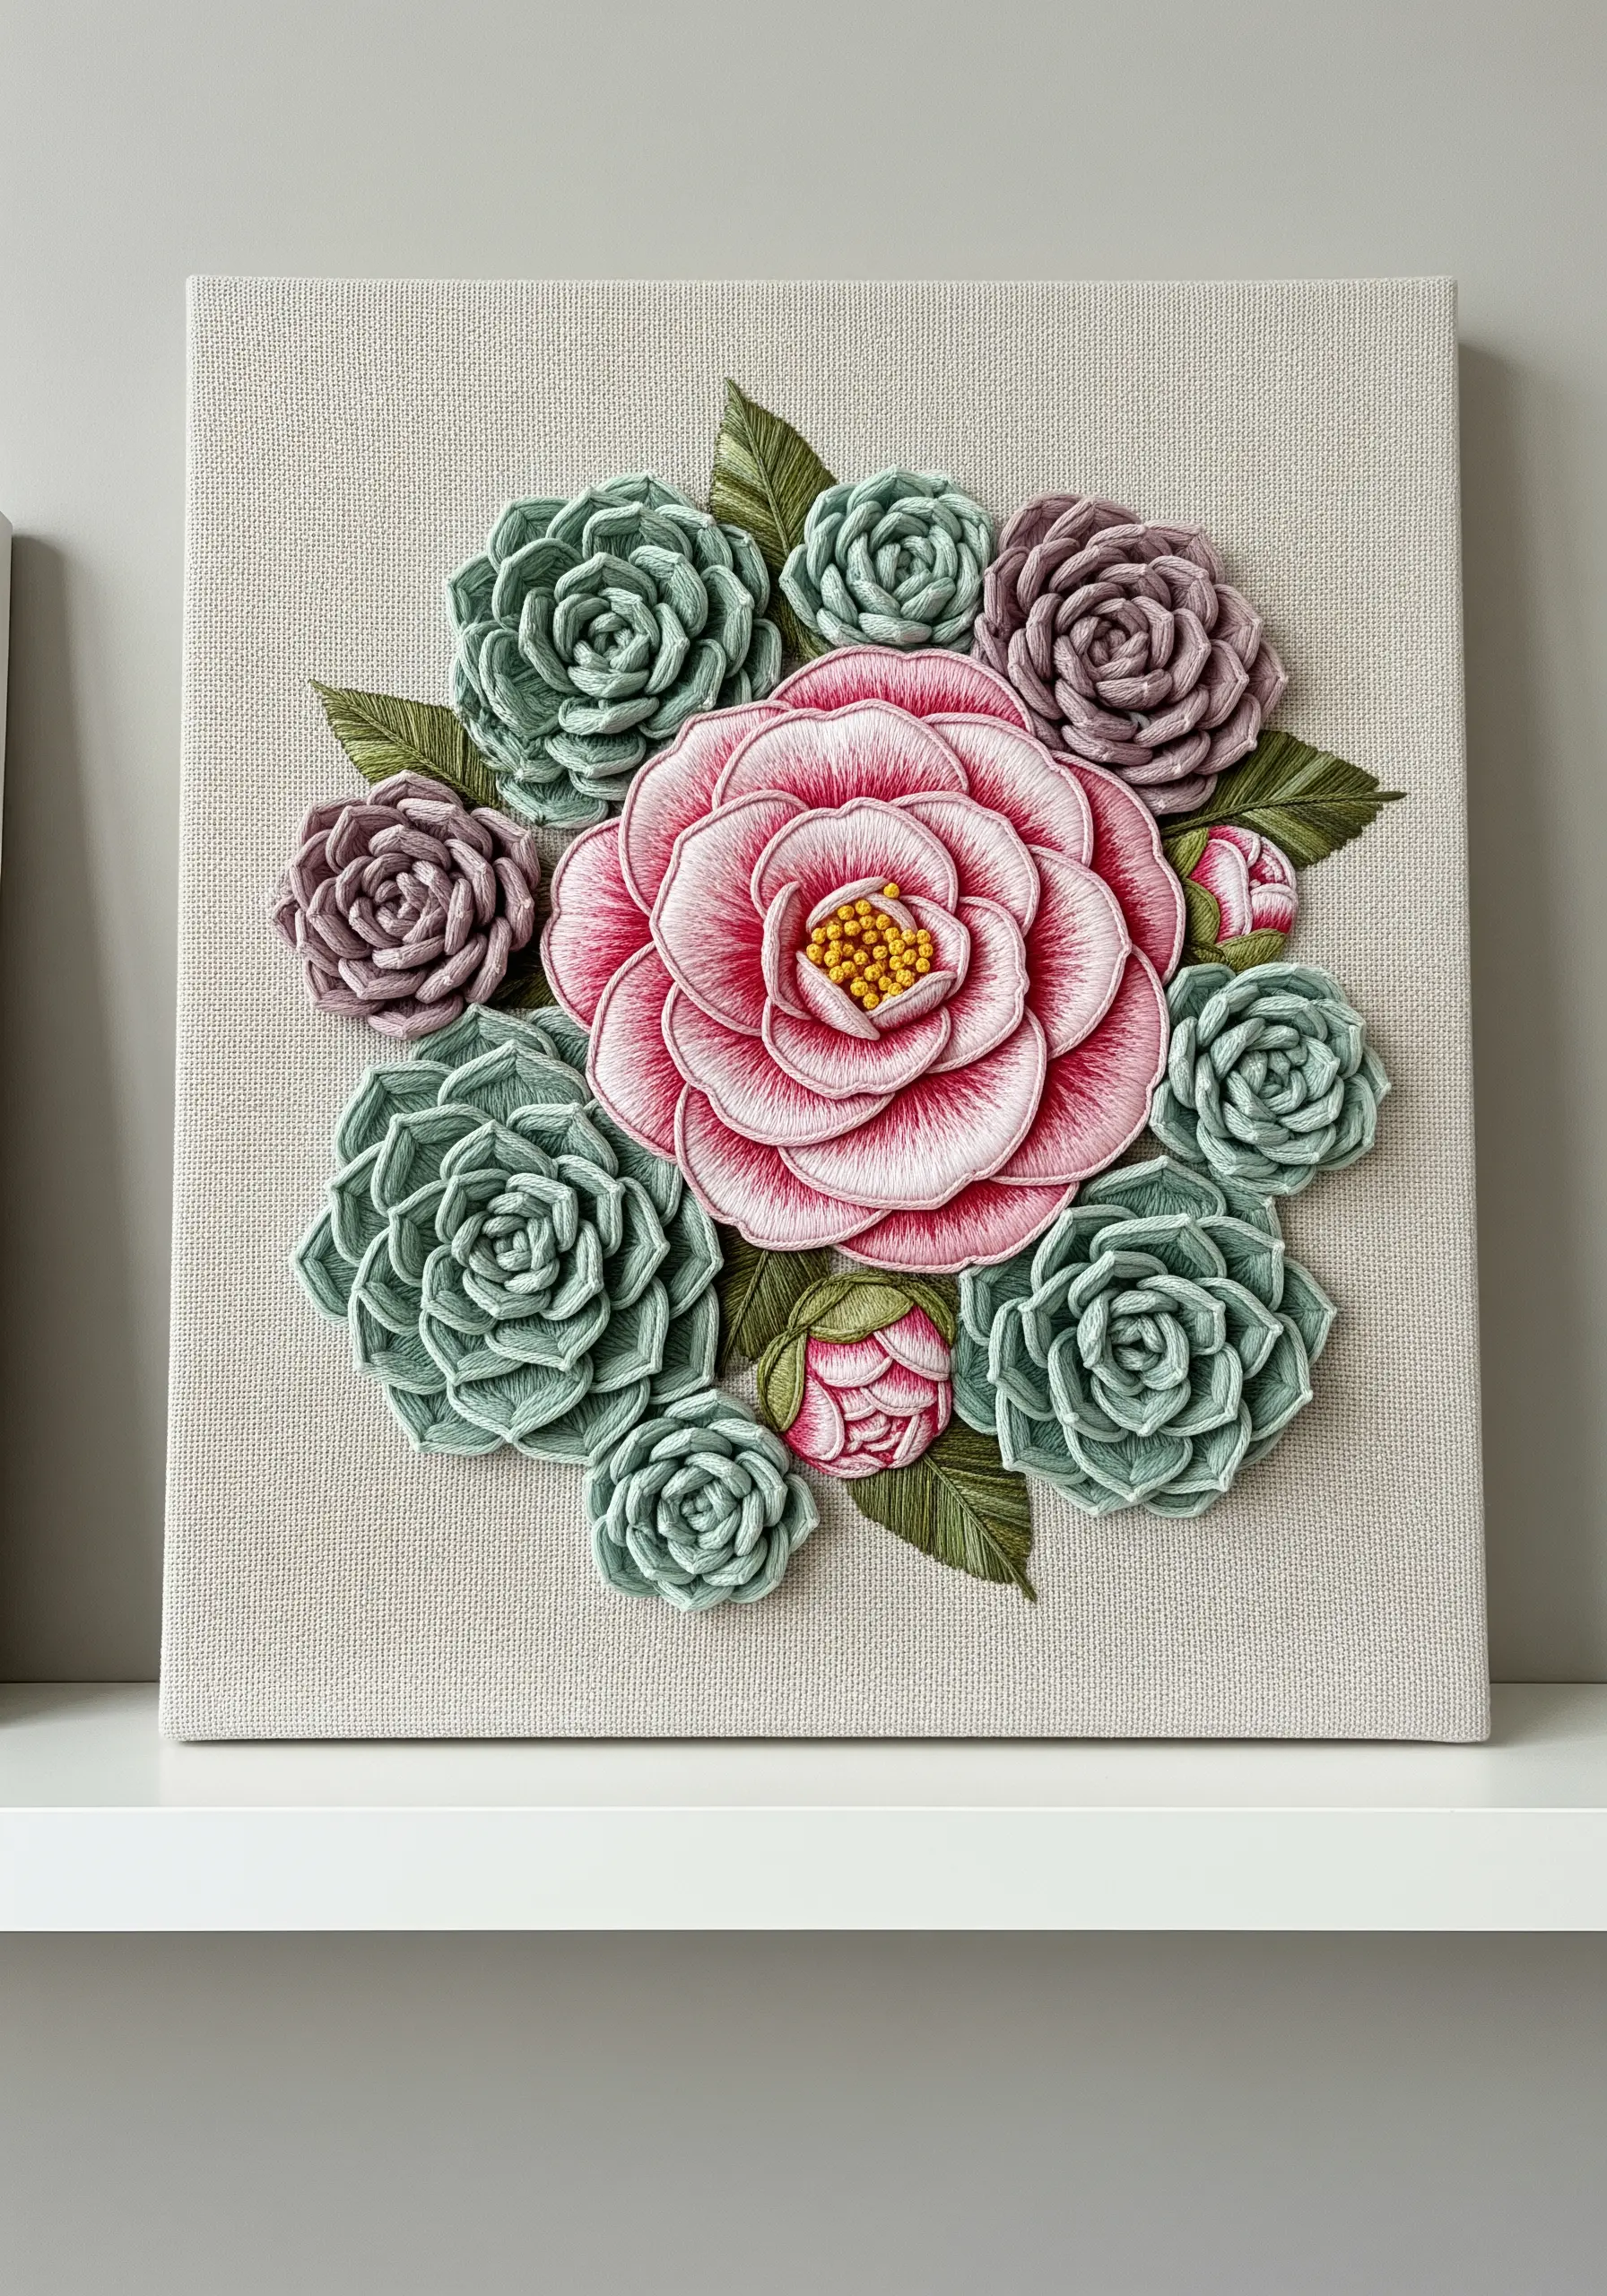
Move beyond the hoop and give your embroidery a modern, gallery-ready finish by mounting it on a stretched canvas.
Create dimensional succulents using layered cast-on stitches or dense bullion knots in dusty greens and purples.
After stitching, stretch your fabric tightly over a small artist’s canvas and secure it on the back with staples or strong craft glue.
This method of display is perfect for multilayered textile wall art, giving it a substantial presence on a shelf or wall.
21. Combine Florals with Elegant Typography
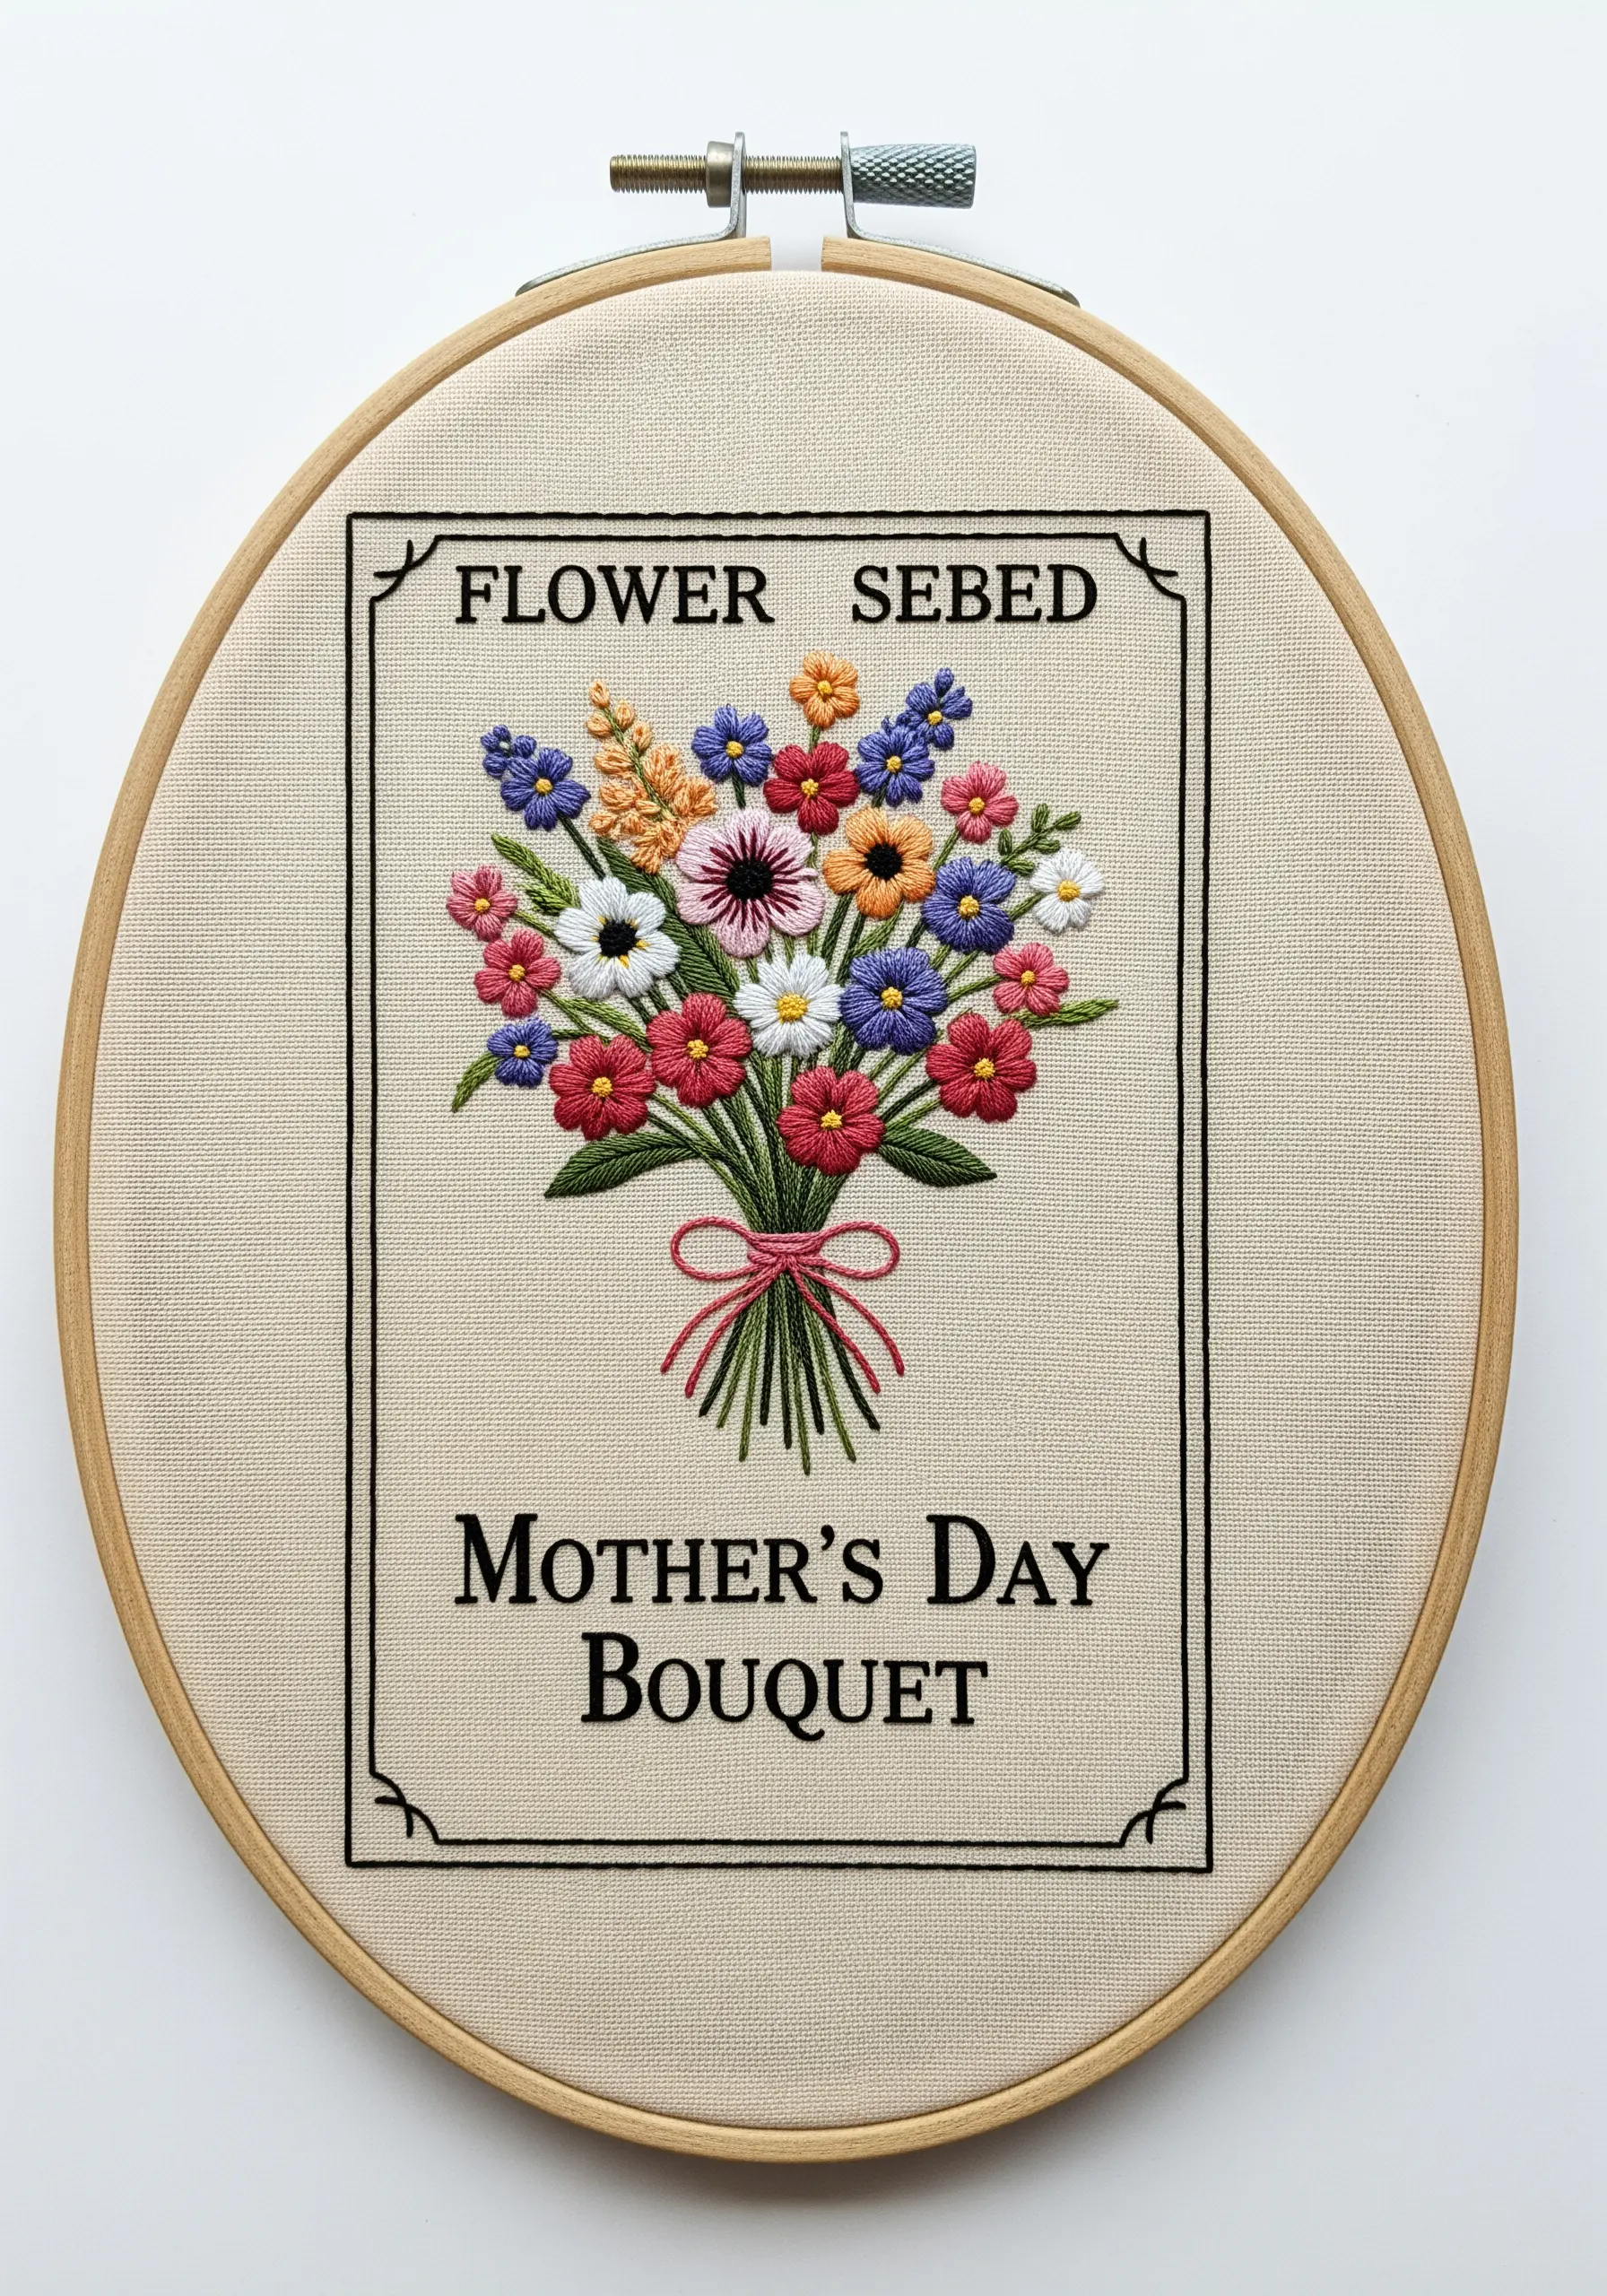
Frame your bouquet with text to create a piece that looks like a vintage seed packet or a personalized card.
Choose a simple, clean font and use a single strand of black floss with a precise backstitch or split stitch for maximum legibility.
Ensure the text is perfectly aligned and spaced to give the design a polished, professional feel.
This combination works beautifully for minimal typography quotes that carry a special message.
22. Personalize a Bouquet with a Zodiac Theme
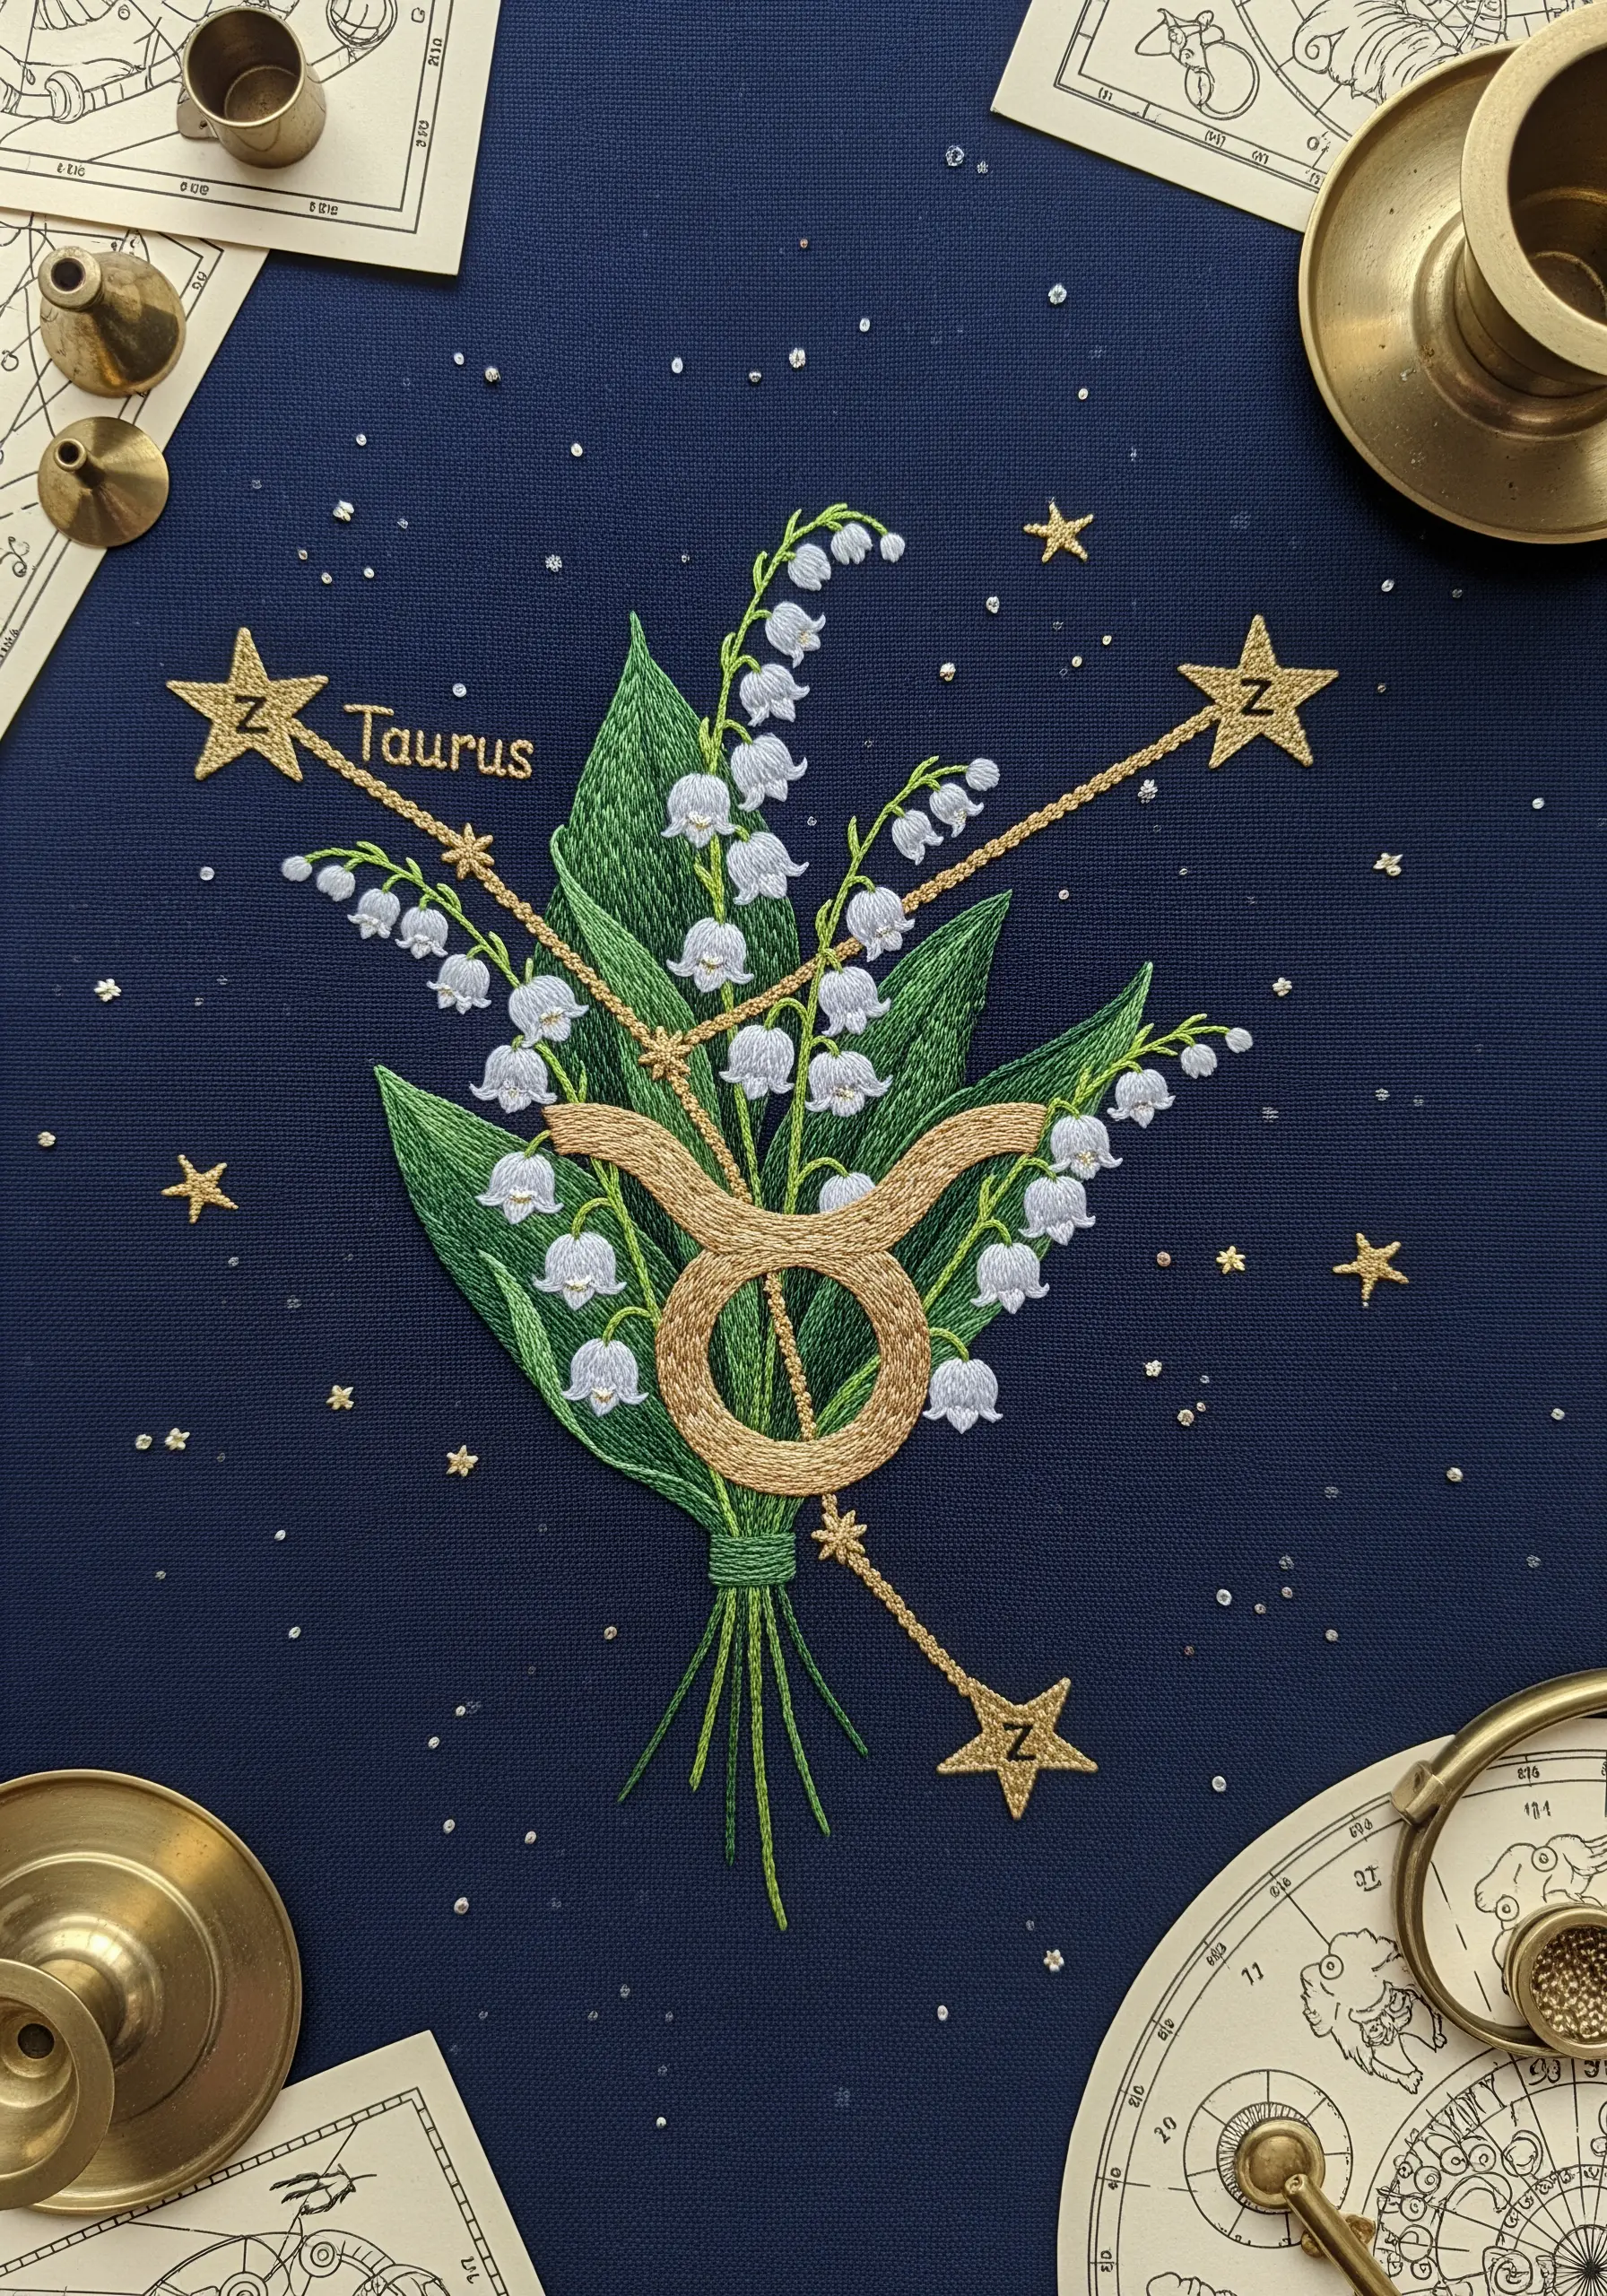
Create a truly personal gift by combining a floral bouquet with the recipient’s zodiac constellation.
Use a couching stitch with a thick, gold metallic cord to create bold, clean lines for the constellation and symbol.
The contrast between the shimmering gold and the soft, matte florals creates a stunning visual effect.
This is a brilliant way to approach abstract metallic thread embroidery concepts with a personal twist.
23. Create a Dense Carpet of Buttercups
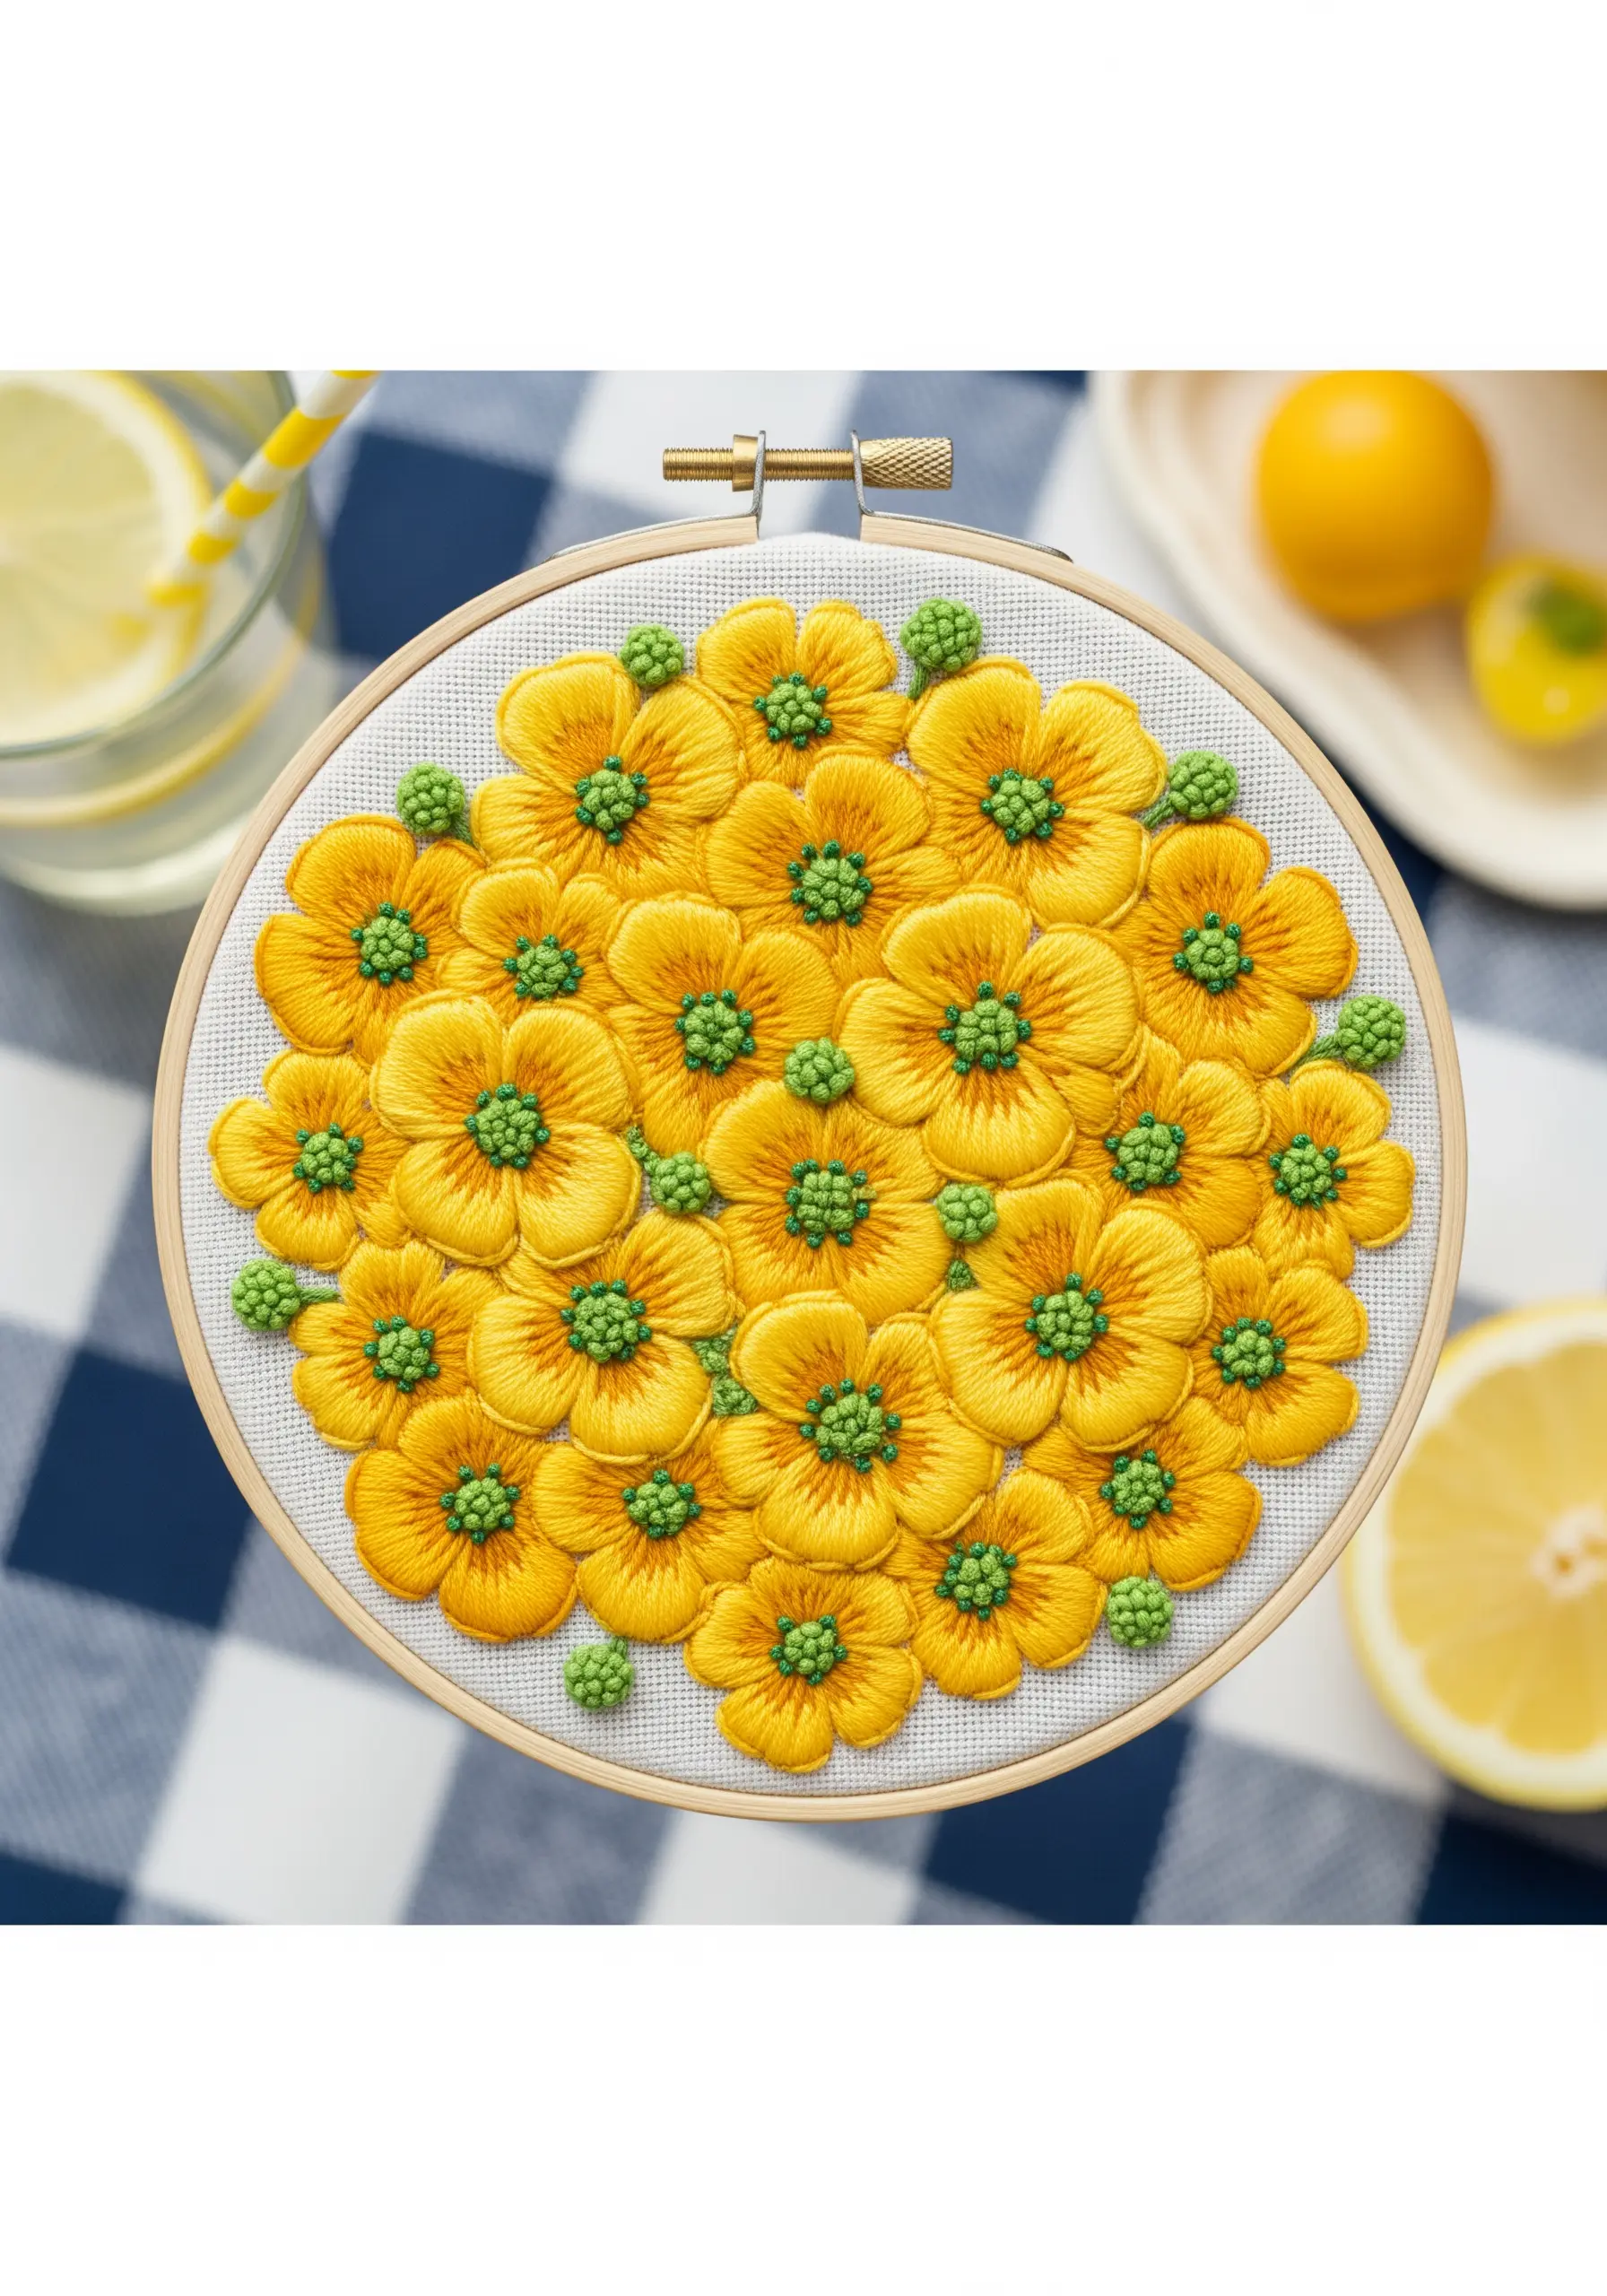
To achieve this lush, dense field of flowers, focus on overlapping your elements and filling the entire space.
Stitch each buttercup with a simple satin stitch, but allow the petals of one flower to slightly overlap the next.
This removes any visible background fabric between the blooms, creating a solid carpet of color.
Tuck in clusters of green French knots to fill any remaining gaps, a great technique for using tiny floral motifs to fill empty spaces.
24. Frame Your Work with a Decorative Hoop
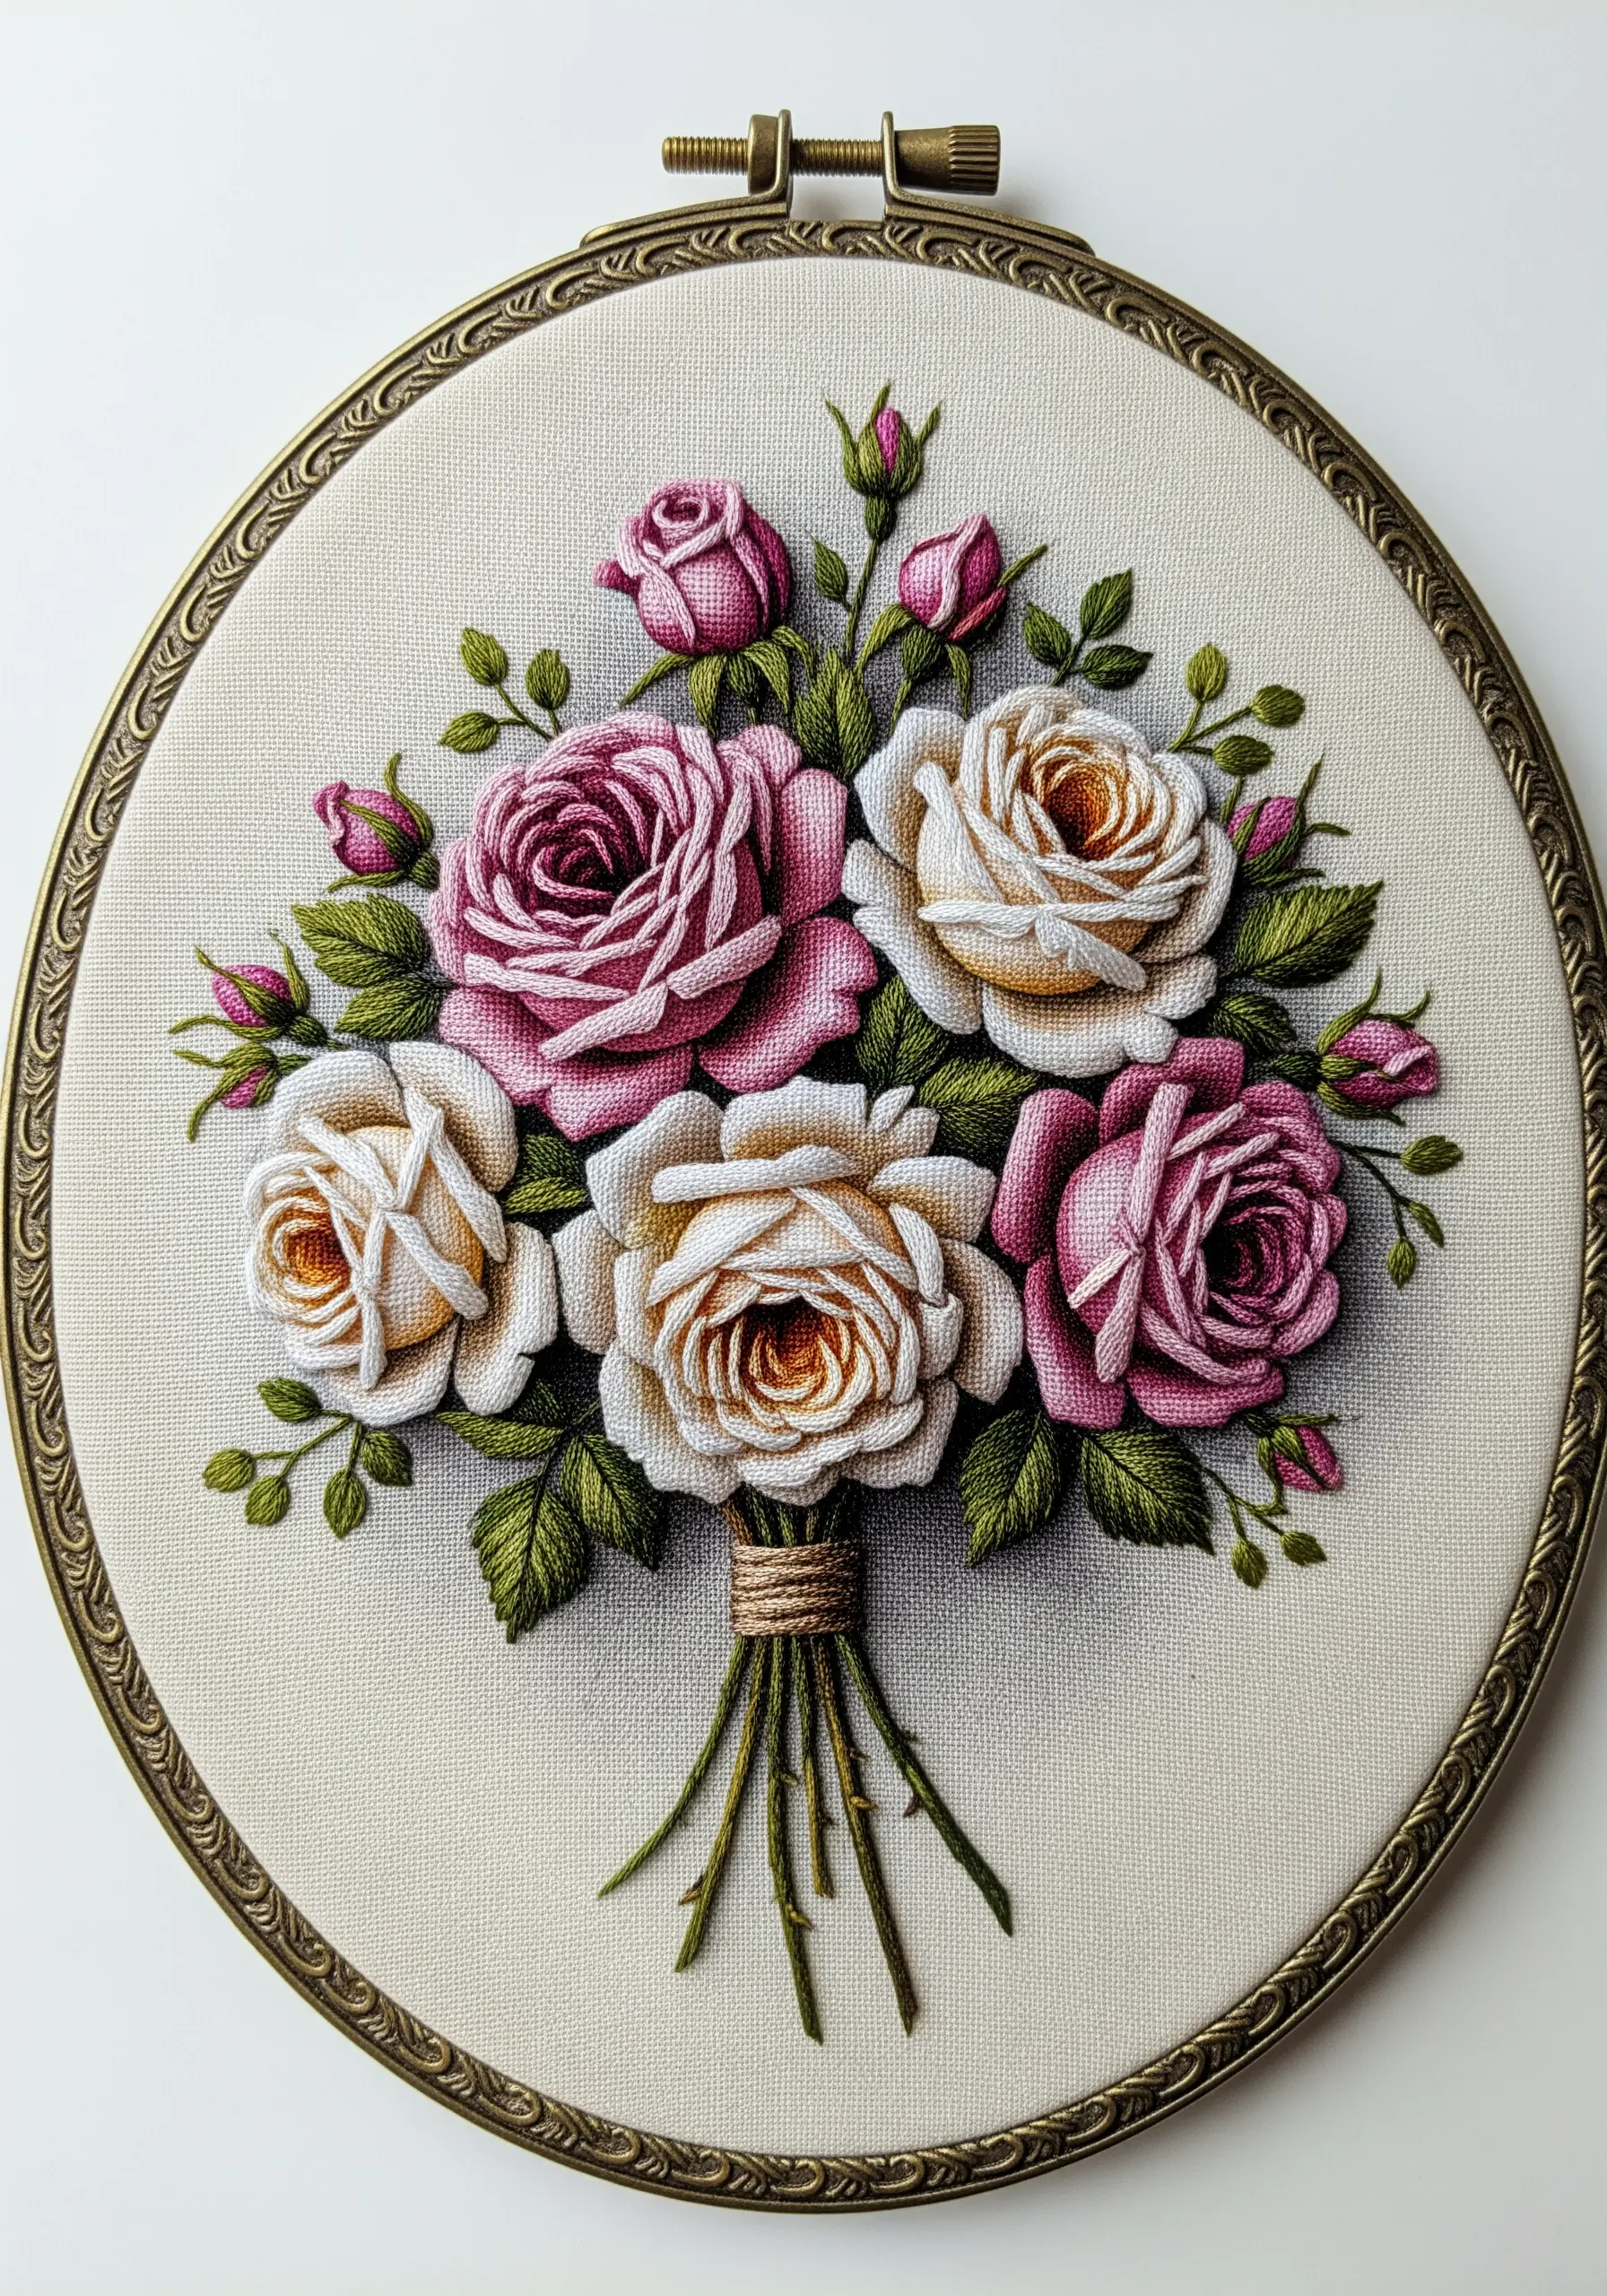
The final presentation is part of the art. An ornate or vintage-style hoop can elevate a simple design into a treasured object.
For classic subjects like roses, choose a hoop with a decorative brass fitting or a faux-wood grain that complements the traditional feel.
Ensure your fabric is drum-tight and centered perfectly before finishing the back.
This thoughtful framing is essential for rustic vintage embroidery wall decor that feels complete.
25. Create a Botanical Specimen Study
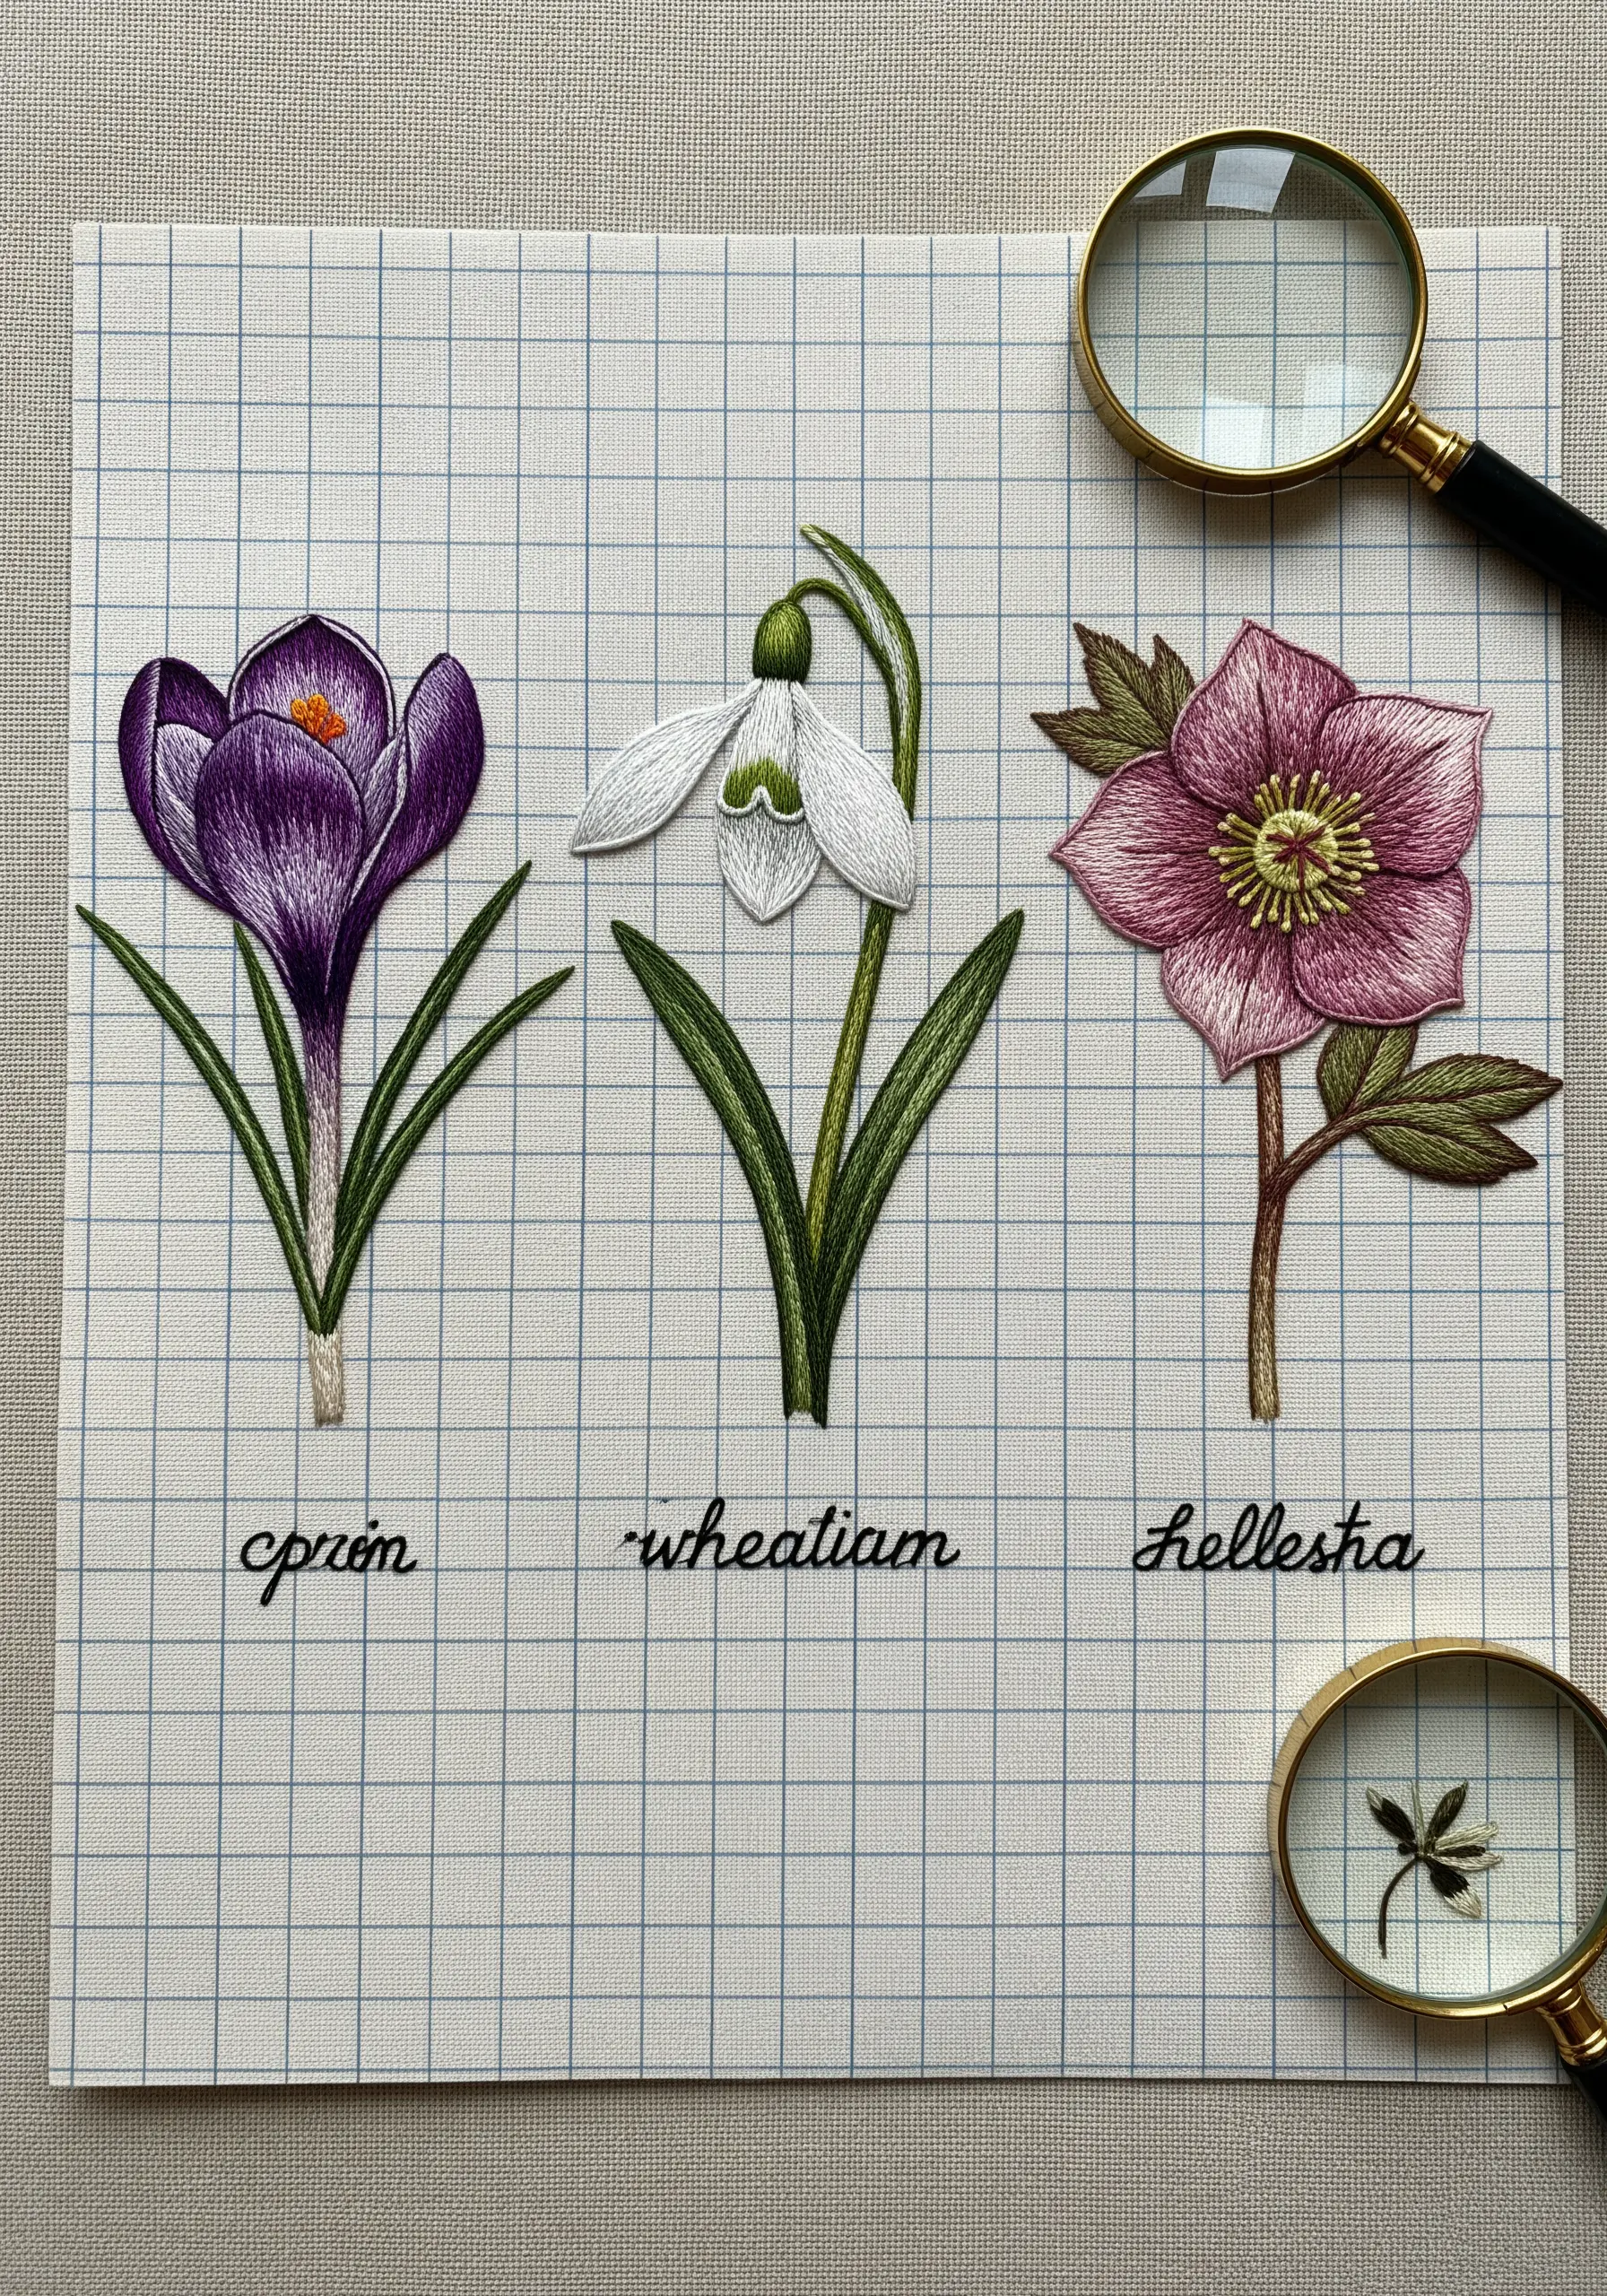
Arrange your embroidered flowers in the style of a classic botanical illustration for a unique, scientific look.
Stitch each flower individually, paying close attention to realistic detail with thread painting techniques.
Mount your finished piece on gridded paper or fabric, then add delicate, cursive text stitched with a single strand of black floss to label each specimen.
This is one of the most creative paper art techniques to make your embroidery Instagram-worthy.
26. Embrace Modernity with a Geometric Bouquet
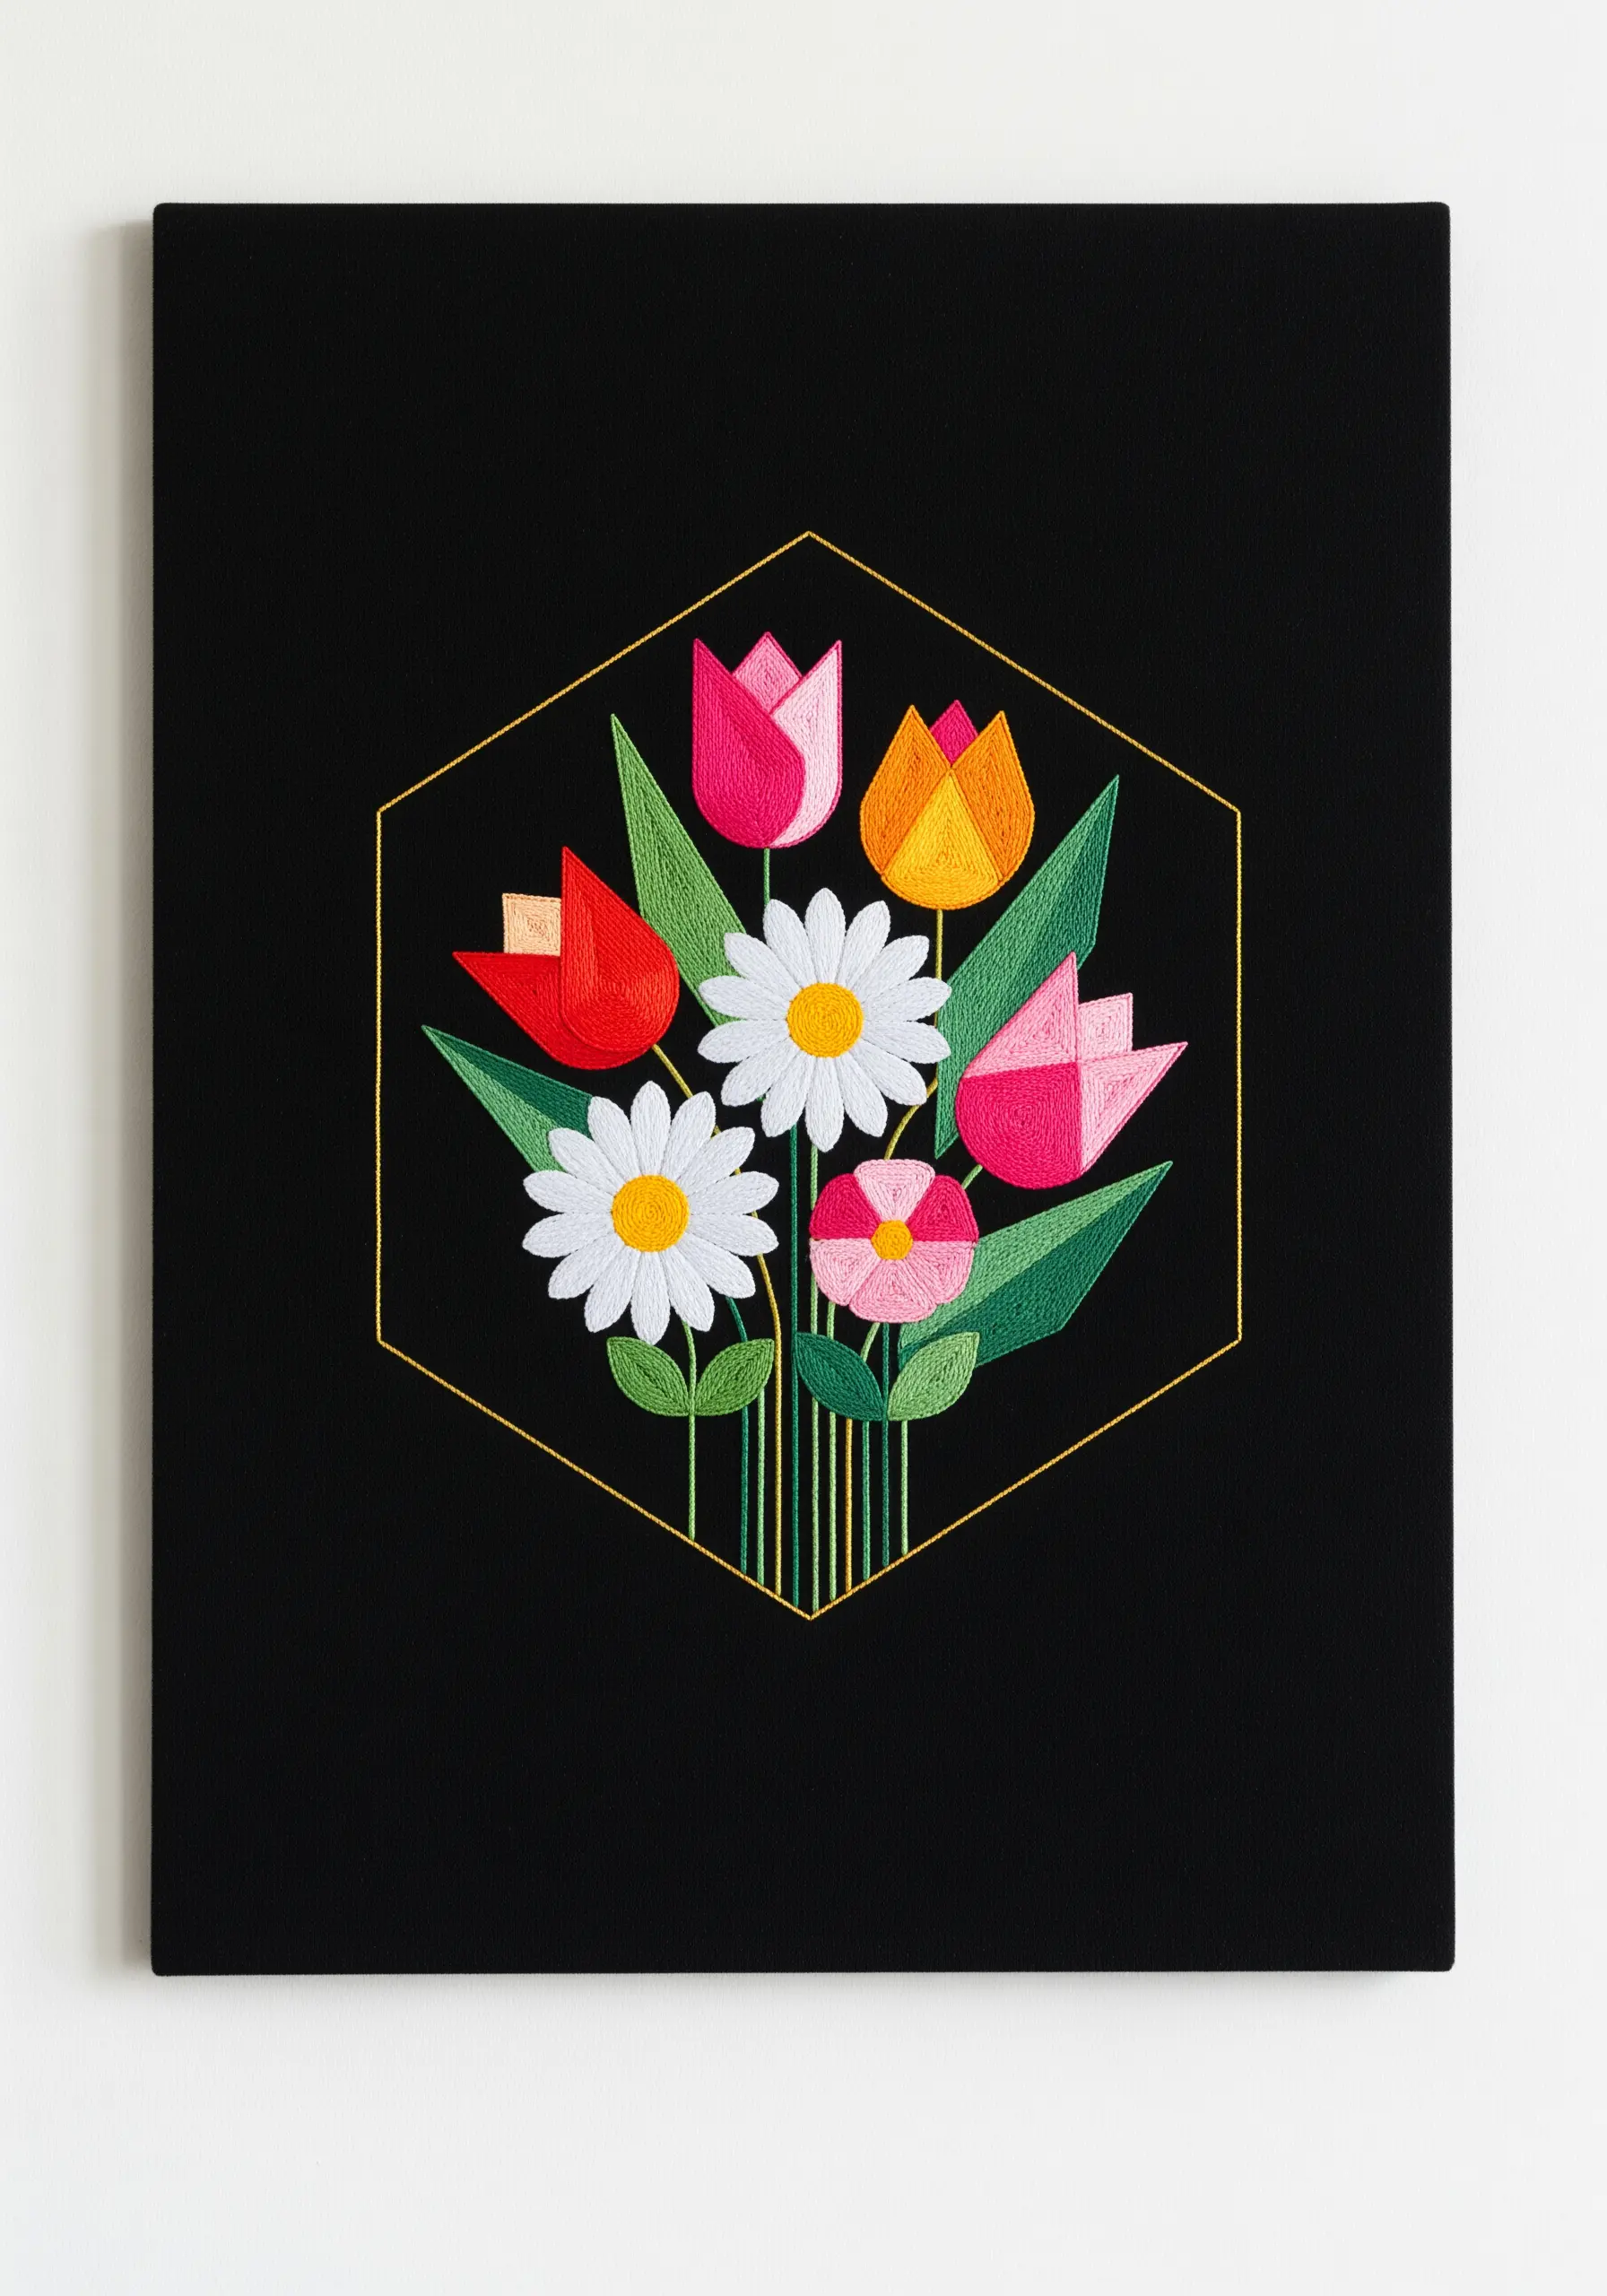
Translate florals into a modern, graphic style by simplifying them into geometric shapes and bold blocks of color.
Use a perfectly smooth satin stitch to fill each shape, ensuring your edges are crisp and clean.
To achieve this, outline each shape with a split stitch first; this creates a raised edge that your satin stitches can tuck up against neatly.
This method is perfect for geometric abstract thread patterns that feel both floral and contemporary.
27. Stitch a Rustic, Hand-Picked Wildflower Arrangement
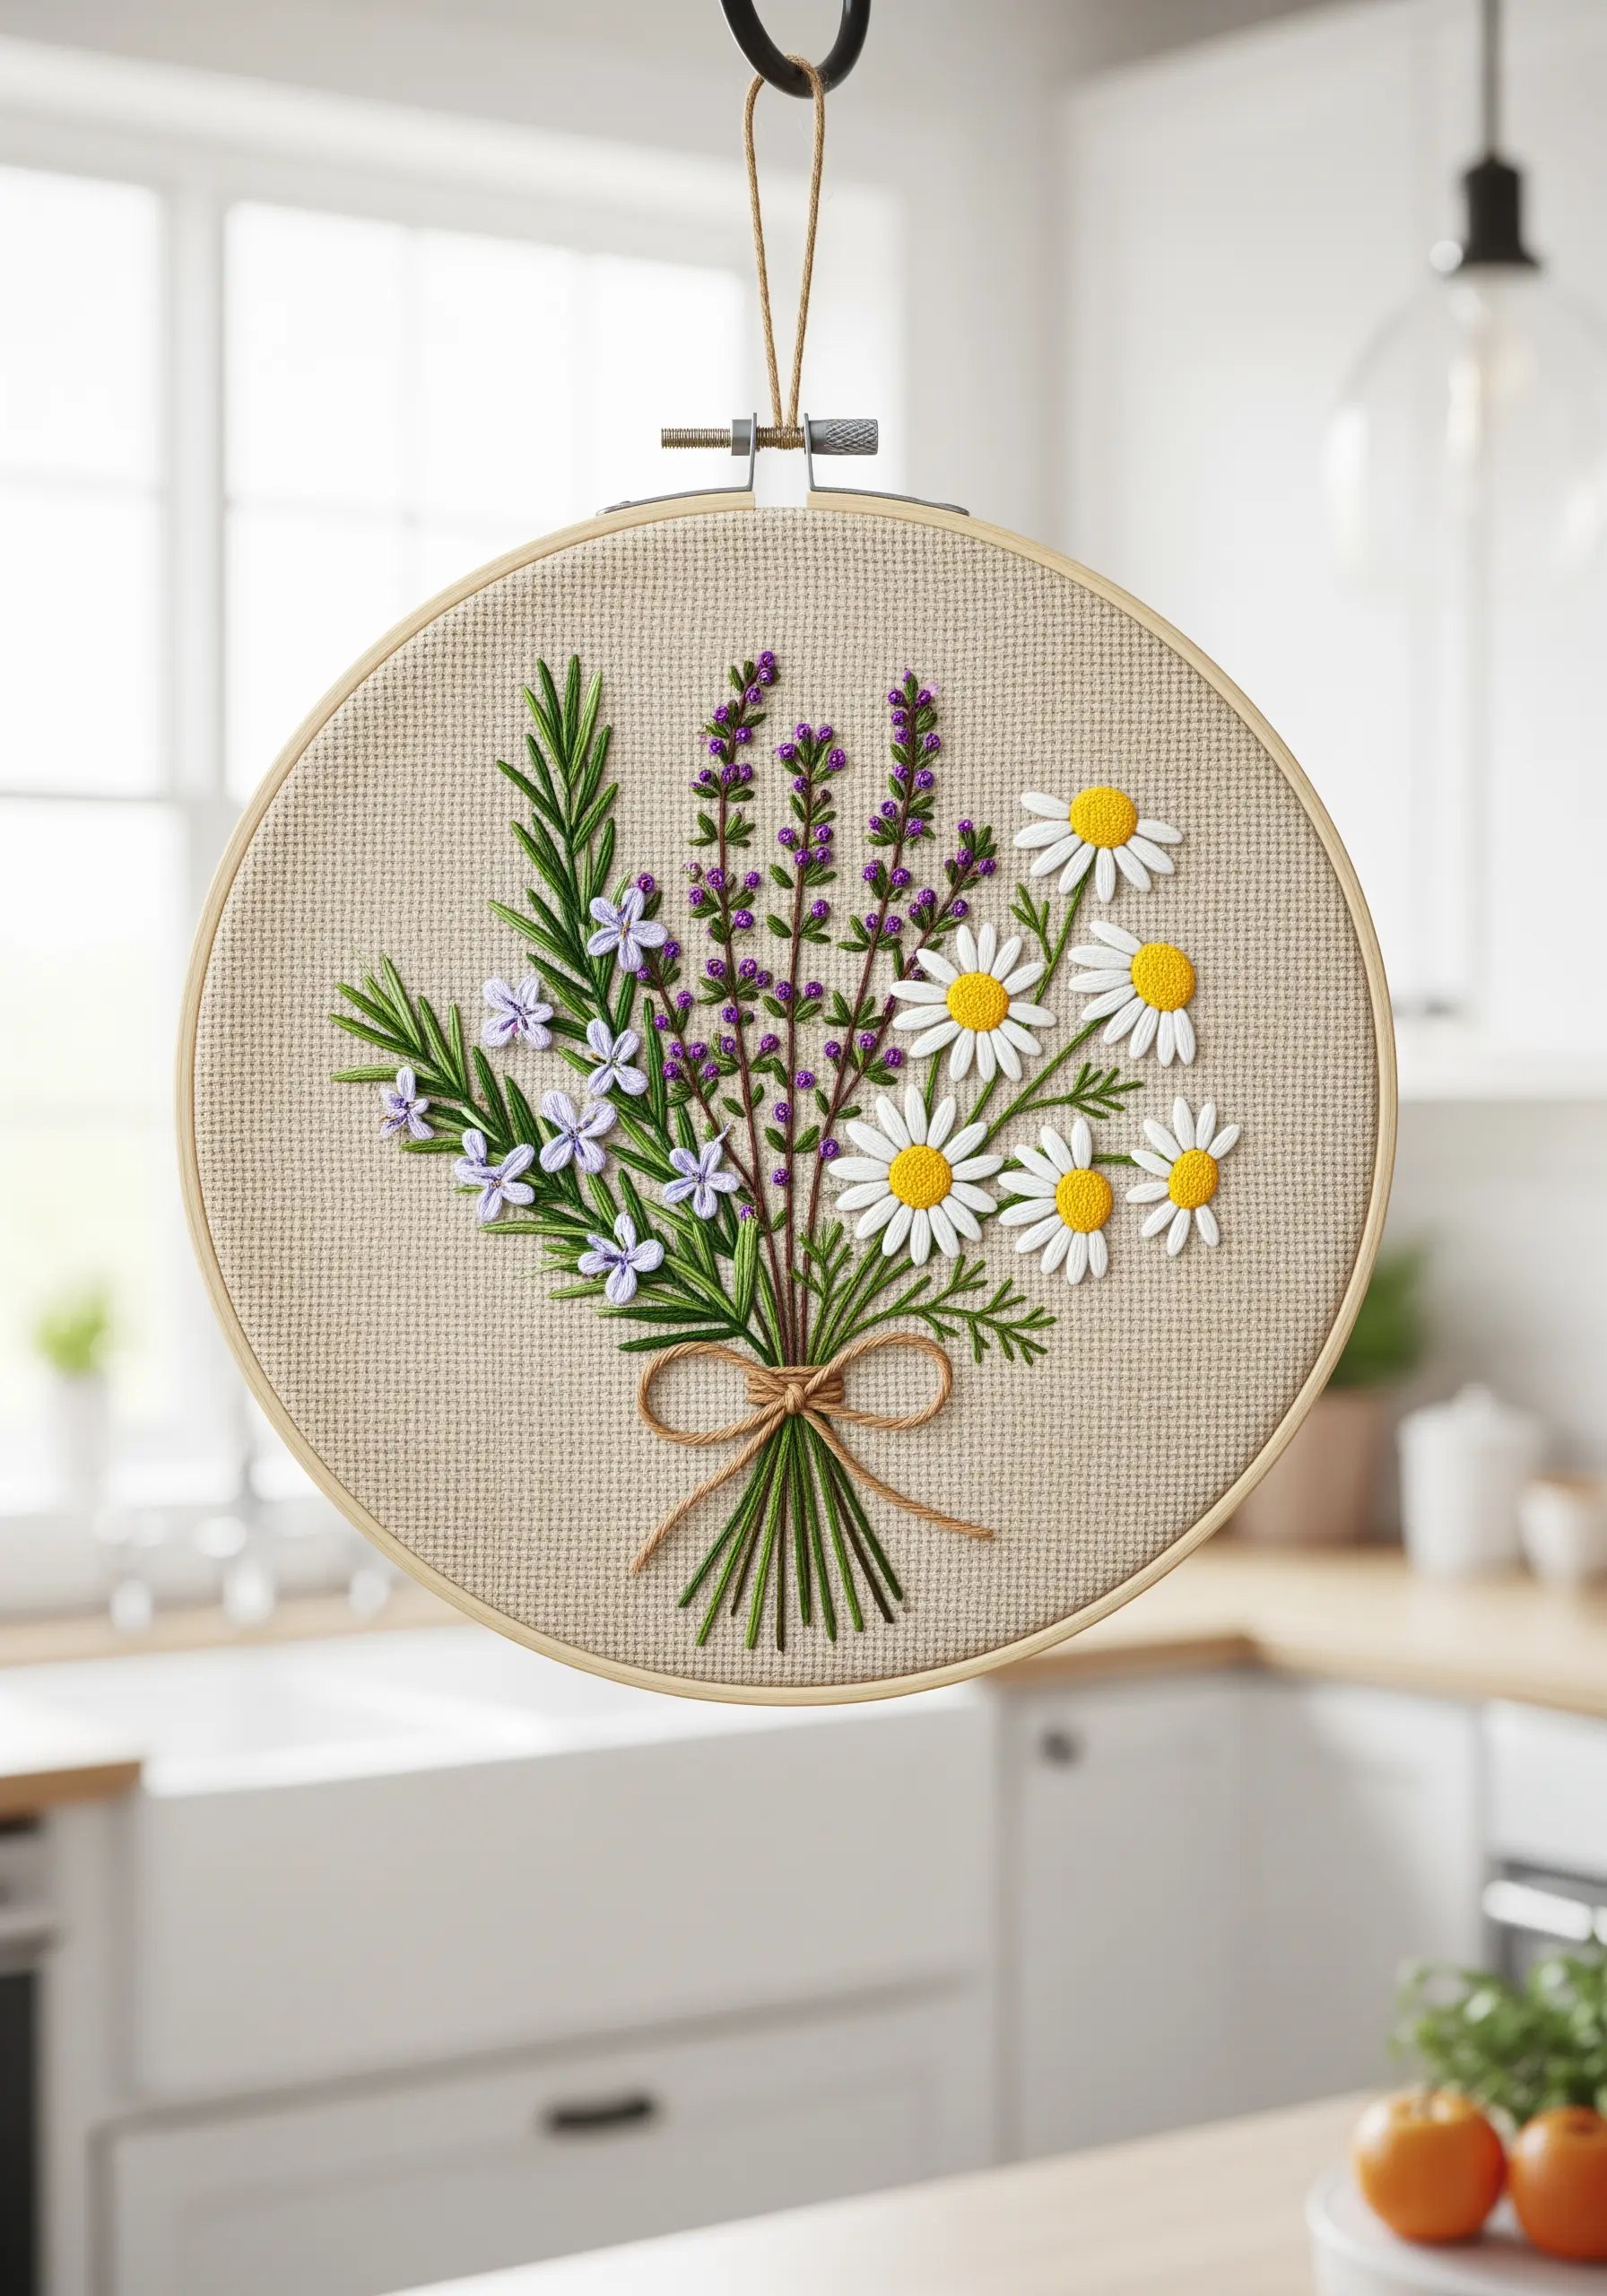
Capture the charm of a freshly gathered bouquet with a loose, organic composition and a mix of simple stitches.
Combine lavender (French knots), daisies (detached chain stitch), and sprigs of greenery (fishbone stitch) for a natural variety of shapes and textures.
Tie the stems together with a simple bow stitched in a warm brown or beige, which enhances the rustic feel.
This style is perfect for minimal fruit botanical embroidery patterns for kitchen wall decor that looks boutique-made.
28. Capture Life and Movement with Thread Painting
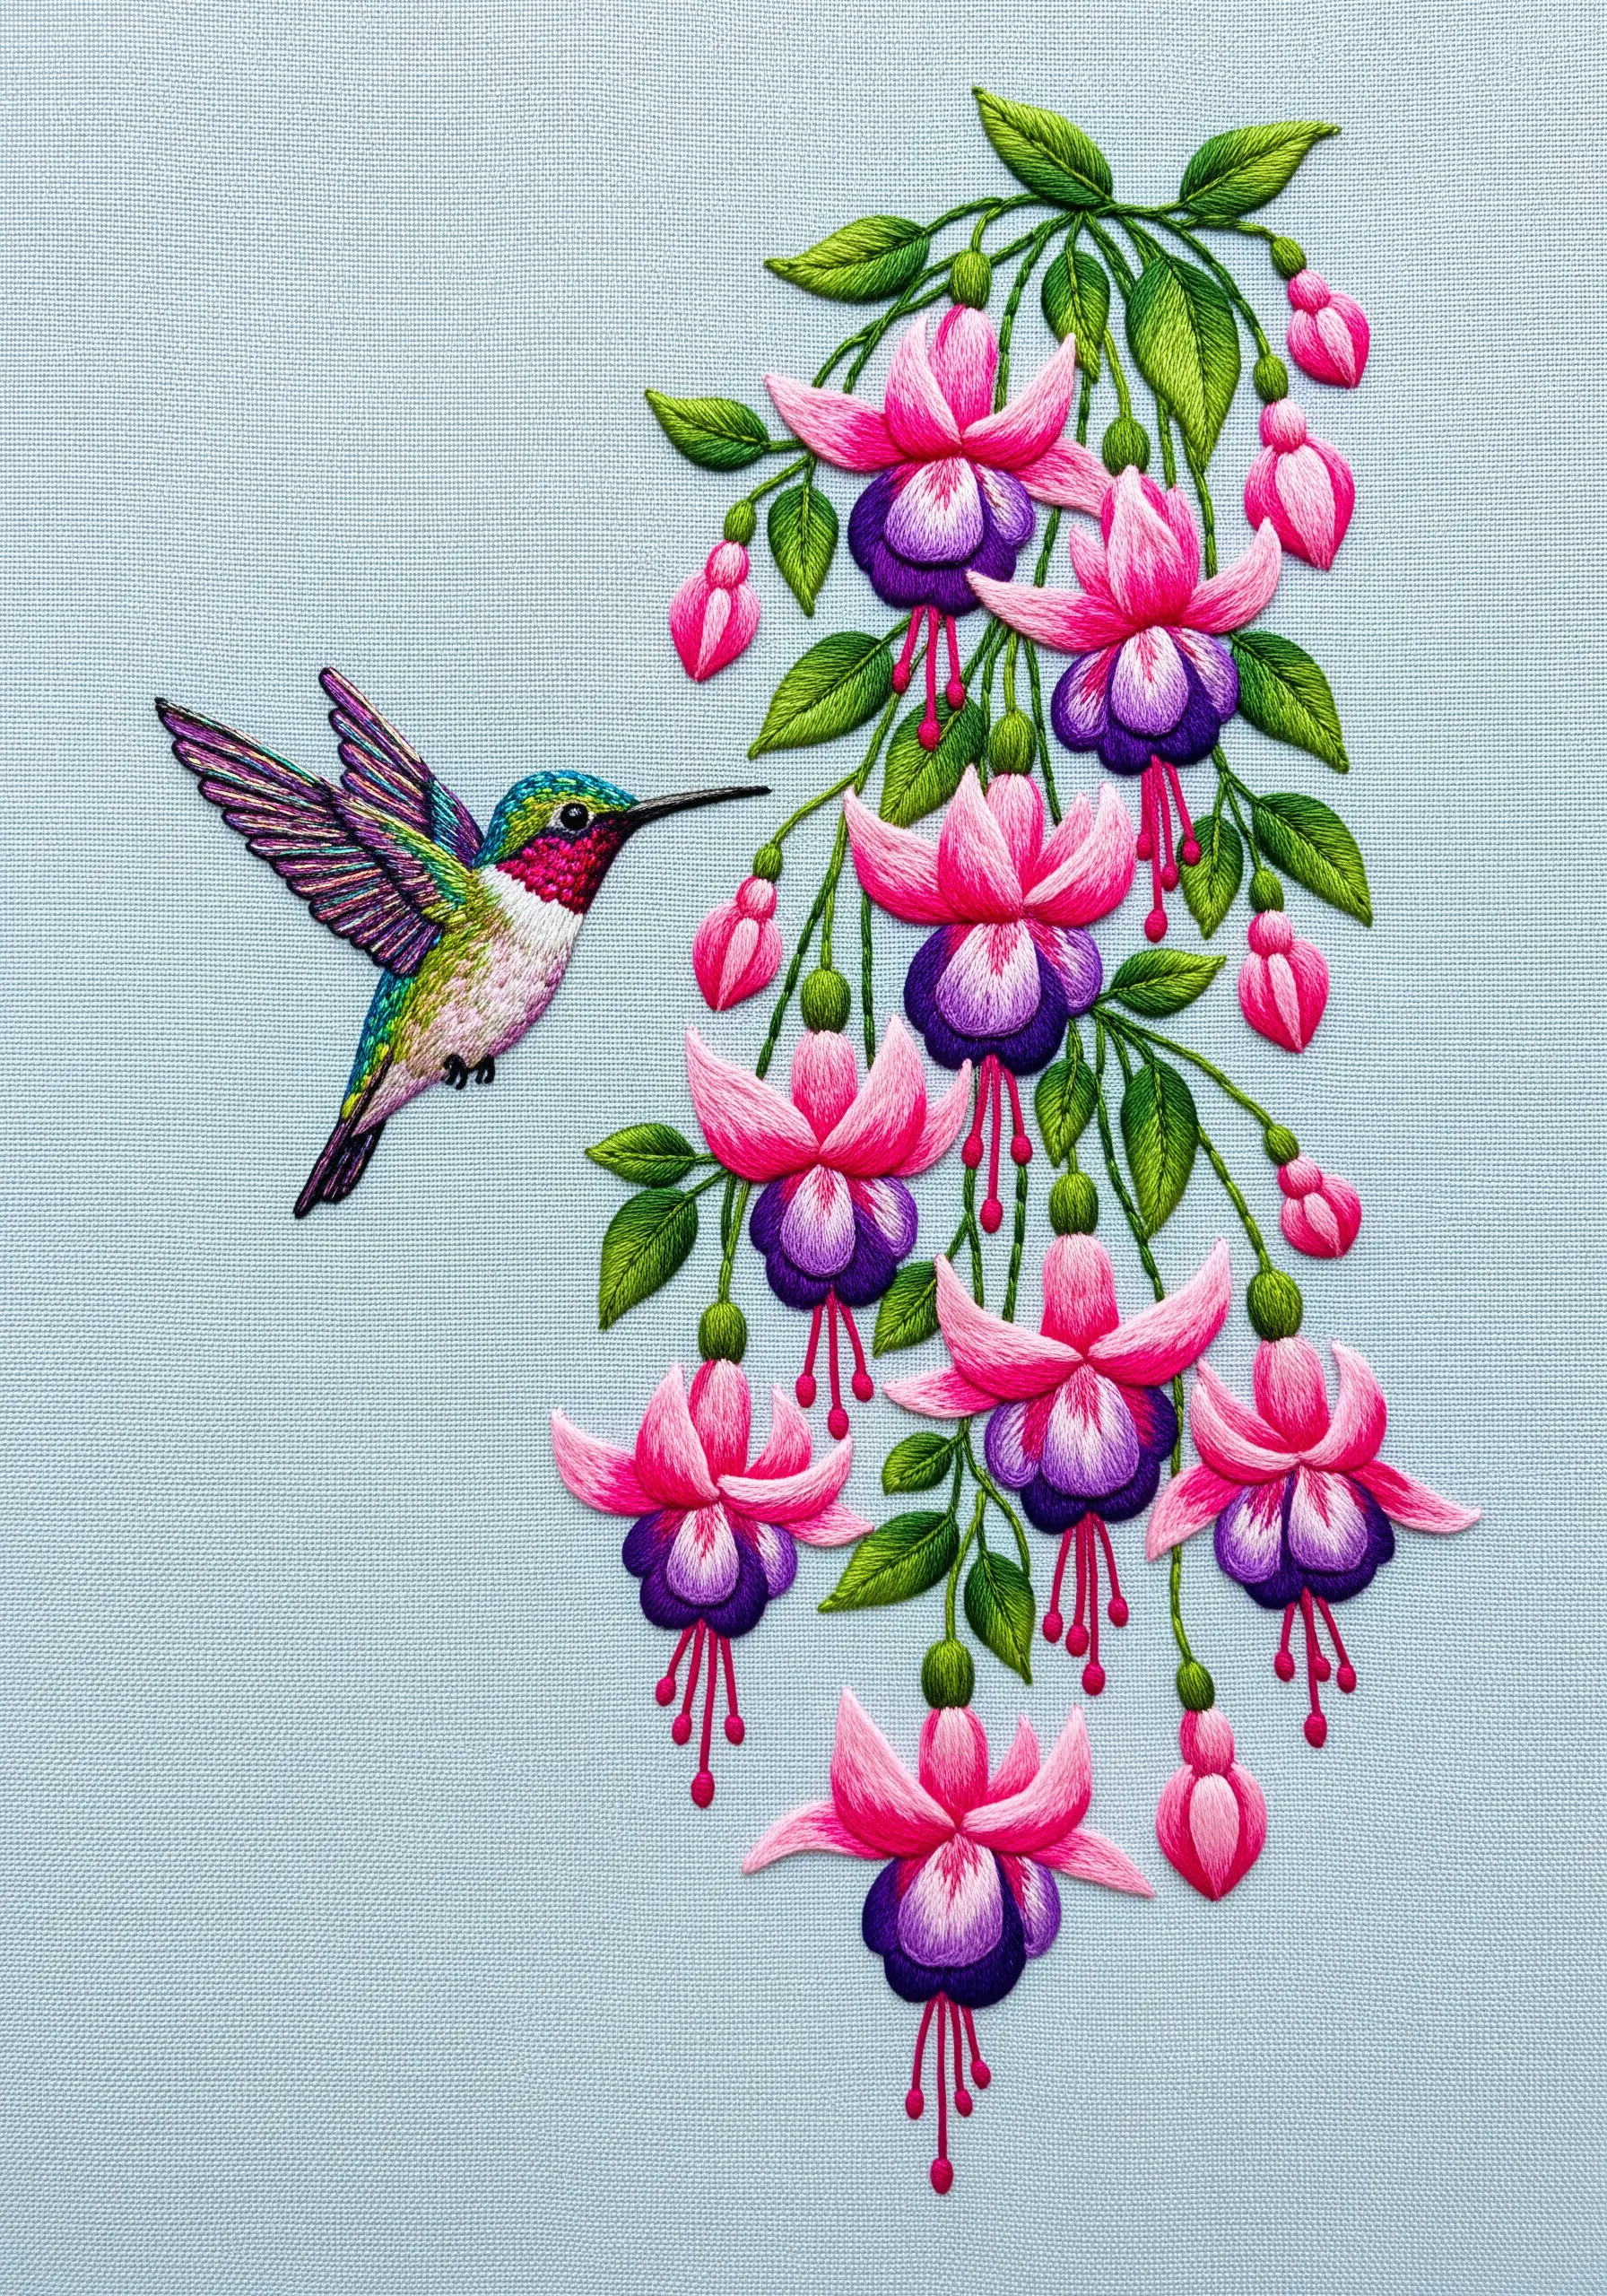
For dynamic subjects like a hummingbird, thread painting is essential to convey energy and realism.
Use a single strand of floss and tiny, feathered long-and-short stitches to blend the iridescent colors on the bird’s head and neck.
For the wings, use straight stitches in a slightly darker color to suggest rapid movement.
This advanced technique is how you can turn everyday nature into stunning art that feels alive.
29. Present Your Hoop as a Complete Gift
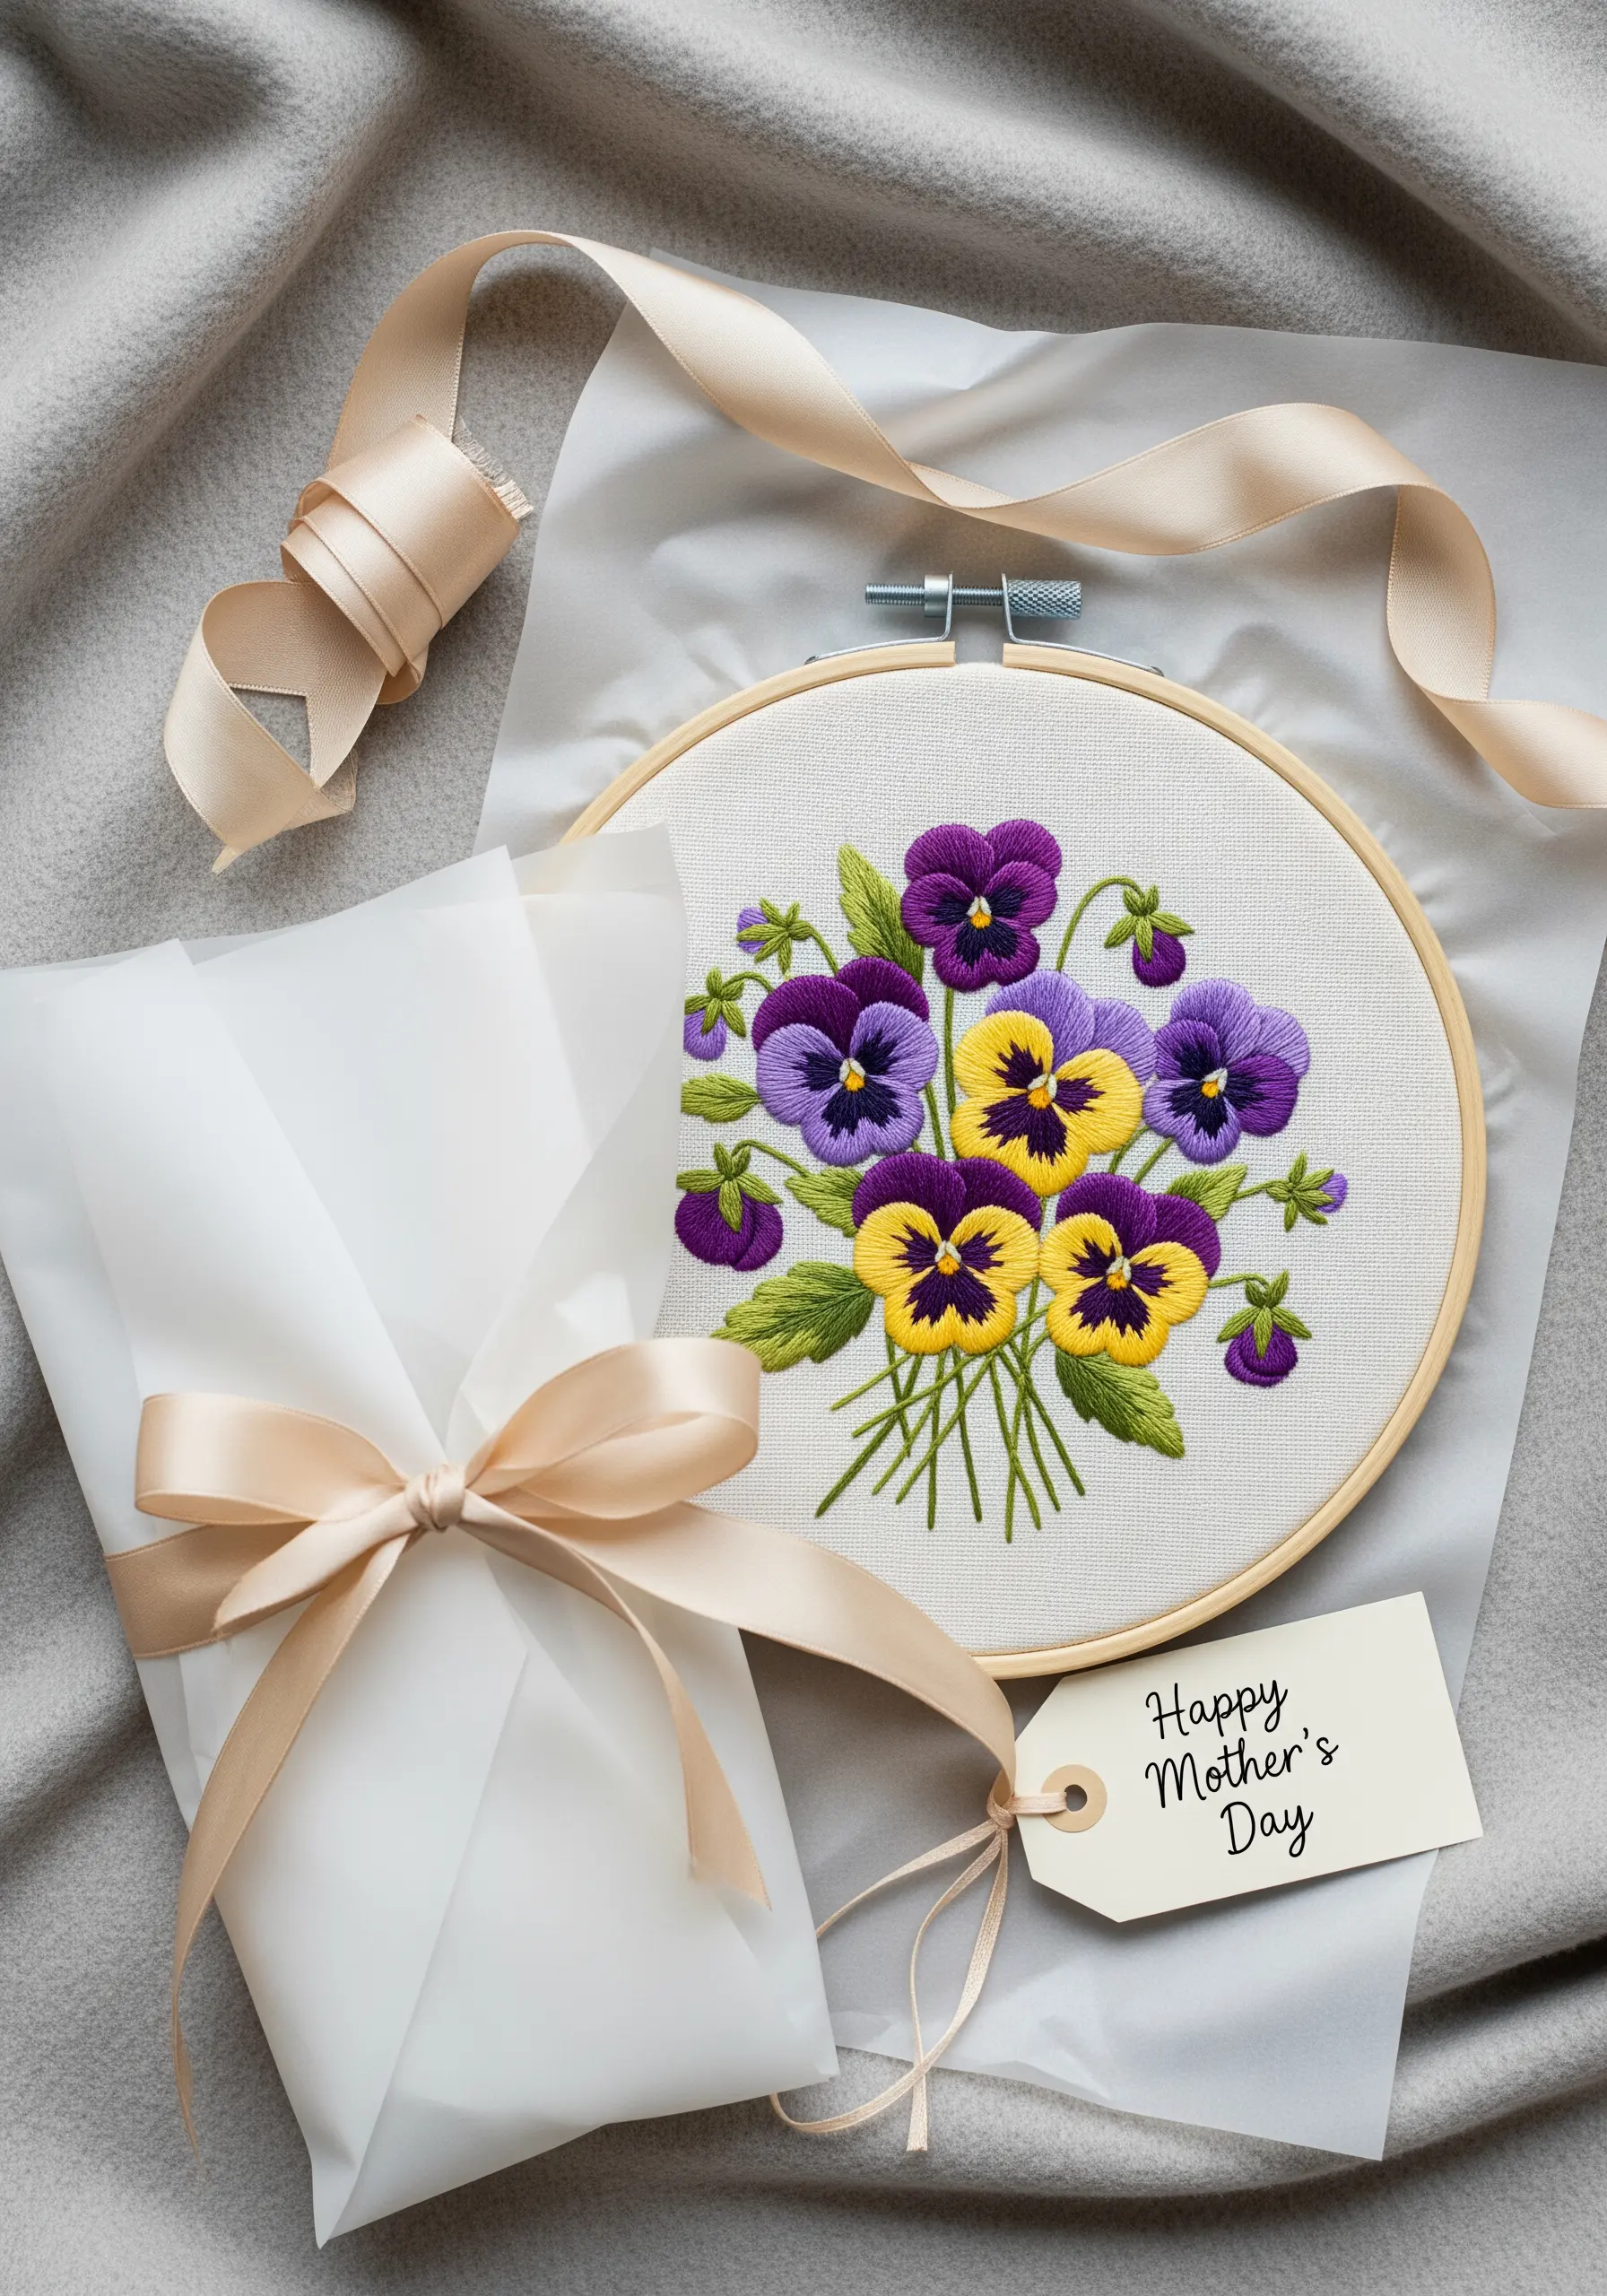
The way you present your handmade gift is the final touch that shows how much you care.
Instead of just handing over the hoop, wrap it in delicate tissue paper and tie it with a beautiful silk or satin ribbon.
A simple, handwritten tag completes the presentation, turning your embroidery into a thoughtfully packaged present.
This extra step is what makes creative embroidery gifts feel incredibly special and memorable.


