

Sometimes the most profound statement in embroidery isn’t made with intricate, canvas-filling patterns, but with a single, perfectly executed stitch. A plain cotton handkerchief is the ideal canvas for this kind of refinement—small, manageable, and personal. It invites you to slow down and focus on the quality of your work, not just the quantity.
Think of these ideas less as patterns and more as techniques to add to your creative vocabulary. We’ll explore how a simple change in stitch direction can create dimension, how a well-placed border can anchor a design, and how even the most basic stitches can build incredible texture. You don’t need a complex design to create something beautiful; you just need intention.
Here, you’ll discover how minimalist stitches can transform a simple piece of fabric into a small, meaningful work of art. This is your chance to practice precision, play with composition, and create something quietly elegant that feels entirely your own.
1. Render Lavender with Dimensional Stitches
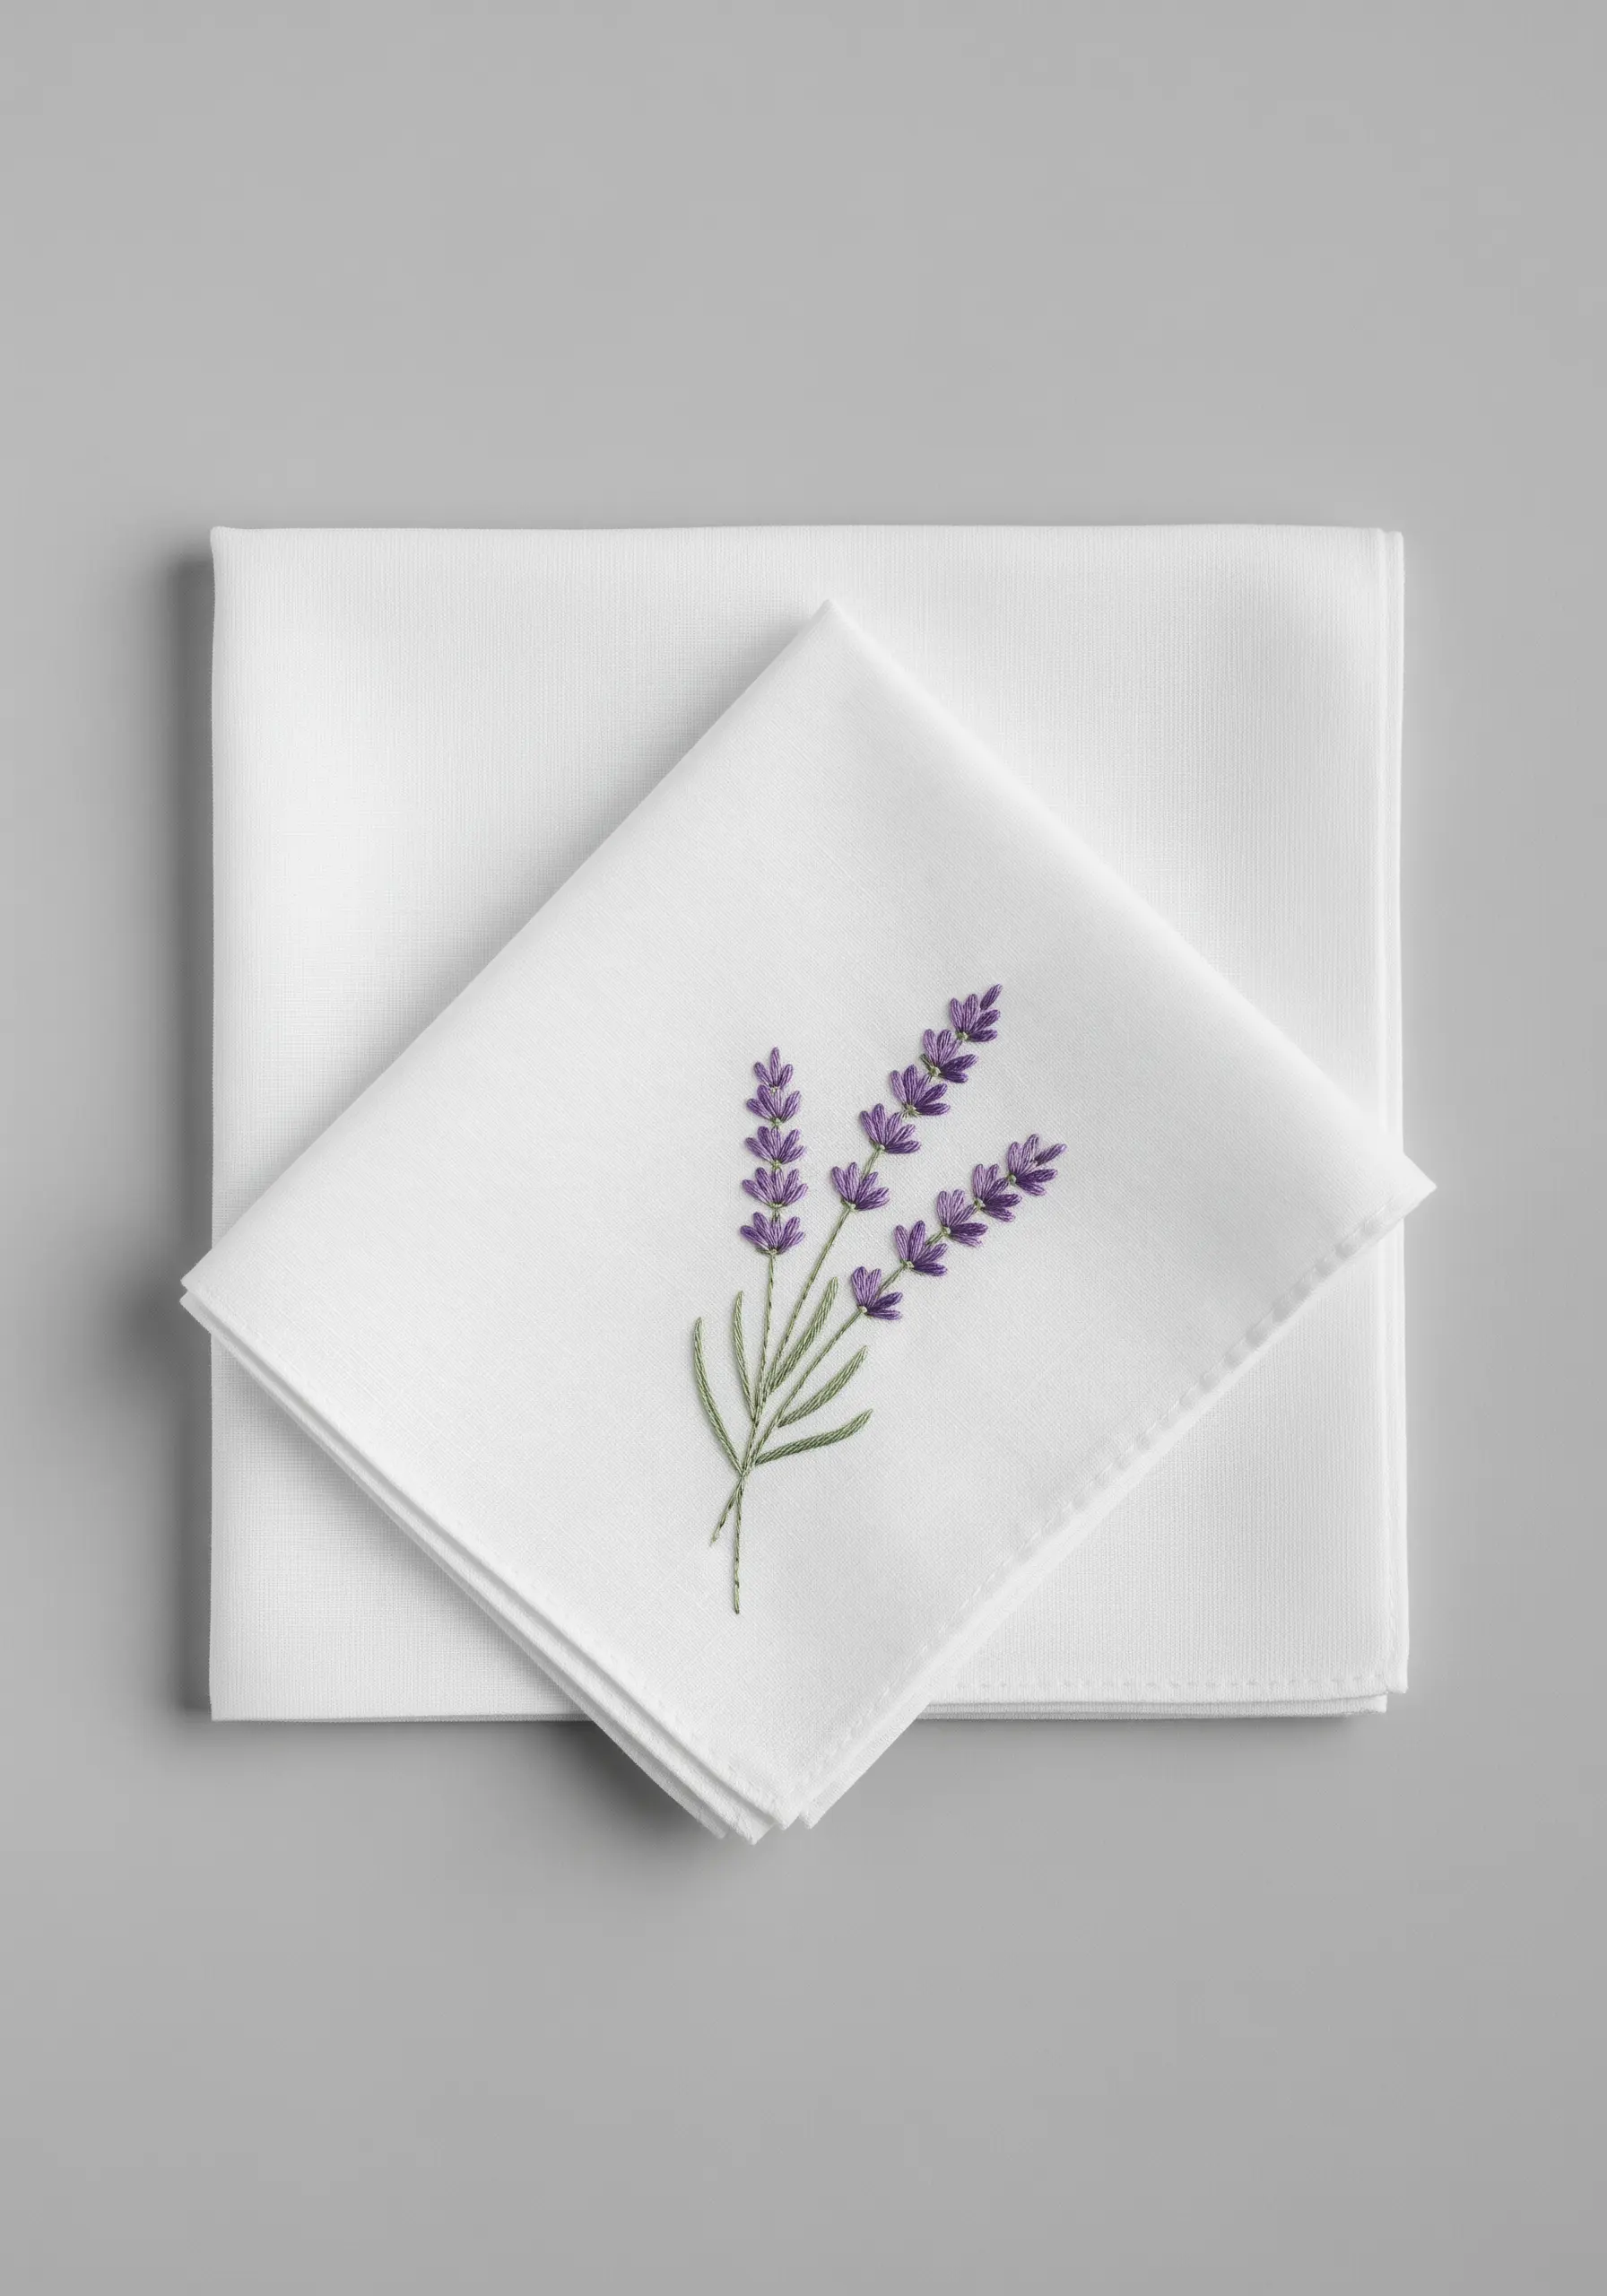
Combine two simple stitches to create a realistic, textural sprig of lavender.
Use tiny French knots or bullion stitches for the purple blossoms, clustering them tightly at the top and spacing them out as you move down the stalk.
This variation in density mimics how the flower grows naturally.
For the stems and leaves, a simple stem stitch using just two strands of green floss provides a delicate structure without overpowering the flowers.
The contrast between the smooth stems and the bumpy texture of the knots gives the design life.
2. Define Geometry with a Split-Stitch Outline

To achieve perfectly crisp geometric shapes, the preparation is as important as the fill stitch.
Before you begin your satin stitch, trace the entire shape with a precise split stitch using a single strand of thread.
This outline creates a raised, firm edge that acts as a boundary for your fill stitches, preventing them from slipping and ensuring your angles remain sharp.
Fill the triangles with a directional satin stitch, keeping the thread flat and the tension even for a smooth, light-catching finish.
3. Frame a Motif with a Minimalist Border

Elevate a central design by framing it with a subtle, graphic border.
Instead of a heavy line, use a simple running stitch or backstitch set about a centimeter in from the hemmed edge.
This creates a visual container that draws the eye inward to the main motif—in this case, the bee—making the entire composition feel intentional and complete.
Use a single, high-contrast color like black to maintain a modern, clean aesthetic that complements the central design without competing with it.
4. Imply Delicacy with Radiating Straight Stitches
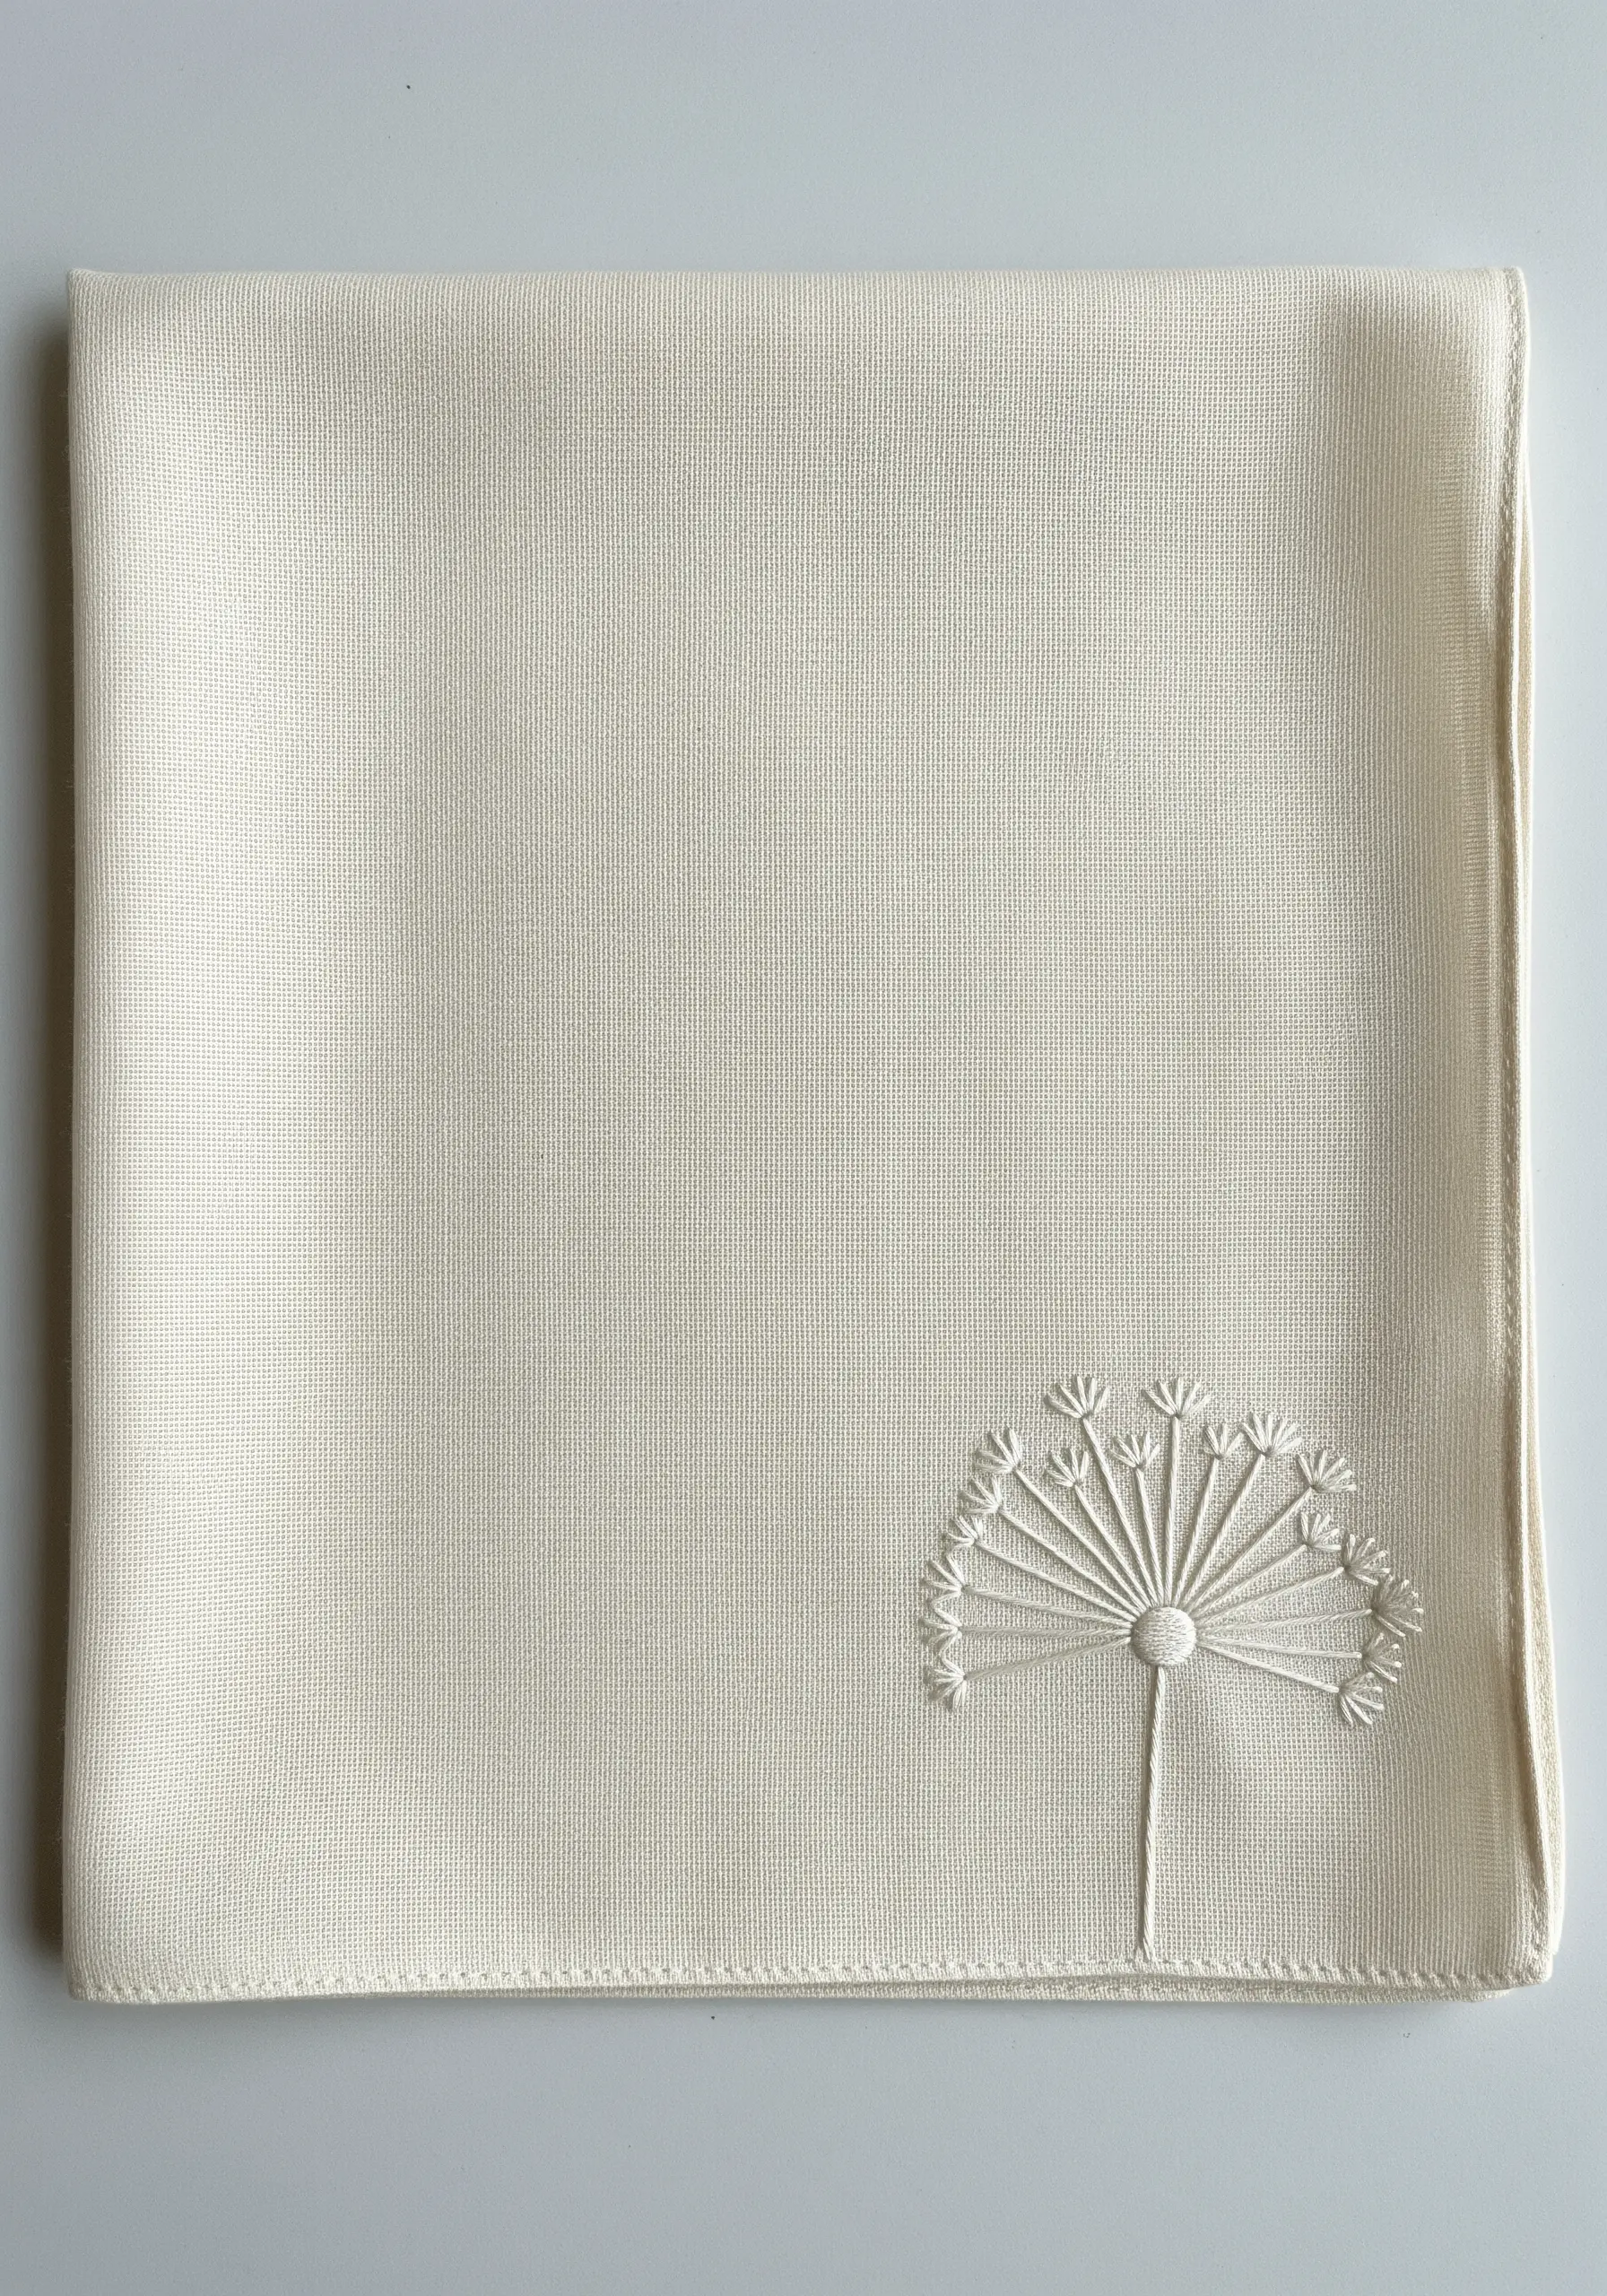
Capture the weightless feel of a dandelion head using only straight stitches and negative space.
Create the seed head by stitching fine, radiating lines from a small central point, varying their length slightly to create a soft, rounded shape.
Using a single strand of floss in a color that’s just a shade off from the fabric creates a subtle, ethereal effect.
This technique proves that you don’t need complex fills to create a recognizable and evocative image; the arrangement of simple lines is everything.
5. Master the Continuous Line Silhouette

Create the illusion of a single, unbroken line drawing with a whipped backstitch.
First, stitch your silhouette using a standard backstitch, keeping your stitches small and consistent, especially around curves, to avoid a jagged look.
Once the shape is complete, take a second thread of the same color and “whip” it—that is, slide it under each backstitch without piercing the fabric.
This technique smooths over the segmented look of the backstitch, resulting in a fluid, calligraphic line perfect for animal silhouettes and abstract forms.
6. Construct Constellations with Lazy Daisies
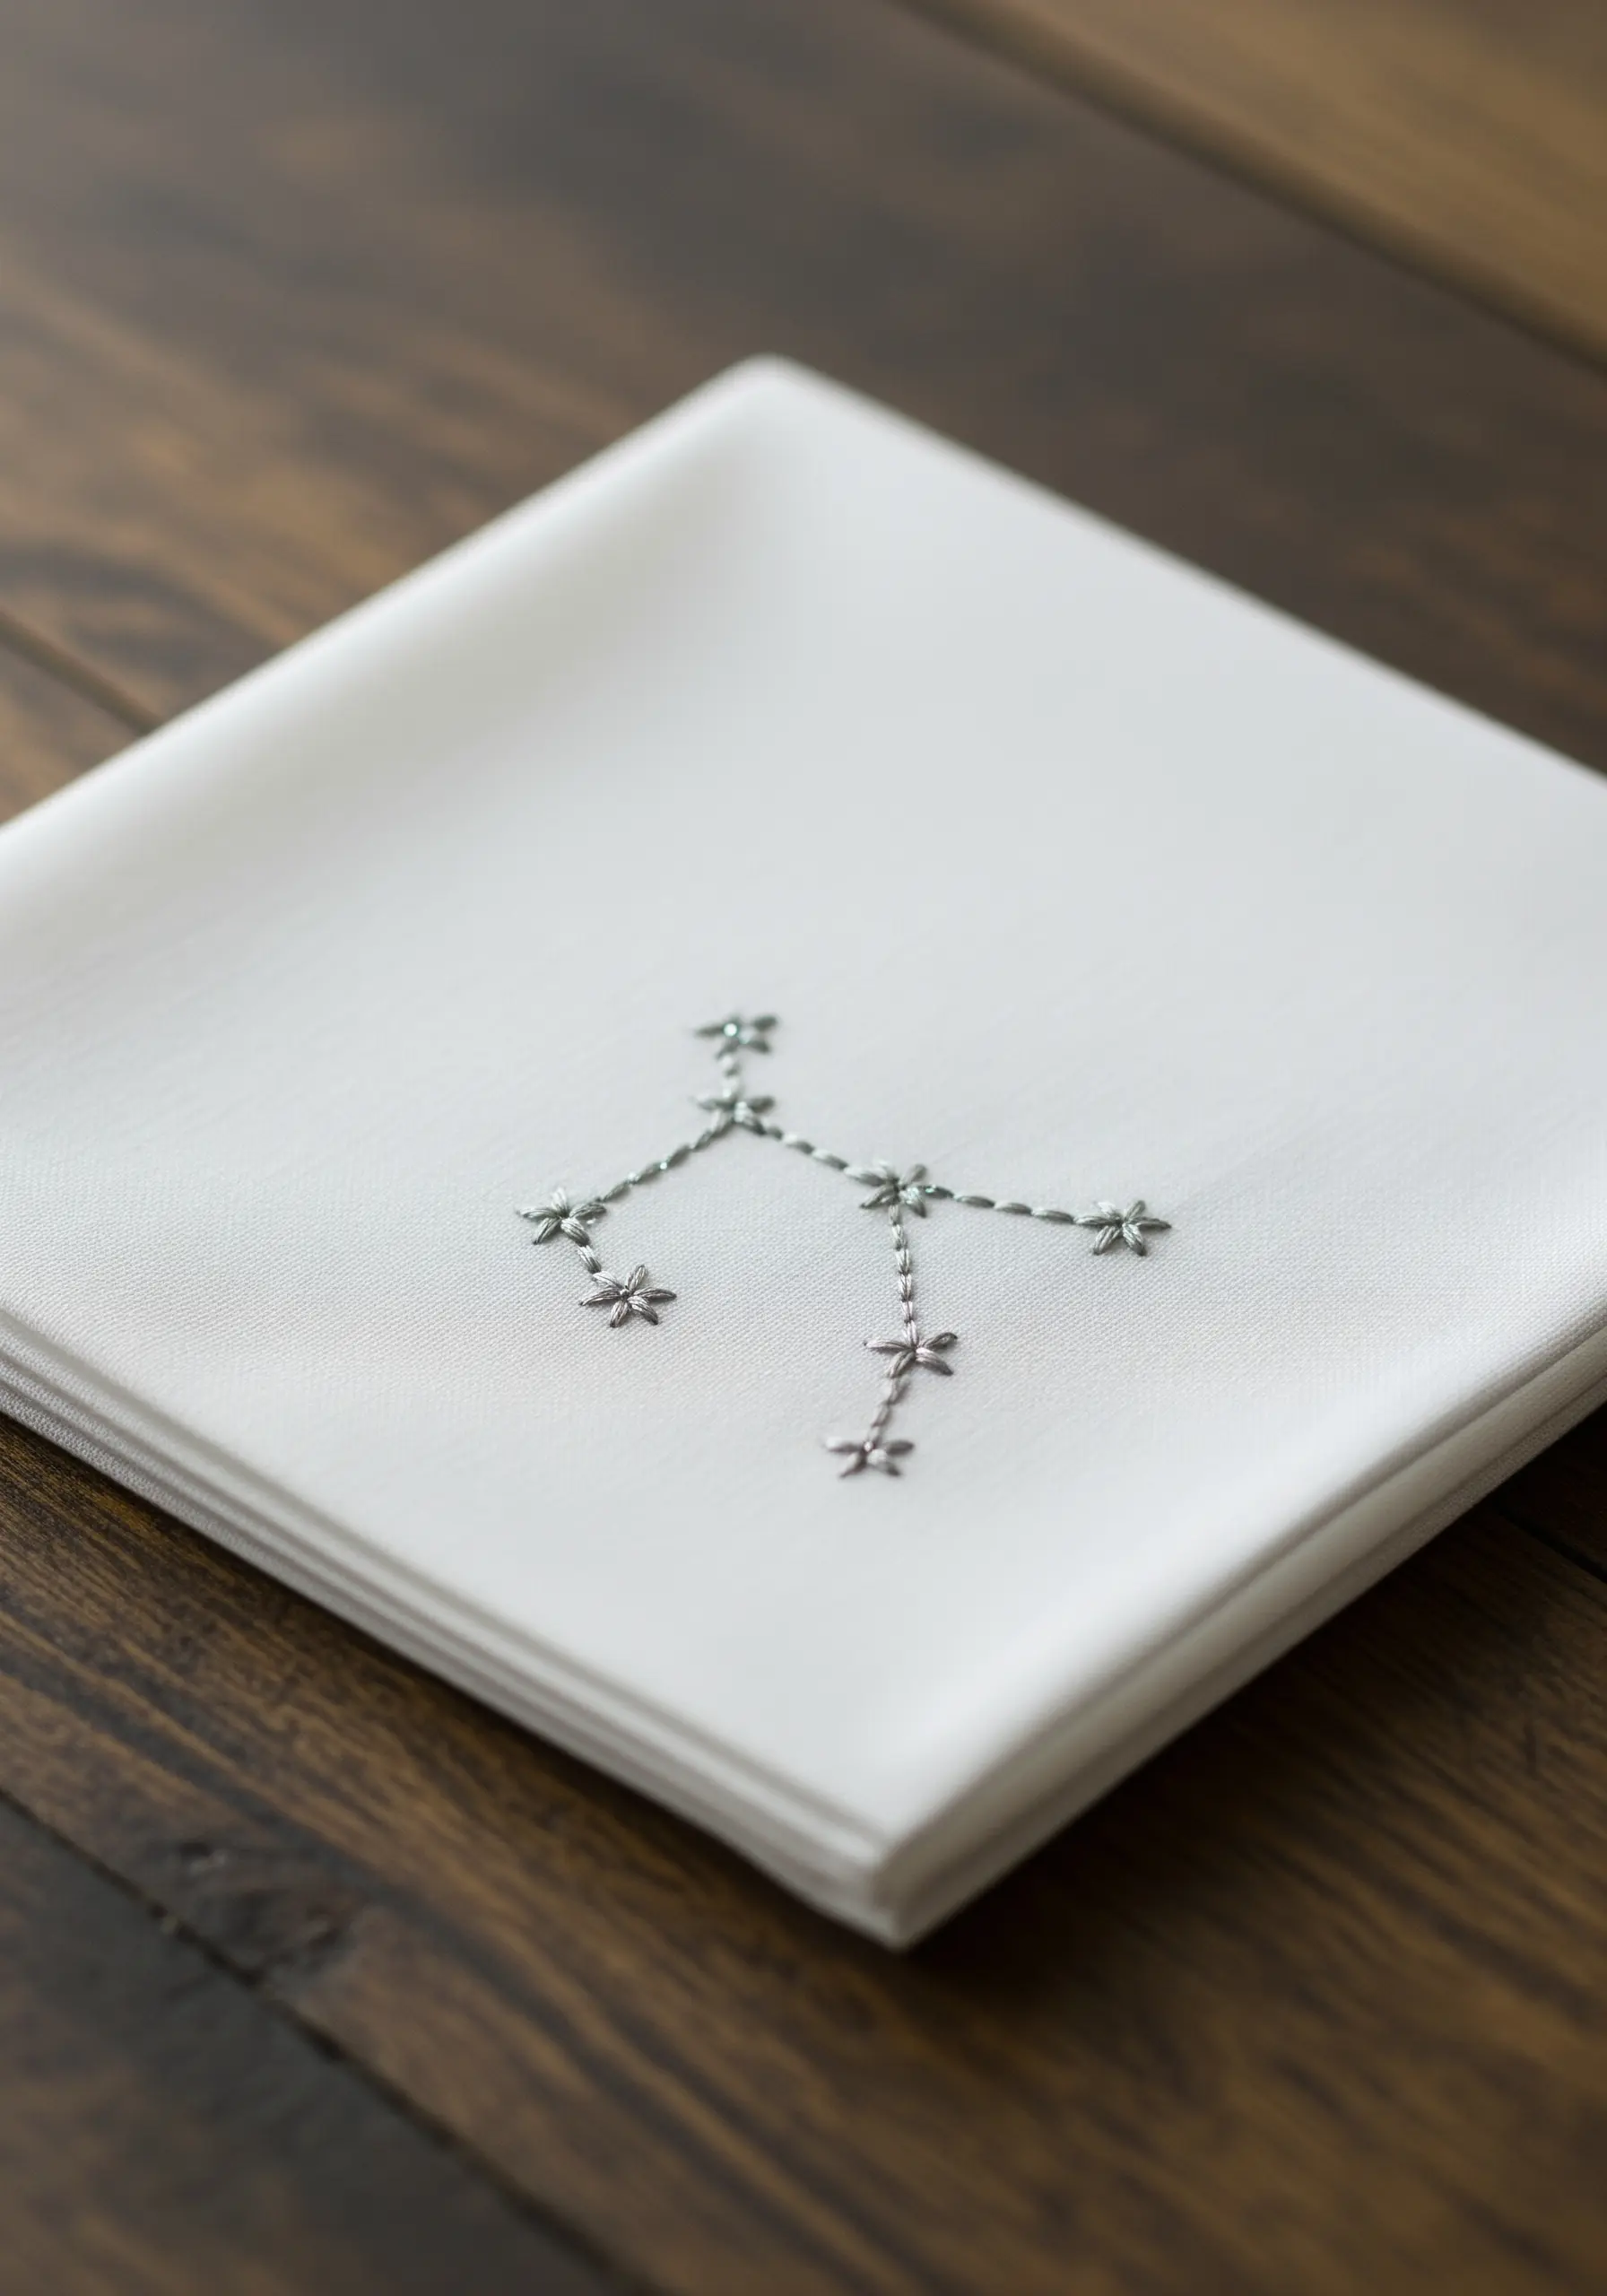
Transform a simple lazy daisy stitch into a stylized star by pulling the anchoring stitch tight, creating a pointed, V-like shape instead of a soft loop.
Connect these stellar points with delicate straight stitches to map out a favorite constellation.
For an added touch of magic, use a single strand of silver metallic thread. It catches the light subtly, enhancing the celestial theme without overwhelming the minimalist design.
This is a perfect example of how minimalist embroidery projects can carry personal meaning.
7. Create Movement with Directional Satin Stitch
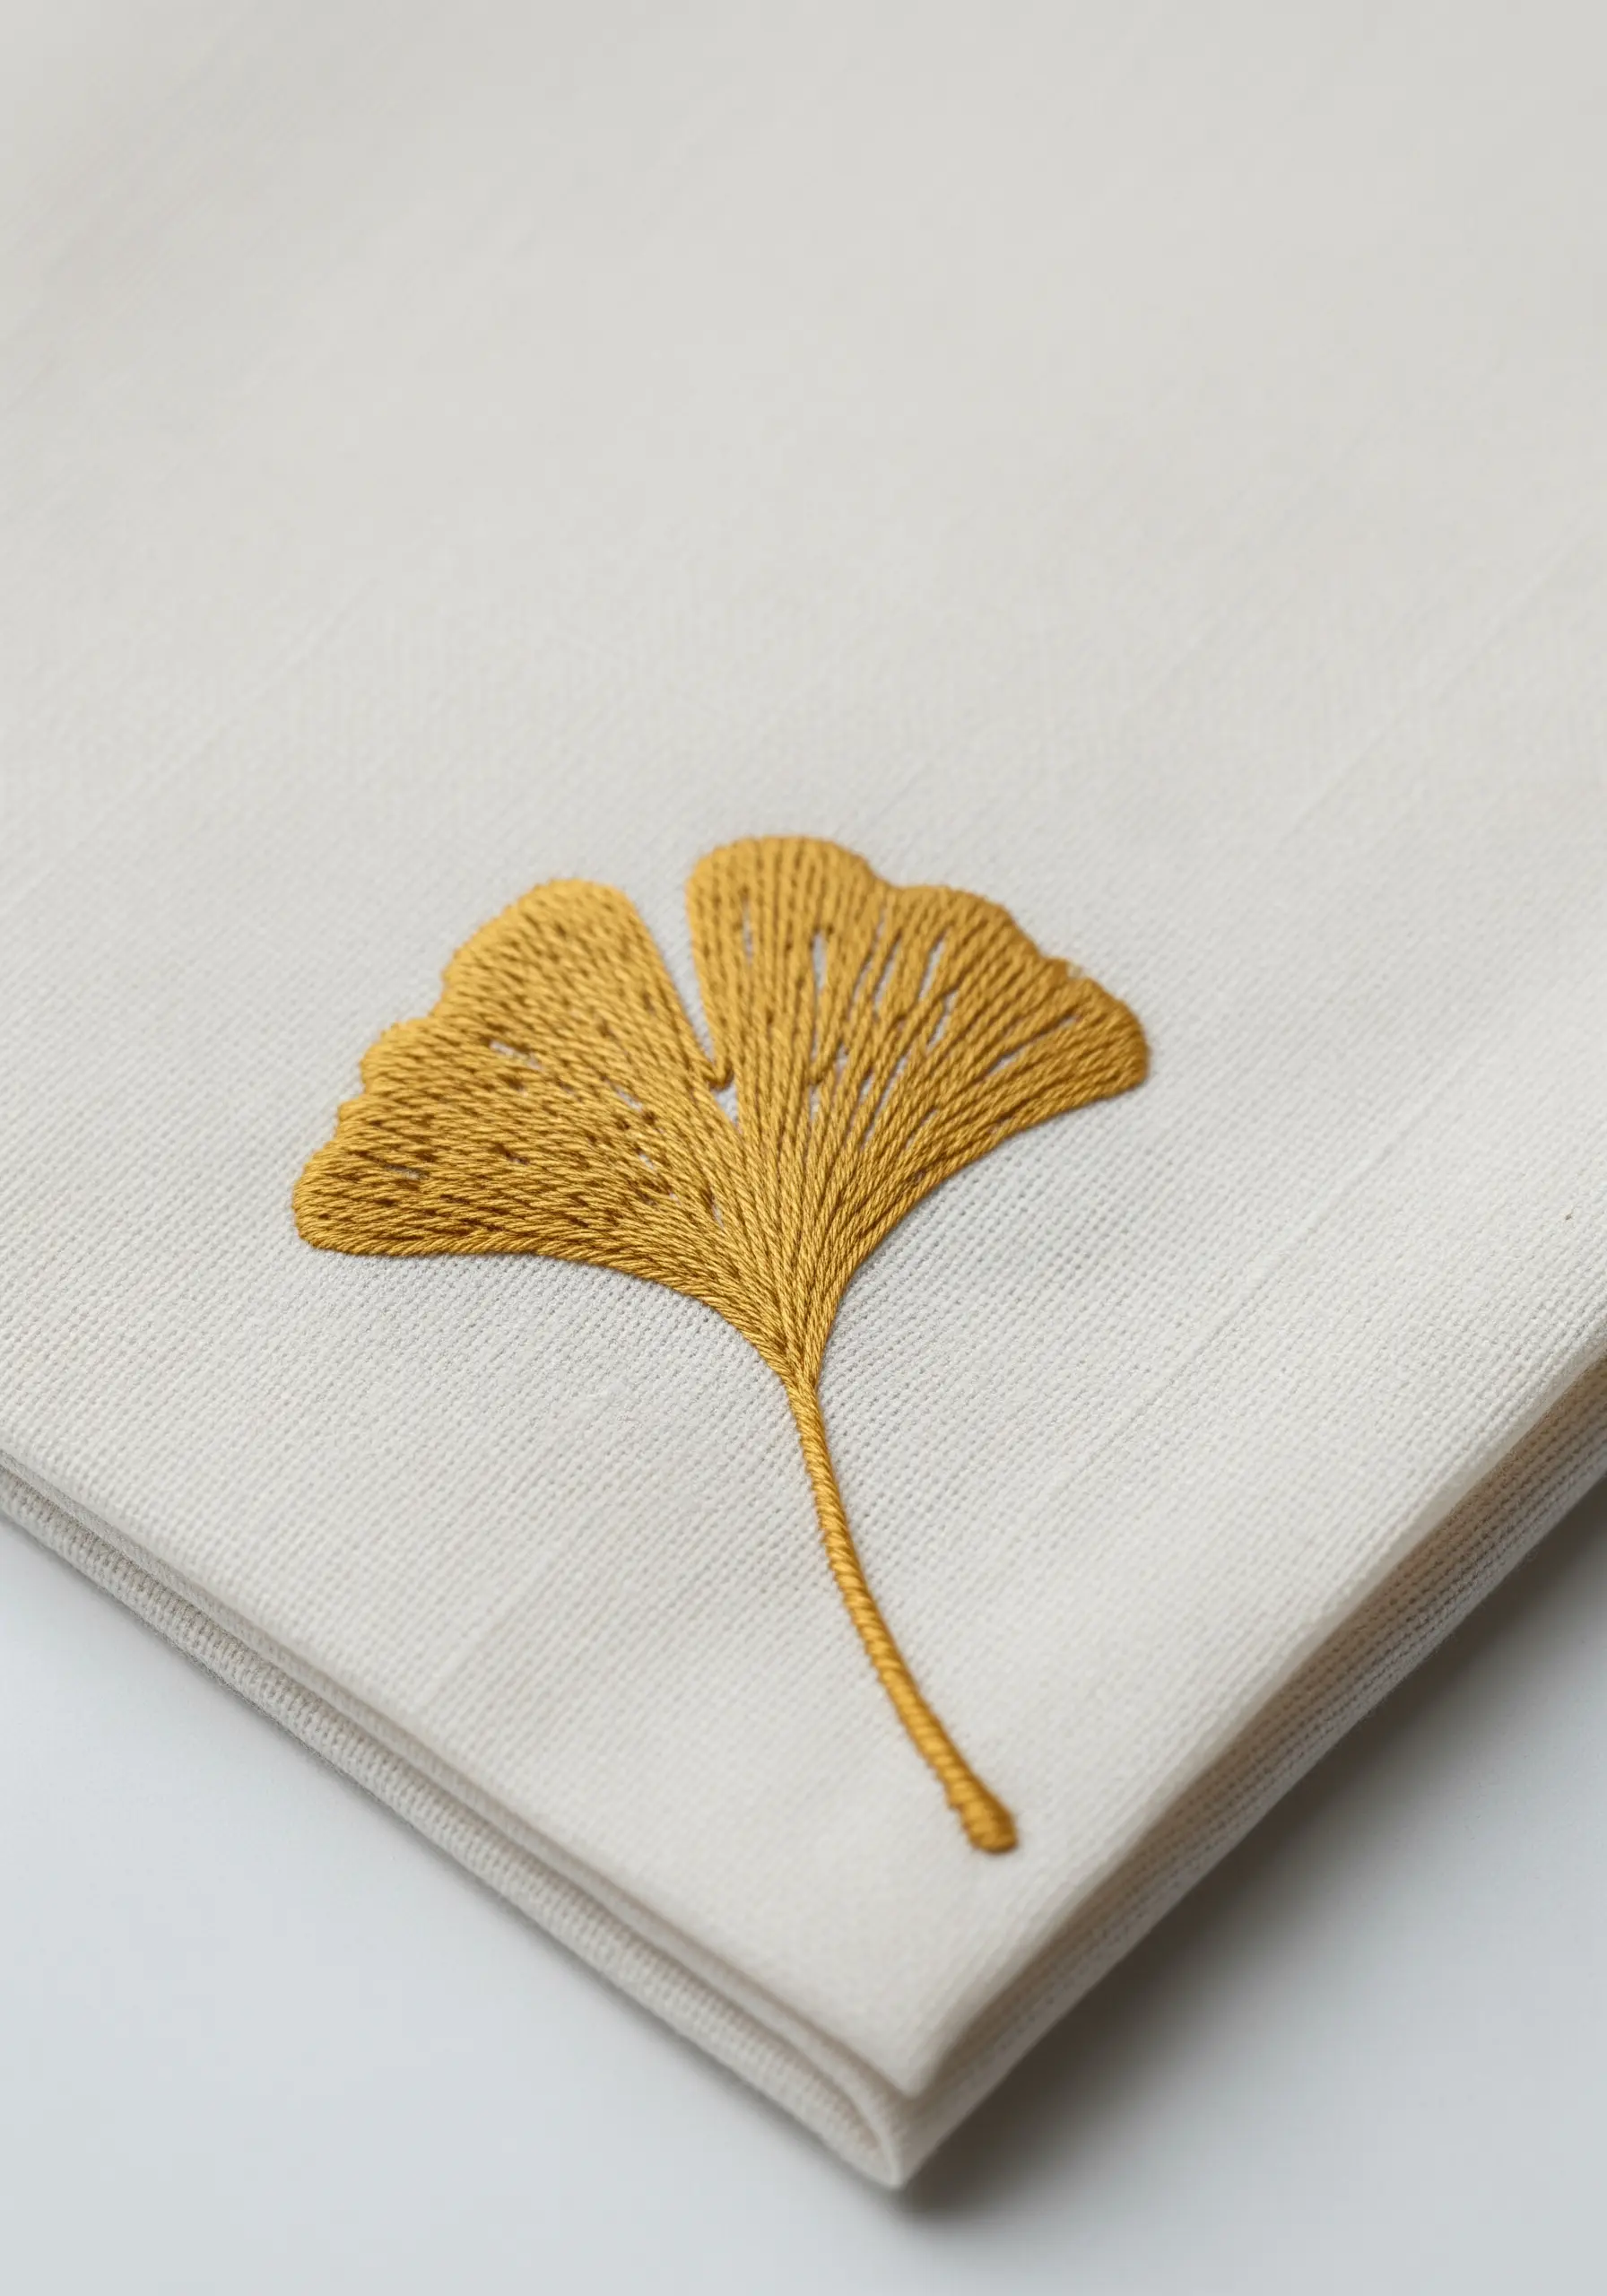
Give a simple leaf motif lifelike form by varying the direction of your satin stitches.
Instead of filling the entire shape with parallel stitches, angle them to follow the natural lines of the leaf’s veins, radiating from the central stem.
This simple adjustment creates an illusion of light, shadow, and dimension, making the flat object appear gracefully curved.
A split stitch outline will keep the edges clean, allowing the internal texture to be the star.
8. Build Organic Texture with Seed Stitch

Fill a space with rich, organic texture using one of the simplest stitches: the seed stitch.
Work tiny, individual straight stitches at random angles, varying the spacing and direction to avoid a uniform pattern.
Cluster the stitches more densely in some areas and scatter them in others to create a shape that feels like it grew naturally on the fabric.
This technique is meditative, forgiving, and incredibly effective for adding abstract textural interest to a corner or edge.
9. Achieve the Perfect Satin Stitch Monogram

A classic satin stitch initial requires precision for that sharp, printed look.
Always use a stabilizer on the back of your fine cotton fabric to prevent puckering and provide a stable foundation.
Outline the letterform with a split stitch before you begin filling. This raised edge guides your satin stitches and keeps them perfectly contained.
Use a high-quality, smooth floss and ensure your stitches lay perfectly parallel to one another for a flawless, light-reflecting surface that defines luxury embroidered gifts.
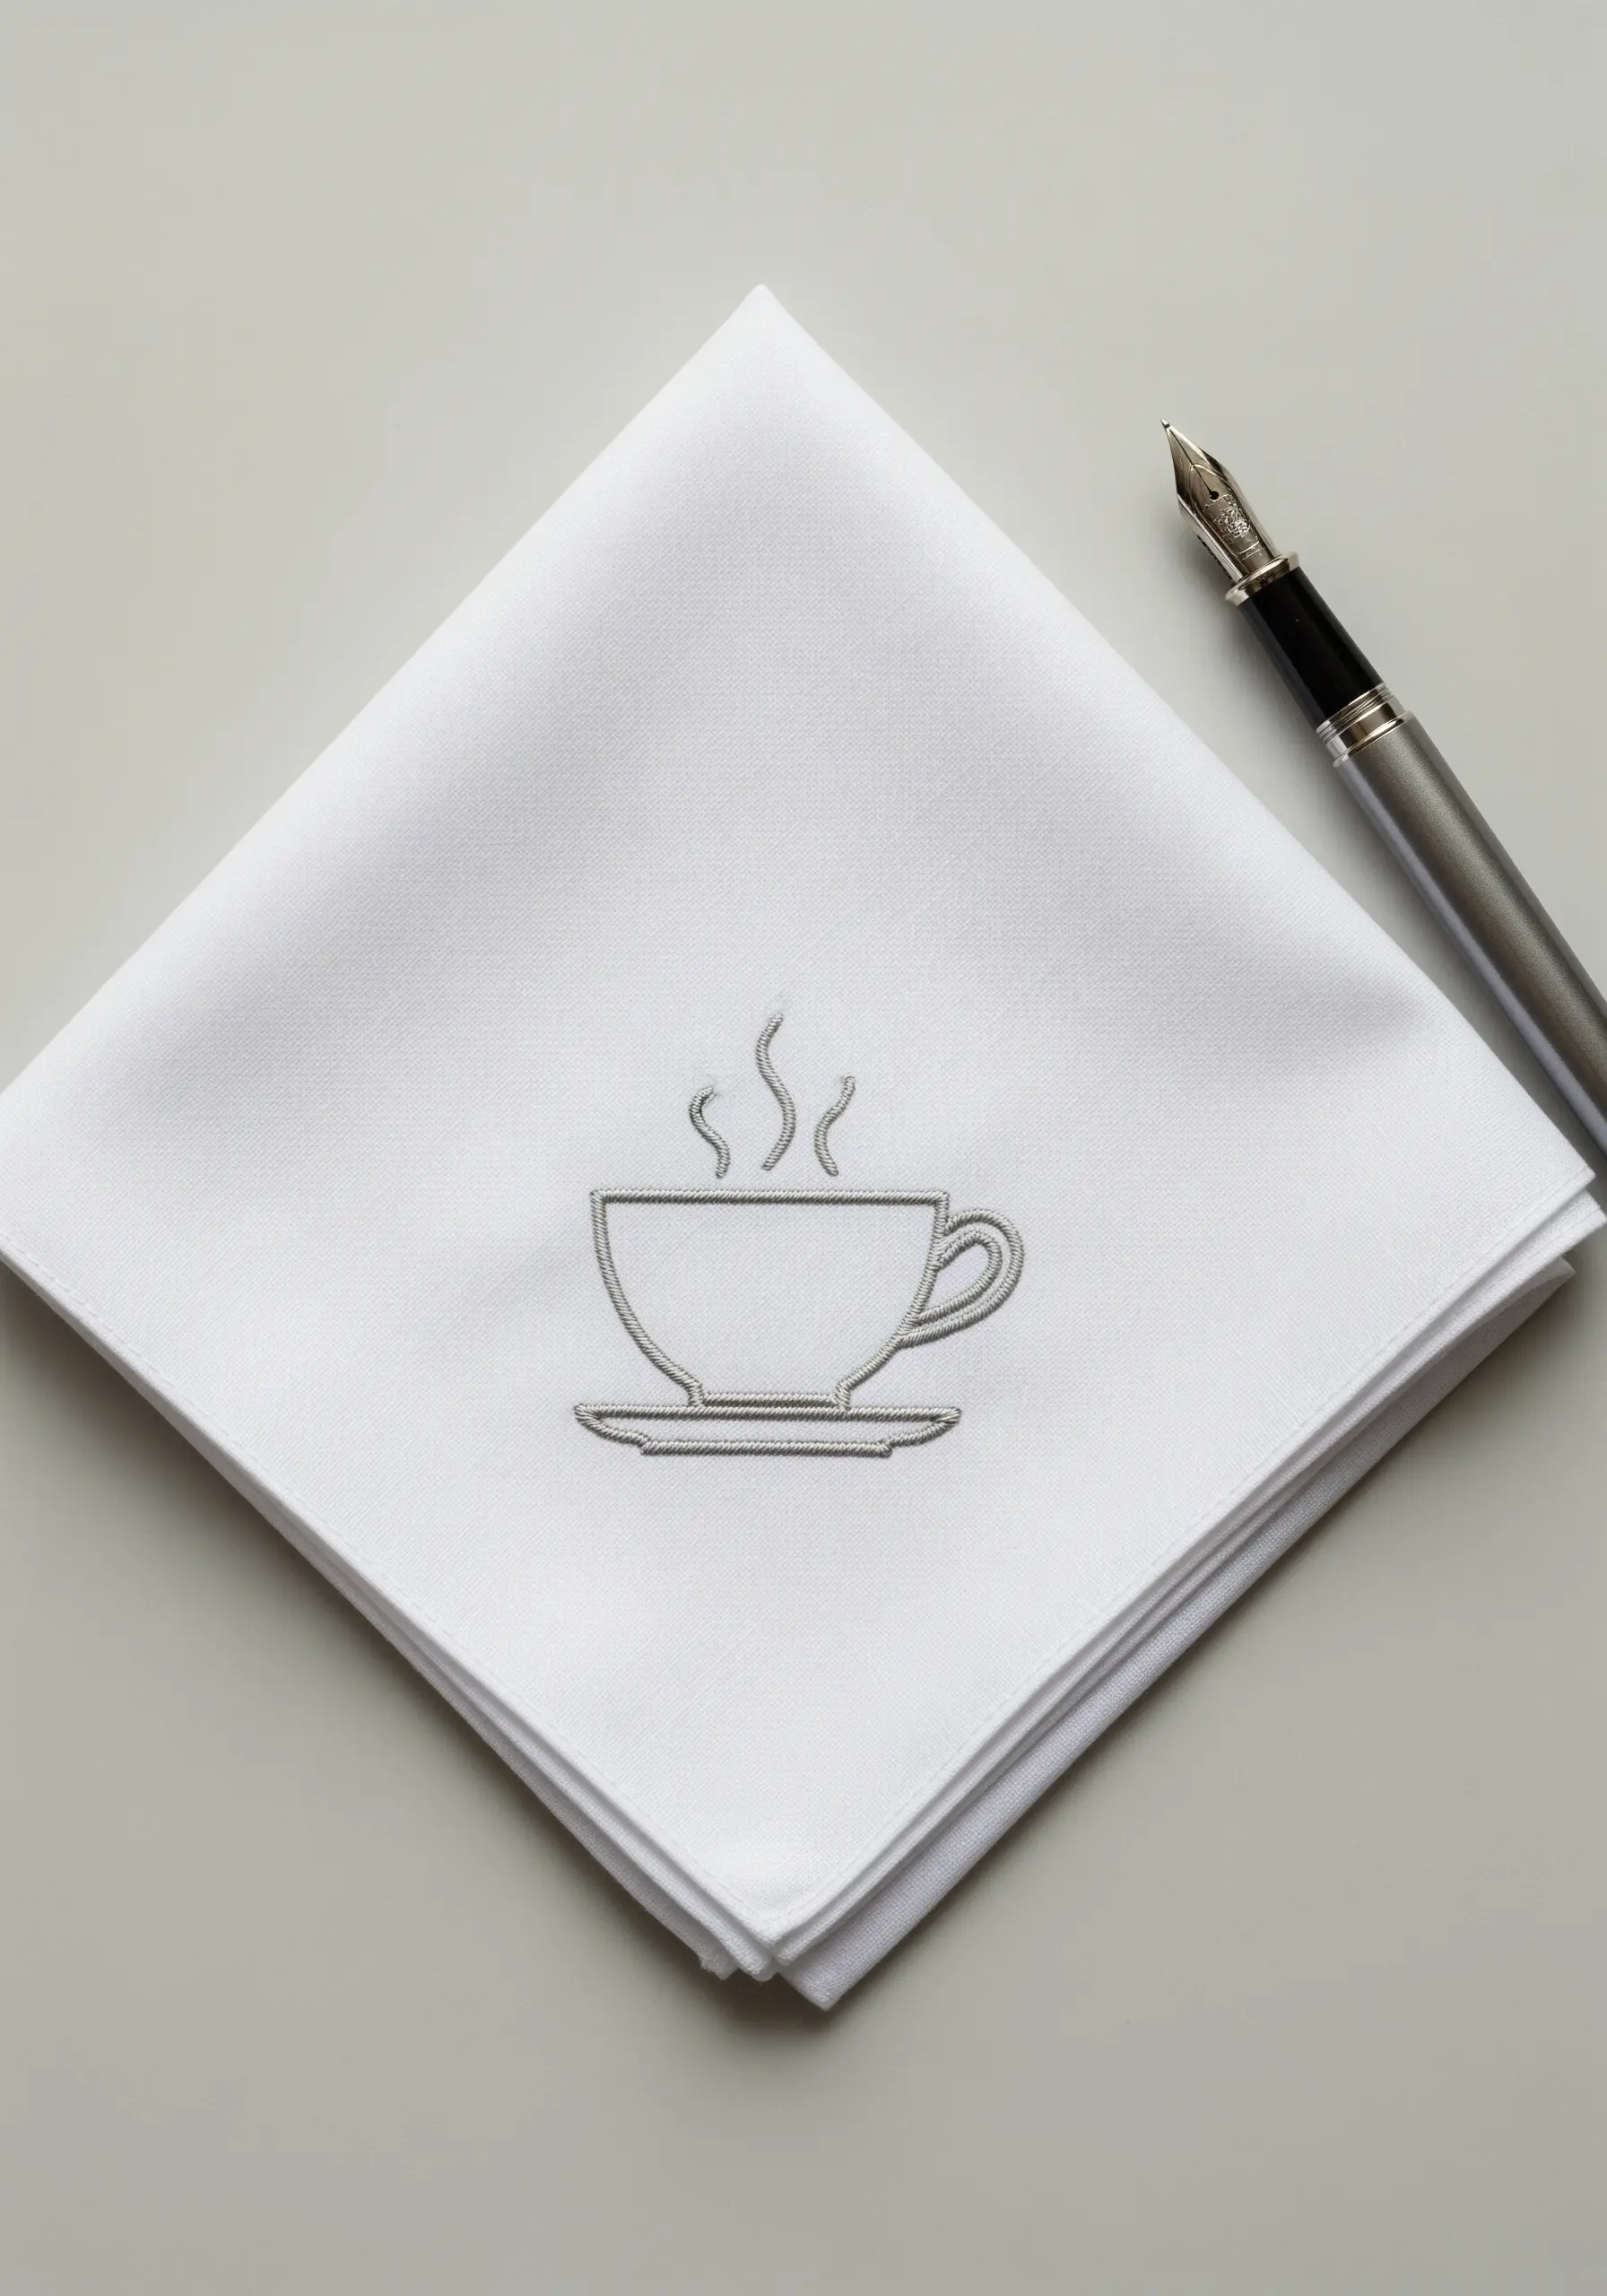
10. Tell a Story with Minimal Line Art

You can create a charming, evocative scene with nothing more than a few well-placed backstitches.
Choose a simple, graphic icon and stitch it with a single strand of floss for a delicate, pen-and-ink effect.
The key to this style is clean execution: maintain consistent stitch length and tension throughout.
The negative space around the motif is just as important as the stitched lines, allowing the simple design to breathe and capture the imagination.
11. Add Weight and Rhythm with a Braided Border
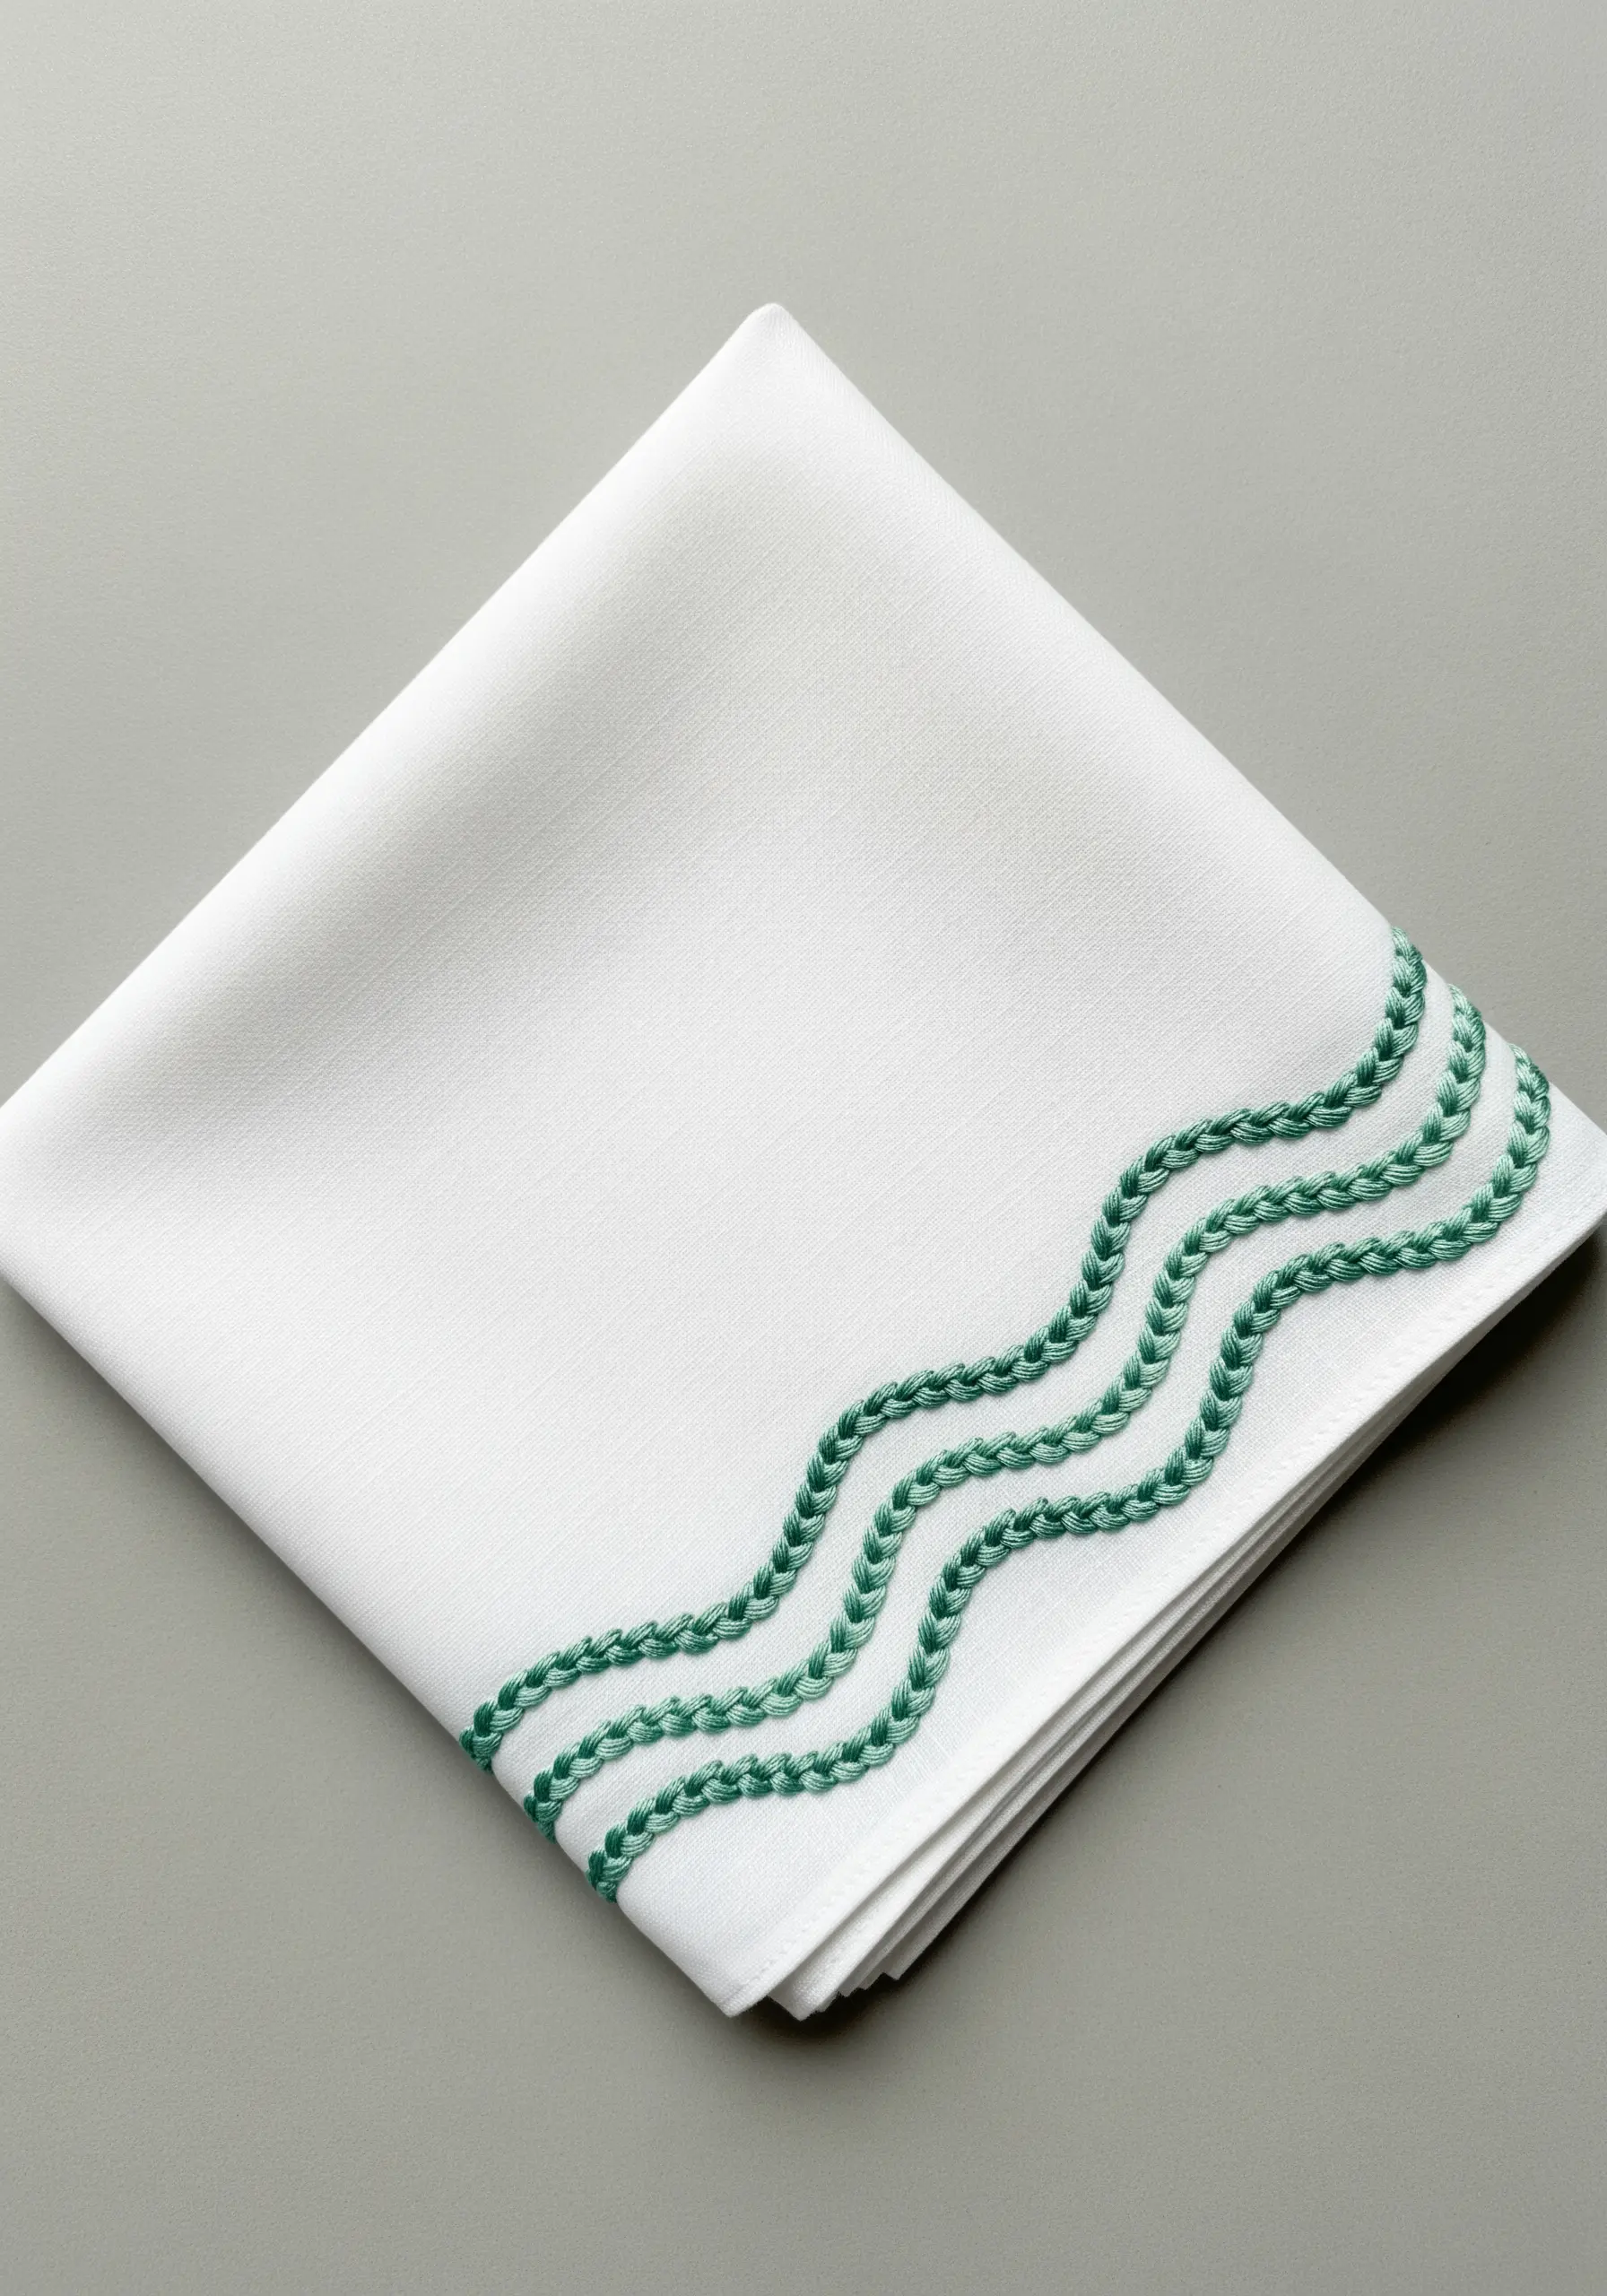
Move beyond a simple line and give your border a sense of substance and movement with a heavy chain stitch or braided chain stitch.
This stitch creates a thick, dimensional line that feels both decorative and structural, anchoring the corner of the handkerchief.
Stitching multiple rows side-by-side in a wave pattern enhances the rhythmic, flowing quality.
This is an excellent way to add significant visual impact using just one type of stitch and a single color.
12. Emulate Jewelry with a Precise Chain Stitch
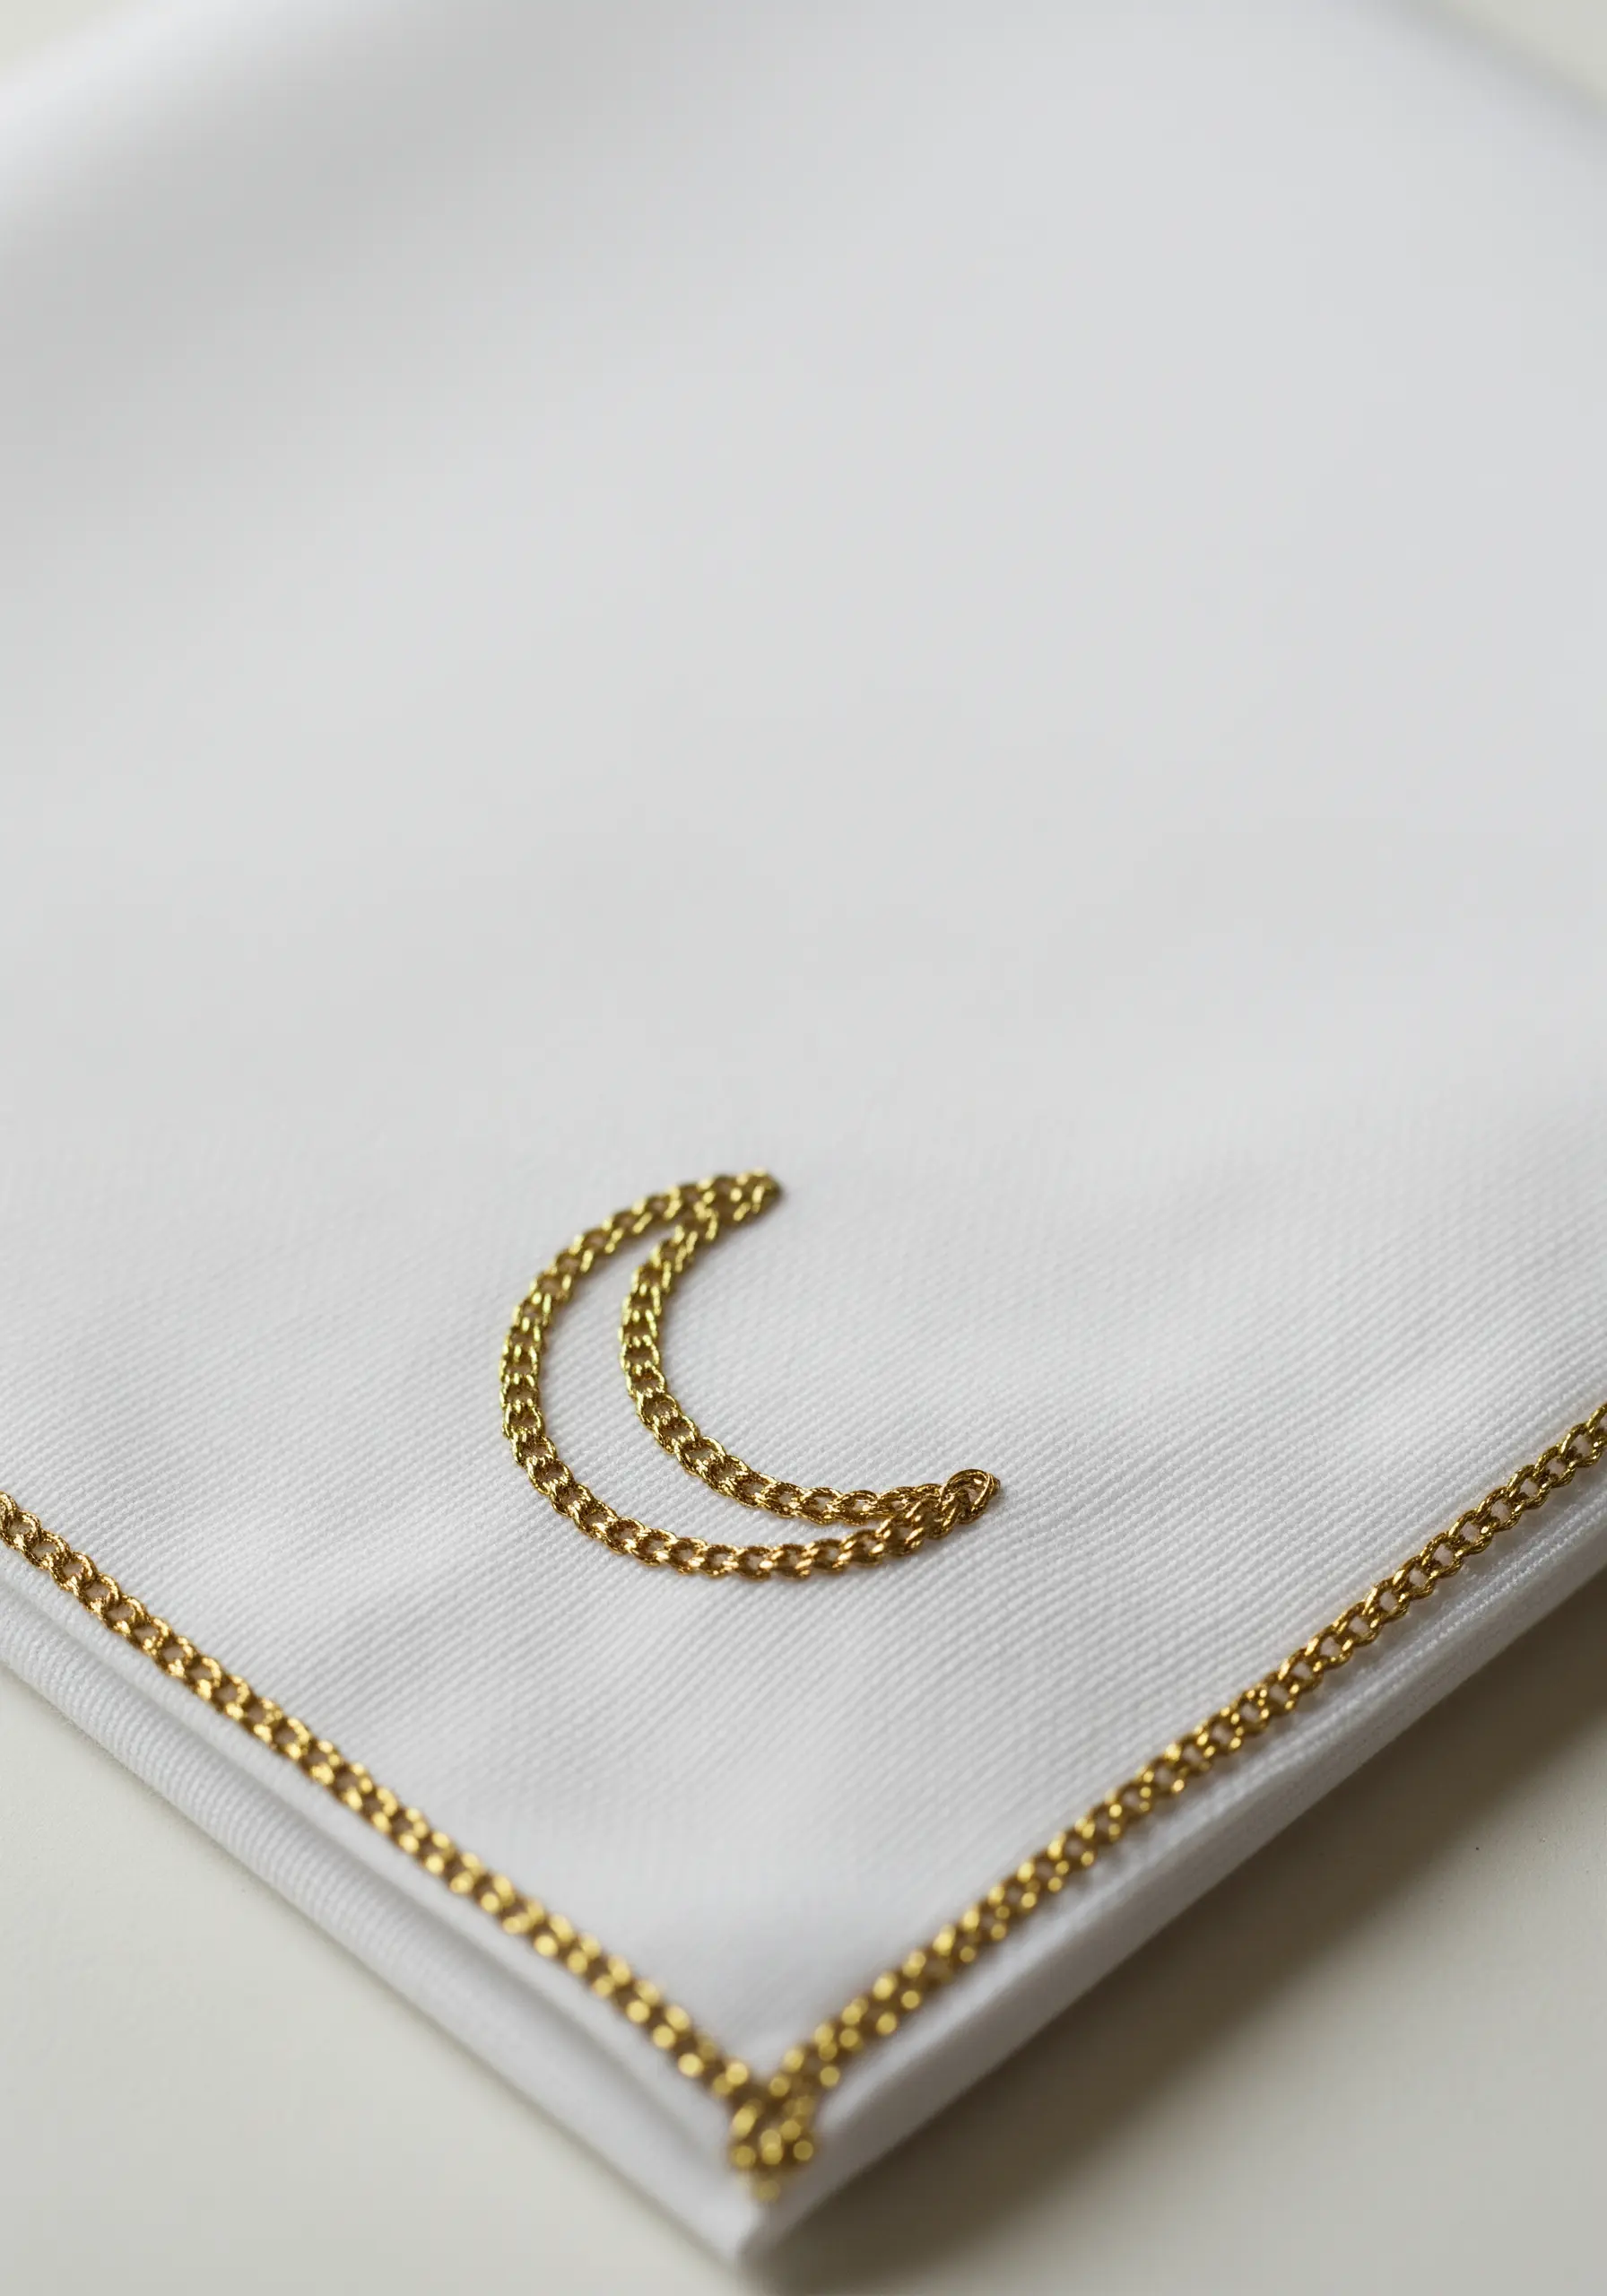
The chain stitch, when worked with metallic thread, can mimic the delicate look of a fine gold chain.
The secret to a refined finish is consistency. Keep each loop of the chain stitch the exact same size and maintain even tension to avoid loose or tight spots.
Use a needle with a larger eye to reduce friction and fraying on the metallic floss.
Whether used as a border or a standalone motif, this technique adds an immediate touch of quiet luxury.
13. Create Dimension with Padded Satin Stitch
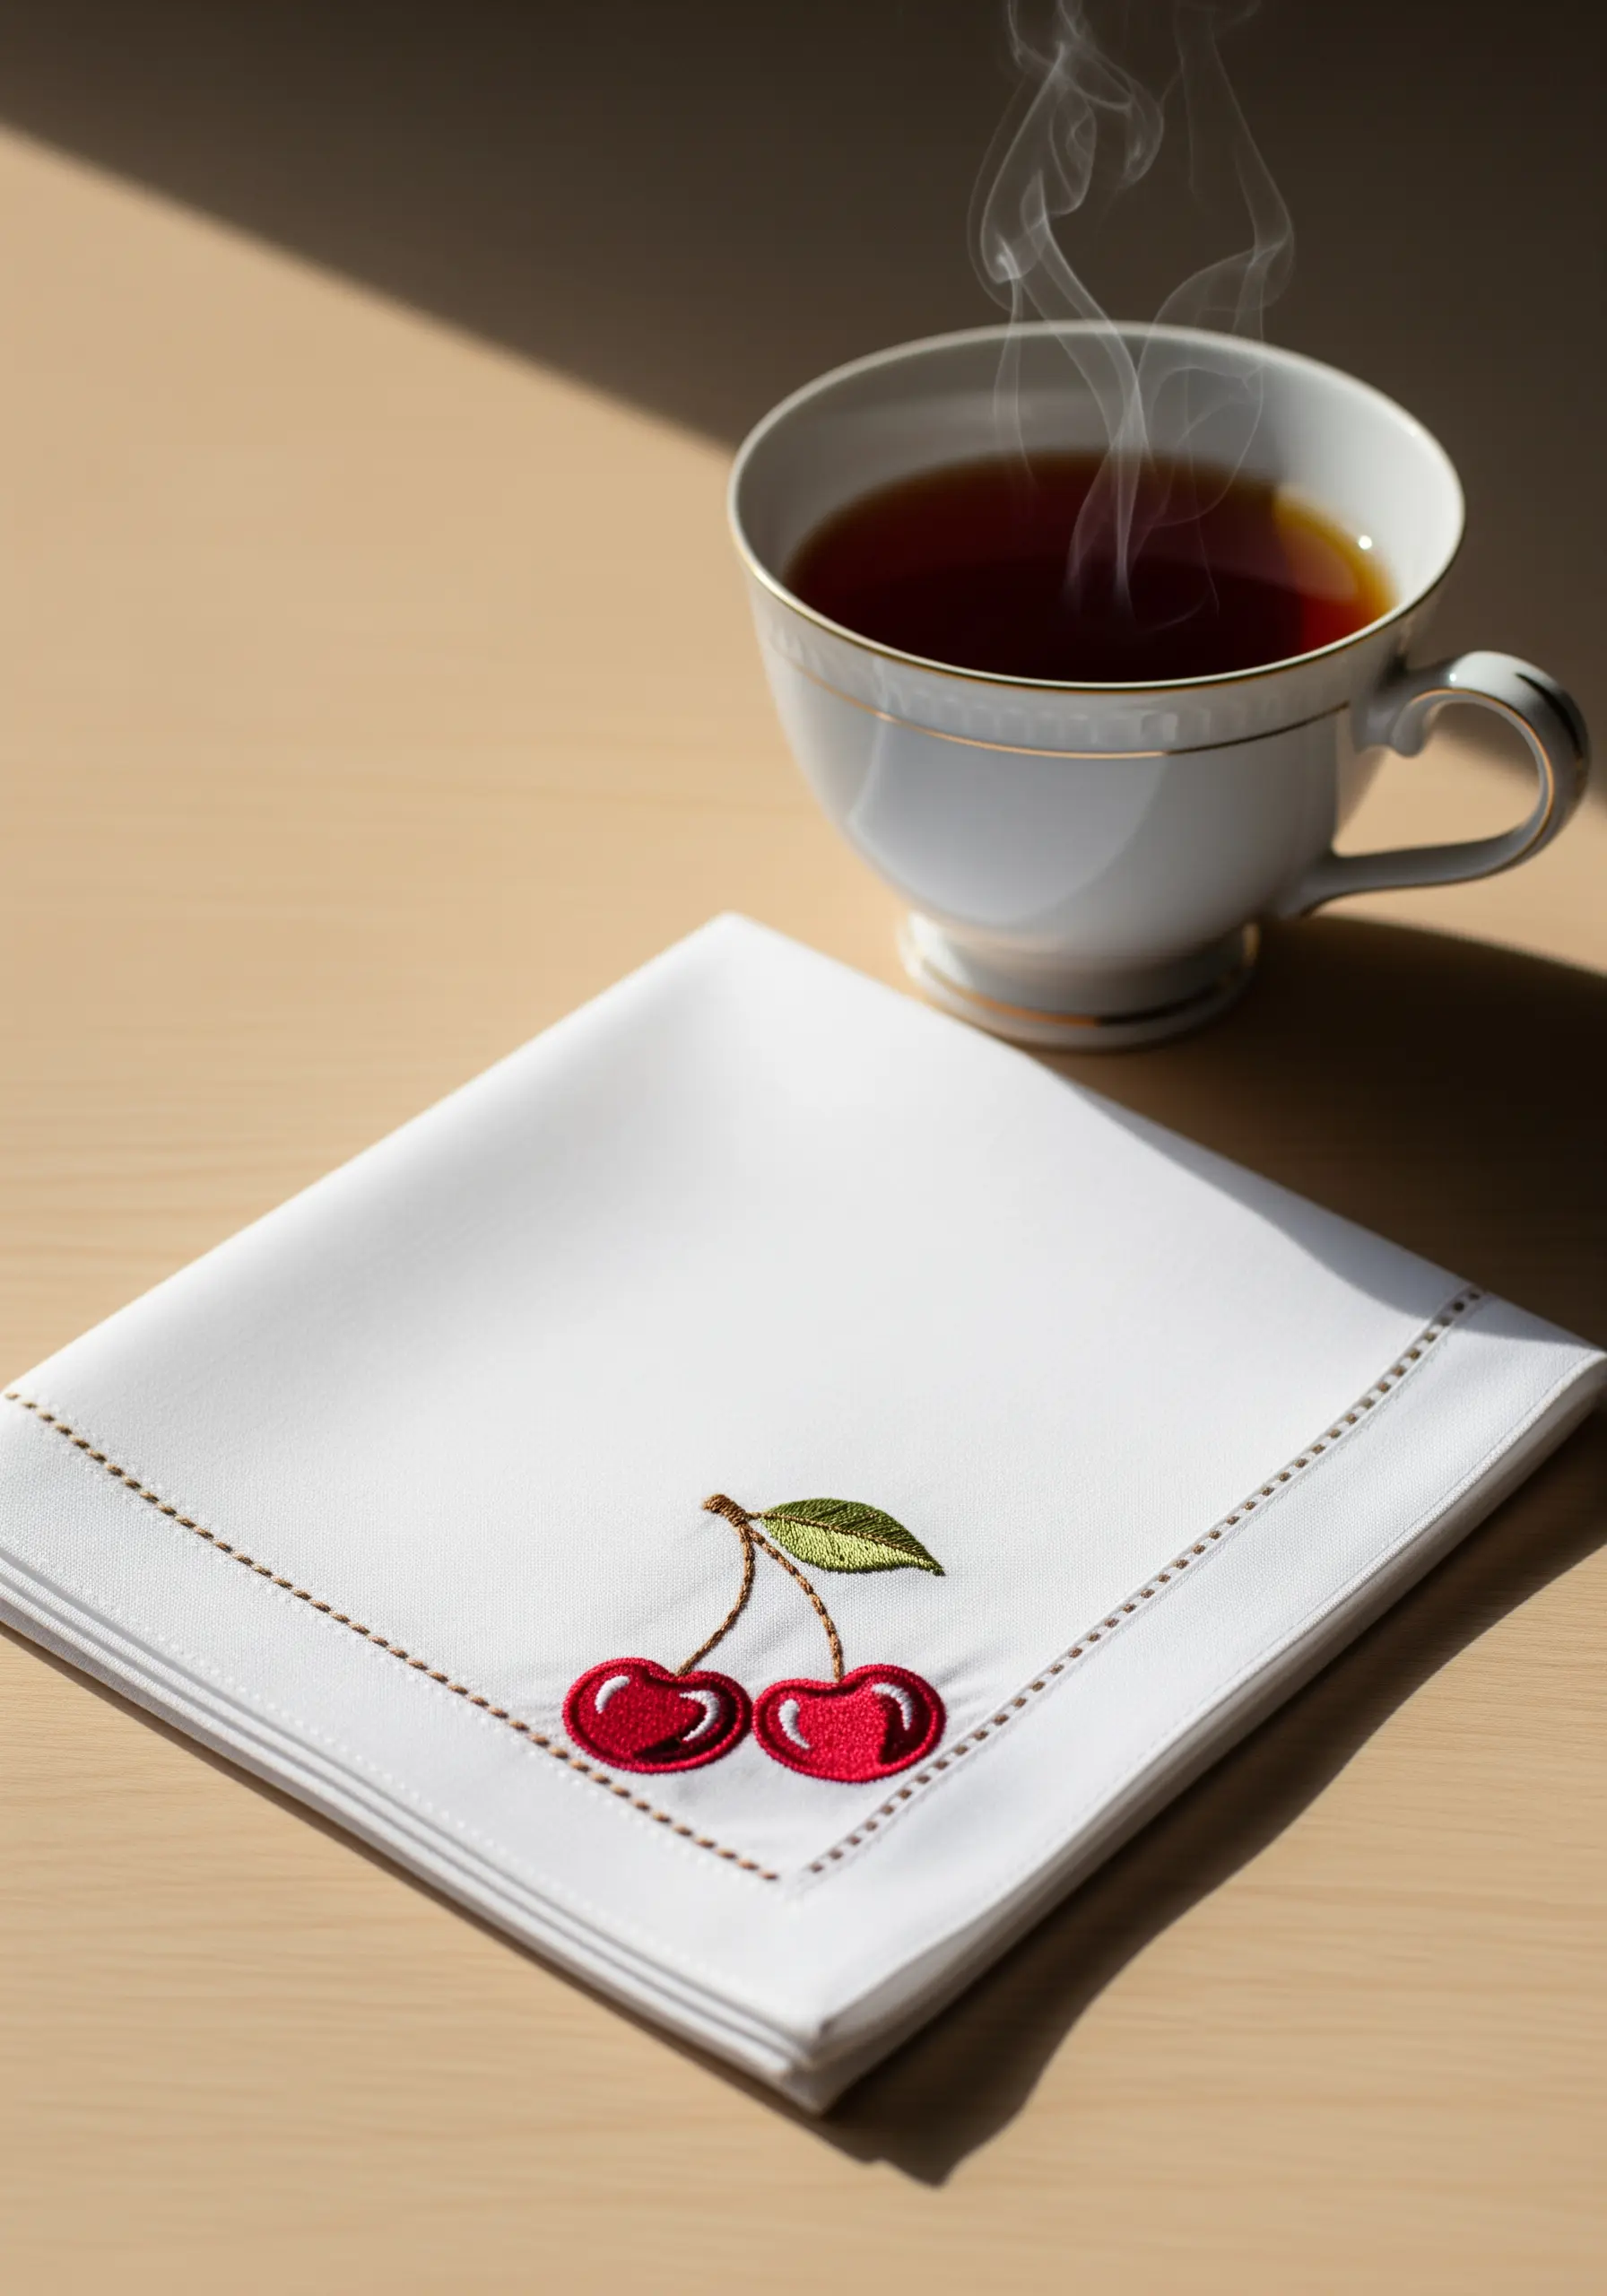
To make a motif look plump and three-dimensional, use padding beneath your satin stitch.
First, fill the shape with a layer of small, underlying stitches (like seed stitches or a simple satin stitch in the opposite direction).
Then, cover this padding with your final layer of satin stitches, working perpendicular to the padding stitches.
This technique lifts the surface of the thread, creating soft highlights and shadows. Finish with a single white stitch to mimic a reflection of light, making the cherries look glossy and real.
14. Integrate Stitches with Open-Weave Hemstitching

For an heirloom touch, use embroidery to manipulate the fabric itself.
Hemstitching involves carefully pulling out a few parallel threads from the cotton or linen fabric and then using embroidery floss to wrap the remaining threads into decorative bundles.
This creates a delicate, lace-like ladder effect within the fabric’s weave.
Finishing the hem with this technique adds a structural, textural detail that feels deeply integrated and exceptionally refined.
15. Sketch a Landscape with Layered Backstitch
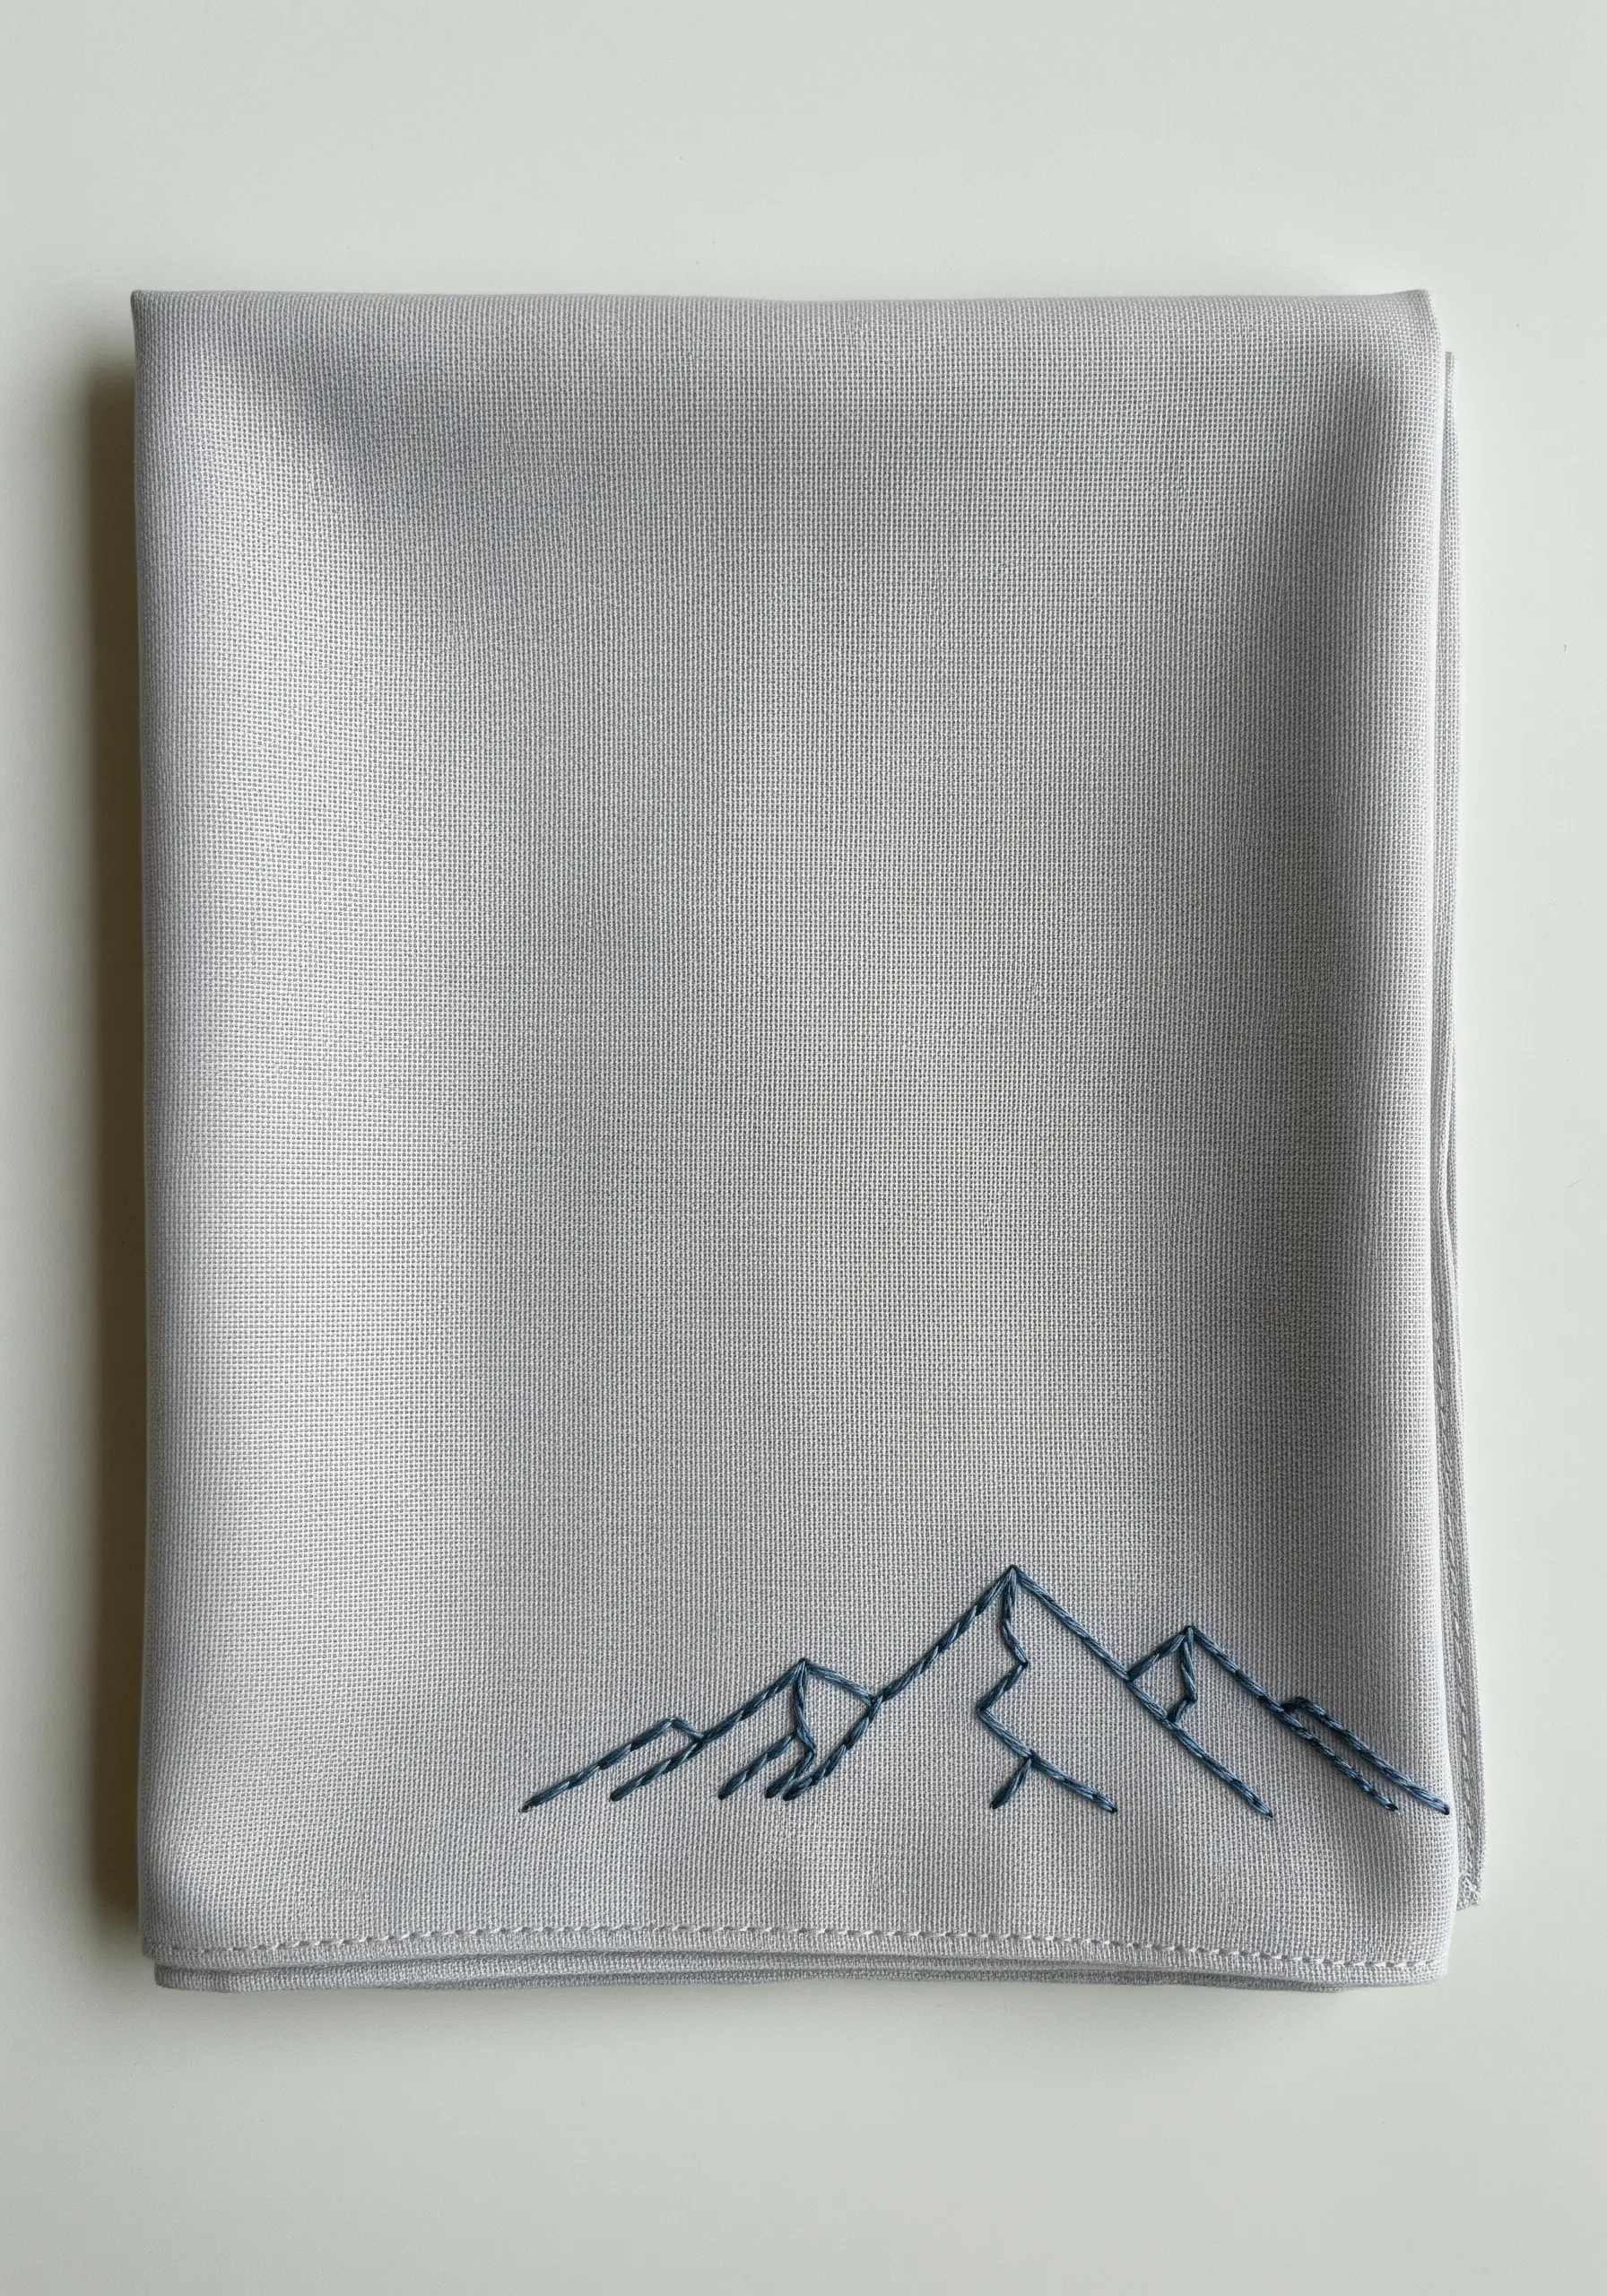
Suggest a mountain range using only layered backstitch lines, embracing the power of simplicity.
Use two or three strands of floss to create the main ridges, then switch to a single strand for the finer, more distant details and shadows.
Overlapping the lines creates a sense of depth and perspective without any shading or fill stitches.
This minimalist approach relies entirely on line weight and placement to build a scene, making it a quick yet impactful design.
16. Master Shading with Long-and-Short Stitch
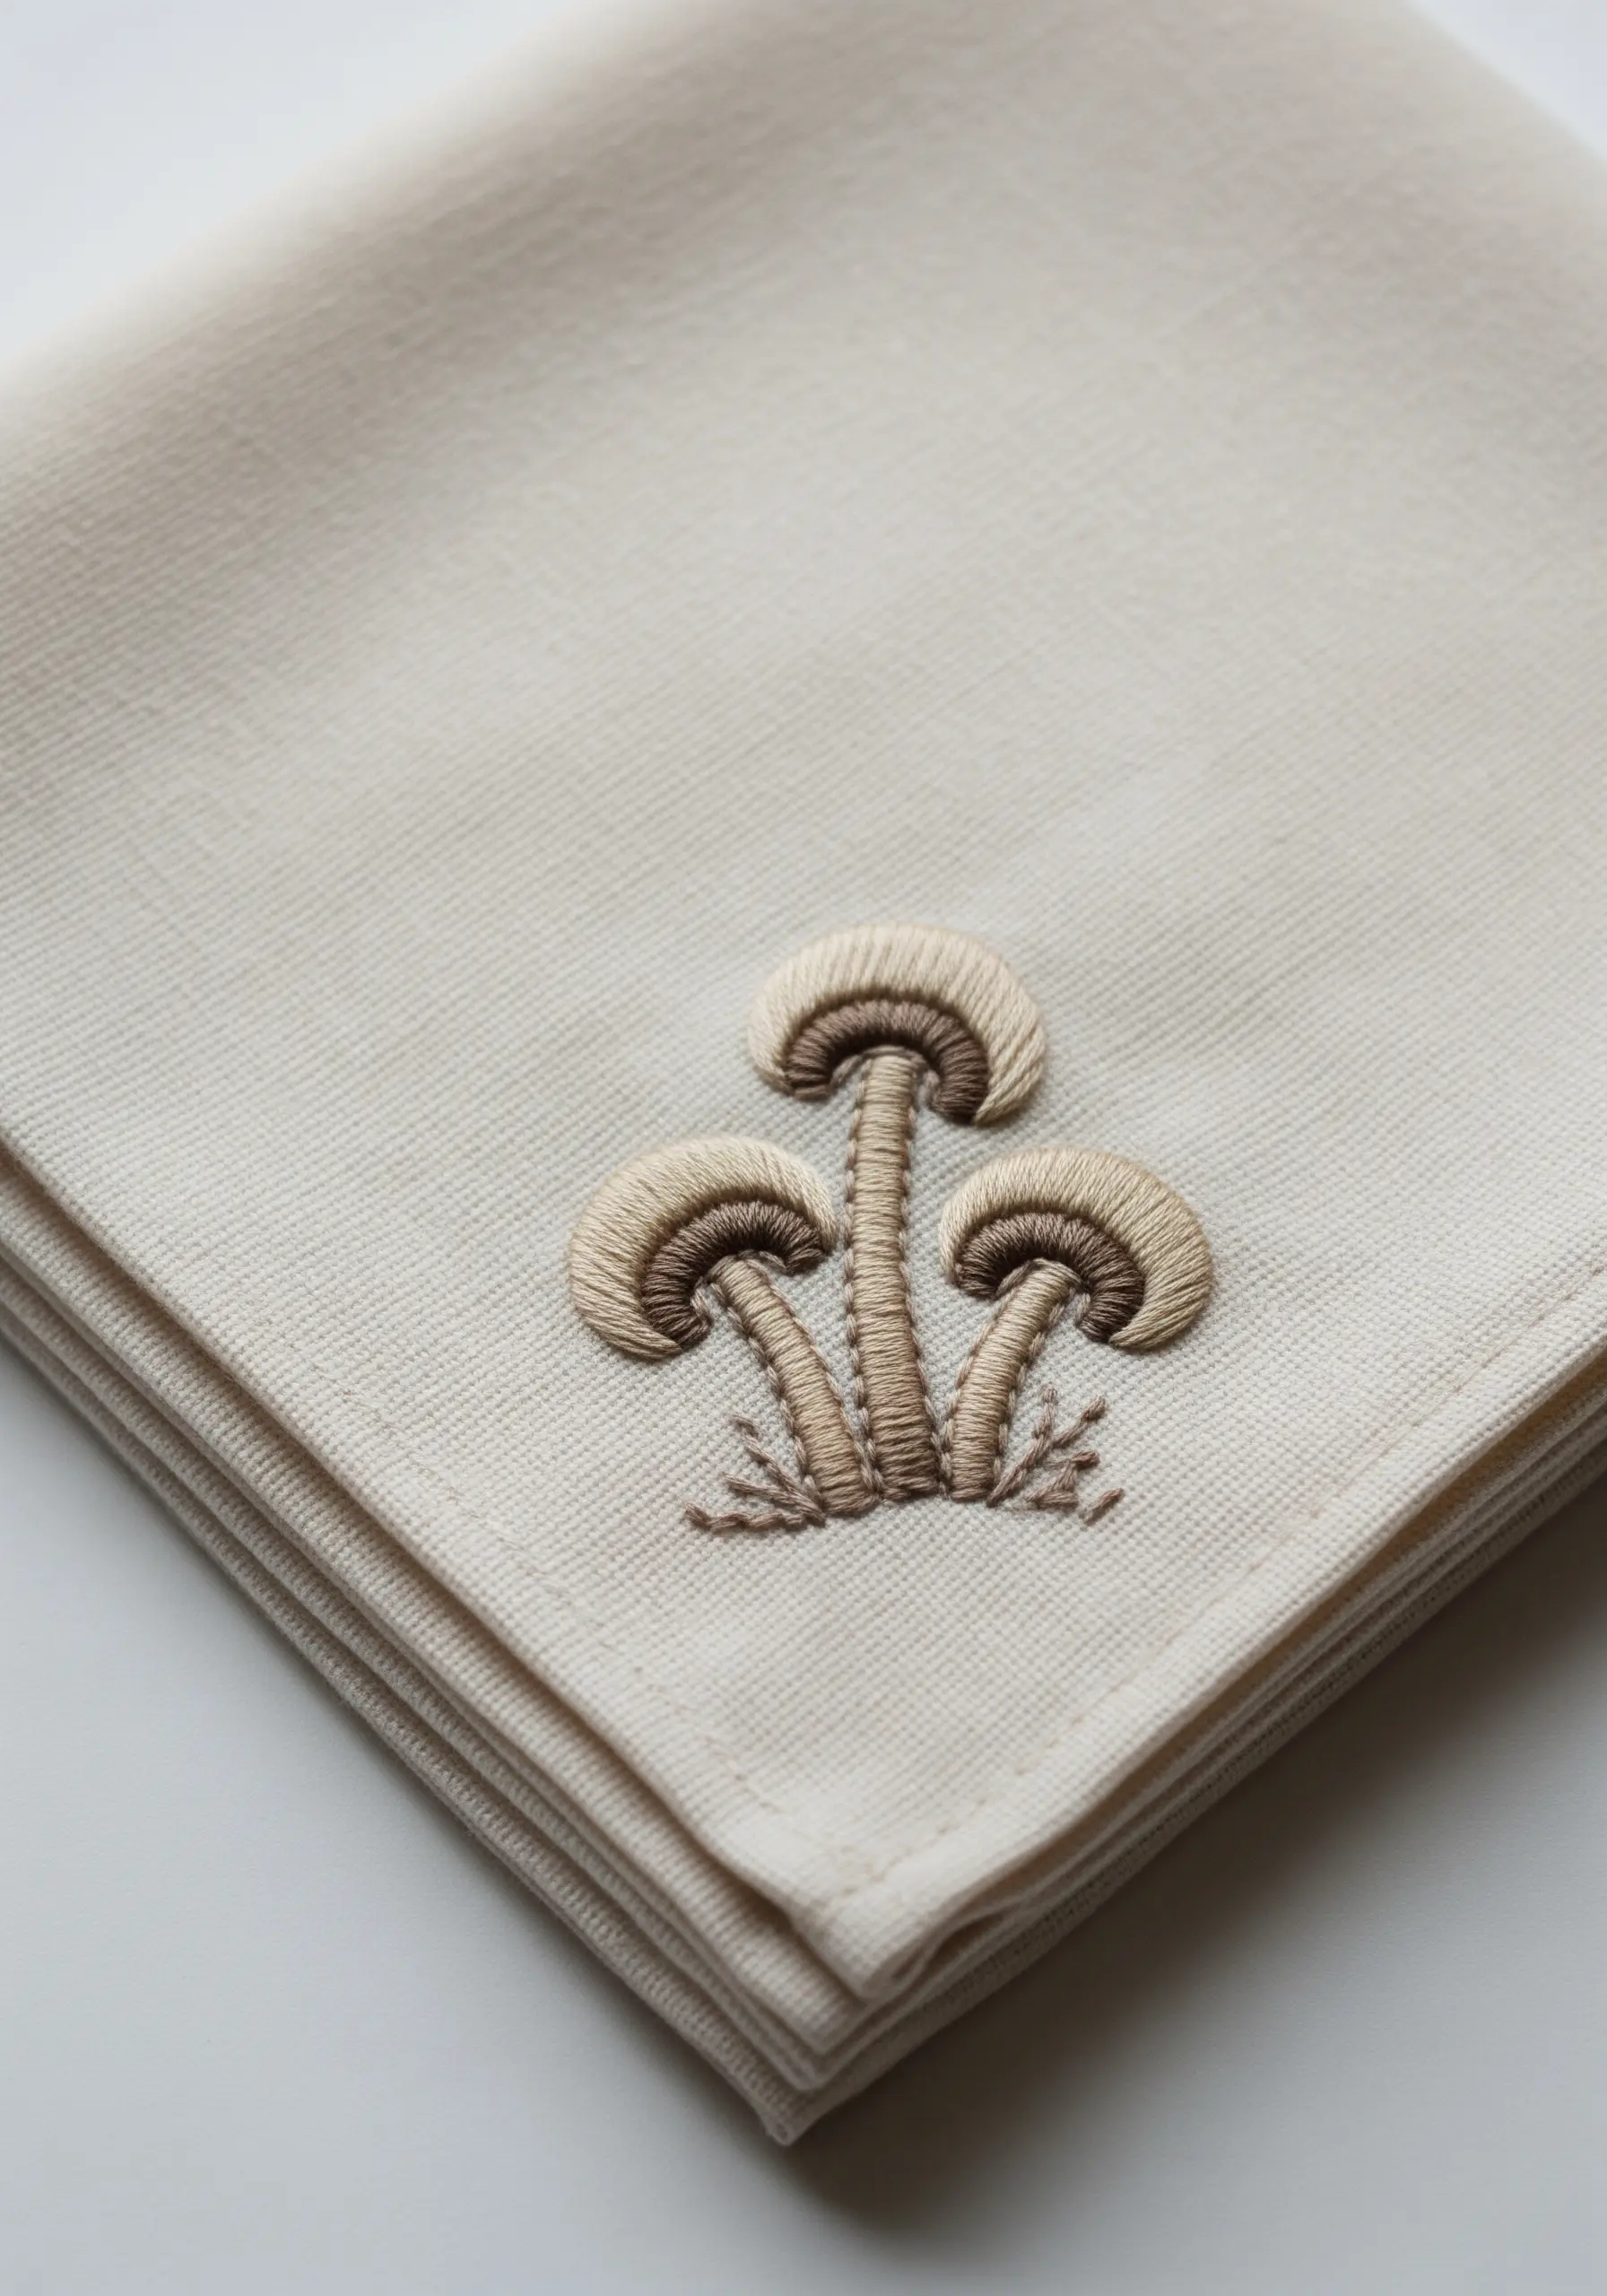
Achieve subtle color gradients and soft, realistic shapes with the long-and-short stitch.
Instead of the solid blocks of a satin stitch, this technique uses interlocking rows of stitches in varying lengths to blend colors seamlessly.
For the mushroom caps, start with the darkest shade on the underside and work your way up with progressively lighter tones.
The angled direction of the stitches follows the curve of the cap, enhancing the illusion of a rounded, three-dimensional form.
17. Achieve a Perfect Outline with Whipped Backstitch
For graphic designs that require a smooth, solid, and continuous outline, the whipped backstitch is your ultimate tool.
After completing a standard backstitch outline, pass a second thread under each stitch, wrapping it around the exterior without piercing the fabric.
This wrapping motion completely conceals the small gaps between stitches, transforming a dotted line into a single, flowing stroke.
It’s an ideal technique for typography, logos, and any clean icon that needs to stand out with clarity.
18. Create Energy with Radiating Stitches
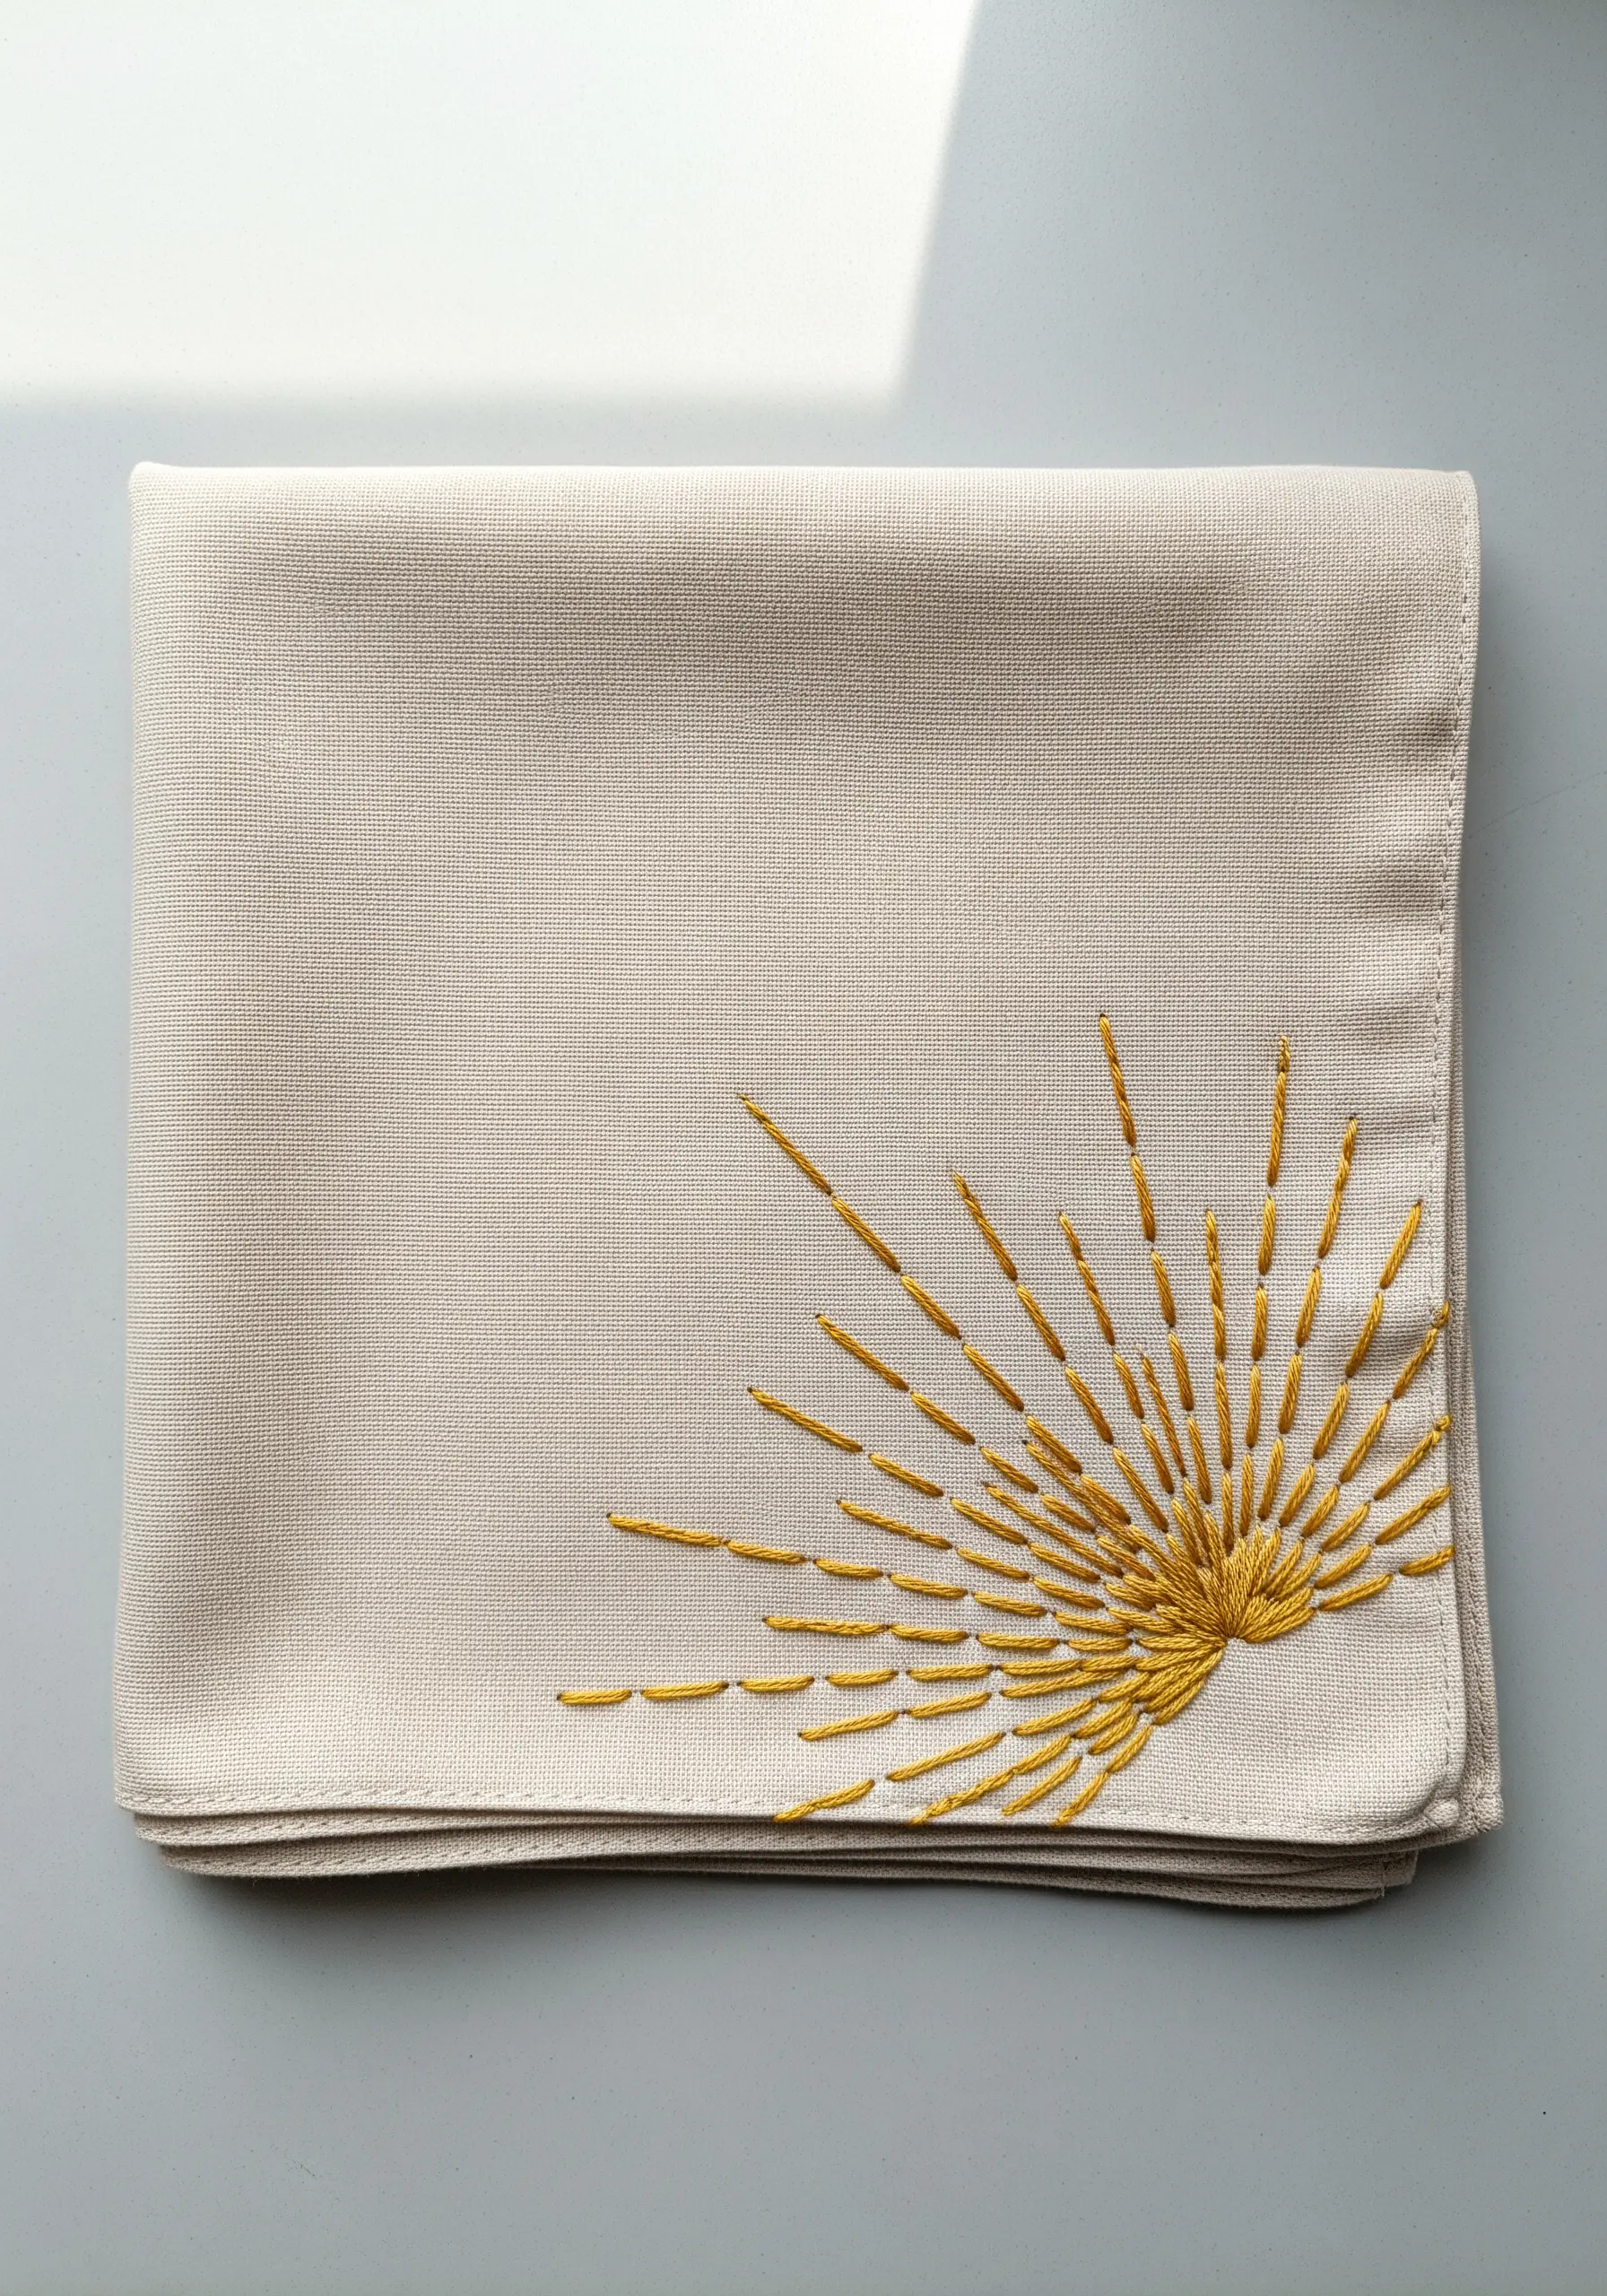
Capture the dynamic energy of a rising sun with a combination of satin stitch and radiating straight stitches.
First, create a solid, semi-circular core using a dense satin stitch. This becomes the anchor point for the design.
From there, stitch the sun’s rays using straight stitches of varying lengths and thicknesses (by changing your strand count). The irregular lengths create a sense of movement and bright, shimmering light.
This asymmetrical placement makes the design feel active and modern.
19. Form Delicate Textures with Fishbone Stitch
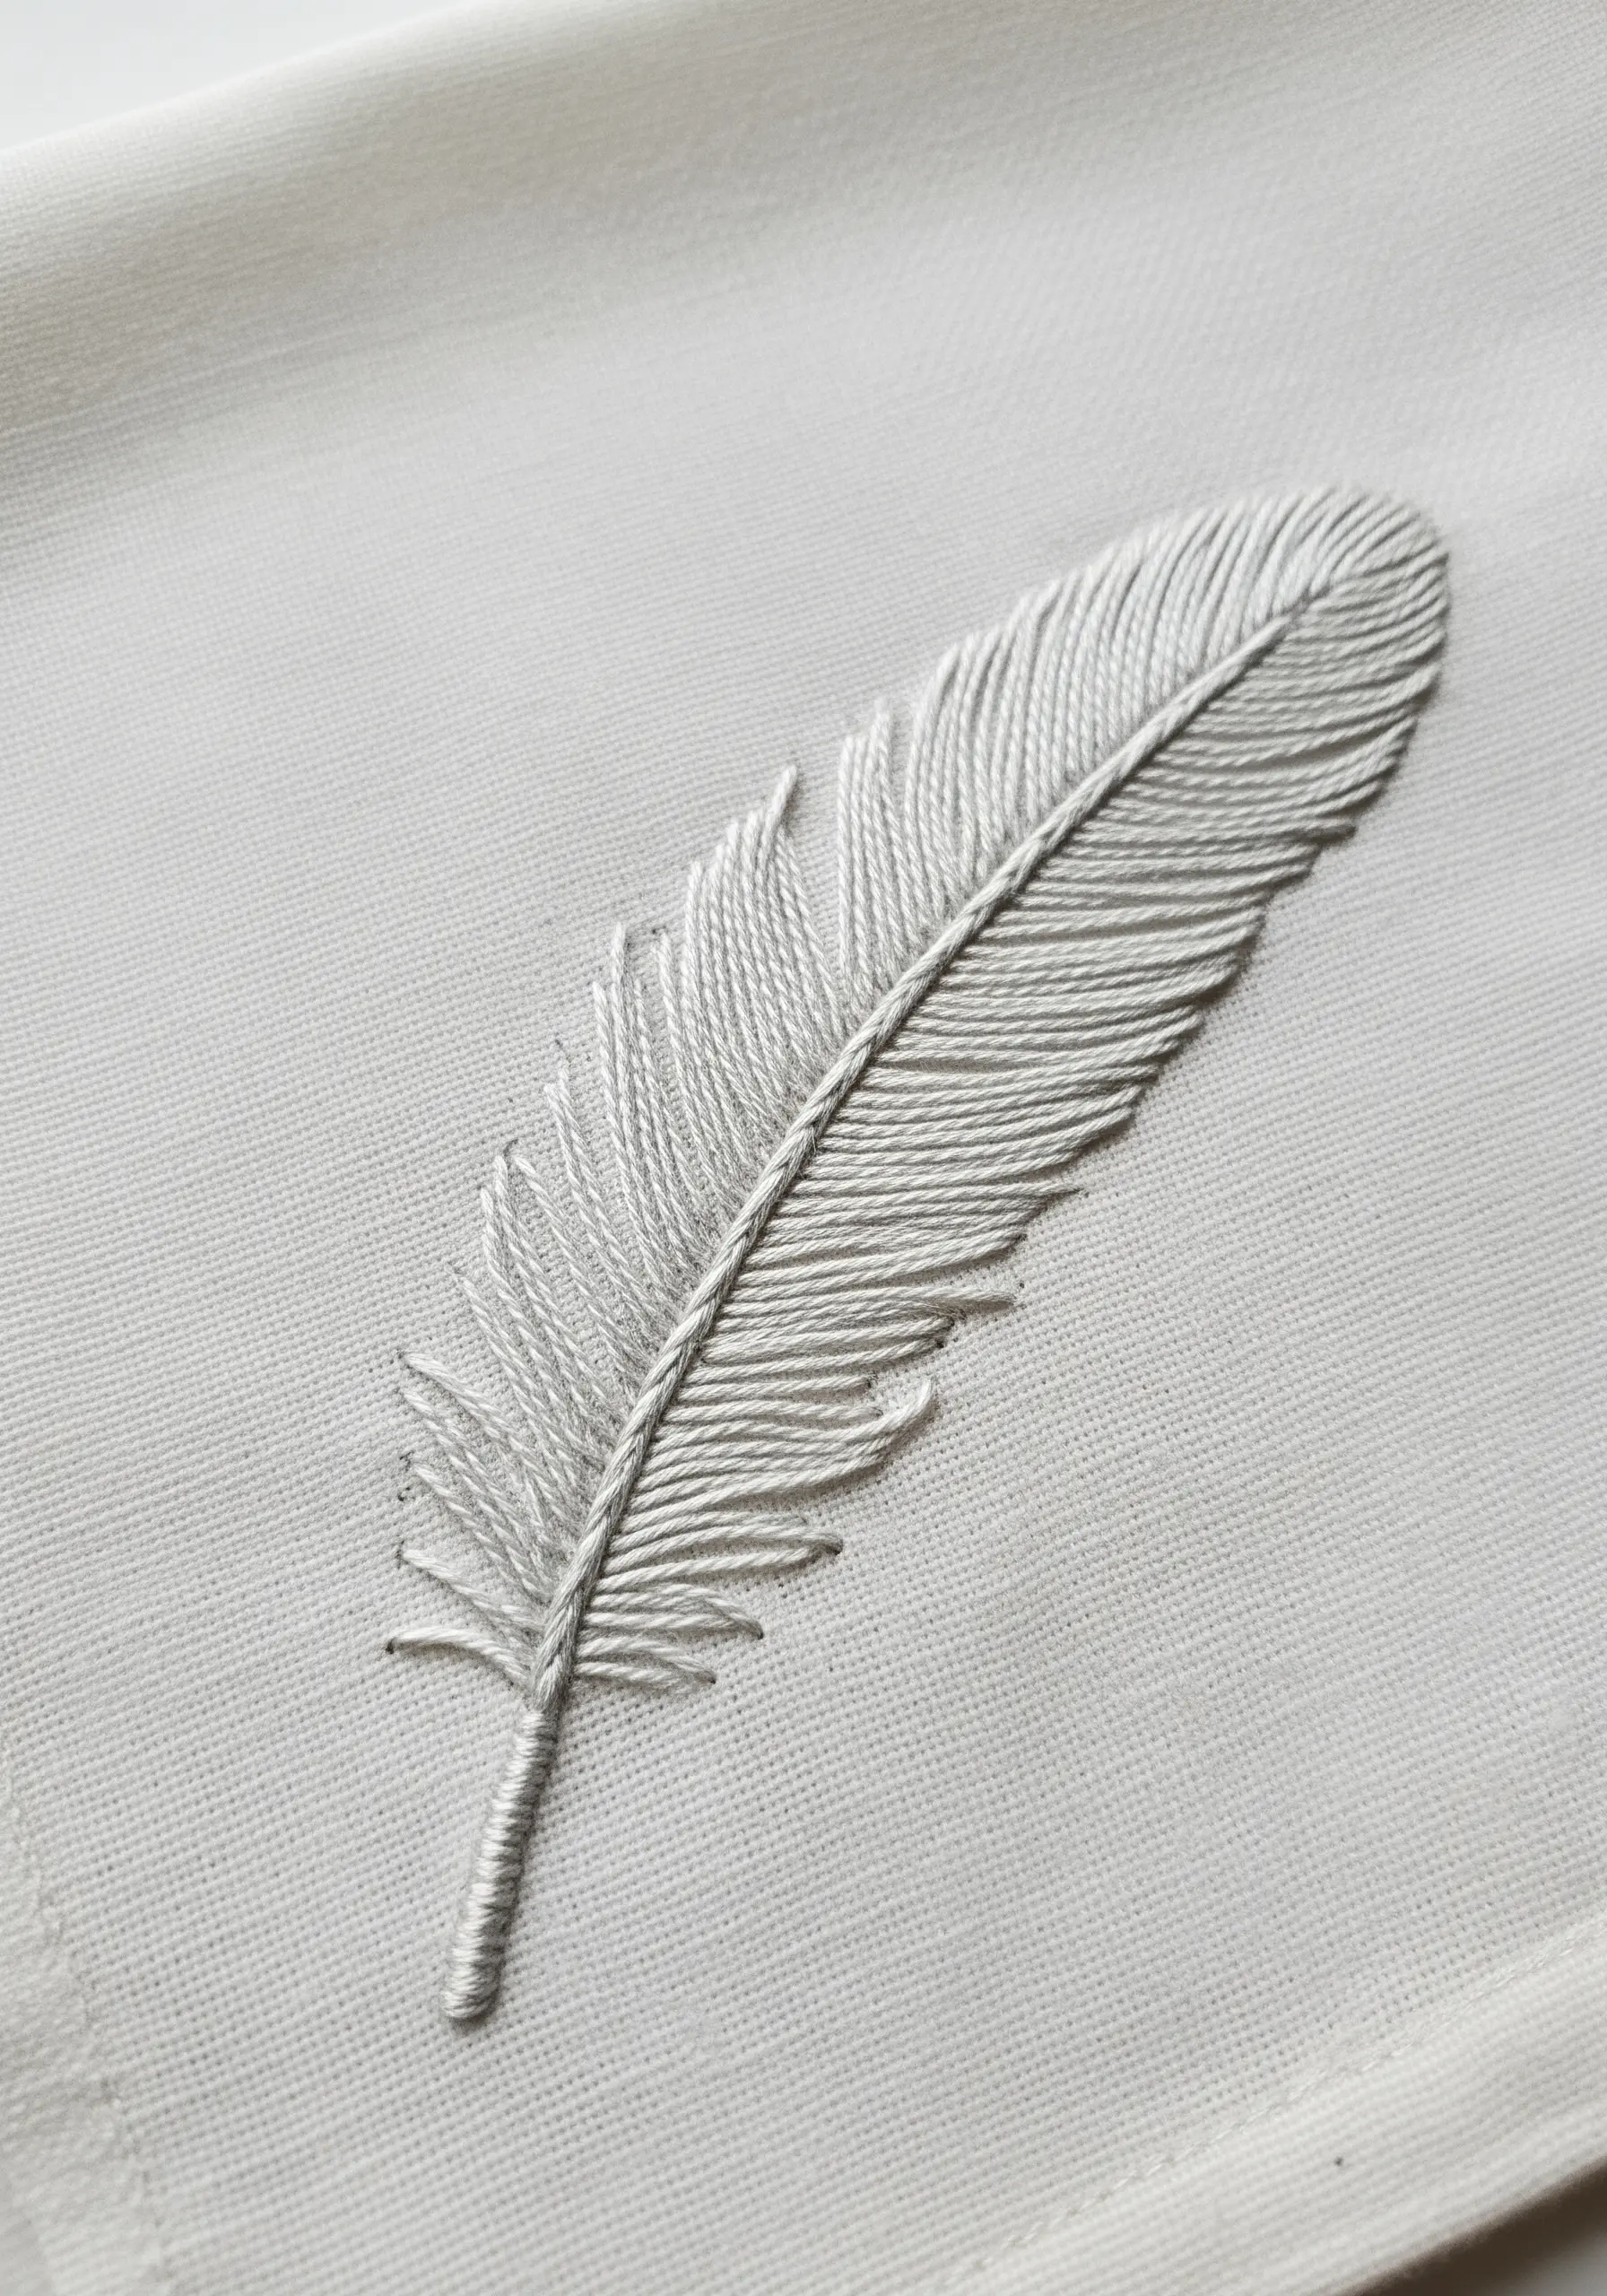
To create the soft, intricate texture of a feather, the fishbone stitch is unparalleled.
Begin with a single straight stitch for the very tip, then work alternating stitches from left to right, crossing them slightly over the central spine.
This creates the V-shaped pattern that mimics the natural growth of a feather’s barbs.
Using a silky, high-sheen thread in a single color emphasizes the texture and the play of light across the stitches, resulting in a design that is both simple and breathtakingly elegant.


