

You have the materials, the inspiration, and the desire to create something beautiful with your hands. Yet, sometimes the finished piece doesn’t quite match the vision you had in mind. It’s not about lacking skill, but about knowing which small adjustments make the most significant impact.
This is where we move beyond simply following instructions and begin to make intentional, artistic choices. It’s in the way you finish a seam, the weight of the thread you choose for an outline, or the structure you add to a simple piece of cotton.
Here, you’ll find eighteen straightforward ideas, each focused on a specific technique that elevates a simple craft into a polished, thoughtful object. These aren’t just projects; they are exercises in precision and refinement that will build your confidence and transform the way you approach every fabric craft you make.
1. Create a Structured Fabric Bunting
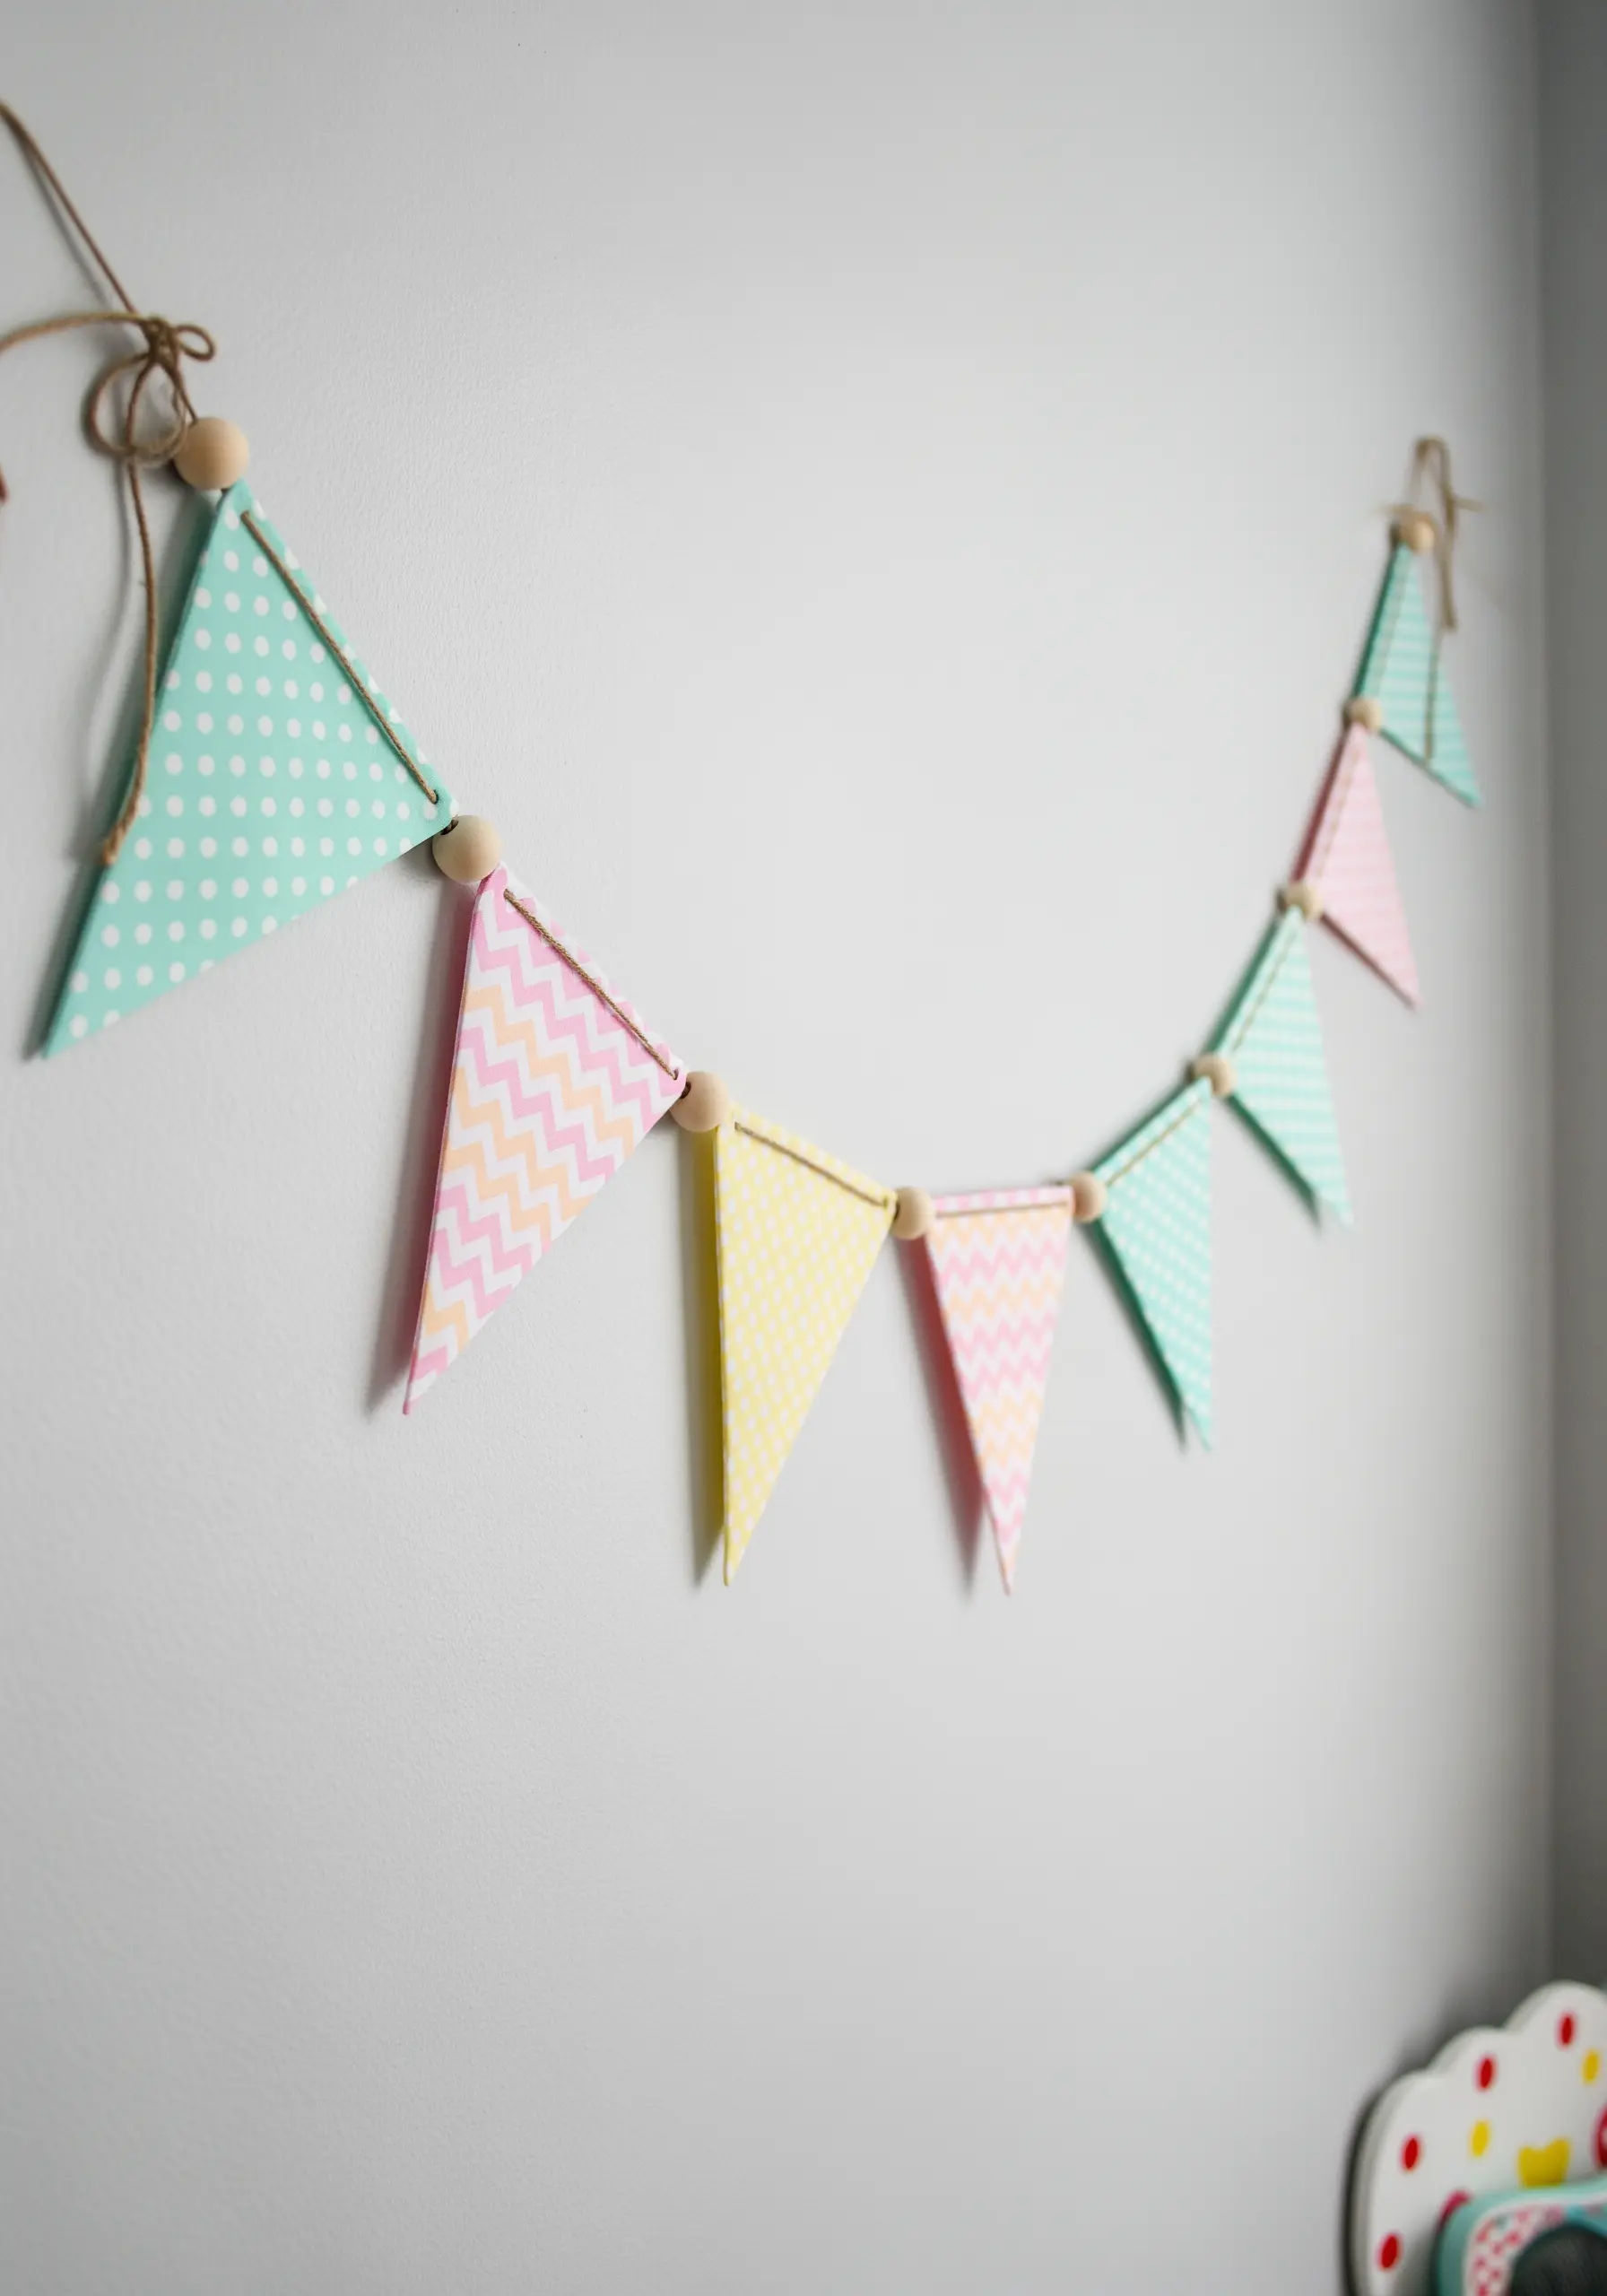
Transform simple fabric triangles into a polished garland by adding structure.
Before sewing, apply a lightweight fusible interfacing to the back of your cotton fabric.
This simple step prevents fraying, keeps the points sharp, and gives the bunting a professional weight and drape, ensuring it hangs beautifully without curling.
For an elevated finish, use wooden beads as spacers to add a natural, rhythmic quality to the design.
2. Craft Tactile Fabric Letters
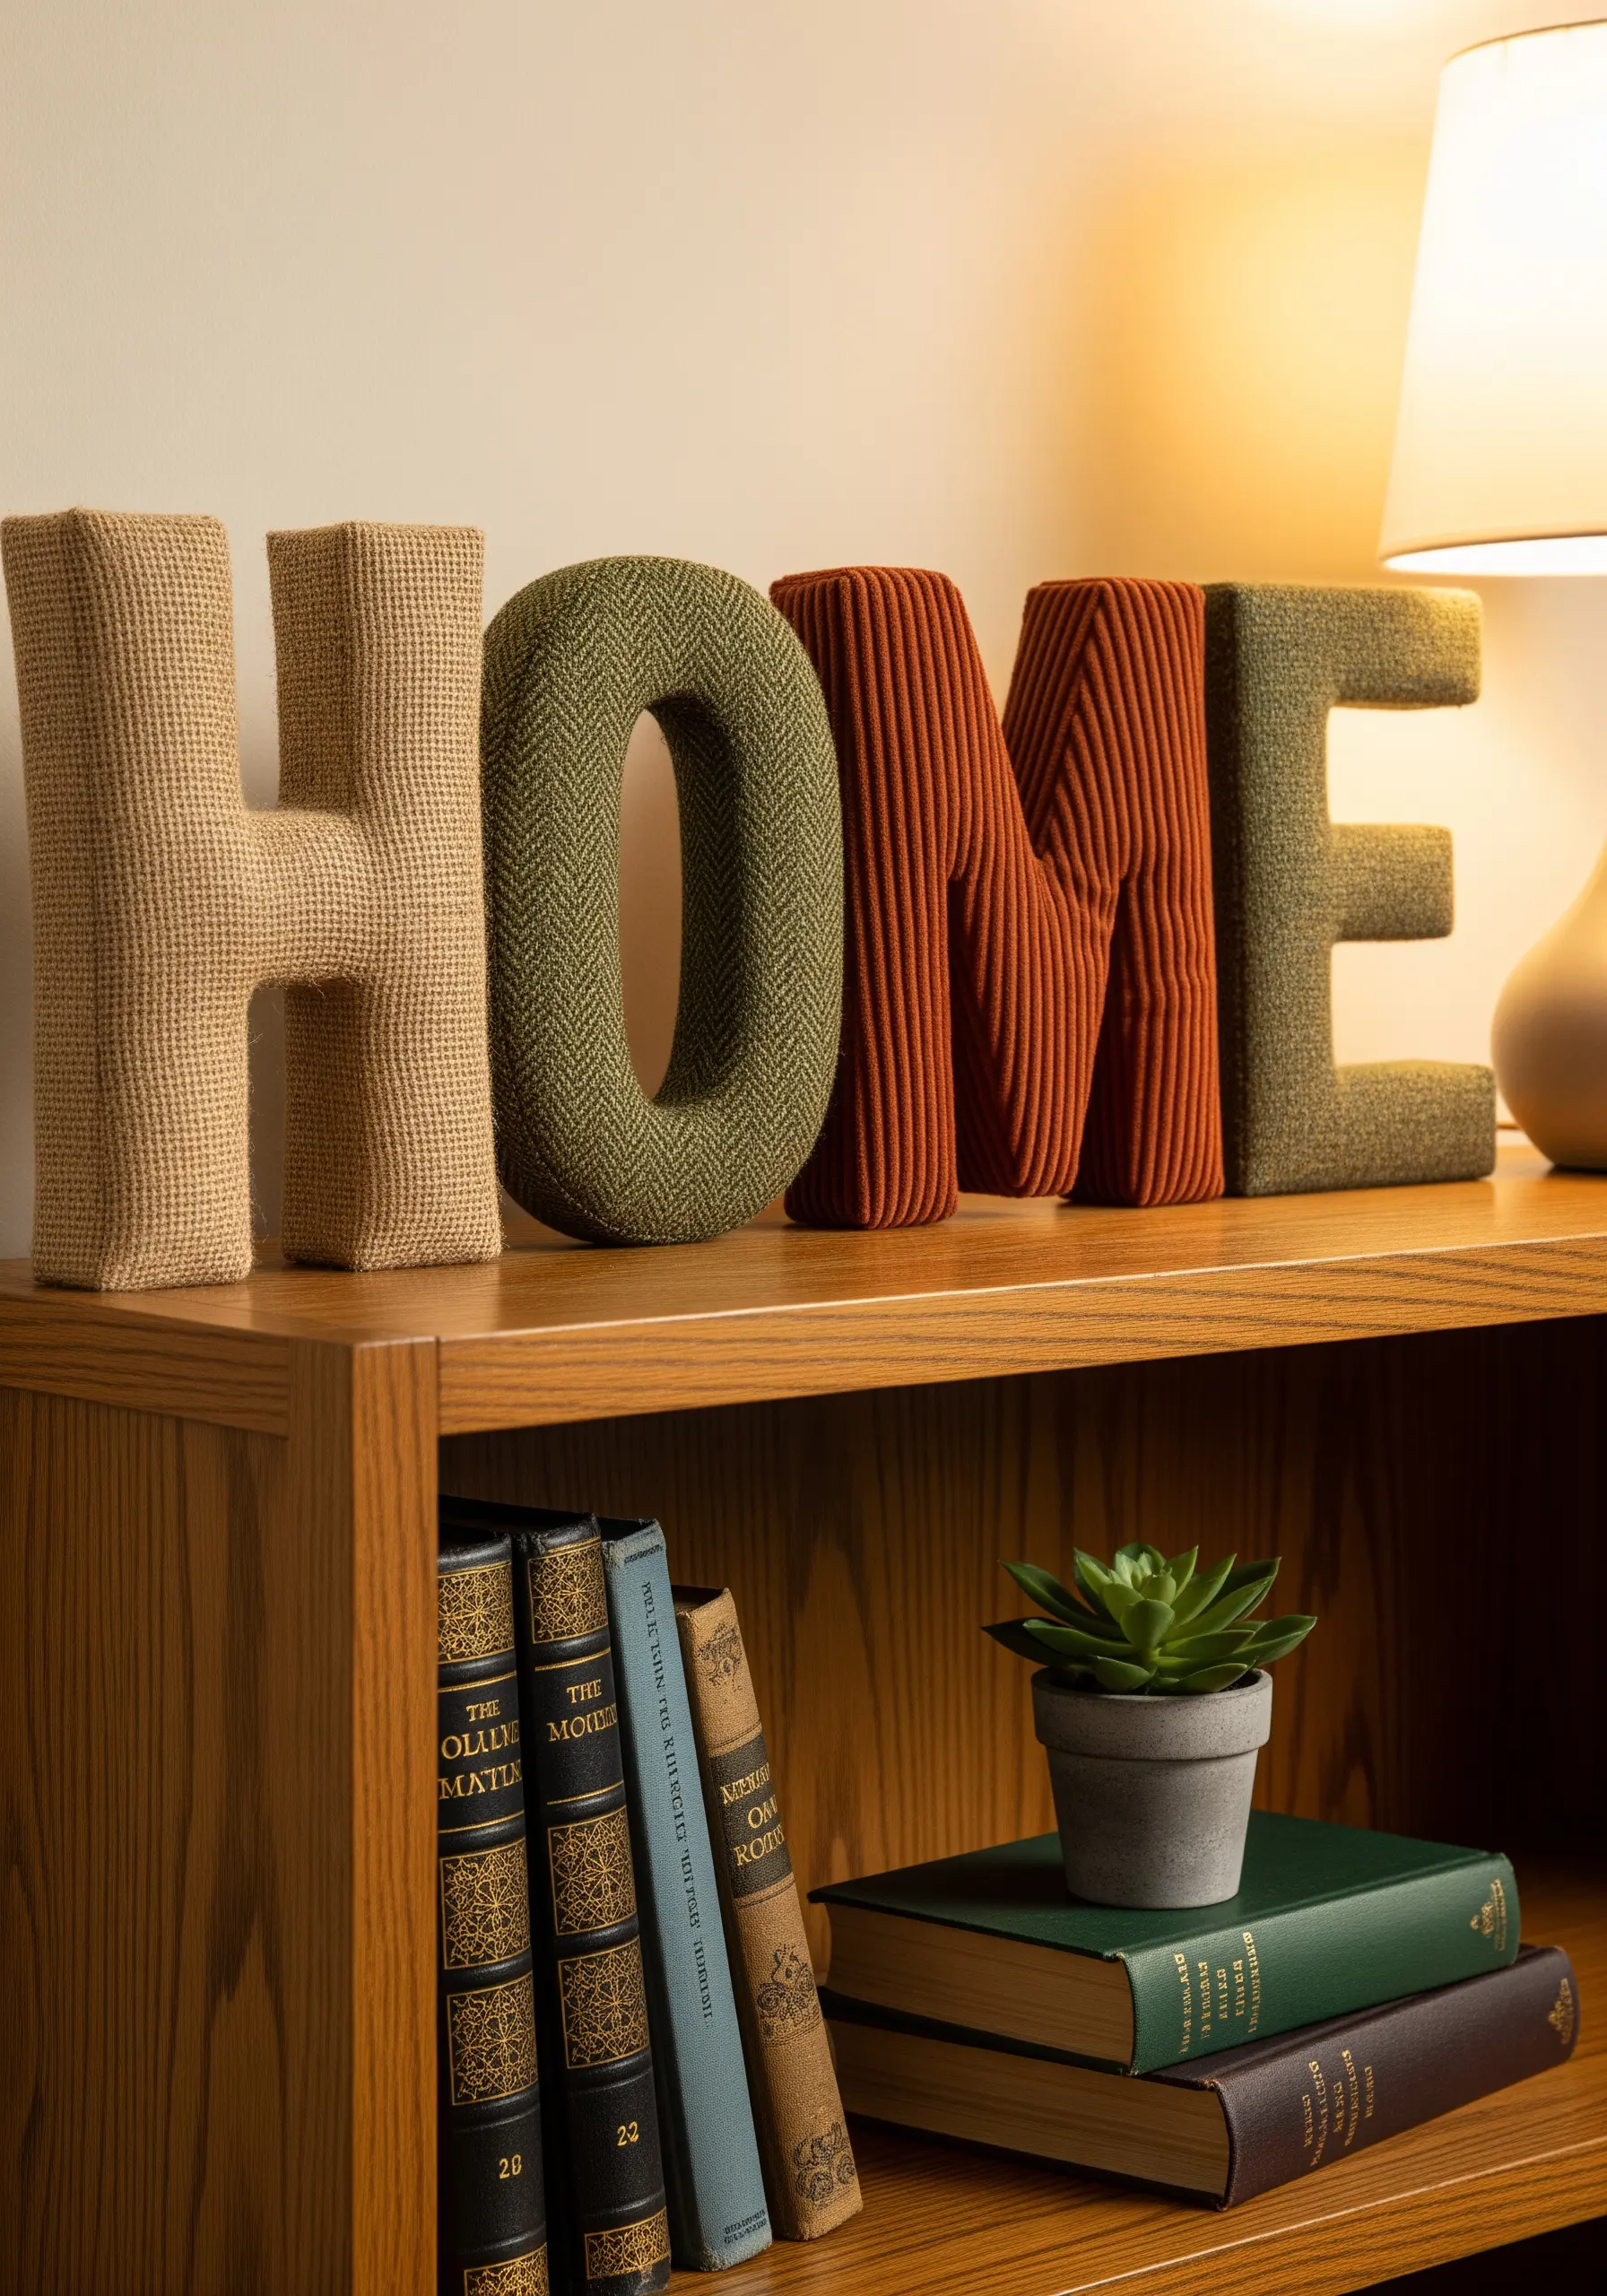
Move beyond flat letters by focusing on texture and dimension.
Choose fabrics with distinct tactile qualities, such as chunky corduroy, rustic burlap, or a smooth herringbone weave.
The contrast between these surfaces creates visual and physical interest, turning a simple word into a piece of touchable art.
For a clean, firm shape, use foam board as an internal structure and secure the fabric tightly with a strong adhesive.
3. Master No-Fray Fabric Appliqué
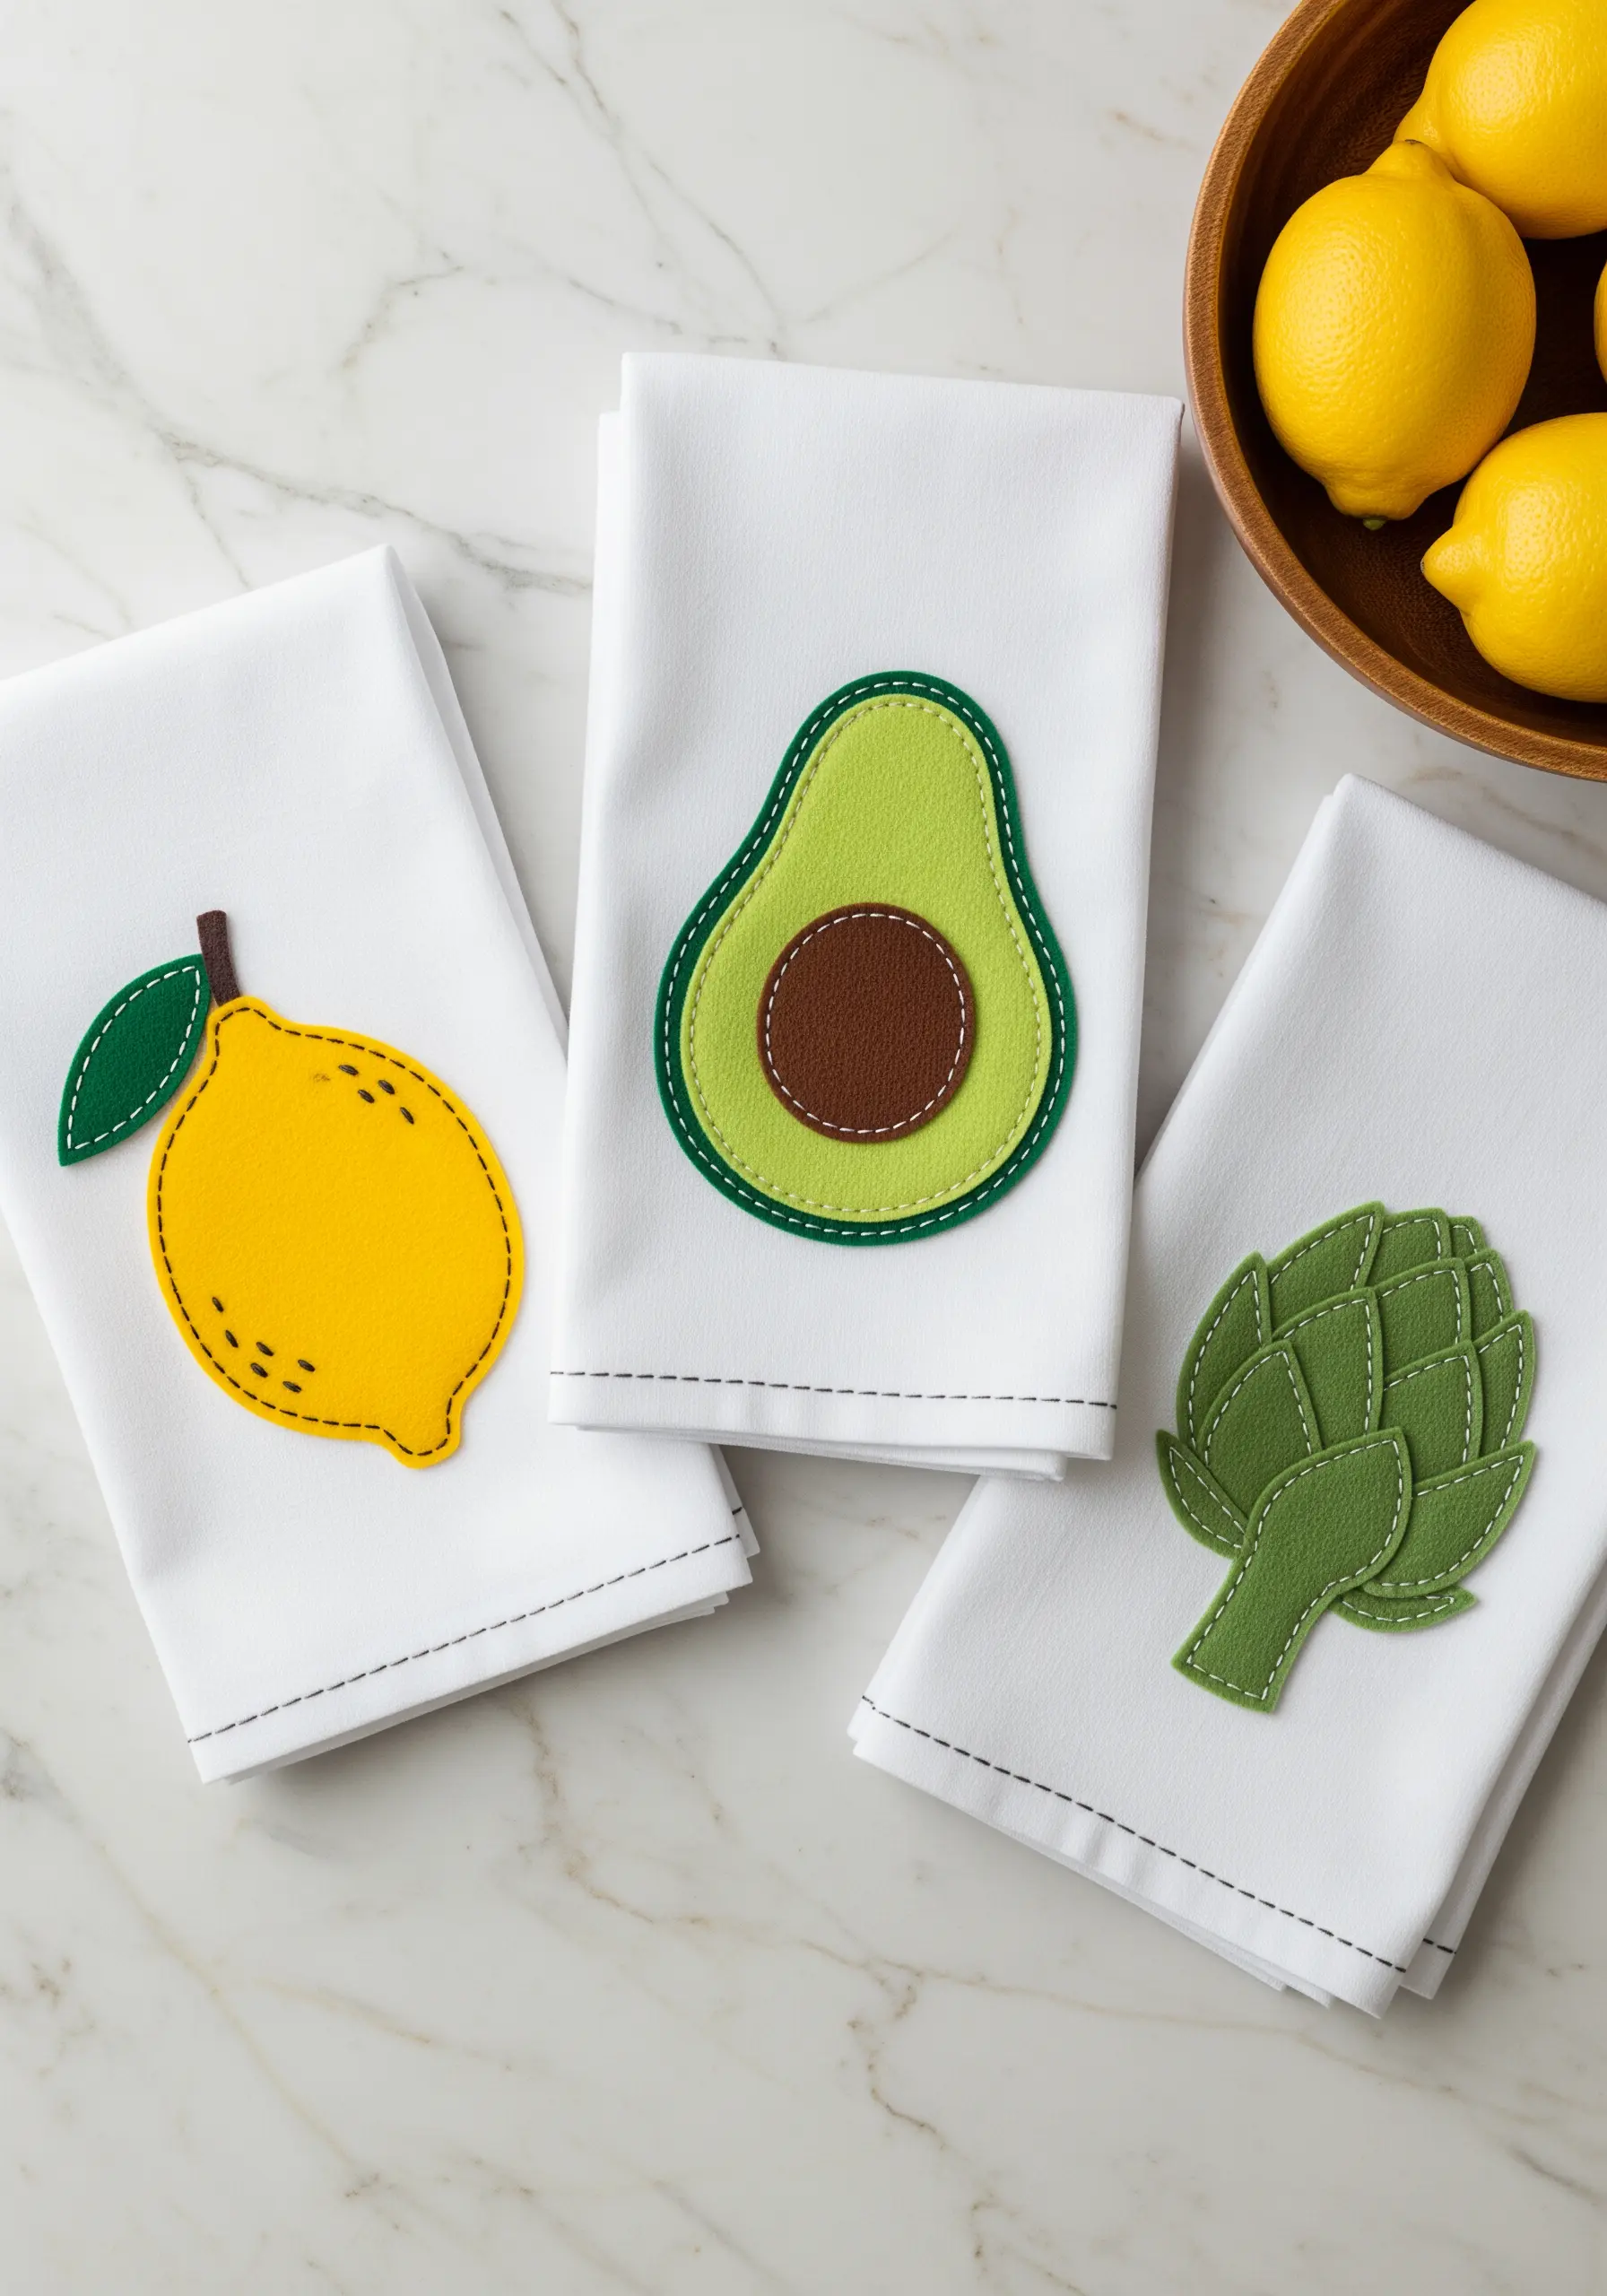
Achieve perfectly clean and sharp appliqué edges without complicated stitching.
Start by ironing a sheet of heat-fusible adhesive (like HeatnBond) onto the back of your felt or cotton appliqué pieces.
Once you cut out your shapes, you can iron them directly onto the base fabric for a secure, permanent bond with no frayed edges.
Add a decorative running stitch or a simple backstitch by hand or machine to create a charming, handcrafted outline that also reinforces the design.
4. Construct Quilted Coasters with Binding
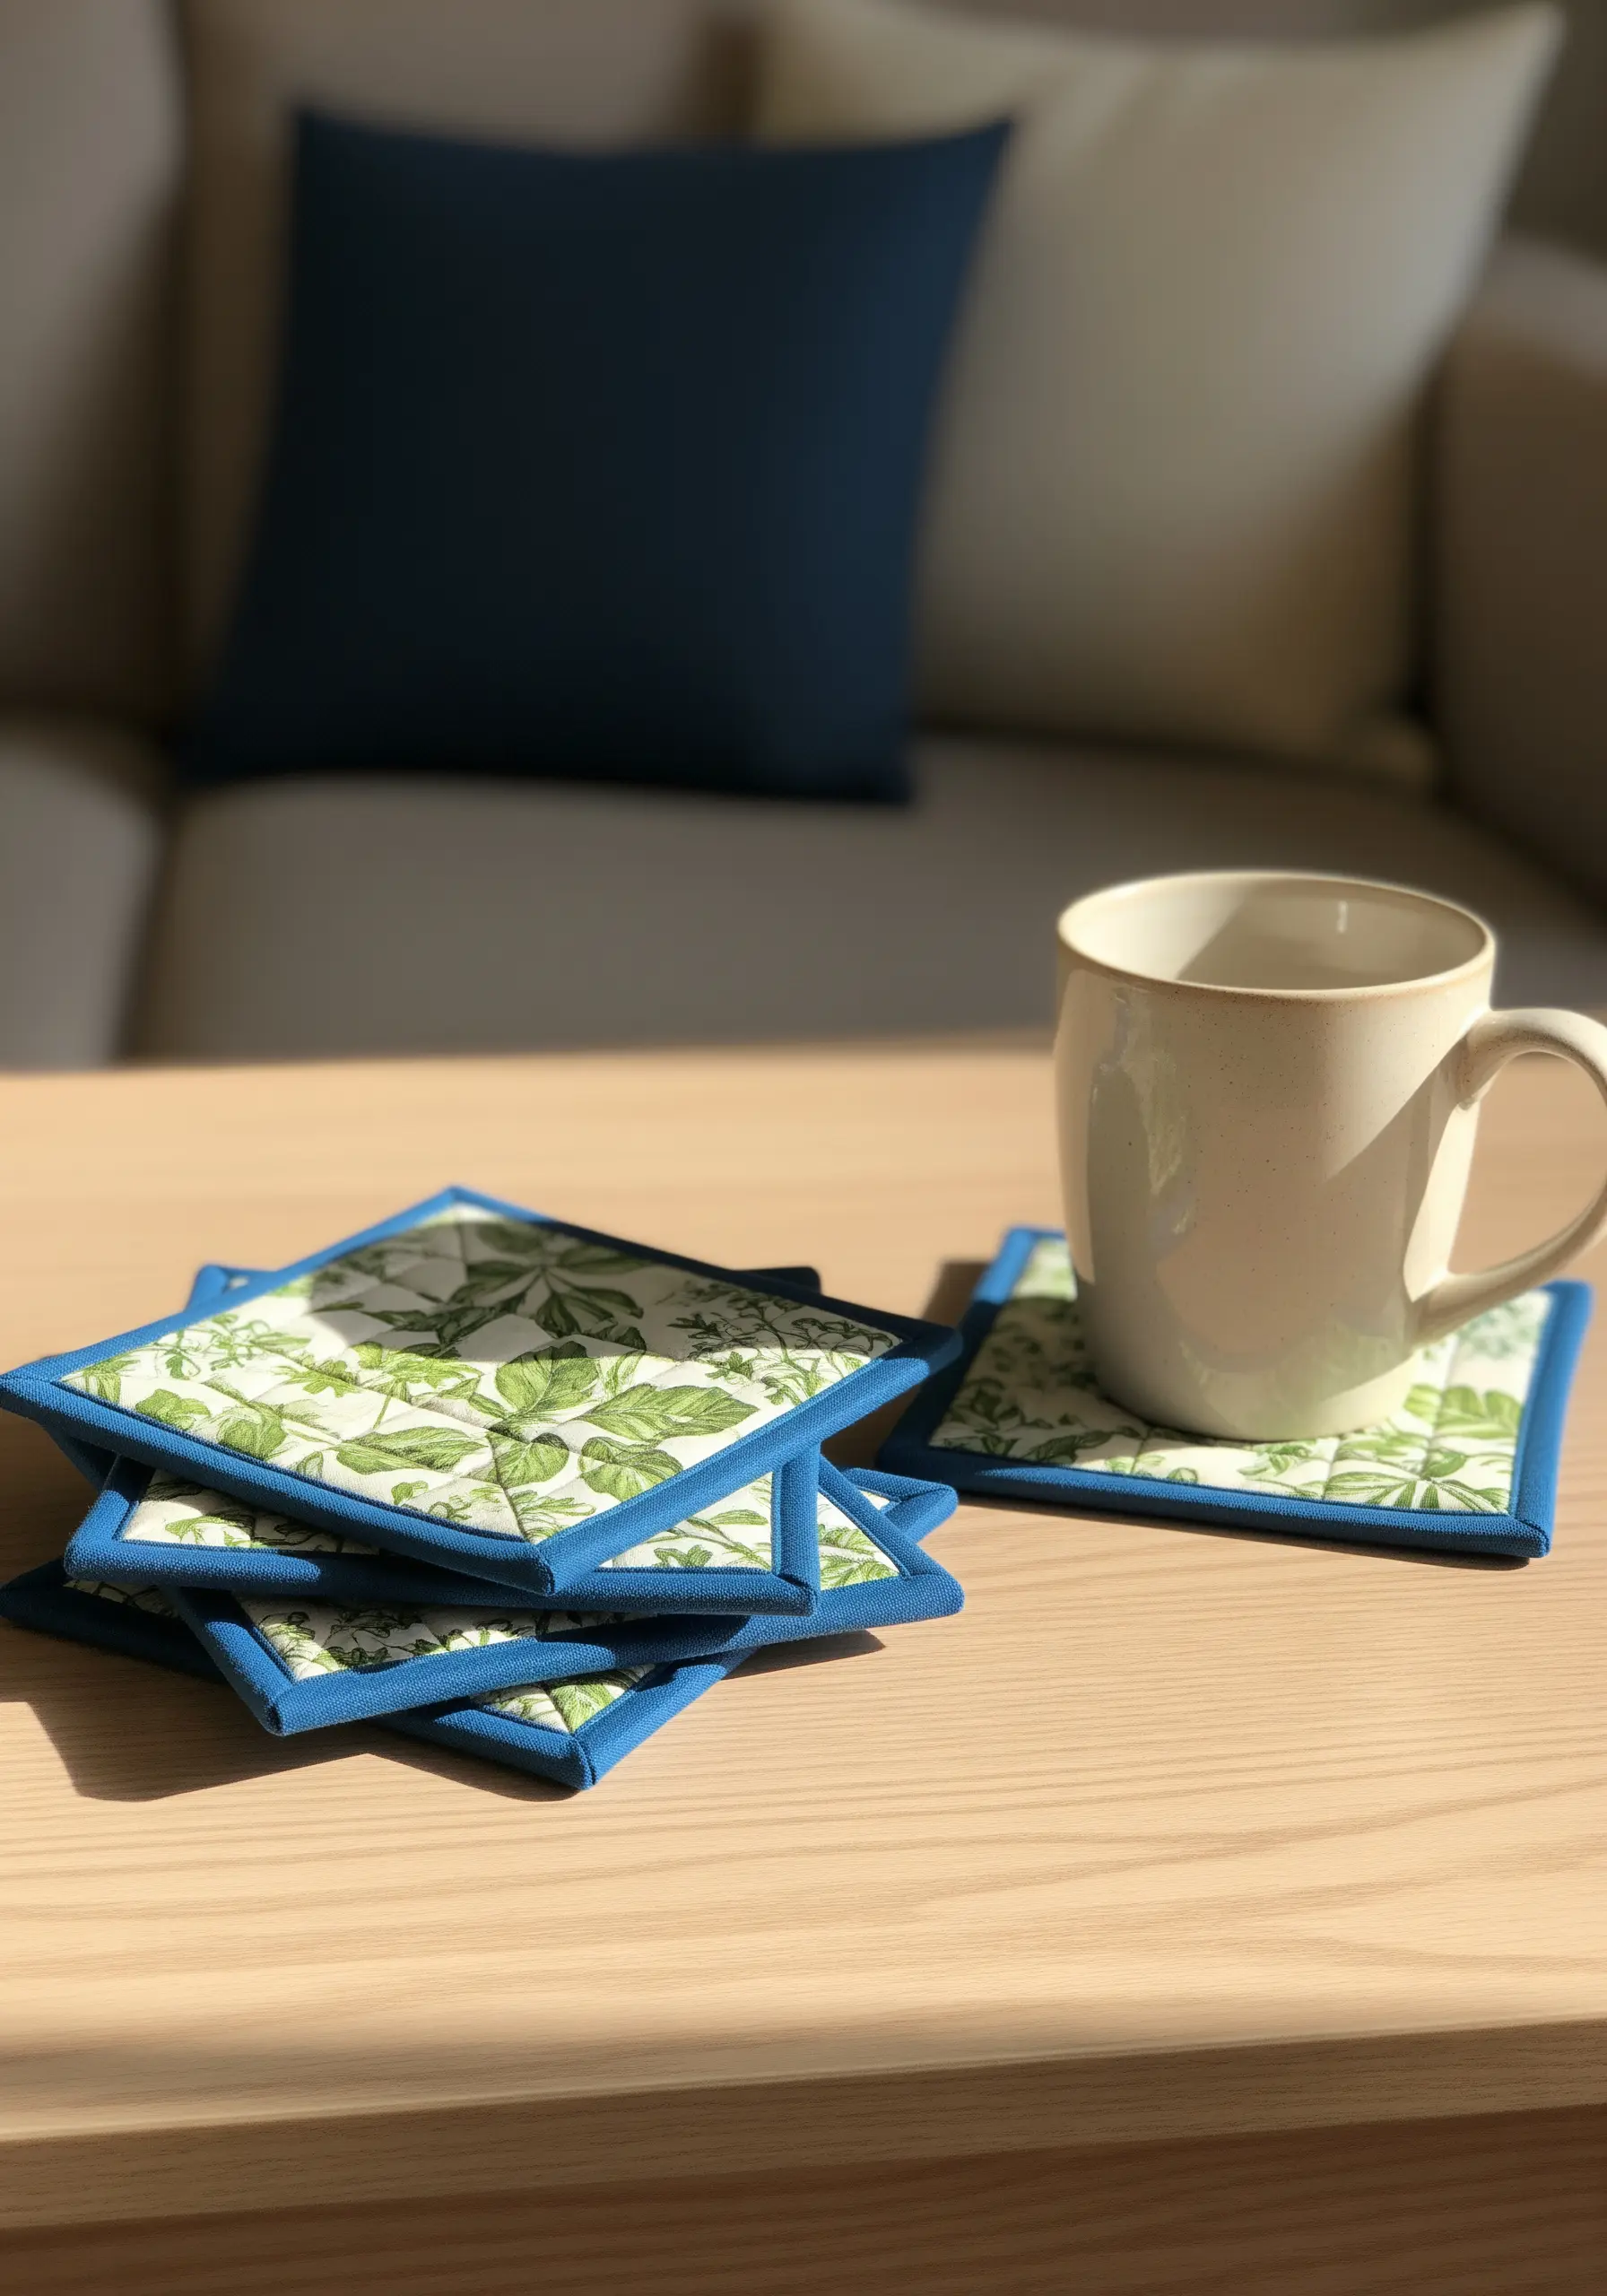
Elevate simple fabric squares into durable coasters with a professional binding technique.
Sandwich a layer of thin cotton batting between two fabric squares to give your coasters substance and absorbency.
Instead of just sewing the edges, finish them with a contrasting bias tape binding.
This not only frames the design and adds a pop of color but also creates a durable, polished edge that withstands use and washing.
5. Design Cushions with Elegant Tie Closures
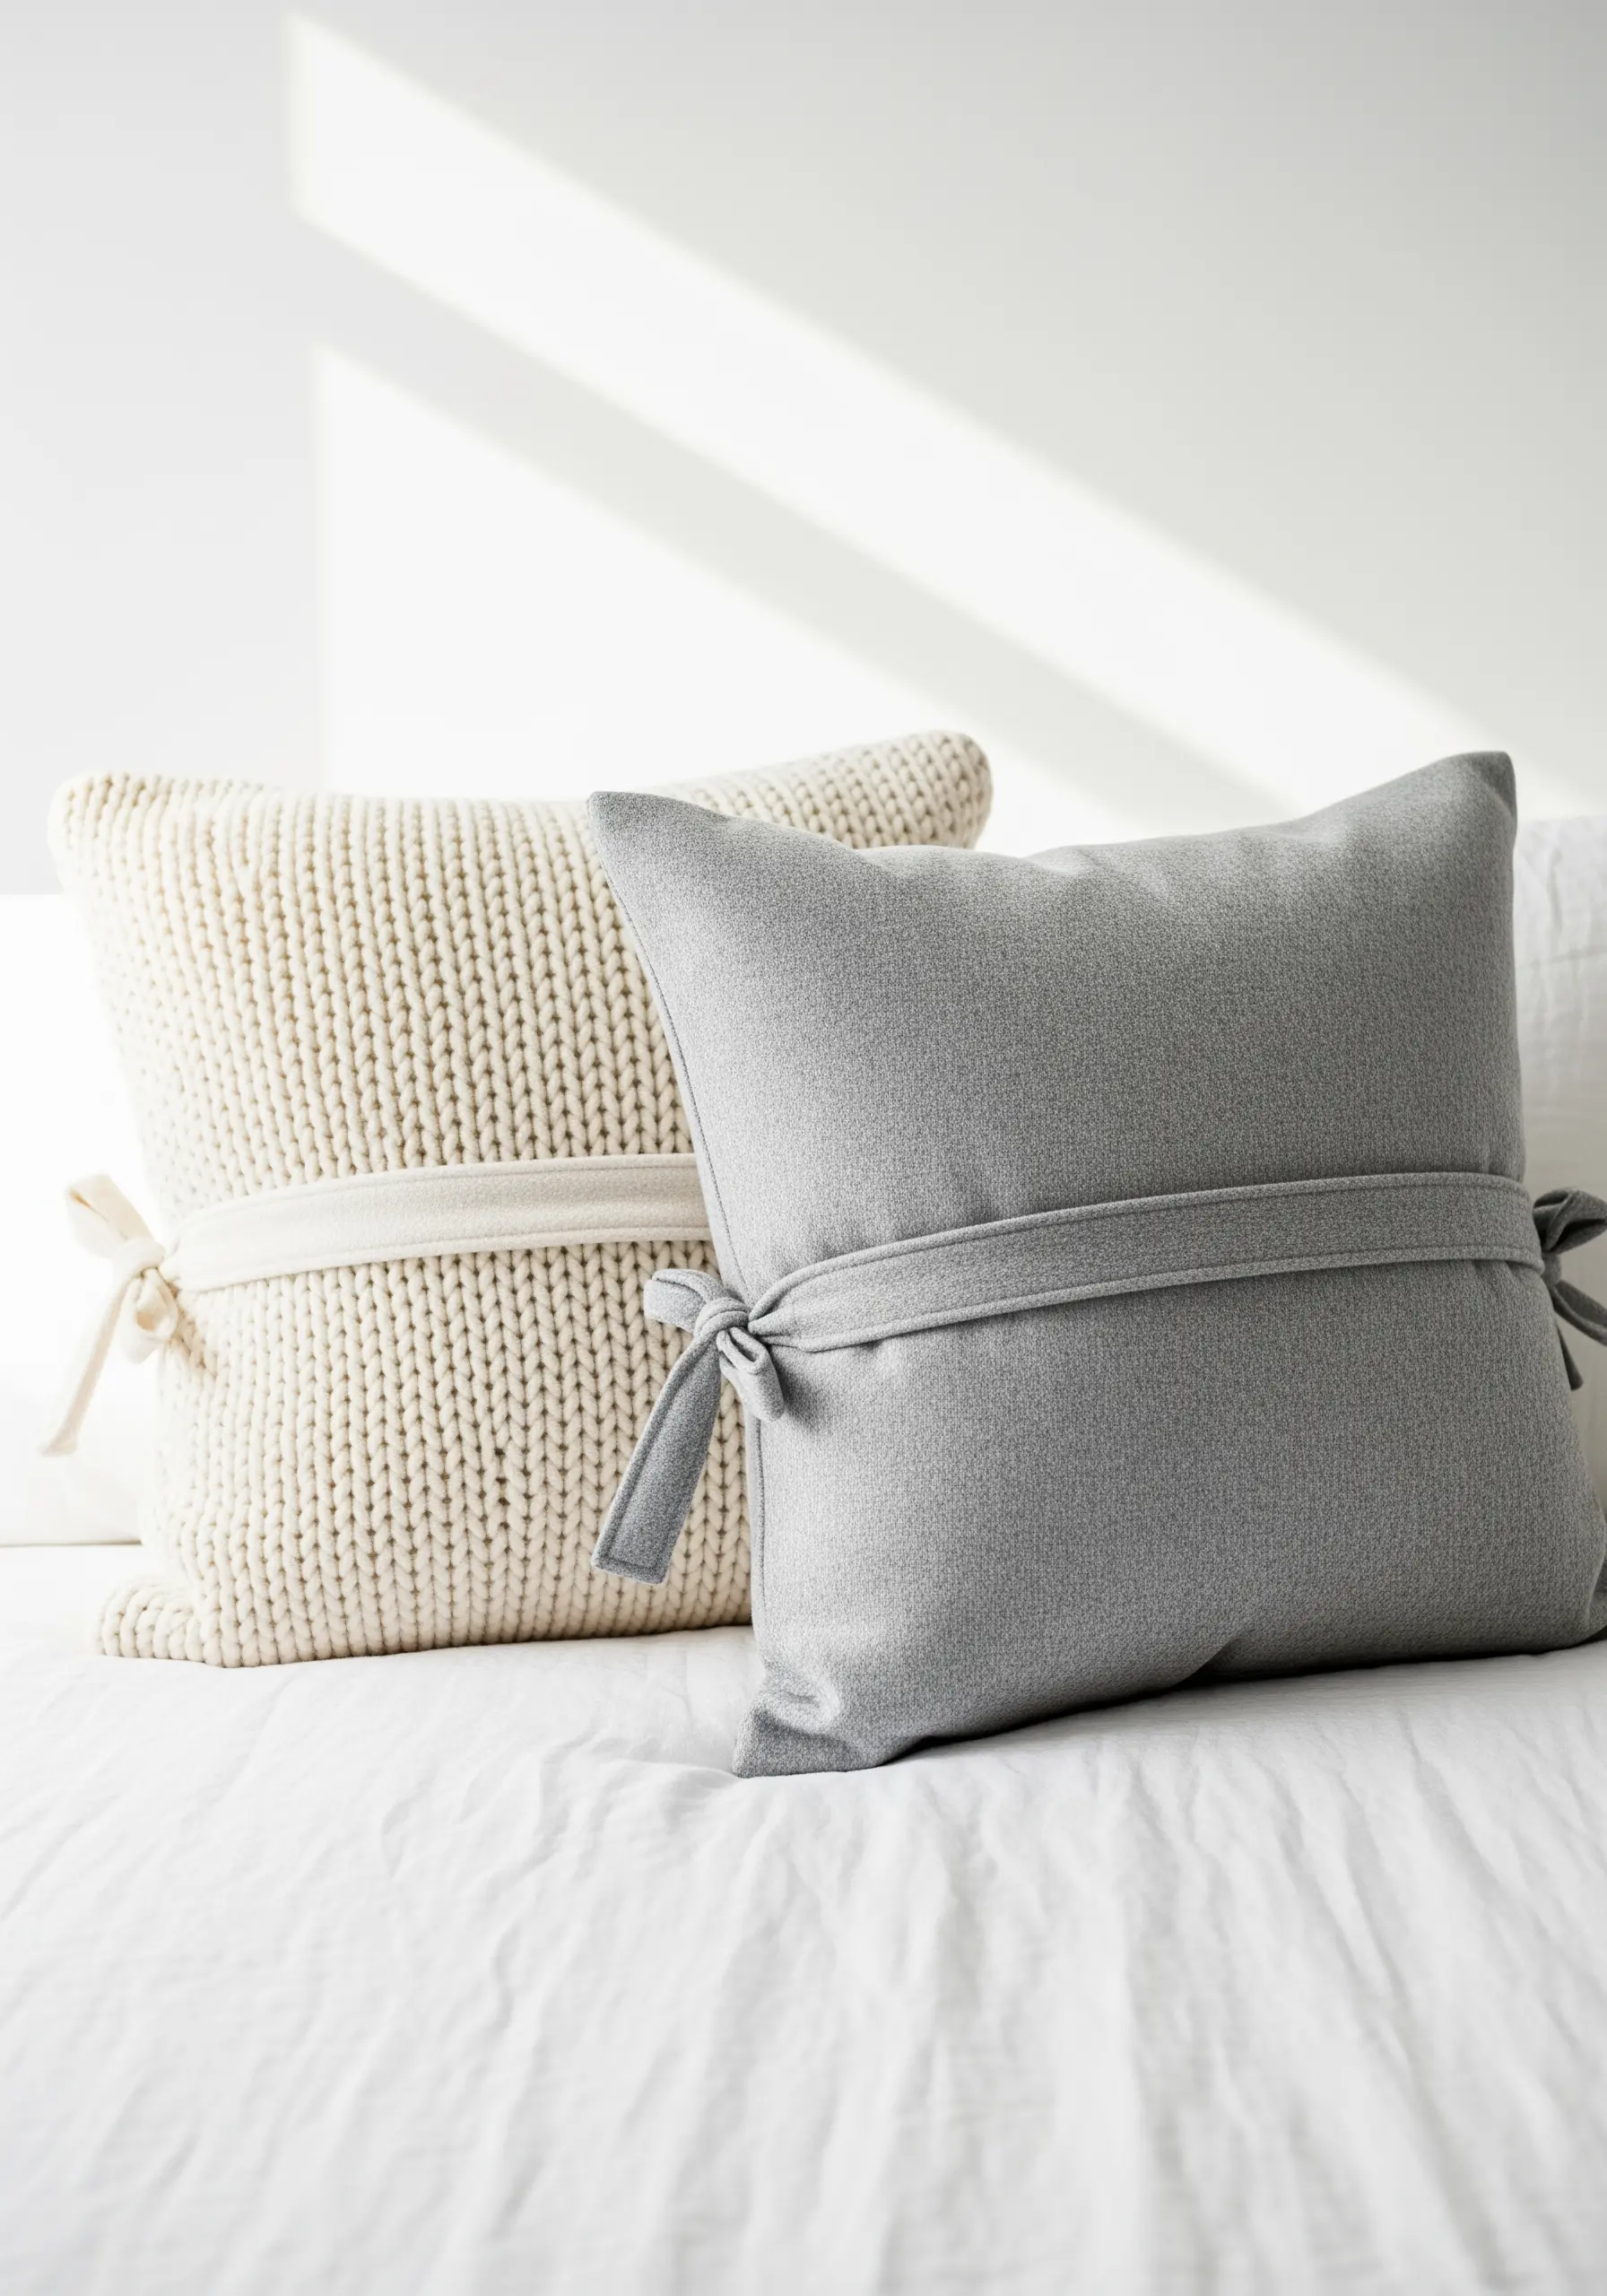
Give your handmade pillows a bespoke feel with functional and beautiful tie closures.
Instead of a zipper or simple envelope back, extend two panels of fabric to create straps that wrap around the cushion.
This technique allows for an adjustable fit and adds a soft, decorative element that feels intentional and high-end.
Choose a sturdy fabric like felt, canvas, or a wool blend for the ties to ensure they hold their shape and provide a pleasing textural contrast.
6. Weave a Braided Fabric Rug from Scraps

Turn old t-shirts, sheets, or fabric scraps into a vibrant, durable rug.
Cut your fabric into uniform strips and braid them into long ropes, sewing the ends of the strips together as you go to maintain length.
To build the rug, coil the first braid tightly and hand-stitch it to secure the center.
Continue coiling and stitching the rope to itself with a heavy-duty thread and a large needle, ensuring your stitches are tight to create a firm, flat surface.
7. Sculpt Realistic Felt Flowers
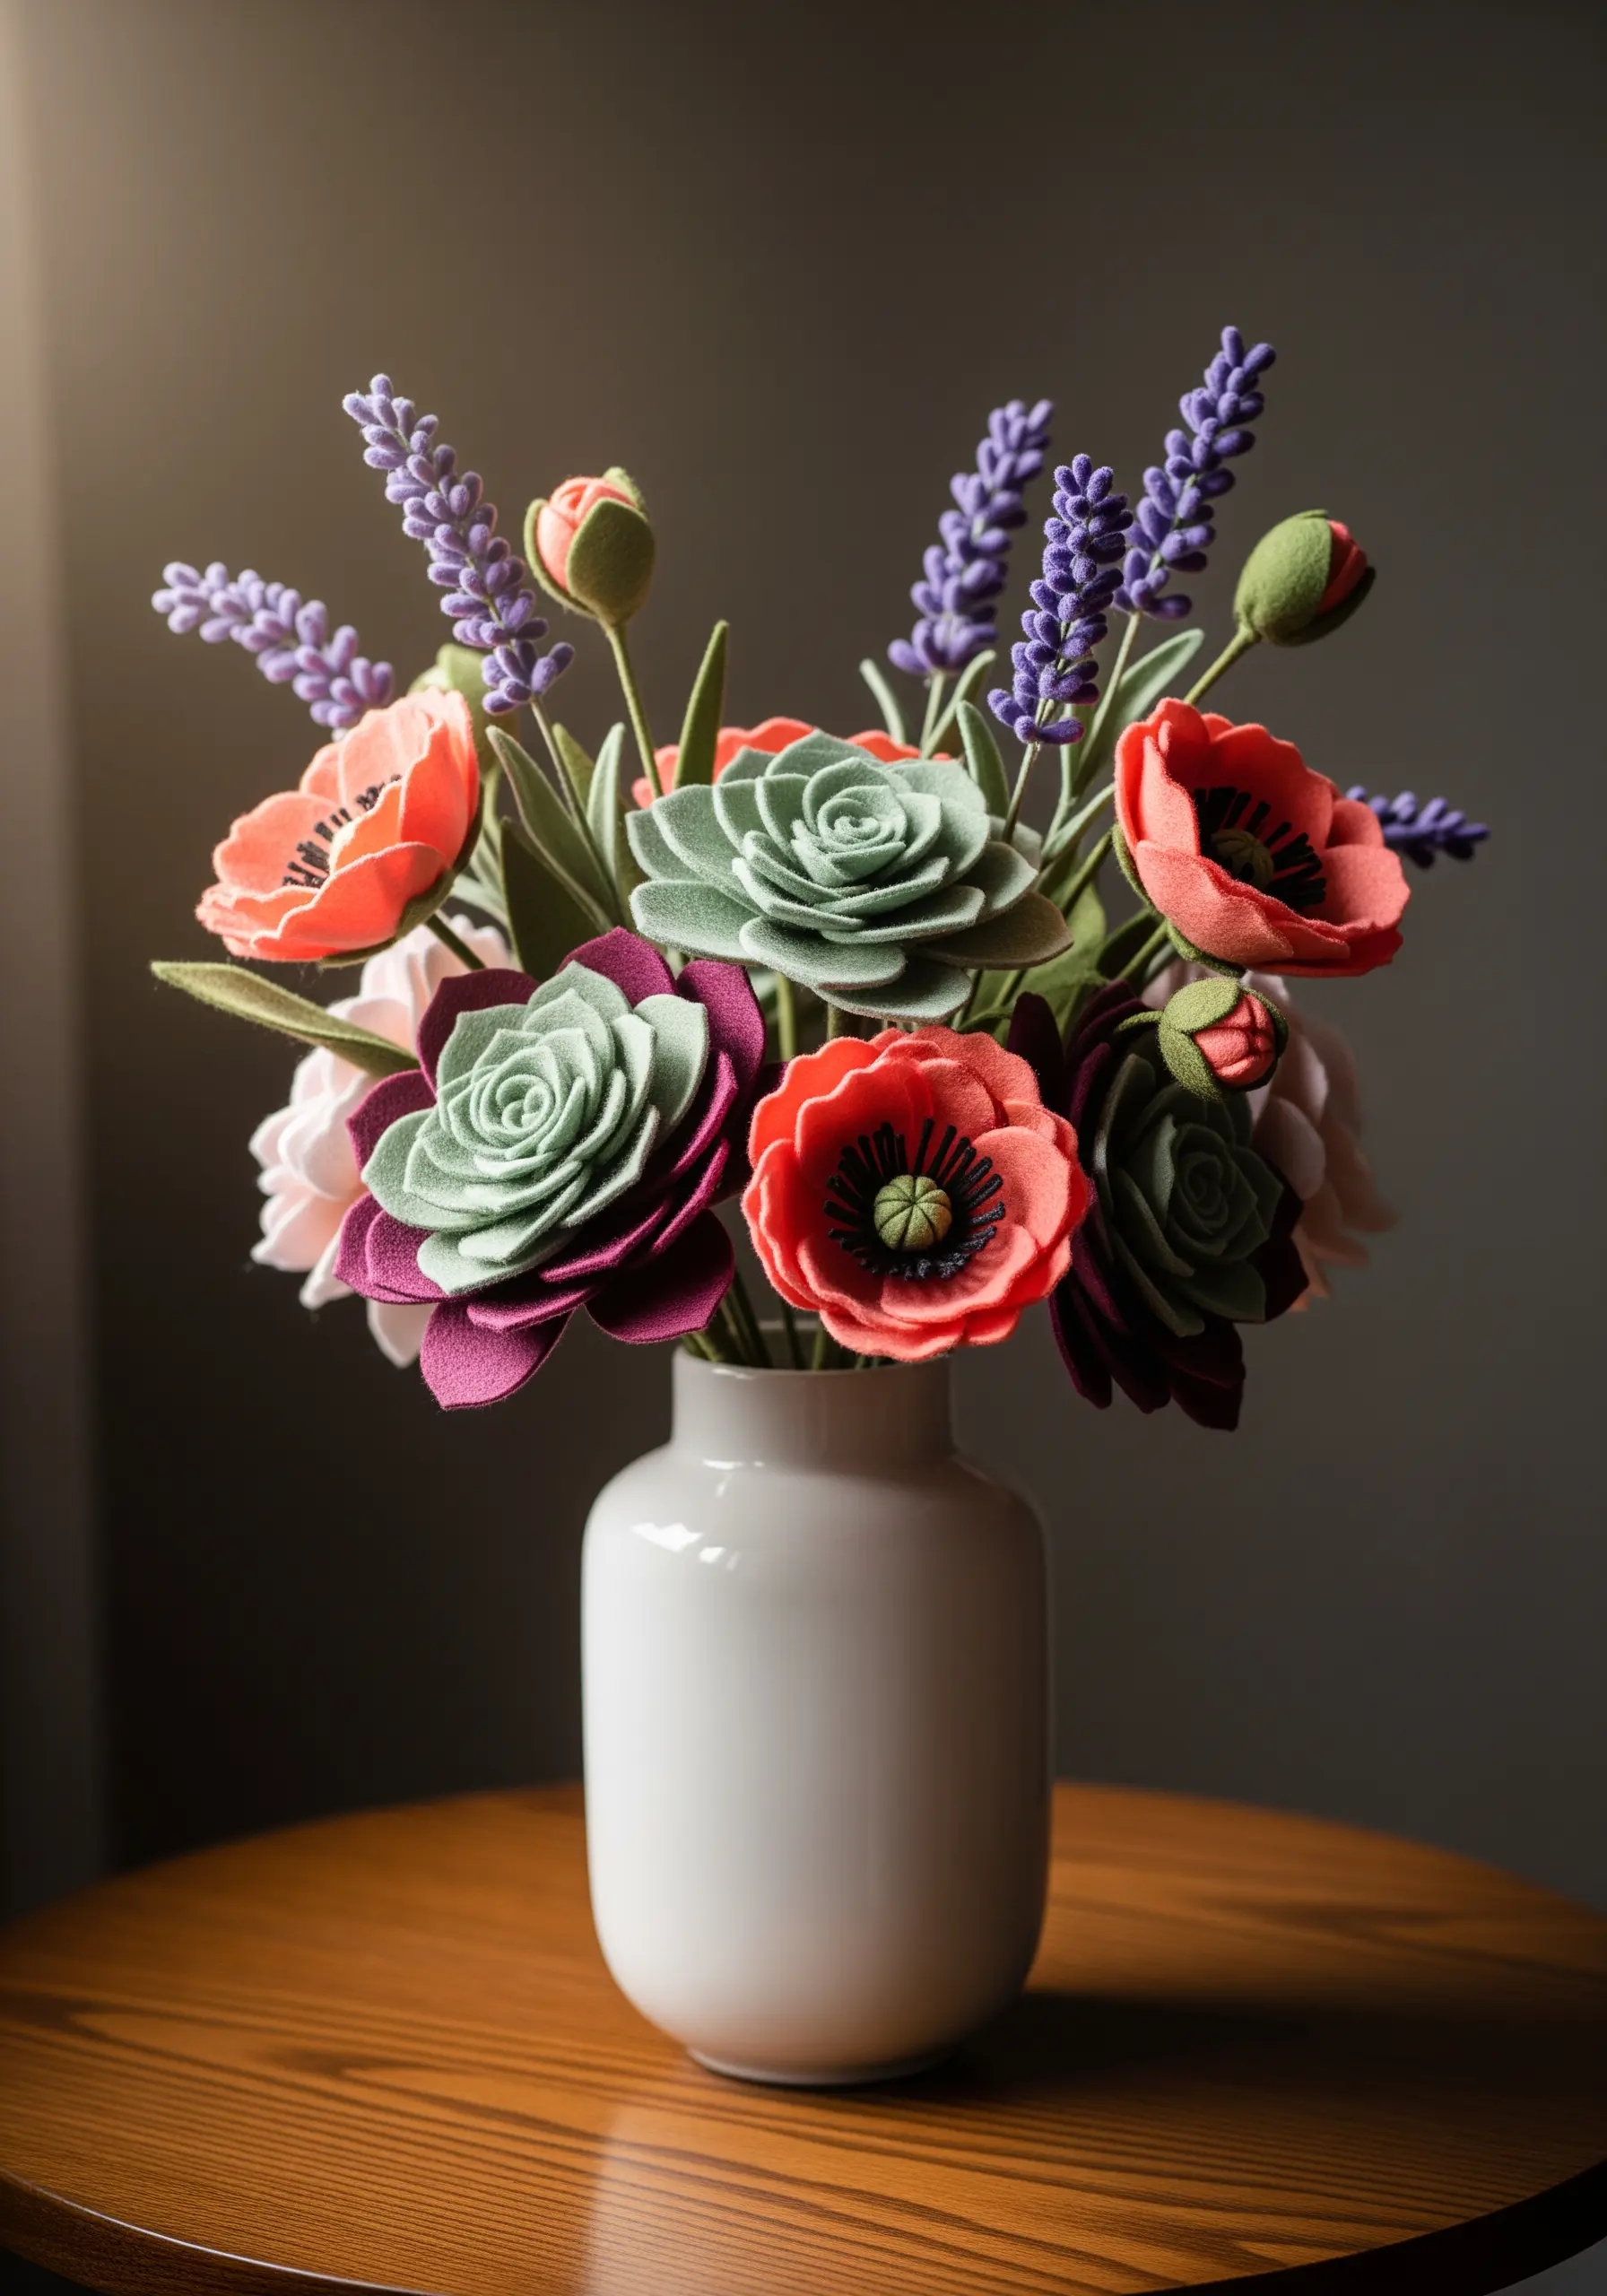
Create felt botanicals with lifelike dimension by focusing on cutting and shaping techniques.
Instead of cutting simple flat petals, cut spirals or scalloped strips of felt.
Roll the strips tightly from one end, varying the tension to create the natural unfurling of a rose or succulent.
Secure the base with hot glue or a few tight stitches. For poppies, gently pinch and glue the base of each individual petal to give it a cupped, realistic shape before assembling.
8. Build a Textured Rag Wreath

Construct a full, lush wreath using only fabric strips and a wire frame.
Cut your fabric into strips of equal length and width—this consistency is key to a uniform, professional look.
Instead of gluing, tie each strip onto the wreath frame with a single, tight knot.
Pack the knots closely together, pushing them snugly to create a dense, textured surface that hides the frame completely and looks impressive from every angle.
9. Engineer a Repurposed Denim Organizer
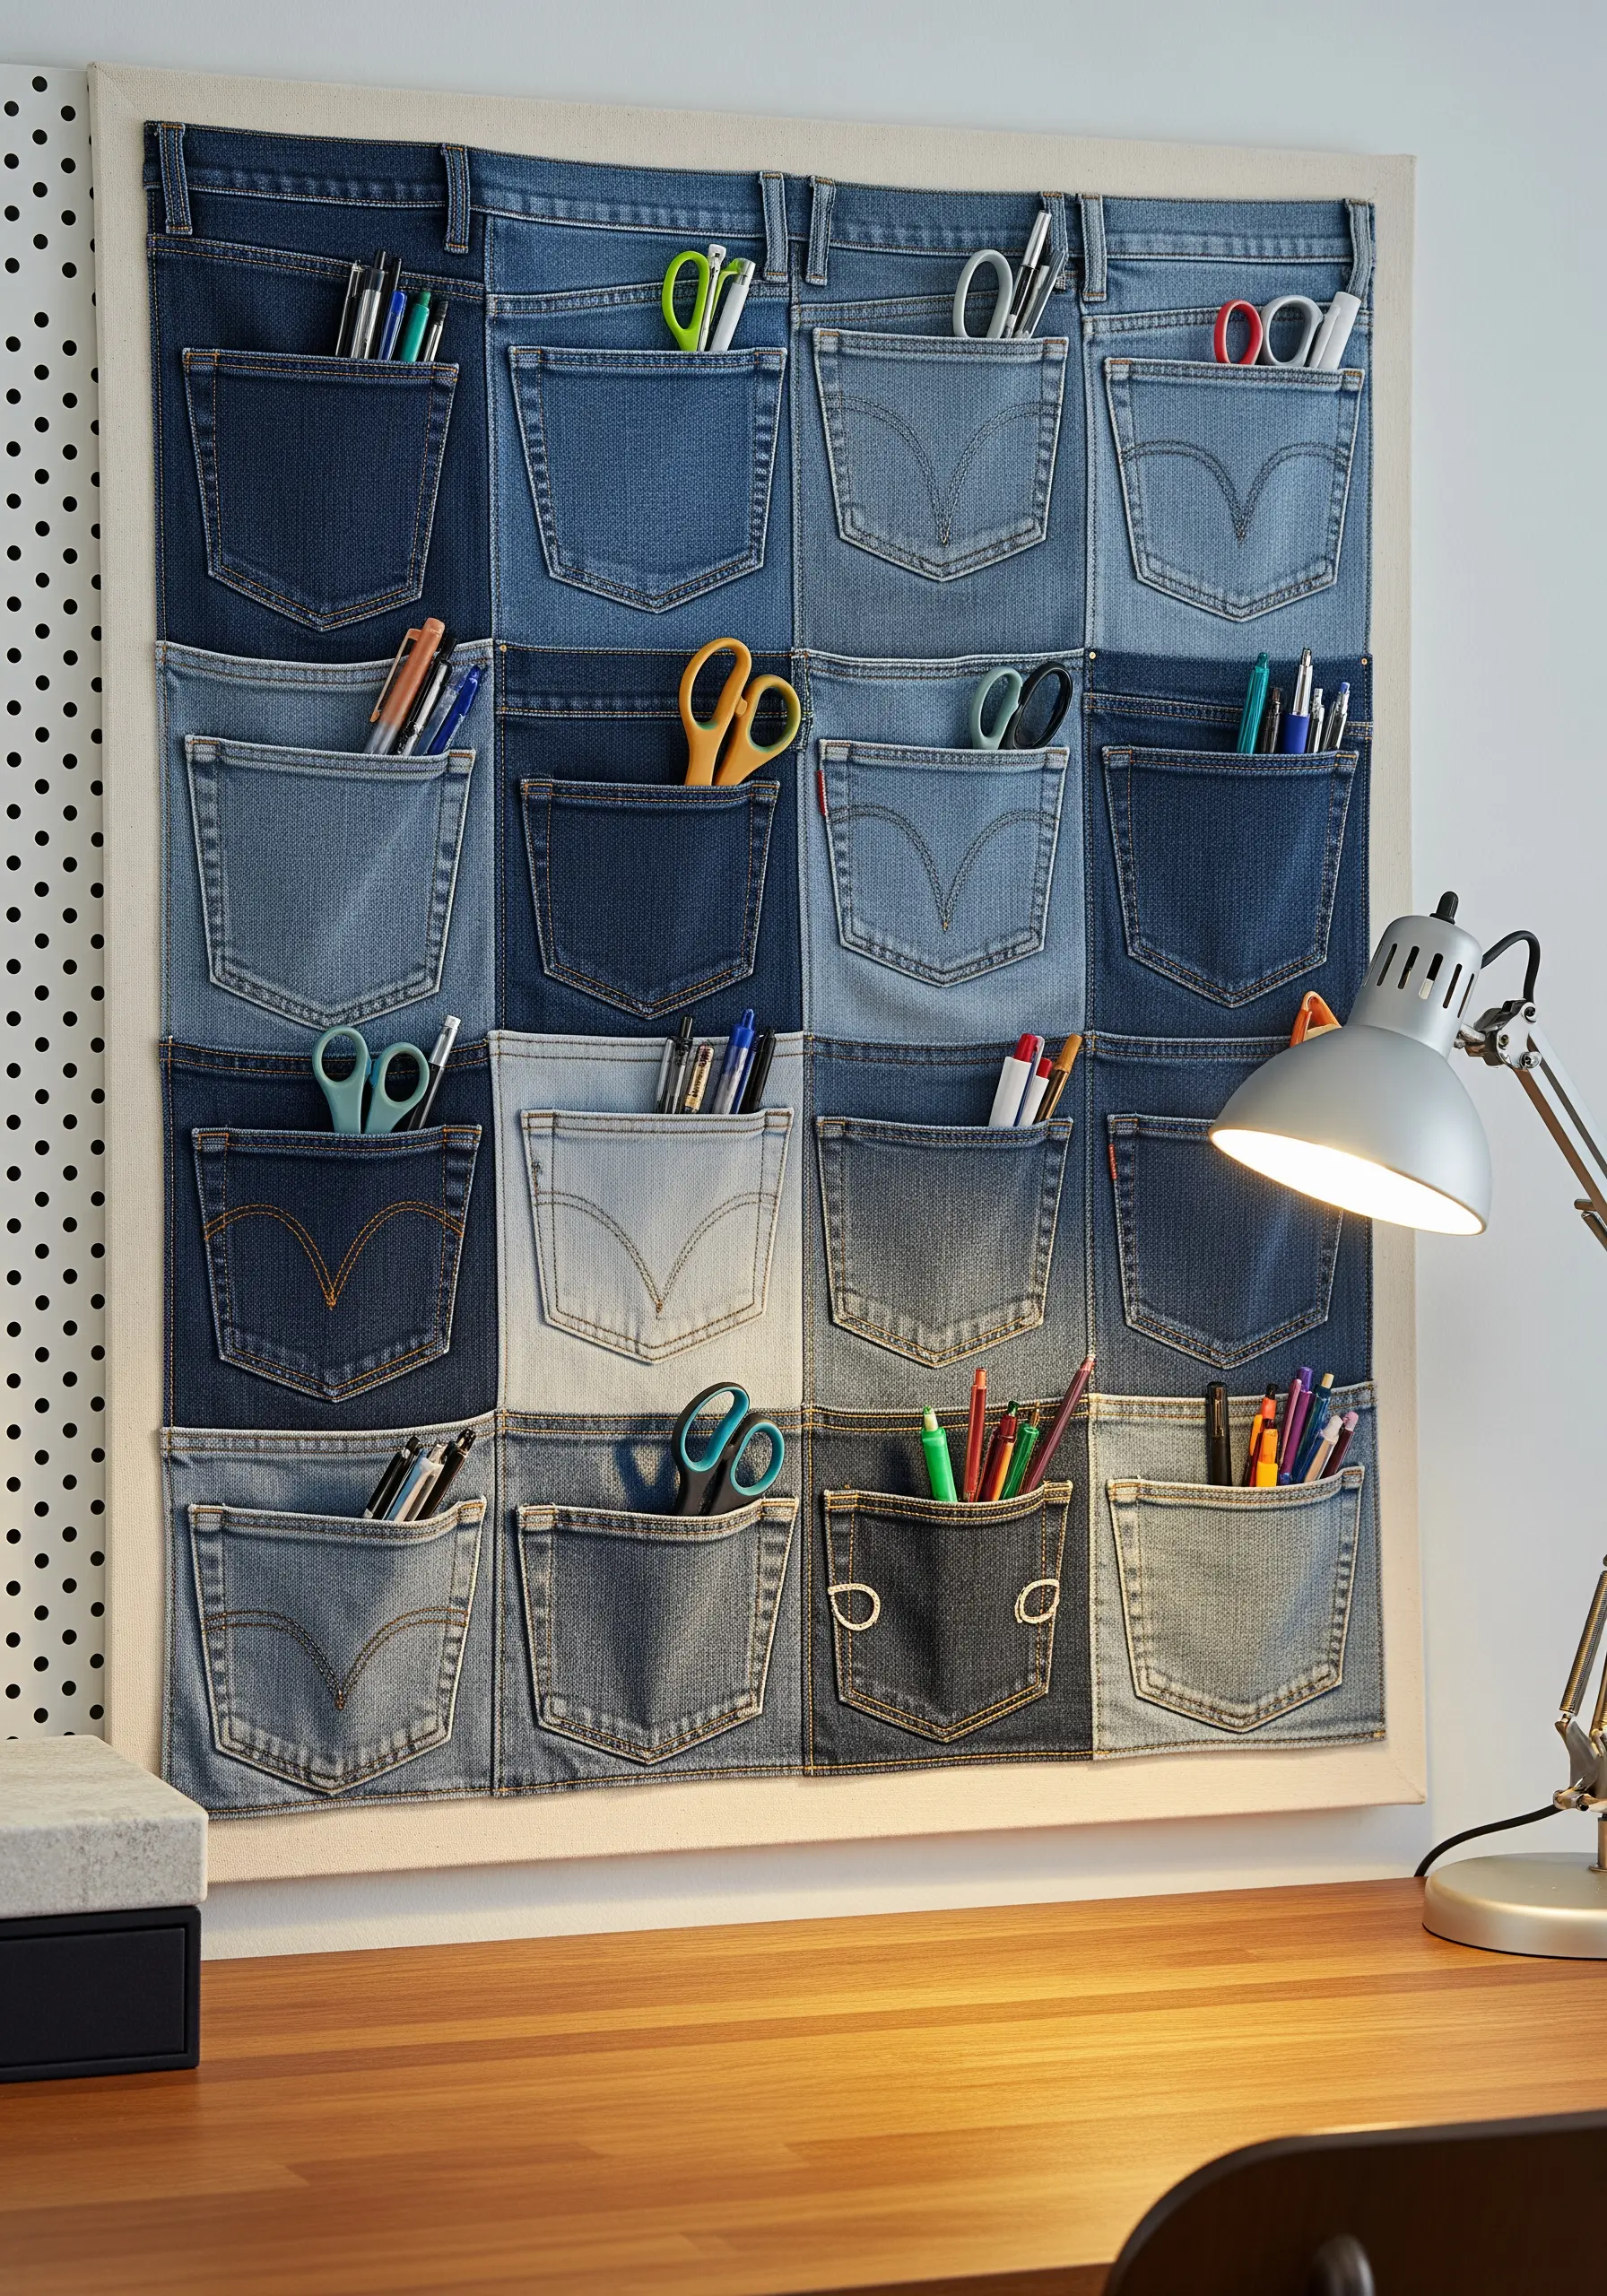
Create a durable and stylish wall organizer by upcycling old denim pockets.
Carefully cut out the back pockets from several pairs of jeans, leaving a generous seam allowance around the edges.
Arrange the pockets in a grid on a sturdy canvas or denim base, then stitch them down securely with a machine—a denim needle is essential here.
This project leverages the pre-made strength of the pockets, turning discarded clothing into a highly functional piece of wall art.
10. Embroider Delicate Botanical Bookmarks
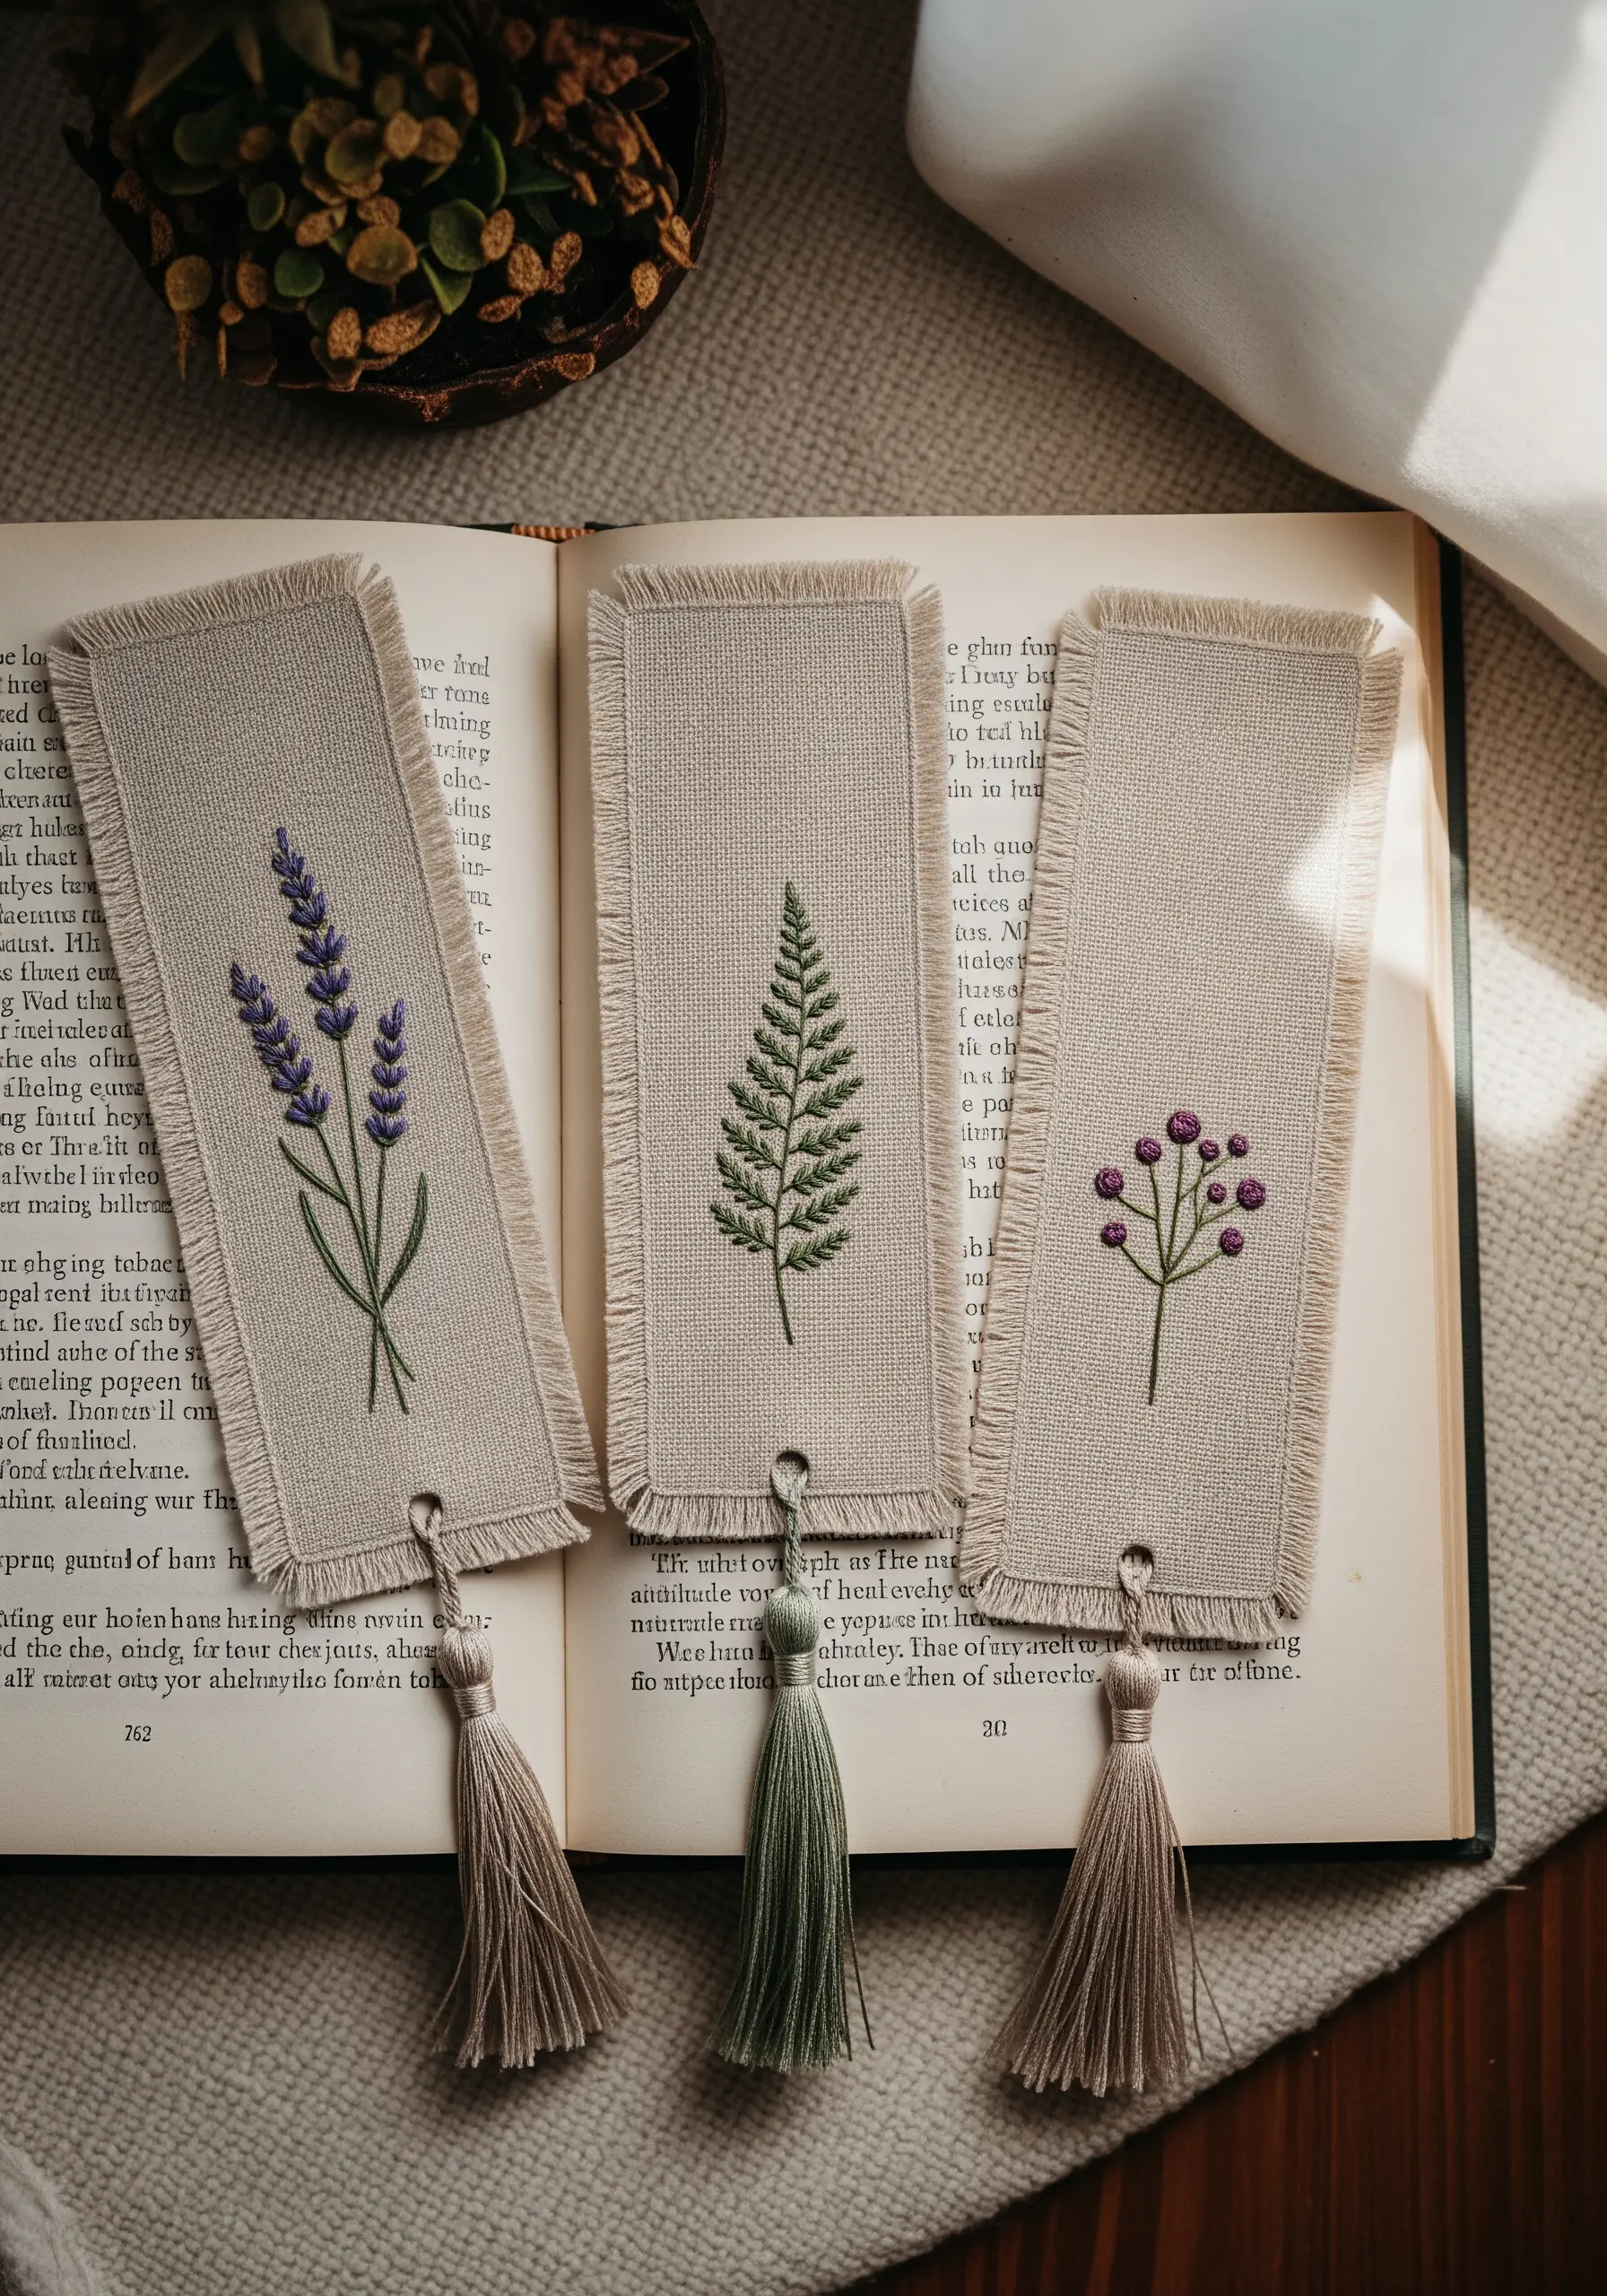
Create elegant bookmarks by pairing delicate stitches with natural linen.
Choose a high-count linen or evenweave fabric, as its tight weave is perfect for fine detail.
Use only one or two strands of embroidery floss to keep your stitches refined and prevent overpowering the small design.
Combine a simple stem stitch for outlines with tiny satin stitches or French knots for texture. Finish by fraying the edges carefully for a soft, tactile border that complements the handmade aesthetic.
11. Construct a No-Sew Fabric Journal Cover

Protect and personalize a notebook with a crisp, no-sew fabric cover.
Cut a piece of fabric larger than your open notebook, and a piece of heavy cardstock or bookboard to the exact dimensions of the front and back covers.
Glue the fabric to the cardstock, wrapping the edges tightly like a present for clean corners.
Finally, glue the finished panels to the outside of the journal. This method creates a durable, hardcover feel without a single stitch.
12. Sew Reversible Quilted Potholders

Make functional kitchen accessories that are both safe and stylish.
Layer your chosen cotton fabric with insulated batting (like Insul-Bright) to provide effective heat protection—this is a crucial step for safety.
Quilt the layers together with simple straight lines before finishing the edges with bias tape.
The bias tape not only encases the raw edges for durability but also provides a clean, professional frame for your fabric pattern.
13. Craft a Suffolk Puff (Yo-Yo) Garland

Create charming, dimensional garlands from tiny fabric circles known as Suffolk puffs or yo-yos.
Cut circles of fabric (a drinking glass makes a great template) and sew a simple running stitch around the outer edge.
Pull the thread taut to gather the fabric into a puffy, flower-like shape and knot it securely.
Once you have a collection, you can string them together to create a beautiful, textured garland that has a lovely vintage feel.
14. Sew Structured Fabric Storage Bins
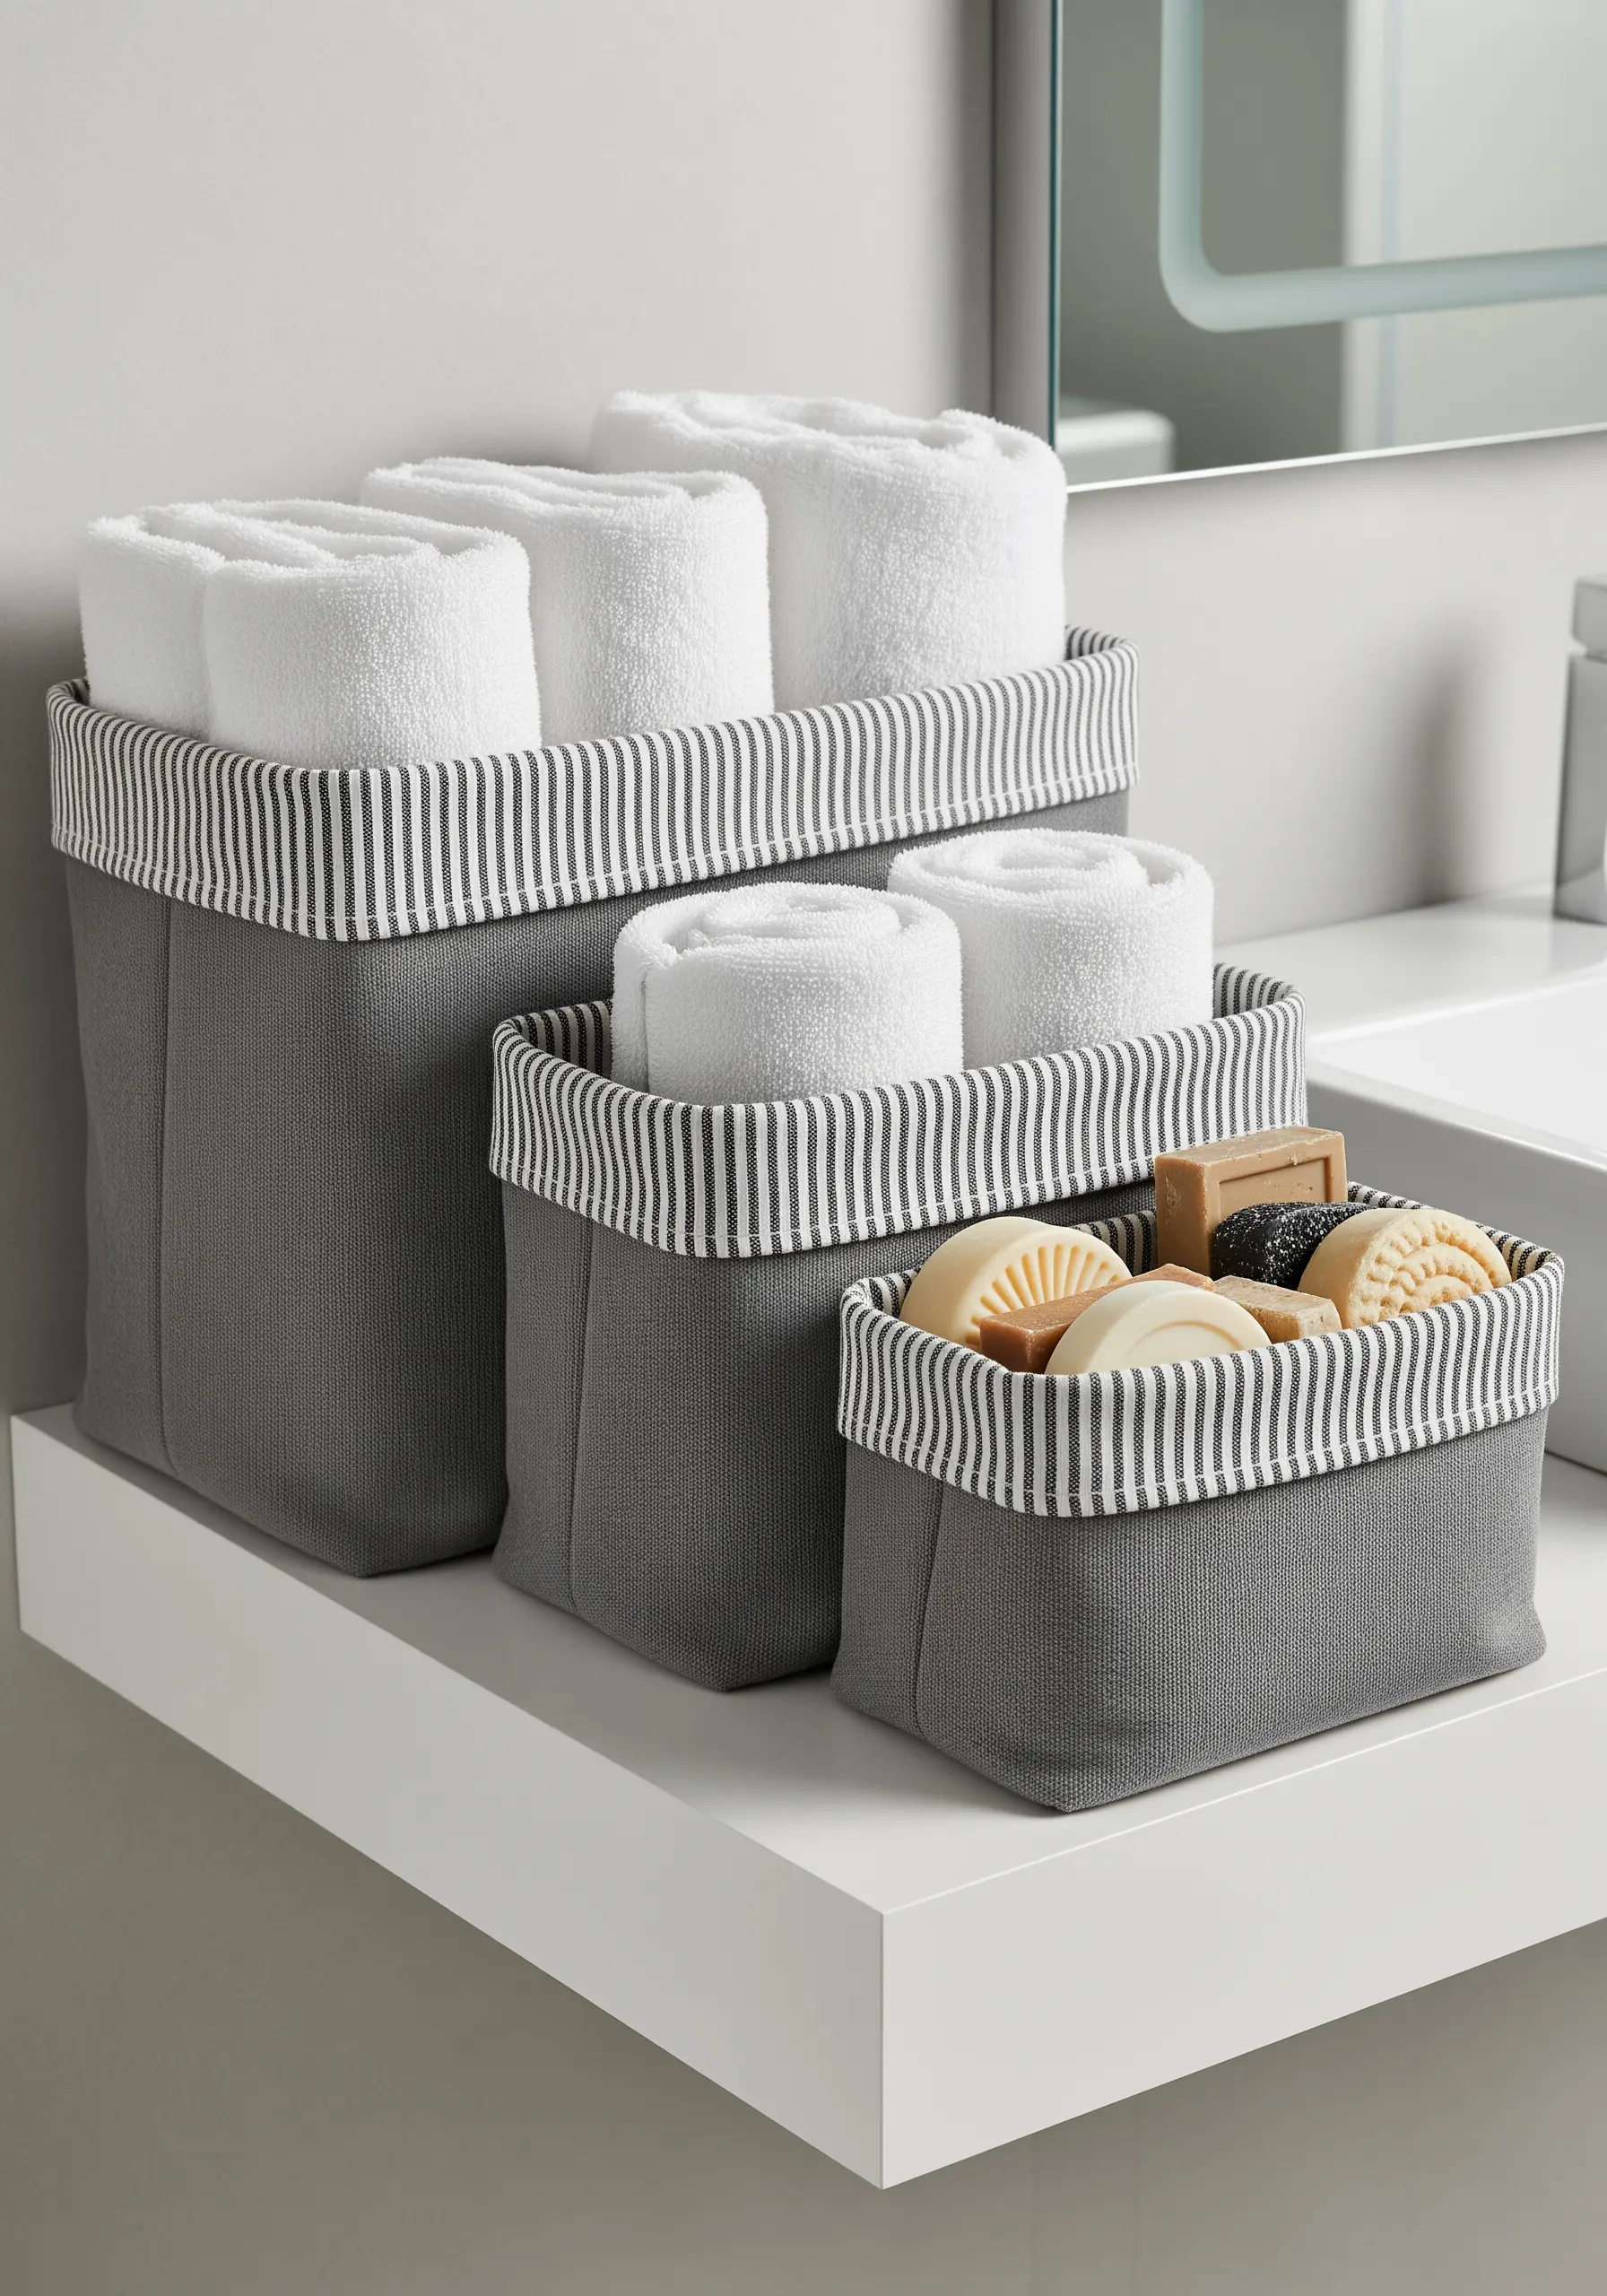
Make sturdy, collapsible storage bins that look tailored and intentional.
The secret to preventing saggy fabric bins is to use a heavyweight fusible interfacing on both the outer and lining fabrics.
When sewing the corners, create a boxed shape by pinching them flat and stitching across the triangle. This technique gives the bin a stable, flat bottom and crisp, defined sides, allowing it to stand on its own.
15. Assemble a Pom-Pom and Tassel Wall Hanging

Combine yarn textures to create a high-impact fiber art piece with minimal effort.
Focus on creating dense, full pom-poms using a pom-pom maker for consistency.
For the tassels, wrap yarn around a piece of cardboard, tie it at the top, and cut the bottom loops. The key to a luxe look is using plenty of yarn for both elements.
Arrange your finished pieces in a symmetrical or cascading pattern on a wooden dowel for a balanced, eye-catching yarn wall art display.
16. Embroider Bold, Graphic Line Art

Make a simple outline drawing feel like a statement piece by adjusting your thread and stitch.
Instead of a standard six-strand floss, use a thicker thread like Pearl Cotton No. 8 or even No. 5.
Pair this with a whipped backstitch or a stem stitch, which creates a smooth, rope-like line with no gaps.
This combination gives your minimalist botanical stitch designs a bold, graphic quality that feels modern and confident, even in a simple hoop.
17. Decoupage a Fabric-Lined Tray
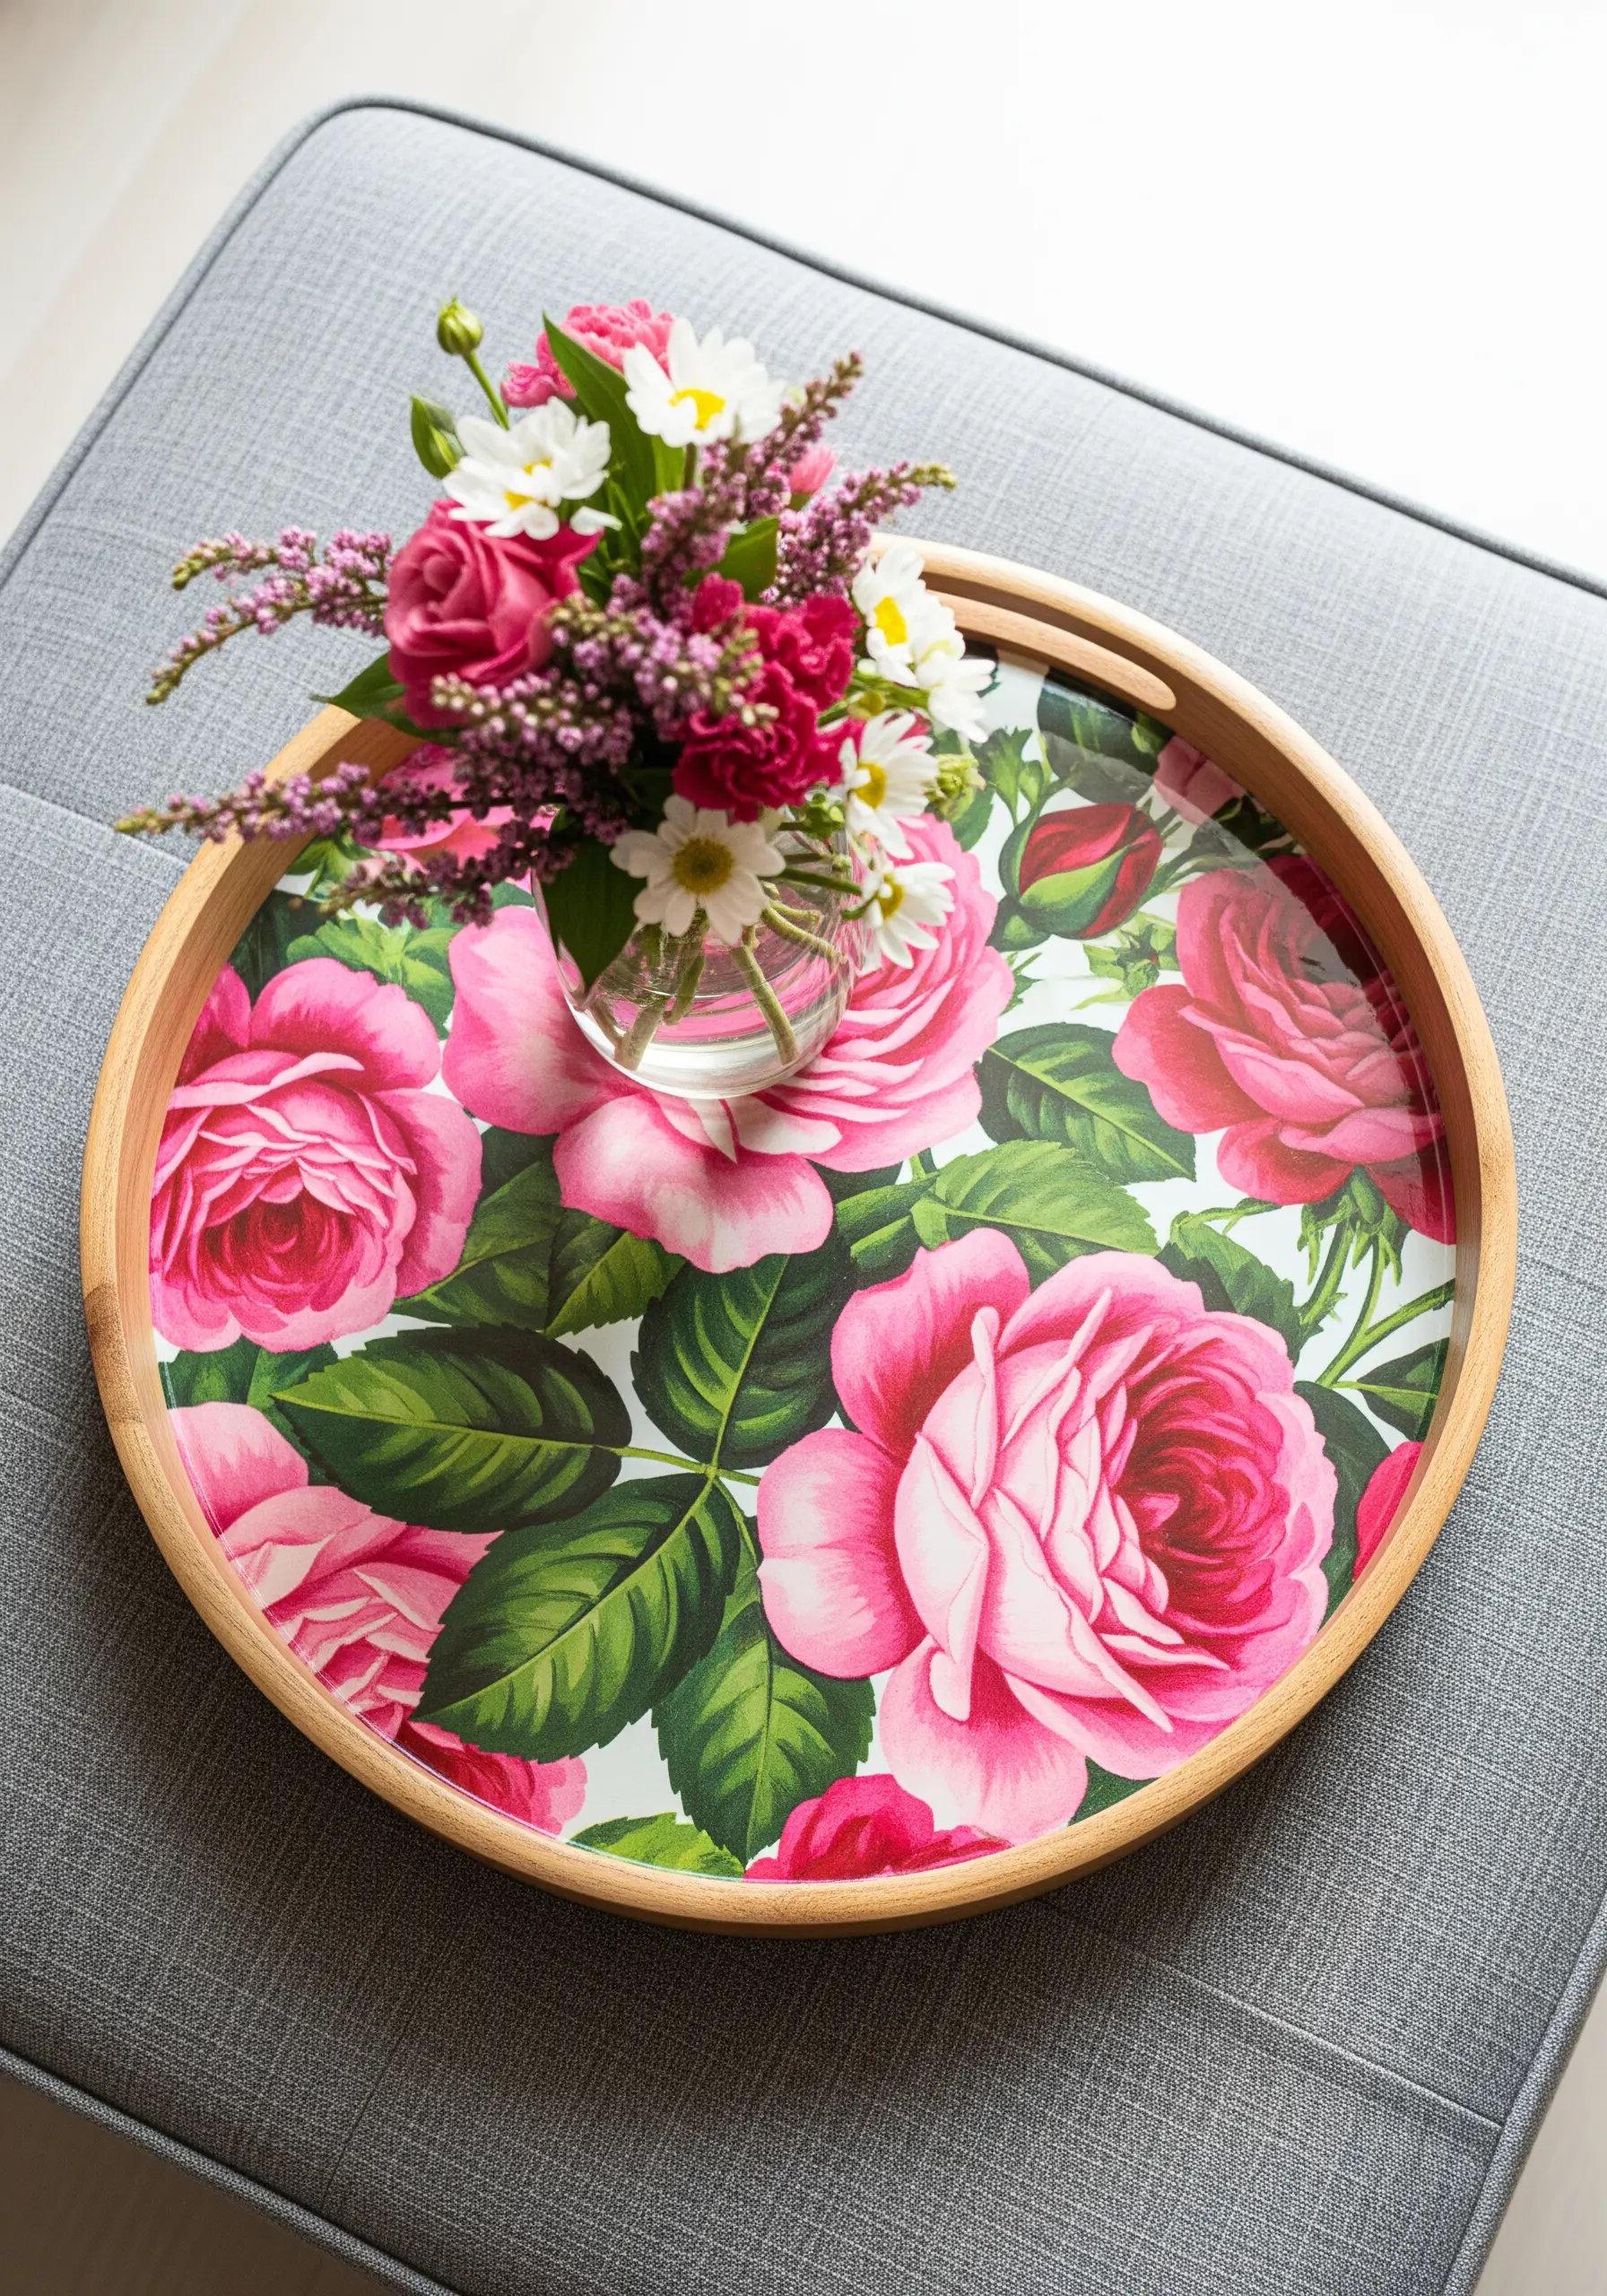
Permanently adhere fabric to a solid surface for a decorative and durable finish.
Choose a thin, smooth cotton fabric, as bulky textiles won’t adhere evenly.
Apply a thin, even layer of Mod Podge or a similar decoupage medium to the base of the tray and carefully smooth the fabric over it, working from the center out to remove all air bubbles.
Seal the surface with two more coats of the medium, allowing it to dry completely between layers, to create a water-resistant, wipeable surface.
18. Print on Fabric with Block Stamping

Create your own custom textiles using fabric paint and a simple stamp.
For a crisp print, use a foam brush to apply a thin, even layer of fabric paint to your stamp—dipping it directly in the paint often leads to smudges.
Place your fabric on a slightly padded surface and press the stamp down firmly and evenly.
Once dry, heat-set the design with an iron according to the paint manufacturer’s instructions to ensure it’s permanent and washable.


