

That quiet moment on a walk when you find a perfect fern, a fallen leaf, or an interesting seed pod—that is where your next embroidery project begins. This isn’t about just copying a shape; it’s about translating what you see and feel into thread. How does the light hit it? What is the texture? Where does the color shift?
Forget generic patterns for a moment and let nature be your guide. By closely observing these small treasures, you’ll learn to see like an artist. You’ll start noticing the subtle color gradients in a mushroom’s gills or the way a blackberry’s drupelets catch the light. Your stitching will become more intentional, your color choices more sophisticated.
Here, we’ll explore techniques that help you capture that realism and delicacy. You don’t need complicated tools, just a closer look at the world around you and the patience to translate it one stitch at a time. Let these ideas give you the confidence to turn your found objects into personal works of art.
1. Botanical Realism with Graded Greens
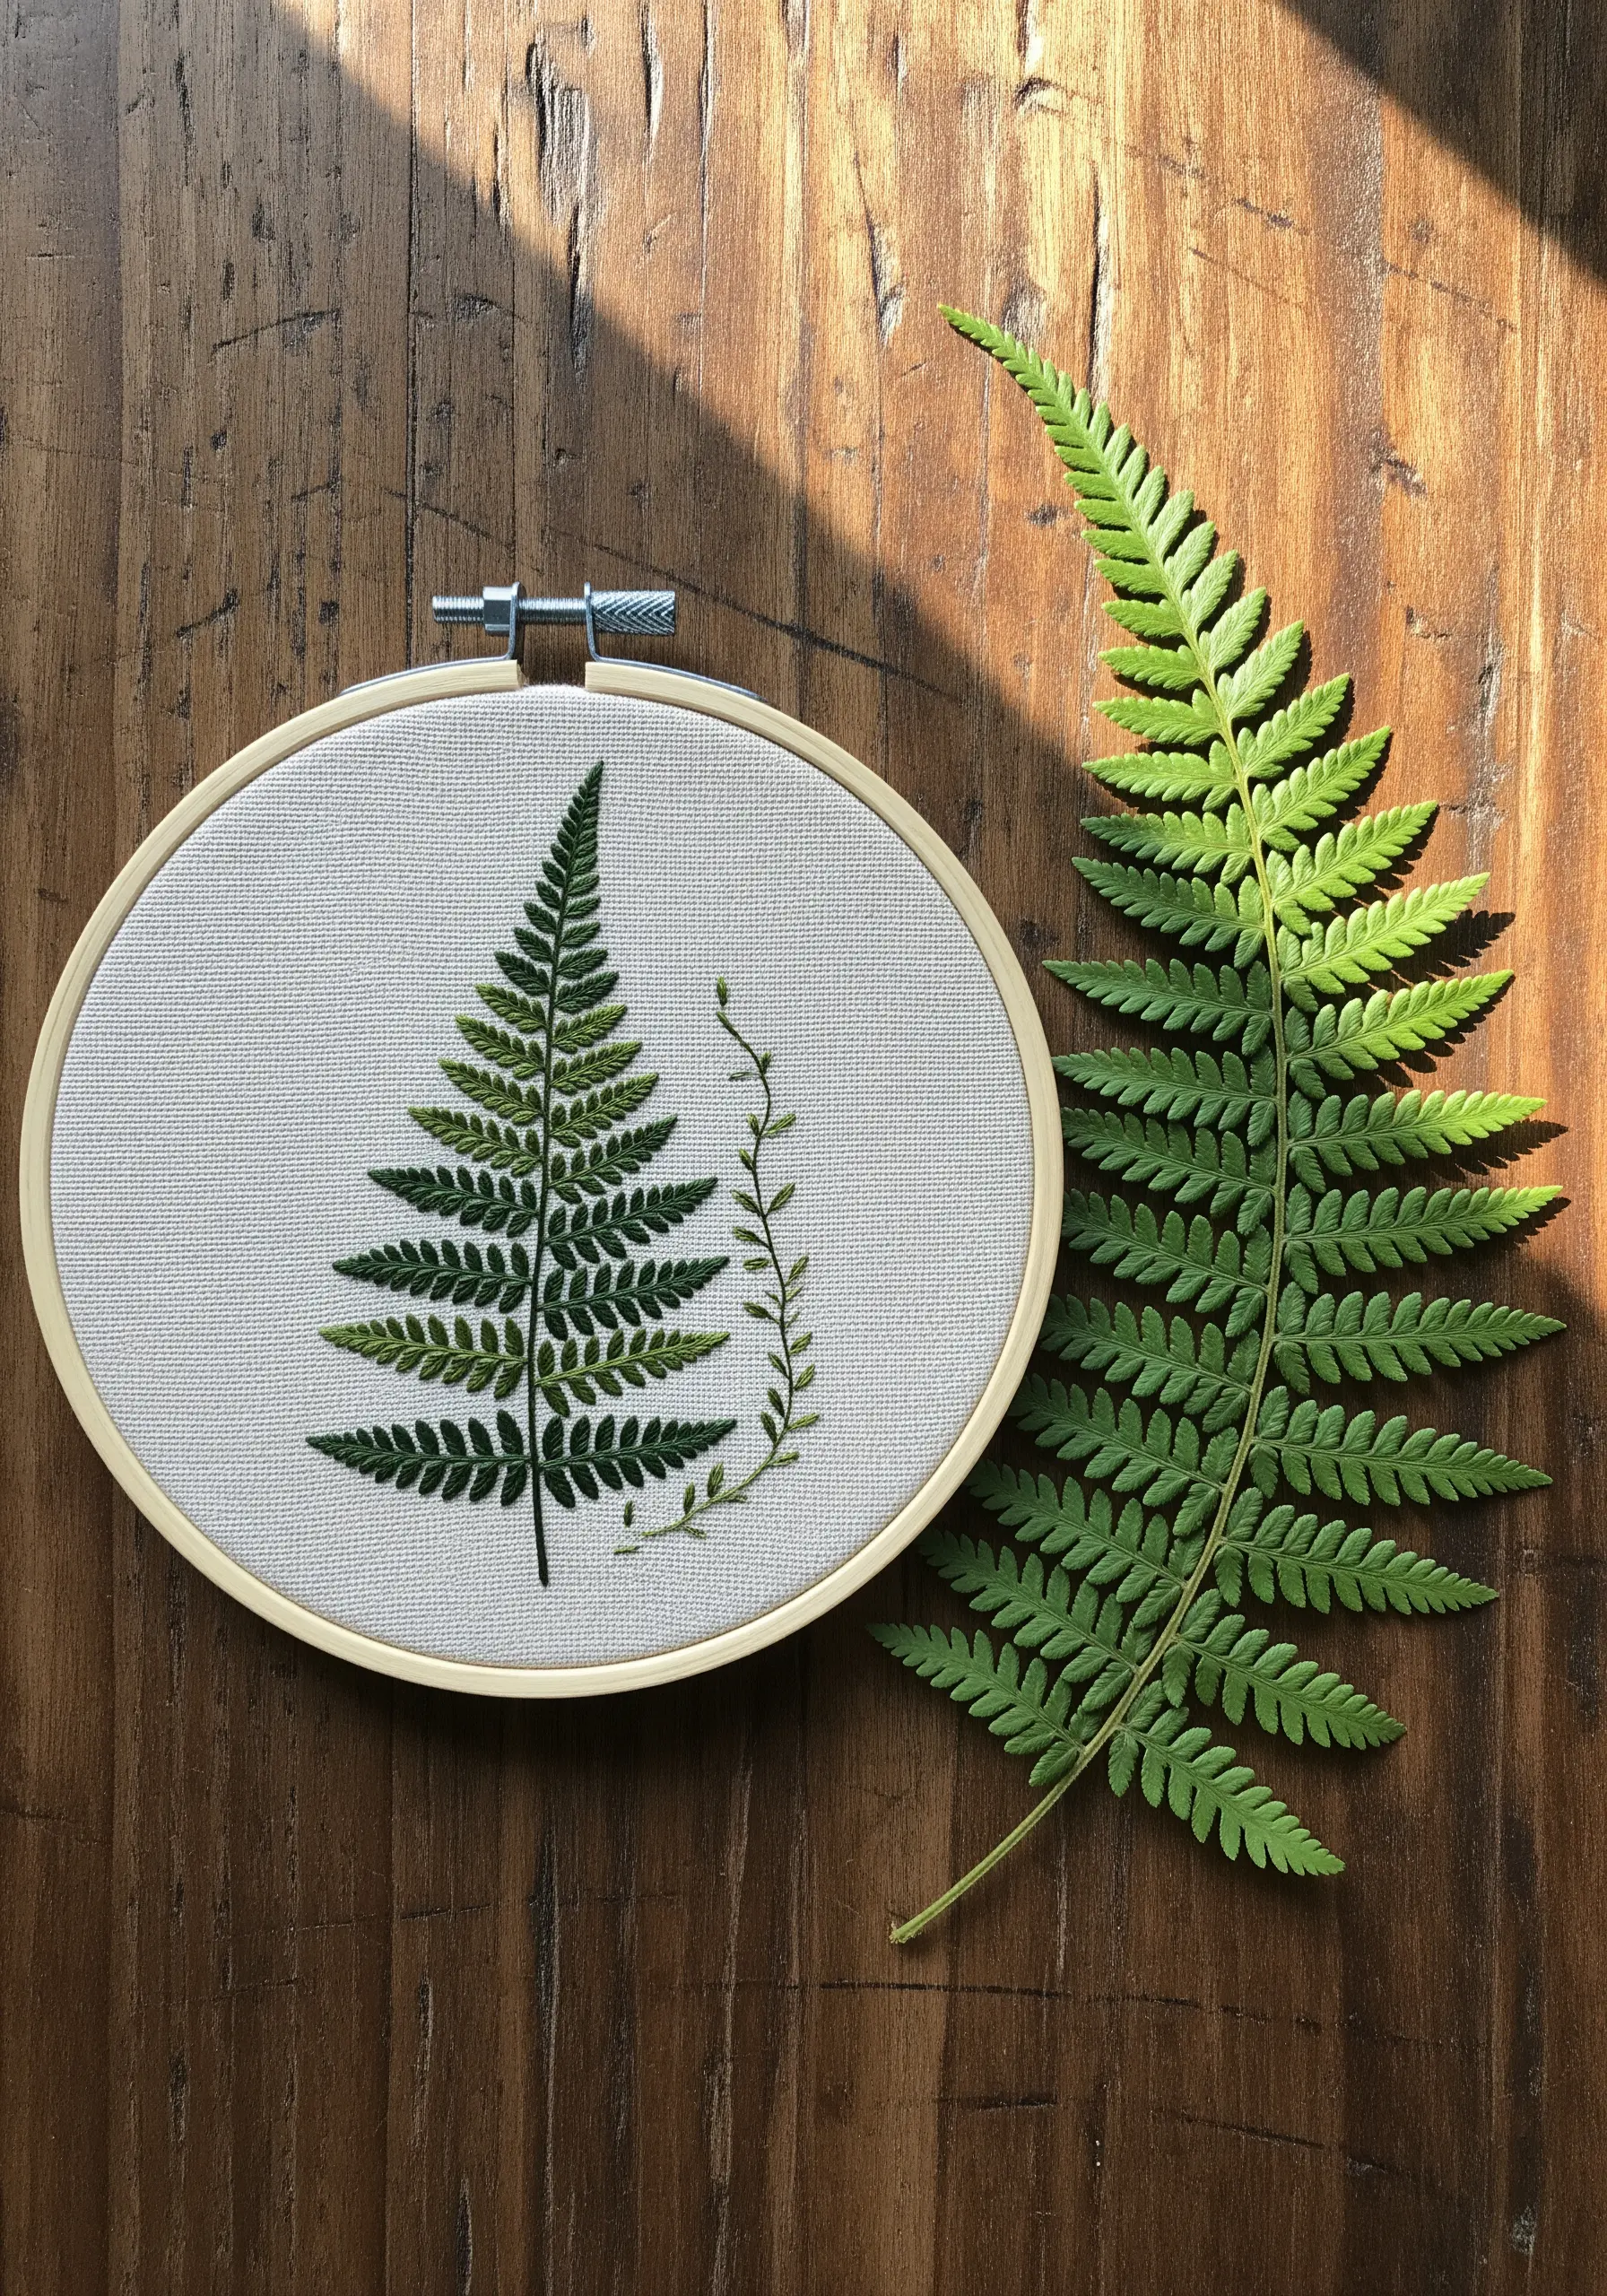
To capture a fern’s delicate structure, use the fishbone stitch for each leaflet, which automatically creates the central vein as you work.
Select at least three shades of green, moving from dark to light, to mimic the way sunlight filters through the fronds.
Work with a single strand of embroidery floss for the most precise and detailed result, especially for the tapering ends.
Contrast the intricate fern with a simple trailing vine stitched in whipped backstitch to add a secondary texture without competing for attention.
2. Sculptural Dimension with Thread Painting

Create the soft, radial gills under the mushroom caps using long-and-short stitch, blending shades of cream and tan to suggest depth.
Choosing a dark fabric, like black or charcoal grey linen, makes these earthy tones appear more vibrant and luminous.
For the mossy base, build up a dense texture with French knots in various greens and ochres. This technique provides a wonderful tactile contrast to the smooth caps.
Add tiny white seed stitches or French knots to the caps to replicate the natural speckles, giving the piece a final touch of realism.
3. Raised Texture with Bullion Knots
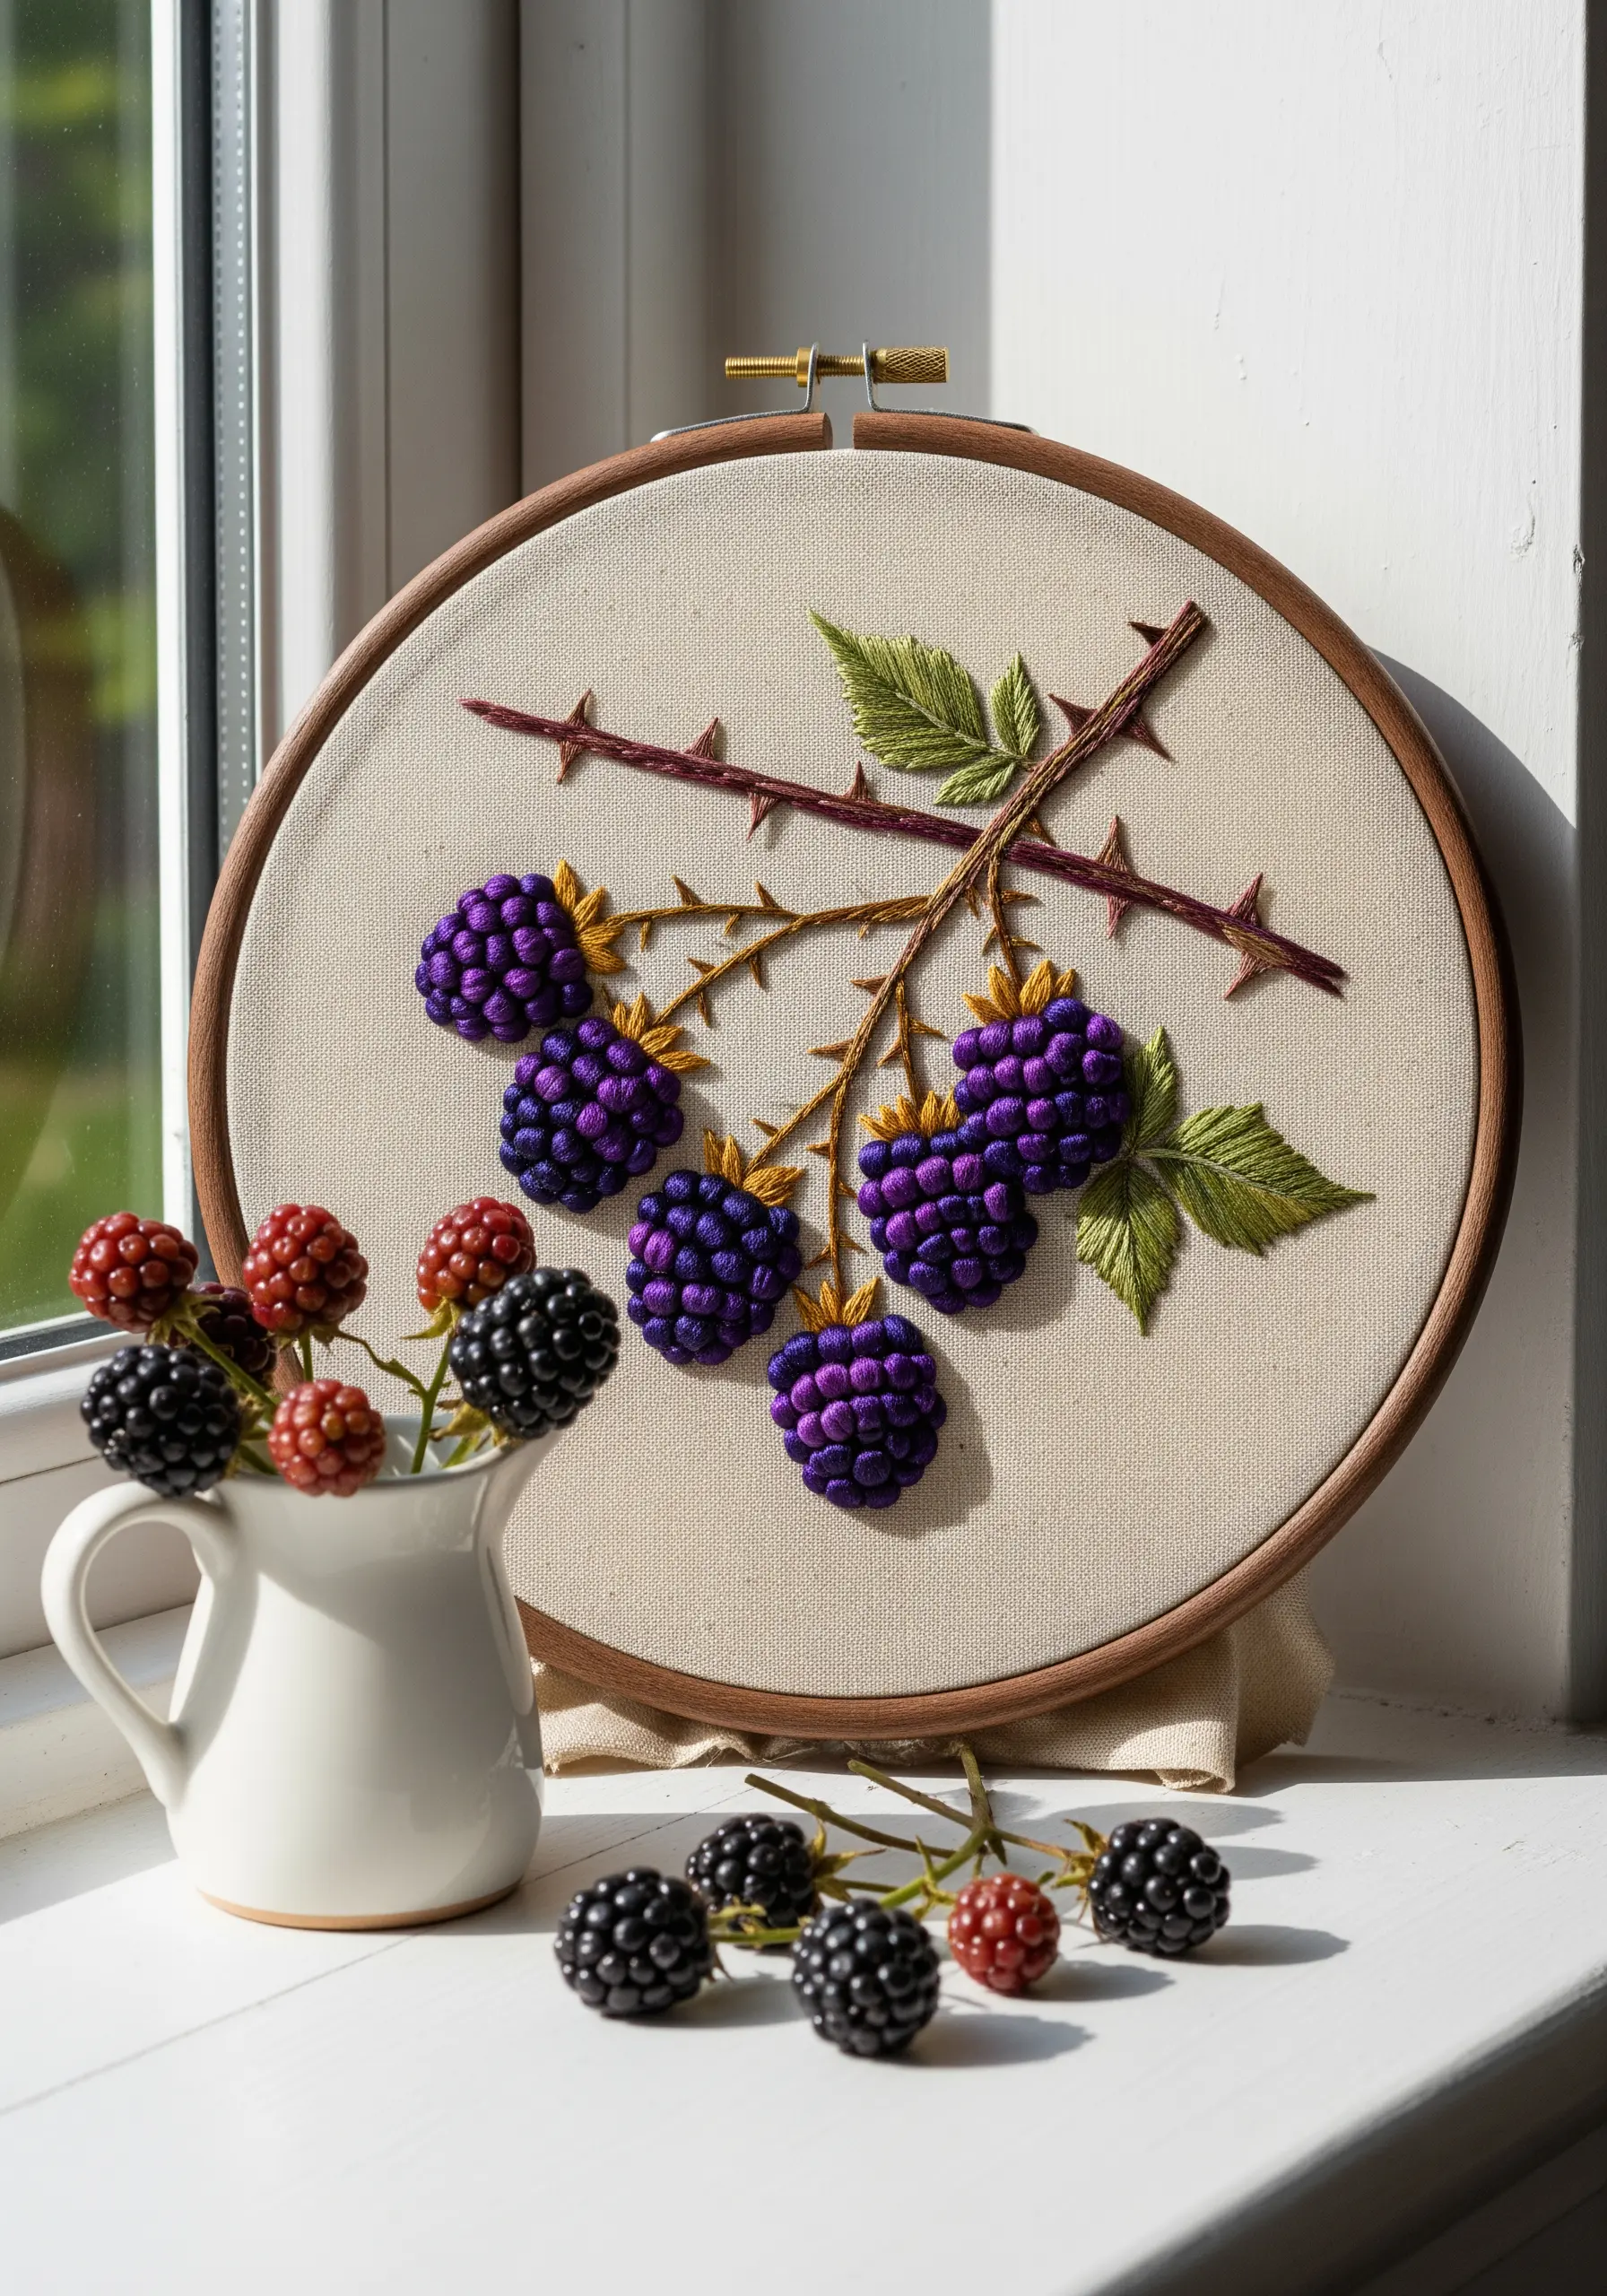
To form plump, juicy blackberries, cluster bullion knots of varying lengths together, which creates a more organic and less uniform shape.
Use a high-sheen rayon or silk thread in deep purples and blues to mimic the glossy, reflective surface of ripe fruit.
For the thorny branch, couch a thicker, matte brown thread onto the fabric with a thinner, matching thread. This adds a rustic, woody texture that contrasts with the shiny berries.
4. Delicate Clusters with Colonial Knots
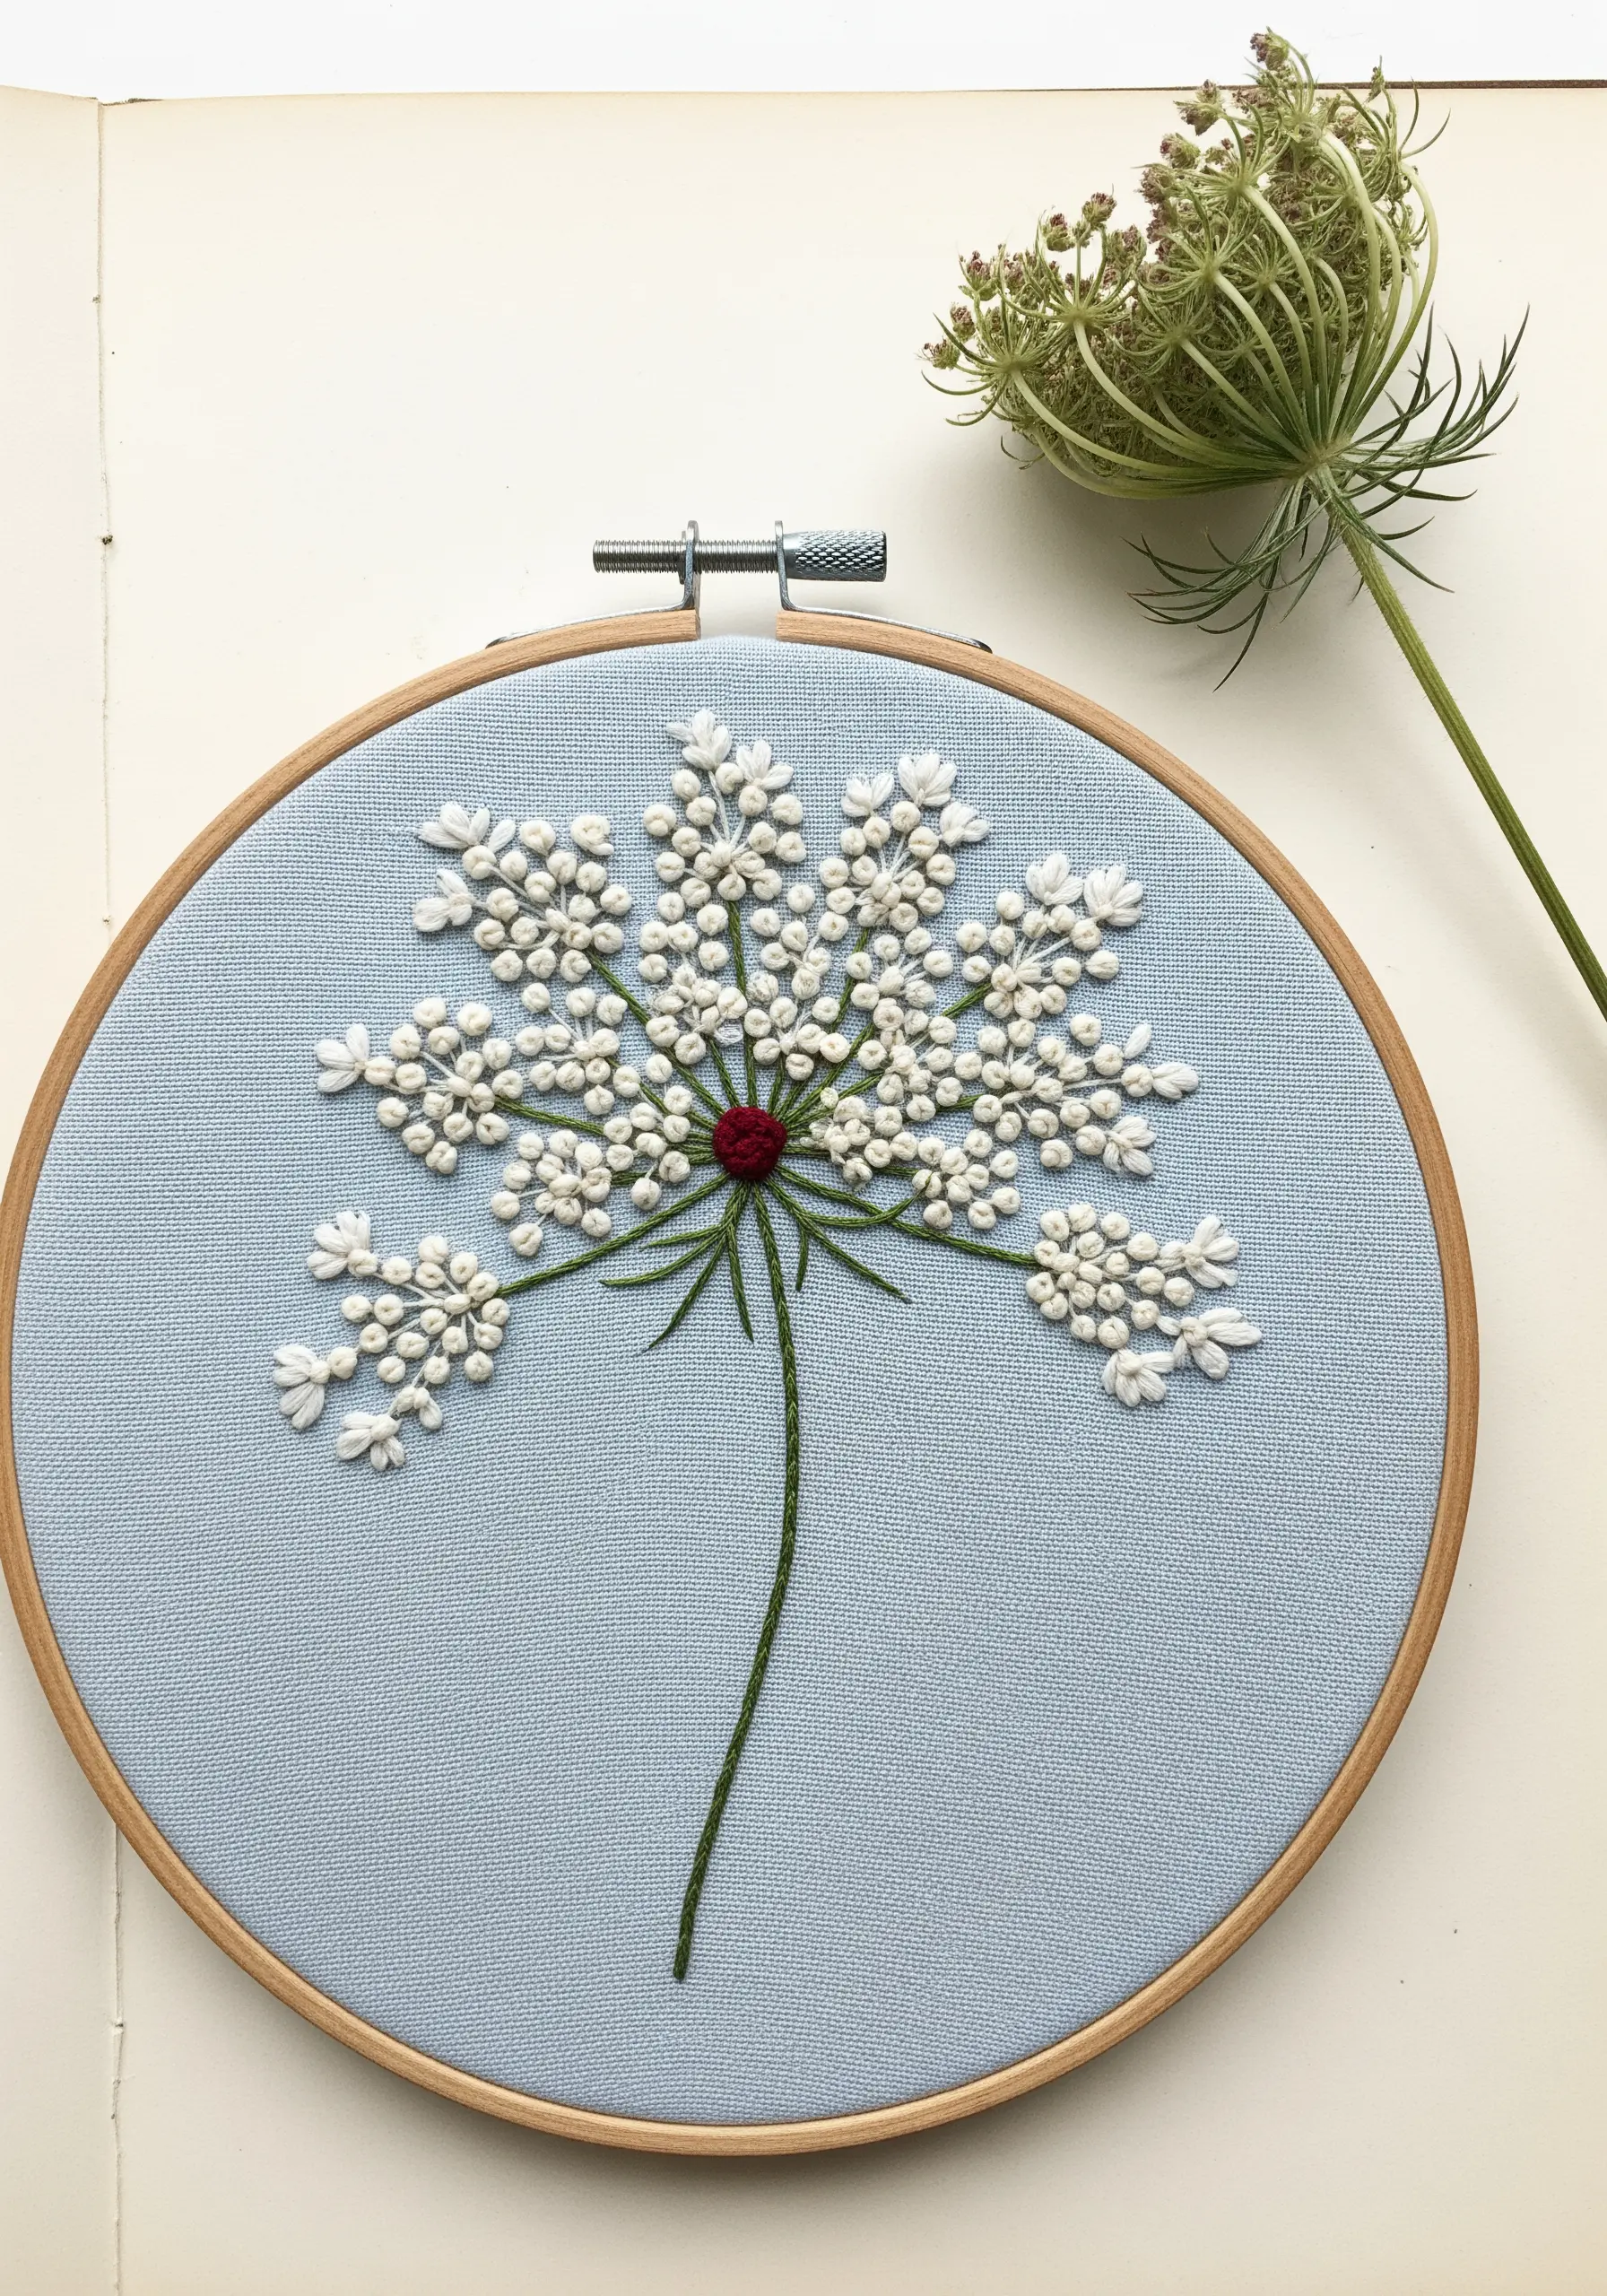
Capture the airy, lace-like quality of a Queen Anne’s Lace flower head using hundreds of tiny French or colonial knots.
Group them in loose, organic clusters rather than perfect circles to maintain a natural appearance.
A tight grouping of dark red or burgundy knots at the very center grounds the design and provides a focal point, just as it does in nature.
Using a single strand of white floss on a soft blue fabric enhances the flower’s delicate, almost translucent feel.
5. Capturing Autumnal Gradients

Recreate the seamless color transitions of an autumn leaf by using long-and-short stitch, blending from gold to fiery orange and deep red.
Always angle your stitches to follow the direction of the leaf’s veins, which adds natural movement and realism to your thread painting.
For the acorn cap, a dense field of French knots in a dark brown creates a perfectly bumpy, tactile texture.
Contrast the textured cap with smooth, straight satin stitch for the nut itself, creating a clear distinction between the two surfaces.
6. Creating Weightless Movement
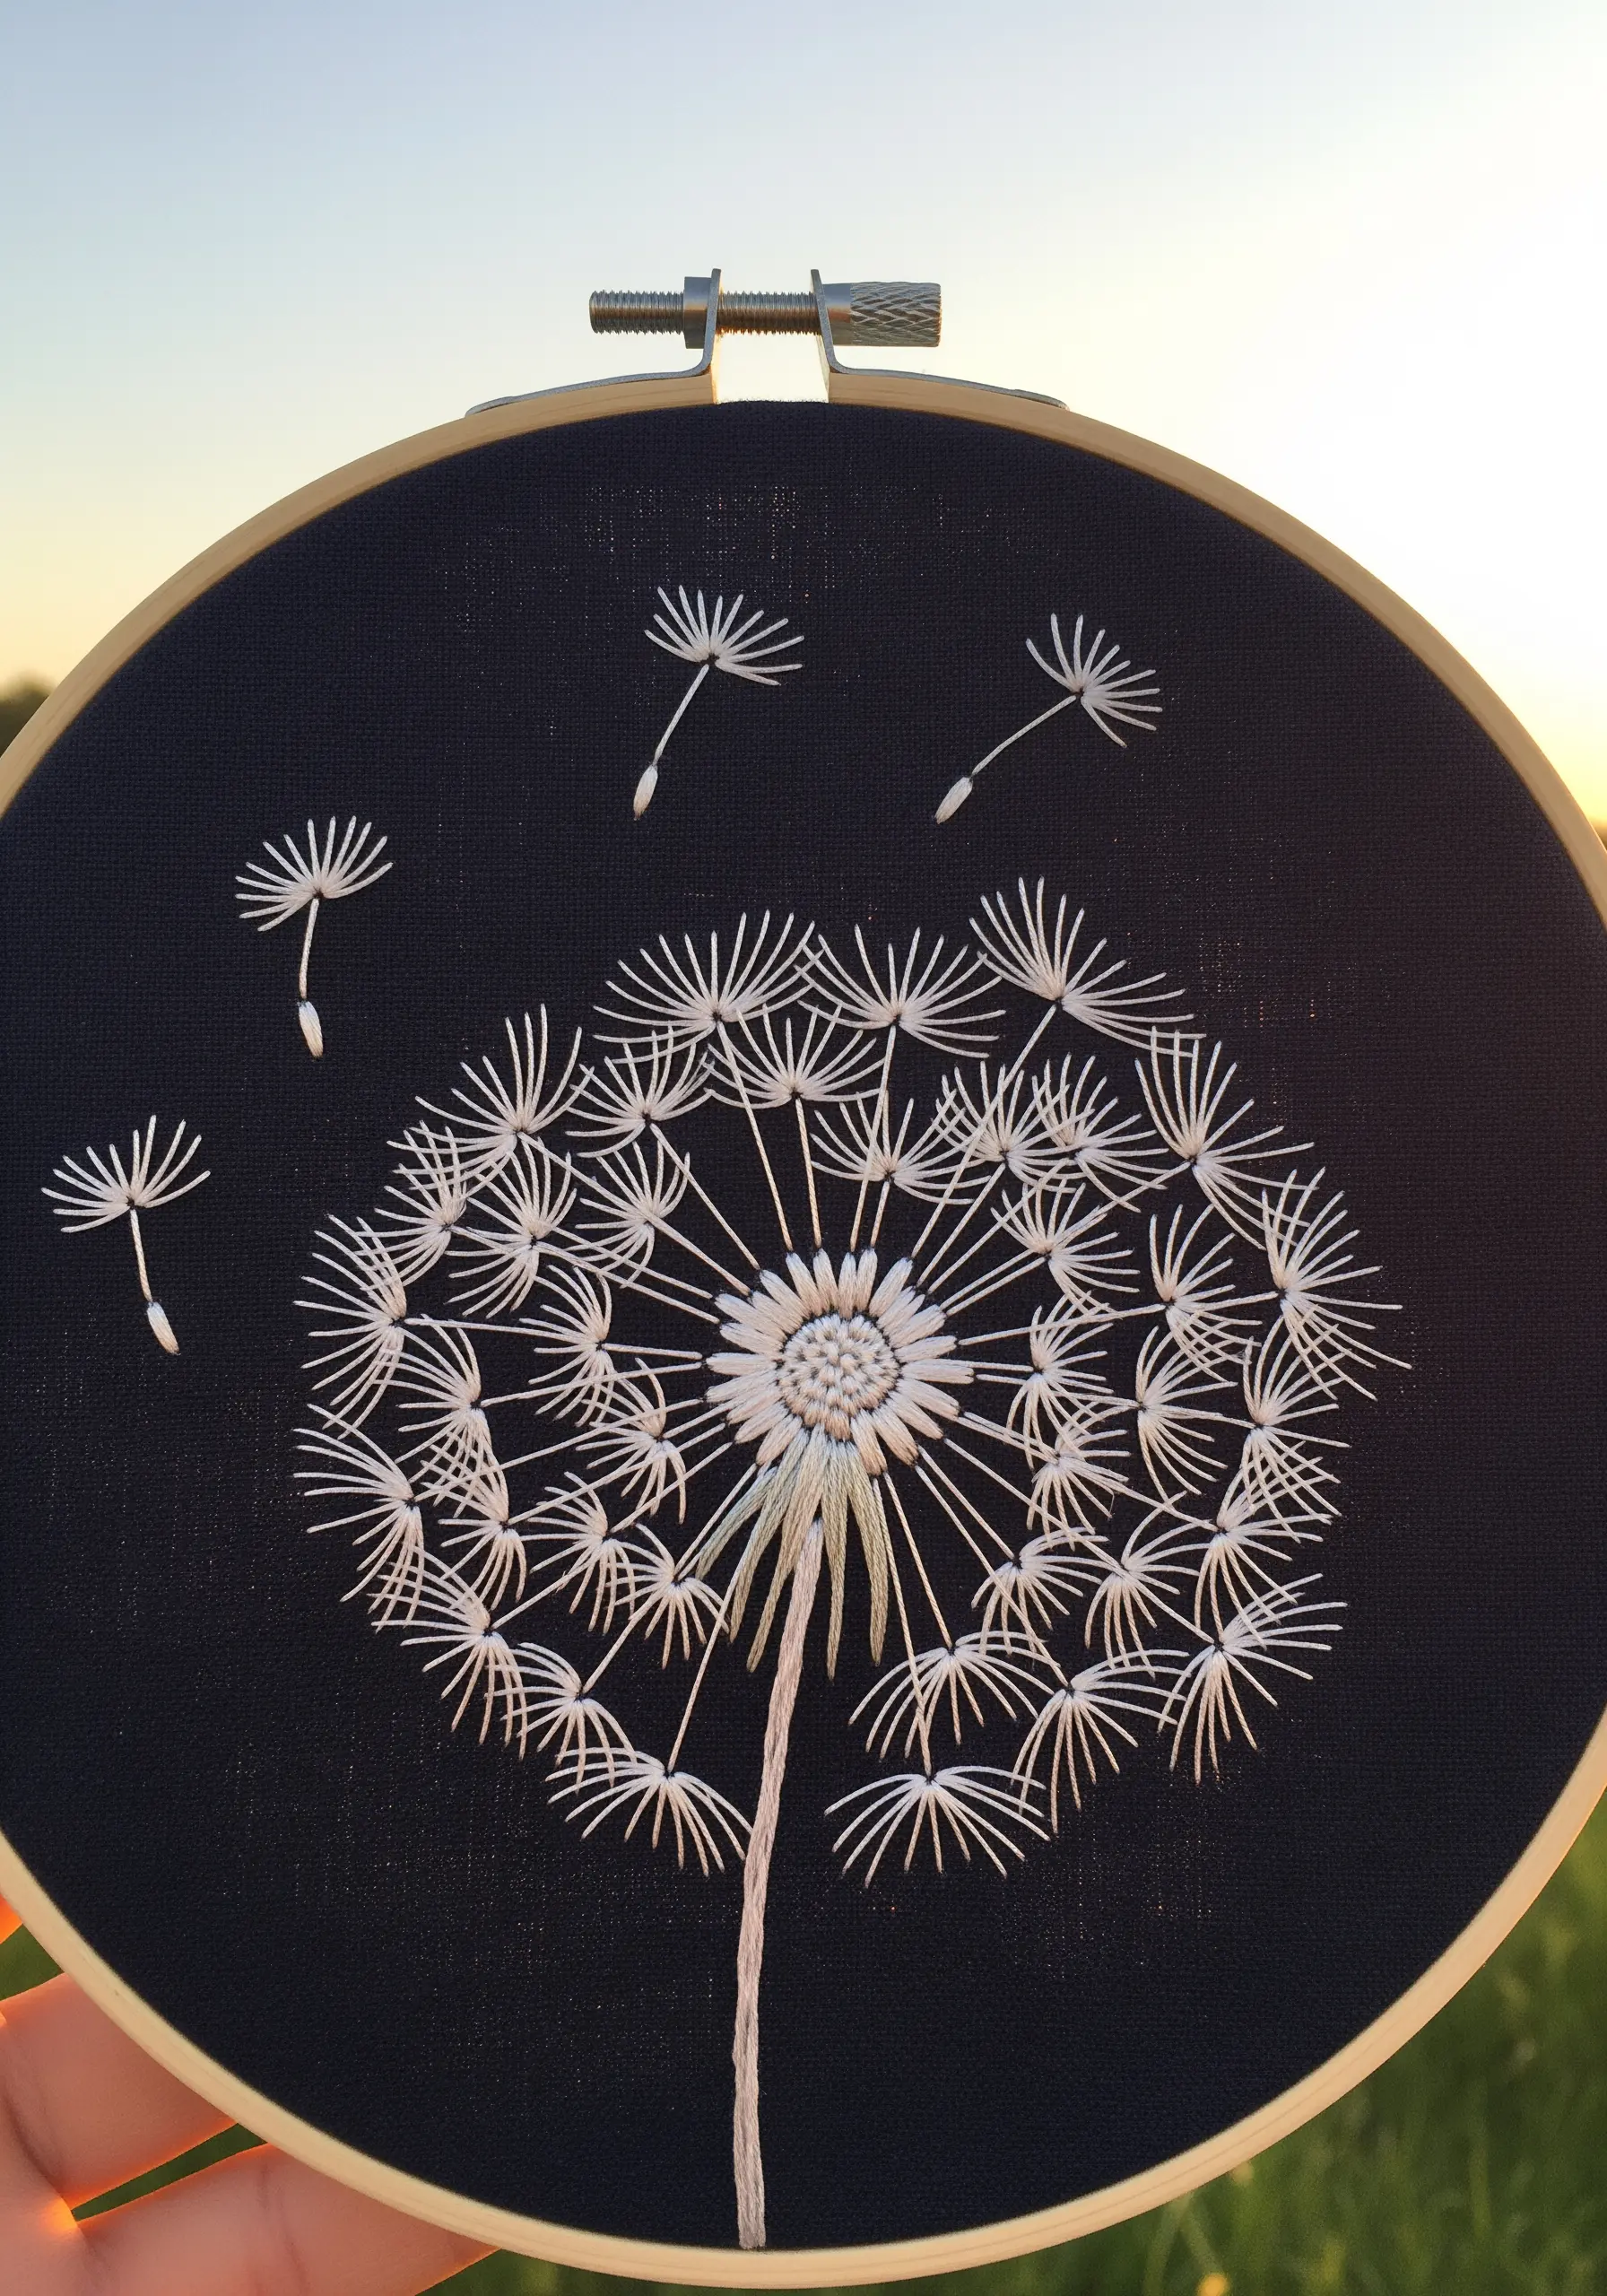
Stitch the dandelion seeds with single straight stitches radiating from a central point, finishing each one with a tiny French knot to define the seed.
To create the illusion of a gentle breeze, detach a few seeds from the main head and scatter them across the fabric as if they are floating away.
Working with a bright white thread on a black fabric creates a dramatic, high-contrast composition that emphasizes the plant’s fragile and graphic structure.
7. Soft Texture with Layered Knots
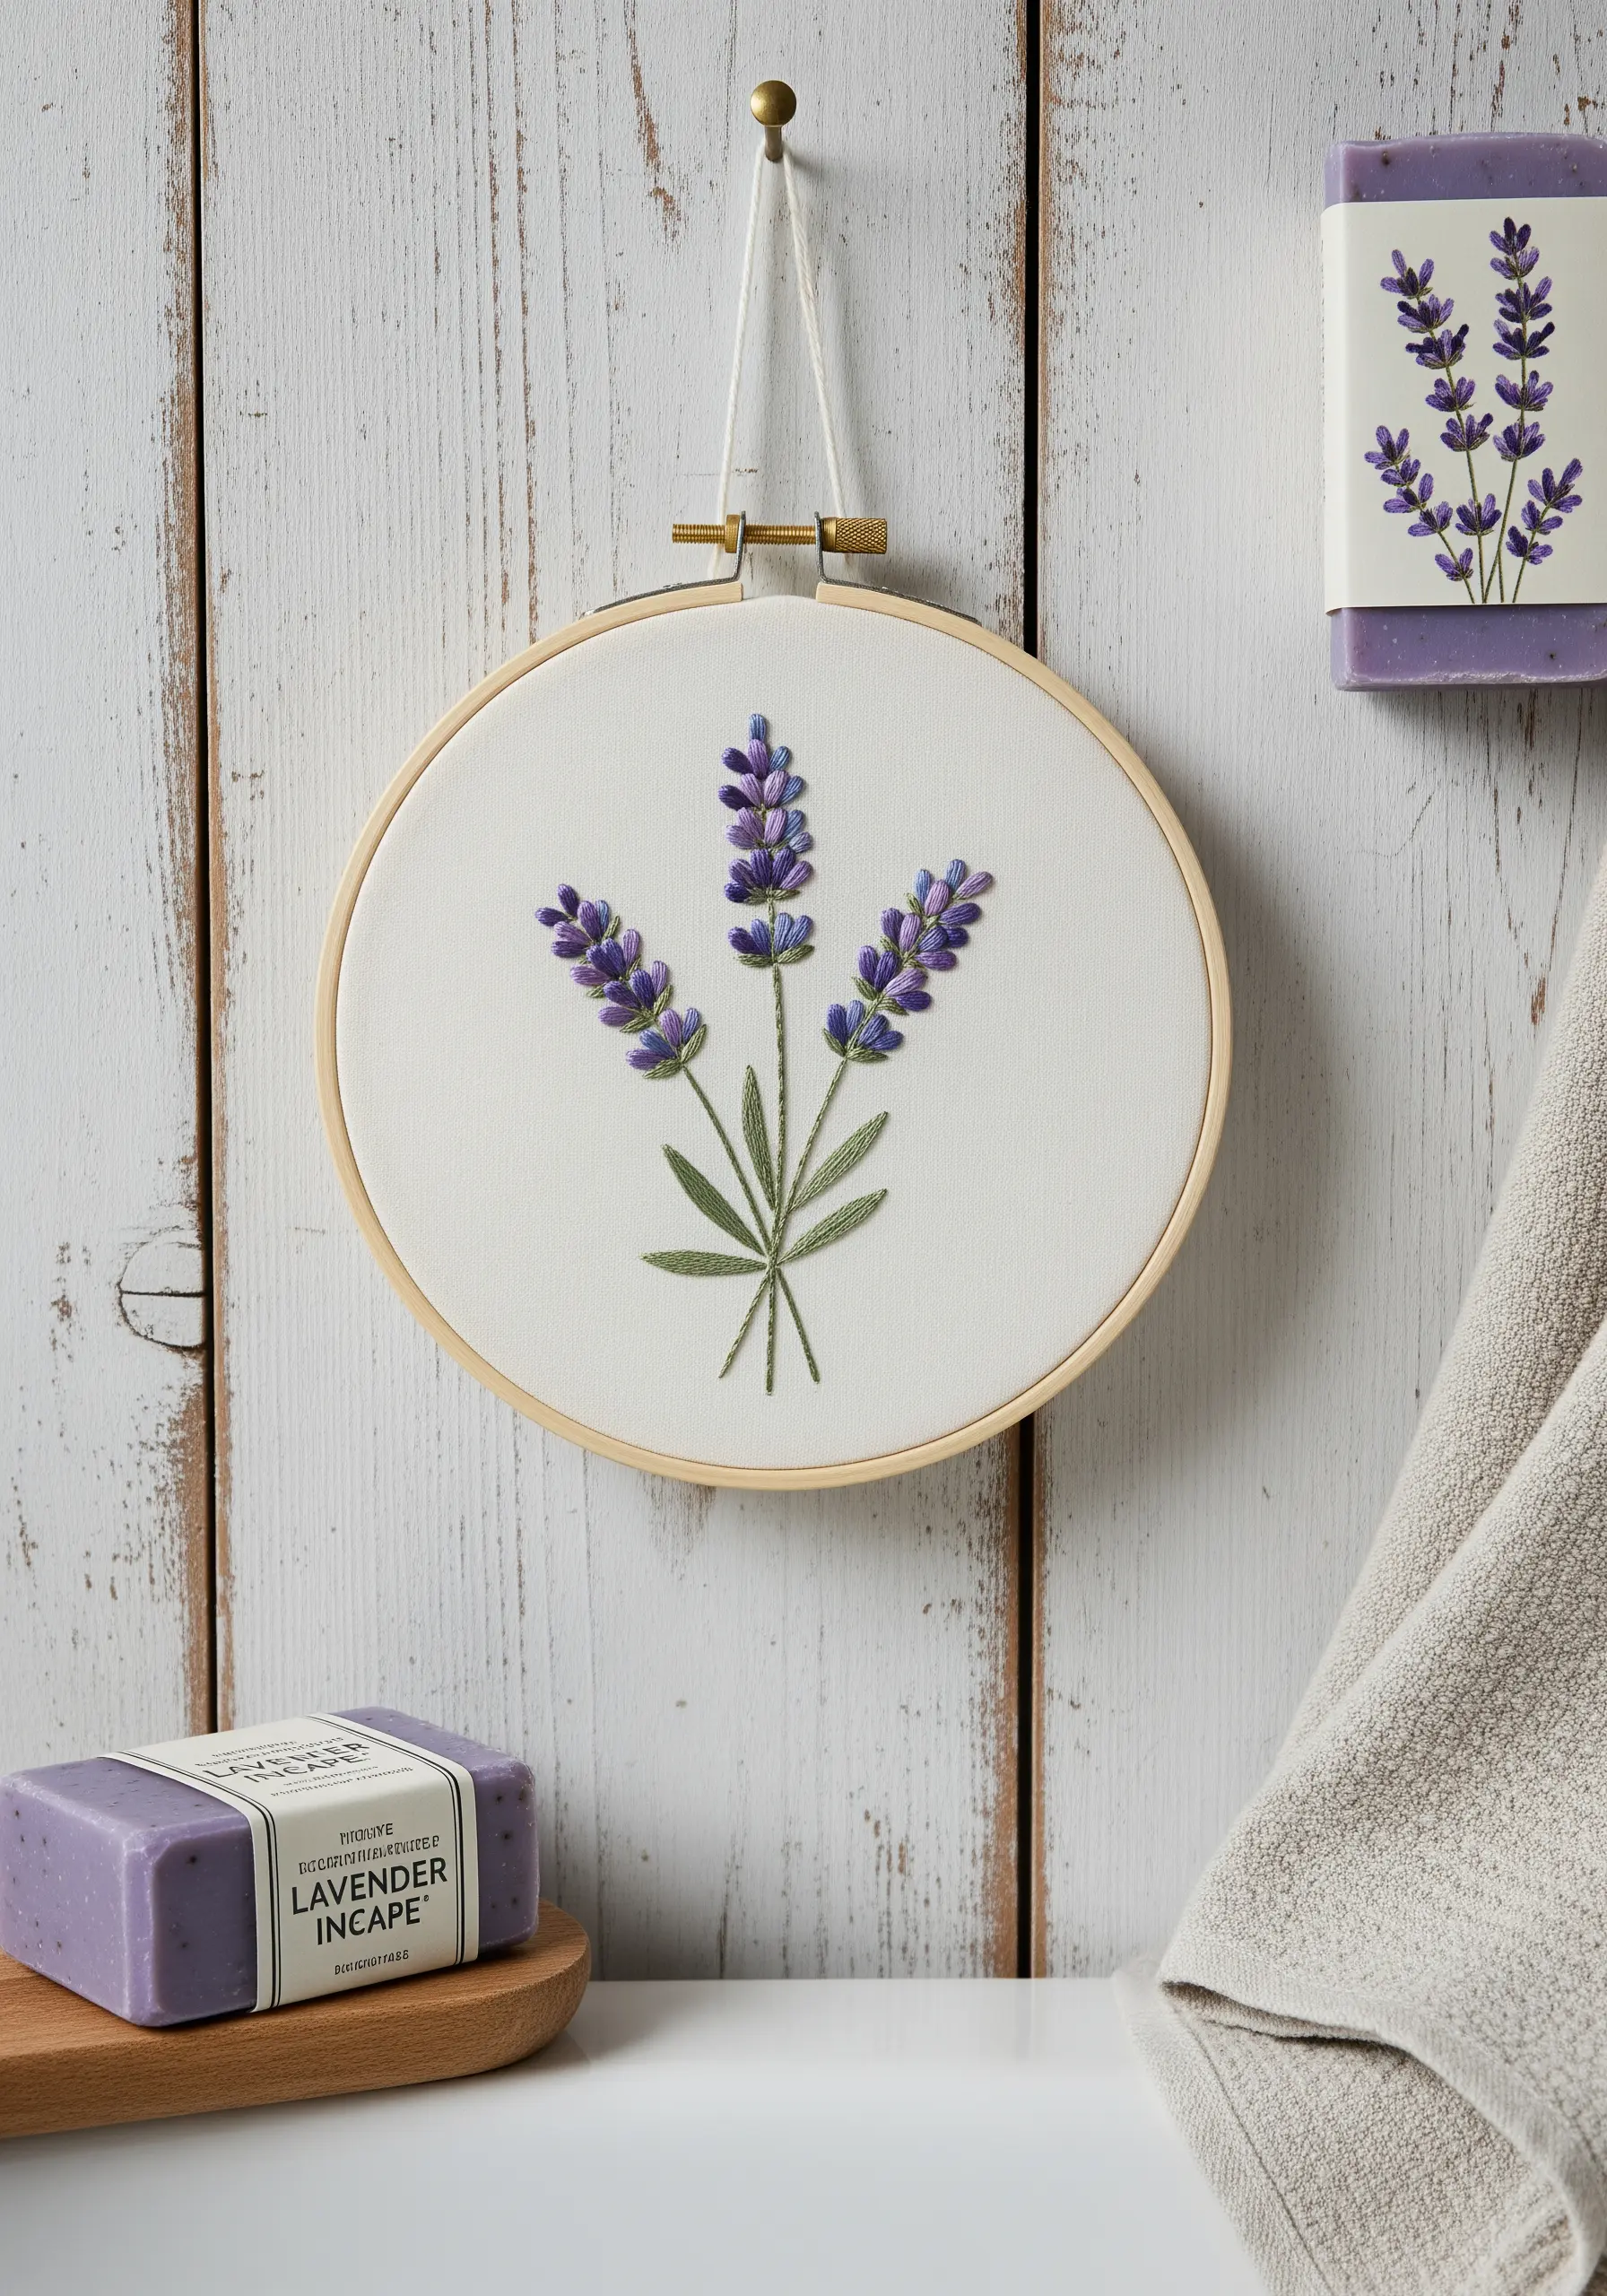
Build the iconic shape of lavender florets with layered French knots or small bullion knots, using two to three shades of purple for dimension.
Place darker knots at the bottom of each cluster and lighter ones at the top to create a natural-looking highlight and shadow effect.
For the leaves, a fishbone stitch perfectly captures their shape and central vein, while a simple stem stitch works beautifully for the stalks.
8. Realistic Foliage with Directional Stitching
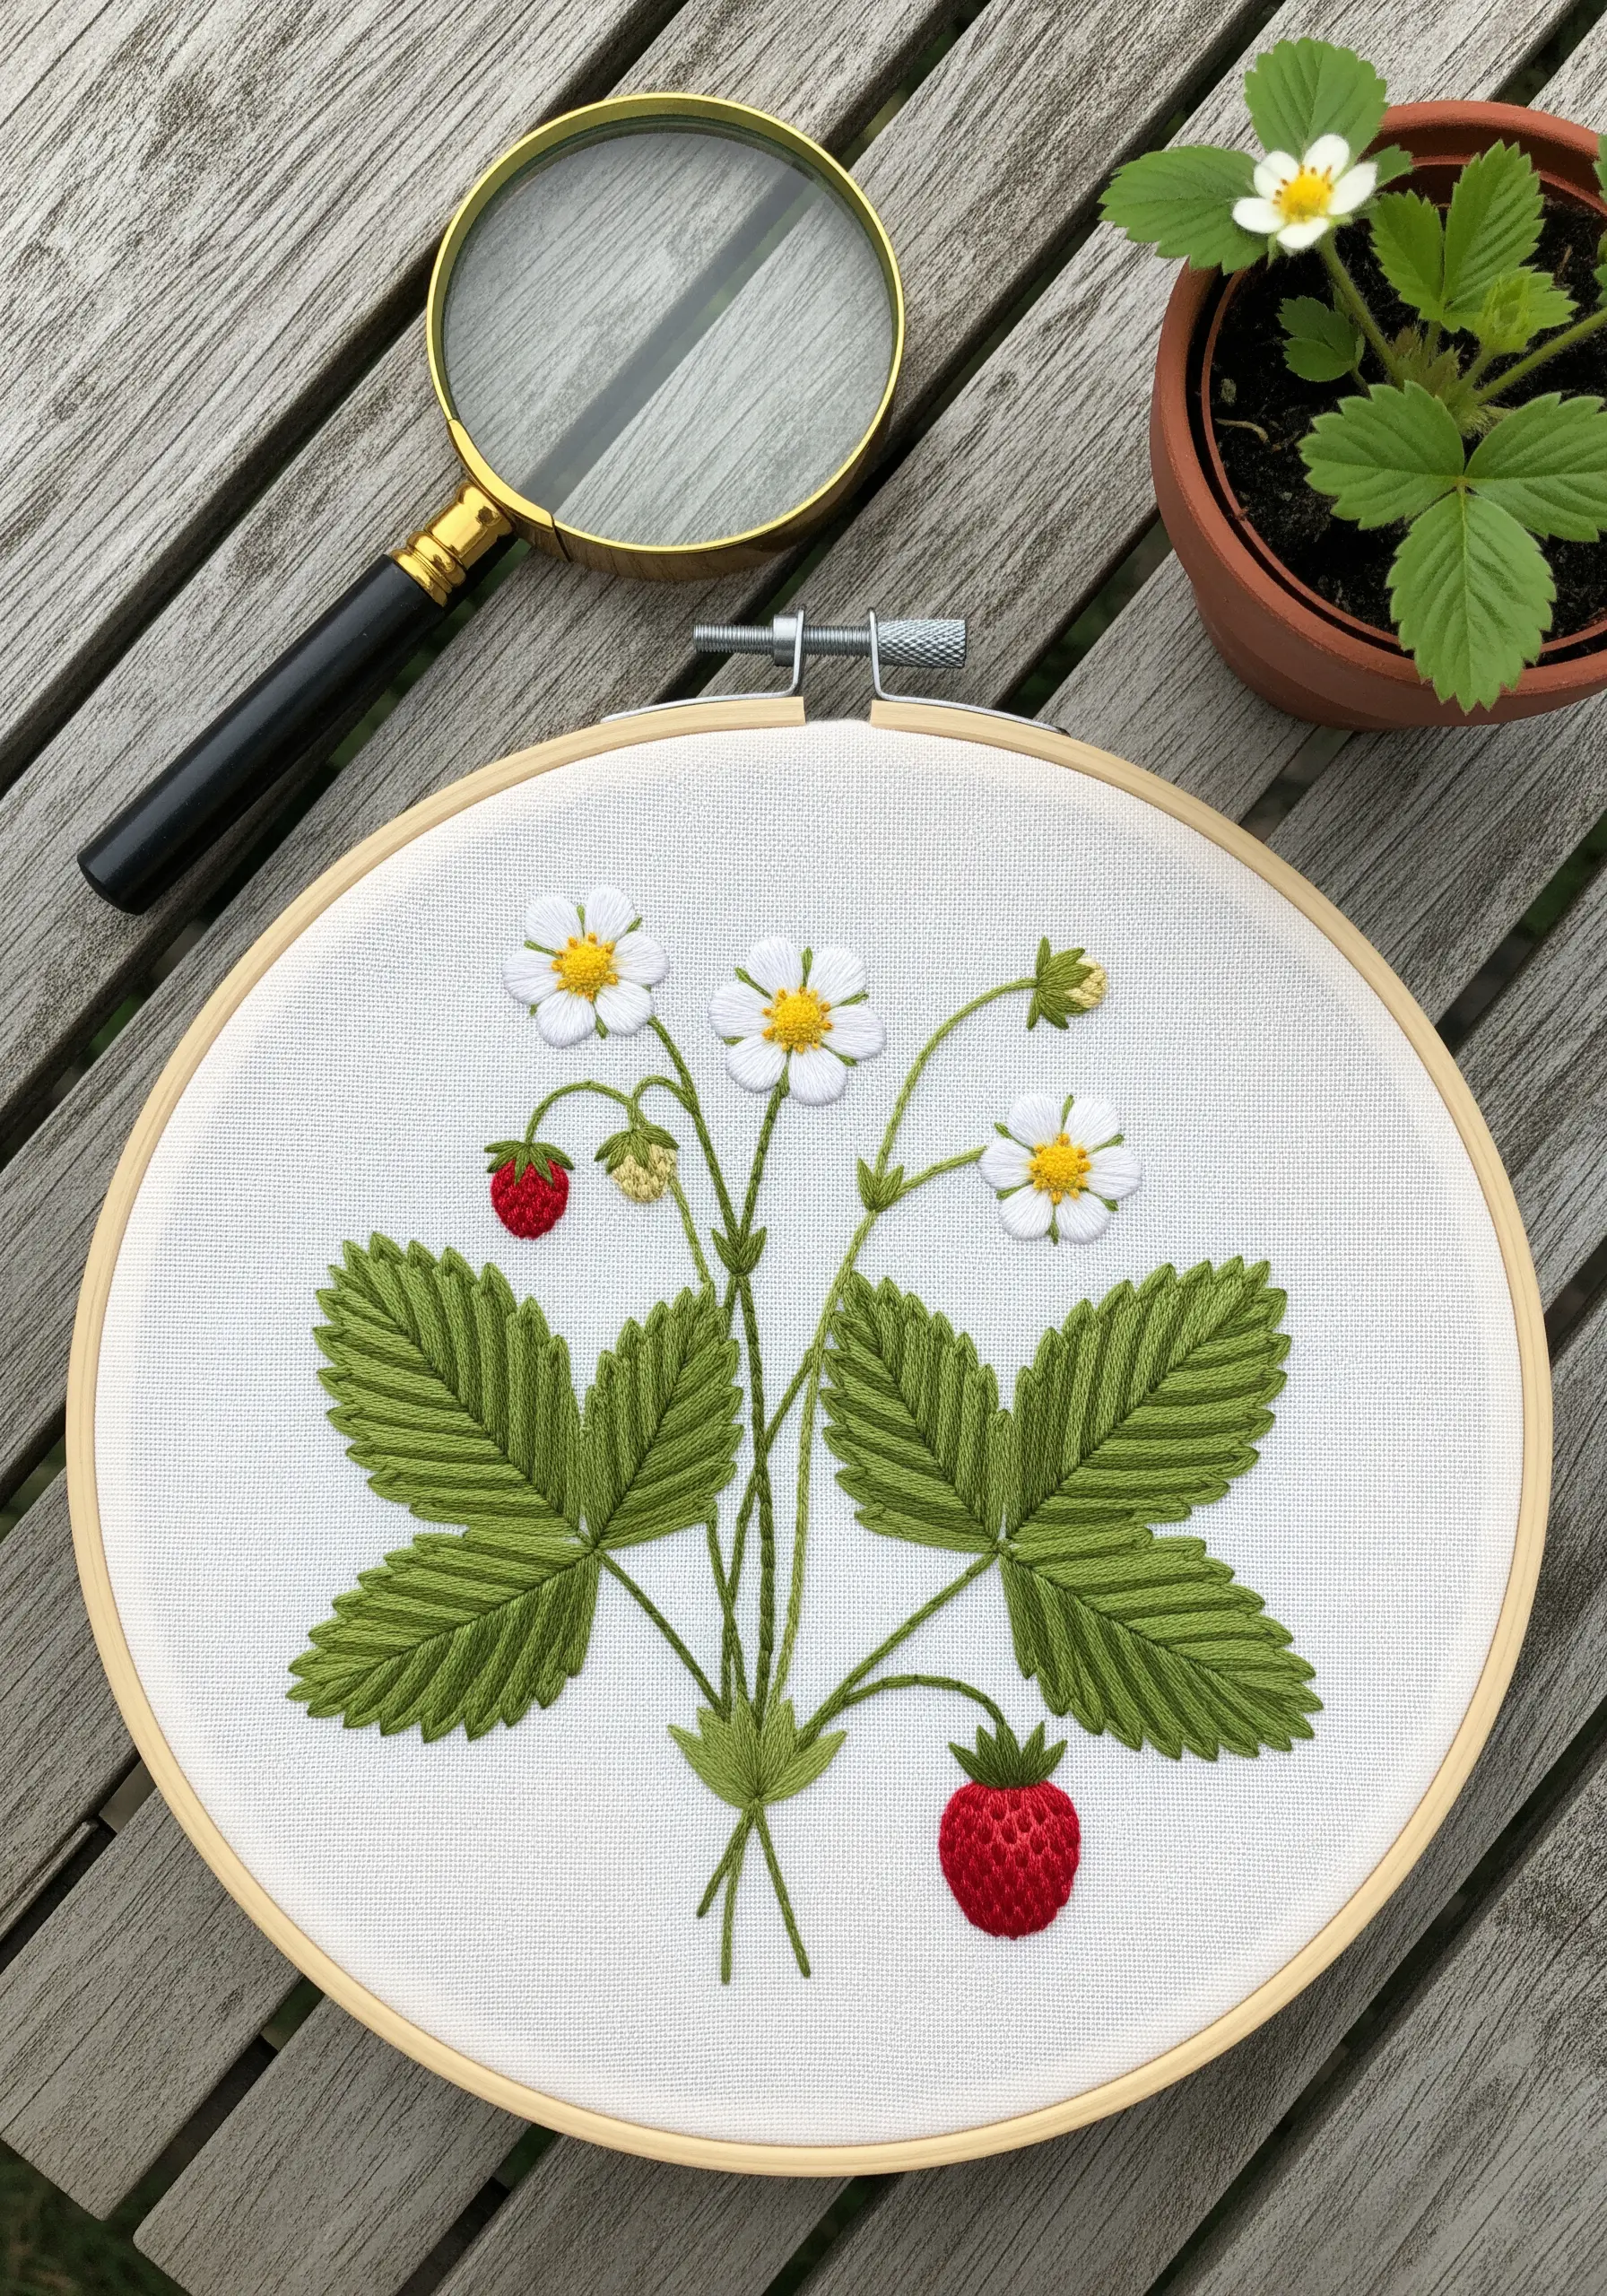
The key to believable leaves is to make your stitches follow the plant’s natural form. Use fishbone stitch to fill each leaflet, as the angled stitches mimic the direction of the veins.
This directional stitching creates a subtle, light-reflecting sheen that gives the leaves dimension and life.
For the small strawberries, use a padded satin stitch—a base of small straight stitches underneath—to give them a plump, rounded shape that stands out from the fabric.
9. Sharp Details with Contrasting Textures
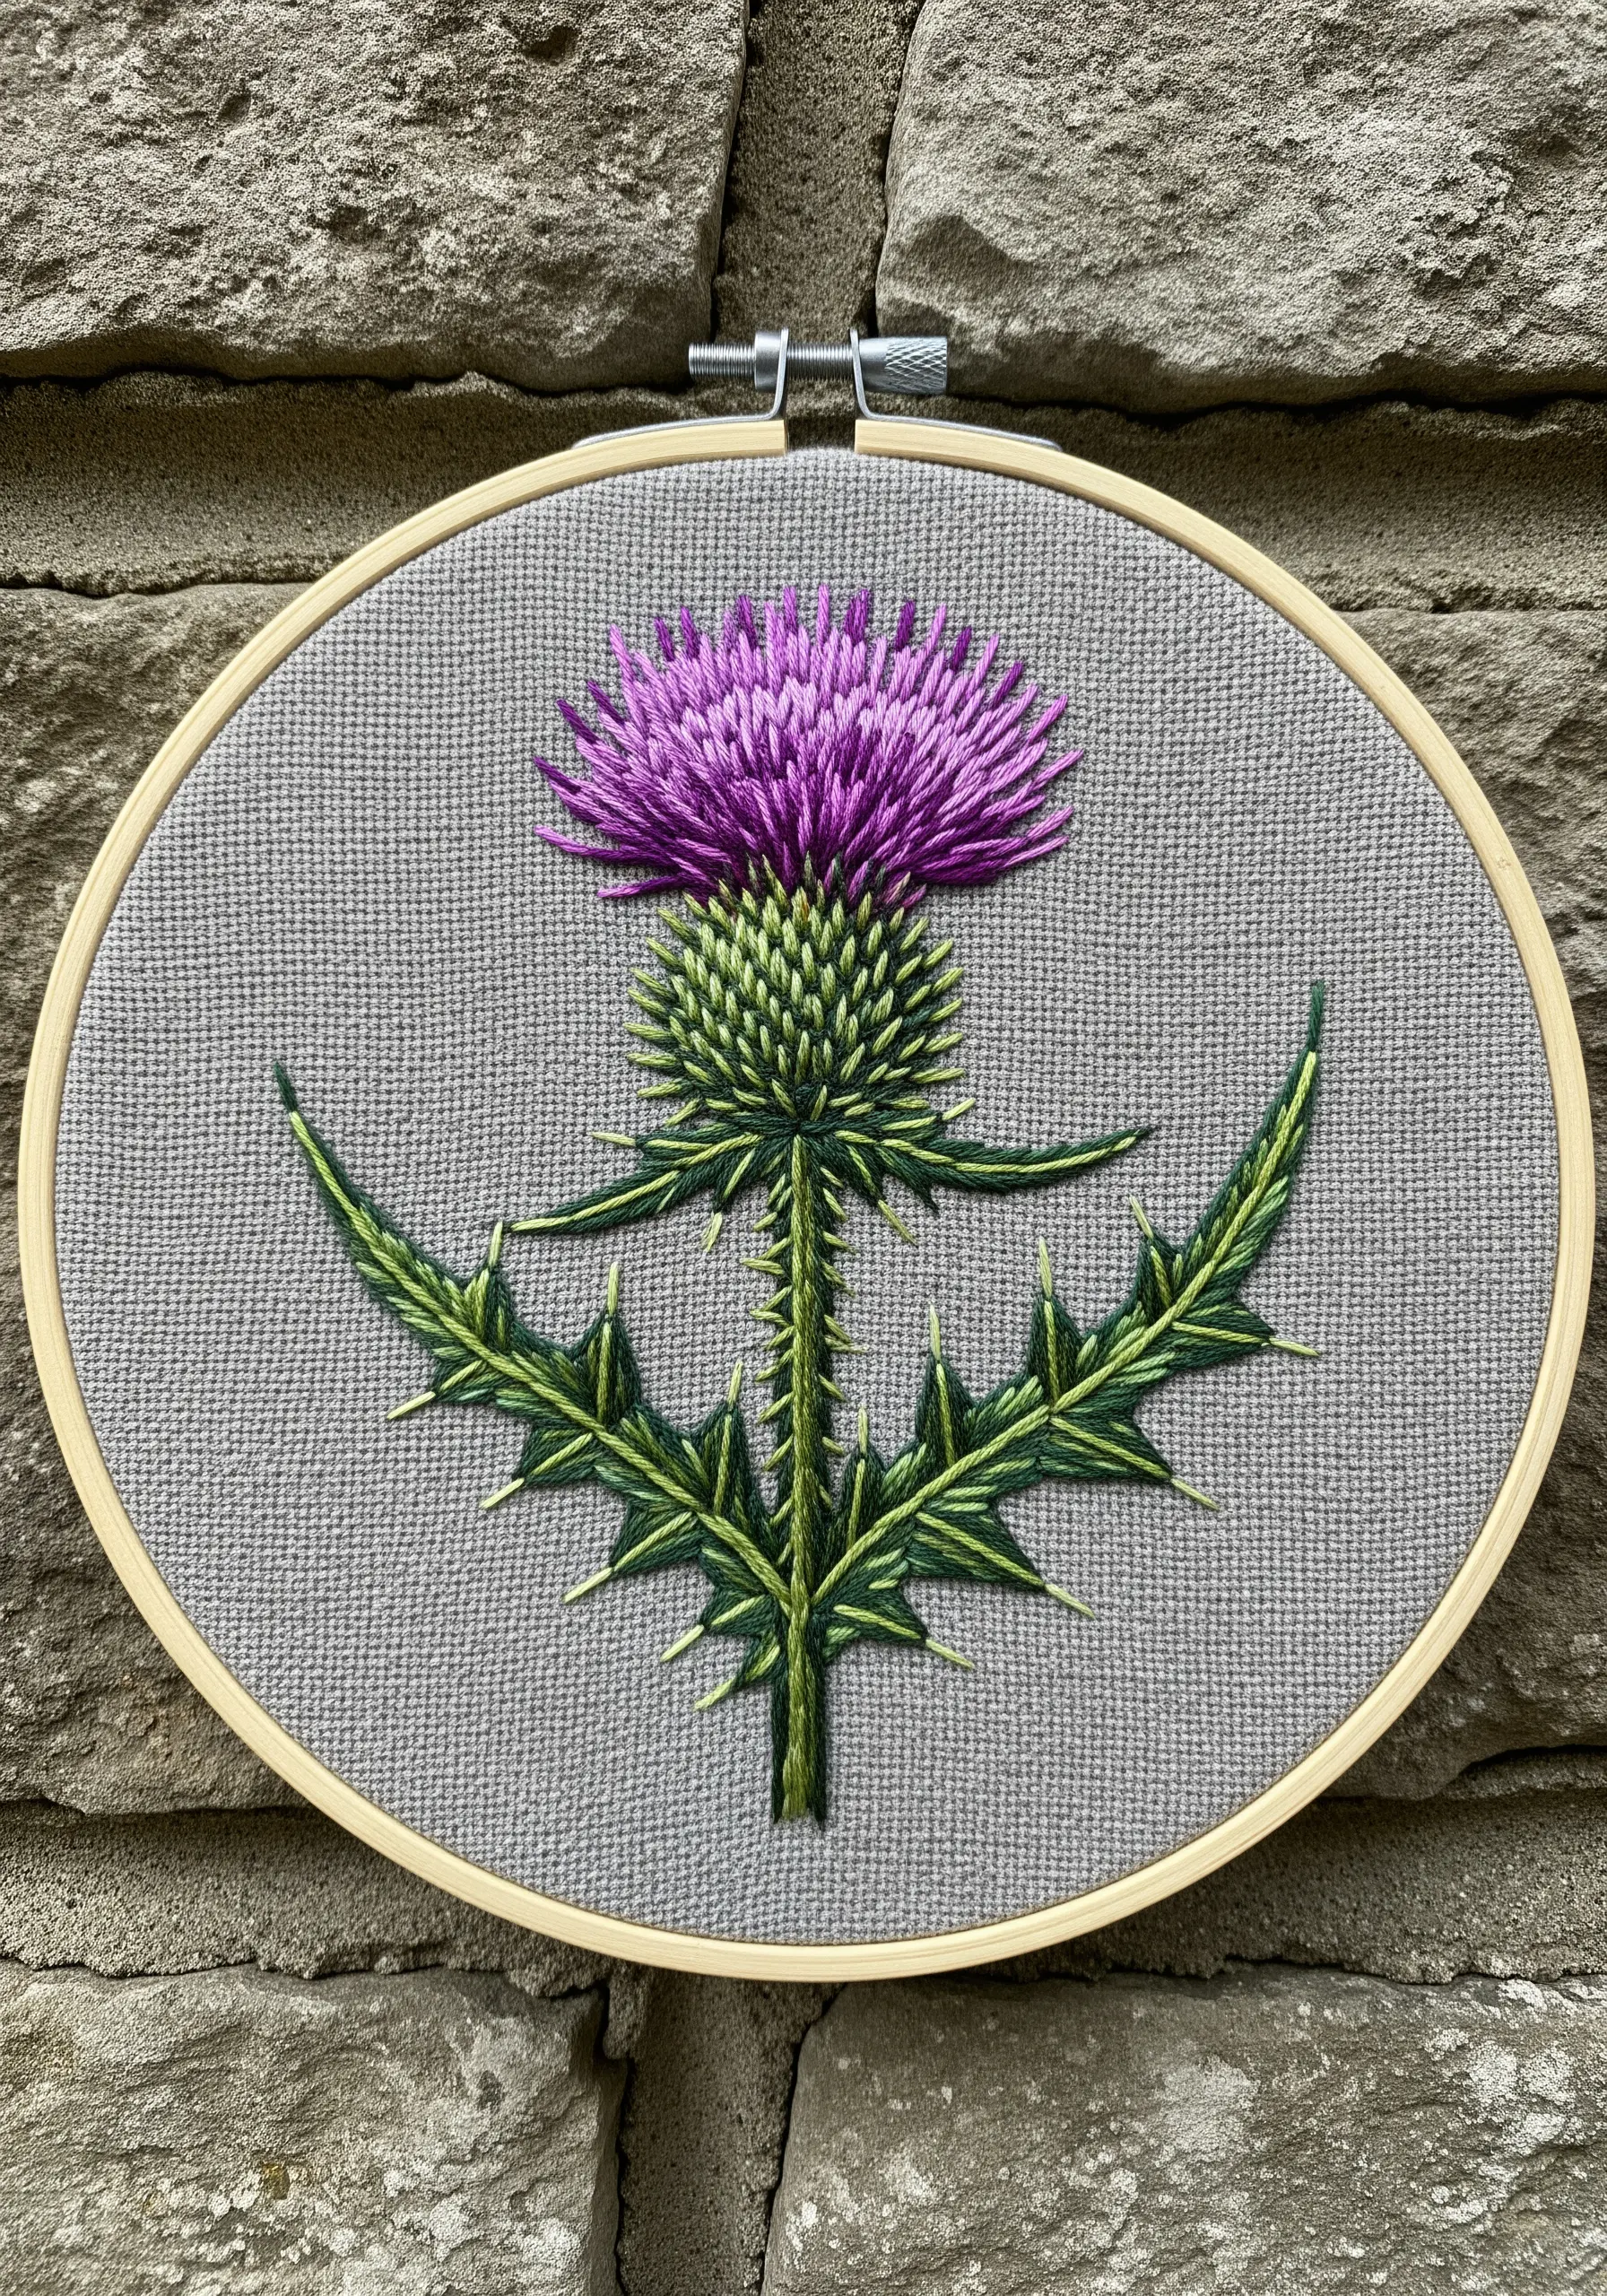
For the fluffy thistle flower, use a dense field of straight stitches in purples and magenta, or try trimmed Turkey work for a genuine 3D effect.
Create the spiky bracts below the flower with sharply angled satin stitches in several shades of green to show depth.
Define the iconic thorny leaf edges with a precise, single-strand split stitch outline, ensuring every point is sharp and clean.
10. Monochromatic Focus on Texture and Form

Challenge yourself by working within a single color family, forcing you to focus entirely on texture and shape.
Use long, tapered straight stitches for the spiky bracts of the sea holly, radiating from the center to create sharp lines.
Fill the central cone with a dense grid of French knots for a bumpy texture that contrasts beautifully with the sleek bracts.
Varying your thread weight—a thicker floss for the bracts and a finer one for the knots—can add another layer of subtle, sophisticated contrast.
11. The Elegance of Directional Satin Stitch
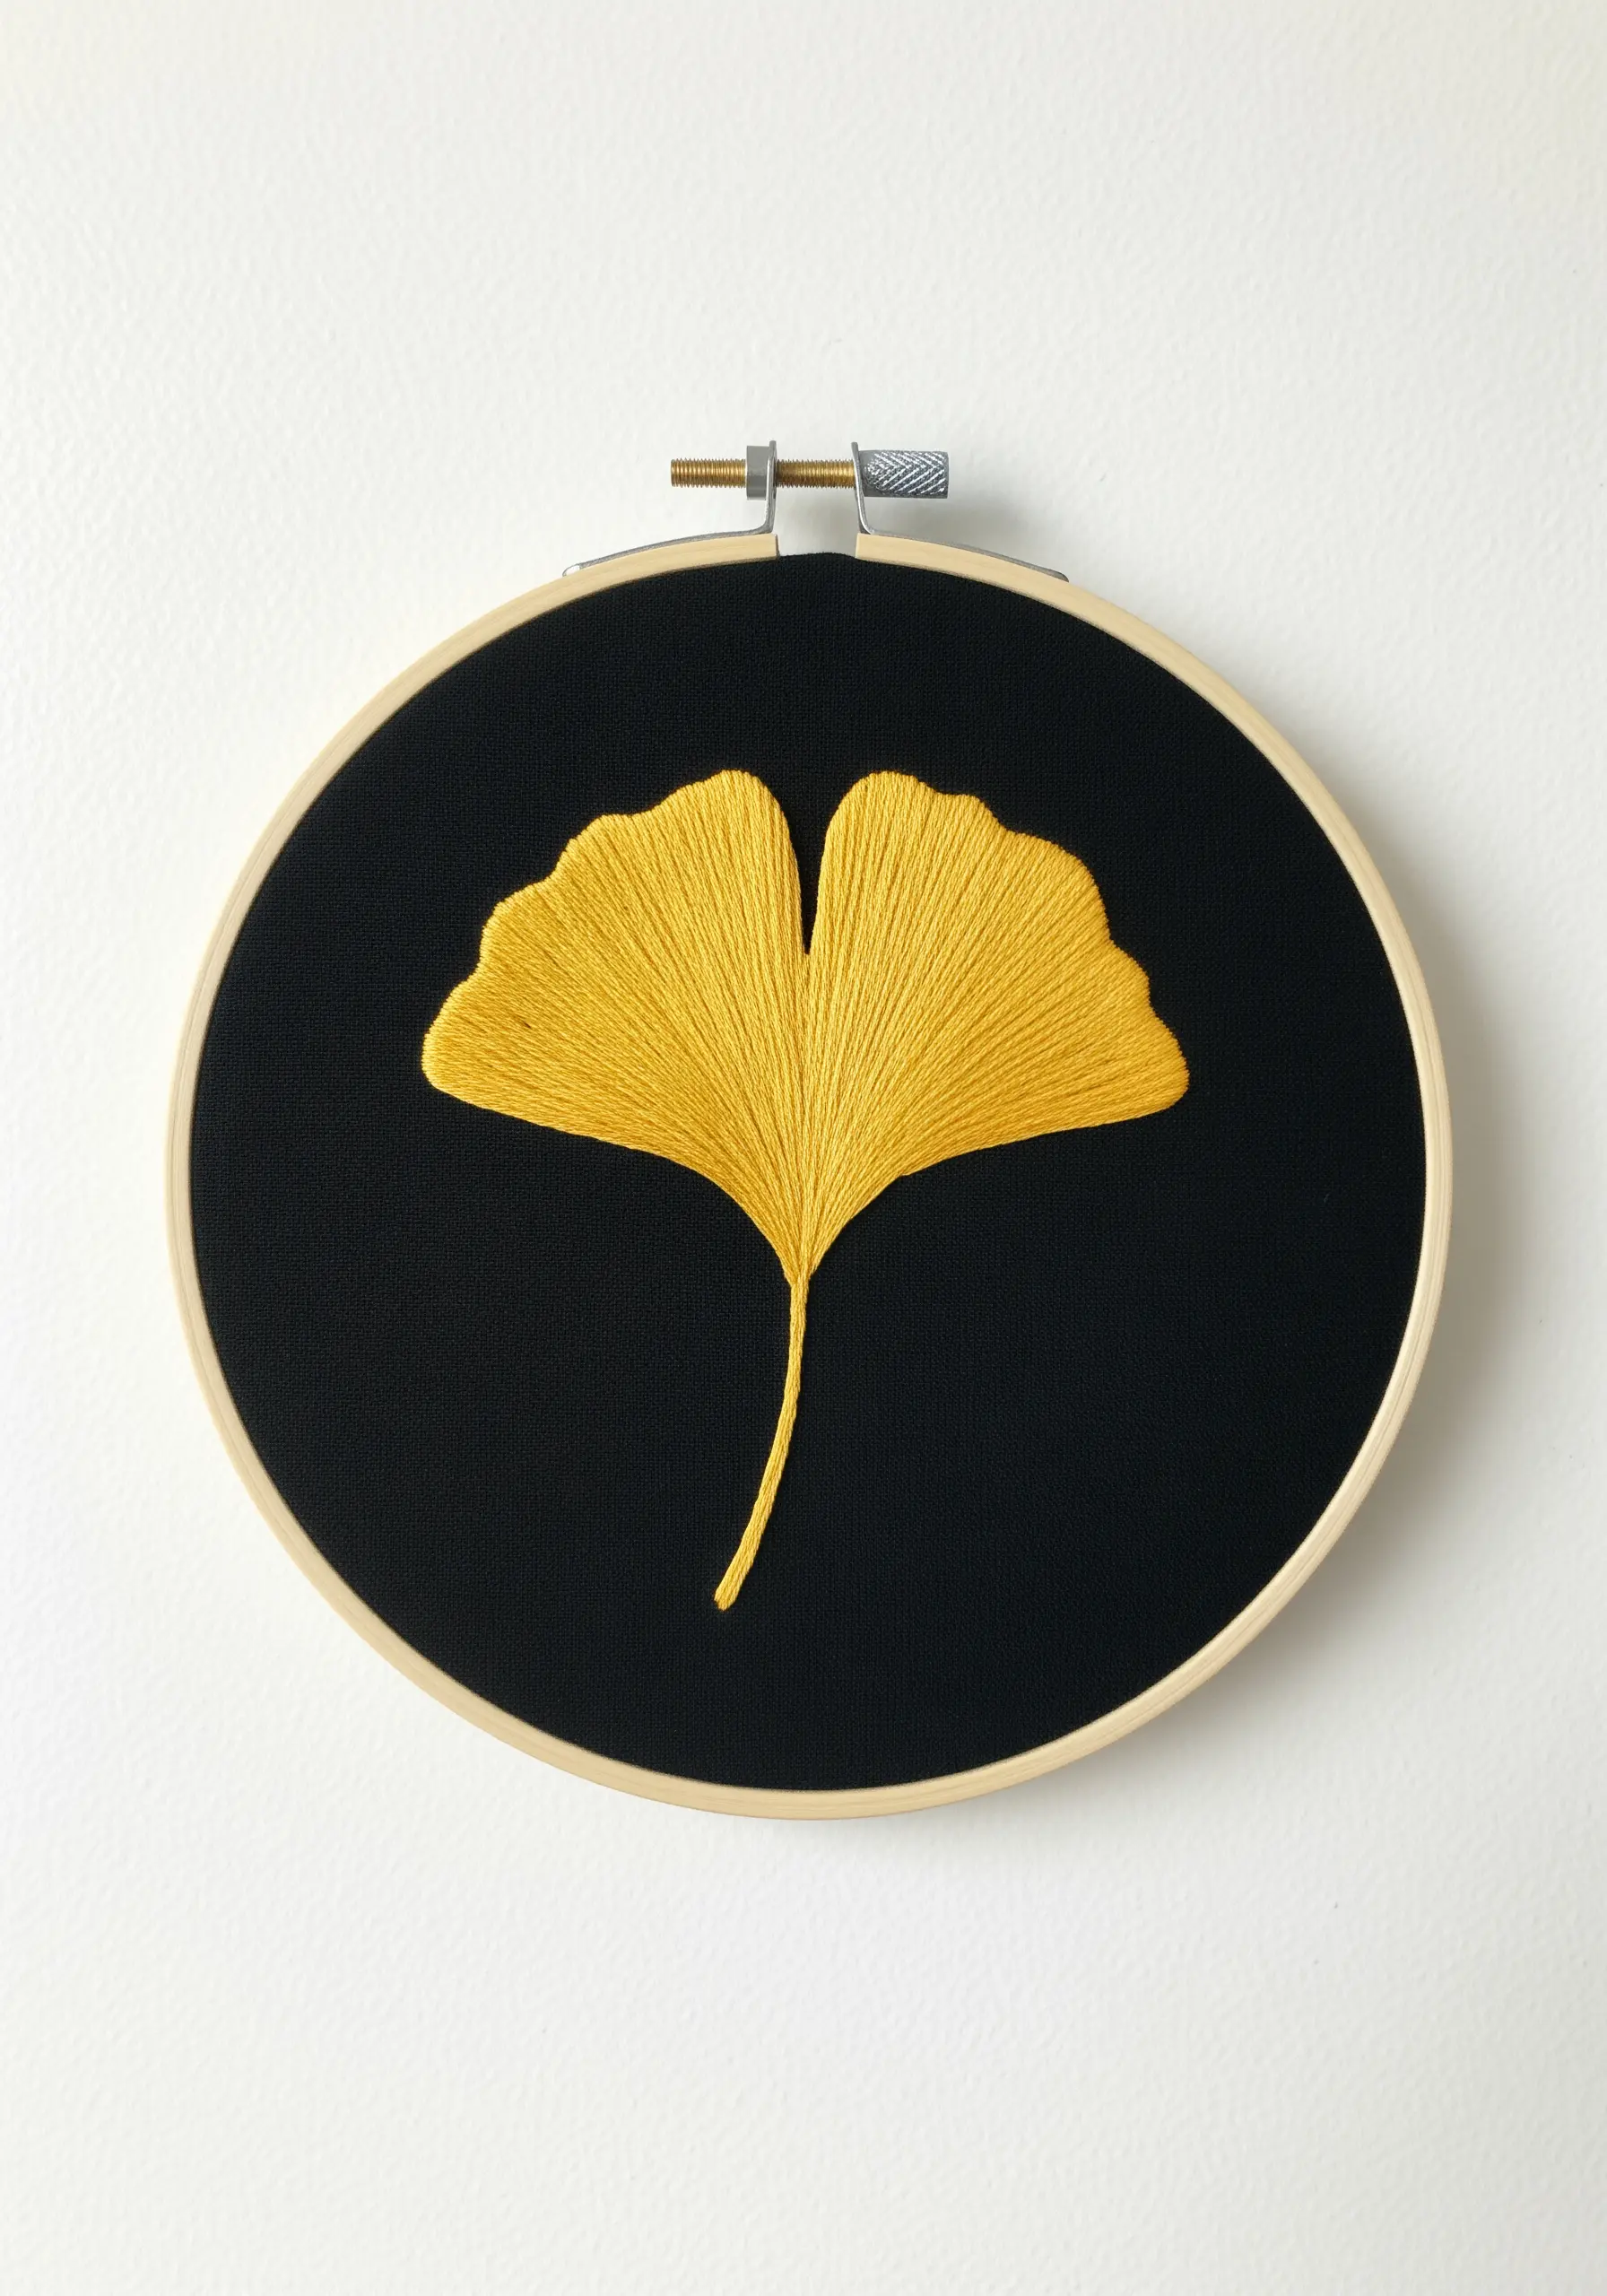
A ginkgo leaf is the perfect subject for mastering directional satin stitch. Begin your stitches at the base where the stem meets the leaf, fanning them out towards the wavy outer edge.
This technique perfectly mimics the leaf’s natural vein structure and creates a beautiful, elegant flow.
Choosing a single, bold color like marigold yellow on a dark background transforms a simple shape into a striking piece of minimalist embroidery art.
12. Soft Hues and Layered Compositions
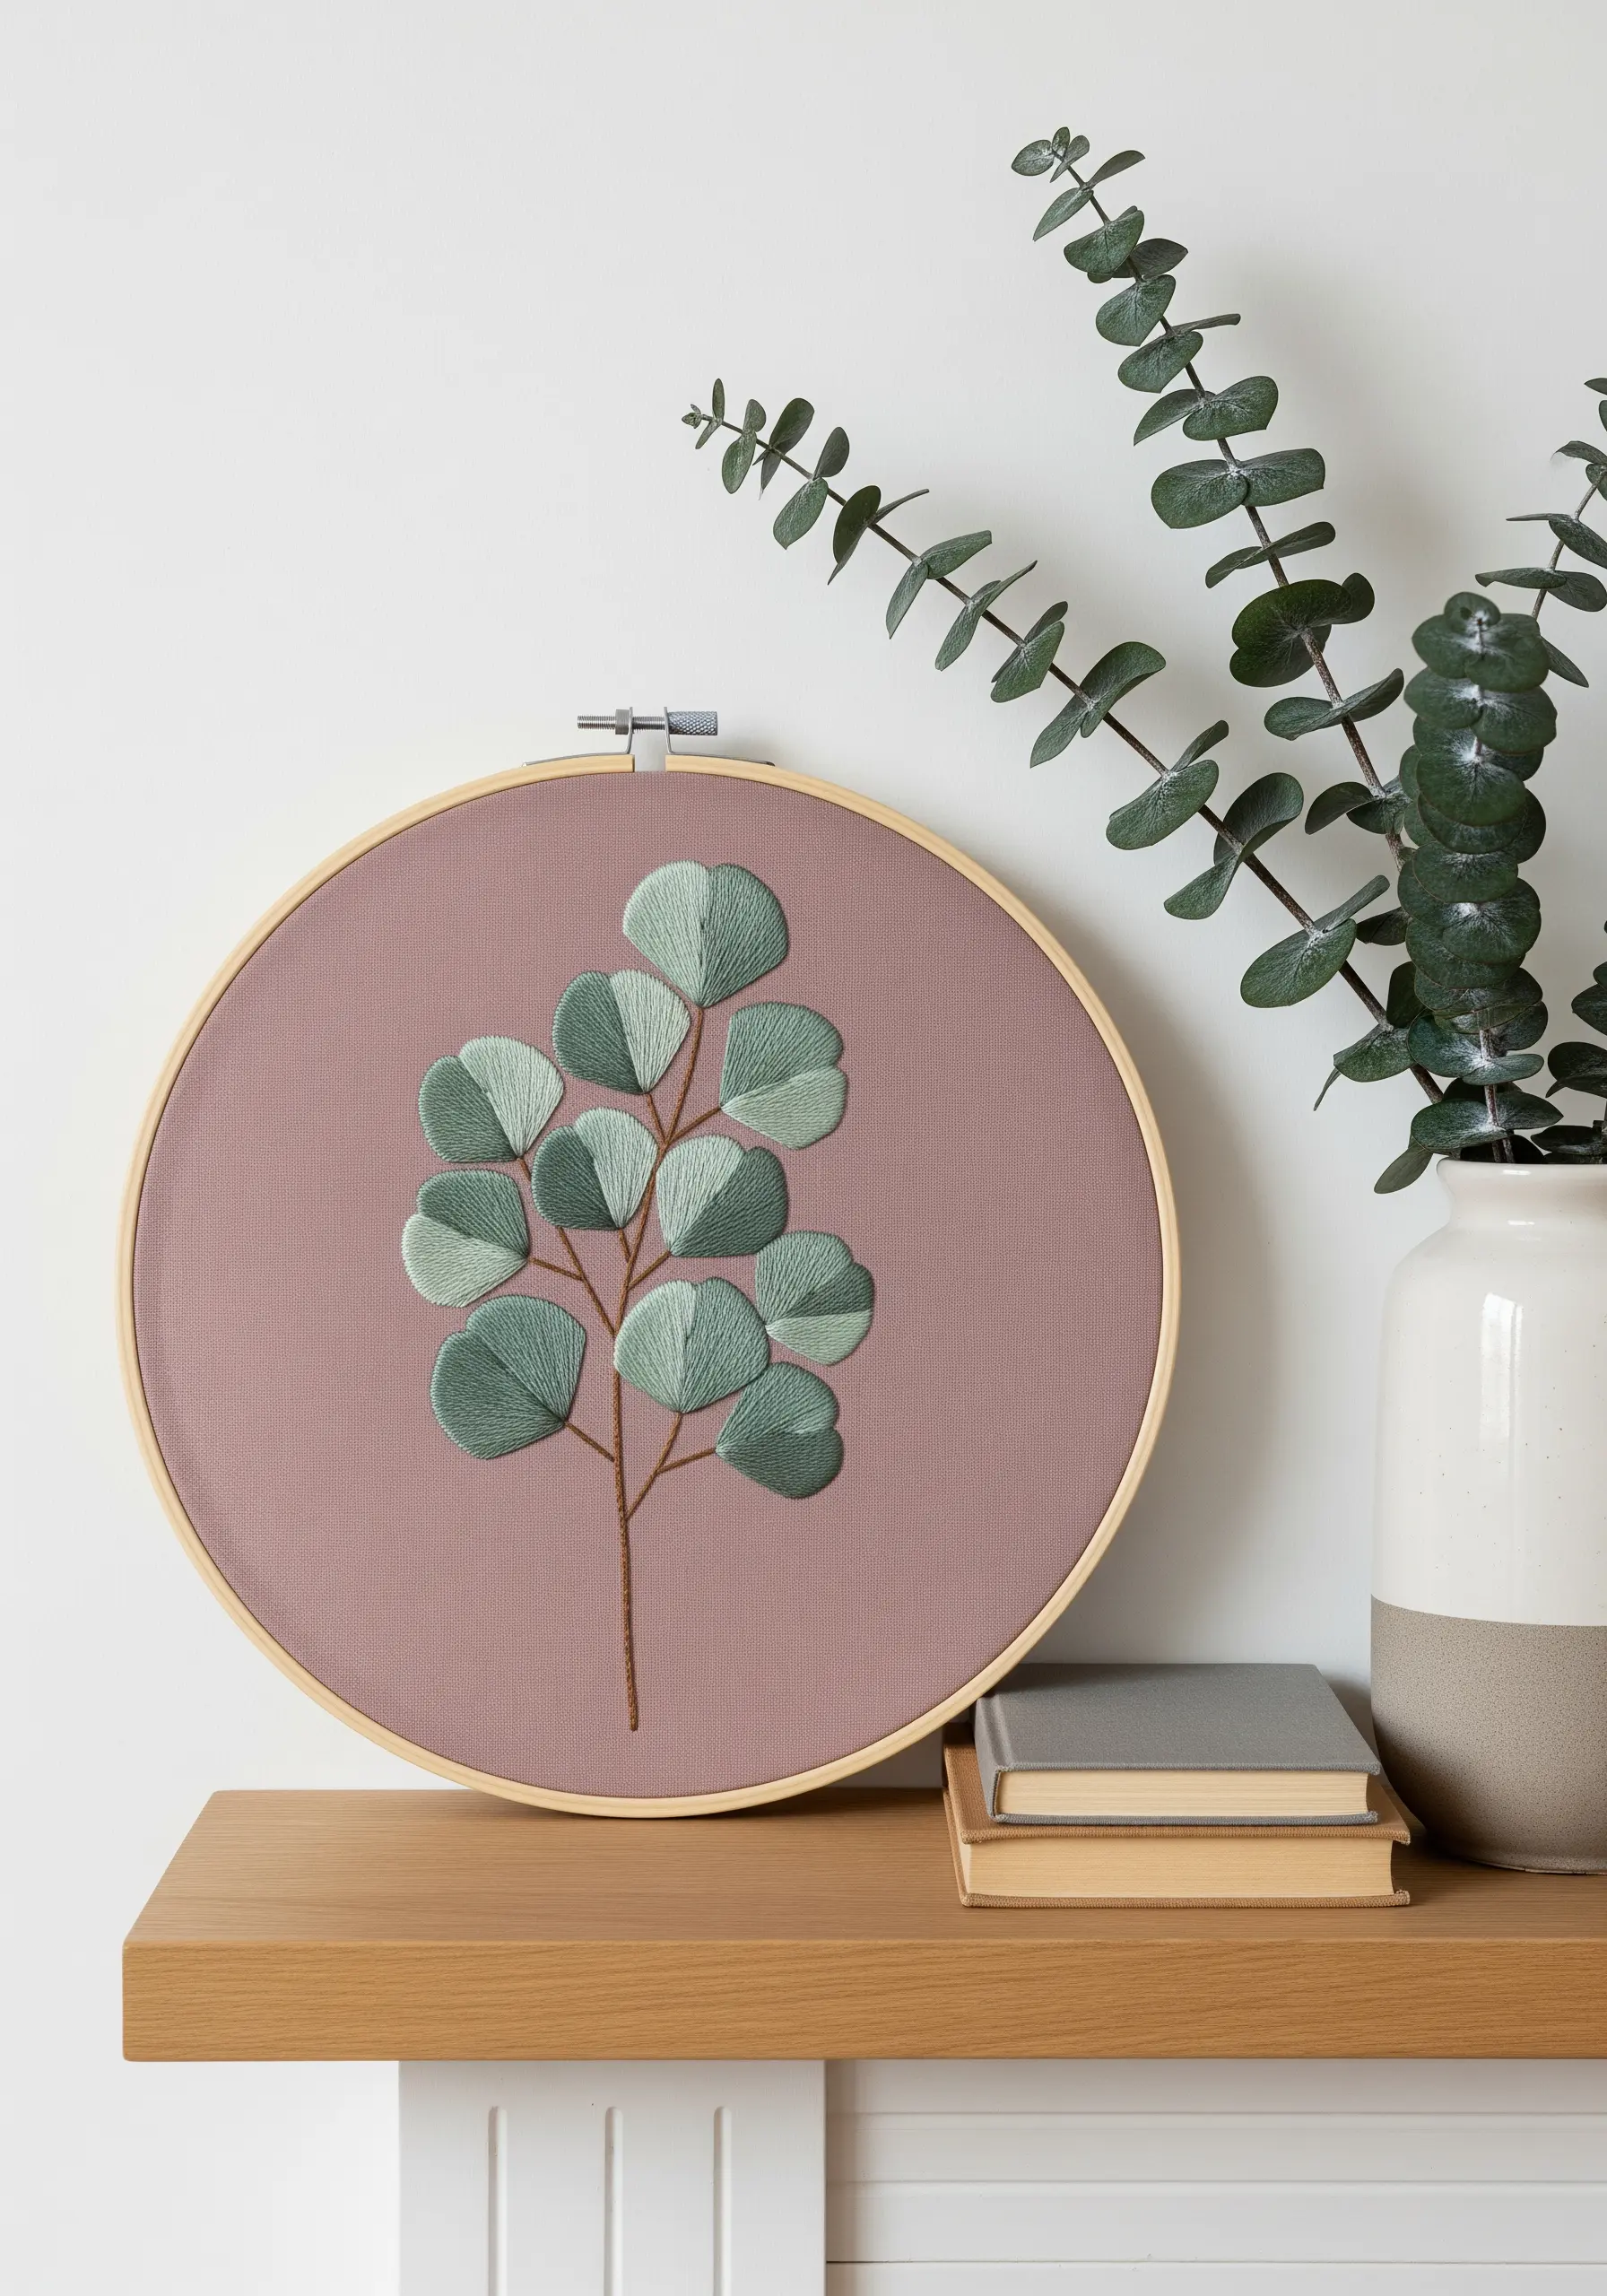
Capture the dusty, muted tones of eucalyptus leaves by working with a split satin stitch, which gives a softer, more matte finish than traditional satin stitch.
Slightly overlap the leaves as you stitch them to create a natural sense of depth and density, as if they are clustered on a real branch.
Use two or three closely related shades of sage, mint, and grey-green to give the composition a gentle, harmonious feel that is true to the plant.
13. Botanical Study with Line and Shading
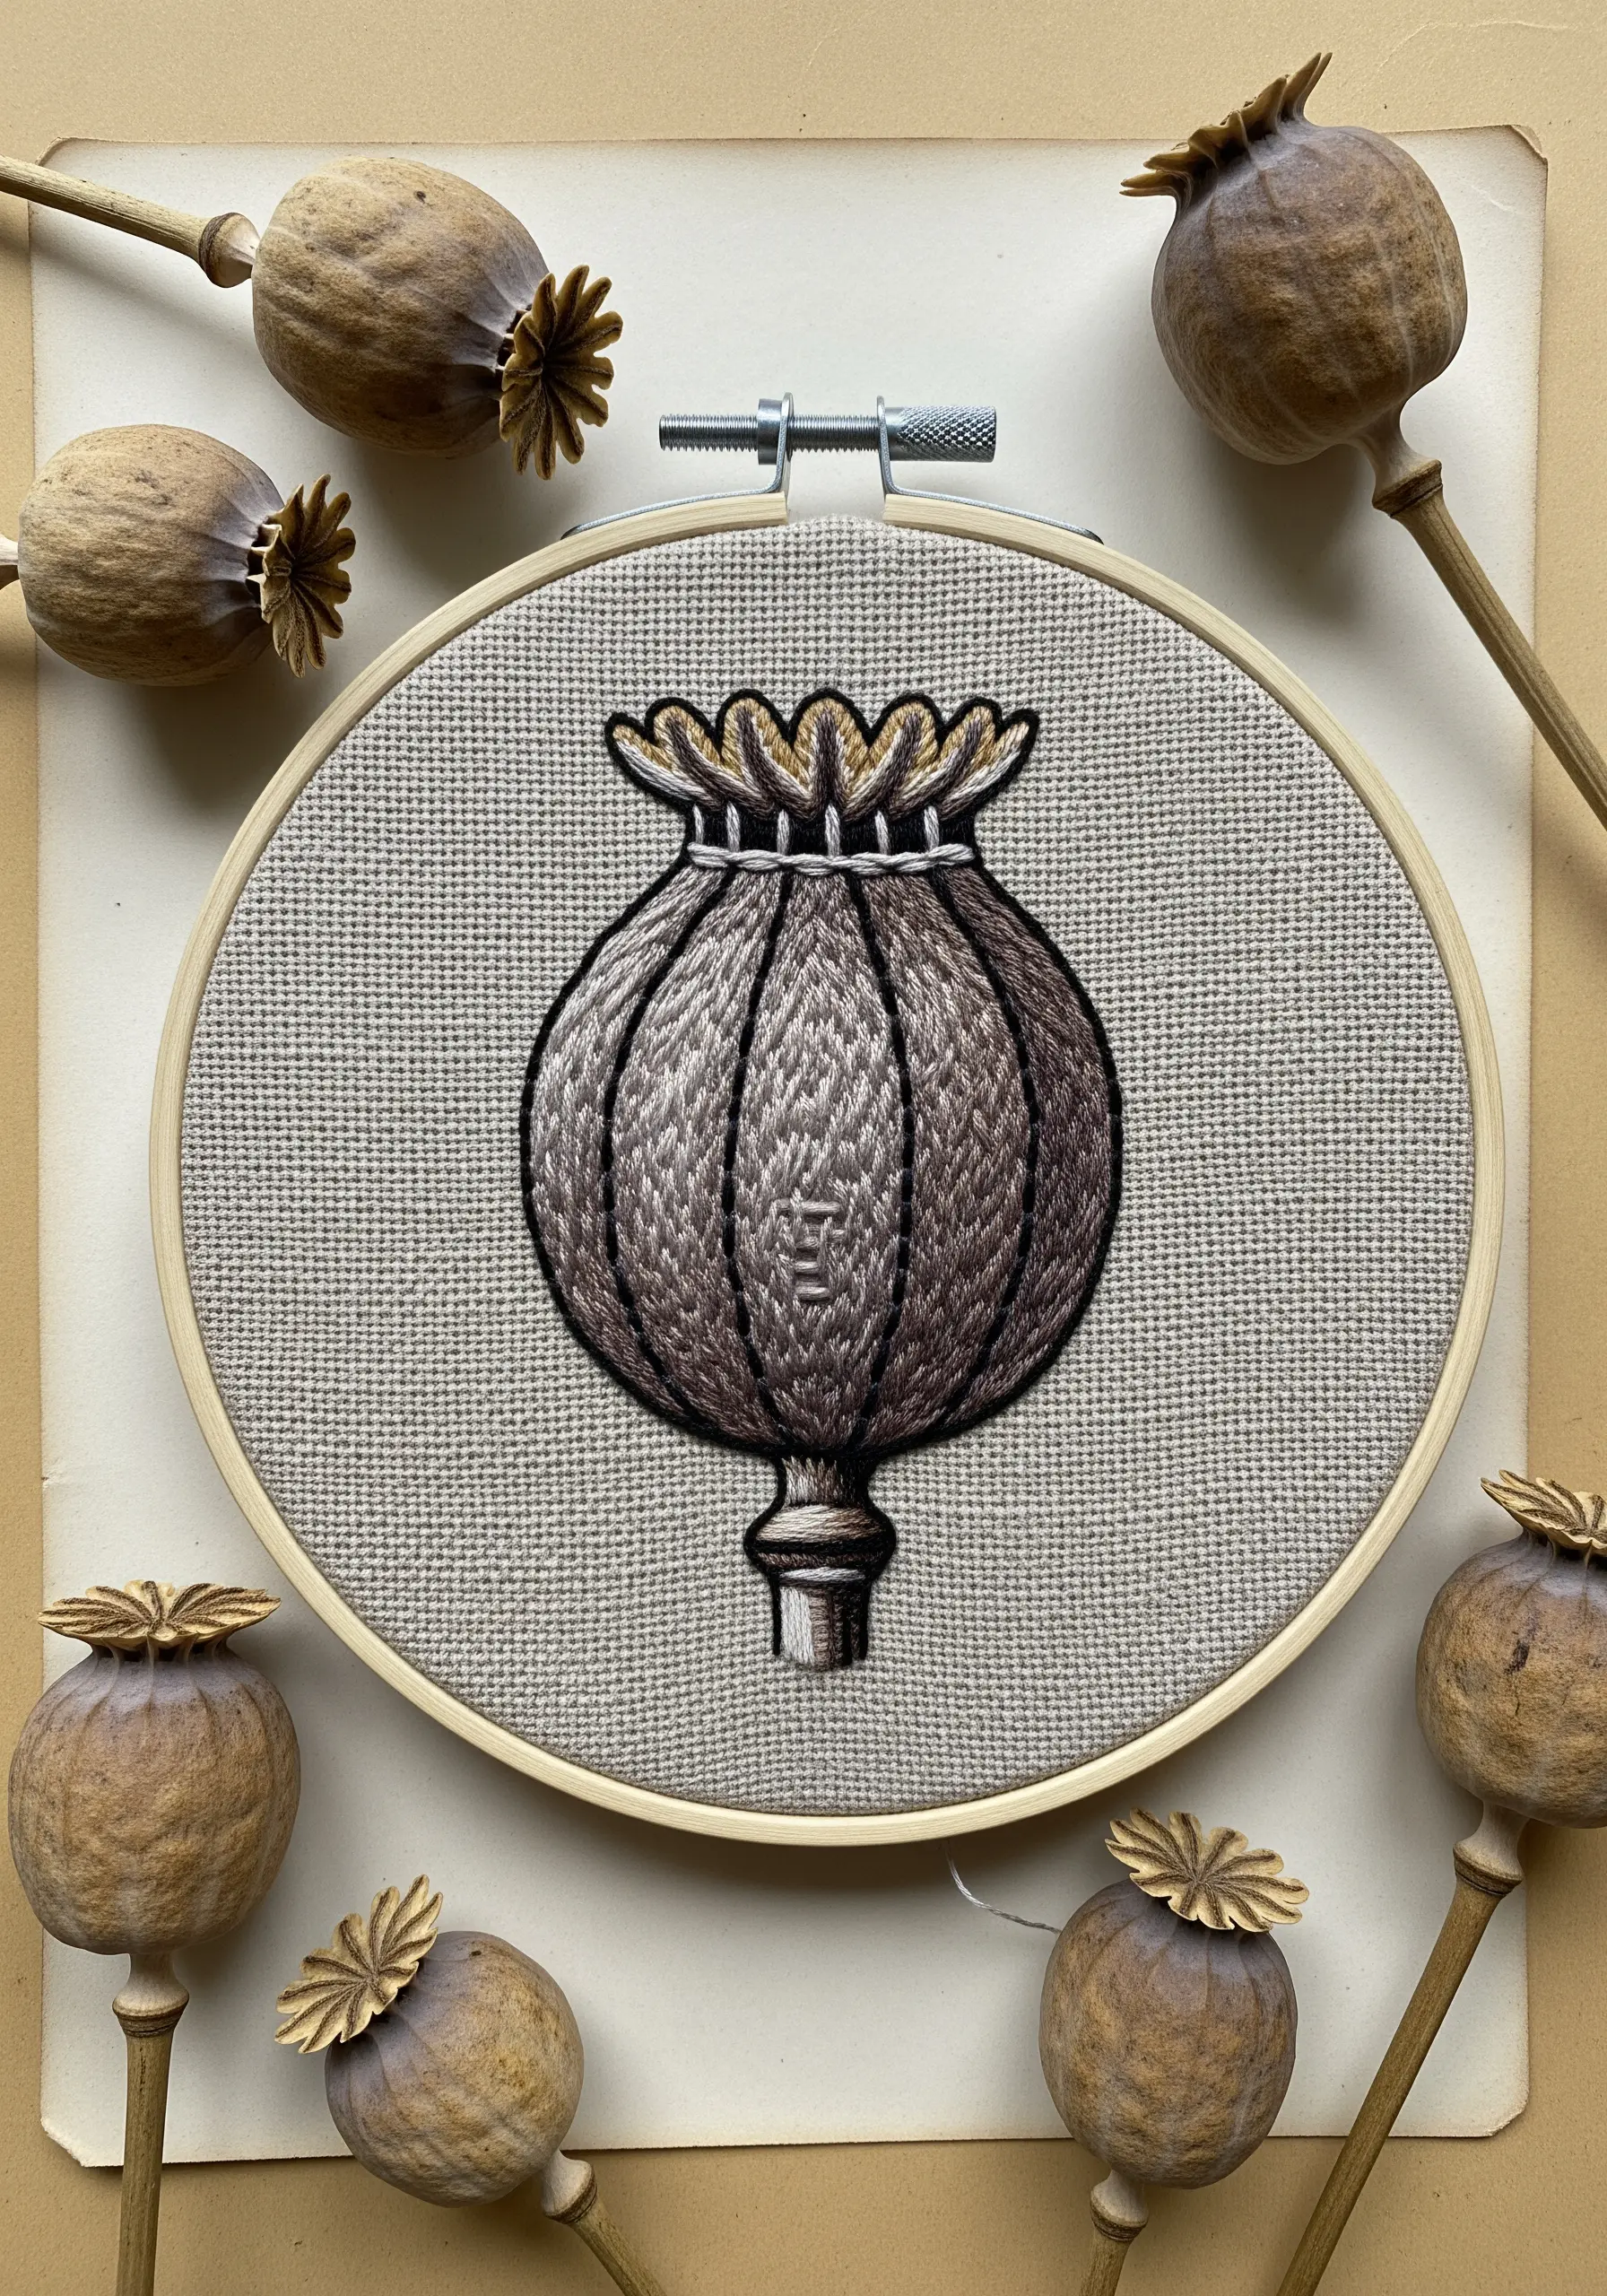
Elevate a simple poppy seed head into an intricate botanical study through careful thread painting.
Use long-and-short stitches that follow the curved form of the pod, blending lighter and darker tones to create highlights and shadows.
Define the recessed lines of the pod with a darker shade to enhance the contours and create a three-dimensional illusion.
Finish the piece with a crisp, dark backstitch outline to give it a clean, illustrative quality.
14. Creating Dimension with Detached Stitches
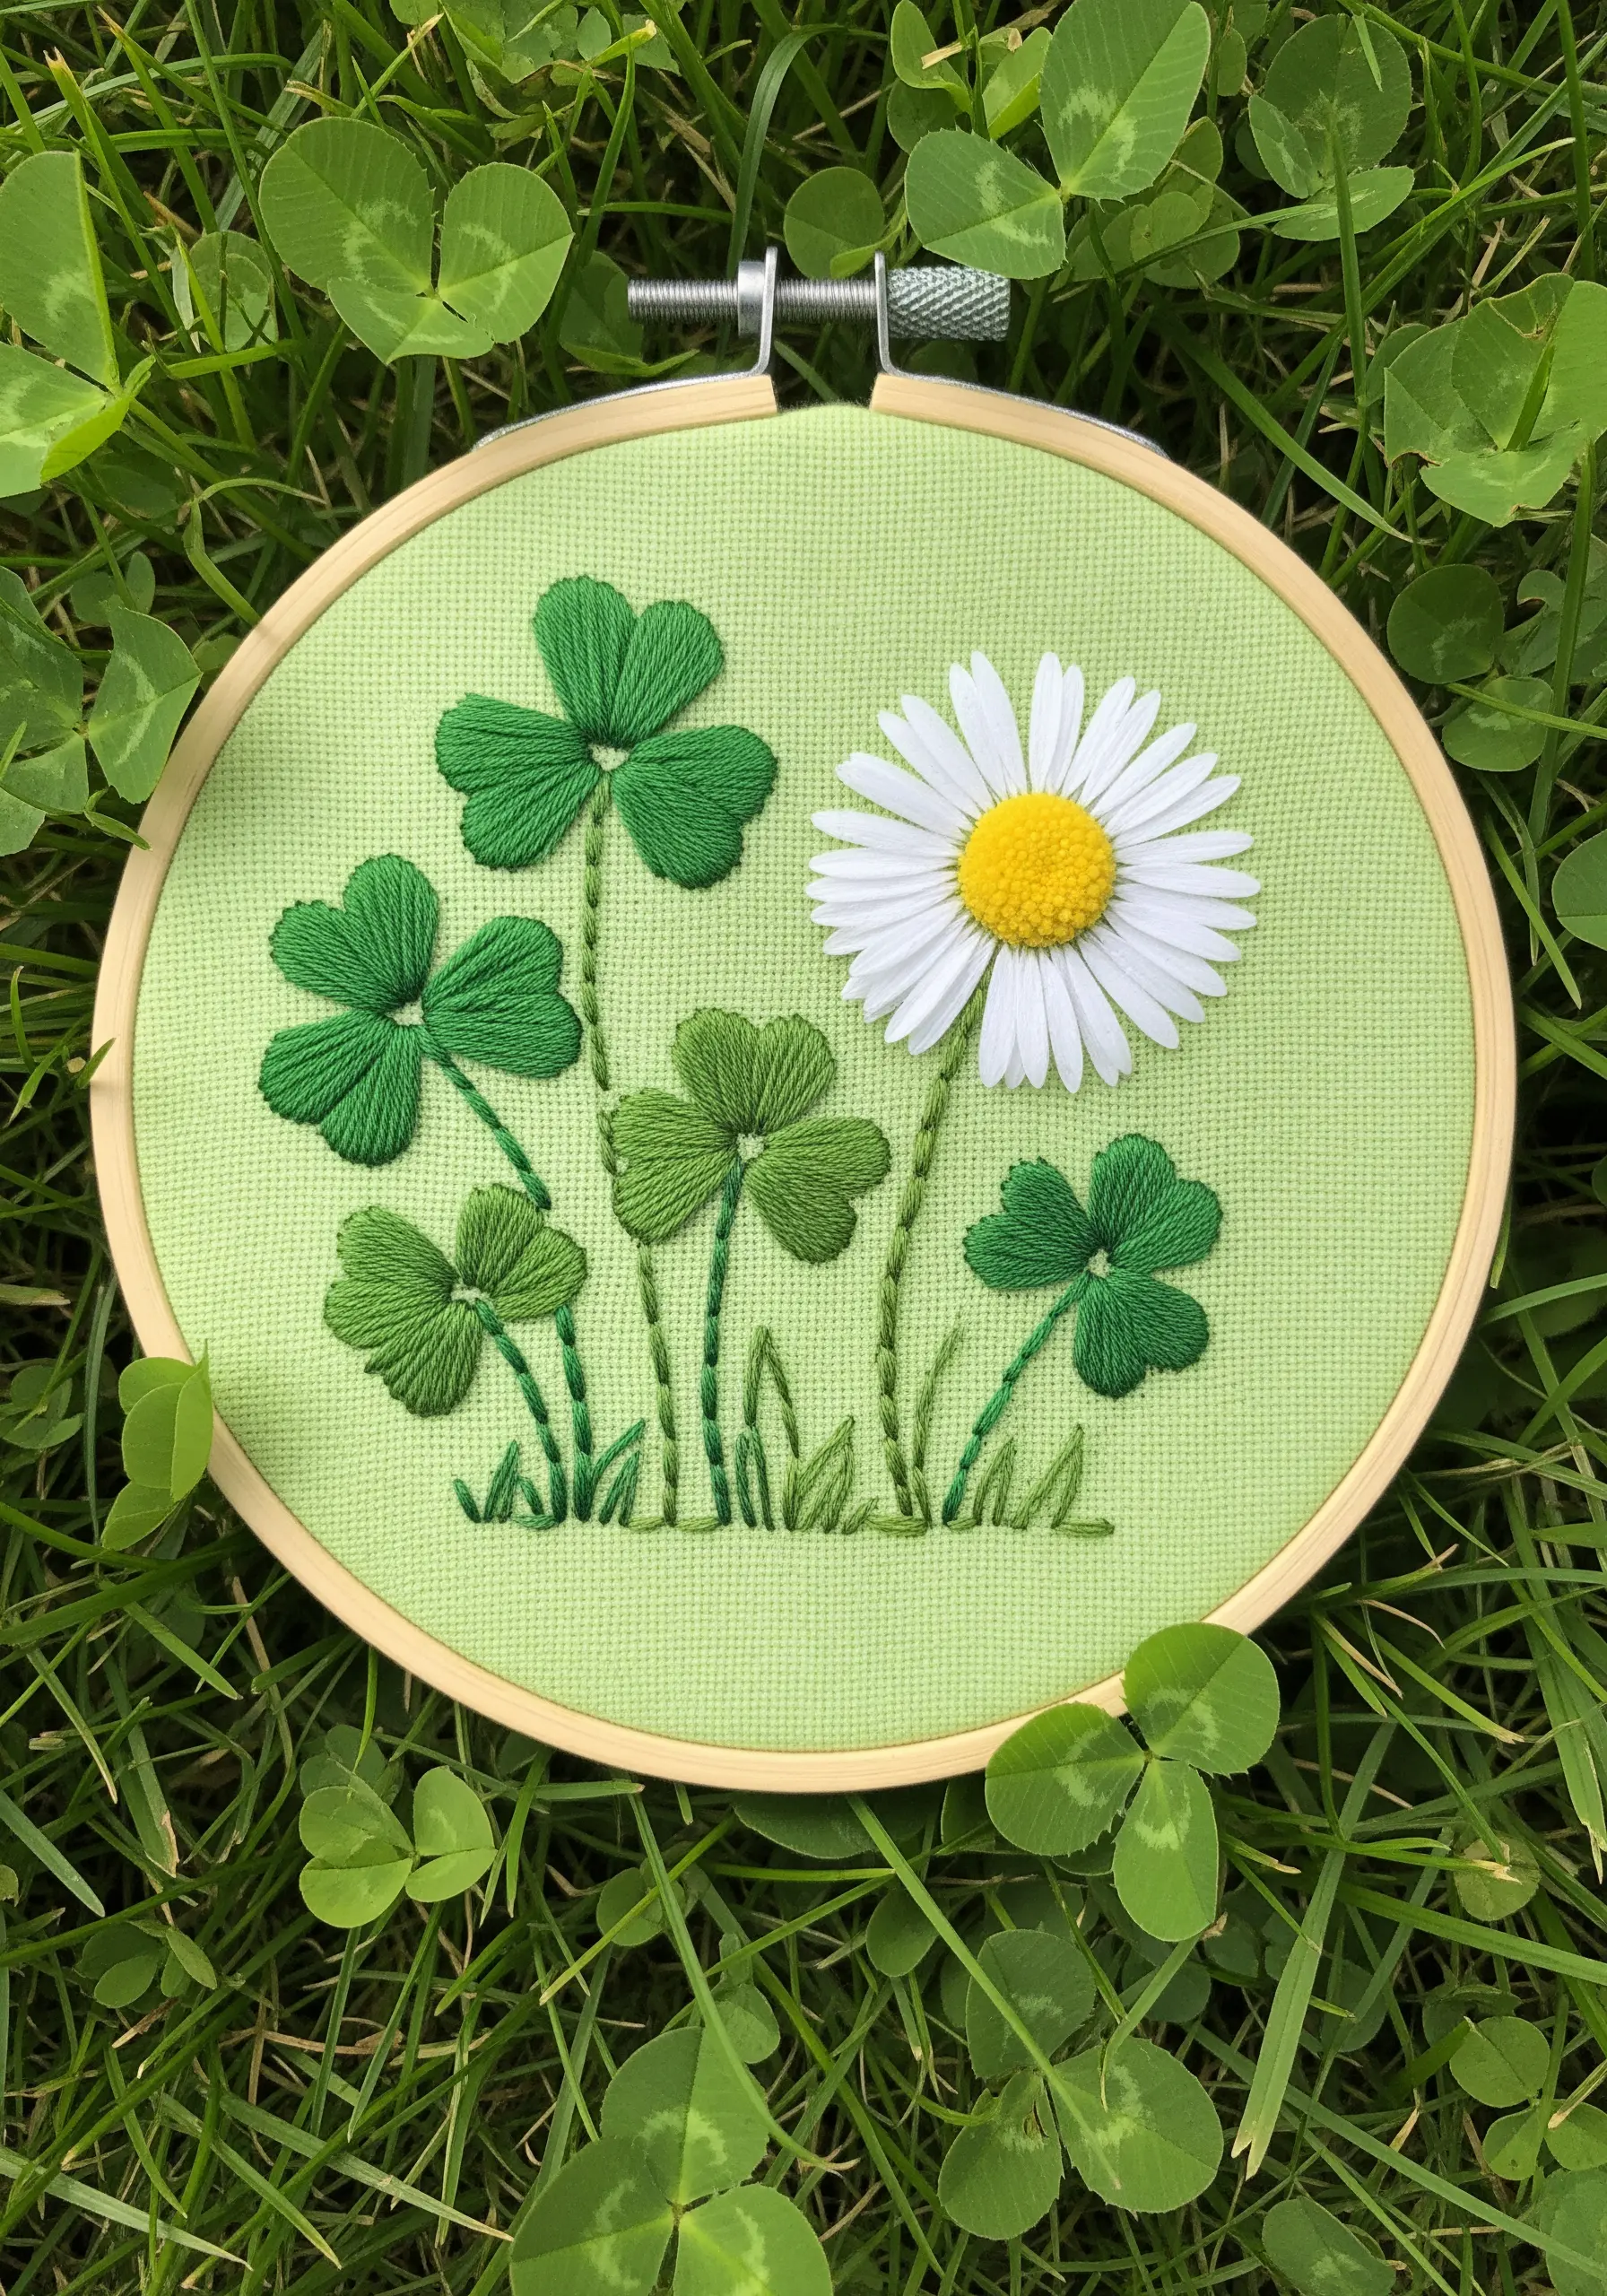
Give a simple daisy a stunning 3D effect by using a detached stitch for the petals, such as the cast-on stitch or the detached woven picot stitch.
These techniques allow the petals to lift off the fabric surface, creating real shadow and depth.
Contrast the high-dimension flower with simple, flat satin-stitched clover leaves. This interplay between 3D and 2D elements makes the daisy the undeniable focal point of your design.
15. Building Dense Form with Clustered Knots
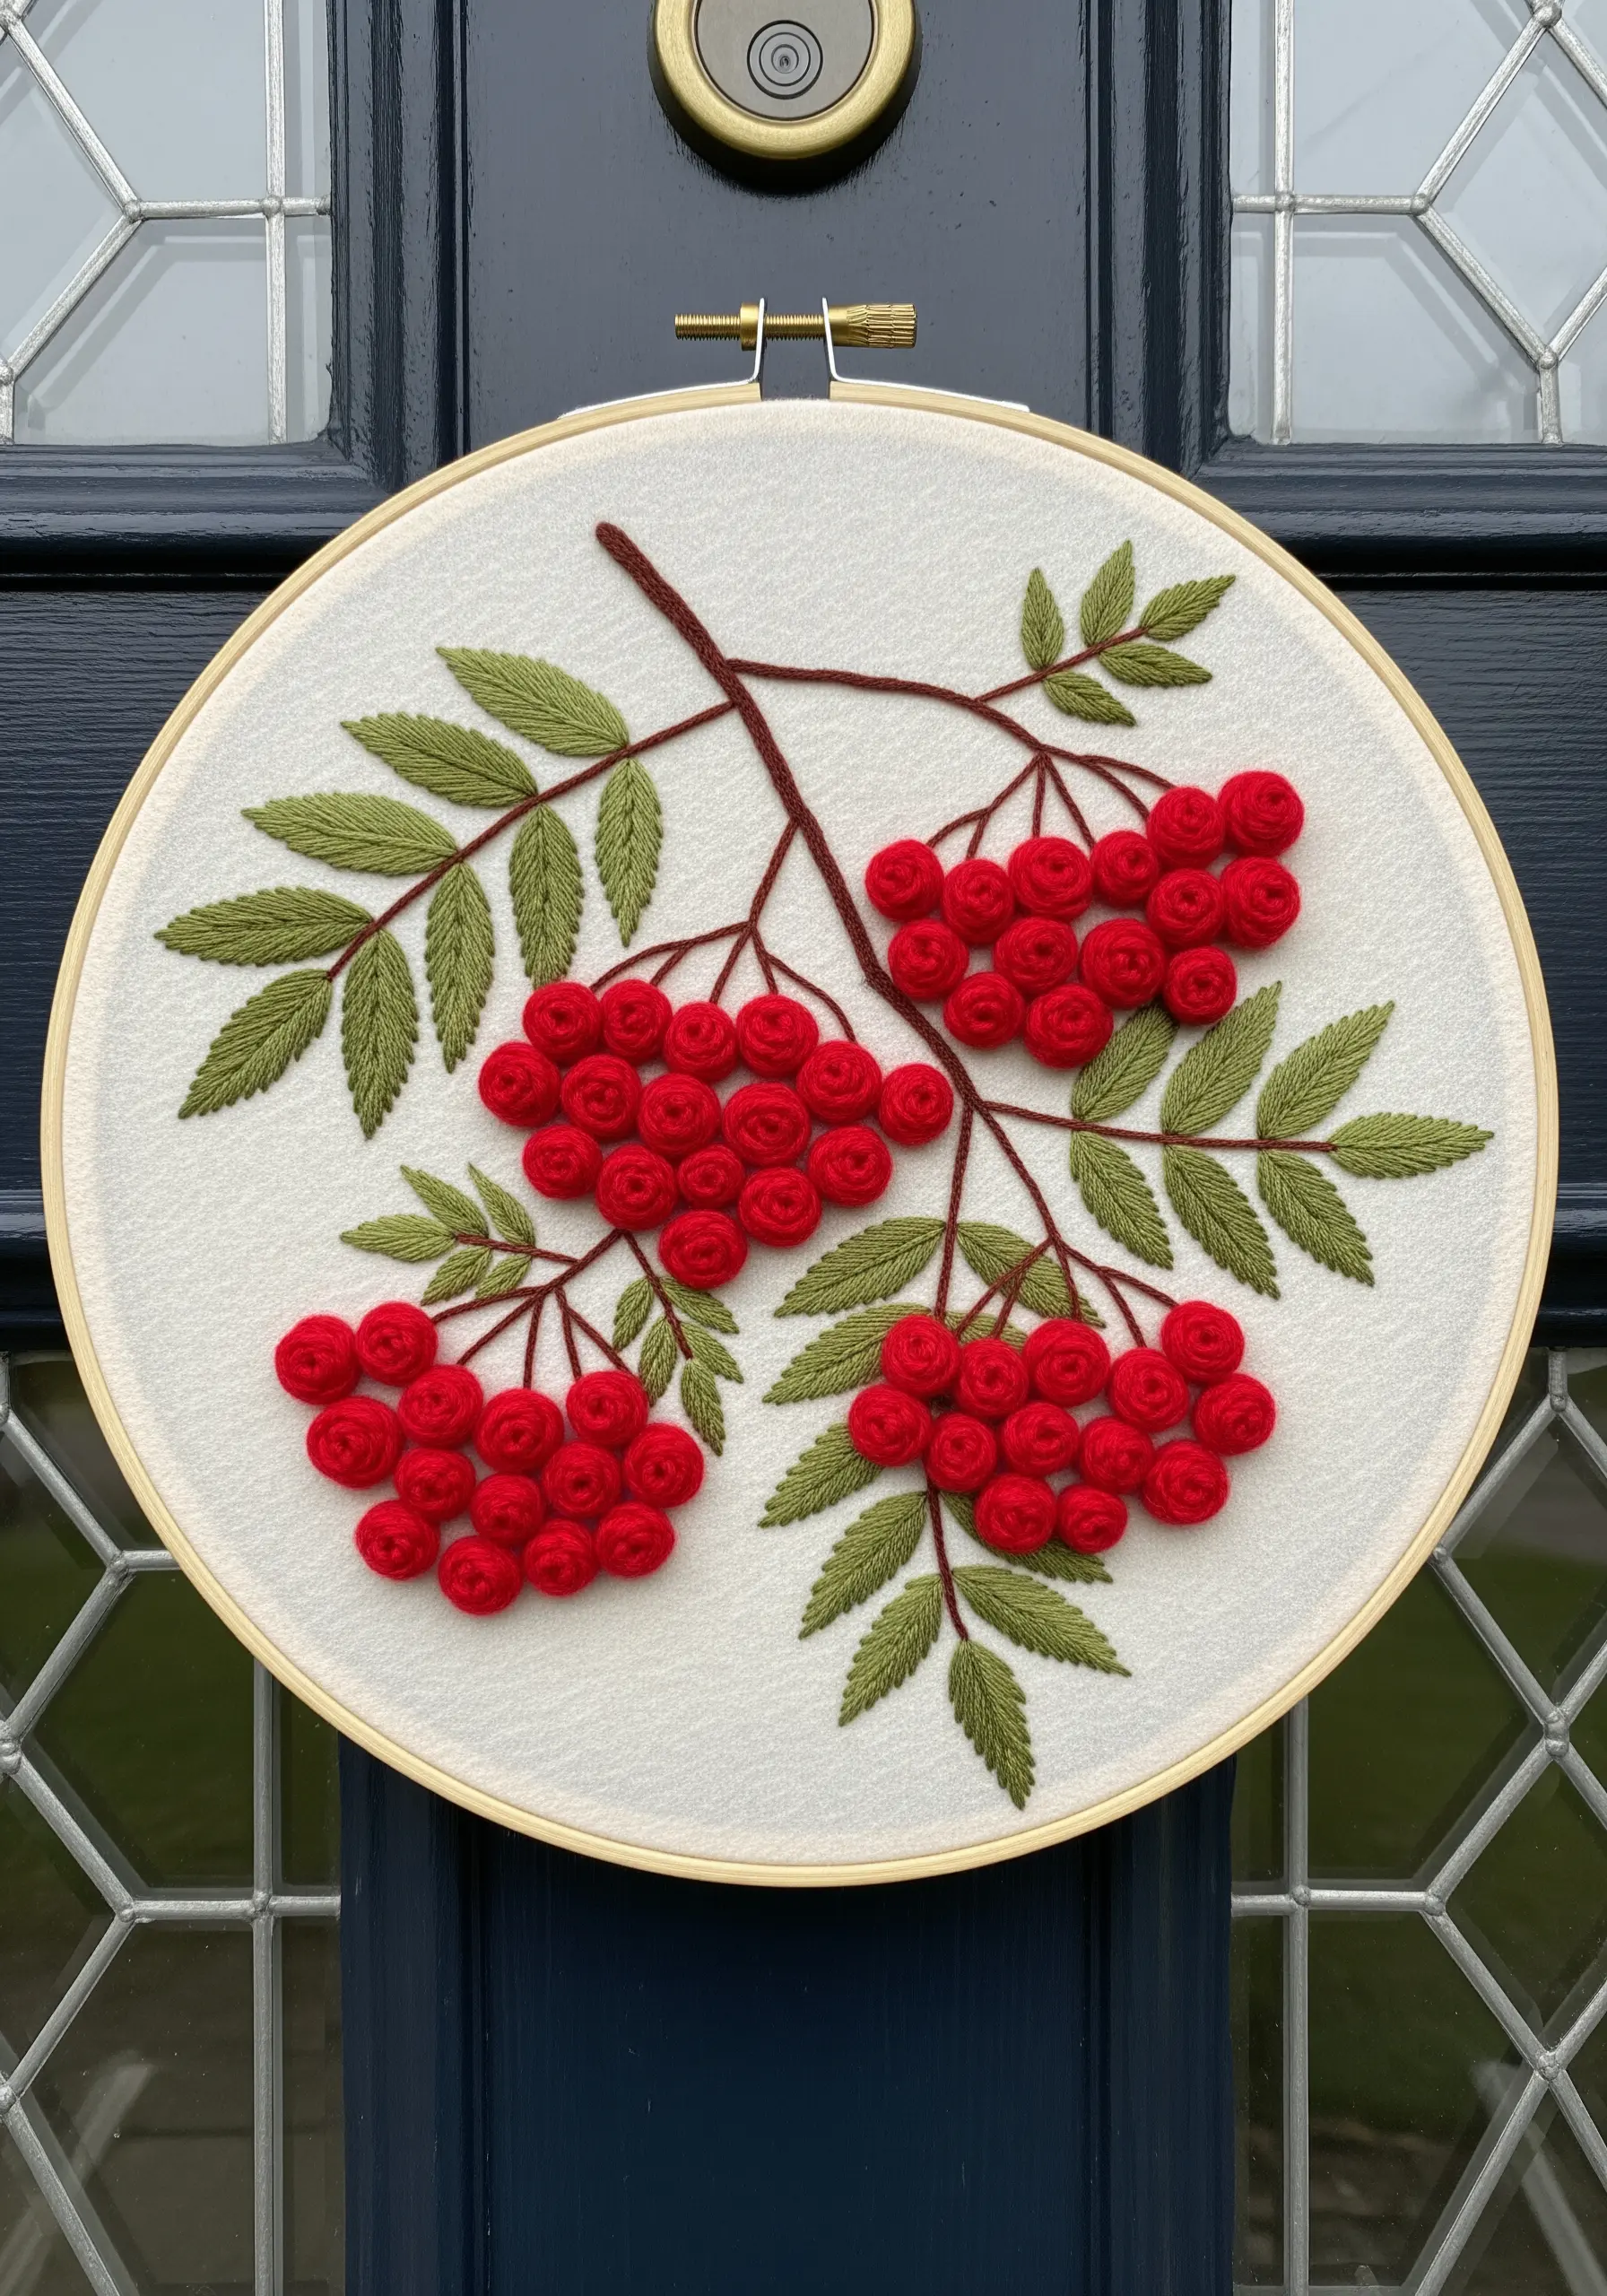
For dense clusters like rowan berries, use tightly packed French or colonial knots. Using a slightly thicker thread, like a pearl cotton, can help build volume faster.
For even more dimension, create a padded satin stitch base underneath where the knots will go. This will give the berry clusters a more rounded, raised profile.
Always stitch the berries first, then add the connecting stems and leaves behind them. This simple trick creates a more realistic sense of layering and depth.
16. Fire and Light with Blended Thread

Achieve a fiery maple leaf gradient by meticulously blending colors with the long-and-short stitch.
Lightly sketch your color zones first: yellows and oranges near the center, transitioning to vibrant reds and deep burgundies at the pointed tips.
After filling the leaf with color, add the veins over the top using a darker thread in a simple backstitch or split stitch. This adds structure and a final layer of convincing detail, making your work look like a miniature painting.
17. Mixed-Fiber Art for Sculptural Impact

Move beyond the hoop and create a larger piece of hand-embroidery textile wall art on a stretched canvas.
Use a thicker fiber like tapestry wool for the cattail heads, filling them with dense French knots to create a plush, velvety texture that begs to be touched.
For the long, blade-like leaves, use standard six-strand floss in a flat satin stitch. The sleek, shiny finish of the floss will provide a stunning contrast against the matte, textural wool.
18. Capturing Sheen with Concentric Stitches

Replicate the perfect spiral of a snail shell by stitching in concentric rows of stem stitch or split stitch, following the curve precisely.
Gradually shift your thread color with each row, moving from a light cream at the center to darker beiges and browns on the outer rings to create a natural gradient.
For a subtle, iridescent finish, incorporate a single strand of a light-effect or pearlescent thread into your color blend. This will catch the light beautifully and mimic the shell’s natural sheen.
19. Miniature Florals with Precision Stitching
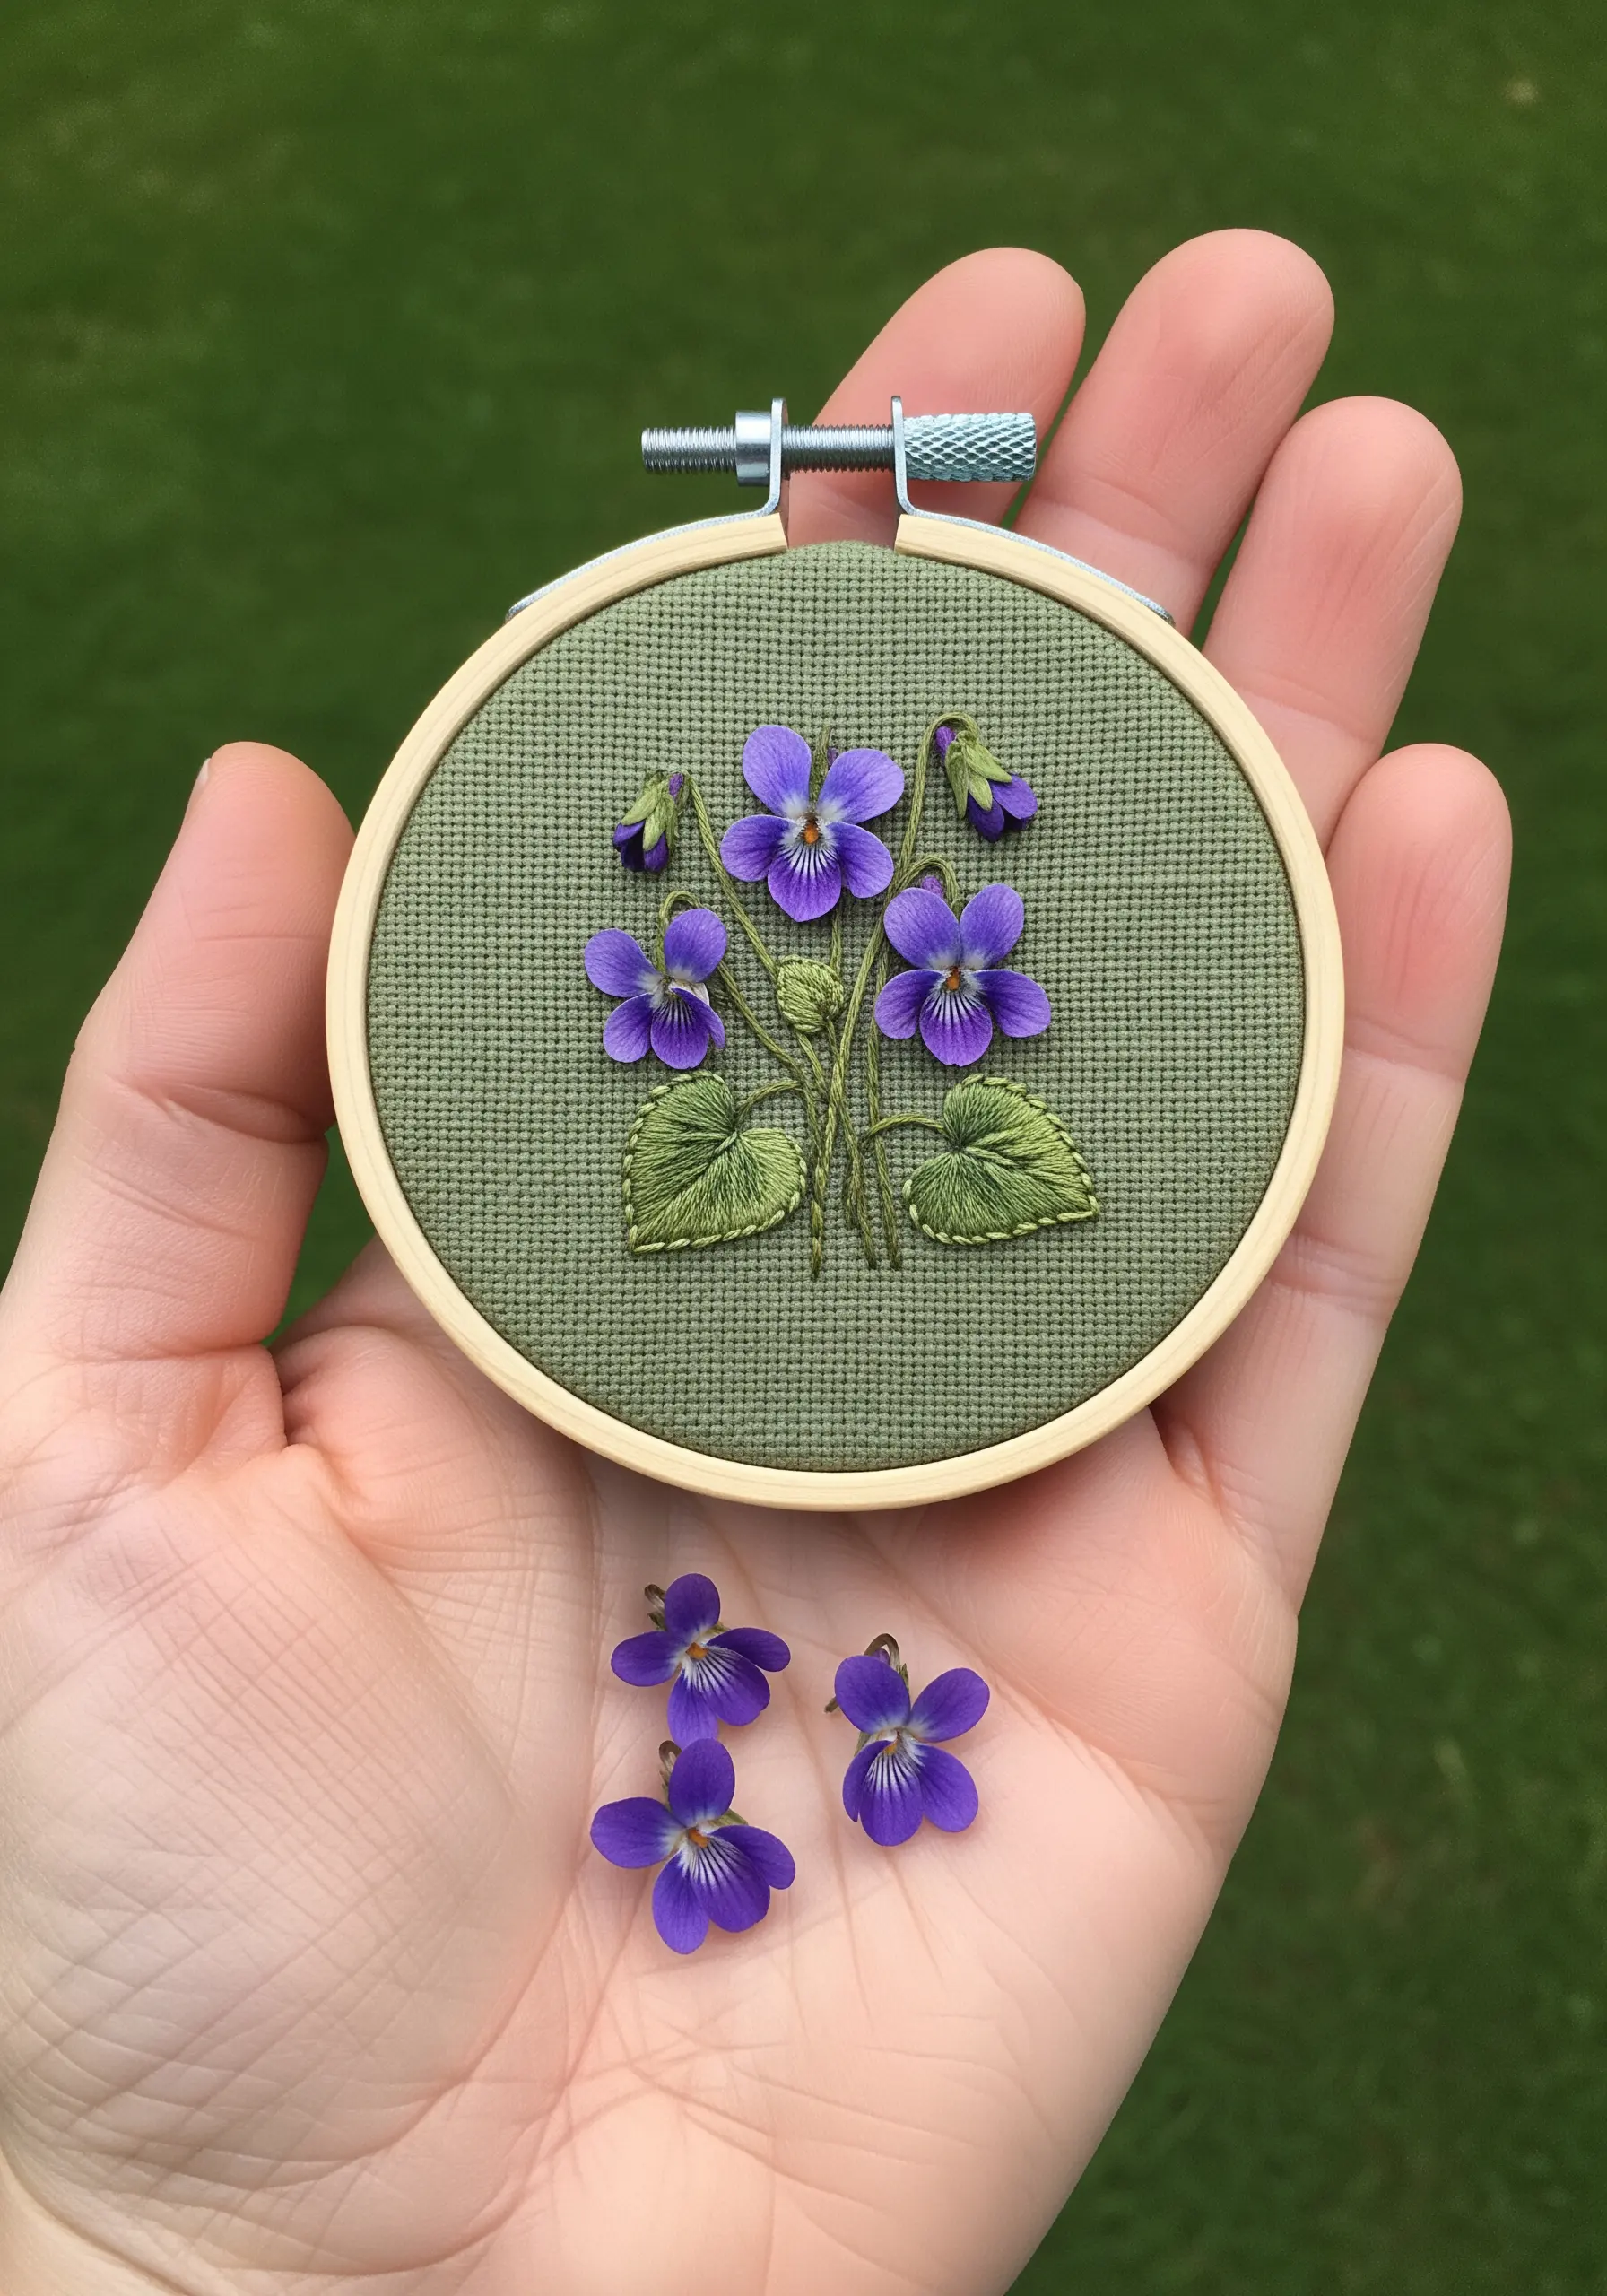
When embroidering small, delicate flowers like violets, reduce your thread count to one or two strands of floss. This is the key to achieving fine detail.
Use a small fishbone stitch for each petal, which gives it shape, direction, and a central line with minimal effort.
A tiny touch of yellow—a single seed stitch or a pin-sized French knot—is all you need for the center. With miniatures, restraint is essential. This scale is perfect for creating small embroidery designs to transform your accessories or apparel.


