

You have the skill, the patience, and the love for the craft. But perhaps you find yourself looking at your finished pieces and feeling that a certain polish, a certain intentionality, is just out of reach. You’re ready to move from simply following a pattern to creating work that truly feels like art.
This is where the quiet power of minimalism comes in. Scandinavian-inspired line art isn’t about doing less; it’s about making every single stitch count. It’s an approach that celebrates clarity, precision, and the beauty of a well-executed line. It invites you to slow down and find the elegance in simplicity.
Here, you won’t find complex techniques or expensive materials. Instead, you’ll discover how a subtle change in stitch, a thoughtful color choice, or a new way of composing your design can transform your work. Let’s explore how to make clean, modern embroidery that not only looks beautiful on your walls but also feels deeply satisfying to create.
1. Master the Elegant Botanical Outline
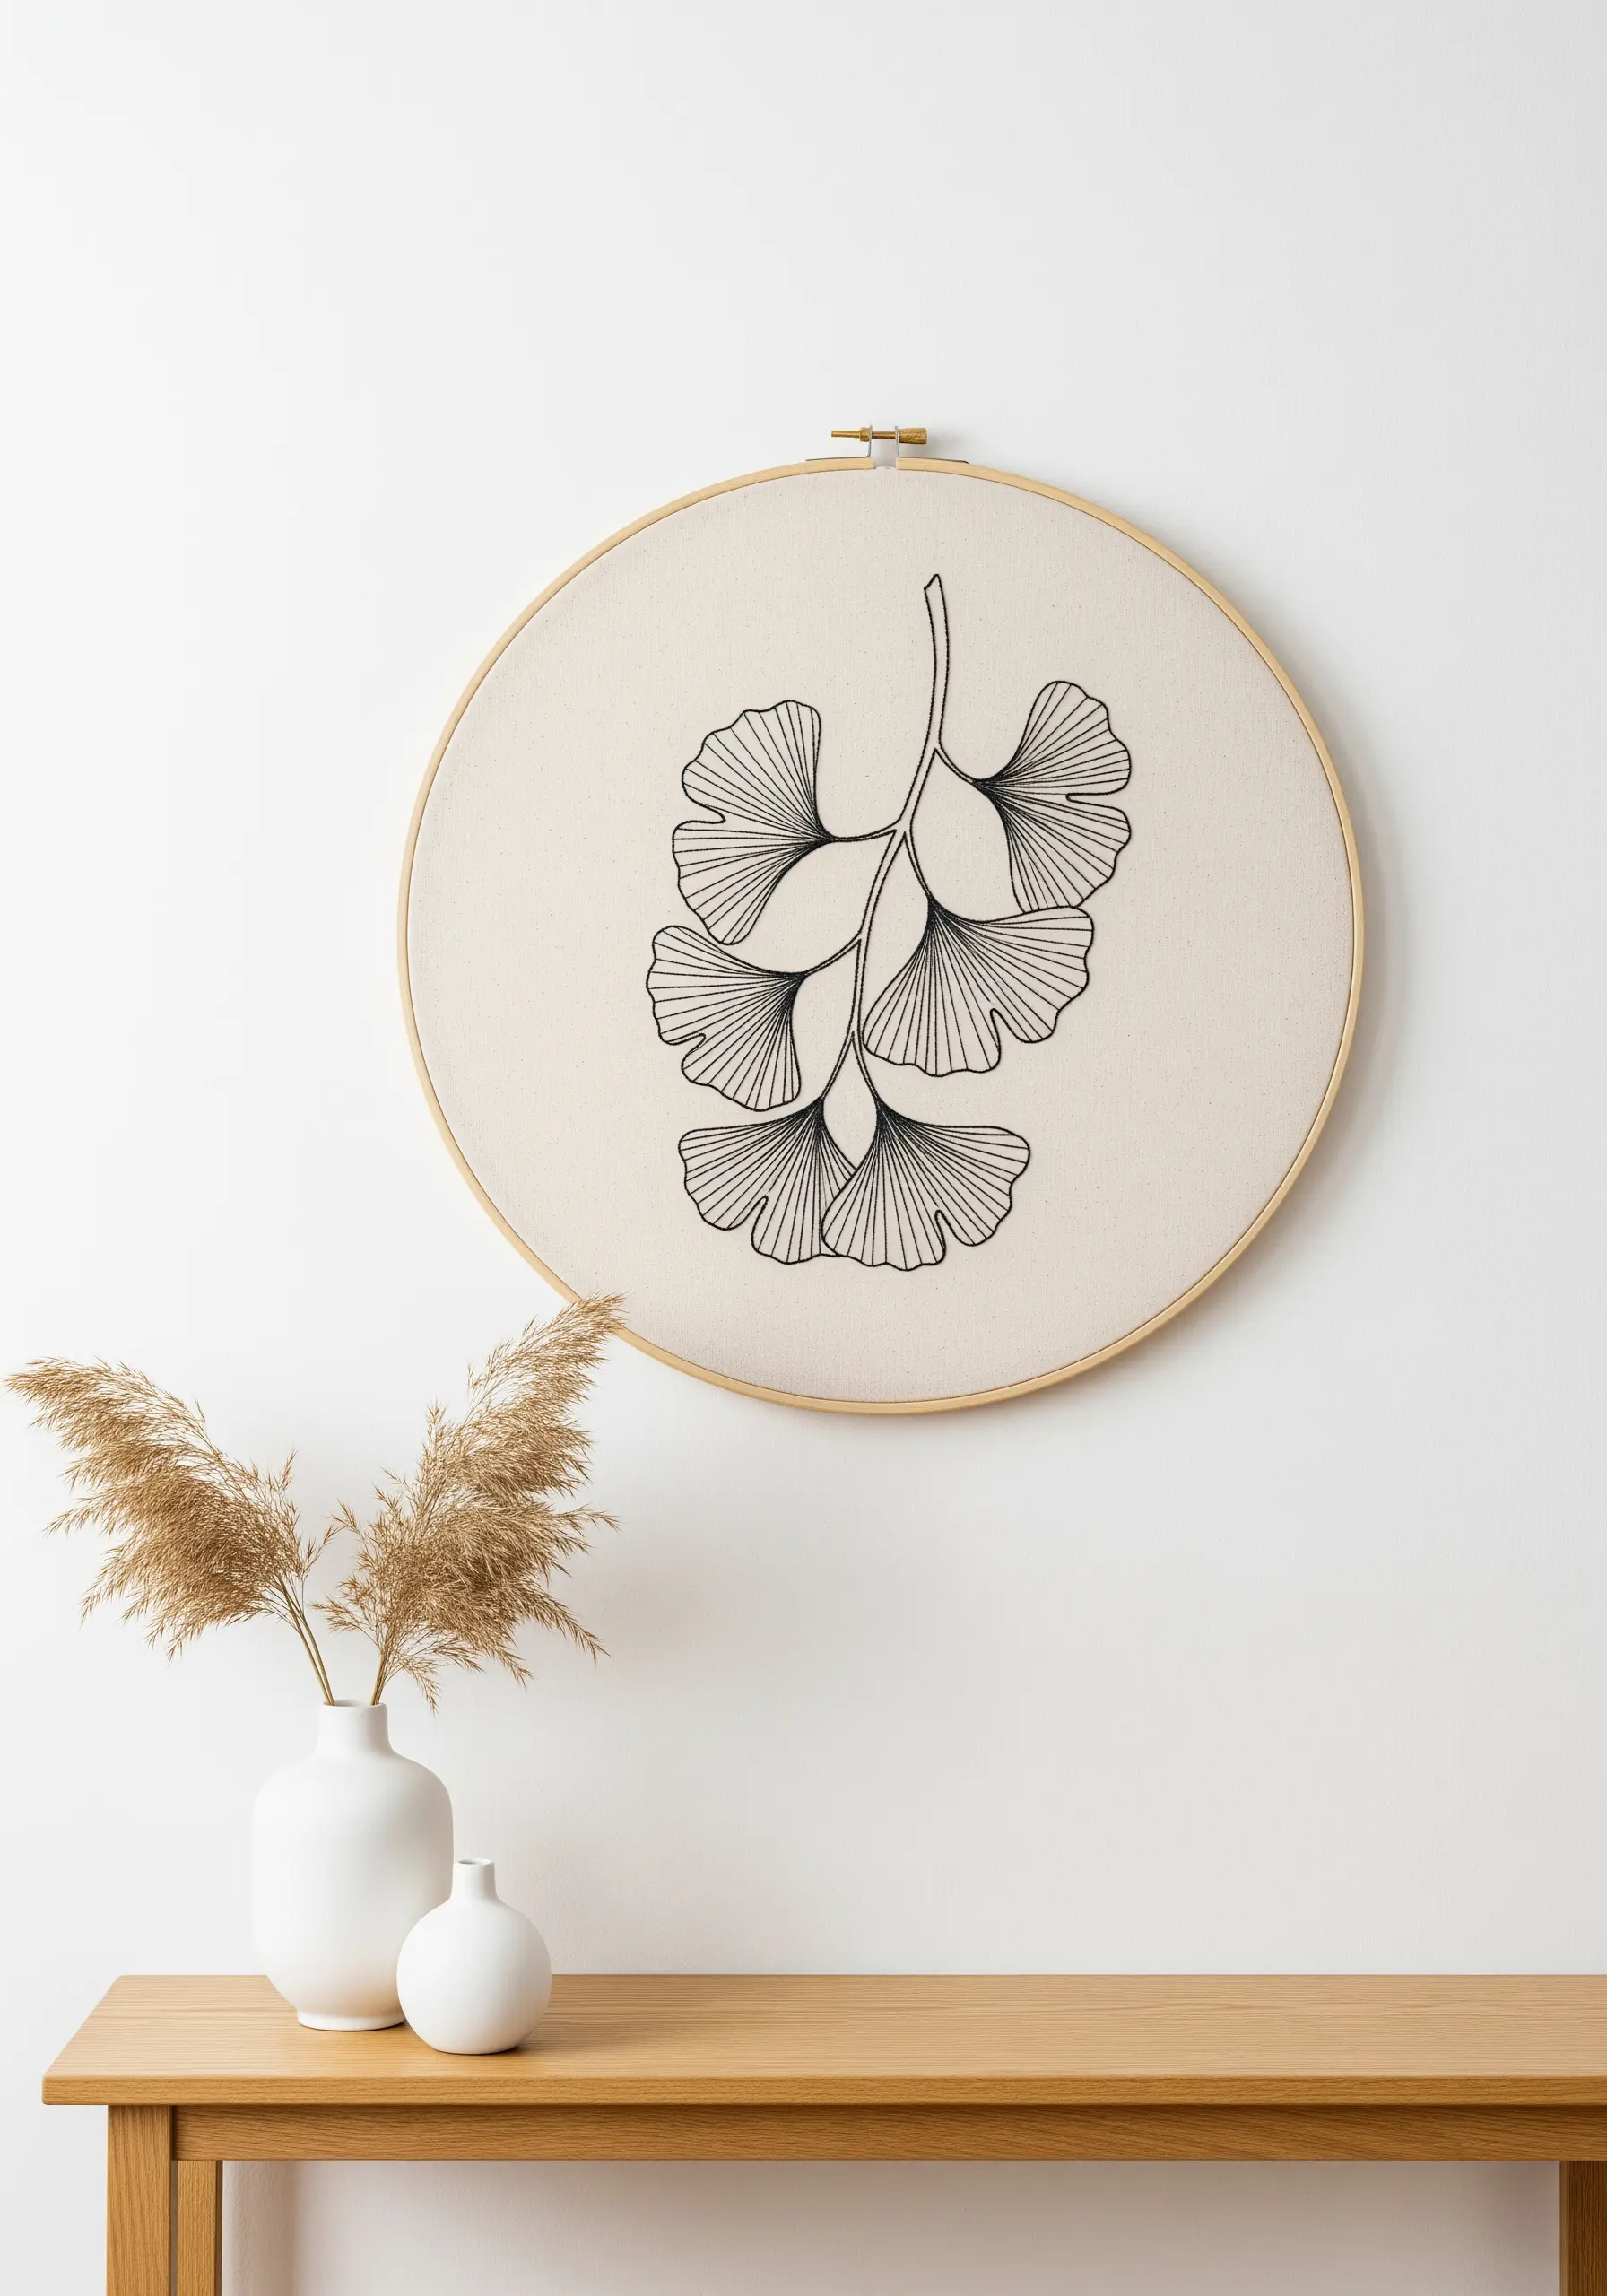
To achieve the crisp, graphic quality of this ginkgo branch, use a single strand of black floss on a tightly woven neutral fabric like cotton or linen.
Opt for a whipped backstitch instead of a standard backstitch.
This technique wraps the initial stitches, creating a completely smooth, rope-like line that eliminates the tiny gaps often visible in backstitch curves.
The result is an unbroken, fluid line that elevates a simple botanical sketch into a polished piece of art.
2. Evoke Warmth with a Single Earth Tone
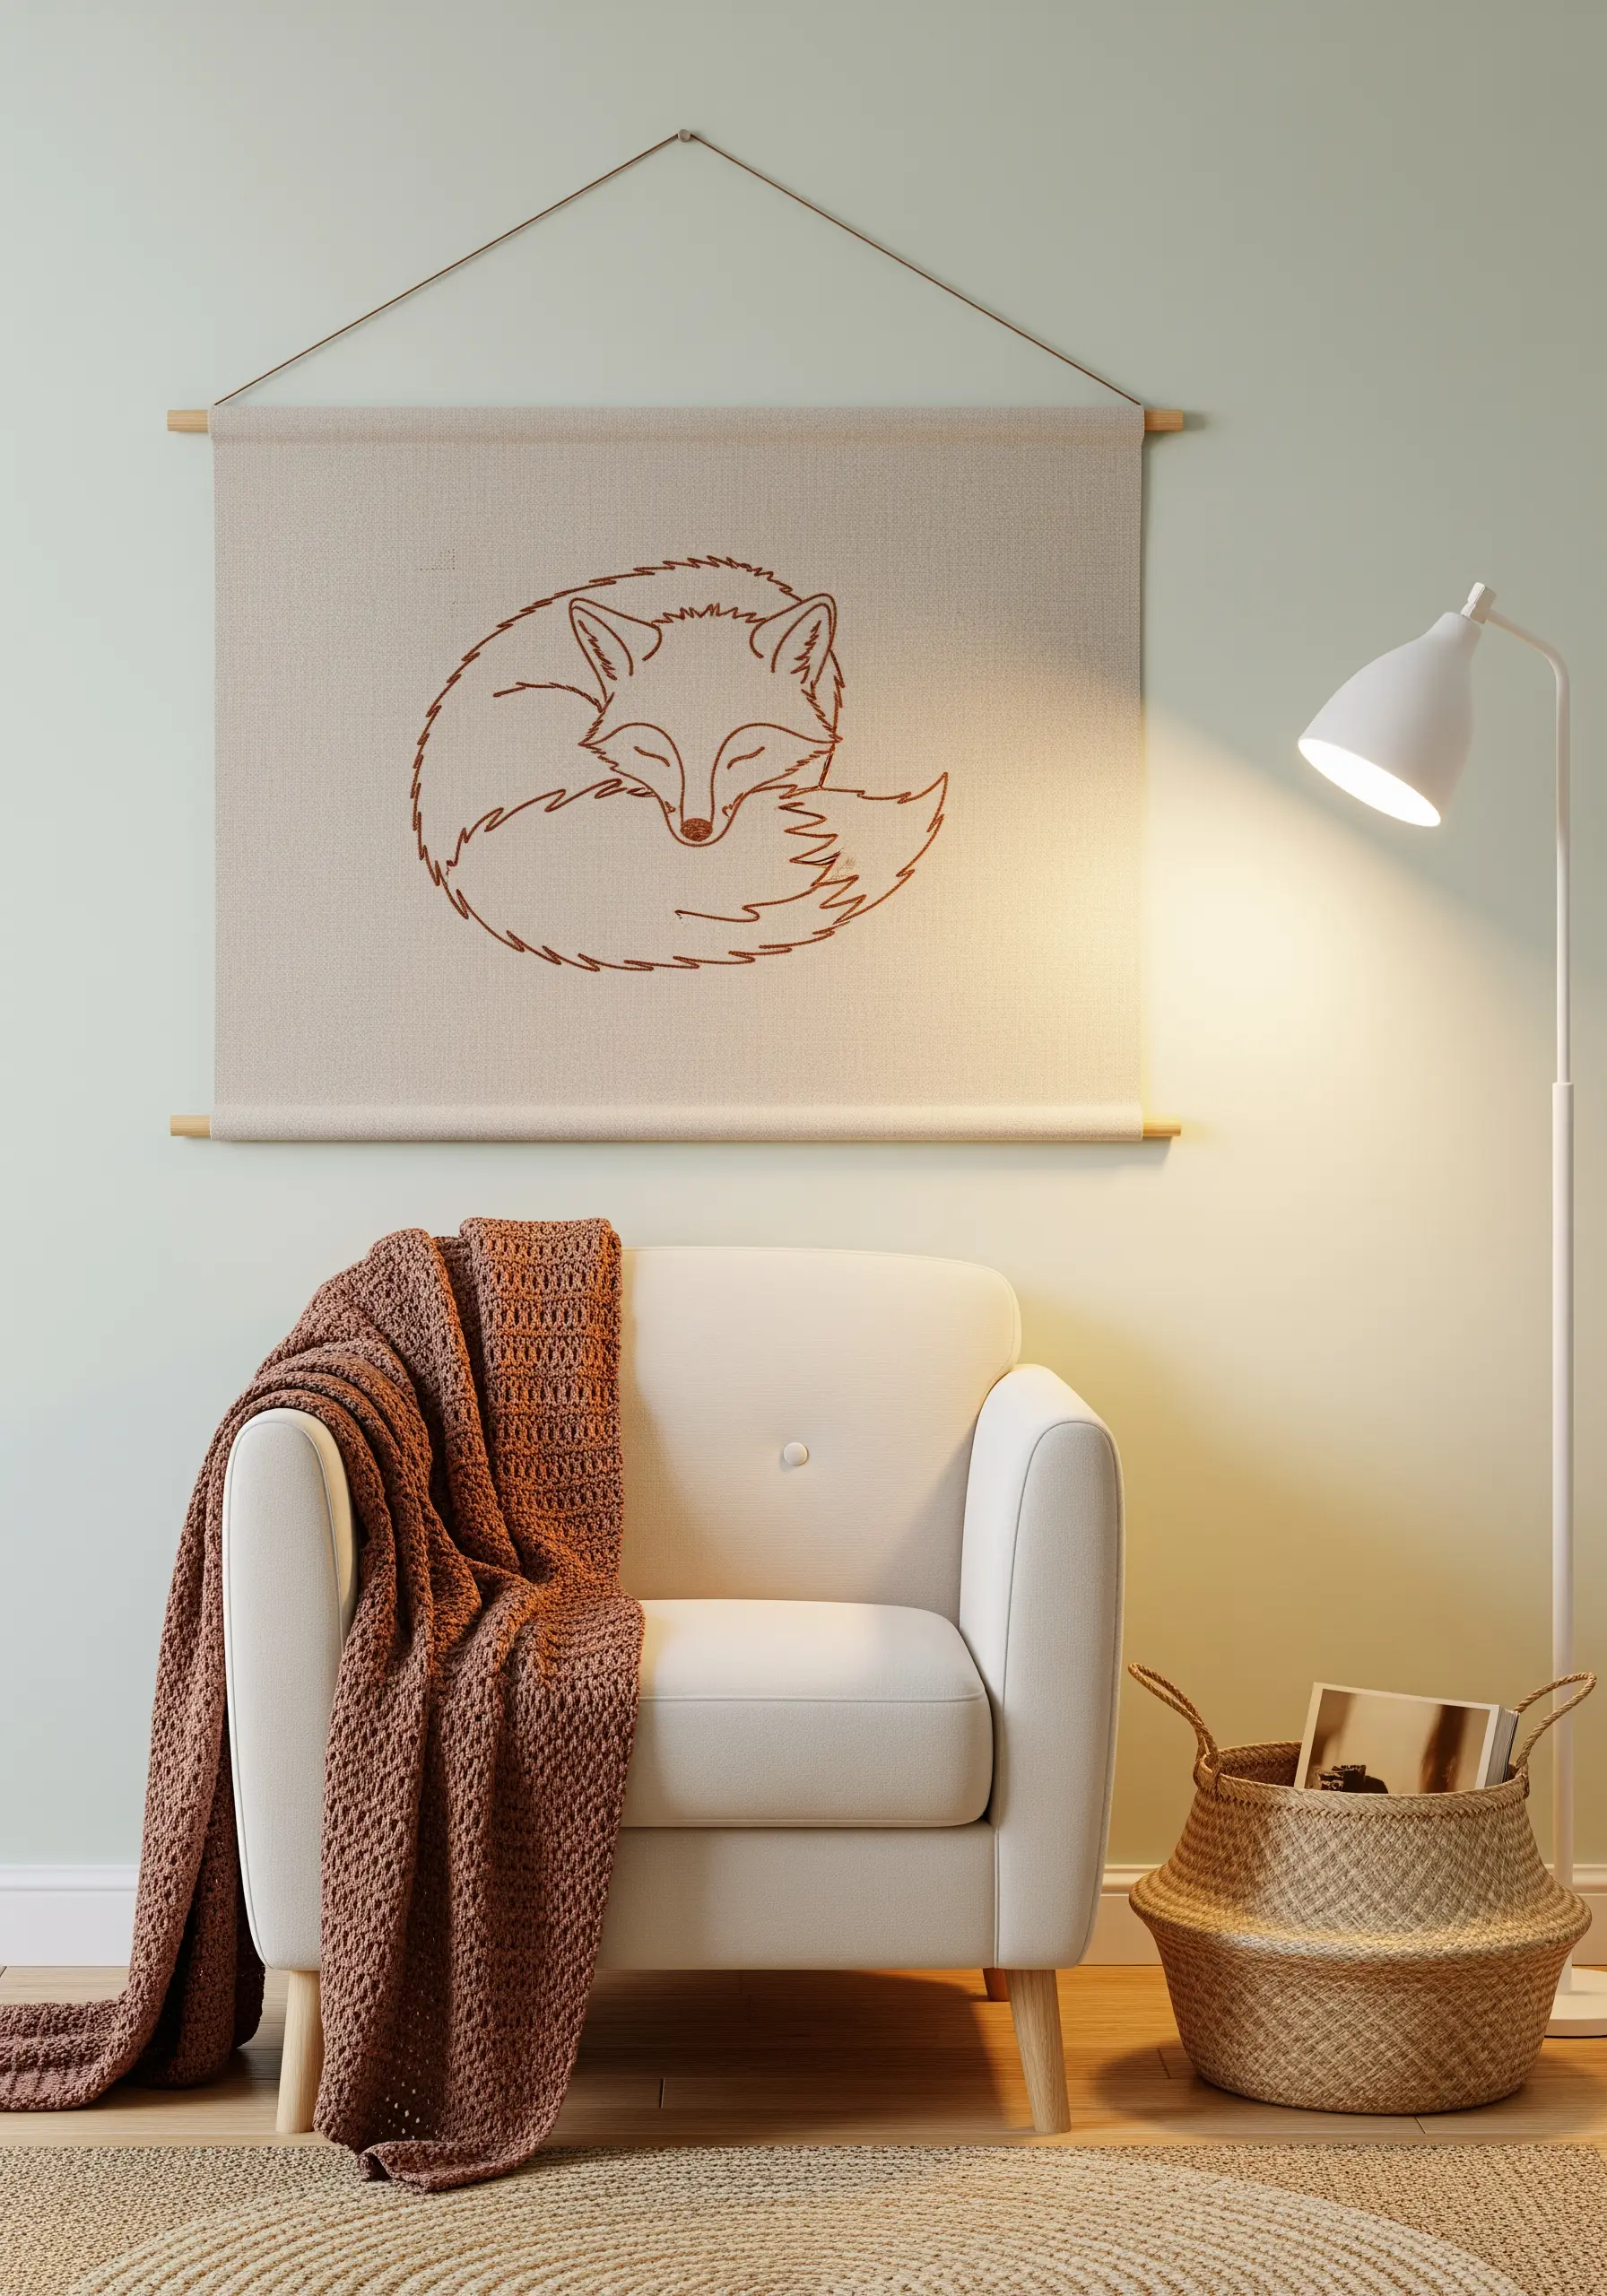
Move beyond the hoop by stitching a larger motif on a canvas wall hanging.
Choosing a single, warm thread color like terracotta or burnt sienna against a natural beige fabric creates an instantly cozy and cohesive feel.
Use a stem stitch for the outline; its twisted, cord-like appearance adds subtle texture and weight, making the animal feel grounded and soft.
This approach proves that you don’t need a full palette to create something emotionally resonant and visually striking.
3. Stitch a Narrative with a Triptych Display
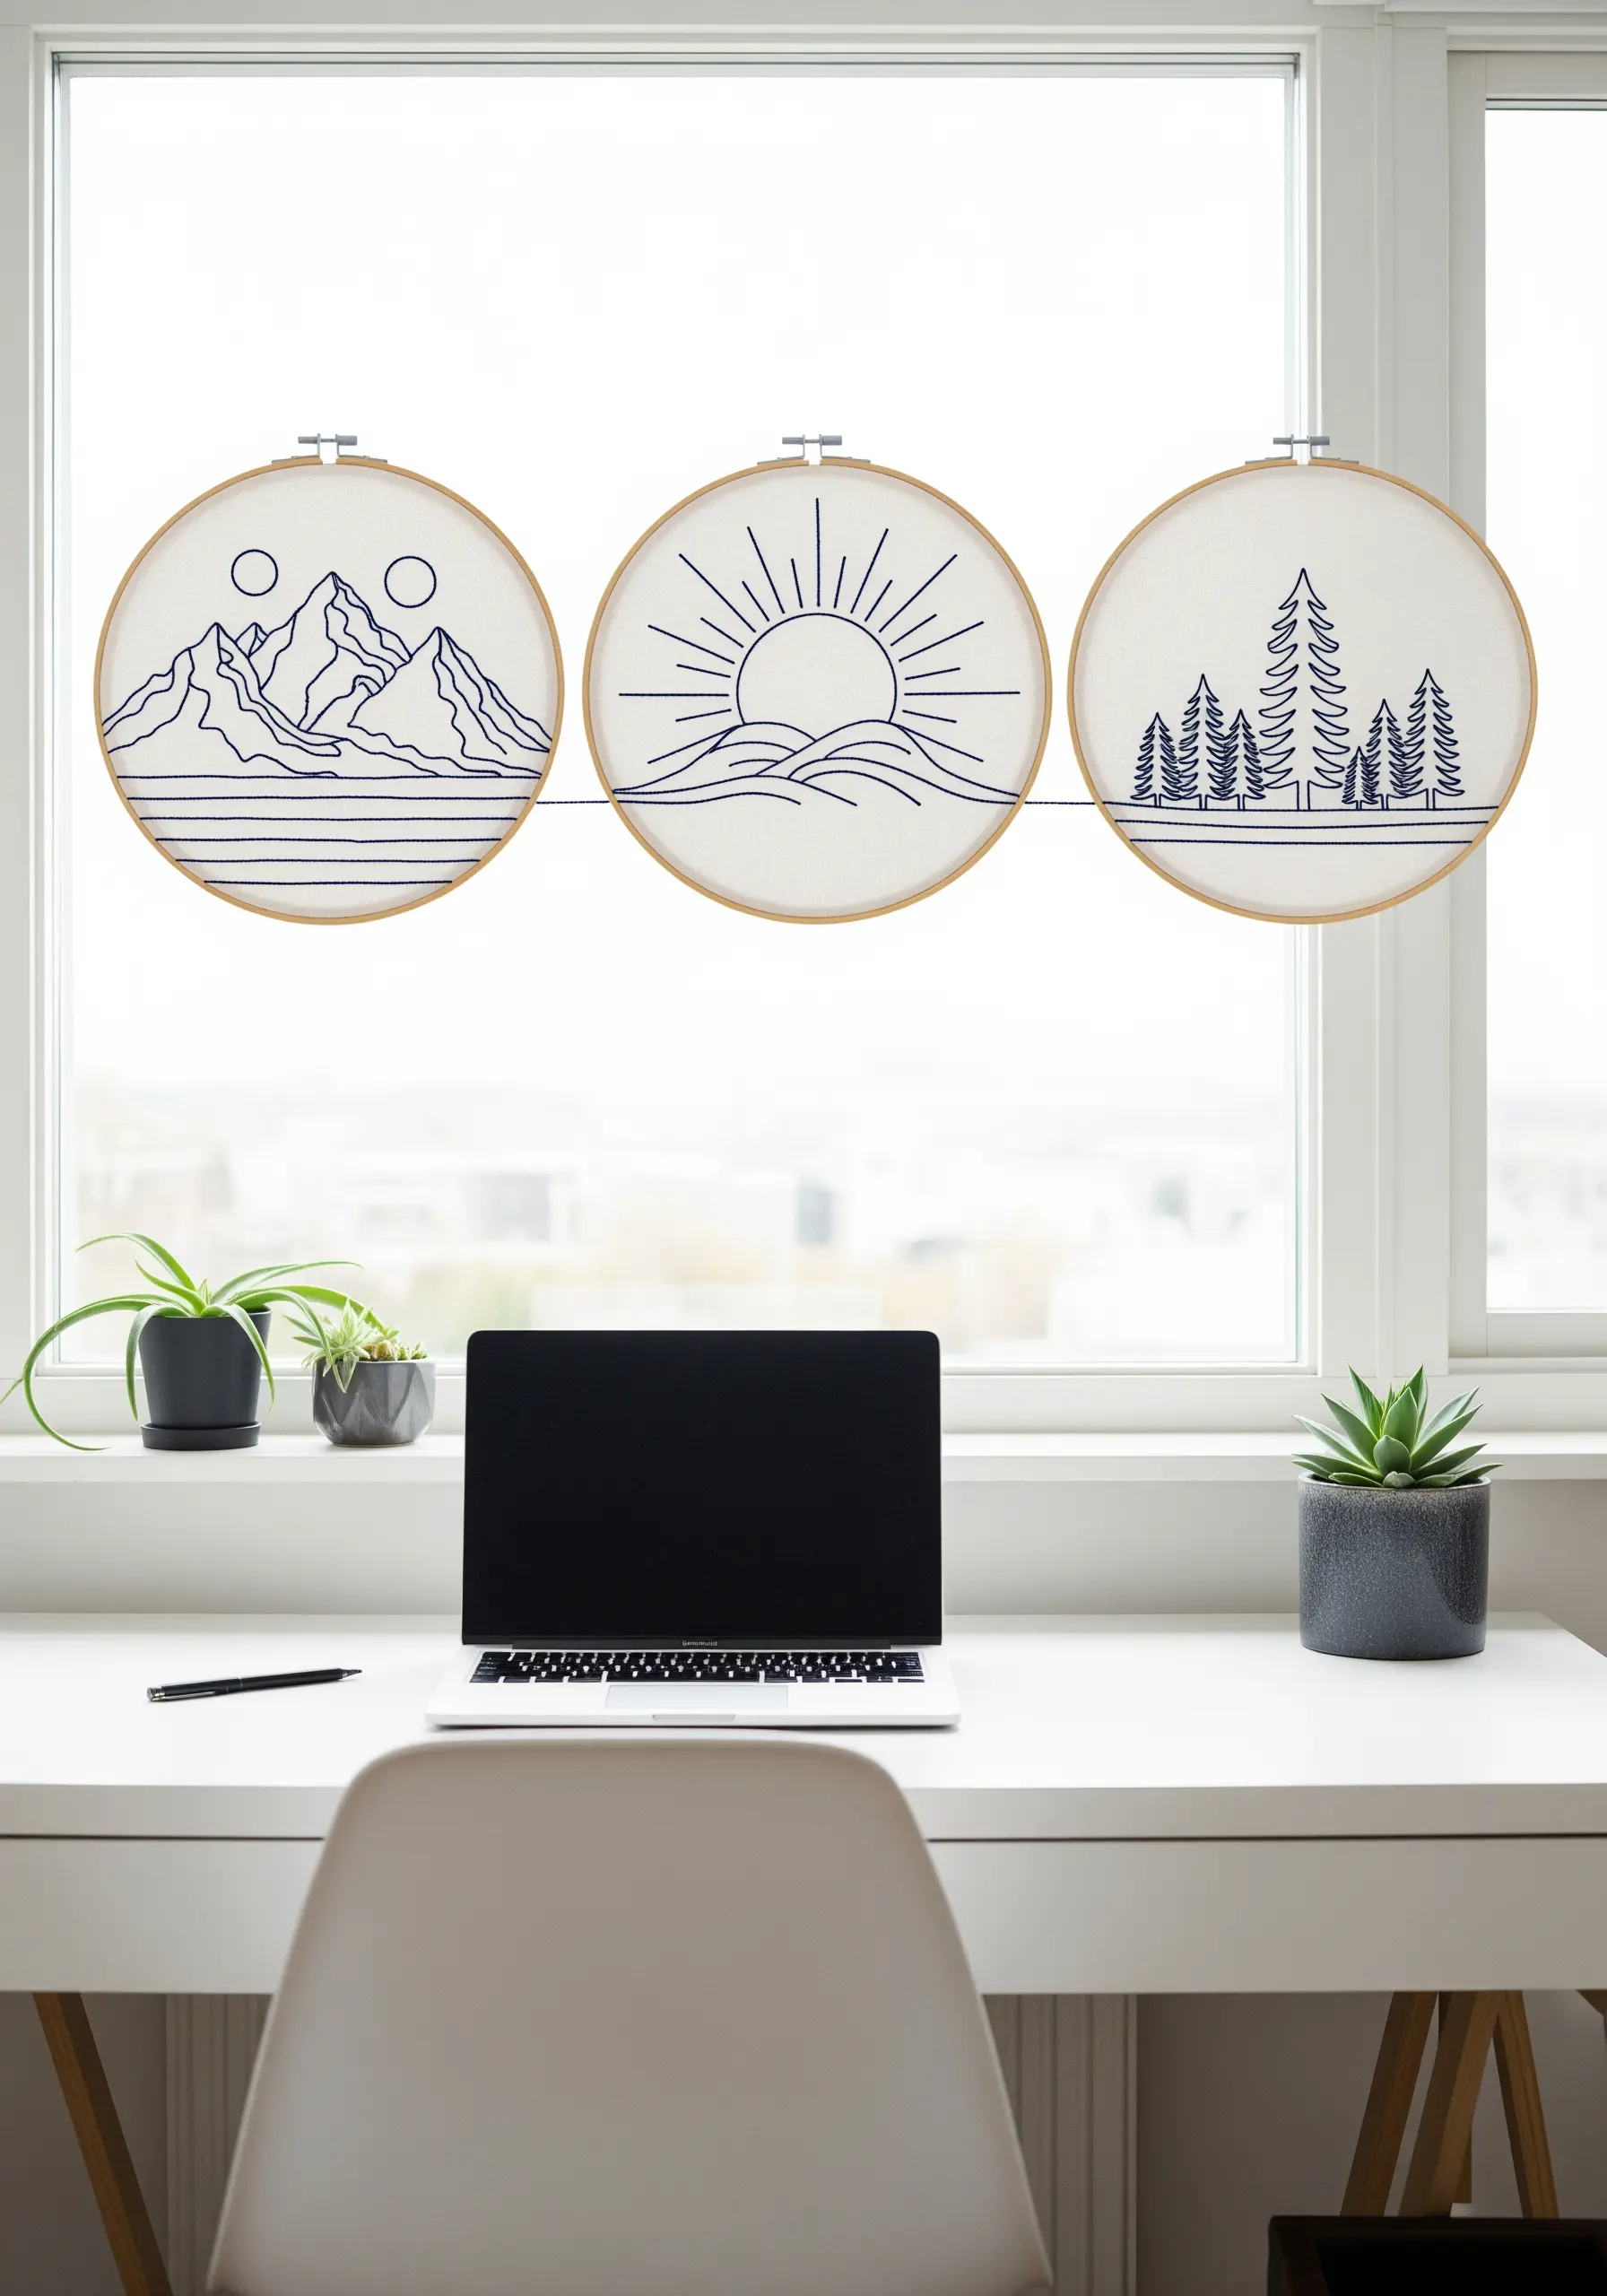
Tell a simple story by splitting a landscape into three distinct but connected scenes.
This composition transforms individual motifs into a cohesive art installation.
Use a consistent thread color to unify the set, but vary the number of strands—two for the mountains, one for the sun’s rays—to create a subtle illusion of depth.
Explore hooped wall collage layouts to turn simple stitches into gallery-style decor that feels intentional and thoughtfully curated.
4. Embrace the Fluidity of Continuous Line Art
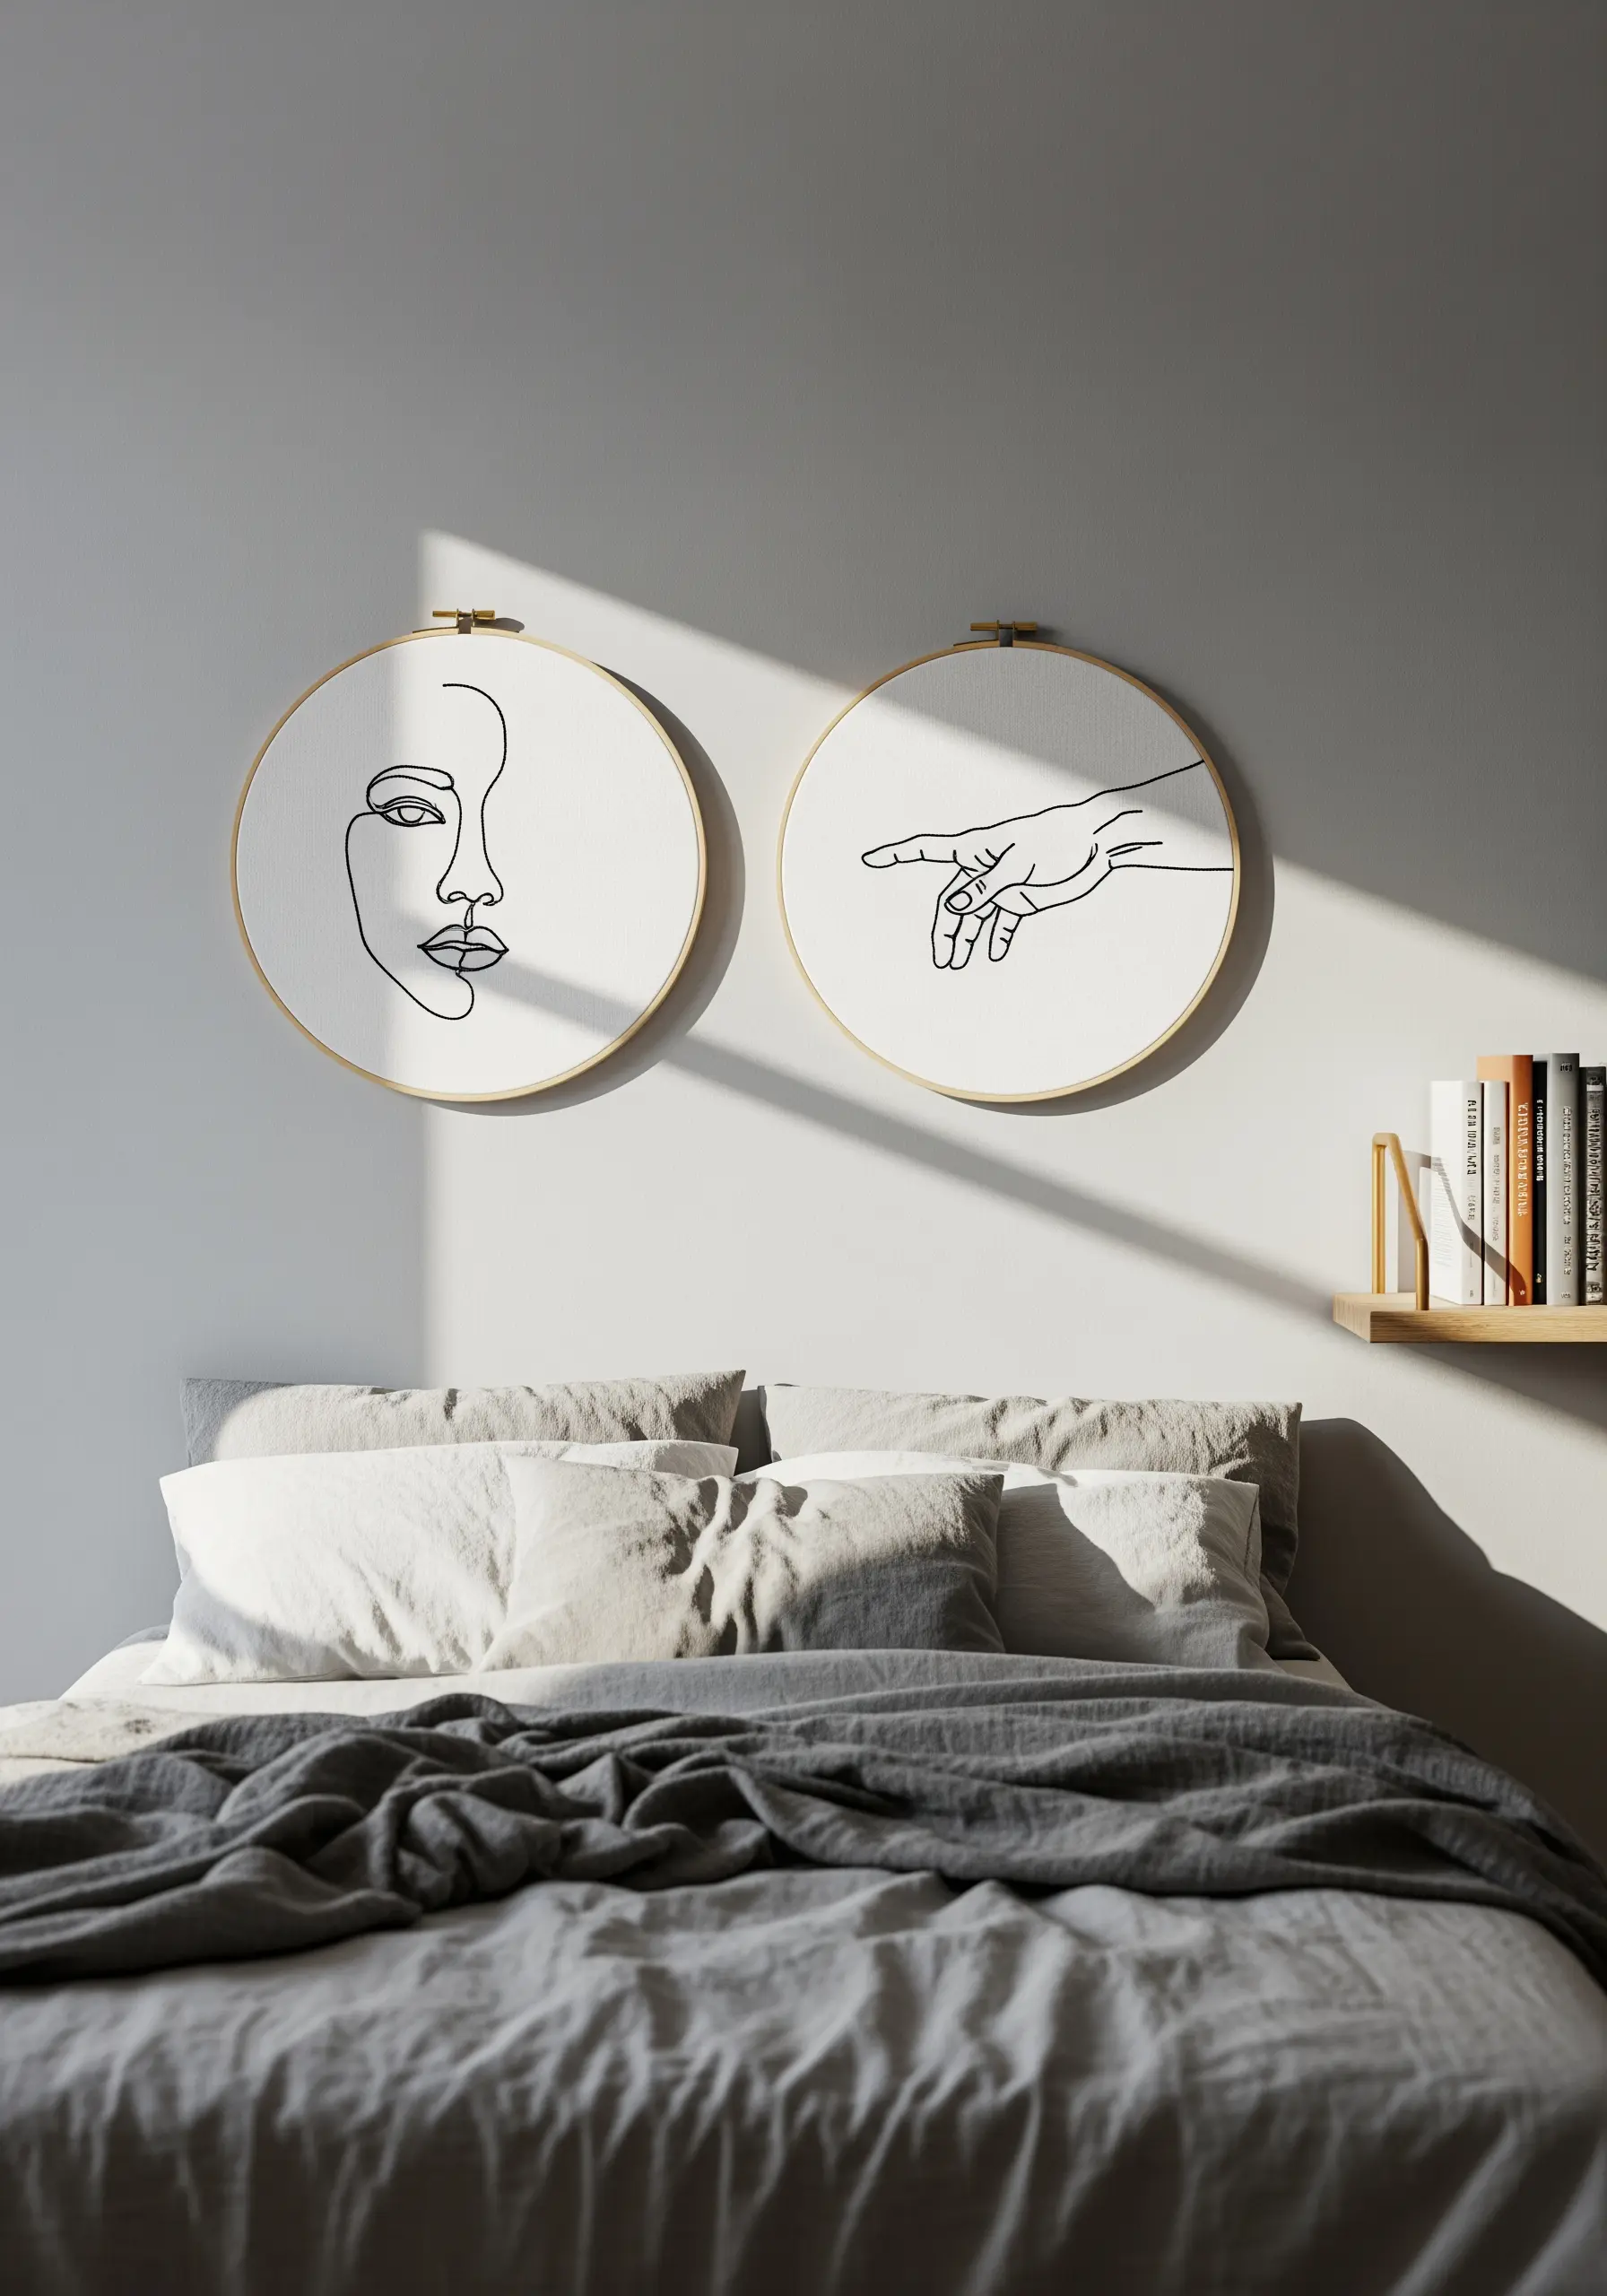
The beauty of one-line art lies in its unbroken flow, and your stitching should reflect that.
Instead of starting and stopping, plan your stitch path to keep the thread continuous, using a split stitch for its ability to navigate sharp turns and smooth curves with precision.
This minimizes knots on the back and maintains the design’s fluid, hand-drawn aesthetic.
These one-line embroidery wall arts are perfect for a modern studio or workspace makeover.
5. Animate Simple Motifs with Varied Stitches
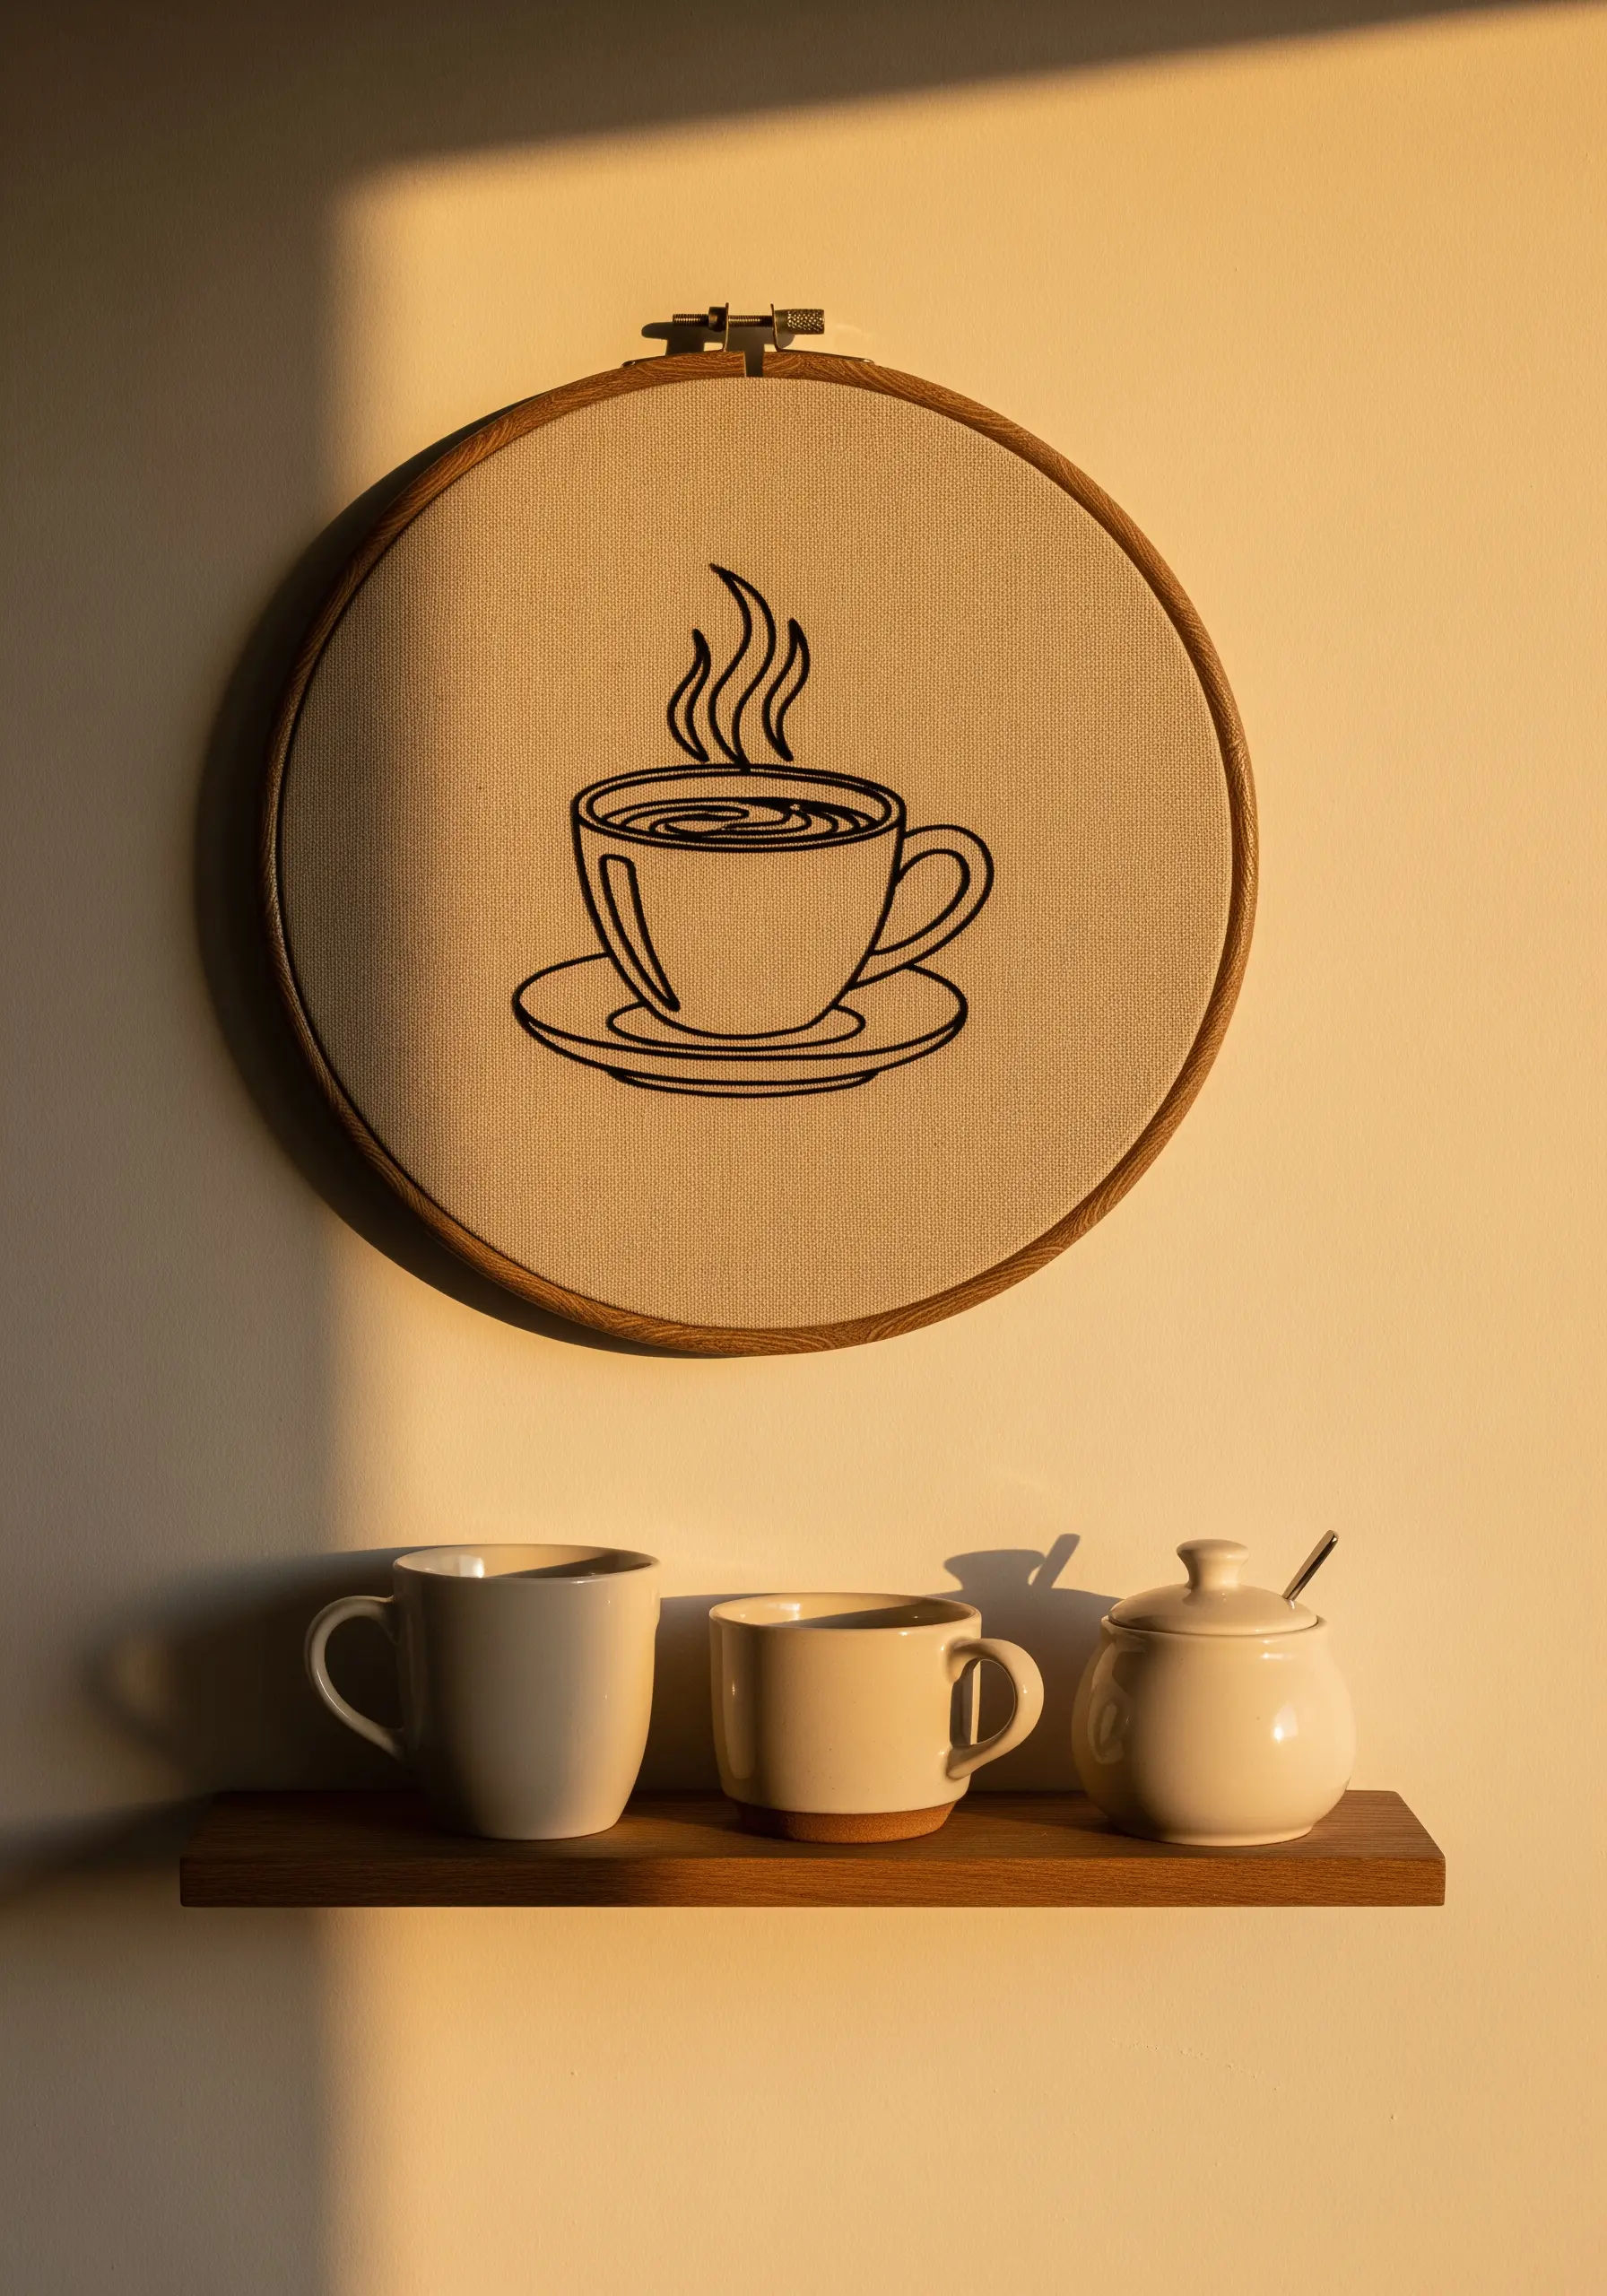
Elevate an everyday object like a coffee cup by assigning different stitches to each element.
Use a standard backstitch for the solid outlines of the cup and saucer to ensure stability and clarity.
For the steam, switch to a stem stitch.
Its natural curve and slightly raised texture will give the wavy lines a sense of movement and dimension, making the steam appear to rise from the fabric.
6. Curate a Cohesive Abstract Gallery Wall
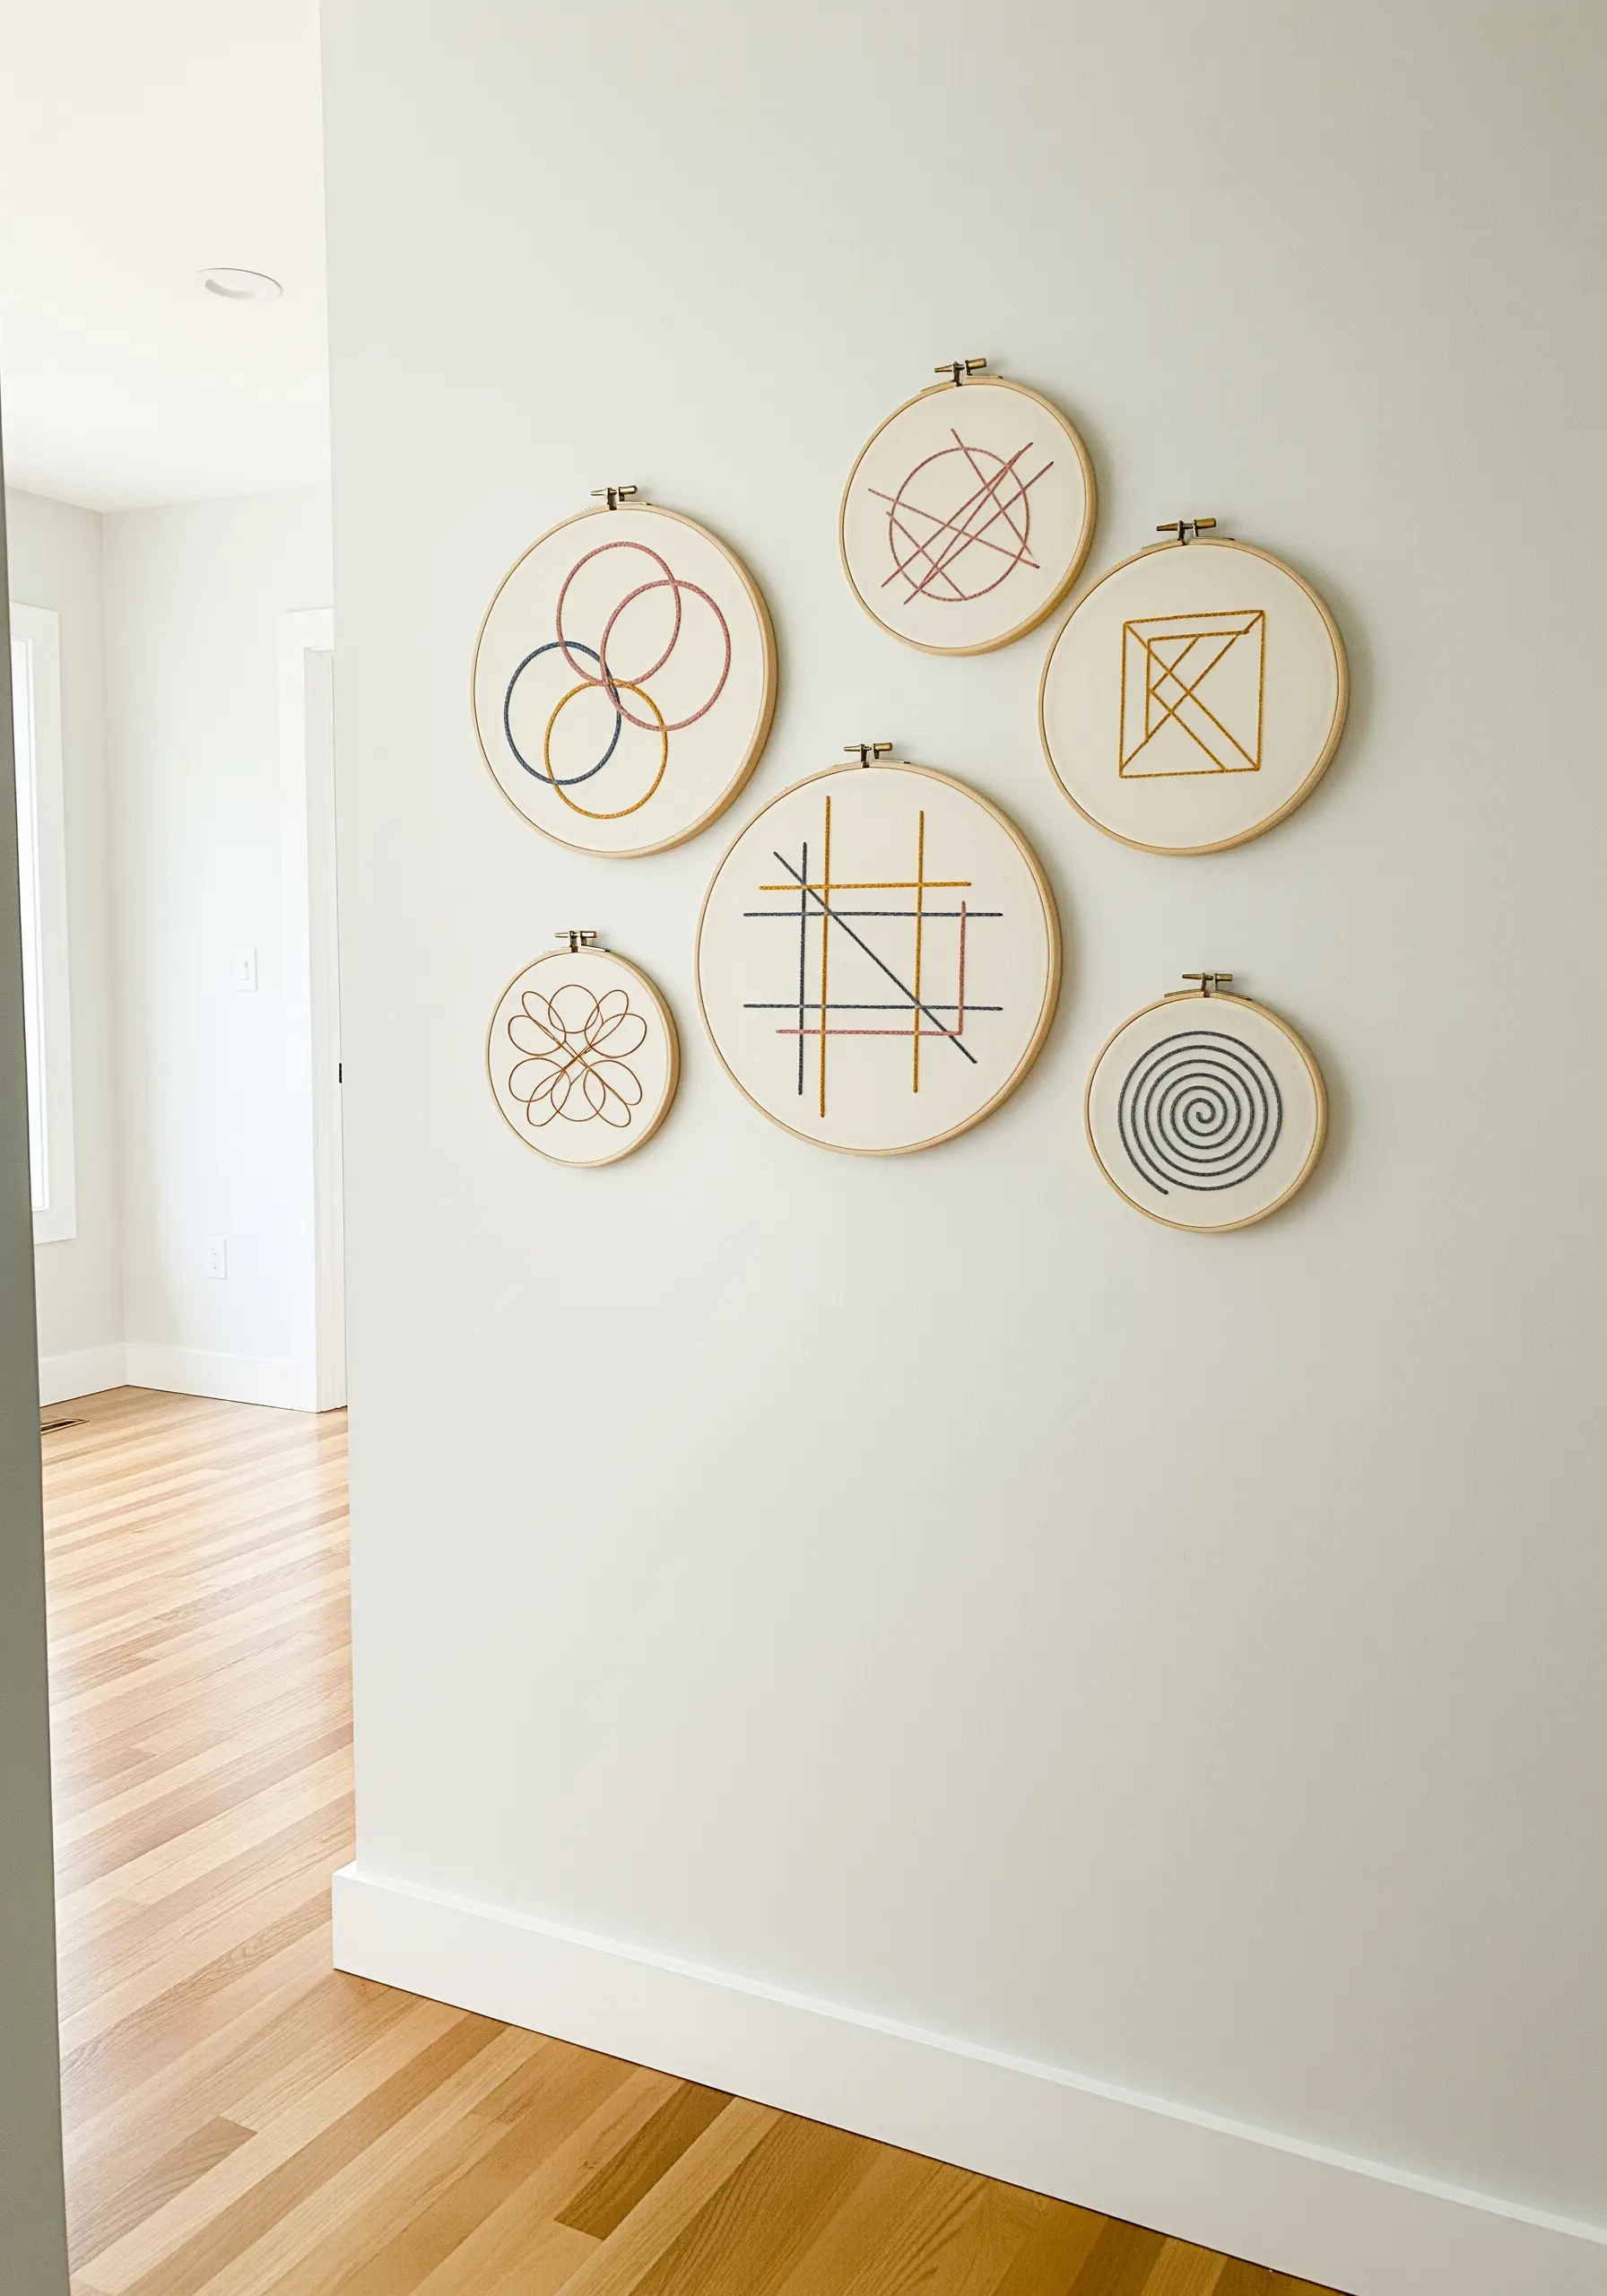
Create a dynamic gallery wall with a collection of abstract geometric hoops.
The key to a cohesive look is a strictly limited color palette—here, ochre, dusty rose, and slate blue—distributed across all the pieces.
This allows you to play with diverse shapes and overlapping lines without the arrangement feeling chaotic.
These abstract geometric hoops are perfect for minimalist home decor lovers seeking a sophisticated, artful display.
7. Add Sculptural Depth with Couching
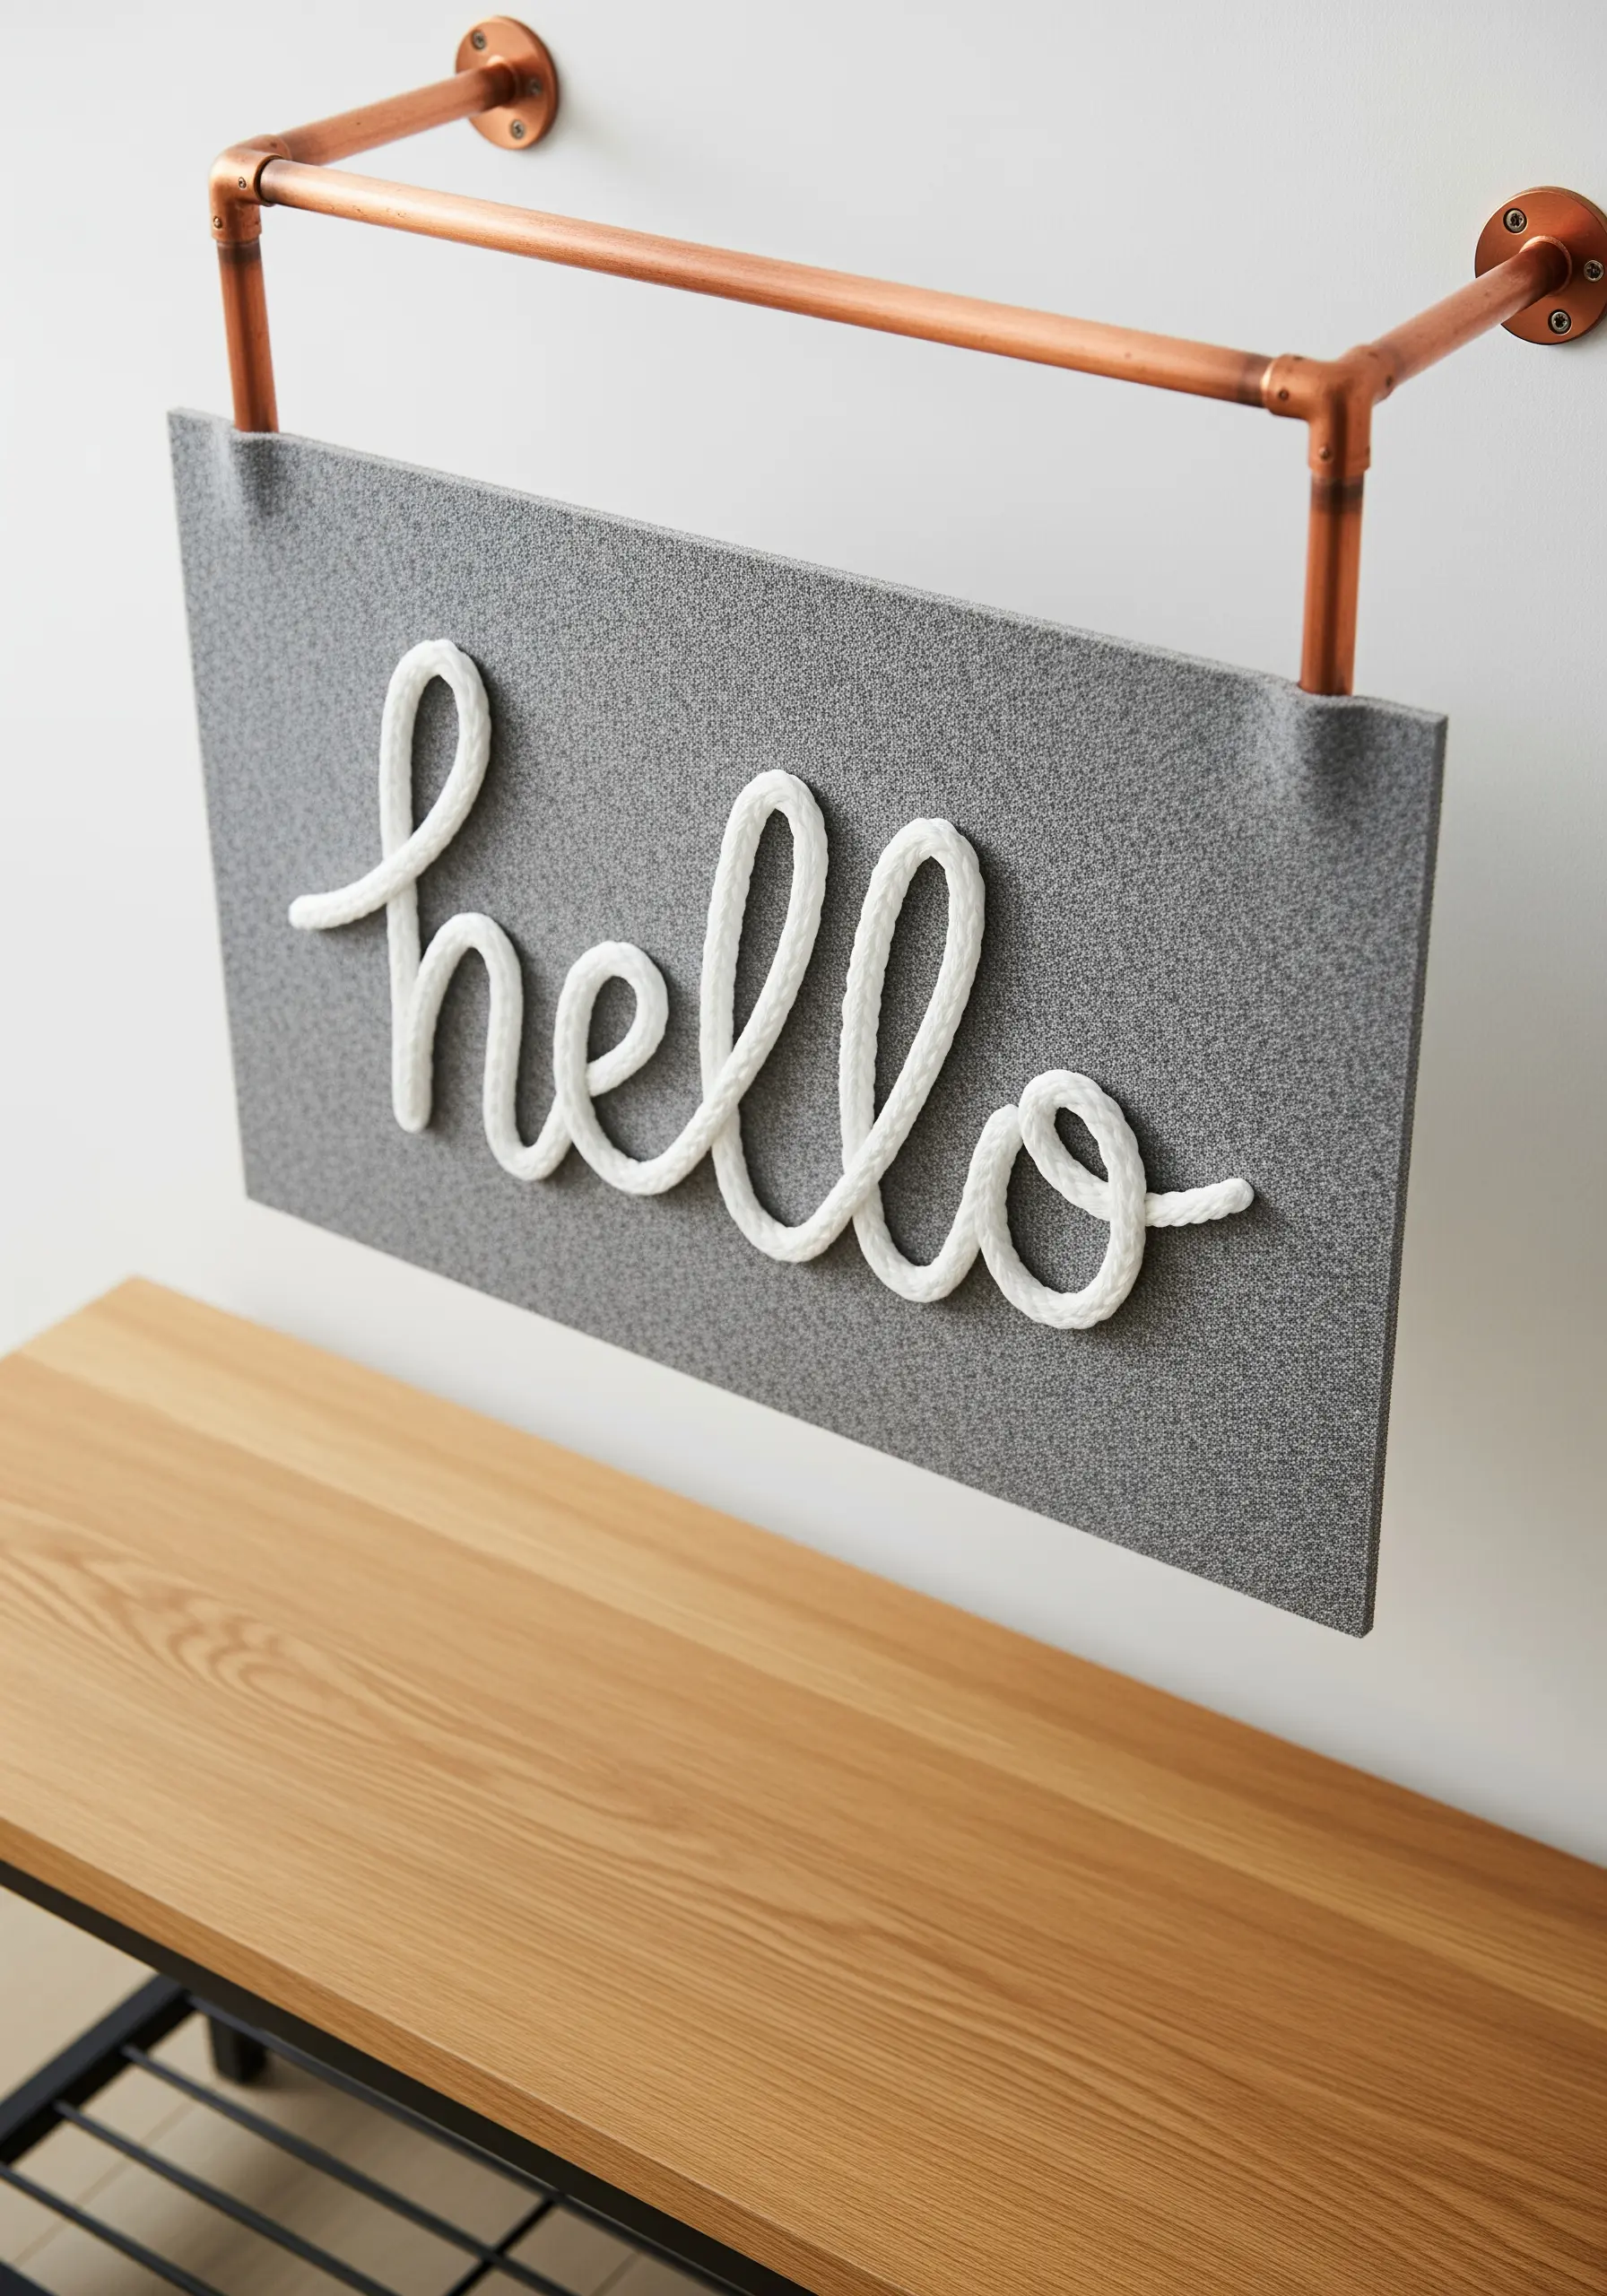
For a bold, three-dimensional effect, move beyond floss and couch a thick material like cotton rope or chunky yarn onto your fabric.
Lay the rope along your design line and use a regular, matching embroidery thread to tack it down with small, evenly spaced stitches.
This technique introduces dramatic texture and shadow, transforming a flat piece into one of the most effective statement textured embroidery techniques for decor that pops.
8. Balance Detail and Delicacy in Large-Scale Florals
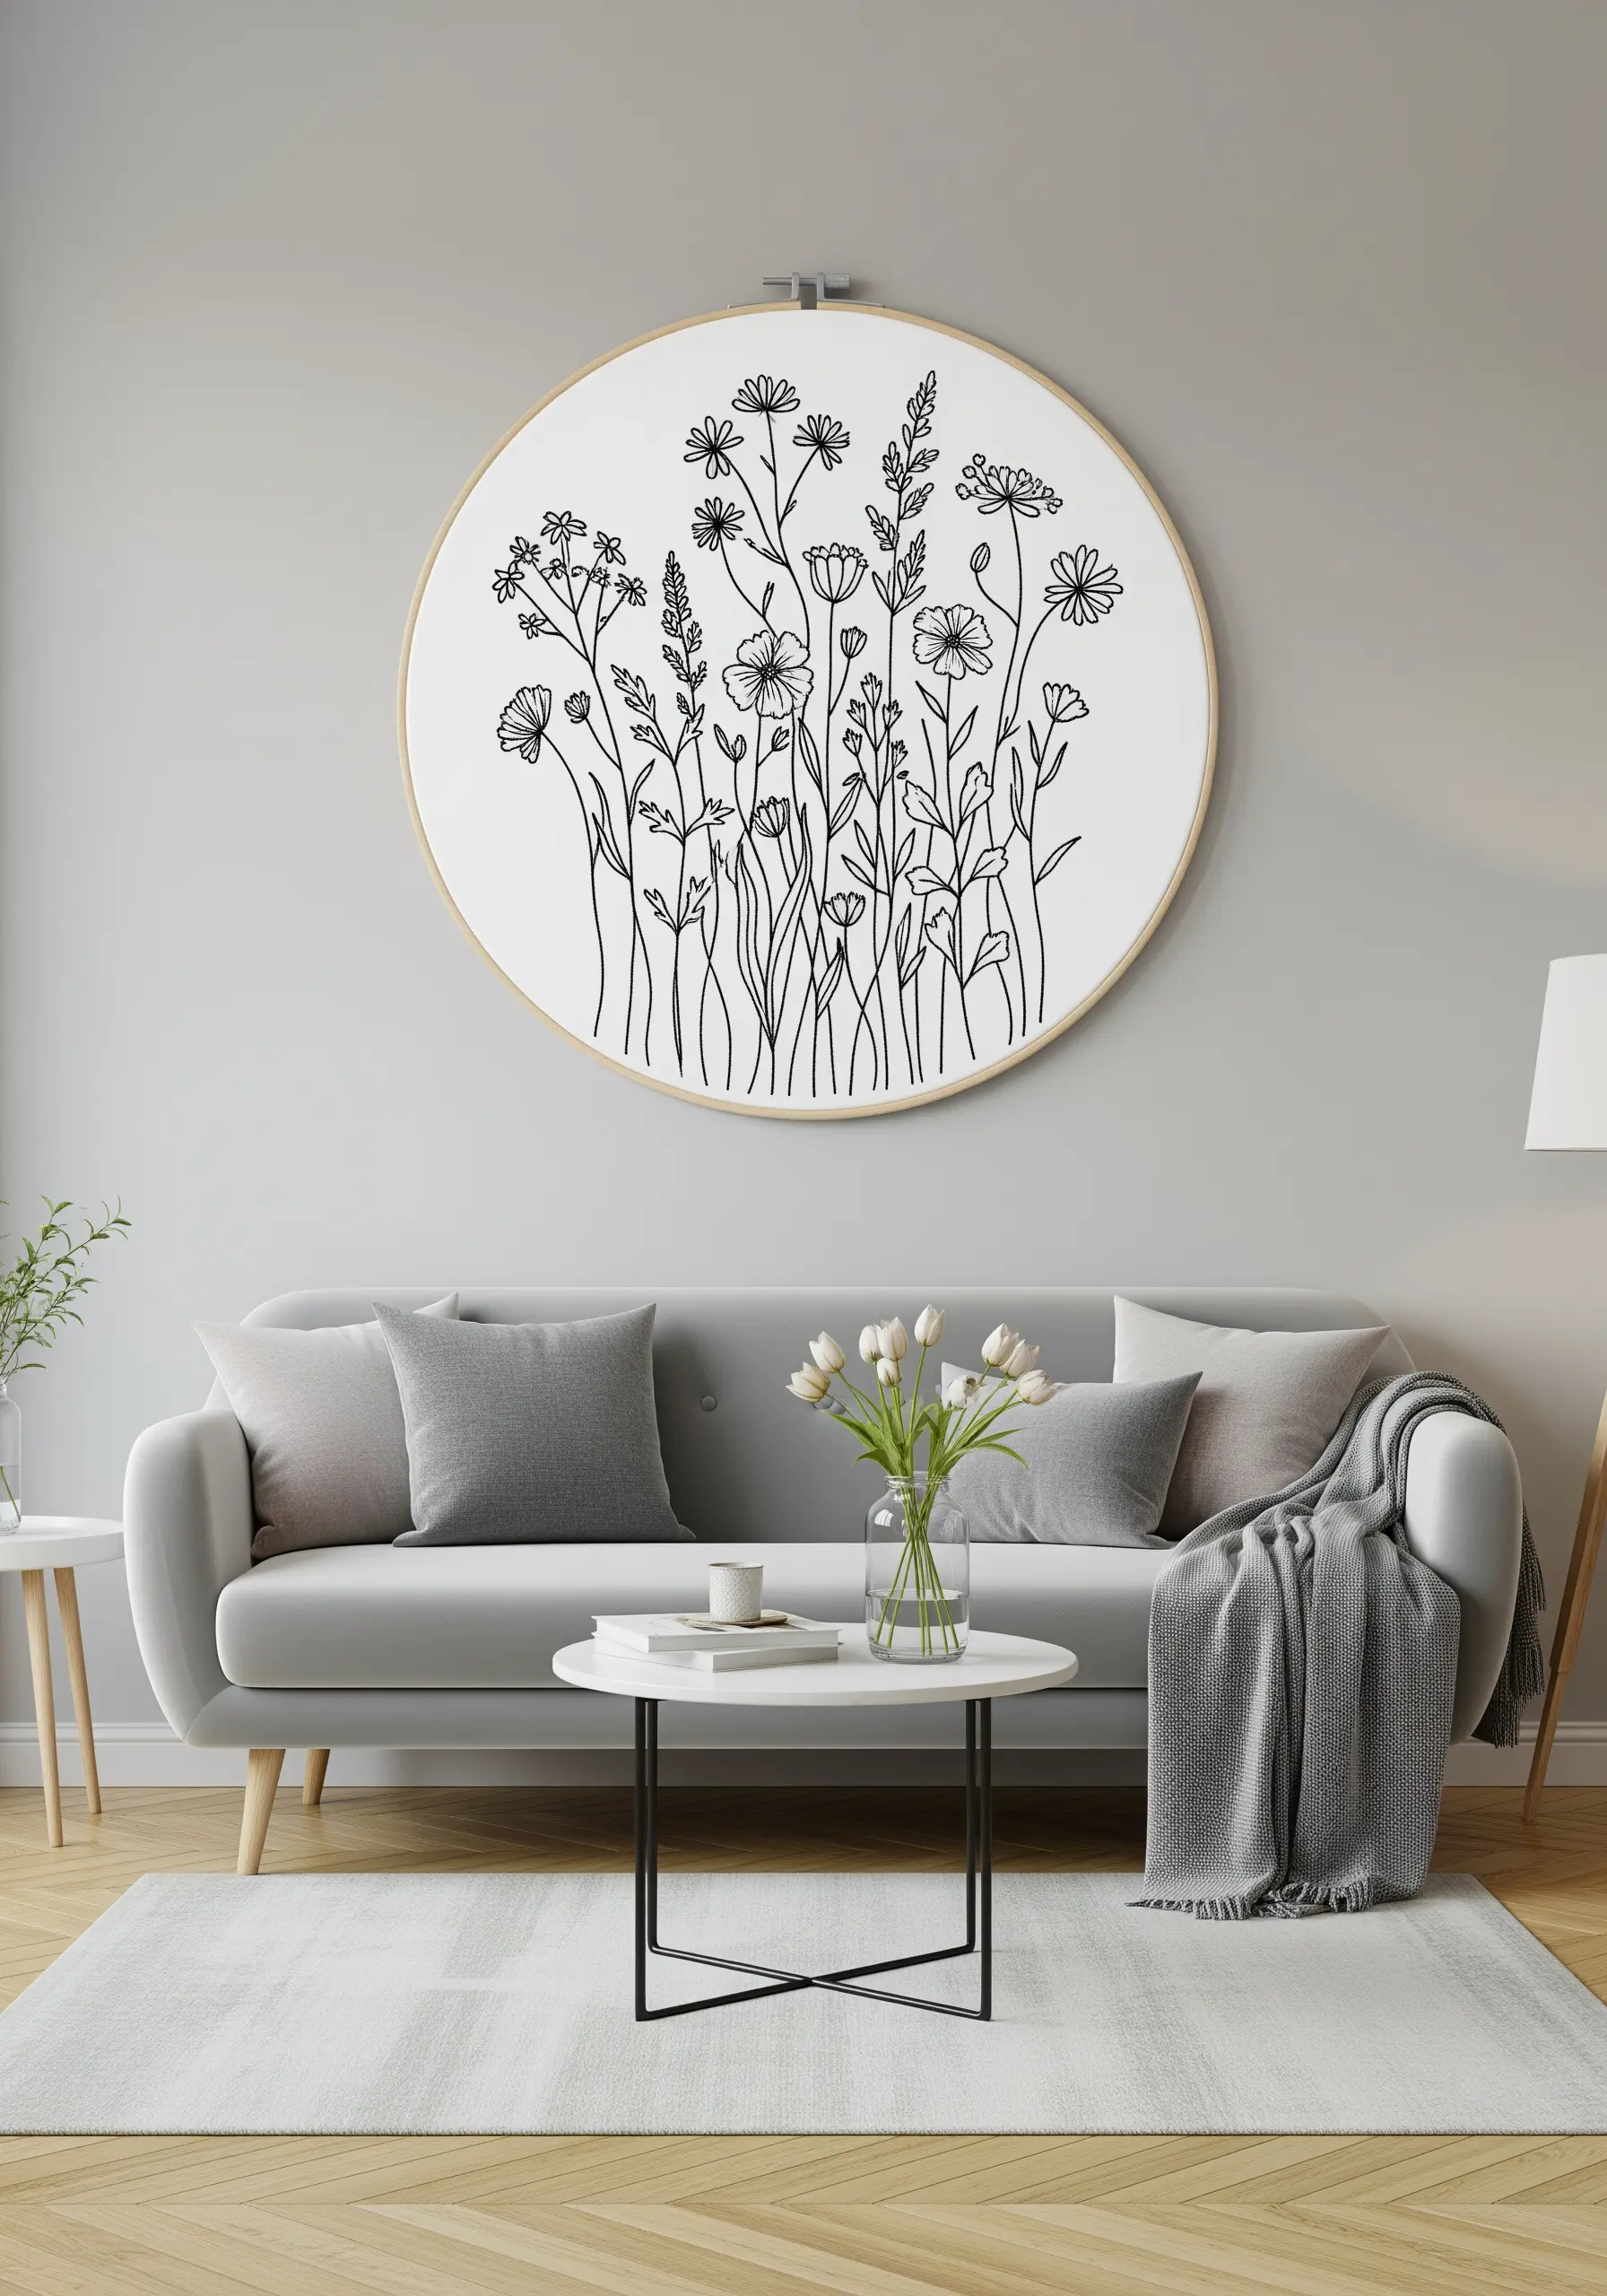
When stitching a dense composition like a wildflower meadow, prevent the design from looking cluttered by using a very fine thread.
Work with just one or two strands of floss to ensure each stem, leaf, and petal remains distinct and delicate.
This allows you to pack in the detail without sacrificing the airy, light quality essential to botanical art.
These wildflower hoop art projects will look like miniature meadow paintings on your wall.
9. Illustrate Growth with a Botanical Series
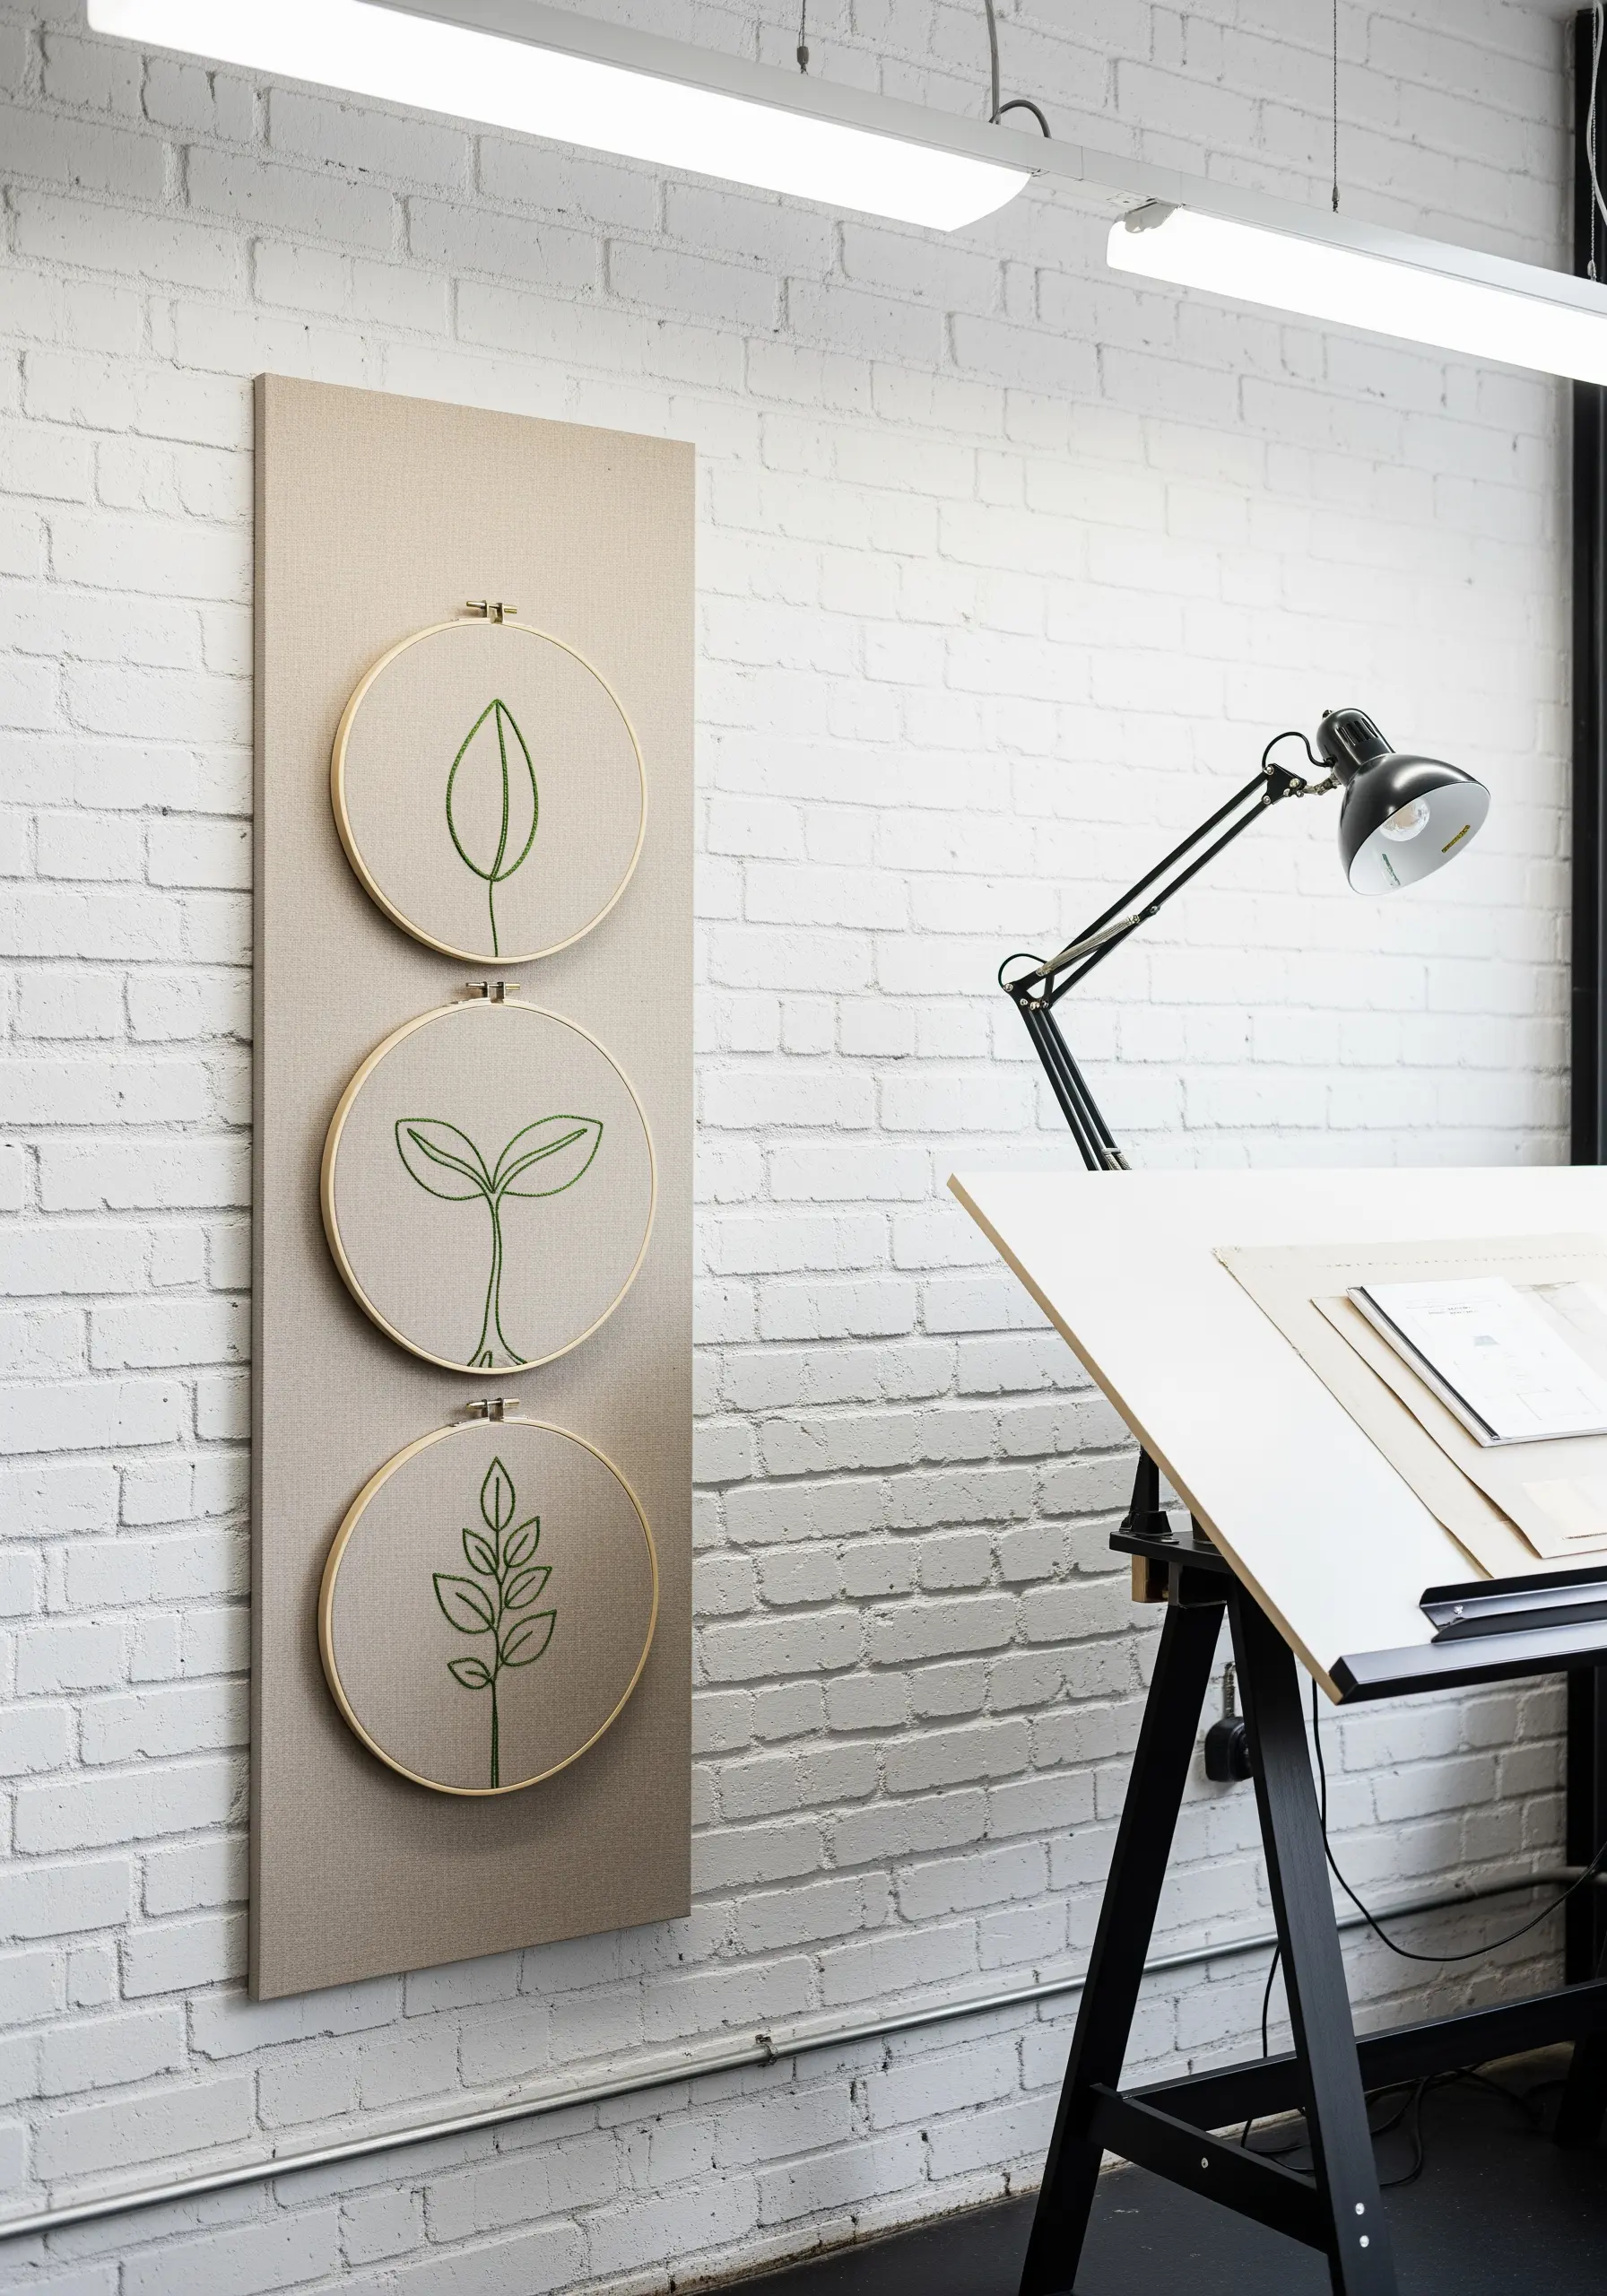
Tell a visual story of growth by dedicating each hoop in a series to a different stage of a plant’s life—from seed to sprout to full leaf.
Mounting the hoops vertically on a fabric-covered panel creates a single, unified piece of art that feels like a botanical illustration chart.
This method turns simple plant-inspired embroidery hoop sets into a complete narrative for your wall.
10. Maximize Contrast on Dark Fabric
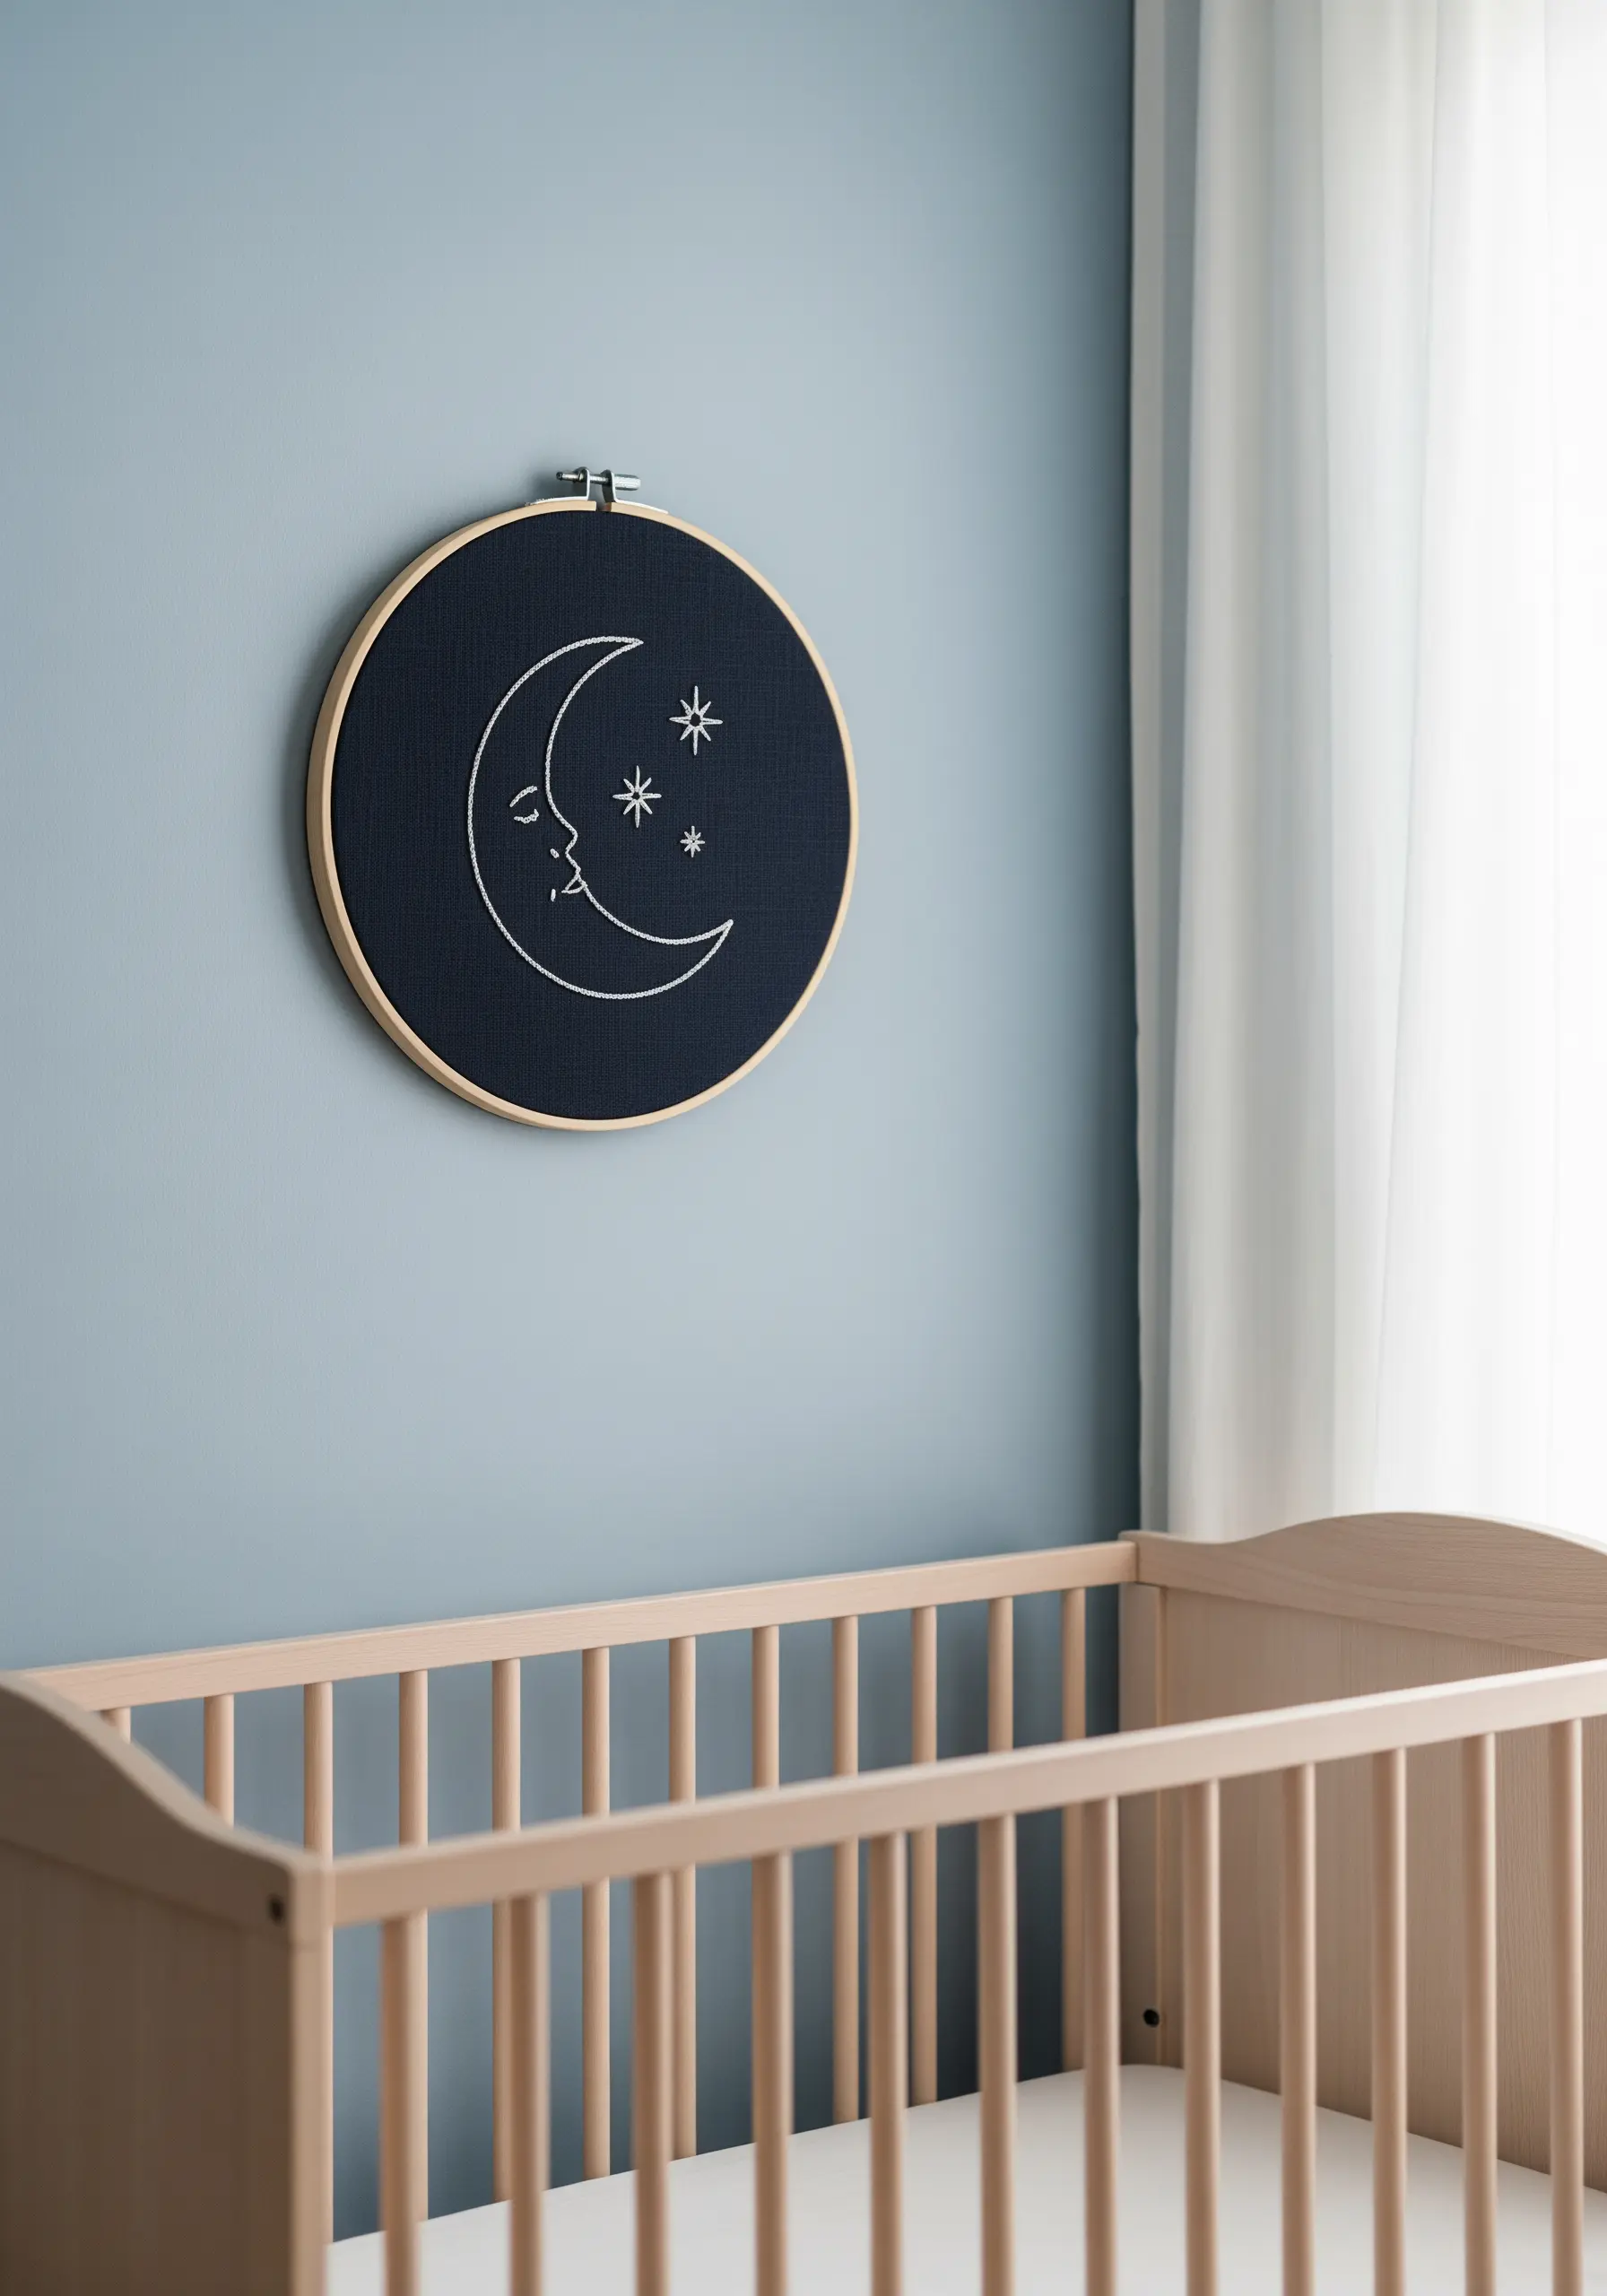
Make your lines shine by stitching with a bright white or silver thread on a dark, matte fabric like navy or black linen.
This high-contrast combination creates a dramatic, celestial effect that instantly draws the eye.
To enhance the sparkle of the stars, use a single, detached chain stitch (a lazy daisy stitch) for a fuller, more substantial shape than a simple straight stitch.
These minimal celestial embroidery wall designs bring quiet magic to bedrooms.
11. Infuse Personality with Expressive, Scribbled Lines
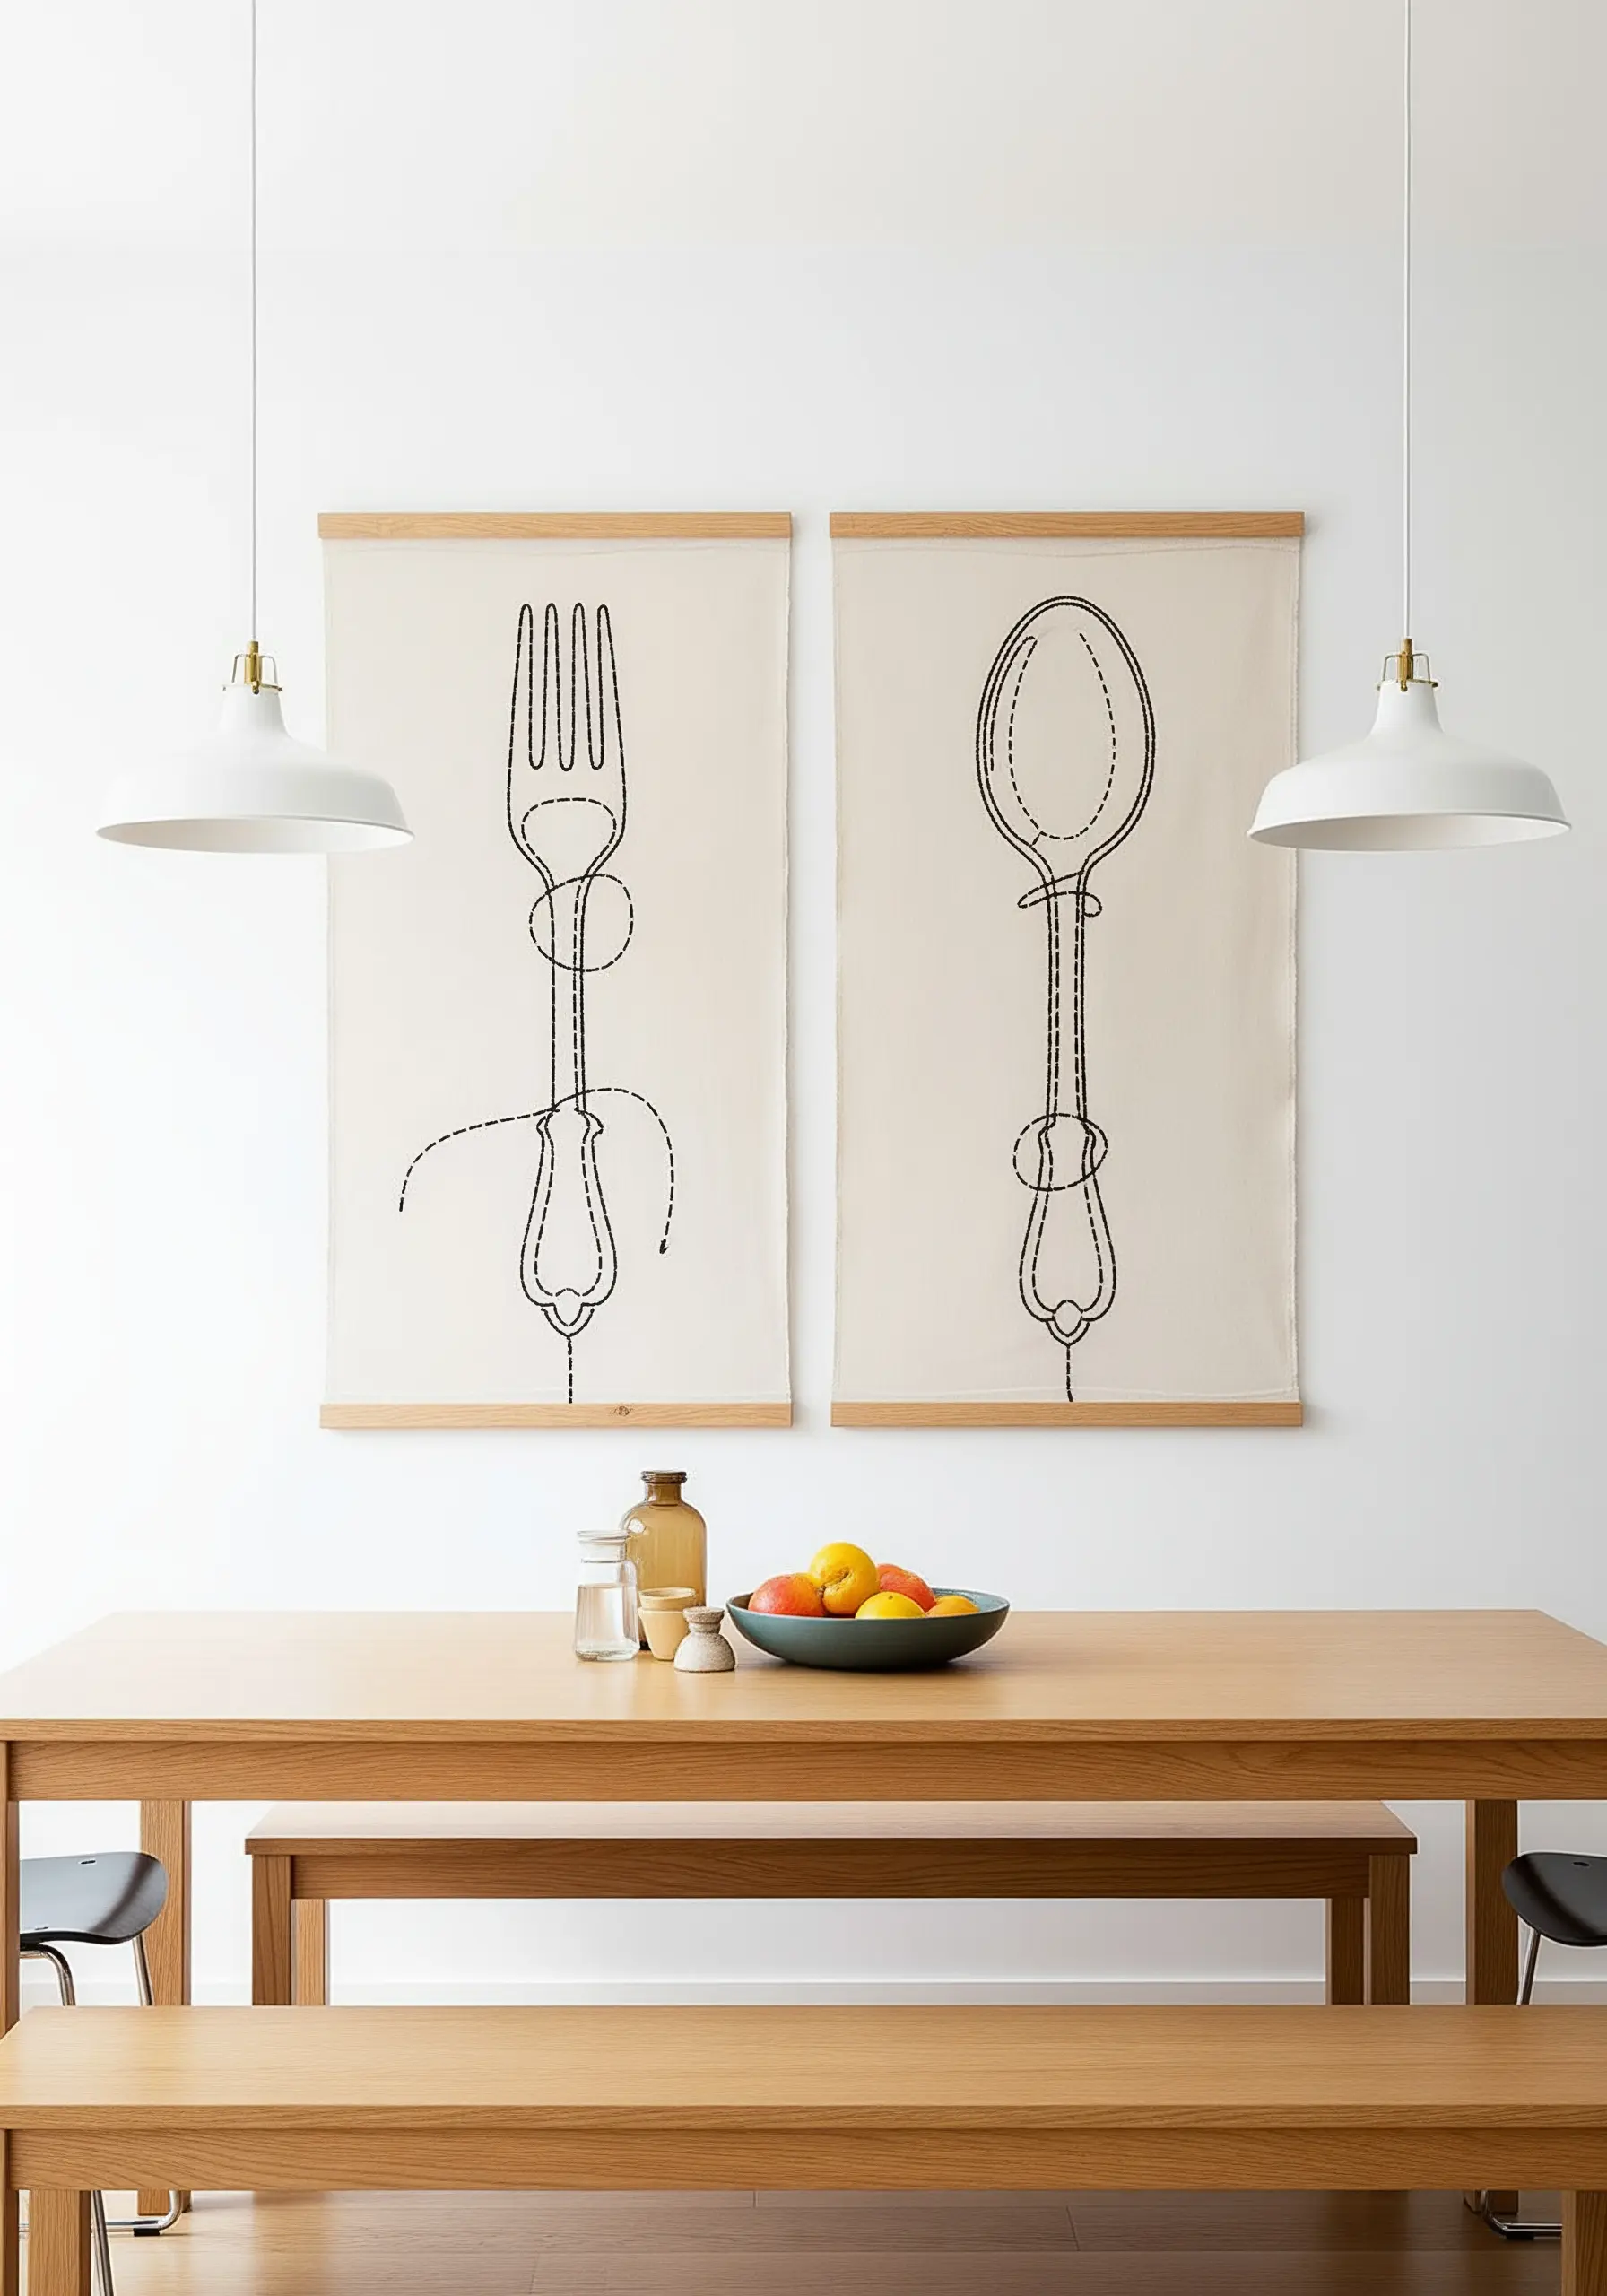
Perfection isn’t always the goal; sometimes, personality is more compelling.
Embrace a loose, sketchy style by intentionally overlapping your stitches or allowing lines to break and reconnect.
This technique gives a simple object, like a fork or spoon, a dynamic, hand-drawn quality that feels artistic and full of character.
Use a simple backstitch, focusing on rhythm and movement rather than absolute precision.
12. Create Harmony with a Monochromatic Palette
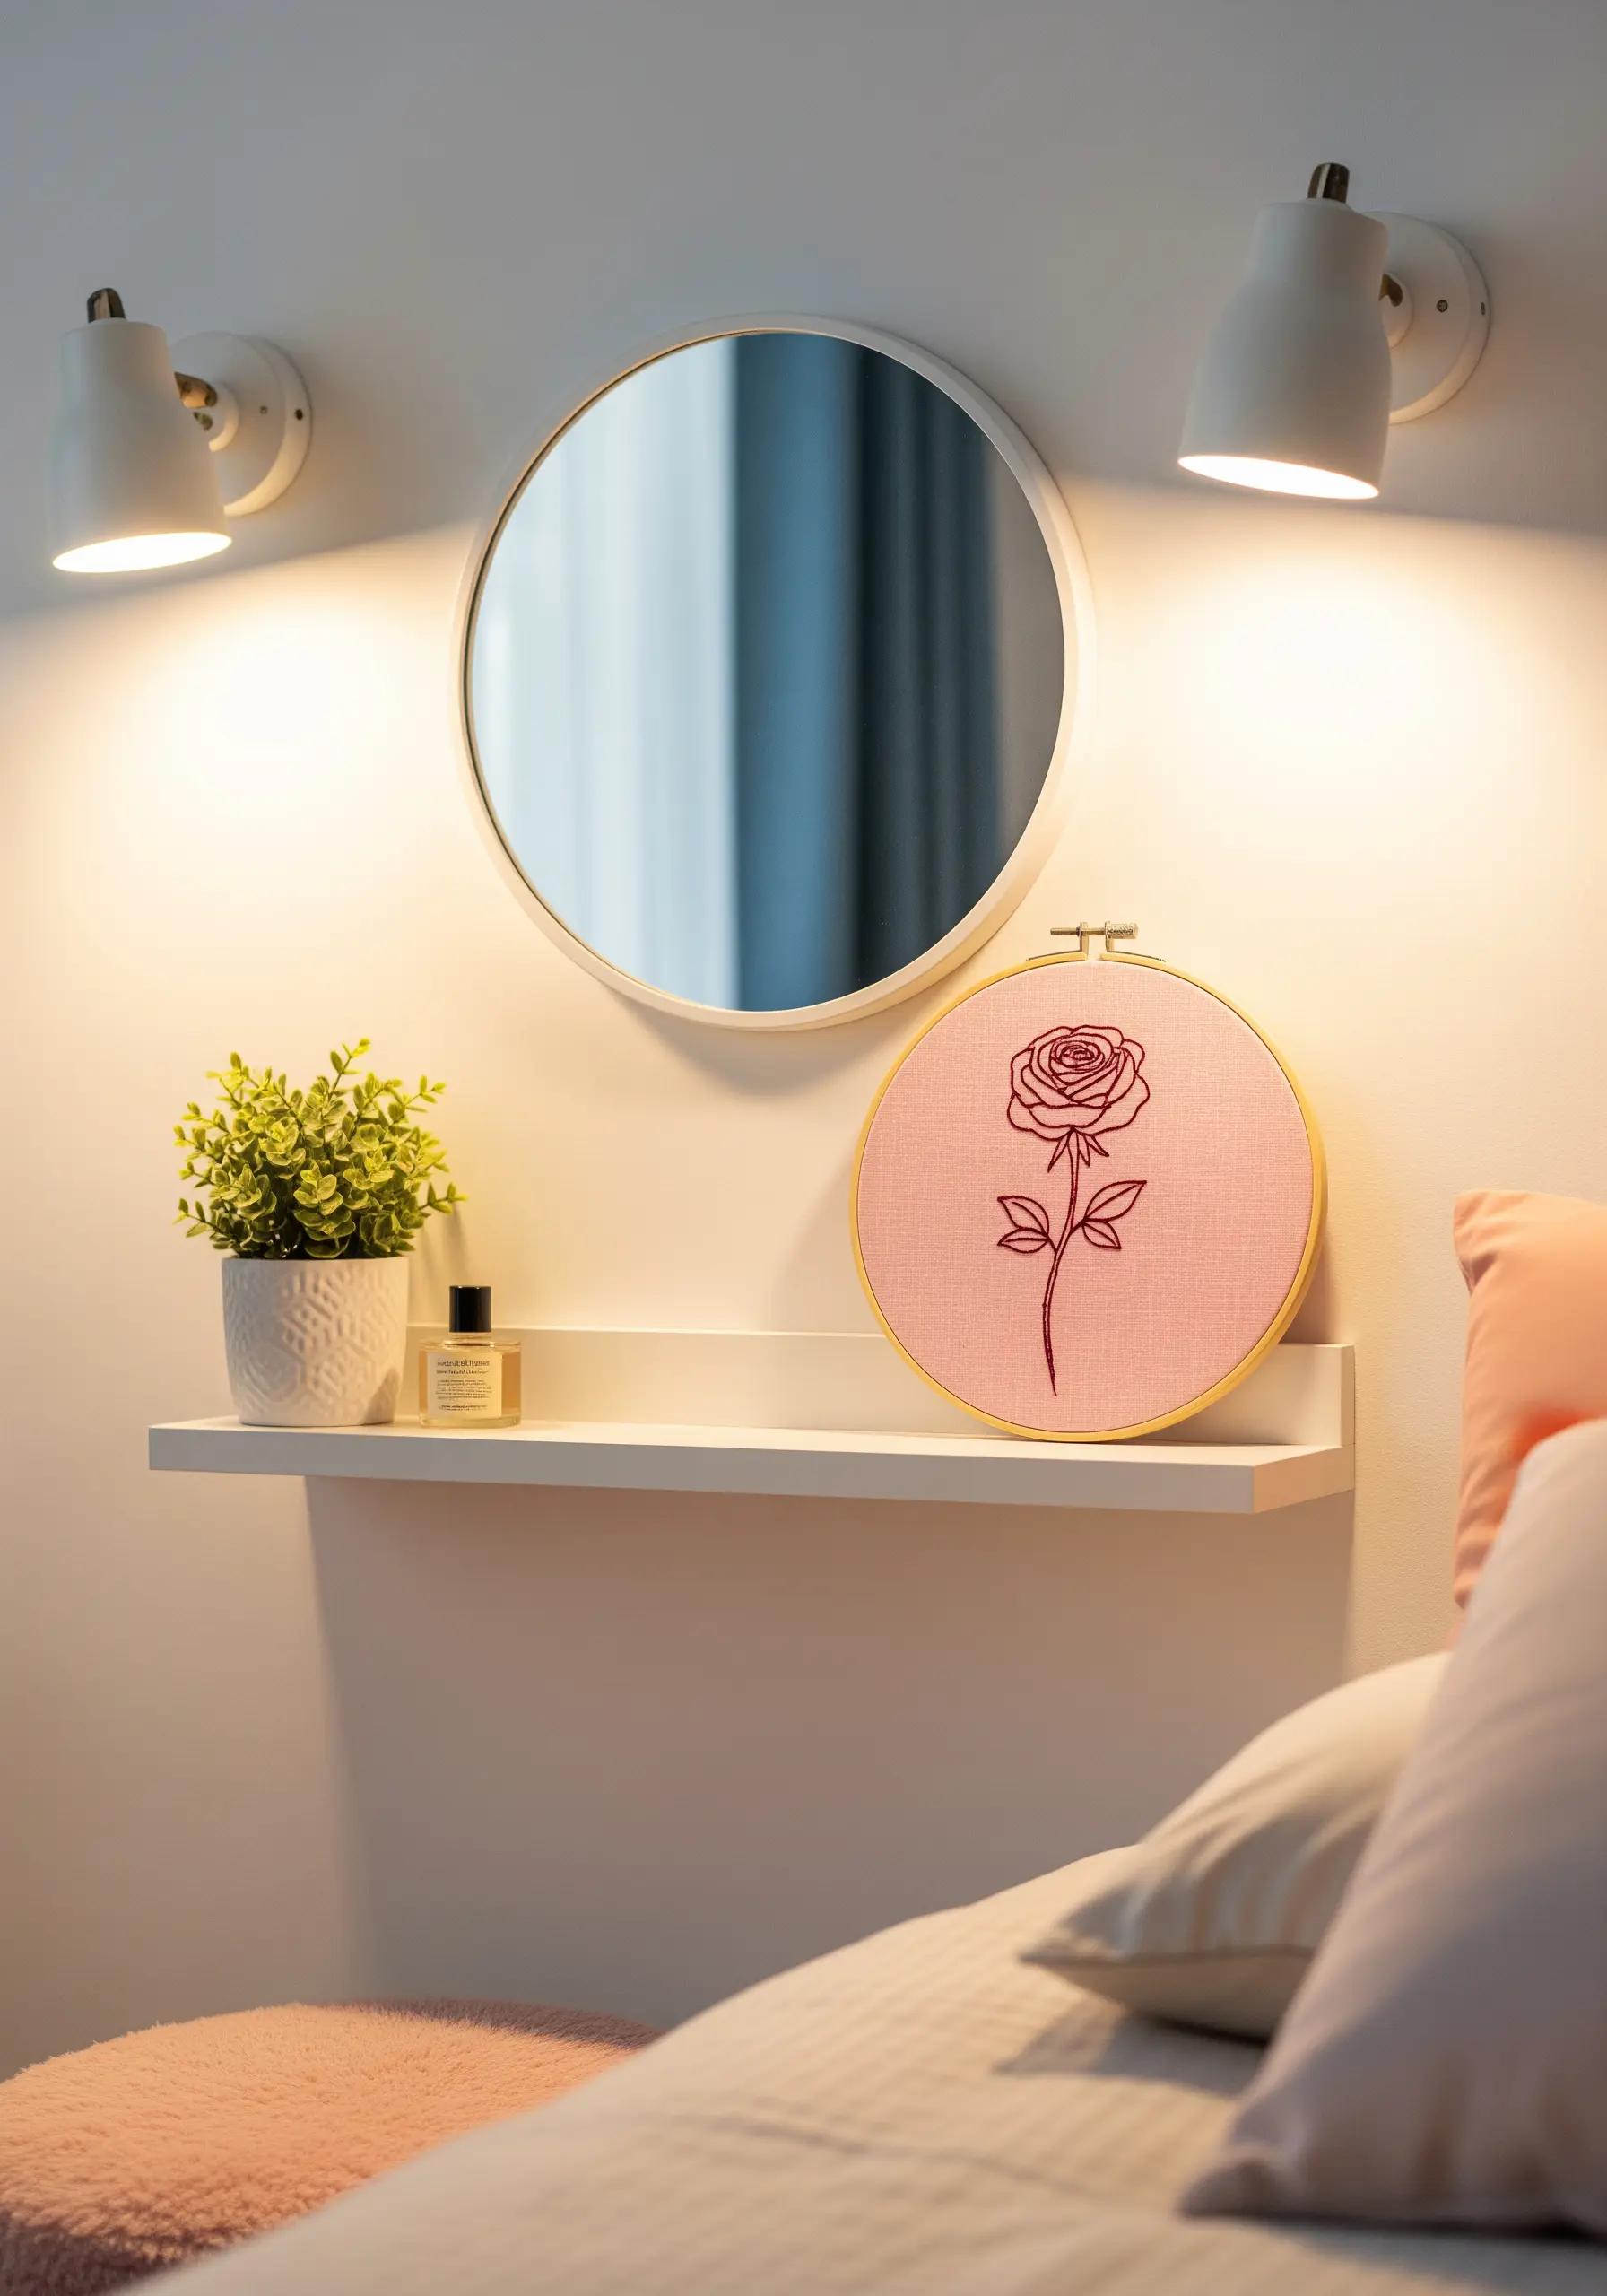
Achieve an effortlessly chic look by pairing your fabric with a thread that is just a few shades darker or lighter.
This subtle, tone-on-tone approach creates a design that feels sophisticated and integrated rather than sitting on top of the fabric.
It works beautifully for single-motif pieces, where the simplicity of the color palette allows the form of the rose to take center stage.
13. Convey Motion with Directional Stitches
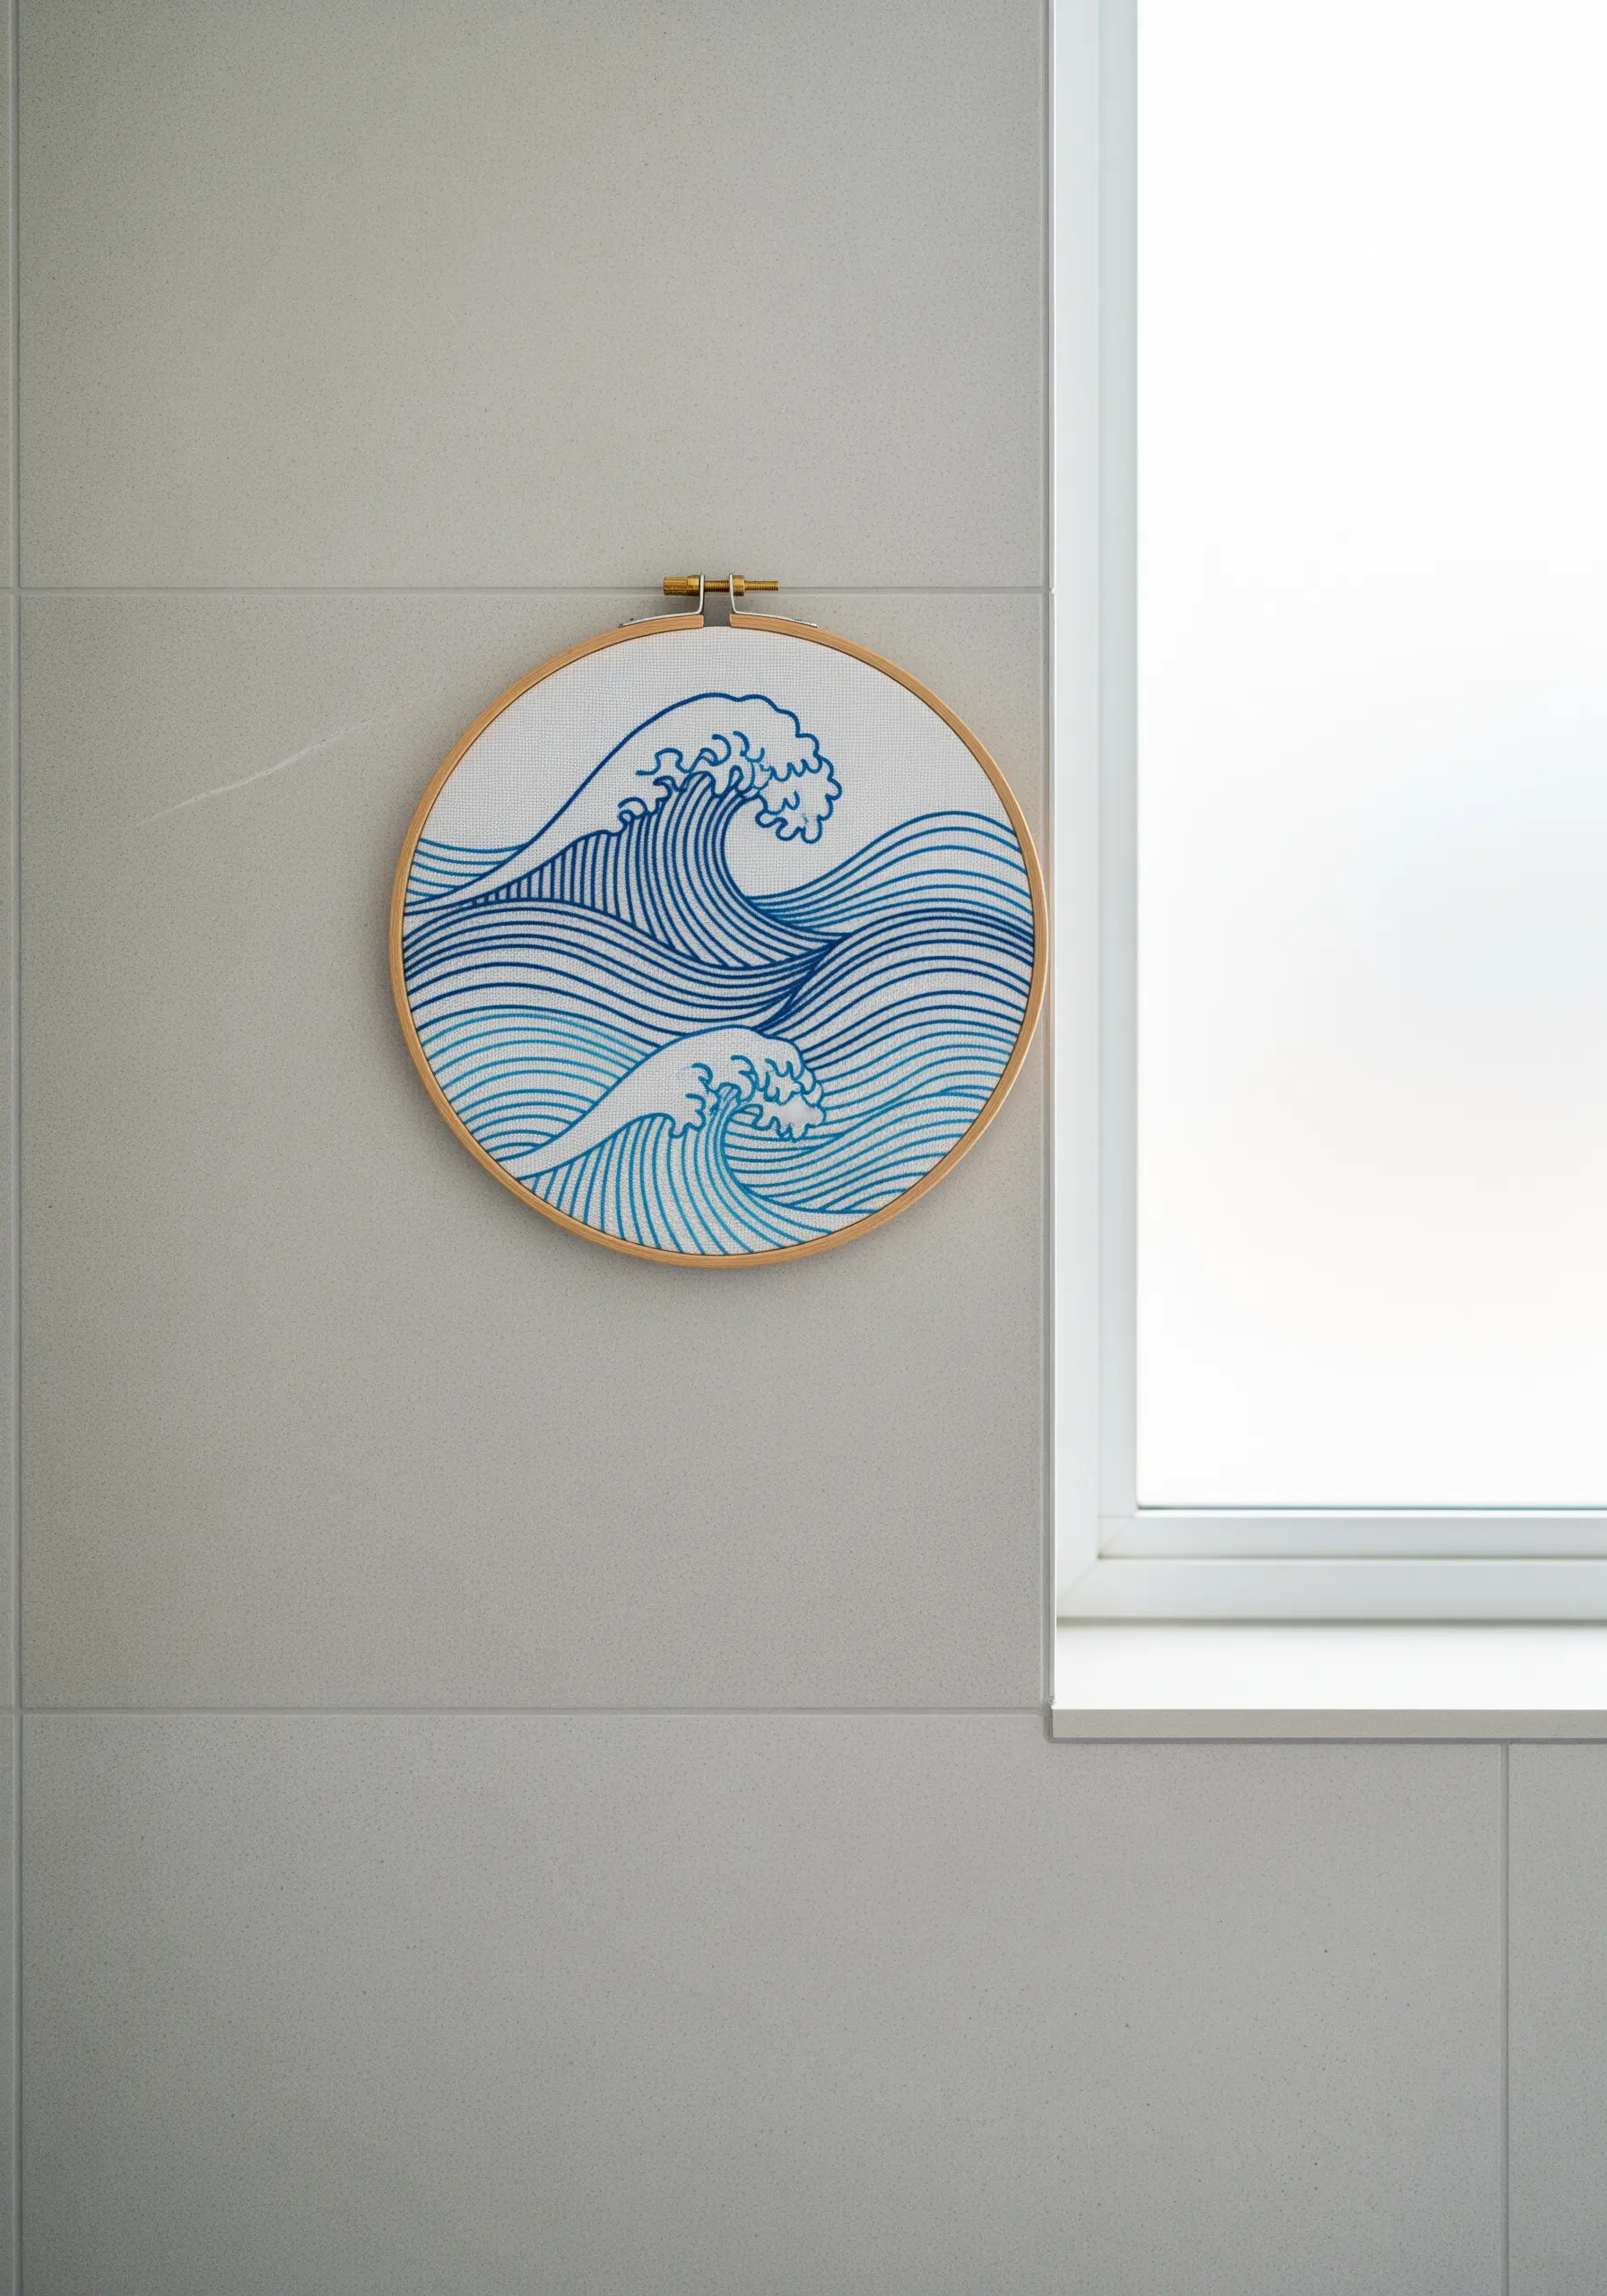
Capture the rhythmic movement of waves by aligning your stitches with the direction of the water’s flow.
Use rows of parallel backstitches or stem stitches to create a sense of energy and momentum.
Incorporate two or three shades of the same color—like navy, royal blue, and sky blue—to suggest depth and the play of light on the water’s surface, transforming static lines into a dynamic scene.
14. Harness the Power of Negative Space
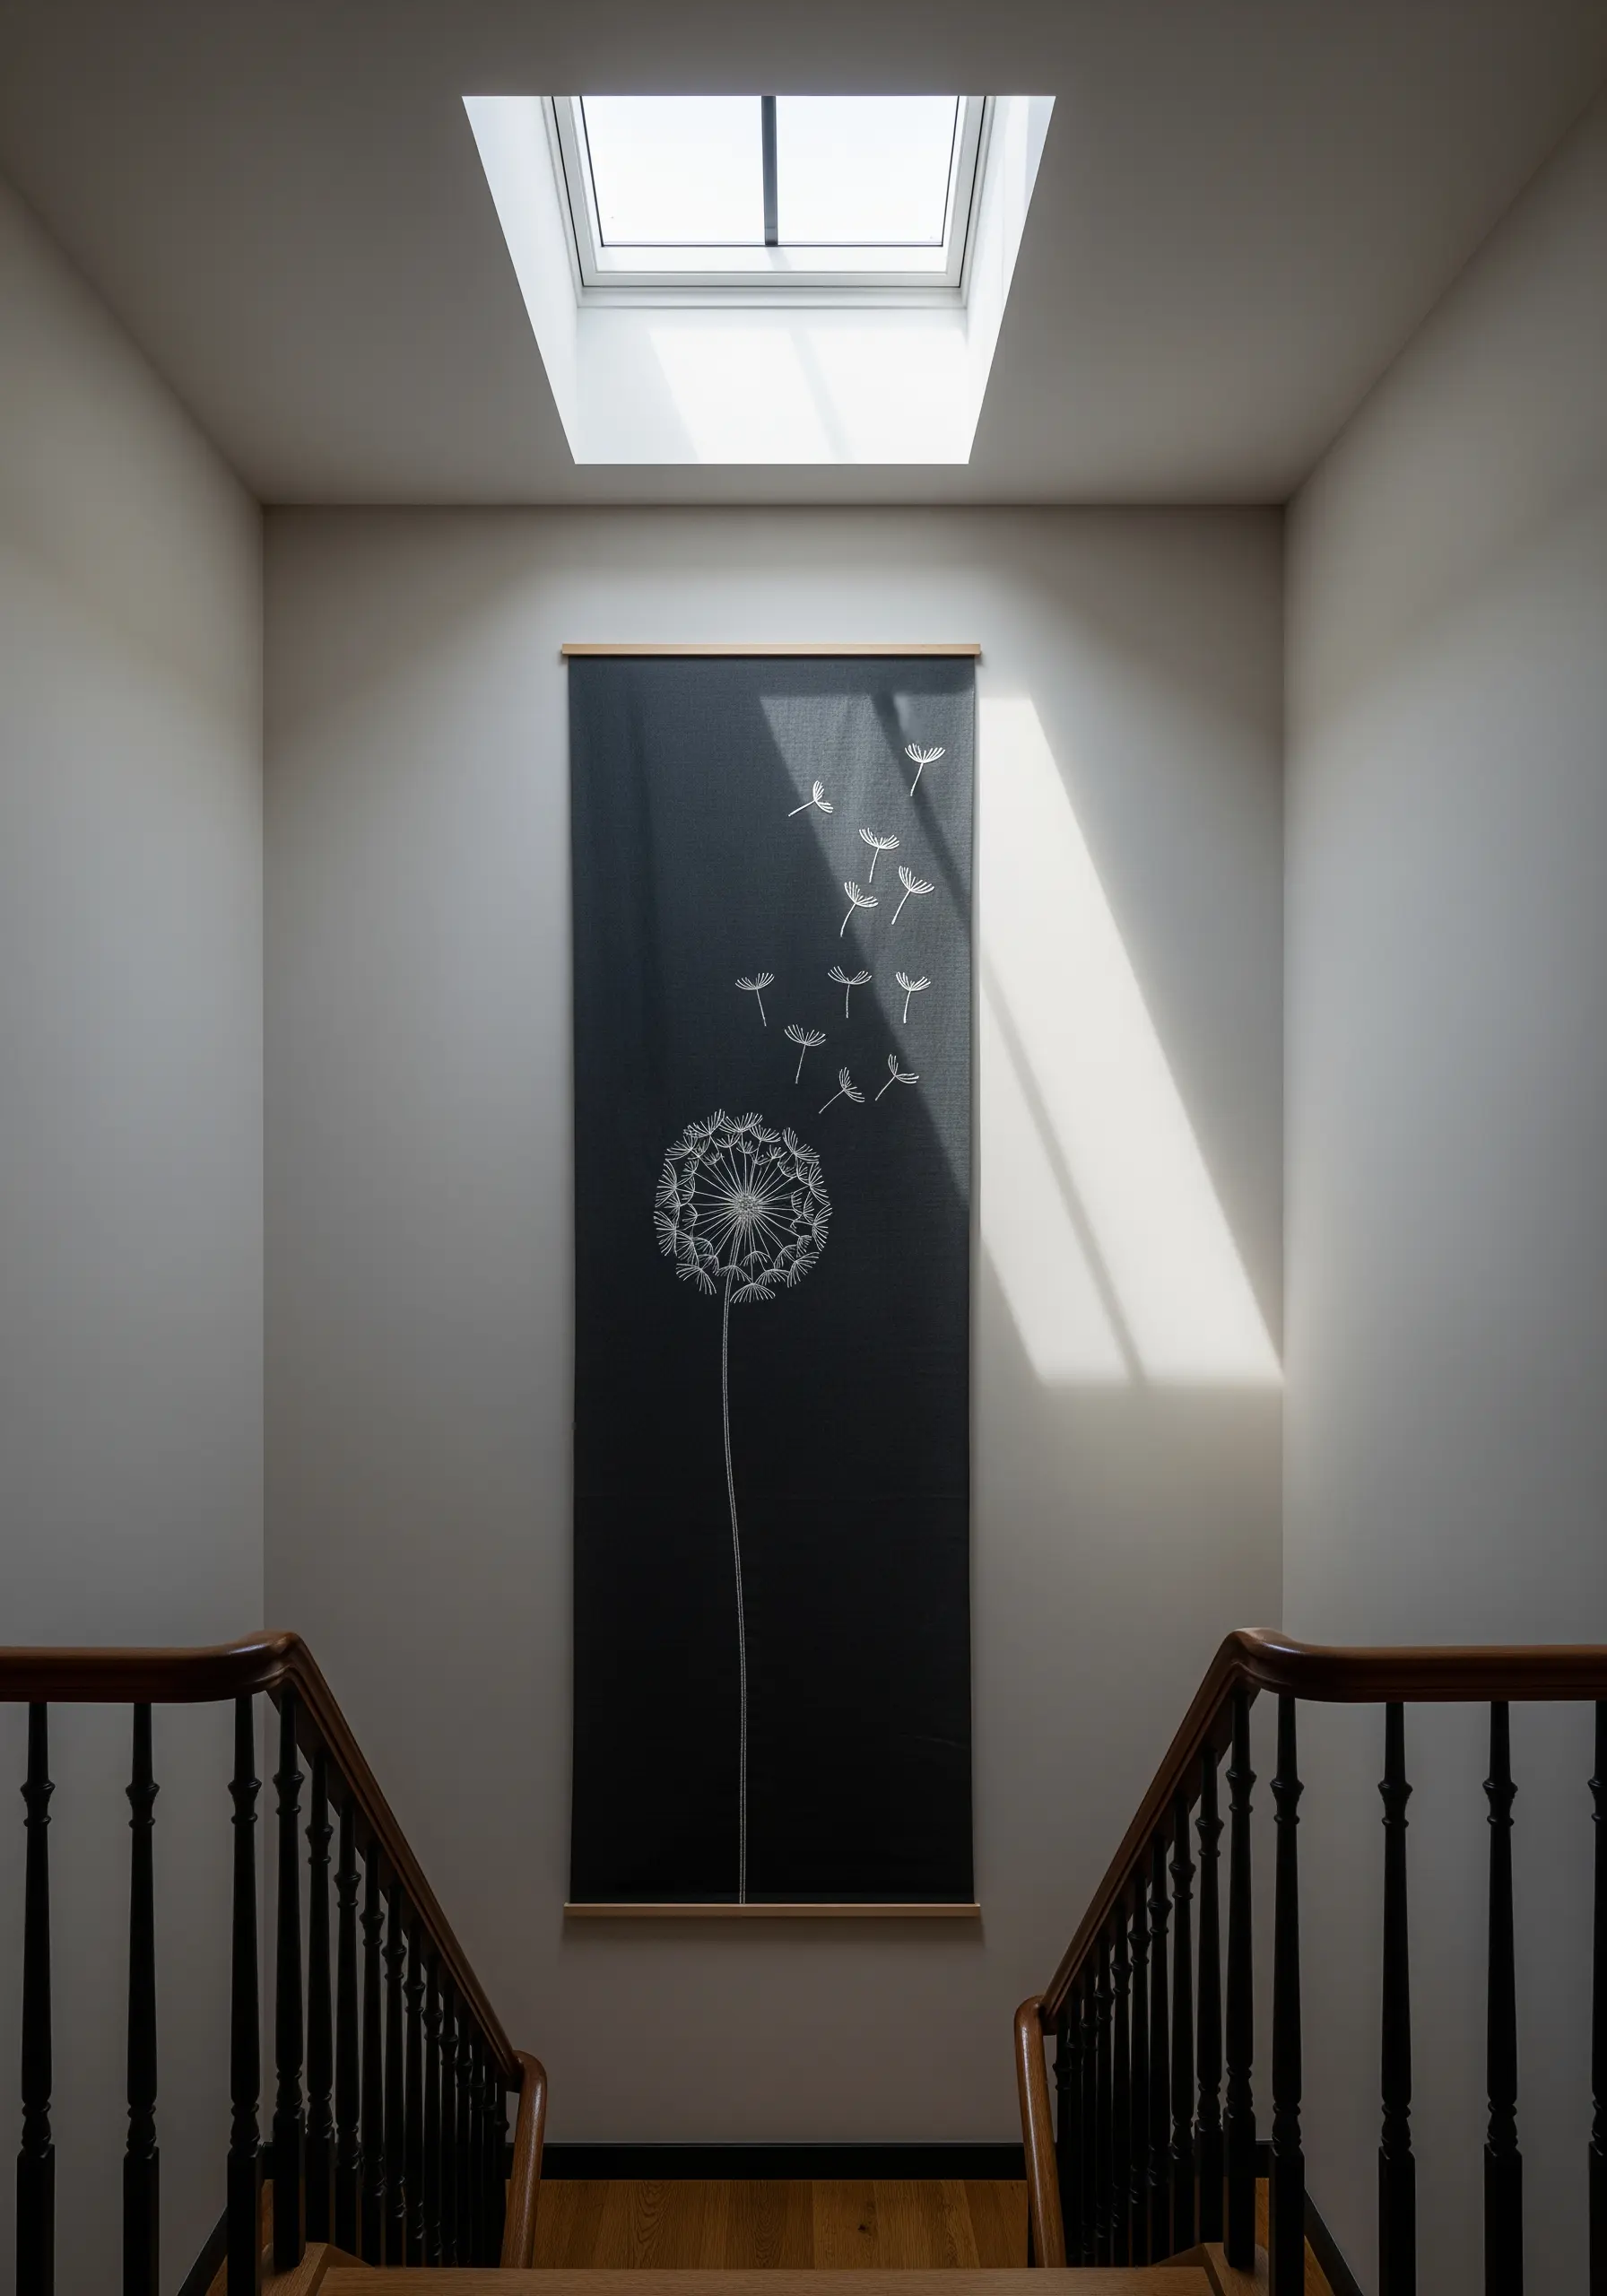
When working on a large, dark canvas, what you don’t stitch is as important as what you do.
Allow the empty black fabric to define the form of the dandelion seeds floating away.
This use of negative space gives the composition a light, airy feeling and creates a powerful visual impact with minimal stitching.
A combination of dense satin stitch for the flower head and delicate seed stitches adds textural contrast.
15. Combine Function and Whimsy in Practical Spaces
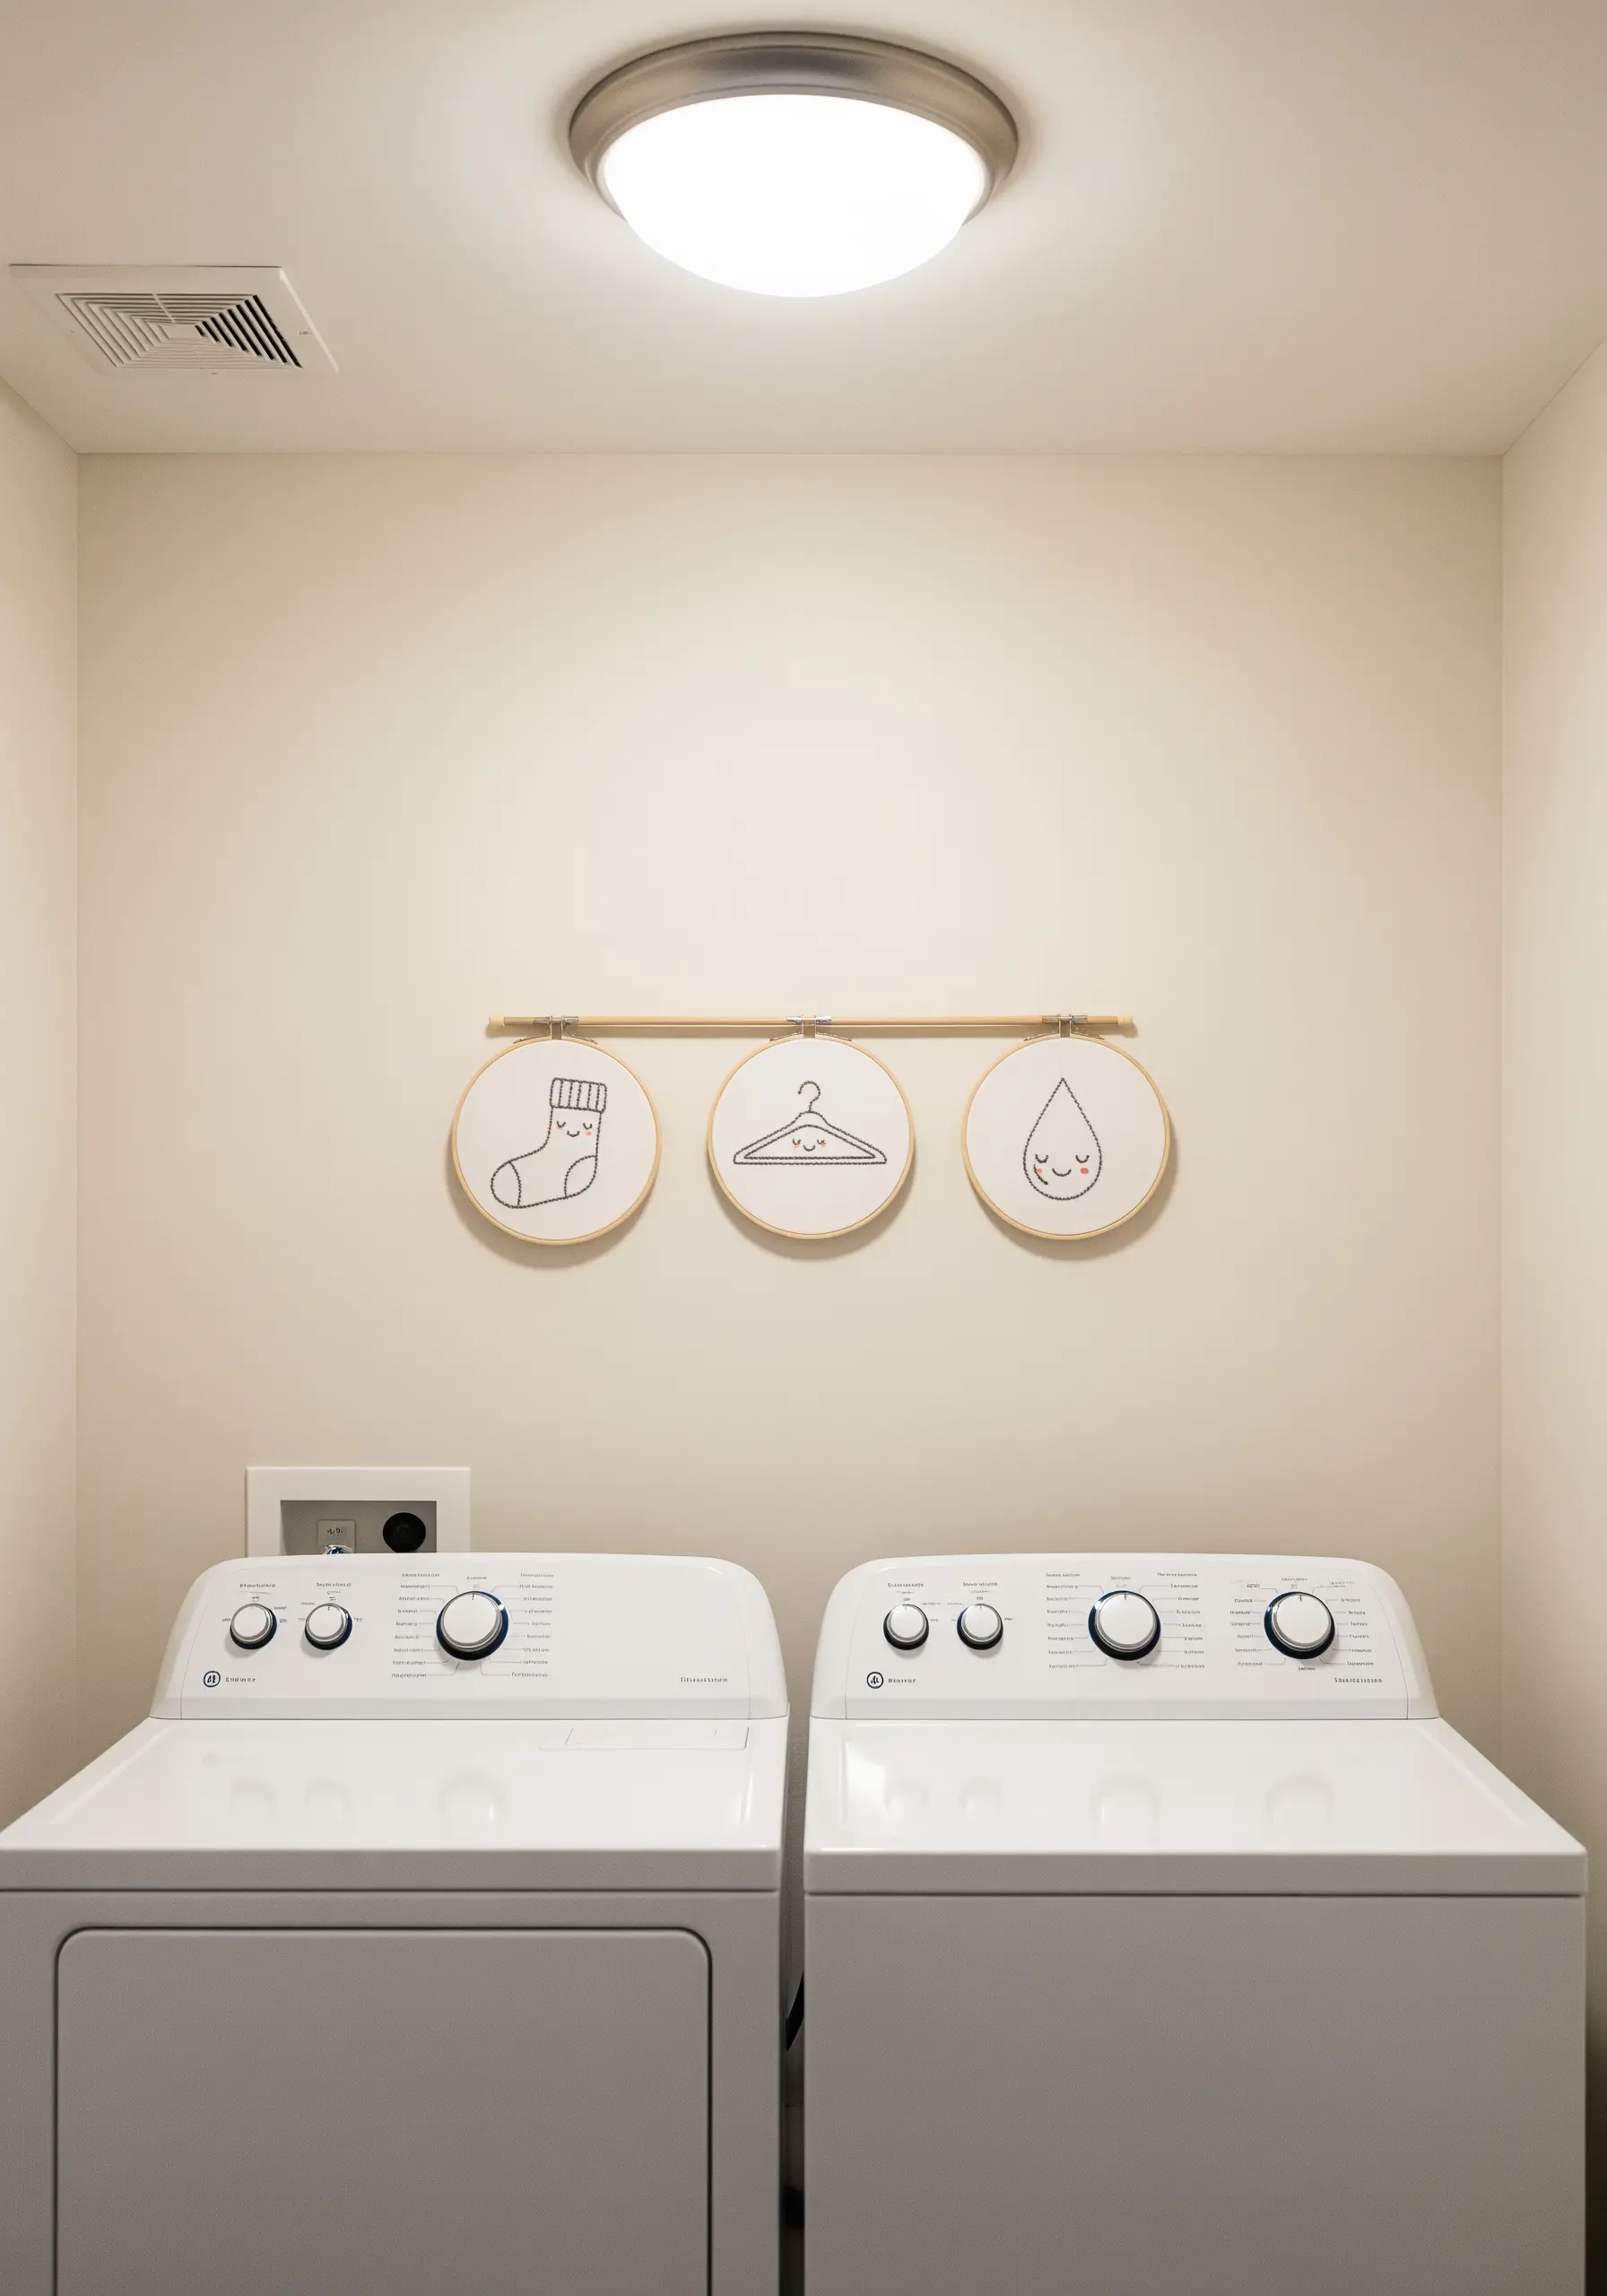
Add a touch of charm to utilitarian spaces like a laundry room with a set of playful, functional icons.
To ensure these simple motifs stand out, use three strands of floss instead of the usual one or two.
The thicker lines provide boldness and clarity, making the designs easily visible from a distance while the cute, smiling faces add a dose of unexpected joy.
16. Achieve Precision in Architectural Embroidery
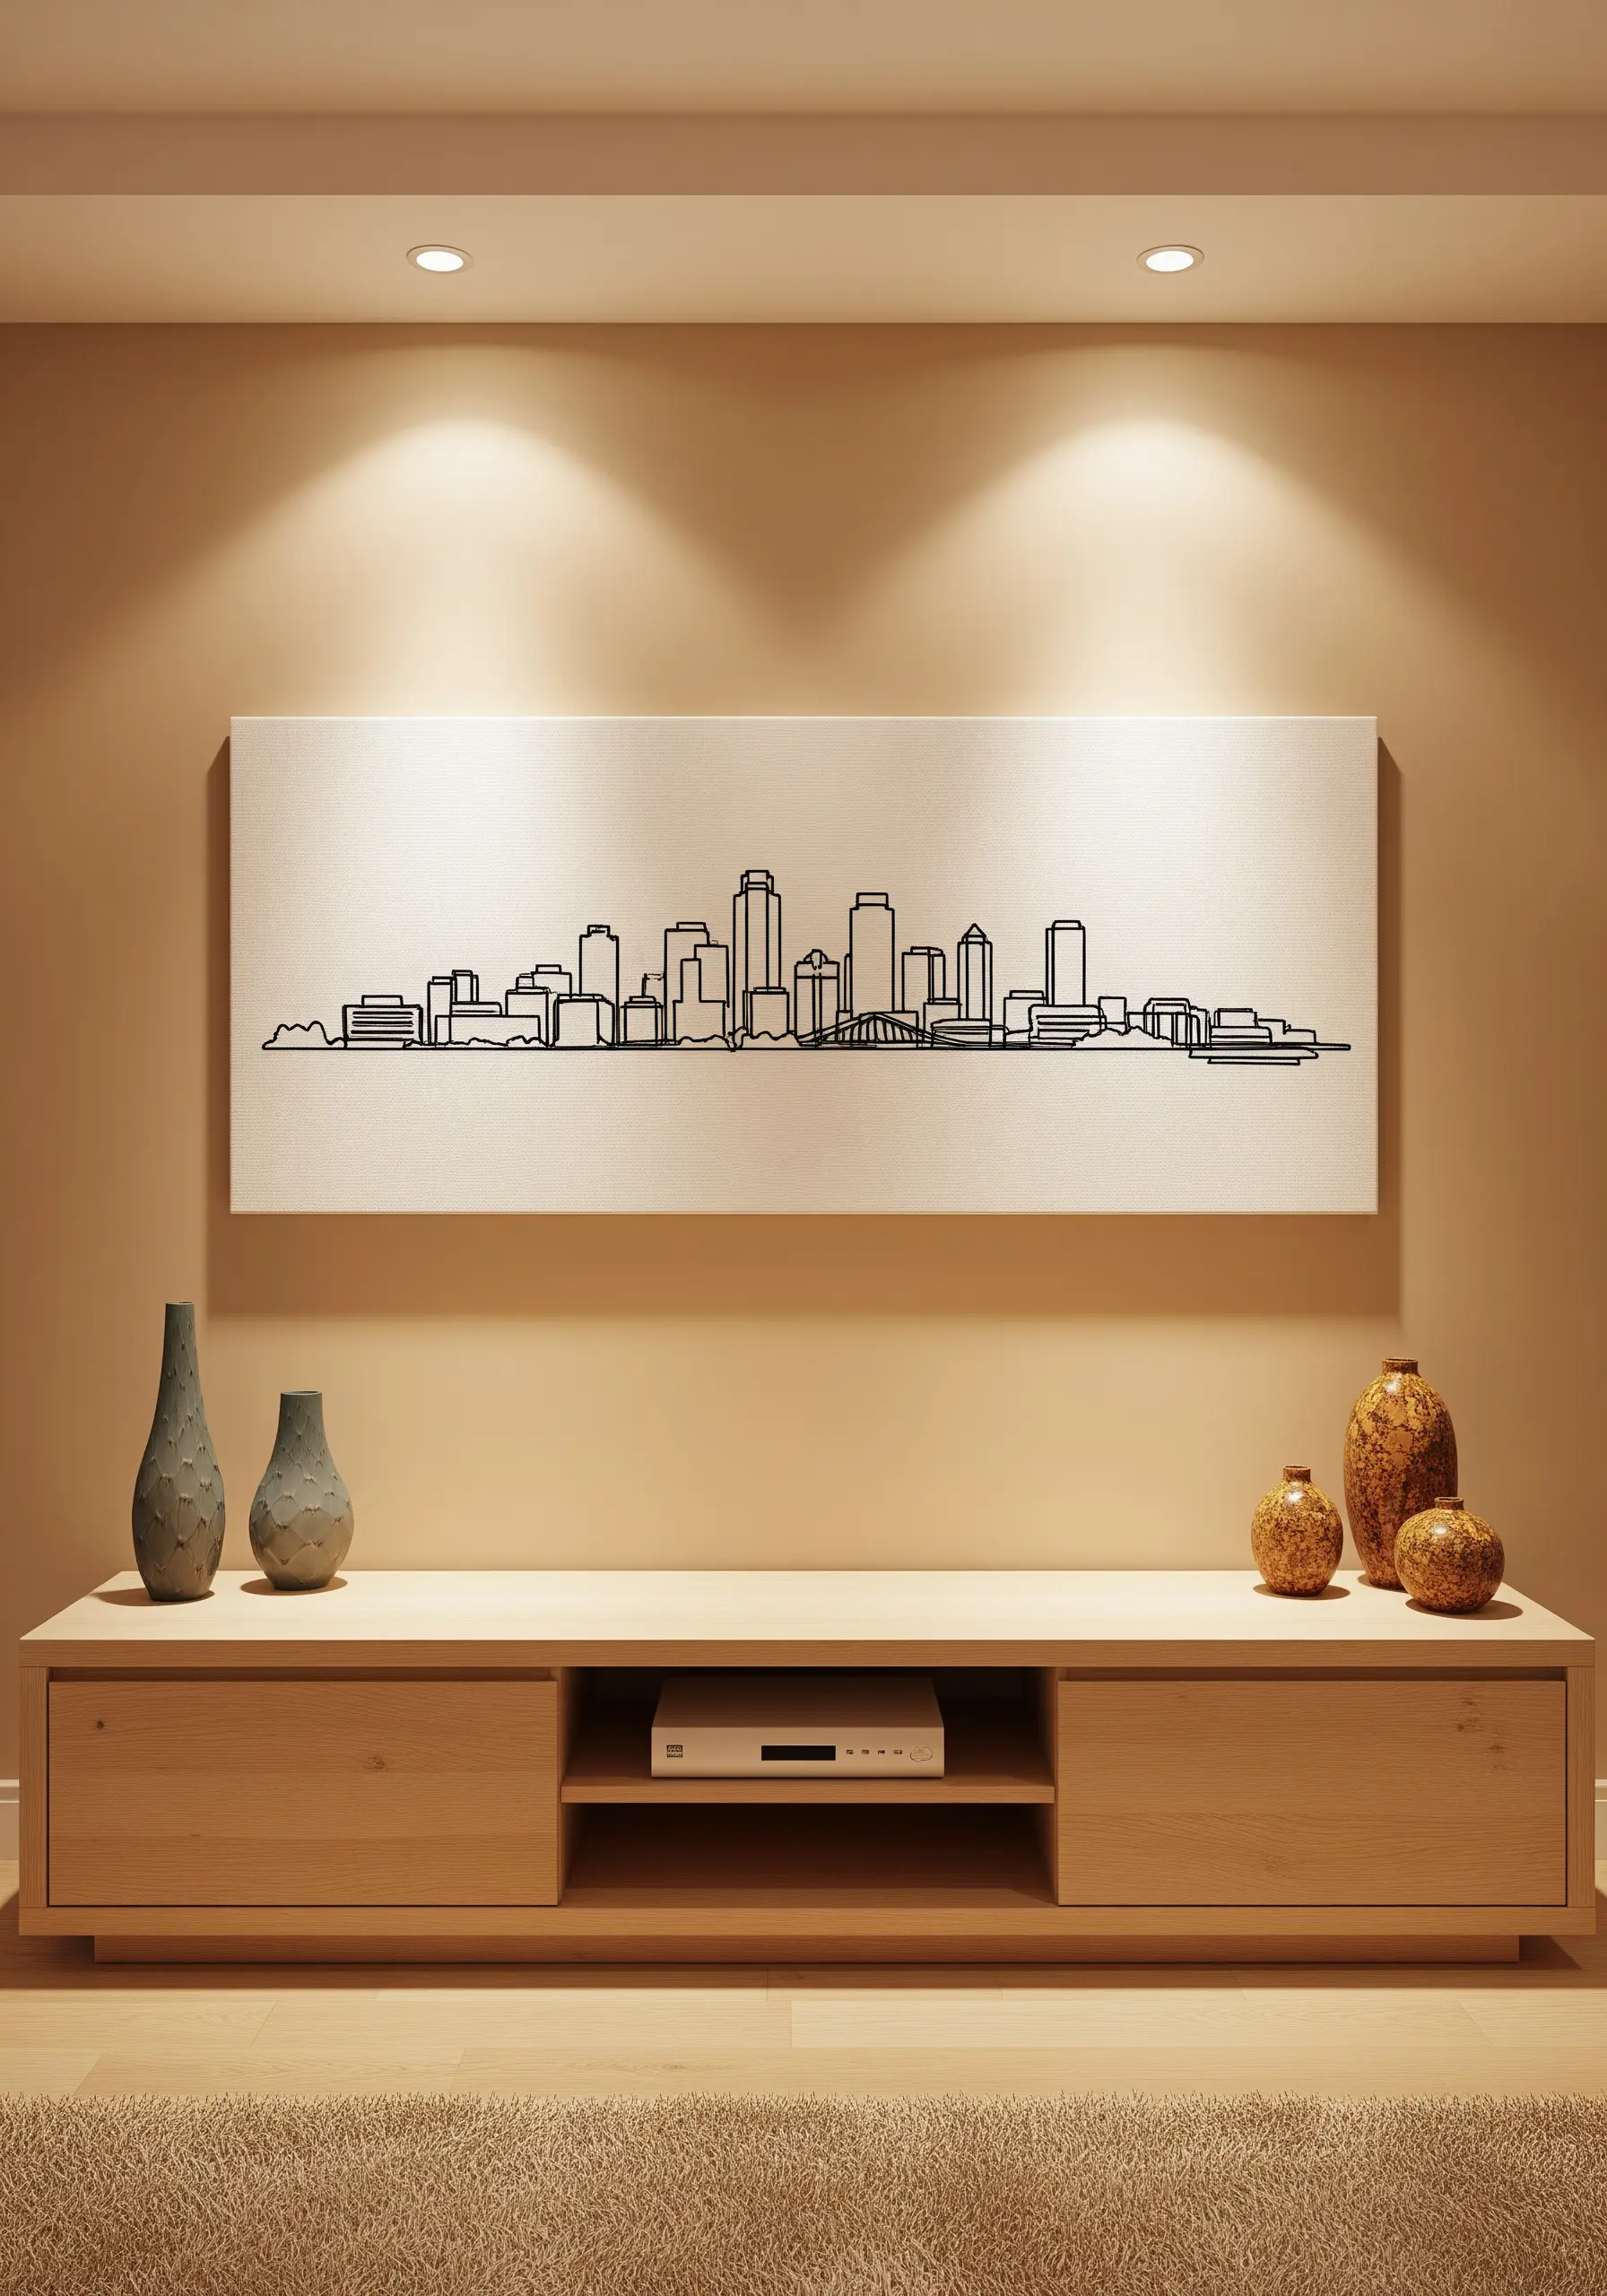
Stitching a cityscape requires clean, unwavering lines to be effective.
Lightly draw your design onto the fabric with a water-soluble pen and a ruler before you begin.
Then, use a meticulous backstitch, keeping your stitch length short and consistent to maintain sharp angles and straight lines.
This precision is key to capturing the graphic essence of an urban skyline.
17. Define Botanical Shapes with a Perfect Outline
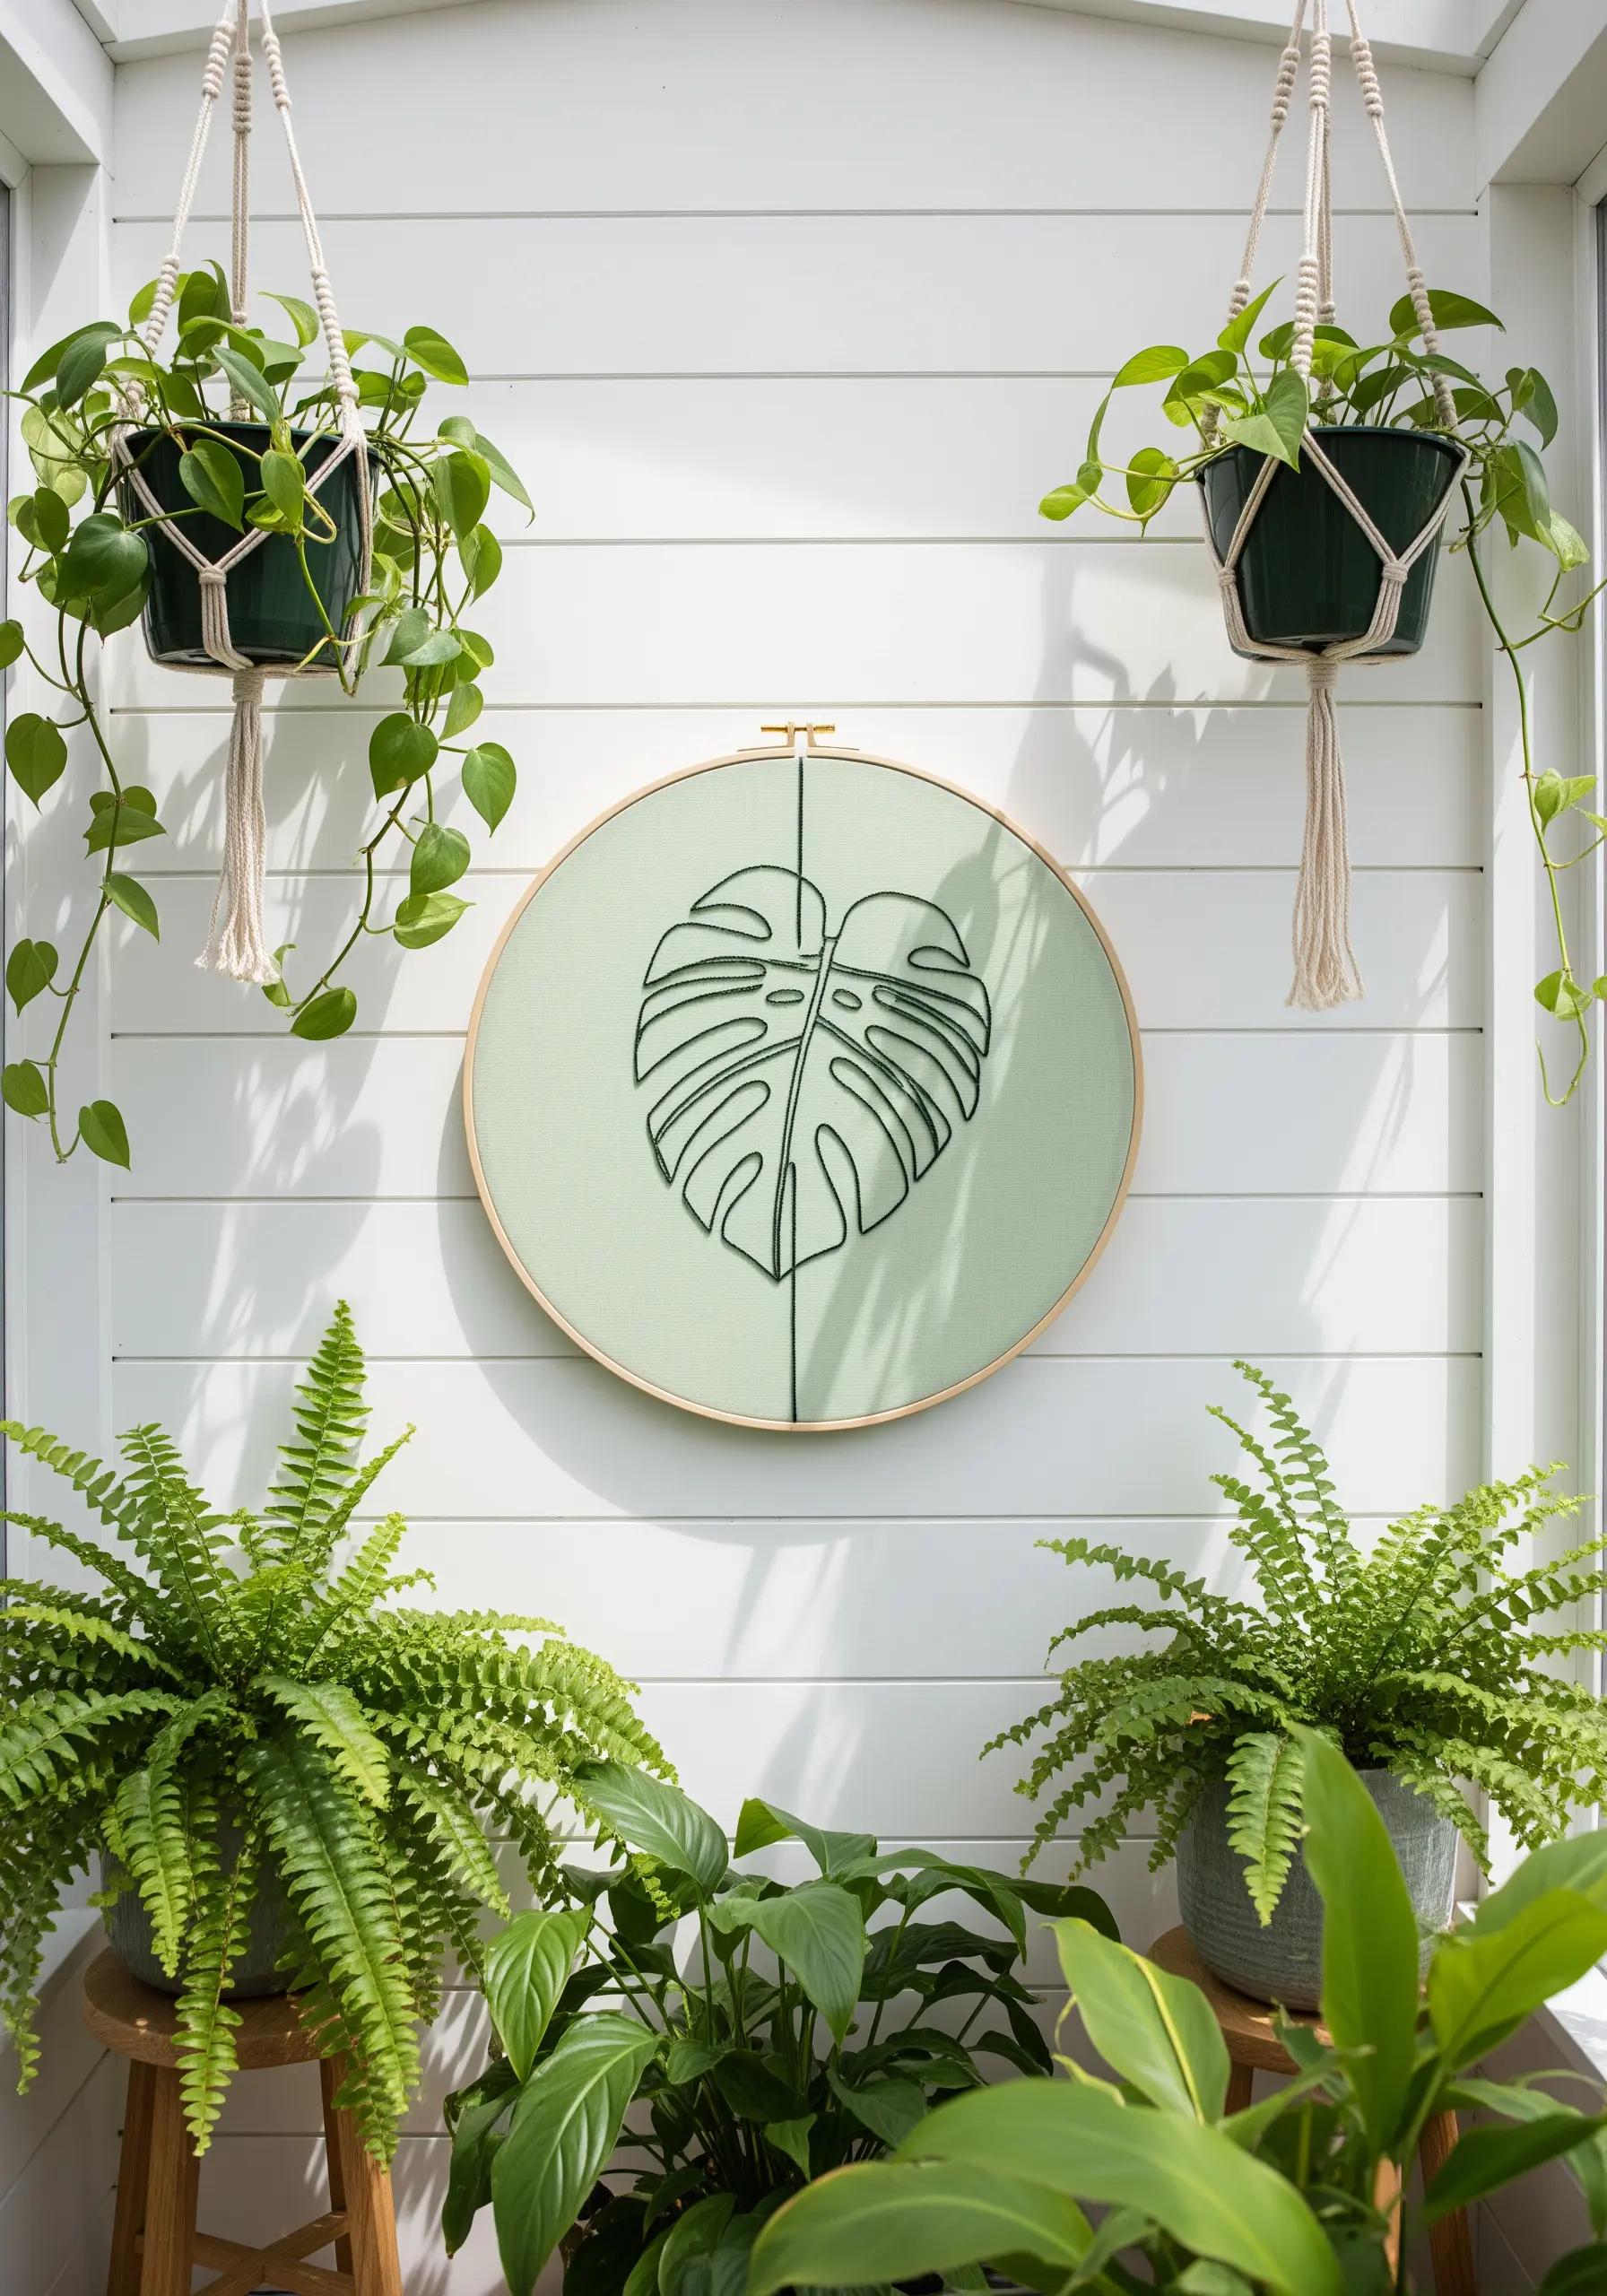
For iconic leaf shapes like the Monstera, a flawless outline is crucial.
A split stitch is your best tool for this, as it creates a solid, continuous line that handles curves much more smoothly than a backstitch.
By splitting the previous stitch with your needle, you build a clean, almost drawn-on edge that gives your plant silhouette embroidery a professional and polished finish.
18. Capture an Animal’s Essence in a Few Lines
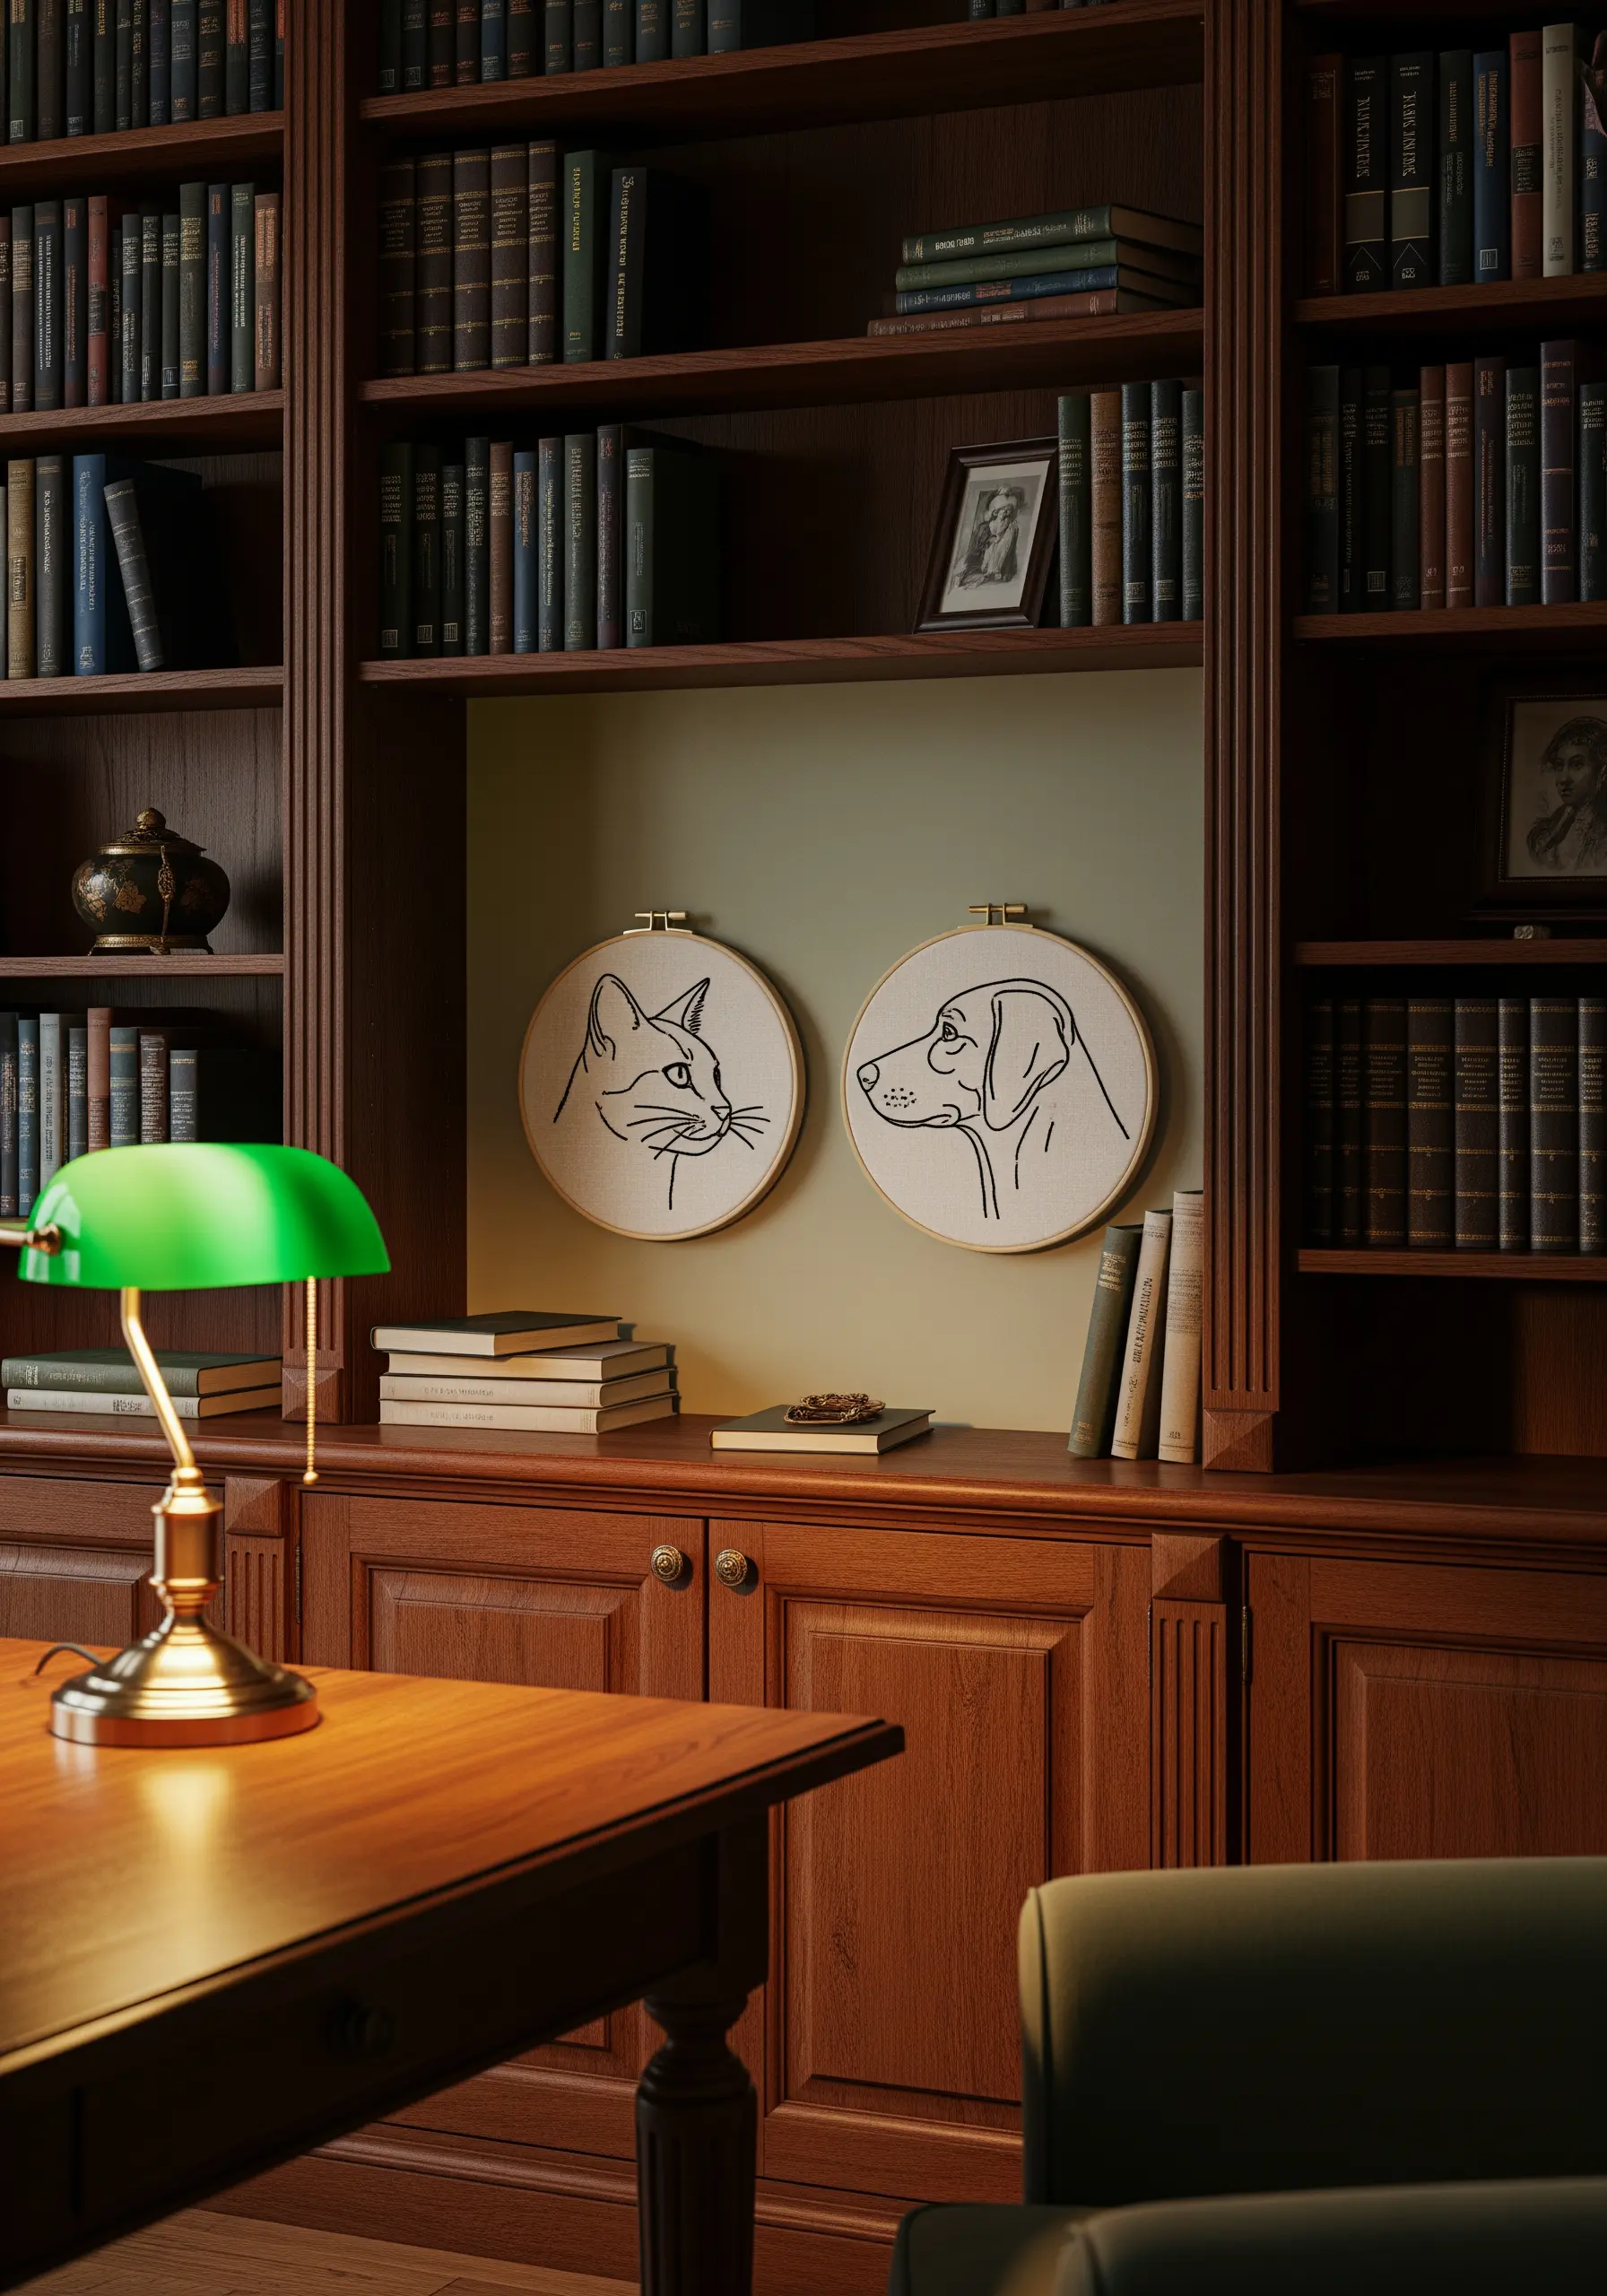
Creating a recognizable pet portrait doesn’t require complex thread painting.
Instead, focus on the defining lines that capture their unique character—the alert set of the ears, the gentle slope of the nose, or the curve of their gaze.
Use a simple backstitch to translate these essential features into a minimalist portrait that is both simple to execute and deeply personal.
These pet portrait embroidery ideas help beginners capture personality with ease.
19. Lend Elegance to Embroidered Text
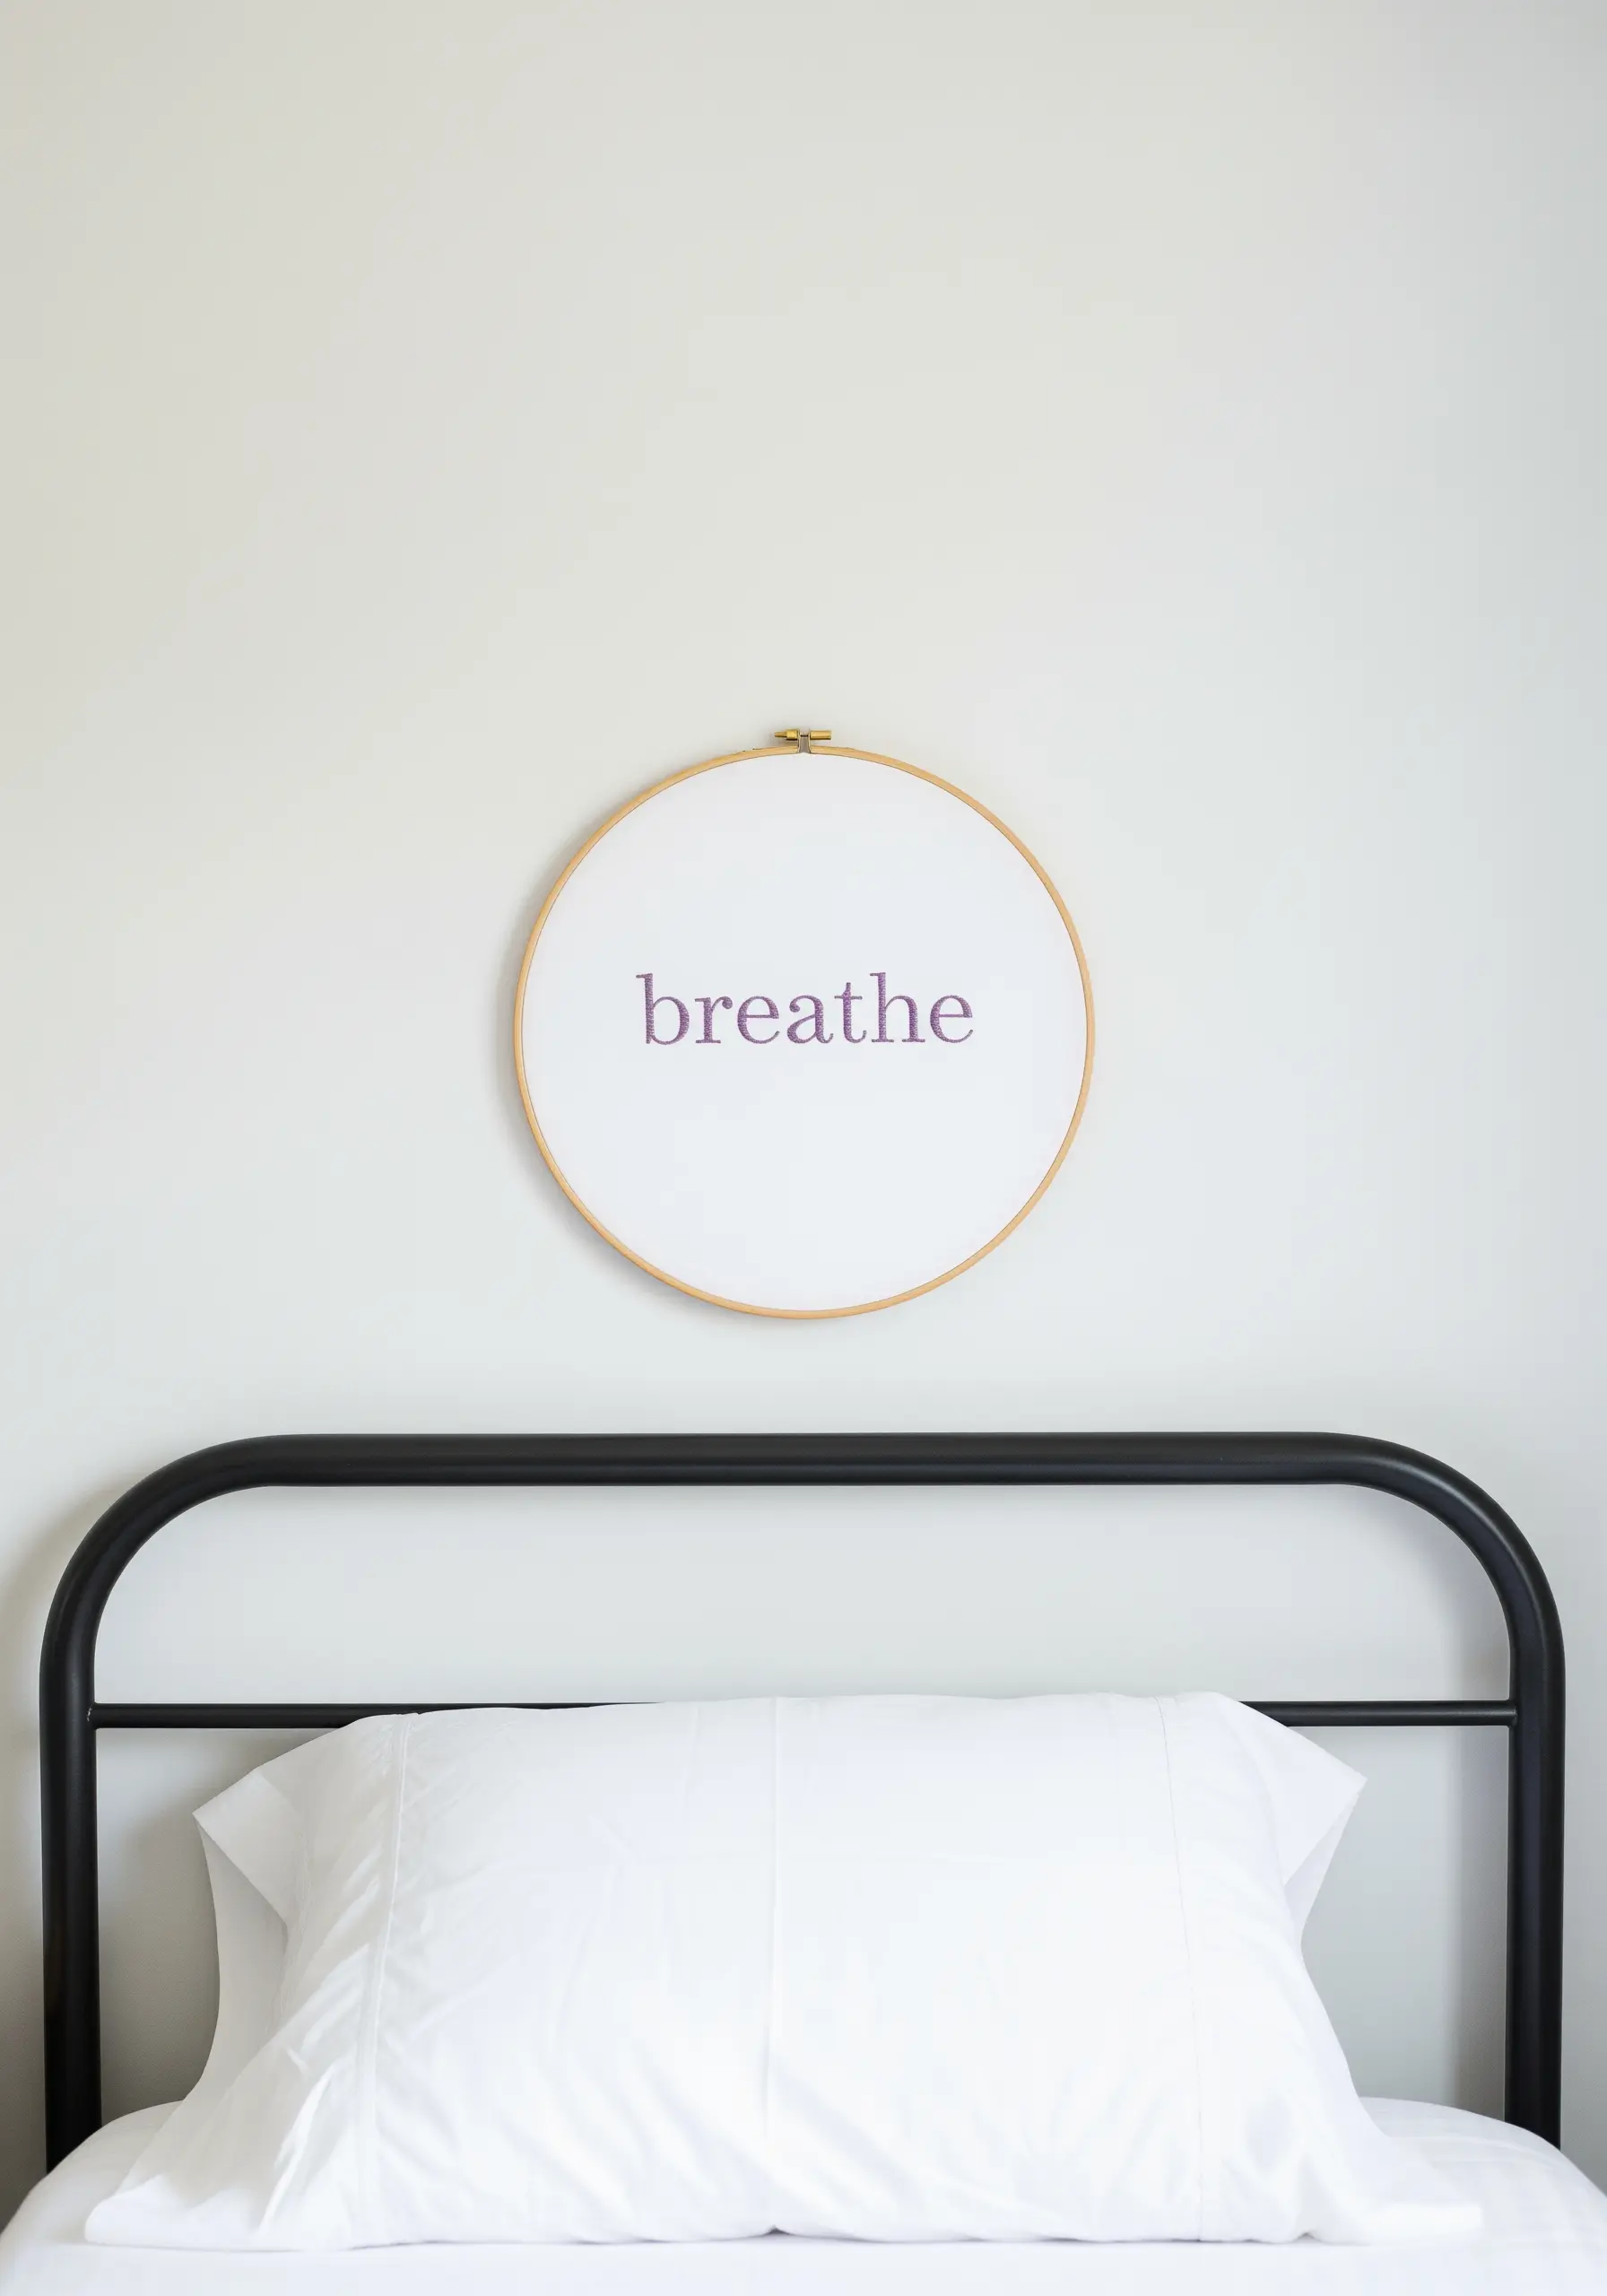
For clean, modern typography, the stitch choice is everything.
Select a stitch that complements the font’s style—a smooth whipped backstitch is perfect for this simple, sans-serif word, as it creates a solid, unbroken line.
Placing a single, meaningful word in the center of a hoop turns it into a quiet, meditative statement piece.
It’s an effective technique for inspirational quote patterns that feel calm and intentional.


