
That plain canvas tote bag in your closet is more than just a utility item; it’s a blank canvas waiting for an artist’s touch. If you’ve felt stuck stitching predictable patterns, it might be time to think less about the picture and more about the presence of the thread itself.
Abstract color-blocking offers a path to creating something that feels like modern art. It’s a design language built on the satisfying interplay of shape, texture, and hue. It doesn’t rely on complex drawing skills, but on your ability to see and feel the relationship between different stitched surfaces.
Here, you’ll discover how to transform your tote not just with color, but with intention. Learn to use padded stitches for 3D effects, create transparent layers with weaving, and combine thread with other fibers for a truly tactile experience. These aren’t just ideas; they are techniques to elevate your craft and turn an everyday object into a piece of personal expression.
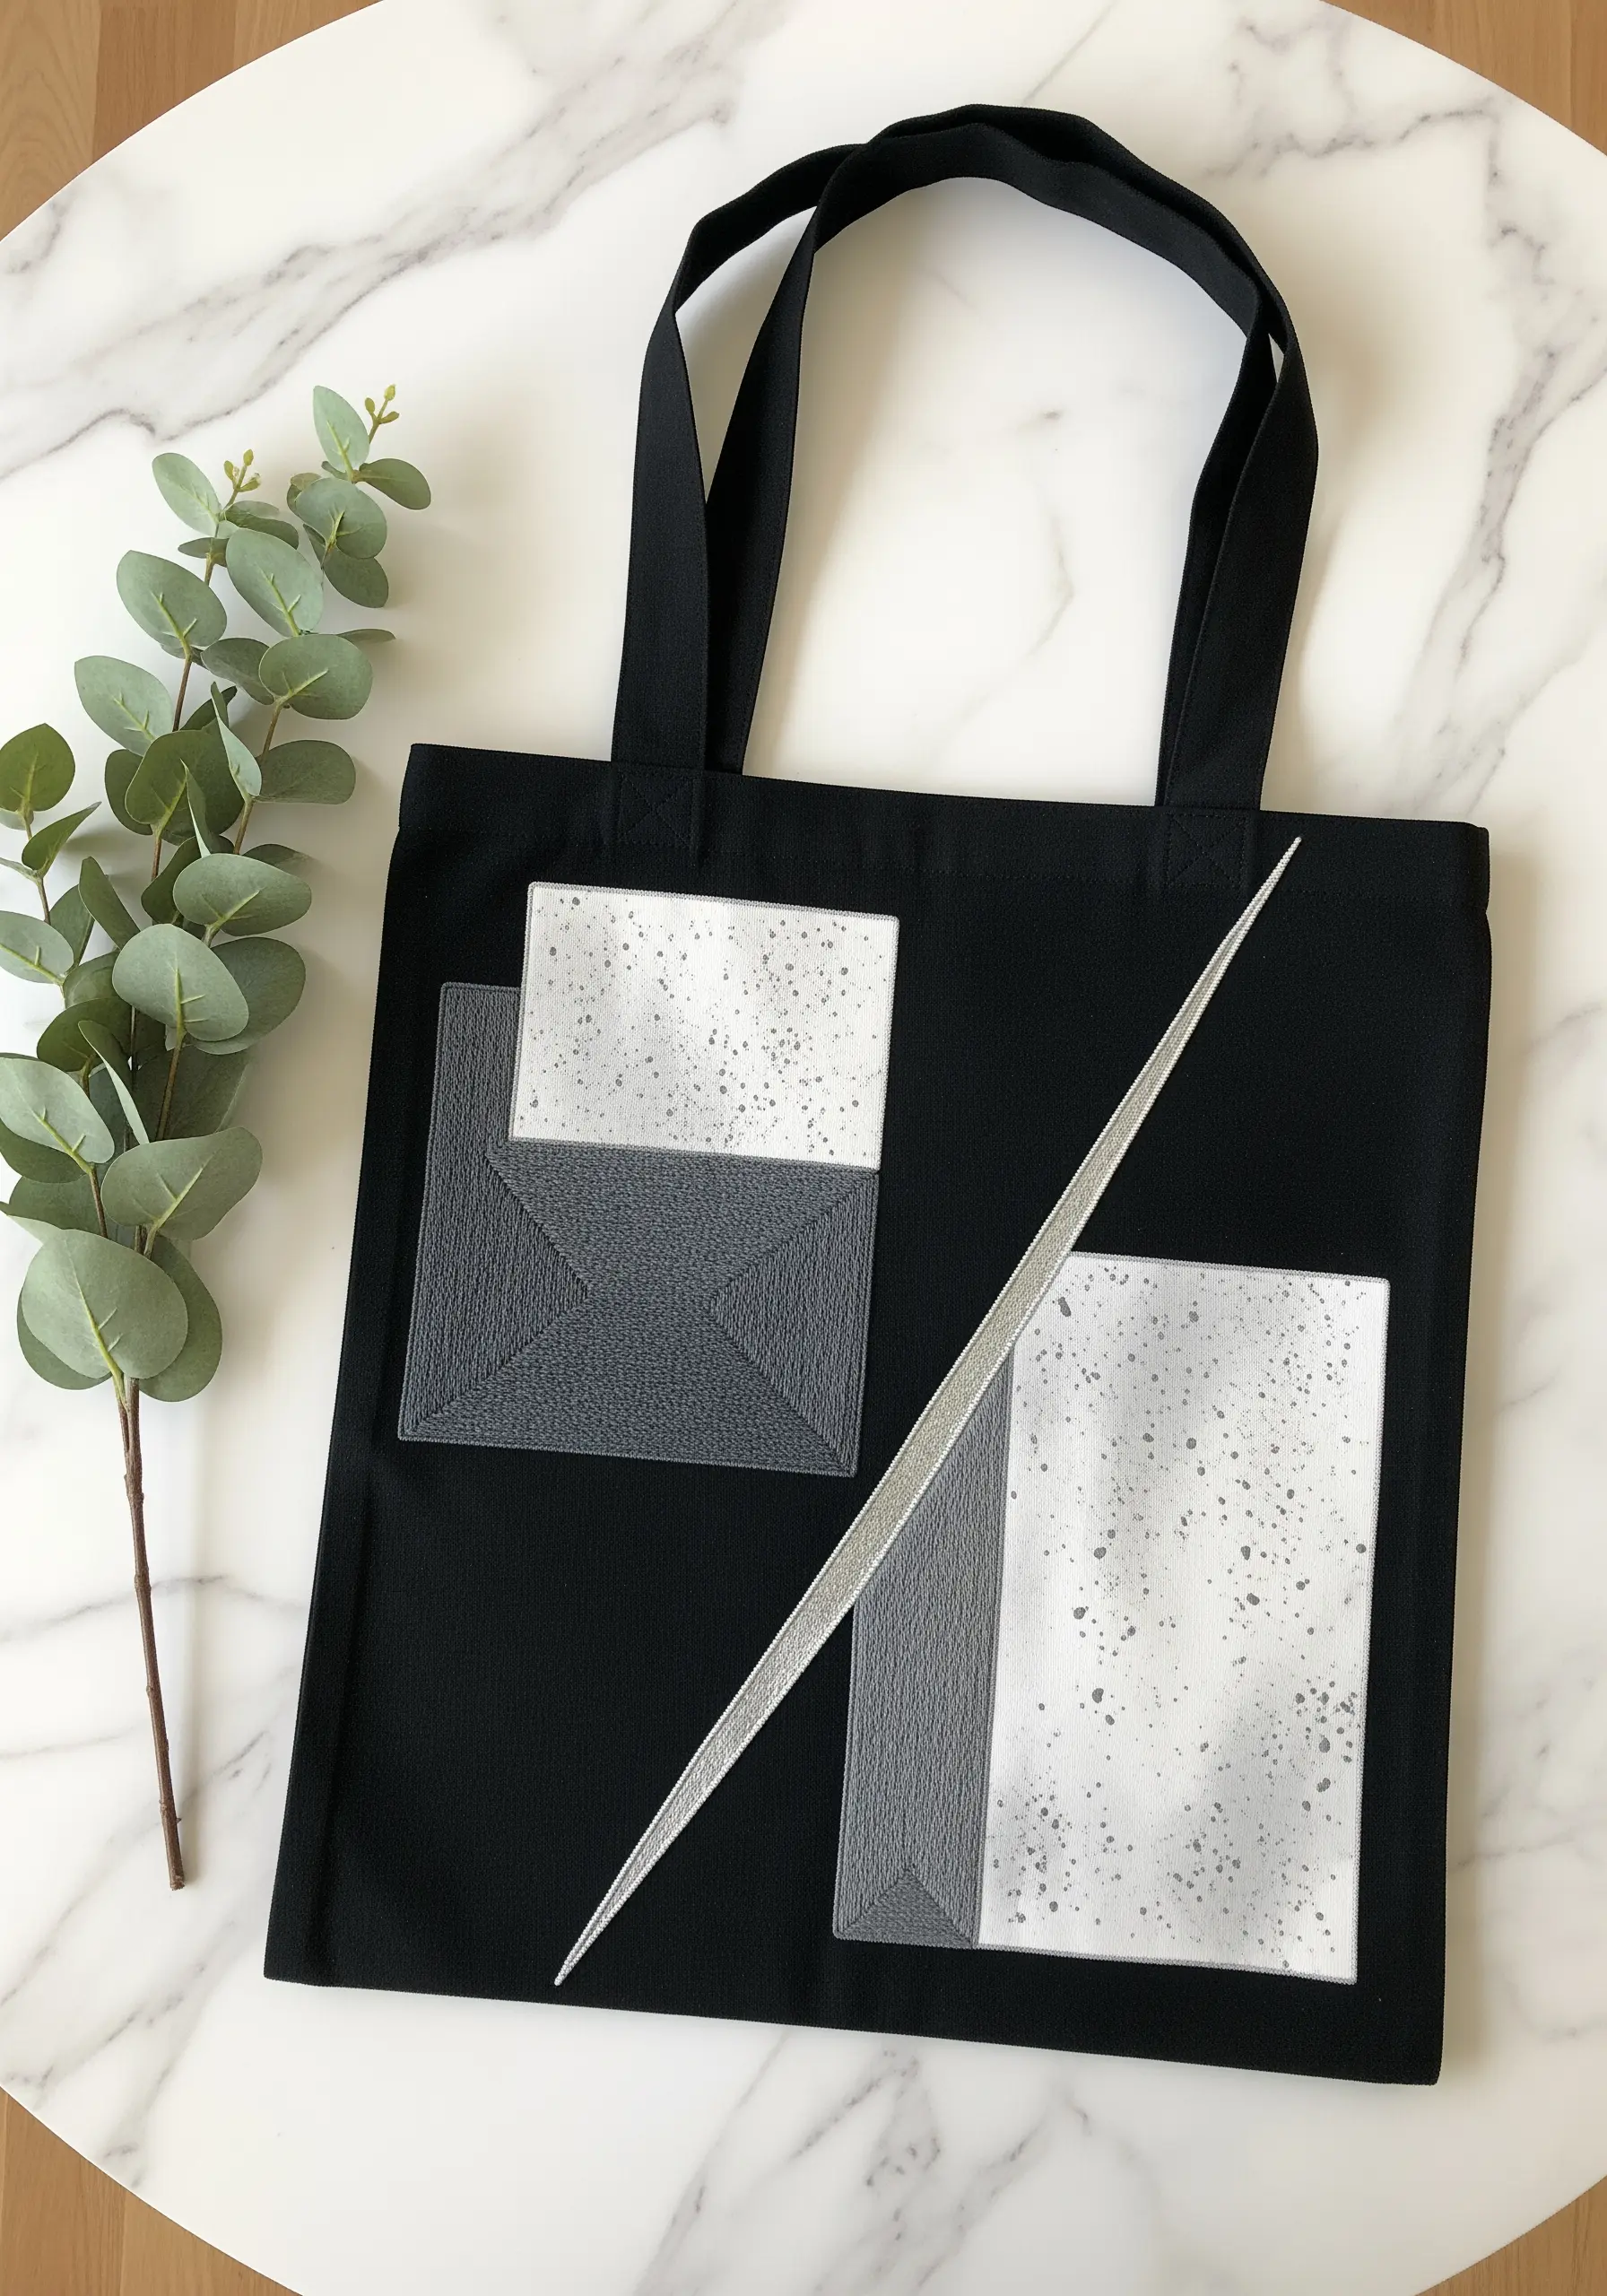
1. Master the Architectural Satin Stitch
To achieve this flawless, graphic look, the preparation is as important as the stitch itself.
First, outline each color block with a single line of split stitch.
This creates a slightly raised, firm edge that your satin stitches can press against, preventing them from slipping and keeping the shape perfectly crisp.
When filling with satin stitch, use all six strands of floss and ensure every stitch lies perfectly parallel to the last.
The black intersecting lines should be stitched last, using a wide stem stitch or couching a thicker thread to give them prominence over the color fields.
This technique elevates a simple geometric design into one of the most refined minimalist embroidery art pieces that look expensive but aren’t.
2. Layer Textures for a Tactile Landscape
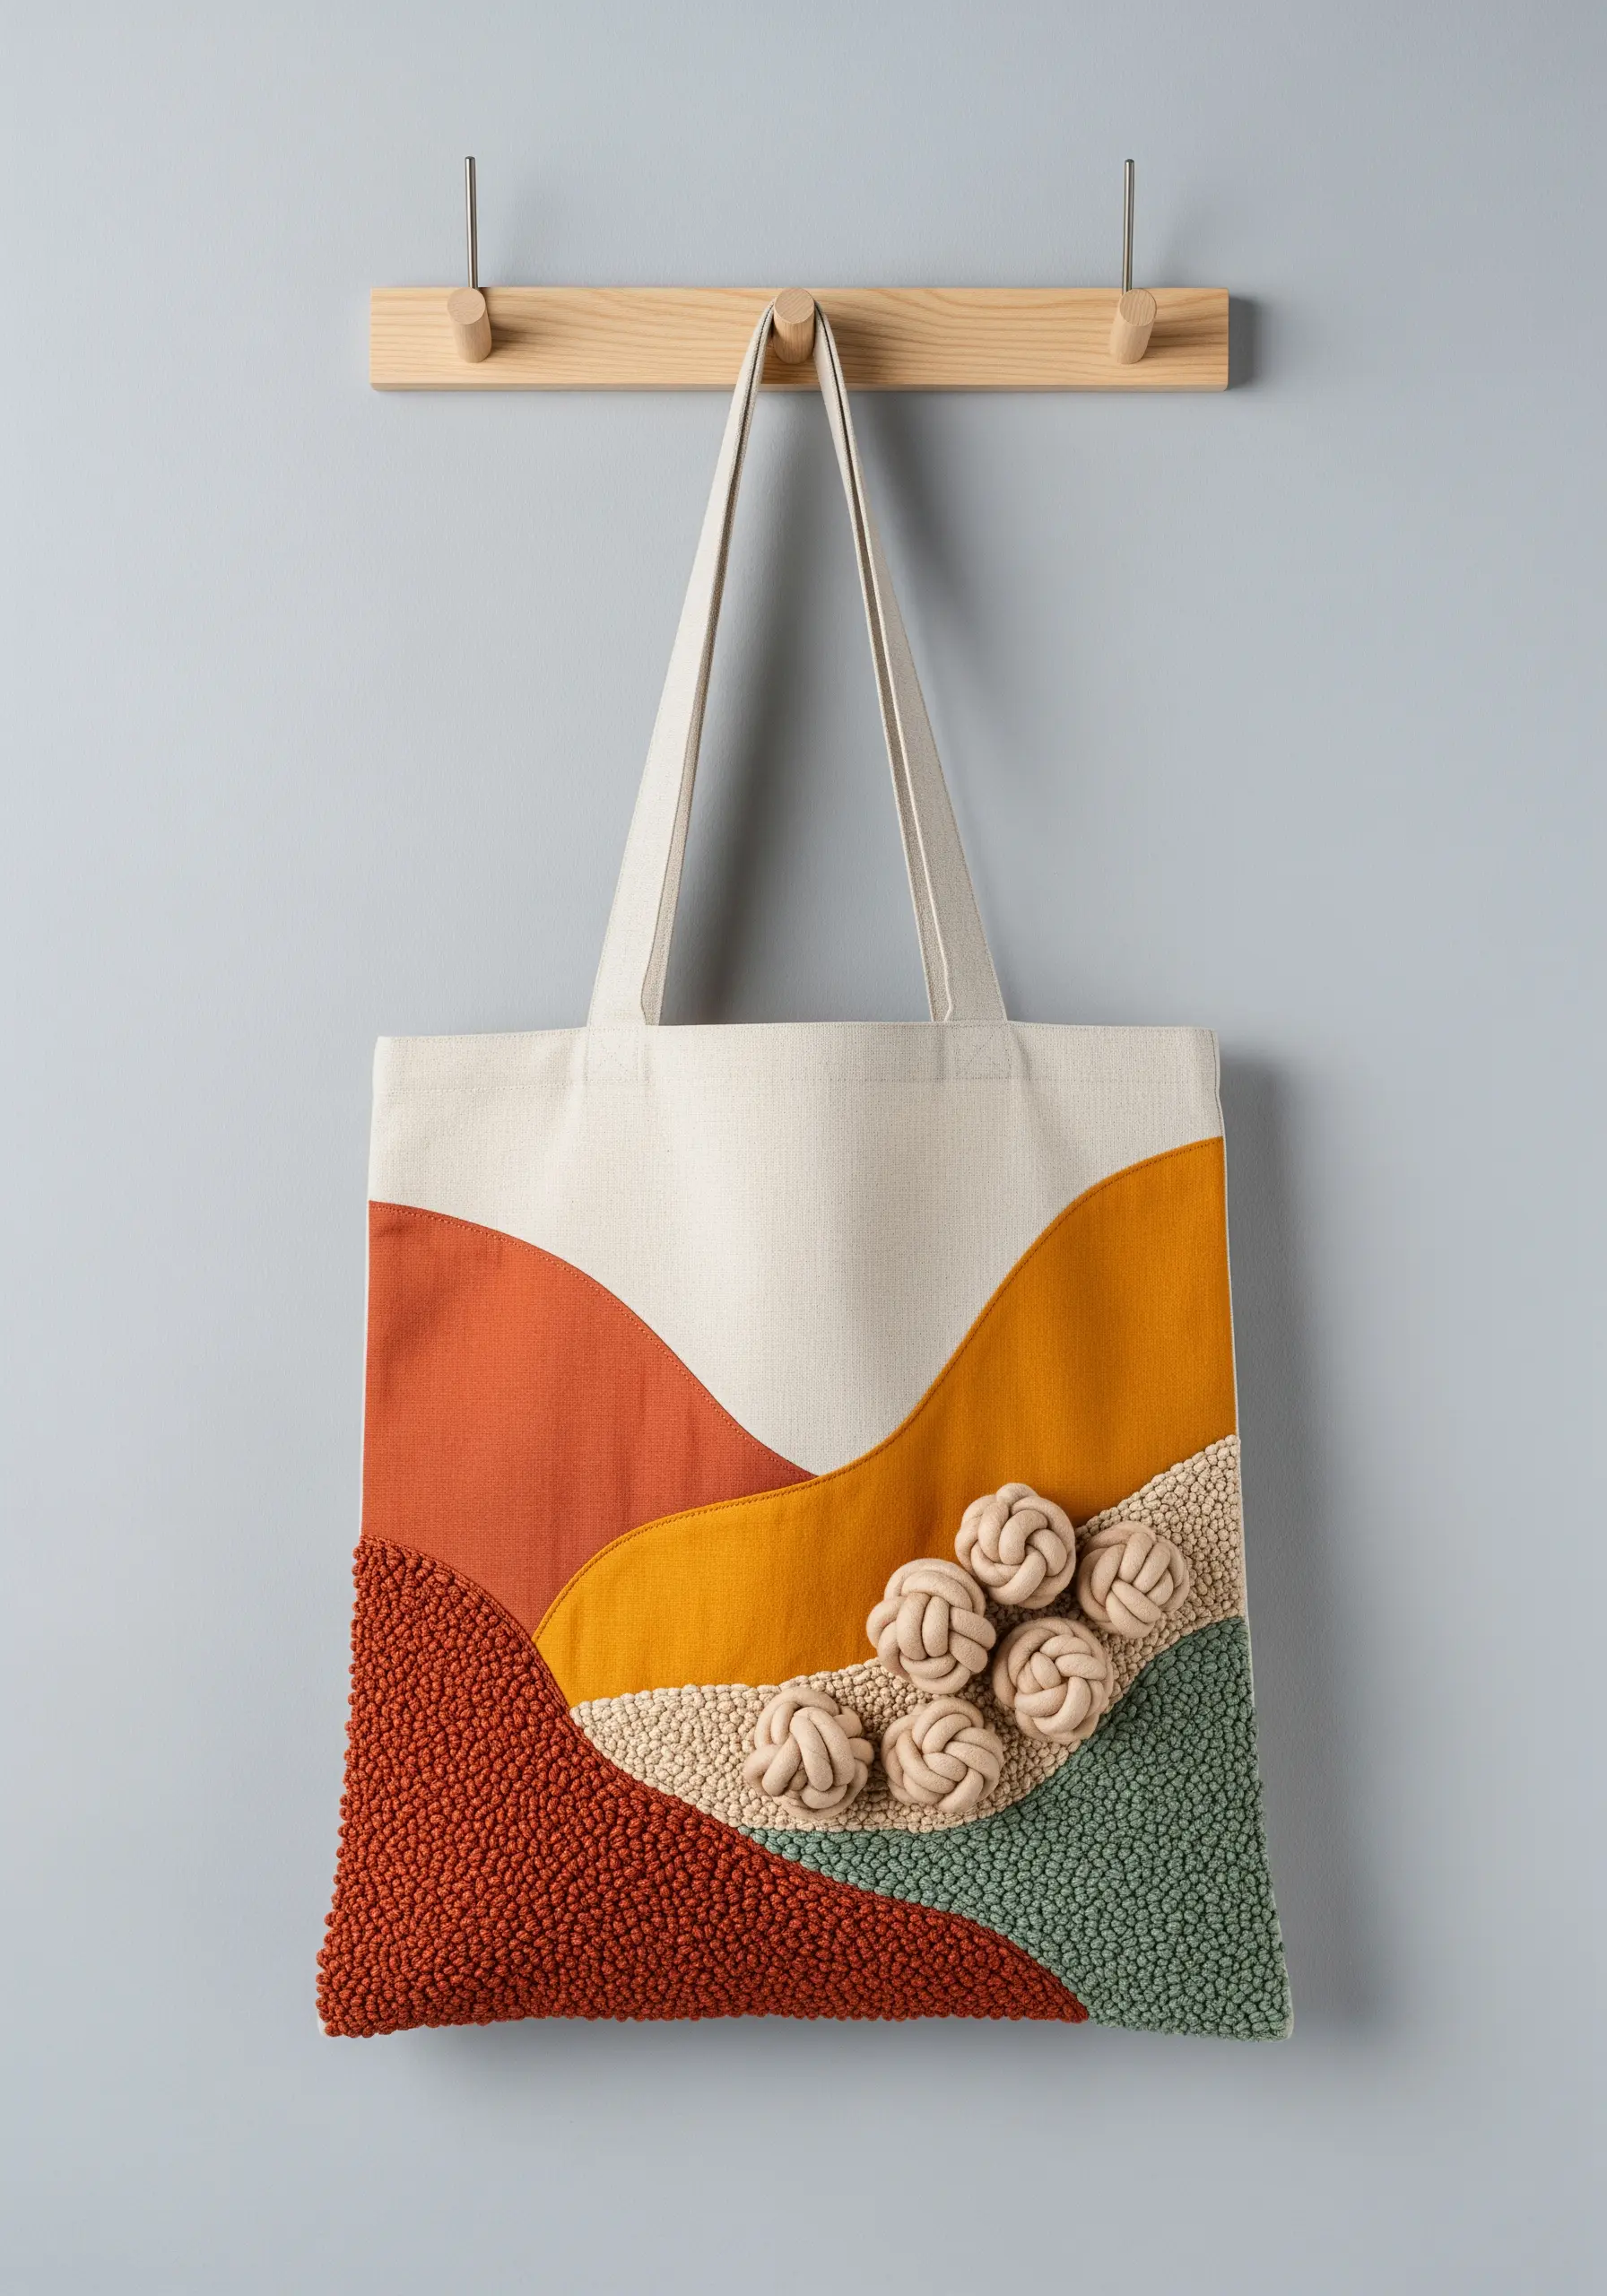
Move beyond flat color by thinking in terms of texture.
For the dense, terracotta-colored area, use tightly packed French knots to create a pebbled, earthy surface that invites touch.
Contrast this with the smooth, directional satin stitch of the orange and yellow hills.
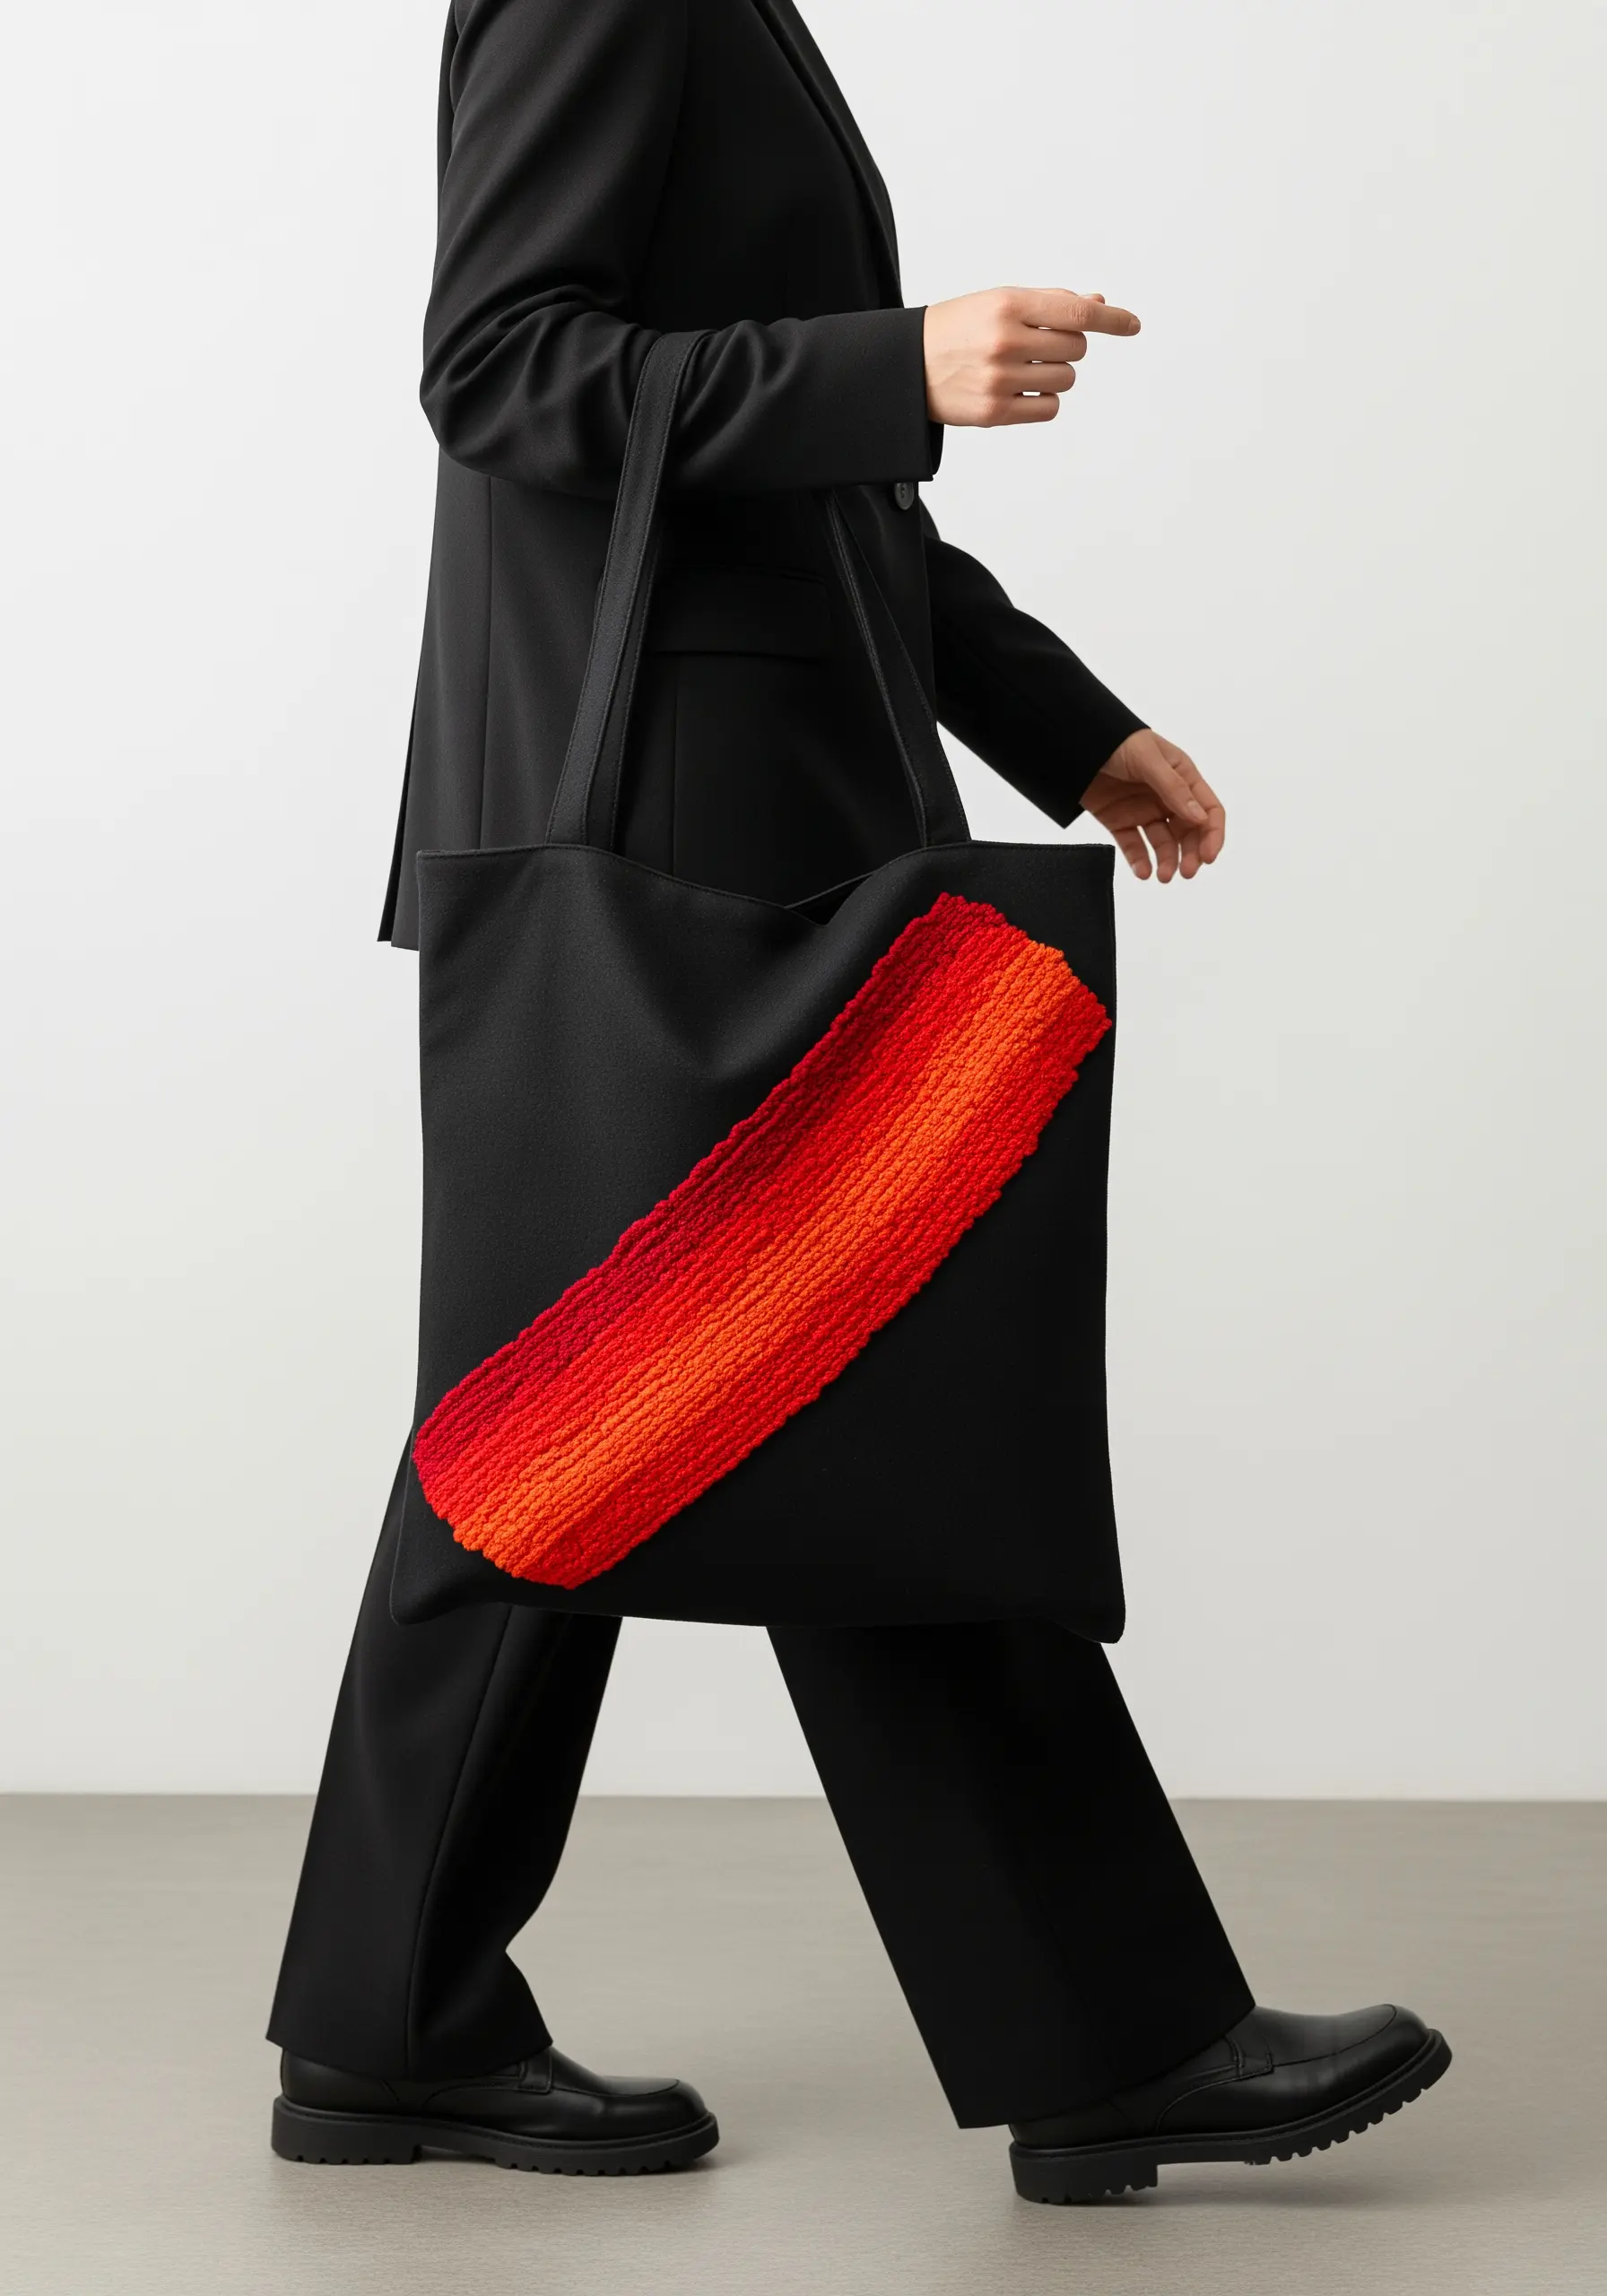
To create the focal point, incorporate 3D elements like woven sailor knots using a soft, thick yarn.
These are stitched directly onto the fabric, adding sculptural depth that makes the design feel dynamic and alive.
This project is a perfect way to explore mixed-fiber creations combining yarn, thread, and unexpected materials for a richer result.
3. Create Dynamic Fills with Couching
For bold, graphic shapes that pop, couching is your most effective tool.
Instead of tediously filling each shape with satin stitch, bundle 8-10 strands of embroidery floss together and lay them down in a spiral pattern, following the shape’s contours.
Then, use a single, contrasting strand to tack the bundle down at regular intervals.
This technique not only fills space quickly but also creates a beautiful, corded texture that emphasizes movement and form.
It’s an ideal approach for abstract freeform stitching ideas for when you don’t want to follow a pattern, allowing you to play with color and shape intuitively.
4. Appliqué with Minimalist Stitching
Let the fabric itself do the heavy lifting in your color-block design.
Choose fabrics with interesting textures—like faux leather, linen, or a speckled canvas—and cut them into sharp, geometric shapes.
Attach them to your tote using an appliqué method, such as a neat, almost invisible whip stitch around the edges.
The embroidery here is minimal and intentional: a few lines of running stitch or backstitch to add subtle detail or divide a shape.
This technique uses fabric collage embroidery backgrounds that instantly elevate any design, turning textile choice into an artistic statement.
5. Combine Punch Needle with Looped Accents
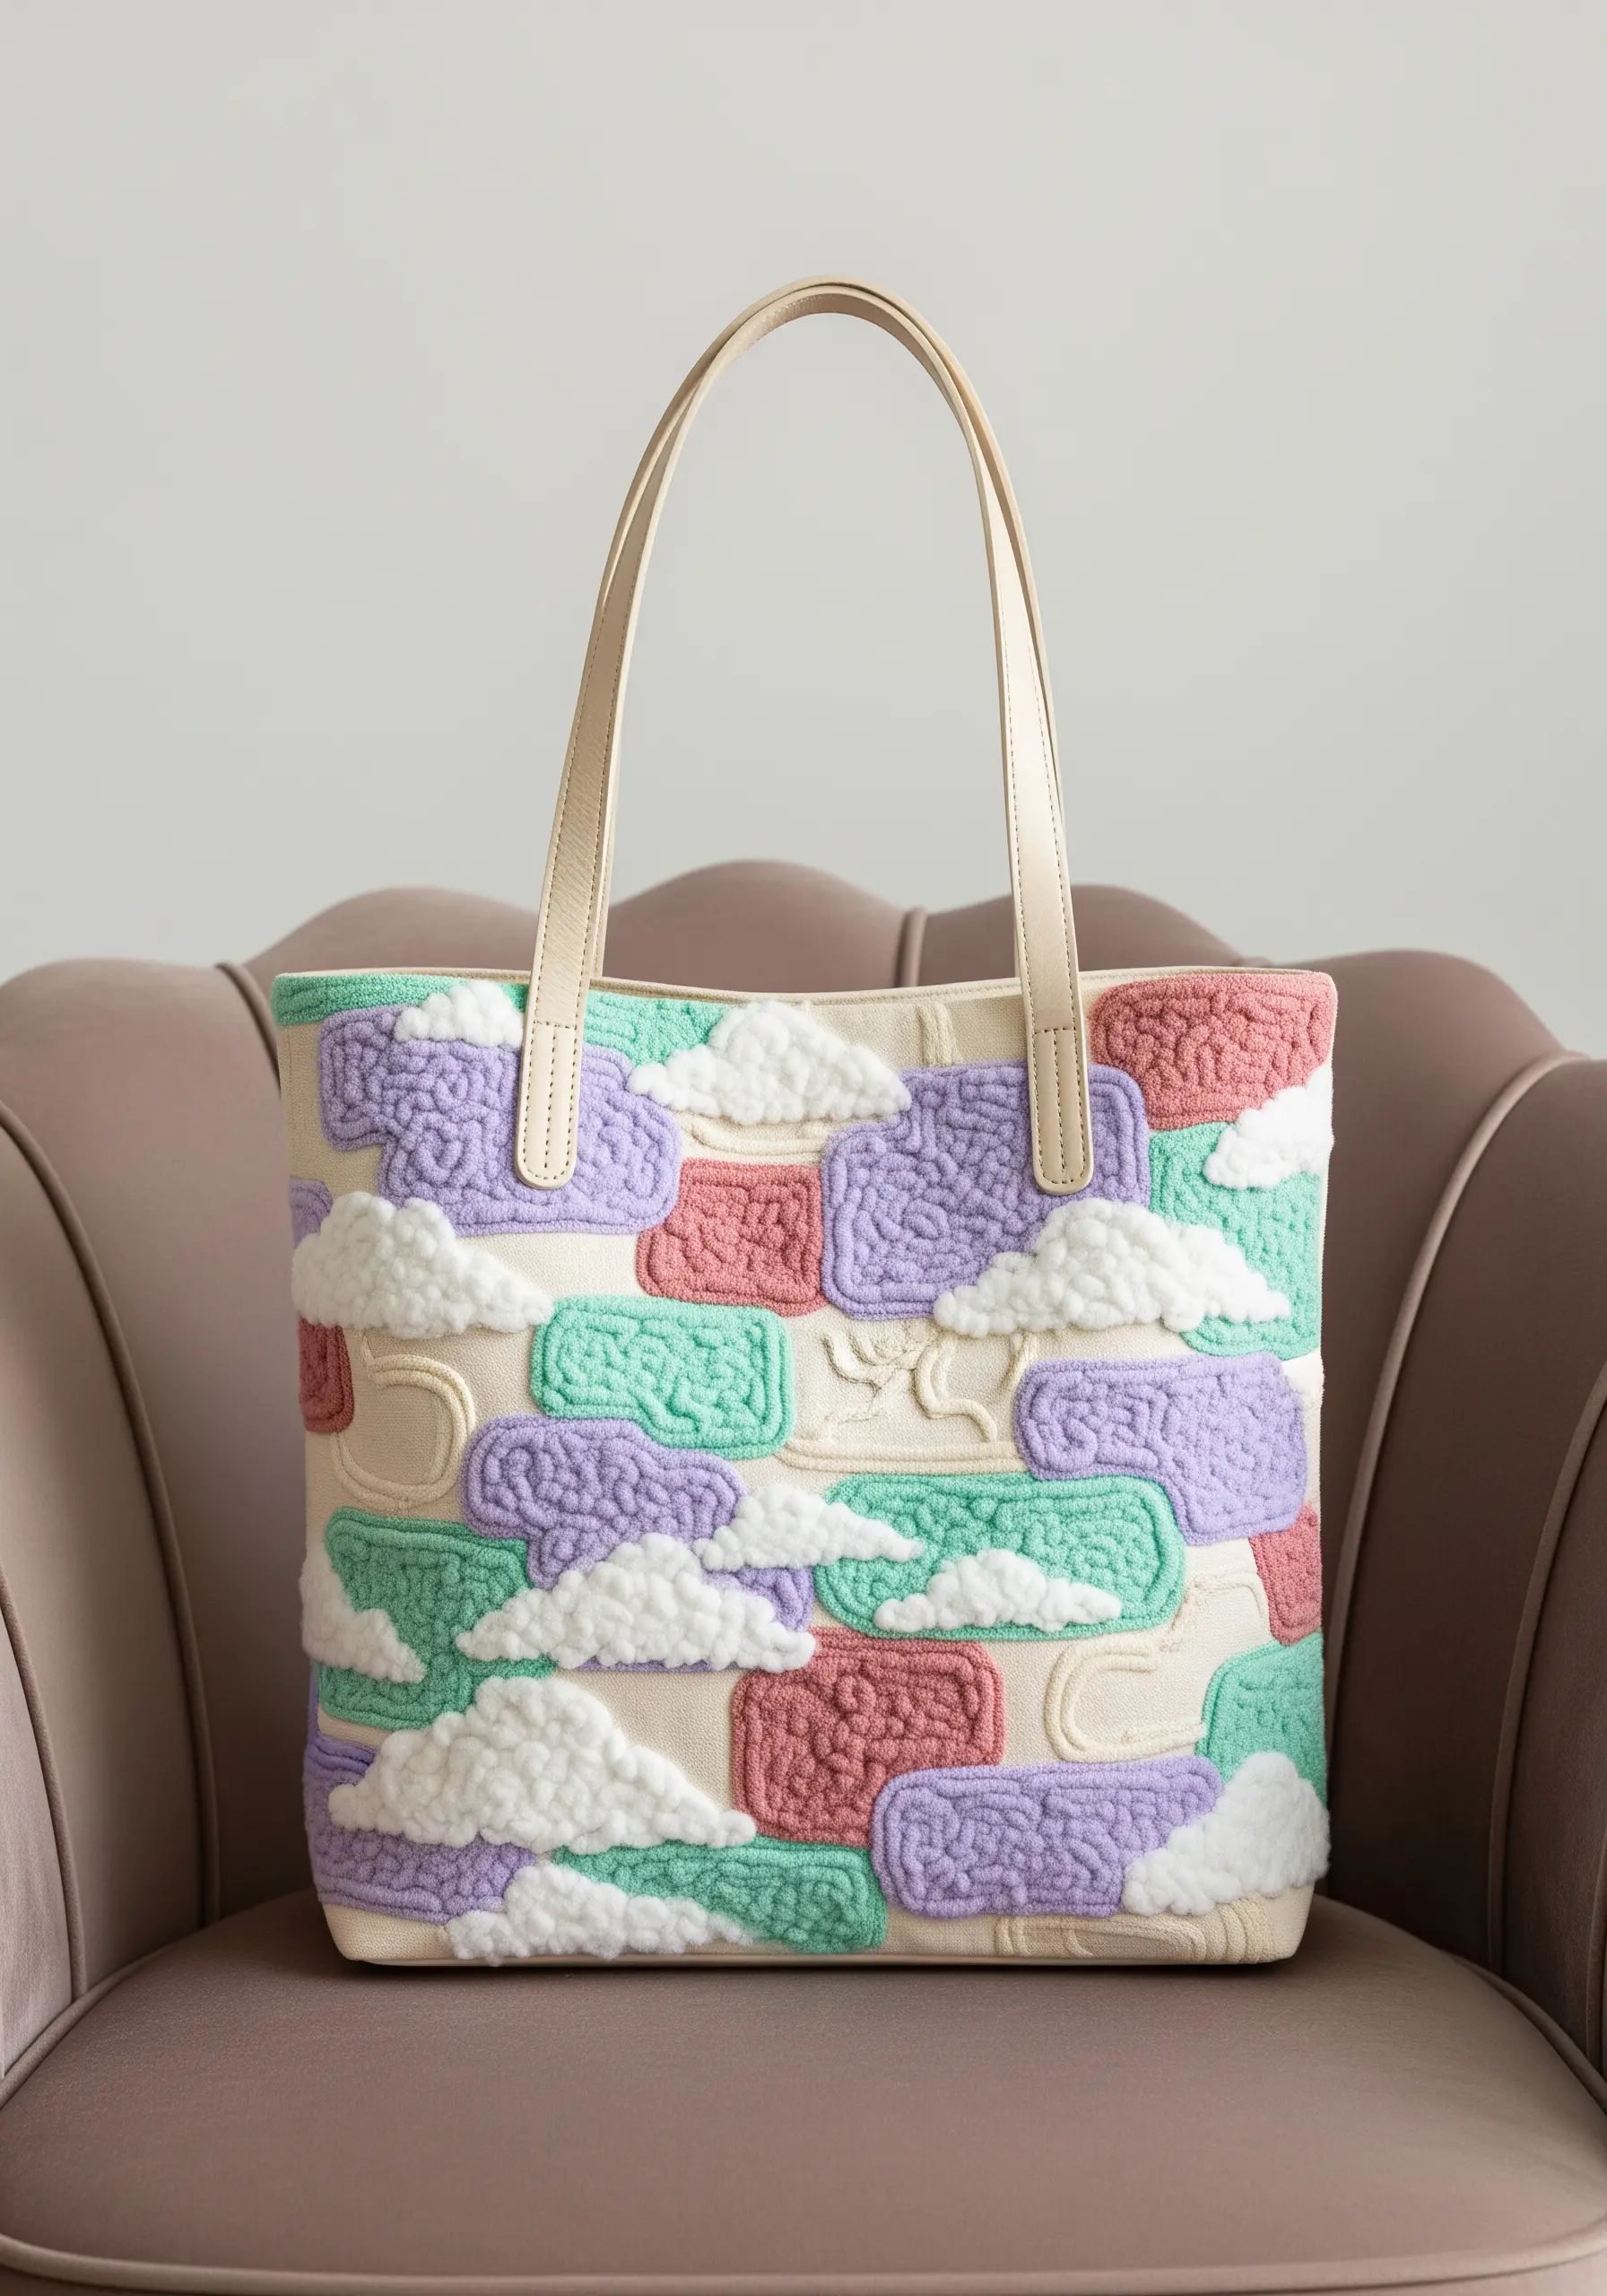
To achieve this ultra-tactile, high-texture finish, combine two complementary techniques.
Use a punch needle to fill the pastel color blocks, creating a dense, looped texture that feels incredibly soft and plush.
For the fluffy white clouds, switch to Turkey work (or Ghiordes knot stitch), leaving the loops uncut for a bubbly, distinct texture that stands out against the flatter punch needle sections.
This method allows you to build a rich, varied surface that looks and feels like a luxury textile, perfect for trying out advanced sky cloud shading tricks to create realistic nature embroidery with a focus on texture.
6. Weave Your Color Blocks with Brick Stitch
For a fill that has more structure and visual interest than satin stitch, use the brick stitch.
Work in horizontal rows, staggering your stitches like bricks in a wall.
This method prevents the stitches from pulling the fabric, which is a common issue with large satin-stitched areas on tote bags.
It also creates a subtle, woven texture that catches the light beautifully.
Keep your tension even and your stitches perfectly aligned for a clean, almost machine-made finish.
This is one of the best modern thread art hacks to create large-scale canvas pieces on a small budget, offering maximum impact with a simple stitch.
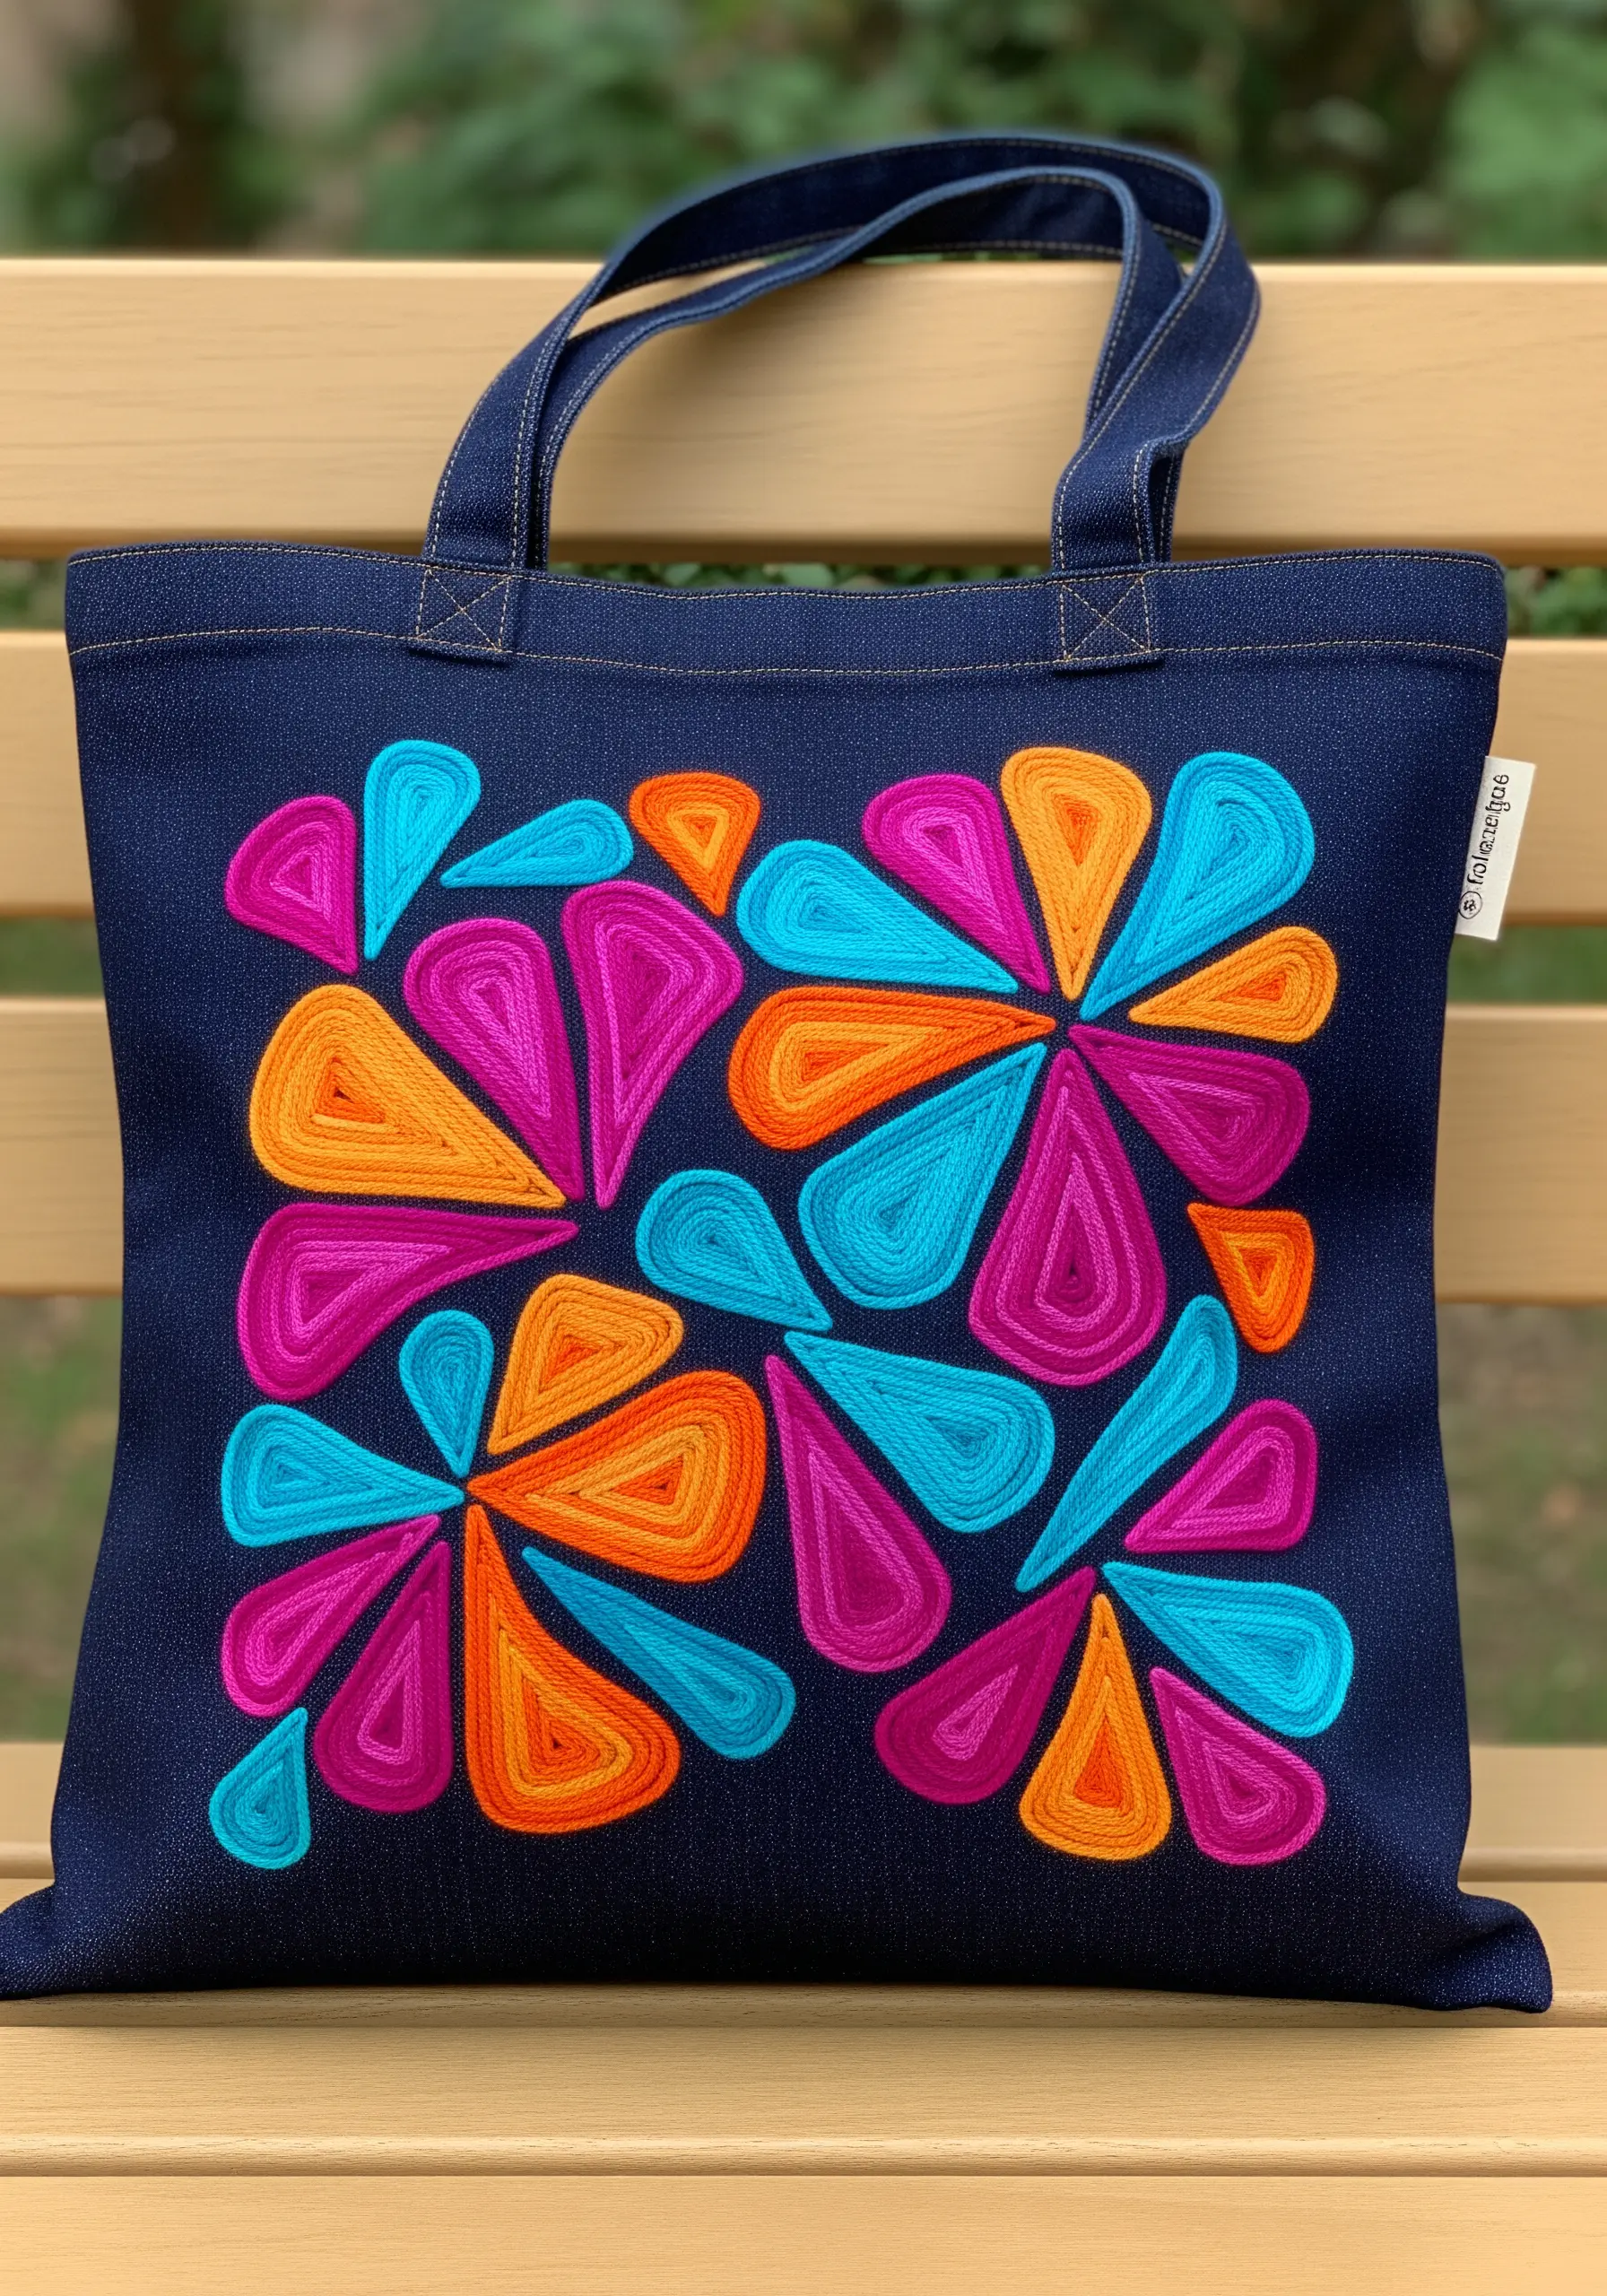
7. Make Neon Pop with Sharp Edges
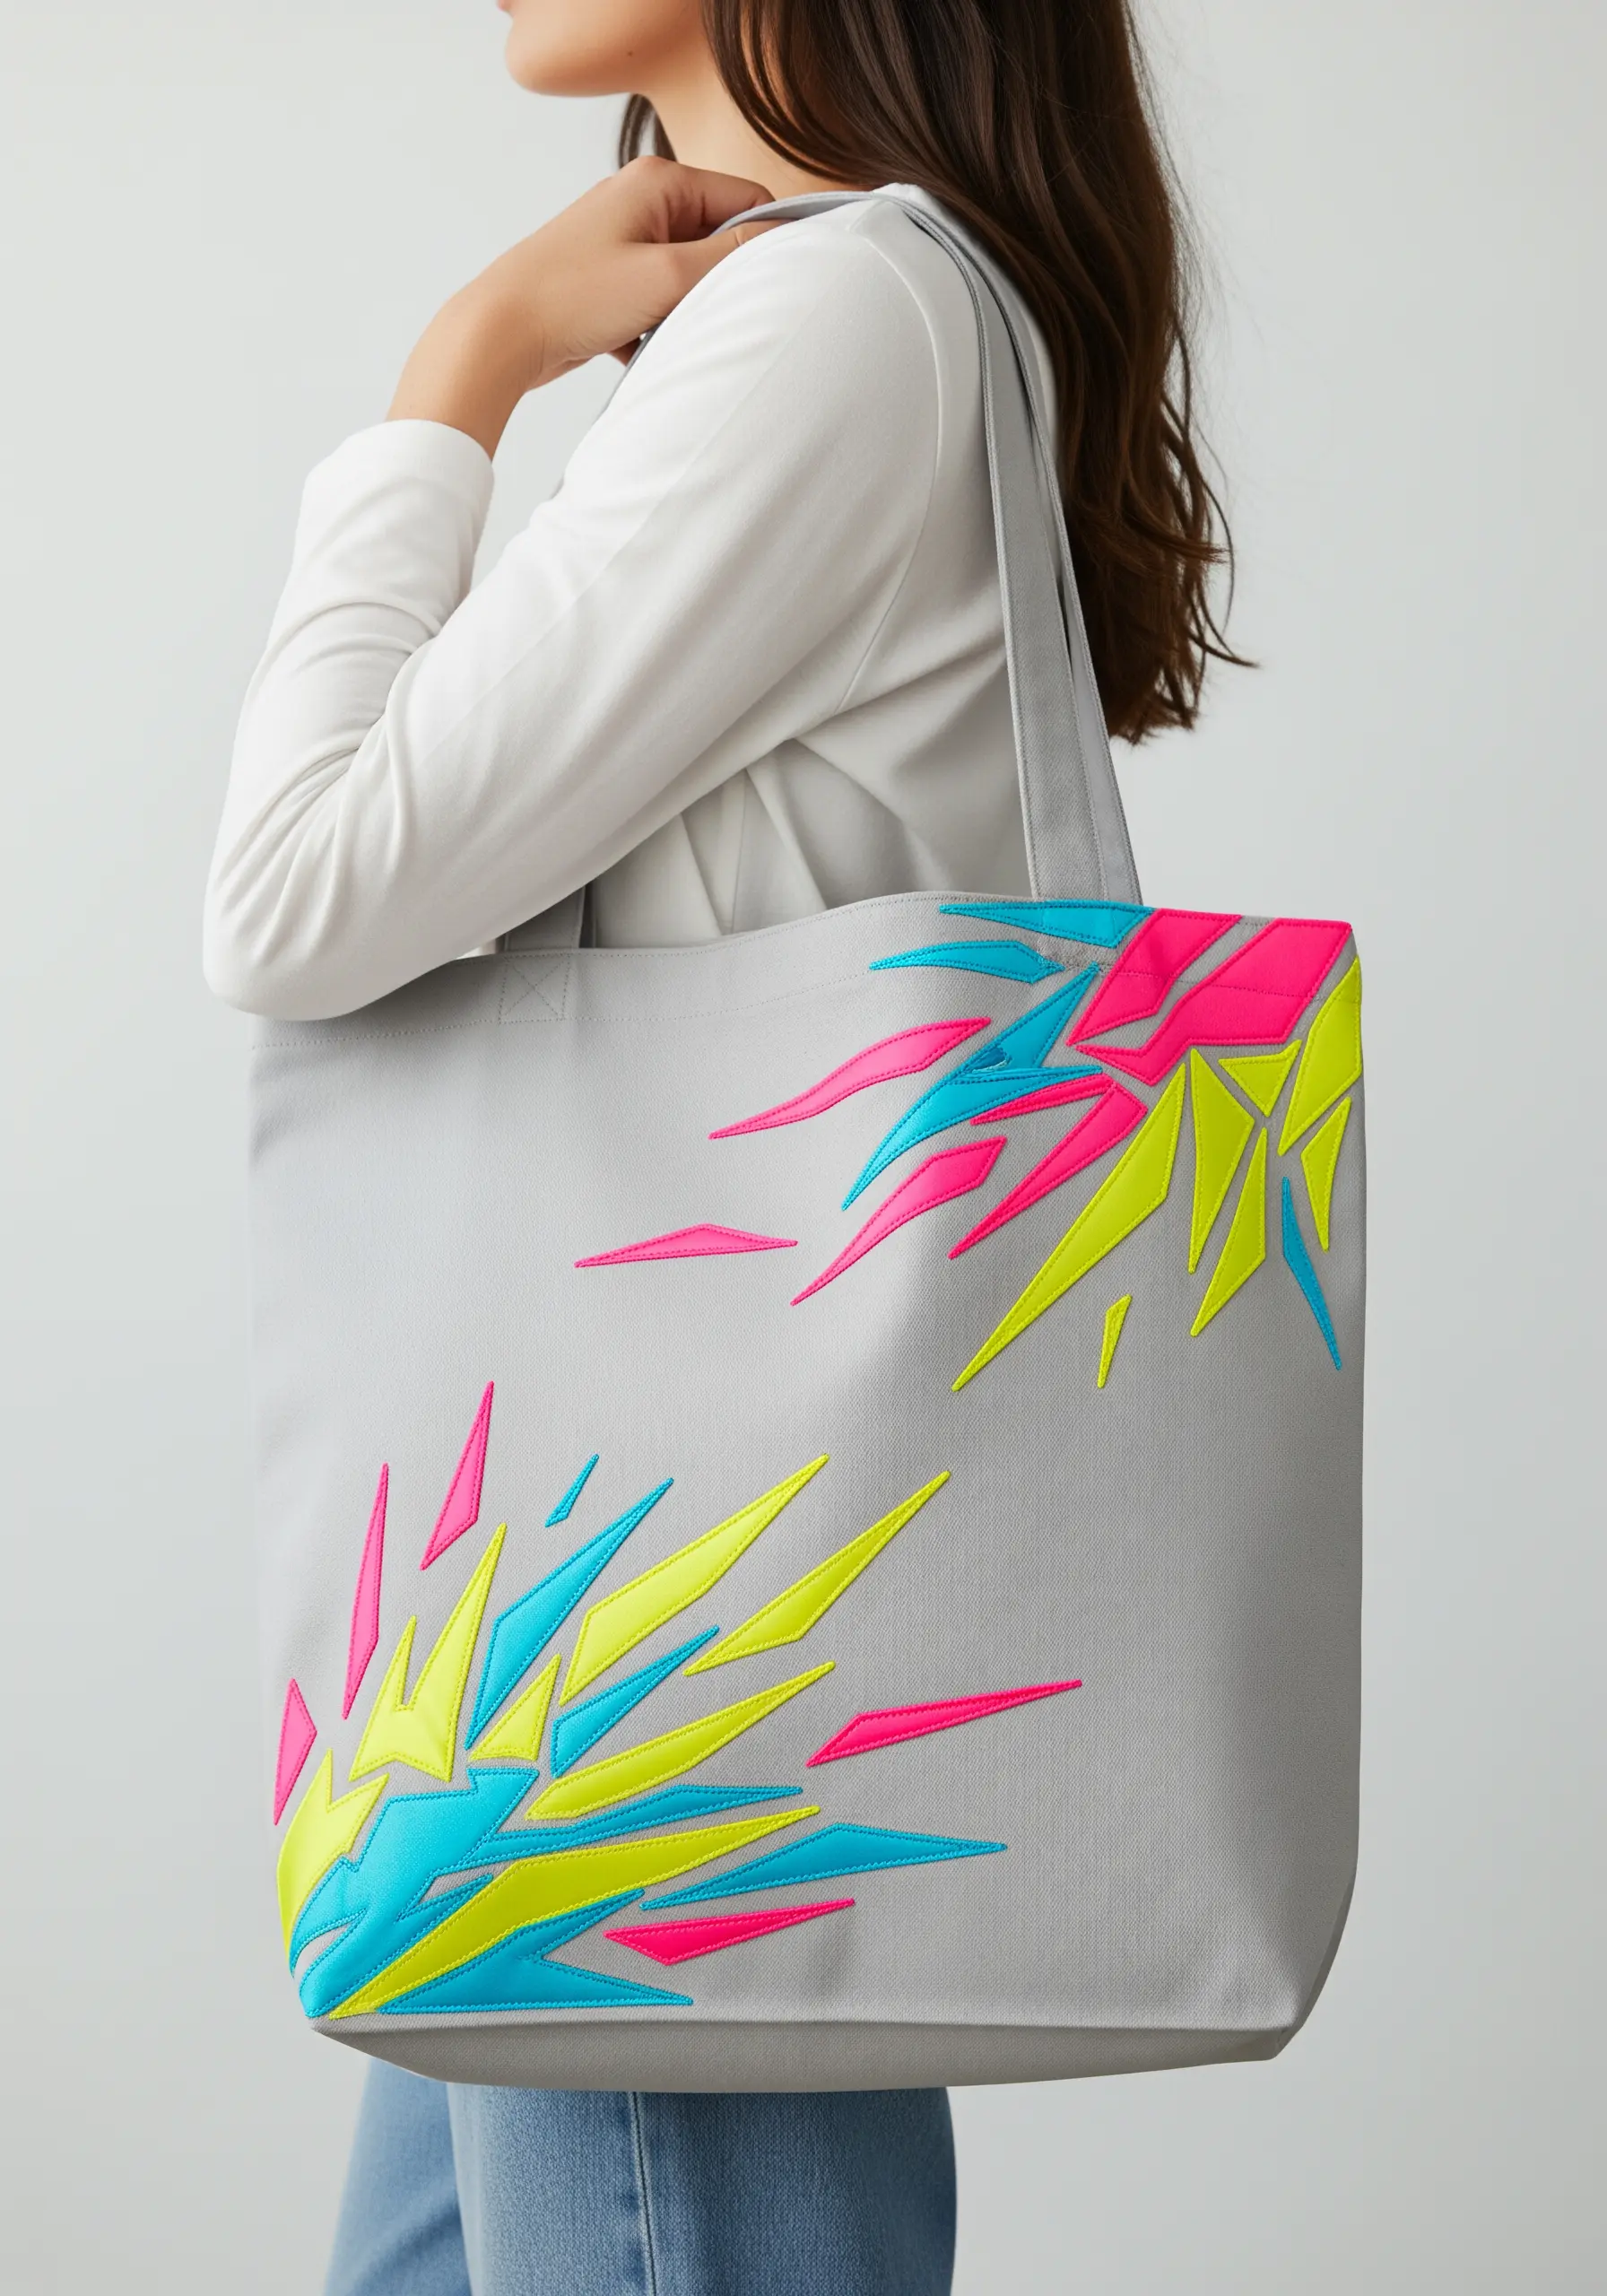
When working with vibrant, neon threads, the sharpness of your shapes is everything.
To create these graphic, shard-like forms, outline each one with a meticulous two-strand split stitch before filling.
Fill the shapes with a dense satin stitch, ensuring your needle always enters the fabric just outside the split stitch outline.
This technique creates a crisp, contained shape and prevents the bright colors from visually “bleeding” into each other.
The high contrast between the neon and the neutral gray tote makes these modern neon thread designs for electrifying streetwear truly stand out.
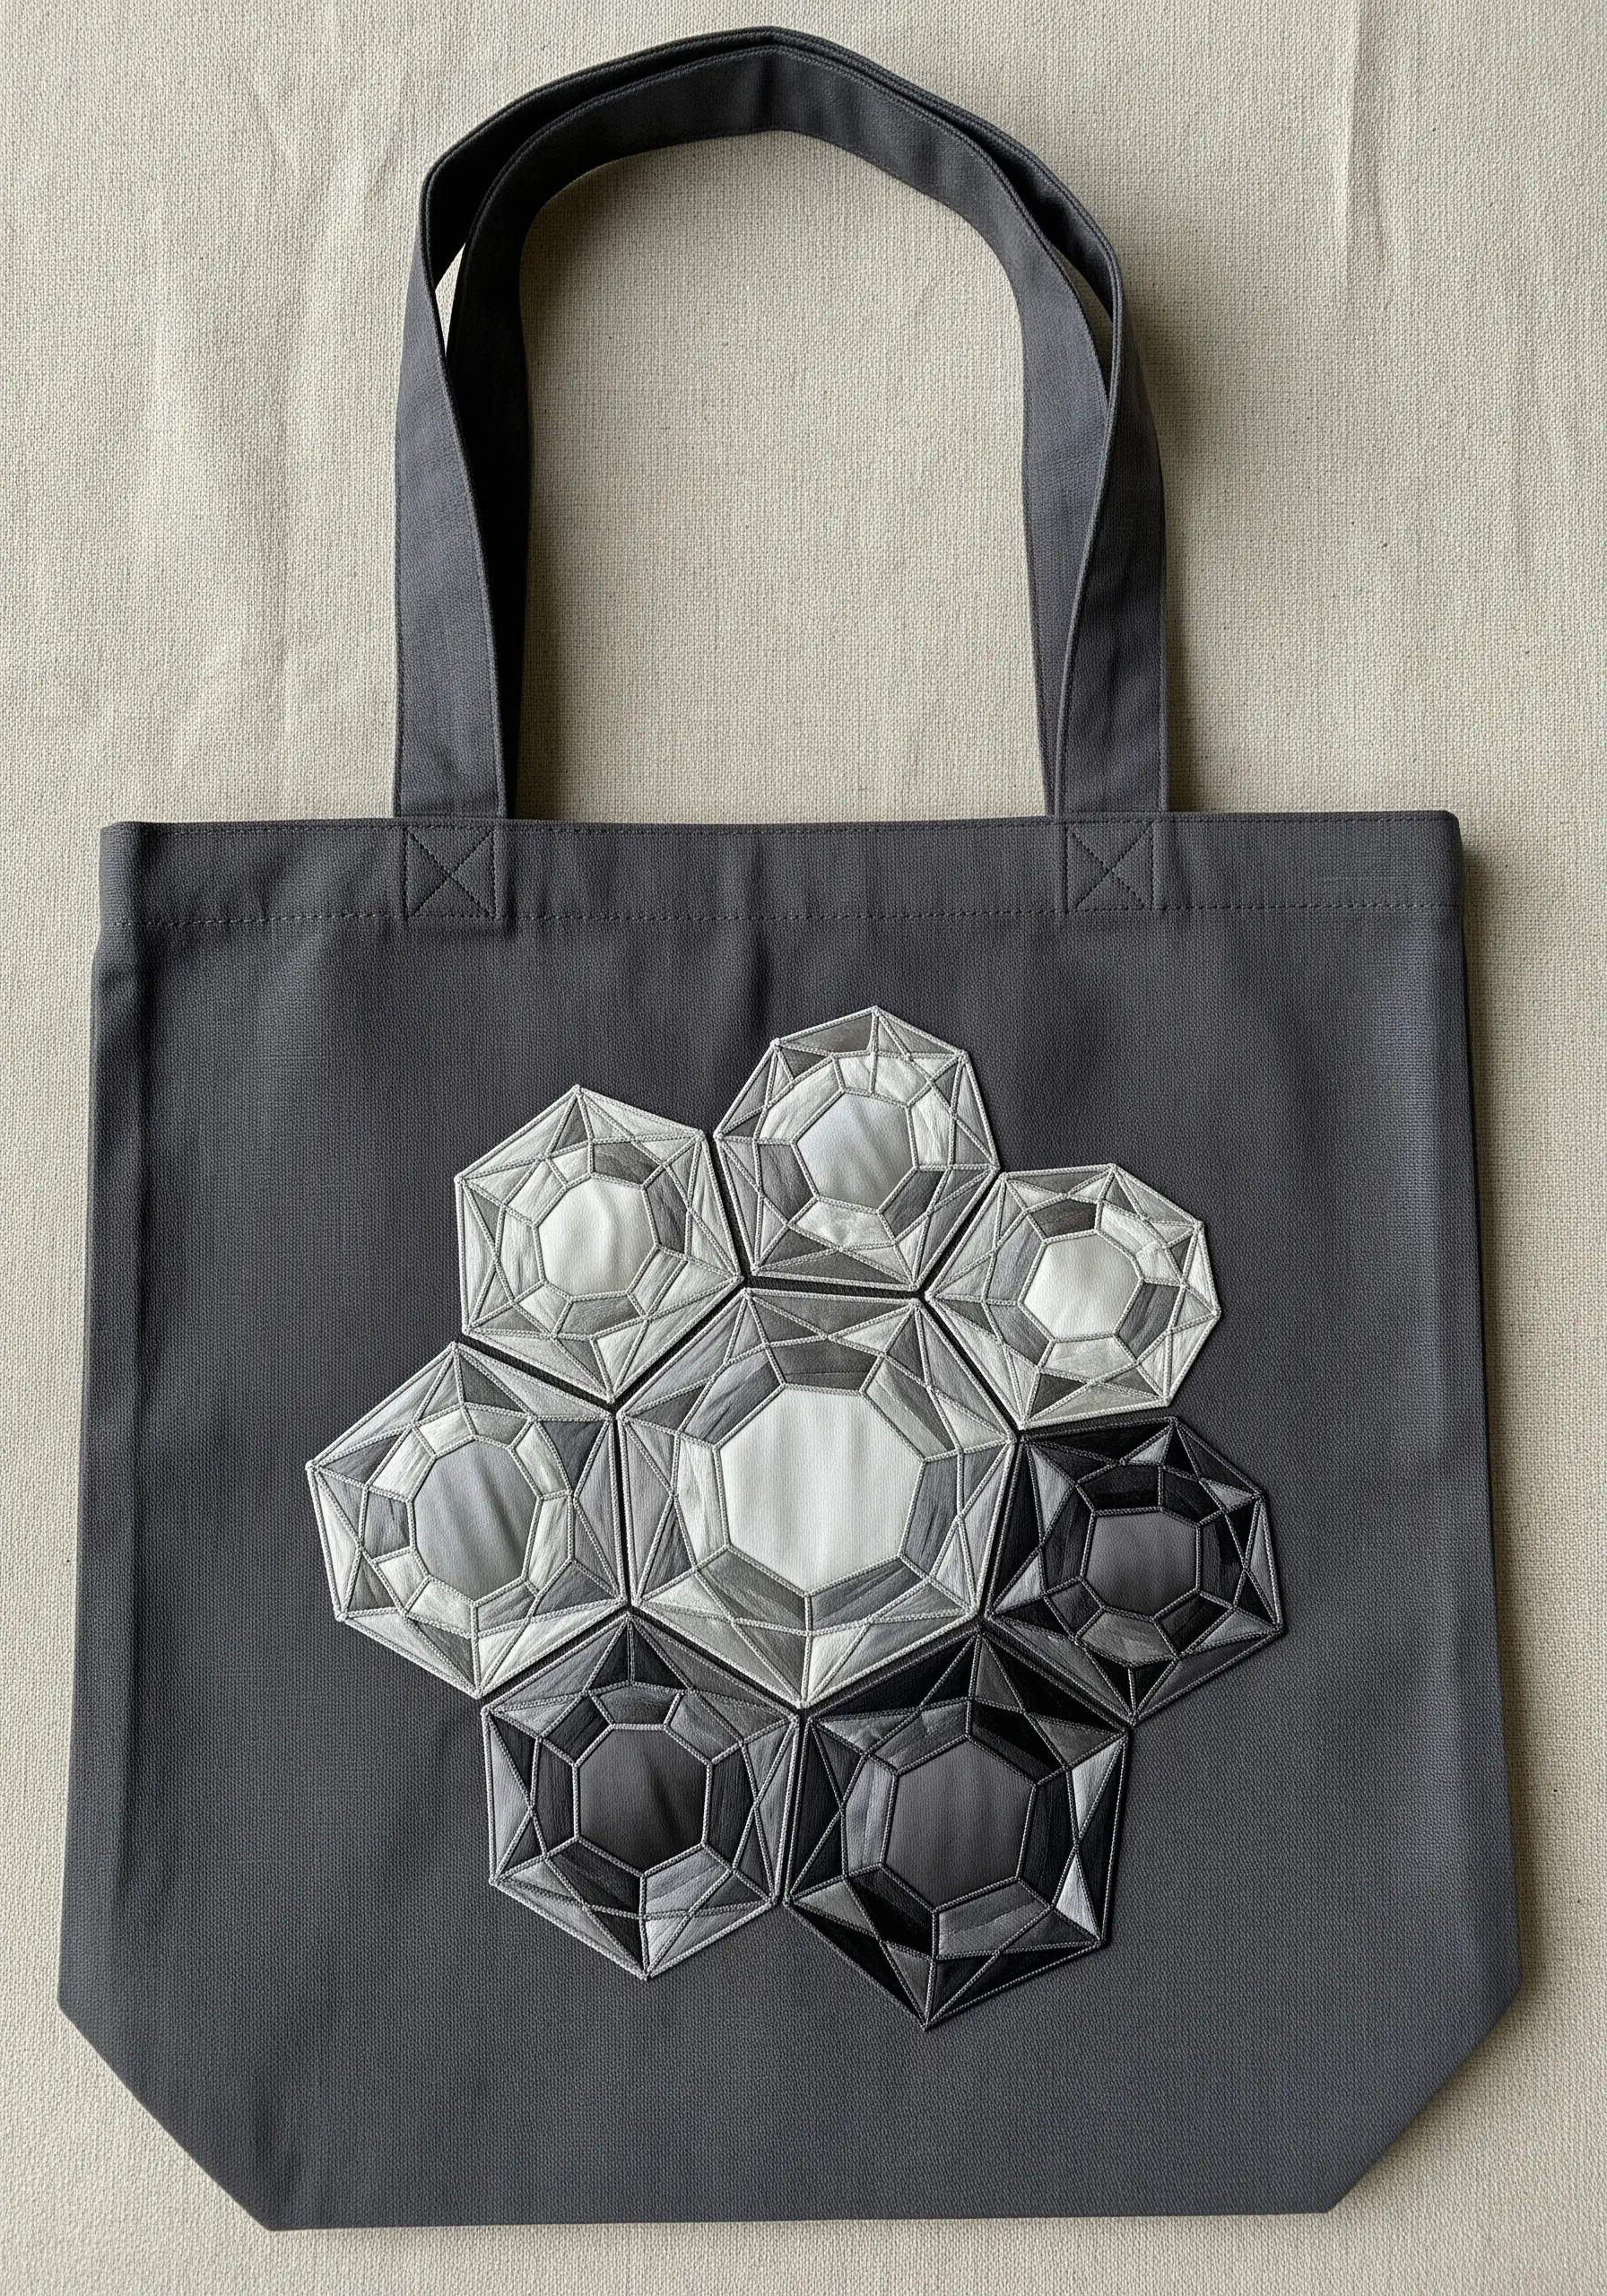
8. Elevate Shapes with Padded Satin Stitch
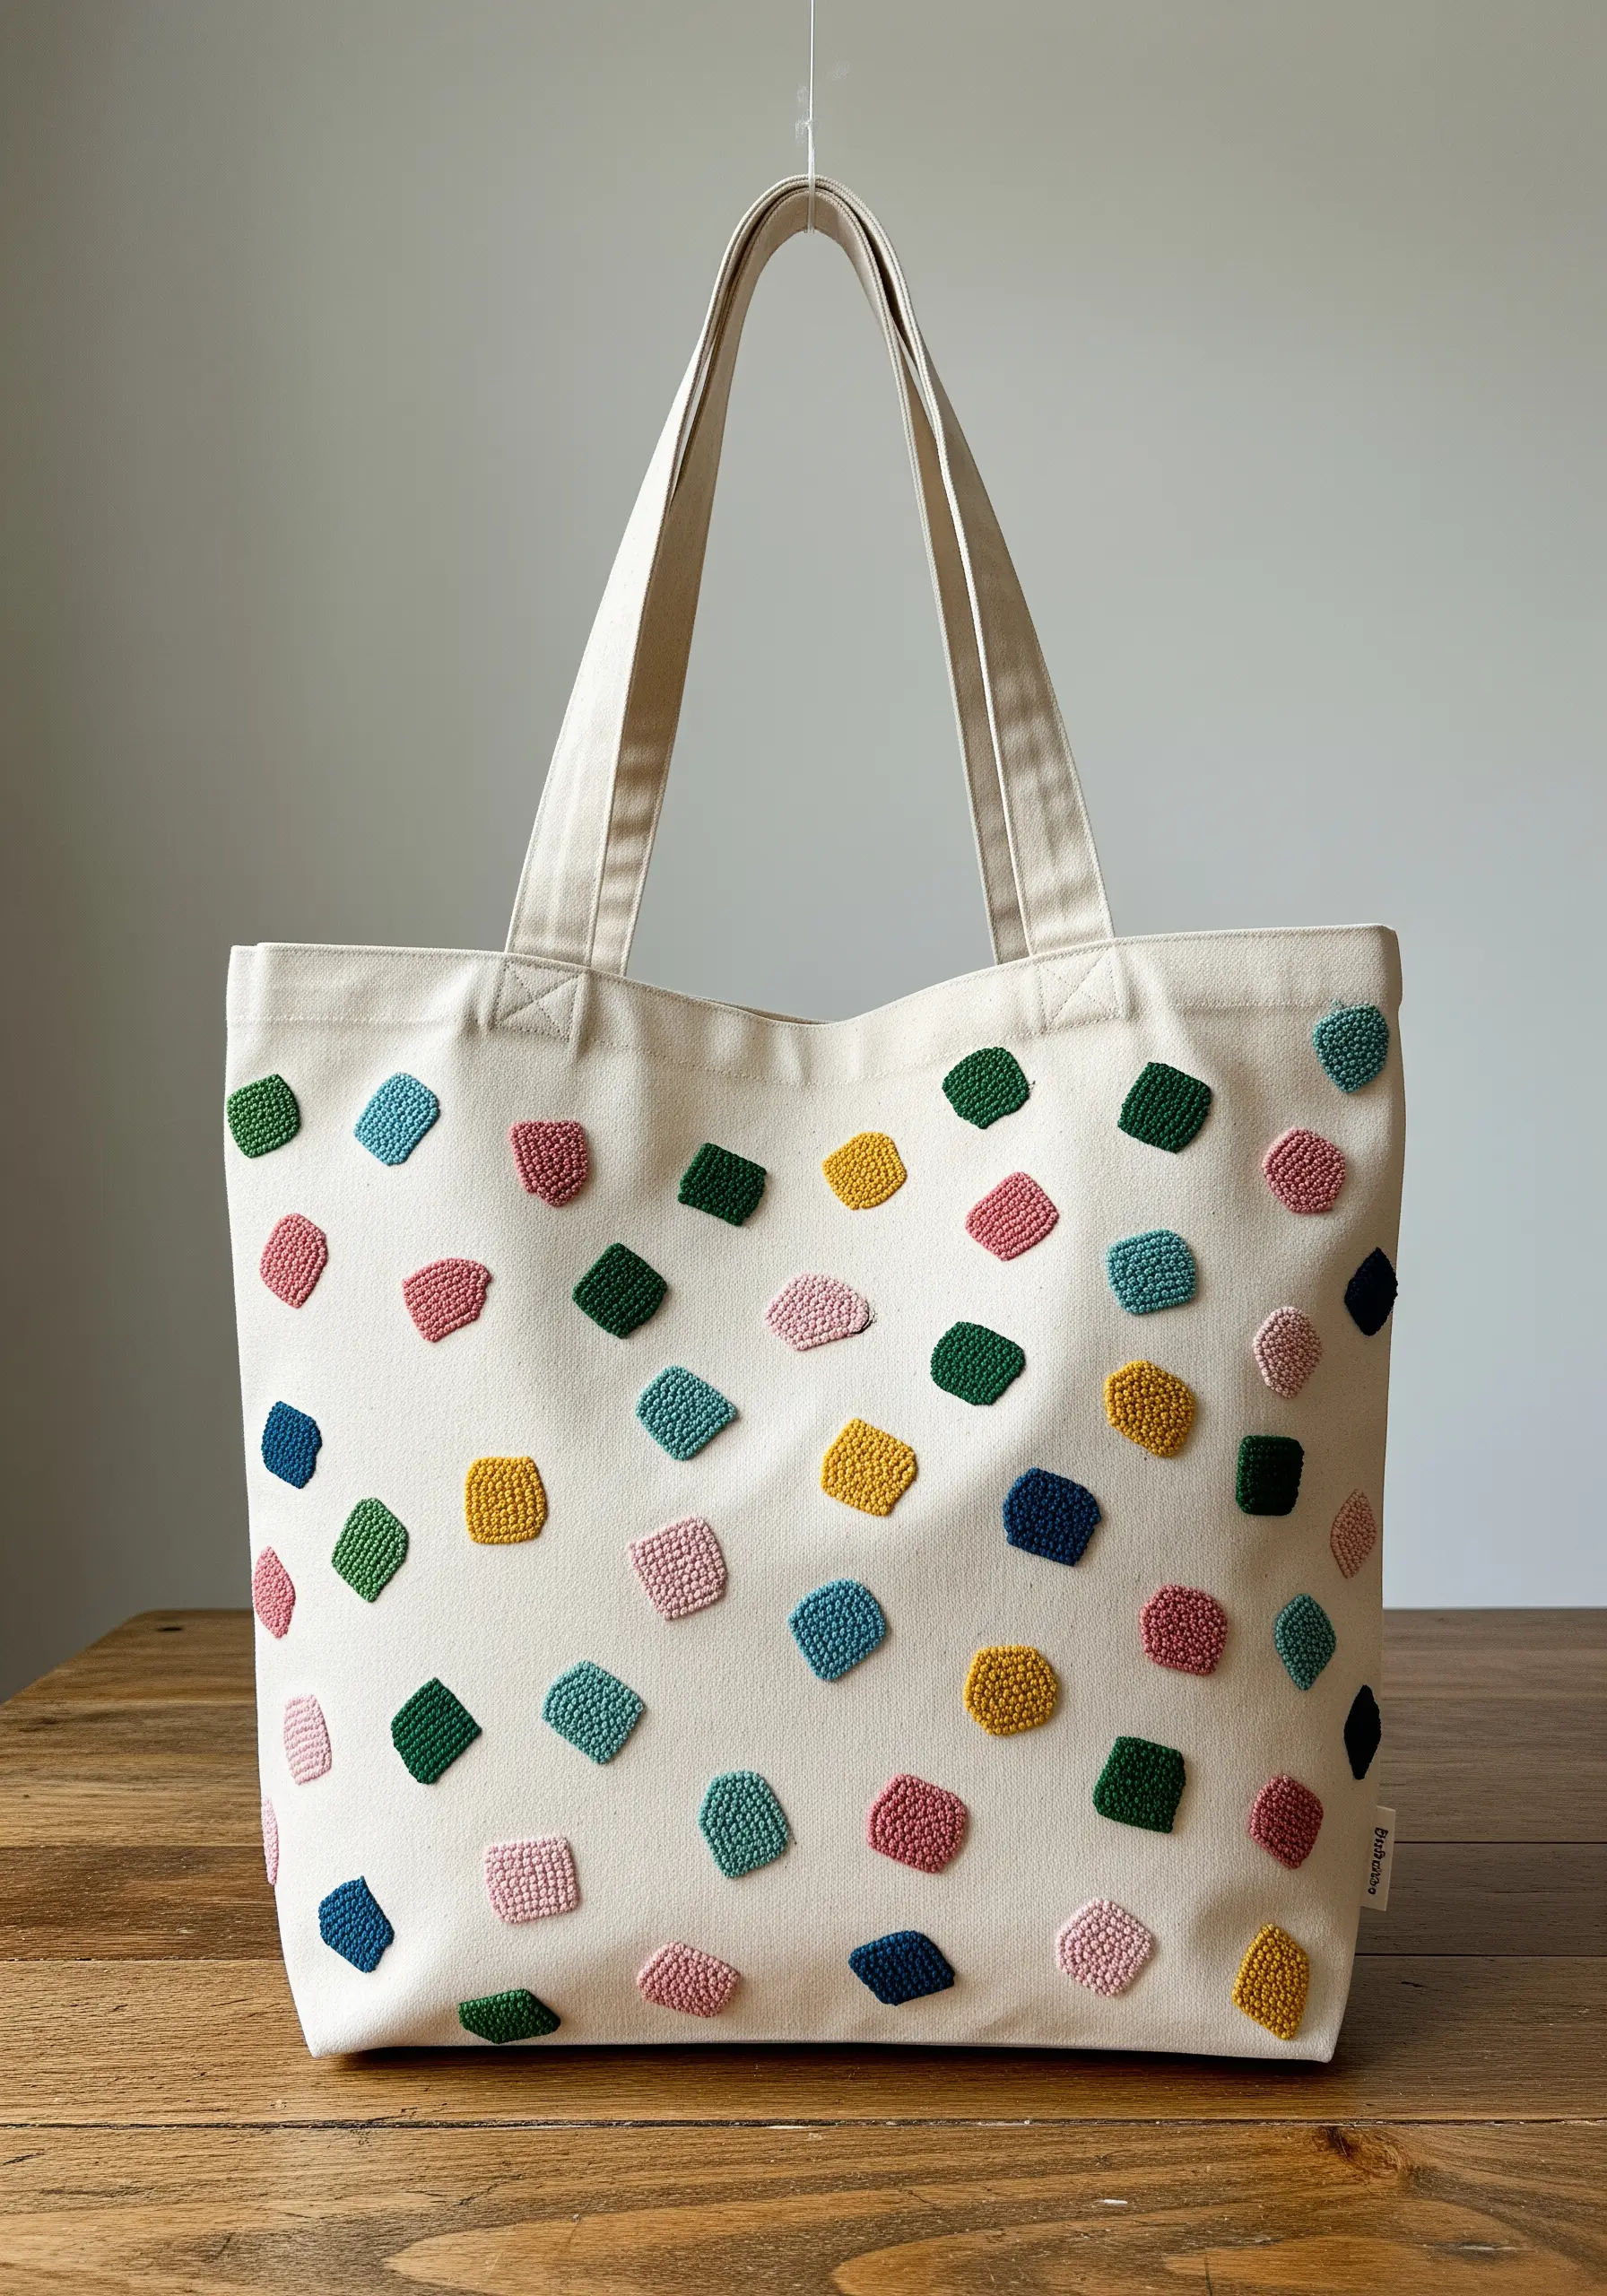
Give simple shapes a three-dimensional, button-like quality using padded satin stitch.
Before you begin your top layer of stitches, create a foundation of small seed stitches or straight stitches within the shape.
For extra lift, make this underlayer perpendicular to your final satin stitches.
Stitch your final layer of satin stitch directly over this padding.
The result is a raised, tactile block that stands proud of the fabric surface, turning a simple pattern of scattered shapes into a collection of touchable gems.
These are the kind of easy minimal embroidery accents for a boho-chic touch that feel incredibly luxe.
9. Create Transparent Layers with Weaving Stitch
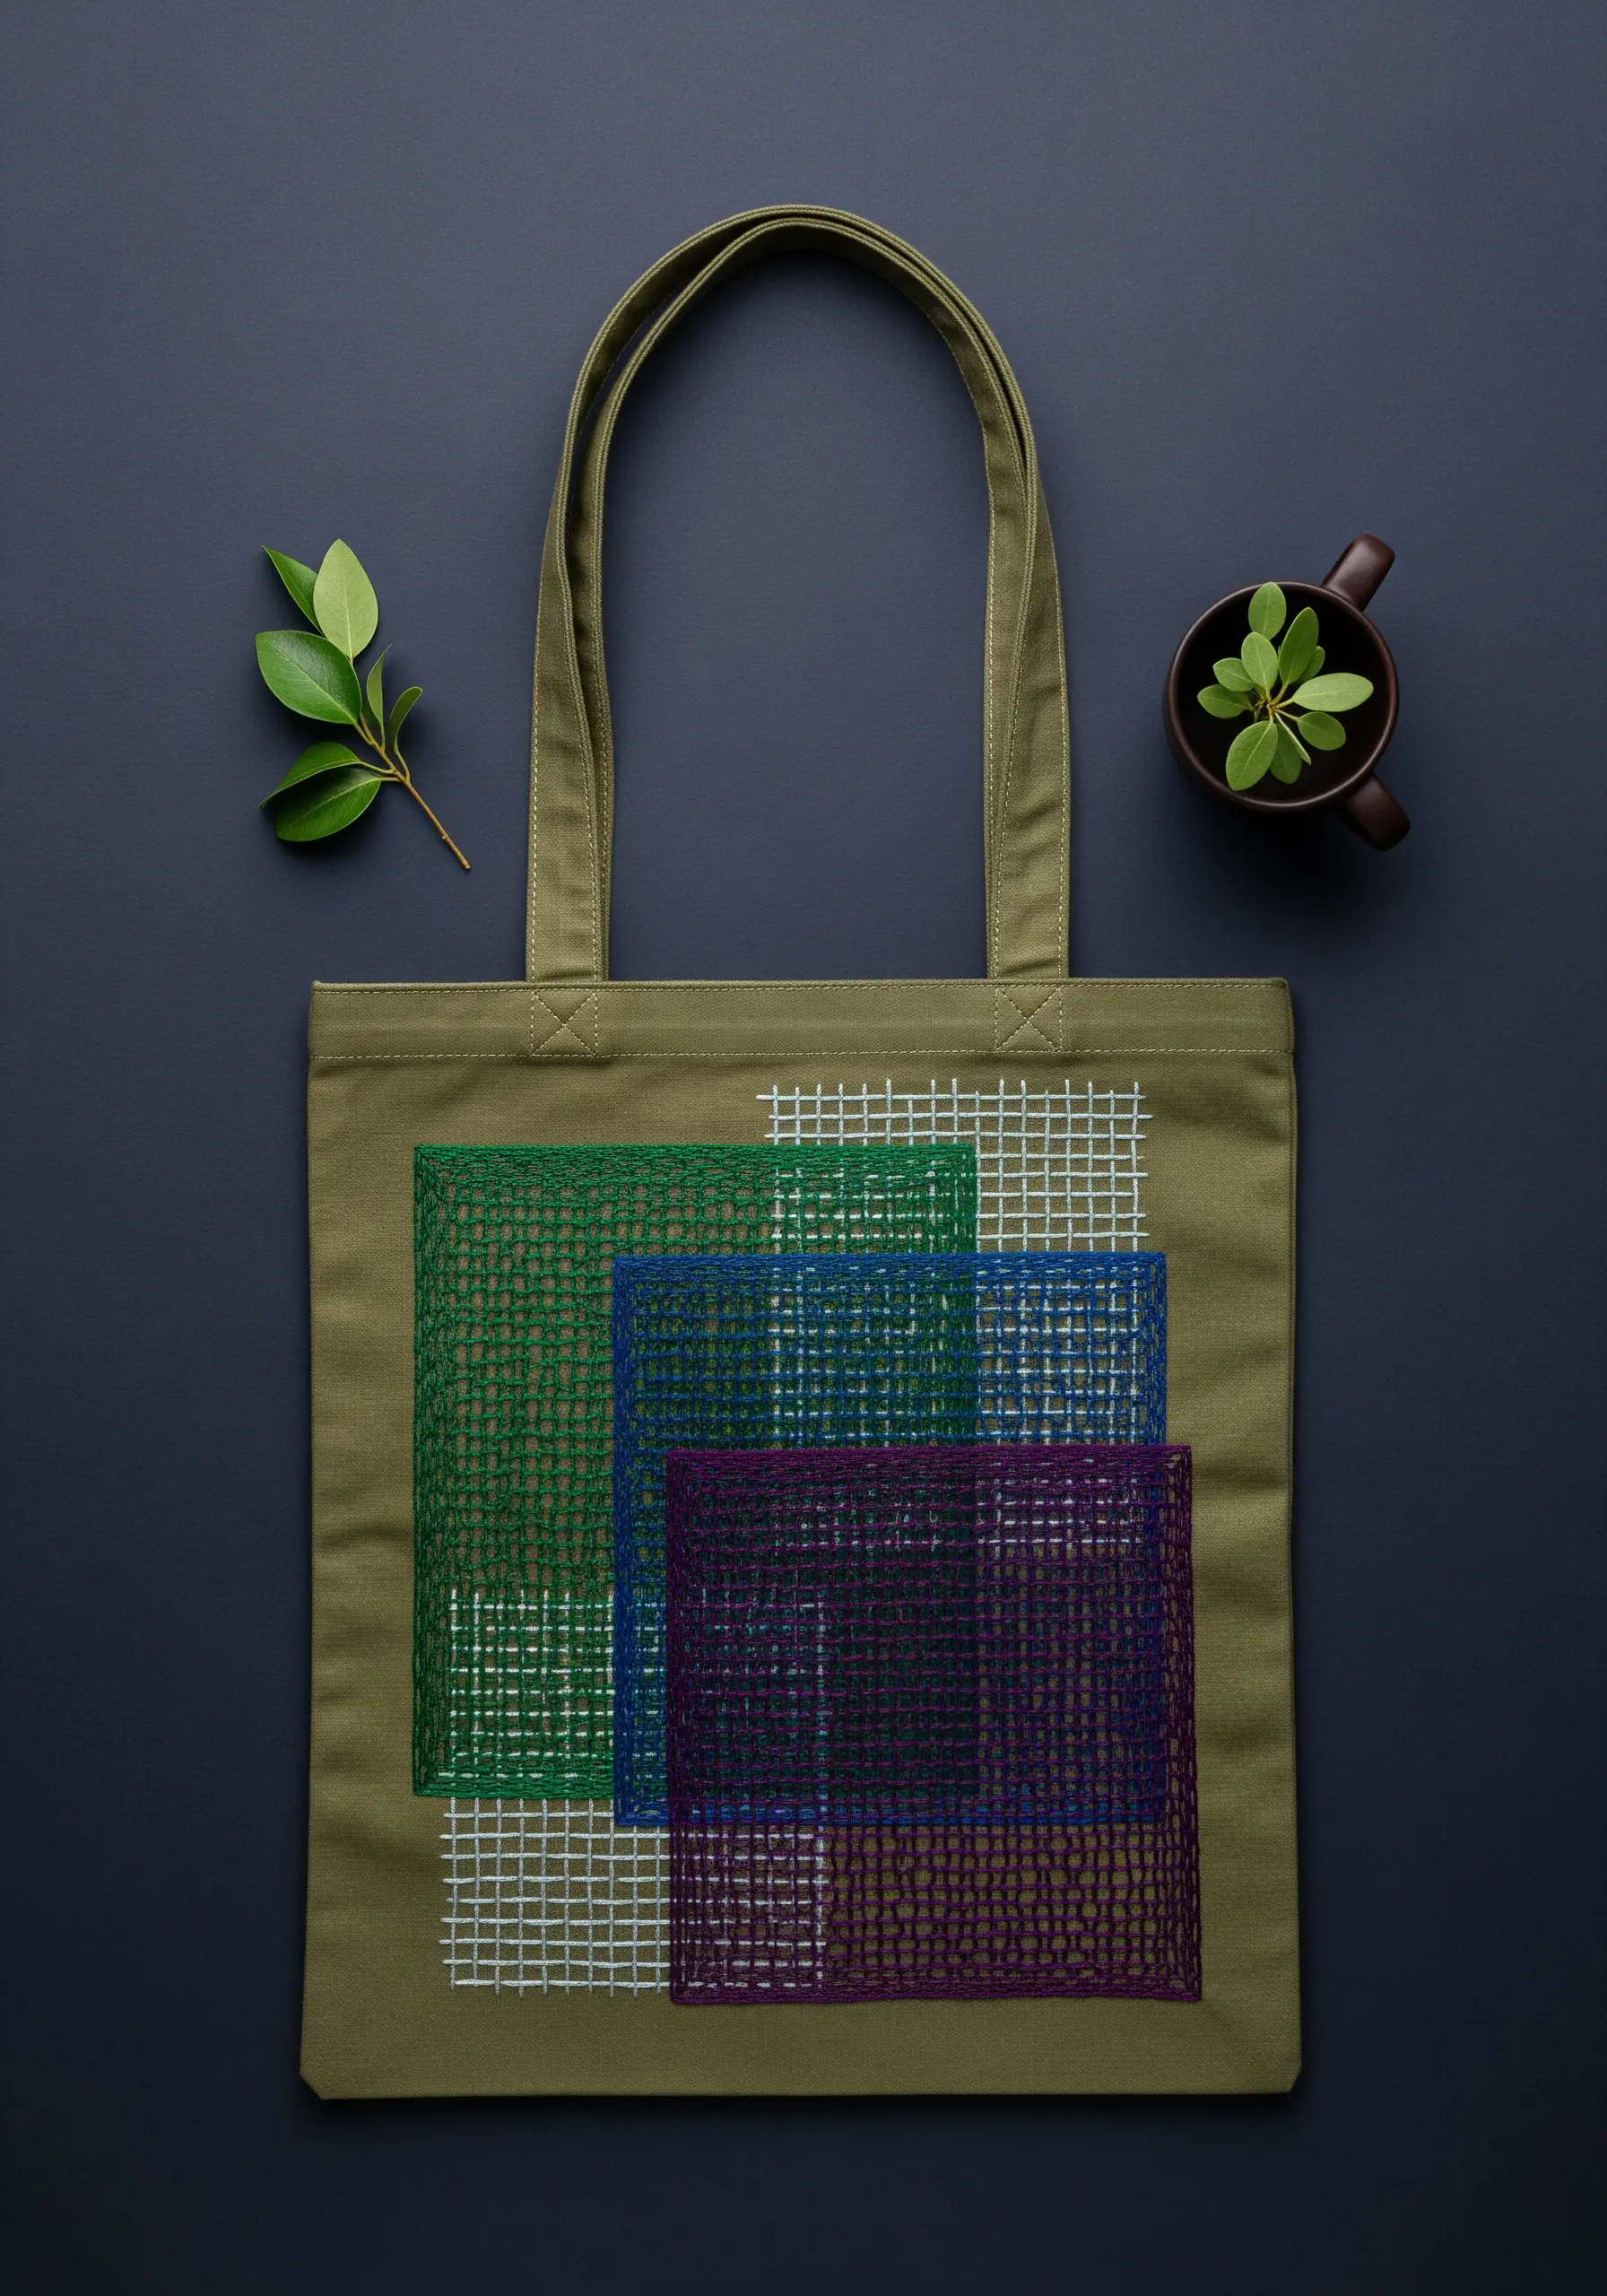
To achieve this beautiful, gauzy effect of overlapping colors, you need to work in layers using a weaving stitch.
First, create a grid of long, vertical and horizontal straight stitches across your entire design area—this is your warp and weft.
Then, using your chosen colors, weave your needle over and under these grid lines without piercing the tote bag fabric.
Where the colors overlap, new tones will emerge, creating a sense of depth and transparency that traditional stitches can’t replicate.
It’s a modern way to create abstract stitch maps patterns inspired by cities, skies, and sound waves.
10. Stitch a Perfect Gradient with Concentric Circles
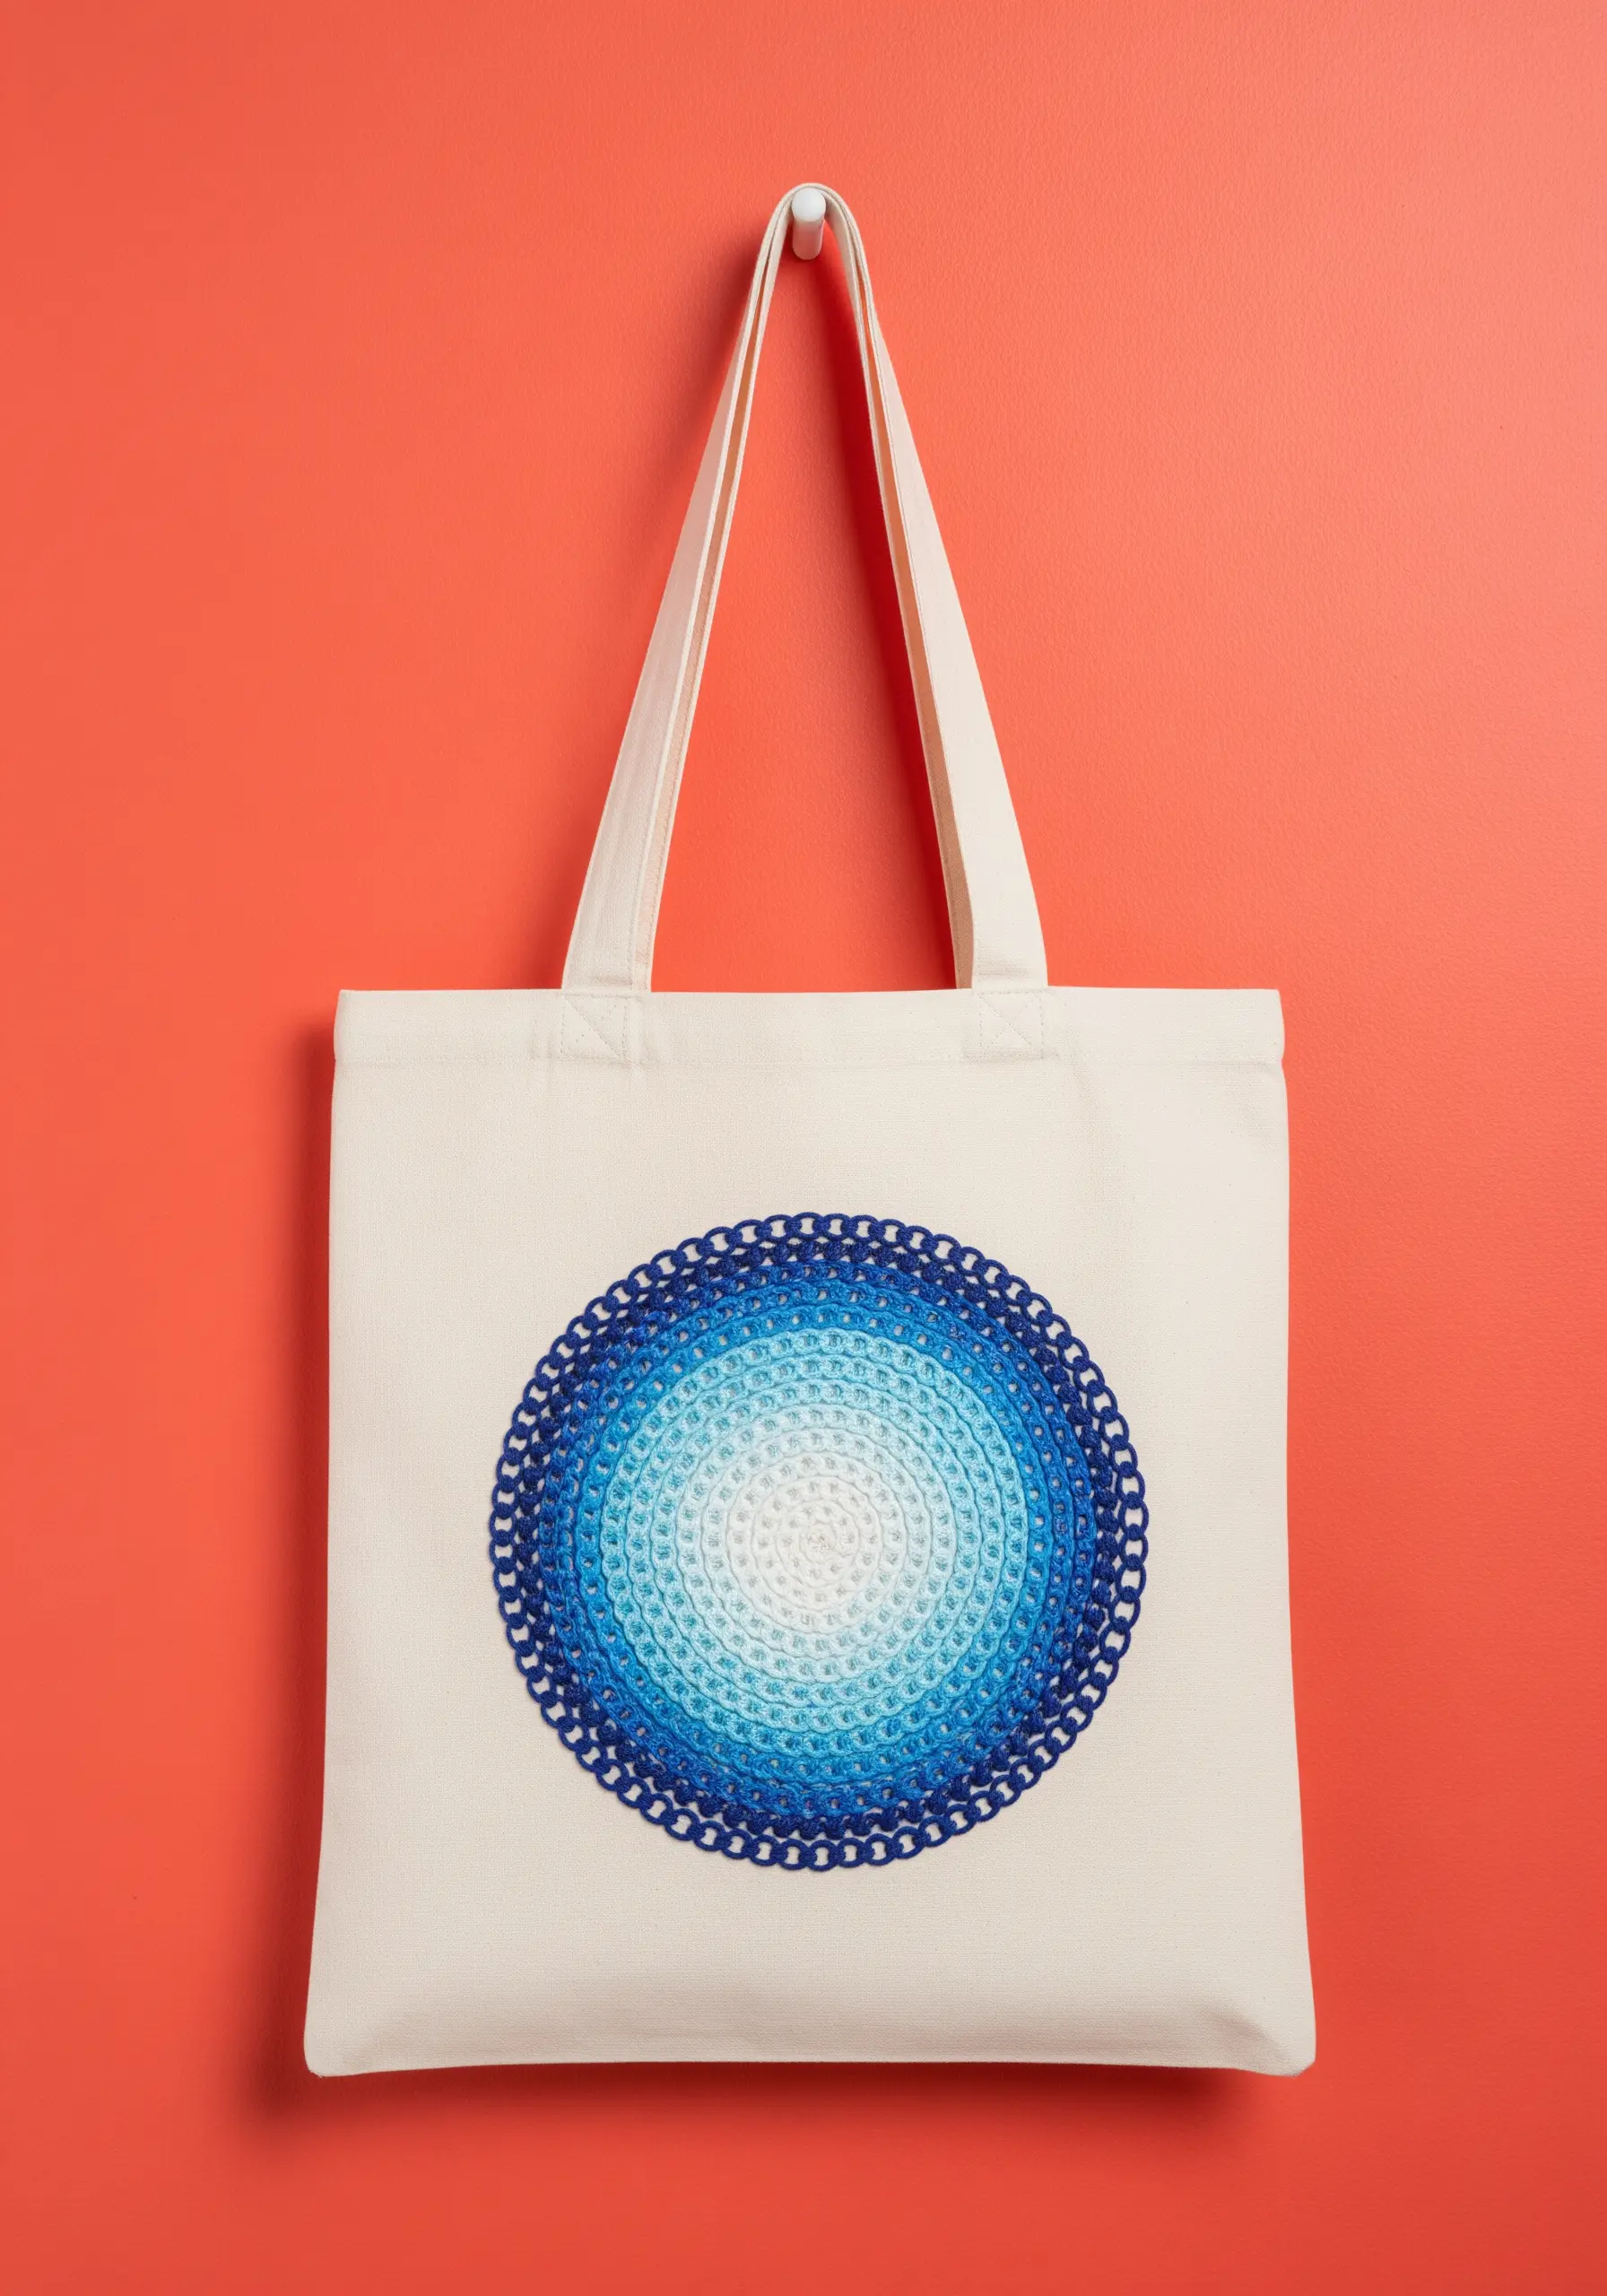
A smooth, circular gradient requires a methodical approach using long-and-short stitch.
Start from the center and work your way out in concentric rings.
Each new ring of stitches should overlap the previous one by about a third, staggering the stitch lengths to blend the colors seamlessly.
To maintain a perfect circle, lightly draw guide rings with a water-soluble pen before you begin.
Finish the design with a heavy, textured border like a whipped chain stitch to frame the gradient and give it a clean, professional edge.
This is one of those color blending thread patterns that transform blank canvas into abstract magic.
11. Capture Movement with Directional Stitches
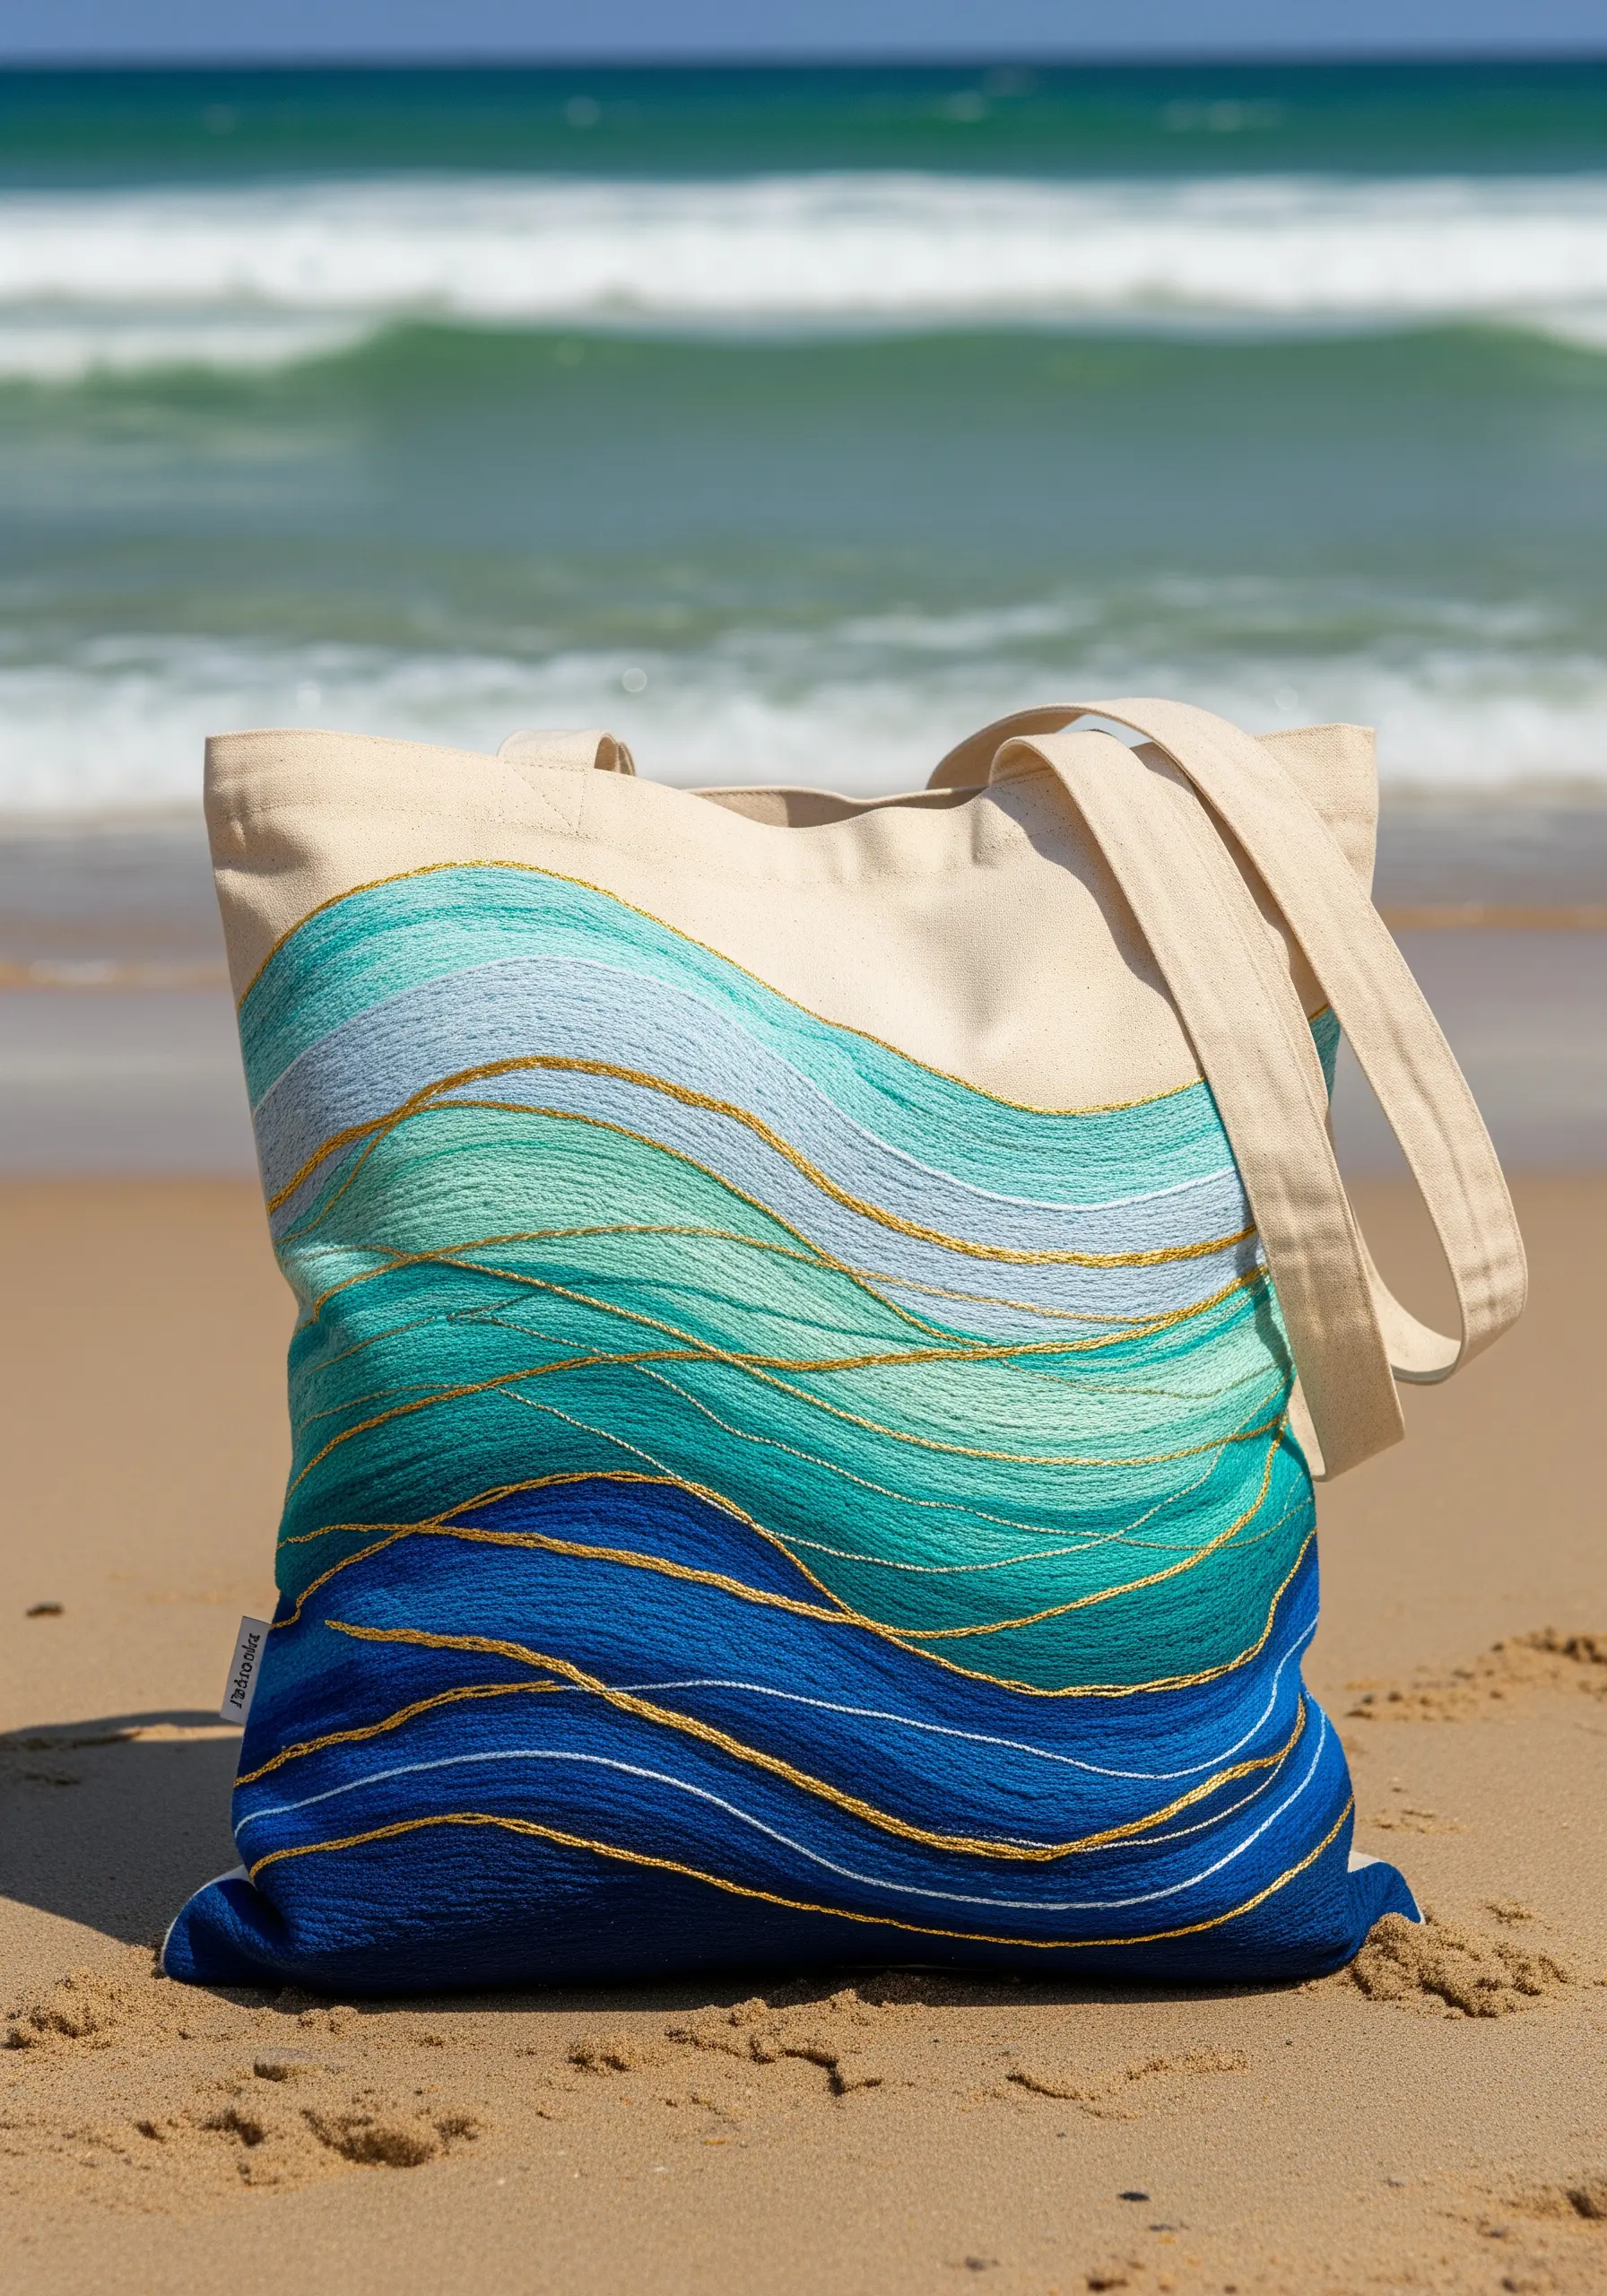
To create the illusion of flowing waves, the direction of your stitches is paramount.
Use long, sweeping straight stitches that follow the curves of your design.
Instead of filling the entire area, allow small gaps to show the canvas, which adds to the sense of light and movement.
Create depth by varying the number of floss strands—use a full six strands for the deep blues at the bottom and taper to just two or three strands for the lighter aquas at the top.
A single, couched metallic gold thread adds a sunlit highlight, turning these abstract thread flow patterns that mimic water, fire, and wind into a shimmering scene.
12. Combine Appliqué and Shading for a Gemstone Effect
Create the illusion of faceted gems by blending fabric appliqué with delicate thread painting.
Cut small pieces of grey and white satin or cotton sateen for the main facets and attach them with a nearly invisible slip stitch.
Then, using a single strand of embroidery floss in varying shades of grey, use long-and-short stitch to add shadows and highlights along the edges of the fabric pieces.
This creates the illusion of depth and light, turning flat fabric into three-dimensional jewels.
It’s a stunning way to try minimal thread painting patterns to achieve luxury wall art on a functional item.
13. Replicate a Torn-Paper Collage with Raw-Edge Appliqué
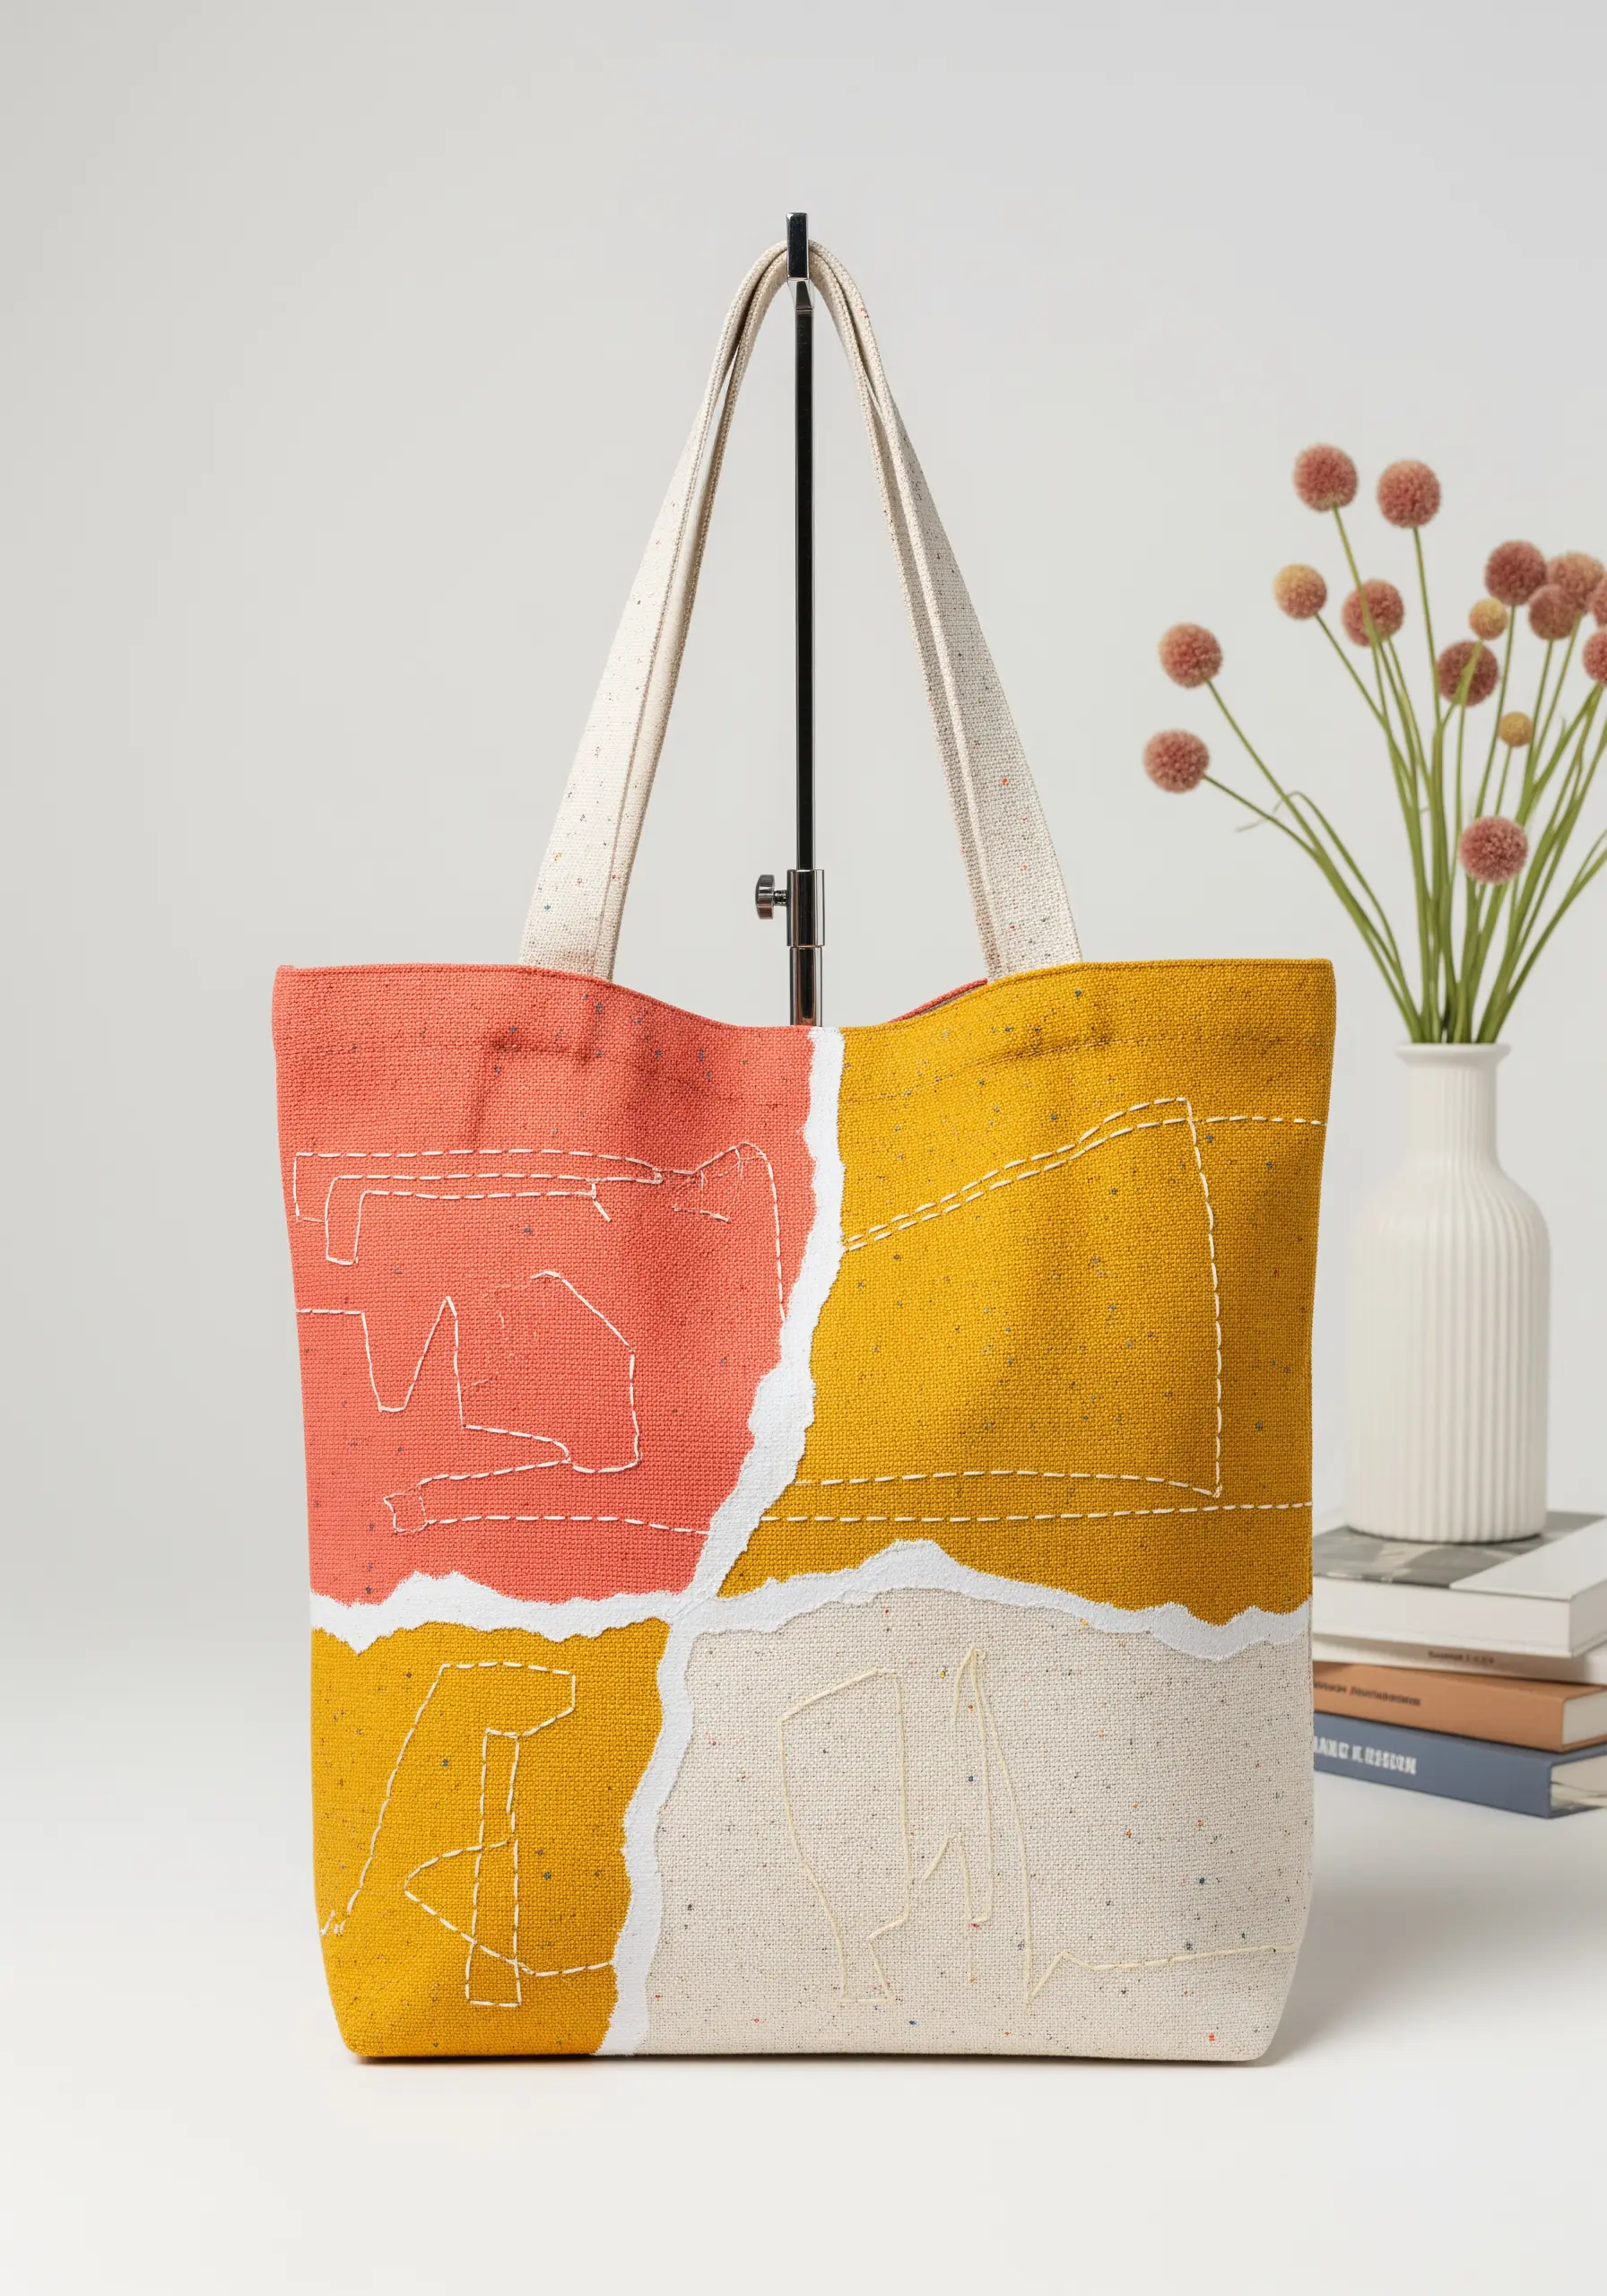
Achieve a soft, artistic collage effect by embracing imperfections.
Use linen or a loosely woven canvas and tear the fabric into organic shapes instead of cutting it.
Secure each piece to your tote bag with a simple, visible running stitch in a contrasting color, placed about a quarter-inch from the torn edge.
This allows the edges to fray gently, enhancing the soft, layered aesthetic.
The scattered, doodle-like stitches on top complete the look, perfectly illustrating how to combine paper collage with minimalist embroidery stitches for a modern, deconstructed feel.
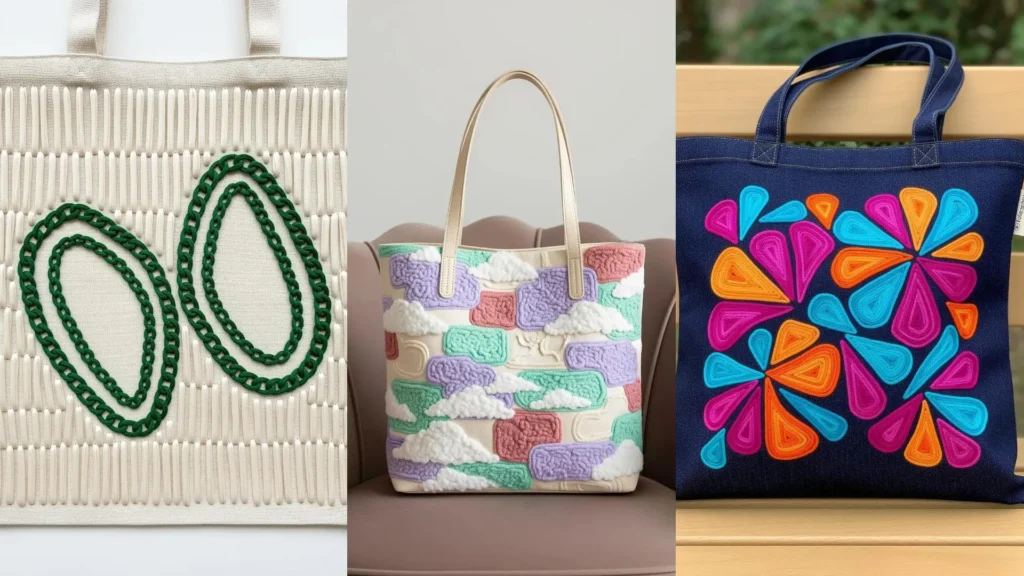
14. Contrast Sculptural Stitches for Graphic Impact
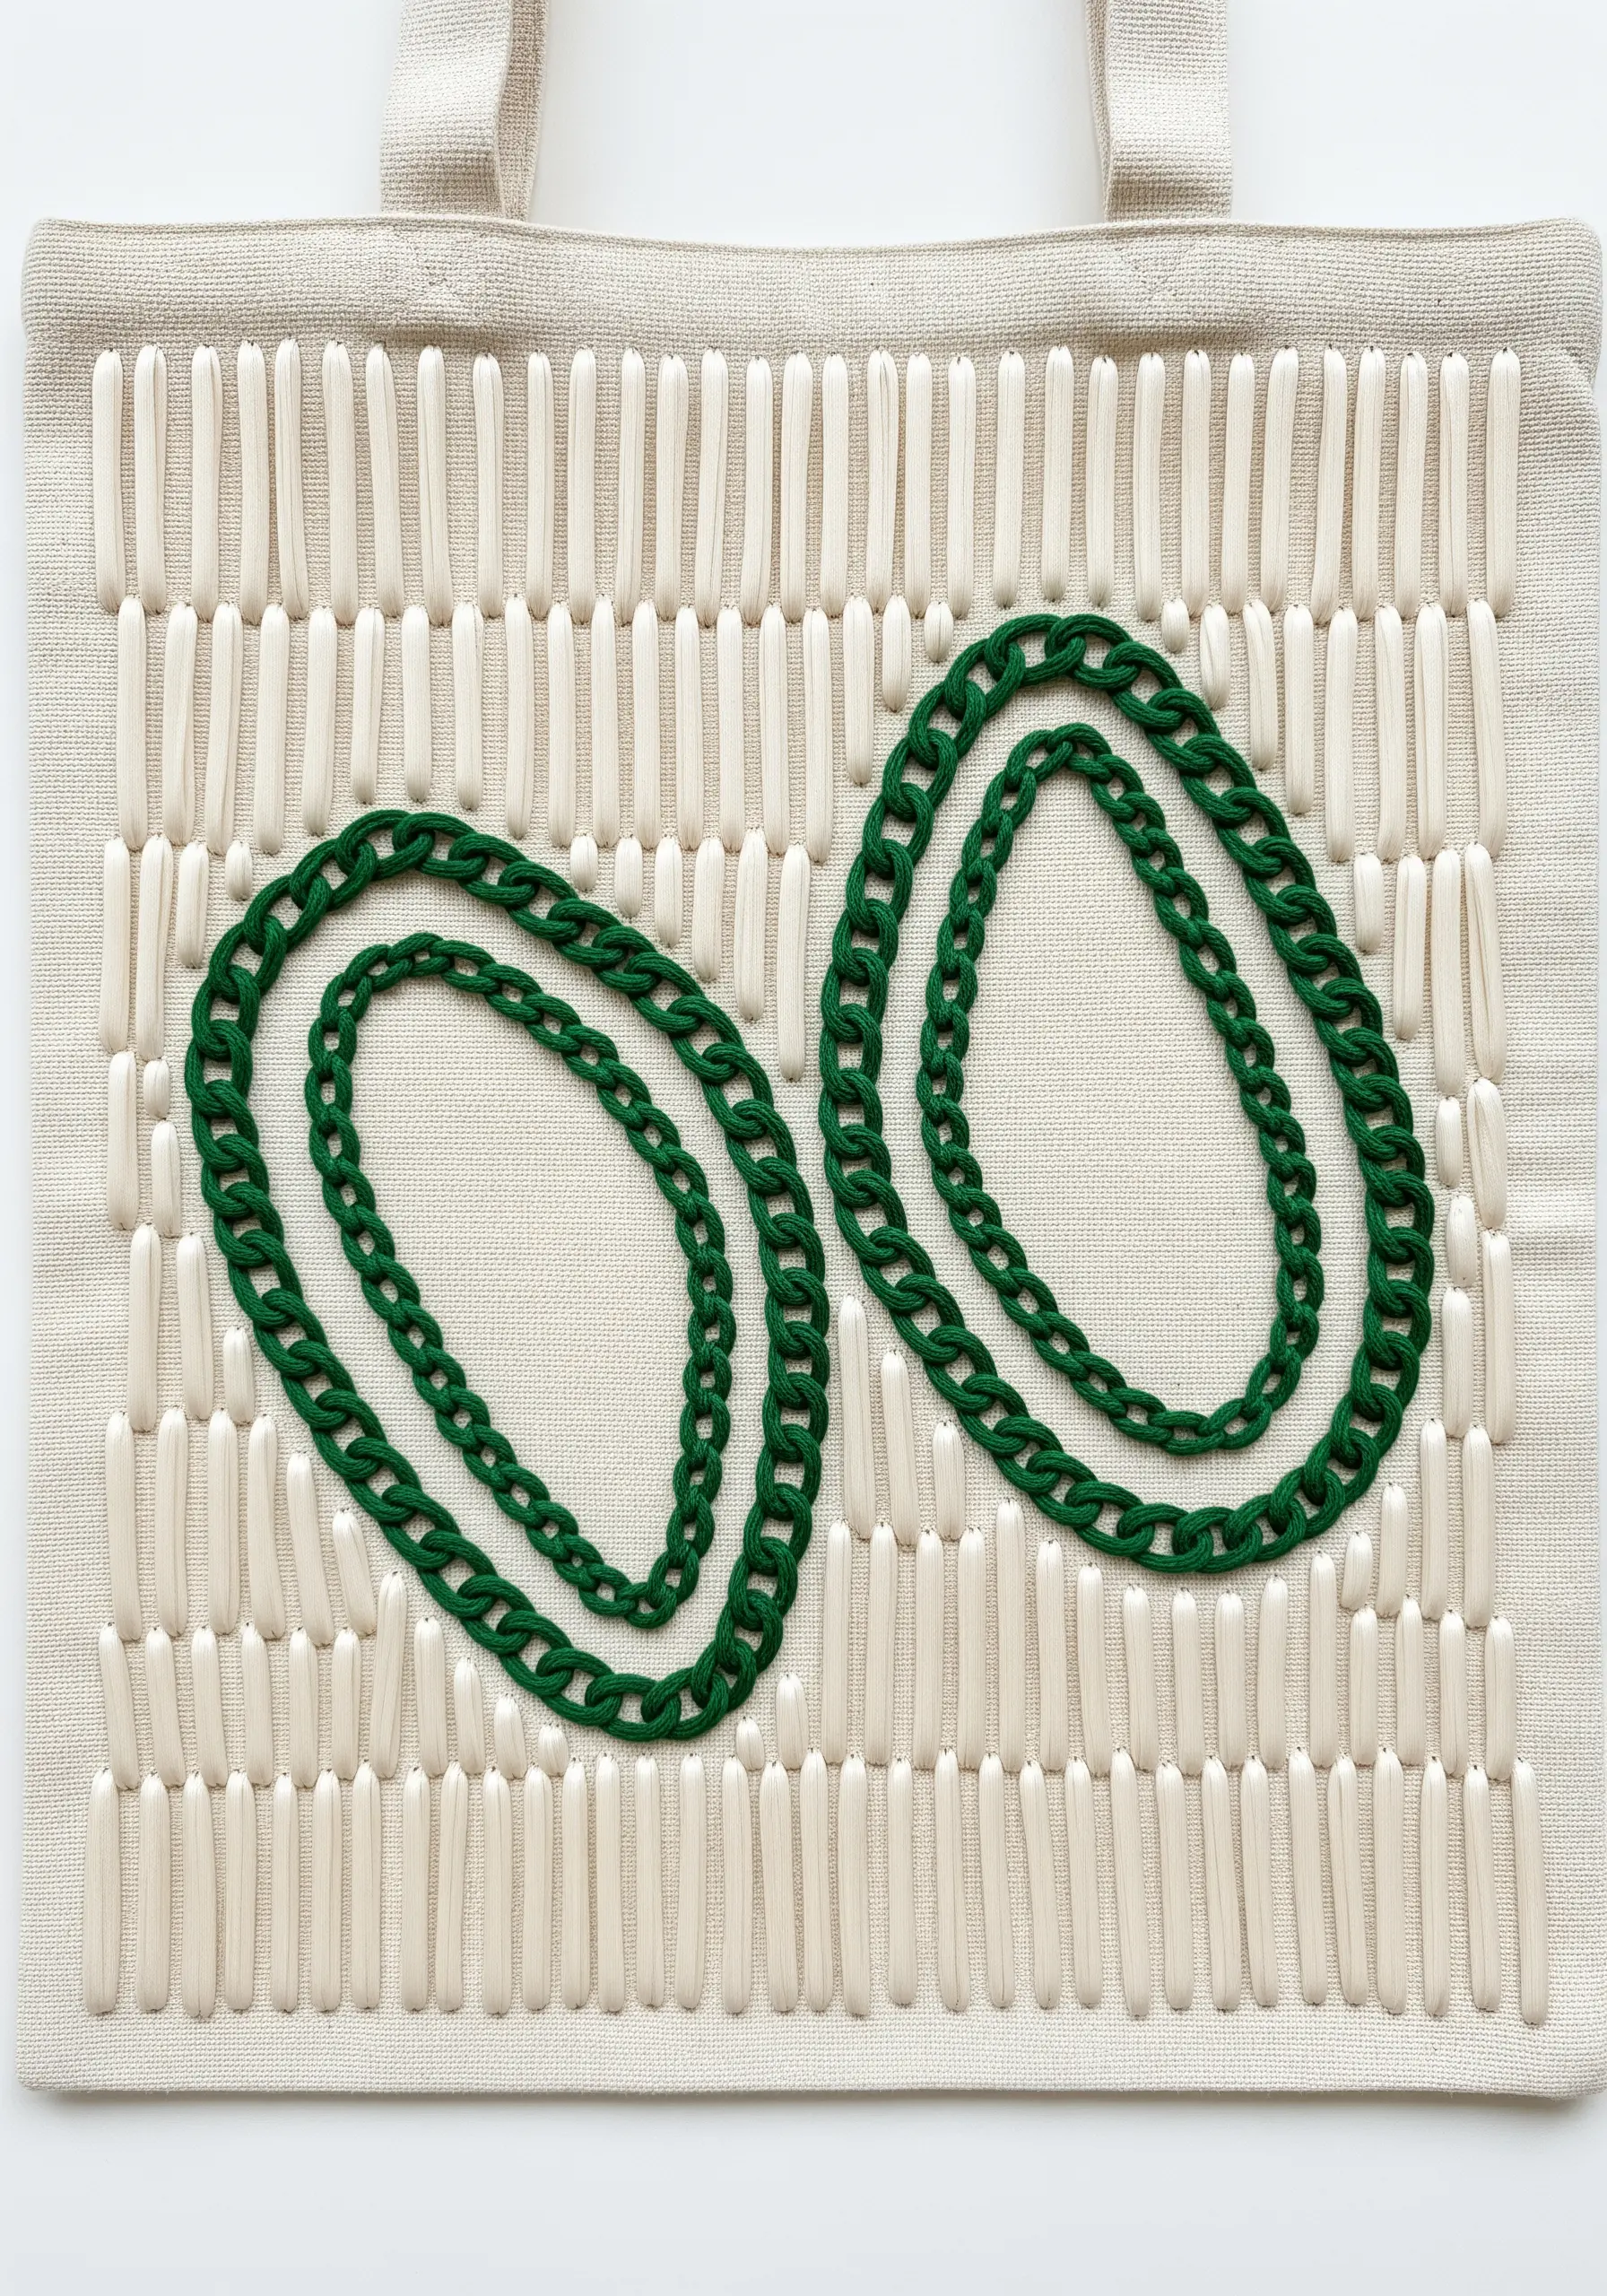
This design is a masterclass in contrasting textures.
For the bold, green oval outlines, use a heavy, six-strand chain stitch to create a raised, rope-like line.
For the background, create the vertical bars with a padded satin stitch.
Lay down a base of horizontal seed stitches first, then cover them with long, vertical satin stitches in an off-white or cream thread.
This padding makes the bars pop, creating a dynamic interplay between the smooth, raised bars and the textured chains.
These are the abstract thread sculpting tricks to make your embroidery look like floating art, all through simple stitch choices.
15. Define Shapes with Textured Fills and Bold Outlines
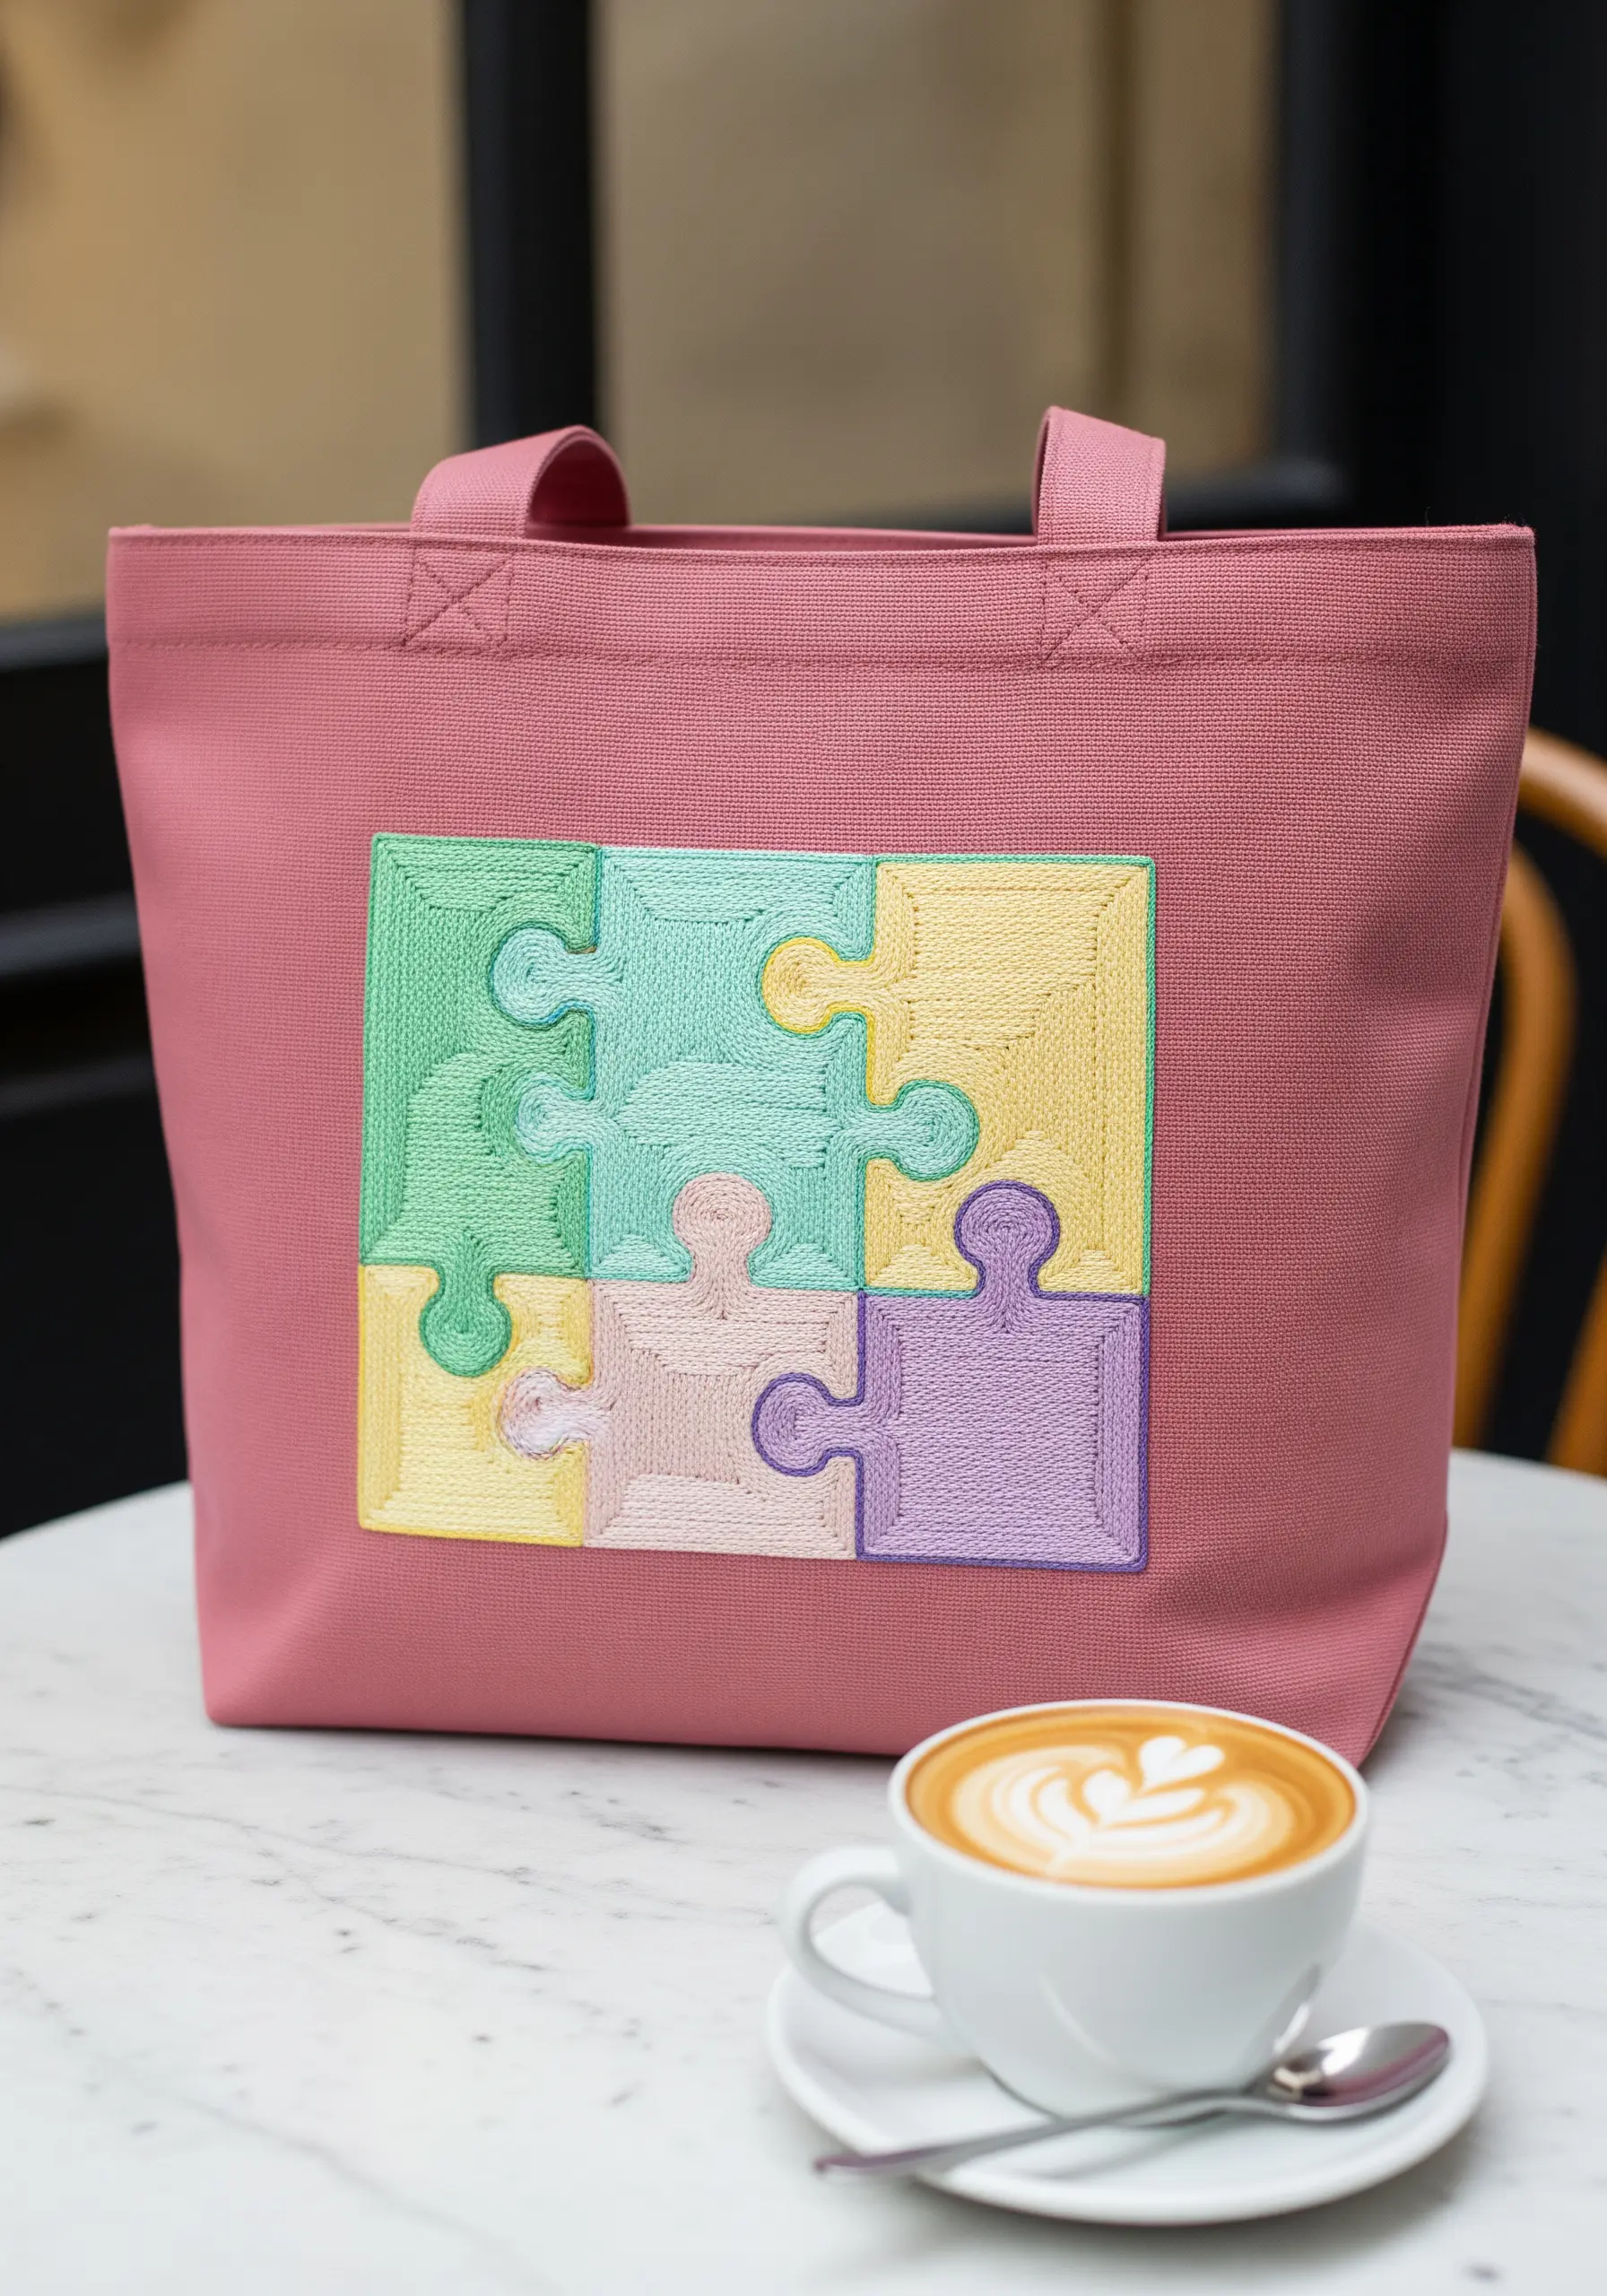
Make your color blocks more interesting by giving them both a clean border and a subtle internal texture.
Outline each puzzle piece with a whipped backstitch using a darker shade of thread; this creates a smooth, cord-like edge that defines the shape crisply.
Instead of a flat satin stitch fill, use a darning stitch or rows of seed stitches in a slightly lighter color.
This technique adds a woven, fabric-like texture to the interior, providing a gentle contrast that makes the design sophisticated and unique.
These neutral-tone embroidery designs that turn blank tote bags into chic accessories rely on texture, not just color.
16. Create Plush Texture with Trimmed Turkey Work
For an incredibly dense and velvety block of color, nothing beats trimmed Turkey work.
Stitch rows of loops across your shape, packing them as tightly as possible.
Once the area is completely filled, use sharp embroidery scissors to carefully trim the tops of all the loops to a uniform height.
This transforms the looped surface into a plush, carpet-like pile that is both visually and texturally stunning.
This is how you create bold color pop embroidery ideas to turn plain throw pillows into statement pieces—with texture that demands attention.
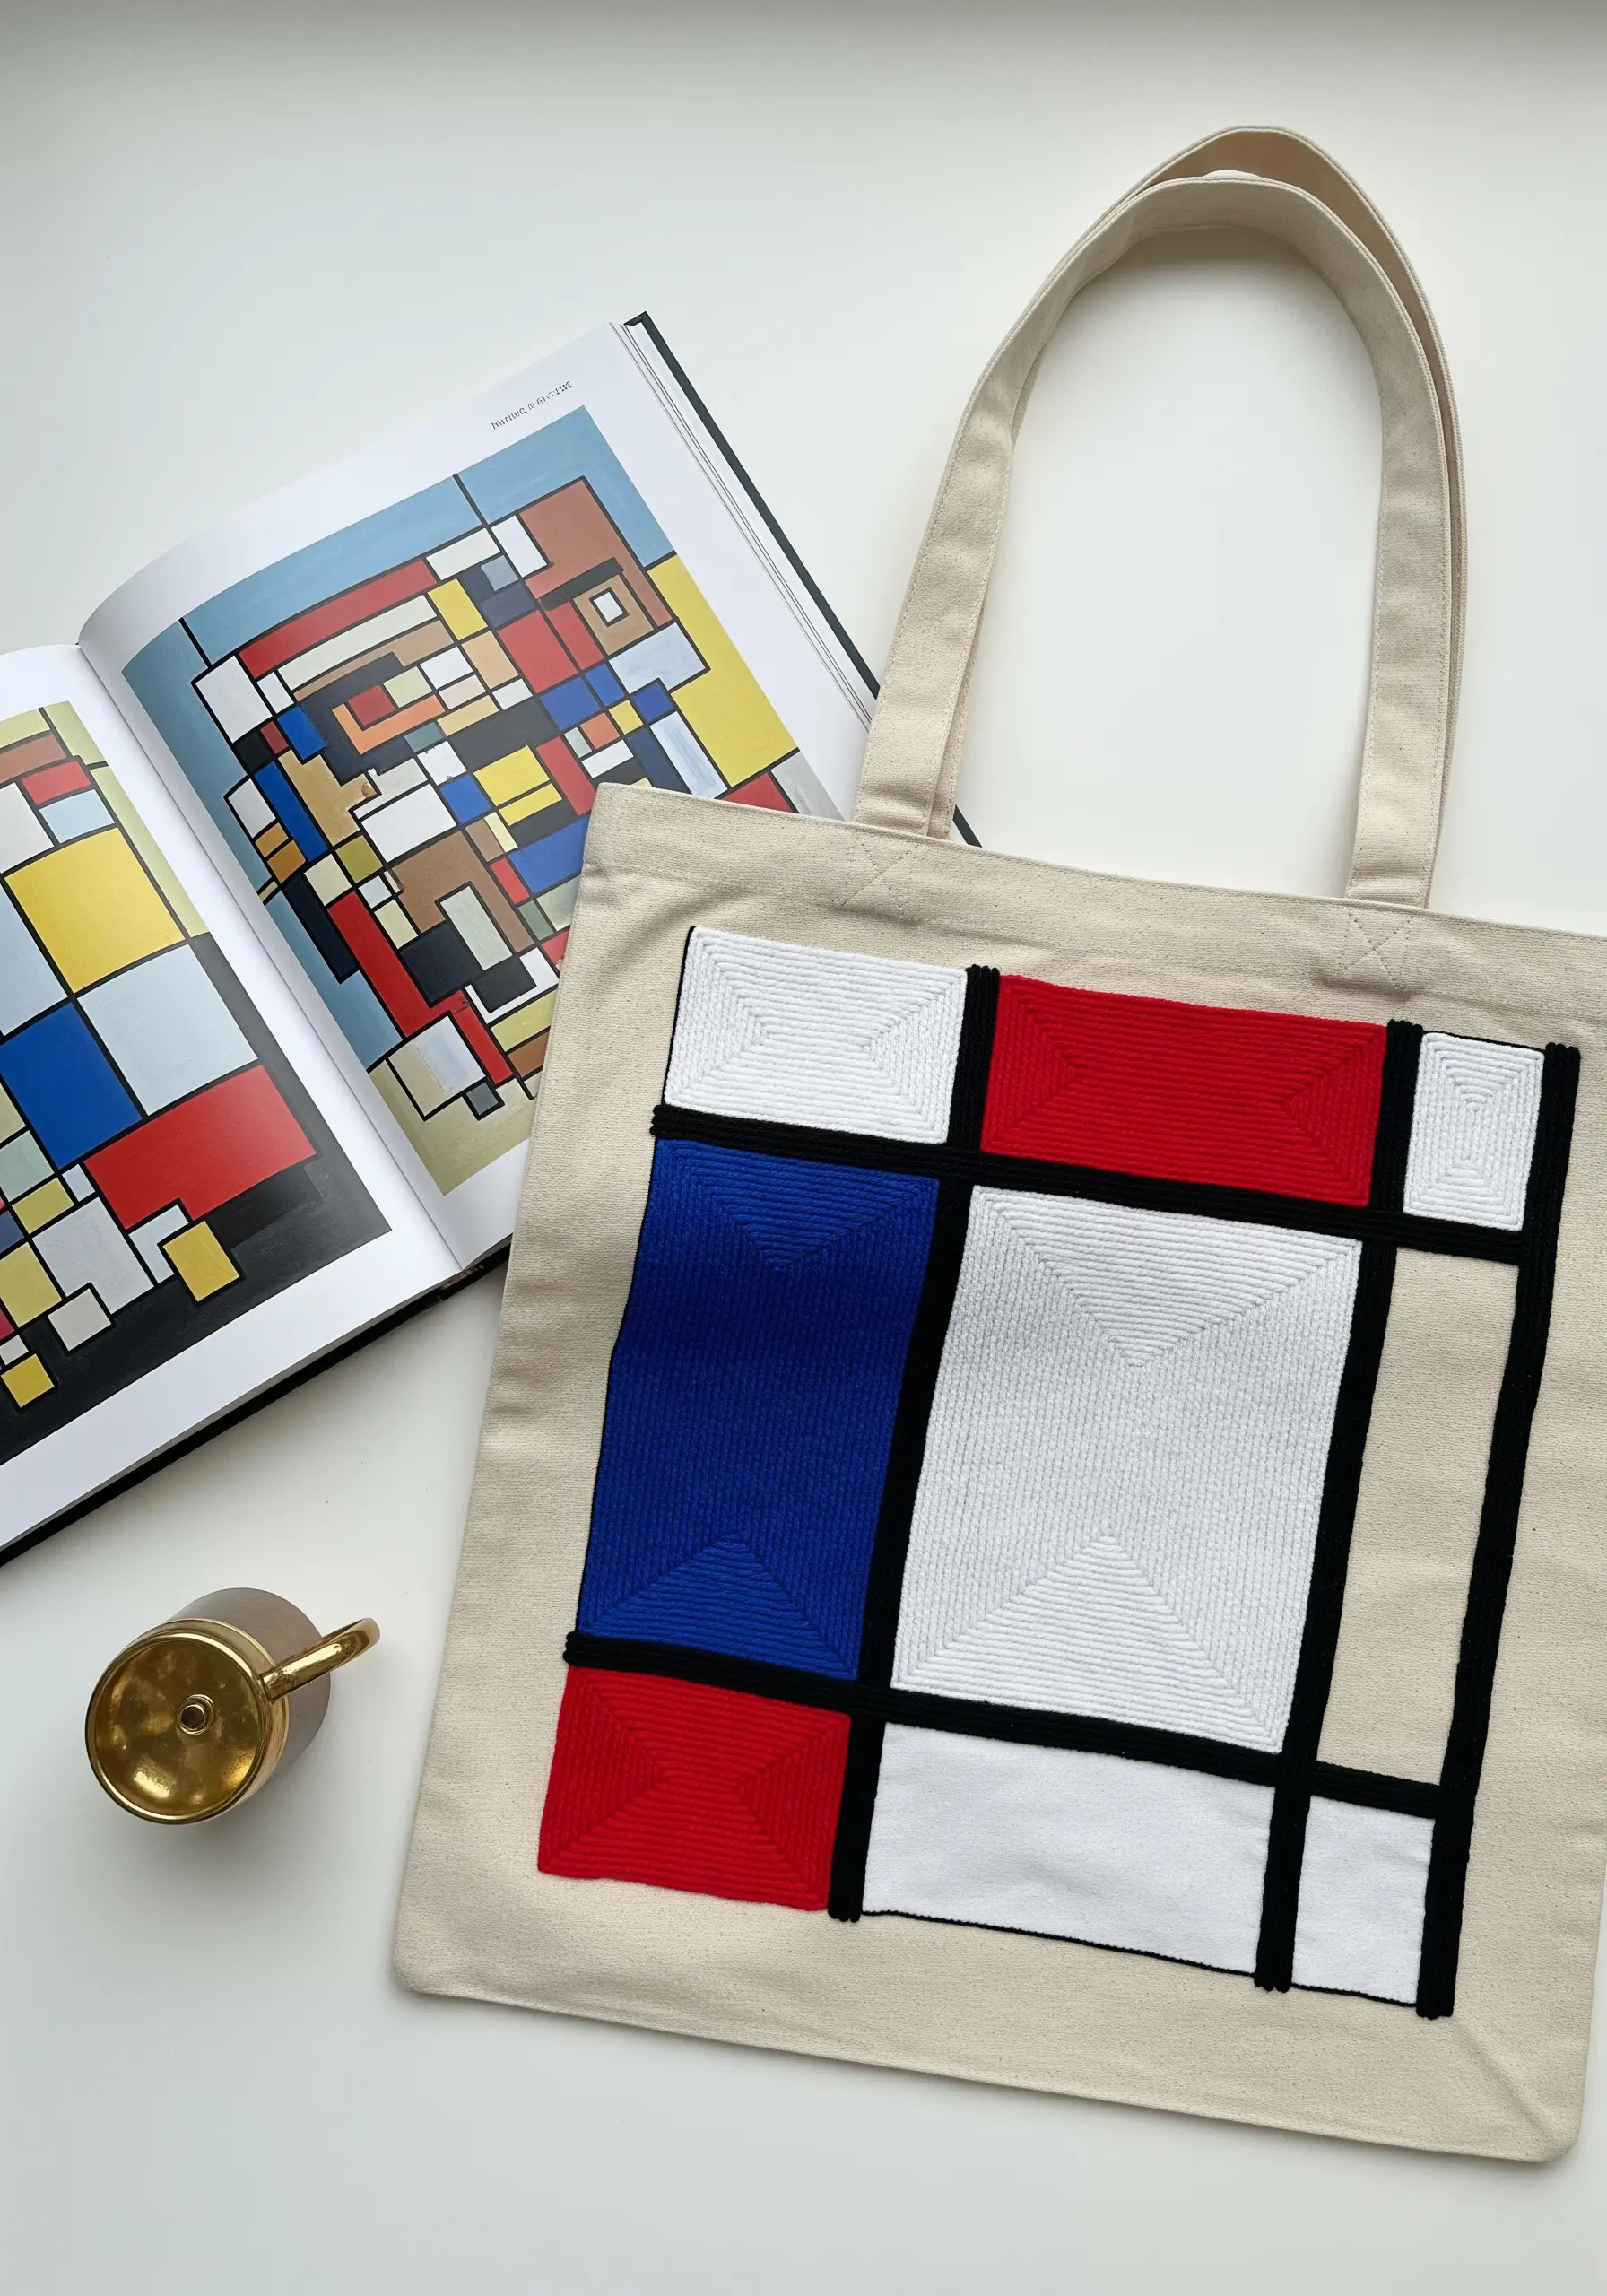
17. Achieve Graphic Precision with Single-Strand Outlines
To replicate the clean lines of a graphic illustration, precision is key.
This design can be achieved by hand using a flawless, dense satin stitch for the solid color blocks.
The secret to its crispness lies in the outlines.
After filling the shapes, use a single strand of black floss and a meticulous backstitch to outline every detail.
This sharp, fine line acts like ink, defining each element and giving the entire design a professional, polished finish reminiscent of continuous line embroidery ideas for book lovers.
18. Blend an Organic Gradient with Staggered Stitches
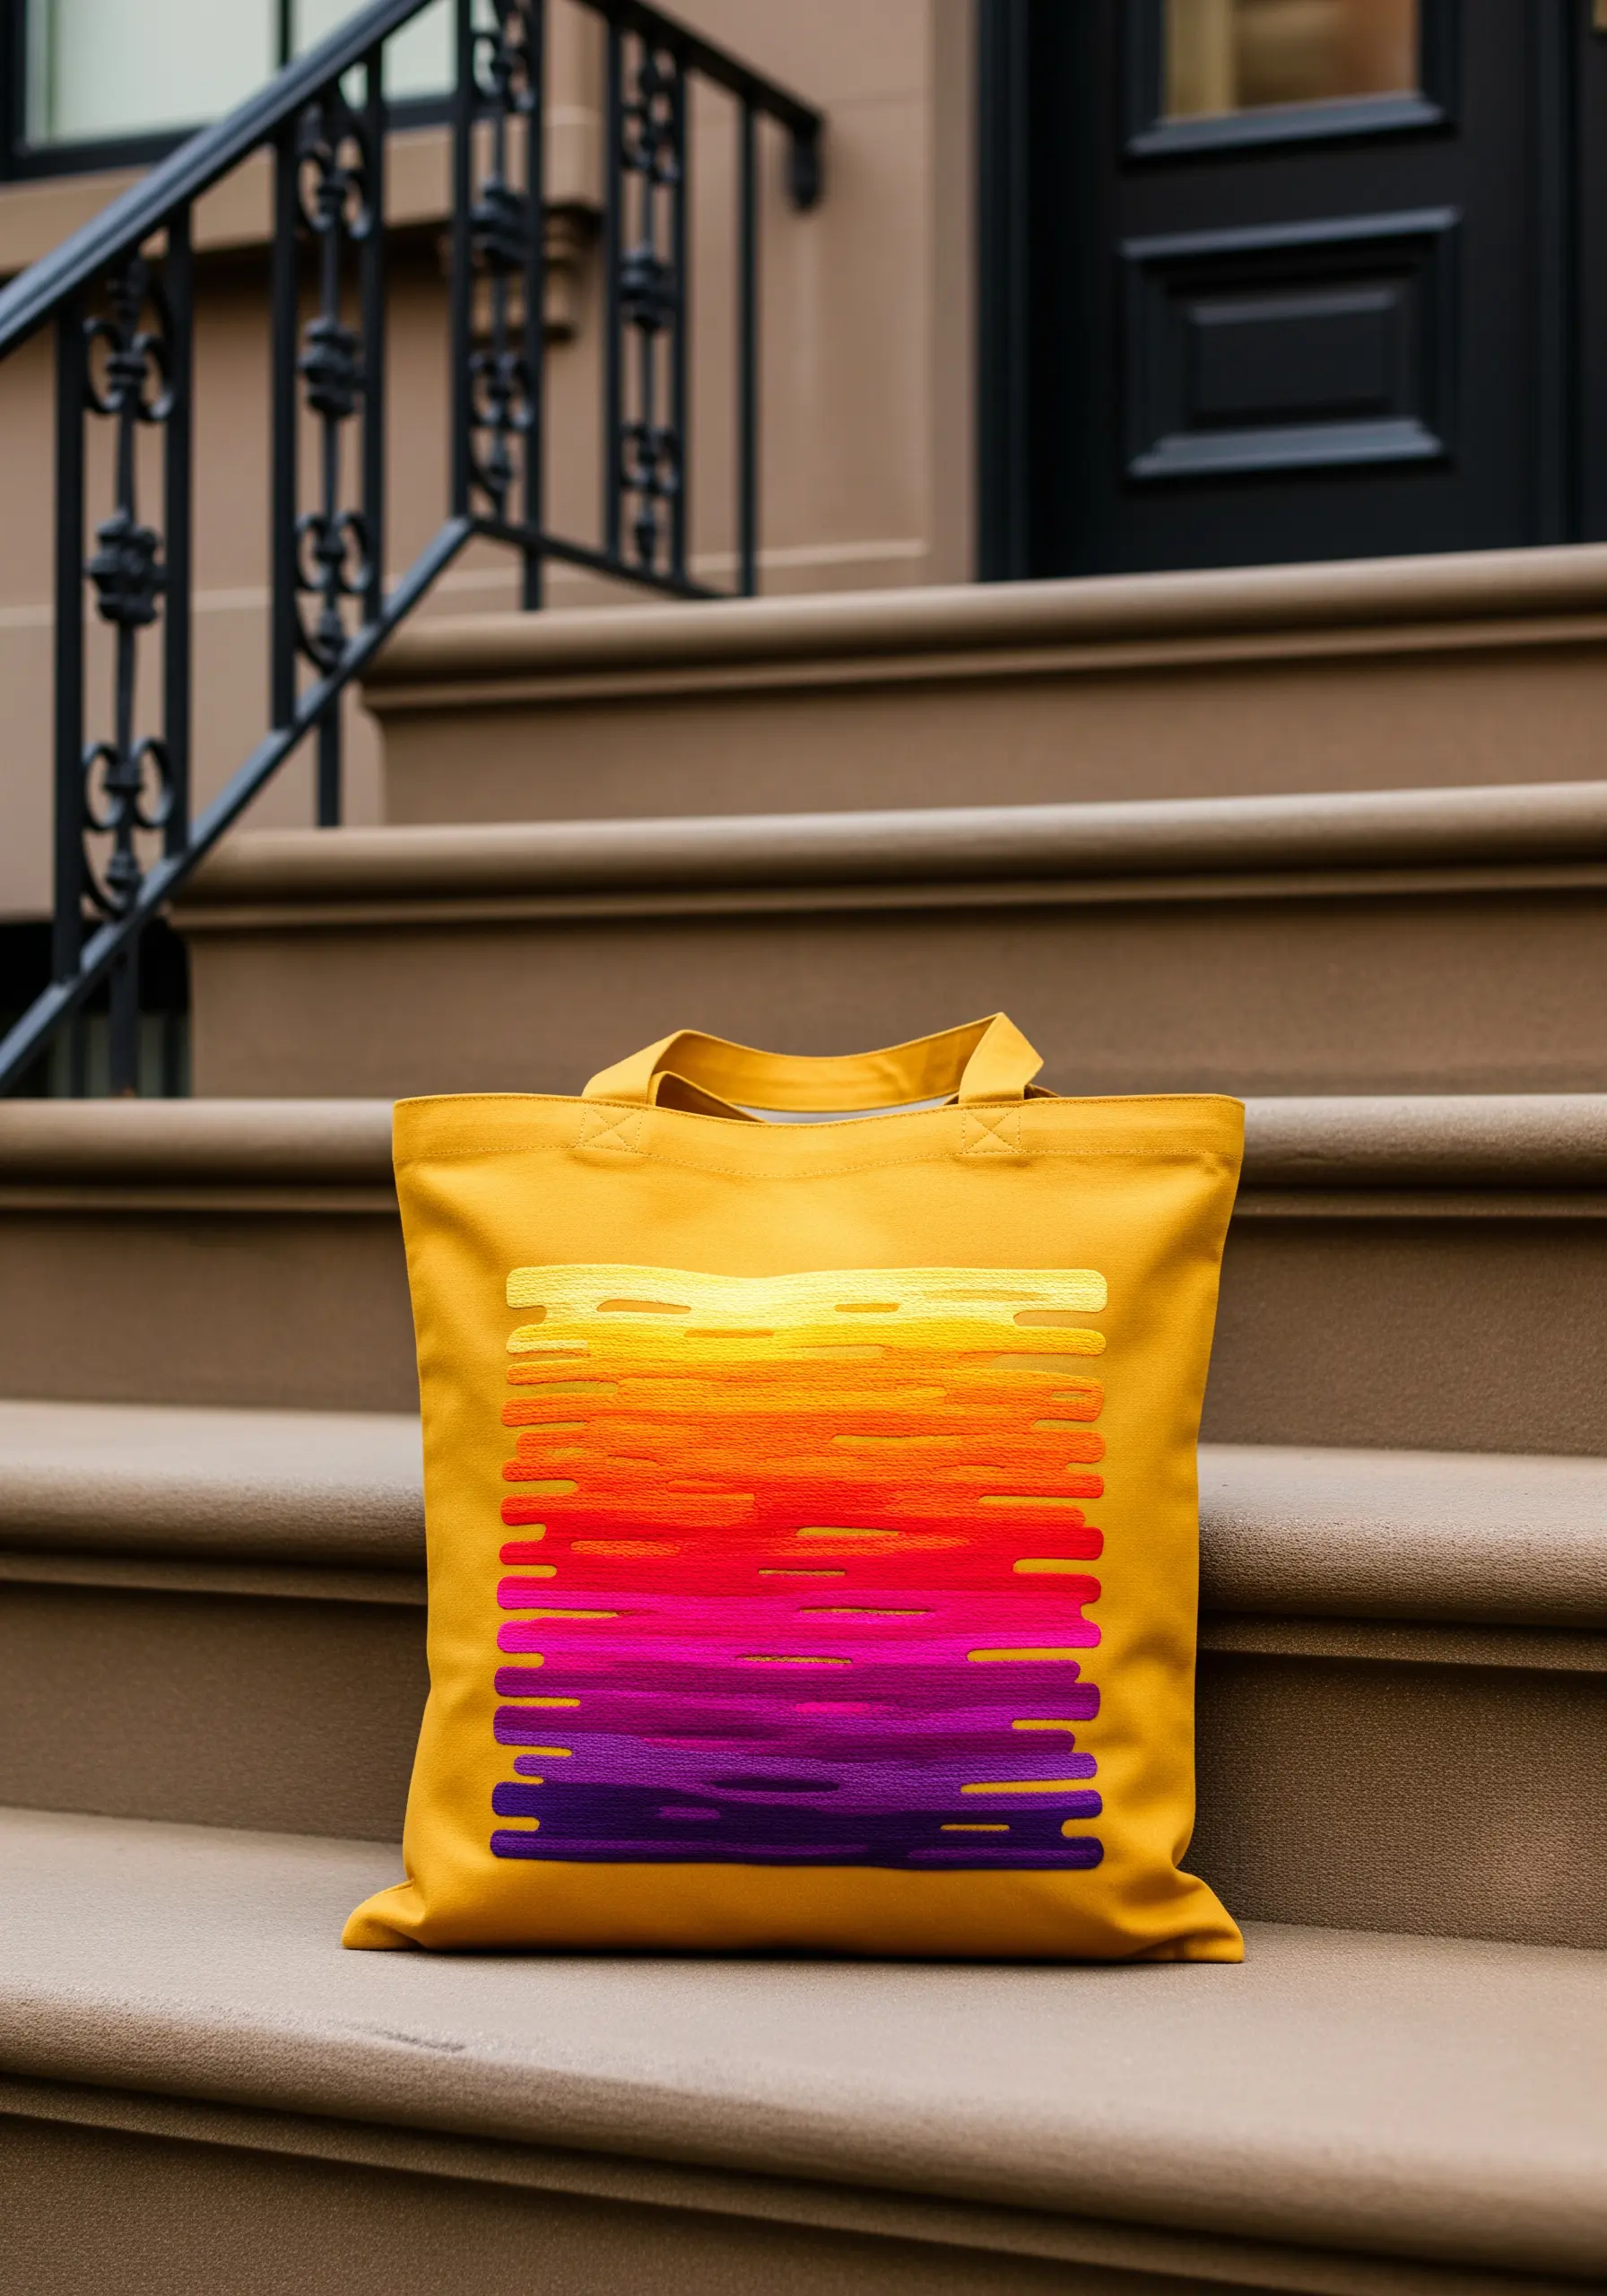
Create a soft, atmospheric sunset effect by letting go of perfect edges.
Use long-and-short stitch to blend the colors from yellow to deep purple.
The key to the organic, almost pixelated edge is to intentionally vary the length of the stitches at the beginning and end of each horizontal row.
Avoid creating a hard, straight line.
This technique makes the block of color feel like it’s dissolving into the fabric, turning simple ombre gradient embroidery wall hangings that add color flow to any room into something more dynamic and modern.
19. Curate a Tactile Sampler with Mixed Media
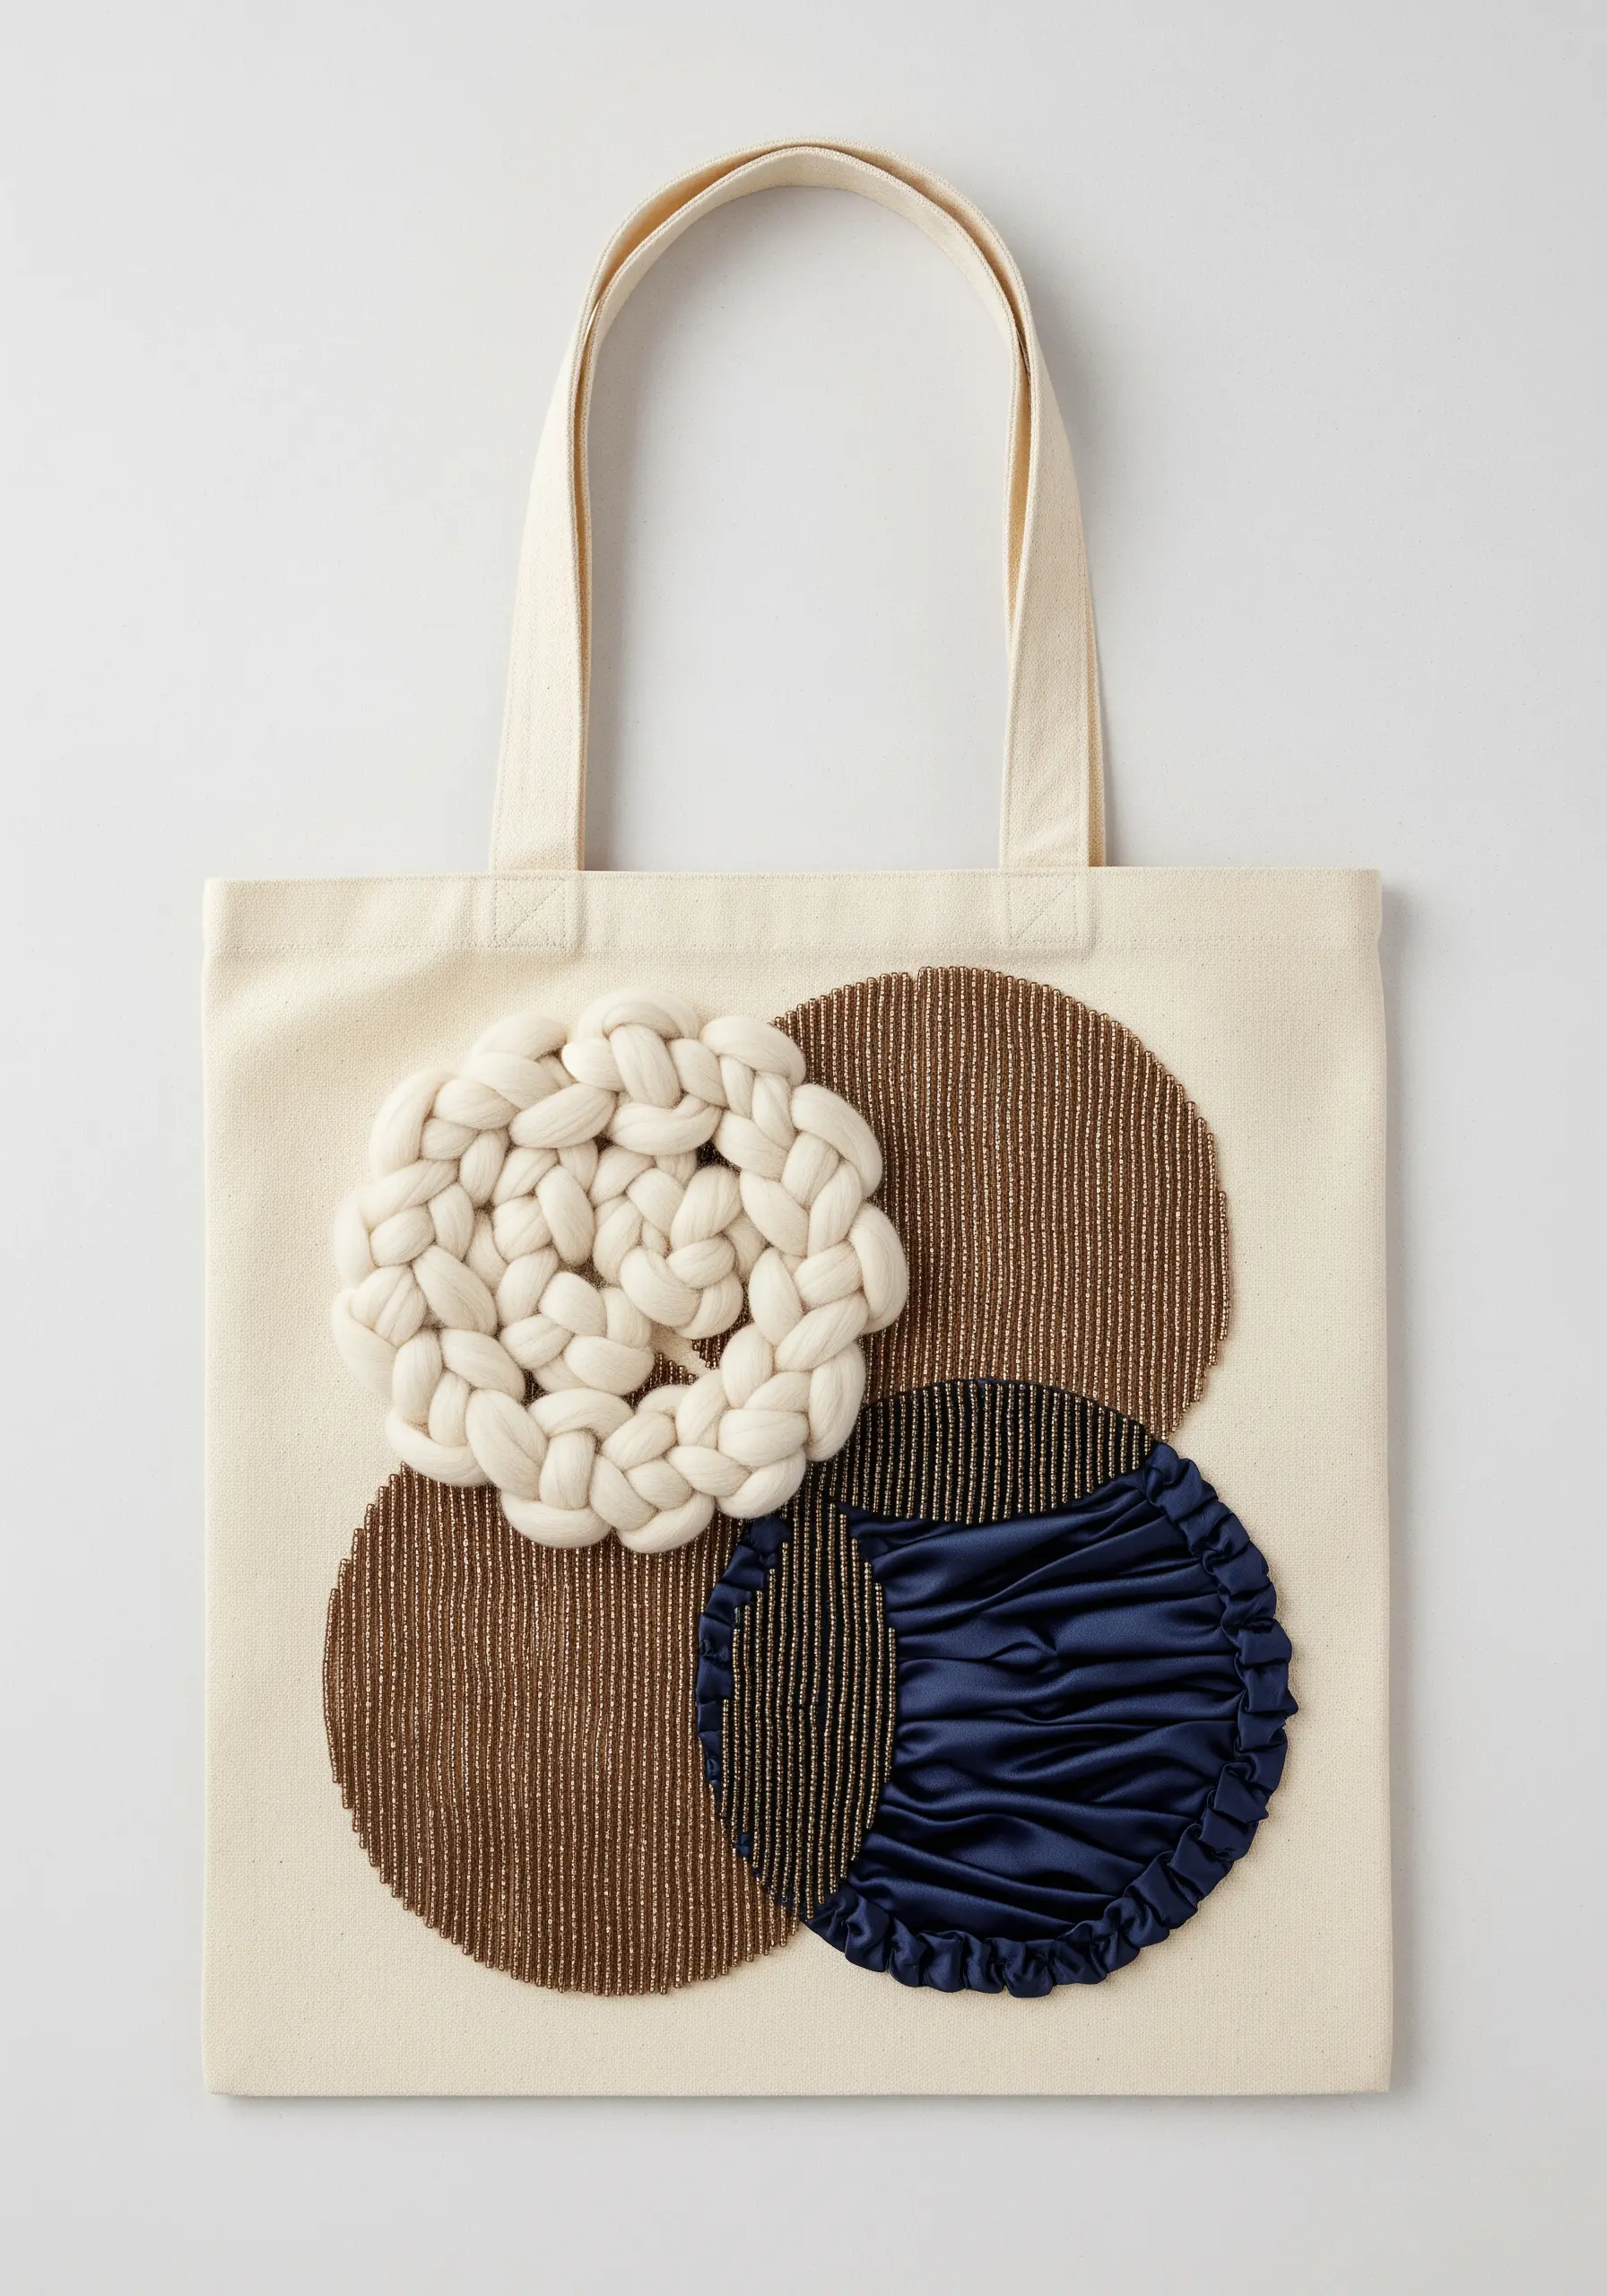
Transform a simple geometric layout into a rich, sensory experience.
Instead of just thread, assign a different material to each circle.
Fill one with tiny, densely packed seed beads for a shimmering, pointillist effect.
Create another by ruching and stitching down a piece of satin fabric.
For a third, use chunky, braided yarn to create a bold, sculptural element.
This approach treats your tote bag like a miniature gallery of textures, resulting in one of those truly unexpected mixed-fiber creations that look expensive but aren’t.


