

Sometimes the grandest statements are whispered. In a world full of visual noise, creating a quiet space that feels intentional can be a challenge, especially when wall space is precious. That’s where micro typography embroidery comes in—it’s not just about stitching words, but about giving a single thought or feeling a physical presence in your home.
Forget complex patterns and overwhelming color palettes for a moment. The real artistry here lies in the details you choose: the subtle texture of linen against a clean, modern font; the elegant flow of a single strand of silk thread forming a script; the bold weight of a sans-serif stitched in wool. Each choice communicates a distinct style and emotion.
Think of these ideas not as strict instructions, but as invitations. An invitation to choose a word that grounds you, a phrase that inspires you, and to stitch it with a level of care that turns it into a small but powerful anchor in your daily life. This is your chance to make your walls speak in a voice that is entirely your own.
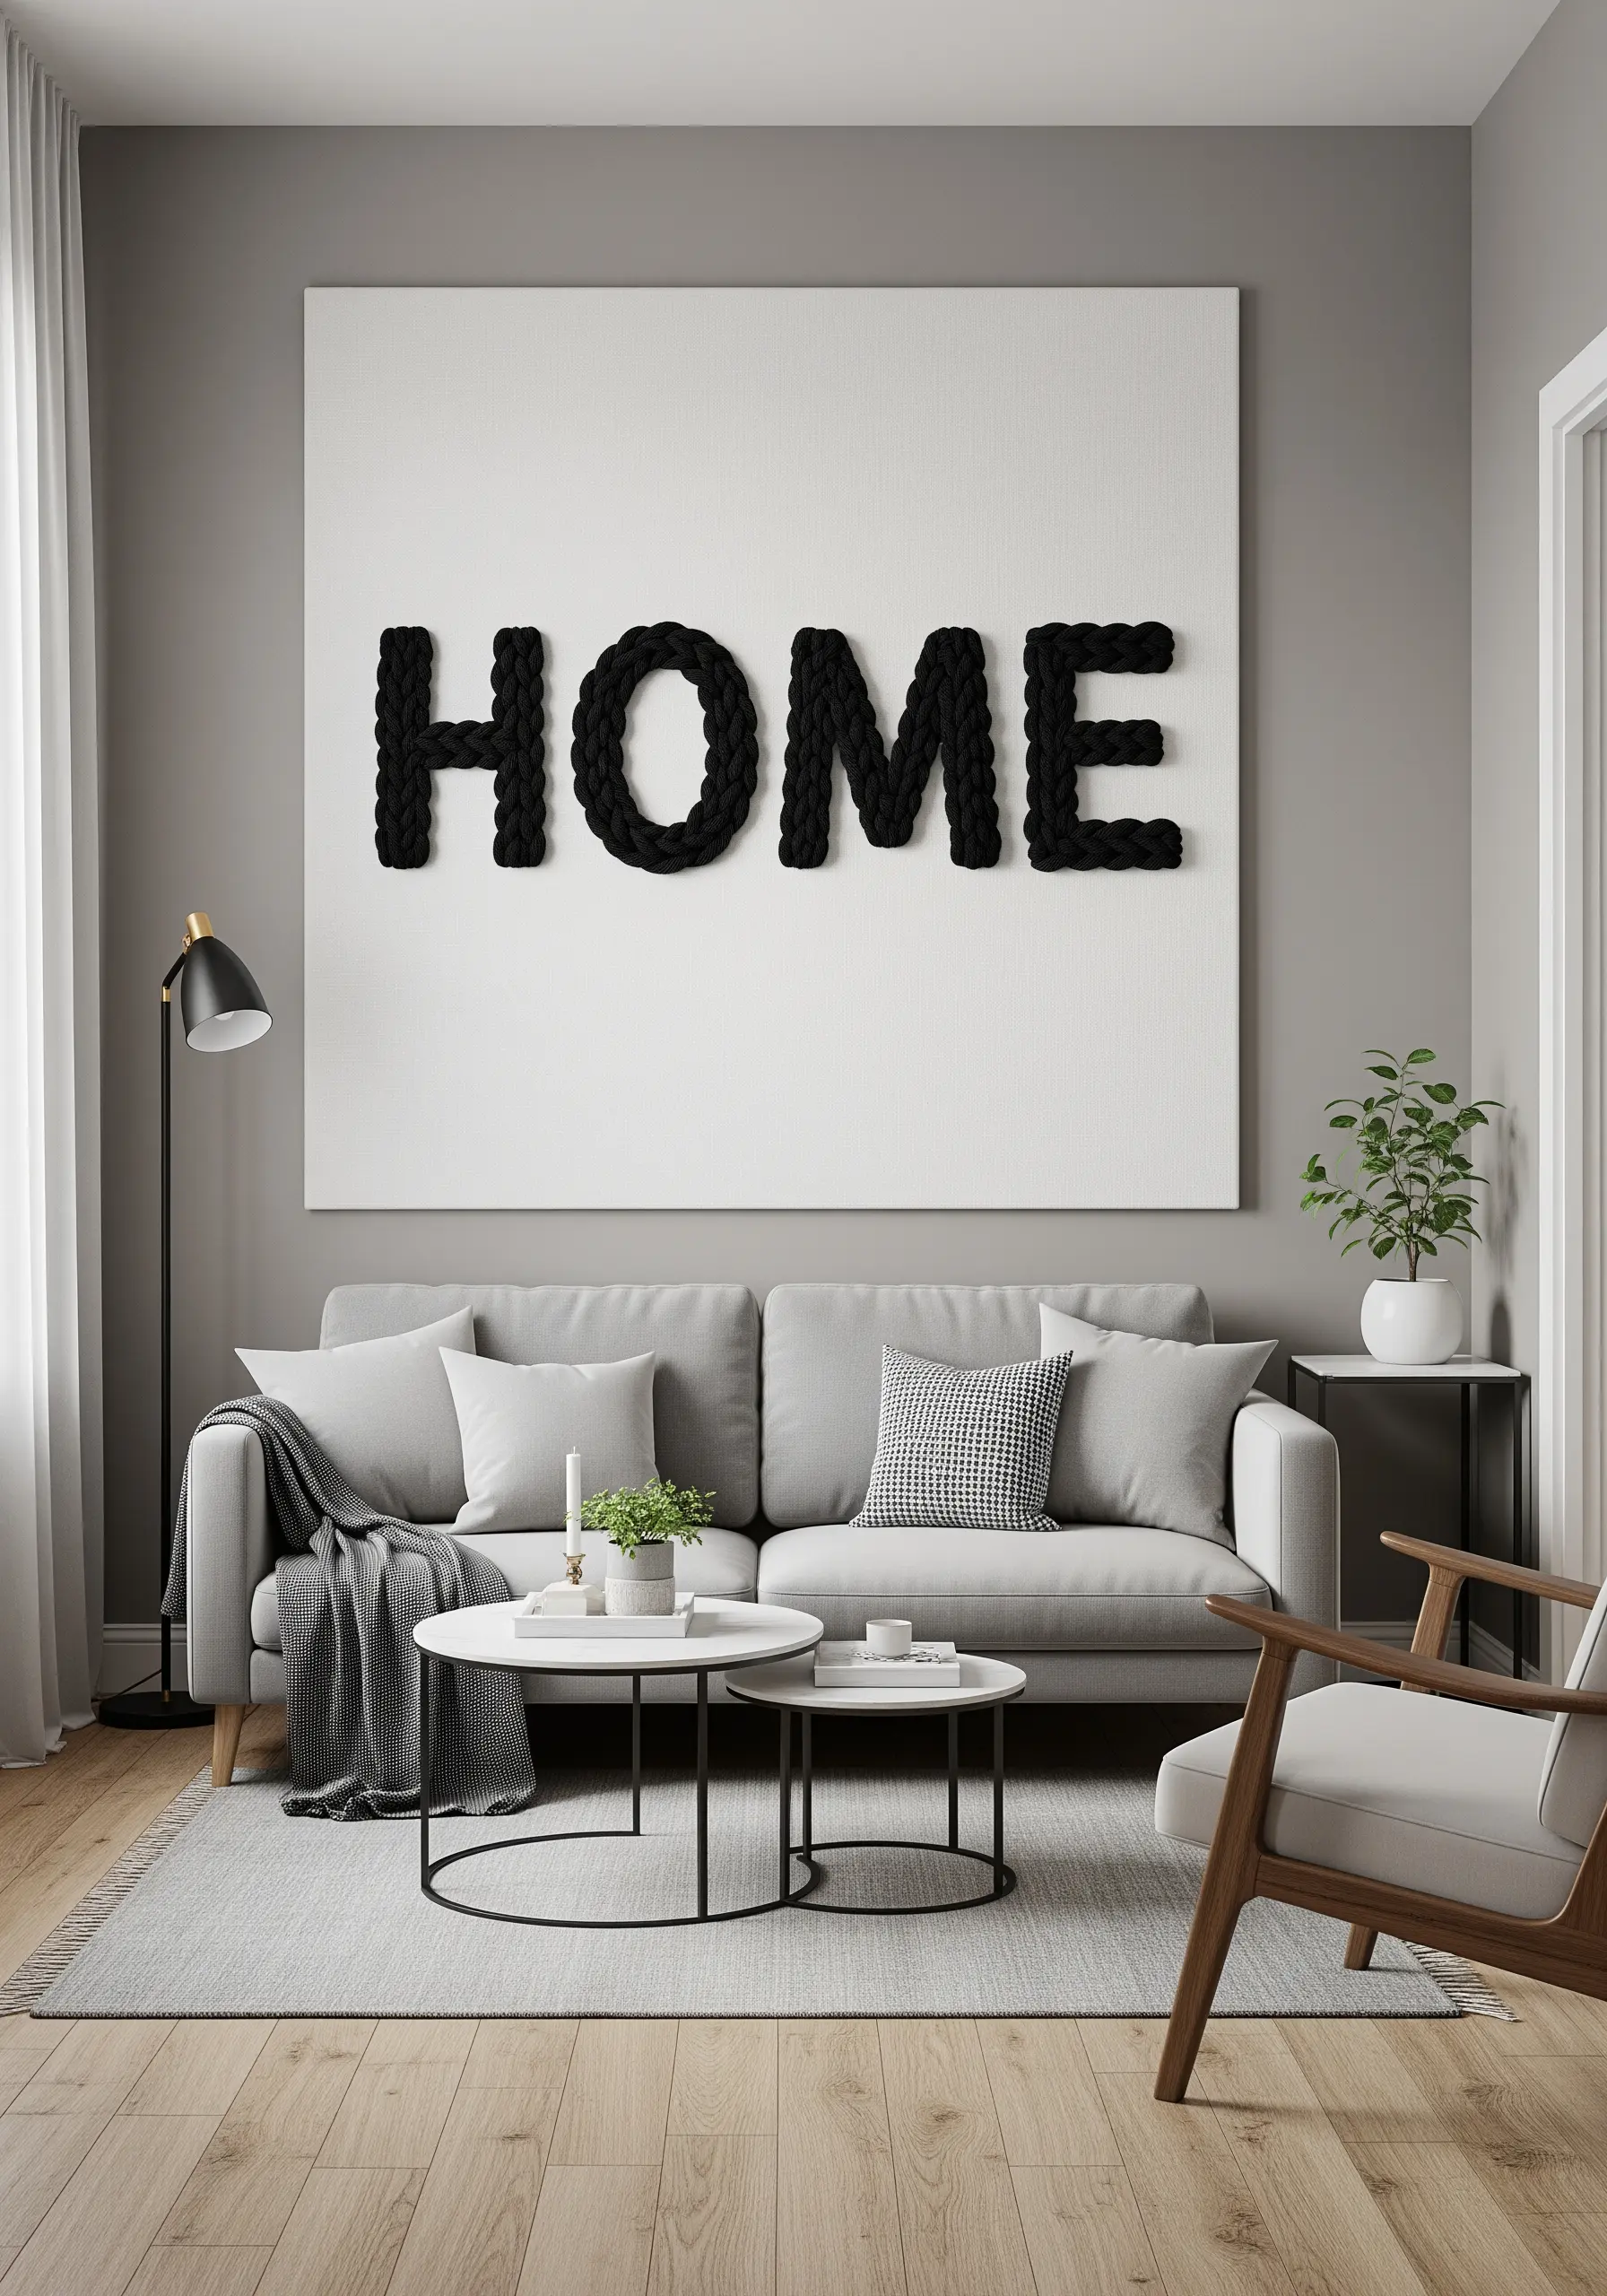
1. The Single-Word Statement
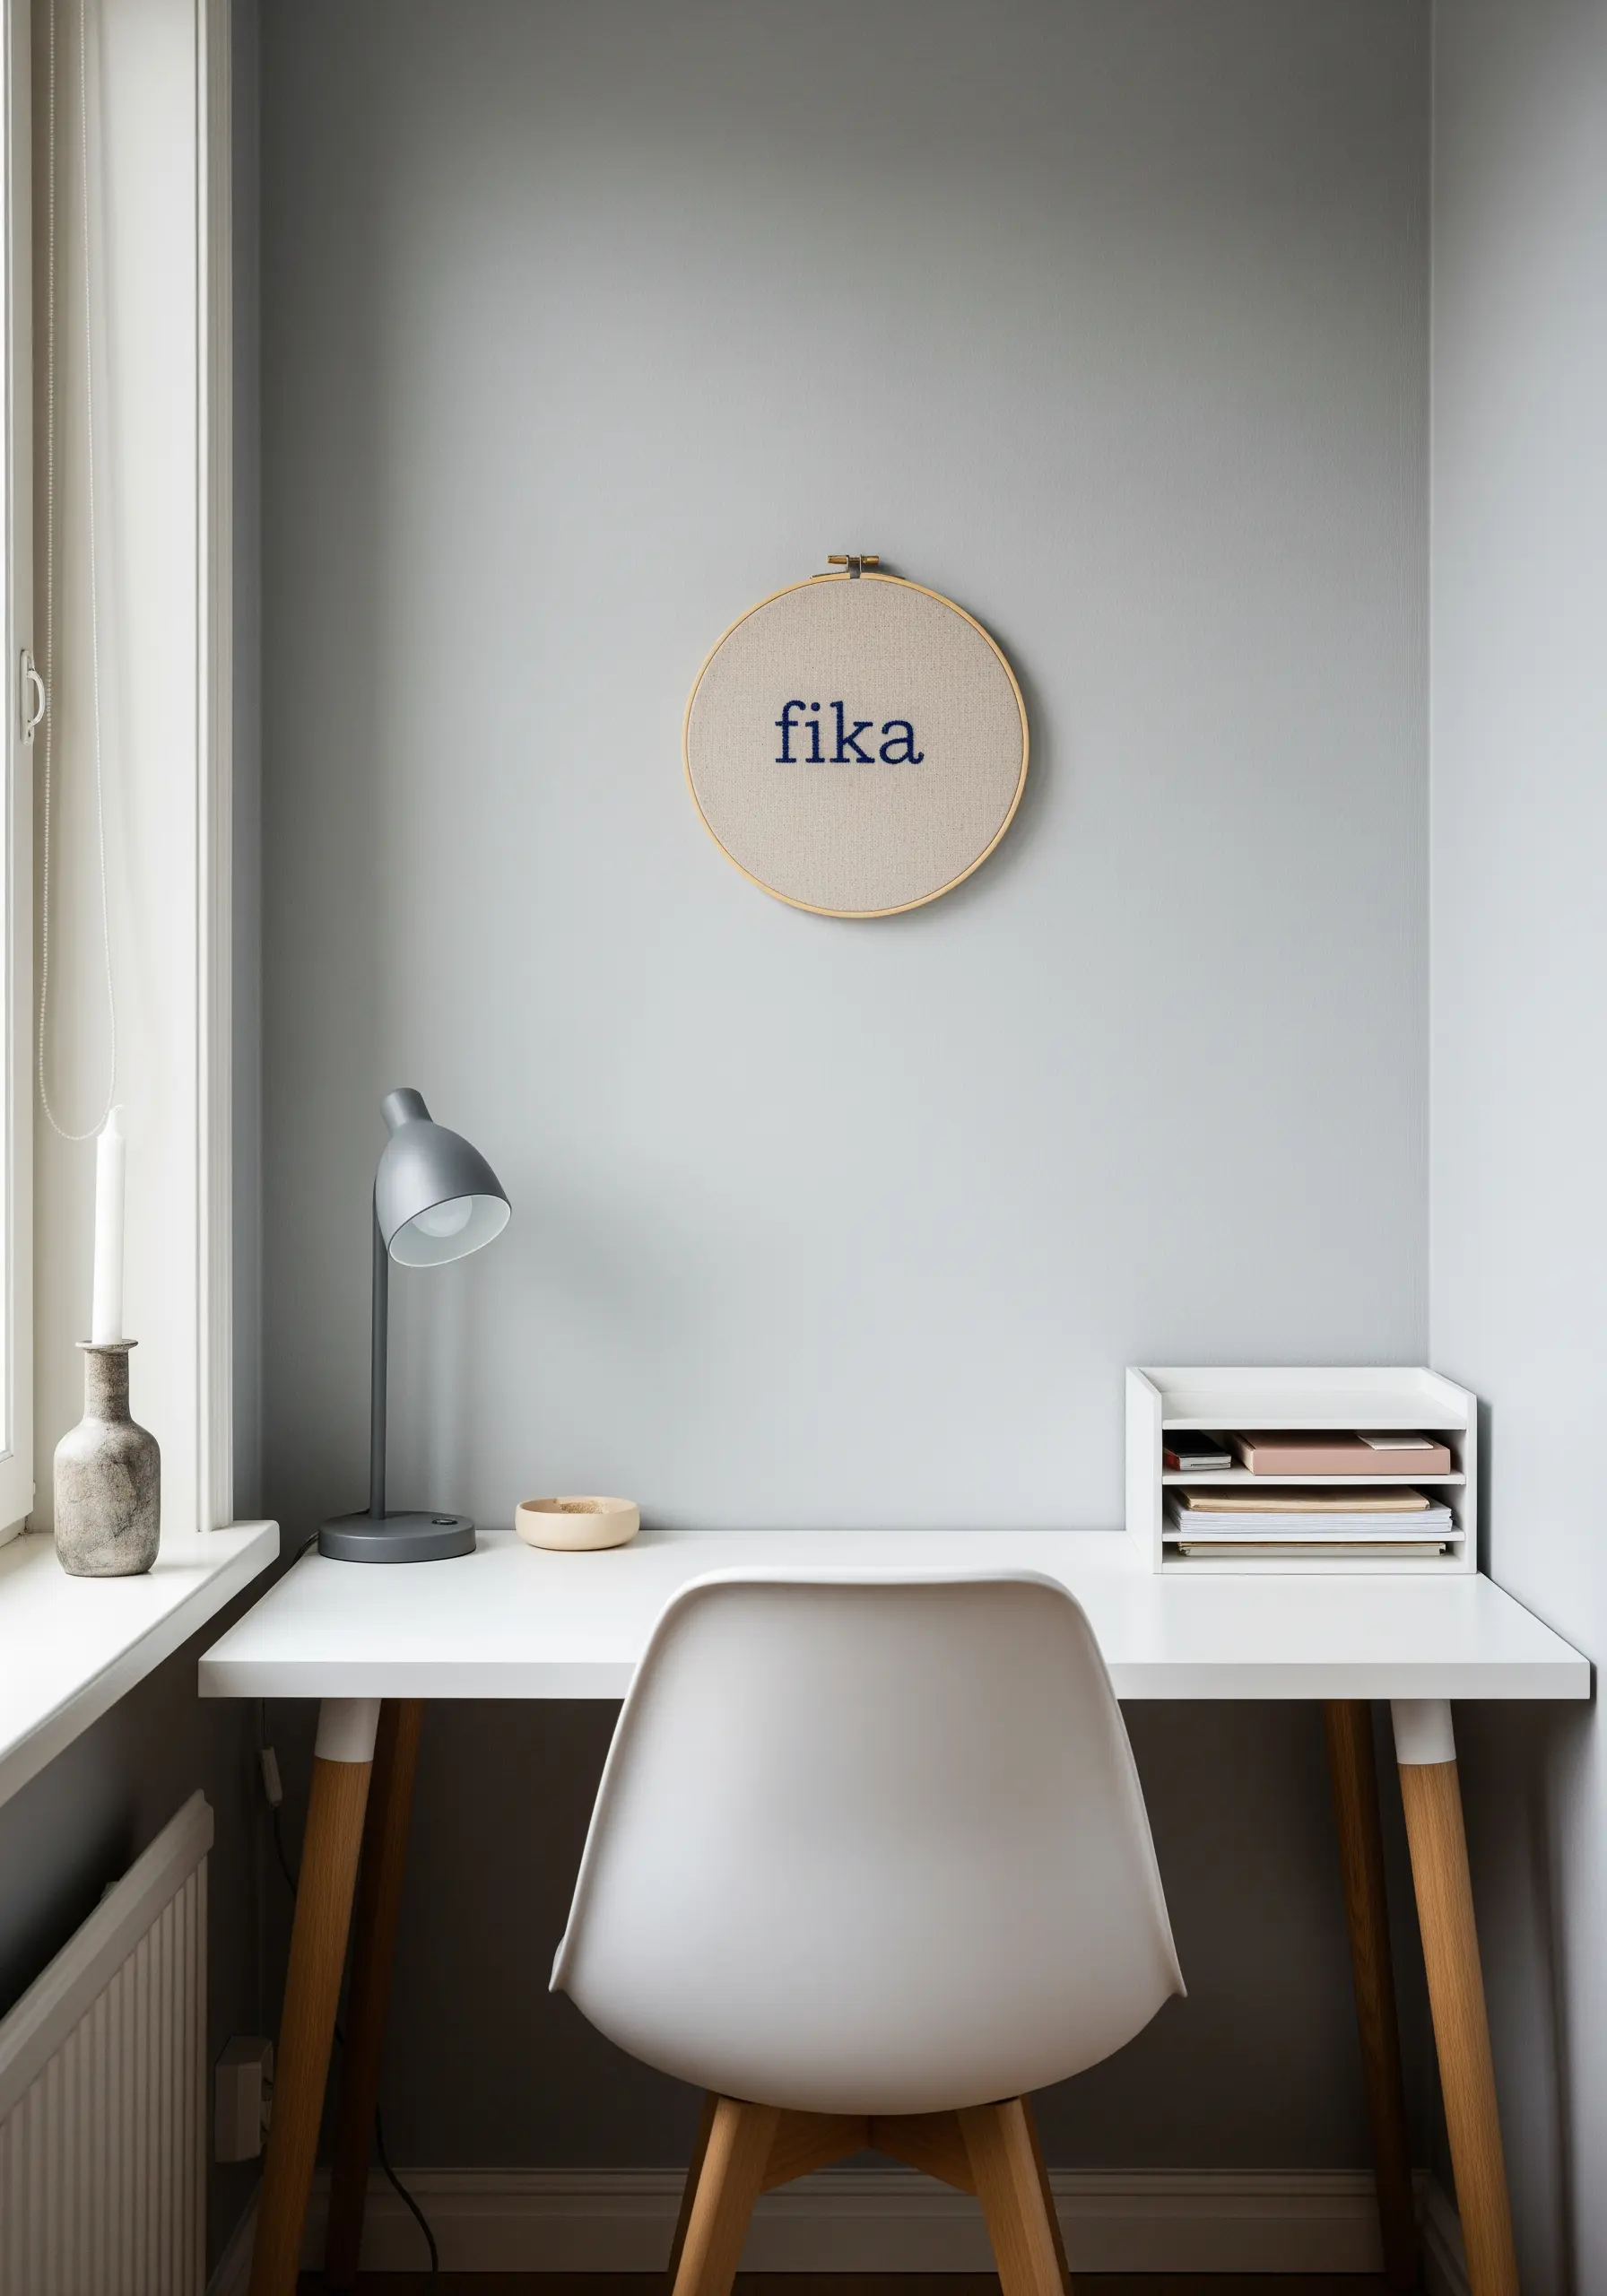
Choose a single word that defines your space or mindset and stitch it in a clean, sans-serif font.
Use a padded satin stitch by first outlining the letters with a split stitch, then filling over that base. This gives the letters a subtle, raised dimension that catches the light beautifully.
Opt for a high-contrast thread color against a neutral linen fabric. The texture of the linen provides a soft, organic background that makes the crisp lettering feel both modern and warm, adding minimalist charm without feeling cold.
2. High-Contrast Serif Typography
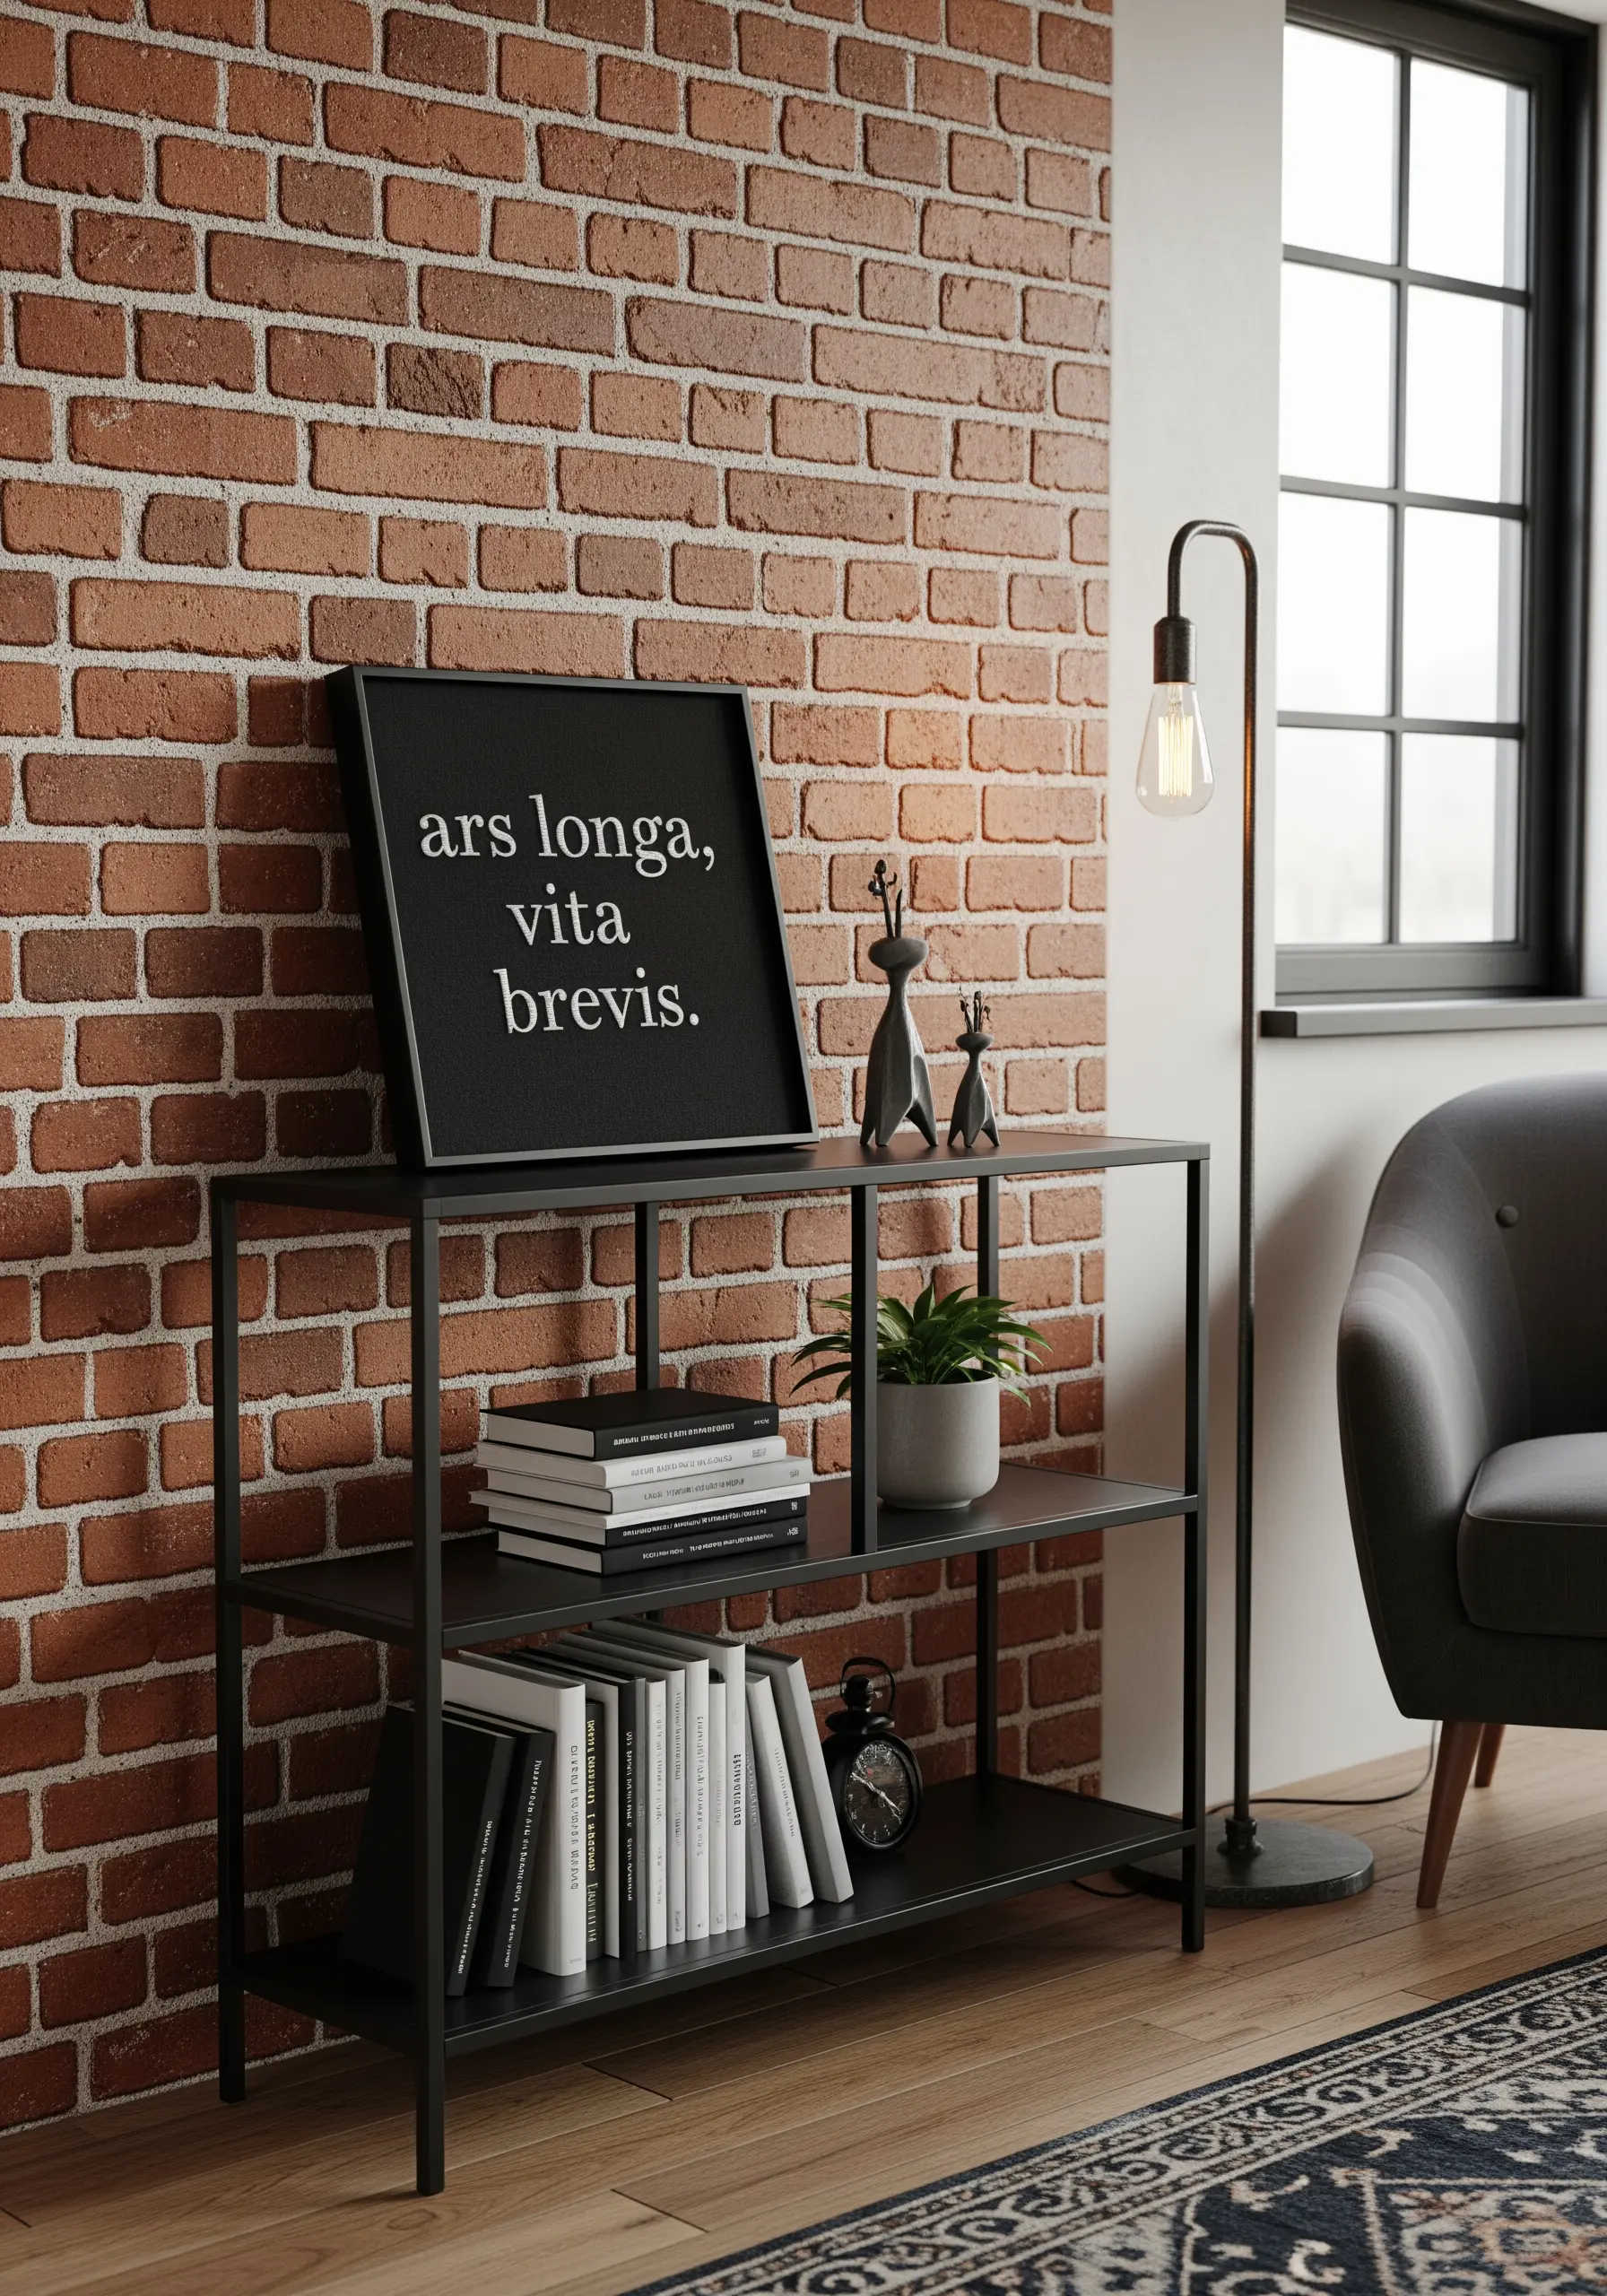
For a formal, print-like effect, choose a classic serif font and stitch it with a single strand of thread on a dark, tightly woven fabric.
The key to sharp serifs is precision. Use tiny straight stitches for the thin terminals of each letter, ensuring they are distinct and clean.
Framing the finished piece in a simple, gallery-style black frame elevates it from a craft project to a sophisticated piece of art. This approach makes your minimal embroidery wall pieces look intentional and curated.
3. Embracing Wabi-Sabi with Raw Edges
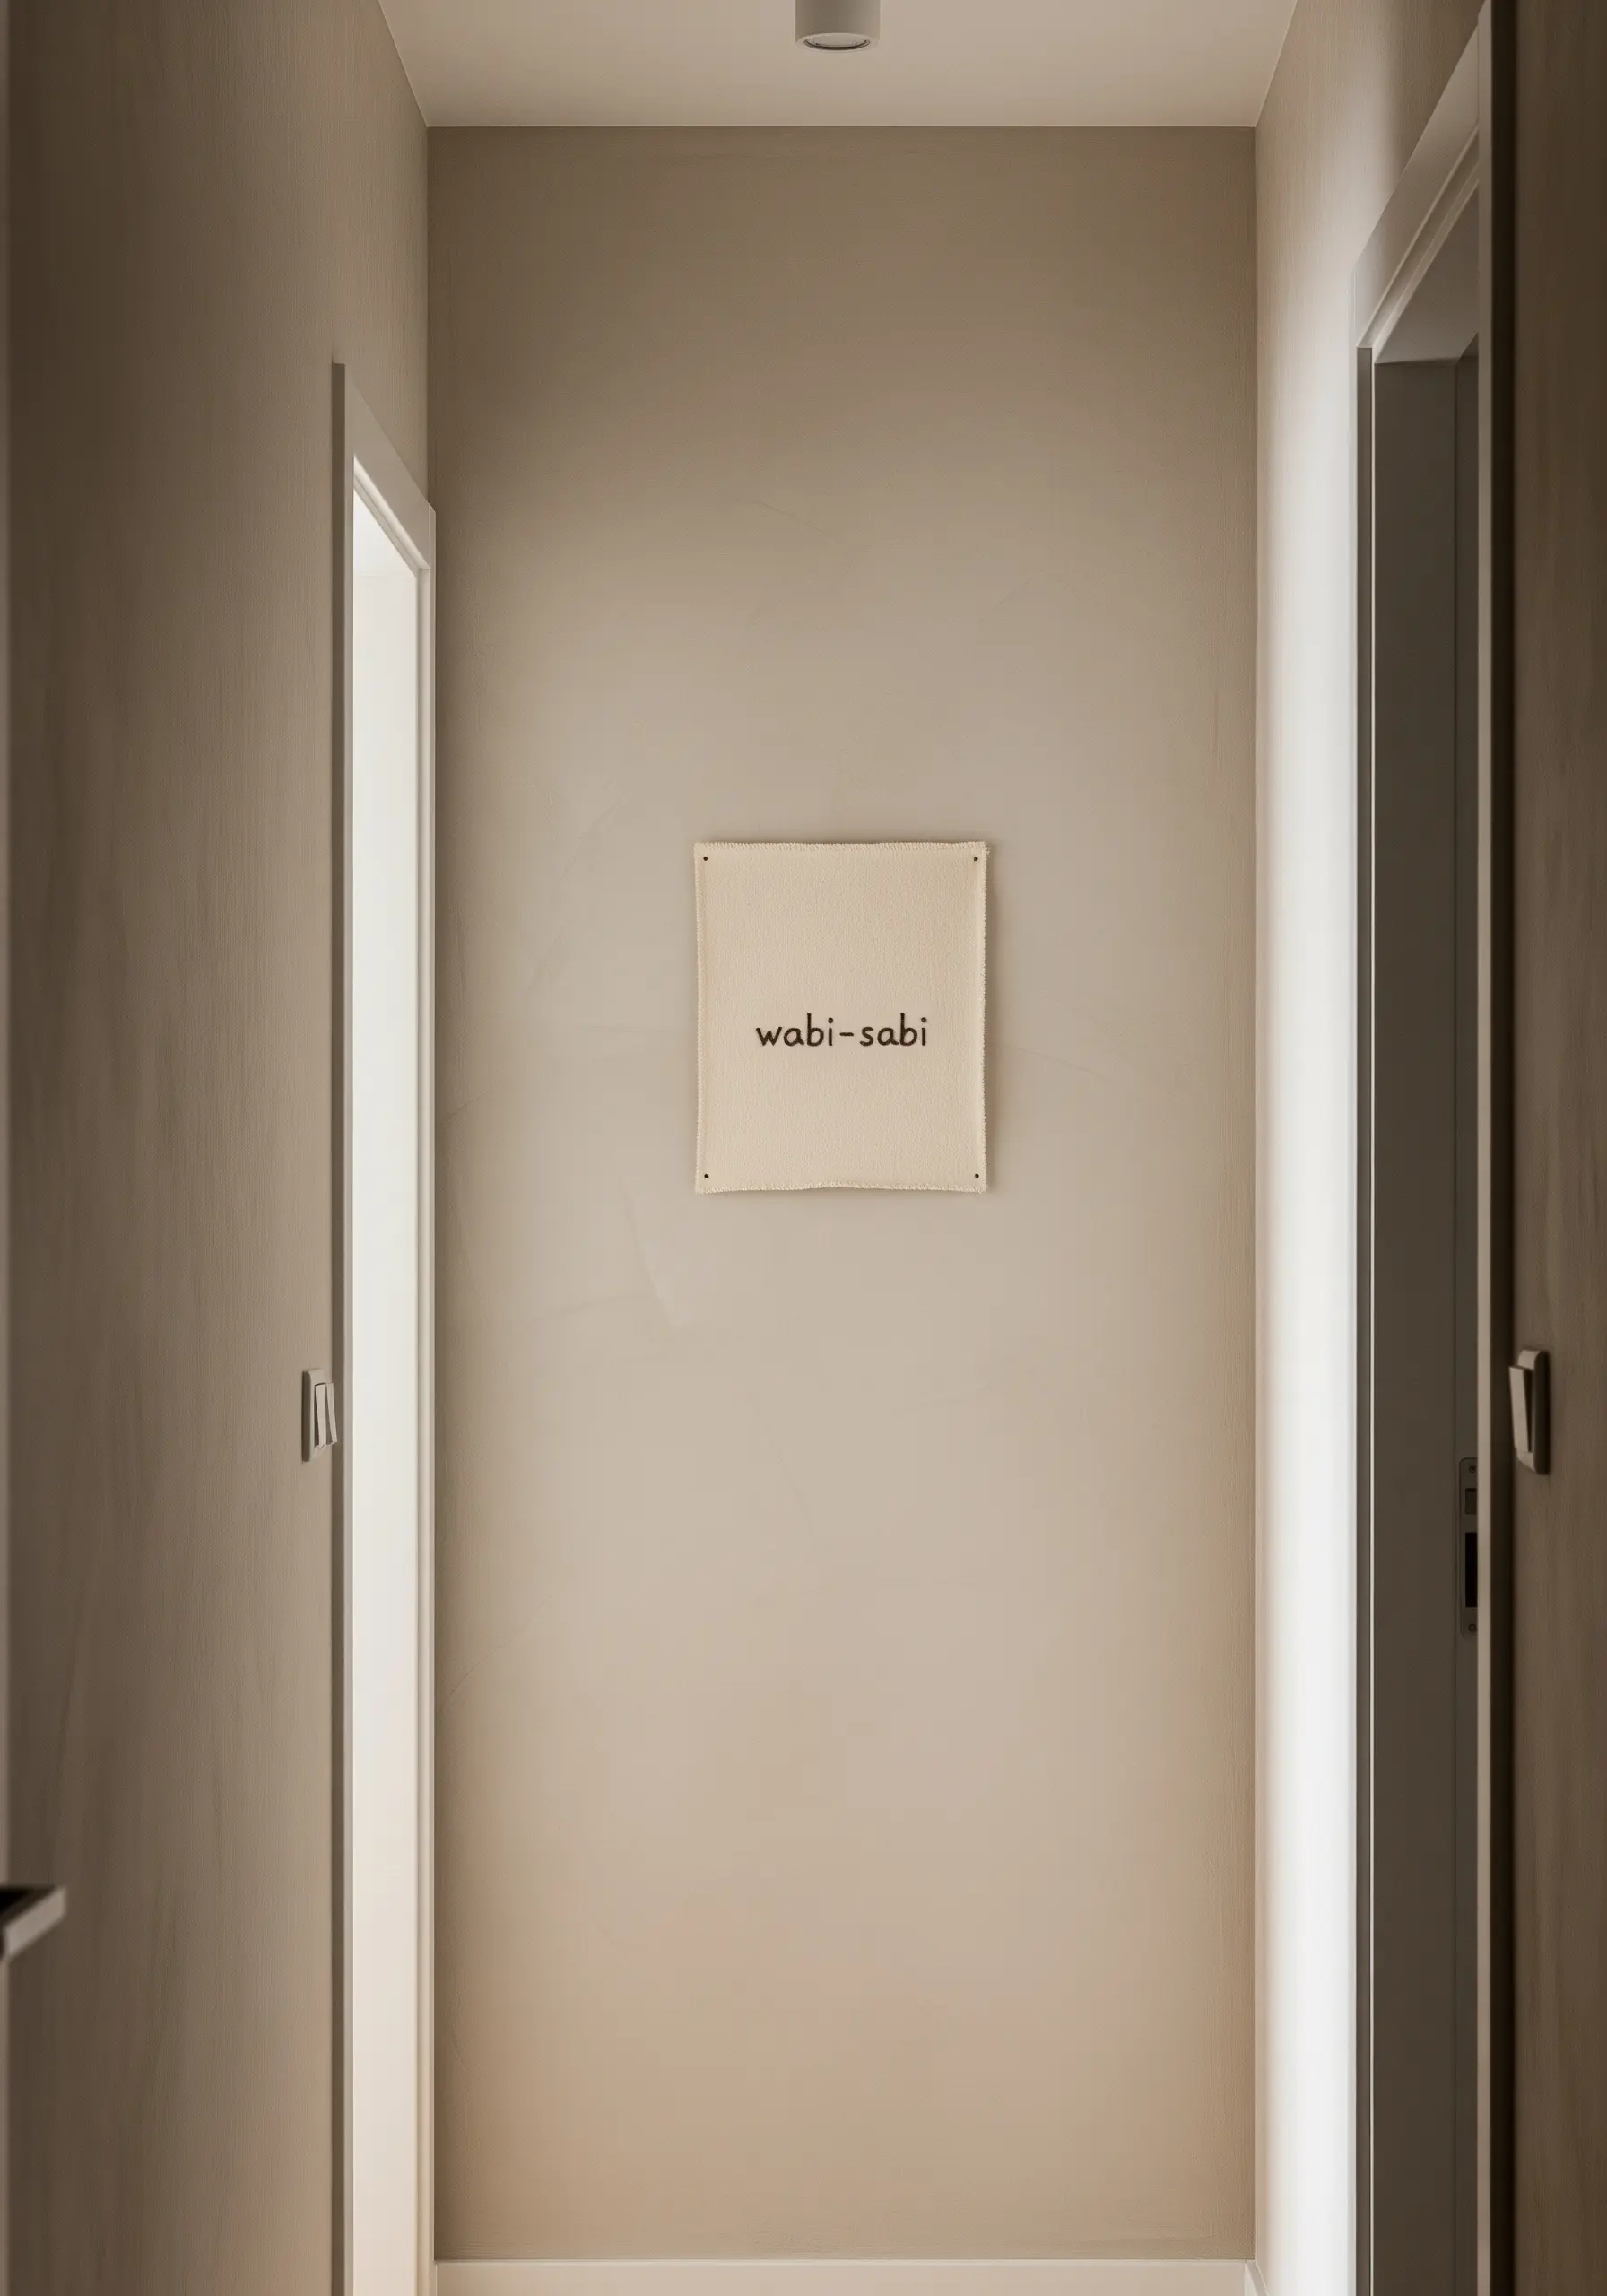
Channel a philosophy of imperfection by stitching a meaningful phrase onto a piece of raw, unhemmed canvas or thick linen.
Use a simple backstitch in a contrasting color, focusing on legibility rather than flawless uniformity. The slight variations in your stitching will enhance the handmade, organic feel.
Instead of a hoop, finish the piece by pinning it directly to the wall. This minimalist presentation celebrates the texture of the fabric and the sincerity of the message, perfectly suiting neutral-tone thread palettes.
4. Creating a Narrative with a Hoop Cluster

Tell a bigger story by breaking a short phrase across multiple hoops of varying sizes.
To achieve fluid, calligraphic script, use a whipped backstitch. First, create a standard backstitch outline, then weave a second thread through the stitches without piercing the fabric to create a smooth, raised line.
Arrange the hoops in a dynamic, organic layout on the wall. This technique turns individual pieces into a single, impactful installation, perfect for creating hooped wall collage layouts that feel alive.
5. Functional Typography in Modern Displays
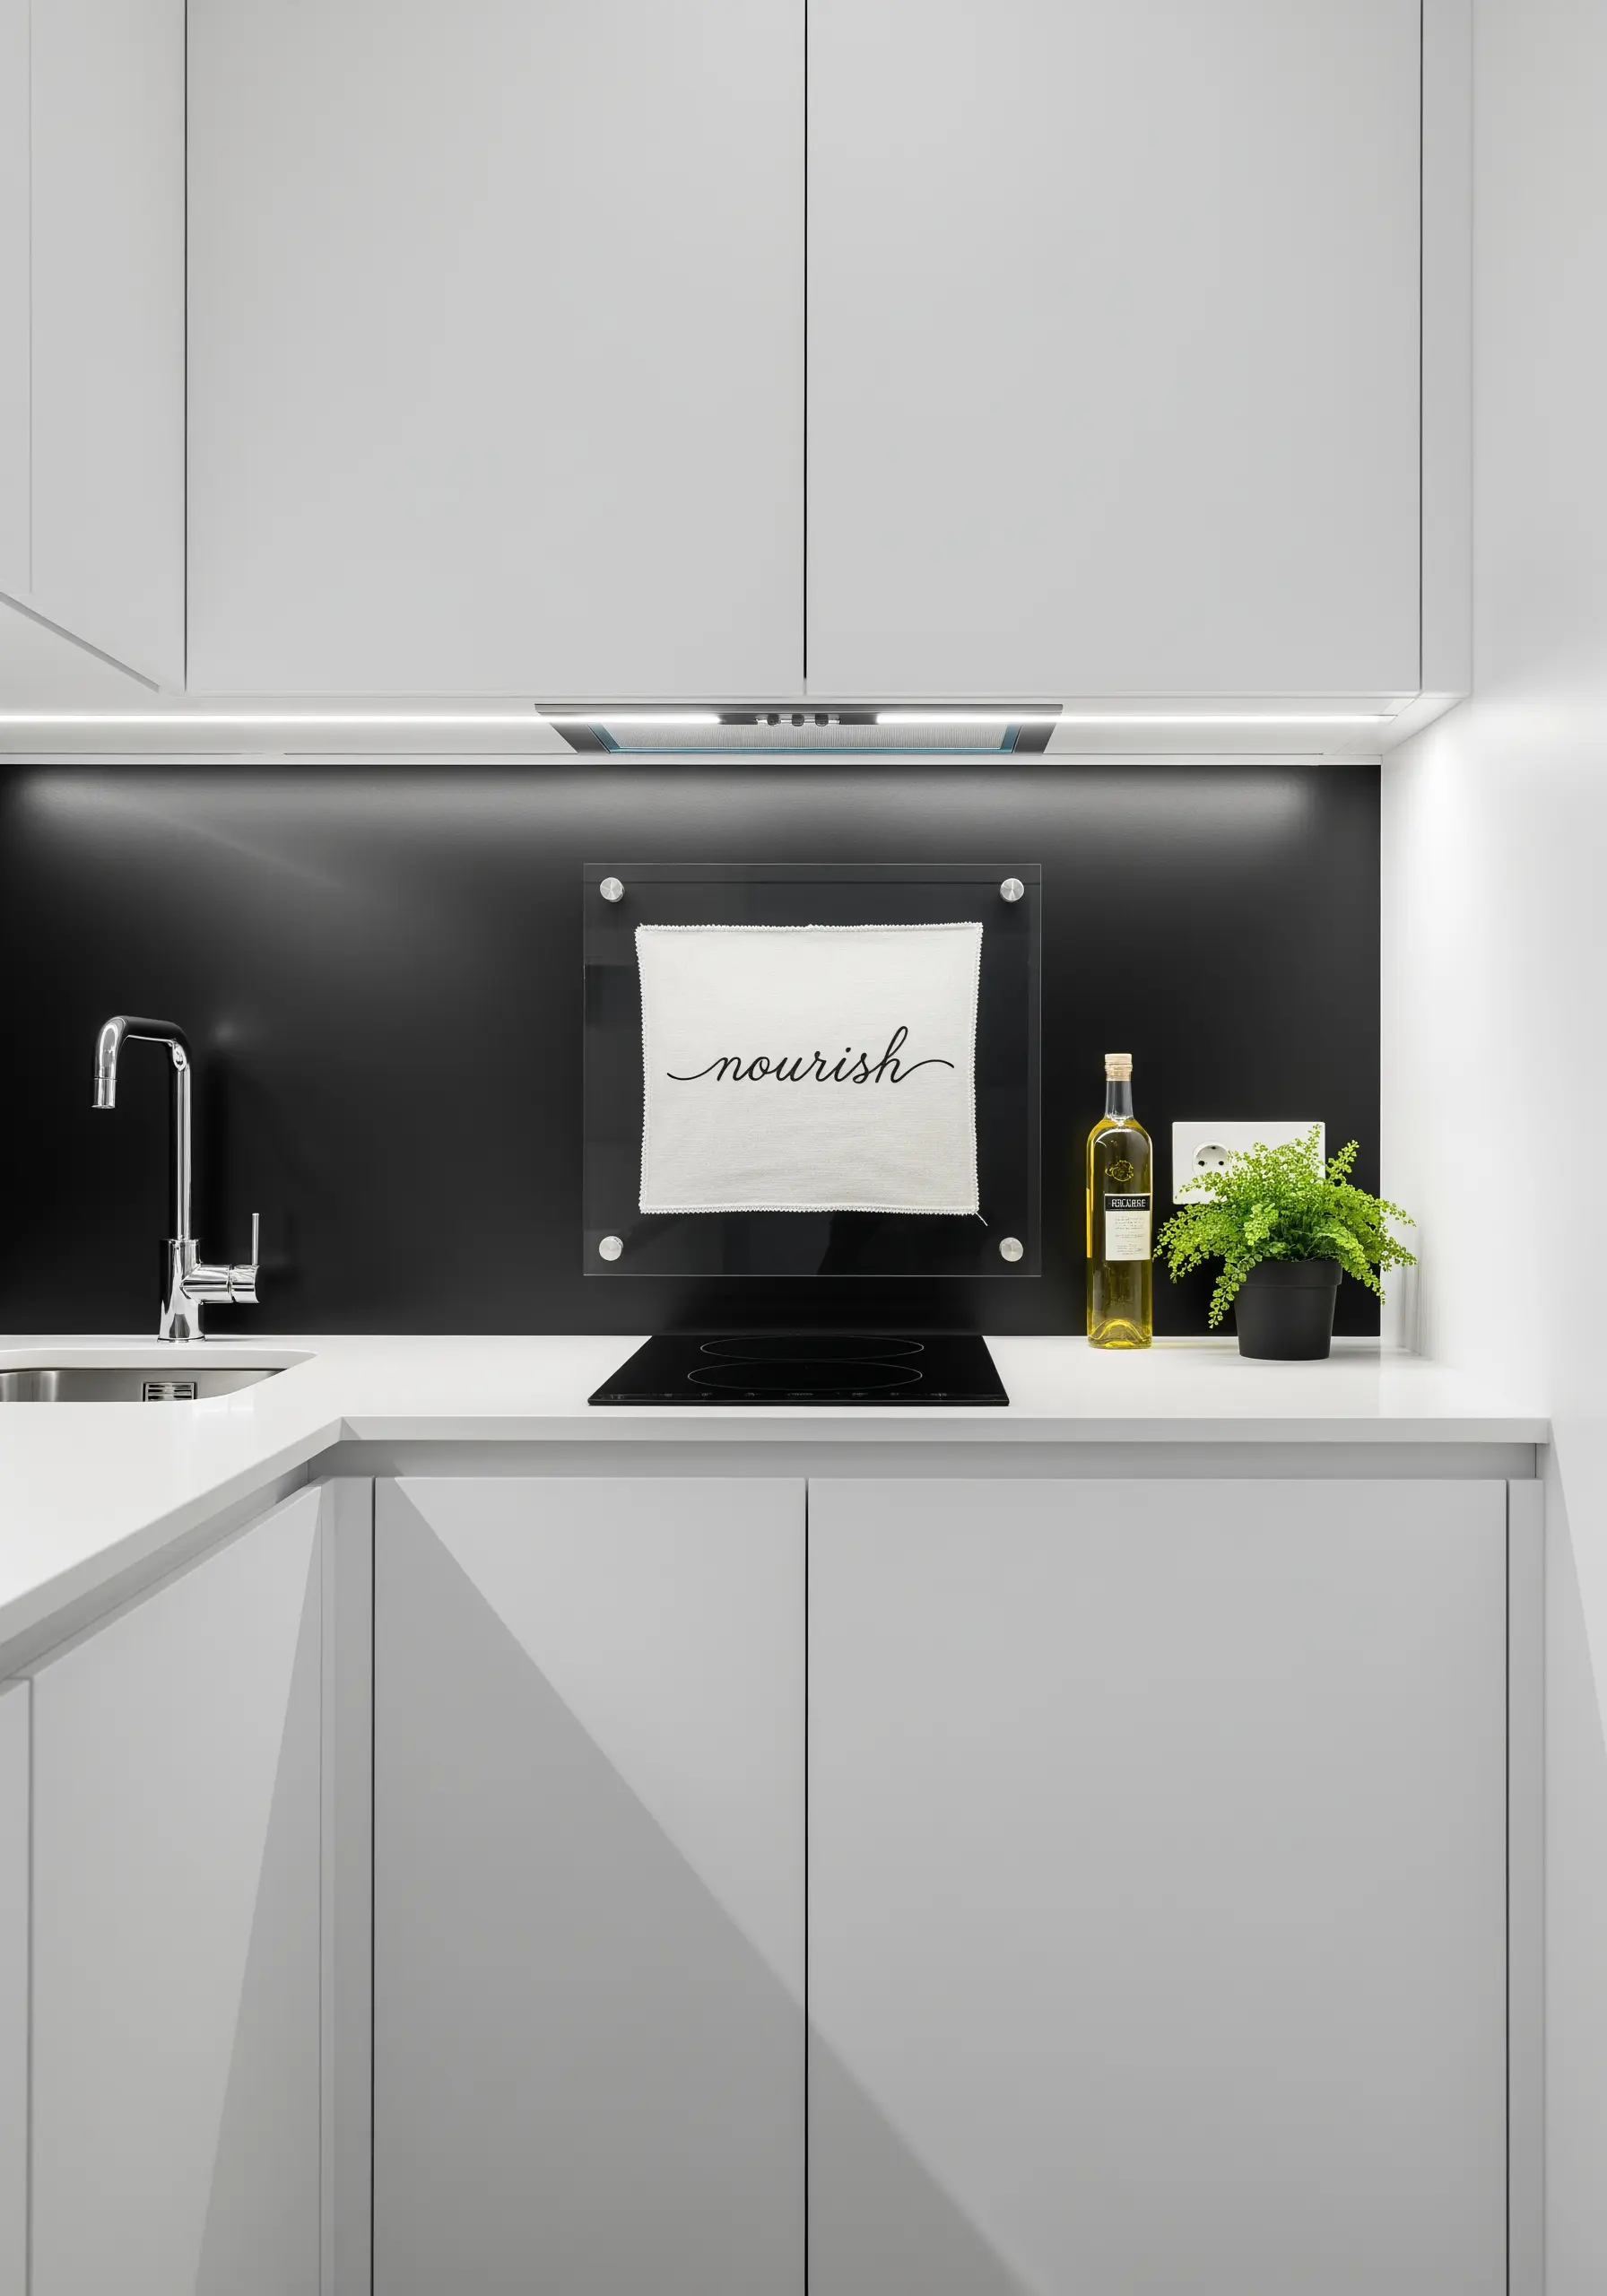
Embroider a single, elegant word onto a functional textile like a linen napkin or tea towel.
Use a delicate but sturdy stitch, like a stem stitch, with two strands of colorfast cotton floss to ensure the design withstands use and washing.
For a contemporary display, mount the textile in a floating acrylic frame. This not only protects the embroidery but also creates a clean, museum-like effect that highlights your stitching against any backdrop, making it perfect for kitchen wall decor that looks boutique-made.
6. The Panoramic Text Frame
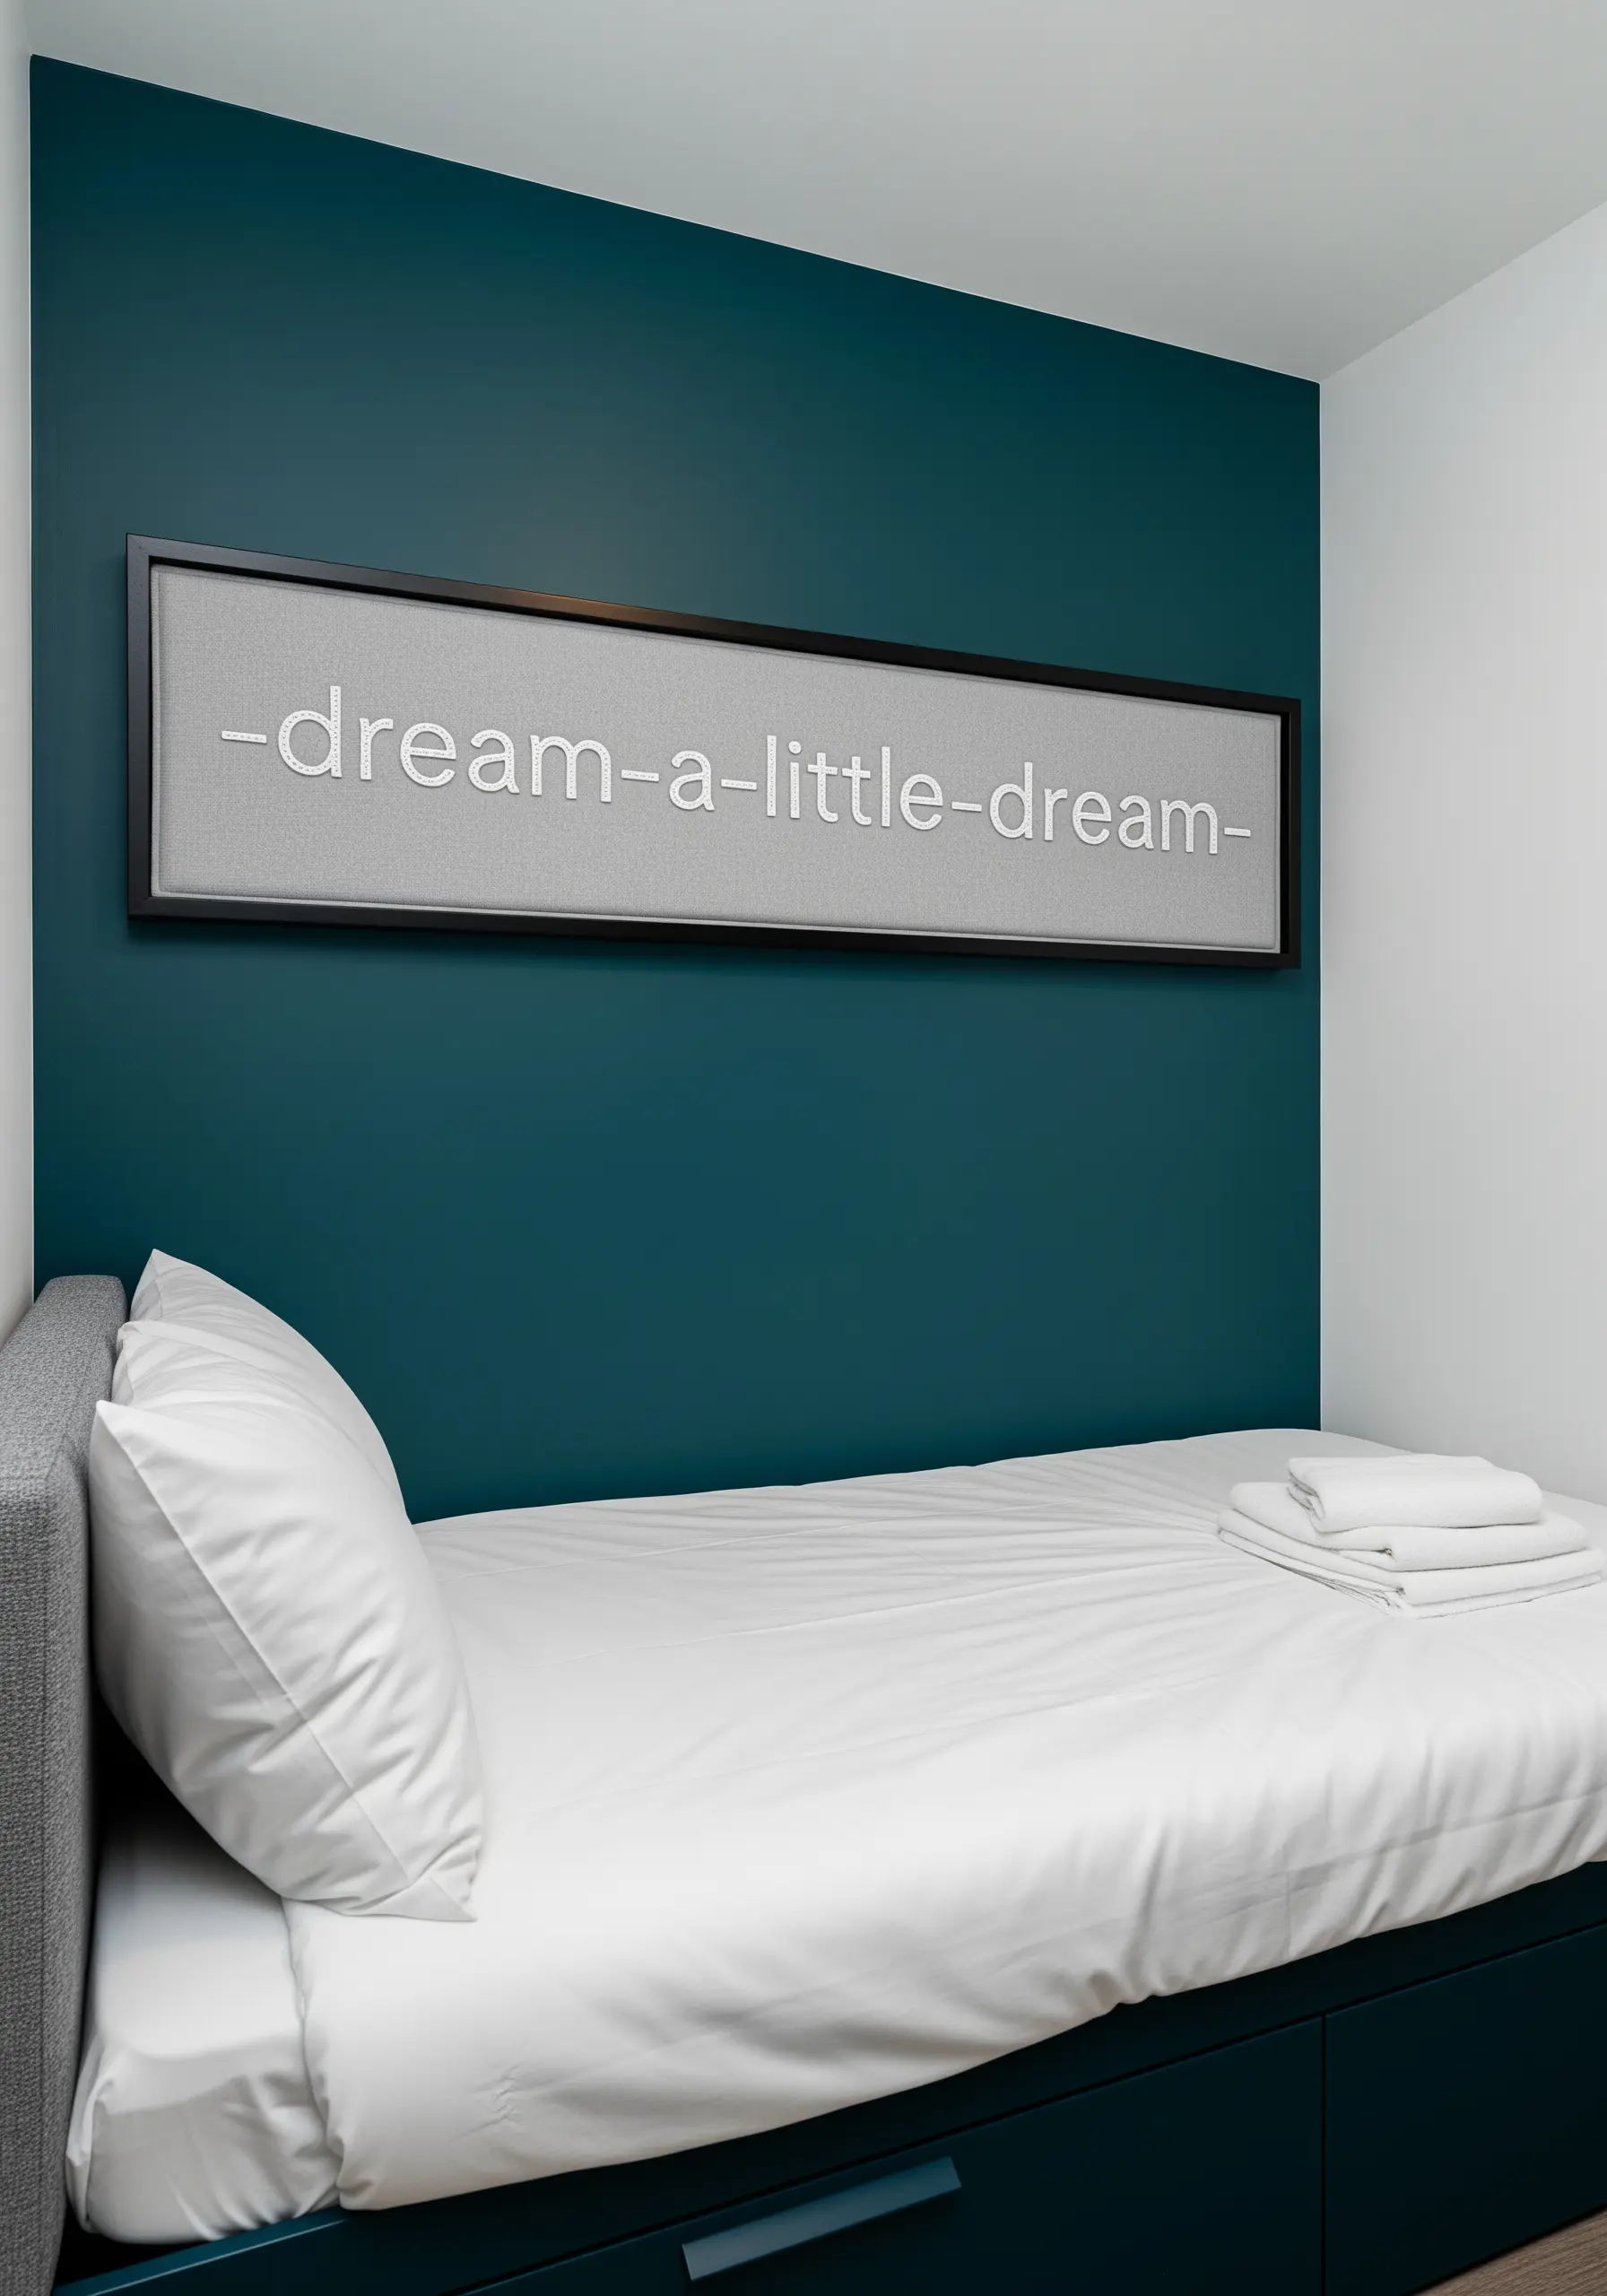
For longer quotes or phrases, use an elongated, panoramic frame to create a cinematic feel.
Achieve perfectly straight lines and even spacing by using a water-soluble stabilizer printed with a grid. This temporary guide ensures your letters are flawlessly aligned before you rinse it away.
Choose a simple, lowercase sans-serif font to maintain readability and a modern aesthetic. This format is ideal for placing above a bed or sofa, transforming simple minimalist embroidery hoops into a significant focal point.
7. Bold Block Lettering on Aida
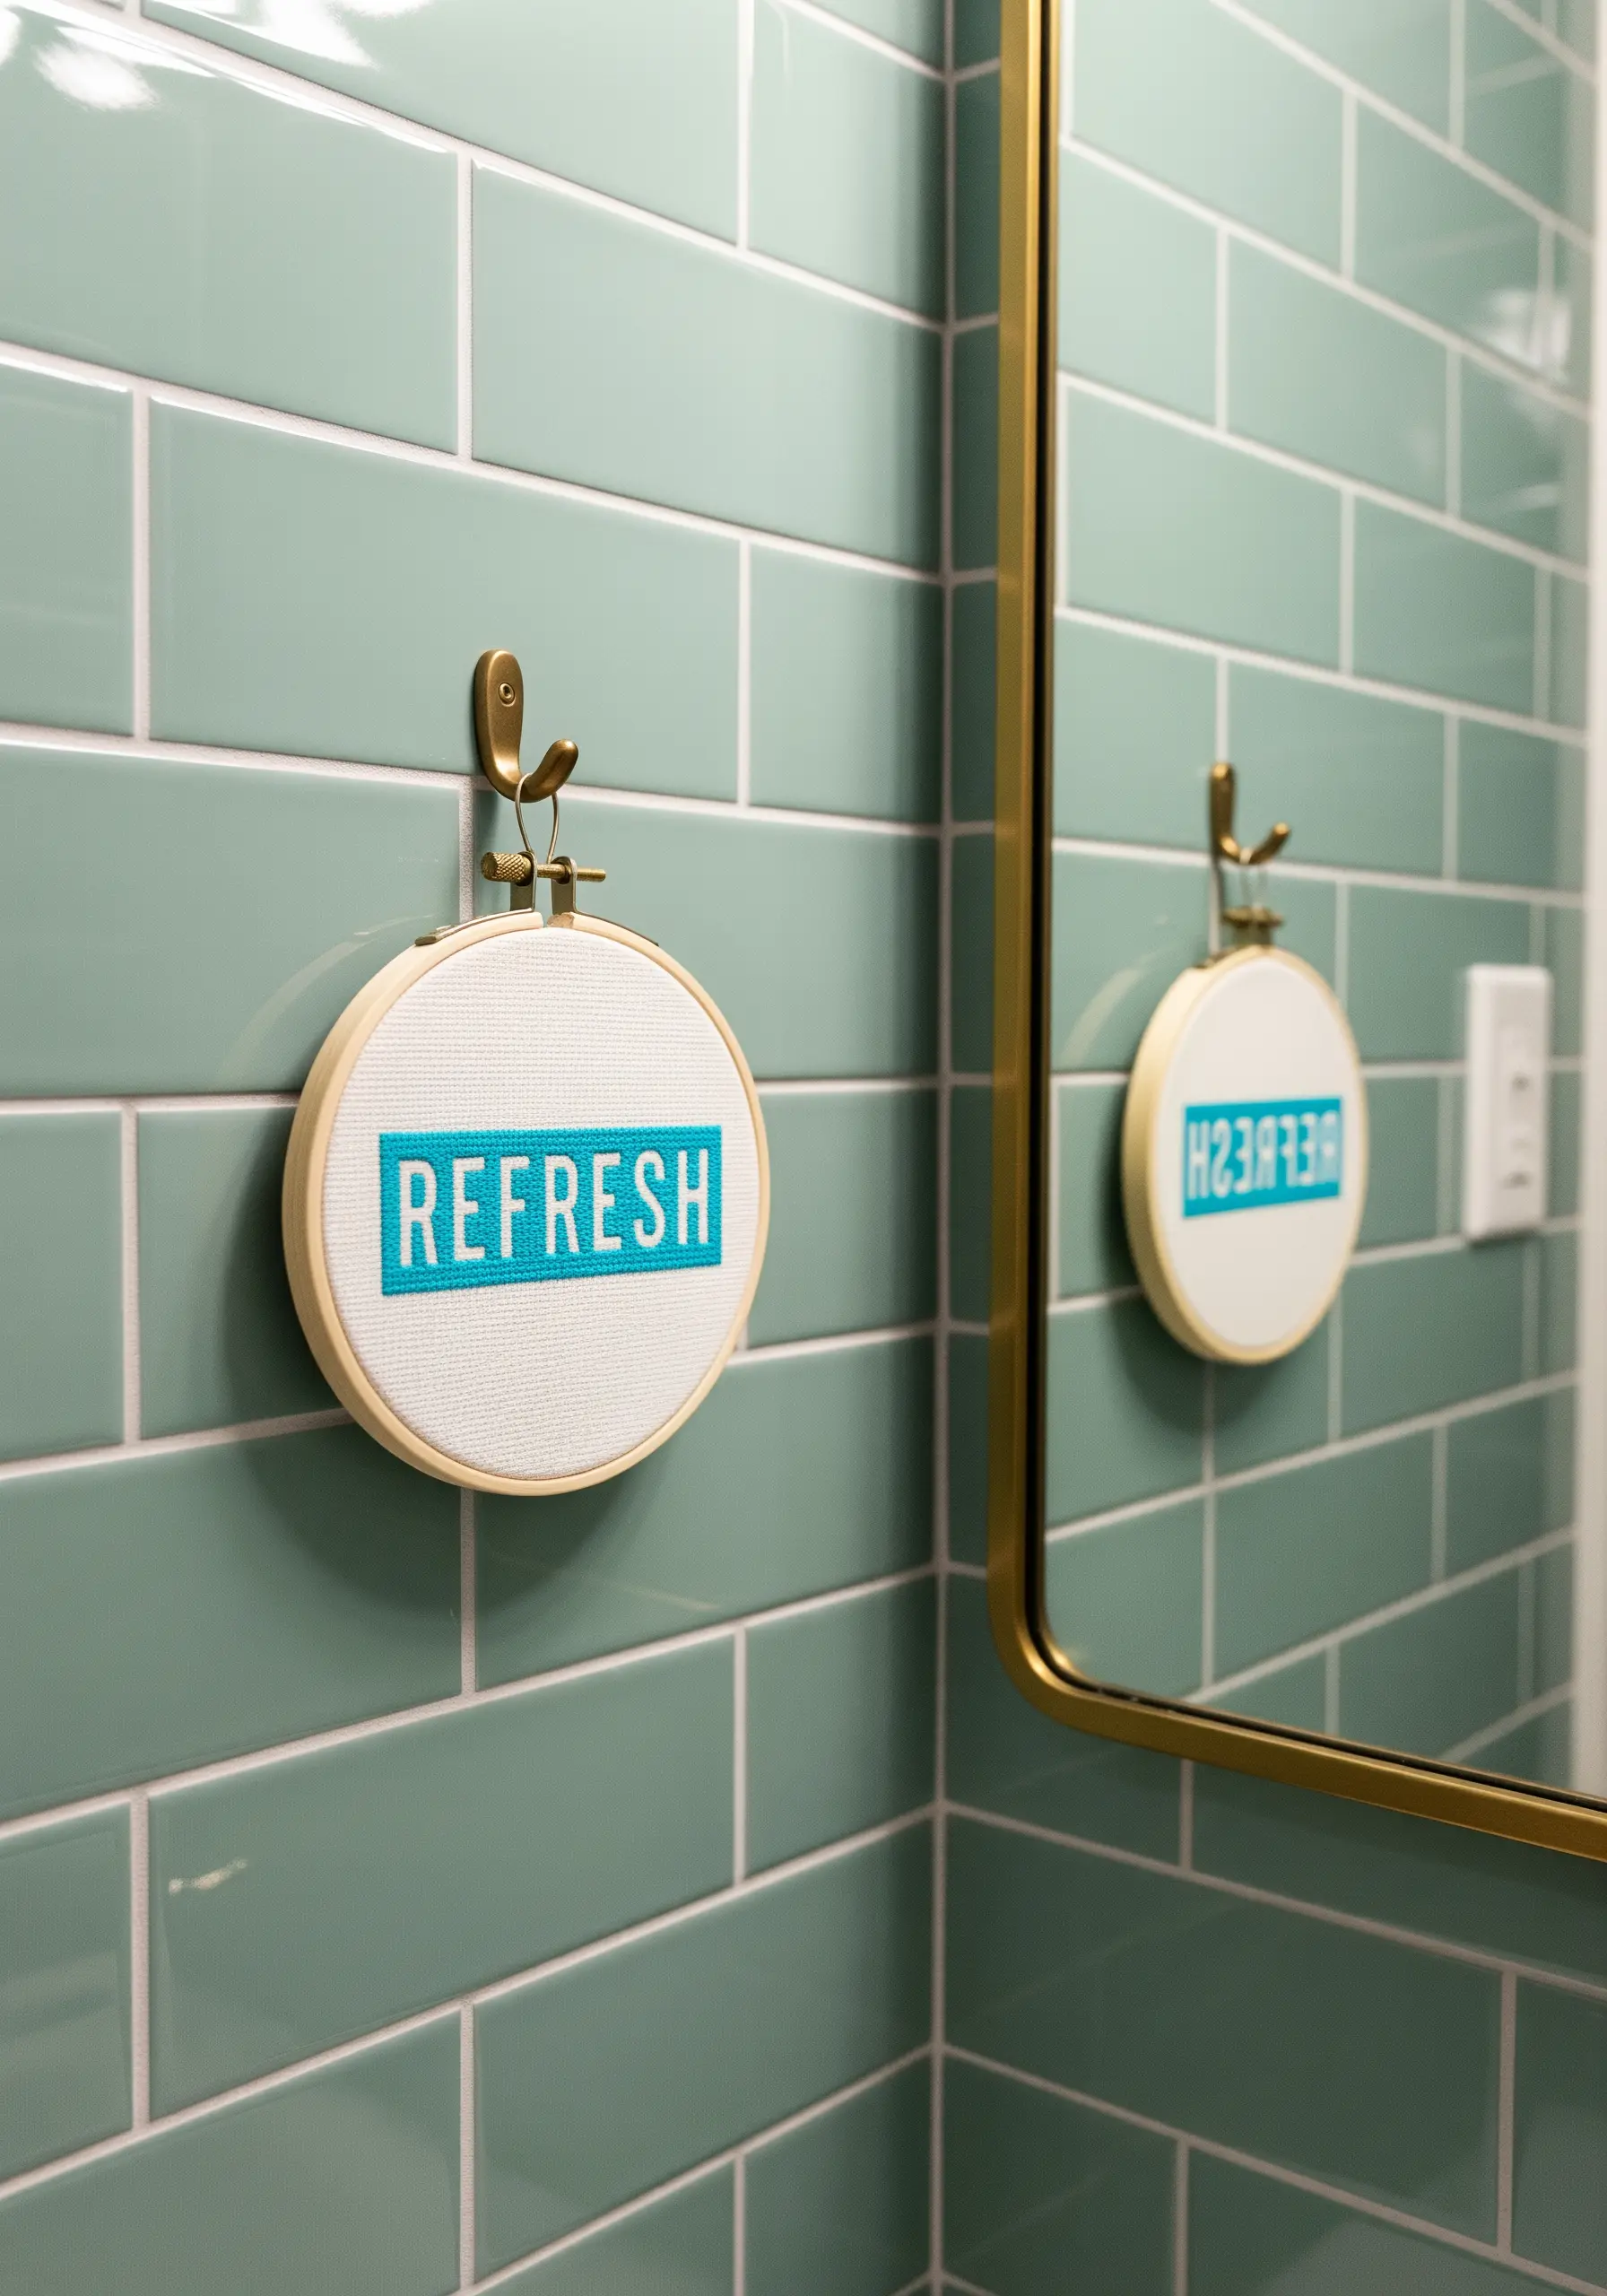
Create a graphic, high-impact statement using Aida cloth, the gridded fabric traditionally used for cross-stitch.
Design your letters on graph paper first, treating each square as a single cross-stitch. Use a bold, saturated thread color that pops against the fabric and the surrounding decor.
This technique is perfect for short, punchy words and adds a touch of retro, pixelated style. It’s a fantastic way to create tiny bathroom embroidery art projects with vibrant personality.
8. Celestial Text with Metallic Thread
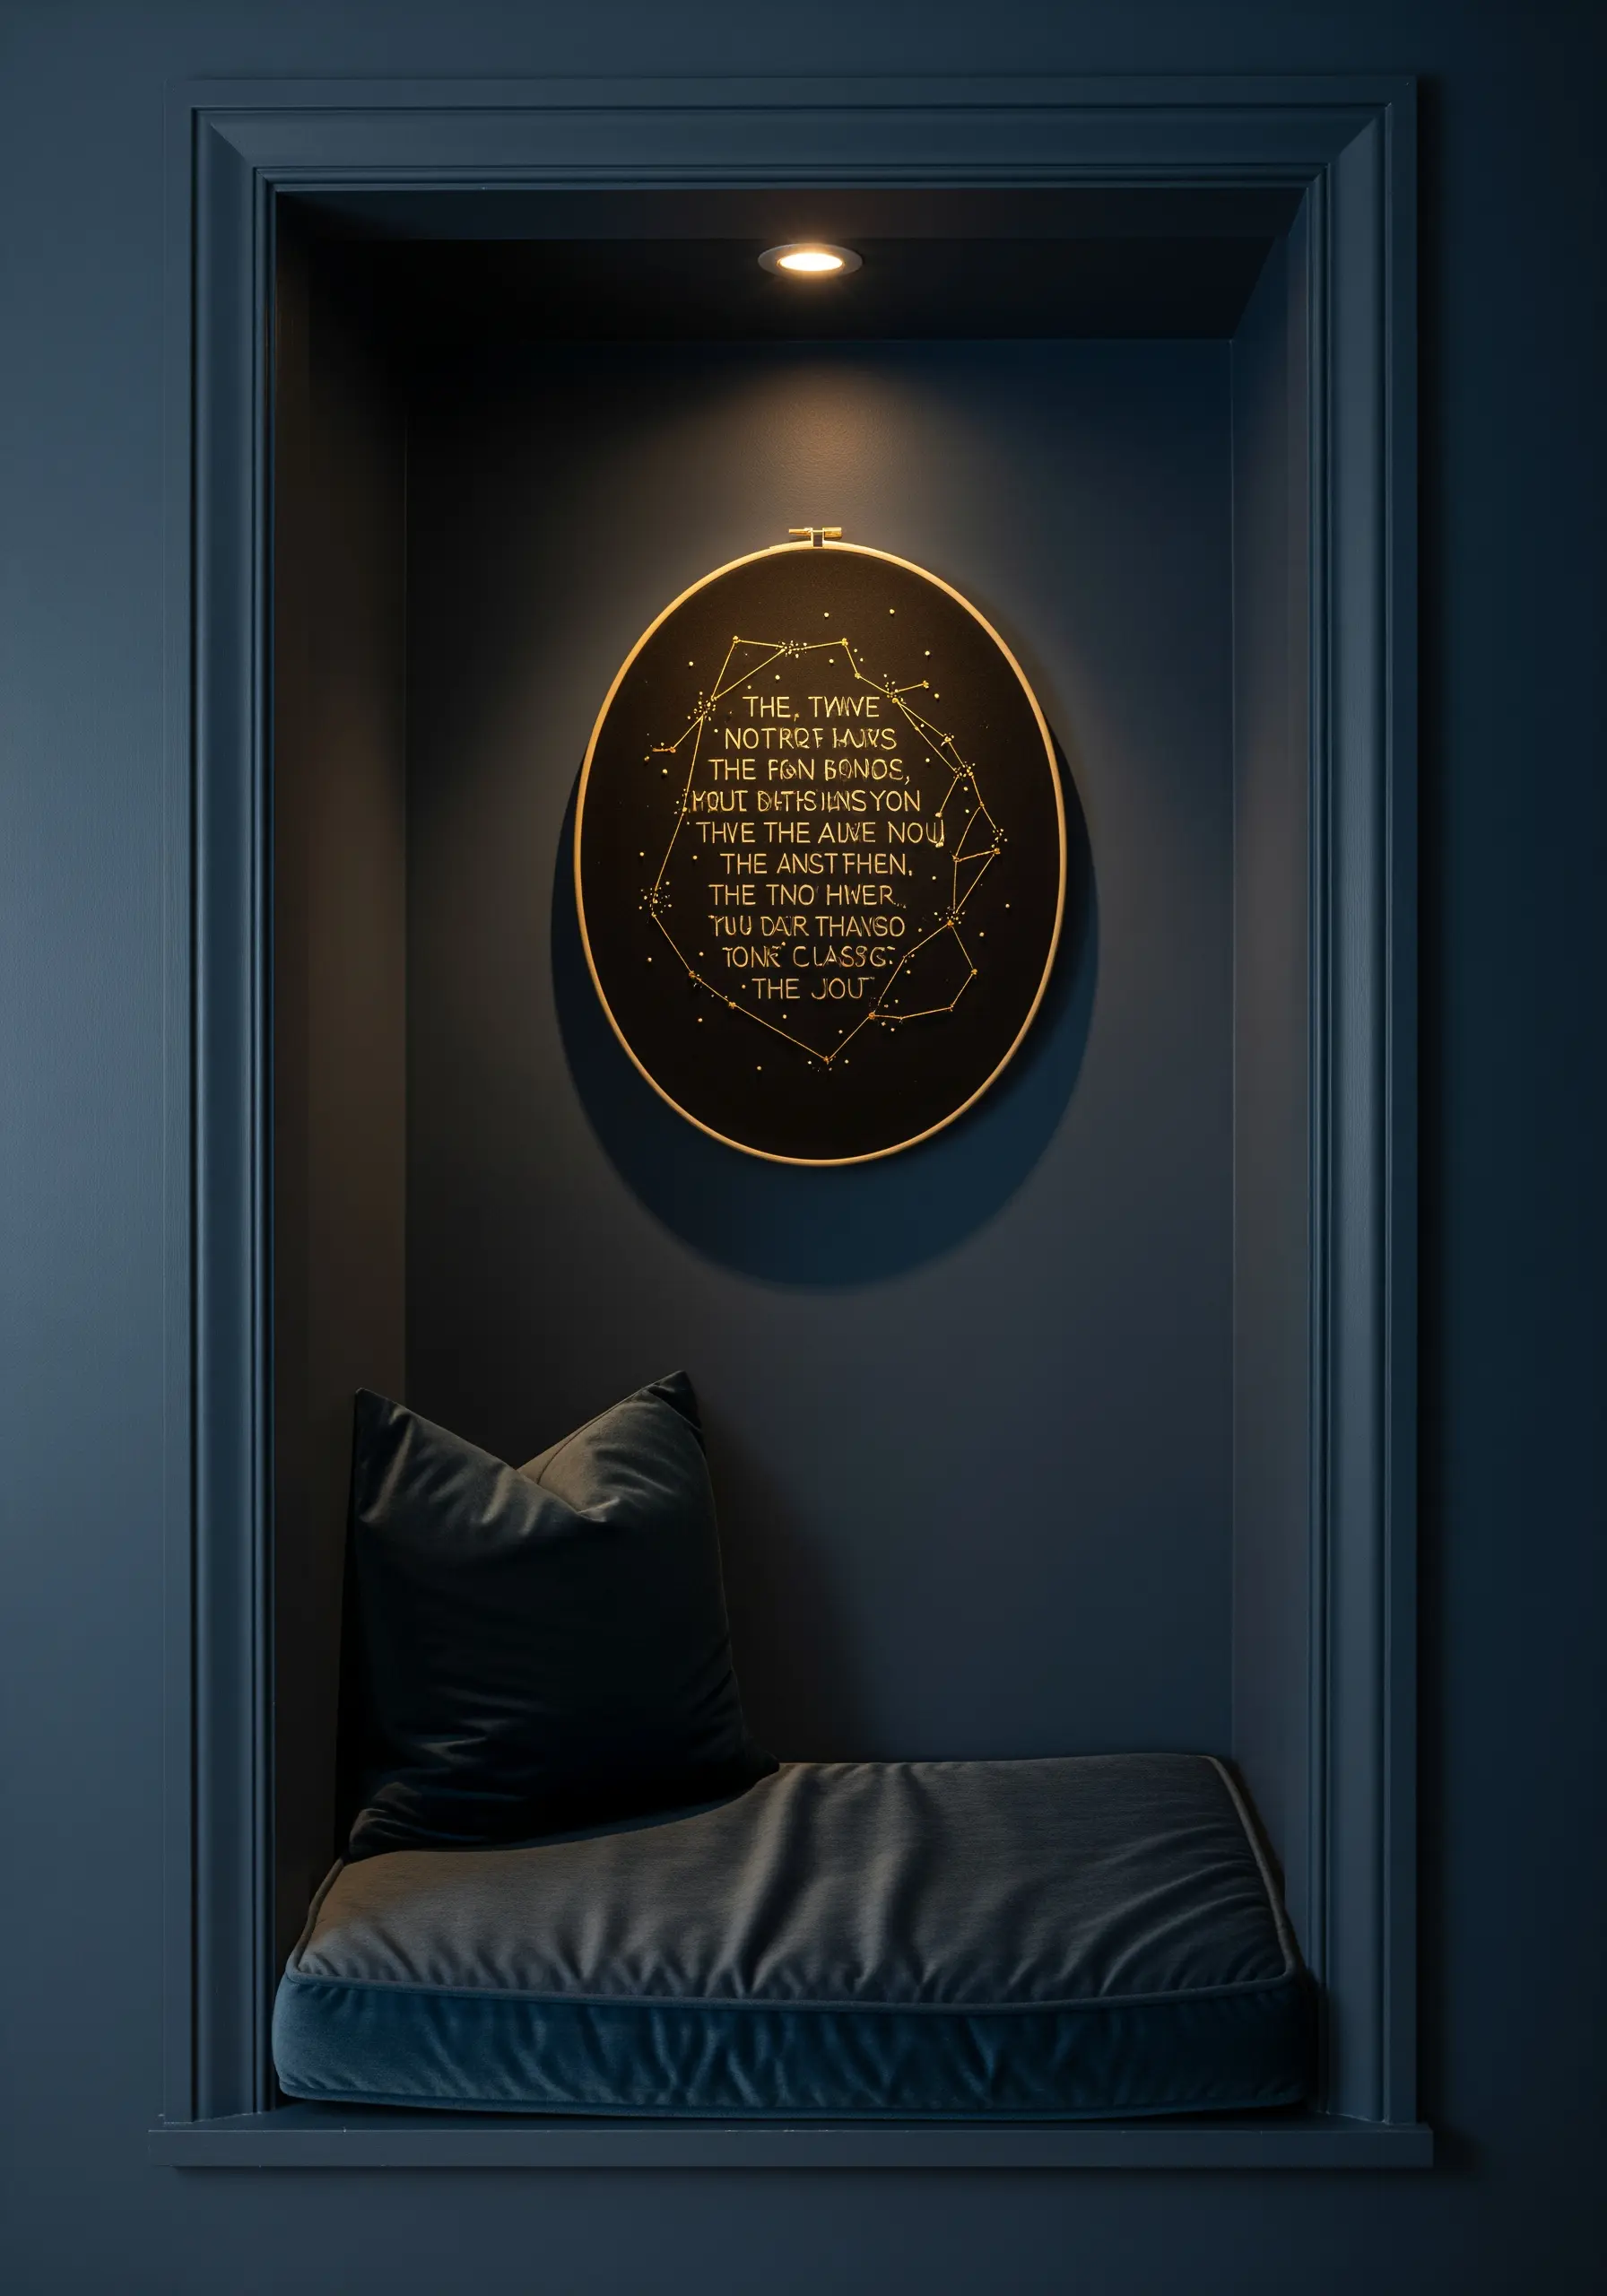
Combine typography with illustrative elements by stitching text within a celestial or constellation pattern.
Work with a single strand of gold metallic thread on dark navy or black fabric for dramatic contrast. To prevent fraying, use a shorter length of thread than you normally would and work slowly.
A simple backstitch is all you need to let the shimmer of the thread do the work. This method is perfect for creating moody and sophisticated metallic thread wall art designs.
9. The Diptych for Mindful Pauses

Create a calming visual rhythm by stitching a pair of related words, like ‘inhale’ and ‘exhale,’ in two separate, matching frames.
Consistency is key. Use the same fabric, thread color, font, and frame for both pieces to ensure they read as a single, cohesive statement.
The negative space around the words is just as important as the stitching itself. This balanced, serene approach is ideal when you want to upgrade your entryway or create a meditation corner.
10. Pixel-Art Typography with Neon Thread
Embrace a retro, 8-bit aesthetic by using cross-stitch or tent stitch on black canvas to create pixelated lettering.
Choose vibrant, neon-colored threads and add a drop-shadow effect with a third color to make the letters appear three-dimensional.
This style is playful, graphic, and commands attention. It’s a great way to add energy to a space and works especially well for bold color pop embroidery wall frames in a media room or creative studio.
11. The Power of Scale and Simplicity
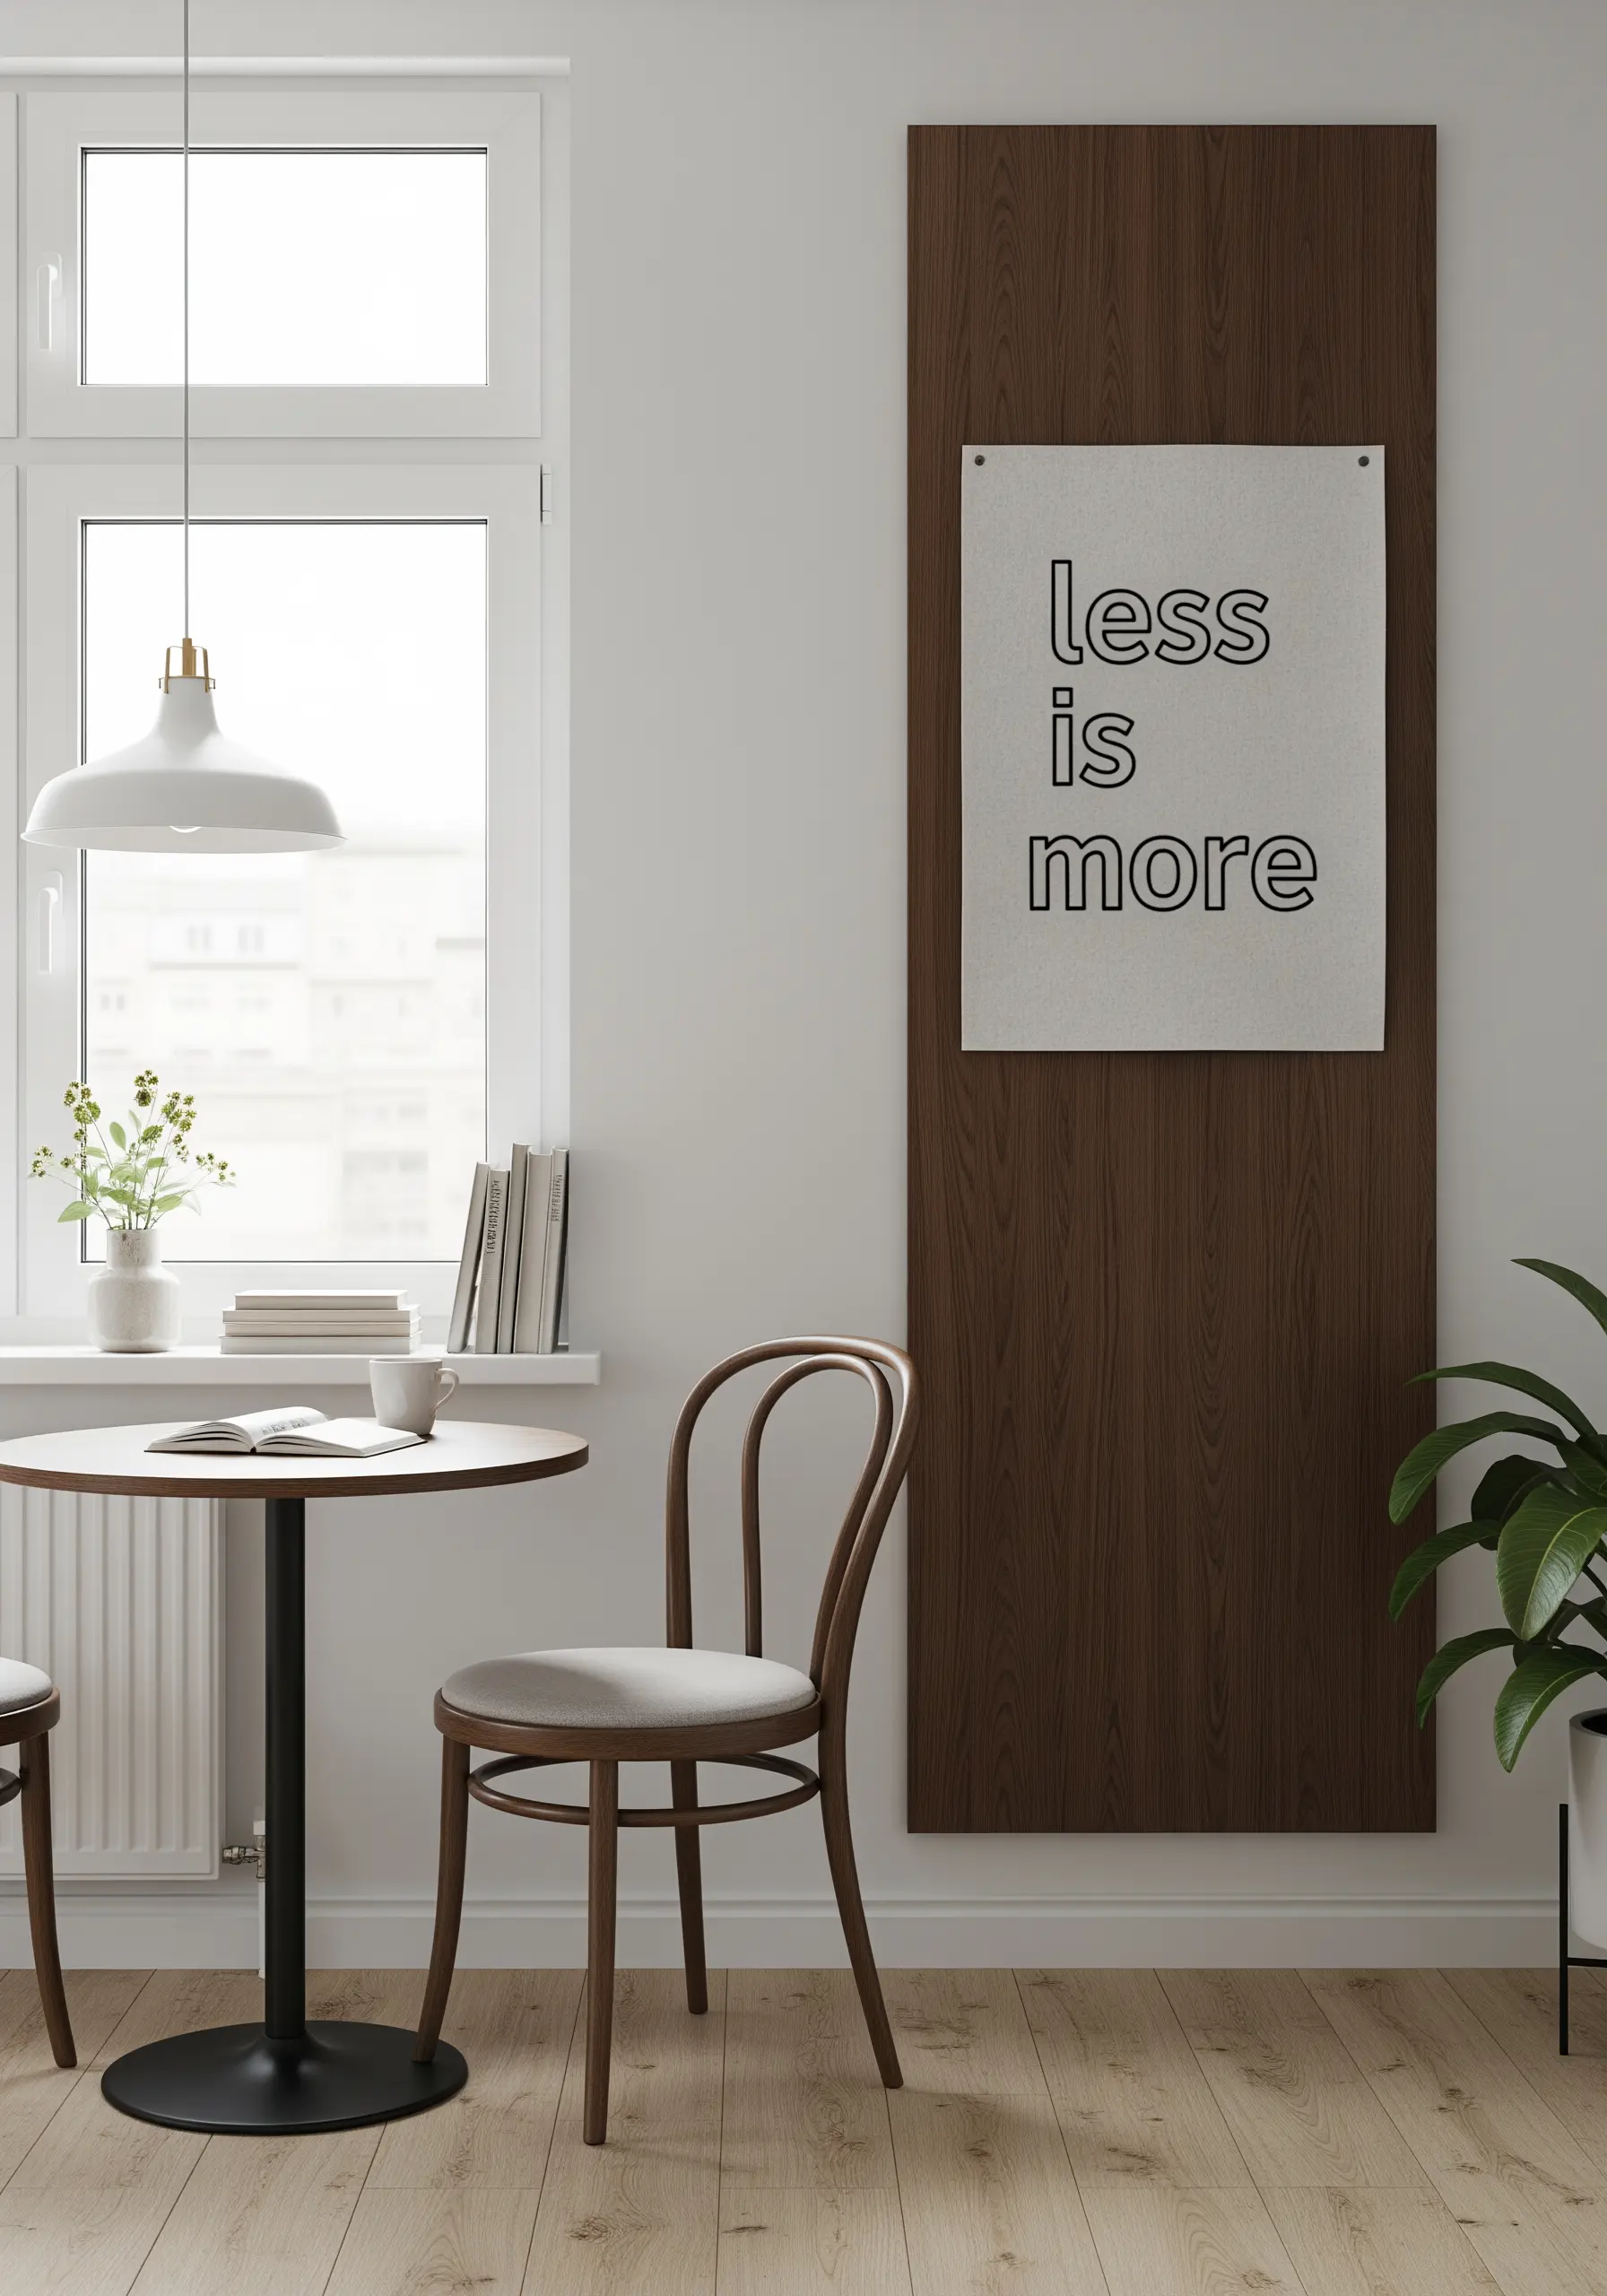
Make a quiet but powerful statement by stitching a simple phrase on an oversized, unframed textile panel.
Use a very fine backstitch with only one or two strands of black thread. The delicacy of the stitching contrasts with the large scale of the fabric, drawing the viewer in.
This approach highlights the beauty of the materials and the message. It perfectly demonstrates how to use negative space for a minimal, chic look that feels both humble and profound.
12. Elegant Script with a Single, Flowing Line

Capture the essence of effortless style by stitching a single word in a fluid, calligraphic script.
Use a stem stitch, varying the angle and length of your stitches to create the thicks and thins of elegant handwriting. Choose a silky, high-sheen thread in a rich jewel tone like burgundy or emerald to enhance the luxurious feel.
This technique is perfect for understated embroidery projects that look expensive, turning a simple word into a piece of refined art.
13. Architectural Text with Chunky Yarn
Move beyond thread to create bold, dimensional lettering with thick yarn or fiber roving.
First, form your letters with the yarn, then use a couching stitch—small, perpendicular stitches made with regular thread—to anchor the chunky fiber to a large canvas.
This technique adds sculptural texture and architectural presence to your wall. Explore different yarn wall art ideas by experimenting with braided, twisted, or felted fibers for even more dimension.
14. Expressive Freeform Scribble Text

Inject energy and playfulness into your typography by layering free-motion stitches over a simple letter base.
First, fill your letters with a basic satin stitch. Then, using a mix of bright, contrasting threads, add layers of long, looping, and chaotic stitches over the top, extending beyond the letterforms.
This method transforms simple words into dynamic art. It’s one of the most freeing and playful mixed fiber art projects you can try, celebrating color and movement over precision.
15. Personalized Appliqué and Custom Hoops
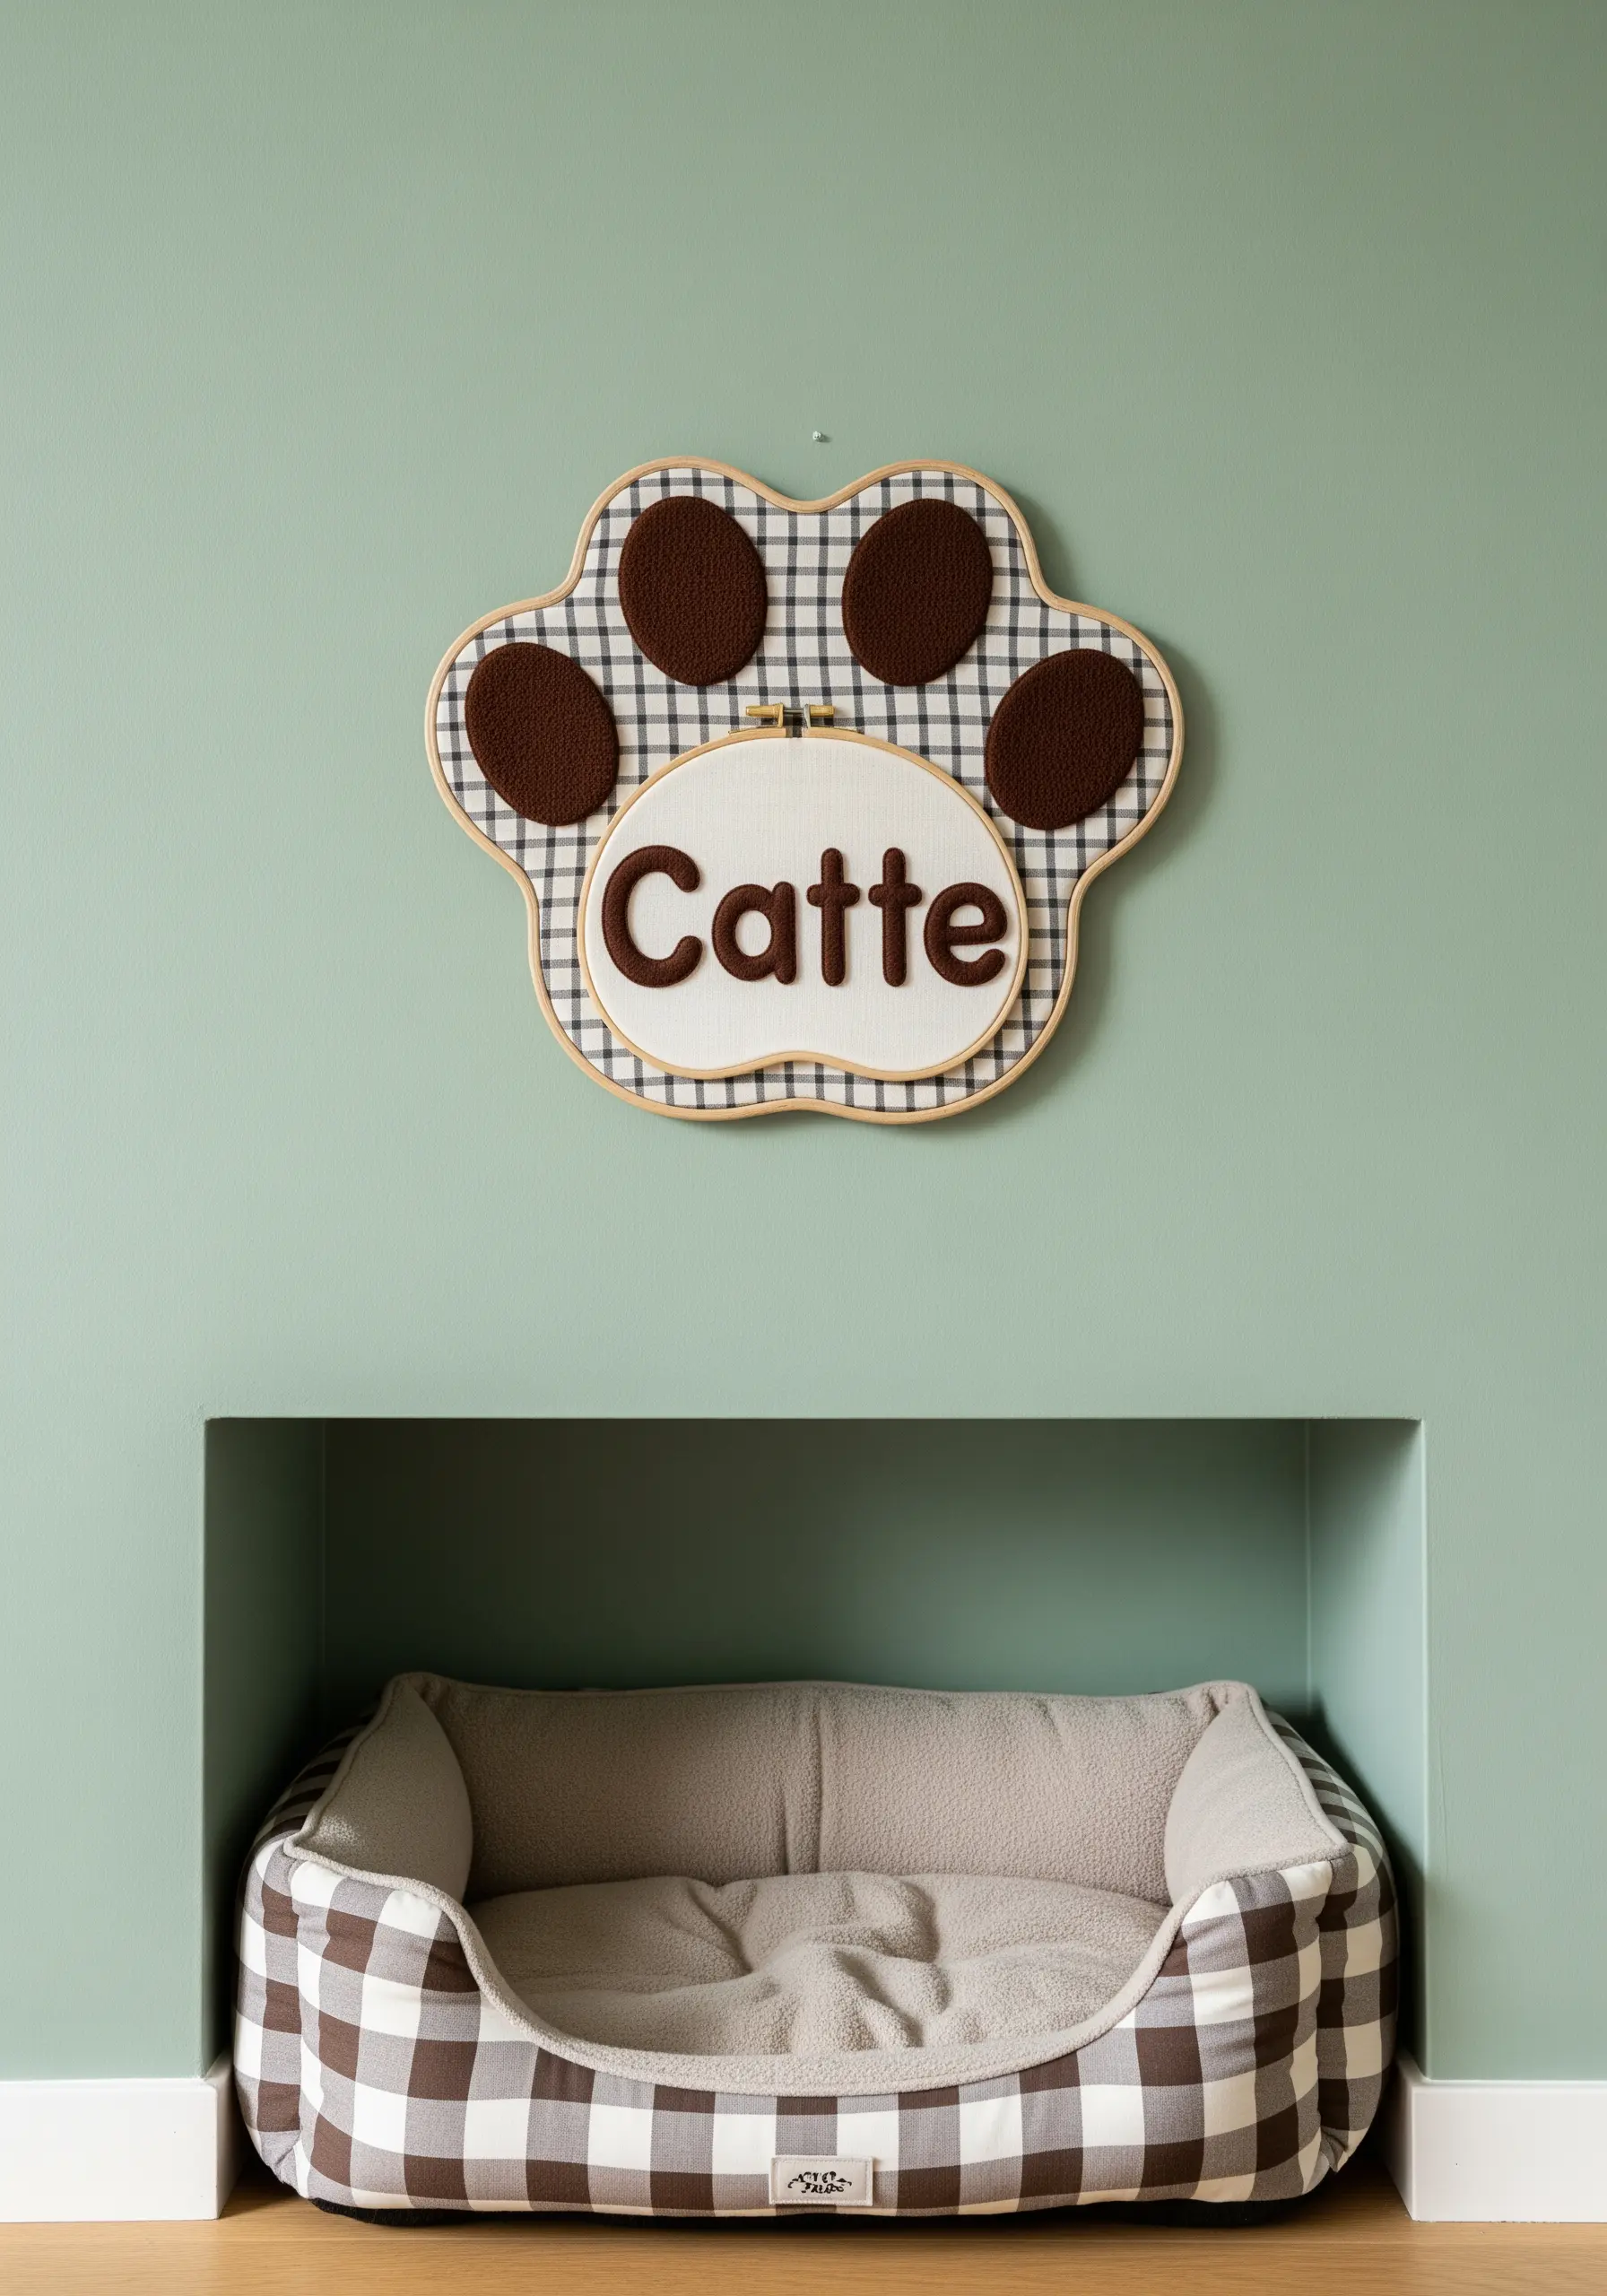
Combine techniques by incorporating fabric appliqué with your embroidered text for a layered, charming effect.
Use patterned fabric for the appliqué elements and a solid, contrasting thread for the lettering to create visual balance. Finish the letters with a dense satin stitch to make them stand out.
Displaying your work in a custom-shaped hoop adds a unique, personalized touch, turning a simple name or word into one of your most thoughtful embroidery gifts.
16. The Vertical Banner for Zen Simplicity
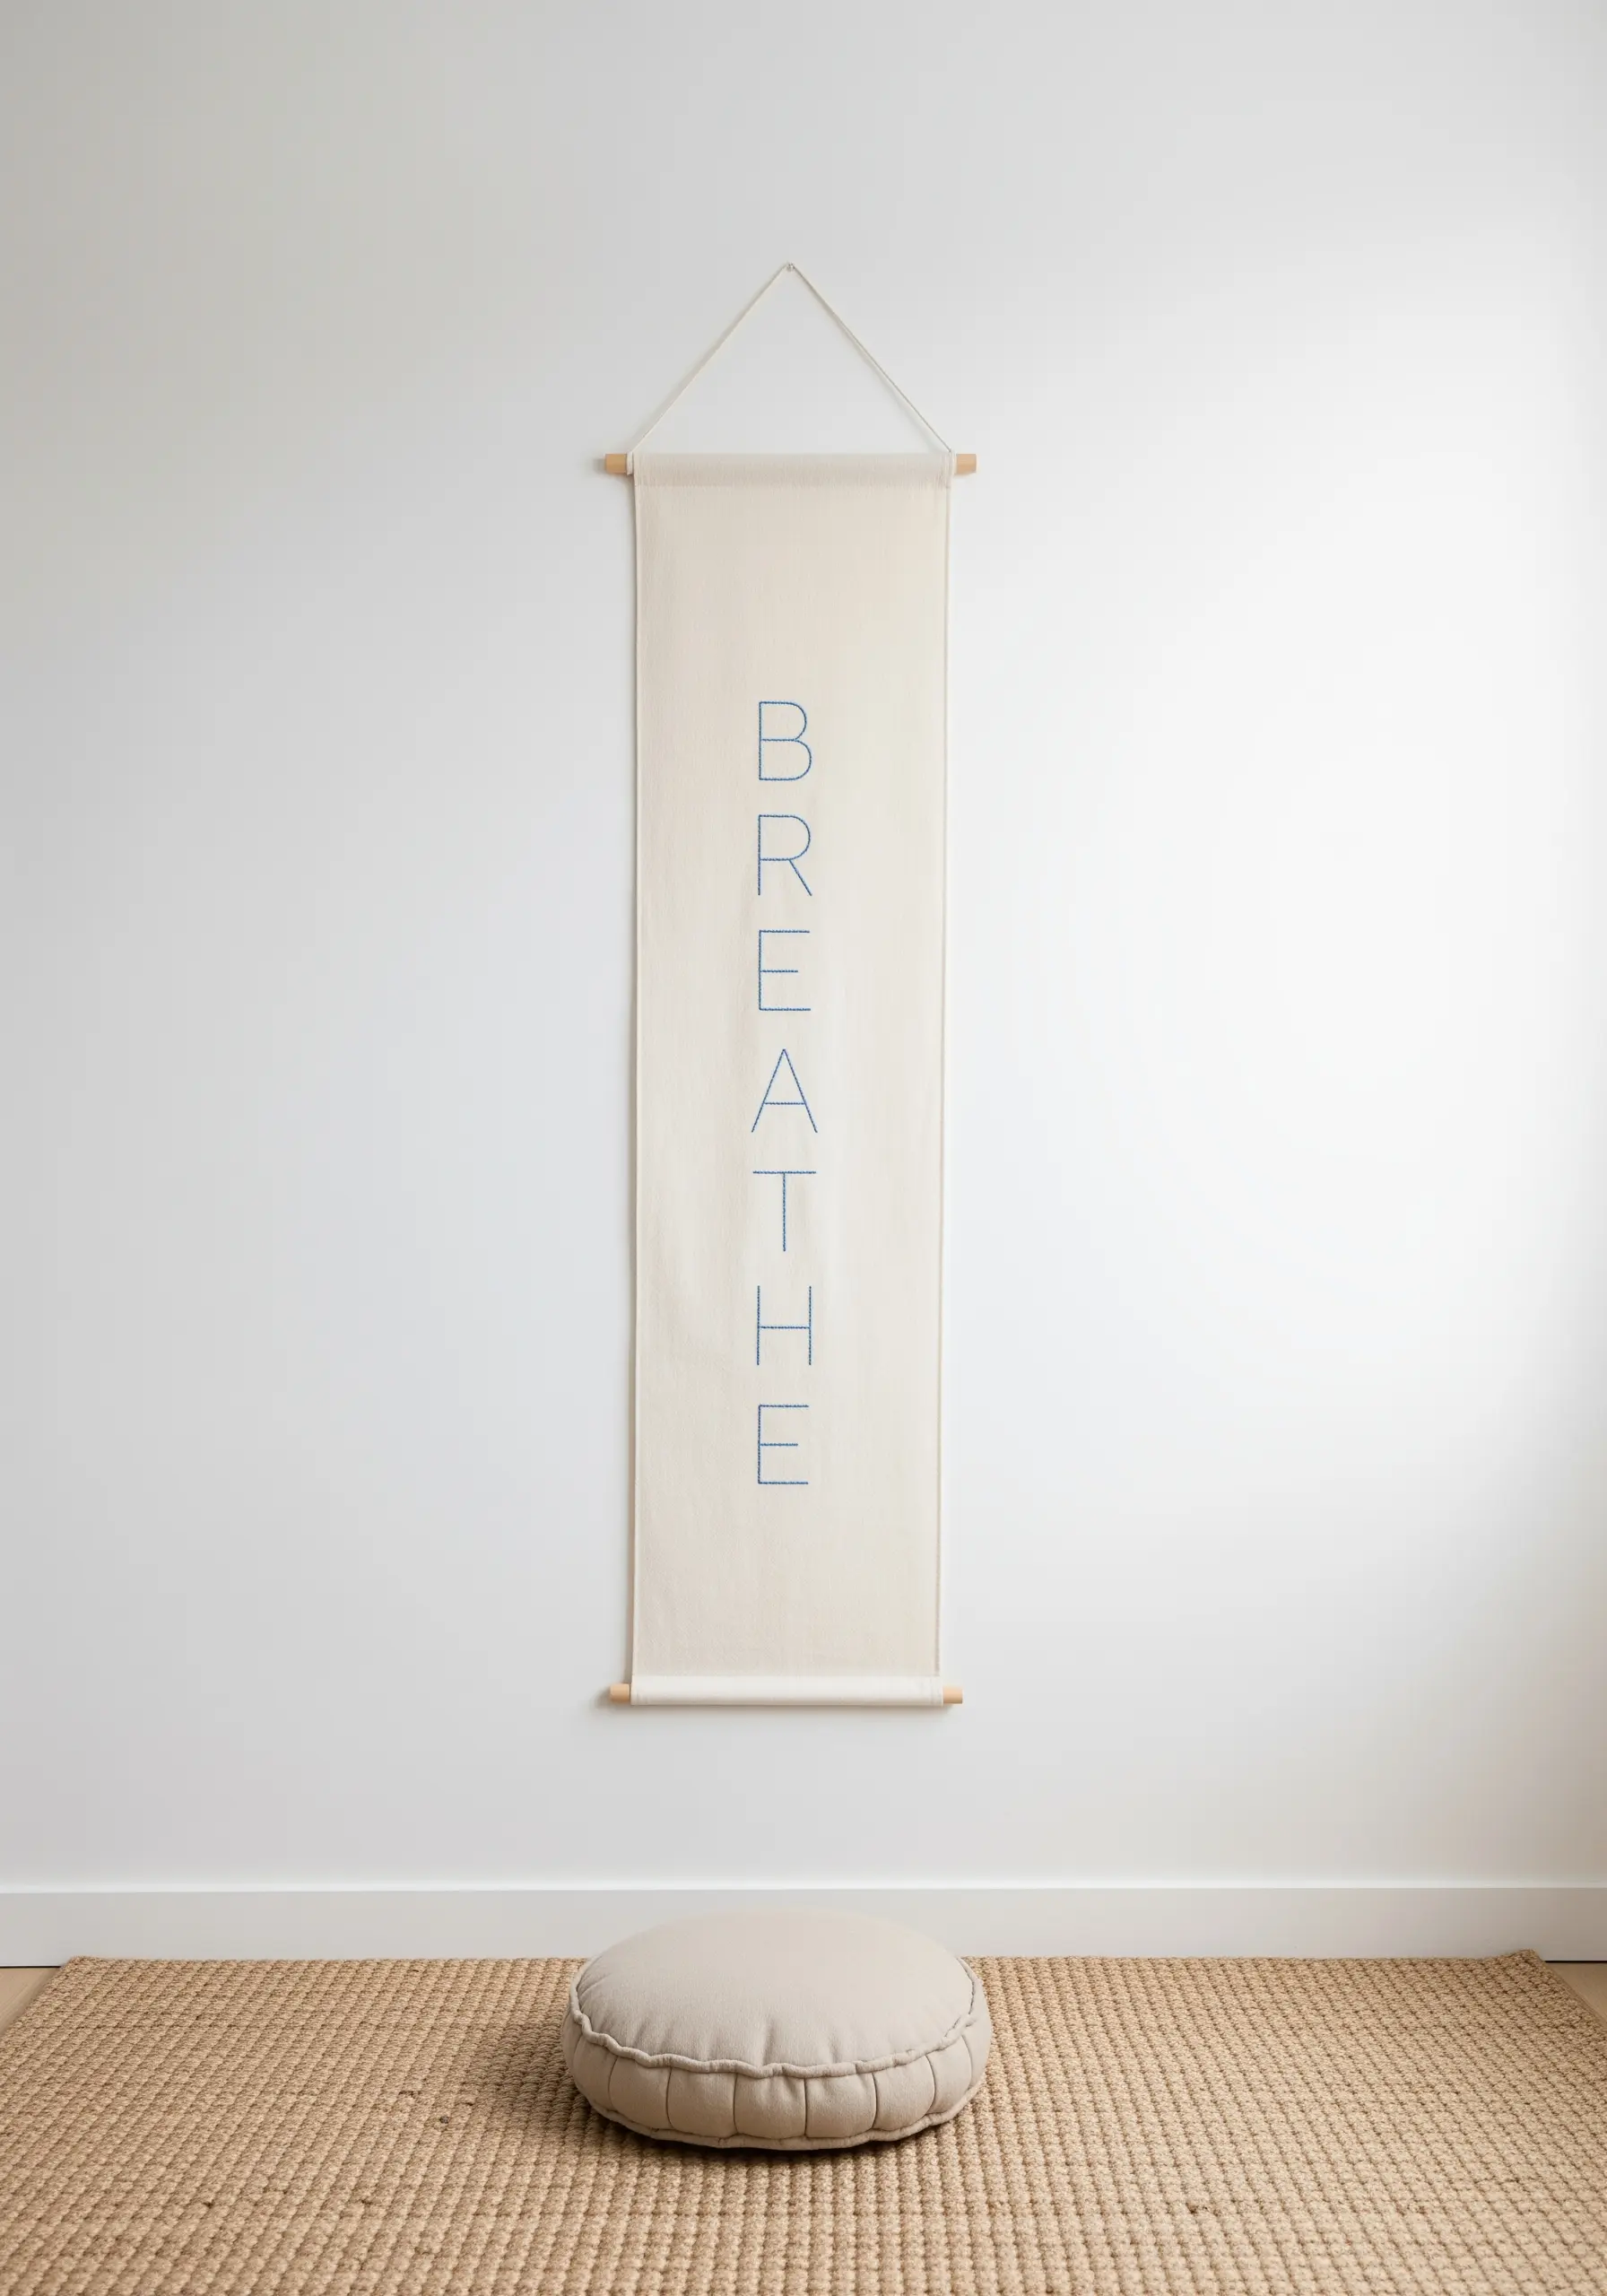
Change the dynamic of your text by stitching it vertically on a long, narrow fabric banner.
Use a simple, clean font and space the letters generously to create a sense of calm and openness. A simple backstitch in a serene color like slate blue or gray is all you need.
Finish by sewing channels at the top and bottom for wooden dowels. This presentation evokes the feeling of a traditional scroll and complements Japanese zen-inspired embroidery designs perfectly.
17. Gothic Lettering in an Ornate Frame
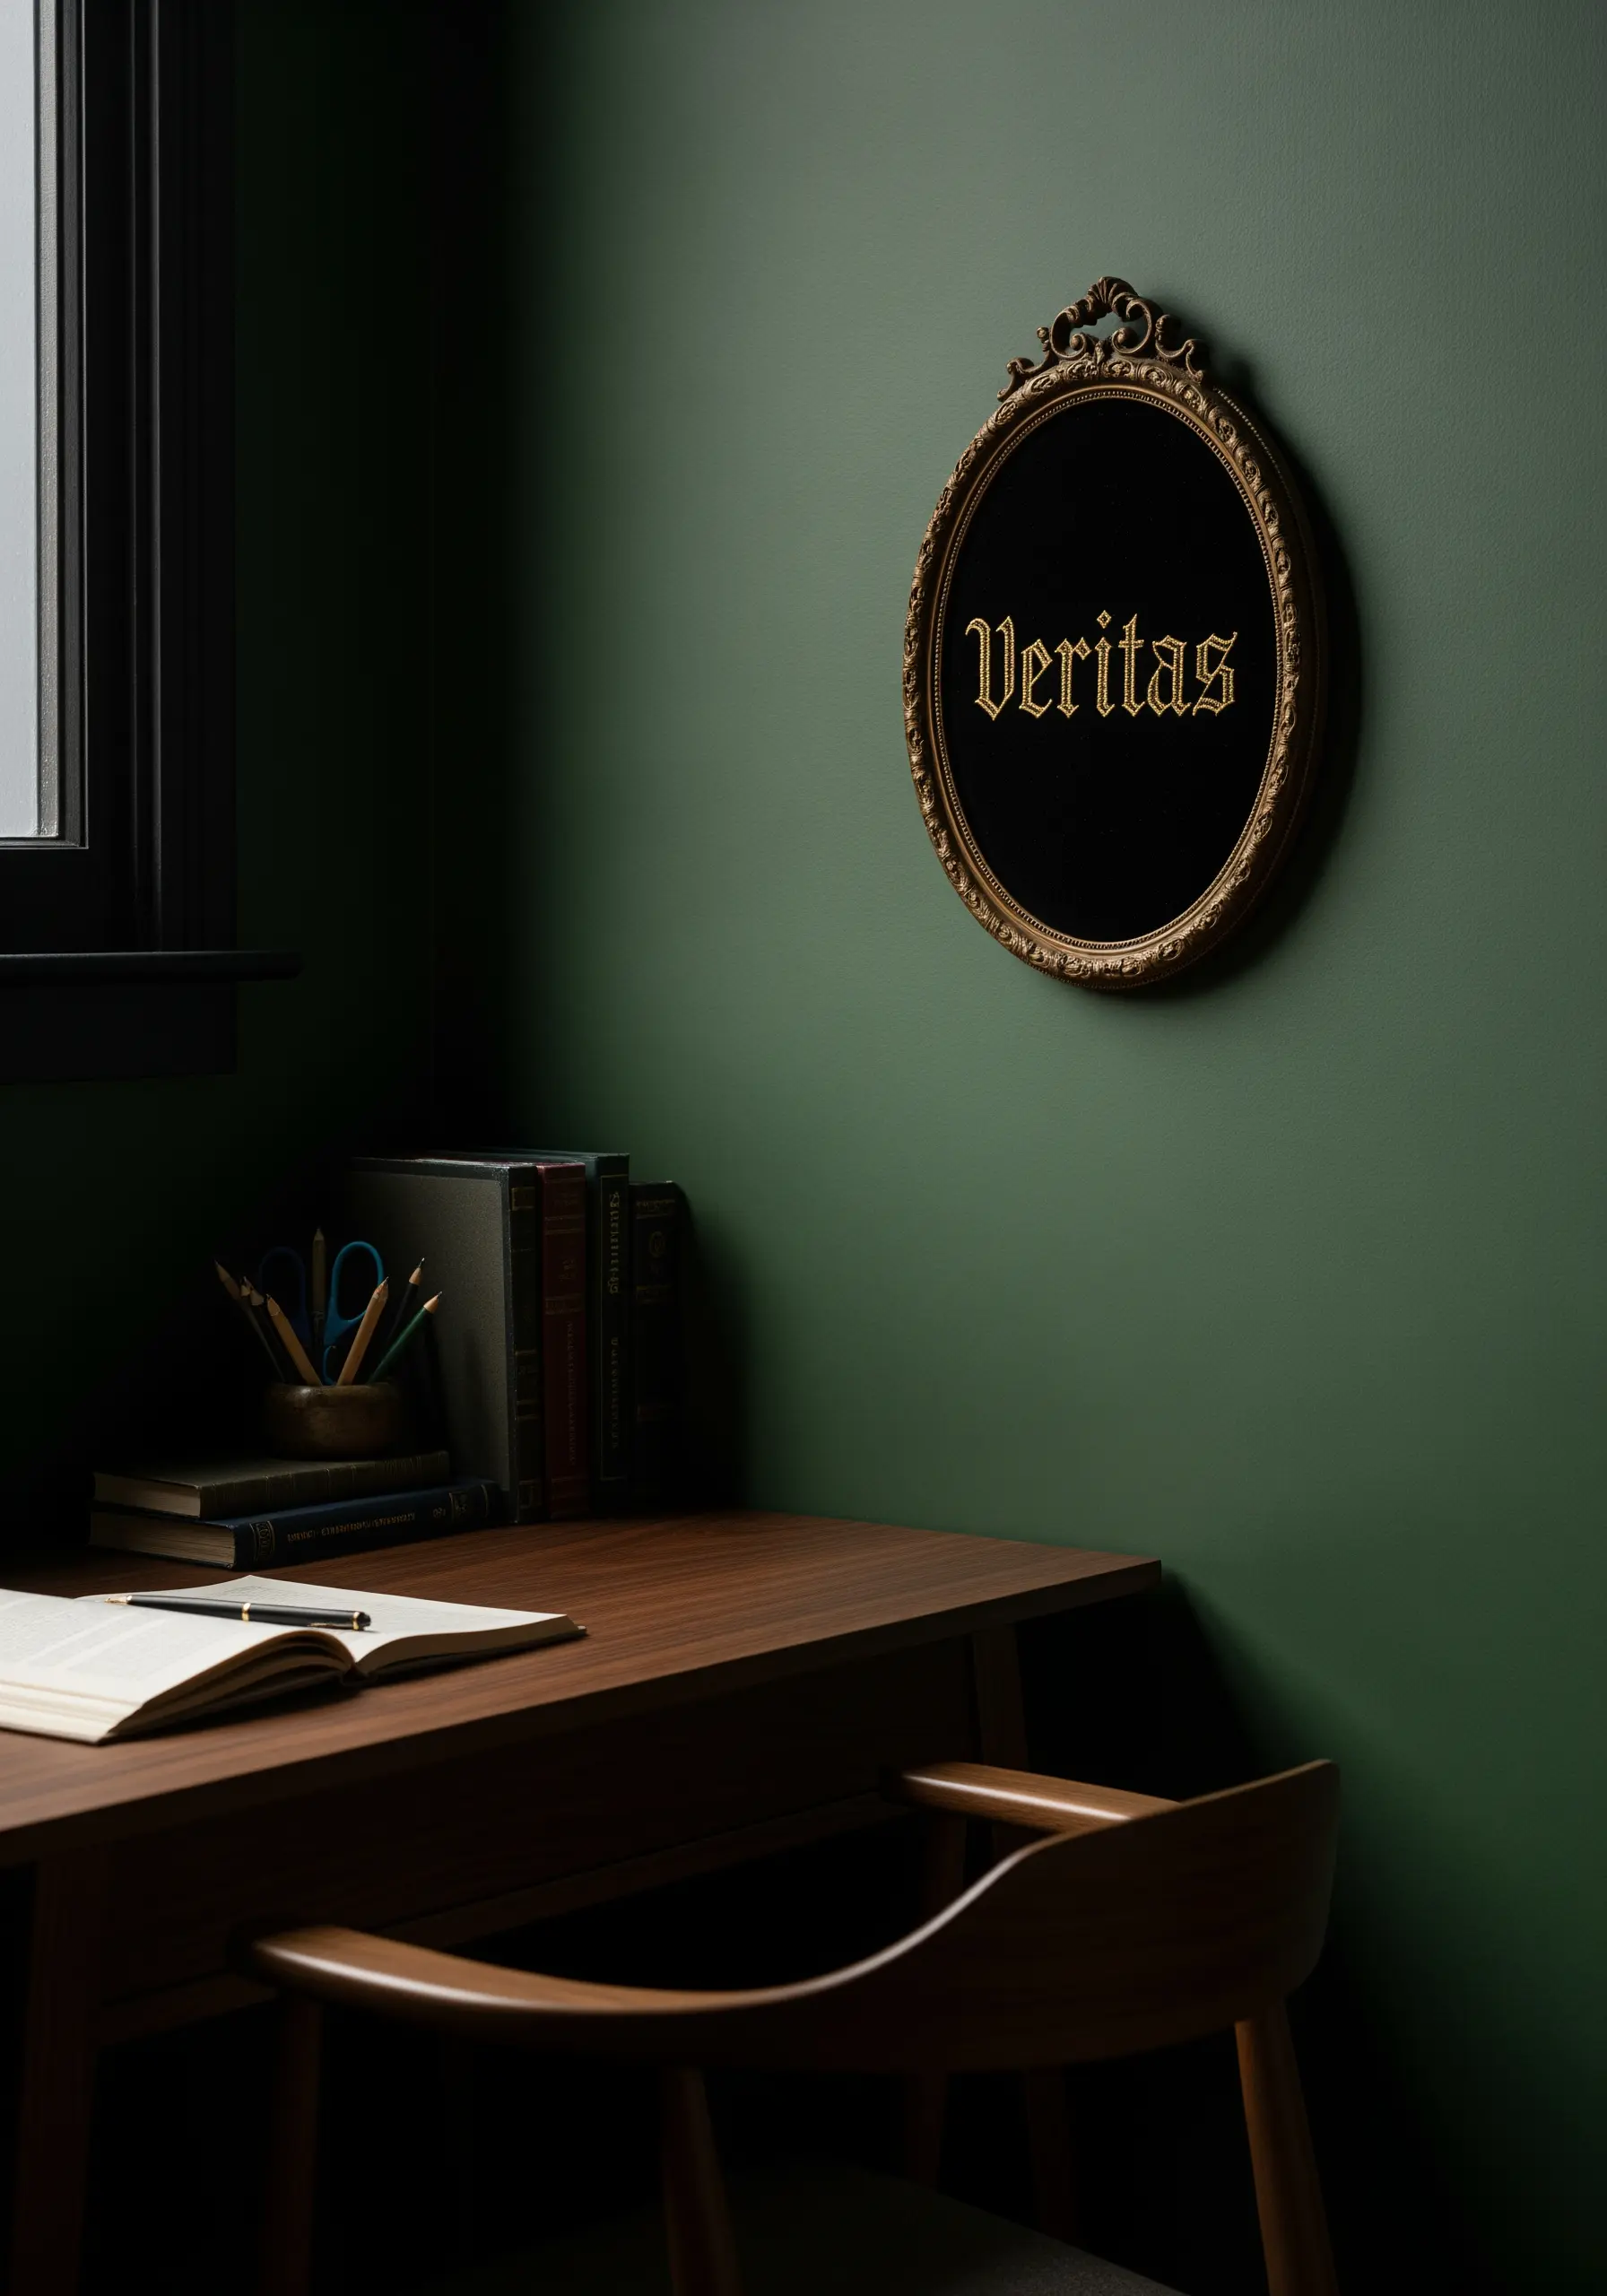
Create a striking contrast by pairing intricate, traditional blackletter typography with a moody, modern setting.
For crisp edges on a complex font, outline each letter with a fine split stitch before filling it with satin stitch. Using a gold metallic thread on black velvet will add a sense of luxury and history.
Frame the finished piece in an ornate, vintage-style frame. This juxtaposition of old and new is central to aesthetics like Dark Academia and creates a deeply atmospheric piece of art.
18. A Cheerful Pop of Color
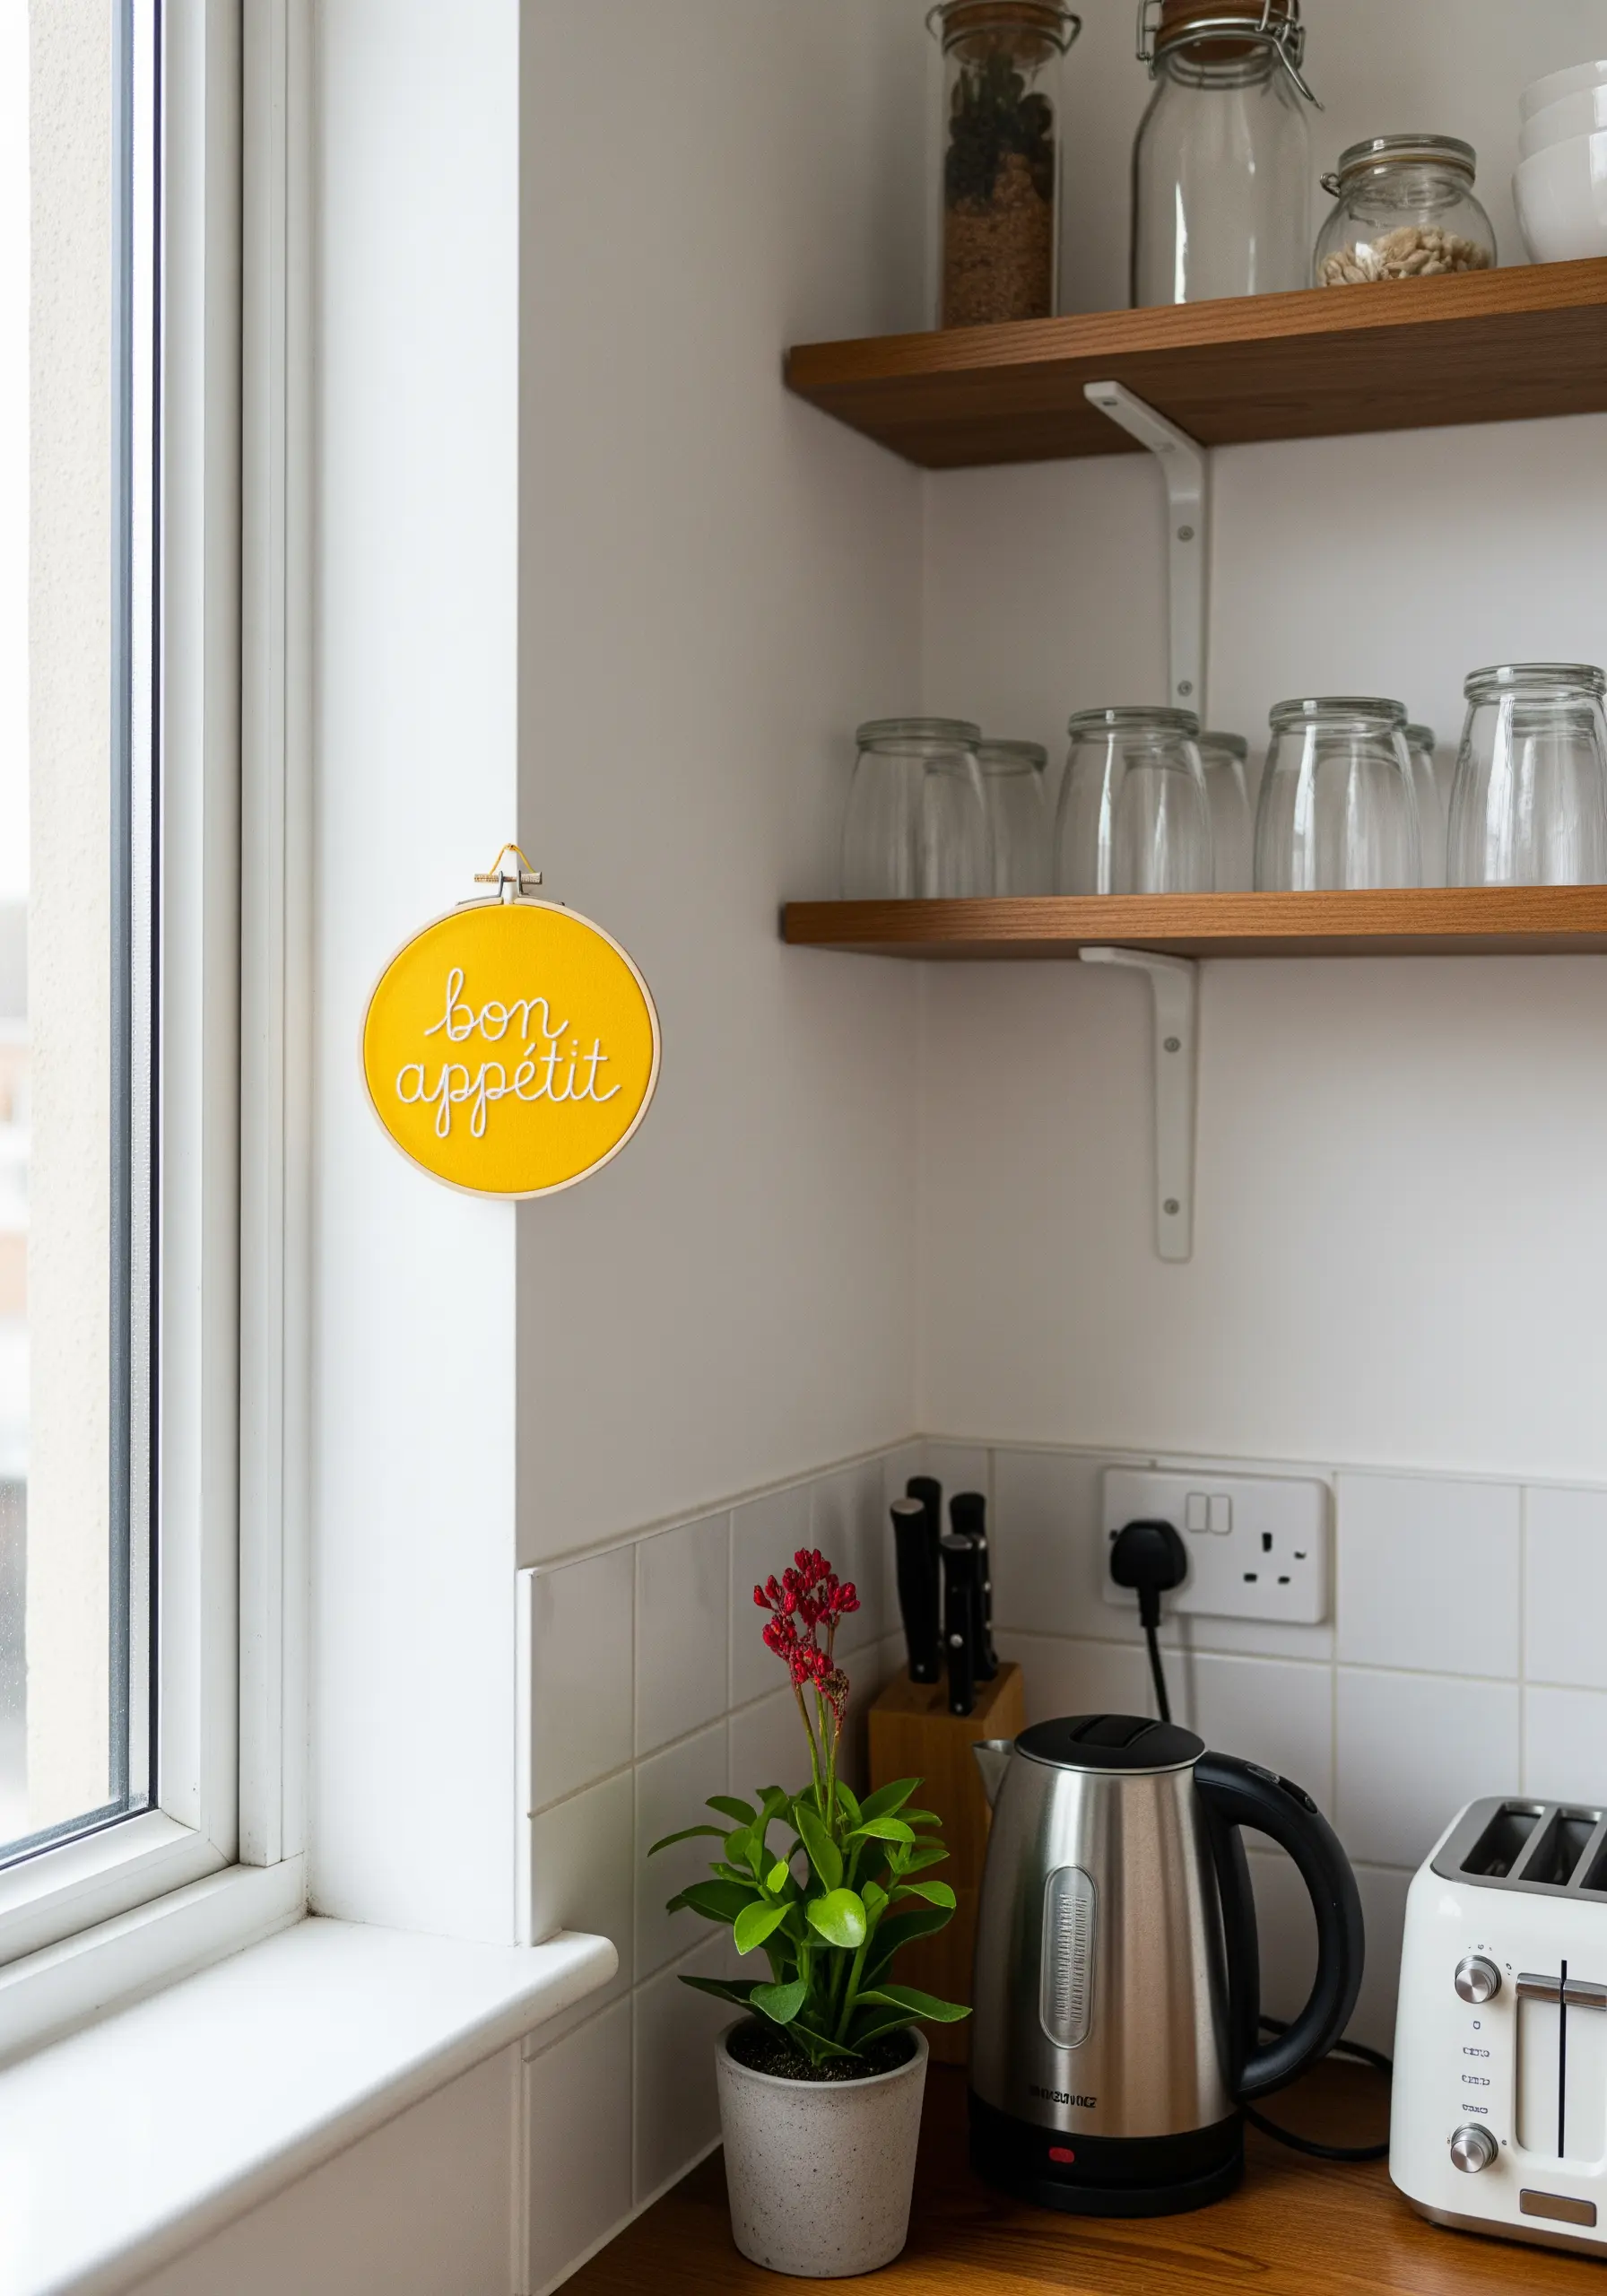
Inject a dose of happiness into a small space by stitching a lighthearted phrase on brightly colored fabric.
Choose a vibrant, solid-colored cotton for your base and stitch with a crisp white thread to ensure the lettering pops. A playful, handwritten-style script enhances the cheerful mood.
Keep the hoop itself as the frame for a clean, modern finish. This is one of the easiest small embroidery ideas you can finish in under an hour, and it will bring a smile to your face every time you see it.


