

Your workspace should be a place of focus and inspiration, a reflection of the care you put into your work. Often, the smallest details are what transform it from a functional desk into a truly personal environment.
Embroidery offers a way to infuse that personal touch with intention and artistry. It’s not about adding complexity, but about making deliberate choices—selecting the right stitch to create a clean line, the right thread to add subtle texture, the right technique to make a simple object feel bespoke.
Here, you’ll find nineteen ways to apply sleek, modern stitching to your home office. These aren’t just projects; they are exercises in quiet confidence, turning everyday items into small moments of calm and creativity that will support you through your busiest days.
1. Architectural Lines with Precision Couching
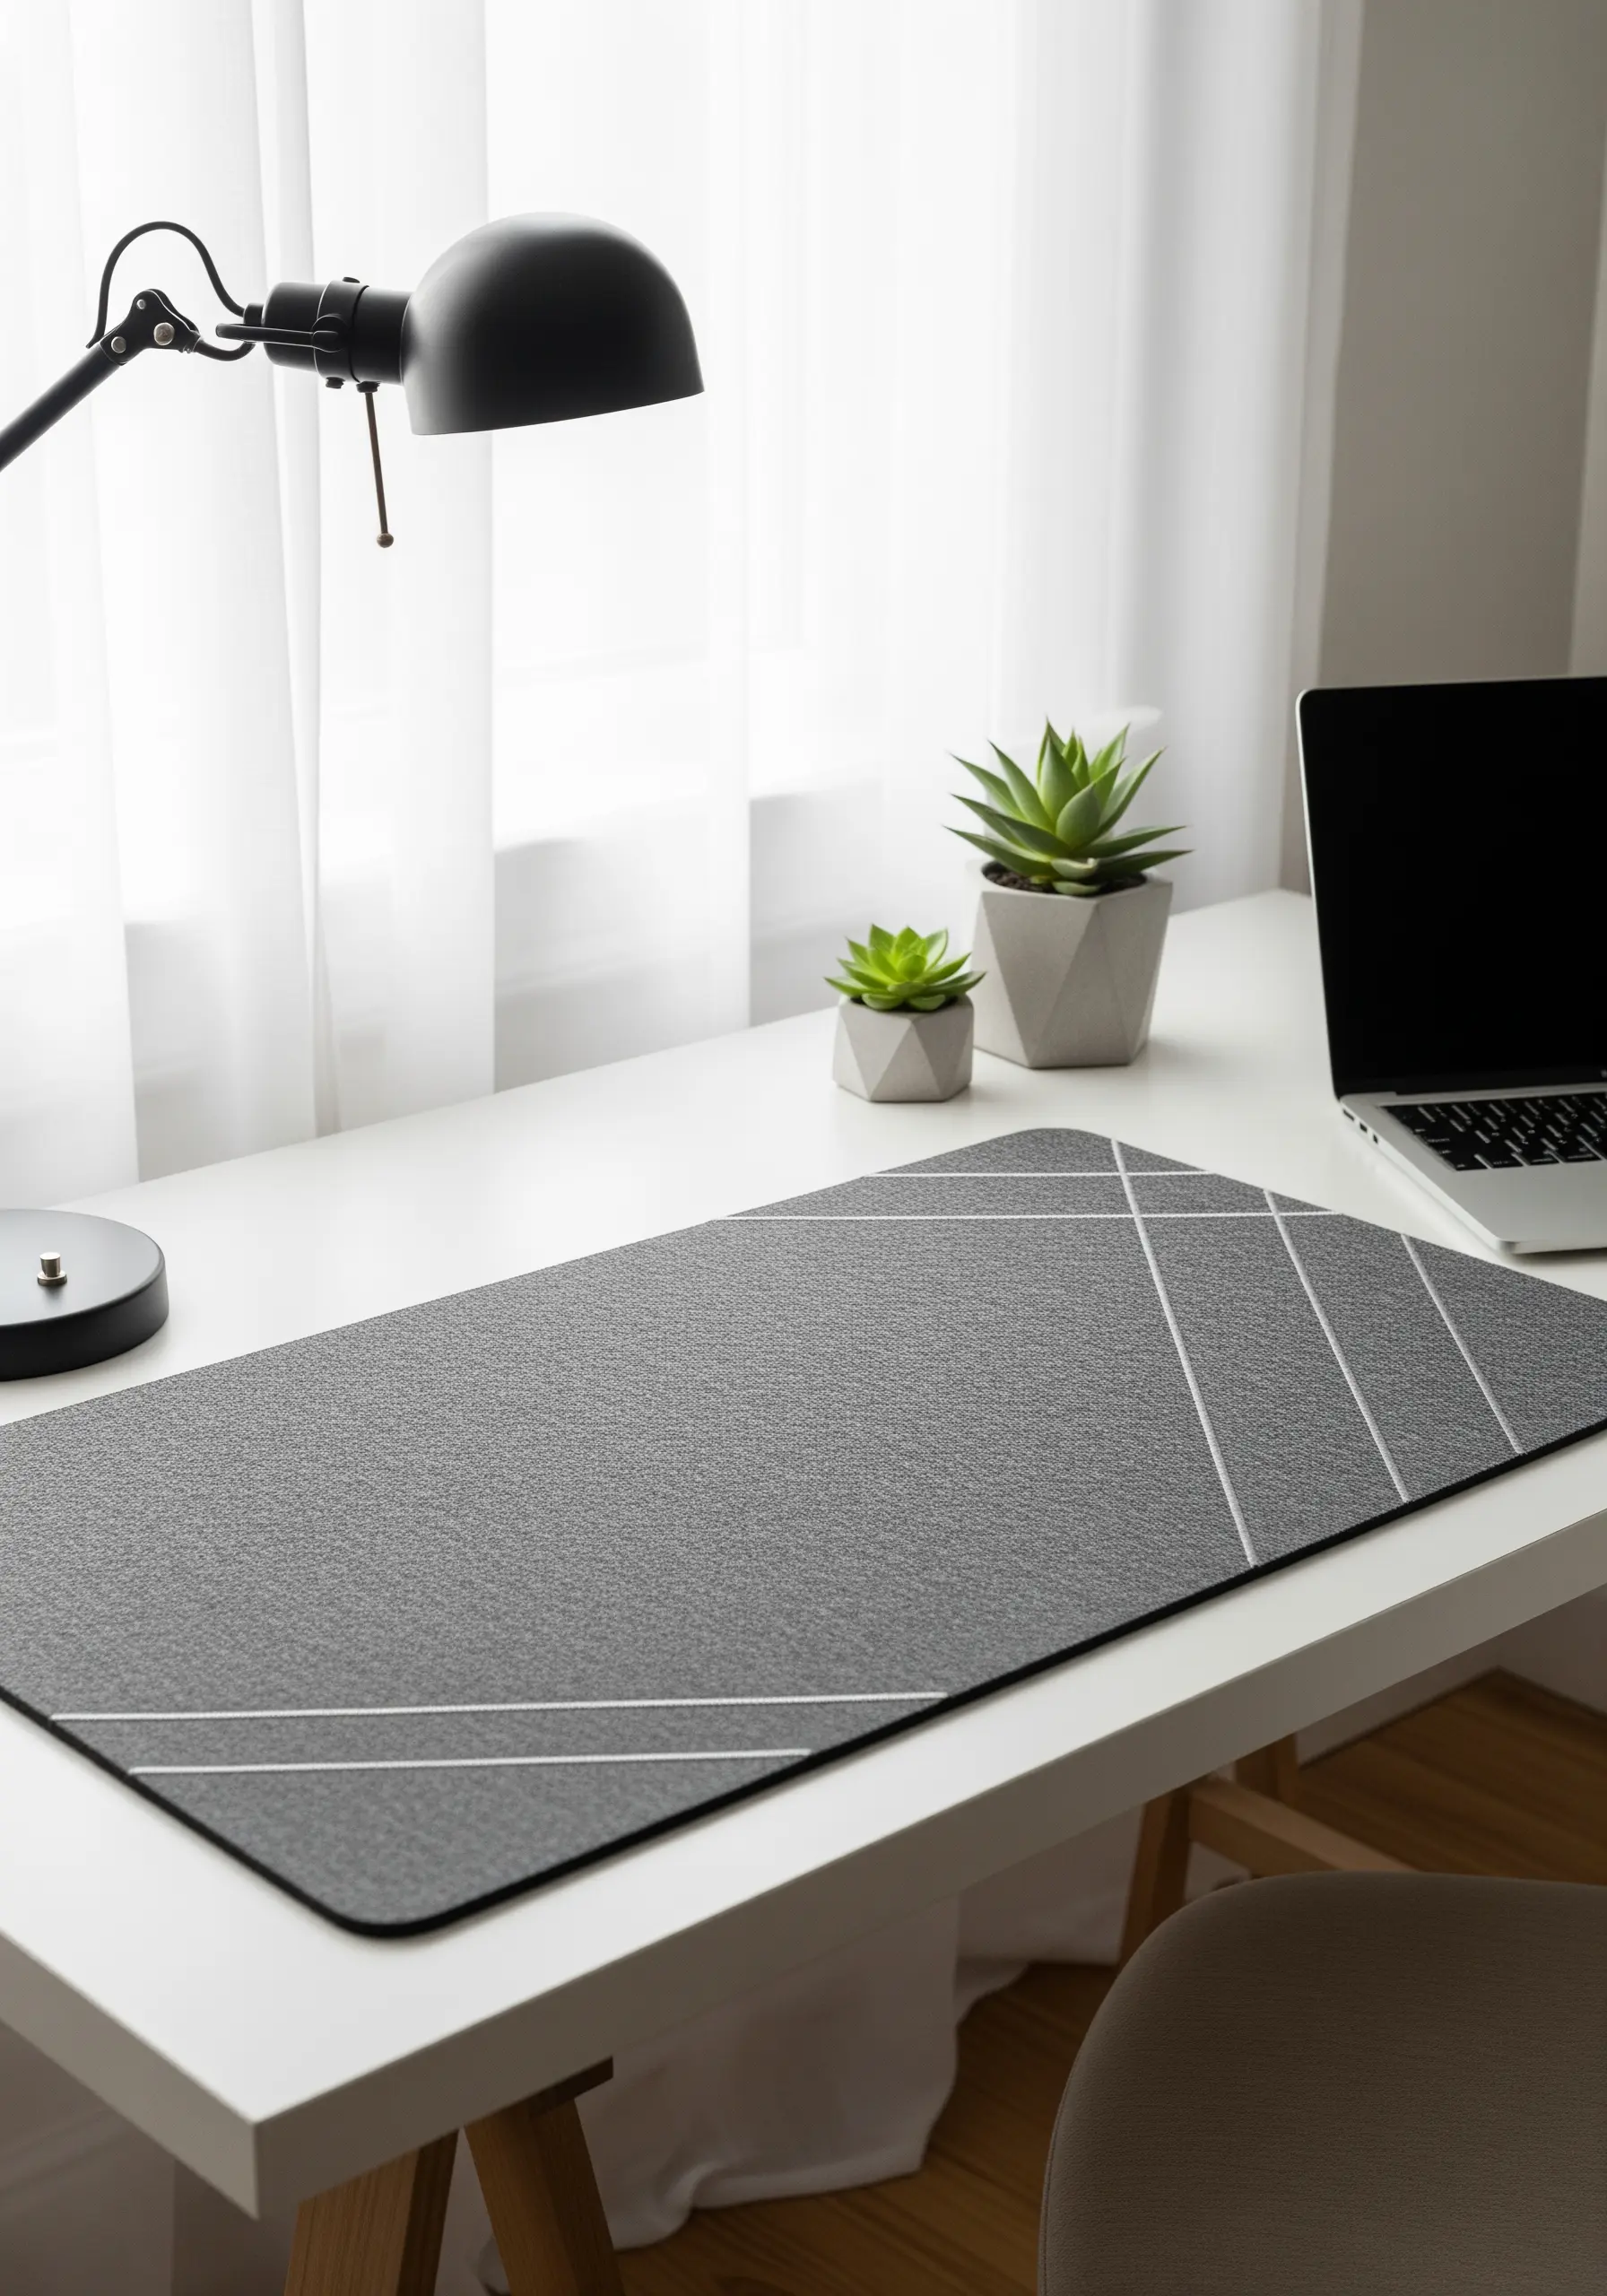
To achieve perfectly crisp, graphic lines on a desk mat, use the couching technique.
Lay down a strand of thicker thread or cord and anchor it to the surface with small, perpendicular stitches using a finer, less visible thread.
This method prevents the wobbly effect a standard backstitch can have over long distances, creating a clean, architectural line ideal for felt or heavy canvas.
The result is a controlled, professional finish that adds structure to your workspace.
2. Fluid Landscapes with Whipped Backstitch

Elevate a simple line-art design by transforming a standard backstitch into a fluid, unbroken line.
First, create your design using a basic backstitch.
Then, take a second length of the same thread and ‘whip’ it by passing your needle under each backstitch without piercing the fabric.
This technique smooths over the segmented appearance of the base stitch, resulting in a single, flowing line perfect for minimalist landscapes on linen or canvas.
3. Refined Grids with a Measured Running Stitch

Transform a plain office cushion by adding a subtle, tailored grid using a simple running stitch.
The key to a high-end finish is absolute consistency.
Use a removable fabric marker and a clear ruler to draw your grid before you begin, ensuring every stitch and space is uniform.
Opt for a slightly thicker thread, like a #8 pearl cotton, to give the pattern a quiet presence and a pleasing texture.
4. Functional Gridwork on Felt Panels
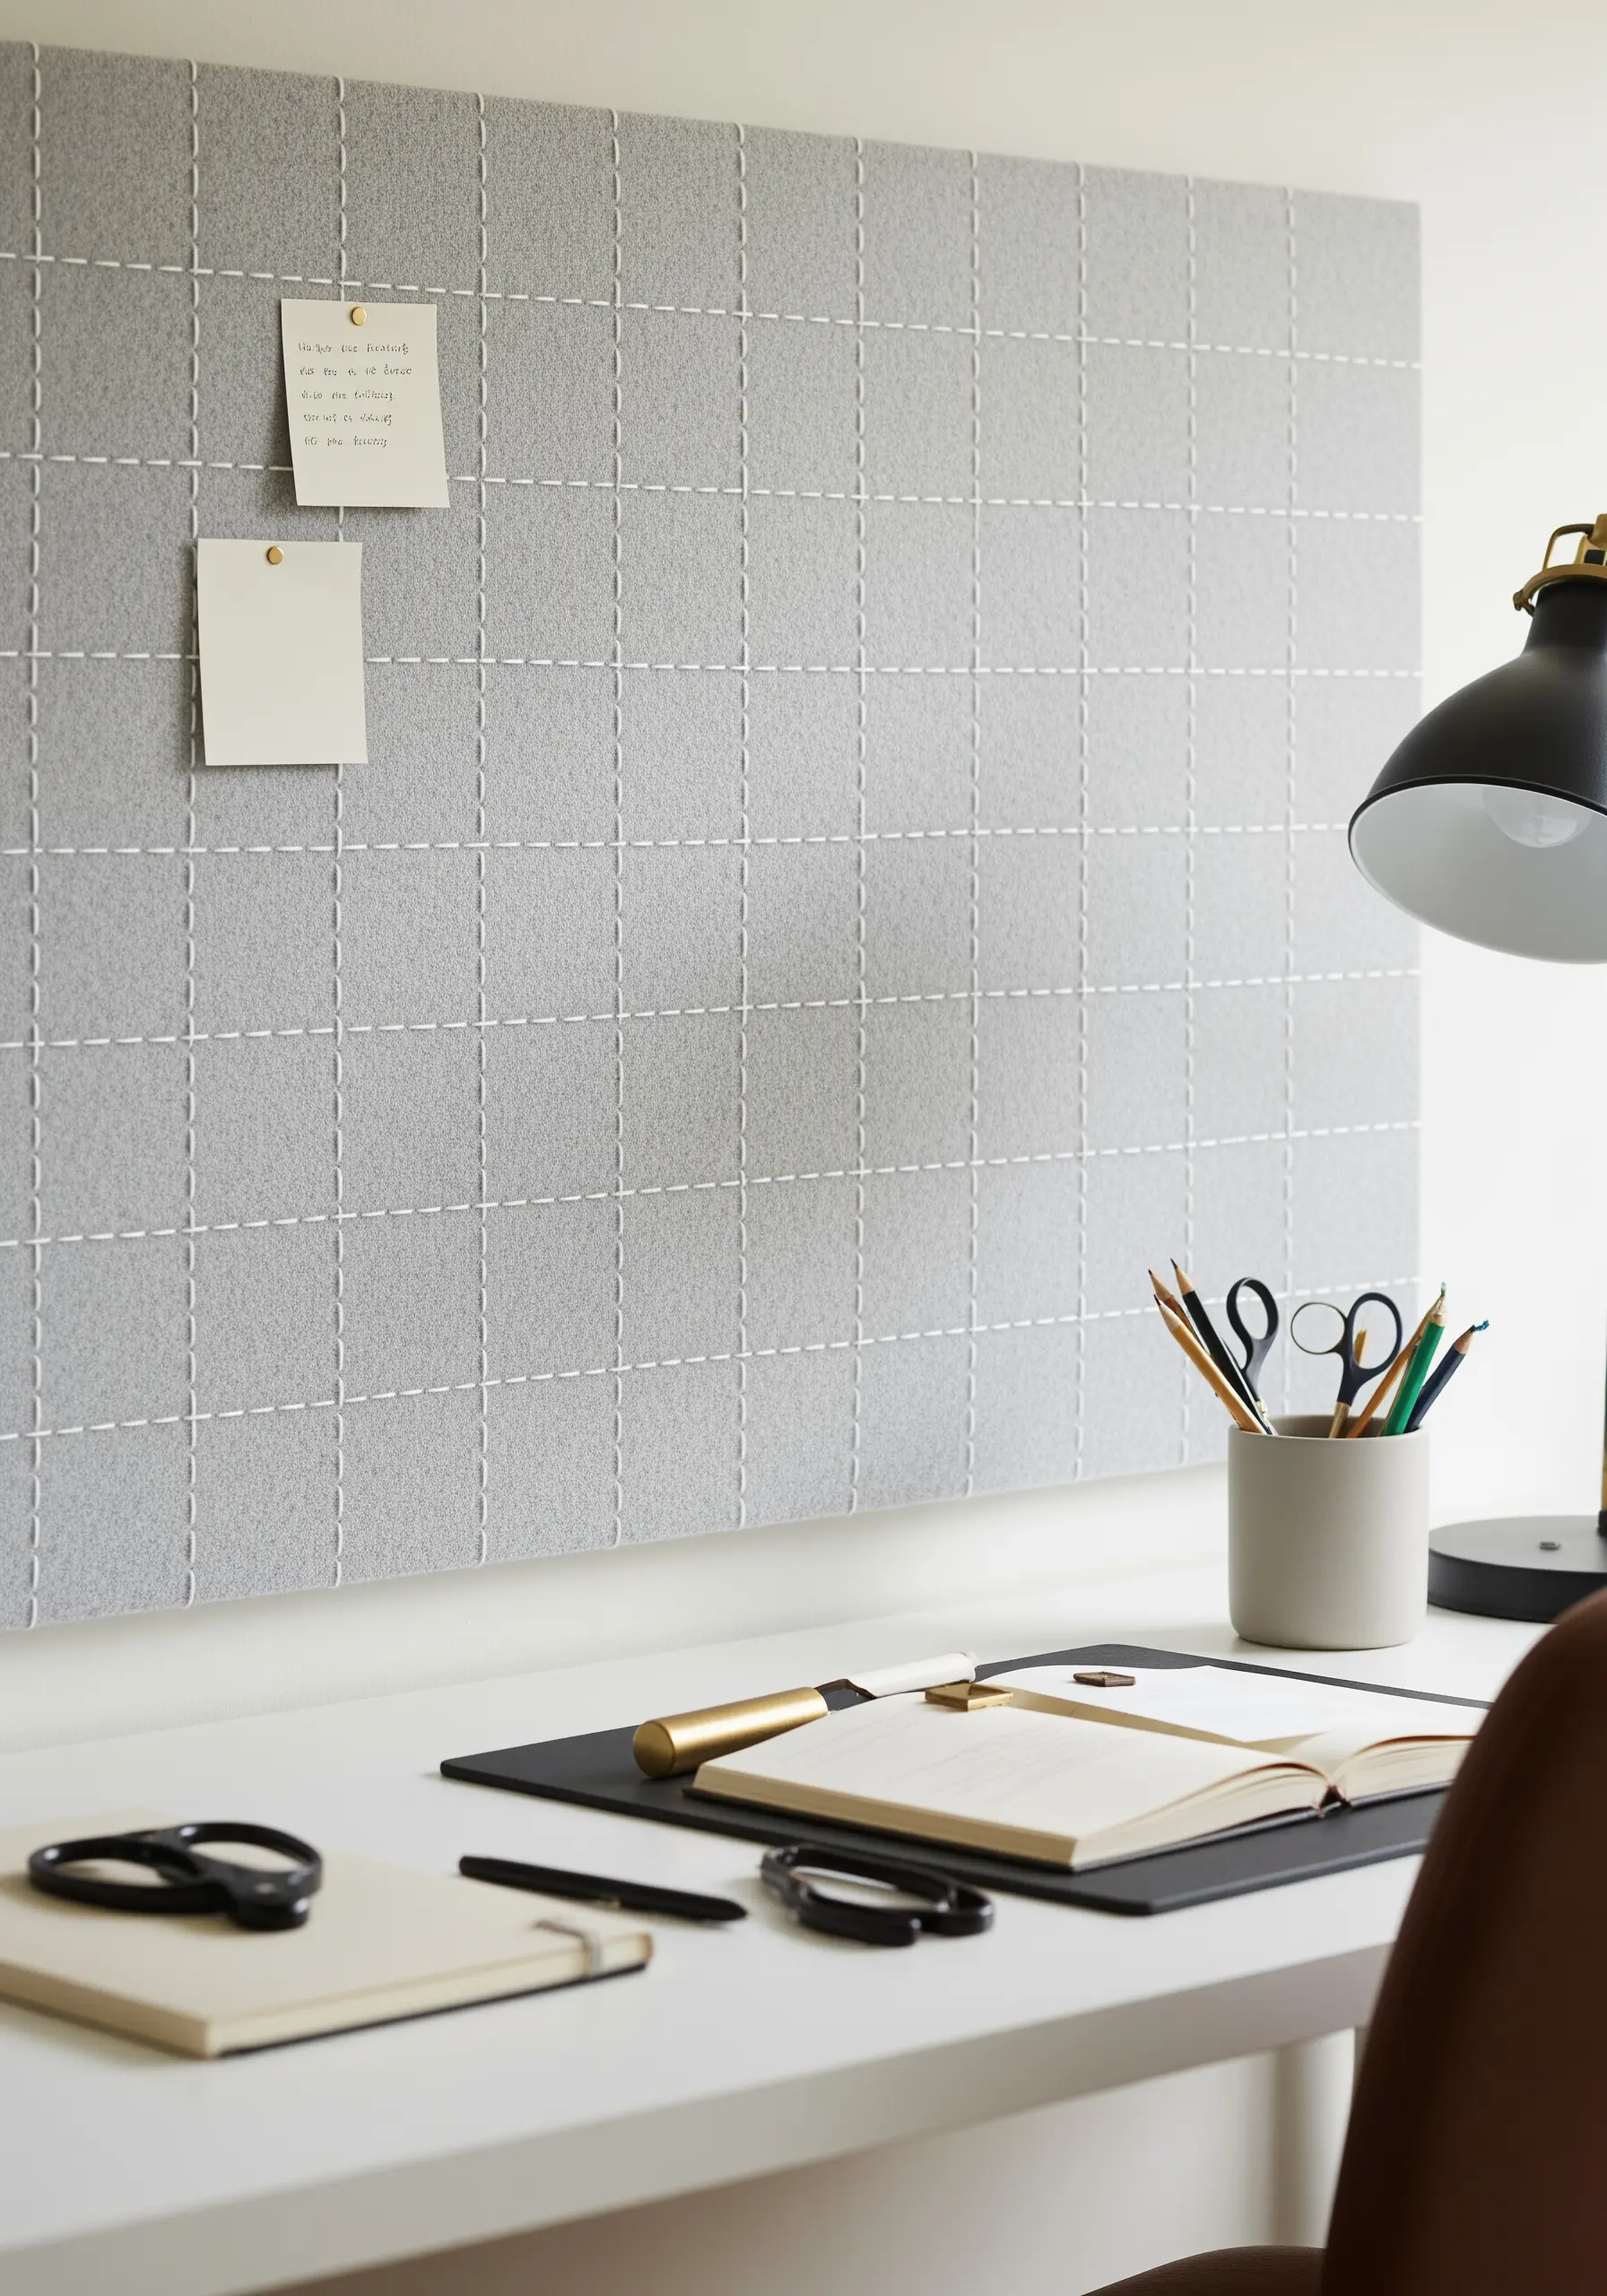
Turn a plain felt pinboard into a bespoke organizational tool with a hand-stitched grid.
Choose a durable, thick thread like #5 pearl cotton that won’t get lost in the texture of the felt.
Use a simple running stitch and a sharp, sturdy needle to work through the dense material.
This functional detail not only adds a touch of craft but also provides a visual structure for pinning notes and inspiration.
5. High-Impact Lettering with Raised Satin Stitch

For crisp, professional-looking labels on storage bins, use a satin stitch over a split-stitch outline.
First, trace your letters and outline them completely using a split stitch.
This creates a raised ‘railing’ that contains your satin stitches, preventing uneven edges and ensuring the thread doesn’t sink into the fabric weave.
Fill the shape with satin stitches laid perpendicular to the main direction of the letter for the smoothest coverage and a slightly padded effect.
6. Tailored Accents on Leather Edging
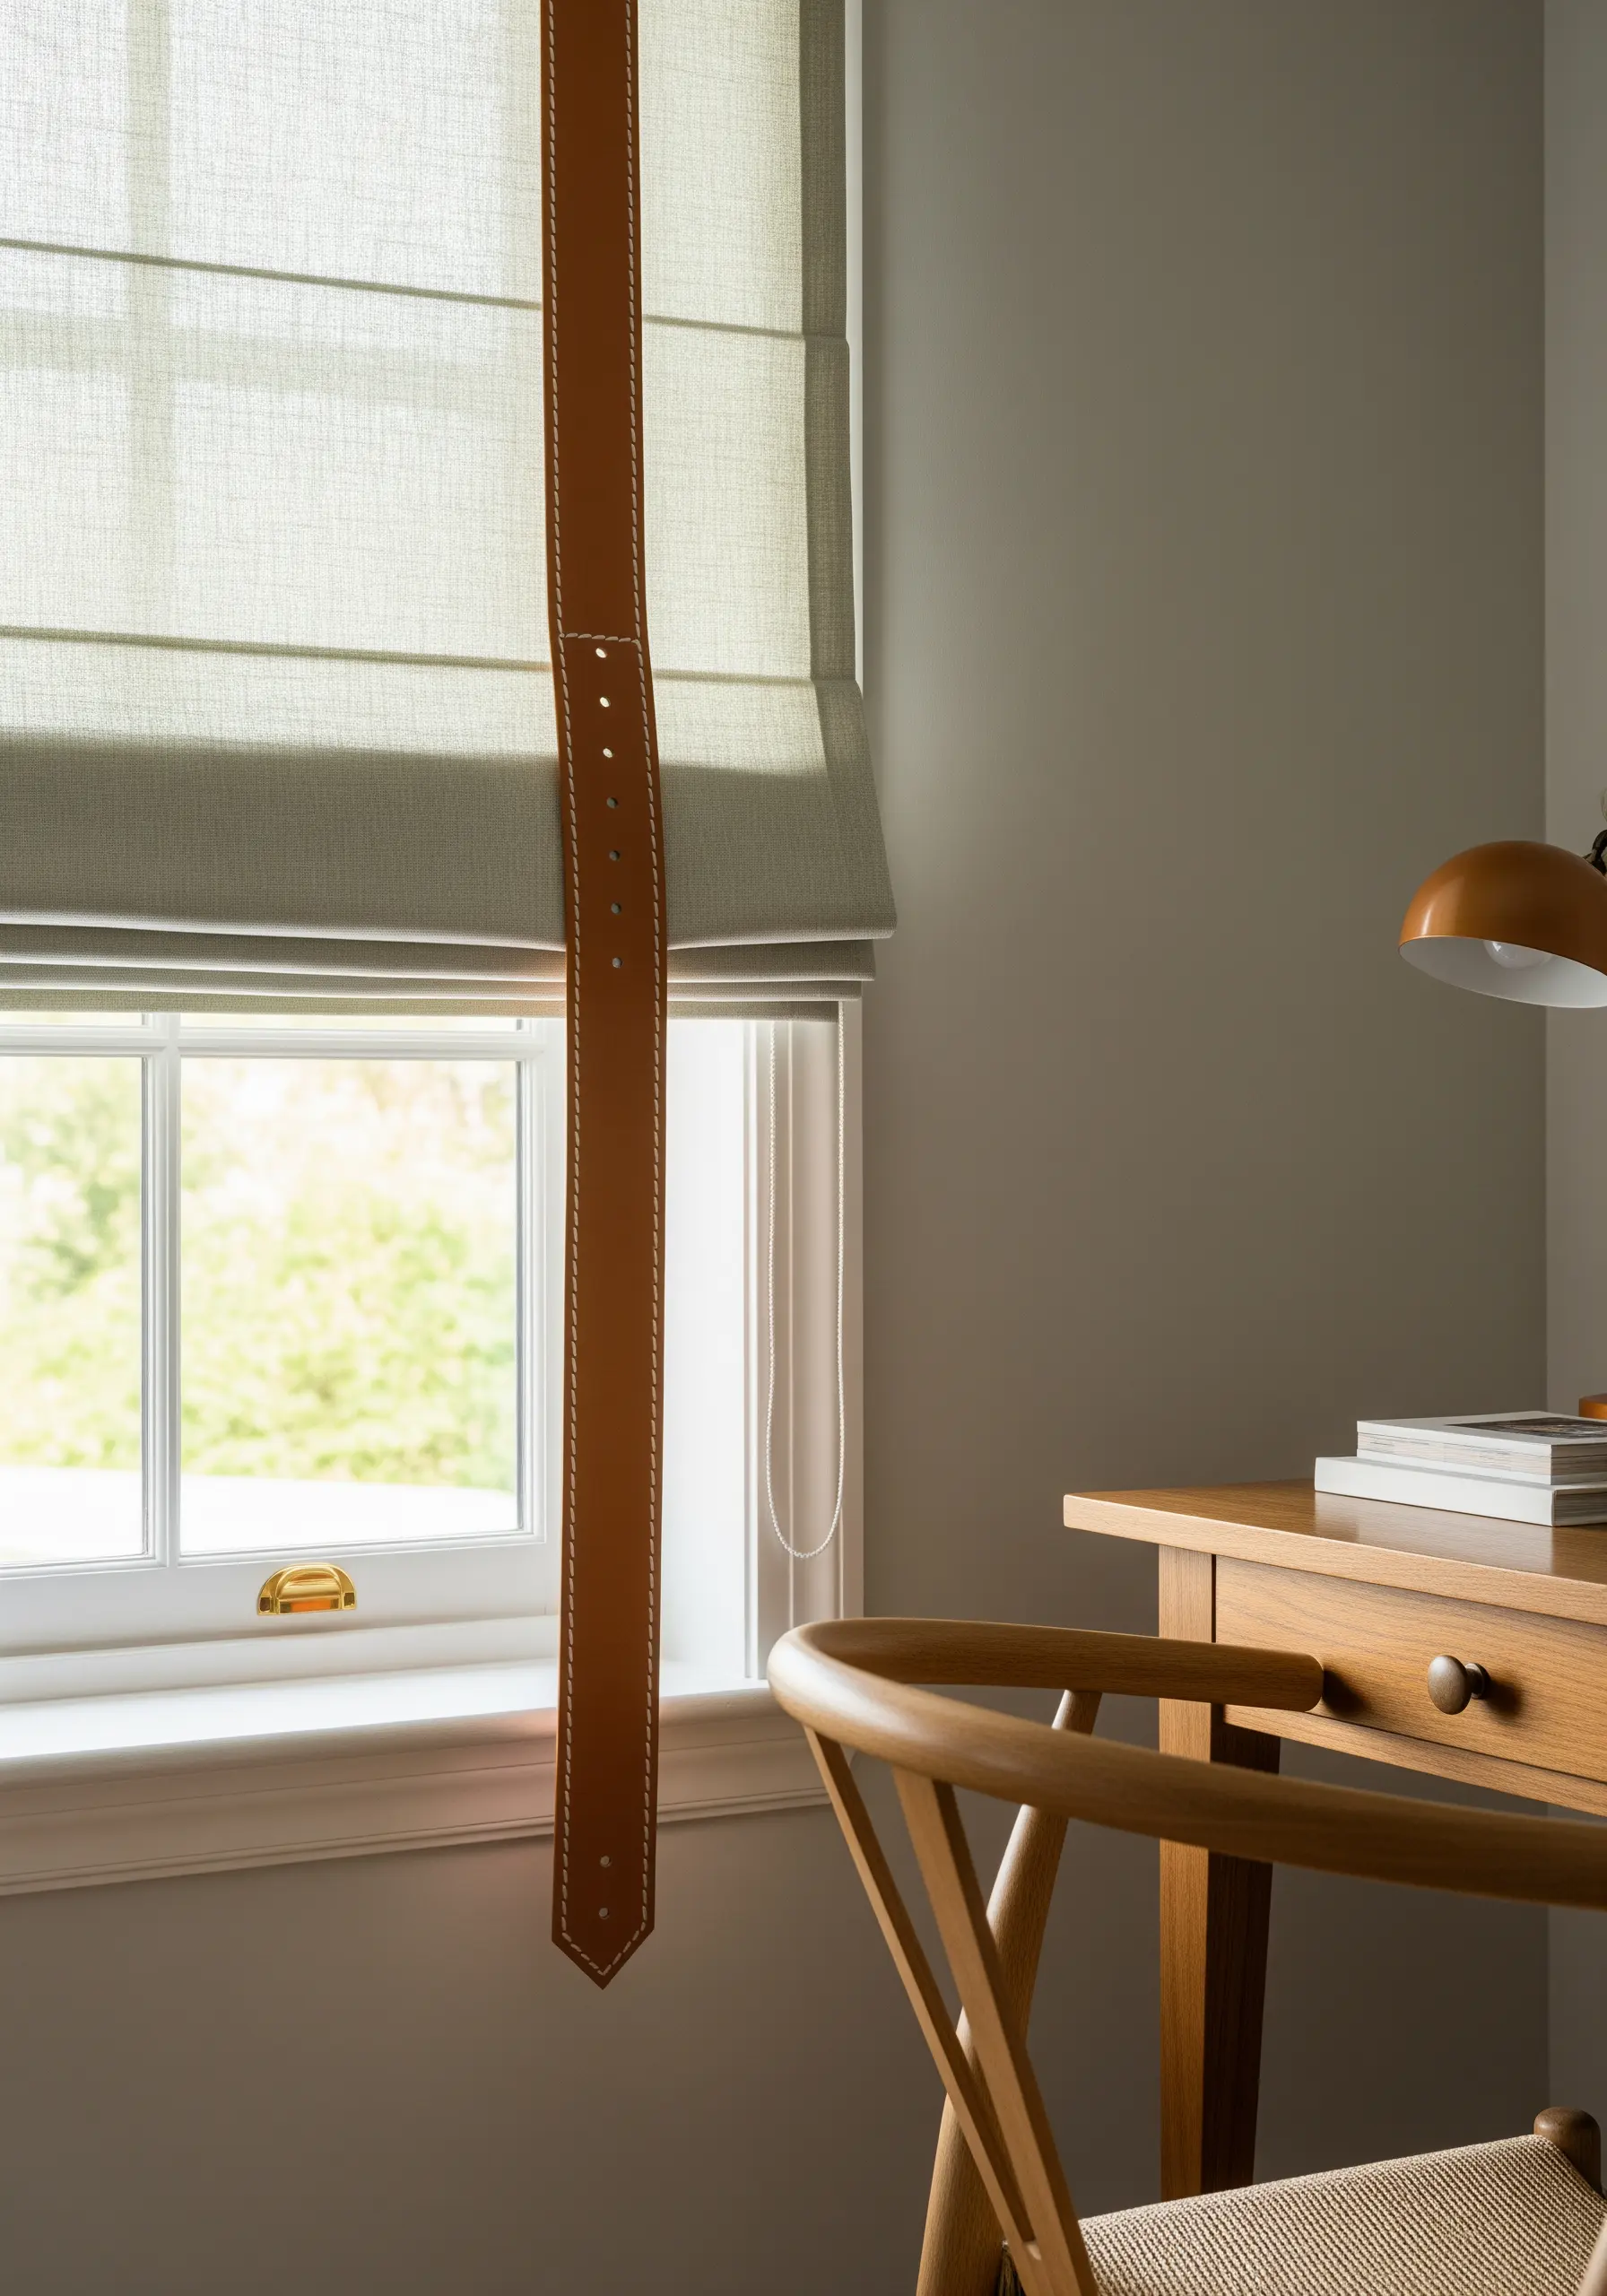
Stitching on materials like leather or high-quality vegan leather adds an instant touch of luxury.
Use a specialized leather needle, which has a triangular point designed to pierce the material cleanly rather than tear it.
A simple, evenly spaced running stitch along the edge provides a classic, tailored finish that highlights the object’s form.
Lengthen your stitch slightly to achieve a more modern, refined aesthetic.
7. Graphic Icons for Tech Organization
Bring order to cable chaos with small, embroidered felt organizers.
Use a simple backstitch with two strands of floss to create clean, recognizable icons for power, USB, and other connections.
Felt is an ideal surface as it’s stable, won’t fray, and doesn’t require a hoop.
Choose a high-contrast thread color, like a vibrant turquoise on charcoal grey, to make the symbols instantly identifiable.
8. Sculptural Edges with a Blanket Stitch
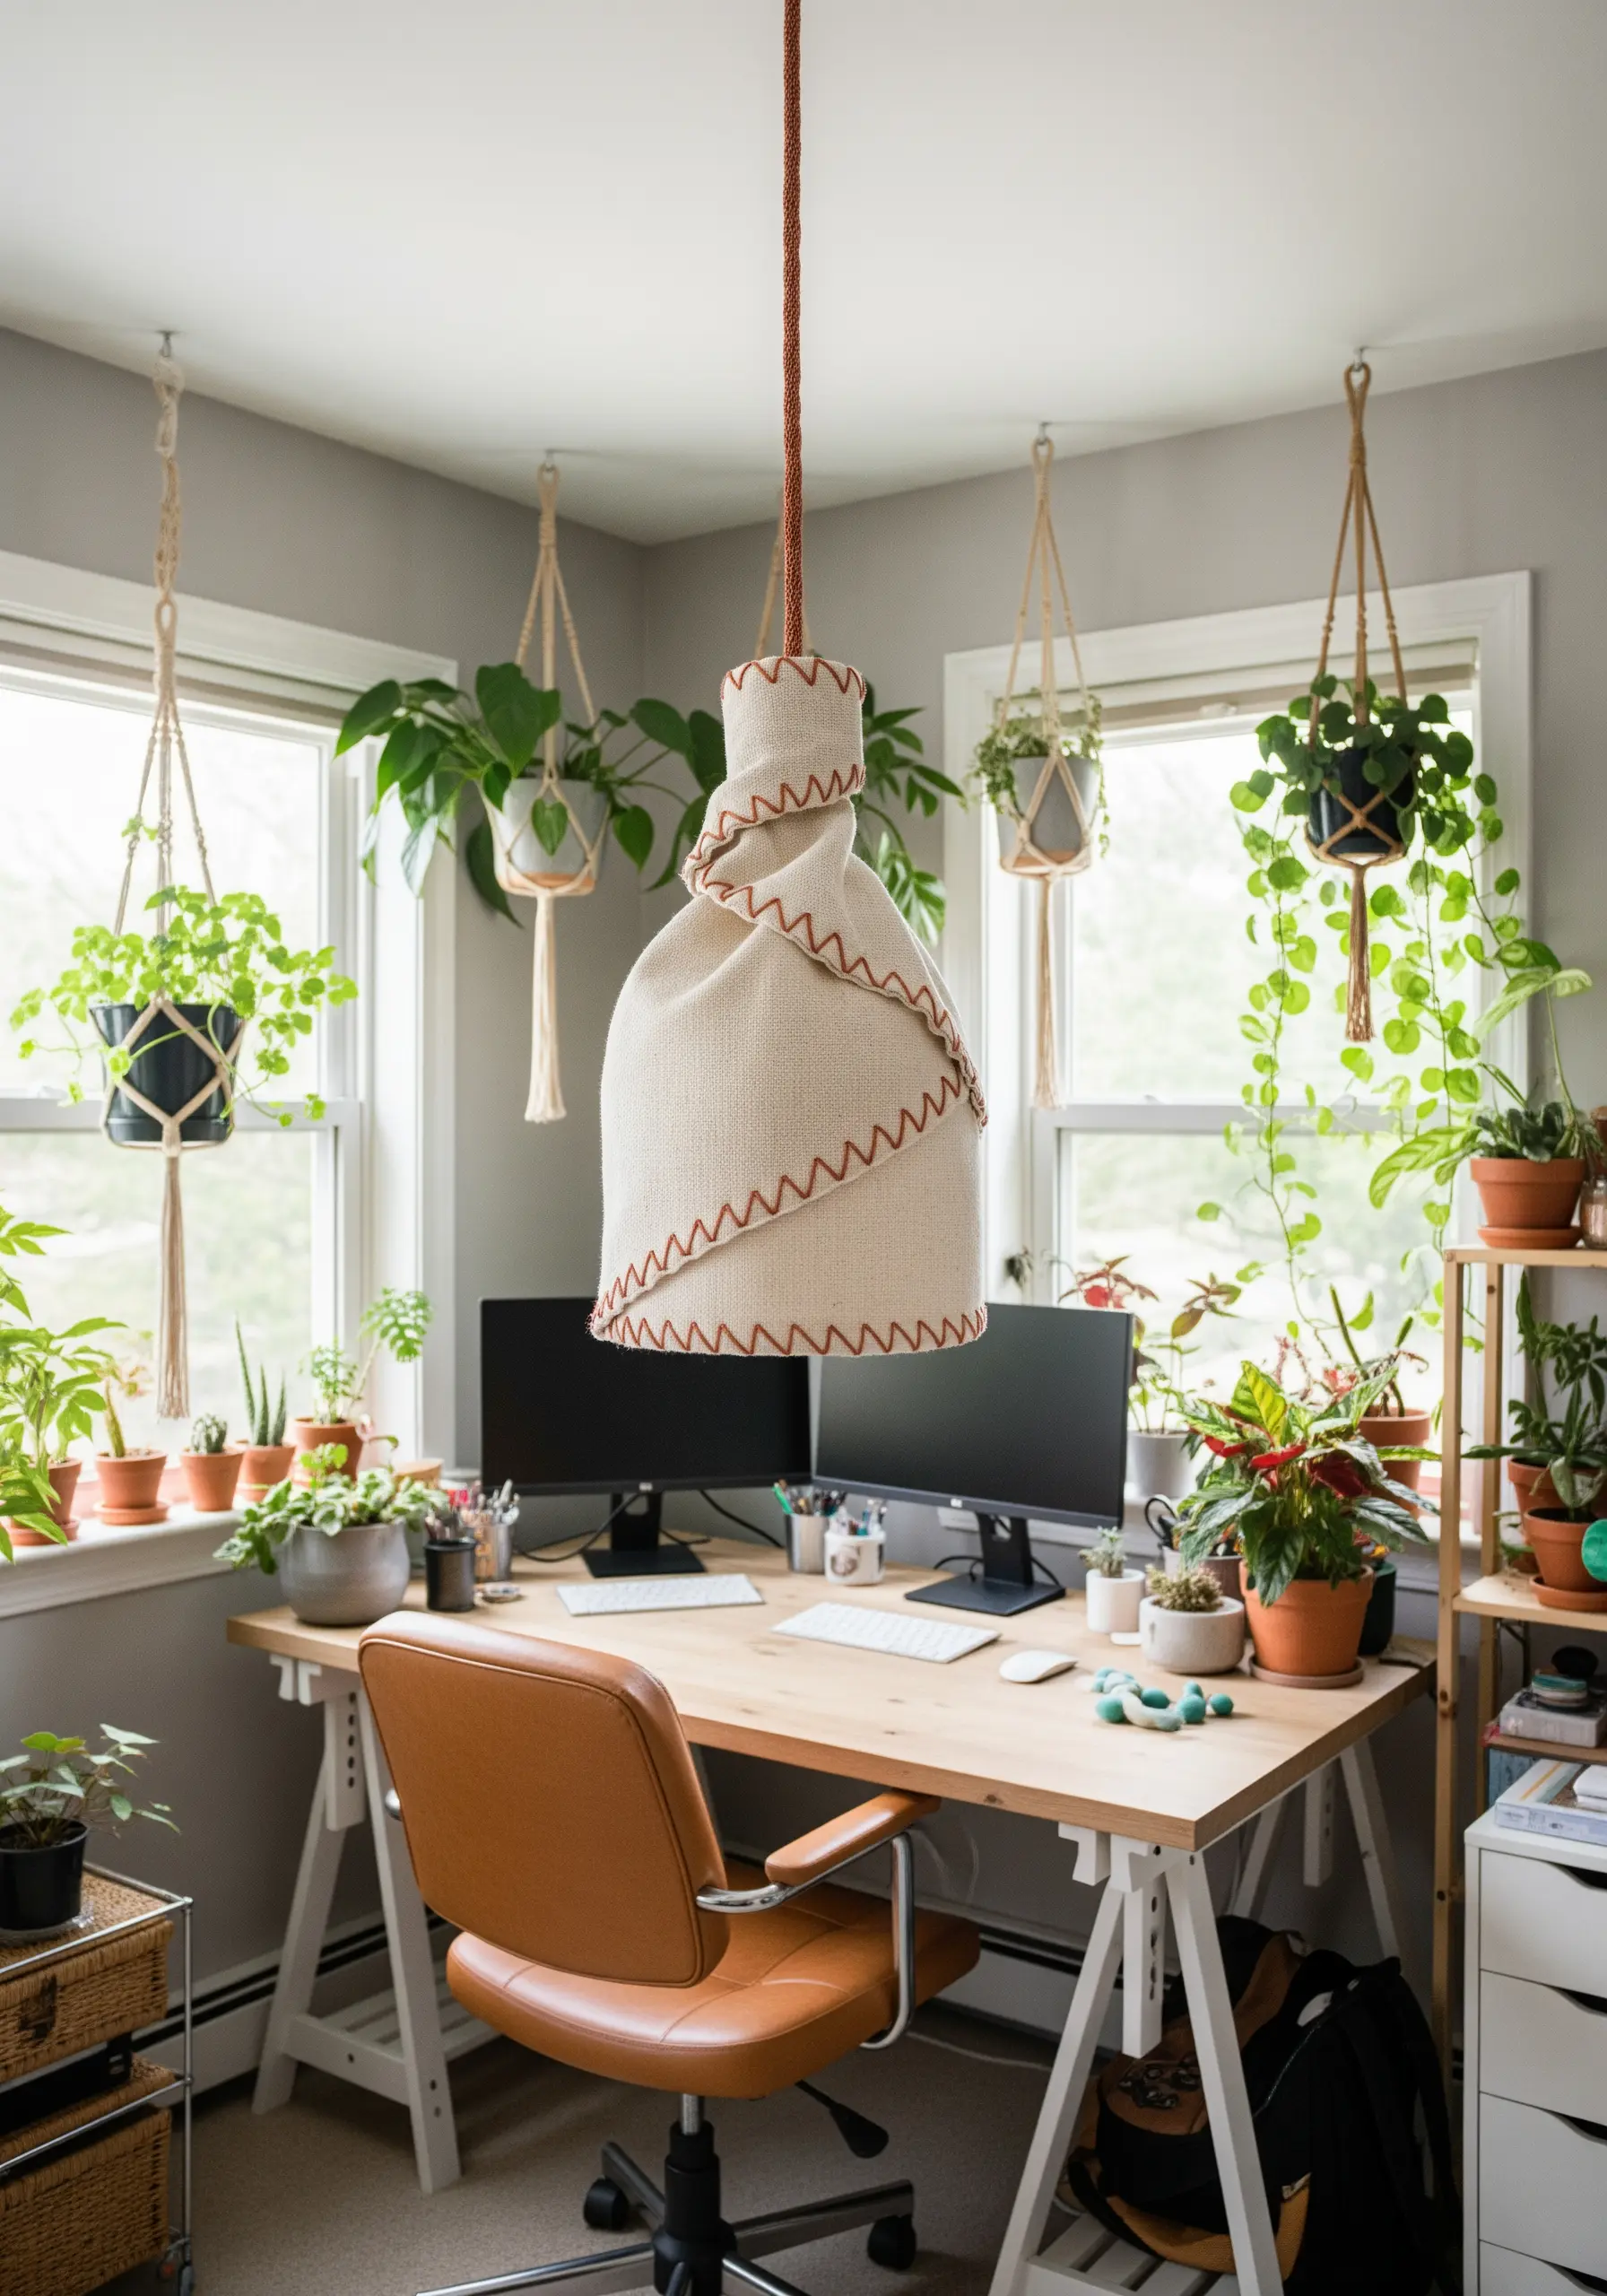
Add character to a plain fabric lampshade by embellishing its edge with a bold, textural stitch.
A hand-worked blanket stitch or zigzag stitch, sewn with a heavier thread like tapestry wool, creates an immediate sculptural quality.
The contrast between the flat plane of the fabric and the dimensional stitch draws the eye and turns a simple light source into a unique decorative object.
9. Modernist Lines on Filing Cabinets

Soften the hard look of a metal filing cabinet by adding fabric-covered panels embellished with simple stitches.
Before attaching the panels, add a series of vertical running stitches in a contrasting thread.
This creates an impactful graphic element with minimal effort.
Using a variegated thread can add subtle color shifts, giving the simple pattern more depth and visual interest.
10. Geometric Borders for Everyday Objects
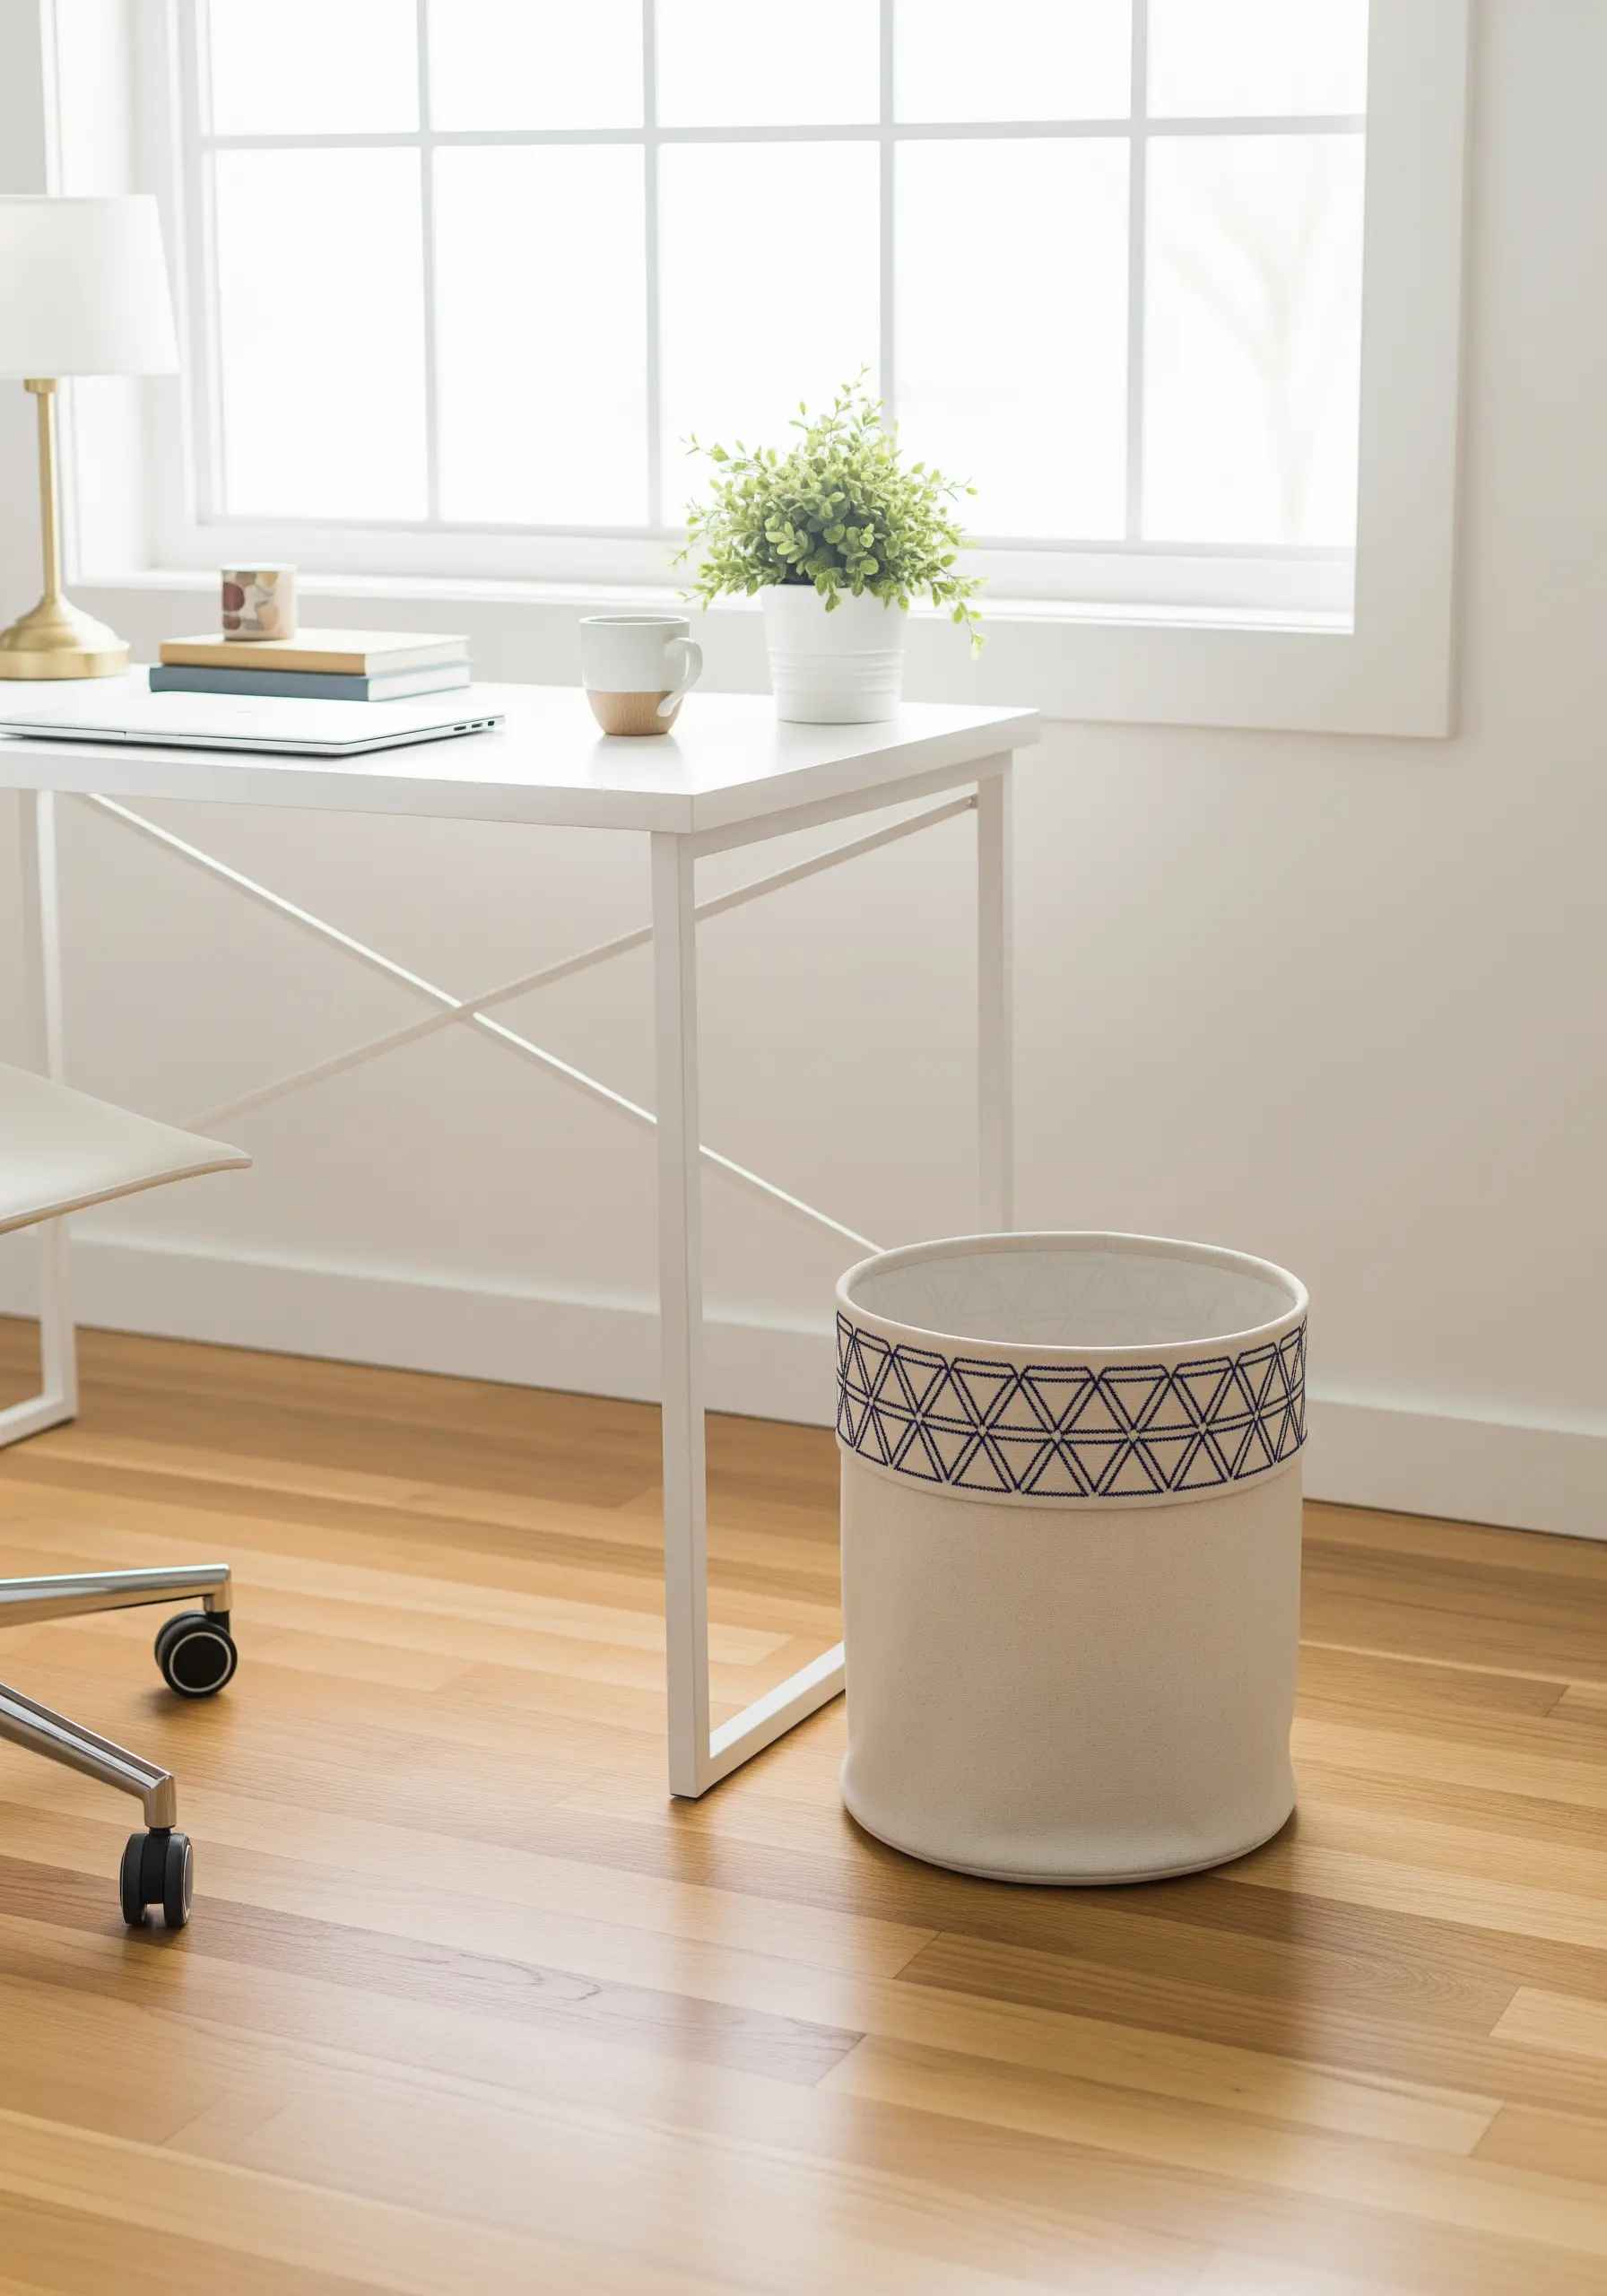
Elevate a utilitarian object like a wastebasket with a clean geometric border.
To ensure your repeating pattern is flawless, use a water-soluble stabilizer.
Draw your design onto the stabilizer, stick it to the fabric, and stitch directly through it using a precise backstitch.
When you’re finished, a quick rinse dissolves the stabilizer, leaving behind only your perfectly executed embroidery.
11. Celestial Motifs with French Knots
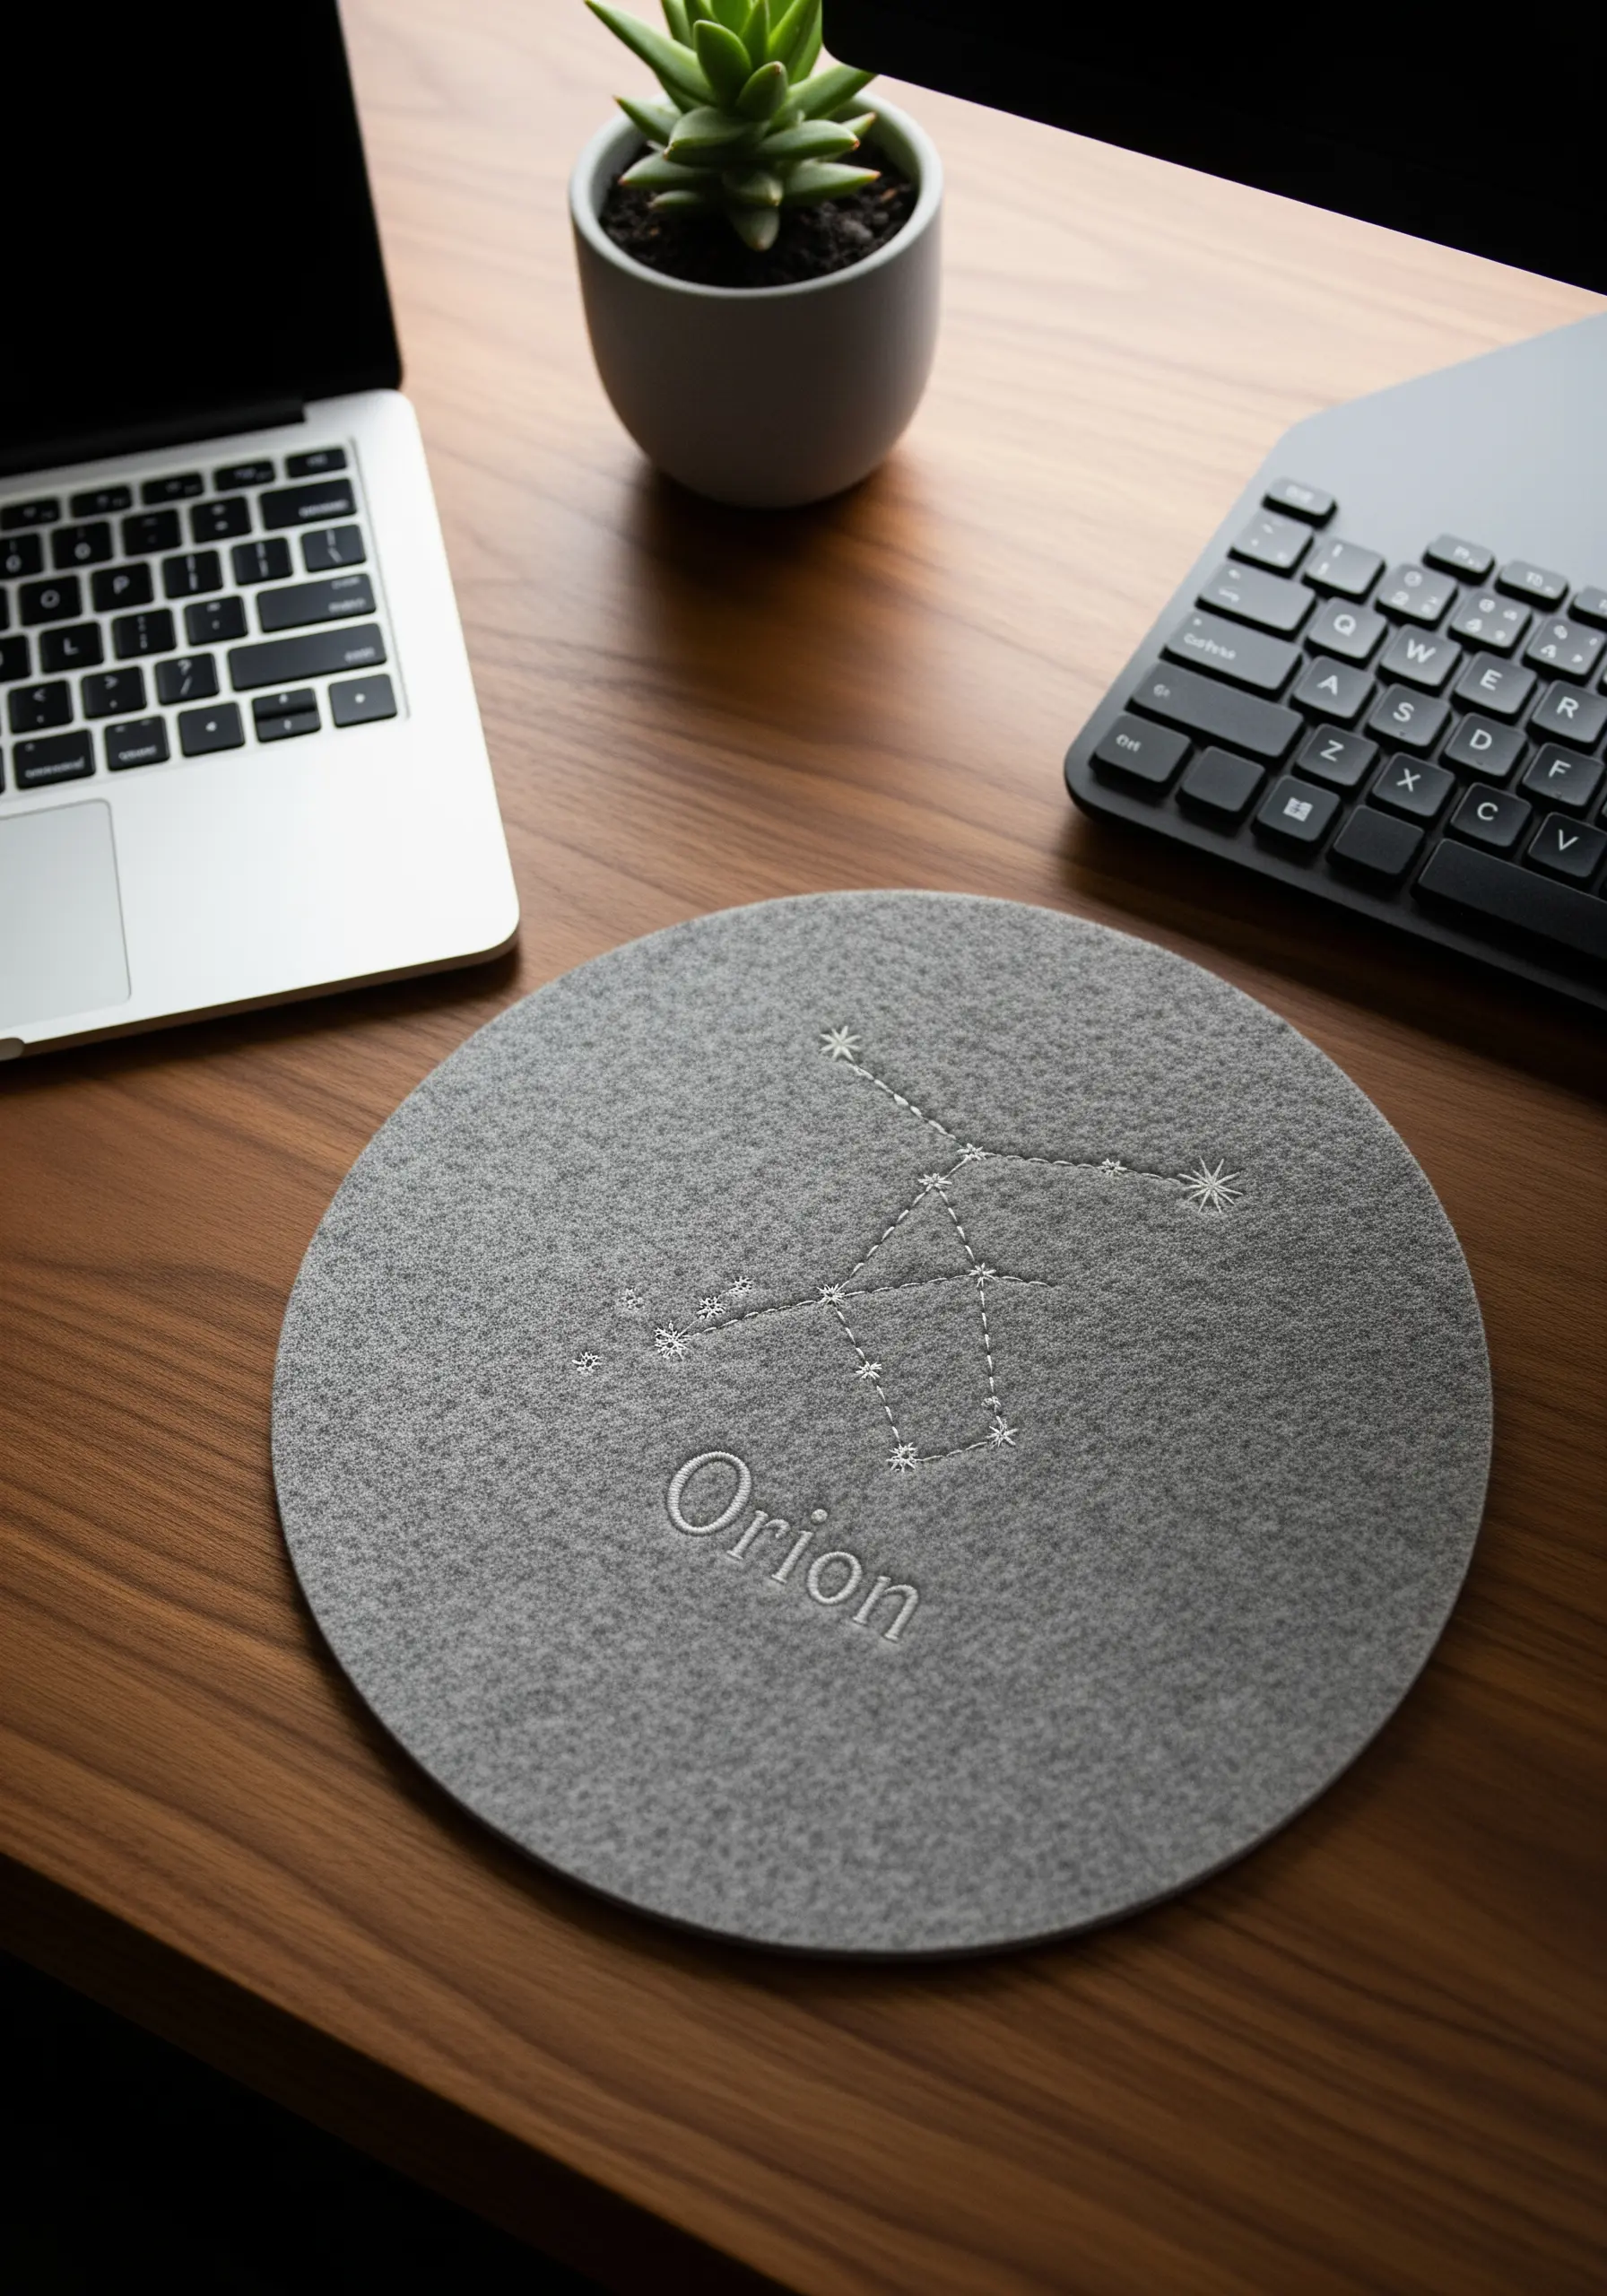
Add a personal touch to a felt mousepad by stitching your favorite constellation.
Use tiny French knots for the stars—wrapping the thread just once around your needle creates a small, tight dot.
Connect the stars with a delicate backstitch using only a single strand of floss.
The combination of textural knots and fine lines perfectly captures the look of a celestial map.
12. Embellished Fabric Edges for Shelving
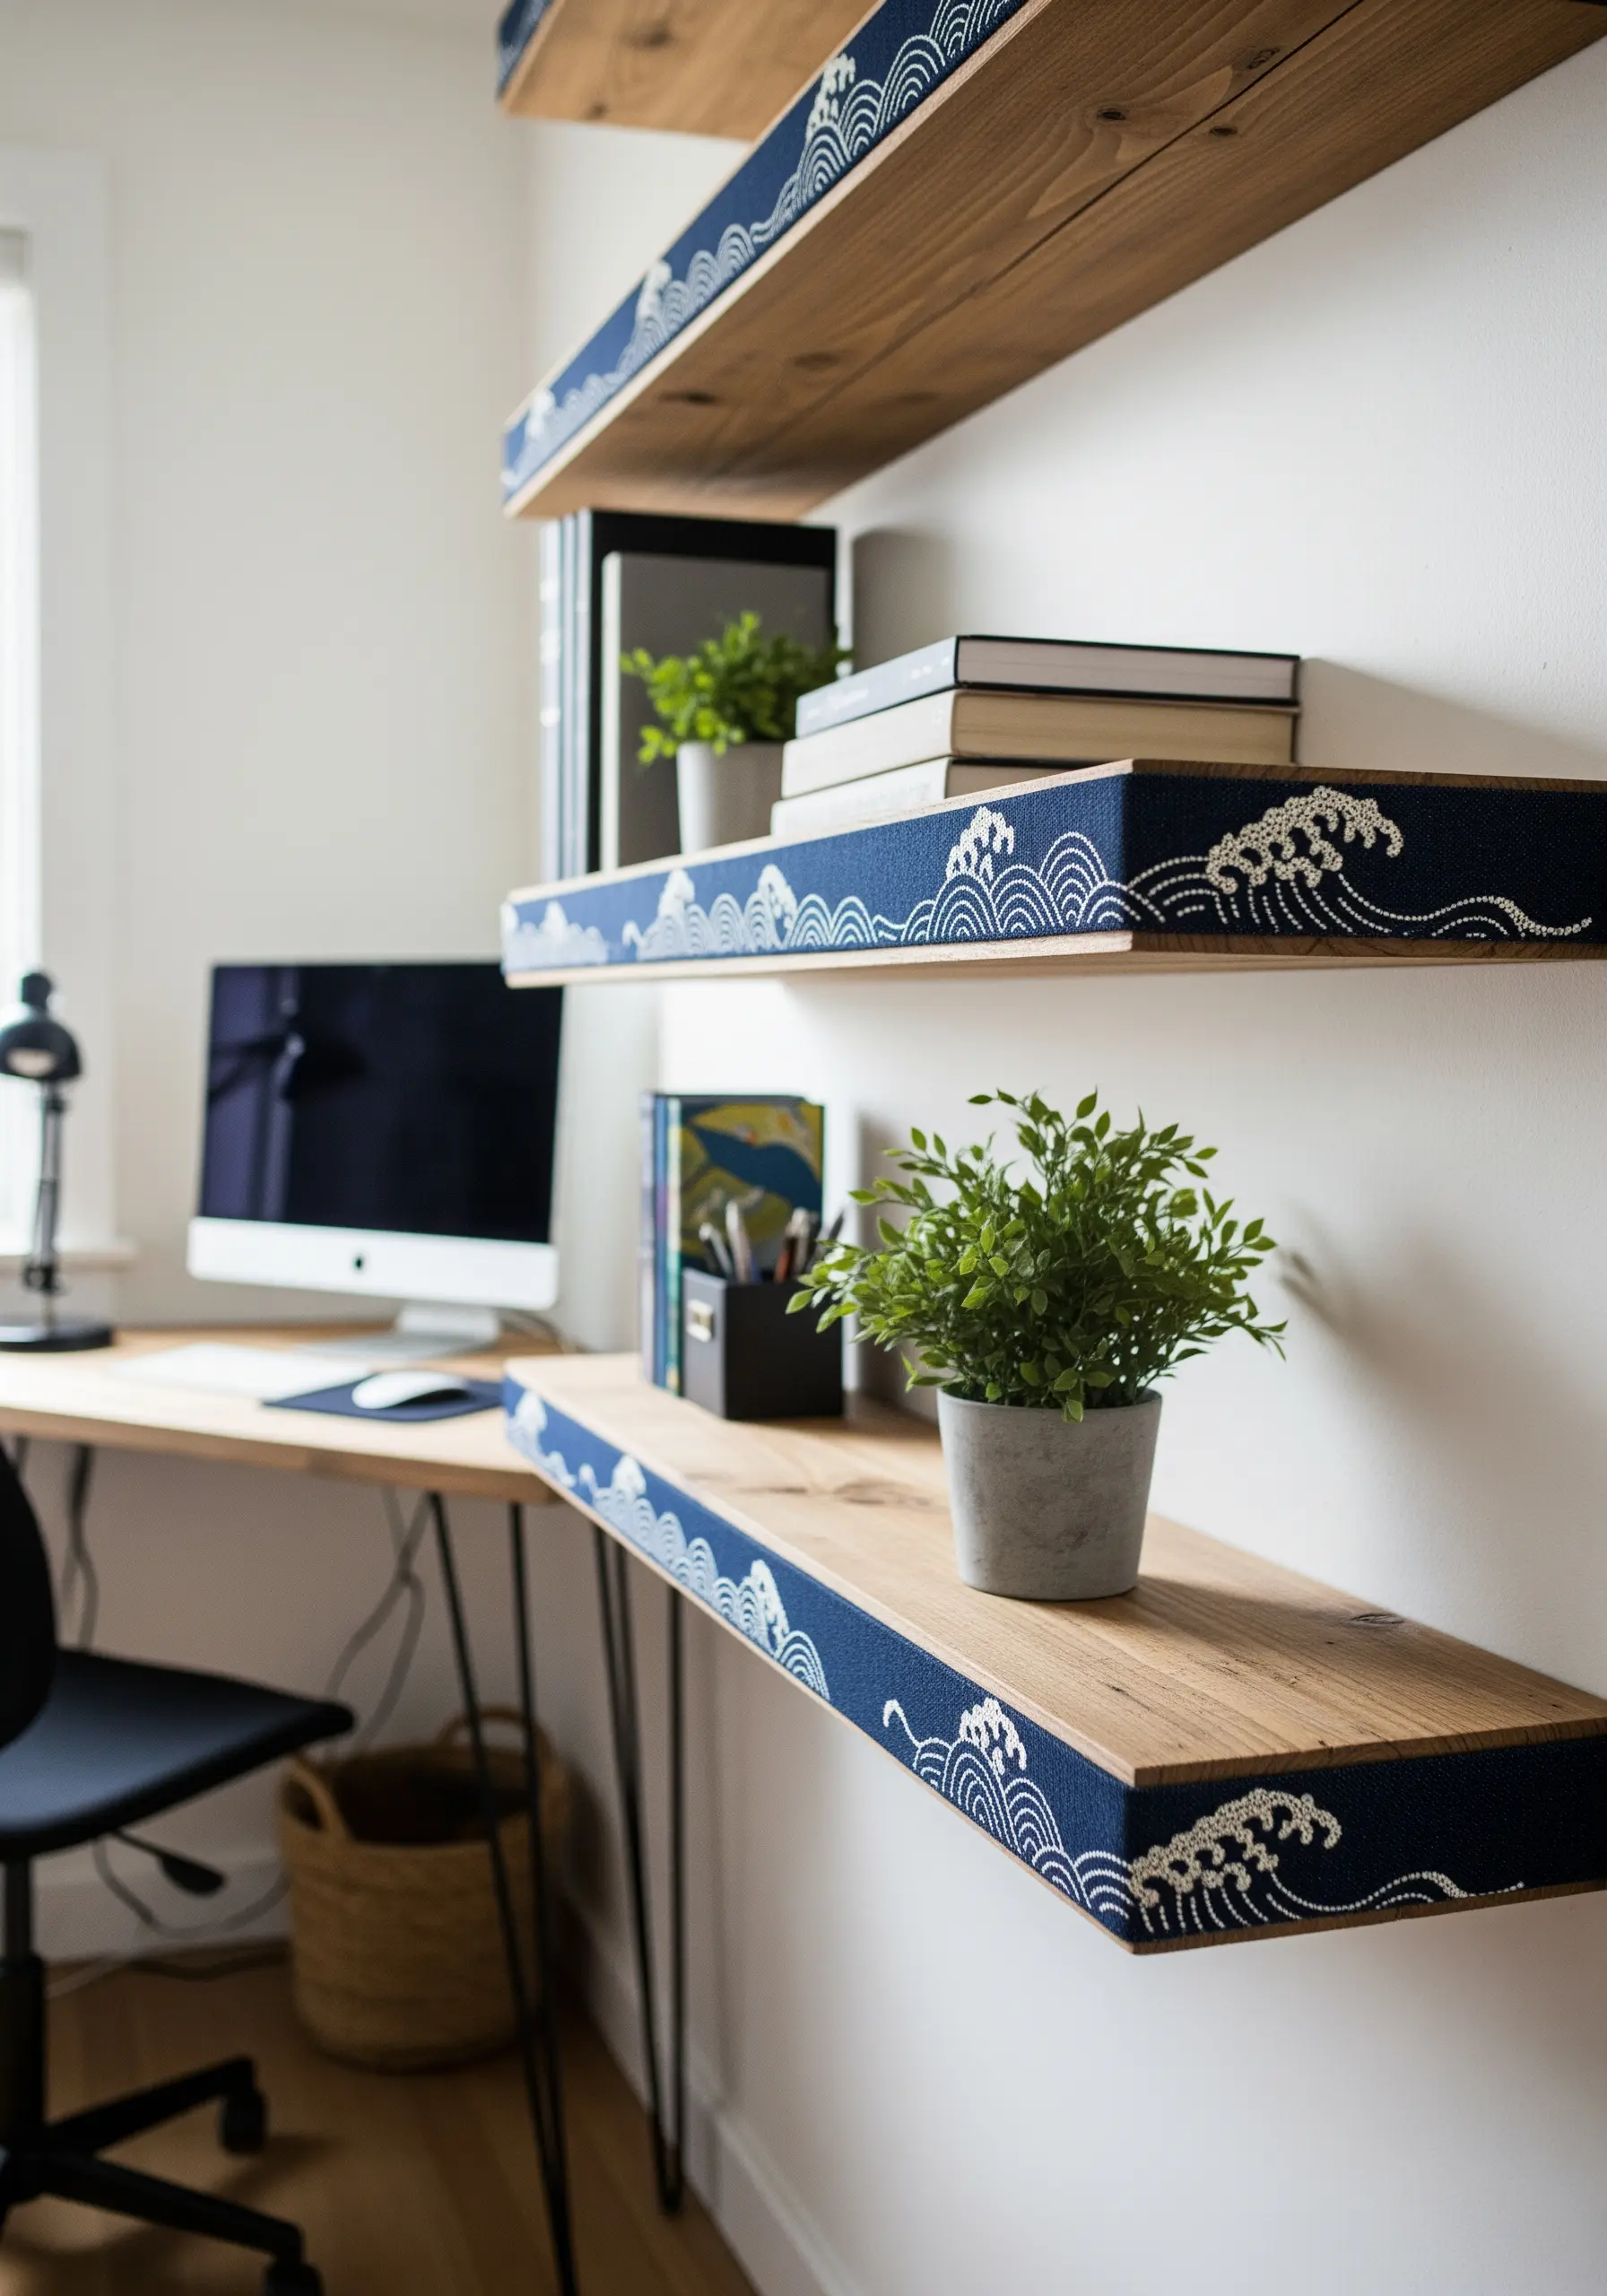
Introduce an unexpected layer of detail to your office shelves with custom embroidered edging.
Stitch a repeating pattern, like the Japanese Seigaiha wave, onto a durable strip of canvas or linen.
Secure the finished fabric strip to the front edge of each shelf with a strong fabric adhesive for a clean, integrated finish.
This technique adds color, pattern, and a truly bespoke feel to your storage.
13. Seam Highlighting with Contrasting Topstitching
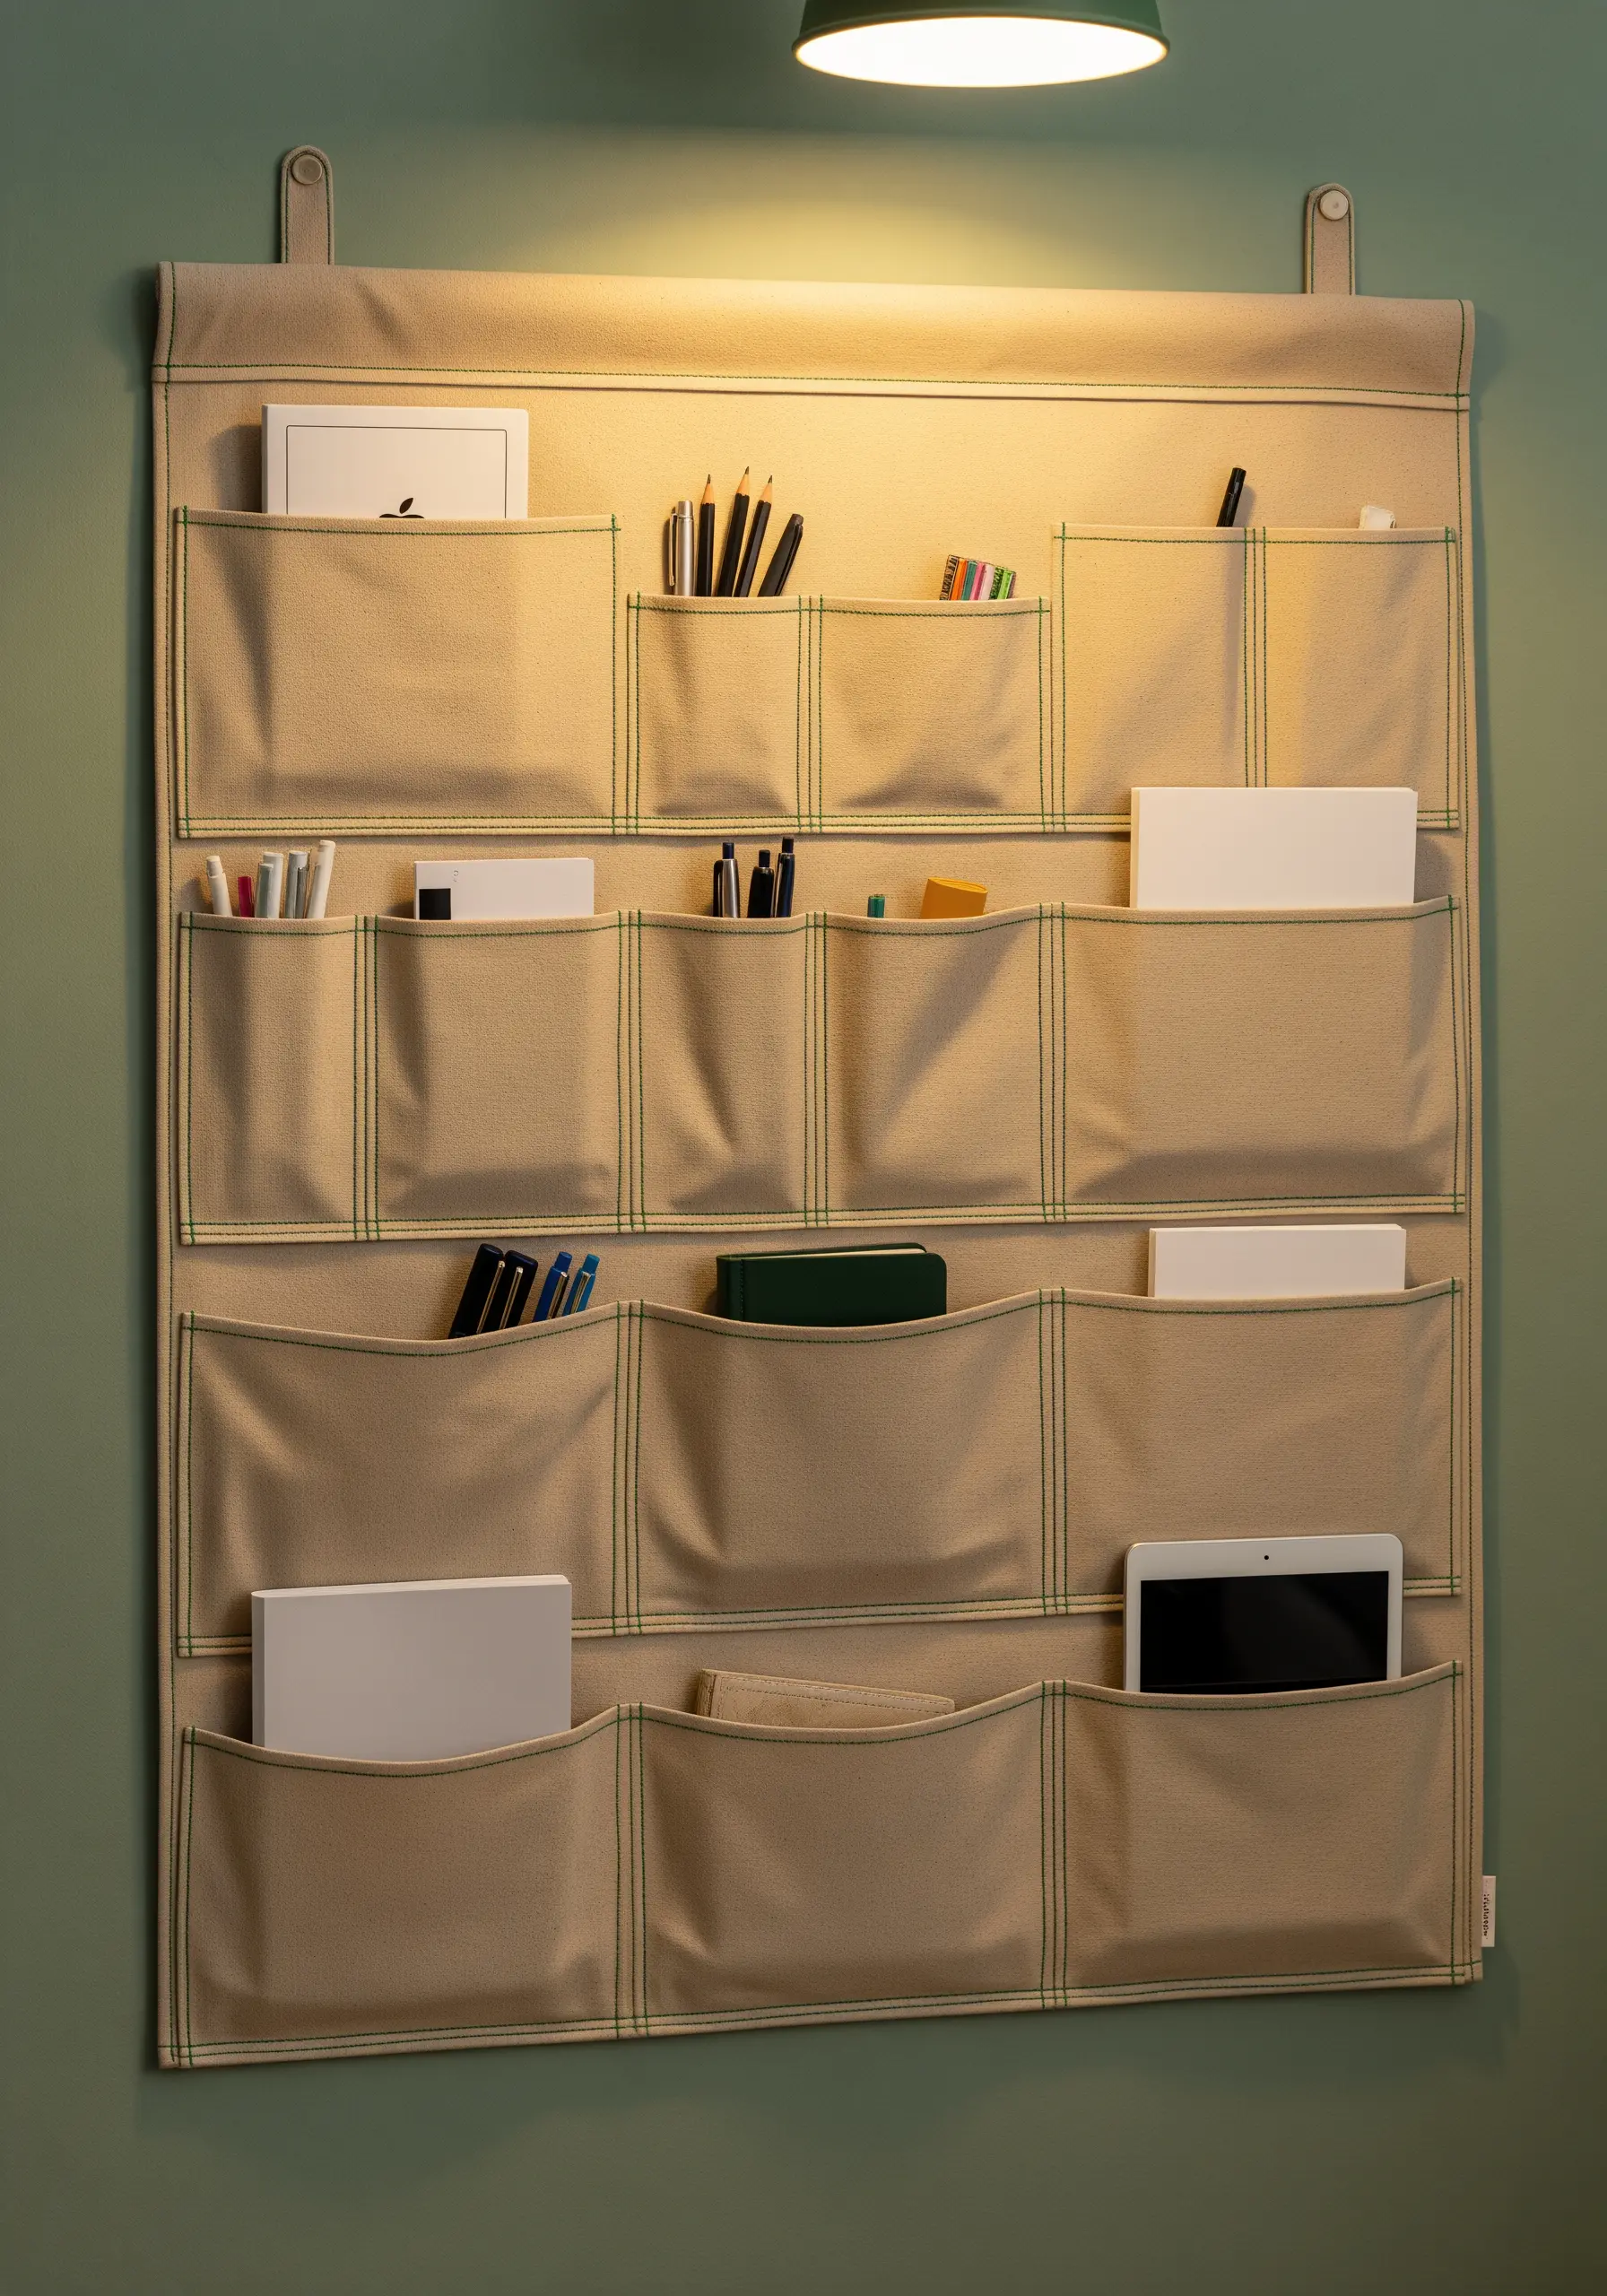
Turn functional construction seams into an intentional design element on a wall organizer.
Instead of using a matching thread, choose a contrasting color for all your topstitching.
This simple switch highlights the lines and shapes of the pockets, adding a graphic quality to the finished piece.
Use a slightly heavier thread to make the lines more prominent and durable.
14. Botanical Silhouettes Using Negative Space
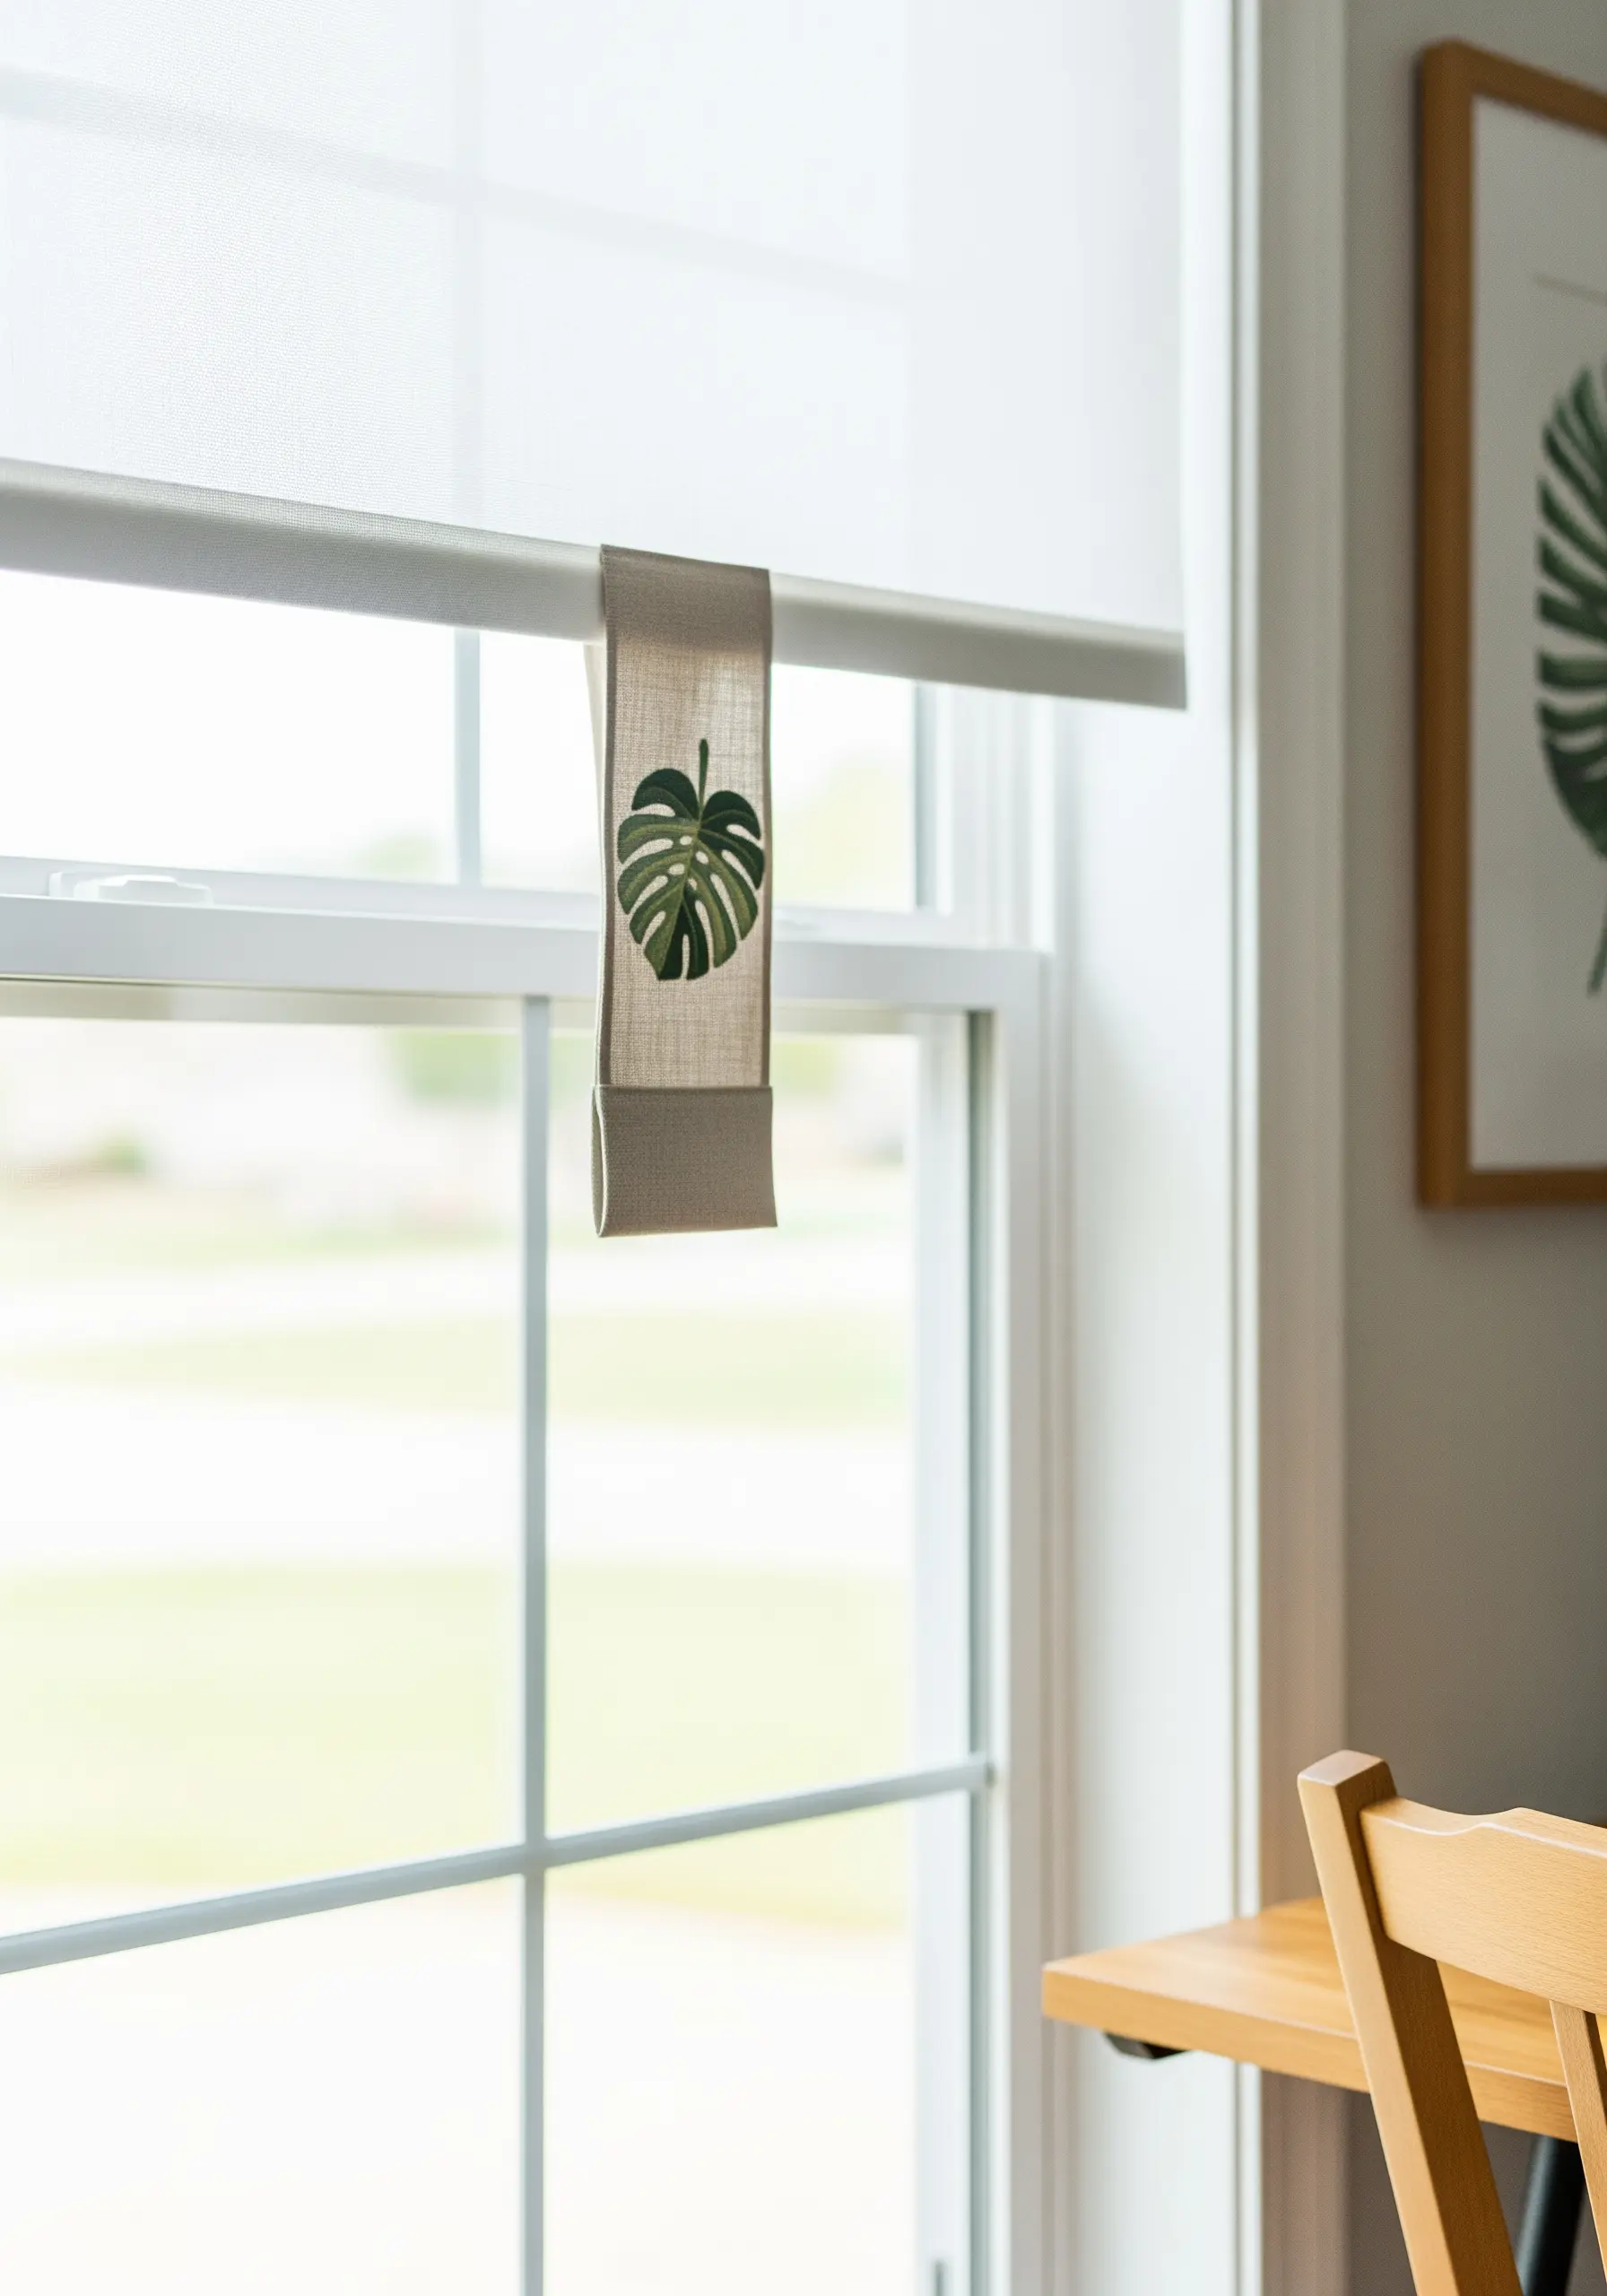
Create a modern, graphic botanical by focusing on negative space.
Instead of filling the leaf shape itself, outline it with a neat backstitch.
Then, fill the area *around* the leaf with dense, straight satin stitches.
This technique makes the unstitched fabric of the leaf the focal point, resulting in a sophisticated and visually striking design.
15. Sculptural Accents with Cord Couching

For a bold, three-dimensional line, couch a thicker material onto your fabric surface.
Lay down a length of fine yarn, leather cord, or metallic braid in your desired shape.
Then, use a regular embroidery needle and floss to tack it down with small, evenly spaced stitches.
This technique adds dramatic texture and a single, sweeping line that a simple stitch could never achieve.
16. Meditative Texture with Seed Stitch

Fill a large canvas with rich texture using the simple and forgiving seed stitch.
This stitch consists of small, straight stitches worked at random angles to fill an area.
By varying the density of the stitches and subtly changing thread colors, you can create gradients and flowing patterns, like a gentle spiral.
It’s a meditative way to create a tactile masterpiece for your office wall.
17. Delicate Line Art with Single-Thread Stitching

Capture the fine detail of botanical illustrations on coasters or small linens by using only a single strand of floss.
A precise backstitch or split stitch will give you a clean line that mimics the quality of an ink pen.
This minimalist approach keeps the design from feeling heavy or cluttered, allowing the elegant forms of the plants to stand out.
Work on a high-count linen for the sharpest possible result.
18. Geometric Pathways on Floor Coverings
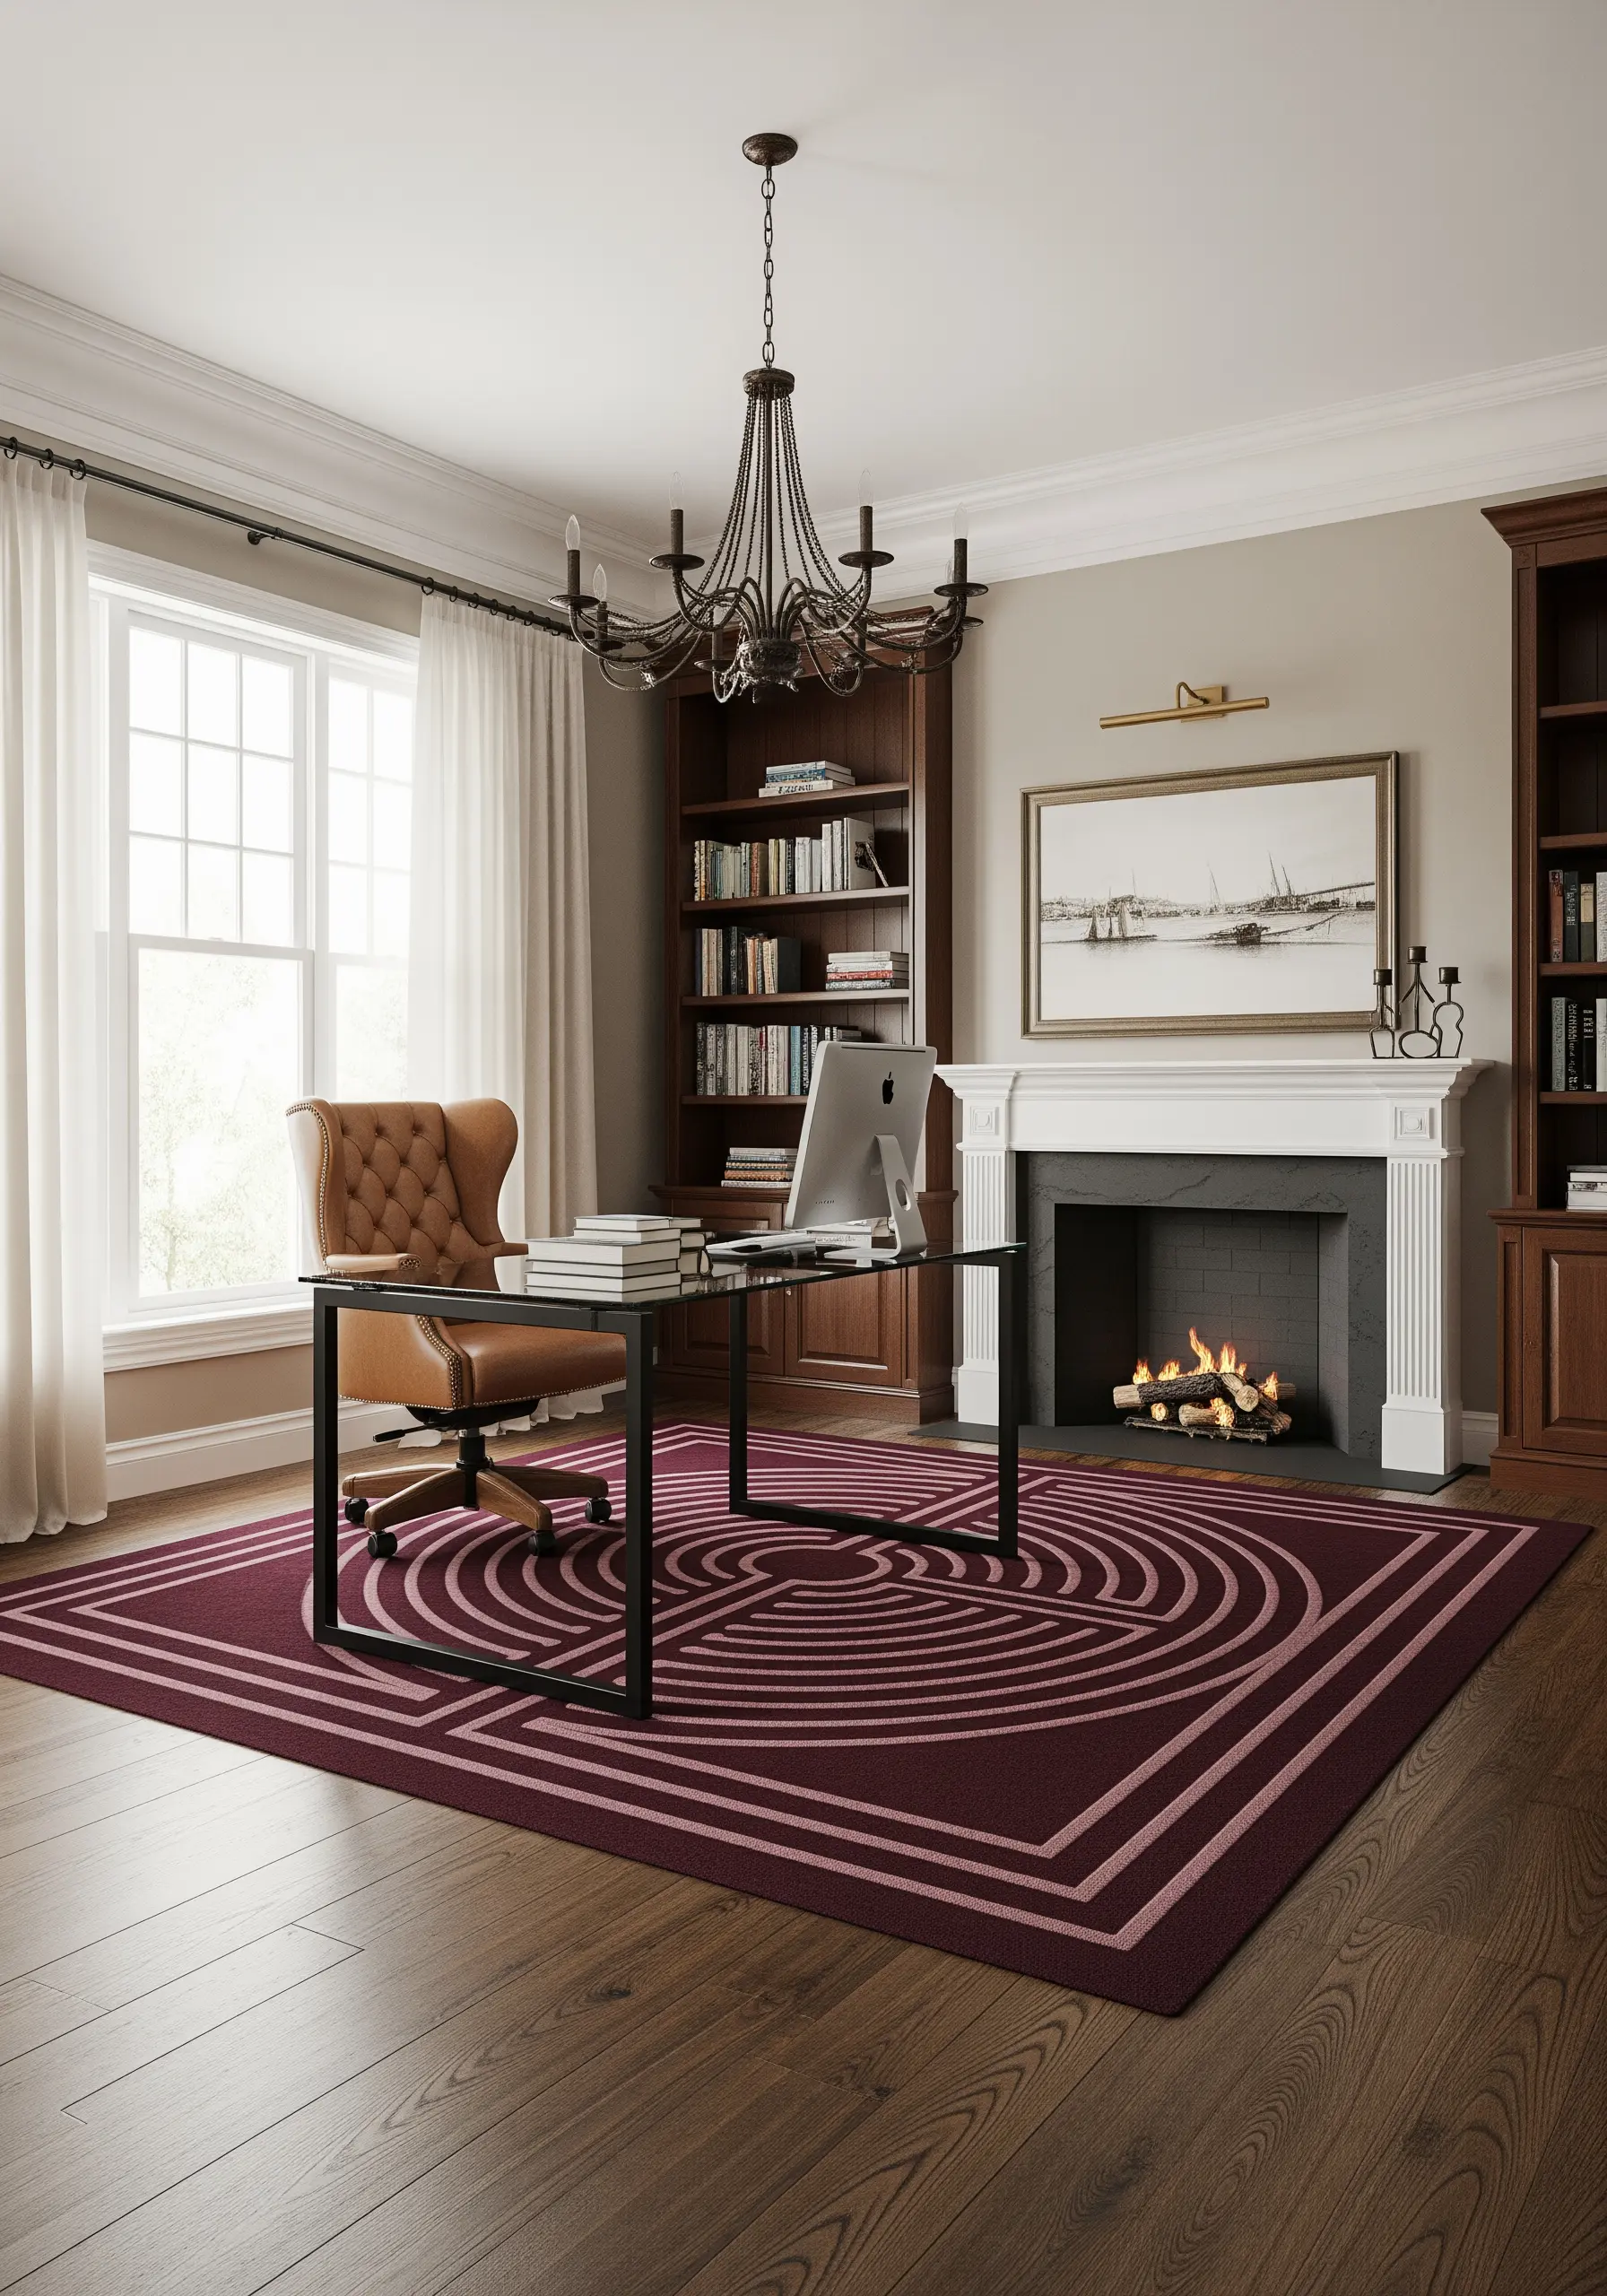
Apply the principles of embroidery to the largest textile in your office: the rug.
Look for designs that use clean lines and simple, repeated geometric motifs to create a sense of structure and flow.
A pattern that mimics the logic of a stitch path—like a running stitch or a Greek key border—can ground the room and bring a quiet, ordered energy to your workspace.
19. Modern Cross-Stitch on Canvas

Take cross-stitch off the Aida cloth and onto sturdy canvas for a contemporary, graphic feel.
The regular weave of duck canvas is often even enough to guide your stitches without a formal grid.
Use all six strands of your embroidery floss or a #5 pearl cotton to create bold, defined ‘X’s that stand up to the texture of the fabric.
This is a perfect way to add a pattern to robust desk accessories like pencil cups.


