
Your vacation photos hold more than just memories—they hold shapes, colors, and textures waiting to be transformed into art. Think of them not as finished images, but as beautiful starting points for your needle and thread.
Instead of letting those moments fade on a camera roll, you can capture their essence in a tiny hoop. Each small stitch becomes a quiet act of remembering, translating the warmth of a sunset or the line of a mountain into something you can hold.
This isn’t about perfectly replicating a photograph. It’s about distilling a feeling. Here, you’ll discover how simple shifts in stitch direction, color blending, and texture can turn your travel memories into personal, modern souvenirs you’ll treasure forever.
1. Capture Ocean Motion with Thread Direction
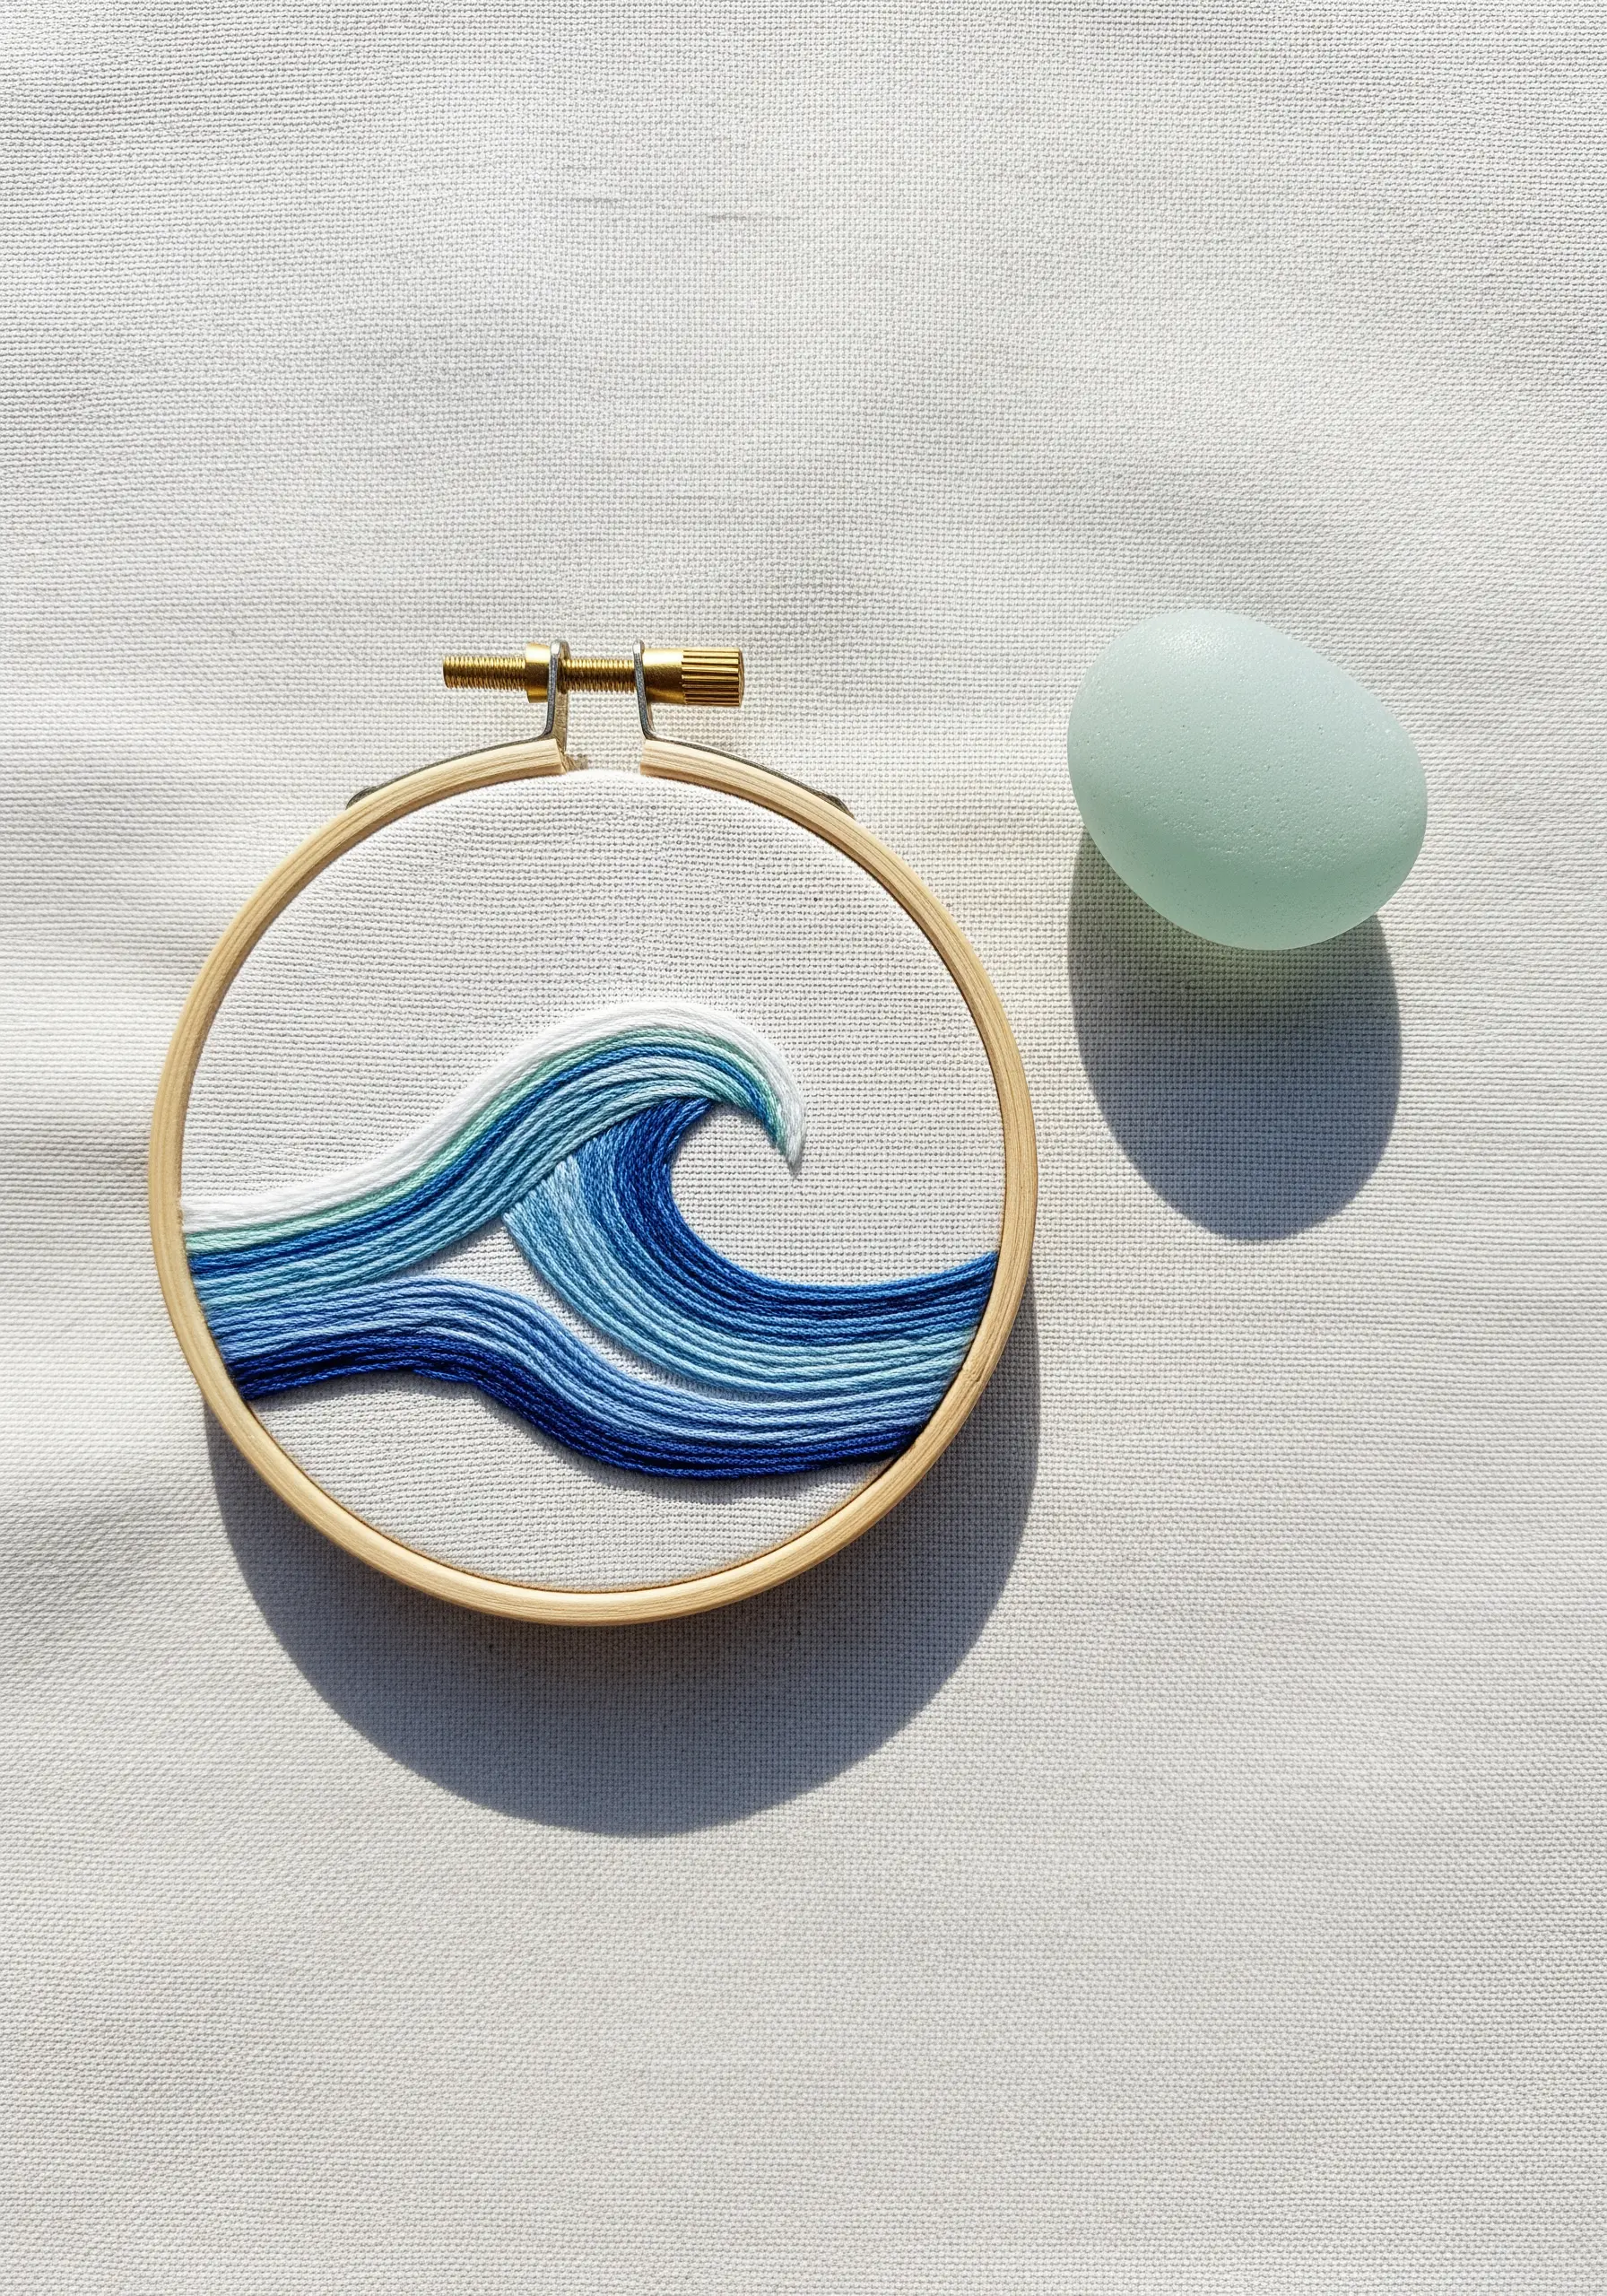
To give your embroidered wave a sense of fluid movement, focus entirely on the direction of your satin stitches.
Instead of stitching straight across, angle your threads to follow the wave’s natural curve, creating a visual flow that guides the eye.
Use at least five shades of blue, from deep navy to seafoam white, and blend them subtly where they meet.
This technique of shading tricks to create realistic nature embroidery turns a simple shape into a dynamic scene, proving that stitch direction is just as powerful as color choice.
2. Stitch a Minimalist Mountain Memory
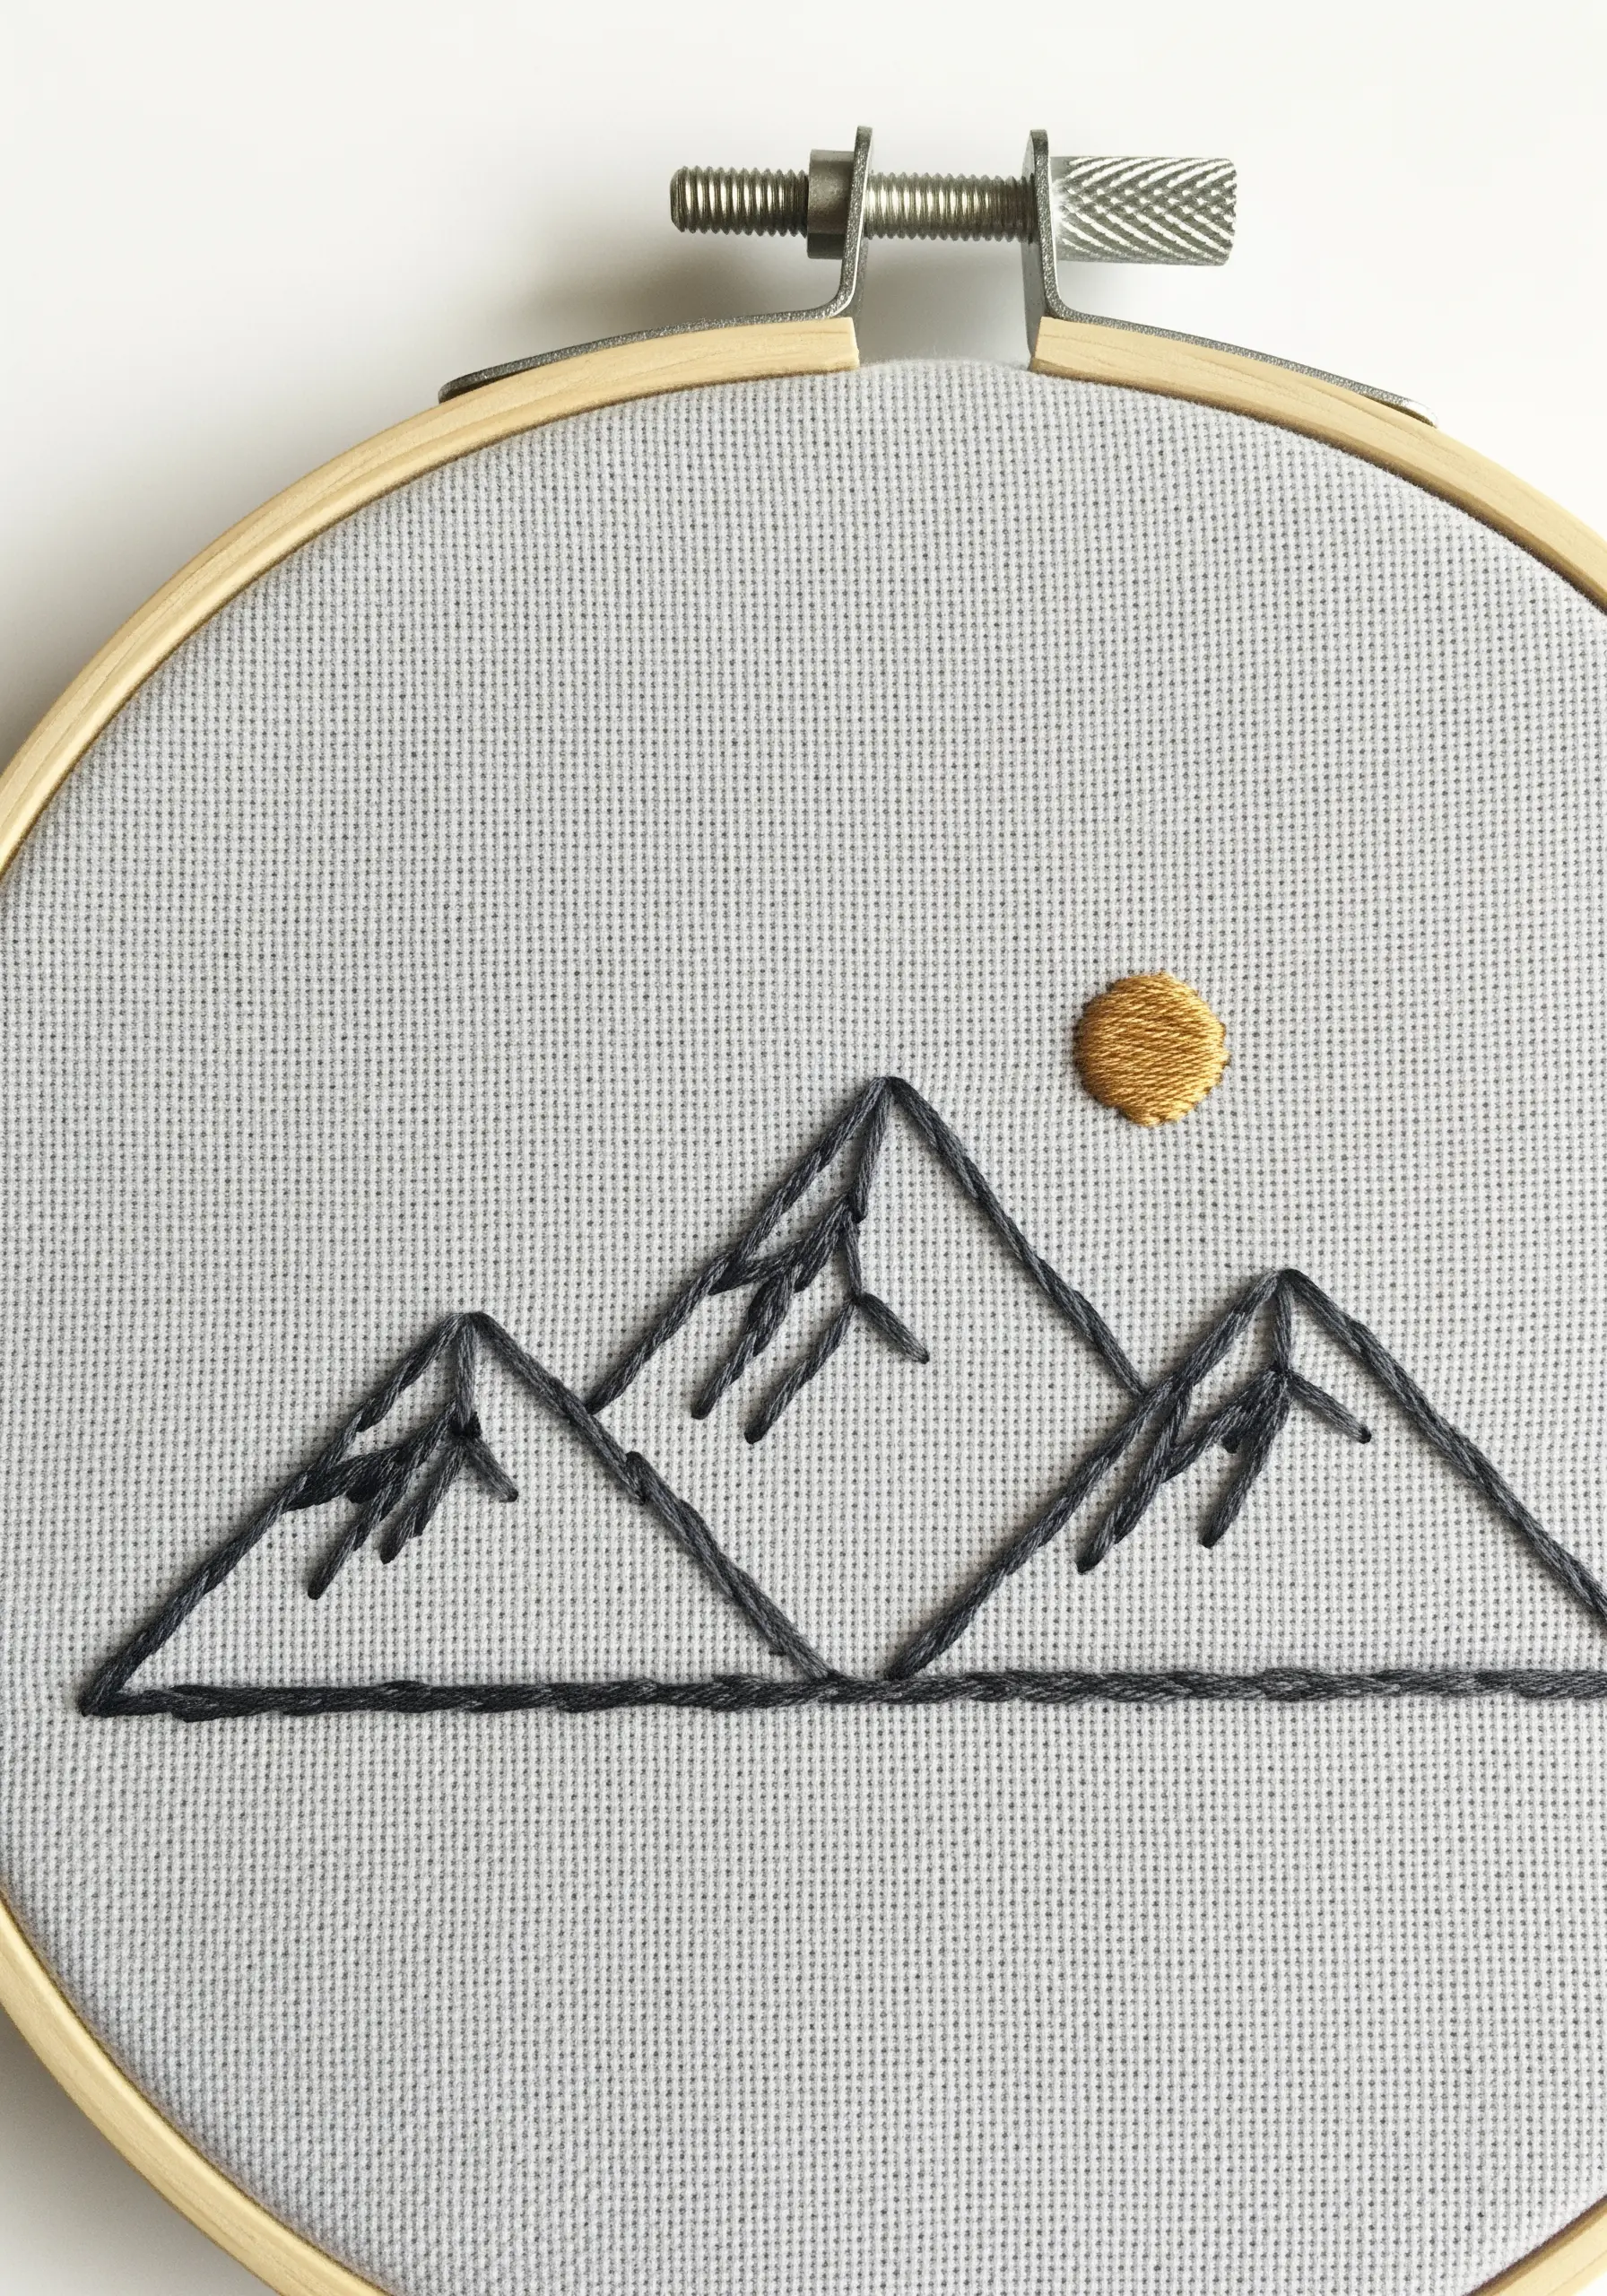
A striking mountain range doesn’t require complex thread painting; a simple outline can carry just as much meaning.
Use a single strand of dark grey or black floss and a clean backstitch to trace the peaks from your photo.
Add a small, satin-stitched sun in a bold metallic or warm ochre thread to create a focal point and introduce color contrast.
This is one of those simple line art embroidery ideas that honors the memory with quiet elegance, proving that less is often more impactful.
3. Create Desert Dimension with Layered Satin Stitch
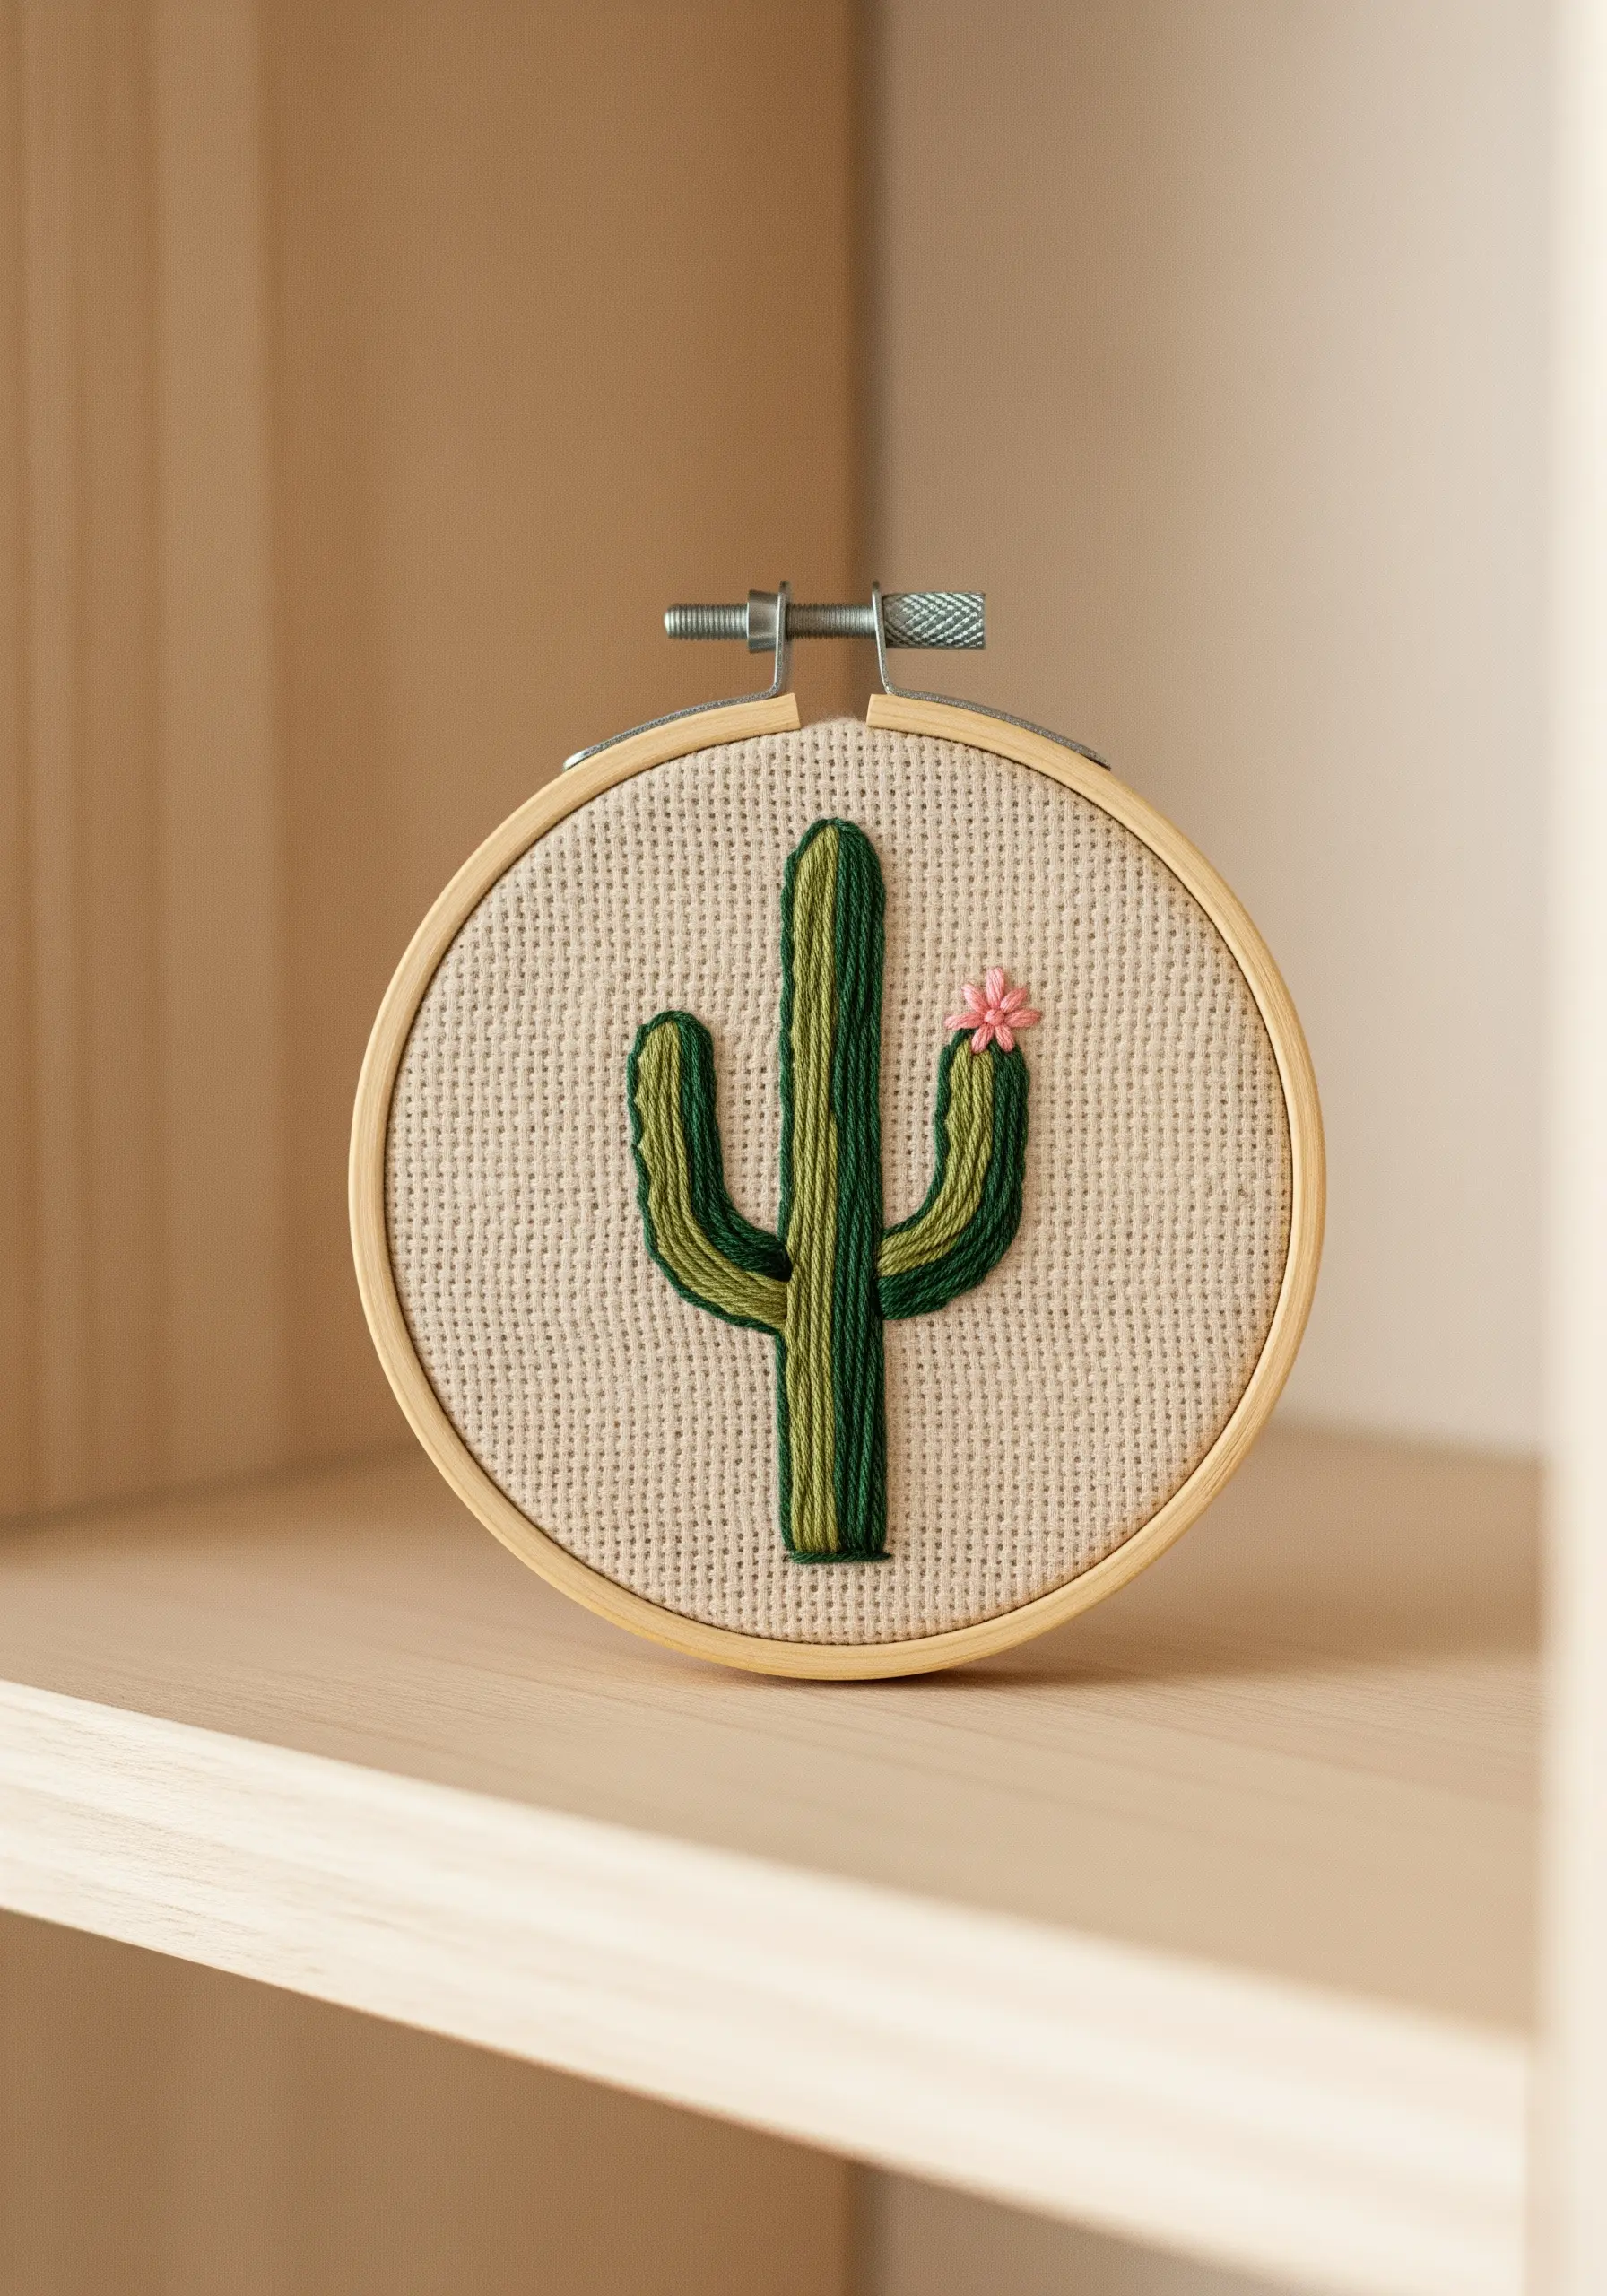
To prevent a simple cactus shape from looking flat, use layered satin stitch to create highlights and shadows.
Stitch the main body in a mid-tone green, then add a darker green along one edge and a lighter green along the opposite edge.
Ensure your stitches are tight and uniform, running vertically to elongate the cactus form.
A few tiny French knots in pink or red for a blossom add a delicate, realistic detail that makes the piece feel alive and dimensional.
The subtle layering can make your embroidery look like 3D embroidery wall art pieces.
4. Stitch Realistic Foliage with Fishbone Stitch
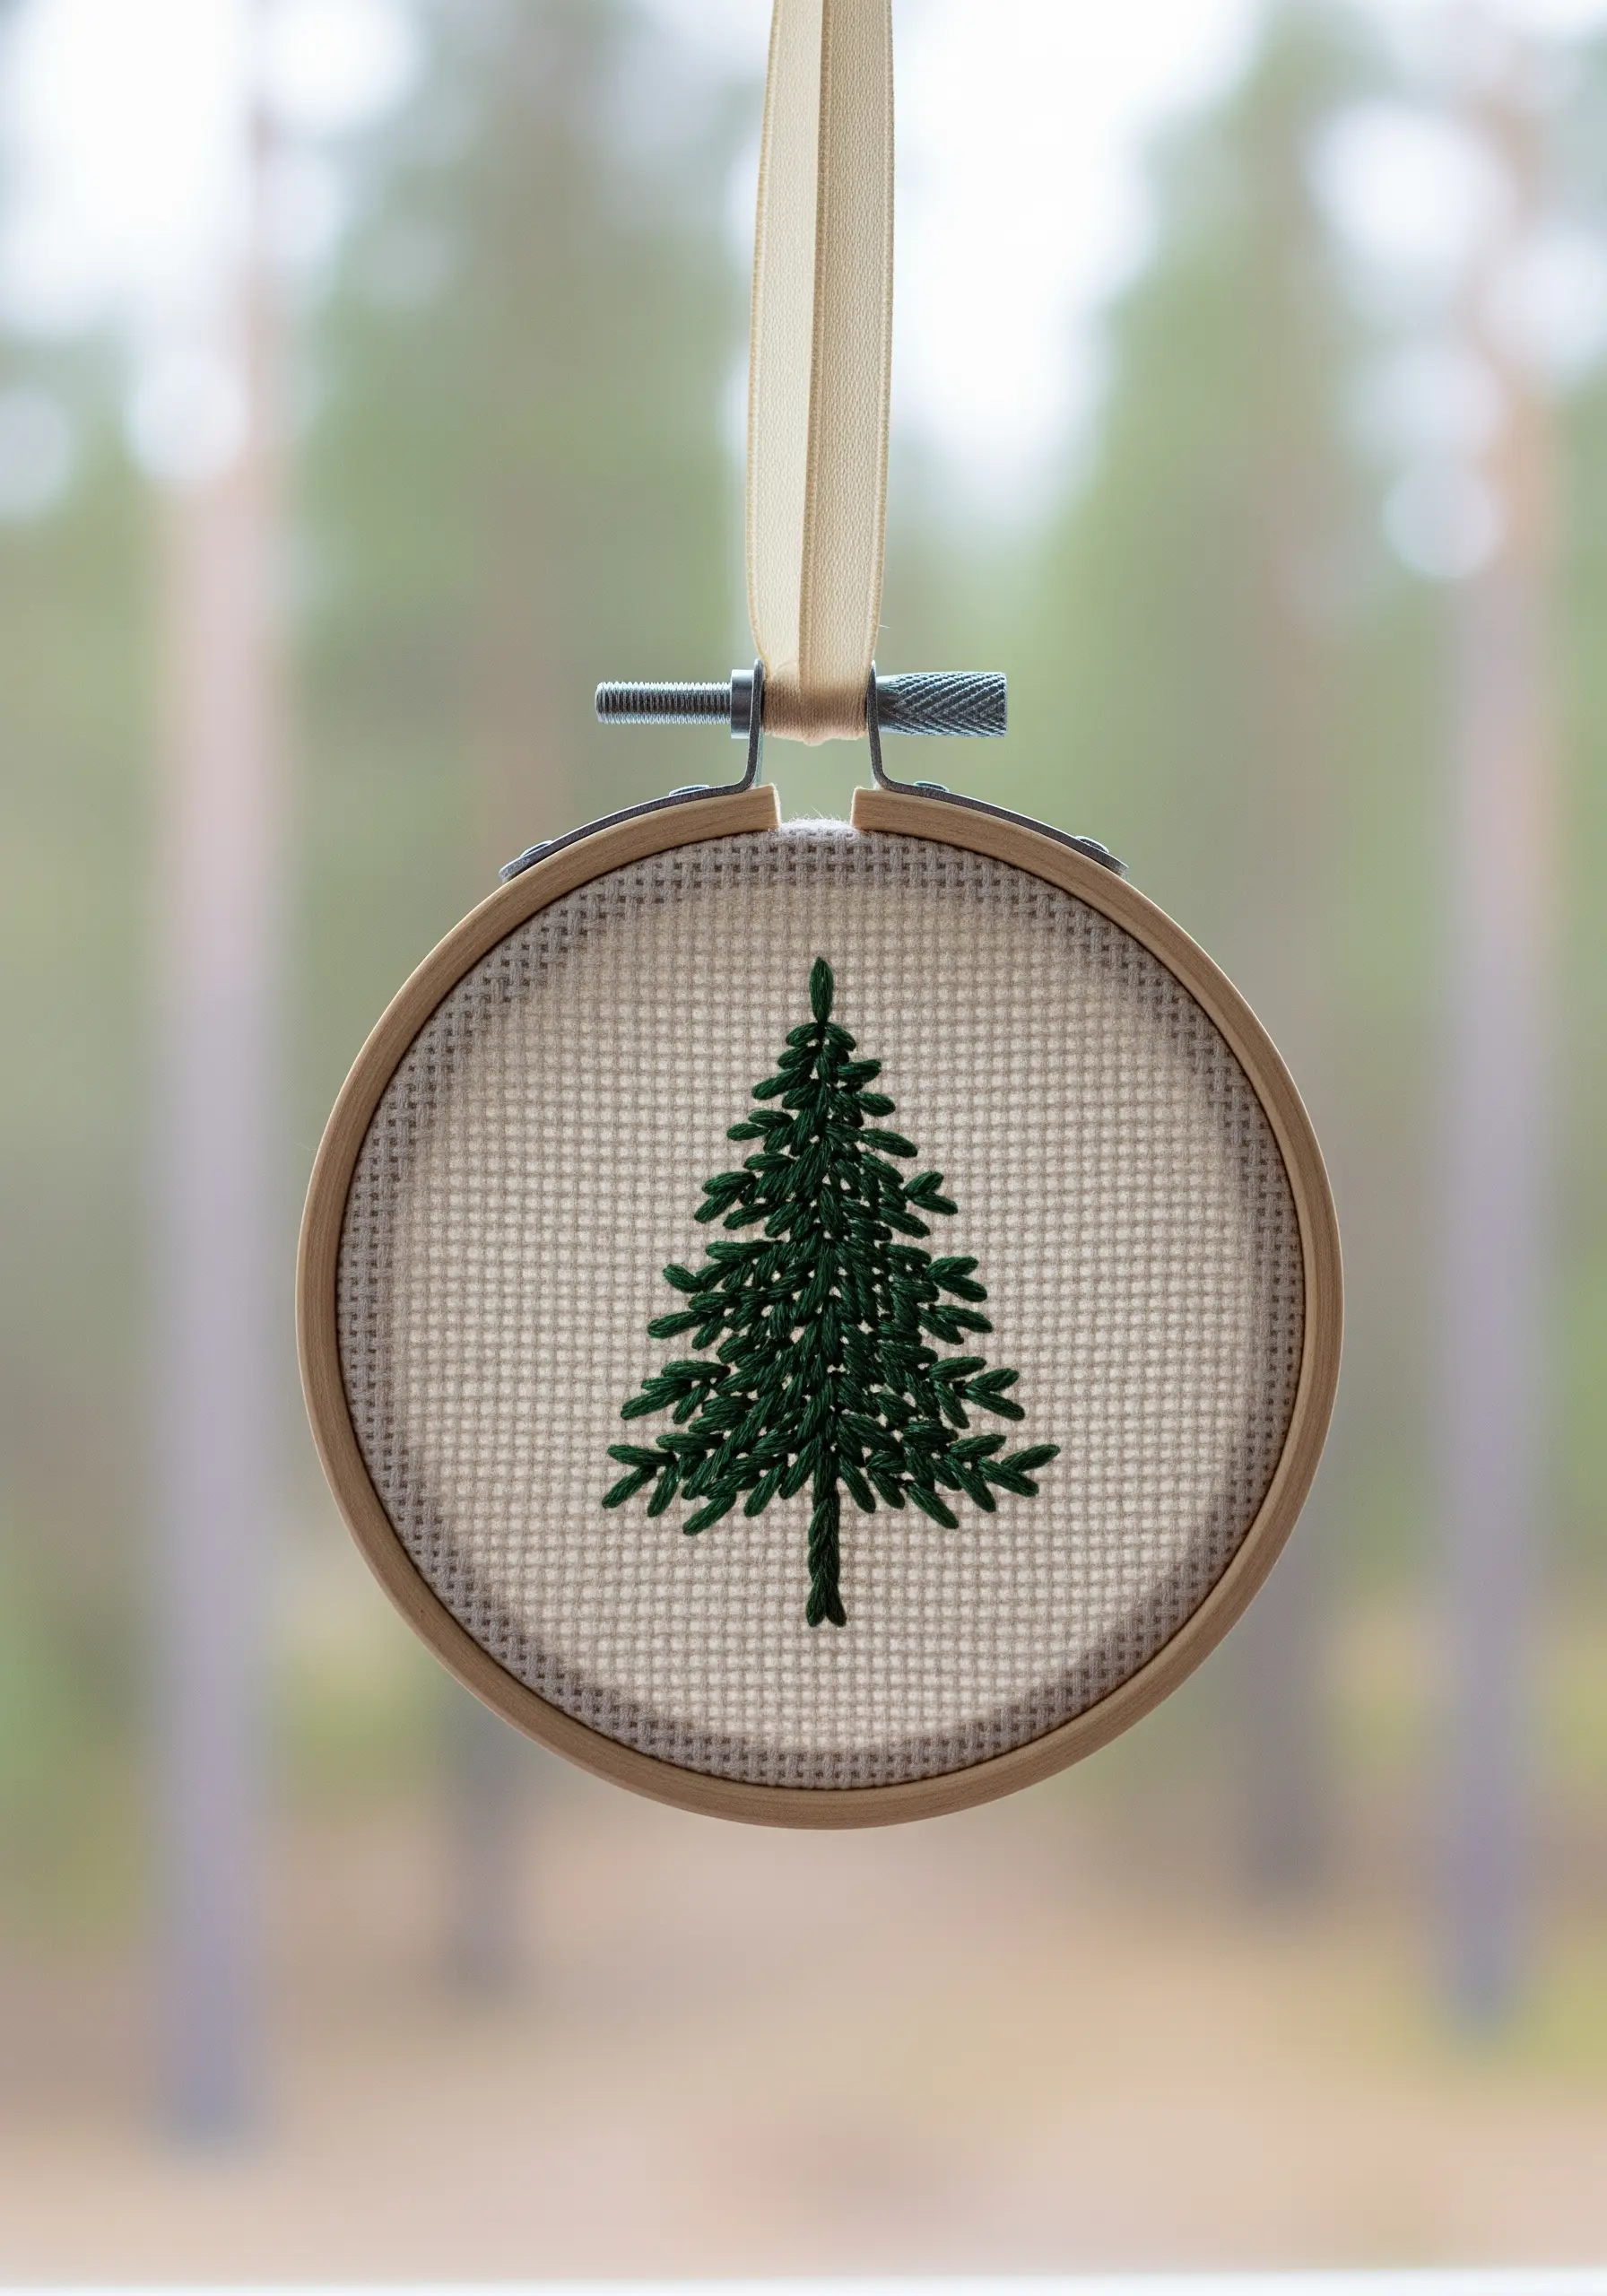
Capture the essence of a forest hike by stitching a solitary pine tree.
The fishbone stitch is your best tool here, as it creates a central spine and angled sides that perfectly mimic the texture of pine needles.
Start from the top and work your way down, allowing the stitches to overlap slightly for a fuller, more natural look.
Choosing a variegated green thread can add subtle depth without needing to change colors, making it one of the most effective forest-inspired embroidery patterns for a small hoop.
5. Evoke a Lavender Field with French Knots
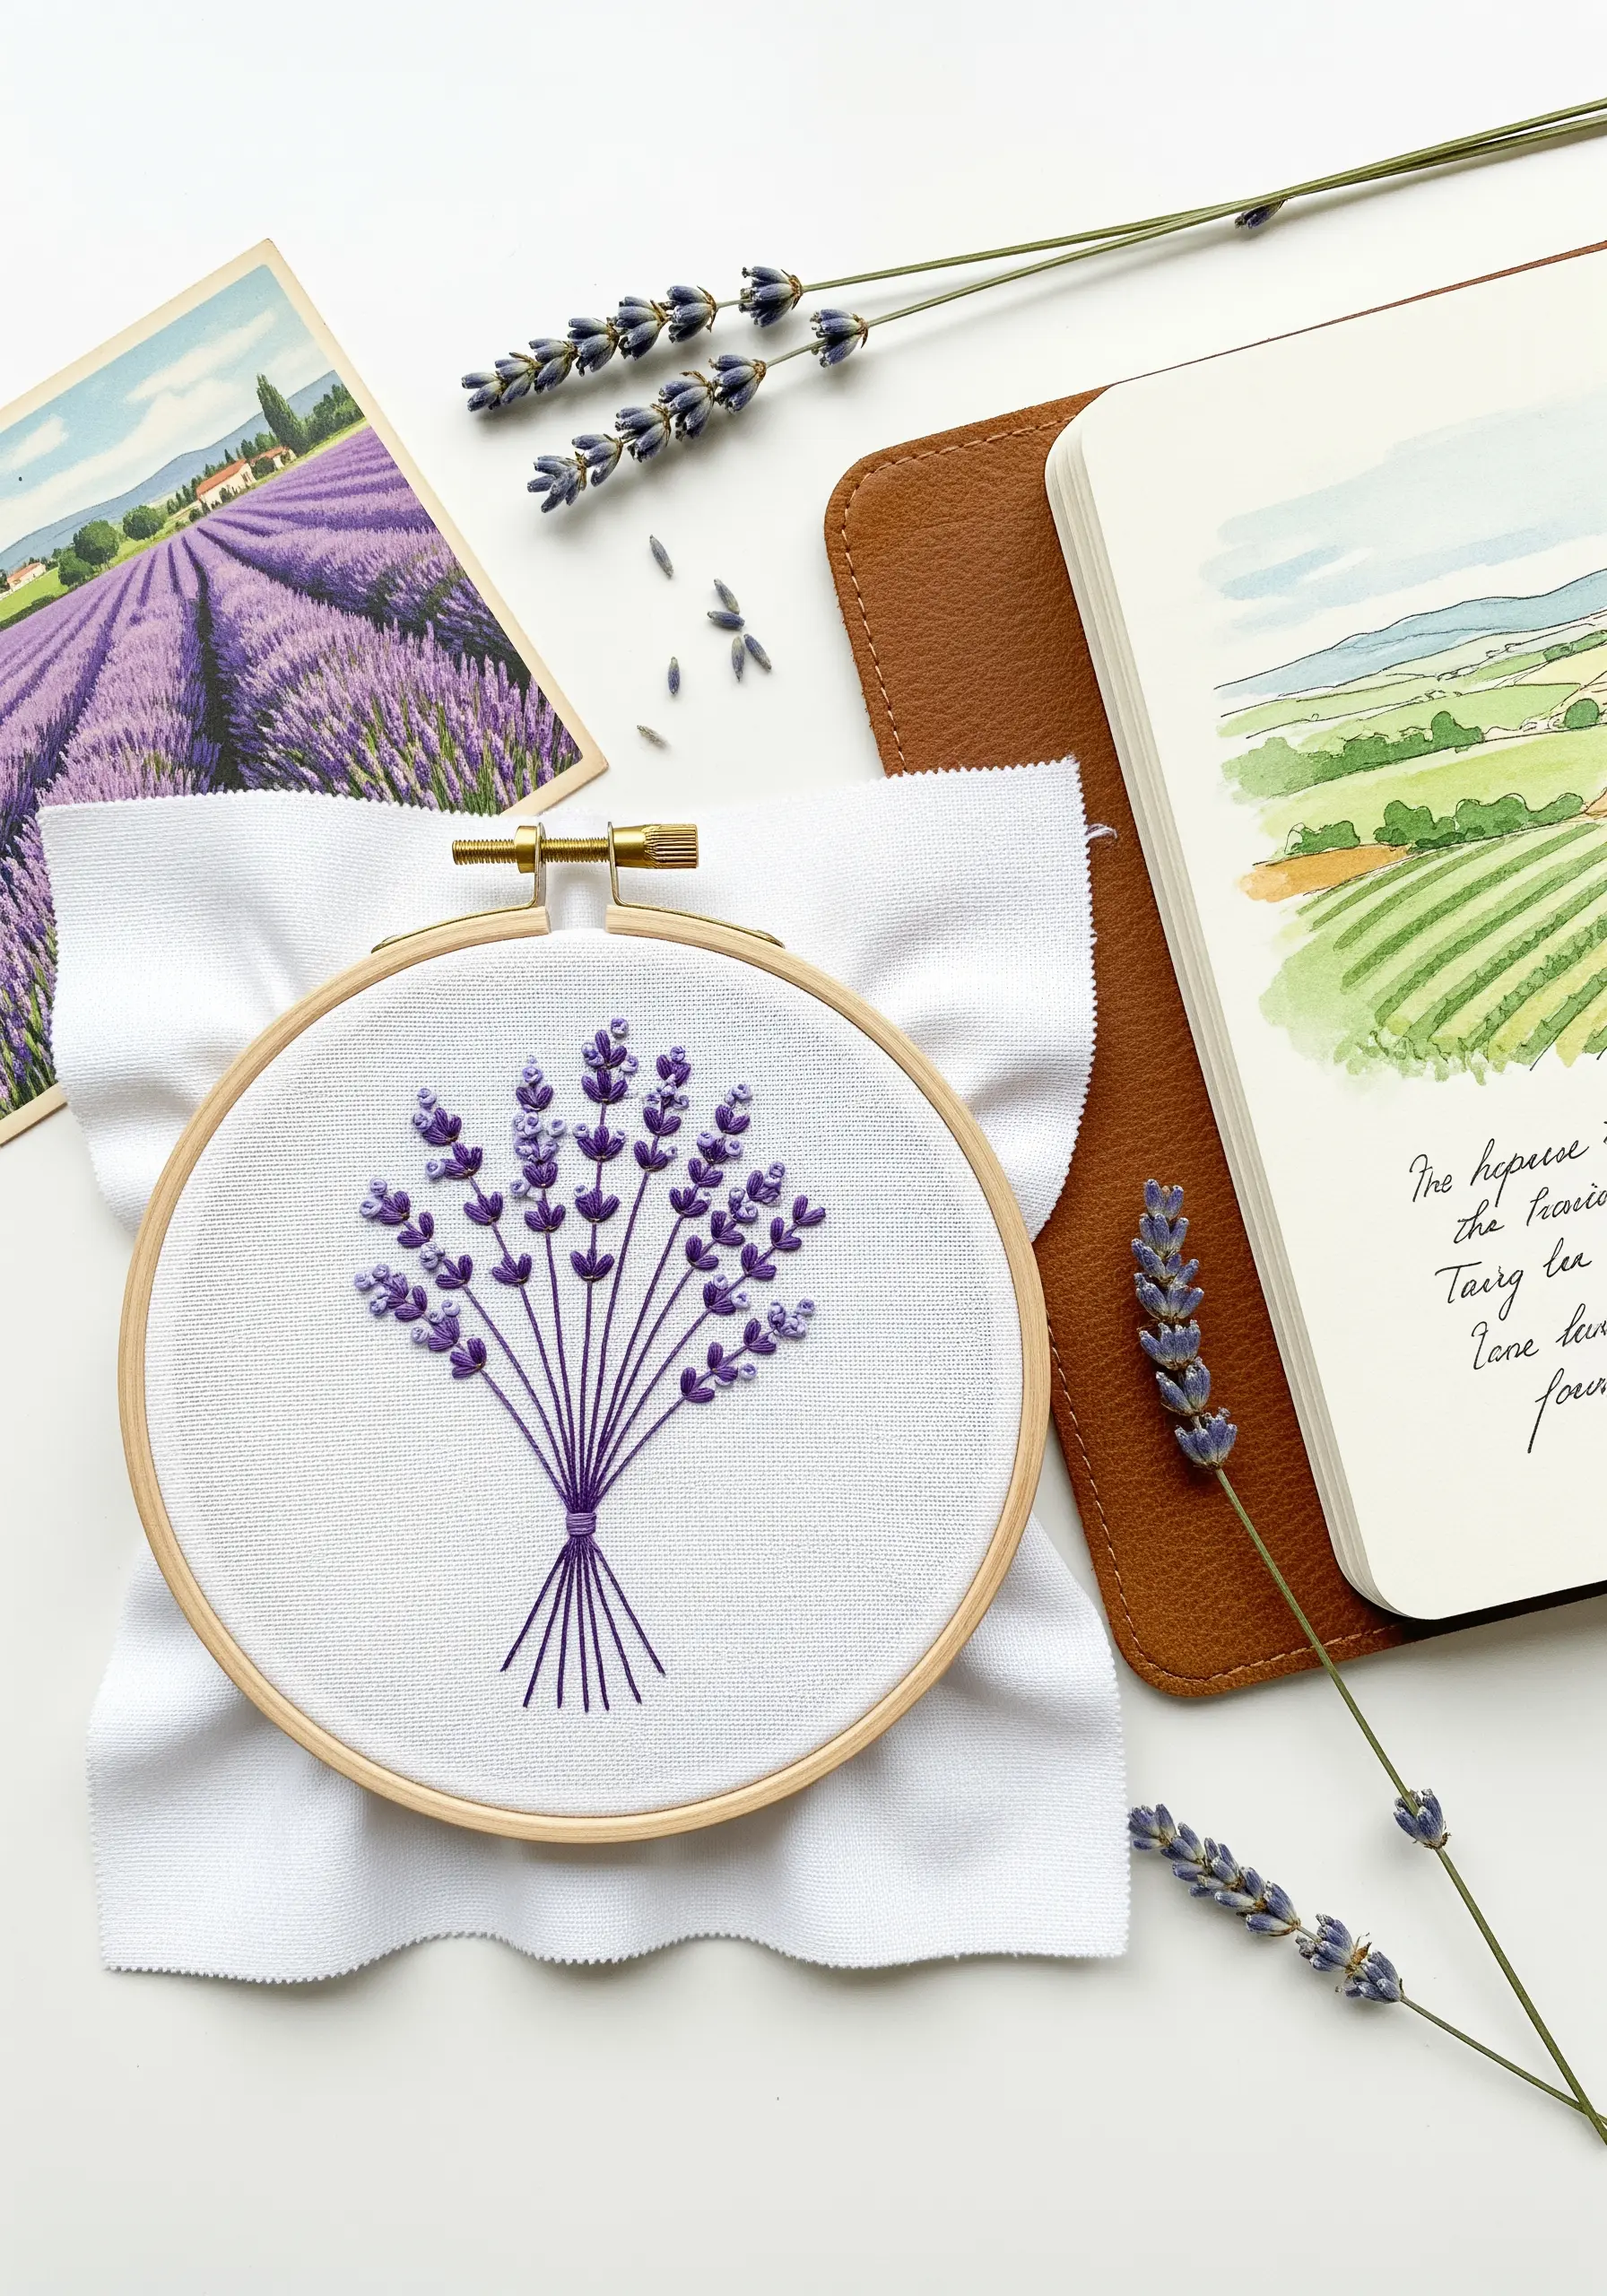
Translate the hazy beauty of a lavender field into thread by focusing on texture over precision.
Use French knots for the blossoms, clustering them tightly at the top of each stem and spacing them out as you move down.
Vary the number of wraps around your needle (one or two) to create knots of different sizes, adding to the organic feel.
Combine this with simple straight stitches for the stems to create a delicate bouquet that feels both artistic and authentic.
These are the kinds of wildflower thread painting techniques that bring botanicals to life.
6. Define Shapes with Contrasting Stitch Direction
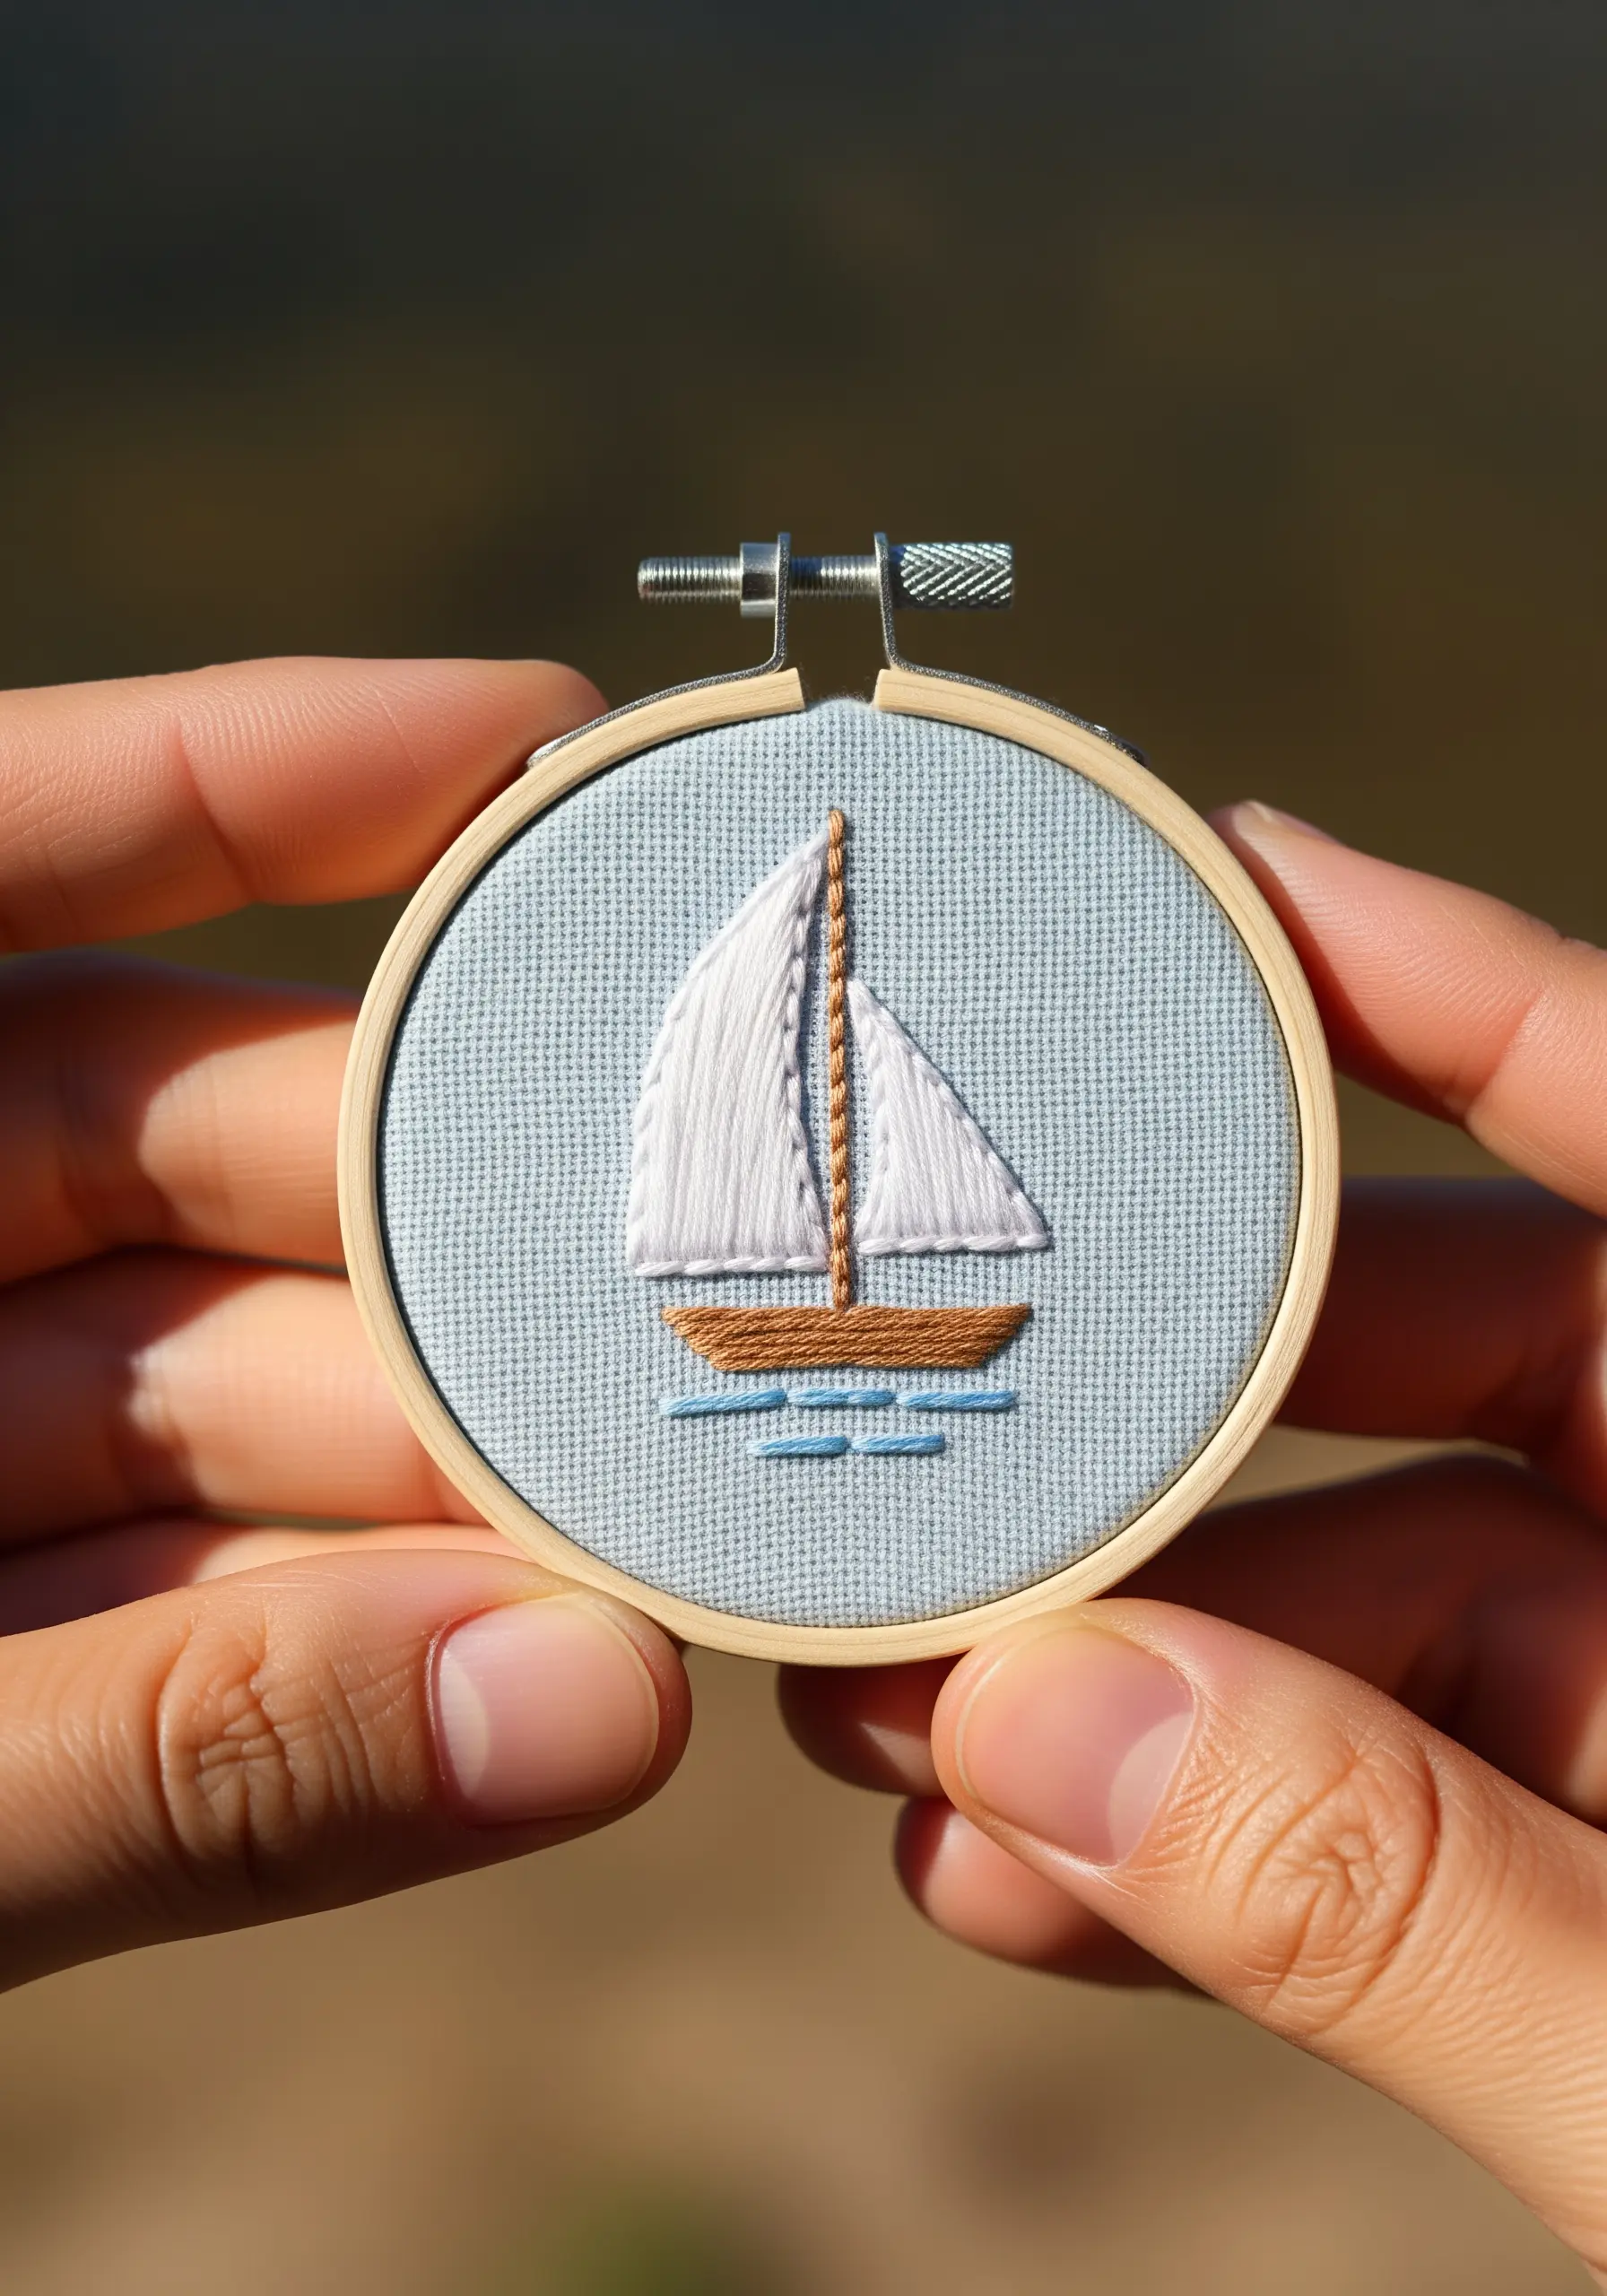
When stitching an object with distinct parts, like a sailboat, use stitch direction to create separation and clarity.
Fill the sails with vertical satin stitches and the hull with horizontal satin stitches.
This subtle shift in direction defines each element without needing a harsh outline, resulting in a more sophisticated and cohesive piece.
A fine backstitch for the mast and rigging adds the final crisp detail. It’s one of those small embroidery designs that makes a big impact.
7. Recreate Architecture with a Textured Outline
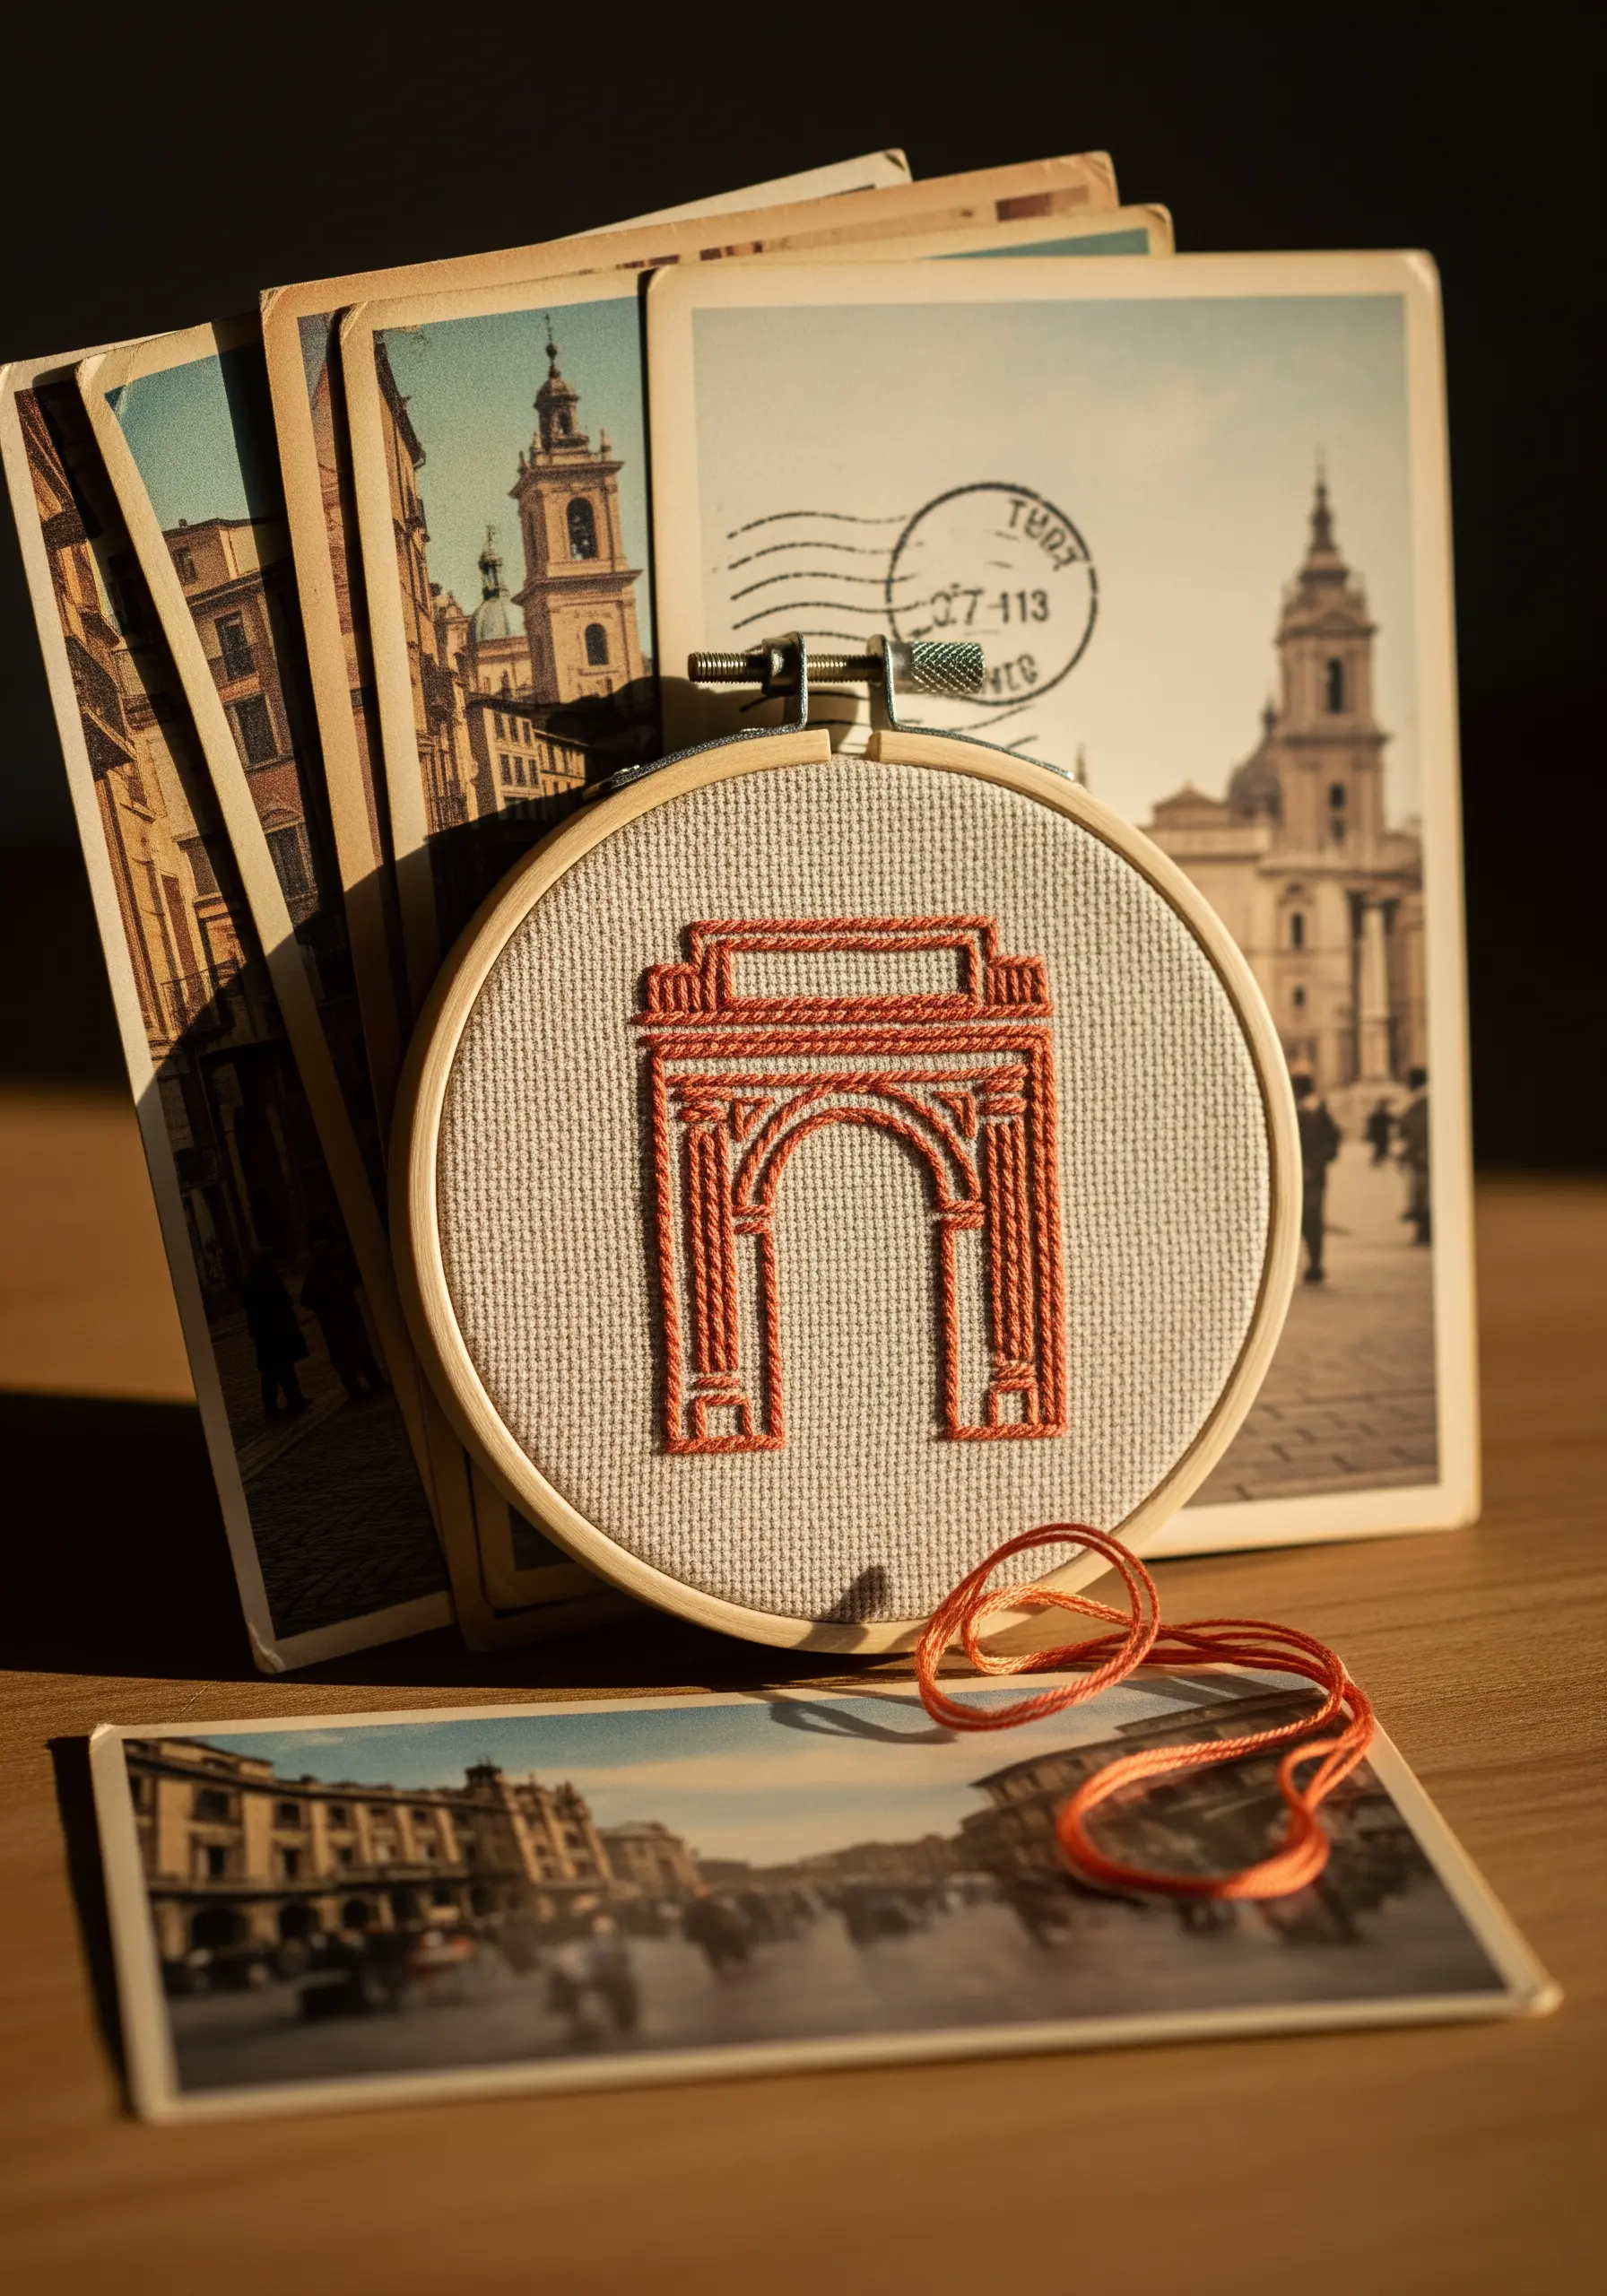
To give an architectural landmark substance and weight, move beyond a simple backstitch outline.
Use a whipped backstitch or a chain stitch to create a thicker, more dimensional line that mimics the texture of stone or brick.
Stitching on Aida cloth provides a natural grid, helping you keep your lines perfectly straight and your corners sharp.
This approach elevates architectural stitch ideas from simple sketches to tactile souvenirs.
8. Blend Greens for a Lush Botanical Memory
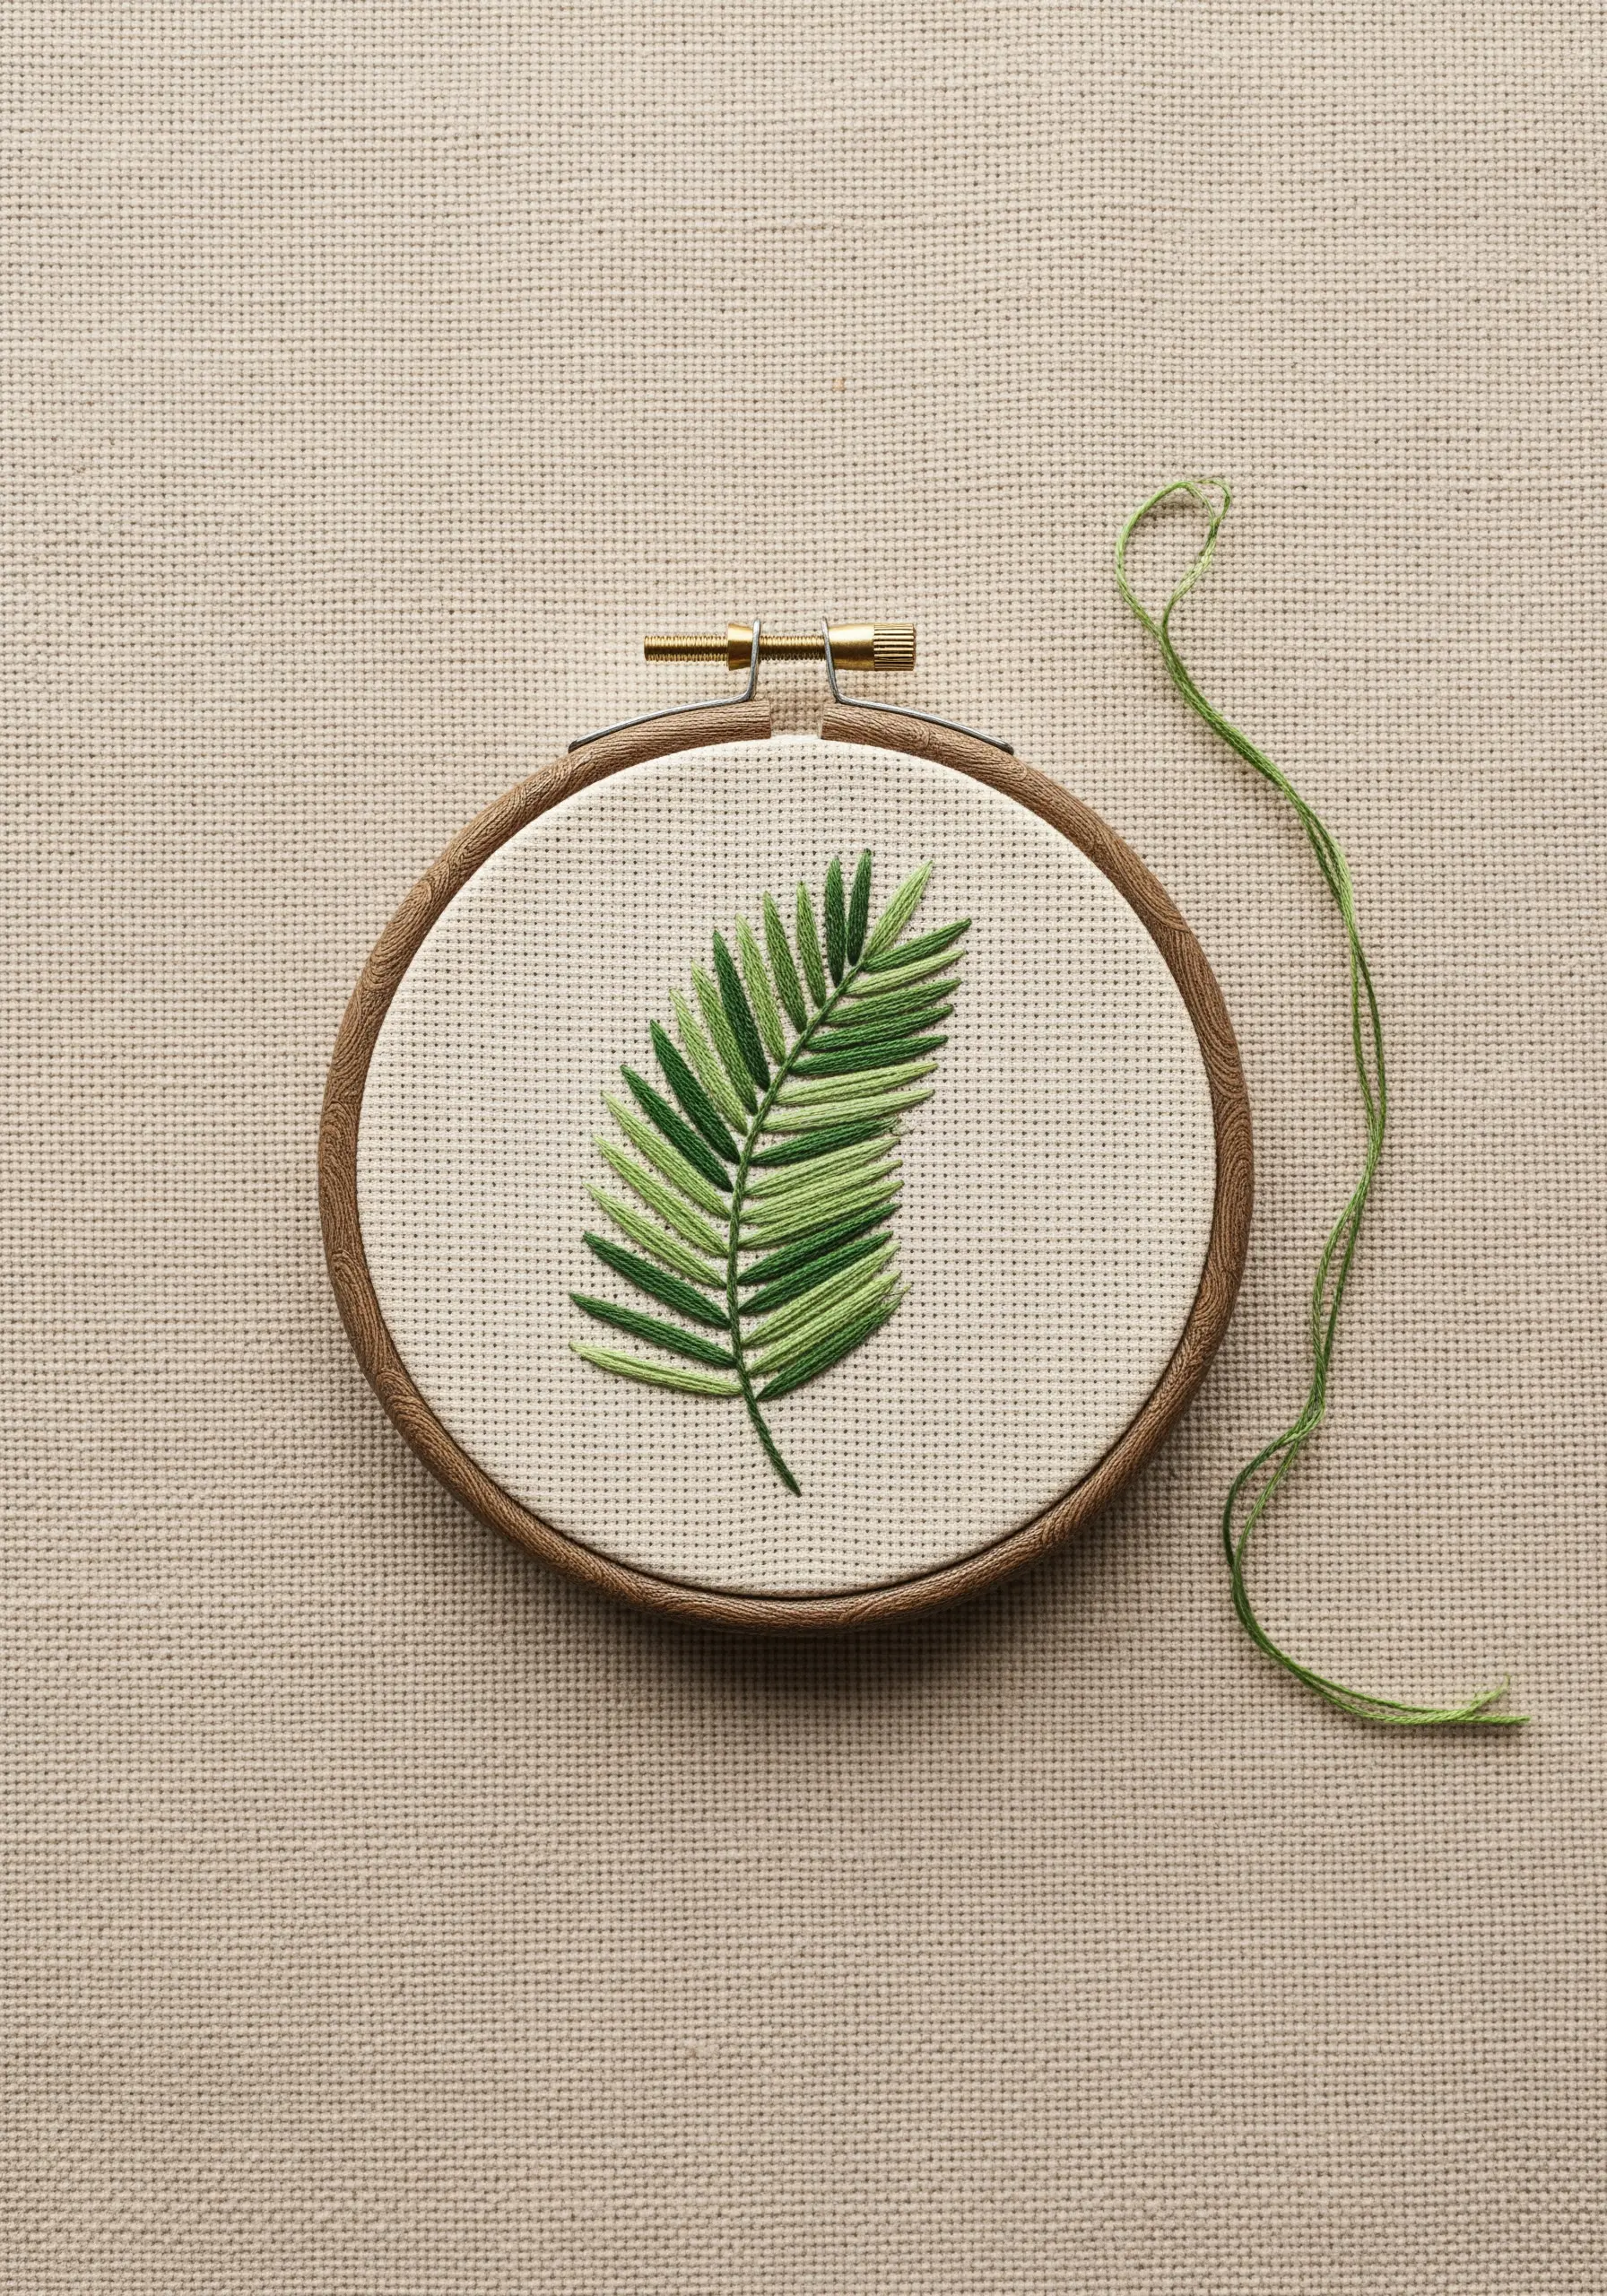
A single palm leaf can symbolize an entire tropical getaway. To give it life, use a gradient of greens.
Employ the fishbone stitch, alternating between two or three shades of green thread as you work down the leaf.
This creates a natural, sun-dappled effect that a single color can’t achieve.
This simple color blending technique is the key to turning plant-inspired embroidery from a flat motif into a vibrant piece of art.
9. Stitch a Striking Sunset on Dark Fabric

Make the colors of a memorable sunset pop by choosing a dark fabric background, like black or navy linen.
Use horizontal satin stitches to create bands of color, mirroring the reflection on the water with shorter, broken stitches.
The high contrast between the bright floss and the dark canvas makes every hue appear more saturated and luminous.
This use of negative space is fundamental to many abstract thread-based gradient pieces and creates instant visual drama.
10. Frame a View with an Airplane Window
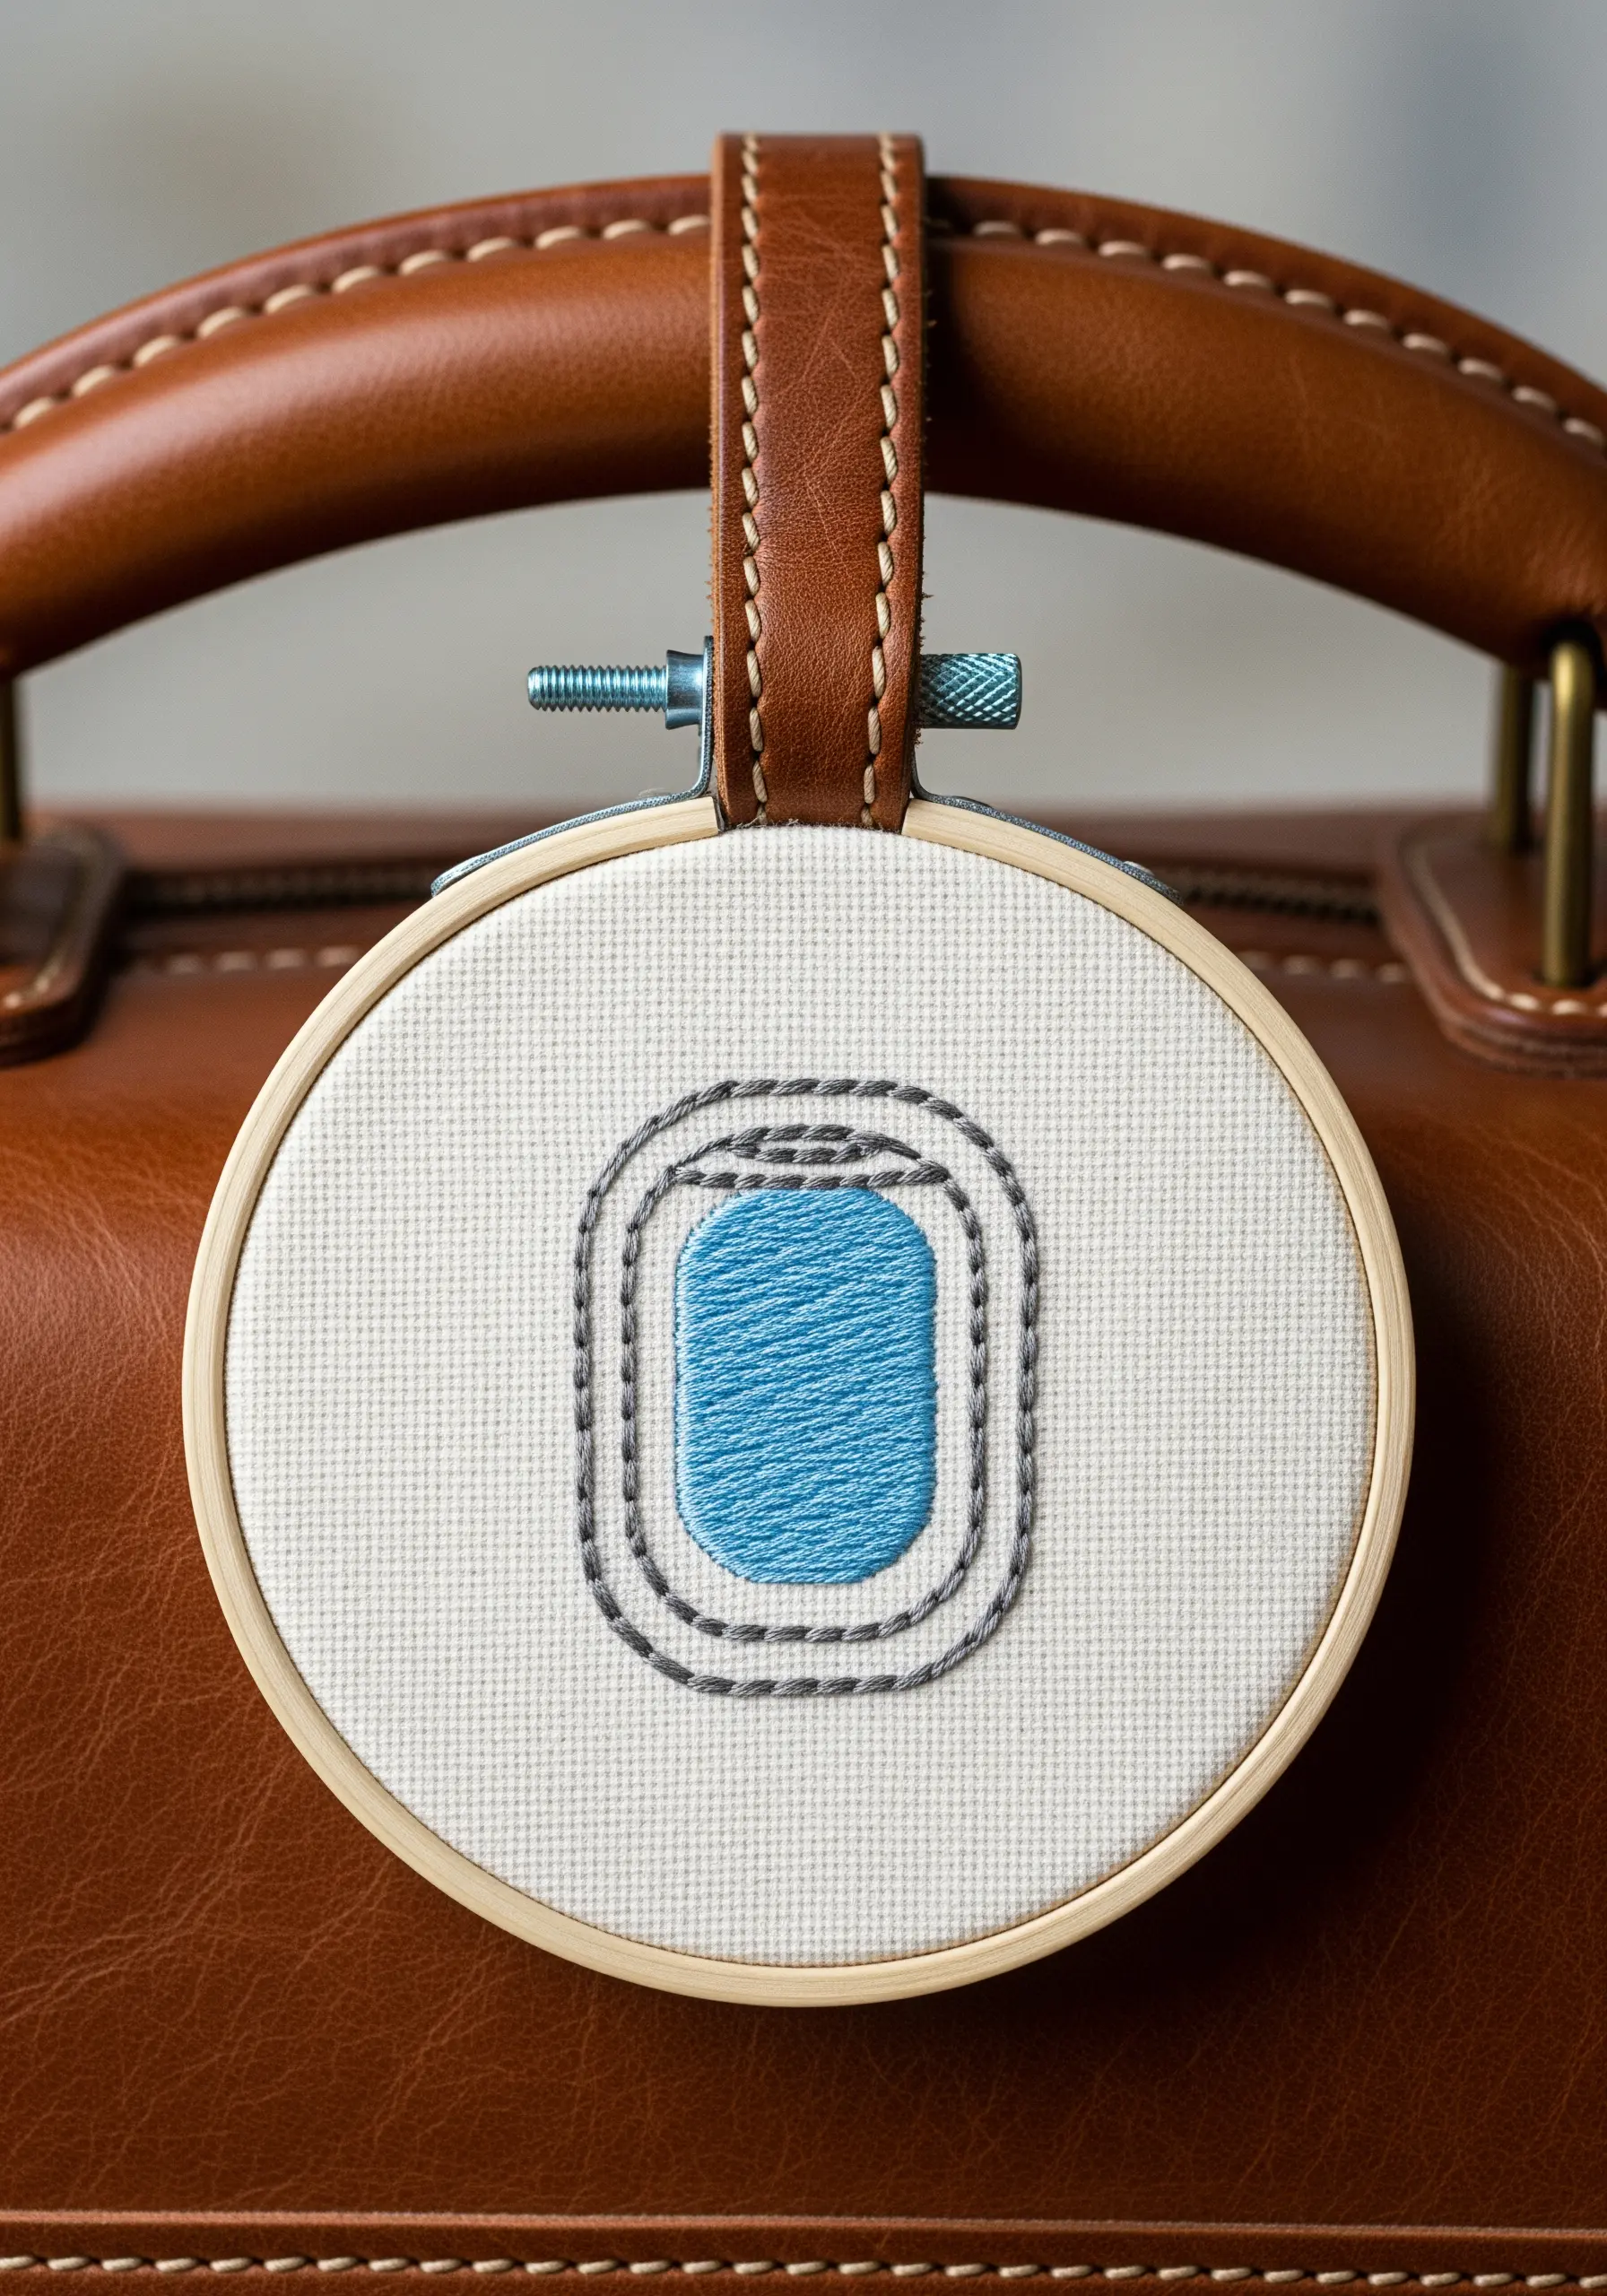
Capture the feeling of travel itself by stitching the view from your airplane window.
The shape is simple: an outline of the window in grey or black, with a clean satin stitch fill of sky blue inside.
This minimalist composition tells a powerful story of departure or arrival, turning a fleeting moment into a permanent keepsake.
It’s one of the simplest yet most evocative artistic embroidery gift ideas inspired by travel.
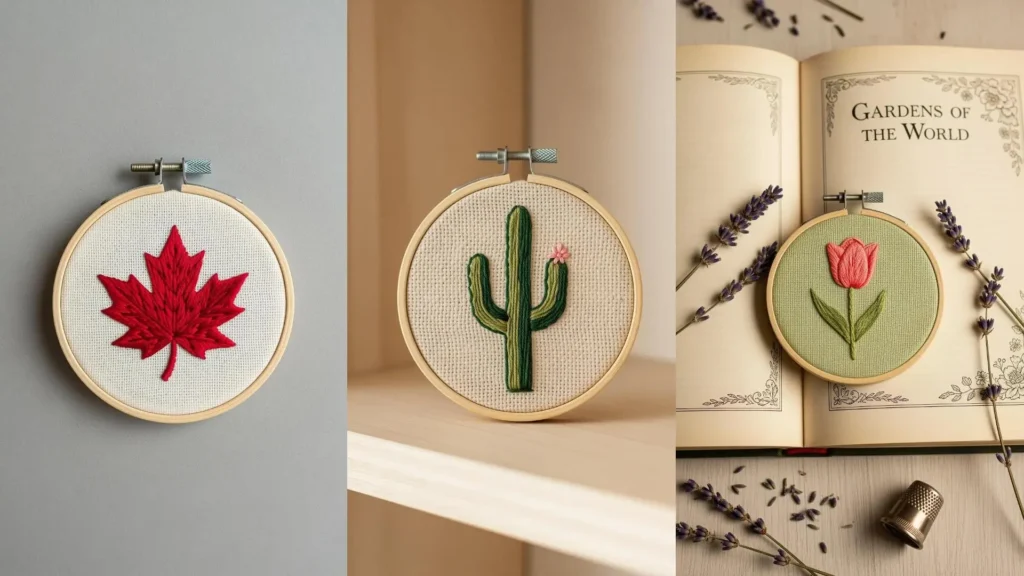
11. Achieve Crisp Edges on Complex Shapes
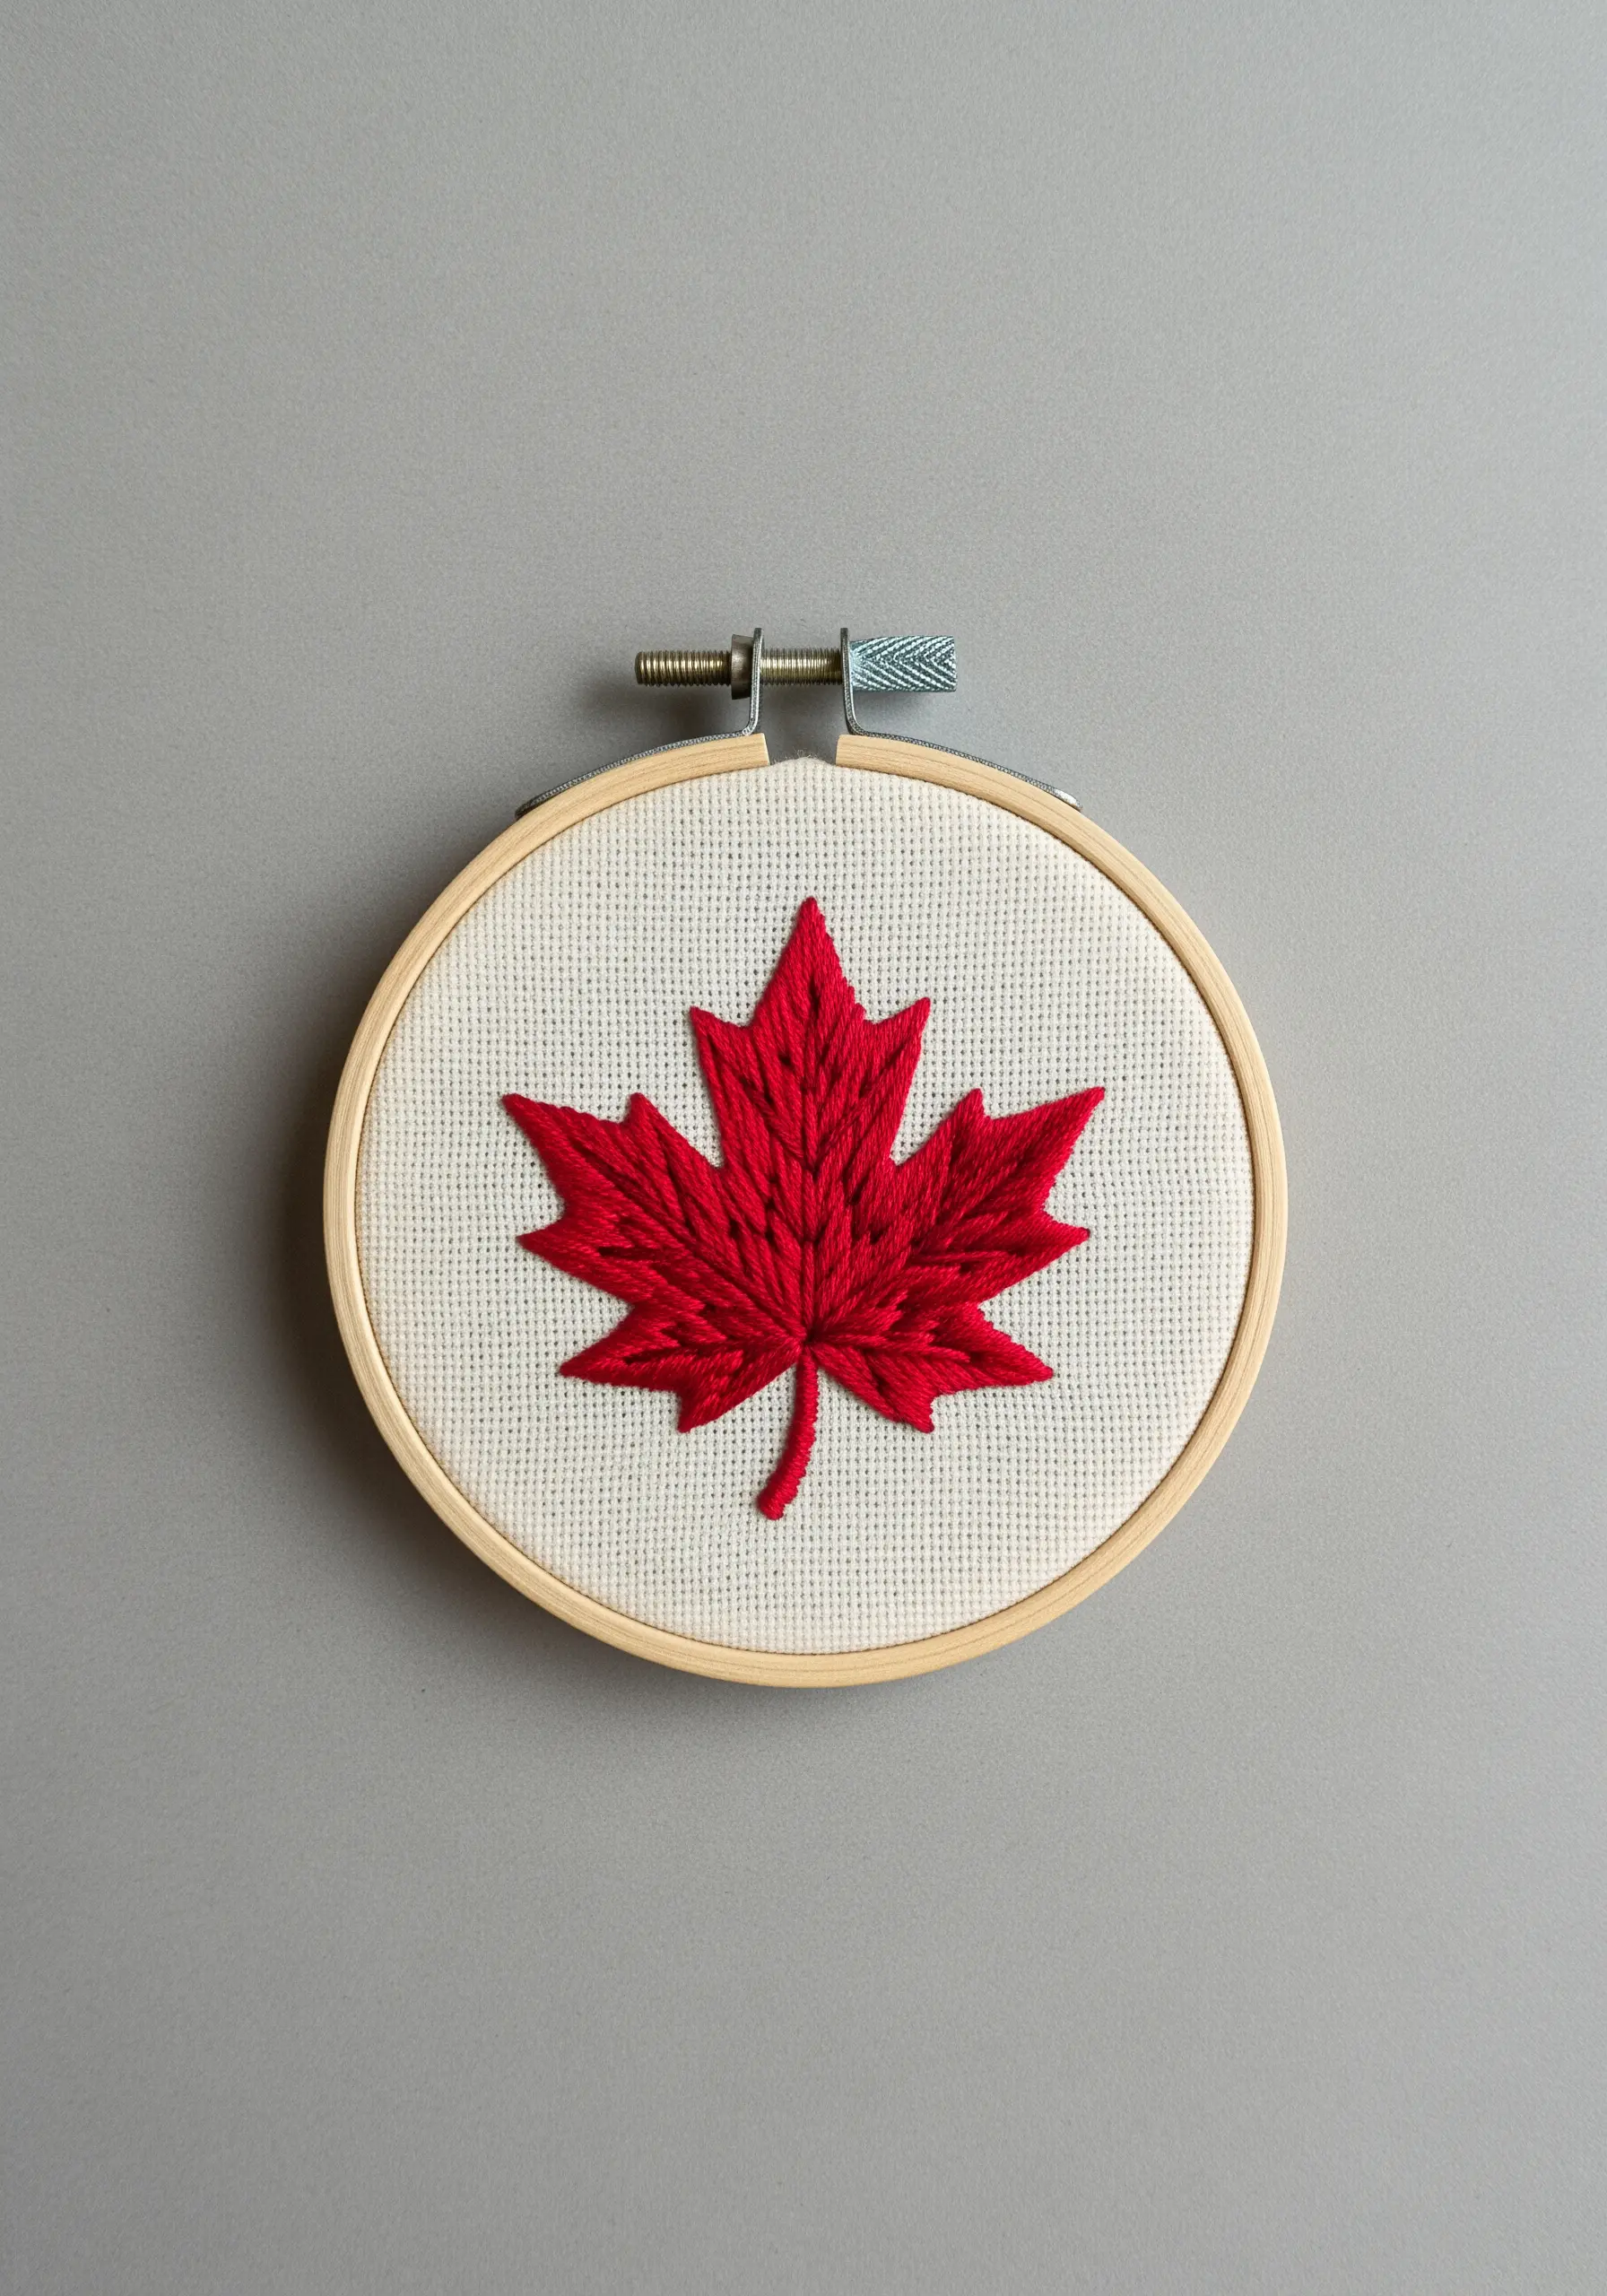
Stitching a shape with sharp points and curves, like a maple leaf, can be challenging with satin stitch alone.
To ensure a clean, defined edge, first outline the entire shape with a single-strand split stitch in the same color.
Then, fill the shape with your satin stitches, using the split stitch outline as a raised, firm boundary to tuck your threads against.
This technique is perfect for creating nature-inspired leaf borders with professional polish.
12. Map a Starlit Sky with Metallic Thread
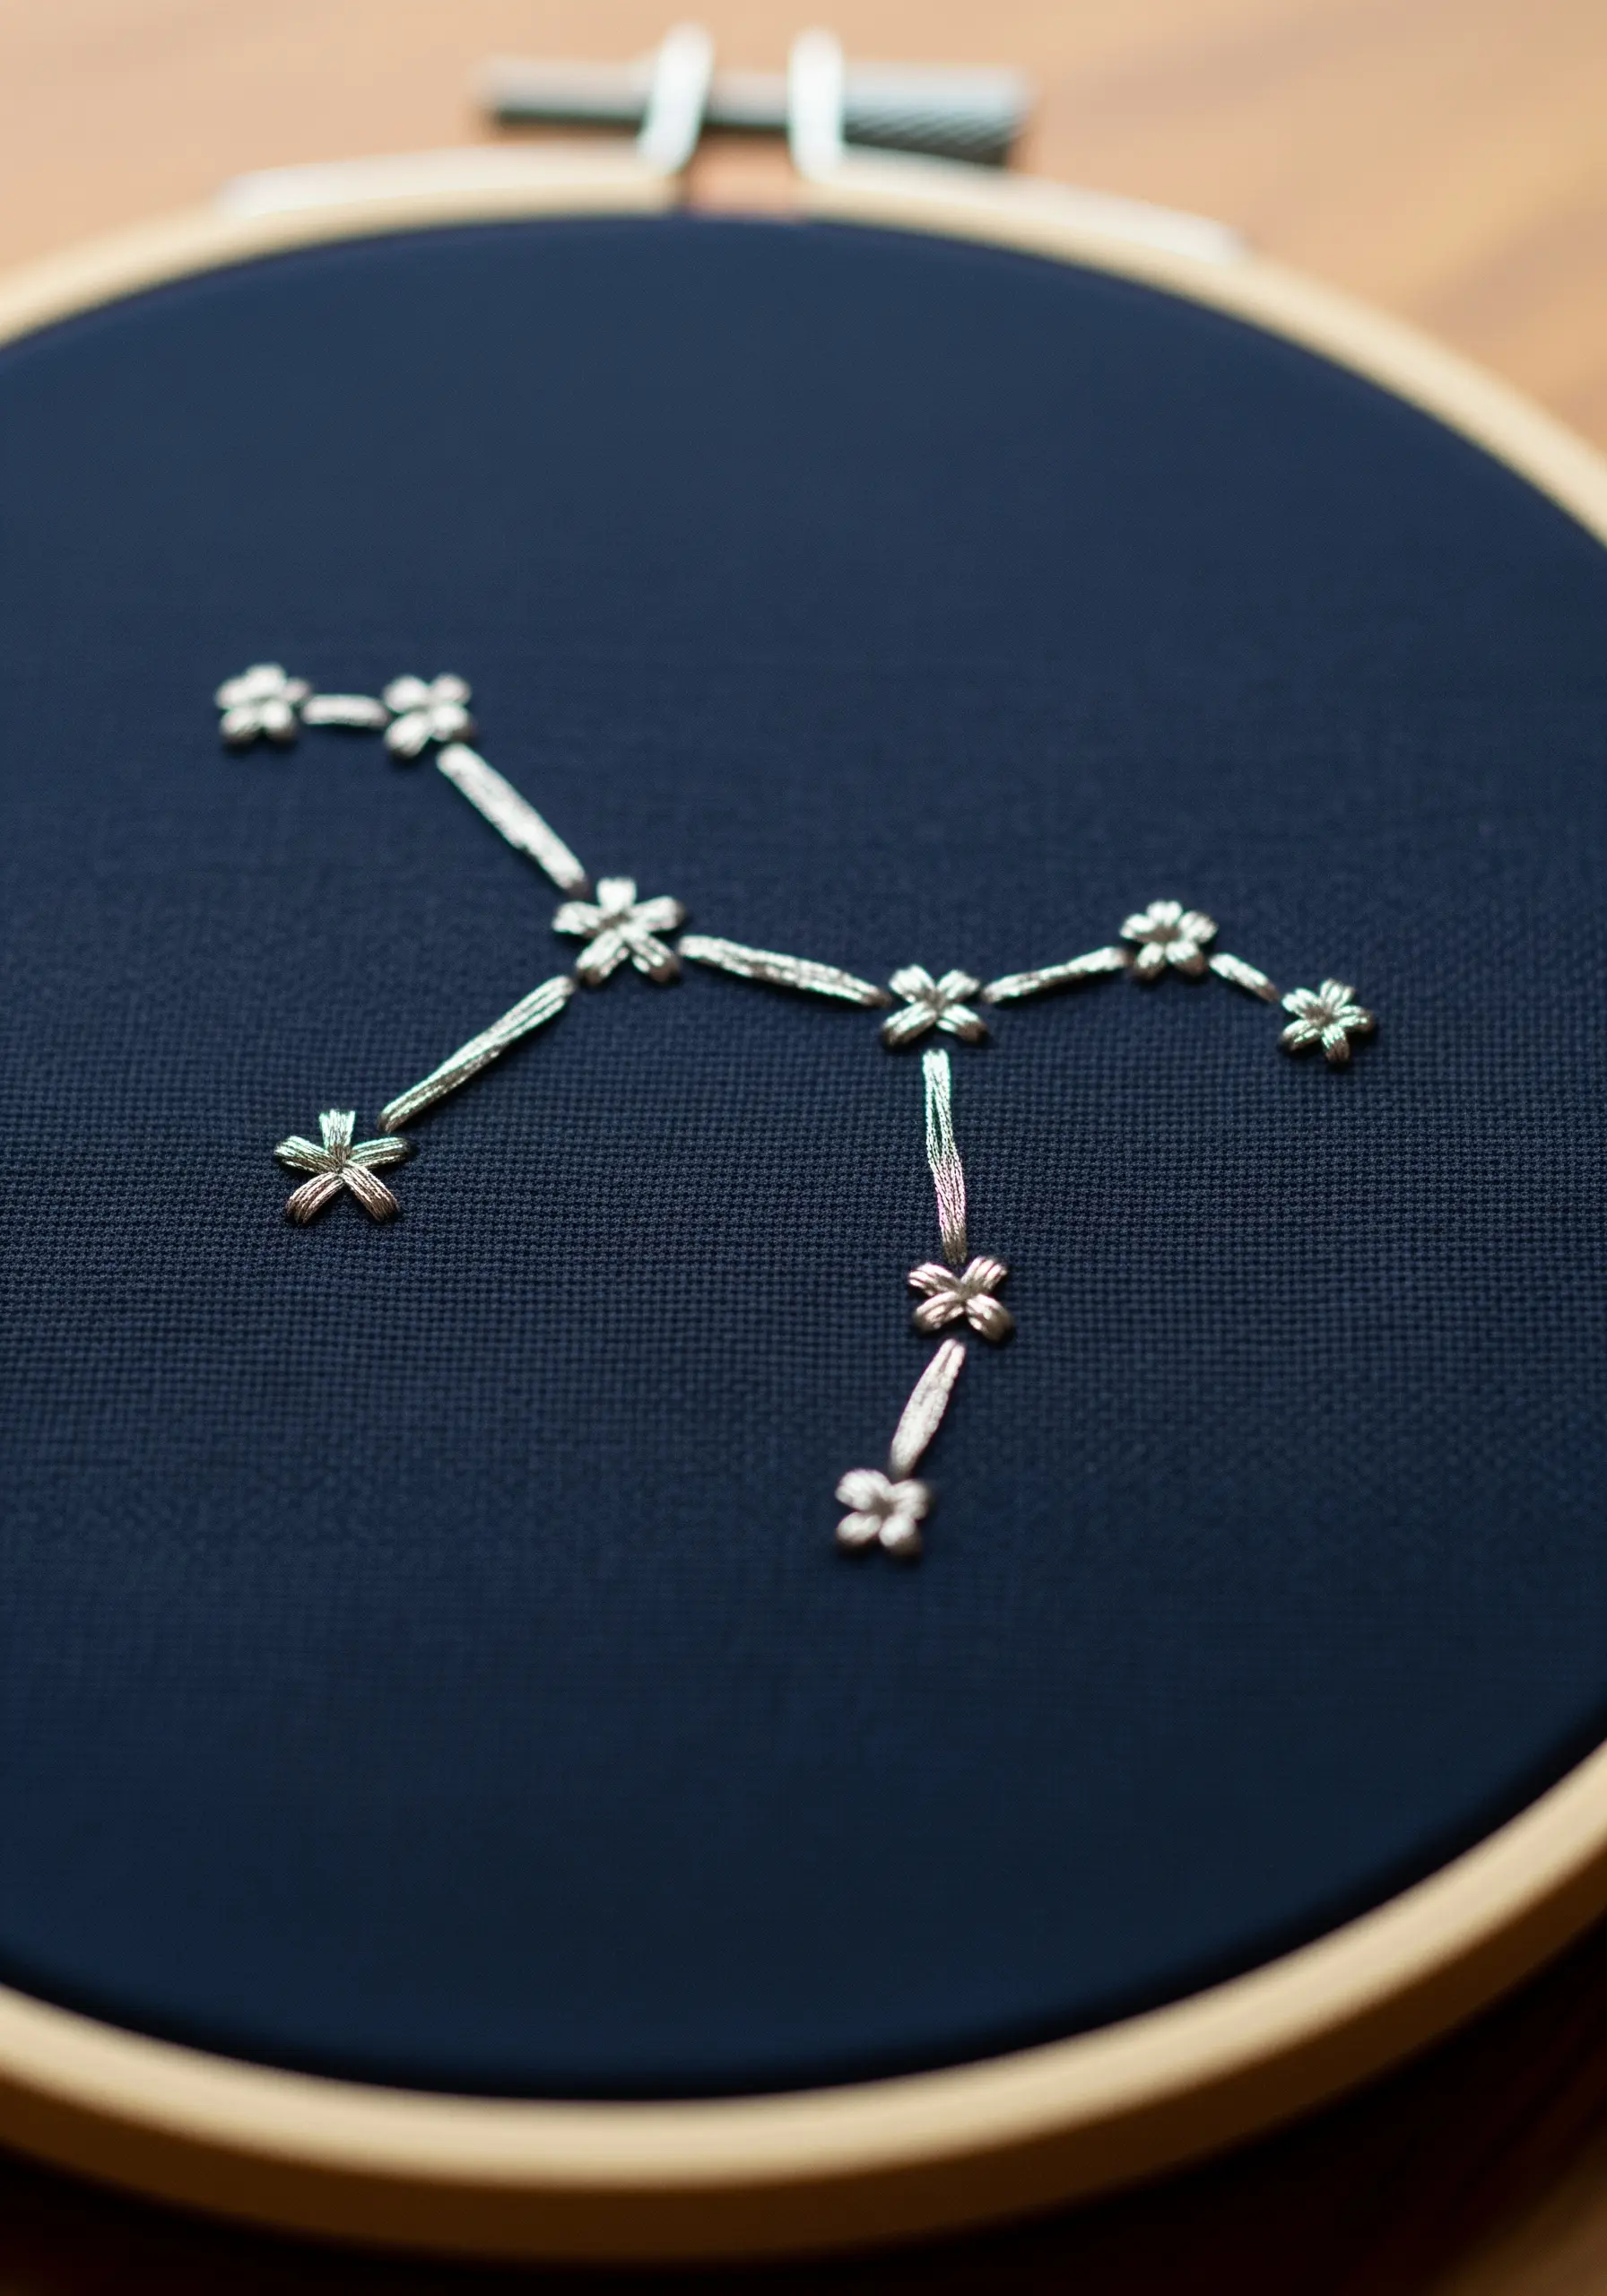
Commemorate a special night by stitching a constellation you saw on your travels.
Choose a dark blue or black fabric and use a silver or iridescent metallic thread for a magical shimmer.
Use small star stitches or detached chain stitches (lazy daisies) for each star, connecting them with simple straight stitches.
This creates a delicate and personal map of the night sky, turning your hoop into one of those minimal celestial embroidery wall designs.
13. Simplify a Scene into a Clean Line Drawing
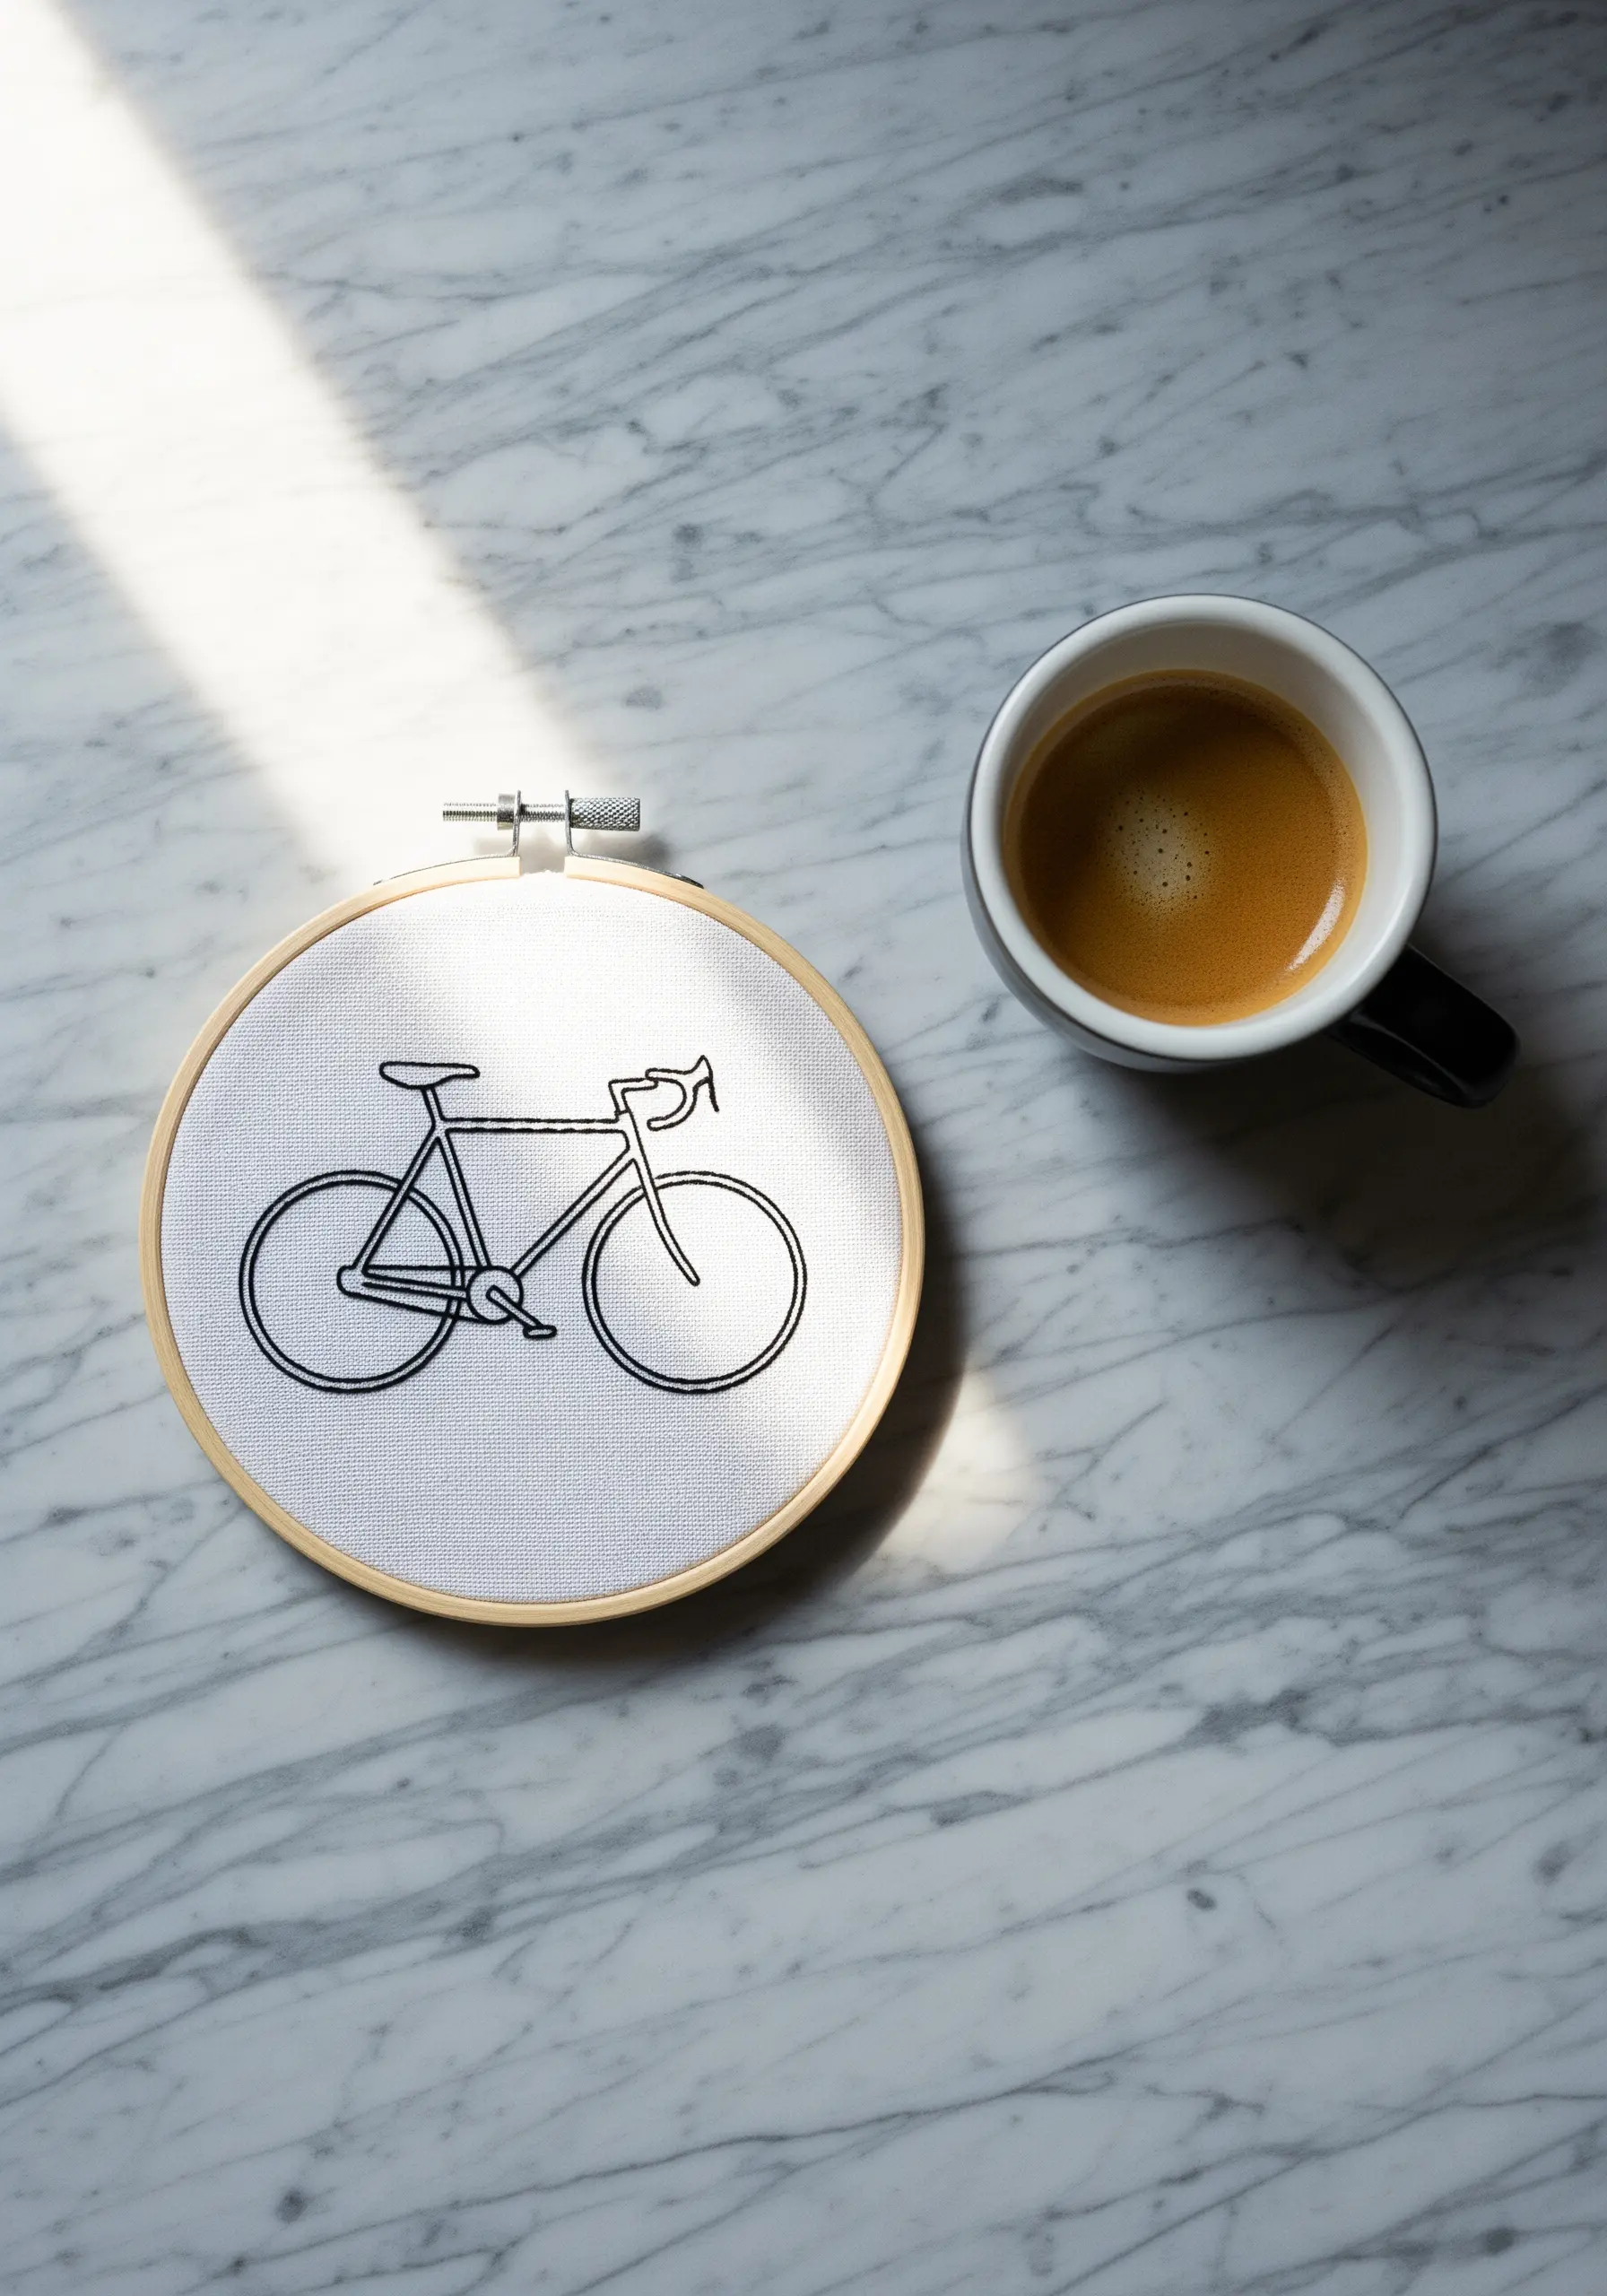
You don’t need to stitch every detail. Instead, translate a favorite vacation activity, like a bike ride, into a simple line drawing.
Using a single strand of black floss and a meticulous backstitch, you can capture the essence of a complex object with grace.
Focus on maintaining even stitch length and smooth curves for a polished, graphic look.
This approach to modern line art thread designs is both meditative to stitch and beautiful to display.
14. Use Satin Stitch for Bold, Graphic Color Blocks
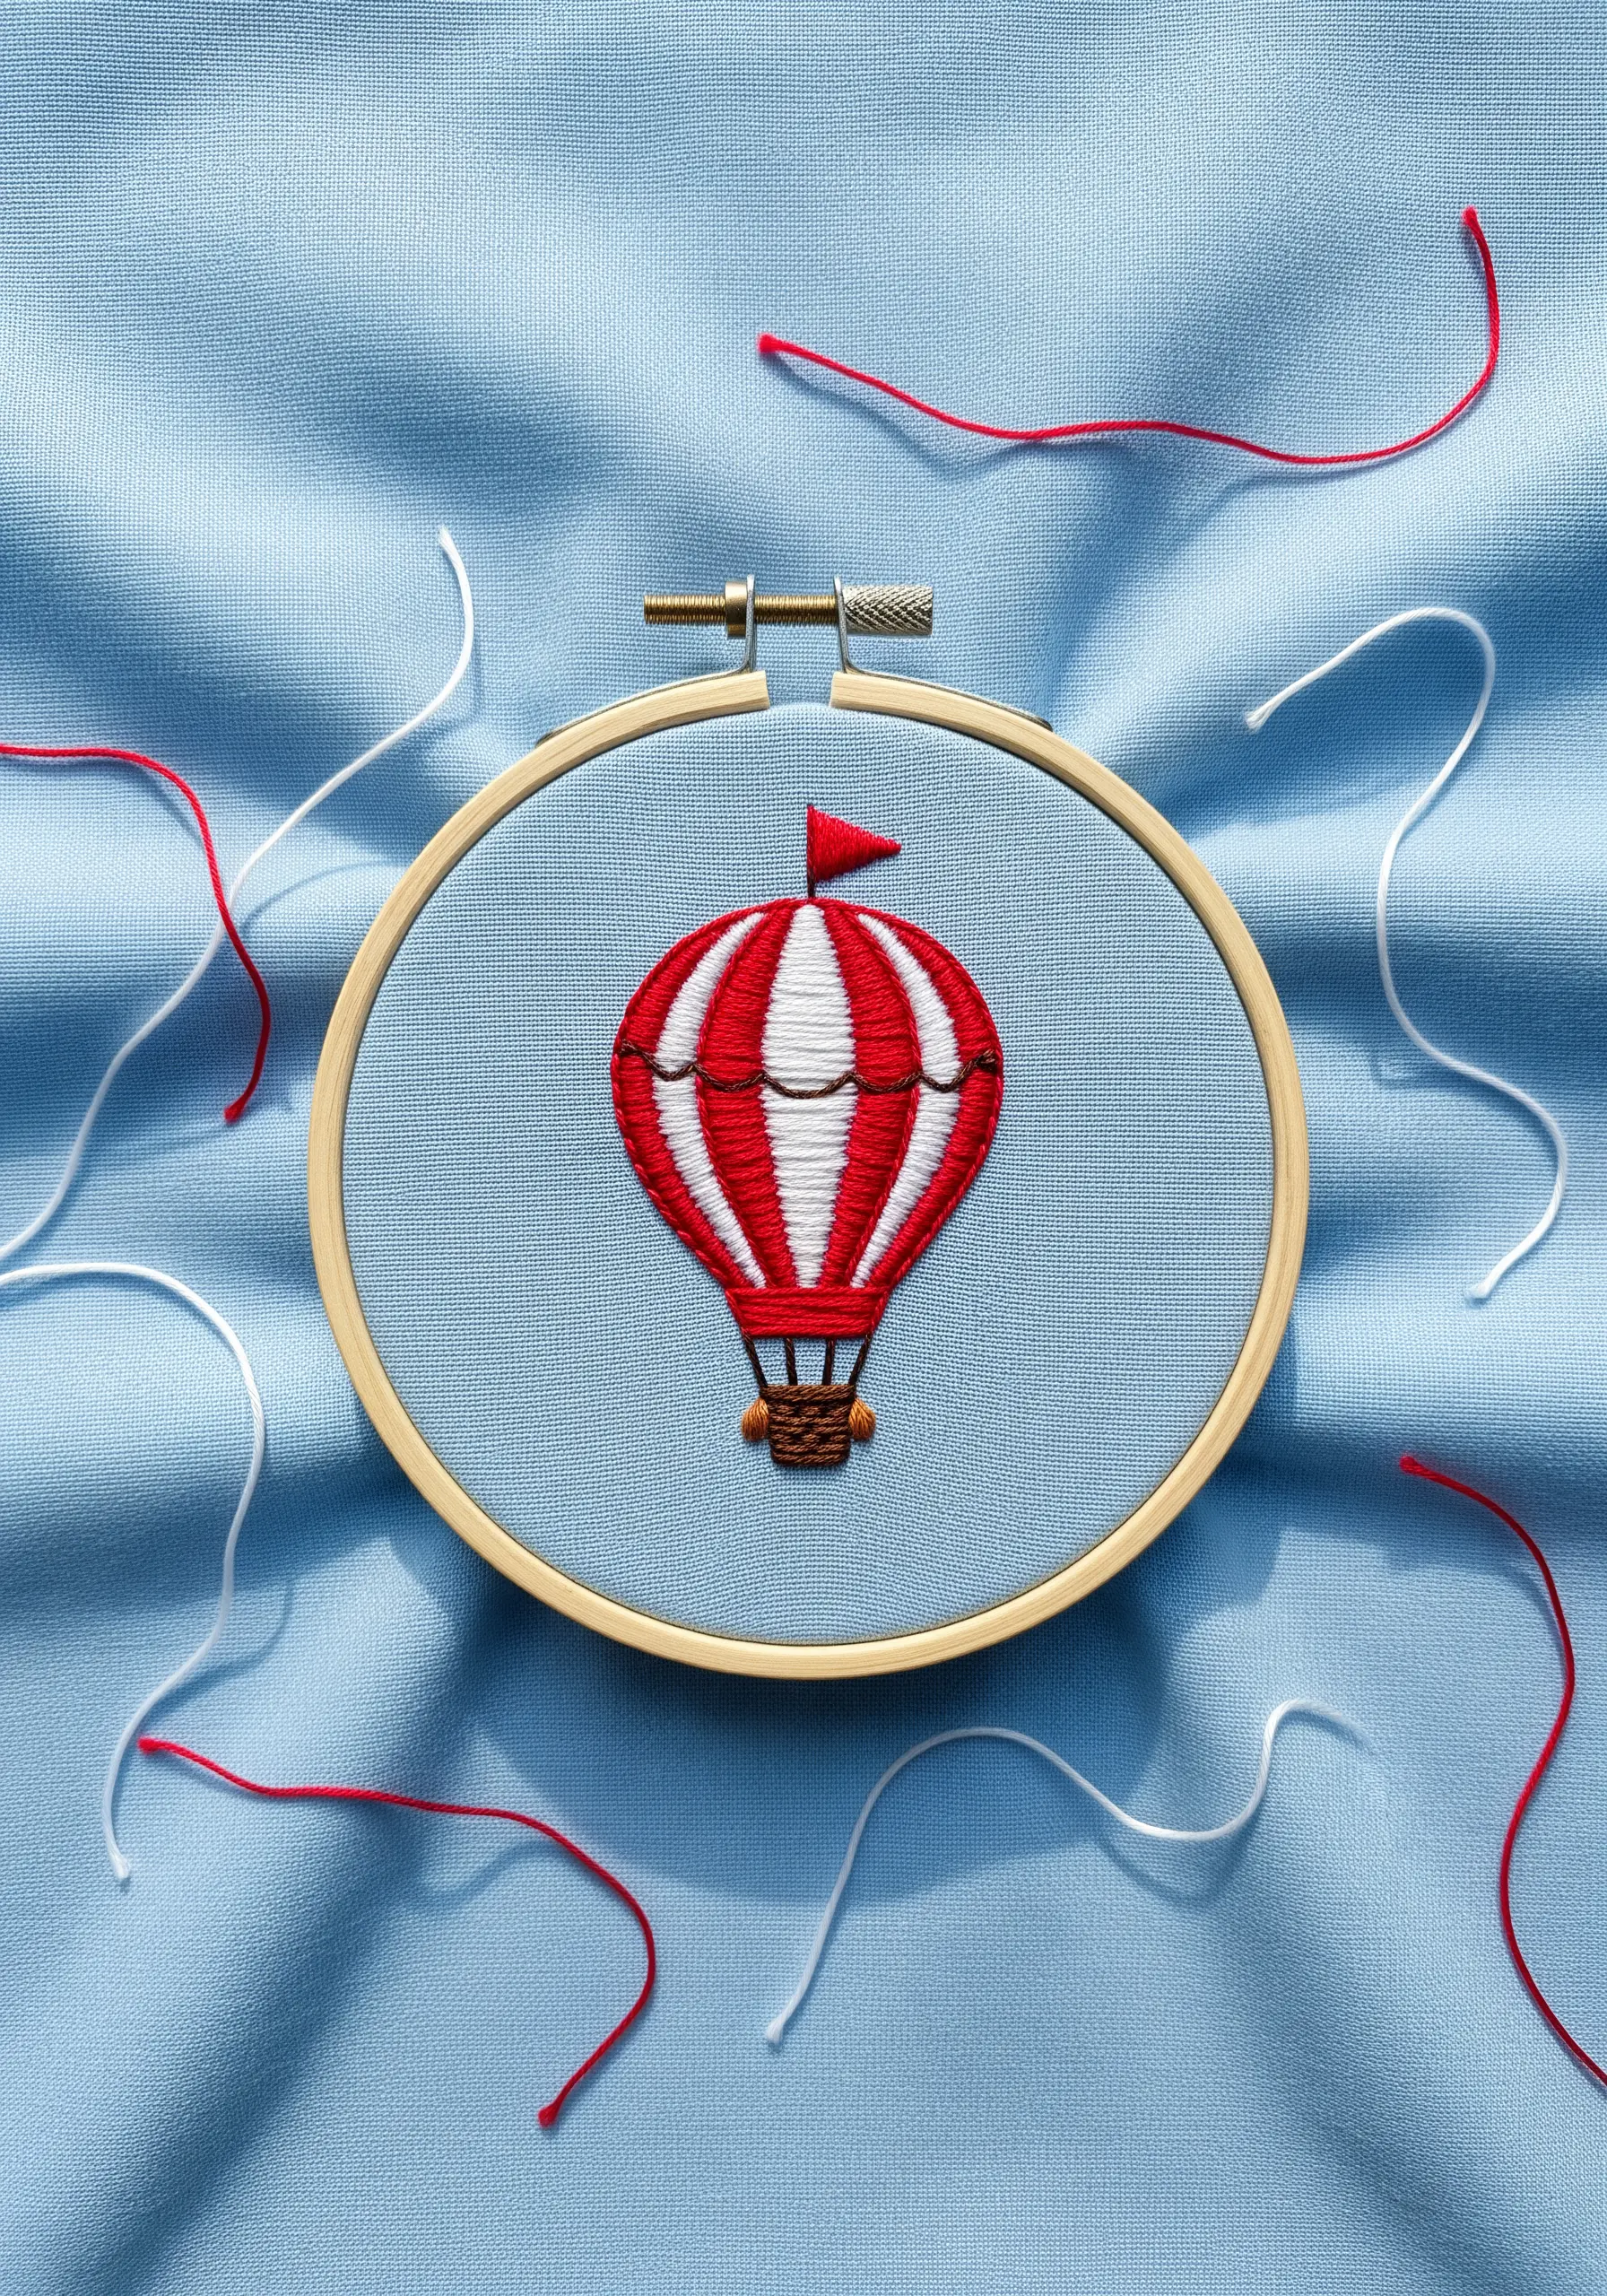
A hot air balloon offers the perfect opportunity to practice precise, graphic fills.
Use a crisp satin stitch for the colorful stripes, ensuring each stitch lies flat and right next to the previous one for a smooth, fabric-like finish.
To keep your edges perfectly clean, outline each section with a split stitch before you begin filling.
The result is one of those bold and colorful framed embroidery patterns that feels joyful and nostalgic.
15. Create 3D Texture for a Tactile Souvenir
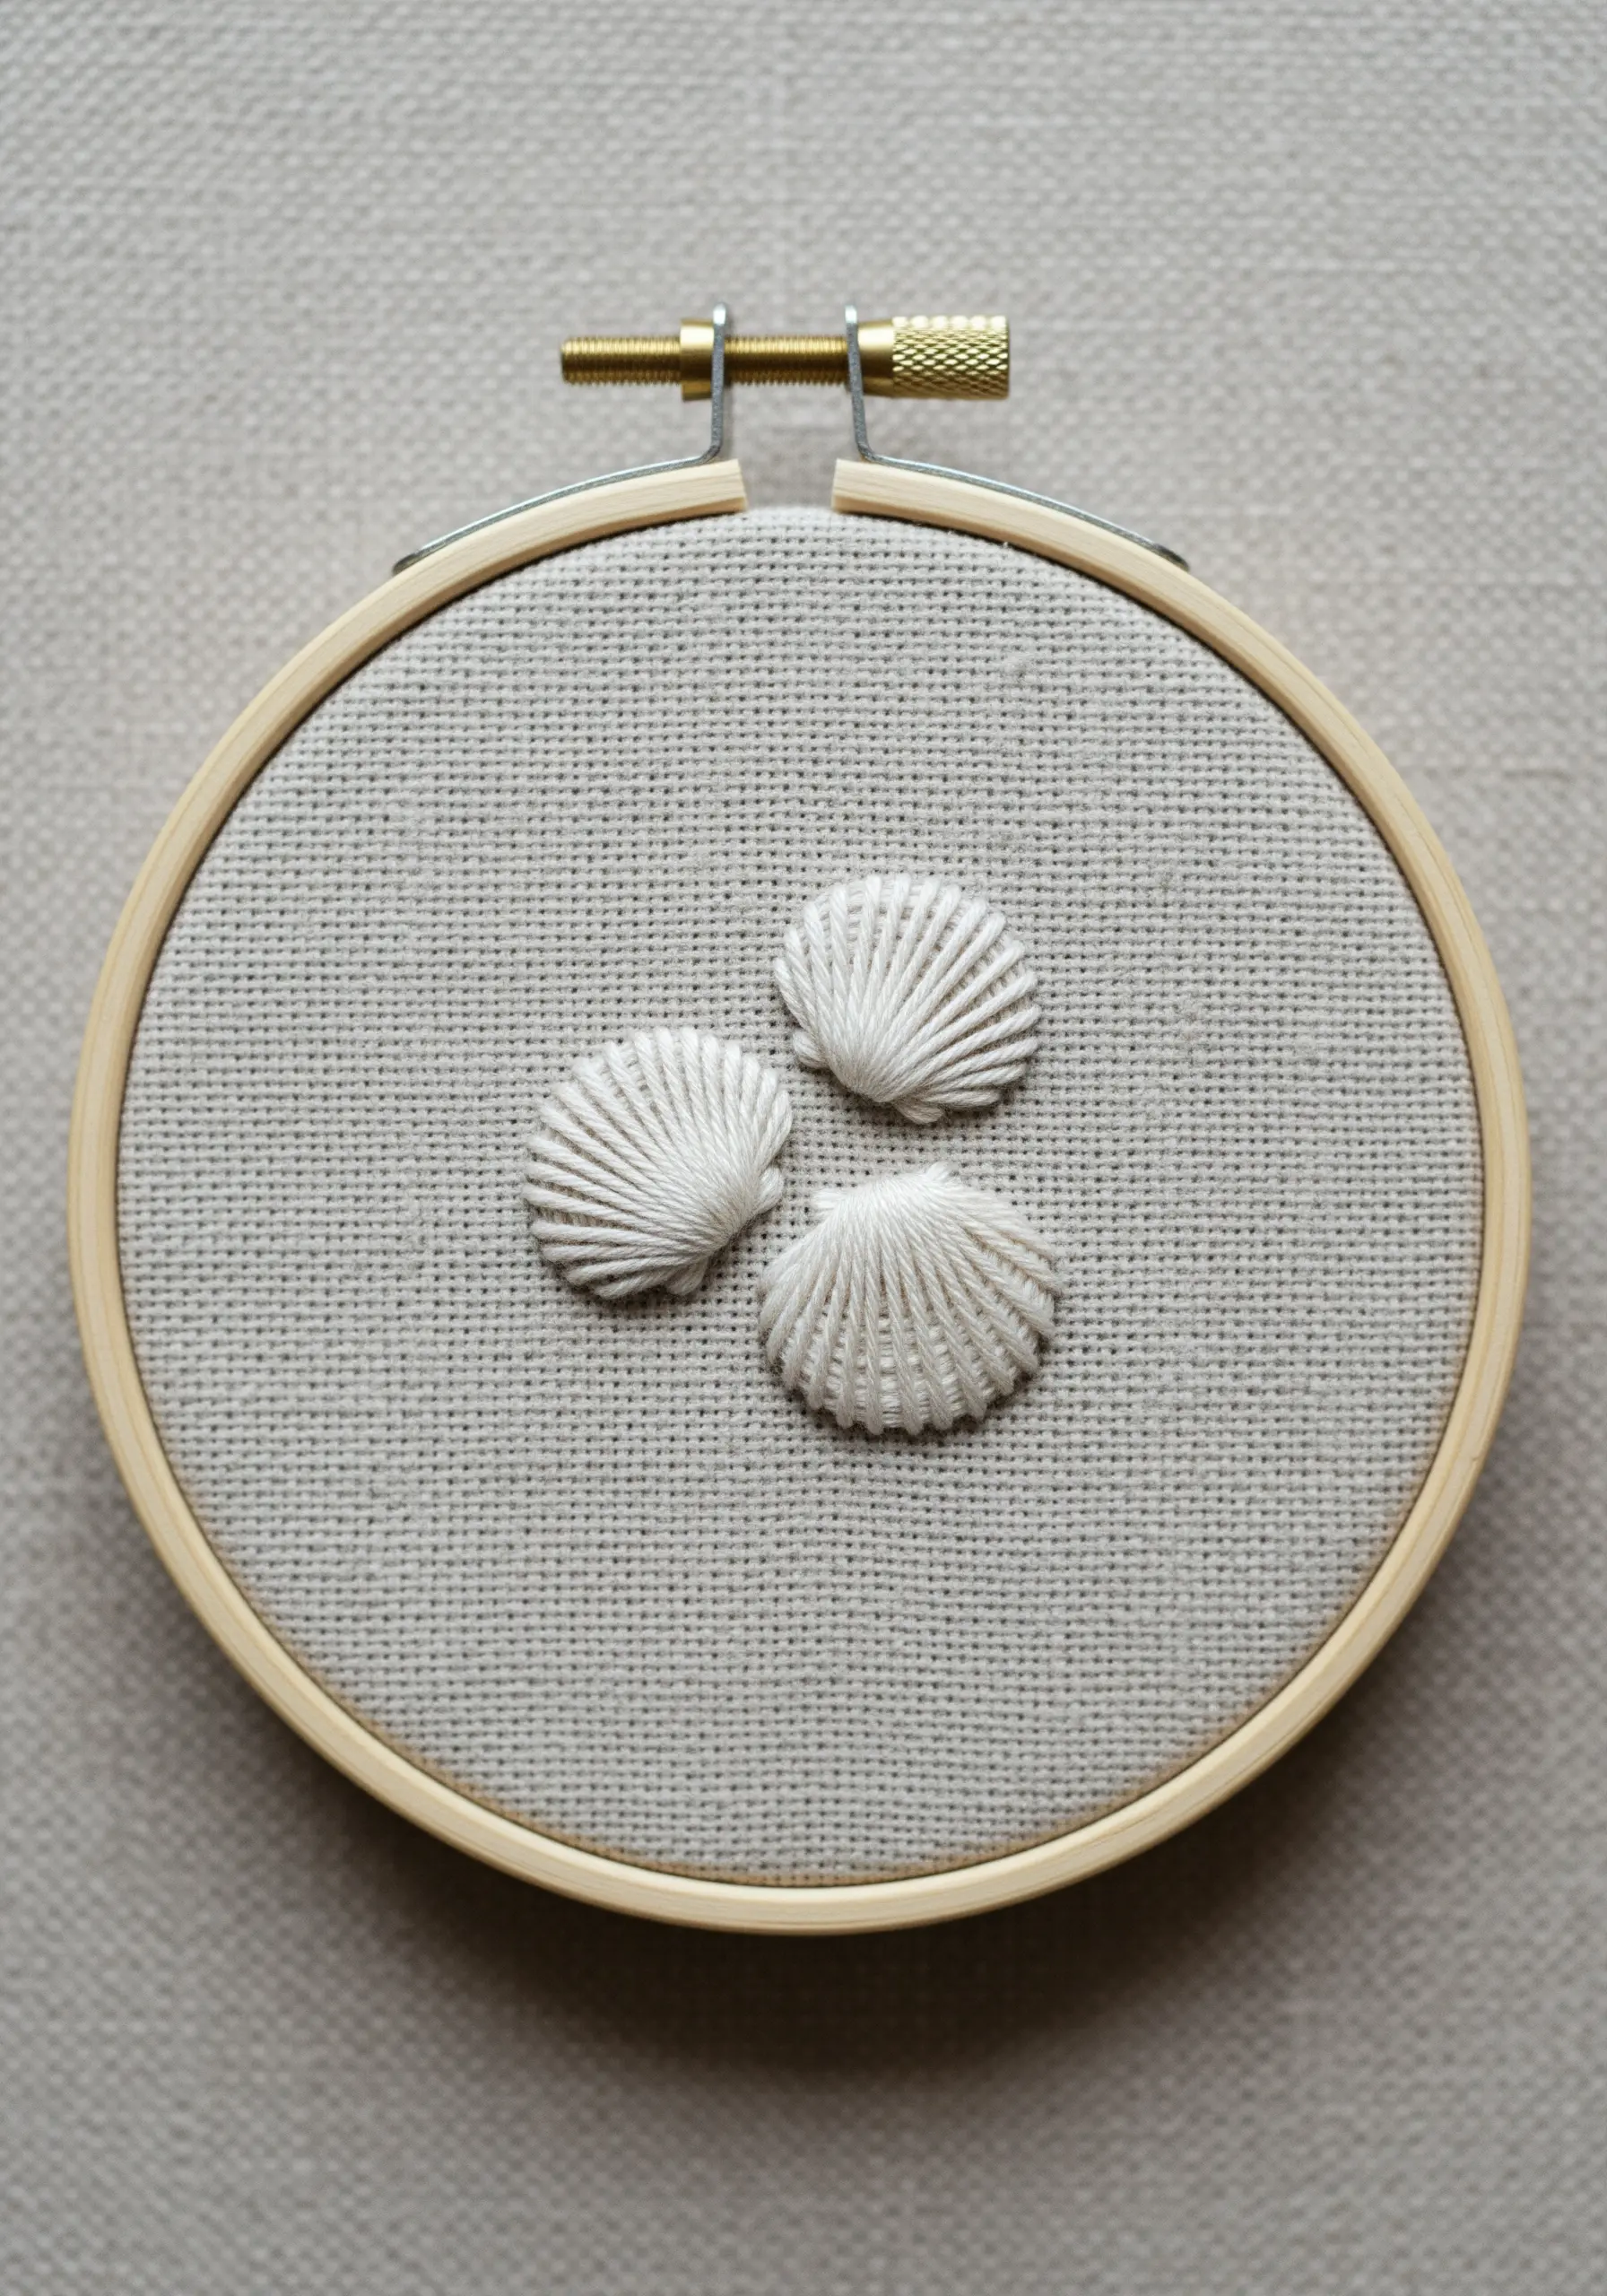
Bring your beachcombing finds to life by stitching seashells with a dimensional technique.
The woven wheel stitch, when stitched in an oval or fan shape, creates raised, textured lines that perfectly mimic the ridges of a shell.
Use an off-white or ecru thread on a neutral linen background to let the texture be the star of the show.
This approach transforms simple ocean-marine embroidery wall themes into tactile art.
16. Paint with Thread for a Realistic Landscape
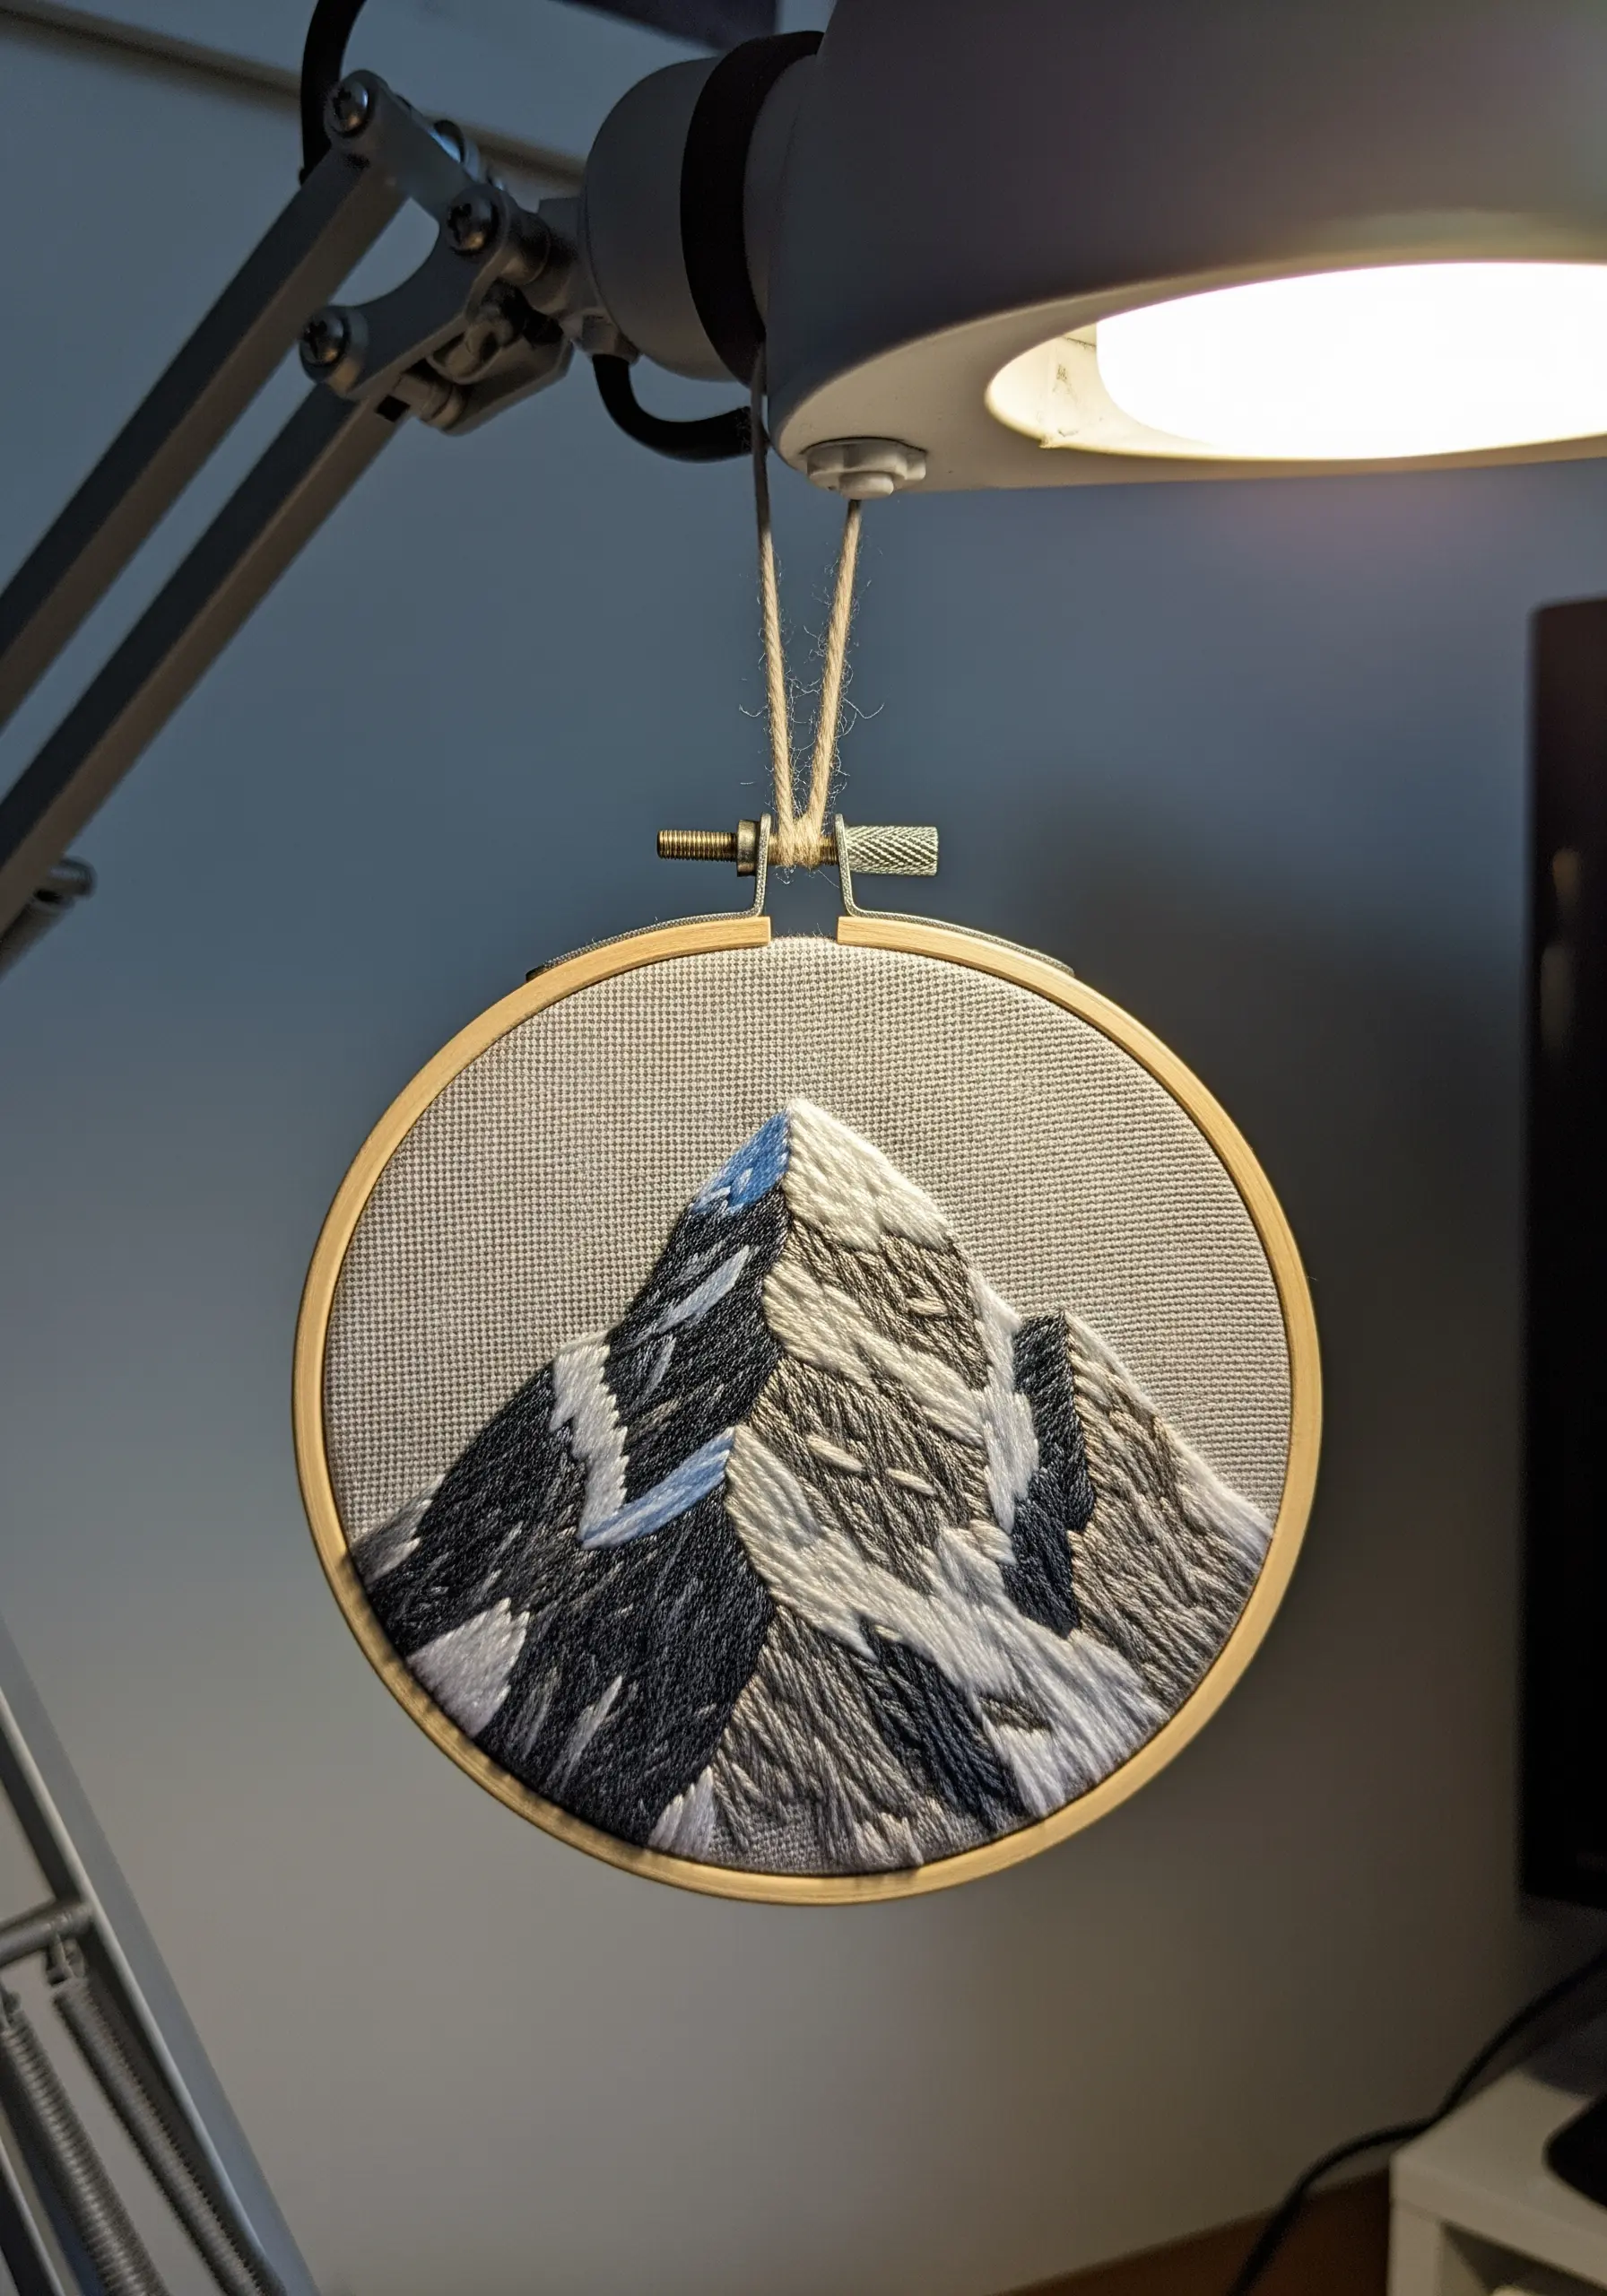
For a more detailed mountain souvenir, try thread painting with the long-and-short stitch.
This technique allows you to blend colors seamlessly, creating realistic shadows, highlights, and rocky textures.
Work in small sections, using a photo as a reference for where the light hits. Use shades of grey, black, white, and even a hint of blue for glacial ice.
This is how you can turn fabric into painted scenery, one stitch at a time.
17. Isolate an Iconic Landmark with Negative Space
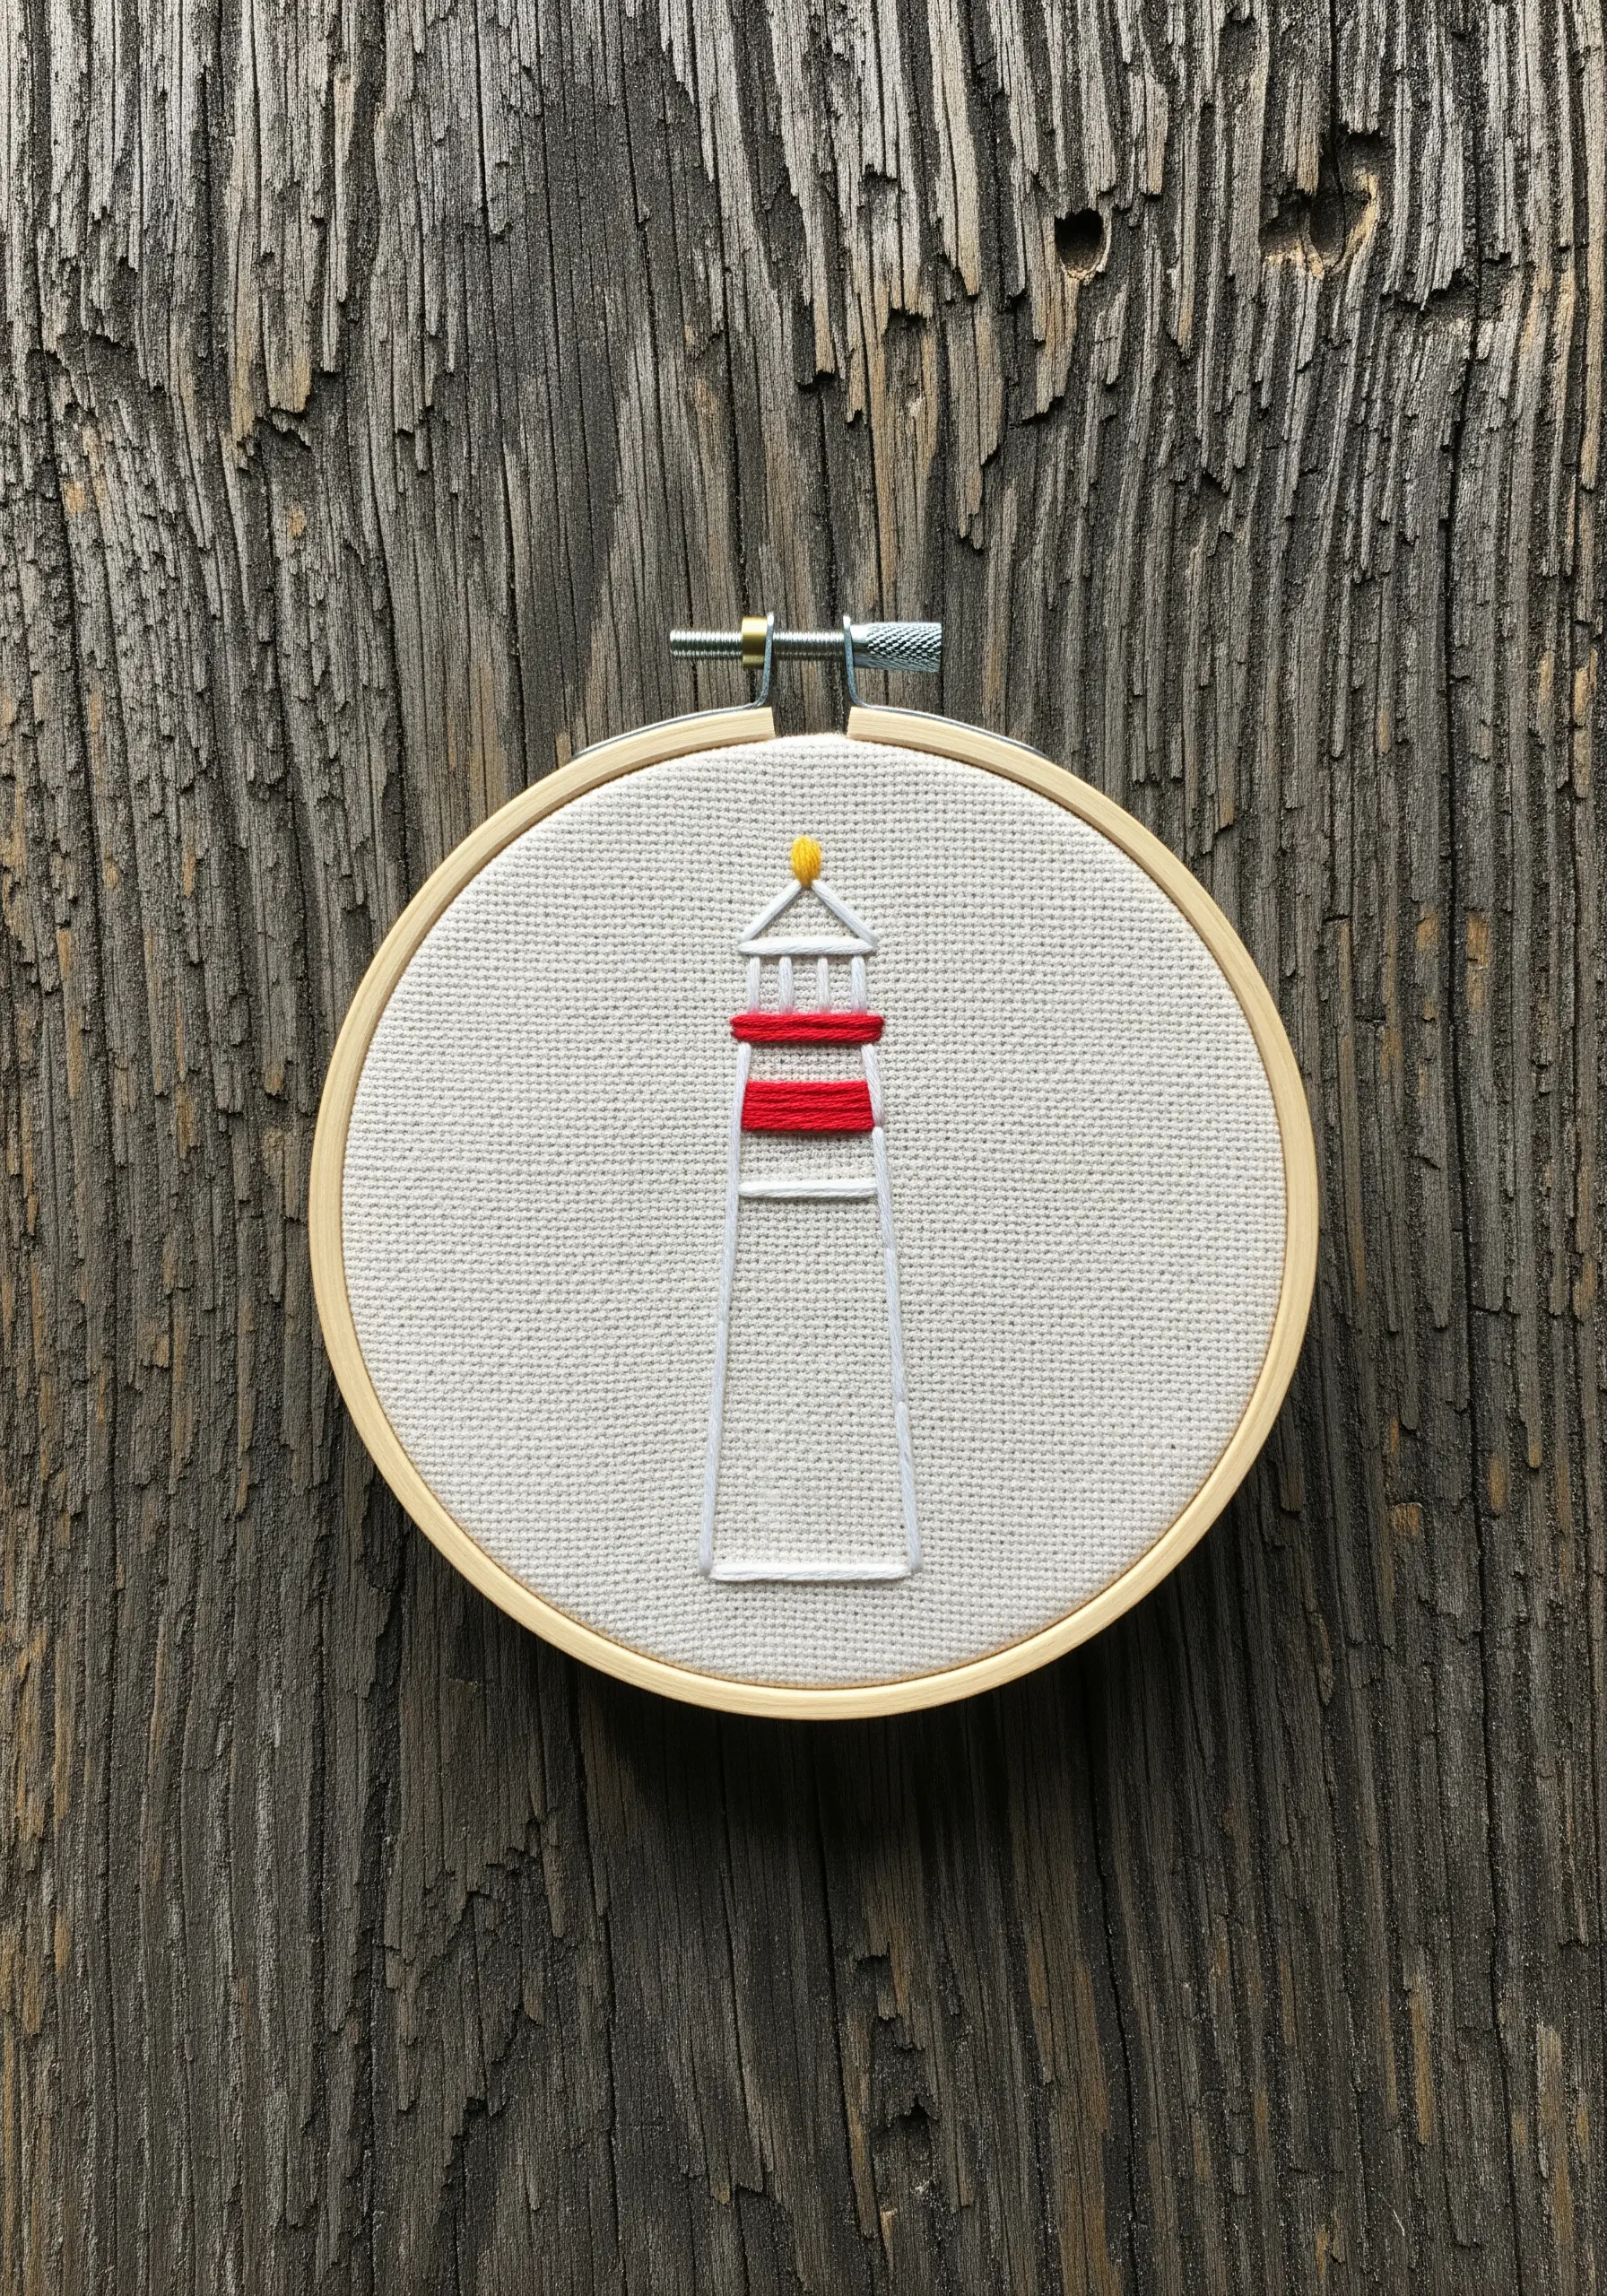
A simple, iconic landmark like a lighthouse doesn’t need a full landscape to be recognizable.
Stitch only the structure itself, using clean satin stitches for the colored bands and straight stitches for the outlines.
By leaving the background fabric empty, you create a powerful, minimalist design where the subject takes center stage.
This style turns your hoop into one of those minimalist hoop art pieces that is modern and timeless.
18. Mimic Natural Texture with Stitch Angles
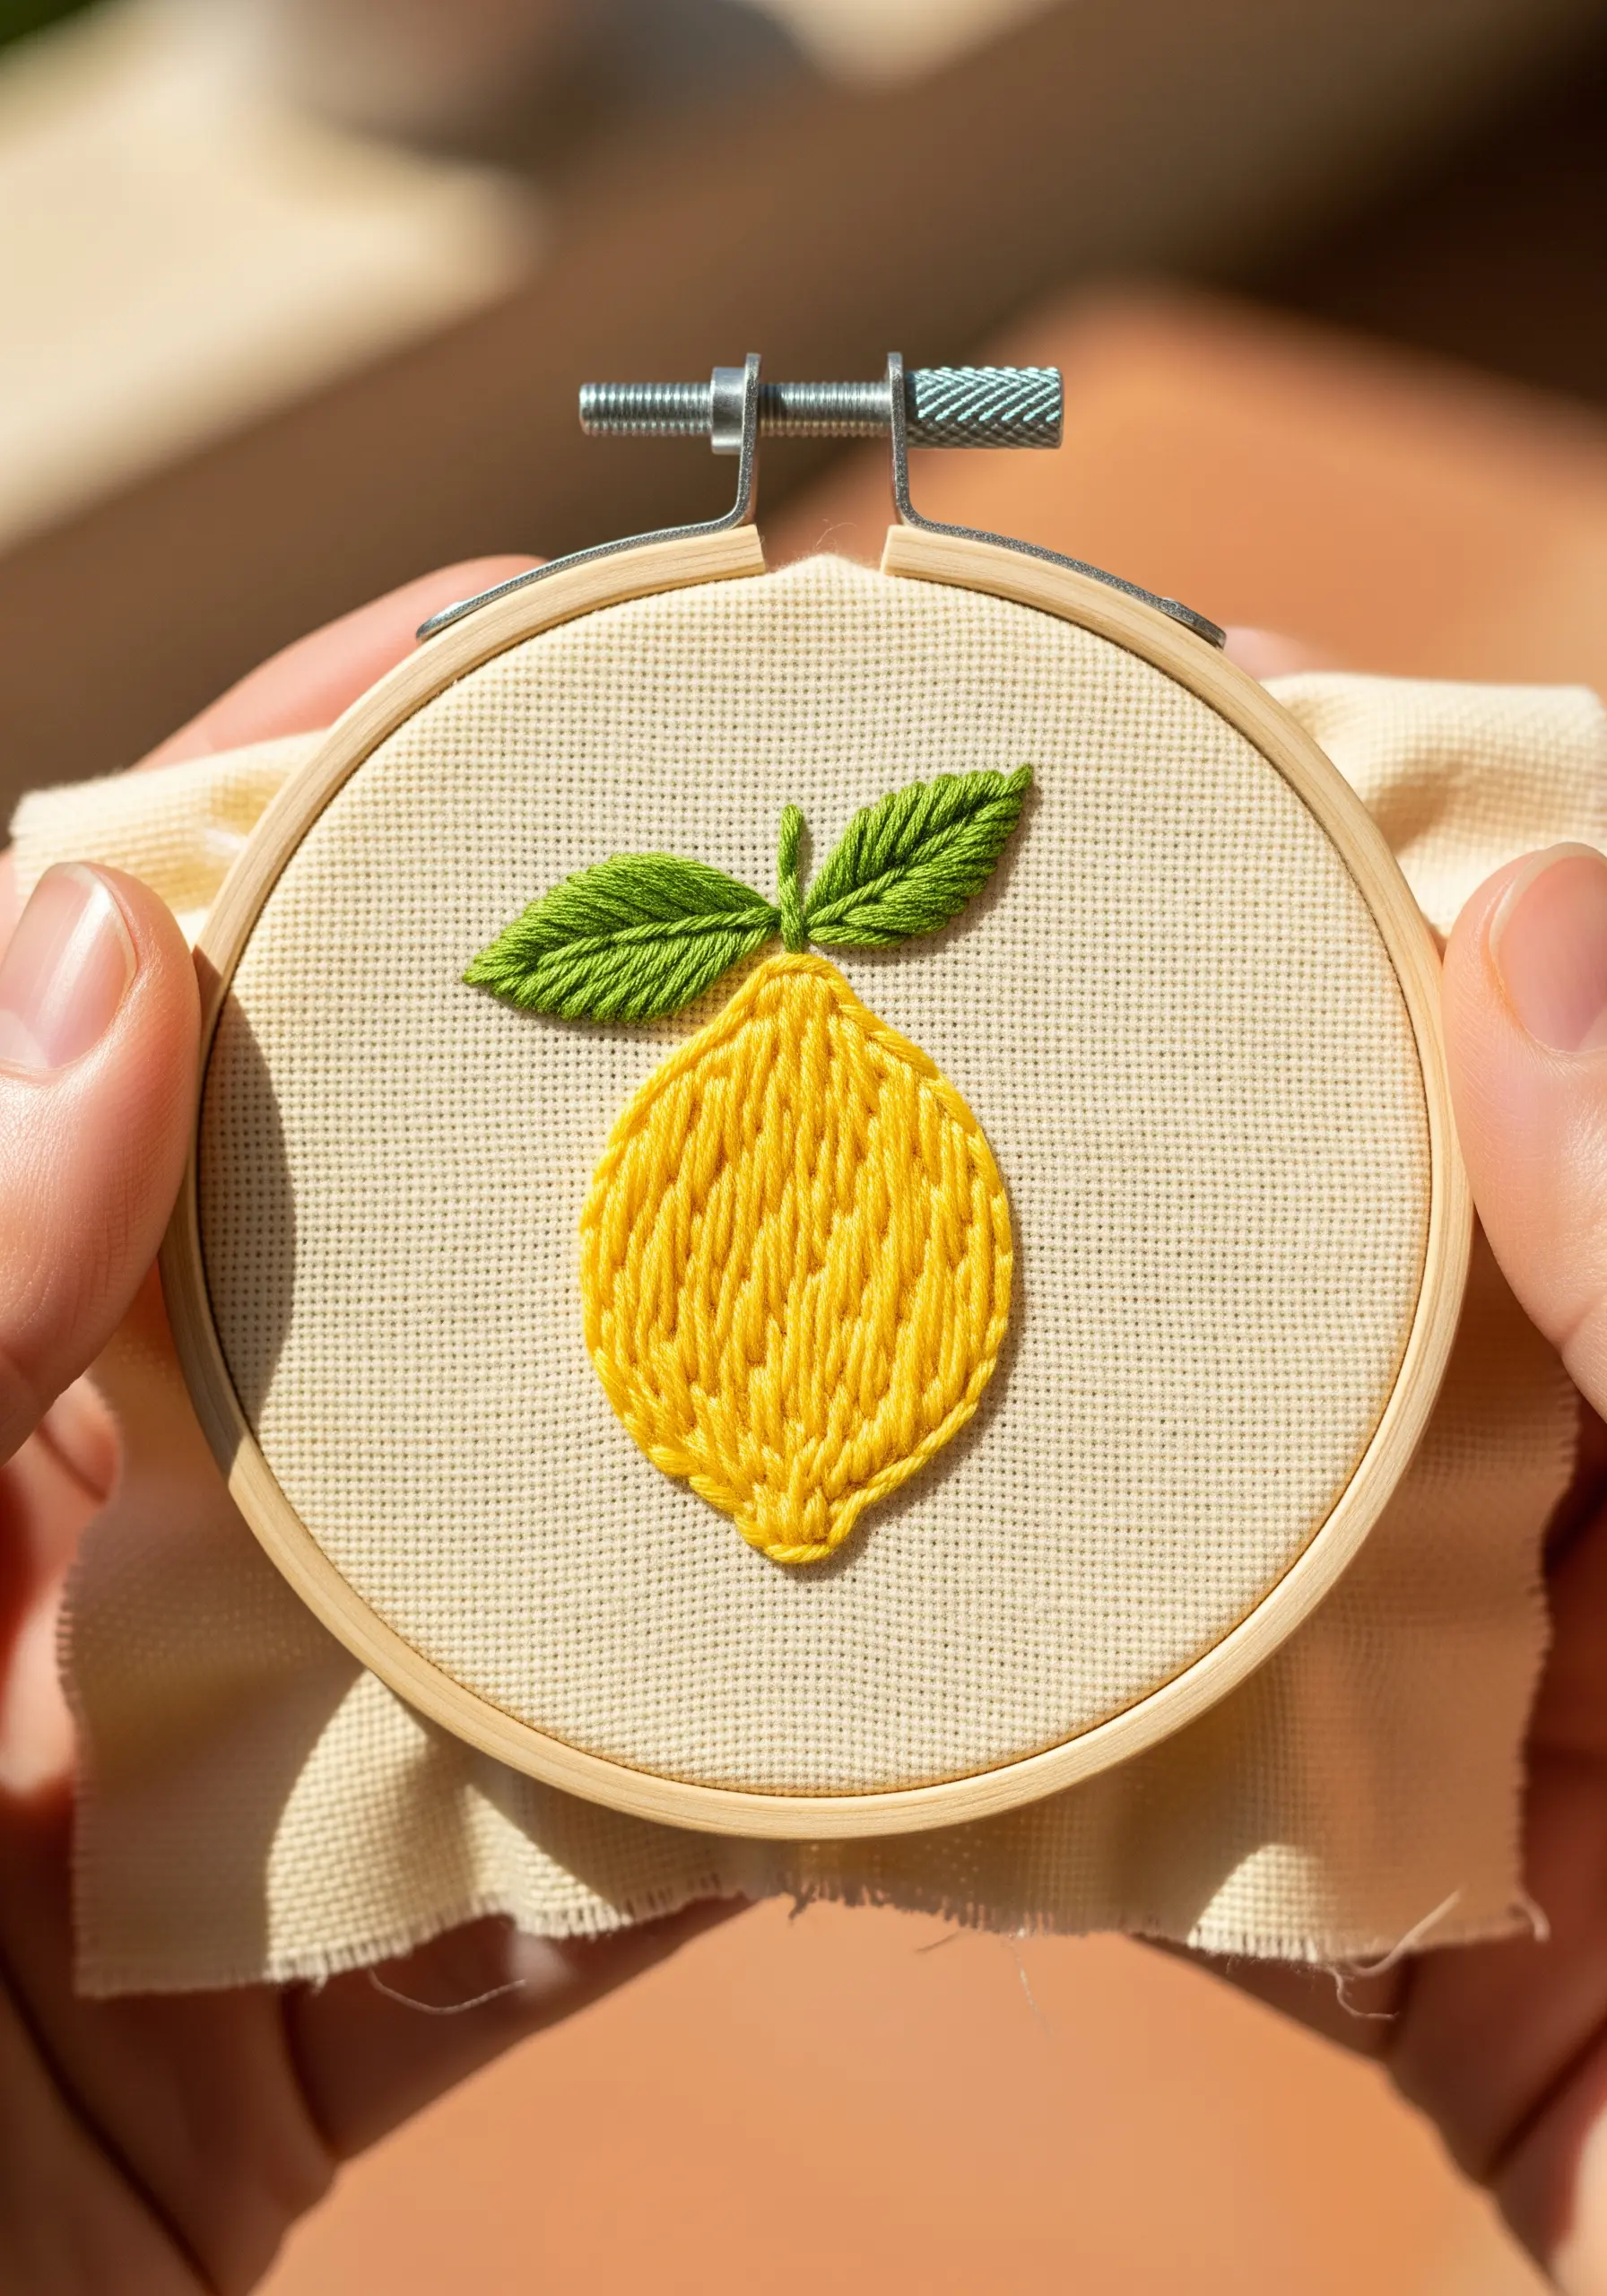
Capture the vibrant essence of a lemon by angling your fill stitches to follow the fruit’s form.
Instead of uniform horizontal or vertical satin stitches, place them at a slight diagonal, radiating from a central point.
This small adjustment creates a subtle texture that suggests roundness and mimics the peel’s surface.
Pair it with fishbone stitch for the leaves to create a composition rich in natural detail, perfect for embroidered herb leaf designs and other botanical work.
19. Blend Colors Subtly within a Single Petal

To give a single flower depth and realism, use the split stitch as a filling technique.
Work in rows, introducing a slightly lighter or darker shade of thread every few lines to create a soft, seamless gradient.
This method gives you more control than traditional satin stitch and prevents the “color blocking” effect, making it ideal for creating delicate, realistic petals.
It’s the secret behind many realistic rose & tulip embroidery ideas that look almost painted.
20. Capture Nostalgia with a Simple Outline
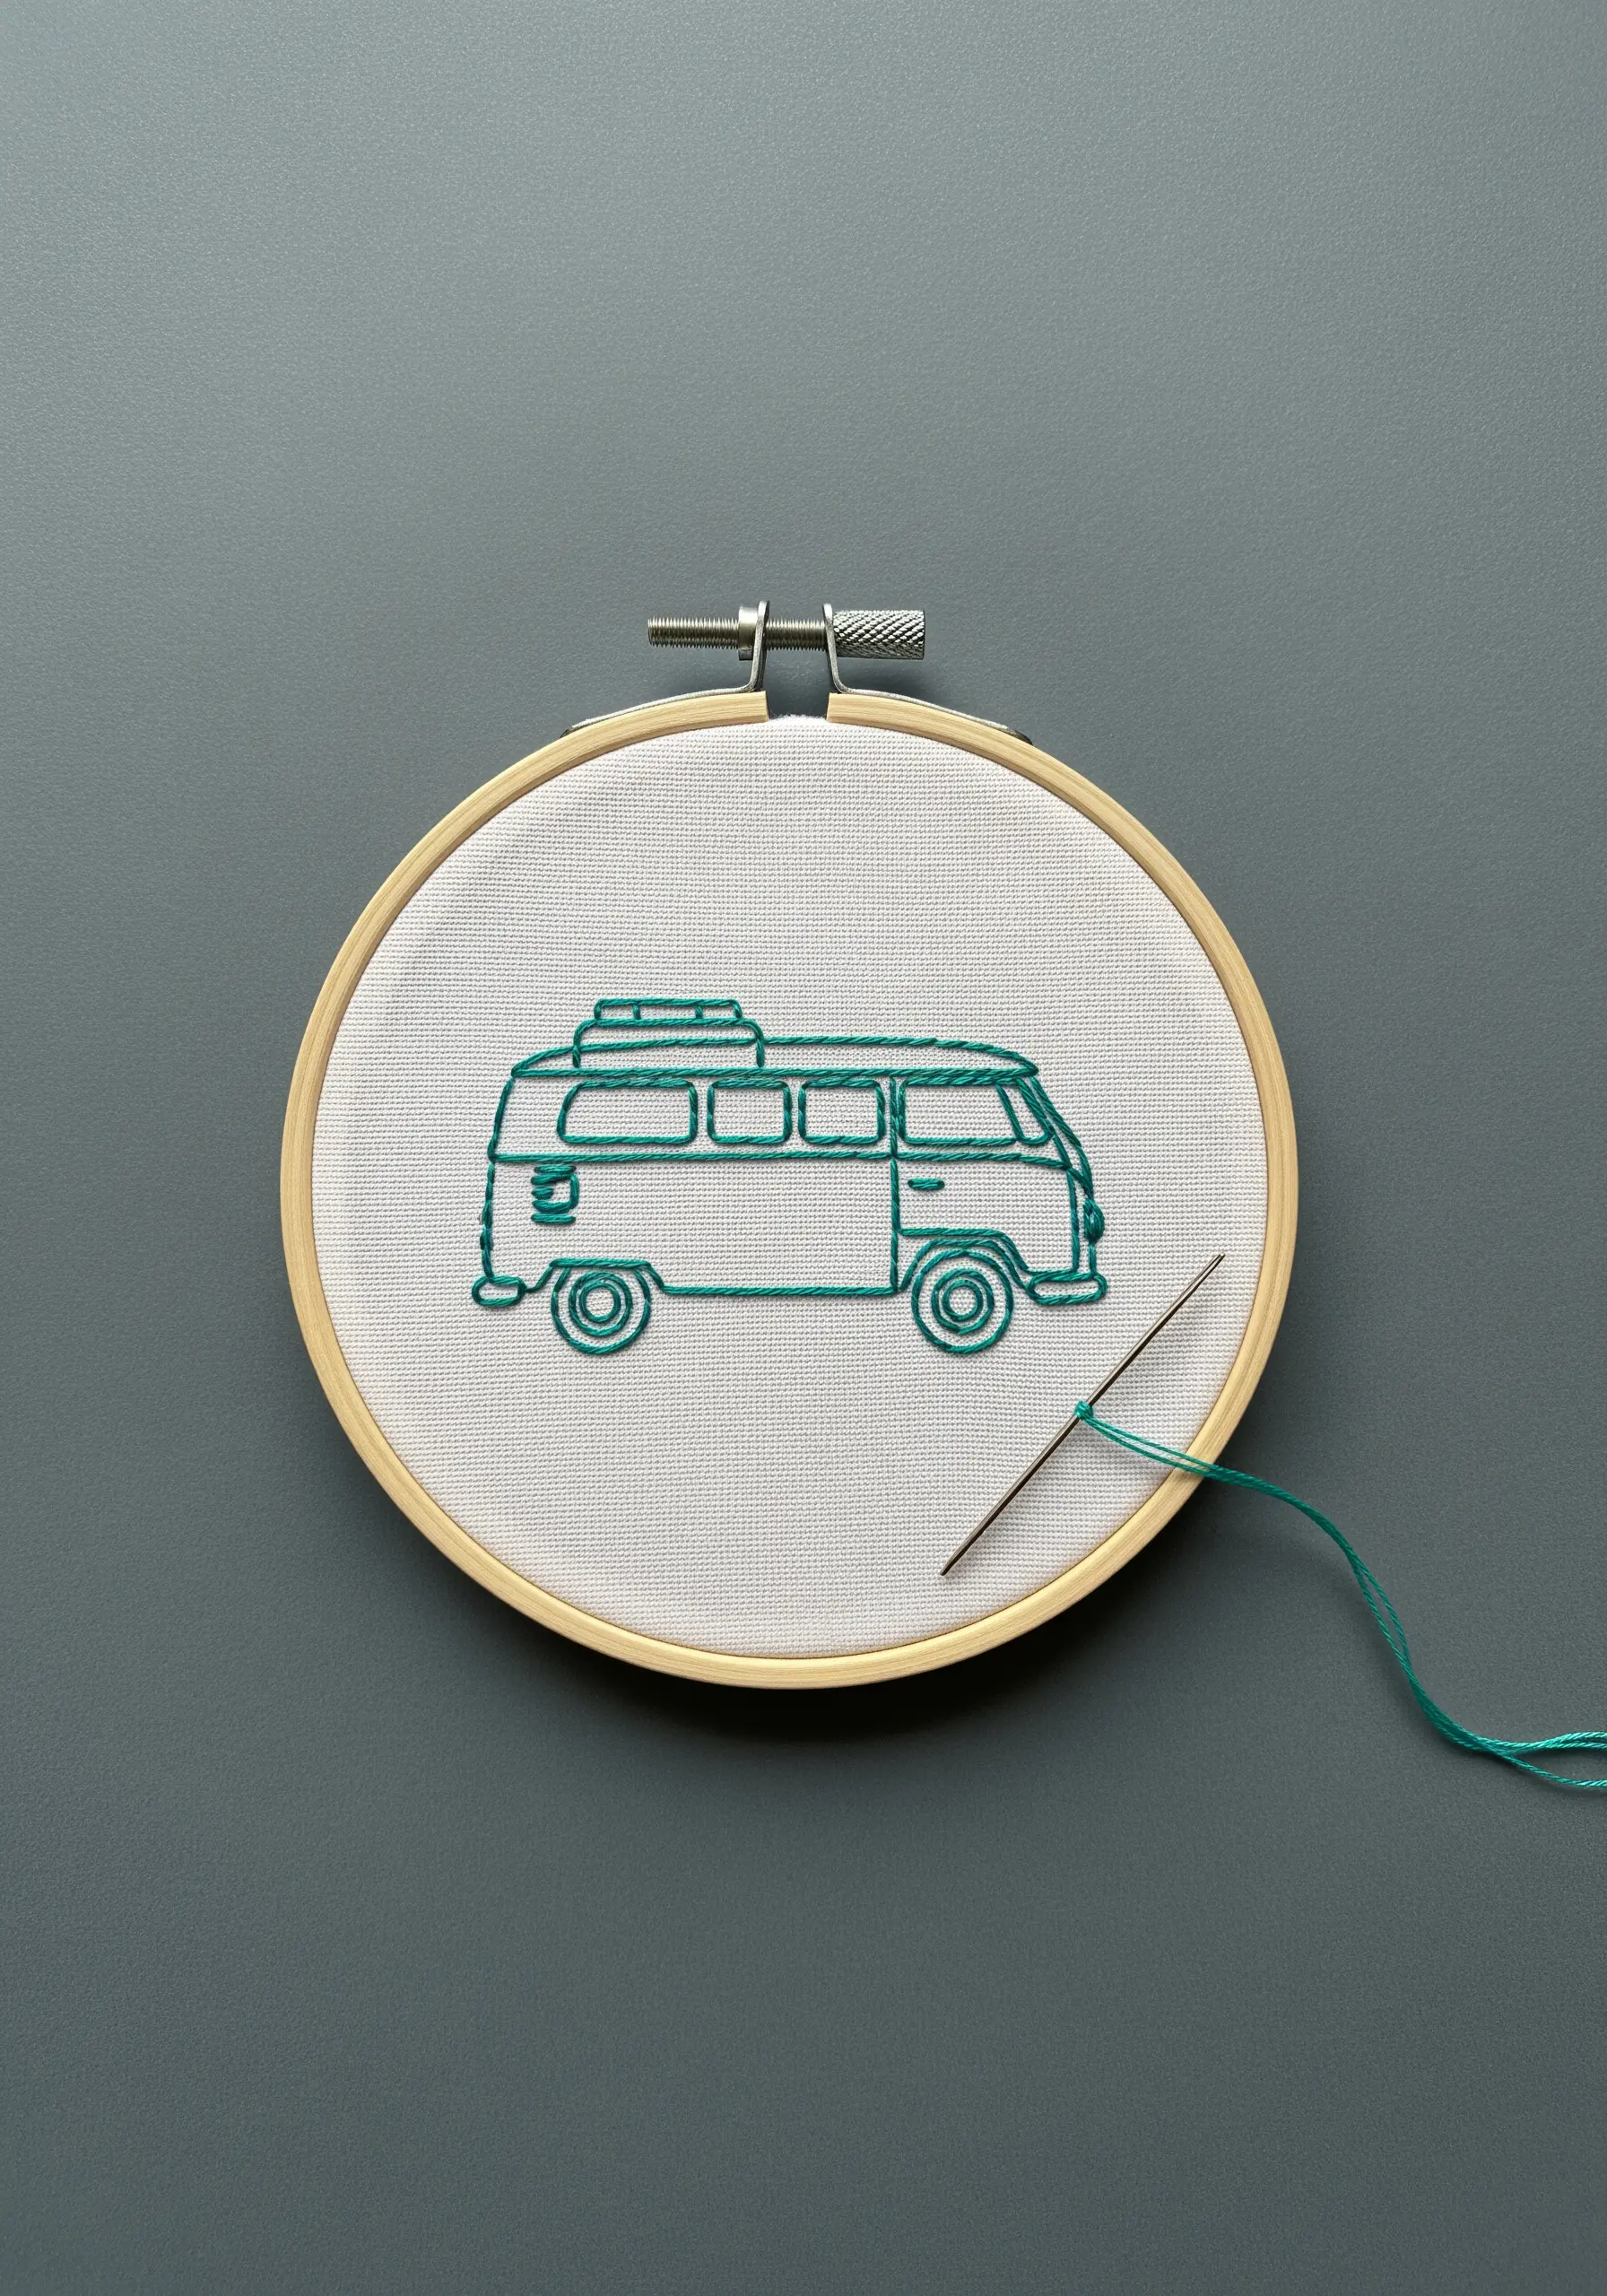
A road trip memory can be perfectly encapsulated in the simple outline of a vintage camper van.
Use two strands of floss and a crisp backstitch or stem stitch to trace the silhouette from a photo.
Focus on capturing the key lines that make the shape iconic, omitting unnecessary details.
This is one of the most effective single thread embroidery ideas for transforming a personal memory into a clean, modern design.


