

There is a quiet moment in embroidery when you move beyond simply following a pattern and begin to shape the thread itself. It’s a shift from executing stitches to truly designing with texture, light, and dimension. You start to see your hoop not just as a flat canvas, but as a small stage where every fiber can play a role.
But how do you make that leap? It’s not about mastering hundreds of complex stitches. It’s about understanding why a single, well-placed French knot can hold more power than a dozen intricate flowers, or how changing the direction of your satin stitch can manipulate light and shadow.
These ideas are your guide to that next level. We will explore how to think like a fiber artist—how to use thread to build form, how to layer materials to create depth, and how to let light become your most dynamic tool. Let’s move past the predictable and create work that feels intentional, modern, and entirely your own.
1. Sculpt with Chunky Gradients

Instead of fine floss, create immersive texture by couching extra-chunky wool roving or thick yarn onto your fabric.
This technique allows you to build up surfaces that feel almost sculptural, turning a flat hoop into a low-relief art piece.
Arrange your couched fibers in a smooth, ombré sequence—from a warm persimmon to a deep violet—to add visual depth and softness.
The light will catch the high points of the chunky fibers, creating natural highlights and shadows that make the colors feel richer and more dynamic.
2. Weave Threads Across Negative Space

Create visual tension and delicate layers by stretching threads across the open center of a hoop or between two points on a frame.
Instead of stitching onto fabric, you are essentially creating your own woven canvas in mid-air.
Use threads with a slight sheen, like silk or rayon, to catch the light and emphasize the intersecting lines.
This method transforms simple straight lines into a complex, architectural element, perfect for modern thread art that feels both structured and ethereal.
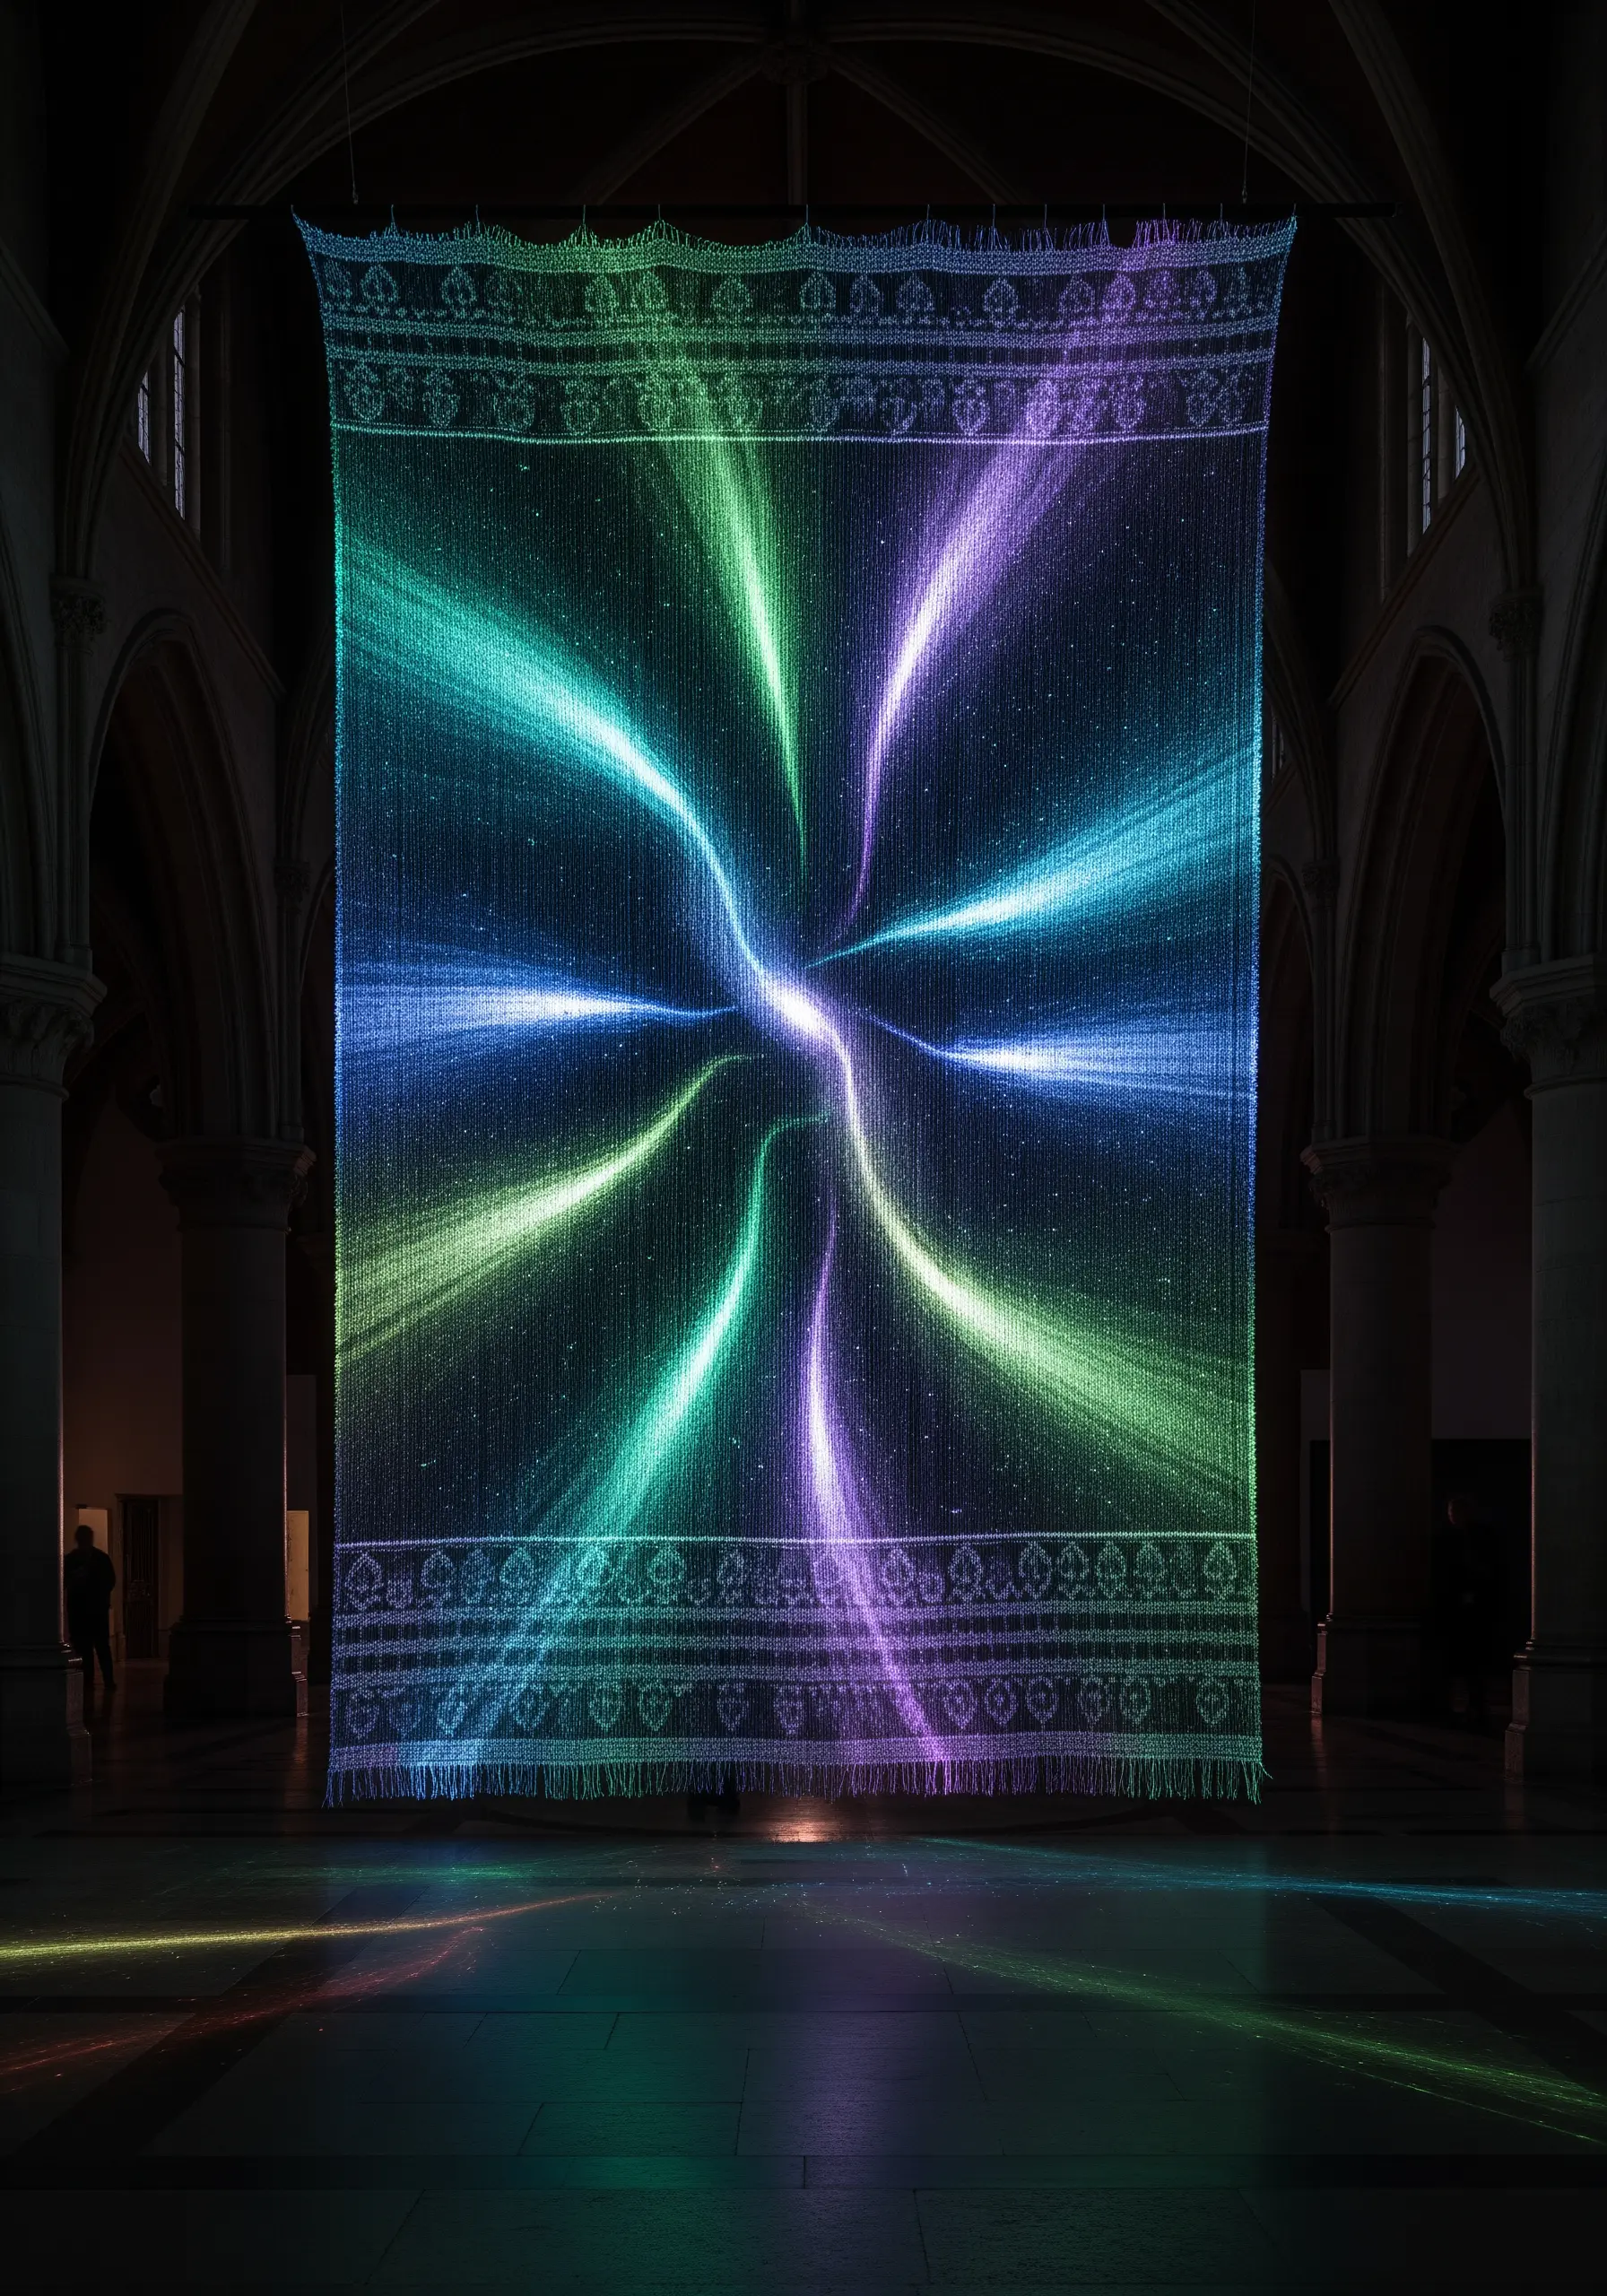
3. Illuminate Your Lines with Neon Thread

Recreate the effect of light by using fluorescent or neon threads on a dark, matte fabric like black linen or cotton twill.
The high contrast makes the stitches appear to glow, defining geometric forms with electric intensity.
To achieve razor-sharp lines, maintain a tight, consistent tension with your stitches, whether you’re using a simple backstitch or long straight stitches.
These modern thread illusion techniques turn a simple line drawing into a vibrant, light-filled spectacle.
4. Layer Sheer Fabrics for Ethereal Depth

Instead of stitching on a single piece of opaque fabric, layer multiple sheets of translucent material like organza, tulle, or chiffon.
Stitch different elements of your design on separate layers; for example, foreground details on the top layer and background tones on the one beneath.
When light passes through, the layers interact, creating subtle shifts in color and a beautiful sense of atmospheric depth.
This technique allows you to play with opacity and light, making your embroidery feel like a soft-focus photograph or a watercolor painting.
5. Combine Sculptural Knots with Reflective Light
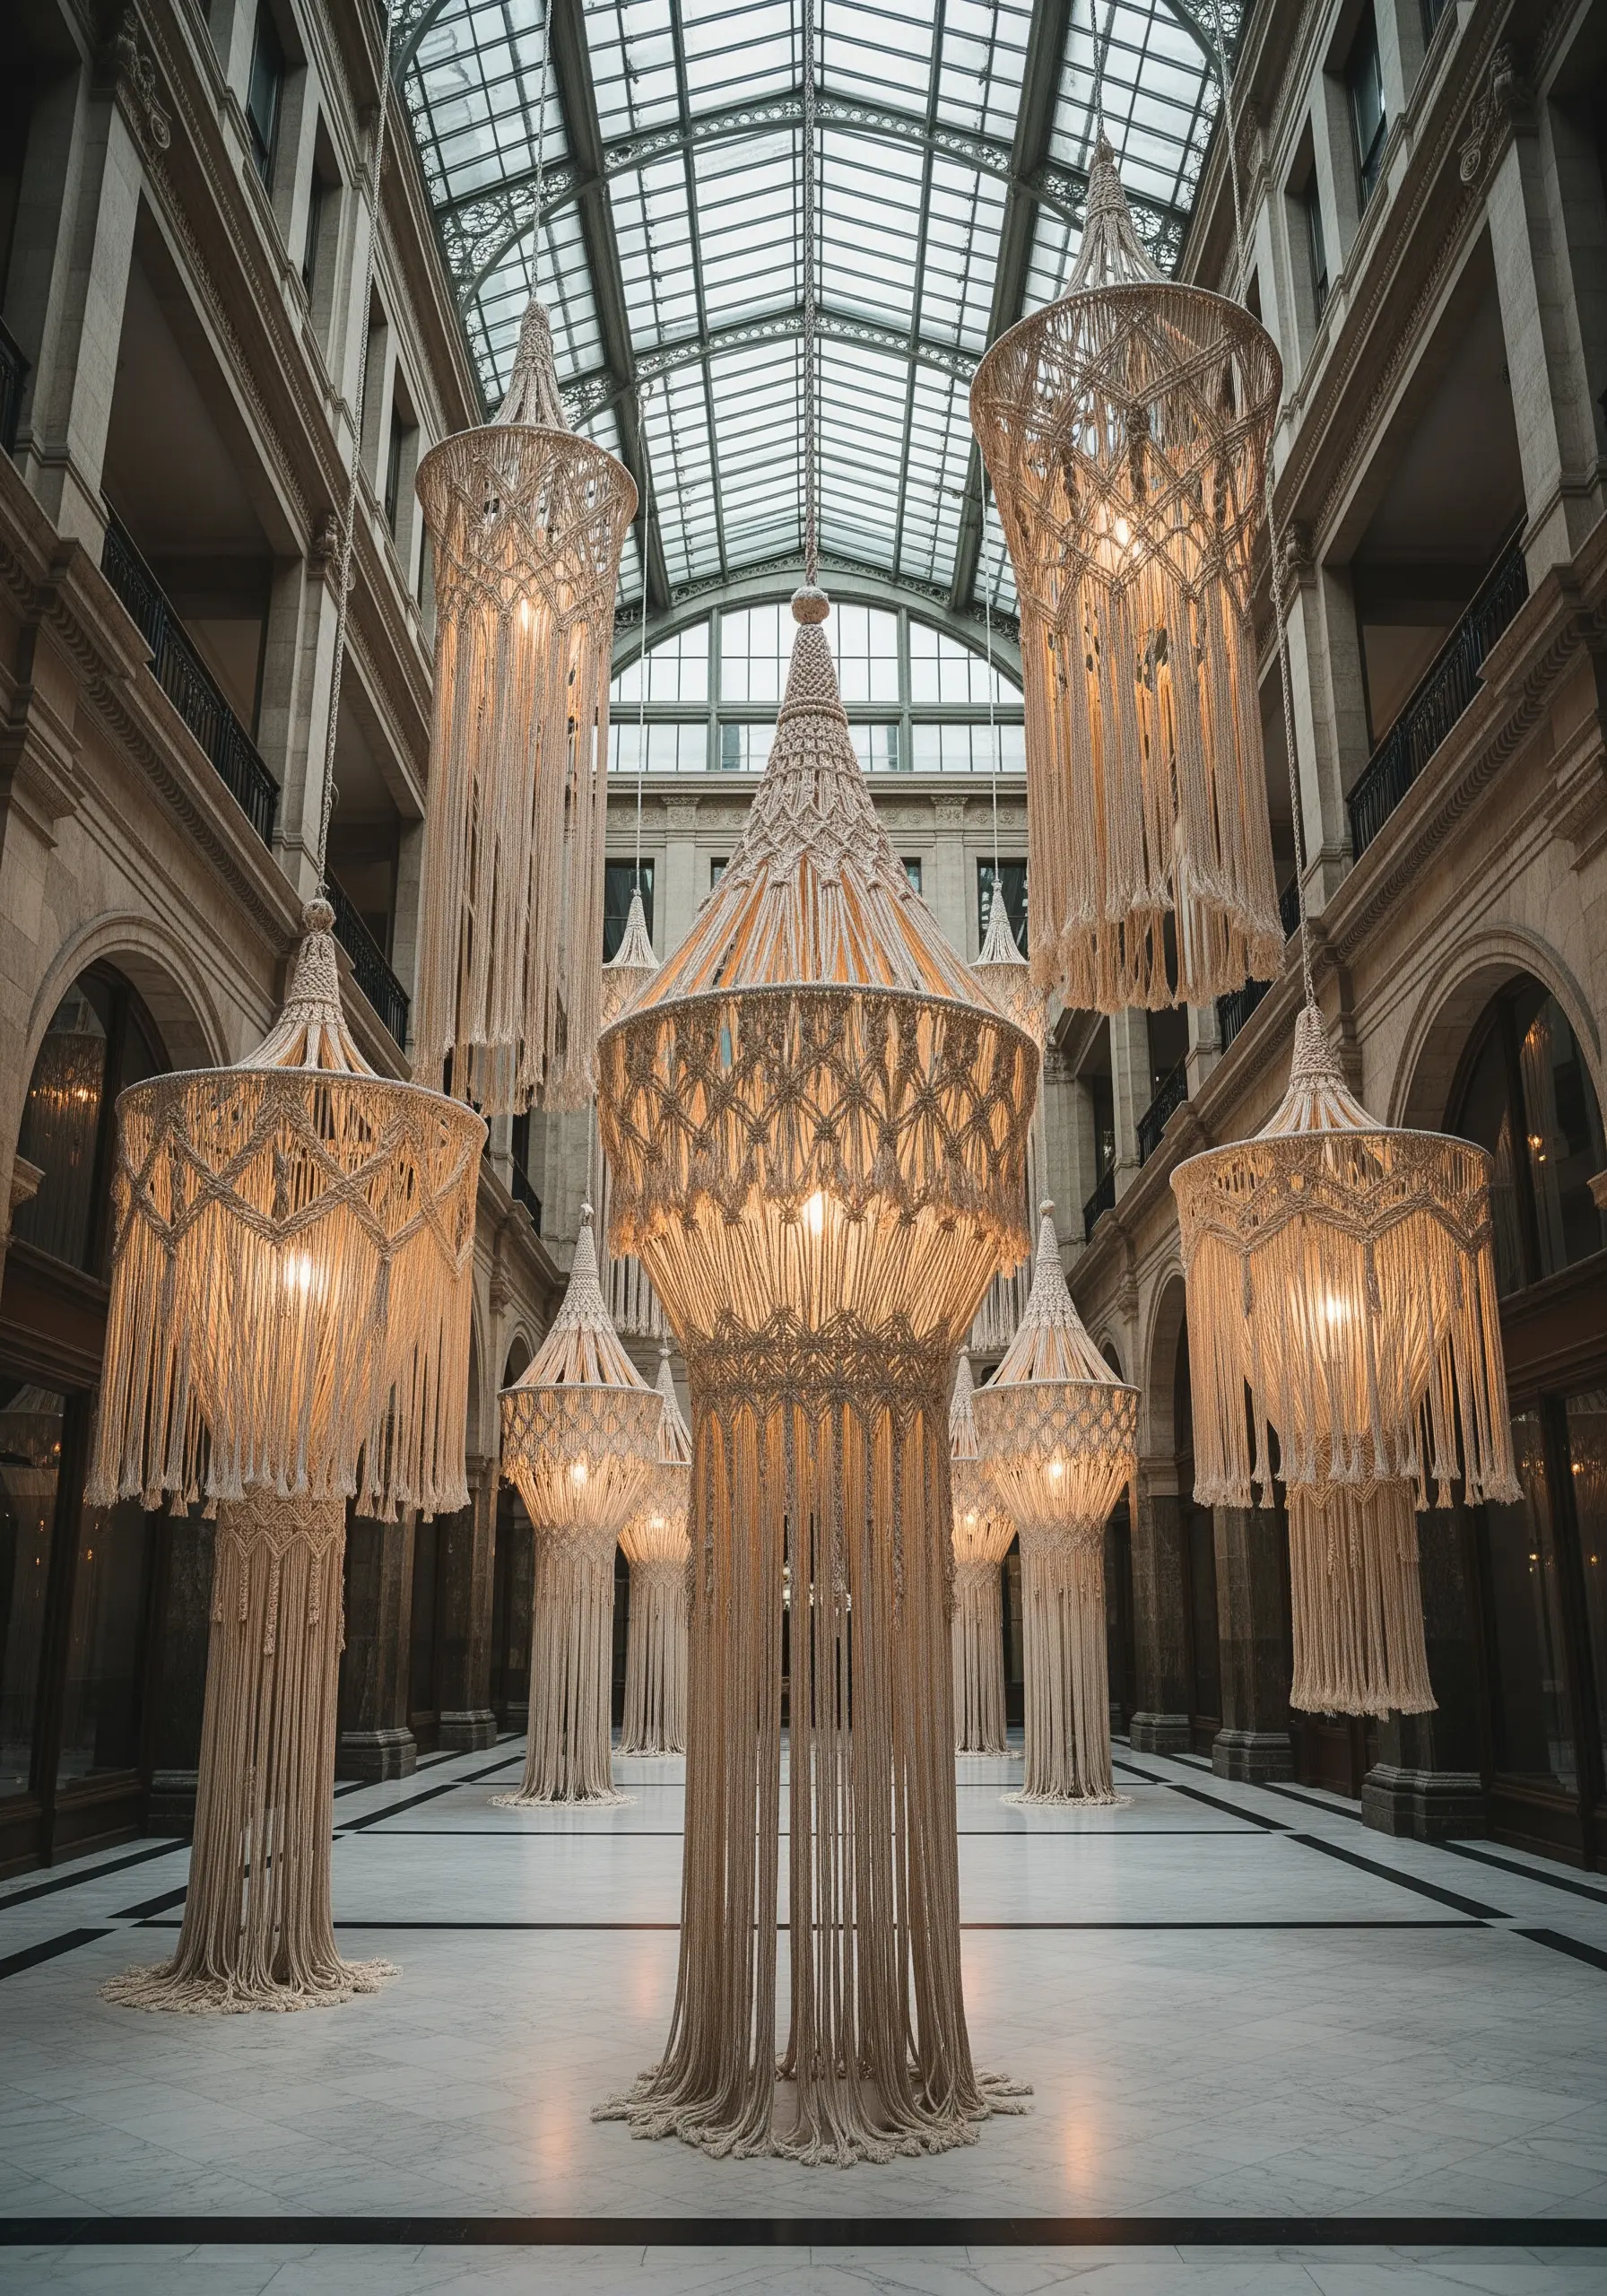
Elevate your textural work by integrating knots and tassels, inspired by macrame, to build three-dimensional forms.
Use French knots, bullion knots, and picot stitches not just as accents, but as the primary building blocks for your design.
Incorporate a single strand of metallic thread alongside your regular floss when creating knots or tassels.
This introduces a subtle, light-catching element that provides a sophisticated shimmer without overpowering the natural texture of the fiber.
6. Stitch Openwork Patterns to Cast Shadows

Create delicate, lace-like compositions by stitching motifs with open spaces, such as honeycomb patterns made from fly stitches or grids of eyelet stitches.
For a freestanding effect, stitch your design onto a water-soluble stabilizer. Once the stabilizer is dissolved, you’re left with a pure thread structure.
Display these pieces slightly away from a wall or surface, allowing light to pass through and cast intricate shadows.
This transforms your embroidery from a surface decoration into an interactive piece where light and shadow are part of the art.
7. Design with Dual-Life UV-Reactive Threads

Explore a new dimension of color by using UV-reactive or glow-in-the-dark threads for key elements of your design.
On a black fabric base, these threads can appear subtle in normal daylight but will burst with glowing color under a blacklight.
Use bold satin stitch fills or thick couched lines to create a strong glowing effect, as the density of the thread enhances its luminosity.
Consider these modern neon on black thread art ideas for pieces that offer a hidden surprise, changing their personality depending on the lighting.
8. Define Architectural Space with Linear Stitches

Use precise, continuous lines of backstitch or stem stitch to construct geometric forms that suggest depth and perspective.
Think of your thread as a pen drawing architectural lines in space.
Vary the weight of your thread (the number of strands) to create a sense of distance—thicker lines for elements in the foreground and finer lines for those further away.
This approach turns simple geometric stitch patterns into sophisticated explorations of form and space.
9. Sculpt Soft Landscapes with Dense Texture

Create rolling, topographic surfaces by using stitches that build height and density, like Turkey work or tightly packed French knots.
Instead of focusing on color, use a monochromatic or analogous palette of soft neutrals, such as creams, grays, and taupes.
This minimalist approach allows the texture itself to become the main subject.
The way light creates soft shadows across your sculpted stitches will define the contours and give the piece a calm, organic feel, perfect for organic texture embroidery designs.
10. Add Raw Power with Couched Cord and Rope

Introduce a bold, industrial-inspired element to your work by couching unconventional materials like jute rope, sash cord, or thick, rustic yarn.
This technique is perfect for creating strong outlines or adding a dramatic textural contrast against delicate floss stitches.
Use a sturdy base fabric like heavy canvas, denim, or felt that can support the weight and tension of these heavier fibers.
These mixed fiber embroidery techniques add an unexpected and powerful tactile quality to your art.
11. Wrap Thread to Create 3D Forms

Move beyond the flat plane by creating dimensional, bead-like shapes using thread wrapping techniques common in stumpwork.
Create a padded base with felt or layered stitches, then completely cover it by wrapping your floss around it tightly and evenly.
You can create smooth gradients or sharp patterns by switching colors as you wrap, turning a simple sphere into a miniature work of art.
Group these wrapped elements together to form vibrant, textural clusters that add physical depth to your embroidery.
12. Paint with Light Using Vertical Gradients

Create the illusion of a soft veil of light by using long, vertical satin stitches placed closely together.
Blend your colors meticulously, transitioning from one shade to the next over a long distance to create a seamless gradient.
Avoid hard outlines; let the edges of your color fields be defined only by the shift in hue.
This technique is perfect for creating atmospheric backgrounds or ombre gradient thread embroidery that feels more like a painting than a stitched piece.
13. Weave in Metallics for a Dynamic Sheen
Integrate metallic or iridescent threads into your stitching to create surfaces that interact with light.
Instead of using them for outlines, which can sometimes look harsh, blend them into satin-stitched areas or use them in woven wheel stitches.
The metallic thread will catch the light differently depending on the viewing angle, creating a subtle, liquid shimmer that adds life to your work.
This is one of the most effective unexpected ways to use metallic thread to create a sense of movement and energy.
14. Integrate Light Sources Directly into Fiber Art
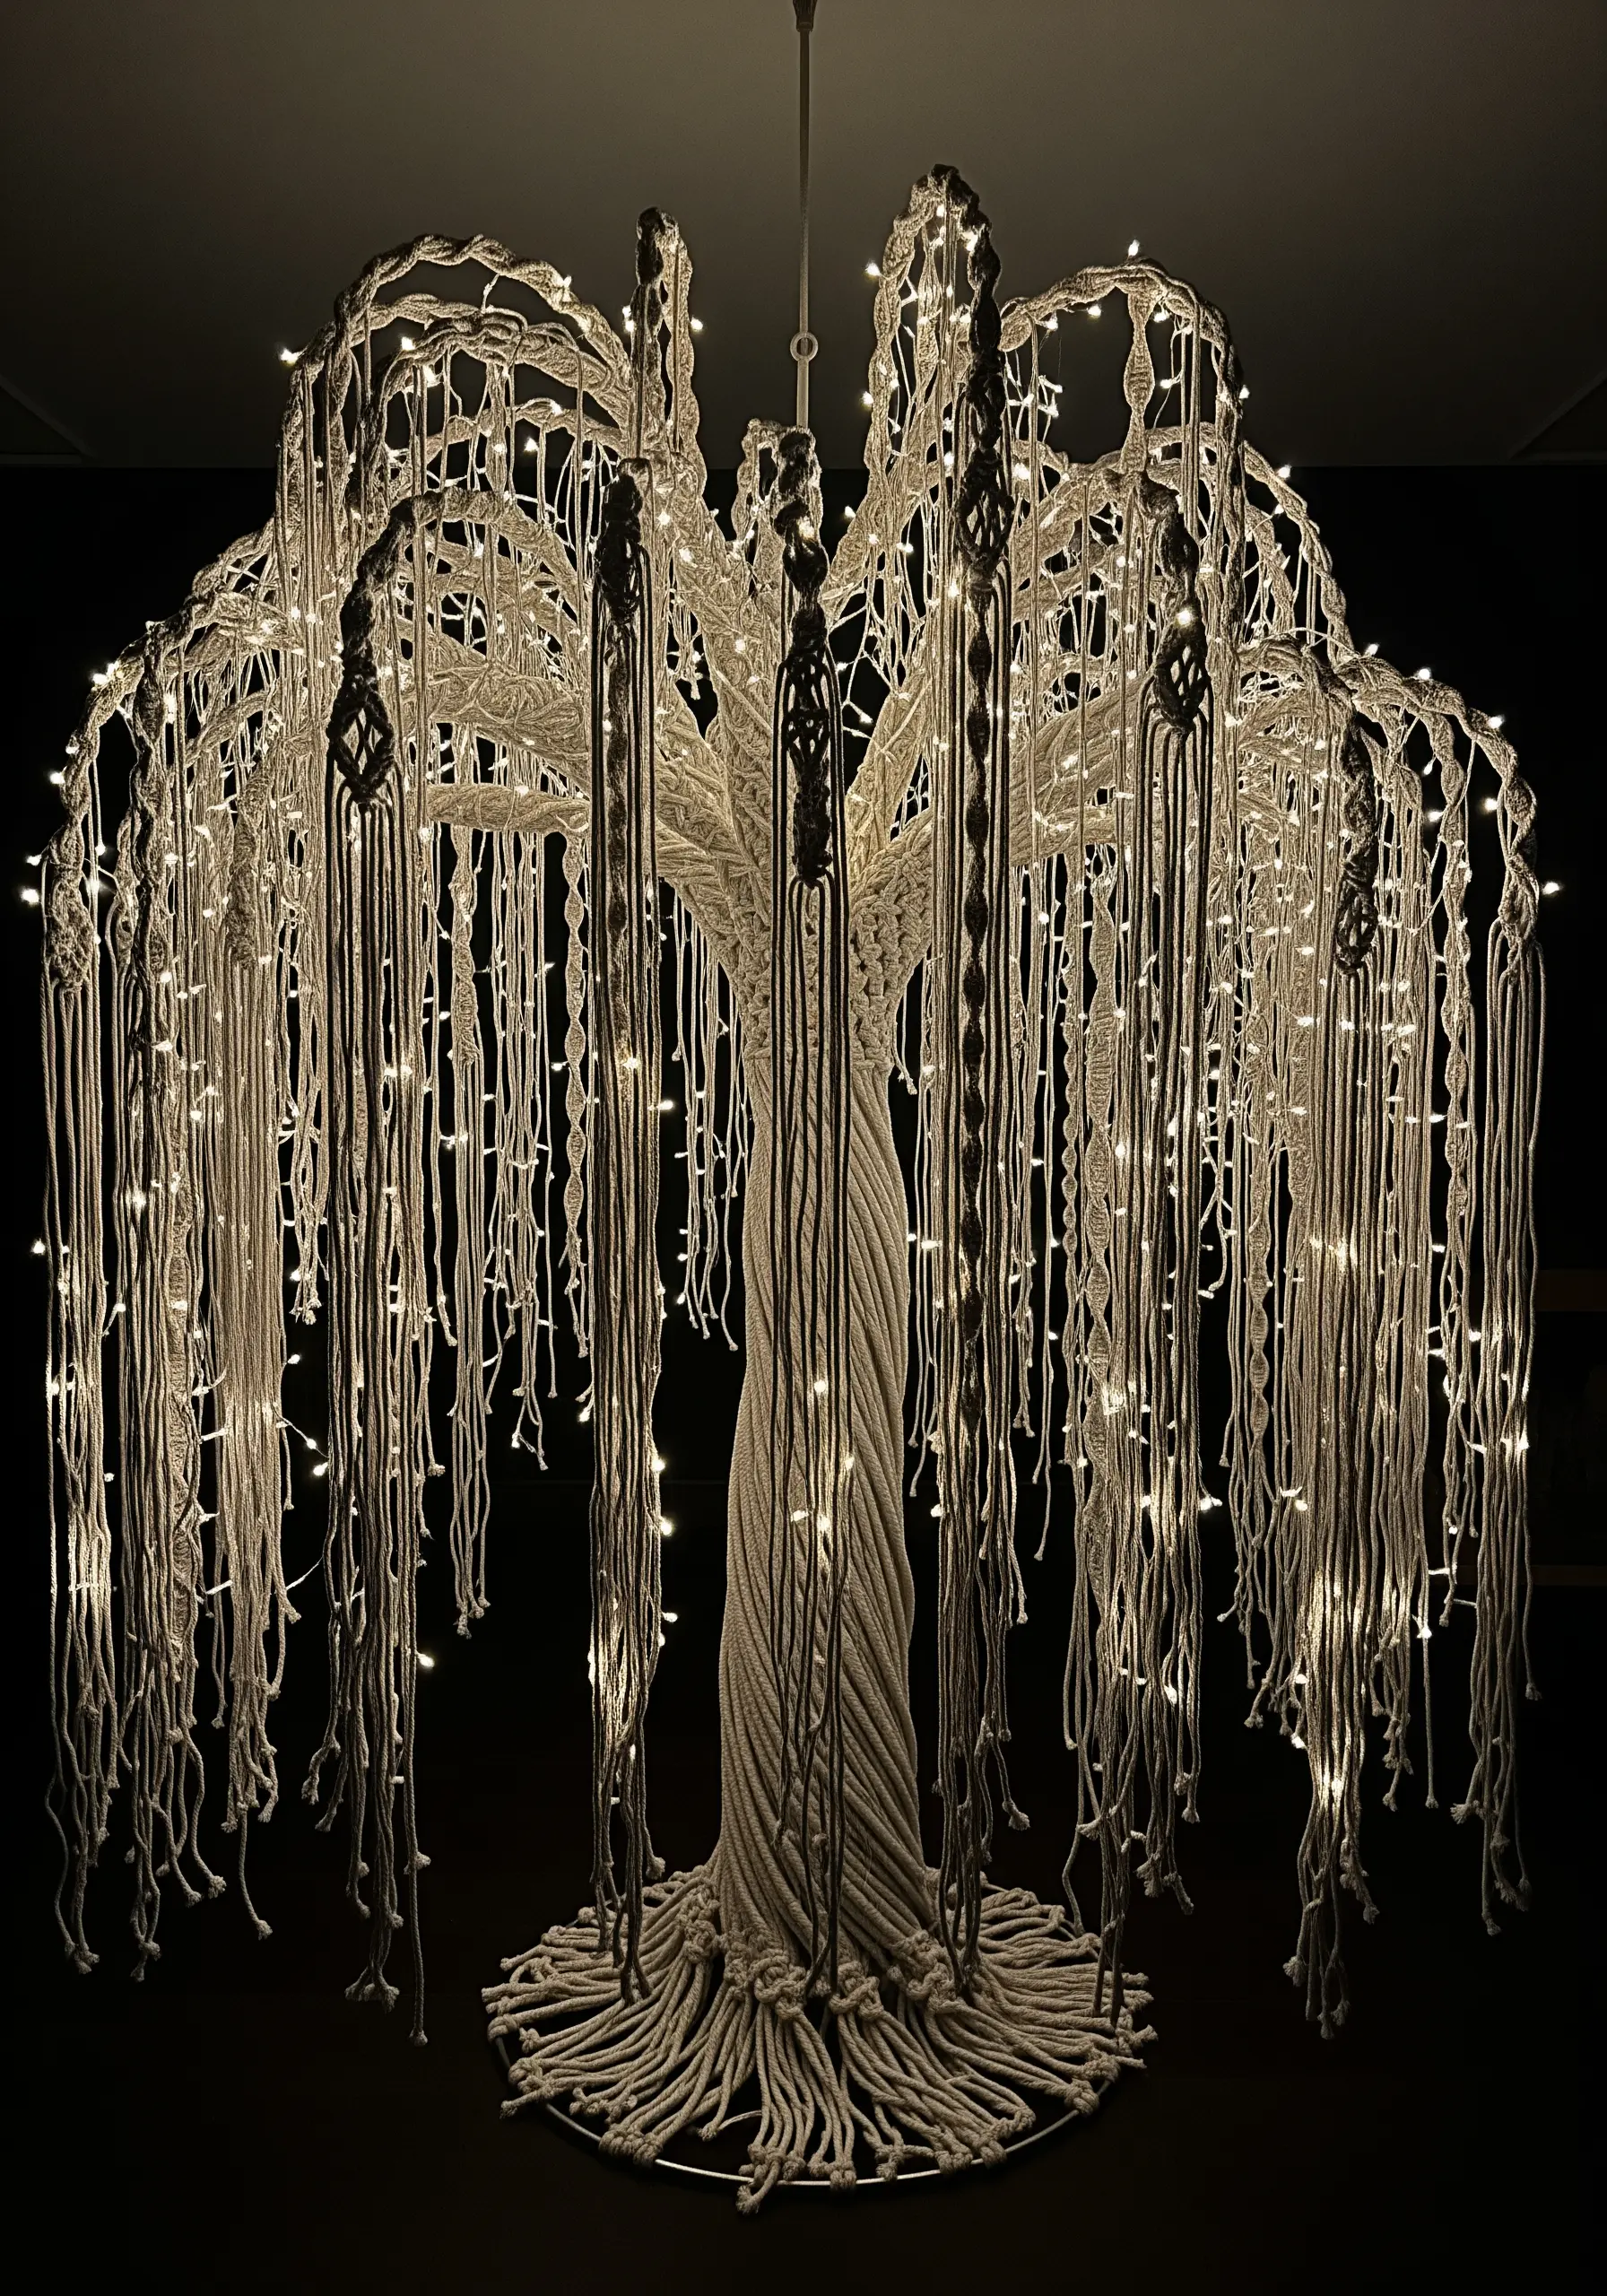
For a truly illuminated piece, couch thin, flexible fairy light wires directly onto your fabric or weave them into a wall hanging.
Use a matching color of floss for your couching stitches to camouflage the wire itself, letting only the tiny lights show through.
Plan your design so the battery pack can be discreetly hidden behind the piece or tucked into a small fabric pocket on the back.
This method turns your embroidery into a gentle light source, perfect for cozy embroidery projects that add warmth and ambiance to a room.
15. Embrace Expressive Chaos with Abstract Stitches

Let go of precision and create energy through intuitive, overlapping stitches.
Use a mix of thread types—thick and thin, matte and shiny—in a vibrant, high-contrast palette.
Instead of filling a shape, let your stitches cross, loop, and tangle to build up a field of pure texture and color.
These abstract thread motions are less about rendering an image and more about capturing a feeling, making your work dynamic and expressive.
16. Use Colored Fabric as a Luminous Filter

Choose a brilliantly colored, semi-sheer fabric like orange or pink organza as your base.
Keep your stitching minimal, using a neutral thread like white or gray to create your design.
When you hang the finished piece in a window or in front of a light source, the fabric itself acts as a color filter, casting a warm glow onto the wall and through your stitches.
This technique makes the fabric an active participant in the artwork’s relationship with light.
17. Sculpt with Light and Shadow Using Turkey Work
Use the Turkey work stitch to create a dense, plush carpet of thread loops, then carefully trim them to varying heights.
This transforms your embroidery into a bas-relief sculpture, with high and low points that are perfect for catching light.
Illuminate the finished piece with a single, directional light source from the side or below.
The dramatic shadows cast by the sculpted pile will reveal textures and forms that are invisible in flat, direct light, making for truly statement textured embroidery techniques.
18. Create Self-Illuminating 3D Embroidered Objects

Construct a three-dimensional, hollow form—like a pod or sphere—using stumpwork or freestanding lace techniques.
Use a light-colored thread and slightly open stitches (like spaced-out satin stitch or eyelets) to allow light to filter through.
Enclose a small, battery-operated LED light inside the finished form before sealing the final seam.
The result is a contained, glowing object where the embroidery itself becomes the lampshade, creating a soft, intimate ambiance.
19. Contrast Delicate Stitches with Strong Structures

Create a powerful visual dialogue in your work by pairing airy, delicate stitches with bold, architectural forms.
Use techniques like drawn thread work or stitches like the spider web rose to create open, lace-like fills.
Contain these delicate areas within a strong, sharp outline of satin stitch or couched cord.
This contrast between the fragile and the solid makes both elements feel more intentional and impactful, inspired by nature-inspired string art patterns that interact with their environment.
20. Use Texture as a Canvas for Projected Light

Embroider a piece using a single, neutral color but with a wide variety of highly textured stitches: woven wheels, bullion knots, French knots, and Turkey work.
The goal is to create a complex, tactile surface without the distraction of color.
Once complete, use a small light projector (like a portable nebula or pattern projector) to cast moving colors and shapes onto your piece.
The textures will catch and distort the light in fascinating ways, turning your static embroidery into a dynamic, interactive installation.
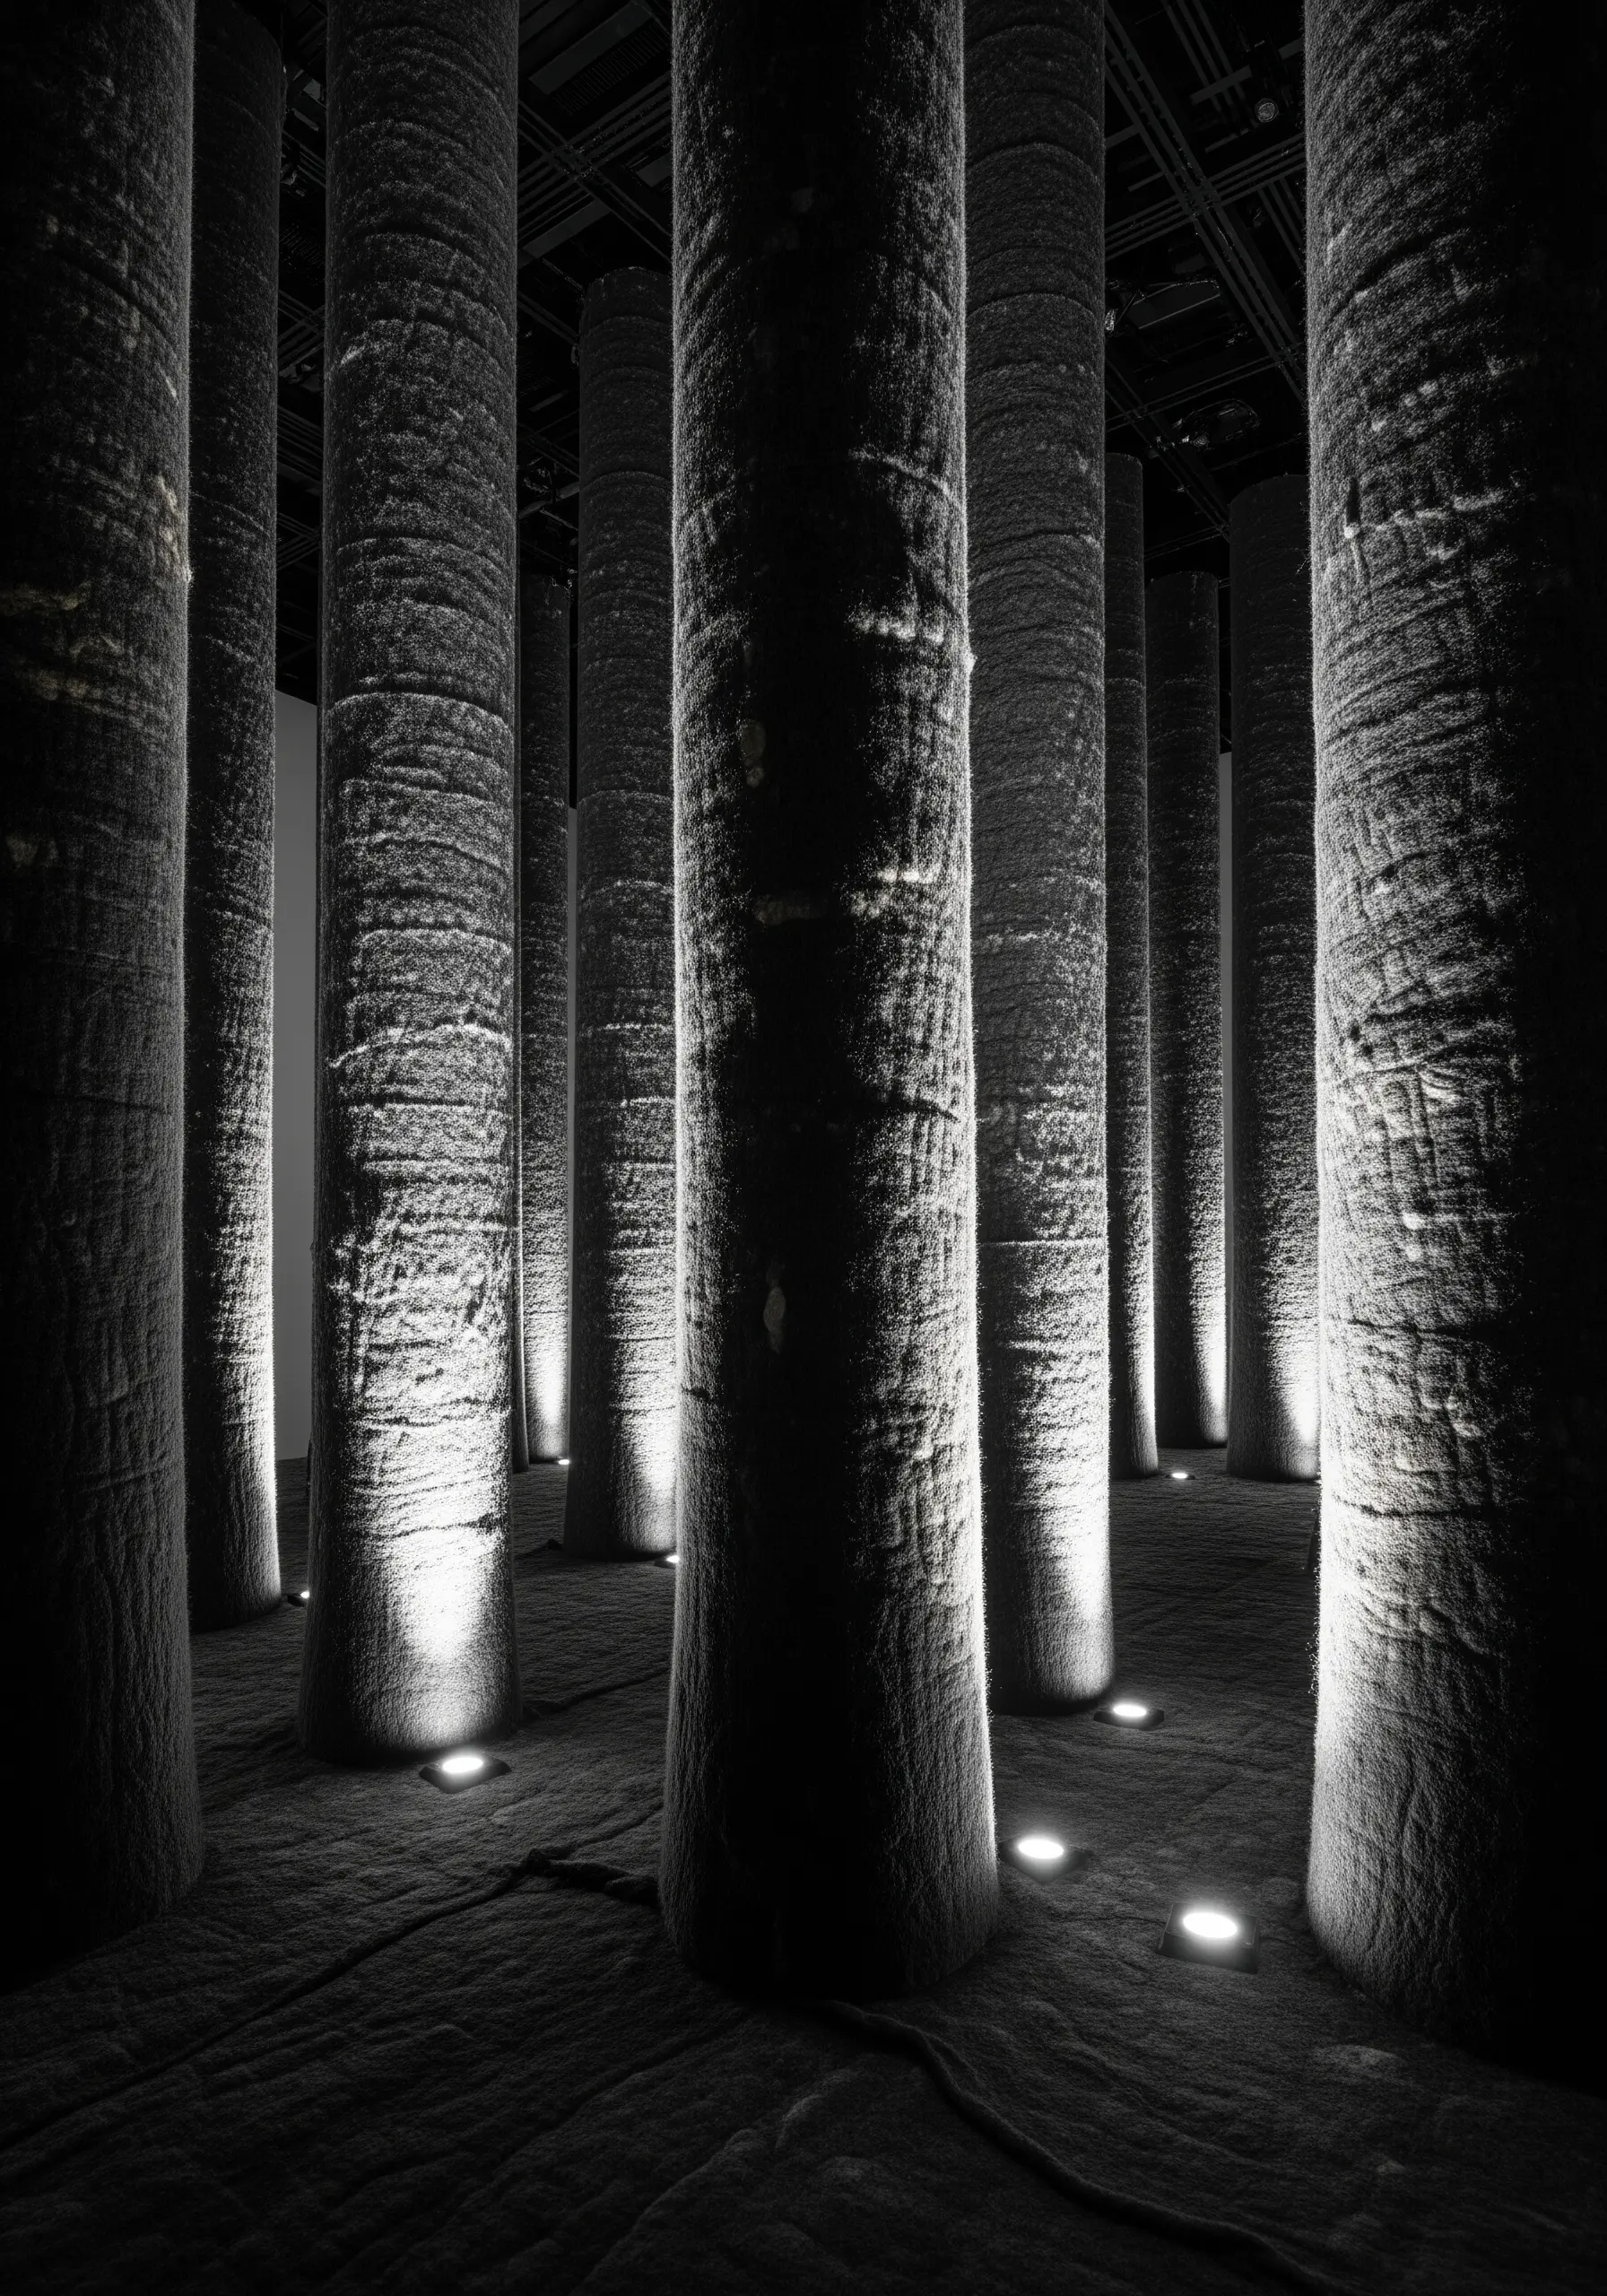
21. Isolate Vertical Lines on a Dark Background

Create a sense of drama and depth by working on a completely black, non-reflective fabric like velvet or moleskin.
Use single, unbroken vertical straight stitches or couched cords in a light or metallic color.
The dark background will recede visually, making your stitched lines appear to float in space.
These abstract negative space techniques are incredibly effective for creating minimalist compositions that feel both powerful and mysterious.
22. Harness the Power of a Primary Color Palette

Create a bold, graphic statement by limiting your palette to just two or three primary colors, like red, yellow, and blue.
Use these colors in solid, unblended blocks of satin stitch or geometric fills.
The strength of this approach lies in its simplicity and refusal to blend, allowing each color to hold its own pure, energetic space.
Combine this with a neutral gray or white fabric for maximum impact, creating bold color-pop embroidery wall frames that feel modern and confident.
23. Create Radial Gradients that Explode with Color

Mimic a burst of light by stitching long straight stitches or satin stitches that radiate from a central point.
Begin with your brightest, most intense color at the center—perhaps a vibrant yellow or white—and gradually blend outwards into darker, cooler colors.
Adding a few strands of metallic or glitter thread to the very center will enhance the illusion of a brilliant light source.
This radial composition creates an incredible sense of energy and movement, perfect for dynamic abstract pieces.
24. Blend Weaving and Stitching in a Single Hoop

Add unexpected dimension by incorporating small sections of weaving directly into your embroidery.
Create a “loom” within your hoop by making a grid of long straight stitches, then weave different textured yarns or fabric strips through this warp.
Surround these woven sections with complementary embroidery stitches, like seed stitch or French knots, to seamlessly blend the two techniques.
This creates stunning hand embroidery textile wall art with a richness of texture that is impossible to achieve with one method alone.


