

Those small, empty corners of your home aren’t asking for grand gestures. They’re invitations for quiet, personal details—a single, beautifully stitched hoop that holds more meaning than a store-bought print ever could.
But I know that the gap between the vision in your head and the piece in your hands can feel vast. It’s easy to get lost in choosing colors or to feel that your stitches never look quite as polished as you’d like.
Let’s reframe these small hoops. Think of them not as finished projects, but as focused studies. Each one is a chance to perfect a single technique: a smoother satin stitch, a crisper outline, a more elegant French knot. By concentrating on one small motif, you give yourself the space to master the details that truly elevate your work.
These ideas are designed to build your technical confidence, stitch by stitch. You’ll soon find that the artistry you’ve been searching for was always there, waiting to be revealed in the quiet rhythm of your needle and thread.
1. Master the Satin Stitch Leaf
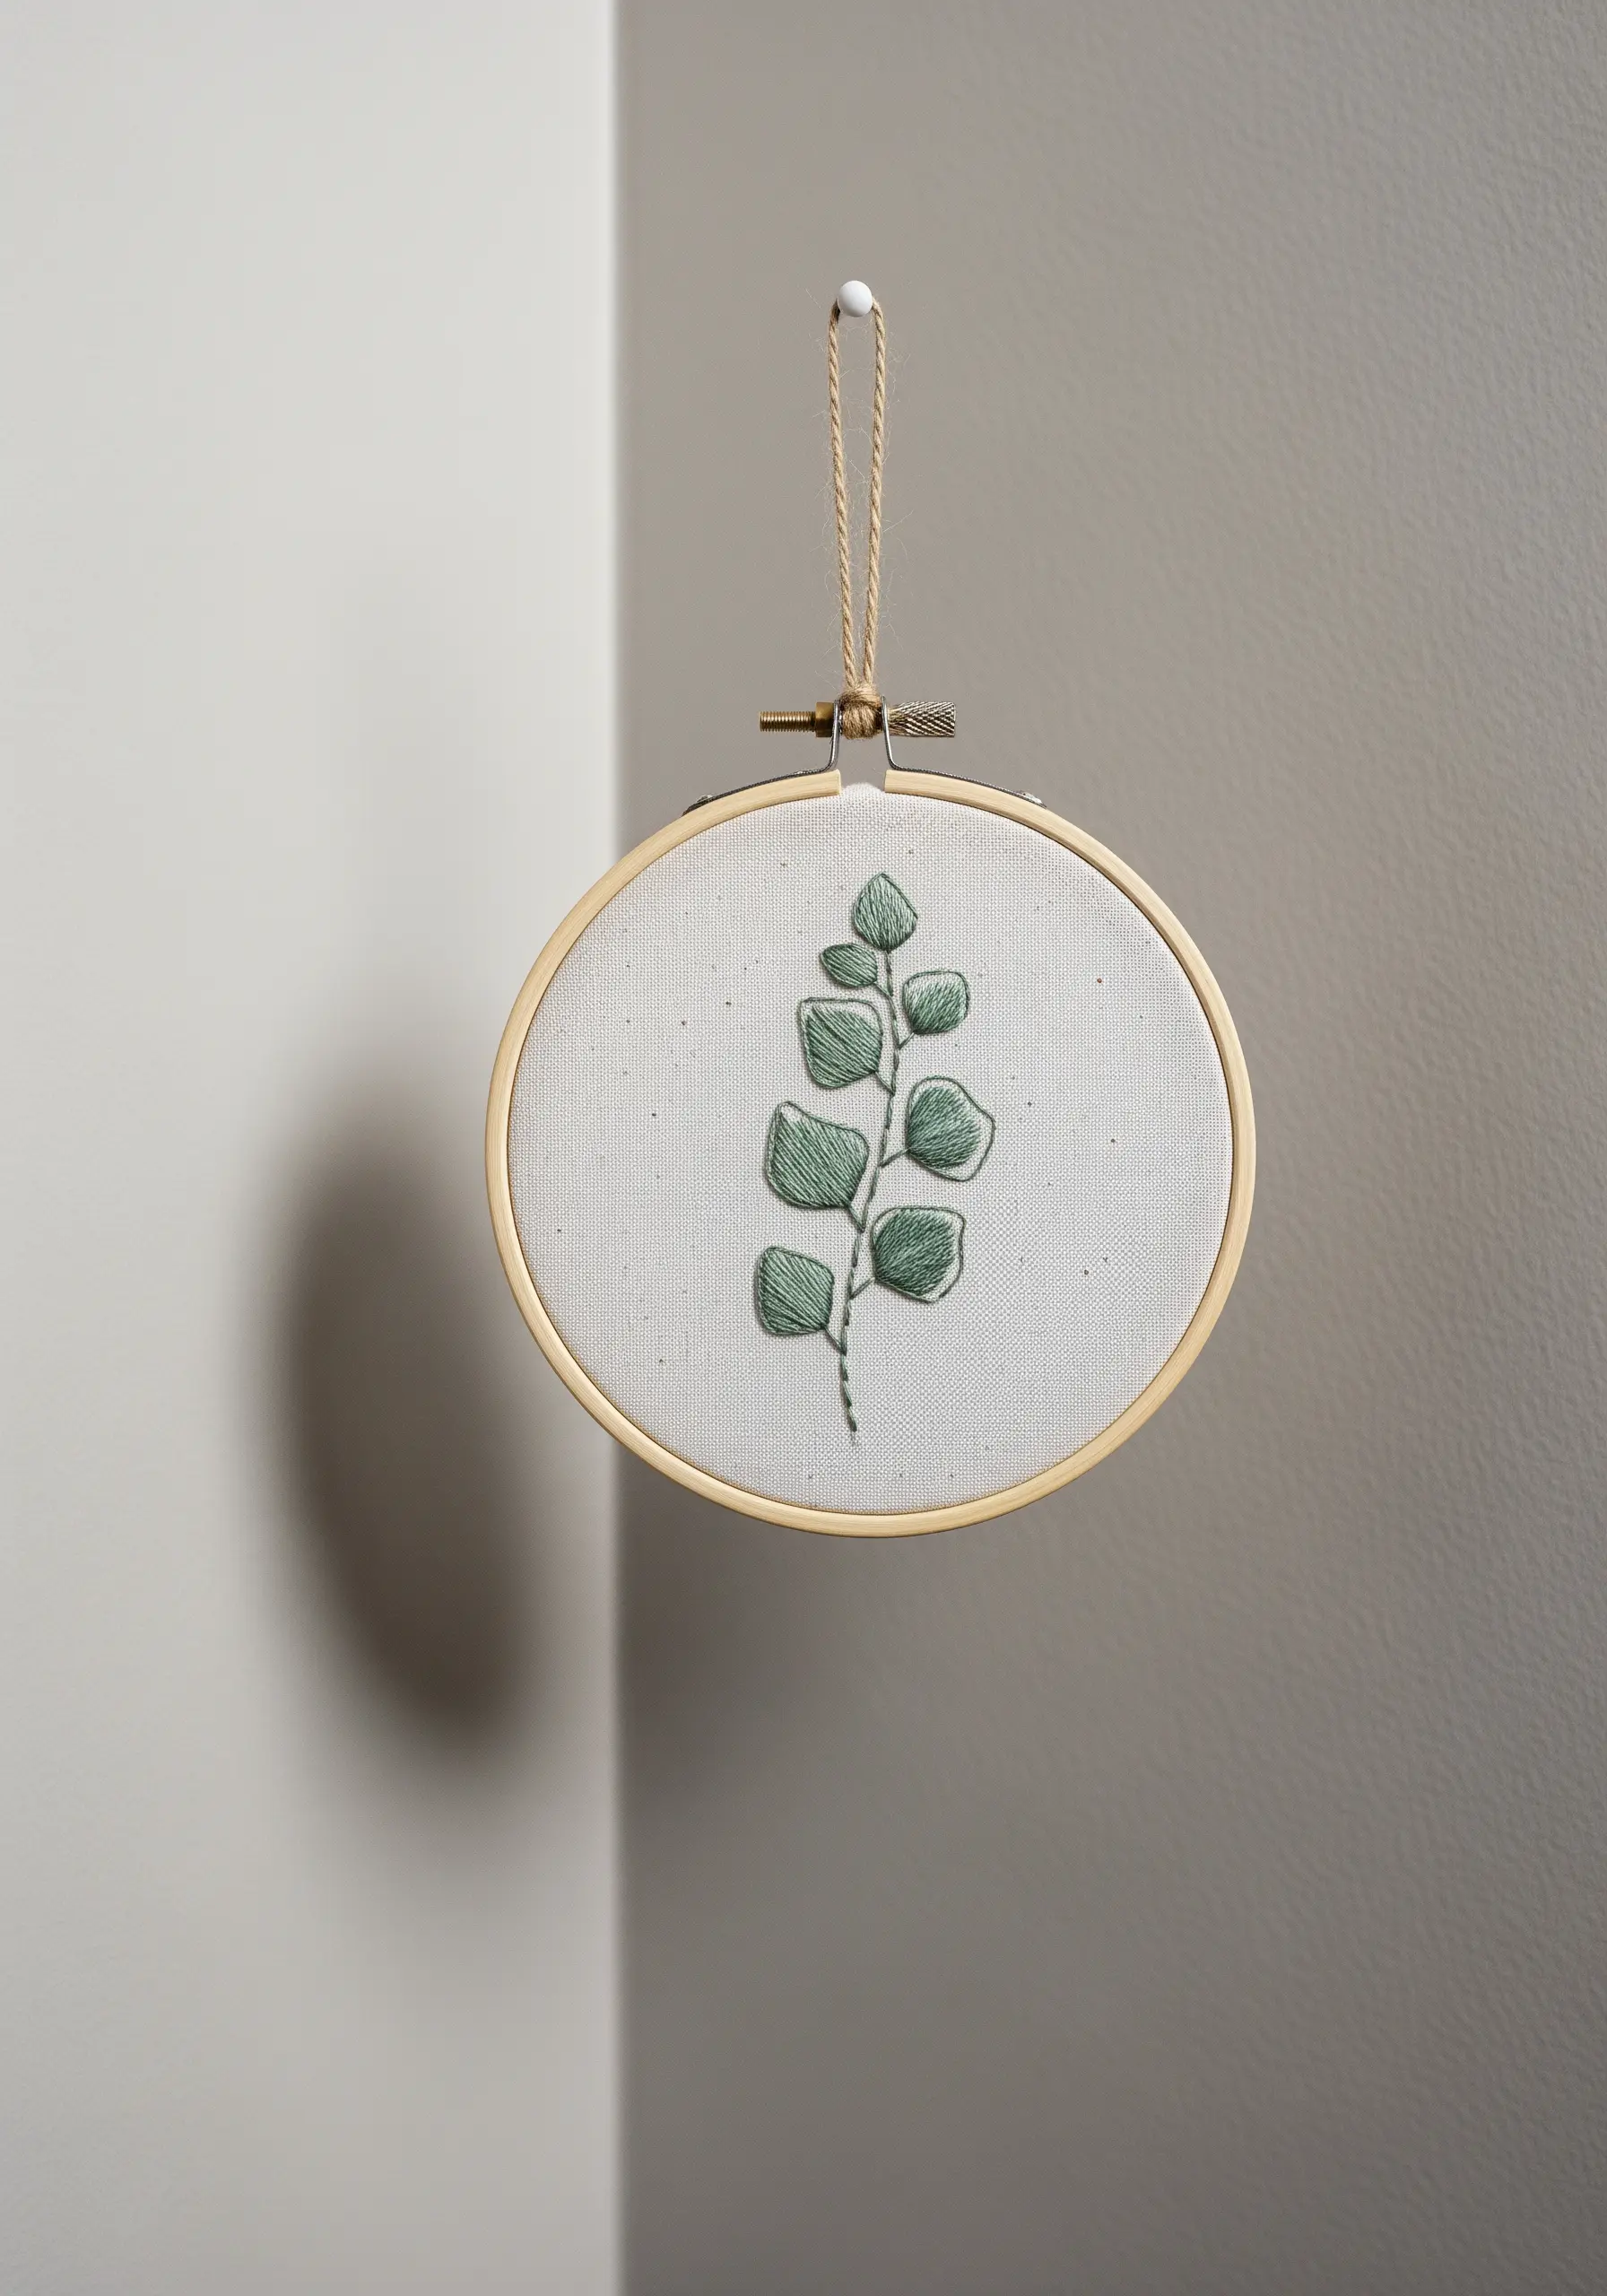
To give your botanical leaves a raised, plush appearance, first create a padded base using small seed stitches or a few straight stitches within the leaf shape.
Then, work your satin stitch over this padding, keeping your stitches angled slightly to mimic the natural growth of the leaf.
This simple preparation prevents your satin stitch from sinking into the fabric and gives it a clean, professional dimension that stands out.
For the stem, a whipped backstitch provides a much smoother line than a standard backstitch, completing the elegant look.
2. Create Luminous Texture with Whipped Chain Stitch

For motifs that need to pop against a dark background, the whipped chain stitch is your secret weapon.
First, create a standard chain stitch outline for your crescent moon.
Then, take a second thread—ideally a metallic or silk floss for extra sheen—and whip it around the outside of each chain link without piercing the fabric.
This technique transforms a simple chain into a smooth, rope-like line that catches the light beautifully, perfect for celestial motifs.
3. Achieve a Polished Fill with Directional Satin Stitch
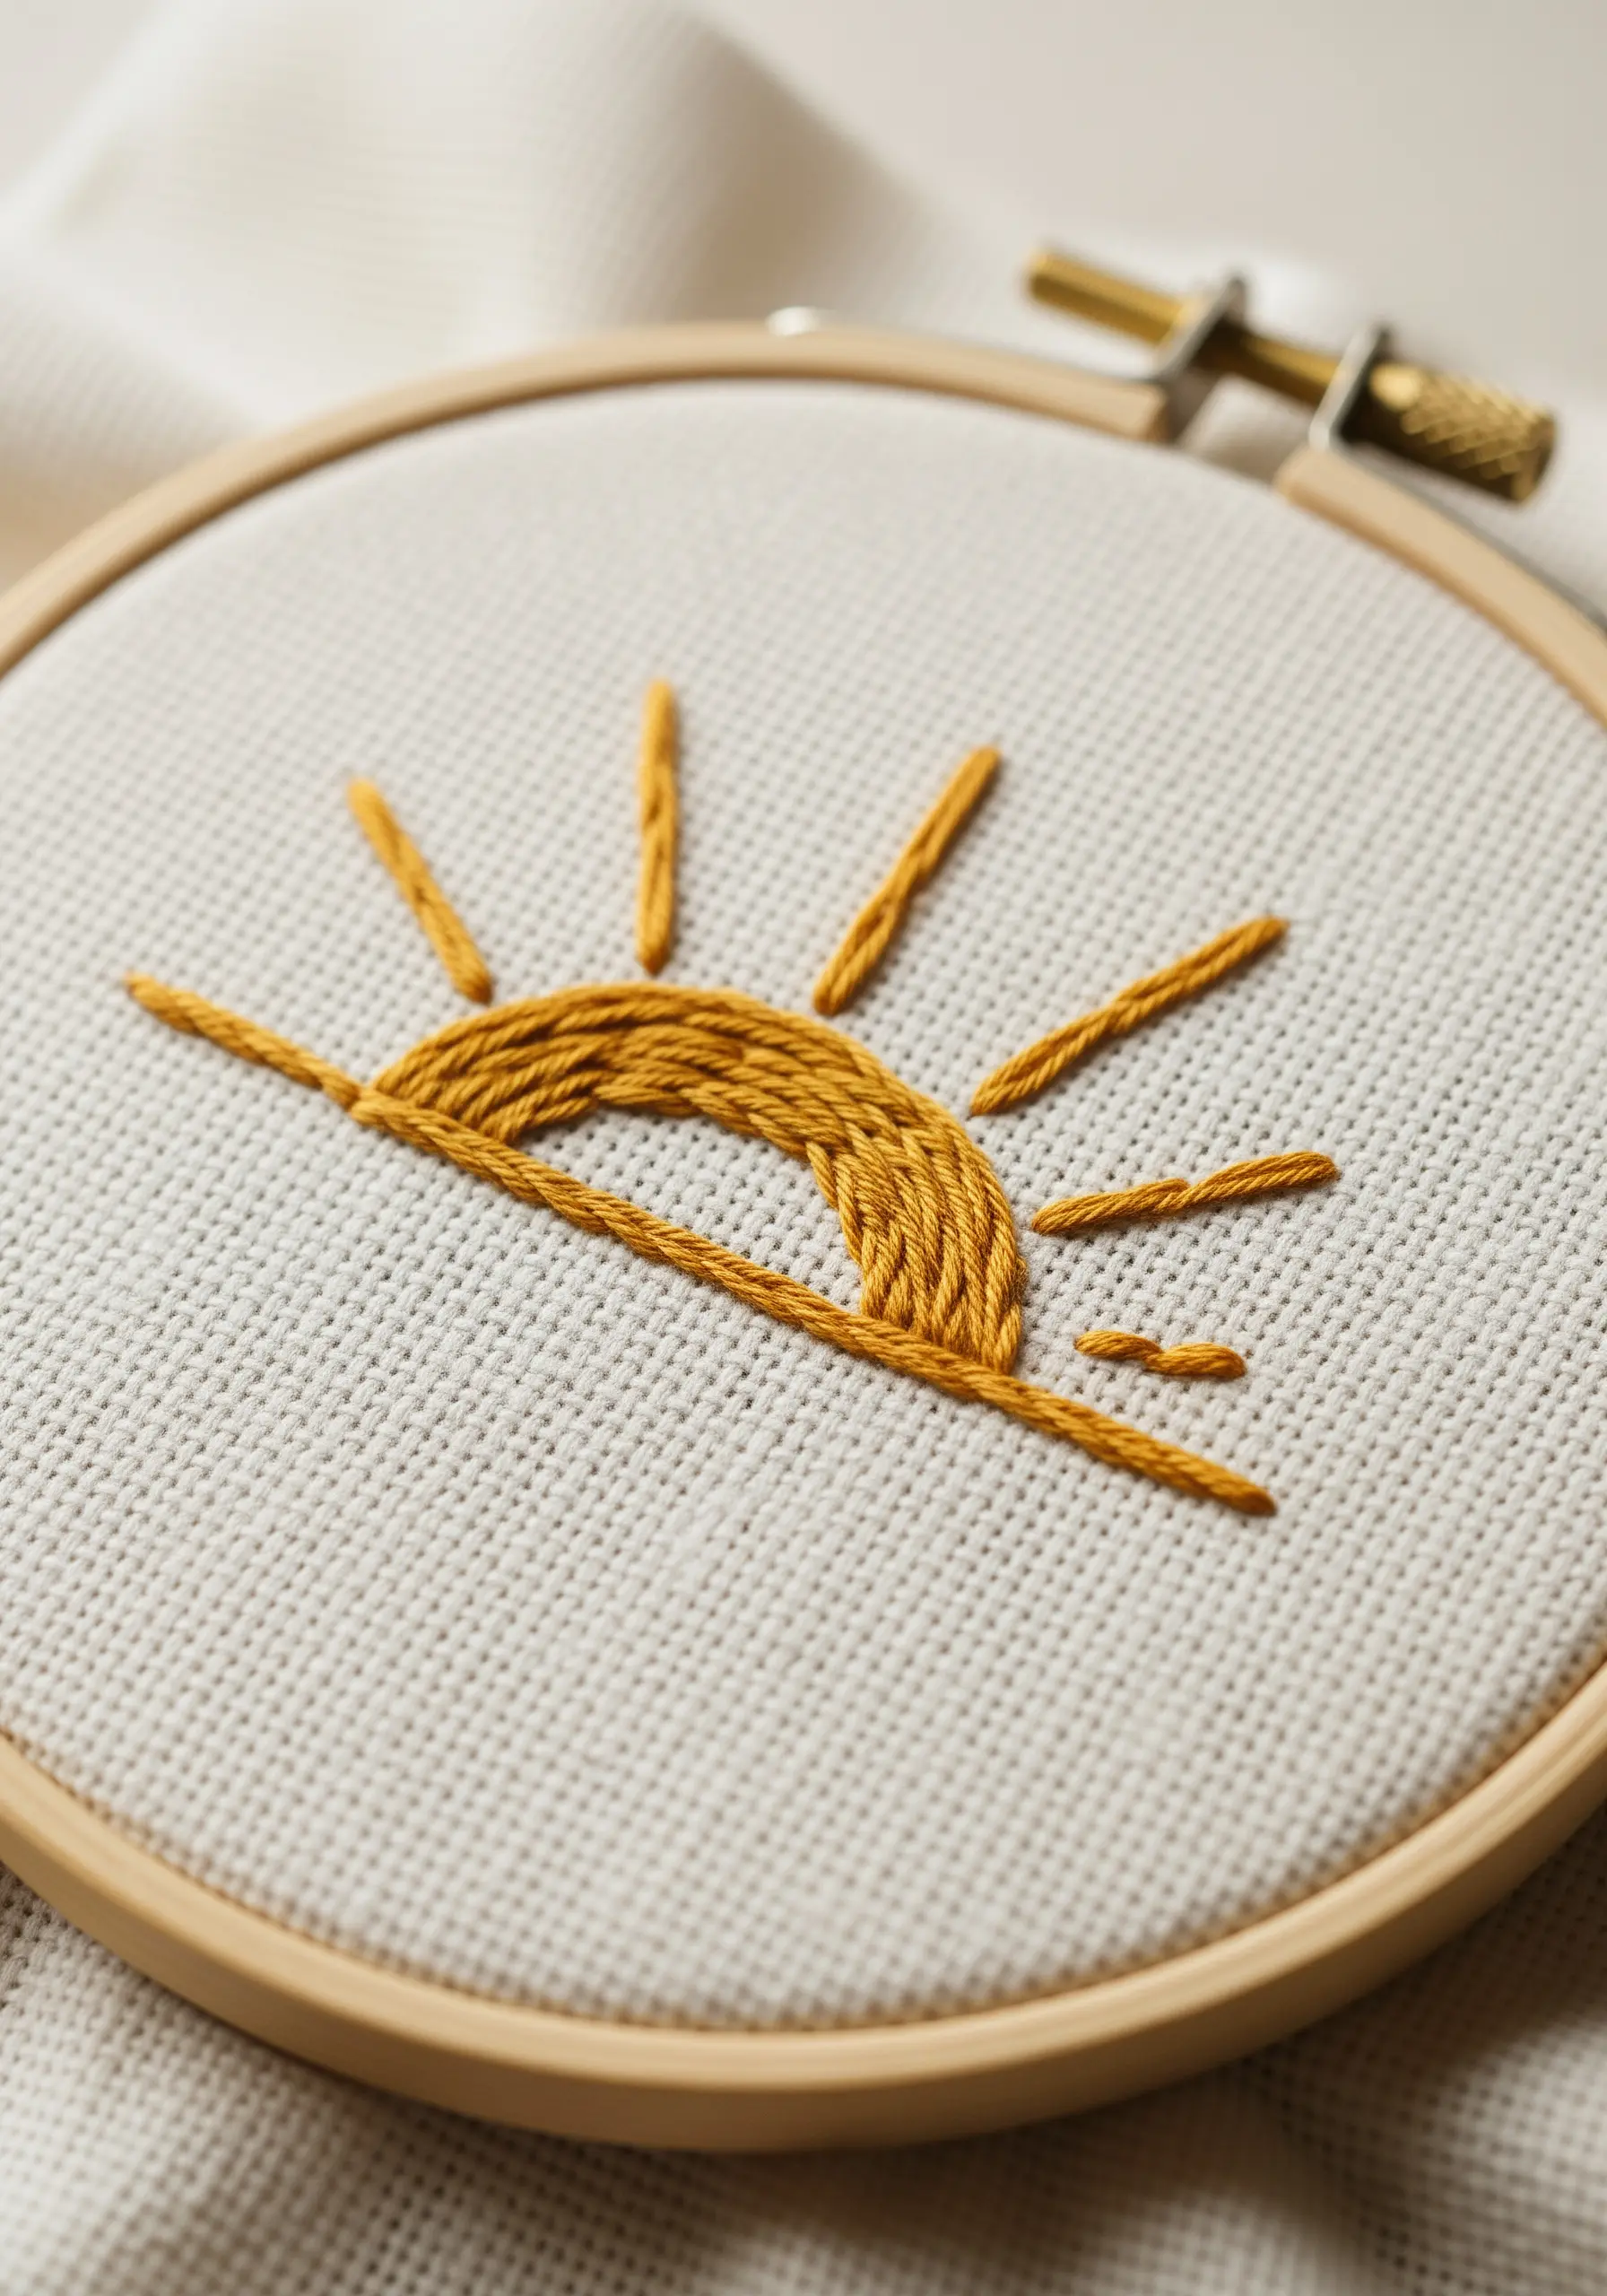
The key to a flawless satin stitch fill is planning the direction of your stitches before you begin.
For a curved shape like a sun, lightly draw guide lines with a water-soluble pen, fanning out from the bottom center.
Following these lines ensures each stitch lies perfectly parallel to the next, creating a smooth, uniform surface that reflects light evenly for a glossy finish.
This deliberate technique is what separates amateur fills from professional-looking results in minimalist embroidery wall art.
4. Define Geometric Lines with Whipped Backstitch
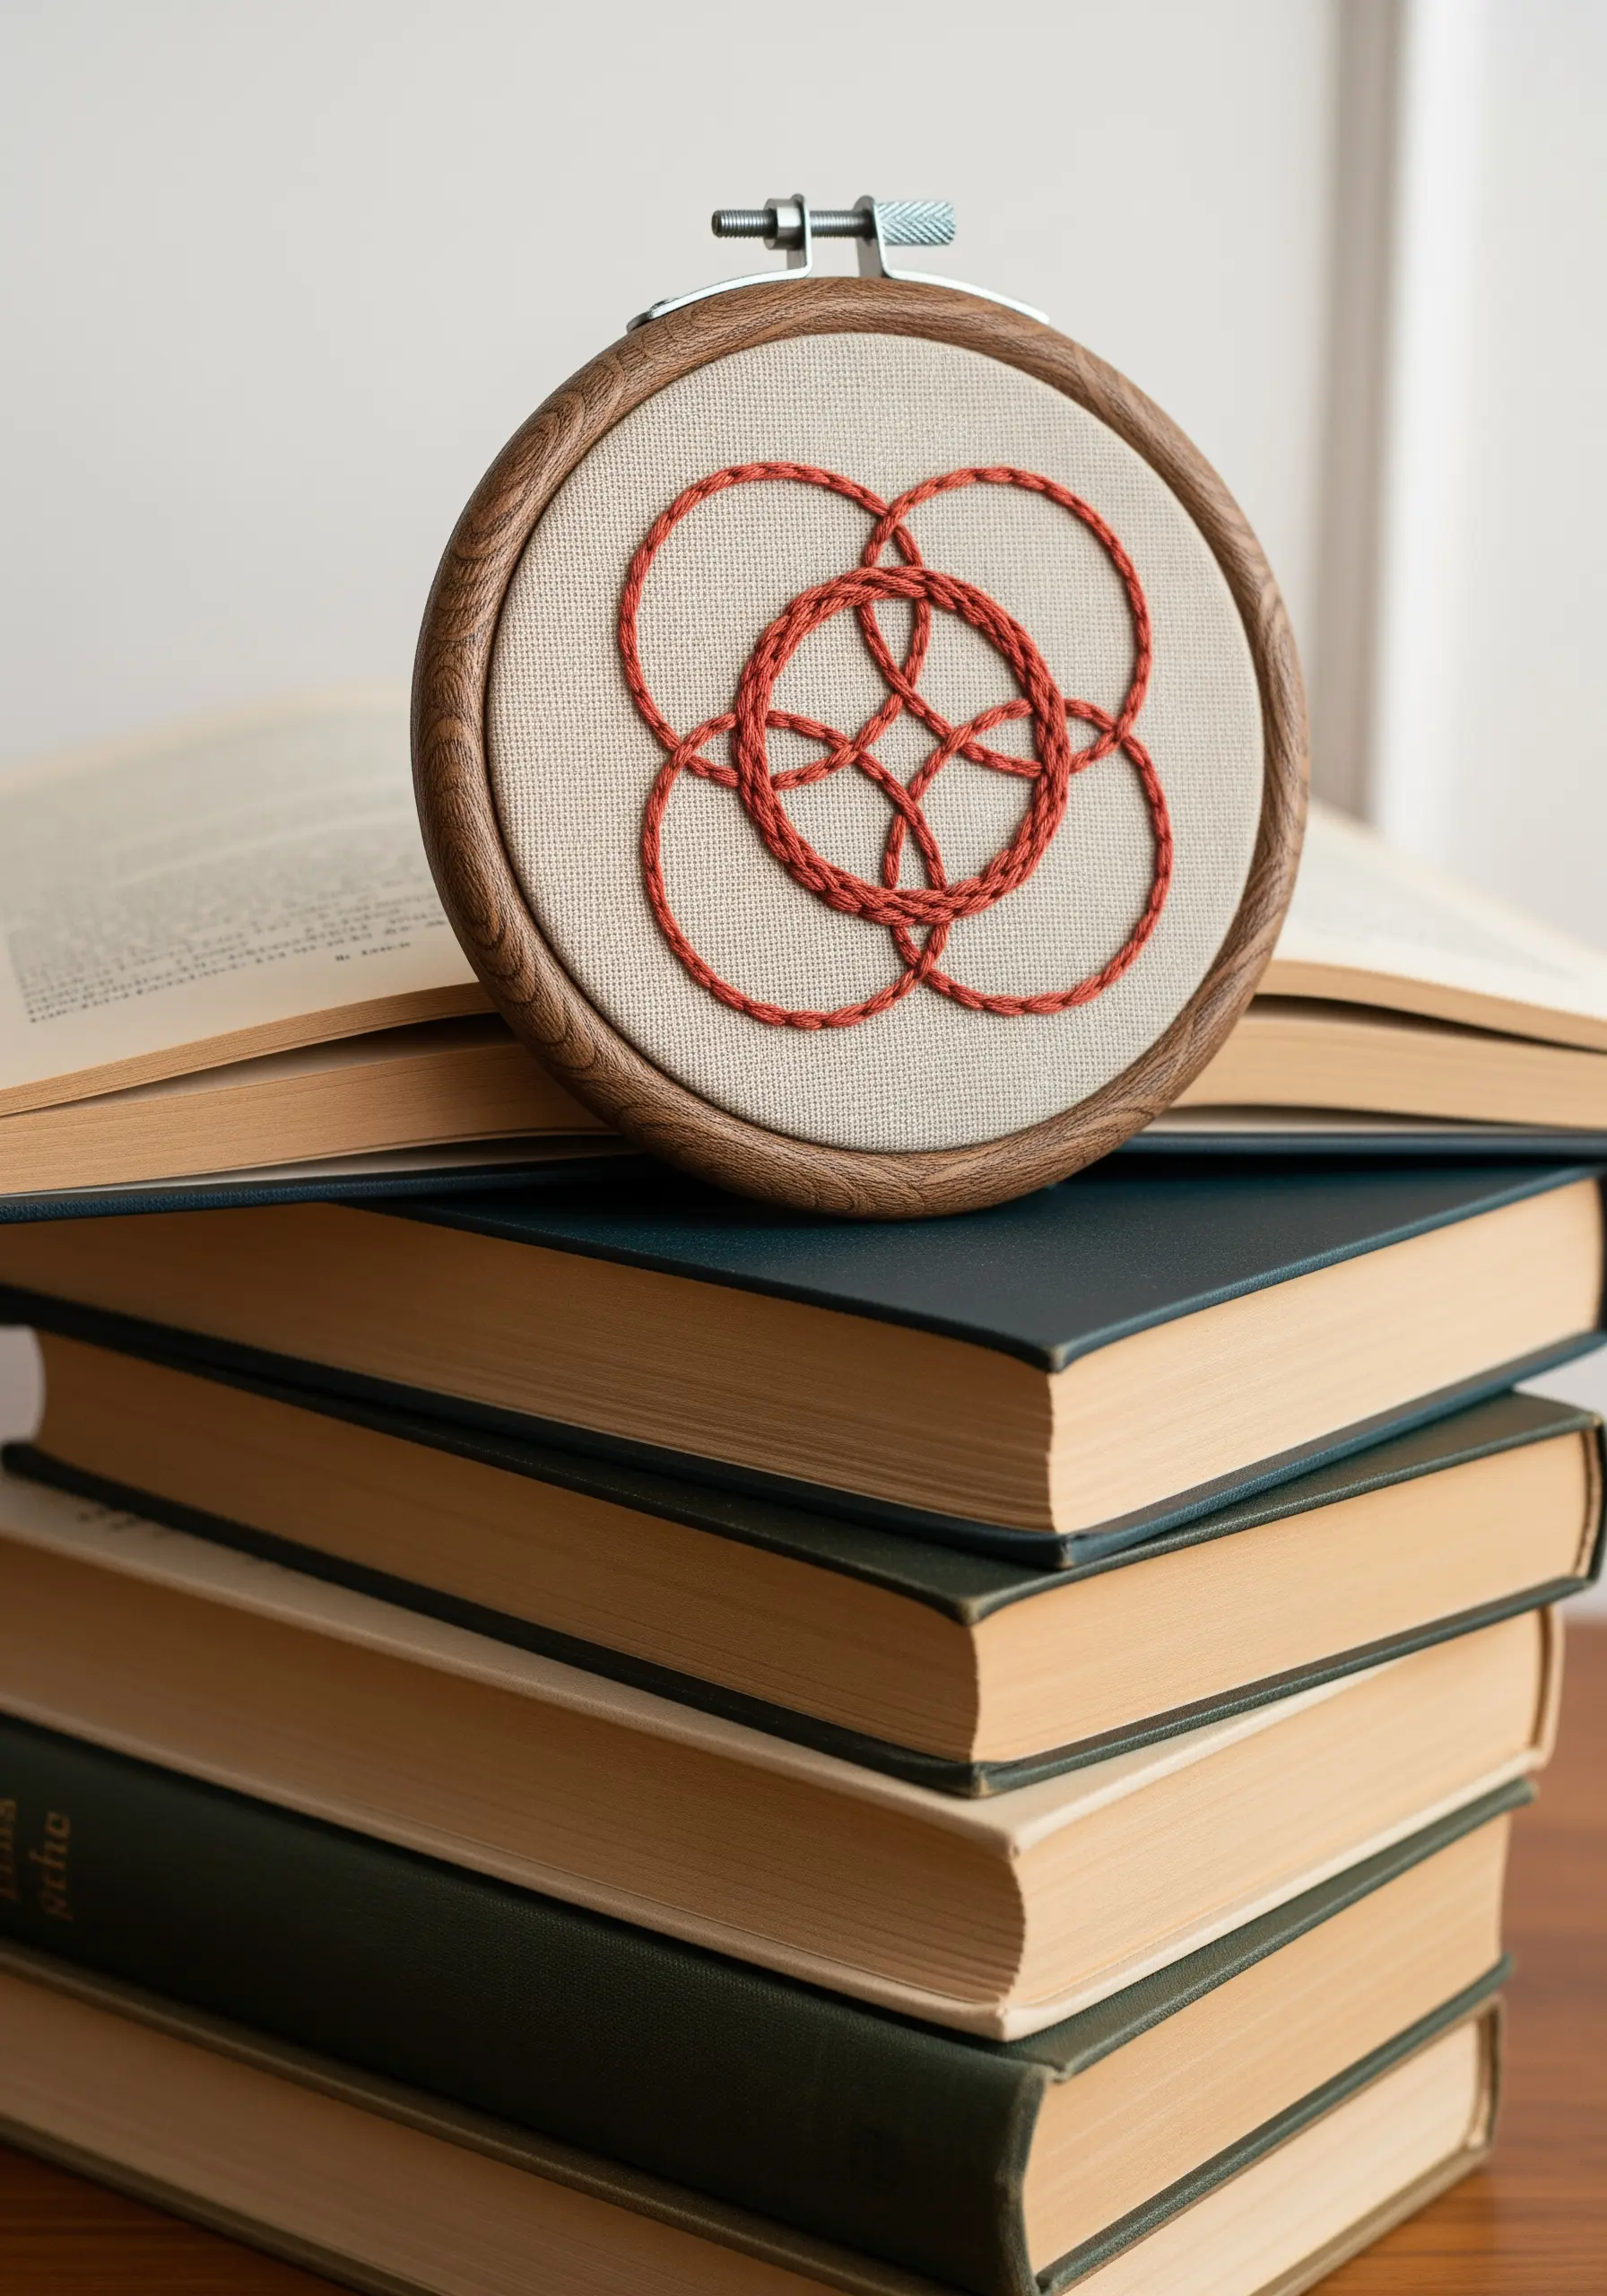
When your design depends on crisp, continuous lines, a standard backstitch can look gappy and uneven.
Elevate your line work by whipping it.
First, lay down your complete outline with a simple backstitch.
Then, using the same thread, slide your needle under each backstitch from the same direction, wrapping the line to conceal the joints and create a perfectly smooth, uninterrupted curve.
This is essential for Celtic knots, mandalas, and any geometric design where precision is key.
5. Sculpt Realism with Long-and-Short Stitch

For larger shapes like this Monstera leaf, a standard satin stitch can result in long, snag-prone floats and a flat appearance.
Instead, use the long-and-short stitch to create a durable, textured fill that mimics natural shading.
Work in interlocking rows of varying lengths, starting from the outside edge and moving inward.
This ‘thread painting’ technique allows you to blend colors seamlessly and add realism to botanical textures without adding complexity.
6. Build Textured Gradients with French Knots
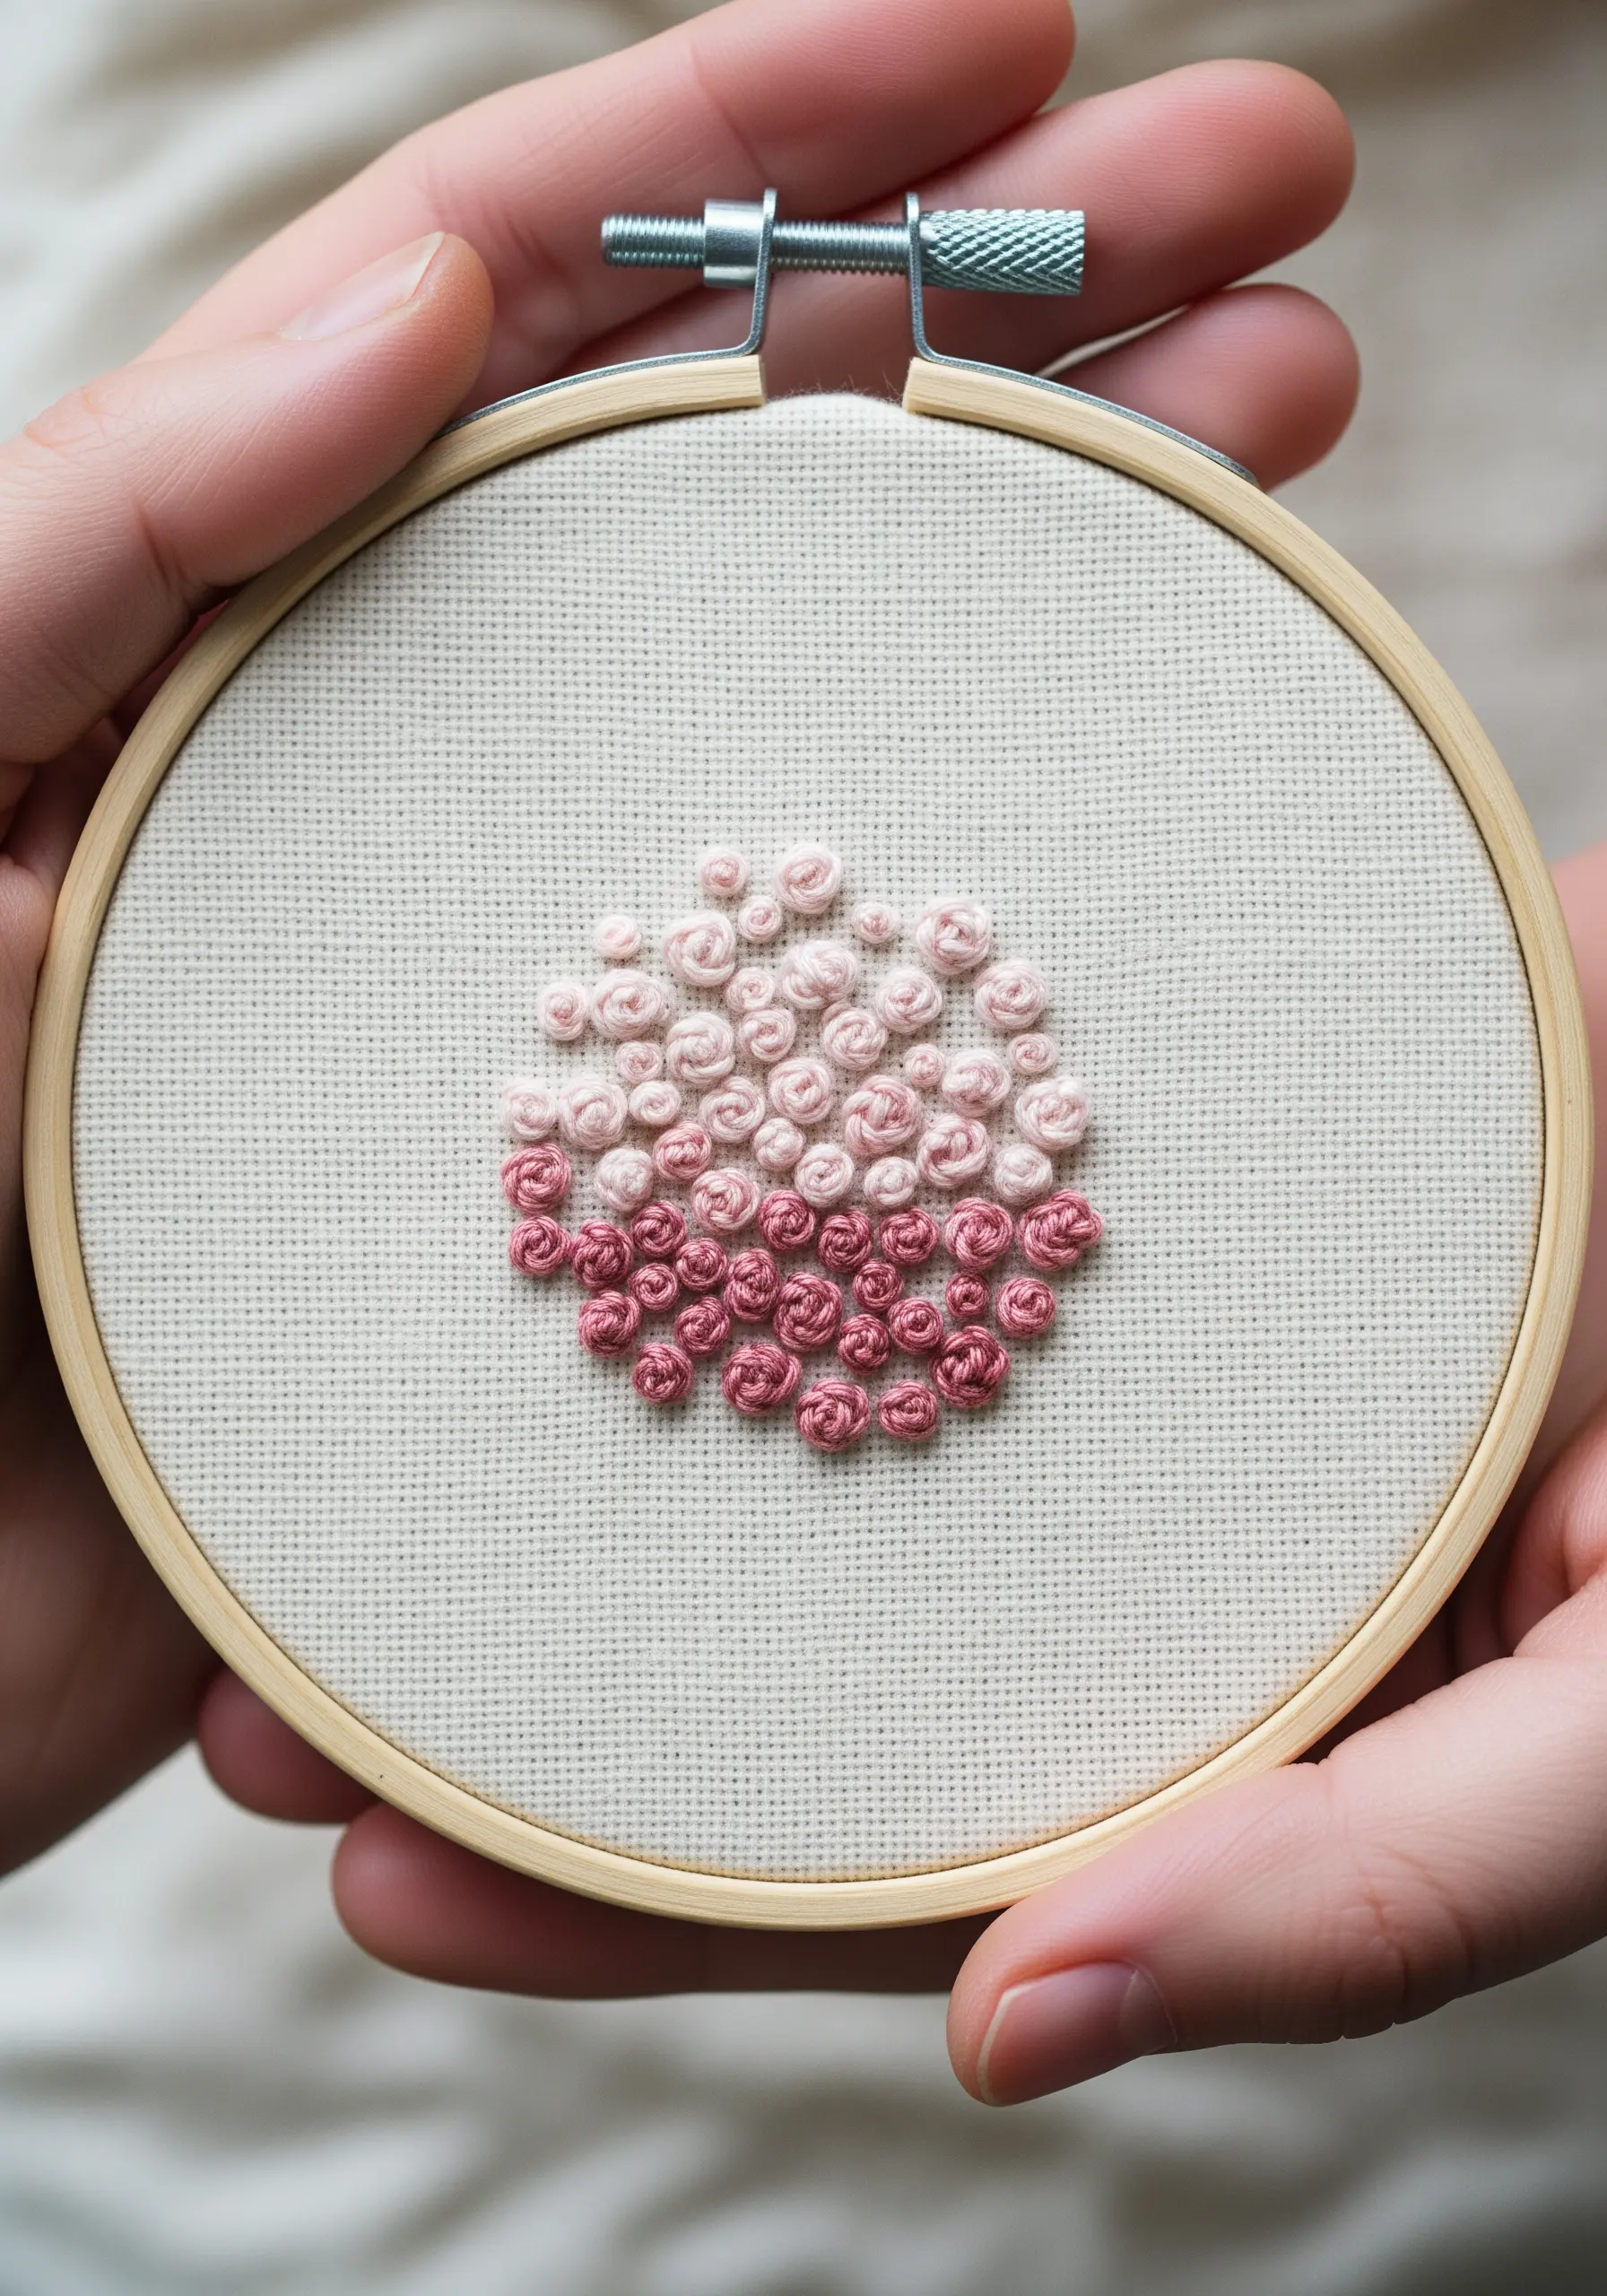
Transform simple French knots into a painterly tool by using them to create a color gradient.
Begin with your darkest shade at the bottom, clustering the knots very tightly together for solid coverage.
As you work your way up, introduce lighter shades and gradually increase the space between each knot.
This variation in density creates a soft, cloud-like fade and is a beautiful way to explore ombre gradient thread embroidery.
7. Imply Depth with Layered Straight Stitches
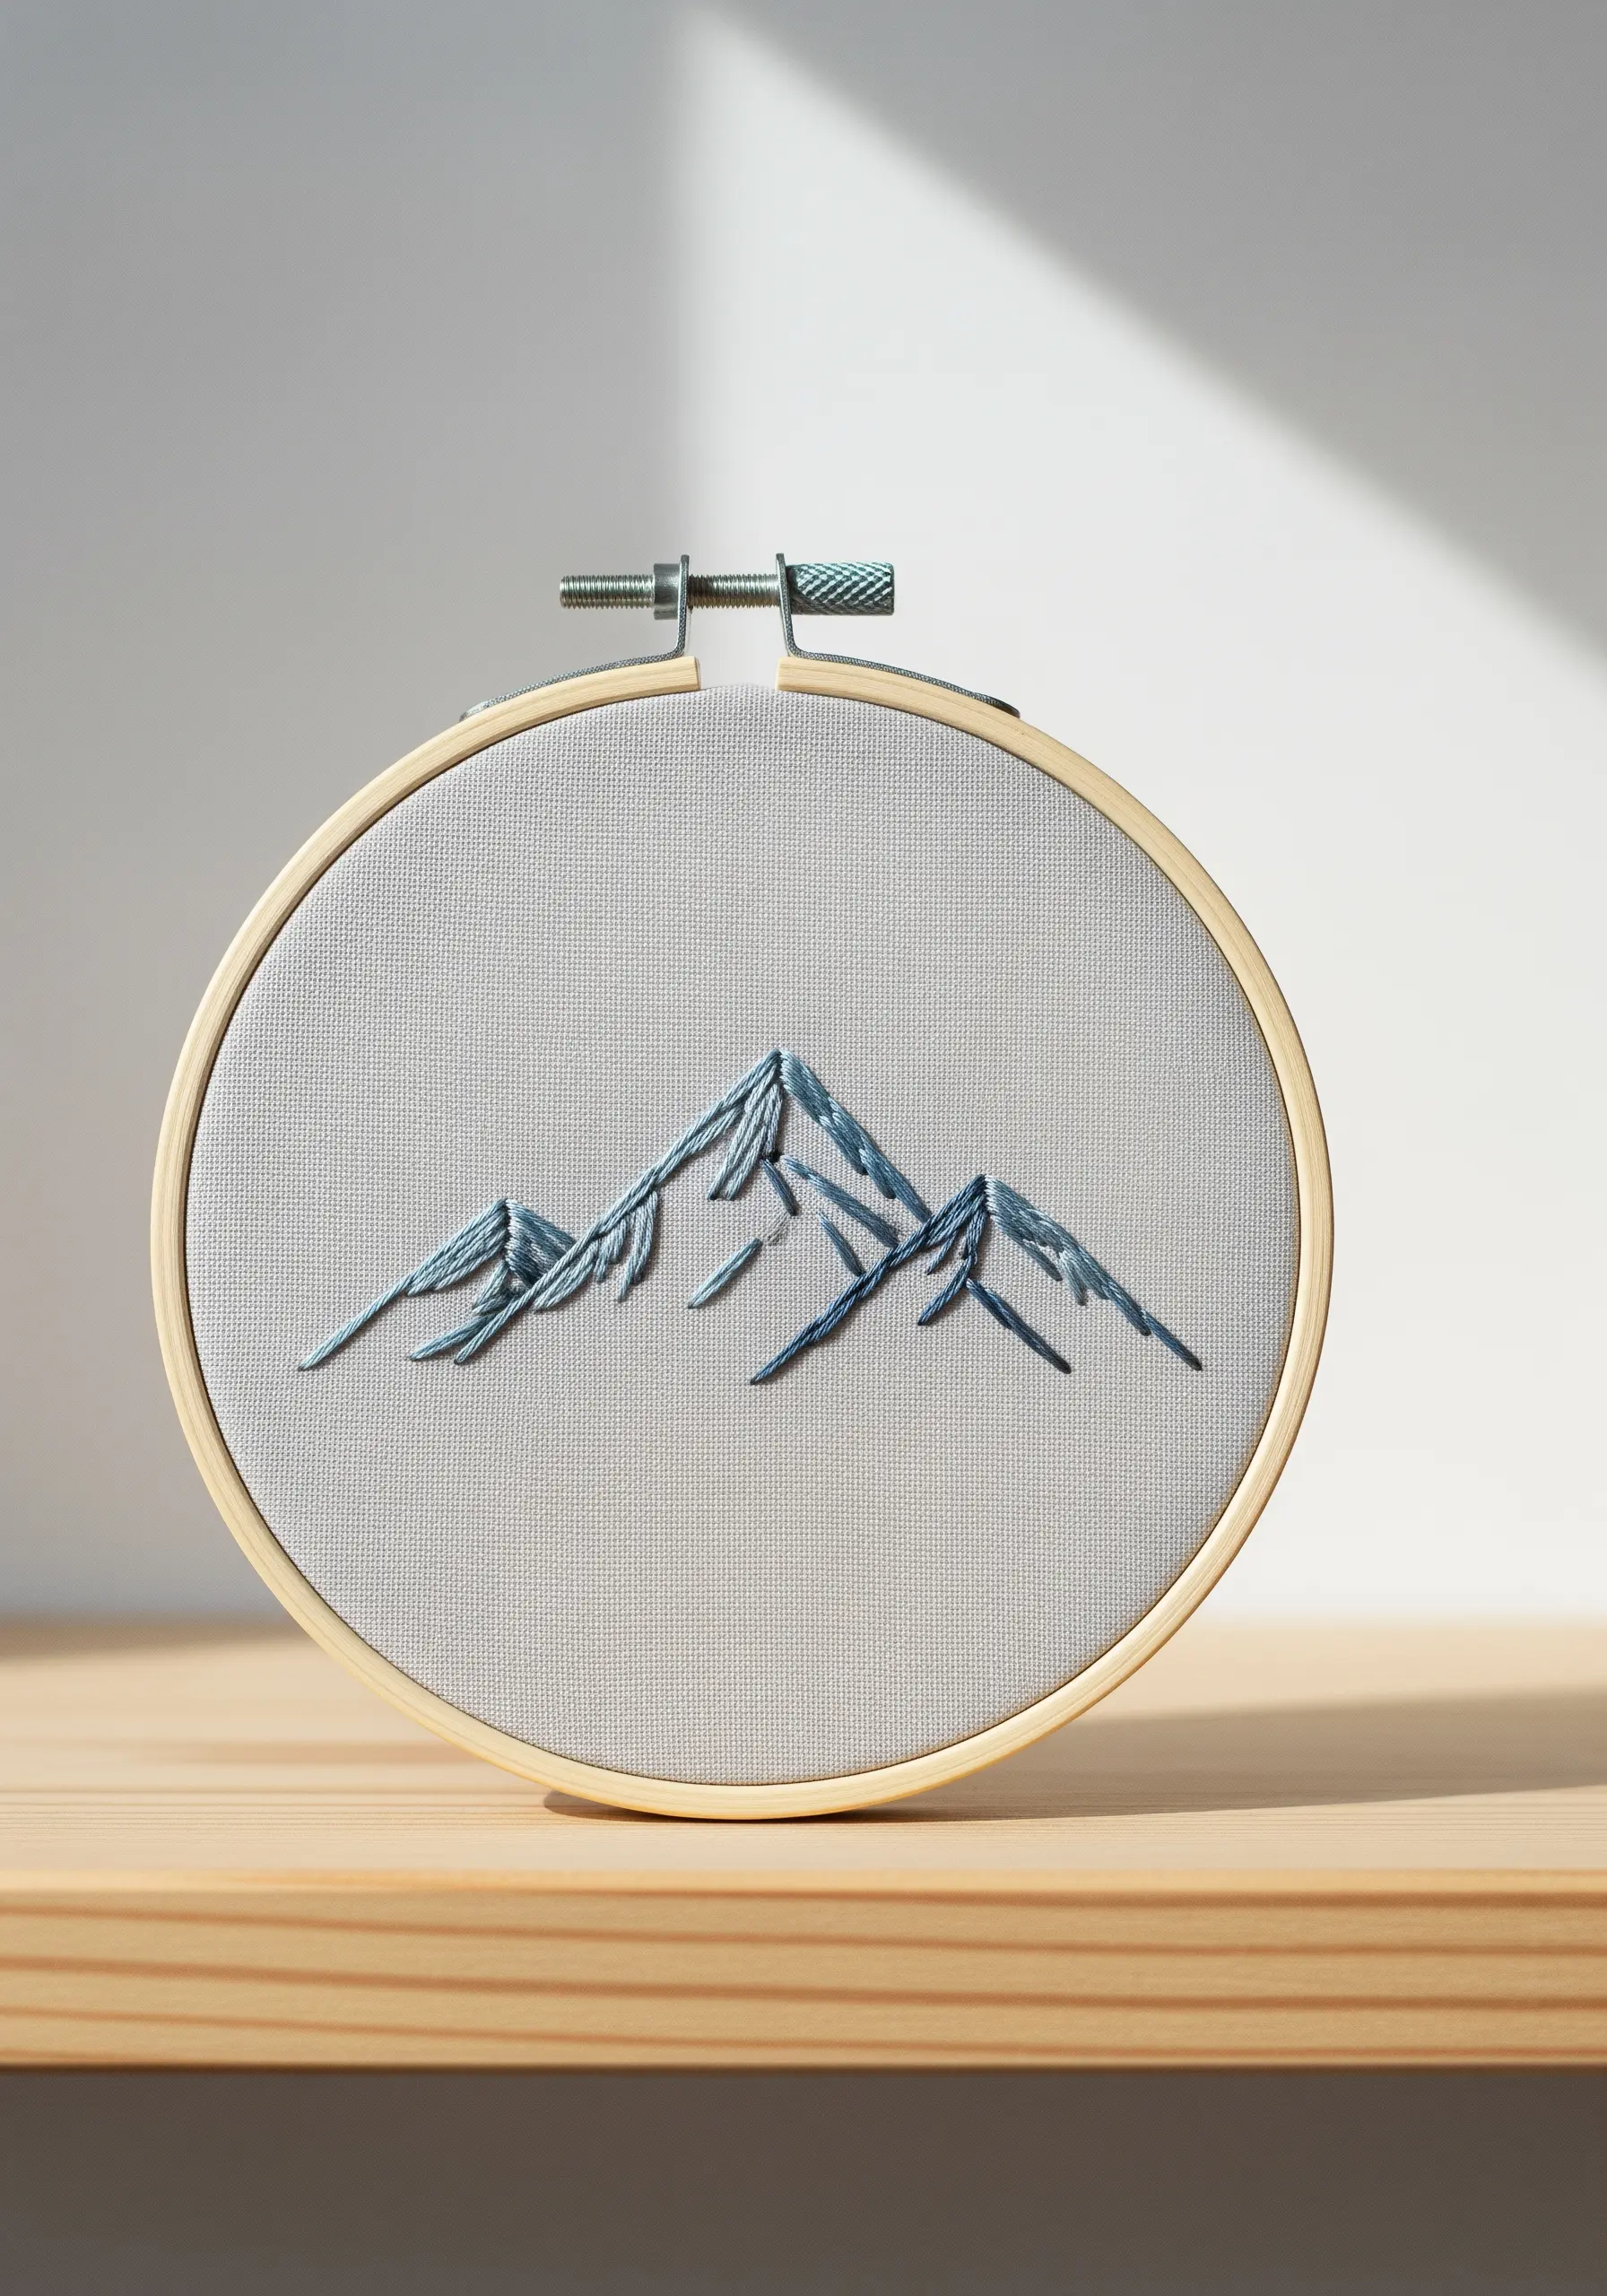
You can create compelling landscapes without using any complex fill stitches.
This mountain range is built entirely with strategically placed straight stitches.
Use 2-3 strands of a darker thread to create the foundational outlines and shadow lines.
Then, come back with a single strand of a lighter shade to add highlights, layering your stitches at different angles to suggest rocky textures.
This minimalist approach relies on thoughtful placement rather than stitch density to create depth in nature scene pillow embroidery.
8. Perfect Your Outlines with a Split Stitch Foundation
If your stem stitch or backstitch outlines tend to look wobbly, the problem isn’t your skill—it’s your foundation.
Before you begin your final outline, first trace the entire design with a simple split stitch using two strands of floss.
This creates a stable, slightly raised guide for your final stitches to rest against, ensuring a perfectly smooth and uniform line.
This technique is a game-changer for modern line art where precision is paramount.
9. Create Subtle Blending with Angled Satin Stitch
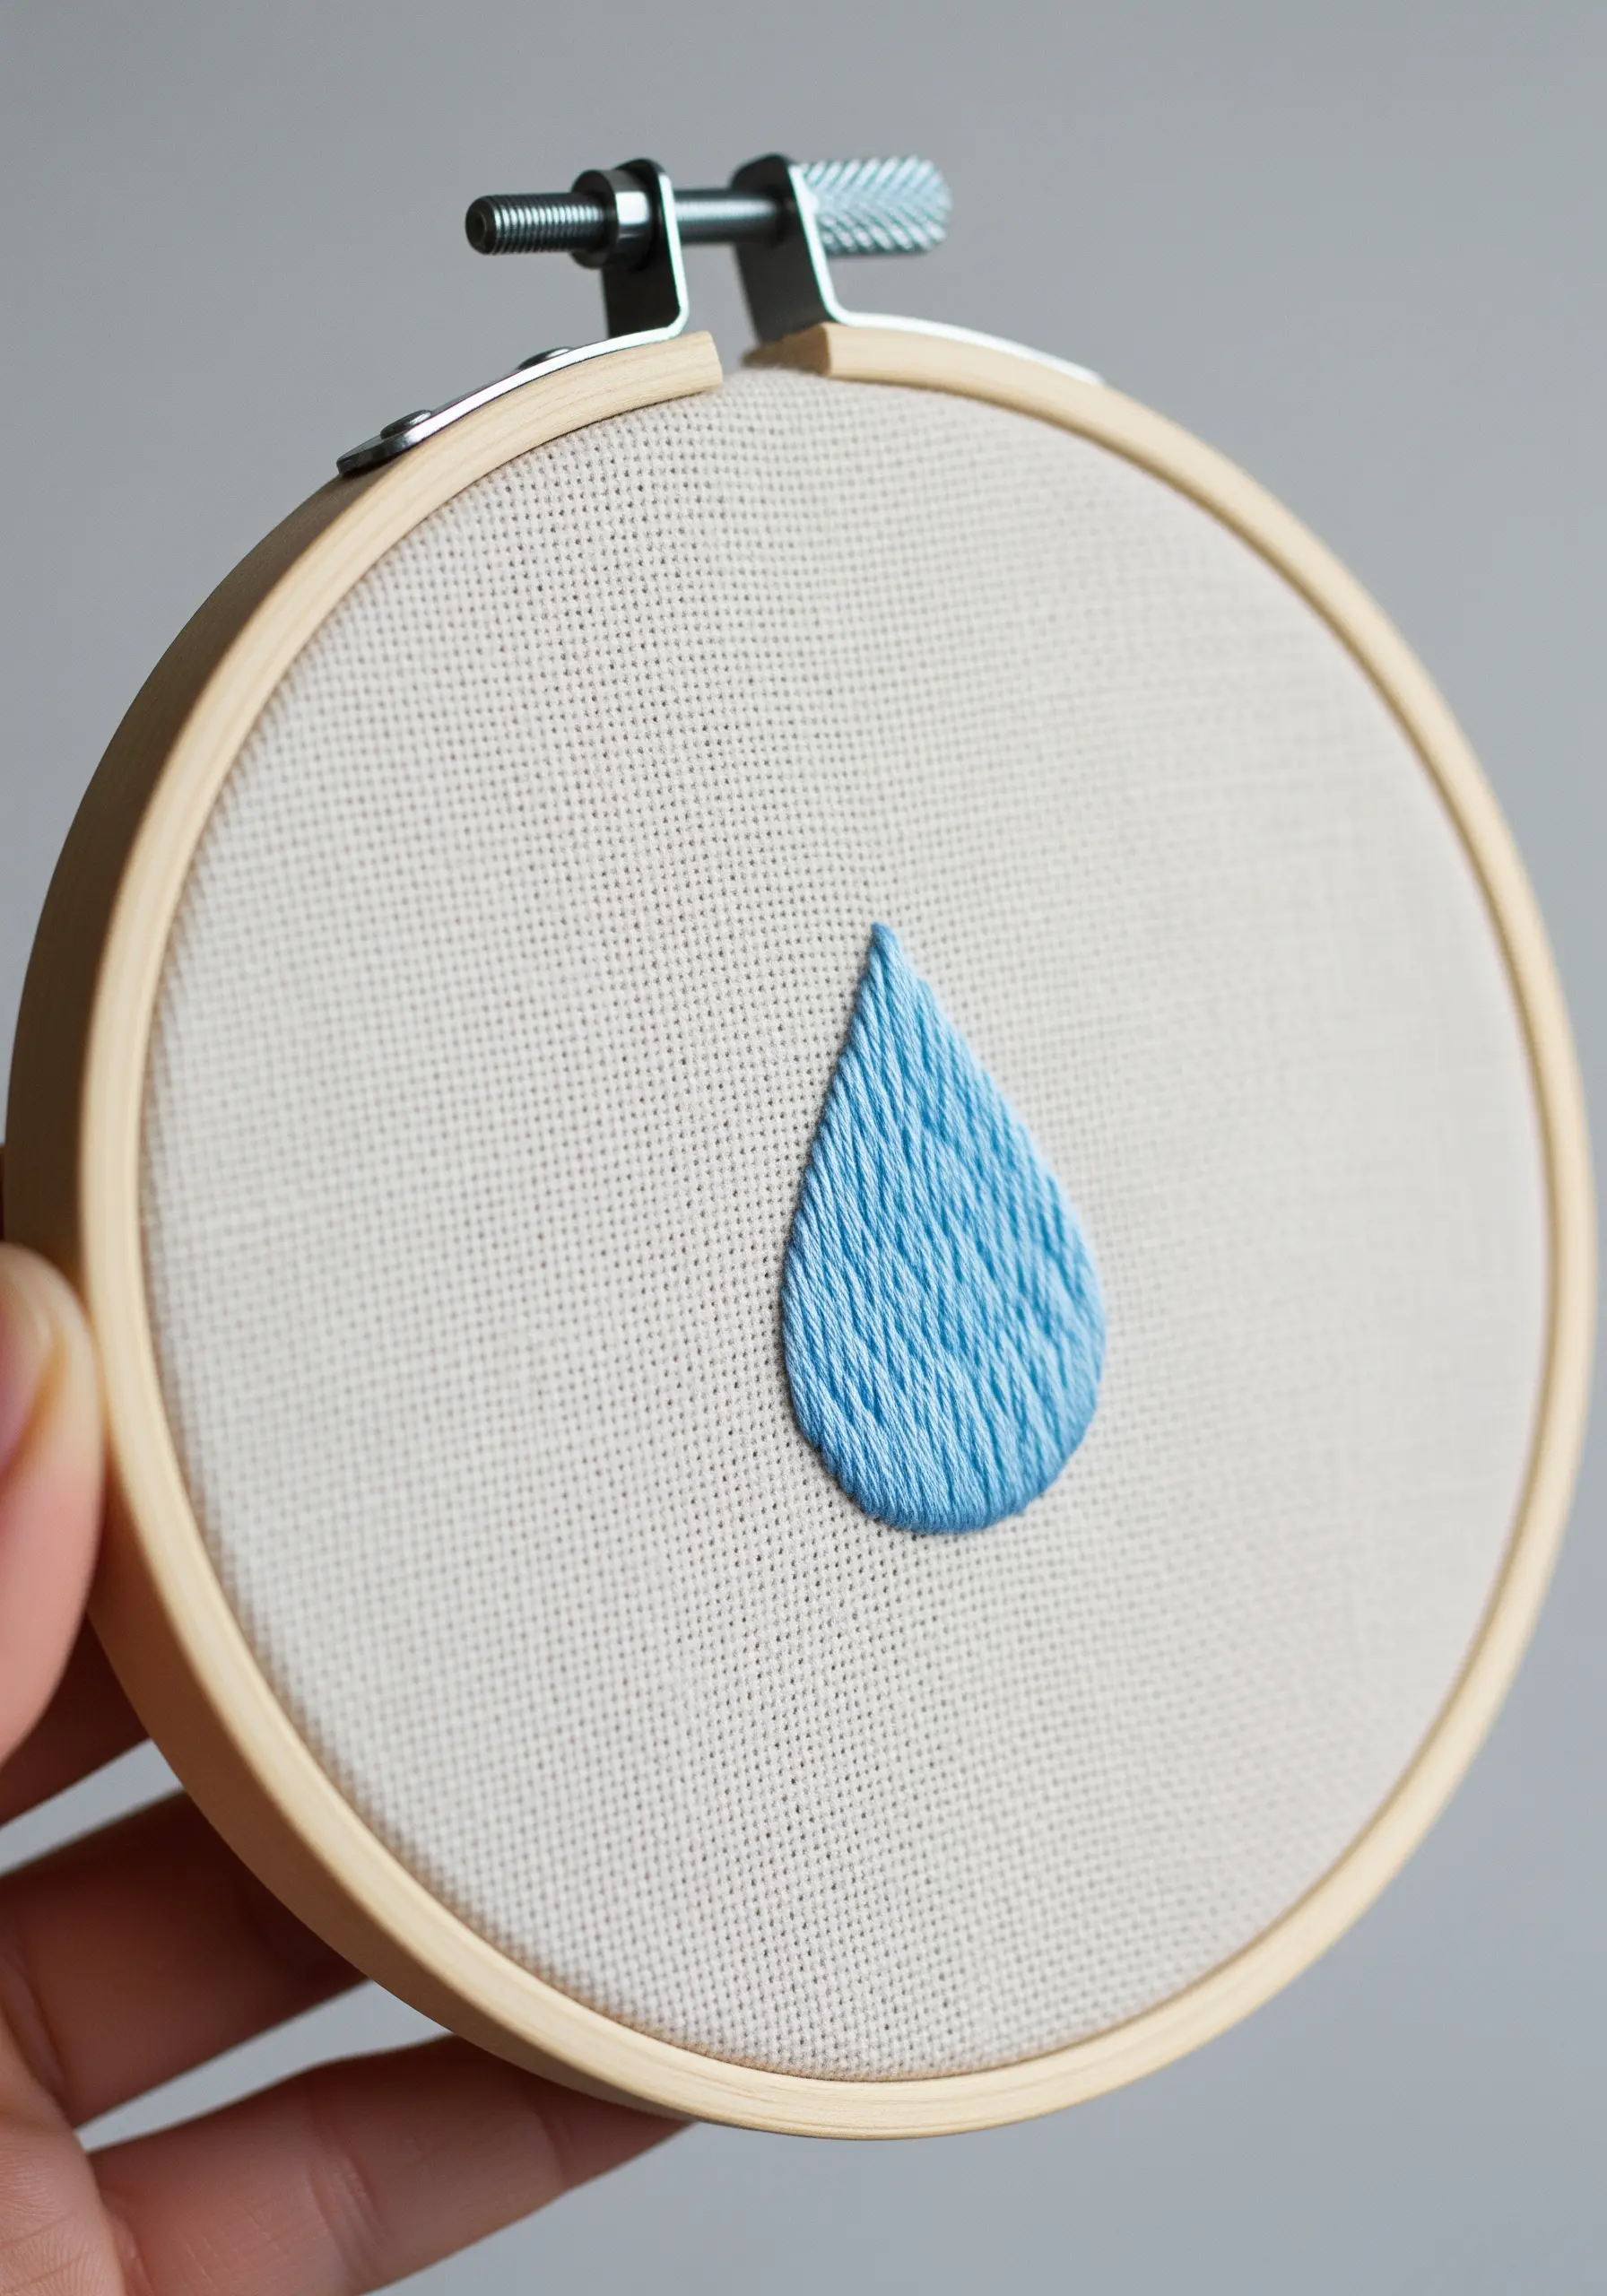
Even a single-color fill can have dimension if you control the angle of your satin stitches.
To give this simple raindrop shape a sense of volume, the stitches are not perfectly vertical.
They begin at a slight angle and gradually shift as they move across the shape.
This subtle change in direction causes the threads to catch the light differently, creating an illusion of shadow and highlight without needing a second color.
It’s a key technique for achieving results that mimic watercolor, as seen in organic thread art.
10. Add Dimension to Typography with Padded Satin Stitch
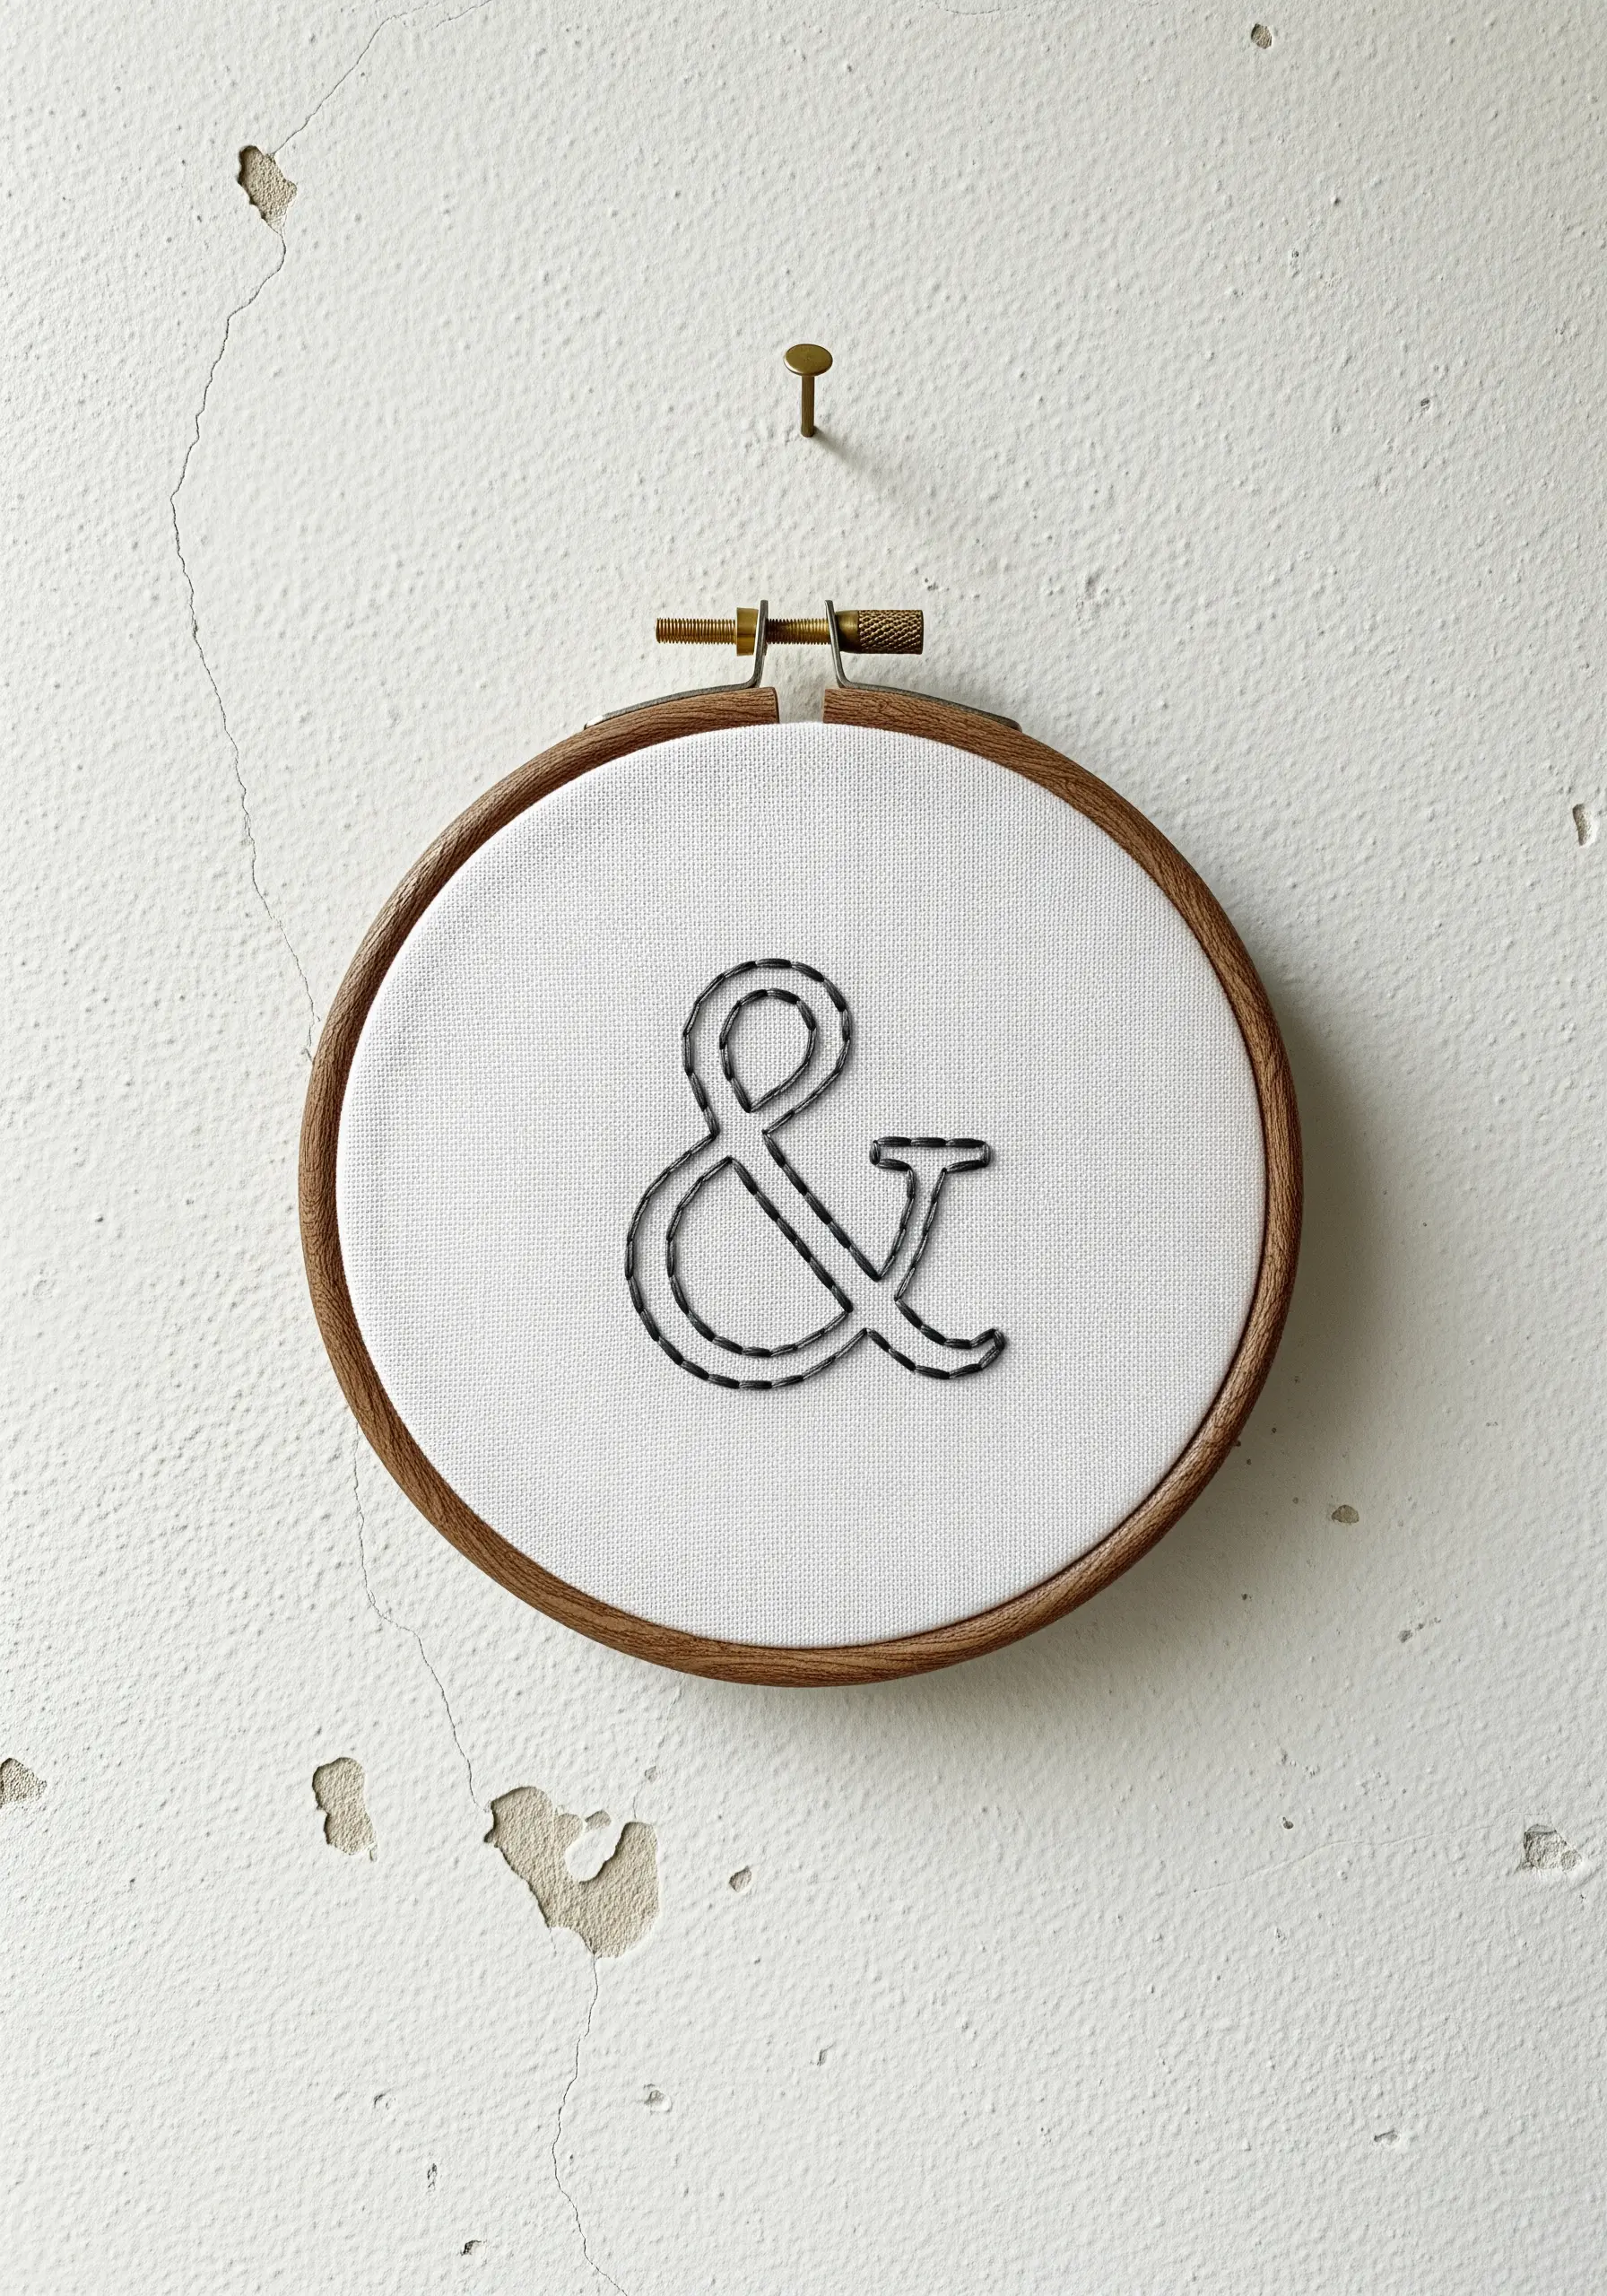
To make your embroidered letters feel substantial and three-dimensional, always use padding.
First, fill the shape of the ampersand with a dense layer of small seed stitches or horizontal straight stitches.
Then, work your final satin stitch vertically, directly over the padding.
This underlying layer lifts the satin stitch away from the fabric, creating a raised, beveled effect that gives your work a professional, tactile quality, essential for thread-based typography.
11. Combine Fill Stitches and Line Work for Graphic Detail
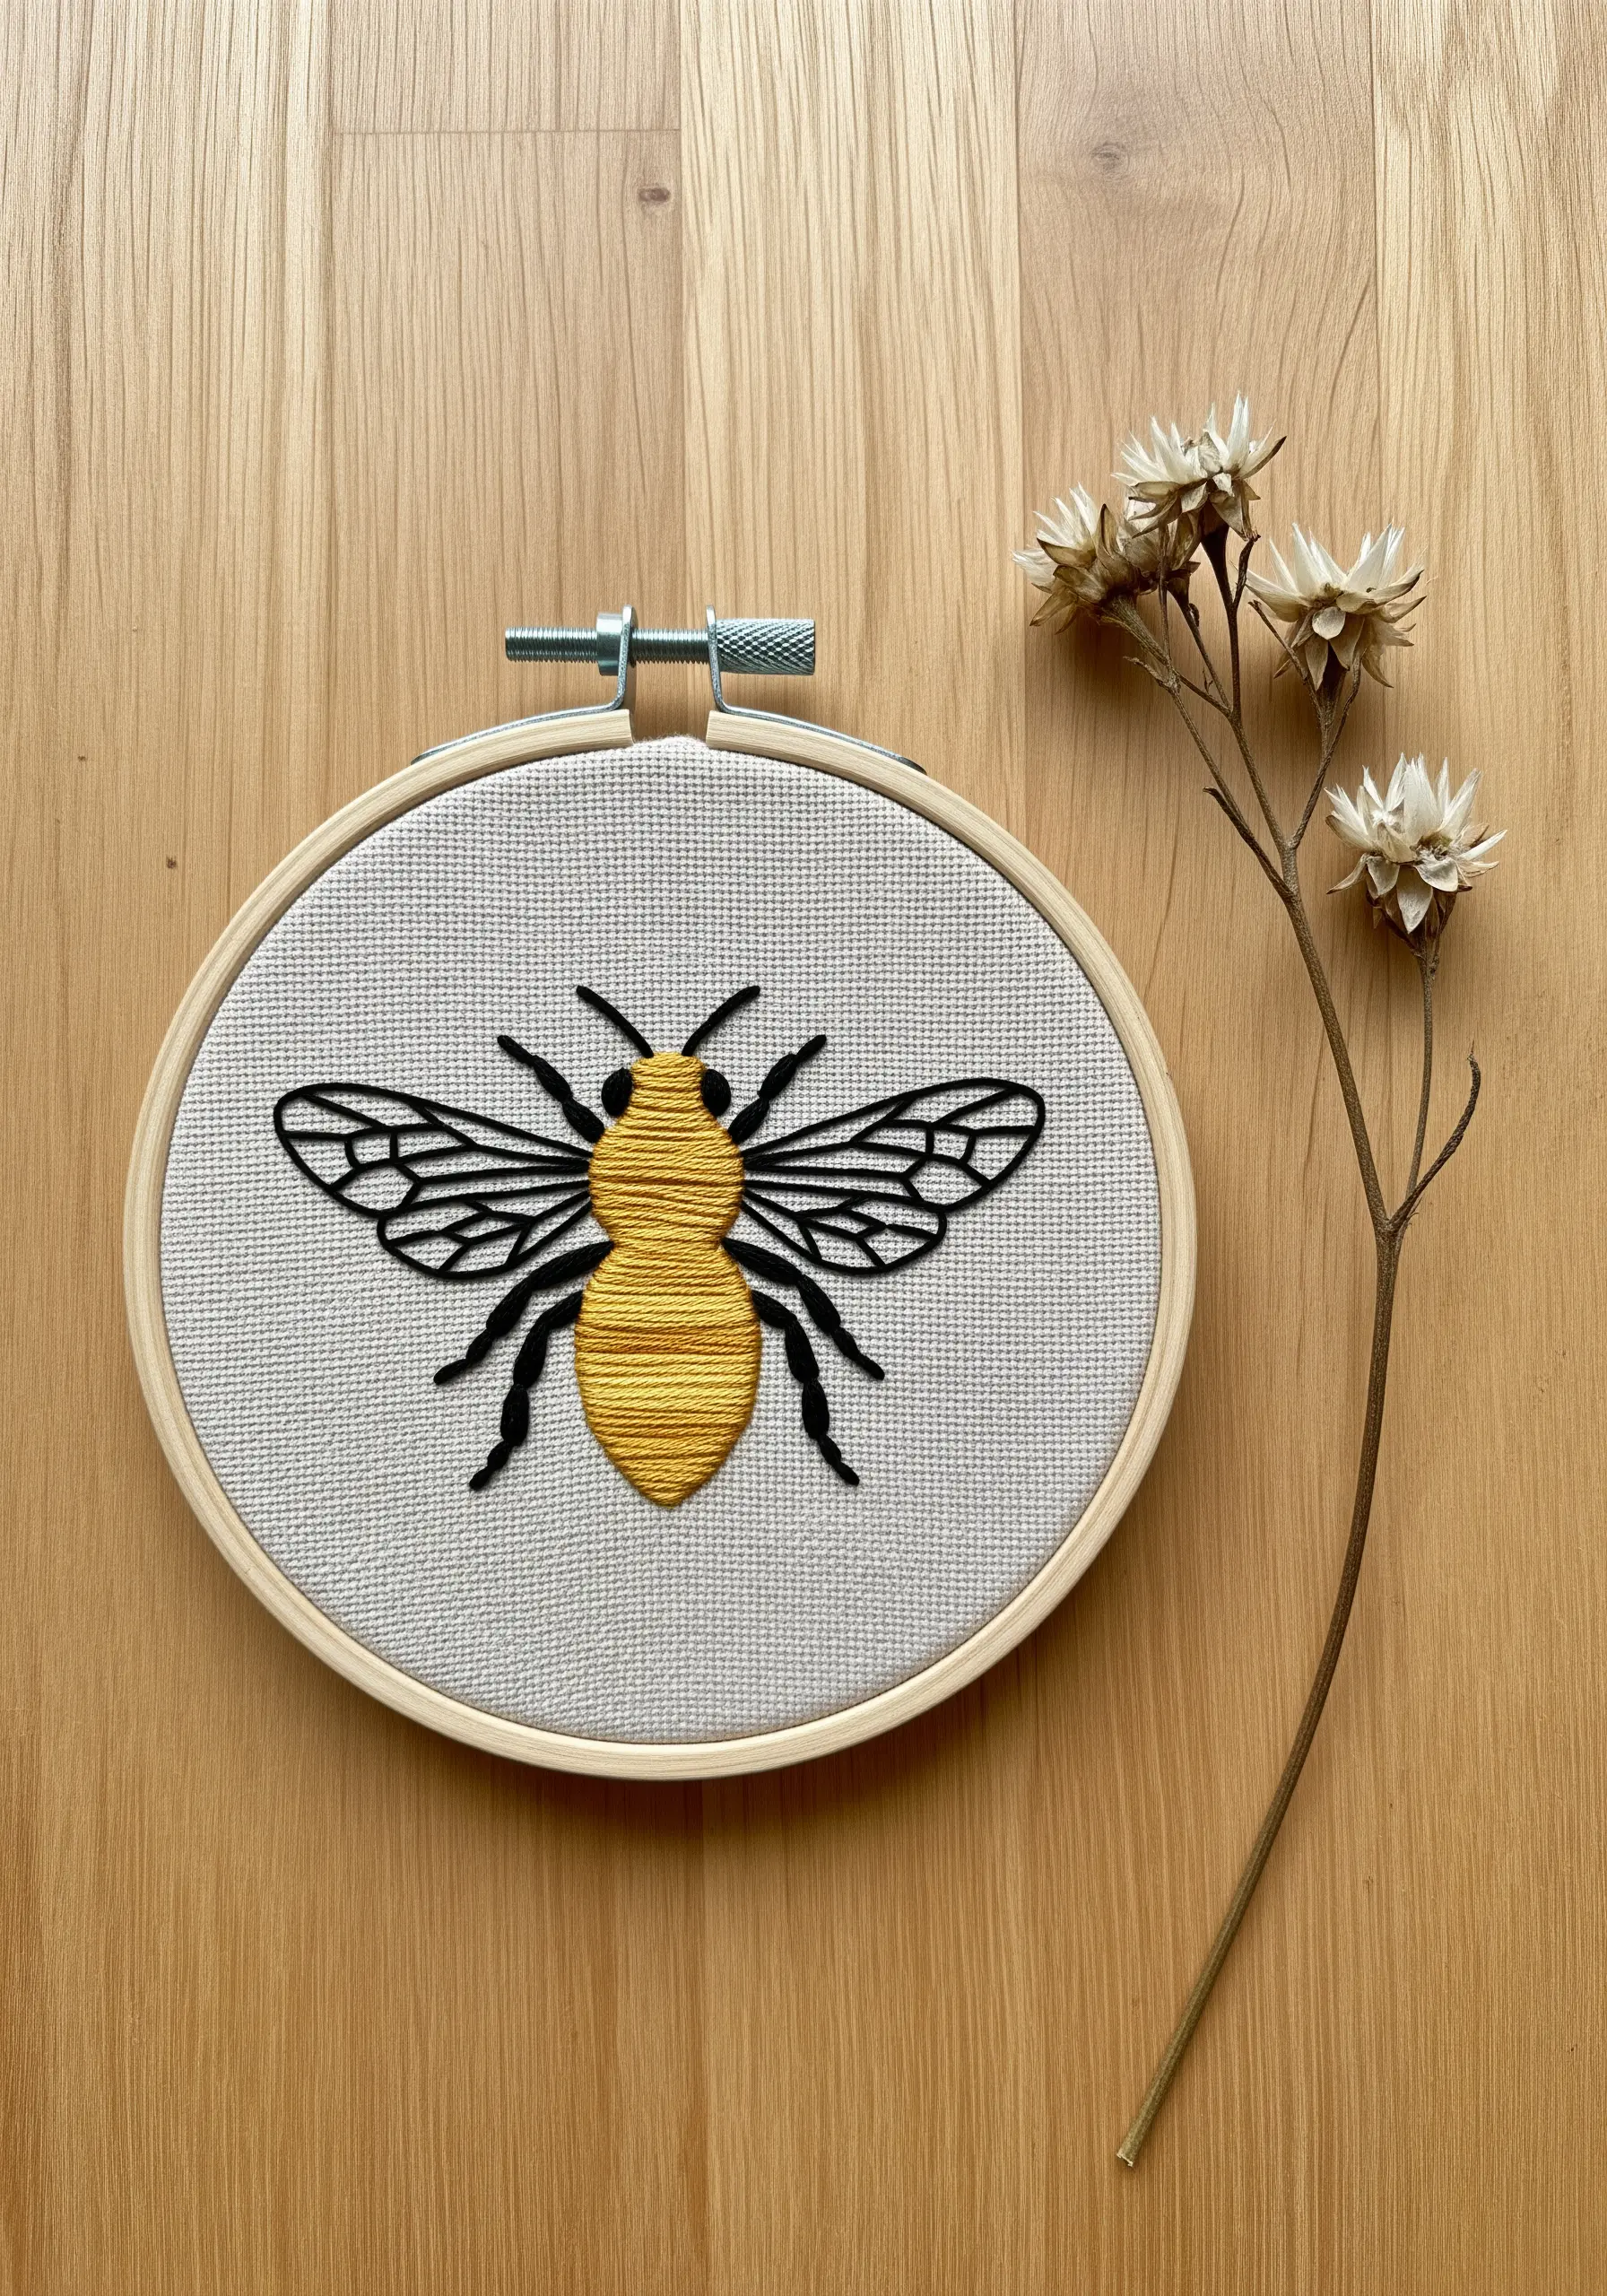
A successful small-scale design often relies on the contrast between heavy and light elements.
For this bee, use a full six strands of floss for the satin-stitched body to give it weight and presence.
Then, switch to just one or two strands for the delicate backstitched wings and legs.
This intentional variation in thread weight creates a clear visual hierarchy, ensuring the fine details are crisp and don’t get lost, a technique often used in detailed butterfly and moth embroidery patterns.
12. Use Star Stitch for Elegant Celestial Details
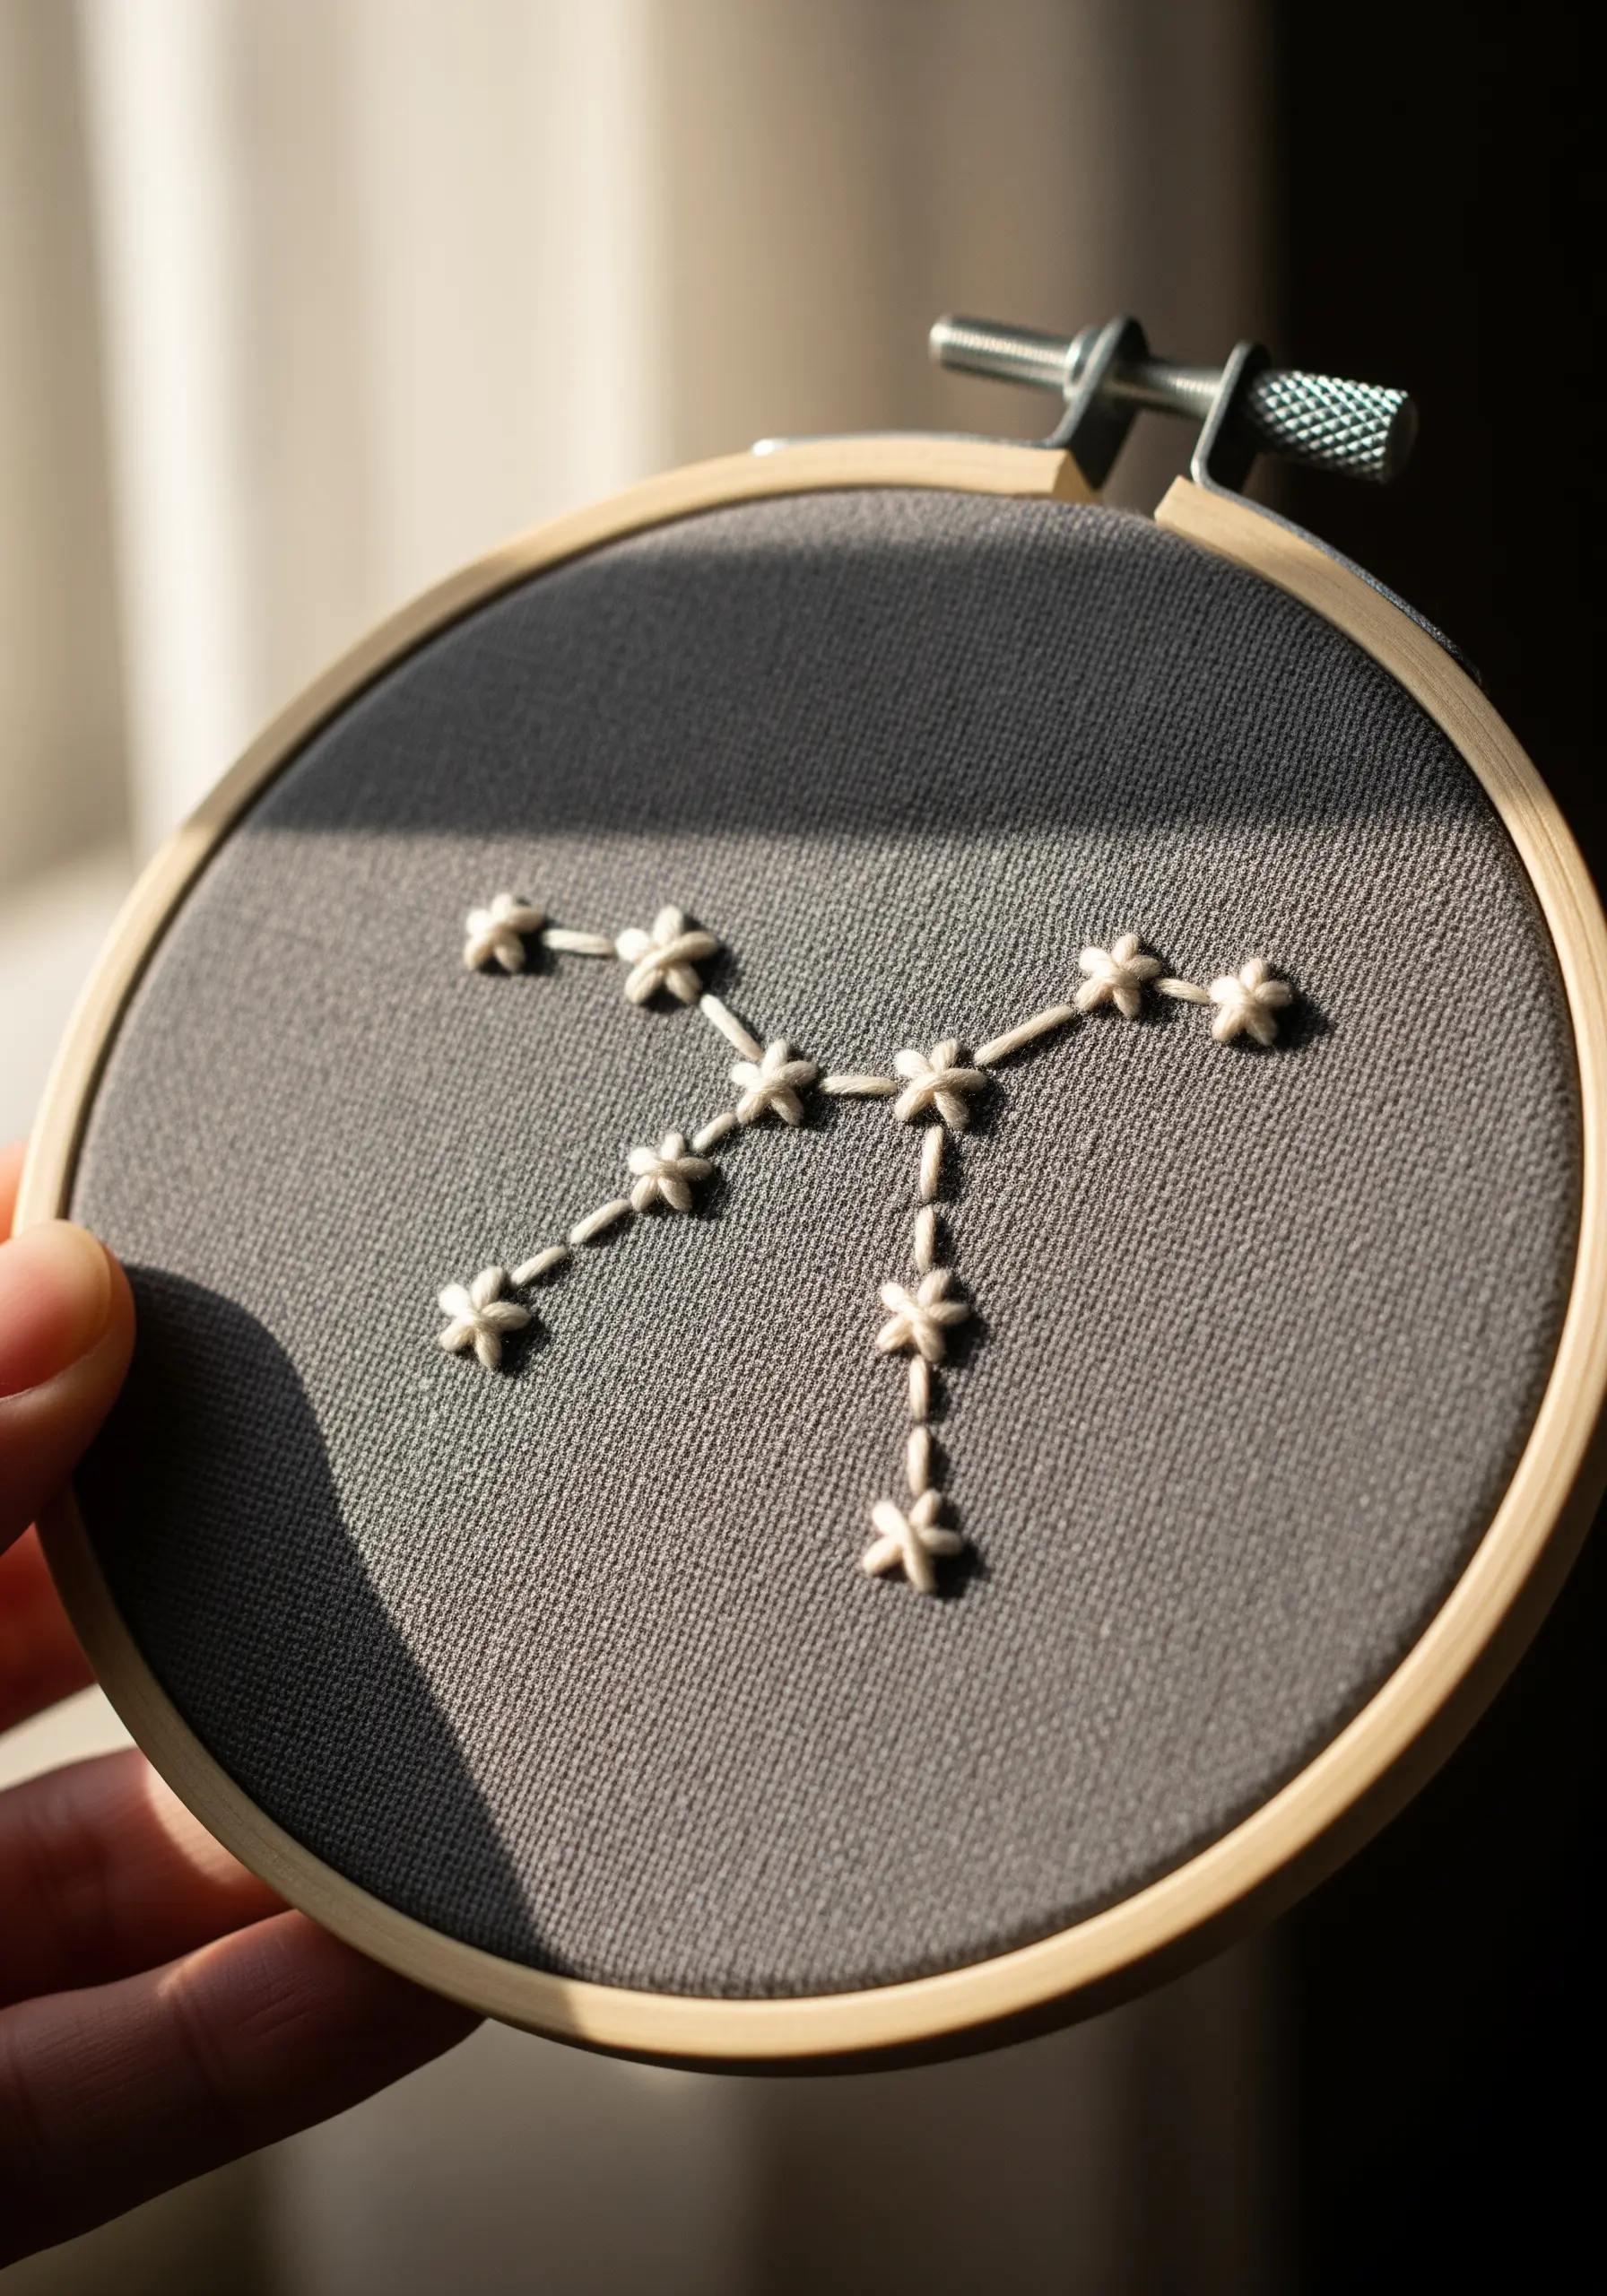
While a French knot can represent a star, the star stitch offers a more intentional, decorative alternative.
Create each star by working a series of straight stitches (usually five or six) that cross over a central point, forming a delicate asterisk shape.
Use a single strand of thread for the connecting backstitch lines.
This keeps the focus on the sparkling star points, giving your minimal celestial embroidery a refined and polished finish.
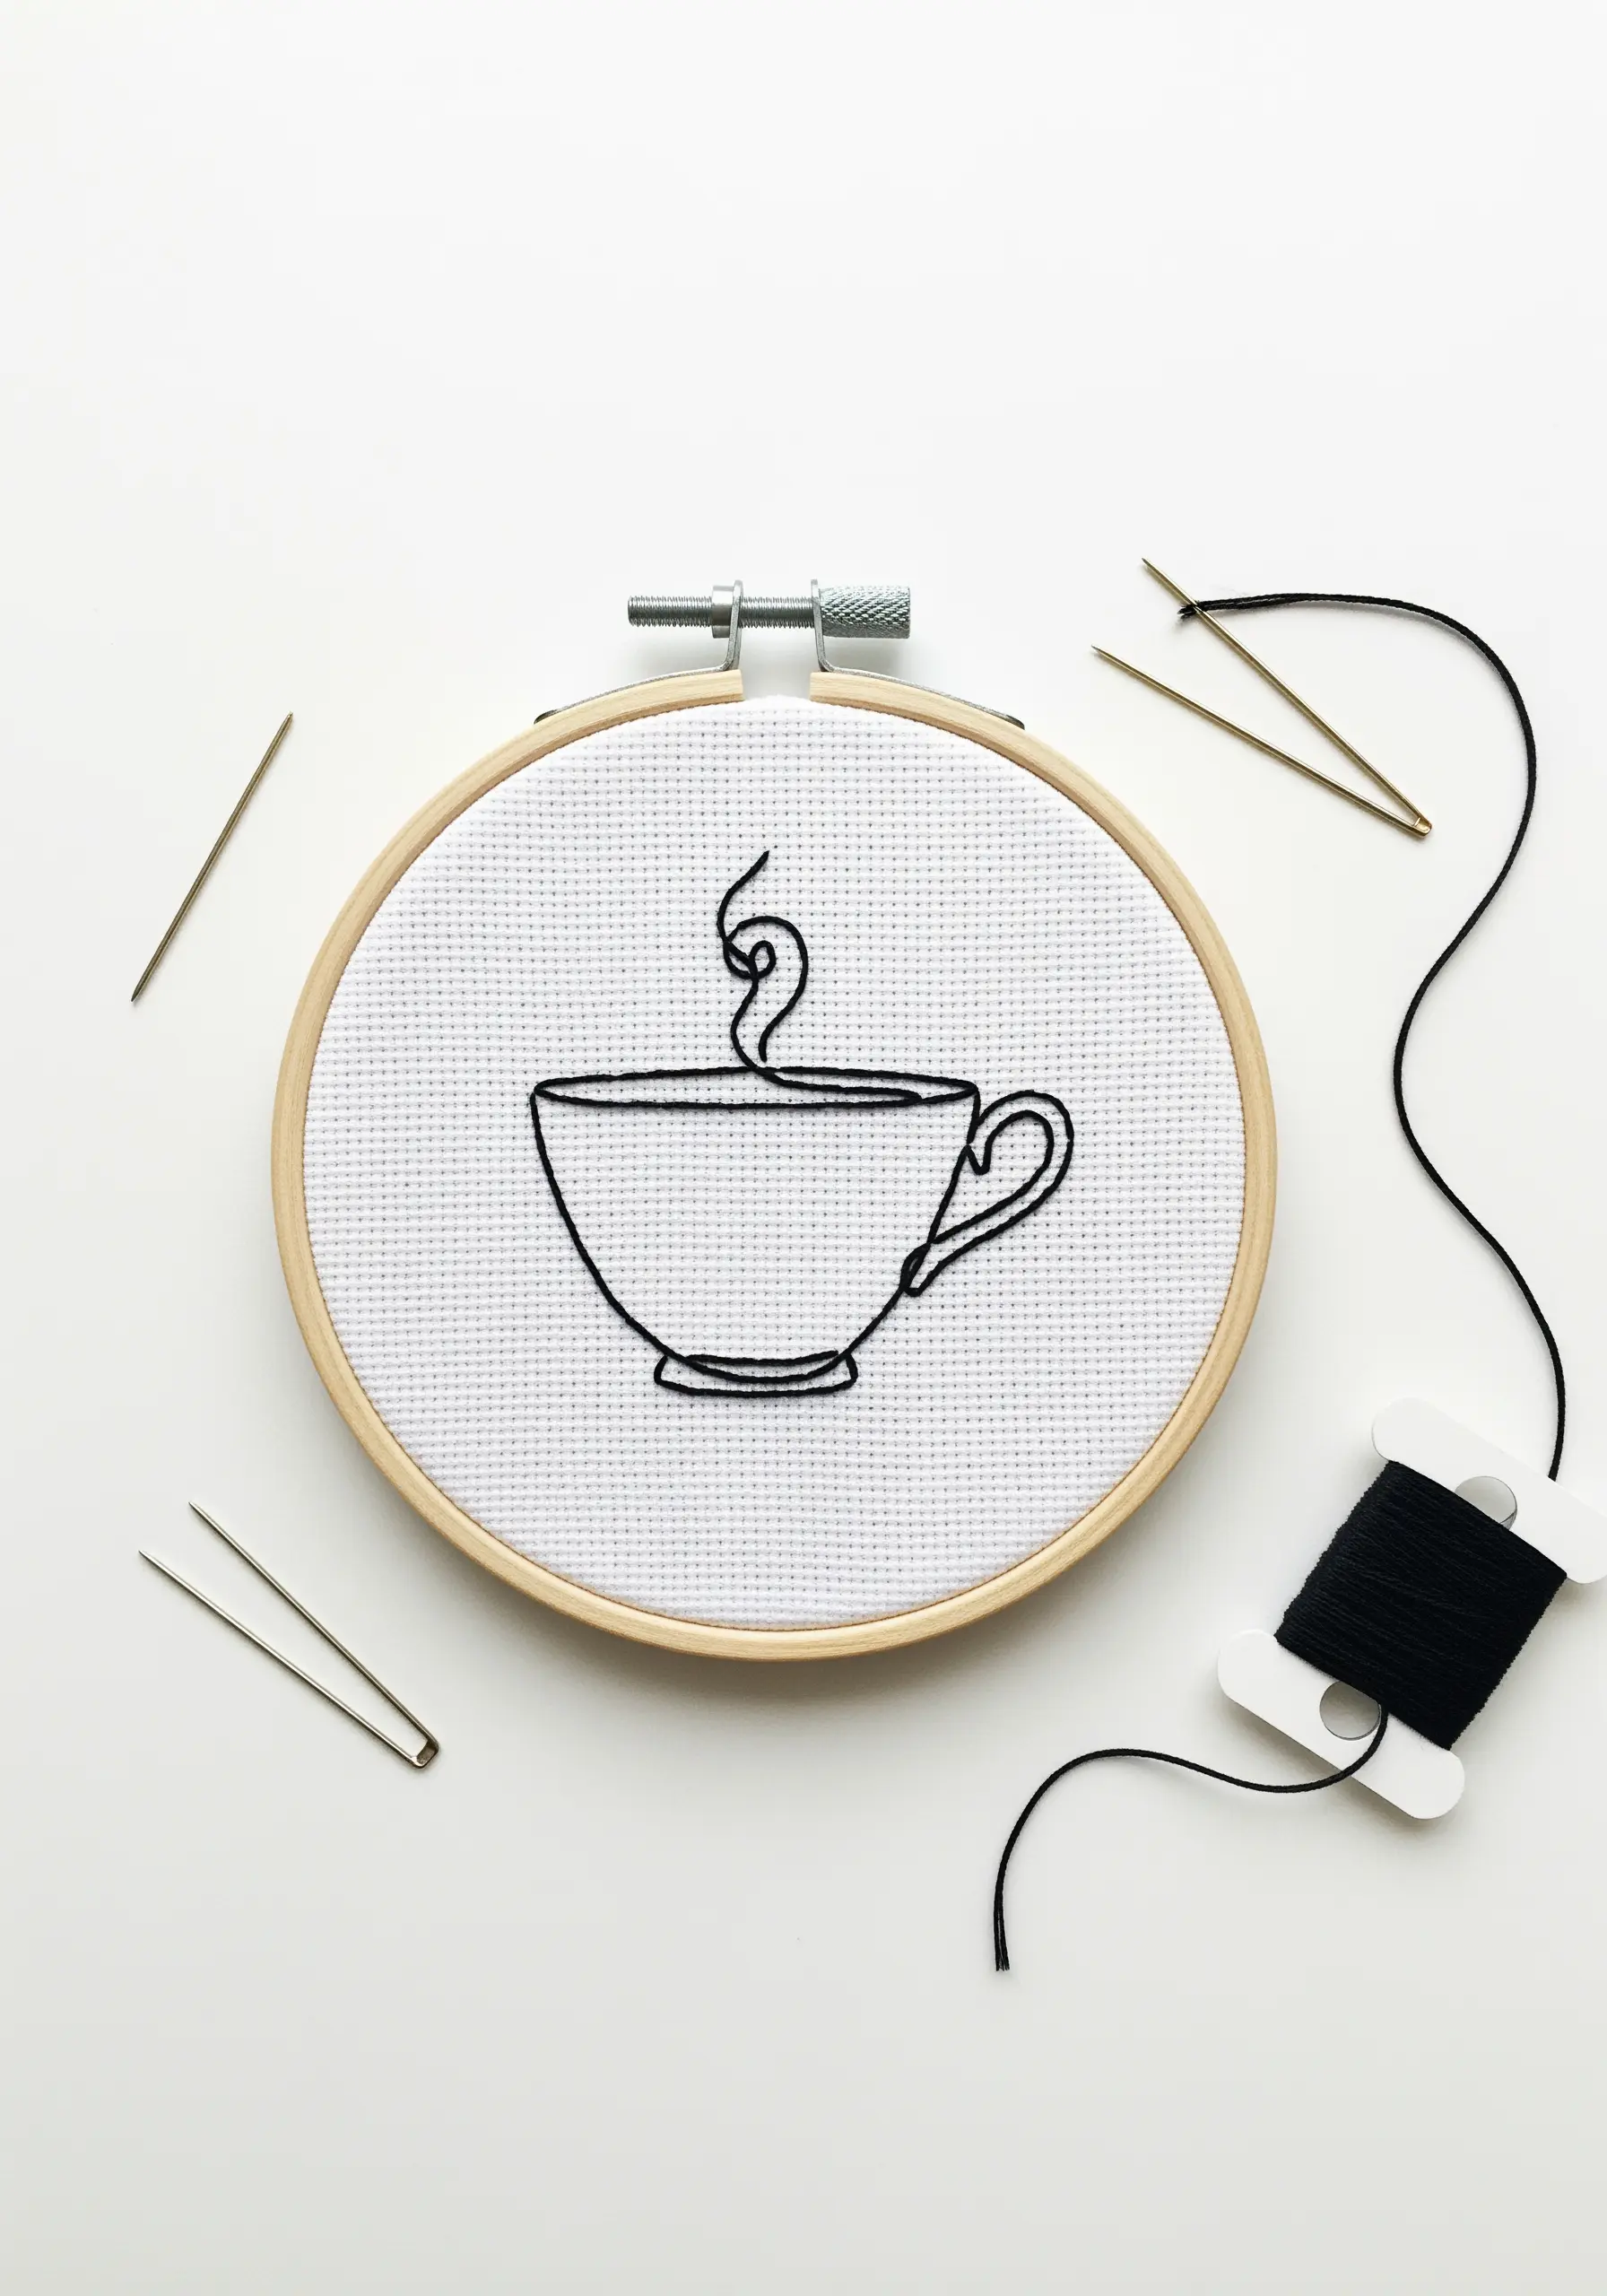
13. Master Smooth Curves with Whipped Stem Stitch
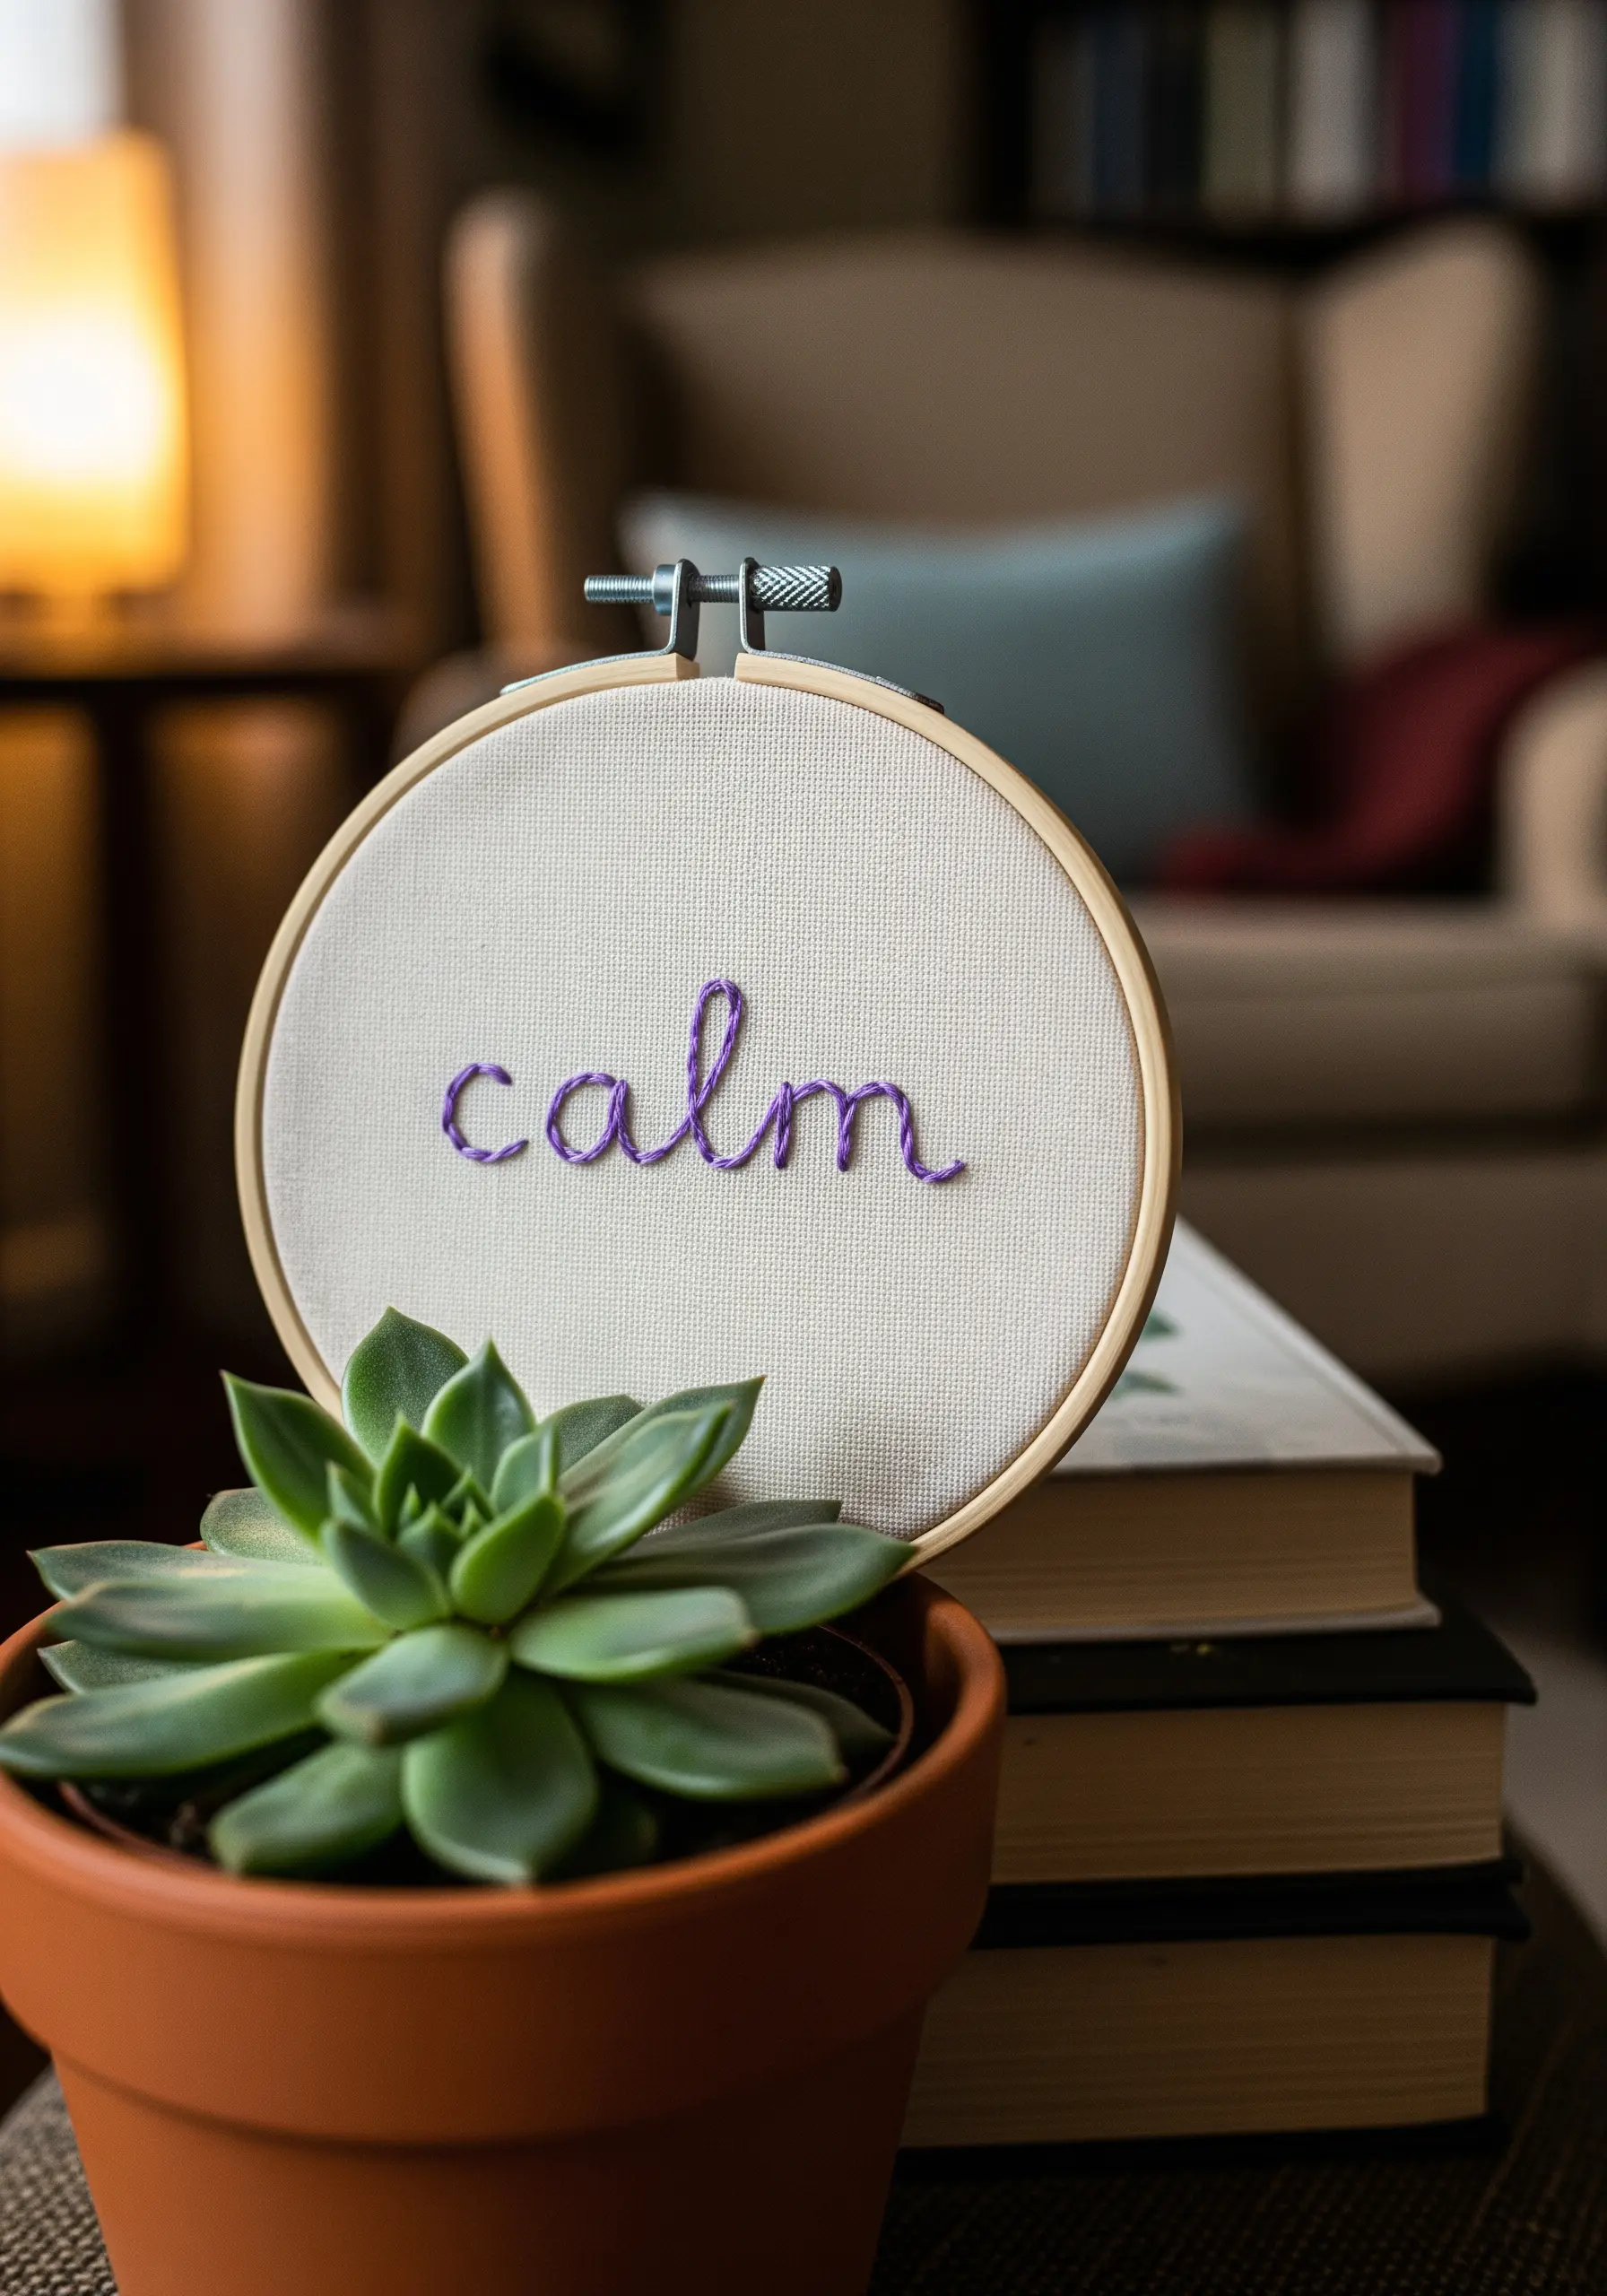
Cursive lettering is notoriously difficult to get perfectly smooth, especially on tight curves.
Instead of struggling with a standard stem stitch, whip it.
After completing your initial stem stitch lettering, take the same thread and pass it under each stitch without going through the fabric.
This wrapping motion smooths over the tiny bumps between stitches, creating one fluid, uninterrupted line, perfect for inspirational quote embroidery.
14. Play with Negative Space and Directional Fills

The sophistication in this abstract design comes from deliberate contrast and the use of negative space.
Fill the larger arch with vertical satin stitches and the smaller half-moon with horizontal ones.
The thin bands of unstitched fabric between the colored sections are just as important as the stitches themselves—they create clean divisions and prevent the design from feeling cluttered.
This thoughtful composition is a hallmark of abstract geometric hoops.
15. Create Delicate Foliage with Fly Stitch
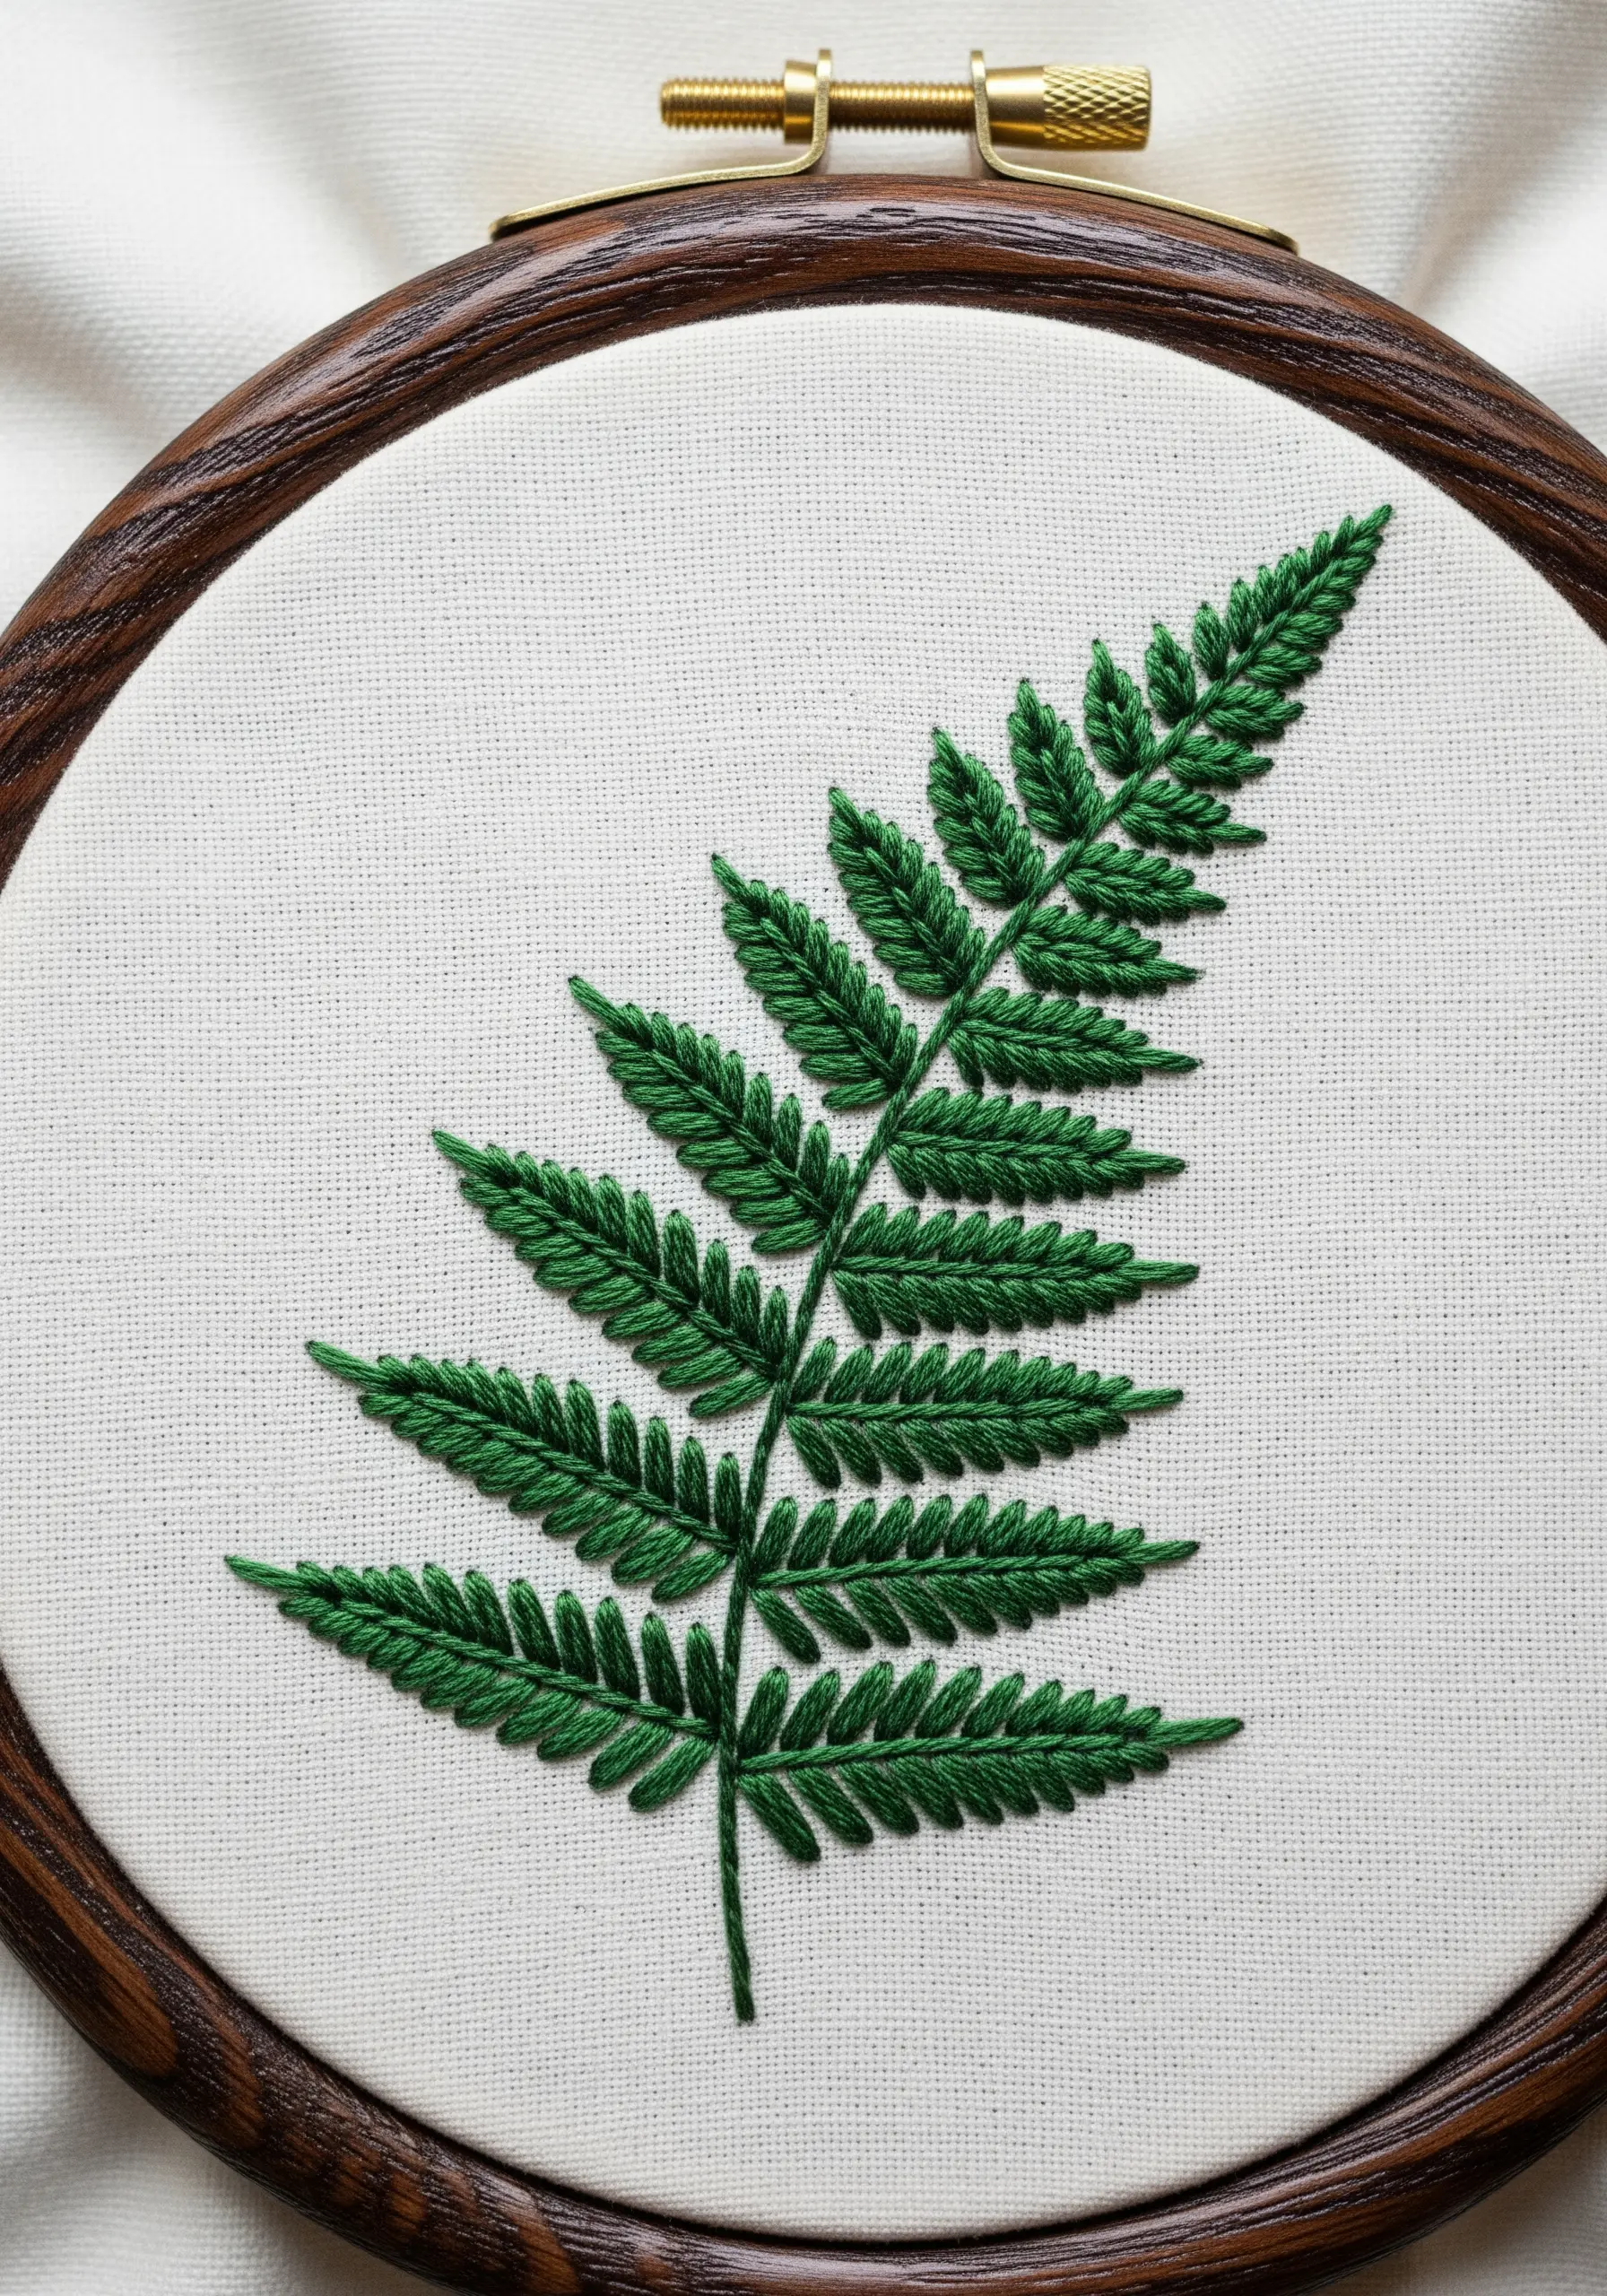
For complex leaves like ferns, filling each tiny leaflet is tedious and can make the design look heavy.
The fly stitch is the perfect solution for creating a light, airy effect.
Work a central line with stem stitch for the main stalk.
Then, branch off with individual fly stitches for each leaflet, anchoring each V-shape with a small straight stitch.
This method beautifully captures the delicate structure of plants like in these fern and ivy embroidery ideas.
16. Define Small Shapes with a Precise Outline
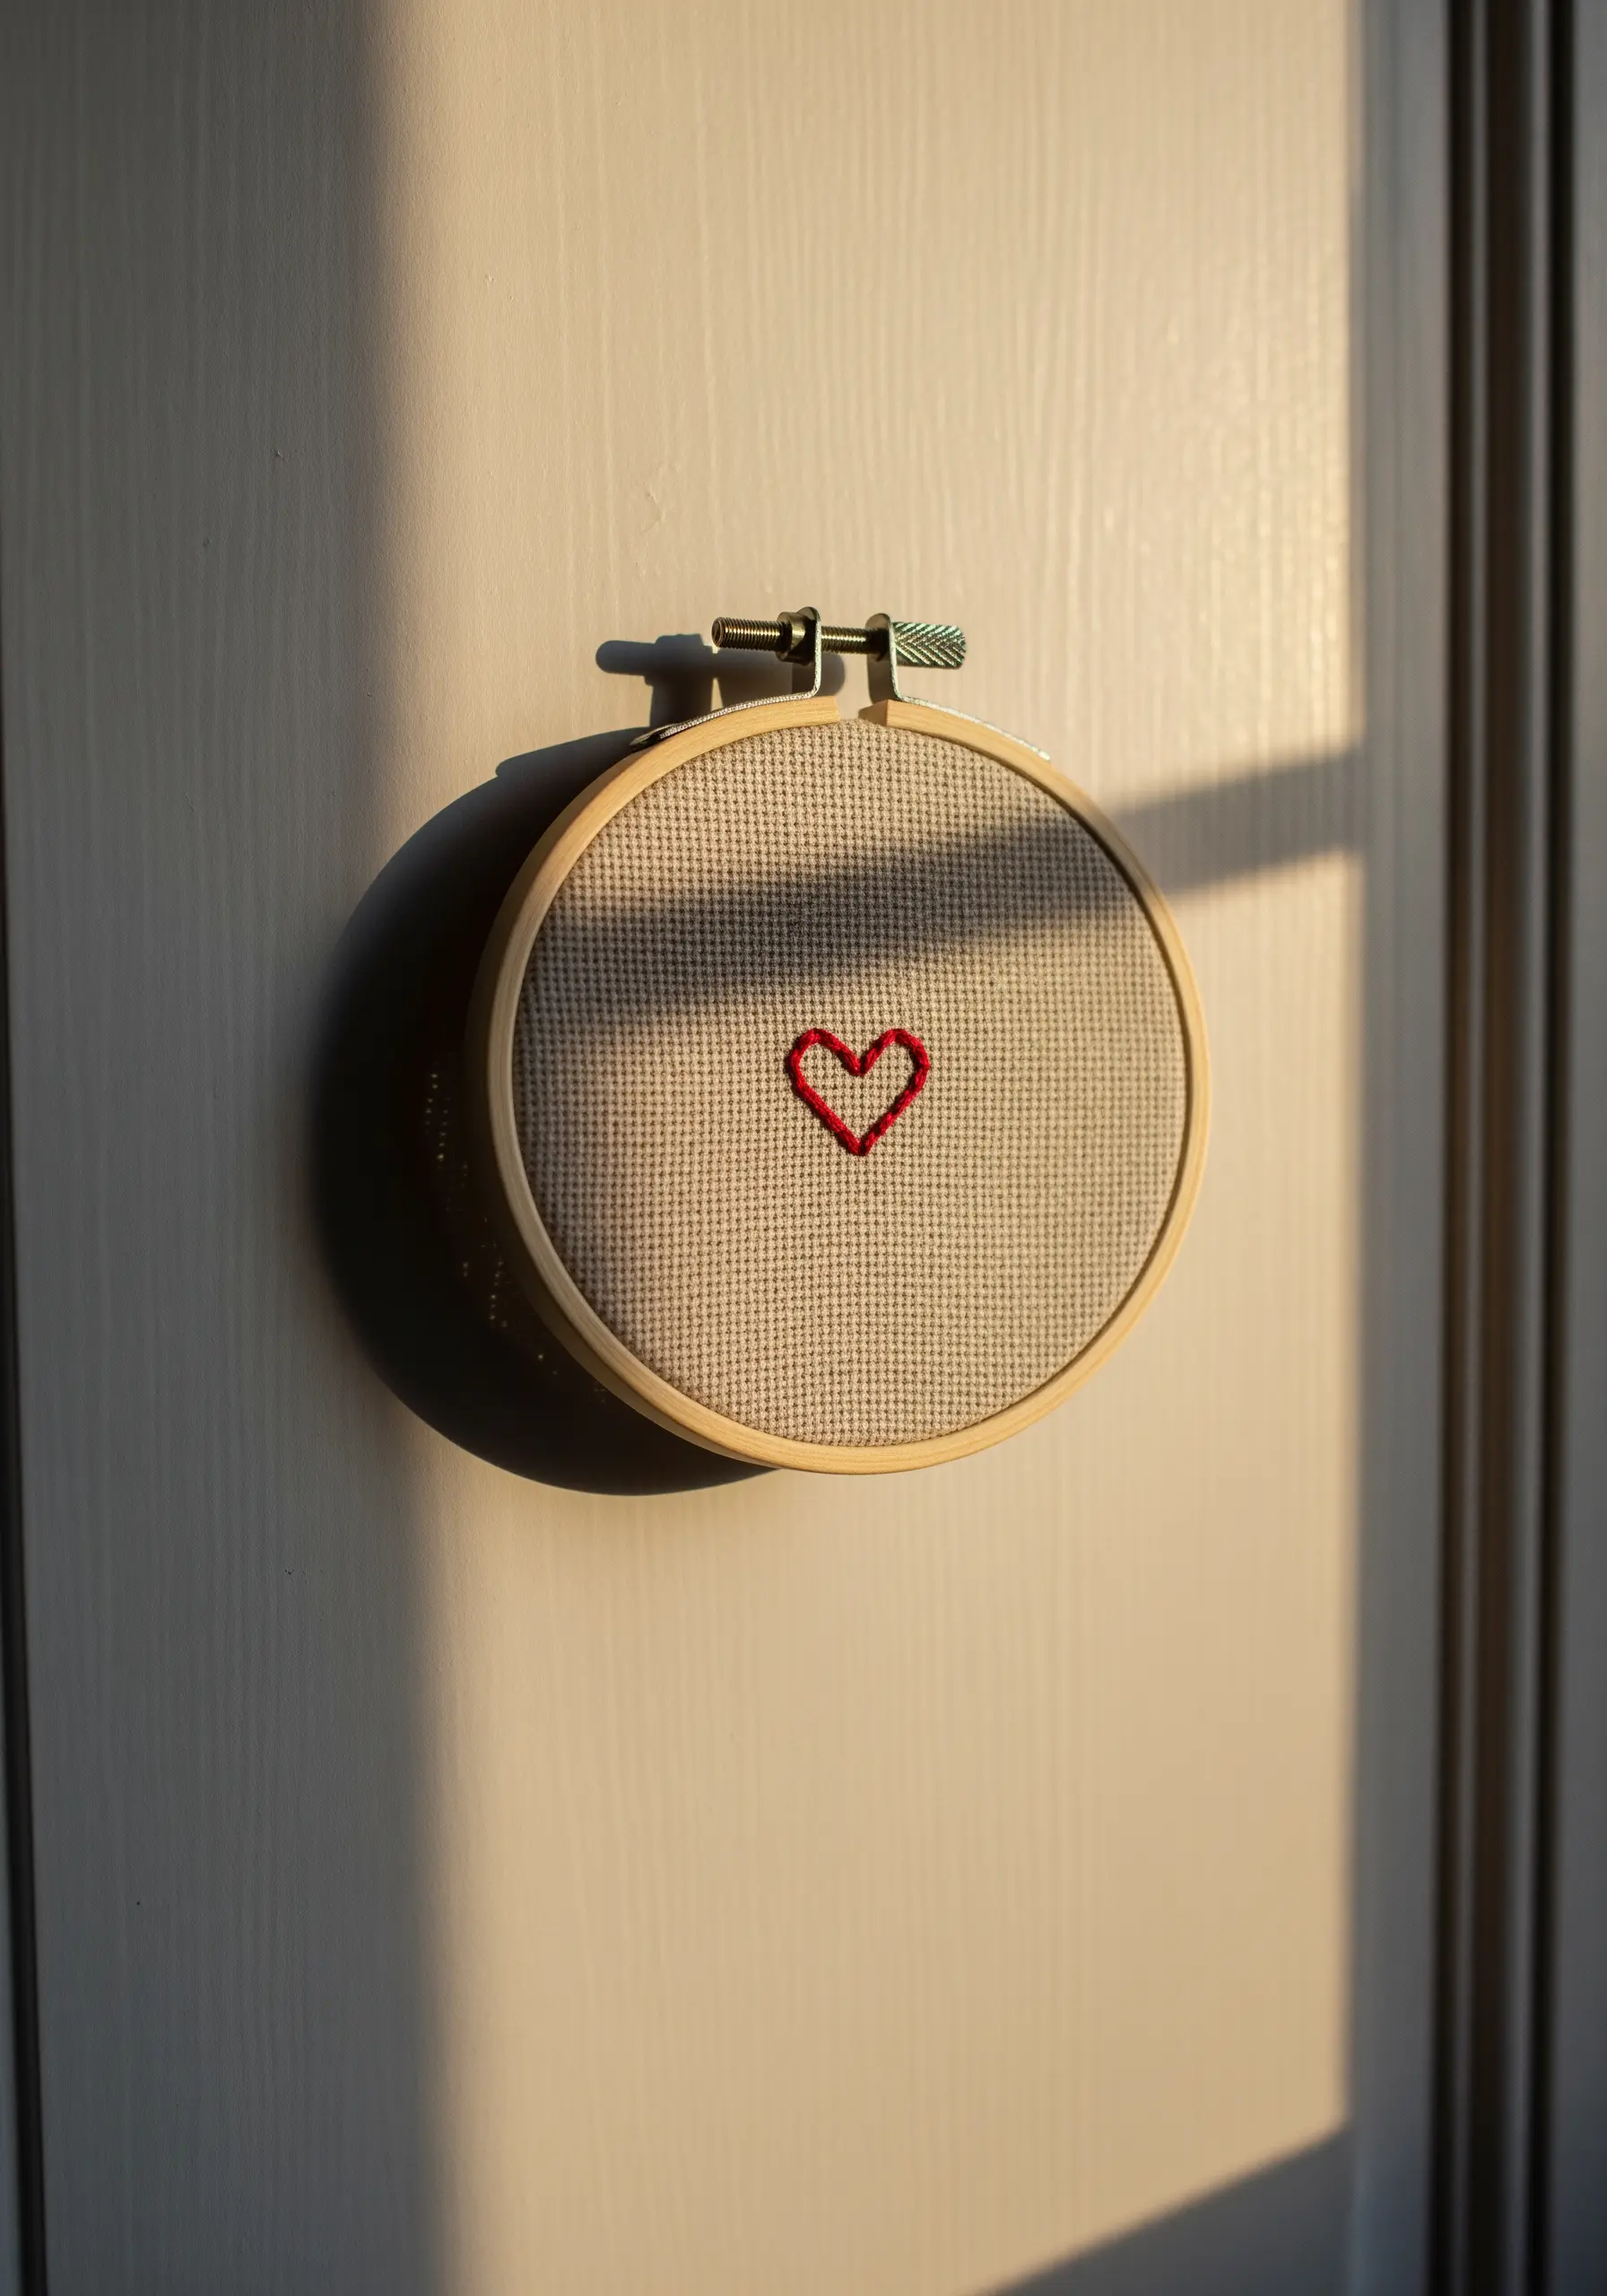
When your design is minimal, every stitch counts.
For a tiny motif like this heart, the clarity of the outline is everything.
Use a single strand of floss and a sharp needle to work a clean stem stitch or whipped backstitch.
The goal isn’t just to create a shape, but to craft a line that is confident and unwavering.
This focus on precision is what makes small embroidery ideas so impactful.
17. Build Graphic Patterns with Open Satin Stitch

This honeycomb pattern uses satin stitch in an unconventional way—not as a fill, but as a structural line.
To create this open, woven effect, treat each of the six sides of a hexagon as an individual satin stitch bar.
Lay your stitches side-by-side across the narrow width of the line.
This technique is faster than outlining and creates a bold, graphic texture perfect for modern geometric stitch patterns.
18. Explore Texture with Woven Wheel Stitch
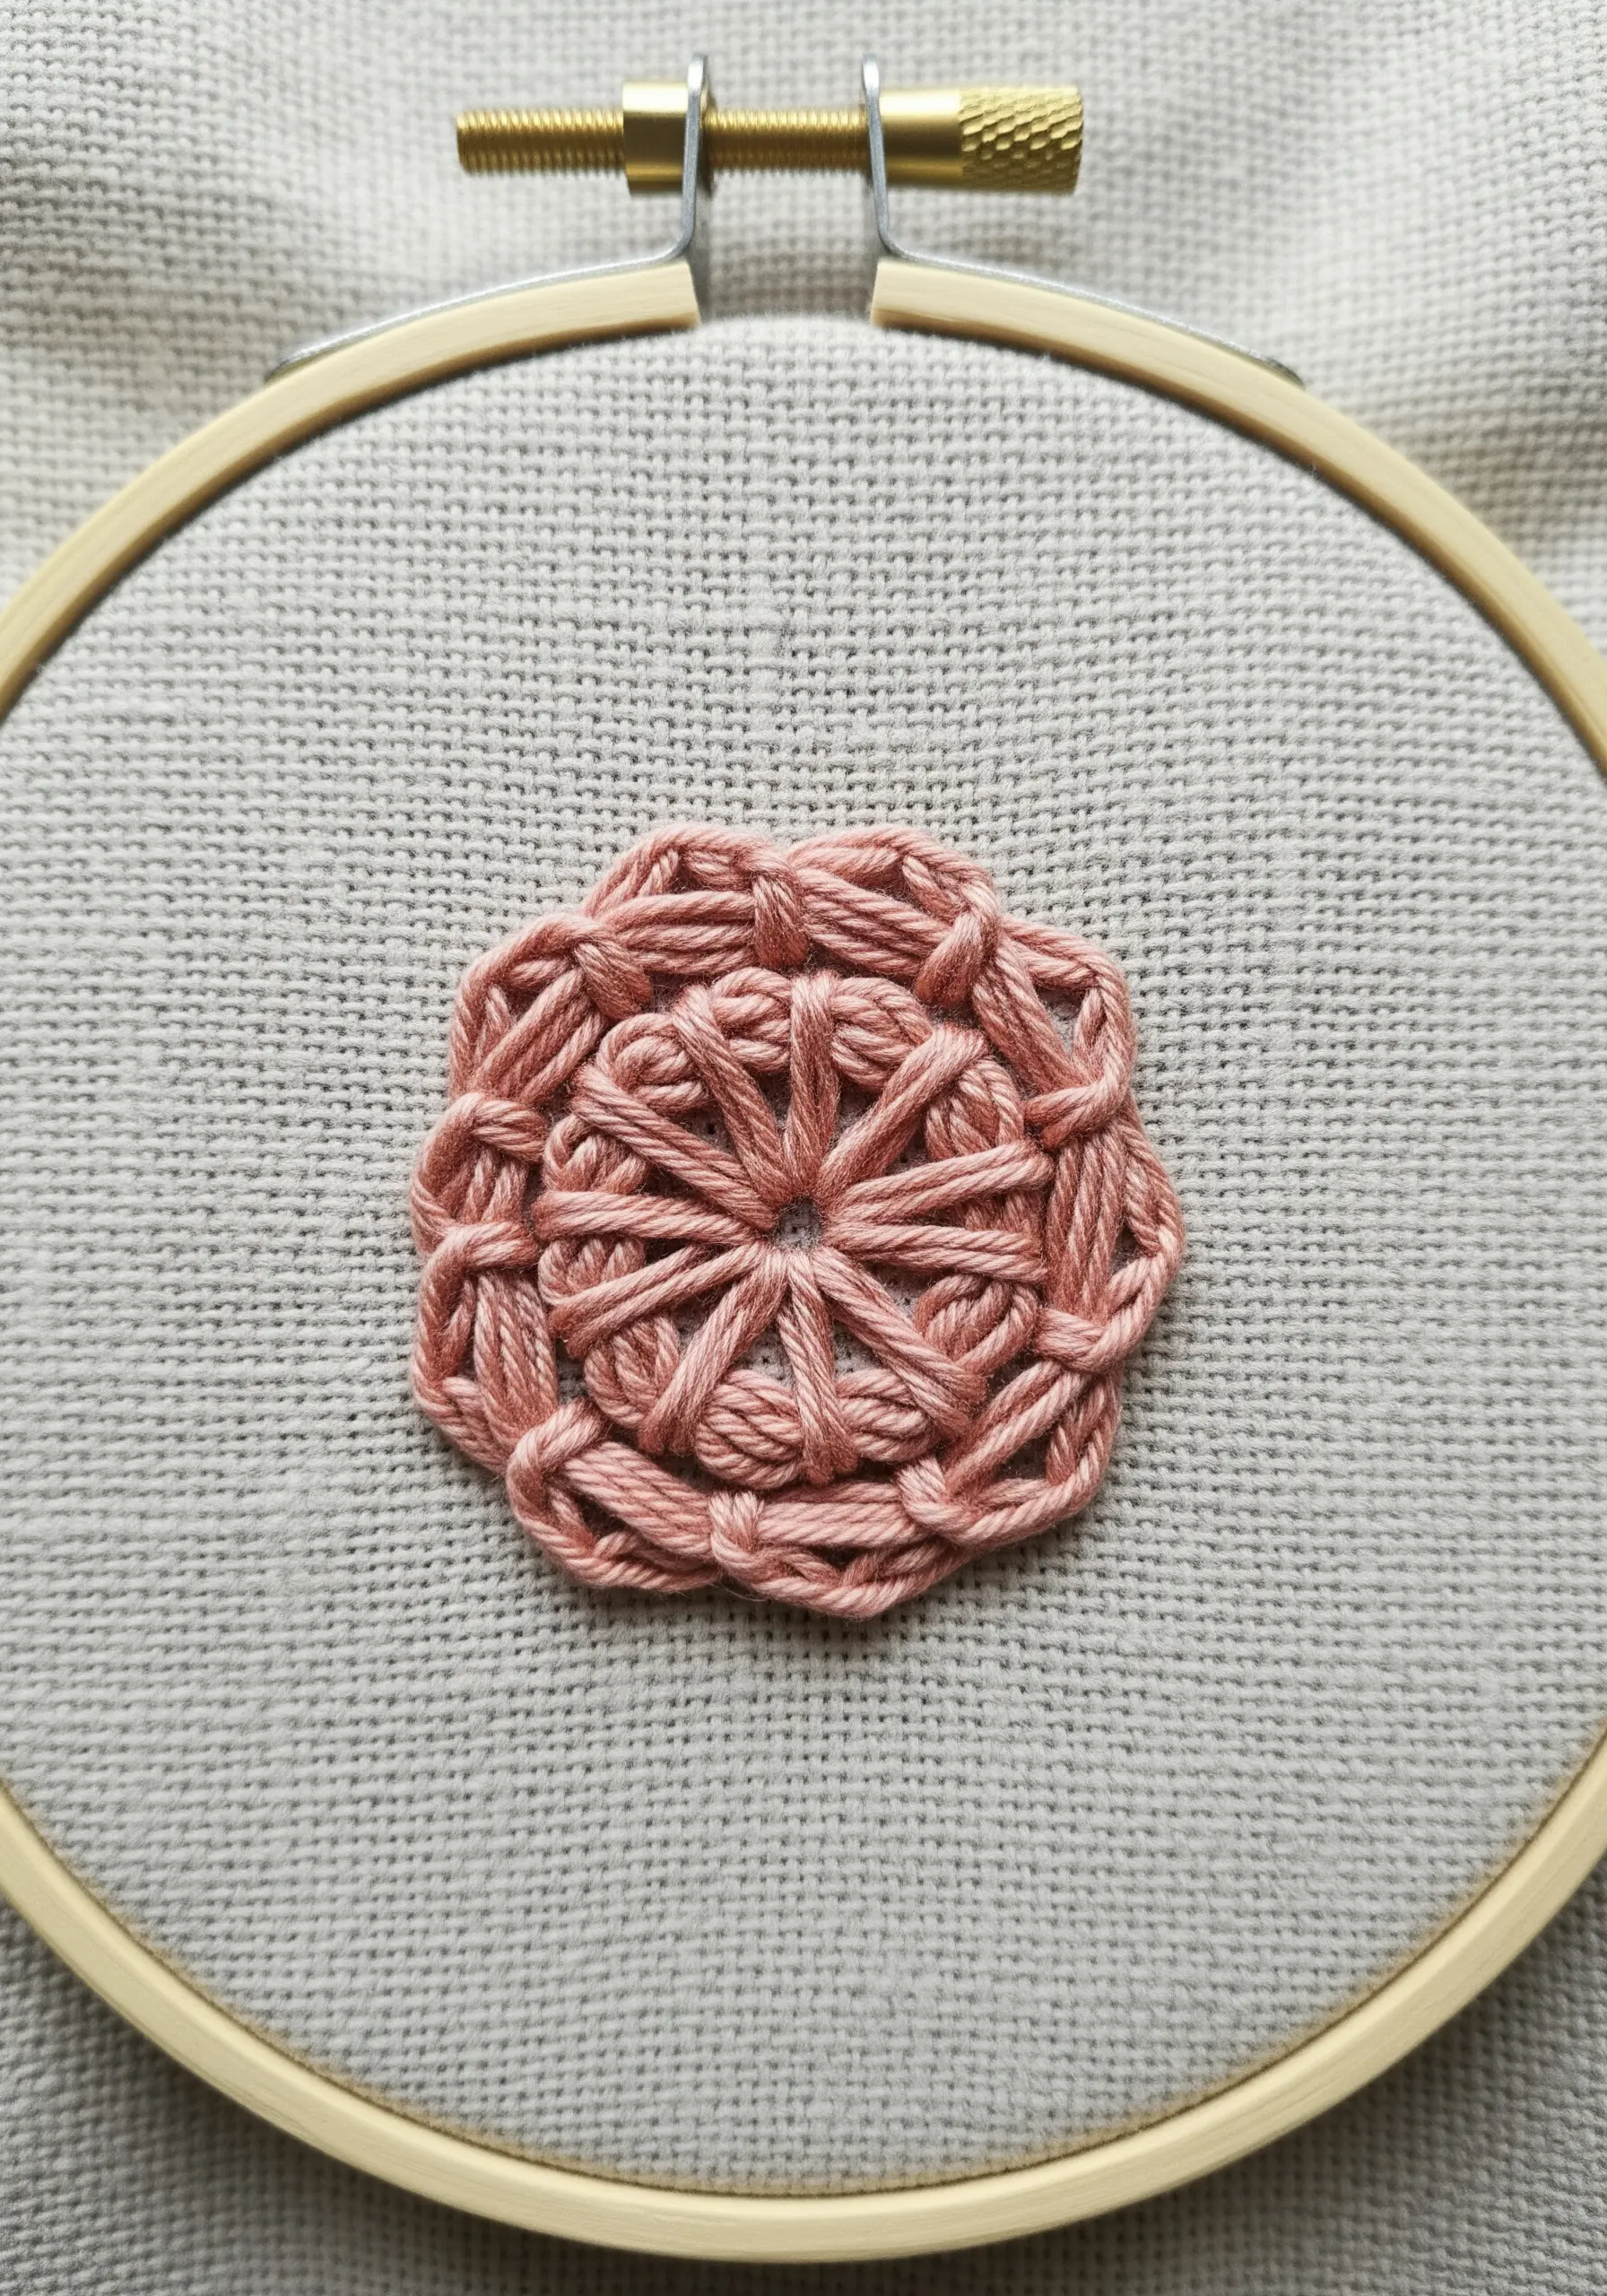
To add instant dimension and a pop of texture, the woven wheel stitch is incredibly effective and surprisingly simple.
Start by creating a foundation of straight-stitch ‘spokes’ (always an odd number) that meet in the center.
Then, weave your thread over and under the spokes without piercing the fabric, spiraling outwards until the spokes are completely covered.
This builds a raised, floral-like element, a key part of many statement textured embroidery techniques.
19. Capture Movement with Dynamic Line Art
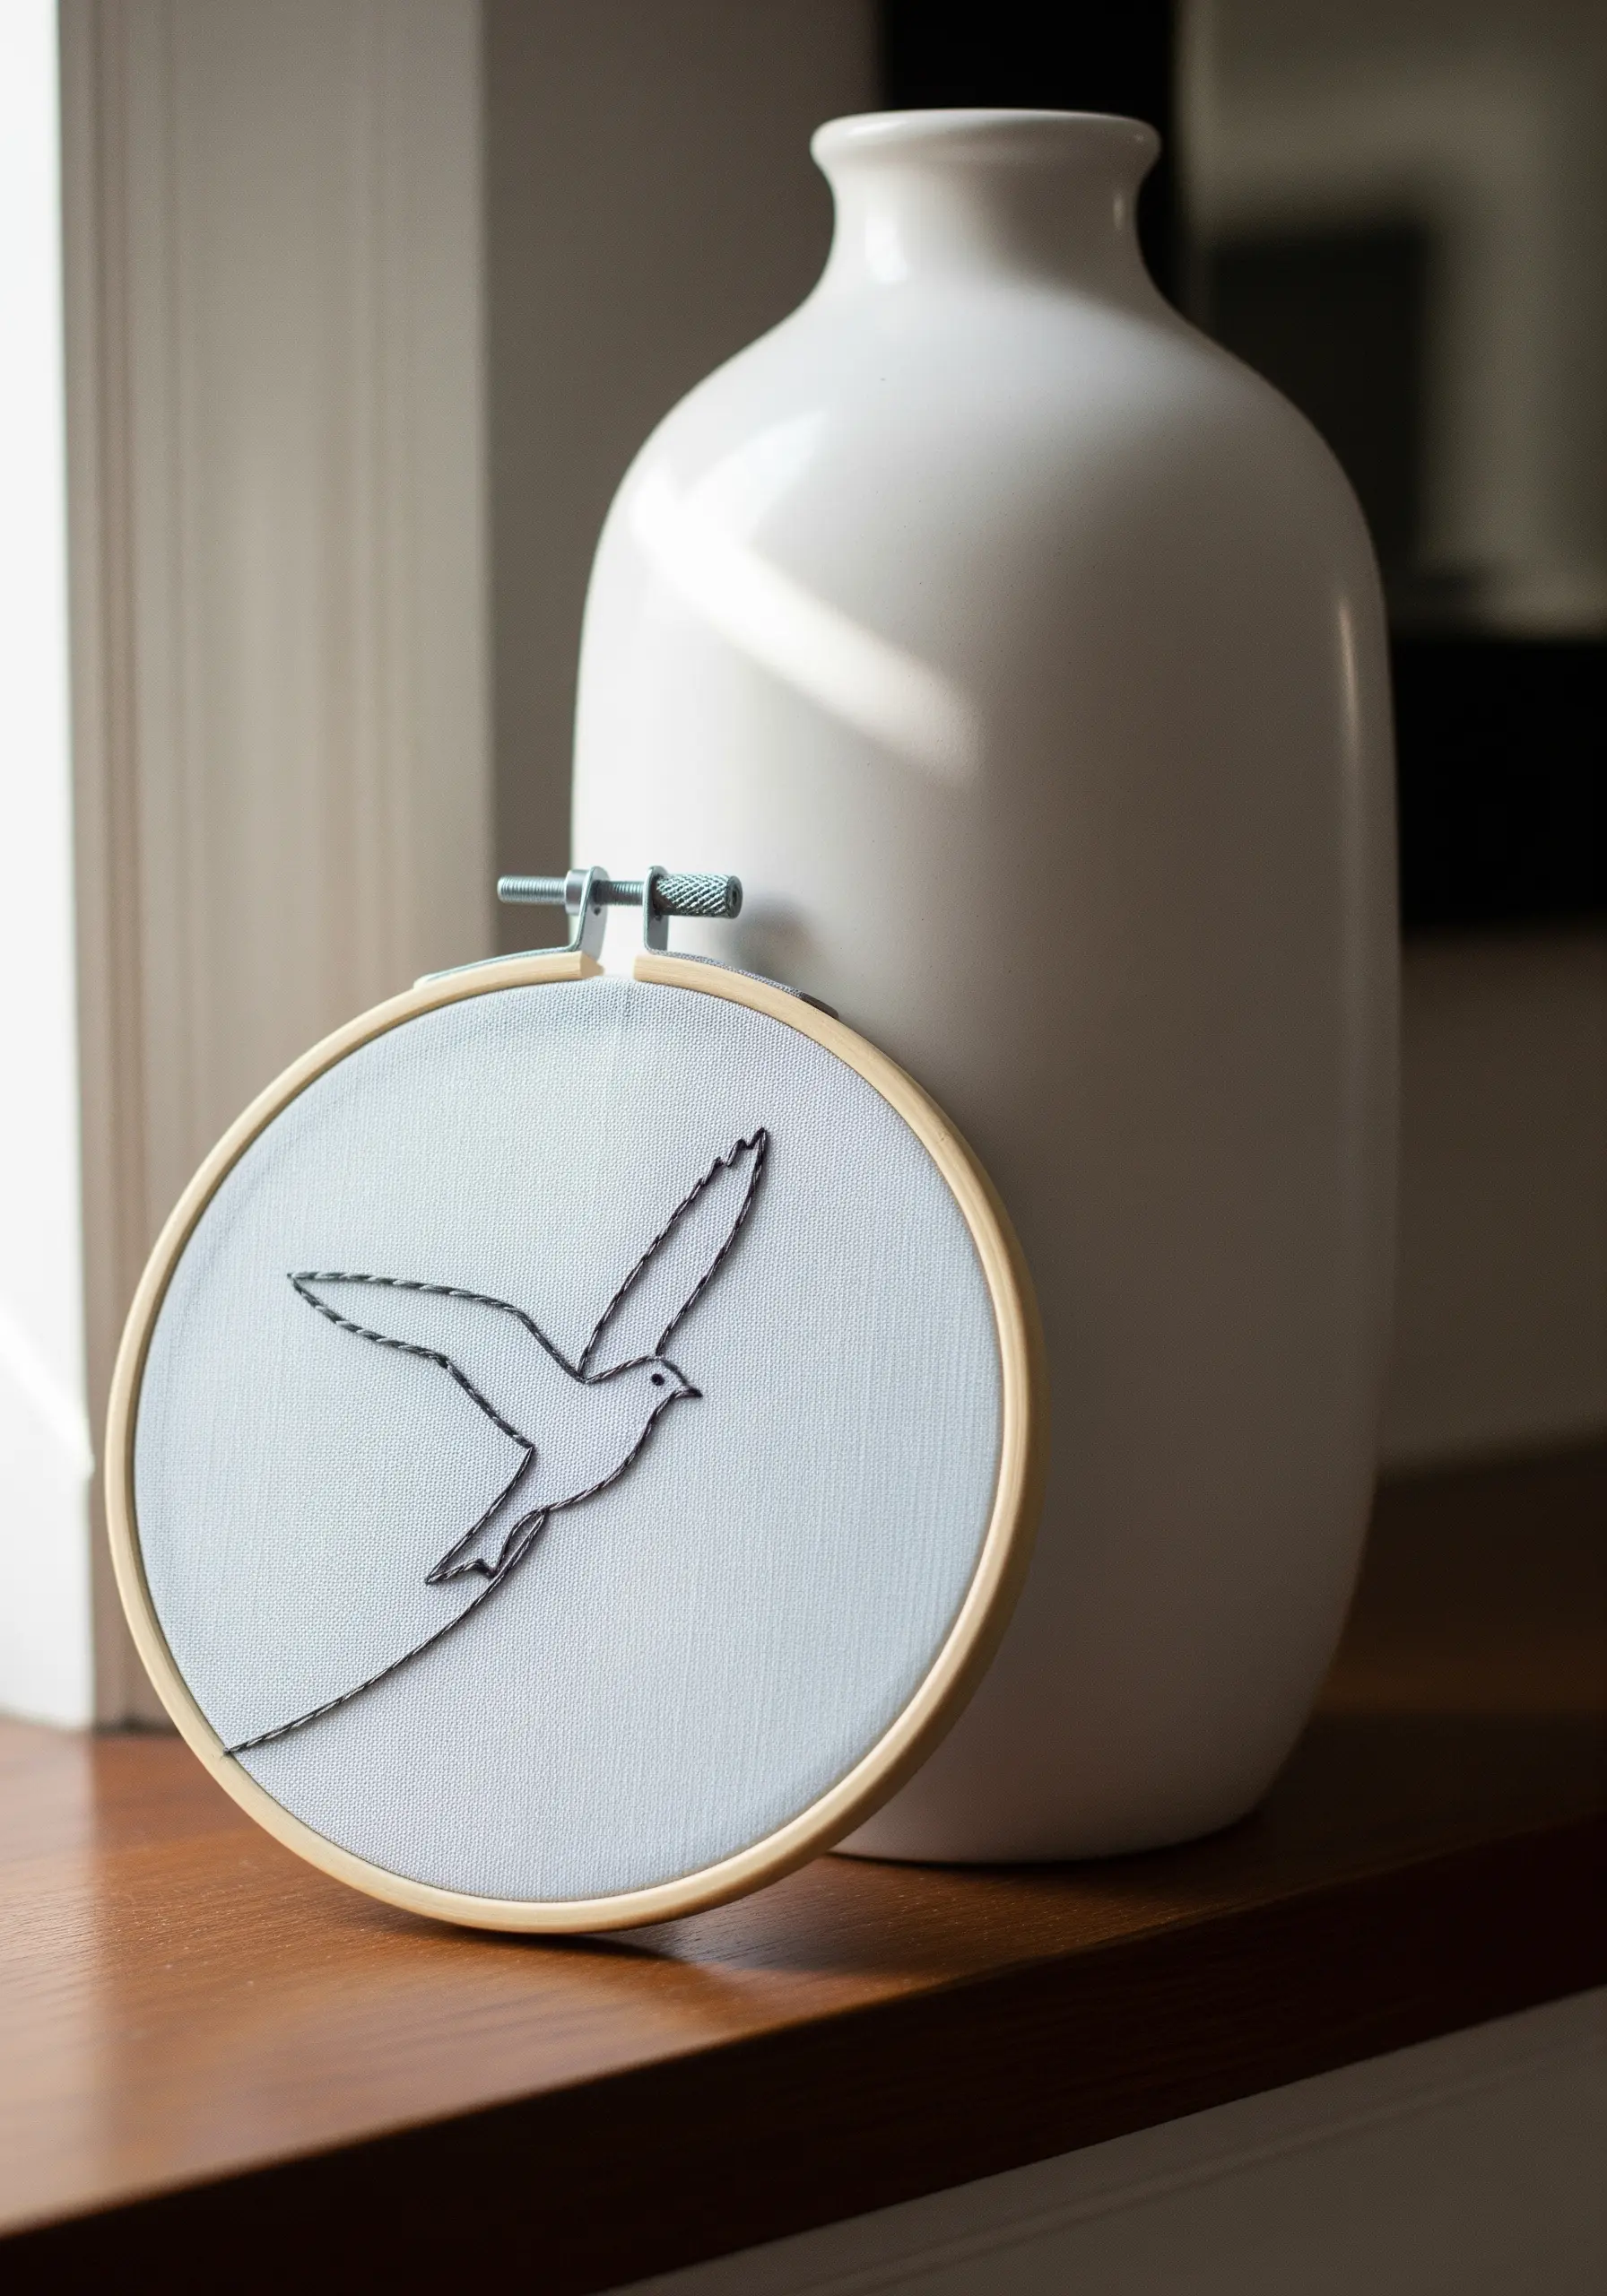
The sense of motion in this simple bird comes from a deliberate variation in line weight.
Use a three-strand stem stitch for the bold, foundational curves of the body and wings.
Then, switch to a single-strand backstitch for the finer, secondary feather details.
This contrast between thick and thin lines guides the eye and creates an illusion of form and lightness, a fundamental principle in minimalist line drawing embroidery.


