
You’ve mastered the basic stitches, and you love the mindful process of creating with thread. But now you’re ready for your handmade gifts to feel less like a hobby and more like a piece of art. You want that polished, professional finish that makes someone say, “You *made* this?”
The secret isn’t about learning dozens of impossibly complex techniques. Instead, it lies in the small, intentional choices you make—how you blend your colors, the way you use texture to create depth, and how you select the perfect stitch for the right fabric. It’s about thinking like a designer, not just a stitcher.
These 24 ideas are your guide to making those subtle but powerful shifts. Each one focuses on a specific technique or concept that will instantly elevate your work, giving you the confidence to create gifts that are not only heartfelt but truly impressive.
1. Create Cosmic Depth with Directional Stitches
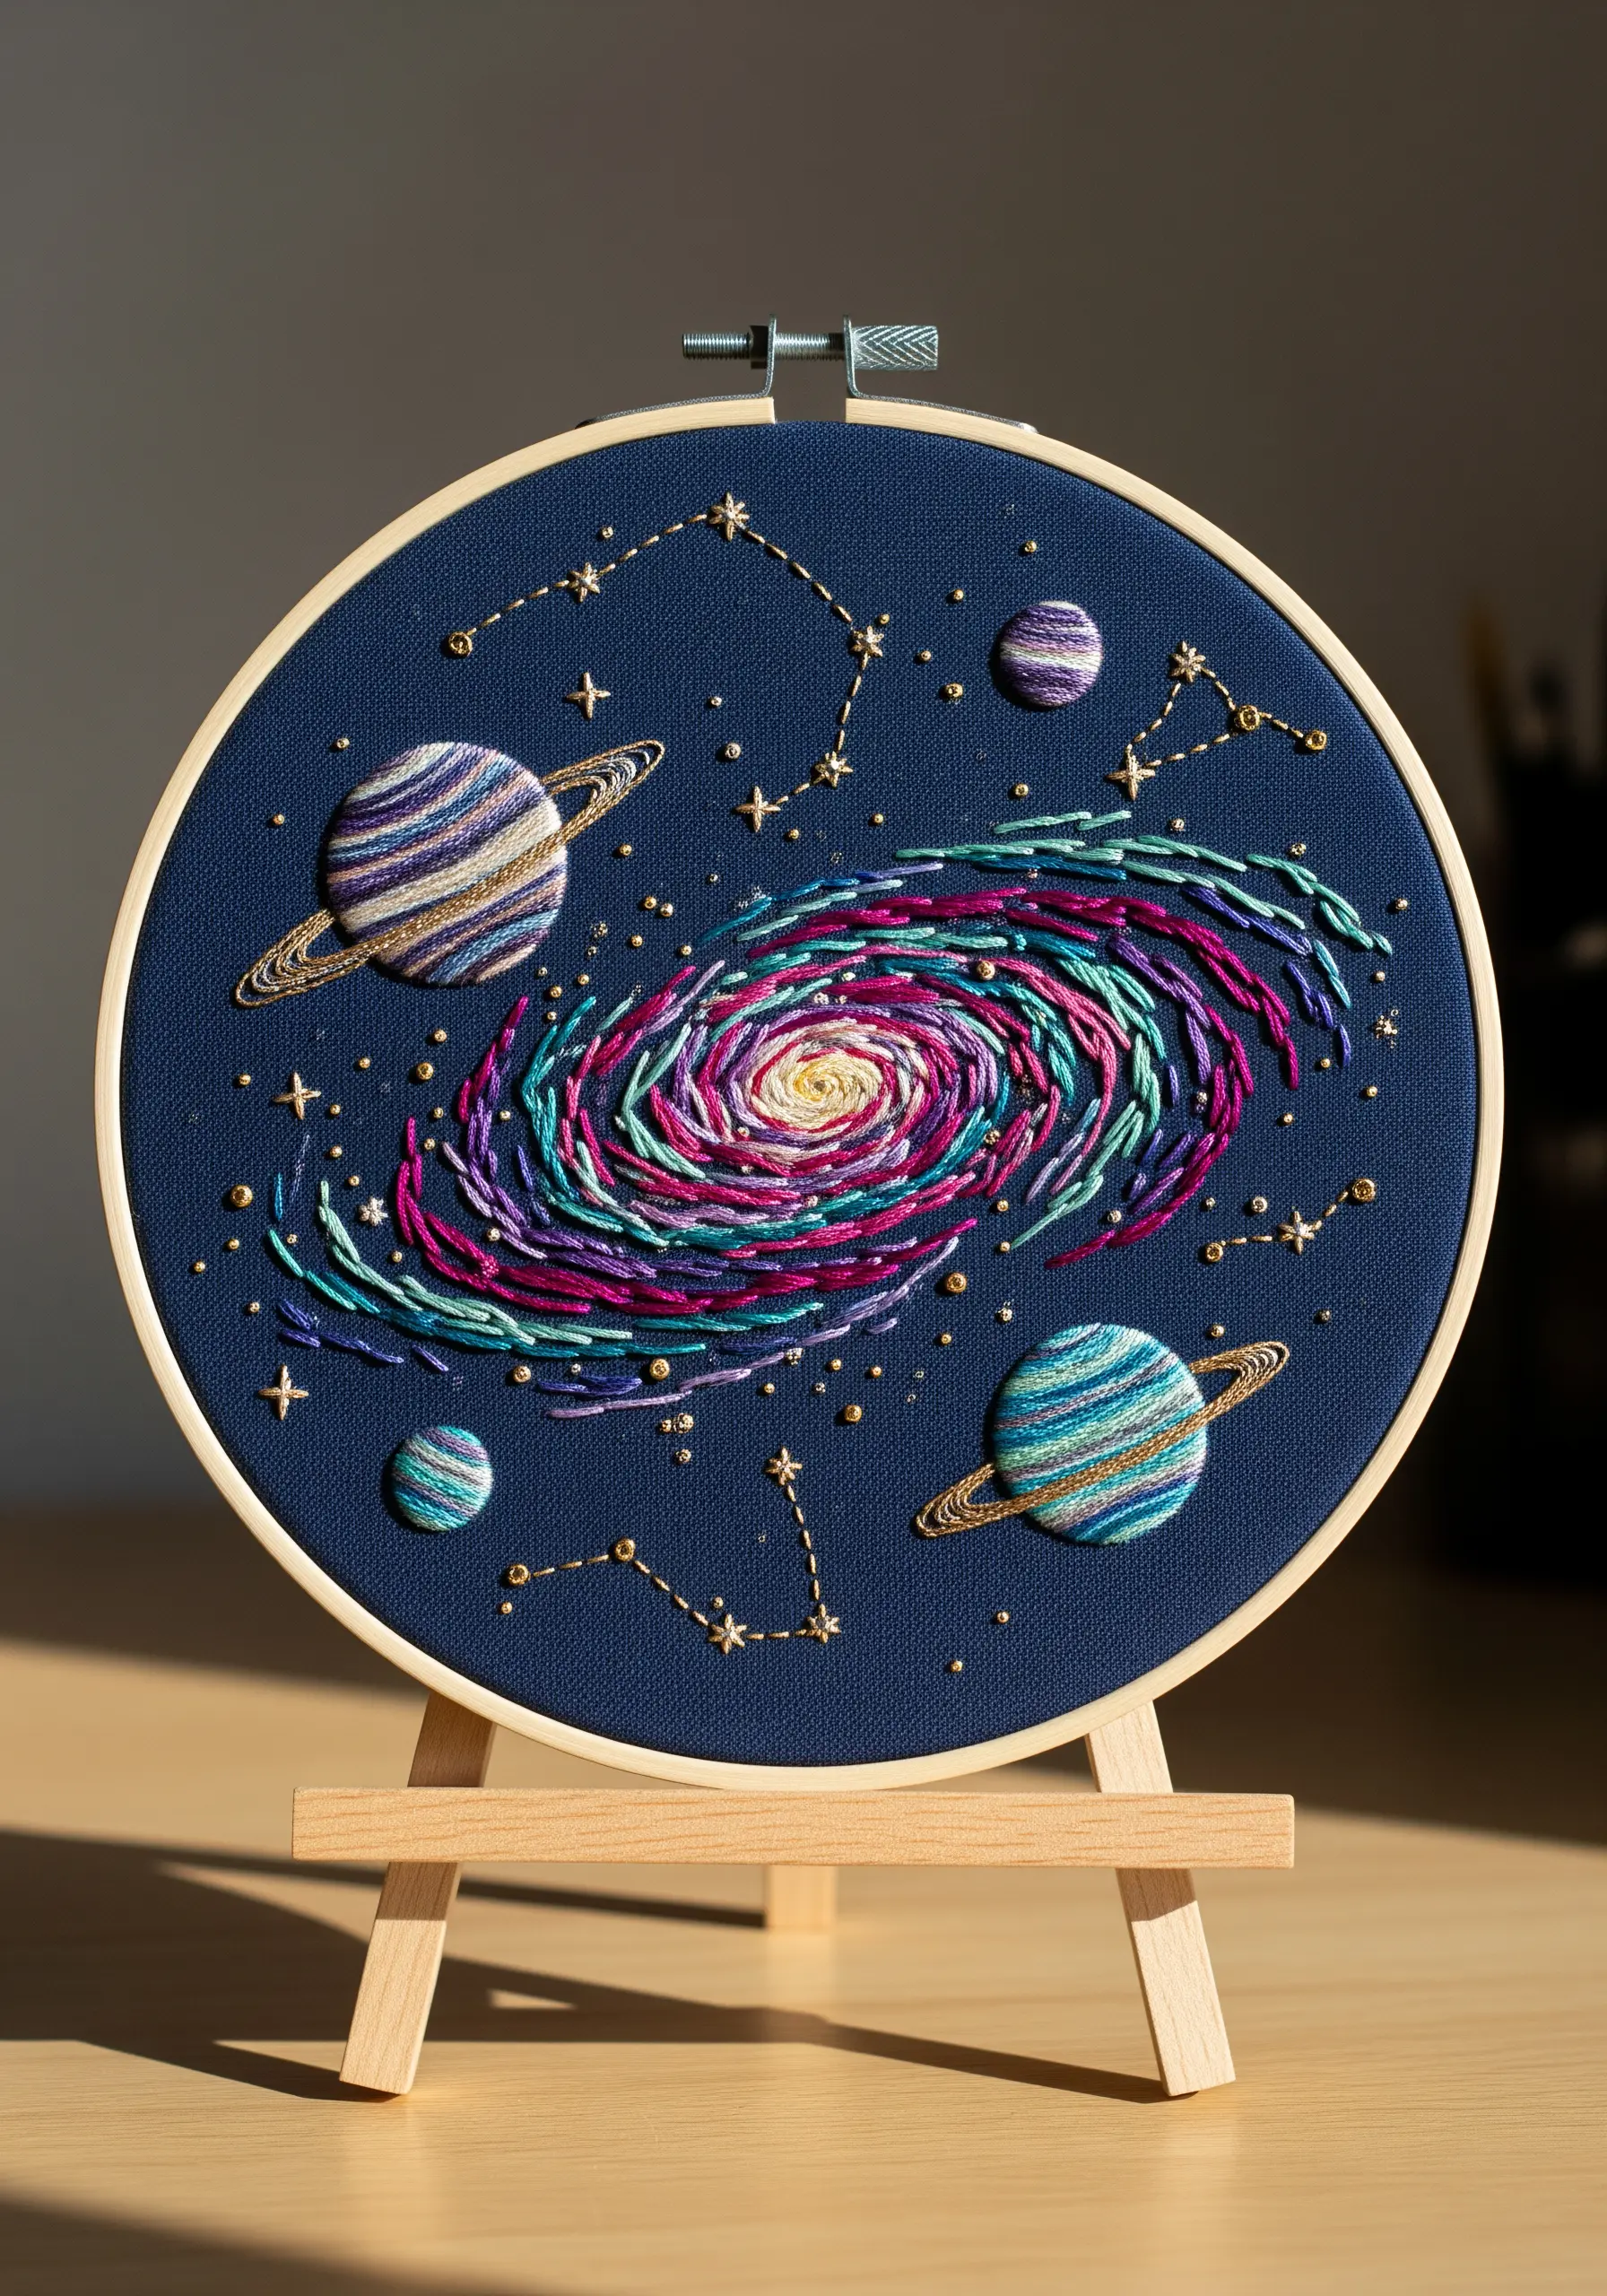
To give your galaxy a sense of swirling movement, the direction of your stitches is everything.
Use a fishbone or long-and-short stitch, angling your threads to follow the curve of the spiral arms.
This creates an illusion of motion and depth that a simple satin stitch cannot achieve.
Incorporate a strand of metallic floss with your regular thread for the planets and stars to add a subtle shimmer that catches the light.
Working on dark navy or black fabric is key, as it provides instant contrast and makes your vibrant colors appear to glow.
2. Add Tactile Dimension with Dangling Threads
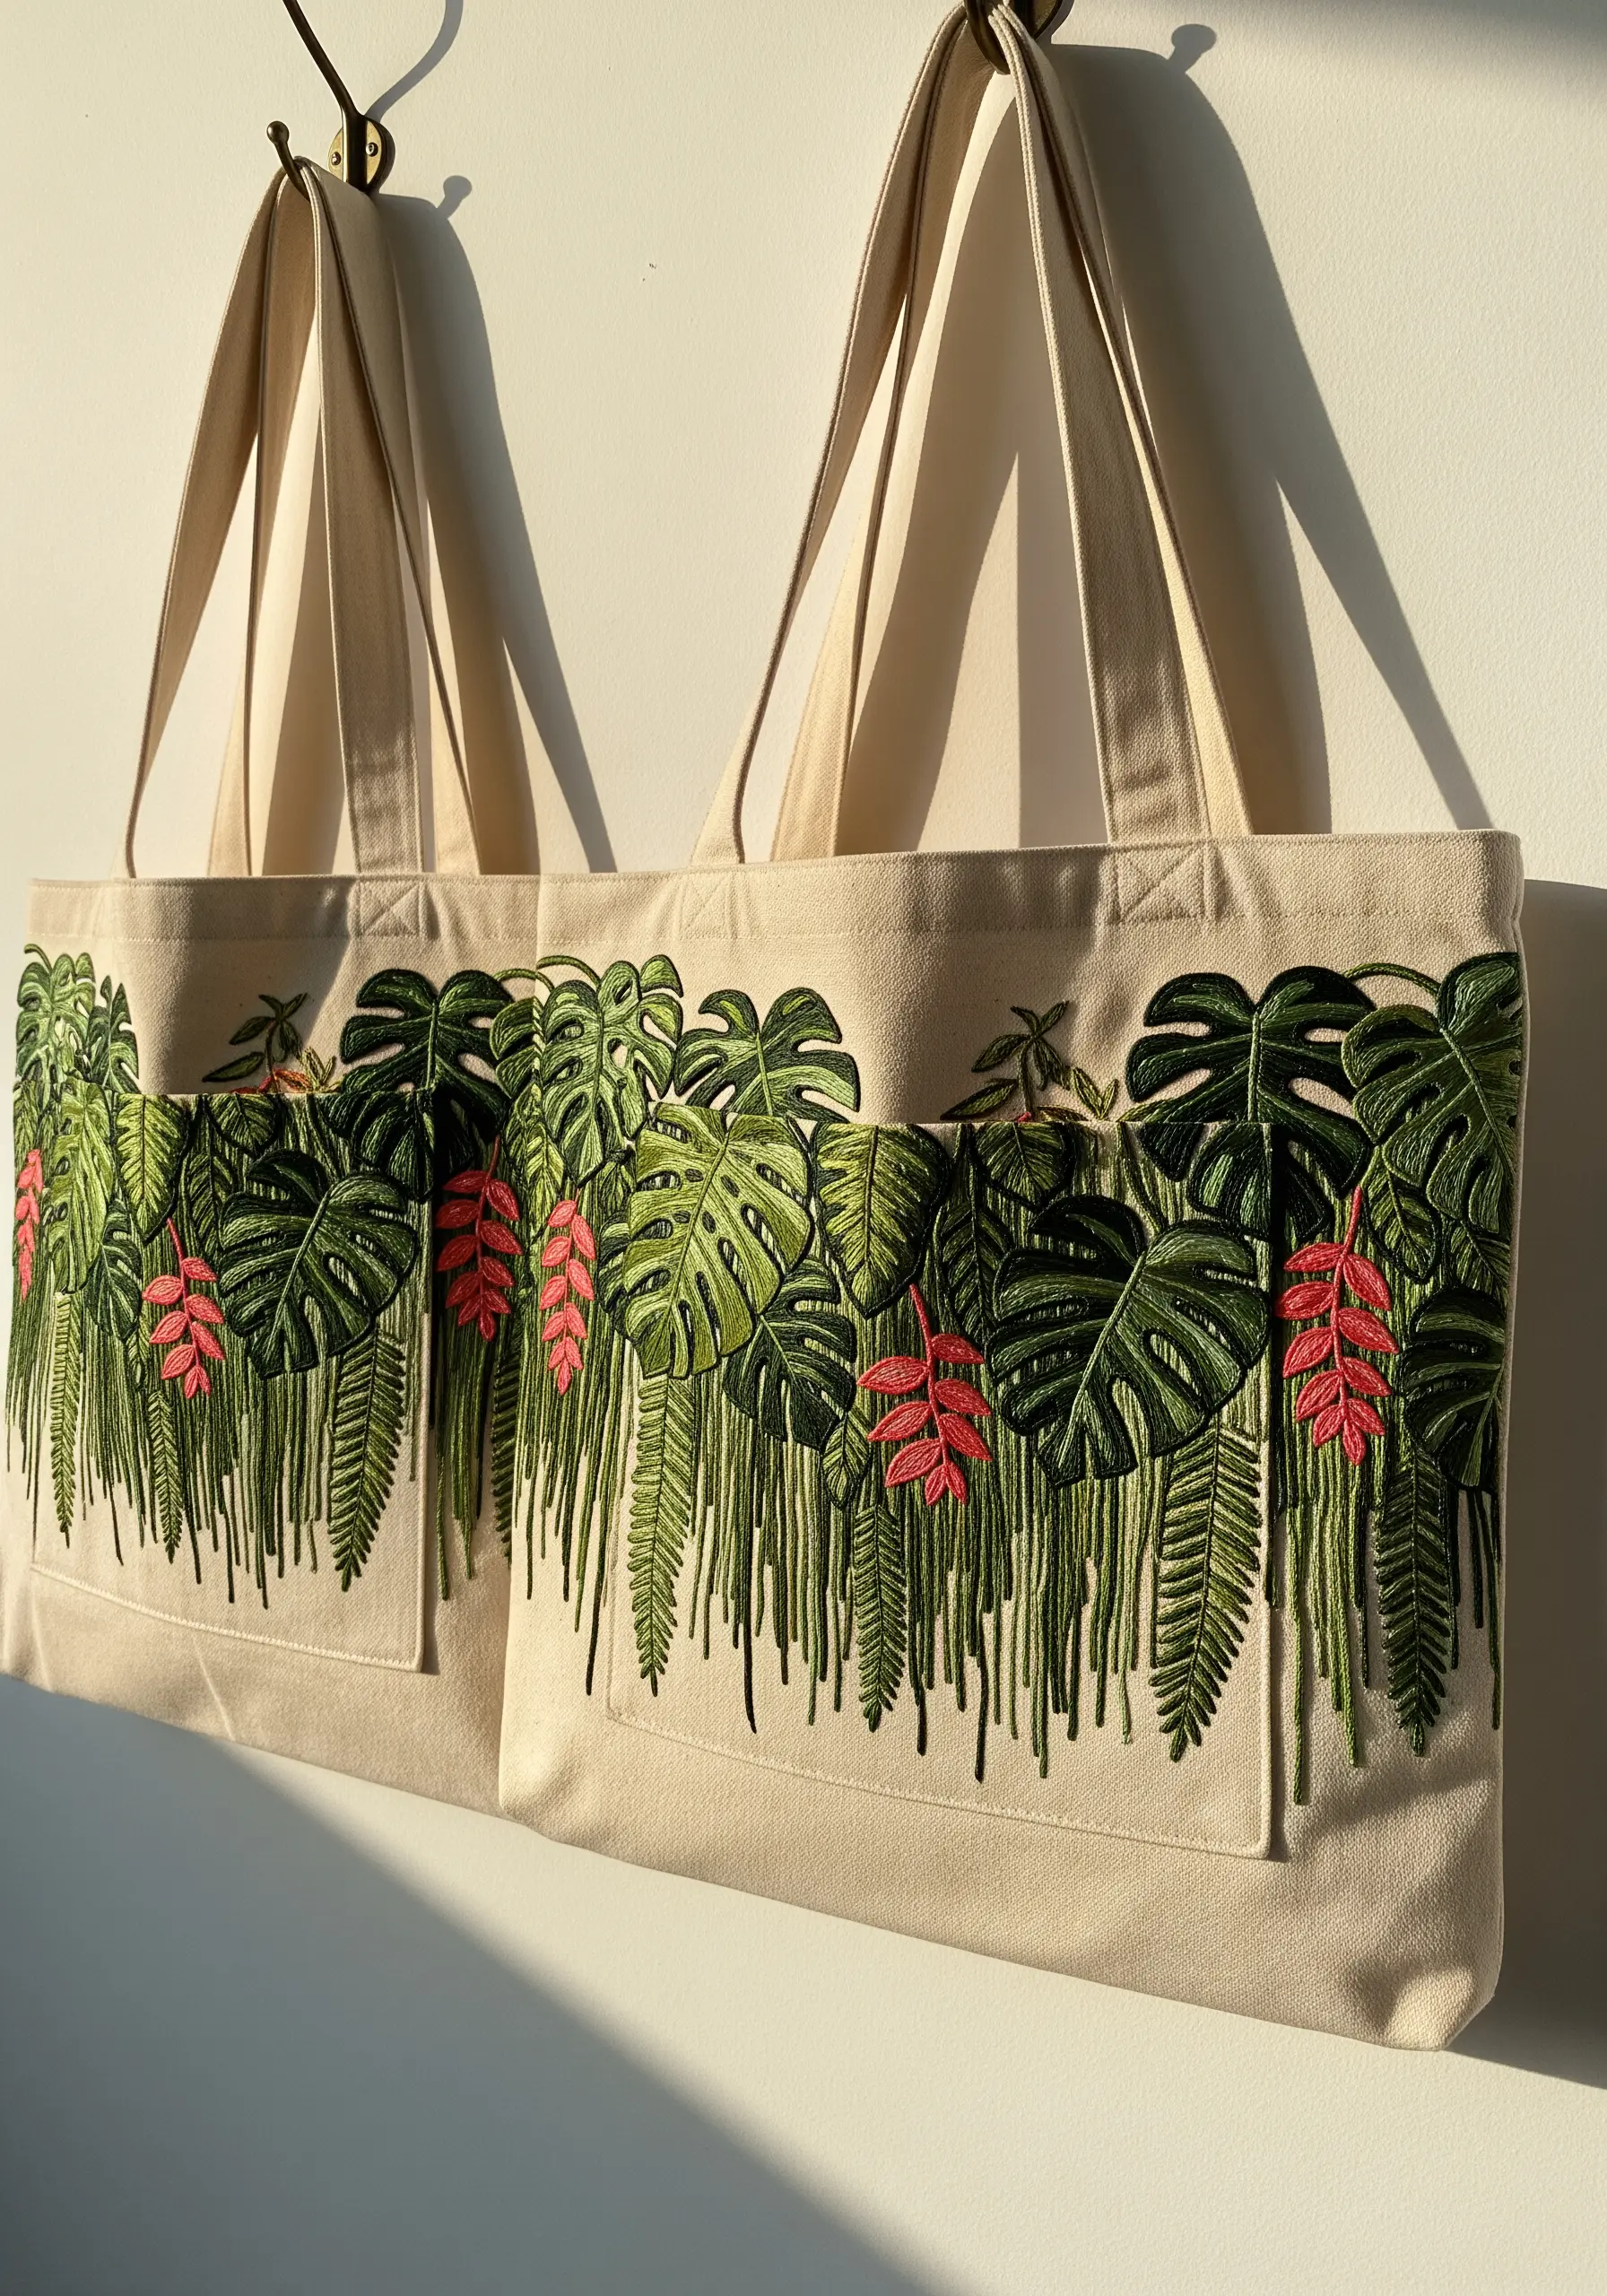
For a design that truly stands out, combine flat stitchwork with free-hanging threads.
Embroider the monstera leaves and flowers with a dense satin stitch for a solid, polished look.
Then, create the hanging “vines” by stitching long threads and letting them dangle freely, securing them only at the top.
This technique adds dramatic texture and movement, transforming a simple tote into a piece of wearable art.
This effect is best for items like tote bags or wall hangings that don’t require frequent machine washing.
These tote bag embroidery techniques elevate a simple accessory into a statement piece.
3. Master Couching for Luxe, Raised Lettering
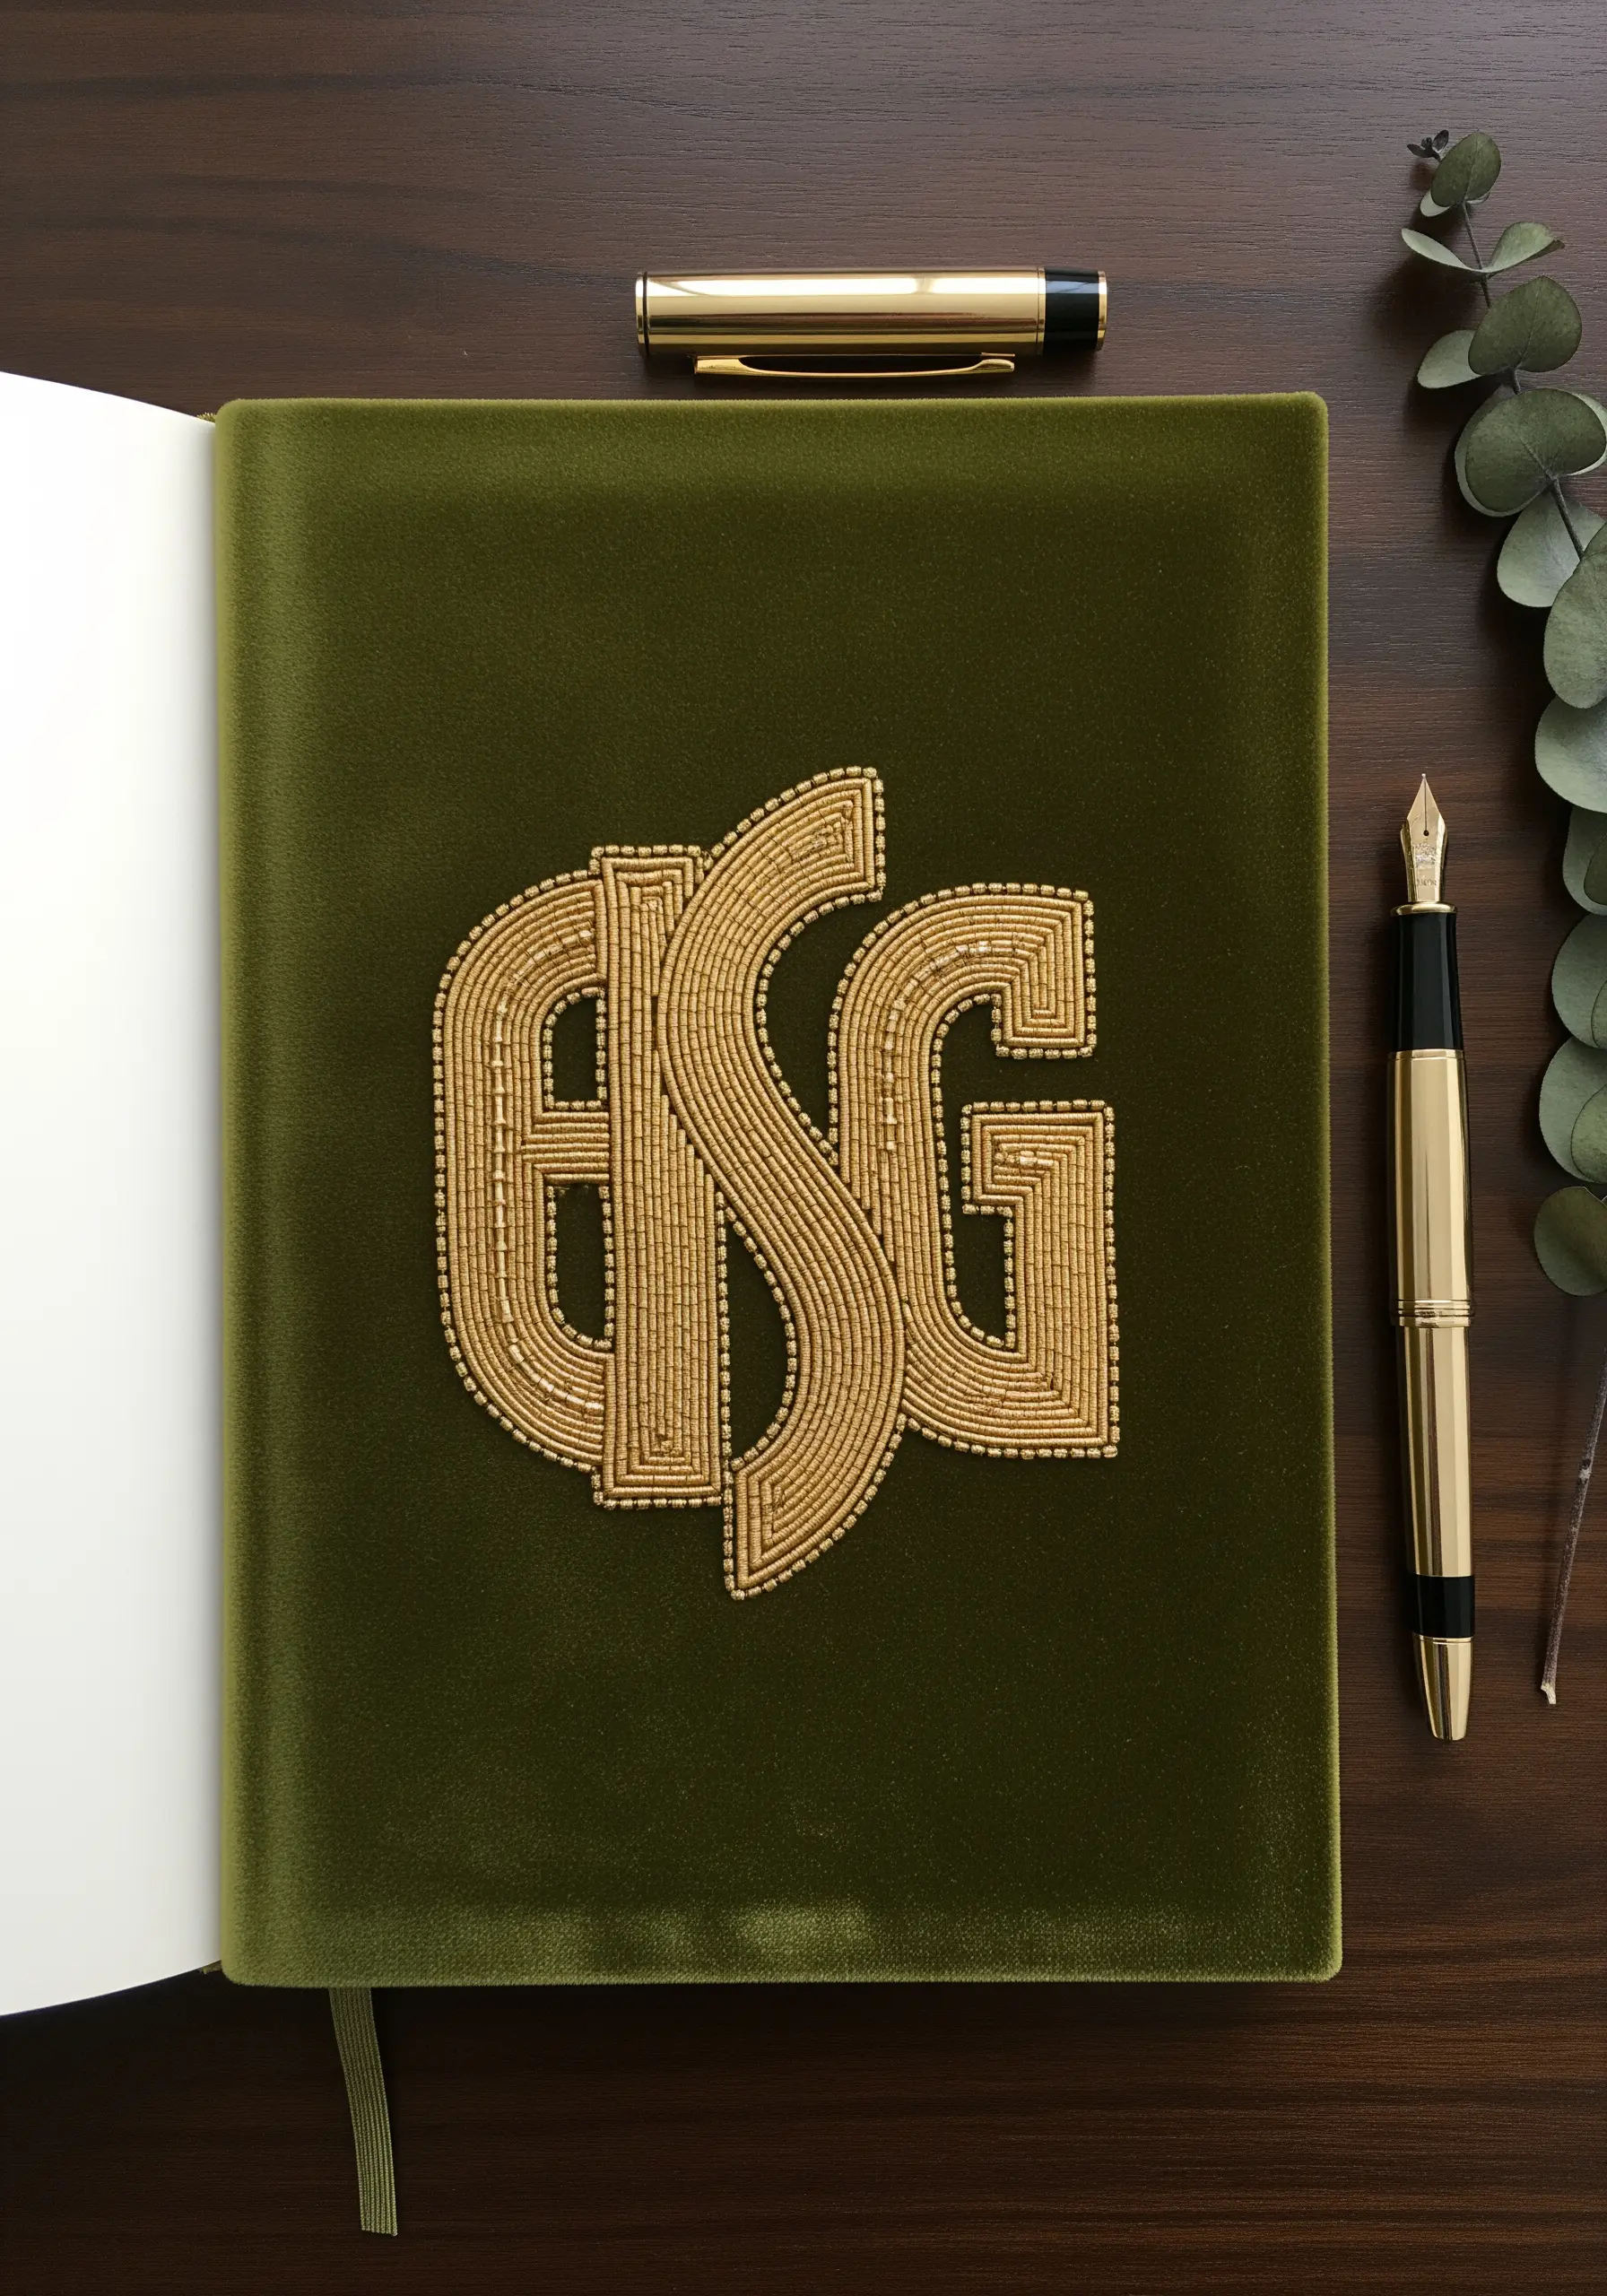
To achieve this high-end, textured monogram, turn to the technique of couching.
Instead of stitching with a single thread, lay down a thicker cord, goldwork wire, or rows of seed beads, then tack them in place with a second, finer thread.
This creates perfectly clean lines and a raised, uniform surface that looks incredibly professional.
Using this method on a rich fabric like velvet enhances the tactile quality, resulting in a gift that feels both personal and exceptionally luxurious.
Explore more monogram embroidery ideas to personalize your next gift.
4. Achieve Lifelike Realism with Thread Painting
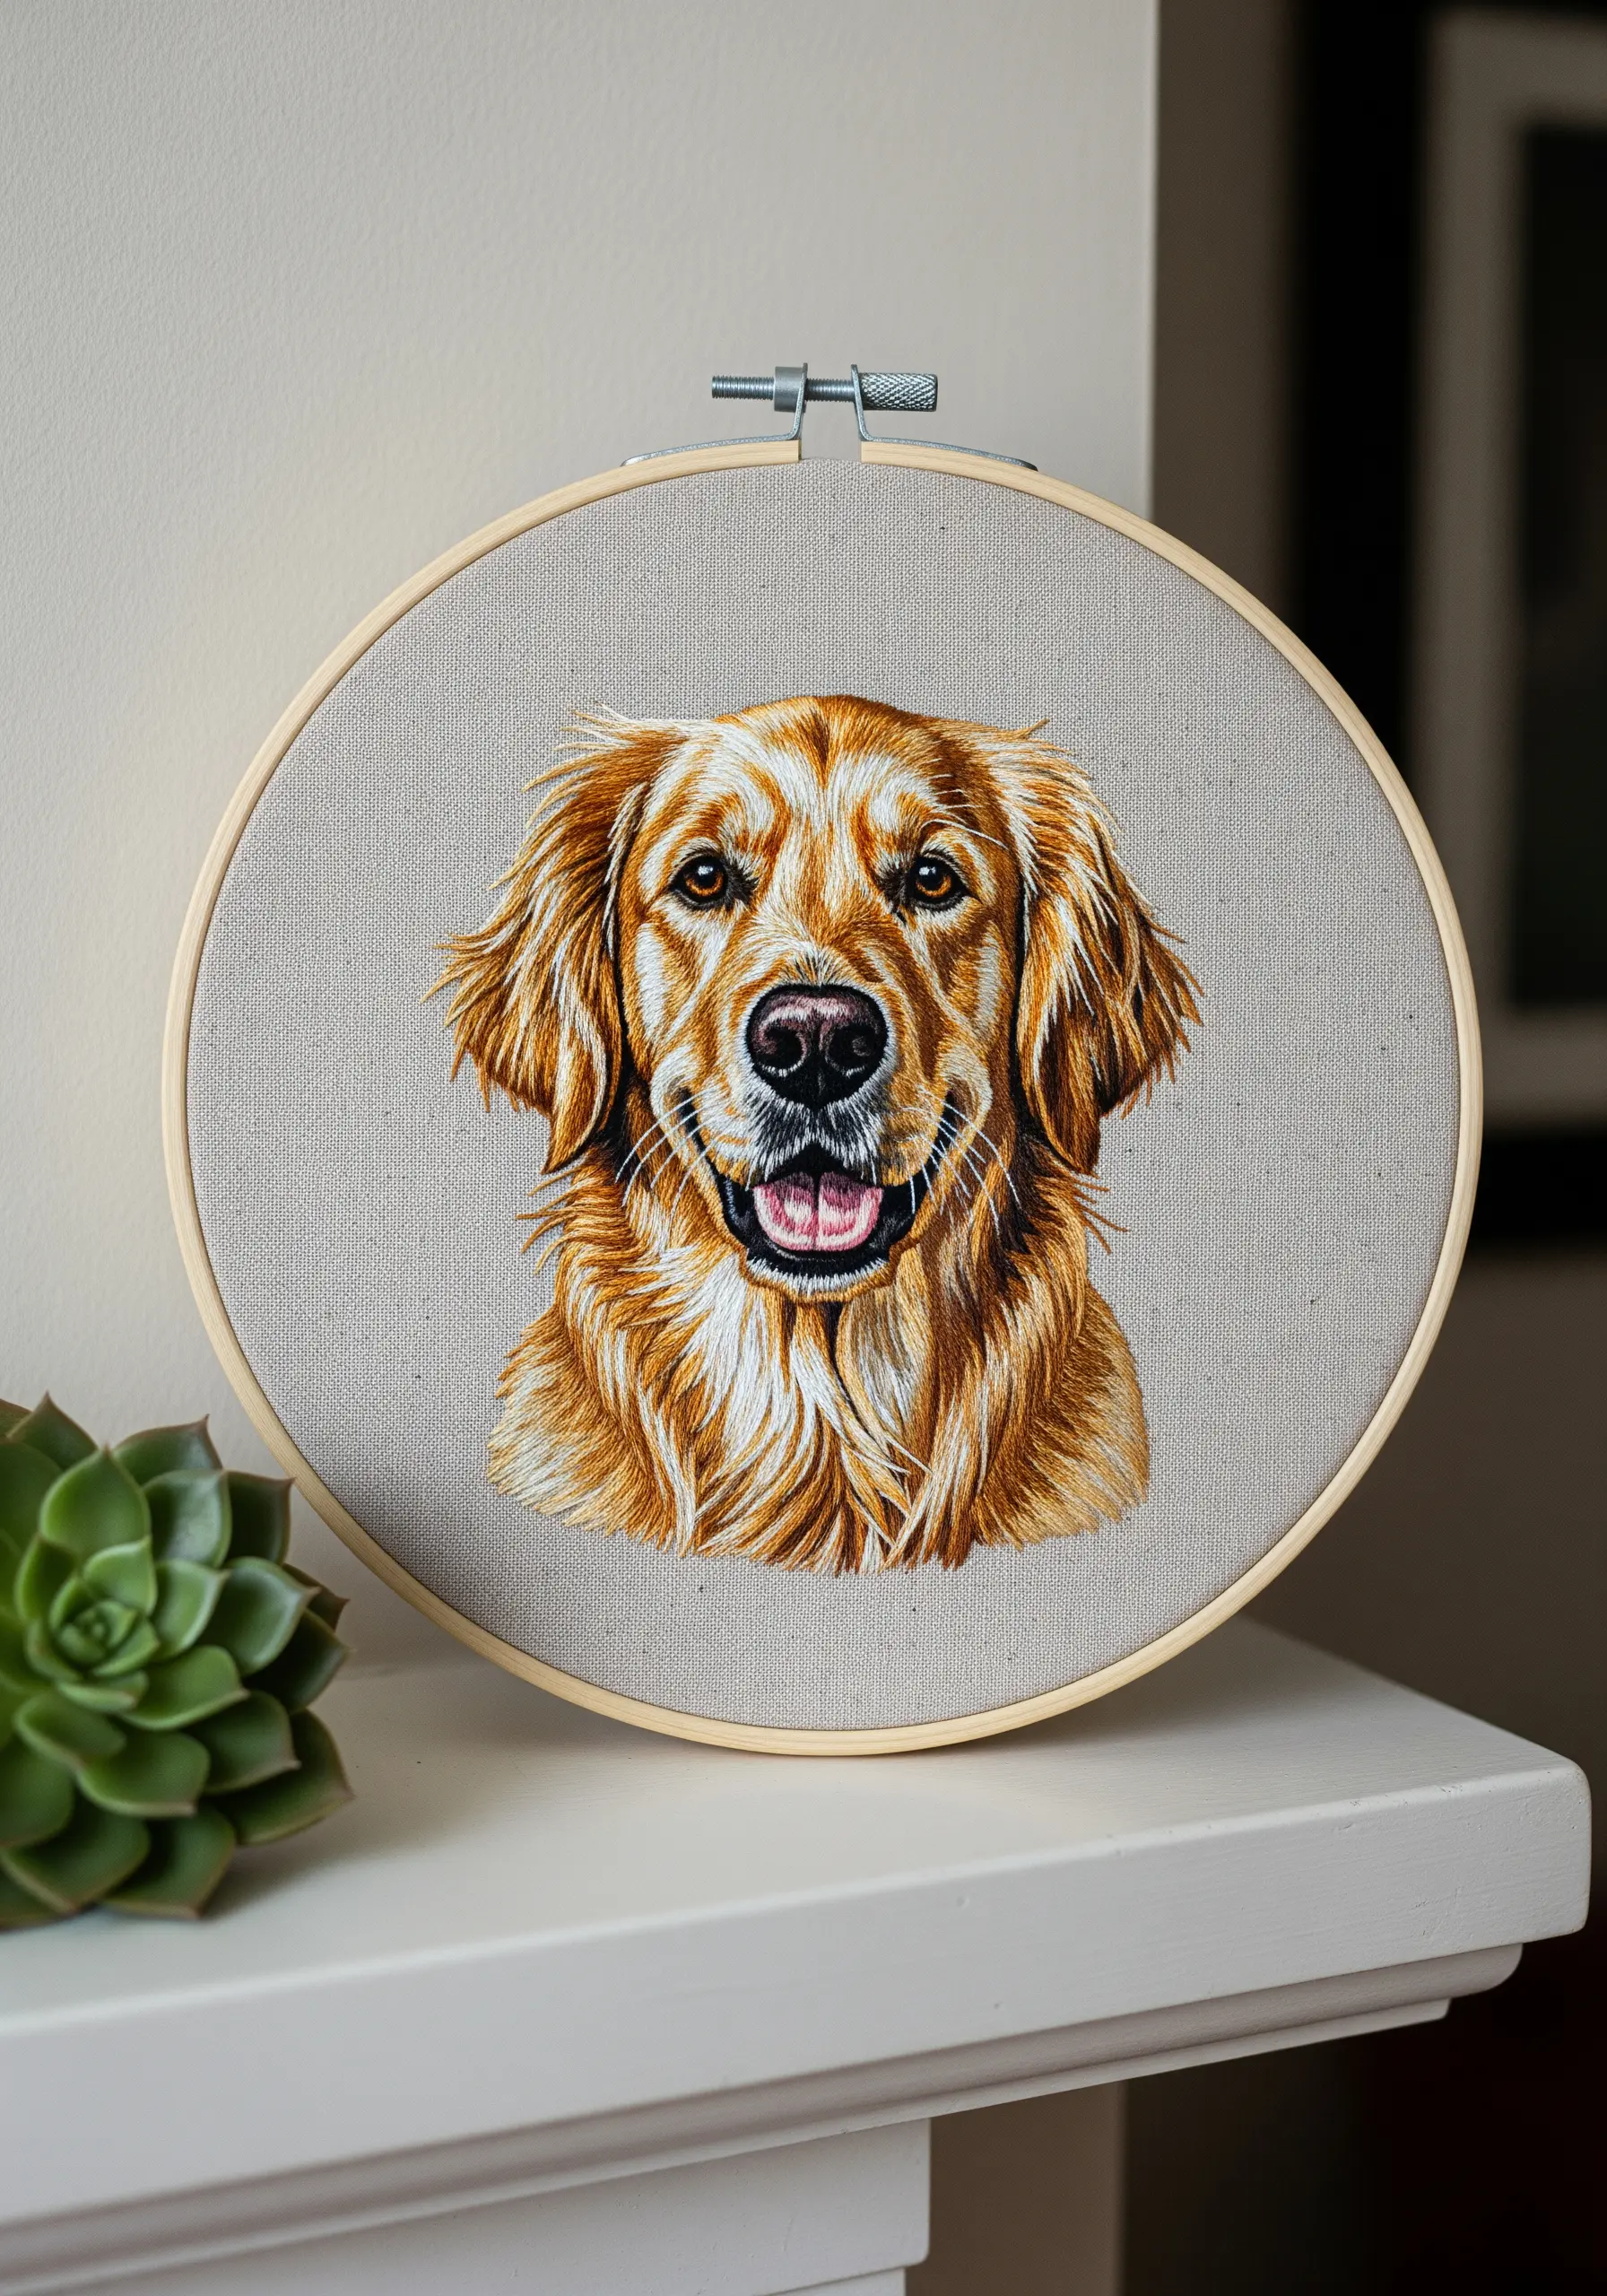
The secret to a realistic pet portrait is treating your thread like paint.
Work with a single strand of floss and use the long-and-short stitch to blend colors seamlessly, avoiding harsh outlines.
Pay close attention to the direction of your stitches; they should always follow the natural flow of the animal’s fur.
Start by mapping out the areas of highlight and shadow to build depth, which will make the portrait come alive.
Our guide to pet portrait embroidery ideas will help you capture that perfect texture.
5. Use Negative Space to Anchor Your Composition
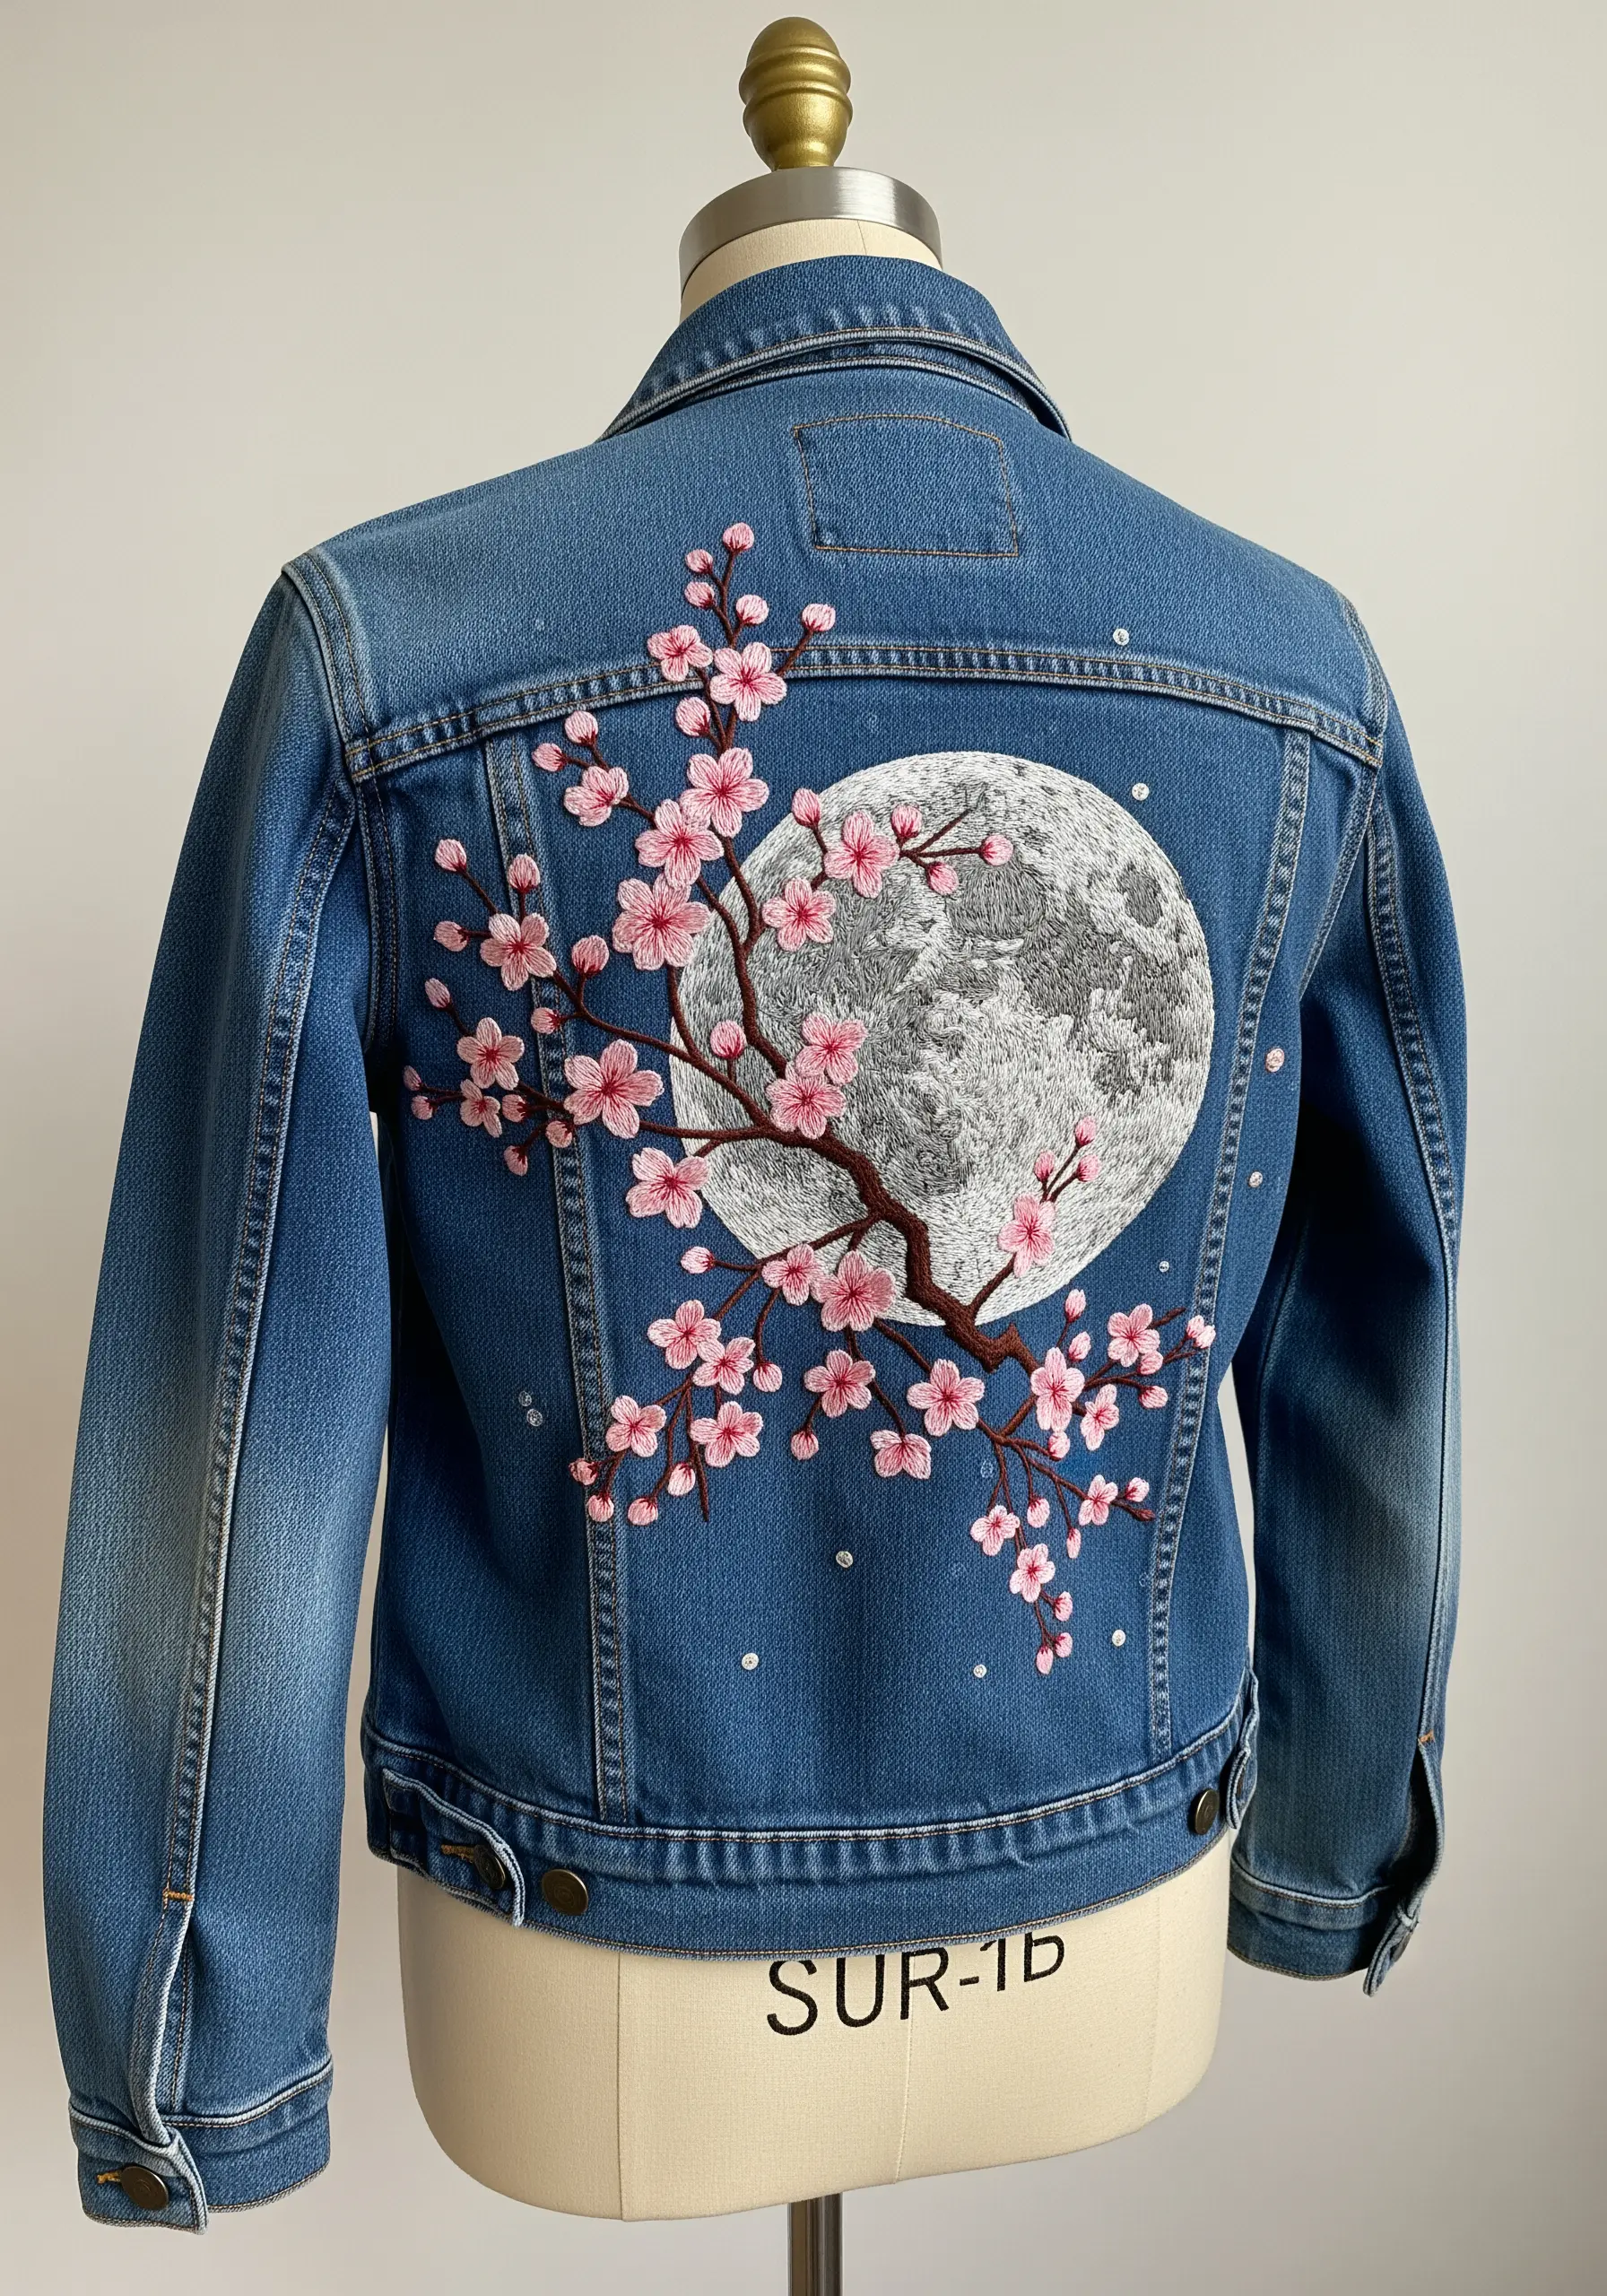
For a large-scale design on apparel, let the fabric become part of the art.
Here, the heavily stitched moon provides a focal point, but its impact is magnified by the plain denim surrounding it.
By layering the cherry blossoms over both the stitched and unstitched areas, you unify the entire composition.
This use of negative space prevents the design from feeling too busy and makes the finished piece look balanced and intentional.
You’ll find more ideas for turning plain denim jackets into blooming fashion statements in our dedicated guide.
6. Elevate Simple Felt with Geometric Line Work
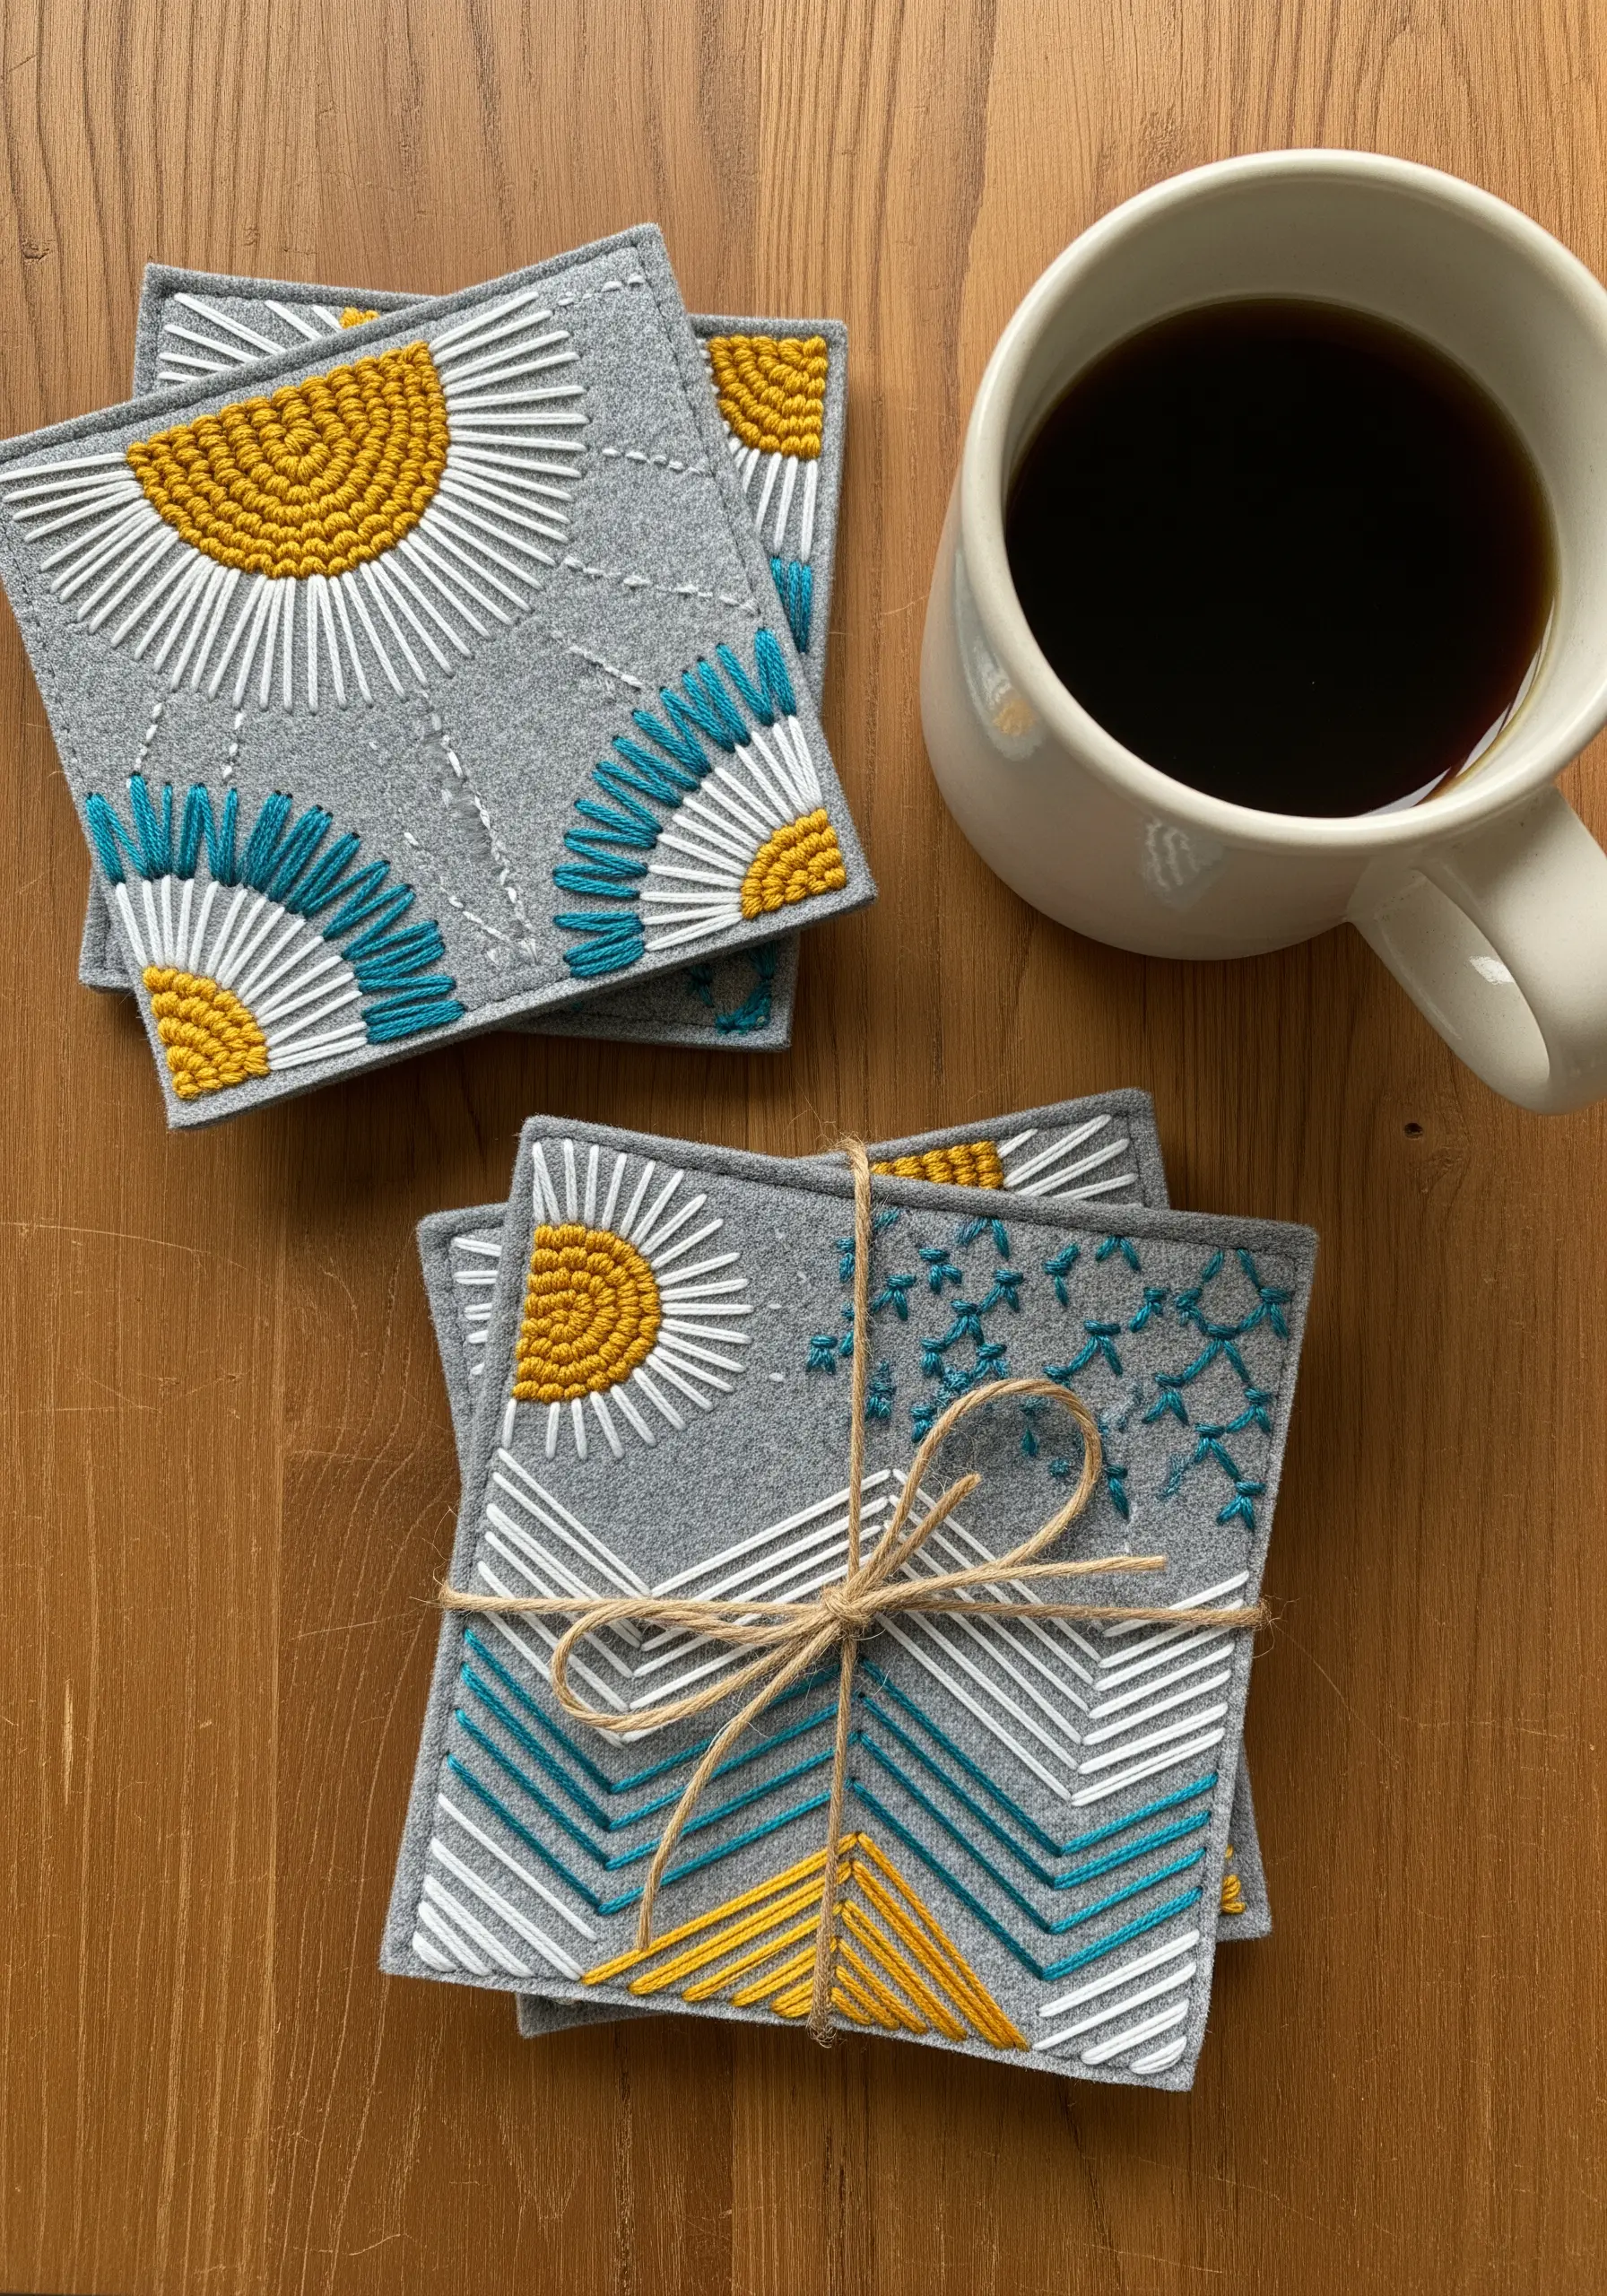
Felt is an ideal fabric for beginners because its stable, non-fraying nature forgives most mistakes and holds stitches beautifully.
Use this quality to your advantage by creating coasters with crisp, modern lines.
Combine dense fills, like the satin-stitched sun, with clean, graphic running stitches and backstitches.
Sticking to a limited, high-contrast color palette—like yellow, teal, and white on gray—ensures your geometric stitch patterns look cohesive and chic.
7. Integrate 3D Elements for Lifelike Detail
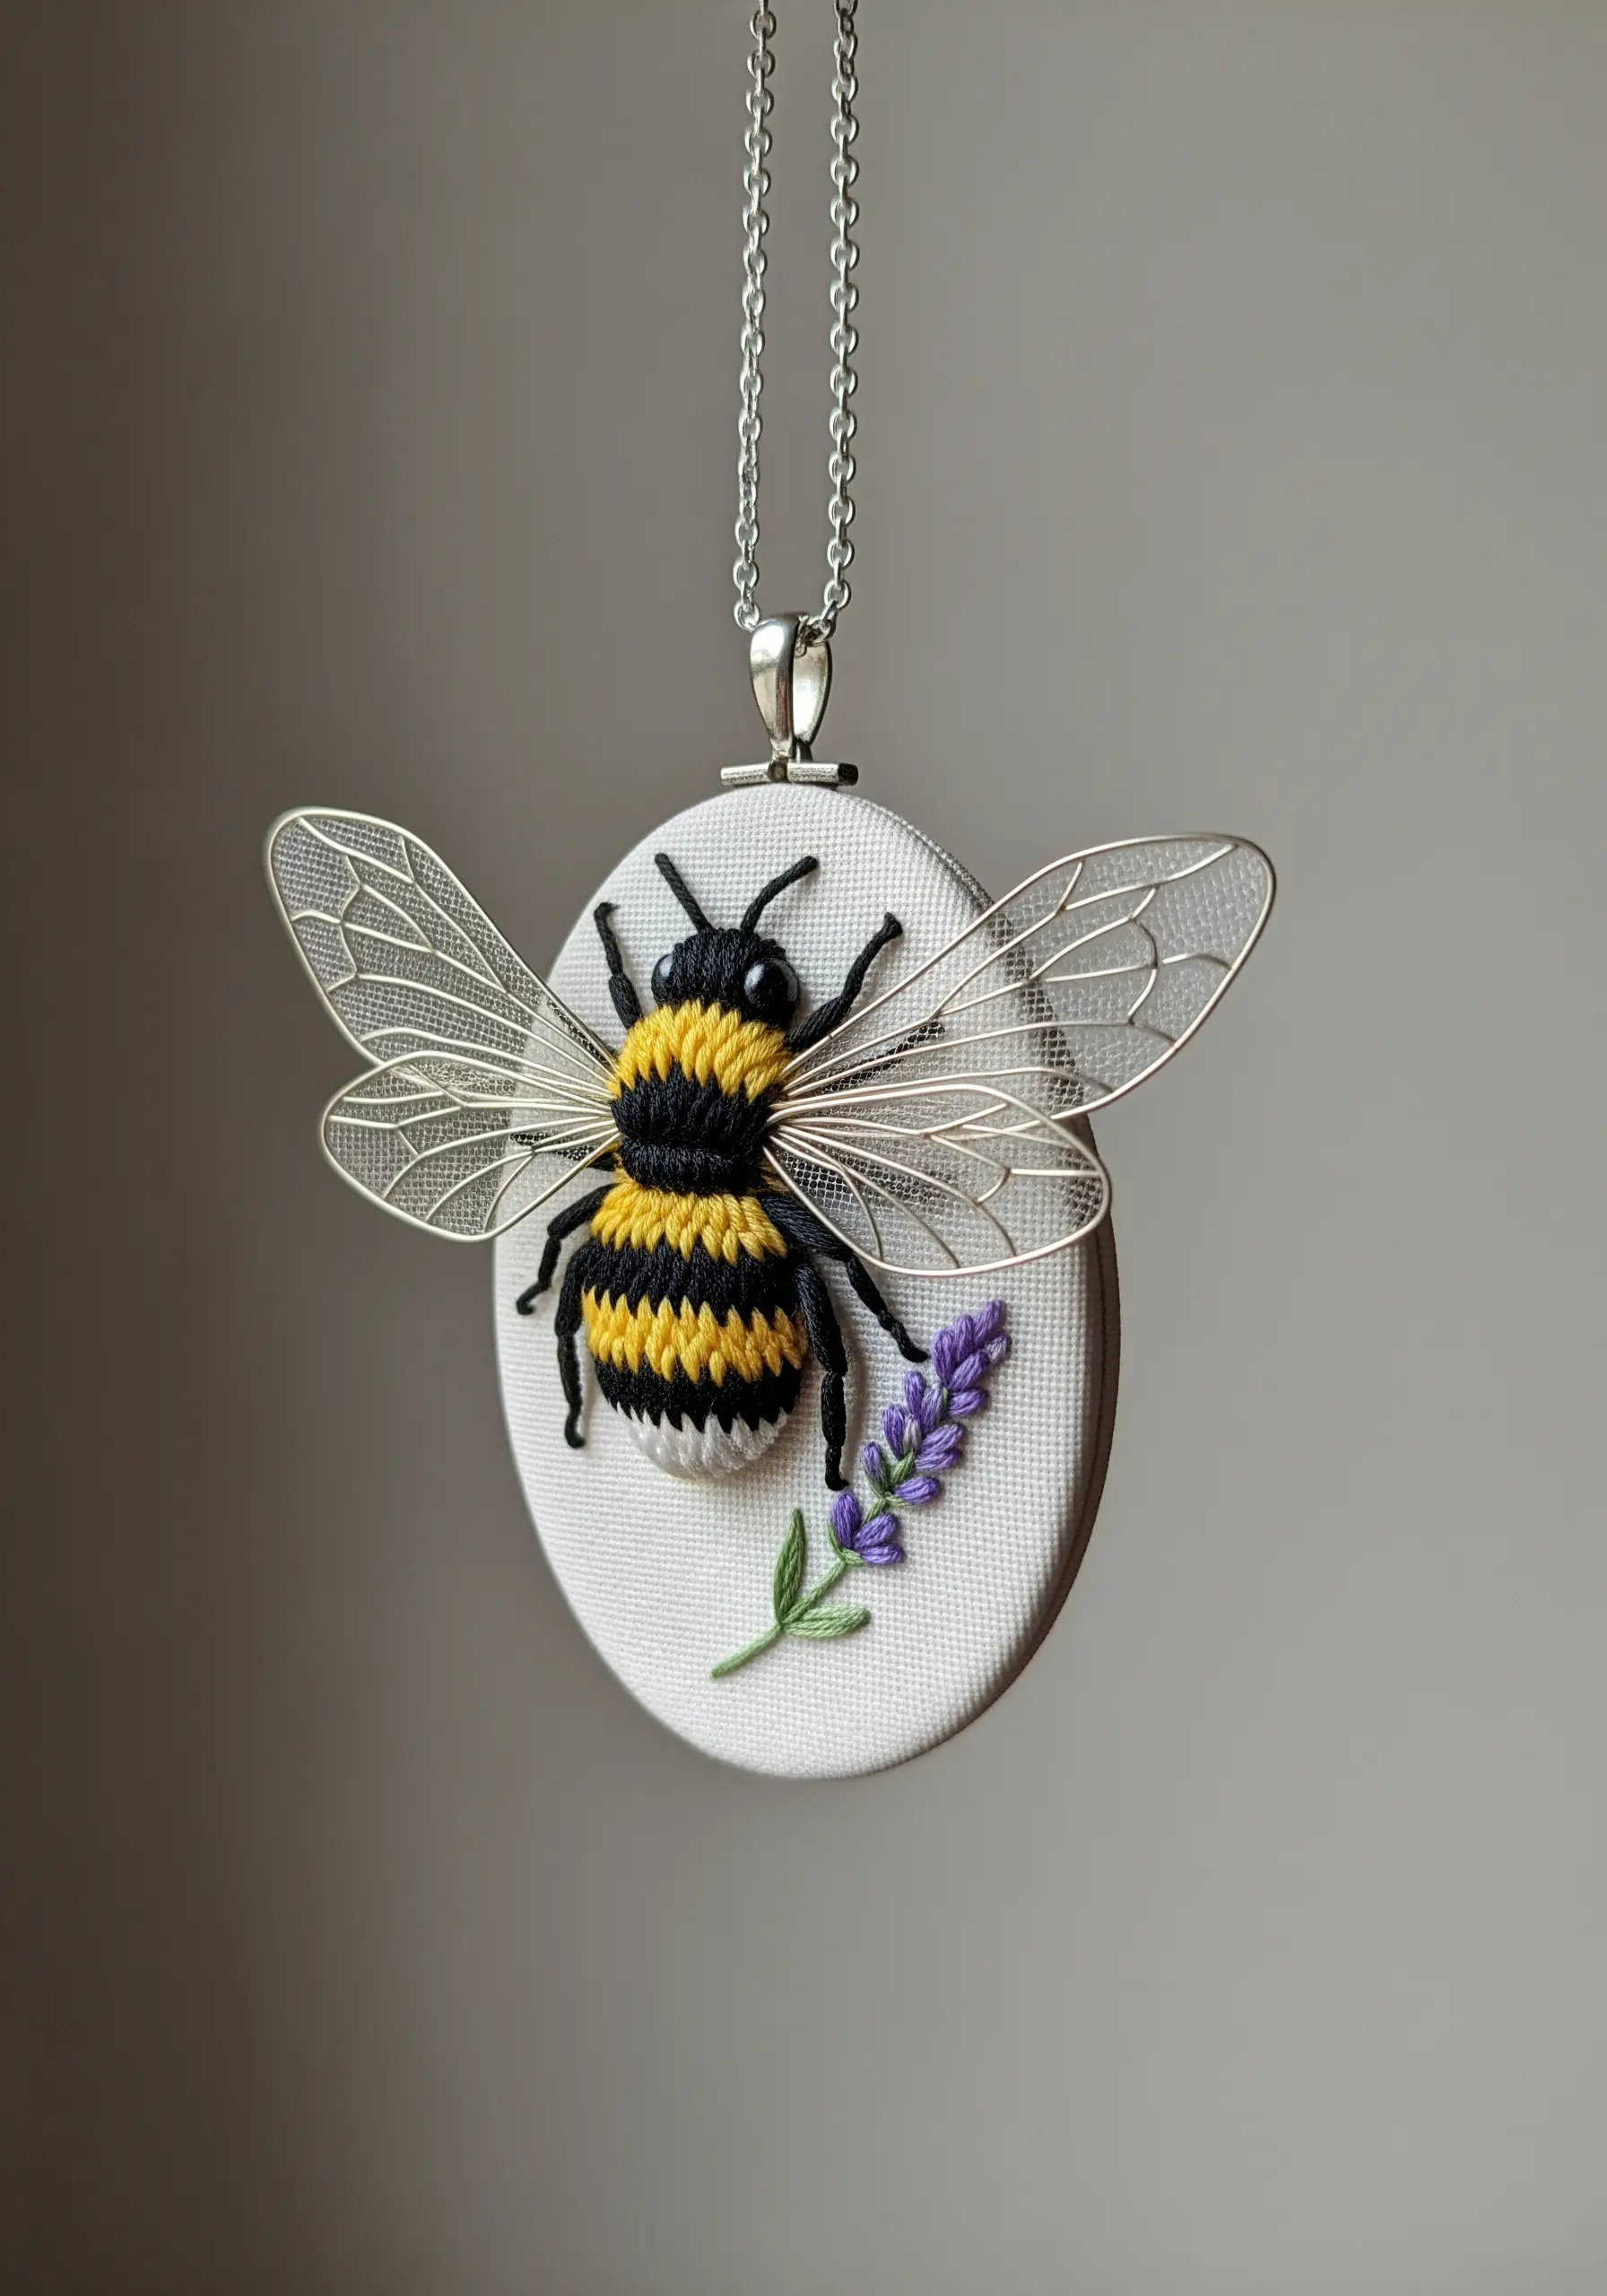
Take your embroidery from two dimensions to three with stumpwork techniques.
To create the bee’s rounded body, add a small piece of felt padding underneath your satin stitches.
For the wings, incorporate pre-made filigree elements or create your own with wire and organza, attaching them separately.
This mixed-media approach transforms a simple stitched motif into a miniature sculpture that is guaranteed to impress.
This technique will make tiny jewelry pieces pop with unexpected realism.
8. Create Opulence with Metallic Thread Gradients
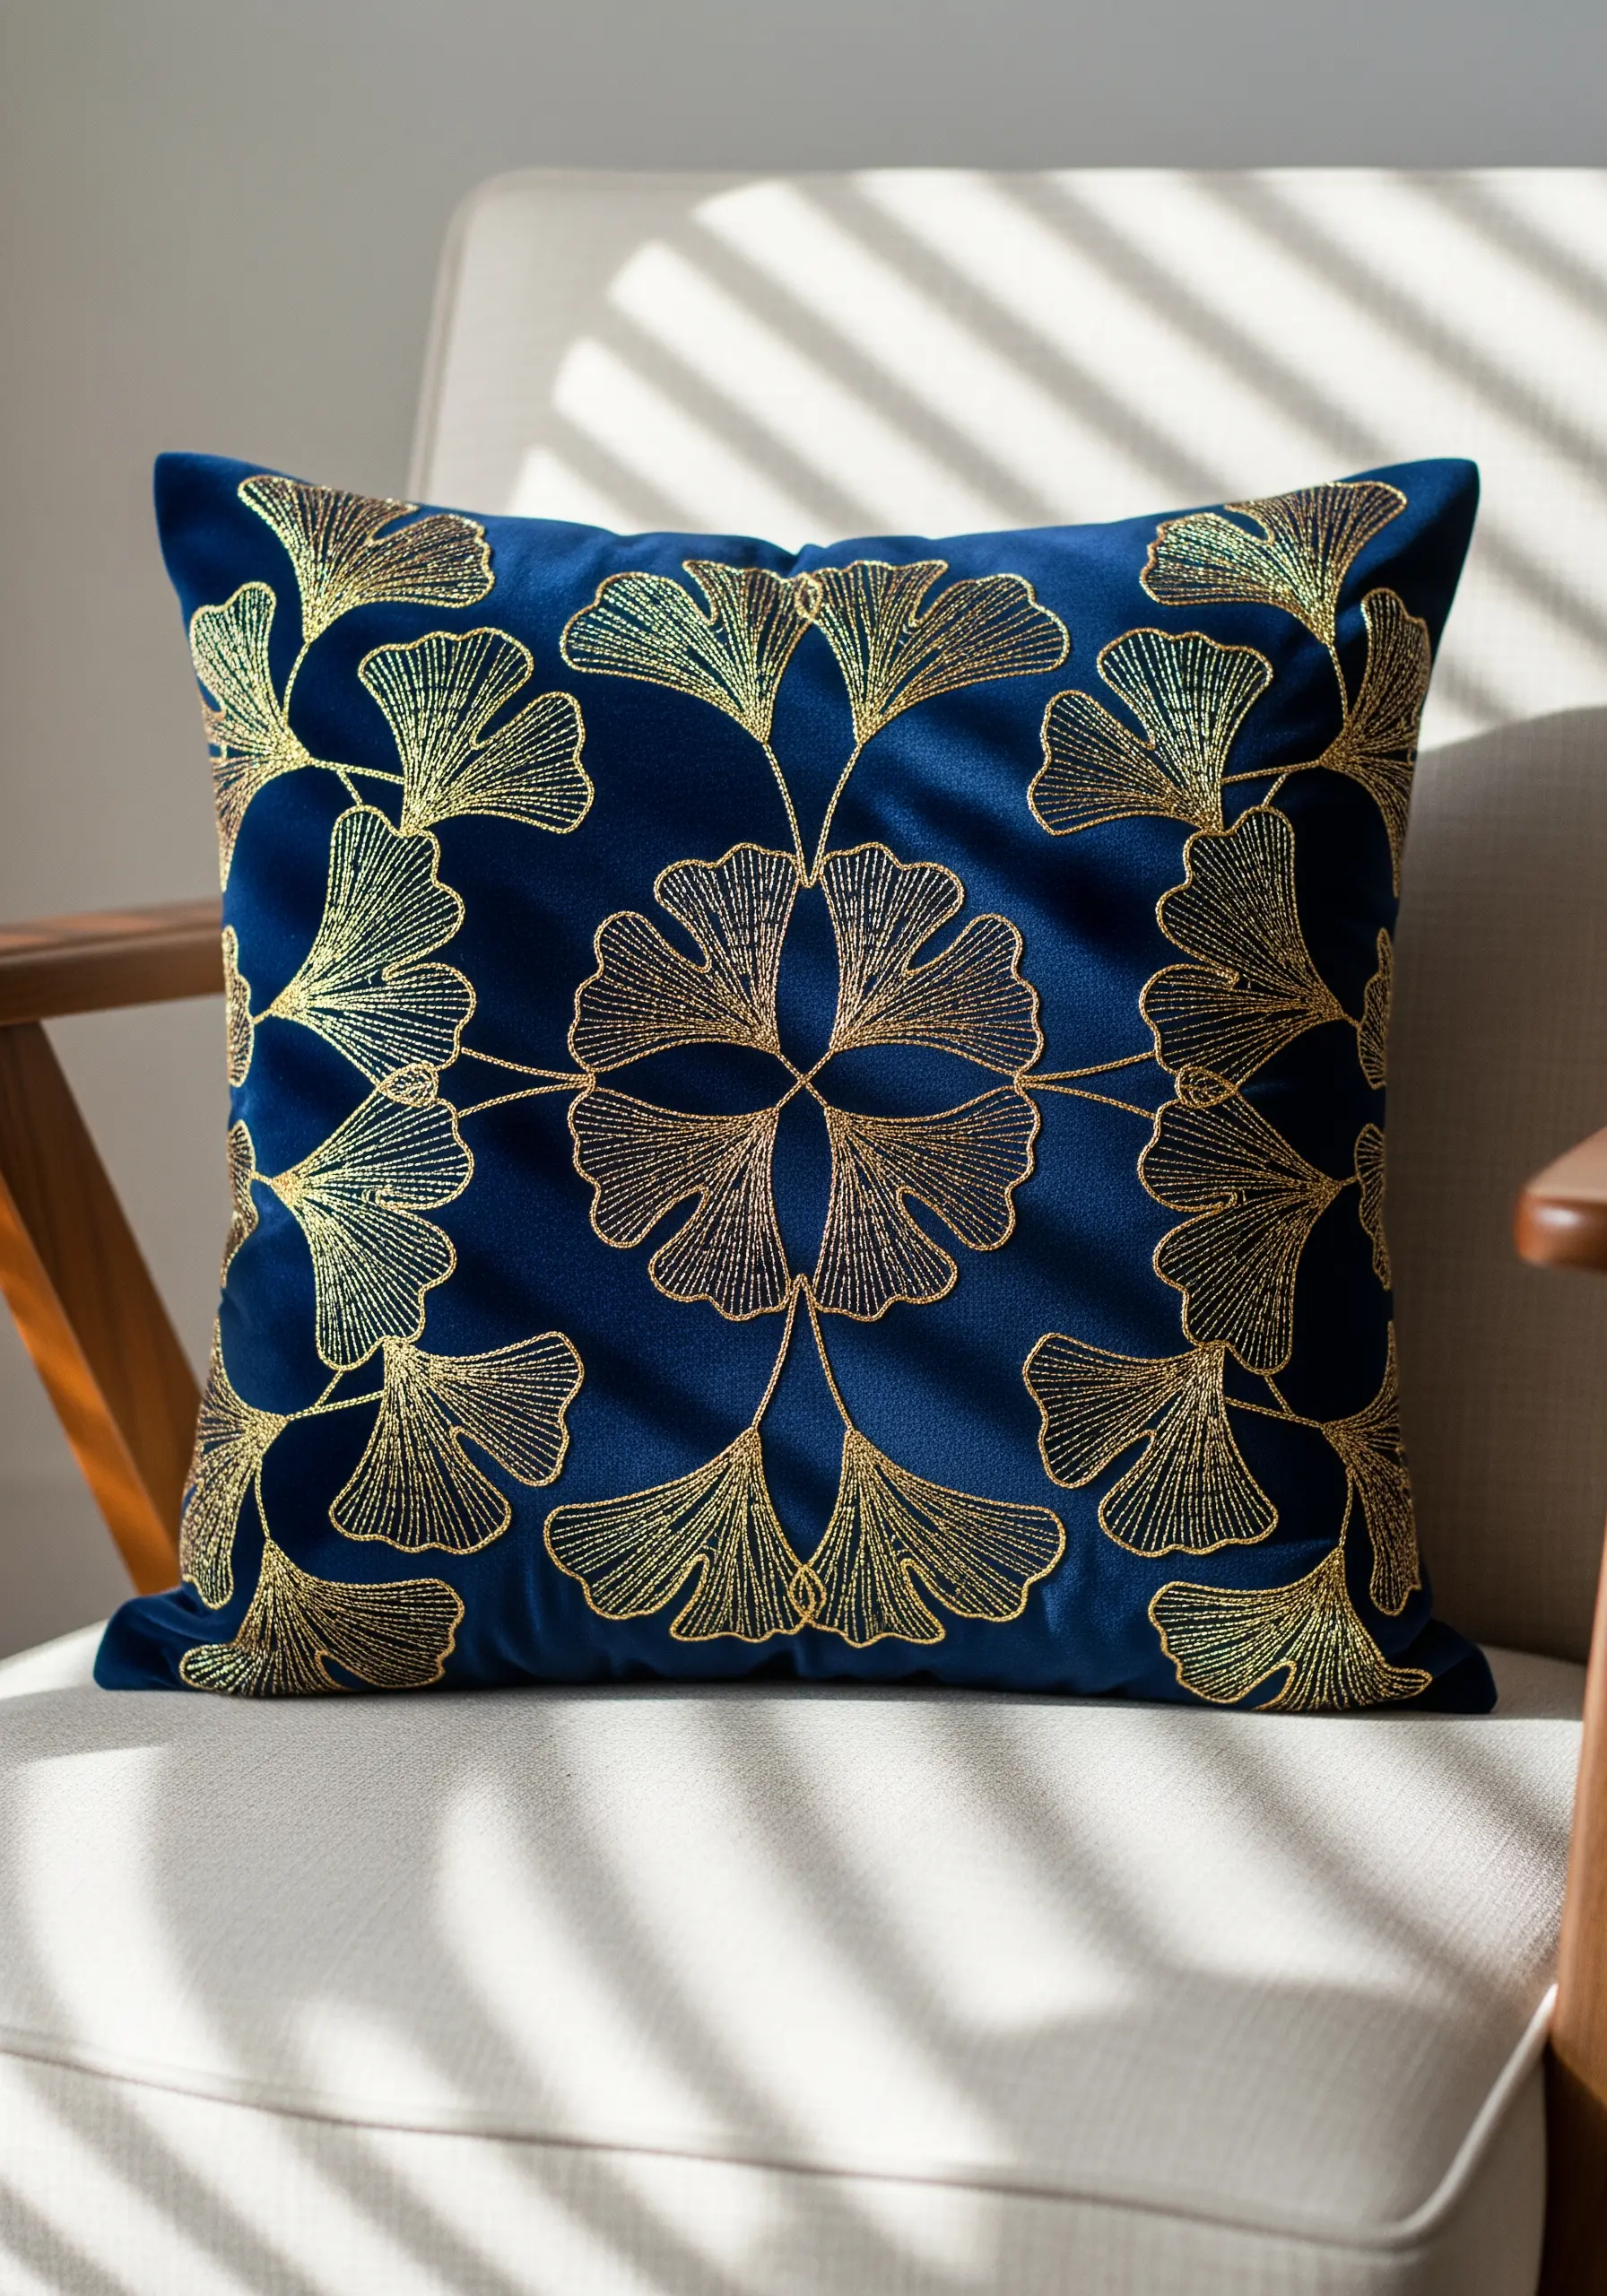
Stitching on velvet instantly adds a touch of luxury, especially when paired with metallic thread.
To achieve the shimmering gradient on these ginkgo leaves, use two complementary shades of gold and blend them with a satin stitch.
Direct your stitches outward from the center of each leaf segment; this allows the metallic thread to catch the light from multiple angles, creating a beautiful, liquid-like sheen.
Explore our favorite gold thread cushion designs for more inspiration.
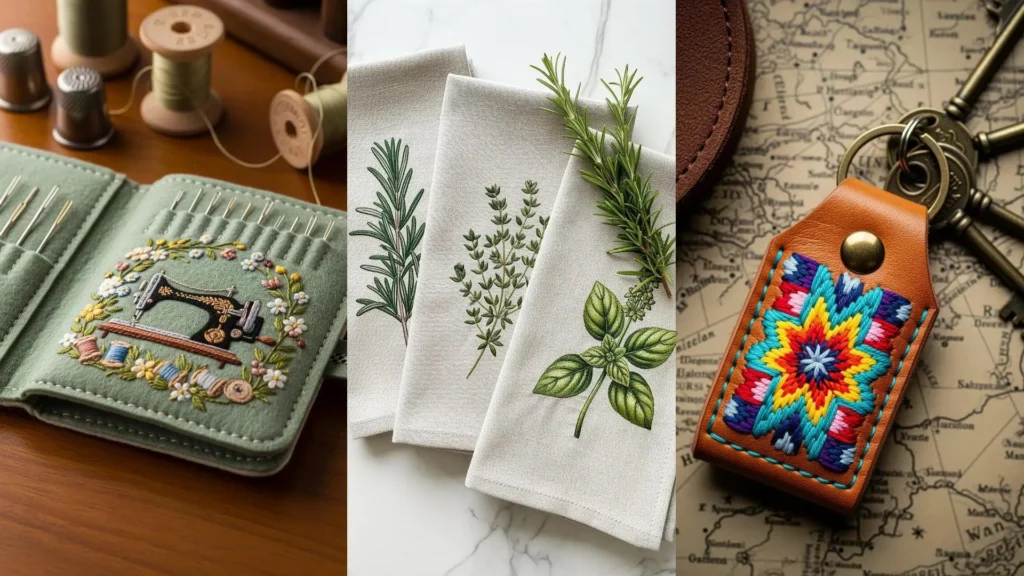
9. Use Varied Greens for Botanical Realism
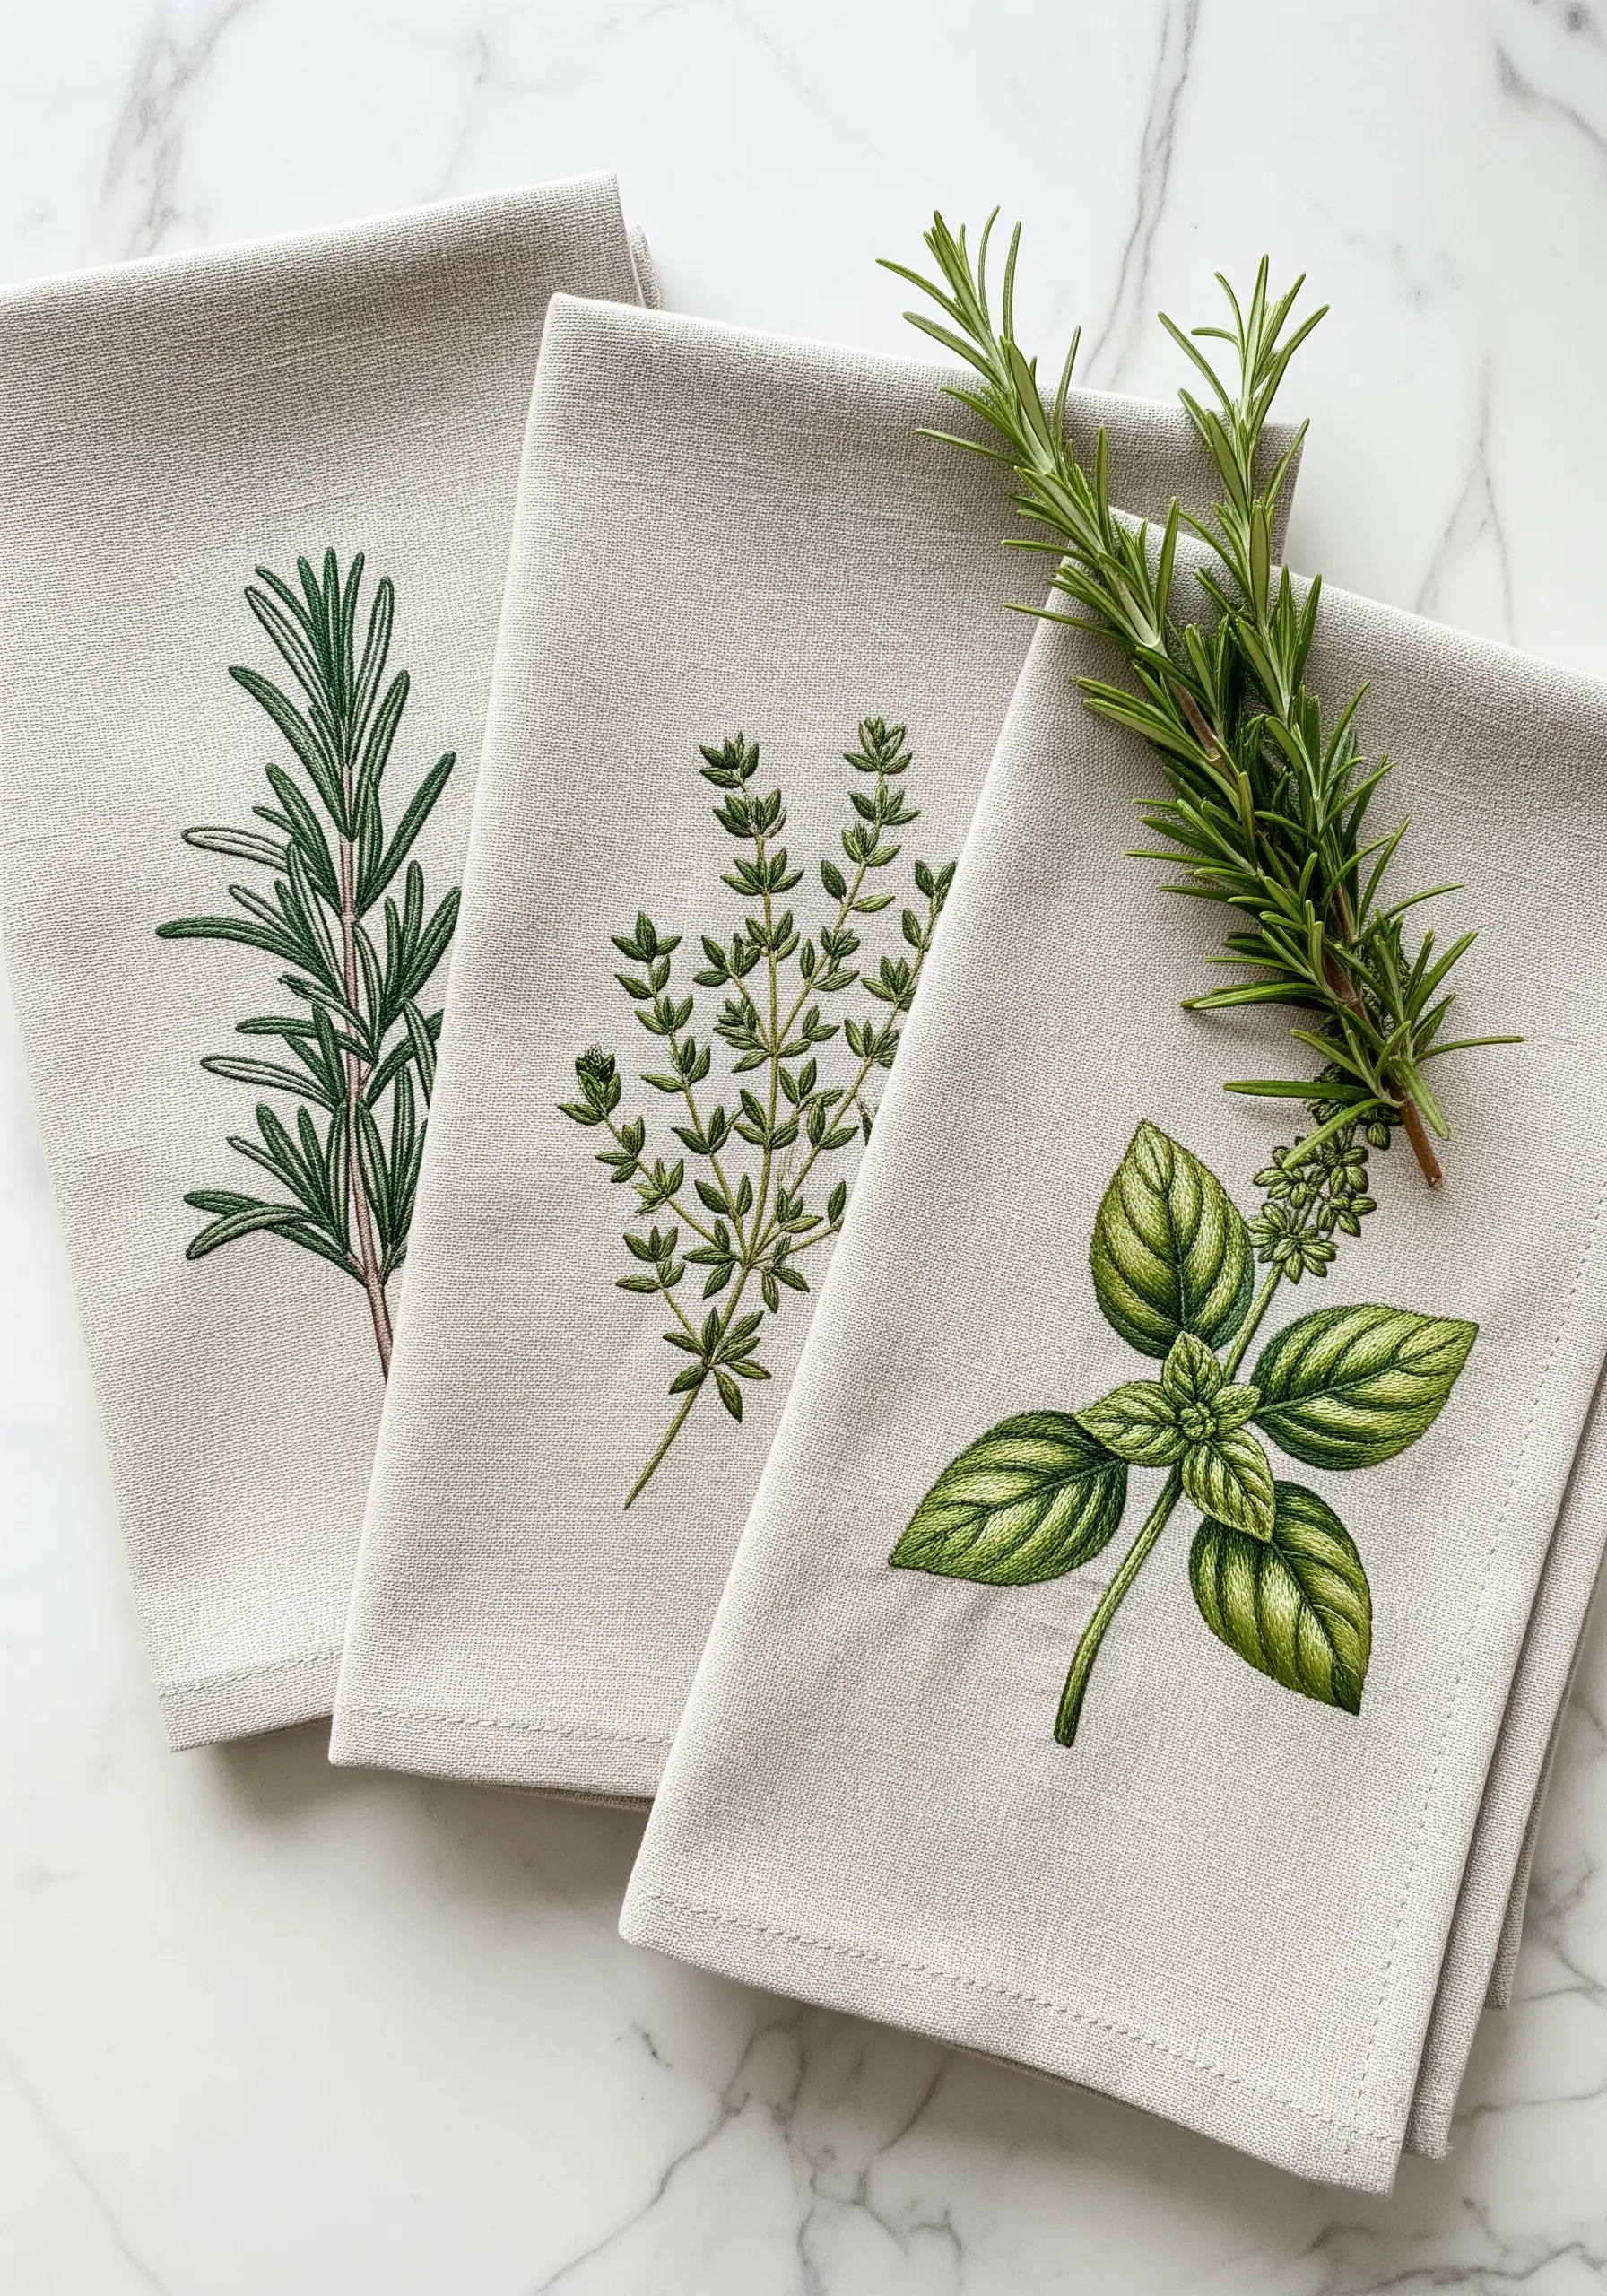
The key to embroidering plants that look natural rather than cartoonish is to avoid using a single shade of green.
For each botanical element, choose at least three distinct tones: a light, a medium, and a dark.
Use these tones with a long-and-short stitch to create subtle gradients within each leaf, mimicking the way light and shadow play across a real plant.
This simple color strategy instantly adds depth and realism to your work.
These garden herb embroidery patterns are perfect for practicing this technique.
10. Frame a Focal Point with a Delicate Wreath
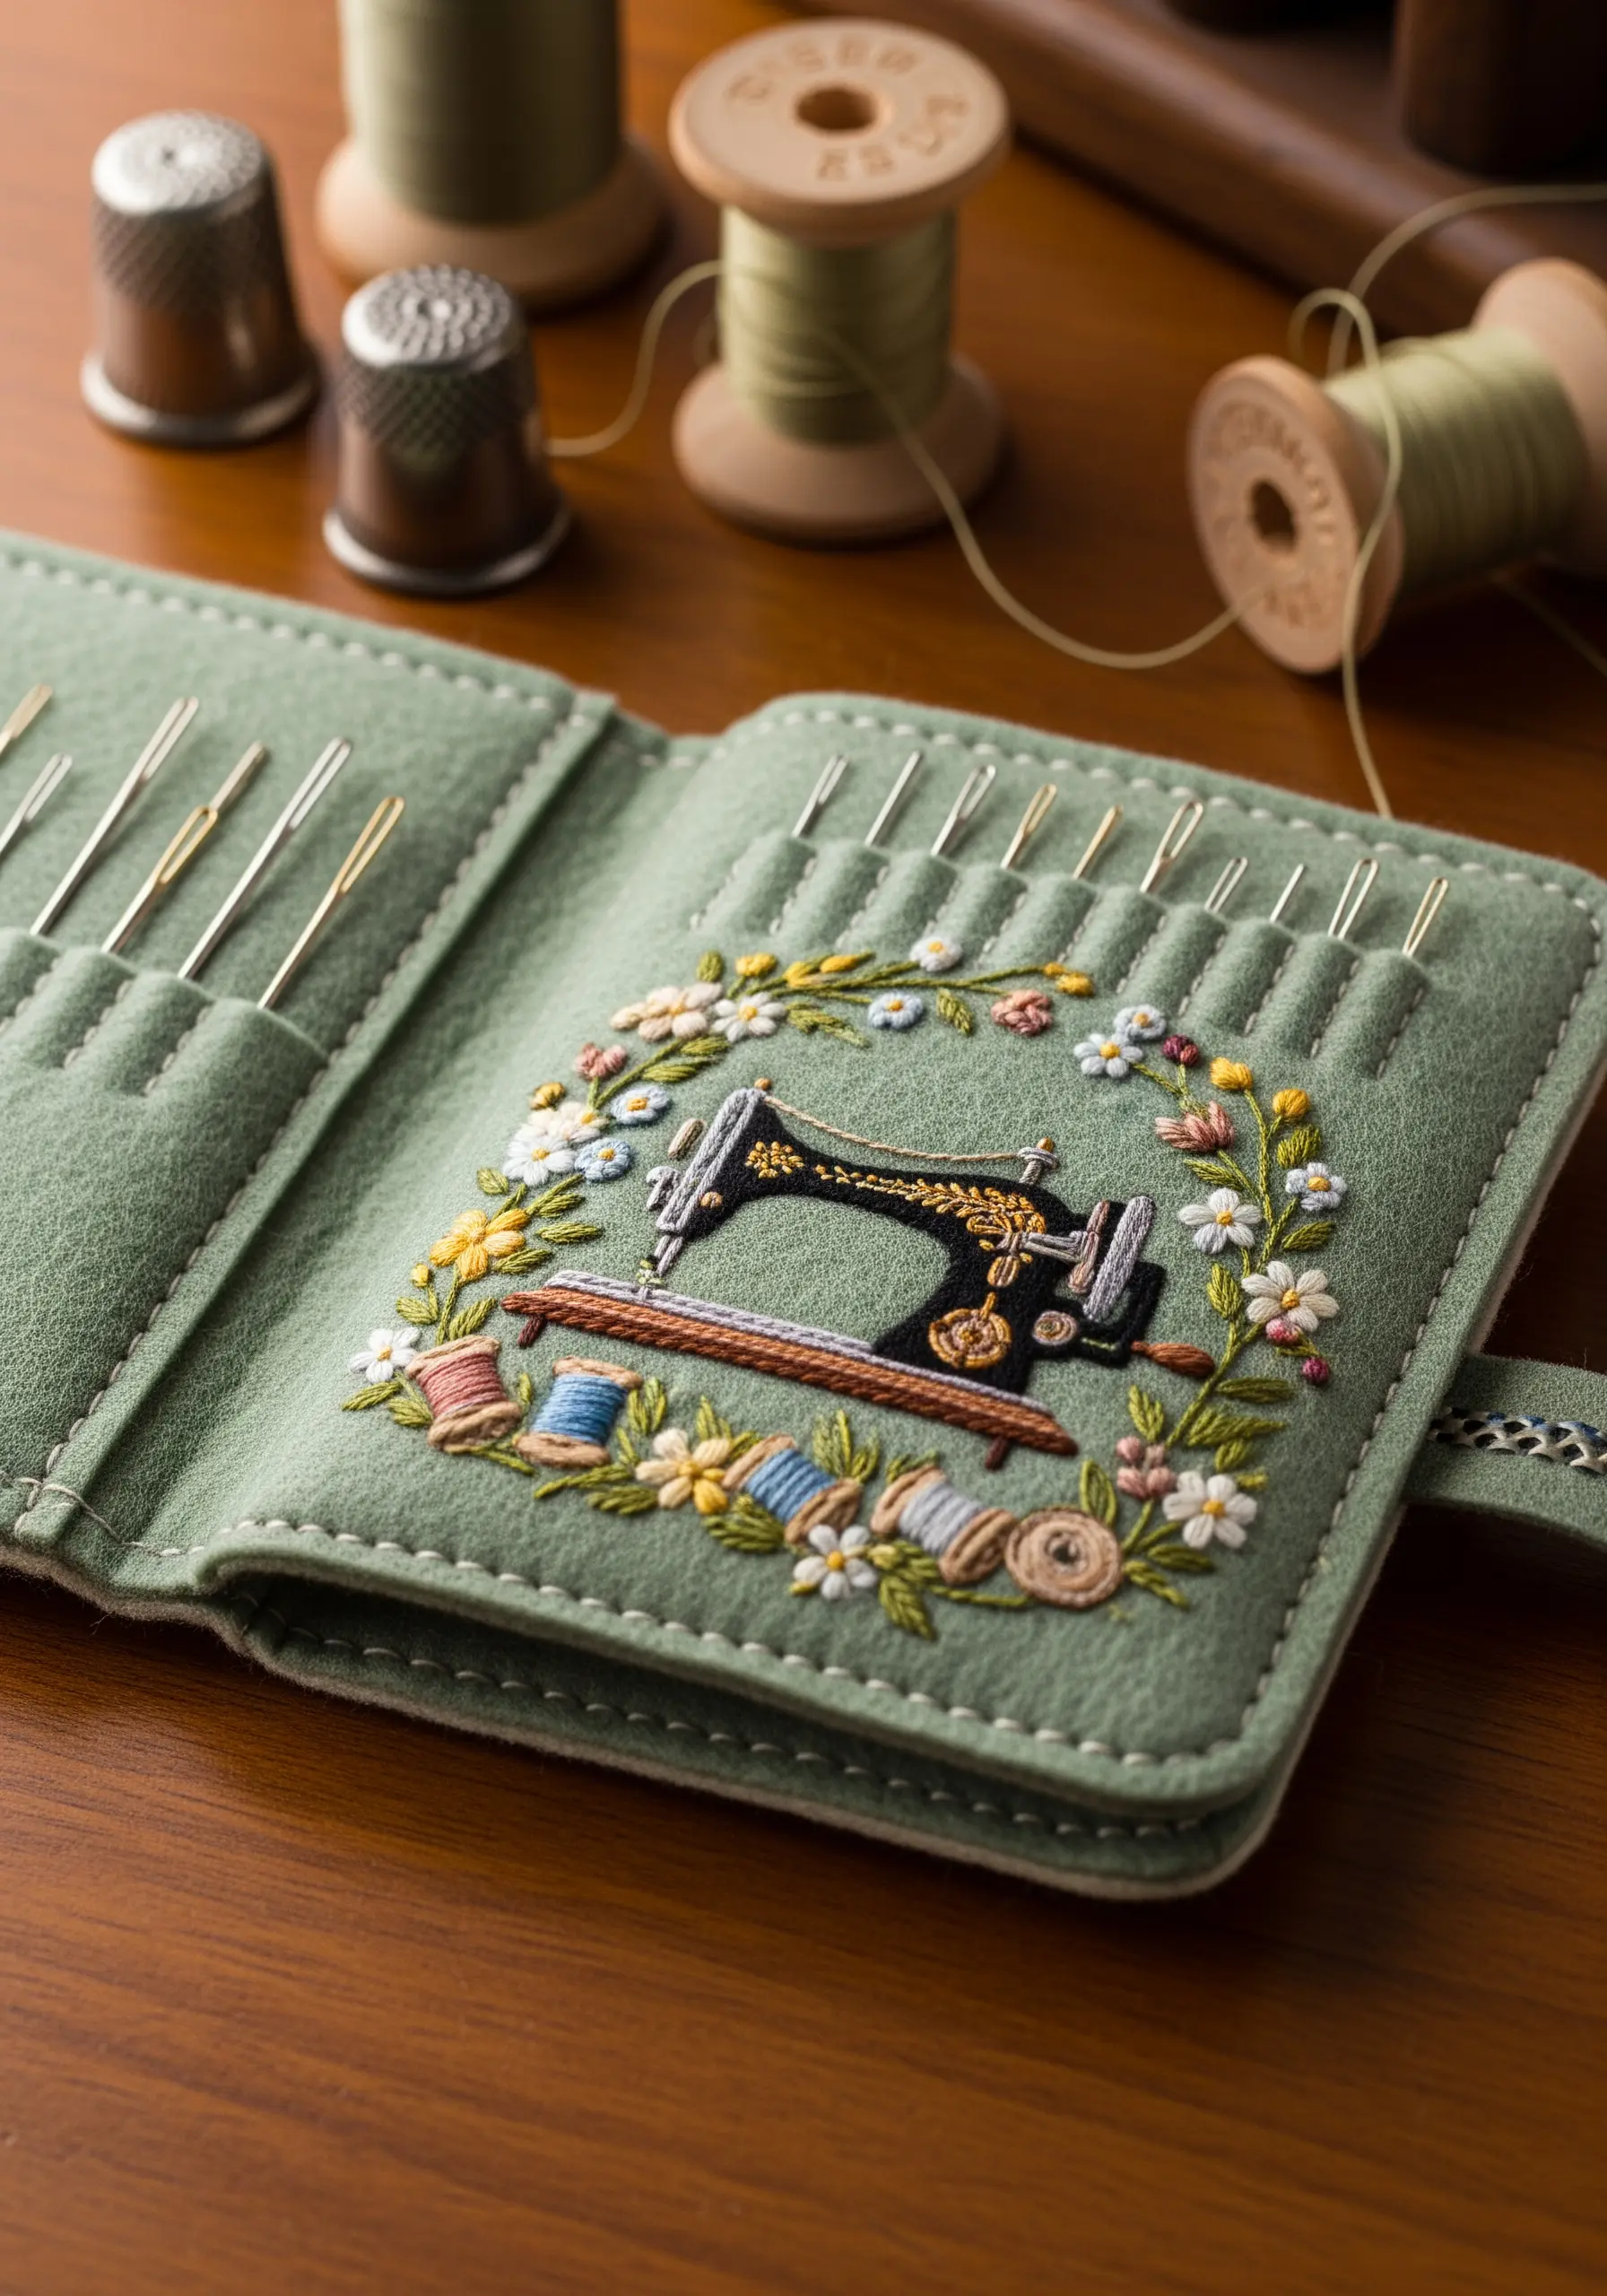
A floral wreath is a timeless way to highlight a central motif, making a simple gift feel like a treasured heirloom.
To keep the look modern and refined, vary your stitches—use tiny French knots, lazy daisies, and straight stitches—and keep the scale of the flowers small.
This creates a detailed, airy frame that draws the eye inward without overwhelming the main design.
Try pairing this with vintage floral bouquet patterns for a classic finish.
11. Compose Your Design for a Vertical Canvas
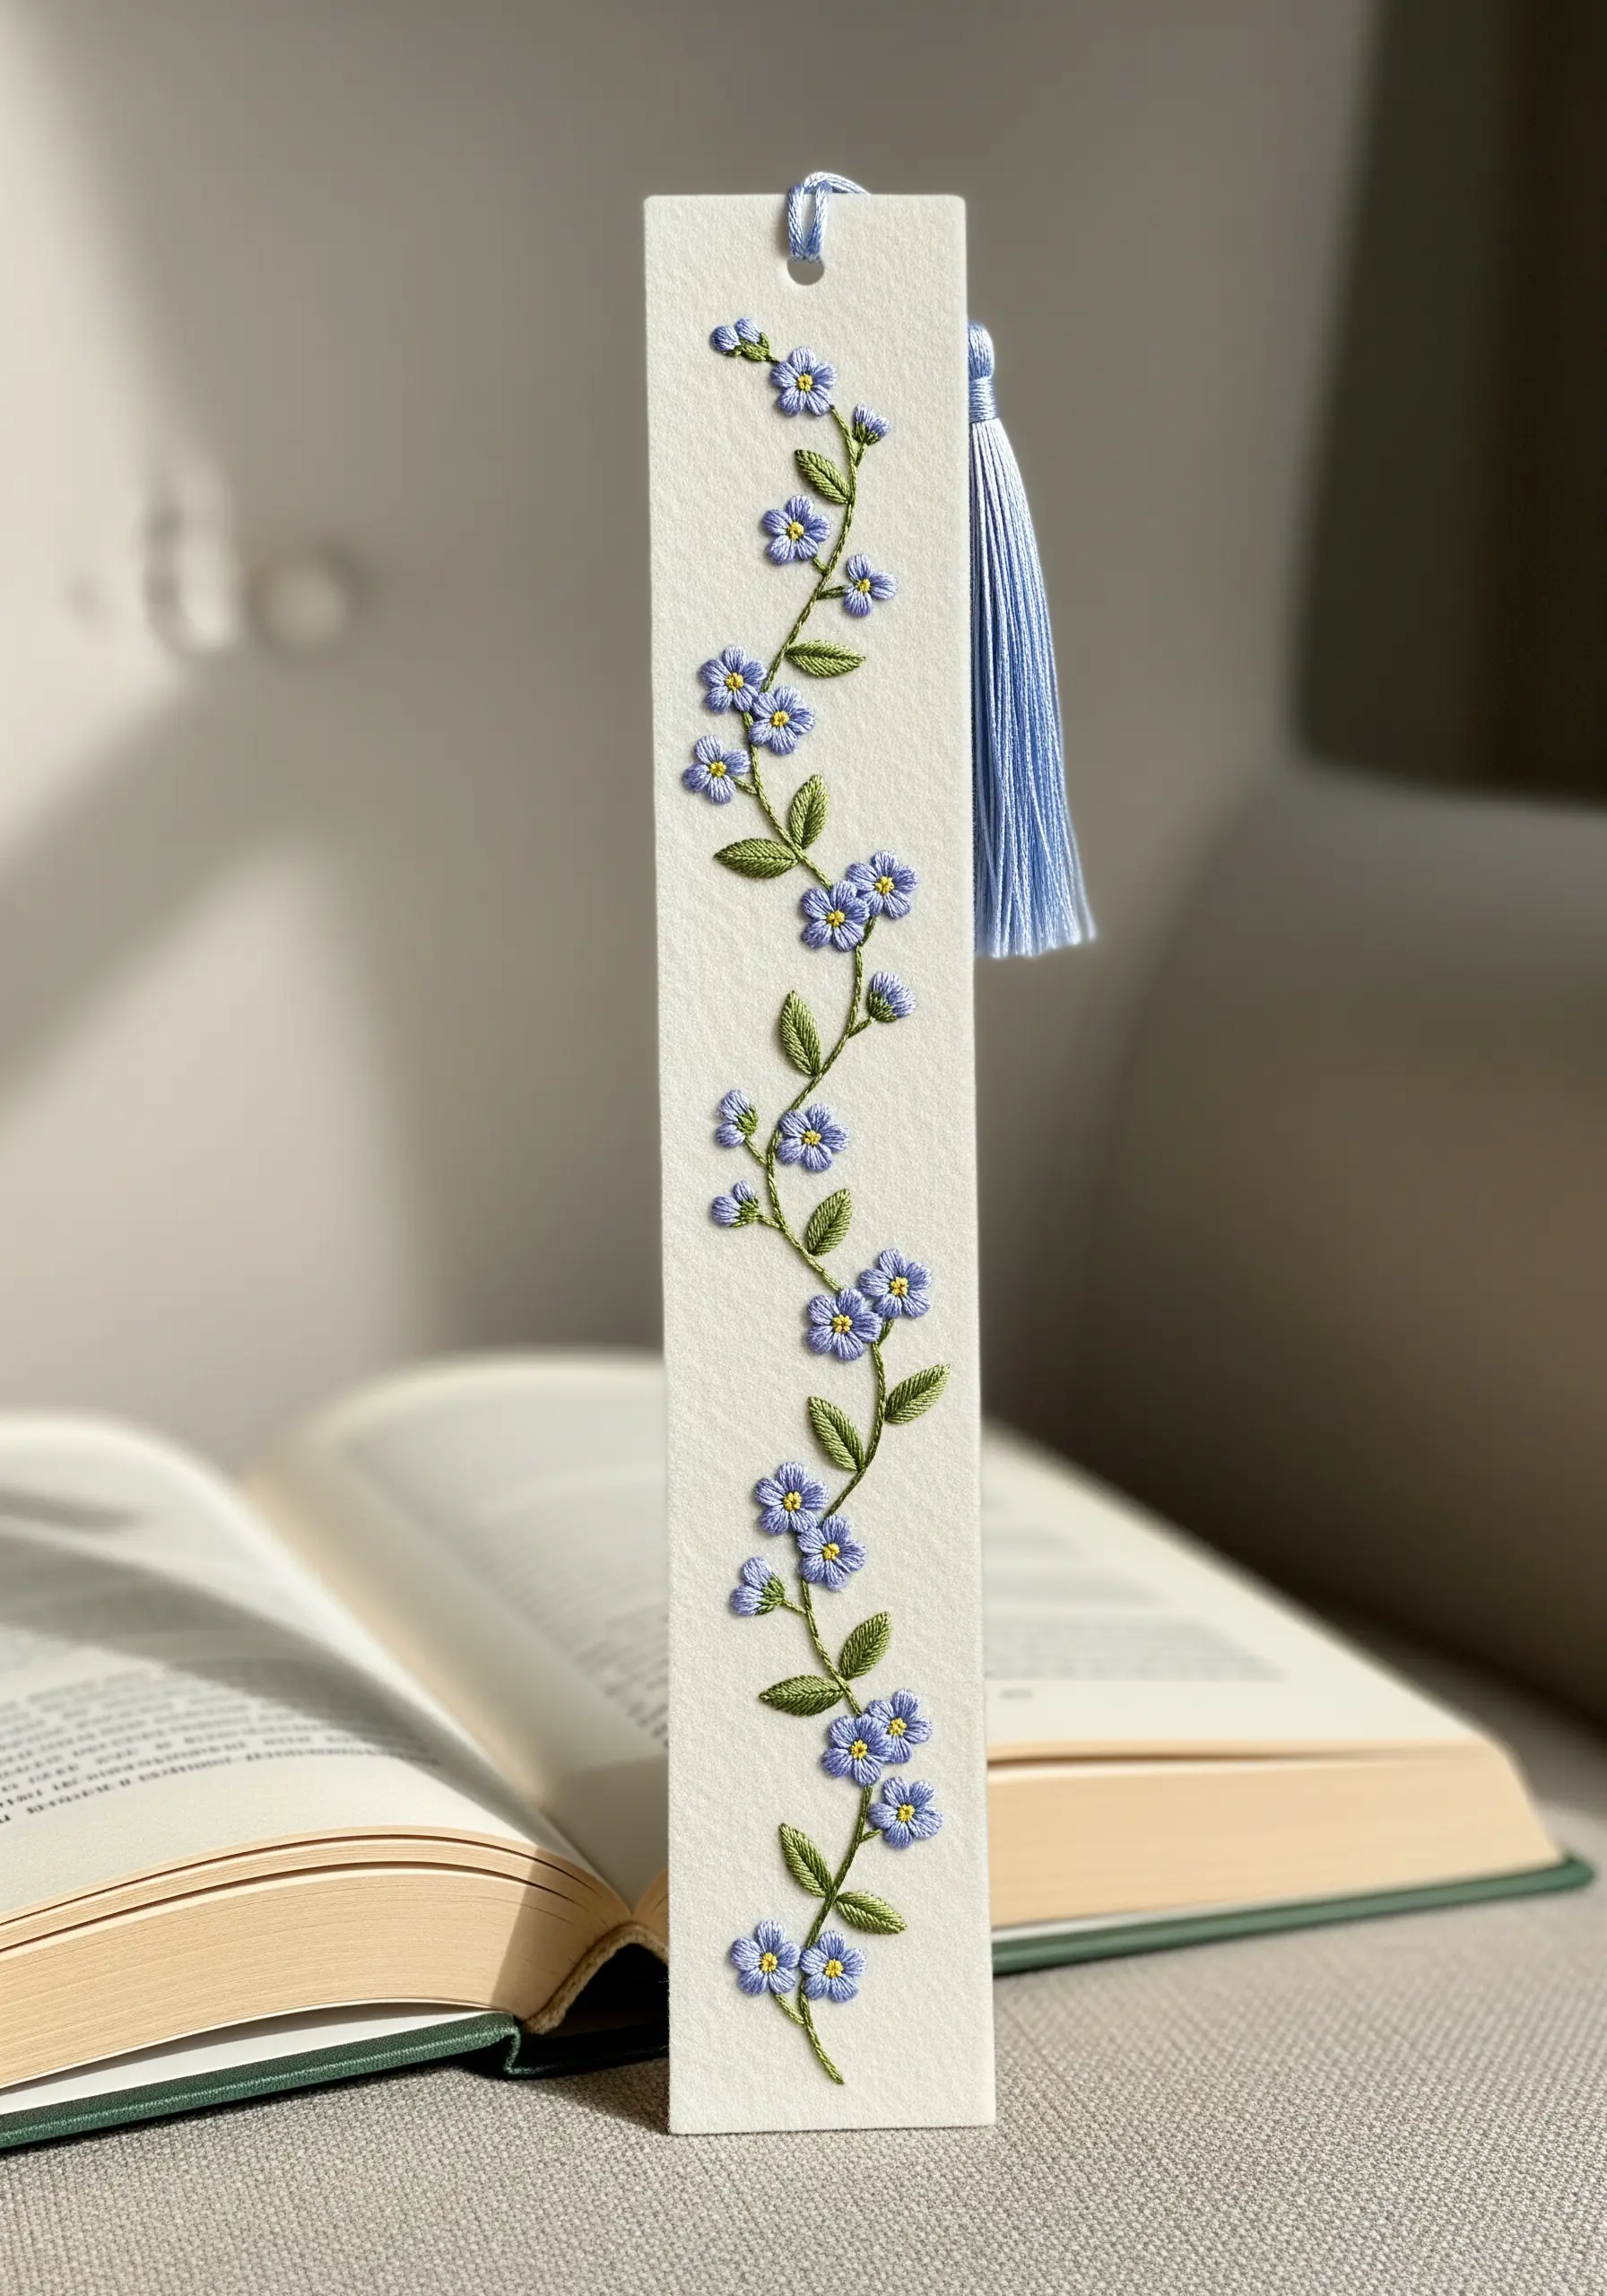
A bookmark presents a unique design challenge due to its long, narrow shape.
Embrace its verticality with a climbing floral or vine pattern that guides the eye up and down the length of the piece.
Use a simple stem stitch for the vine to create a clean, flowing line, and add texture to the blossoms with small French knots or bullion stitches.
This approach ensures the design feels balanced and perfectly suited to its form.
Bookmarks are one of many tiny embroidery projects that make a big impact.
12. Select Stitches for Both Function and Feel
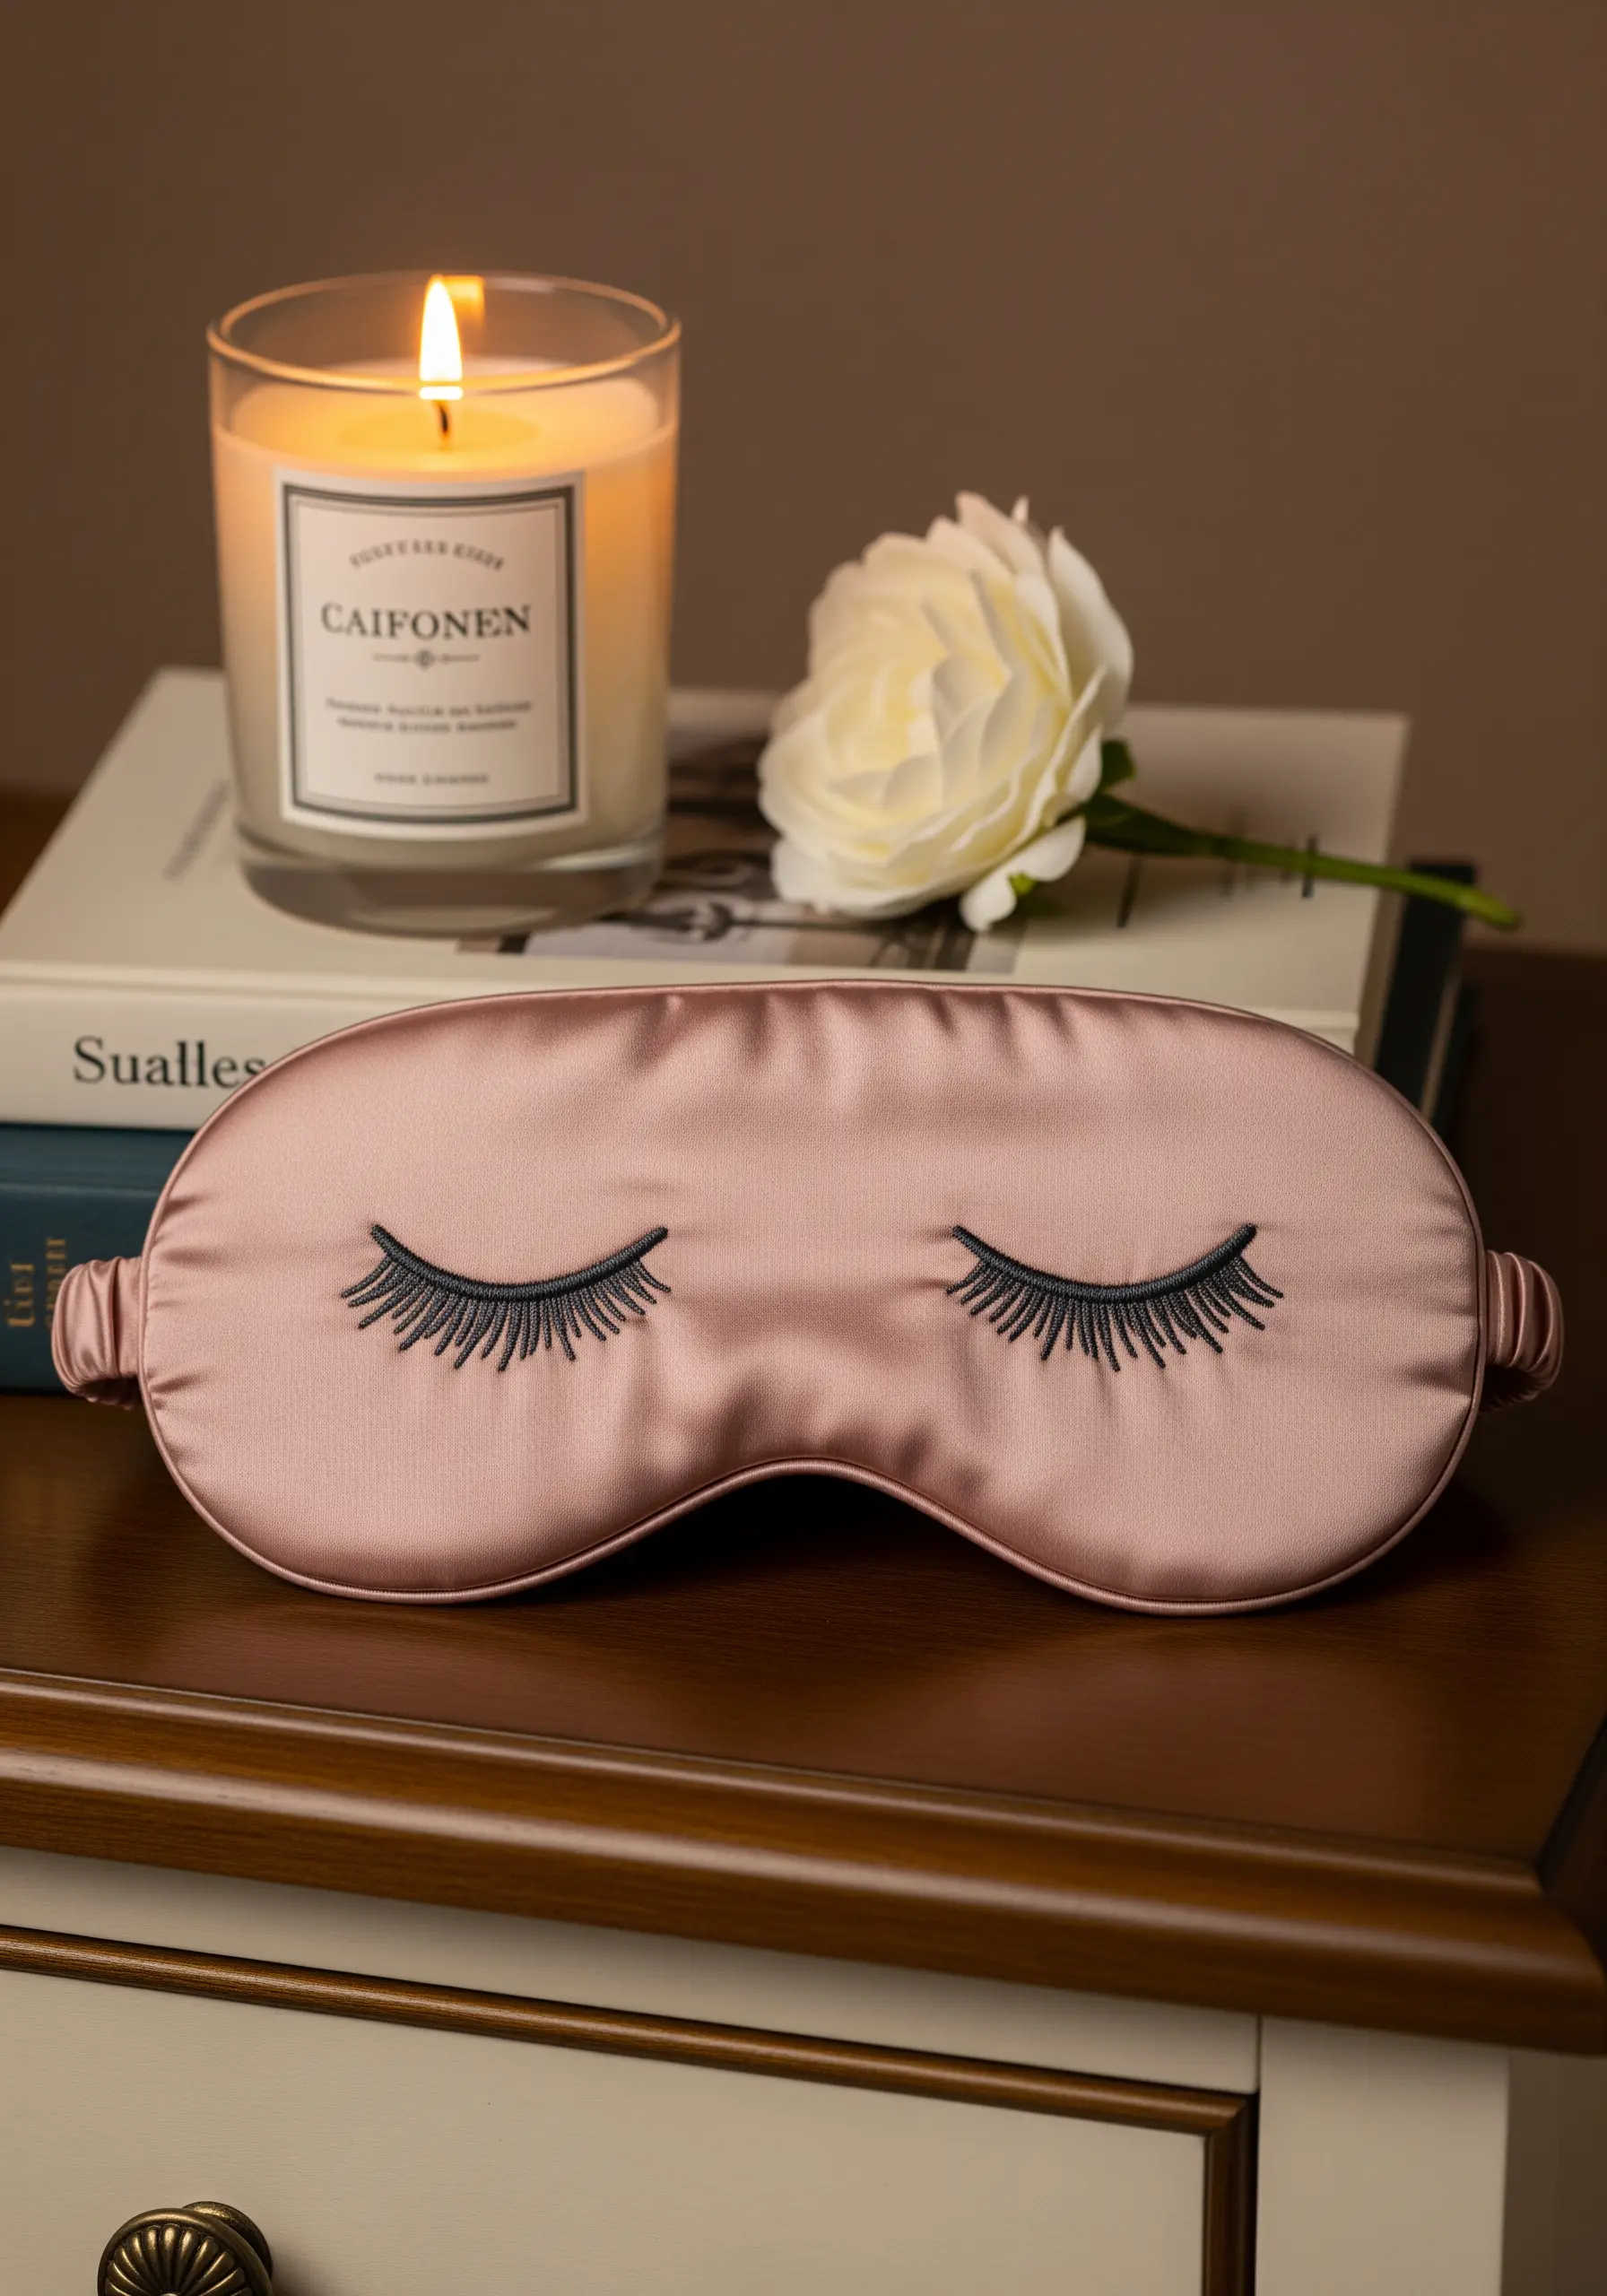
When embroidering a gift that will be worn or touched against the skin, stitch choice is crucial.
On this silk sleep mask, a smooth, dense satin stitch is the perfect choice for the eyelashes.
It lies flat against the fabric, won’t snag or feel scratchy, and provides a clean, graphic look.
Avoid raised, bumpy stitches like French knots, which would compromise comfort.
This thoughtfulness makes for beautiful and practical minimal embroidery projects.
13. Blend Thread Colors for a Watercolor Effect
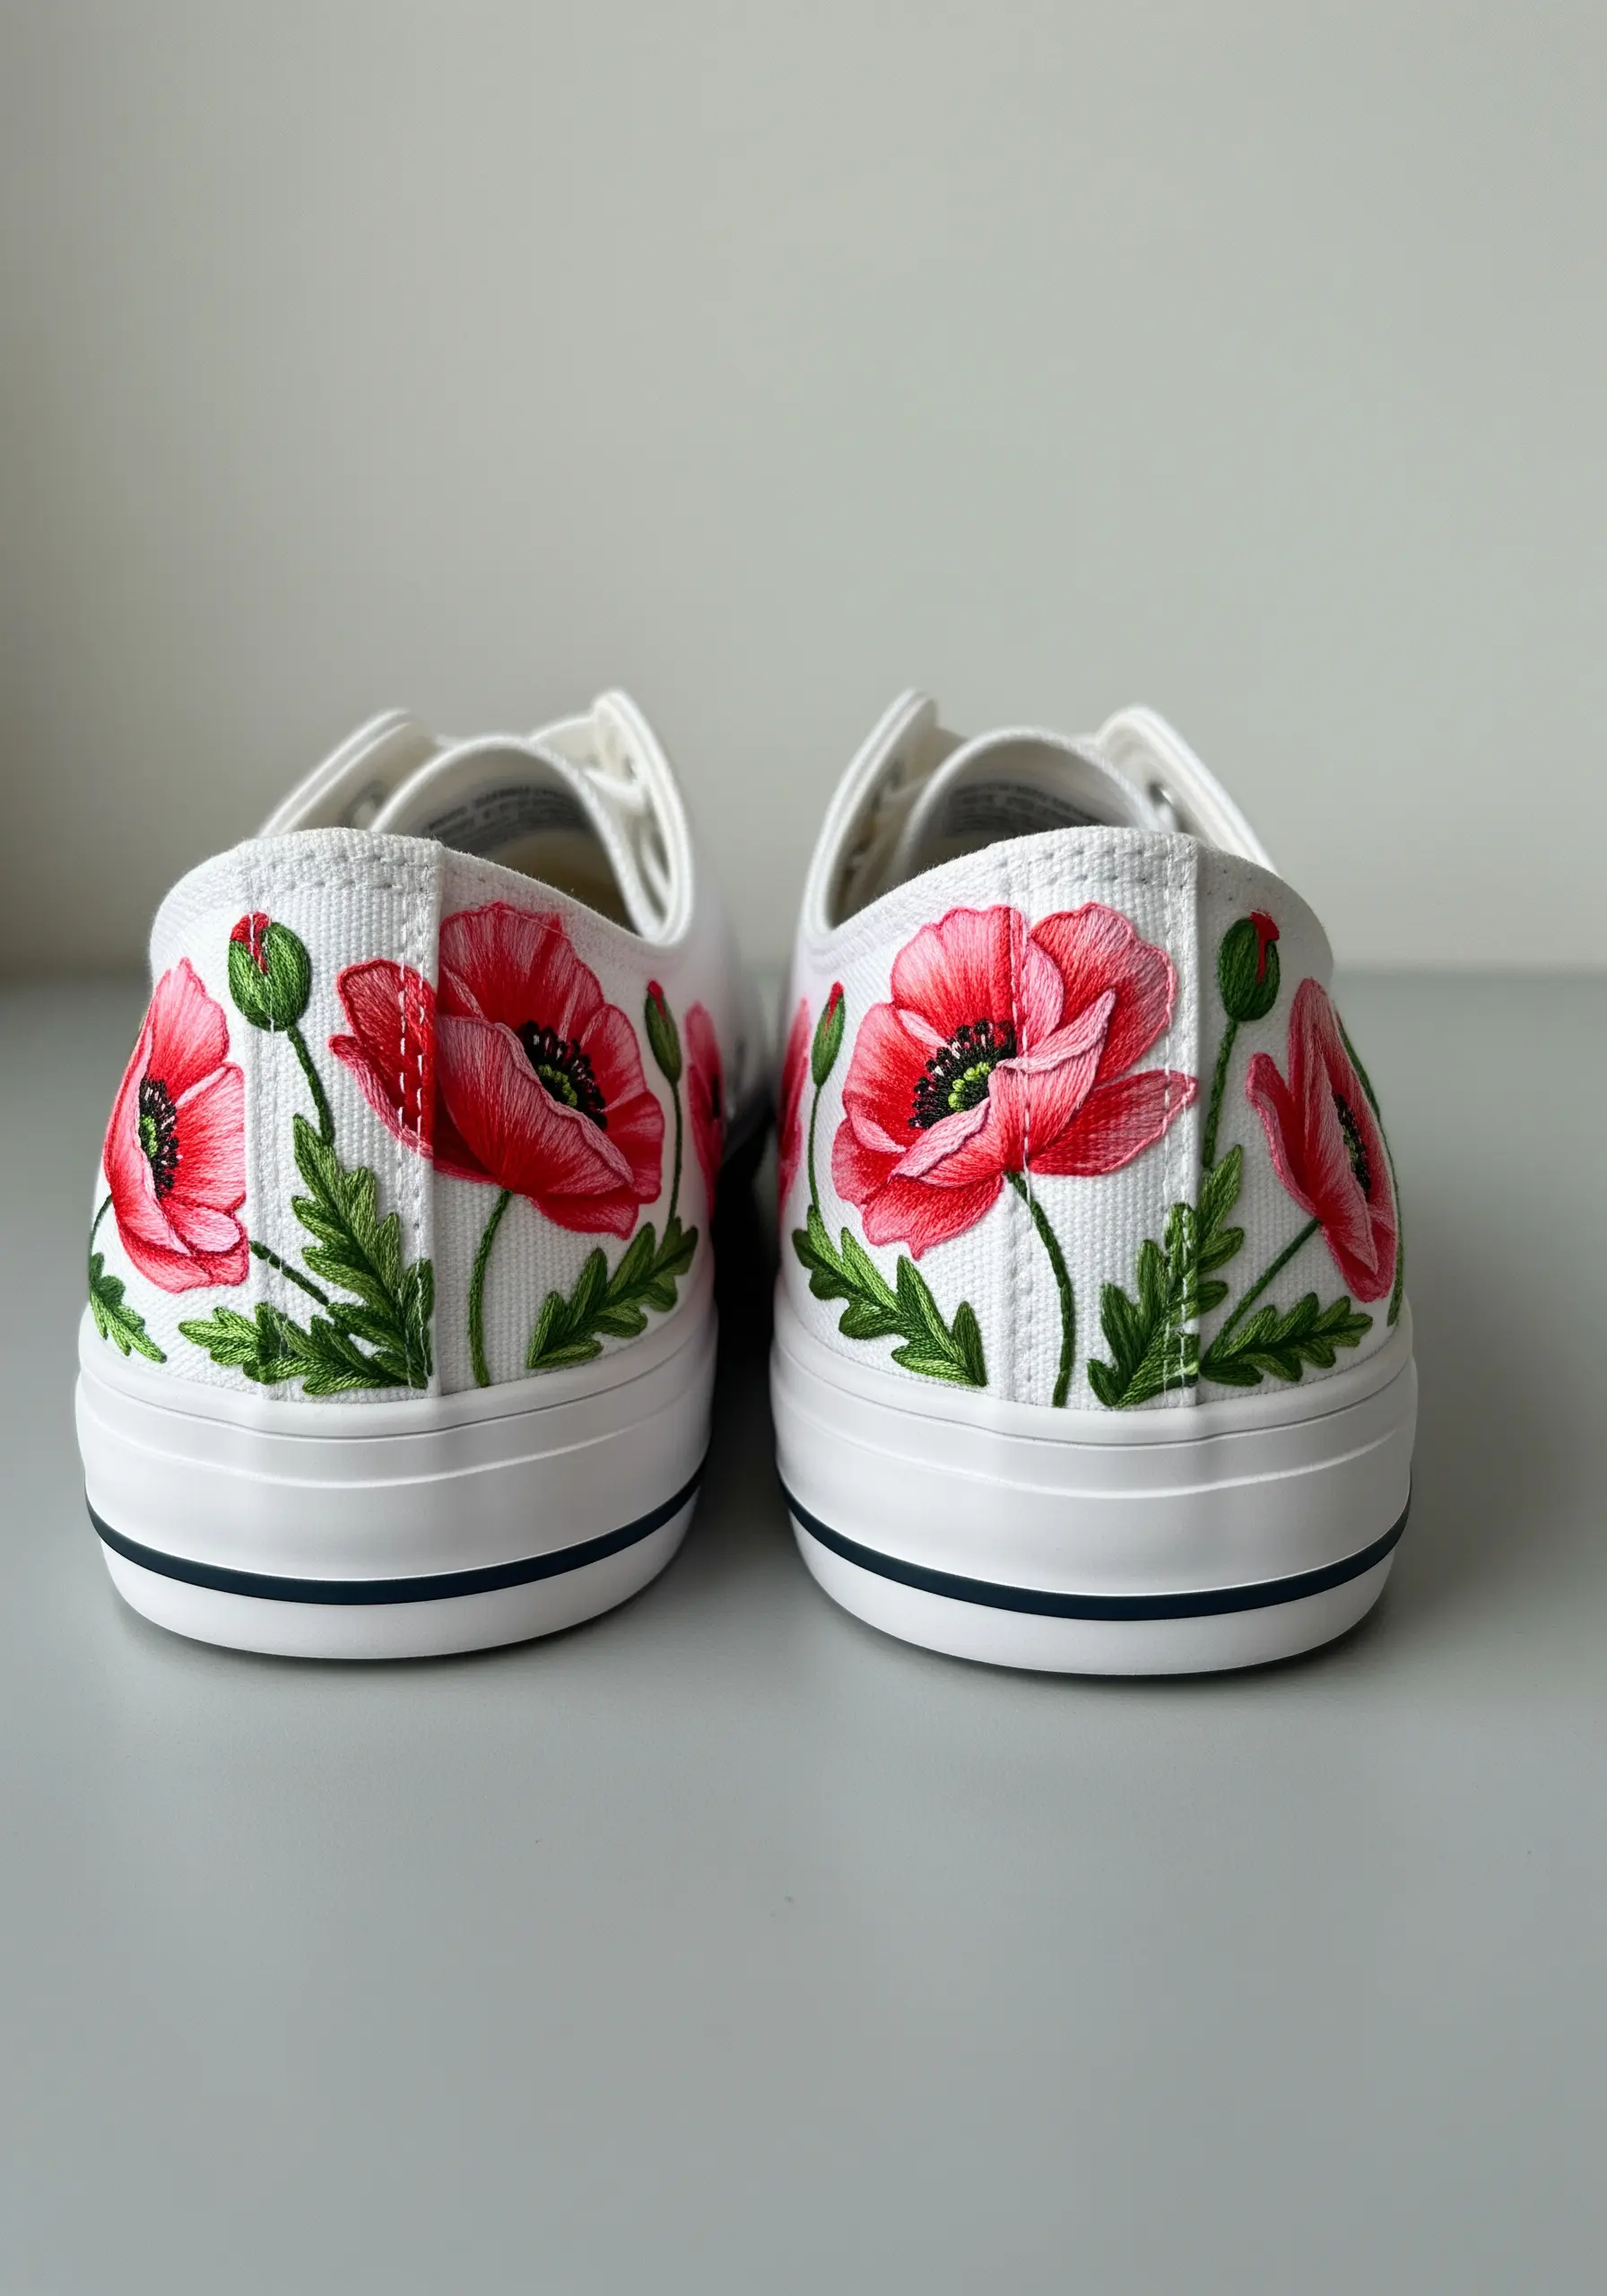
You can make your stitches look like watercolor paintings on fabric by strategically blending your thread.
Using a single strand of floss, fill each poppy petal with long-and-short stitches that allow different shades of red and pink to overlap organically.
The goal is to create soft transitions between colors rather than hard, defined lines.
This painterly approach gives florals a soft, romantic quality that is especially stunning on a crisp white canvas background.
14. Sculpt Landscapes with Richly Textured Stitches

Transform a flat landscape into a tactile experience by building up layers of texture.
Use a thicker fiber, like yarn or multiple strands of embroidery floss, and choose stitches that create dimension, such as French knots, chain stitch, or couching.
Vary the density and direction of your stitches to mimic the rugged, layered forms of a canyon or mountain range.
These abstract thread sculpting tricks will make your art pop.
15. Combine Beads and Thread for Celestial Sparkle
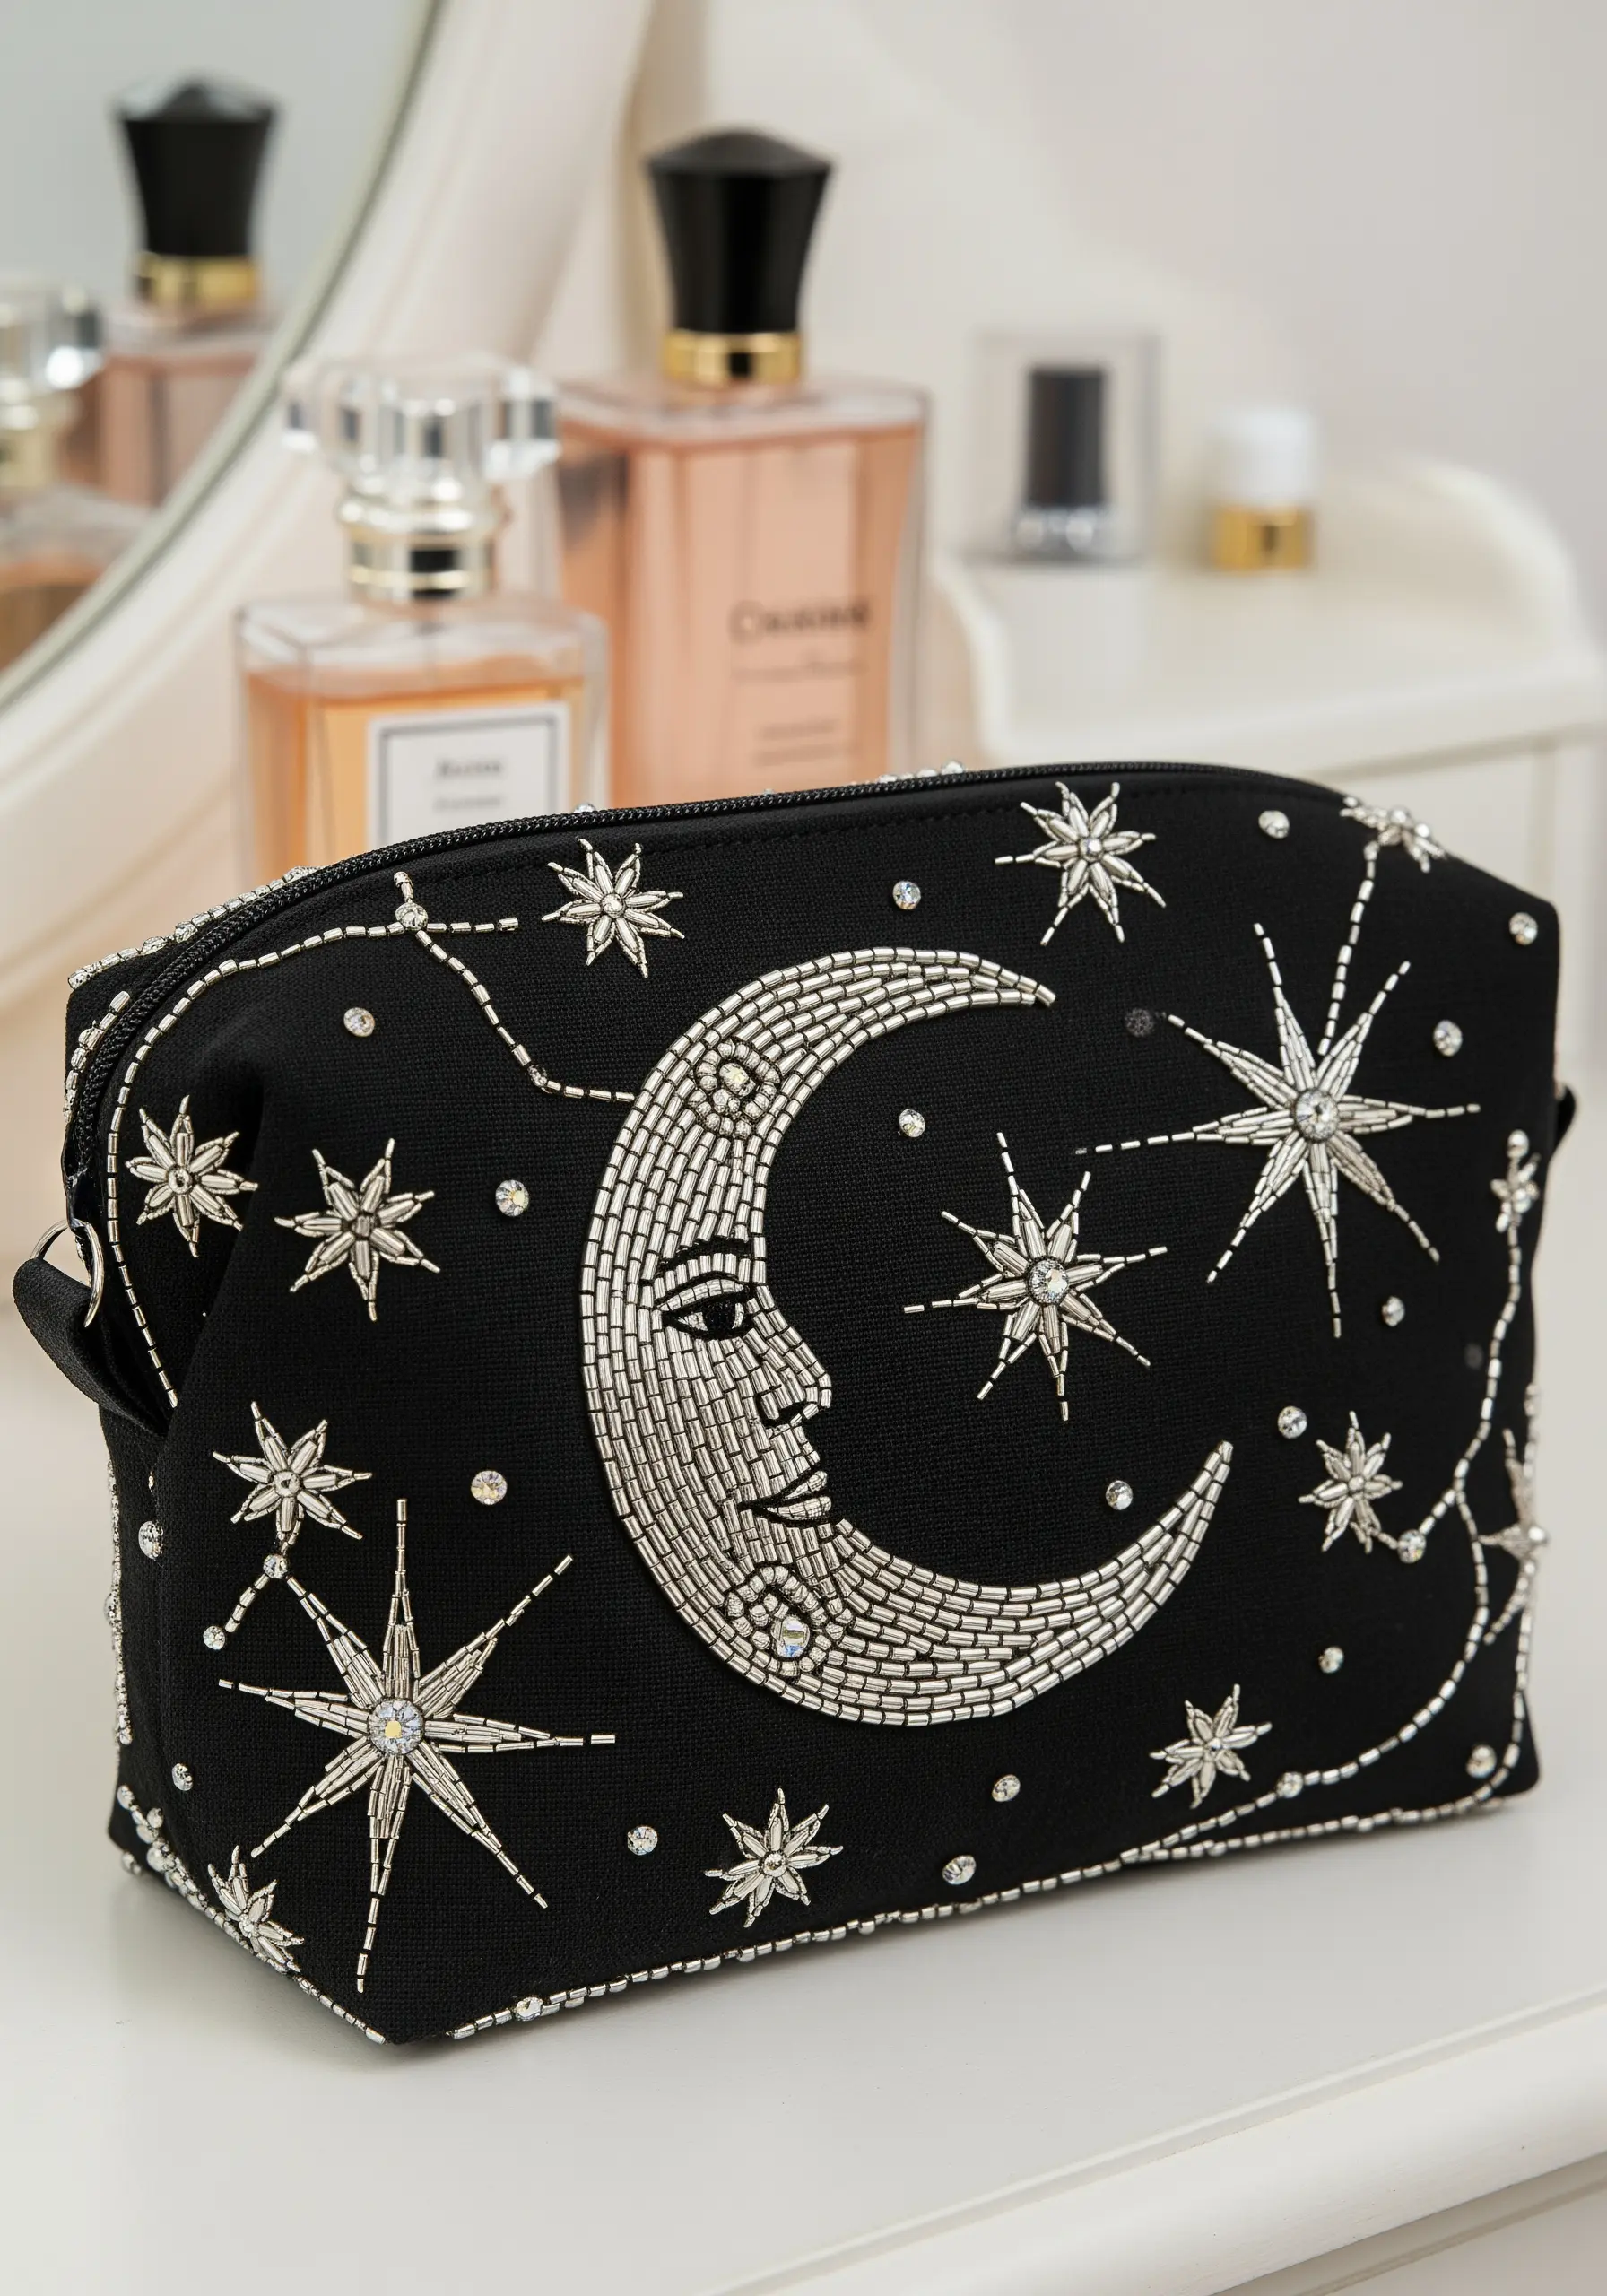
Give your cosmic designs an extra touch of magic by mixing embroidery with beadwork.
First, outline your shapes—like the crescent moon and stars—with a sharp backstitch using silver metallic thread.
Then, instead of filling the shapes with floss, carefully stitch in tiny seed beads.
This combination creates a dazzling, light-catching texture that thread alone cannot achieve, making any accessory feel instantly more glamorous.
Try these moon and stars embroidery ideas for a peaceful, dreamy project.
16. Achieve Classic Elegance with Padded Satin Stitch

The key to a monogram that looks professionally done is creating a smooth, raised surface.
Before you begin your top layer, create a foundation by filling the letter shapes with a base of small running stitches or a contrasting satin stitch.
Then, stitch your final, dense satin stitch layer over this padding.
This technique gives the monogram dimension and ensures your stitches lie perfectly flat and even, which is especially important for classic table linen embroidery motifs.
17. Translate Architecture with Line and Texture

Stitching a house portrait is less about complex shading and more about defining shapes with lines and texture.
Use a crisp backstitch or split stitch to outline the roof, windows, and doors.
For surfaces like brick or siding, use simple, repeating patterns of straight stitches or seed stitches to create a textural fill that suggests the material without being overly literal.
This approach results in a clean, charming portrait that makes for an incredibly thoughtful gift.
Discover other modern framed embroidery designs you’ll love.
18. Create an Ethereal Look on Sheer Fabric
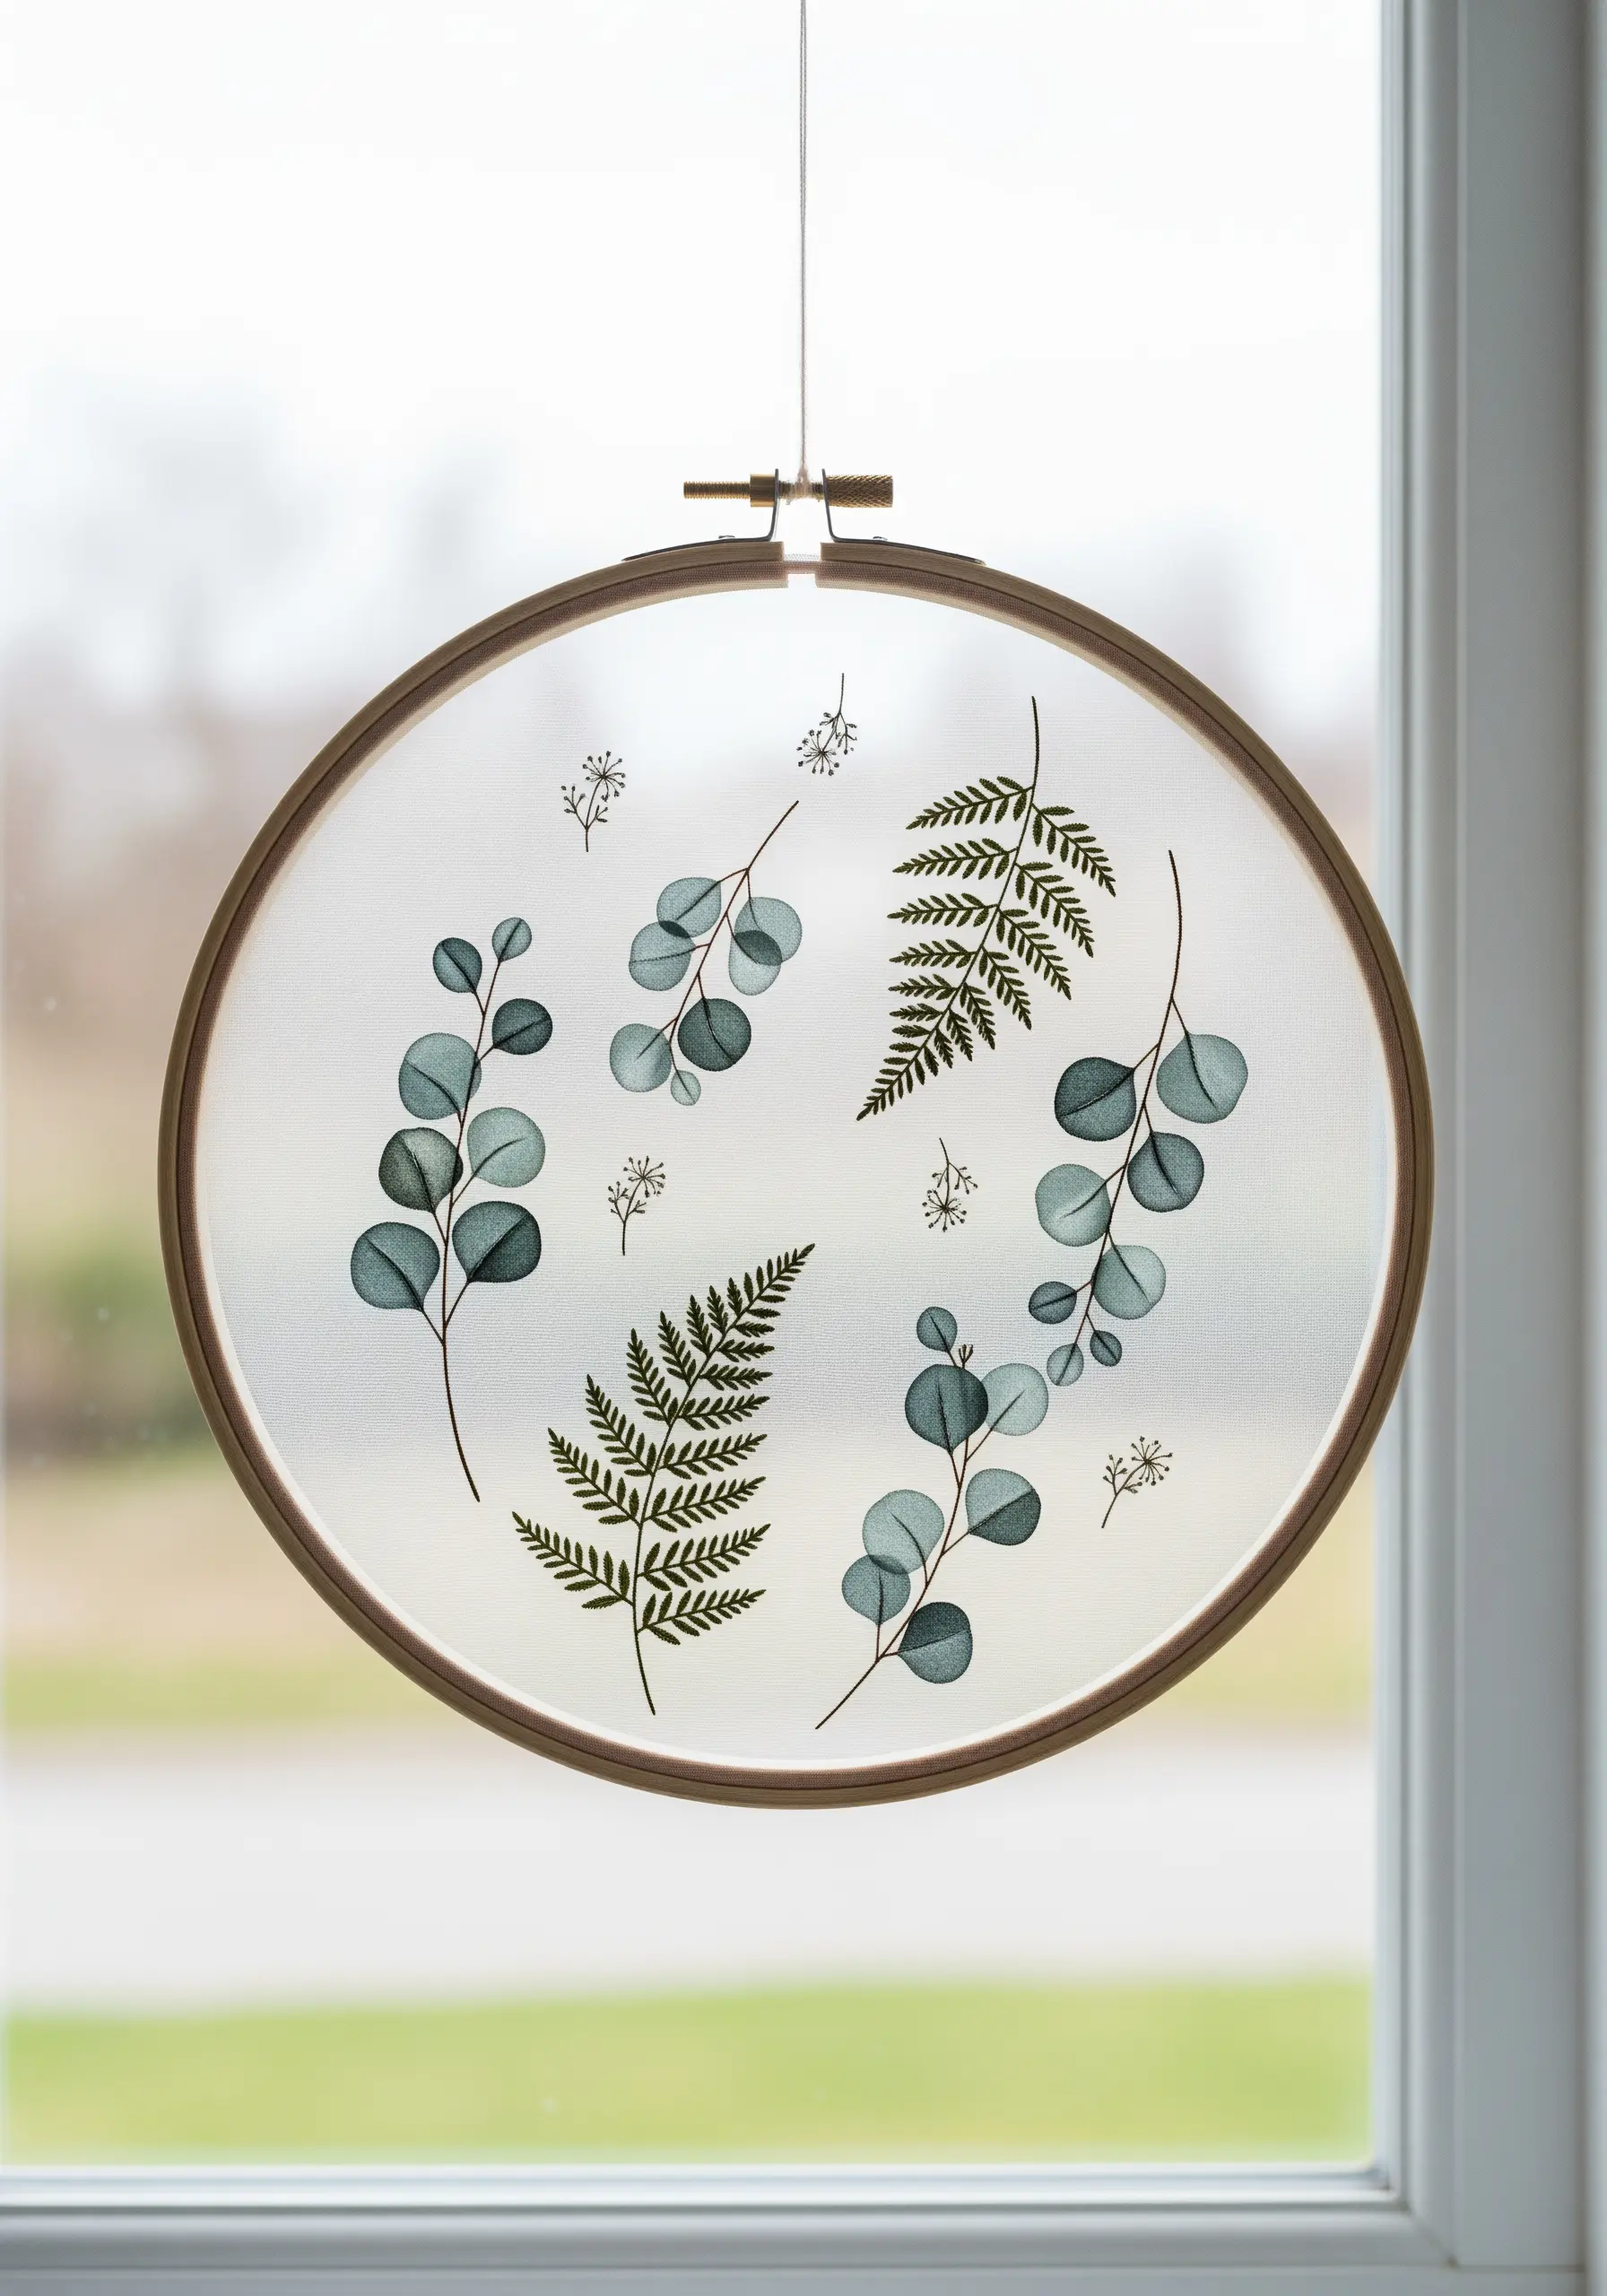
Embroidering on a sheer fabric like organza or tulle creates a stunning, floating illusion.
The key to a professional finish is neatness, as the back of your work will be visible.
Keep your thread tails tidy by weaving them under existing stitches instead of making knots.
Use delicate stitches like stem stitch and single straight stitches to preserve the fabric’s transparency.
This is perfect for decorating sunlit window corners, where the light can shine through your work.
19. Adapt Your Stitching for Non-Traditional Materials
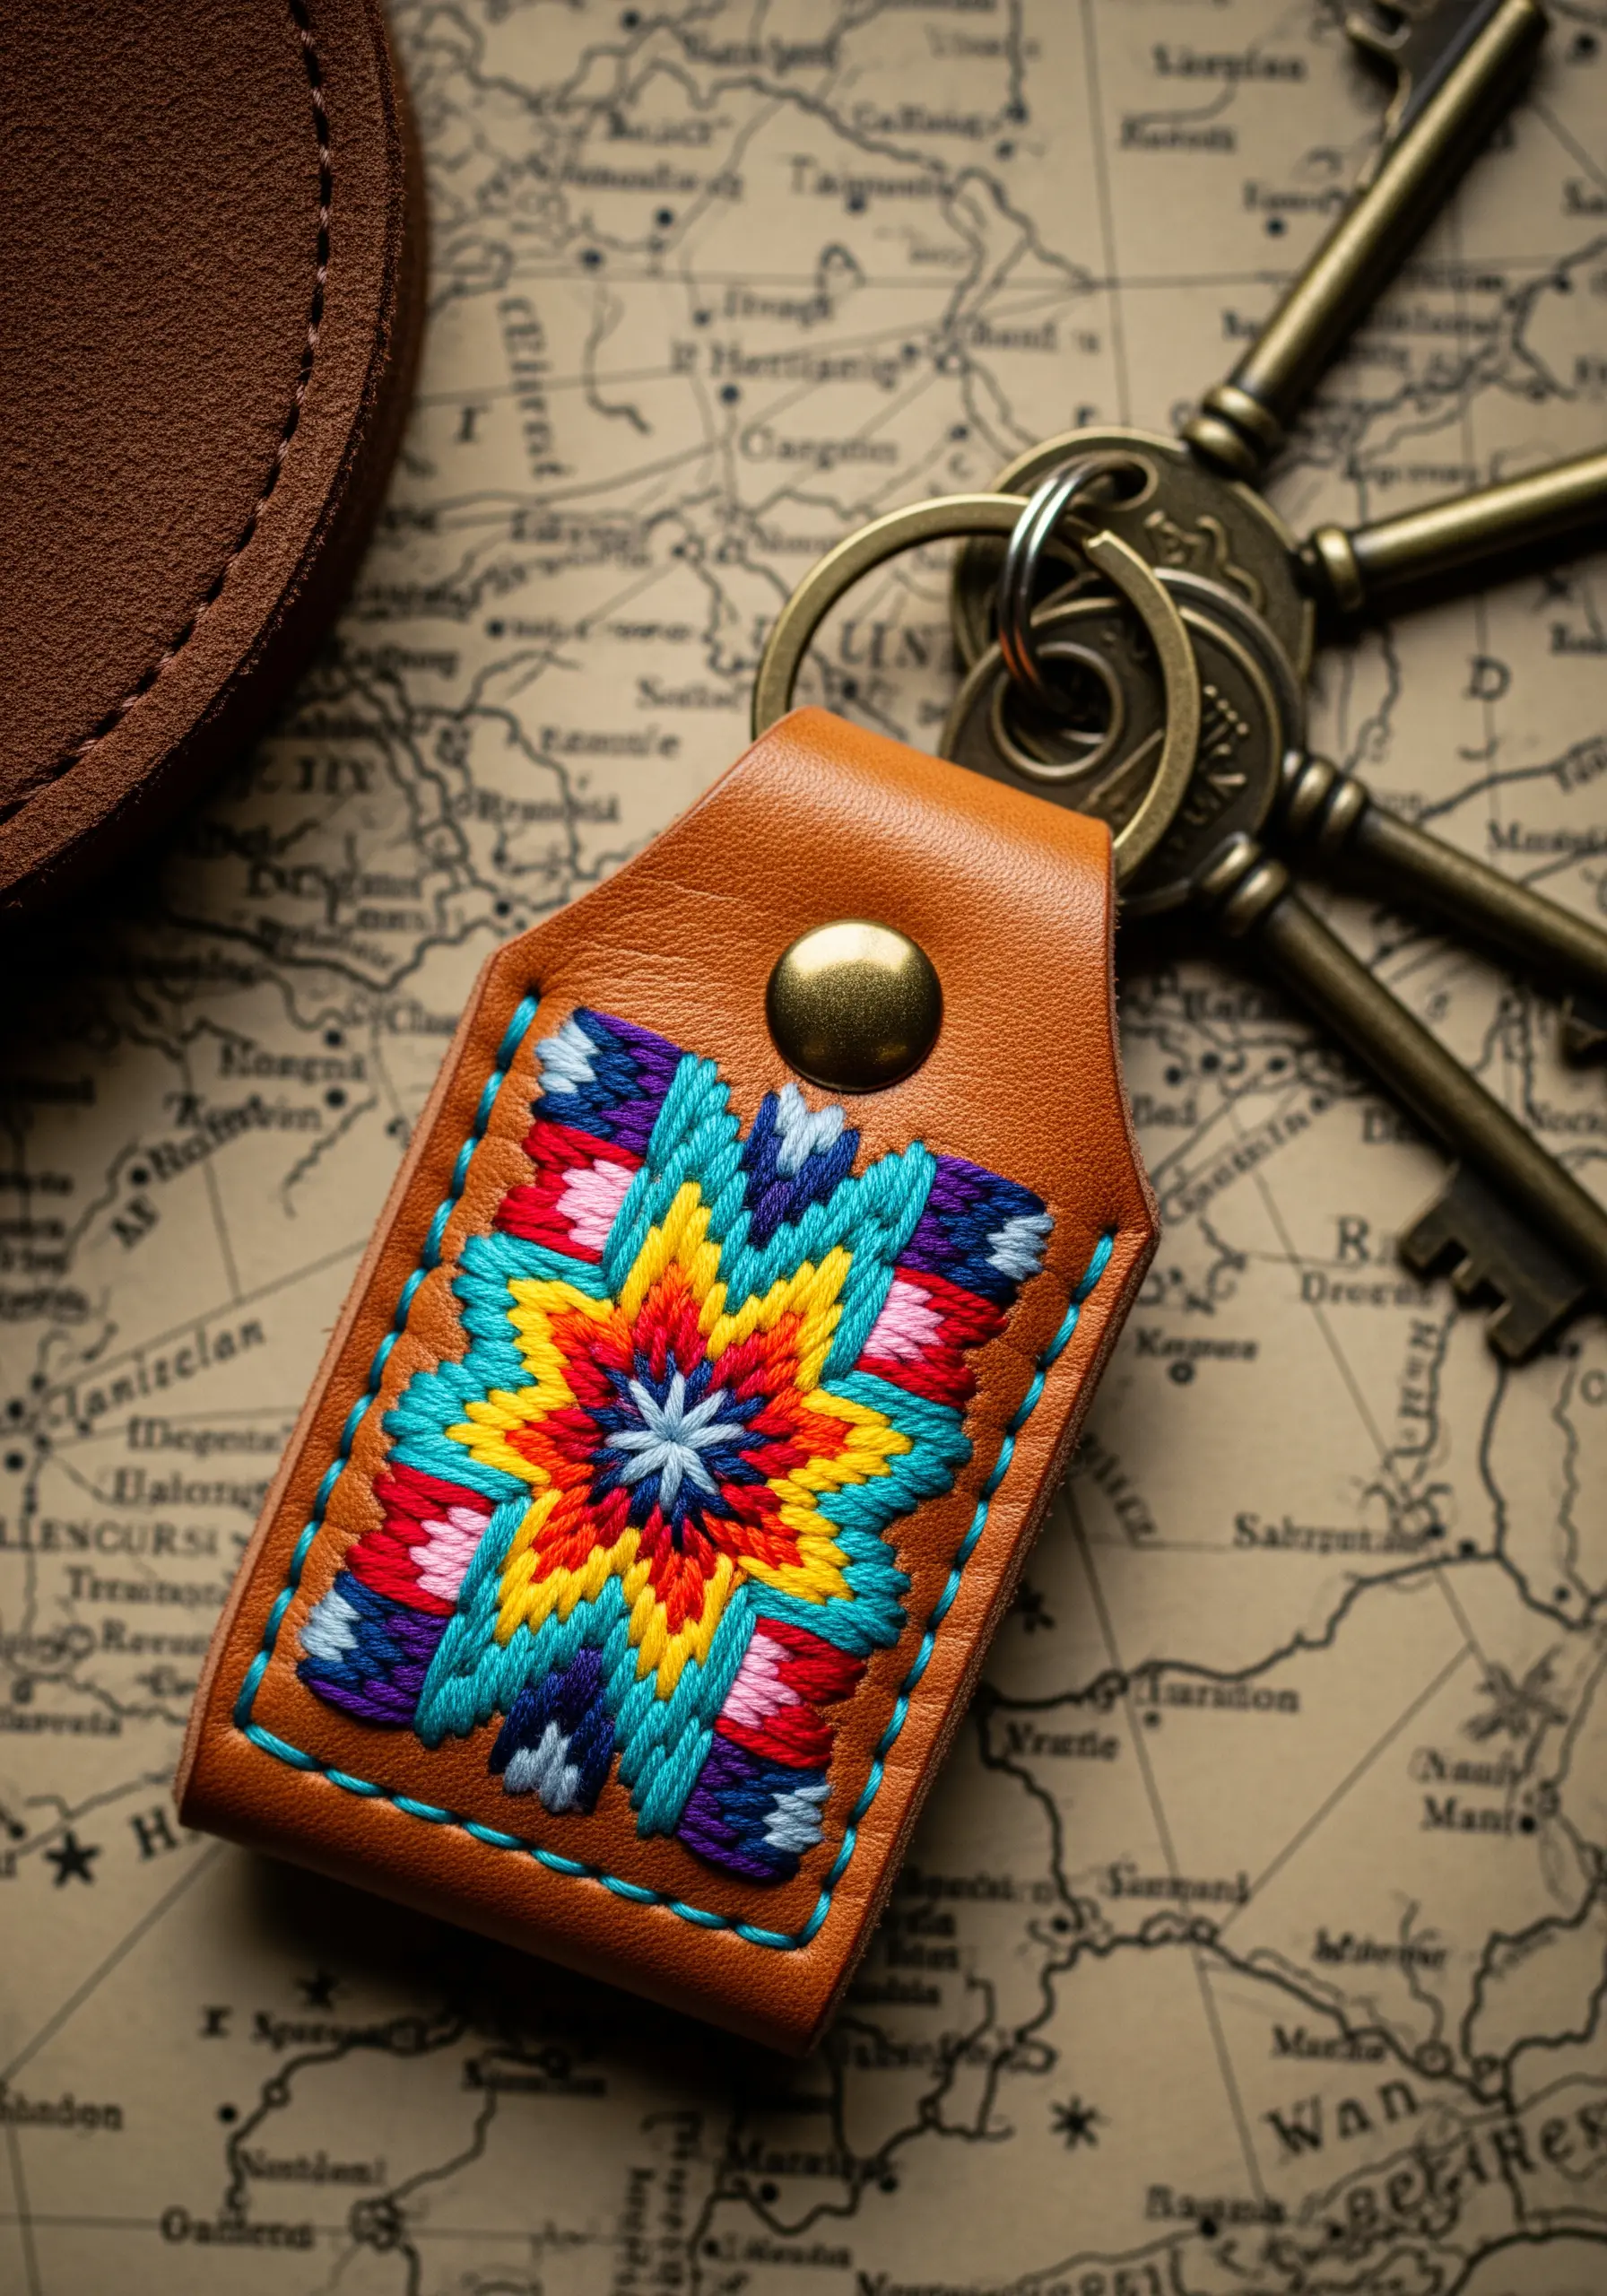
Yes, you can embroider on leather, and the result is a wonderfully unique, durable gift.
Use a sharp, sturdy needle to pierce the material—you can even pre-punch the holes with an awl for thicker leather.
Choose stitches that provide full coverage and are structurally sound, like a dense satin stitch or brick stitch.
The contrast between the soft, colorful thread and the rugged leather is what makes this technique so effective.
Start by crafting your personalized keychains.
20. Turn a Practical Item into a Sculptural Gift
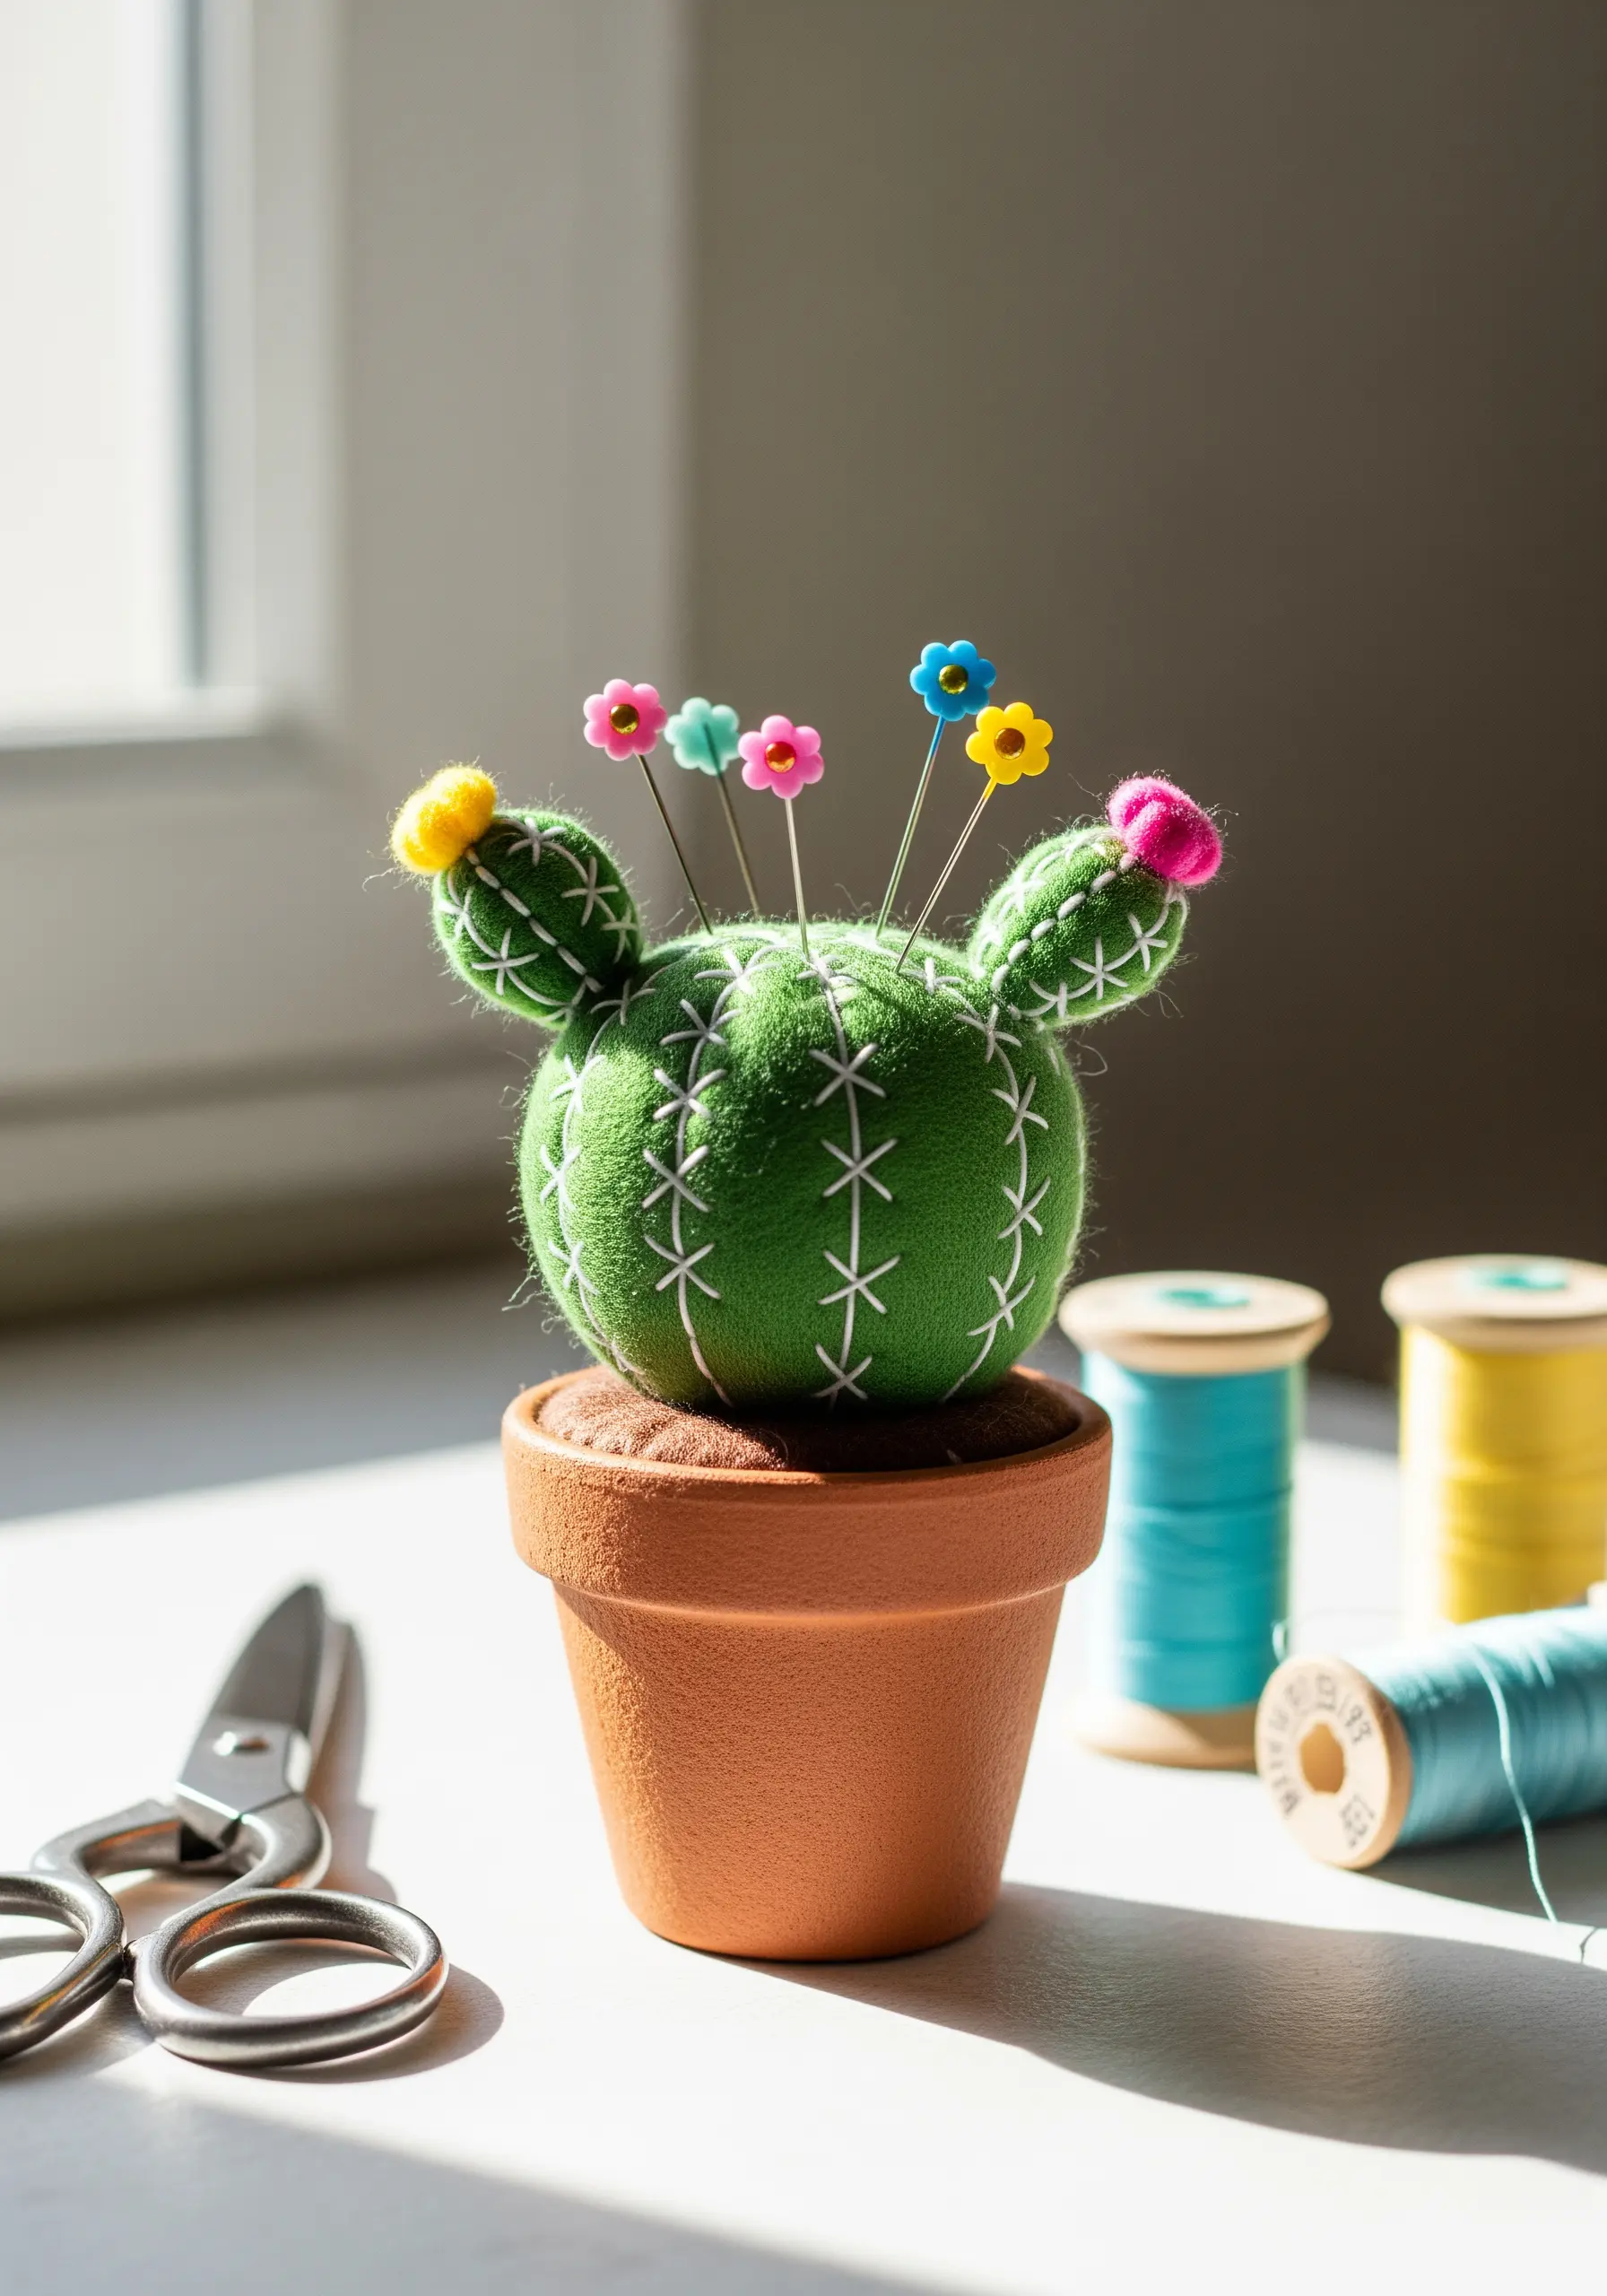
A handmade gift becomes truly special when it combines function with playful design.
Instead of a traditional flat pincushion, create a three-dimensional cactus shape using felt panels.
Once stuffed firmly, the embroidery becomes the finishing touch—simple white straight stitches are all you need to create the illusion of cactus spines.
It demonstrates how even the most minimal stitching can transform an object.
Explore more fun fabric crafts that turn simple textiles into statement pieces.
21. Add Subtle Elegance with Tonal Stitching
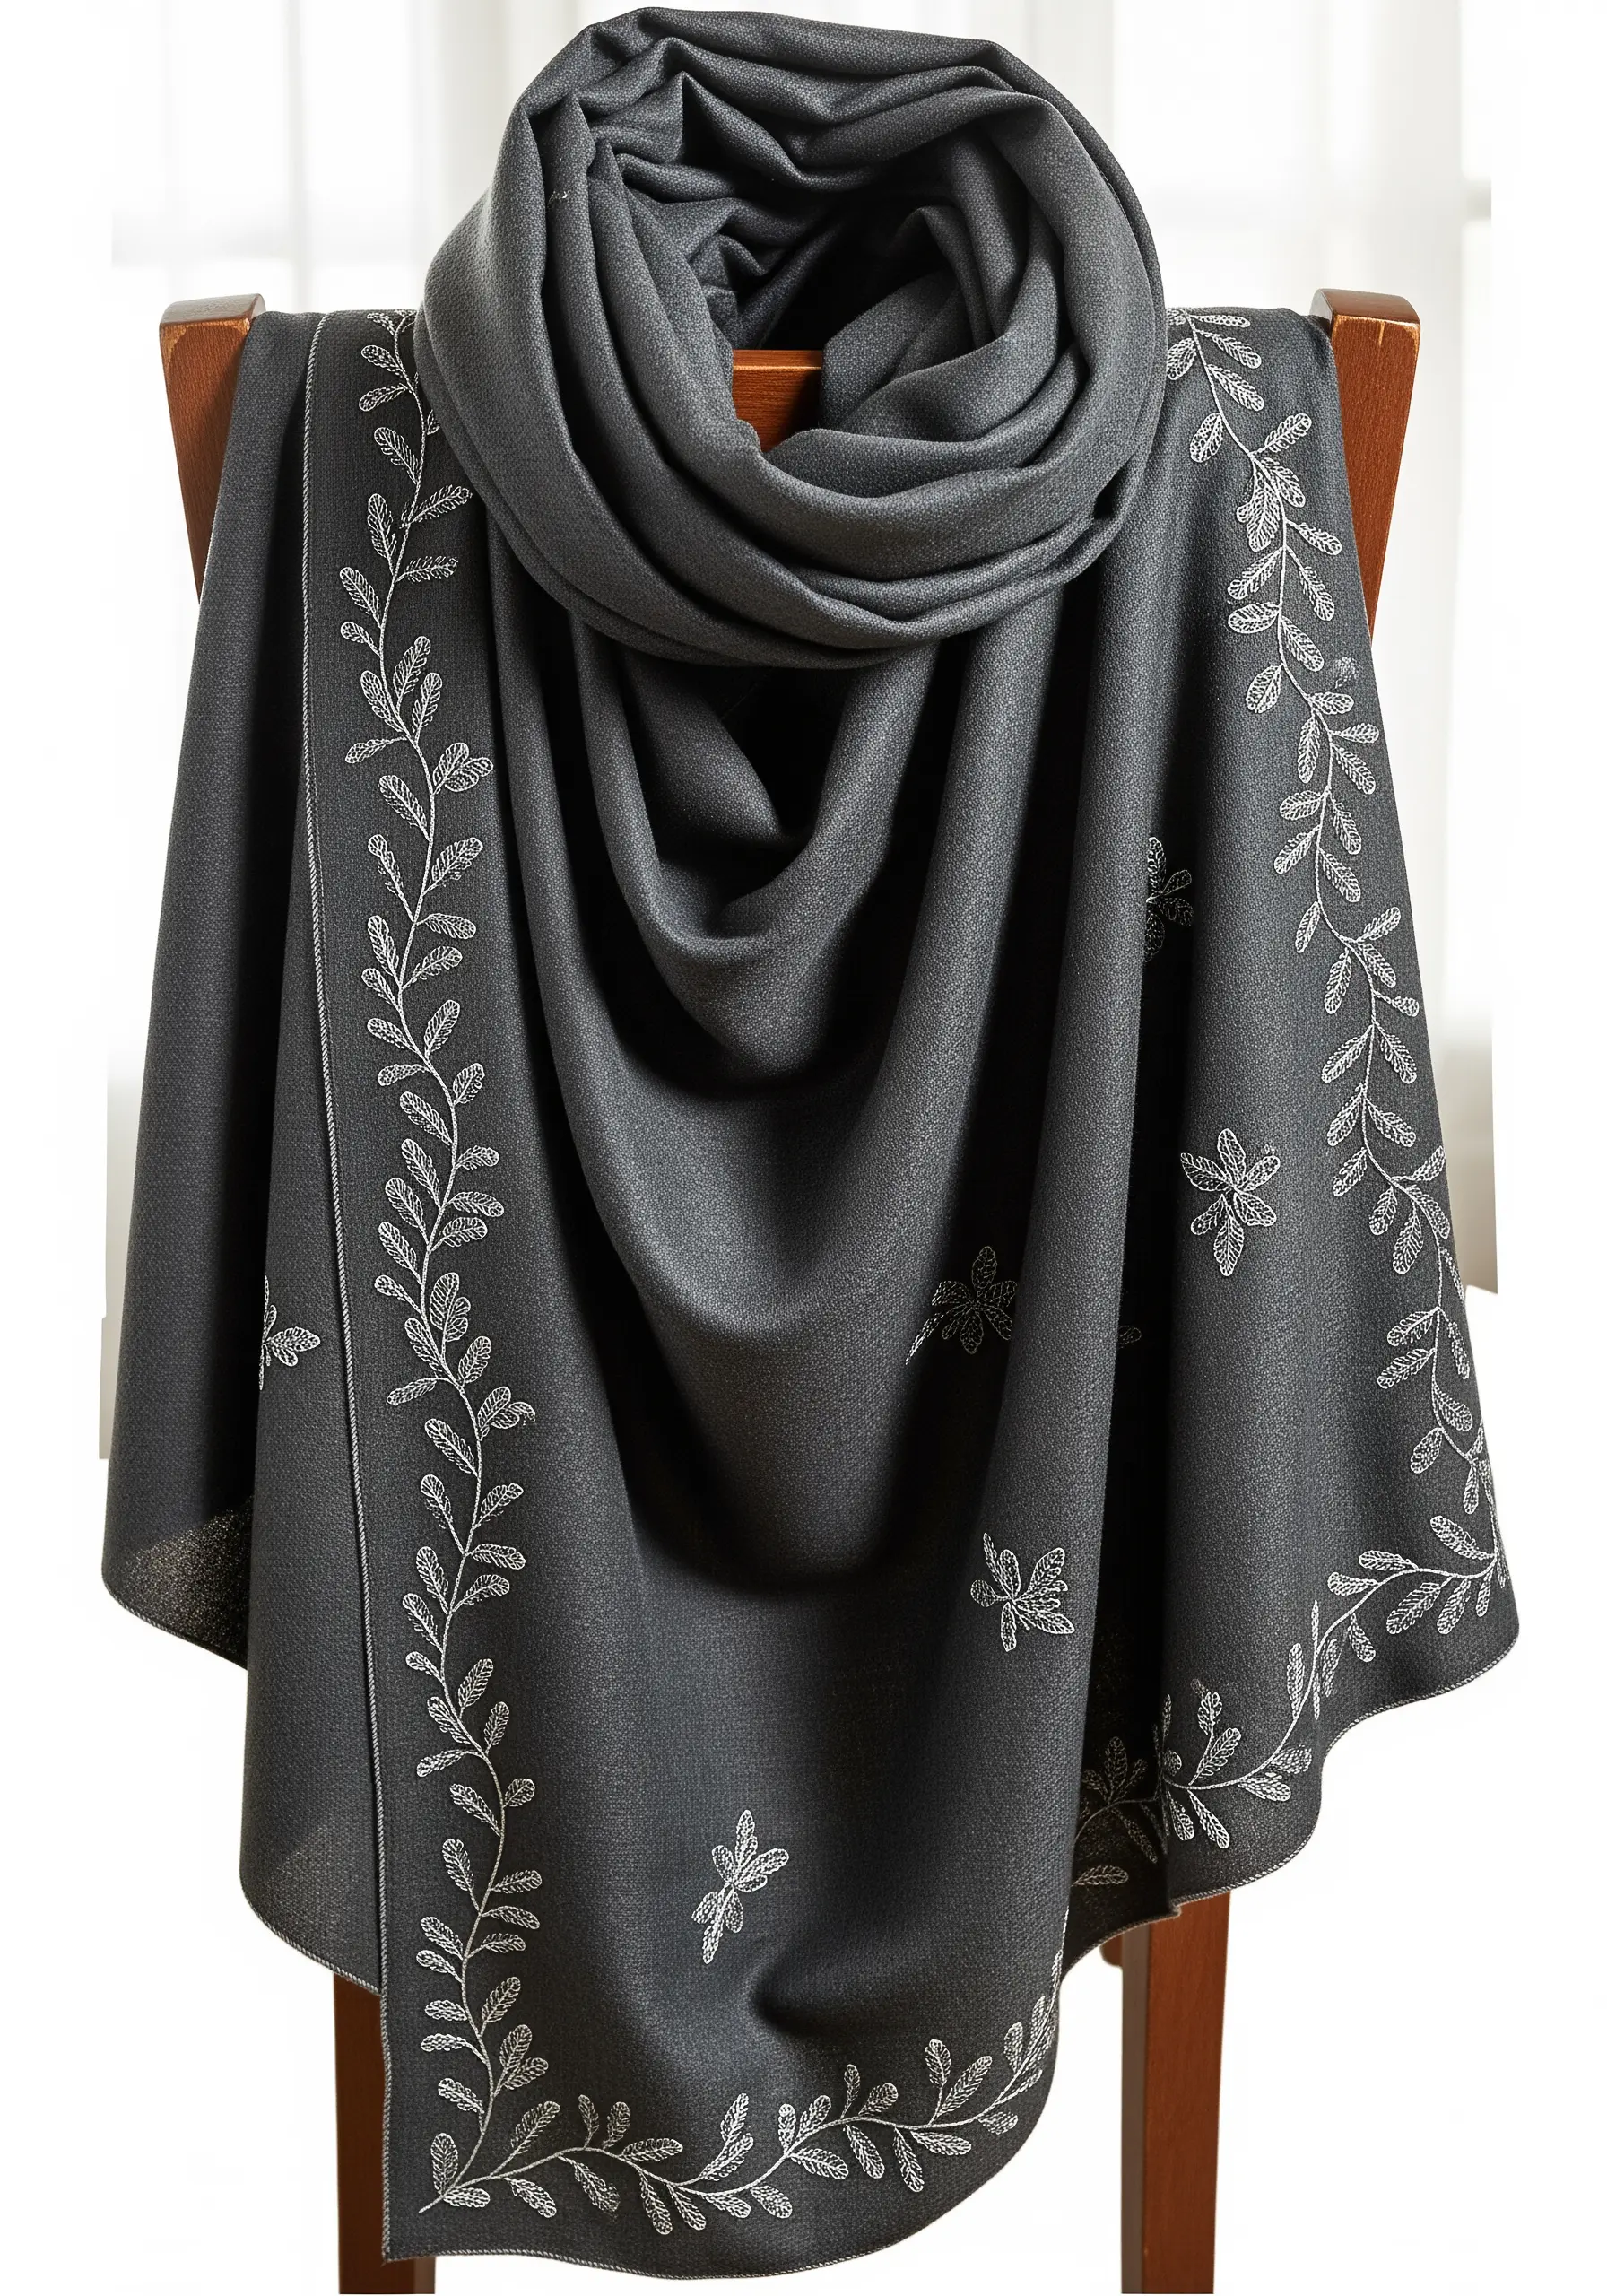
High contrast isn’t the only way to make a statement.
Stitching with a thread that is only a few shades lighter or darker than the base fabric creates an incredibly sophisticated, textural effect.
This technique, known as tonal embroidery, adds a layer of subtle detail that feels quiet and luxurious.
A simple stem stitch or fly stitch border is all you need to elevate a soft pashmina or scarf into a bespoke accessory.
Minimalist embroidery art pieces often rely on this technique for their refined look.
22. Cover a 3D Object with Your Finished Embroidery
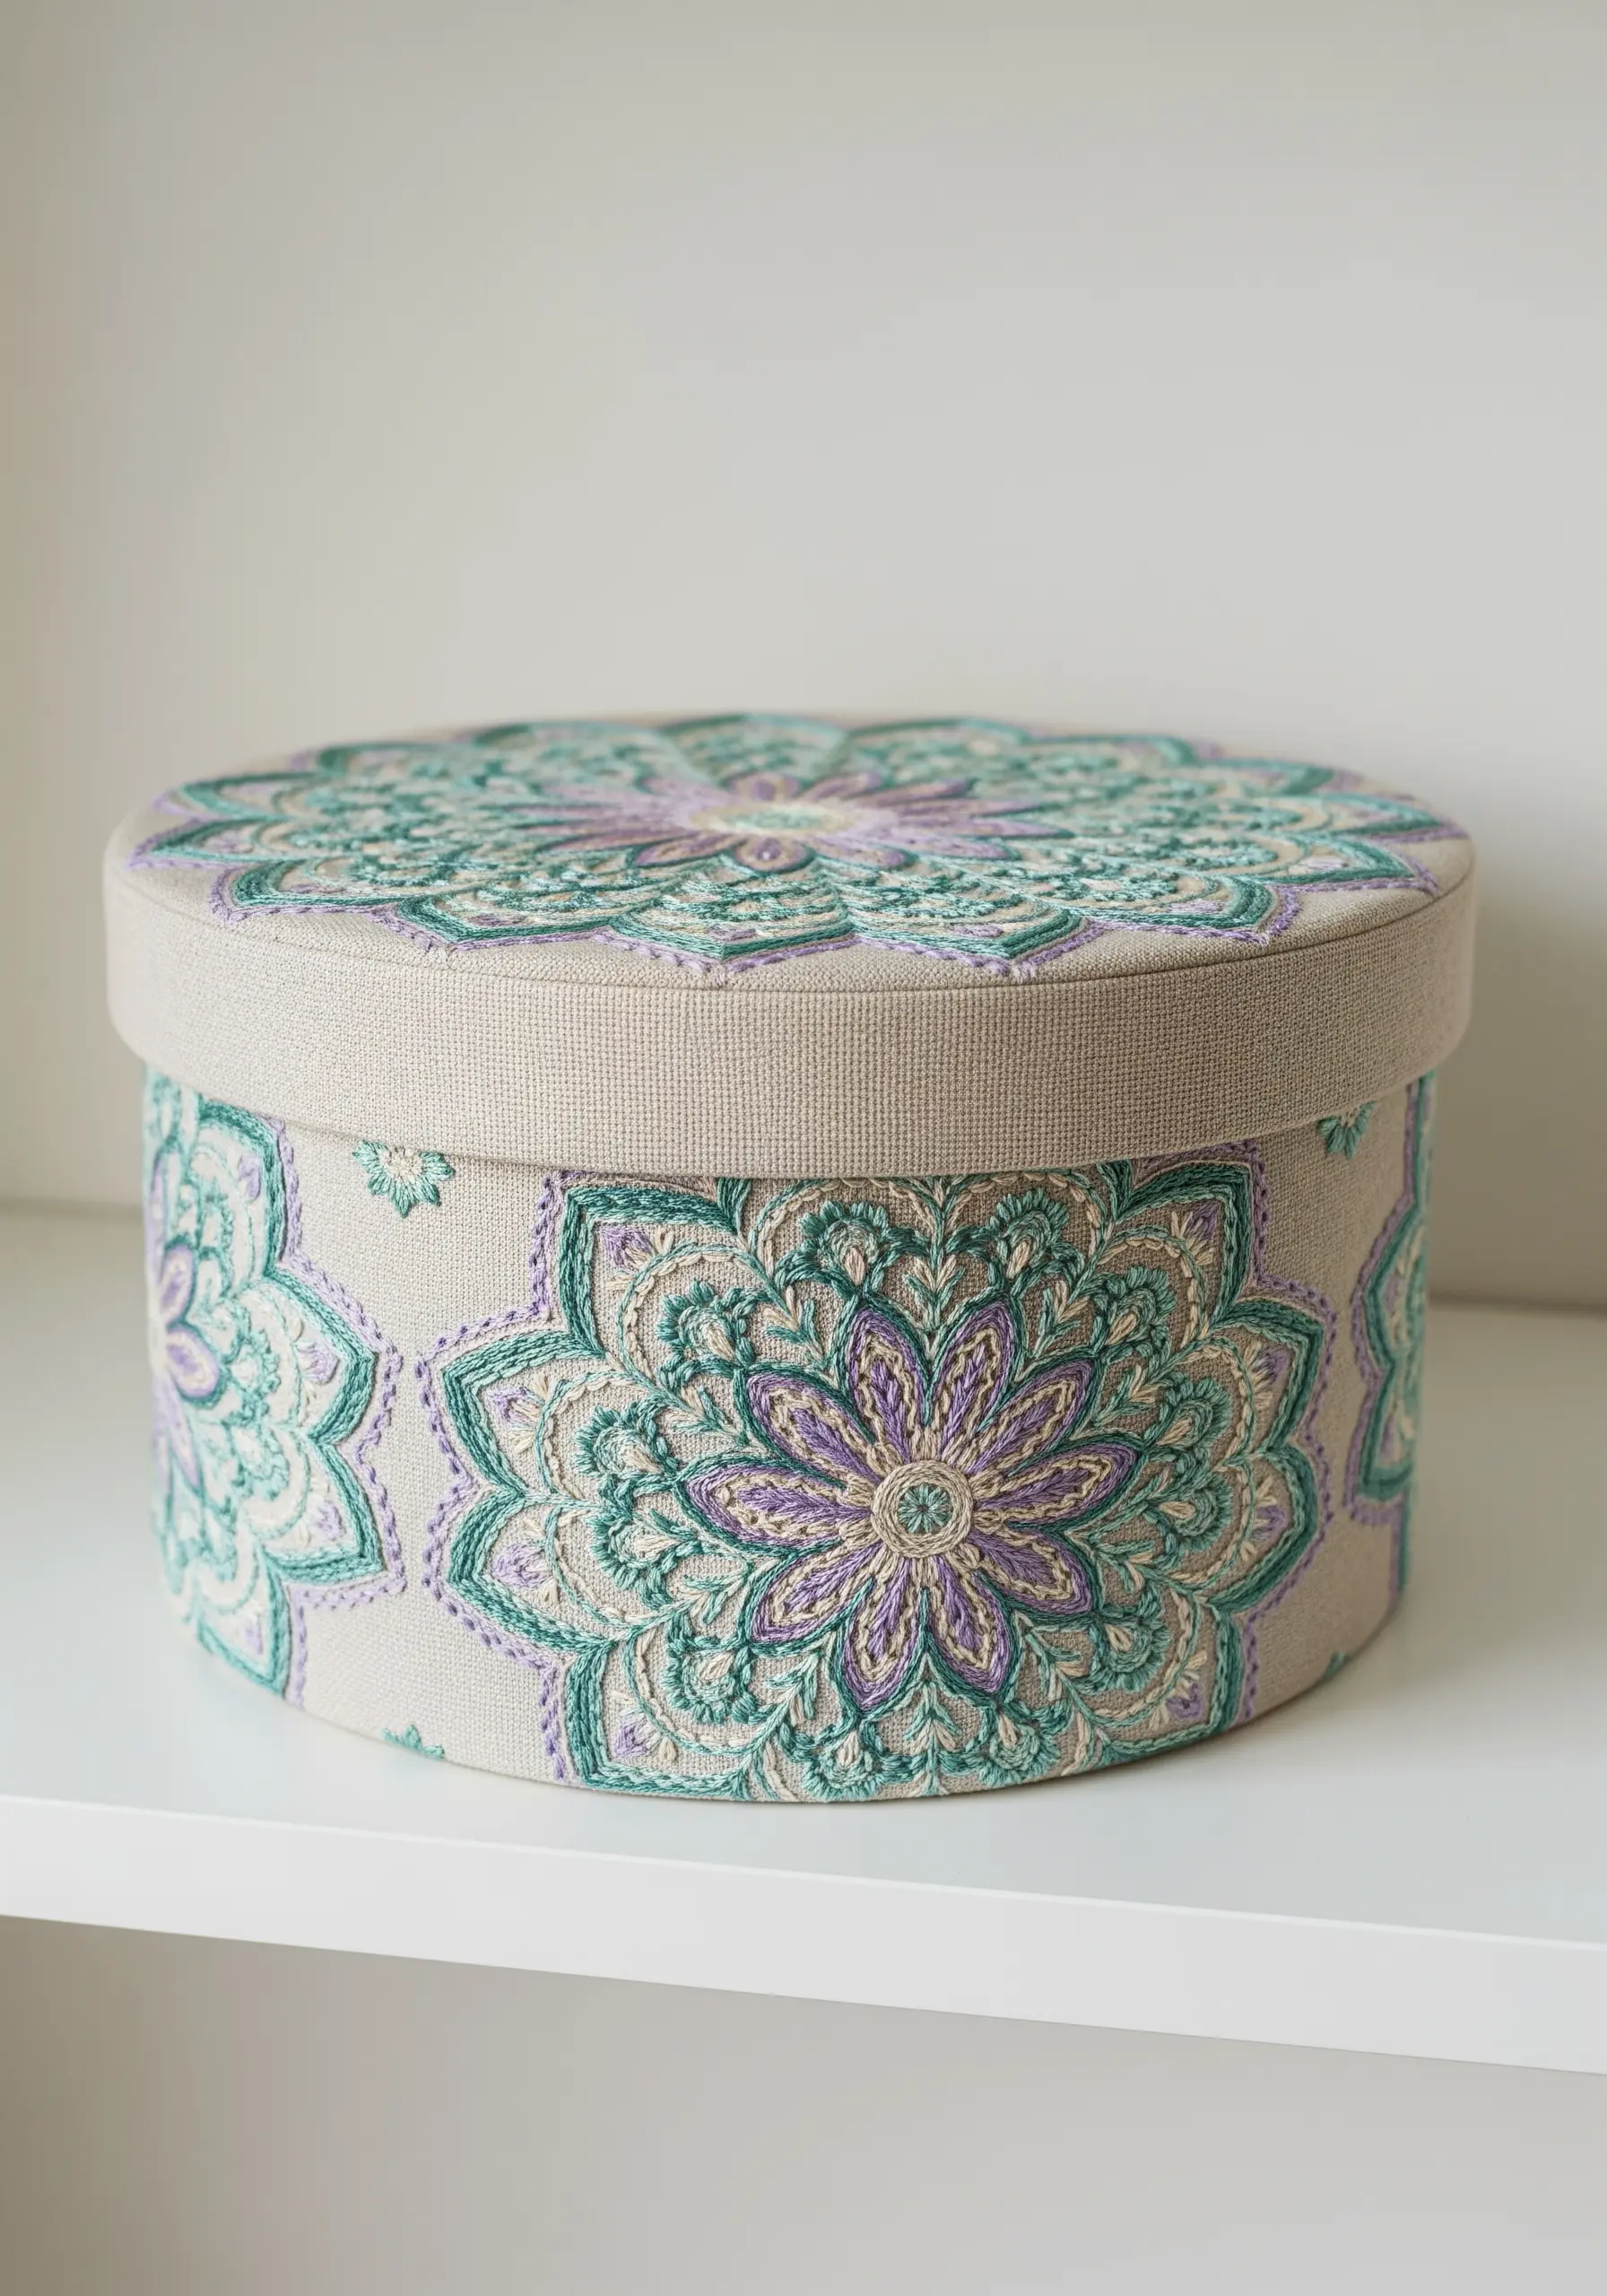
Take your embroidery beyond the hoop by using it to upholster a functional object, like a keepsake box.
Complete your design on a piece of fabric, ensuring you leave a generous margin around the edges.
Use a strong fabric glue or spray adhesive to carefully wrap the embroidered piece around the box lid, smoothing out any bubbles or wrinkles for a seamless finish.
Repeating modern mandala stitch patterns work exceptionally well for this.
23. Create a Cohesive Set with a Shared Theme
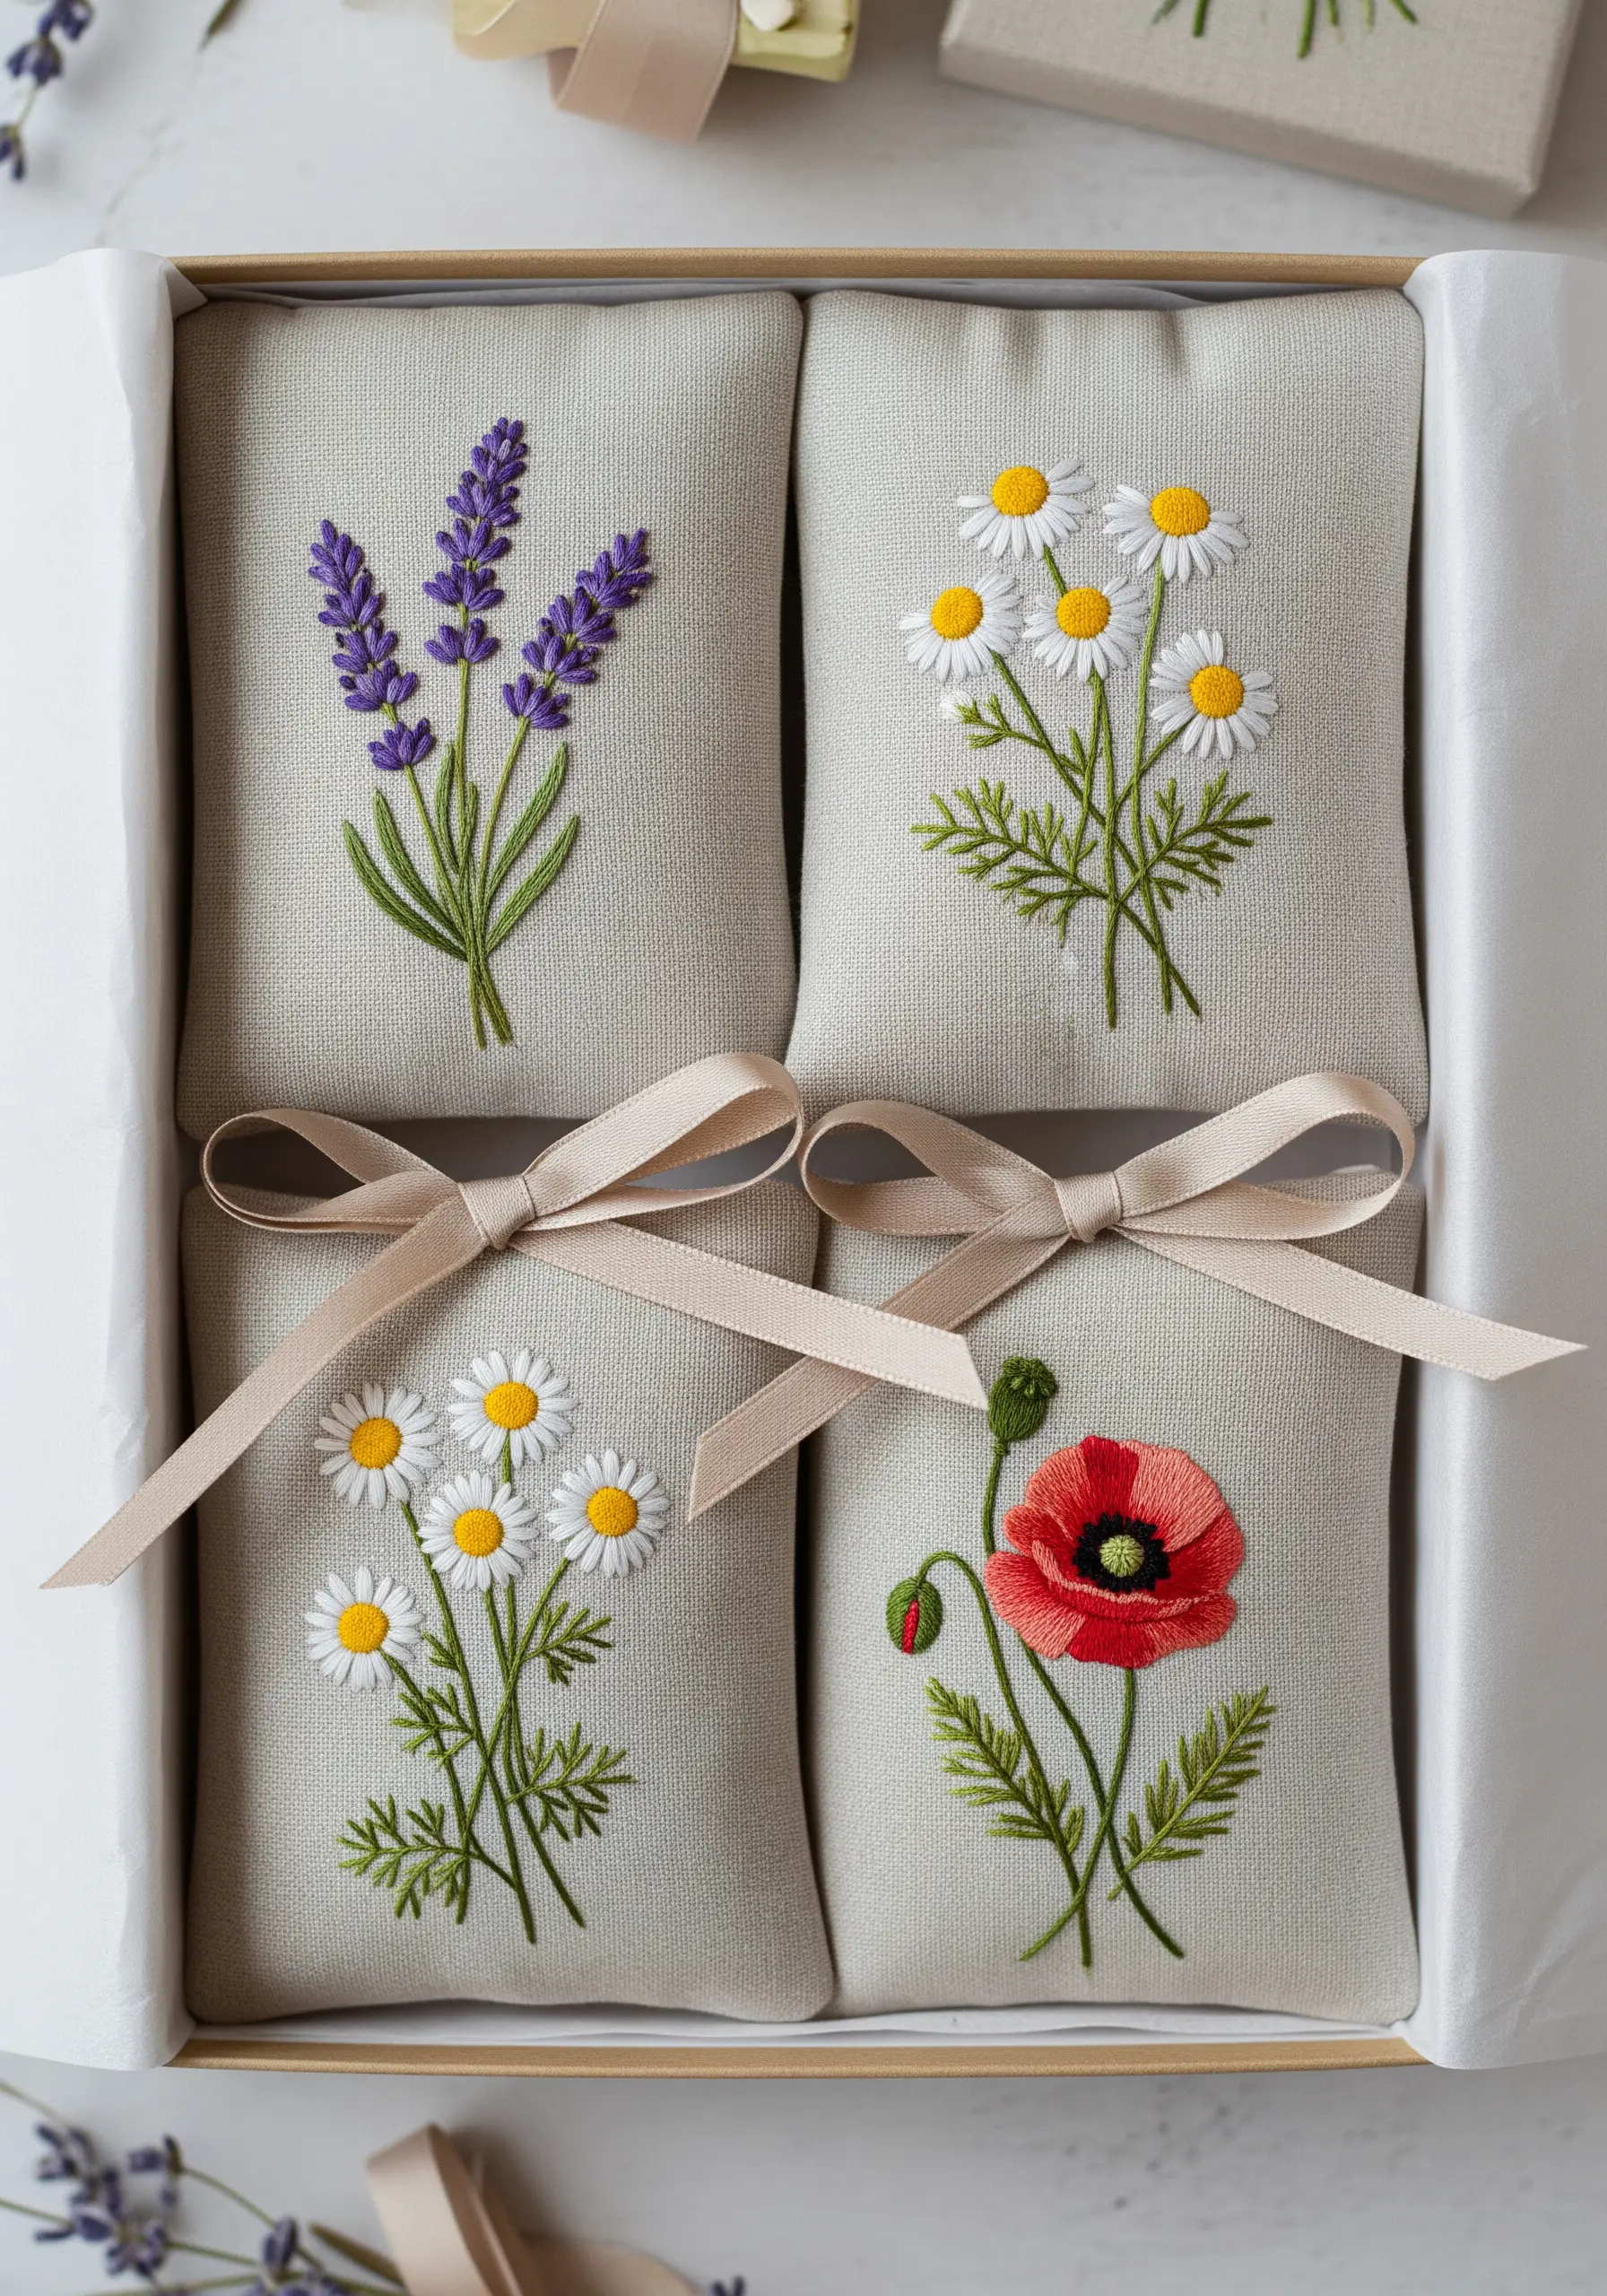
A collection of small items always feels more polished and professional when it is visually unified.
For a gift set of scented sachets, choose a theme like “meadow flowers” and stick to a consistent style and color palette across all the pieces.
Even though each individual design is different, the shared aesthetic makes the set feel curated and intentional, elevating it from simple crafts to a beautifully coordinated gift.
These are the kinds of cozy DIY embroidery crafts everyone loves to receive.
24. Layer Felt Appliqué for Clean Shapes and Texture
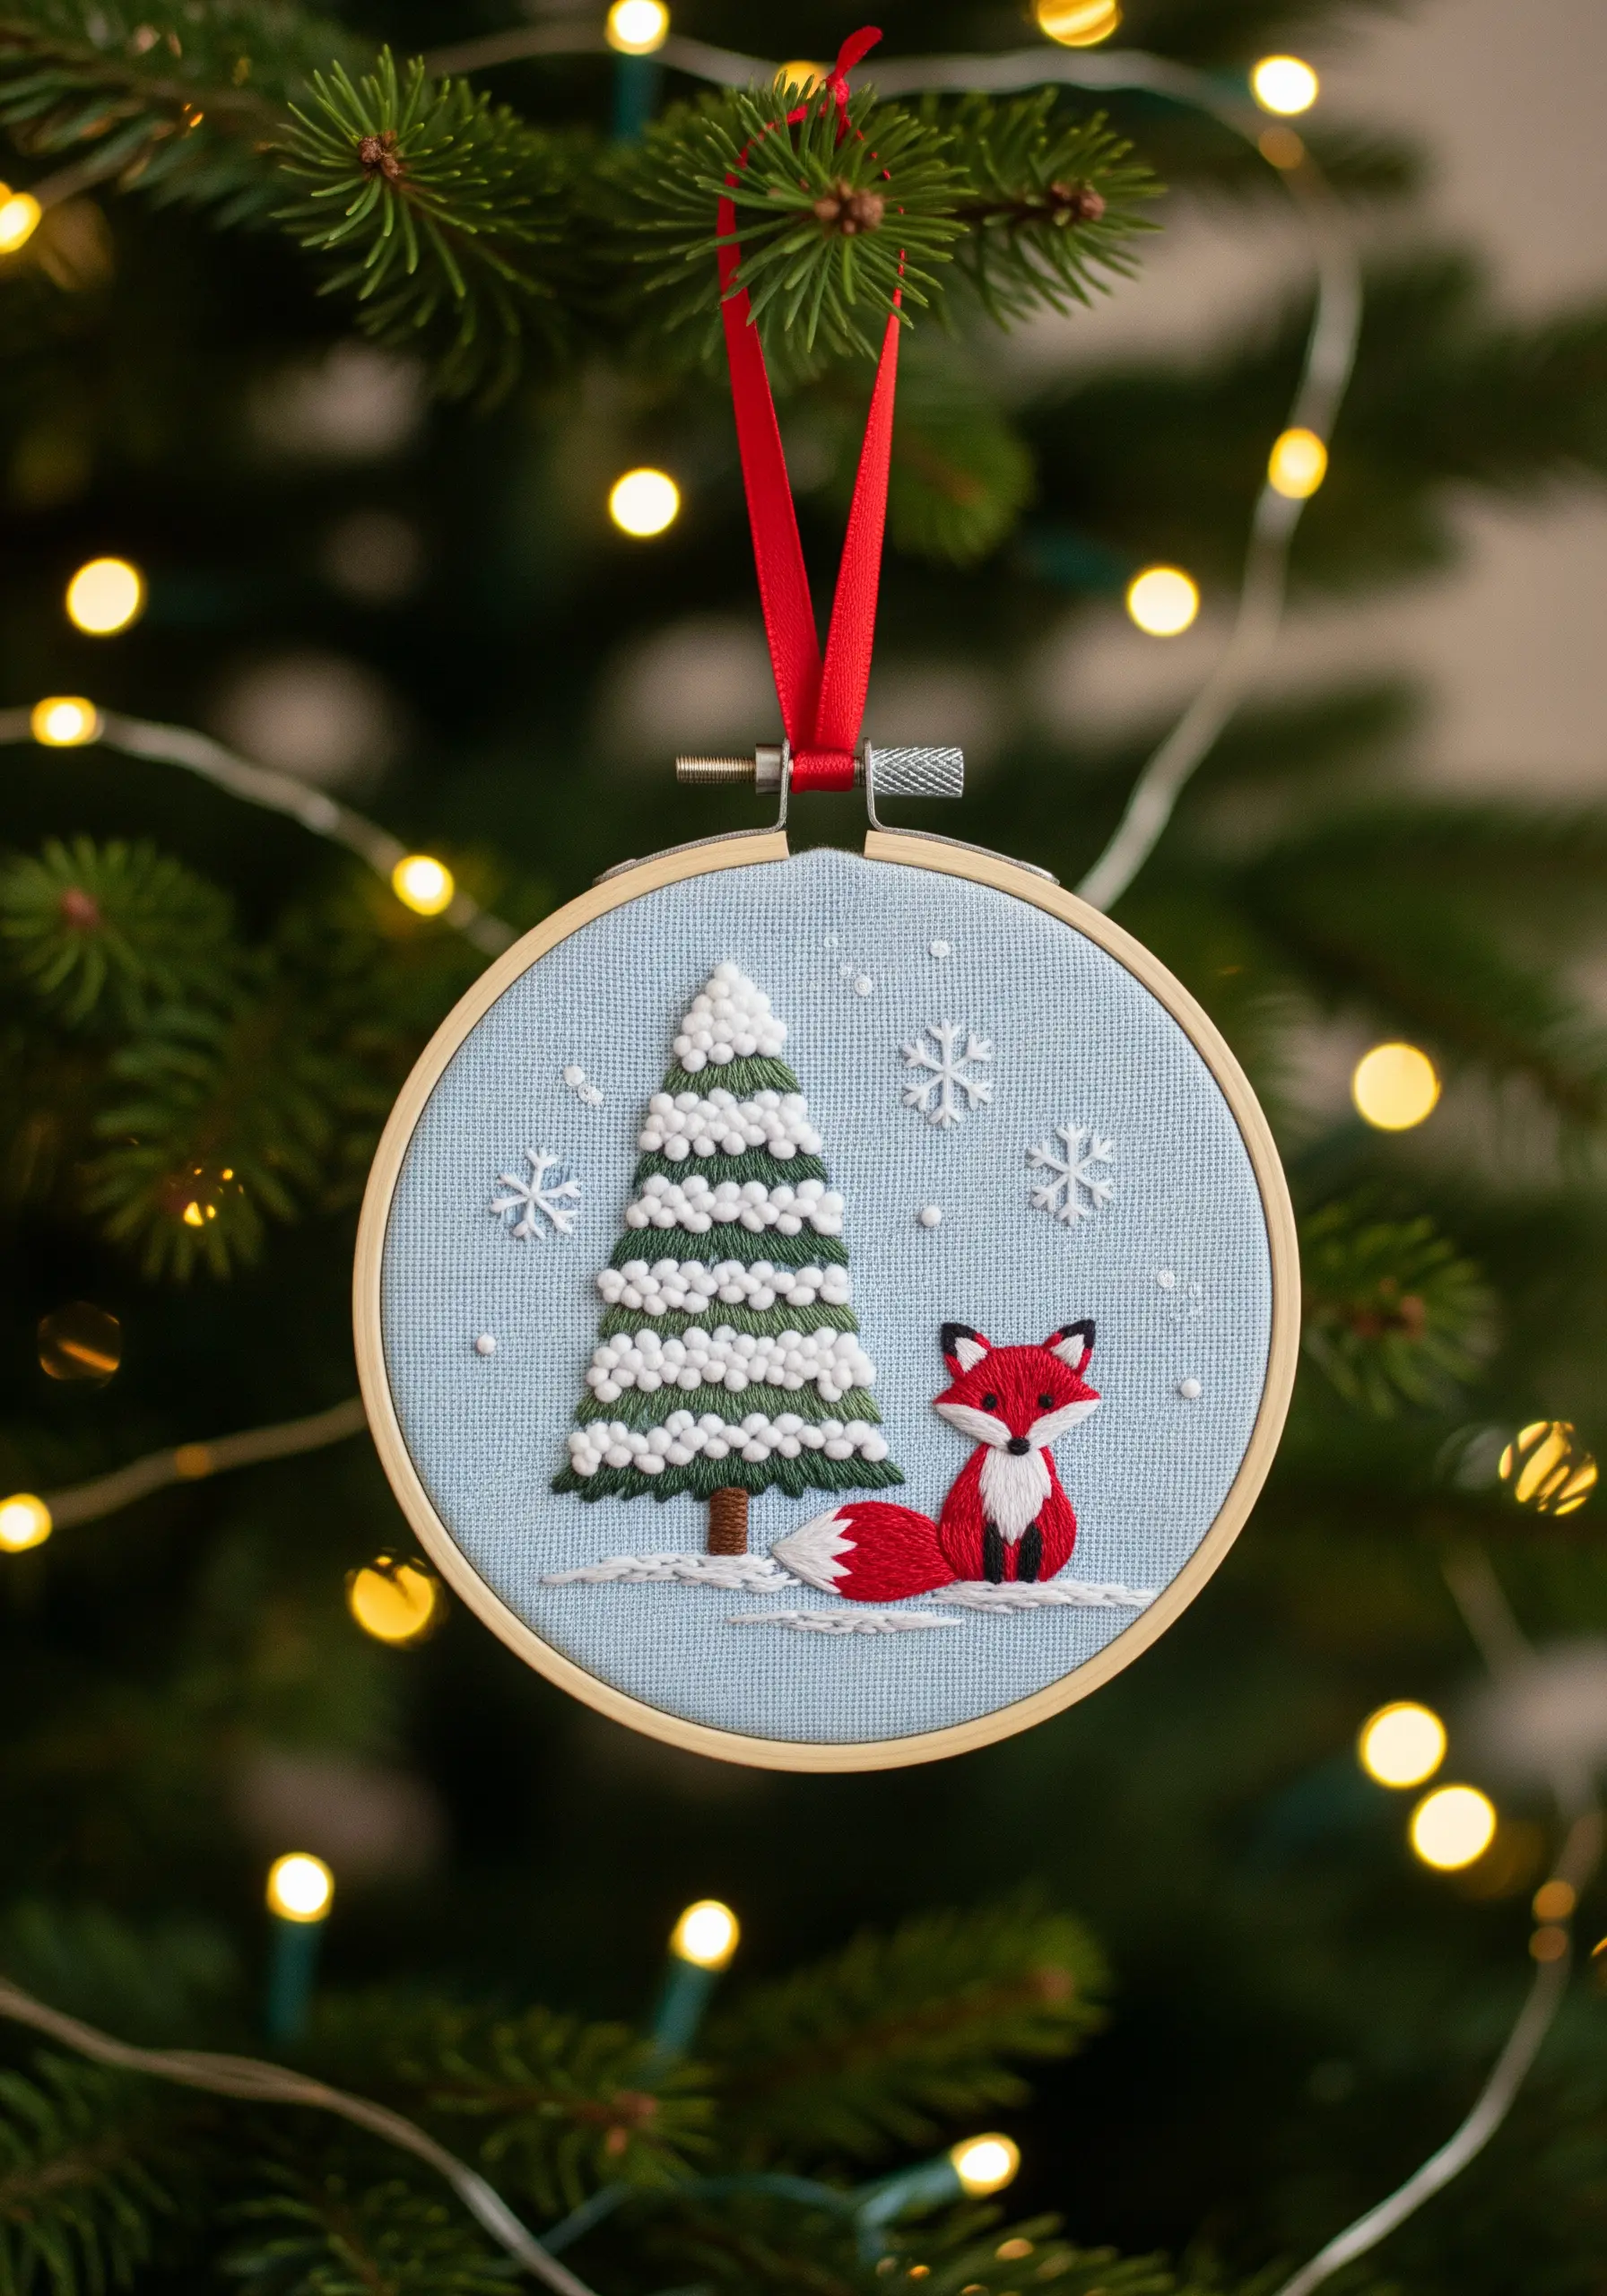
For graphic, character-based designs, combining felt appliqué with embroidery is a winning strategy.
Cut your main color blocks—like the fox’s body or the layers of the tree—from felt and attach them to your base fabric with a few small stitches.
Then, add the finer details, outlines, and textures with embroidery on top.
This technique gives you incredibly crisp edges and a charming, layered 3D effect that’s perfect for ornaments.
All the holiday ornaments embroidery fans can create will look more professional with this trick.


