

Sometimes the words you need to hear are best kept where you can see them every day. An embroidered quote is more than just decoration; it’s a quiet, tactile reminder of your focus, your strength, or your joy, stitched into being by your own hands.
But how do you transform a simple phrase into a piece of art that feels truly personal and polished? It’s all in the details: the choice of stitch that gives a word texture, the color palette that sets a mood, and the composition that gives your message a confident voice.
Here, you’ll find ideas that move beyond basic patterns. Think of them as creative starting points to help you pair the perfect technique with the words that resonate most with you. Let’s stitch a little motivation into your world.
1. Frame Your Focus with a Botanical Wreath
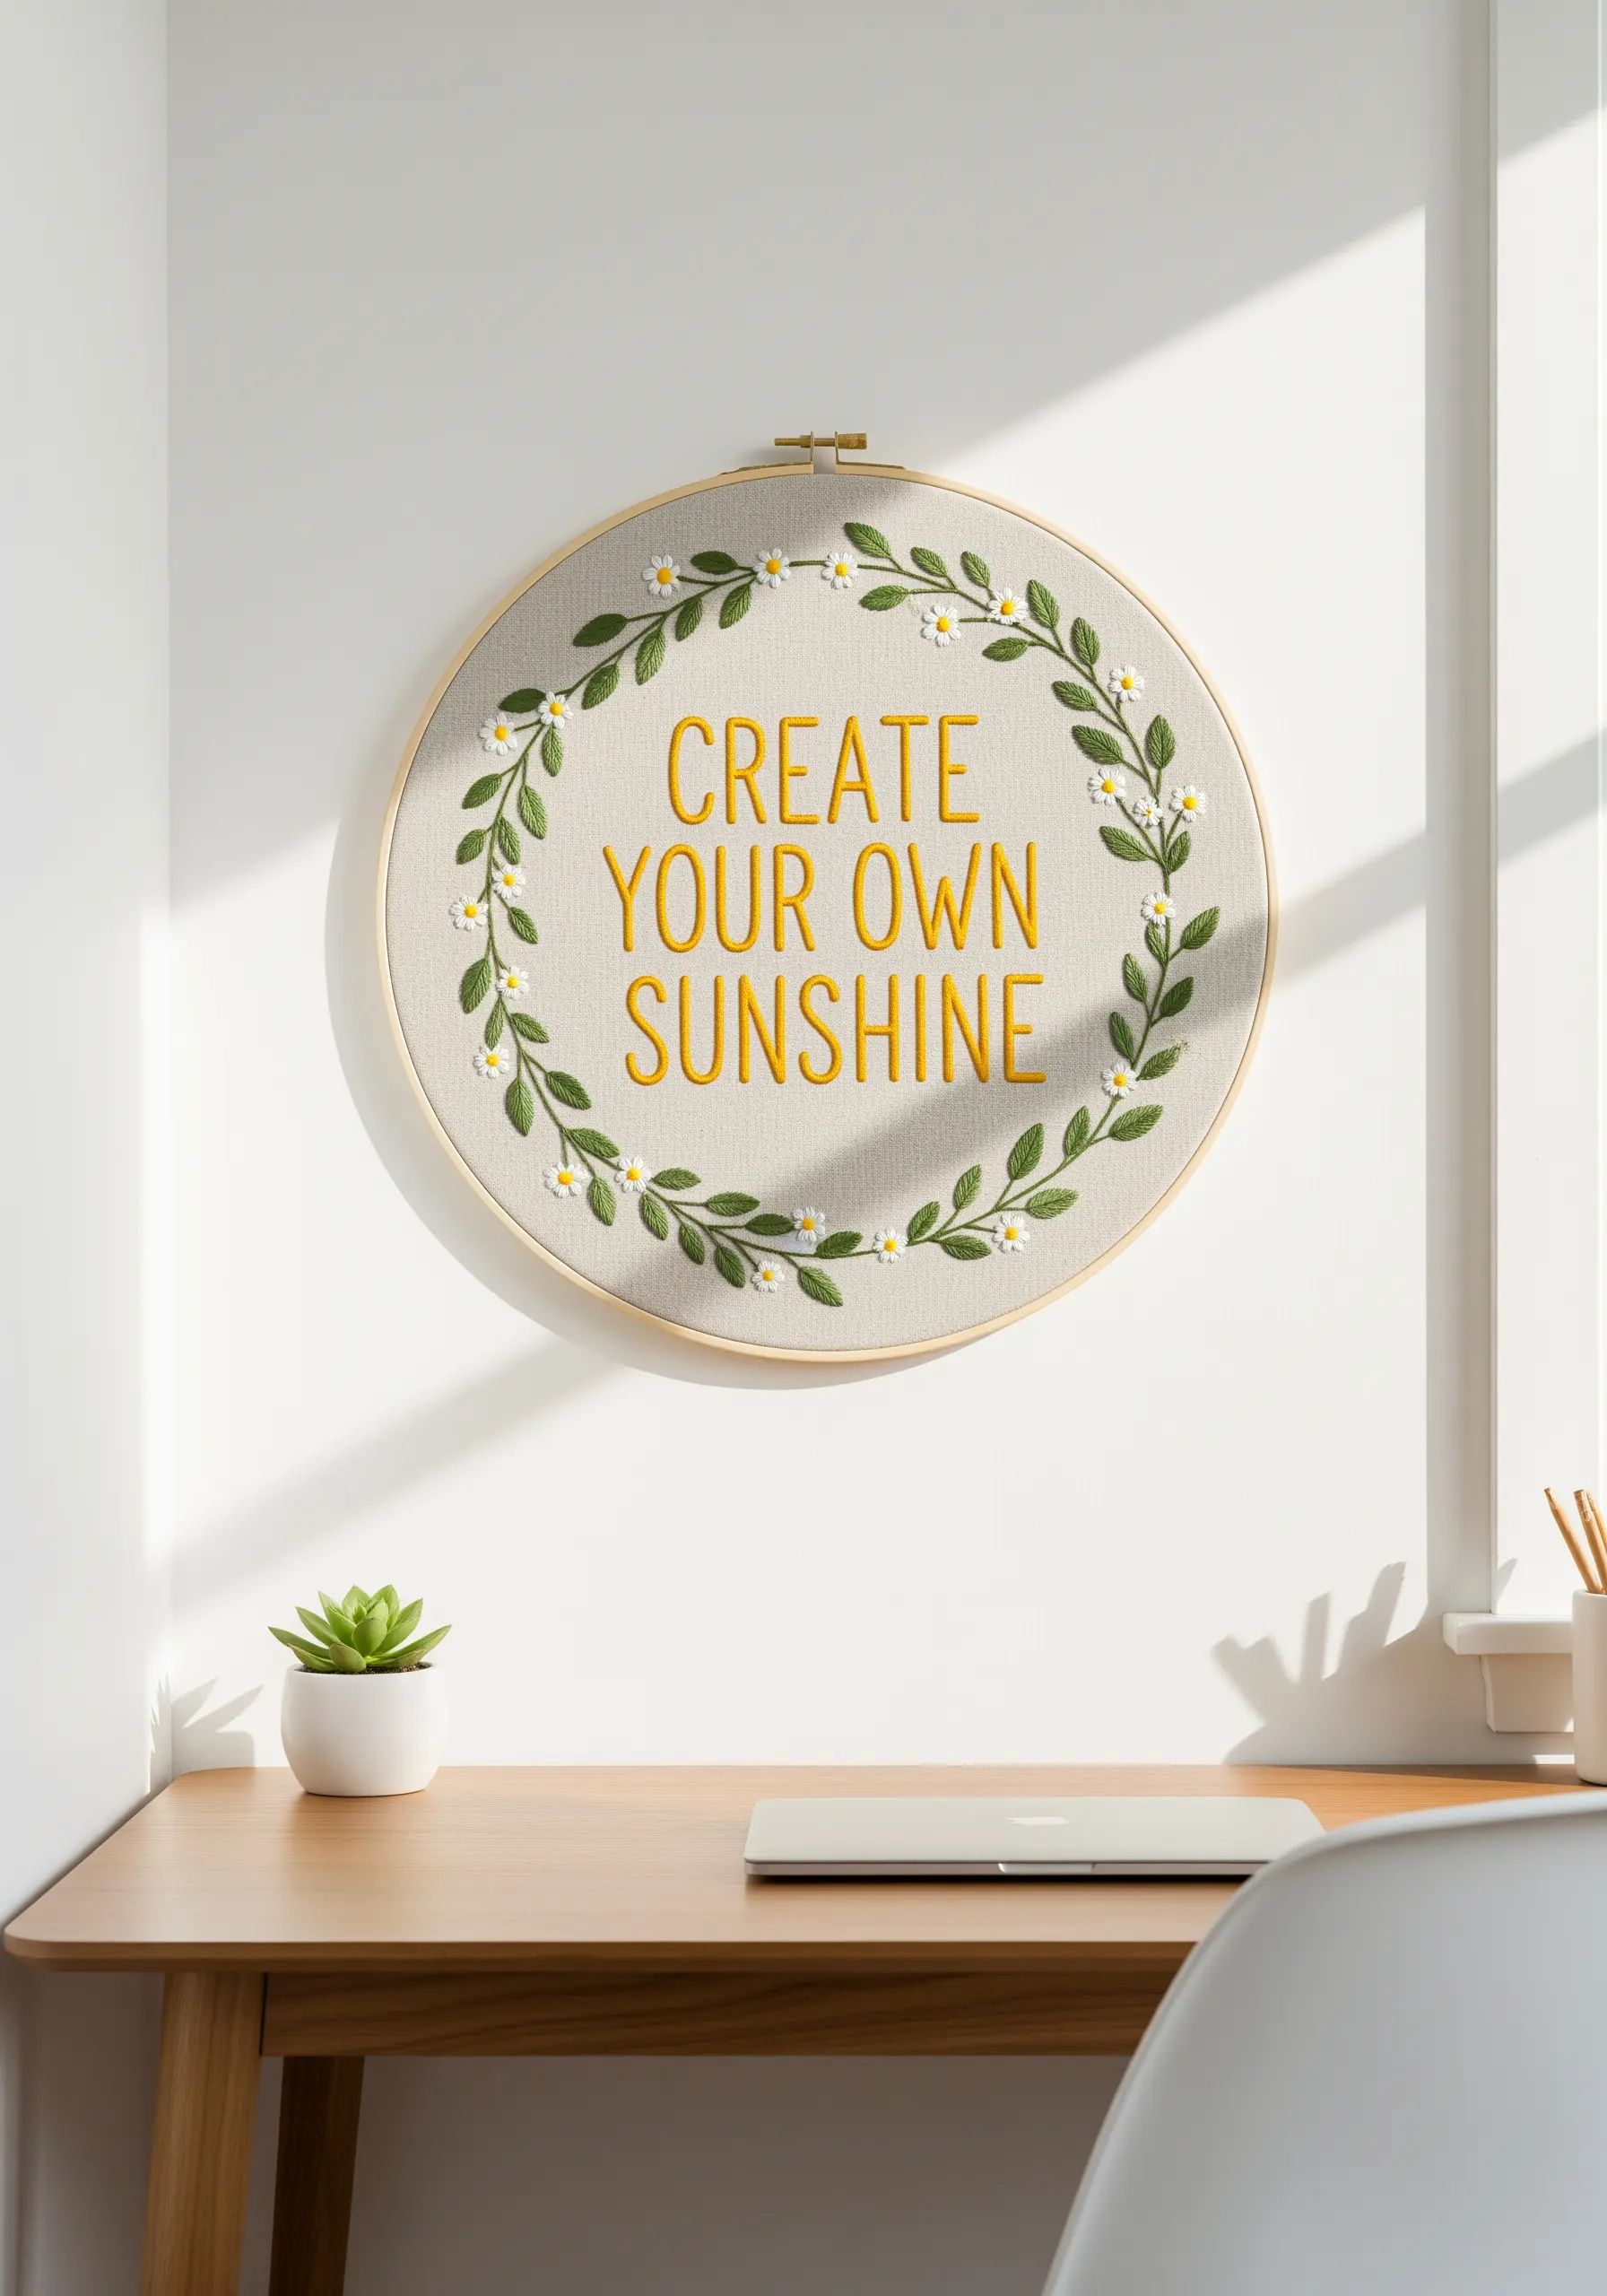
Give your central quote a soft, organic frame by stitching a delicate botanical wreath.
Use a fishbone stitch for the leaves to create a defined central vein, which adds a touch of realism.
For the lettering, a padded satin stitch will give the words a subtle, raised dimension that makes them pop against the neutral fabric.
Keep the flowers simple with detached chain stitches (lazy daisies) and French knot centers, ensuring they complement the text rather than compete with it, resulting in one of the best handmade embroidery ideas for an elegant, artsy look.
2. Scale Up Your Message with a Wall Tapestry

Transform a simple quote into a large-scale statement piece by working on a canvas banner instead of a hoop.
Use thicker threads, like pearl cotton or even fine yarn, to ensure the stitches are bold enough for the larger format.
Introduce texture by filling graphic shapes with seed stitch or French knots, which adds a tactile quality that draws the eye.
Leaving the fabric edges raw or frayed enhances the relaxed, bohemian aesthetic of these embroidery wall tapestries.
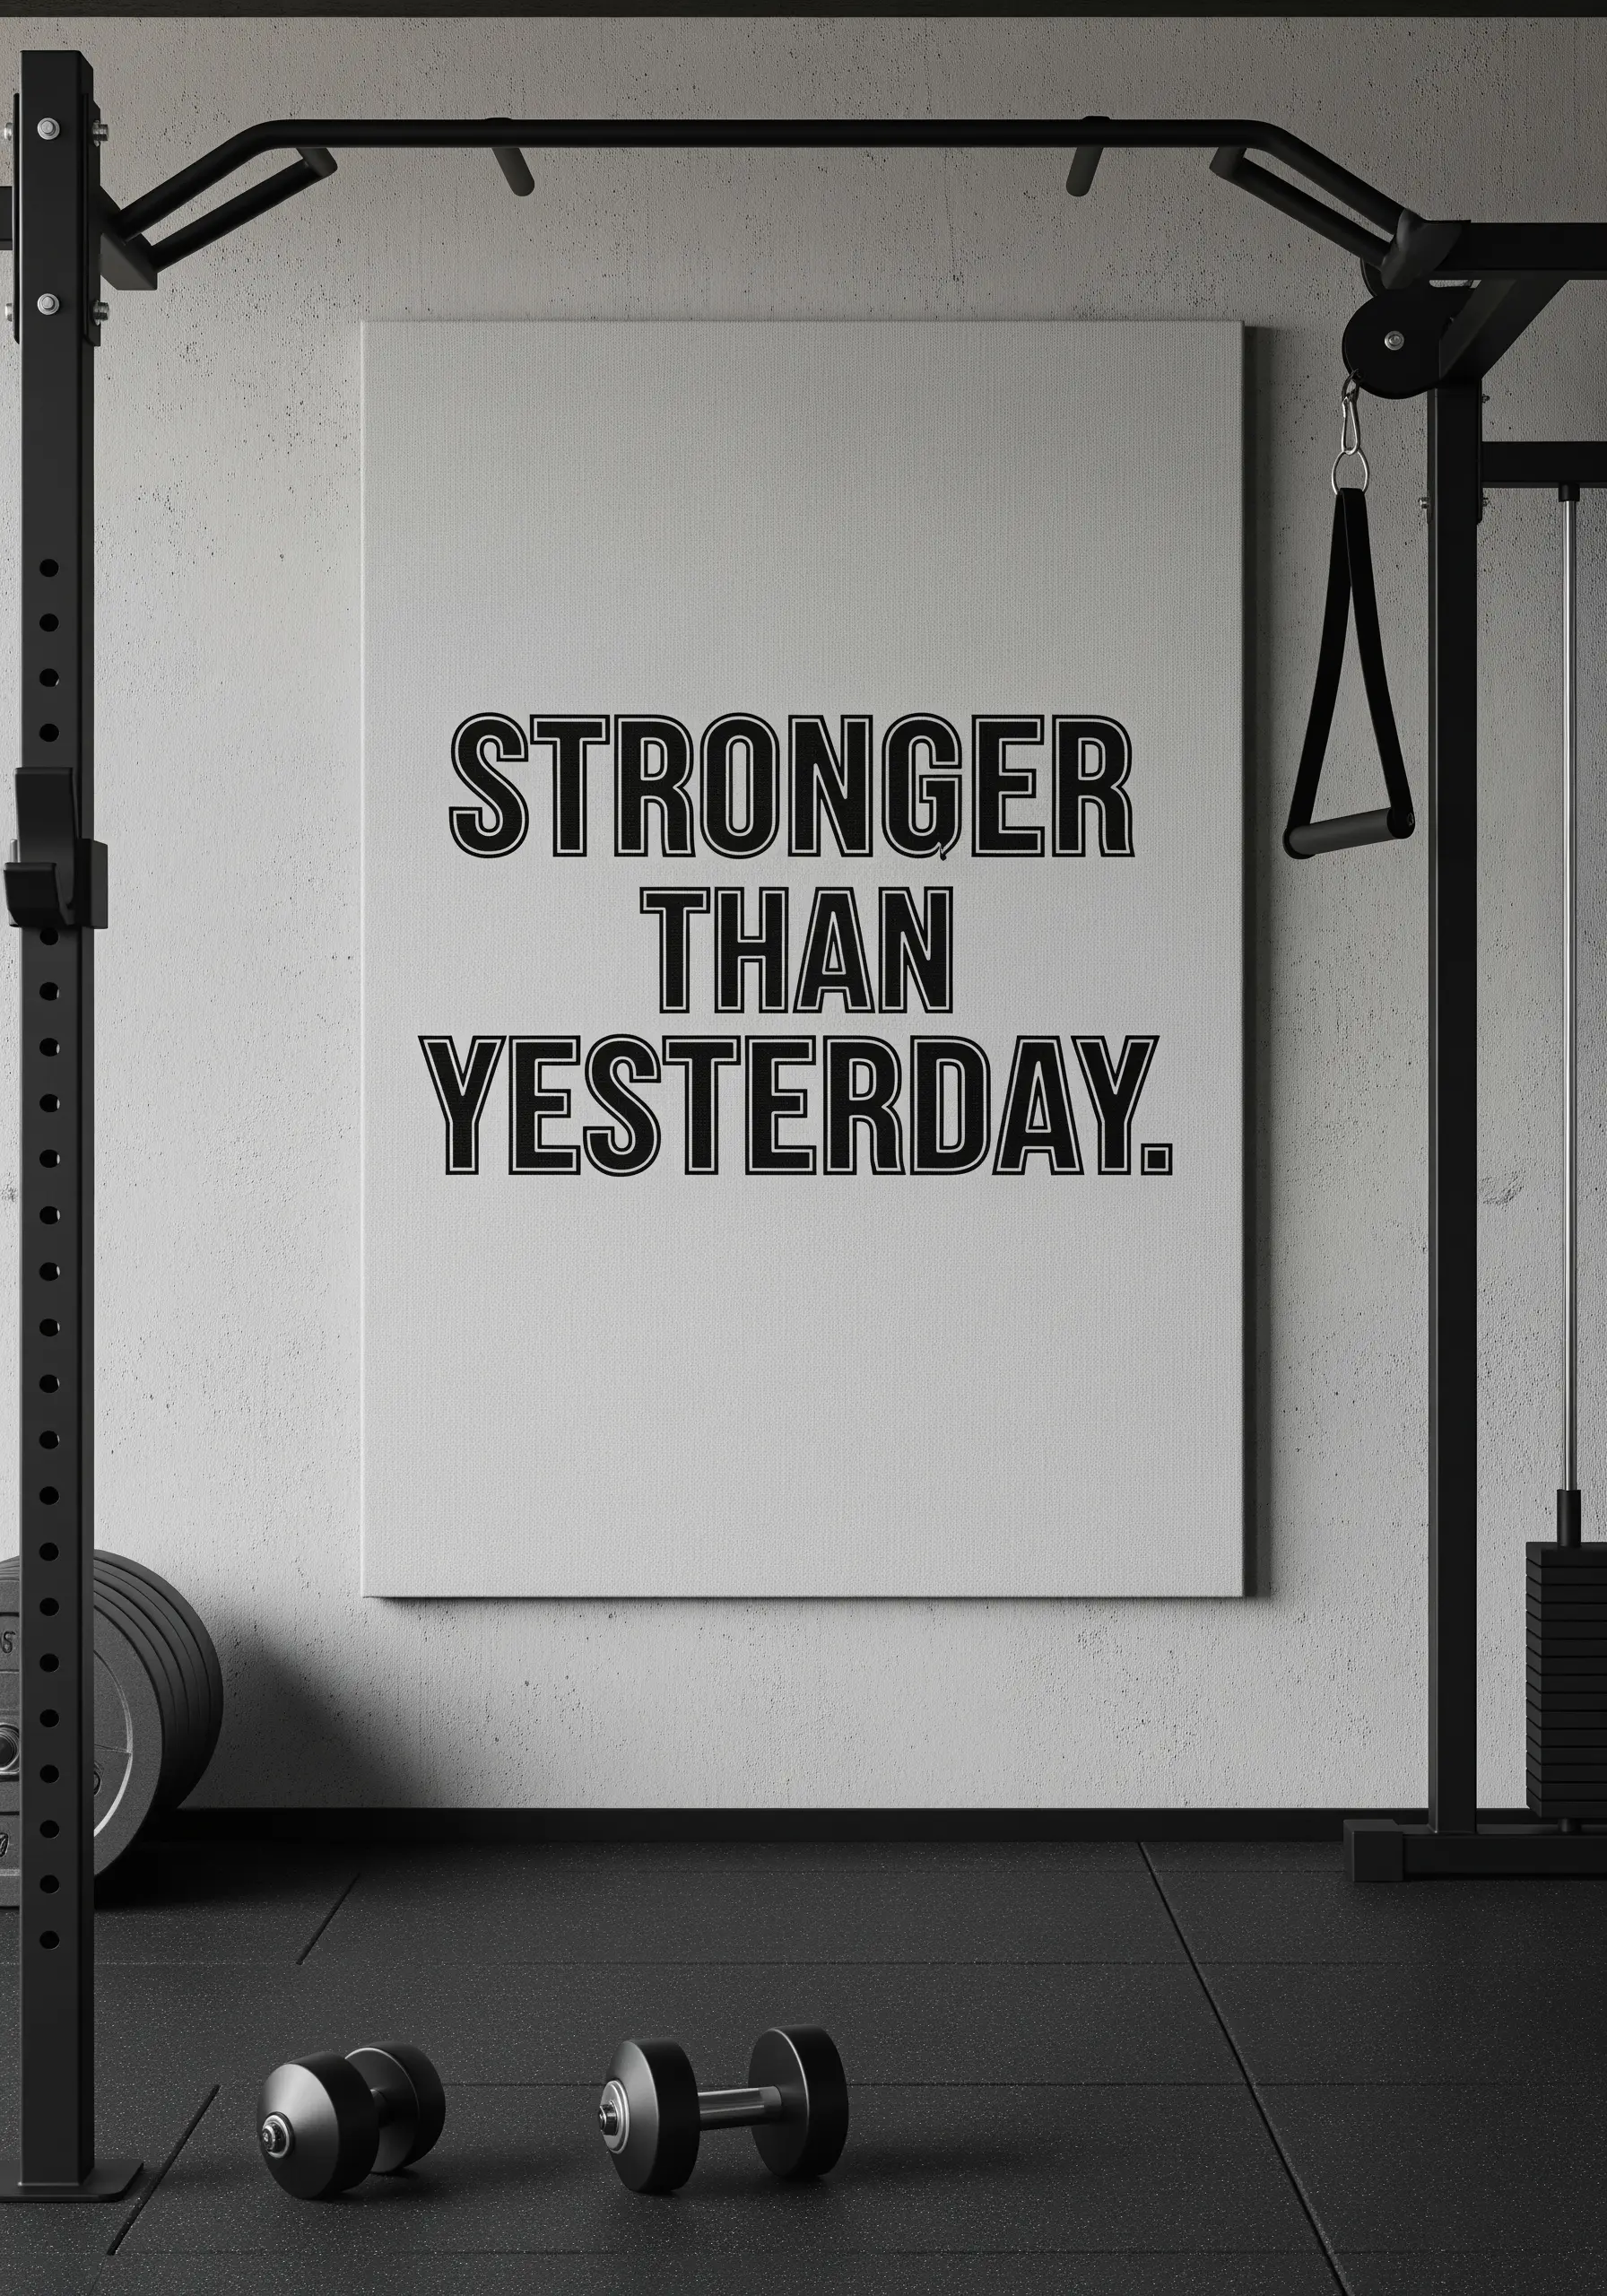
3. Create Graphic Impact with Color-Blocked Lettering
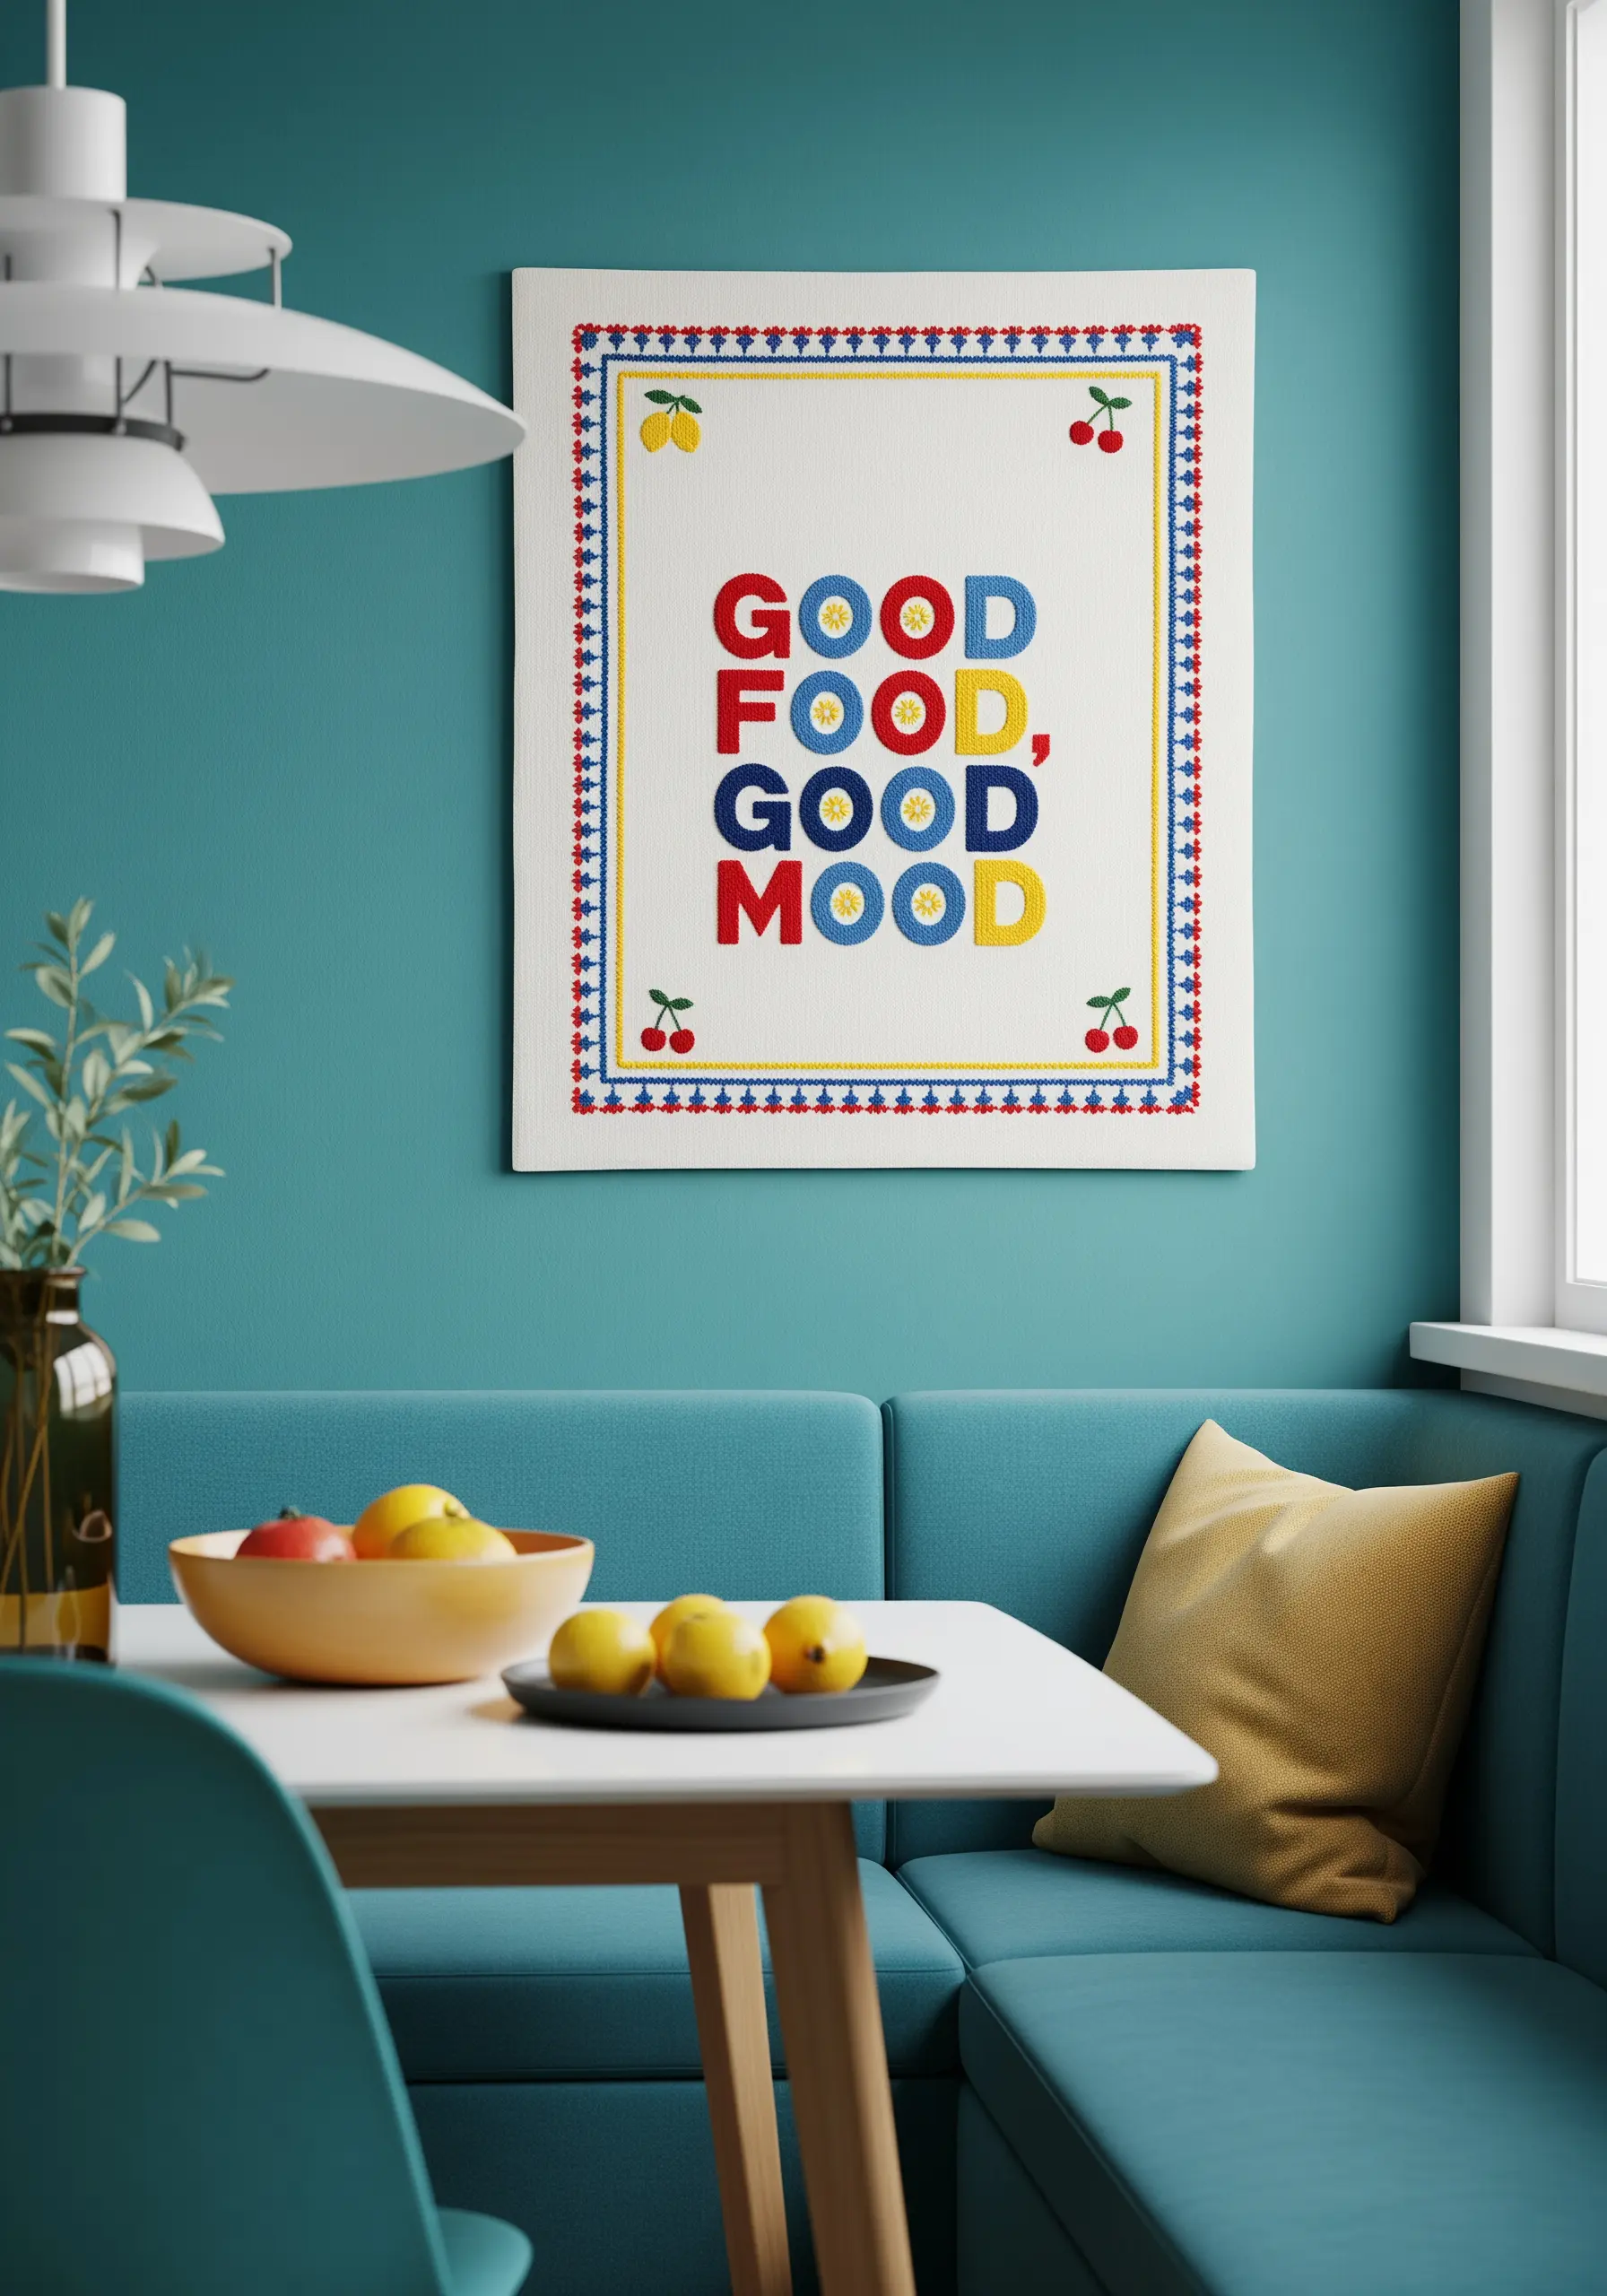
Embrace a playful, graphic style by filling bold, sans-serif letters with blocks of solid color.
To achieve perfectly smooth and opaque letters, use a dense satin stitch, ensuring your stitches lay flat and parallel to one another.
Before filling, outline each letter with a split stitch in the same color; this creates a crisp, defined edge that prevents the fill from looking uneven.
This is one of the most effective modern embroidery stitches every beginner needs to master for clean typography.
4. Add Dimension with Raised Yarn Lettering

For a high-impact, minimalist design, create letters with dramatic texture that literally stands off the fabric.
Achieve this 3D effect by couching thick yarn or a handmade cord onto a stiff fabric base like felt or heavy canvas.
Lay your yarn along the letter shape and use a thinner, matching thread to tack it down with small, evenly spaced stitches.
This is one of the most satisfying statement textured embroidery techniques for creating high-contrast art.
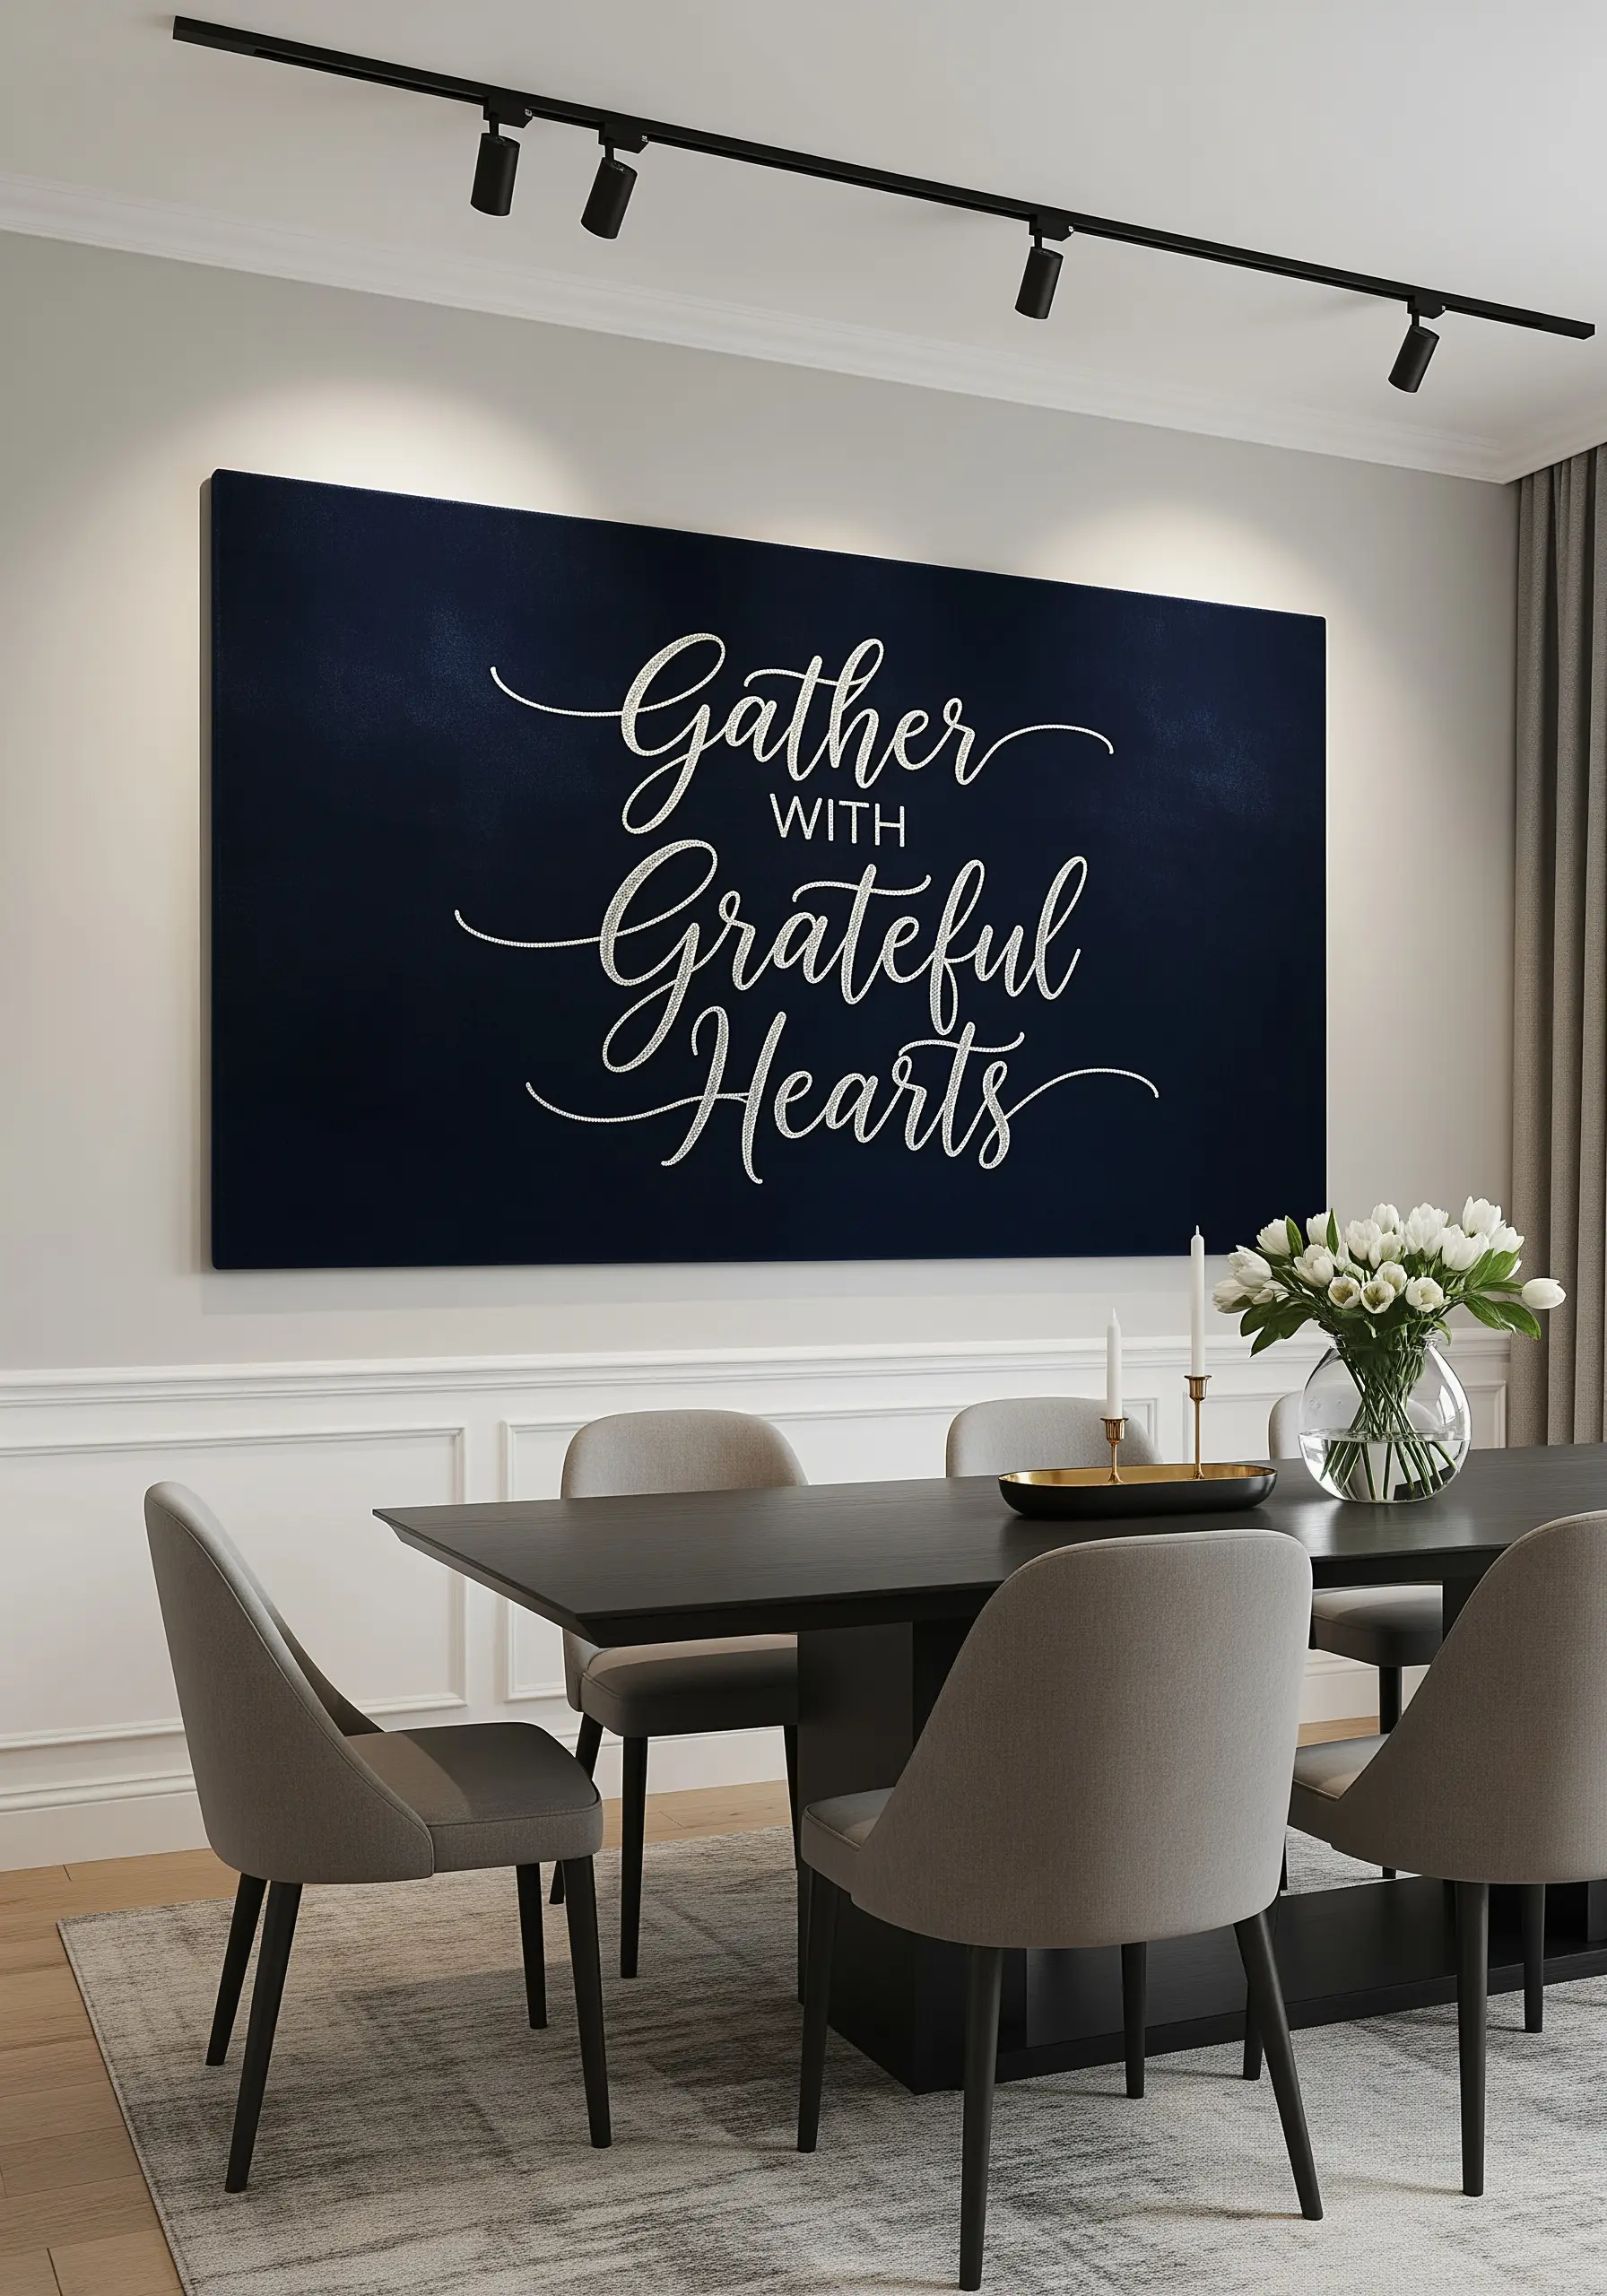
5. Evoke Elegance with Metallics on a Dark Canvas

Create a sense of quiet luxury by stitching with metallic thread on a dark, moody fabric like navy blue or black cotton twill.
Use a simple backstitch for the lettering; the shimmer of the gold thread provides all the necessary impact without complex stitches.
To make working with metallic floss easier, use shorter lengths of thread (no more than 12 inches) and a thread conditioner to prevent tangling and fraying.
These are unexpected ways to use metallic thread to turn a simple piece into a sophisticated accent.
6. Fill Your Letters with Expressive, Colorful Texture

Turn your quote into a vibrant celebration of color by treating each letter as a miniature abstract canvas.
Use variegated floss to achieve effortless color gradients within a single letter.
Combine a variety of stitches—satin stitch, French knots, seed stitch, and chain stitch—to create a patchwork of unique textures.
This freestyle approach transforms simple text into one of your favorite colorful framed embroidery art ideas, full of energy and personality.
7. Master Formal Typography with Classic Stitches

Recreate the gravitas of traditional Blackletter or Gothic fonts by focusing on stitch precision and uniformity.
This style can be beautifully rendered using cross-stitch on Aida cloth for a classic, pixelated look, or with a dense satin stitch on linen for a smoother finish.
When using satin stitch, pay close attention to the angle of your stitches to mimic the thick and thin strokes of calligraphy.
Mastering these thread-based typography ideas gives your work a timeless, scholarly feel.
8. Capture Serenity with Delicate Lettering

For a message of calm and mindfulness, use a light touch in both your stitching and composition.
Stitch your letters with a simple backstitch or stem stitch using just two or three strands of floss for a delicate, hand-drawn look.
Pair the text with minimalist botanical sprigs, like eucalyptus or lavender, stitched with satin stitch leaves and stem stitch branches.
This less-is-more approach is perfect for simple embroidery projects for a cozy minimalist bedroom.
9. Achieve Flawless Script with a Whipped Backstitch
To give your embroidered script the fluid, unbroken lines of elegant calligraphy, the whipped backstitch is your best tool.
First, lay down a foundation of standard backstitches along the curves of your letters.
Then, without piercing the fabric, use a second thread to weave or ‘whip’ around each backstitch, completely concealing the gaps and creating a smooth, raised line.
This technique elevates even the most basic modern line art thread designs.
10. Integrate Text and Florals for a Lush Composition
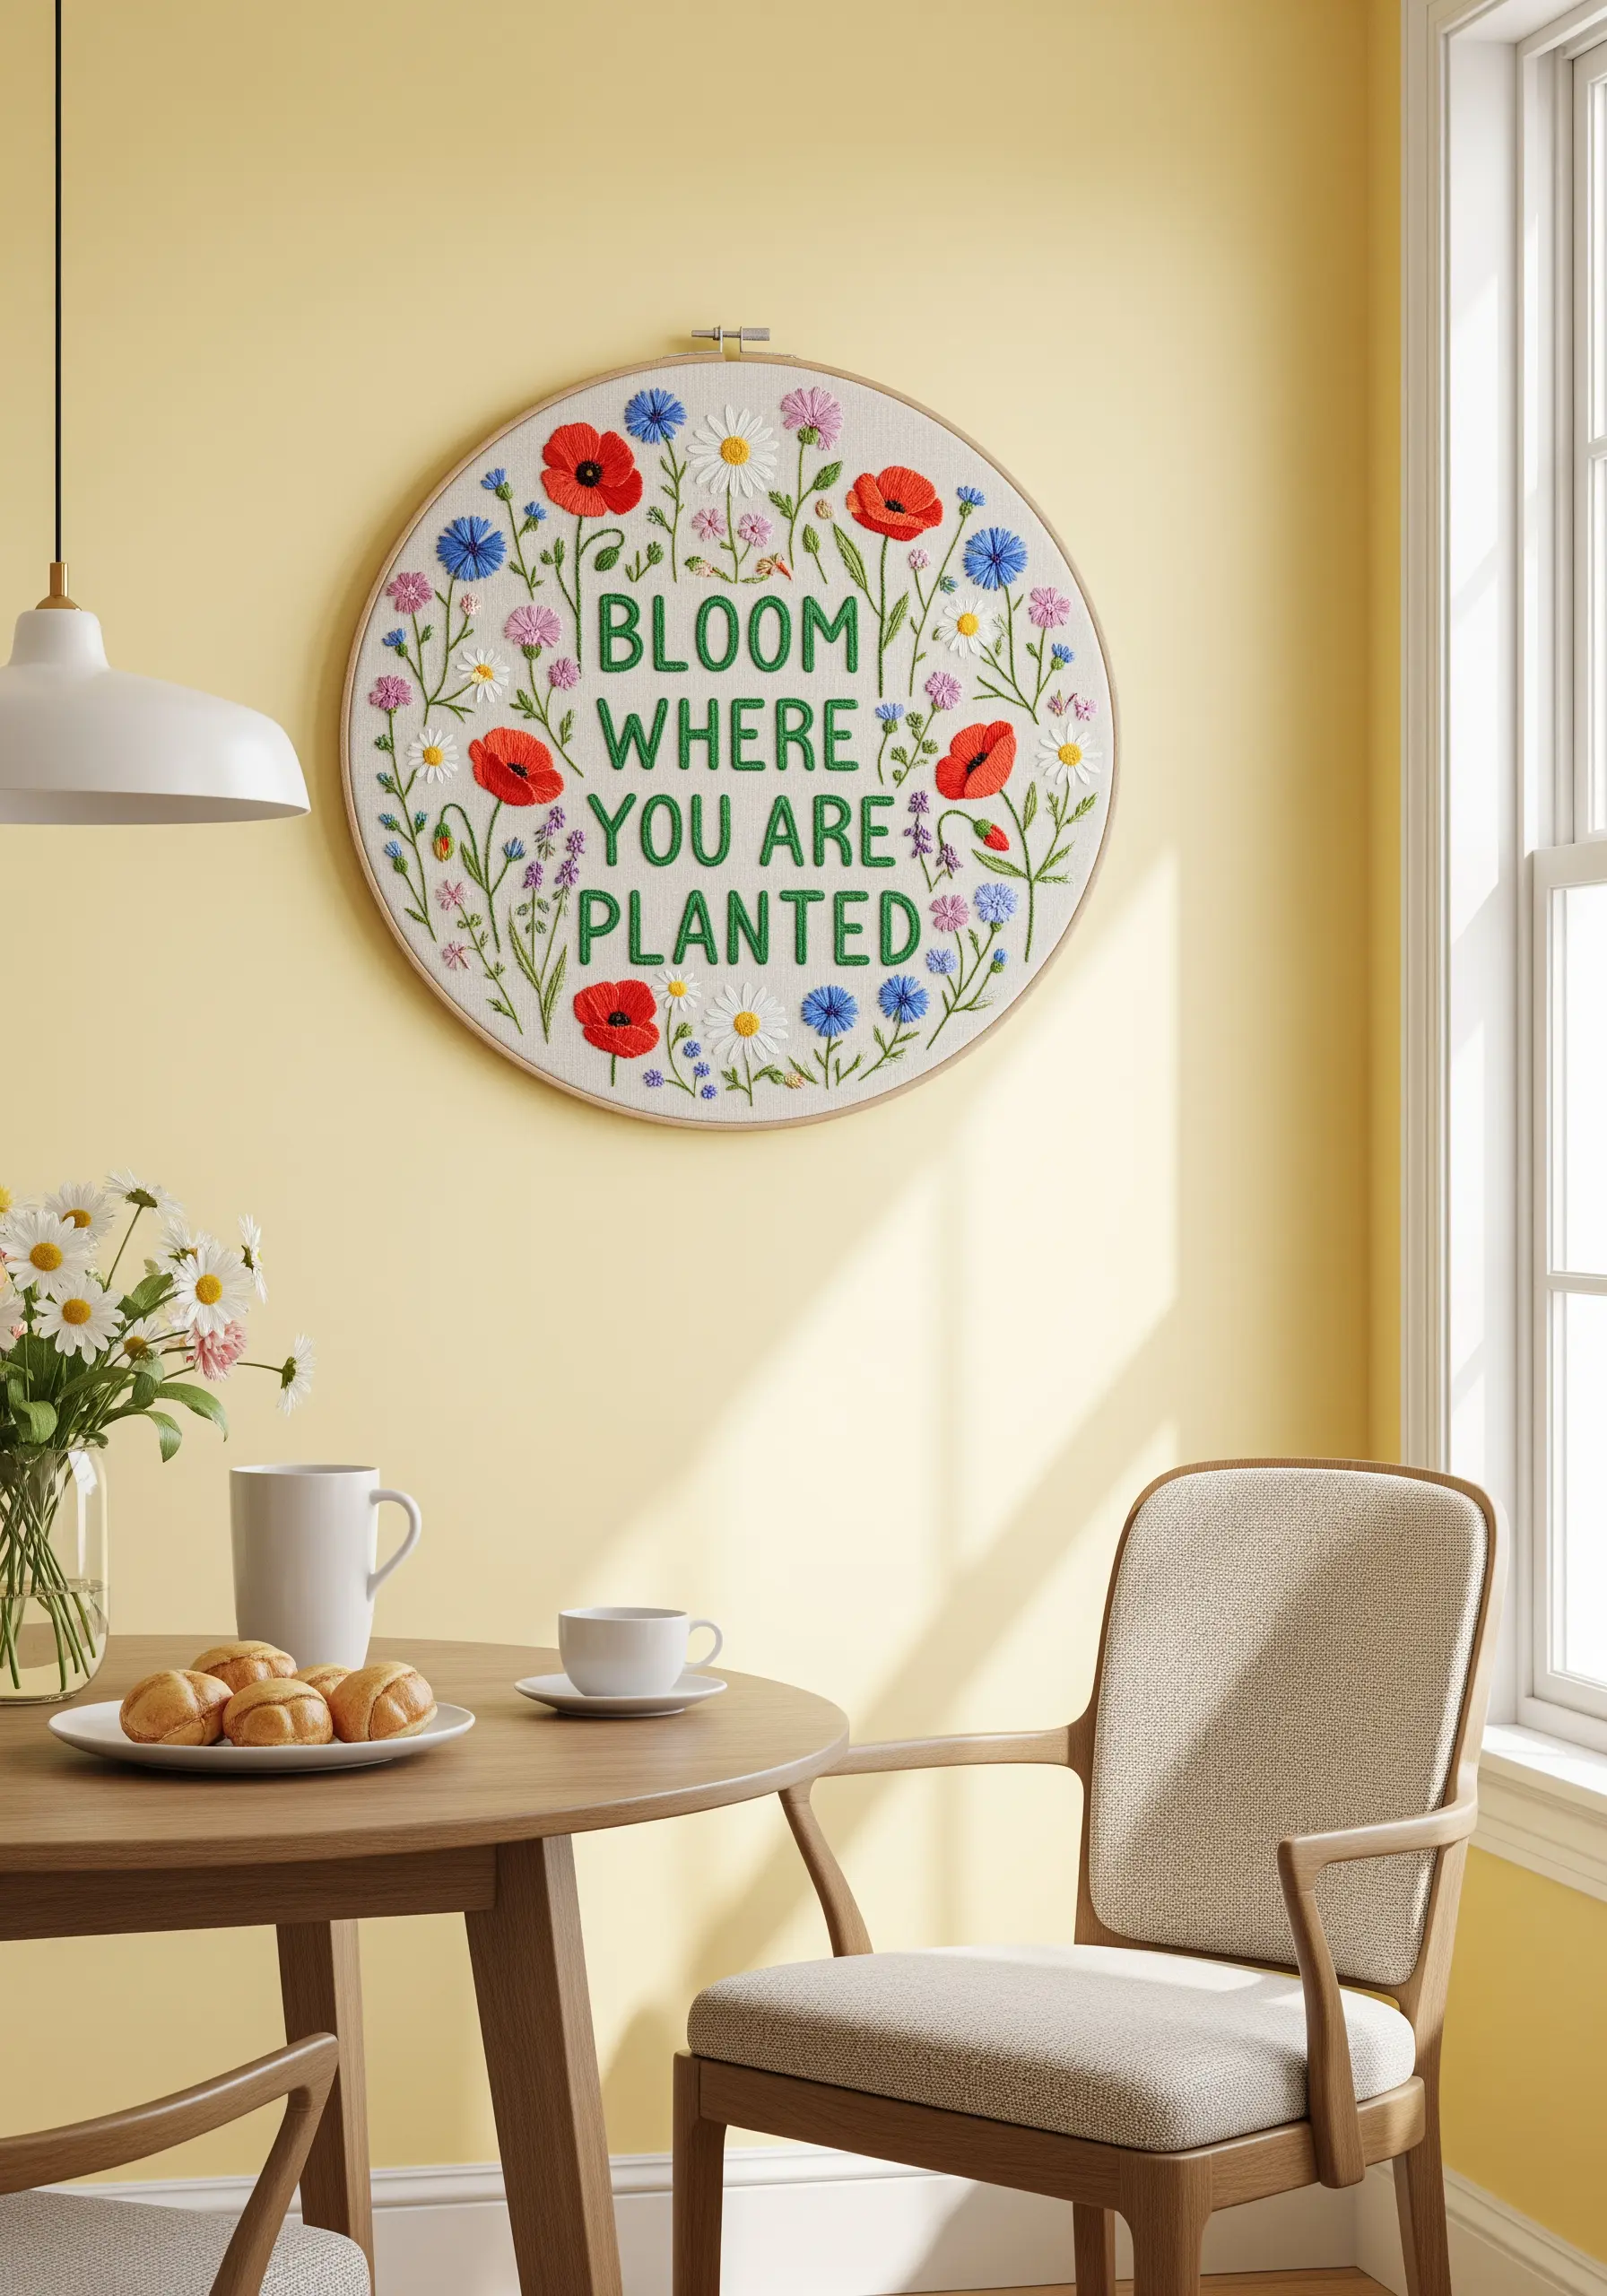
Create a dynamic design by weaving your quote directly into a vibrant field of wildflowers.
Stitch the block letters first using a bold satin stitch to establish their place in the composition.
Then, layer the floral elements around and even slightly overlapping the letters to create a sense of depth and integration.
These lush and detailed wildflower hoop art projects make your text feel like part of a blooming garden.
11. Create a Meditative Mandala Border
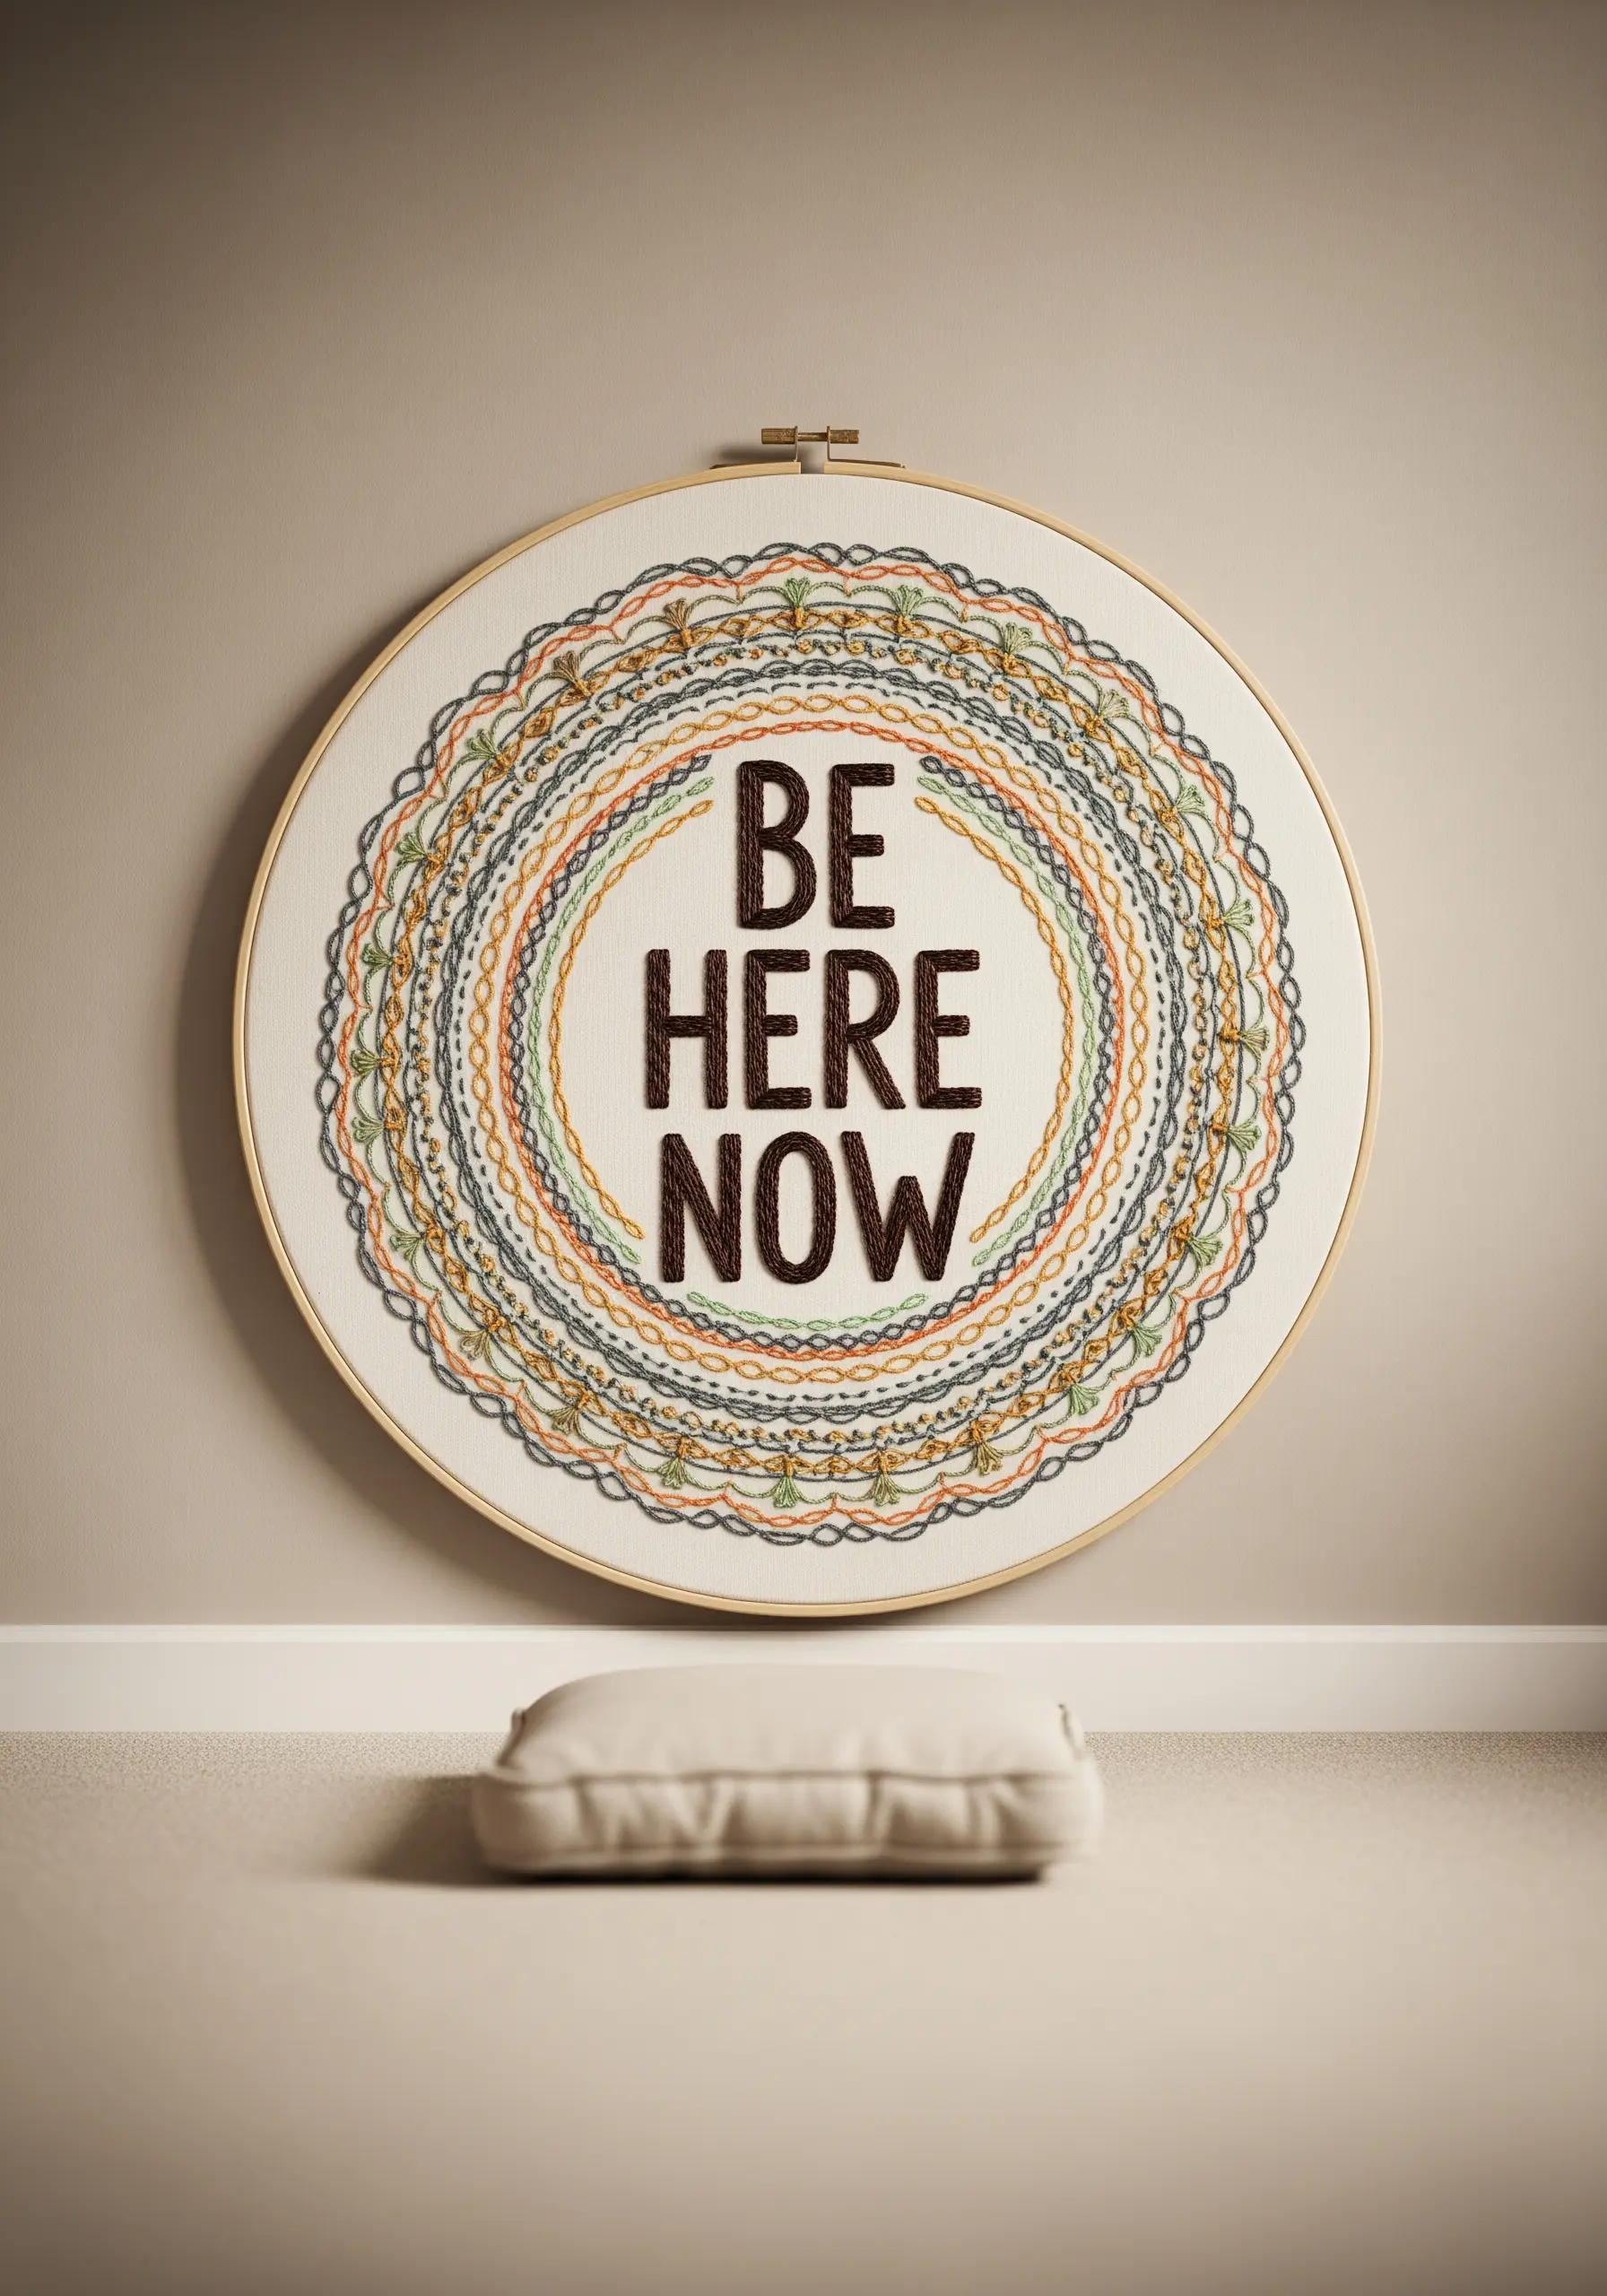
Frame your quote with intricate, repeating patterns to give it a mindful, centering energy.
Use a compass or circular guide to draw concentric circles around your text, then fill them with simple, repetitive stitches like chain stitch, fly stitch, or decorative running stitches.
Choose an earthy, harmonious color palette to enhance the calming effect.
Stitching these modern mandala stitch patterns is as relaxing as reading the quote itself.
12. Embrace a Rustic Aesthetic with Burlap
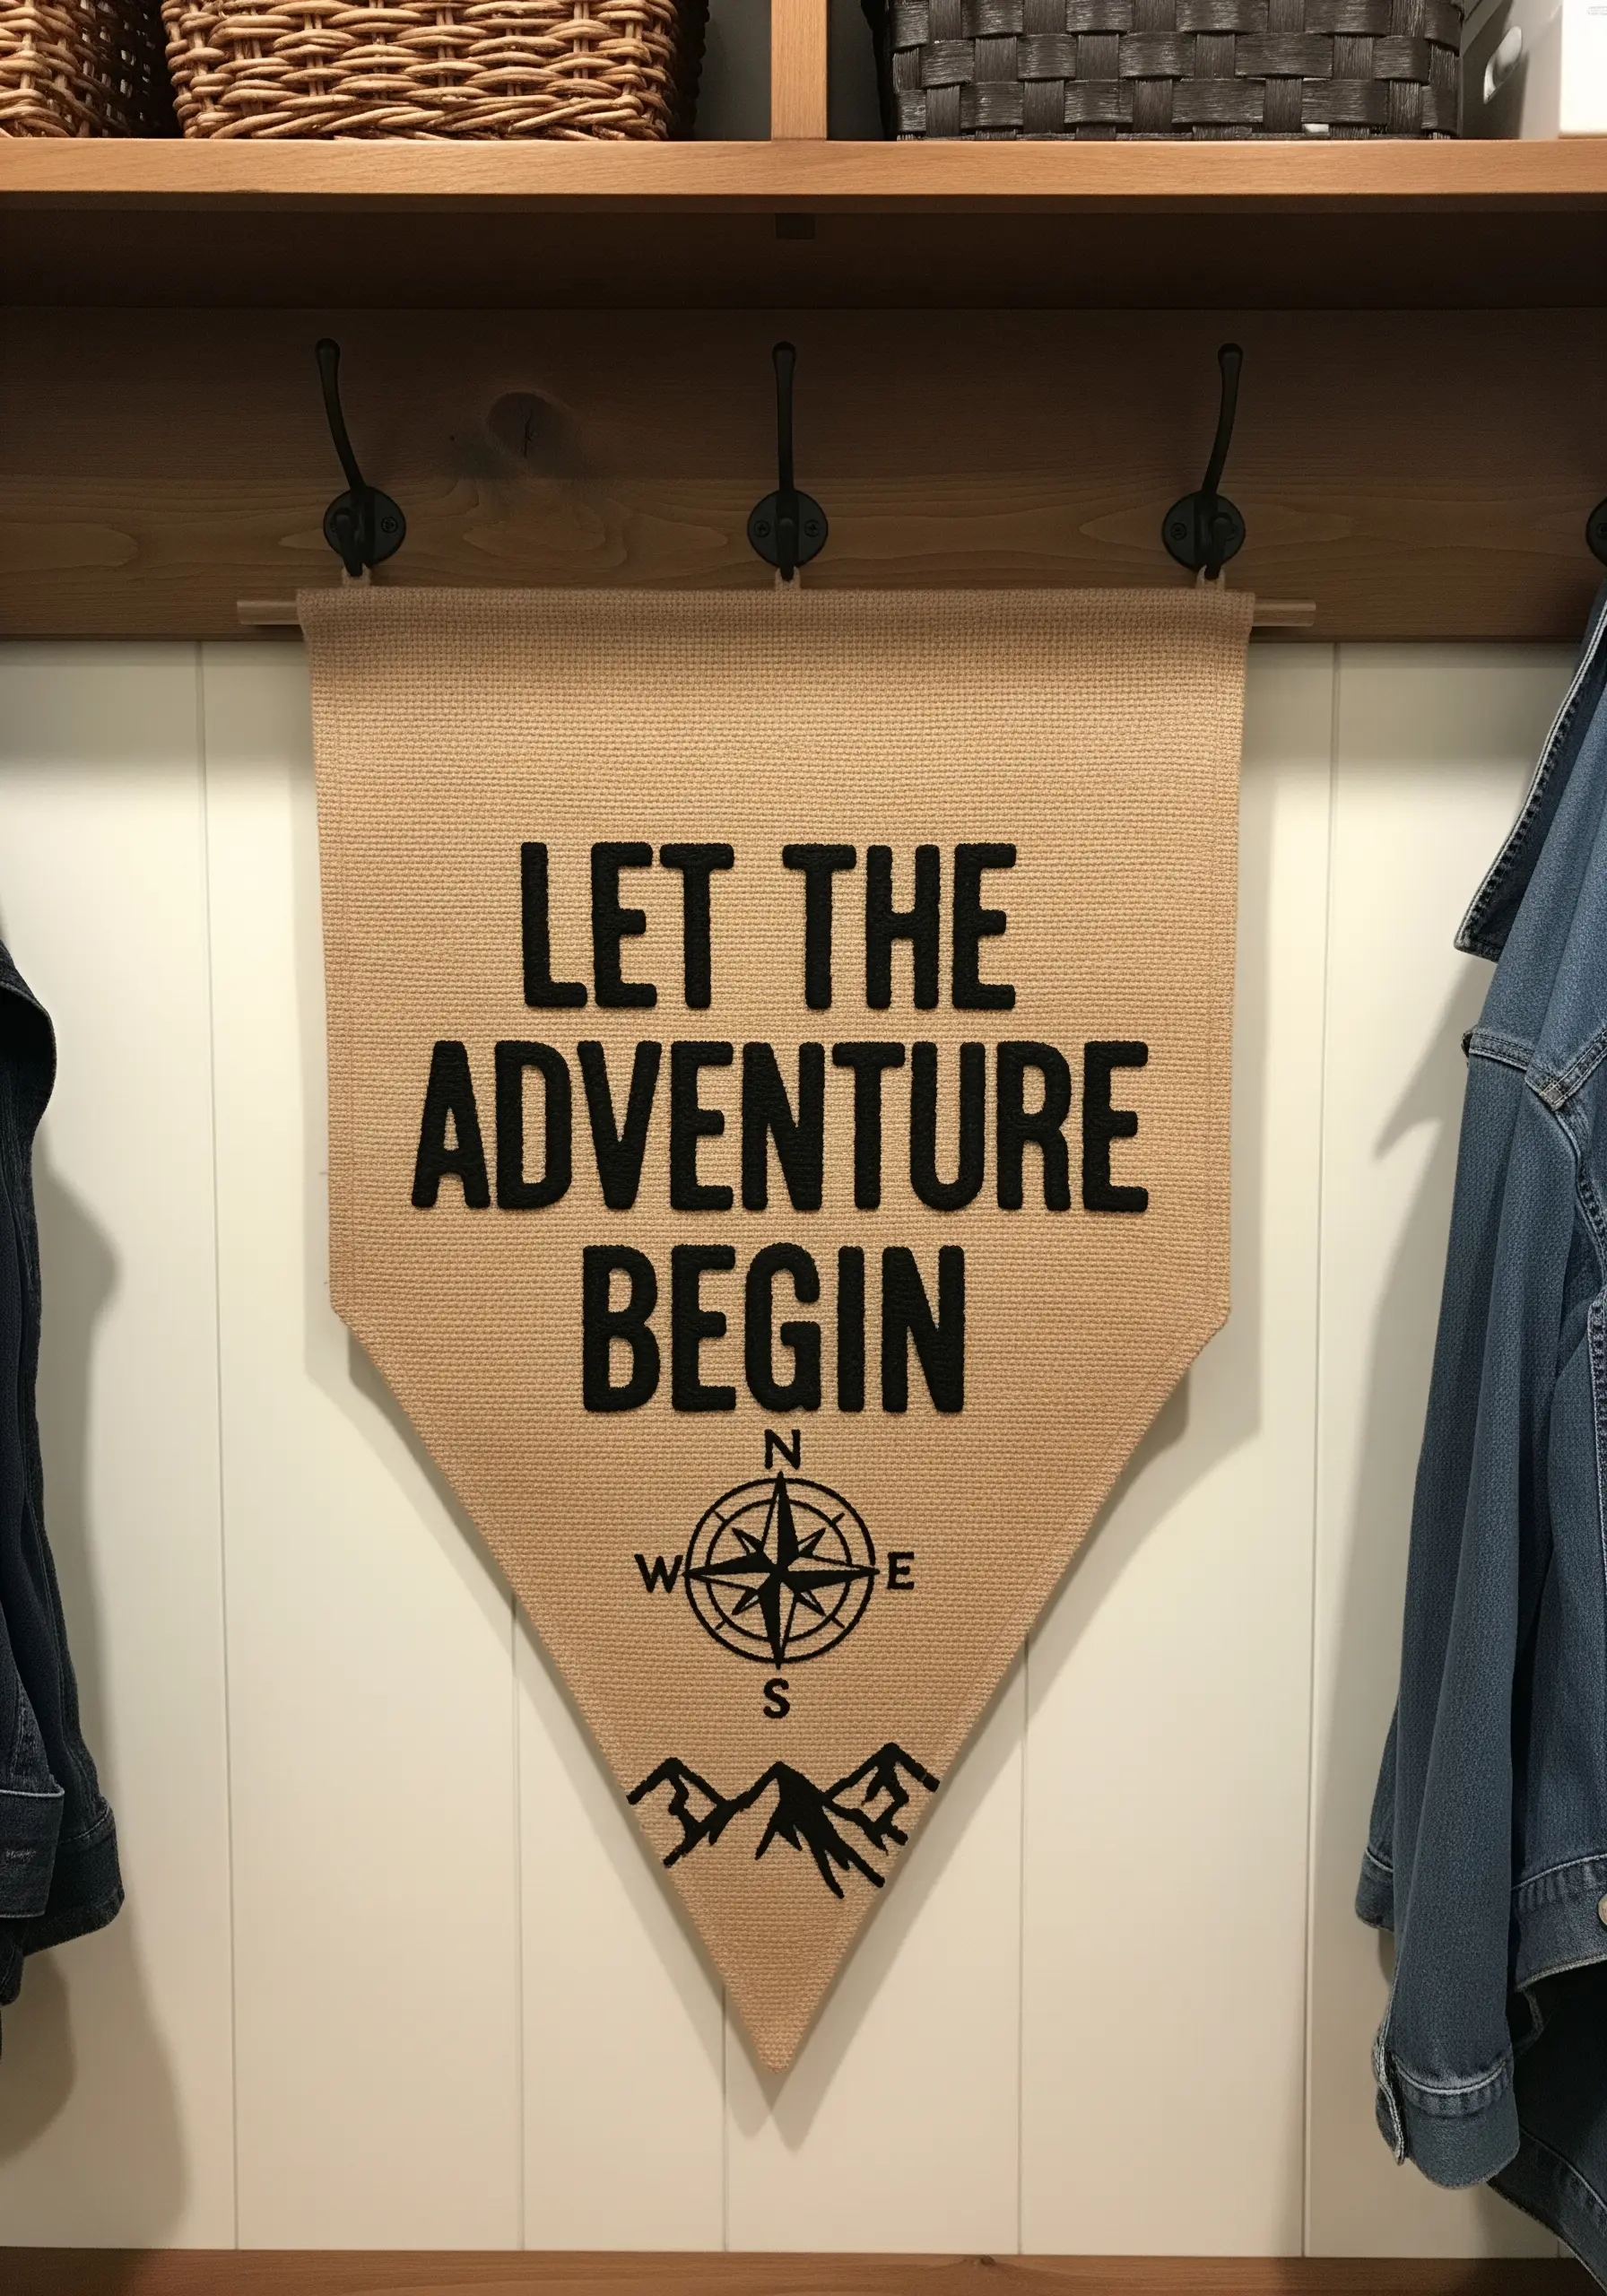
For a rustic, tactile feel, use burlap or a similarly coarse-weave fabric as your base.
Because of the open weave, you’ll need to use a thicker thread, such as #3 or #5 pearl cotton, or even all six strands of standard floss to ensure your stitches are bold and visible.
A simple, dense backstitch or satin stitch works best for lettering, as intricate stitches can get lost in the fabric’s texture.
This material choice can transform even plain shirts into bold back panel embroidery designs with a rugged edge.
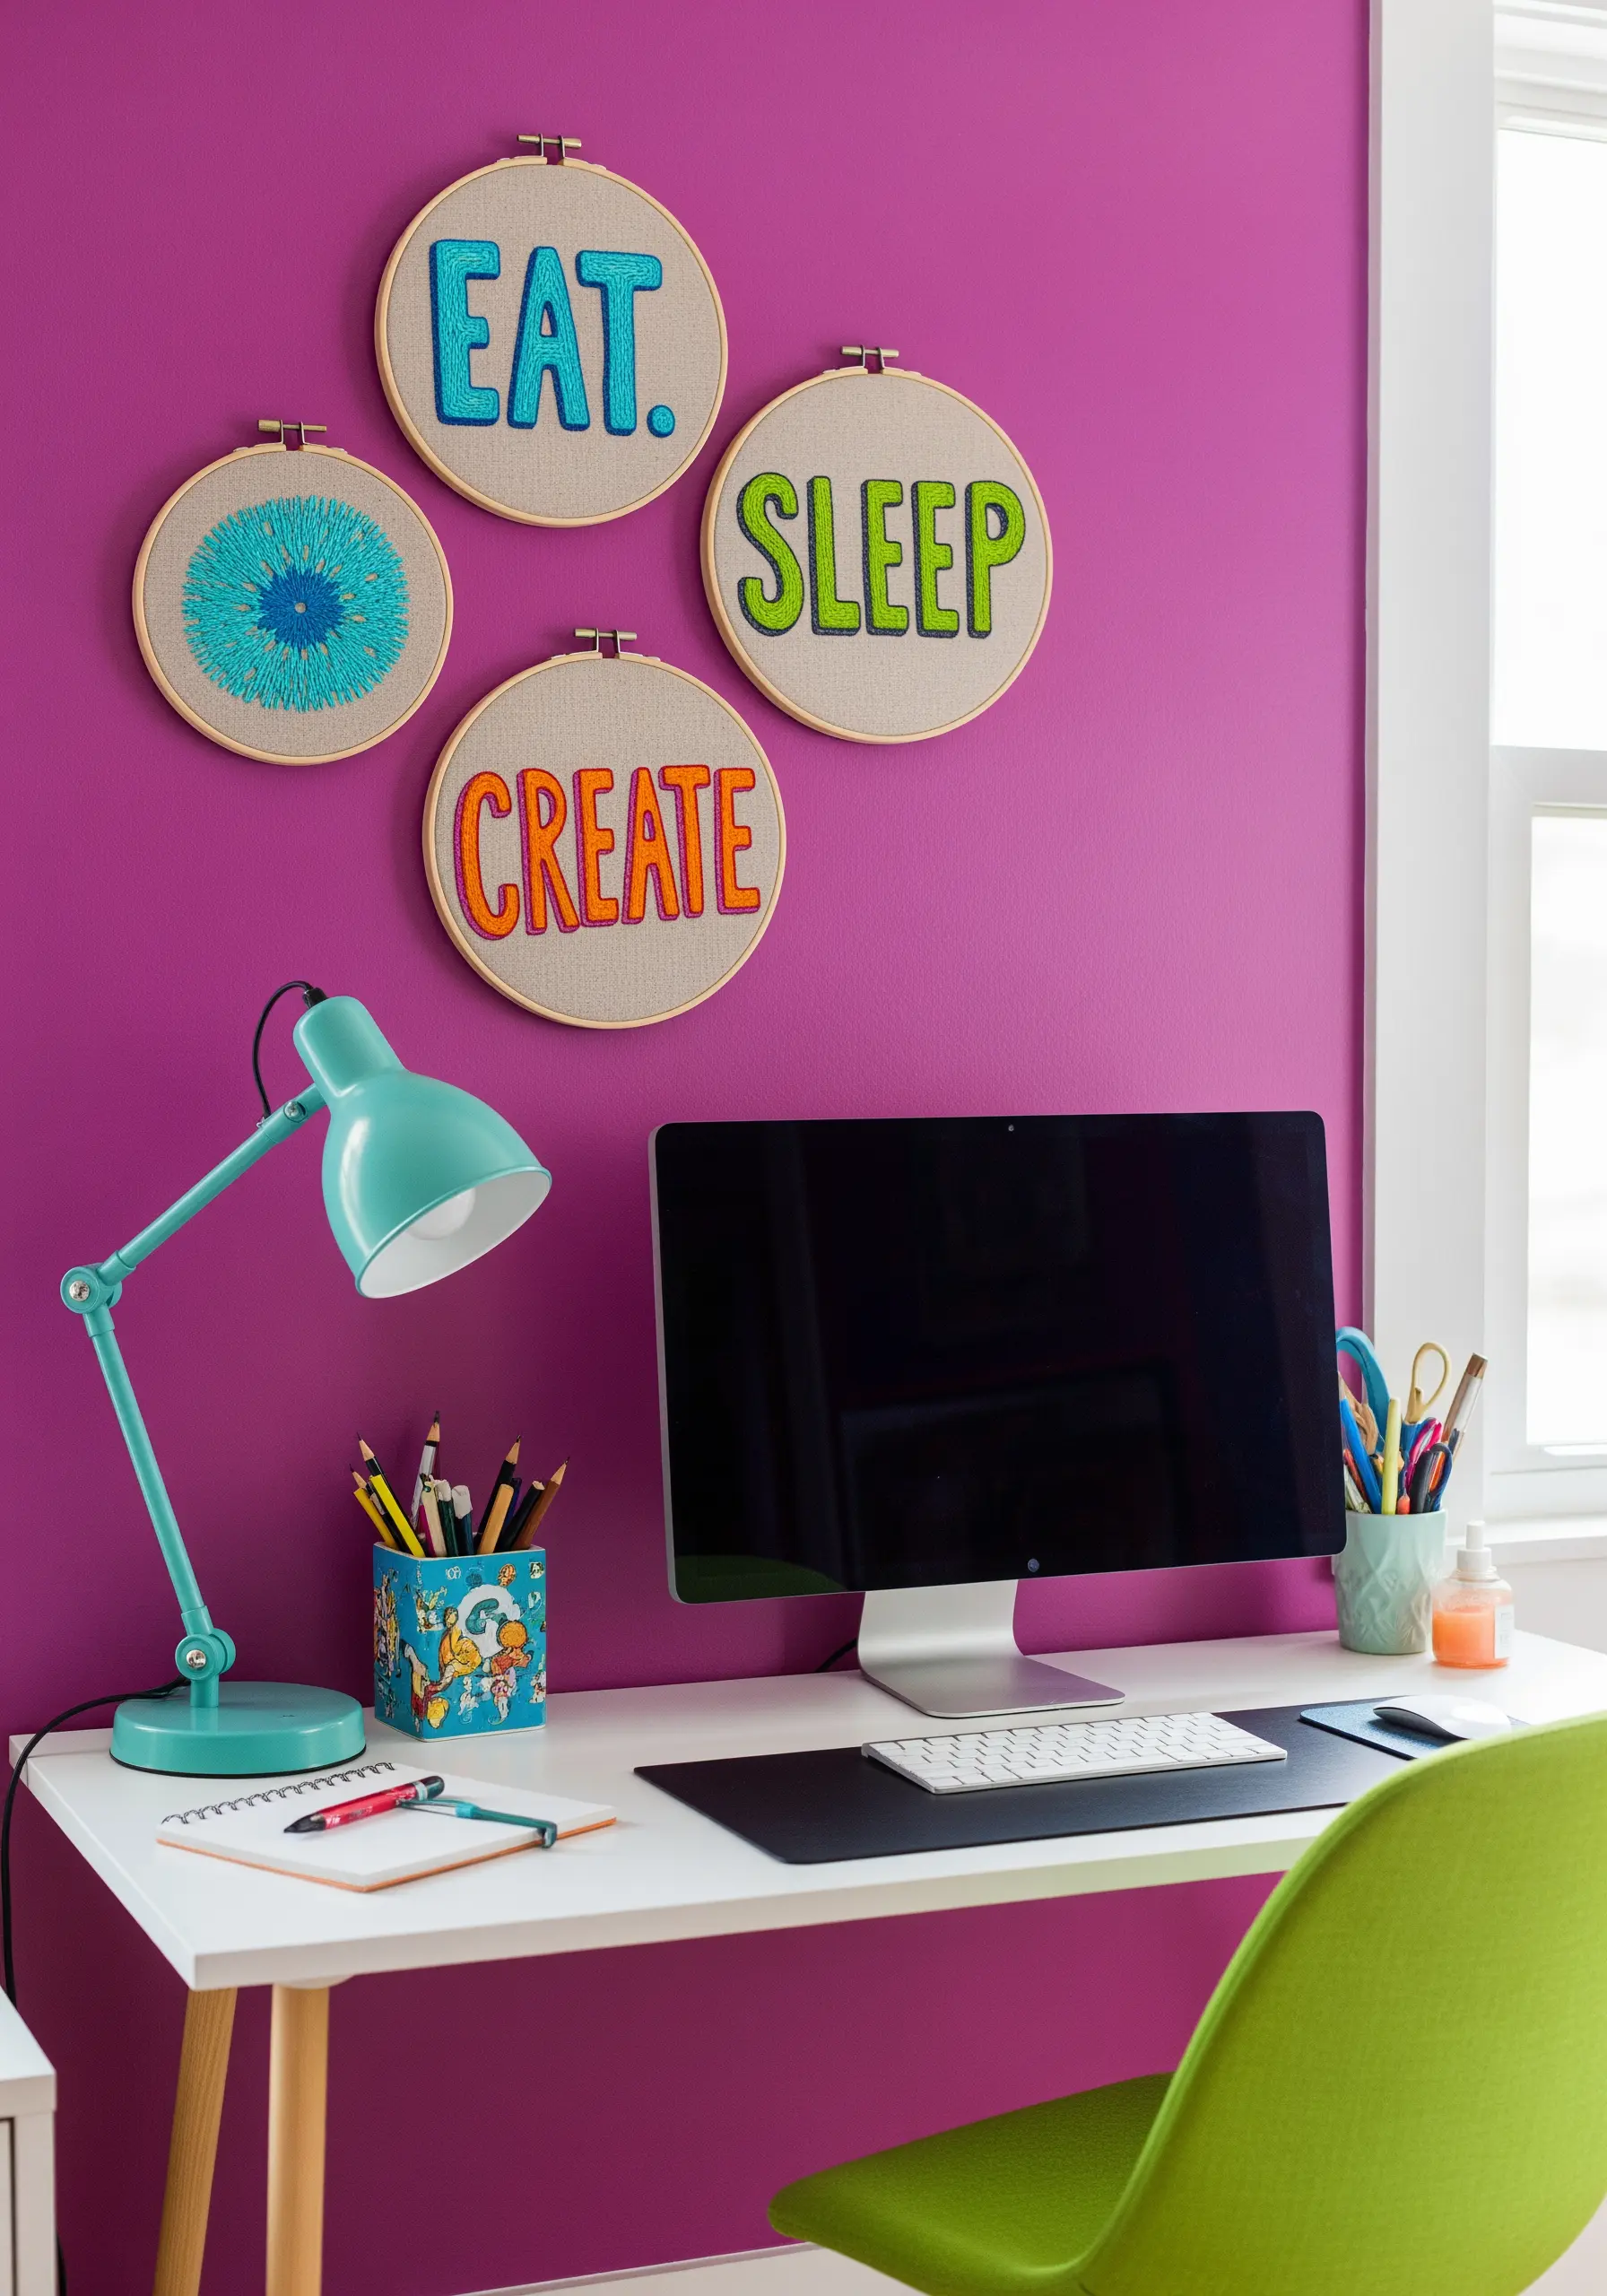
13. Design a Playful Triptych for Short Phrases
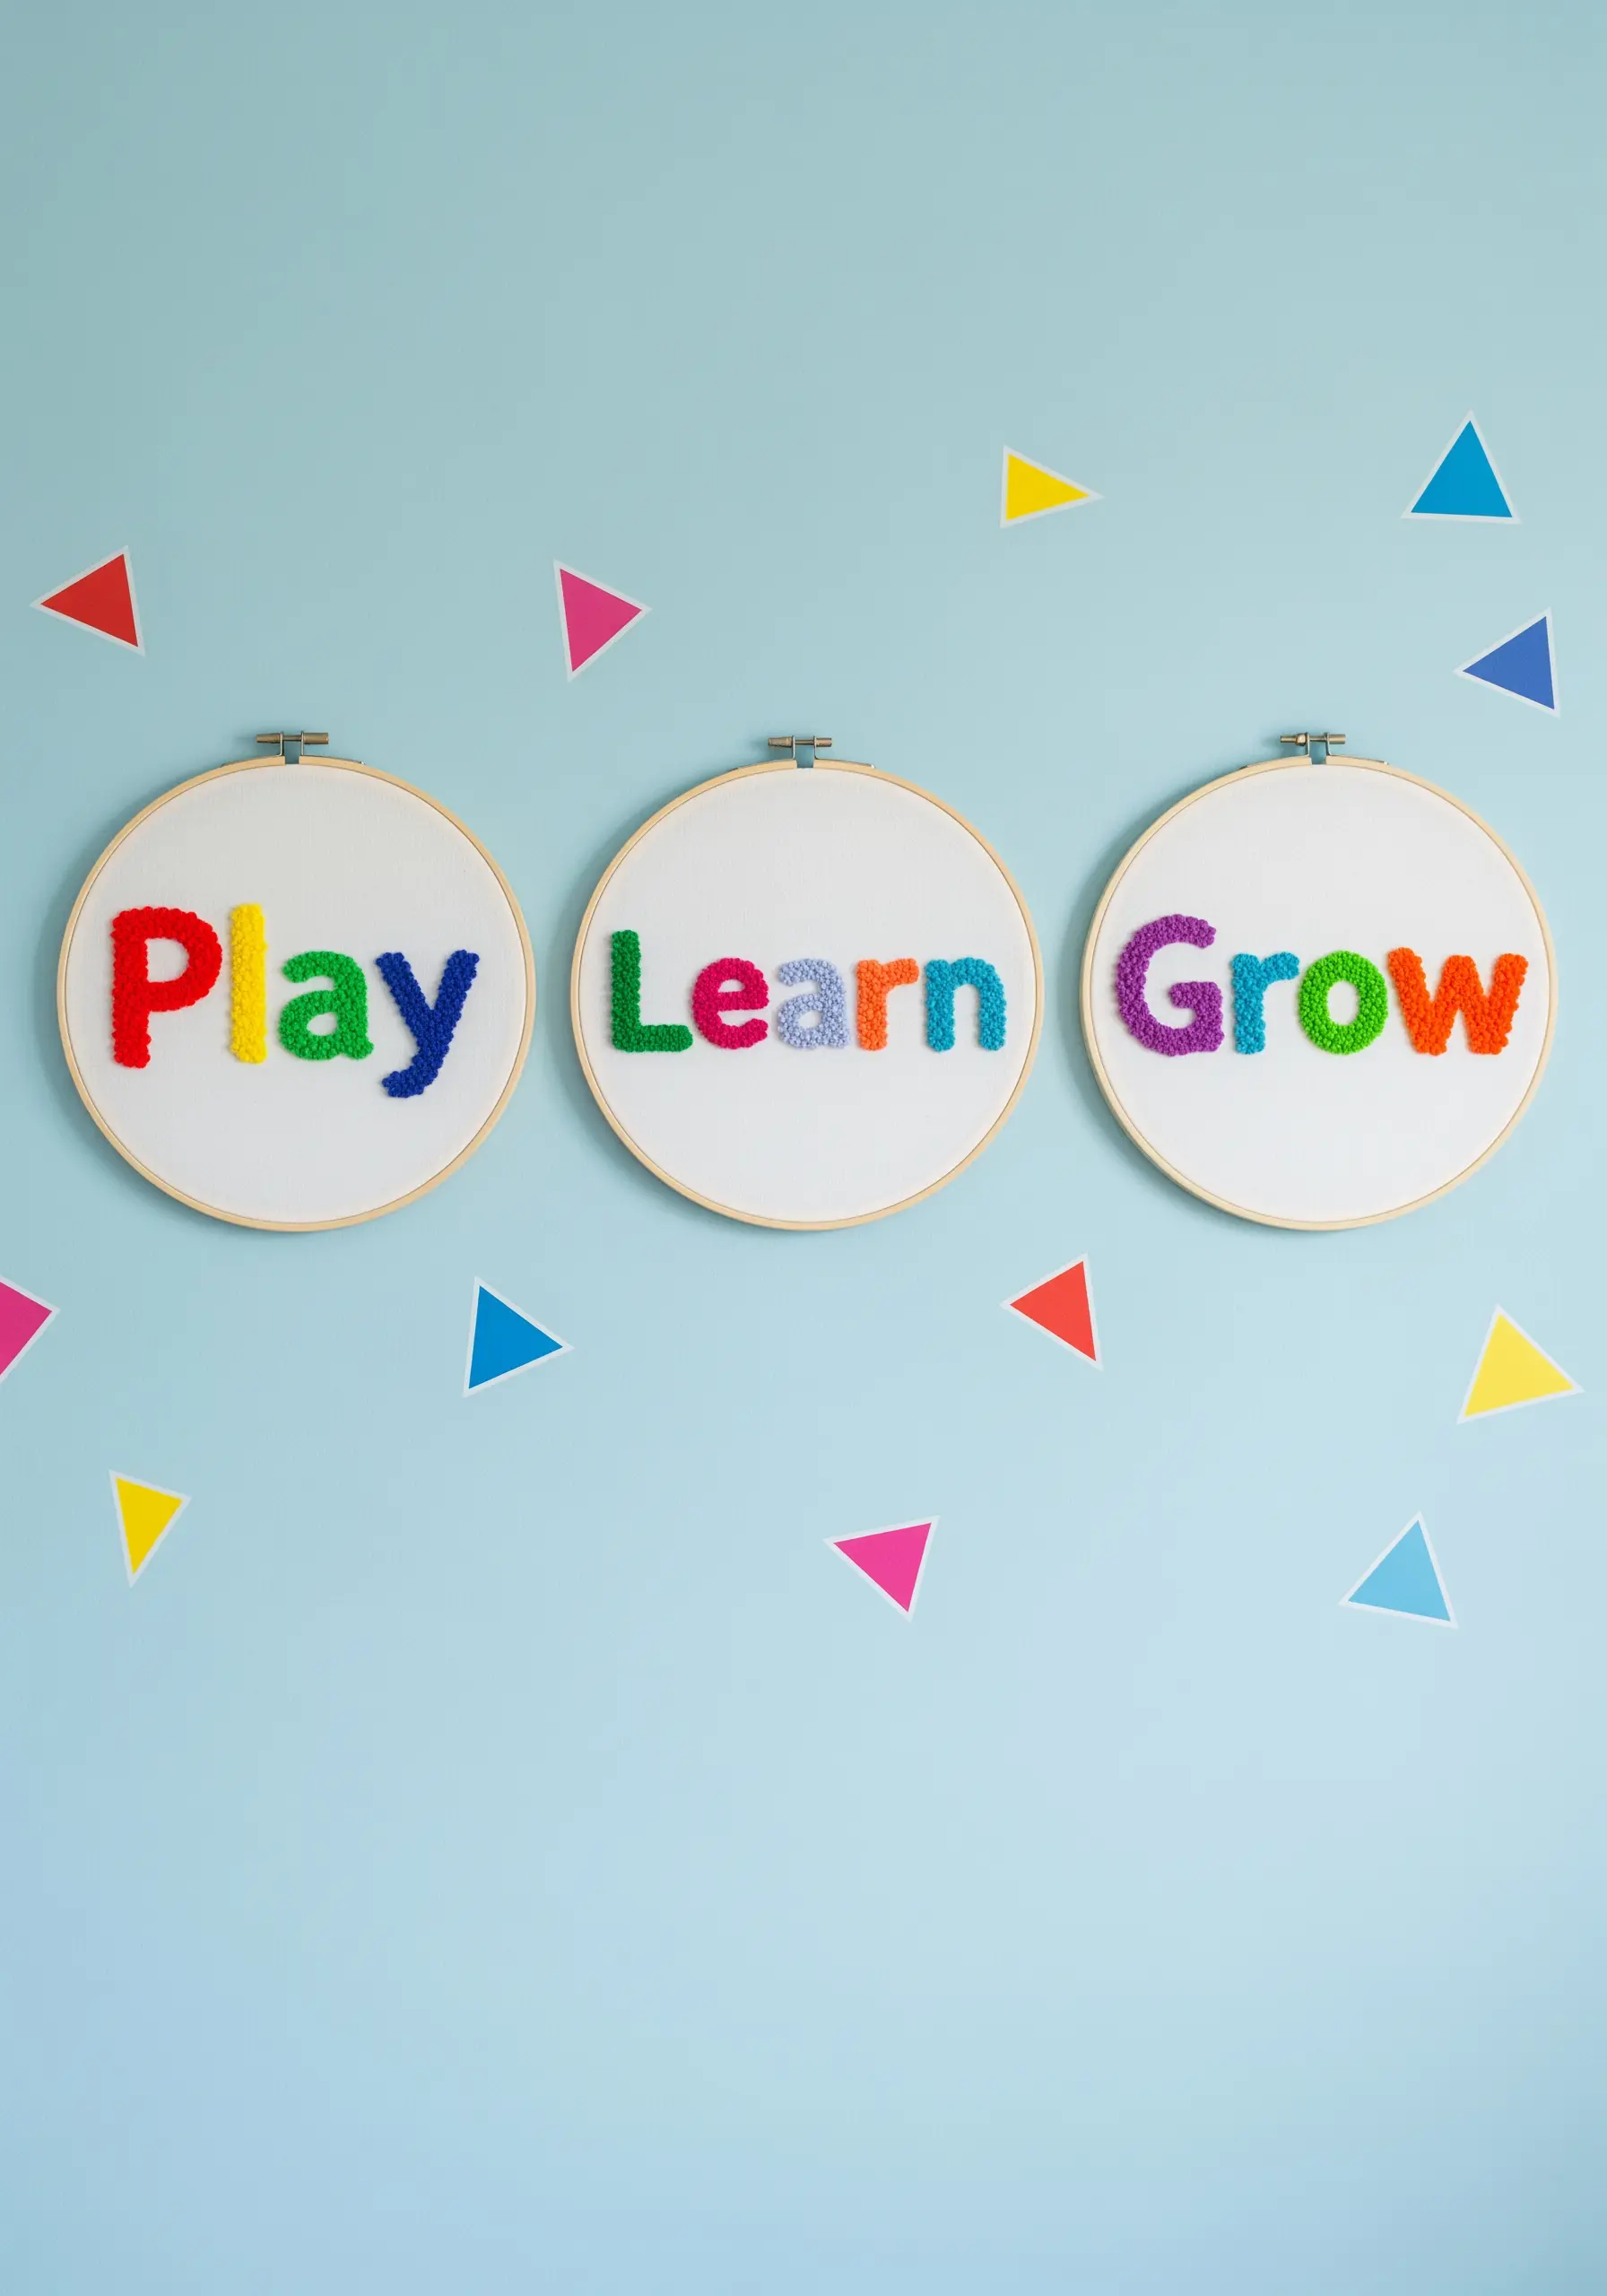
Break a short, powerful phrase into individual words, dedicating one hoop to each.
Create visual interest and a delightful texture by filling the letters with dense French knots, a technique often called “thread painting with knots.”
Use a different color or a multi-color scheme for each word to create a playful, energetic display perfect for a child’s room or creative space.
A set of hoops makes for one of the most charming creative embroidery gift projects.
14. Add a Touch of Glamour with Mixed Media
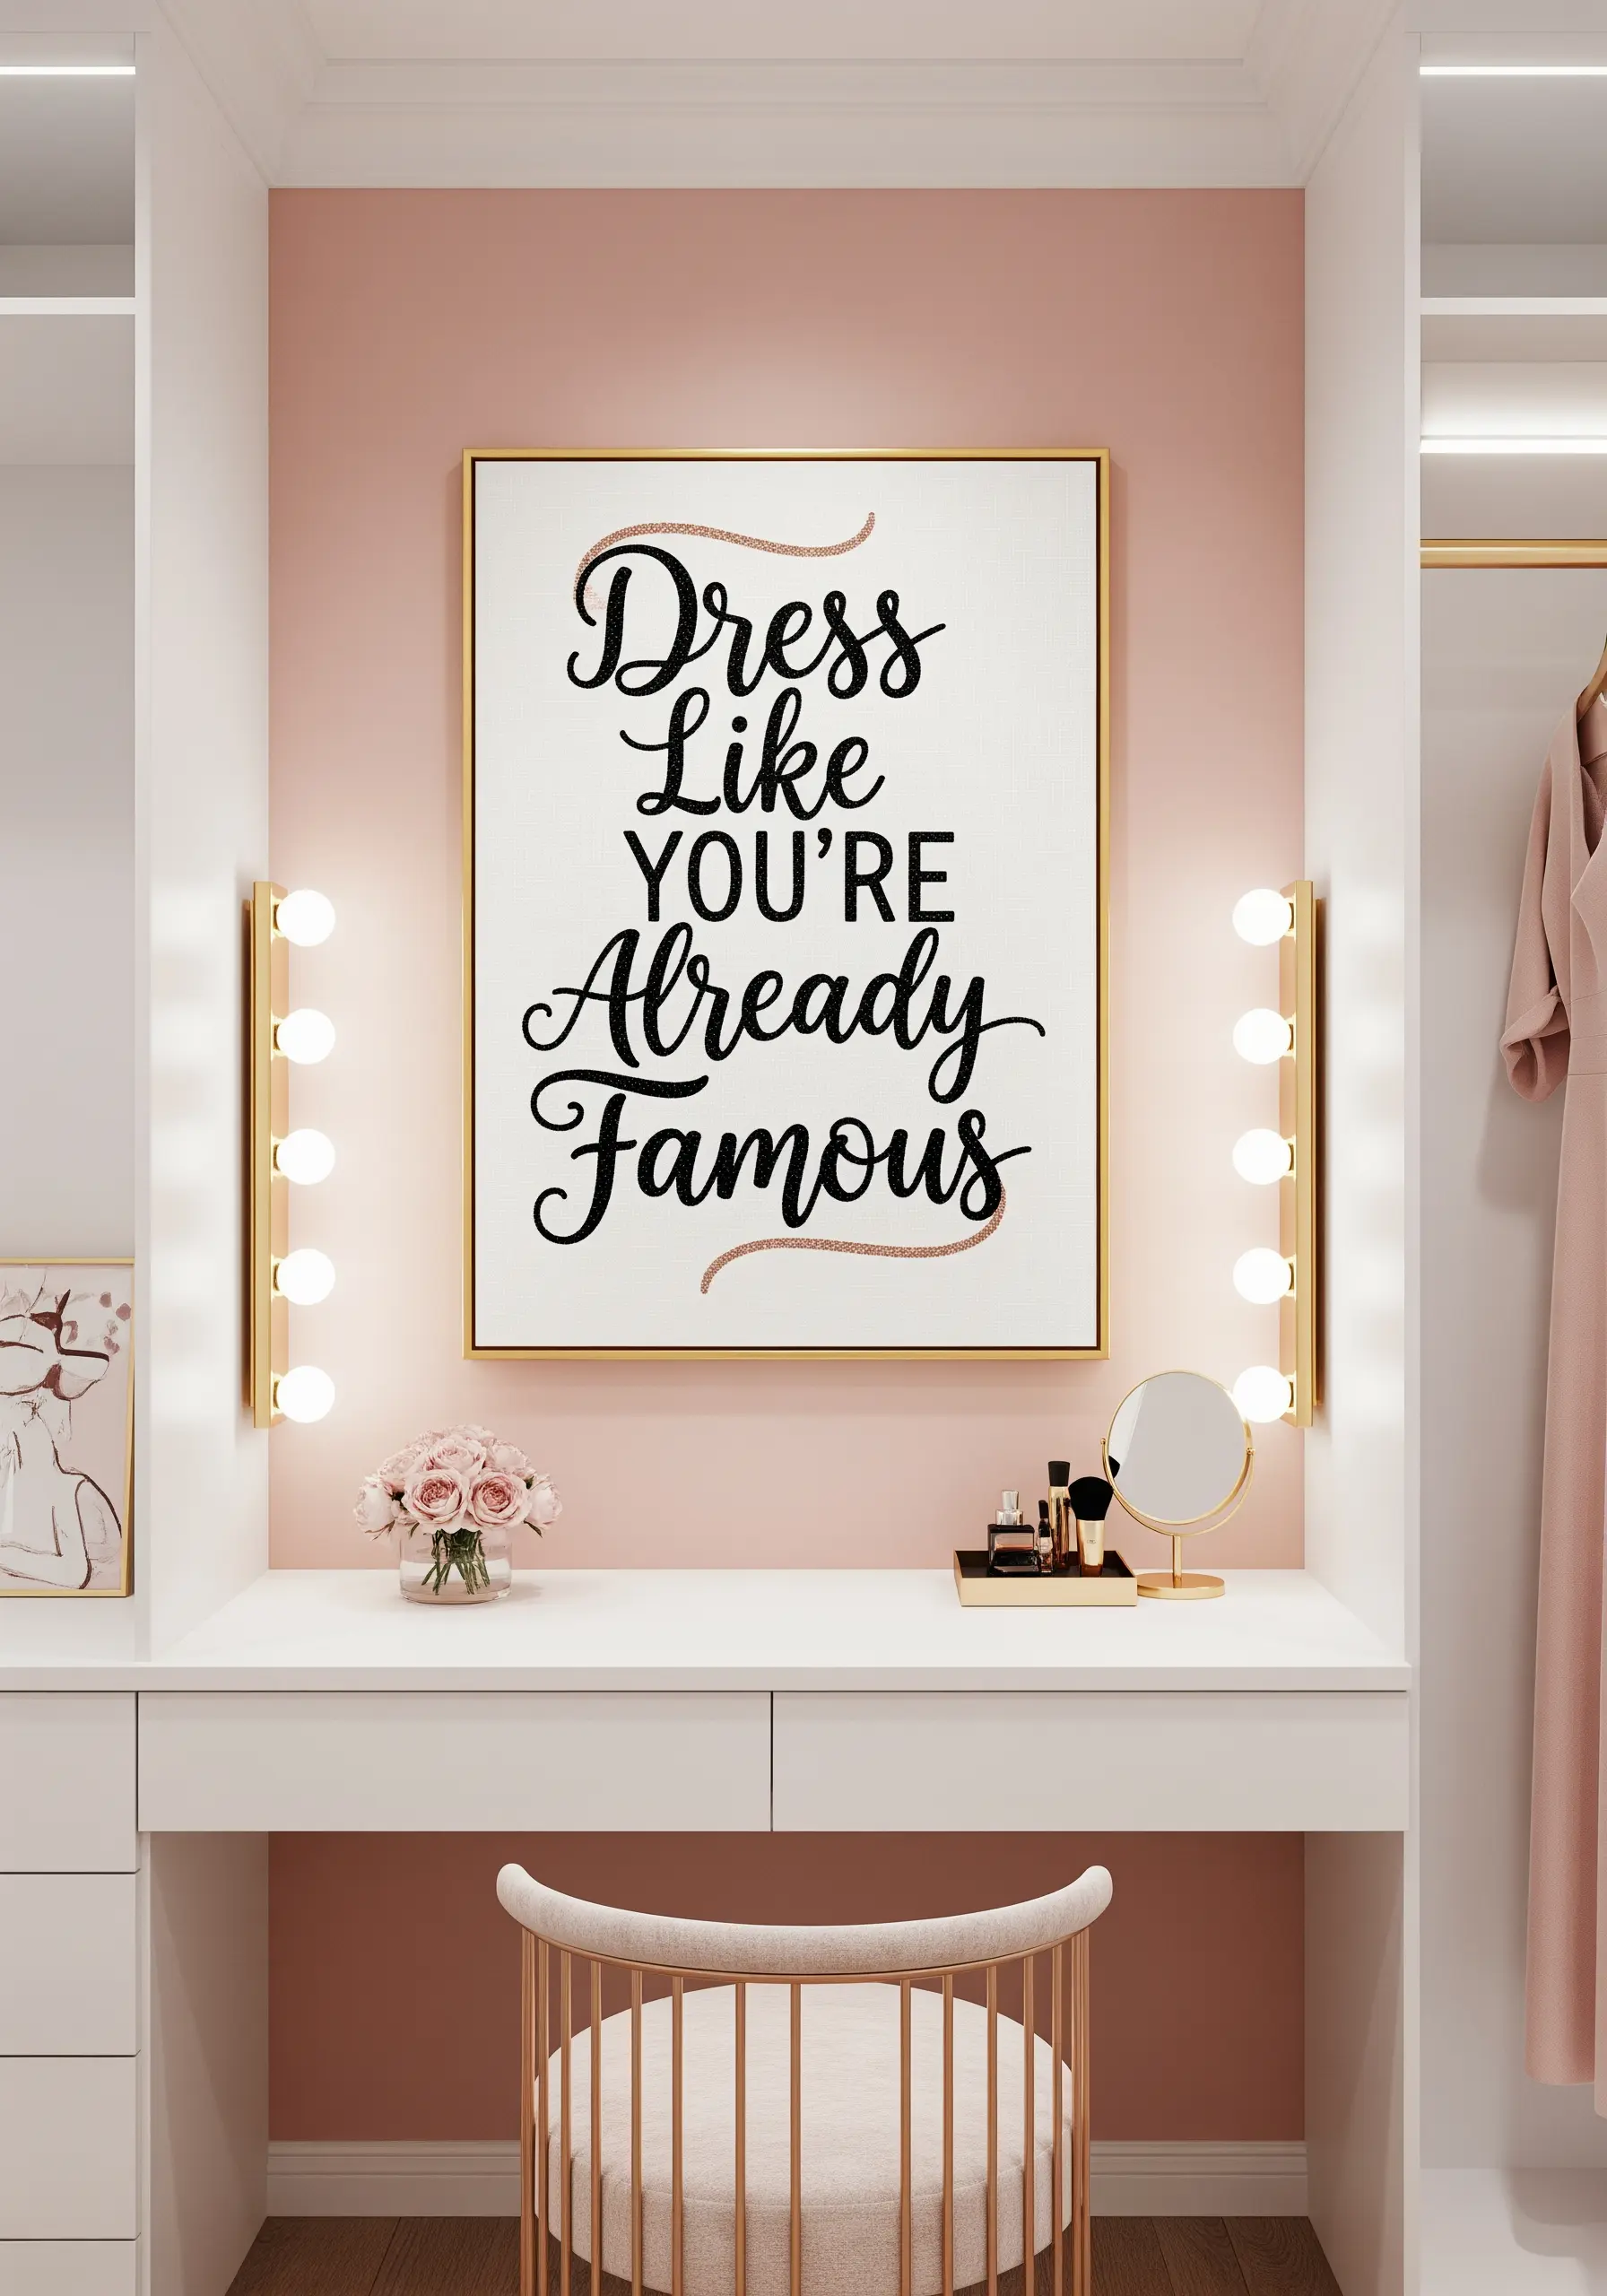
Elevate your embroidered quote by incorporating non-thread elements for a touch of sparkle.
Stitch the main text in a classic black script using a clean split stitch.
Then, add accents by couching a shimmering metallic cord or applying fine glitter fabric appliqué for specific words or flourishes.
This combination of texture and shine turns a simple quote into luxury metallic thread wall decor ideas for a chic space.
15. Achieve Razor-Sharp Edges on Block Letters
For a powerful, graphic statement, the cleanliness of your letters is paramount.
To get perfectly sharp edges on bold, filled text, always outline the letters first with a tight split stitch.
This raised outline acts as a containing wall for your subsequent satin stitches, preventing them from pulling or shifting and ensuring a crisp, professional finish.
This technique is key for creating minimalist embroidery ideas perfect for tiny apartments where every detail counts.
16. Create a Radiant Burst of Color
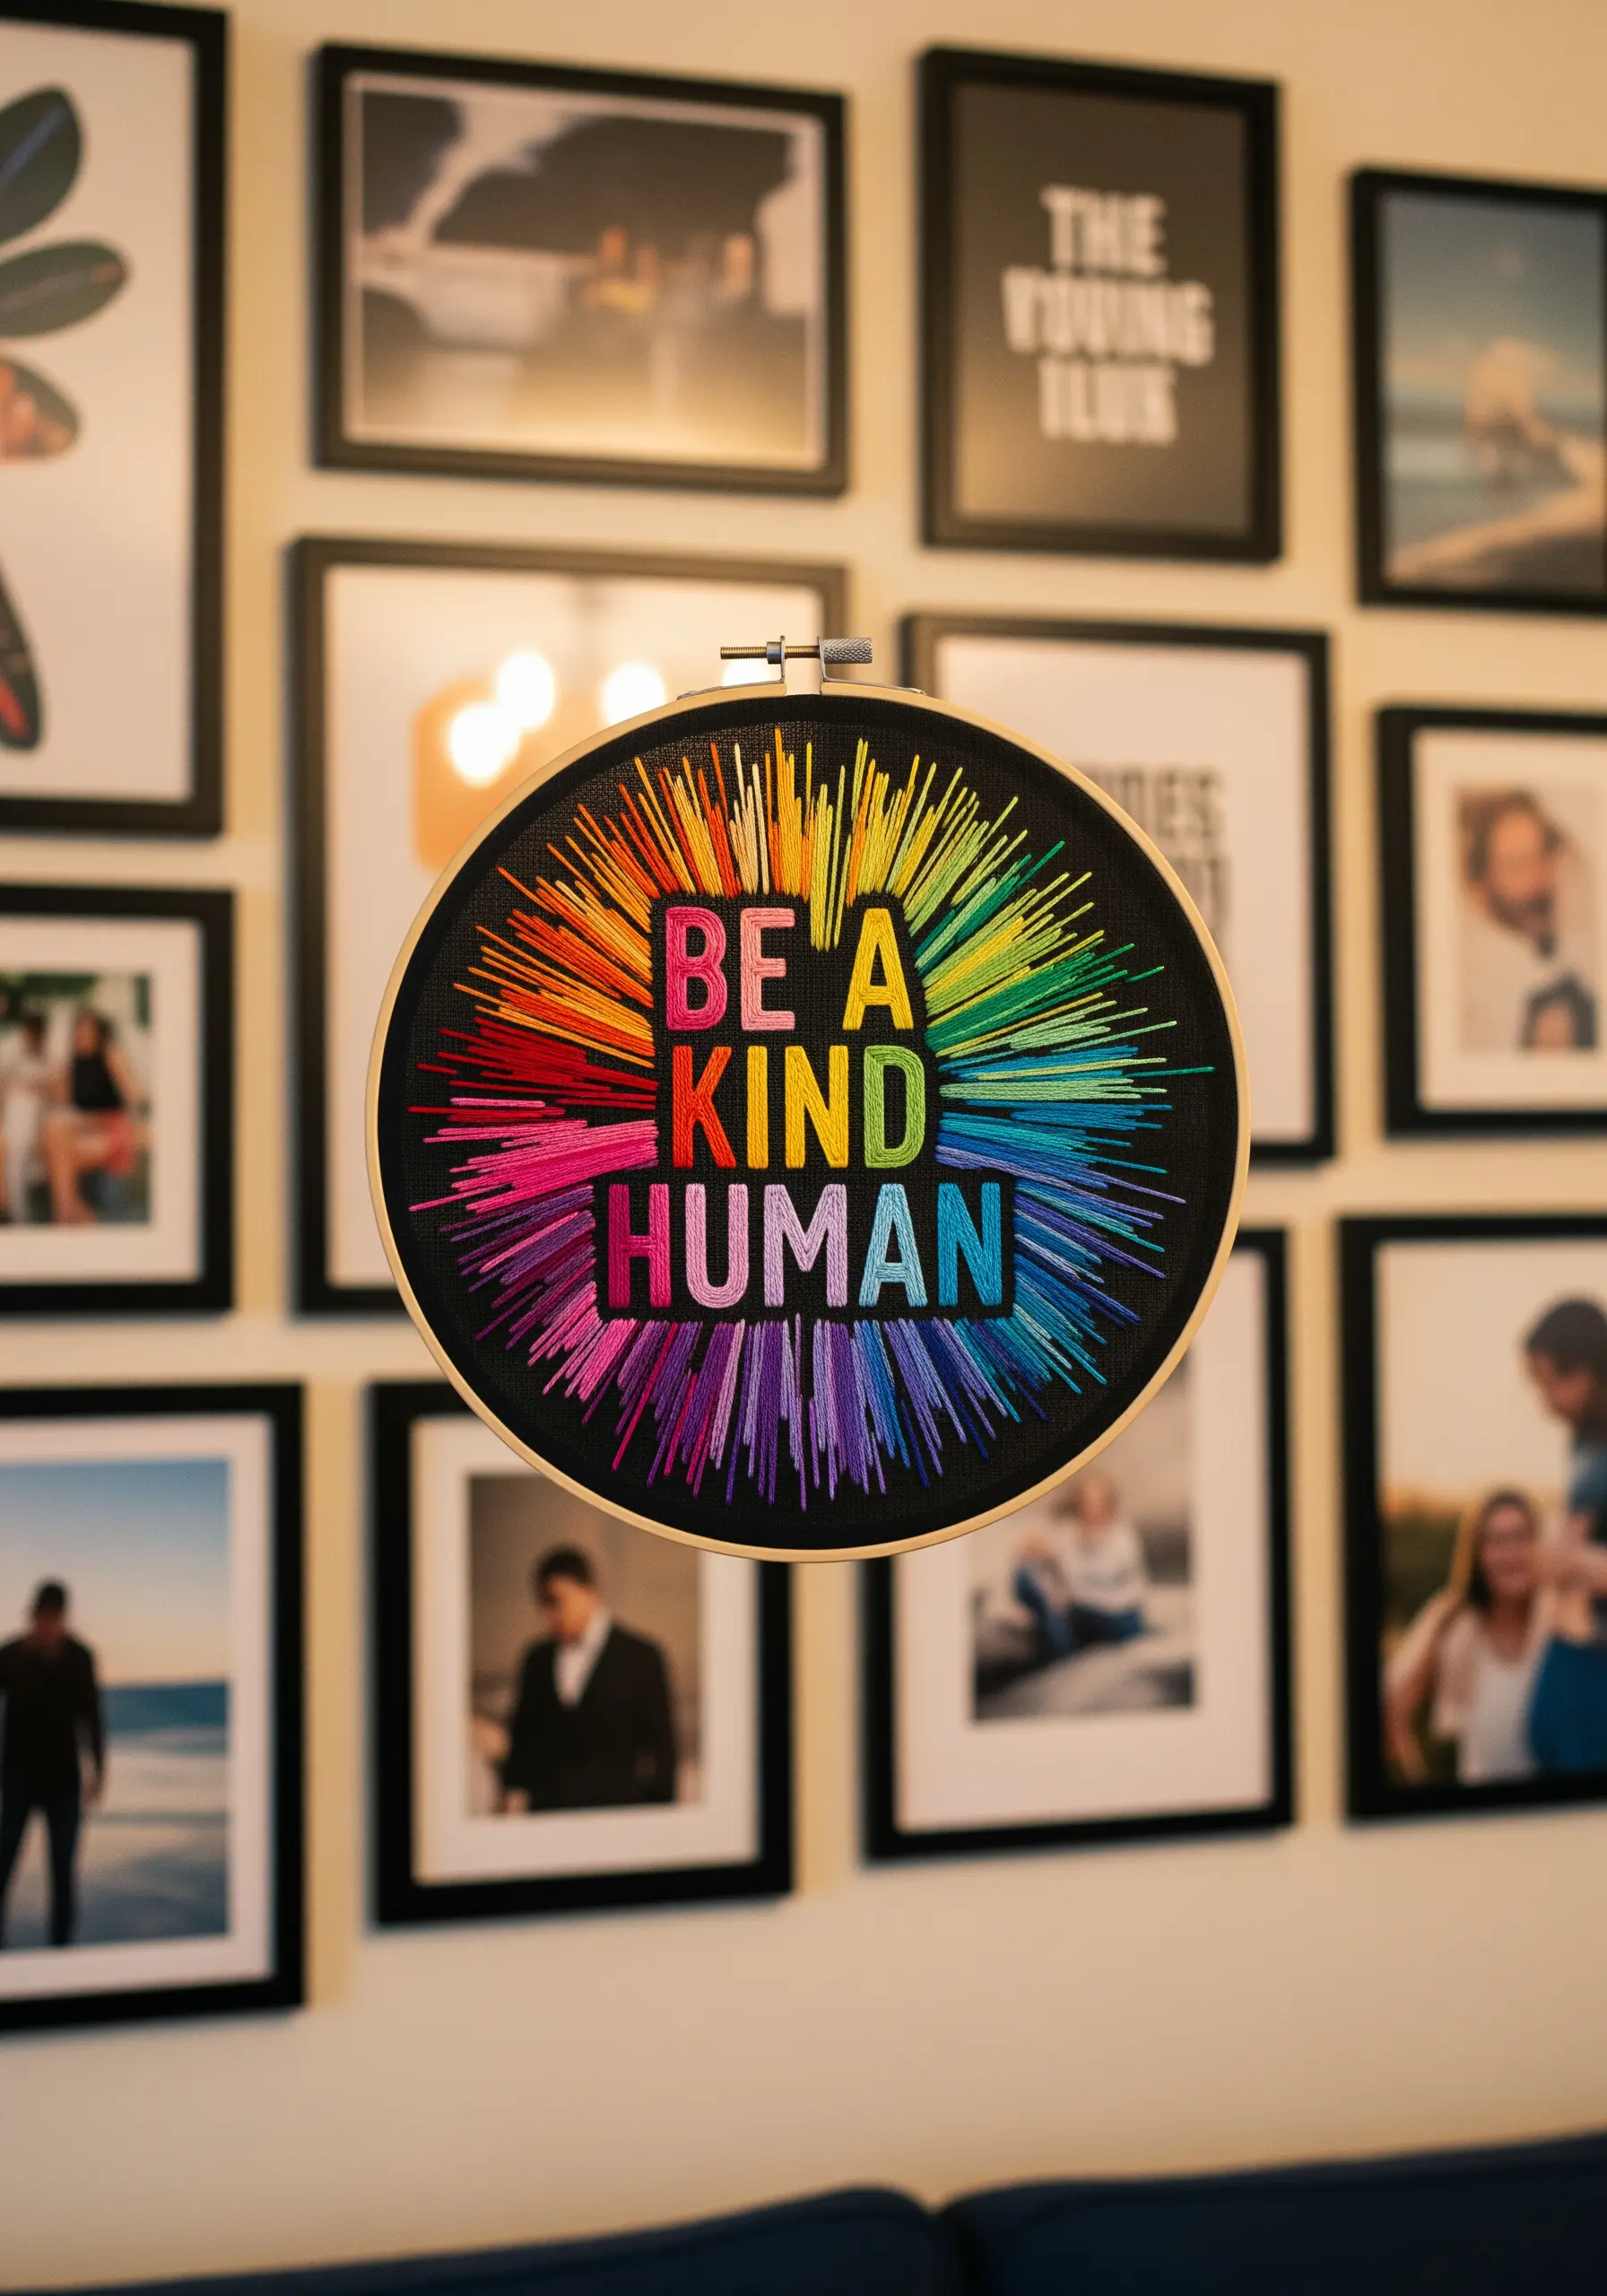
Make your message radiate energy by surrounding it with a sunburst of straight stitches.
Embroider the text first, using a light color like white or a pale gray to ensure it stands out.
Then, working from the letters outward, fill the surrounding space with straight stitches in a rainbow gradient, varying the length to create a dynamic, explosive effect.
These abstract thread motions give your words a powerful visual voice.
17. Tell a Story with Appliqué and Stitches
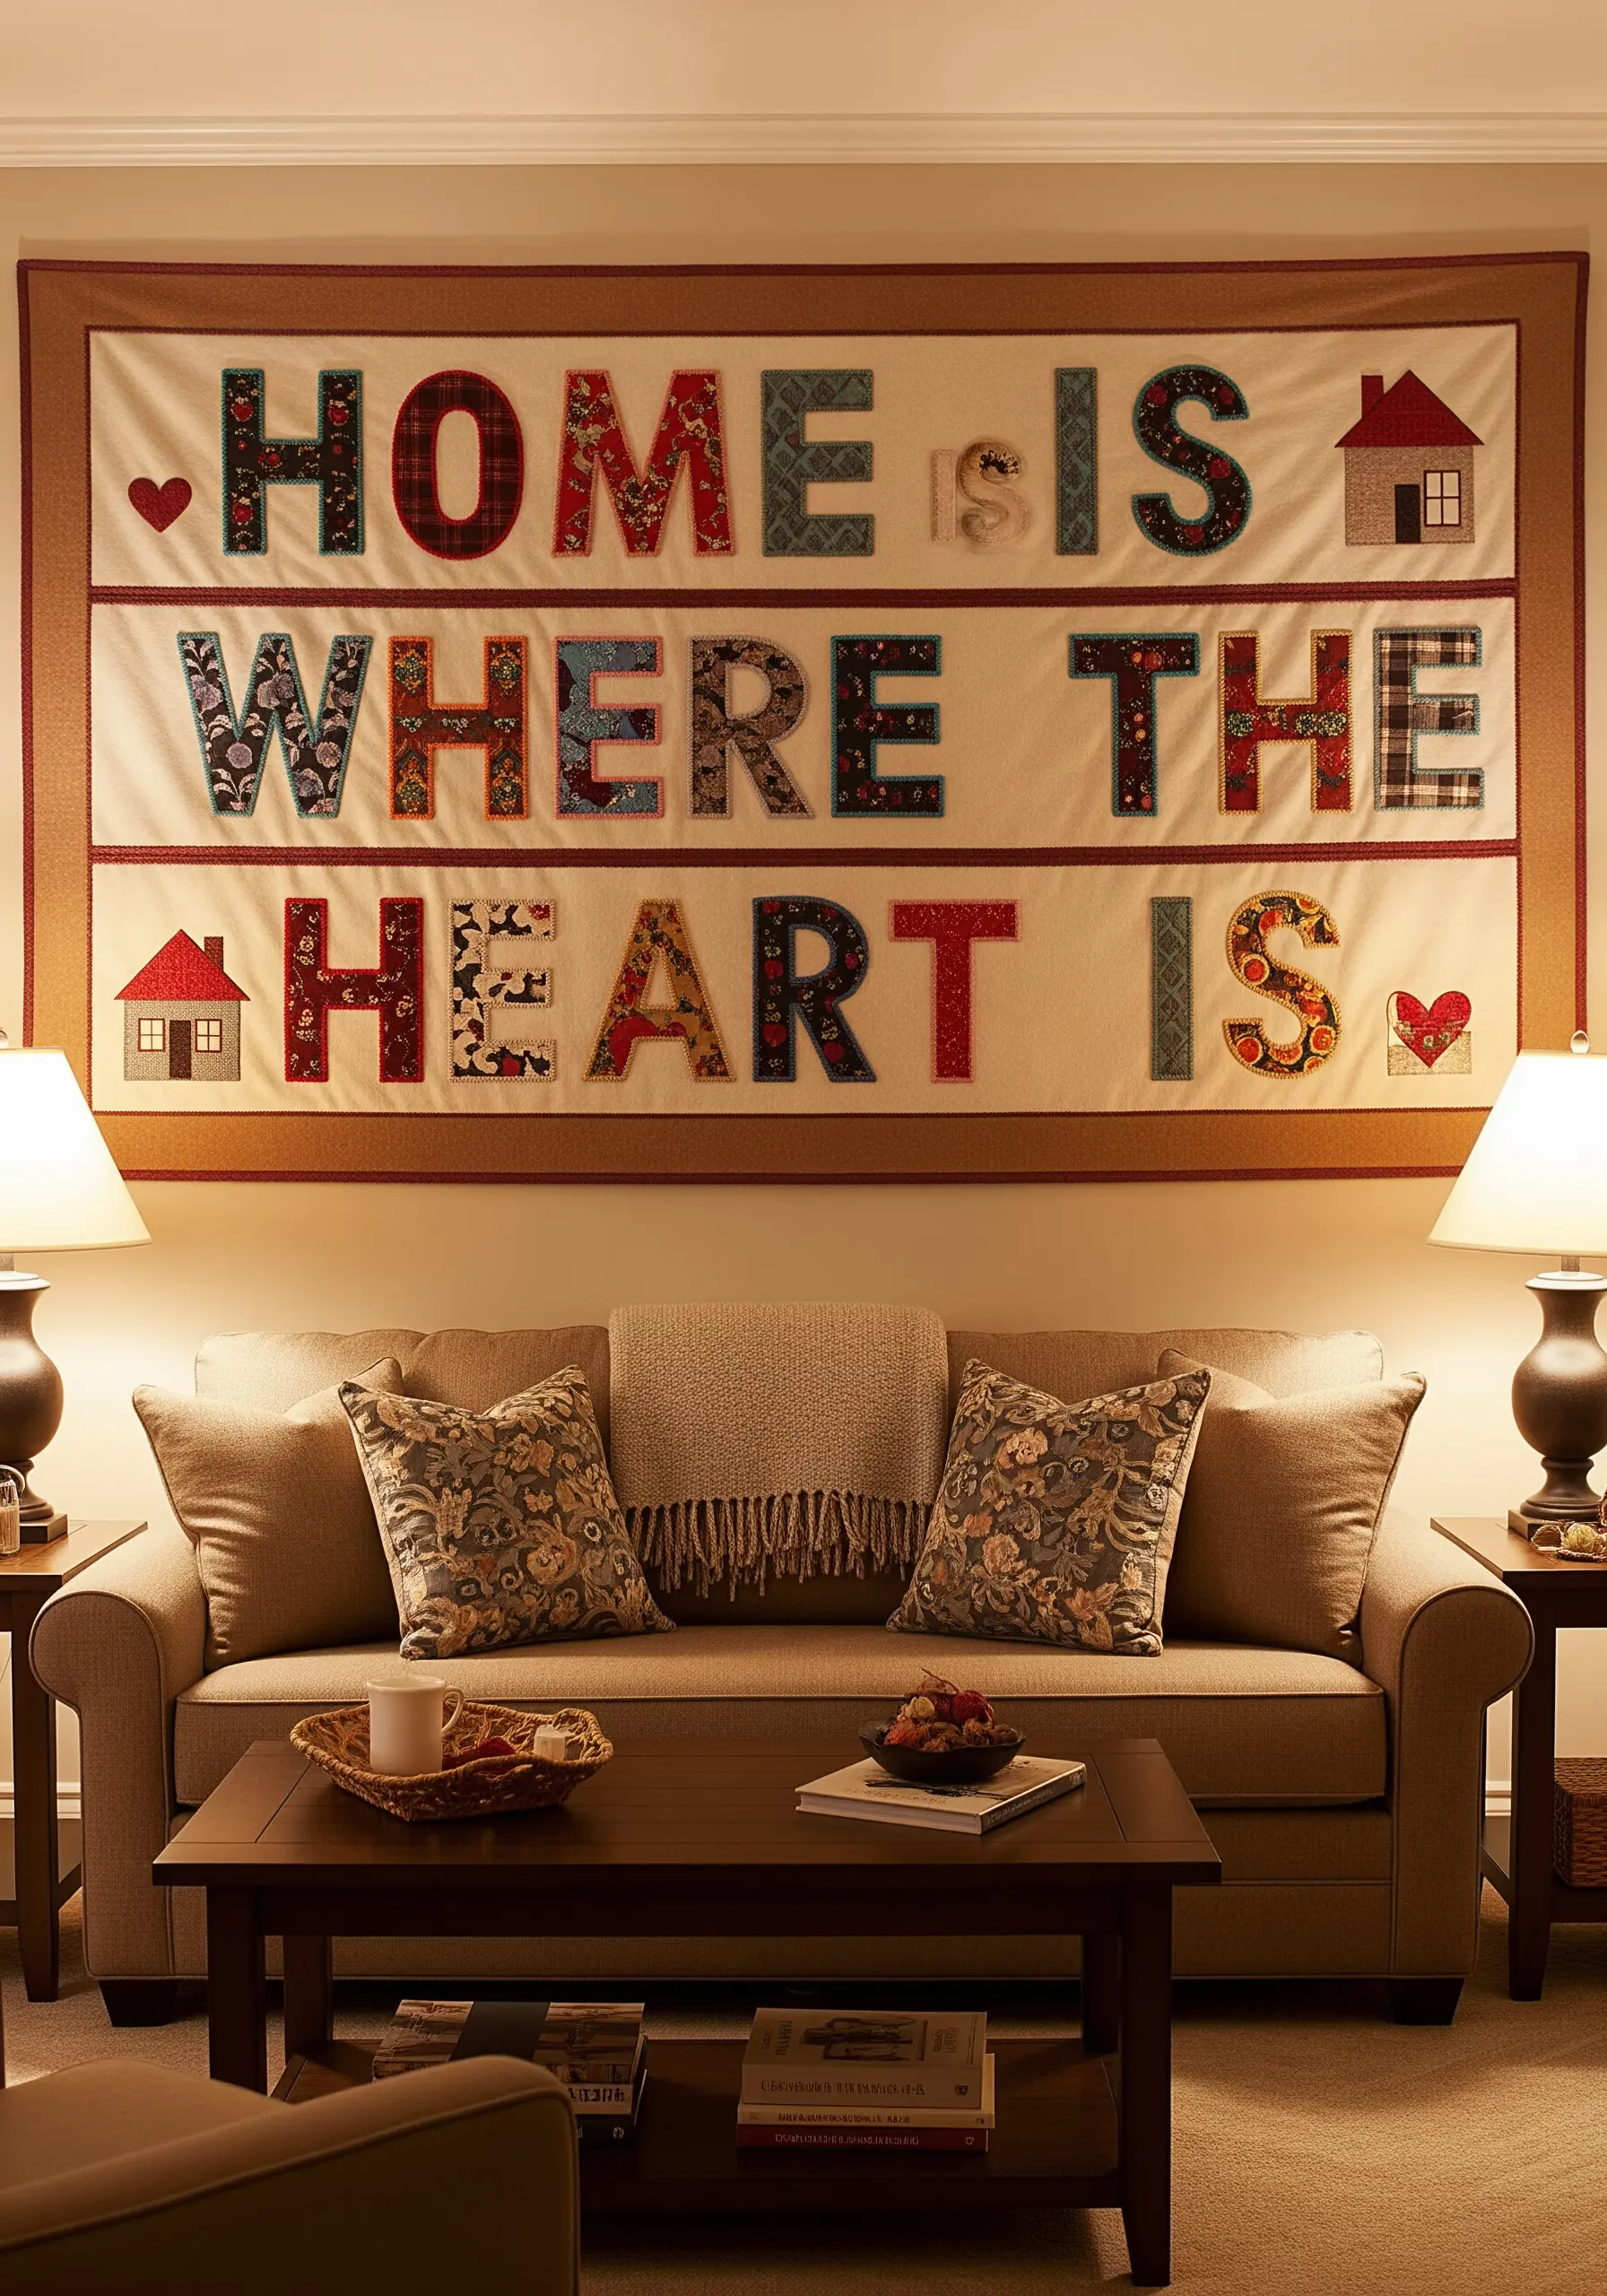
Combine the charm of quilting with embroidery by using fabric appliqué for your letters.
Cut your letters from various patterned fabrics and secure them to your base with a fusible web before stitching.
Then, use a simple blanket stitch or running stitch around the edges of each letter to secure it permanently and add a handmade touch.
This is one of the coziest fabric collage embroidery ideas for a warm, inviting living space.
18. Craft Retro Bubble Letters with Padding
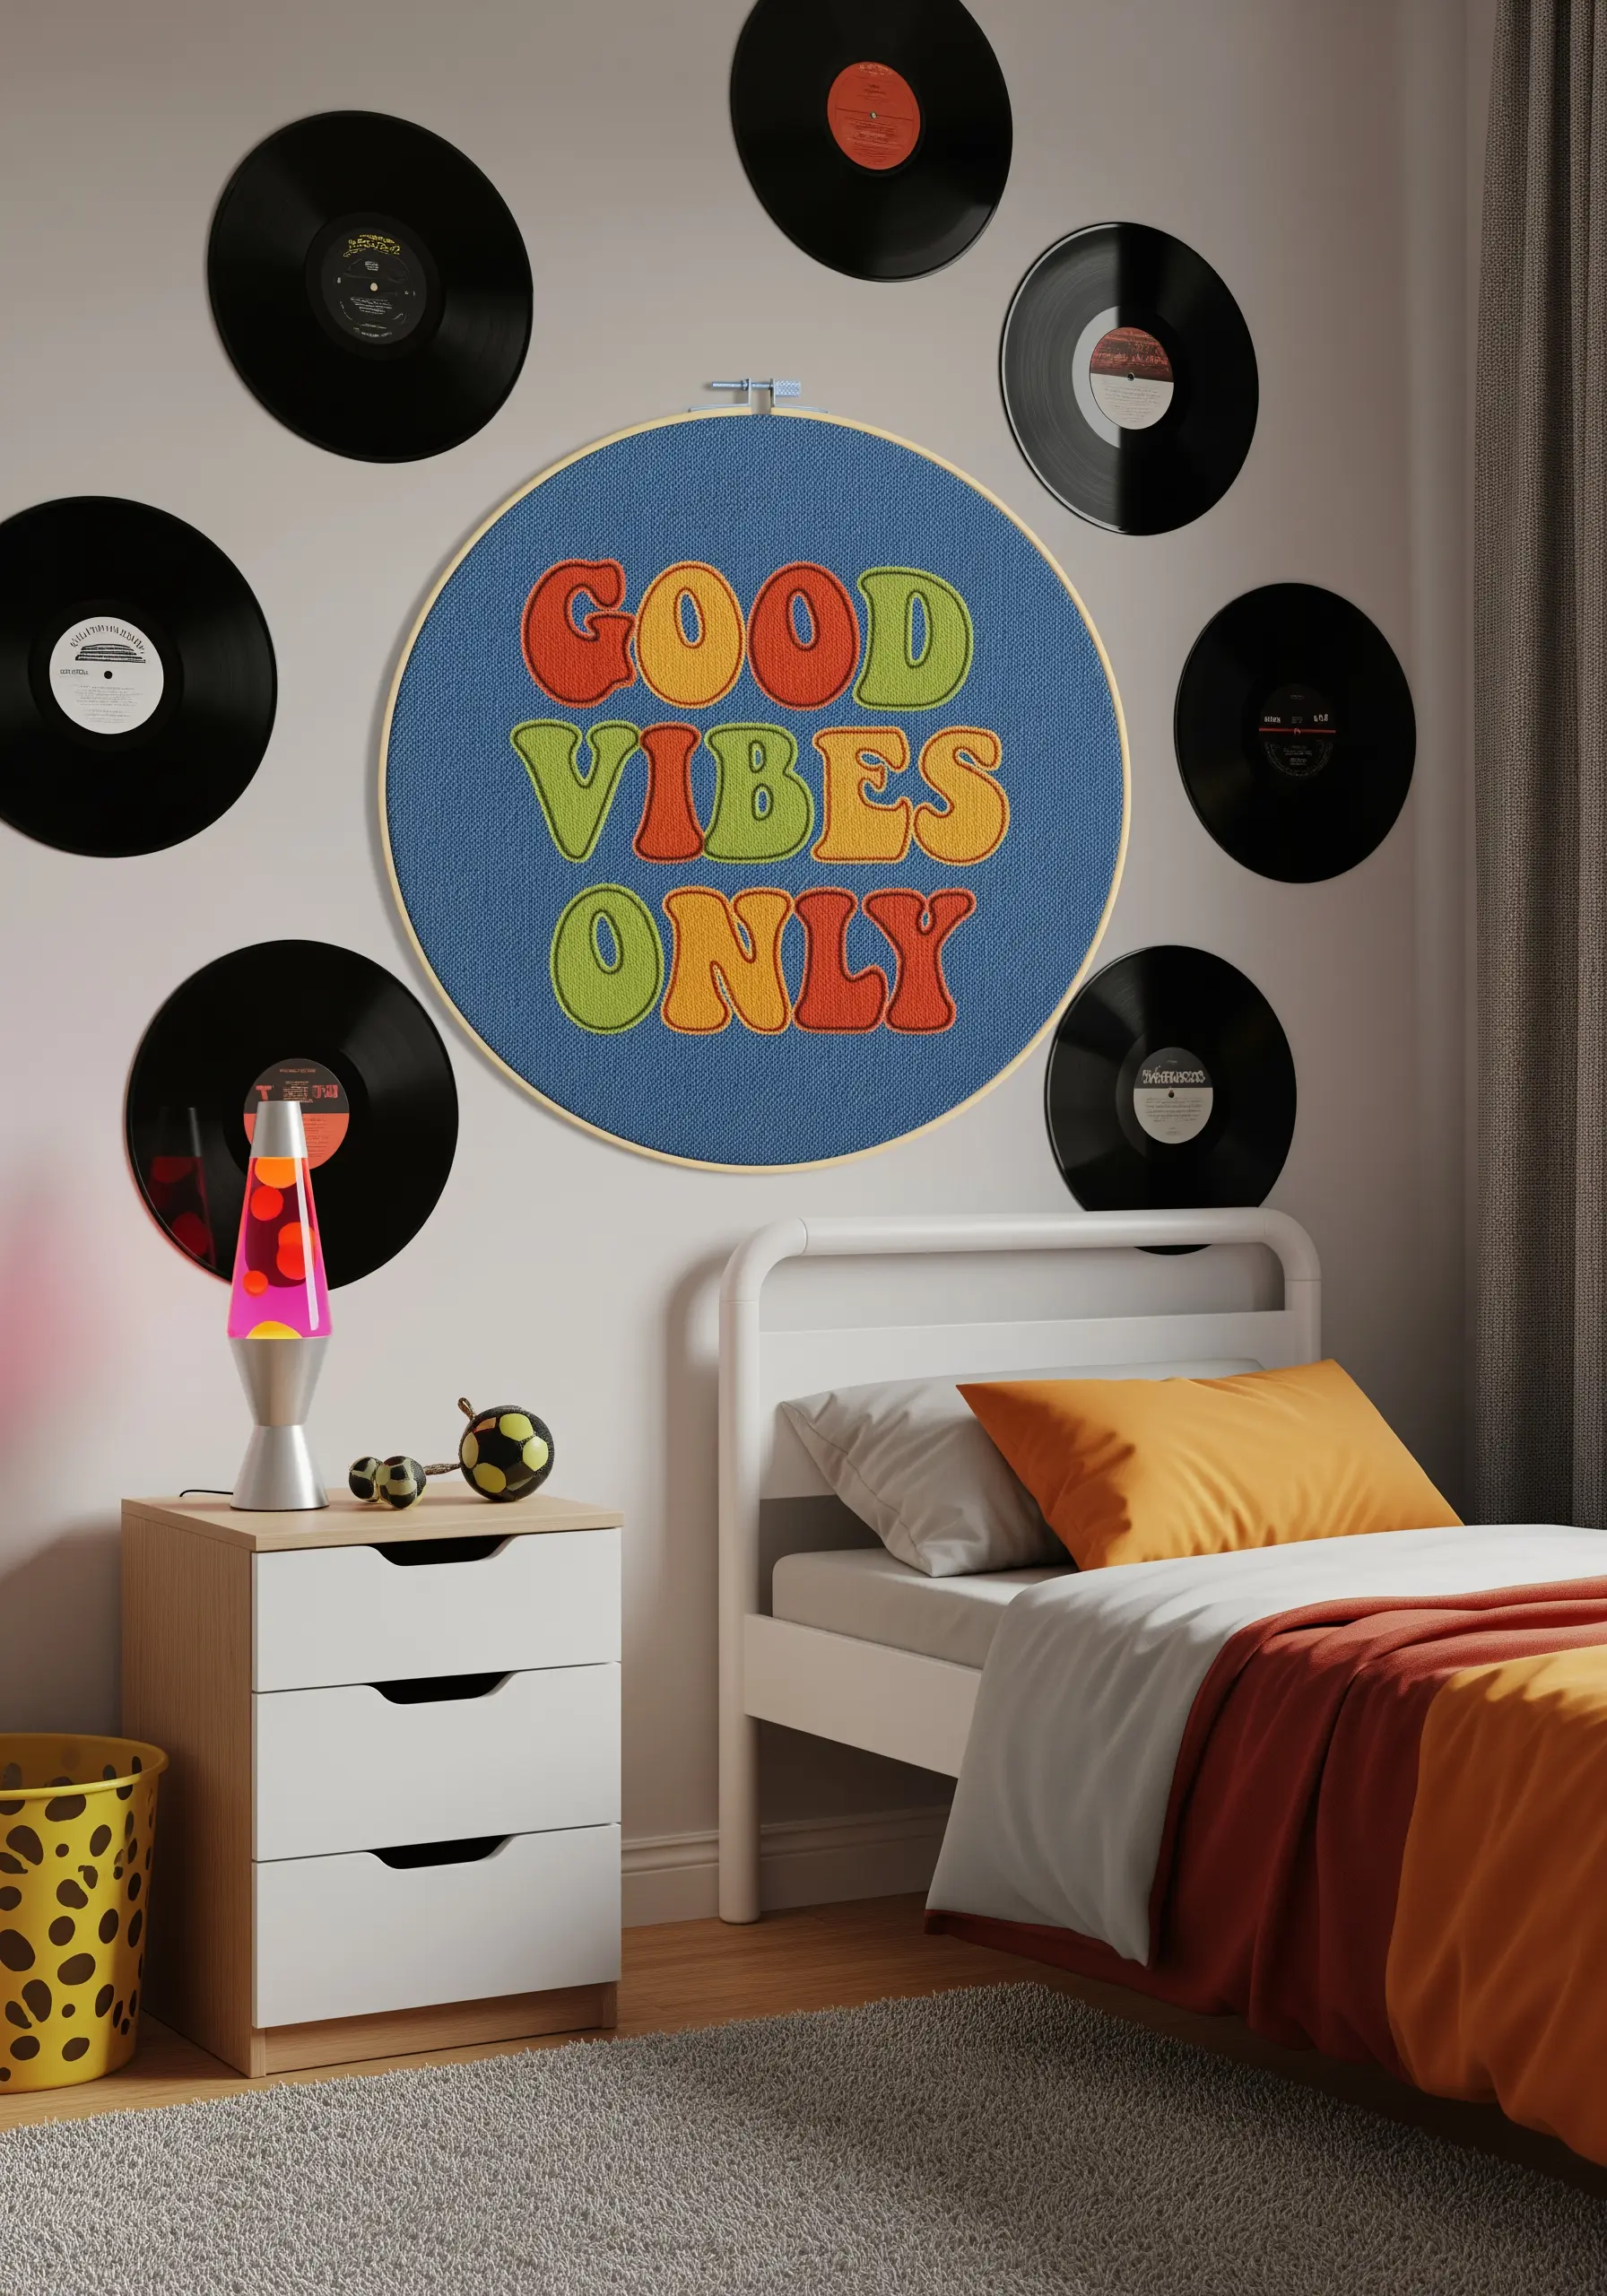
Capture a fun, retro vibe with rounded, puffy letters that have a soft, 3D appearance.
Create this effect with a padded satin stitch. First, fill the inside of your letter outline with a layer of seed stitches or small straight stitches.
Then, cover this padding with long, smooth satin stitches perpendicular to the padding stitches. The extra volume underneath pushes the top layer up, creating a pillowy look.
This technique turns basic letters into fun, tactile statements, much like the best tote bag embroidery stitch combos.
19. Find Elegance in a Single, Simple Word
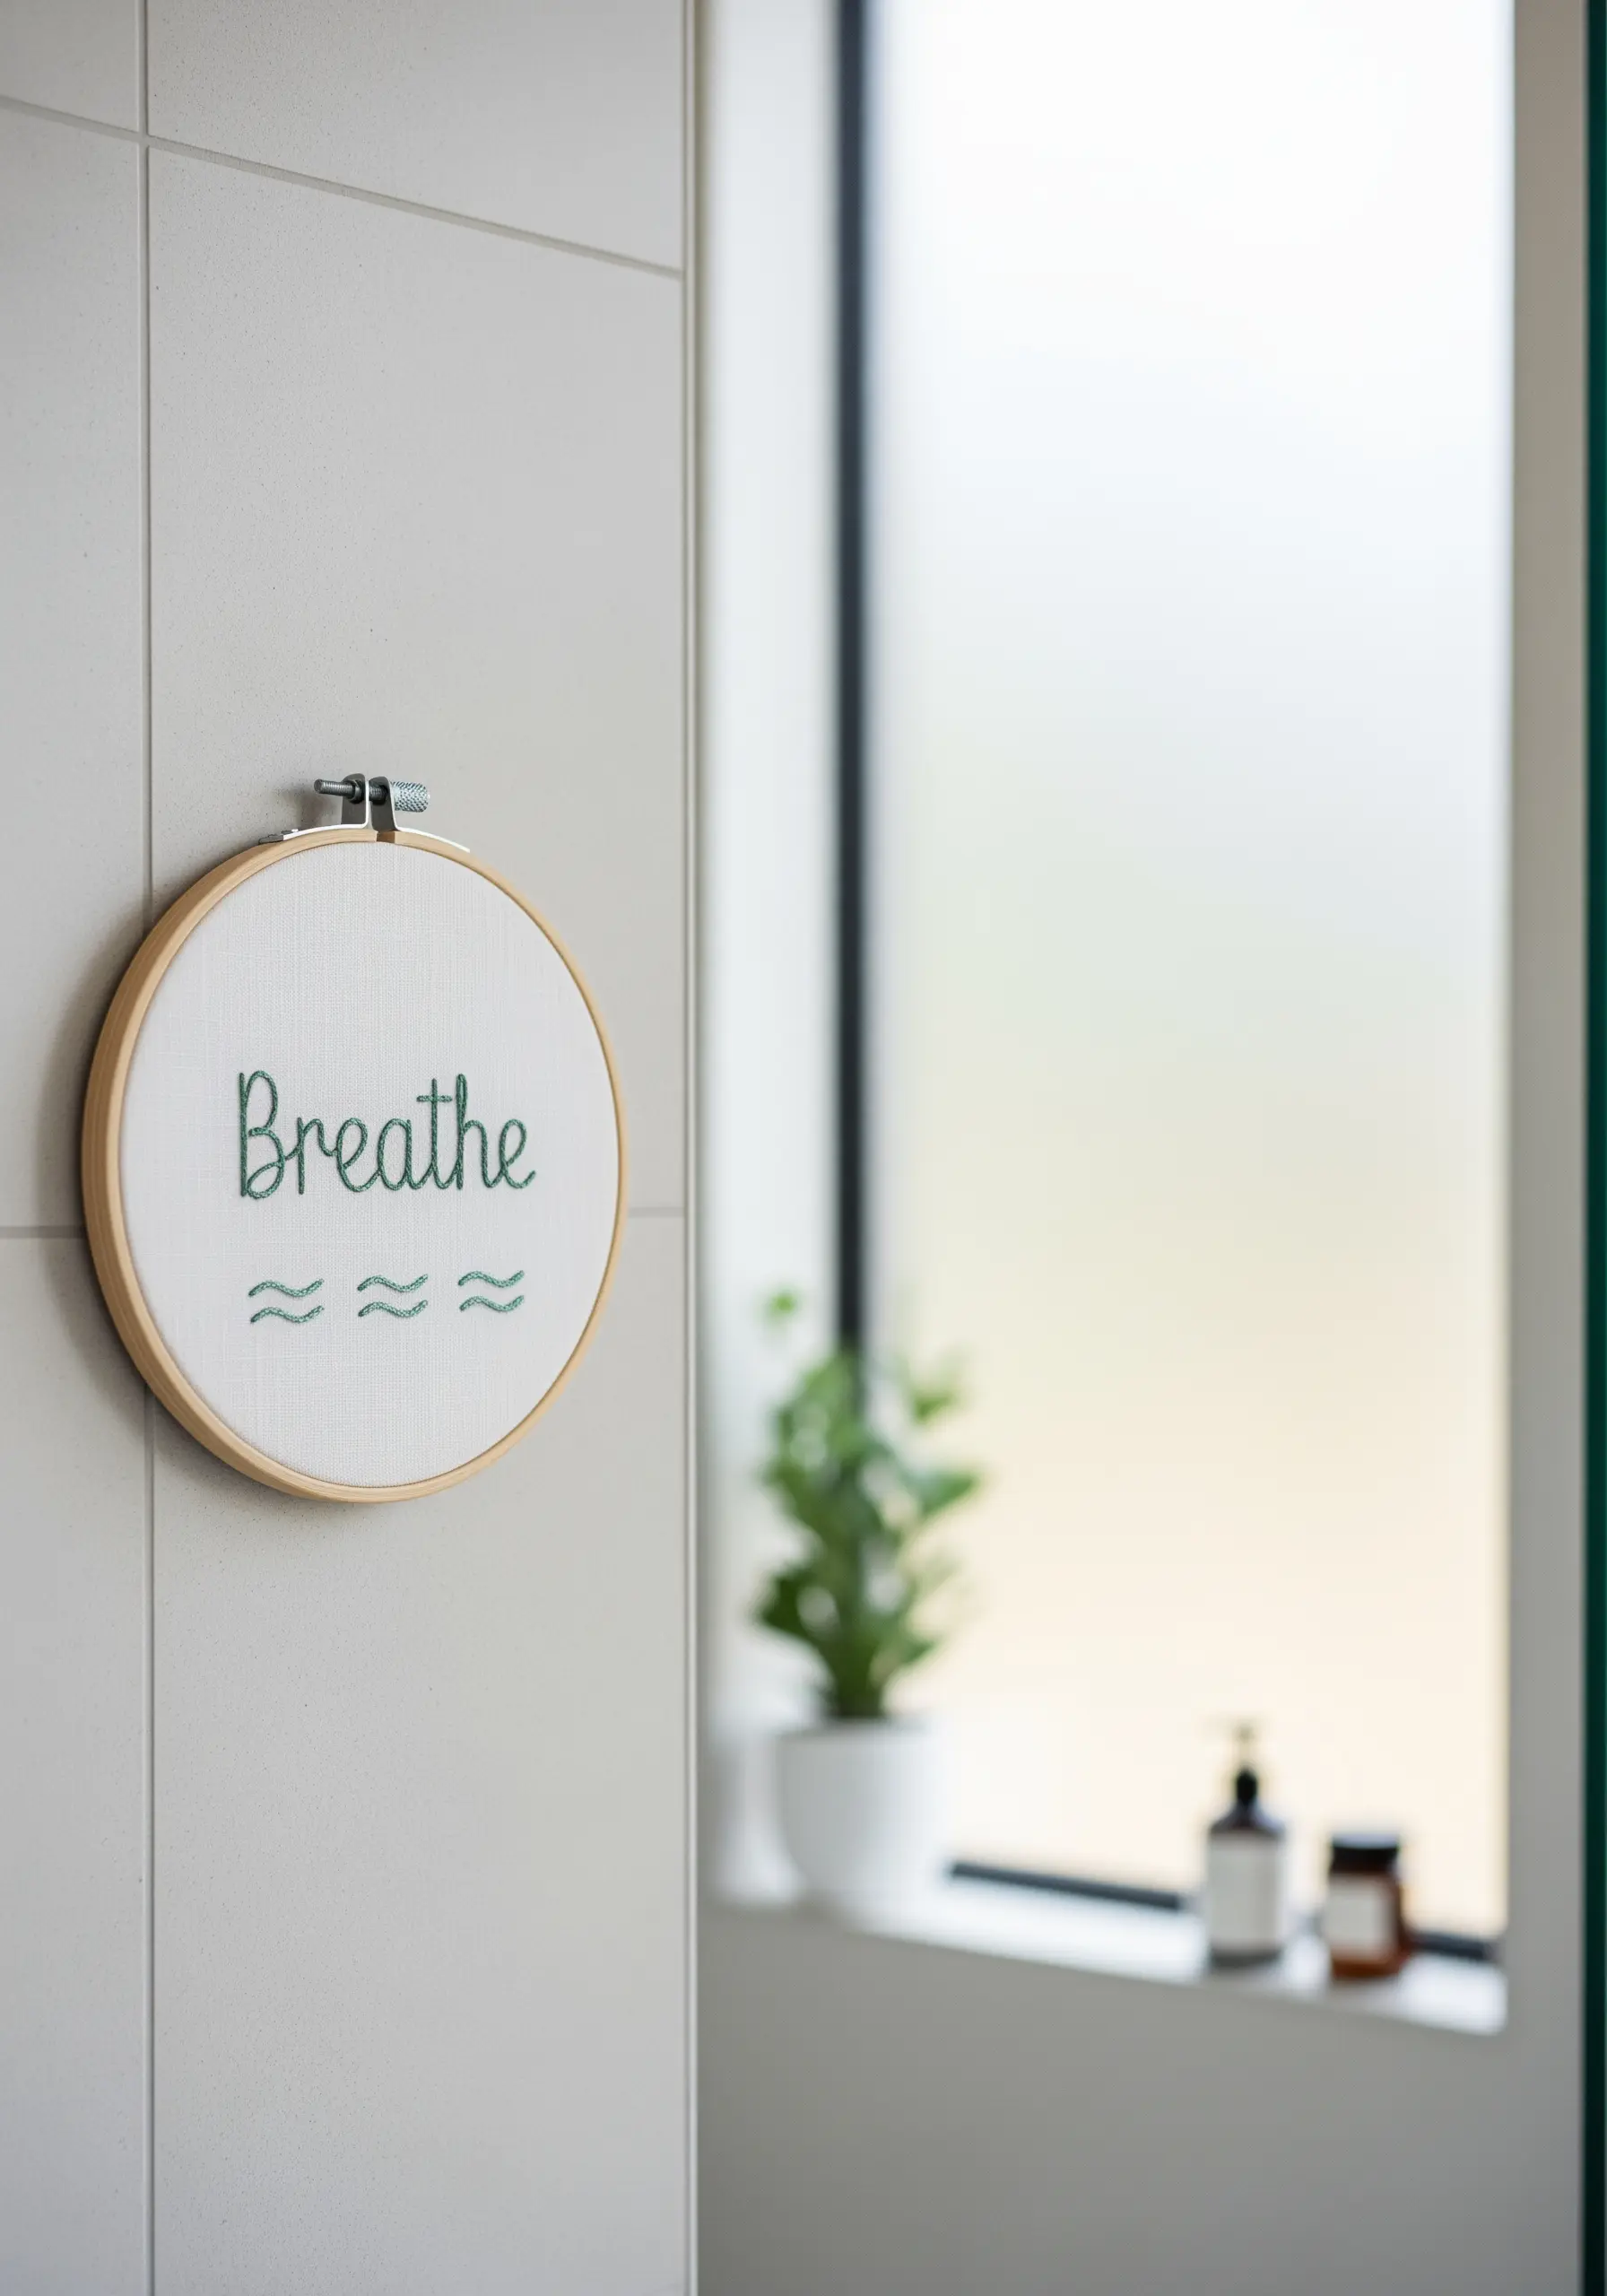
Sometimes, the most powerful message is the shortest. Let a single word be the focus of your piece.
Use a flowing, cursive script and a smooth stitch like a whipped backstitch or a delicate chain stitch to ensure the line is continuous and graceful.
Add tiny, subtle embellishments, like the wave-like stitches here, to give the word context and a touch of personality without overwhelming it.
This restraint is the hallmark of effective simple line art embroidery ideas.
20. Embrace the Beauty of the Creative Process
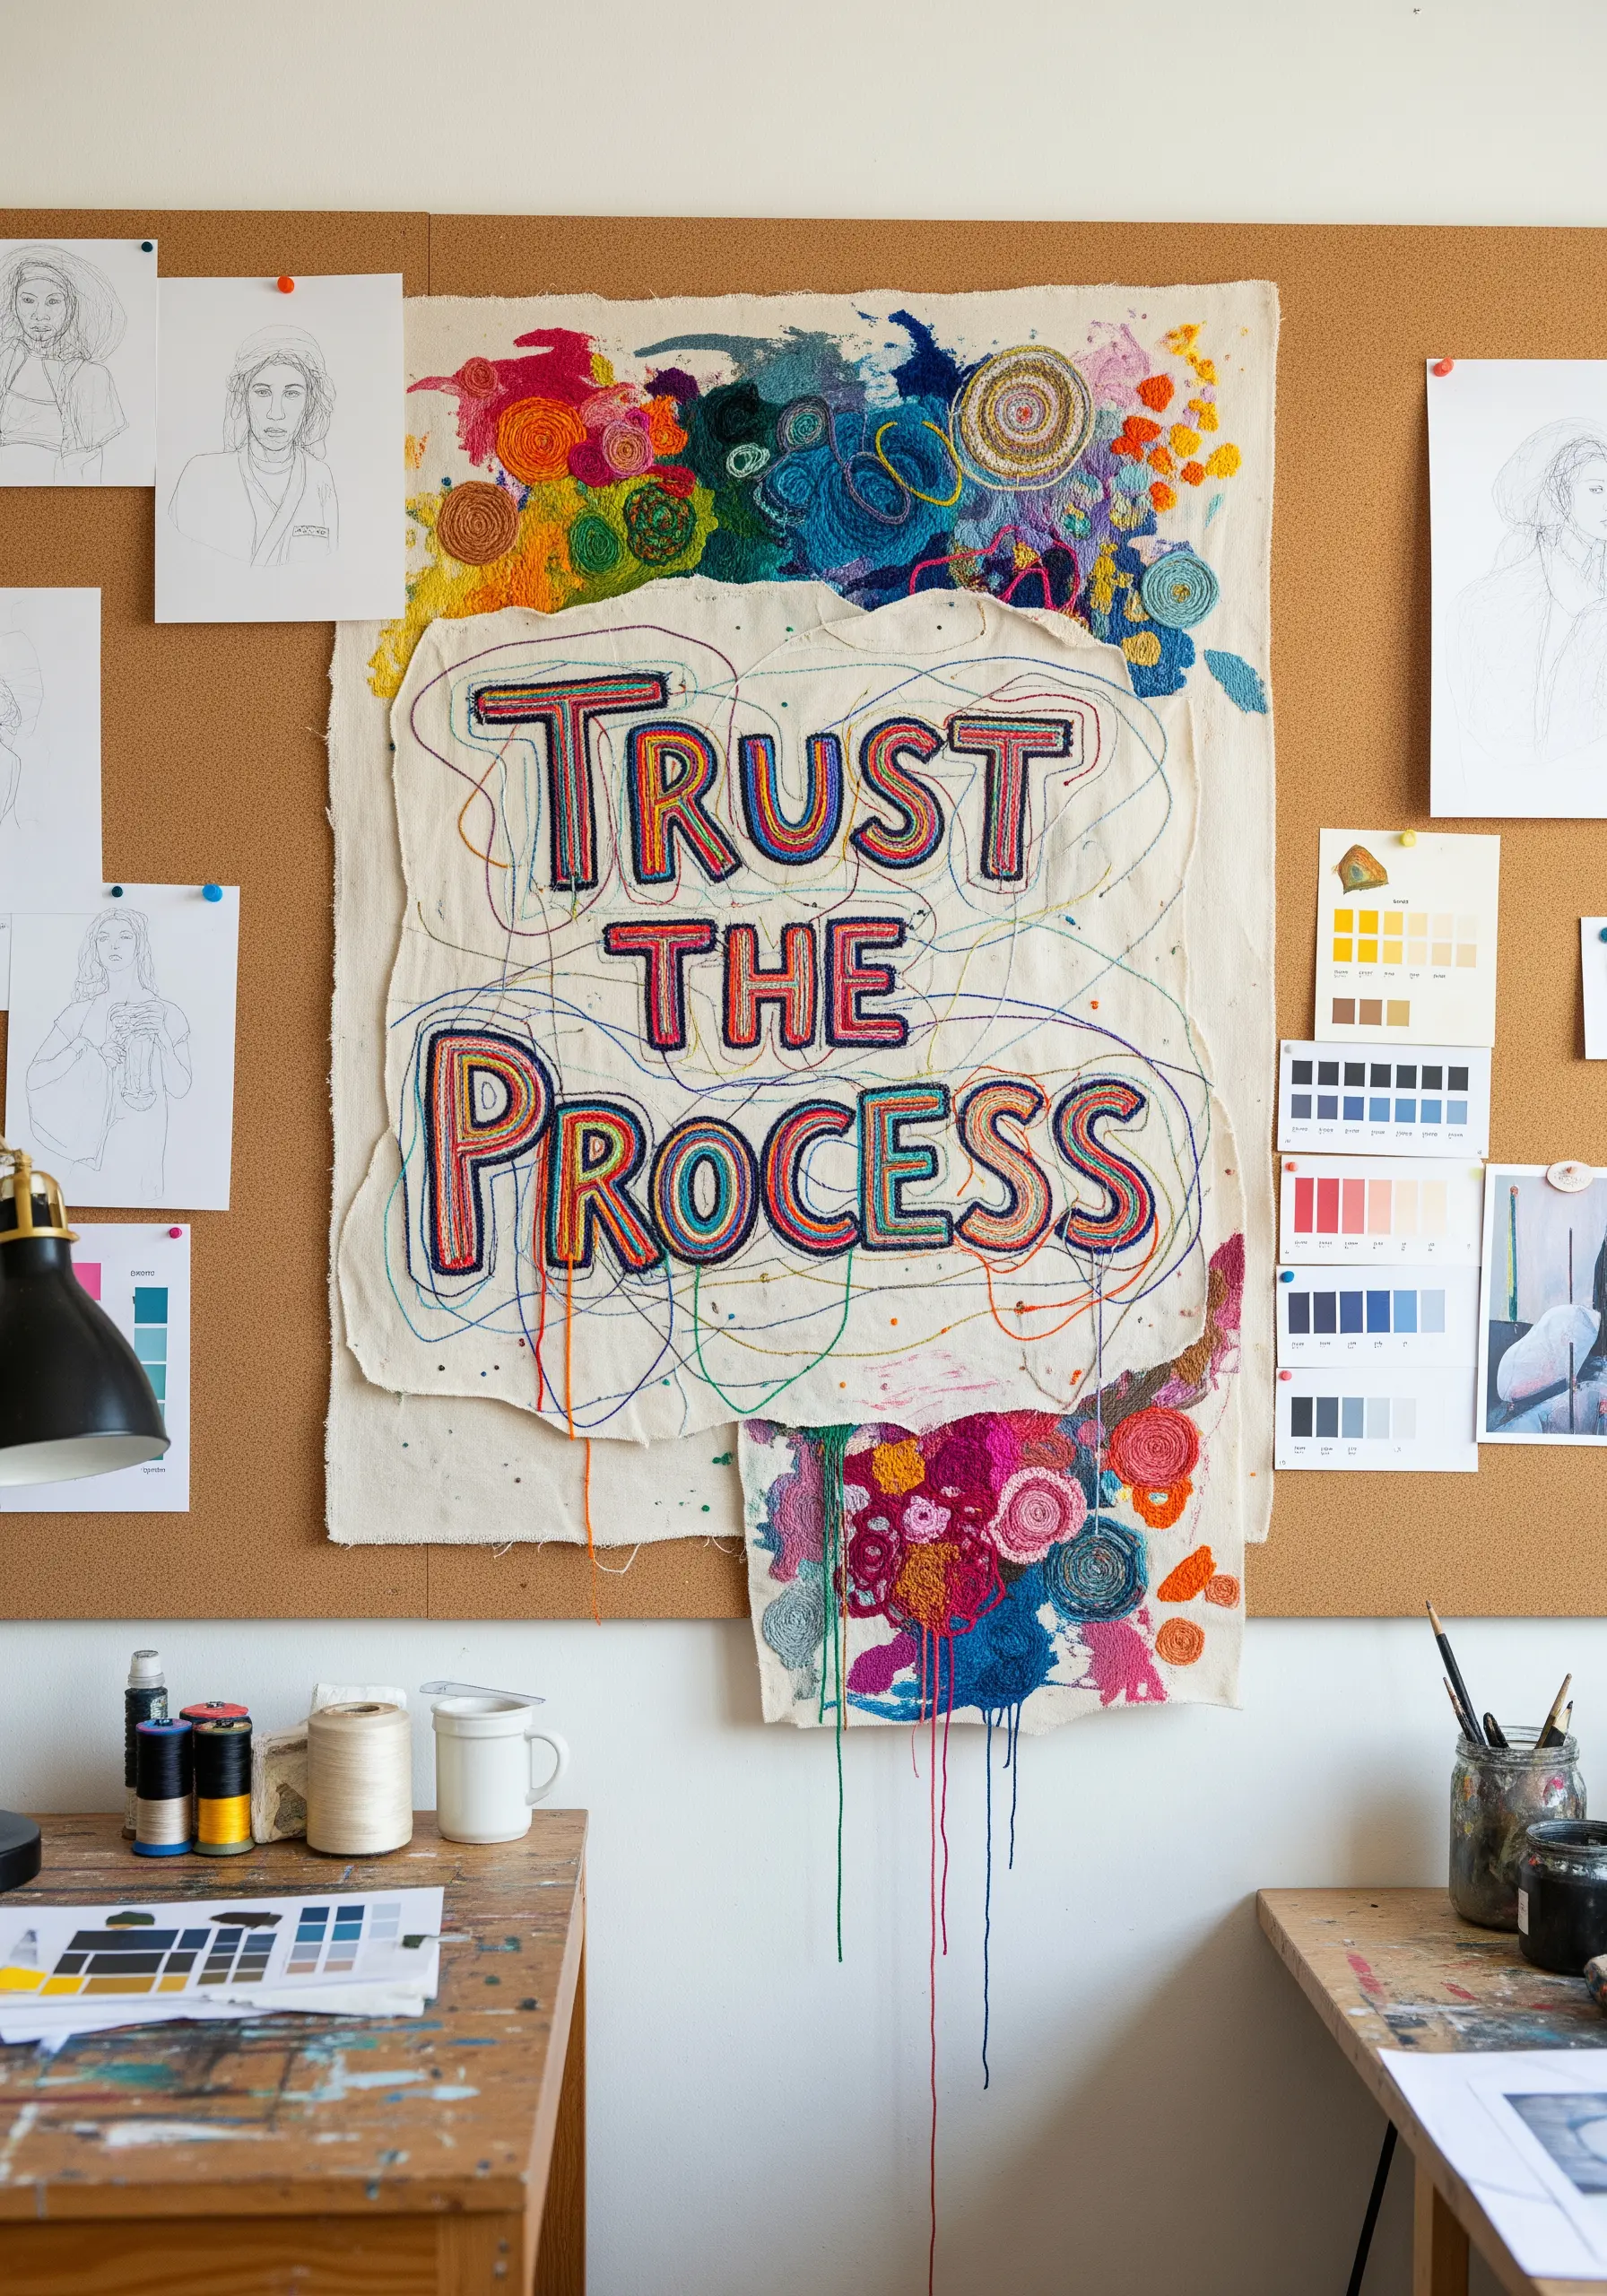
Let your embroidery reflect the journey, not just the destination, with a freestyle, deconstructed approach.
Don’t be afraid to be messy. Let threads trail, layer stitches chaotically, and combine chunky yarn textures with fine floss.
Outline your letters with a bold chain stitch, then fill the background with expressive, abstract color fields and stitch clusters.
These abstract thread sculpting tricks celebrate the raw energy of making art.
21. Frame a Welcoming Message with 3D Details
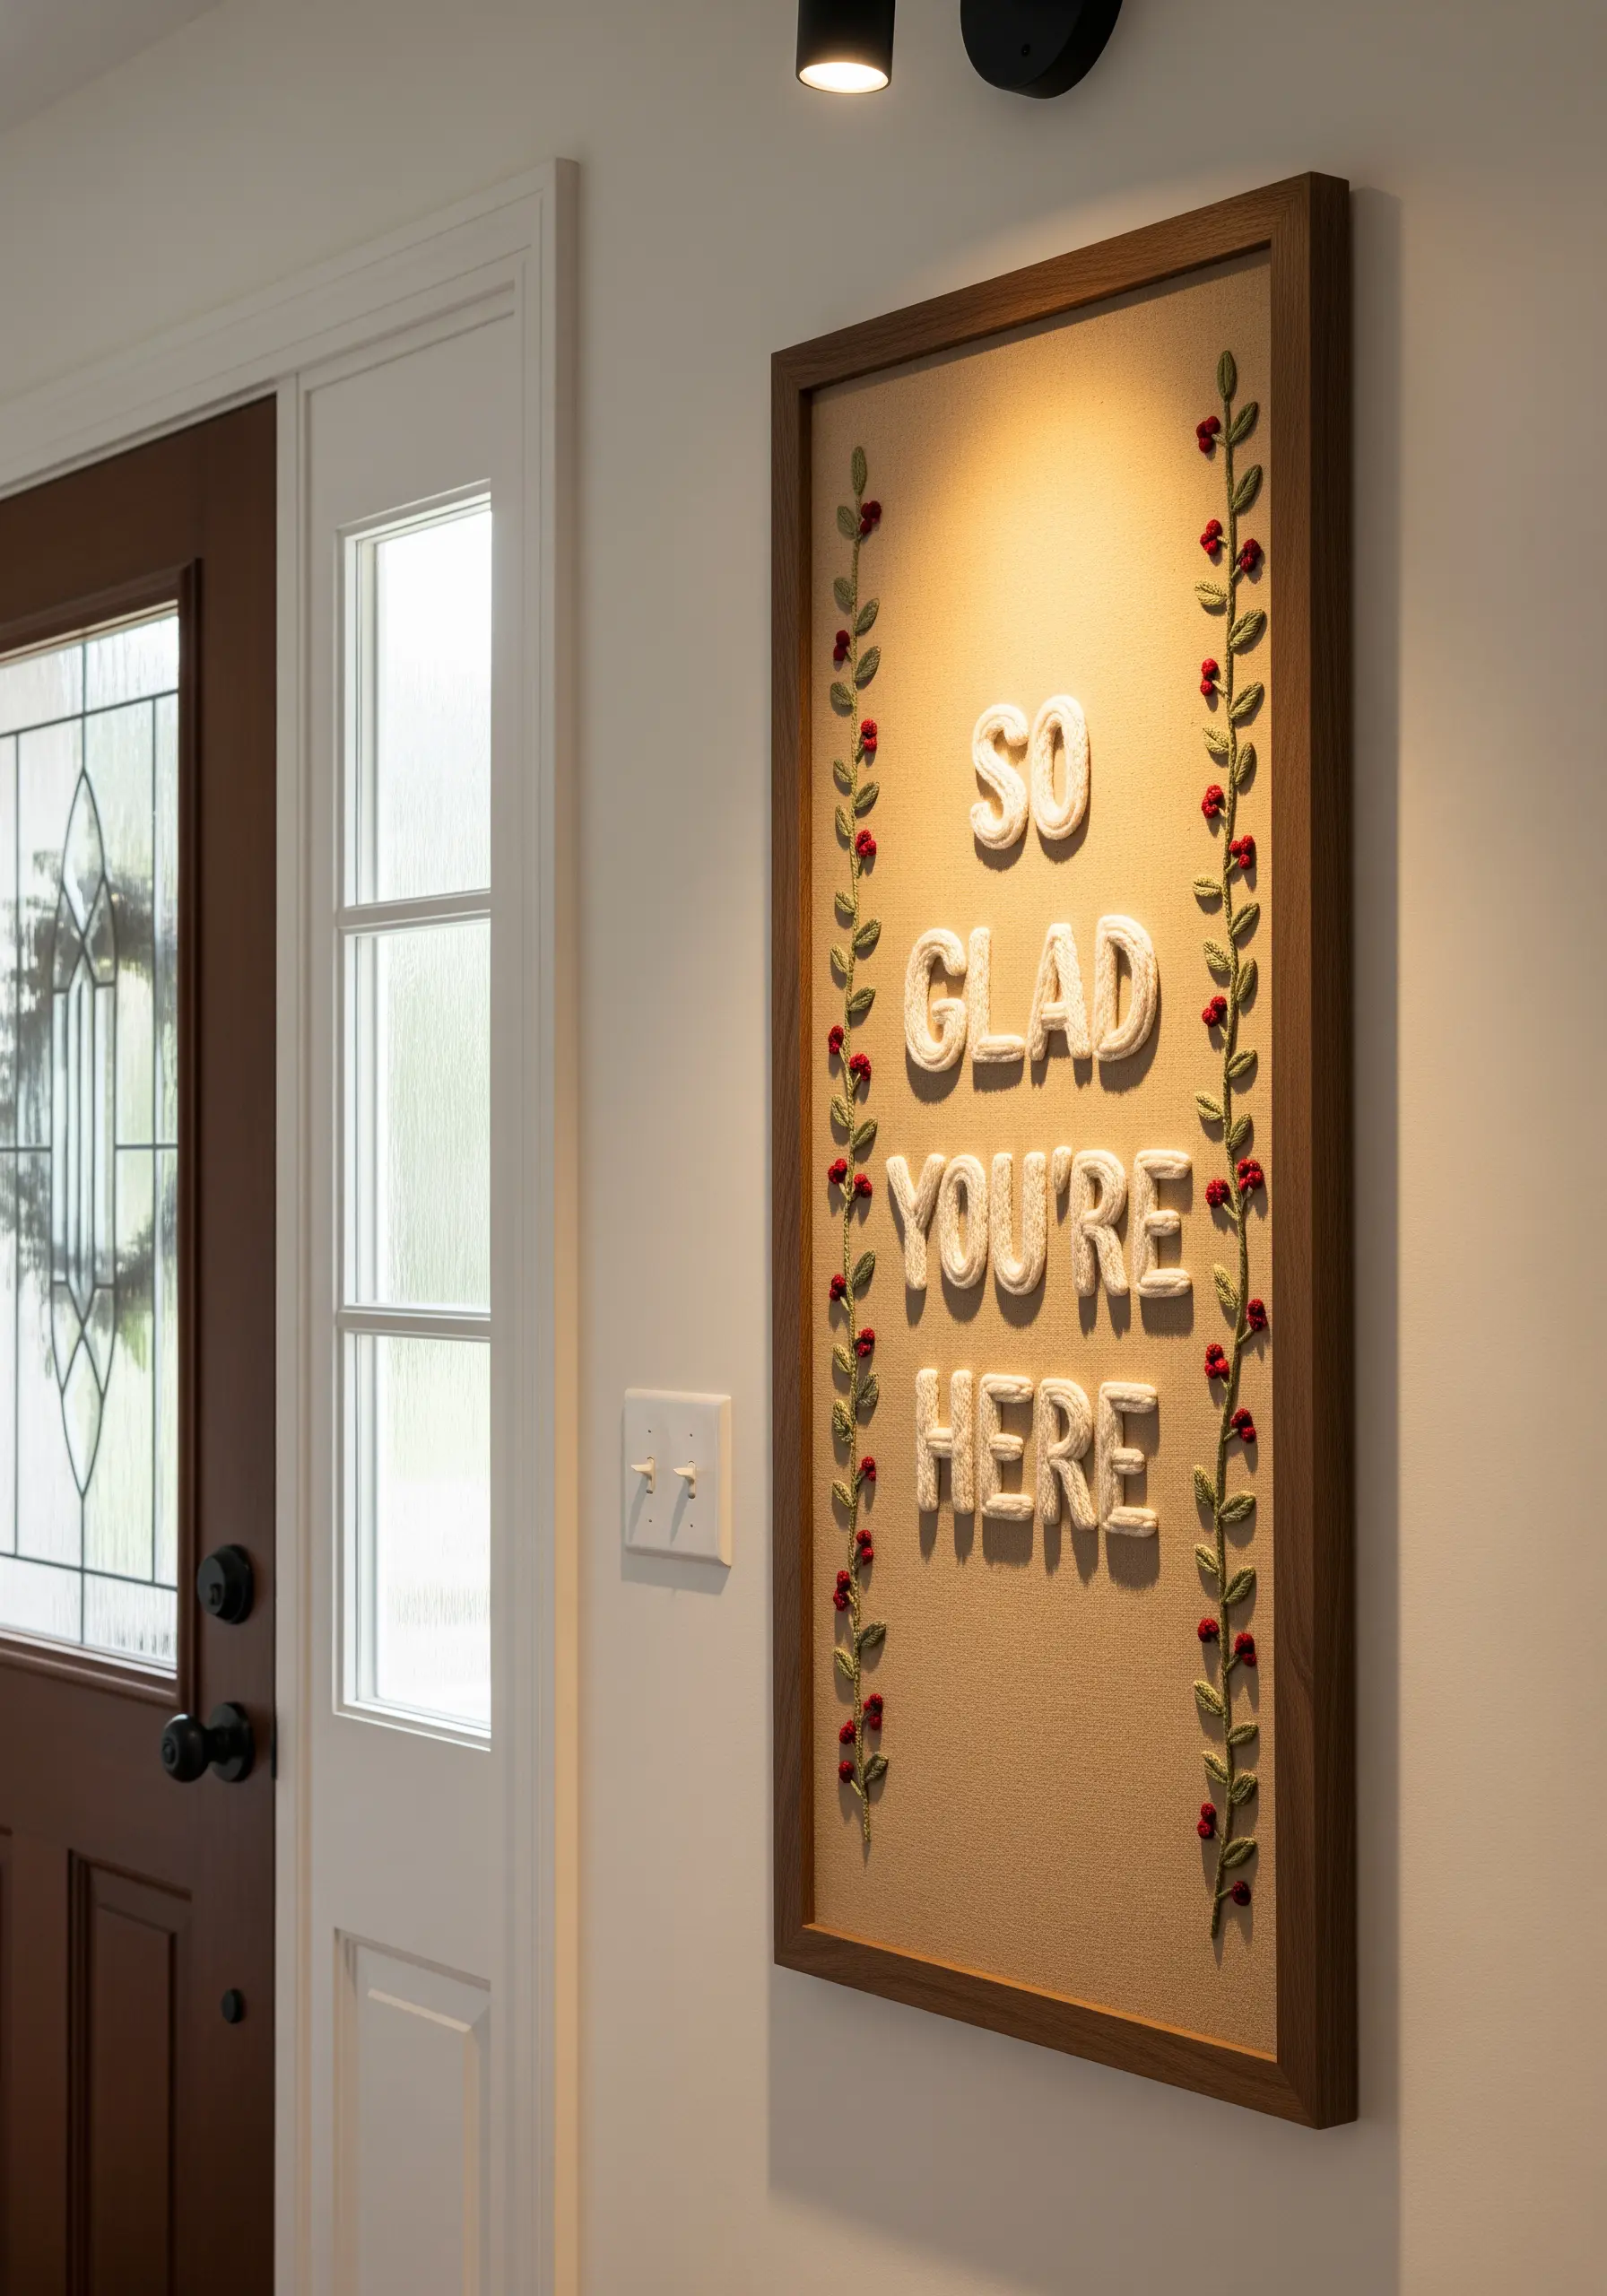
Create an inviting entryway piece by combining soft, dimensional lettering with delicate botanical borders.
The raised letters are made by wrapping thick thread or yarn around a padded base, a technique from stumpwork embroidery.
Frame this soft typography with finely stitched vines using a stem stitch for the branches and a satin stitch or French knots for the berries.
The combination of textures ensures these 3D embroidery wall art pieces feel both impressive and welcoming.
22. Design a Soft and Sweet Nursery Quote
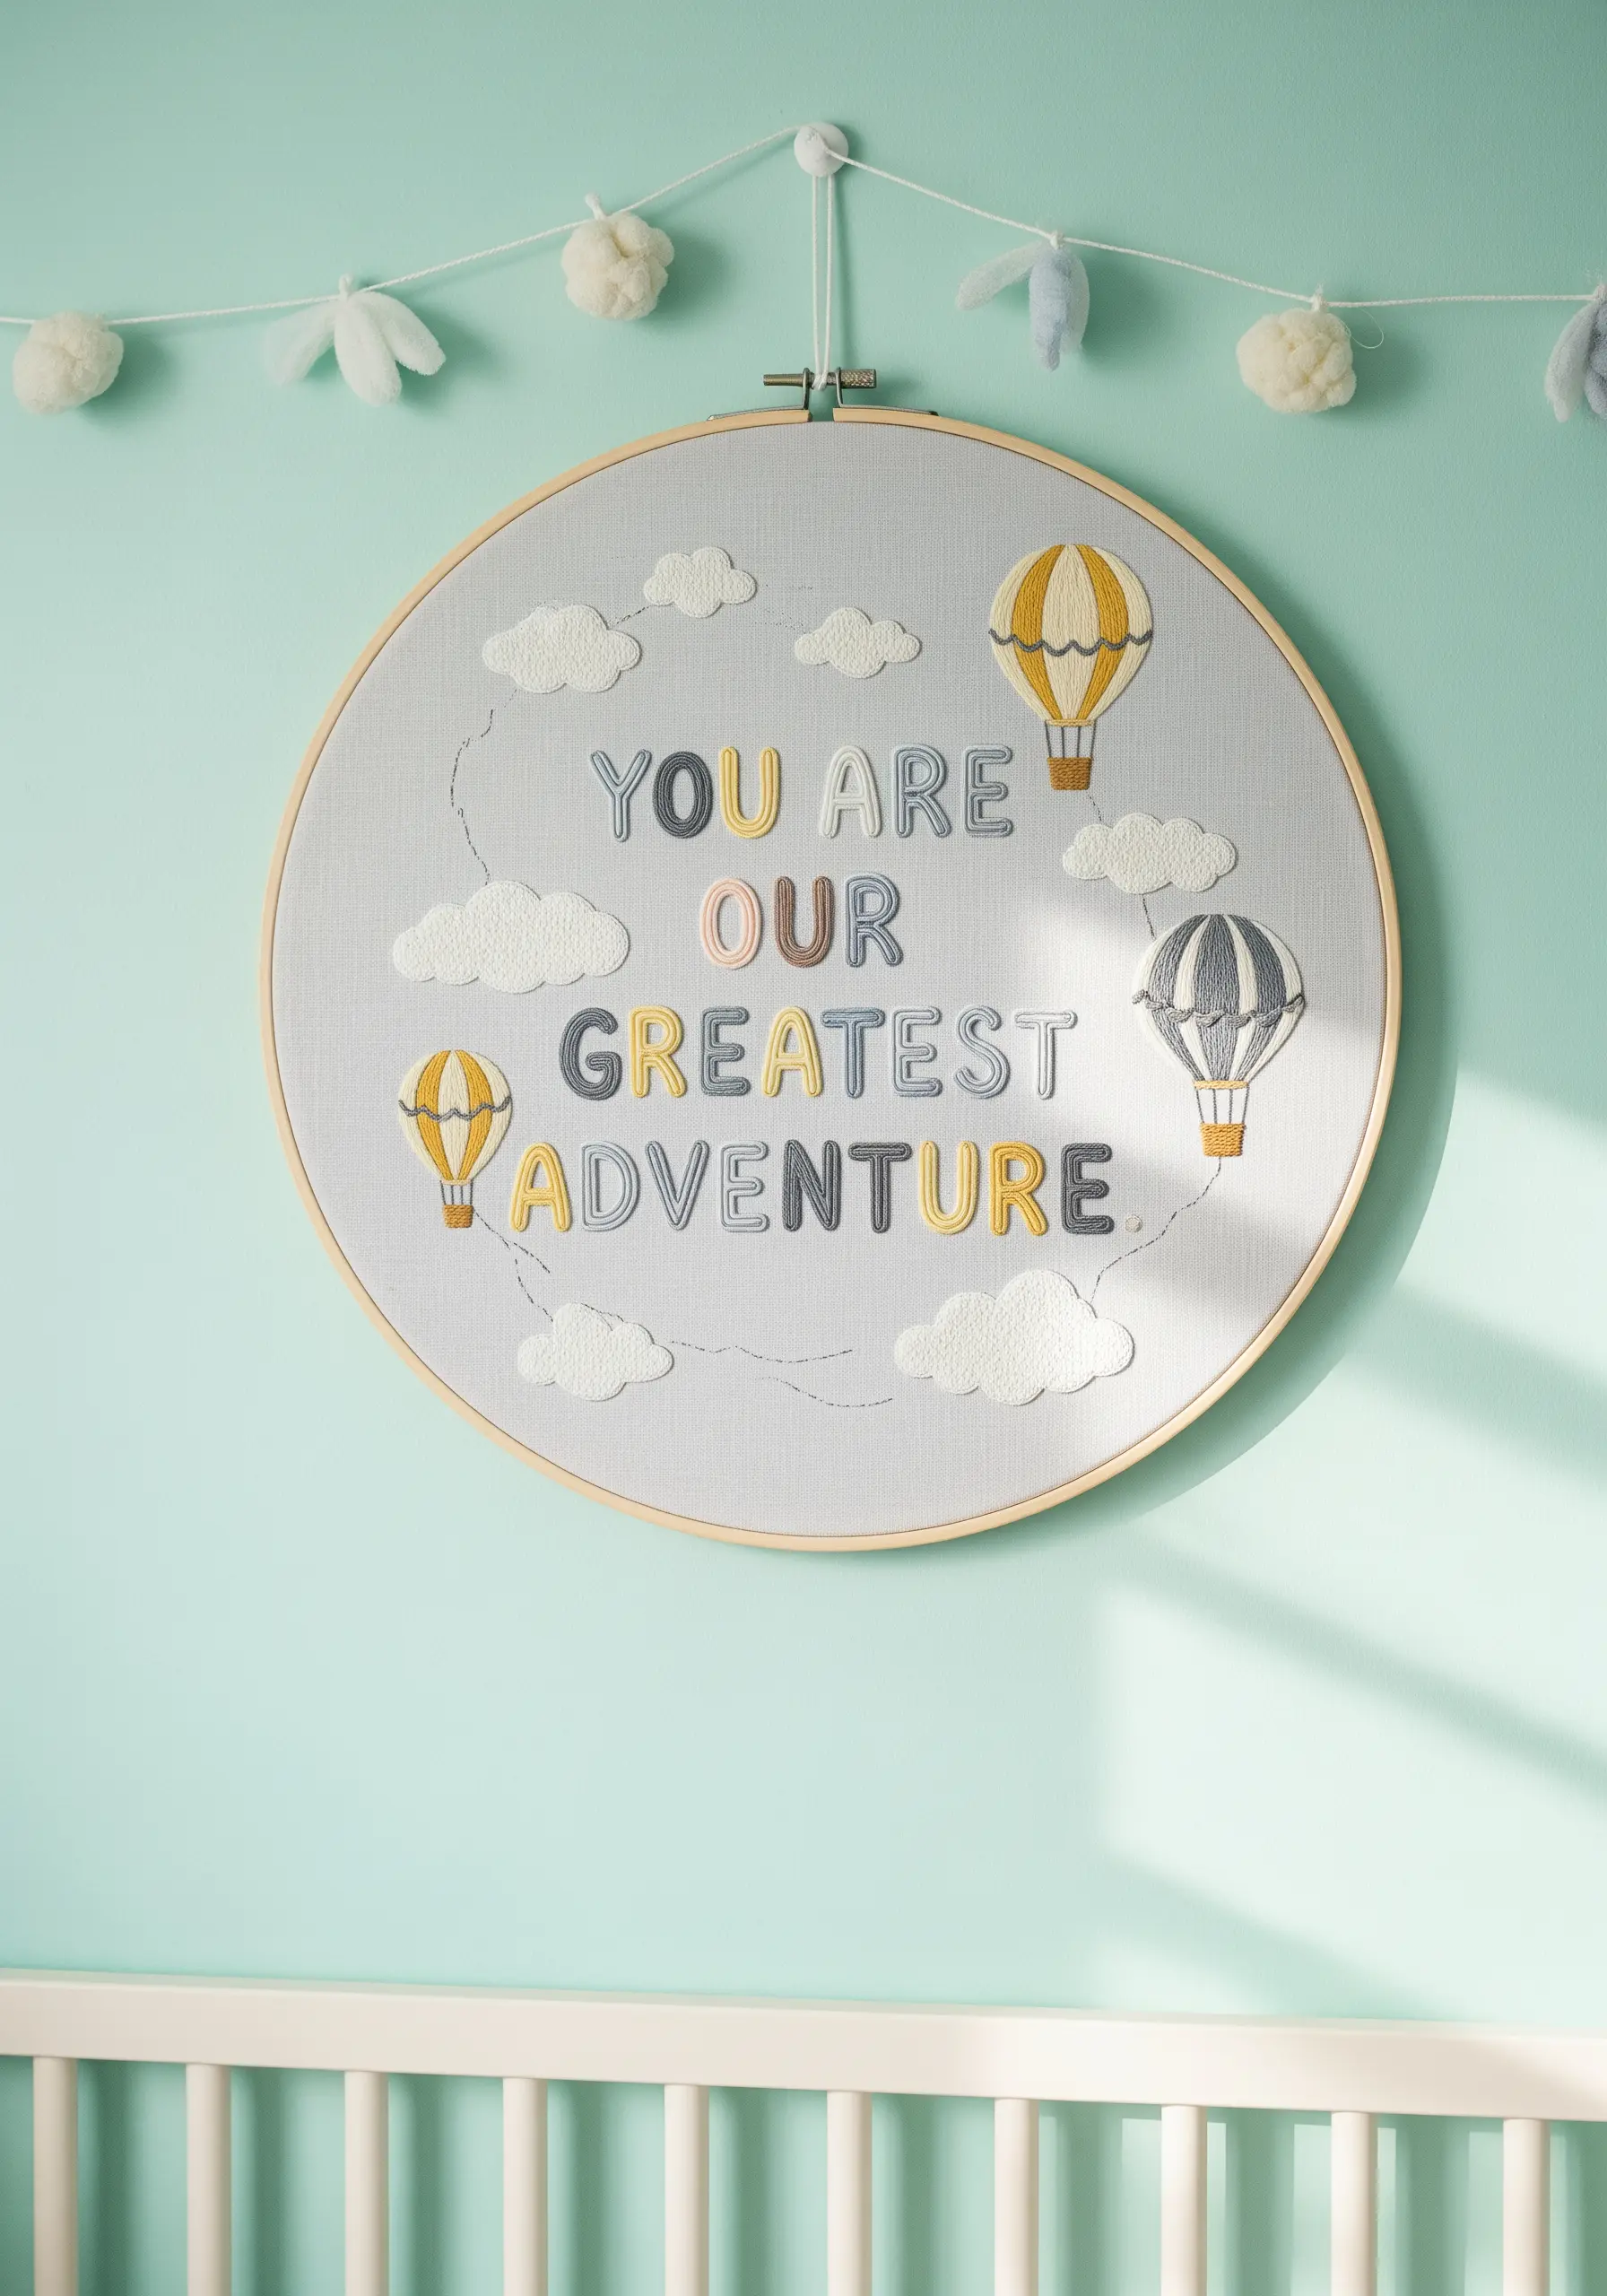
Stitch a gentle, encouraging message for a nursery using a soft color palette and dreamy motifs.
Use a simple satin stitch for the letters, alternating colors to add a playful rhythm to the words.
Create fluffy, tactile clouds using a dense fill of French knots in white or off-white thread.
These thoughtful details are what make nursery stitch art wall ideas so special and treasured.
23. Make Your Text Pop Against a Dense Background
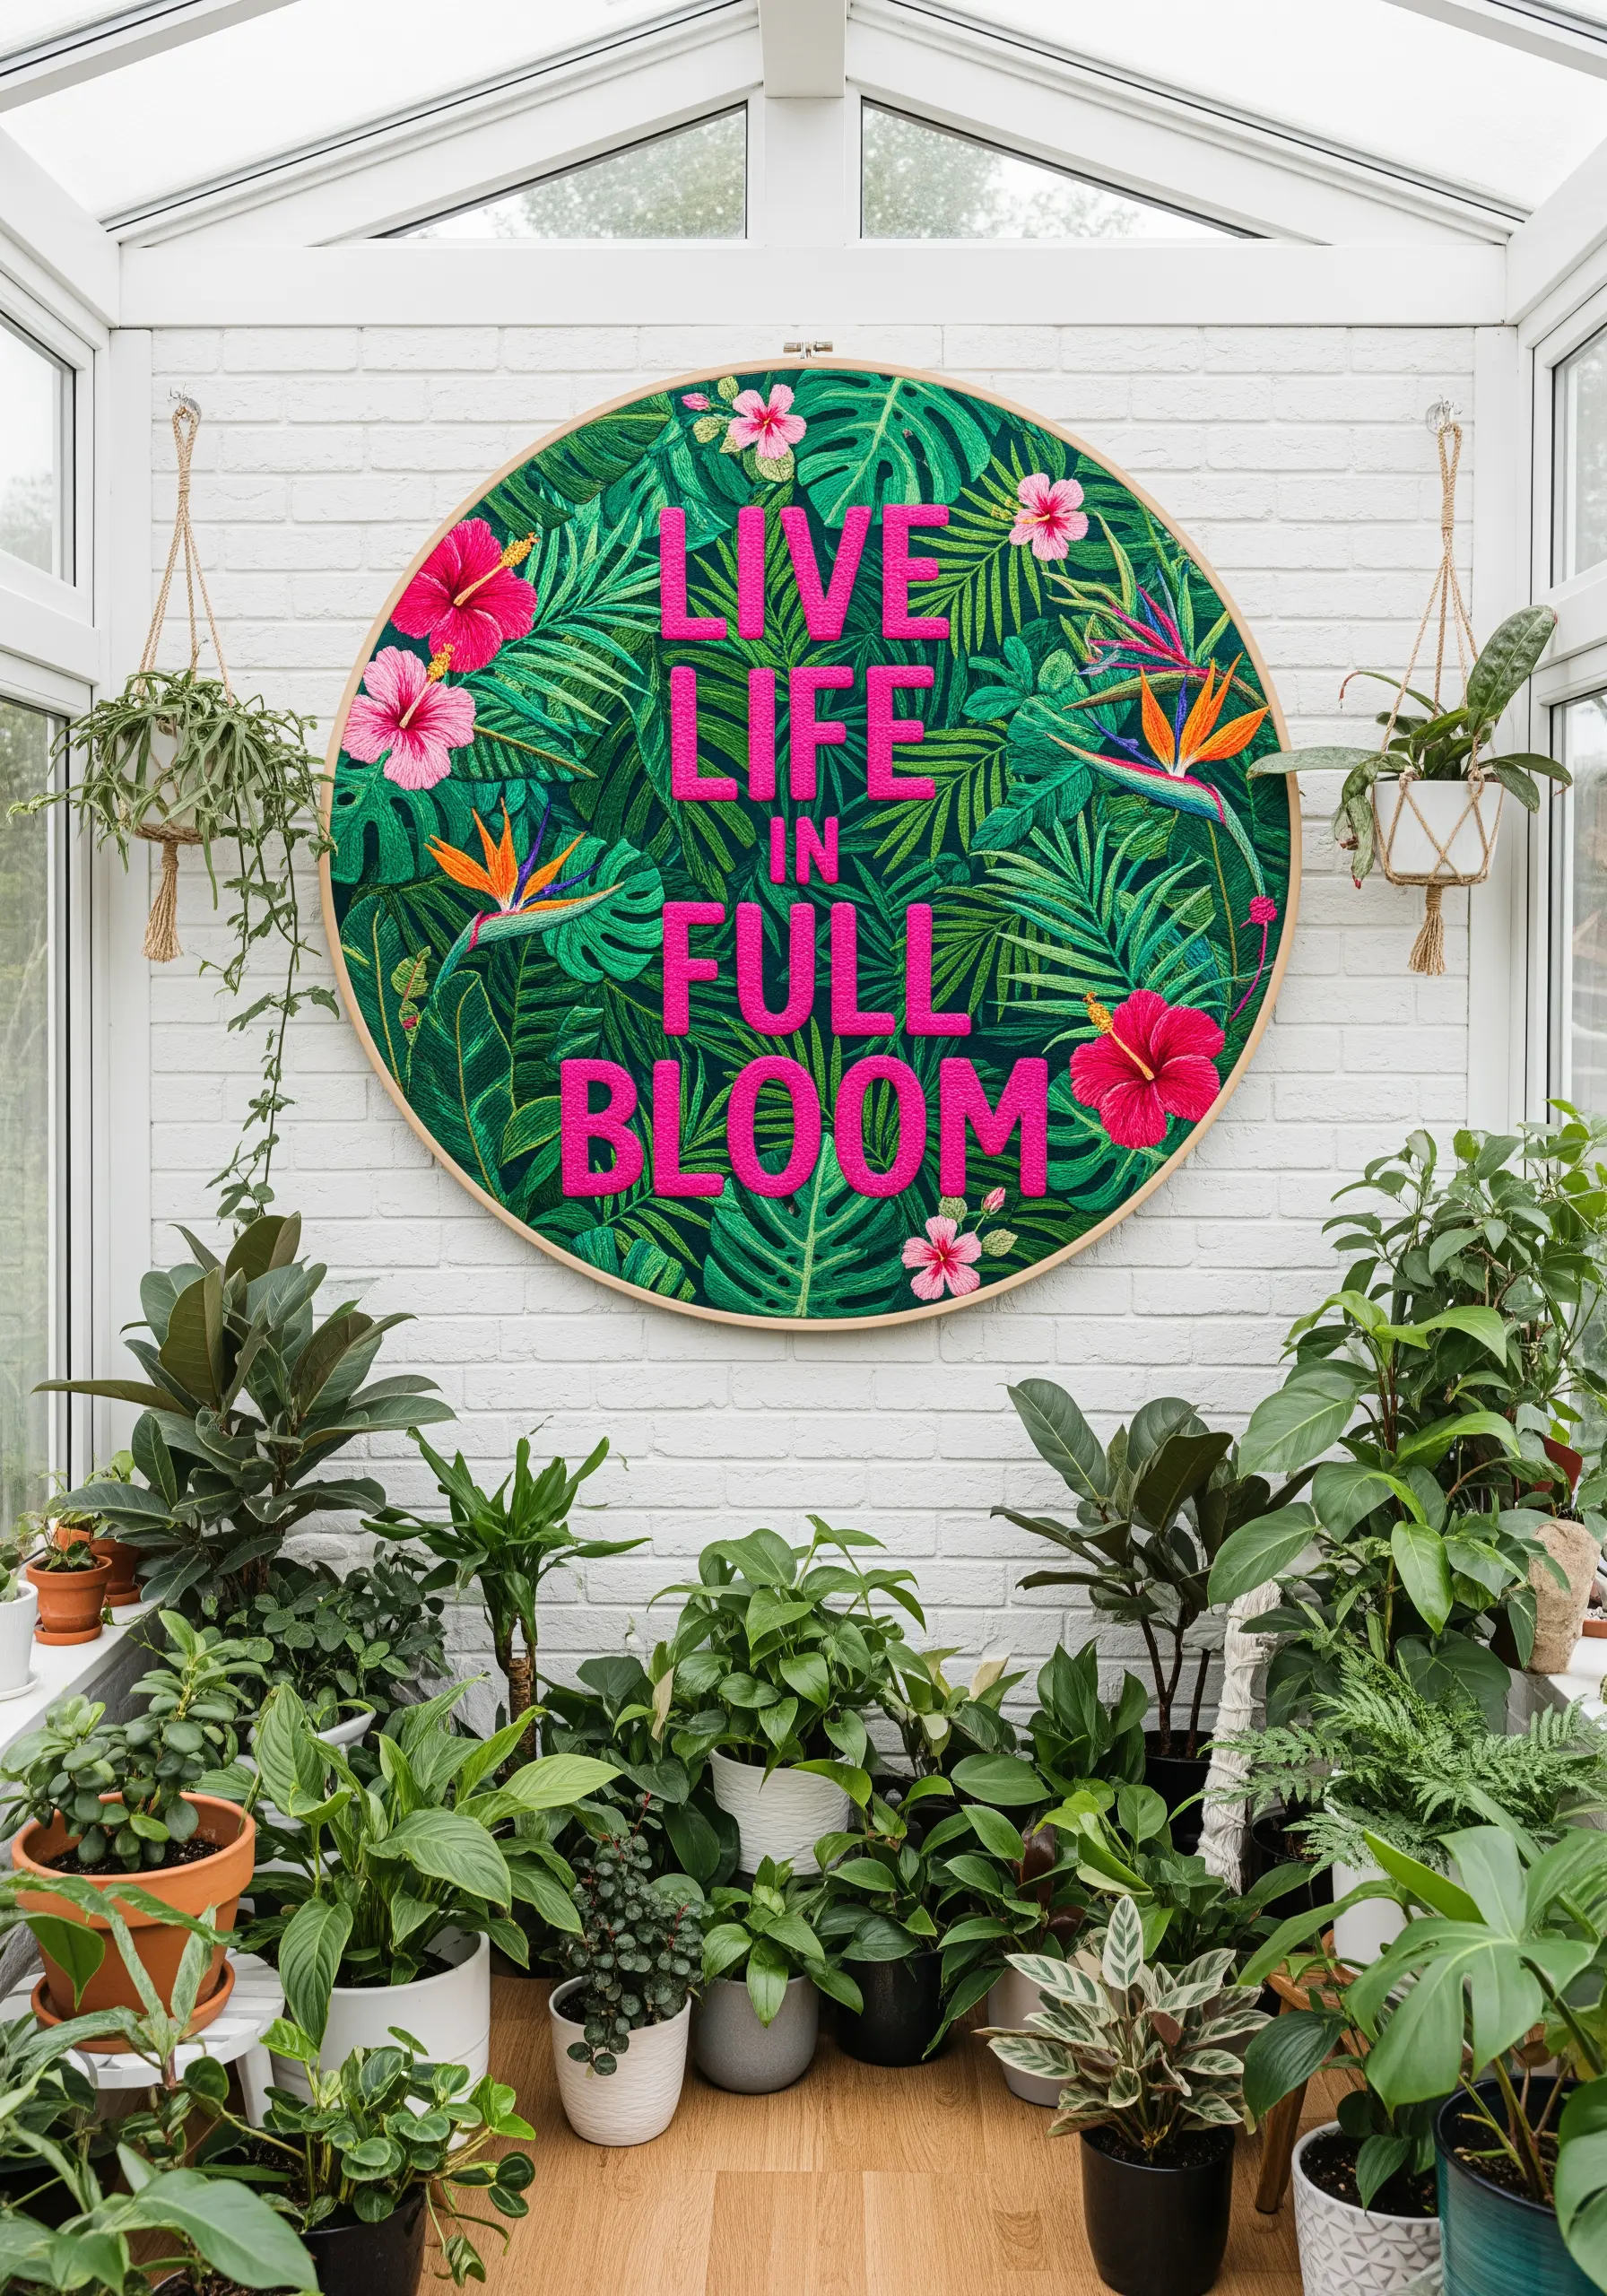
For a truly show-stopping piece, embroider bold text over a fully stitched, maximalist background.
The key to legibility is contrast. Use a bright, solid color for the letters, like this vibrant pink, and fill them with a uniform vertical satin stitch.
For the background foliage, use a variety of green shades and directional stitches (like long-and-short stitch) to create movement and depth.
This layering technique is essential for complex botanical embroidery ideas that integrate typography.
24. Let a Powerful Phrase Speak for Itself

When a quote is deeply meaningful, a minimalist presentation gives it the most power.
Choose a clean, classic serif font and stitch it meticulously with a simple backstitch or split stitch in a contrasting color.
Resist the urge to add flourishes. The negative space around the words gives them room to breathe and allows the message to resonate clearly.
This simple approach turns your stitching into minimalist embroidery projects that double as thoughtful gifts.
25. Play with Line and Form in Typography

Turn a simple word into a piece of graphic design by focusing on clean lines and overlapping forms.
Use a single, consistent stitch like a backstitch or stem stitch to create the lettering and geometric shapes, ensuring every line is crisp and uniform.
The illusion of overlapping is created simply by where you choose to start and stop your stitch lines.
These types of minimal geometry stitch projects bring a modern, architectural feel to your space.
26. Stitch a Celestial Scene on a Felt Pennant
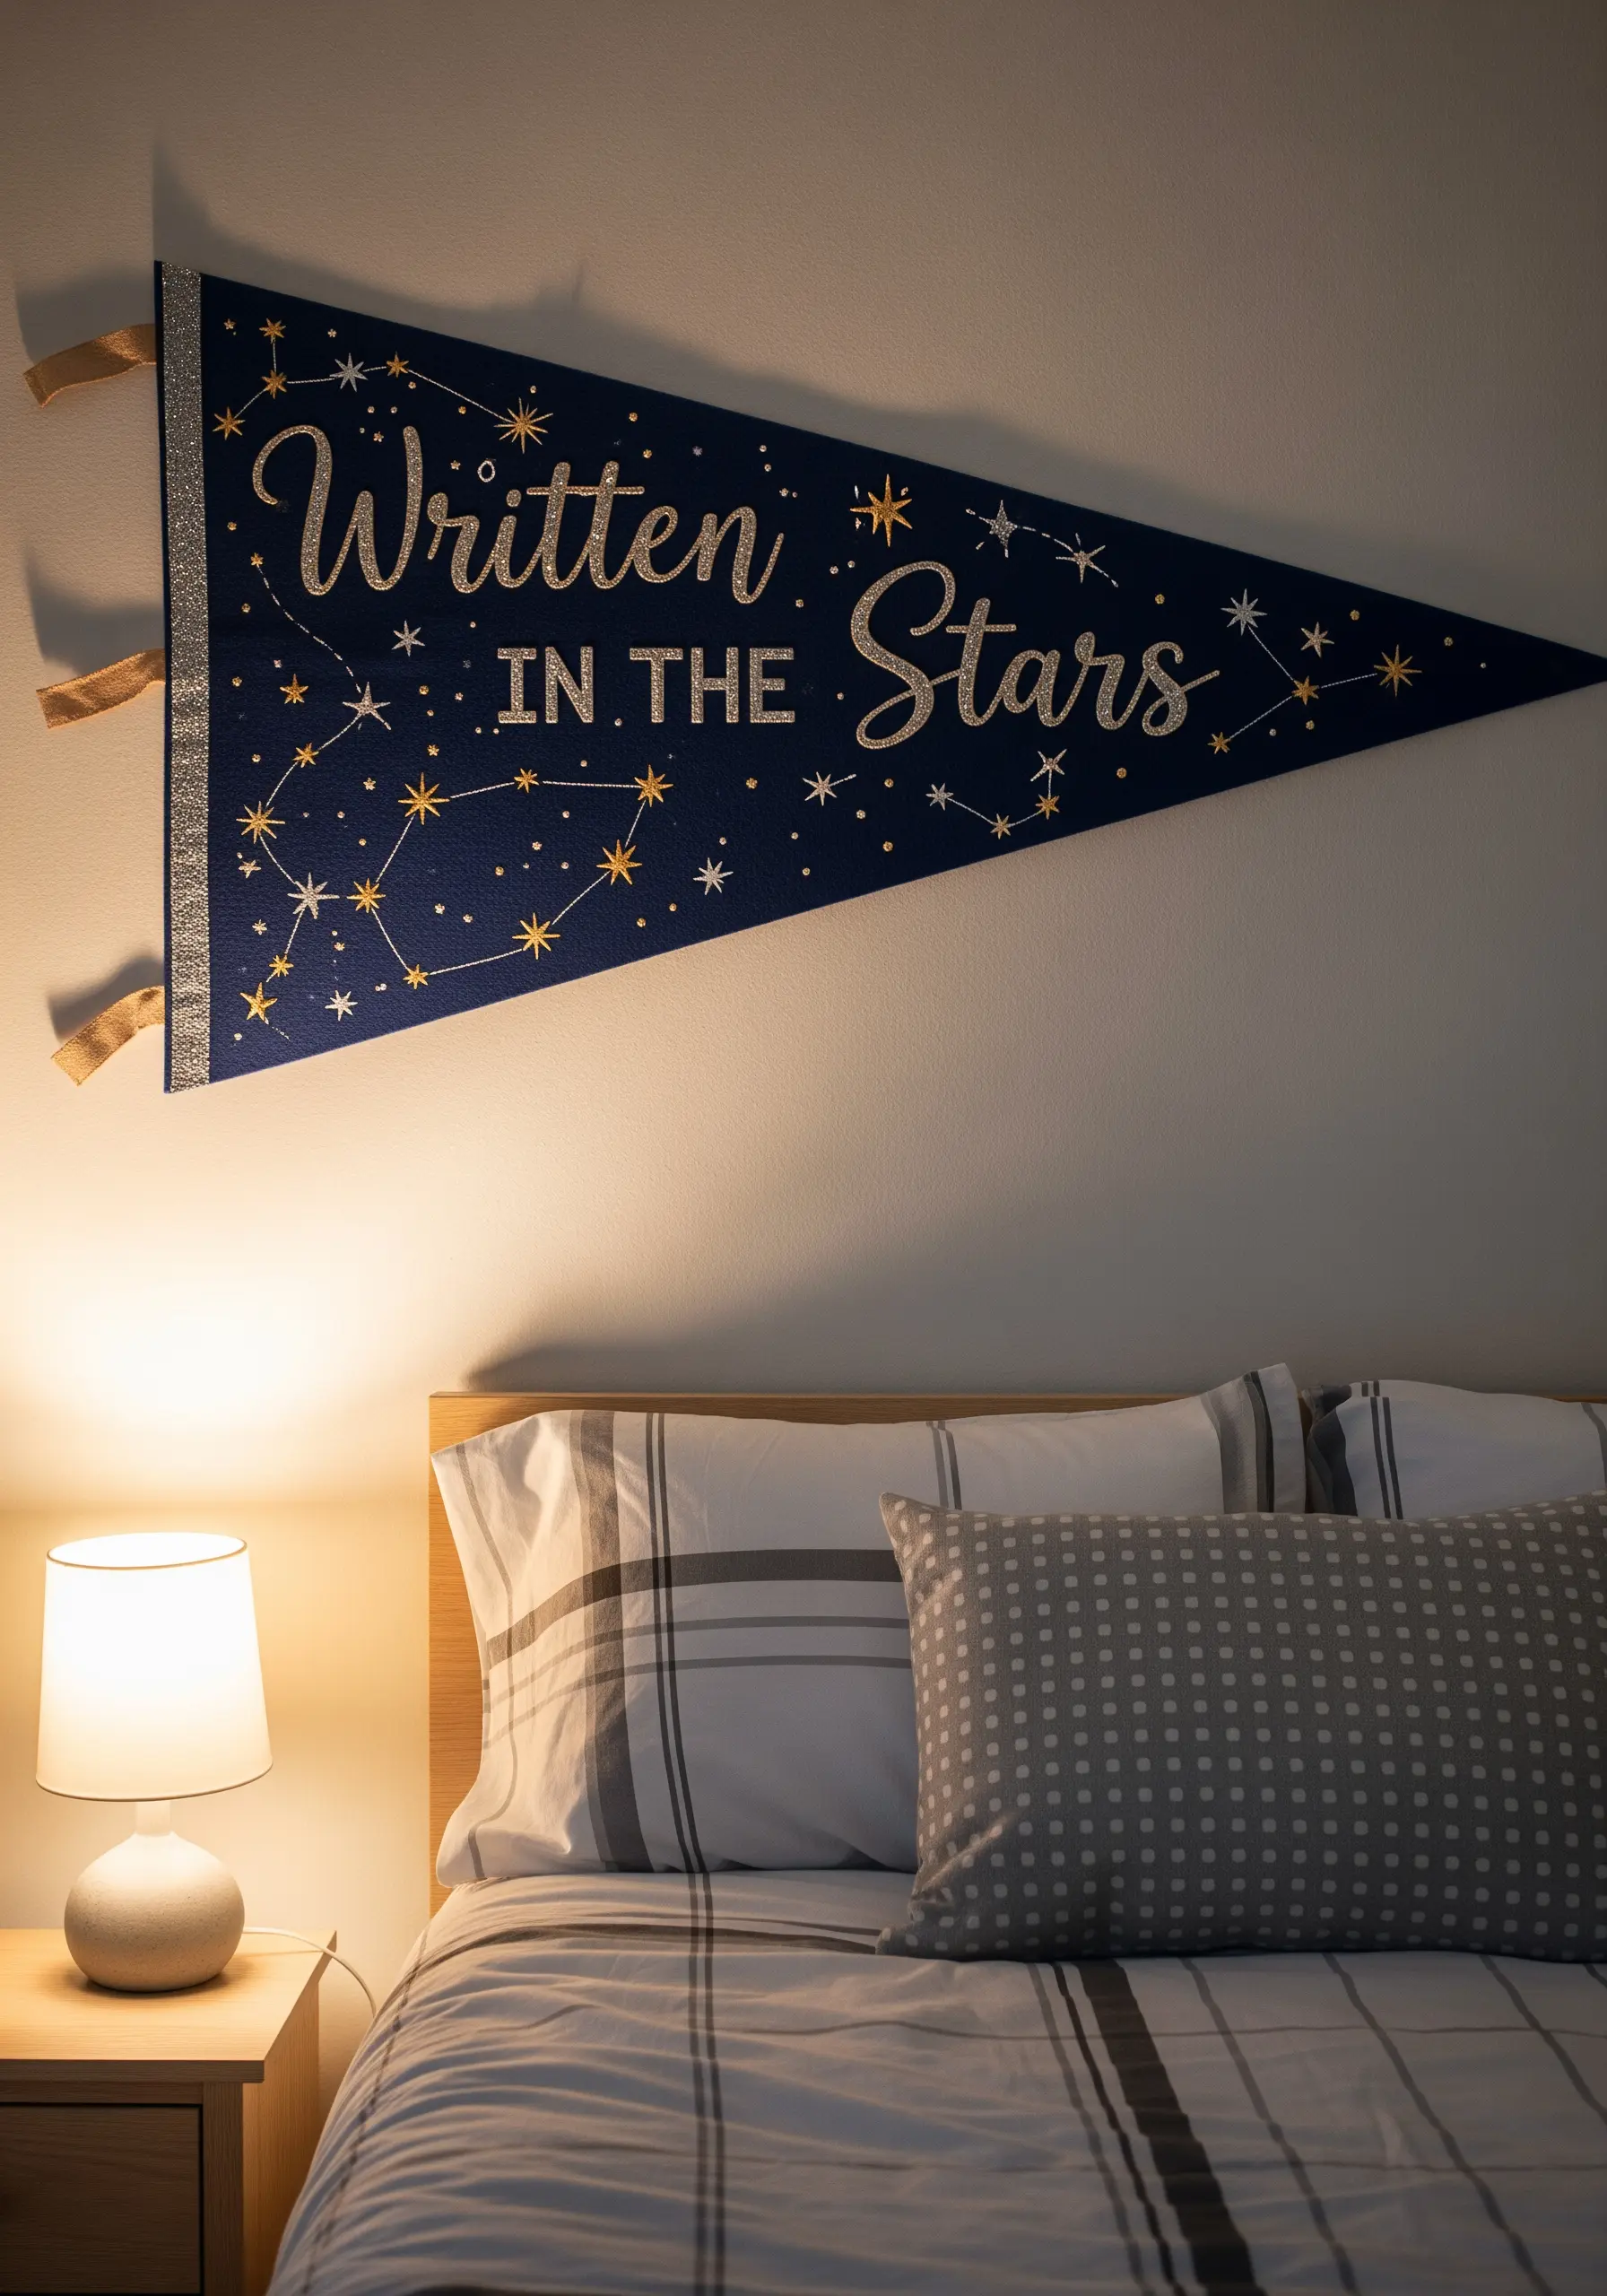
Create a dreamy, cosmic backdrop for your quote by working on dark felt fabric.
Felt is a stable, non-fraying base that makes a great canvas for intricate details like constellations and stars.
Use a shimmering metallic or light-colored thread for high contrast. Stitch the constellations with a simple backstitch and create stars of varying sizes using French knots and isolated straight stitches (star stitches).
These celestial embroidery wall designs add a touch of magic to any room.
27. Combine Script and Symbols for Visual Storytelling
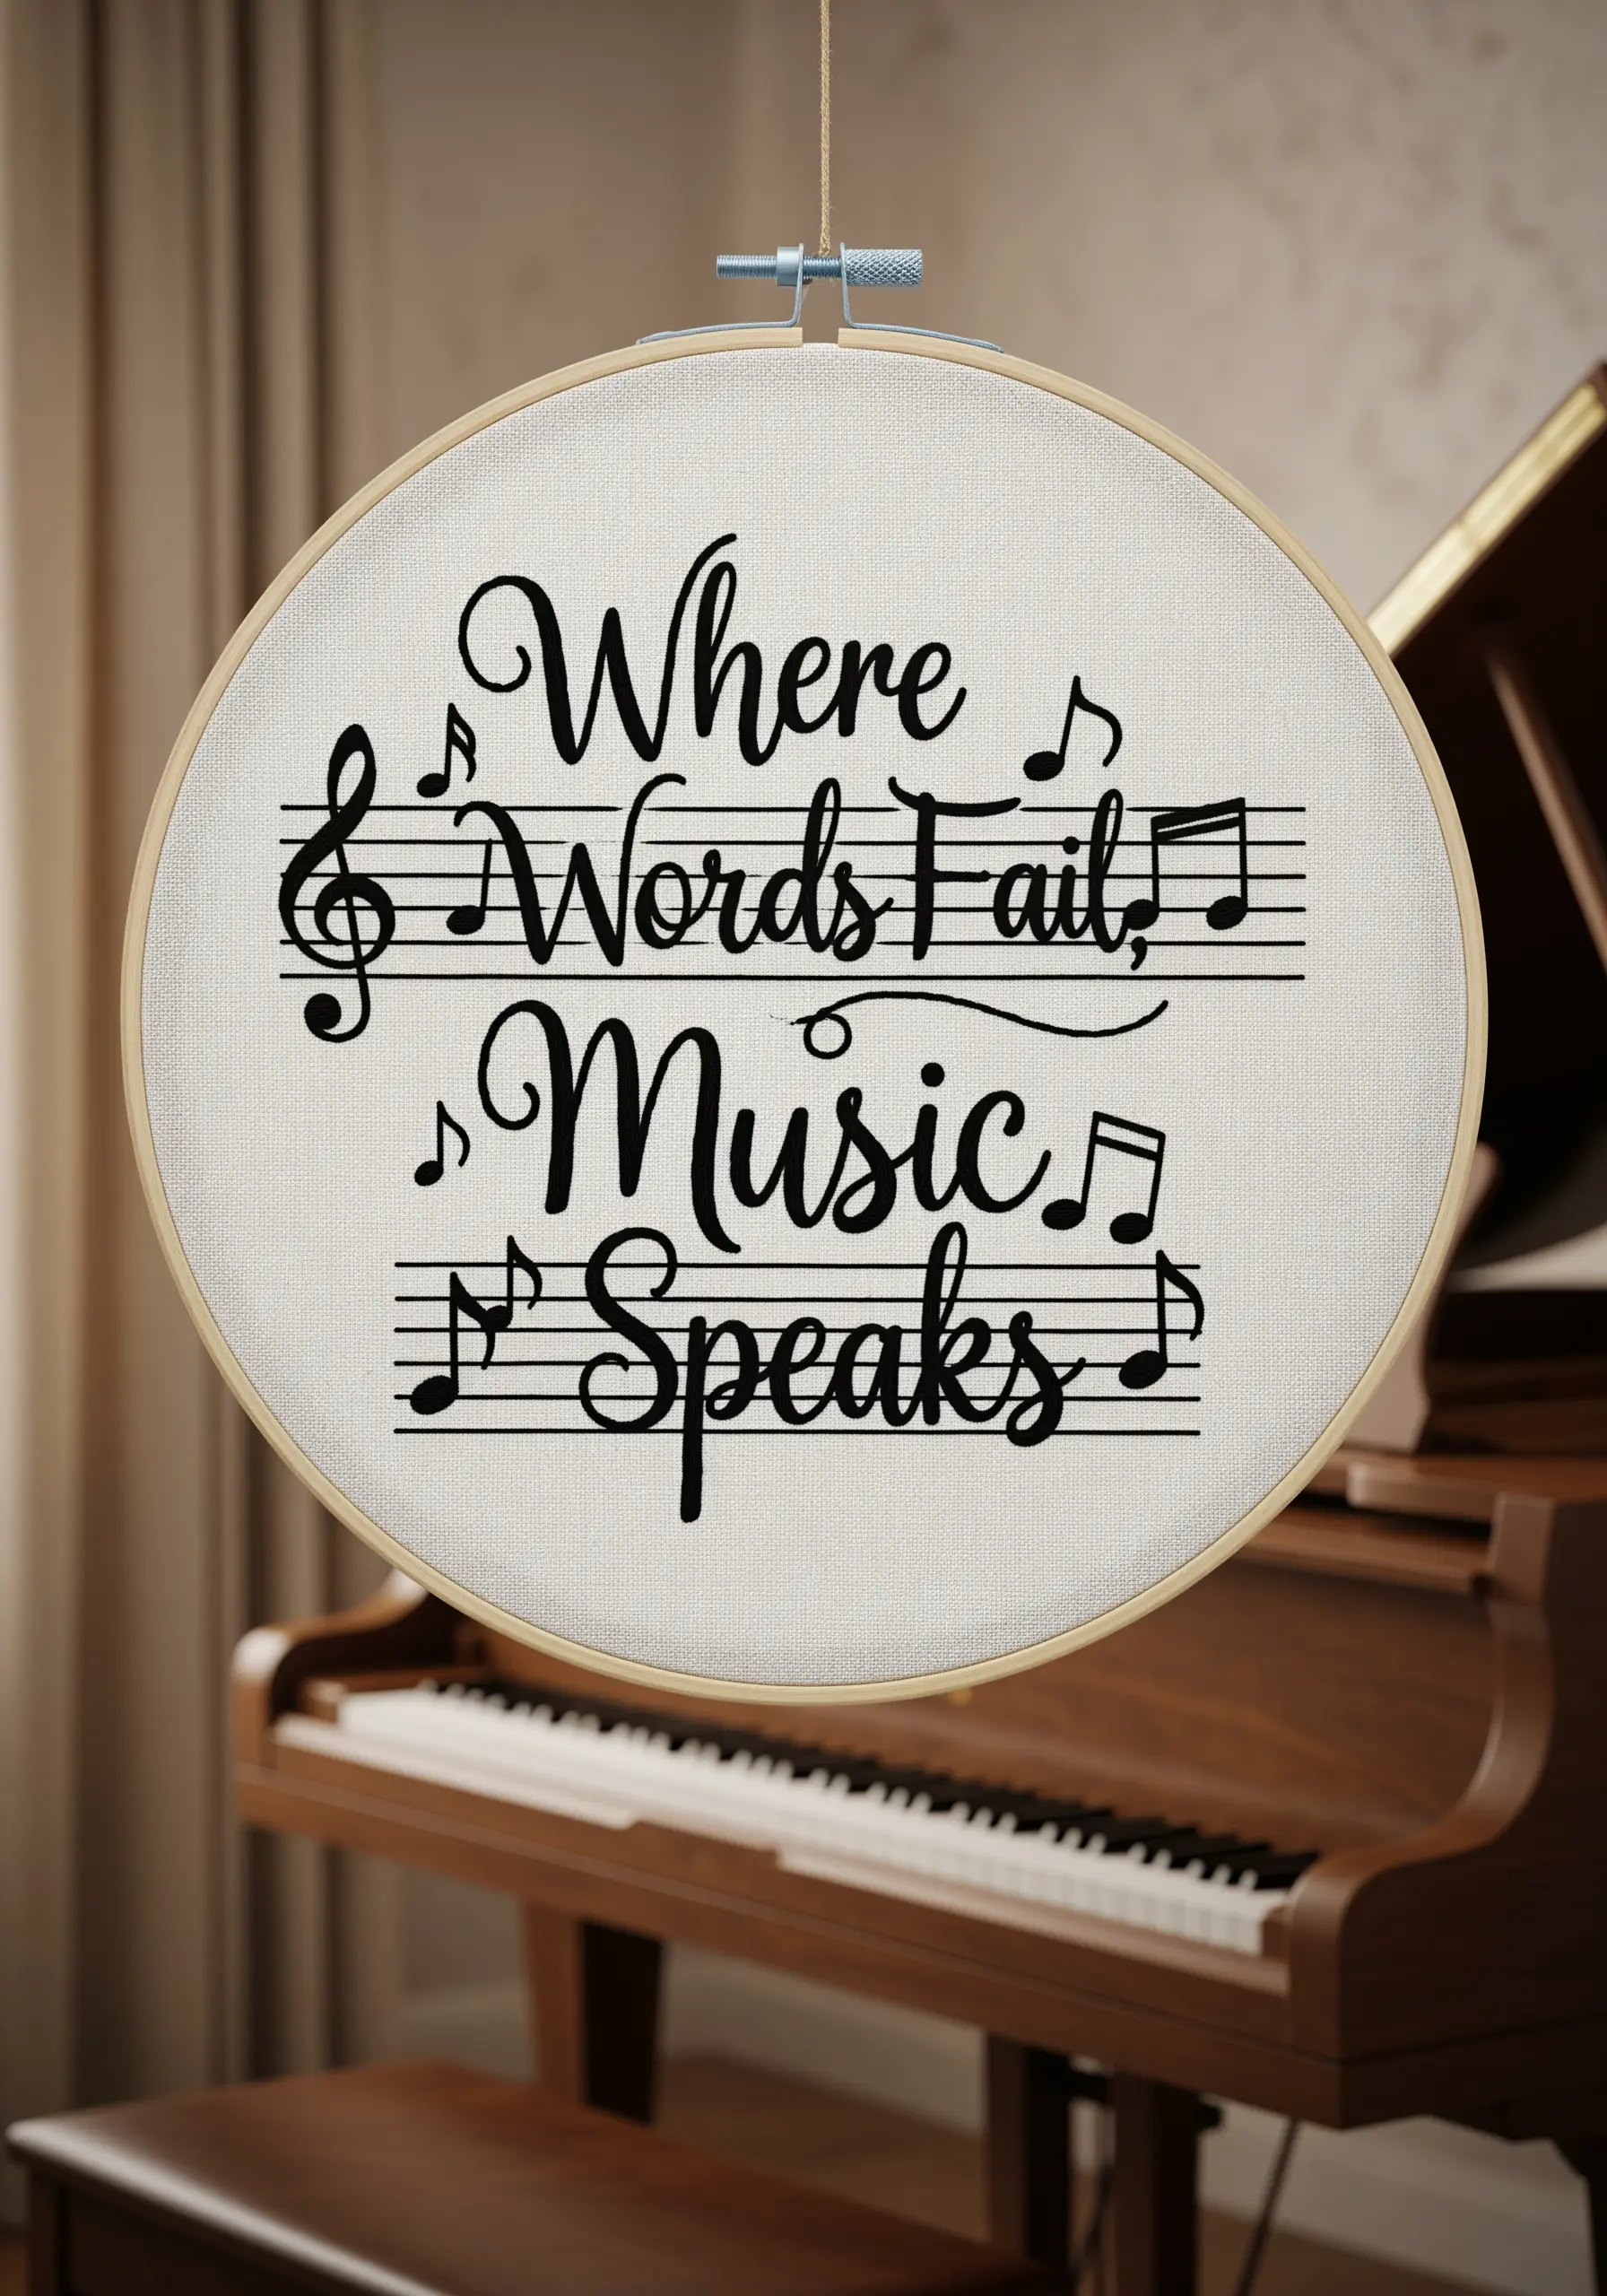
Enhance the meaning of your quote by integrating relevant symbols directly into the design.
For a musical theme, use a fine, single-strand backstitch to create crisp, legible musical notes and staffs.
This requires precision and careful counting to ensure the lines are parallel and the notes are correctly placed.
The combination of text and iconography turns your piece into a powerful example of line art inspirational quote designs.
28. Create a Gentle Ombré Effect in Your Text

Add visual flow and a gentle pop of color to your quote with a subtle gradient.
To create this ombré effect, stitch each line or section of text in a different shade of the same color family.
Arrange the colors from light to dark or in a rainbow progression for a harmonious look.
This is one of the easiest ways to approach ombre gradient thread embroidery ideas without needing to blend threads in the needle.
29. Mimic a Sparkling Effect with Thread Choice
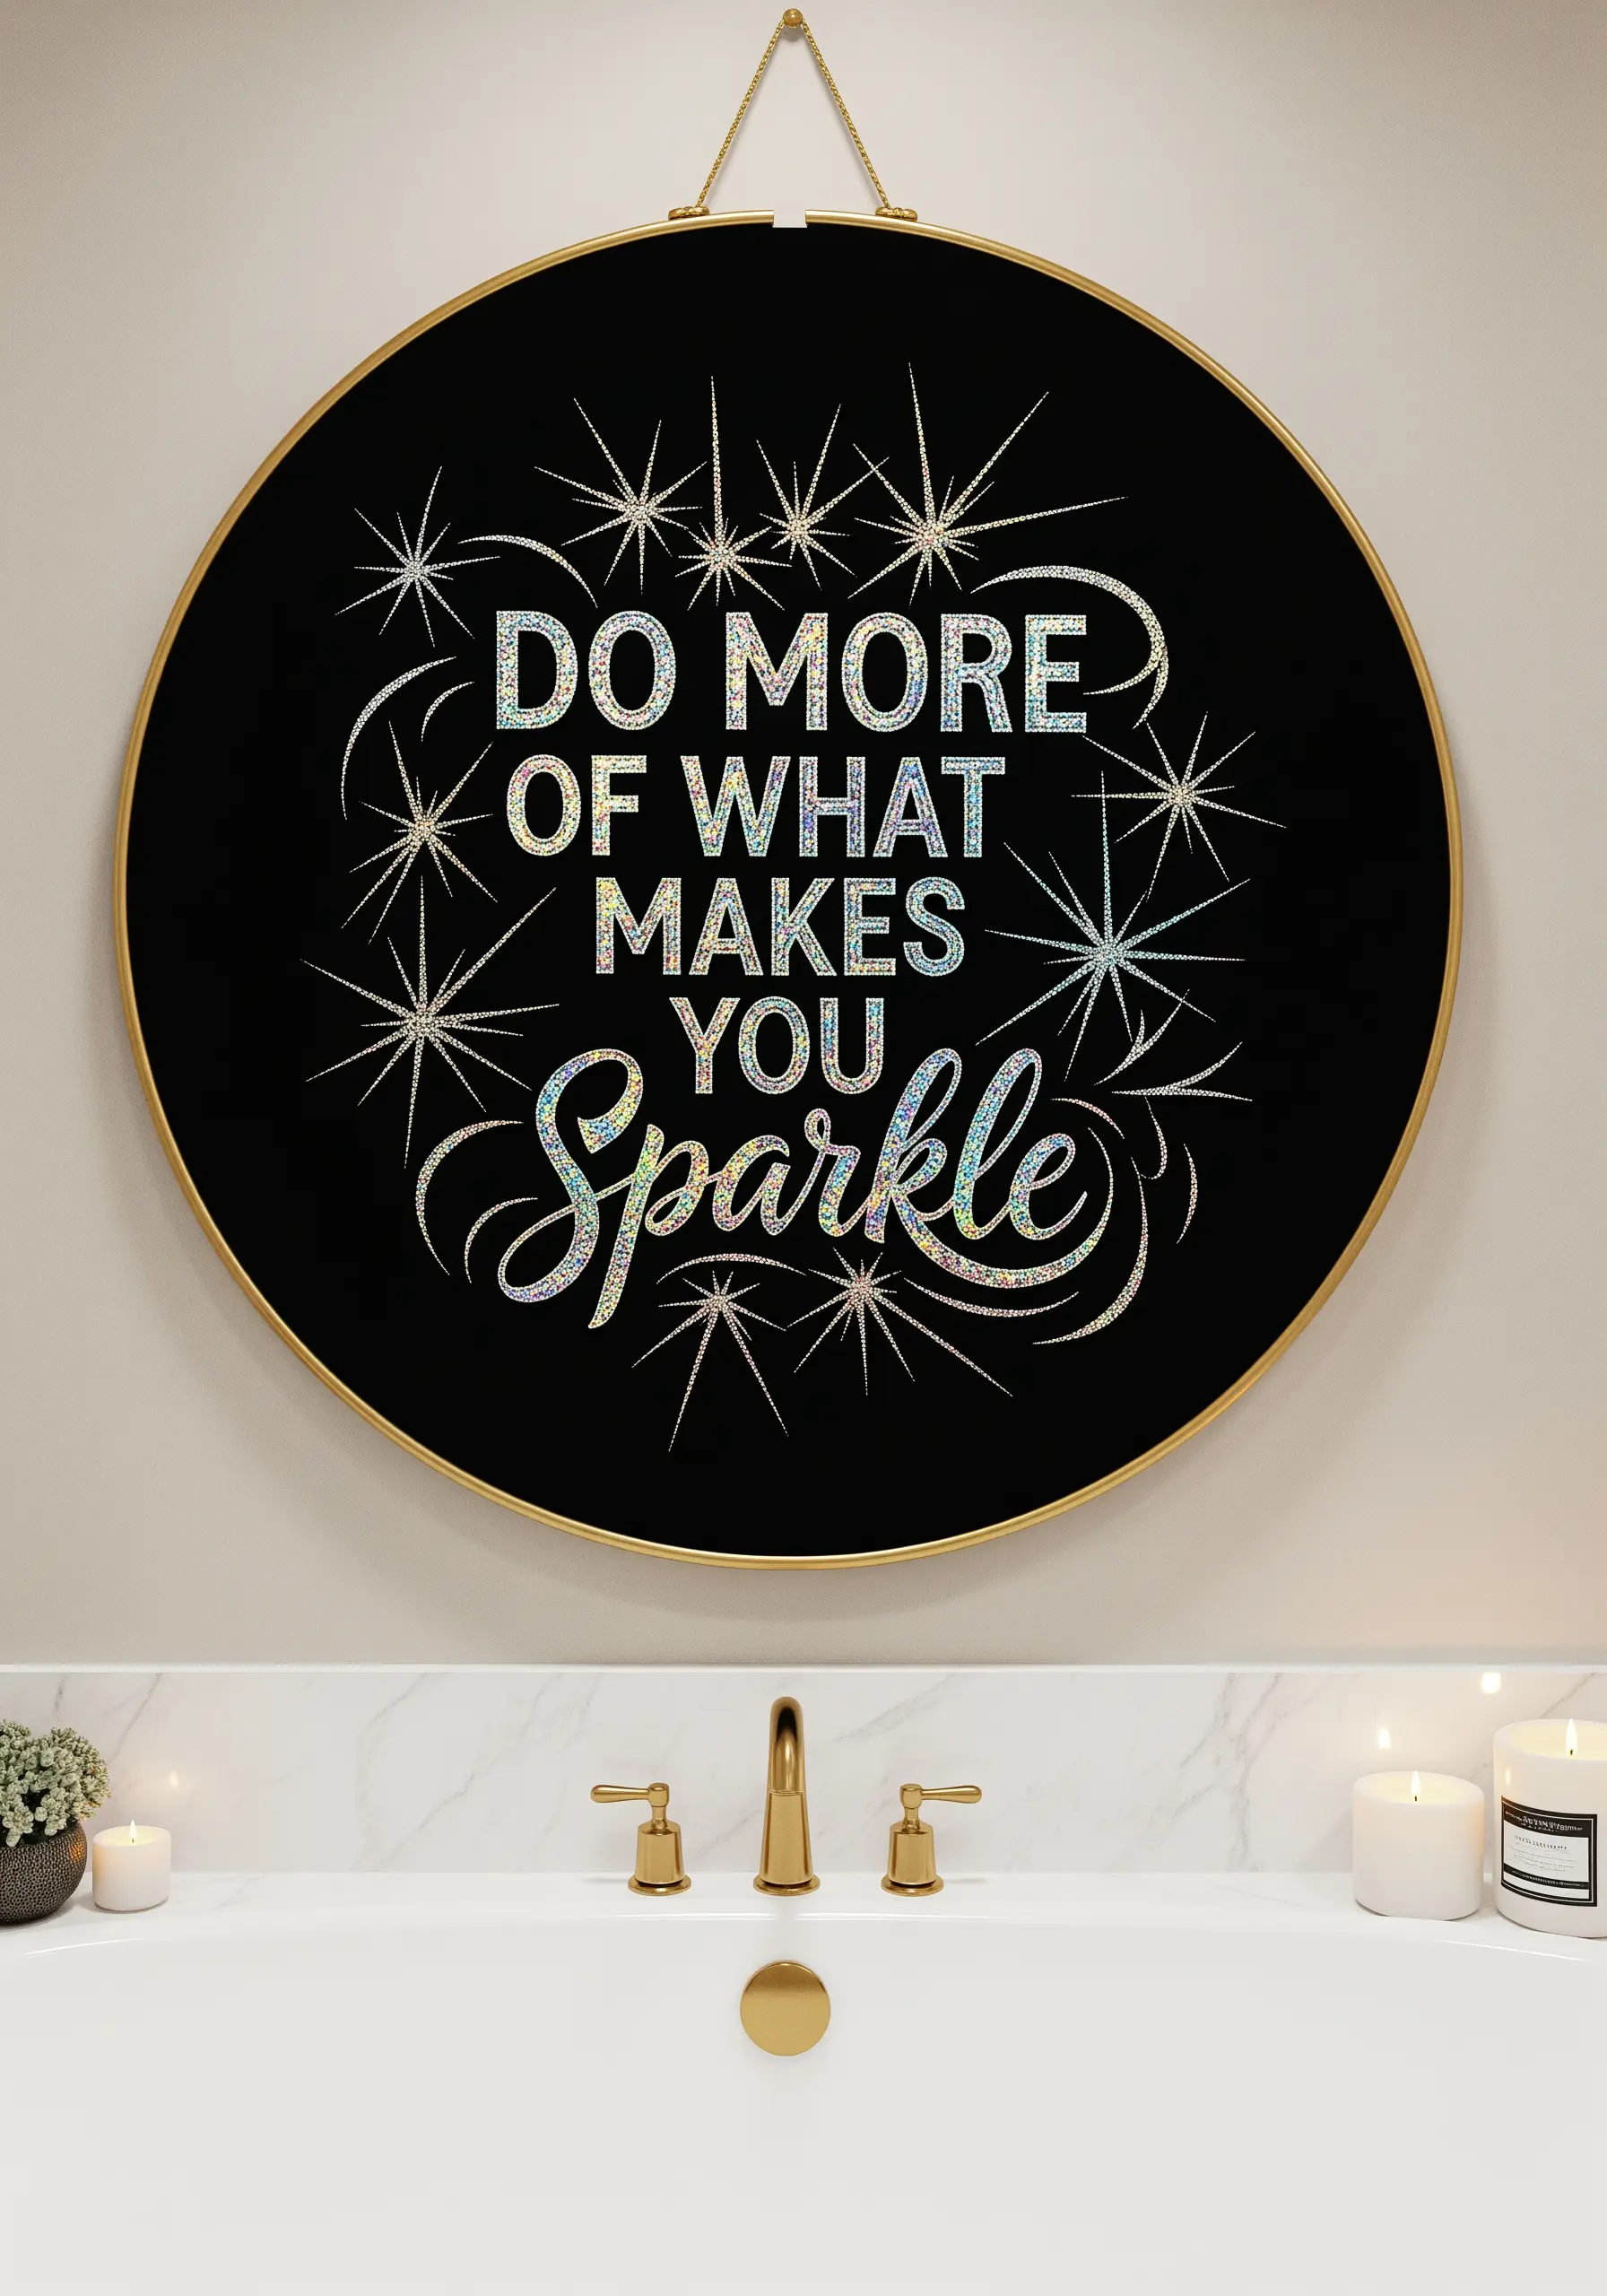
Capture a sense of magic and celebration by choosing threads that shimmer and shine.
To achieve a glittering, holographic effect by hand, use specialty threads like Kreinik blending filaments or DMC’s Light Effects floss.
You can also couch down very fine metallic cords or stitch on tiny sequins to catch the light.
Explore contemporary metallic thread designs to give your work a dazzling, almost magical finish.
30. Curate a Mini Gallery Wall of Hoops
Tell a bigger story by creating a collection of hoops that work together as a single art installation.
Keep the design elements consistent—such as the fabric, font style, and a cohesive color palette—to ensure the grouping looks intentional.
Vary the size of the hoops and the complexity of the designs within them to create visual interest and rhythm.
Perfecting these hooped wall collage layouts turns your small projects into a major statement.
31. Achieve a Timeless Look with Cross-Stitch
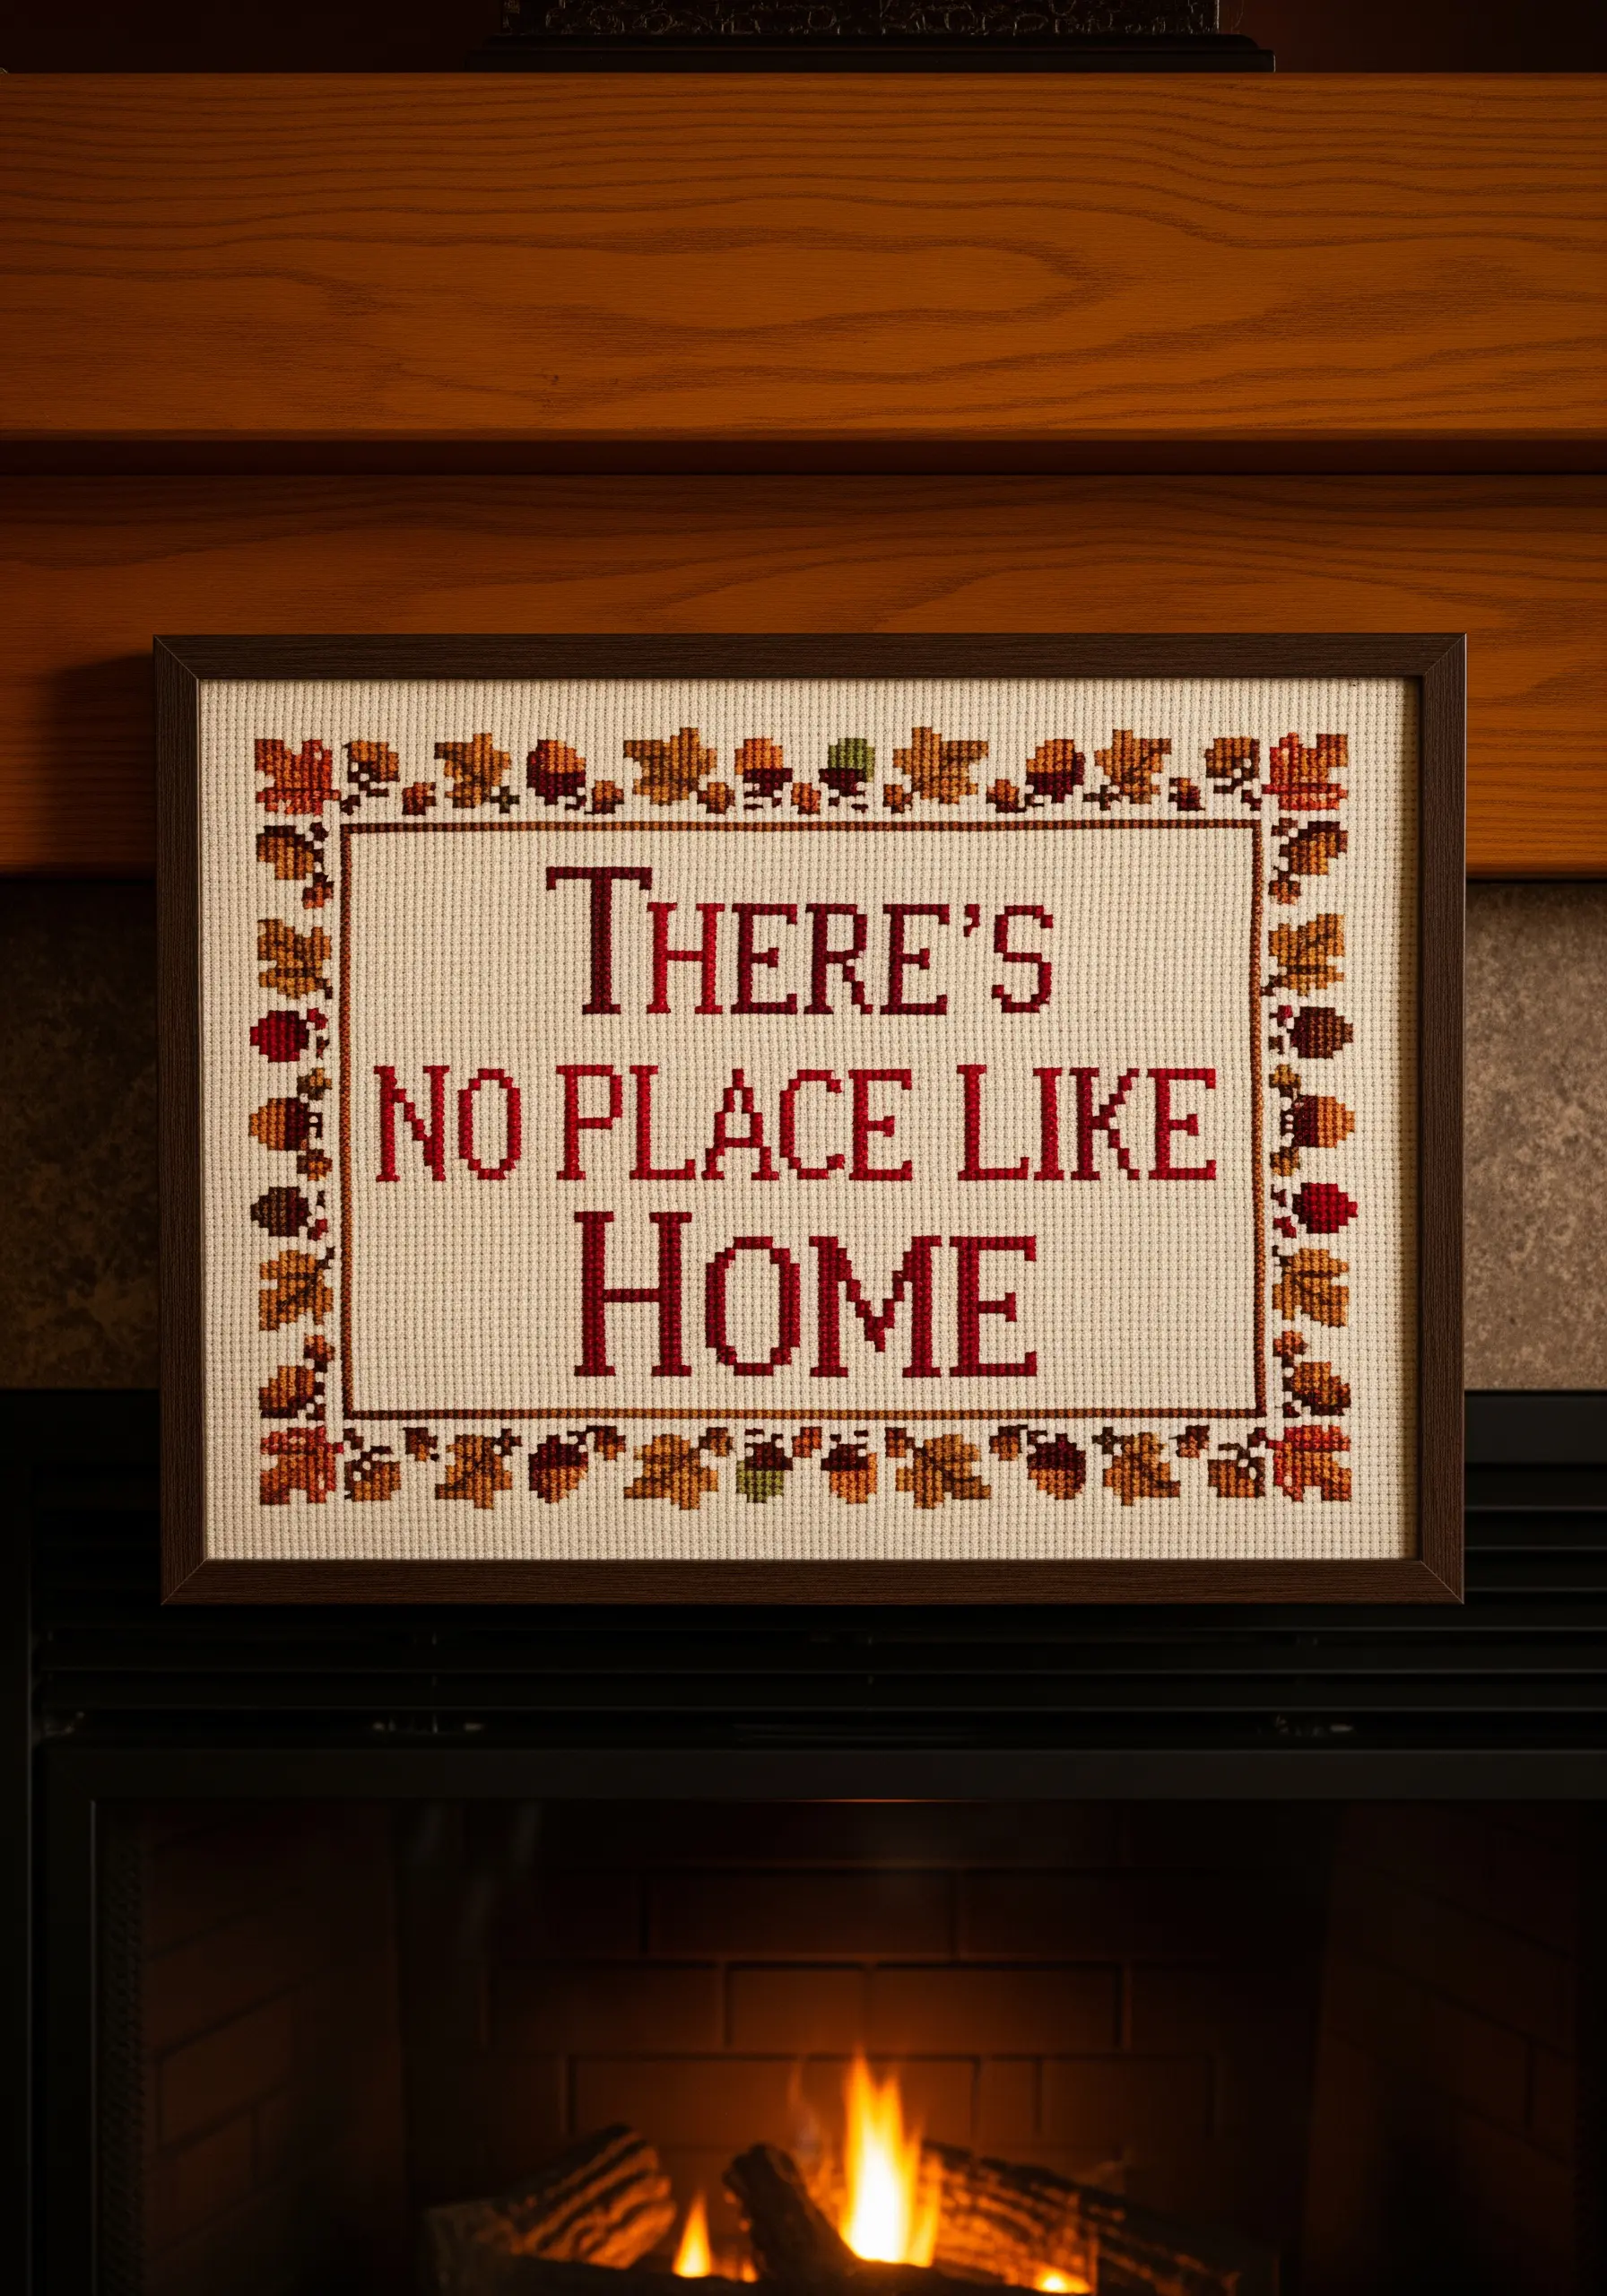
For a classic, nostalgic feel, translate your favorite quote into a cross-stitch pattern.
The key to a polished finish is consistency. Ensure the top leg of every single ‘X’ stitch faces the same direction throughout the entire piece.
Working on Aida fabric with its gridded structure makes it easy to create neat, uniform letters and decorative borders.
This traditional technique recalls vintage-inspired fabric collage embroidery ideas, giving your home a cozy, heirloom quality.


